

A music doodle is the fastest way to put a little song onto paper, and this page gives you 31 of them to fill a notebook spread or a few spare minutes. Every one of these is small, a few clear shapes and a bit of personality, so you can finish a whole scene before the kettle boils.
Grab a black fineliner and a couple of markers and work down the list from the simplest to the more involved. Birds, frogs, teapots and tiny bands all make an appearance, each one ready to sing, dance or drum its way across your page.
Using these images: free for personal projects such as printing, coloring, cards, journals and gifts. Handmade items that include them may be sold up to 30 pieces per design. More than that is commercial use and is not permitted, and neither is selling or sharing the images themselves or passing them off as your own. Please ask before any other use.
Start with a bird singing, because it teaches the whole trick of this list in one go: a round body, a small pointed beak open mid note, and a few music notes floating up and away from it. Draw the body as an egg shape first, then add a wing as a simple curved line and short lines for the tail feathers.
Ink the outline last, once you are happy with the pencil shape underneath, and keep the beak gap small so the face still reads as happy rather than shouting. Color the body in coral and leave the notes plain black or pick them out in teal so they float clear of the feathers.
If the beak looks too sharp, round off the tip with your fineliner until it looks soft rather than fierce. No pencil on hand, sketch straight in fineliner and just go slow on the first few lines.
Keep the notes a mix of sizes, two big and two small, so the song looks like it is drifting rather than marching in a straight row.
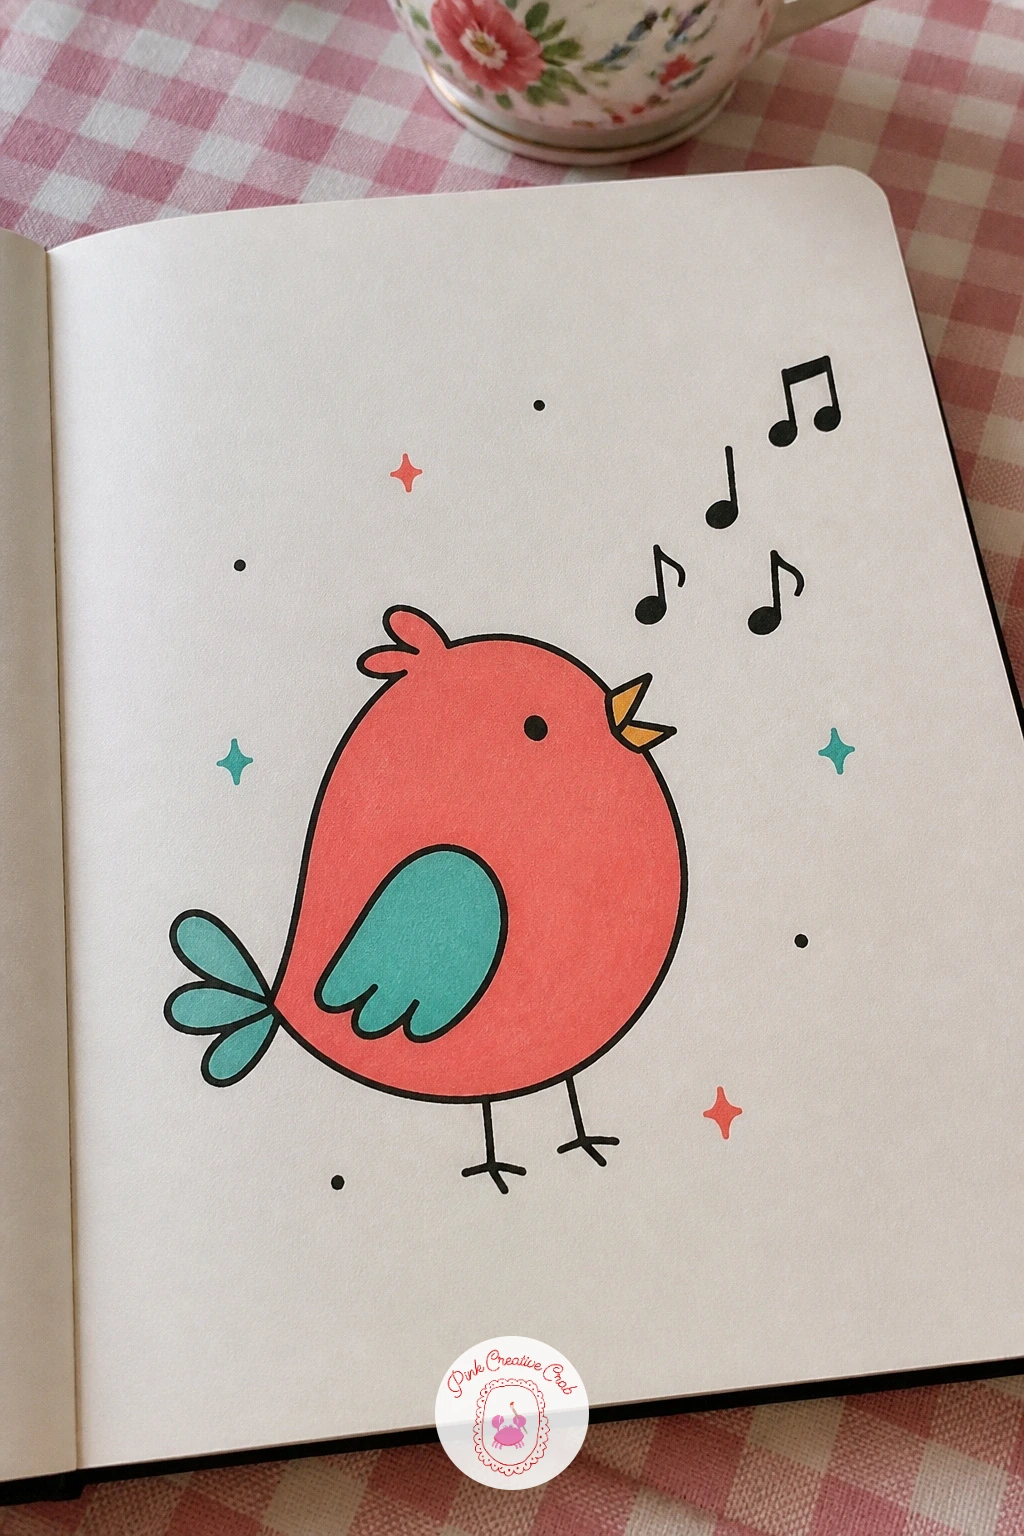
Palette: Coral,Teal,Black
Move on to a cat at the piano, since it is still just a few shapes stacked together: a rounded cat body sitting upright, two front paws resting on a short row of piano keys drawn as a simple rectangle. Draw the cat first, head and ears, then the body, then add the keyboard underneath so the paws land naturally on top of it.
Keep the eyes half closed and the mouth a small curved line, that sleepy concentrated look sells the whole joke. Ink the cat’s outline before the keys, then use your ruler or just a steady hand for the black and white key stripes.
The paws are where this usually goes wrong, too long and they look like gloves. Keep them short and round, just two little ovals touching the keys, and if that still looks off, tuck one paw slightly behind the other.
Color the cat in teal or leave it white with black stripes, and add one coral flower or bow at the ear for a bit of contrast.
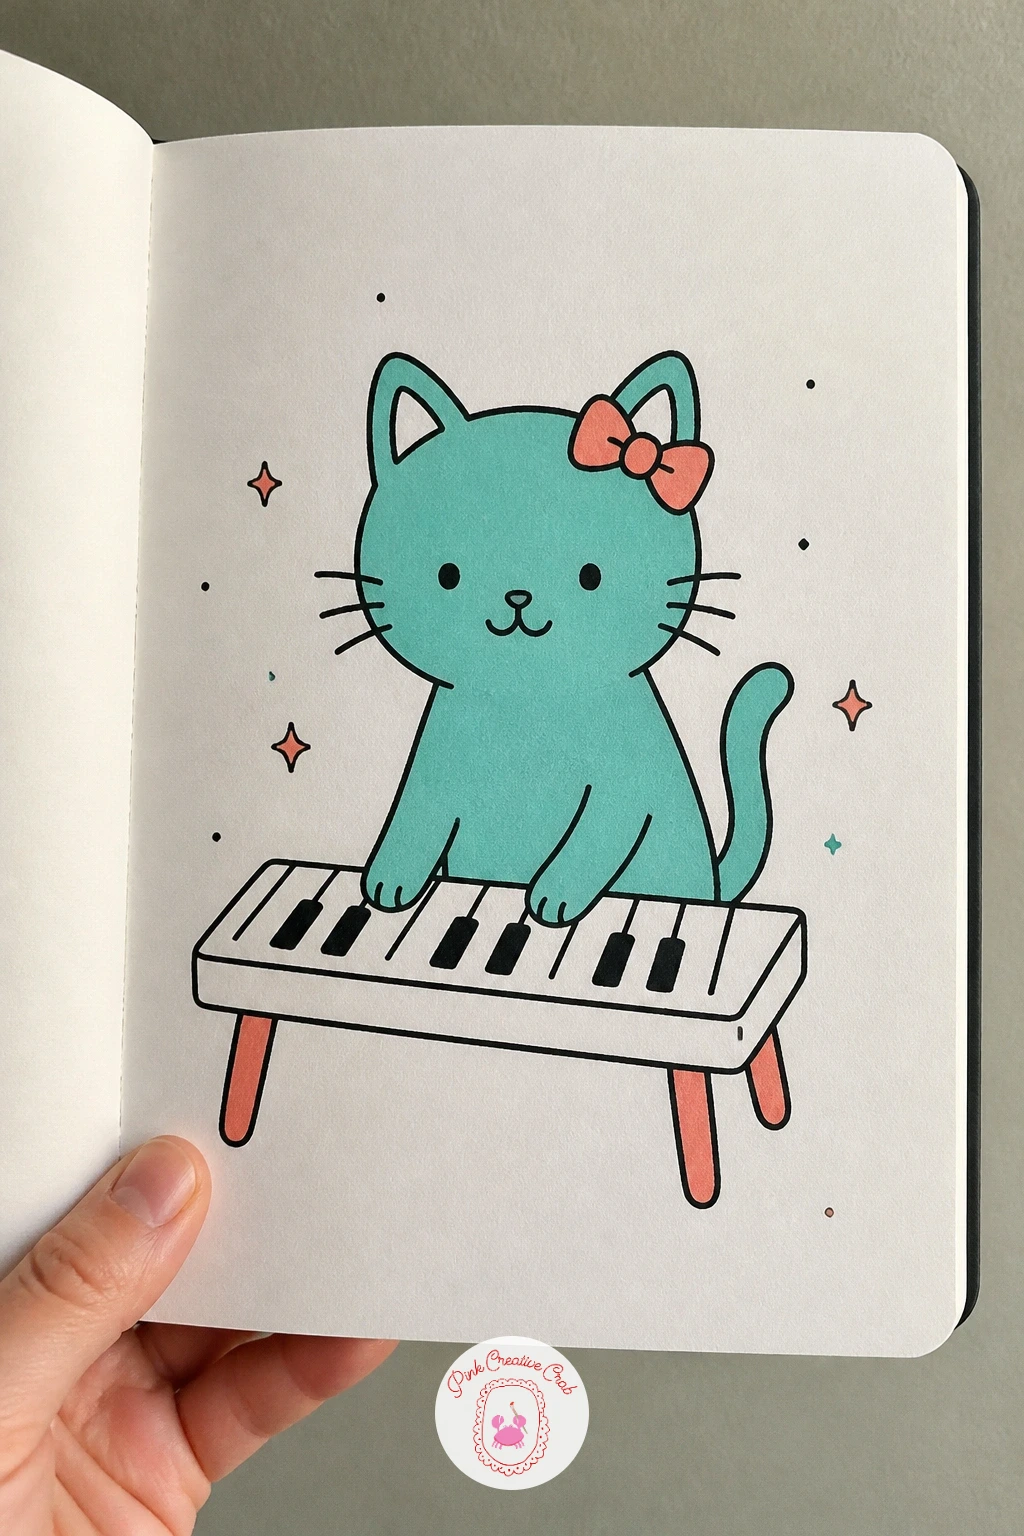
Palette: Teal,Black,Coral
Look at a real cat sitting upright for the posture, the back curves more than you expect and the front paws sit close together, not spread wide.
Headphones growing flowers turns an ordinary object into something stranger and nicer. Draw the headphone band as a simple curved arc first, then the two round ear cups hanging from it, and only once that shape sits right do you add the flowers sprouting from the top of the band.
Keep the flowers simple, five or six petal shapes around a small circle center, two or three blooms is plenty. Too many and the headphones disappear under greenery, so leave the band and ear cups mostly visible.
Ink the headphones first in solid black, then the stems and leaves, then color the petals coral and the leaves teal so the flowers pop against the plain outline underneath. If your markers bleed on thin paper, switch to a cassette tape or record doodle instead, both sit flatter on the page.
Add one small music note tucked between two petals for a bit of extra charm.
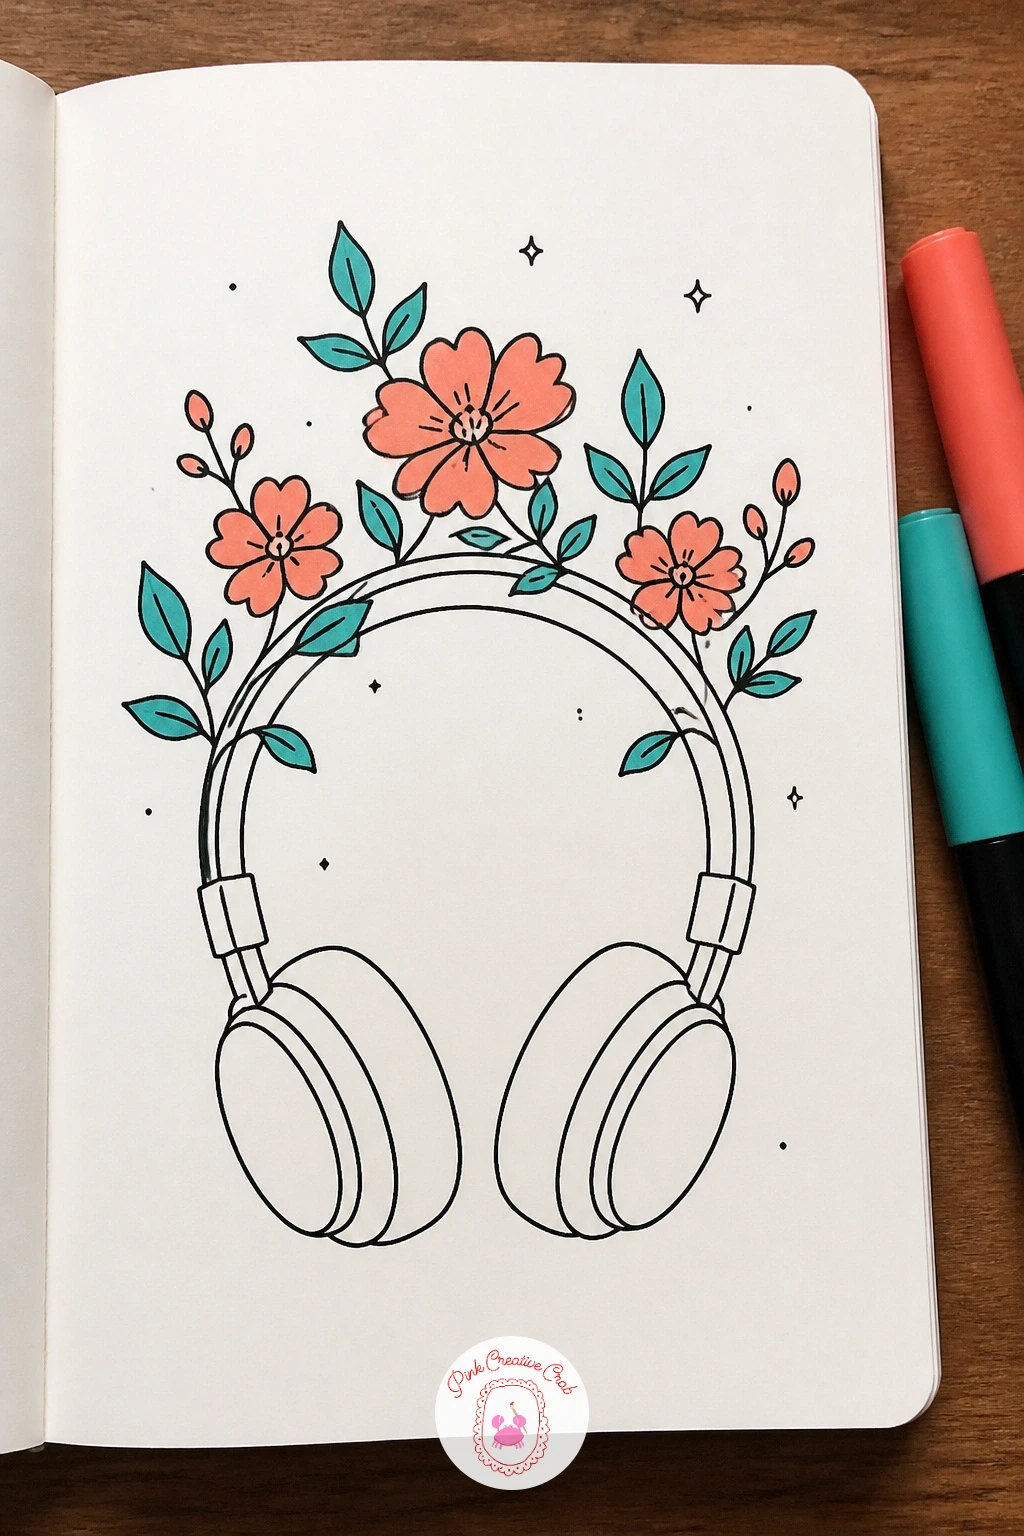
Palette: Black,Coral,Teal
A record player with a tiny dancer on the turntable needs a steady circle, so trace one from a coin or a bottle cap if freehand circles wobble too much for your liking. Draw the player’s body as a simple rectangle base, the circular record on top, and the tonearm as one curved line resting near the edge.
The dancer goes last, a few lines for arms raised overhead and a little skirt shape for the body, standing right in the middle of the record label. Keep her tiny, no bigger than a thumbnail, so the scale joke reads clearly against the full sized player.
This is where perspective matters: draw the record as a true circle seen from above even though the player body sits at an angle, that mismatch is what makes record players tricky to draw well. Keep the base simple and flat so the eye goes straight to the spinning top.
Color the record black with teal label, dancer in coral, and add a few curved lines around her feet to suggest spinning motion.
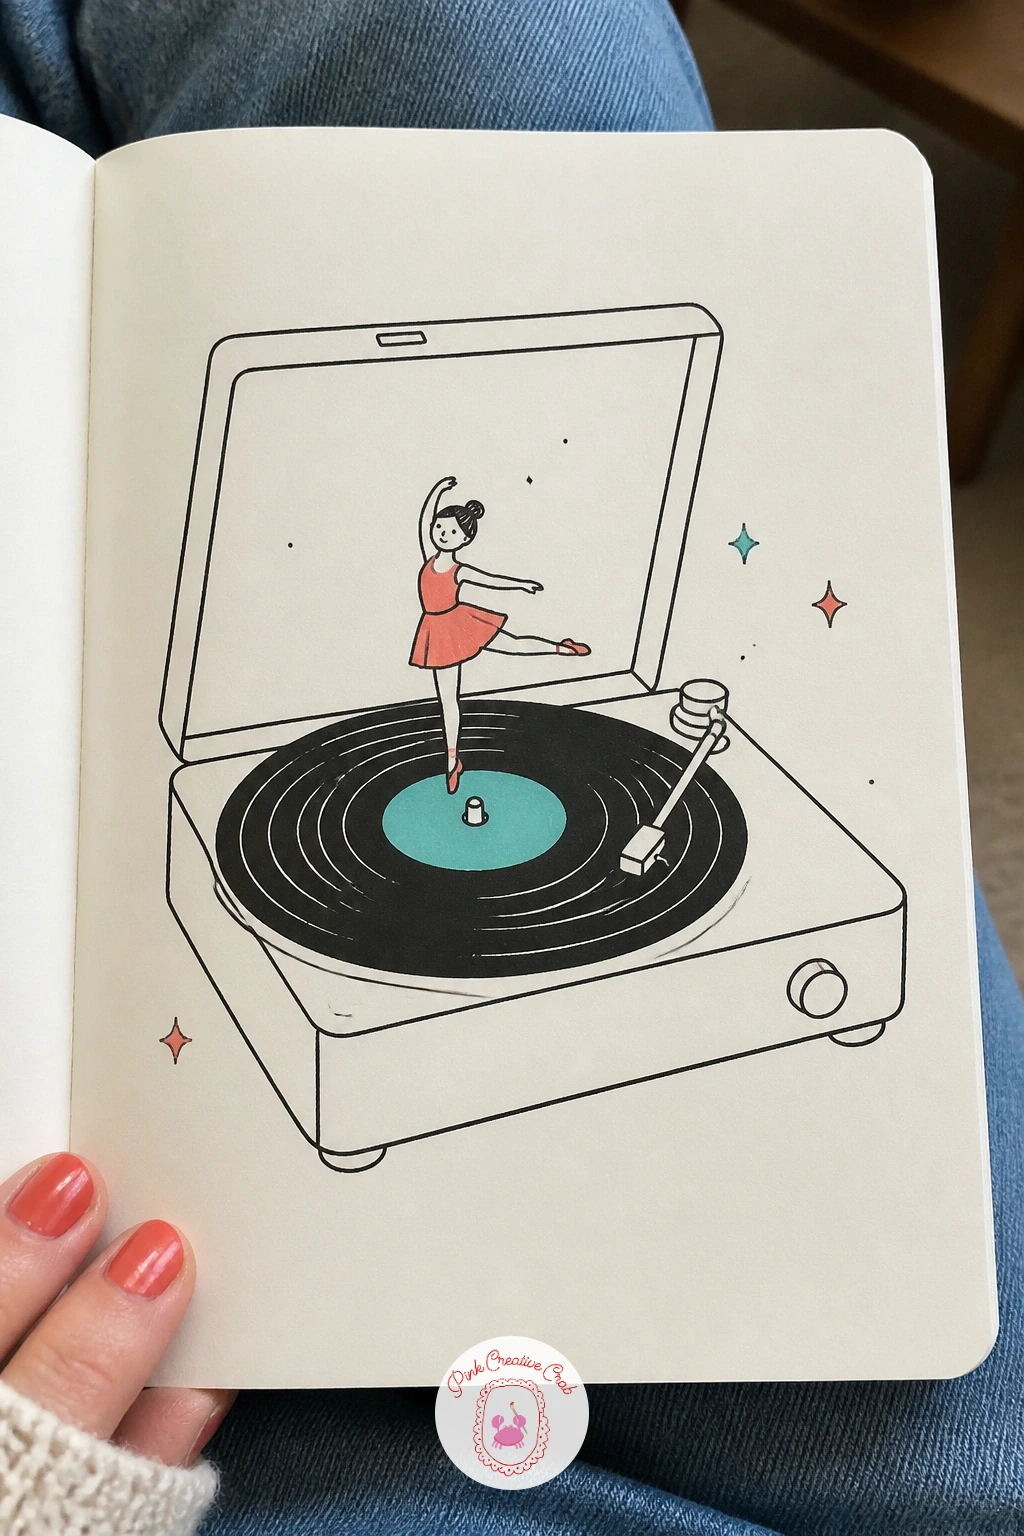
You Will Need
- a coin or cap to trace the circle
Palette: Black,Teal,Coral
A frog on a lily pad with a tiny banjo is a nice jump from flat objects into a small scene. Start with the lily pad as a simple rounded leaf shape with one notch cut out, then sit the frog on top with its legs tucked under, round eyes bulging up top.
The banjo comes last, a small circle body and a thin neck resting against one webbed foot, with three or four short lines for strings. Keep the frog’s arms short and simple, just enough to suggest it is strumming rather than drawing every finger.
Eyes are the detail that makes or breaks a frog, keep them large and round and sitting high on the head, that is what gives the face its charm. If the proportions feel off, compare the eye size to the width of the lily pad, the eyes should be roughly a third of that width.
Color the frog teal, the lily pad a slightly darker green if you have it, and the banjo body coral.
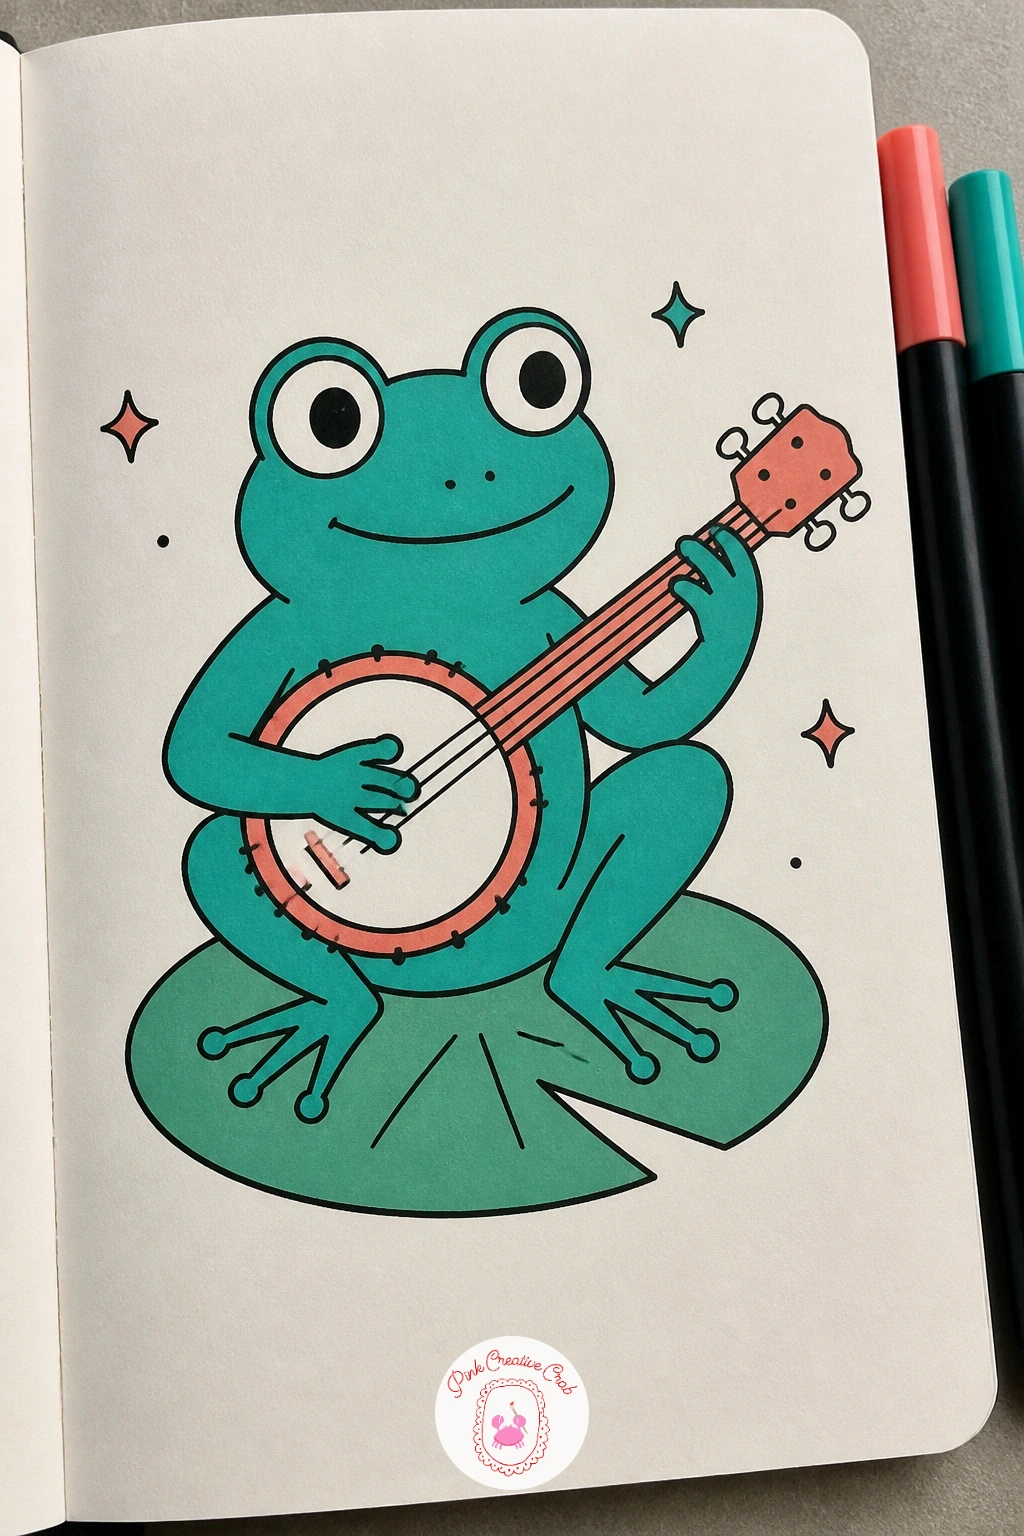
Palette: Teal,Coral,Black
Follow the frog with a guitar wrapped in a climbing vine, a good subject for practicing clean curved outlines. Draw the guitar body first as two stacked circles that overlap slightly, then the neck as a long rectangle with small lines for frets, and only then let the vine wind around.
Keep the vine simple, one continuous wavy line with small leaf shapes branching off every so often, winding up the neck and over one shoulder of the body. Too many leaves clutters the shape, so space them out and let some of the guitar outline stay bare.
If the guitar body looks lopsided, check that both circles are close to the same size before you ink, a bigger bottom circle than top is the classic guitar shape and worth exaggerating slightly for recognition. For readers who love plant subjects like this, the watercolor music ideas page has a painted version of a similar idea worth a look.
Color the guitar body coral, the vine and leaves teal, and leave the strings as thin black lines over the color.
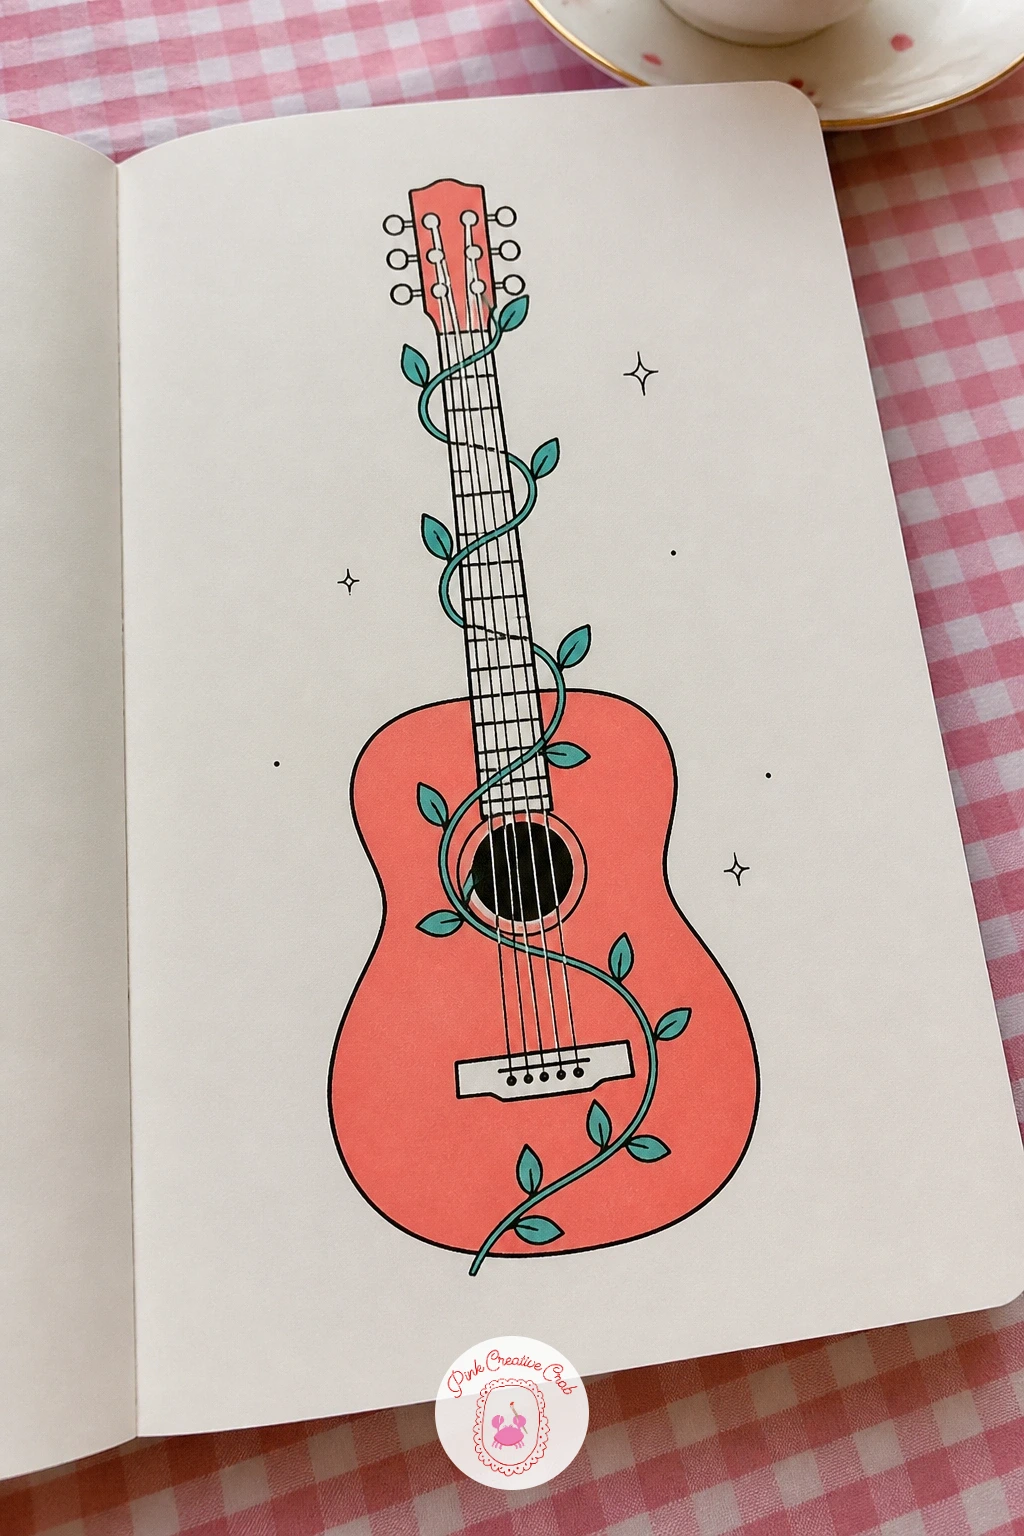
Palette: Coral,Teal,Black
A snail hauling a tiny drum on its shell plays nicely with the idea of a slow creature carrying something loud. Draw the snail body first, a simple curved line for the foot and two small antennae, then the shell as a spiral, starting from the center and winding outward in one continuous line.
The drum sits balanced on top of the shell, drawn as a short cylinder with two small drumsticks crossed over the top. Keep the drum small relative to the shell so the whole thing still reads as a snail first and a drummer second.
Spirals are the part that trips people up, so draw it slowly and do not worry about perfect symmetry, a slightly wobbly spiral still reads clearly as a shell. If the drum looks like it might roll off, add a thin strap line connecting it to the shell for a bit of logic.
Color the shell coral with a teal spiral line, the snail body left mostly white or pale teal, and the drum teal with coral trim.
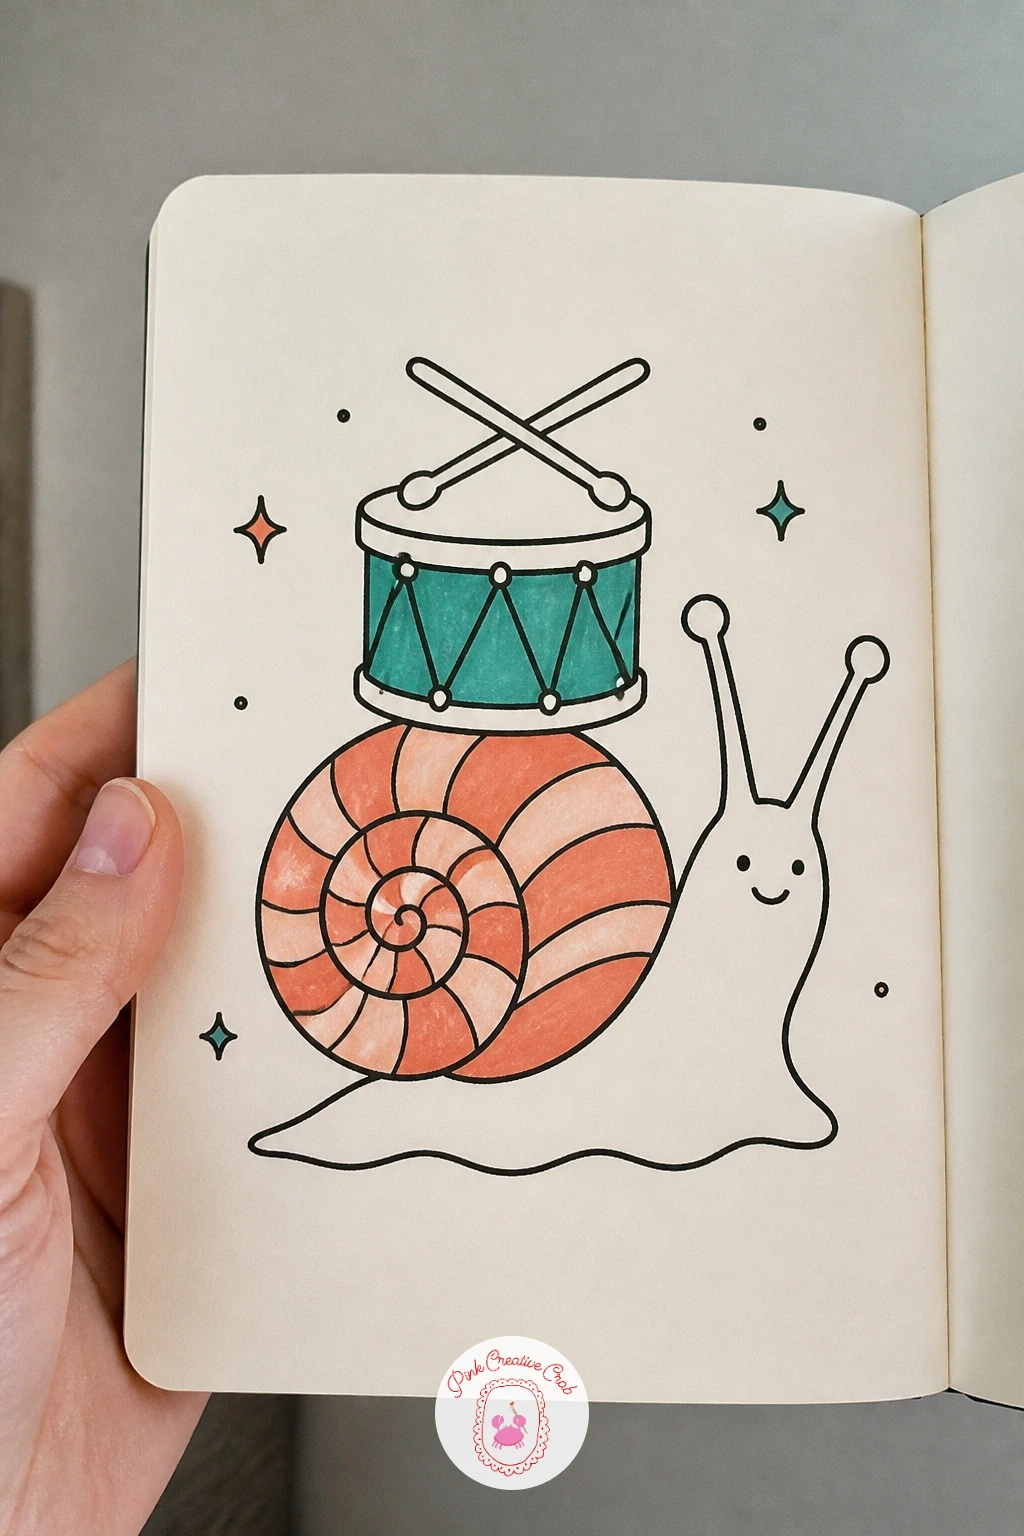
Palette: Coral,Teal,Black
Give the headphones from earlier a wearer: a girl dancing with her arms up and eyes closed, headphones resting over her hair. Block in the body first as simple shapes, an oval head, a triangle for a dress, two curved lines for arms raised overhead, before adding any detail.
Keep the pose loose and a little off balance, one leg kicked slightly out, that asymmetry is what makes a dancing figure look like it is actually moving rather than just standing with arms up. Draw the headphones last, sitting over the hair with the band resting just above the ears.
Faces on tiny figures go wrong fast if you add too much, so keep it to closed eyes drawn as two short curved lines and a small smiling mouth, nothing else. If a full figure feels like too much today, just draw the headphones alone and save the dancer for next time.
Color the dress coral, the headphones teal, and scatter a couple of small music notes around her raised hands.
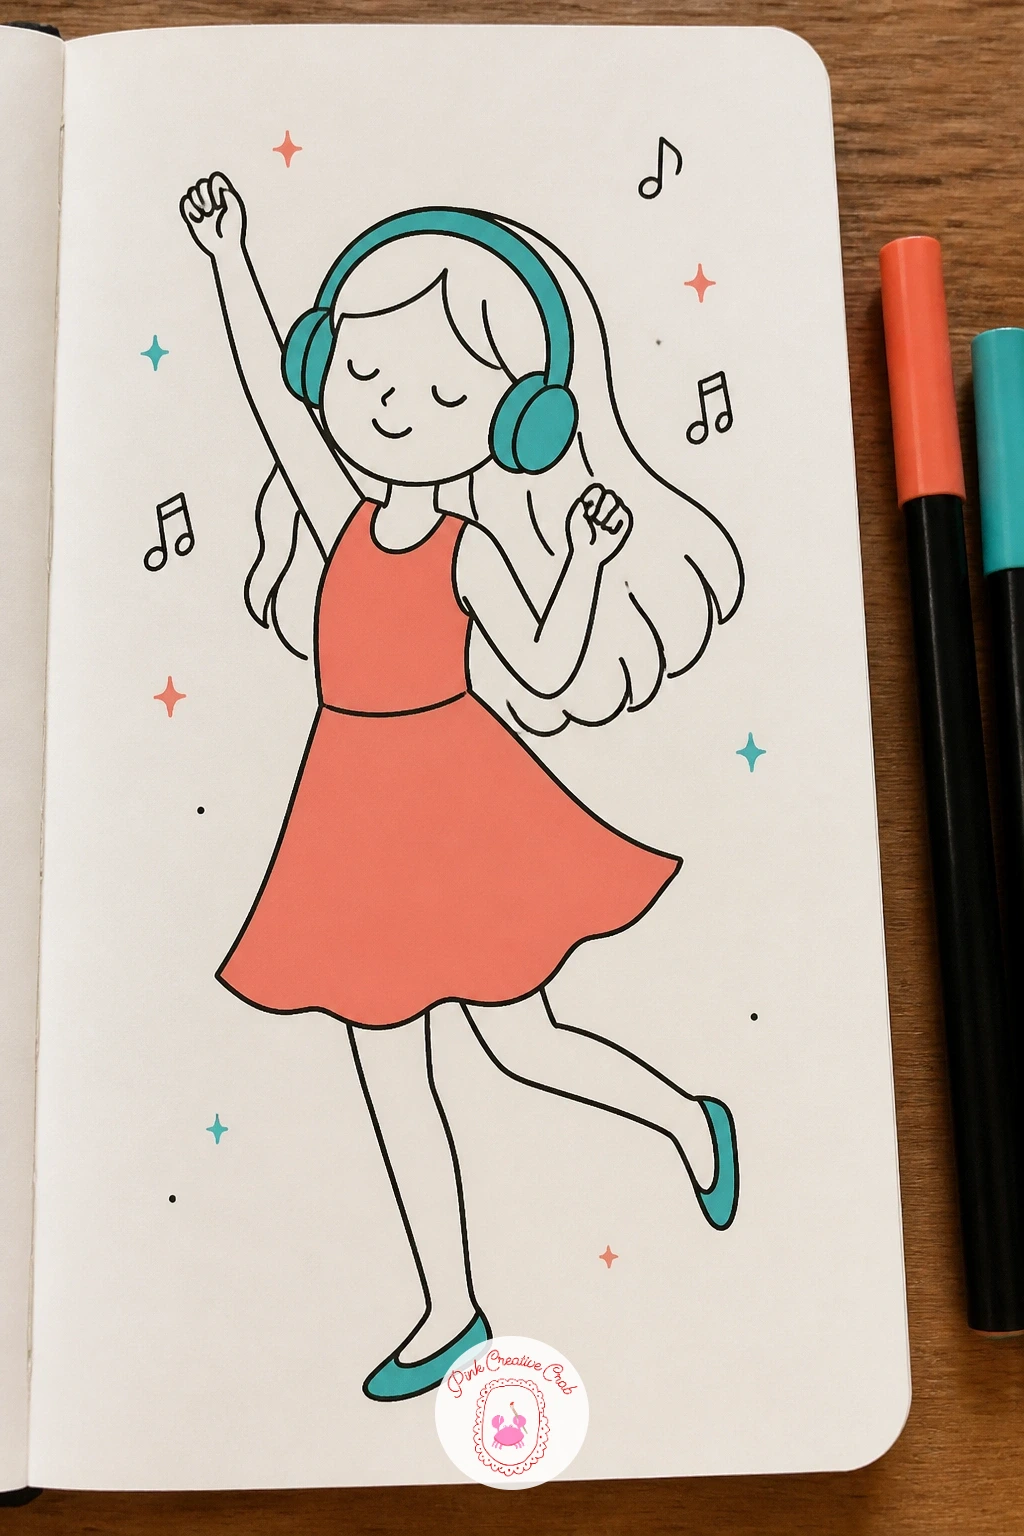
Palette: Coral,Teal,Black
A violin resting on a sheet of music is a quieter subject after all that movement, good for practicing confident single lines. Draw the violin’s outline first in one smooth pass if you can, the curved waist, the scroll at the top of the neck, then add the f-holes and strings once the body shape feels right.
The sheet music underneath is just a rectangle with five or six horizontal lines and a few small marks standing in for notes, no need to draw real notation. Let one corner of the paper curl up slightly for a bit of life in an otherwise flat shape.
The scroll at the top of the violin neck is the fiddly part, so simplify it to a small spiral rather than trying to copy the real carved shape exactly. If the curves of the body feel uneven, flip your page over and check the silhouette against the light, most asymmetry shows up fastest that way.
Color the violin body coral or leave it warm brown toned with your marker, and keep the sheet music plain white with black lines only.
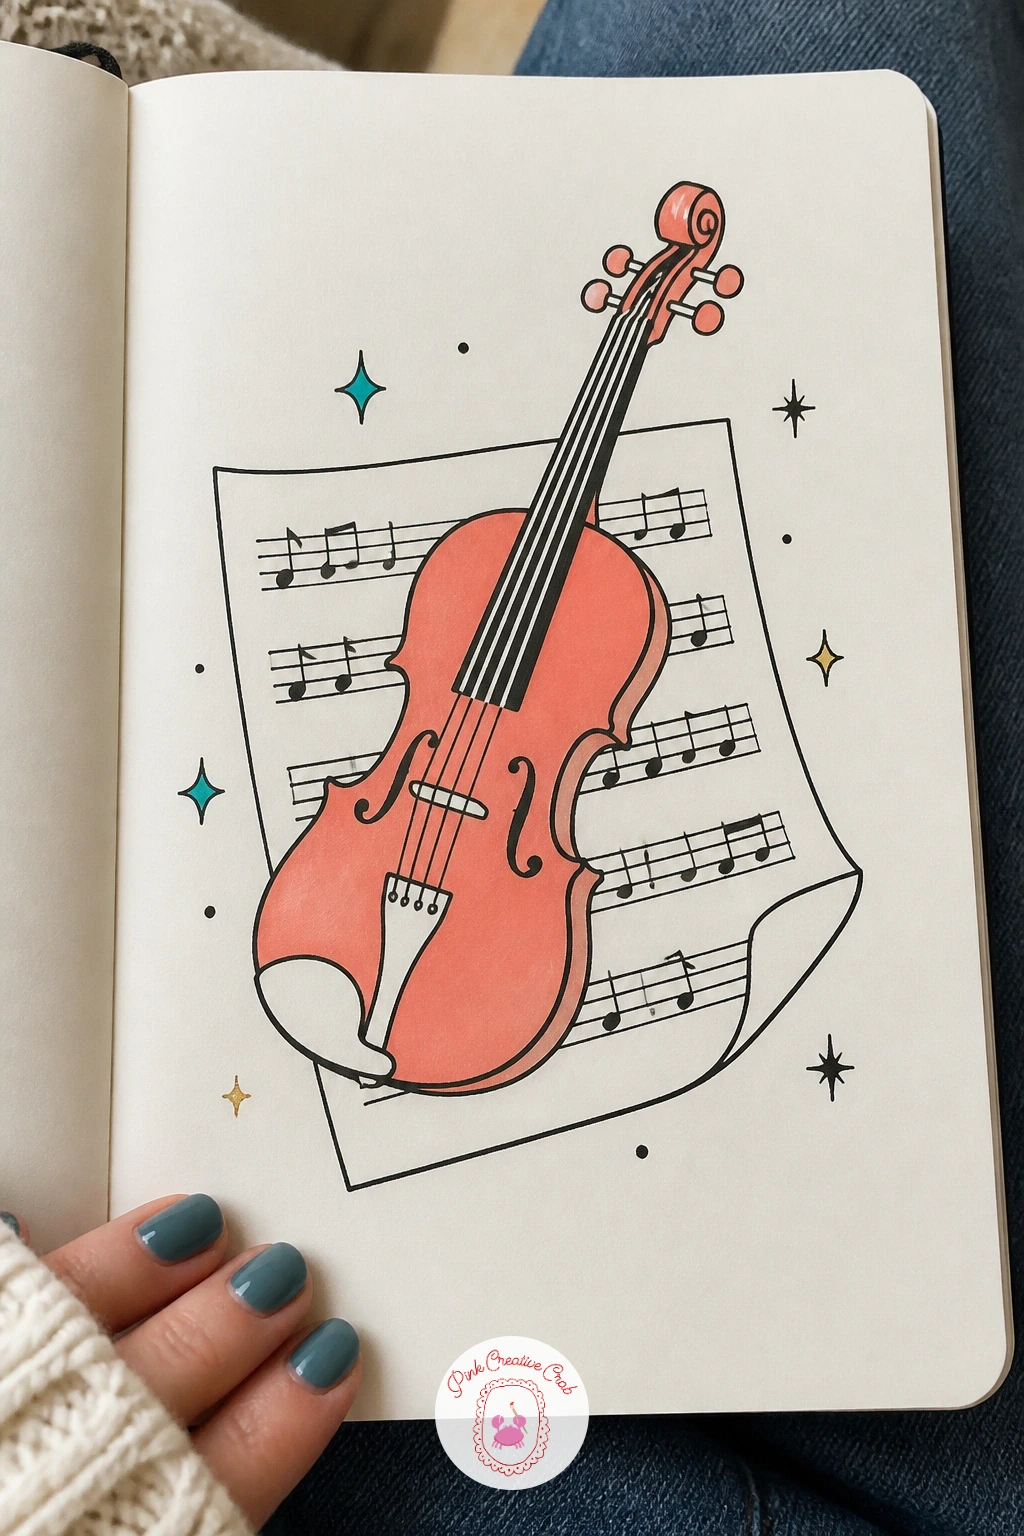
Palette: Coral,Black,Teal
A cassette tape with a smiling face is about as simple as this list gets, which makes it a good one to practice clean confident outlines on. Draw the body as a rounded rectangle, then the two small circles for the reels inside, and a simple curved smile with two dot eyes above it.
Keep the reels even in size and spaced a good distance apart, that symmetry is what sells the cassette shape even to someone who has never actually held one. Add a small rectangle label across the middle for the face to sit on, separate from the reels.
If the face ends up looking blank, try tilting the eyes slightly or adding tiny eyebrow lines, small changes shift the expression a surprising amount. The music junk journal pages are full of old tape and record imagery if you want more reference for this kind of retro object.
Color the body teal, the label white with a coral border, and leave the face in plain black linework.
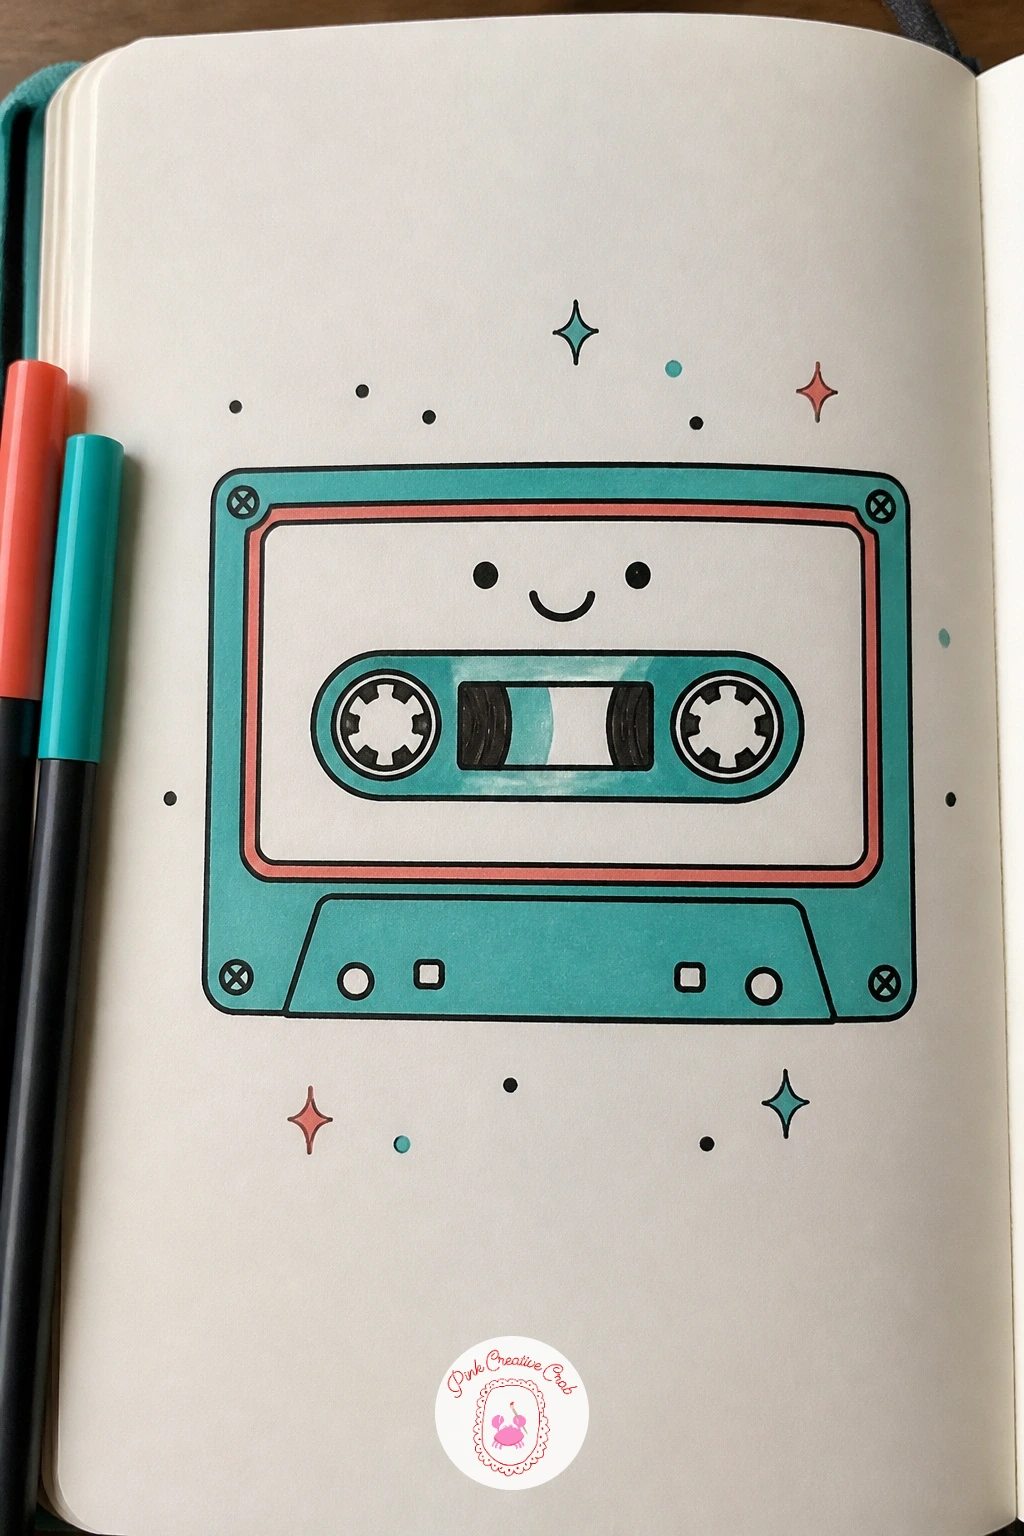
Palette: Teal,Coral,Black
A trumpet blowing bubbles instead of notes is a fun twist to draw after all those straight edged objects. Start with the trumpet’s bell as a flared cone shape, then work back along the tubing with a few curved loops before finishing at the mouthpiece.
Bubbles drift out of the bell in a loose cluster, circles of varying sizes with one small highlight curve inside each to suggest shine. Keep the trumpet’s tubing loops loose and rounded rather than sharp, real trumpet tubing curves gently and sharp angles will make it look more like plumbing than an instrument.
If the valve buttons on top feel fussy to draw small, simplify them to three little rectangles standing in a row, nobody will miss the fine detail at this scale. The quick version just needs the bell, one loop and three or four bubbles, the slower version adds the full tubing and a dozen bubbles of different sizes drifting further across the page.
Color the trumpet coral or leave it gold toned, bubbles outlined in teal with white centers left blank.
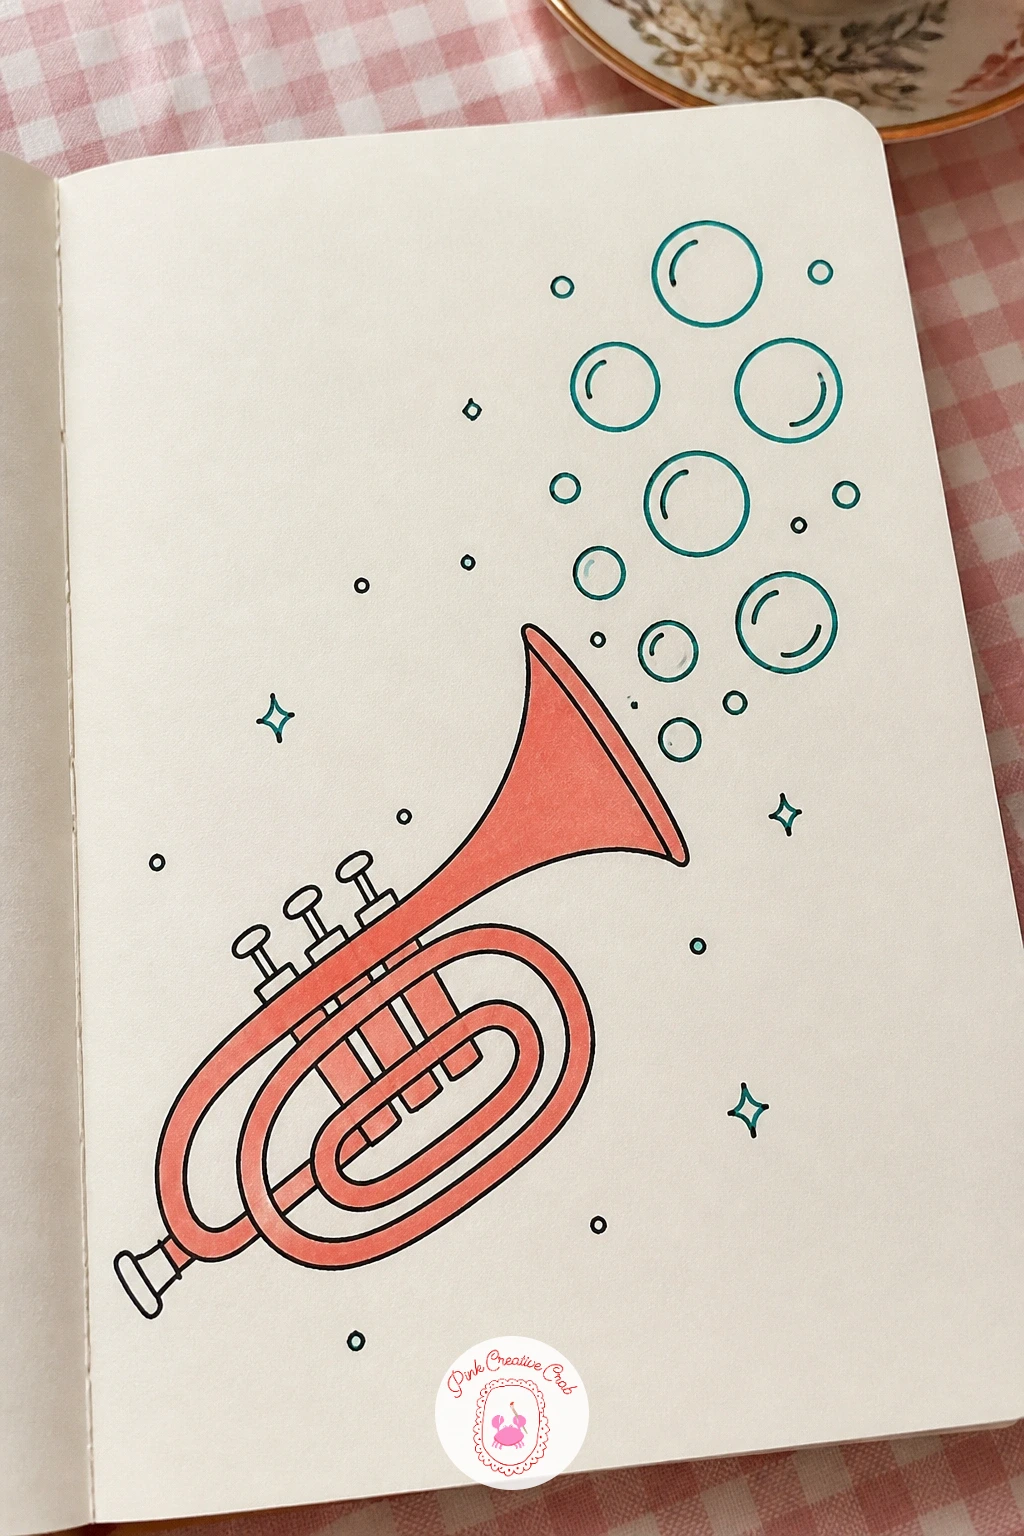
Palette: Coral,Teal,Black
A dog howling along to a harmonica held in its paws brings a bit of comedy back into the mix. Draw the dog sitting on its haunches first, round body, pointed nose tilted up, then the harmonica as a small rectangle held between two front paws pressed close to the mouth.
The howl is all in the head angle and the open mouth, tilt the whole head back further than feels natural at first, that exaggeration is what reads as howling rather than just looking up. Ears can hang down or stick up depending on the breed you are imagining, either works fine at this size.
Paws holding a small object like a harmonica often come out too fingerlike, so keep them as simple rounded mitts pressed together rather than drawing individual toes. If the howling pose feels too tricky today, draw the dog simply sitting with the harmonica resting nearby instead.
Color the dog coral or teal with white patches, the harmonica silver toned or left in plain black and white stripes.
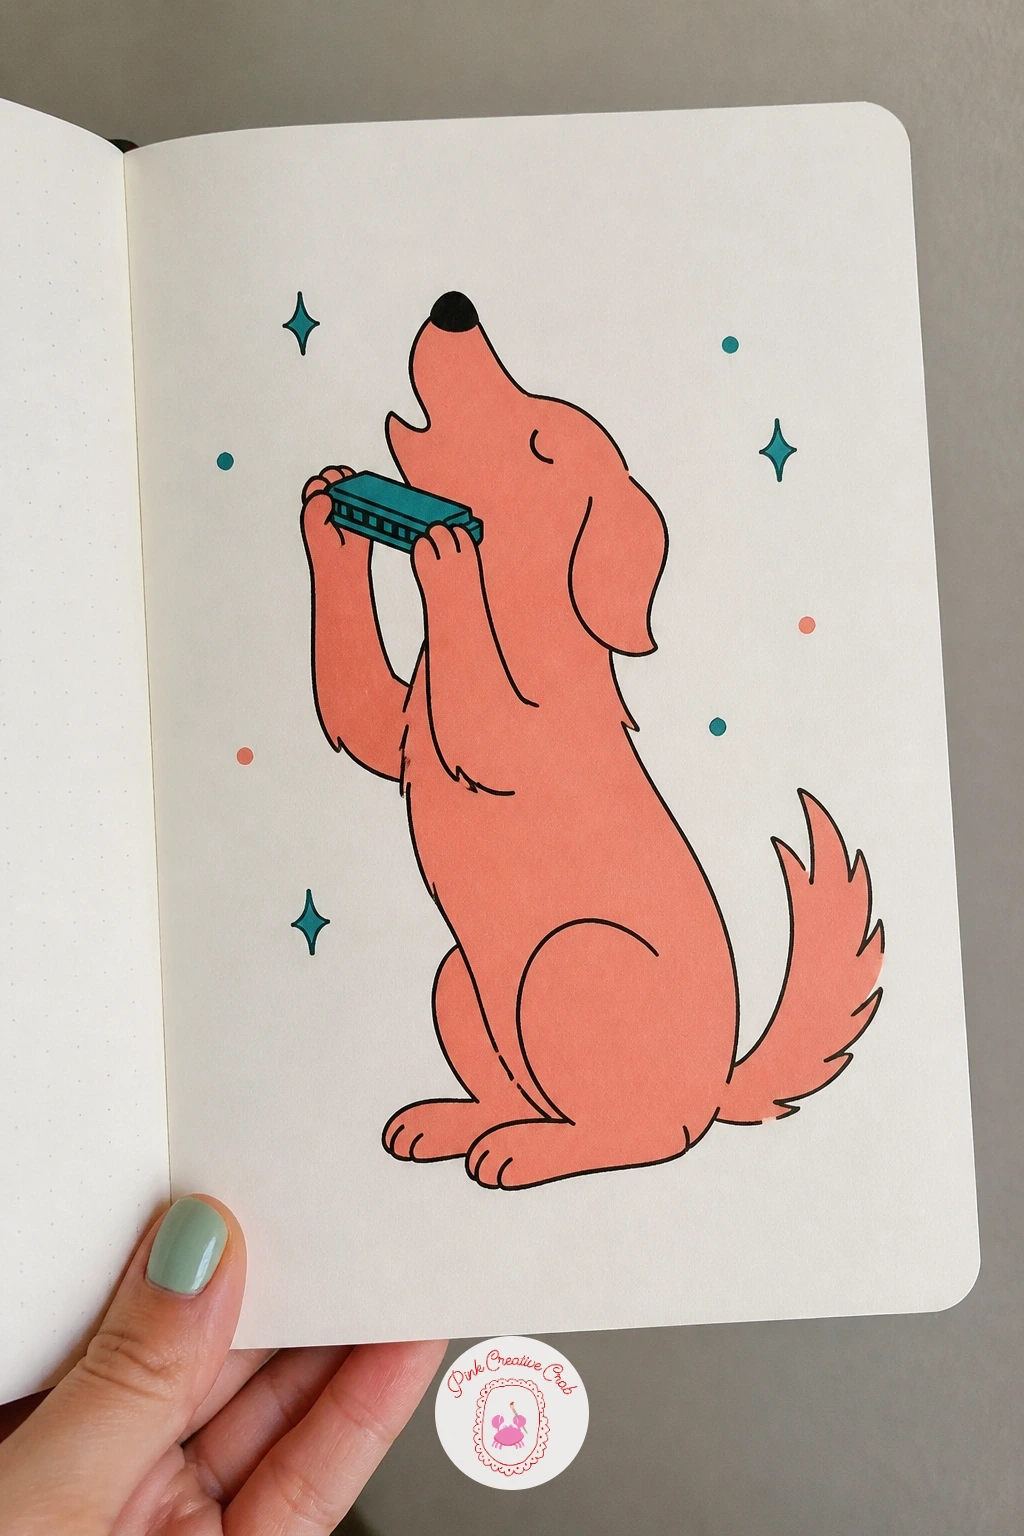
Palette: Coral,Teal,Black
If you want more dog poses and expressions to study before this one, the puppy drawing ideas page has plenty of simple examples to borrow from.
A dancing teapot next to a small radio pairs two household objects into one cheerful scene. Draw the teapot first, round body, curved spout, a small handle, and give it two little stick legs kicked out mid step rather than sitting still on a base.
The radio sits beside it, a simple rectangle with a speaker grille of small dots and a short antenna line, a few wavy lines coming off the antenna to suggest sound playing. Keep the teapot’s dance pose simple, one leg kicked out and both arms (just short curved lines) thrown up, that is plenty to read as dancing.
If the teapot looks static no matter what you try, tilt the whole body slightly off its centerline, a straight upright teapot never reads as moving no matter what the legs do. The coffee junk journal pages have more charming teapot and mug sketches if this style appeals to you.
Color the teapot coral with a teal lid knob, the radio teal with coral dial, and add a couple of small music notes near the antenna.
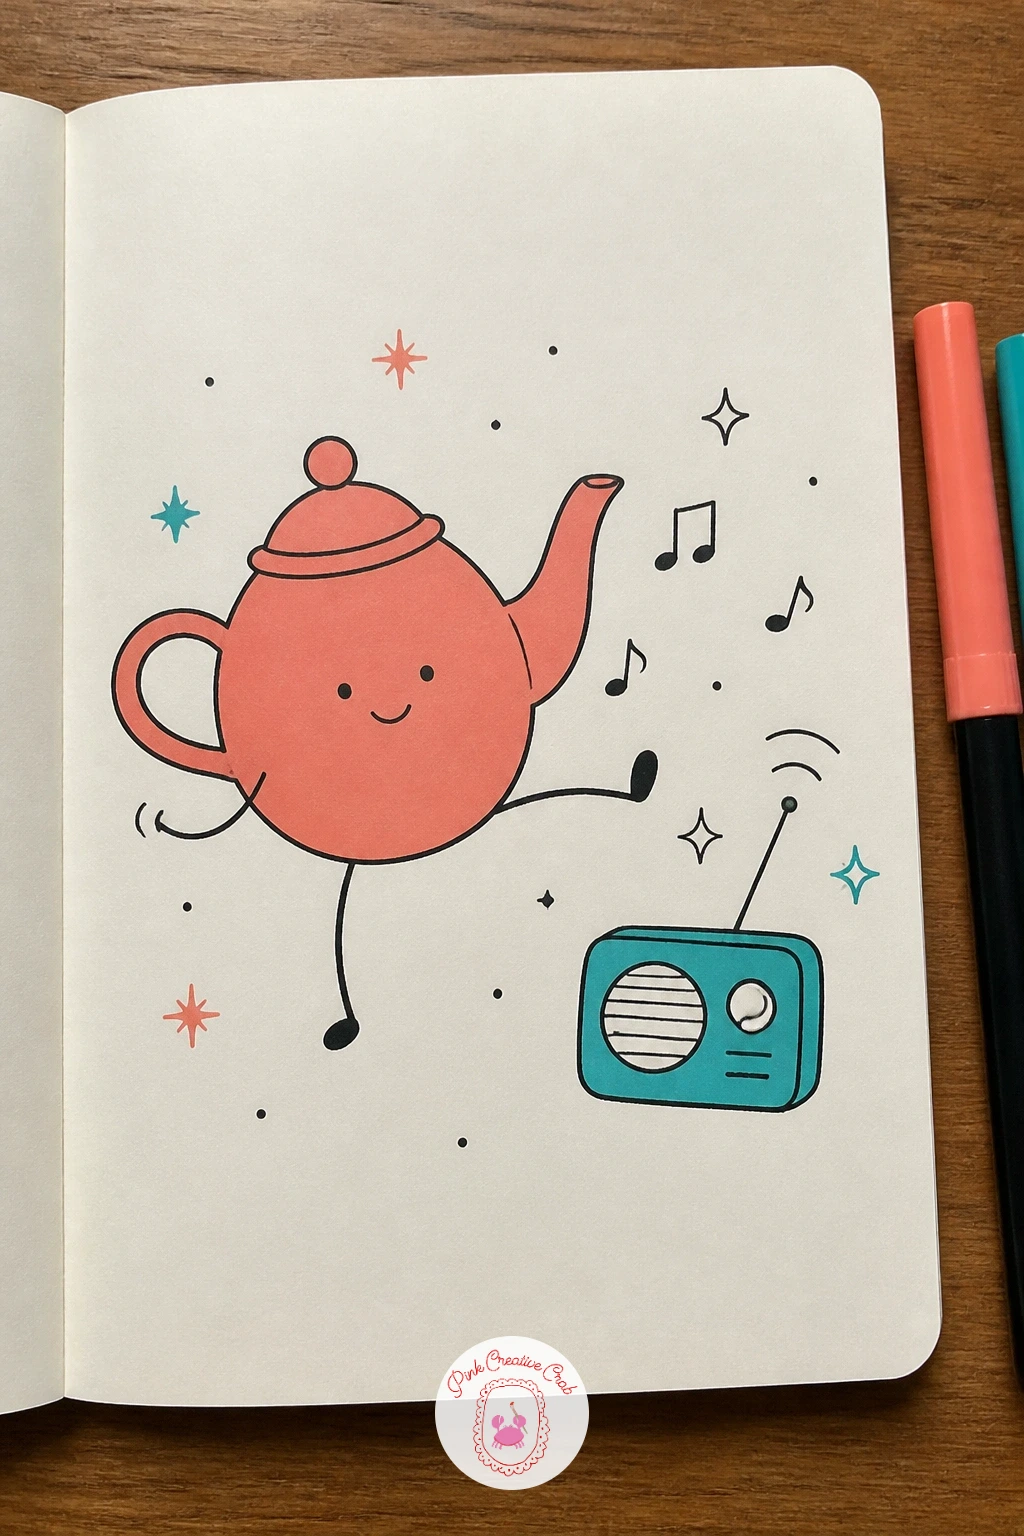
Palette: Coral,Teal,Black
A ukulele resting on sand brings in a beachy little scene without much extra work. Draw the ukulele’s body first, a small rounded figure eight shape, then the short neck and headstock, before adding a few wavy lines underneath to suggest sand drifting around its base.
Keep the sand lines loose and sparse, three or four curved strokes is enough, piling on texture will make the ukulele look buried rather than simply resting. A small starfish or shell tucked beside it adds personality without adding much drawing time.
Ukulele proportions are smaller and rounder than a guitar’s, so if yours is coming out too long and thin, shorten the neck until it looks closer to a third of the total length rather than half. Swap in a small shell shape instead of a starfish if that is easier to draw confidently.
Color the ukulele body coral, the sand lines left in plain black, and the shell or starfish teal for a pop of contrast.
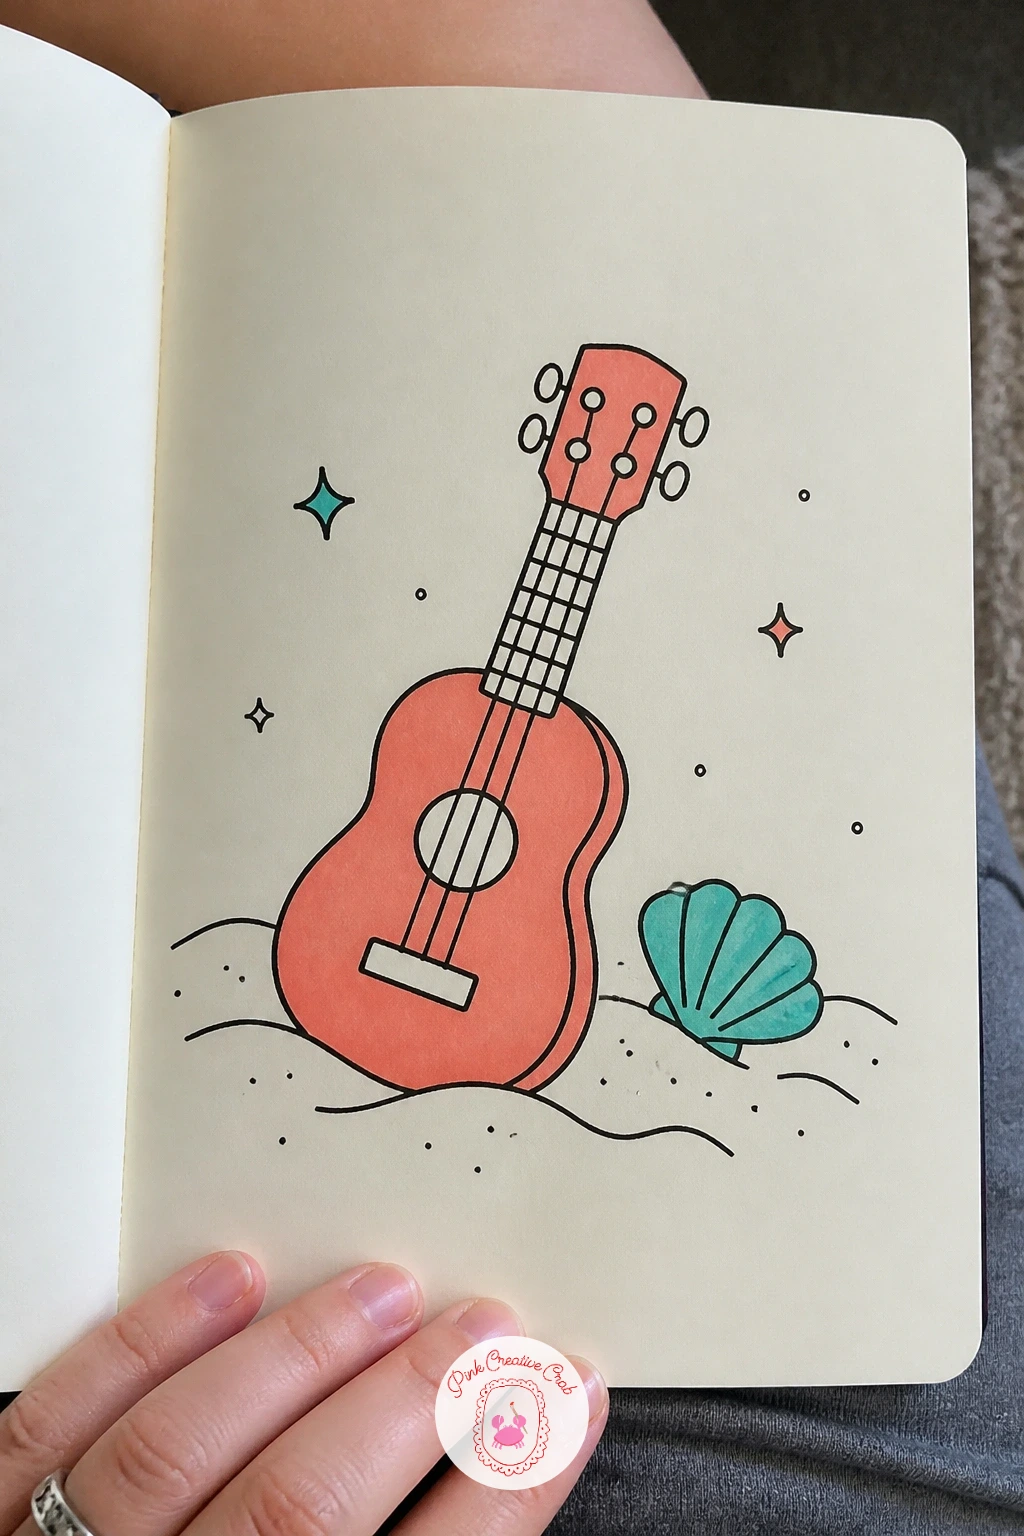
Palette: Coral,Teal,Black
Piano keys turning into an ocean wave is a nice conceptual jump, and it works because both shapes are made of simple repeating lines. Draw the straight keyboard section first, a row of rectangles alternating black and white, then let the far end of that row curl upward into a wave shape with a foamy curling tip.
The transition point between keys and wave is the whole trick here, so let a few of the black keys stretch and bend slightly as they approach the curl, rather than keeping every key perfectly straight right up to the edge. That gradual bending is what makes the eye believe one shape is becoming the other.
If the wave curl looks stiff, study how a cresting wave actually hooks over at the top, a tight spiral rather than a simple curve, and loosen your line to match. Add a few small droplet shapes flicking off the wave’s crest for extra movement.
Color the keys in standard black and white, the wave in teal with coral foam highlights along the curl.
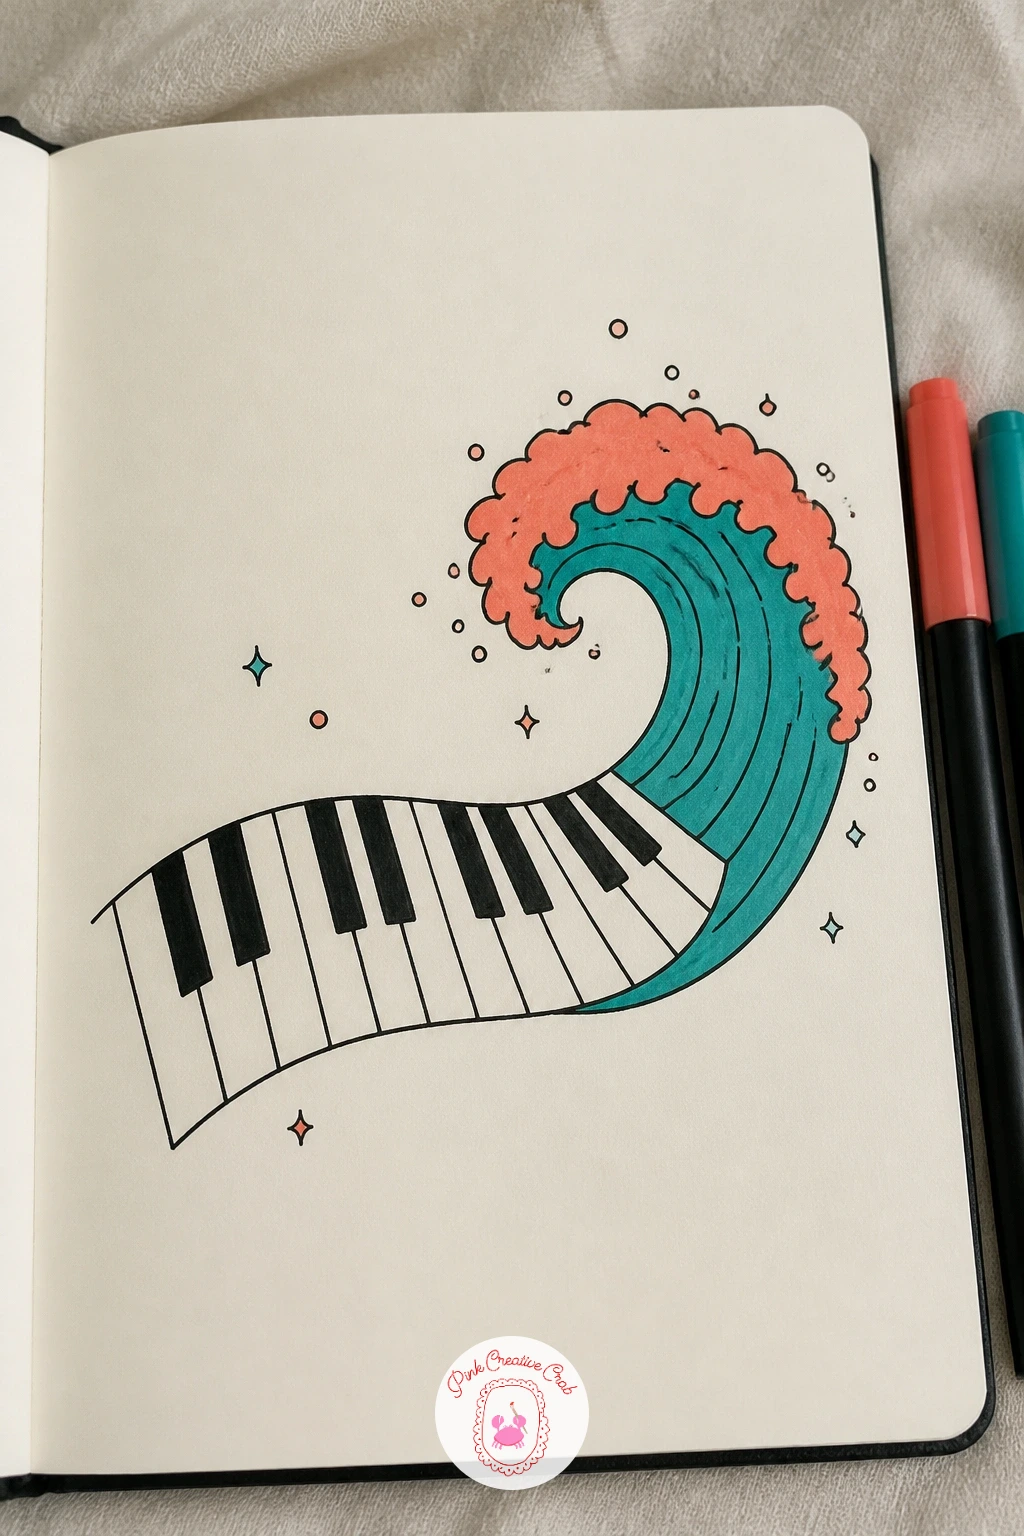
Palette: Teal,Coral,Black
A bee playing a tiny flute is a small charming subject that leans on the same proportion trick every tiny musician in this list needs. Draw the bee’s body first, a round oval with horizontal stripe lines, two small wings, then rest a thin flute shape across its front legs, roughly as long as the bee’s whole body.
That length comparison matters, if the flute is shorter than the bee it reads as a stick rather than an instrument, so measure it against the body before you commit to the final ink. Keep the wings simple, two oval shapes with a few short lines inside, no need to draw individual veins.
Antennae and legs are the fiddly bits on an insect this small, so keep them to thin single lines rather than trying to add joints or detail. If a flute feels too thin to draw confidently small, swap it for a tiny drum instead, a circle is easier to control than a long thin tube at this scale.
Color the bee coral and black stripes, the flute teal, and add a couple of small music notes drifting from its end.
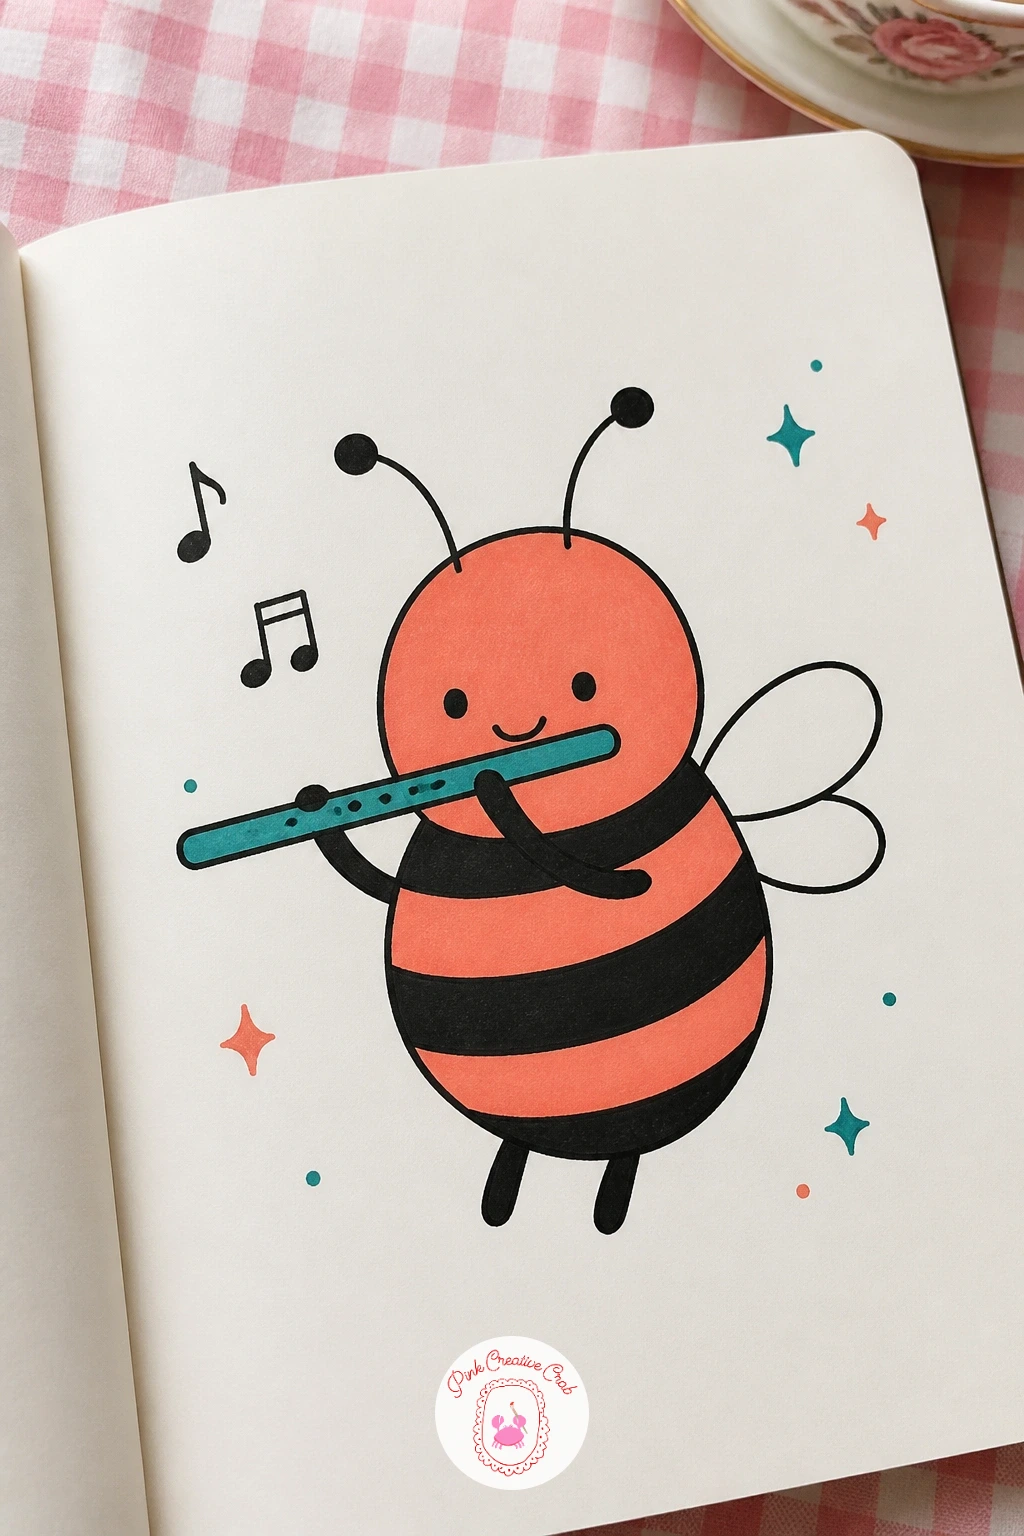
Palette: Coral,Black,Teal
Follow the bee with a microphone that has a small bouquet tied around its stand, a nice pairing of hard and soft shapes. Draw the microphone first, a rounded head on a thin straight stand, then the bouquet as a cluster of three or four simple flowers tied together with a ribbon wrapped around the stand just below the head.
Keep the flowers varied in size but simple in shape, rounded petal clusters rather than detailed botanical drawing, this is a doodle and detail will only slow you down without adding much charm. The ribbon is just two curved lines crossing over the stand with a small bow and two trailing ends.
If the microphone head looks flat, add a few short curved lines across its surface to suggest the mesh grille, that small detail does a lot of work for very little effort. Keep the stand perfectly straight and vertical so it contrasts clearly against the looser curves of the flowers and ribbon.
Color the flowers coral and the microphone body teal, with the ribbon left in plain black or a light wash of coral.
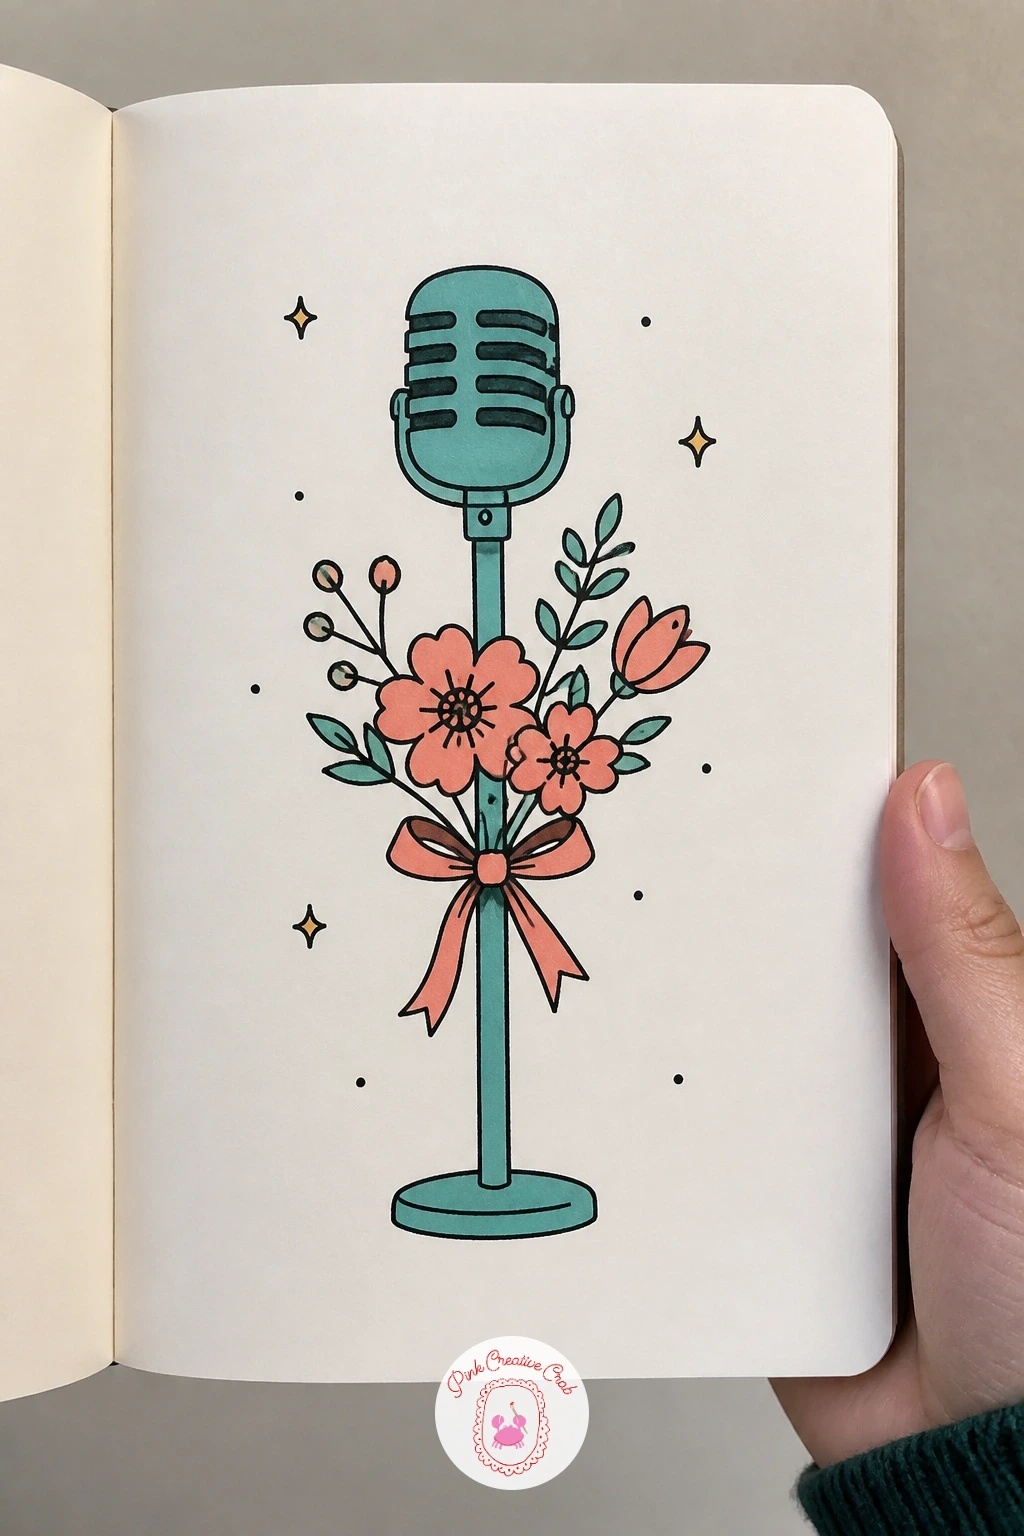
Palette: Coral,Teal,Black
A bird perched on top of a cello combines two curved subjects into one scene, good practice for keeping proportions sensible between a large object and a small creature. Draw the cello first, the full curved body shape with f-holes and strings, then the neck and scroll at the top, before adding the bird sitting right at the top of the scroll.
Keep the bird small, no bigger than the scroll itself, that size difference is what makes the cello read as large and the bird as a visiting guest rather than the main subject. A simple round body, short tail, small beak is all the bird needs.
Cello curves are the trickiest part here, so sketch the outline lightly first and check that both sides curve in roughly the same places before inking, a lopsided cello body is the most common slip on this one. If the full instrument feels like too much, draw just the scroll and neck with the bird perched on top and skip the rest of the body.
Color the cello coral or warm wood tone, the bird teal, strings left as thin black lines.
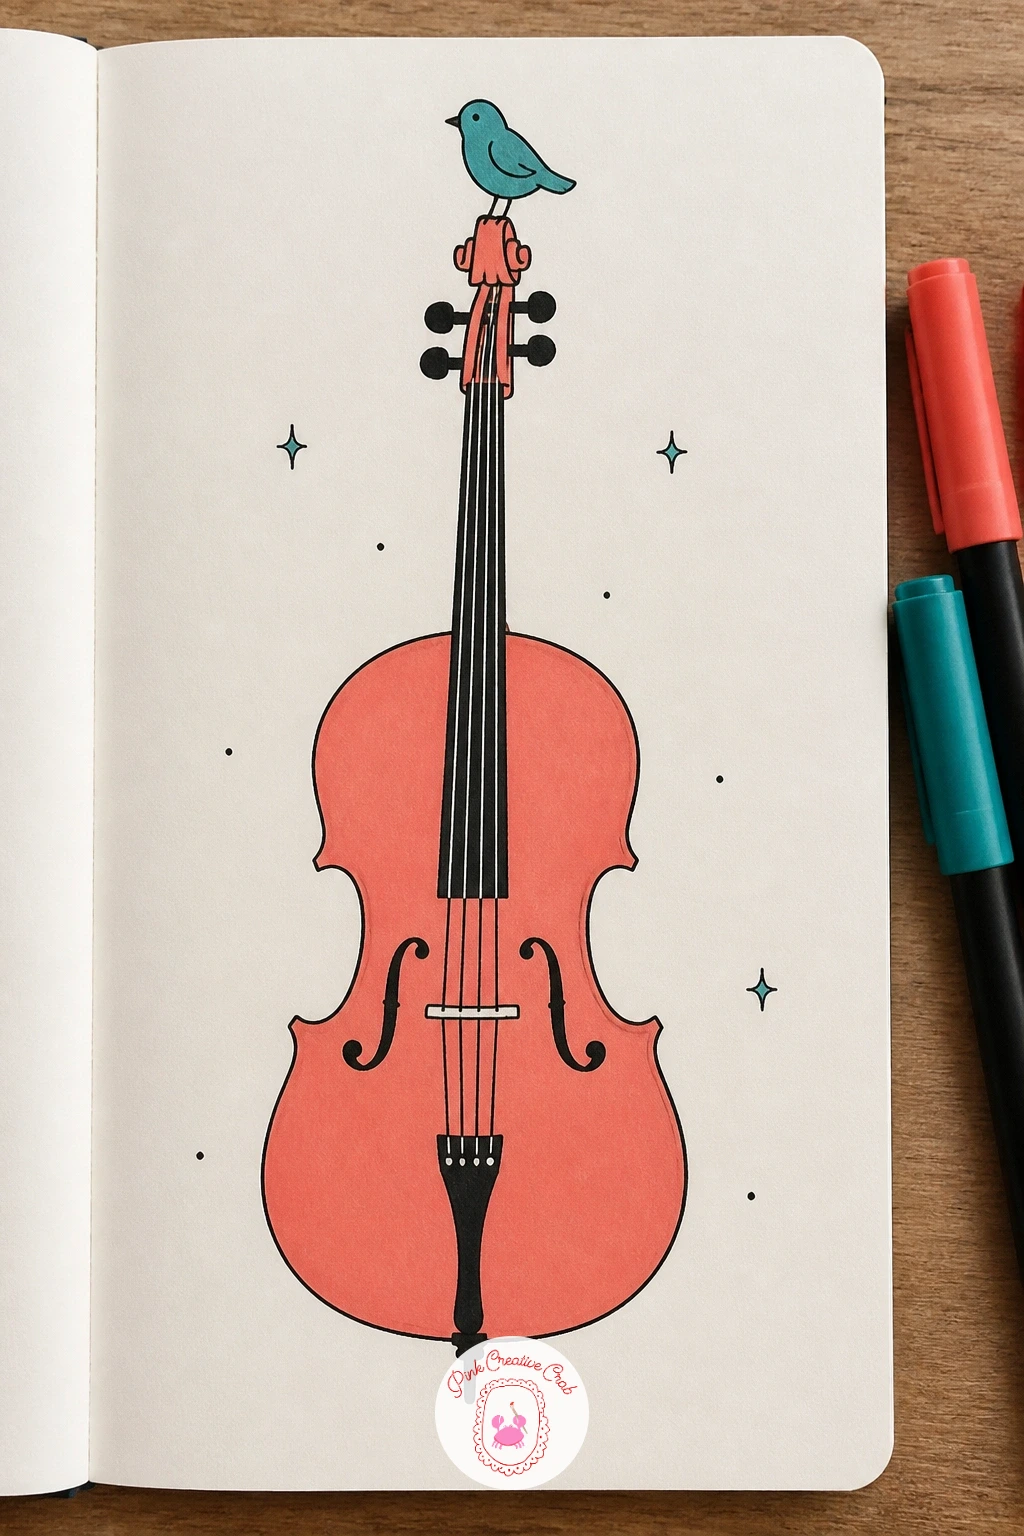
Palette: Coral,Teal,Black
For more small bird poses to borrow for the perch, the spring watercolor birds page has plenty of simple reference shapes.
A jukebox with a heart shaped front panel is a fun one for anyone who likes a bit of retro styling in their doodles. Draw the main body as a simple rounded top rectangle, then draw the heart shape centered on the front where the record selection window would normally sit.
Add a few small detail lines around the top edge, a scalloped curve or two, to suggest the classic arched jukebox shape without getting fussy about accuracy. Keep the base simple and straight so all the visual interest stays in that top curved section and the heart window.
If the heart shape comes out lopsided, draw a light vertical guideline down the center first and build each half of the heart against it before inking over the top. A quick ten minute version just needs the outline and the heart, a slower version adds small buttons along the bottom edge and a couple of music notes floating from the top.
Color the jukebox body teal, the heart window coral, and the buttons in alternating black and white dots.
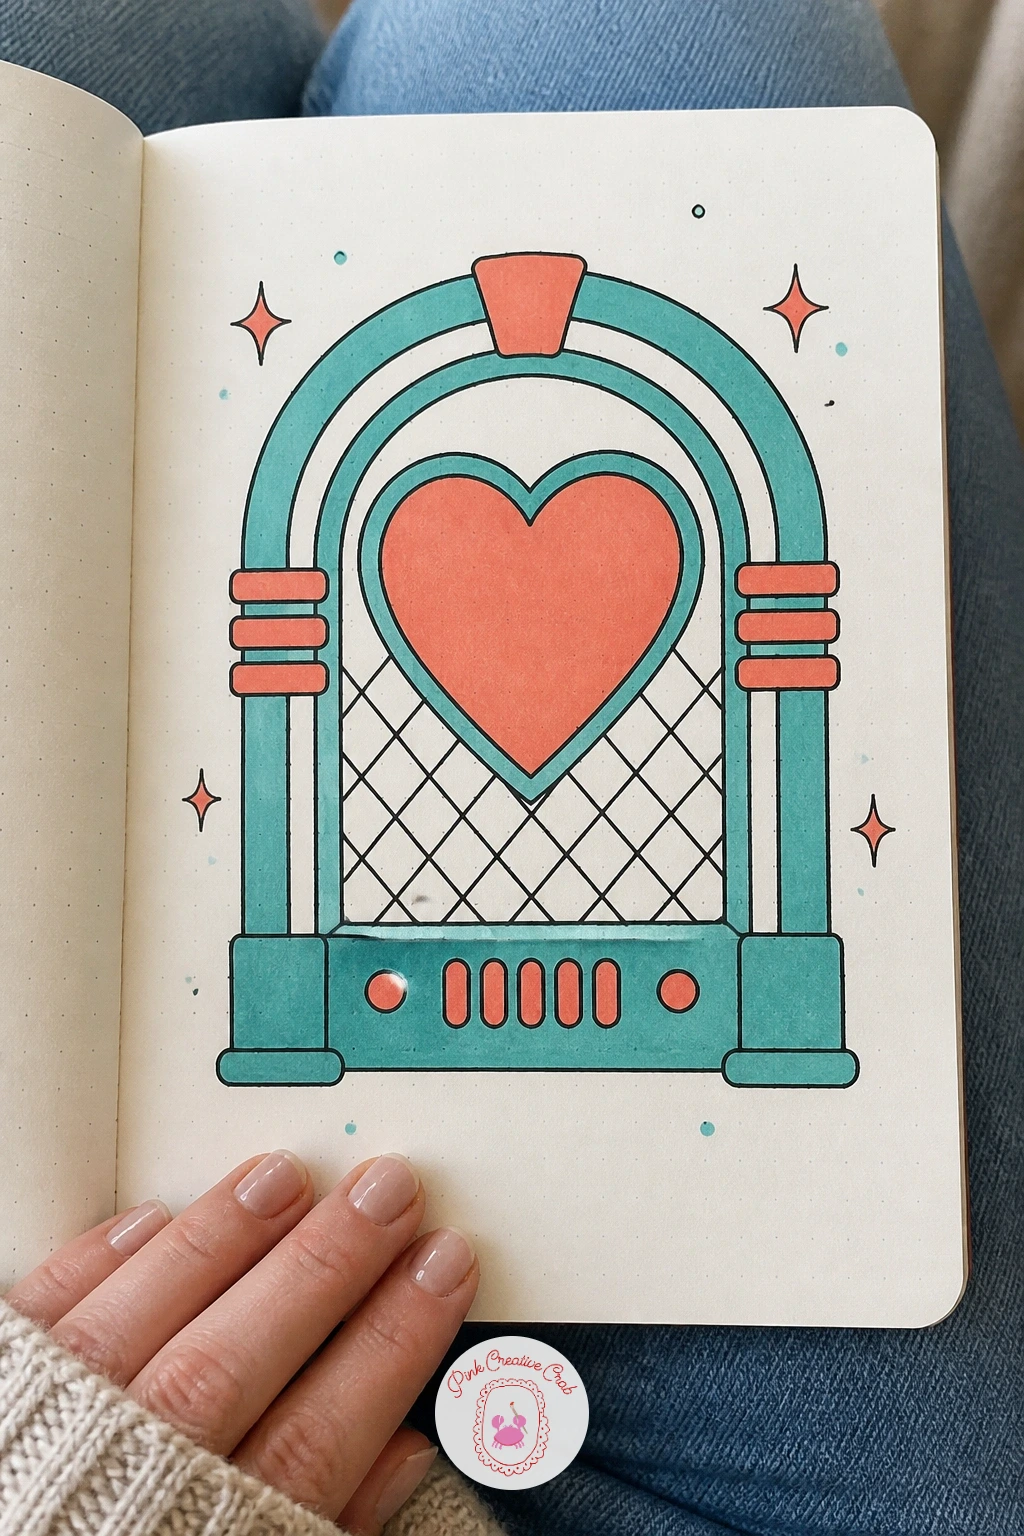
Palette: Teal,Coral,Black
A tiny drum kit built from pots and pans is a nice bit of whimsy after a run of actual instruments. Draw the largest pot first as the base drum, a simple round shape with a handle, then add two or three smaller pans around it standing in for the smaller drums, each one just a circle with a short handle sticking out.
Crossed wooden spoons rest on top in place of drumsticks, two simple curved lines crossing over the largest pot. Keep the pots at varying sizes so the kit reads clearly as a drum set arrangement rather than a random pile, biggest in the center, smaller ones angled outward on either side.
If the whole arrangement looks flat and lined up, stagger the pots at slightly different heights and angles, real drum kits are never perfectly symmetrical and that bit of scatter makes the joke land better. A lid balanced on top of one pan as a cymbal is an easy extra touch.
Color the pots teal and coral alternating, spoons left plain black, with a small shine line on each pot for a bit of metal sparkle.
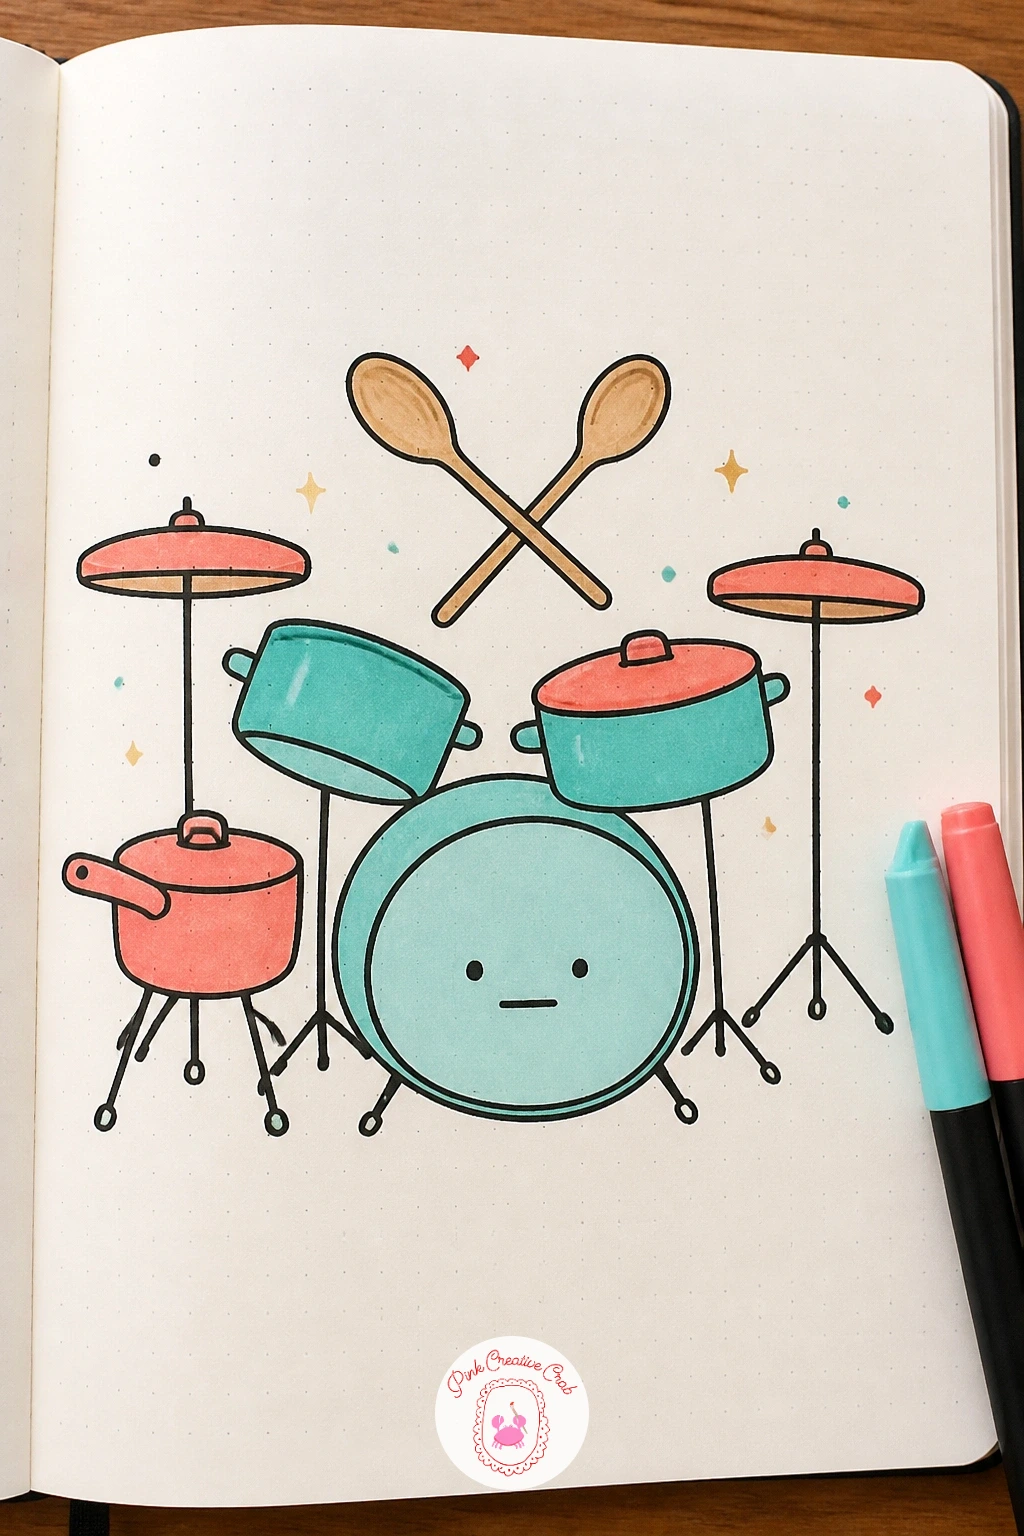
Palette: Teal,Coral,Black
A vinyl record shaped like a flower turns a flat circle into something more playful. Draw the center label as a small circle first, then build the record’s edge as a ring of rounded petal shapes rather than a plain disc, six or seven petals curving outward evenly around the label.
Keep the petals a consistent size, since uneven petals will make the whole shape look lopsided rather than flower-like, a light pencil guide with evenly spaced marks around the circle helps keep them even before you ink. Add a few fine groove lines curving within each petal to keep the record idea readable even with the flower shape.
If drawing seven even petals freehand feels tricky, divide the circle into quarters first with light pencil lines, then split each quarter again, that gives you eight evenly spaced points to build petals from. A simpler four petal version works just as well at a smaller size.
Color the label coral and the petals teal, with thin black groove lines running through each one.
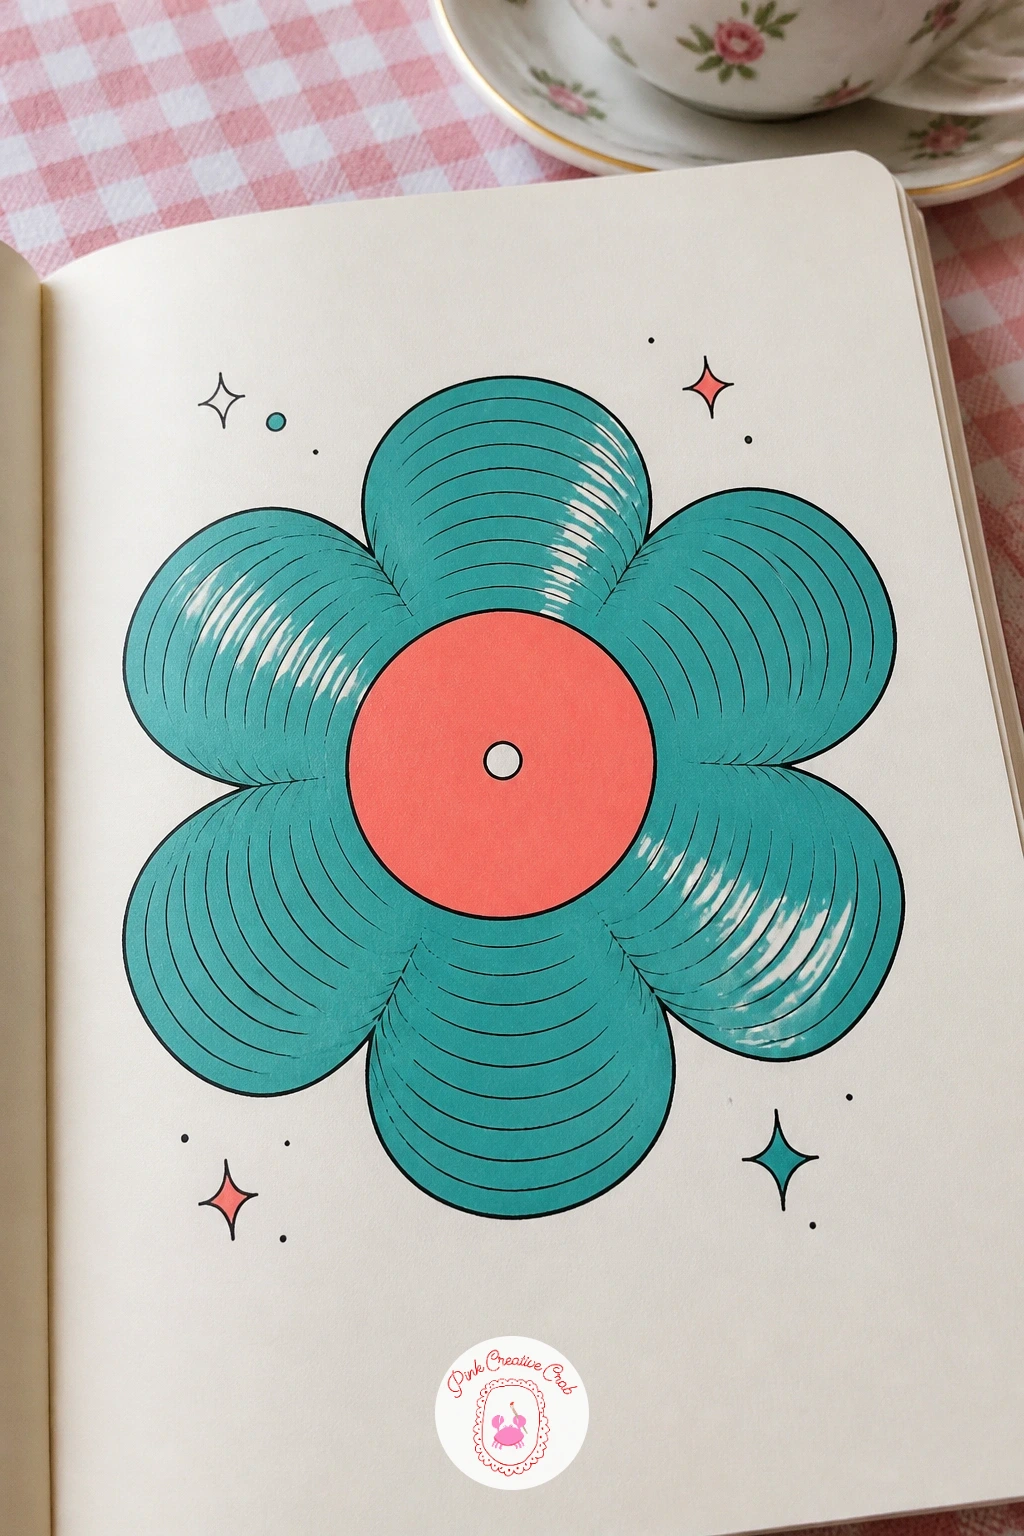
Palette: Coral,Teal,Black
A whale singing a string of bubbles is a calm, large scale subject compared to the smaller instruments so far. Draw the whale’s body as one long smooth curve from nose to tail fluke, keeping the back rounded and the belly slightly flatter, then add a small eye and a curved mouth line turned up at one corner.
Bubbles rise from the blowhole or the mouth in a loose trailing line, getting larger as they drift upward and away from the whale’s body. Keep the whale’s body simple with no fin detail or skin texture, a single clean outline reads as a whale far more clearly than one covered in extra lines.
Tail flukes are the part most likely to go wrong, so keep them as one simple curved V shape rather than trying to show individual lobes separately, over detailing that area tends to confuse the silhouette. If you want to lean further into sea creatures after this one, the swan painting ideas page has more graceful water subjects worth a look.
Color the whale body teal with a lighter belly left white, bubbles outlined in coral with blank centers.
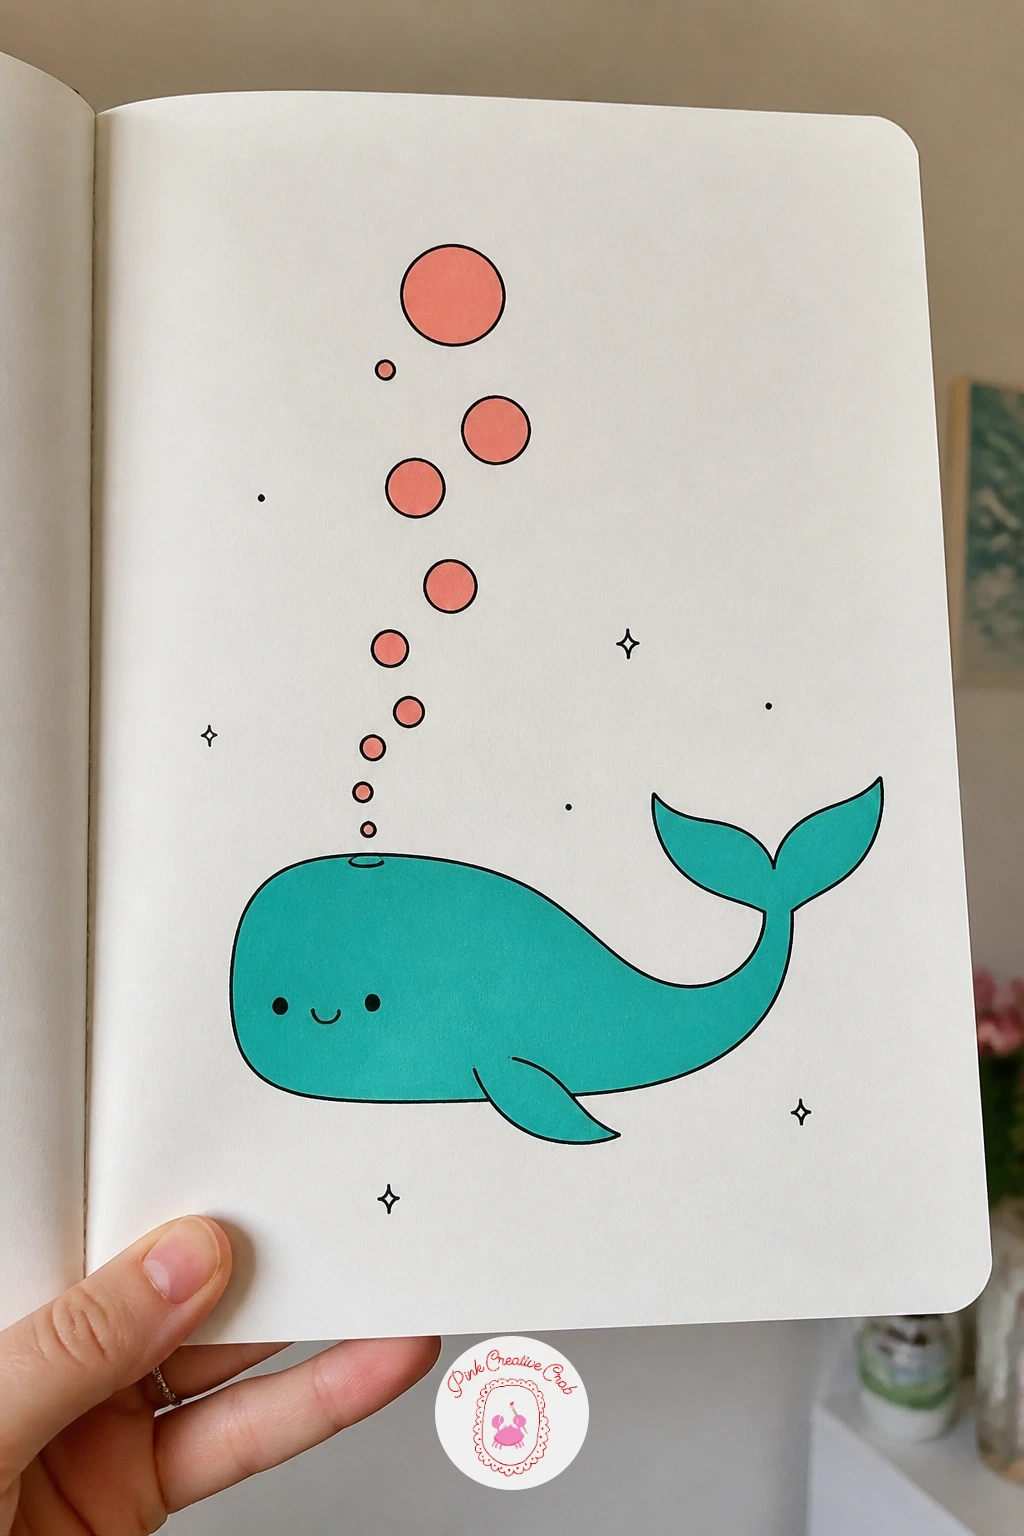
Palette: Teal,Coral,Black
An accordion stretched out like a caterpillar is a fun shape joke that plays on the instrument’s folded bellows. Draw the two end pieces first, simple rectangular boxes with a few buttons marked as small dots, then connect them with a long zigzag of folded bellows stretched out between, more folds than a resting accordion would normally show.
Give the accordion a small face, two dot eyes and a curved mouth, tucked onto one end box, and a couple of tiny stick legs underneath to complete the caterpillar idea. Keep the zigzag folds even in width, uneven folds will make the stretch look collapsed rather than deliberately extended.
If the folded bellows section feels fiddly to keep even, draw light parallel guide lines across the stretch first before inking the zigzag over them. A quick version uses four or five folds, a longer version stretches it across a wider section of the page with eight or more.
Color the end boxes coral, the bellows alternating teal and white, with small black buttons dotted along one end.
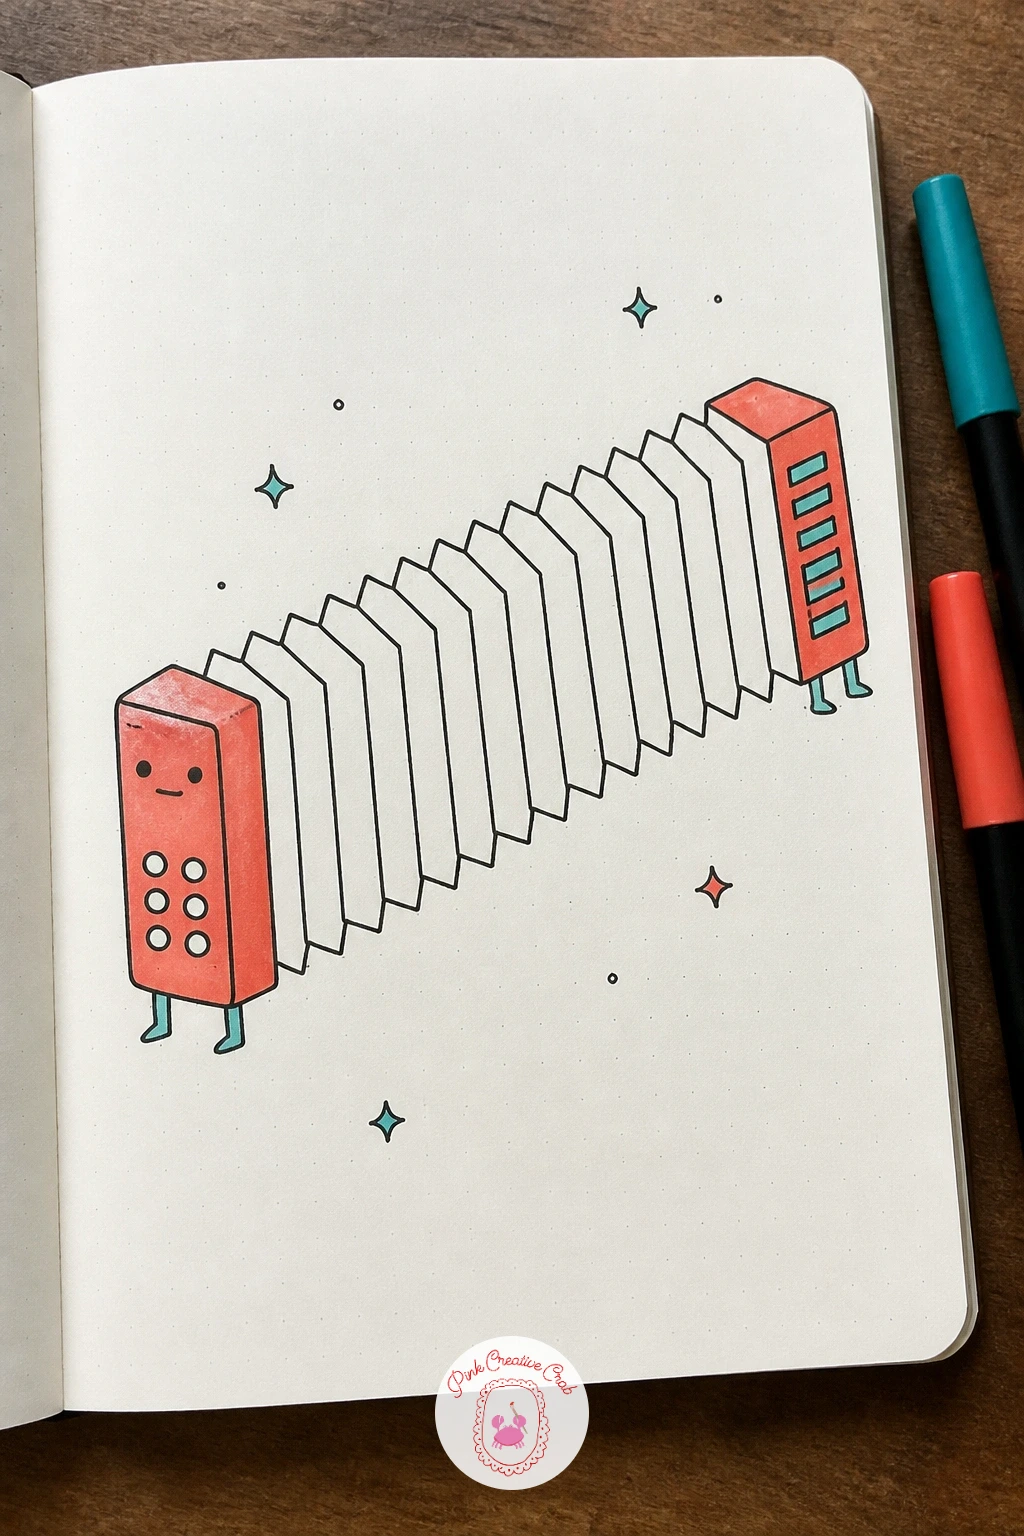
Palette: Coral,Teal,Black
A small radio surrounded by a scatter of stars makes a nice quiet subject after the busier scenes. Draw the radio body first, a simple rounded rectangle with a round speaker dial and a short antenna sticking up from one corner, then add stars floating loosely around the antenna tip and drifting outward.
Keep the stars a mix of sizes, a few larger four pointed stars and several tiny dots scattered between them, that variety reads as sparkle rather than a repeated pattern. The antenna can bend slightly rather than standing perfectly straight, a small bend adds a bit of life to an otherwise boxy shape.
If the four pointed stars come out lopsided, draw a small plus sign first in light pencil, then round out each of the four points from that center cross before inking over it. The quick version needs just the radio and three or four stars, a slower version scatters a dozen stars at different sizes across more of the page.
Color the radio teal with a coral dial, stars left in plain black outline or filled solid coral for contrast.
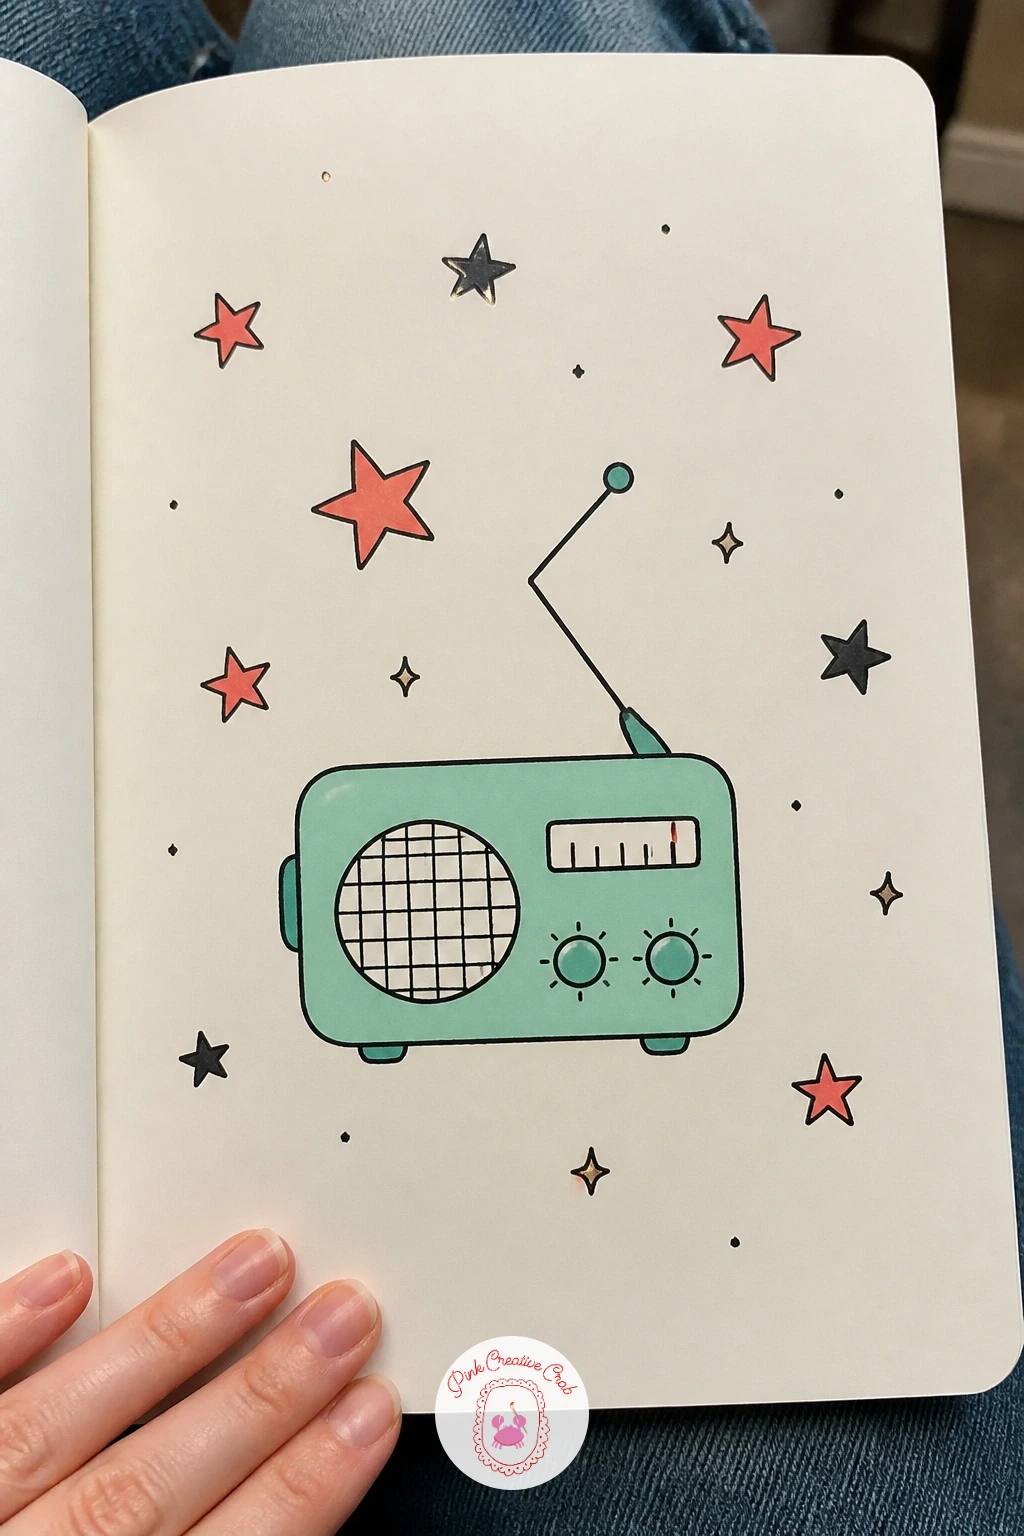
Palette: Teal,Coral,Black
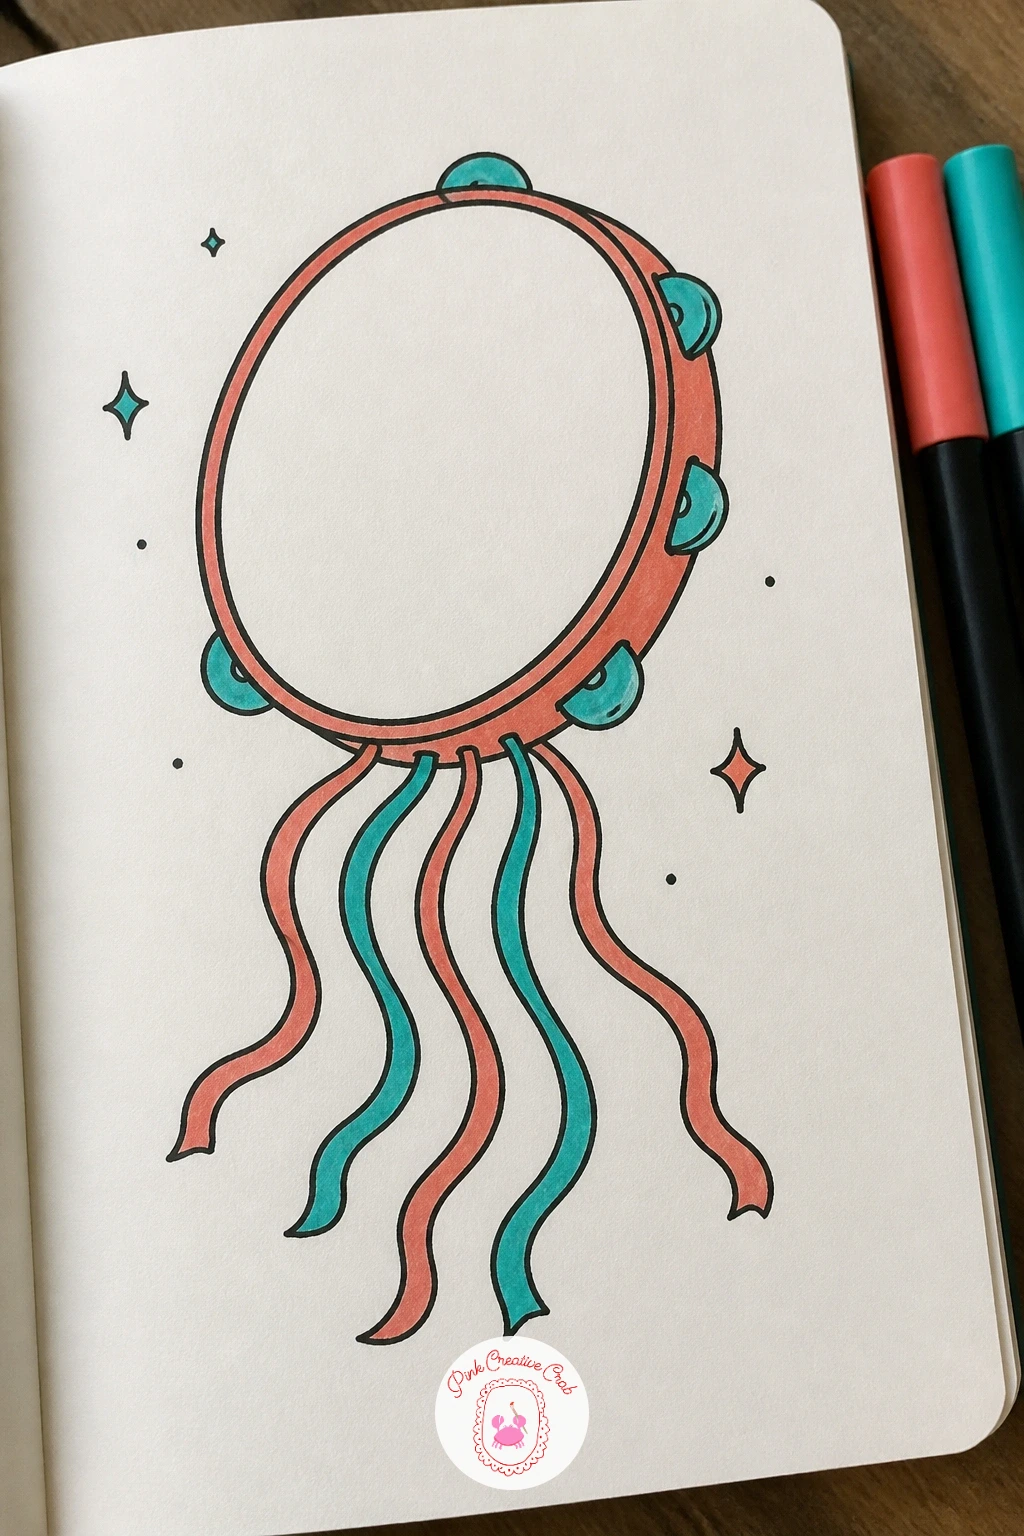
A tambourine with streamers trailing off one edge brings some movement into a fairly flat round object. Draw the tambourine body as a simple circle first, a line just inside the edge to suggest the rim, then small oval jingles spaced evenly around that inner rim.
Streamers trail from the bottom edge, three or four wavy ribbon lines flowing outward and curling slightly at their tips, as though the tambourine is mid shake. Keep the jingles evenly spaced, six or eight small ovals around the rim reads clearly without becoming fussy to draw.
If the streamers look stiff, loosen your wrist and draw each one in a single flowing stroke rather than building it up from several short lines, a single confident stroke always reads as more alive than several cautious ones. Vary the streamer lengths slightly so they do not all end at the same point.
Color the tambourine body coral, the jingles teal, and the streamers alternating coral and teal along their length.
Palette: Coral,Teal,Black
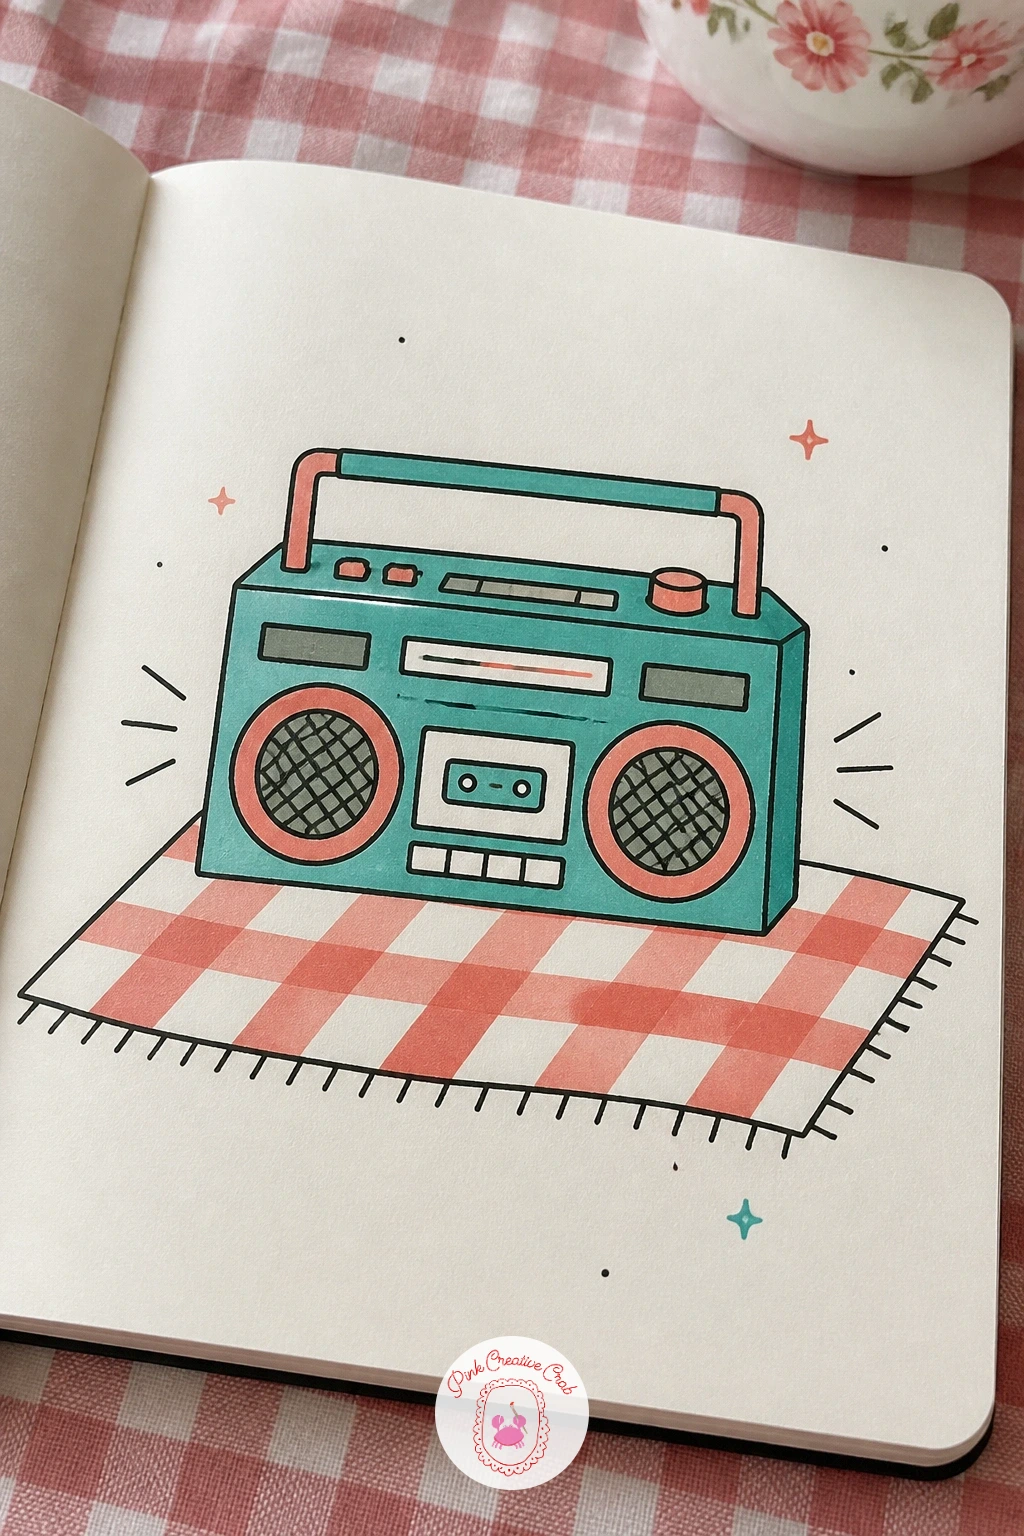
A boombox sitting on a picnic blanket builds a small outdoor scene out of two very different shapes. Draw the boombox first, a rectangular body with two round speakers and a short handle on top, then draw the blanket underneath as a simple square with a grid or checked pattern of lines across it.
Keep the checked pattern loose, four or five lines each direction is plenty, a tightly drawn grid will take far longer than this doodle needs and add little in return. Add a couple of wavy sound lines coming off each speaker to suggest music actually playing.
If the blanket’s checked pattern looks stiff and ruled, draw the lines slightly uneven in spacing and let a few wobble, a hand drawn blanket pattern should never look like it came from a straightedge. A simpler version skips the pattern entirely and uses a plain blanket shape with a scalloped border instead.
Color the boombox teal with coral speaker rings, the blanket in a simple coral and white check.
Palette: Teal,Coral,Black
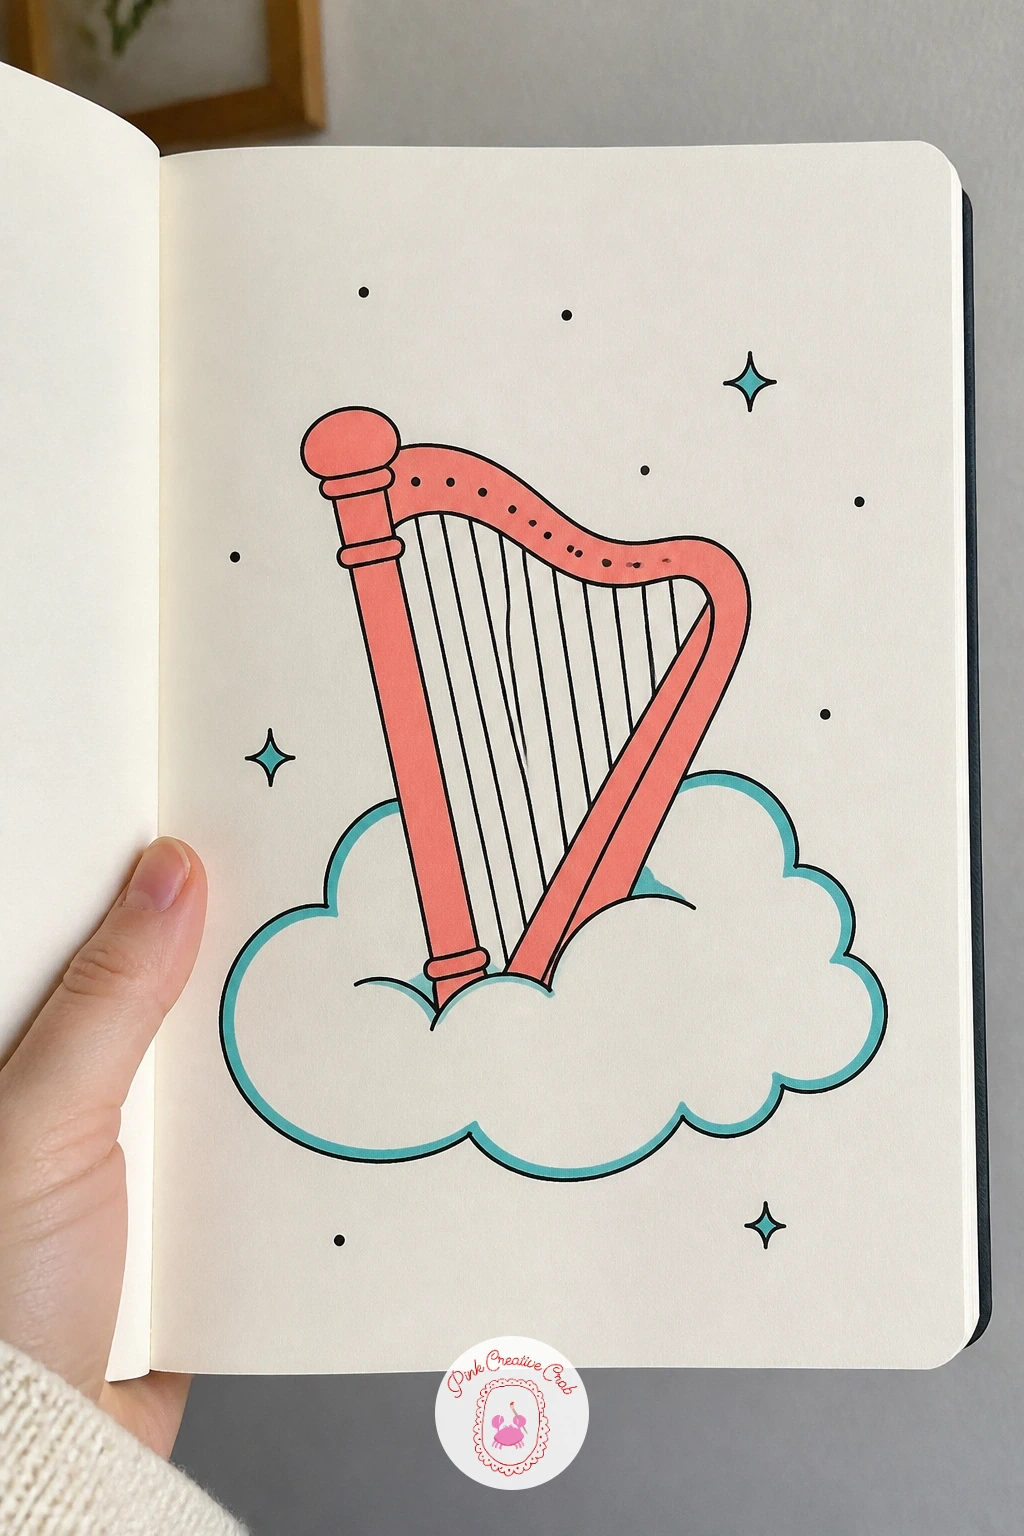
A small harp resting on a cloud is a gentler subject, worth slowing down for after the busier scenes earlier in this list. Draw the cloud first as a row of overlapping rounded bumps, then rest the harp’s curved frame against the top of it, leaning slightly to one side rather than standing perfectly upright.
The strings run as a series of evenly spaced straight lines from the curved top down to the base, and keeping that spacing even matters more than getting the exact number of strings right, six or seven reads just as clearly as a dozen. Draw the harp’s frame in one confident curve if you can rather than building it up from several short strokes.
If the cloud bumps come out too even and ball-like, vary their size, two or three larger bumps and a few smaller ones tucked between, real clouds are never made of identical circles. A quick version keeps the cloud small and simple, a slower version adds a second smaller cloud drifting nearby.
Color the harp frame coral, strings left thin black, the cloud in pale teal outline left mostly white inside.
Palette: Coral,Teal,Black
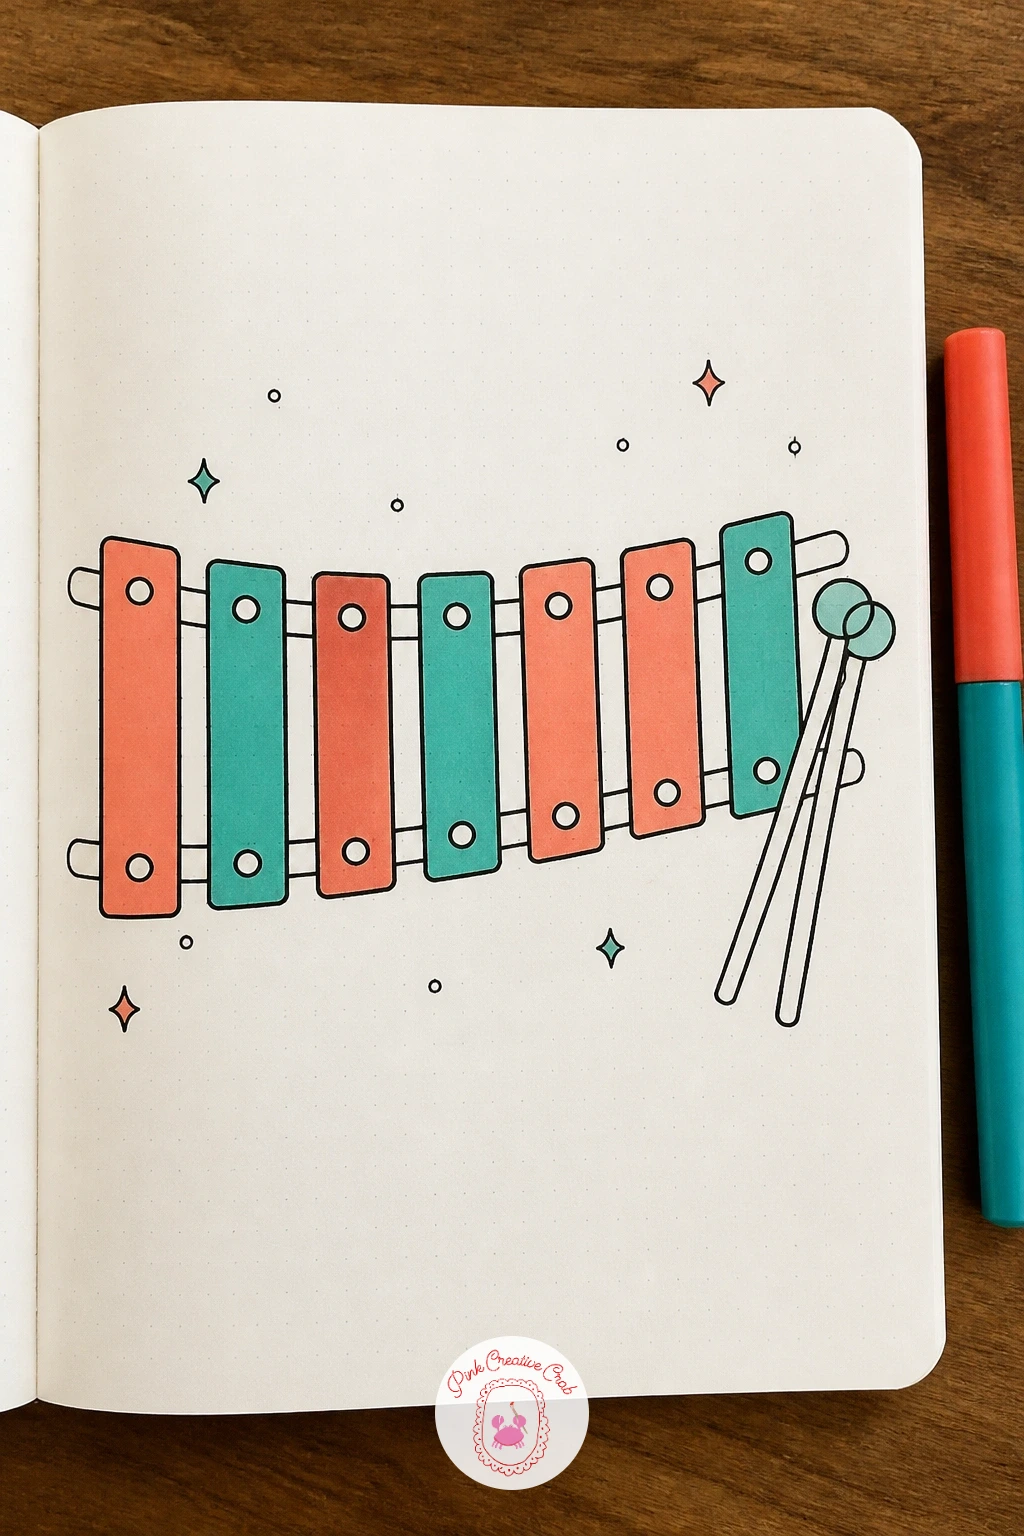
A xylophone with rainbow colored keys gives you a chance to play with color across one simple repeated shape. Draw the keys first as a row of bars, each one slightly shorter than the last from left to right, resting on two simple curved support rails underneath.
Two small mallets rest across the keys or lean against one end, drawn as simple straight sticks with a round ball tip. Keep the bars evenly spaced along the rails, a ruler helps here if your freehand spacing tends to drift, since uneven gaps between keys read as a mistake rather than a style choice.
If you want to vary this one next time, try drawing the xylophone from a bird’s eye view looking straight down at the keys instead of the side angle, it turns the same simple bars into a completely different composition. Add a music note bouncing above one key being struck for extra motion.
Color each key a different shade working through your markers plus any colored pencils you have on hand, coral and teal alternating is the simplest version if you want to stick to the two main markers.
You Will Need
- colored pencils for the full rainbow if you have them
Palette: Coral,Teal,Black
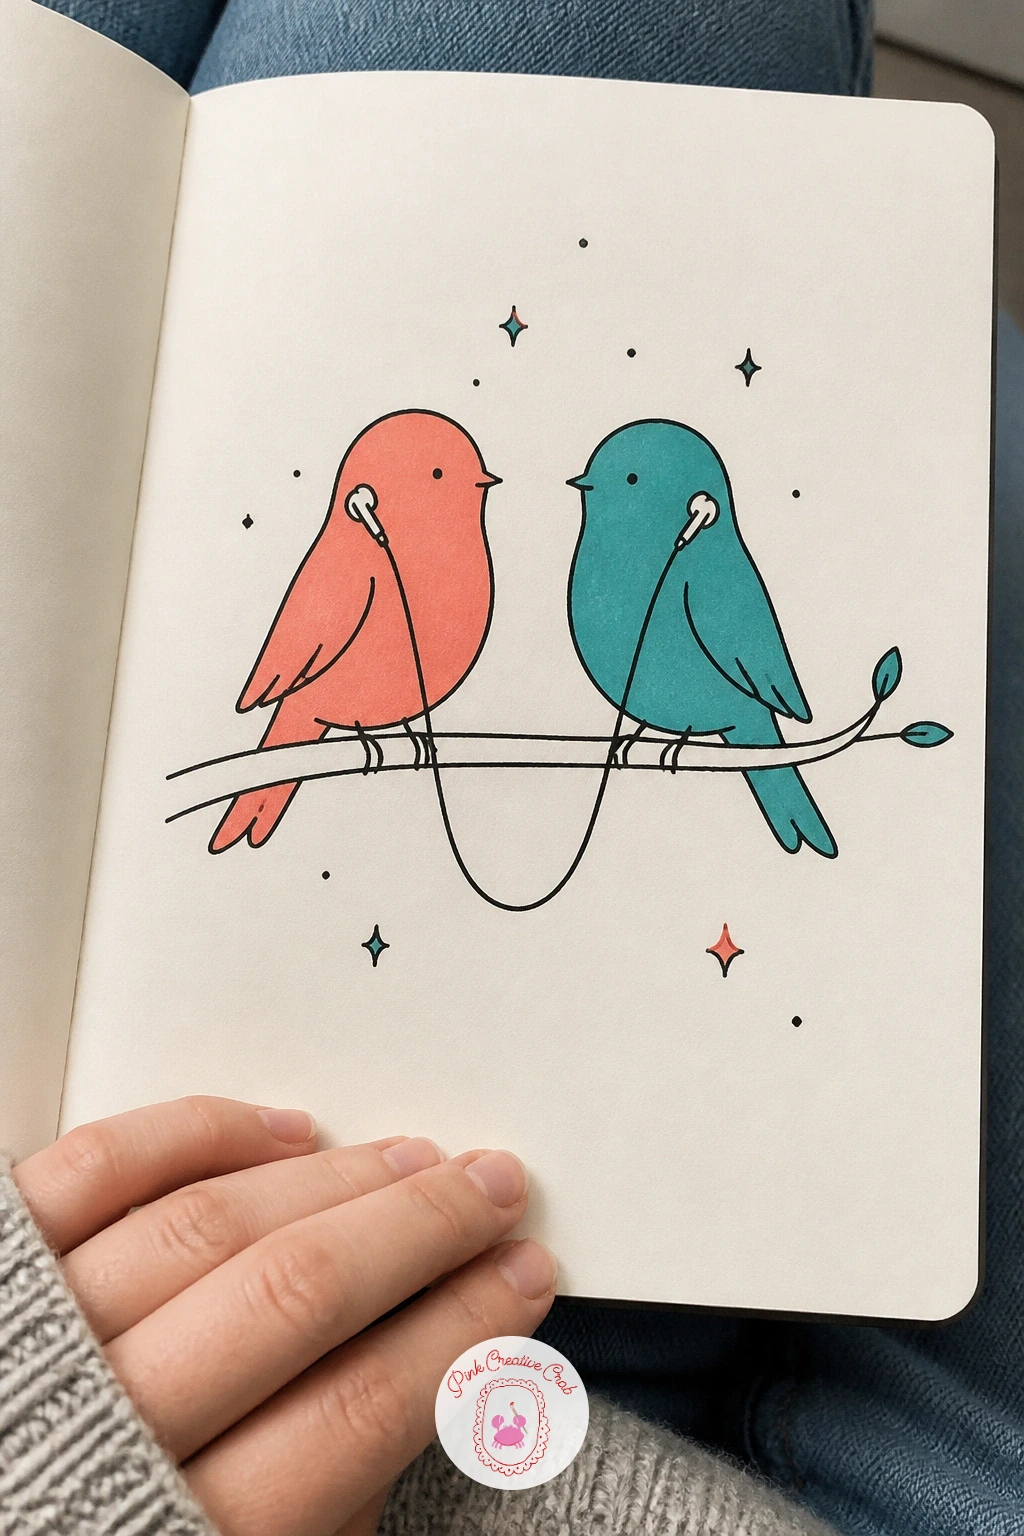
Two birds perched together sharing a single pair of earbuds is a sweet small scene to close out the bird subjects on this list. Draw both birds first, round bodies sitting close on a single branch, simple pointed beaks and short tails, before adding the earbud cord running between them.
The cord is just one looping line connecting an earbud resting near each bird’s head, and letting it sag slightly in the middle between them reads more naturally than a taut straight line. Keep the birds facing slightly toward each other rather than straight ahead, that small turn is what makes them look like they are actually sharing the moment rather than just happening to sit side by side.
If the two birds end up looking too identical, change up their size slightly or tilt one head a touch more than the other, small variations keep a pair of near duplicate shapes from looking like a stencil was used. The owl painting ideas page has more small bird poses worth studying if you want to vary this pair next time.
Color one bird coral and the other teal, with the earbud cord and branch left in plain black.
Palette: Coral,Teal,Black
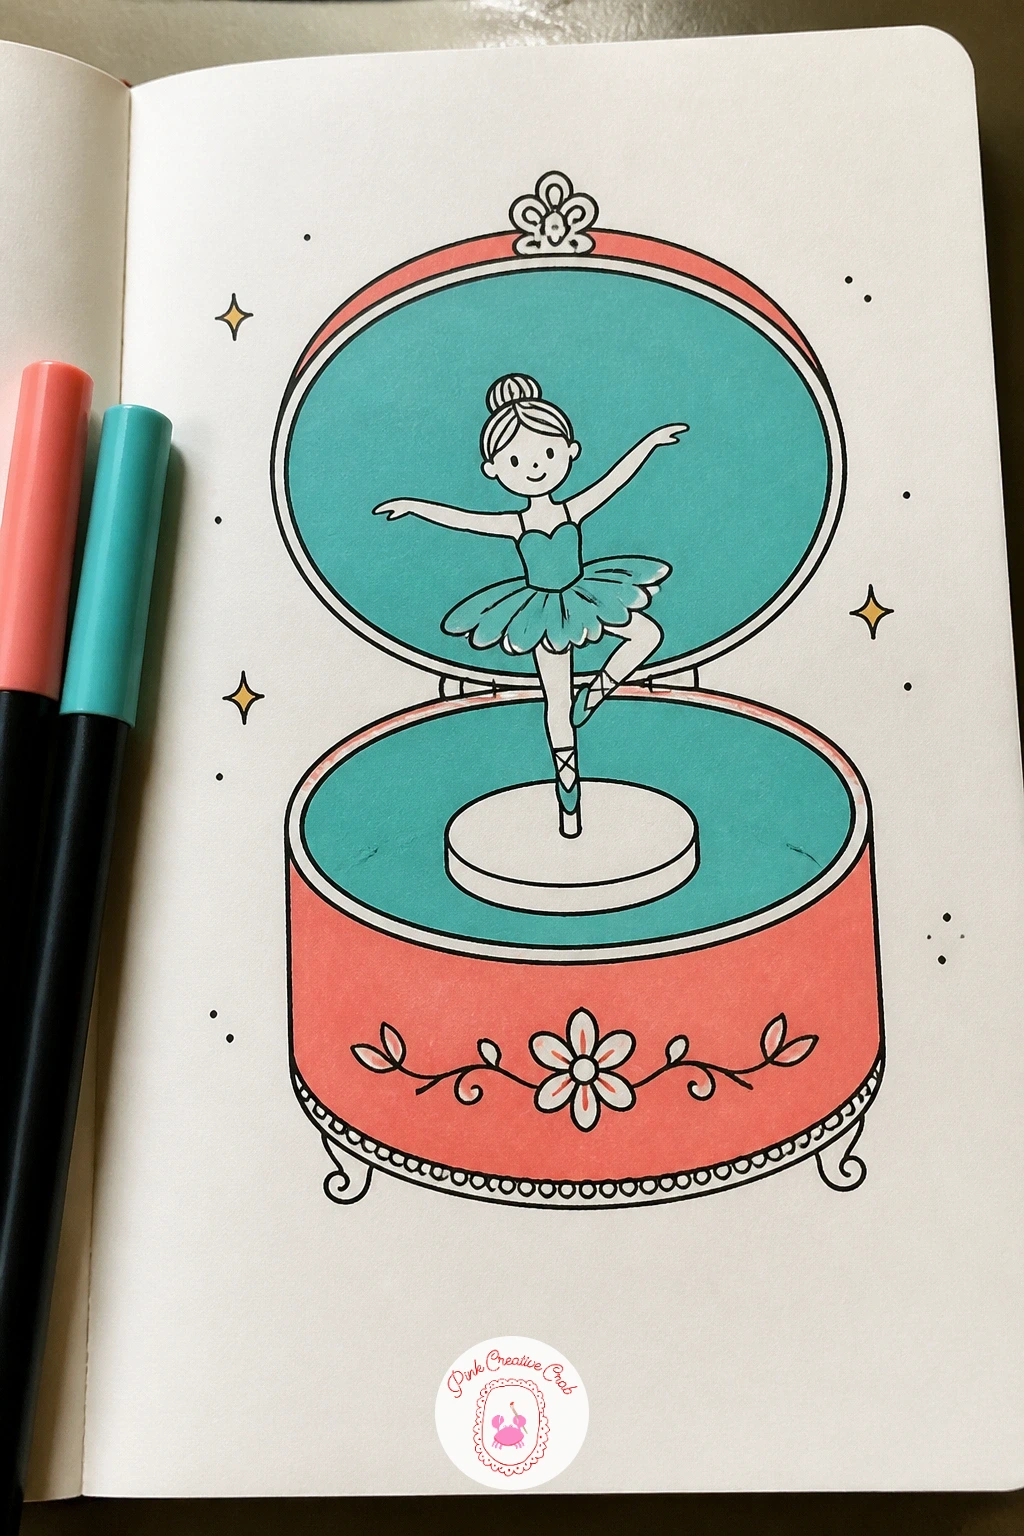
A music box with a tiny twirling ballerina inside pulls together several tricks from earlier ideas into one final detailed scene. Draw the box itself first, a simple square or rounded box shape with the lid open, then add the ballerina standing on a small circular platform in the center, arms curved overhead and one leg lifted slightly behind her.
Keep the ballerina’s pose simple, a triangle skirt, an oval head, and two curved arm lines meeting above her head, rather than attempting detailed limbs at this small scale. A few curved motion lines around her feet suggest the twirl without needing to actually draw her in multiple positions.
This is a good one to try the full forty minute version on if you have the time, adding a patterned lining inside the box lid and a small winding key on the side, where the ten minute version simply keeps the box plain and the ballerina alone on her platform. If the ballerina’s proportions feel off, compare her head size to her skirt width, the head should be noticeably smaller, about a third of the skirt’s width, to read as a figure rather than a blob.
Color the box coral with a teal lined interior, the ballerina left mostly white with a coral sash at the waist.
Palette: Coral,Teal,Black
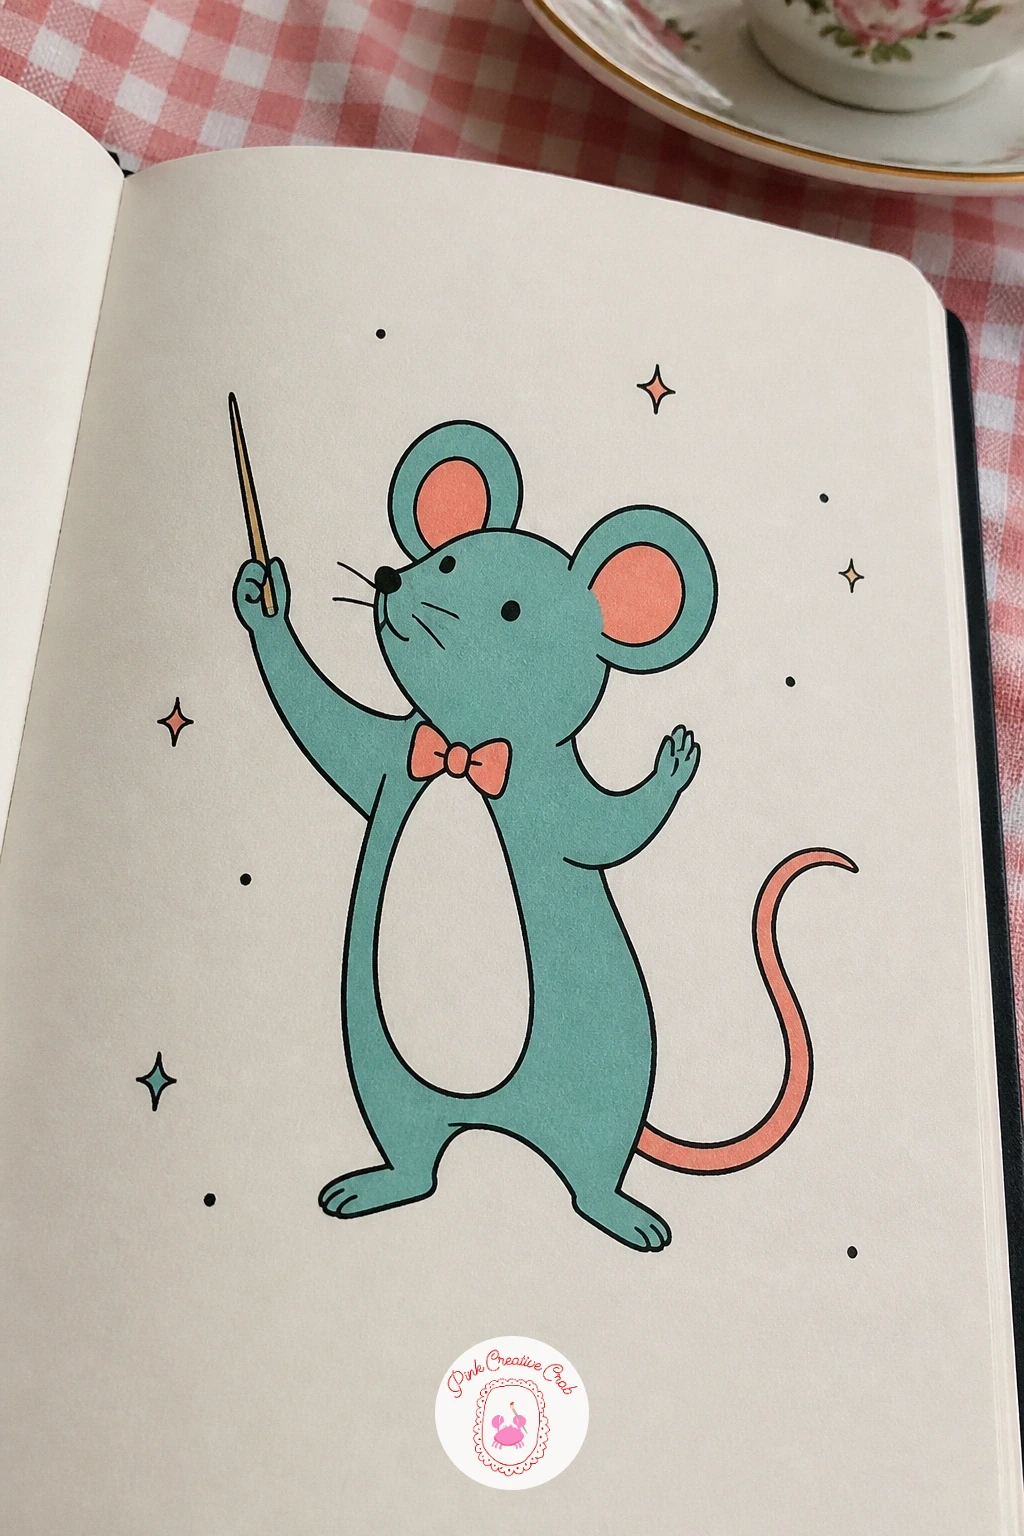
Close the list with a mouse standing on its hind legs conducting an imaginary orchestra with a toothpick baton, a nice final detailed subject to end on. Draw the mouse’s body first, a simple rounded shape standing upright, two round ears and a long curving tail trailing behind, then add the tiny baton held up in one front paw mid gesture.
Keep the baton thin and simple, a single straight line with a small dot or taper at the tip, resting between two fingers drawn as the simplest possible pinch shape. The conducting pose comes from the angle of the arm and the tilt of the head, both lifted and turned slightly to one side as though following the music.
Whiskers are the easiest way to add character here, three or four thin curved lines extending from either side of the nose, and keeping them a bit uneven in length looks more natural than drawing them perfectly matched. If the standing pose feels tricky to balance, widen the back feet slightly for a steadier base before you commit to ink.
Color the mouse body teal with a coral ear lining, the baton left in plain black with a tiny coral tip.
Palette: Teal,Coral,Black
For more small animal poses with personality to study before this one, the animal doodle painting ideas page has a good range to borrow from.
What to Do Next
Pick whichever idea made you smile first, that is usually the one you will actually finish, and start with light pencil guides on plain or dot grid paper before you commit to fineliner. Keep the first few attempts small and loose, a music doodle is meant to be quick, not precious.
Frequently Asked Questions
What pens work best for a music doodle?
A black fineliner in a fine tip, around 0.3 to 0.5, works best for the outlines, with dual tip alcohol markers in coral and teal for quick flat color fills that will not bleed through most notebook pages.
How do I keep small instruments looking recognizable?
Keep proportions close to the real object, a violin’s body wider at the bottom, a ukulele shorter and rounder than a guitar, and simplify fine detail like strings or buttons to a few lines rather than drawing every one.
What if my markers bleed through the paper?
Switch to a thicker sketchbook or marker paper, or slip a spare sheet behind the page you are working on, and test a small scribble in the margin first before coloring the actual doodle.
How small should a music doodle be?
Most of these fit comfortably in a space about the size of a playing card to a postcard, small enough to finish in one sitting without the linework becoming too fiddly to control with a fineliner.
Can I draw these without any color at all?
Yes, every idea on this list reads clearly in black fineliner alone, the coral and teal simply add a bit of pop and help separate overlapping shapes like a bird sharing a branch with earbuds.
Have any thoughts?
Share your reaction or leave a quick response — we’d love to hear what you think!
-
 0
-
0
-
0
-
0
-
0
-
0


