

Table of Contents
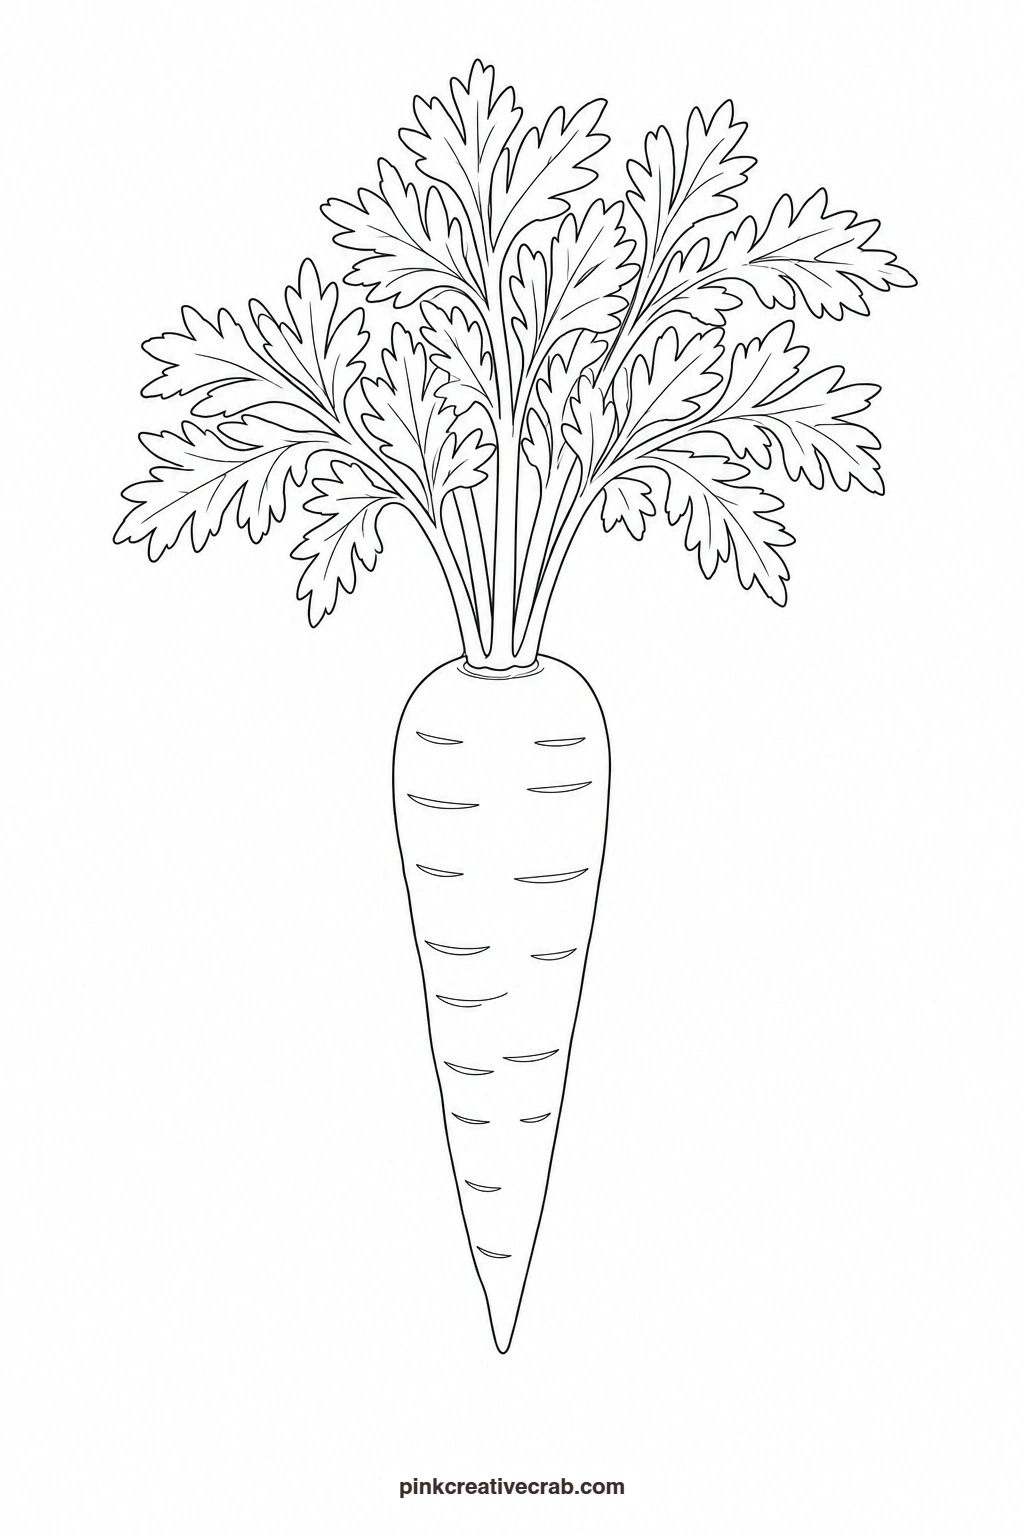
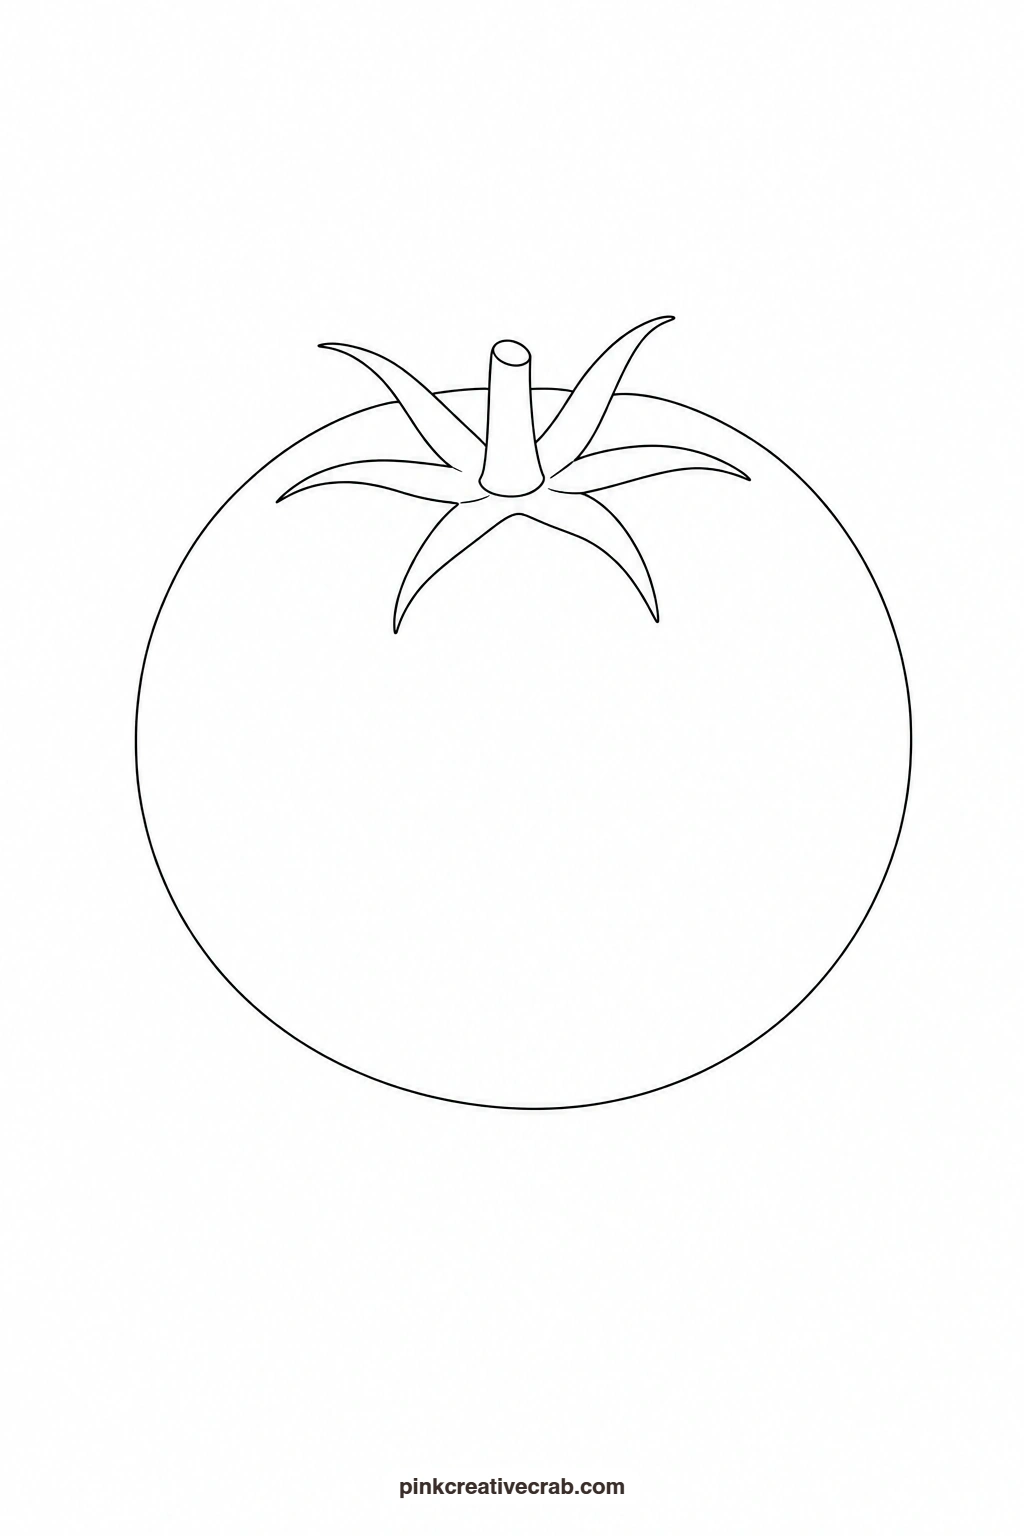
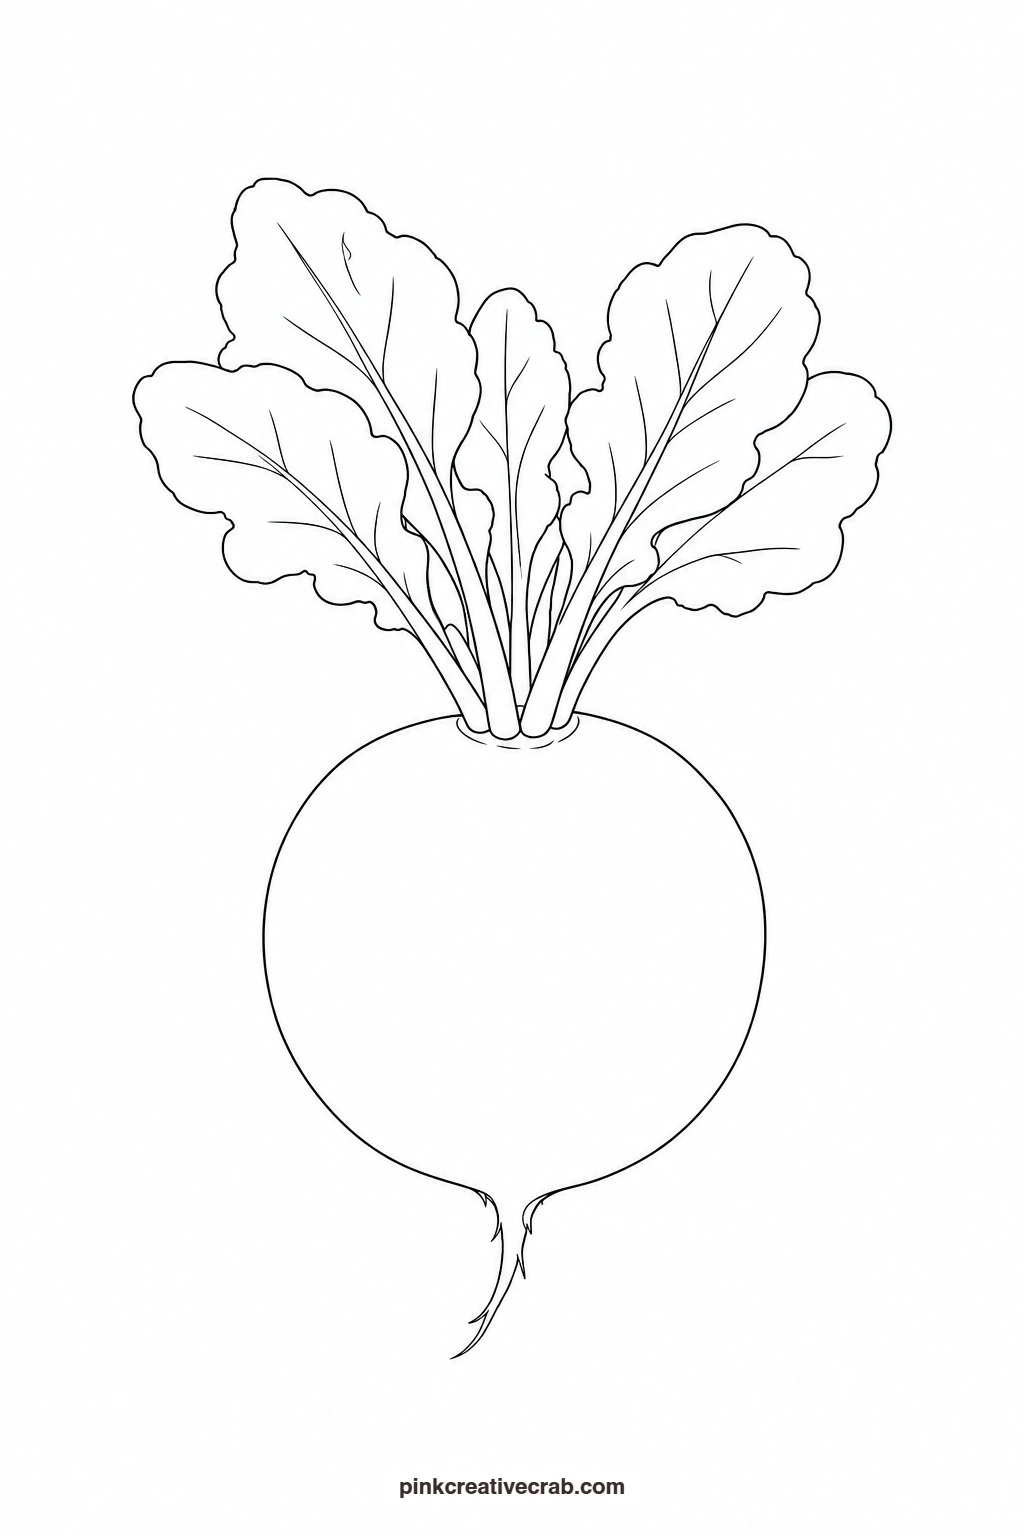
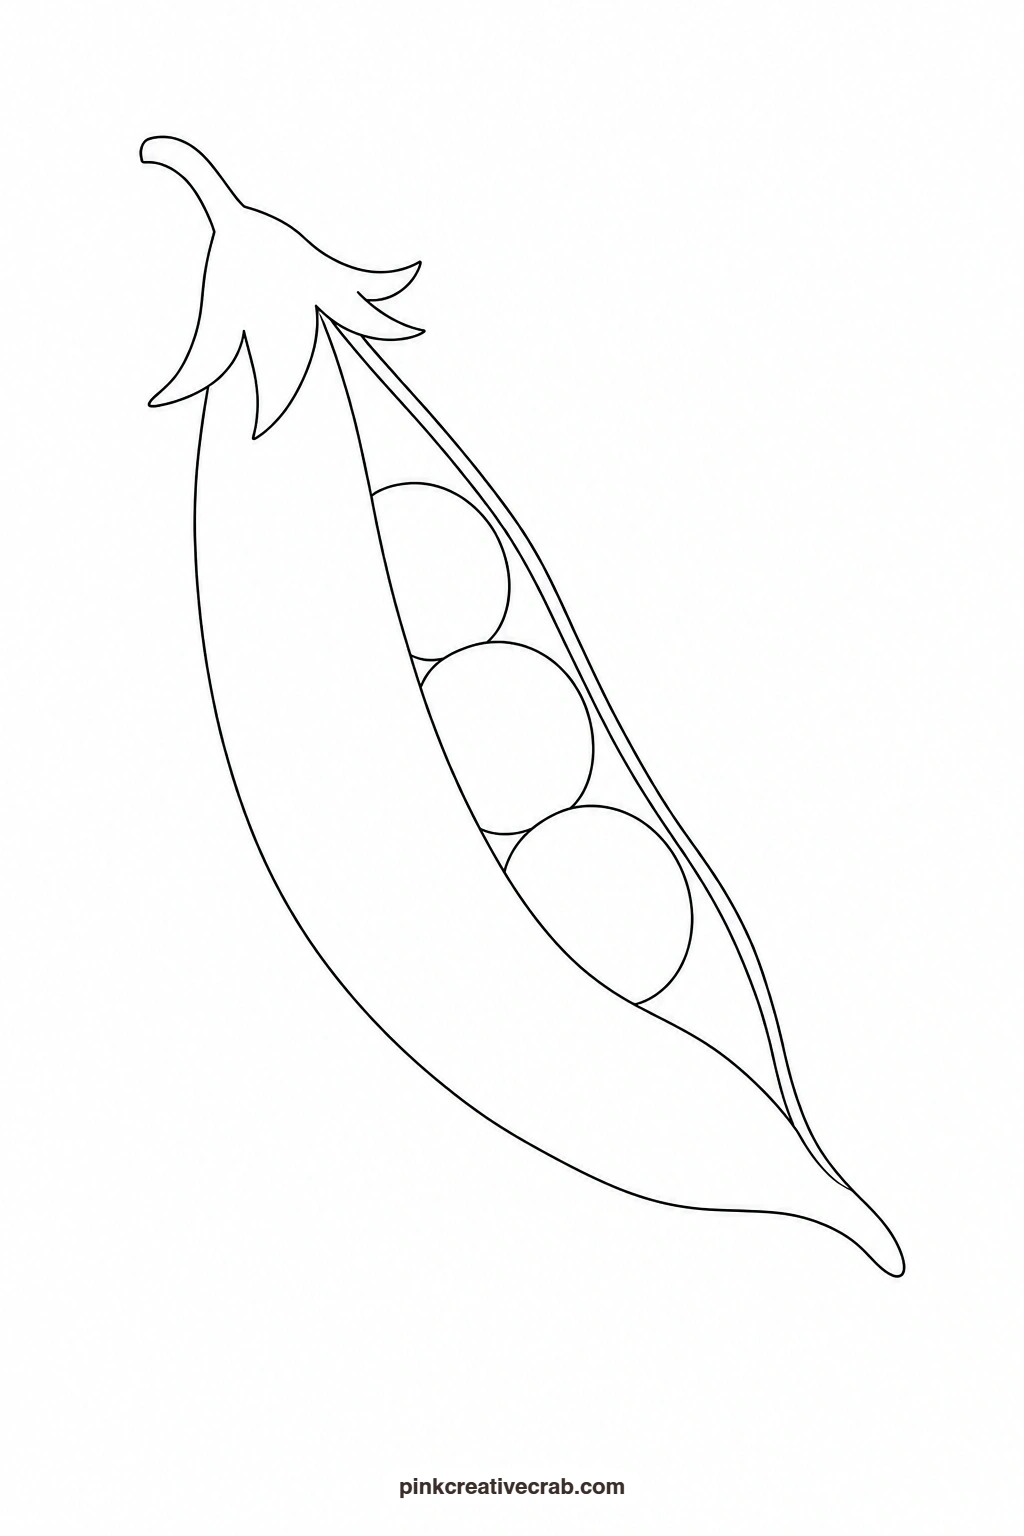
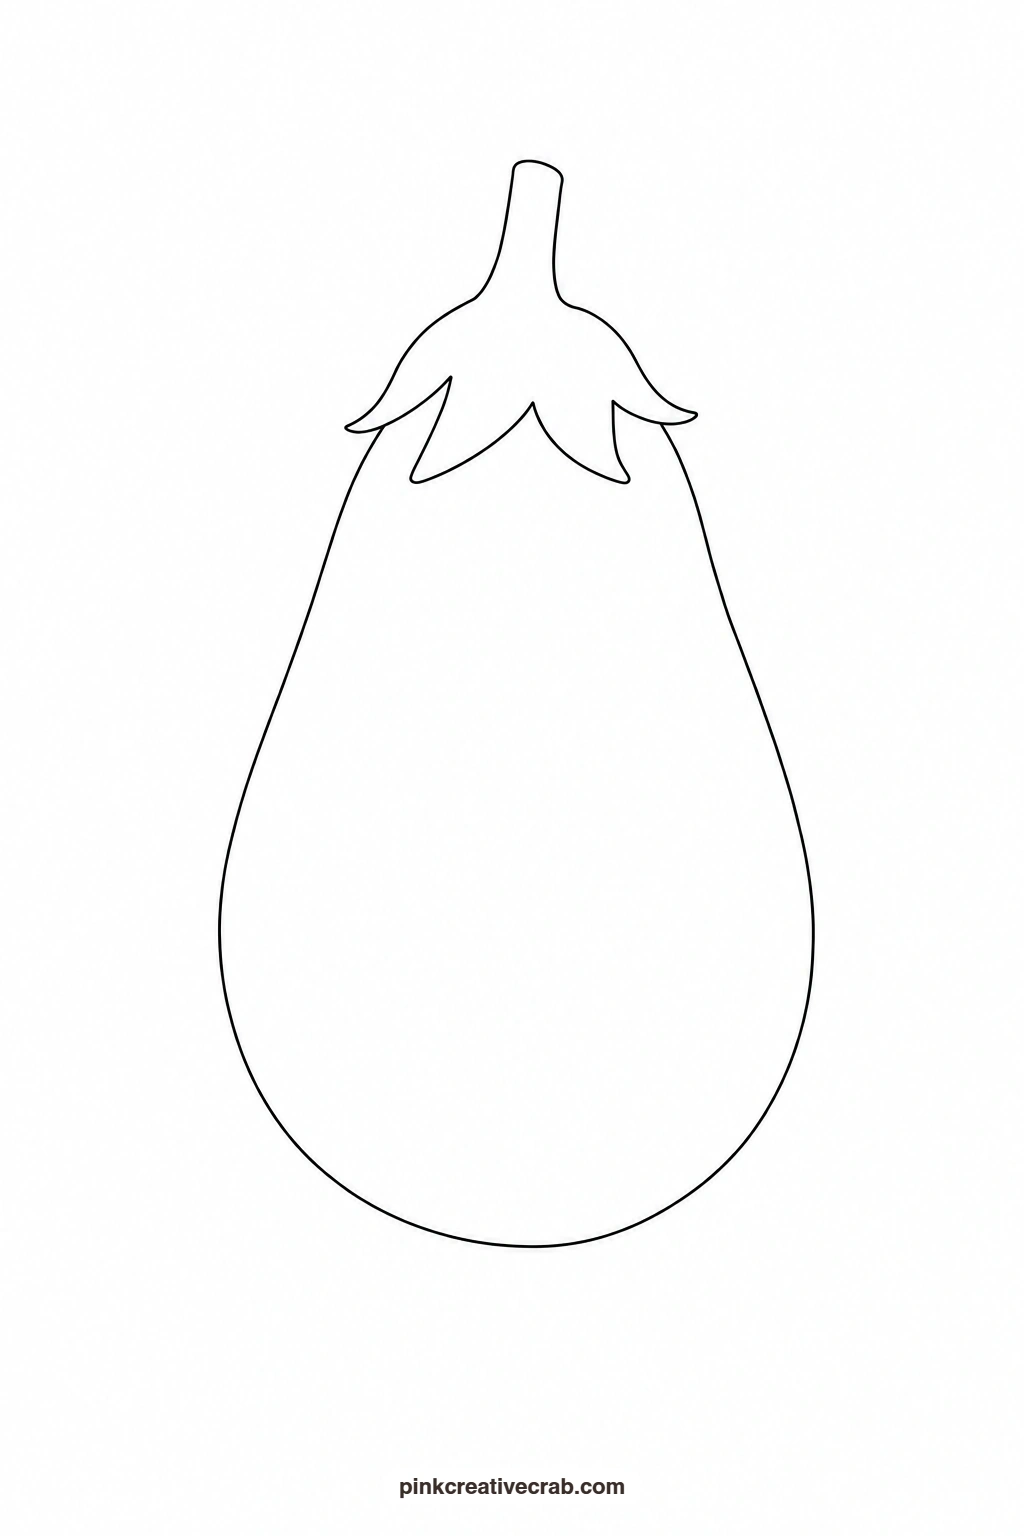
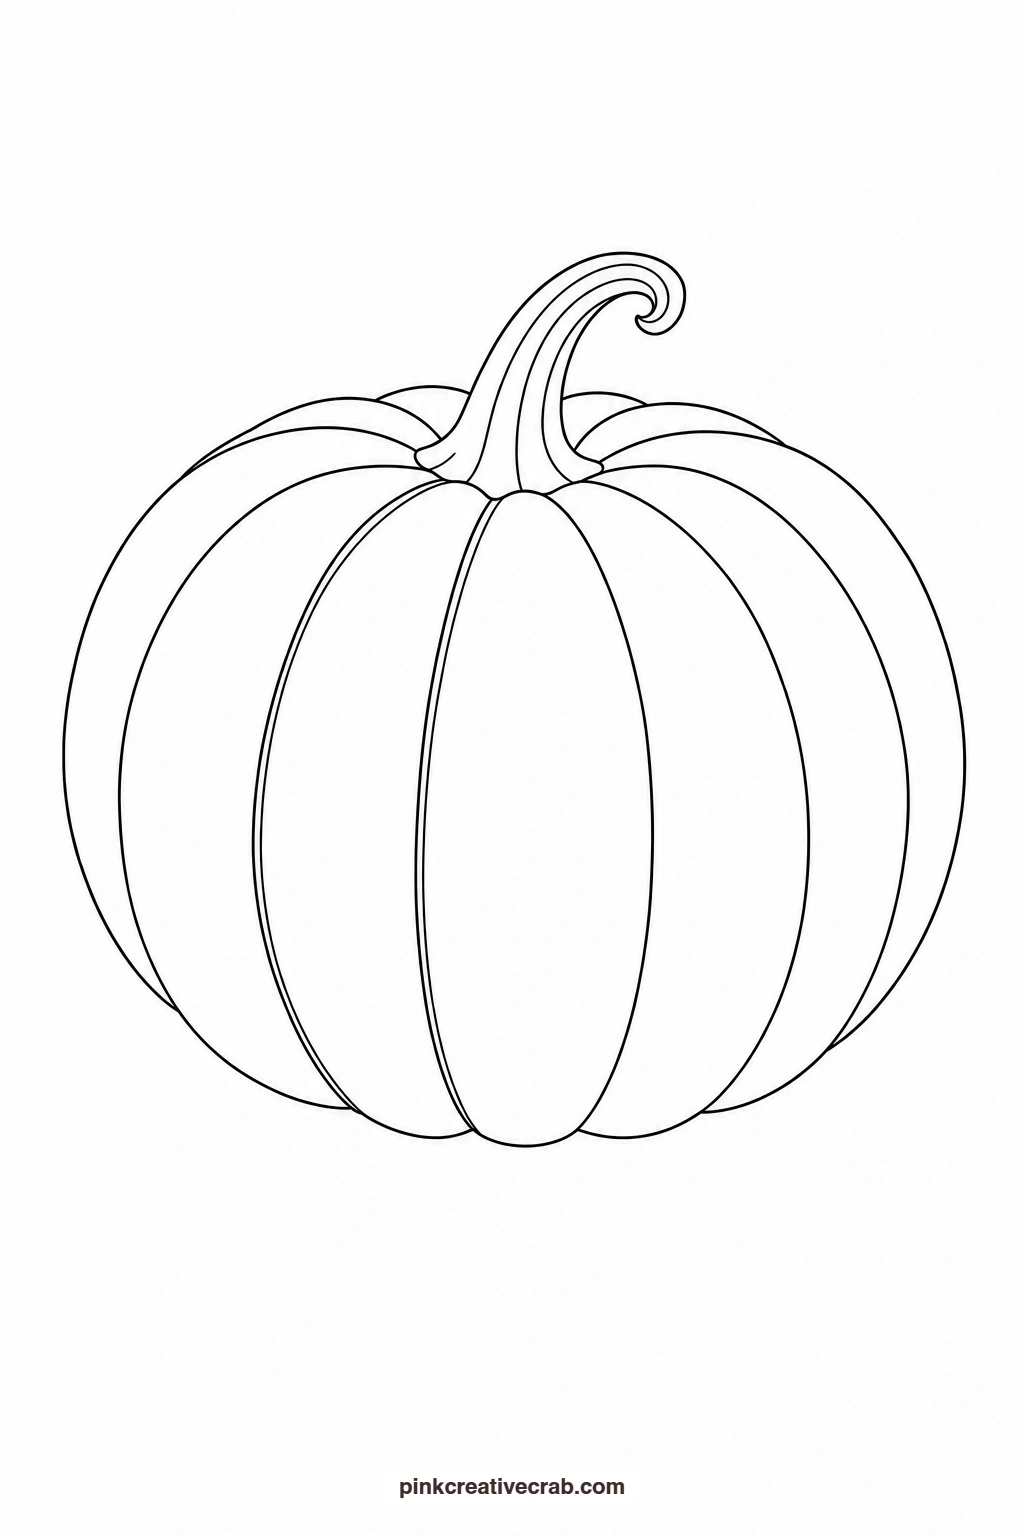
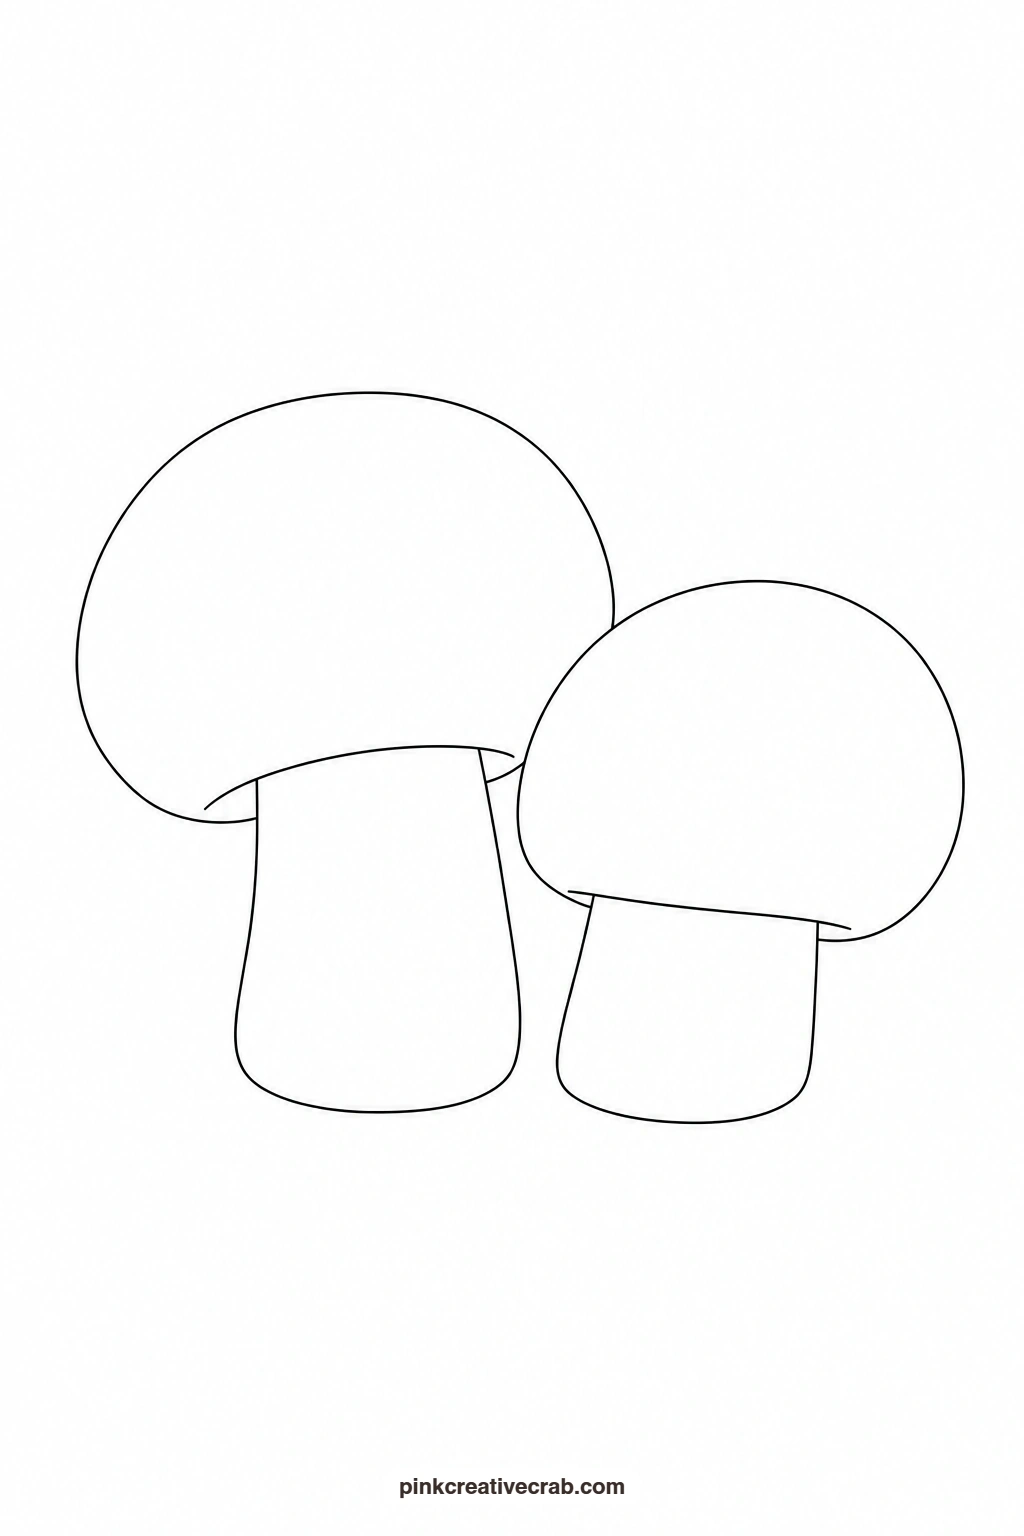
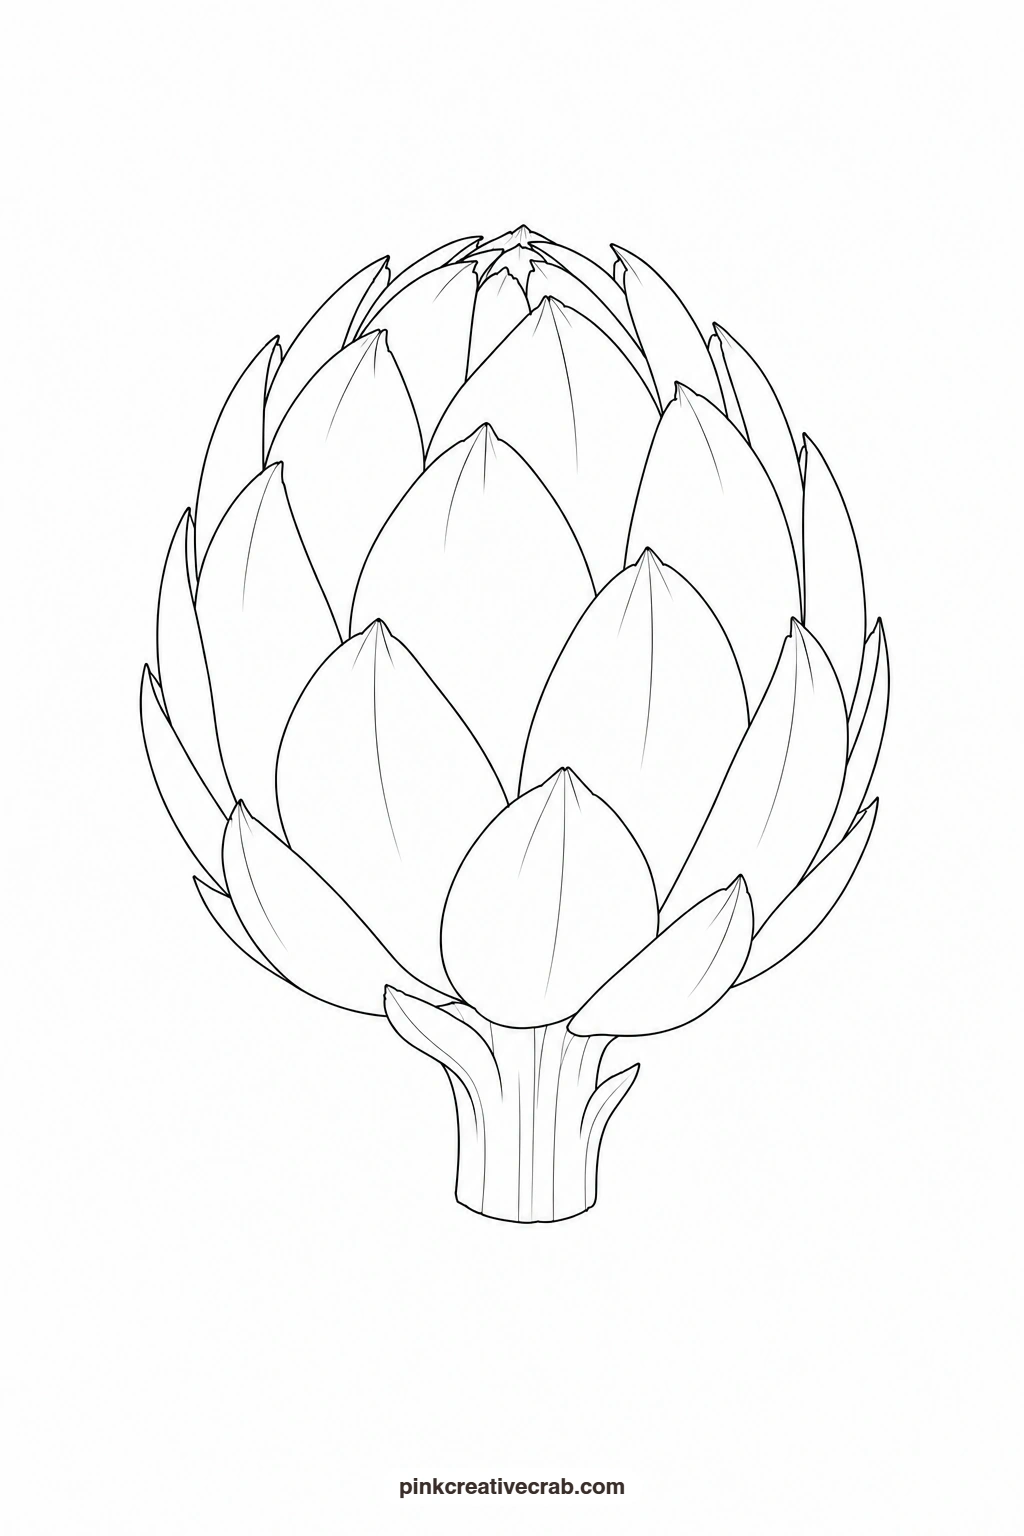
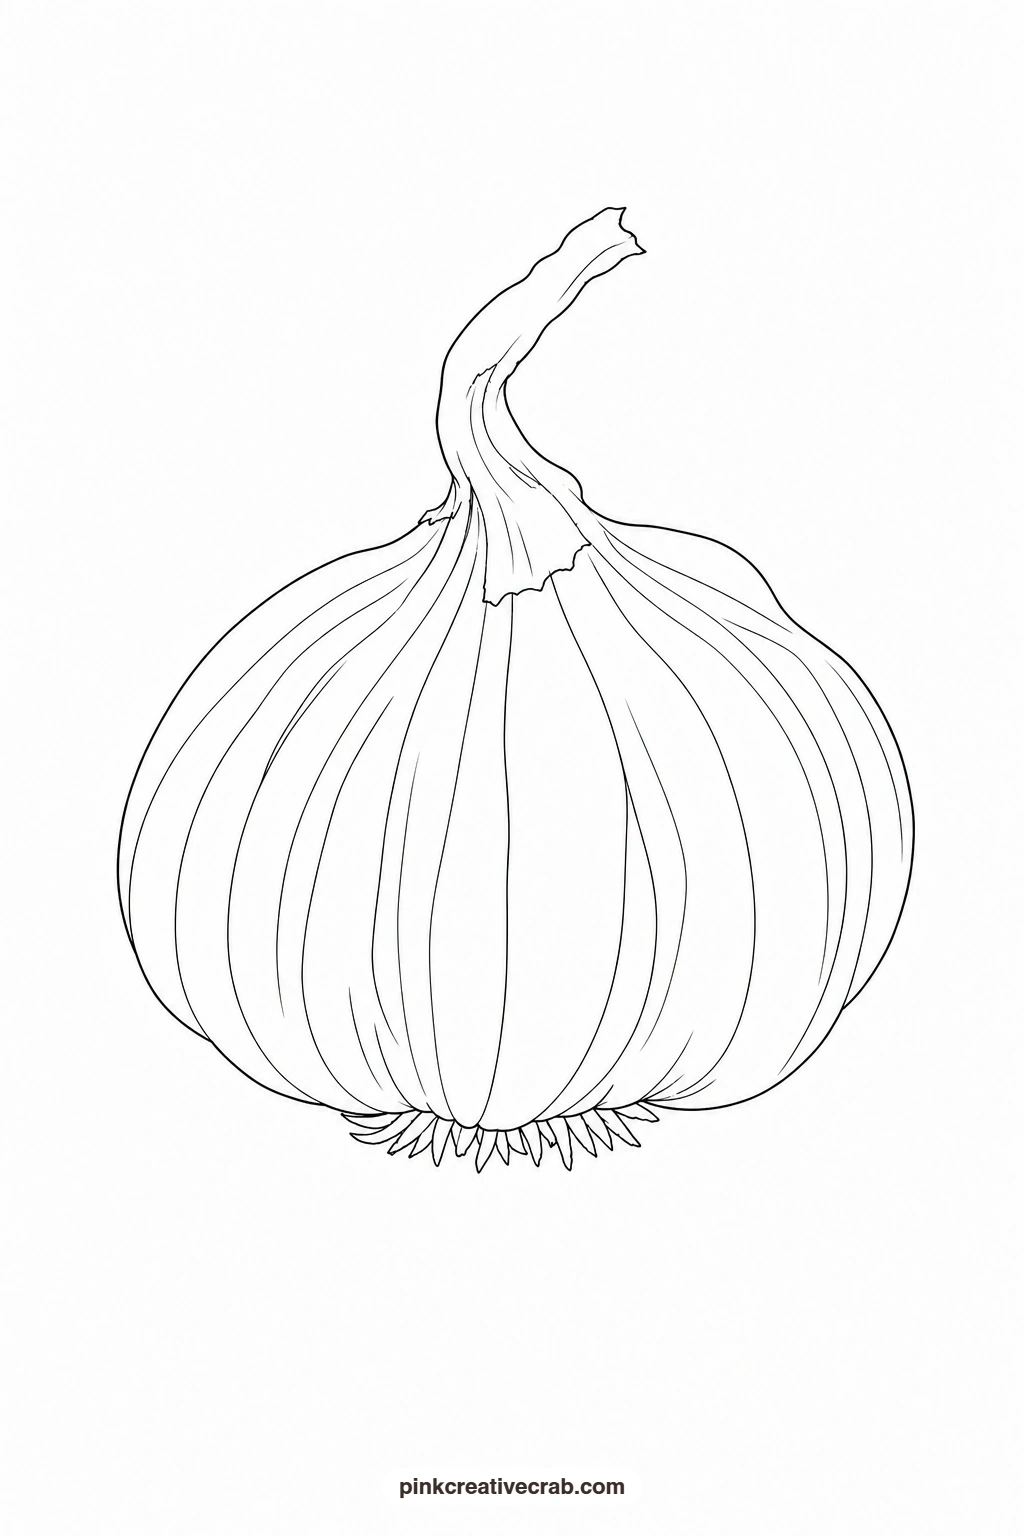
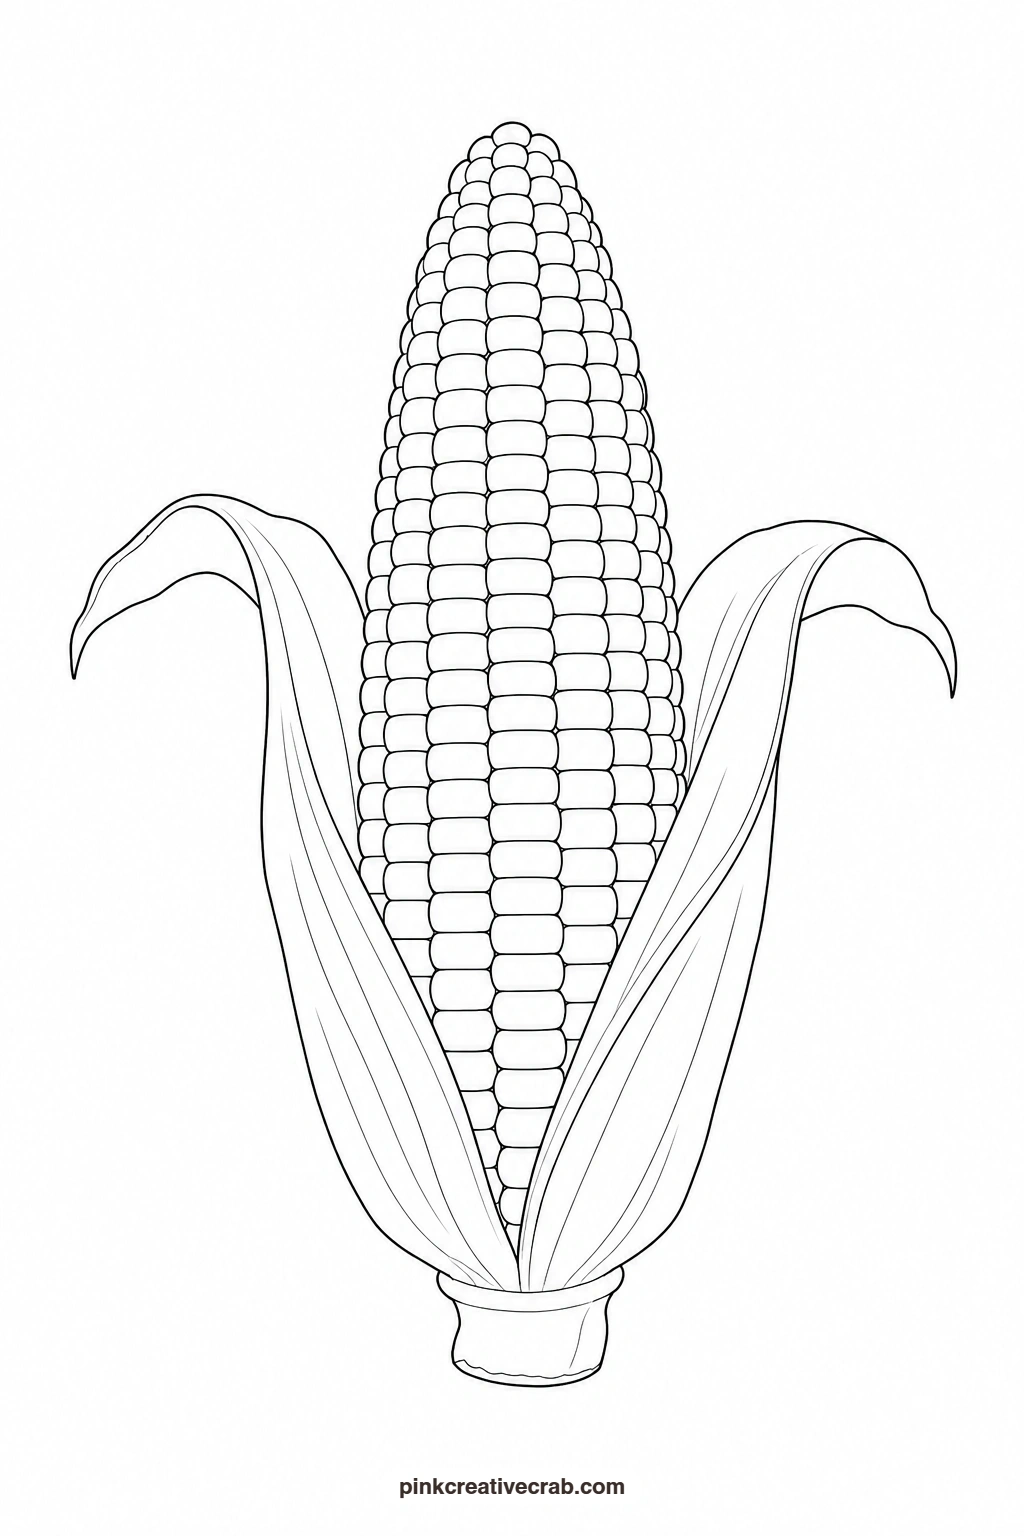
These watercolor vegetables give you a finished painting to look at and a clean outline to trace, so you can paint something today without sketching a single line yourself. Print the outline, hold it against a sunny window or a light pad (or slip graphite transfer paper underneath), trace it onto your watercolor paper, then paint it with the example sitting right beside you.
Every subject here is built from a few big, simple shapes: a tomato, a bell pepper, a garlic bulb and nine more, each one easy to trace and forgiving to paint. There is no fiddly background to worry about, just one vegetable centered on the page with plenty of white space around it.
Using these images: free for personal projects such as printing, coloring, cards, journals and gifts. Handmade items that include them may be sold up to 30 pieces per design. More than that is commercial use and is not permitted, and neither is selling or sharing the images themselves or passing them off as your own. Please ask before any other use.
Carrot With Leaves
Lay a wet wash of orange across the whole root first, then drop a touch of burnt sienna near the top where the carrot meets the leaves and let it bleed softly downward while the paper is still damp. Once that layer dries, paint the leaf cluster in sap green with a second darker green tucked into the center for depth. The one touch that finishes it: a few short curved pencil-thin lines of darker orange along the root for that classic carrot ridging, added once everything is bone dry.
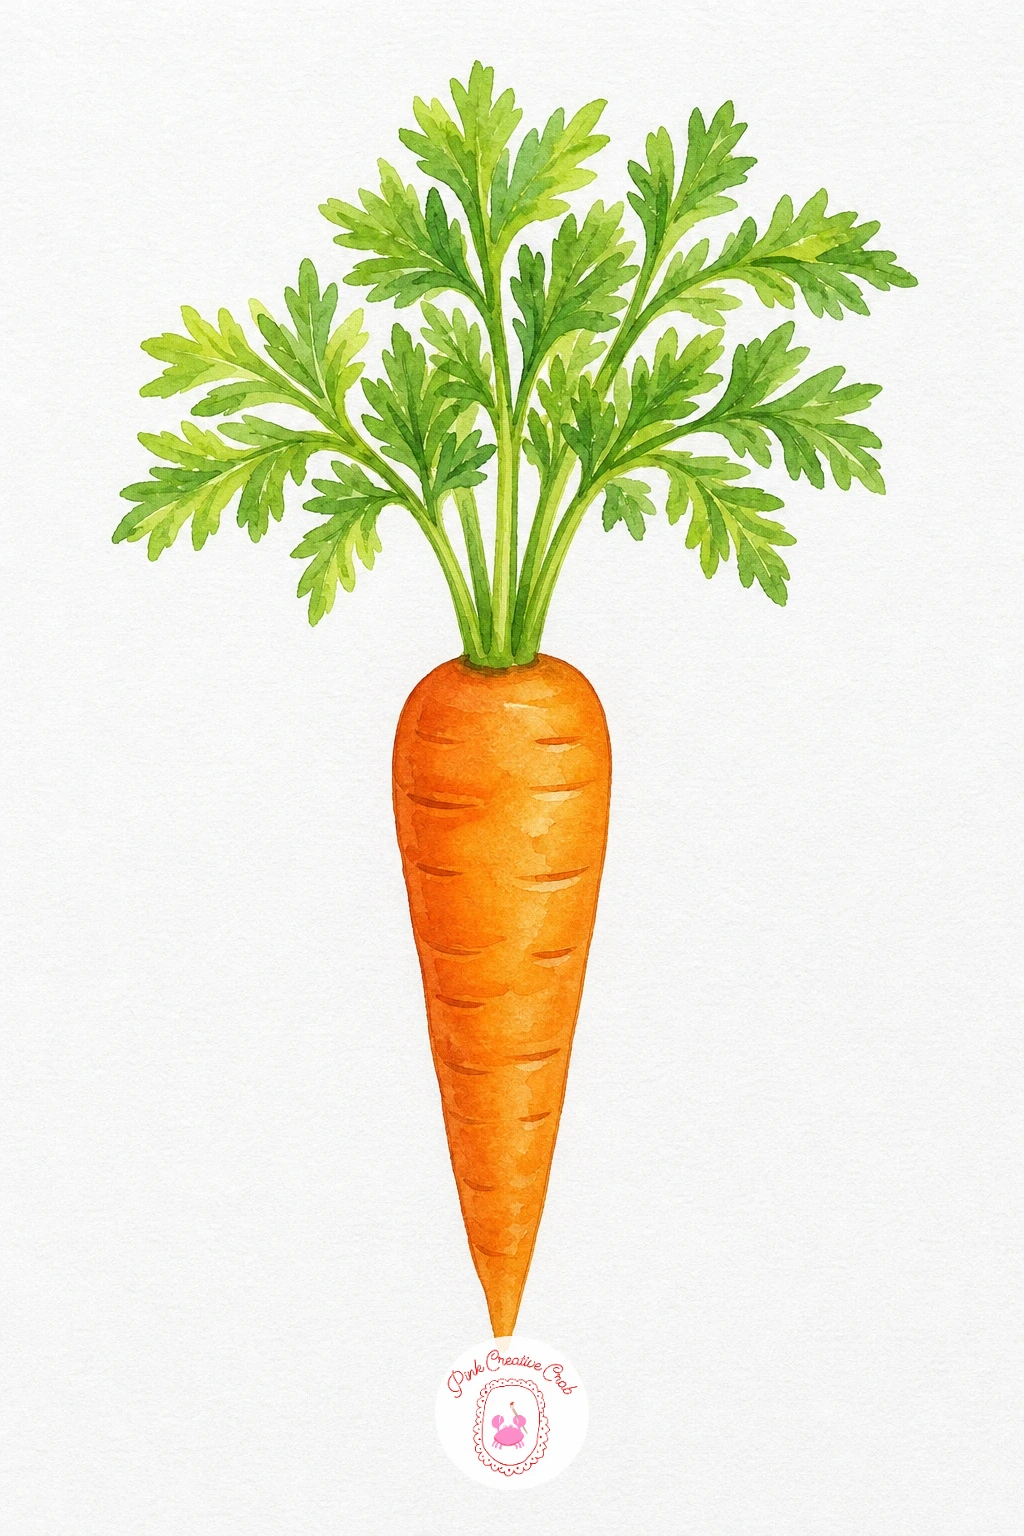
Palette: Cadmium Orange,Burnt Sienna,Sap Green,Hooker’s Green
Tomato
Wet the whole tomato shape first and drop in cadmium red, letting it pool slightly darker toward the edges while you leave a small untouched patch of white paper for the shine. While that red is still damp, touch a bit of alizarin crimson into the shadow side so the two colors blend softly without any hard line. Finish with the green calyx on top painted crisp and dry so it reads as a clean contrast against the soft red body.
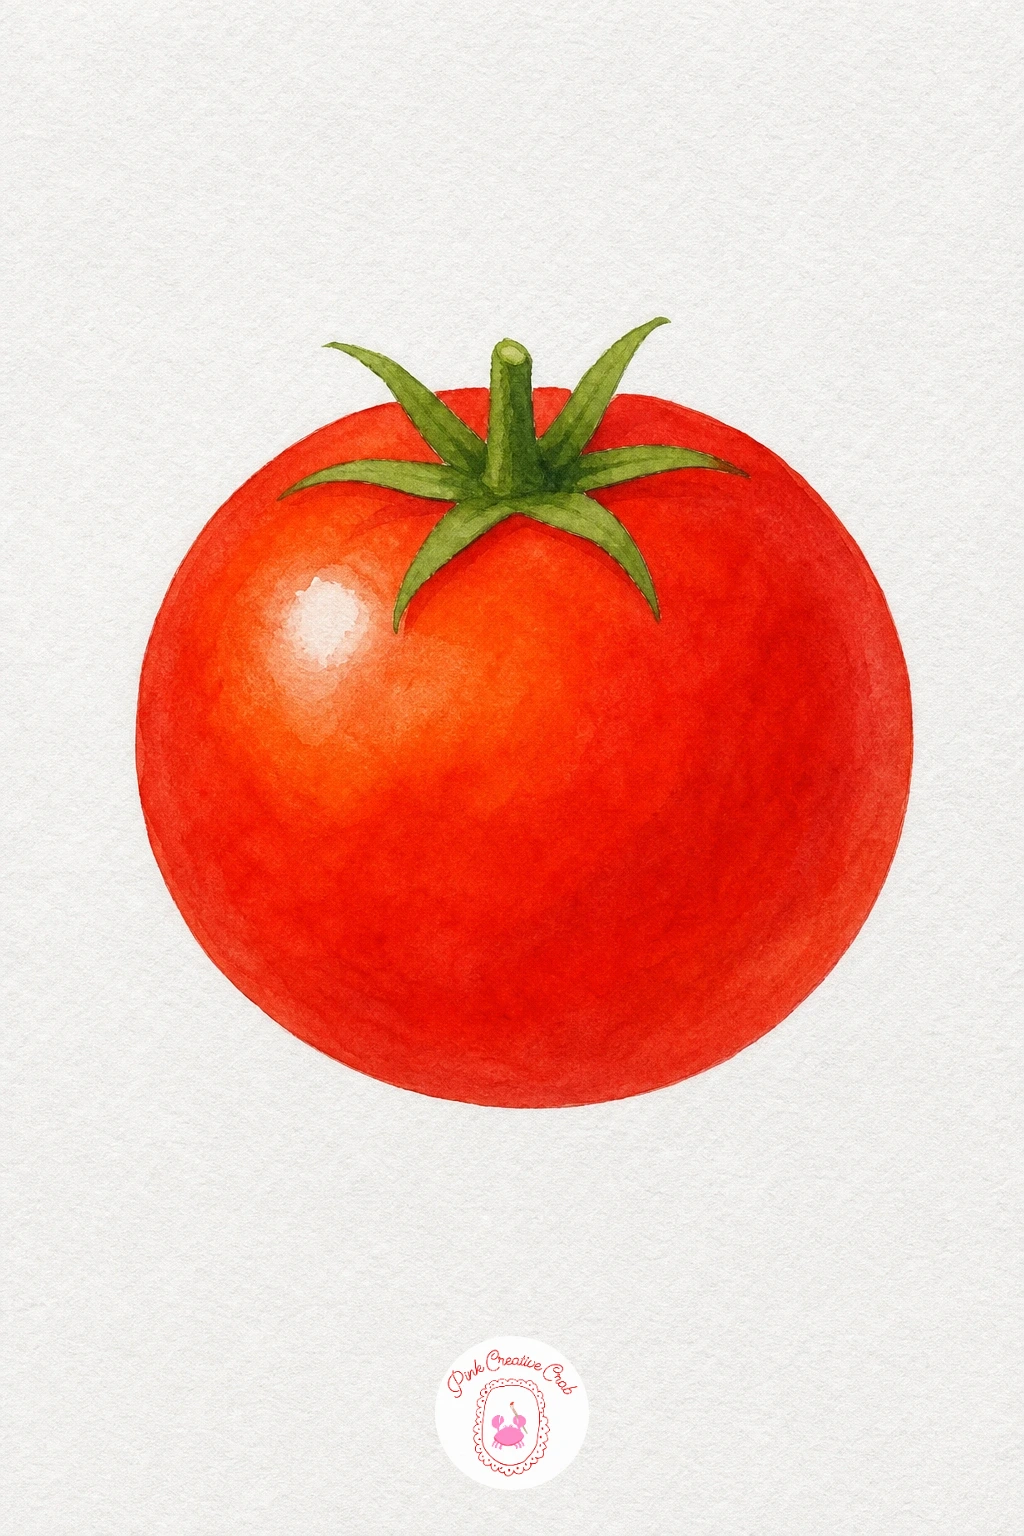
Palette: Cadmium Red,Alizarin Crimson,Sap Green
Radish
Paint the top half of the radish in a wet wash of permanent rose, then rinse your brush and pull clean water down into the lower half so the color fades gently into the white paper, leaving the tip almost untouched. Let that dry completely before adding the small green leaf tuft at the top in a quick confident stroke of sap green. The one touch that sells it: a thin white gap left between the pink top and the root tip, kept clean and untouched by paint.
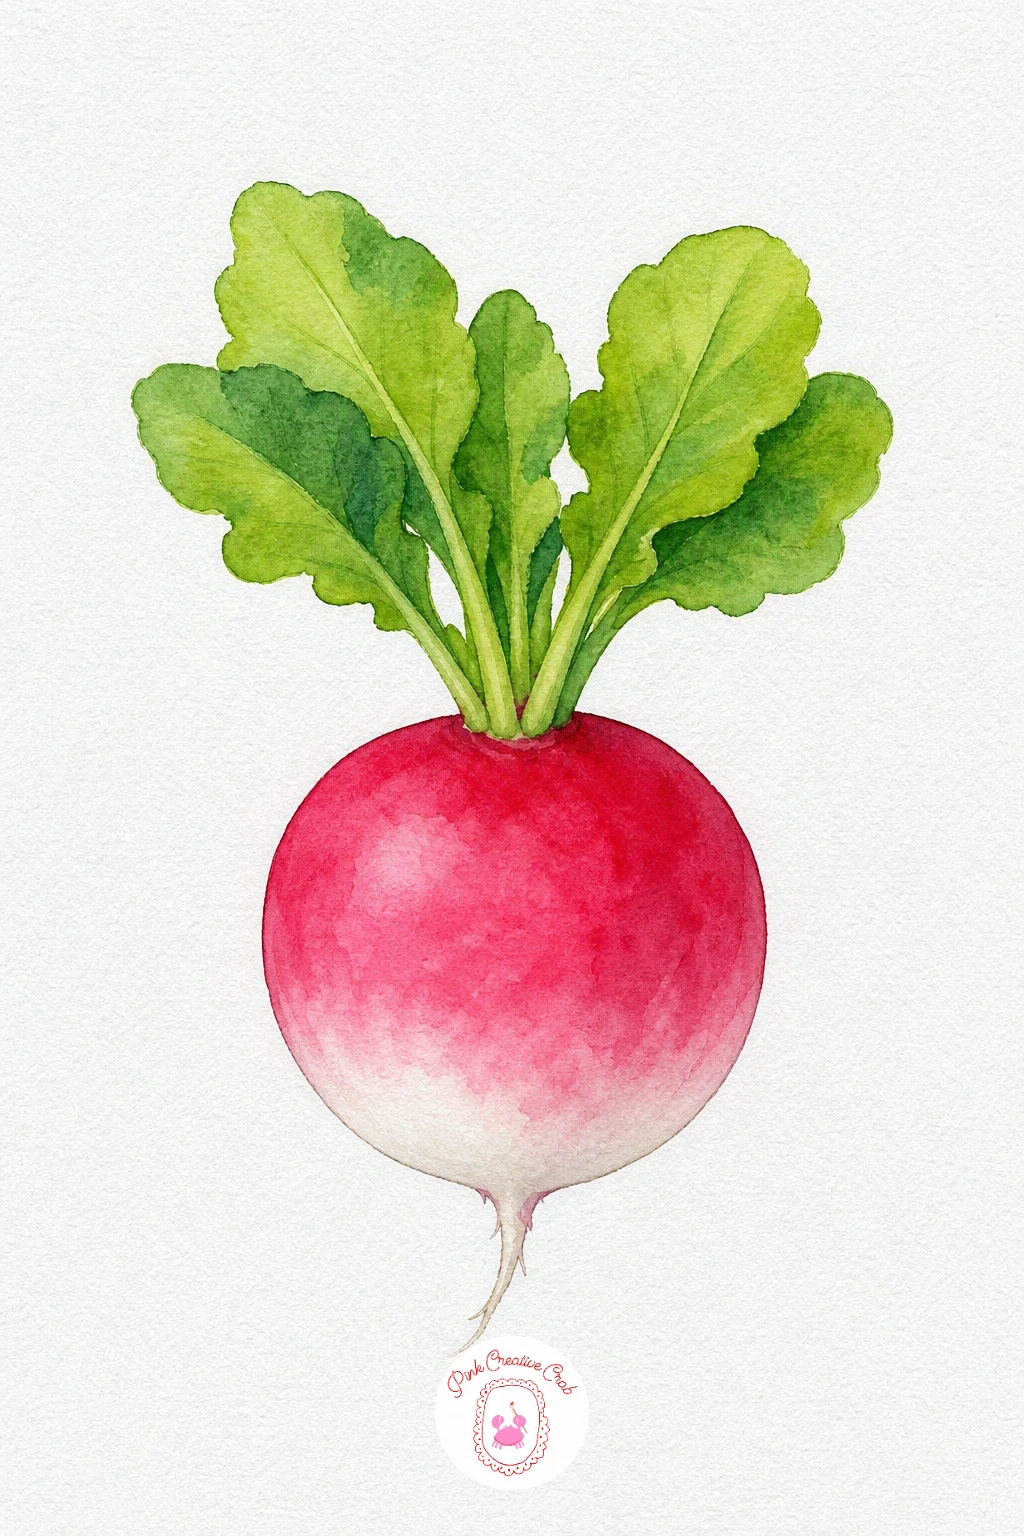
Palette: Permanent Rose,Sap Green
Pea Pod
Paint the outer pod shape first in a light wash of sap green, keeping it loose and even, then let it dry before adding the three peas inside in a slightly deeper green so they sit forward from the pod wall. Drop a touch of yellow green along the curved spine of the pod while the wash is still a little damp so the color shifts gently from edge to edge. Keep the opening where the peas show through crisp and clean, that gap is what makes the shape read instantly.
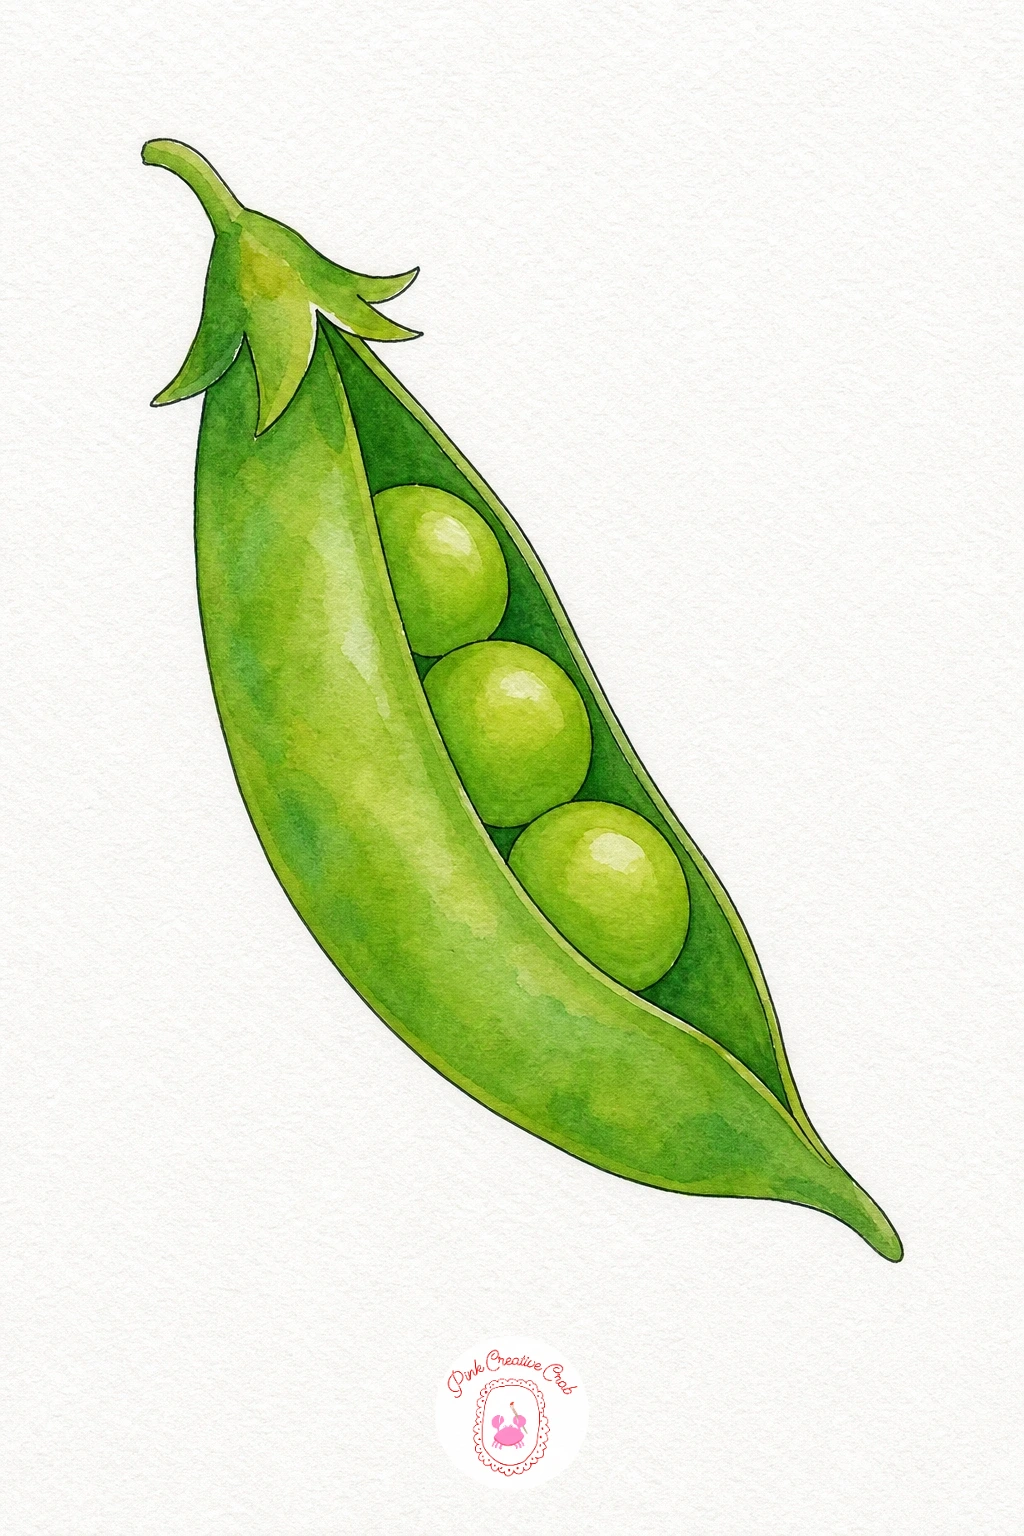
Palette: Sap Green,Yellow Green,Hooker’s Green
Eggplant
Wet the whole eggplant shape and float in a deep violet, letting it pool darker along the lower curve while you preserve a soft streak of lighter paper near the top for that glossy highlight every eggplant needs. While it is still damp, touch a little payne’s grey into the darkest shadow so it blends without a hard edge. Once completely dry, paint the small cap and short stem in sap green, keeping those edges sharp against the soft purple body below.
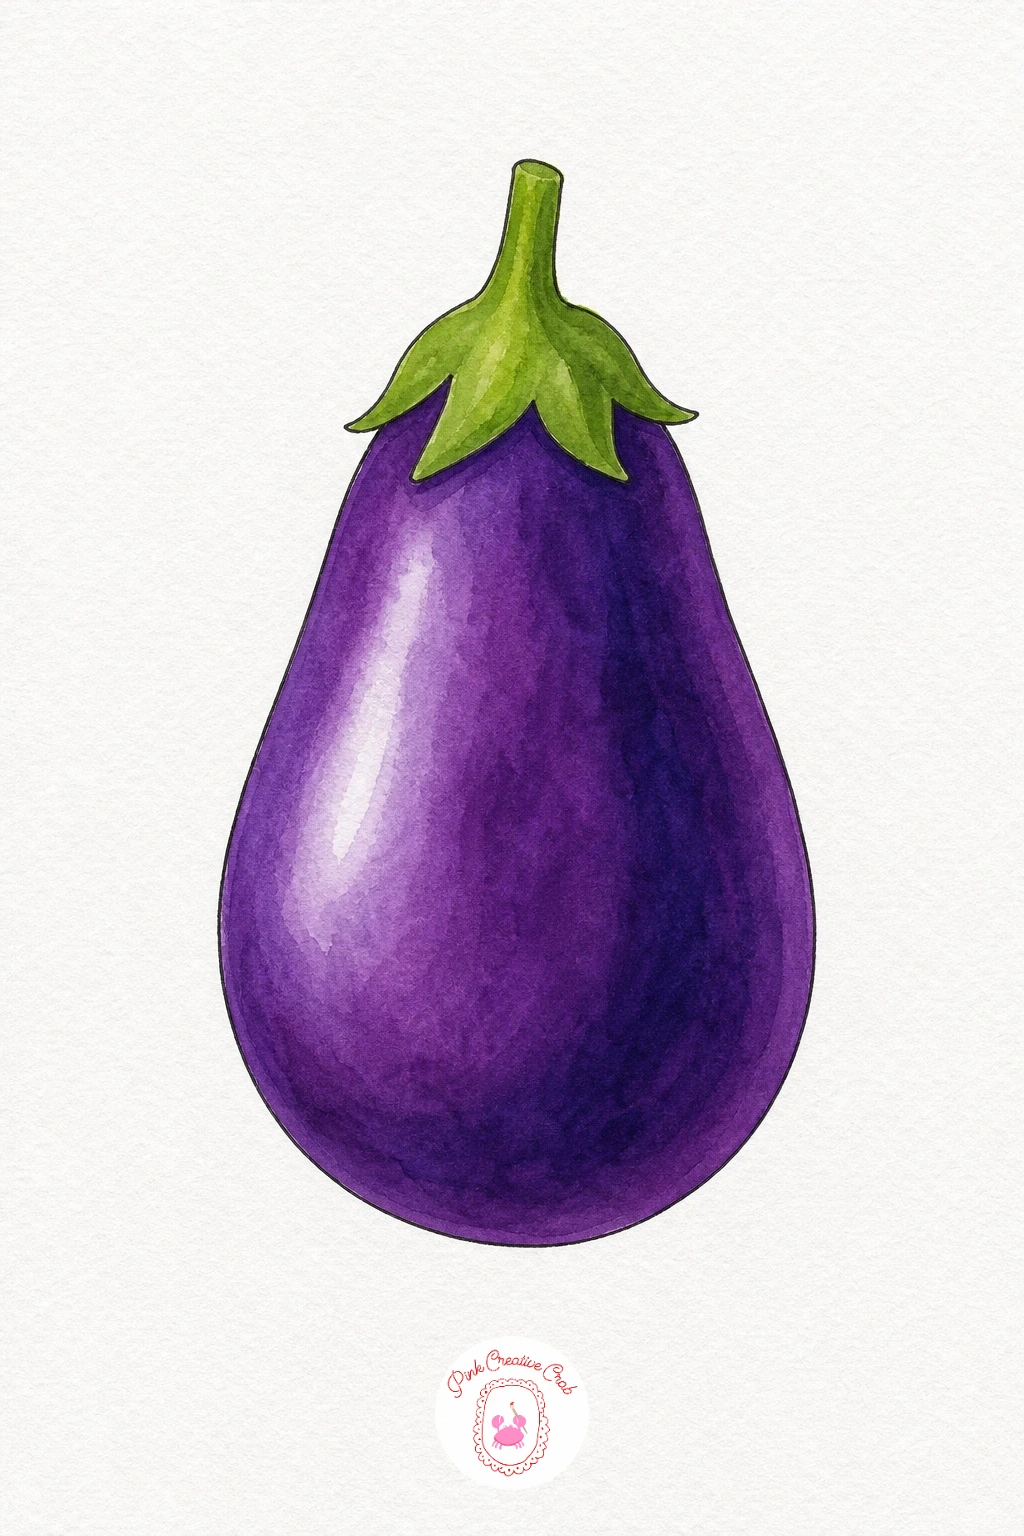
Palette: Dioxazine Violet,Payne’s Grey,Sap Green
If the purple looks too flat, try the same wash on scrap paper first with a bit more water in the highlight area so the shine stays soft rather than sharp.
Pumpkin
Paint the pumpkin body in a wet wash of cadmium orange, then while it is still damp drag a thin brush loaded with burnt sienna down each natural groove line so the color settles softly into the ribs without hard edges. Let it dry fully, then paint the curling stem on top in a warm brown, leaving a touch of white paper along one side of the stem for texture. For those who want more depth, deepen the groove lines a second time once dry for a richer ribbed look.
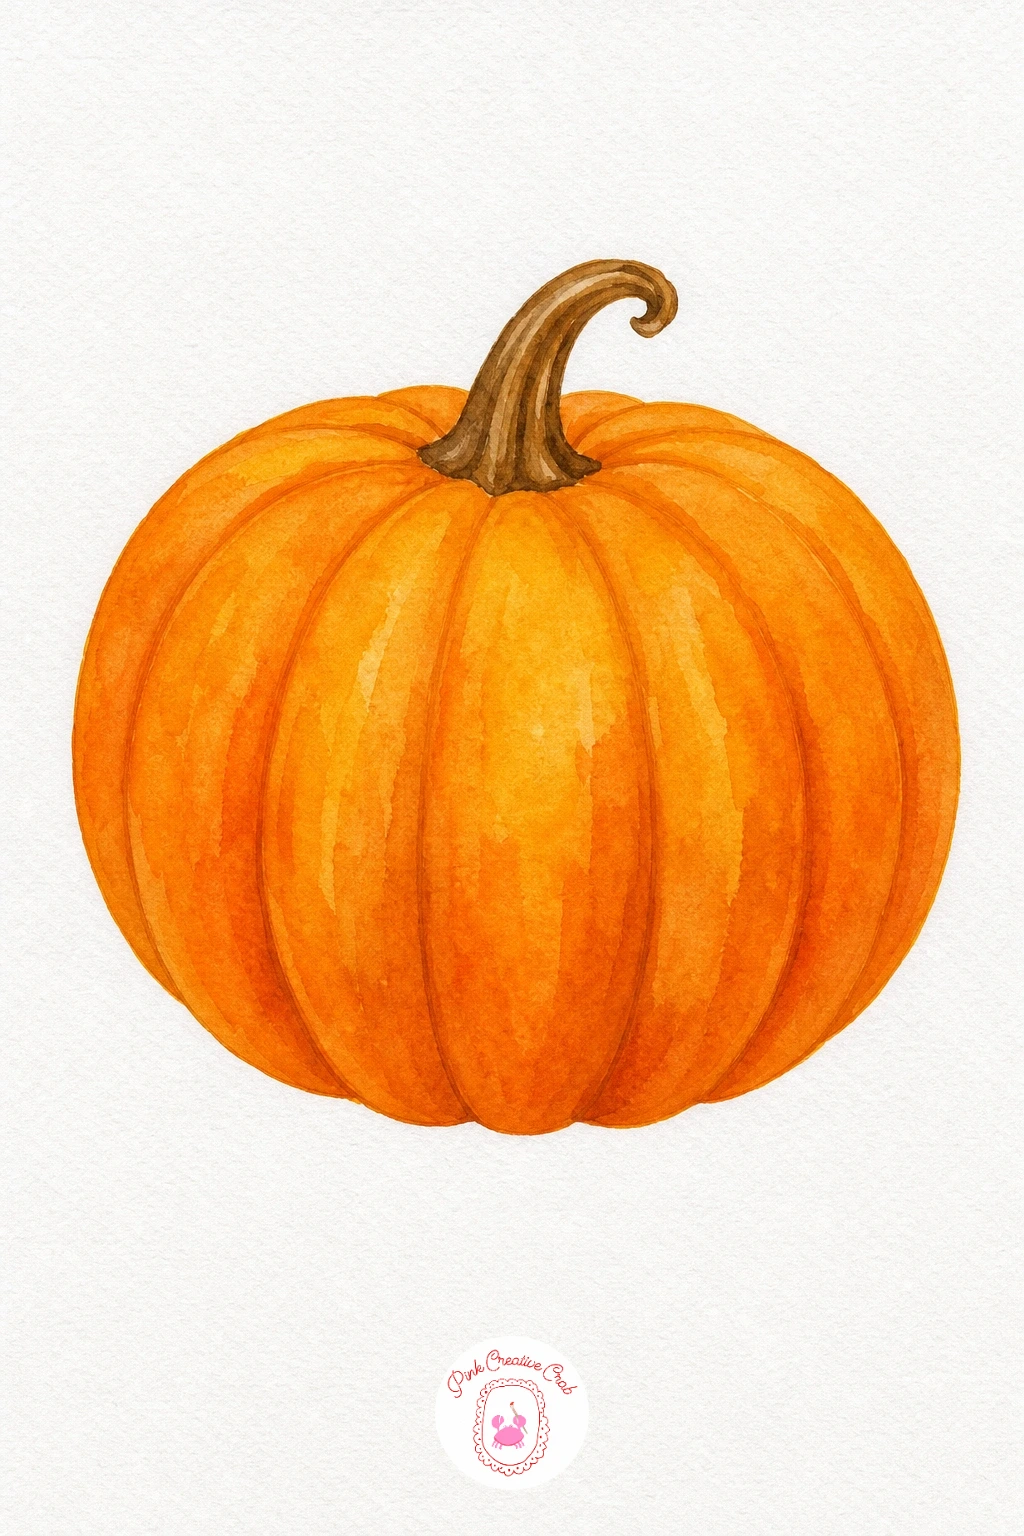
Palette: Cadmium Orange,Burnt Sienna,Raw Umber
Beetroot
Lay down the round root first in a wash of alizarin crimson, letting the color pool a touch darker at the base, then let it dry before painting the leafy top. Paint the stems in a mix of crimson and sap green side by side so some run pink and others run green, which is exactly how a real beet looks. Keep the line between root and stems soft by touching the two wet colors together briefly where they meet, just enough to blend without losing the shape.
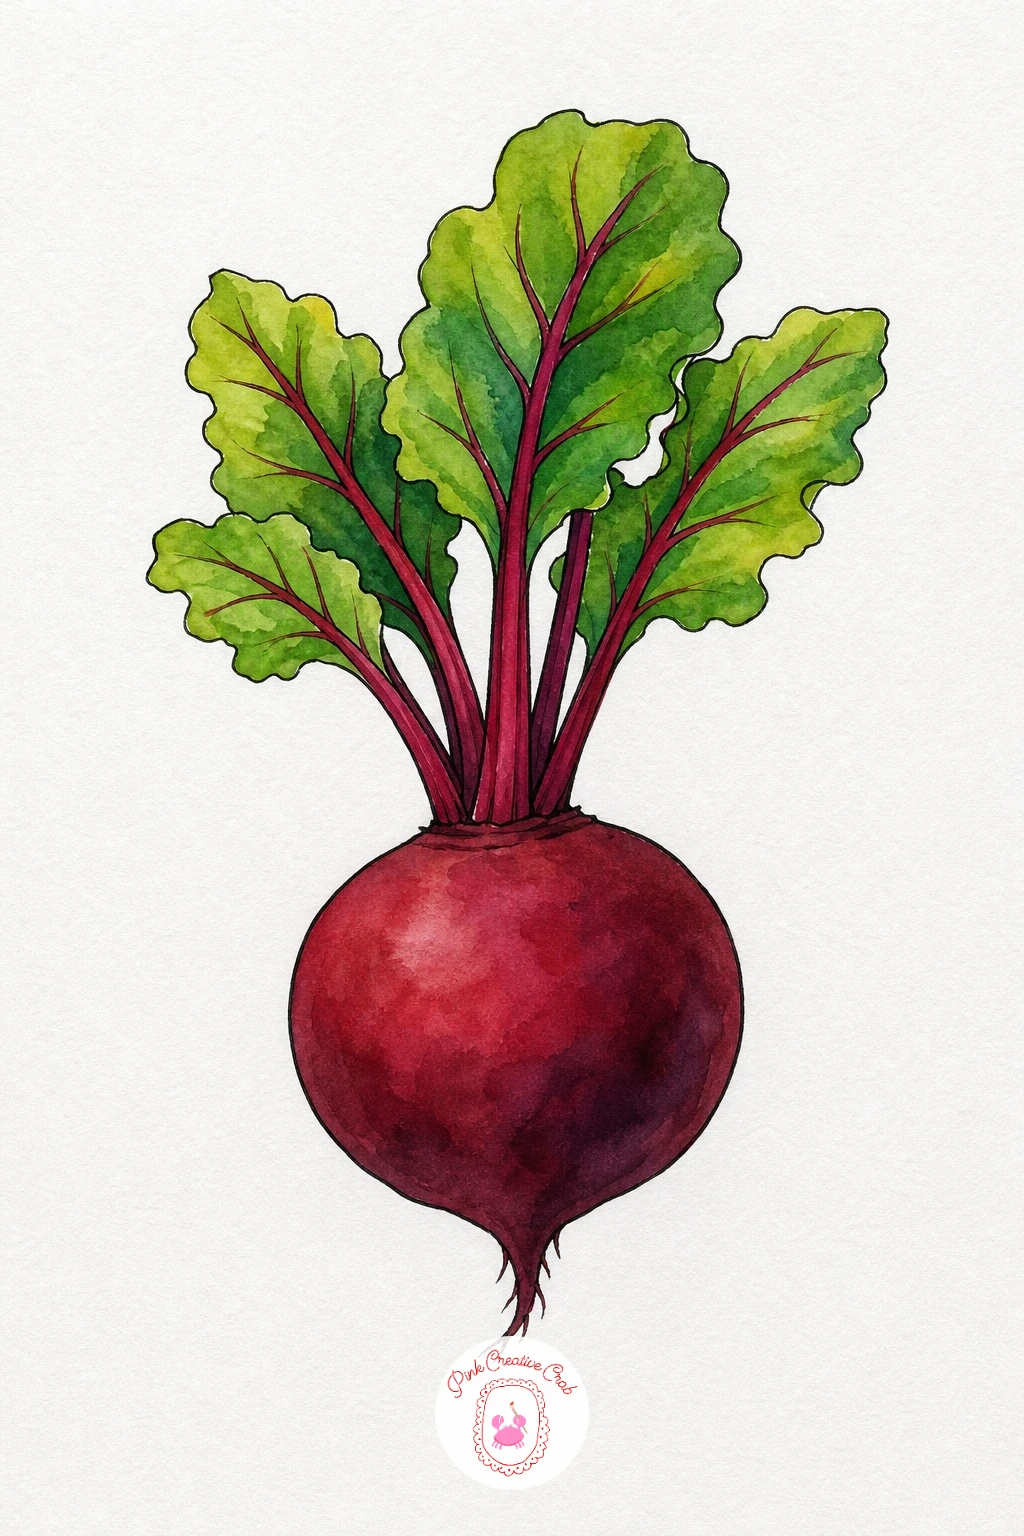
Palette: Alizarin Crimson,Sap Green,Burnt Sienna
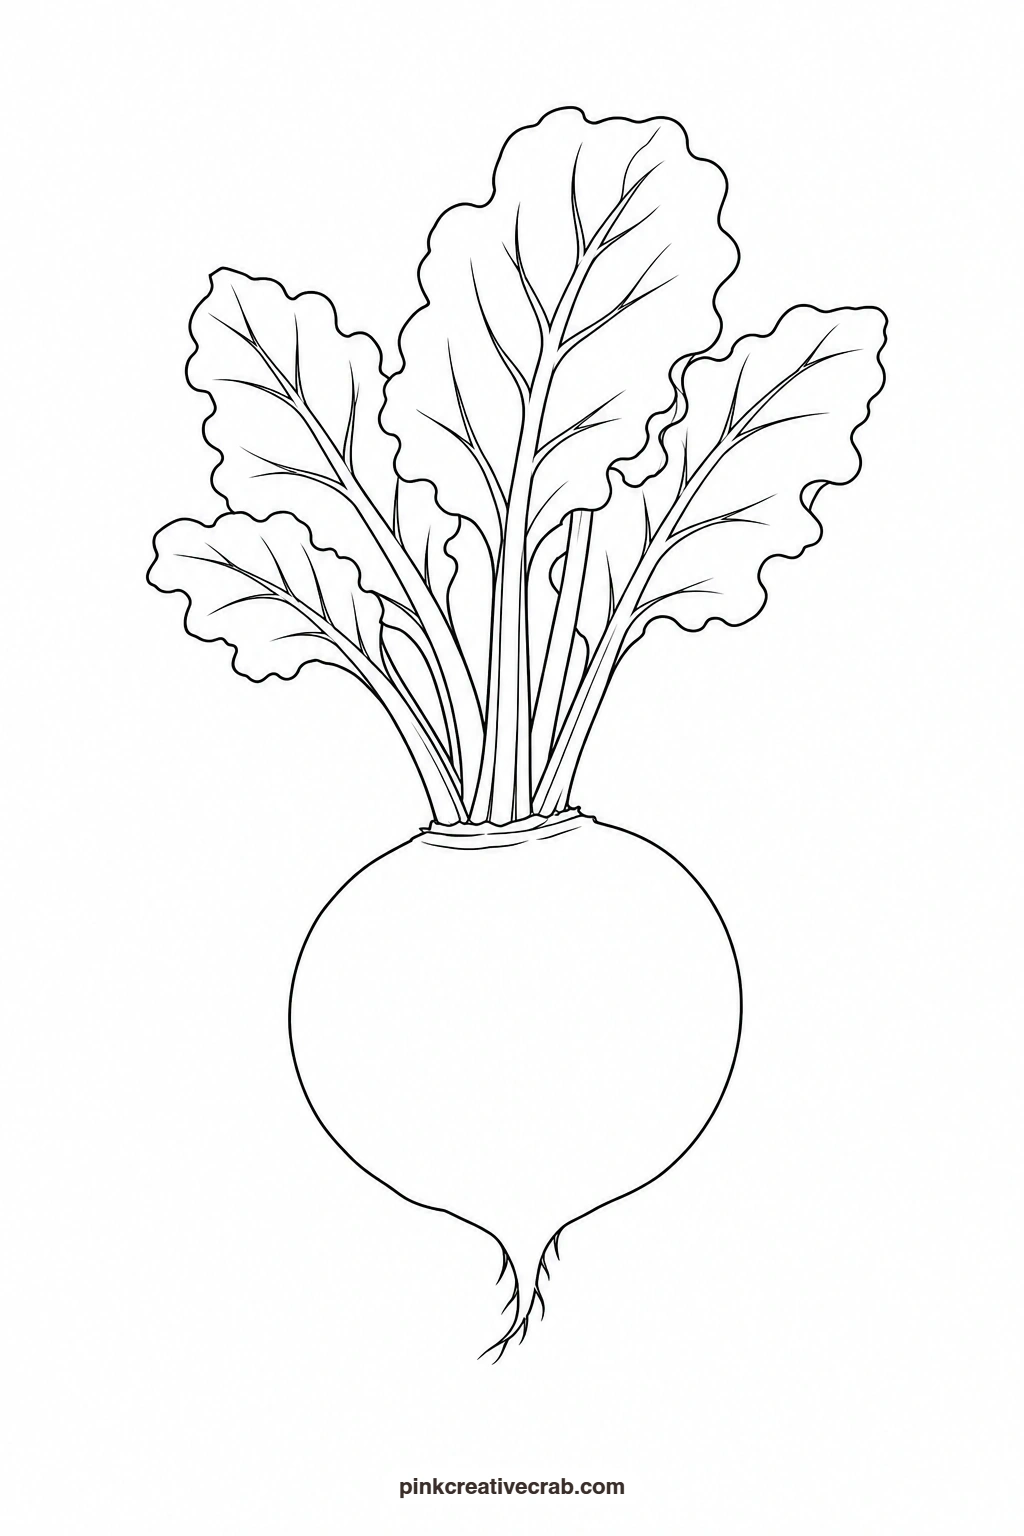
Bell Pepper
Wet the whole pepper and drop in cadmium red at the top, letting it shift into orange toward the base while the paper is still damp, which gives that natural gradient real peppers have. Leave a clean streak of white paper along the widest lobe for the shine before the wash dries. Once it is dry, paint the stem and small leafy cap in a crisp sap green so it stands apart cleanly from the warm, softly blended body below.
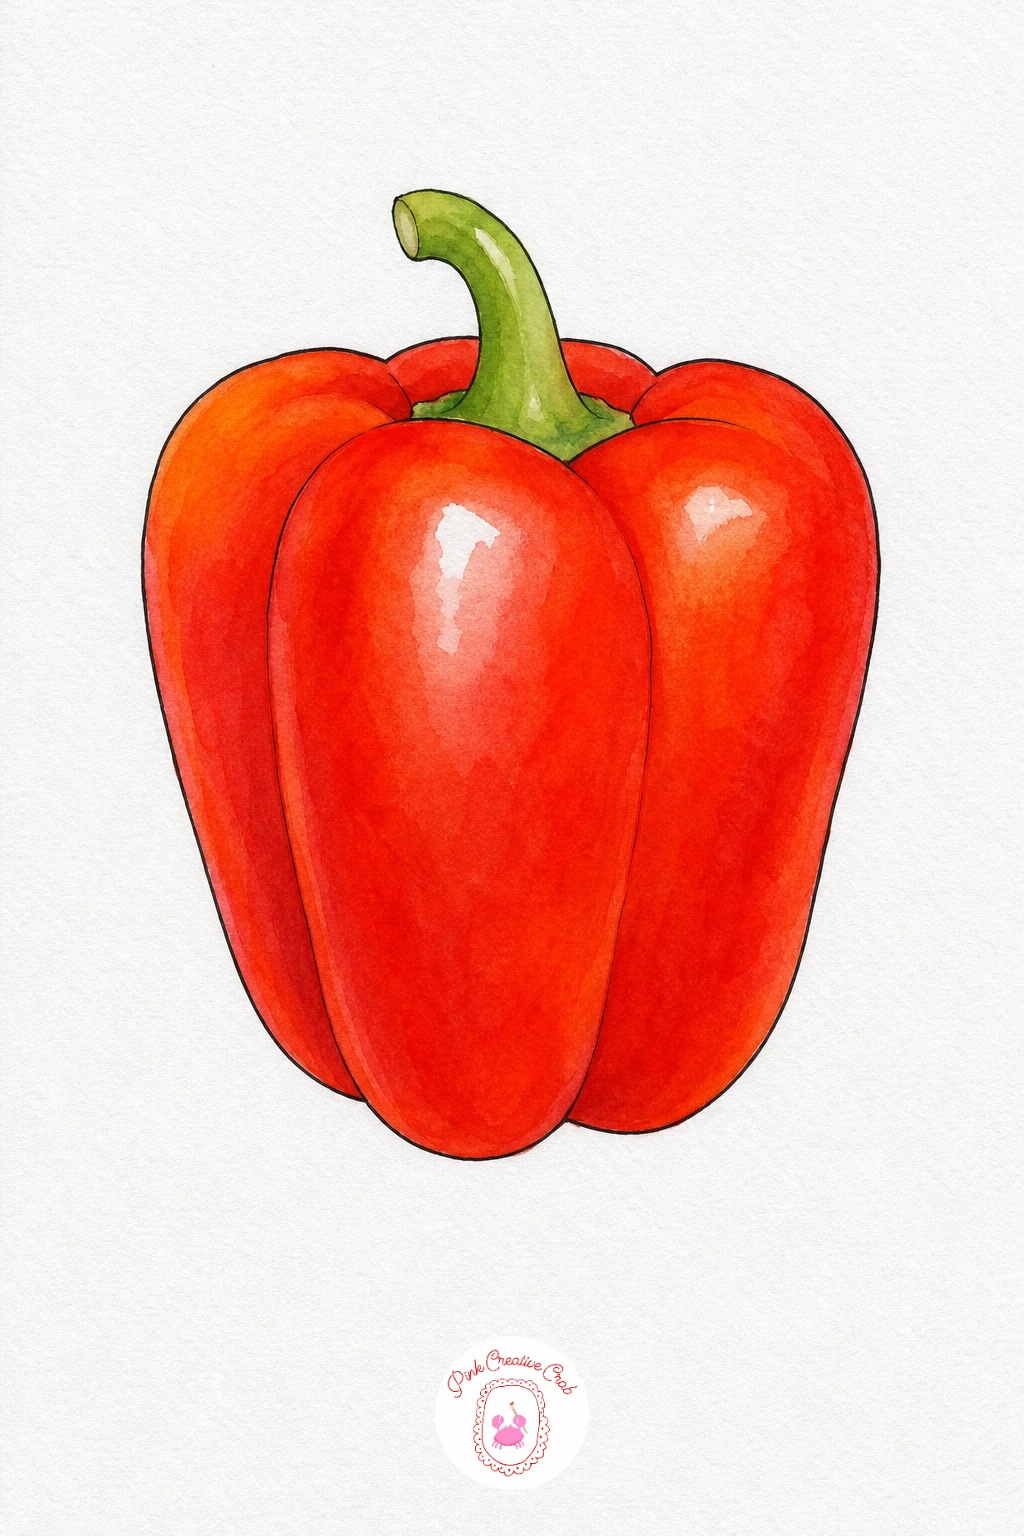
Palette: Cadmium Red,Cadmium Orange,Sap Green
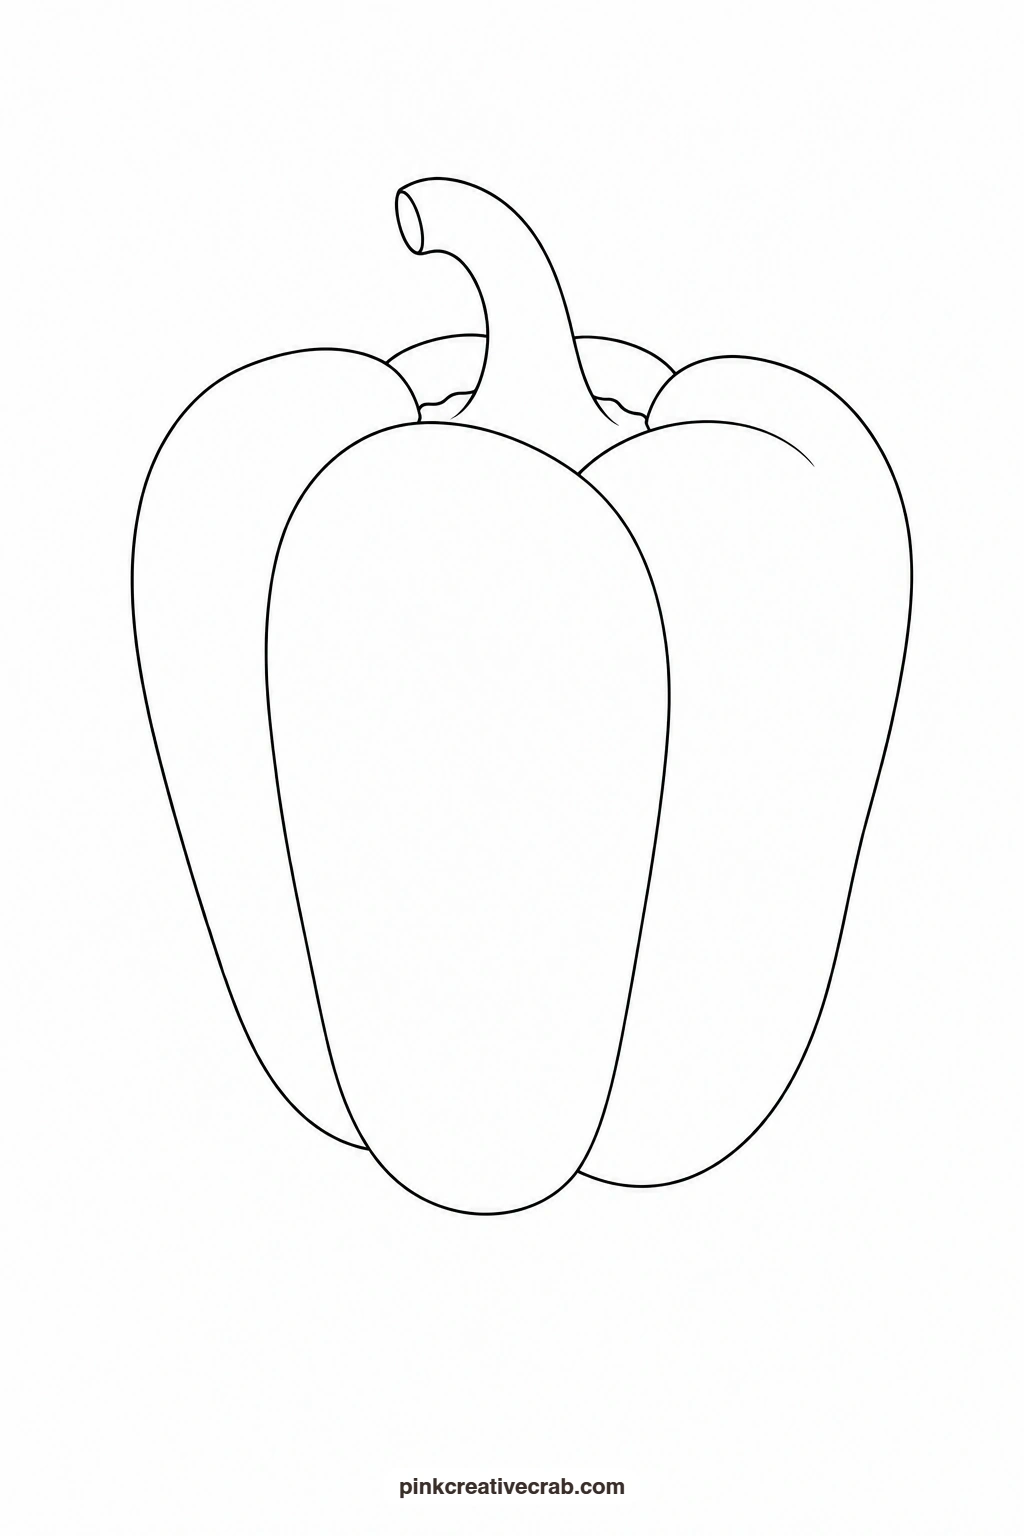
Button Mushroom Pair
Paint both caps in a thin wash of raw umber mixed with a touch of grey, keeping the color light and even since mushrooms stay pale rather than bold. While the caps are still a little damp, drop a slightly deeper grey brown along the underside curve of each cap so they read as rounded rather than flat. Leave the short stems almost white, just a whisper of warm grey along one edge, since that pale contrast against the caps is what makes the pair look like real mushrooms.
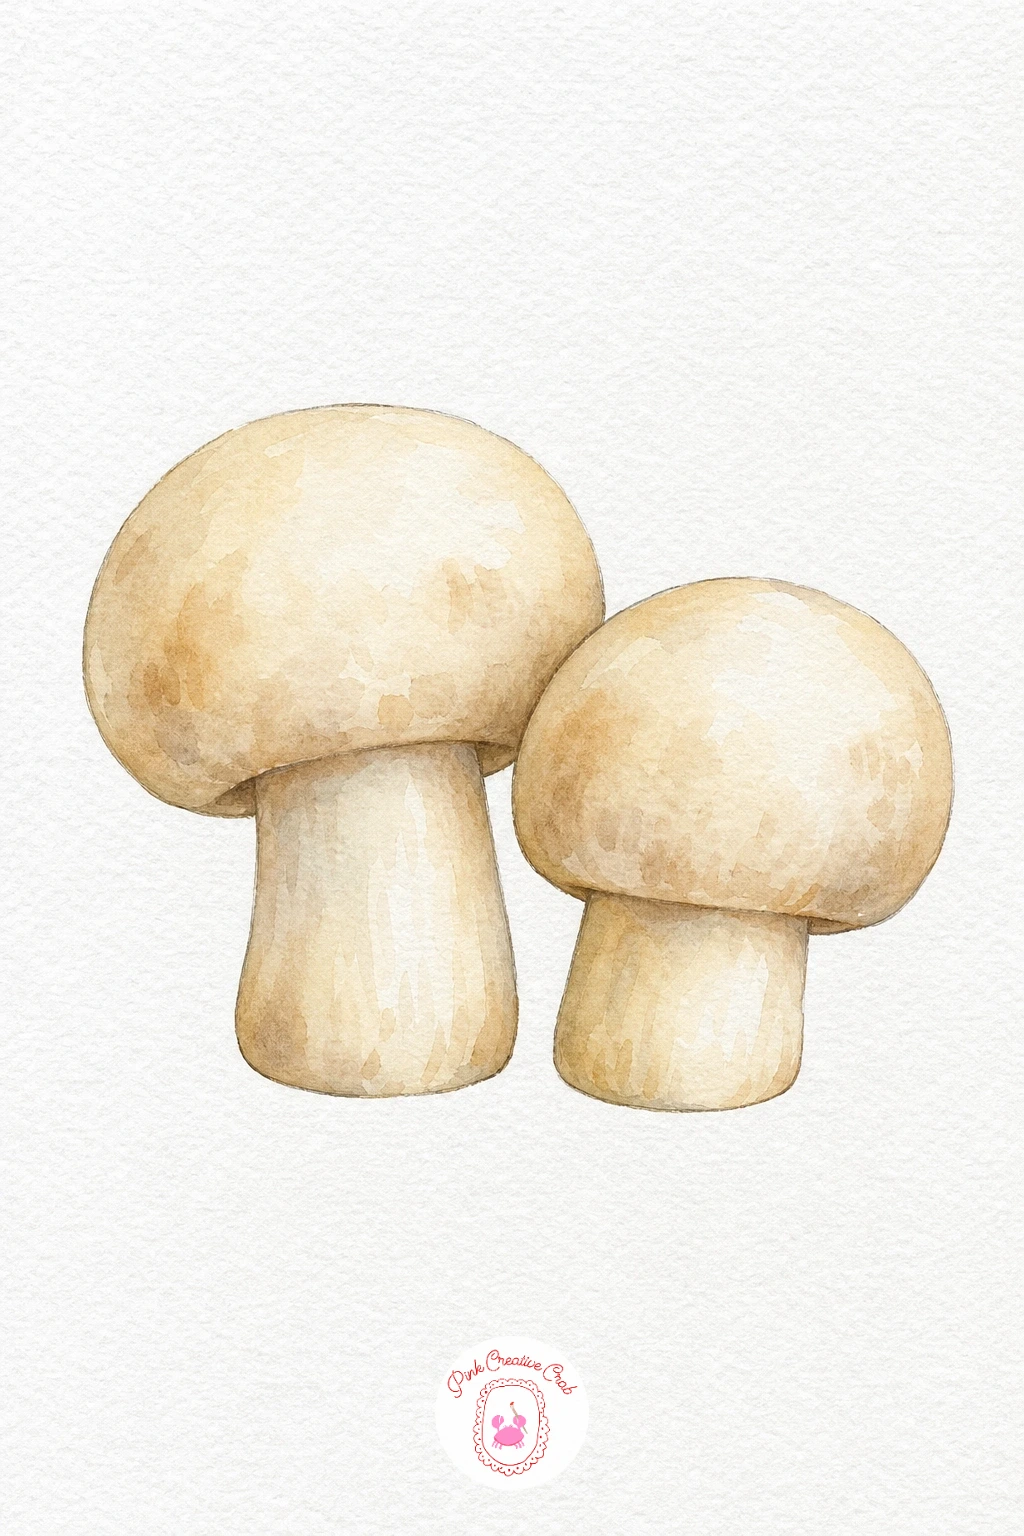
Palette: Raw Umber,Payne’s Grey,Naples Yellow
Artichoke
Wet the whole oval bulb and lay in a soft green wash, then while still damp touch grey green into the lower half so the two colors blend into a gentle gradient across the rounded form. Once dry, use a fine brush to paint a few curved lines following the overlapping scale pattern, just enough suggestion to read as artichoke leaves without drawing every single one. Keep the short stem at the base a plain warm green so the eye rests on the textured bulb above it.
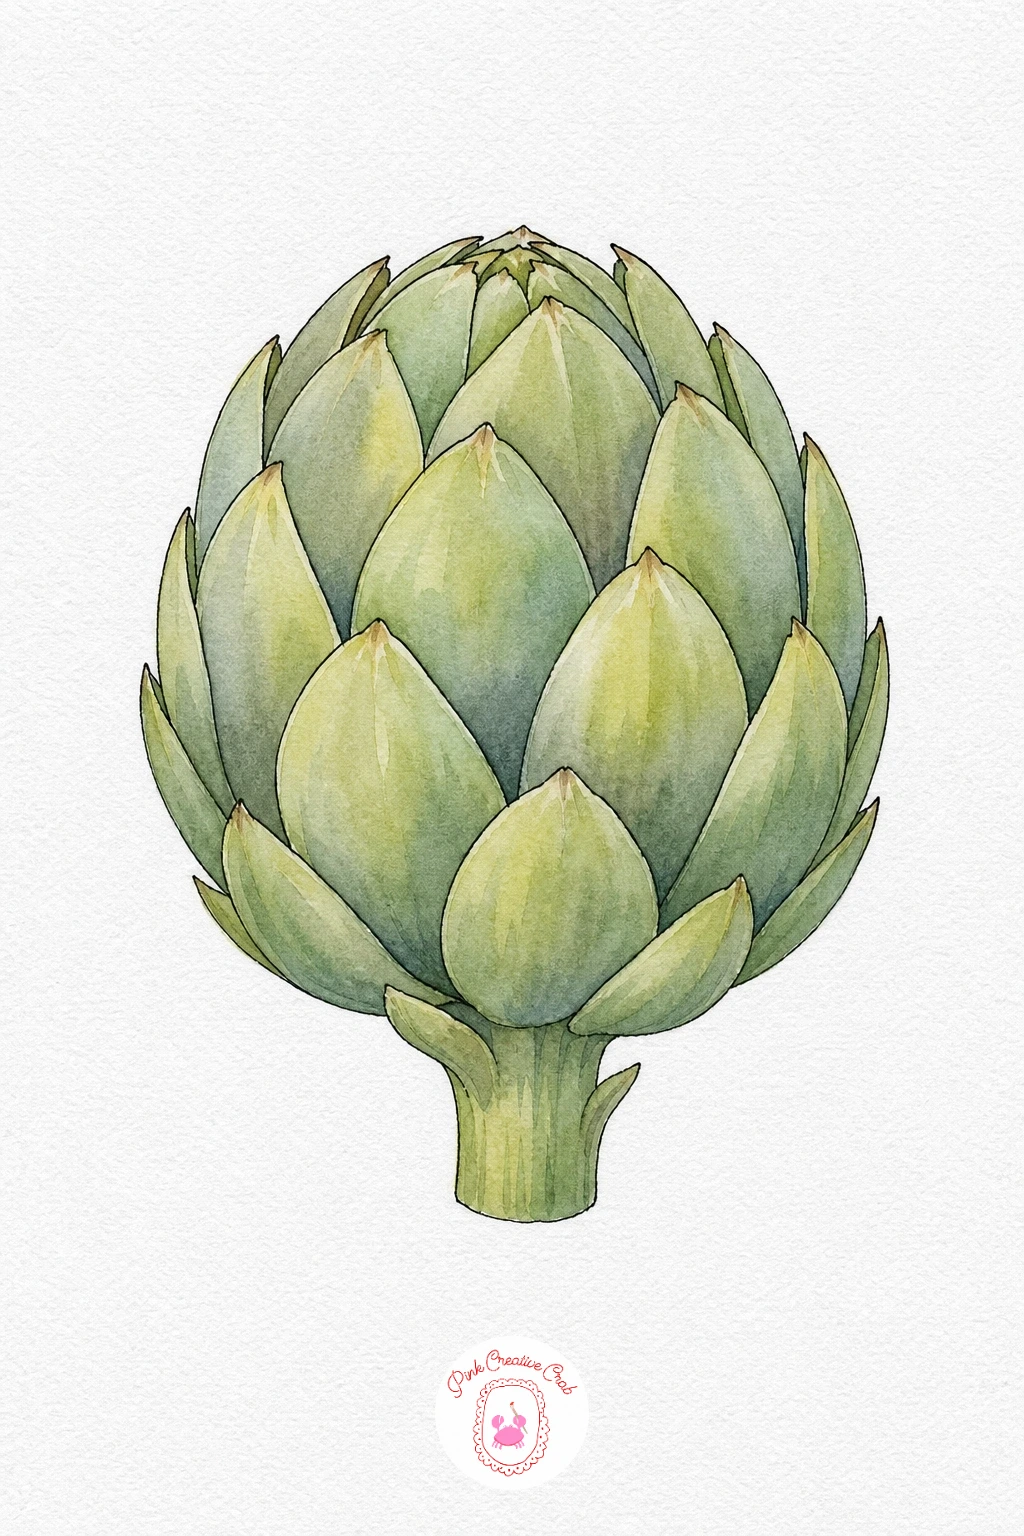
Palette: Sap Green,Grey Green,Hooker’s Green
Garlic Bulb
Keep this one mostly the white of the paper, adding only the faintest wash of naples yellow mixed with a touch of raw umber across the whole bulb so the papery skin still glows pale rather than looking colored in. While that thin wash is damp, drag a slightly deeper line along each curved clove division so the bulb reads as several sections rather than one smooth lump. Finish with a dry curling stem at the top in a thin warm brown line, the one small detail that makes the whole bulb click into place.
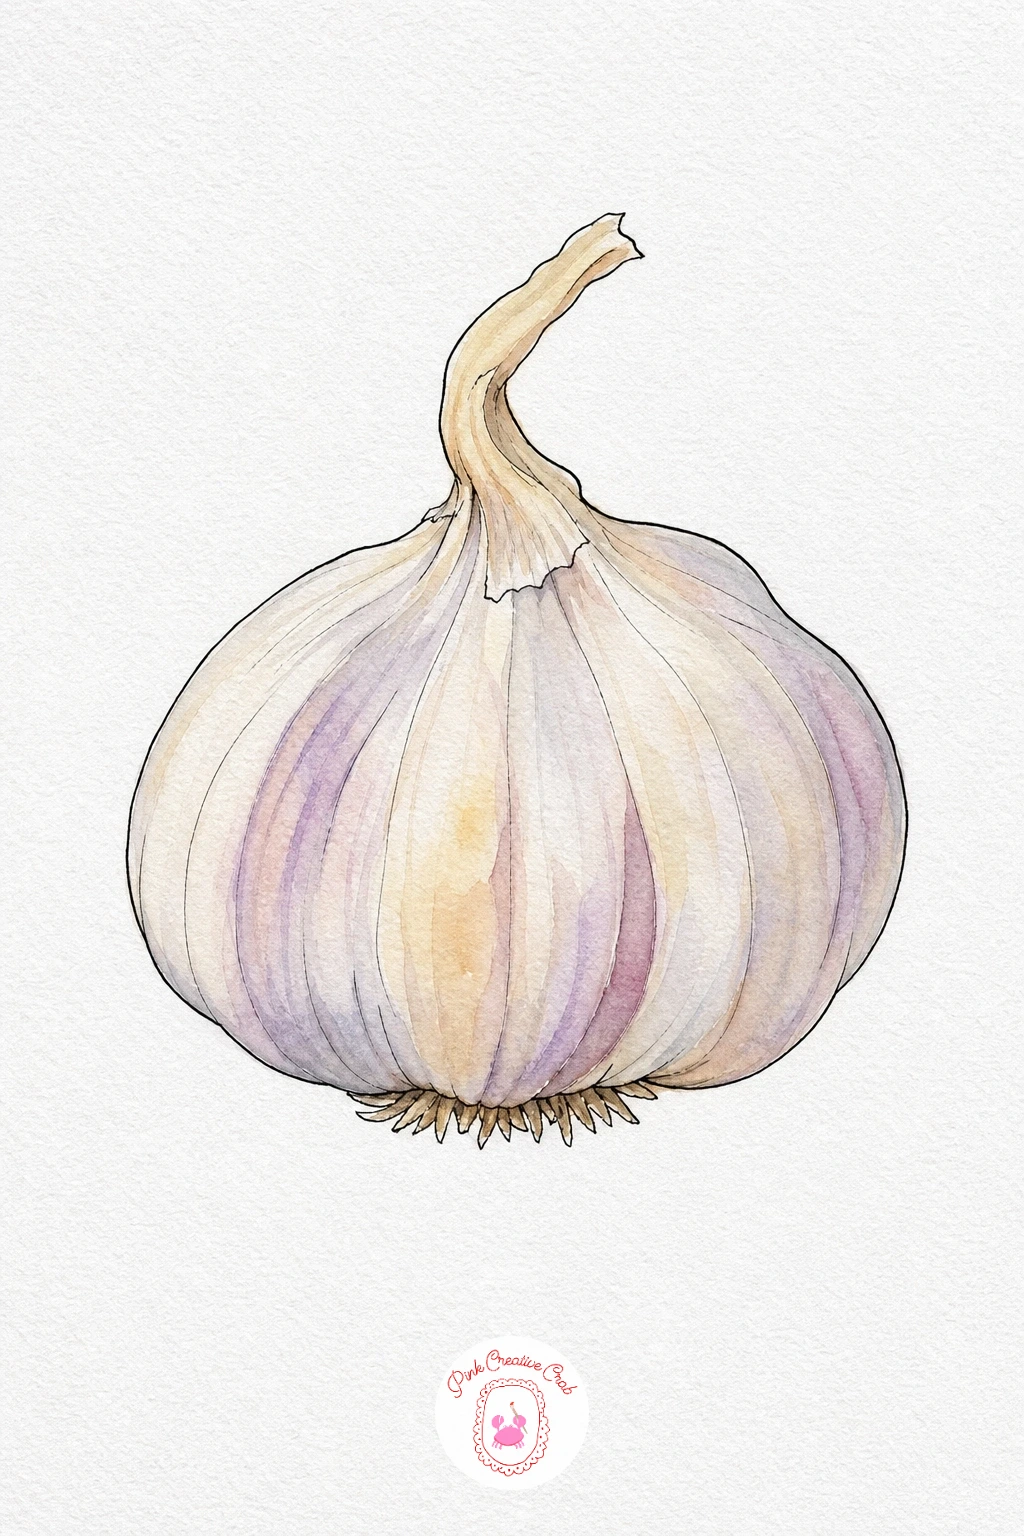
Palette: Naples Yellow,Raw Umber,Payne’s Grey
Corn Cob
Paint the kernel section first in a wash of golden yellow, then once dry use a fine brush to add short vertical lines in a deeper yellow to separate the rows of kernels without drawing every single one. Paint the peeled back husk leaves in a soft sap green, letting a little yellow green blend in near the folds while the wash is still wet. The contrast between the tidy yellow rows and the loose green husk is the one touch that makes this picture feel finished rather than half done.
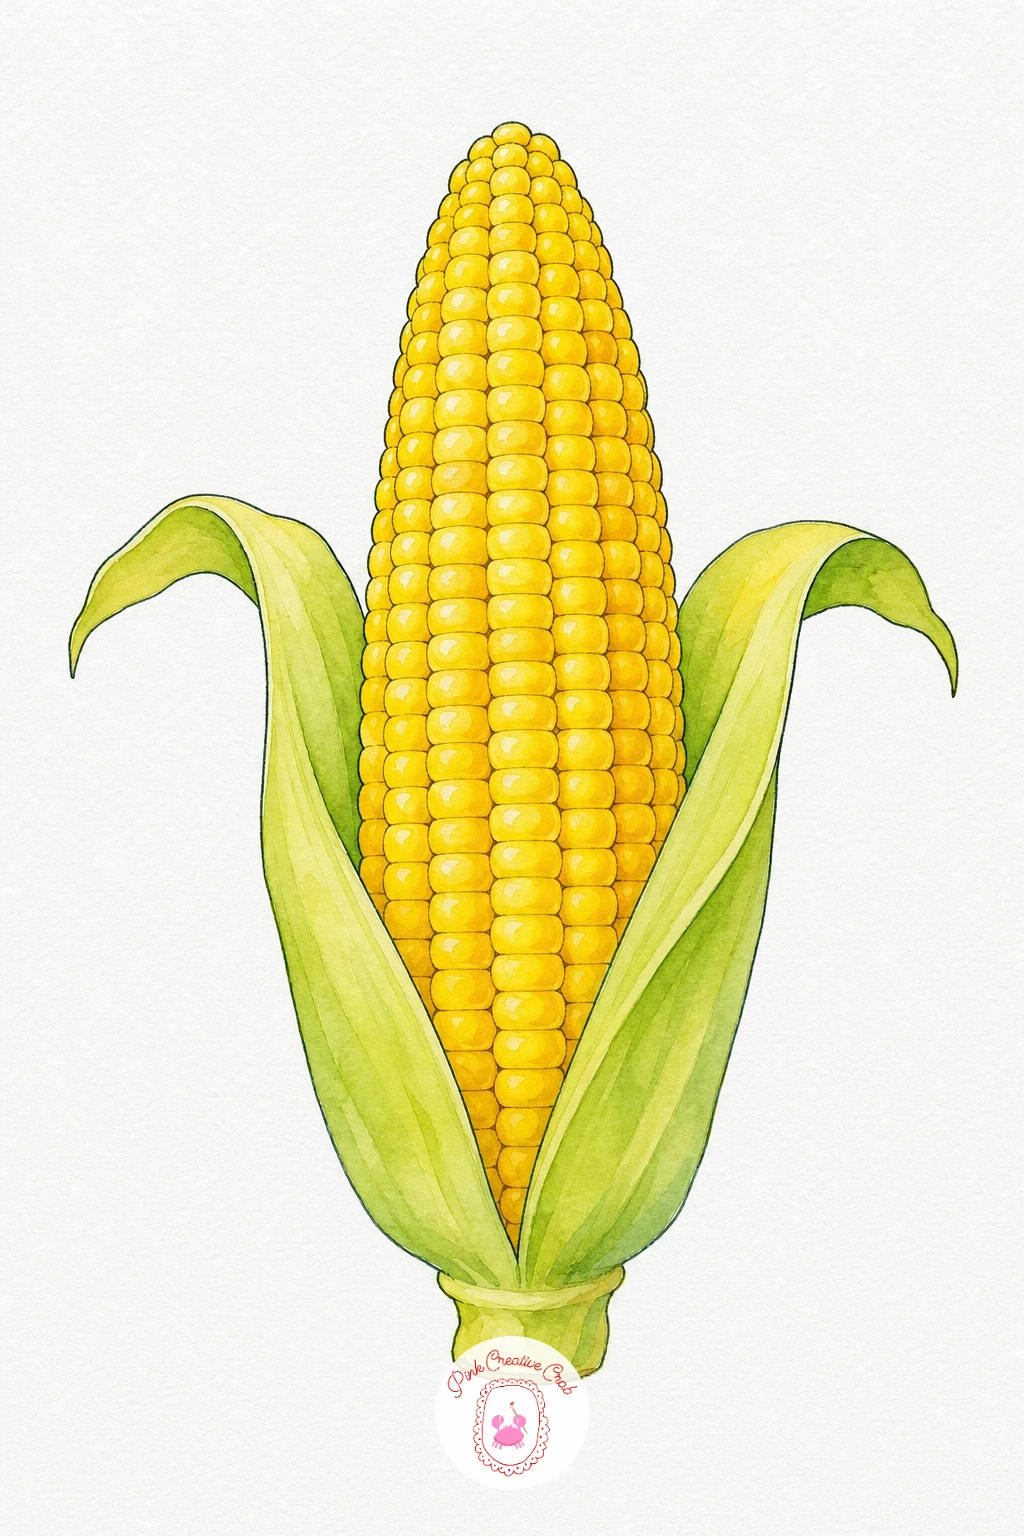
Palette: Golden Yellow,Sap Green,Yellow Green
What to Do Next
Pick whichever vegetable catches your eye first, print its outline, transfer it onto your watercolor paper and paint it with the finished example close by. Once you have one or two down, the rest of the set goes together fast, and before long you will have a whole little harvest worth framing. For more easy subjects to pair with these, browse these easy watercolor fruit paintings or these easy watercolor food ideas for your journal.
Frequently Asked Questions
What size should I print the outline templates?
Print them at standard letter or A4 size, filling most of the page. That gives each vegetable enough room for loose, confident brushstrokes without the shapes feeling cramped.
What paper works best for these watercolor vegetables?
Use a cold press watercolor paper at least 140lb, since it holds wet washes without buckling or warping. Smoother paper works for colored pencil versions but tends to pill under heavy watercolor washes.
How do I transfer the outline onto watercolor paper?
Tape the printed outline and your paper together against a sunny window or light pad and trace the lines through, or slip graphite transfer paper between the two sheets and trace over the lines with a pencil.
Can I color these with pencils or markers instead of paint?
Yes, every outline works just as well with colored pencils or markers. Build color in light layers for pencils, or go straight to full color with markers since they do not blend wet like watercolor.
What if my washes come out patchy or uneven?
A little unevenness actually looks natural on vegetables, which are never perfectly smooth in real life. For a flatter wash, work quickly with a fully loaded brush and tilt the paper slightly so the paint settles on its own.
Have any thoughts?
Share your reaction or leave a quick response — we’d love to hear what you think!
-
 0
-
0
-
0
-
0
-
0
-
0


