

Table of Contents
This set of watercolor potted plants gives you twelve houseplants built from a few big, friendly shapes, so there is nothing to invent and nothing to guess at. Each one comes with a finished painted example and a clean outline you print and trace, no drawing skills required.
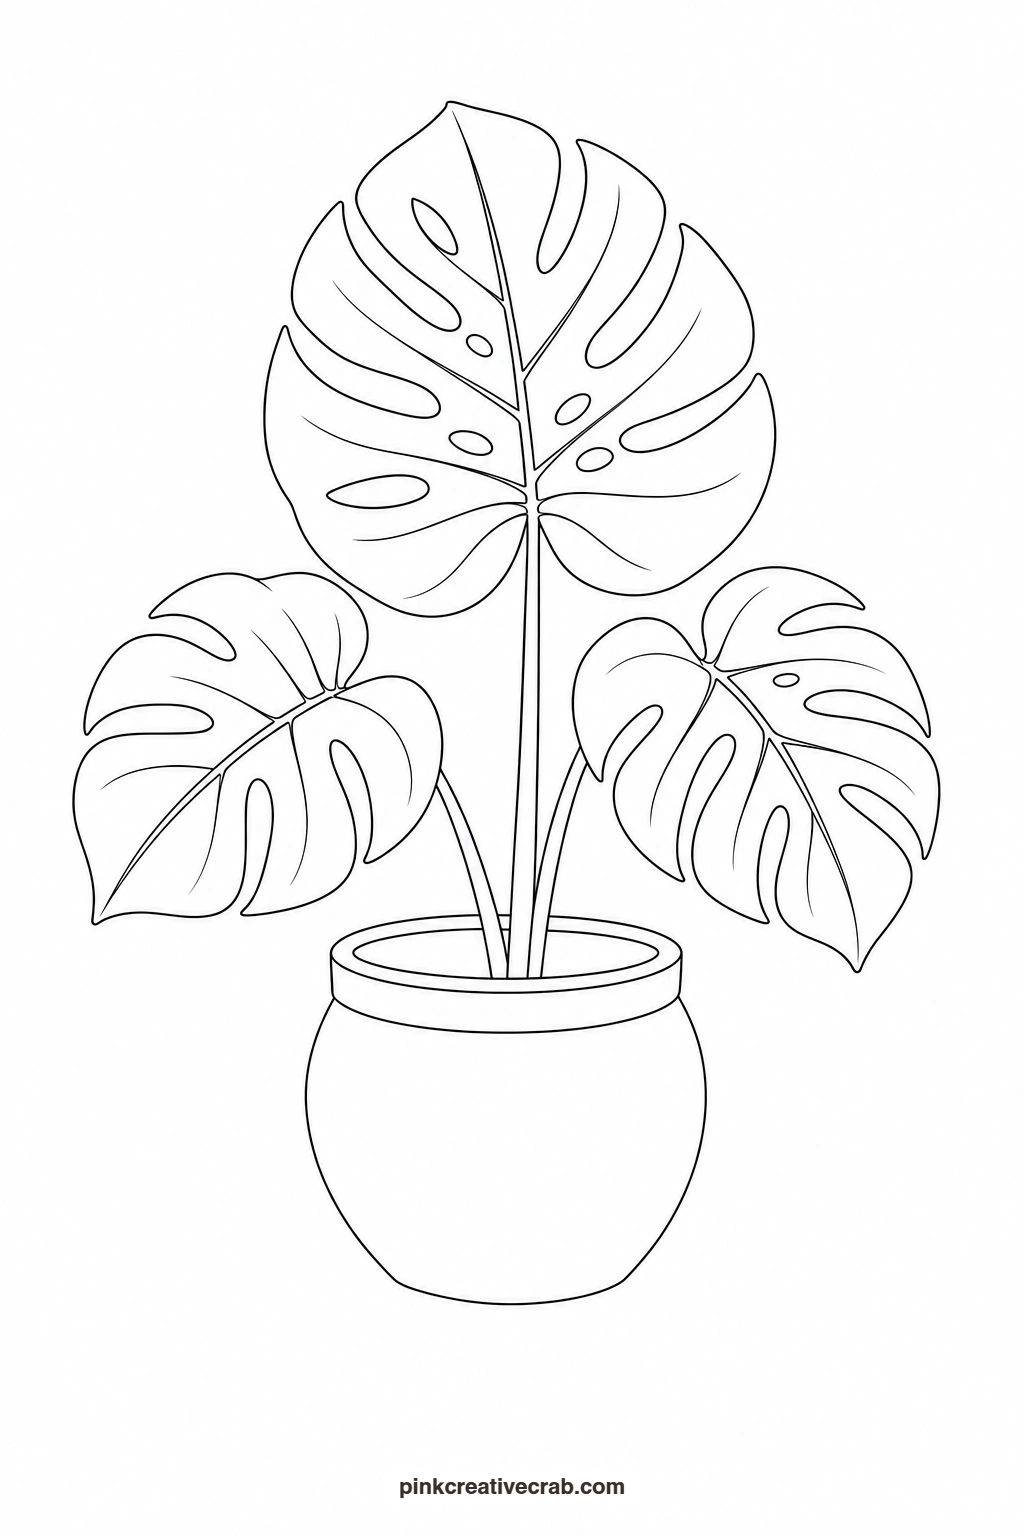
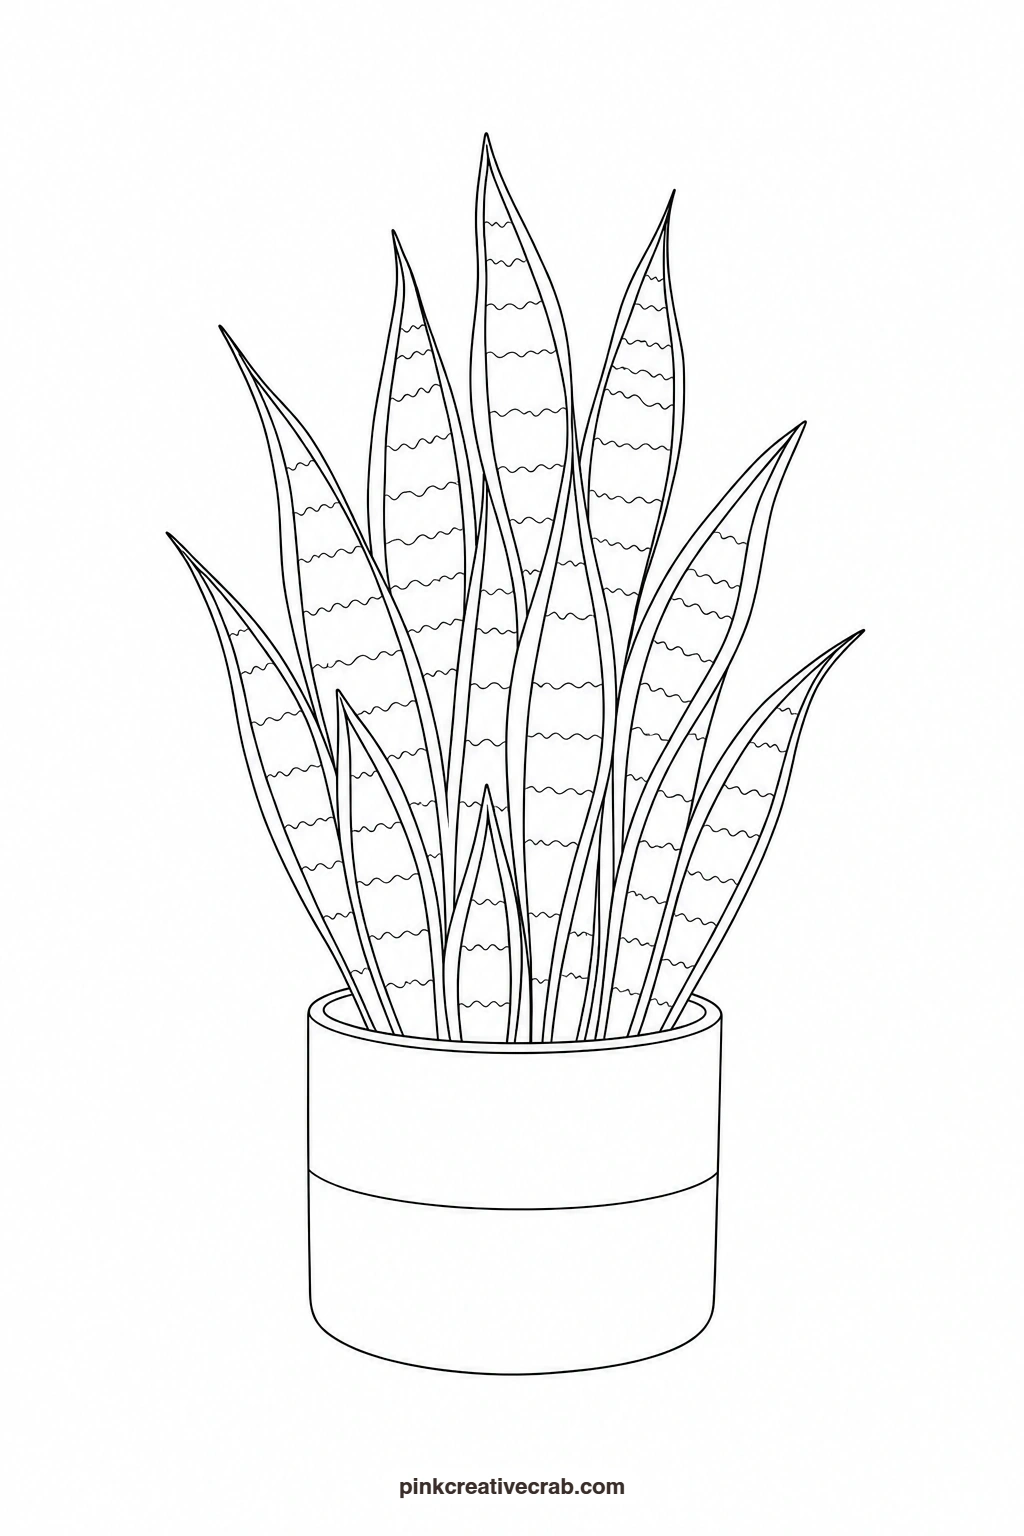
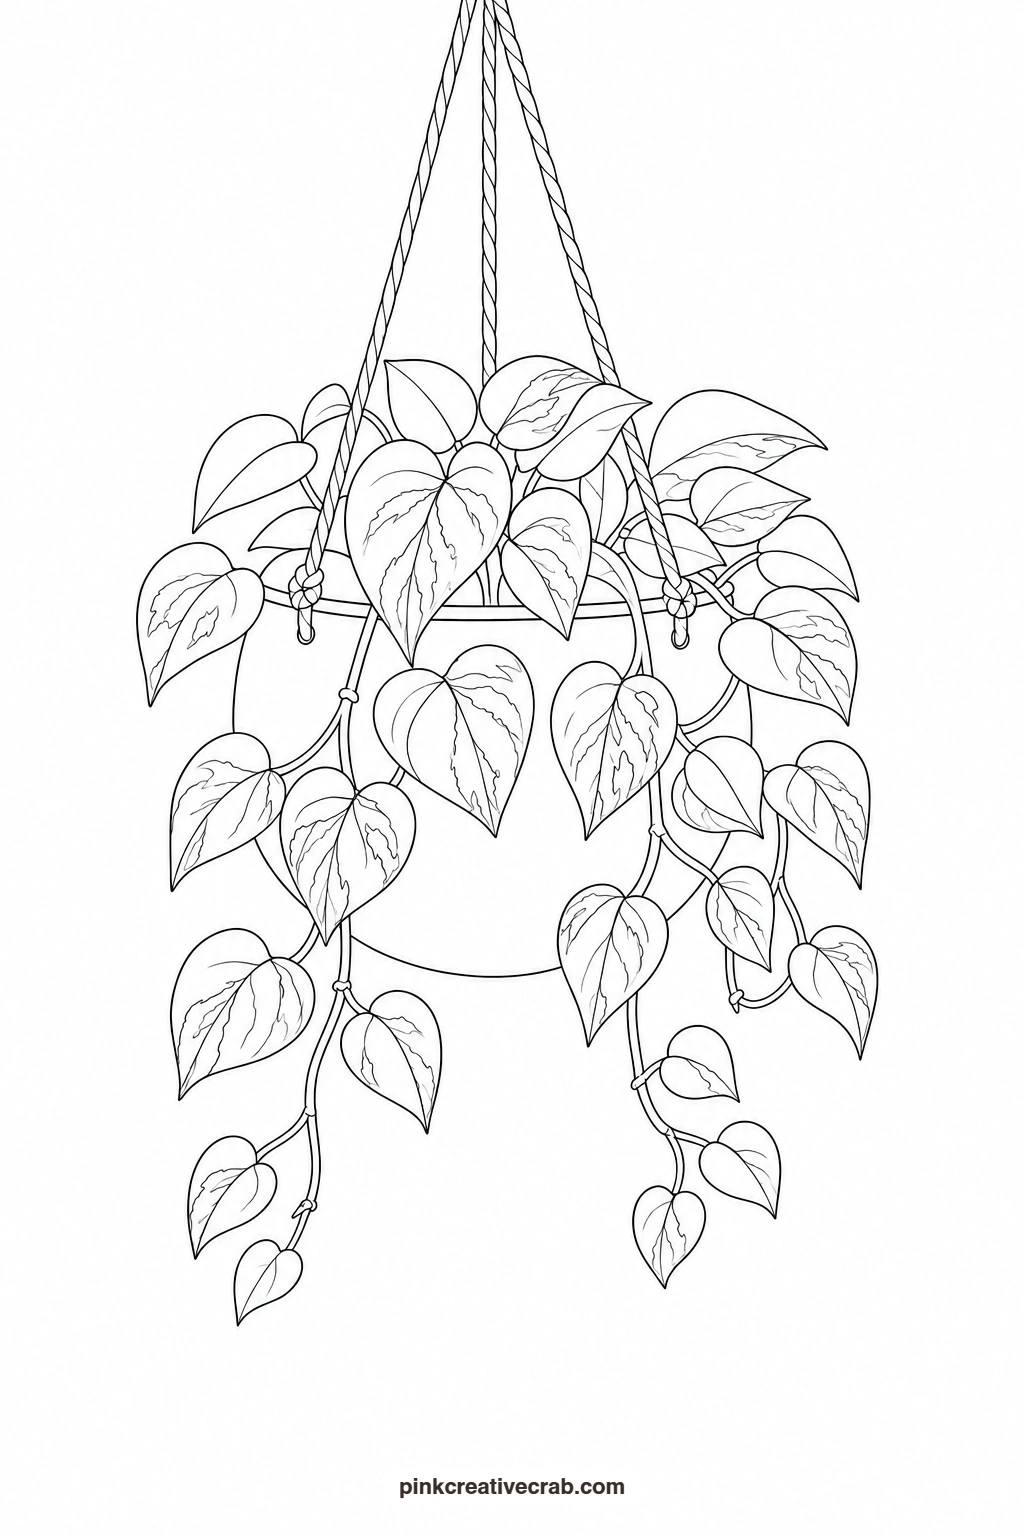
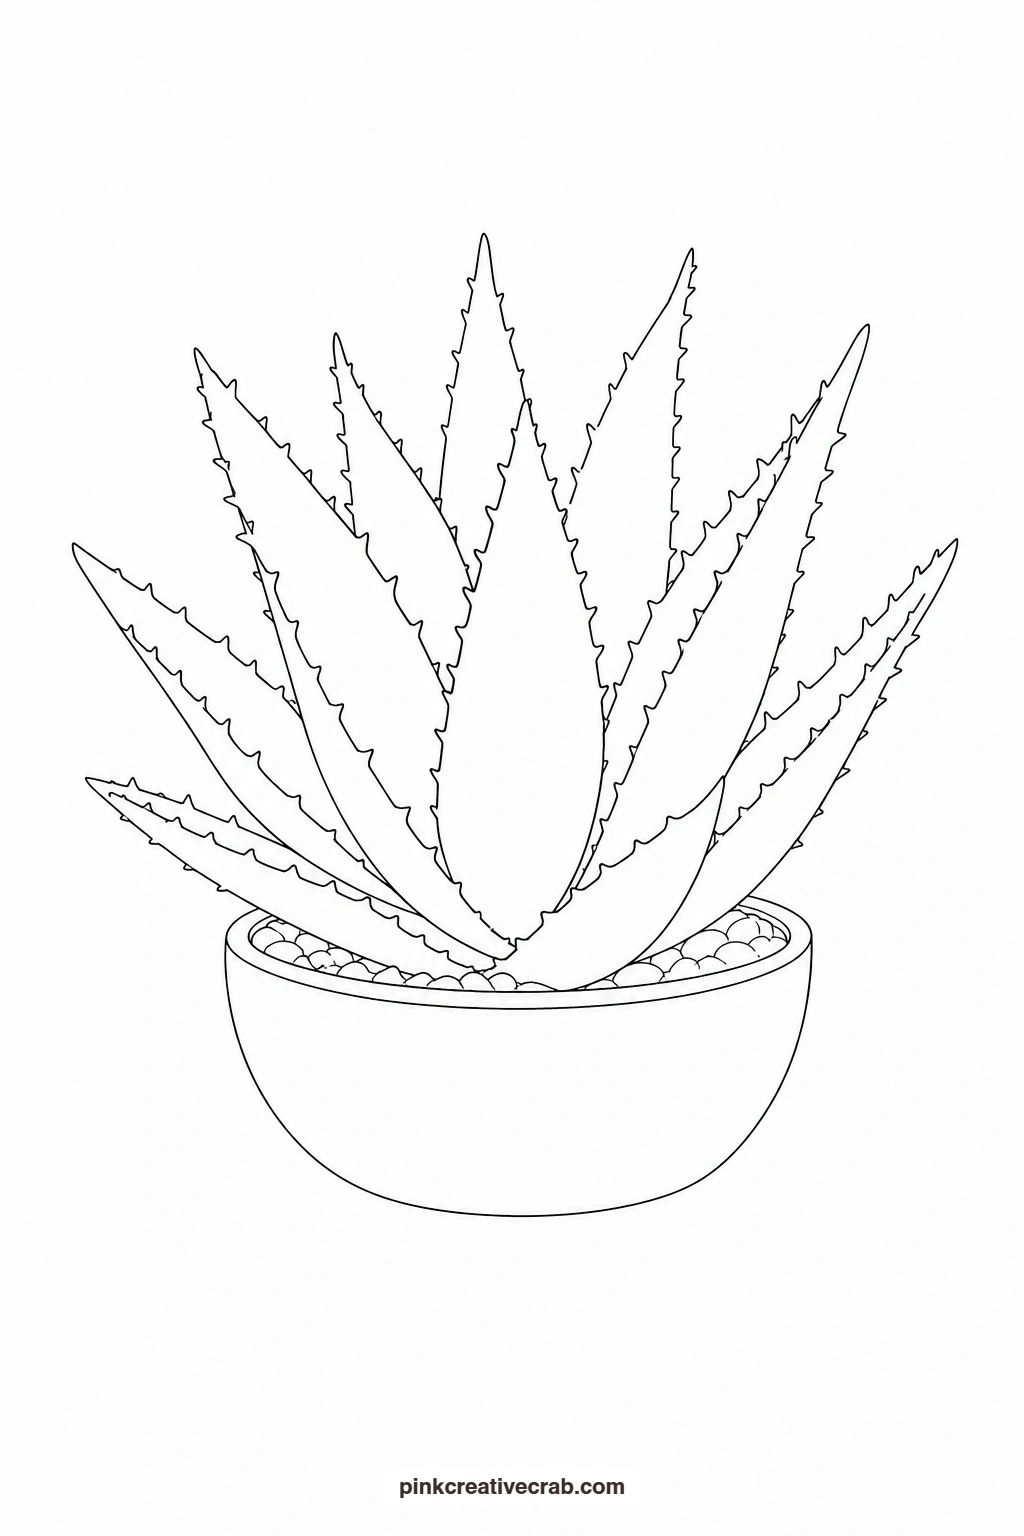
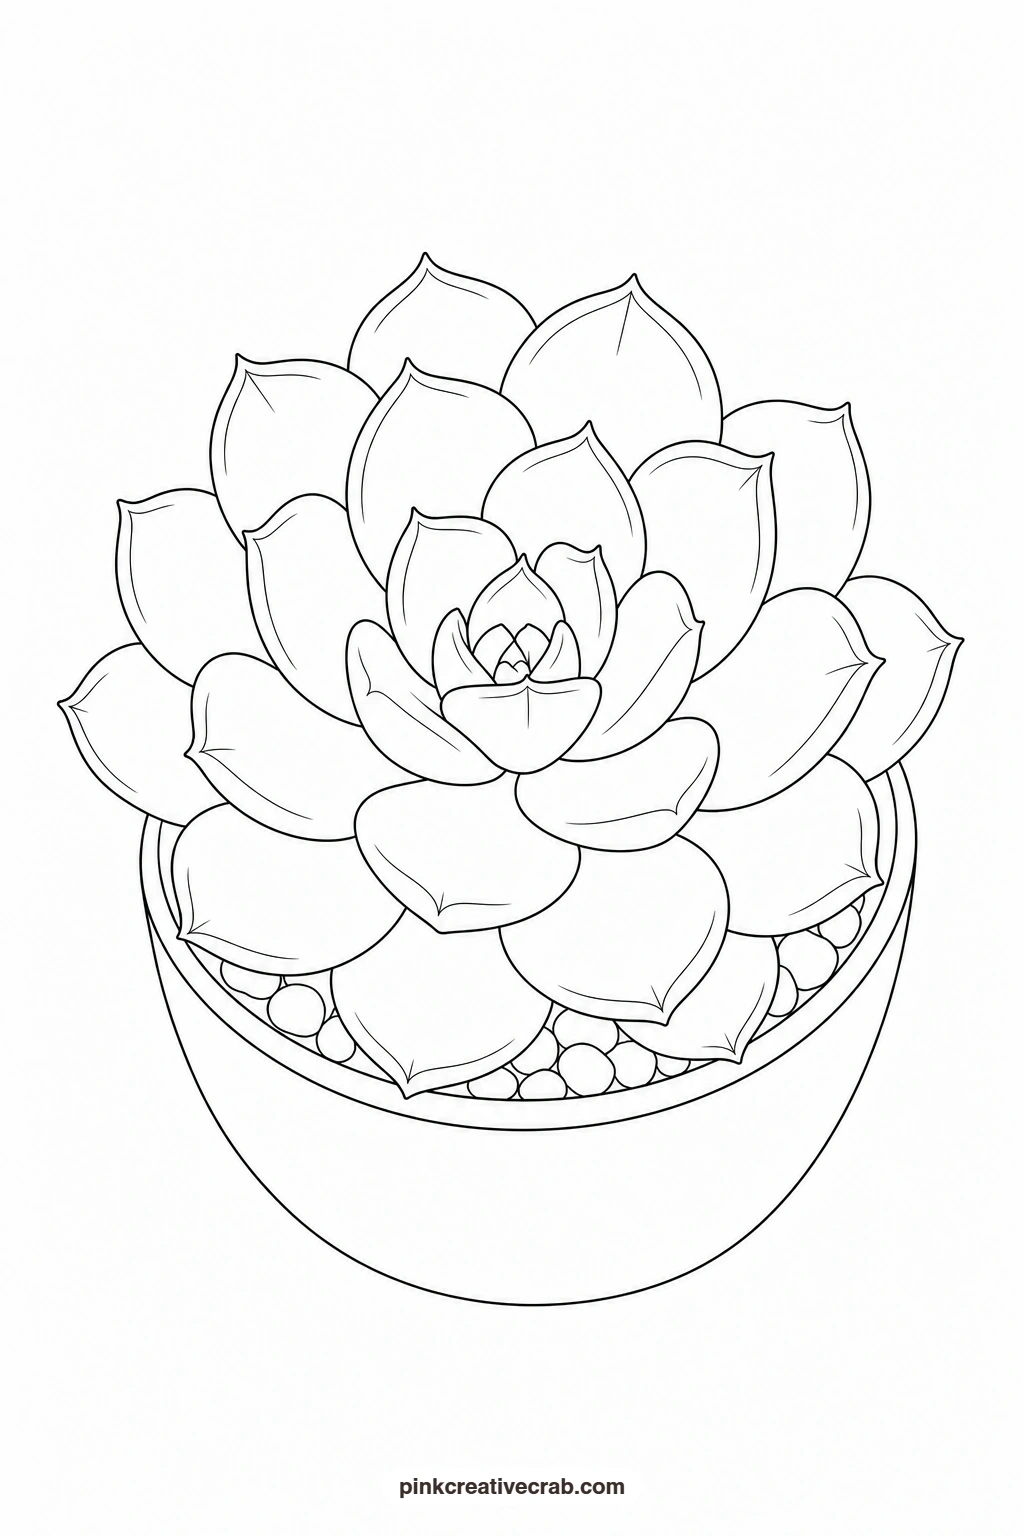
Print the outline at the size you want to paint, then transfer it to your watercolor paper by taping both sheets to a sunny window or a light pad, or by sliding a sheet of graphite transfer paper between them and going over the lines. Once the shapes sit on good paper, keep the finished example next to you and follow the colour order in each template.
Using these images: free for personal projects such as printing, coloring, cards, journals and gifts. Handmade items that include them may be sold up to 30 pieces per design. More than that is commercial use and is not permitted, and neither is selling or sharing the images themselves or passing them off as your own. Please ask before any other use.
Monstera in a Pot
Paint the pot first in warm terracotta orange, keeping the wash flat and letting it dry before you touch the leaves. Load a medium brush with sap green and fill each leaf shape, dropping in a touch of darker green near the stem while the paper is still damp so the colours blend softly. Once everything is dry, pull a few thin vein lines down each leaf with a fine brush in the darker green for the one detail that makes it read as a monstera.
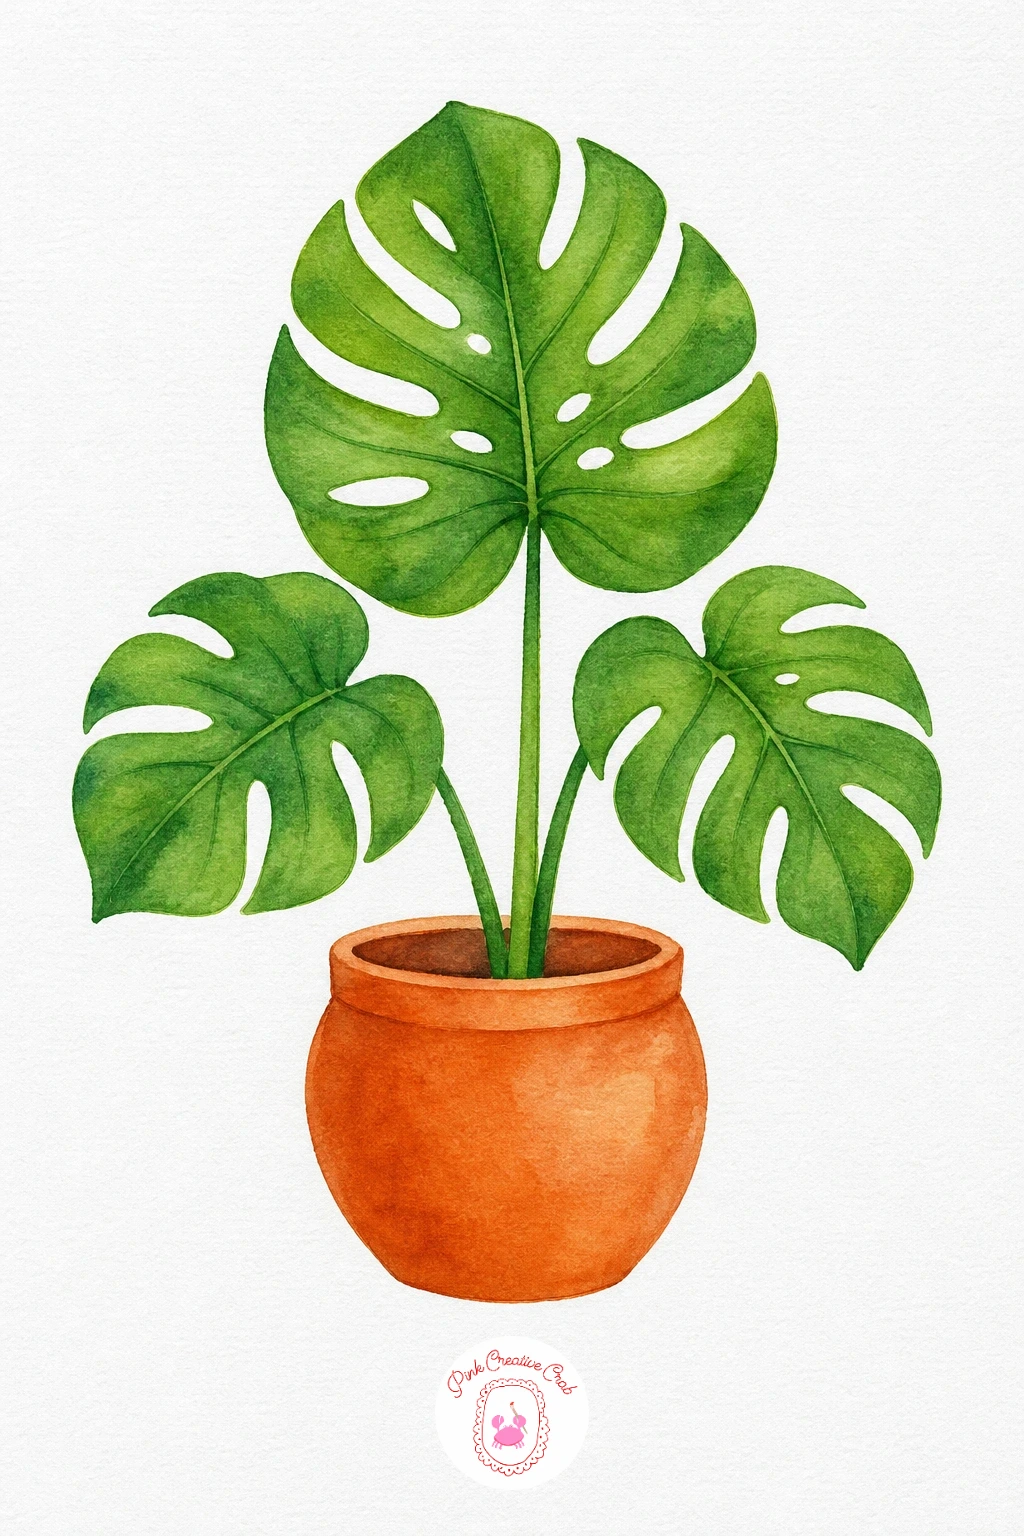
Palette: Sap Green,Hooker’s Green,Terracotta,Burnt Sienna
Snake Plant
Wash each tall leaf in mid green from base to tip, leaving a thin strip of white paper near the edge for the lighter band snake plants are known for. While the green is still wet, touch a darker green along one side of each leaf so it blends into the base colour without a hard line. Fill the pale edge strip last with a soft wash of yellow green, then paint the planter in a flat grey once the leaves are fully dry.
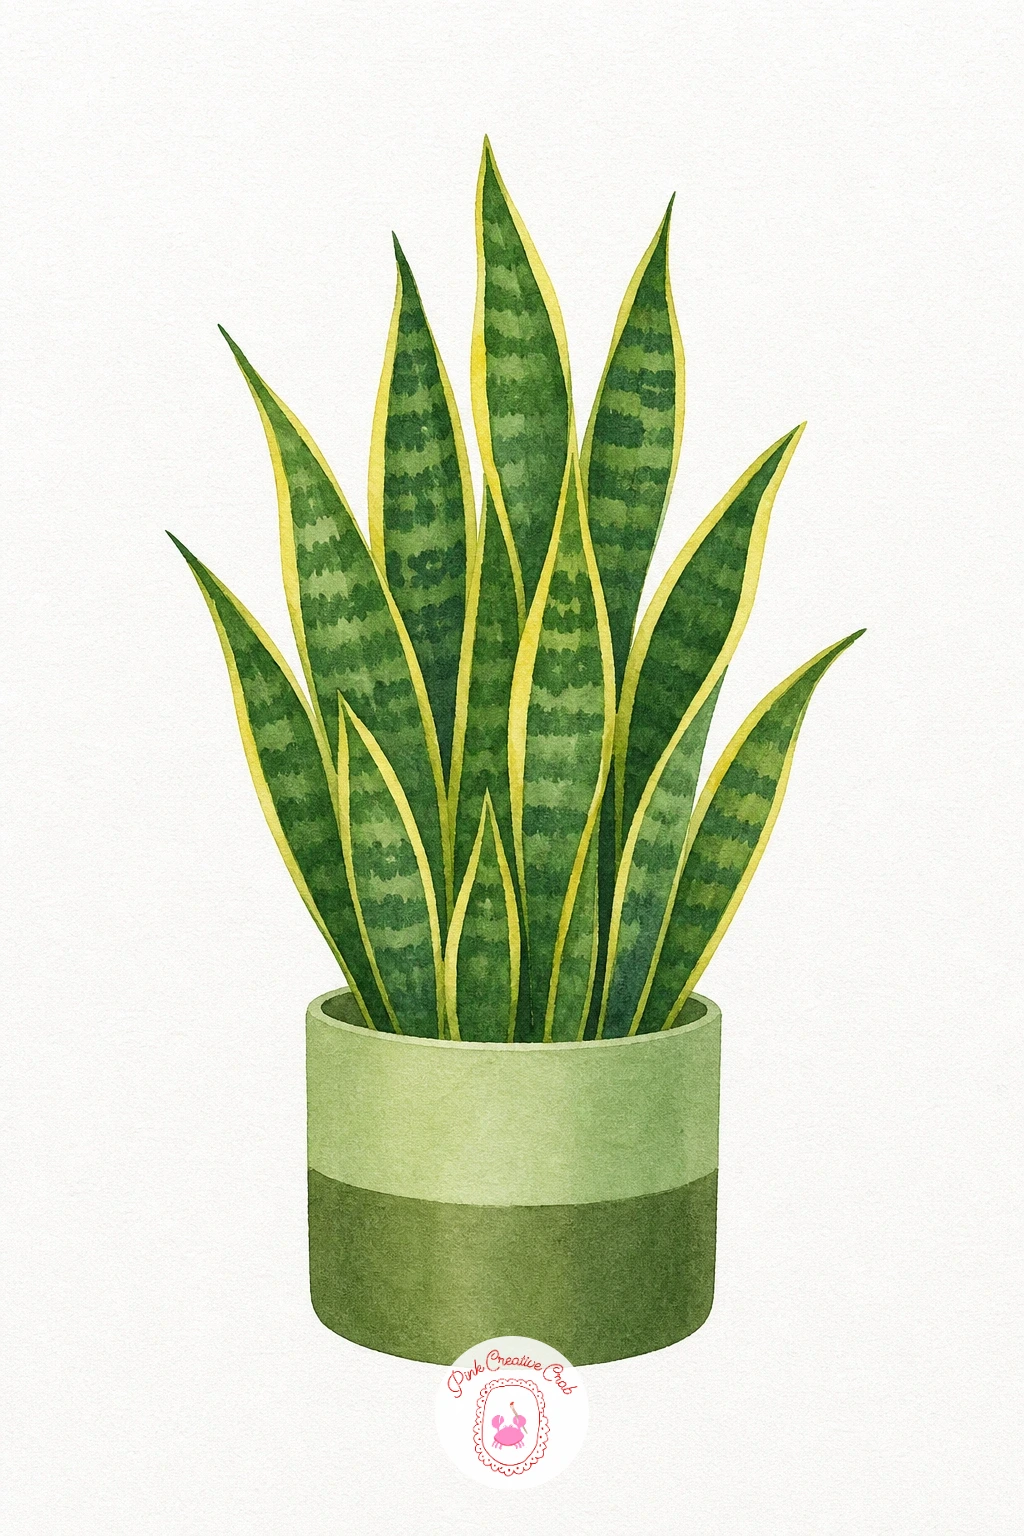
Palette: Hooker’s Green,Sap Green,Yellow Green,Payne’s Grey
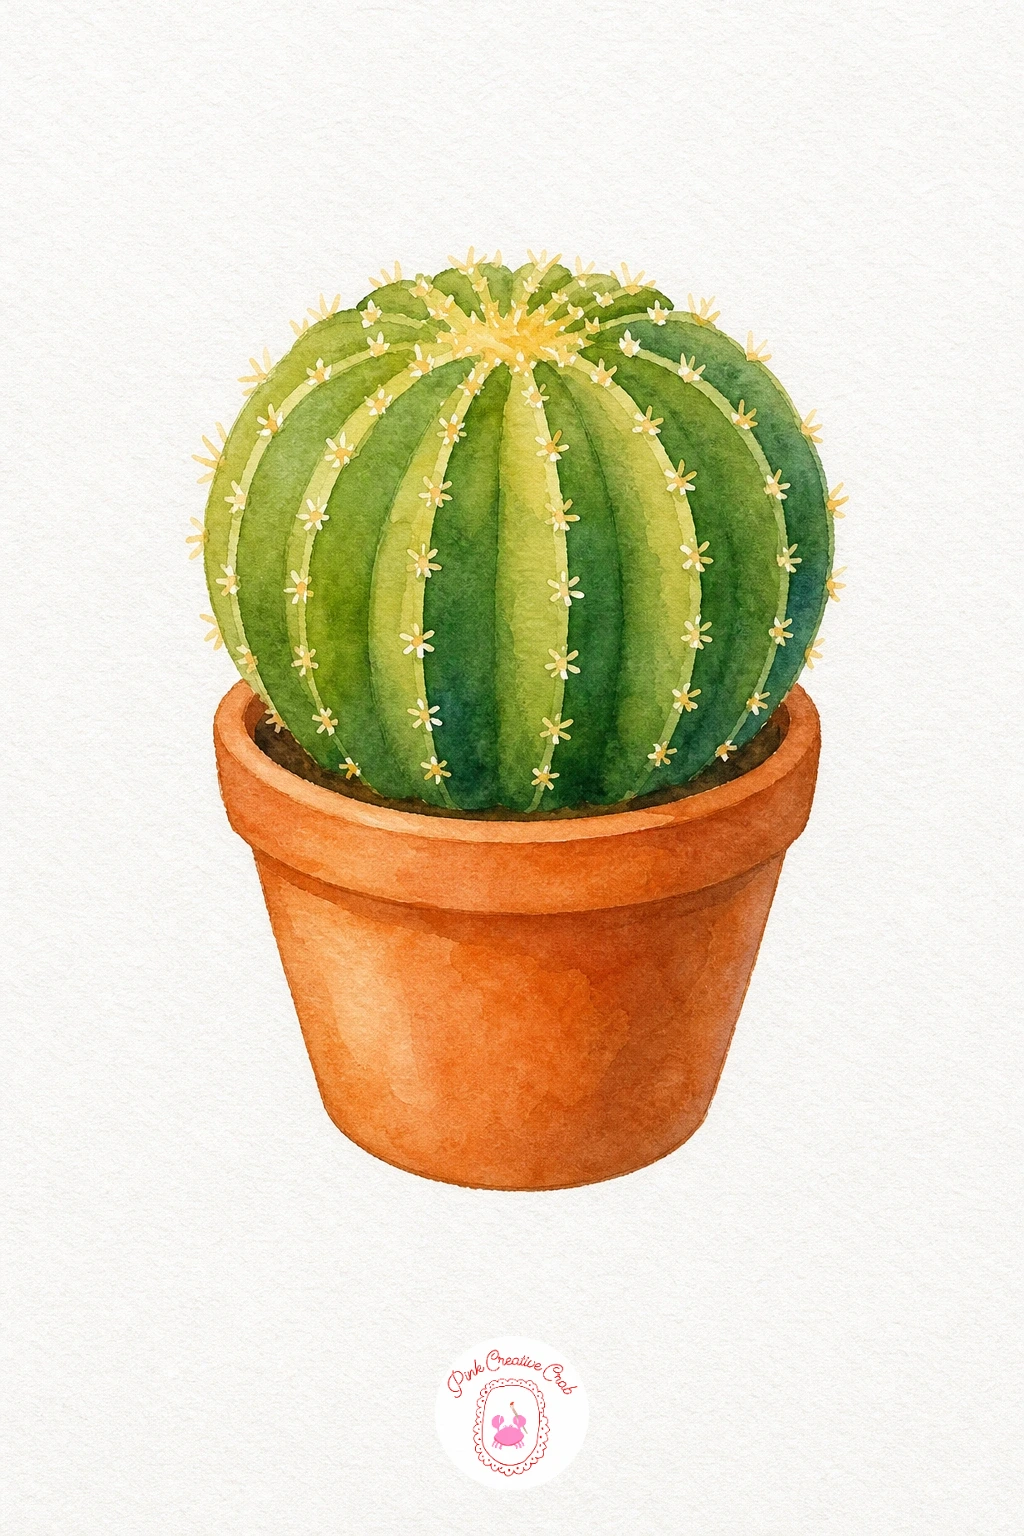
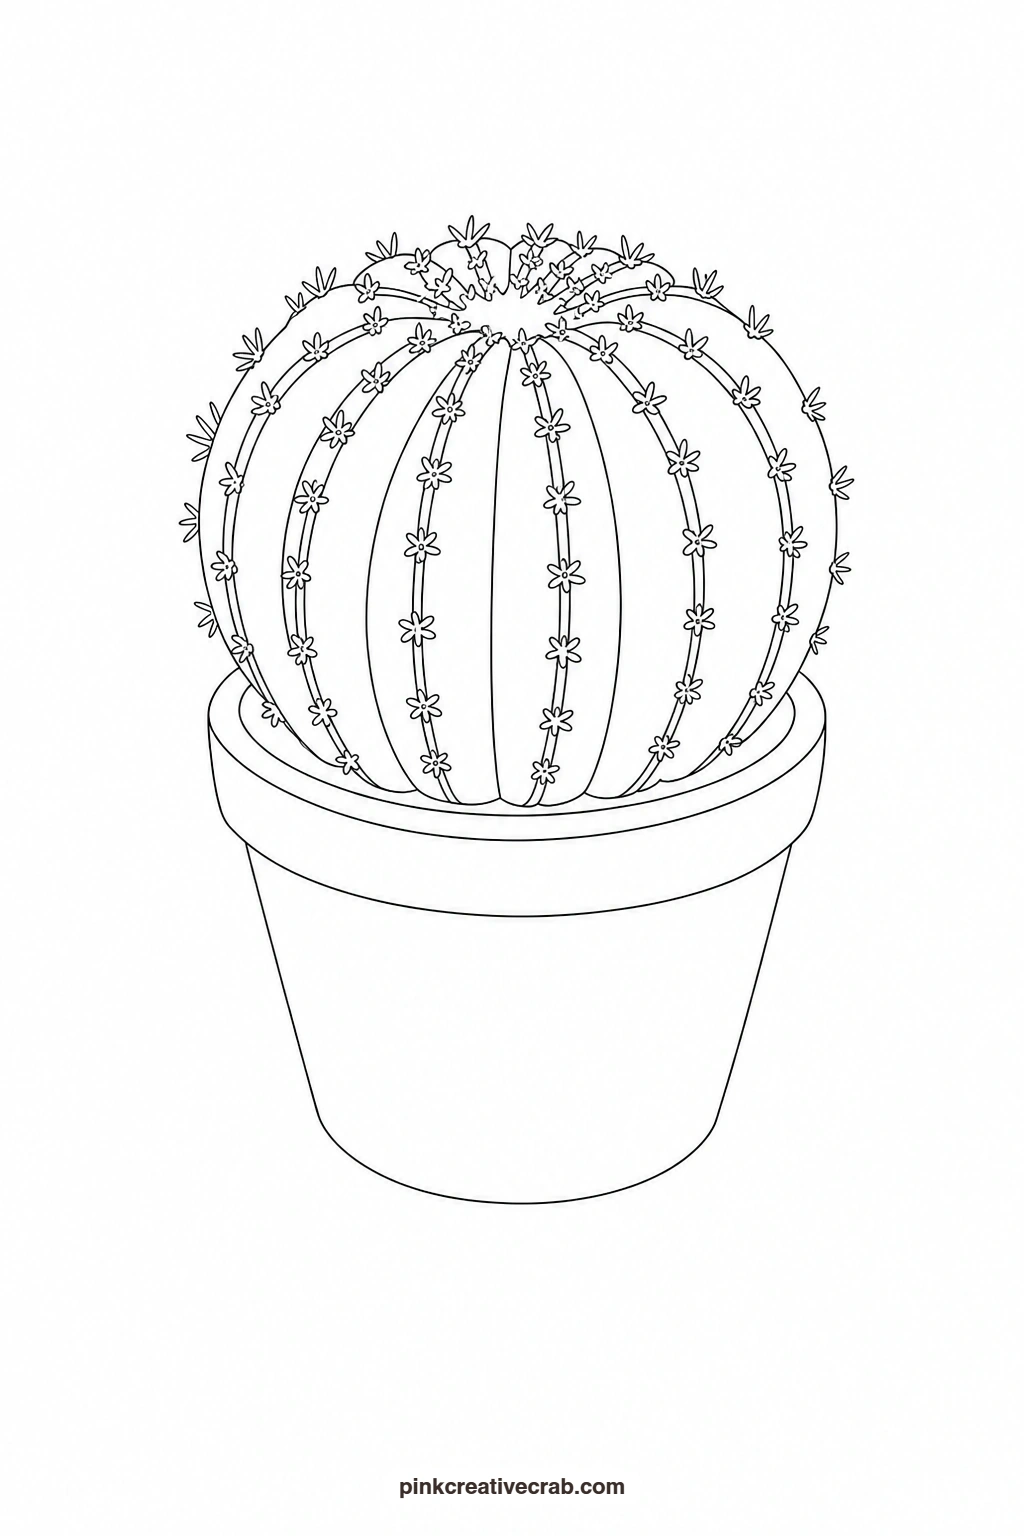
Barrel Cactus in a Pot
Paint the whole cactus body in one flat green wash first, then let it dry completely before adding the ribs. Use a fine brush loaded with a darker green to pull curved lines from top to bottom, dividing the round shape into its segments. Dot small clusters of white or pale yellow along each rib line with a toothpick or the tip of a fine brush for the spines, then finish the pot in a simple terracotta wash.
You Will Need
- toothpick or fine brush for spine dots
Palette: Sap Green,Hooker’s Green,Terracotta,Naples Yellow
Try a round plate or jar lid to true up the circle when you transfer the outline, so the barrel shape stays even before you paint it.
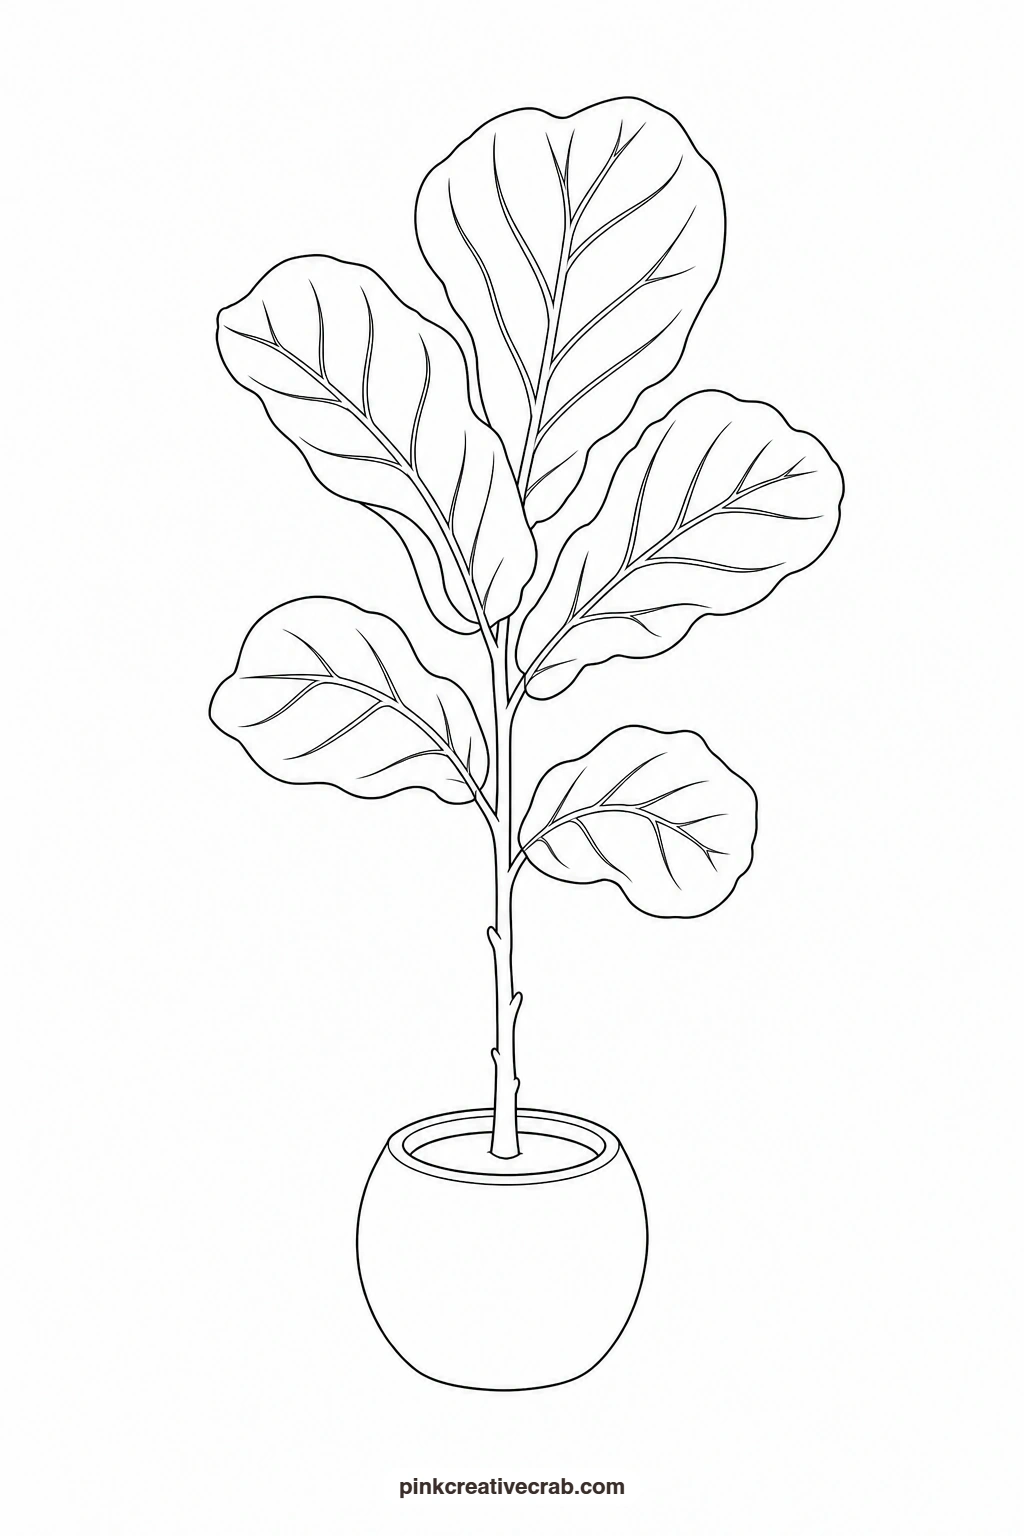
Fiddle Leaf Fig
Start each broad leaf with a wash of mid green, then while it is still wet drop a touch of warmer yellow green near the leaf’s centre so the colour blushes outward naturally. Keep the thin stem a simple flat line of brown, painted last with a fine brush so it stays crisp against the dry leaves. One or two short vein strokes down the centre of each leaf is all the detail this shape needs to look finished.
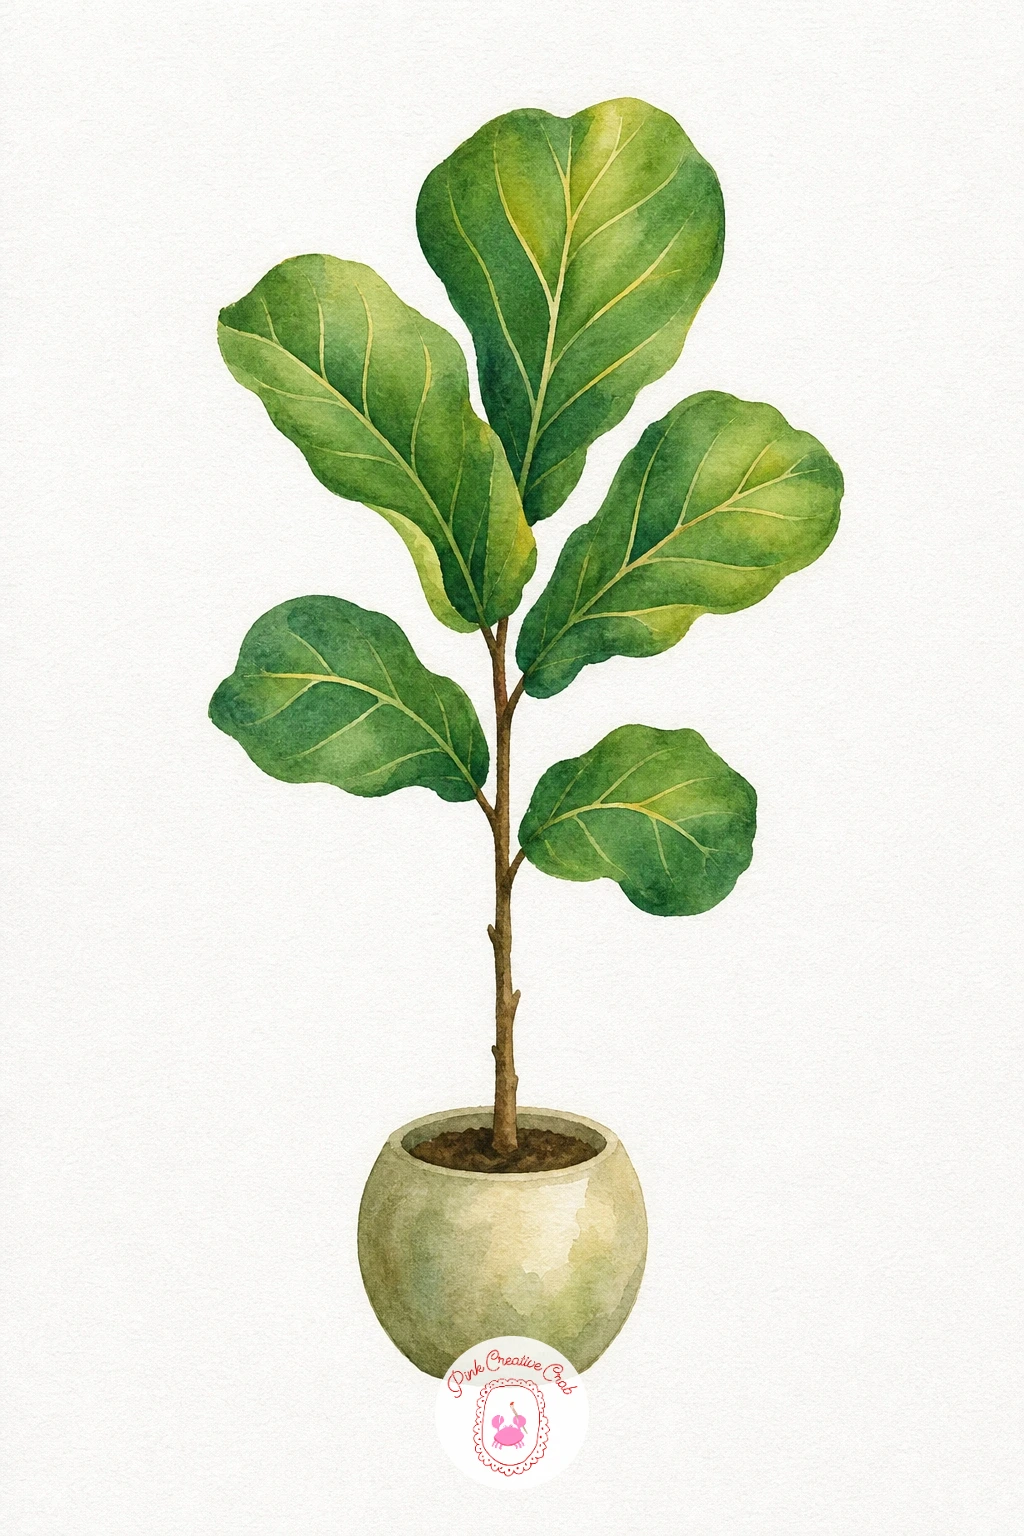
Palette: Sap Green,Olive Green,Burnt Umber,Terracotta
Pothos in a Hanging Pot
Paint each heart shaped leaf in a light green base, then while still damp dab a few small patches of cream or pale yellow onto the leaf so the colour feathers softly like real pothos marbling. Work from the top leaves down to the trailing ones so you are never resting your hand on wet paint. Finish with the hanging pot in a flat warm neutral and two simple curved lines for the rope, which is the only extra detail this one needs.
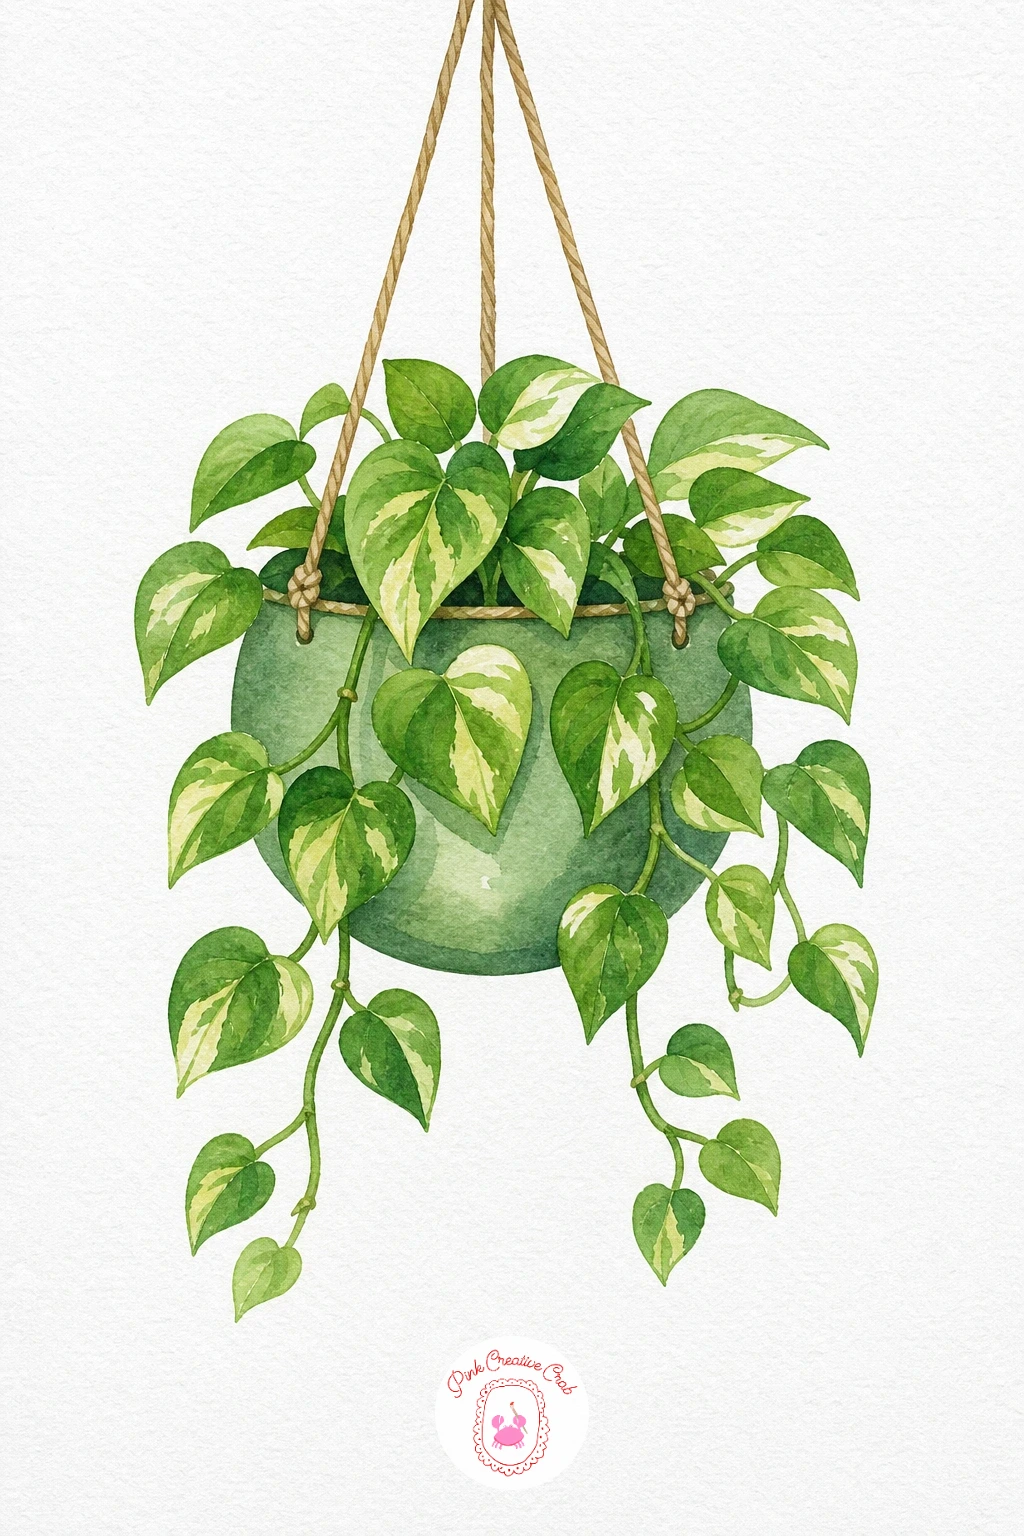
Palette: Sap Green,Yellow Green,Cream,Raw Umber
If the marbled patches feel fiddly at first, keep them big and few on just two or three leaves rather than every one, it still reads as pothos.
Aloe
Mix a cool blue green and fill each thick pointed leaf with a flat wash, working from the outer leaves inward so the shapes stay separate while wet. Leave the very tip of each leaf a touch paler by wetting it with clean water before the colour reaches it, which gives the frosted look aloe has in real light. Paint the shallow pot in a plain warm grey once the leaves are completely dry.
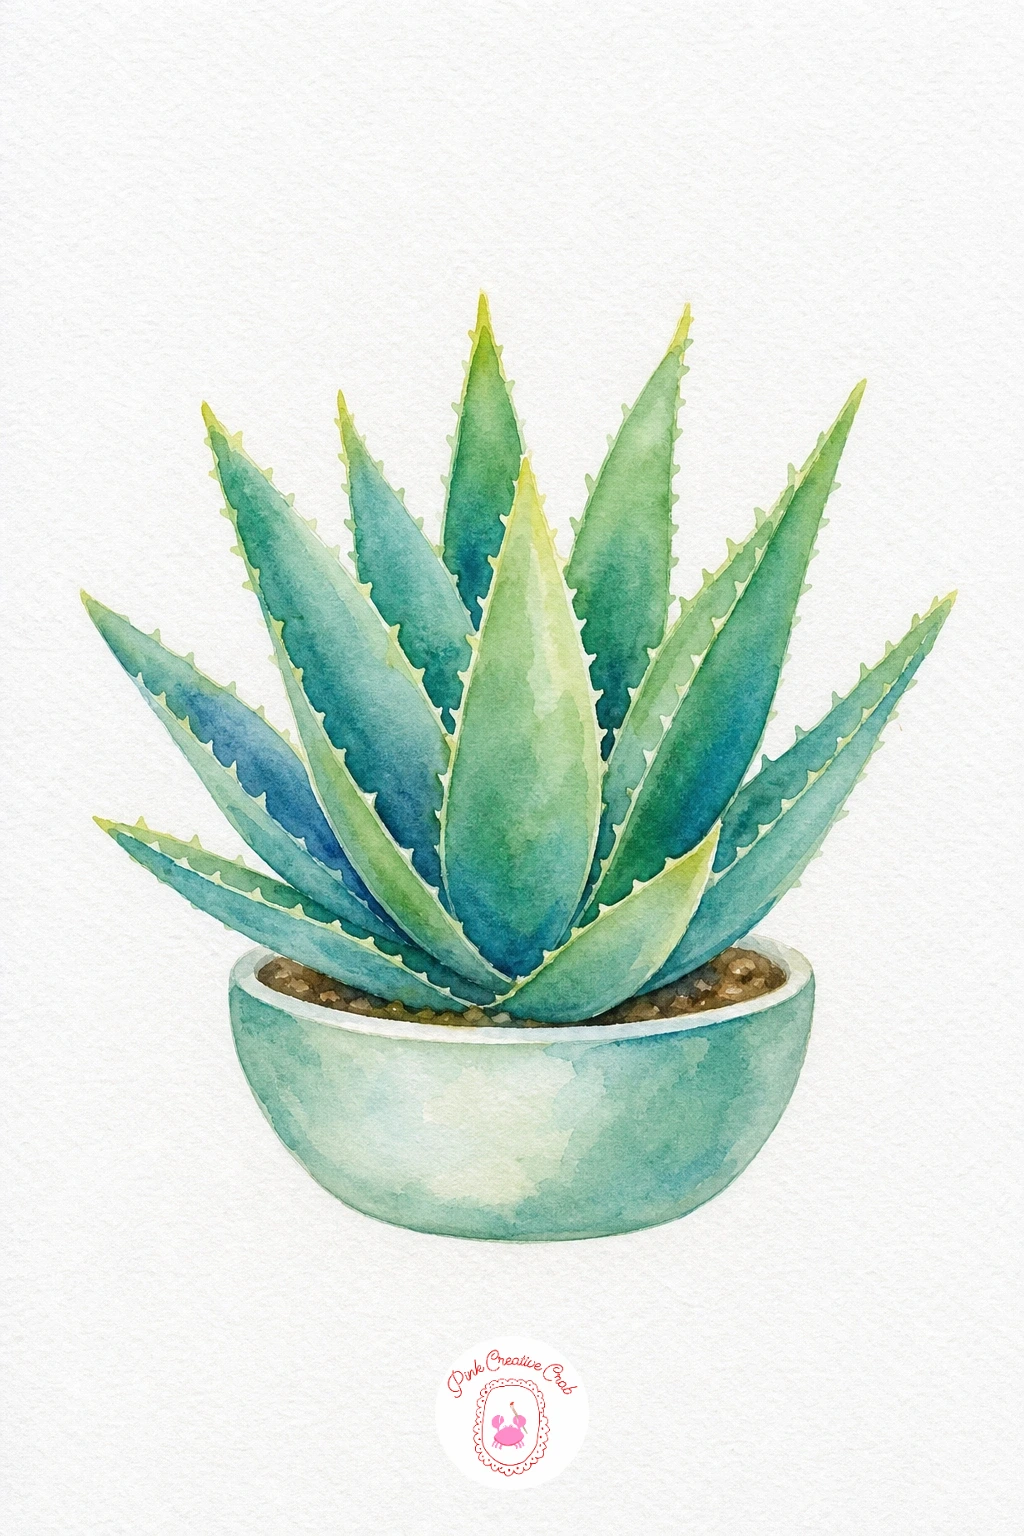
Palette: Viridian,Cerulean Blue,Pale Green,Warm Grey
Succulent Rosette
Paint the rosette from the centre outward, starting the innermost leaves in soft pink and working out to blue green at the outer ring so the colours melt together where the rounds overlap. Keep the brush fairly dry for this one, since a flooded wash will blur the separate leaf shapes you worked to keep clean in the outline. A tiny pot in plain terracotta underneath is all the picture needs to feel complete.
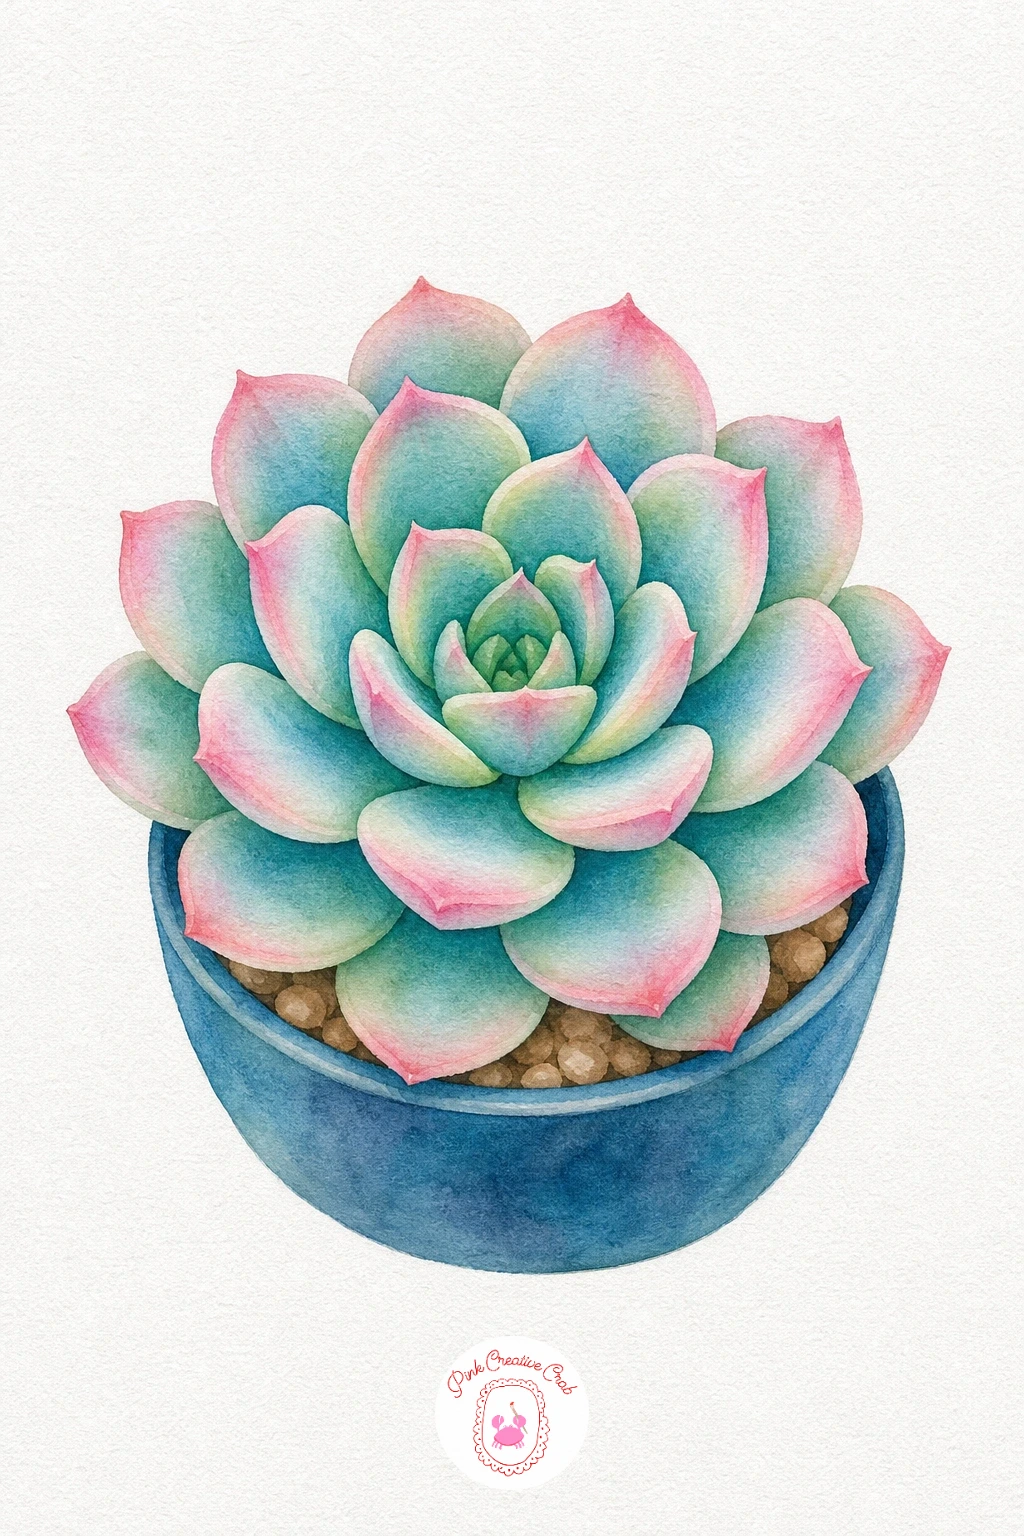
Palette: Rose Pink,Viridian,Pale Green,Terracotta
Fern in a Basket
Wash each frond in a light green first, then once dry, layer a second, darker green over the base of each frond to give the fullness a fern needs without painting every tiny leaflet. The woven basket is the one place a little pattern helps: paint it a flat honey brown, then once dry pull a few straight lines across it with a darker brown to suggest the weave. That single textured touch is what makes the whole piece look finished.
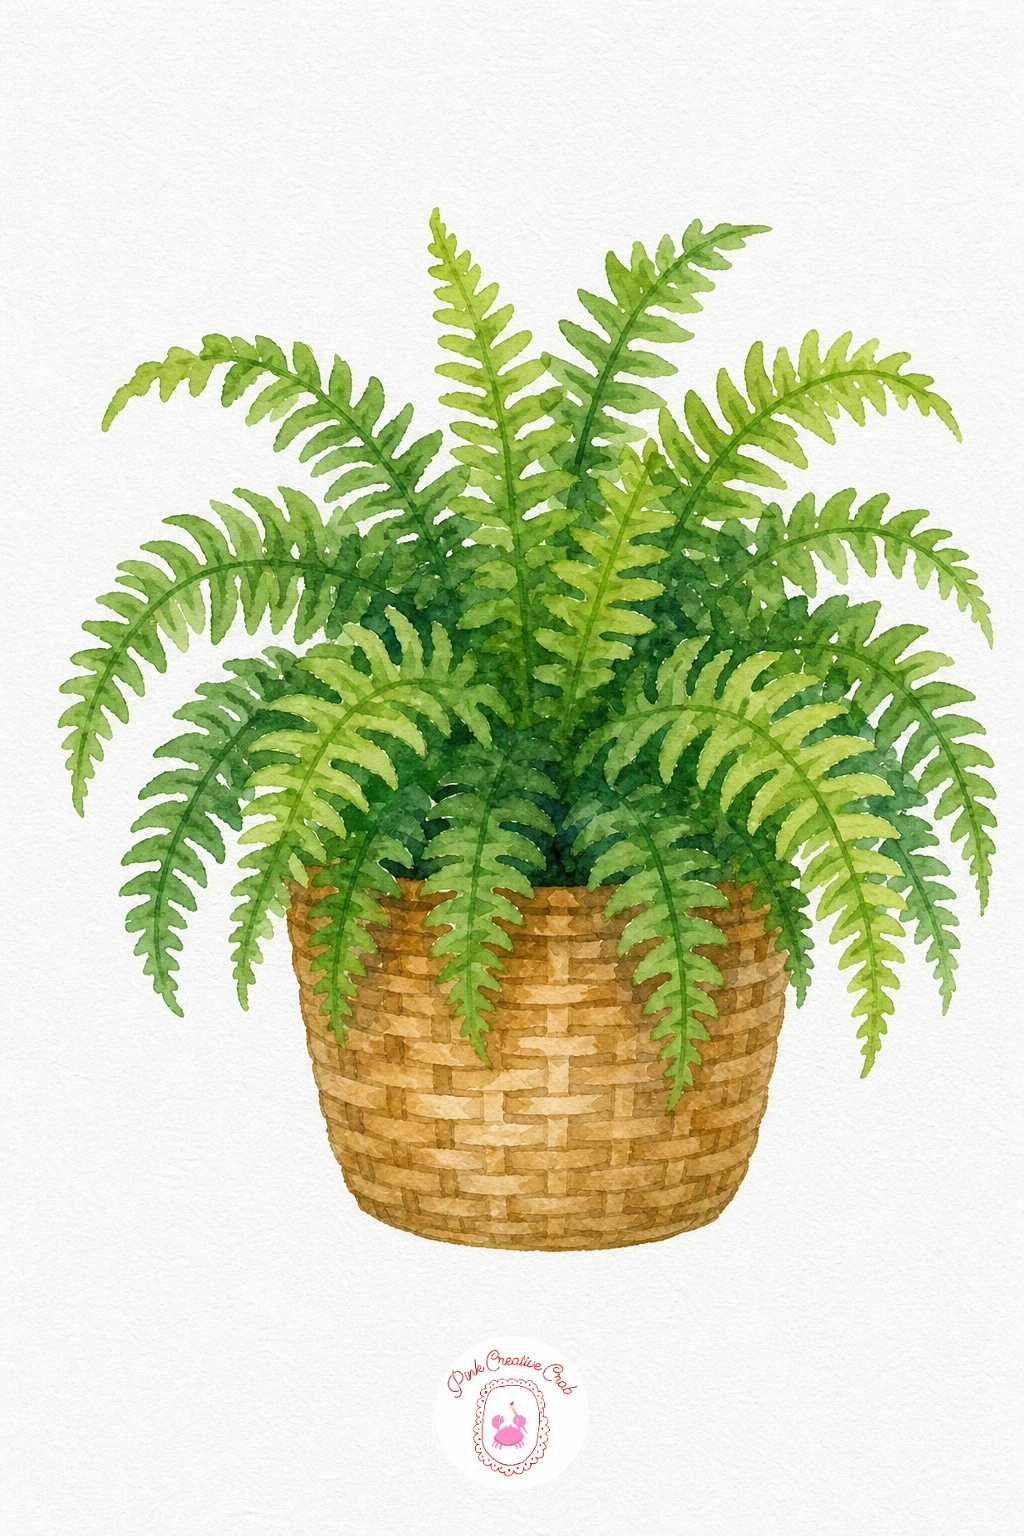
Palette: Sap Green,Hooker’s Green,Honey Brown,Burnt Umber
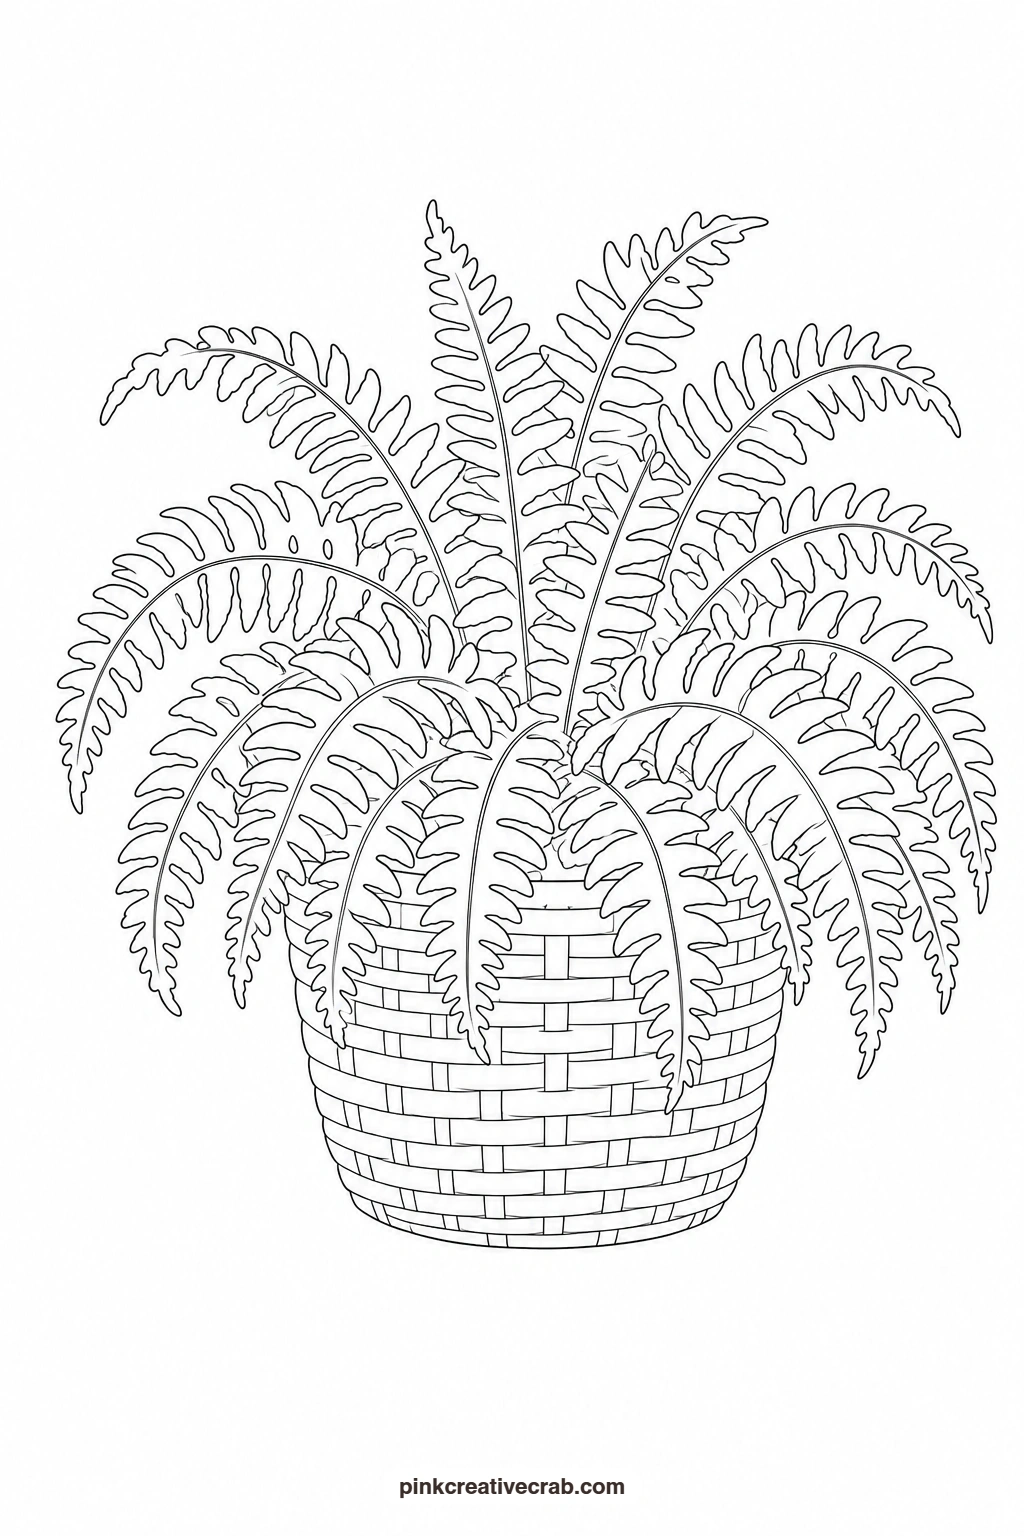
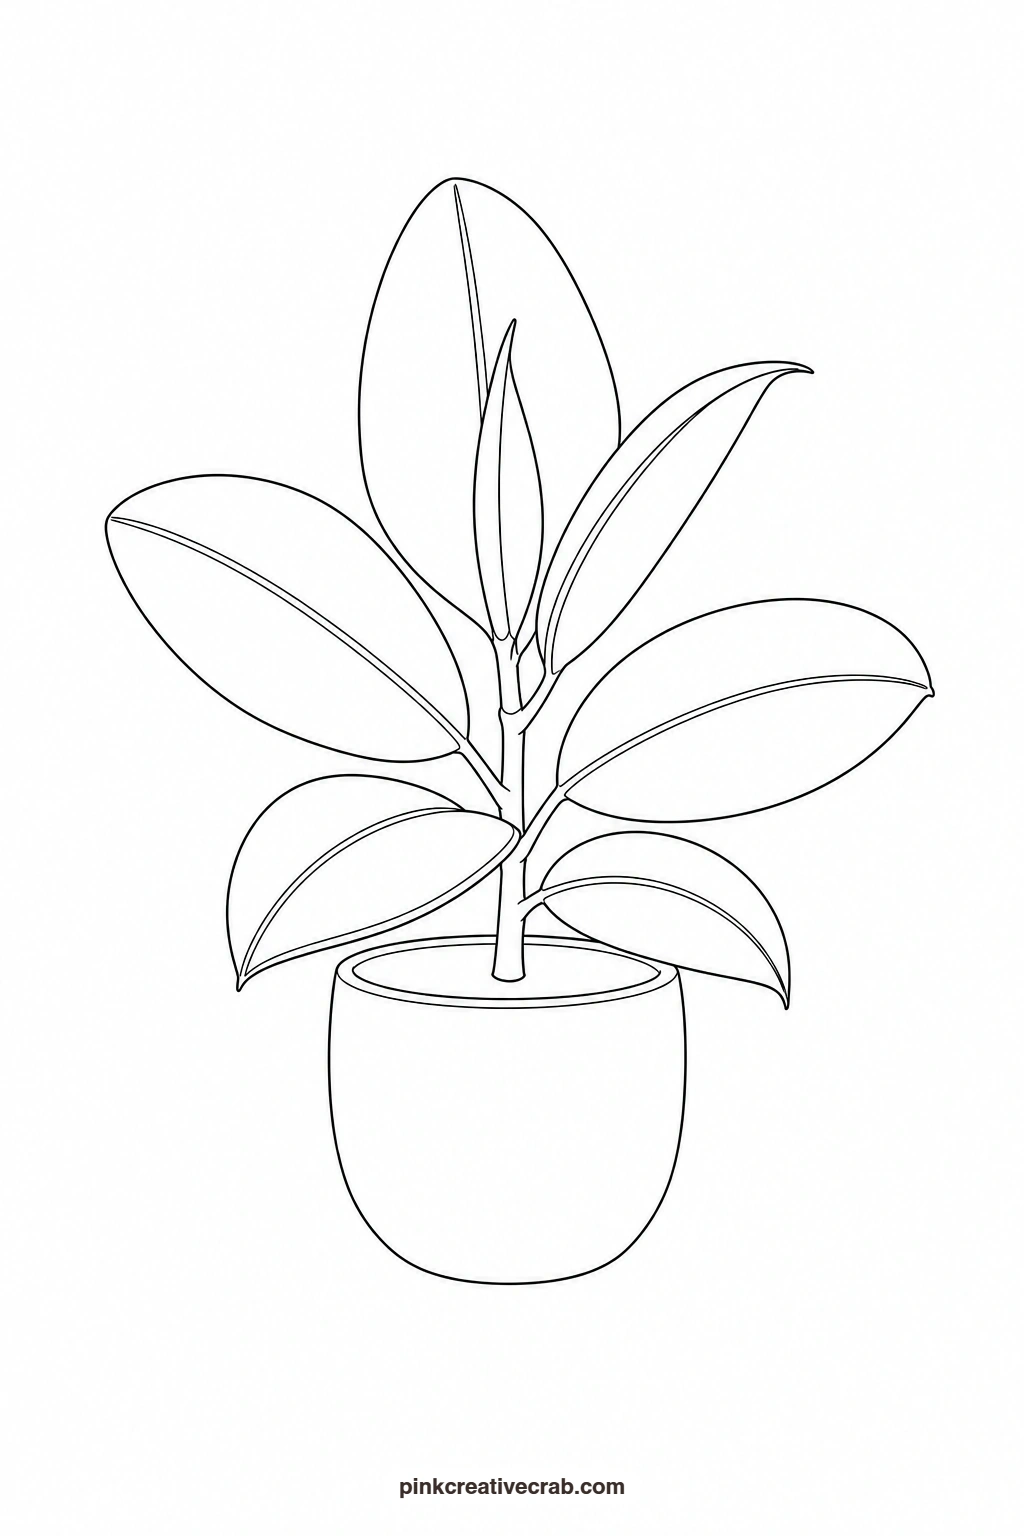
Rubber Plant
Fill the older, larger leaves with a deep green wash, then paint the newest, smaller leaf at the top in a warm reddish brown to capture the colour change rubber plants show as they grow. Keep every leaf glossy looking by leaving a thin sliver of white paper unpainted along one edge of each, which reads as a highlight once the wash around it dries. The round pot stays a single flat colour so the leaves remain the focus.
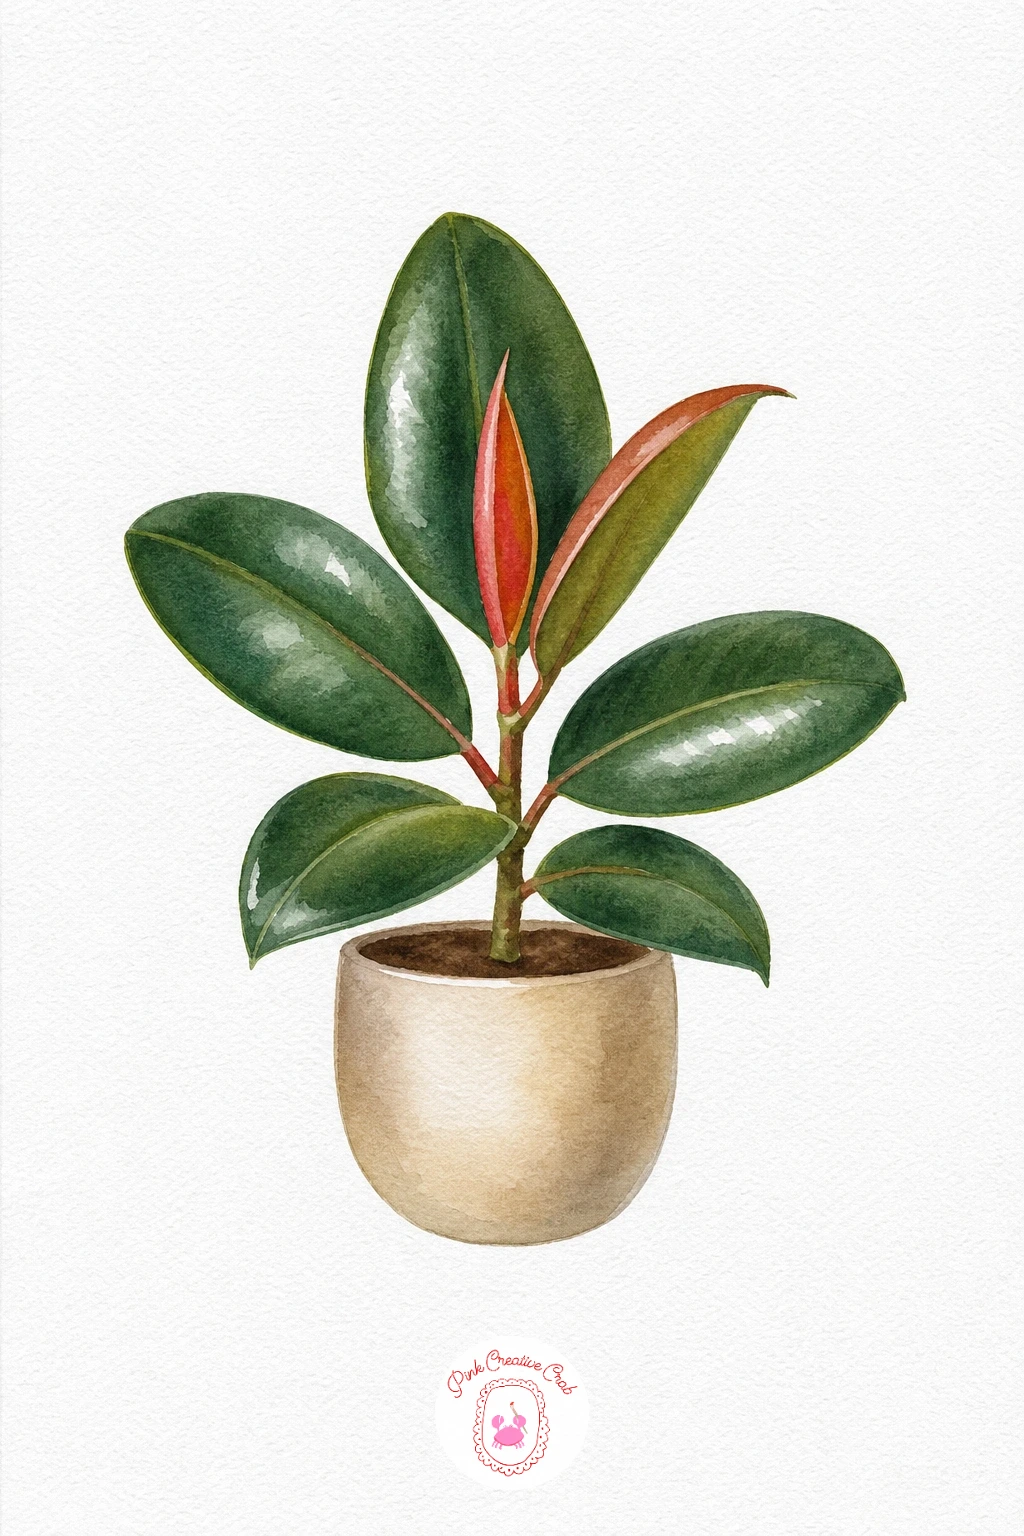
Palette: Hooker’s Green,Burnt Sienna,Indian Red,Terracotta
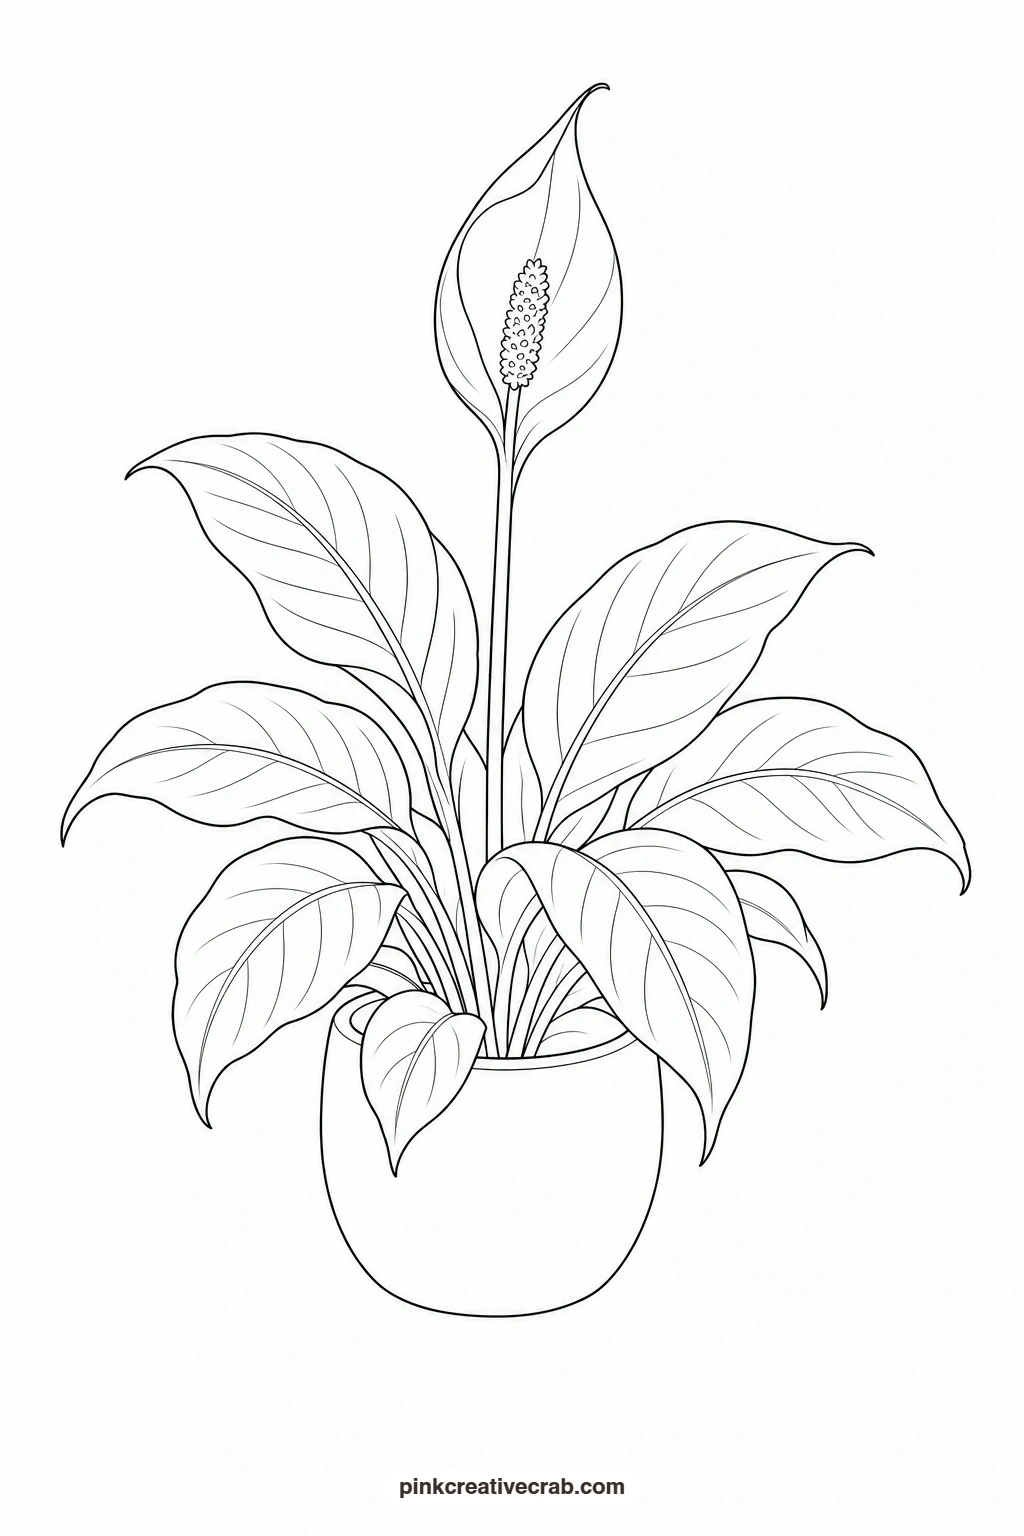
Peace Lily
Paint the leaves first in a deep green, leaving the white bloom shape untouched on the paper. Once the leaves are dry, give the bloom the faintest wash of pale green or grey along one curved edge only, so it still reads as white but has enough shape to sit forward from the background. A small yellow spadix at the centre of the bloom, painted with the tip of a fine brush, is the one detail worth adding.
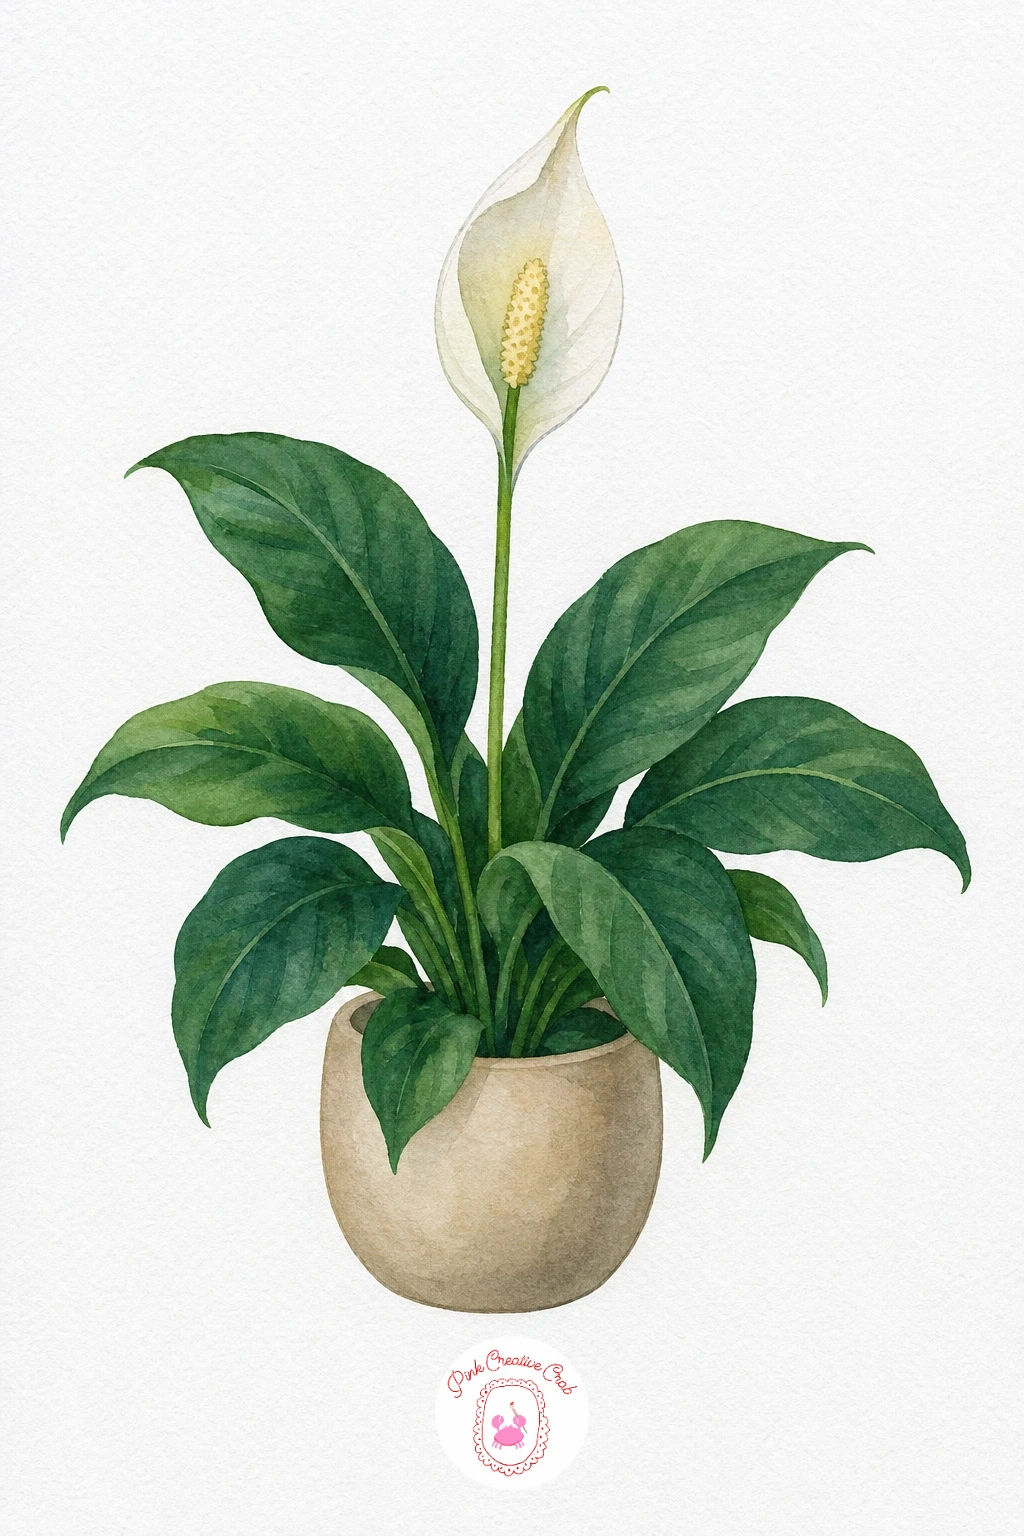
Palette: Hooker’s Green,Pale Grey Green,Naples Yellow,Terracotta
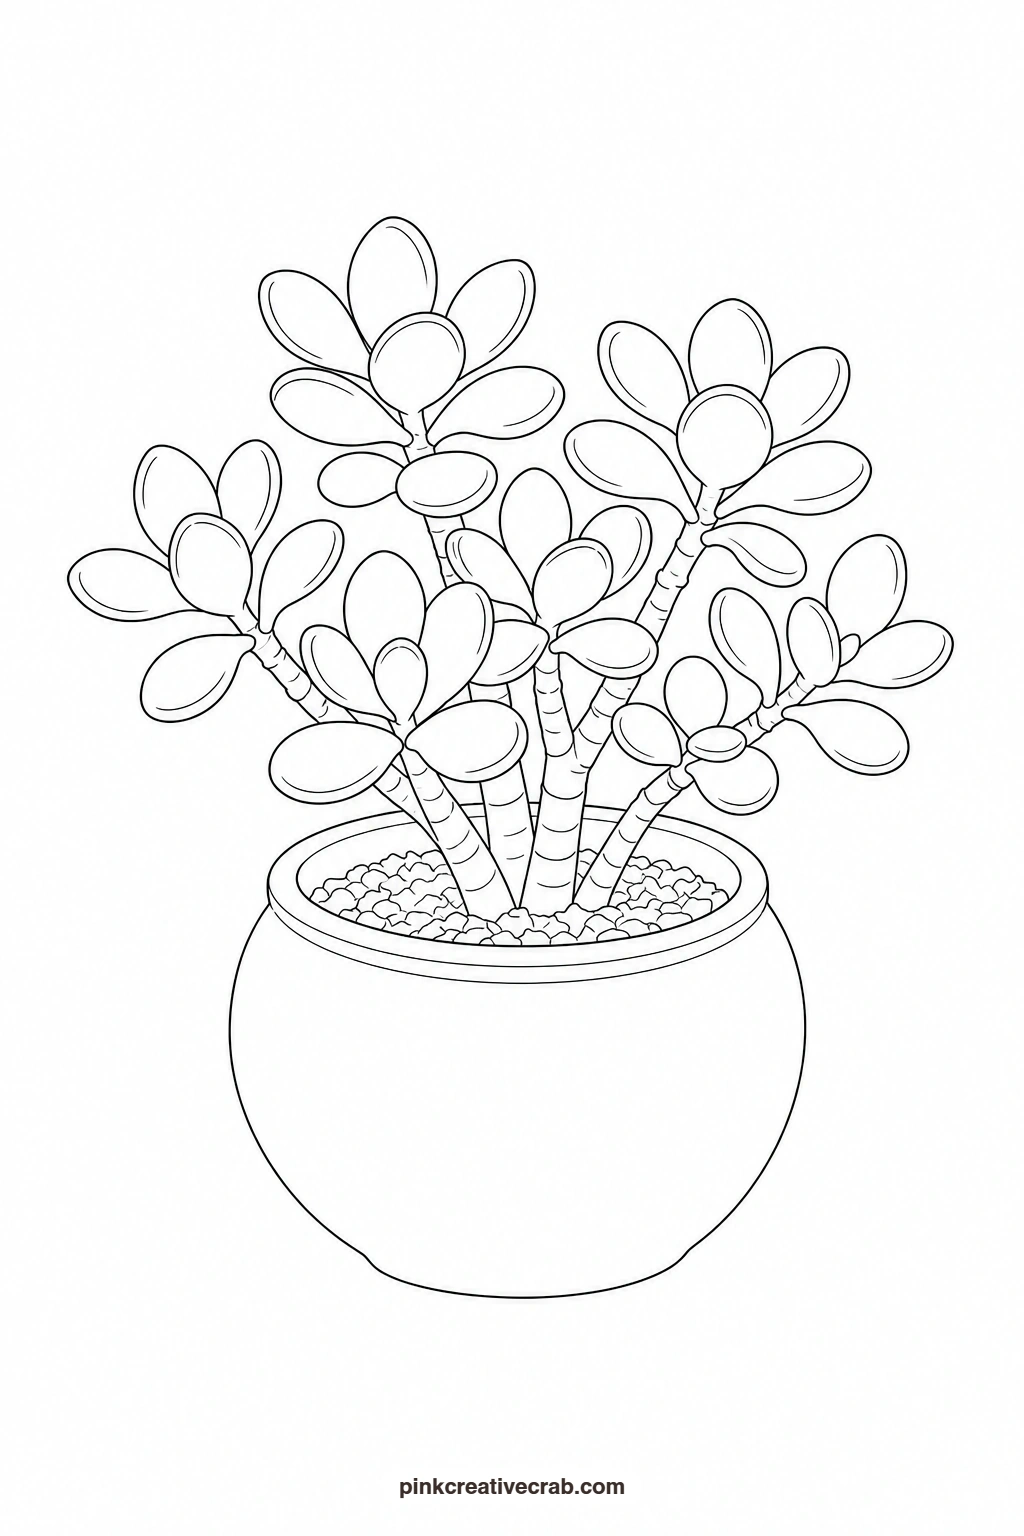
Jade Plant
Paint the thick woody stems first in a warm brown so they are dry before the leaves go in around them. Fill each rounded leaf with a soft green wash, then touch the very edge of a few leaves with a little red while the green is still slightly damp, letting the colours meet softly the way jade leaves blush in strong light. If you are after more houseplant subjects for your next sheet, this one pairs well with the succulent rosette for a matching pair.
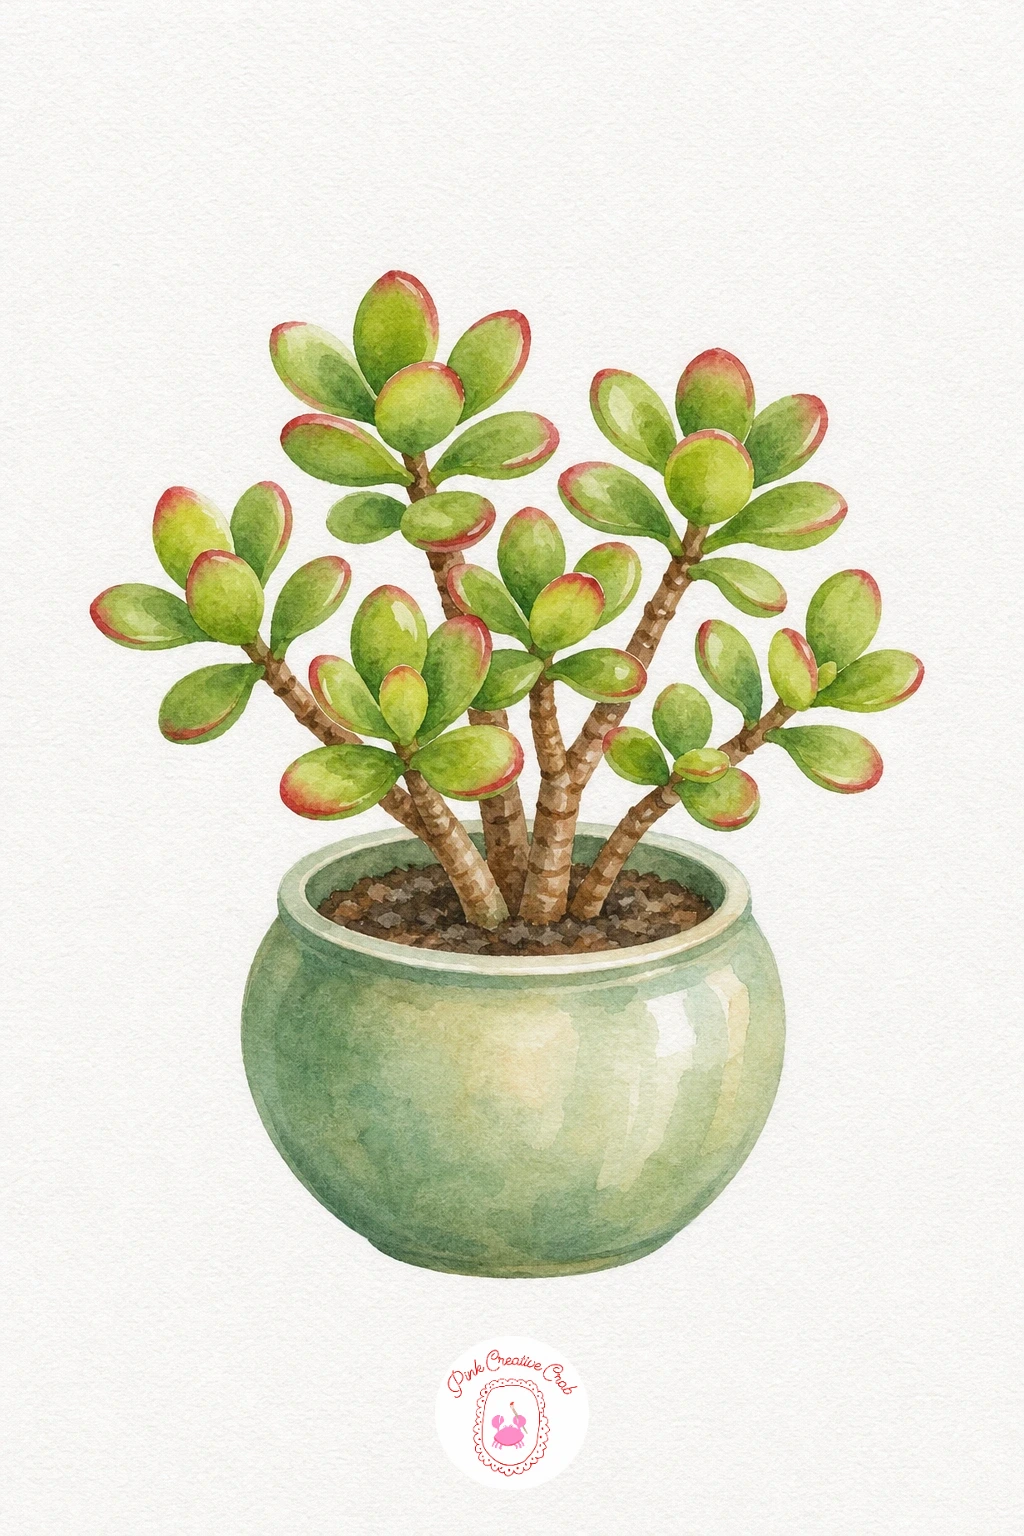
Palette: Sap Green,Indian Red,Burnt Umber,Terracotta
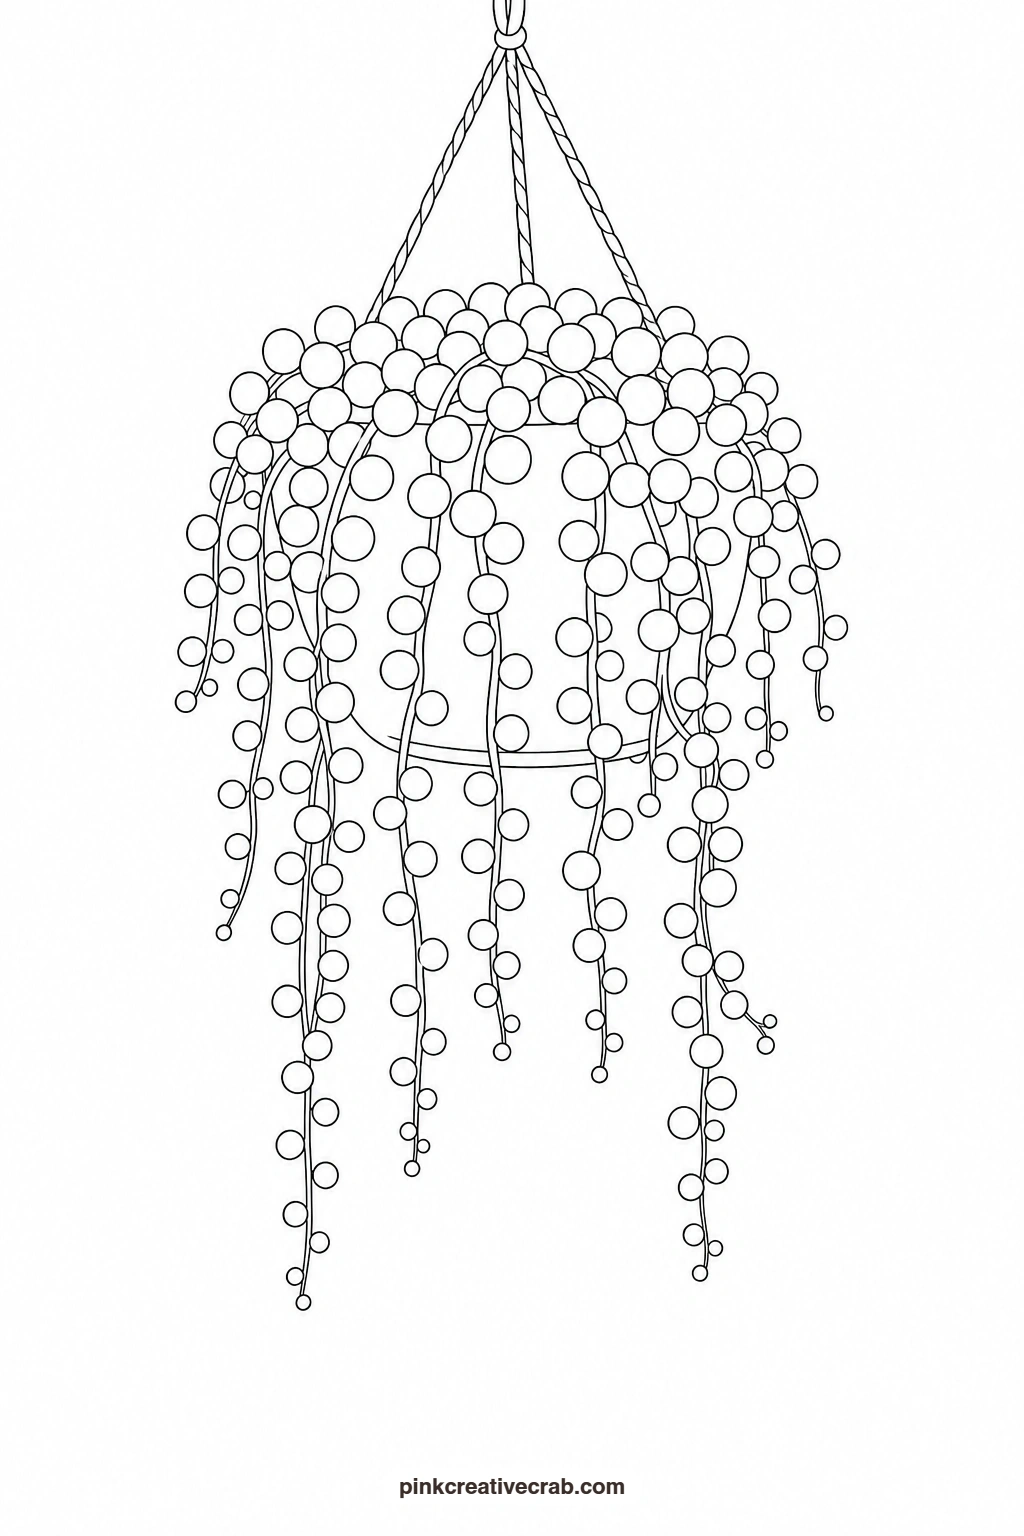
String of Pearls in a Hanging Pot
This one needs patience in the transfer step since each strand is made of many small round beads, so trace the outline carefully and work one strand at a time rather than jumping across the page. Paint each bead a pale green, then drop a touch of darker green along the lower curve of each one while the wash is still wet, which gives every tiny sphere a sense of roundness. If trailing plants interest you beyond this one, the hanging leaves here share the same cascading feel you will find among these simple watercolor flower ideas.
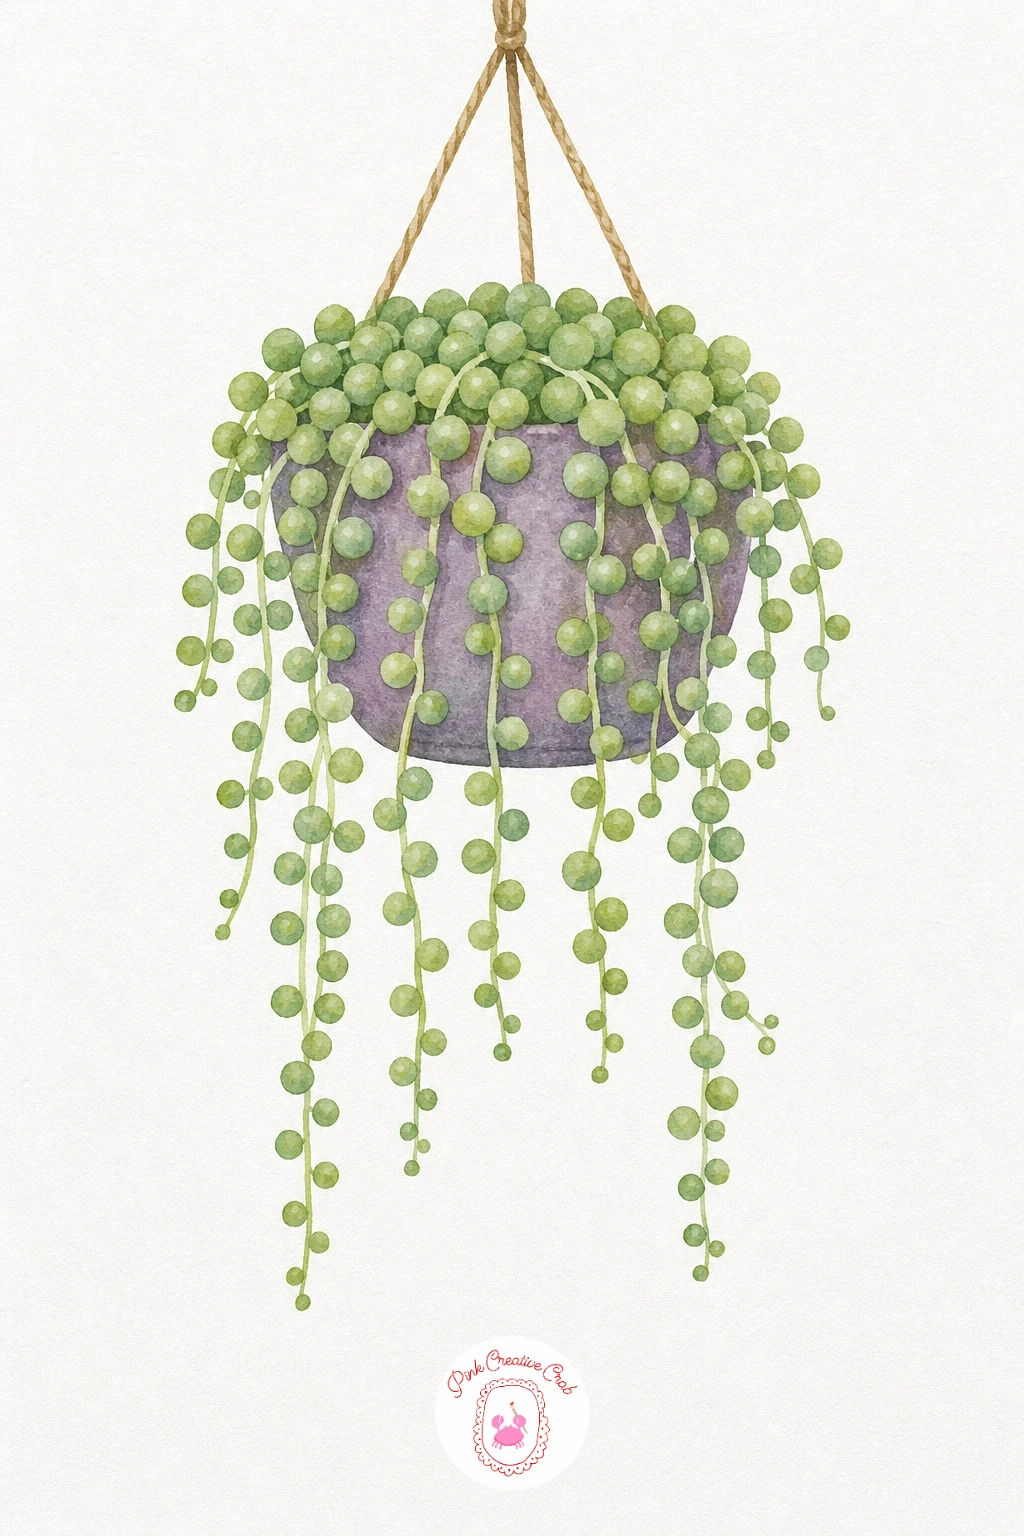
Palette: Pale Green,Sap Green,Hooker’s Green,Raw Umber
Work with a fine round brush and keep your water fairly clean between beads, muddy water will dull the pale green you need for the highlight side of each one.
What to Do Next
Pick one plant, print its outline, and transfer it to your watercolor paper tonight so it is ready to paint tomorrow with the finished example right beside it.
Frequently Asked Questions
What size should I print these outlines at?
Print at standard letter or A4 size for a comfortable first attempt. If you want a bolder statement piece, scale the outline up at a print shop onto a larger sheet before you transfer it.
What paper works best for these paintings?
Cold press watercolor paper, at least 140lb weight, holds washes well without buckling. Hot press paper works too if you want smoother, more controlled edges on the flat colour fills.
How do I transfer the outline without a light pad?
Tape the printed outline to a sunny window with your watercolor paper over it, then trace the lines through with a pencil. Graphite transfer paper slid between the two sheets works just as well on a tabletop.
Can I use coloured pencils or markers instead of paint?
Yes, every outline works fine with coloured pencils or markers. Build colour in light layers with pencils for soft blending, or go straight in with markers for flatter, bolder colour on each shape.
Do I need to copy the palette shown exactly?
No, treat the palette as a starting point rather than a rule. Swap in any greens, pinks or neutrals you already own, the shapes will still read clearly as the plant once painted.
Have any thoughts?
Share your reaction or leave a quick response — we’d love to hear what you think!
-
 0
-
0
-
0
-
0
-
0
-
0


