

A winter morning drawing is really just a love letter to slowness: the mug, the blanket, the frost on the glass, the pet who refuses to move from the sunbeam. Every scene below is built to feel like a page torn from a lifestyle magazine, something warm you could frame in the hallway or pin for later.
You will find girls by frosty windows, sleepy pets, breakfast trays and steaming cups, each one sized to finish in a single sitting with colored pencils. Work through them in order, from the simplest still life to the fuller scenes, and let the cream and cocoa palette carry the whole set.
Using these images: free for personal projects such as printing, coloring, cards, journals and gifts. Handmade items that include them may be sold up to 30 pieces per design. More than that is commercial use and is not permitted, and neither is selling or sharing the images themselves or passing them off as your own. Please ask before any other use.
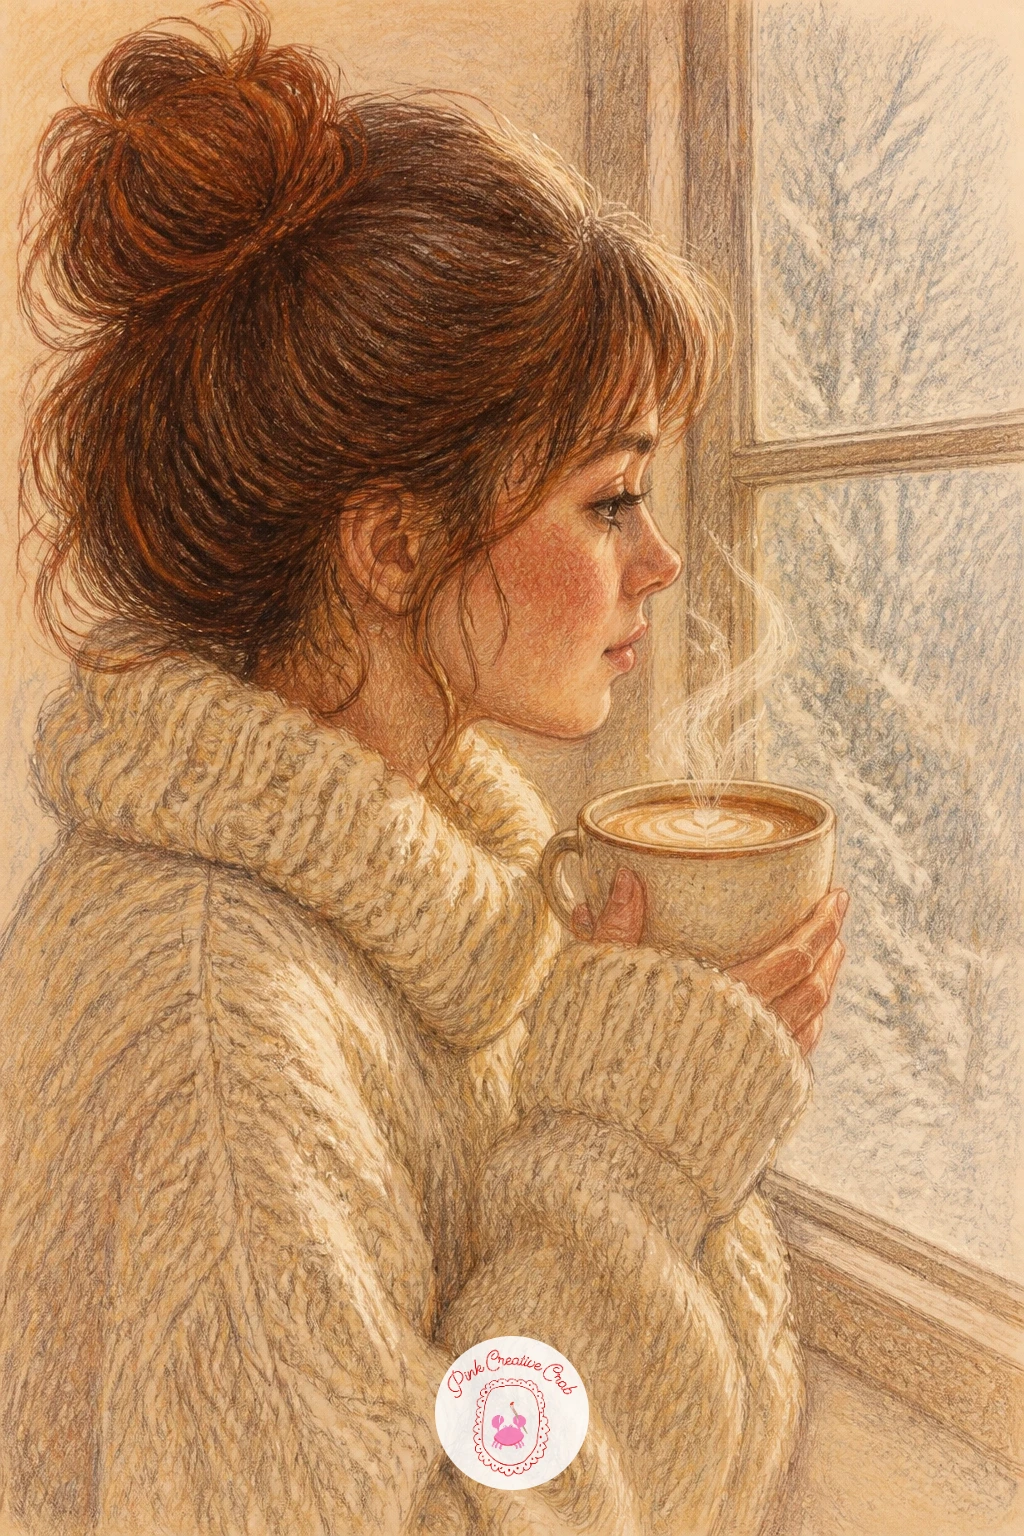
Sketch the girl in a chunky knit sweater first, since her pose carries the whole scene: shoulders relaxed, mug cupped in both hands, face turned toward the frosty glass. Keep the pencil lines loose and light so the wool texture can sit on top without looking stiff.
Block in the sweater with cream and oatmeal pencil in short choppy strokes that follow the direction knit stitches would run, then deepen the folds with cocoa brown. The latte foam gets a touch of white gel pen once the cup color is dry.
Compare the width of her shoulders to the height of her head before you add detail, since that single ratio keeps a cozy figure from reading as too narrow or too bulky. If the window frost looks flat, lift a little color off the glass area with a kneaded eraser for soft cloudy patches.
Finish with one warm highlight on her cheek closest to the window light. That single bright spot does more to sell the morning glow than any extra shading.
You Will Need
- cream toned paper
- cocoa brown and oatmeal pencils
- white gel pen
- kneaded eraser
Palette: Oatmeal,Cocoa Brown,Cream,Soft Red
Look at a real knit sweater photo for how stitches bunch at the elbow and cuff, it keeps the texture believable without extra work.
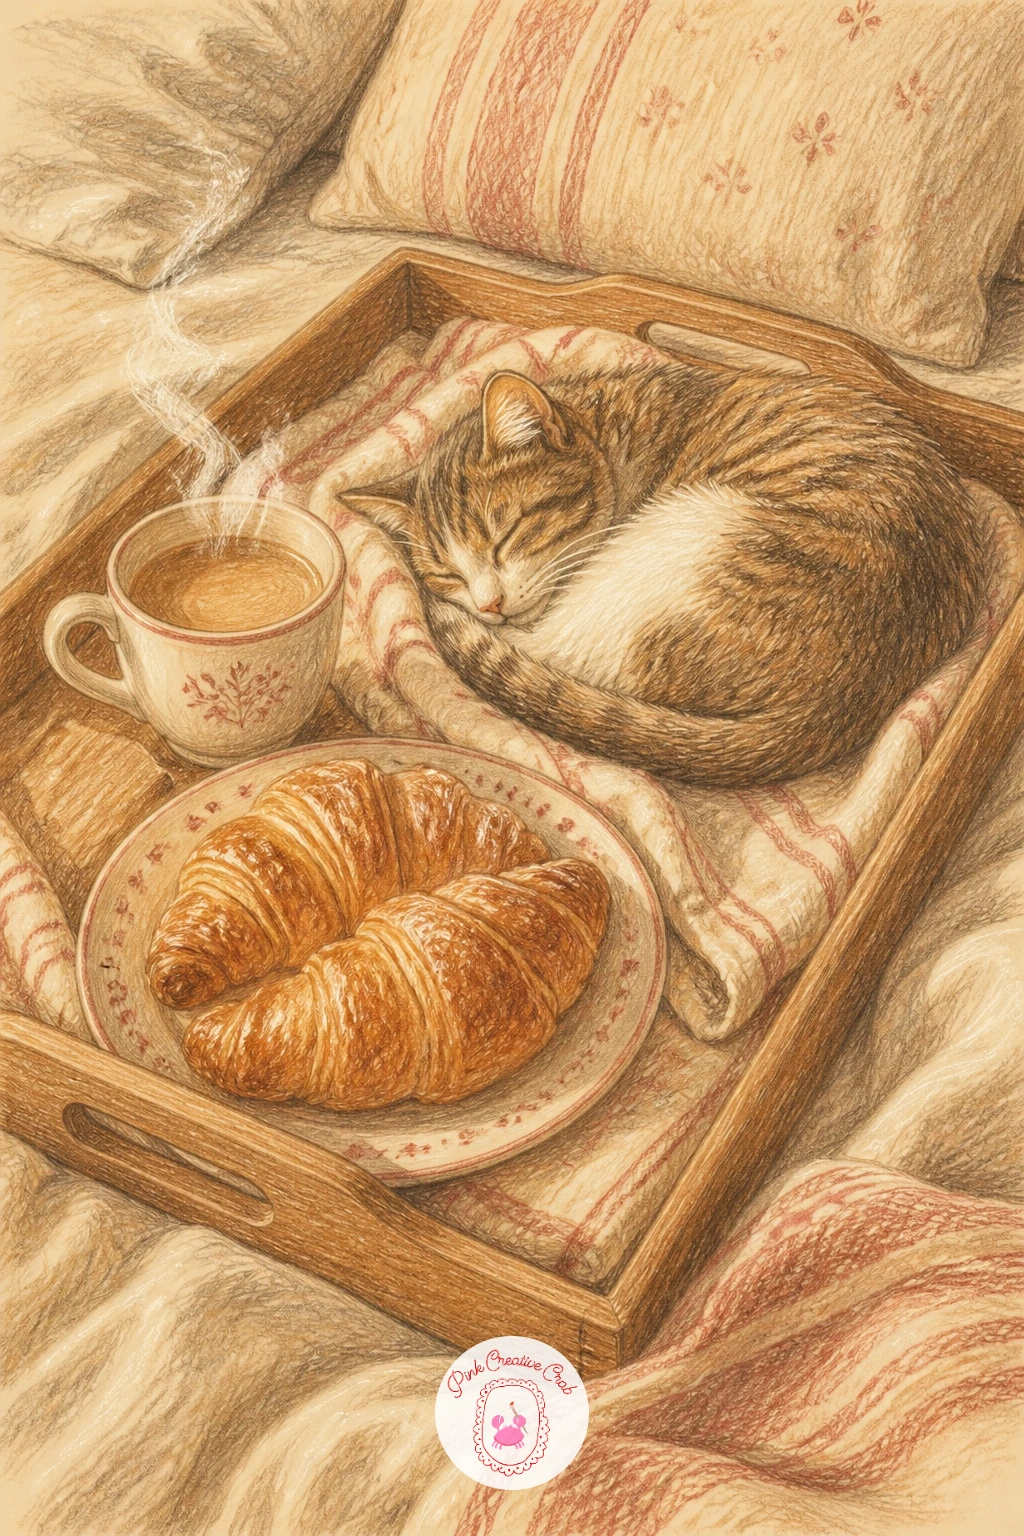
Breakfast tray scenes work best built from the tray outward, so start with its rectangle shape sitting across the blanket, then place the croissants, coffee cup and sleeping cat along it like puzzle pieces. Keep every edge soft since this whole scene is about comfort, not precision.
Color the croissants in warm gold and cocoa brown with short curved strokes that follow their flaky shape, then let the coffee cup go a deeper cocoa with a thin cream rim. The cat gets layered grey or cocoa fur strokes, always following the direction fur grows along its curled body.
The spot that usually goes wrong is the blanket underneath, which can flatten the whole tray if it stays one plain color. Add a subtle checked or ribbed texture in a slightly darker cream so the fabric reads as soft rather than like cardboard.
If you are short on time, skip the pattern and just shade the blanket folds. One concrete tip: draw the cat’s closed eyes as simple curved lines, nothing more, it reads as peaceful instantly.
You Will Need
- cream paper
- gold and cocoa brown pencils
- grey pencil for the cat
- blending stump
Palette: Warm Gold,Cocoa Brown,Soft Grey,Cream
Try adding a small jam jar with a red lid beside the croissants, it gives the eye a tiny accent color against all the warm neutrals.
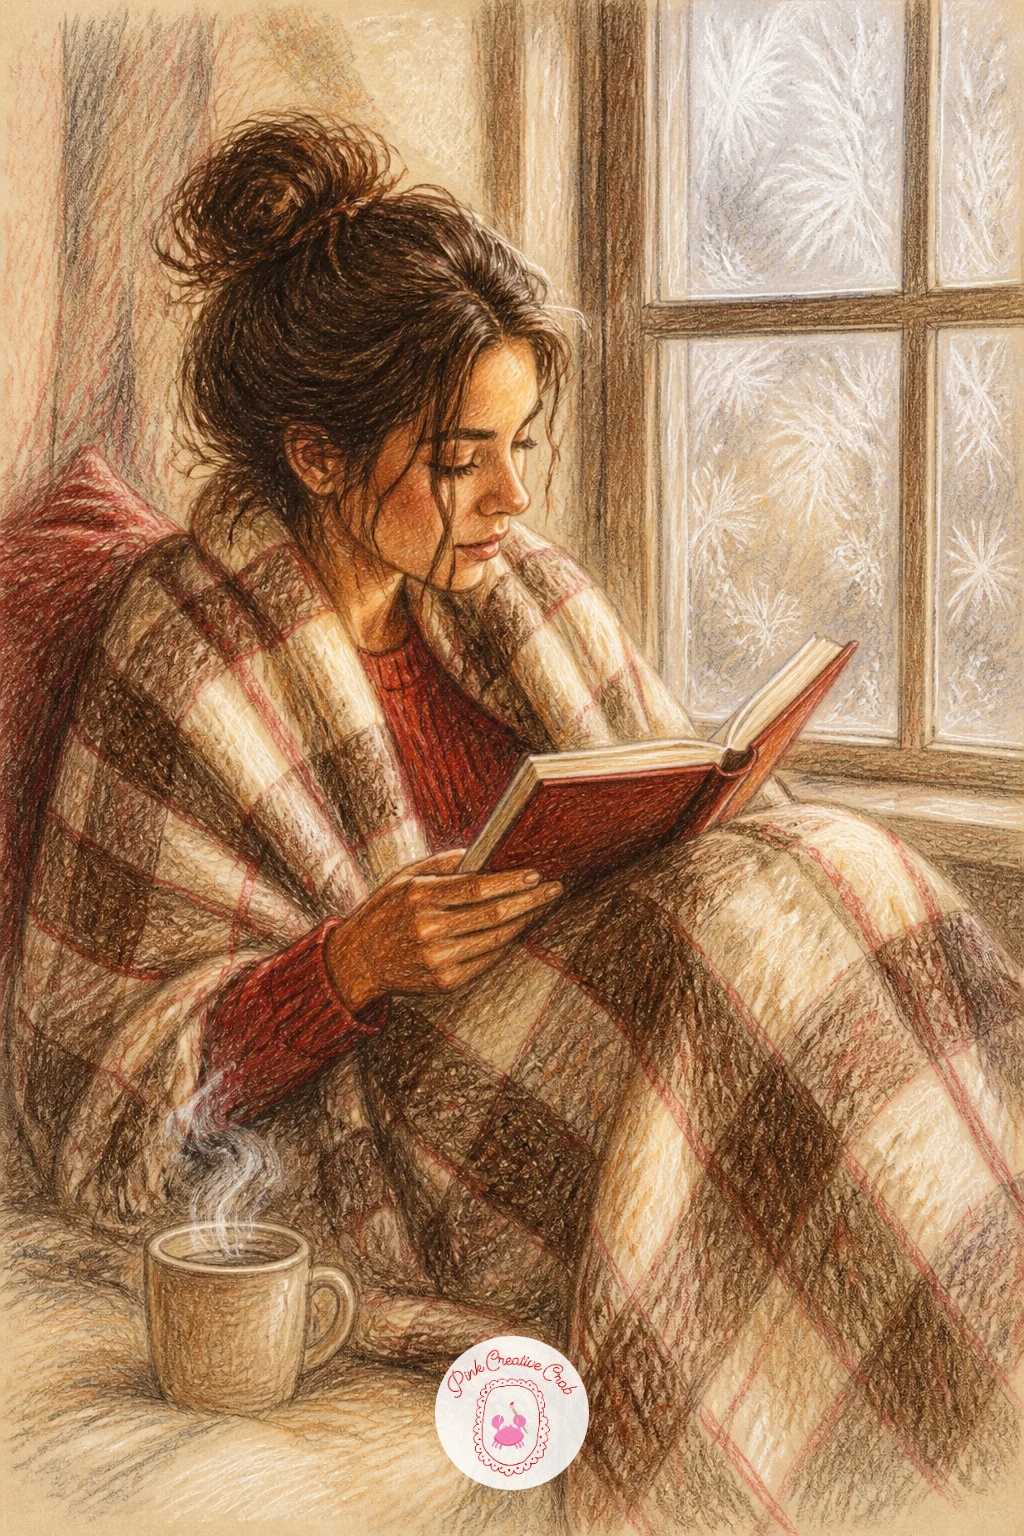
Place the window seat first as a simple rectangle shape with the woman settled into its corner, knees drawn up, checked blanket wrapped around her legs. This pose is all about the eye level: sit the horizon of the window just above her head so the light falls down across her from outside.
Build her blanket in a loose check pattern using cocoa brown and soft red lines crossing over a cream base, keeping the lines slightly wobbly so they do not look ruled. The book in her hands needs only a few pencil lines for pages, nothing more.
Where this scene often goes wrong is the window light looking flat or too even. Since the light comes from one side, shade the far side of her face and sweater a touch darker, and leave the side nearest the glass almost untouched cream.
Finish with frost texture dabbed lightly at the window corners using a white pencil, which anchors the whole mood as winter rather than any random afternoon.
You Will Need
- cream paper
- cocoa brown and soft red pencils
- white pencil
- eraser
Palette: Cocoa Brown,Soft Red,Cream,Pale Blue Grey
Try adding a steaming mug on the windowsill beside her, it fills an empty corner and repeats the warm palette without adding much work.
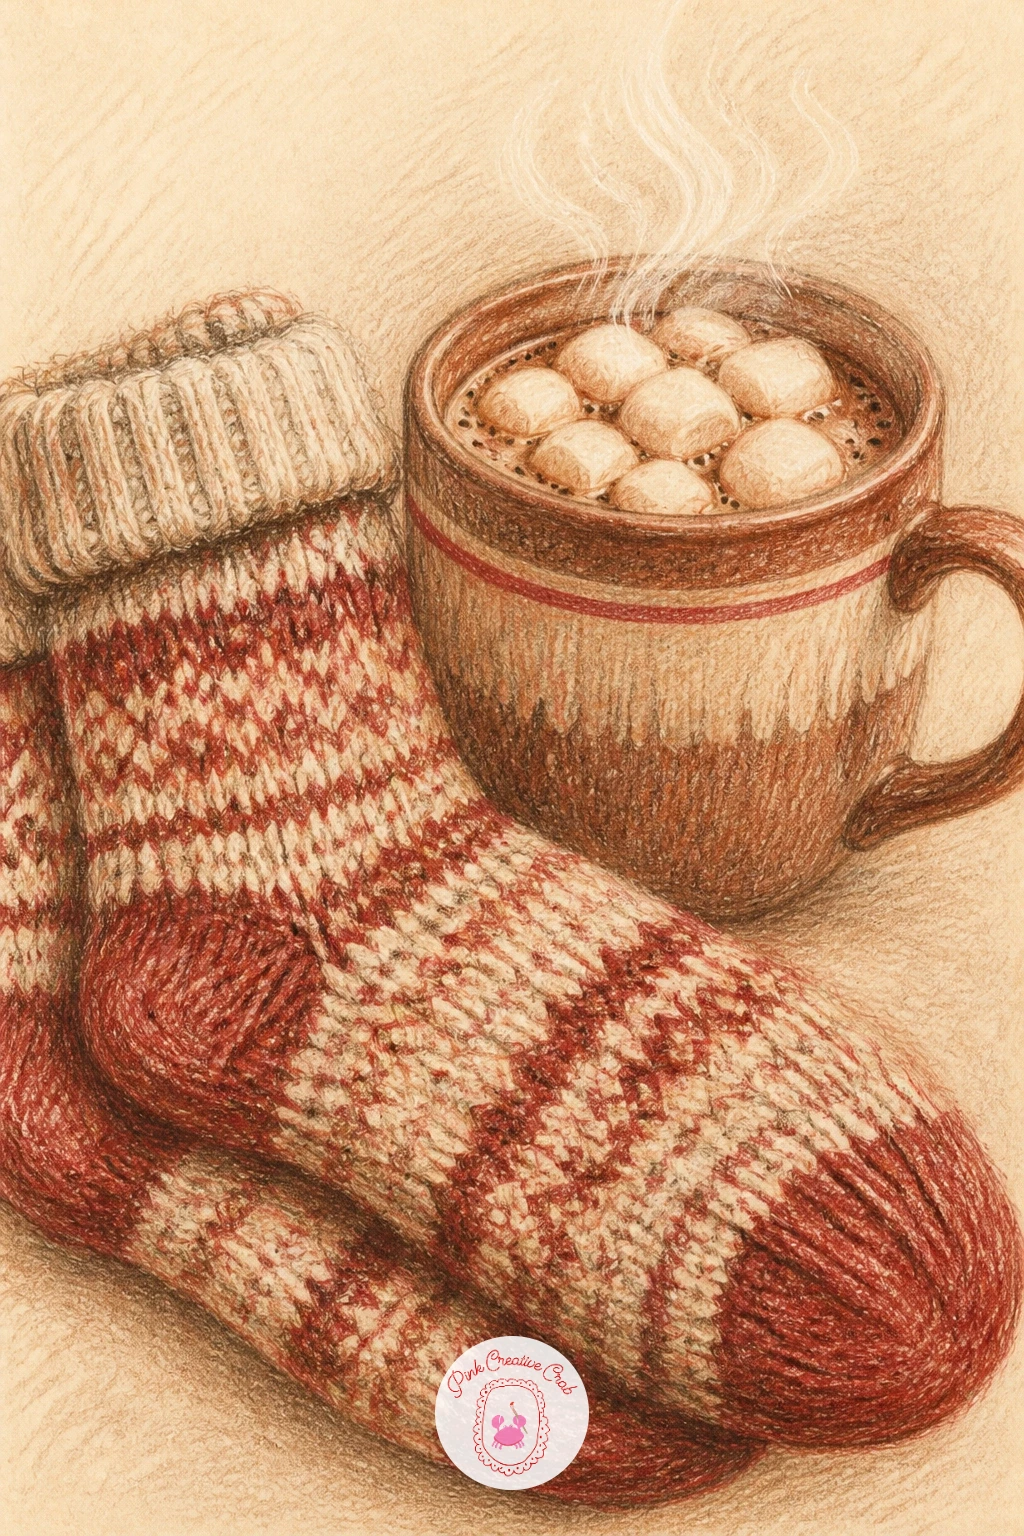
Keep this one a simple still life: a pair of wool socks laid beside a mug of cocoa topped with marshmallows, both sitting on a wooden floor or rug. Start with the mug shape as an ellipse on top, then build the socks as soft rounded cylinders beside it.
Layer the socks in cream with cocoa brown shadow lines following the ribbed knit pattern, keeping strokes short and slightly curved rather than straight. The cocoa itself gets a deep brown with the marshmallows left almost white, just a hint of warm grey shadow underneath each one.
The easy mistake here is making the mug look flat on the table. Measure the width of the mug against its height before shading, a mug that is too tall or too narrow throws off the whole cozy feel.
For a ten minute version, skip the floor texture and just float the socks and mug on cream paper. Given forty minutes, add a wood grain floor and a small sprig of pine tucked beside the mug.
You Will Need
- cream paper
- cocoa brown and cream pencils
- warm grey pencil
- white pencil for marshmallows
Palette: Cocoa Brown,Cream,Warm Grey,Soft Red
A size 2 blending stump smooths the cocoa inside the mug so it reads as liquid rather than flat brown color.
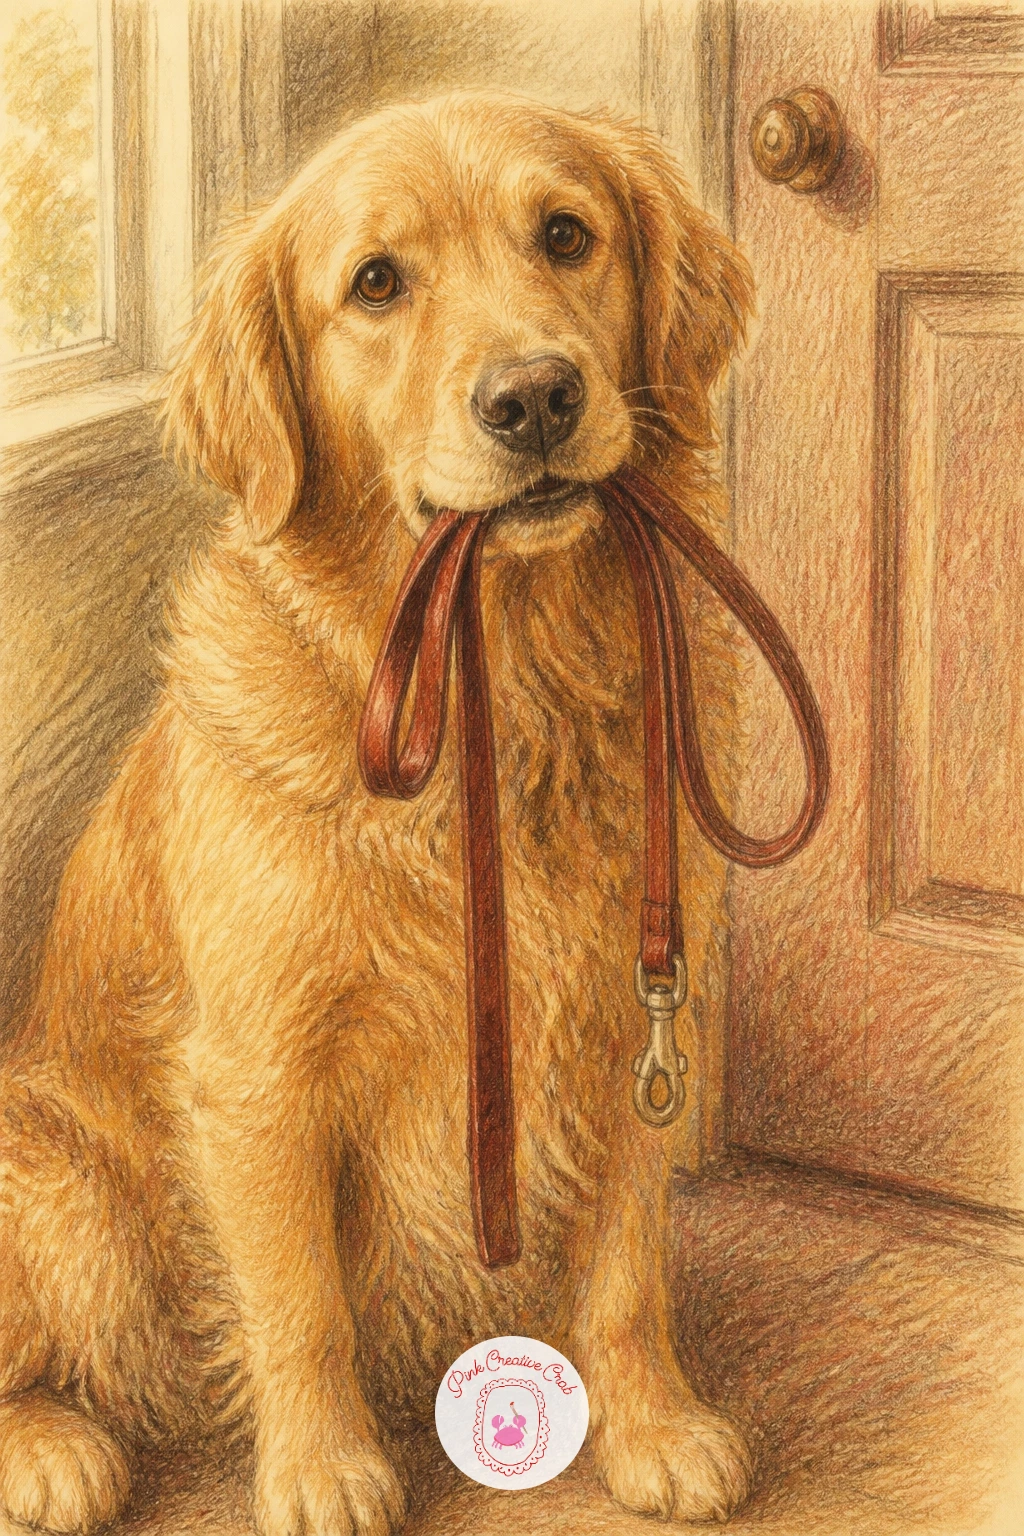
A dog holding its leash by the door makes a sweet quick scene, and the trick is getting the head tilt right before anything else. Sketch the head first, leash dangling from its mouth, then build the body sitting or standing beneath it.
Layer the fur in short strokes that follow the direction it grows, cocoa brown over cream for a golden coat, or add grey and white patches for a different breed. The leash itself just needs a simple cocoa brown line with a small metal clip at the end.
Fur edges are where this one usually falls apart, looking stiff or too smooth. Use a dry brush style stroke with the pencil, light scratchy marks at the edges of the body rather than one solid outline, to suggest softness.
One swap if you do not have a dark brown pencil: layer orange and black lightly on top of each other, it builds a convincing warm brown without needing the exact shade.
You Will Need
- cream paper
- cocoa brown and grey pencils
- black pencil for fine details
- eraser for highlights
Palette: Cocoa Brown,Warm Tan,Soft Grey,Cream
Look at reference photos of a dog mid wag, a slightly raised paw or tilted ear adds personality without any extra drawing time.
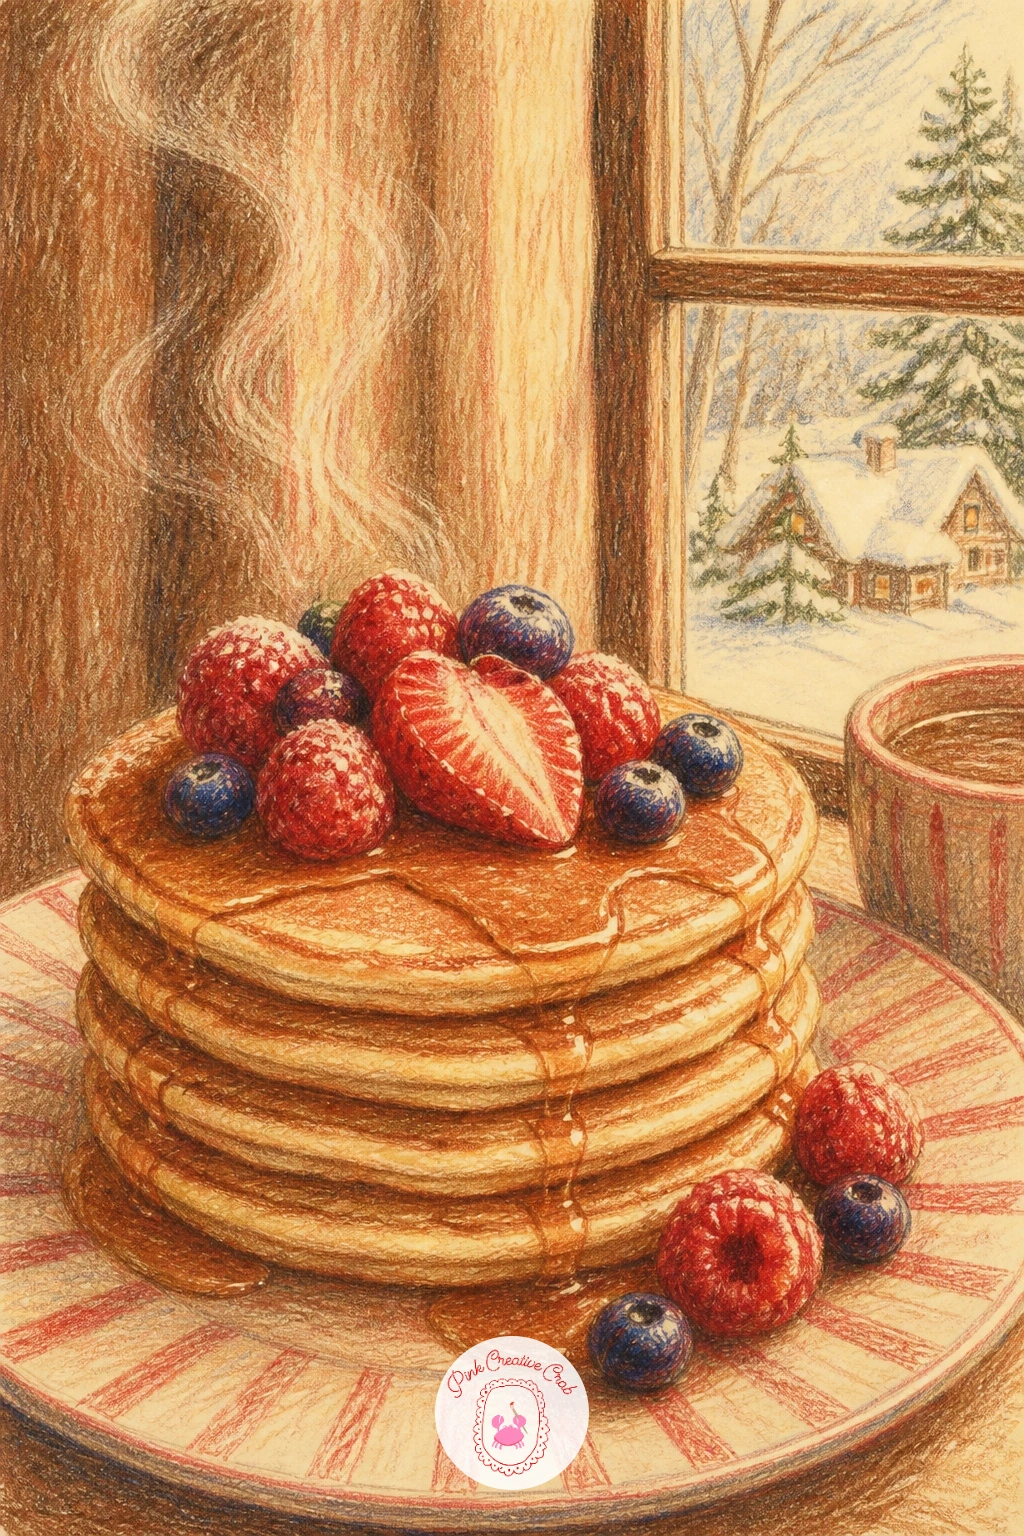
Center the striped plate first, then stack the pancakes on top in slightly uneven circles, since perfectly round pancakes look stiff on paper. Scatter a few berries across the top before adding the snowy window behind for depth.
Color the pancake stack in warm gold with cocoa brown shadow lines between each layer, and let a thin stream of syrup catch a little white gel pen shine. The berries go in soft red and deep cocoa, small and loose rather than perfectly round.
The snowy view behind the plate is what usually gets rushed. Keep it simple: a pale blue grey wash of color with a few white pencil dots for falling snow, nothing detailed, since the eye should stay on the breakfast.
For next time, swap the berries for a dusting of powdered sugar or a pat of butter melting on top, small changes that keep the idea fresh each time you draw it.
You Will Need
- cream paper
- gold and cocoa brown pencils
- soft red pencil for berries
- white gel pen
Palette: Warm Gold,Cocoa Brown,Soft Red,Pale Blue Grey
Try drawing the plate stripes in soft red to tie the whole composition back to the cozy winter palette used across the page.
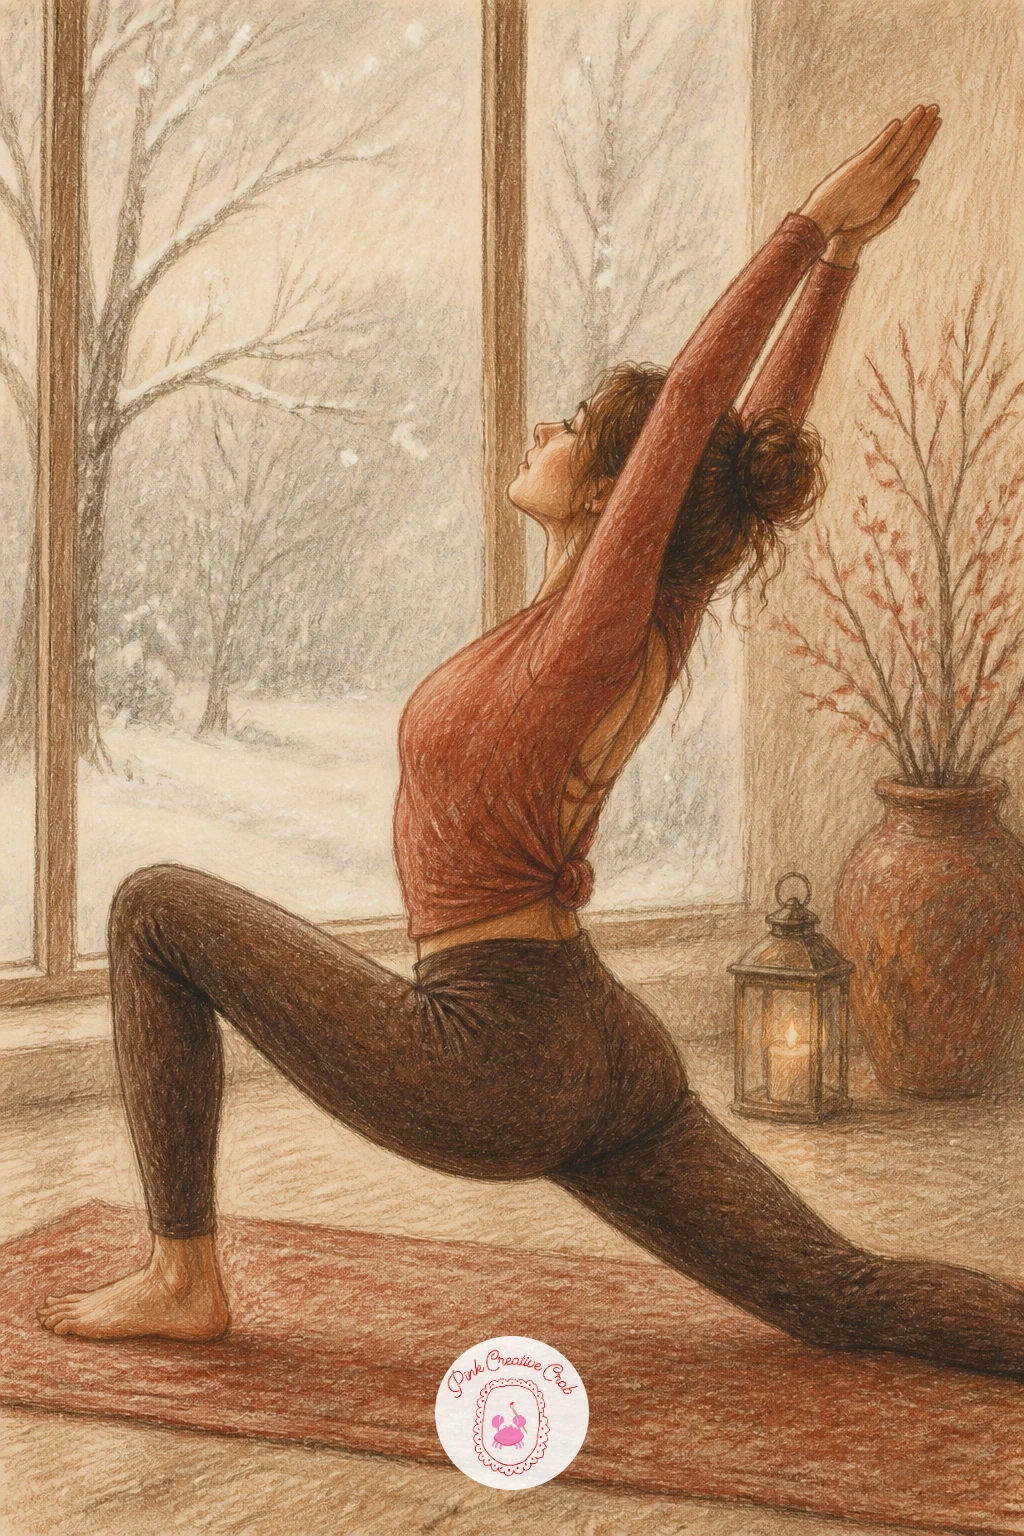
This scene asks for a simple seated or stretching pose, so sketch the body in loose gesture lines first before adding the rug beneath her and the window of falling snow behind. Keep proportions soft, this is a cozy magazine moment, not an anatomy study.
Shade her leggings and top in muted cream and soft grey, keeping the folds of fabric gentle rather than sharply creased. The rug beneath her can take a simple woven texture in cocoa brown lines crossing over cream.
Eye level matters here: sit the window behind her slightly above her head height so the falling snow reads as outside rather than floating in the room. A few scattered white pencil dots outside the glass are enough snow, resist adding more.
If you want a quicker version, crop the scene to just her upper body and the window behind, skipping the rug and full pose entirely.
You Will Need
- cream paper
- soft grey and cocoa brown pencils
- white pencil for snow
- blending stump
Palette: Soft Grey,Cocoa Brown,Cream,Pale Blue Grey
A small steaming mug set just outside the yoga mat adds a warm narrative touch without changing the pose at all.
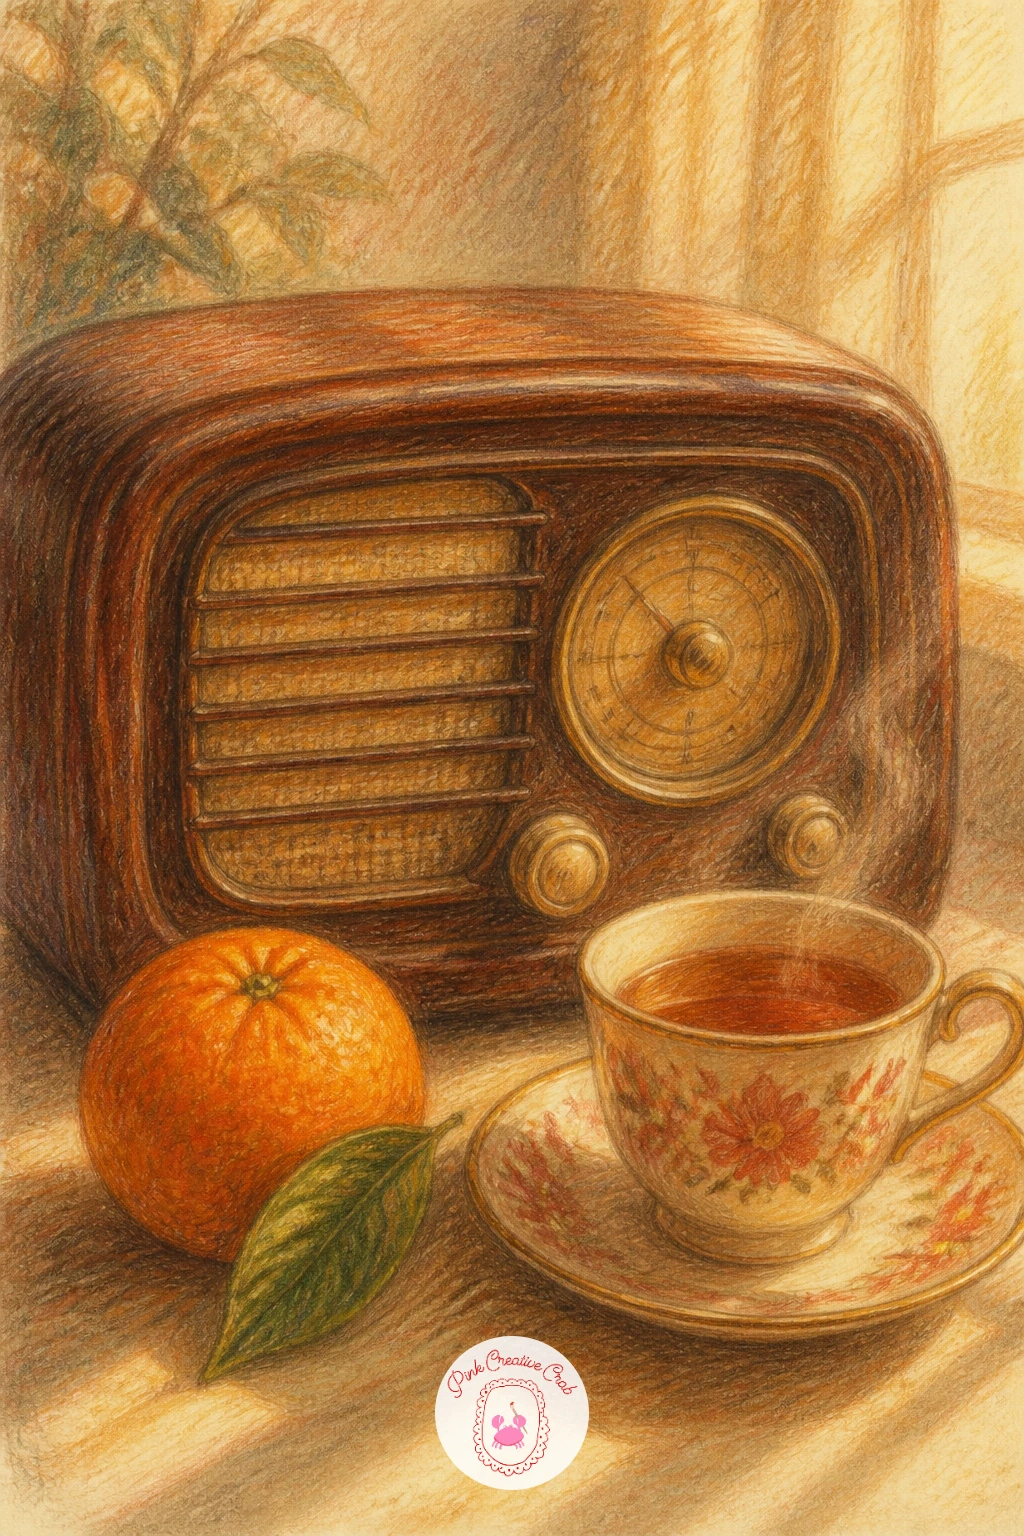
Still life scenes like this one are forgiving, so start with the vintage radio as the main shape, its rounded corners and dial sketched first, then add the orange and teacup beside it on the table. Keep the table surface simple, a line for its edge is often enough.
Layer the radio in cocoa brown with a few cream highlights along its curved edges to suggest the shine of old wood or bakelite. The orange gets warm gold and a touch of soft red, with a slightly bumpy outline rather than a perfect circle.
The teacup is where beginners often lose confidence, worried about getting the ellipse right. Draw the top rim as a flattened oval first, then build the cup body down from its edges, checking that both sides match before adding color.
One concrete tip: add a thin curl of steam from the tea in white gel pen last, it instantly makes the whole table feel warm and lived in.
You Will Need
- cream paper
- cocoa brown and gold pencils
- soft red pencil
- white gel pen
Palette: Cocoa Brown,Warm Gold,Soft Red,Cream
Look at an actual vintage radio photo for the dial and knob shapes, small authentic details sell the whole nostalgic mood.
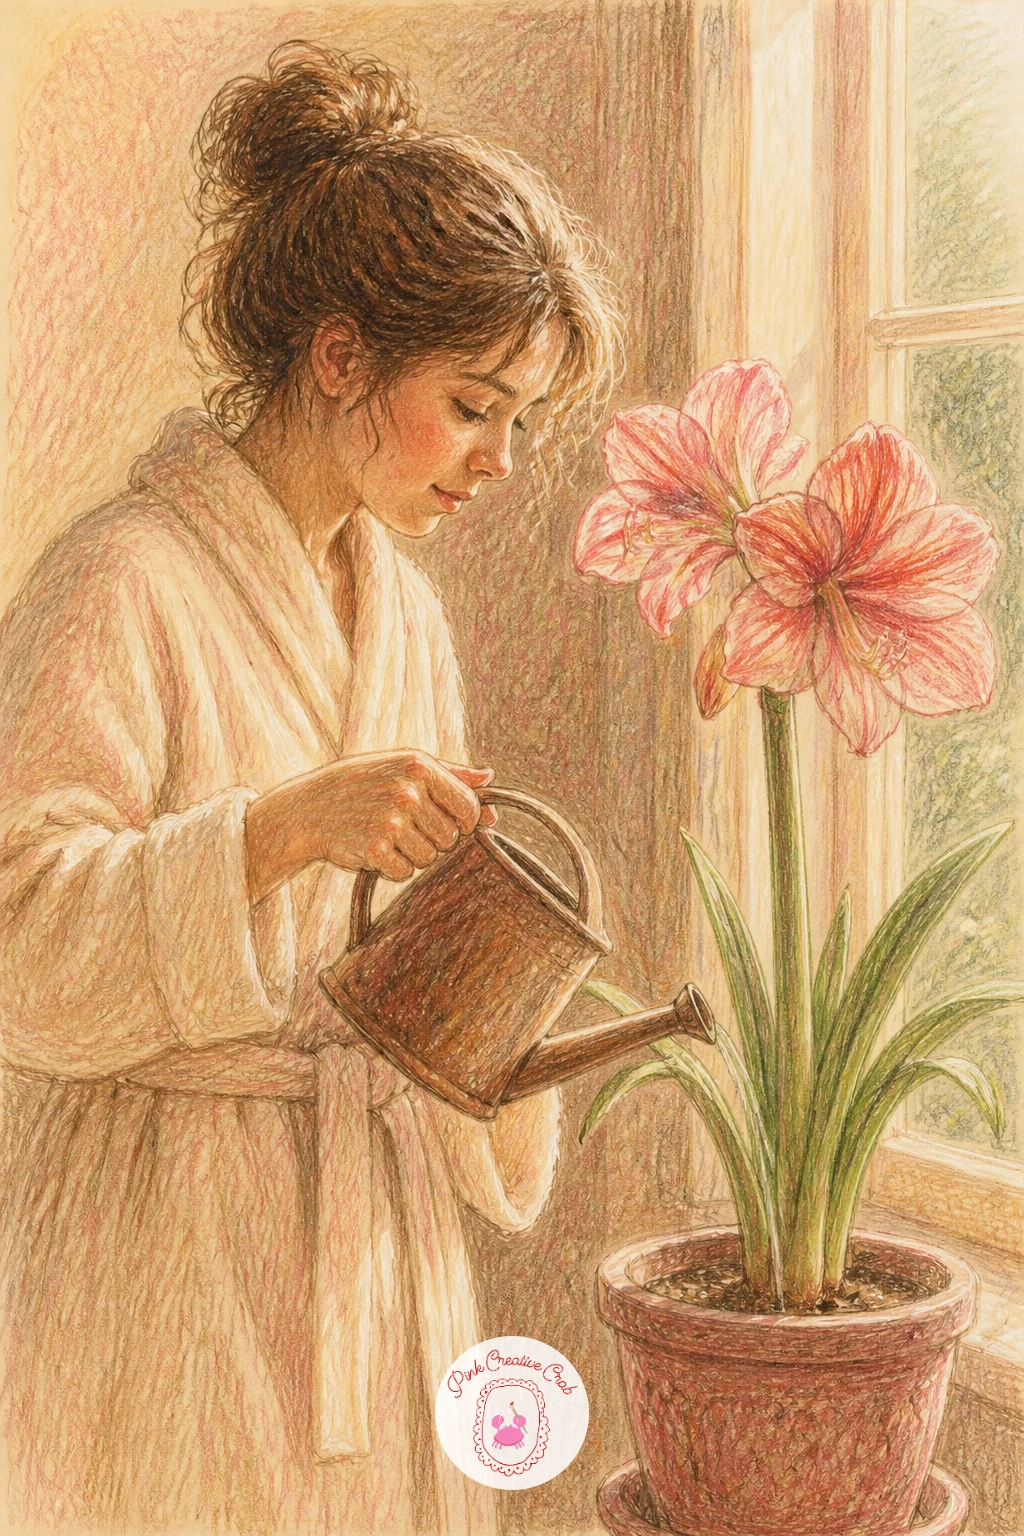
Watering a pink amaryllis in a robe makes a lovely quiet moment, so sketch the tall flower stem and bloom first since it anchors the whole composition, then add the girl beside it tipping a small watering can. Keep her pose relaxed, one hand steadying the pot.
Color the amaryllis petals in soft red and a touch of warm pink, layering from the center outward so the petals look like they curve rather than lie flat. Her robe can stay a simple cream or oatmeal with cocoa brown fold lines.
Flower petals are the trickiest part here, since too much pressure flattens them. Work in light layers and leave small cream highlights where the petal catches the window light, rather than coloring the whole petal evenly.
For an easier swap, draw a smaller potted bulb instead of the tall bloom, which still reads as a winter amaryllis but takes half the time.
You Will Need
- cream paper
- soft red and pink pencils
- cocoa brown pencil
- kneaded eraser
Palette: Soft Red,Warm Pink,Cocoa Brown,Cream
Try tucking a small watering can with a worn patina beside her feet, it adds a lived in detail without extra drawing skill.
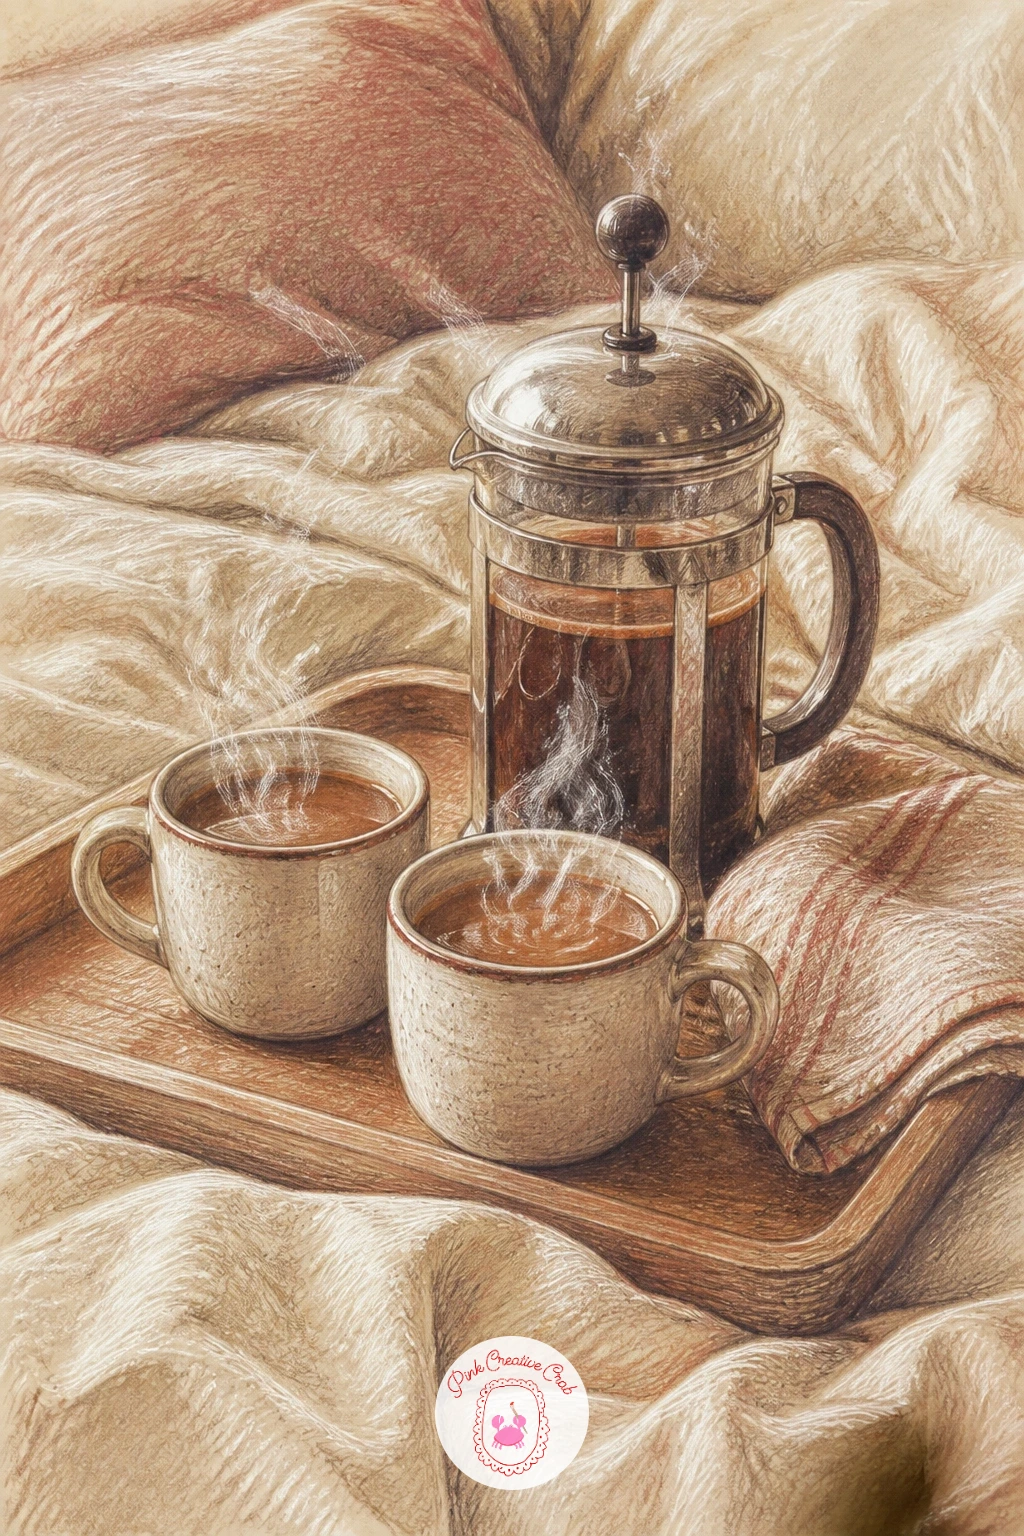
Keep this still life grounded by drawing the wooden tray first as a simple rectangle, then place the French press and two cups on top, checking that the press sits taller than both cups before adding detail. The bedding beneath can stay loose and soft.
Shade the tray in warm cocoa brown with visible wood grain lines, and give the French press a cool grey glass body with a thin band of coffee color visible inside. The two cups get a simple cream base with cocoa brown rims.
Glass objects like the French press often look too solid in colored pencil. Leave a vertical strip of the cream paper untouched down one side of the glass for a shine, which instantly reads as reflective rather than opaque.
If a French press is tricky to draw, swap it for a simple coffee pot shape, the idea works the same with far less detail required.
You Will Need
- cream paper
- cocoa brown pencil
- cool grey pencil
- white gel pen for shine
Palette: Cocoa Brown,Cool Grey,Cream,Warm Tan
A linen or waffle textured blanket beneath the tray, drawn with a few soft folded lines, keeps the whole scene feeling like a real bed and not a studio shot.
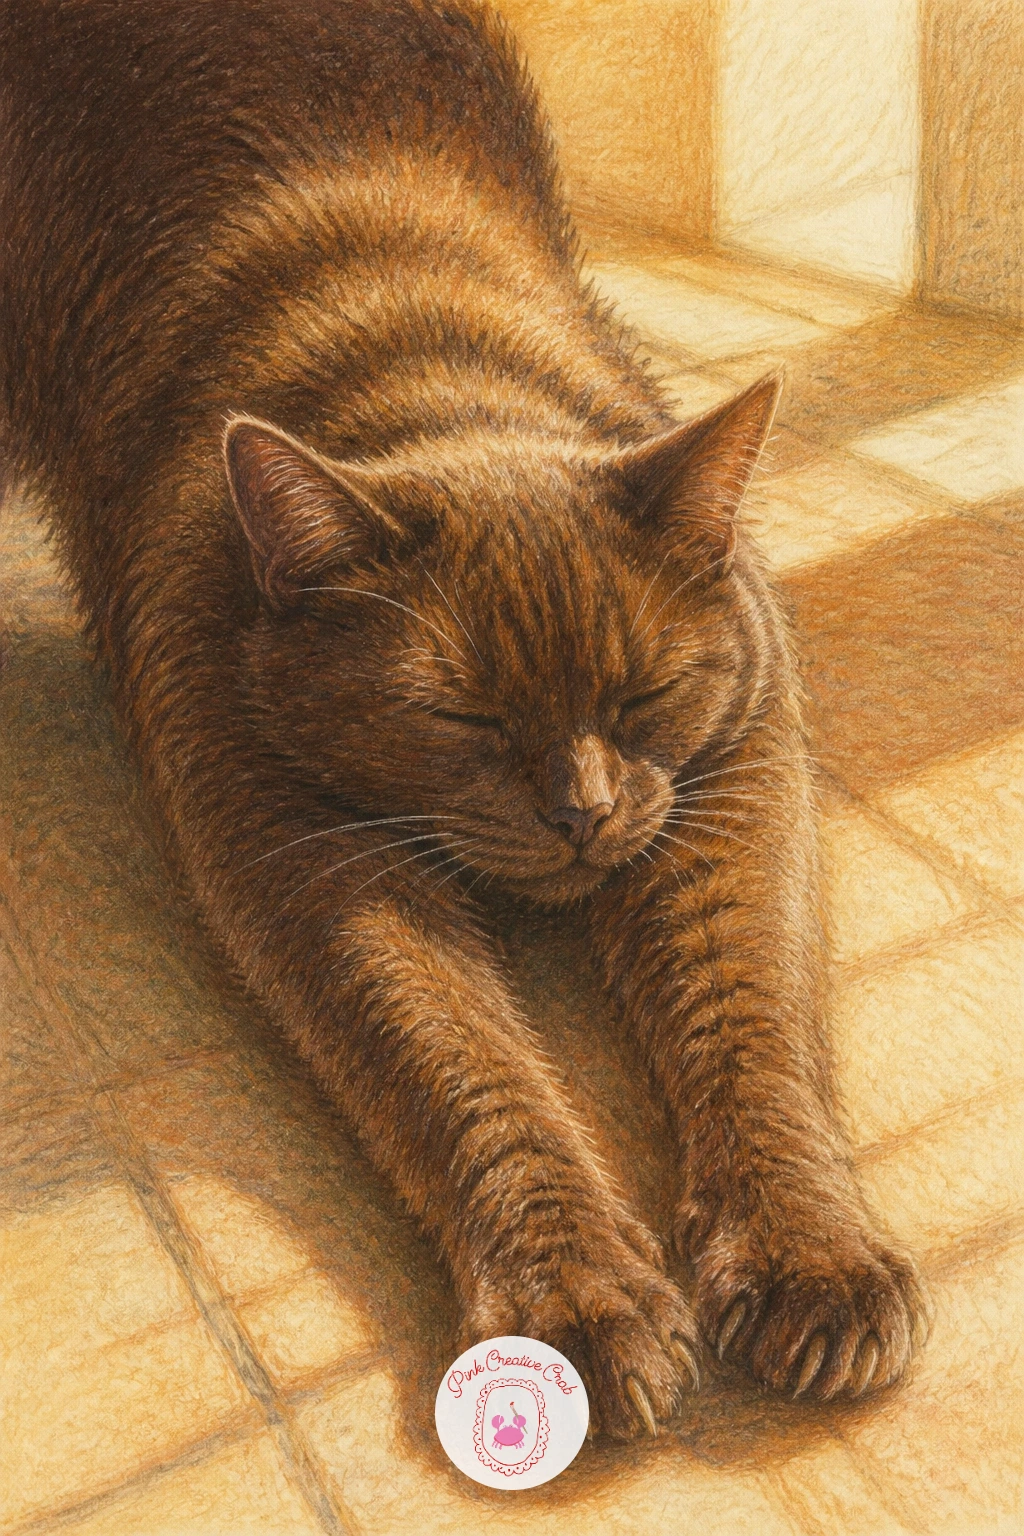
A cat stretched out on a heated floor is really a study in long curving shapes, so start with one flowing line for its spine before adding legs, tail and head along that curve. Keep the pose loose, cats rarely sit in straight lines.
Layer the fur in cocoa brown and cream strokes following the direction it grows, darker along the spine and lighter where the sunbeam hits its back. A patch of warm gold laid diagonally across the floor shows where the light falls.
Where the eye lands first here is the sunbeam itself, so get the light source clear: decide where the window sits off to one side, then let every shadow on the cat’s body fall away from that same direction consistently.
For a quick ten minute version, draw just the curled cat shape and skip the floor entirely, letting the cream paper suggest the sunlight on its own.
You Will Need
- cream paper
- cocoa brown and warm gold pencils
- cream pencil for highlights
- blending stump
Palette: Cocoa Brown,Warm Gold,Cream,Soft Grey
If the subject interests you, the cat pencil drawing ideas for beginners page has more poses worth practicing with the same warm palette.
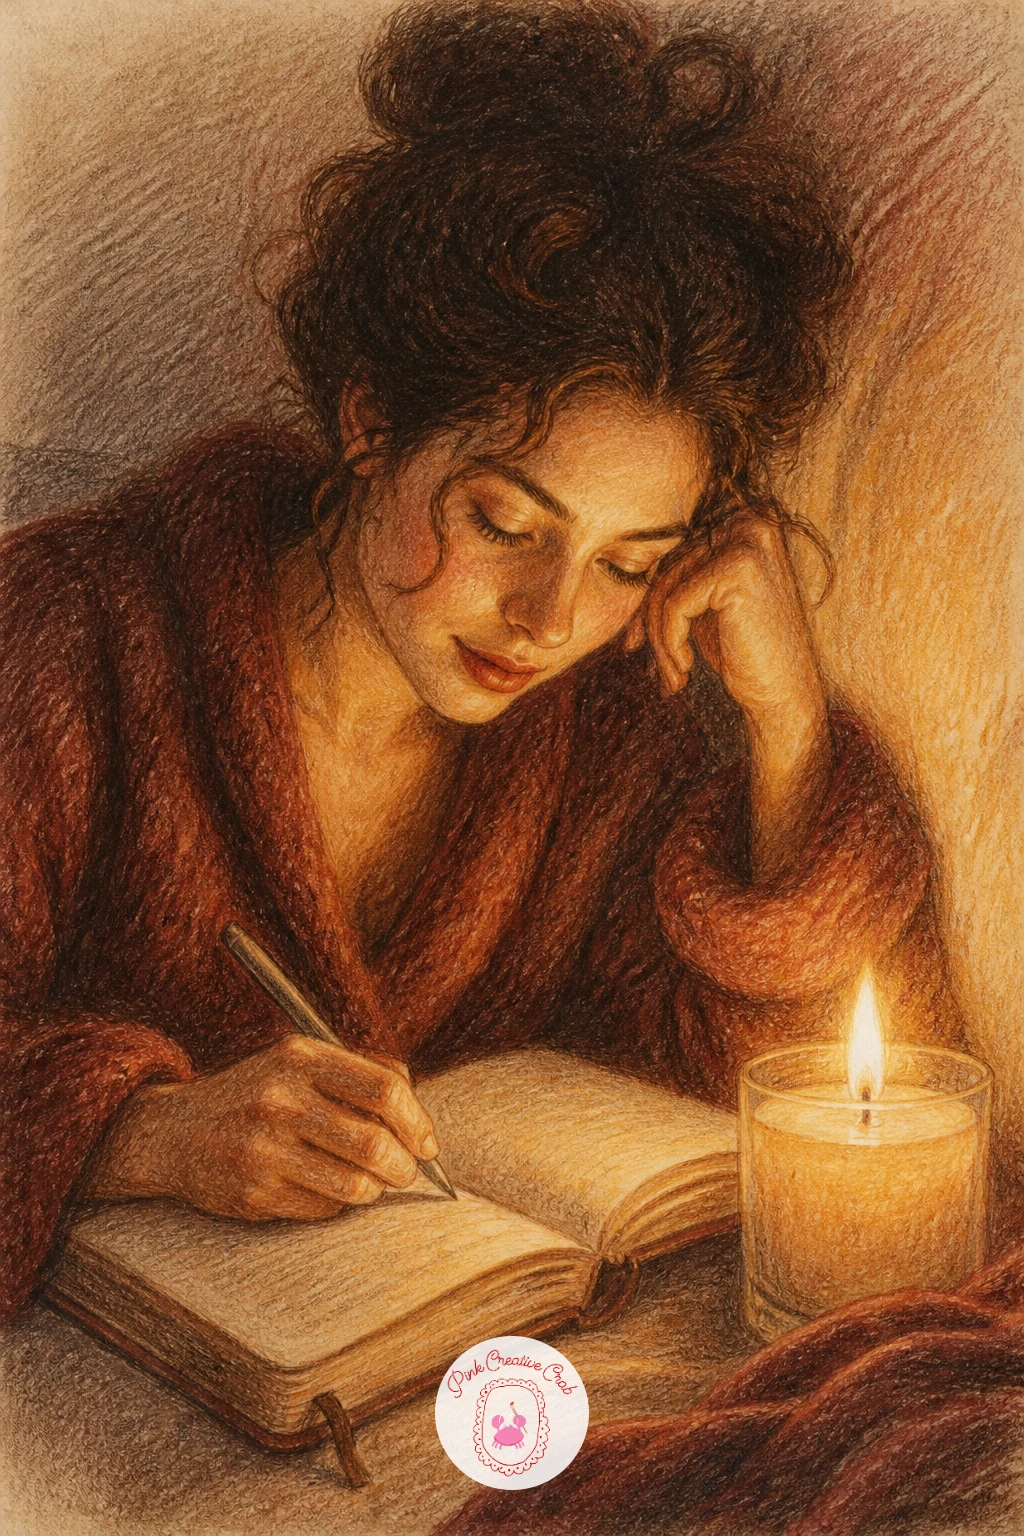
Writing in a journal with a candle lit is a quiet close up scene, so sketch her hands and the open notebook first, since hands anchor the whole composition and deserve the most careful attention. Keep fingers slightly loose rather than stiff and straight.
The candle flame gets a small warm gold center fading to soft orange, with a thin trail of white gel pen smoke rising above it. Her sweater and the notebook pages stay in cream and cocoa brown, simple and unfussy.
Candlelight changes where every shadow falls, so decide the flame is the only light source and darken everything away from it, including the underside of her chin and the far side of the notebook. That single choice makes the whole scene feel lit rather than flat.
One concrete tip: leave a small bright cream halo directly around the flame untouched by any other color, it reads as glow instantly.
You Will Need
- cream paper
- warm gold and orange pencils
- cocoa brown pencil
- white gel pen
Palette: Warm Gold,Soft Orange,Cocoa Brown,Cream
Look at a real candle flame photo for how the light actually curves and flickers, it keeps the glow from looking like a plain yellow blob.
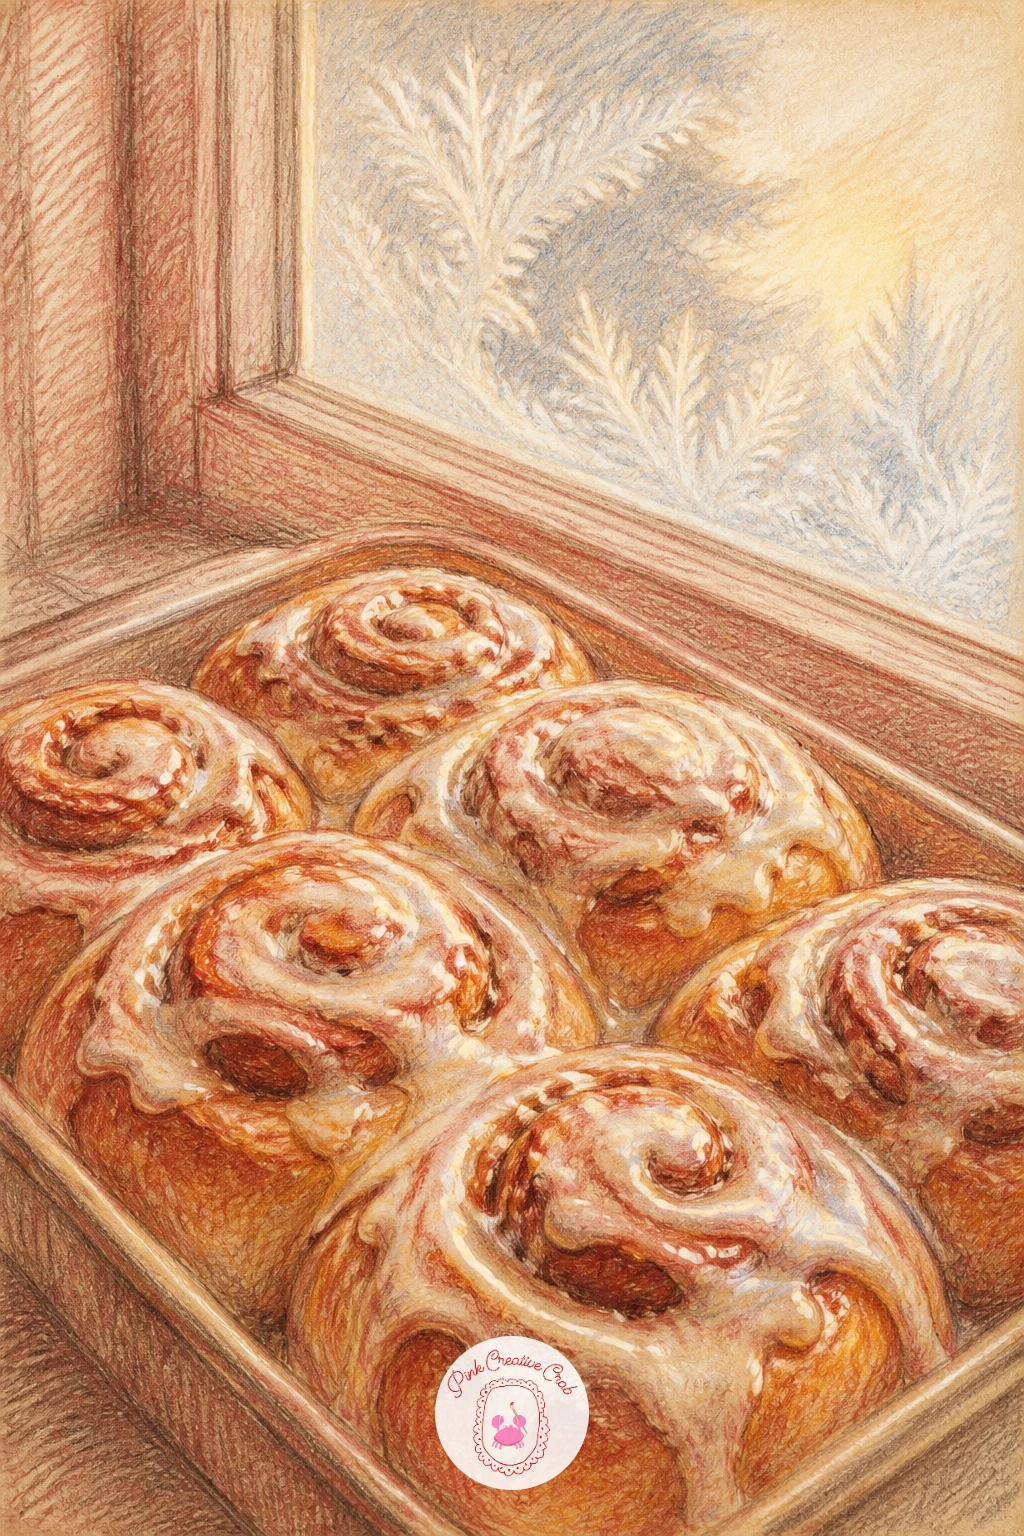
A tray of fresh cinnamon buns cooling by the window is a fun still life because the swirl pattern does most of the work. Sketch each bun as a simple circle with a spiral line inside, then arrange several in a loose grid on the cooling rack.
Color the buns in warm gold with cocoa brown swirl lines, then drizzle white gel pen icing over the top once the base color is fully dry. The cooling rack itself can be a few simple grey lines crossing beneath.
The icing drizzle is where most people rush and end up with one thick blob. Use the gel pen in thin wavy lines, lifting the pen often, which reads as a real drizzle instead of a solid stripe.
For a bolder version next time, add steam rising off one bun and a window view of snow behind the rack to root the scene more firmly in winter.
You Will Need
- cream paper
- warm gold and cocoa brown pencils
- grey pencil for rack
- white gel pen
Palette: Warm Gold,Cocoa Brown,Soft Grey,Cream
Try varying the size of each bun slightly, uniform rows look mass produced while a little unevenness feels fresh from the oven.
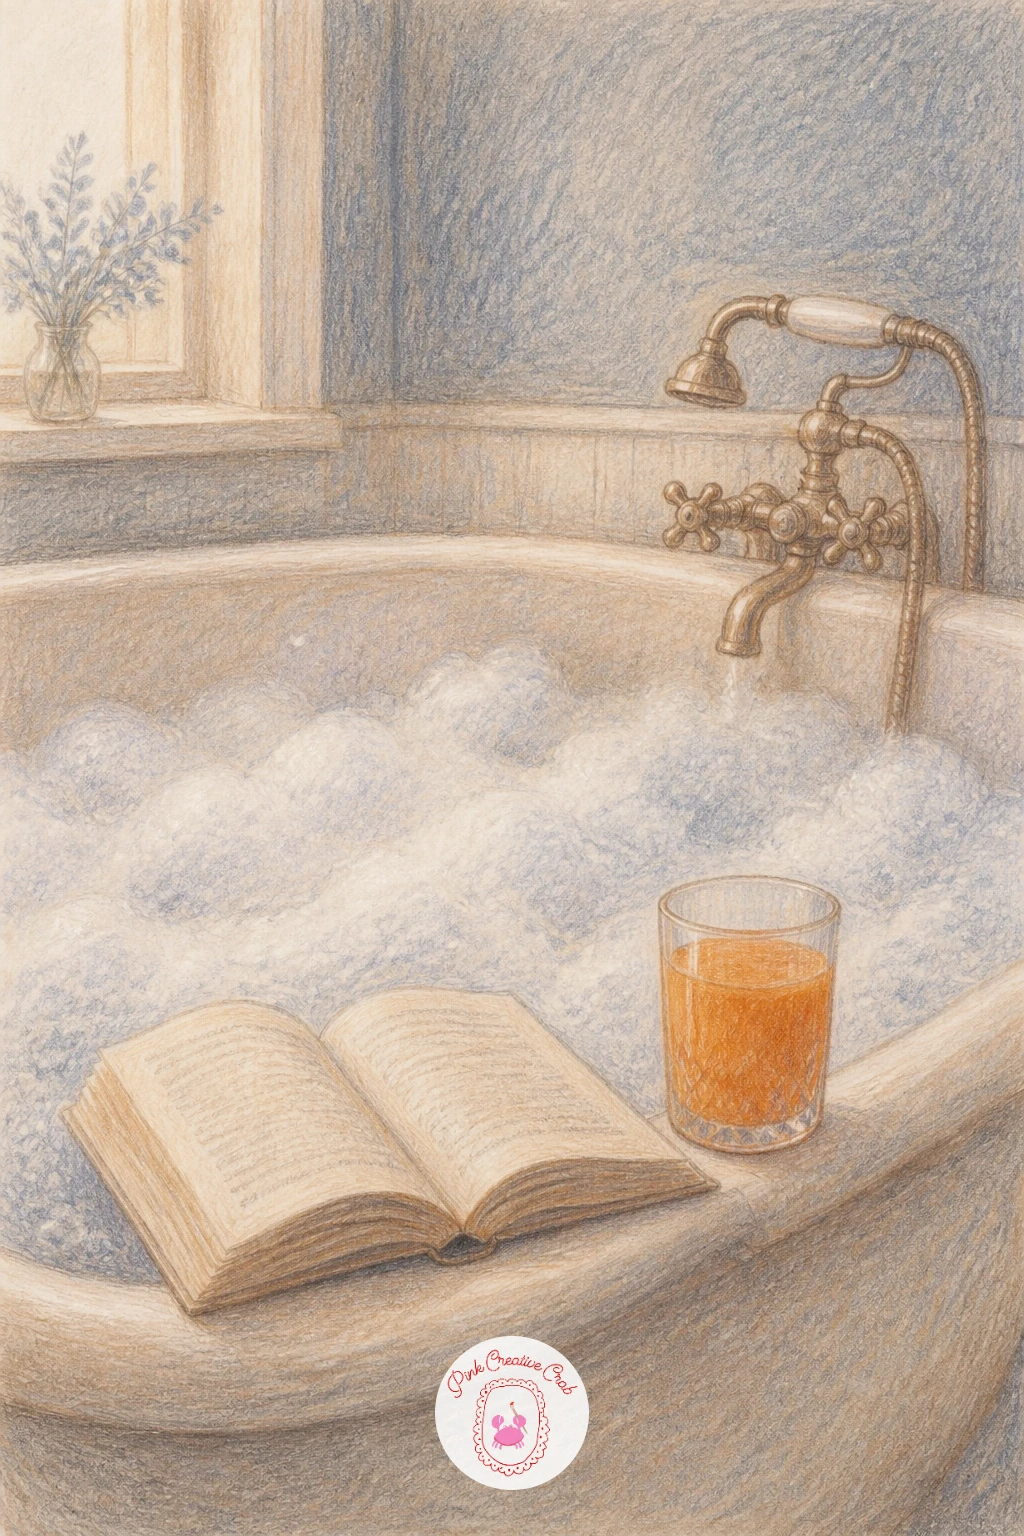
This cozy bathtub scene starts with the tub itself drawn as a simple rounded rectangle, then bubbles piled along the top edge in soft cloud like shapes. Add the book propped on the rim and a glass of juice beside it once the tub shape feels solid.
Bubbles take a light touch: layer white and pale blue grey pencil in soft overlapping circles, leaving plenty of cream paper showing through for highlights. The juice glass gets warm gold color with a thin cream line down one side for shine.
Edges are the trick with bubbles, since hard outlines make them look like rocks instead of foam. Keep every bubble edge slightly smudged with a blending stump rather than sharply drawn.
If a full bathtub feels like too much, crop in tighter on just the bubbles, book and juice glass along the rim, which finishes faster and still tells the whole story.
You Will Need
- cream paper
- pale blue grey pencil
- white pencil
- blending stump
Palette: Pale Blue Grey,Cream,Warm Gold,Soft Grey
A few scattered rose petals or a sprig of eucalyptus floating on the bubbles adds a spa like touch with very little extra drawing.
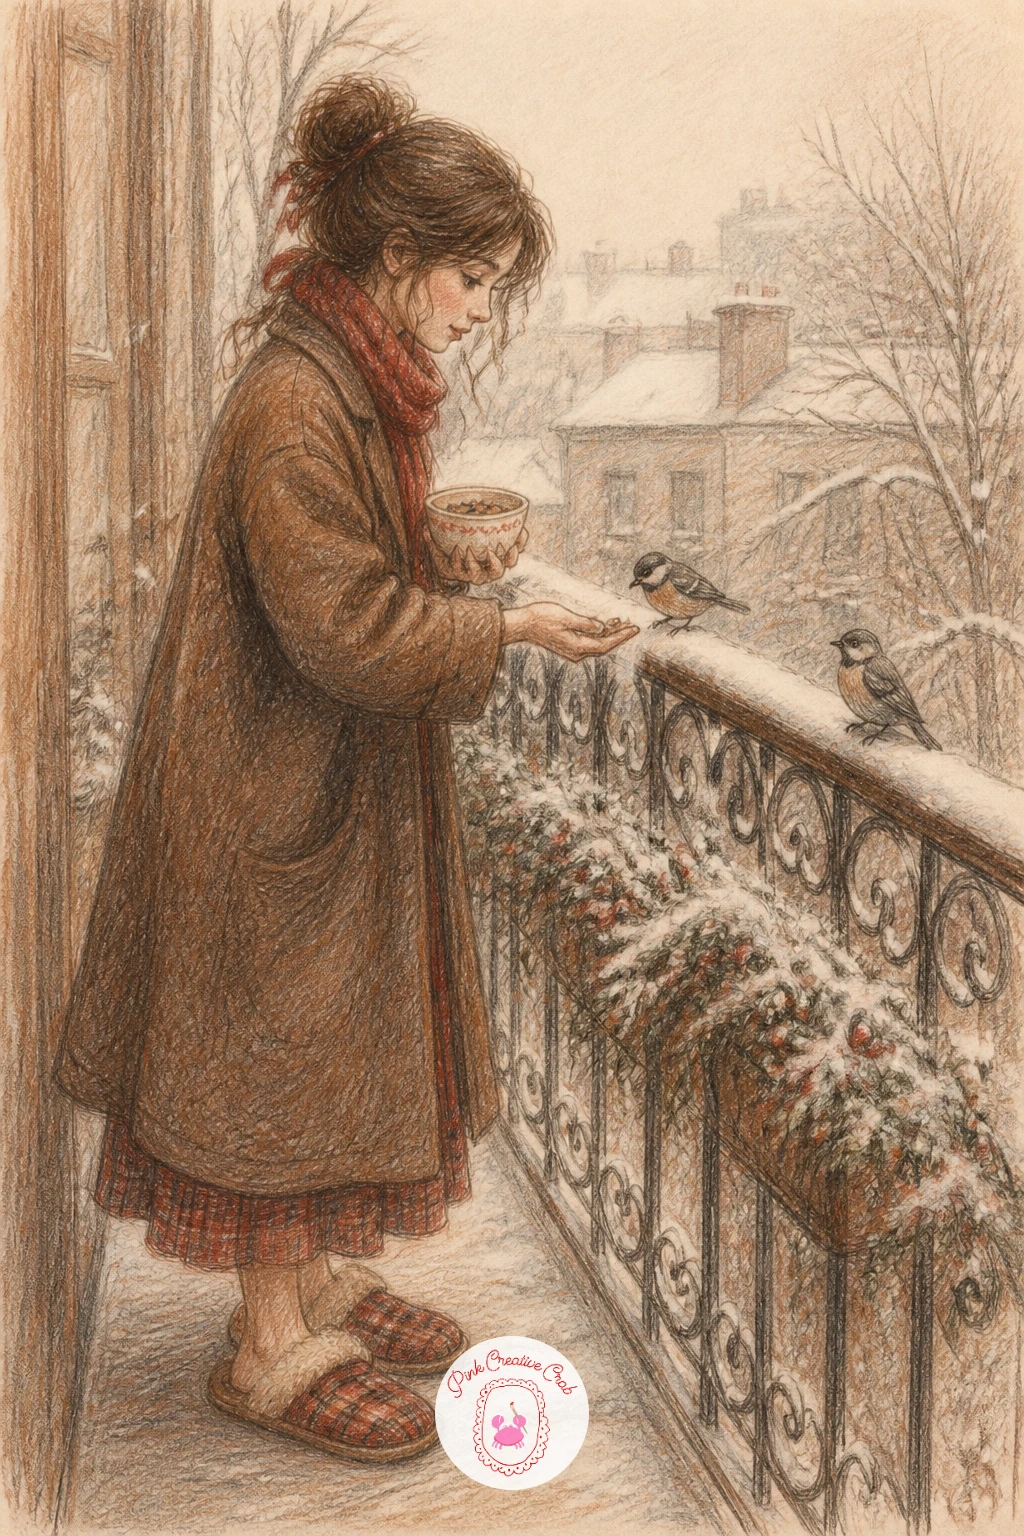
Sketch the girl first in slippers and a cozy coat, leaning slightly forward with a small handful of seed, then add the balcony railing and a bird or two nearby. Keep the birds simple rounded shapes, detail is not needed to read them clearly.
Color her coat in cocoa brown or soft red with cream trim, and give the birds a mix of warm brown and grey feathers in short choppy strokes. The snowy railing stays mostly white paper with just a few grey shadow lines along its edges.
Measure her head against her coat length before adding the railing, since getting that proportion right keeps her from looking too small or swallowed by the balcony. For reference, the bird pencil drawing beginner ideas page has simple bird shapes worth practicing first.
One concrete tip: scatter a few seeds on the railing in tiny dark dots, it instantly explains what she is doing without any extra drawing.
You Will Need
- cream paper
- cocoa brown and soft red pencils
- grey pencil for birds
- white pencil for snow
Palette: Cocoa Brown,Soft Red,Soft Grey,Cream
Try a robin instead of a sparrow for one bird, its red chest adds a small pop of color that ties neatly back into the winter palette.
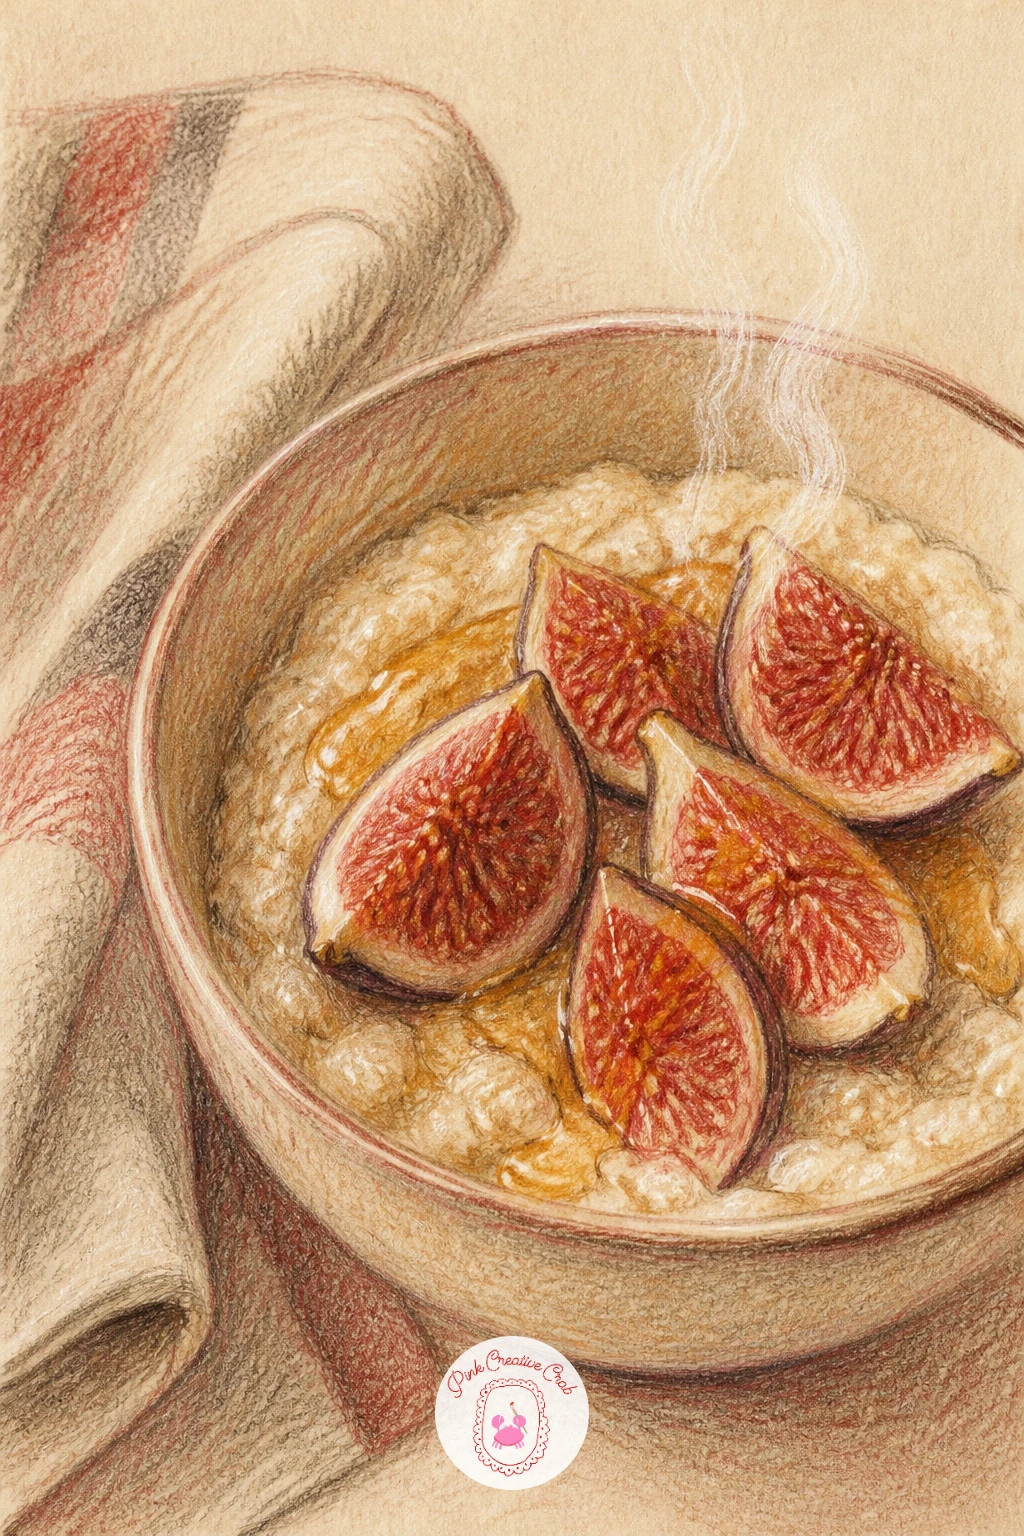
Center the bowl of porridge first as a simple oval rim, then build the porridge surface inside with soft grainy texture before adding sliced figs and a honey drizzle on top. A folded newspaper beside the bowl fills out the table.
Color the porridge in warm cream and a touch of grey for texture, then layer the figs in deep soft red with tiny cream dots for the seeds inside. The honey drizzle is pure warm gold, added last in thin curving lines.
The porridge surface is the part beginners tend to overwork, scrubbing it smooth until it looks like plain paint. Keep the strokes short and slightly varied in pressure instead, which reads as oats rather than a flat surface.
If figs are not available as reference, swap them for sliced strawberries or a spoon of jam, the composition works the same way with any bright fruit.
You Will Need
- cream paper
- warm gold and soft red pencils
- grey pencil for texture
- fine tip pencil for seeds
Palette: Cream,Warm Gold,Soft Red,Soft Grey
A small spoon resting across the bowl rim adds a candid, just about to eat feeling that a plain bowl alone does not give.
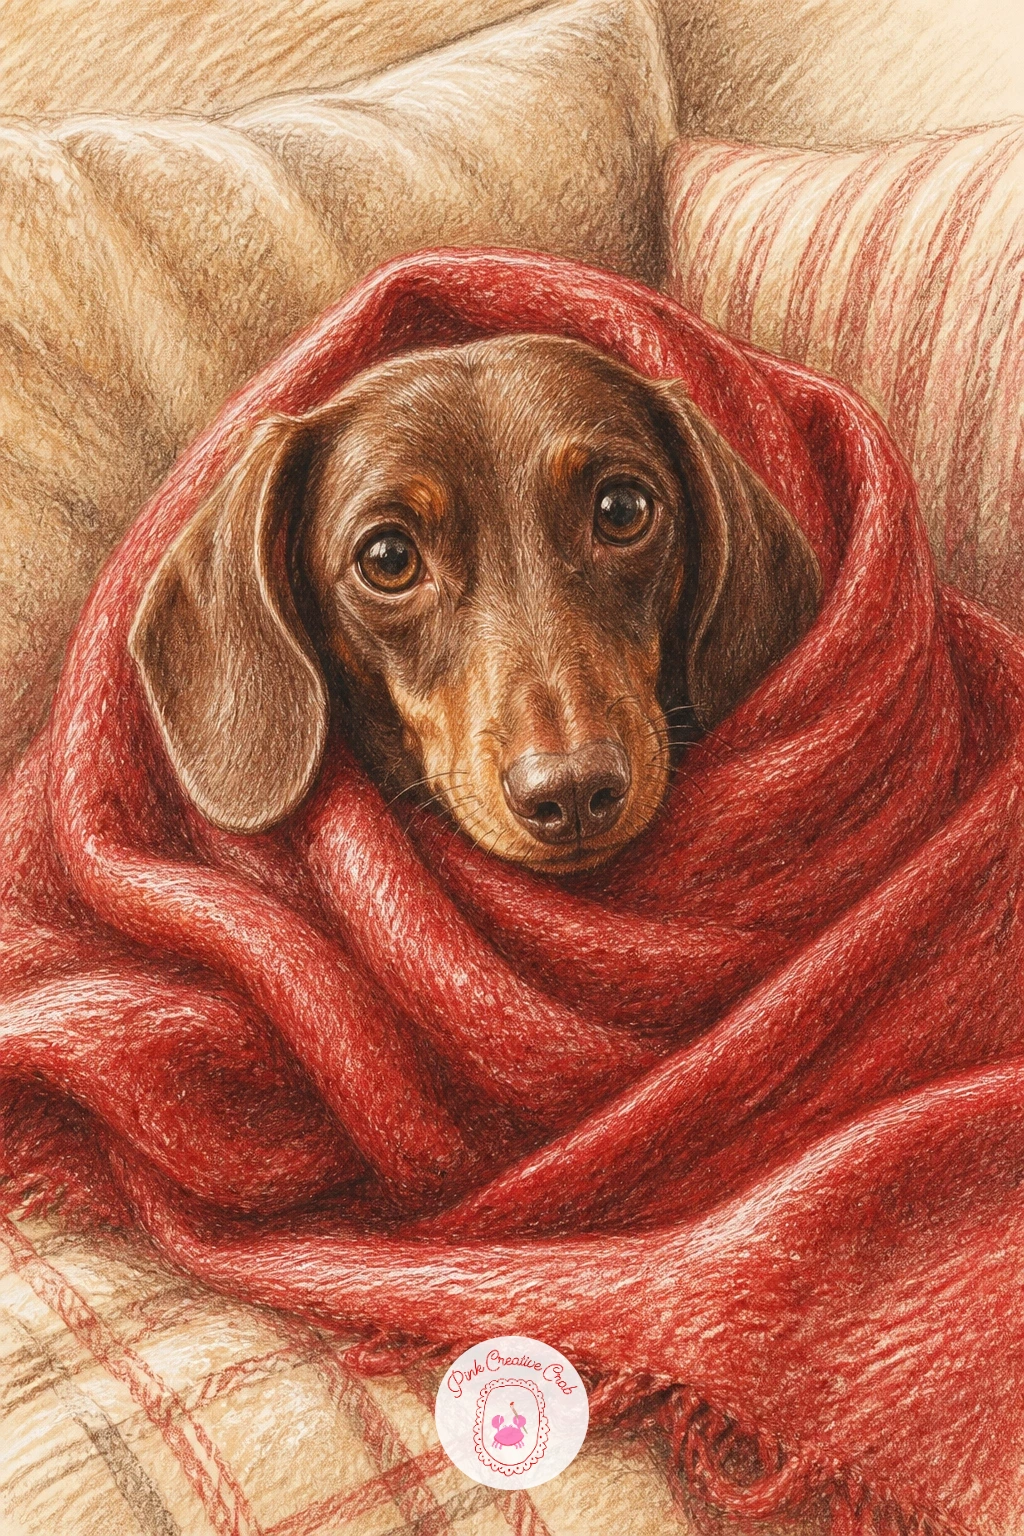
A dachshund wrapped in a blanket on the sofa is mostly about the long low body shape, so sketch the torso first as a stretched oval before adding the small legs and pointed snout peeking out from the fabric. Keep the blanket folds loose and soft around the body.
Layer the dog’s coat in cocoa brown with darker brown shadow along its back, and let the blanket take a muted cream or soft red with gentle fold lines crossing it. Only the head and perhaps one paw need to show through the fabric.
Getting the proportion right matters most here: a dachshund’s body reads as roughly three times its head length, so check that ratio before committing to color. Without it the dog can end up looking like a different breed entirely.
For next time, try the same pose with just the snout and ears peeking out, blanket pulled up higher, for an even cozier variation.
You Will Need
- cream paper
- cocoa brown pencils two shades
- soft red pencil for blanket
- eraser
Palette: Cocoa Brown,Warm Tan,Soft Red,Cream
The dog pencil drawing ideas for beginners page has more breed proportions if this pose makes you want to try others.
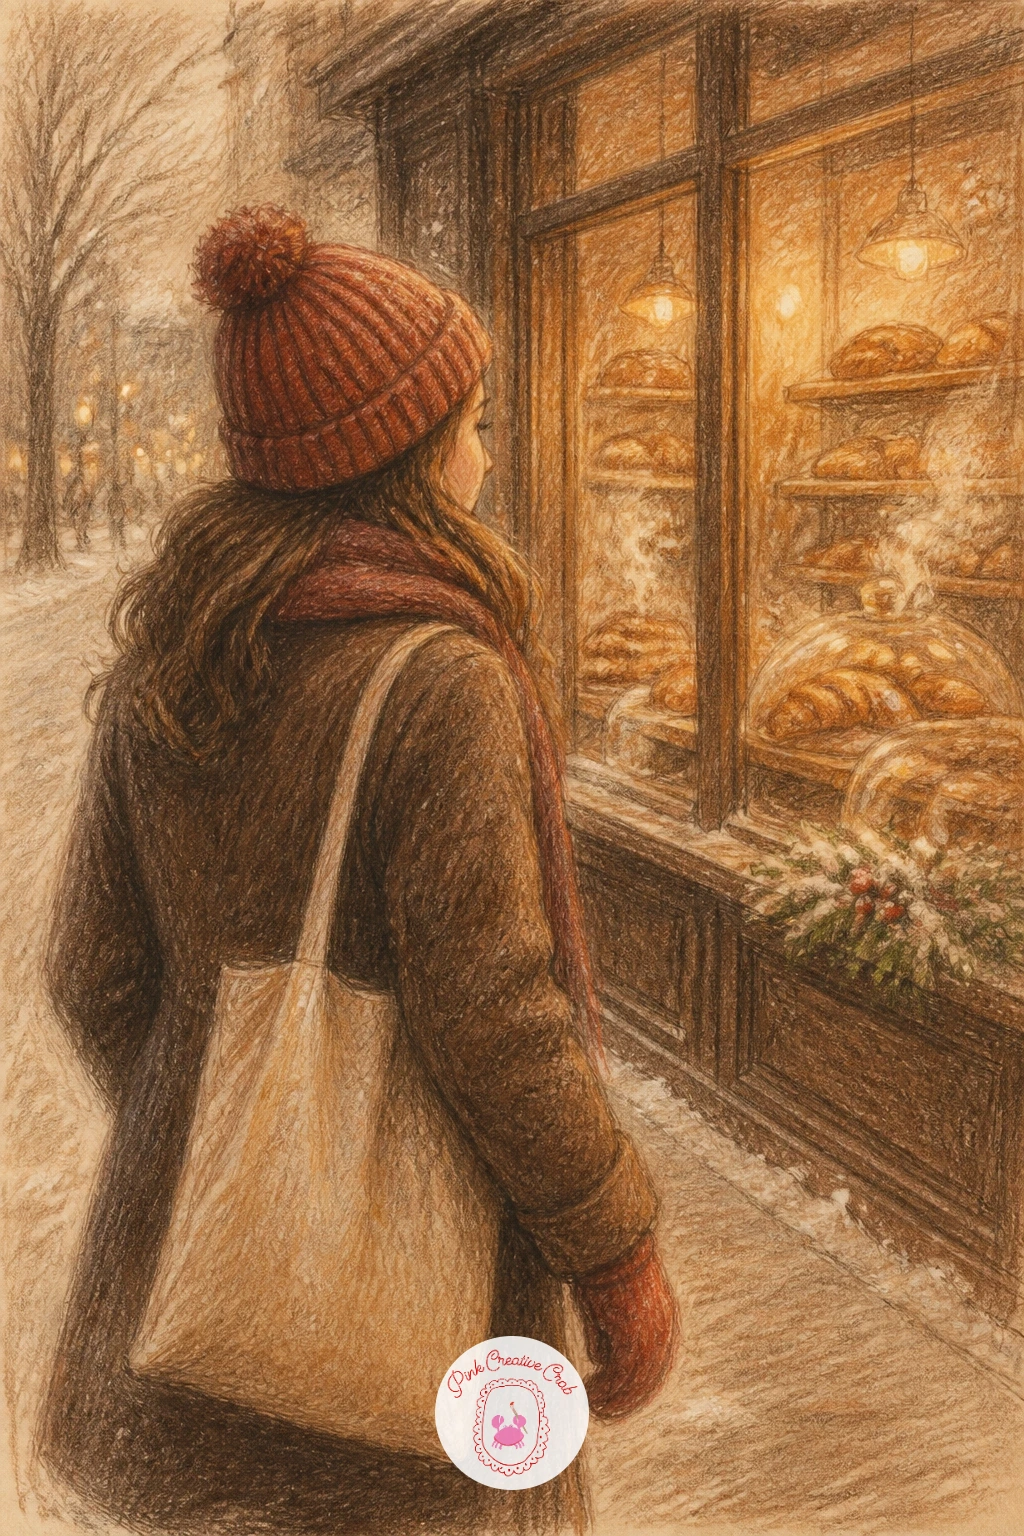
This one is a small street scene, so place the woman in a beanie and coat first, tote bag swinging from one arm, then add just enough background, a bakery window glowing softly behind her, to set the place without overworking it.
Her coat and beanie take cocoa brown and soft red, while the bakery window behind glows warm gold against a muted grey street. Keep the background loose and slightly blurred looking compared to her sharper figure in front.
Eye level and light both matter here: place the bakery window glow low and warm since it is an interior light spilling outward, and let it cast a soft golden patch on the snow near her feet.
If a full street feels like too much, crop tightly on just her upper body and the glowing window corner behind her shoulder for a quicker finish.
You Will Need
- cream paper
- cocoa brown and soft red pencils
- warm gold pencil
- soft grey pencil
Palette: Cocoa Brown,Soft Red,Warm Gold,Soft Grey
Try adding a few flakes of falling snow with a white pencil last, it keeps the street from feeling static.
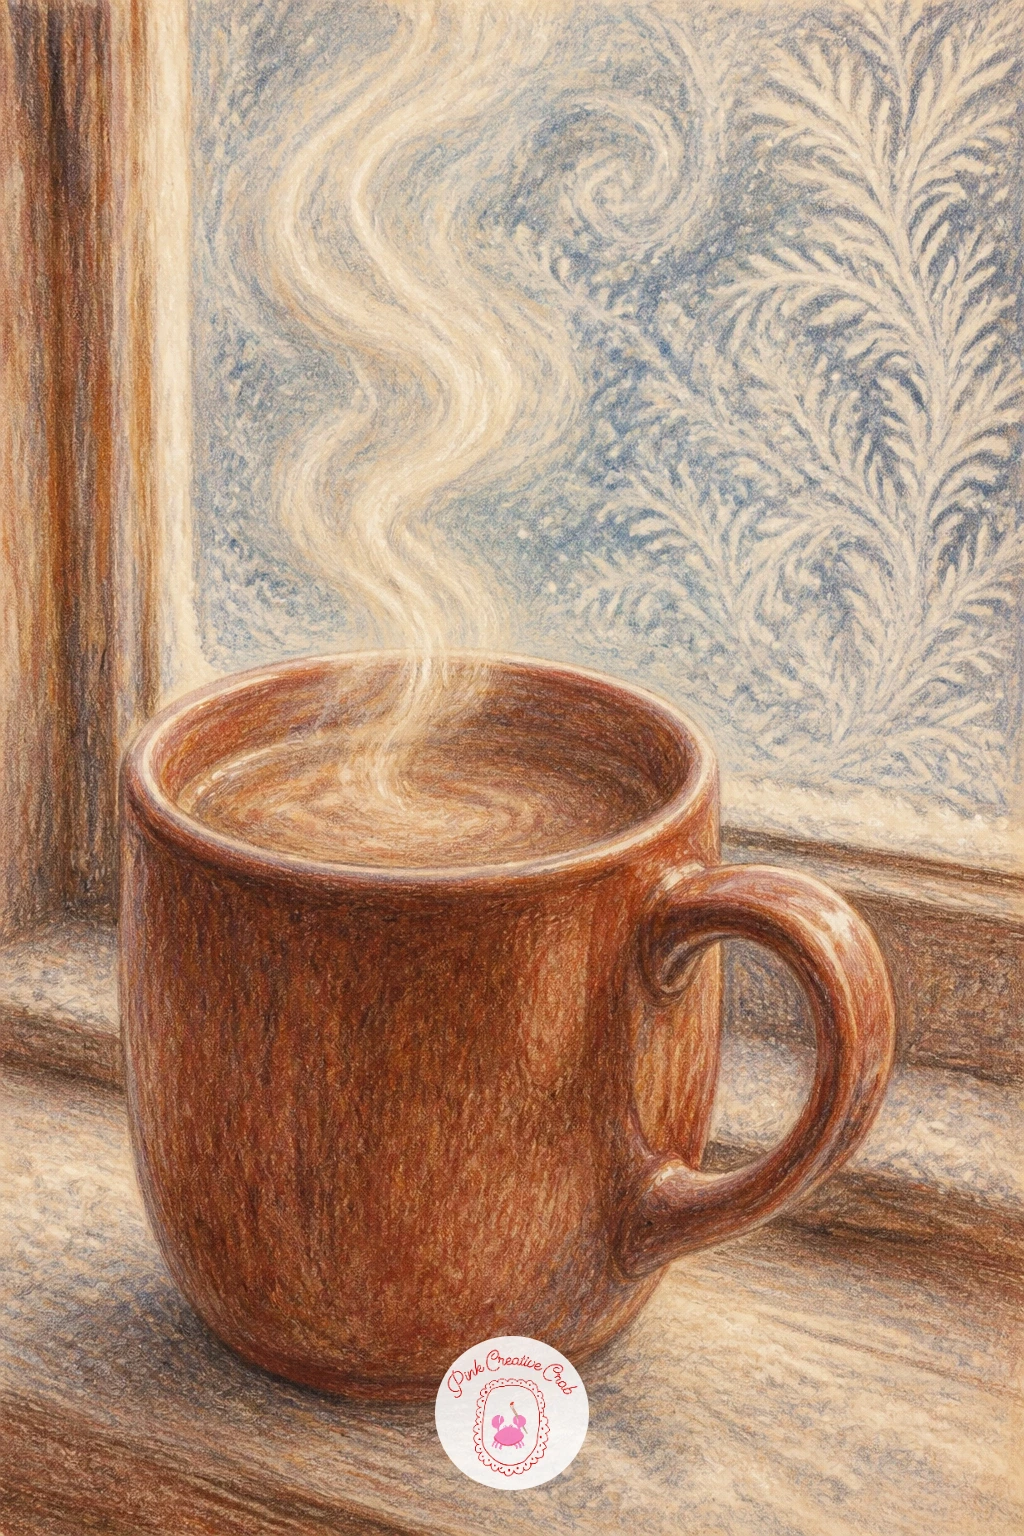
Keep this one small and focused: just a mug on a frosted windowsill with steam curling upward. Sketch the mug shape first, a simple cylinder with a slightly flattened ellipse on top, then add the windowsill and frost pattern behind it.
Color the mug in cocoa brown or soft red with a cream highlight down one side, and let the frosted glass behind take pale blue grey with scratchy white pencil marks for the frost pattern. The steam itself is drawn last in loose white gel pen curls.
Steam is the trickiest texture here, since too much white pen makes it look like smoke instead of warmth. Draw thin, wavy, interrupted lines rather than one solid curl, and let some lines fade out before they reach the top.
This is a true ten minute idea, and the forty minute version simply adds a small saucer and a sprig of pine resting beside the mug for extra texture.
You Will Need
- cream paper
- cocoa brown pencil
- pale blue grey pencil
- white gel pen
Palette: Cocoa Brown,Pale Blue Grey,Cream,Soft Red
Scratch the frost pattern into the pencil layer with the tip of a kneaded eraser for an authentic icy texture on the glass.
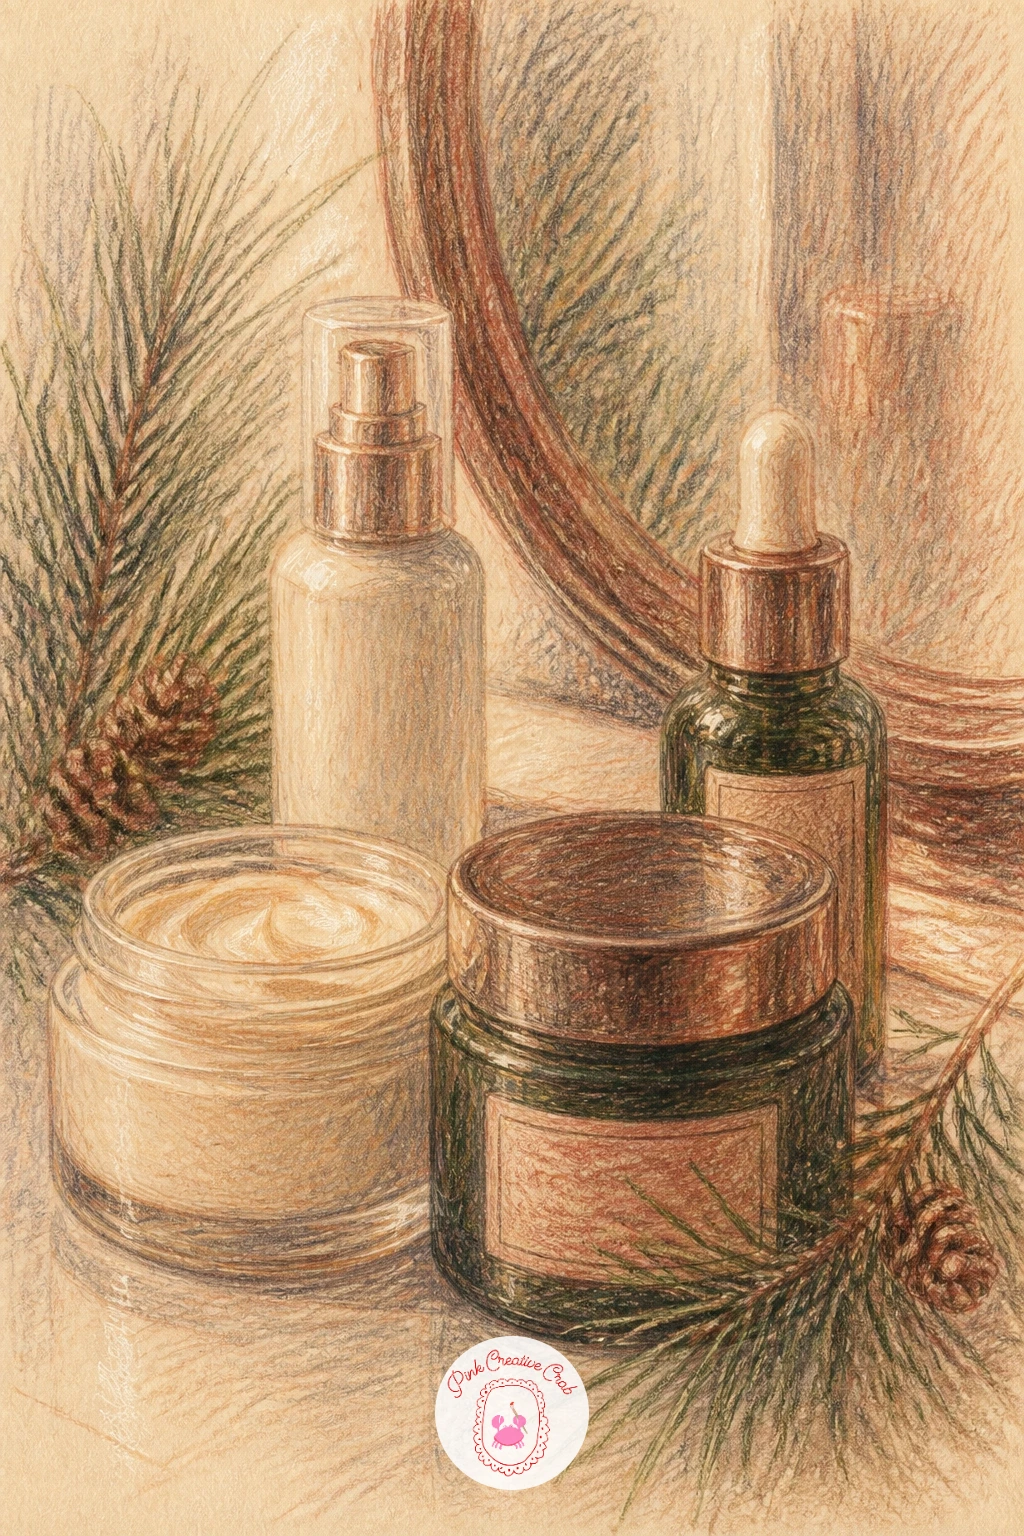
Arrange a small still life here: a few skincare jars of different heights grouped on a vanity surface, with a single sprig of pine laid beside them. Sketch the jars as simple cylinders and circles before adding any labels or texture.
Color the jars in soft cream and pale glass tones, with a little cocoa brown for wooden lids, and keep the pine sprig in deep green with cream highlights along each needle tip. A small mirror edge in the background can stay mostly suggested with a few light lines.
Glass jars often look too opaque in colored pencil. Leave a thin vertical strip of cream paper untouched on each jar for a shine, and keep shadows beneath them soft rather than sharp.
For a bolder version, add a small candle and a folded hand towel to round out the vanity corner, giving the scene more of a styled shelf feeling.
You Will Need
- cream paper
- pale cream and glass tone pencils
- deep green pencil for pine
- cocoa brown pencil
Palette: Cream,Deep Green,Cocoa Brown,Pale Grey
Group the jars in odd numbers, three reads as a styled arrangement far more naturally than two or four lined up evenly.
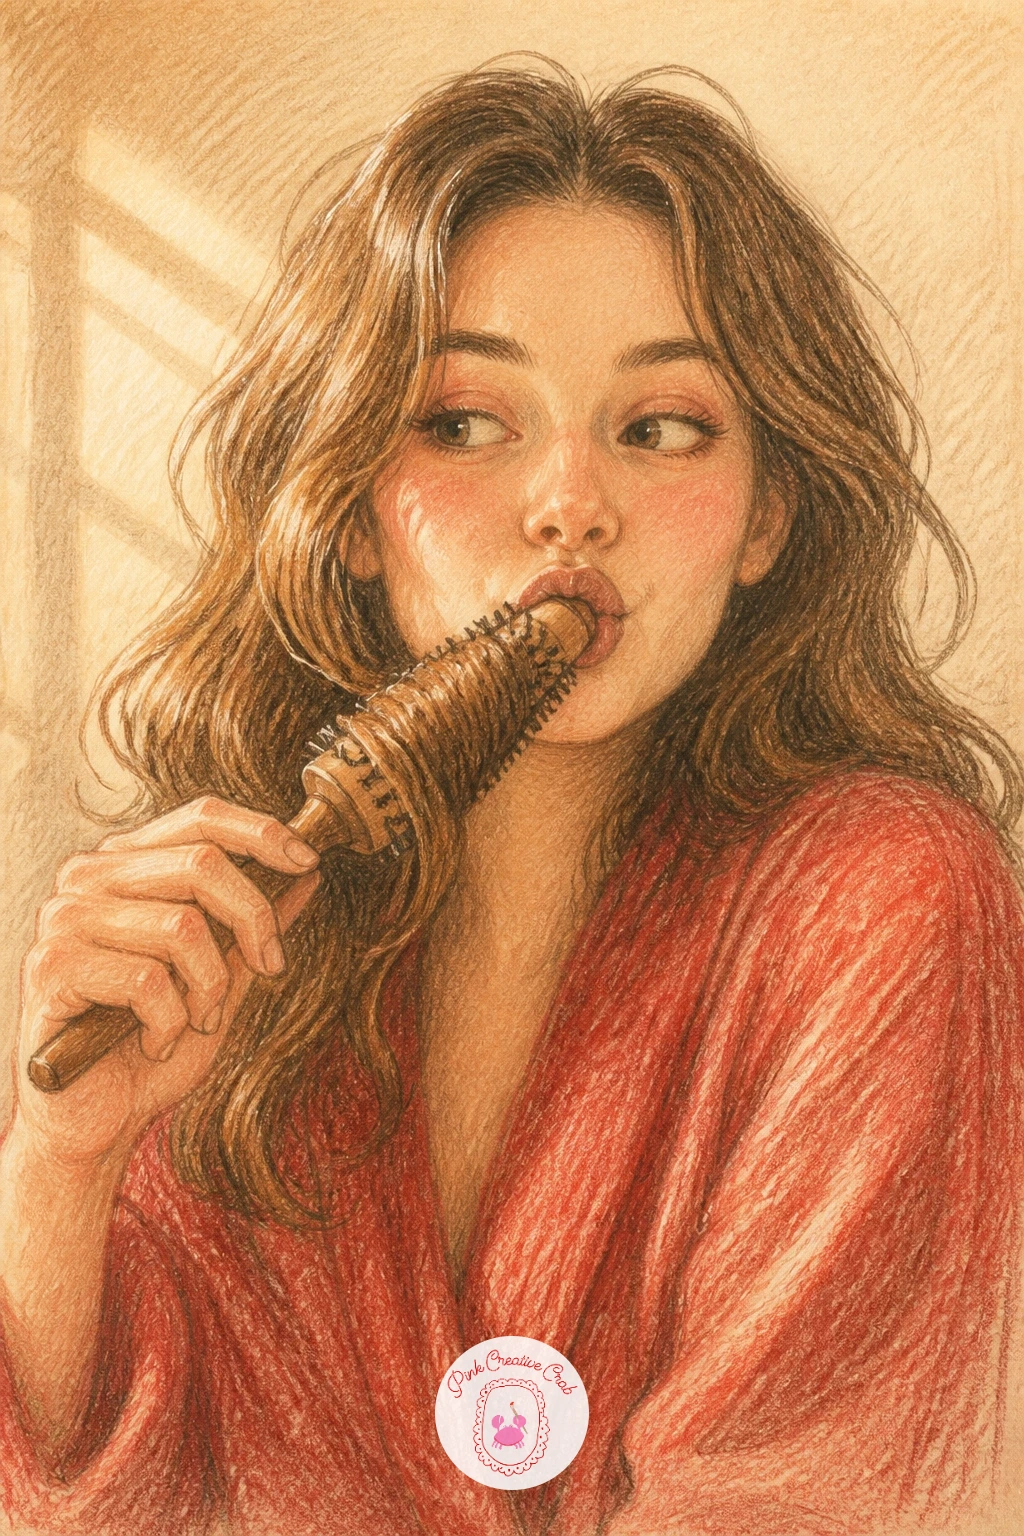
This playful scene starts with the girl’s head and shoulders, hairbrush held up like a microphone near her mouth, hair mid curl around her other hand. Keep her expression loose and happy, a simple curved line for a smiling mouth is enough.
Layer her hair in warm cocoa brown with lighter cream highlights where it catches the light, using long curved strokes that follow the direction of each curl. Her robe or pajama top stays simple, a soft red or cream block of color.
Getting the brush and hand right matters most for this one, so sketch the hand holding the brush as a simple mitten shape first, then add fingers only once the proportion against her face looks correct.
If drawing hands feels hard right now, have her holding the brush near her shoulder instead of up at her mouth, which hides the hand mostly behind her hair.
You Will Need
- cream paper
- cocoa brown pencil
- soft red pencil
- cream pencil for highlights
Palette: Cocoa Brown,Cream,Soft Red,Warm Tan
For more playful figure poses like this, the girl pencil drawing ideas for beginners page has several worth trying next.
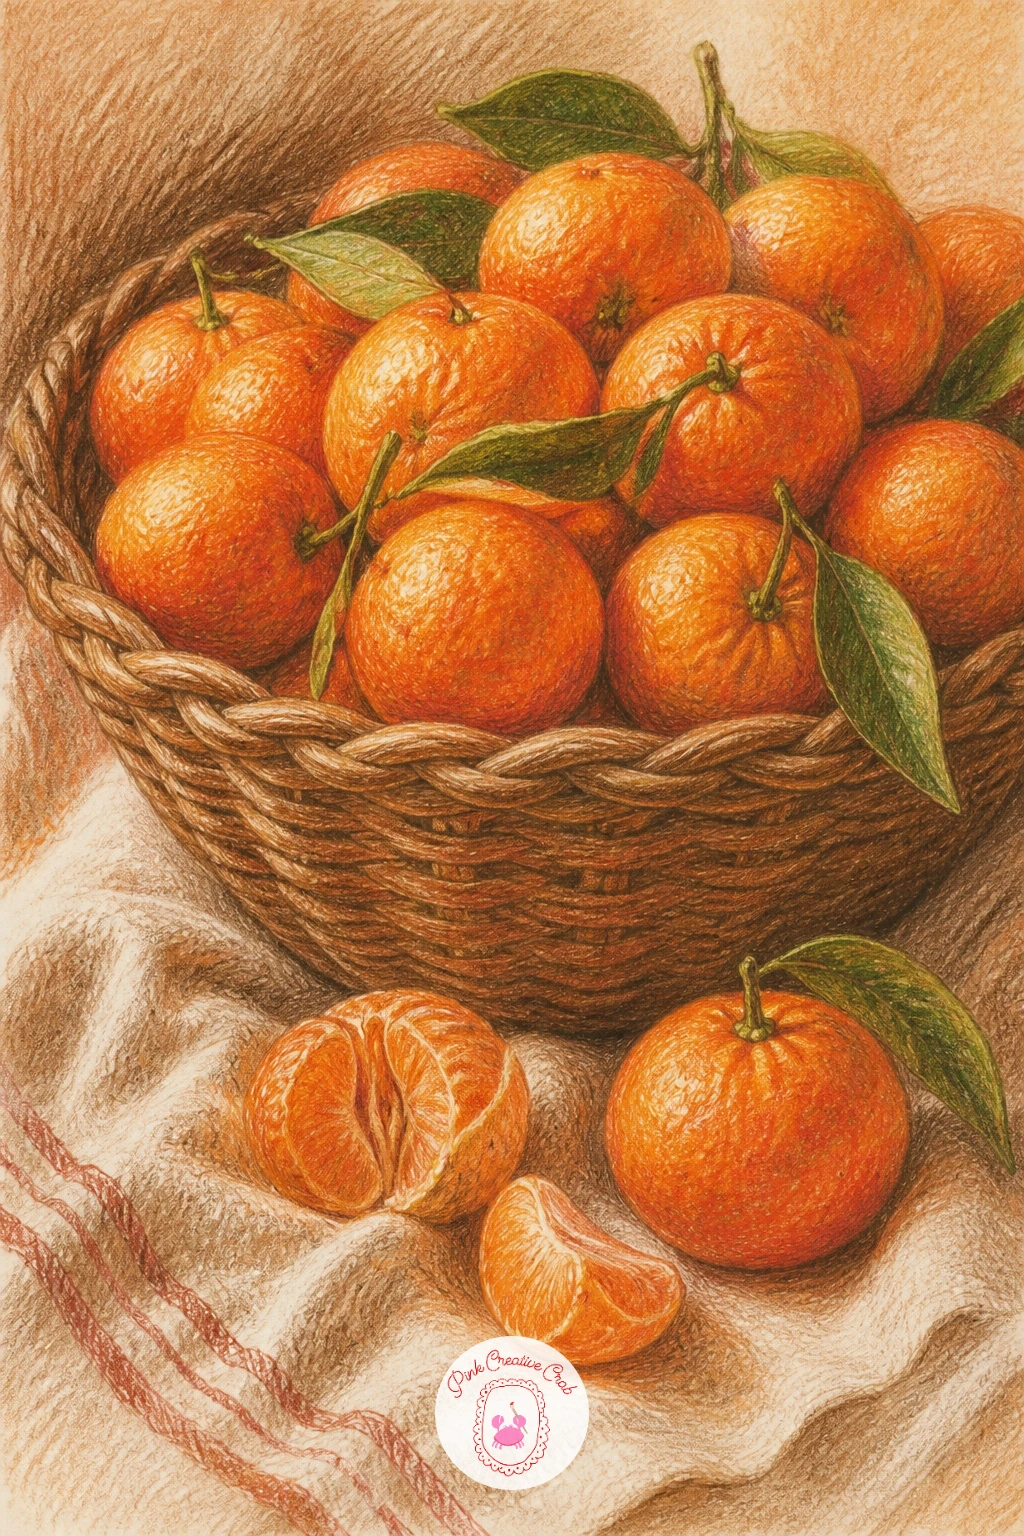
A basket of clementines is a forgiving still life, so sketch the woven basket shape first, then pile the clementines inside in loosely overlapping circles rather than a perfect pyramid. Let a few spill slightly over the basket edge for a natural feel.
Color each clementine in warm orange with a touch of soft red in the shadowed areas, leaving a small cream highlight on the side facing the light. The basket itself takes cocoa brown in crosshatched strokes to suggest woven texture.
Compare the size of one clementine against the basket width before adding the rest, since keeping that ratio consistent is what makes the whole pile look believable rather than randomly sized.
For the linen tablecloth beneath, a few soft grey shadow lines under the basket are enough, no need to draw every fold of fabric in detail.
You Will Need
- cream paper
- warm orange and soft red pencils
- cocoa brown pencil
- soft grey pencil
Palette: Warm Orange,Soft Red,Cocoa Brown,Cream
Leave one clementine partly peeled beside the basket, it adds a storytelling detail and a bright white and orange contrast.
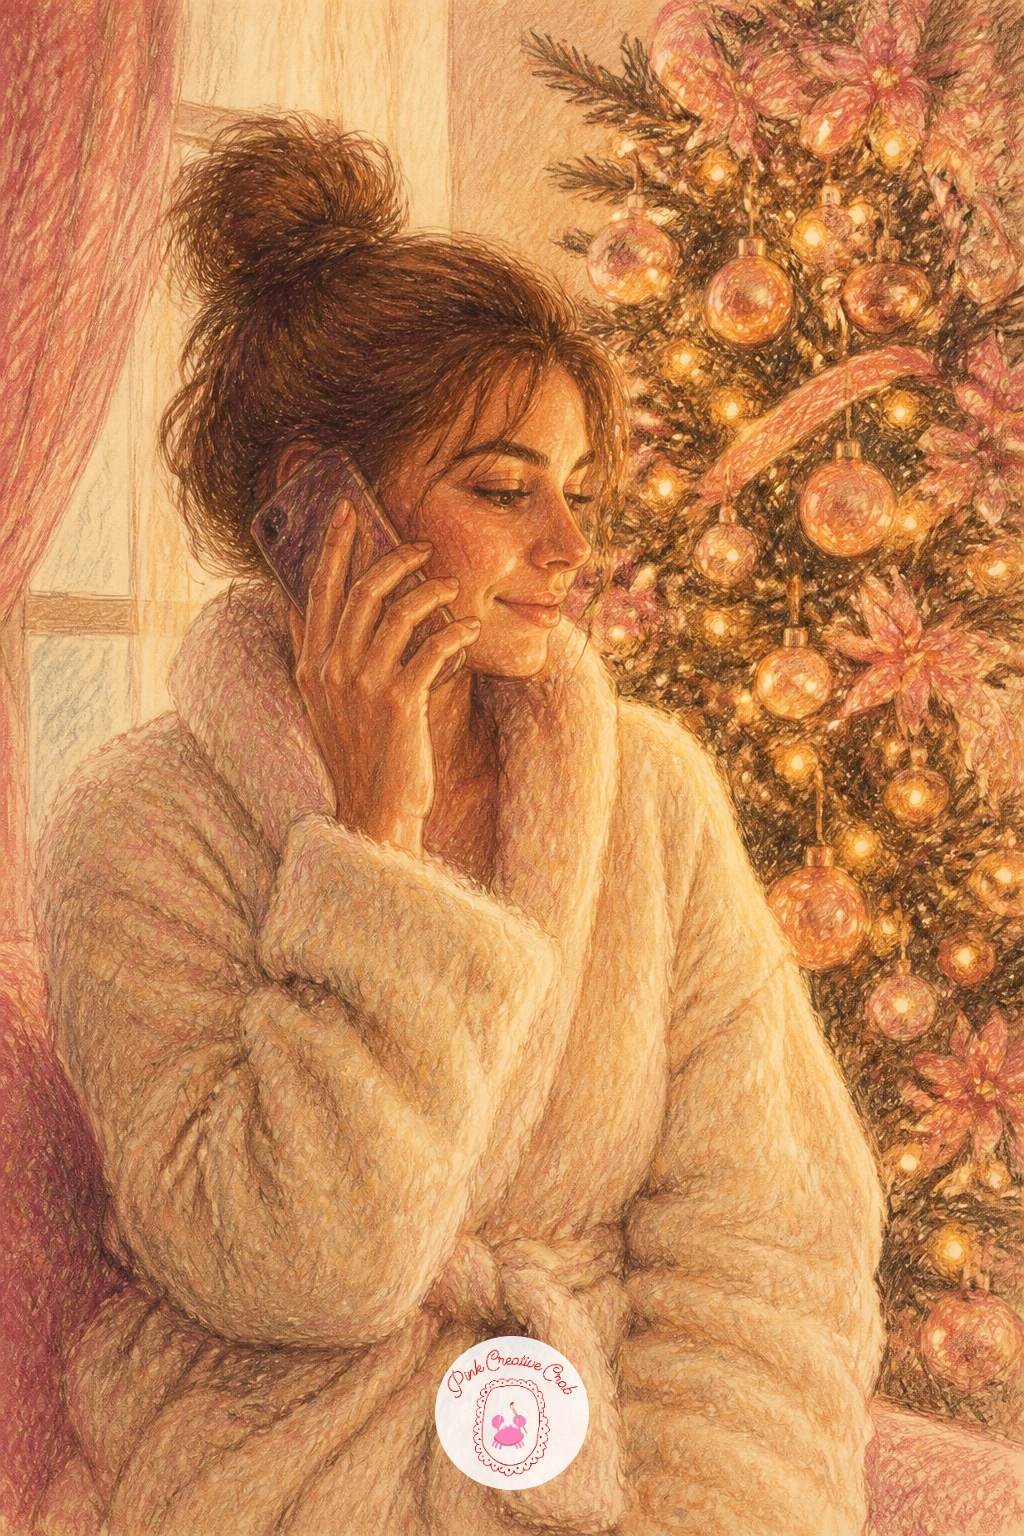
Sketch the woman first in a fluffy robe, phone held to her ear, standing or sitting near a glimpse of tree lights in the background. Keep her pose relaxed, weight shifted to one hip or leaning against something soft.
Her robe takes soft layers of cream and pale pink with cocoa brown shading in the folds, while the tree behind stays loose, just a few warm gold dots of light suggested rather than fully drawn ornaments.
Light source decides everything here: let the tree lights glow warmly behind her, casting soft gold onto one side of her robe and hair, while the rest of the room stays in cooler cream shadow.
One concrete tip: a single bright gold dot drawn larger than the rest, slightly out of focus looking, instantly reads as a closer, blurred light and adds real depth.
You Will Need
- cream paper
- pale pink and cream pencils
- warm gold pencil
- cocoa brown pencil
Palette: Pale Pink,Cream,Warm Gold,Cocoa Brown
Keep the tree lights soft and out of focus looking behind her, a sharply drawn tree competes with her for attention.
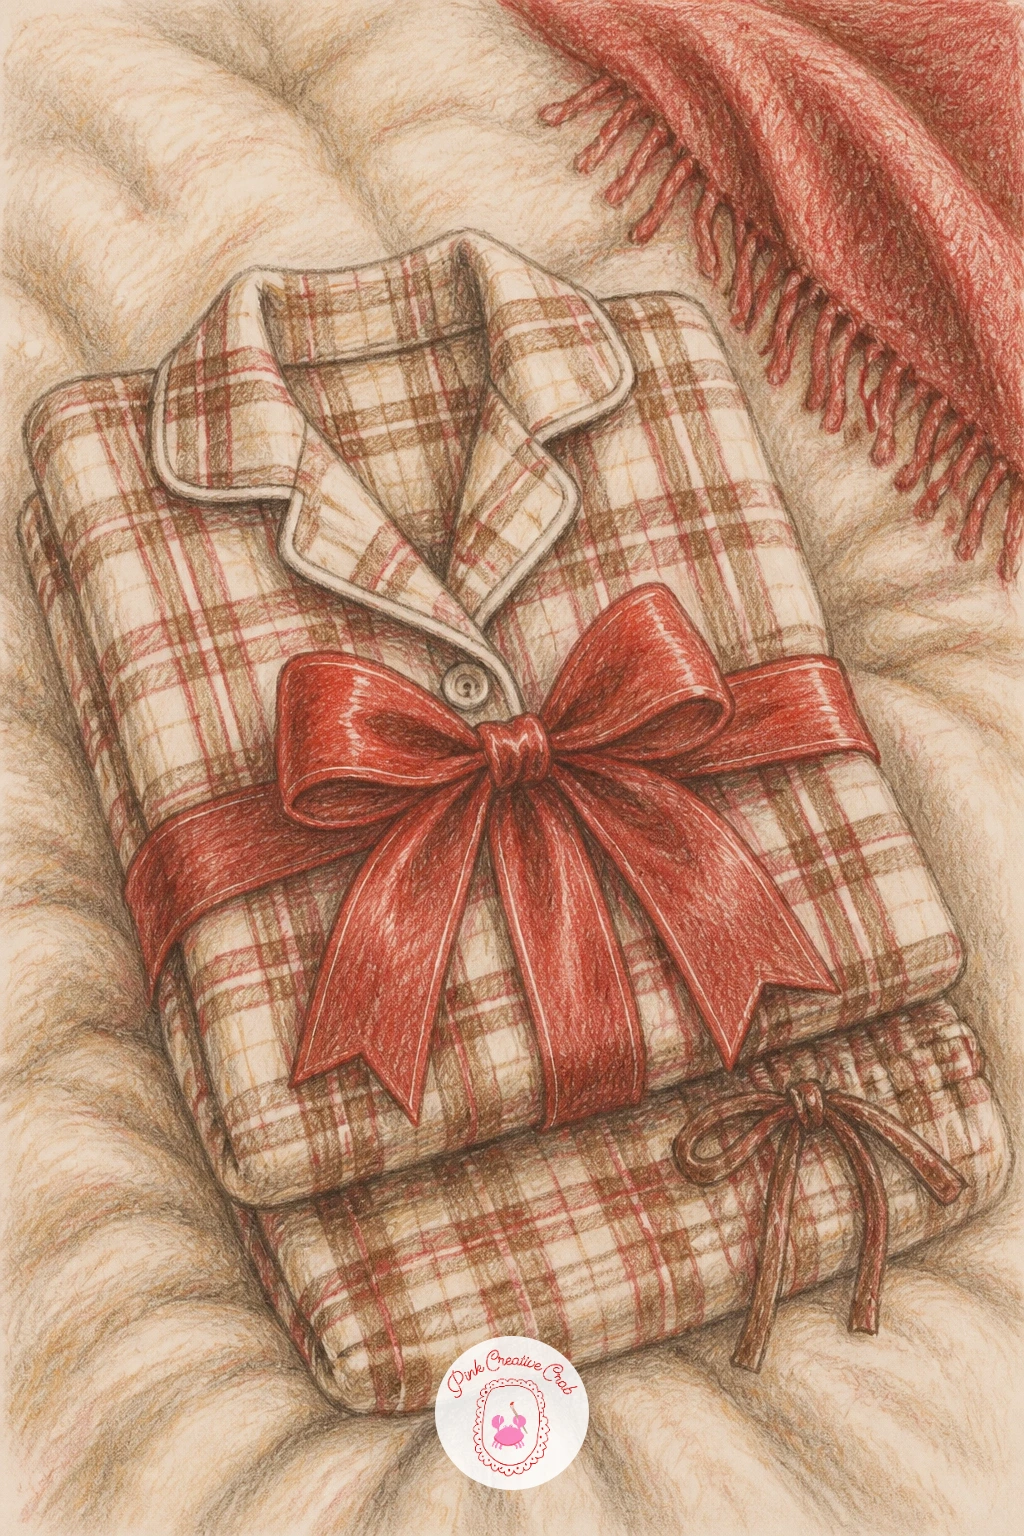
This still life is all flat fabric, so sketch the folded pajama set as two simple stacked rectangles, top and bottoms, then add the gift bow resting on top last. Keep the folds gentle, fabric rarely has hard edges.
Color the pajamas in a soft check or plaid pattern using cream and cocoa brown crossing lines, then give the bow a rich soft red with a cream highlight along its curved ribbon loops. The bed beneath can stay mostly white paper with a few grey shadow lines.
Fabric folds are the trickiest part, since too many lines make it look wrinkled instead of neatly folded. Use just two or three soft shadow lines along each fold edge and leave the rest smooth.
For a bolder version, add a second folded pair in a different pattern beside it, suggesting a matching set for two people sharing the morning.
You Will Need
- cream paper
- cocoa brown pencil
- soft red pencil for bow
- grey pencil for shadow
Palette: Cream,Cocoa Brown,Soft Red,Soft Grey
Keep the plaid lines slightly irregular rather than ruler straight, it reads as soft flannel instead of printed paper.
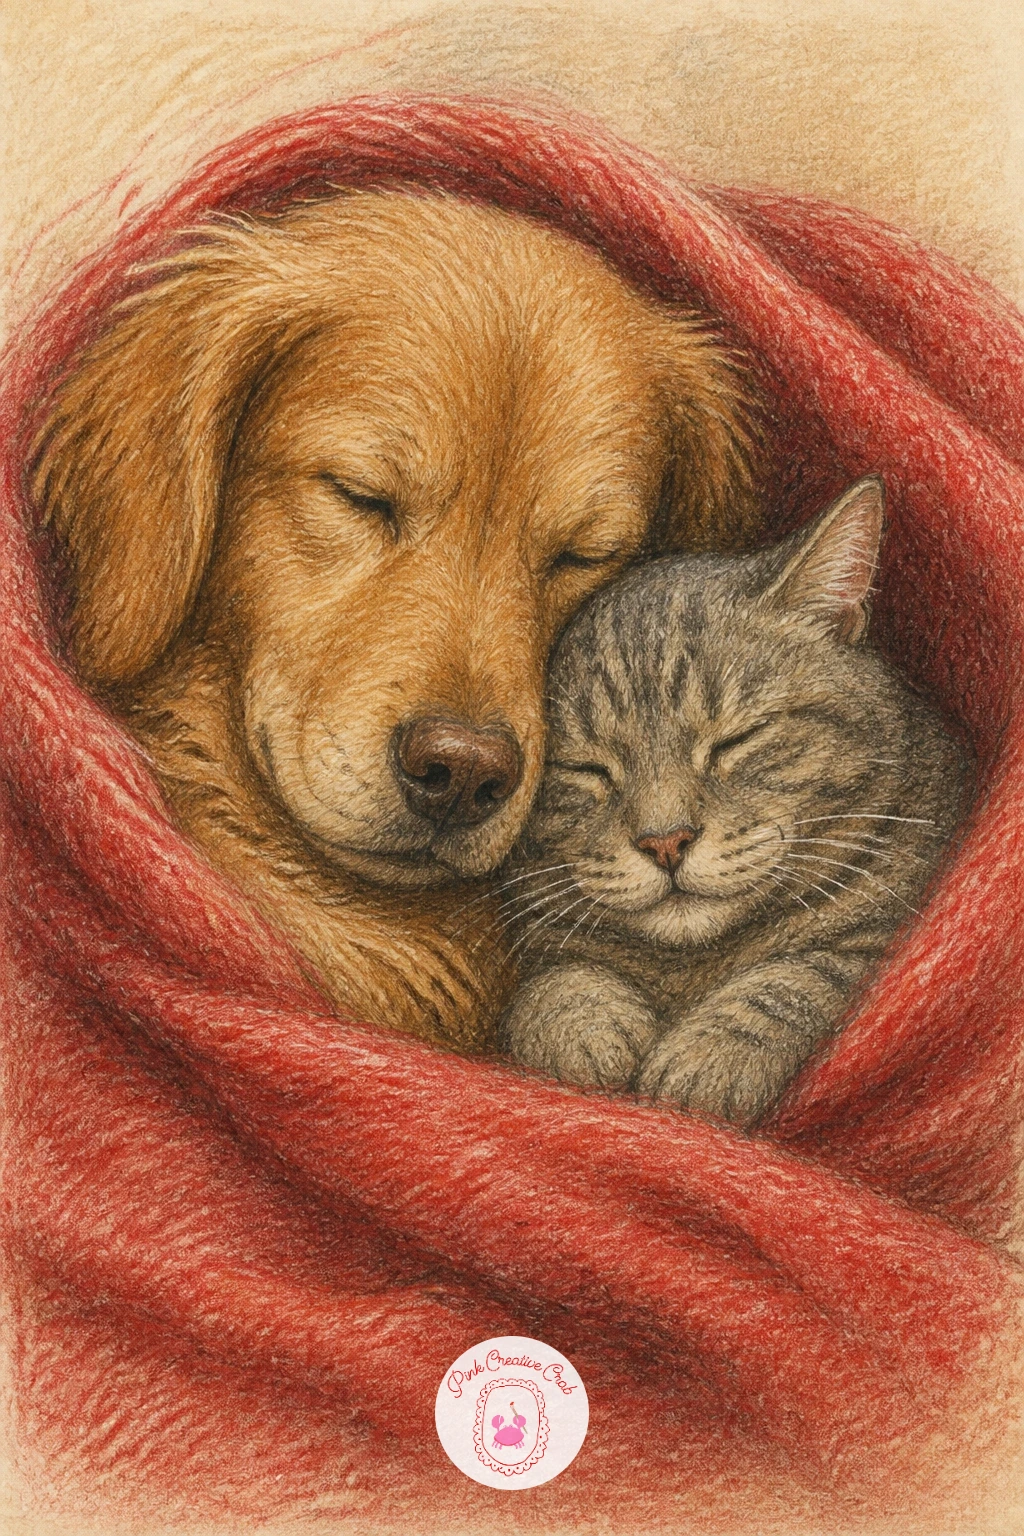
Sketch the dog and cat curled together first, overlapping shapes rather than two separate drawings side by side, since the overlap is what sells them sharing one blanket. Keep both animals in simple rounded forms before adding fur detail.
Layer the dog’s coat in warm tan or cocoa brown and the cat’s fur in a contrasting grey or soft orange, so the two animals read clearly apart even while touching. The blanket beneath takes a soft red or cream with gentle fold lines.
Where this one goes wrong is making both animals the same size, which reads oddly. Compare a dog breed’s head size against a typical cat’s head before sketching, most dogs read noticeably larger even curled up small.
One concrete tip: tuck the cat’s tail slightly over the dog’s paw, a small overlapping detail like that makes the whole pose feel settled and real.
You Will Need
- cream paper
- cocoa brown and tan pencils
- grey or soft orange pencil for cat
- soft red pencil for blanket
Palette: Cocoa Brown,Warm Tan,Soft Grey,Soft Red
If you enjoy drawing pets together, the cute animal drawing ideas page has more paired poses to try.
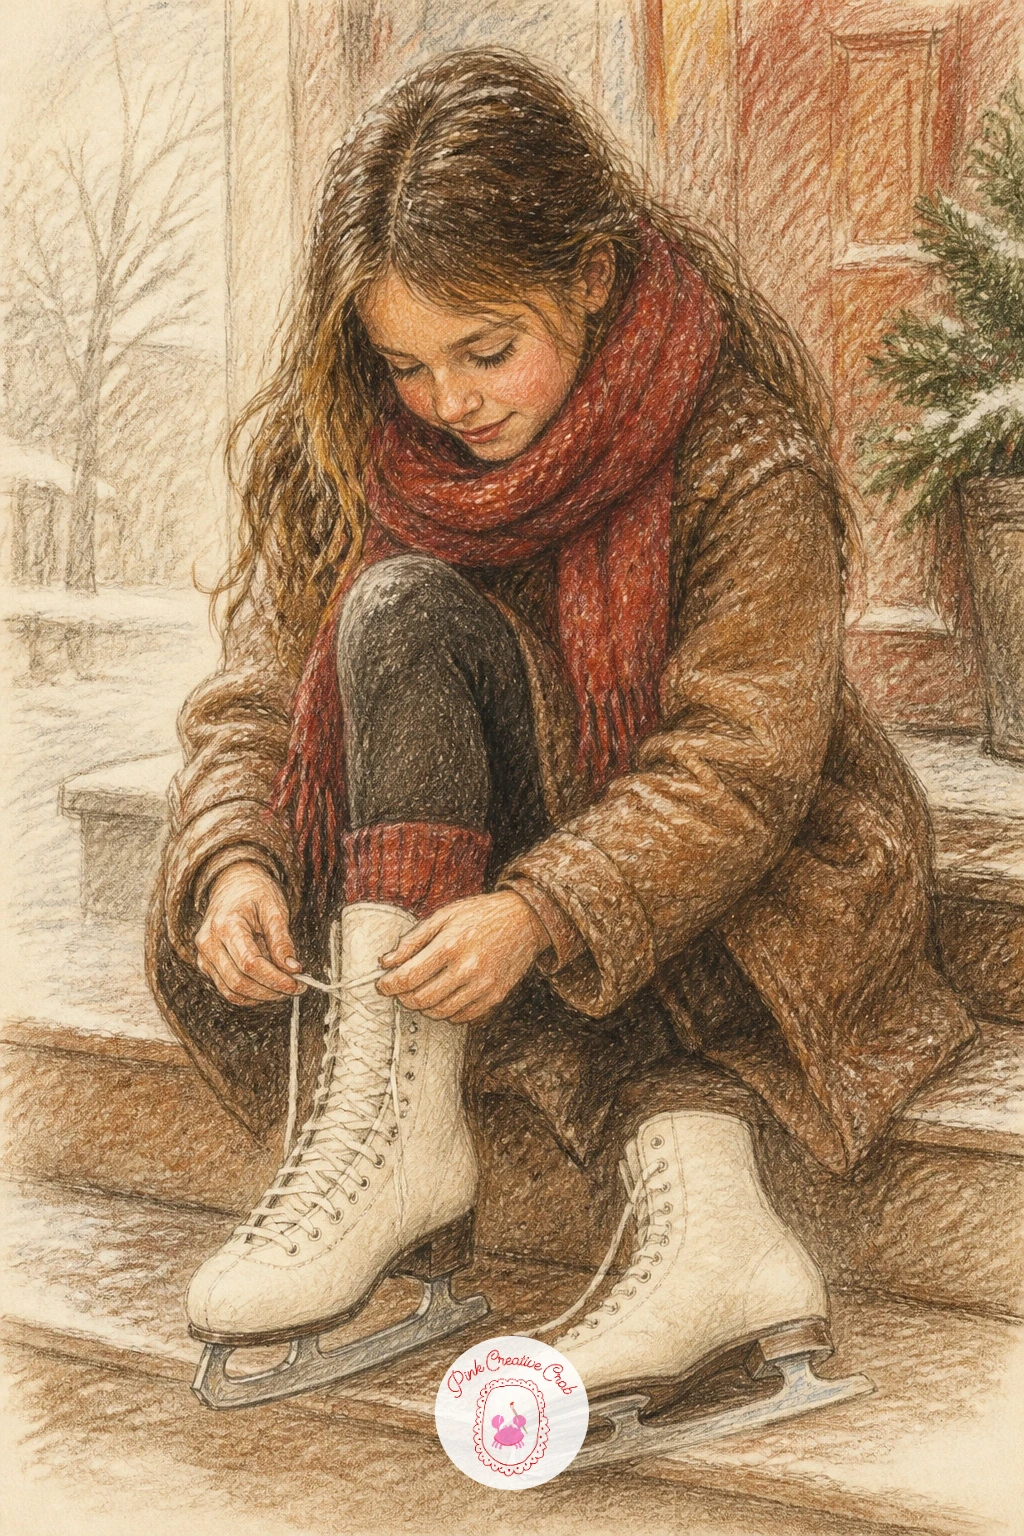
Sketch the girl seated on a doorstep or low step, one leg extended with a white ice skate laced halfway up, hands caught mid tie. Keep the pose active, weight leaning forward slightly over her laced leg.
Color her coat and scarf in cocoa brown and soft red, then leave the ice skate itself mostly white paper with just pale grey shading along the boot curves and a few cream highlights on the blade. Her laces take small cocoa brown crisscross lines.
Check the proportion of her bent leg against her torso before adding the skate, since a foot drawn too small or the leg too short makes the whole pose look unstable rather than mid-action.
For a quicker version, crop tightly on just her hands, the laces and the skate, letting the rest of her figure stay implied outside the frame.
You Will Need
- cream paper
- cocoa brown and soft red pencils
- pale grey pencil
- white pencil for skate highlights
Palette: Cocoa Brown,Soft Red,Pale Grey,Cream
Leave the blade of the skate almost pure white paper with one thin grey shadow line, it reads as polished metal instantly.
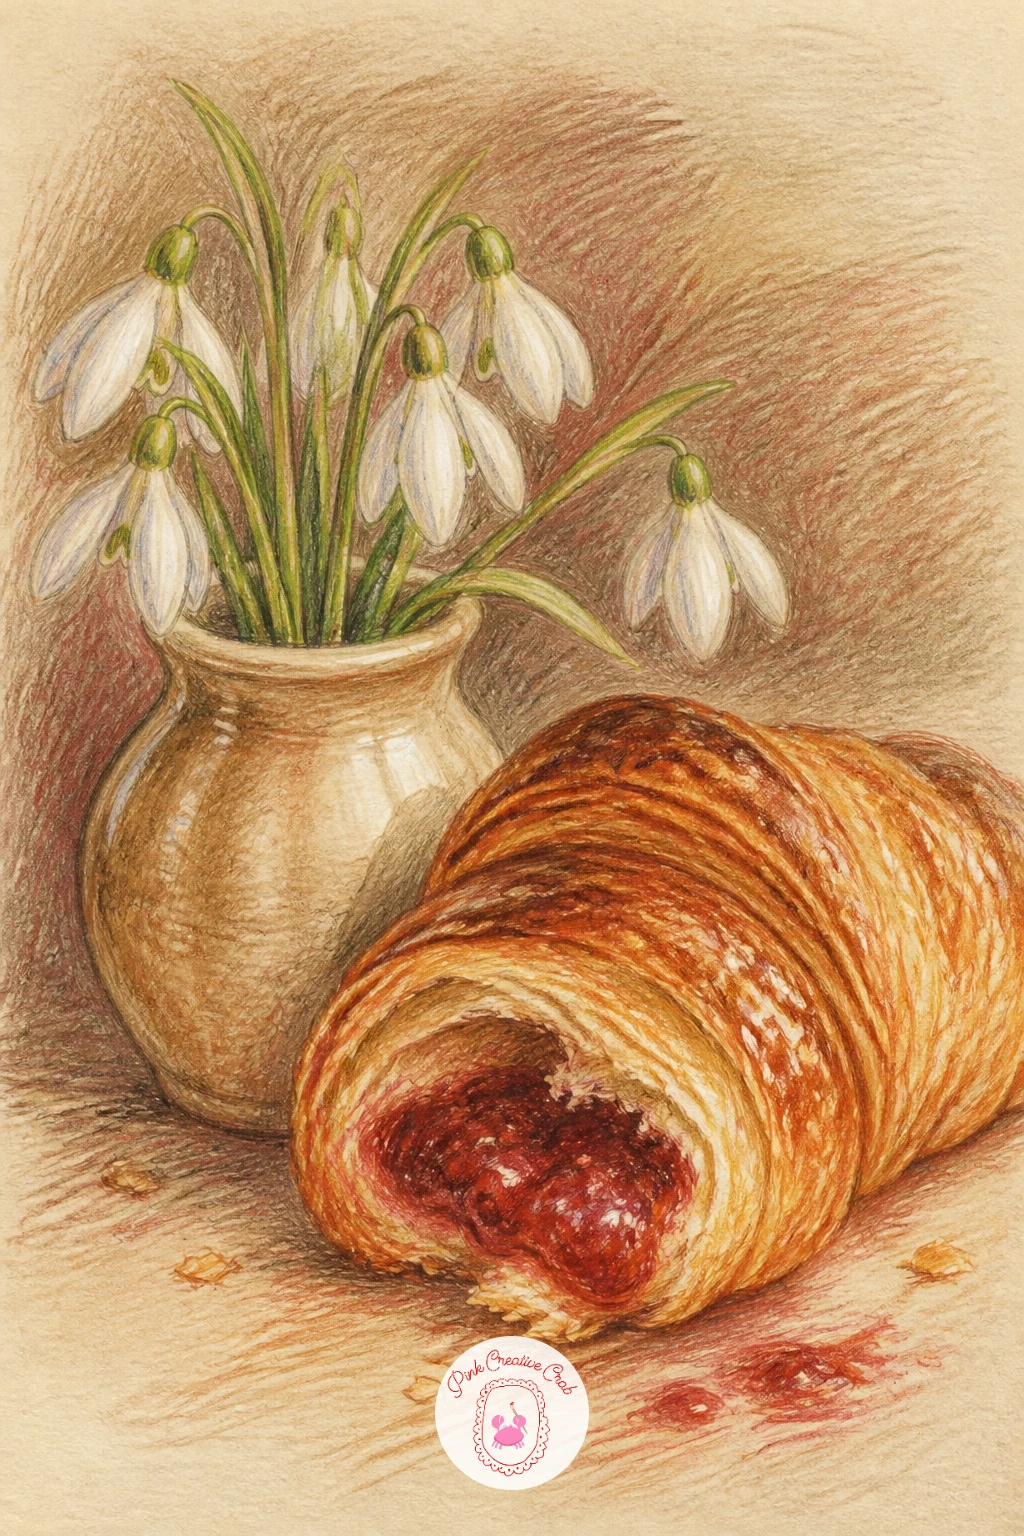
Keep this still life small and simple: a croissant, a dab of jam and a tiny vase holding one or two snowdrop flowers, all grouped close together on a plate or napkin. Sketch the croissant first as a curved crescent shape before adding its flaky texture lines.
Color the croissant in warm gold and cocoa brown following its curved layers, then give the jam a rich soft red with a small cream highlight for shine. The snowdrops stay mostly white and pale green, delicate and small against the warm food colors.
Flaky croissant texture is easy to overdo. Use short, curved, slightly broken lines rather than long continuous strokes, which reads as the natural tear of baked pastry layers.
If snowdrops are hard to find as reference, swap them for a small sprig of rosemary or thyme, both read just as elegant in a tiny vase.
You Will Need
- cream paper
- warm gold and cocoa brown pencils
- soft red pencil for jam
- pale green pencil
Palette: Warm Gold,Cocoa Brown,Soft Red,Pale Green
Keep the snowdrops tiny and understated, a flower too large will compete with the croissant for the main focus of the page.
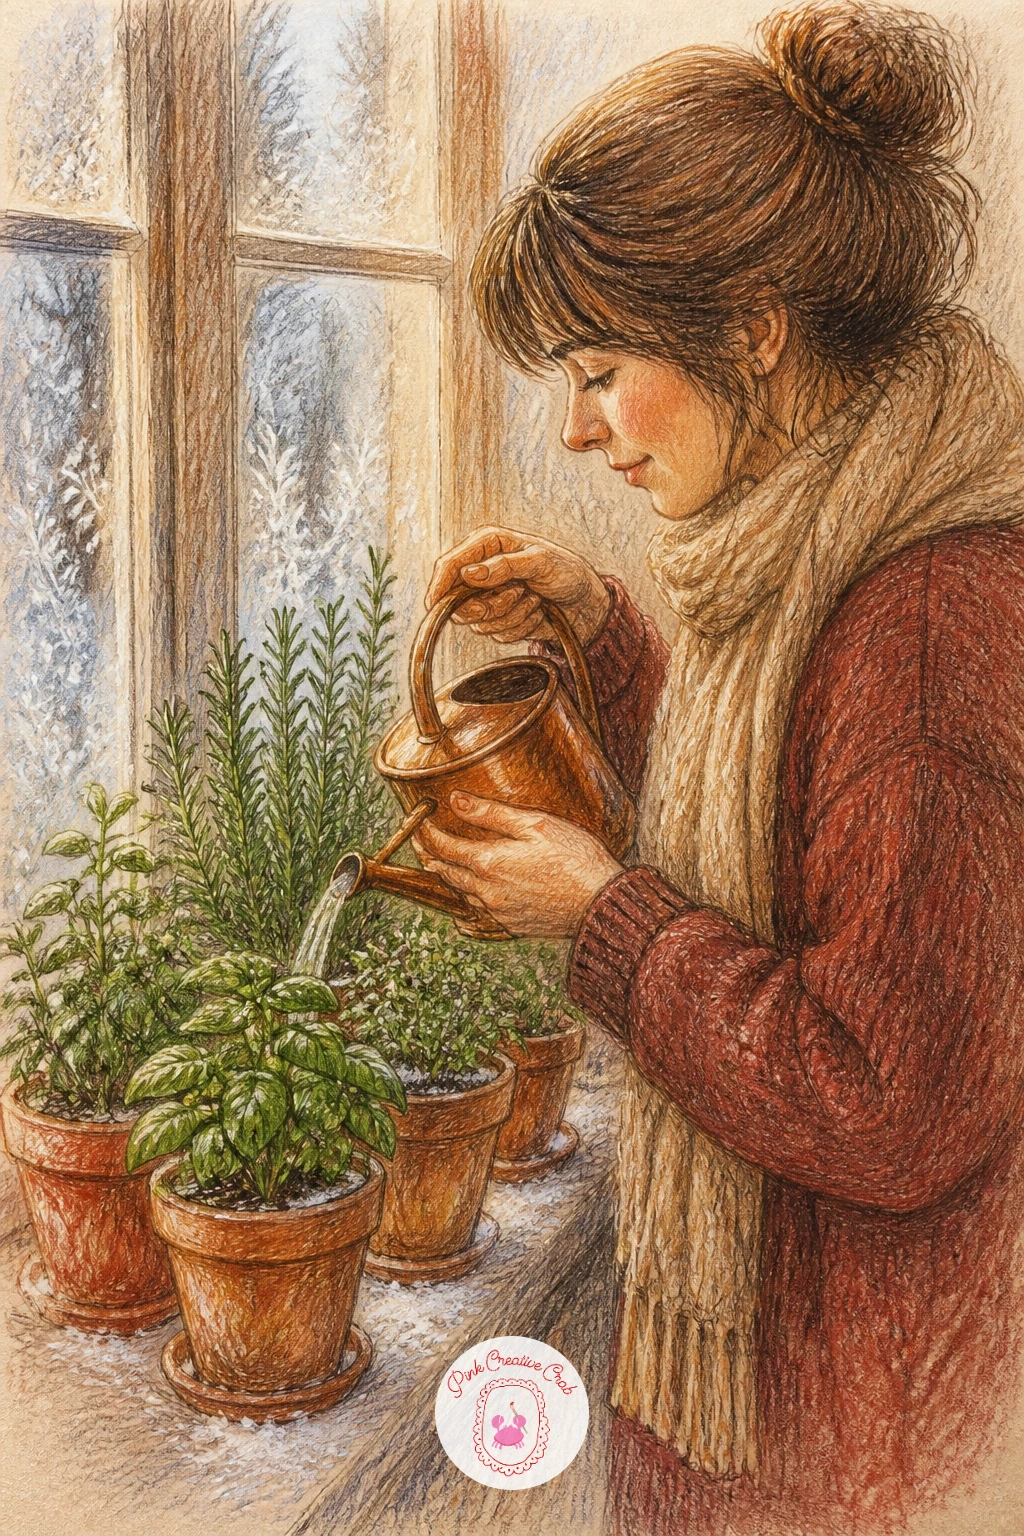
Sketch the row of small herb pots along the windowsill first, varying their heights slightly, then add the woman’s hand and watering can tipping over them from one side. Frost patterns on the glass behind go in last.
Color the herbs in a mix of deep and pale green with short quick strokes for individual leaves, and let the terracotta pots take warm cocoa brown with a lighter cream rim. The watering can can stay a simple metallic grey with one cream highlight line.
Herb leaves often turn into a solid green blob if you are not careful. Vary the pressure and angle of each stroke, some leaves darker and some lighter, so the row reads as individual plants rather than a hedge.
For next time, swap basil for small potted rosemary or thyme, each has a different leaf shape that keeps the idea feeling new.
You Will Need
- cream paper
- deep and pale green pencils
- cocoa brown pencil for pots
- grey pencil for watering can
Palette: Deep Green,Pale Green,Cocoa Brown,Cream
Add a few water droplets with a white gel pen falling from the can, it adds motion to an otherwise still composition.
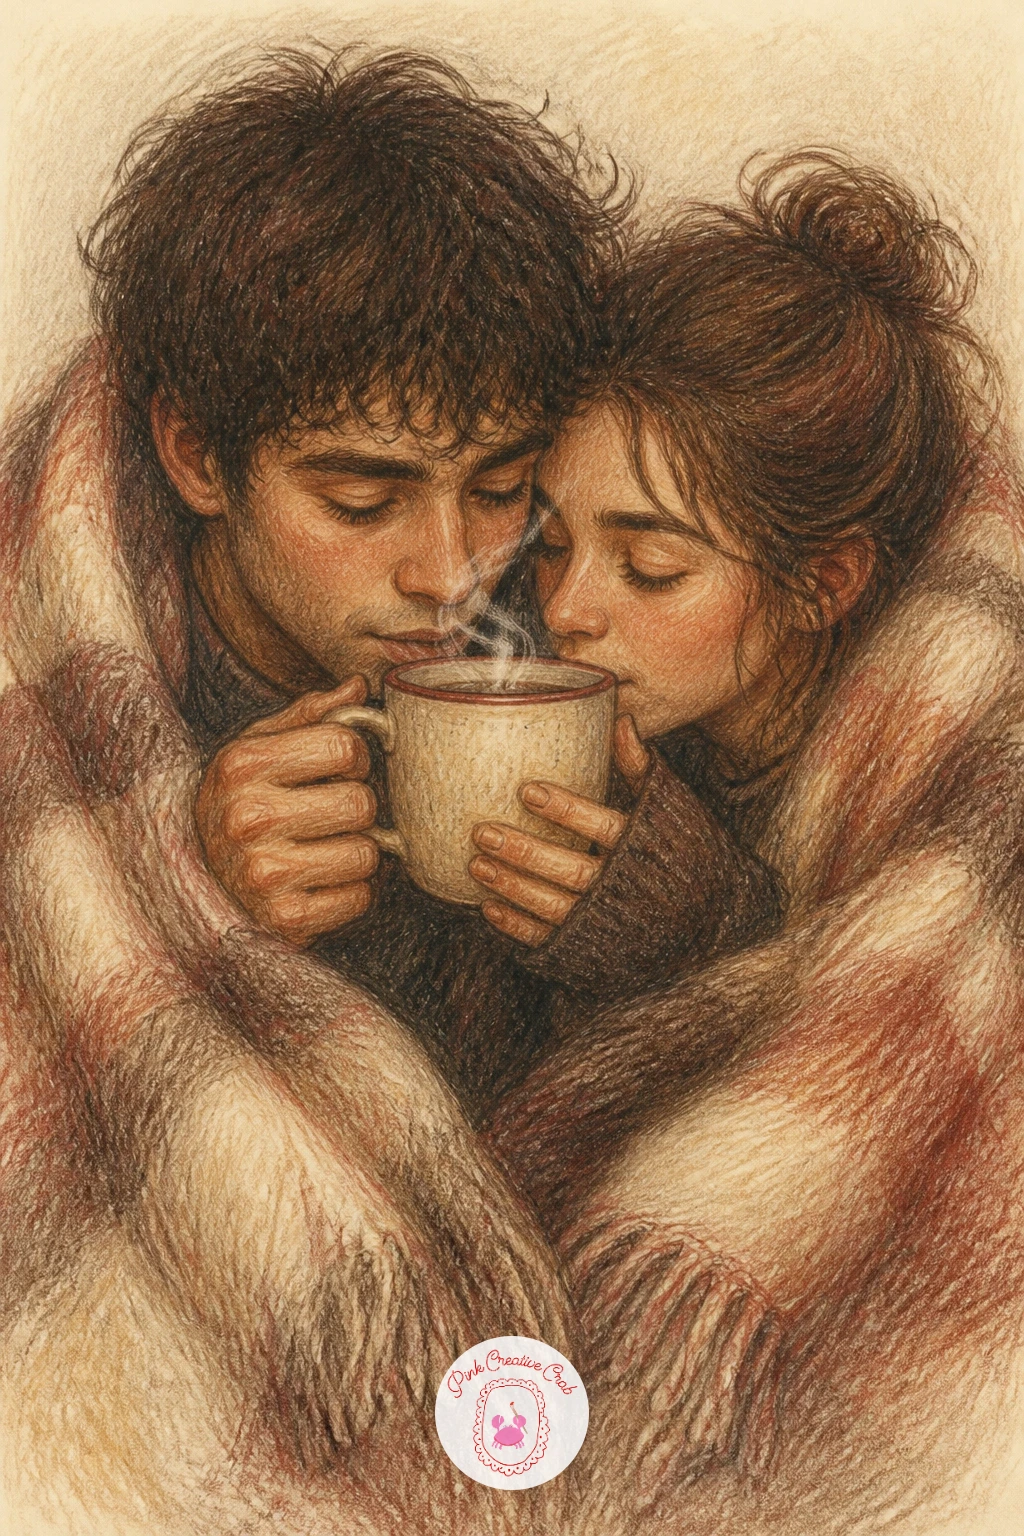
This cozy scene starts with two simple seated shapes close together under one shared blanket, shoulders touching, a single coffee mug passed between their hands. Keep both figures loose and relaxed, heads tilted slightly toward each other.
Layer their sweaters in cream and cocoa brown with the blanket pulled over both laps in a slightly darker cocoa or soft red, gentle fold lines connecting the two figures as one shape rather than two separate blobs.
Hands are the trickiest part of this scene, since two sets reaching for one mug can get crowded. Simplify by showing only one hand holding the mug and the second person’s hand resting nearby on the blanket instead.
One concrete tip: a thin curl of steam rising between their faces draws the eye right to the center of the composition, tying the whole scene together.
You Will Need
- cream paper
- cocoa brown and soft red pencils
- cream pencil
- white gel pen for steam
Palette: Cocoa Brown,Soft Red,Cream,Warm Tan
Keep facial features minimal on both figures, a simple closed eye and soft smile line reads as sleepy contentment without needing full portraits.
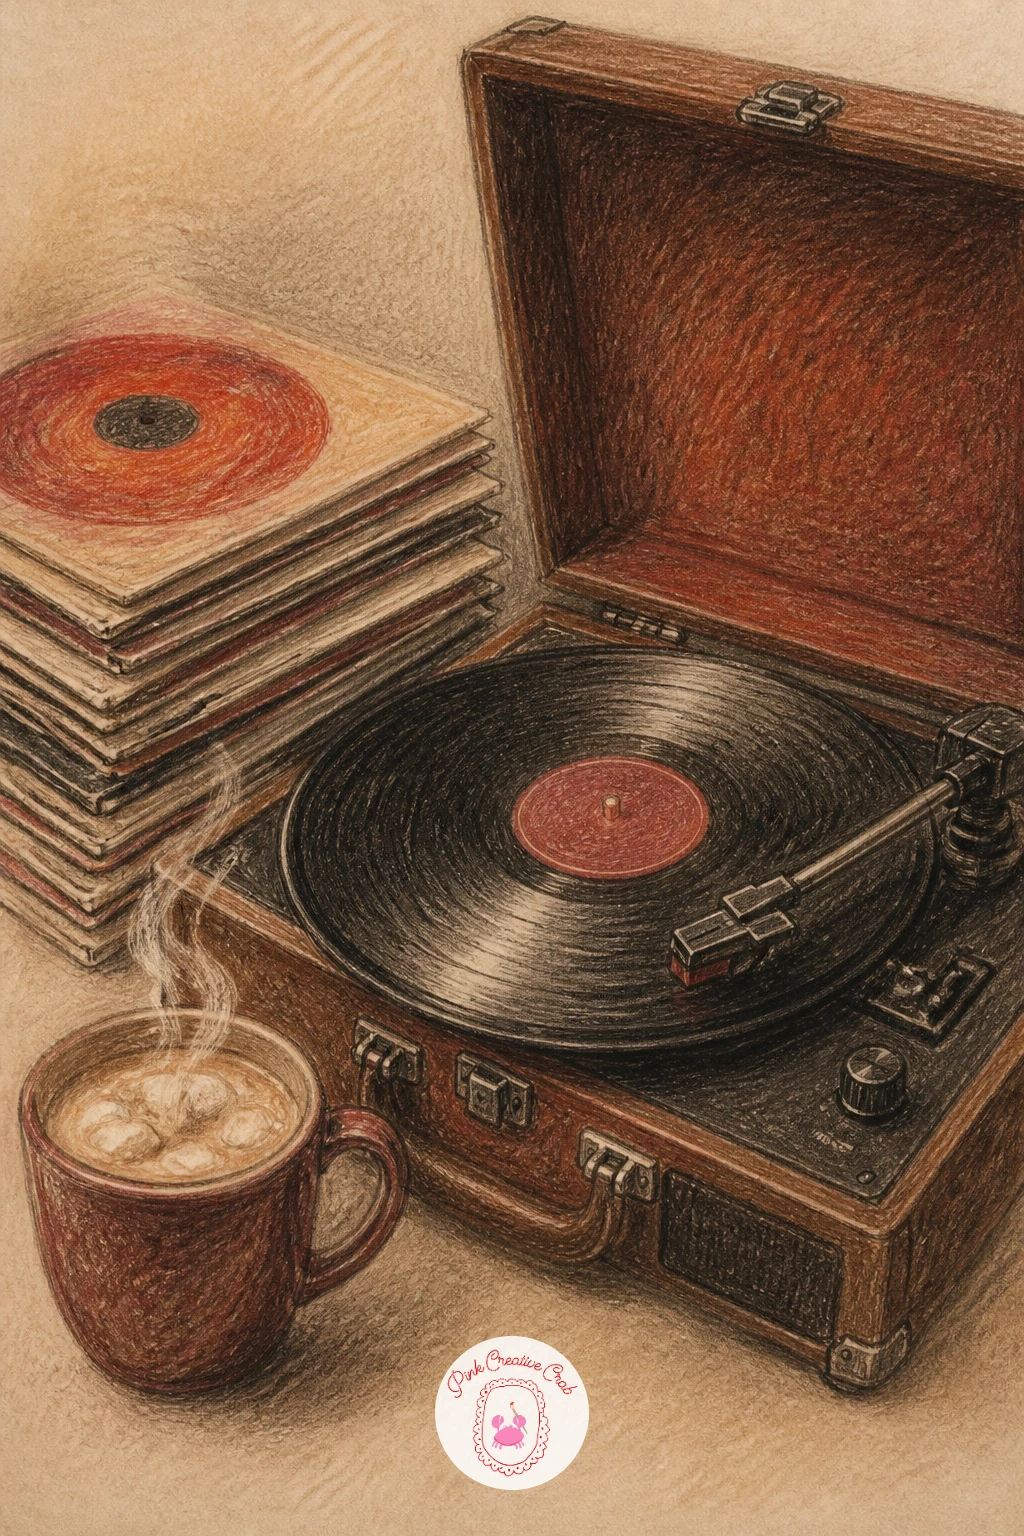
Sketch the record player first as a simple rectangular base with a circular turntable on top, then add the stack of vinyl records and a mug beside it. Keep the tone arm resting lightly across the spinning record for a sense of motion.
Color the record player body in rich cocoa brown with a few cream highlight lines along its edges, and let the vinyl stack take mostly black or deep charcoal with thin cream circles for the labels showing at the edges. The mug nearby stays warm and simple.
A spinning record needs a sense of motion or it reads as static. A few faint curved motion lines around the turntable edge, drawn lightly in grey, suggest it is actually spinning rather than sitting still.
If a full record player feels complex, simplify to just the turntable circle and tone arm close up, cropping out the body entirely for a faster finish.
You Will Need
- cream paper
- cocoa brown pencil
- charcoal grey pencil
- cream pencil for highlights
Palette: Cocoa Brown,Charcoal Grey,Cream,Soft Red
Try labeling one visible vinyl sleeve with a simple abstract cover design, it adds personality without needing real album art.
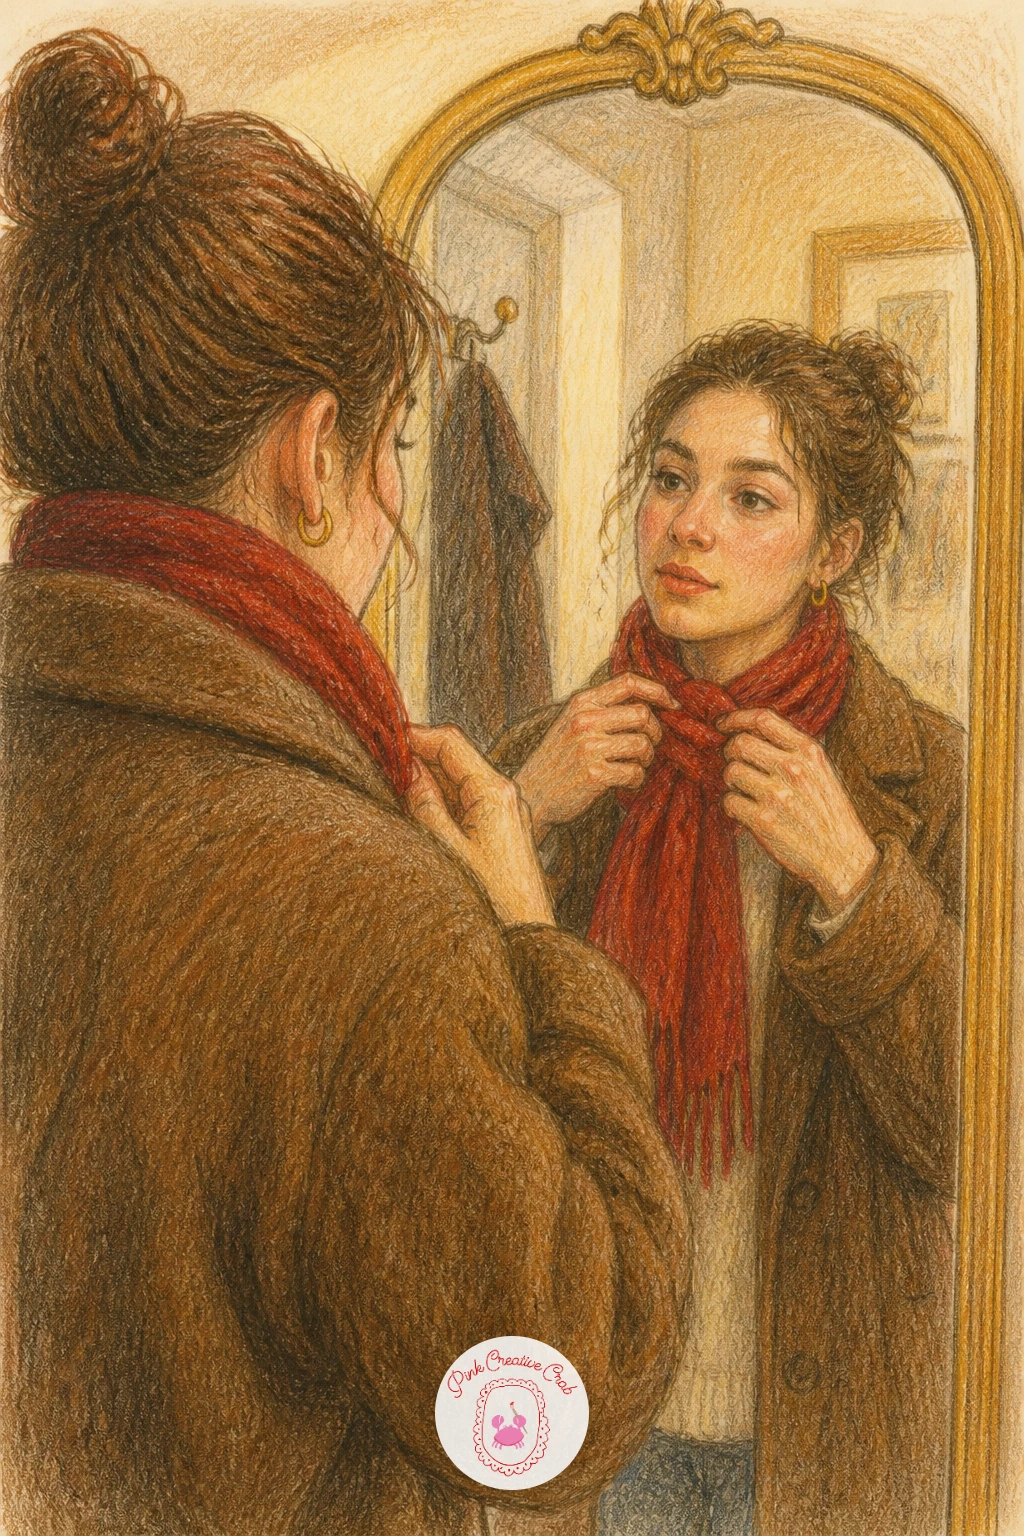
Sketch the mirror frame first as a simple oval or rectangle, then build the girl’s reflection inside it, hands caught mid motion tying a red scarf around her neck. Keep her pose candid, slightly turned rather than facing straight on.
Color the scarf in rich soft red with cream fringe details at the ends, and let her coat behind it stay cocoa brown or cream. The mirror frame itself can take a worn gold or wood tone with a few scuff highlights.
Mirrors add a layer most beginners skip, but a hint of reflection, like a coat hook or doorway edge barely visible behind her, sells the idea that this is a mirror and not just a portrait.
For a quicker version, skip the mirror frame entirely and simply draw her tying the scarf directly, implying the mirror through her slightly self aware expression instead.
You Will Need
- cream paper
- soft red pencil for scarf
- cocoa brown pencil
- warm gold pencil for frame
Palette: Soft Red,Cocoa Brown,Warm Gold,Cream
A small detail like one loose strand of hair falling across her face adds a candid, caught-in-motion feeling to the whole pose.
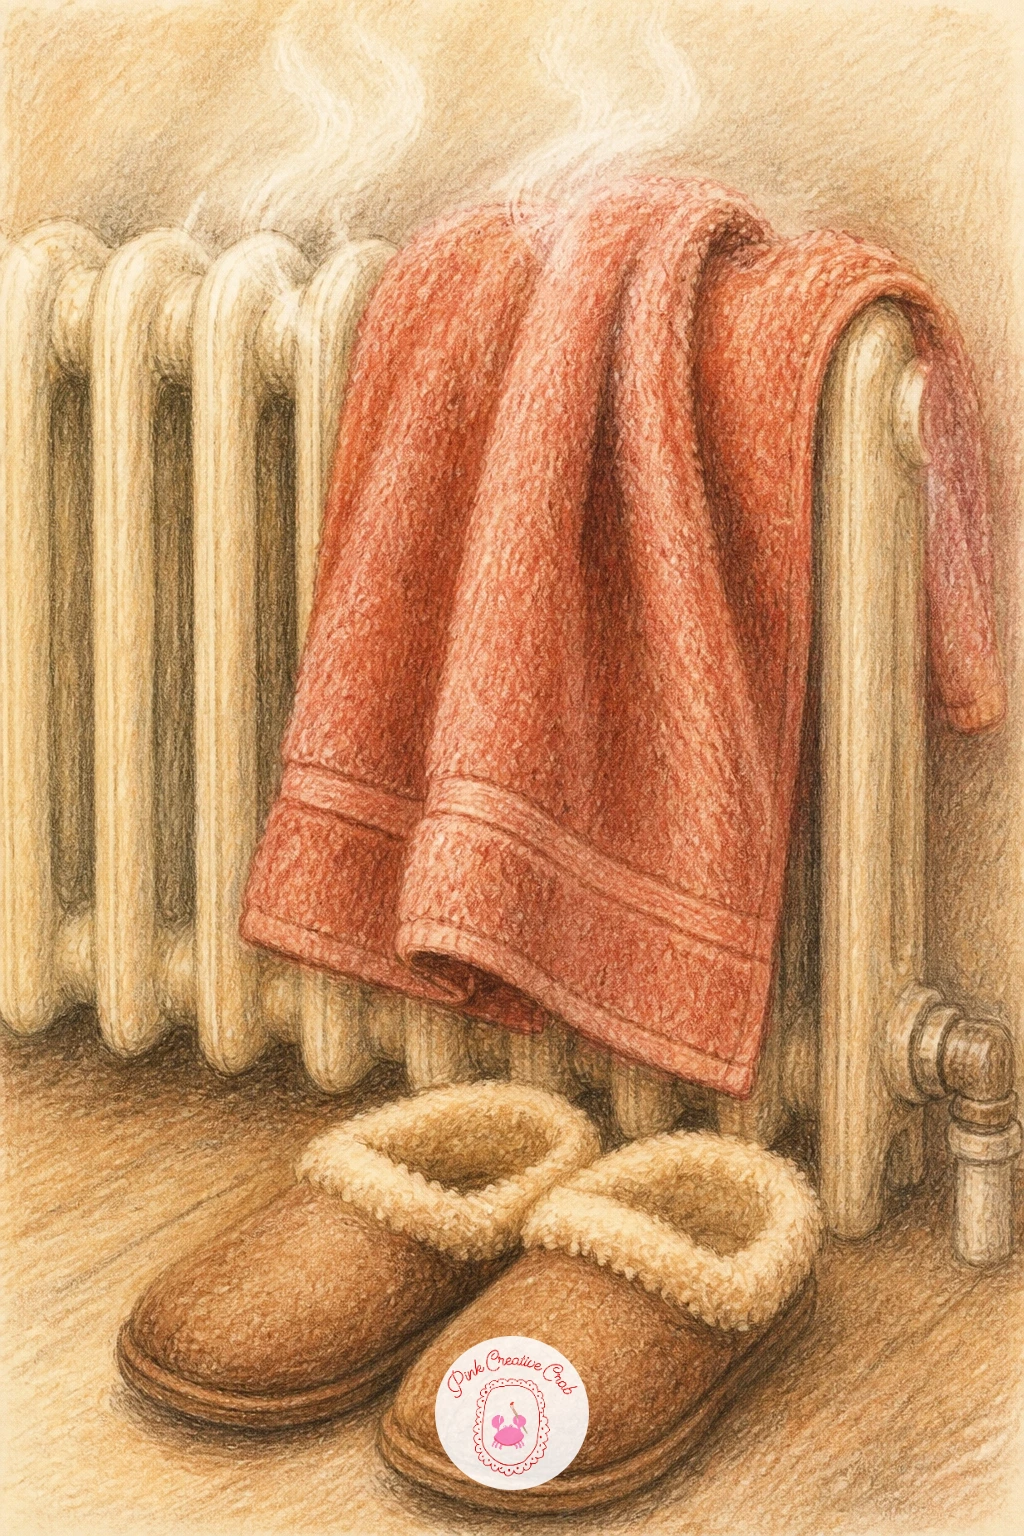
This is a simple object study: a folded bath towel draped over a radiator with a pair of slippers resting beneath on the floor. Sketch the radiator’s vertical lines first, then drape the towel shape loosely across the top rather than folded flat.
Color the towel in soft cream or pale red with gentle shadow folds where it bunches over the radiator bars, and give the slippers a cozy cocoa brown with a soft fleece texture suggested through short fuzzy pencil strokes.
Fabric draping over a hard surface is the detail that makes or breaks this scene. Let the towel dip down slightly between each radiator bar rather than hanging in one flat sheet, which reads as real cloth responding to the shape beneath it.
One concrete tip: a faint rising heat shimmer suggested with a few wavy light grey lines above the radiator adds warmth without any extra color needed.
You Will Need
- cream paper
- pale red or cream pencil
- cocoa brown pencil for slippers
- light grey pencil
Palette: Cream,Pale Red,Cocoa Brown,Soft Grey
Keep the towel folds loose and asymmetrical, a perfectly even drape looks staged rather than naturally warming.
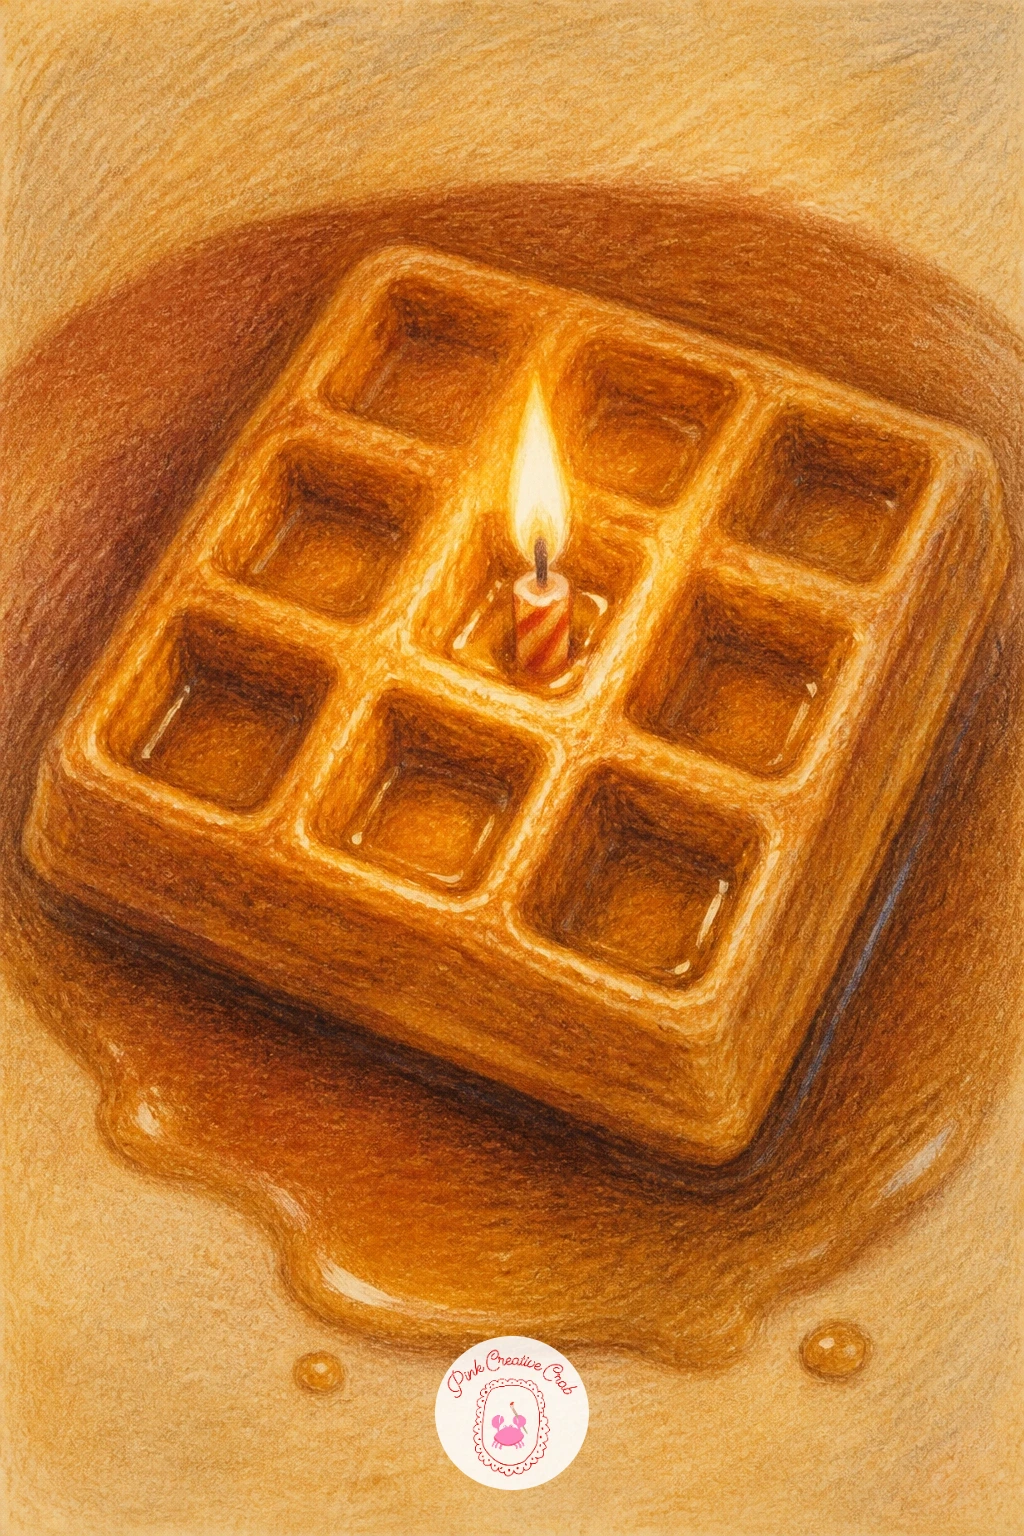
Sketch the waffle first as a square with its grid pattern of small indentations, then add a single small candle standing upright in the center, flame lit. Keep the grid lines slightly uneven since a perfectly ruled waffle looks artificial.
Color the waffle in warm gold with cocoa brown shading deep inside each grid square, then let the candle take a simple cream body with a warm gold and orange flame on top. A drizzle of syrup pooling around the base ties the whole plate together.
The grid pattern can easily flatten the whole waffle if every square gets the same shading. Vary the depth of brown in each square slightly, darker toward the candle where its glow would cast a shadow.
If a lit candle feels tricky to render, swap it for a small sprig of mint or a single berry standing in for the centerpiece instead.
You Will Need
- cream paper
- warm gold and cocoa brown pencils
- soft orange pencil for flame
- white gel pen for syrup shine
Palette: Warm Gold,Cocoa Brown,Soft Orange,Cream
Let the candlelight cast a faint warm glow onto the waffle squares nearest it, that single lighting choice makes the whole plate feel celebratory.
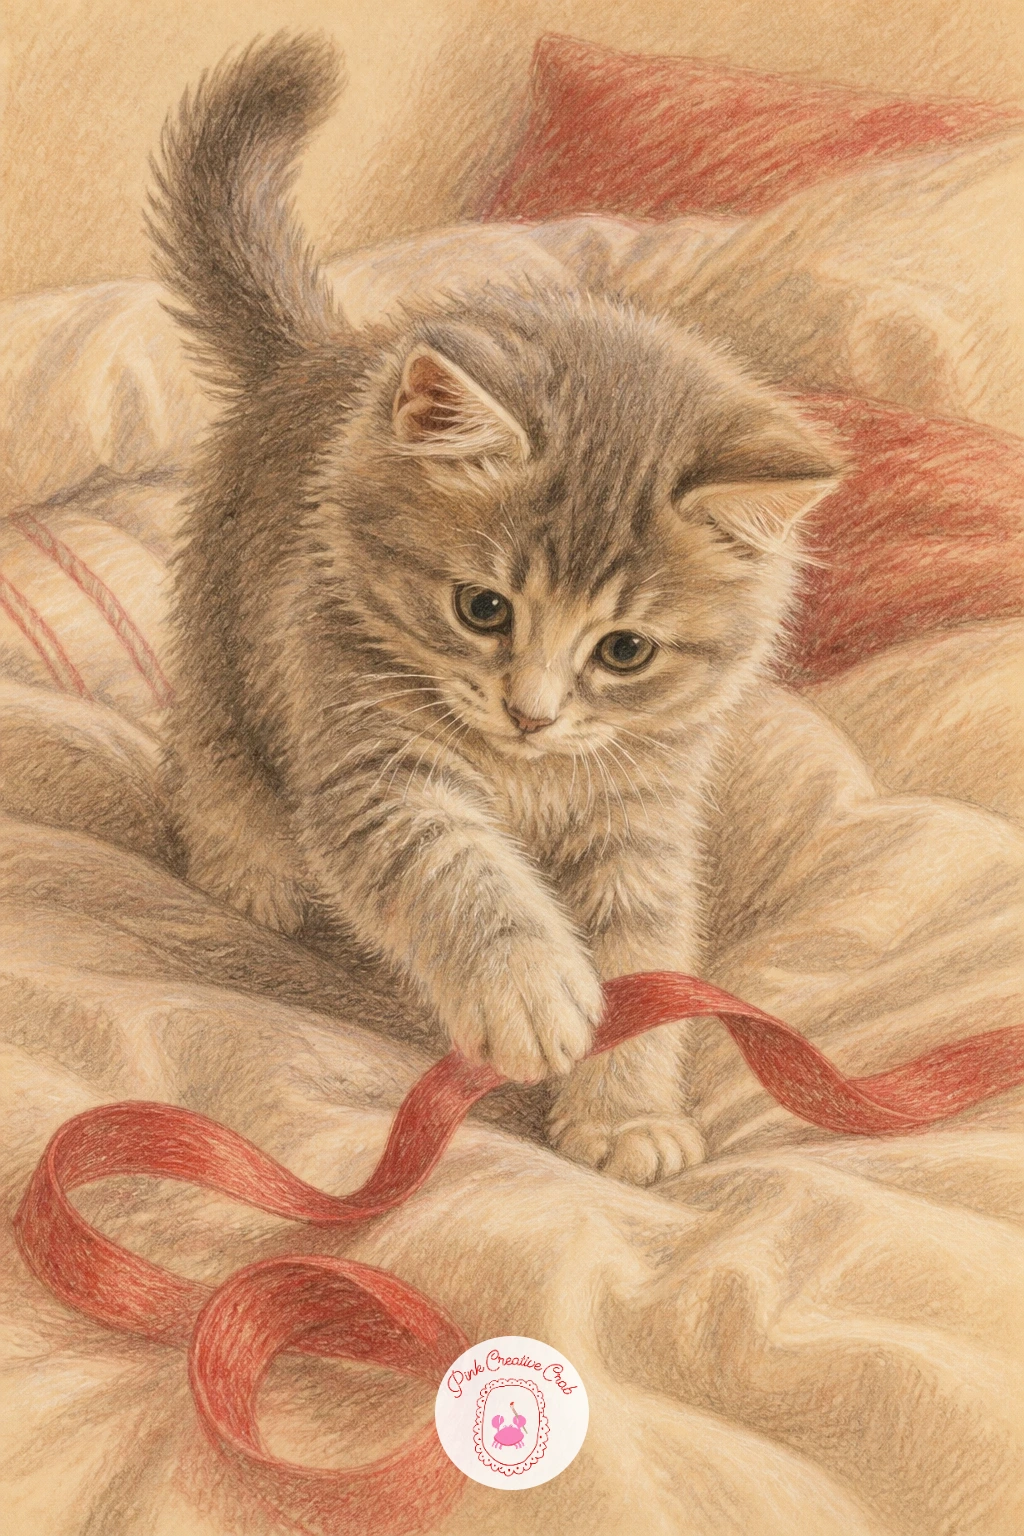
Sketch the kitten first in a playful pose, one paw raised and batting at a ribbon trailing across the unmade bed. Keep the body compact and round, kittens read as soft and small through rounded rather than angular shapes.
Layer the fur in soft grey or warm tan with cream highlights along the back and ears, using short quick strokes that fan out from the body’s center. The ribbon itself takes a bright soft red, drawn in loose curving loops across the rumpled sheets.
The raised paw is where proportion matters most, so compare its size against the kitten’s head before adding detail, since a paw drawn too large makes the whole kitten look clumsy rather than playful.
For a bolder version, add a second ribbon loop trailing off the edge of the bed, suggesting more movement across the whole scene.
You Will Need
- cream paper
- soft grey or tan pencil
- soft red pencil for ribbon
- cream pencil for highlights
Palette: Soft Grey,Warm Tan,Soft Red,Cream
If kitten poses interest you, the cat pencil drawing ideas for beginners page has more playful movement studies to try next.
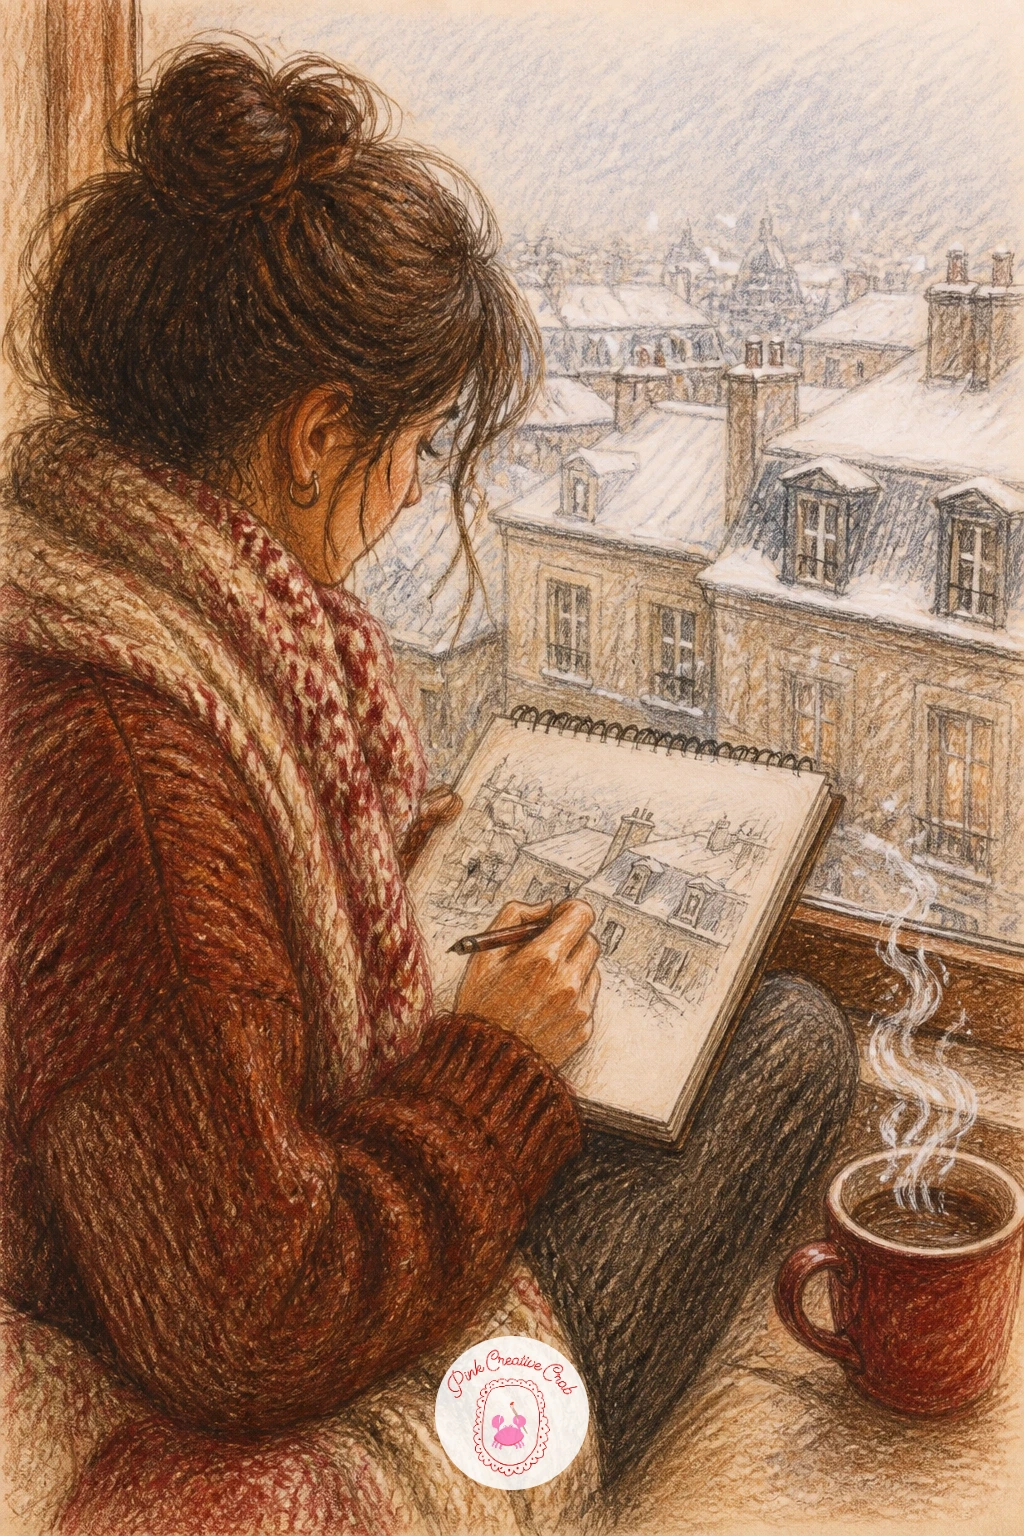
This scene within a scene shows a woman seated with her own notebook, pencil in hand, sketching the snowy window view in front of her. Sketch her figure first, slightly hunched forward over the notebook, then add the window and snowy rooftops beyond.
Color her sweater and the notebook cover in warm cocoa brown and cream, keeping her sketching hand simple, just a loose fist around a pencil shape. The window view behind her takes pale blue grey rooftops with soft white pencil snow scattered across them.
Depth matters most here, so keep her figure in sharper, darker detail up close while letting the snowy rooftops behind soften and lighten the farther they sit from the window, which pushes the background convincingly into the distance.
One concrete tip: leave the page of her notebook mostly blank with just a few loose pencil marks suggested, implying a sketch in progress rather than finished.
You Will Need
- cream paper
- cocoa brown pencil
- pale blue grey pencil
- white pencil for snow
Palette: Cocoa Brown,Cream,Pale Blue Grey,Soft Grey
For more snowy rooftop and window ideas like the background here, the village scene drawing pencil ideas for beginners page is worth a look.
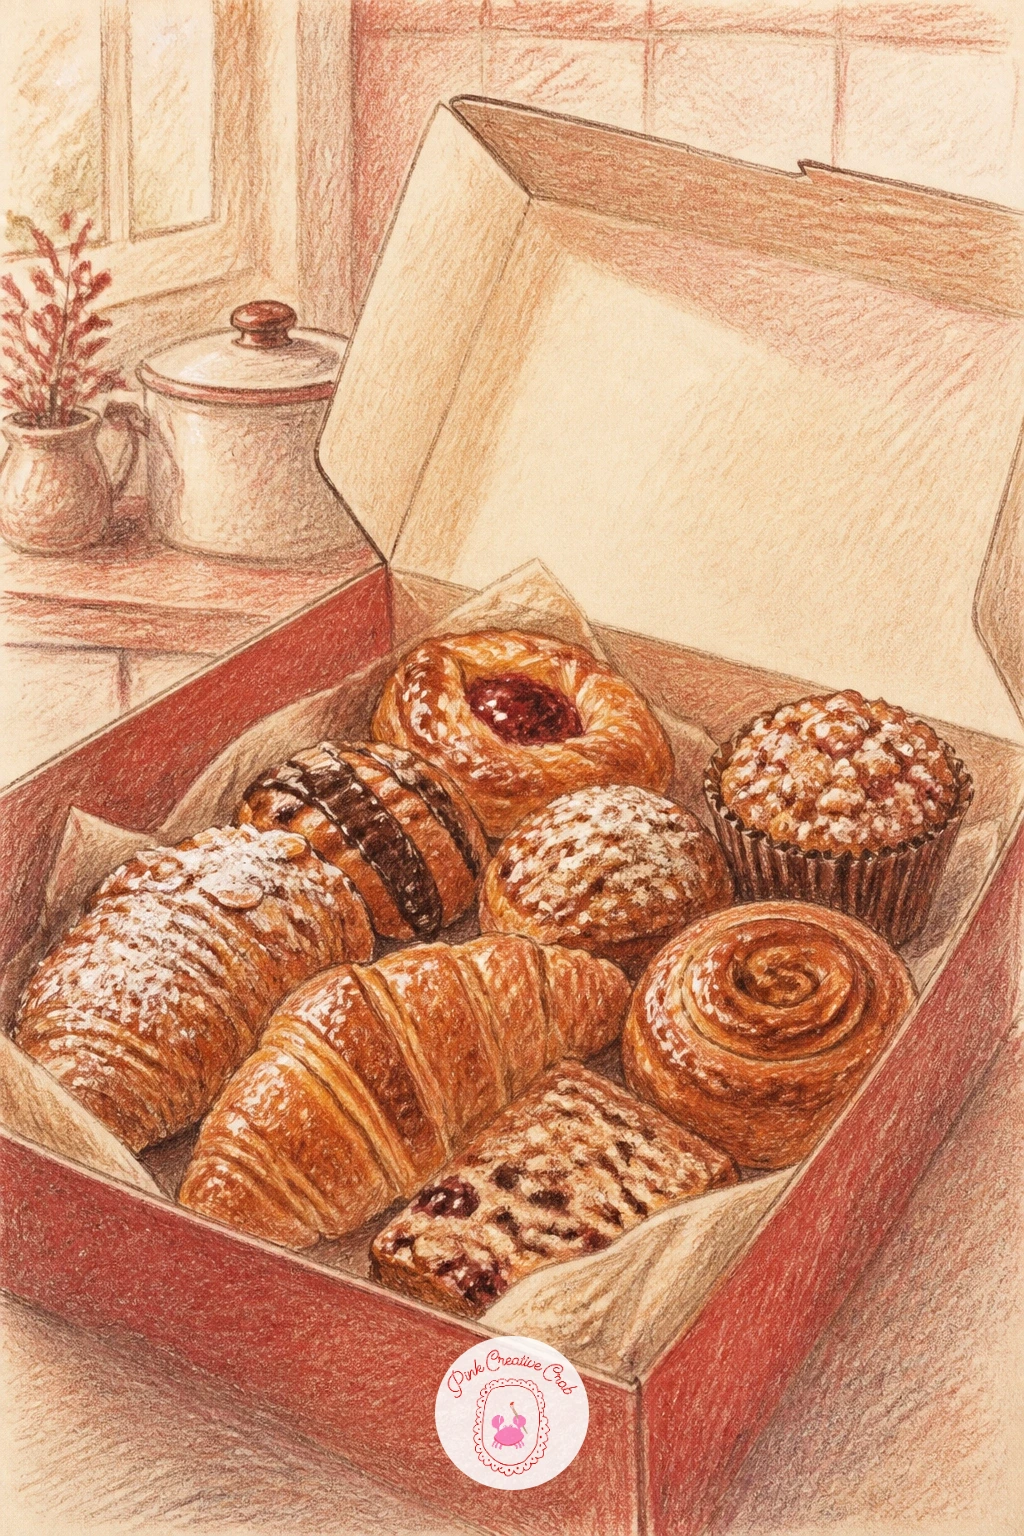
Sketch the bakery box first as a simple open rectangle with its lid tilted back, then fill the inside with an assortment of pastries nestled close together. Vary each pastry’s shape slightly so the box does not look like a repeated pattern.
Color each pastry differently, warm gold for croissants, soft red for jam filled ones, cocoa brown for chocolate topped treats, so the eye moves around the box rather than settling on one flat color. The box itself stays a simple cream or soft brown cardboard tone.
Overcrowding is the usual mistake, with too many pastries making the box feel chaotic. Limit it to four or five distinct shapes with a little breathing room between each, which reads as generously filled without looking crammed.
For a quicker version, show just two or three pastries peeking out with the box lid mostly closed, implying more inside without drawing them all.
You Will Need
- cream paper
- warm gold and cocoa brown pencils
- soft red pencil
- cream pencil for box
Palette: Warm Gold,Cocoa Brown,Soft Red,Cream
A small string or ribbon tie left loose at the box corner, drawn in soft red, adds a nice bakery detail without extra complexity.
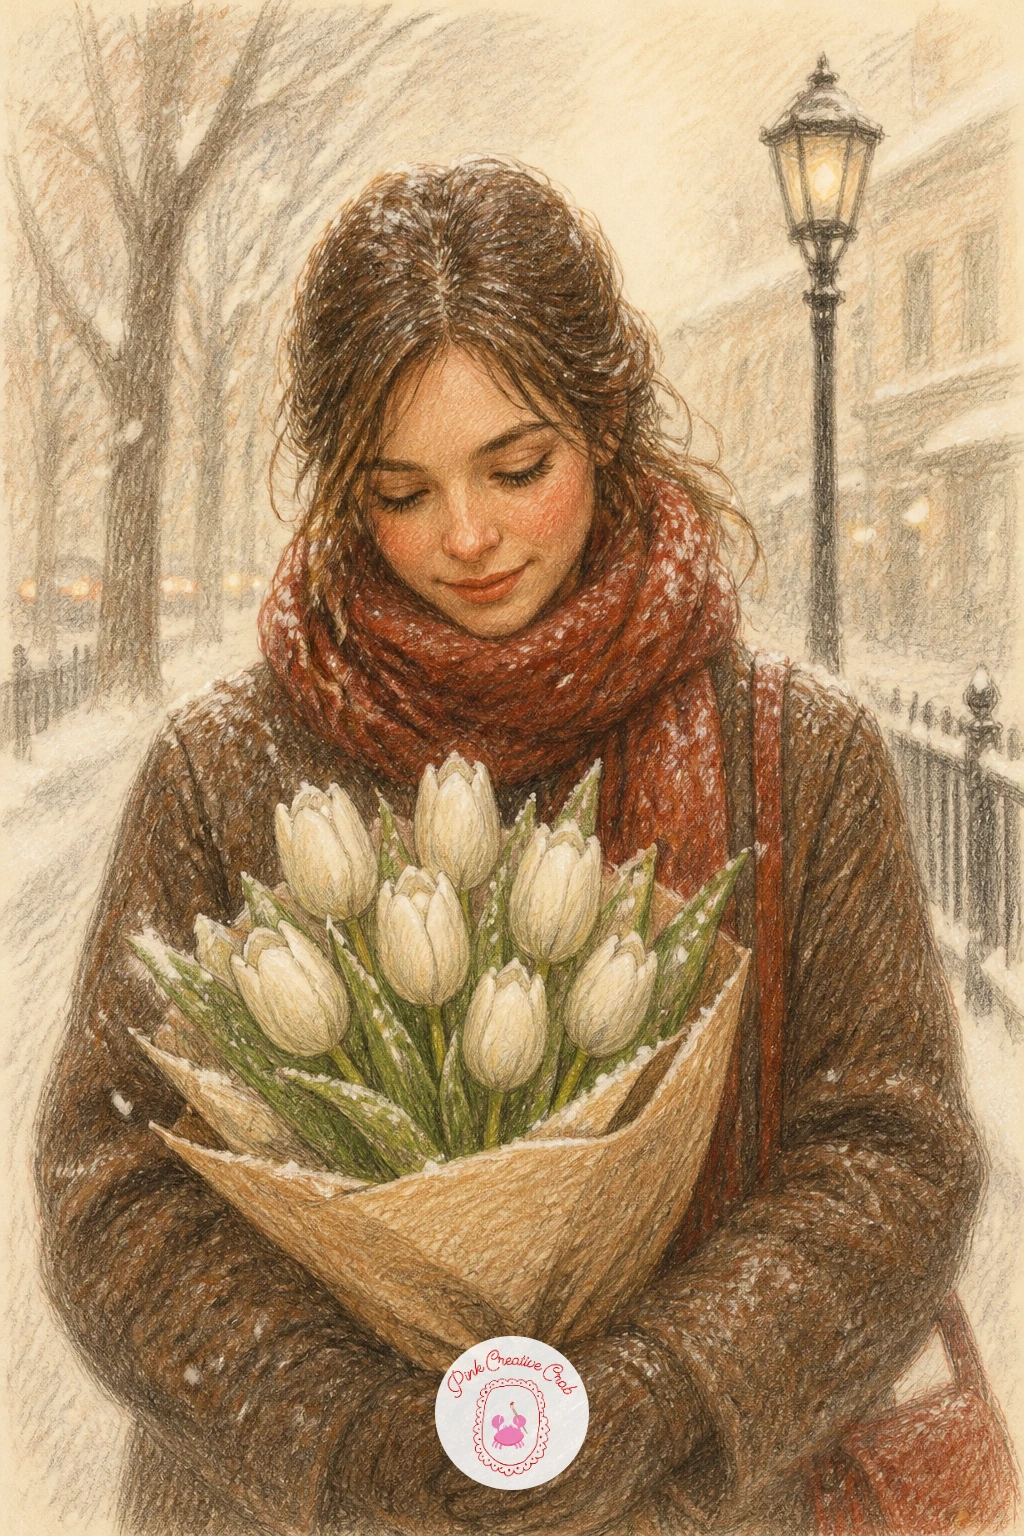
Close the set with a quiet street moment: a woman standing in falling snow, holding a bouquet of white tulips close to her chest. Sketch her figure first, coat buttoned up, then build the bouquet in her arms with simple layered petal shapes.
Keep the tulips mostly white and pale cream with just a hint of pale green at the stems, so they stand out clearly against her darker cocoa brown coat and the muted grey street behind her. Snow falls in scattered white pencil dots across the whole scene.
Compare the size of the bouquet against her torso before adding detail, since tulips held too small get lost against a full coat, while too large overwhelms her figure entirely.
One concrete tip: let a few snowflakes rest directly on the petals and her shoulders, small white gel pen dots, which ties the flowers and the weather together in one believable moment.
You Will Need
- cream paper
- cocoa brown pencil for coat
- pale cream and green pencils for tulips
- white gel pen for snow
Palette: Cocoa Brown,Cream,Pale Green,Soft Grey
Keep the street background loose and softly blurred so the white tulips and her face stay the clear focus of the whole piece.
What to Do Next
Pick one scene that matches how much time you actually have this morning, a simple mug and socks still life if you are short on time, or a full figure scene like the woman reading by the window if you want to settle in. Start on cream or oatmeal toned paper so the warm palette comes together with almost no extra effort.
Frequently Asked Questions
What colored pencils work best for winter morning drawing scenes?
Artist grade wax or oil based colored pencils layer best for these scenes, since they blend smoothly in thin coats. Look for a set with several warm browns, creams and soft reds, the core palette running through every idea here.
What paper should I use for a layered colored pencil scene?
A warm toned paper in cream or oatmeal works best, since it already carries the cozy undertone these scenes need. Choose a slightly textured surface, smooth paper makes it harder to build up several layers of color without going shiny.
How do I stop my colored pencil scenes from looking flat?
Flatness usually comes from one even layer of color with no light source decided. Pick one direction for the light in every scene, a window or candle, and darken everything away from it before adding fine details.
How long does one of these winter morning scenes take to finish?
Most of these ideas finish in twenty to forty minutes once the sketch is set, depending on how much background detail you add. Simple still life objects like a mug or socks finish fastest, full figure scenes take longer.
Can I draw these winter morning scenes with regular pencils instead of colored pencils?
Yes, every scene translates to graphite by focusing on tonal contrast instead of color, using the same light source and layering approach. Swap the warm palette for a range of soft to dark grey pencils and keep the same loose, layered finish.
Have any thoughts?
Share your reaction or leave a quick response — we’d love to hear what you think!
-
 0
-
0
-
0
-
0
-
0
-
0


