

Table of Contents
These beach watercolor paintings give you a full set of sunny subjects without asking you to draw a single line first. Each one is a clean outline built from a few big simple shapes, so there is nothing fiddly to copy and nothing to fear getting wrong before the paint even touches the page.
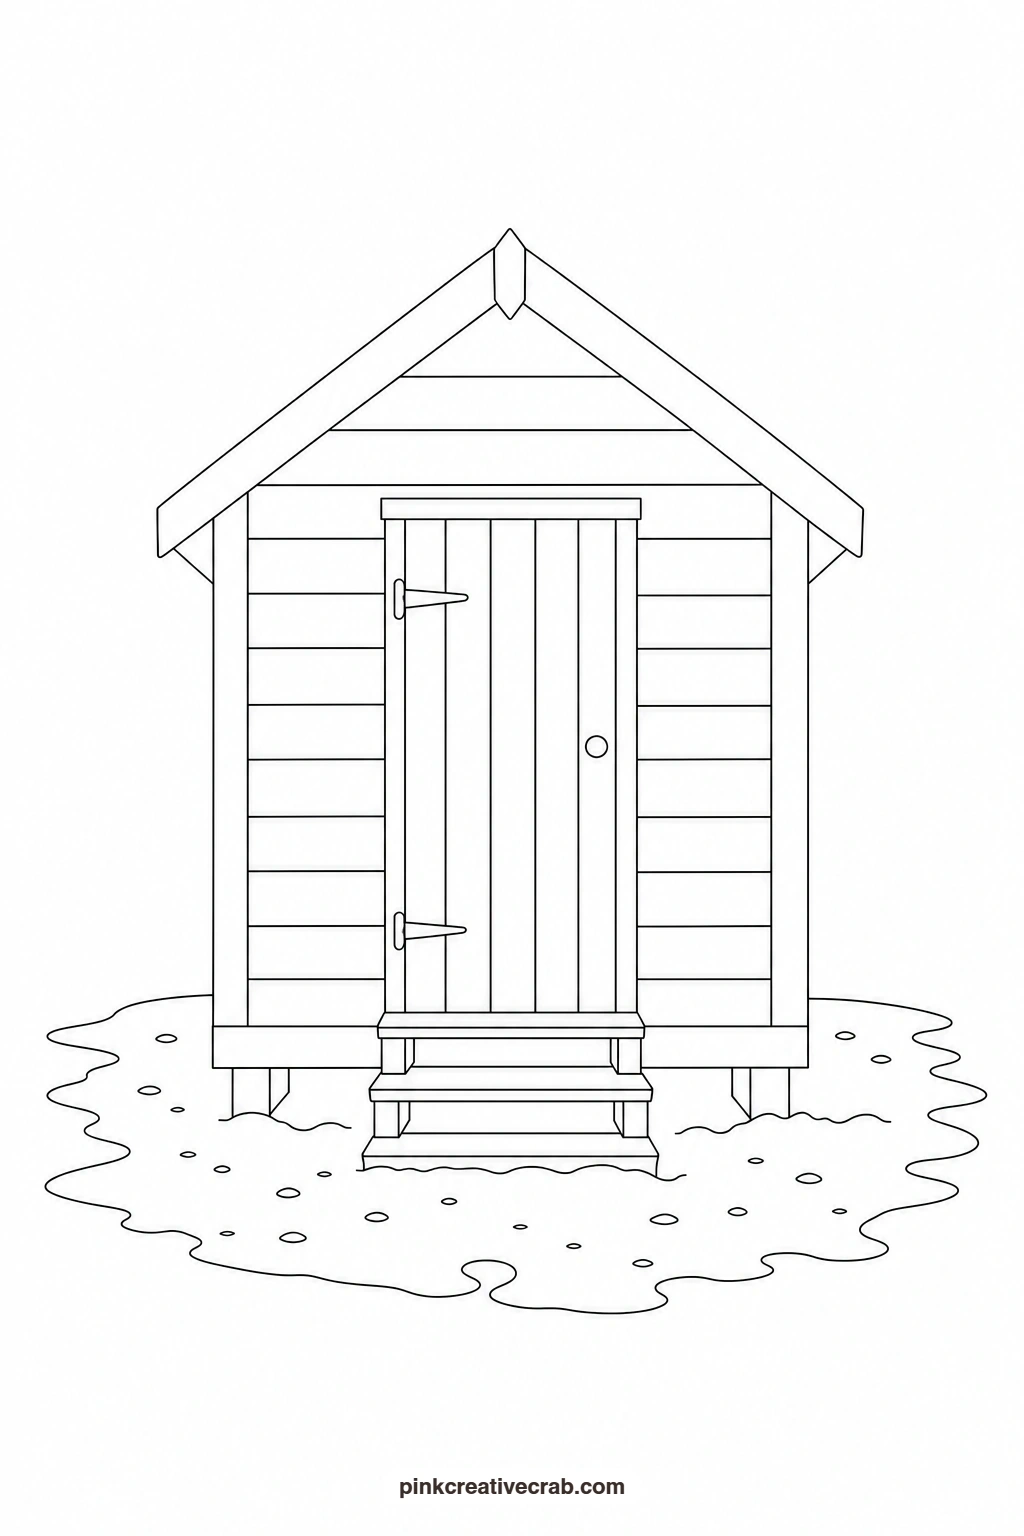
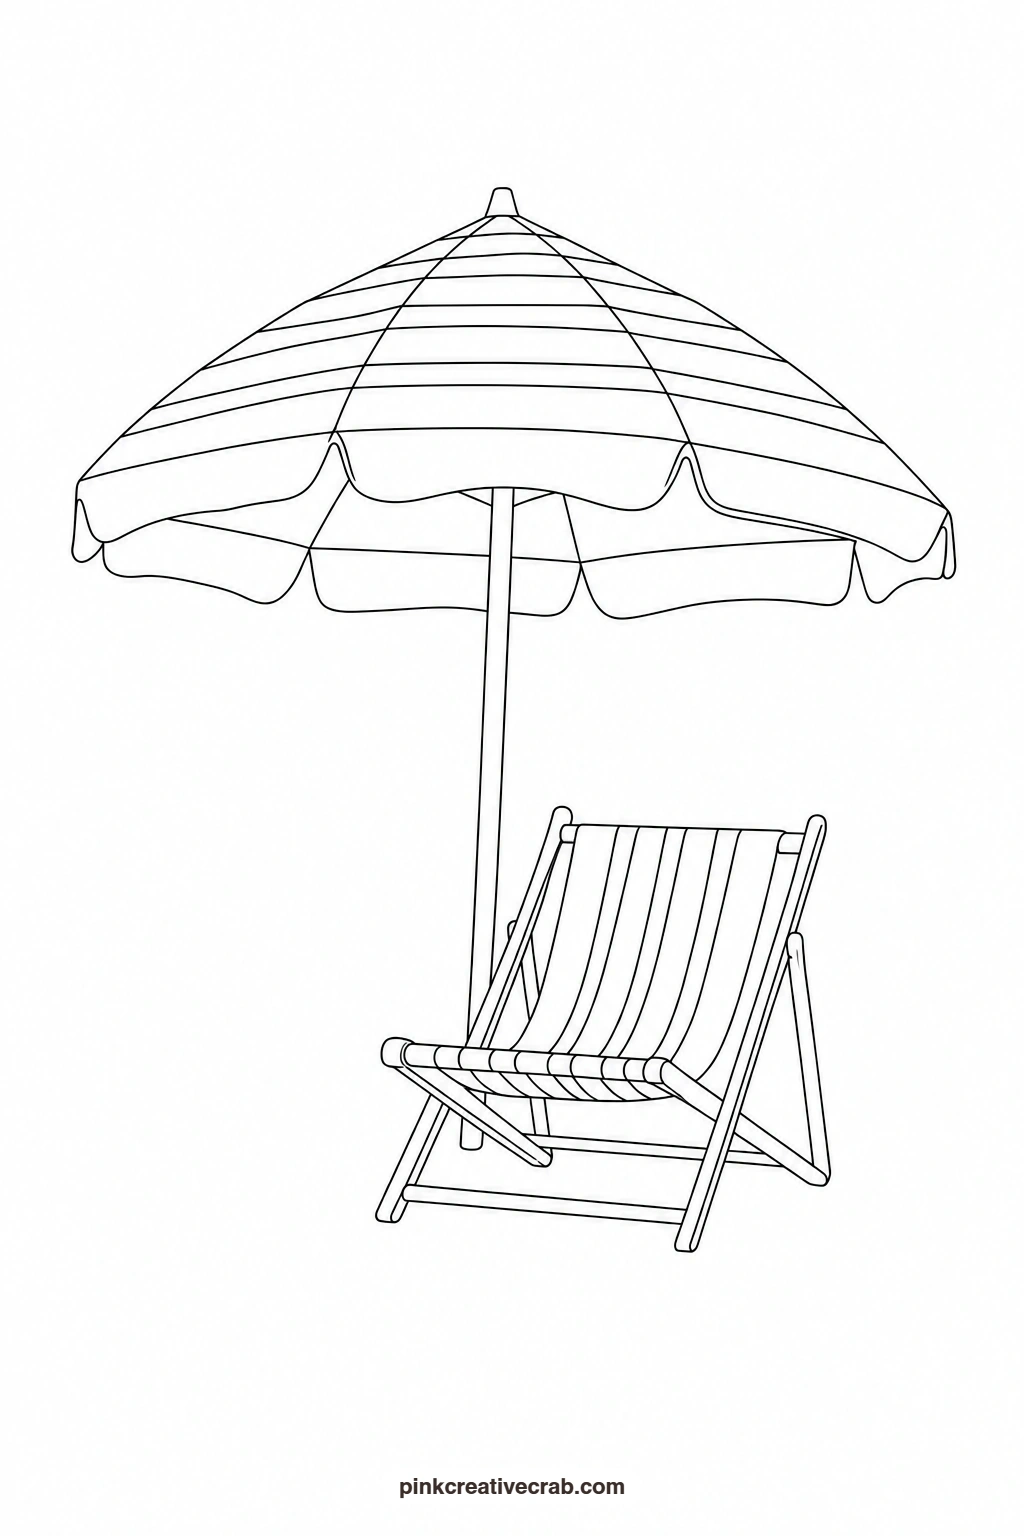
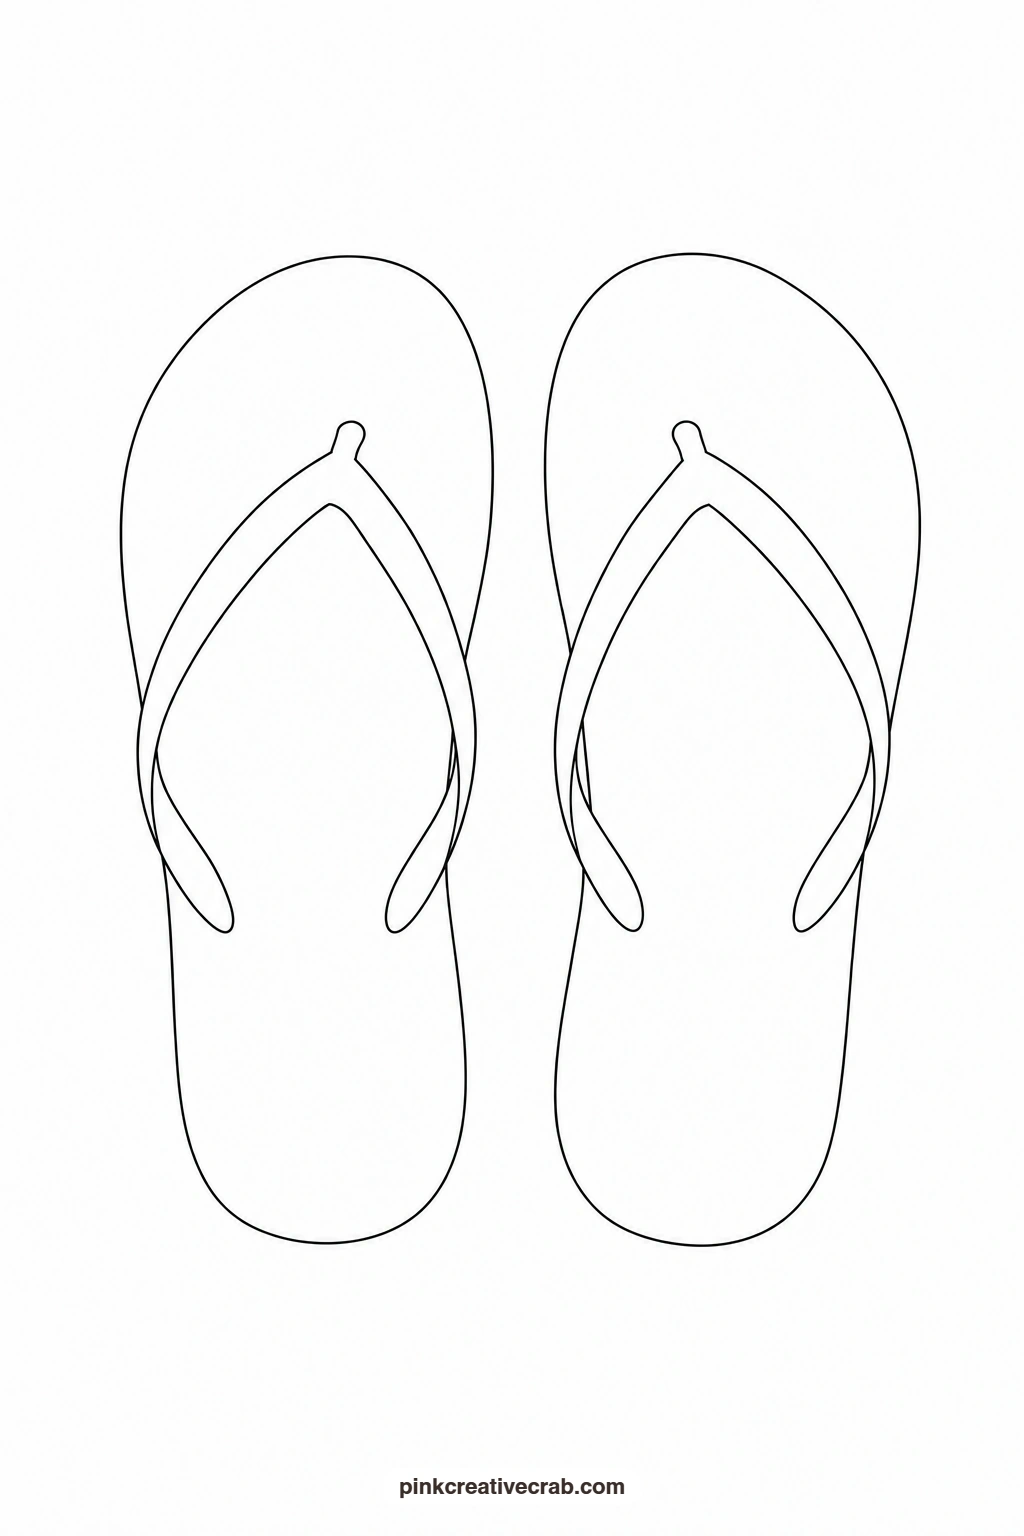
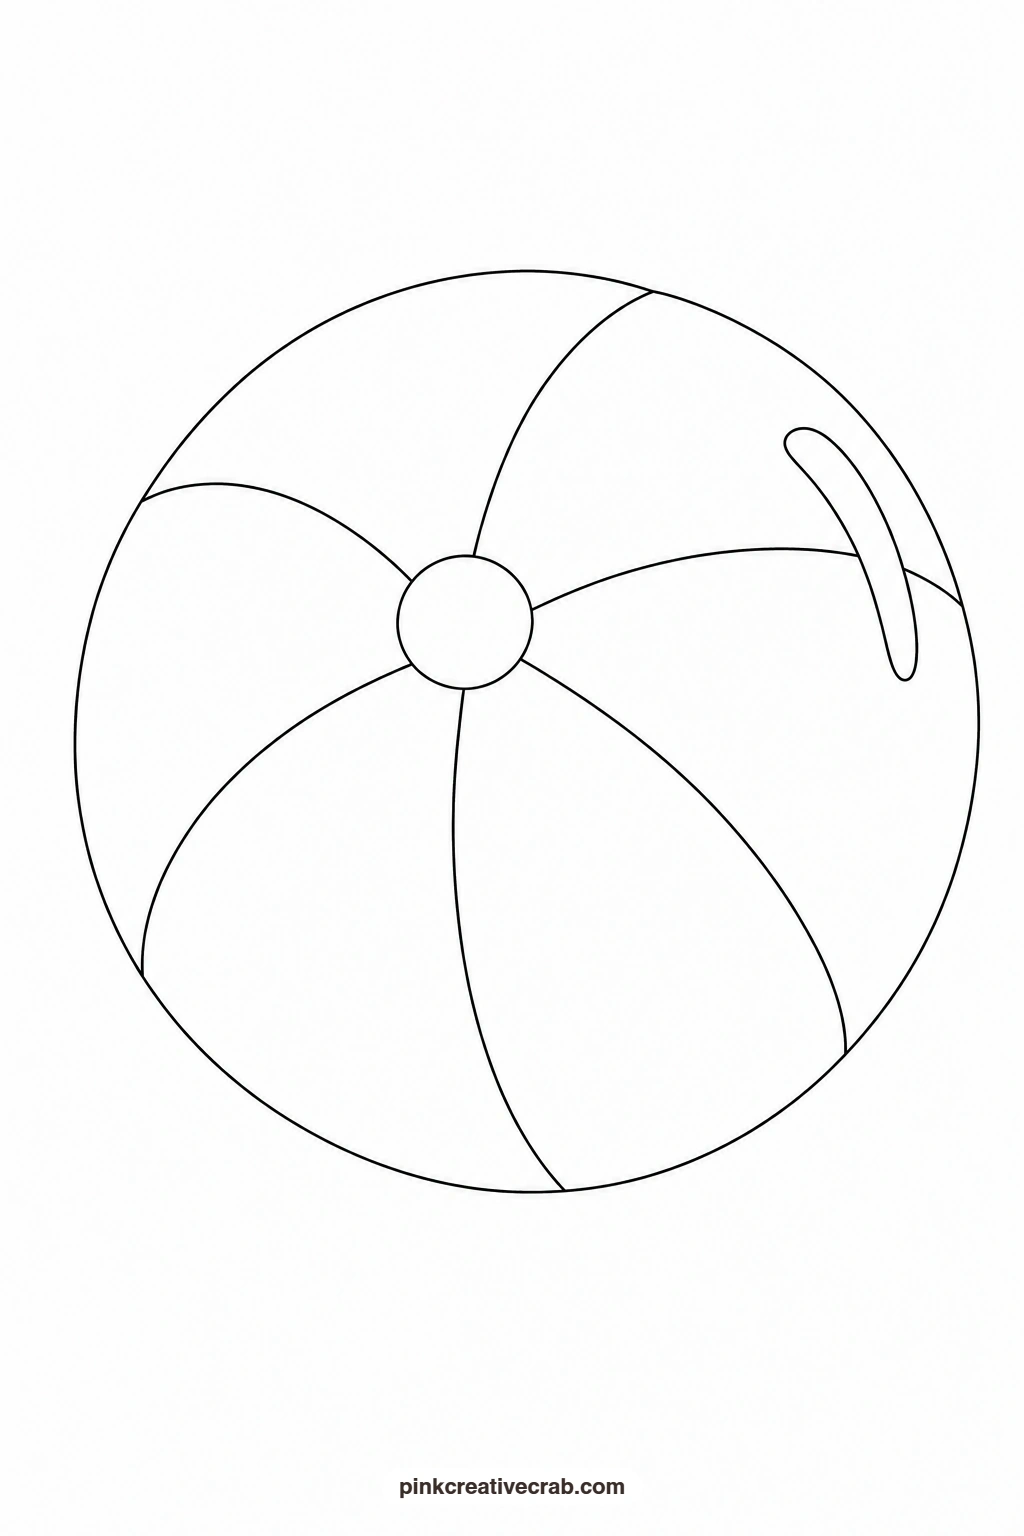
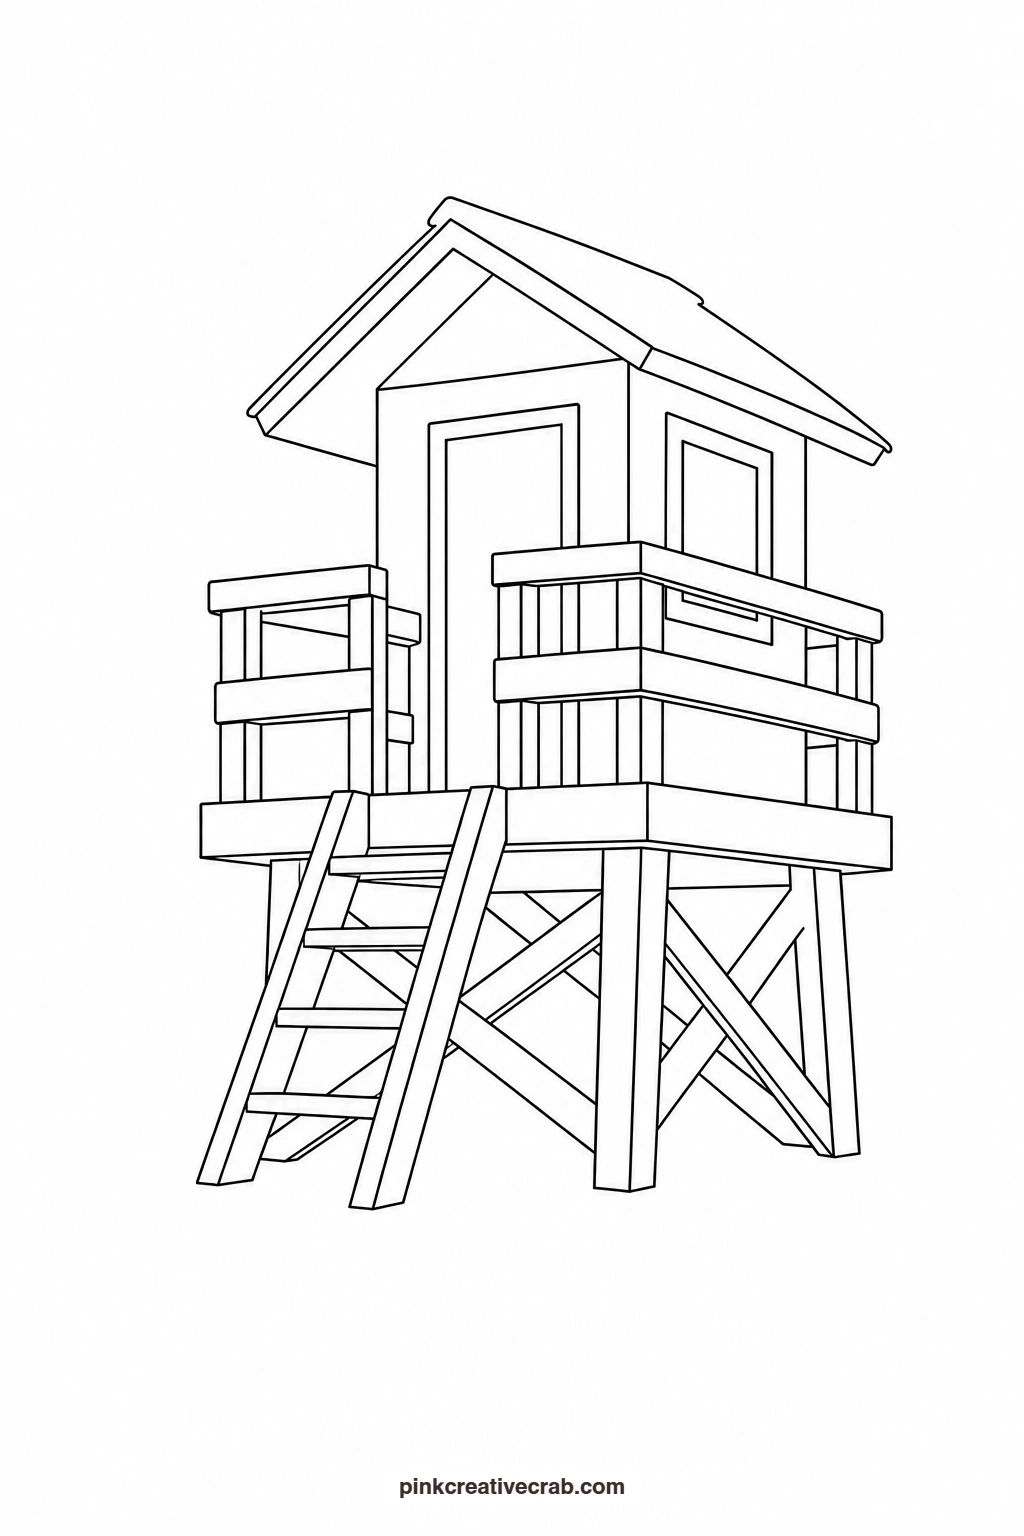
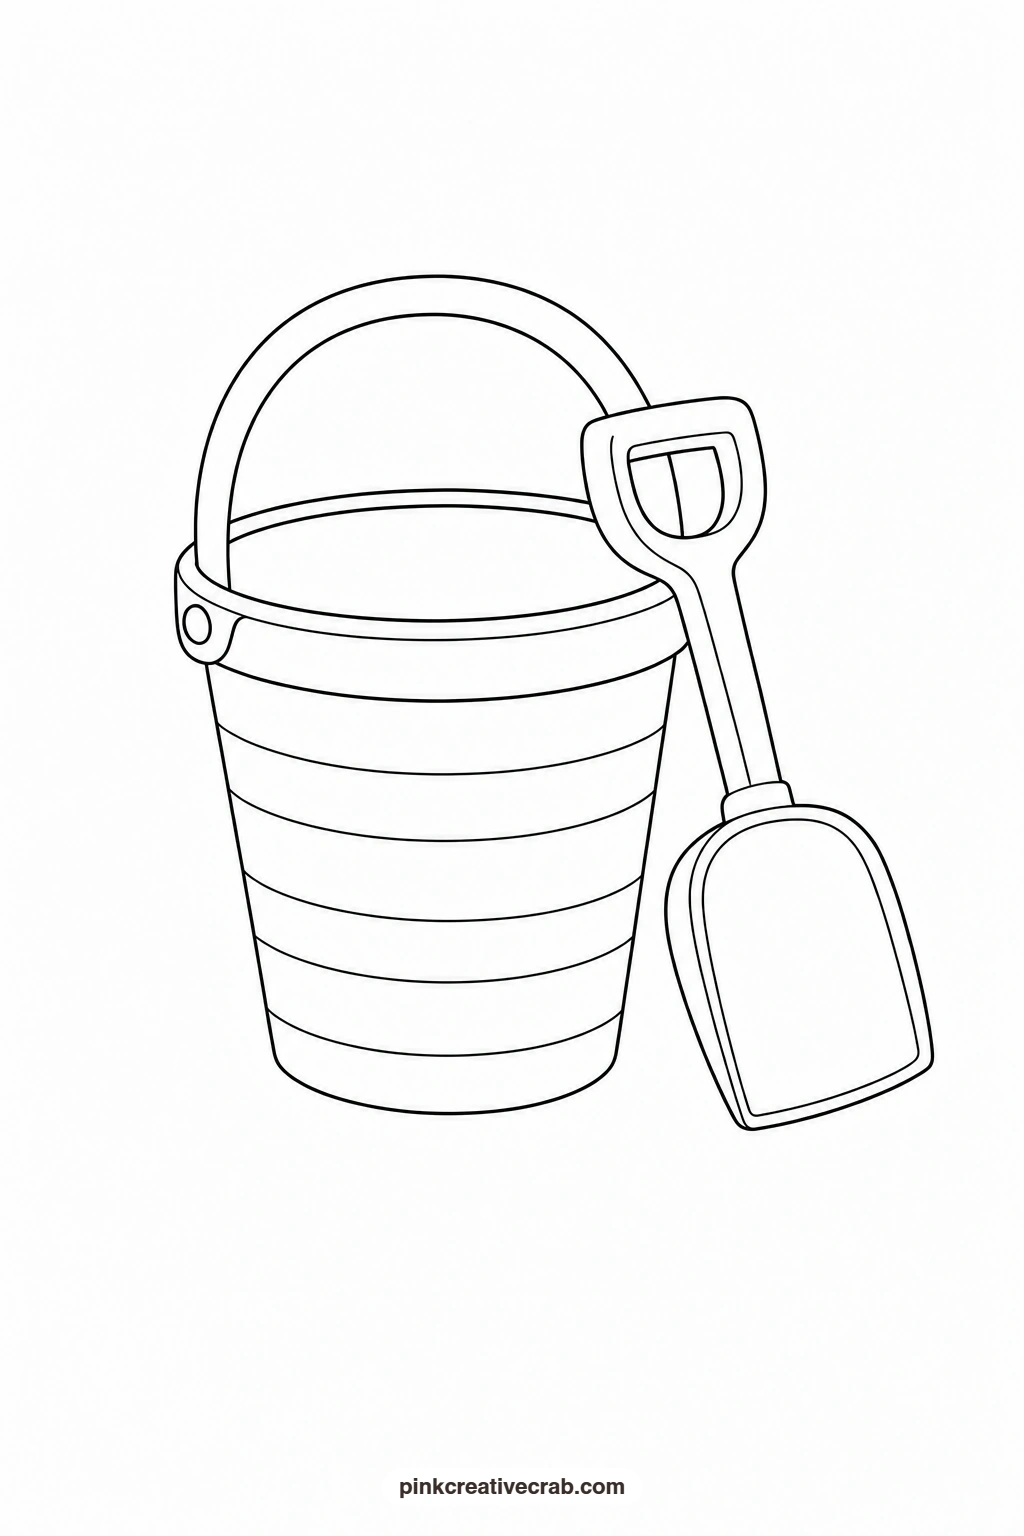
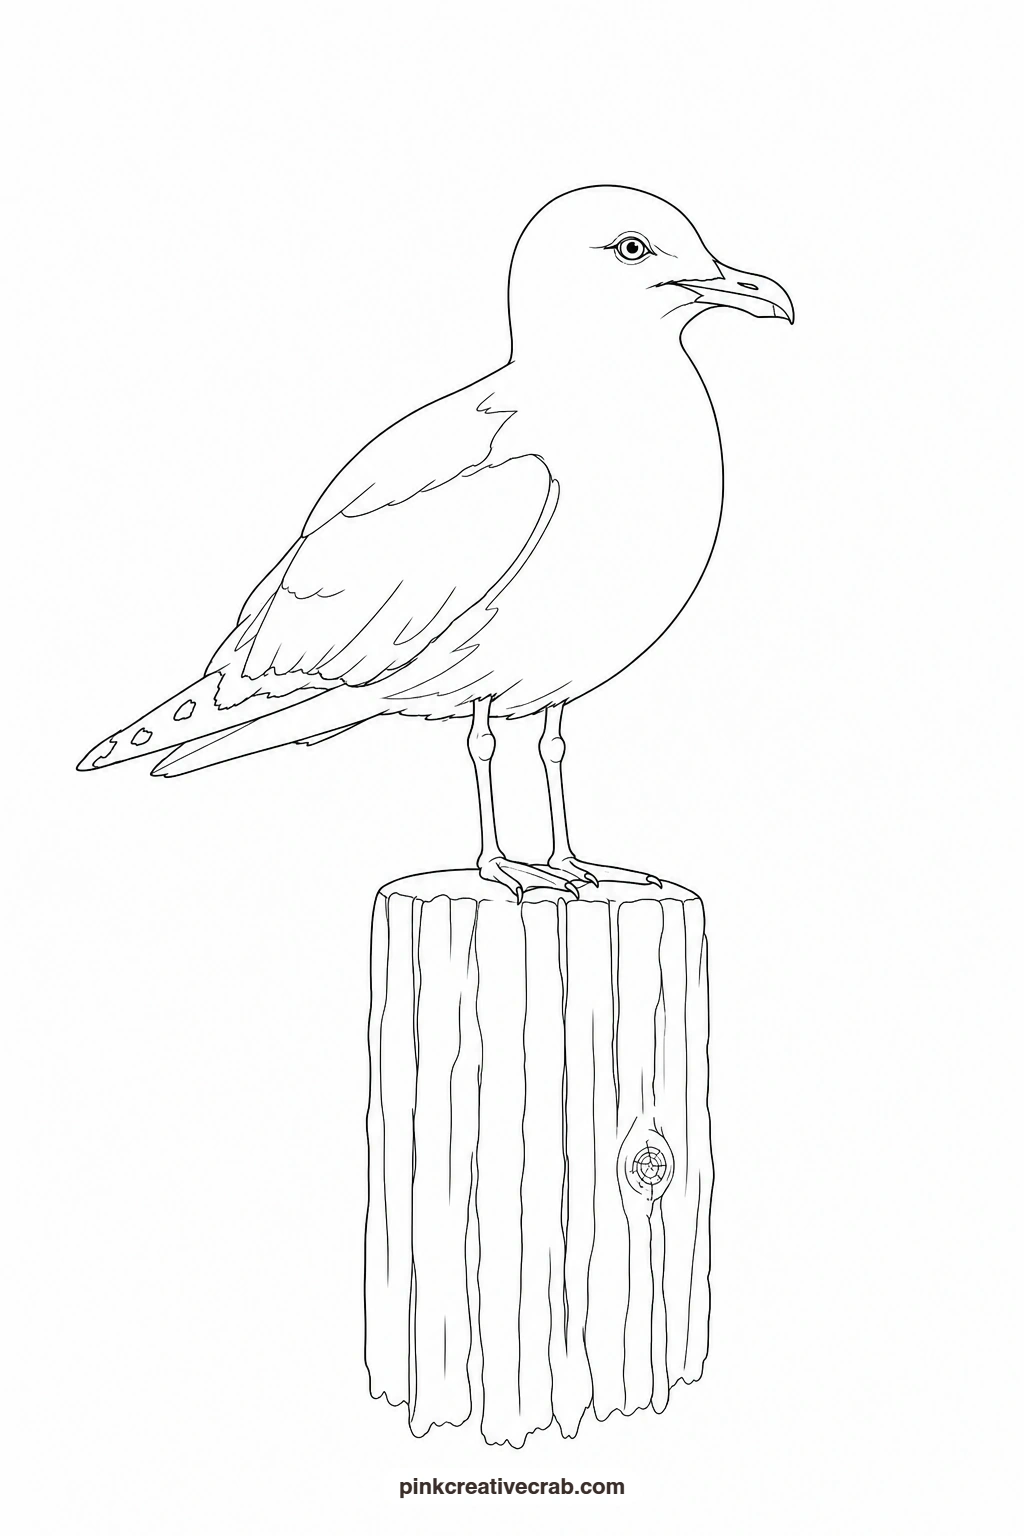
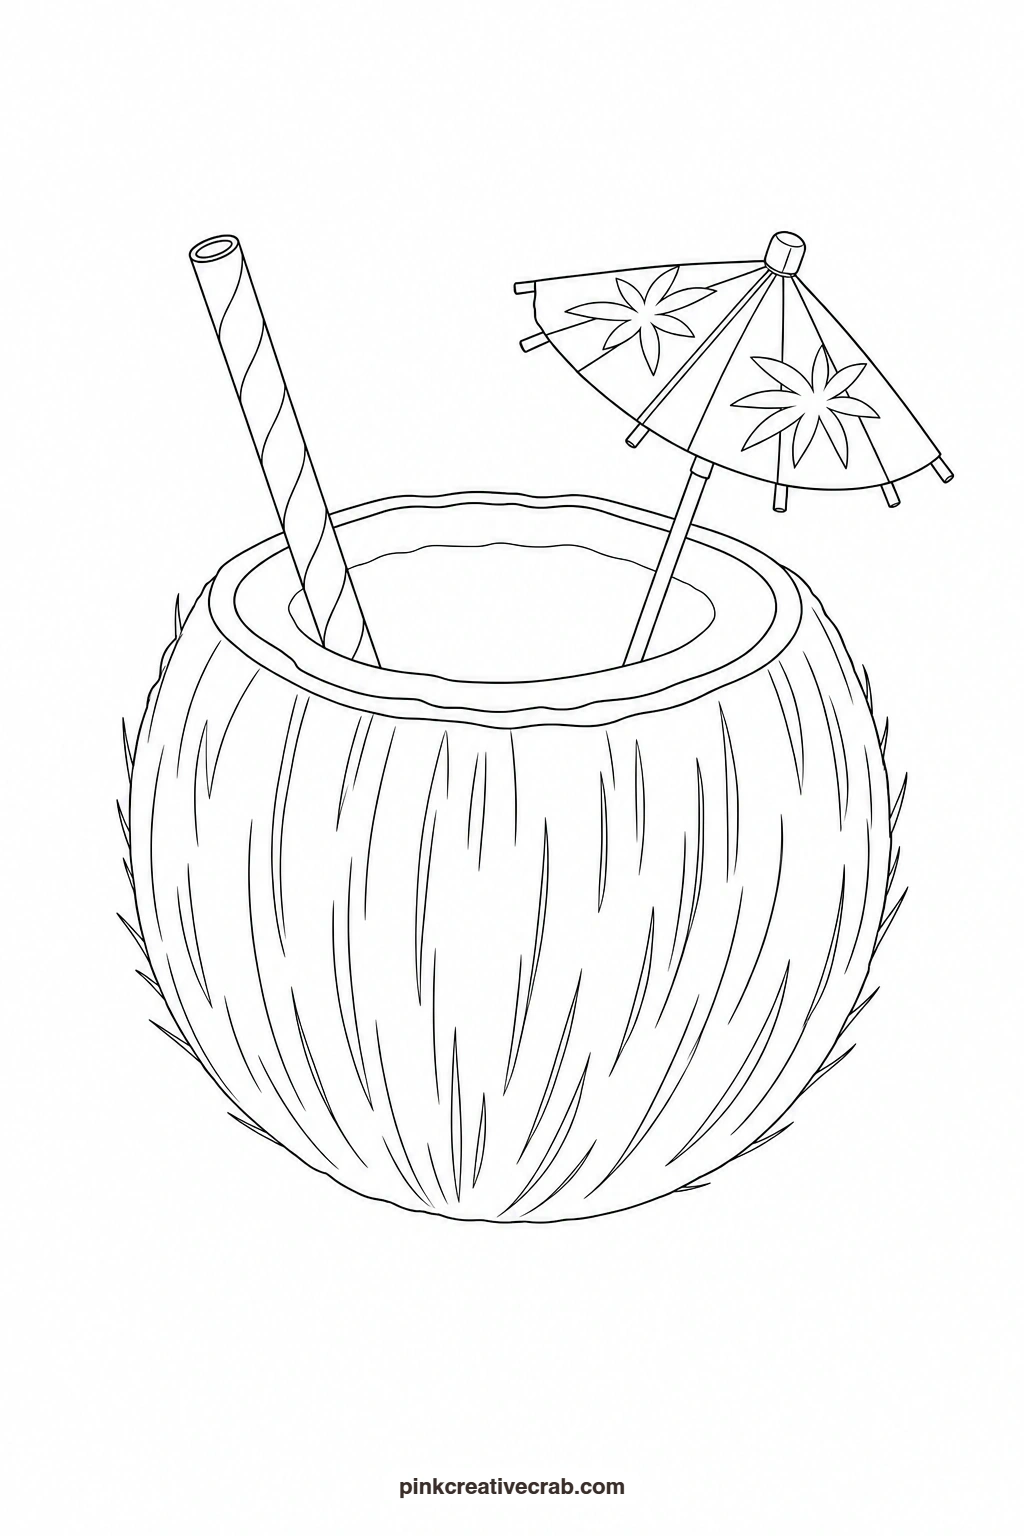
Print the outline, hold it against a sunny window or a light pad (or slip a sheet of graphite transfer paper underneath), and trace it onto your watercolor paper. Then keep the finished painting beside you as your guide while you mix washes and build up color at your own pace.
Using these images: free for personal projects such as printing, coloring, cards, journals and gifts. Handmade items that include them may be sold up to 30 pieces per design. More than that is commercial use and is not permitted, and neither is selling or sharing the images themselves or passing them off as your own. Please ask before any other use.
Striped Beach Hut
Paint the roof first in one solid color while the paper is dry, then let the walls dry fully before adding the stripes so the colors stay crisp instead of bleeding together. Alternate two bright hues for the stripes, leaving thin white gaps between them for contrast. Add a flat wash of pale sand underneath and a strip of blue sky above, keeping both loose and uneven. Finish with a tiny dark line under the door for a hint of shadow, which is the detail that makes the hut look like it is really standing on the sand.
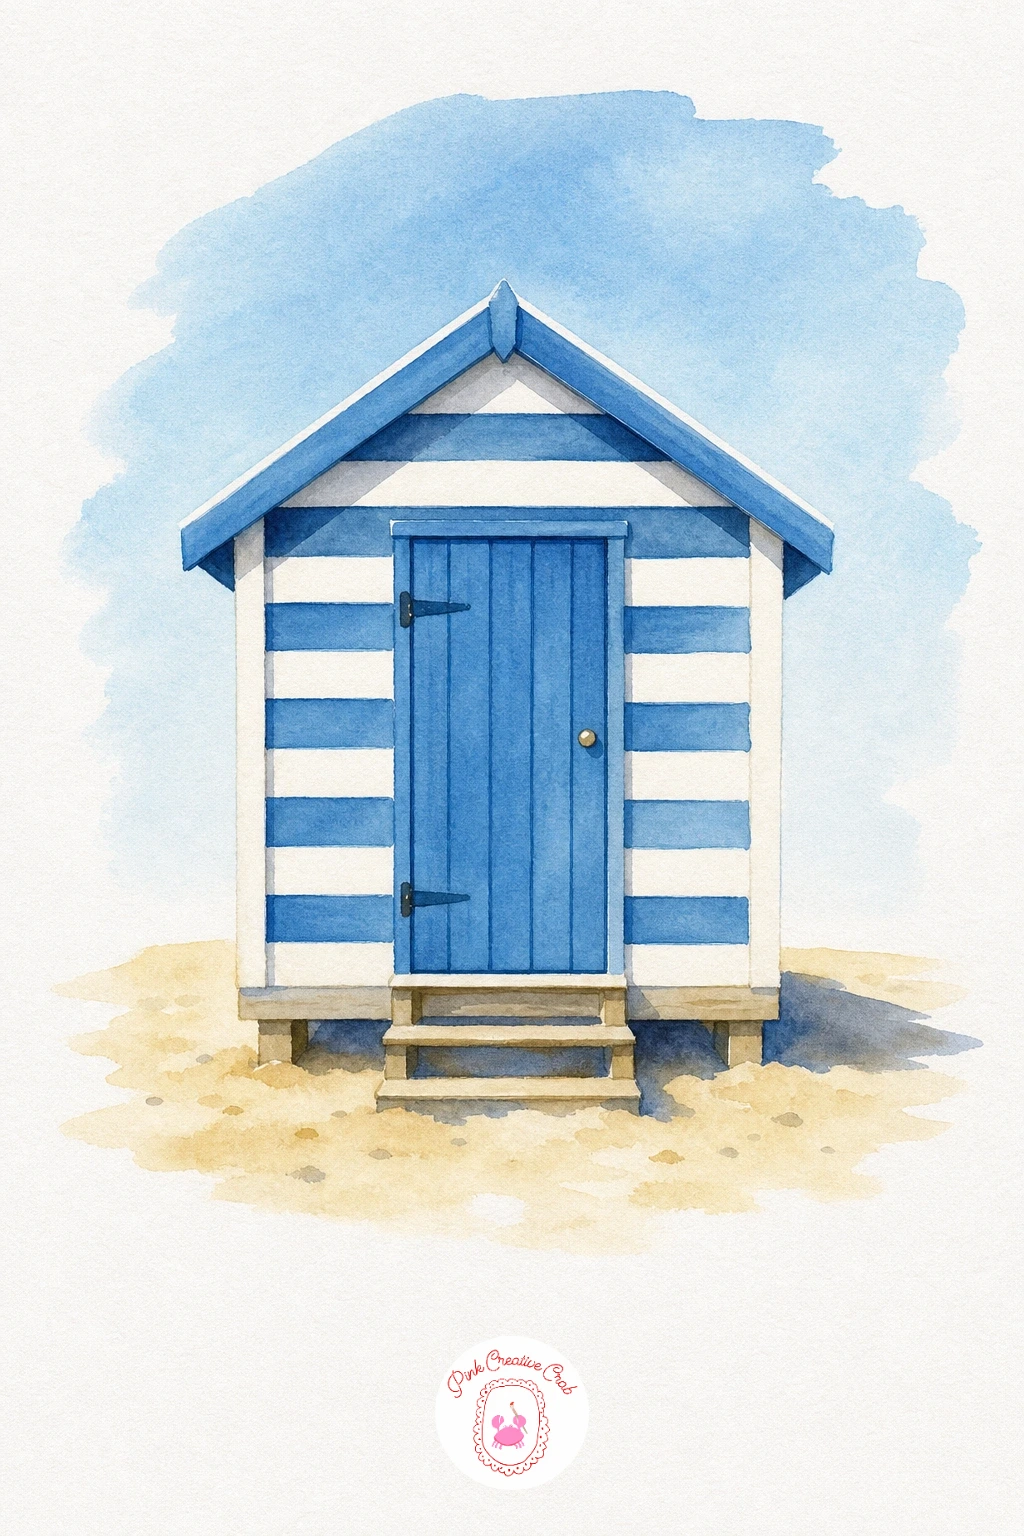
Palette: Cadmium Red,Cerulean Blue,Yellow Ochre,Raw Sienna,Payne’s Grey
Beach Umbrella and Chair
Lay the umbrella’s alternating stripes one at a time, letting each dry before painting the strip beside it so the colors stay separate and clean. Paint the chair in a single flat wash of one contrasting color, then add thin lines for the frame once it has dried. A short curved shadow under both shapes, painted in a watery grey, grounds everything on the sand without needing any background at all.
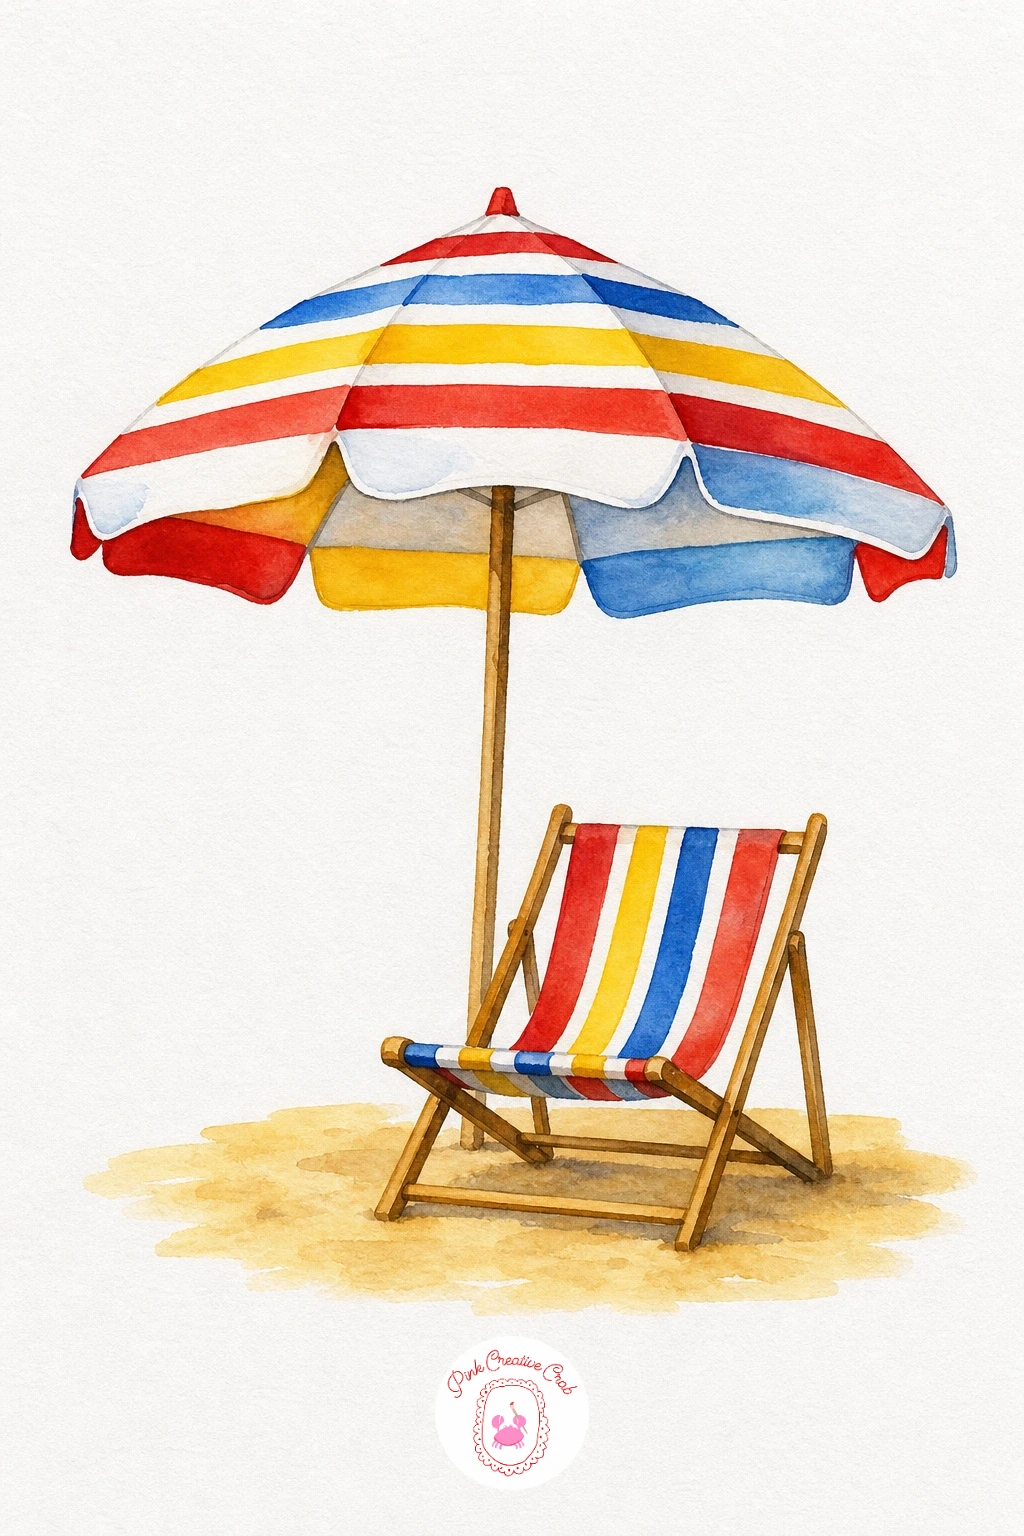
Palette: Turquoise,Cadmium Orange,Lemon Yellow,Sand,Payne’s Grey
Seashell
Wet the whole shell shape first, then drop in pale pink at the base and let it bloom softly upward into cream at the tips, so the color graduates naturally without hard edges. Once dry, use a fine brush to paint thin curved lines along each ridge in a slightly deeper pink. Keep every ridge the same width apart so the shell reads as neat and balanced rather than busy.
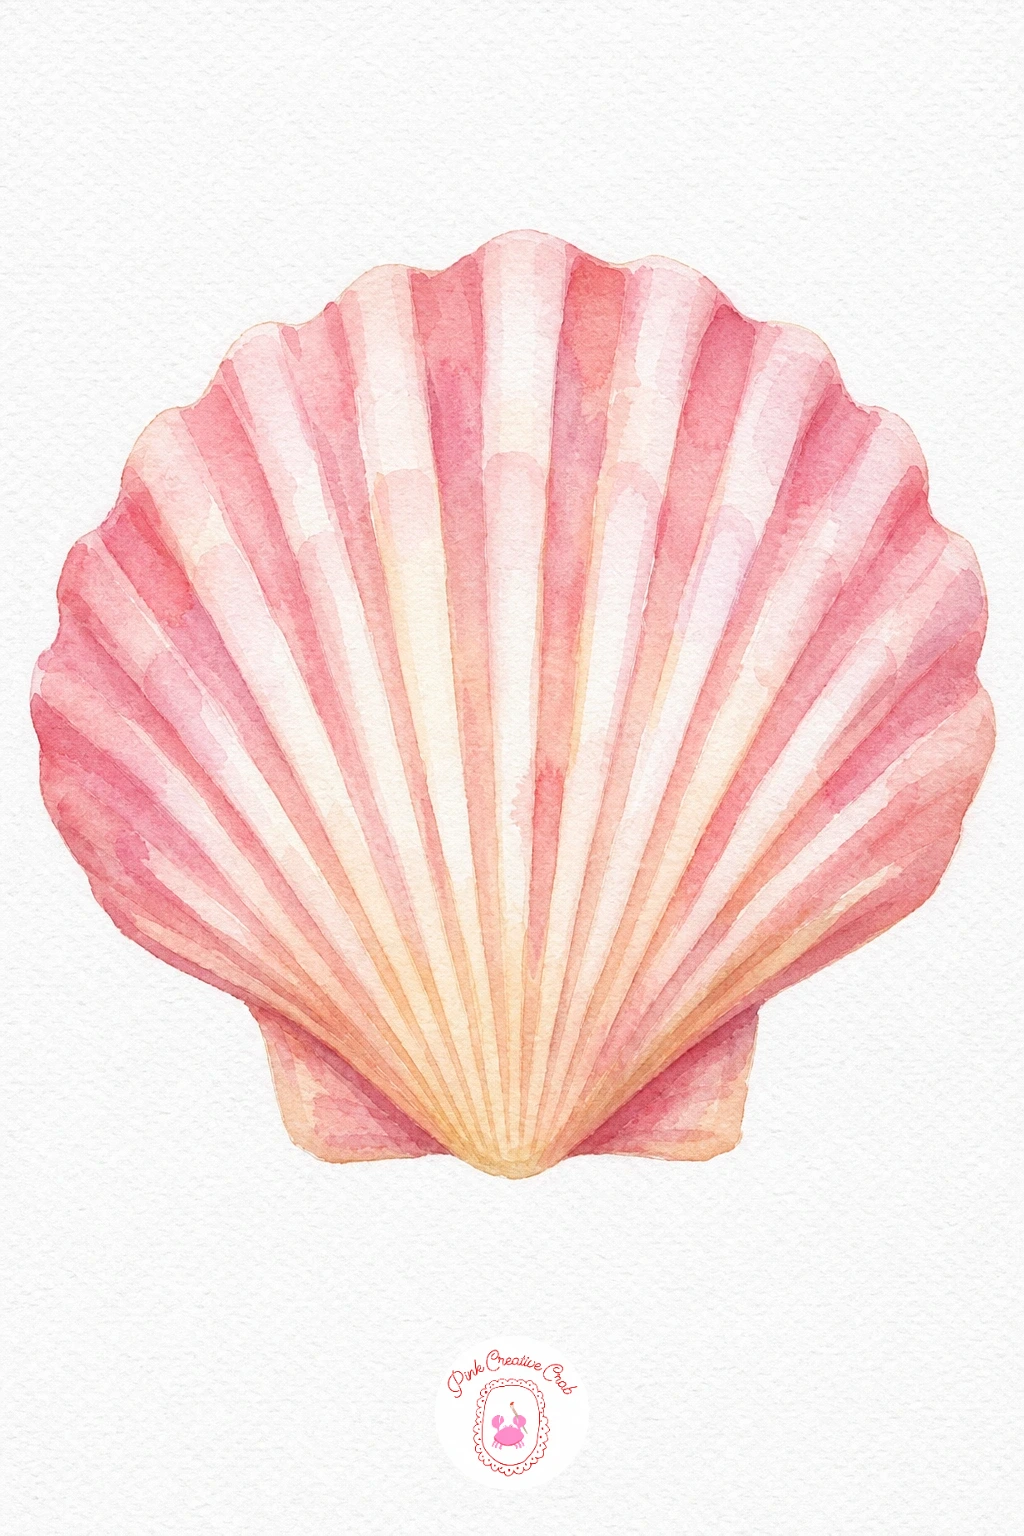
Palette: Rose Pink,Cream,Burnt Sienna
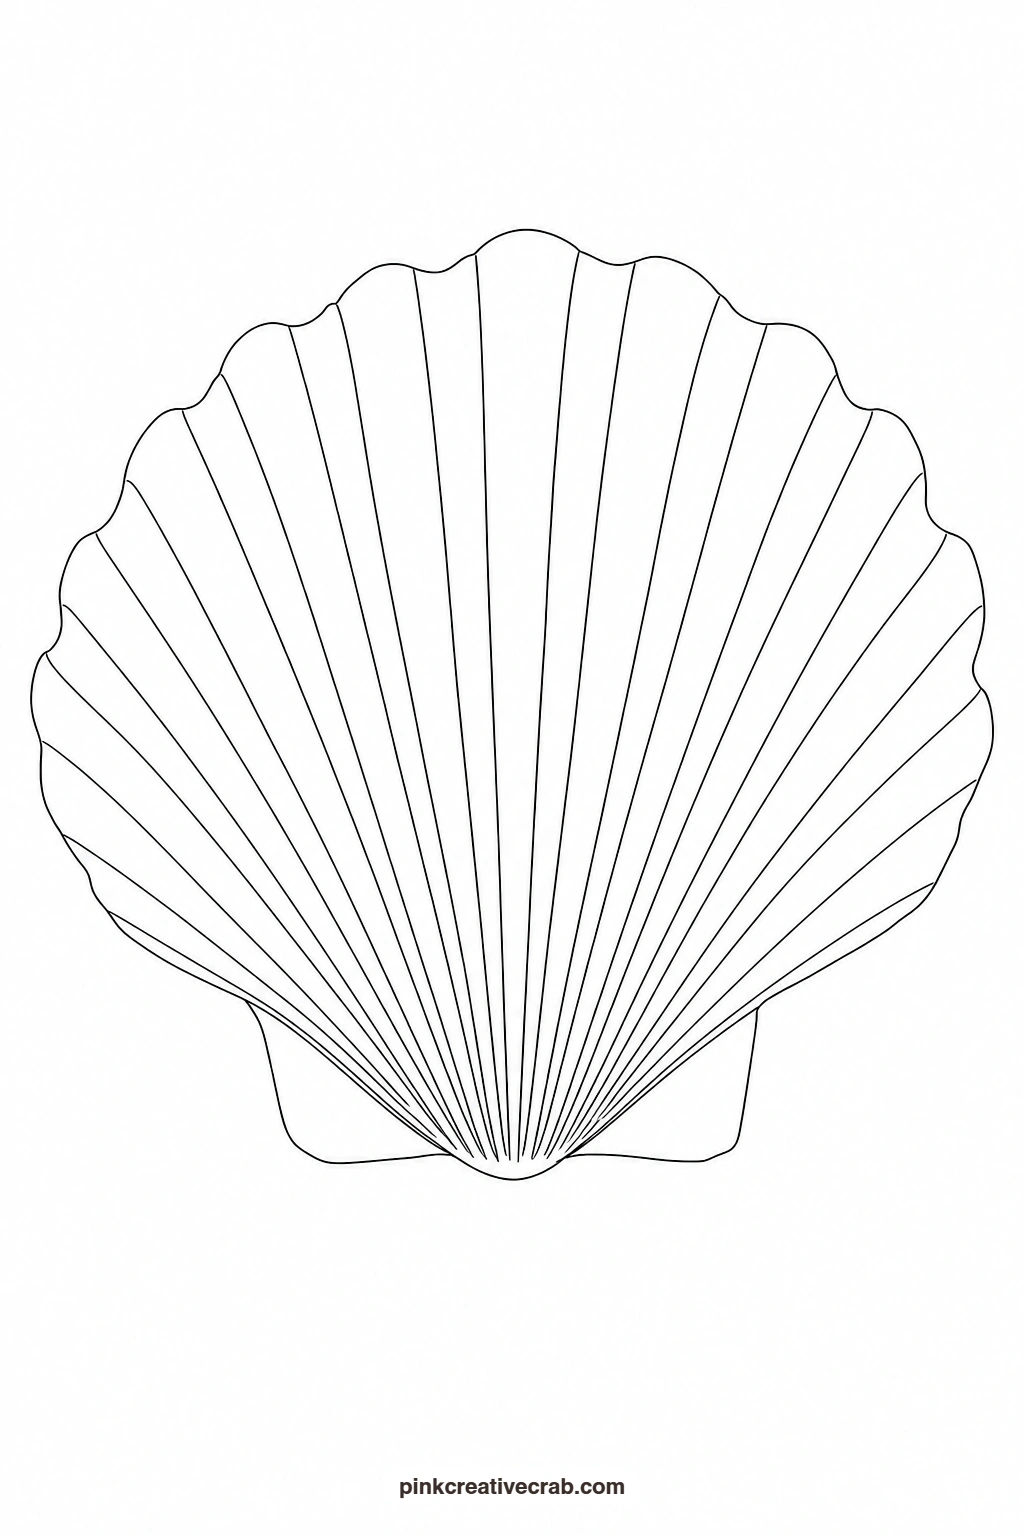
Starfish
Mix a warm orange wash and cover the whole starfish evenly while the paper is damp, then drop a touch of darker red-orange into the center so it pools outward into the arms. While that is still wet, flick in a few small dots of deeper color with the tip of the brush for texture. Let it dry completely before adding any fine outline details, so the dots stay crisp instead of smudging into the wash.
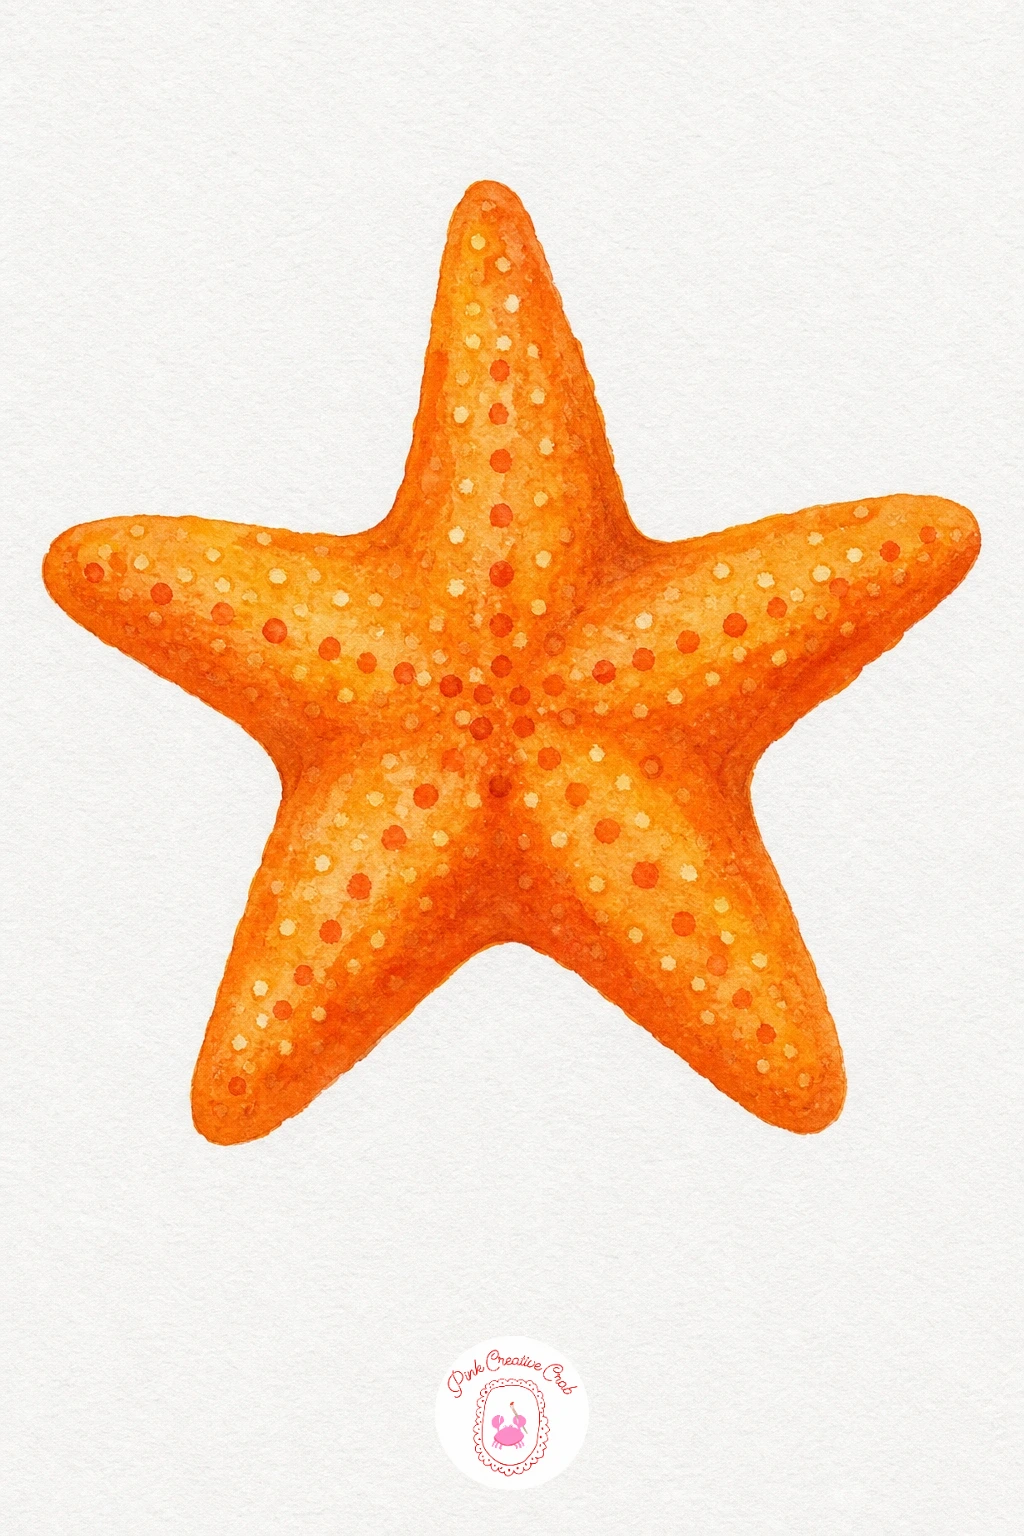
Palette: Cadmium Orange,Burnt Orange,Cadmium Red
Try a round brush loaded with thick paint for the dots rather than a fine liner, it gives softer, more natural-looking texture on the starfish’s arms.
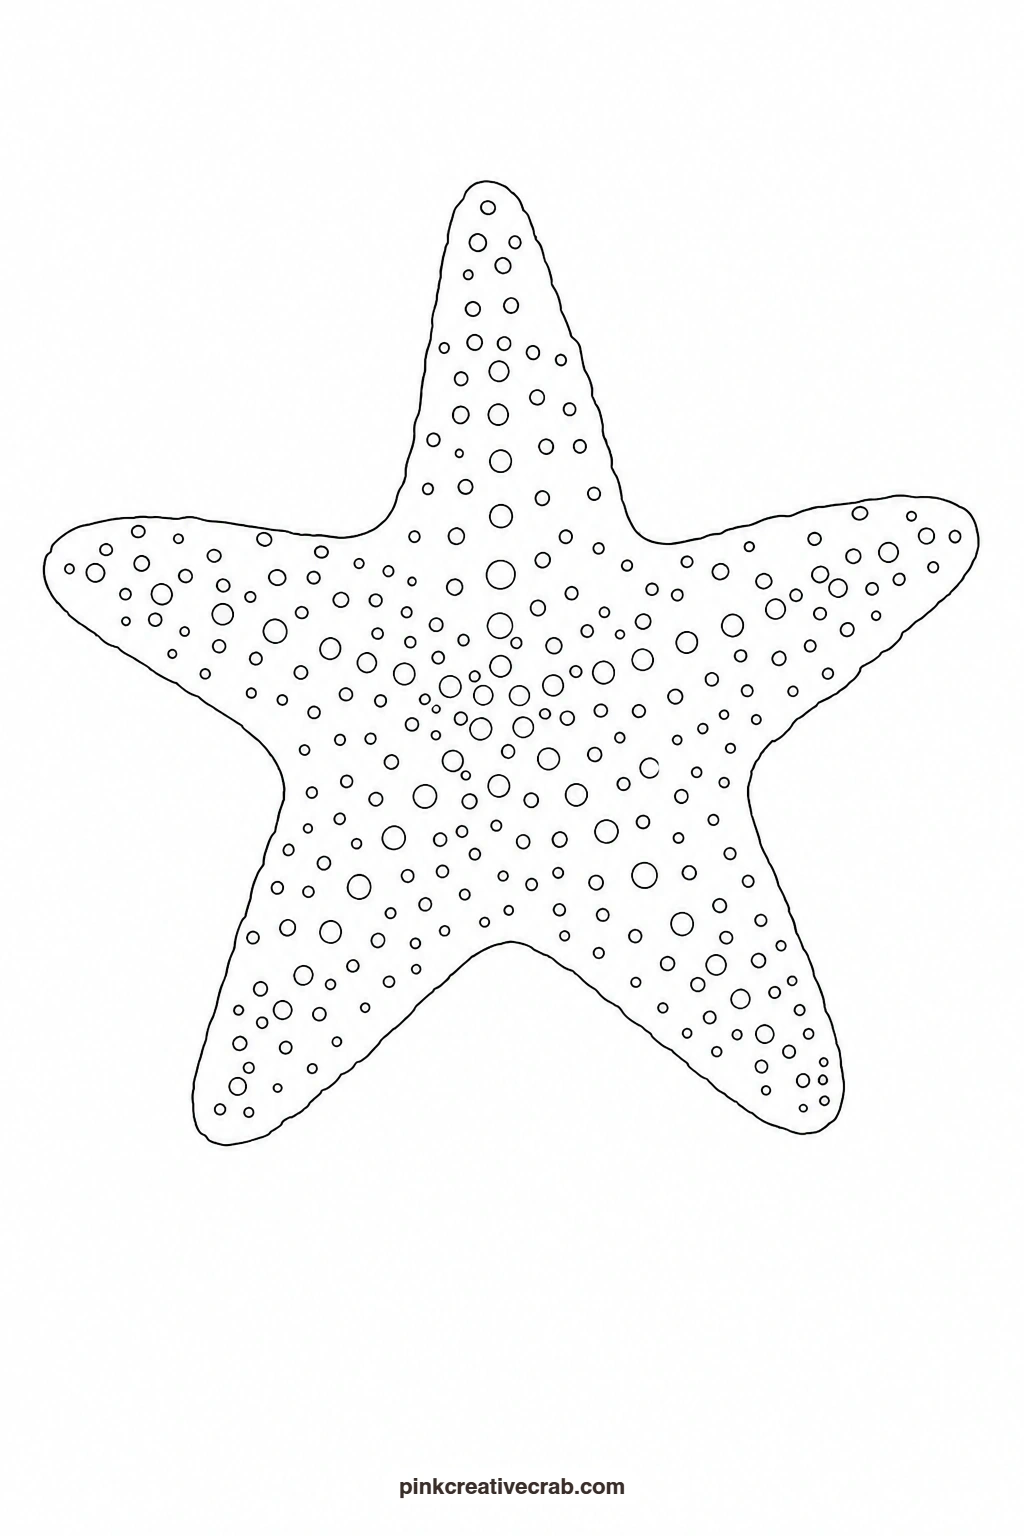
Sandcastle With Flag
Paint the whole castle in one even sand-colored wash first and let it dry fully. Then add a slightly darker shade along the bottom edge of each drum shape to suggest where the sand is packed tighter, keeping the line soft rather than sharp. Paint the flag last in a bright contrasting color, since that small bold touch is what makes the whole castle feel finished and cheerful.
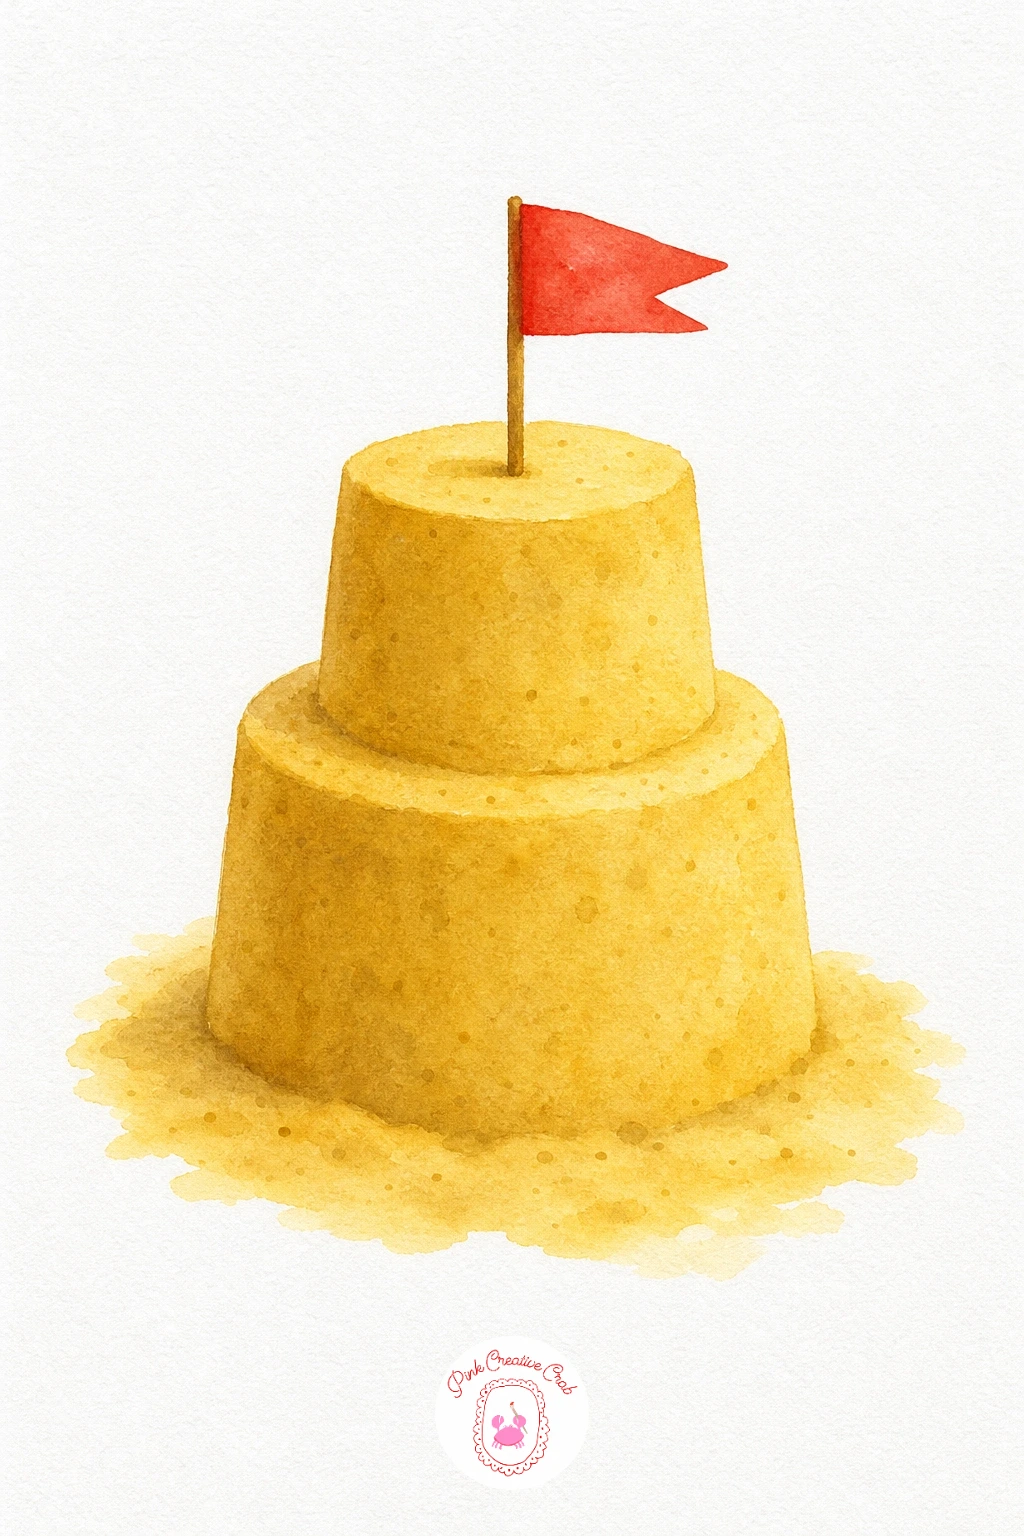
Palette: Yellow Ochre,Raw Sienna,Cadmium Red
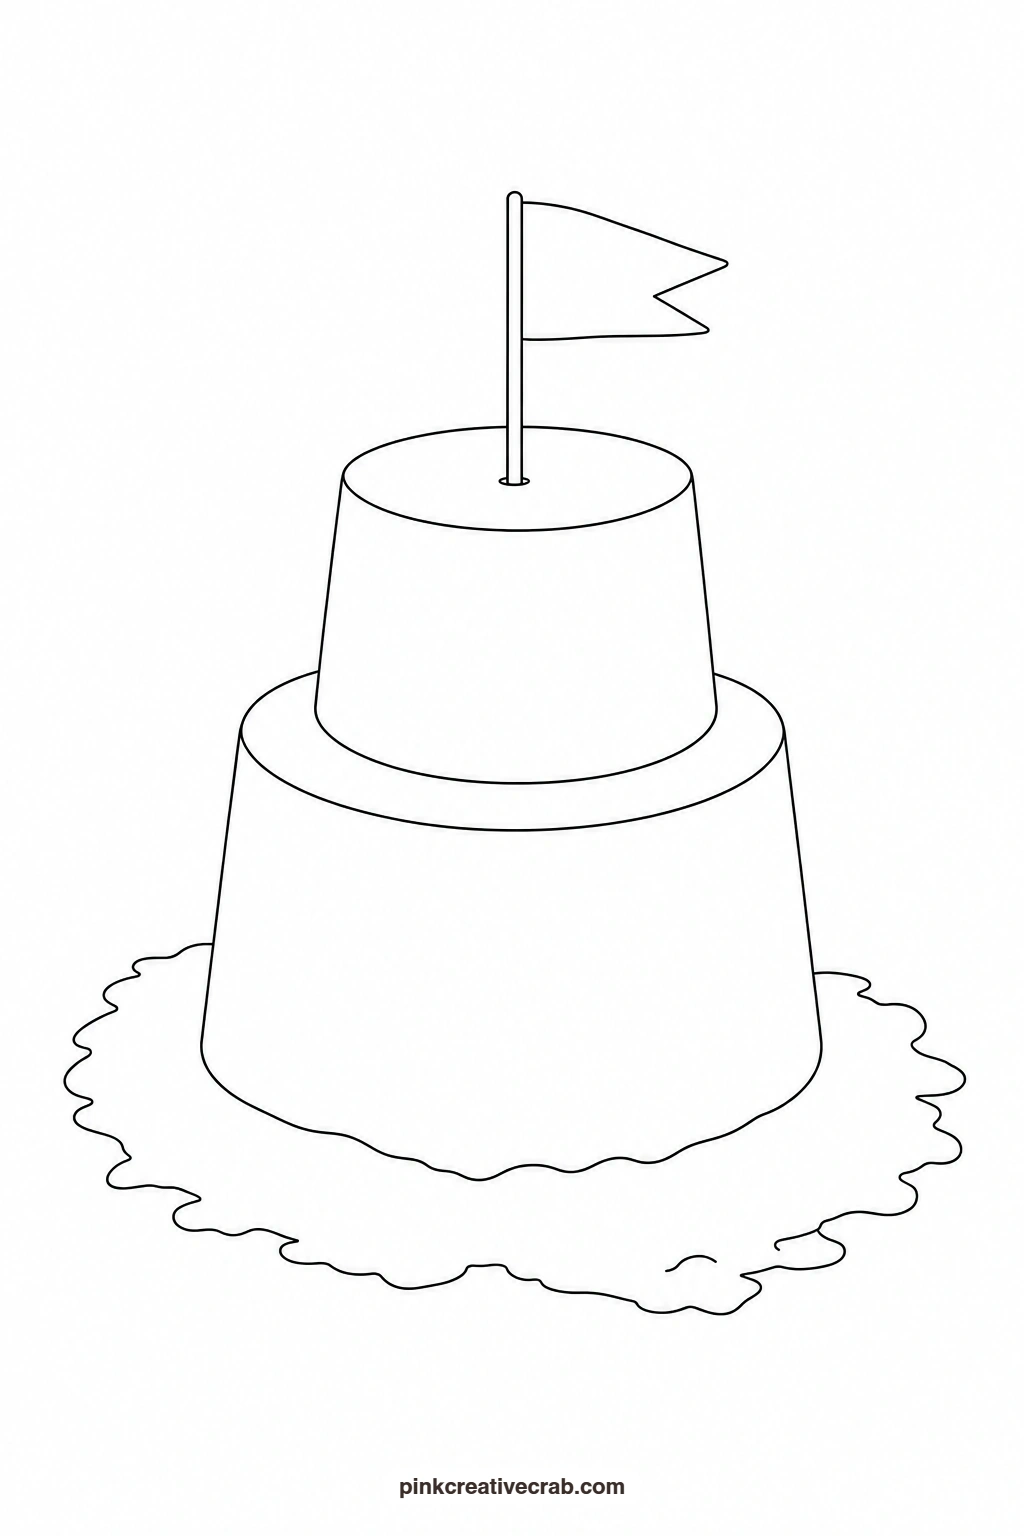
Palm Tree on Sand
Paint the trunk with a dry brush dragged upward so a little texture shows through, using two shades of brown blended while still damp. For the fronds, load the brush fully and pull each one outward from the top of the trunk in a single confident stroke, so every leaf stays a clean simple shape rather than a cluster of tiny lines. A flat strip of pale sand under the trunk finishes the scene without adding more background than it needs. For more ideas built around this kind of coastal light, the easy beach watercolor ideas collection is worth a look.
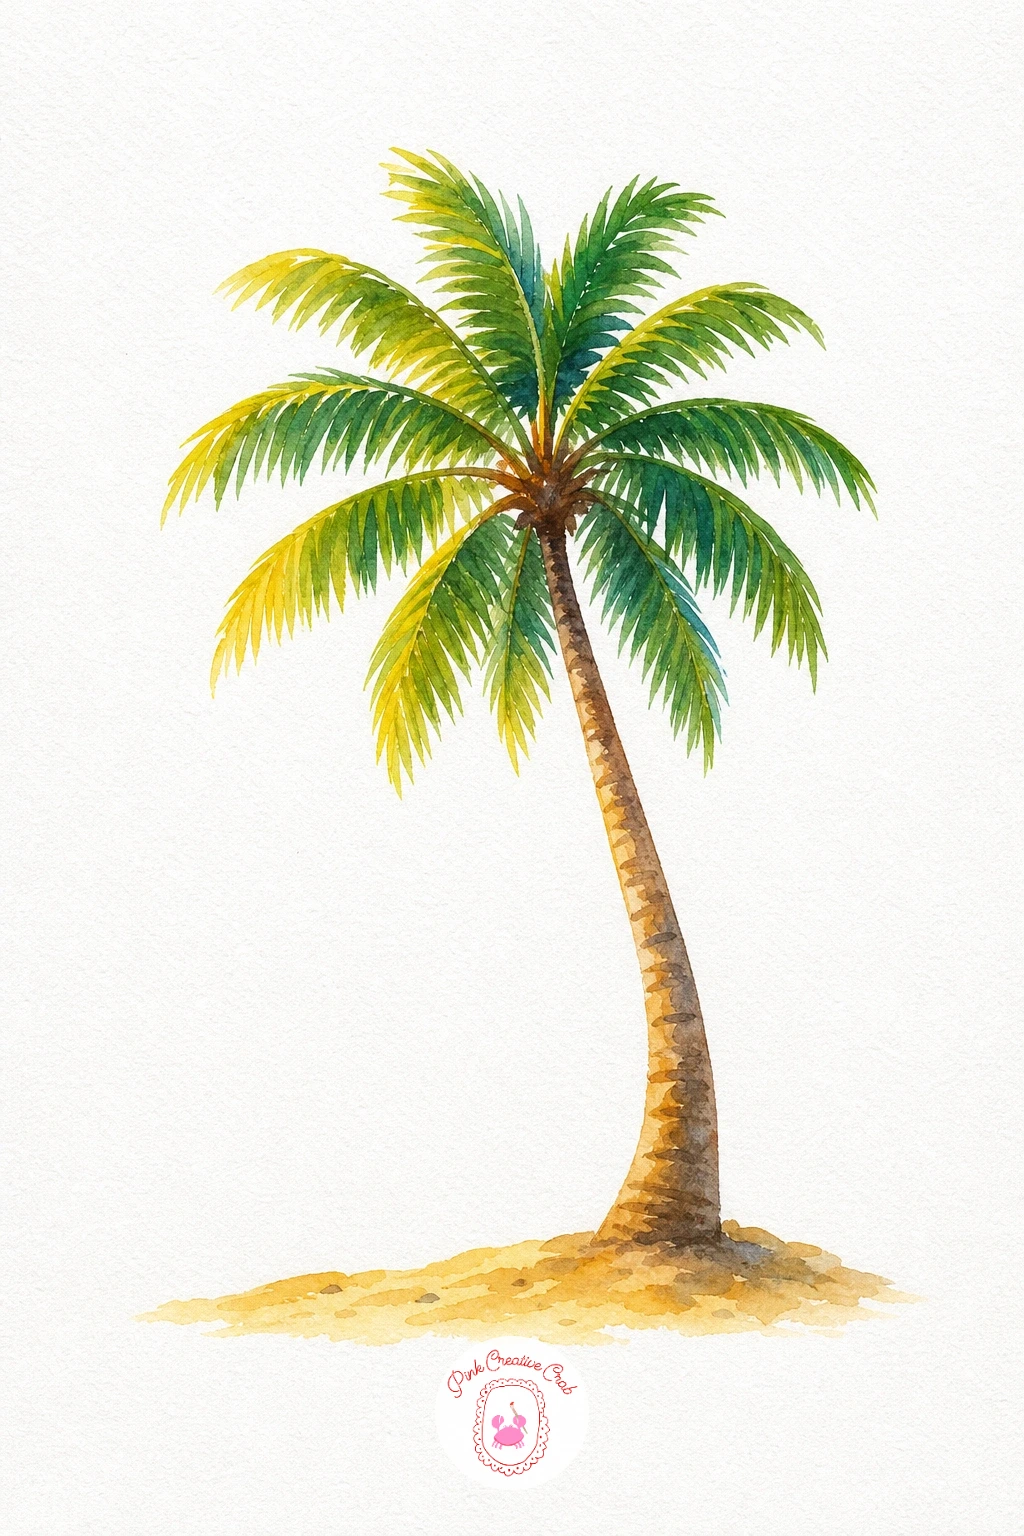
Palette: Sap Green,Burnt Sienna,Yellow Ochre,Sand
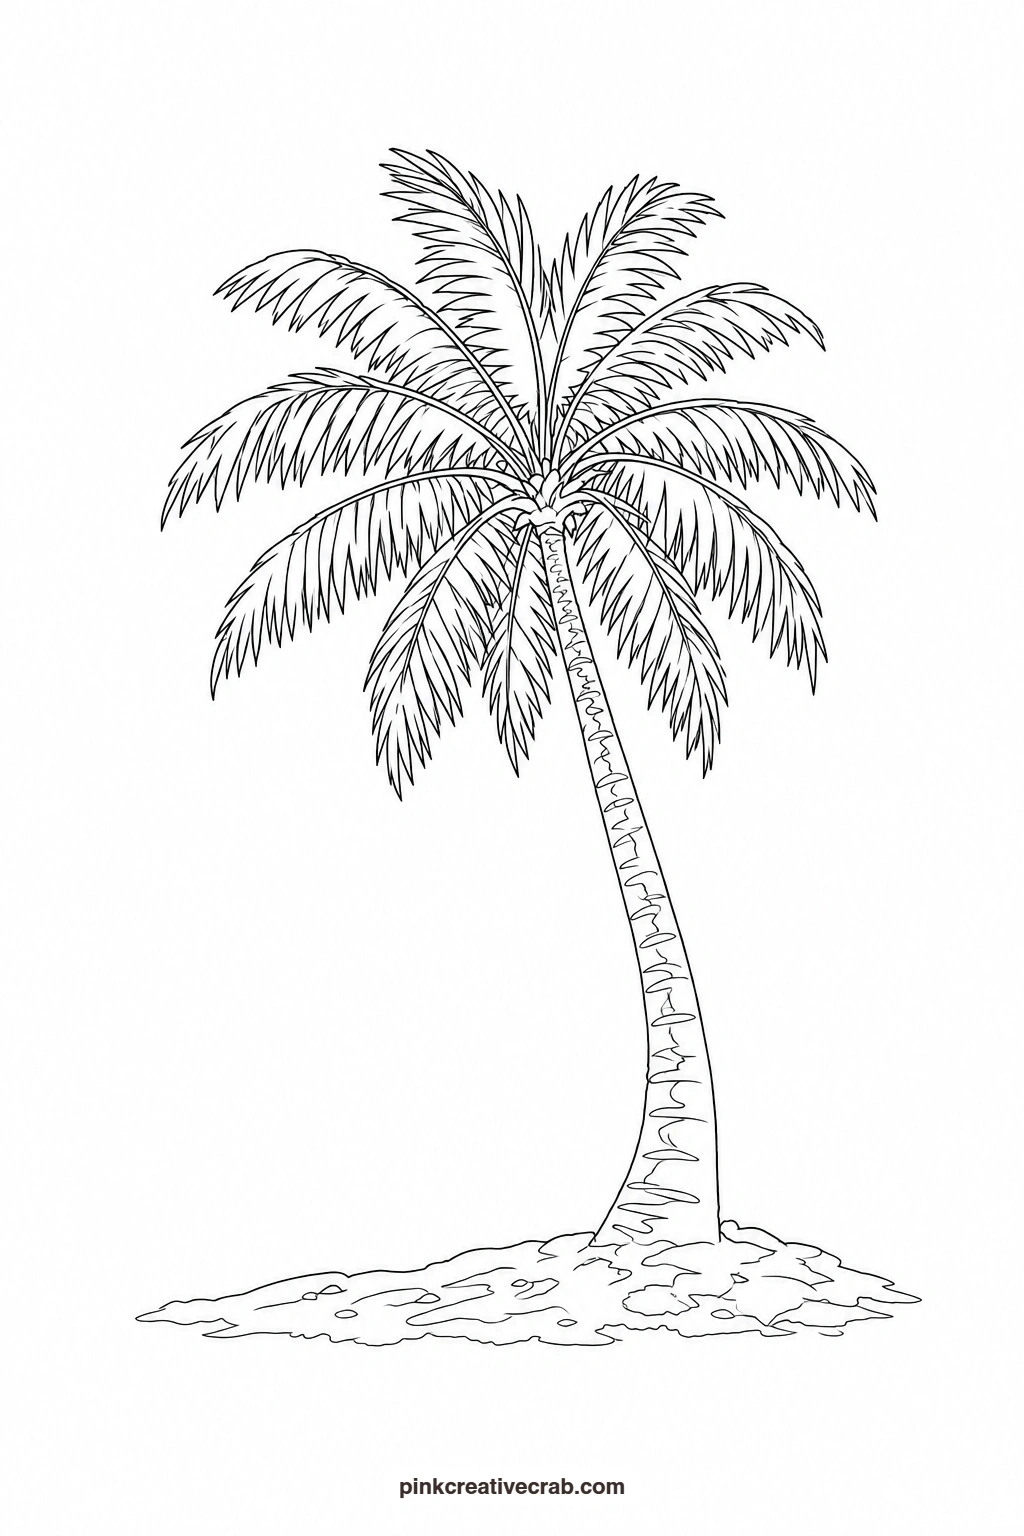
Pair of Flip Flops
Paint each sole as one flat wash of color, keeping the two flops different shades so they contrast nicely against each other. Once dry, add the v-shaped straps in a third color using a steady hand and a fine brush, since this is the one part of the picture with a thinner shape to trace carefully. A thin grey line along the underside edge of each sole gives them a touch of weight.
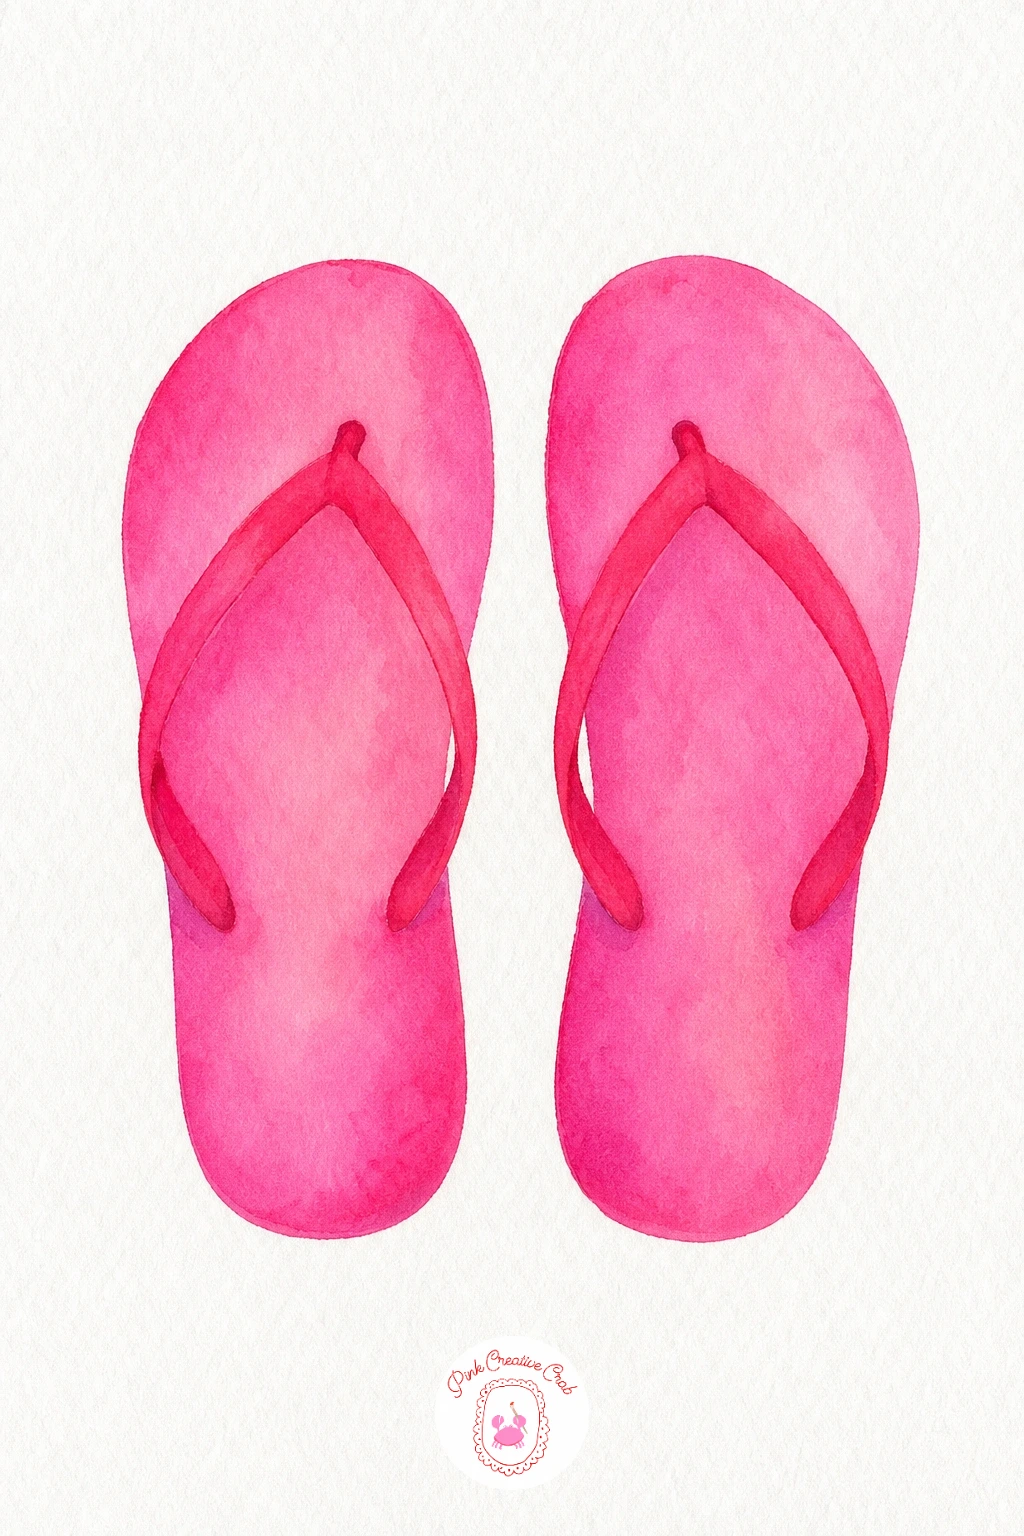
Palette: Turquoise,Cadmium Orange,Payne’s Grey
Beach Ball
Paint one wedge at a time, leaving at least one panel plain white paper so the ball keeps some brightness. Let each colored wedge dry before painting the one beside it, which keeps every panel distinct instead of bleeding into a muddy ring. Add a soft curved shadow underneath in pale grey, and leave a small circle of white paper untouched near the top edge of the ball to suggest the shine of sunlight.
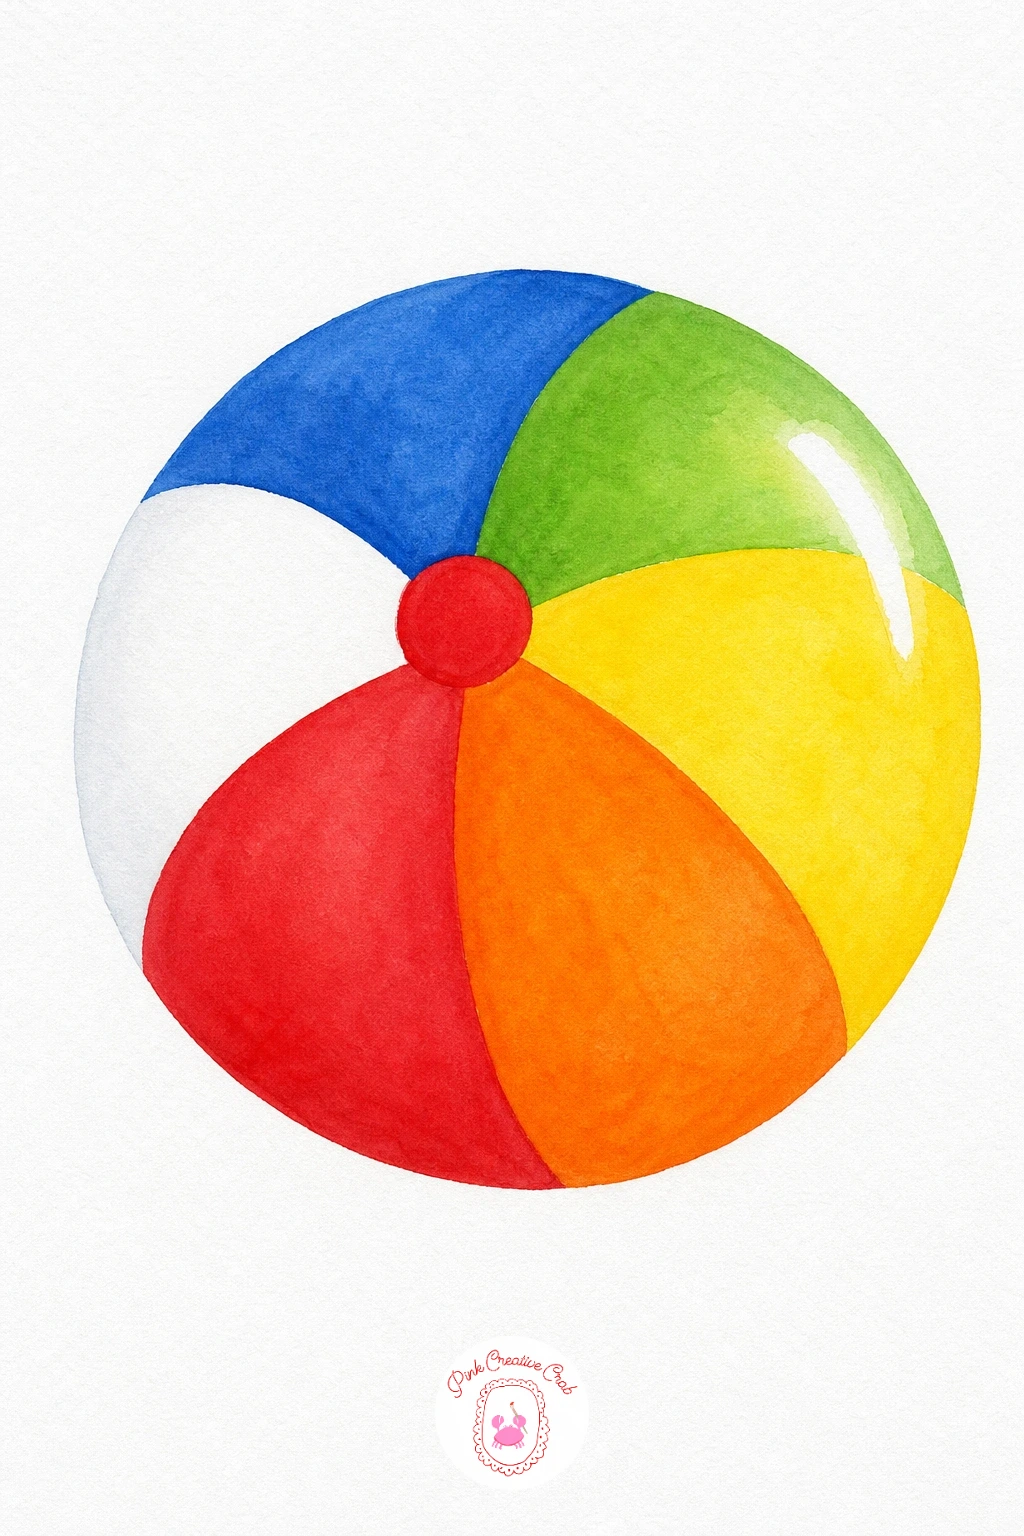
Palette: Cadmium Red,Lemon Yellow,Cerulean Blue,Cadmium Orange
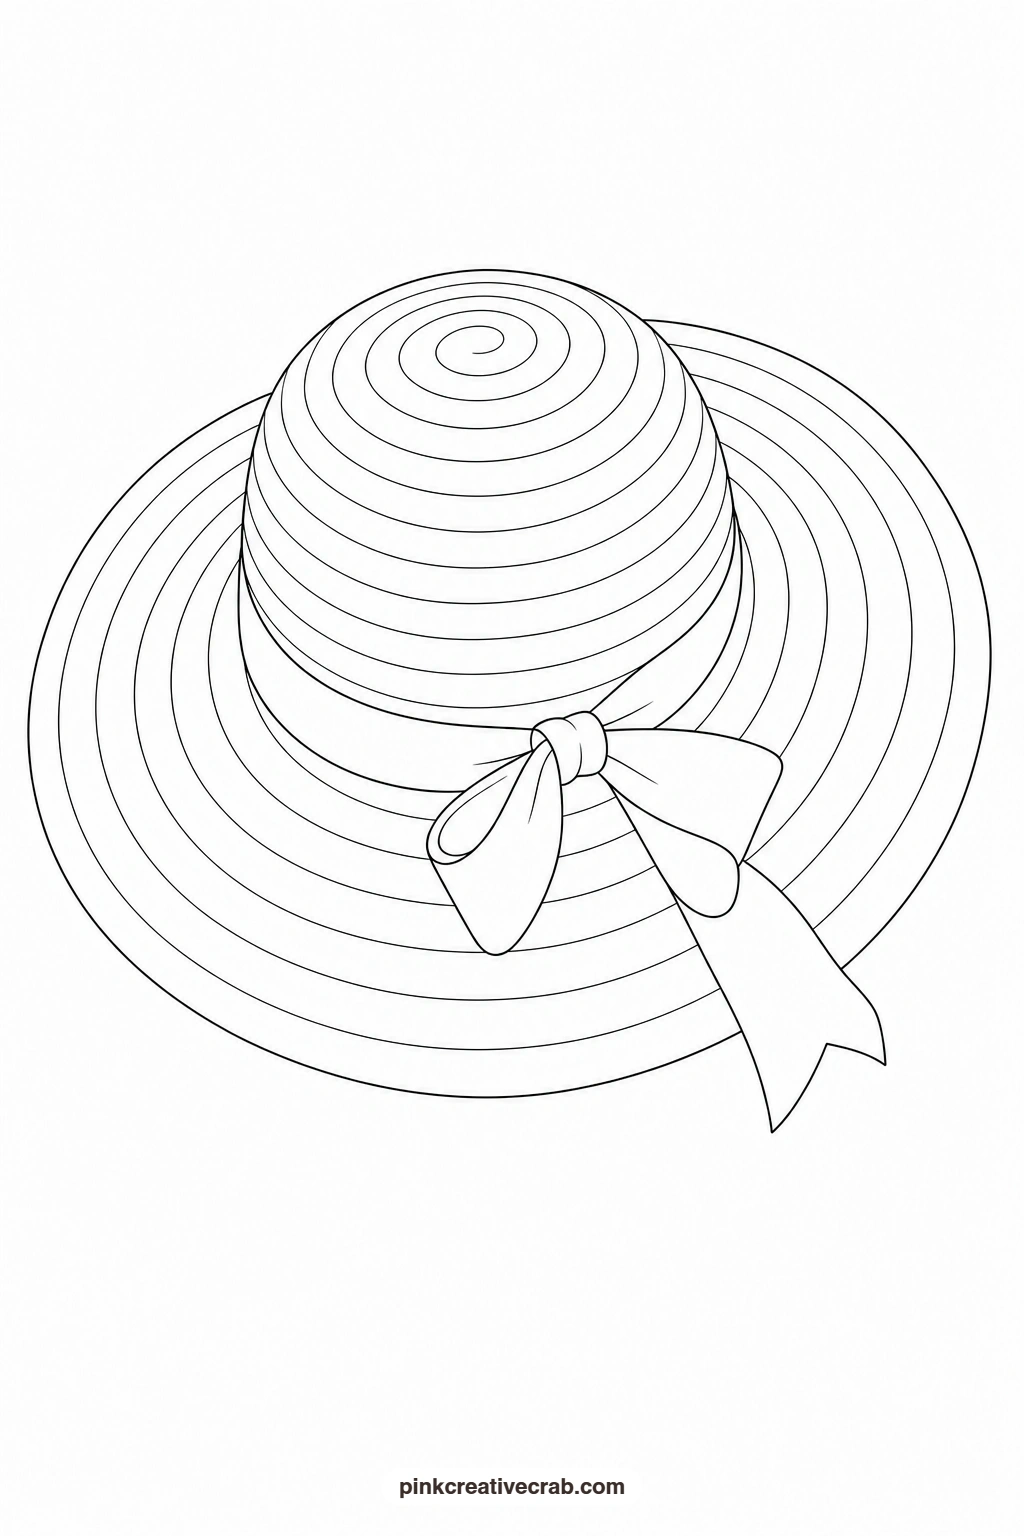
Sun Hat
Wash the whole hat in a pale cream first, then once dry, add loose short brushstrokes of a slightly darker tan radiating outward from the center of the brim to suggest woven straw without drawing every strand. Paint the ribbon band last in one bold color, wrapped around the base of the crown, which is the small detail that lifts the whole hat from plain to finished.
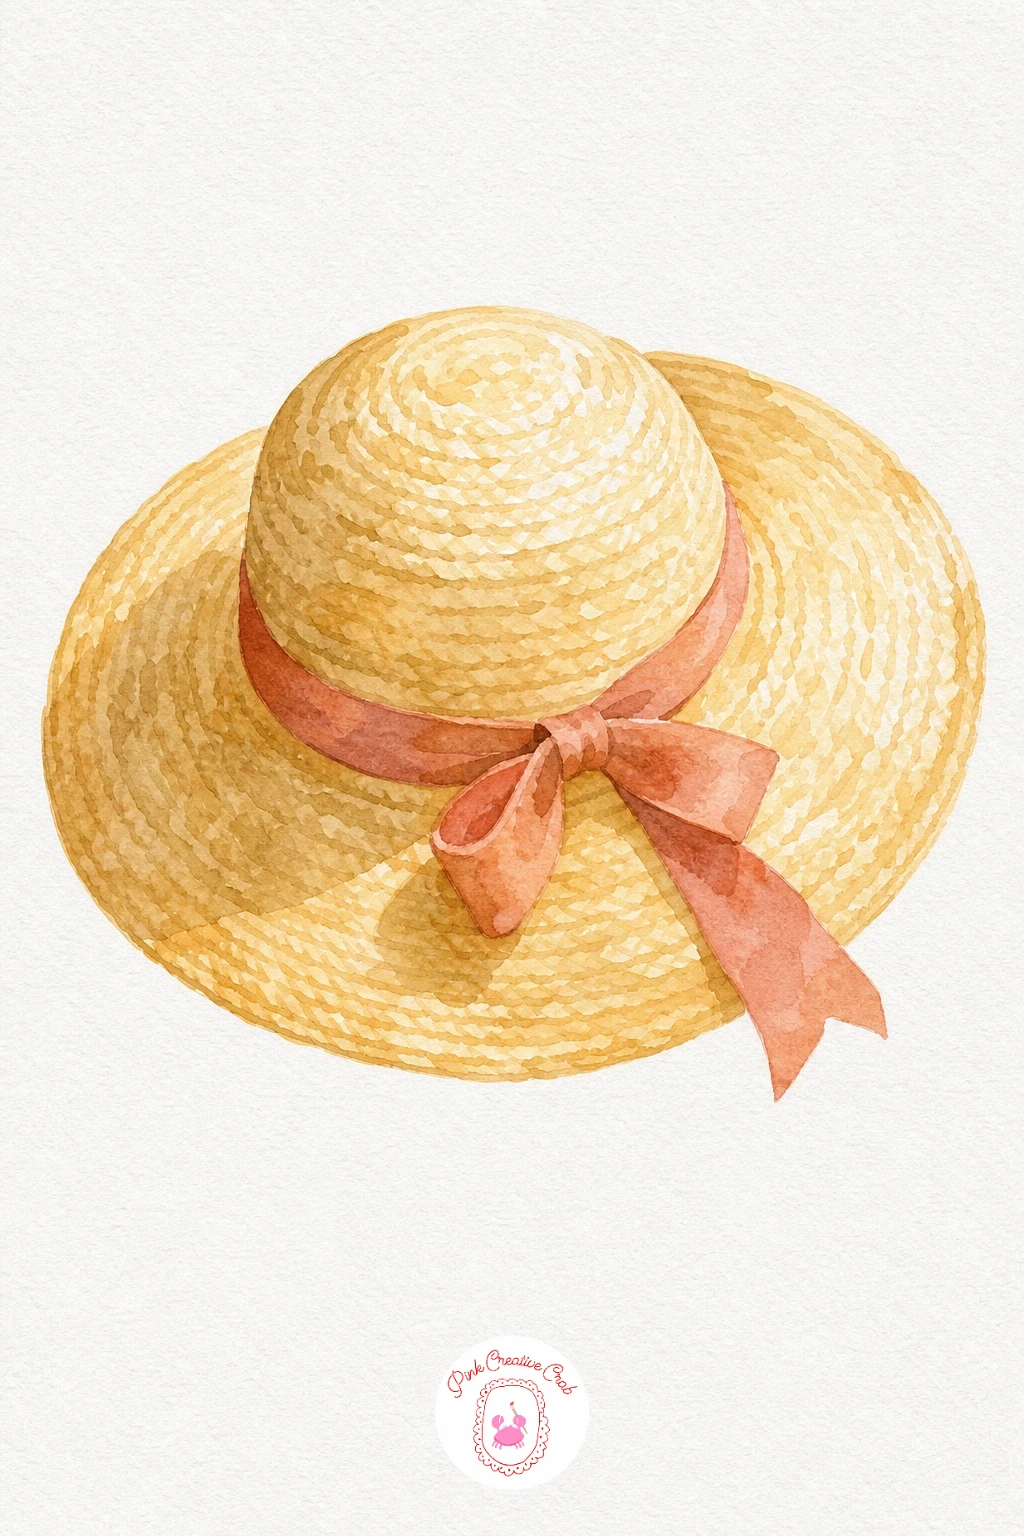
Palette: Cream,Raw Sienna,Turquoise
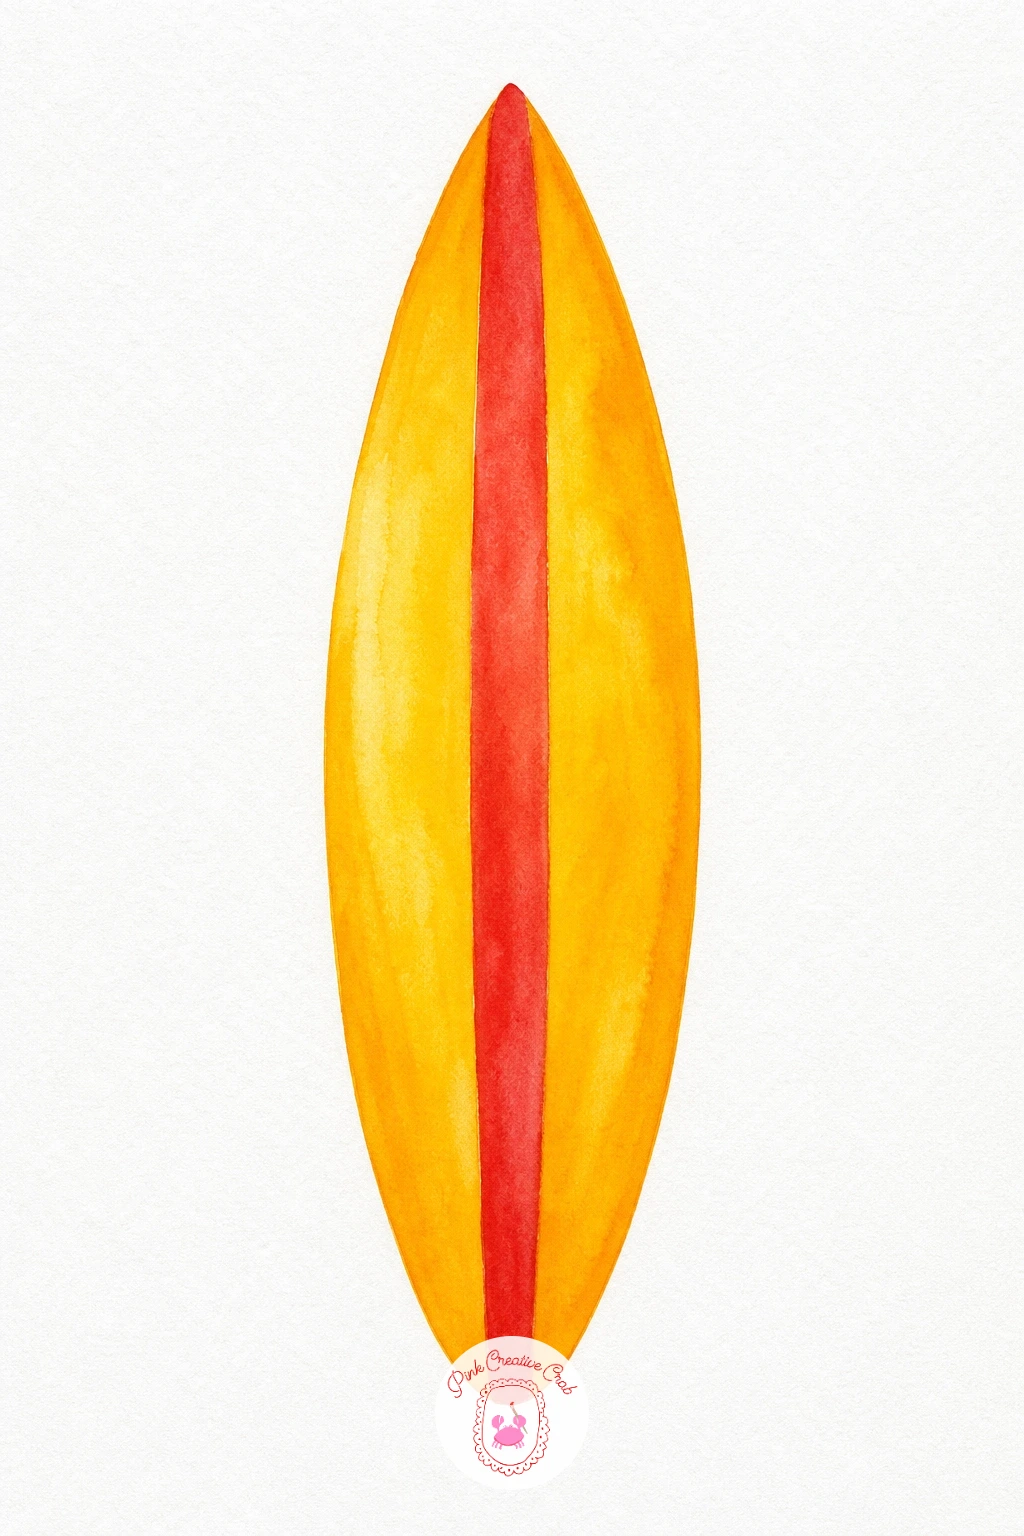
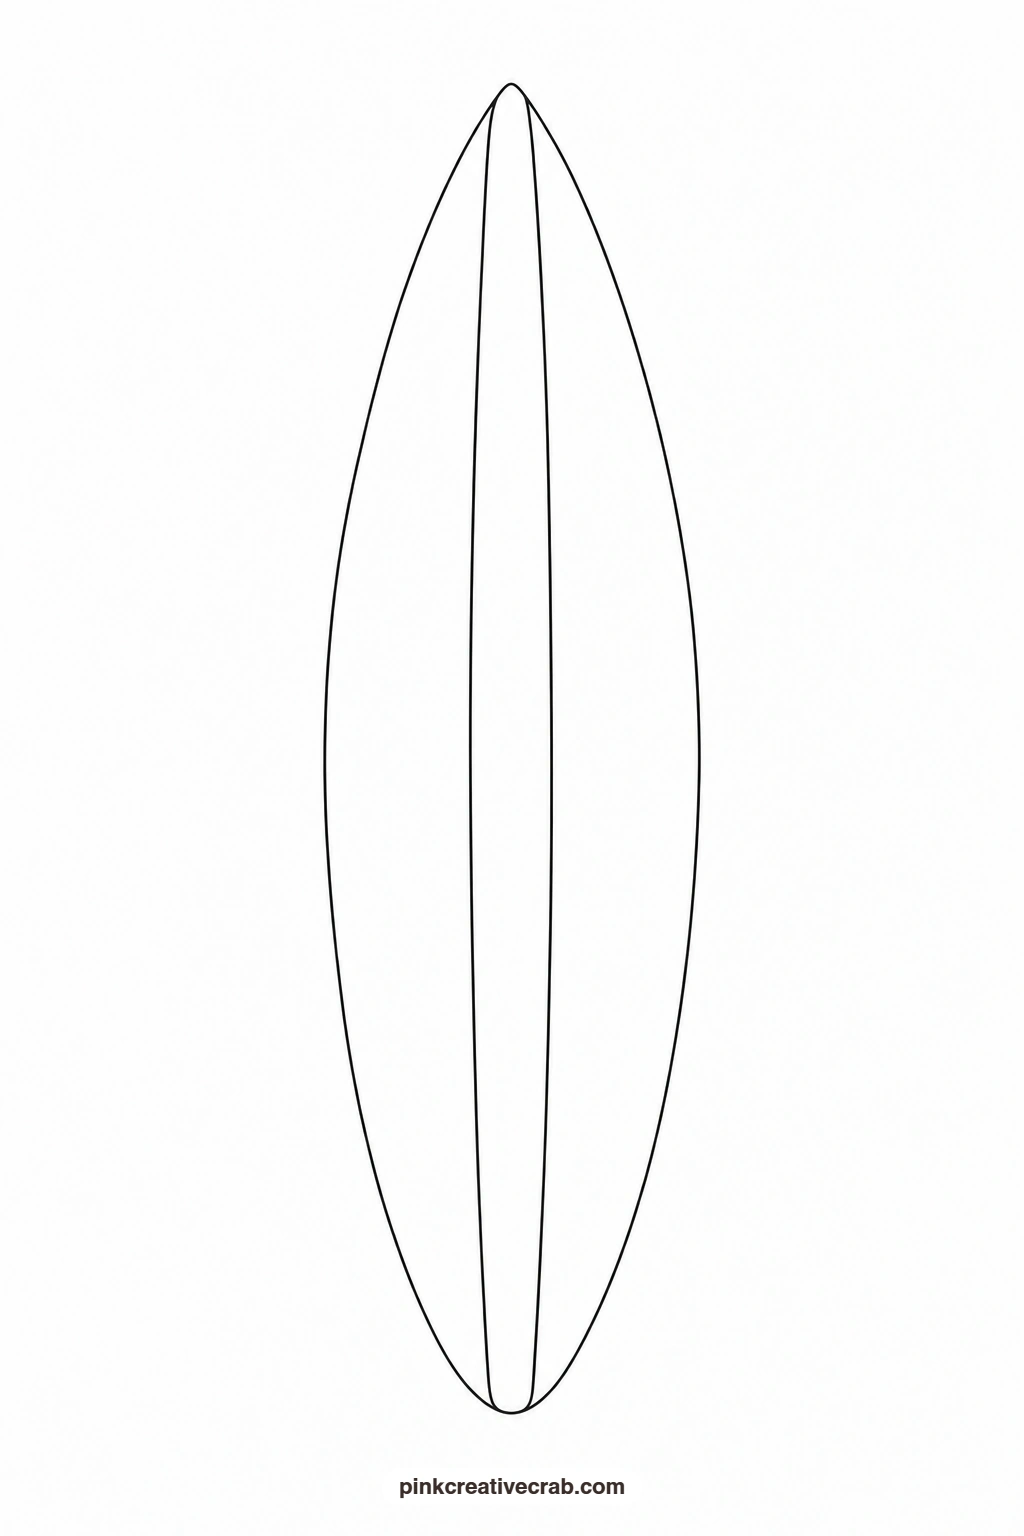
Surfboard
Paint the board’s base color first in one smooth vertical wash, pulling the brush from top to bottom in long strokes so no streaks show. Once dry, mask off or carefully paint a straight central stripe in a contrasting color using the edge of a ruler as a guide if your hand needs steadying. Keep the tip and tail of the board slightly paler than the middle for a gentle sense of curve and shine.
You Will Need
- masking tape for a crisp stripe edge
Palette: Cerulean Blue,Lemon Yellow,Titanium White
Lifeguard Tower
Paint the roof and the main cabin in bold flat red first, letting it dry completely before adding the white trim around the window so the colors stay sharp and separate. The stilts and ladder are thin shapes, so work slowly with a fine brush and steady pressure rather than trying to rush them in one stroke. A pale wash of sand at the base is all the background this one needs.
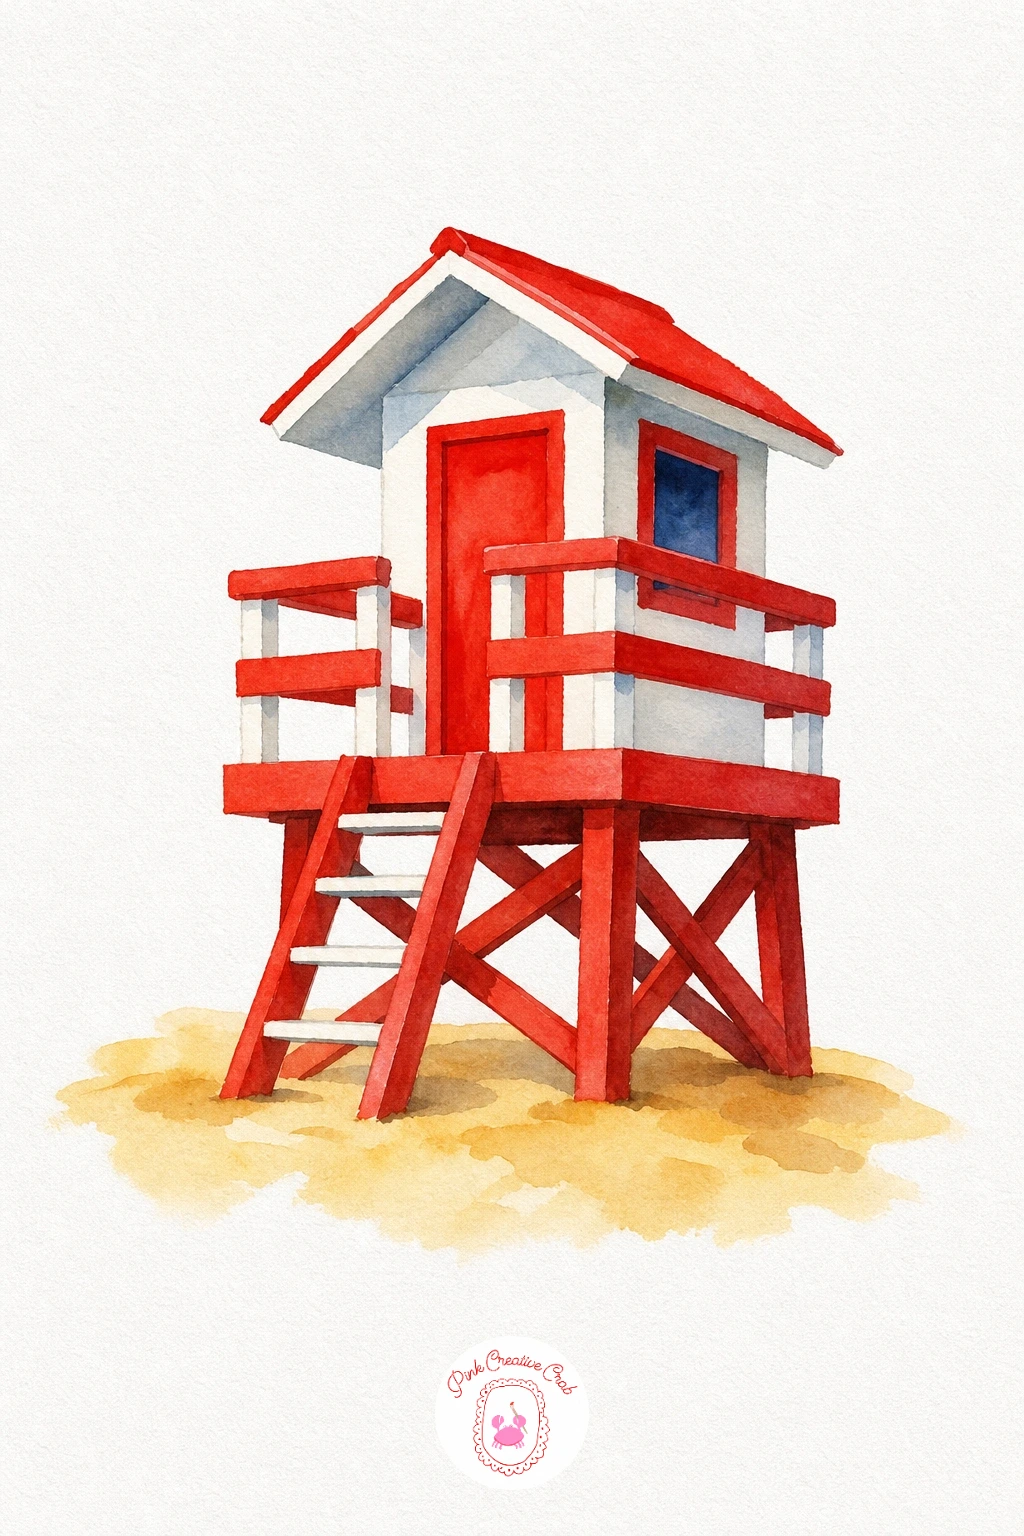
Palette: Cadmium Red,Titanium White,Sand,Payne’s Grey
Beach Bucket and Spade
Paint the bucket’s stripes one at a time in alternating bright colors, letting each dry before the next so the lines stay clean. Keep the handle a thin curved line in a single dark color, painted last with a steady fine brush. The spade gets one flat wash of a contrasting color, and a short straight shadow beneath both shapes ties the pair together on the sand.
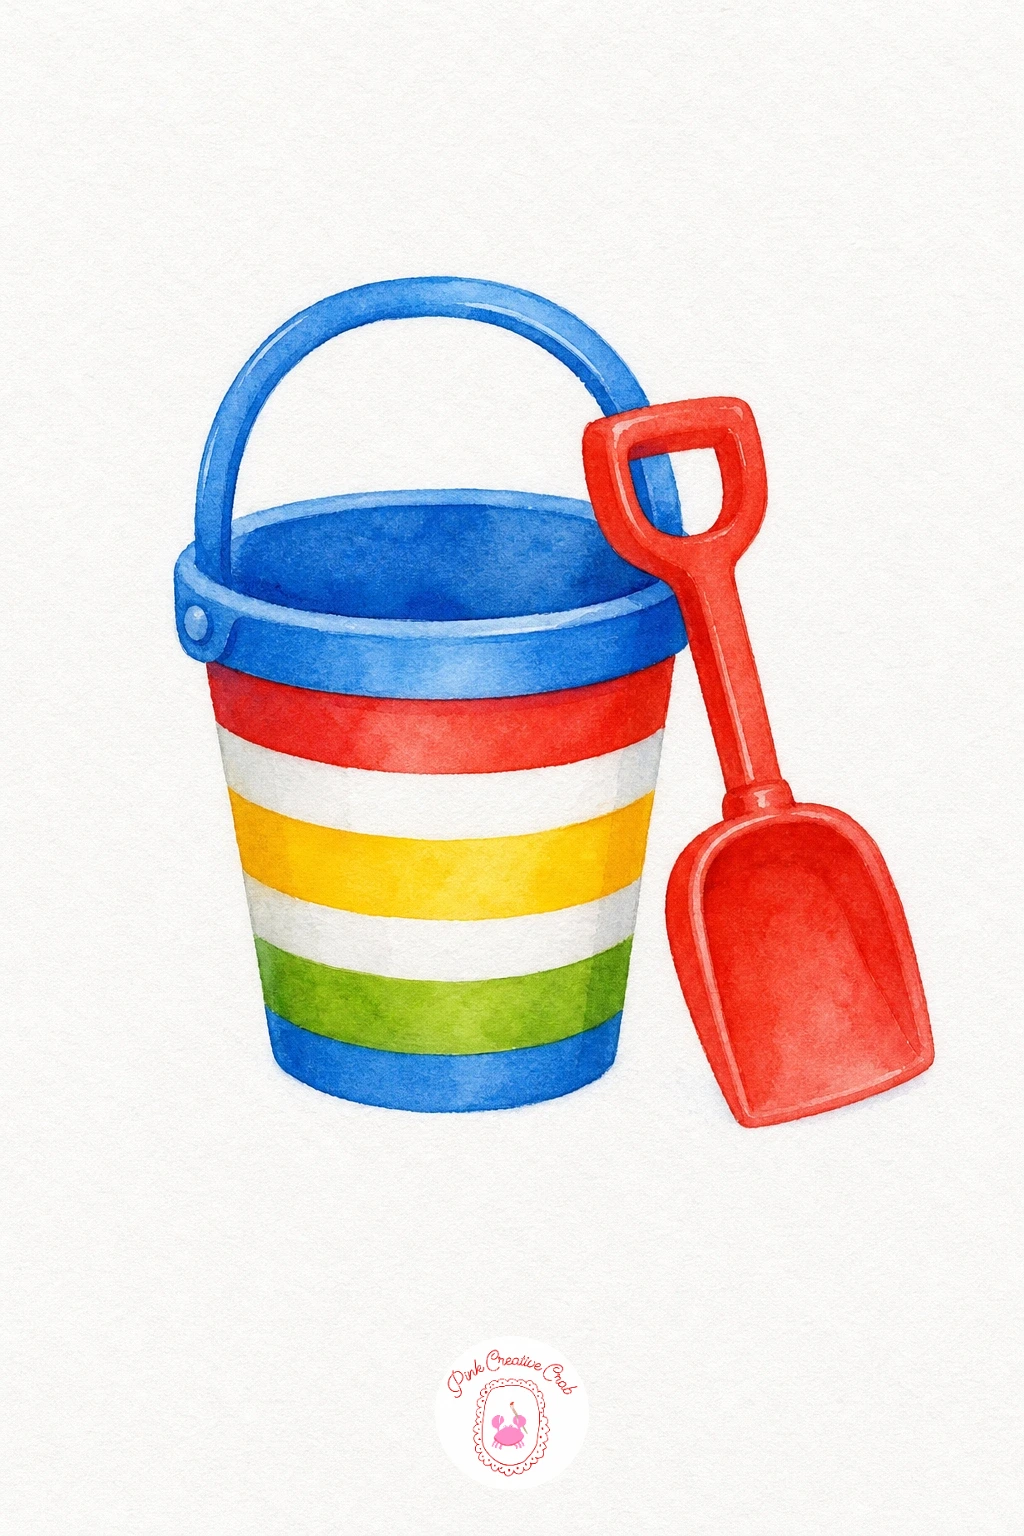
Palette: Cadmium Red,Lemon Yellow,Turquoise
Seagull on a Post
Leave most of the gull’s body as untouched white paper and paint only the soft grey shading along the wing and back in one light wash, blending it gently into the white while still damp. The beak gets a small dot of orange, the one bright touch against all that white and grey. Paint the post in warm brown with a dry brush for texture, and keep the sky behind it a single pale flat wash so the gull stays the clear focus.
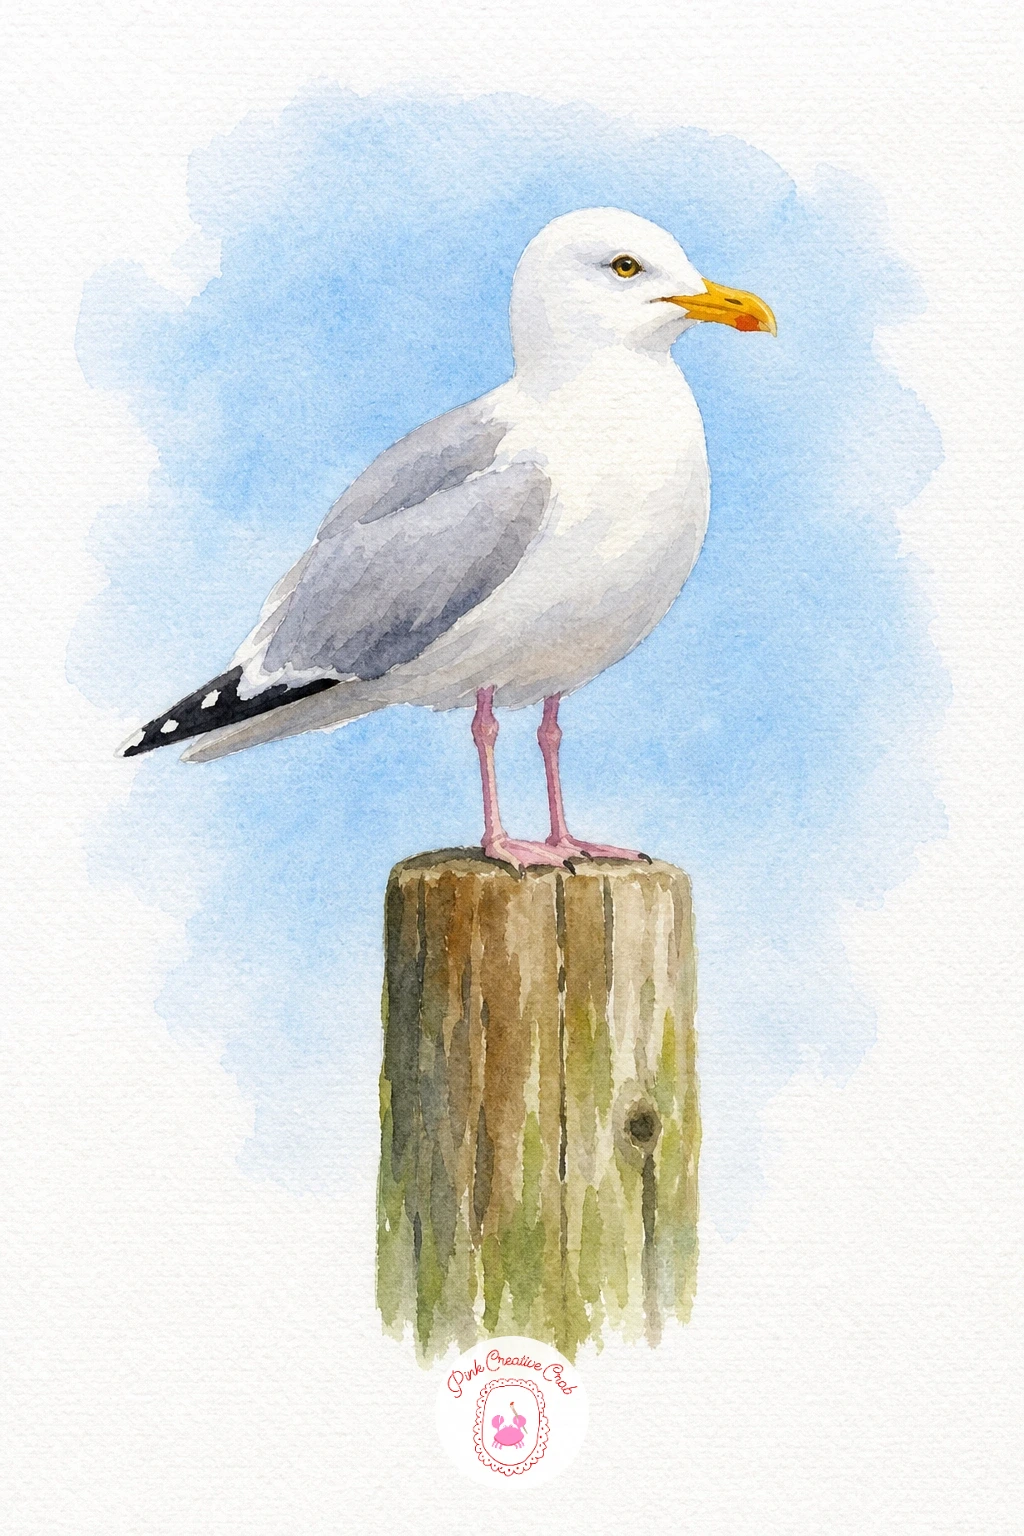
Palette: Payne’s Grey,Cadmium Orange,Burnt Sienna,Cerulean Blue
Coconut Drink
Paint the coconut shell in a warm brown wash, darker toward the base, and leave the cut opening at the top as plain white paper for contrast. The straw is a thin striped shape, so paint its base color first and add the stripes once it has fully dried to keep them crisp. Finish with the little paper umbrella in one or two bright colors, the small cheerful detail that makes the whole drink feel festive. If tropical fruit and bright color combinations appeal to you beyond the beach, the easy watercolor fruit paintings collection follows a similar approach.
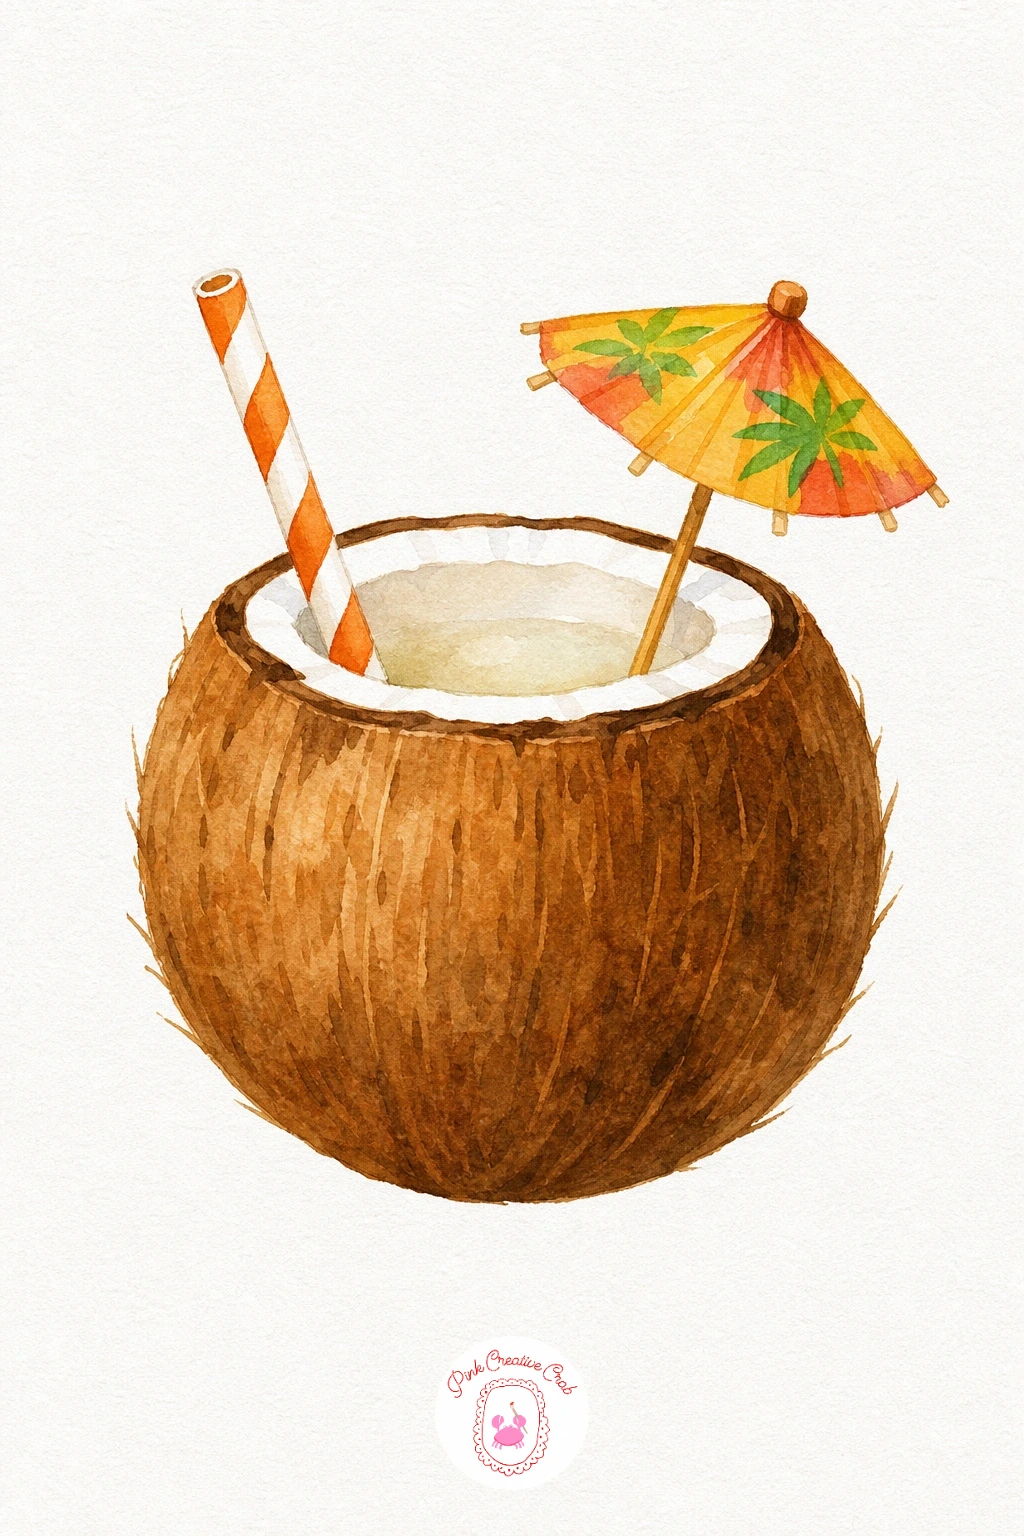
Palette: Burnt Sienna,Titanium White,Cadmium Red,Lemon Yellow
What to Do Next
Pick whichever subject catches your eye first, print its outline, transfer it to your watercolor paper, and keep the finished painting close by as you work through the washes one shape at a time.
Frequently Asked Questions
What size should I print the outlines?
Print them at standard letter or A4 size unless you want a larger painting, in which case use a print shop or a poster setting to enlarge the page before transferring it.
What paper works best for these beach paintings?
Cold press watercolor paper of at least 140lb weight handles washes well without buckling too much, giving the soft blended edges these subjects need.
How do I transfer the outline without a light pad?
Tape the printed outline to a sunny window with your watercolor paper over it and trace the lines in pencil, or slide graphite transfer paper between the two sheets and trace with a pen.
Can I color these with pencils or markers instead of paint?
Yes, every outline works just as well with colored pencils or markers, just build color in light layers first if using pencils so the cheerful palette stays bright rather than muddy.
Do I need to copy the exact colors shown?
No, the palettes are a starting point, so feel free to swap in your own favorite beach colors as long as you keep each wash flat and simple.
Have any thoughts?
Share your reaction or leave a quick response — we’d love to hear what you think!
-
 0
-
0
-
0
-
0
-
0
-
0


