

Table of Contents
This set of purple watercolor flowers gives you thirteen gardens worth of blooms without asking you to draw a single one from scratch. Each subject is built from a few big simple shapes, so the outline traces cleanly and leaves you free to focus on where the paint goes.
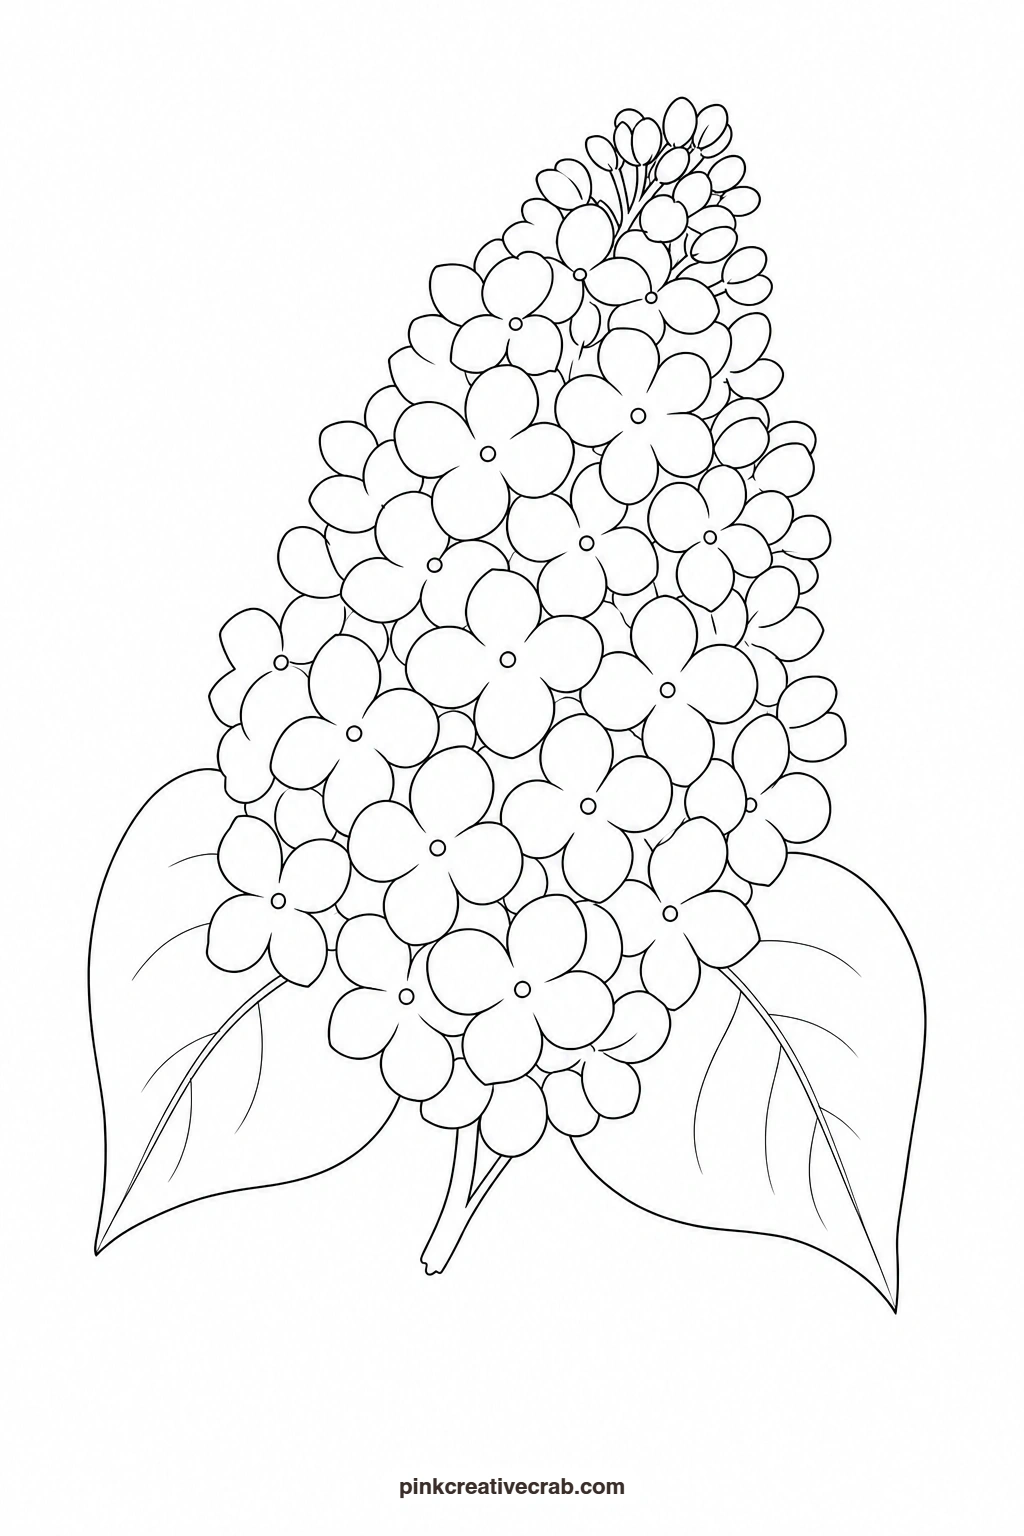
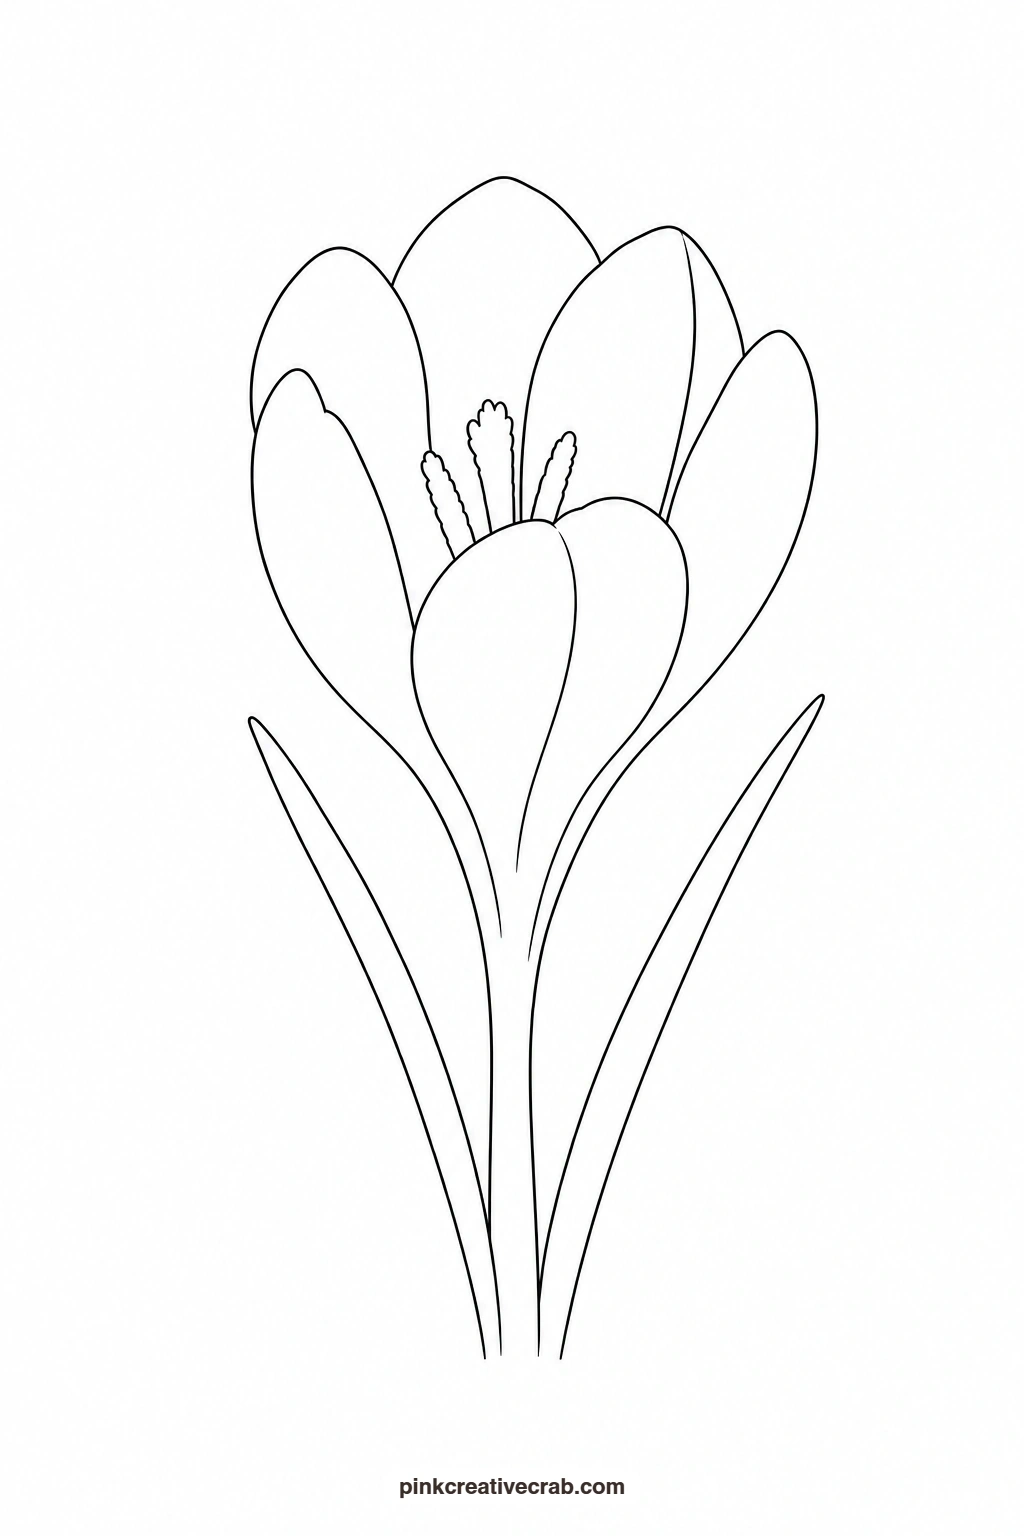
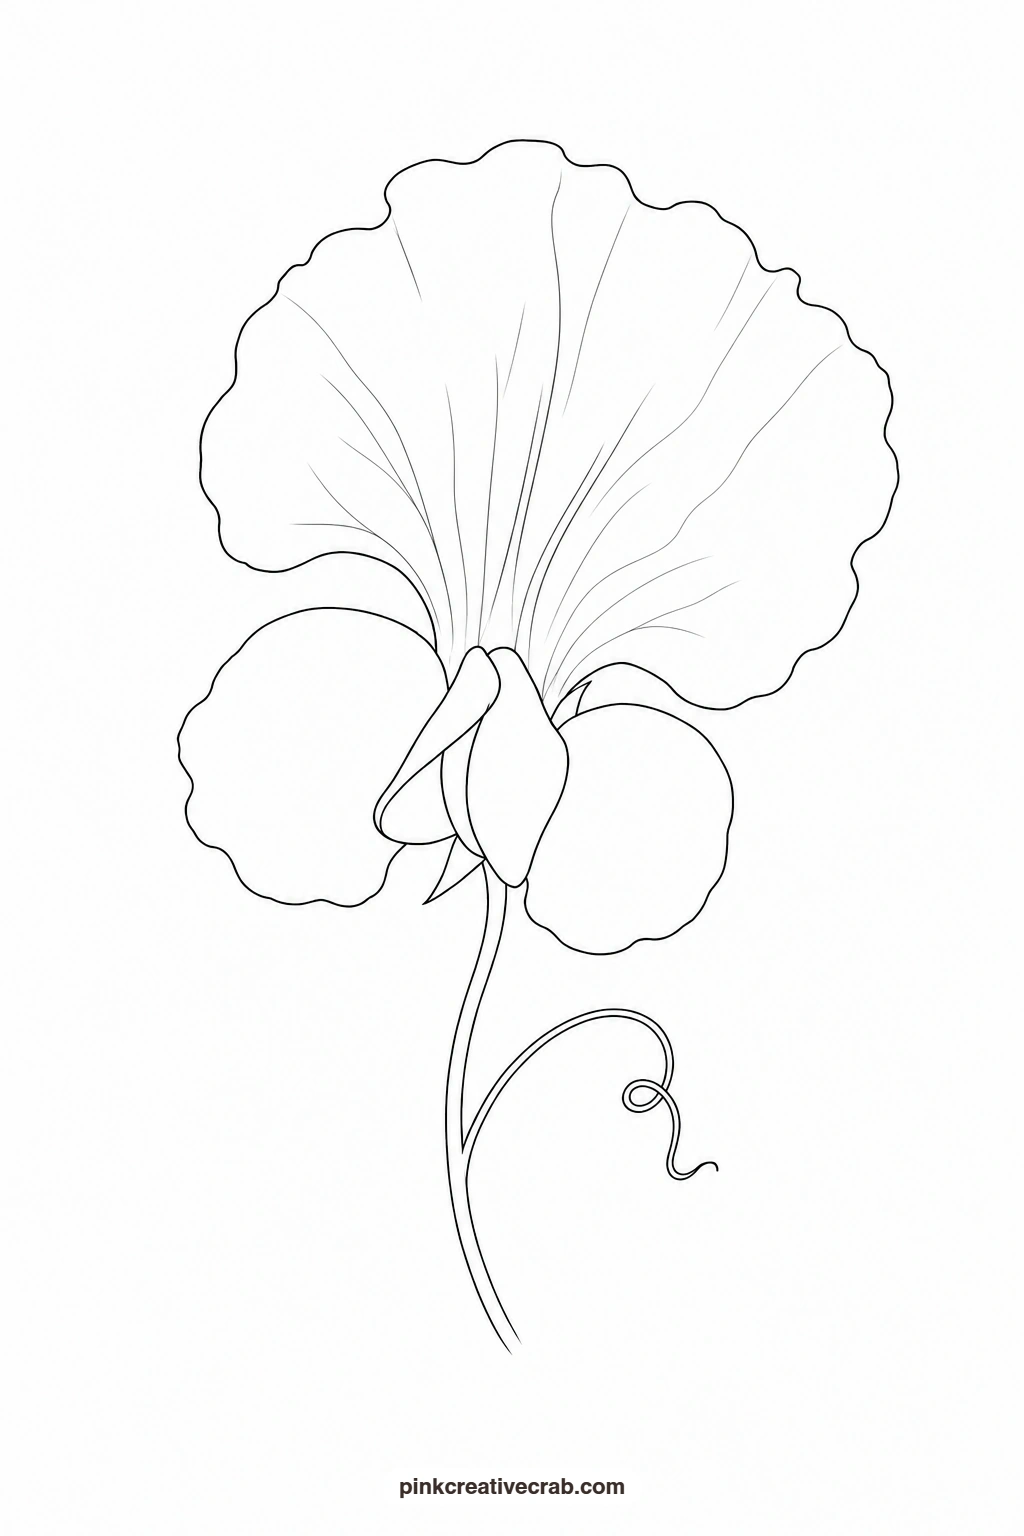
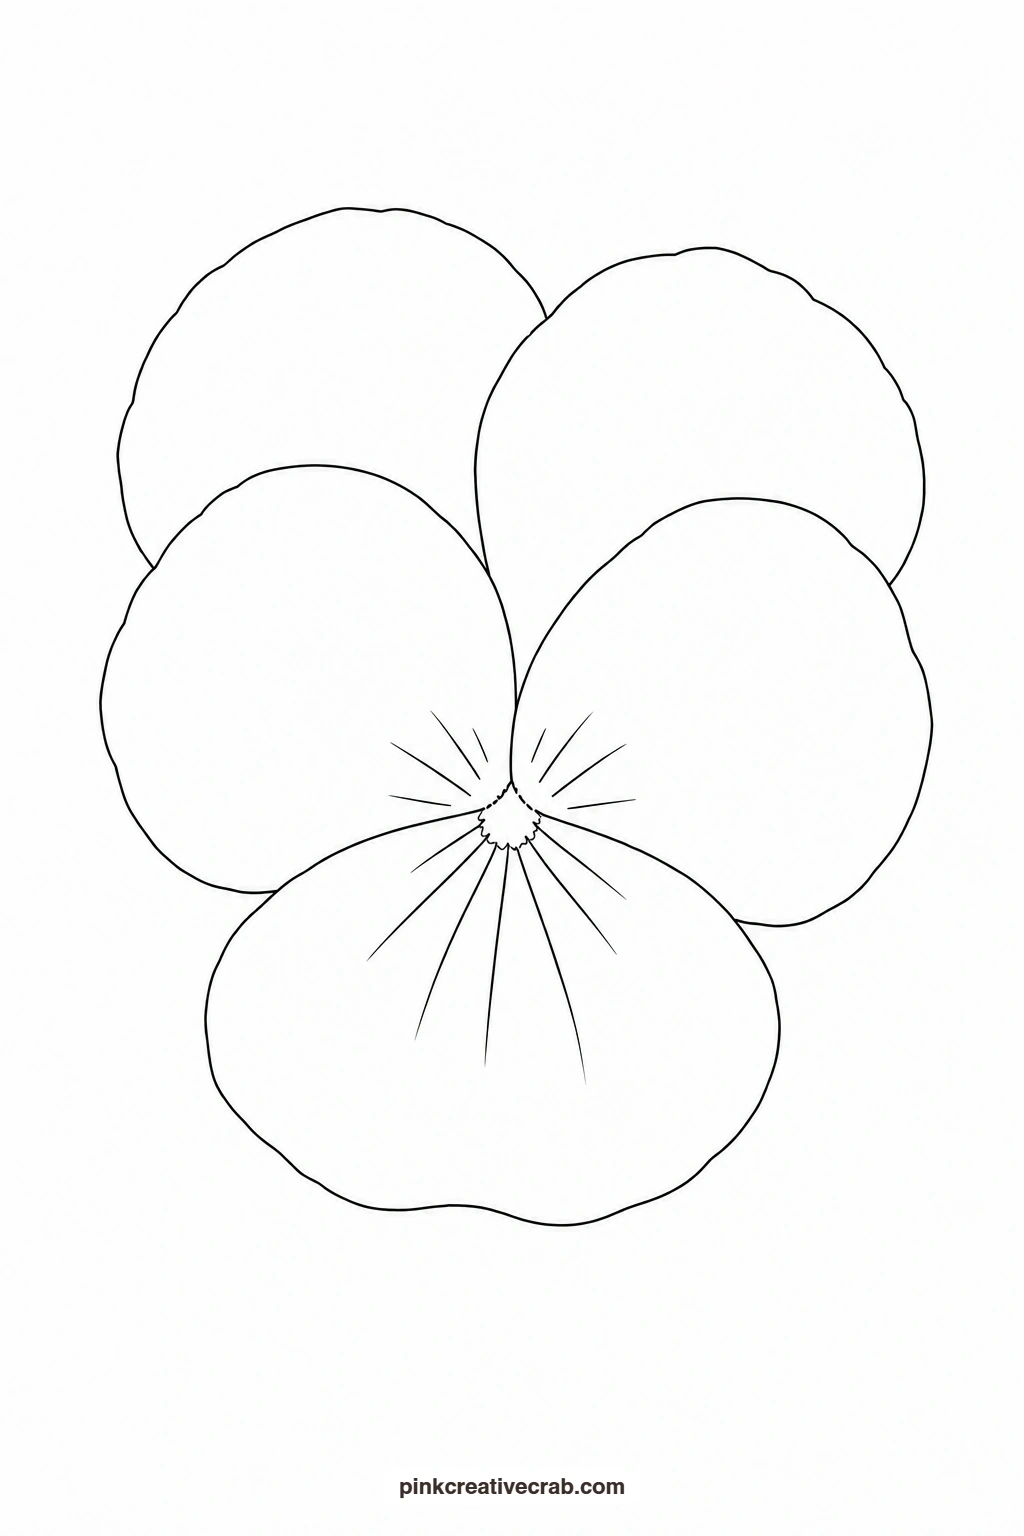
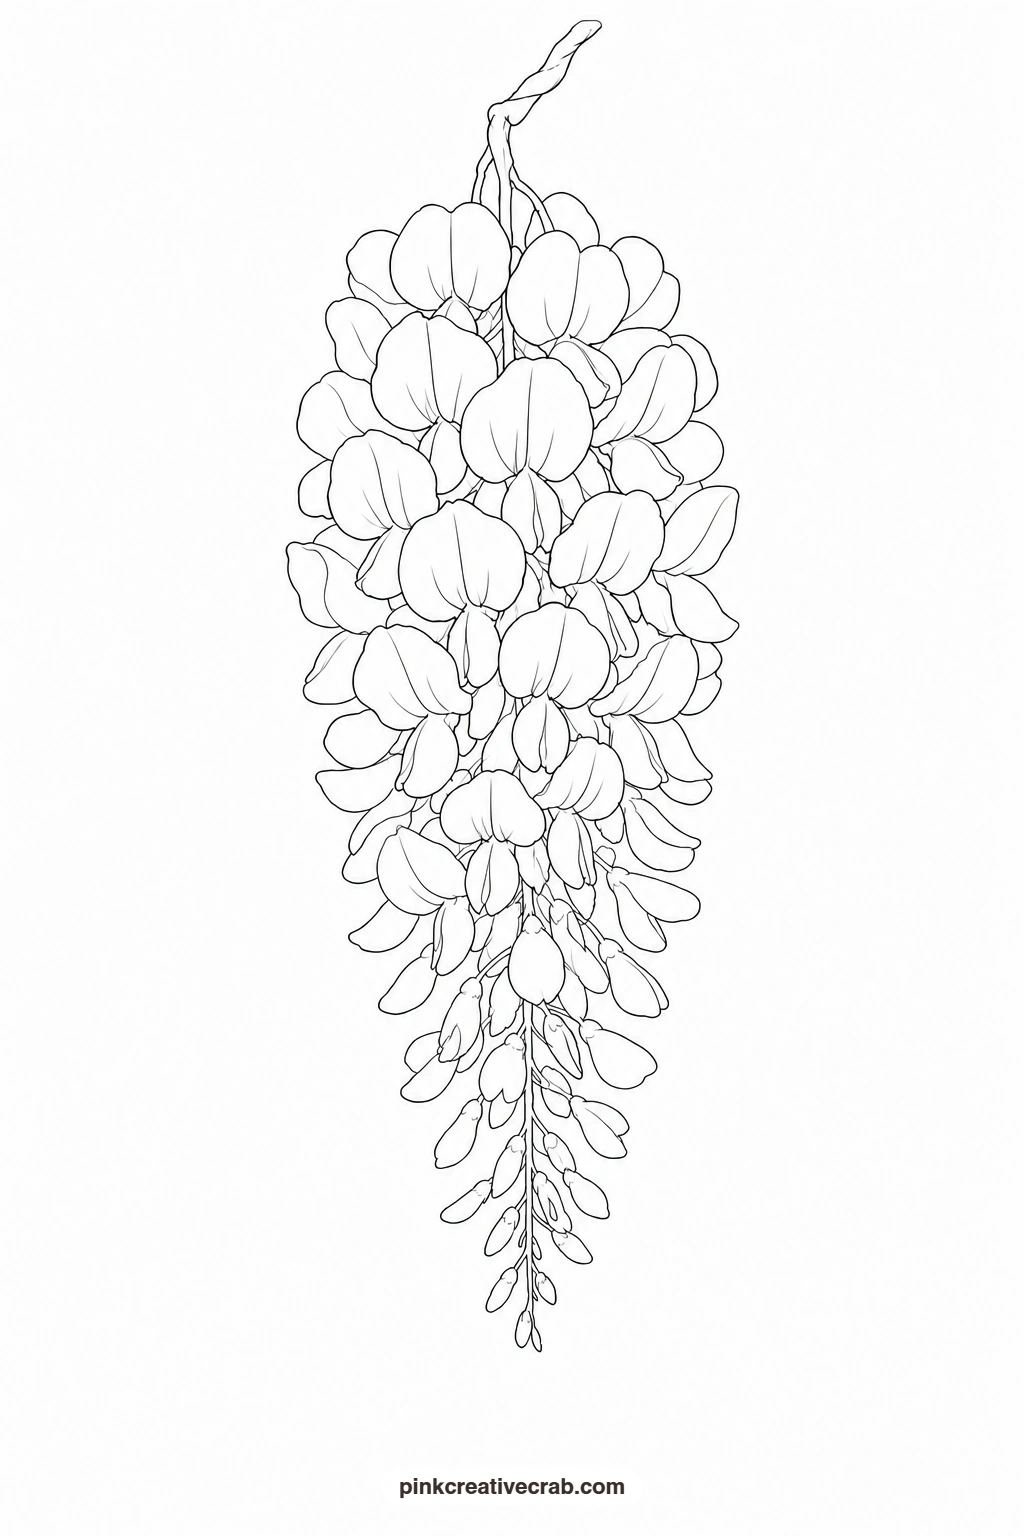
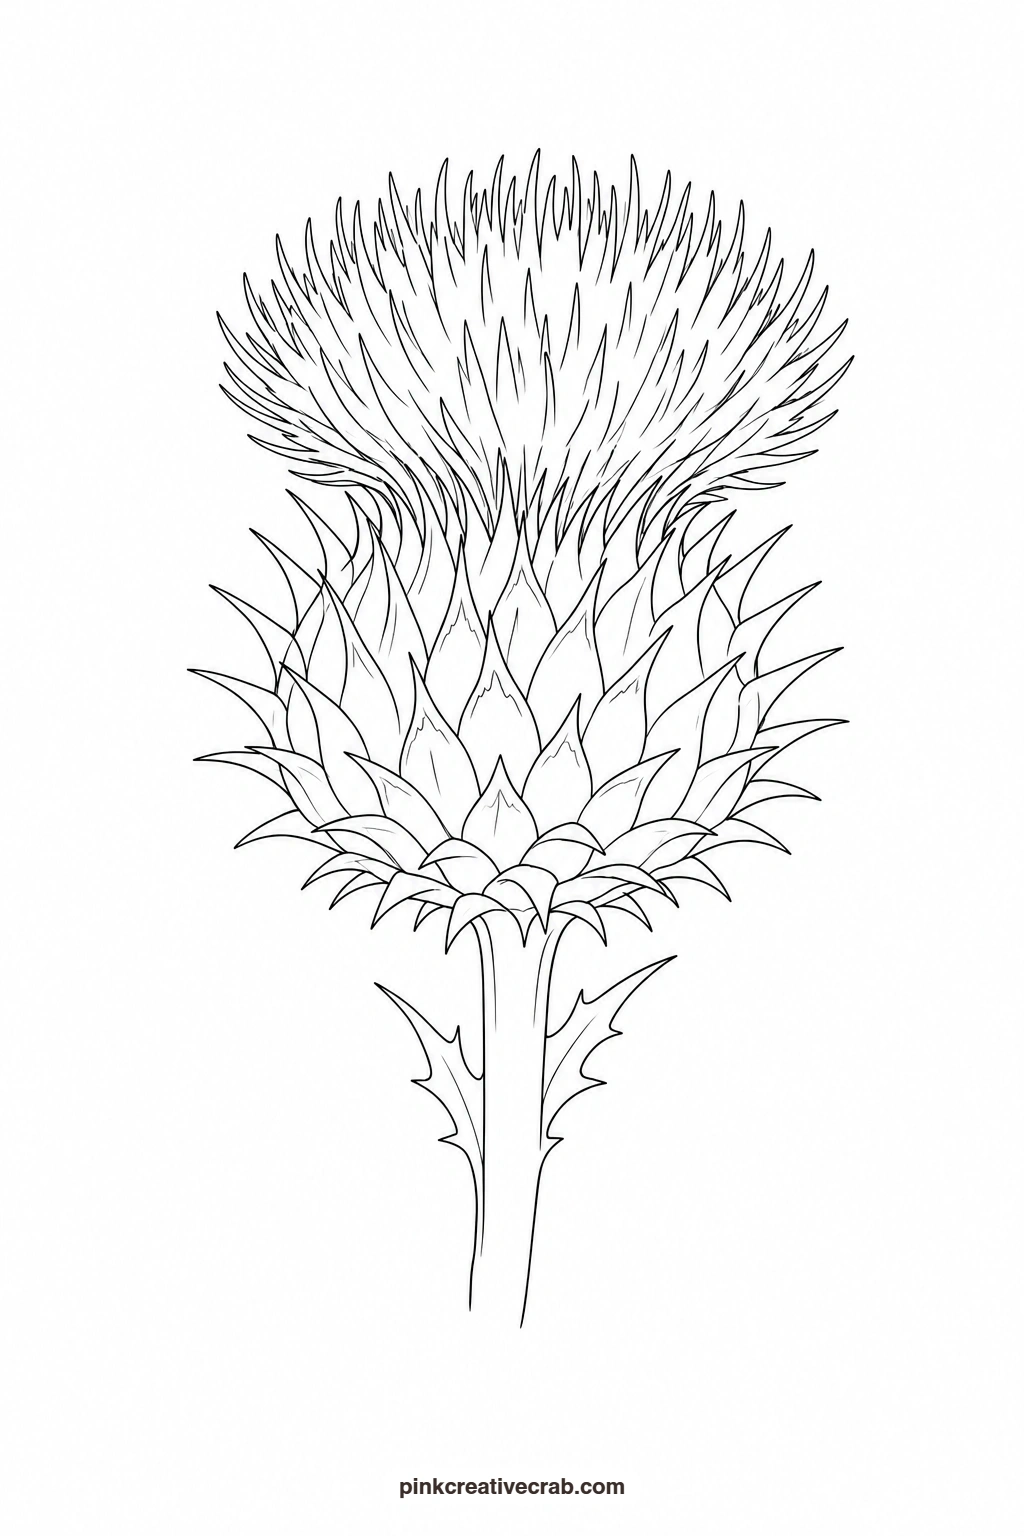
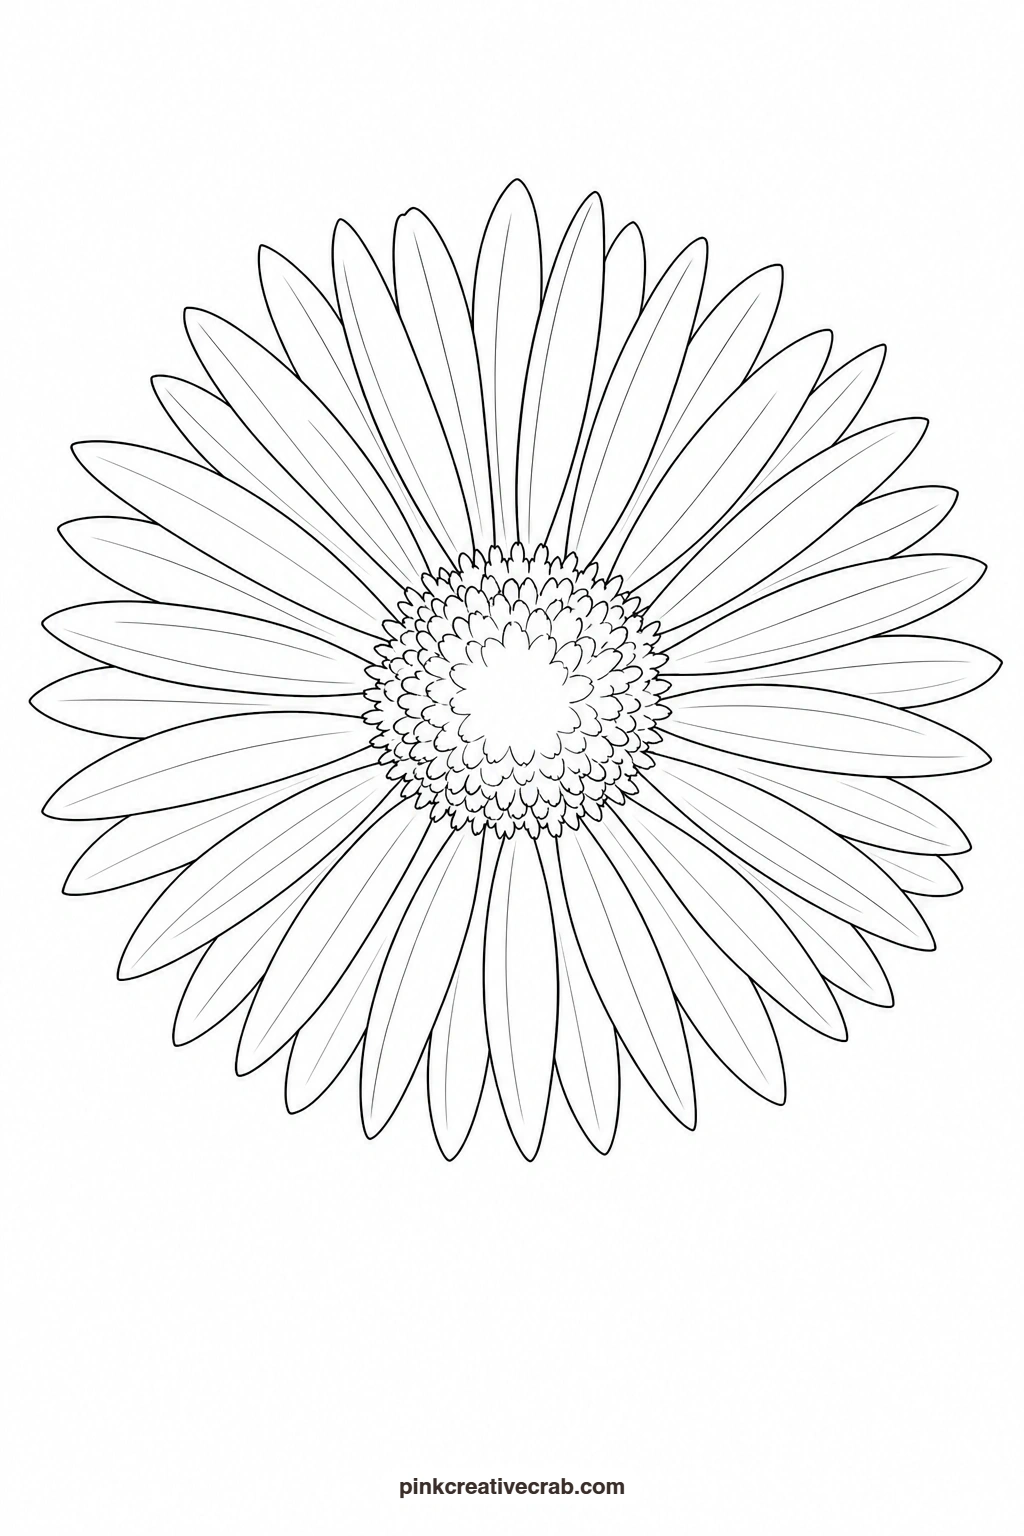
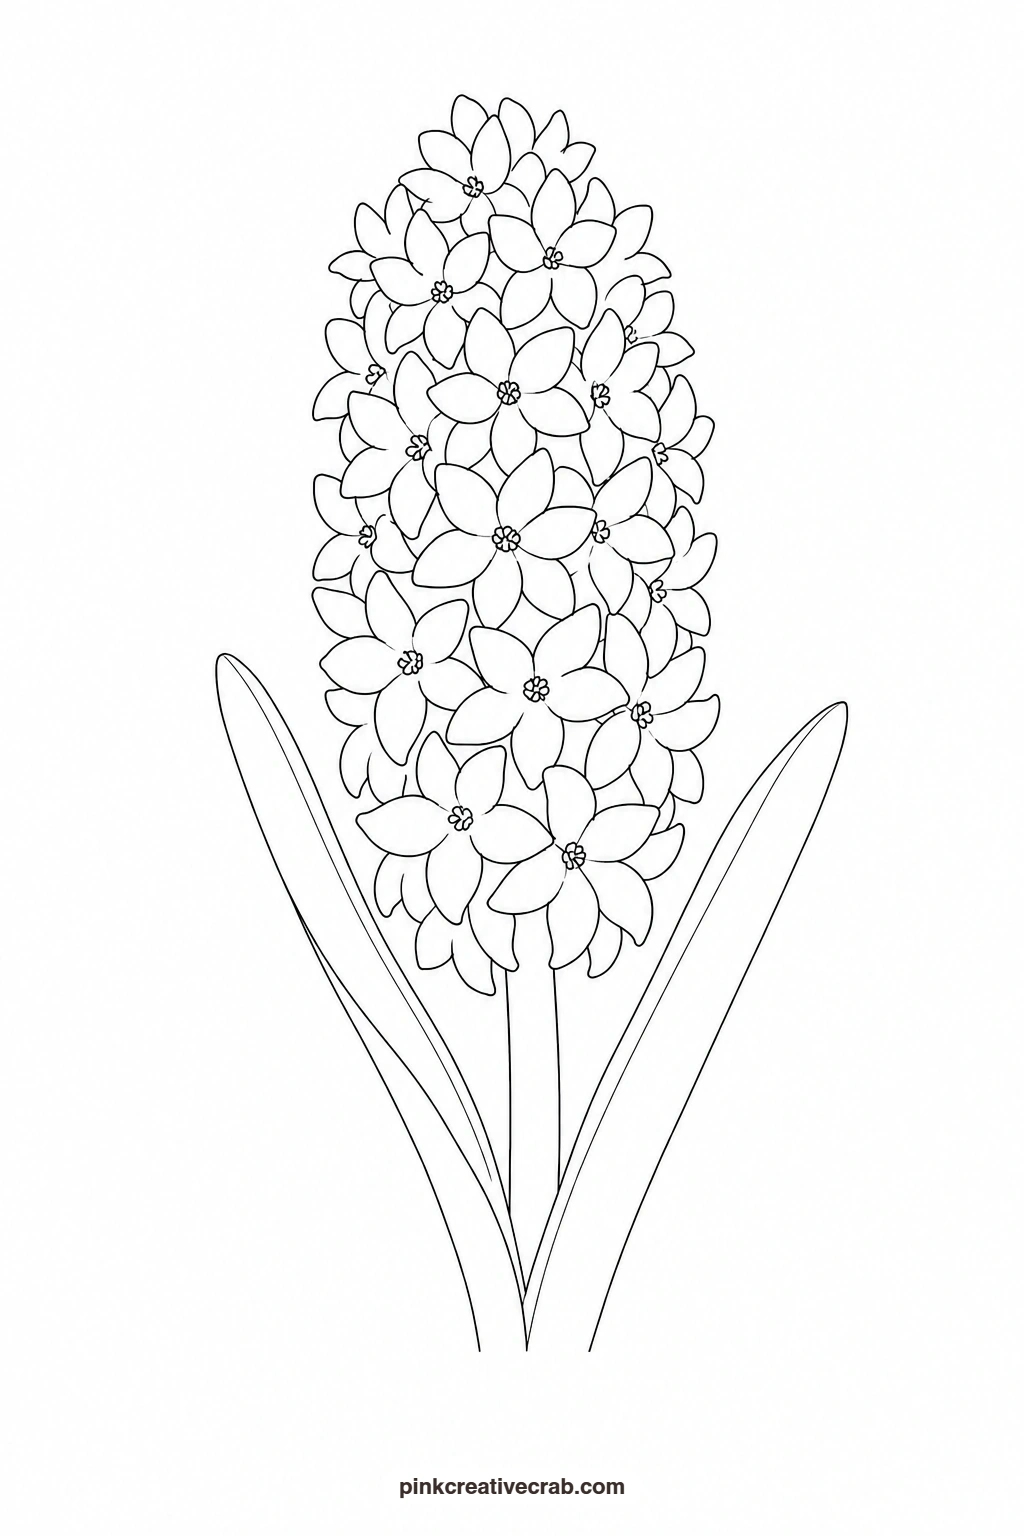
Print the outline page, then transfer it to your watercolor paper by taping both sheets to a sunny window or a light pad, or by sliding a sheet of graphite transfer paper between the two and tracing over the lines. Once the shape sits faintly on your good paper, keep the finished example propped up next to you and follow it wash by wash.
Using these images: free for personal projects such as printing, coloring, cards, journals and gifts. Handmade items that include them may be sold up to 30 pieces per design. More than that is commercial use and is not permitted, and neither is selling or sharing the images themselves or passing them off as your own. Please ask before any other use.
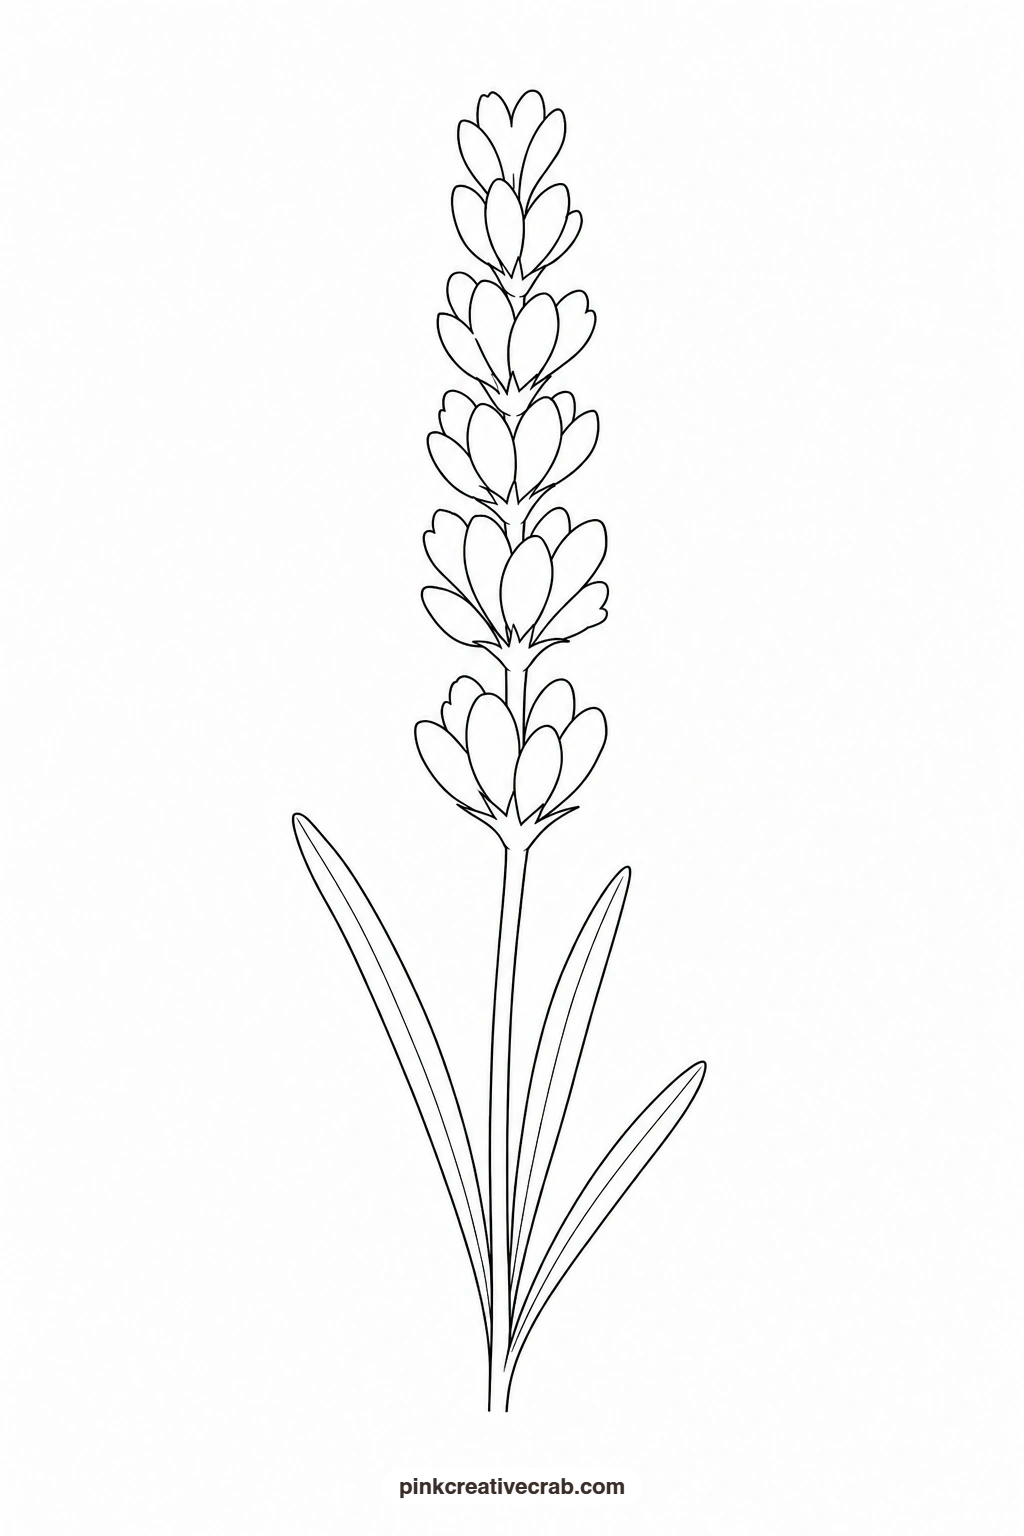
Lavender Stem
Paint the tiny buds first with a light violet wash, dabbing each one separately so they stay round and distinct rather than blending into a blur. While that layer dries, mix a dusty sage green for the stem and leaves and pull it down in one steady stroke. Once everything is dry, drop a deeper violet into the top third of the buds only, letting it pool slightly for a sense of light hitting the cluster from above.
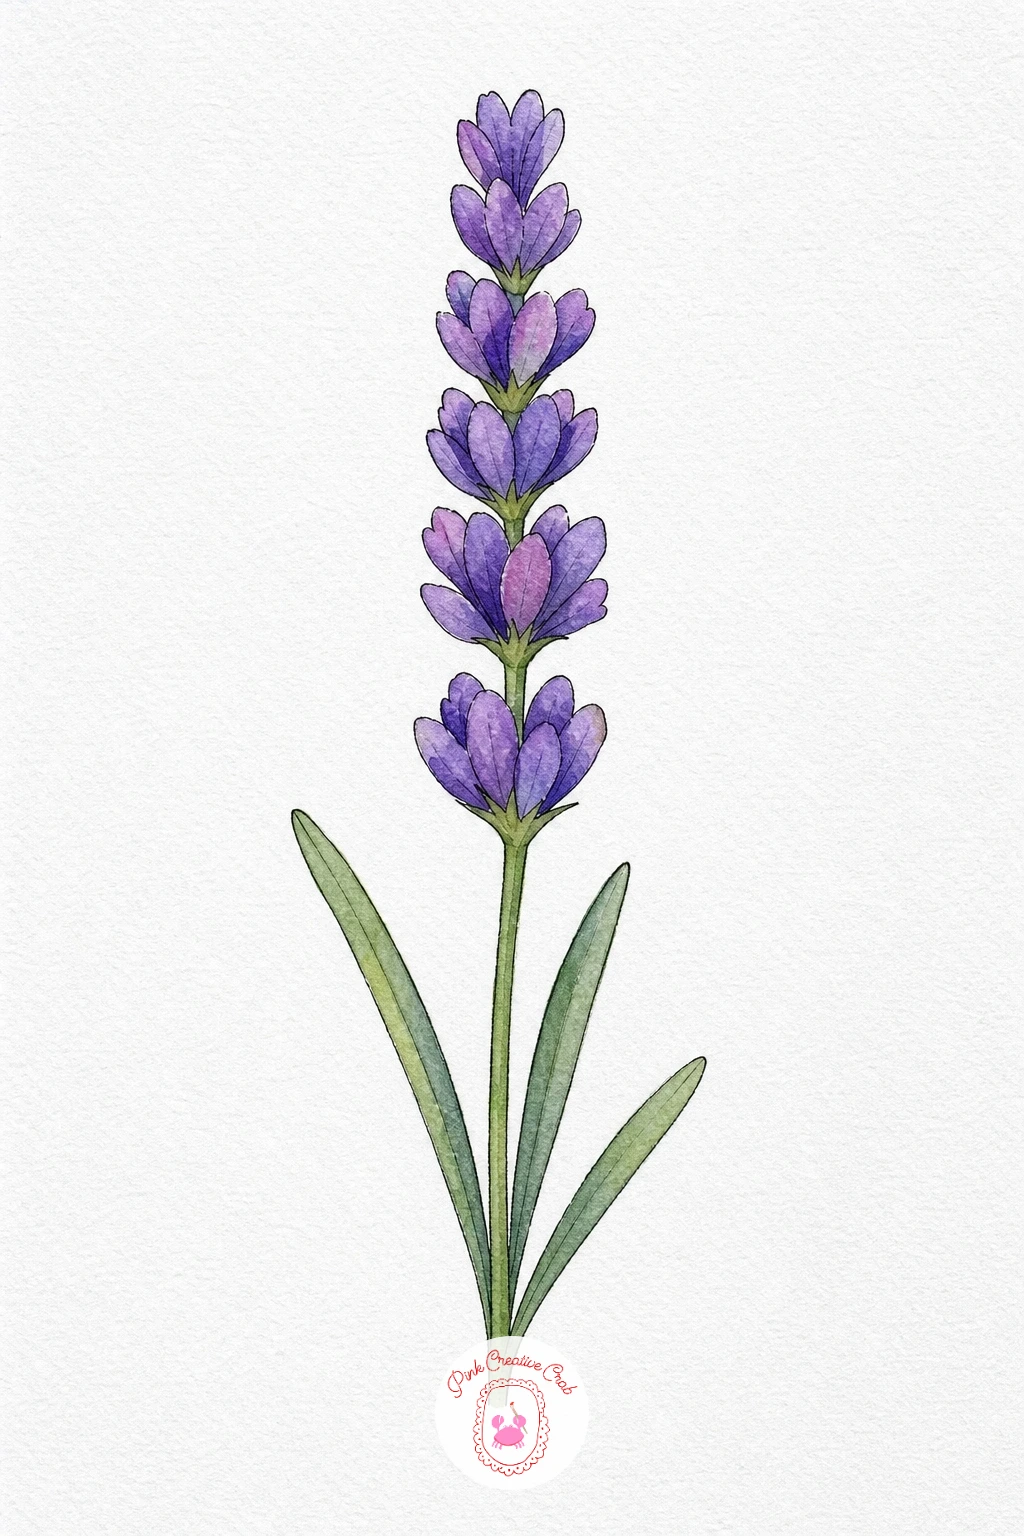
Palette: Light Violet,Dioxazine Purple,Sap Green,Payne’s Grey
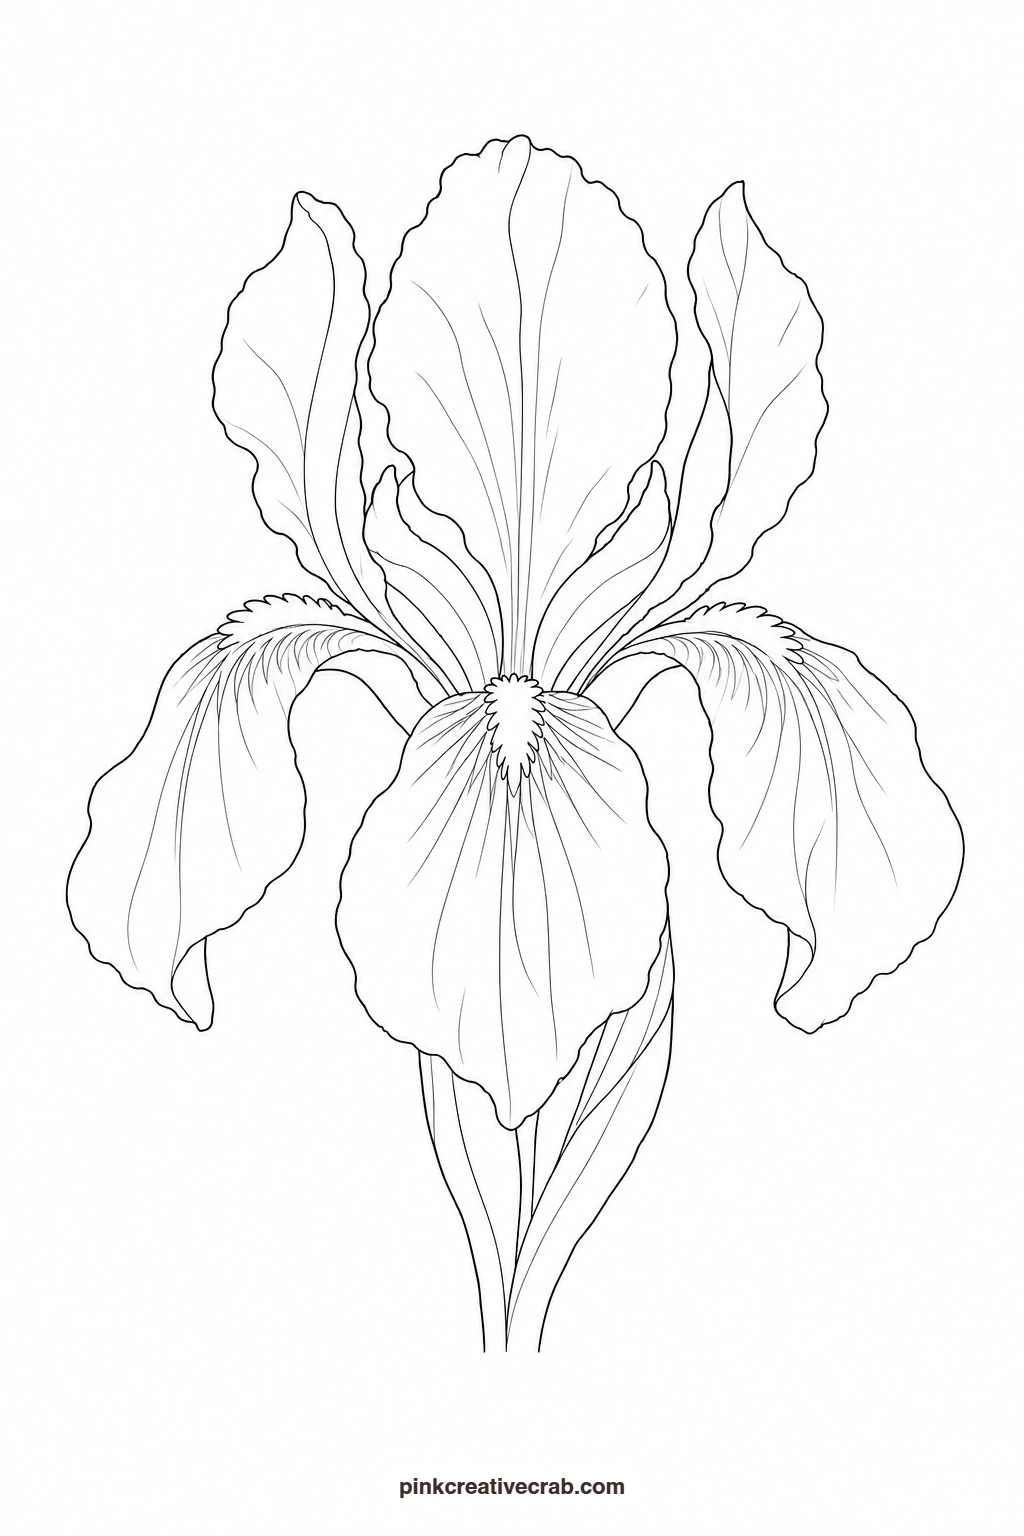
Bearded Iris in Violet
Wet the upper petals first and drop in violet so it spreads softly toward the edges, keeping the center paler where the light would catch it. Let the lower petals dry separately before painting them a touch deeper in tone, since they sit further back. Add the small yellow beard mark last with a dry, controlled stroke so it stays crisp against all that purple. For more of the same flower, the iris painting collection has plenty of other arrangements to try.
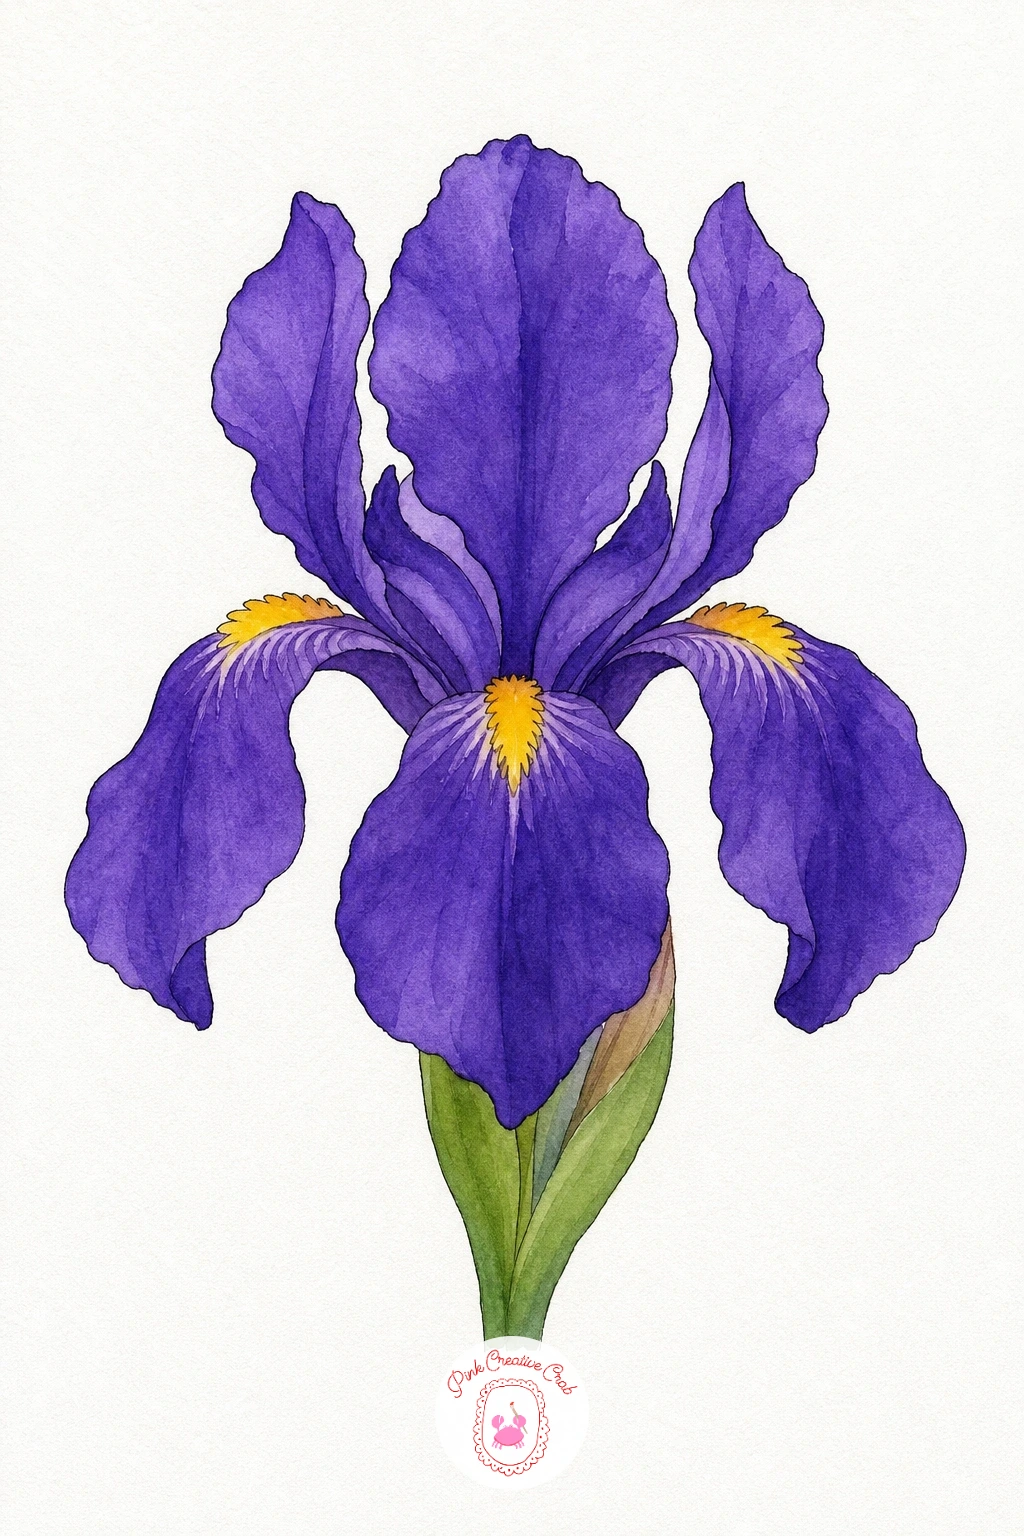
Palette: Violet,Dioxazine Purple,Cadmium Yellow,Sap Green
Lilac Cluster Drawn Large
Rather than painting every tiny blossom, work wet-in-wet across the whole cone shape with a pale lavender wash, then drop in small dots of deeper pink-violet while the paper is still damp so they bloom softly into each other. This single step reads as a full cluster of blossoms without any fussy detail work. Finish with the two leaves in a cool green, painted flat and simple to let the flower cluster stay the star.
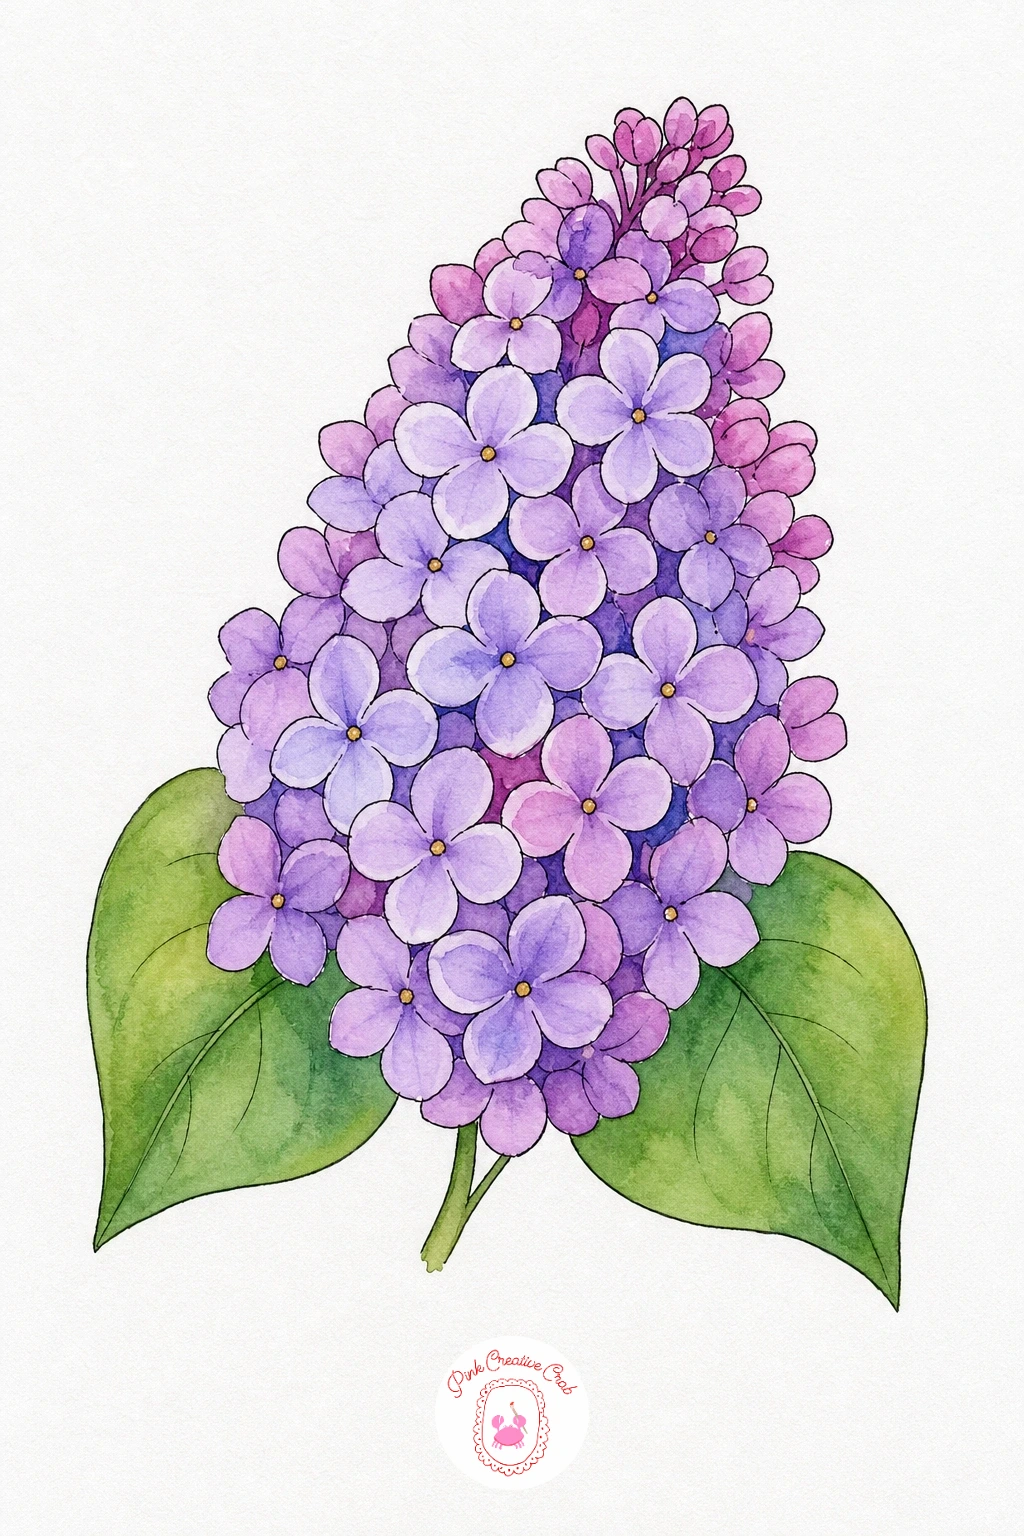
Palette: Lavender,Opera Pink,Dioxazine Purple,Hooker’s Green
Try a damp round brush dabbed in small dot motions across the cluster shape instead of outlining it; it keeps the blooms looking soft and unplanned.
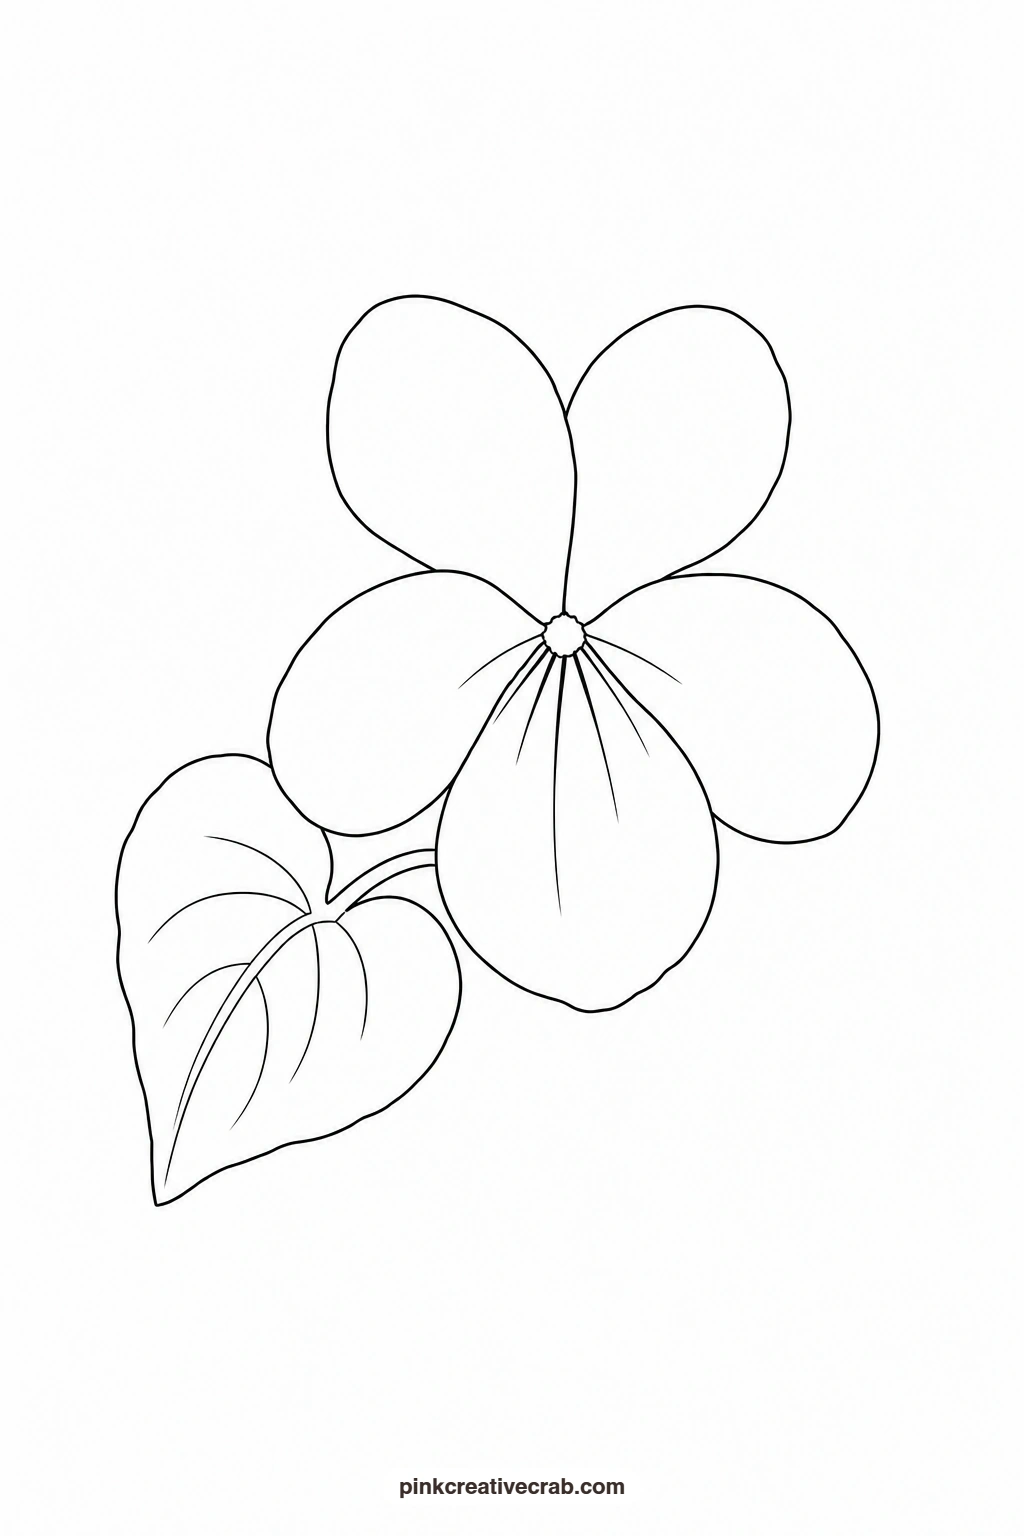
Violet
Paint the two upper petals first in a rich violet, then move to the three lower petals using the same mix but adding a touch more water so they read slightly lighter and sit forward. Keep the center untouched white paper until last, then fill it with a small dot of yellow. The heart-shaped leaf beside it can go down in one flat green wash, no need to vary the tone at all.
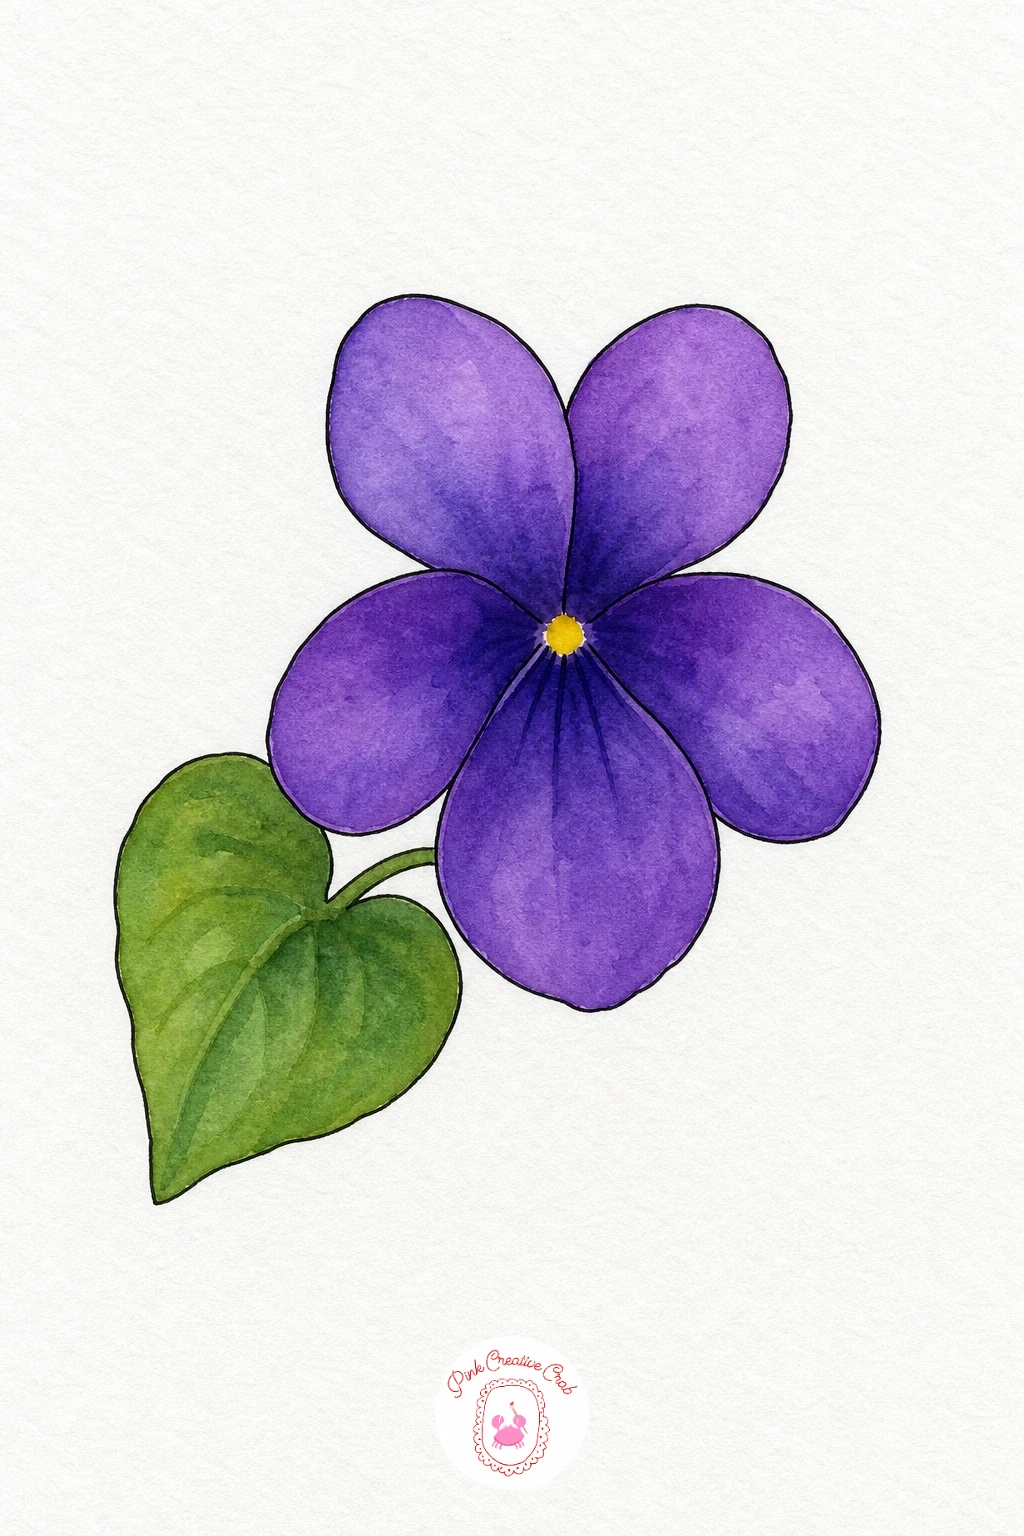
Palette: Violet,Dioxazine Purple,Cadmium Yellow,Sap Green
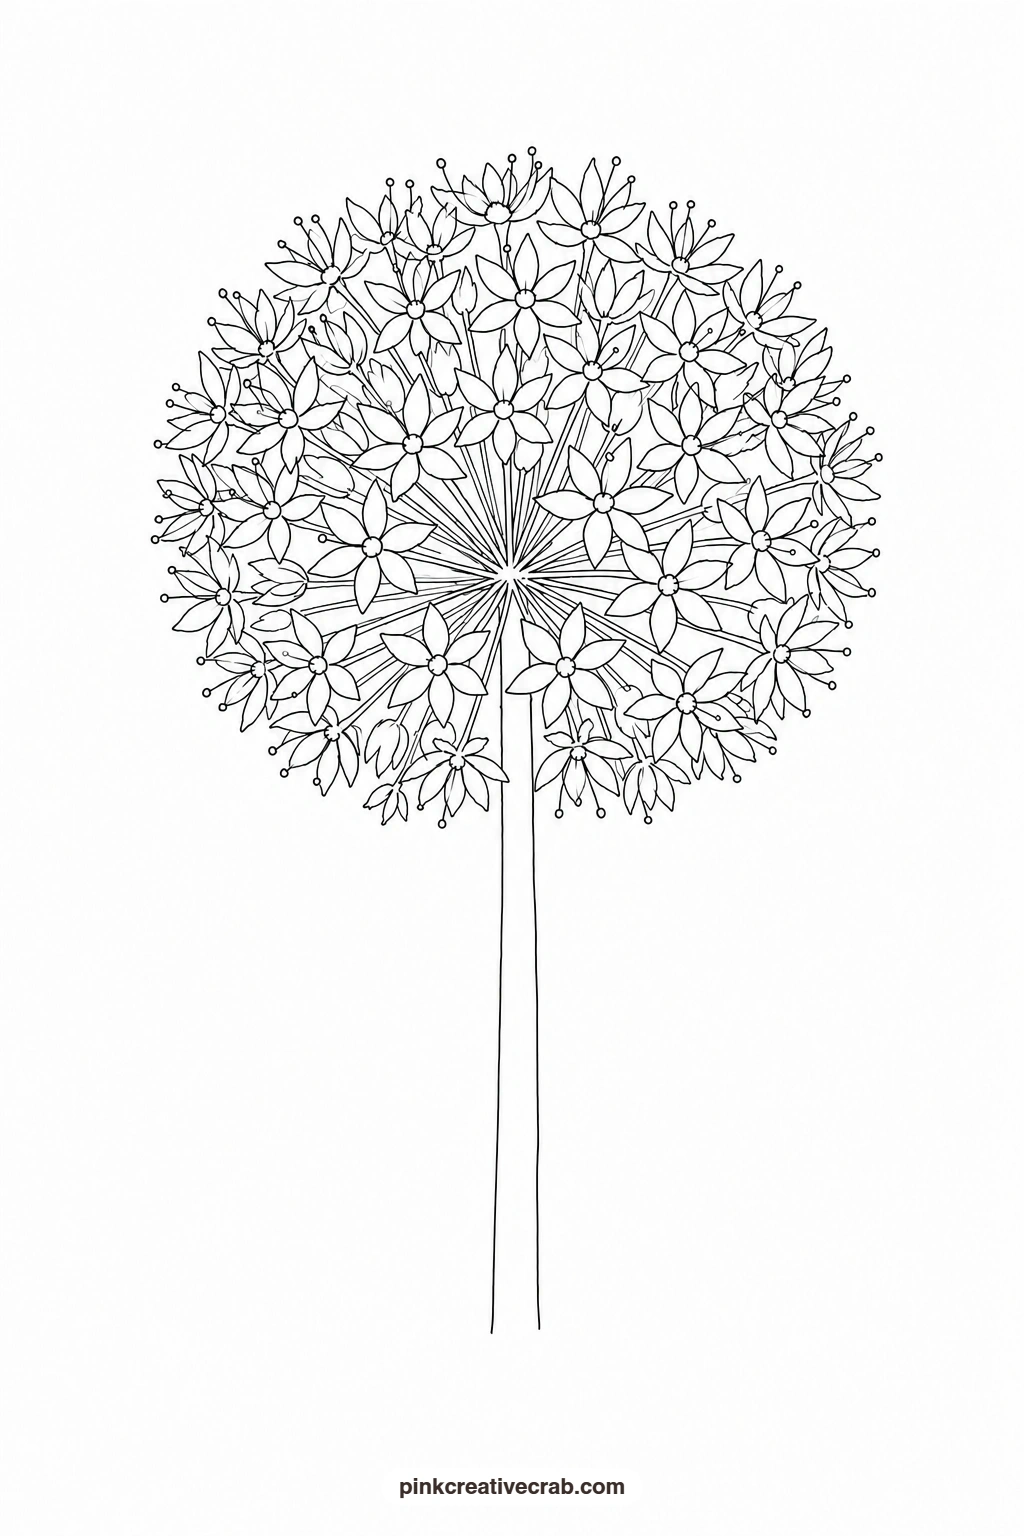
Allium Ball
Wet the whole circular head and float in a pale violet wash first, letting it settle unevenly across the sphere rather than painting it flat. While still damp, touch in small flecks of deeper purple toward the outer edge of the circle so the ball reads as textured without drawing a single floret by hand. The stem goes down last in one long confident stroke of green, straight from base to flower.
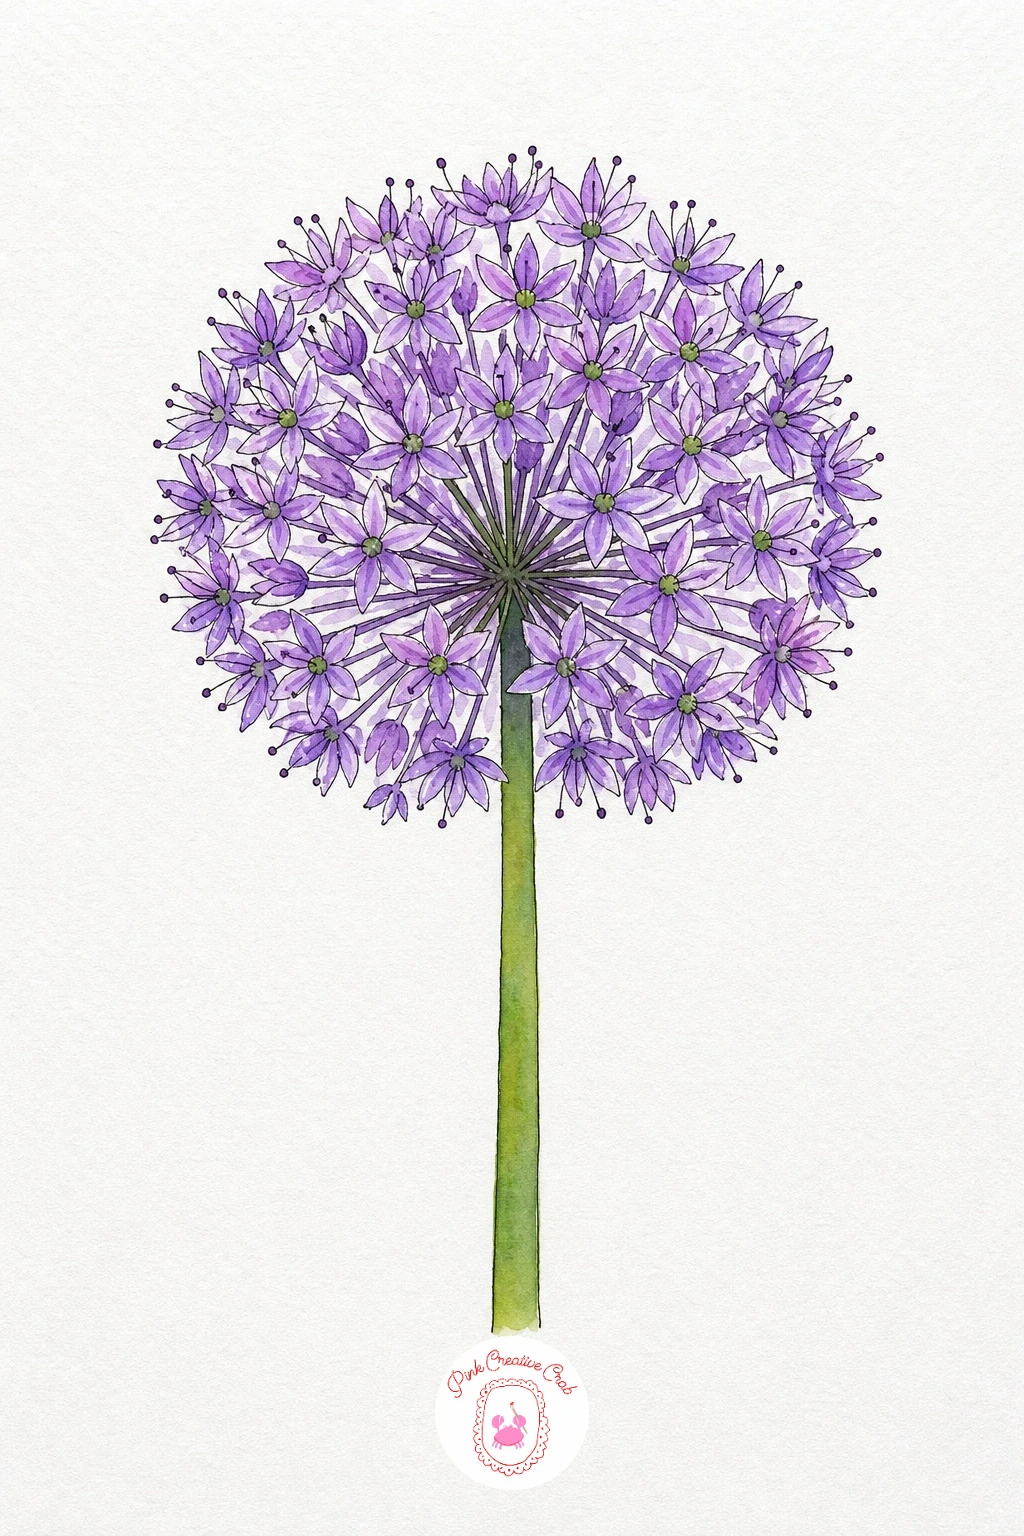
Palette: Light Violet,Dioxazine Purple,Sap Green
A splattered toothbrush loaded with thin purple paint across the dry sphere adds extra texture if you want the allium to look fuller.
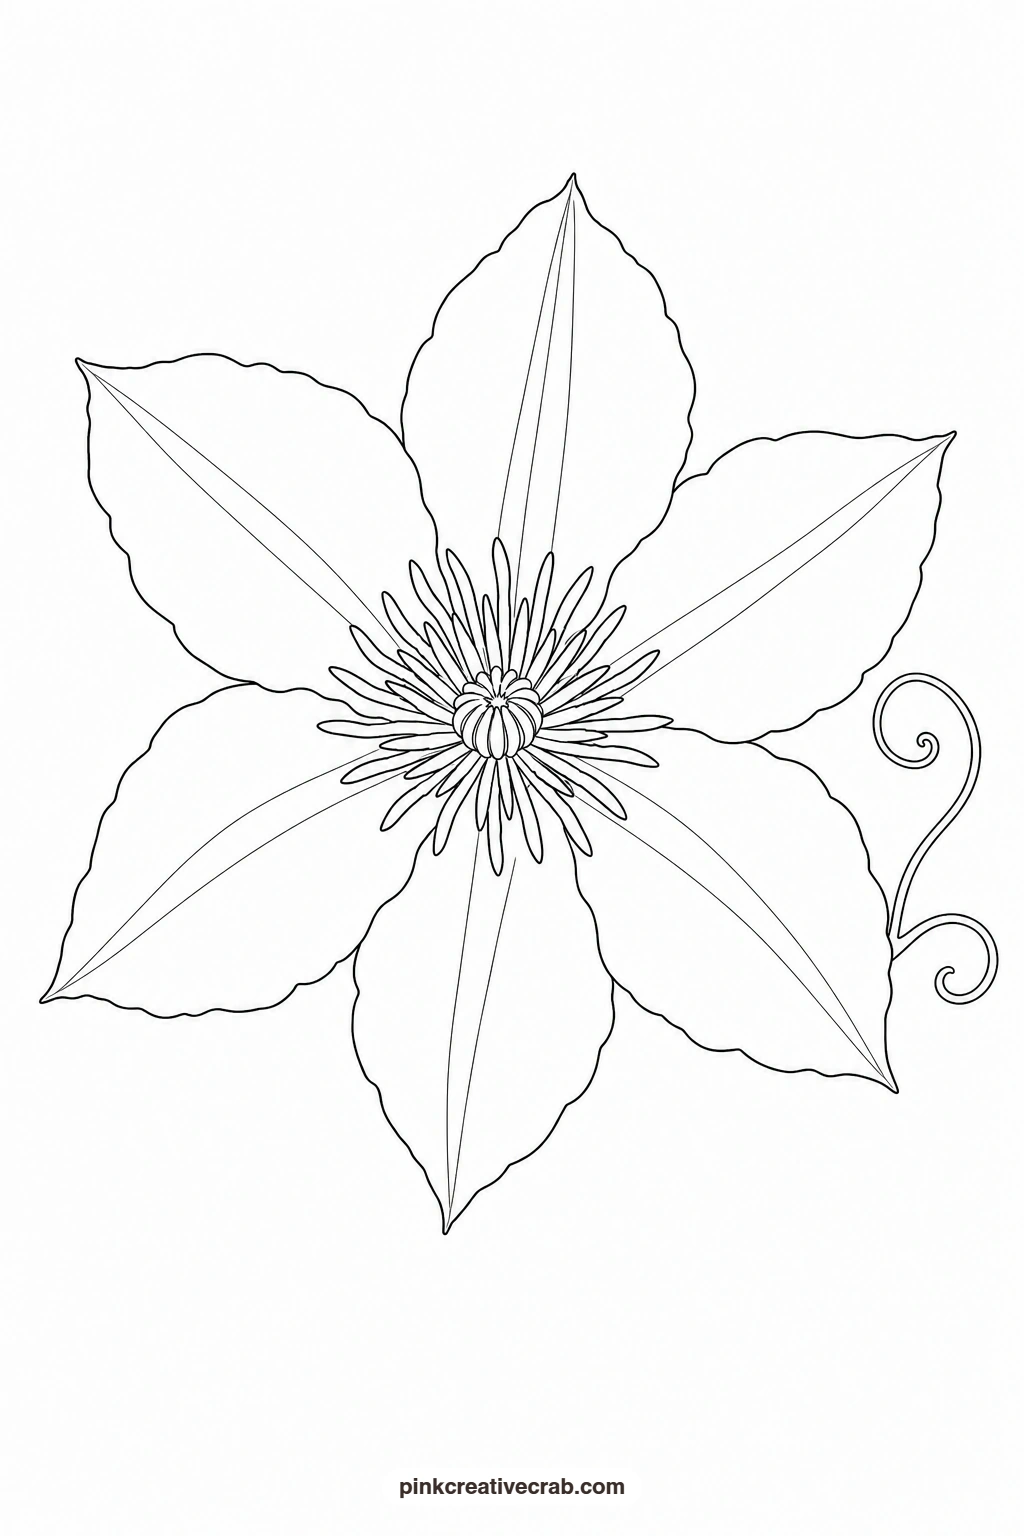
Purple Clematis
Each petal gets its own light violet wash first, left to dry fully before you come back in with a slightly deeper purple brushed from the outer edge inward, leaving the center pale. This two-step approach keeps the petals crisp instead of muddy where they meet. Paint the stamen cluster with small dry dabs of pale yellow once everything else is dry, and finish the curling tendril in a single thin green line.
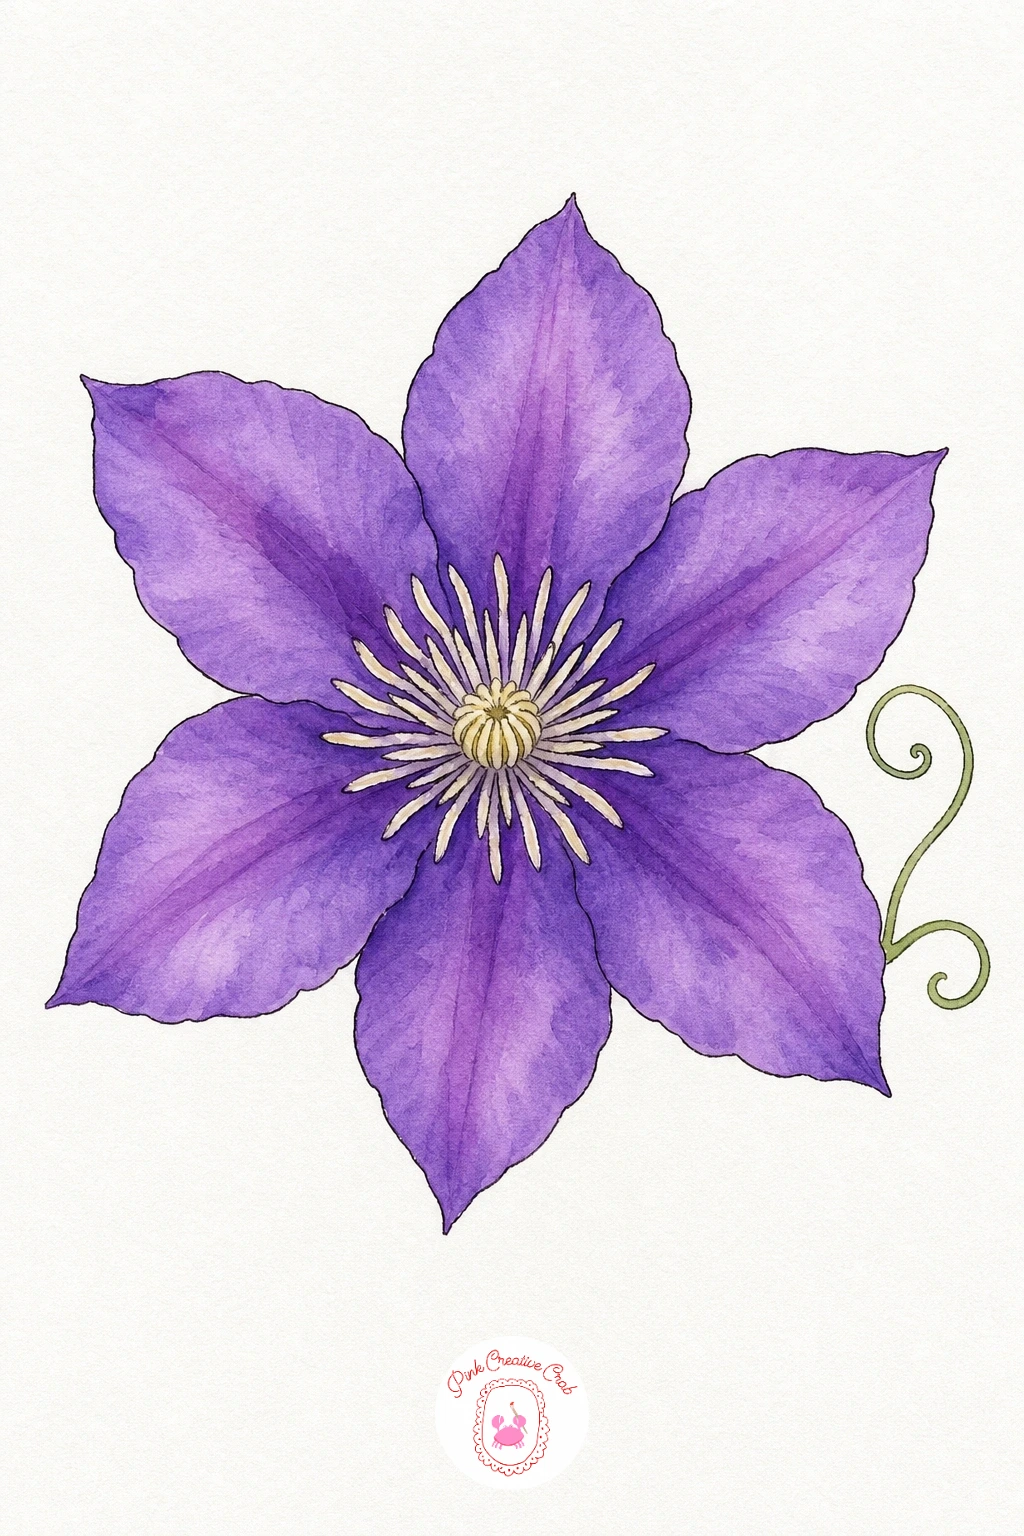
Palette: Violet,Dioxazine Purple,Pale Yellow,Sap Green
Crocus
Keep the petal shapes simple cups and paint them with one smooth violet wash, letting the color pool a touch darker near the base of each petal where they overlap slightly. The stamens are the one detail worth taking slowly, so load a fine brush with orange-yellow and pull three or four short thin strokes inside the cup. The grass-like leaves go down fast in a cool green, just two narrow flat strokes.
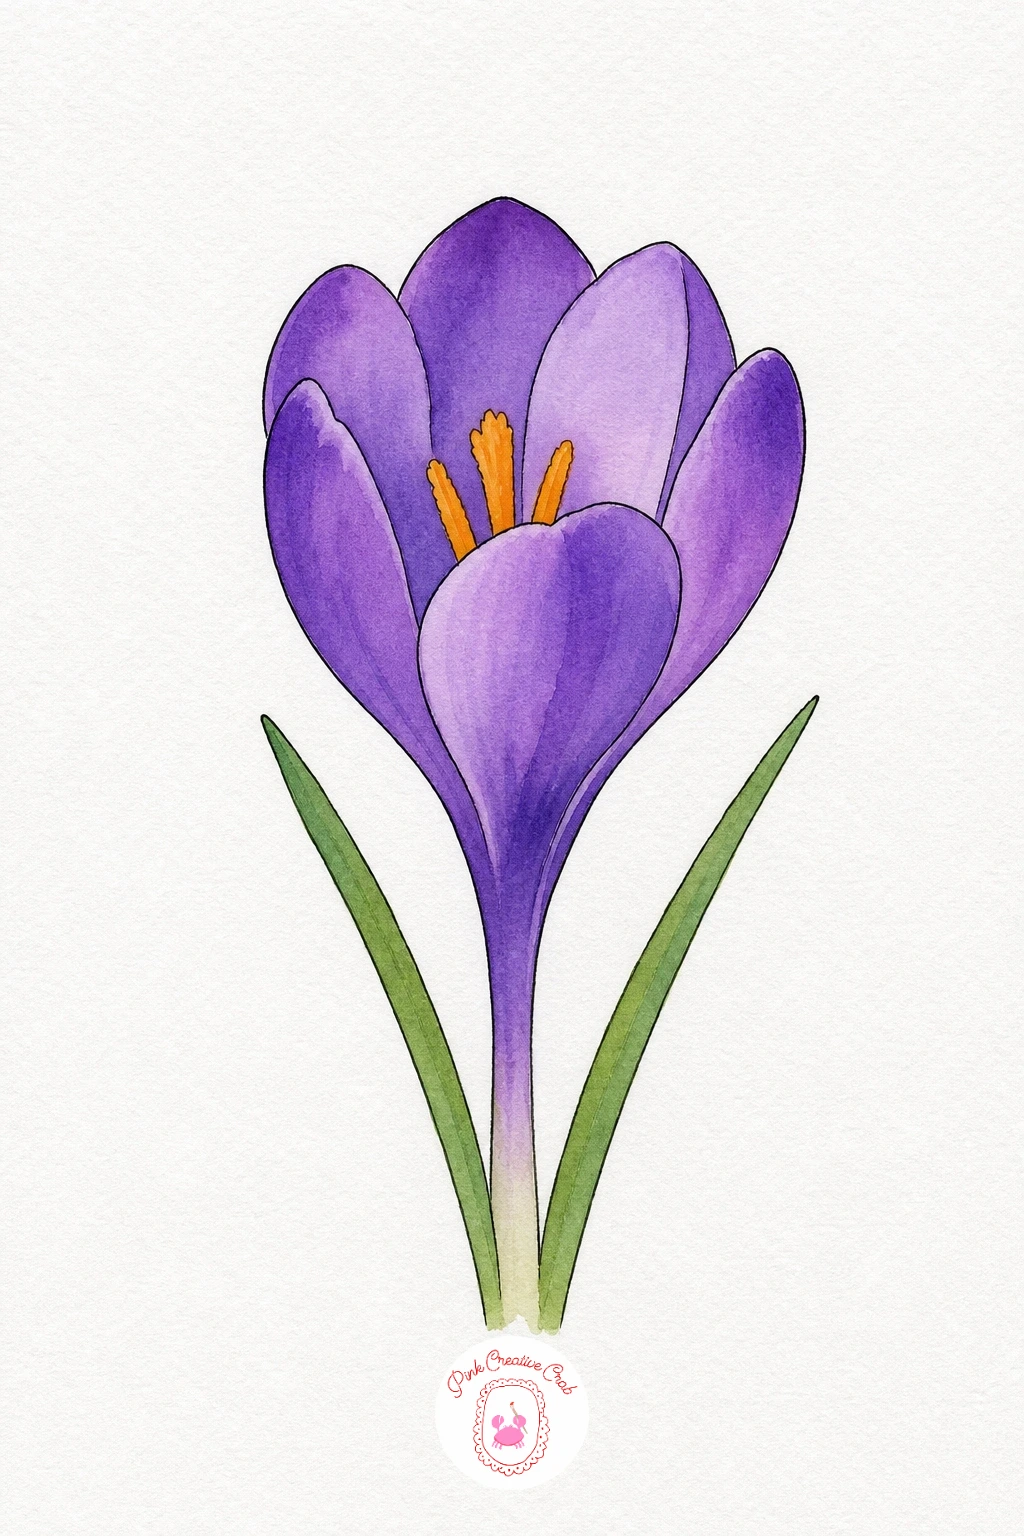
Palette: Violet,Dioxazine Purple,Orange Yellow,Sap Green
Sweet Pea
Paint the large upper petal first with a wet wash of violet, dropping in a touch more water near the ruffled edge so the color fades out softly rather than stopping at a hard line. The two lower petals are smaller and simpler, so a single flat wash in a slightly deeper tone is enough to separate them from the petal behind. The curling tendril is the one part worth transferring carefully, since a wobbly line there will read as messy rather than delicate.
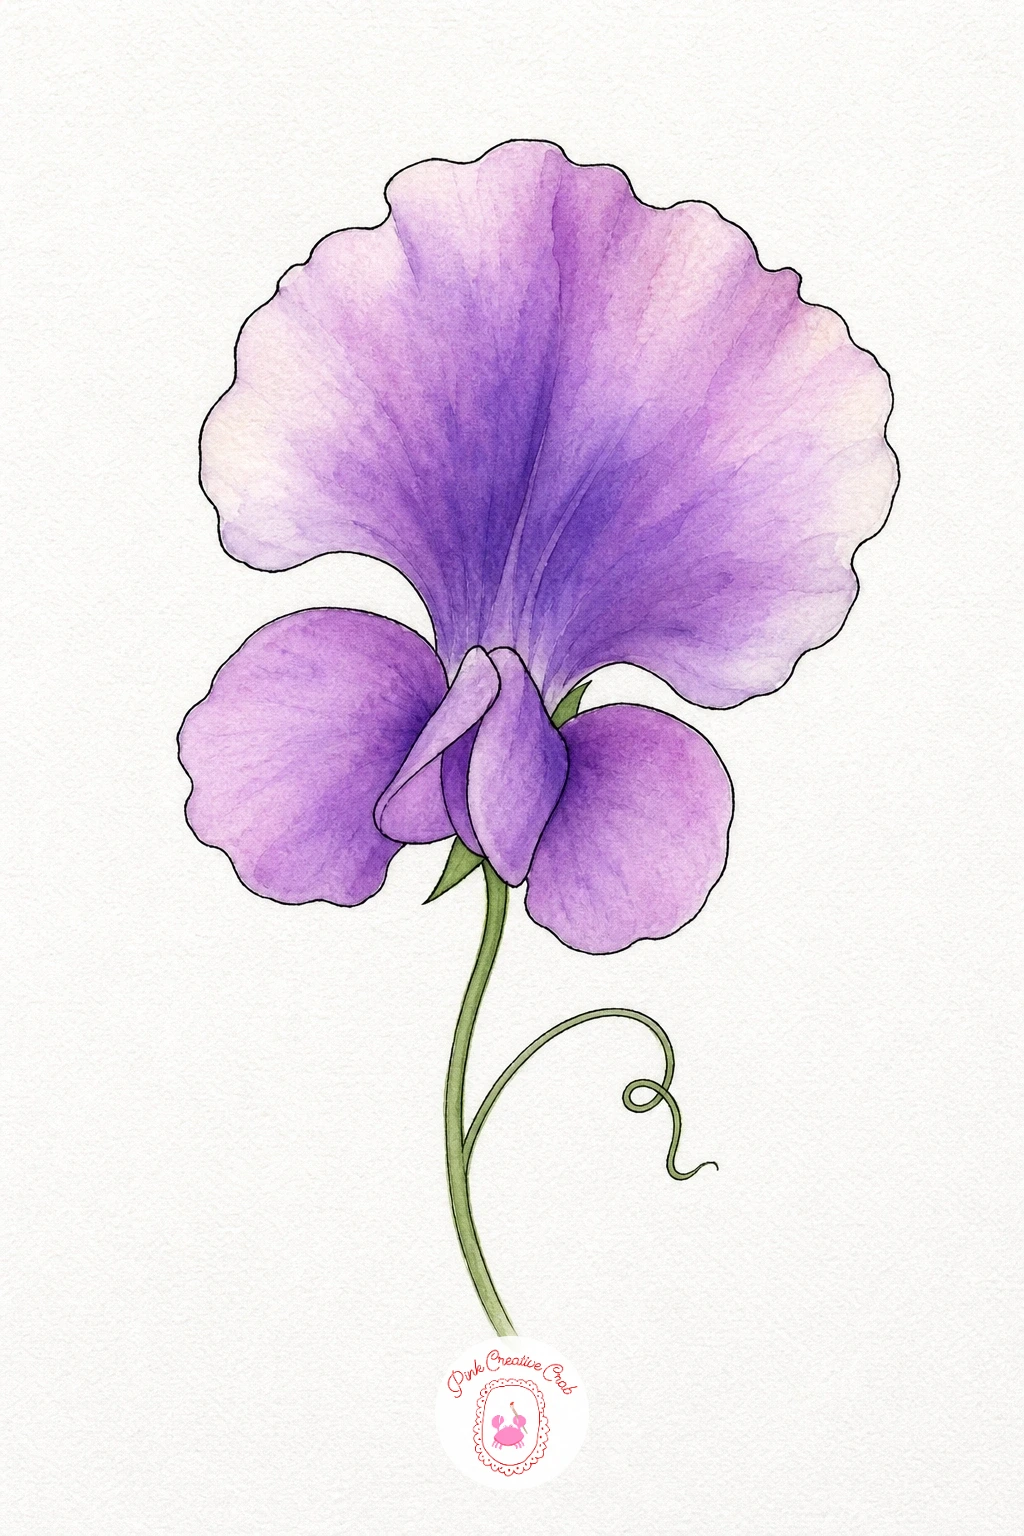
Palette: Light Violet,Violet,Sap Green
Purple Pansy
Start with the two upper petals in a deep rich violet, painted wet so the color sits dark and even. The three lower petals take a lighter lavender wash, and while that is still damp, touch a small dark violet mark into the center of each lower petal so it bleeds softly outward, giving the pansy its familiar face. One tiny dot of yellow at the very center finishes it without any extra detail needed.
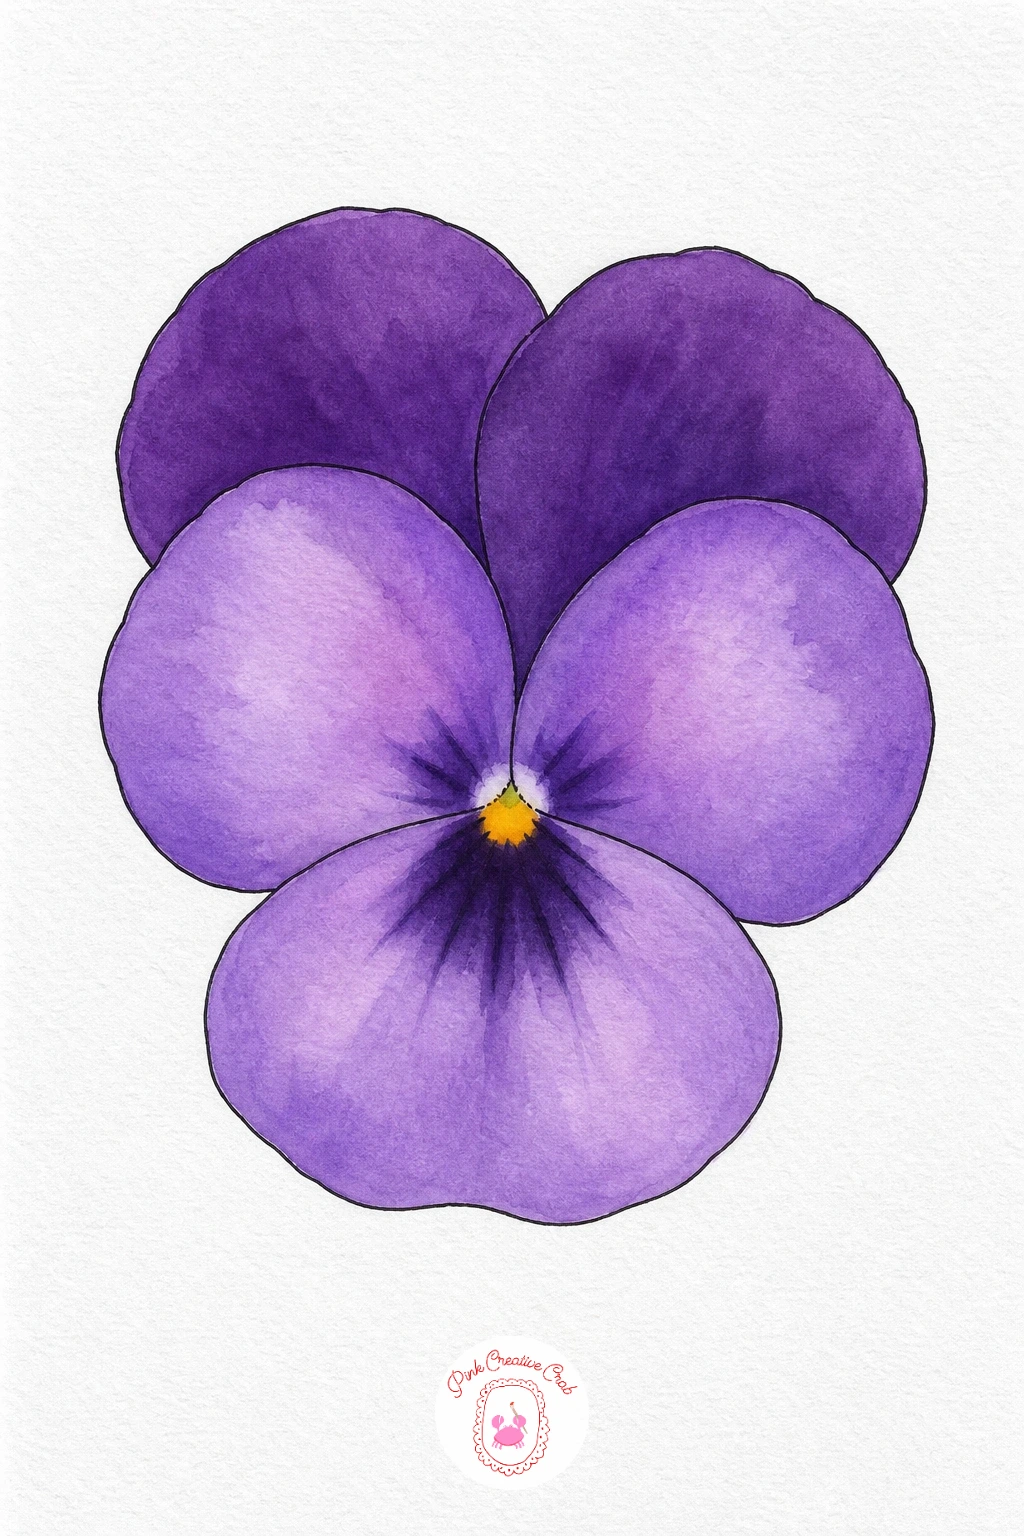
Palette: Lavender,Dioxazine Purple,Cadmium Yellow
Wisteria Cluster Drawn Large
Turn the paper so the cluster hangs downward and wet the whole cone shape, then drop violet in heavier at the top and let it thin out naturally toward the pointed tip as gravity pulls the water down. This single wash does most of the work of suggesting dozens of tiny blossoms. Once dry, a few short dry-brush strokes of deeper purple scattered through the upper half add just enough texture to finish it, and the woody vine above goes down in plain brown.
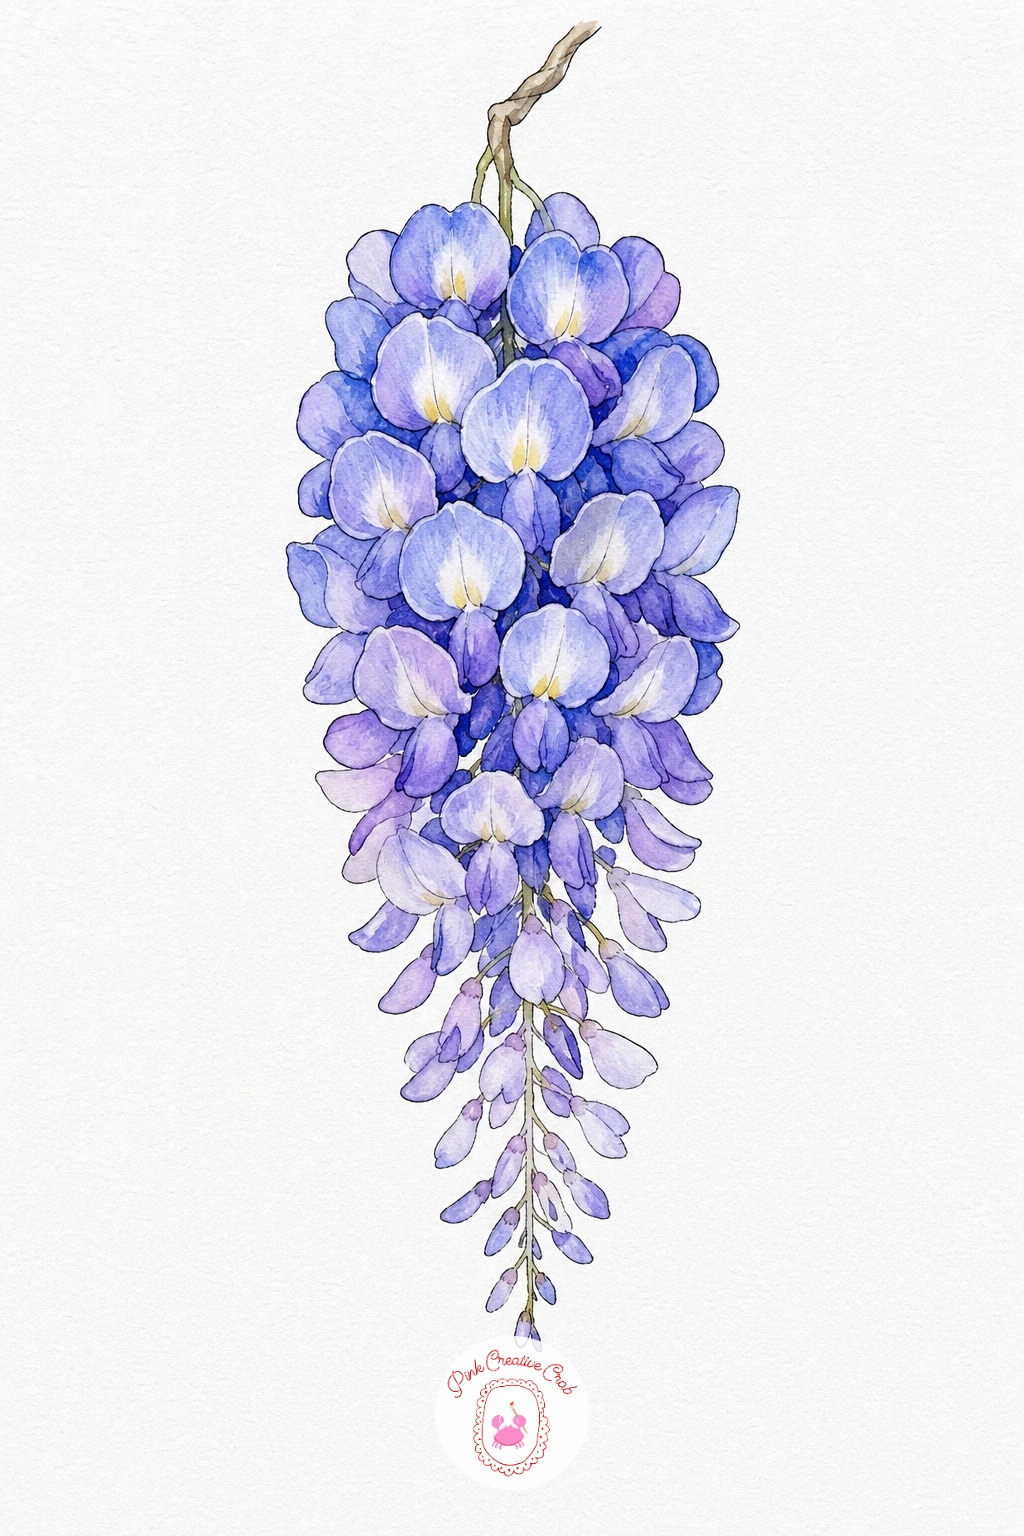
Palette: Light Violet,Violet,Dioxazine Purple,Burnt Umber
Prop your paper upright or tilt the board slightly while the wash is wet so the color naturally pools heavier at the top and fades toward the tip.
Thistle
Paint the green bulb base first with a flat olive wash, and once dry, use the tip of a fine brush to pull short outward strokes for the spiky bracts rather than painting them as separate shapes. The purple tuft on top works best loose and wet, letting violet feather upward into fine wispy lines instead of a solid block of color. The stem is one plain green stroke straight down the center.
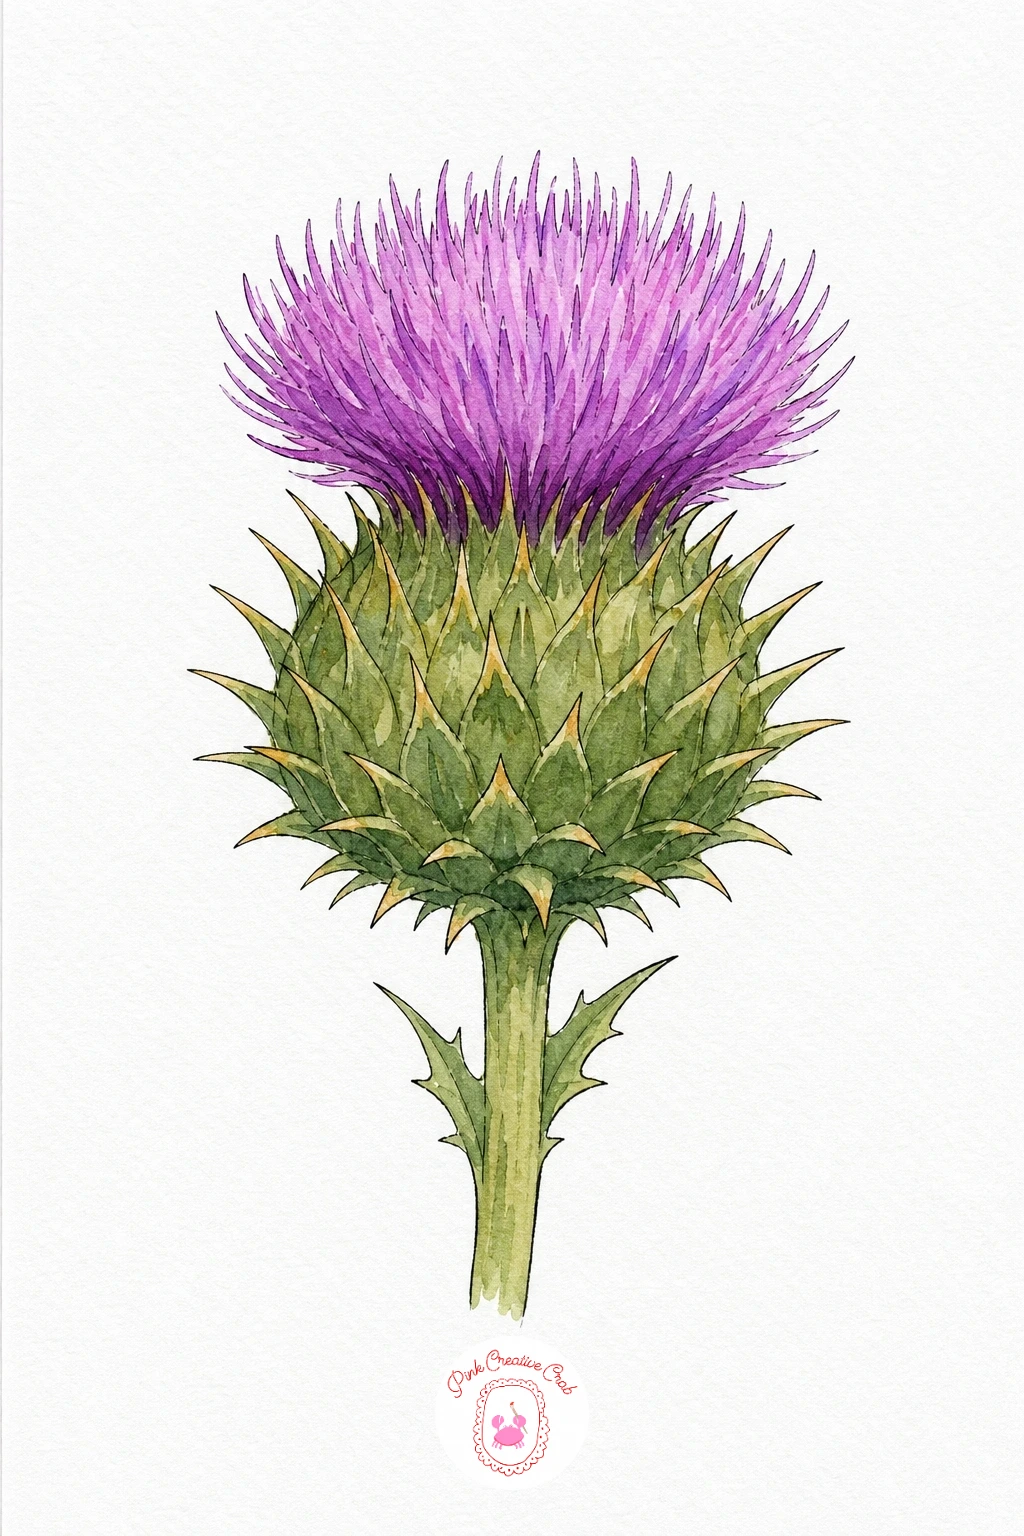
Palette: Violet,Dioxazine Purple,Olive Green,Sap Green
Purple Aster
Rather than painting each thin petal alone, wet the whole outer ring and drop in violet so it settles unevenly from petal to petal, giving natural variation without extra work. Keep the yellow center for last and paint it with a dry brush so it stays a clean, separate dot against all that purple. A few petals can stay slightly lighter than the rest if you leave small dry patches as you paint, and that alone makes the bloom look sunlit.
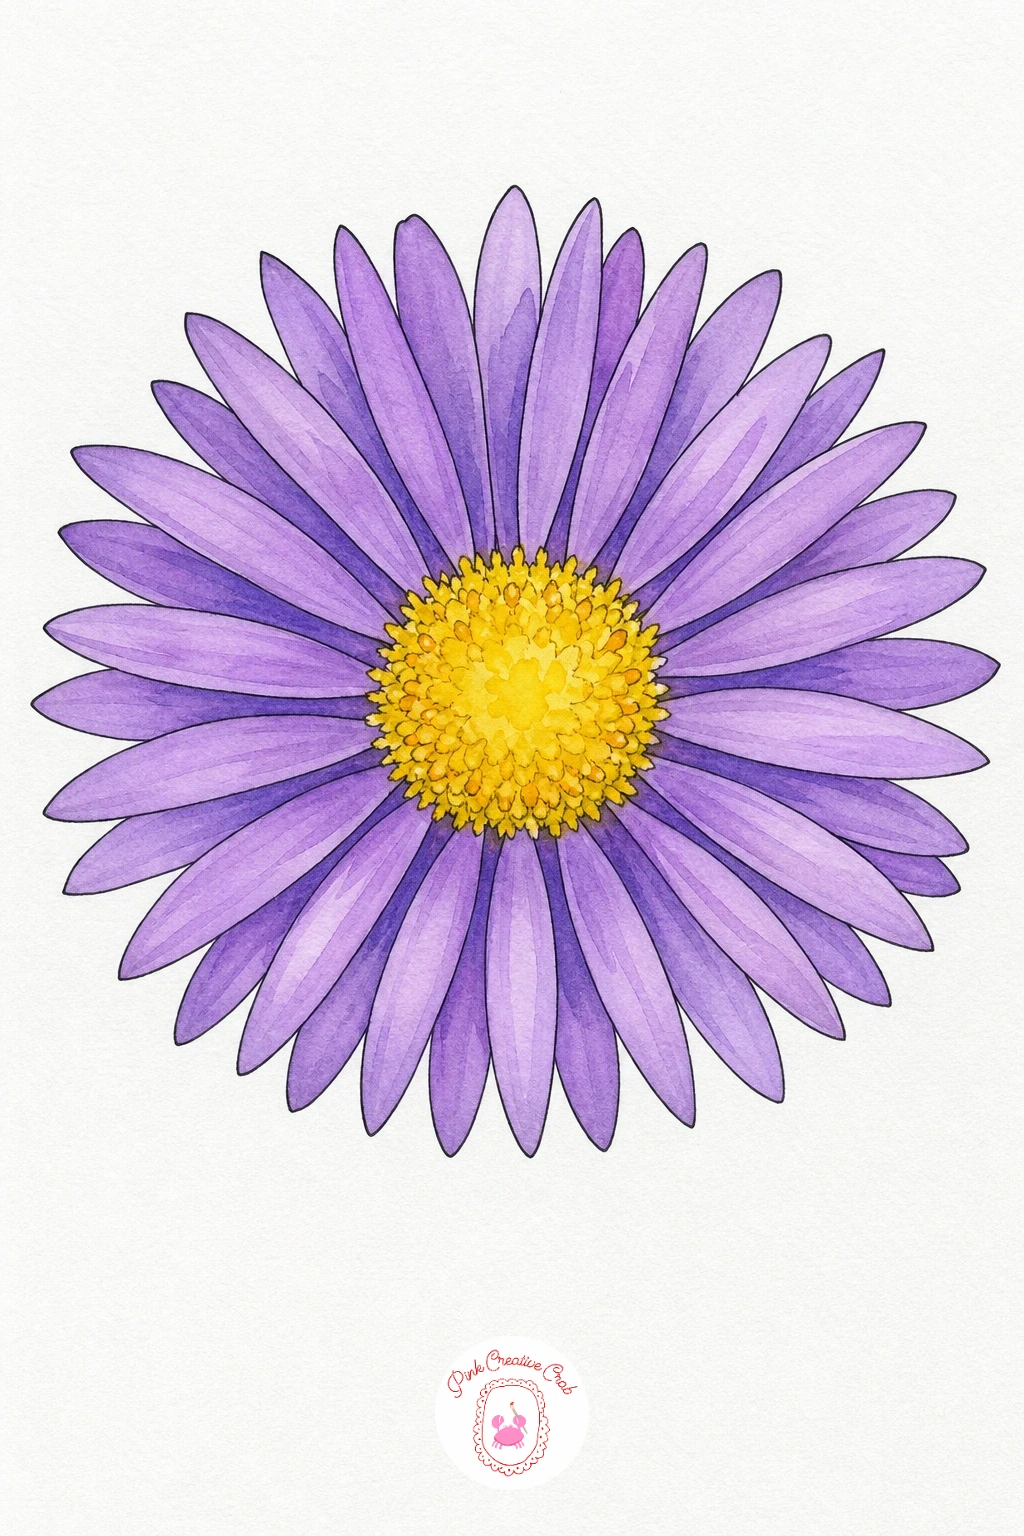
Palette: Light Violet,Violet,Cadmium Yellow
Hyacinth
Work the whole flower spike wet-in-wet, laying a deeper violet near the base and letting it lighten naturally as you move upward, which mimics the way real hyacinth florets open first at the bottom. Skip trying to paint individual florets; the texture from the wet wash alone reads as a packed flower spike once dry. The two strap-like leaves at the base take one confident flat stroke each in a cool green, kept simple so they frame the flower without competing with it.
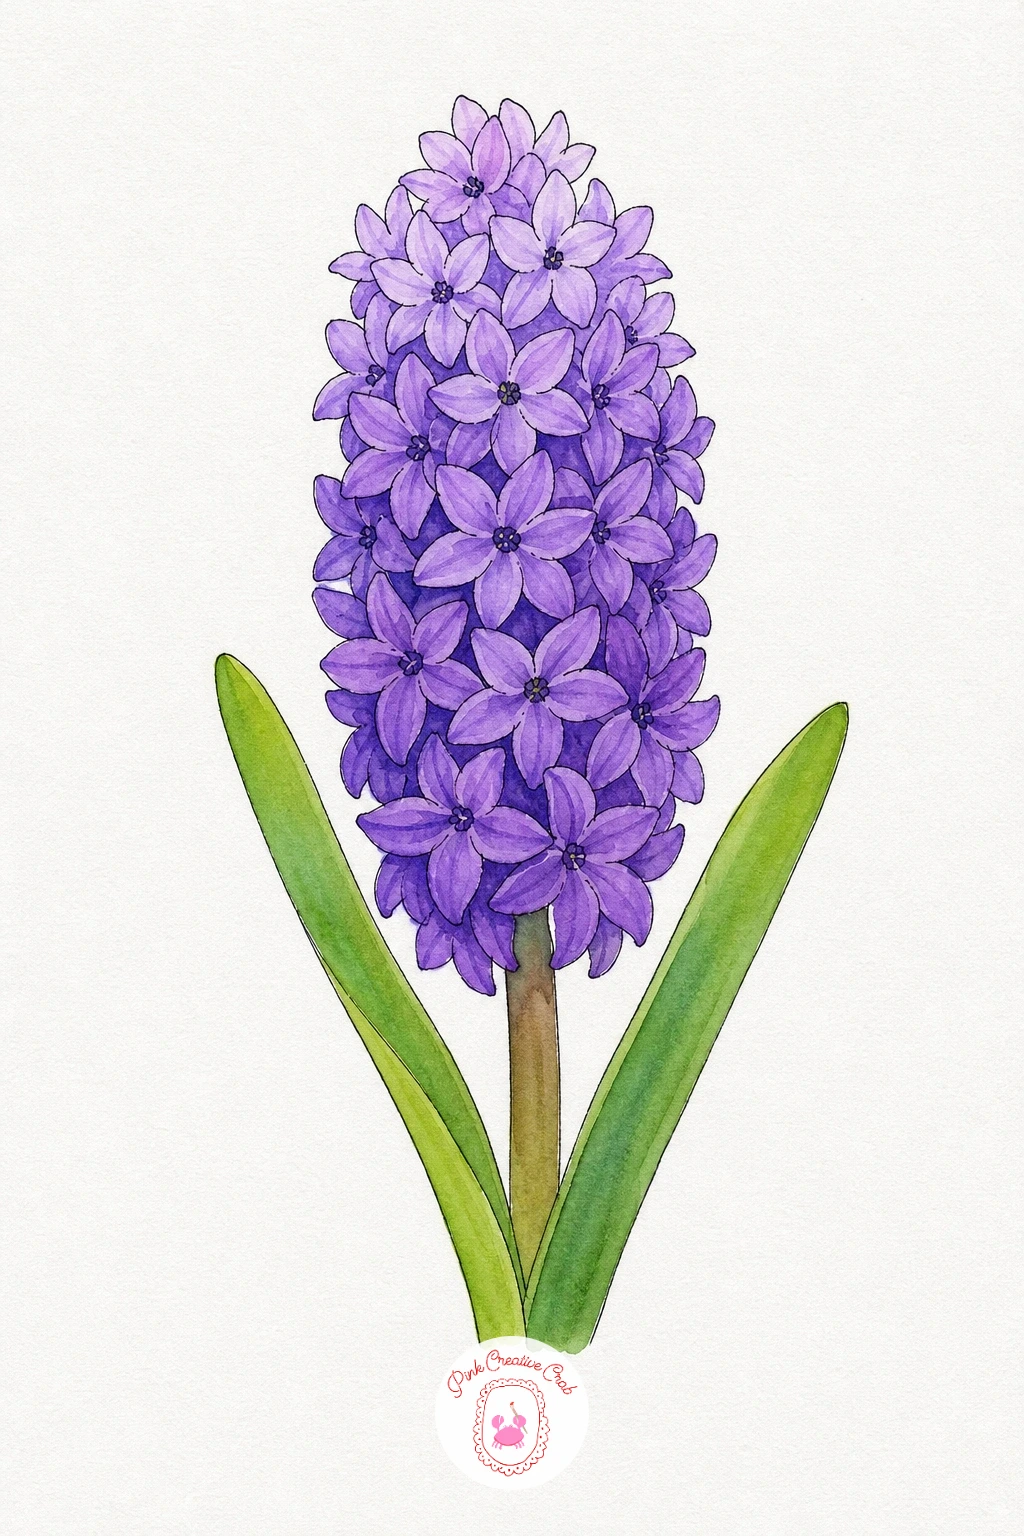
Palette: Dioxazine Purple,Violet,Light Violet,Sap Green
What to Do Next
Pick one flower that appeals to you most, print its outline, transfer it to your watercolor paper, and keep the finished example propped beside your palette while you paint.
Frequently Asked Questions
What size should I print the outline templates?
Print them at standard letter or A4 size so they match most watercolor pads. If your paper is smaller, scale the print down slightly in your printer settings before transferring the outline.
What paper works best for these watercolor flowers?
Use a cold press watercolor paper of at least 140lb weight, since it holds the wet washes without buckling badly. Smoother hot press paper also works if you prefer sharper edges between colors.
How do I transfer the outline without a light pad?
Tape the printed outline to a sunny window with your watercolor paper on top and trace the lines through both sheets. Graphite transfer paper slid between the two sheets works just as well on a table.
Can I color these with pencils or markers instead of paint?
Yes, every outline works fine with colored pencils or markers. Build pencil color in light layers for the soft blended look, and let marker strokes slightly overlap at petal edges to mimic the watercolor blending shown.
What if I am still nervous about tracing a flower shape?
Start with the simplest shapes here, like the violet or the crocus, before trying the fuller clusters like wisteria or lilac. The more confident you get with tracing, the easier the busier shapes become.
Have any thoughts?
Share your reaction or leave a quick response — we’d love to hear what you think!
-
 0
-
0
-
0
-
0
-
0
-
0


