

A treehouse drawing gives you everything a dreamy scene needs in one small subject: a trunk to anchor it, a window to light up, and a ladder that invites someone to climb in. Colored pencil suits this kind of picture because the paper stays part of the drawing, so every leaf and plank feels hand built rather than filled in.
Below are 29 treehouses, each one a different kind of home someone might actually want to live in, from a reading nook tucked in cushions to a whole village of huts strung together. Work through them in any order, pick whichever one matches the time you have today, and let the white of the page do some of the work for you.
Using these images: free for personal projects such as printing, coloring, cards, journals and gifts. Handmade items that include them may be sold up to 30 pieces per design. More than that is commercial use and is not permitted, and neither is selling or sharing the images themselves or passing them off as your own. Please ask before any other use.
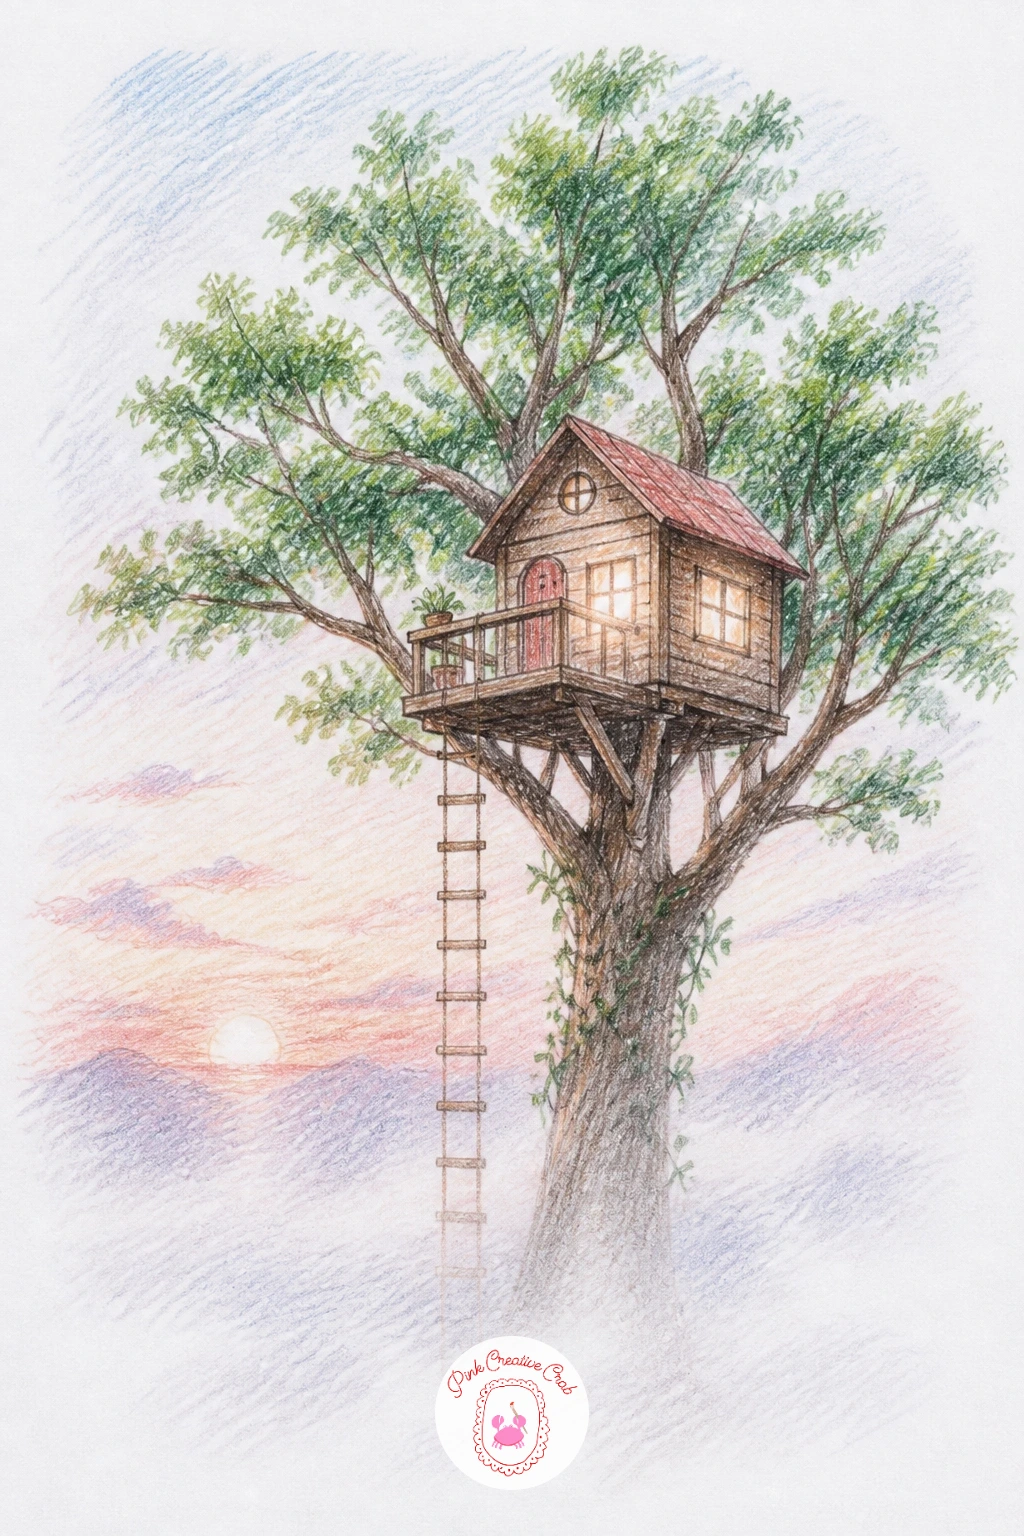
Start with the simplest treehouse on this list: one round trunk, one boxy cabin perched where it forks, and a rope ladder dropping down to the grass. Sketch the trunk first in light pencil, then build the house as a simple box with a peaked roof sitting across two or three branches, so it reads as balanced rather than floating.
Block in the red door before anything else gets color, since that small coral-red shape is what the whole picture will be remembered by. Work the bark in brown with vertical hatching that follows the trunk’s curve, then add the roof and leaves, leaving white paper showing between strokes so the greens stay fresh rather than muddy.
The rope ladder trips people up most: draw the two side ropes first as slightly bowed lines, then add short rungs between them rather than drawing each rung as a full plank. If you do not have a red pencil, a warm orange-red or coral works just as well for the door.
Keep this one loose and quick if it is your first treehouse of the day, it sets the proportions you will reuse in the rest of the list.
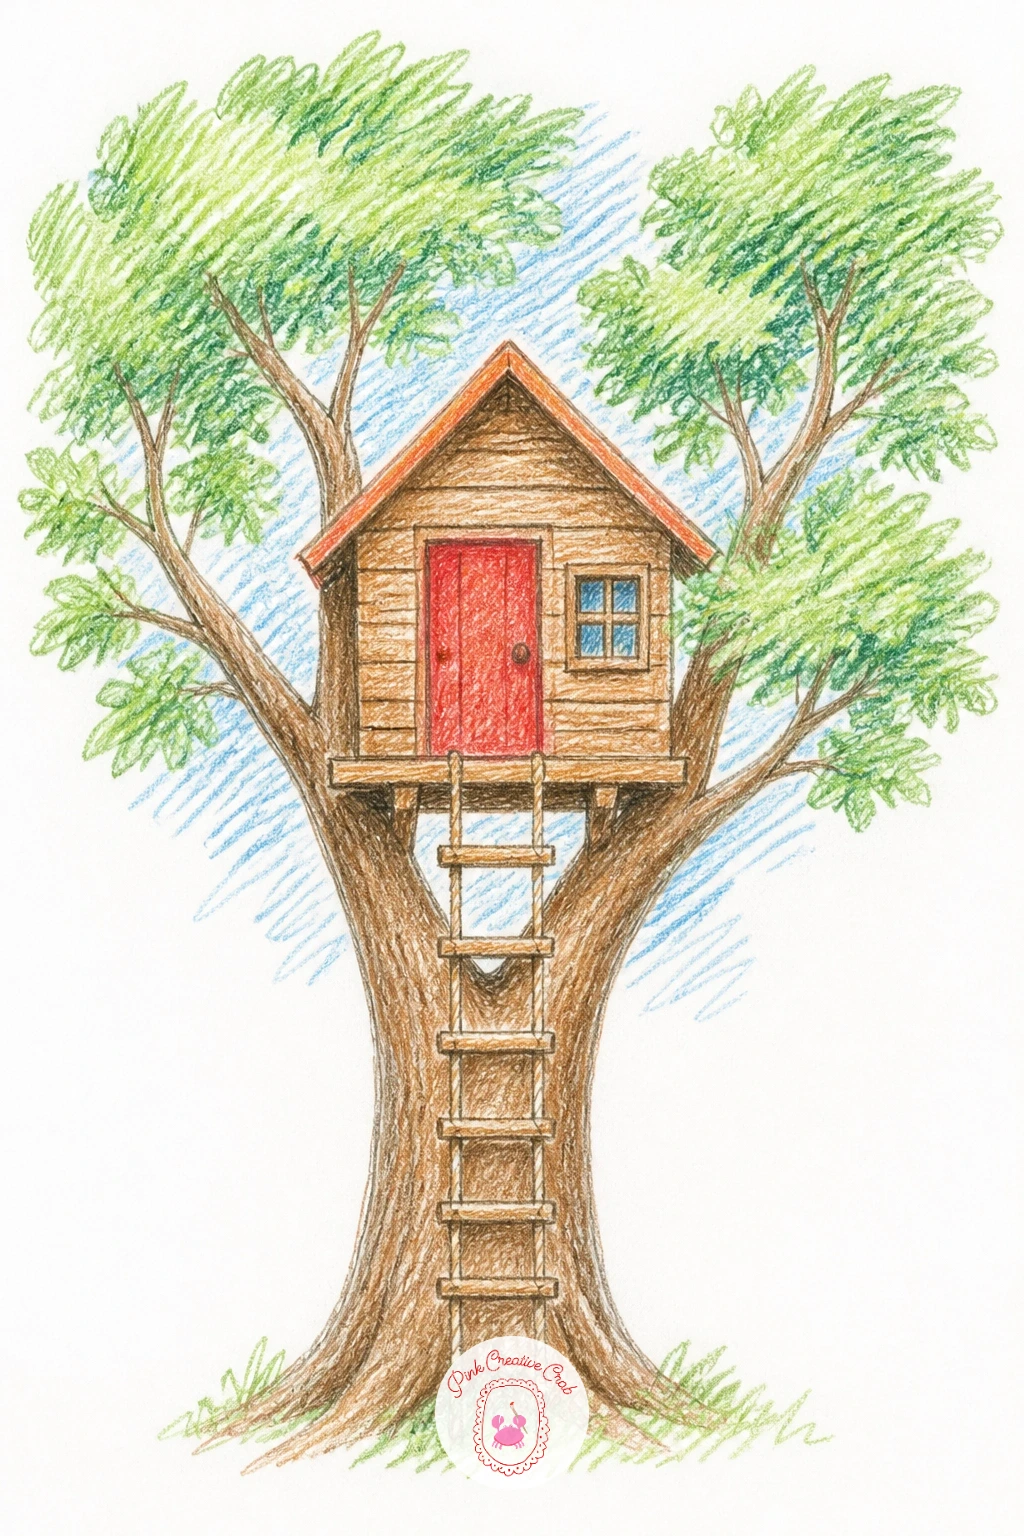
Palette: Burnt Sienna,Leaf Green,Coral Red,Sky Blue
Give the last treehouse a cousin built for staying in rather than climbing out of: a reading nook with a big window, a stack of cushions, and books piled on the sill. Draw the window first as a tall arched or square opening, then work the room inside it in soft pencil before you touch the outer walls.
Use pressure here as your main tool: press harder for the shadowed cushions tucked in the corner, lighter for the ones catching window light, so the little room has depth without a single hard outline. Scatter a few books at angles rather than stacking them square, it reads as lived in rather than staged.
The mistake to watch for is drawing the window too small to show anything, so the nook gets lost. Make the window take up most of the house’s front wall, and if your coral pencil runs light, layer orange-red underneath it for a warmer cushion color.
Finish with a tiny lamp or candle on the sill, that one warm dot of light is what makes the whole nook feel cozy.
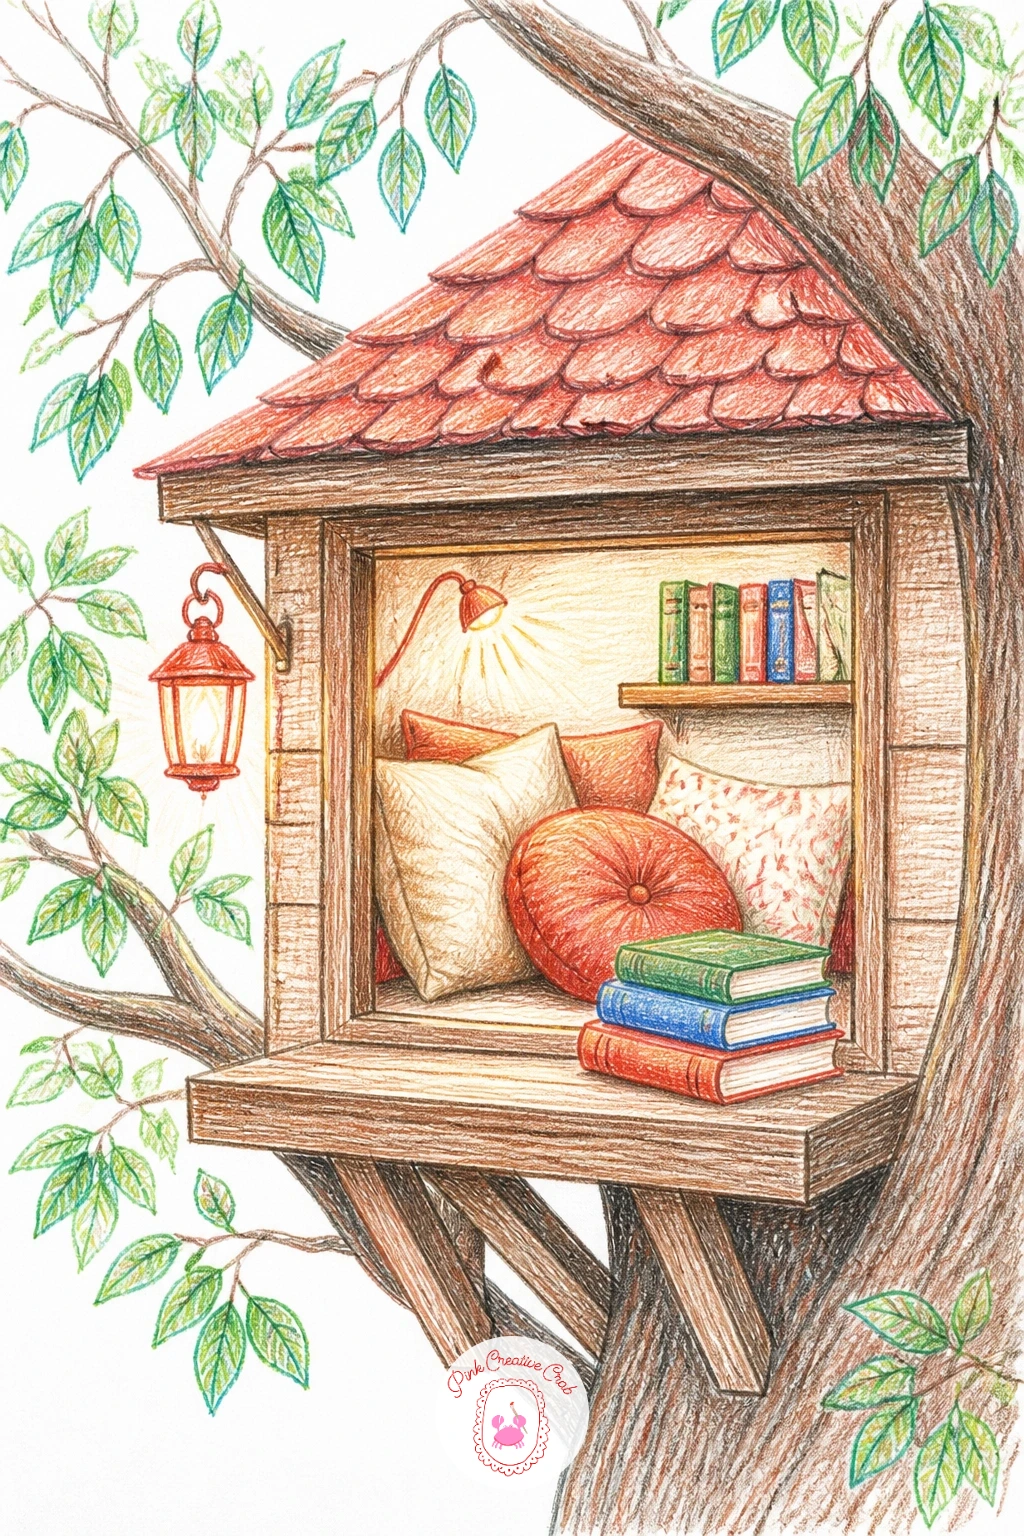
Palette: Terracotta,Mustard Yellow,Wood Brown,Cream
Look at a photo of a window seat for how cushions pile and fold against each other, it will save you from drawing them as flat rectangles.
Move up to a slightly bigger scene now: two separate treehouses, each in its own trunk, connected by a sagging rope bridge between them. Place the trunks first, well apart on the page, then draw the bridge as a gentle U-curve rather than a straight line, since a taut bridge looks stiff and unconvincing.
Build each house with a slightly different roof shape so the two feel like different homes rather than copies, and vary the window color between them, maybe one glows coral at dusk while the other stays pale blue. Add the bridge’s rope handrails as two more curved lines above the walkway, with short vertical ties connecting them down to the planks.
Where this goes wrong is in the planks: drawing too many makes the bridge look busy. Space them out with visible white paper between, it reads as light and airy rather than solid.
If the page feels too crowded with two full trees, simplify one into mostly canopy with just a hint of trunk peeking through.
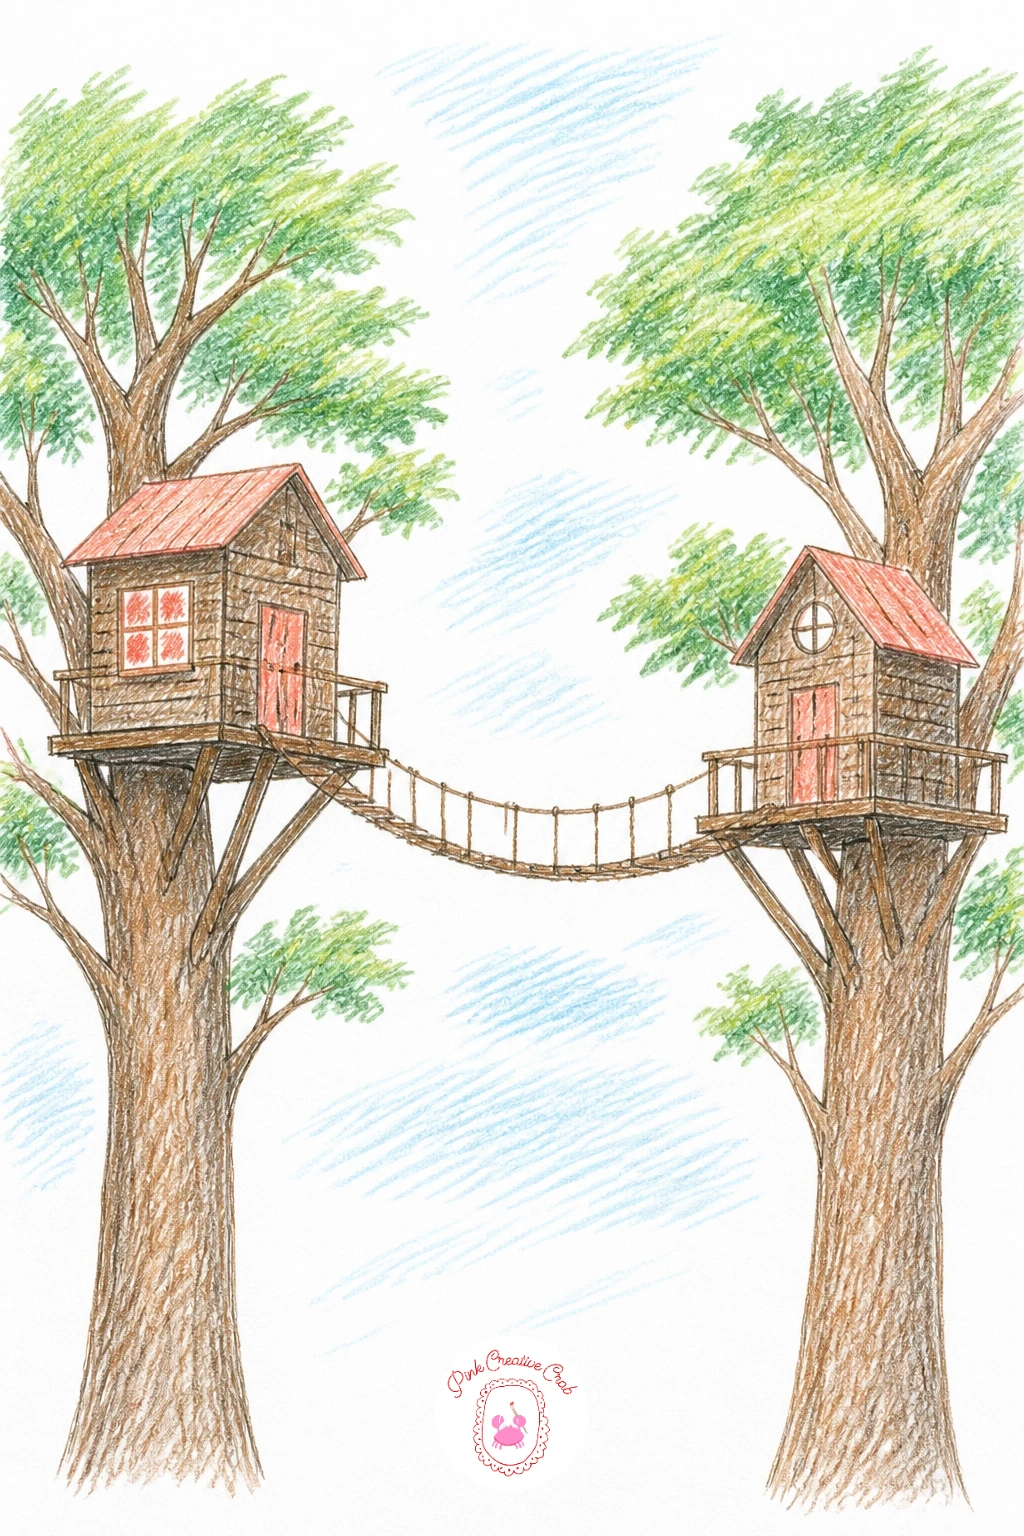
Palette: Leaf Green,Wood Brown,Sky Blue,Coral Red
Swap the leafy canopy for something softer: a treehouse tucked into a cherry tree in full bloom, with pink blossom covering the branches instead of green leaves. Draw the trunk and house exactly as before, then build the canopy out of small clustered ovals rather than one solid shape, leaving gaps of white paper between clusters so the blossom looks light rather than like a pink cloud.
Layer two pinks if you have them, a pale blush for most of the canopy and a deeper rose pressed in at the shadowed underside of each cluster. A few fallen petals drawn as small dashes on the roof and ground tie the whole scene together.
The canopy can easily turn into a flat pink blob if every cluster is the same size. Vary them, bigger toward the top and smaller near the edges, so the shape breathes.
Try this one after a plain green treehouse earlier in your sketchbook, the contrast between the two canopies is satisfying to see side by side.
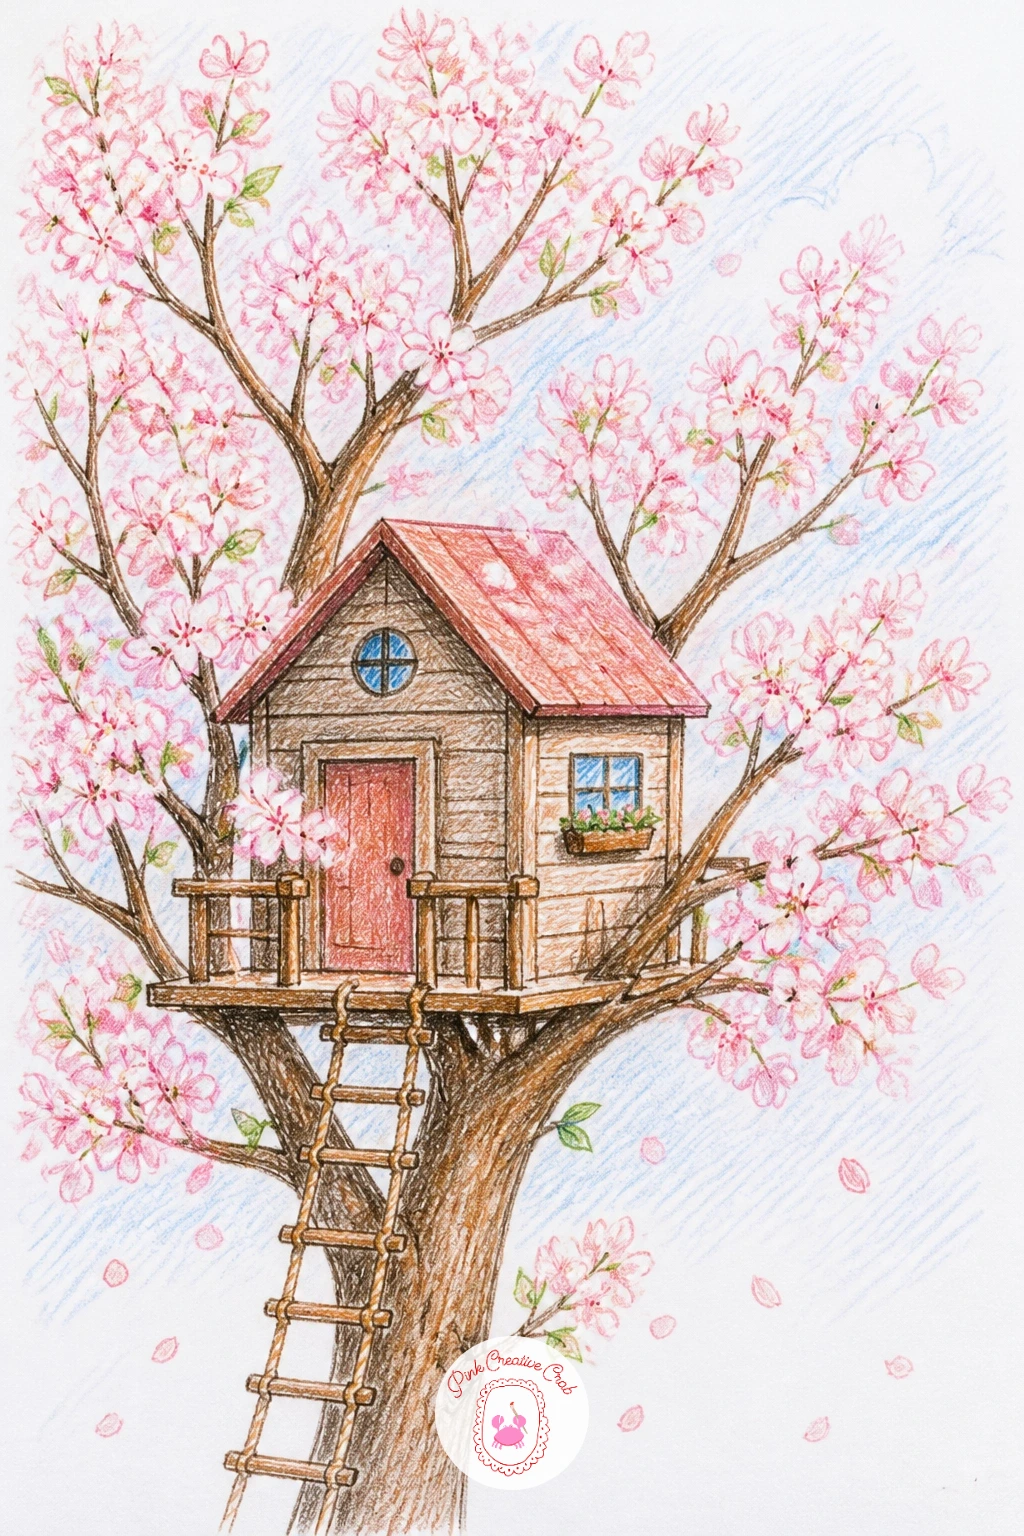
Palette: Blush Pink,Rose Pink,Wood Brown,Sky Blue
Here the eye needs somewhere to travel, so think about the path it takes before you draw a single line: house at the top, slide curving down, pond waiting at the bottom. Sketch the slide as a simple S-curve from the deck to the water, wider at the top and narrower where it meets the pond, which gives it a sense of distance.
Draw the pond as a flattened oval, not a circle, since a circle reads as a hole rather than water seen at an angle. A few curved lines across its surface in pale blue suggest ripples without needing any detail underneath.
The slide itself often looks stiff if drawn with a ruler. Keep your hand loose and let the curve wobble slightly, it will look more like plastic or wood than a rigid tube.
For a quicker version, skip the pond entirely and let the slide simply run off the bottom of the page.
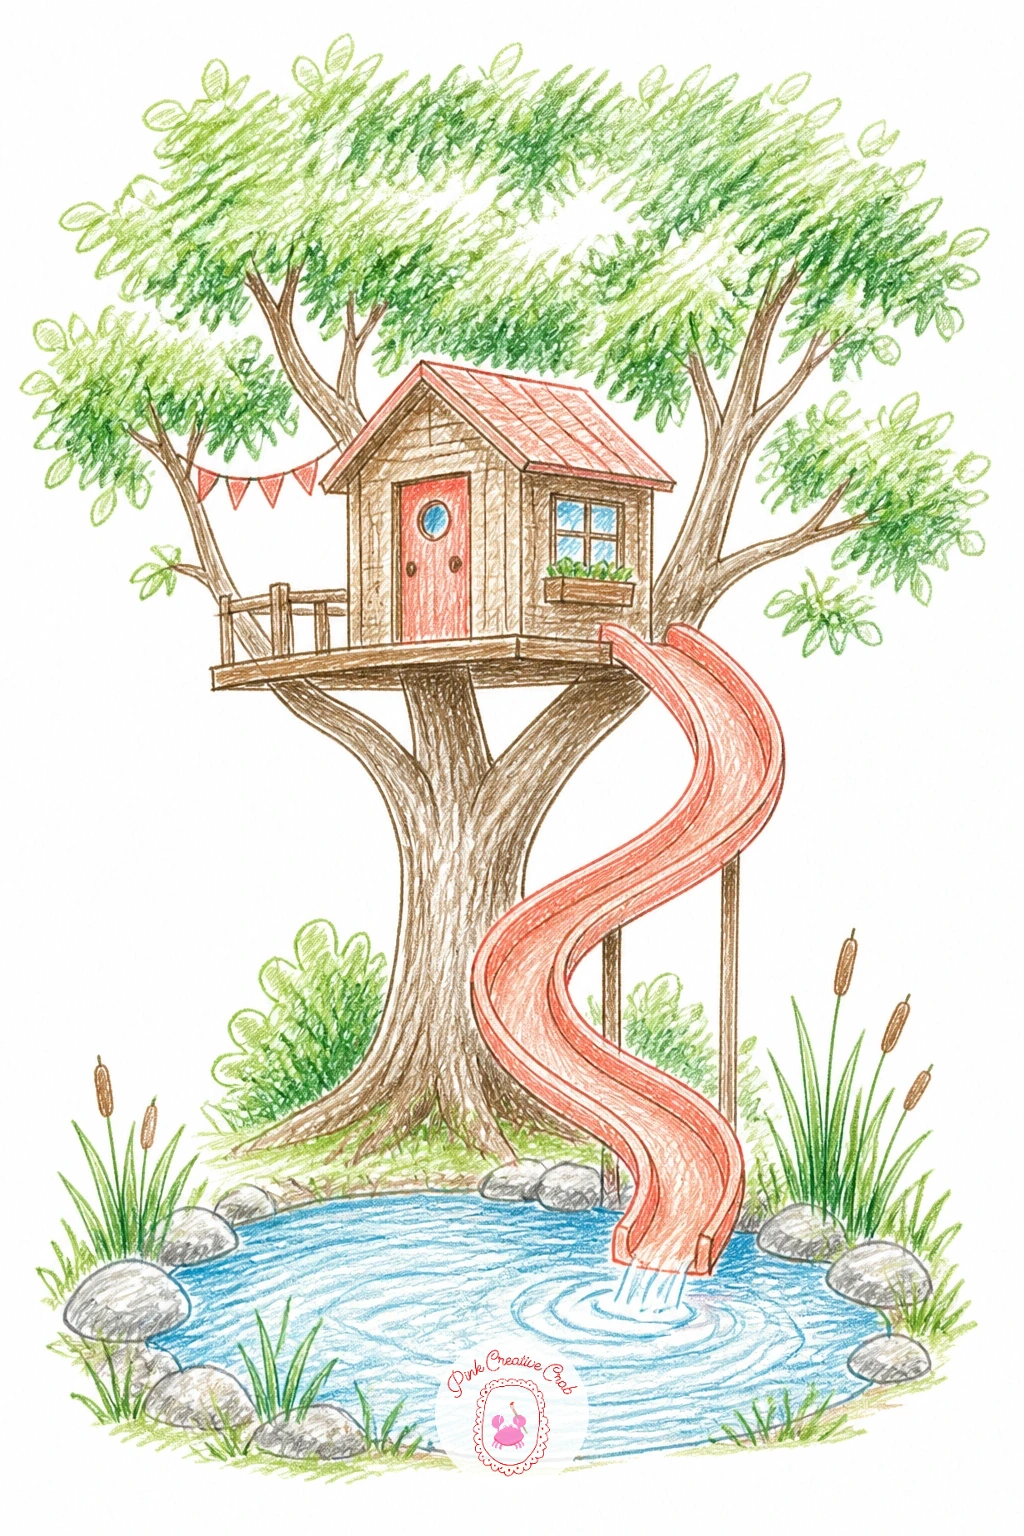
Palette: Sky Blue,Leaf Green,Coral Red,Wood Brown
Light comes from a different place in winter, and that is the whole trick of this one: keep the sky pale and let the warm chimney smoke and glowing window be the brightest, warmest marks on the page. Draw the house and bare branches first in brown, then add snow as white gaps left in the pencil work rather than white pencil drawn on top, since paper left bare always looks crisper than white pencil over color.
Shade the undersides of snow-capped branches and the roofline in a cool pale grey or blue to give the snow some shape, then add a thin curl of grey smoke rising from a small chimney pipe. One lit window in warm yellow against all that cool white and brown does most of the emotional work in the drawing.
Overworking the snow is the common mistake, too much pencil on white turns it dull. Touch it lightly, and if your paper is not bright white, leave the snow areas for last so they stay the cleanest part of the page.
This pairs nicely with the cozy, cottagecore mood of other winter sketches if you keep a little series going.
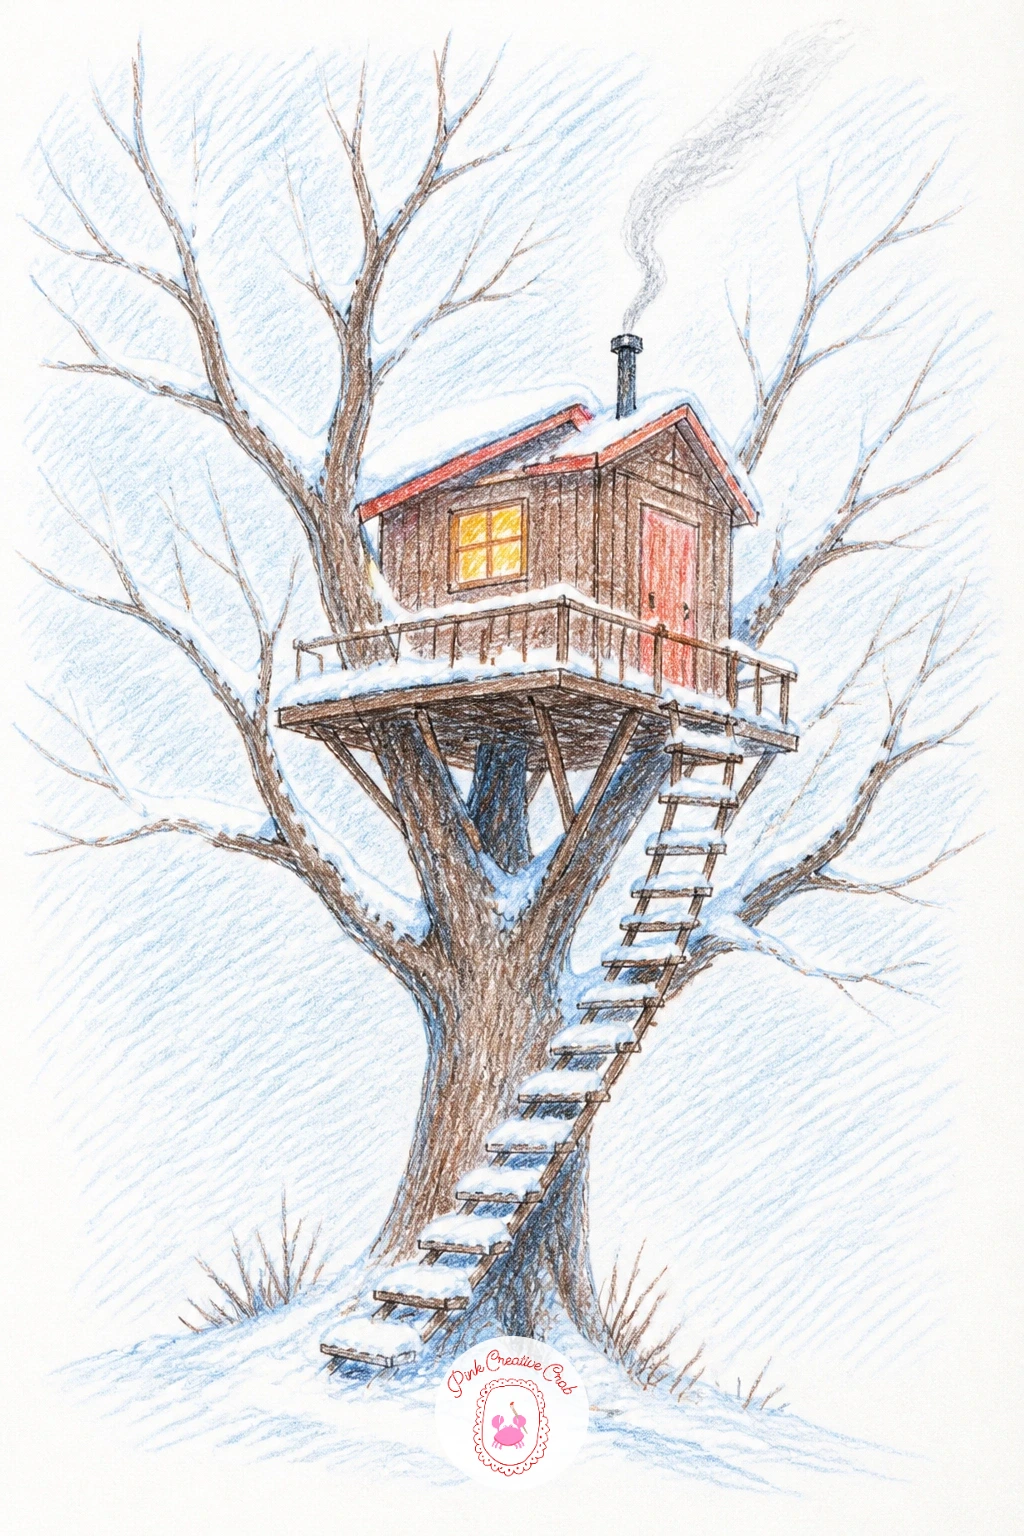
Palette: Pale Grey Blue,Wood Brown,Warm Yellow,Charcoal Grey
Give this treehouse a front porch in miniature: a small railed balcony crowded with potted plants, trailing vines, and maybe a little chair. Draw the balcony as a simple rectangle jutting from the house wall, then build the railing out of evenly spaced vertical lines before adding anything else, uneven spacing is the detail that makes a railing look off.
Plants are the fun part here. Draw a handful of pots in different shapes, then let two or three trailing vines spill down over the balcony edge, drawn as loose wavy lines with small leaf shapes along them rather than dense foliage.
Balconies often end up looking flat against the house. Add a thin cast shadow underneath the balcony floor and along one side of the railing, it is a small trick but it lifts the whole structure off the wall visually.
If pots feel fiddly at this size, simplify to two bigger plants rather than five small ones.
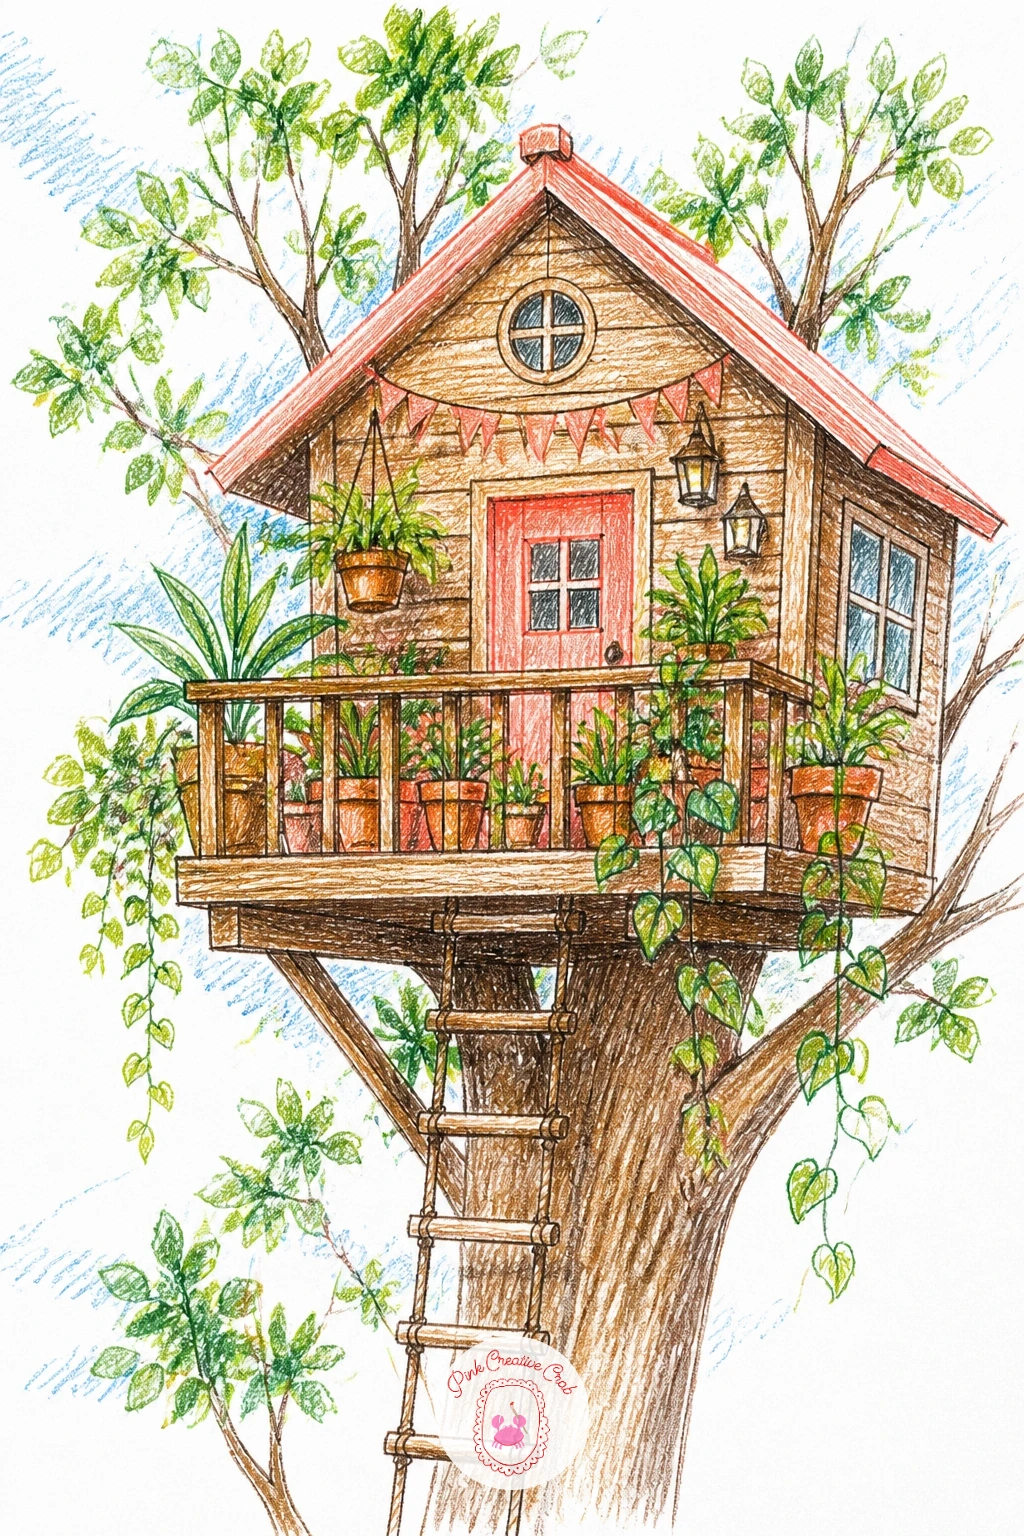
Palette: Leaf Green,Terracotta,Wood Brown,Sage Green
This one trades the tree for tall wooden stilts rising out of shallow water, so the eye level matters more than usual. Decide first whether you are looking up slightly at the house, which means the stilts converge a little toward the top, or straight on, which keeps them parallel, and stay consistent once you choose.
Draw the stilts before the house, spacing them evenly and letting a few show the waterline where they meet the sea in a pale ring of reflected light. Build the cabin on top simply, with a wraparound porch and maybe a small ladder down one stilt to a rowboat.
Reflections are where this scene earns its charm: a few soft vertical smudges of the house’s colors directly below it in the water, slightly broken up, read instantly as a reflection without needing to be exact.
Swap the sea for a lake if you would rather keep the palette calmer, the same stilt structure works for either.
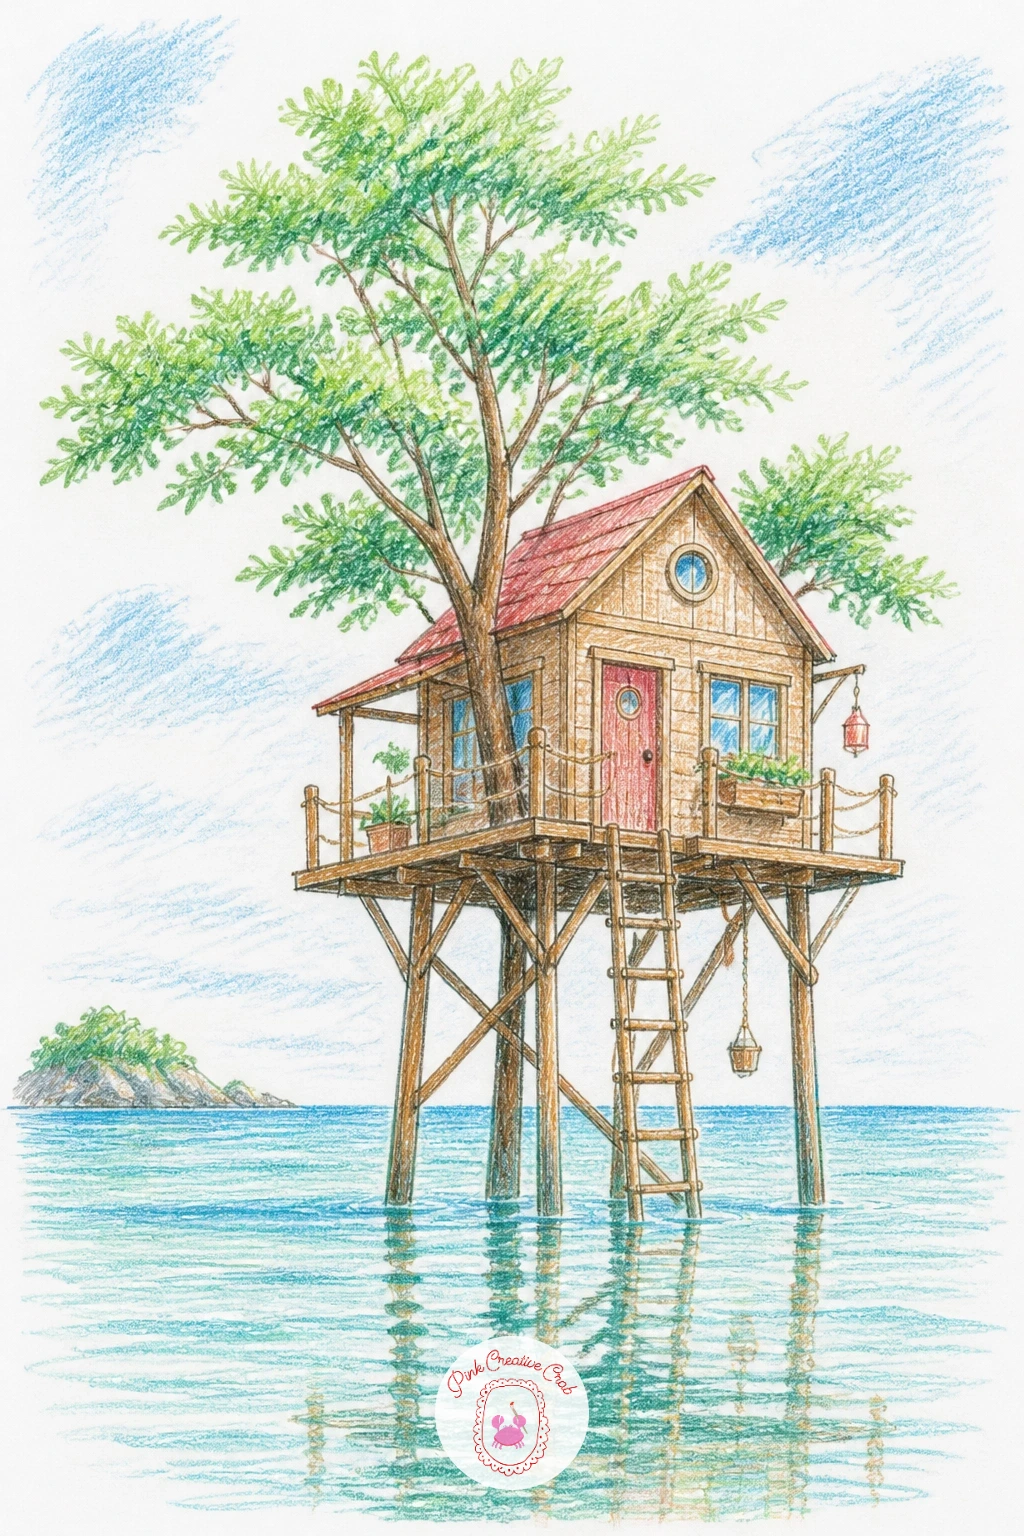
Palette: Sky Blue,Ocean Teal,Wood Brown,Sand Beige
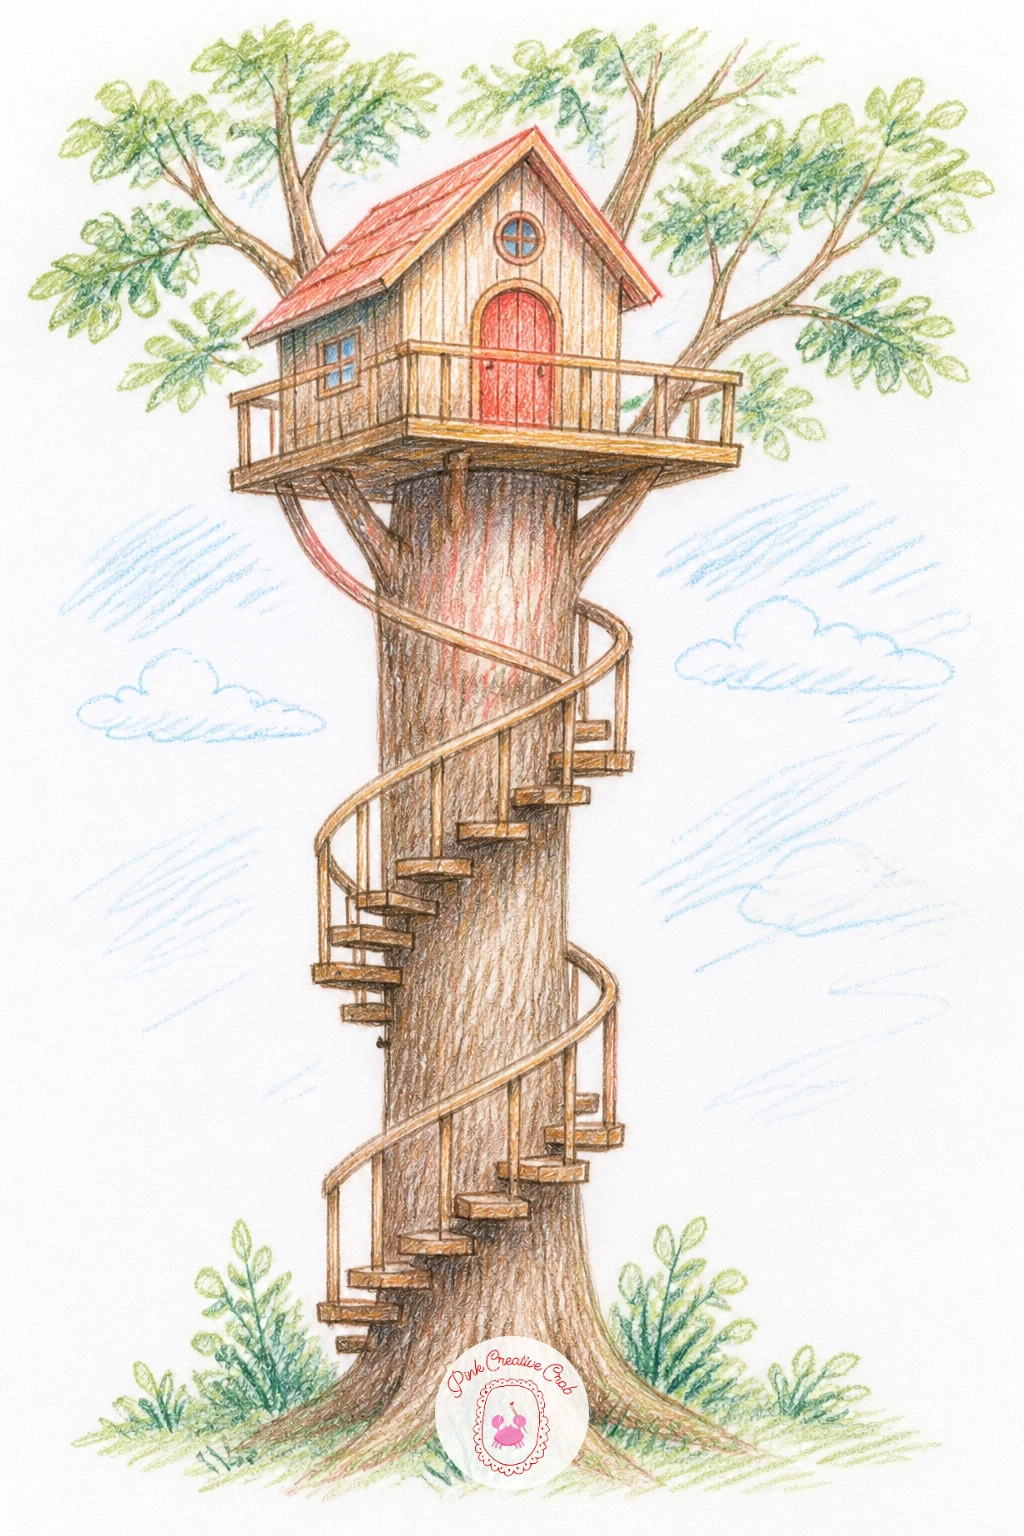
Wrapping a staircase around a trunk is really an exercise in getting ellipses right, so start there: draw the trunk as a simple cylinder, then mark a series of flattened ellipses circling it at even intervals, each one a little higher and slightly narrower if the trunk tapers upward.
Connect those ellipses with short diagonal lines to form the stair treads, and only draw the side of the staircase facing you in full, letting the back half disappear behind the trunk. This single trick of hiding what wraps behind the tree is what makes a spiral staircase read correctly instead of looking flattened out.
Add a simple rail along the outer edge of the stairs using the same curved logic as the treads. If ellipses are not your strong point yet, trace around a coin or small lid lightly in pencil first to get the curve, then erase the guide once the staircase is drawn over it.
Keep the house itself simple at the top, the staircase is the star of this one.
You Will Need
- a small round object to trace for the staircase curves
Palette: Wood Brown,Leaf Green,Coral Red,Cream
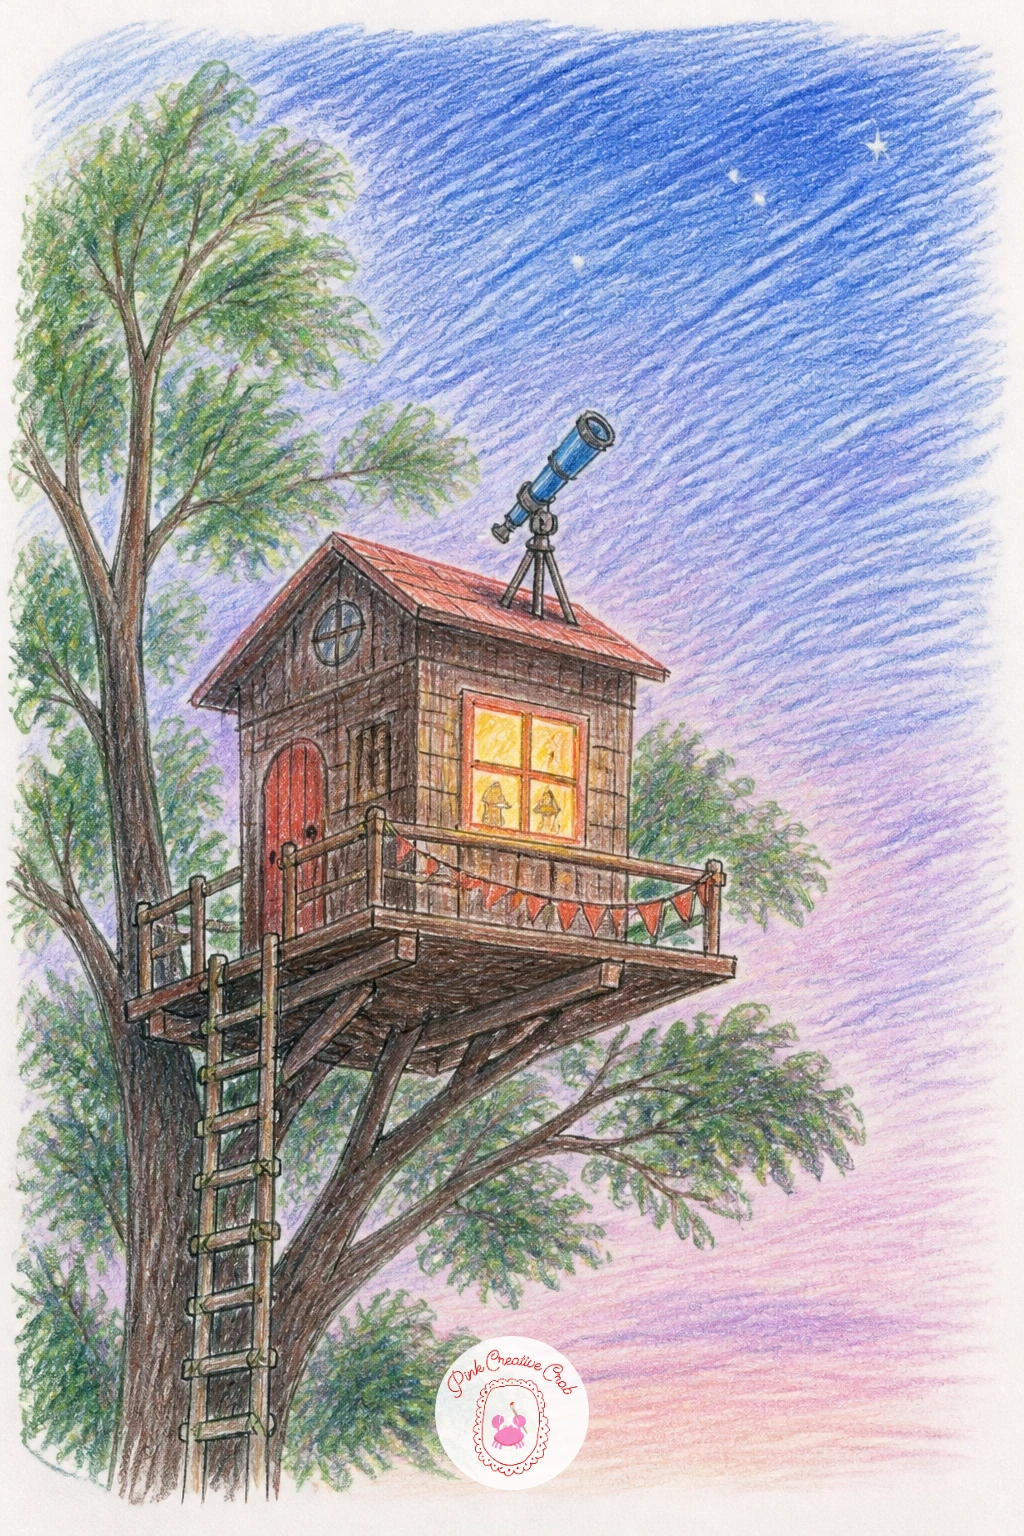
Point this one upward: a treehouse with a small telescope mounted on its roof, aimed at the sky rather than down at the ground. Draw the house first, then add the telescope as a simple tube on a tripod, angled at roughly forty five degrees so it clearly points up and out rather than sitting flat.
Think about where the light comes from before adding any sky color. A telescope scene suggests either daytime with a bright sun or a dusky evening sky, and that choice changes everything, from the color of the house’s shadow side to whether you add a star or two near the telescope’s line of sight.
Keep the telescope’s proportions modest, a tube roughly as long as one window is plenty, since an oversized telescope can overwhelm the whole little house.
If you enjoy this one, a village scene with small structures and rooftop details rewards the same careful proportioning, worth a look at this village scene drawing guide for more of that.
Palette: Dusky Purple Blue,Wood Brown,Pale Yellow,Charcoal Grey
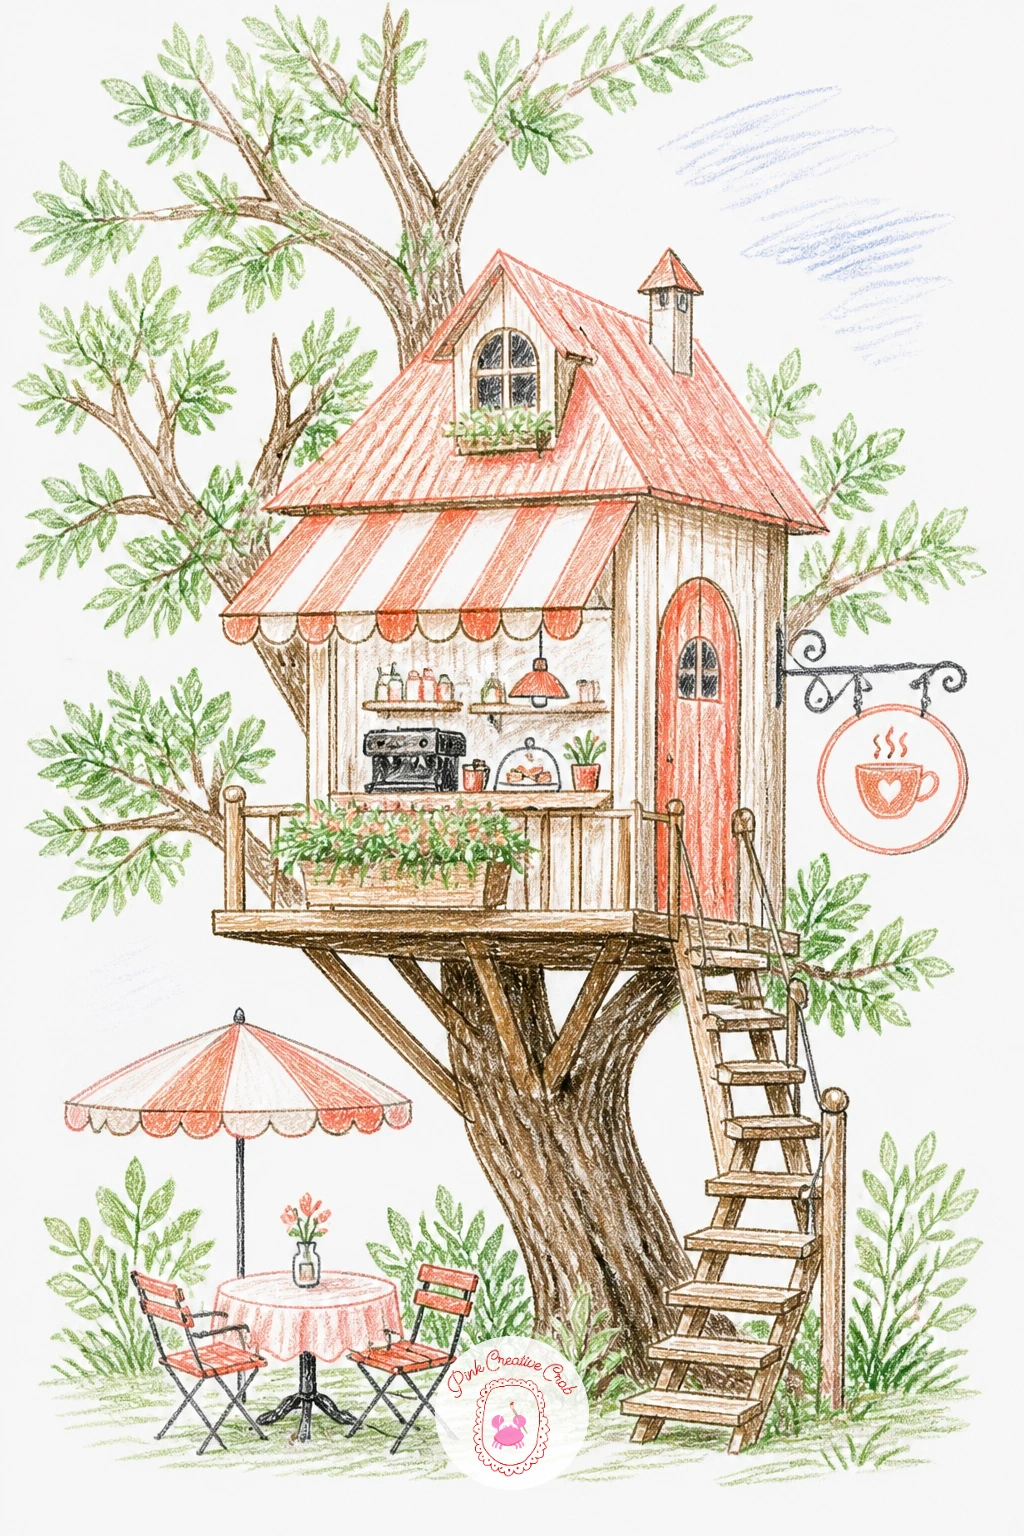
Turn the treehouse into somewhere you could actually sit down for a coffee: a cafe with a hanging sign, a few outdoor tables on the ground below, and striped awning over the window counter. Draw the house first, then add a small hanging sign on a bracket, left blank or with a tiny cup shape rather than any lettering.
Awnings are simplest drawn as a fan of alternating stripes in two colors, curved slightly to show they are fabric rather than a flat board. A table and two chairs below, drawn small and slightly overlapping the tree’s base, ground the scene and suggest people have just stepped away.
The forest around a cafe scene can swallow the whole drawing if every tree gets equal attention. Keep surrounding trees as soft, simplified shapes in the background and save your detail for the cafe itself.
For more cafe and market details to borrow from, the little cafes and market stalls tutorial has useful ideas even if you are working in pencil.
Palette: Coral Red,Cream,Leaf Green,Wood Brown
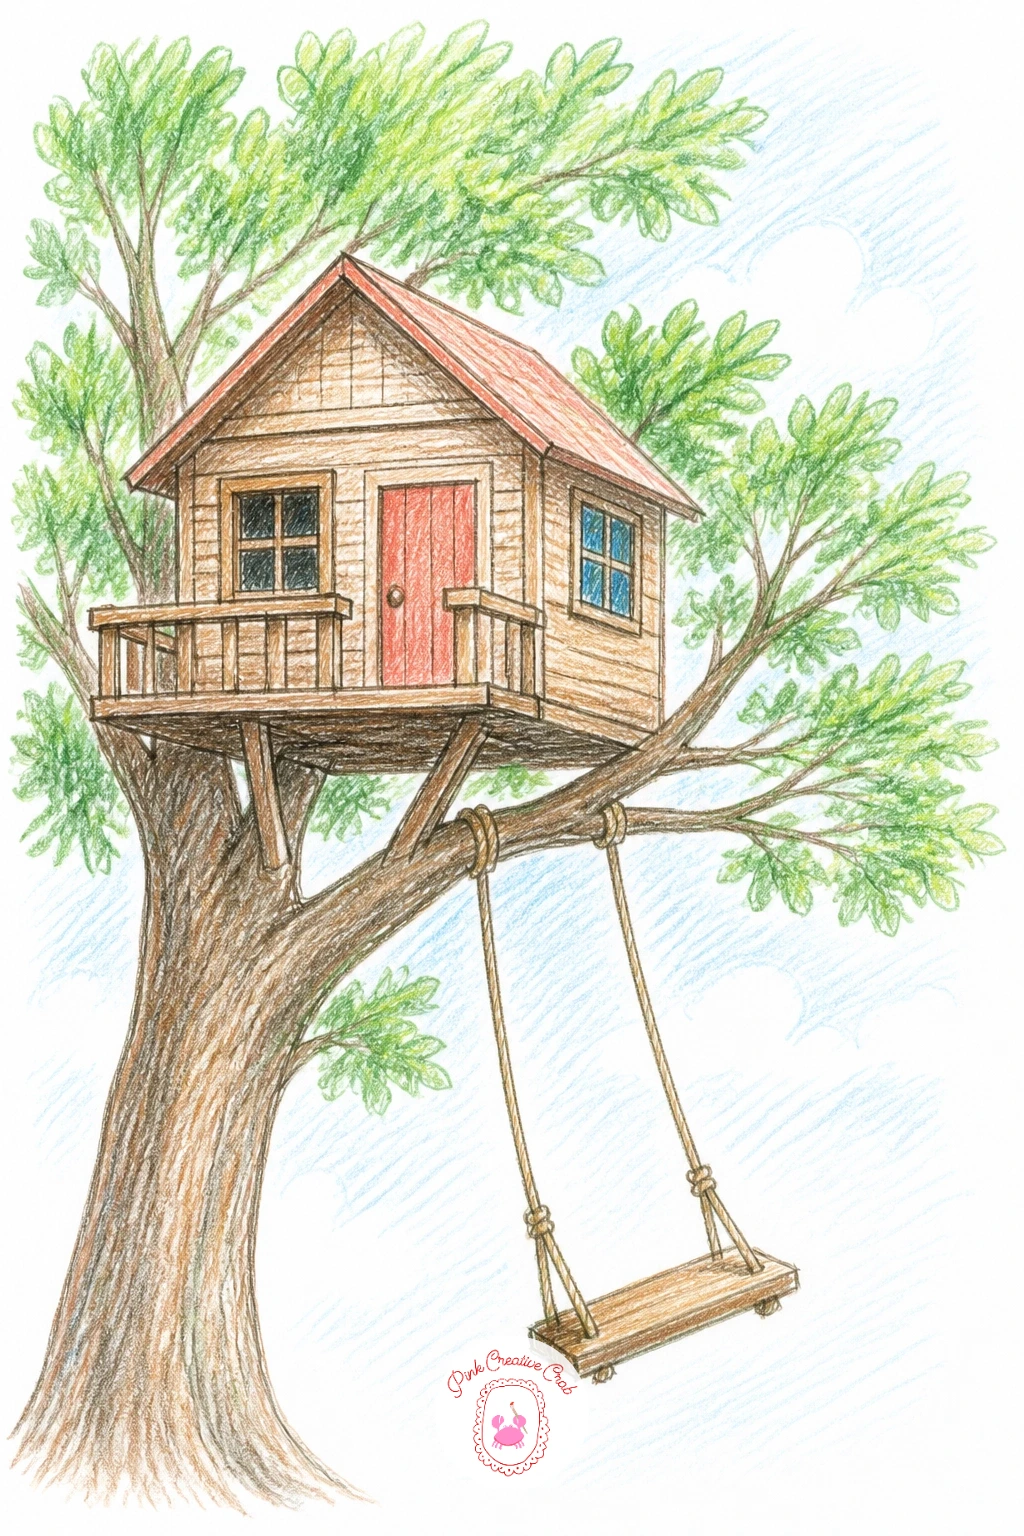
Add motion to a still scene with a rope swing hanging from a thick branch below the house. Draw the two ropes first, slightly uneven in length and angle since perfectly symmetrical ropes look stiff, then add a simple wooden seat between them, tilted just a touch as if it is mid-swing.
This is a good one to practice dry brush style pencil texture on the rope: use short, slightly broken strokes rather than one smooth line, it reads as twisted fiber instead of a solid stick. A light shadow beneath the seat on the ground anchors it in space.
Ropes often end up too thick and stiff looking. Keep the line width narrow and let it taper slightly where it meets the branch and the seat.
No brown pencil handy for the rope, a warm grey or tan works just as well and can even look more like weathered rope.
Palette: Wood Brown,Leaf Green,Warm Tan,Sky Blue
Trade the usual green canopy for a tree in full autumn color, orange, red and gold leaves scattered both on the branches and drifting down around the house. Build the canopy with the same clustered shapes you would use for any leafy tree, just swap the palette, and let a few individual leaf shapes break free from the main mass to drift near the roof and ground.
Layer two or three autumn colors within the canopy rather than one flat orange, pressing a little harder where leaves would be in shadow toward the trunk and lighter where they catch the light at the outer edges. A handful of fallen leaves at the base of the tree, drawn as small simple almond shapes, finishes the seasonal feel.
An autumn canopy can turn muddy fast if every color gets blended together. Keep some strokes distinct, hatching in one color and then another beside it rather than over it, so the paper still shows through.
Try doing a full forty minute version with falling leaves scattered across the whole page, or a quick ten minute sketch with just the tree and a few leaves at its base.
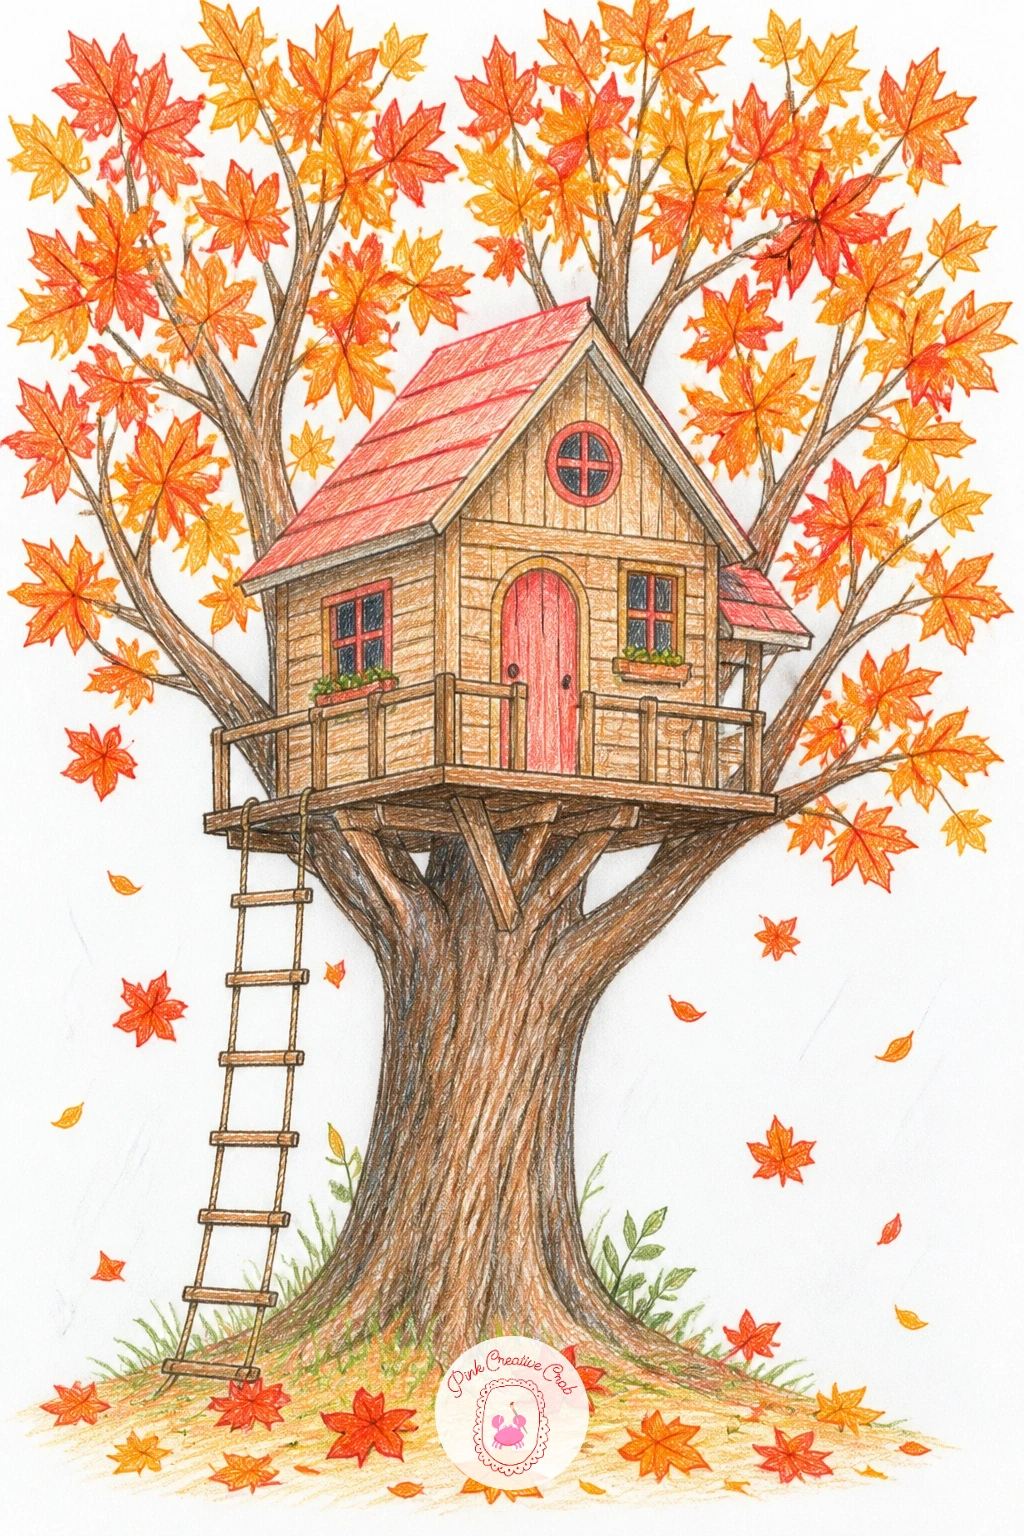
Palette: Burnt Orange,Golden Yellow,Deep Red,Wood Brown
Add a small working detail to this treehouse: a rope and pulley system with a little basket hanging partway up the trunk, as if someone just sent up a snack. Draw the pulley wheel first as a small circle mounted near the house, then run the rope down and around it in a simple loop before placing the basket at whatever height feels right along that loop.
The basket itself can carry a lot of charm in a small space, give it a woven texture with short crosshatched strokes and let a loaf of bread or a bunch of grapes peek over the rim. Keep the rope thin and let it curve slightly rather than running perfectly straight, which keeps it looking like rope under gentle tension.
People often draw the pulley wheel too large, which makes the whole mechanism look clunky. A wheel about the size of the basket’s width is plenty.
This small prop idea pairs nicely with a fruit basket you may have already sketched, worth a look at fruit basket drawing ideas if you want practice with that woven texture.
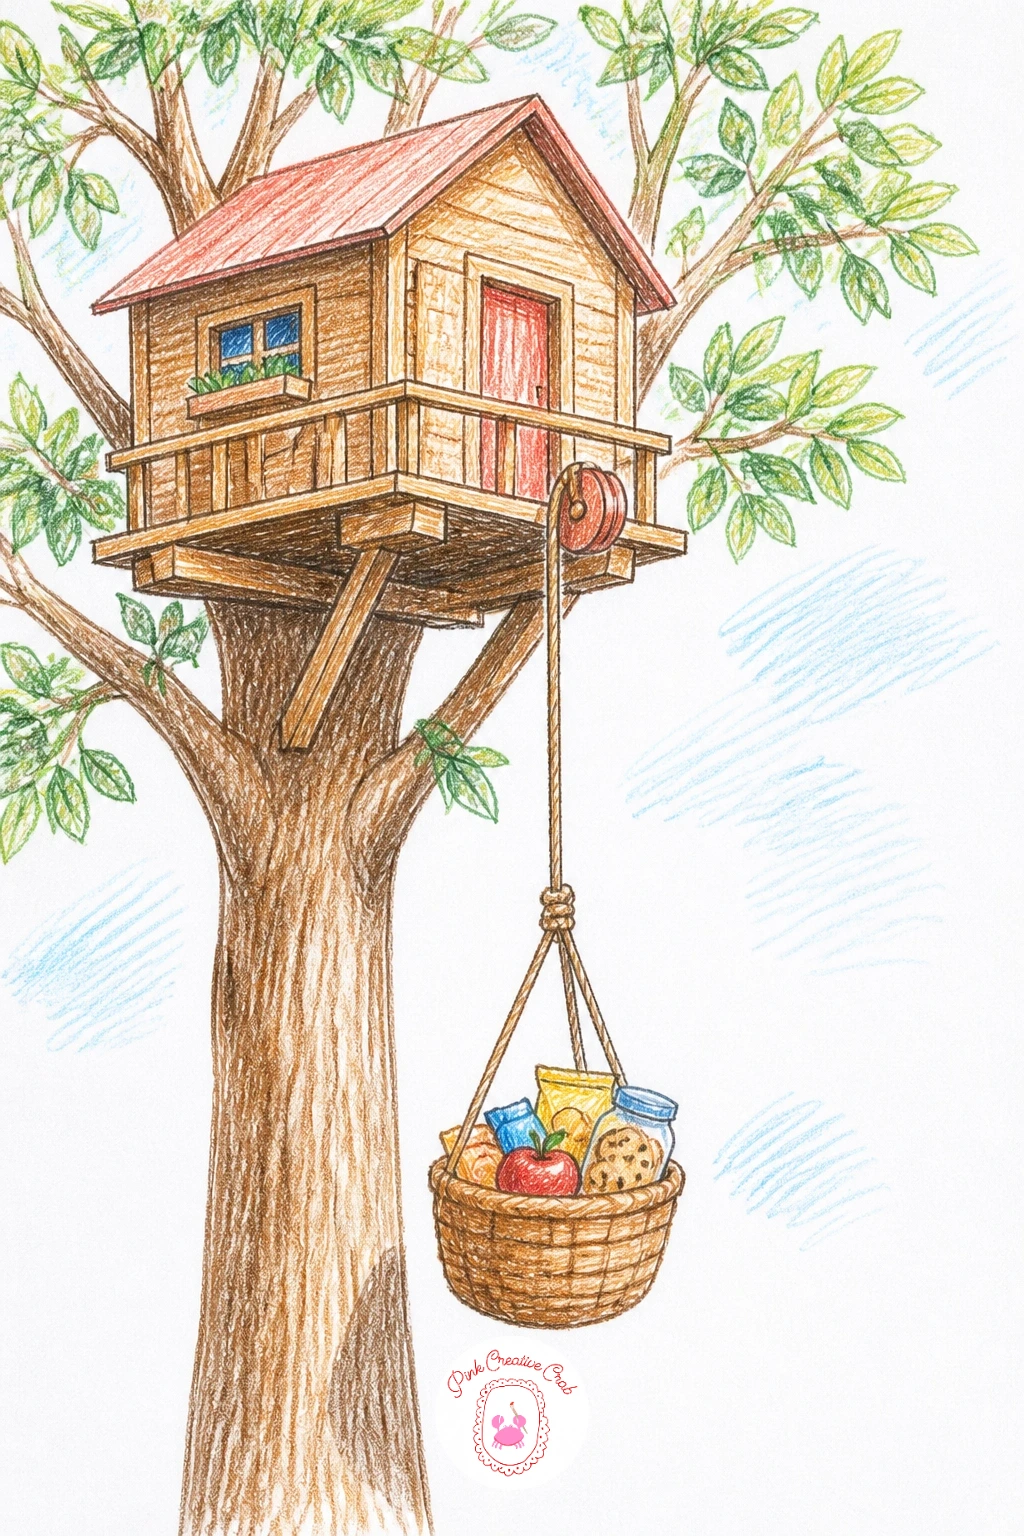
Palette: Wood Brown,Warm Tan,Leaf Green,Coral Red
Scale this one up into something grander, a treehouse hotel with several connected rooms tucked among a cluster of tall pine trees rather than a single trunk. Sketch the pines first as simple tall triangular shapes of varying heights, then weave two or three connected cabins between them at different levels, joined by small walkways or short ladders.
Give each cabin its own tiny window light so the whole structure reads as one hotel made of several rooms rather than one confusing blob. Pines are quick to draw with short upward strokes layered over a simple triangle, leave gaps of white paper between branches so the tree does not turn solid and dark.
The scale of several cabins among tall pines can overwhelm a small page fast. Keep the pines simplified and let your detail live entirely in the cabins and walkways.
A simpler version of the evening just places one pine and one cabin, save the full cluster for when you have more time.
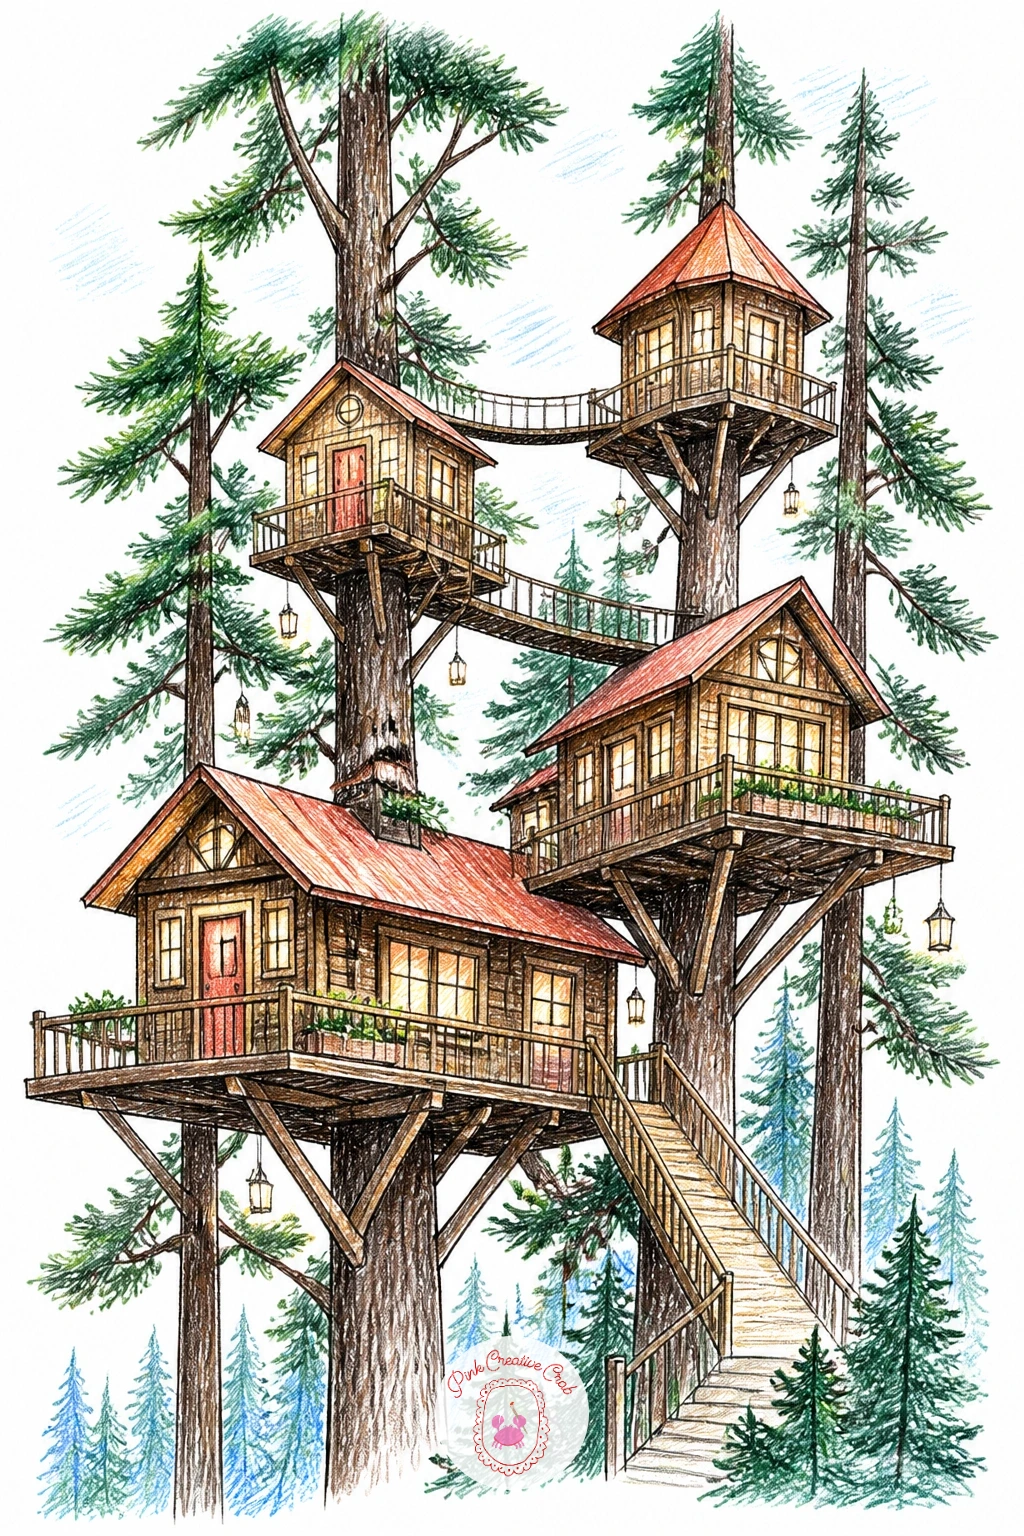
Palette: Pine Green,Wood Brown,Warm Yellow,Charcoal Grey
Swap the oak or pine for something leaner and more tropical: a treehouse built high in a curving palm tree right on the sand. Draw the palm trunk first as a long gentle curve rather than straight up, palms almost always lean, then add the fronds at the top in a loose starburst of long pointed leaf shapes radiating outward.
Tuck the little house into the base of the fronds, roughly where they meet the trunk, and keep it small compared to the tree, a palm house should feel perched rather than heavy. A simple ladder of rope or bamboo rungs running down the curved trunk ties the whole thing together.
Fronds often end up stiff and symmetrical if drawn too evenly. Vary their length and droop, some fuller and higher, some drooping lower, for a more natural palm shape.
Add a strip of pale sand and a hint of turquoise sea at the base for the full beach feeling, or leave the ground plain if you are short on time.
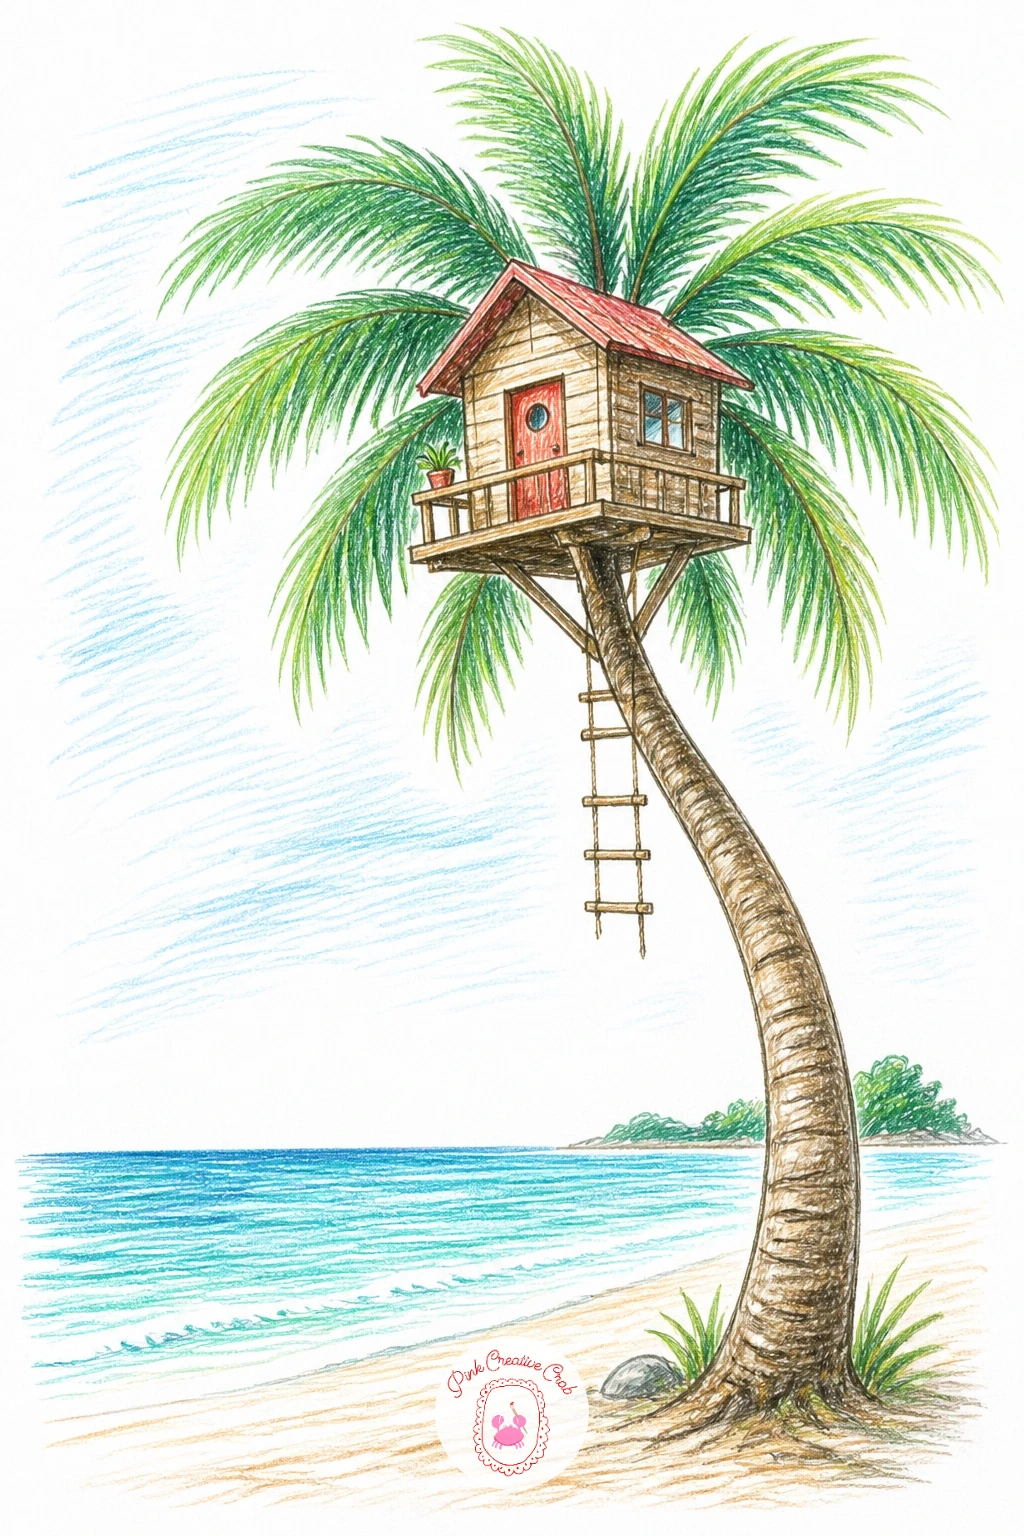
Palette: Leaf Green,Sand Beige,Turquoise,Wood Brown
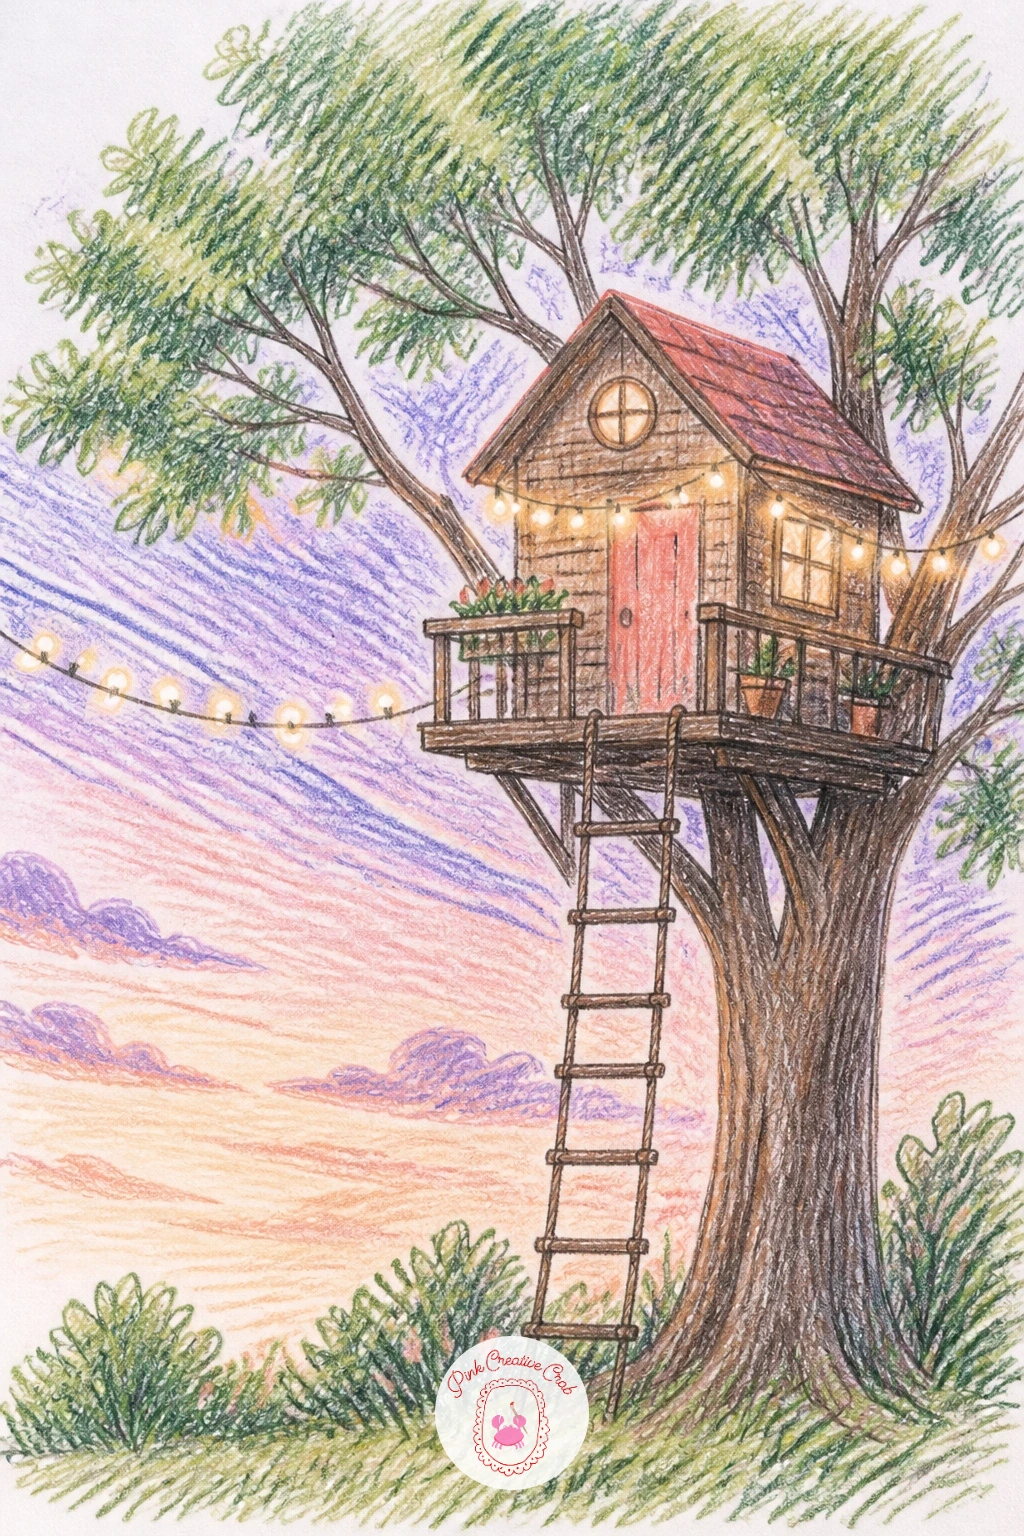
Light is the whole subject here: a treehouse strung with little lights against a soft pastel evening sky. Block in the sky first in pale lavender, peach and dusty blue blended loosely with light hatching, since getting that gradient right before the tree goes in makes everything else easier to judge against it.
Draw the string of lights as a gently drooping line looped between the roof and a nearby branch, then mark small dots along it in warm yellow, leaving a tiny ring of white paper around each dot so it looks lit rather than just colored in. The house and tree can stay fairly dark and simple in silhouette against that bright pastel sky, which makes the lights pop even more.
Too many lights drawn the same size flattens the effect. Vary them slightly and let a couple sit slightly brighter or larger than the rest.
If you want to see how other pastel evening skies get built up in layers, the color blending in these cozy pencil sketches uses a similar soft layering approach.
You Will Need
- white gel pen for the light dots
Palette: Lavender,Peach,Dusty Blue,Warm Yellow
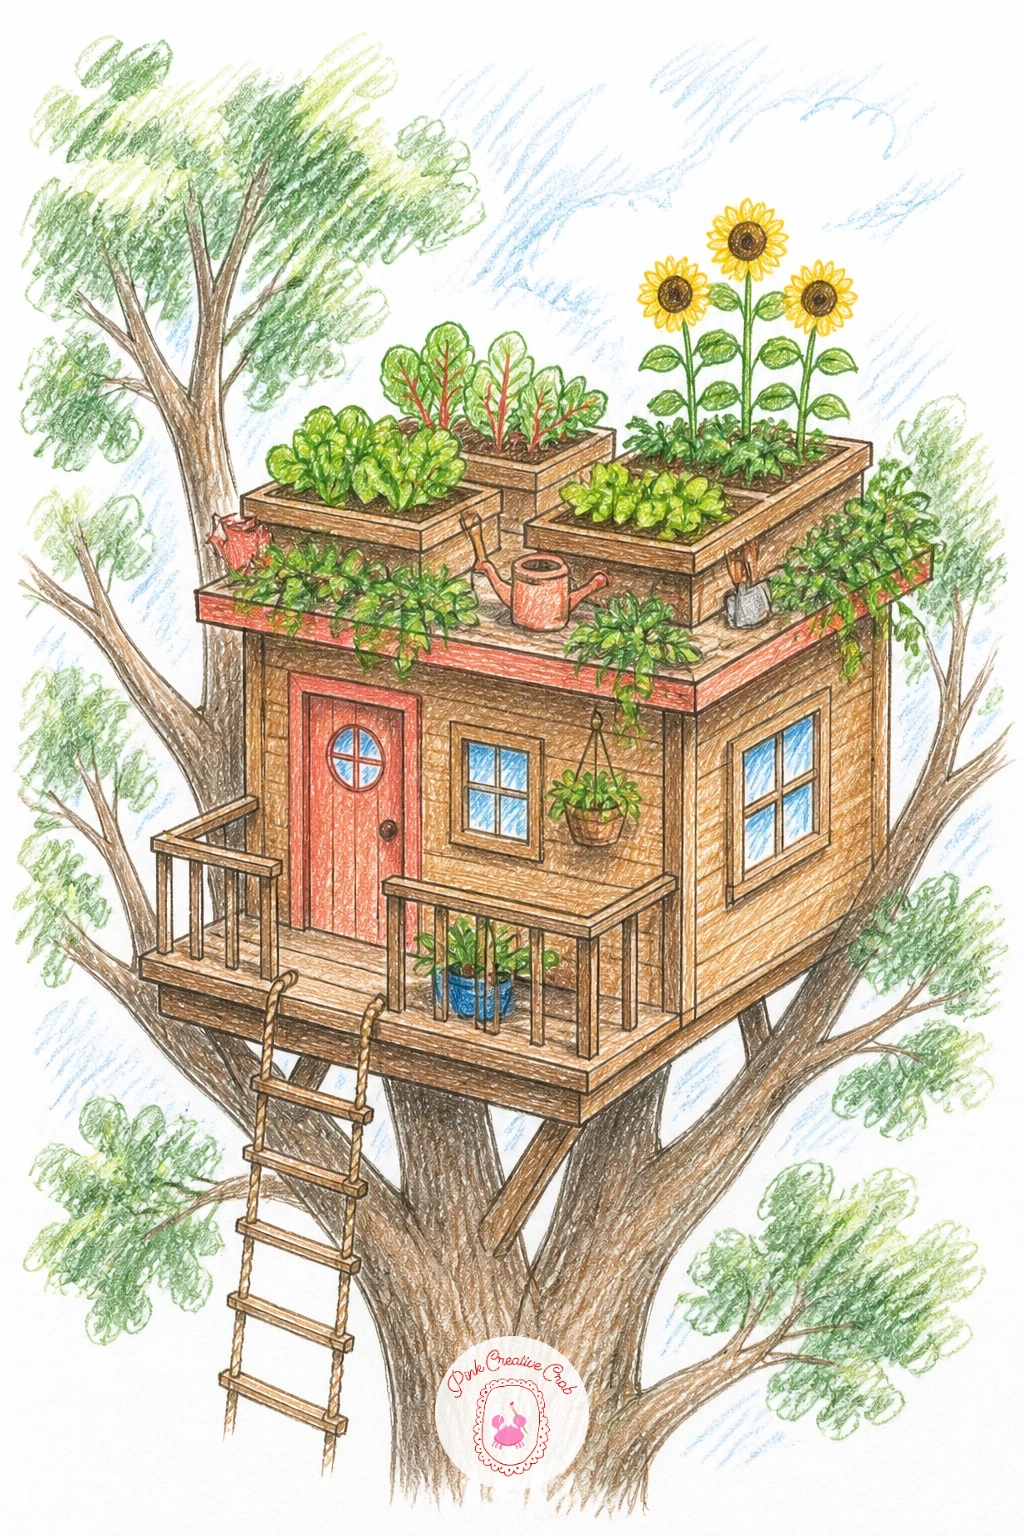
Give the roof itself something to grow on: a treehouse topped with a small rooftop garden of raised beds, flowers and maybe a tiny scarecrow. Draw the house and roofline first, flattening part of the roof into a simple platform rather than a peak, since a rooftop garden needs somewhere level to sit.
Build the garden as a few distinct raised beds rather than one messy patch, each with its own crop or flower type, a row of leafy greens beside a cluster of sunflowers works nicely. Keep individual plants simple, a few confident strokes per leaf rather than fussy detail, so the rooftop reads as planted rather than cluttered.
The roofline can look unstable if the garden beds seem to float above it. Add a thin dark line along the base of each bed where it meets the roof, grounding them clearly.
Once this works, try varying it with a greenhouse instead of open beds, same roof platform, just a small glass structure on top instead.
Palette: Leaf Green,Golden Yellow,Terracotta,Wood Brown
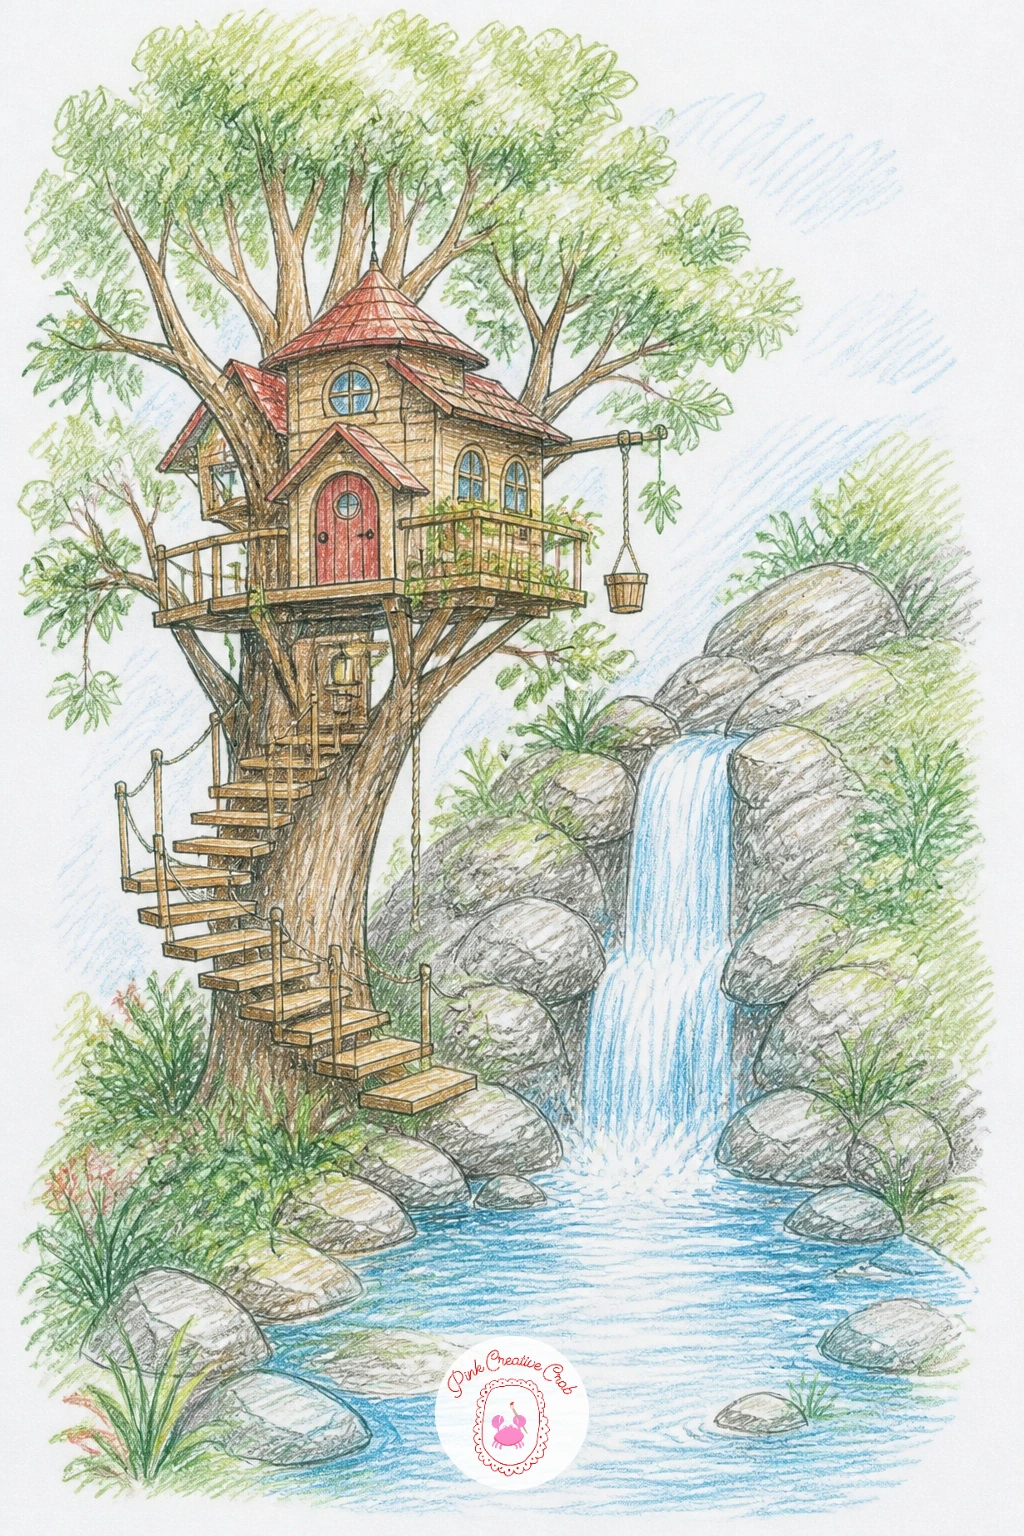
This is the most ambitious scene on the list, so plan the layout lightly in pencil before committing to any line: a treehouse tucked beside, or straddling, a small waterfall tumbling down rocks into a pool. Place the waterfall first as a simple vertical band of white paper left bare between two rocky banks, then add the house to one side on a platform or short stilts.
Draw the falling water with a few long, slightly wavy vertical strokes in pale blue along the edges of that white band, never filling the whole width, water needs white paper showing through to look like it is moving. Rocks around the base get short angular strokes in grey and brown to feel solid against the softness of the water.
Overworking the waterfall with too much blue is the easiest way to lose the sense of movement. Keep most of its width as bare white paper and only shade the edges and ripple lines.
A simpler version drops the waterfall to a small stream instead, same bare white paper trick, less rock to draw.
Palette: Sky Blue,Stone Grey,Leaf Green,Wood Brown
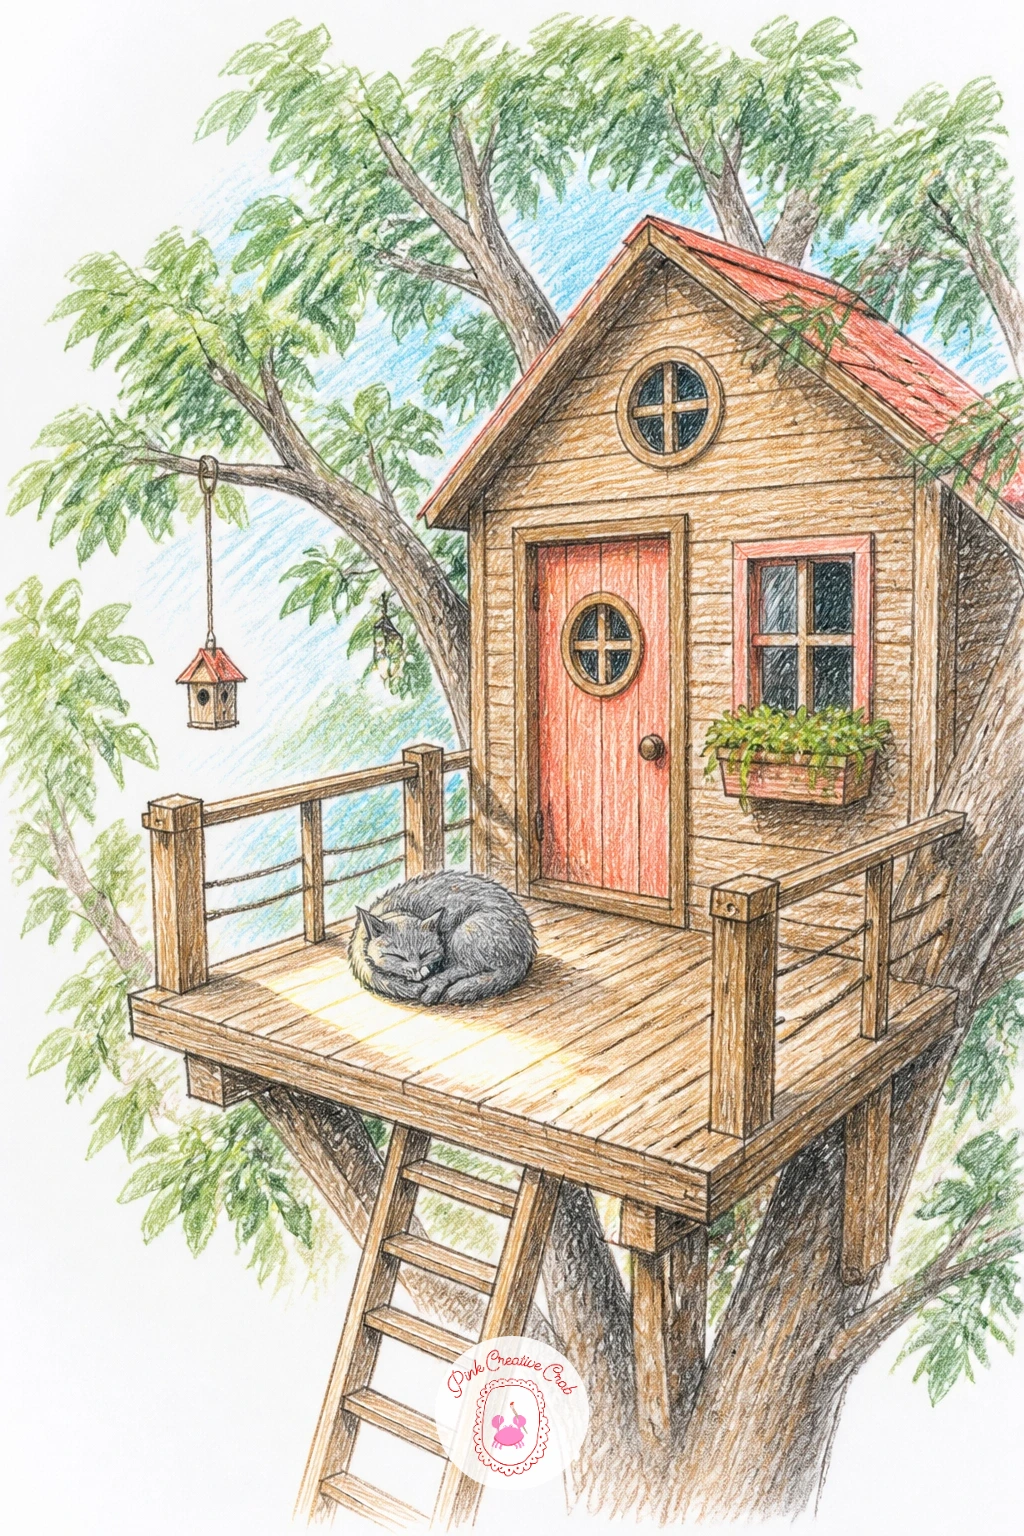
Bring a little life onto the deck without adding much complexity: a cat curled up asleep in a patch of sun by the front door. Draw the house and deck first, then place the cat as a simple curled oval shape with a tucked tail and small rounded ears, rather than trying to draw a fully stretched out cat in detail.
Keep the cat’s fur suggested with a few short strokes along the back and tail rather than individual hairs, and let one ear tip and the tail curl be the only sharp details, everything else can stay soft and rounded. A small patch of warm light drawn around the cat, slightly brighter than the rest of the deck, sells the idea of a sunny nap spot.
Cats drawn too angular lose their softness fast. Round every shape slightly more than feels natural and the sleeping pose will come together.
If cats are not your strength yet, a look at these cat pencil drawing ideas covers curled poses in more depth.
Palette: Warm Grey,Wood Brown,Warm Yellow,Cream
This treehouse wraps its shelves right around the trunk itself, turning the tree into part of the bookcase. Draw the trunk a little wider than usual to give the shelves somewhere believable to sit, then mark a series of small horizontal lines curving slightly around its surface, each one a shelf edge following the trunk’s roundness.
Fill each shelf with a row of narrow rectangles in varied heights and colors for the book spines, no two quite the same width or height, which is what makes a bookshelf look full rather than printed. A small ladder leaning against the trunk, or a round window glowing above the shelves, finishes the scene.
Shelves drawn perfectly straight across a round trunk look pasted on rather than wrapped around it. Let each shelf line curve very slightly, following the same logic as the staircase trick used elsewhere on this list.
For the quick version, draw just two or three shelves near the base, the full wraparound library is the forty minute take.
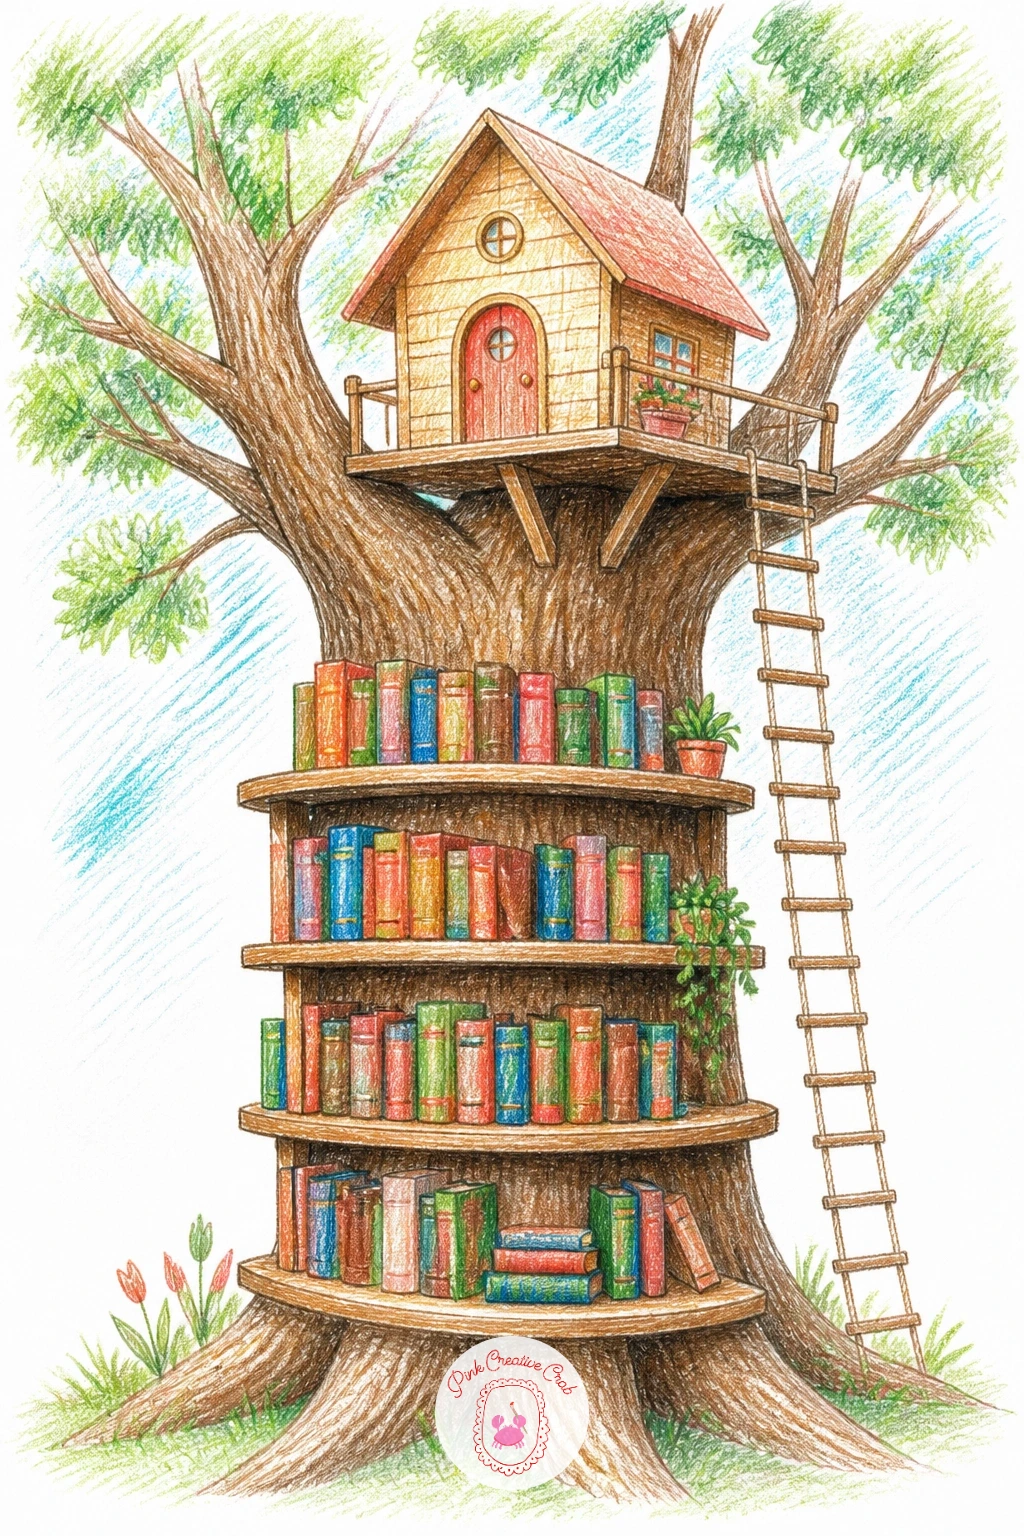
Palette: Wood Brown,Deep Red,Mustard Yellow,Sage Green
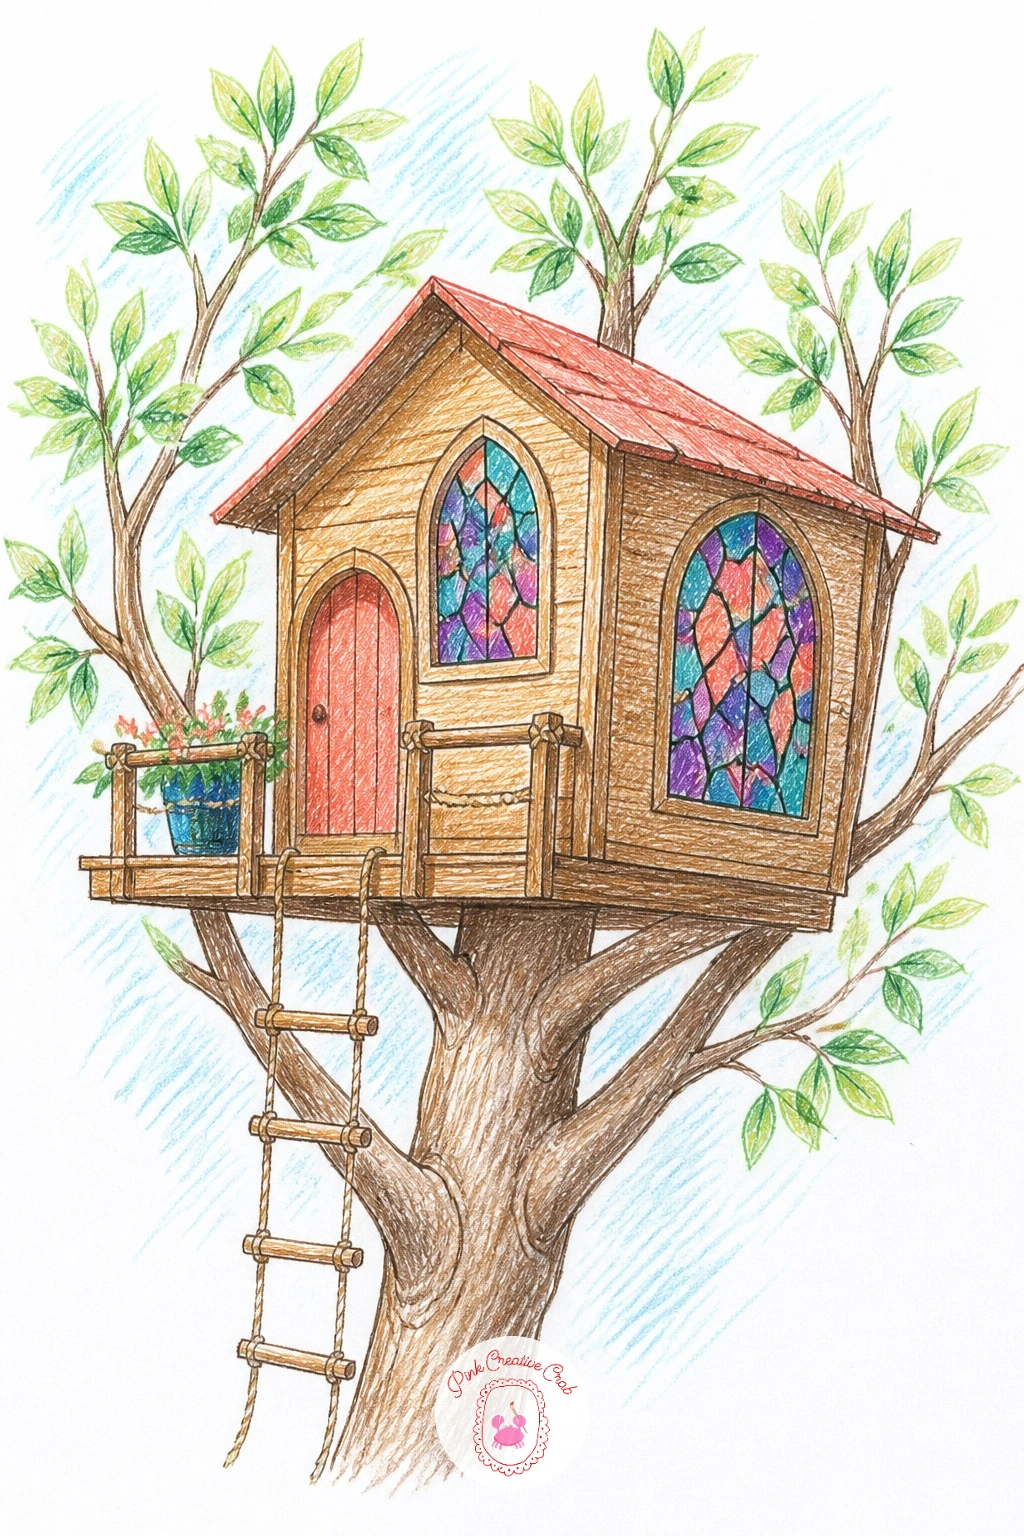
Let the windows carry all the color in this one: a fairly plain wooden treehouse with two or three stained glass windows glowing in small panes of color. Draw the house simply first, then divide each window into an irregular grid of small shapes, more organic than a regular checkerboard, like the lead lines in real stained glass.
Color each small pane a different jewel tone, coral, teal, violet, gold, leaving a thin strip of white or grey paper between panes to stand in for the lead lines holding the glass together. Keep the rest of the house fairly plain and muted so the windows read as the brightest, most saturated part of the page.
Panes colored too uniformly lose the stained glass feel. Vary the tones even within one color family, a warm gold beside a deeper amber, so the window has some richness to it.
A fine liner or dark pencil traced over the pane divisions after coloring sharpens the leaded look nicely if you want to push it further.
You Will Need
- fine black or dark grey pencil for the lead lines
Palette: Jewel Teal,Violet,Amber Gold,Coral Red
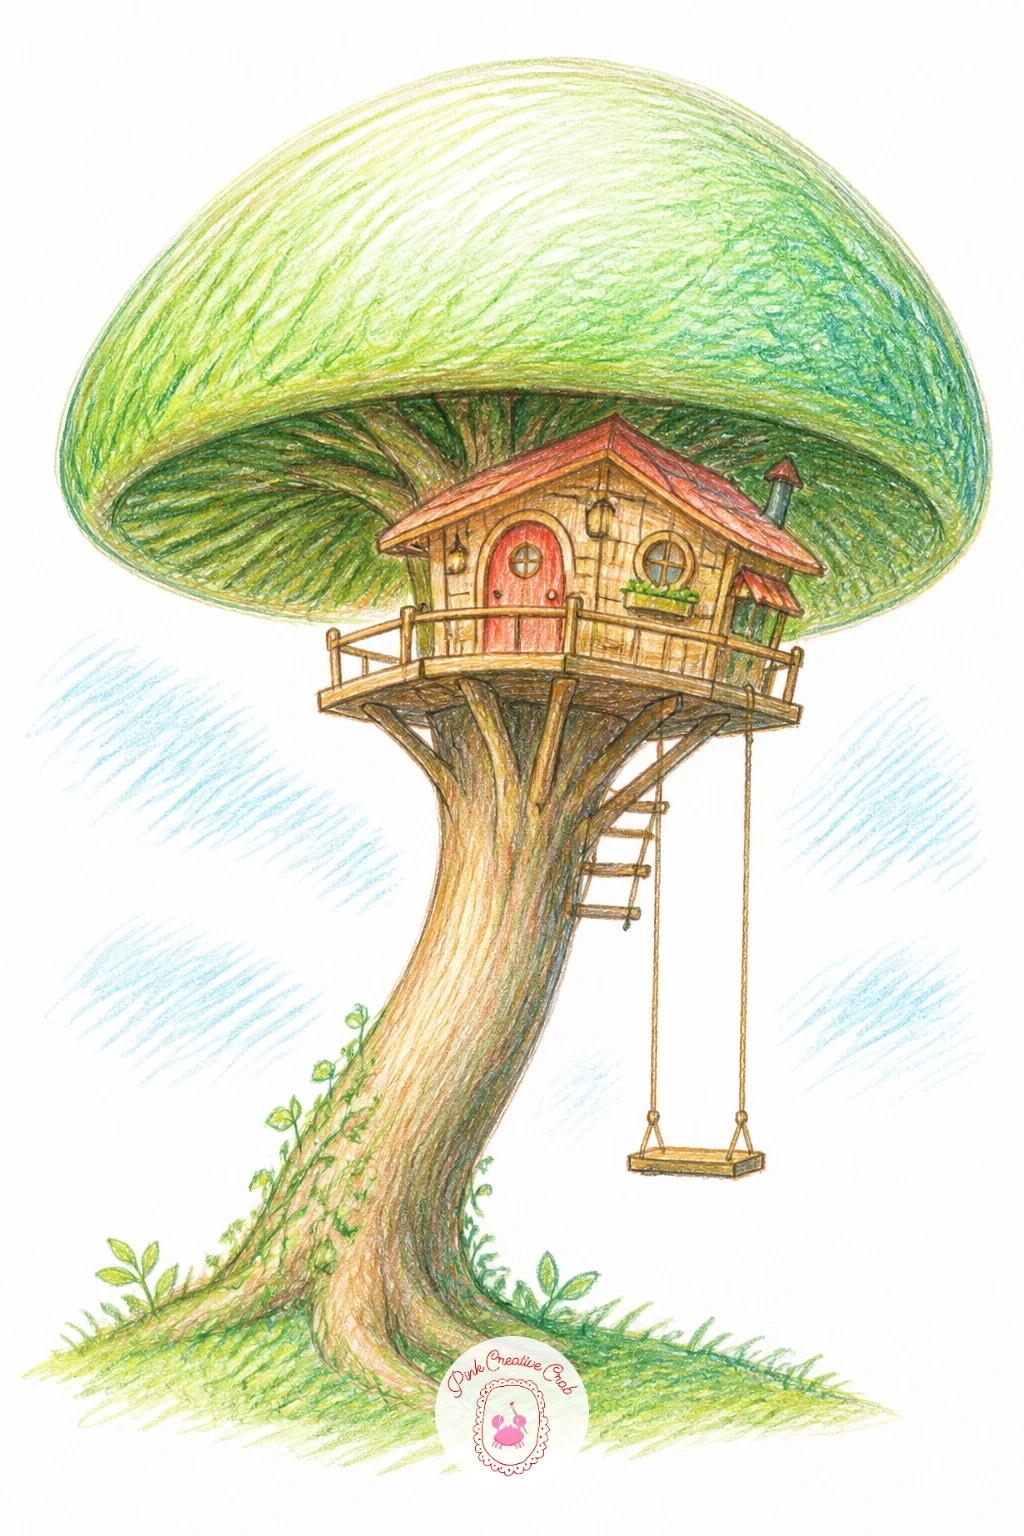
Bend reality a little for this one, a tree whose canopy balloons out into a wide rounded mushroom shape rather than the usual cluster of leaves. Draw the trunk fairly slender and a touch curved, then cap it with one large smooth dome shape for the canopy, far rounder and more solid looking than a typical treetop.
Shade that dome with soft curved hatching following its roundness, darker underneath where it meets the trunk and lighter toward the top, which is what sells the solid rounded mushroom shape rather than a flat circle pasted on a stick. Tuck the treehouse into the underside of the dome where trunk meets canopy, almost like it is sheltering beneath an umbrella.
A flat looking canopy is the main risk here, so commit to the curved shading rather than leaving the dome as a single flat color.
Try varying the dome’s color next time toward a deep red or spotted pattern for a proper fairy tale mushroom feel instead of plain green.
Palette: Leaf Green,Wood Brown,Coral Red,Cream
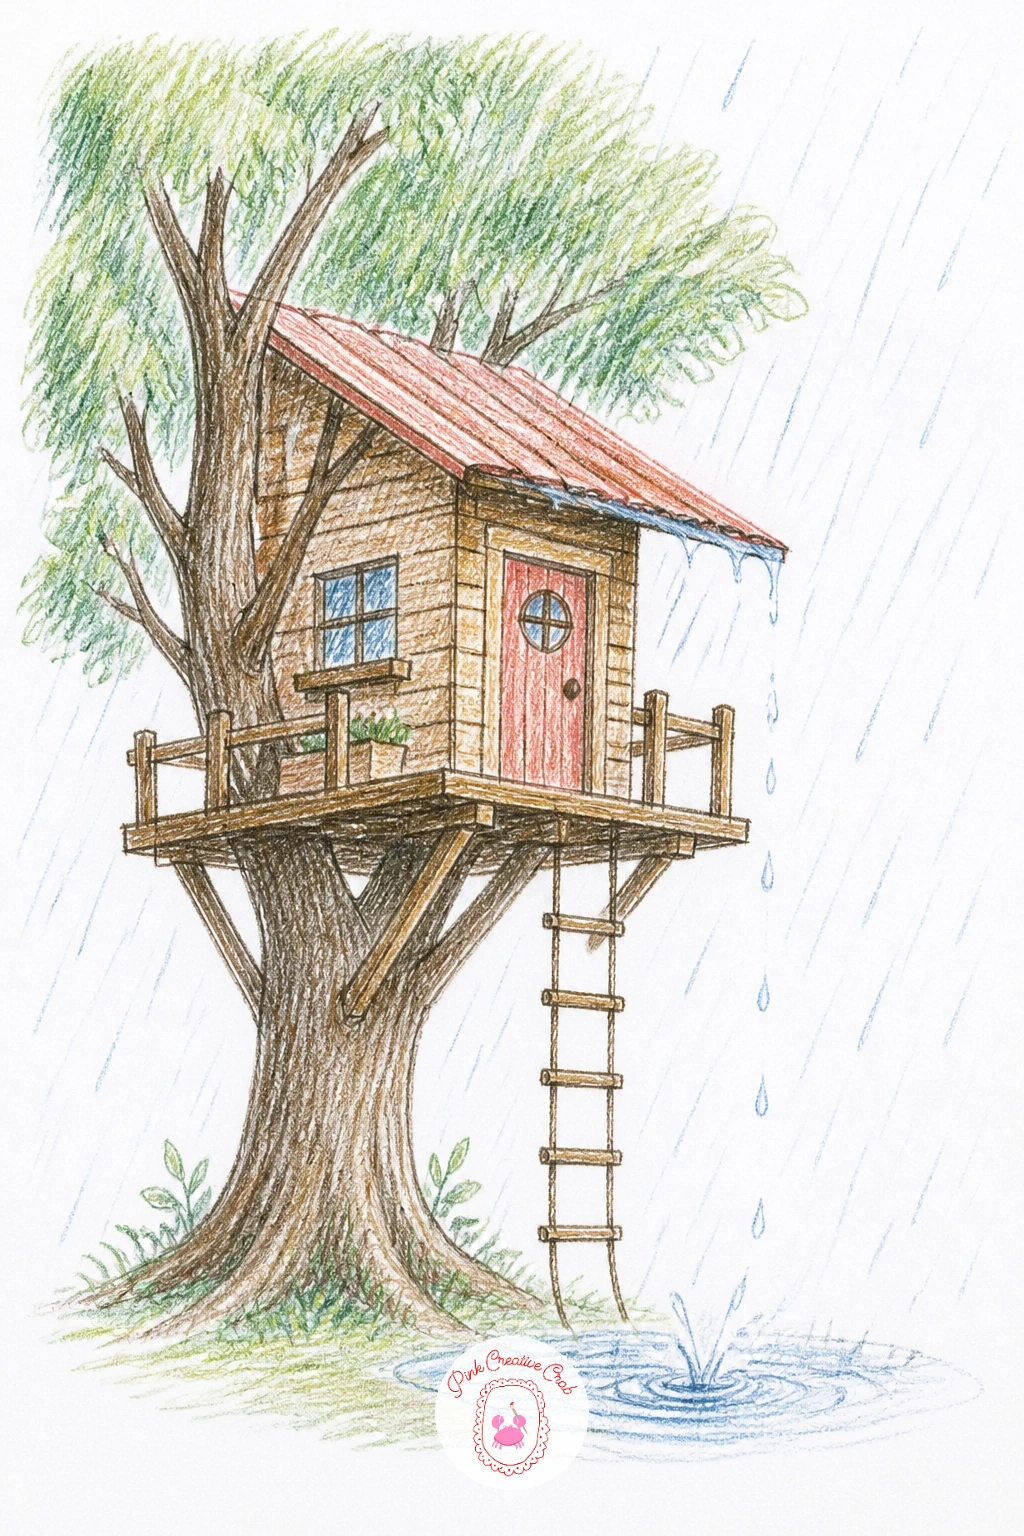
Weather gives this treehouse its mood: steady rain falling past the house, with water dripping off the edge of the roof in little streams. Draw the house and tree first in slightly muted, cooler tones than usual, then add rain as short diagonal lines in pale grey blue scattered fairly evenly across the whole sky and canopy.
At the roof’s edge, add a few longer drip lines hanging down, thicker at the top where they cling to the roof and tapering to a point, with a tiny droplet shape at the very tip of one or two. A puddle at the base of the tree, drawn as a flattened oval with a faint reflection of the house inside it, finishes the scene.
Rain drawn too uniformly in rows looks like a pattern rather than weather. Scatter the diagonal lines at slightly varied angles and spacing so it reads as falling rather than printed.
No pale blue grey pencil on hand, a light application of regular blue pressed softly gets a similar effect.
Palette: Pale Grey Blue,Wood Brown,Leaf Green,Charcoal Grey
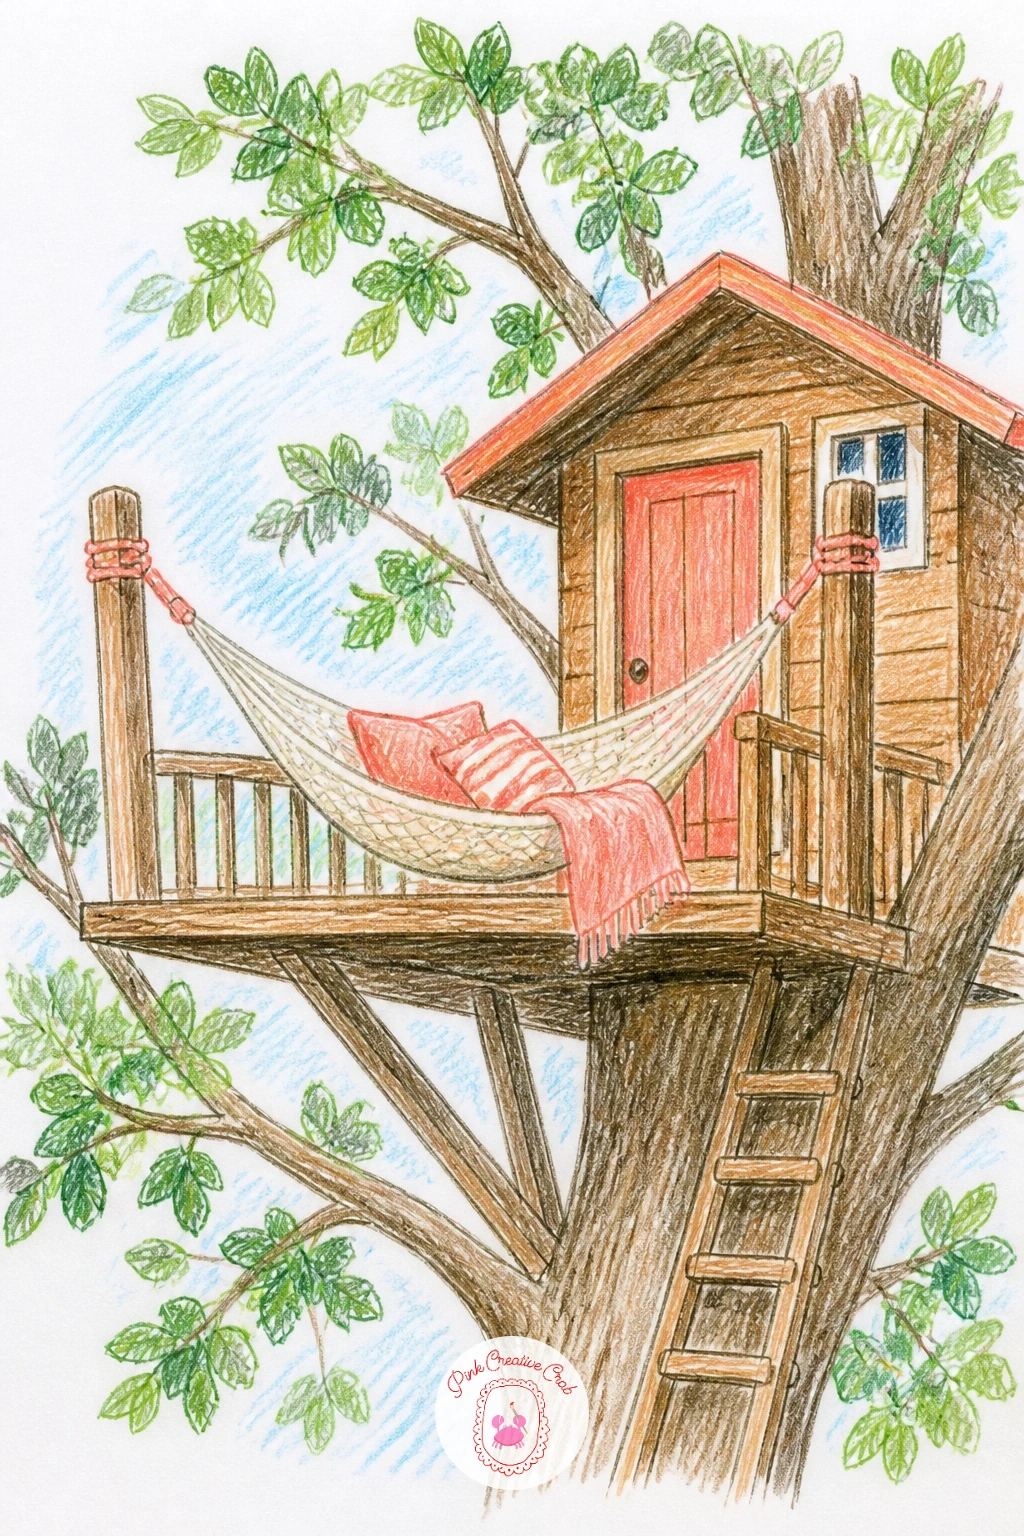
Add a porch built entirely around lounging: a hammock strung between two posts or branches on the treehouse’s front deck. Draw the hammock first as a wide, sagging curve, deeper in the middle than at either end where it ties off, since a shallow curve reads as a taut board rather than woven fabric.
Texture the hammock with a loose crosshatch or a few long curved lines running along its length to suggest the weave, rather than filling it as one flat color. A cushion or thrown blanket half spilling over one edge adds a nice lived in touch without much extra effort.
The posts holding the hammock can look flimsy if drawn too thin. Give them a touch of width and a small base or wrap where the rope ties on, which makes the whole structure feel like it could actually hold weight.
This pairs well as a quieter companion to the swing idea earlier in the list if you want a porch and a yard version side by side.
Palette: Warm Tan,Coral Red,Leaf Green,Wood Brown
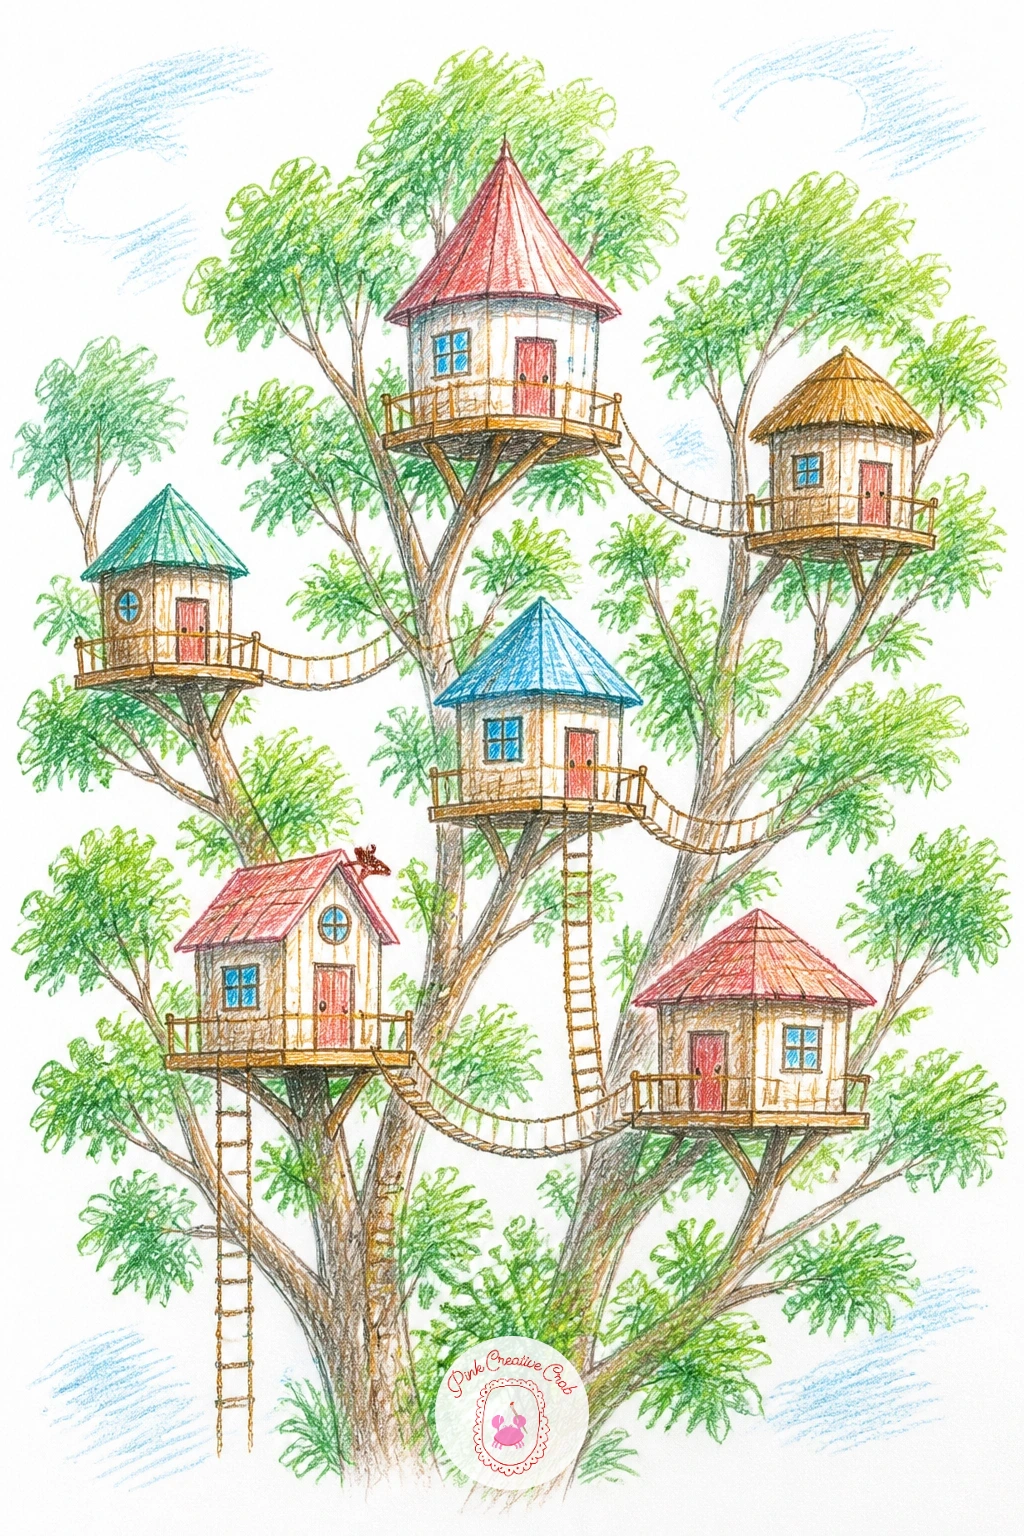
Scale all the way up for this one: a whole cluster of small treehouses at different heights, connected by a mix of ladders, bridges and short zip lines, forming a little village in the canopy. Start with a loose pencil layout marking three or four trunk positions on the page before drawing any house, spacing them unevenly so the village feels organic rather than gridded.
Build the huts themselves quite simply, since detail at this scale gets cluttered fast, a box shape, a roof, one window and one connector to a neighboring hut is plenty per structure. Vary the roof colors and shapes across the huts so each reads as a distinct little home even at a glance.
The connectors between huts are what sell the sense of a village rather than several separate drawings. Make sure every hut links to at least one other by a visible rope, bridge or ladder.
If the full village feels like too much today, start with three huts rather than five and leave room to add more another time.
Palette: Wood Brown,Leaf Green,Coral Red,Mustard Yellow
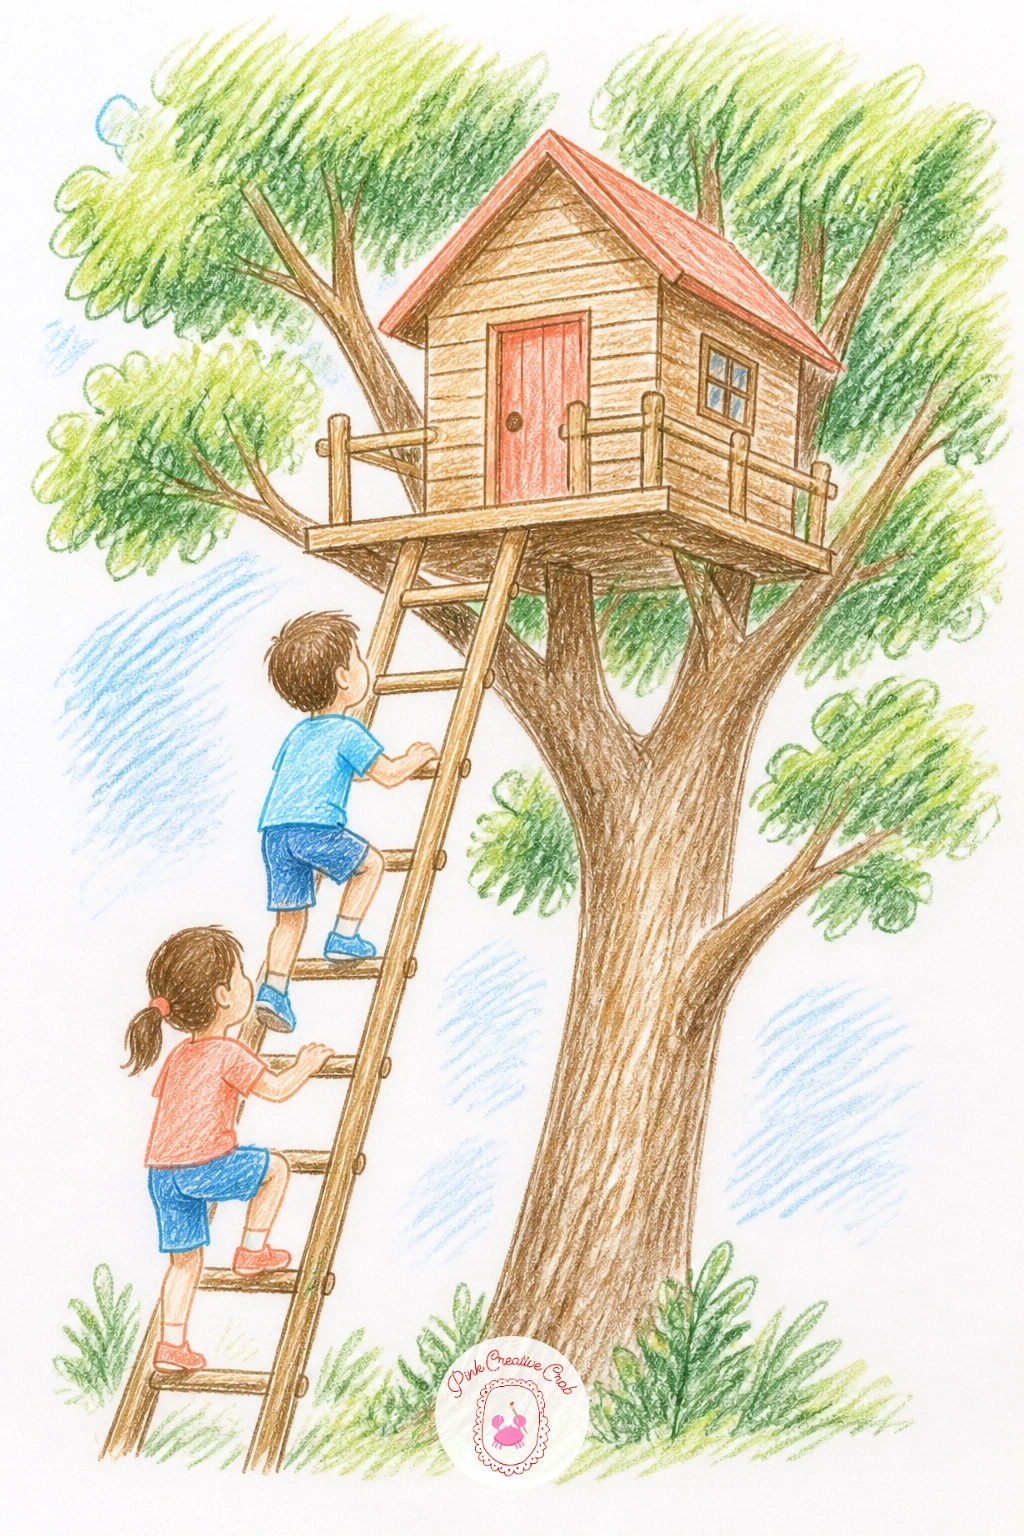
Put a character or two into the scene for this one: a couple of kids making their way up a ladder toward a treehouse above. Draw the ladder and house first, then place the figures large and simple, one foot raised onto the next rung, arms reaching up, rather than drawing a fully detailed standing pose.
Keep proportions friendly and a little oversized in the head and hands, the way figures read in a storybook illustration, rather than aiming for strict anatomical accuracy. A backpack or a small toy tucked under one arm adds character without needing a detailed face, a few simple marks for eyes and a smile are enough at this scale.
Figures on a ladder often end up floating beside the rungs rather than gripping them. Overlap the hands and feet slightly over the ladder rails so the connection reads clearly.
For more help with friendly figure proportions at this simple level, the girl pencil drawing ideas cover a similar approach to easy figures.
Palette: Coral Red,Sky Blue,Wood Brown,Mustard Yellow
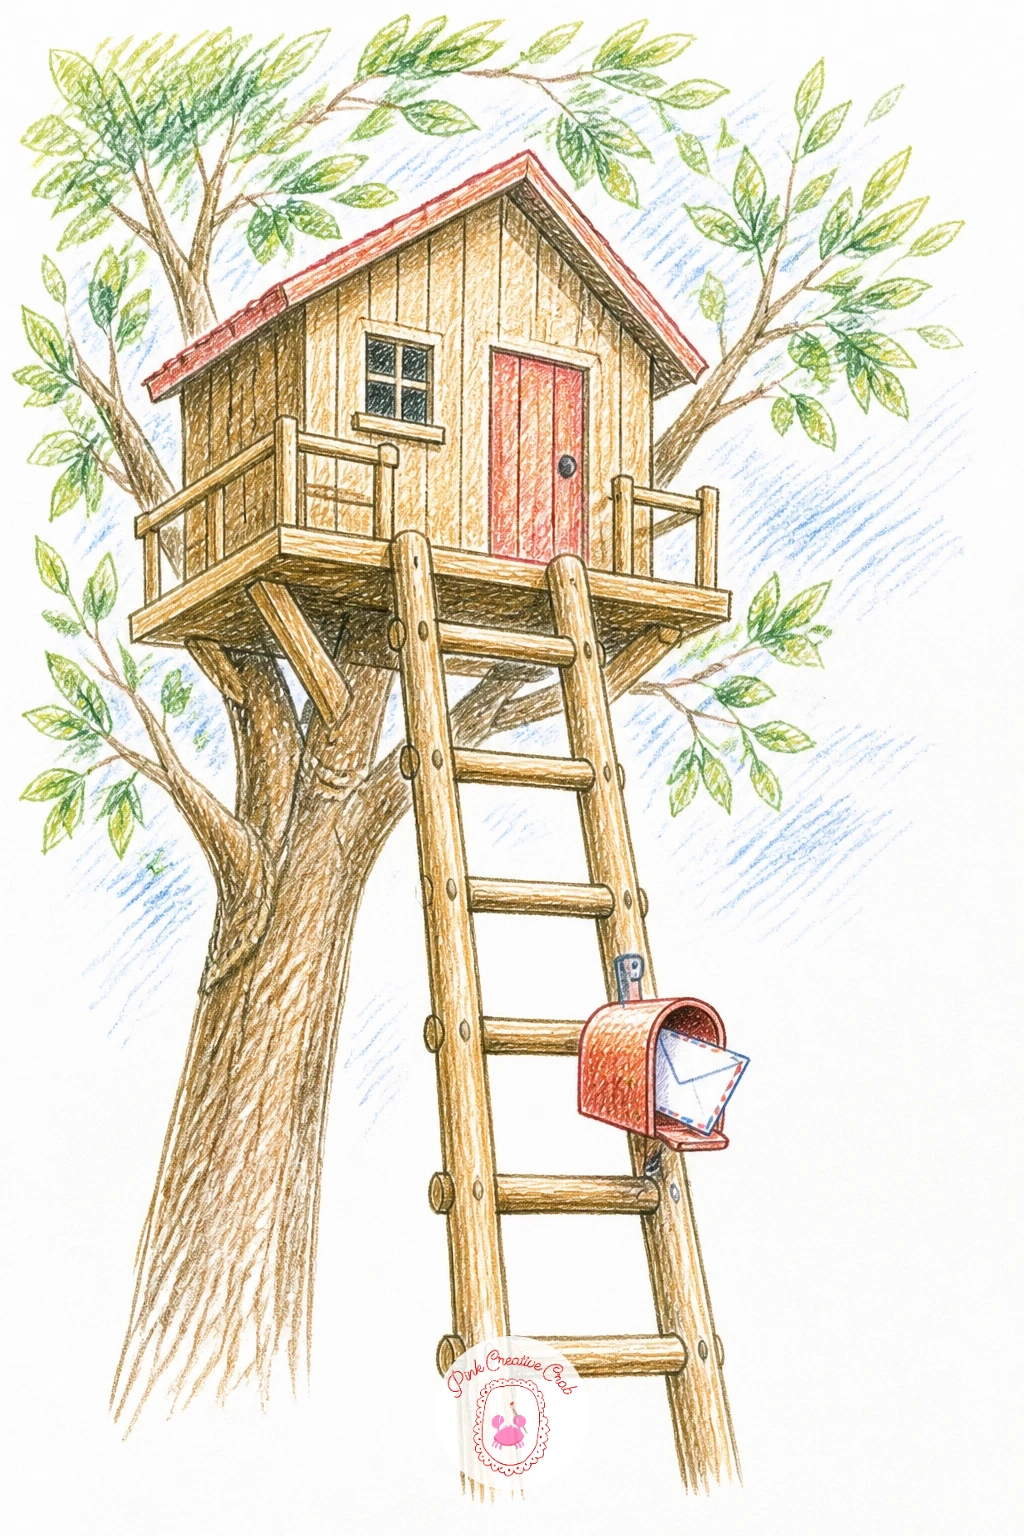
A small detail can finish a treehouse better than a big one, and a tiny mailbox mounted partway up the ladder does exactly that. Draw the ladder first, then add a small box shape clipped onto one of the rails about a third of the way up, with a thin little flag or flap on its side.
Give the mailbox its own small shadow where it meets the ladder rail, and a touch of rust or wear in brown along its edges if you want it to feel well used rather than brand new. This is a nice detail to add after finishing an earlier treehouse in the list if that one felt like it needed one more personal touch.
Mailboxes drawn too large compete with the house itself for attention. Keep it small, no bigger than one rung’s width, so it stays a charming detail rather than a second focal point.
Try adding a tiny letter poking out of the box for one more small personal touch.
Palette: Coral Red,Wood Brown,Leaf Green,Cream
Close the list on something quieter: a treehouse emerging softly from morning fog, with the first warm light of sunrise barely breaking through. Lay the sky in first with very light, loose hatching in pale peach and lavender, keeping the lower portion of the page paler and hazier than the top, since fog sits heaviest near the ground.
Draw the tree and house with softer, less defined edges than usual, especially toward the base where the fog would obscure the trunk, letting some lines fade out into bare paper rather than finishing crisply. A faint glow of warm light around the window or the horizon line suggests the sun without needing a fully rendered sunrise.
Too much detail in the lower trunk breaks the foggy illusion immediately. Let that area stay soft and underworked on purpose, it is one of the few times less finishing is exactly right.
If you want one single idea to end your treehouse sketchbook page on, this soft, quiet one is a nice way to close it out.
Palette: Pale Peach,Lavender,Wood Brown,Pale Grey
What to Do Next
Pick whichever treehouse matches the time on the clock right now, a quick rope ladder sketch if you have twenty minutes, or the full village if you have the whole afternoon. Start on plain white paper with a light pencil layout before any color goes down, and let a good amount of that white paper stay bare around the leaves and sky.
Frequently Asked Questions
What colored pencils work best for a treehouse drawing?
A set with several greens, warm browns and at least one coral or red covers most of this list. Soft wax-based pencils blend more easily, while harder pencils hold crisp detail for ladders and windows.
How do you make tree bark look realistic in colored pencil?
Build bark with vertical hatching that follows the trunk’s curve rather than straight up and down lines. Layer a darker brown into the grooves and leave lighter streaks bare for highlights.
How do you keep a treehouse drawing from looking flat?
Add a shadow where the house meets the branch and shade one side of the trunk darker than the other. A cast shadow beneath ladders, balconies and swings lifts them visibly off the surface behind them.
What is the easiest treehouse idea to start with?
A simple box-shaped house with one window, a peaked roof and a rope ladder is the easiest to finish confidently. It teaches the basic proportions used in every other treehouse on this list.
How long does a treehouse drawing like this take?
A simple version can be finished in about ten to twenty minutes once the shapes feel familiar. More detailed scenes with several structures or textures can take thirty to forty minutes.
Have any thoughts?
Share your reaction or leave a quick response — we’d love to hear what you think!
-
 0
-
0
-
0
-
0
-
0
-
0


