

Table of Contents
This set of watercolor fruit templates gives you fourteen juicy subjects built from a few big simple shapes, so there is nothing tricky to draw before you can start painting. Each one comes with a clean printable outline and a finished example beside it, ready for a fast, cheerful painting session.
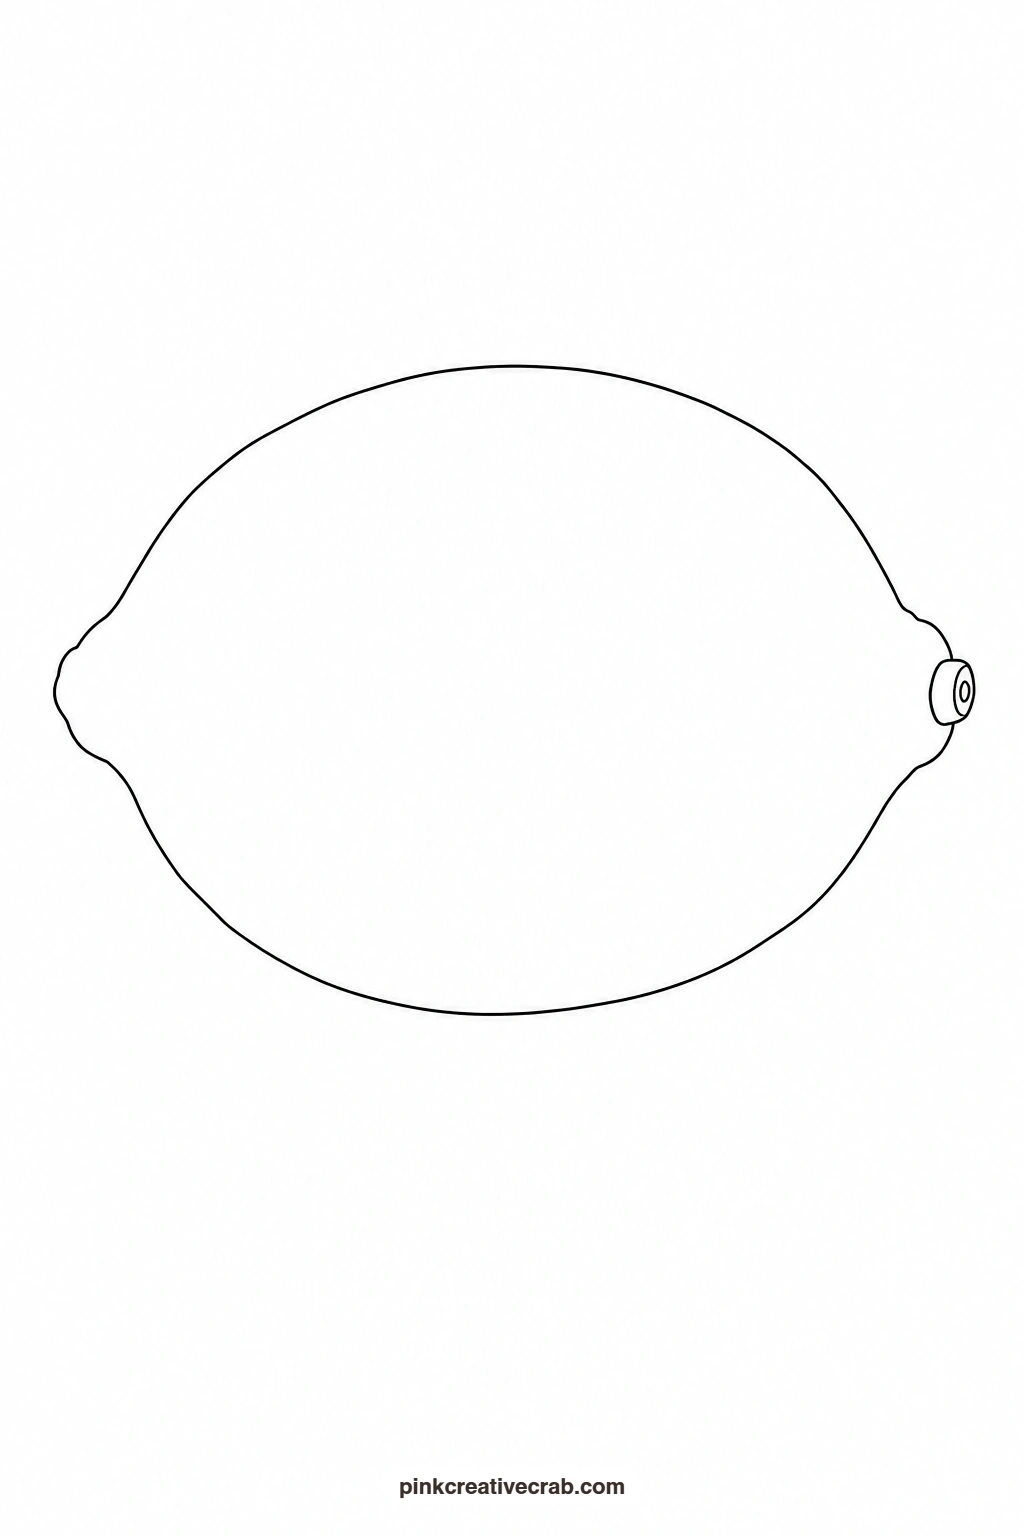
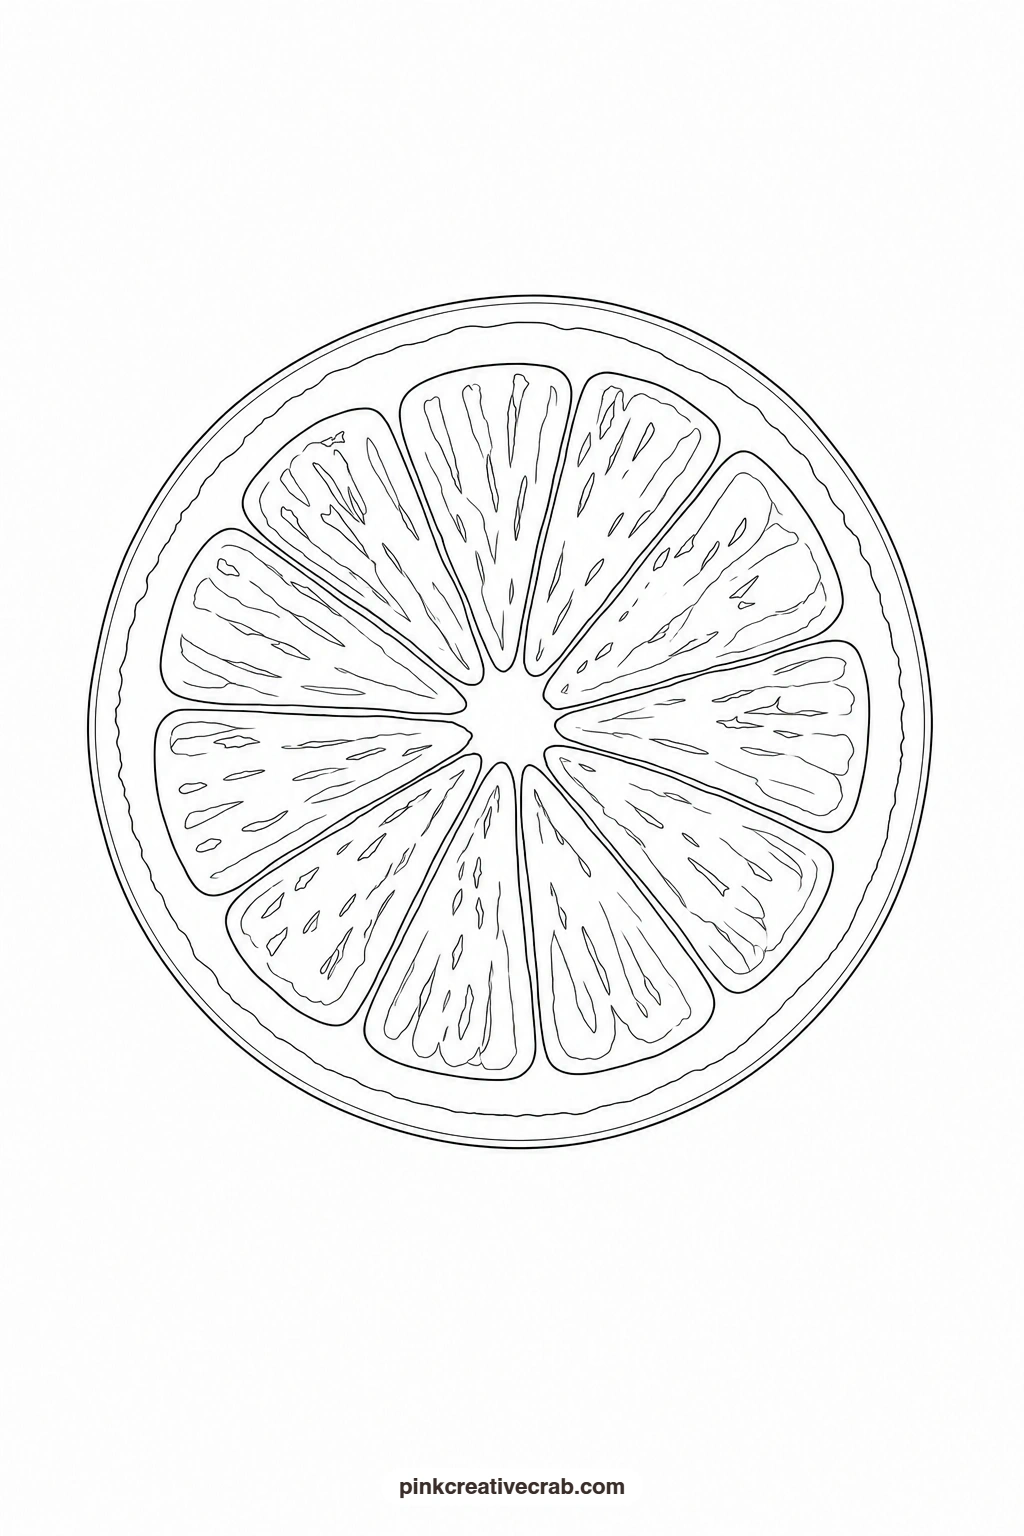
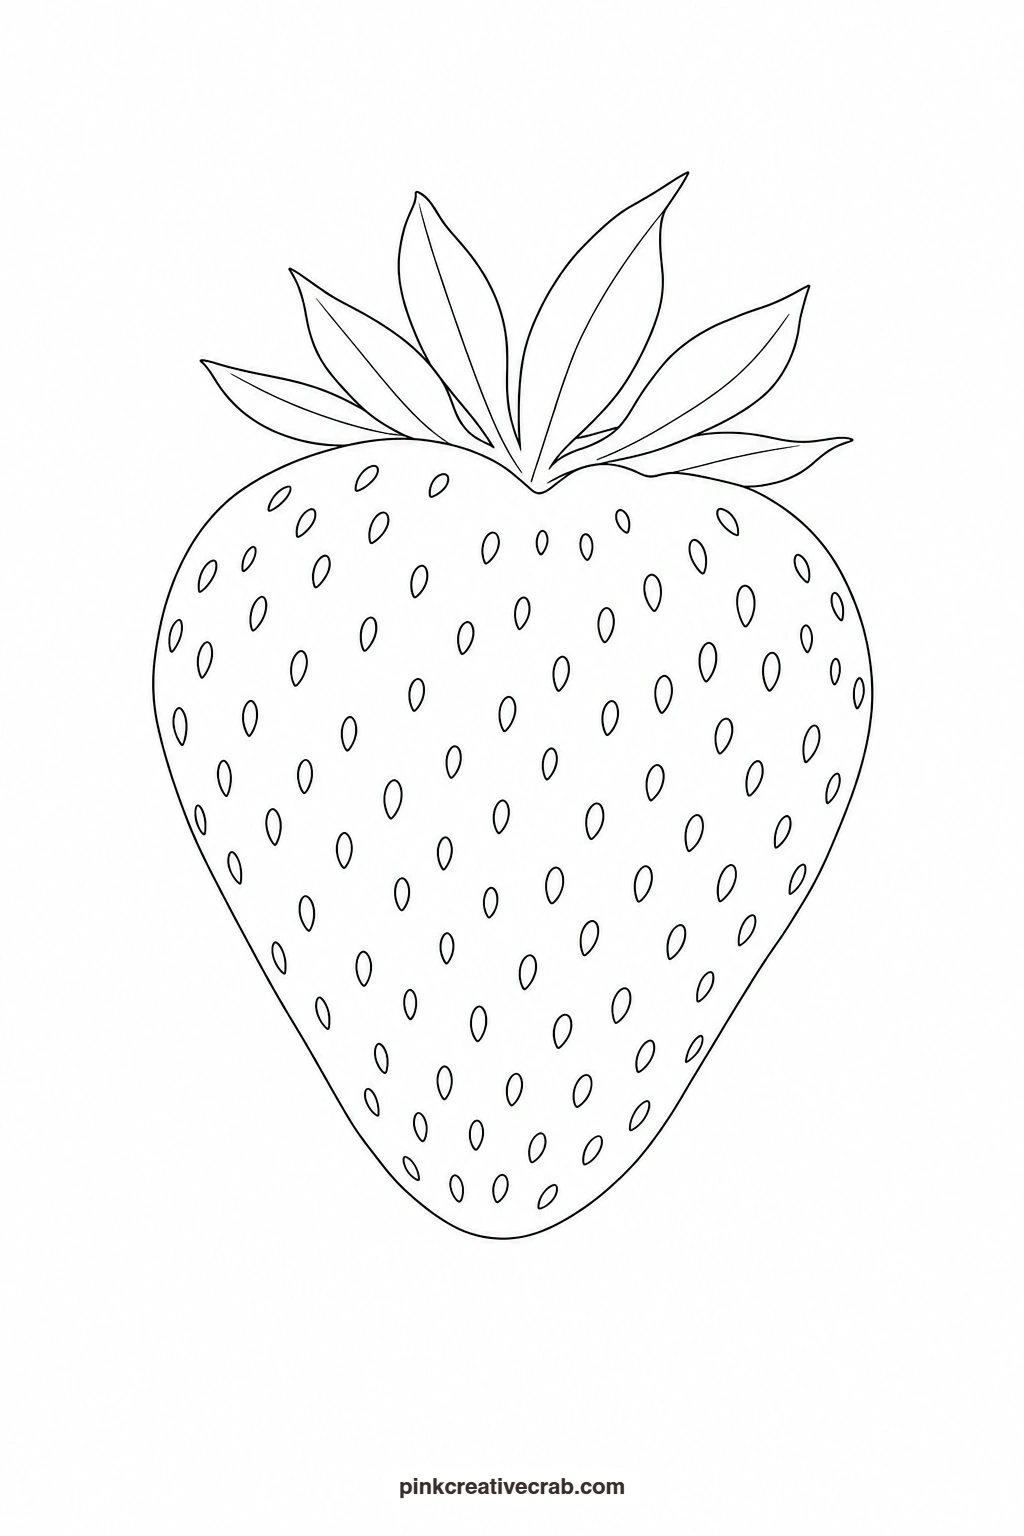
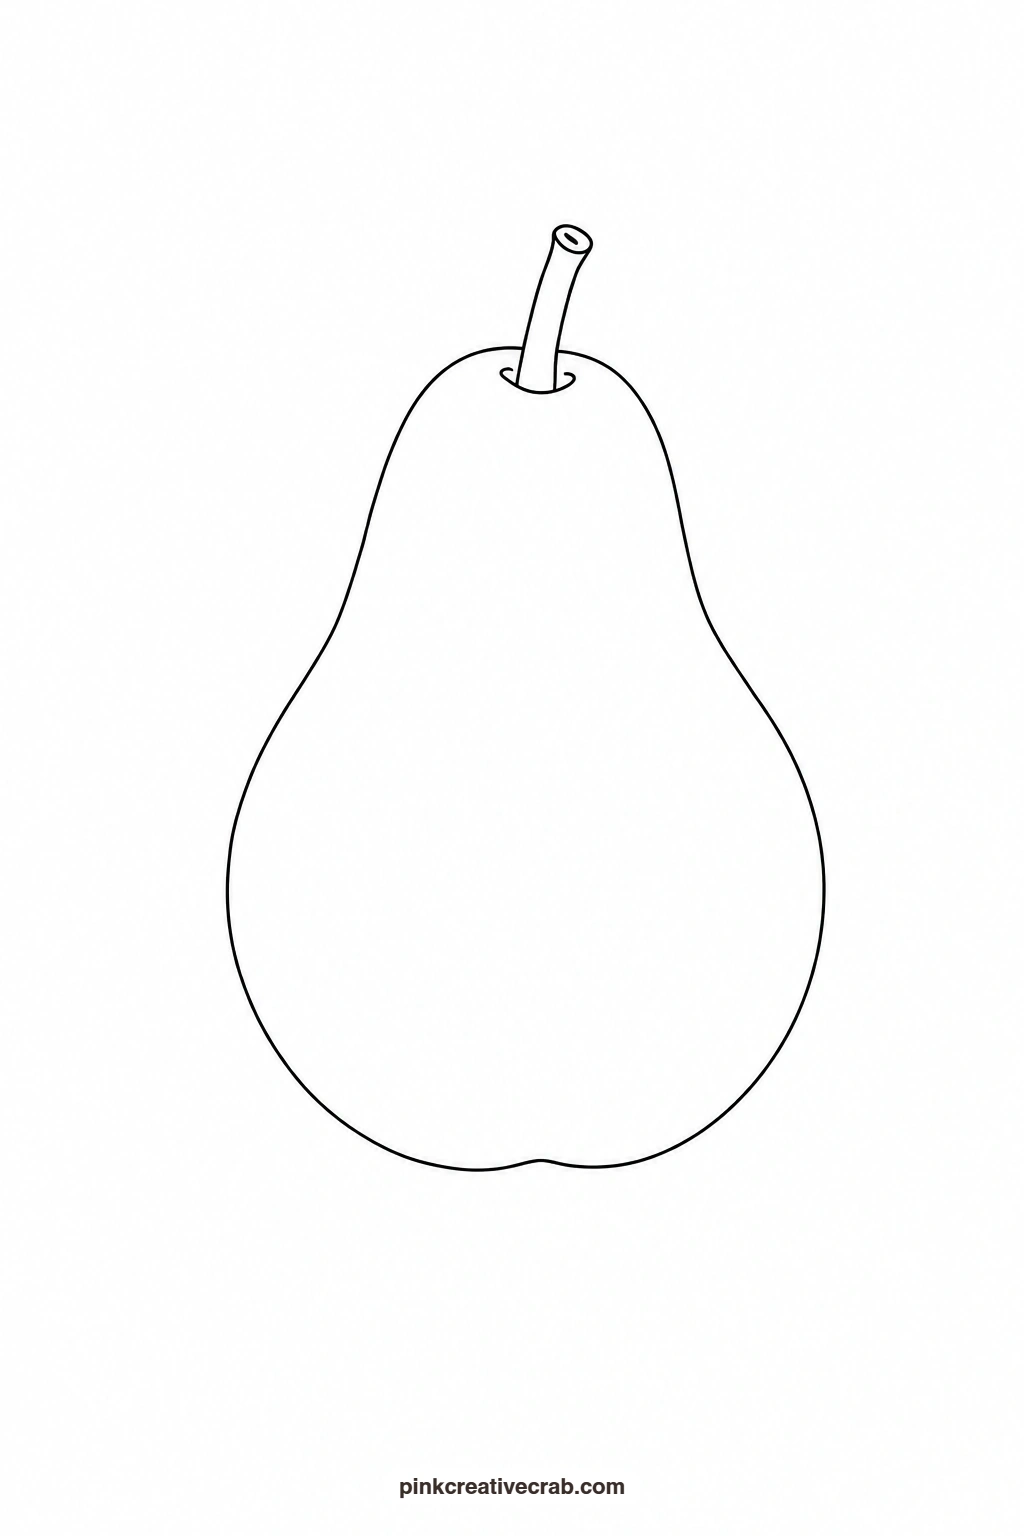
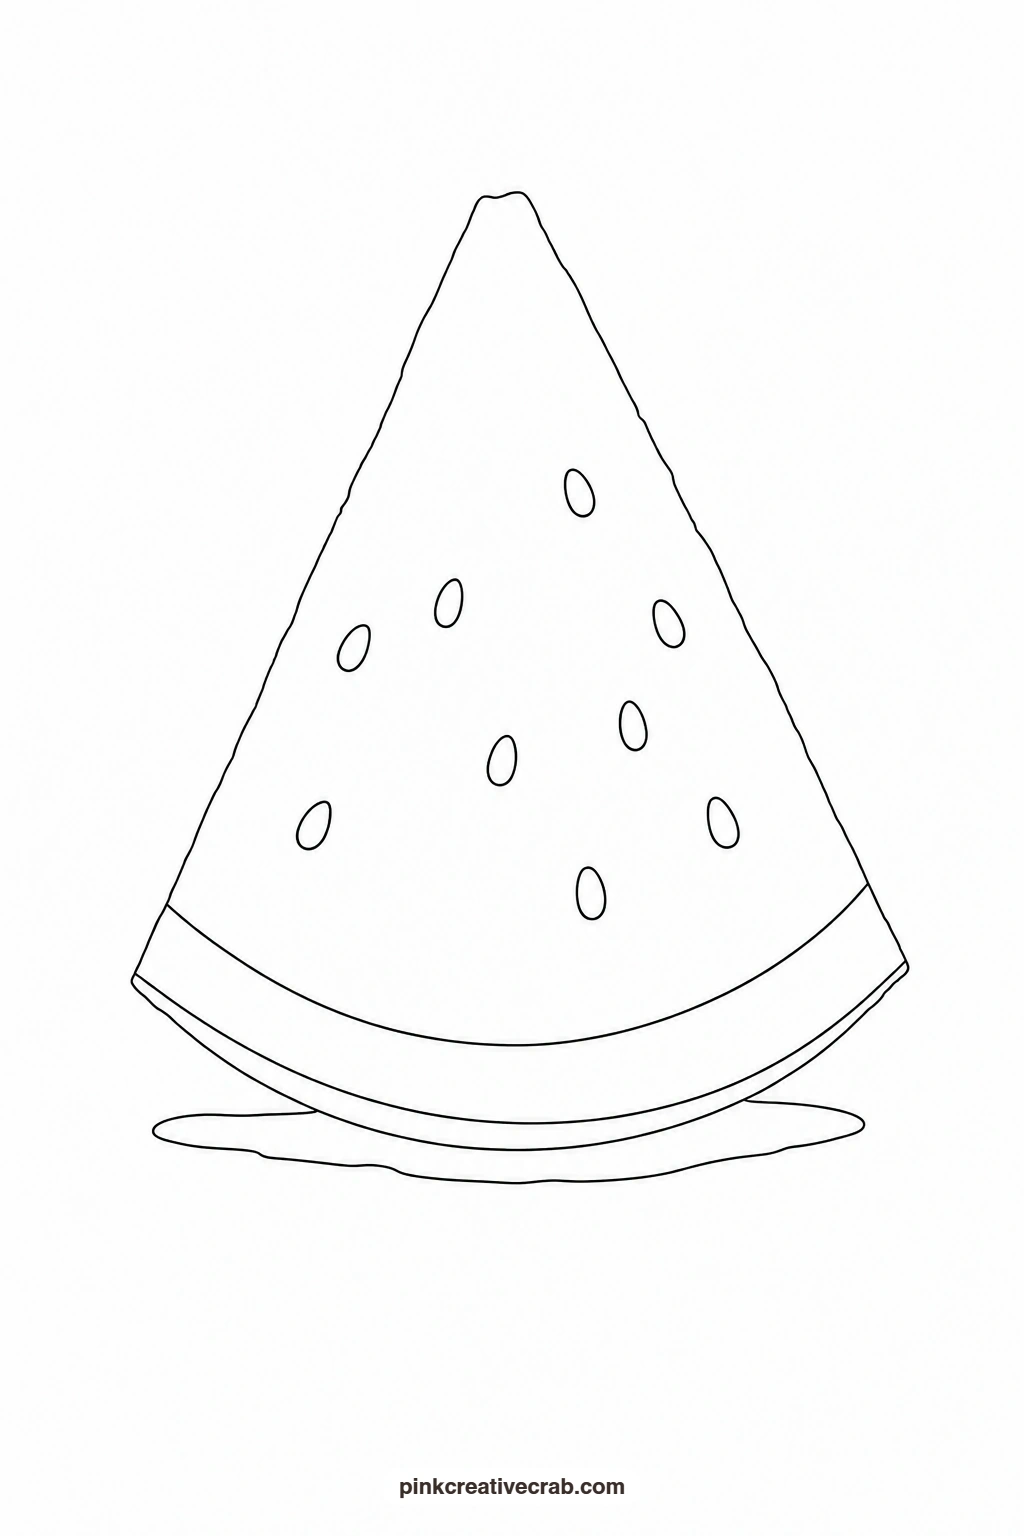
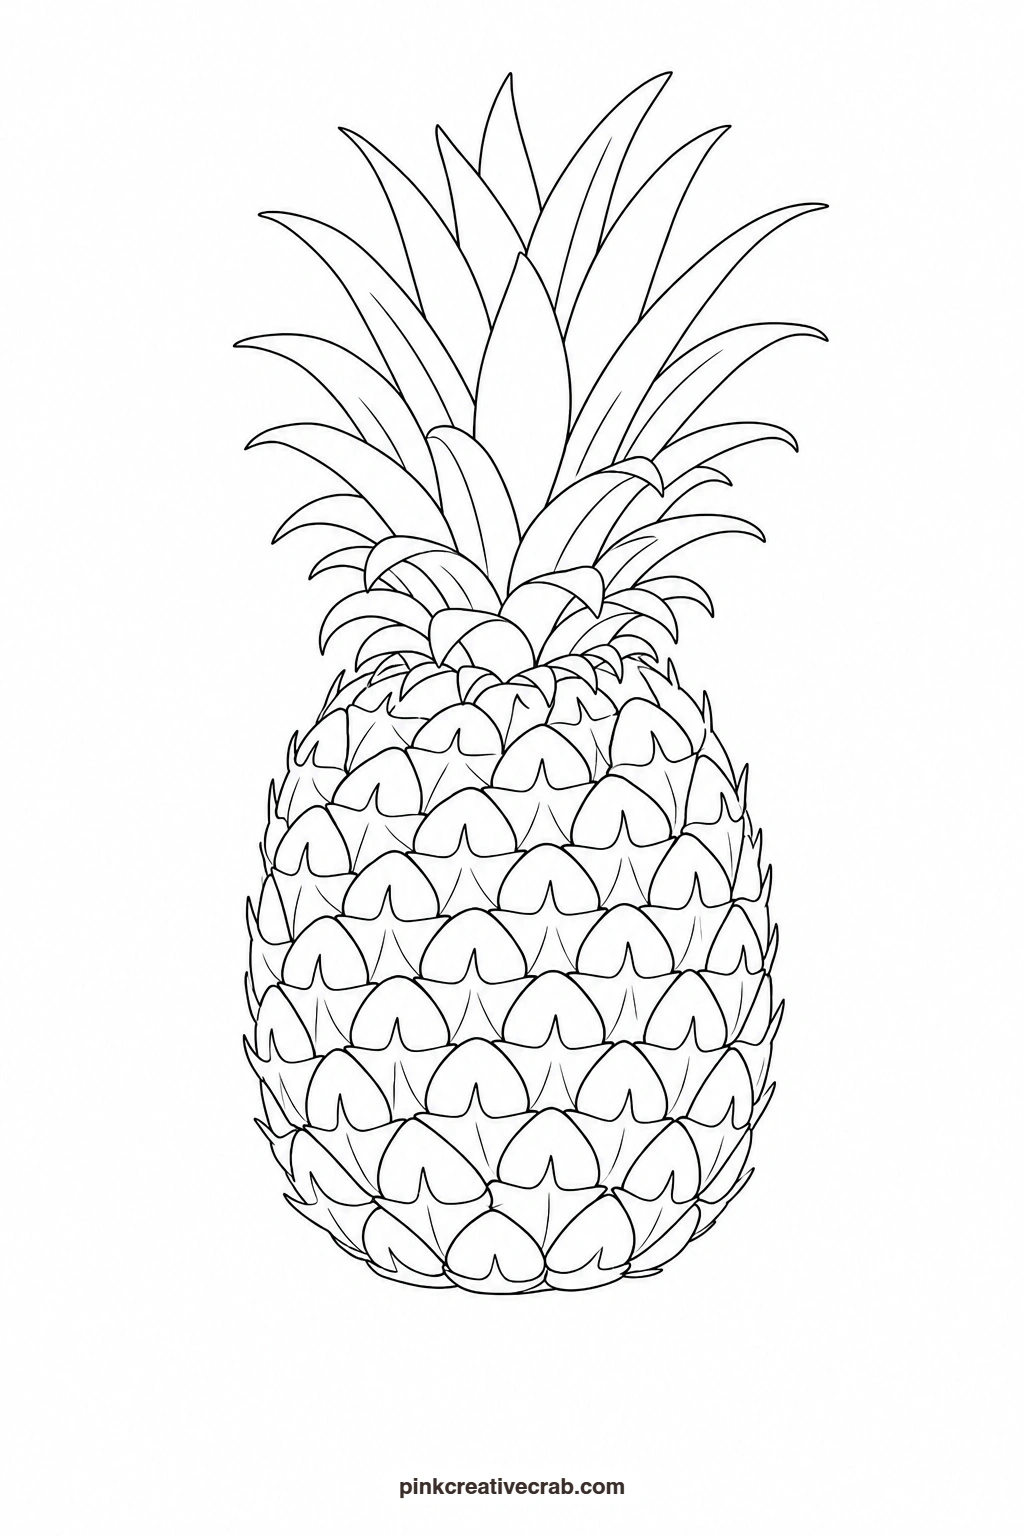
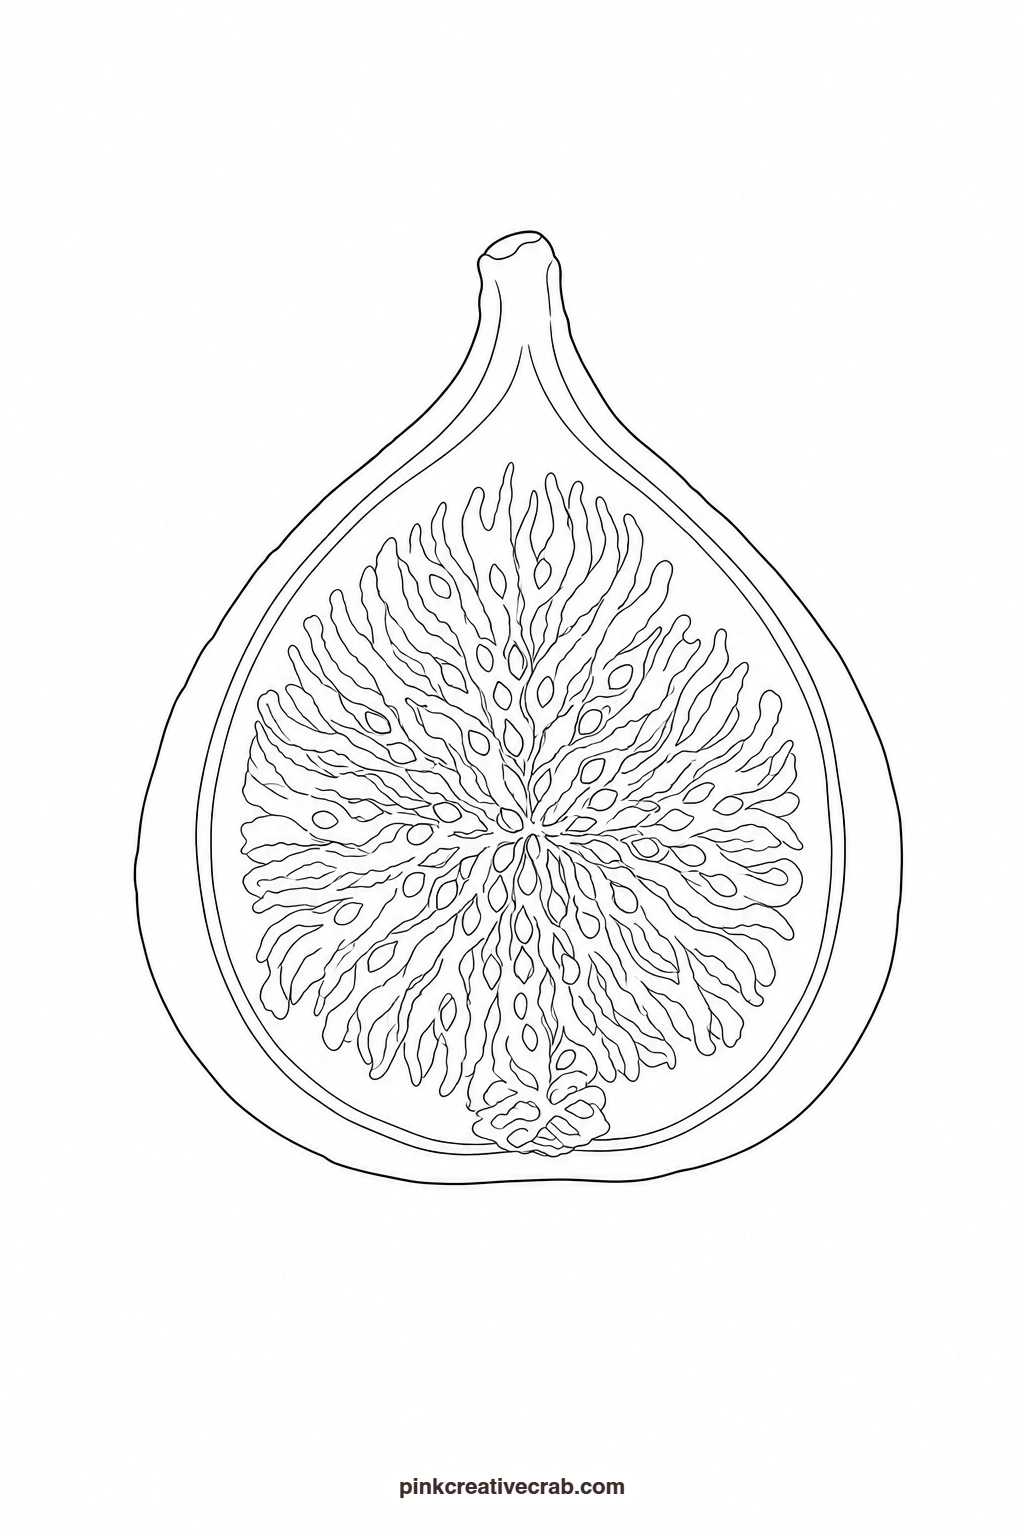
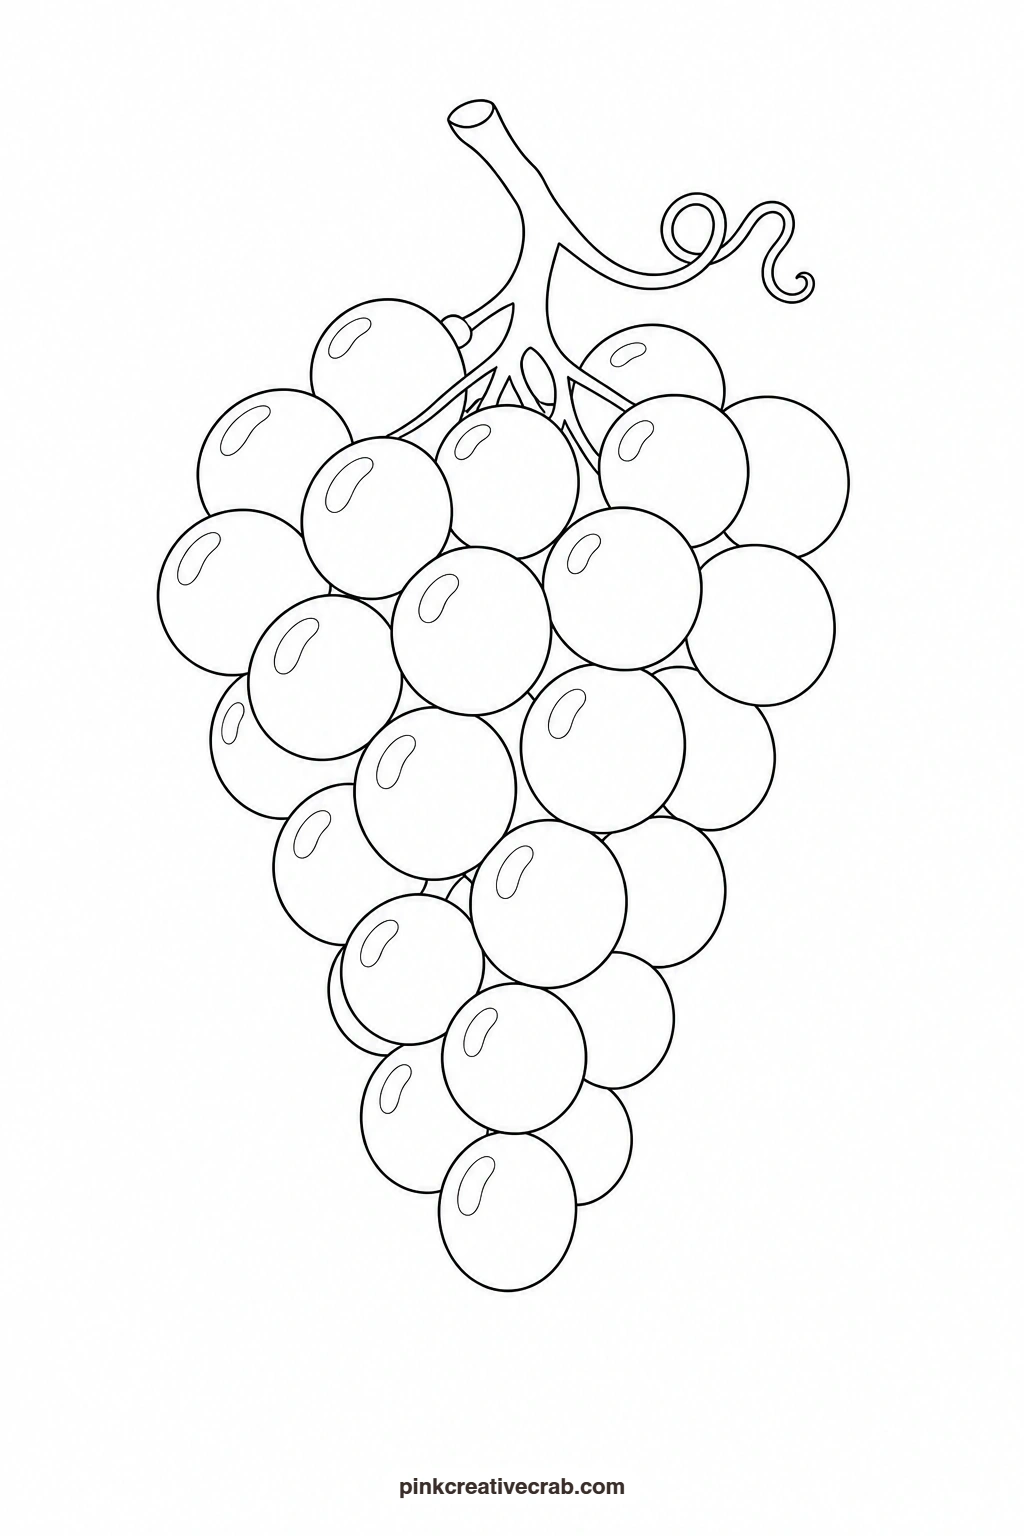
Print the outline at the size you want, then transfer it to your watercolor paper by taping both sheets to a sunny window or a light pad and tracing through, or slide a sheet of graphite transfer paper between the outline and your paper and go over the lines with a pencil. Once the lines are down, keep the painted example nearby and follow the colour notes for each fruit as you paint or colour.
Using these images: free for personal projects such as printing, coloring, cards, journals and gifts. Handmade items that include them may be sold up to 30 pieces per design. More than that is commercial use and is not permitted, and neither is selling or sharing the images themselves or passing them off as your own. Please ask before any other use.
Lemon
Wash the whole lemon shape with a light lemon yellow first, leaving it a little paler on the upper left where the light lands. While it is still damp, drop a touch of yellow ochre along the lower right edge so the colours blend softly into a rounded, three-dimensional feel. Add a small dab of sap green around the stem nub once the first wash is dry, and finish with a tiny dark brown dot for the stem itself.
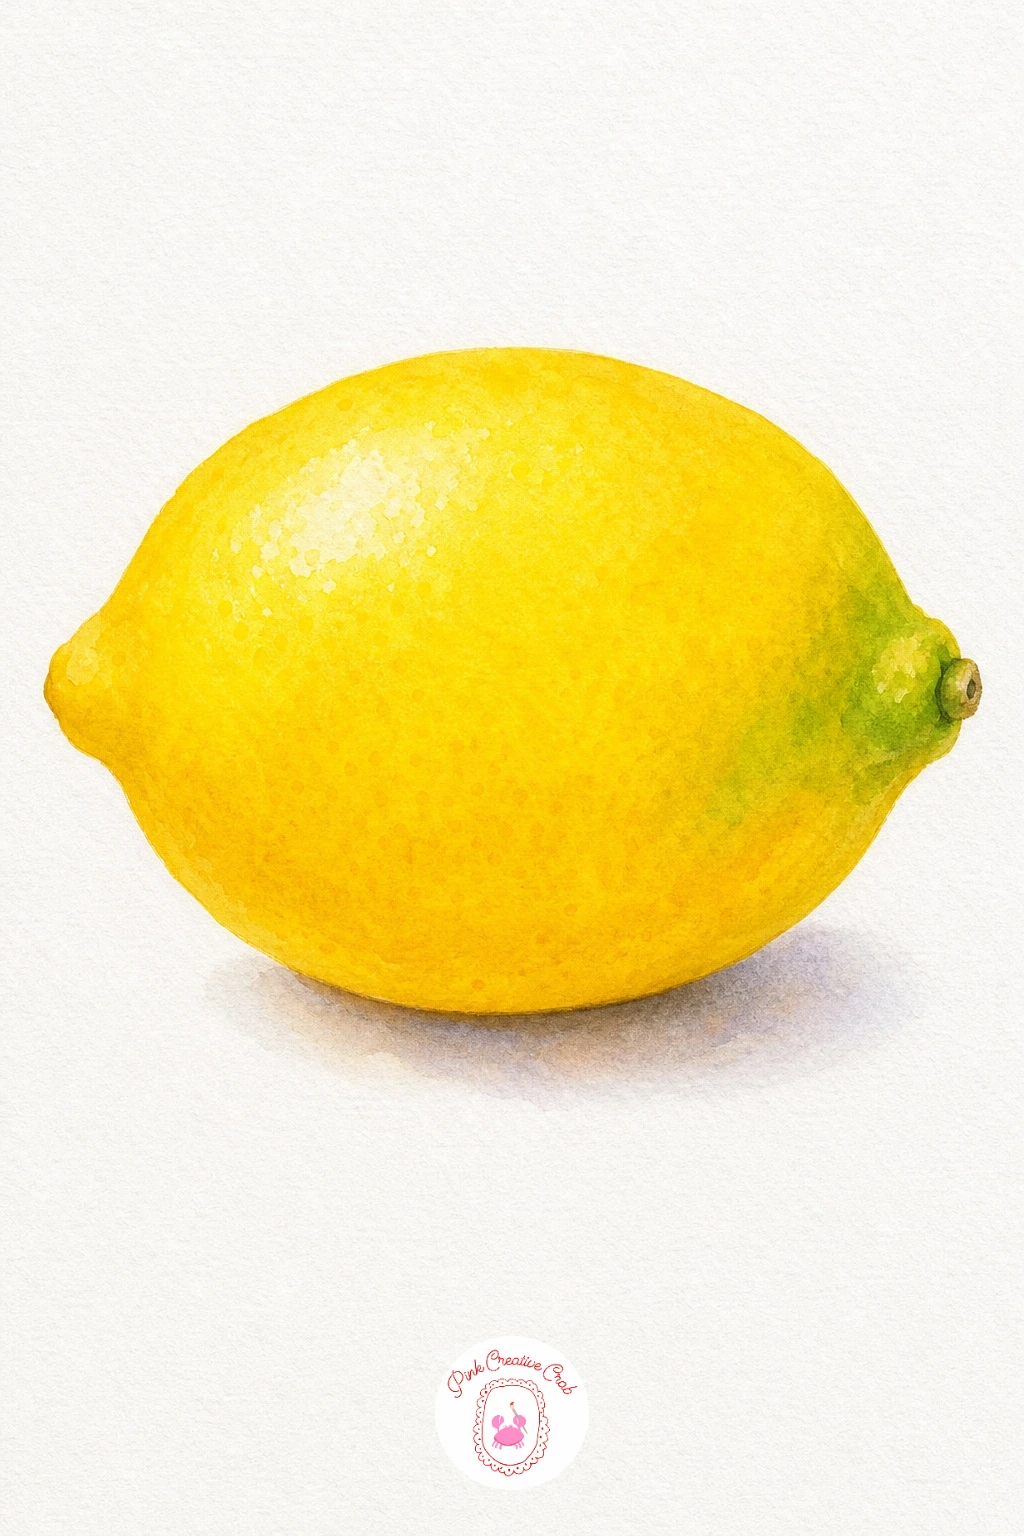
Palette: Lemon Yellow,Yellow Ochre,Sap Green,Burnt Umber
Orange Slice
Paint the thin outer rind ring in a deep orange first and let it dry so it stays crisp against the paler fruit. Wash each inner wedge with a lighter orange, varying the mix slightly from wedge to wedge so the slice does not look flat. Leave the thin lines between segments and the very center point unpainted white, which reads instantly as juicy pith once the washes dry.
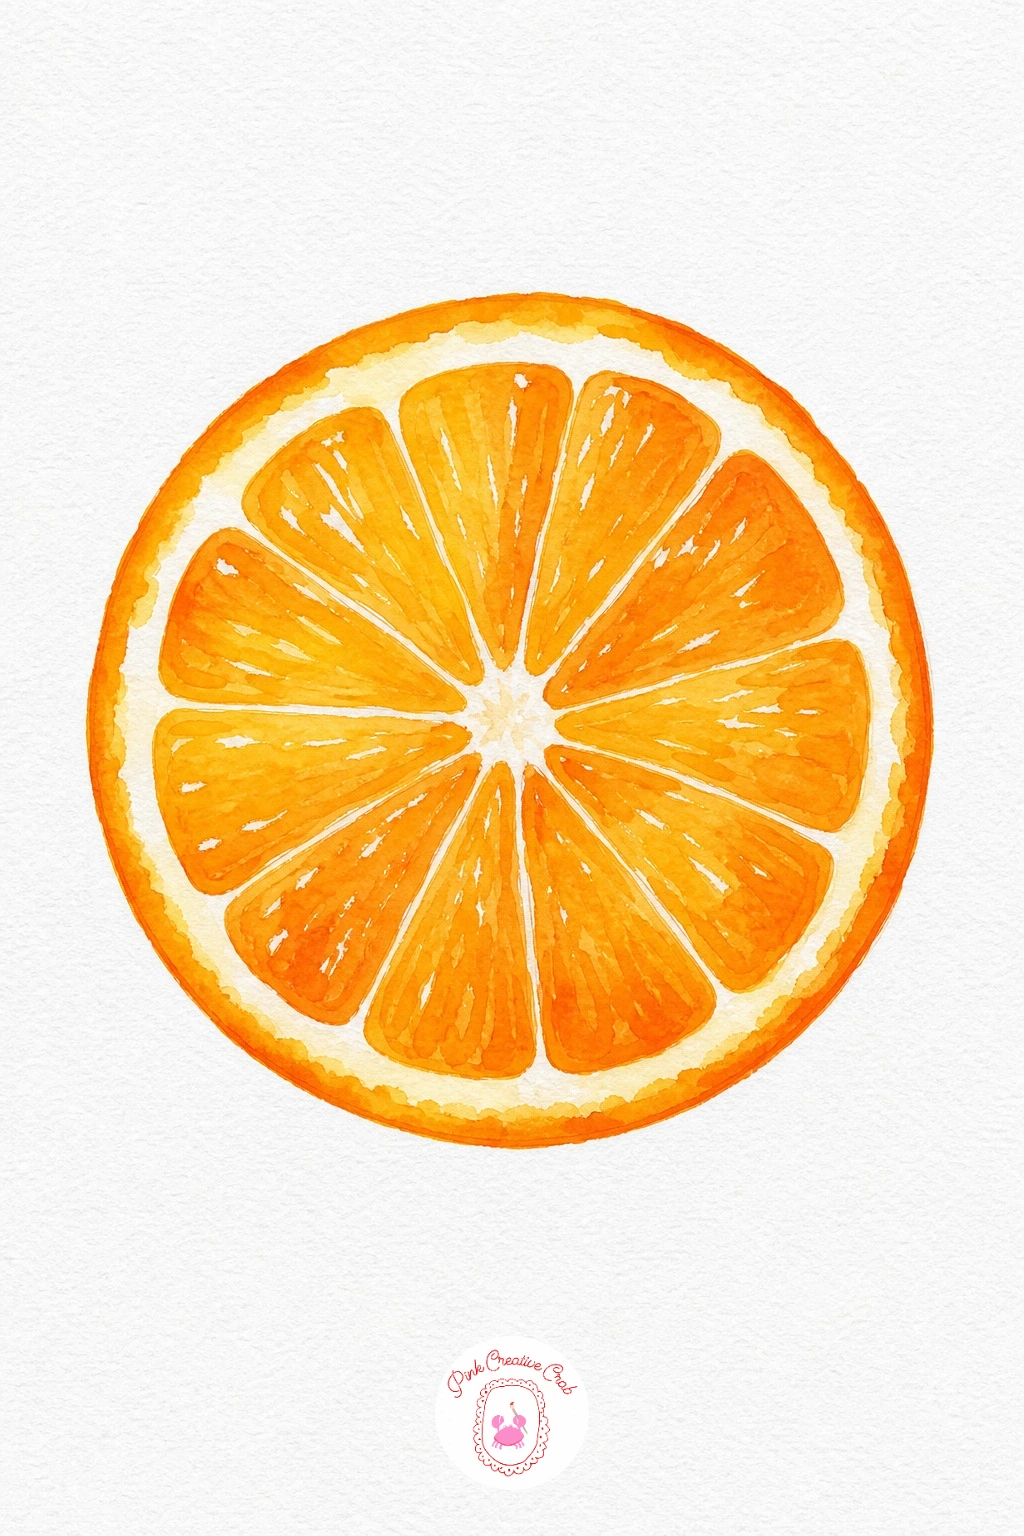
Palette: Cadmium Orange,Yellow Ochre,Permanent Rose
Strawberry
Wash the whole berry in a juicy red, leaving tiny irregular white dots scattered over the surface for the seeds. While the red is still wet, touch in a little deeper crimson near the bottom point so the colour deepens naturally toward the tip. Once dry, paint the leafy cap in two greens, a lighter one at the center and a darker one at the leaf tips, and add a fine brown line for each seed dot to finish.
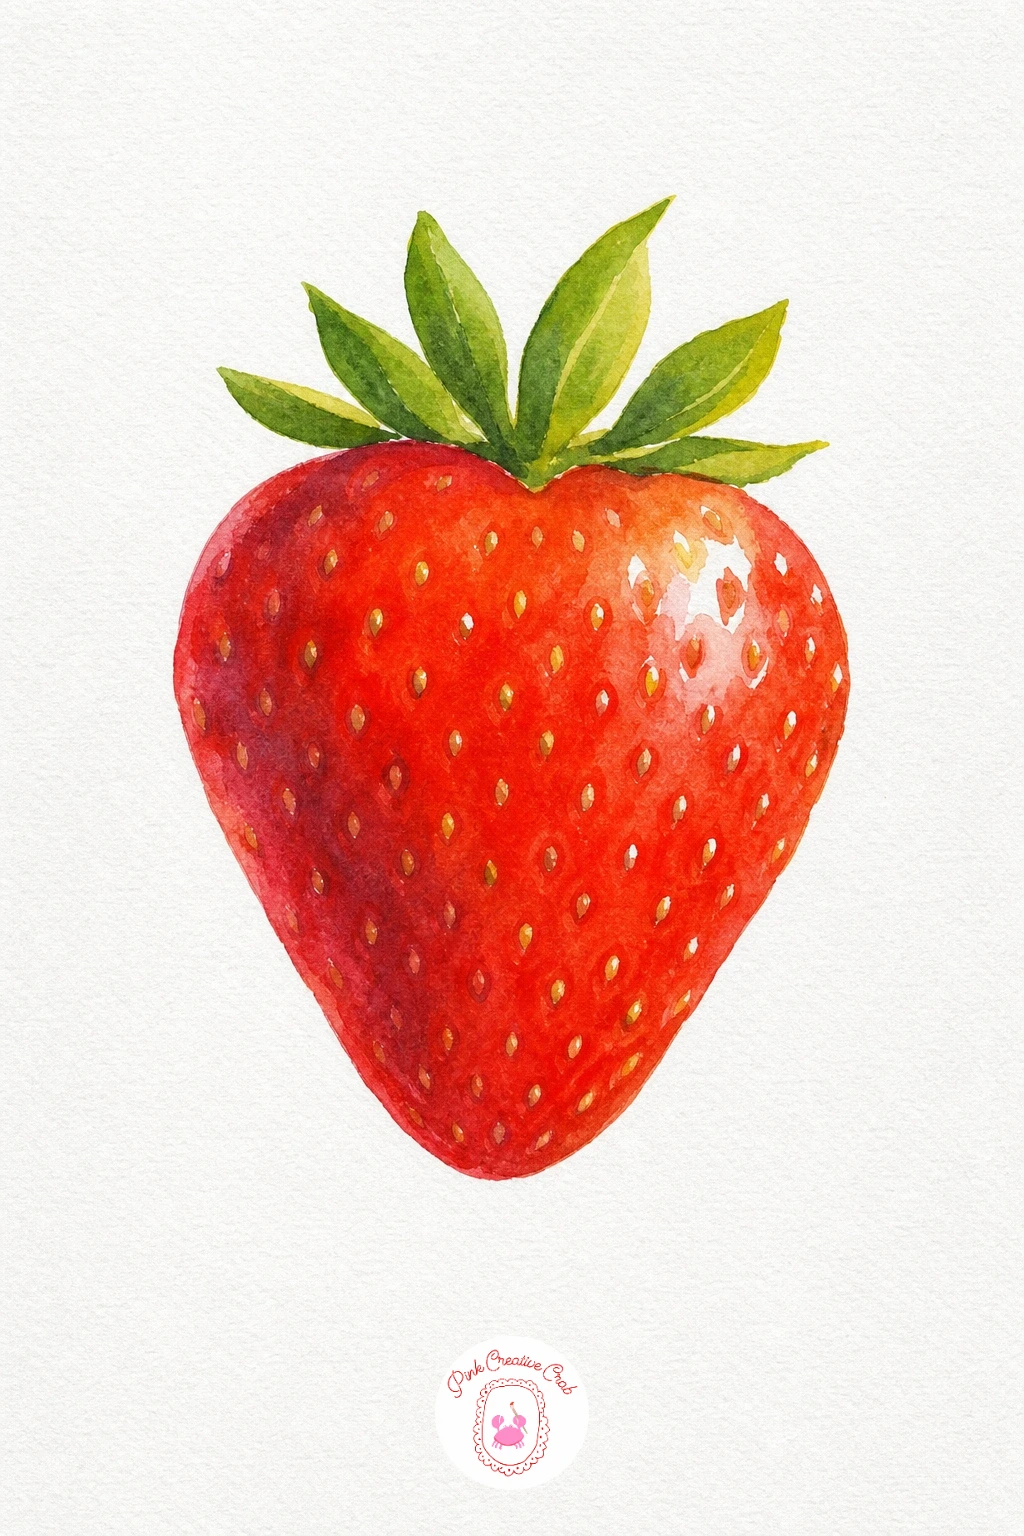
Palette: Cadmium Red,Alizarin Crimson,Sap Green,Burnt Umber
Pear
Lay down a pale yellow green wash over the whole pear shape and let it pool a little heavier toward the rounded base. Before it dries, touch a warm rosy pink into the upper shoulder where sunlight would catch the skin, letting the two colours melt together at the edges. Keep the stem a simple dry brushstroke of brown once everything else is dry, which gives the whole fruit a finished, unfussy look.
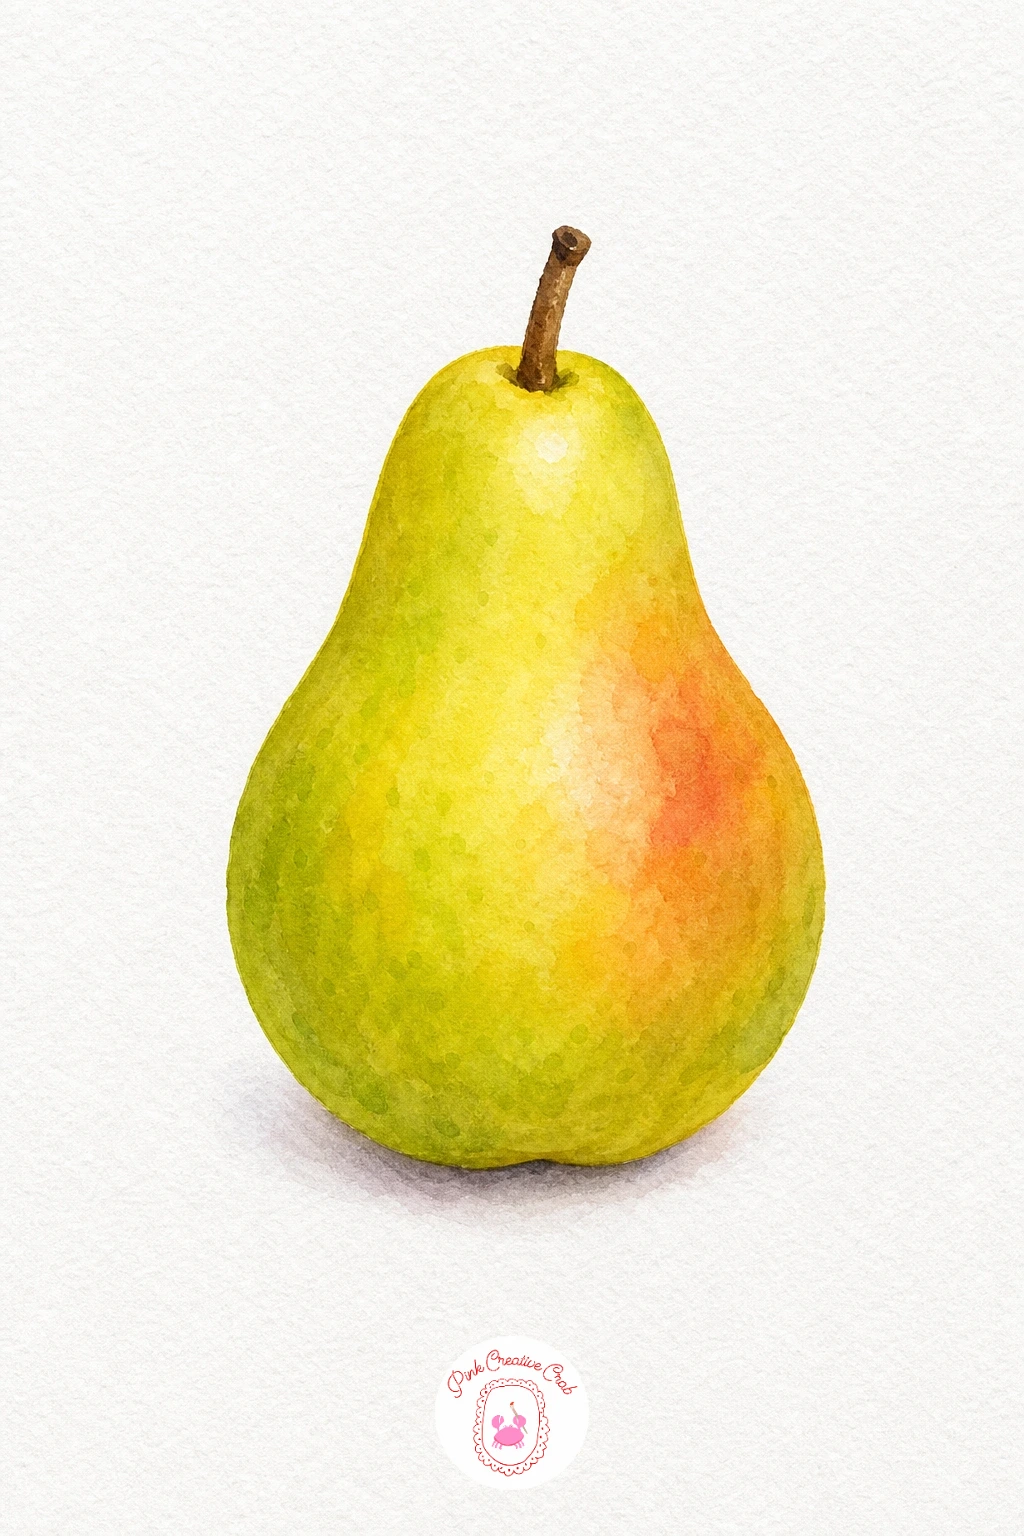
Palette: Sap Green,Lemon Yellow,Permanent Rose,Burnt Umber
Cherry Pair
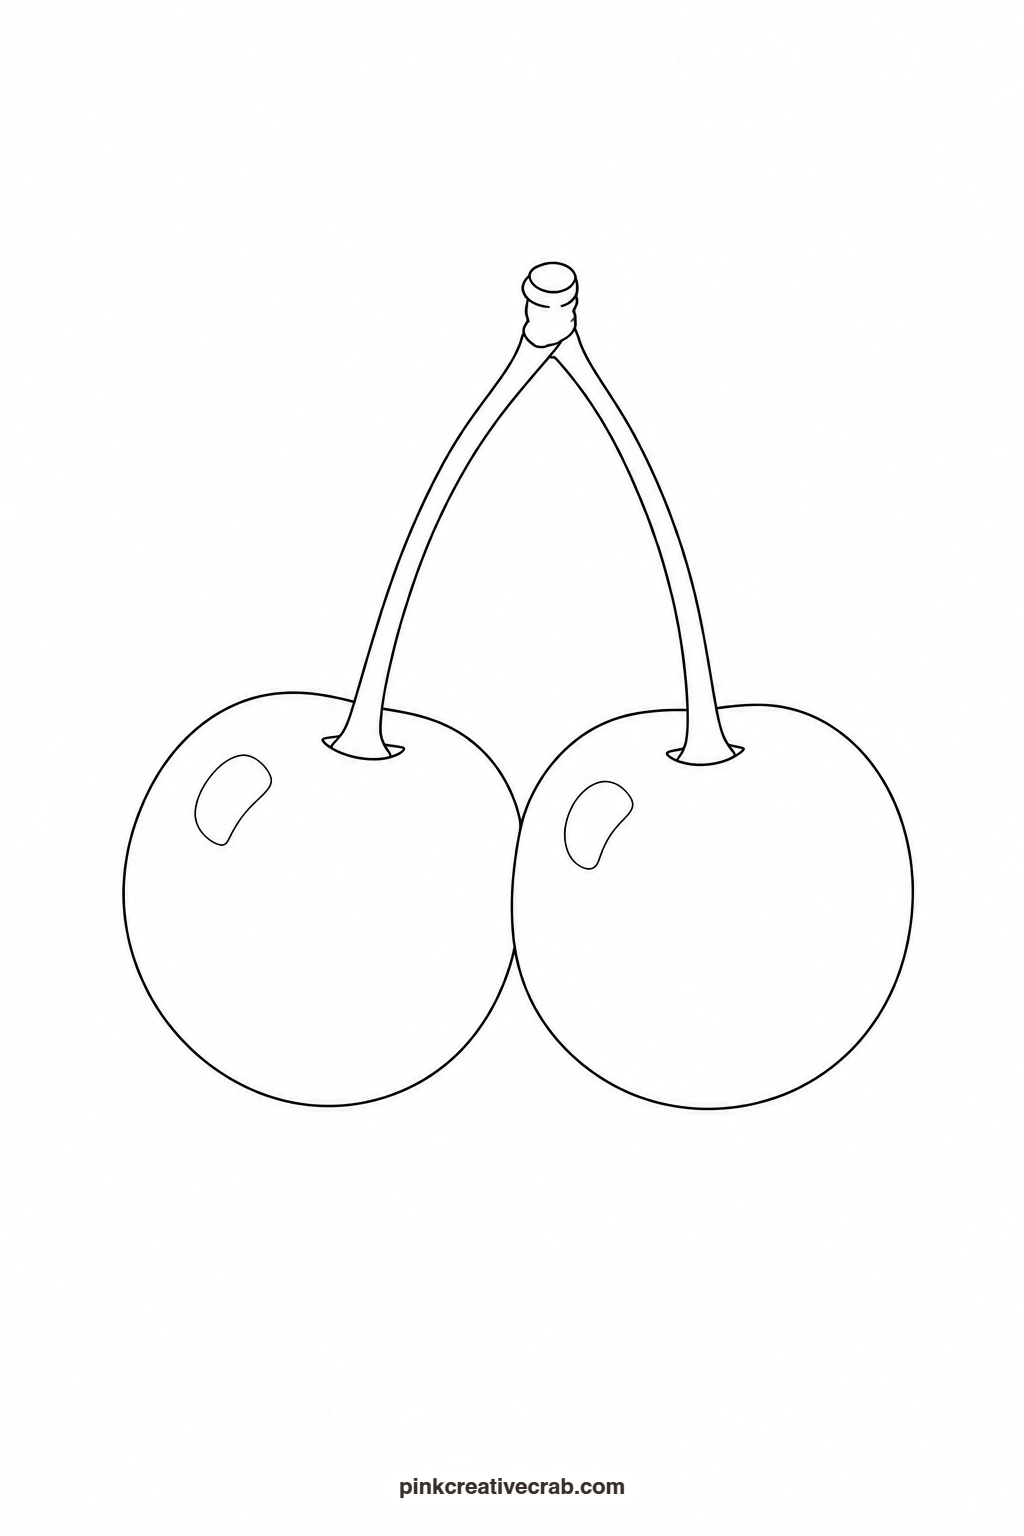
Paint both cherries with the same red wash so they read as a matching pair, leaving a small white highlight unpainted on the upper left of each where the light hits. While still damp, drop a touch of deep maroon into the lower right of each cherry so they round out nicely. Finish with the curved stem in a thin green brown line, painted in one confident stroke rather than built up slowly.
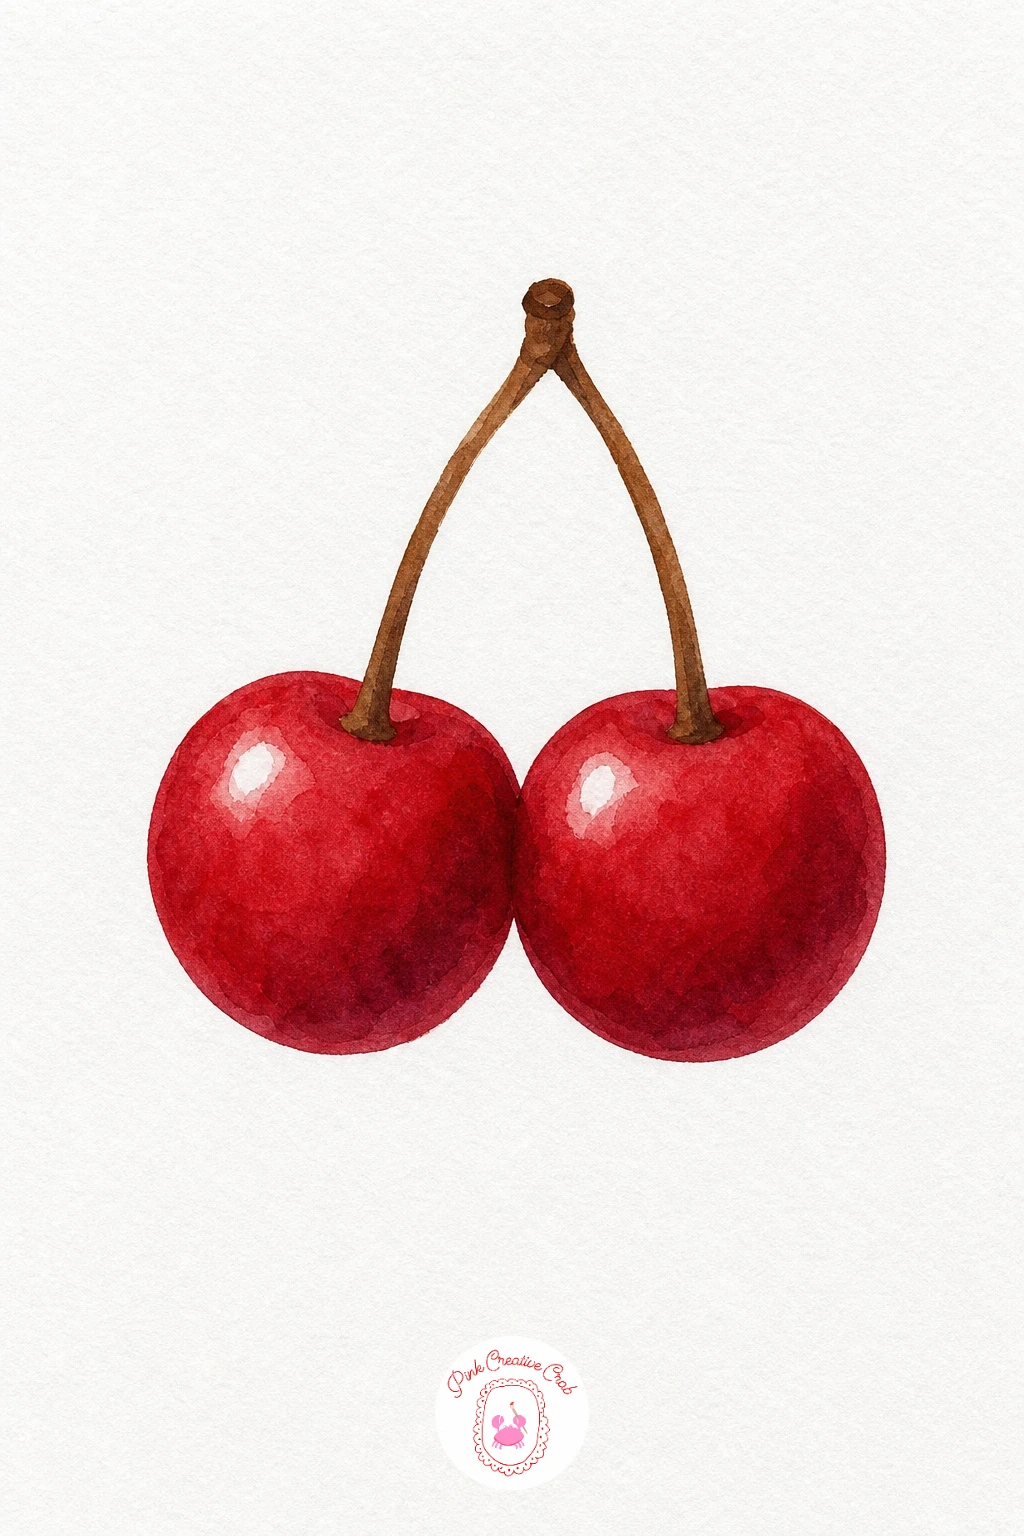
Palette: Cadmium Red,Alizarin Crimson,Sap Green
Peach
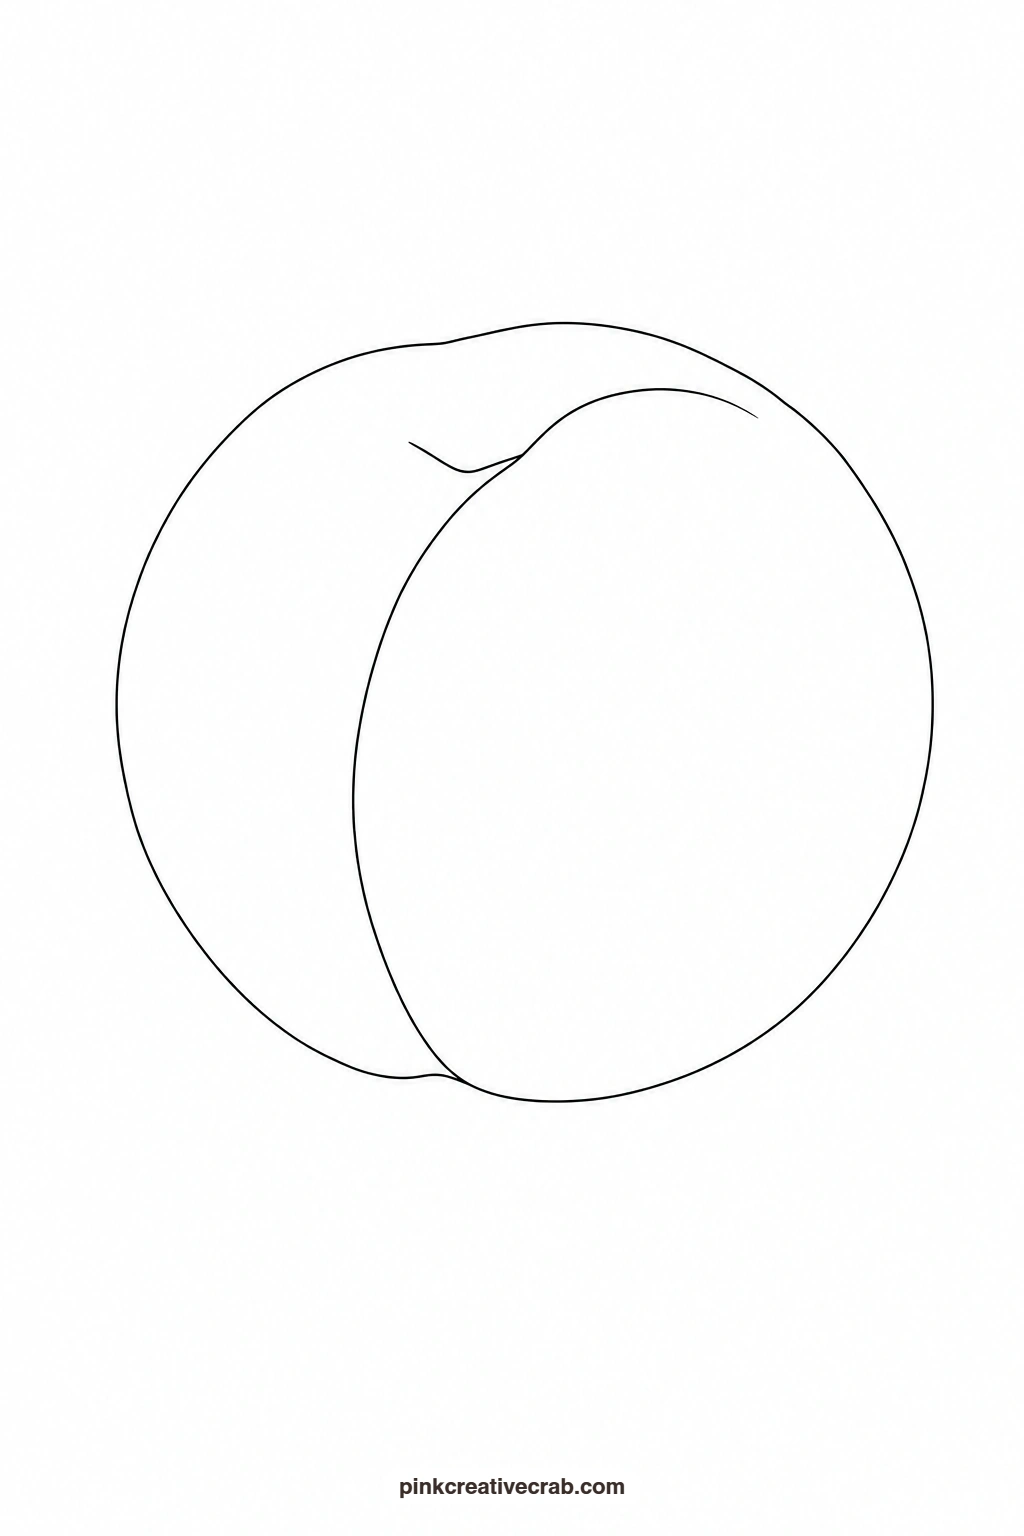
Wet the whole peach shape first, then drop in pale yellow at the top and a soft pink blush at the bottom so the two colours bloom together across the damp paper. Let that dry fully before painting a single curved line down one side for the natural crease, using a slightly deeper pink so it reads as a soft dip rather than a hard line. A tiny dry patch left unpainted near the top keeps the fuzzy highlight believable.
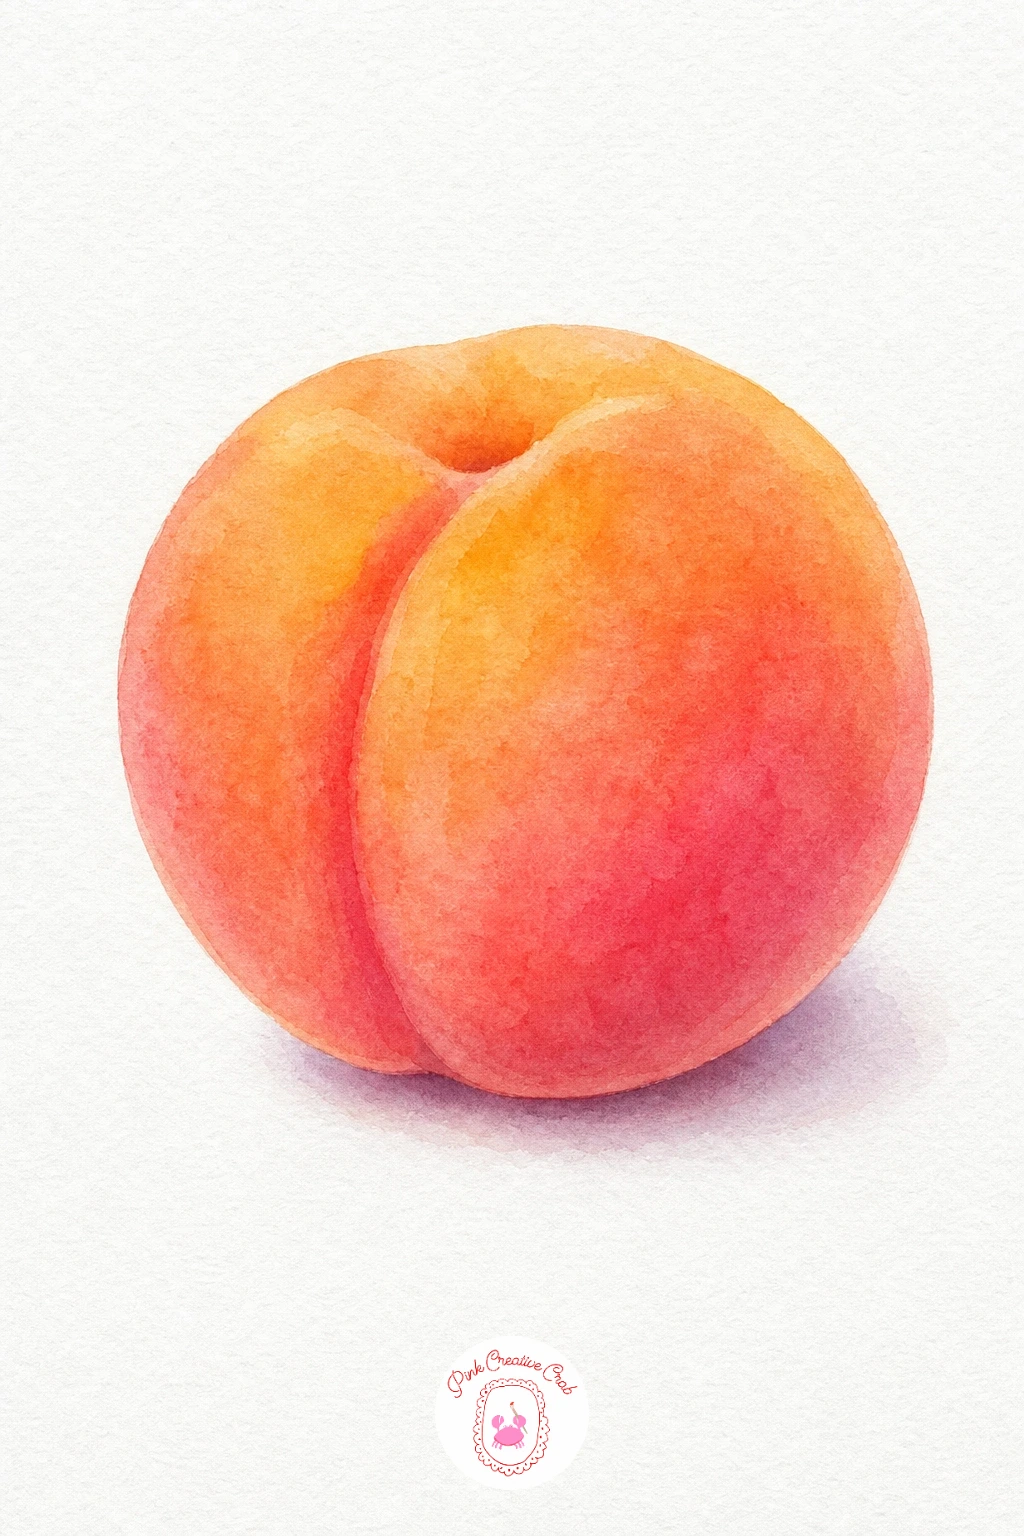
Palette: Lemon Yellow,Permanent Rose,Cadmium Orange
Try a damp cotton bud to lift a little colour back out at the top highlight once the first wash has dried; it keeps that spot soft rather than stark white.
Watermelon Slice
Paint the thin white pith band first with the barest hint of pale green so it stays distinct from the rind, then let it dry. Wash the rind in a fresh green, darker at the very edge, and the flesh in a bright watermelon pink, keeping the two separated by that pale band. Once everything is dry, dot in a scatter of small black seed shapes across the pink, leaving the spacing a little uneven so it feels natural rather than patterned.
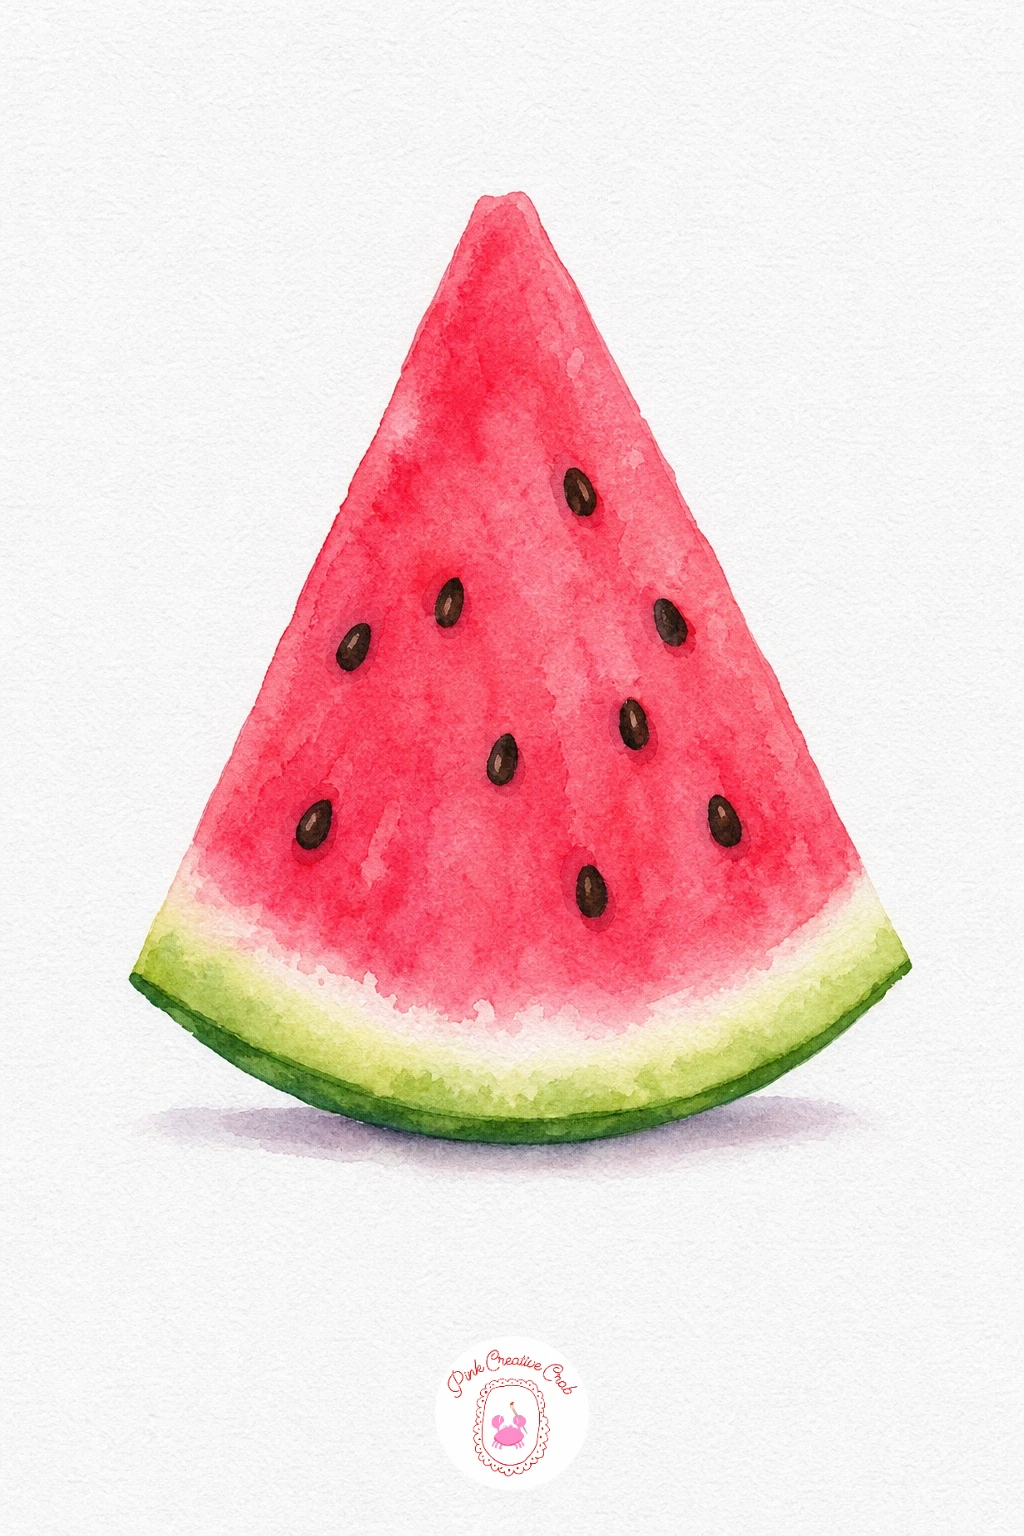
Palette: Permanent Rose,Sap Green,Hooker’s Green,Ivory Black
Pineapple
Wash the whole body of the pineapple in a warm golden yellow, letting it sit a touch deeper toward the base. Once dry, paint the diamond pattern lines across the skin with a dry, fairly stiff brush in a soft brown so the texture suggests itself without covering the yellow underneath. Finish with the crown of leaves in two shades of green, the center ones lighter and the outer ones darker, which gives the whole top a bit of lift.
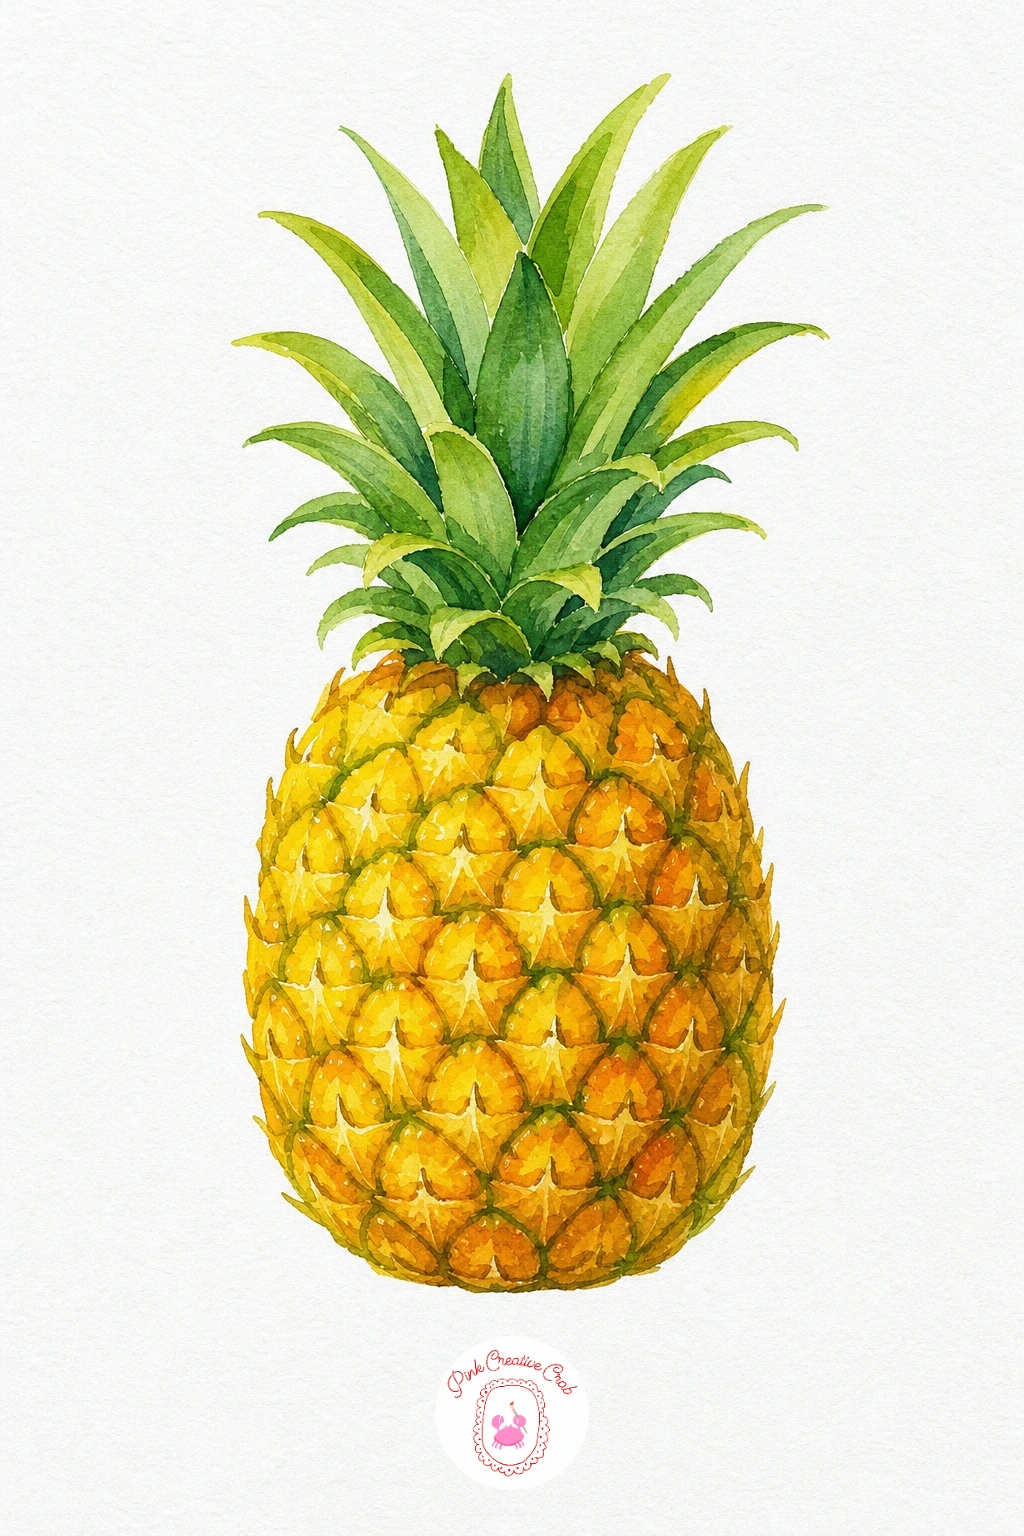
Palette: Cadmium Orange,Yellow Ochre,Sap Green,Hooker’s Green
Fig
Paint the outer skin in a deep purple first, keeping it fairly dark so the inside flesh feels bright by comparison once it is added. For the cut face, start with a pale pink wash near the center and let it deepen toward the edge with a richer magenta, working wet into wet so the colours feather into each other. Once that layer is dry, add a ring of small dot clusters near the center in a deeper pink for the seeds, which is the one detail that makes a fig unmistakably a fig.
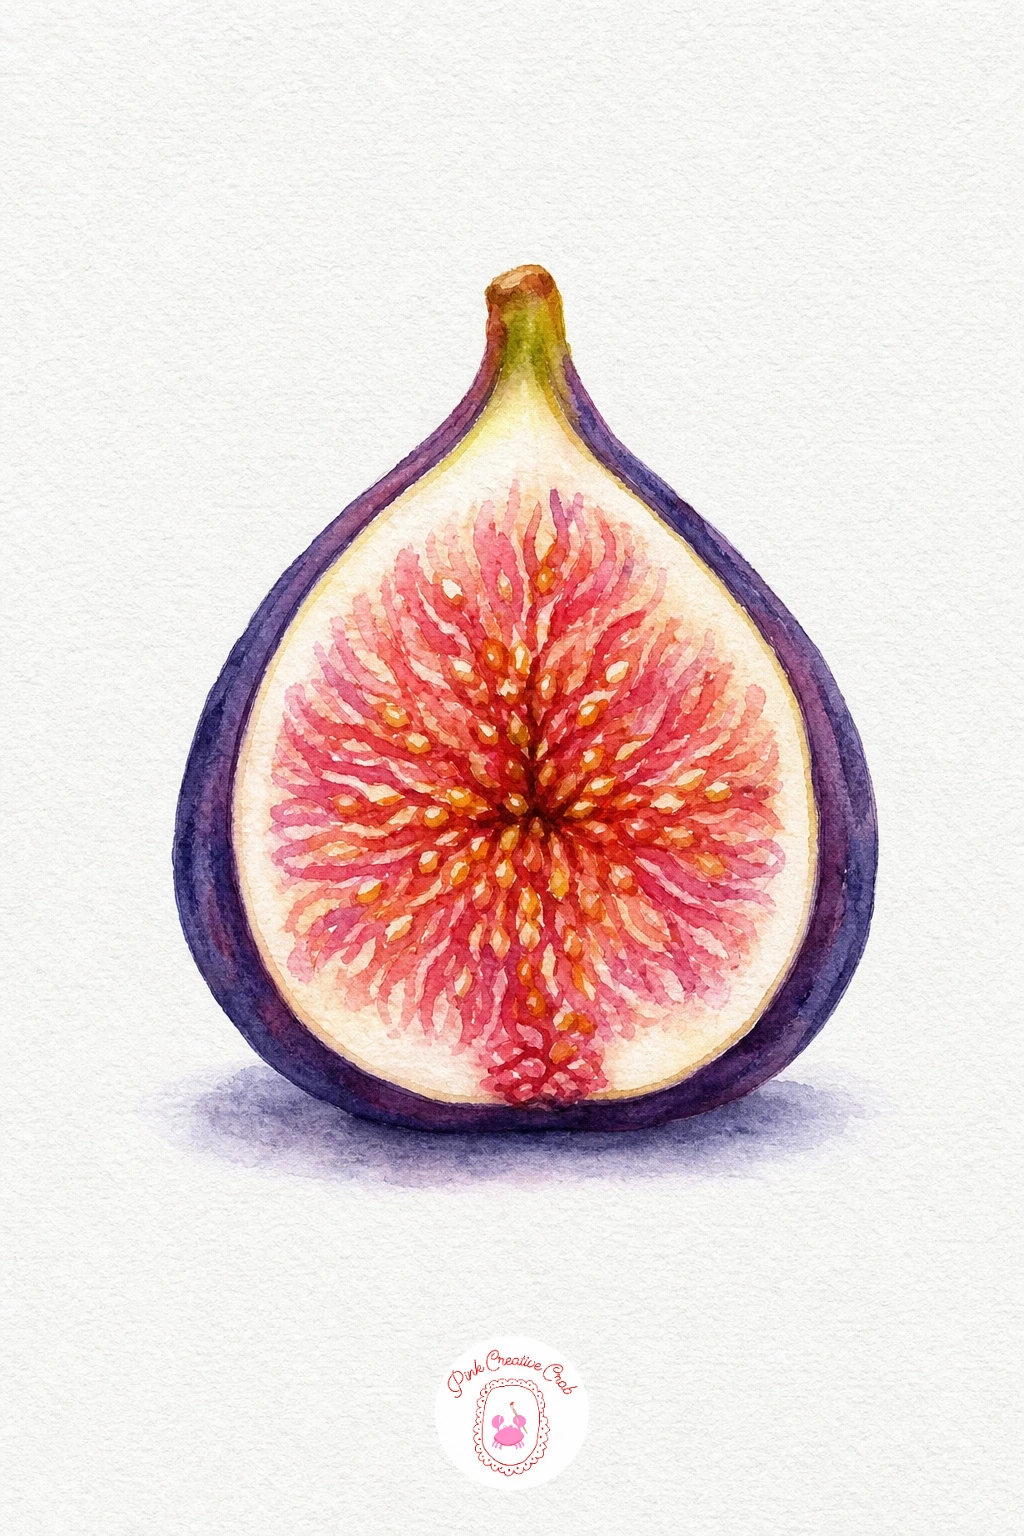
Palette: Permanent Rose,Alizarin Crimson,Payne’s Grey,Dioxazine Purple
Bunch of Grapes
Wash each grape individually in a cool purple, varying the mix slightly between grapes, some leaning more blue and some more red, so the cluster does not read as one flat shape. While each grape is still a little damp, touch a tiny highlight of unpainted white near the top of a few of them to suggest the shine on the skin. Finish with the stem and curling tendril in a simple green, painted last so it sits crisp against the purple below.
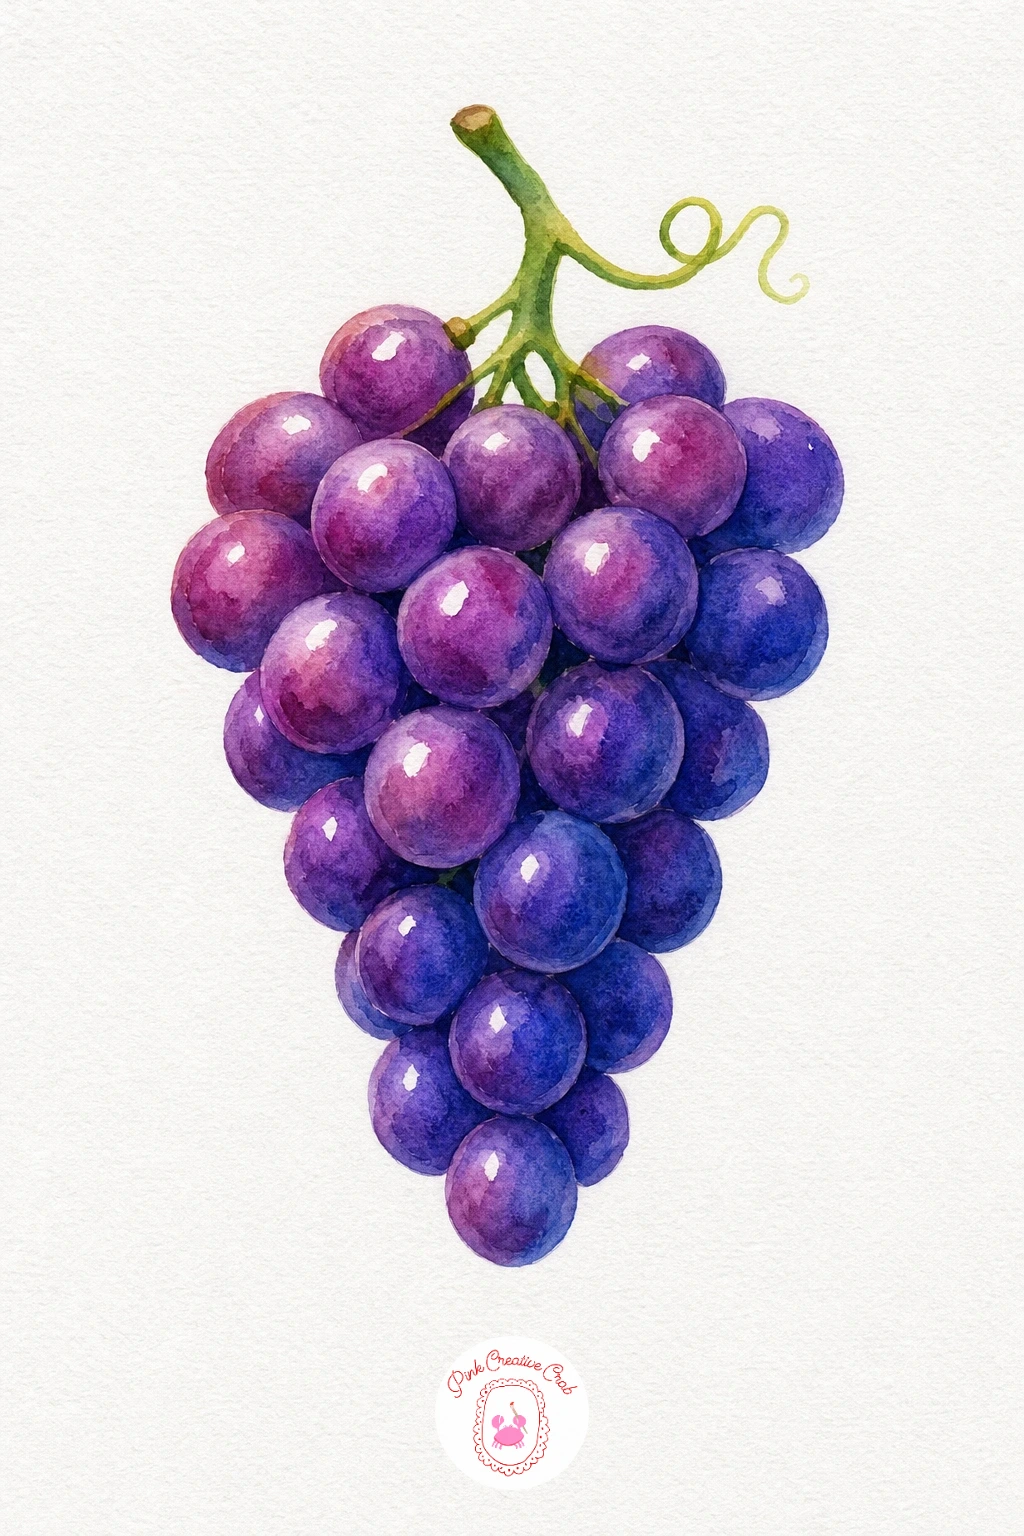
Palette: Dioxazine Purple,Ultramarine Blue,Alizarin Crimson,Sap Green
For more fruit painting practice beyond this set, the step-by-step lessons in this watercolor fruit tutorial collection work well as a follow-up.
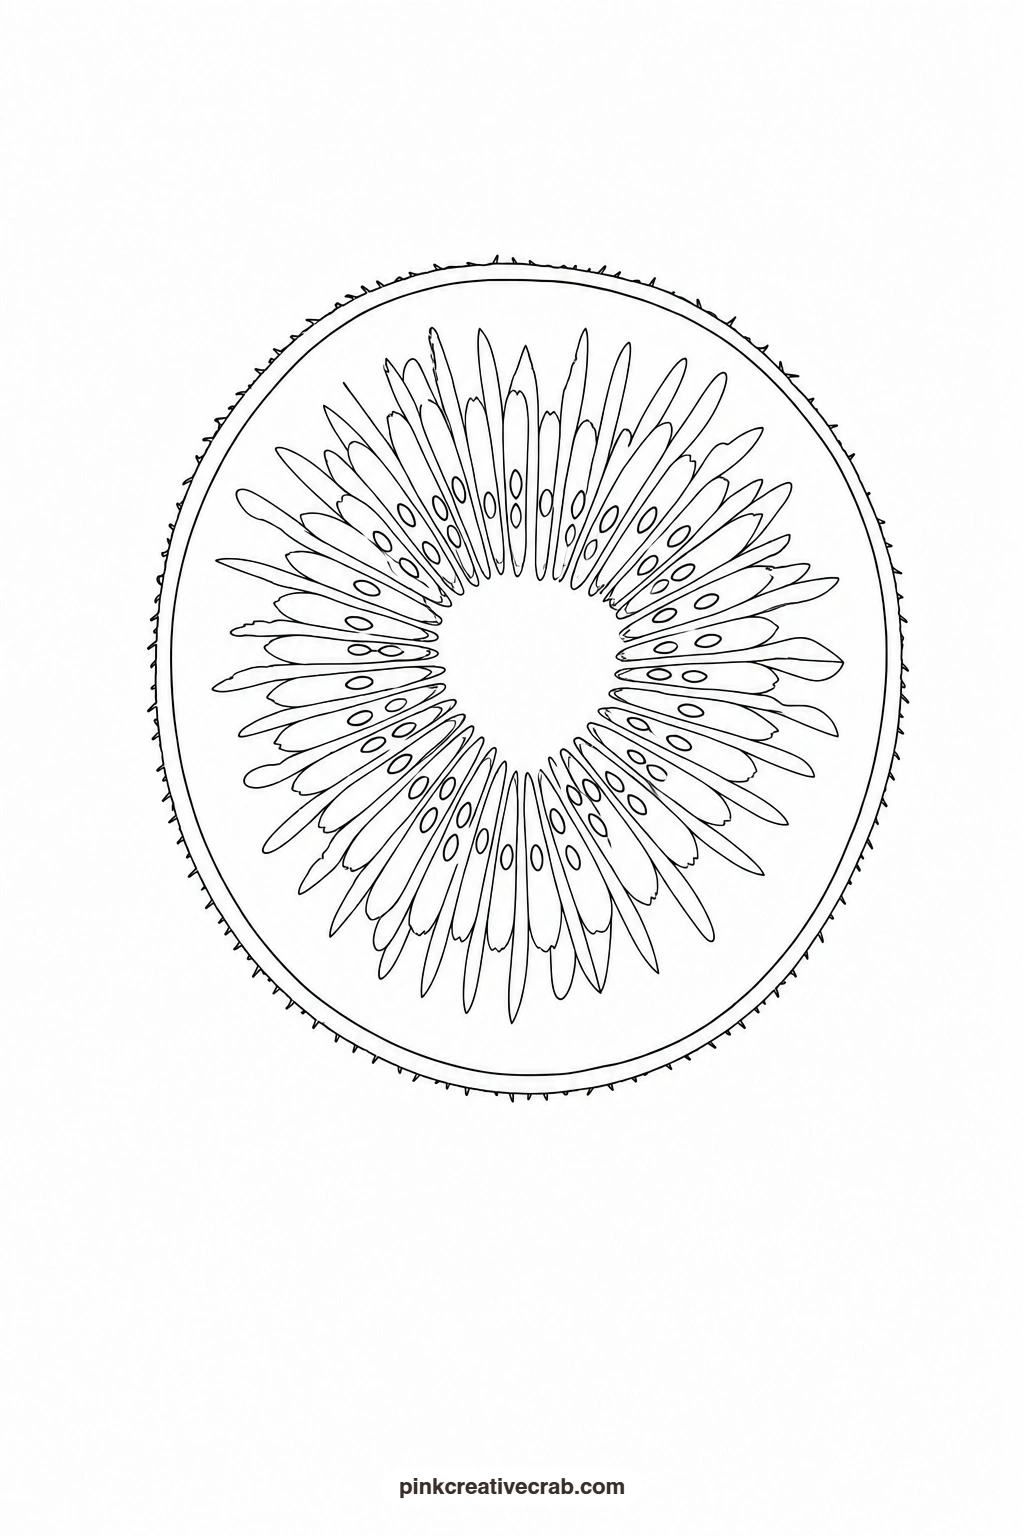
Kiwi Half
Paint the thin outer skin ring in a soft brown first, then wash the wide band of flesh inside it in a fresh green, leaving the very center a pale cream circle untouched by the green. Once that has dried, paint a neat ring of tiny black dots just inside the pale center for the seeds, going slowly since this is the one part of the whole collection with small repeated marks. A thin white line left between the skin and the green keeps the two layers looking distinct and clean.
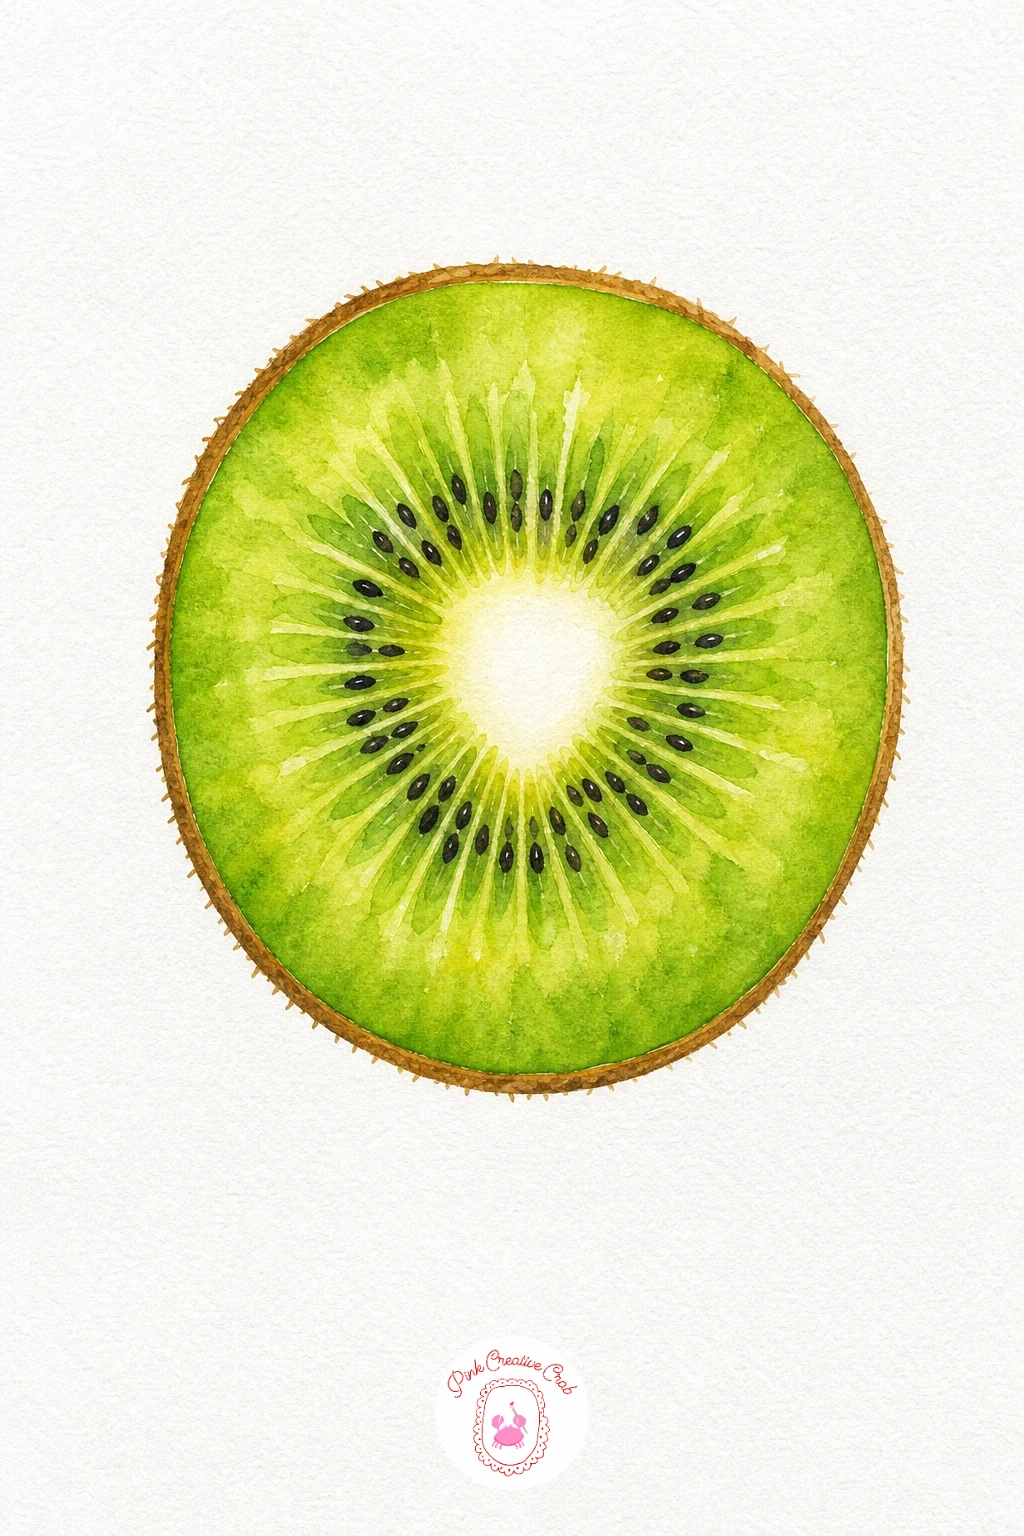
Palette: Burnt Umber,Sap Green,Lemon Yellow,Ivory Black
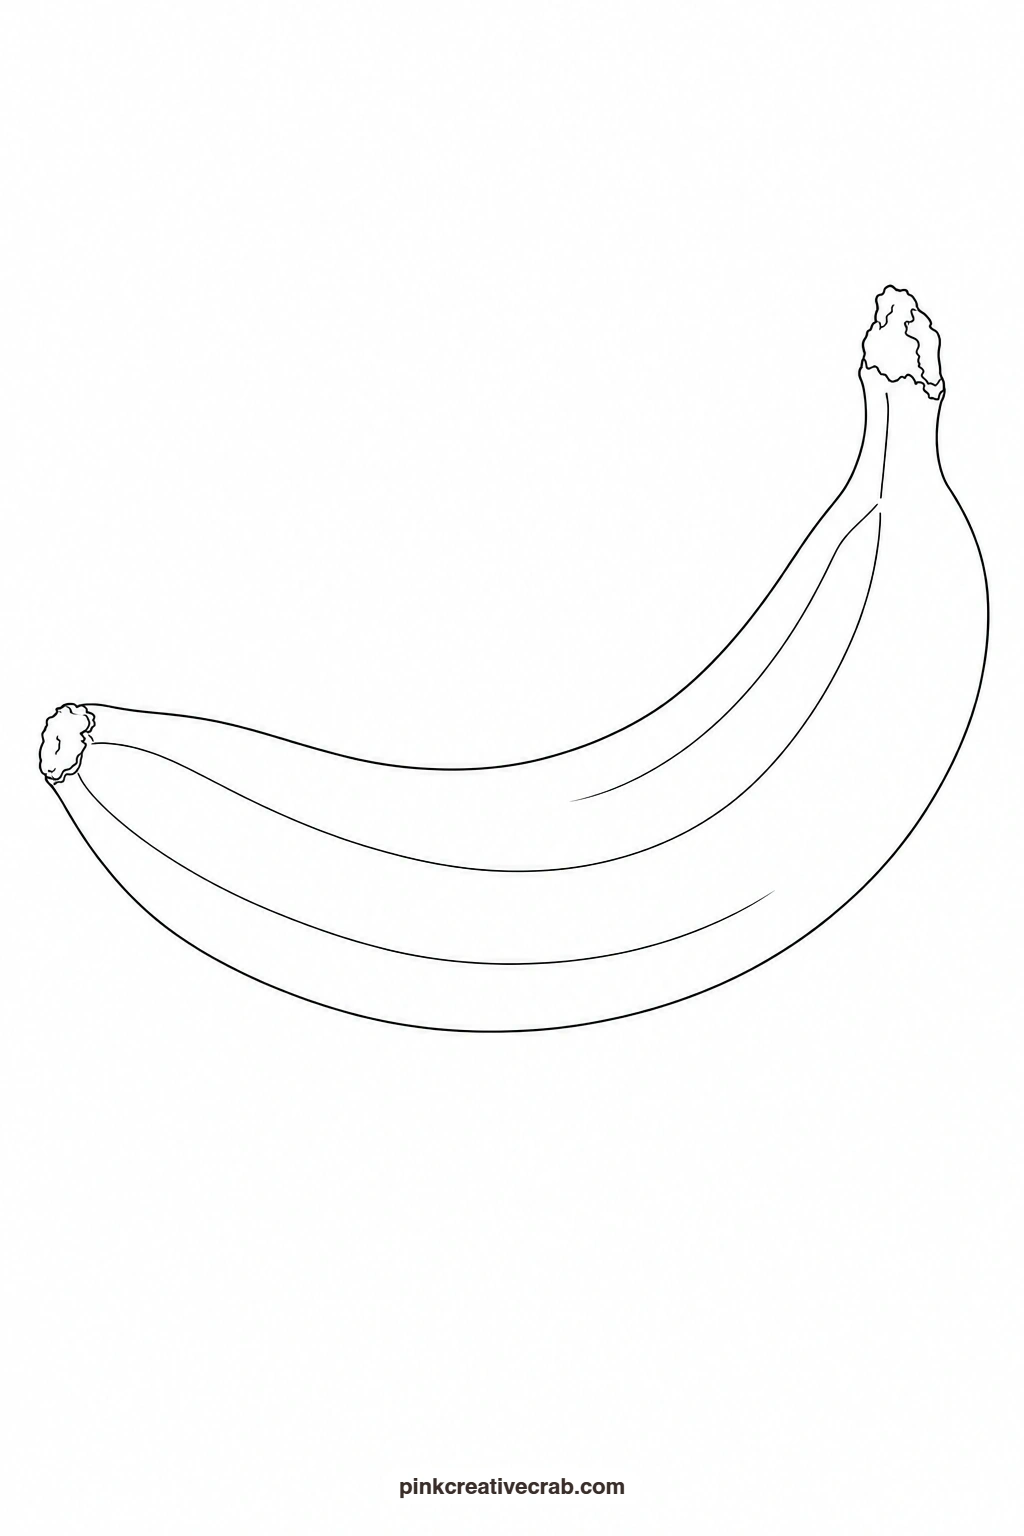
Banana
Wash the whole curved banana shape in a cheerful yellow, keeping the wash flat and even across most of the fruit. While it is still a touch damp, run a thin line of soft brown grey along the underside edge to suggest the gentle shadow of its curve. Once fully dry, add the small dark brown tip marks at each end with a fine brush, which is the single detail that makes the shape read instantly as ripe.
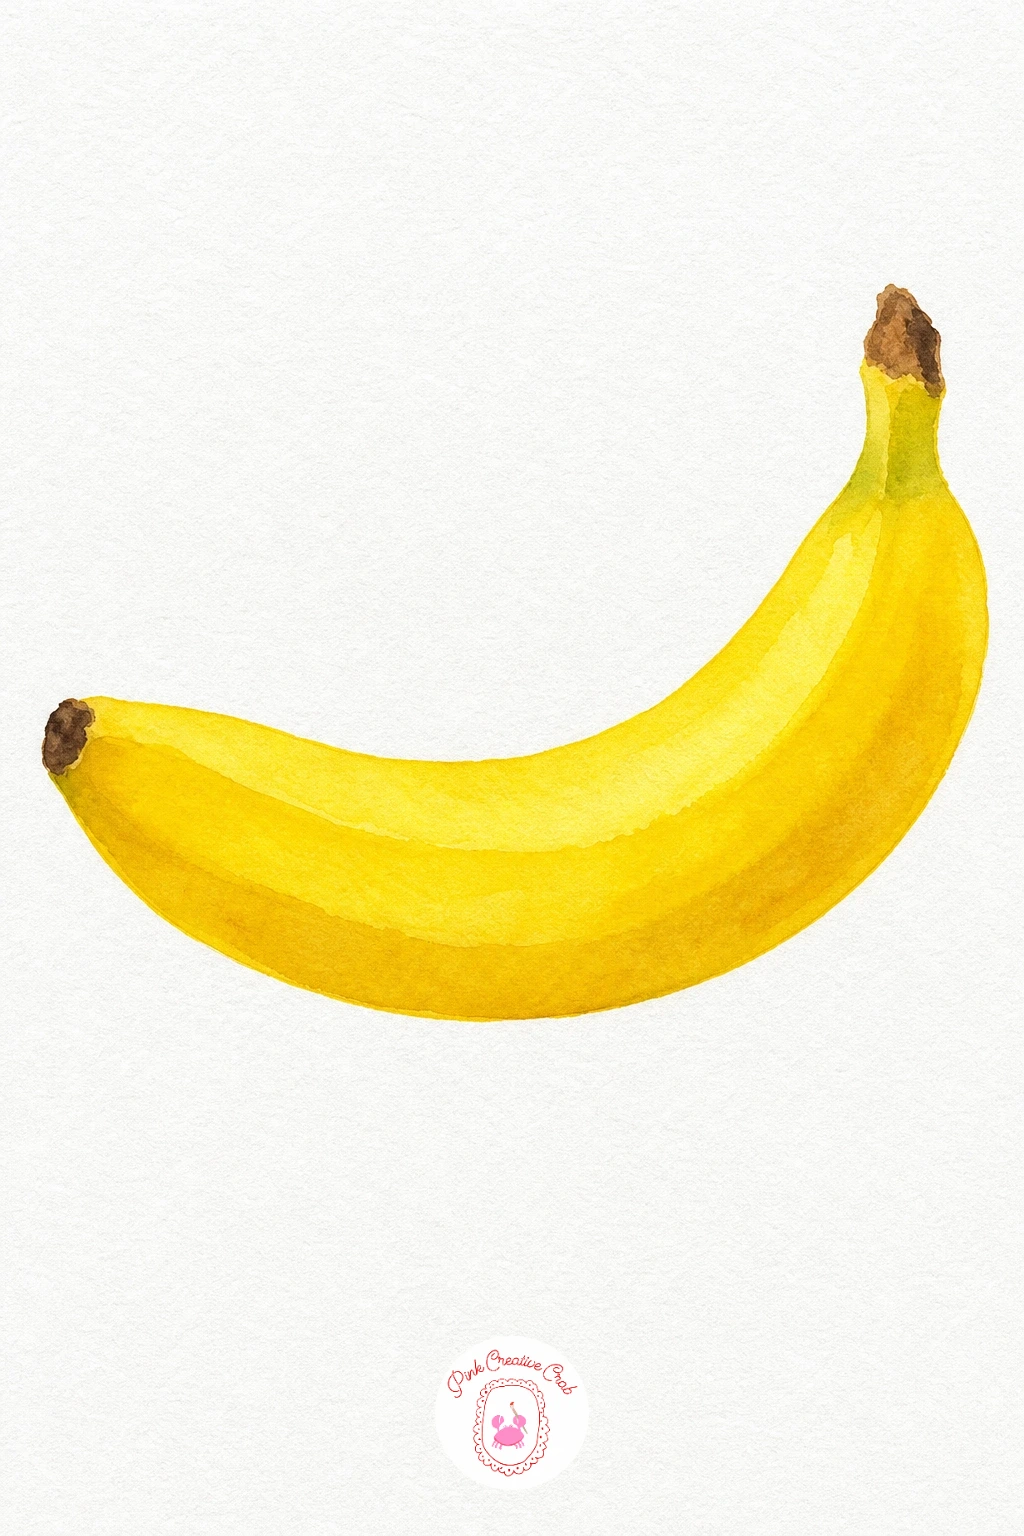
Palette: Lemon Yellow,Yellow Ochre,Burnt Umber,Payne’s Grey
Plum
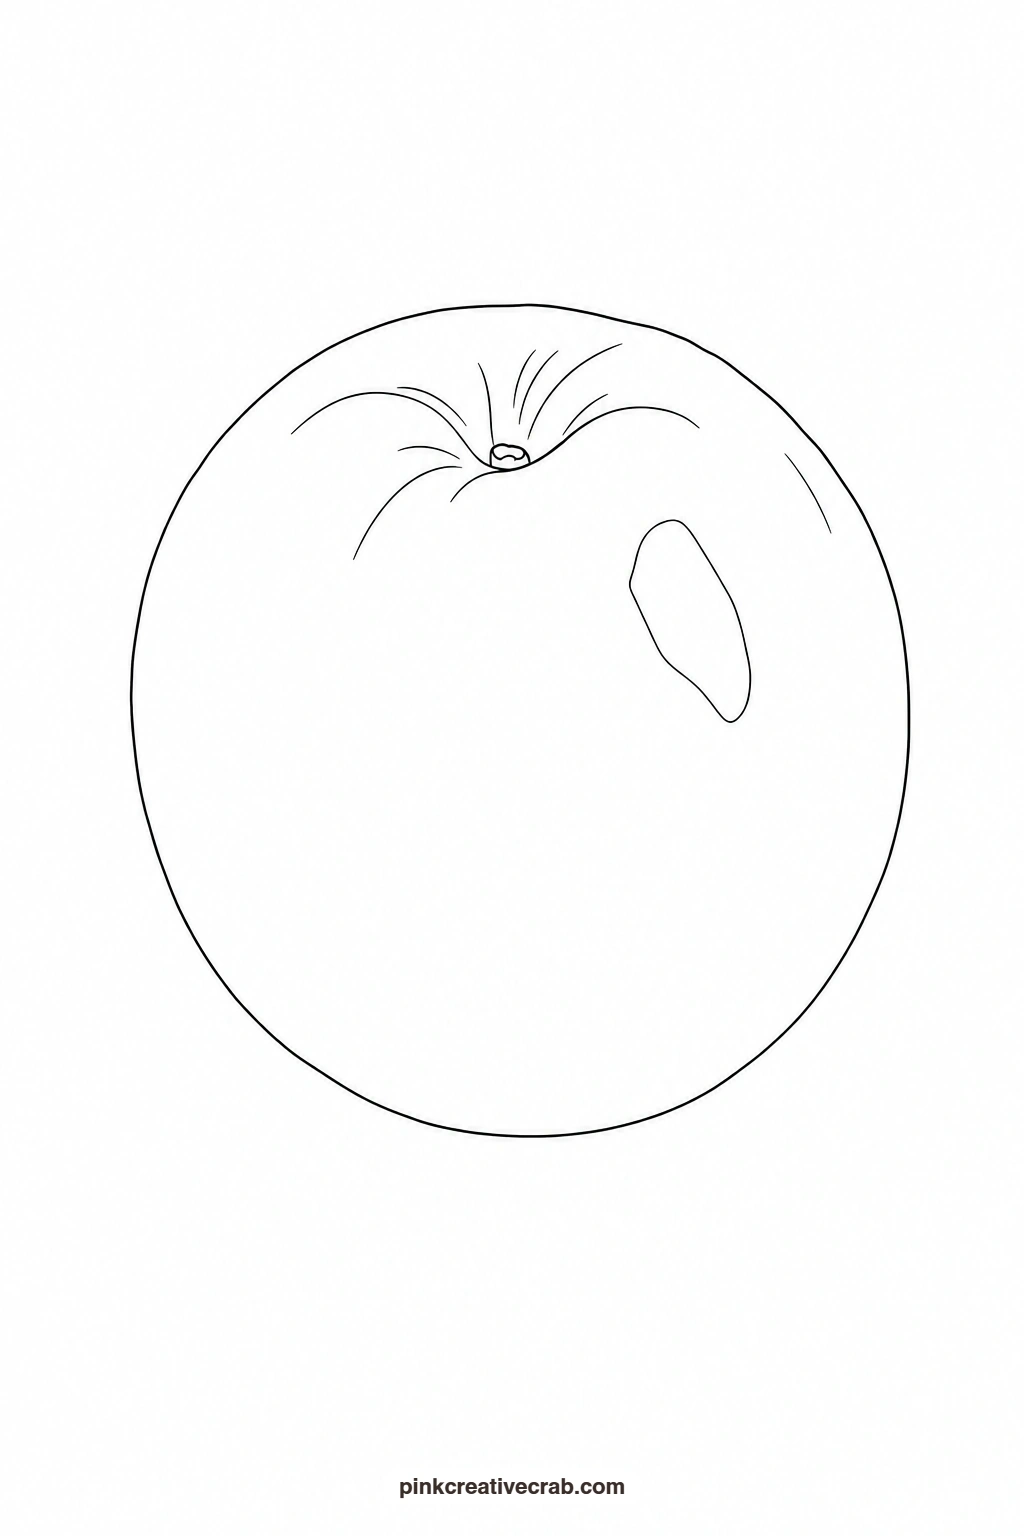
Wet the whole plum shape and drop in a rich purple at the base with a warmer red near the top, letting the two bloom into each other across the damp paper. Leave a small soft oval of white paper untouched on the upper side for the highlight before the wash dries around it. Once everything is dry, add the tiny stem dimple at the top with a short dark line and a dot, finishing the whole fruit in a single confident touch.
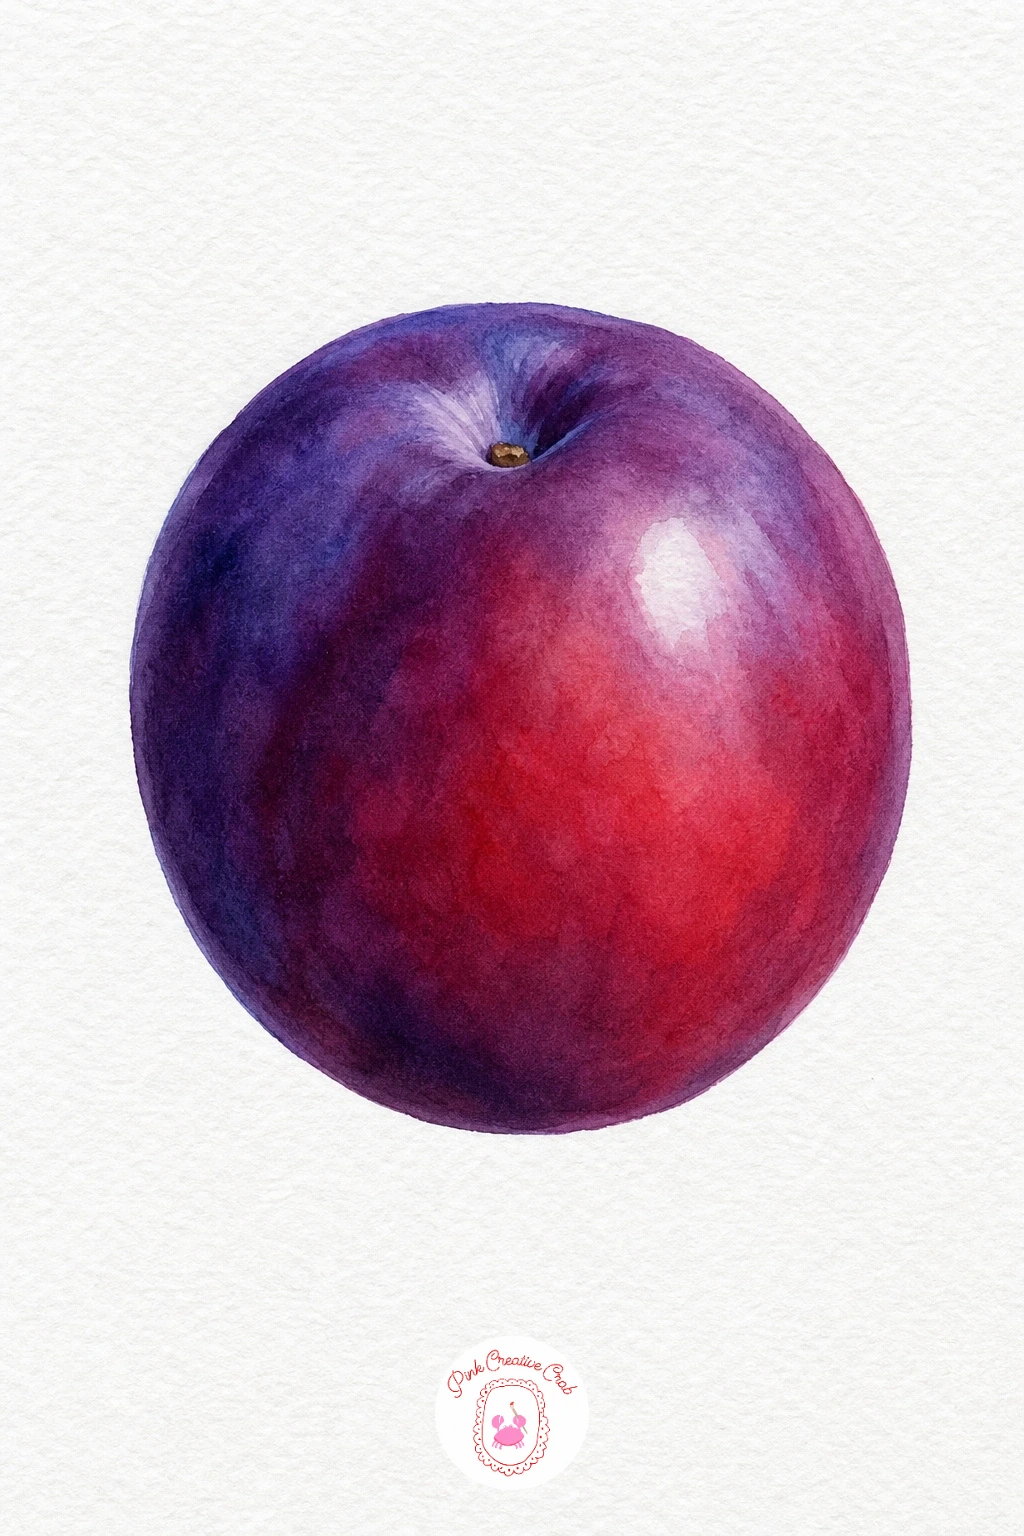
Palette: Dioxazine Purple,Alizarin Crimson,Burnt Umber
Apple
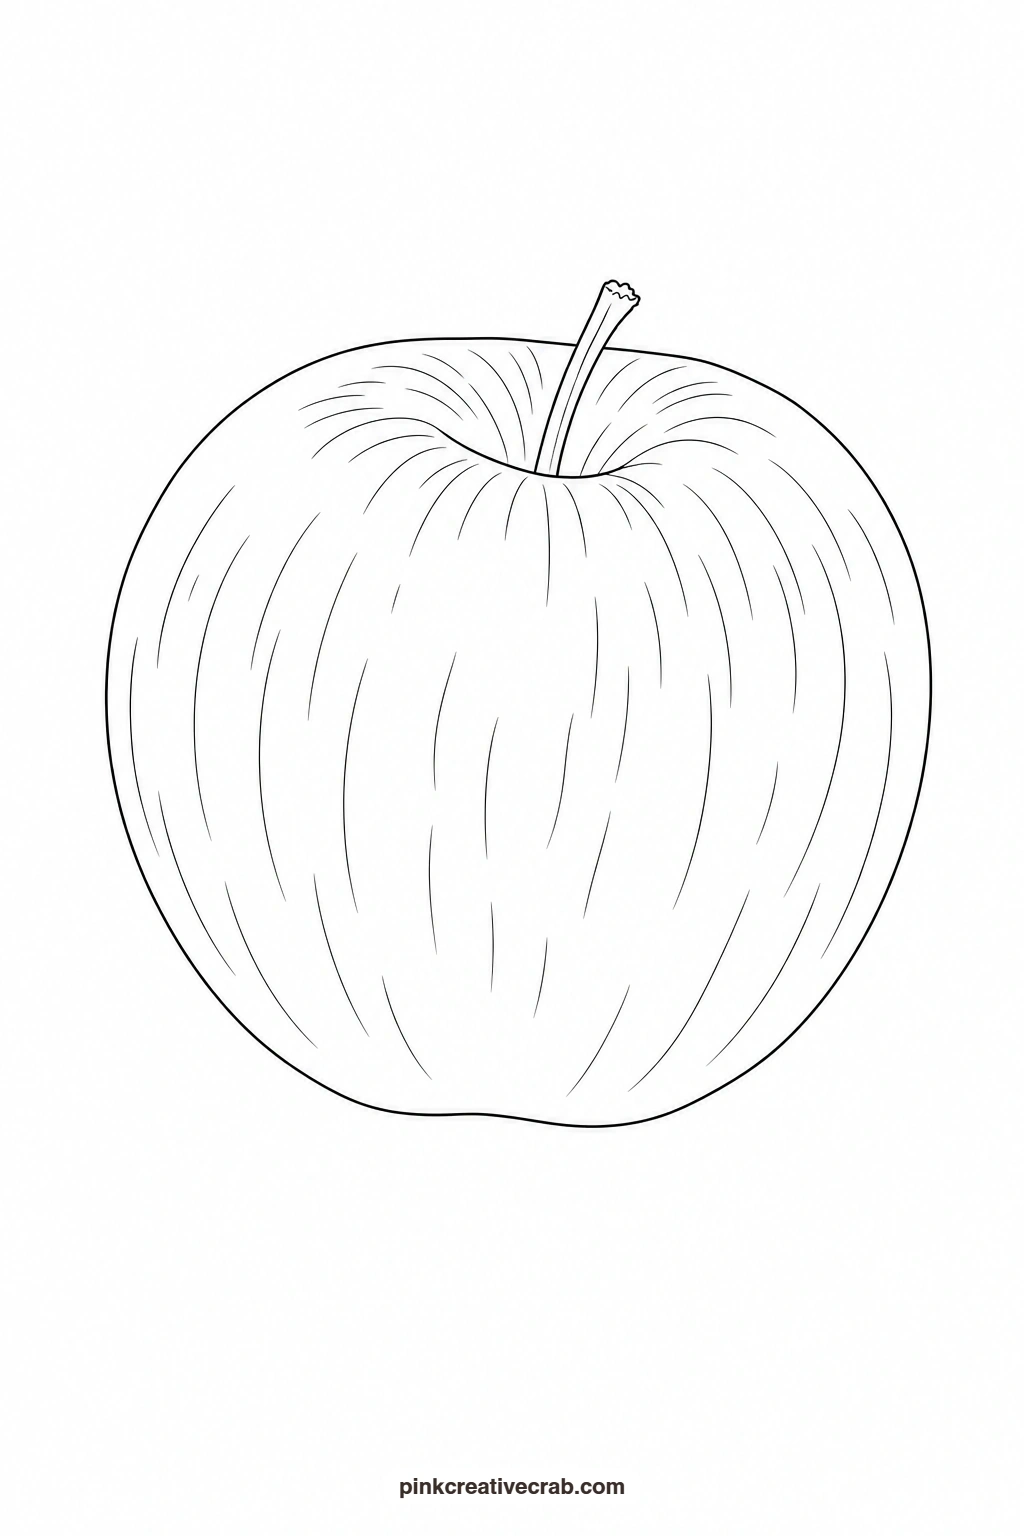
Wash the apple in red starting from the lower right, then while still damp pull a touch of green up into the left side so the two colours blend across the middle rather than meeting in a hard line. Leave a soft unpainted highlight shape on the upper left to catch the light. Once dry, paint the short stem in brown and add a tiny curved leaf in green beside it for a finished, picture book feel, and if you want more ideas in this vein the easy watercolor fruit paintings collection pairs well with this set.
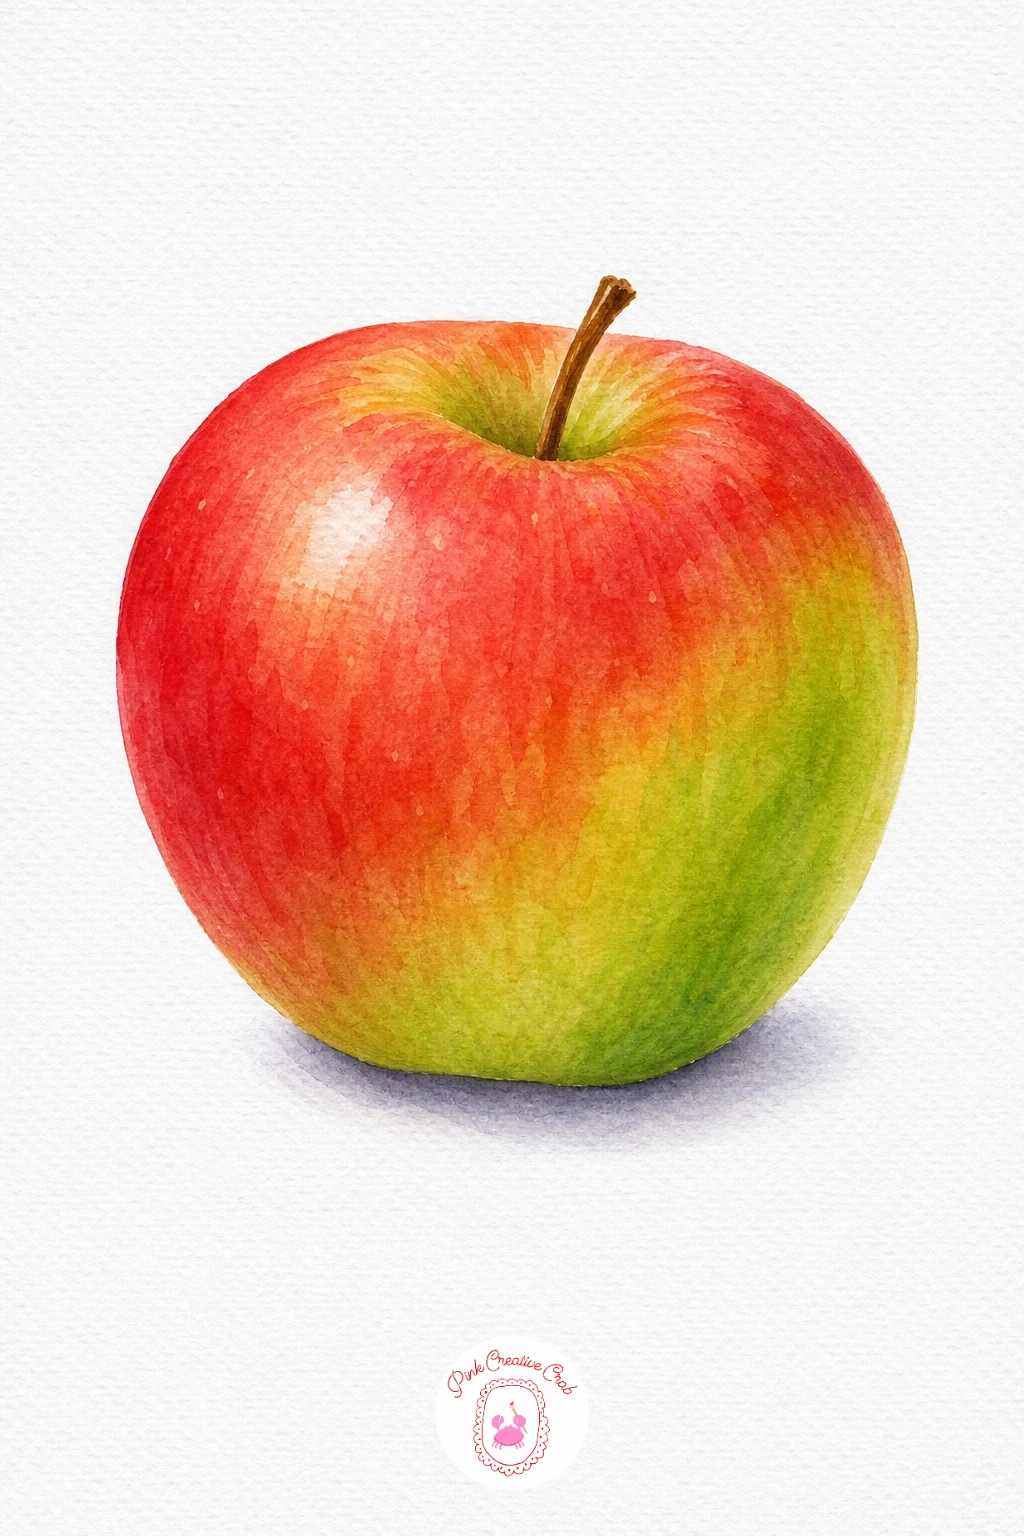
Palette: Cadmium Red,Sap Green,Burnt Umber
What to Do Next
Pick one fruit that appeals to you today, print its outline, transfer it to your watercolor paper and paint it with the example beside you, then come back for the next one whenever you want another quick, finished picture.
Frequently Asked Questions
What size should I print the outlines?
Print them at standard letter or A4 size for a comfortable painting surface. If your watercolor paper is smaller, scale the print down in your printer settings before transferring the outline.
What paper works best for these watercolor fruit paintings?
Use a cold press watercolor paper at least 140lb, since it handles the wet washes and wet-in-wet blending without buckling or pilling under the brush.
How do I transfer the outline without a window or light pad?
Slip a sheet of graphite transfer paper between the printed outline and your watercolor paper, then trace over the lines firmly with a pencil to leave a light guide underneath.
Can I color these with pencils or markers instead of paint?
Yes, the same outlines work well with colored pencils or markers. Follow the same colour placement described for each fruit, building up pressure gradually for pencils to mimic the soft blending of a wash.
Do I need to paint the background around the fruit?
No, leave the white paper bare around each subject. The plain background keeps the focus on the fruit and matches the clean, centered look of the printed example.
Have any thoughts?
Share your reaction or leave a quick response — we’d love to hear what you think!
-
 0
-
0
-
0
-
0
-
0
-
0


