

Christmas food drawing is where the whole holiday table fits on one page: the shine of a glazed ham, the dusting of sugar on a croissant tree, the steam curling off mulled wine. These scenes read like pages torn from a holiday food magazine, and every one of them is built from shapes you already know how to find with a pencil and a loaded brush.
Below you will find thirty two separate dishes and table moments, each sized to finish in one sitting. Work through them in order if you like, easiest first, or jump straight to the one that matches what is sitting on your own counter tonight.
Using these images: free for personal projects such as printing, coloring, cards, journals and gifts. Handmade items that include them may be sold up to 30 pieces per design. More than that is commercial use and is not permitted, and neither is selling or sharing the images themselves or passing them off as your own. Please ask before any other use.
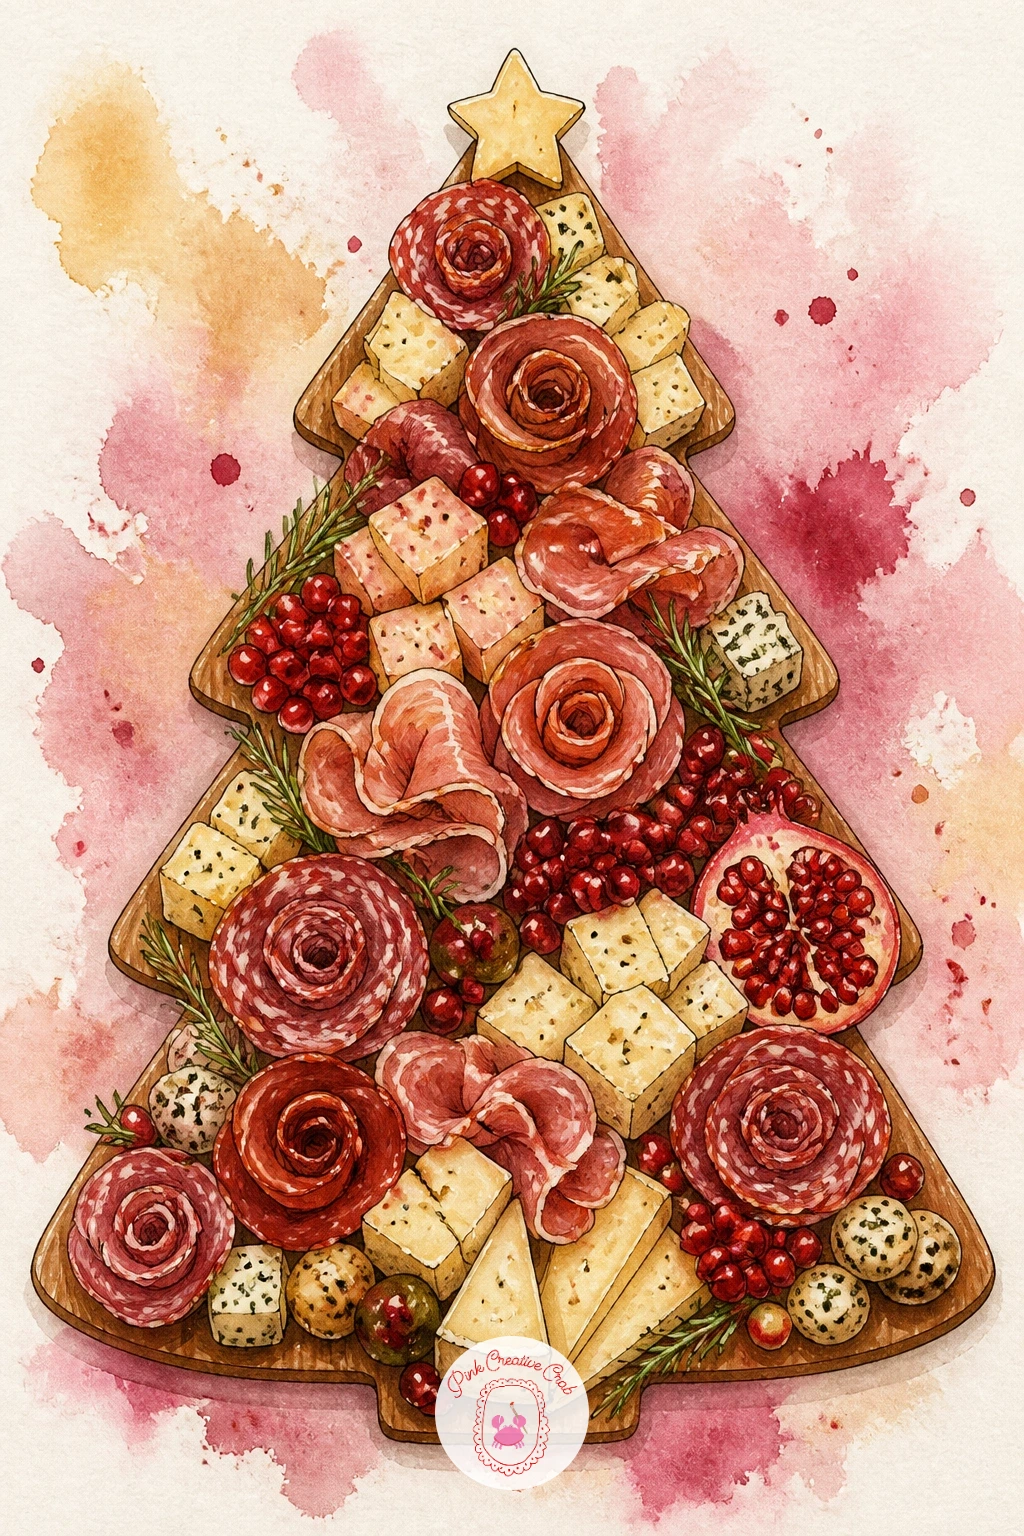
Grab a round board shape first: sketch a wide triangle in pencil, rounded at the base, and that triangle is your whole composition guide for the charcuterie board shaped like a Christmas tree. Build it from the bottom up in ink, little circles for salami roses, clusters of grapes, small wedges of cheese, each shape kept simple and overlapping its neighbor.
Paint the meats in warm reddish browns first, then drop in sage green for rosemary sprigs and deep red for pomegranate seeds scattered like ornaments. The board usually goes wrong when every item gets equal attention and the tree shape disappears, so keep the outer edge of the triangle clean even while the inside gets busy.
If you do not have a round board shape to trace, use a dinner plate or just eyeball an oval. Use the comparison trick of holding your pencil up to measure the board’s width against its height before you commit to the triangle, so the tree shape reads instantly from across the room.
Finish with a scatter of white gouache dots for powdered sugar or frost across the greenery today.
You Will Need
- round plate to trace
- fine liner pen
- watercolor paints in warm red and sage green
- white gouache or gel pen
Palette: Burnt Sienna,Sap Green,Alizarin Crimson,Cream White
Look at real charcuterie photos online for the way salami folds into roses, it is a repeated loose spiral shape once you see it a few times.
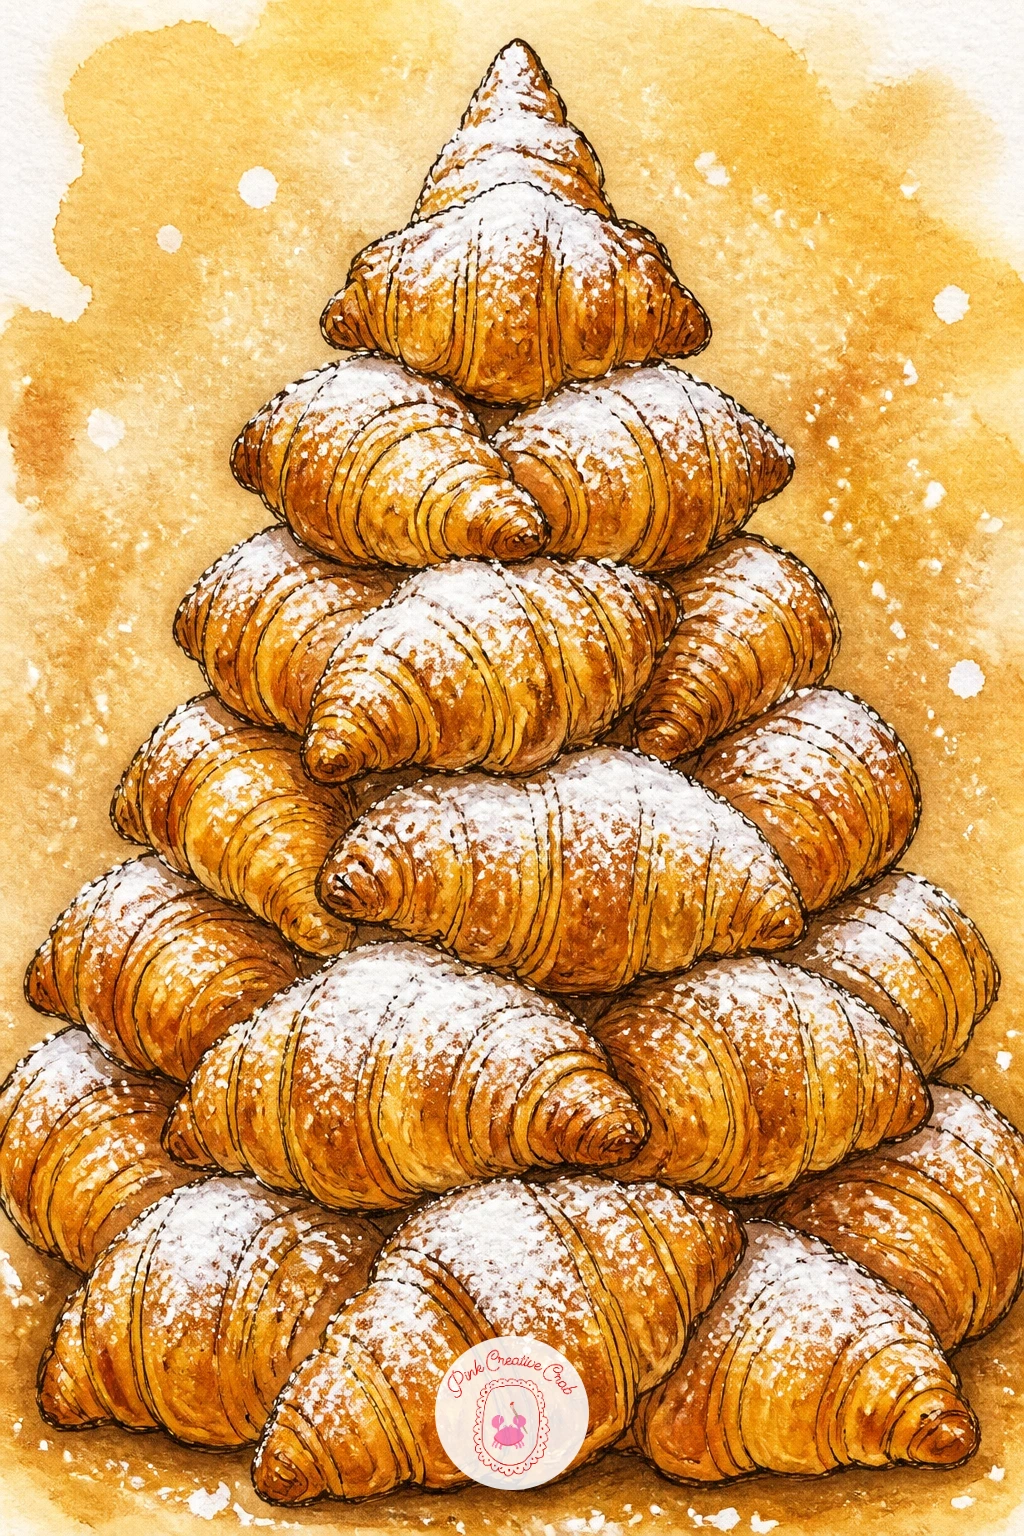
Stack the shapes like firewood: the croissant tree with powdered sugar snow is just overlapping crescent moons building into a cone. Pencil in five or six rows, each row slightly narrower than the one below, then ink each croissant with short curved lines to suggest the flaky layers without drawing every single one.
Wash in warm golden brown first, letting some croissants stay paler than others so the tree has light and shadow across its surface. The piece falls apart if every croissant is painted the exact same gold, so vary your mix slightly, warmer in the shadows under each layer and lighter where the baked top catches the light.
Once the gold washes are dry, flick tiny dots of white gouache or a white gel pen across the whole tree for powdered sugar snow. A dry brush loaded with barely any white paint, dragged lightly across the ridges, gives a dusted texture that a wet brush cannot manage.
No gouache on hand, a white colored pencil works almost as well over dry watercolor for this one.
You Will Need
- fine liner pen
- watercolor paints in gold and brown
- white gouache or gel pen
- small round brush
Palette: Yellow Ochre,Burnt Umber,Cream White,Raw Sienna
Try this one at a slight downward angle instead of straight overhead, it makes the cone shape read more like an actual tree.
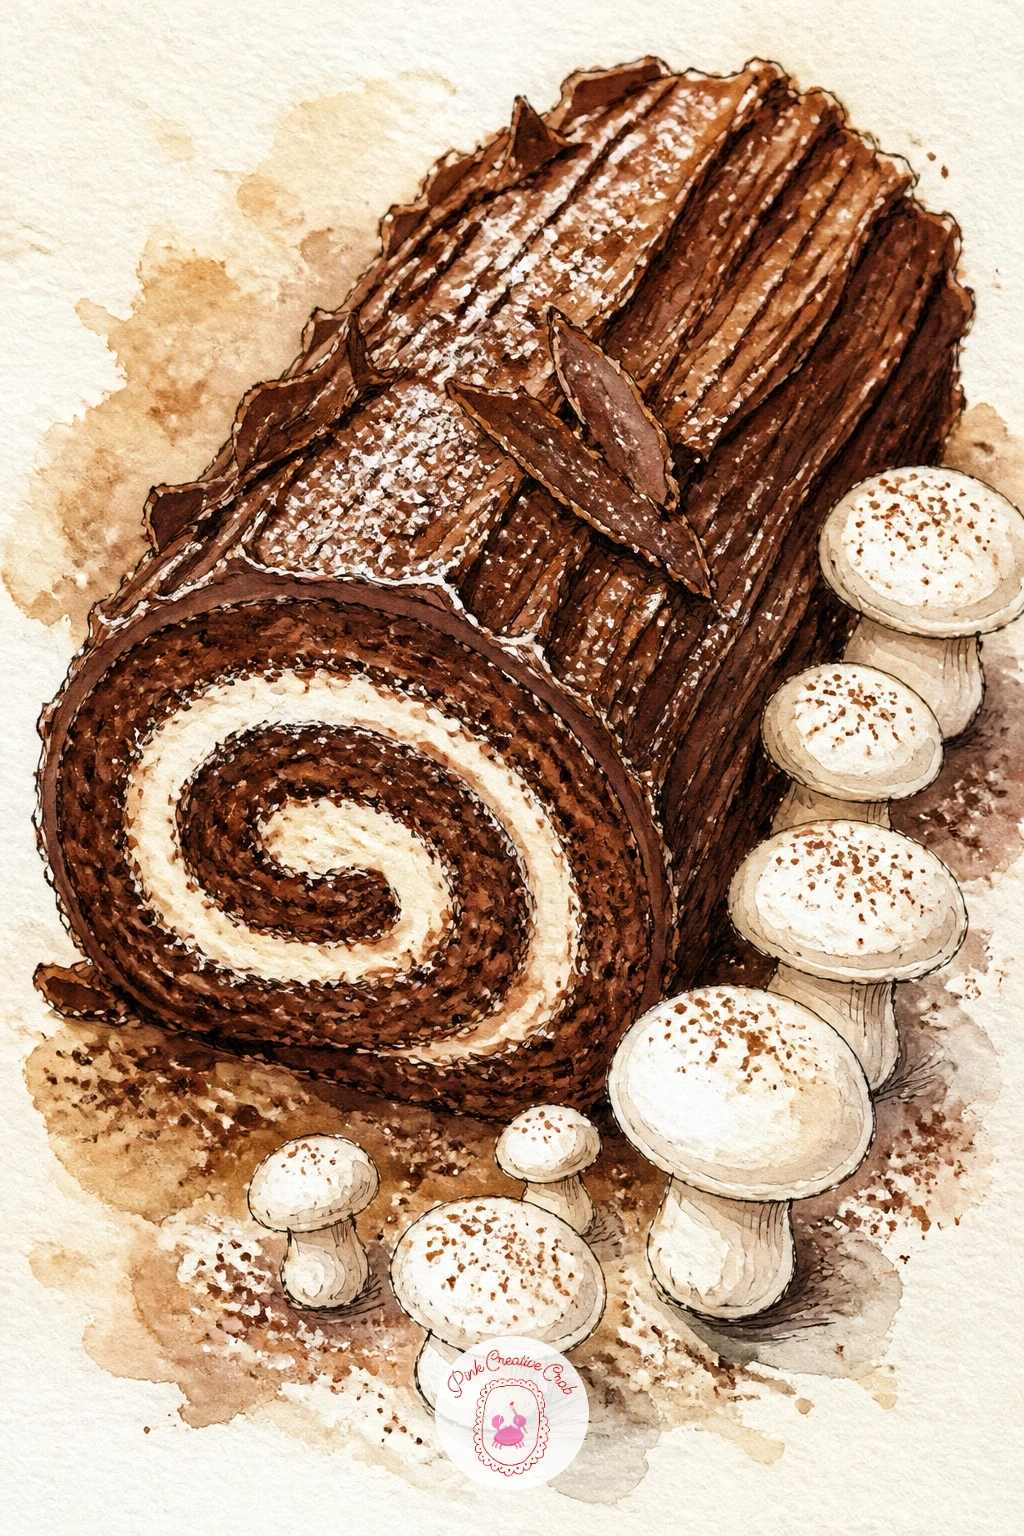
Roll the log shape in first: a long cylinder in pencil, slightly tapered, with one end showing the spiral cut cross section. The bûche de Noël with meringue mushrooms depends on that spiral reading clearly, so ink it as a tight curling line rather than a plain circle before moving on to the chocolate bark texture on the outside.
Ink short wavy lines down the length of the log to suggest the fork marks through chocolate ganache, then scatter three or four small mushroom shapes around the base, simple domed caps on short stems. Paint the log in deep chocolate brown, the cream swirl in pale beige, and leave the mushroom caps mostly white with just a gray shadow underneath.
The bark texture is the part most likely to go flat, so once your brown wash dries, use a dry brush dragged lengthwise in a slightly darker brown to lift the ridges into relief.
Dust the mushrooms with a little cocoa powder brown using the tip of a dry brush, since real meringue mushrooms get a light chocolate dusting too.
You Will Need
- fine liner pen
- watercolor paints in chocolate brown and beige
- small round brush
- dry flat brush
Palette: Van Dyke Brown,Burnt Sienna,Payne’s Grey,Cream White
Add a sprig of rosemary or a few sugared cranberries beside the log, the green and red break up all that brown nicely.
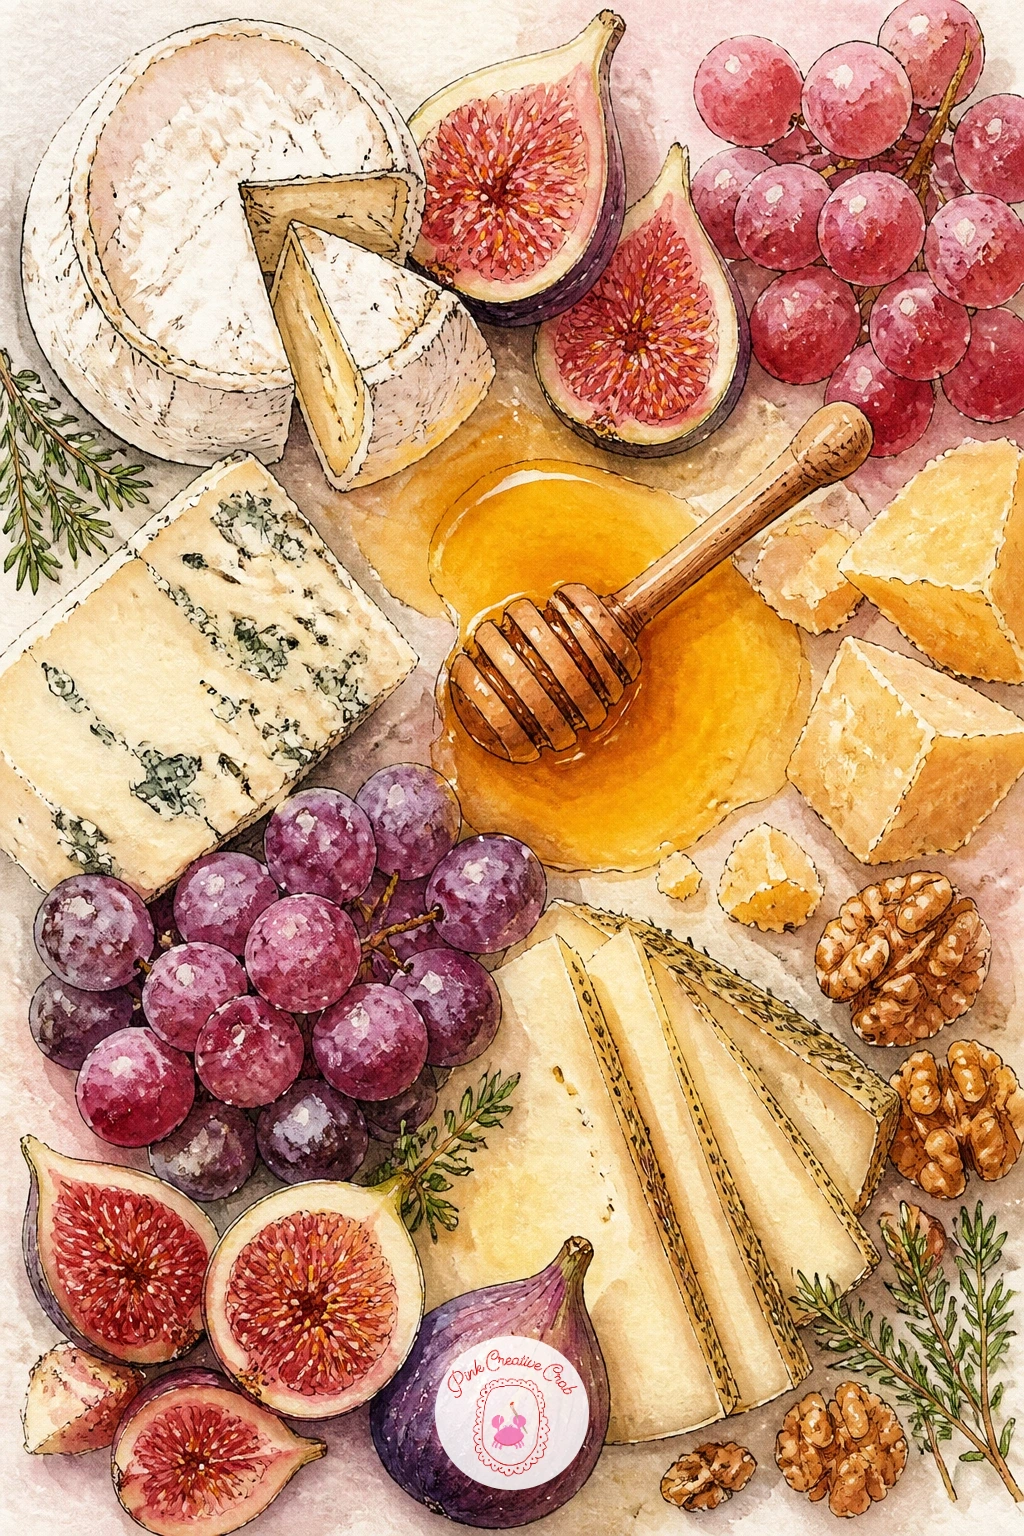
Start with the wedges: three or four cheese shapes of different sizes, one wedge, one rounder wheel, one crumbly block, sketched loosely across your paper before anything else. The cheese board with figs, grapes and honey earns its charm from variety, so no two cheese shapes should look alike once you ink them.
Work the figs next, small ovals sliced open to show the pink starred center, then a cluster of grapes as overlapping circles. Paint the cheeses in pale cream and golden yellow, the fig flesh in deep pink, and leave a honeycomb shape or honey drizzle as a warm amber line pooling at the board’s edge.
Honey drizzles are easy to overdo, so paint one confident wet line with a fine brush loaded with amber and let it pool naturally rather than going back over it twice.
Swap fresh figs for dried apricot halves if that is what is in your kitchen, the shape and the sketching steps stay the same.
You Will Need
- fine liner pen
- watercolor paints in cream, pink and amber
- fine round brush
- wooden board reference photo
Palette: Naples Yellow,Rose Madder,Amber,Olive Green
Check the way light hits a real wheel of brie, the rind edge usually stays pale while the cut face darkens slightly, that small contrast sells the texture.
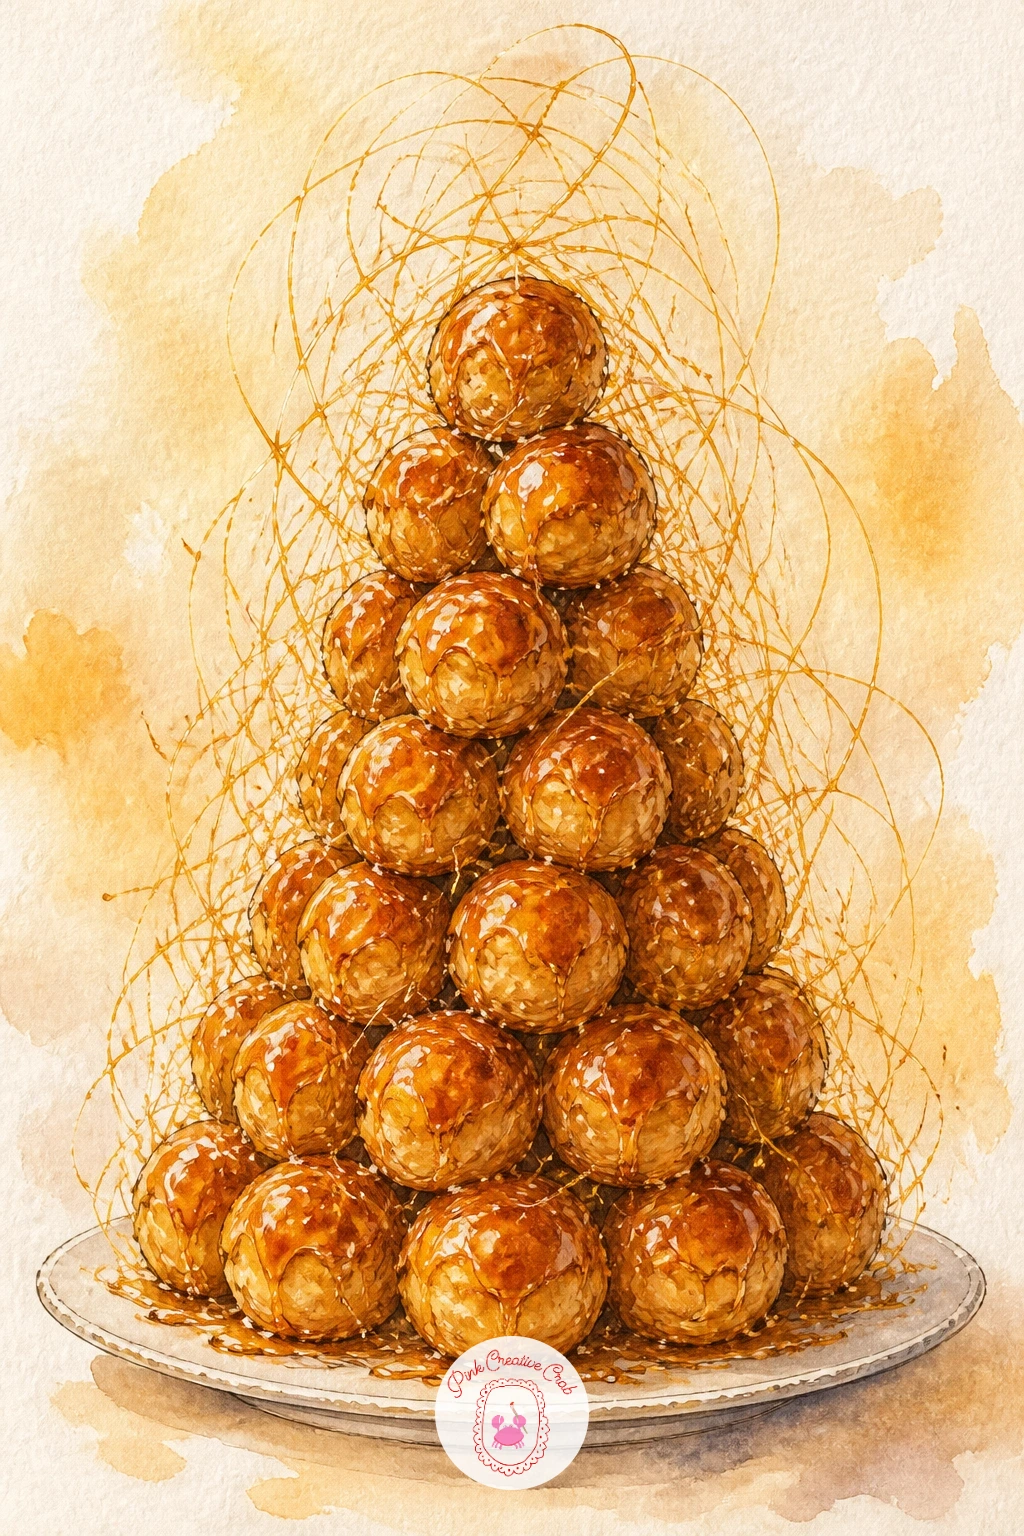
Build the tower like stacked circles: a wide base row of three or four cream puffs, narrowing as you climb, each one a simple circle in pencil before ink. A tower of profiteroles with spun sugar reads instantly once that pyramid shape is in place, so get the stacking right before worrying about any surface detail.
Ink each puff with a soft wobbly outline, never a perfect circle, since real choux pastry bulges unevenly. Paint them in warm golden brown with a darker brown glaze drizzled over the top rows, letting some color drip down the sides of the puffs below.
Spun sugar is the trickiest part and the place this idea usually fails if you try to paint it. Use a dry white gel pen or a thin white colored pencil to scratch loose thread like lines arcing up and over the tower once all your paint is fully dry, rather than trying to paint the threads with a brush.
For a faster ten minute version, skip the spun sugar entirely and just paint the glazed puffs, still a satisfying finished piece.
You Will Need
- fine liner pen
- watercolor paints in brown tones
- white gel pen
- fine round brush
Palette: Raw Sienna,Van Dyke Brown,Cream White,Caramel
Add a plate underneath with a few loose caramel drips pooling off the edge, it grounds the tower and adds one more warm shape to the page.
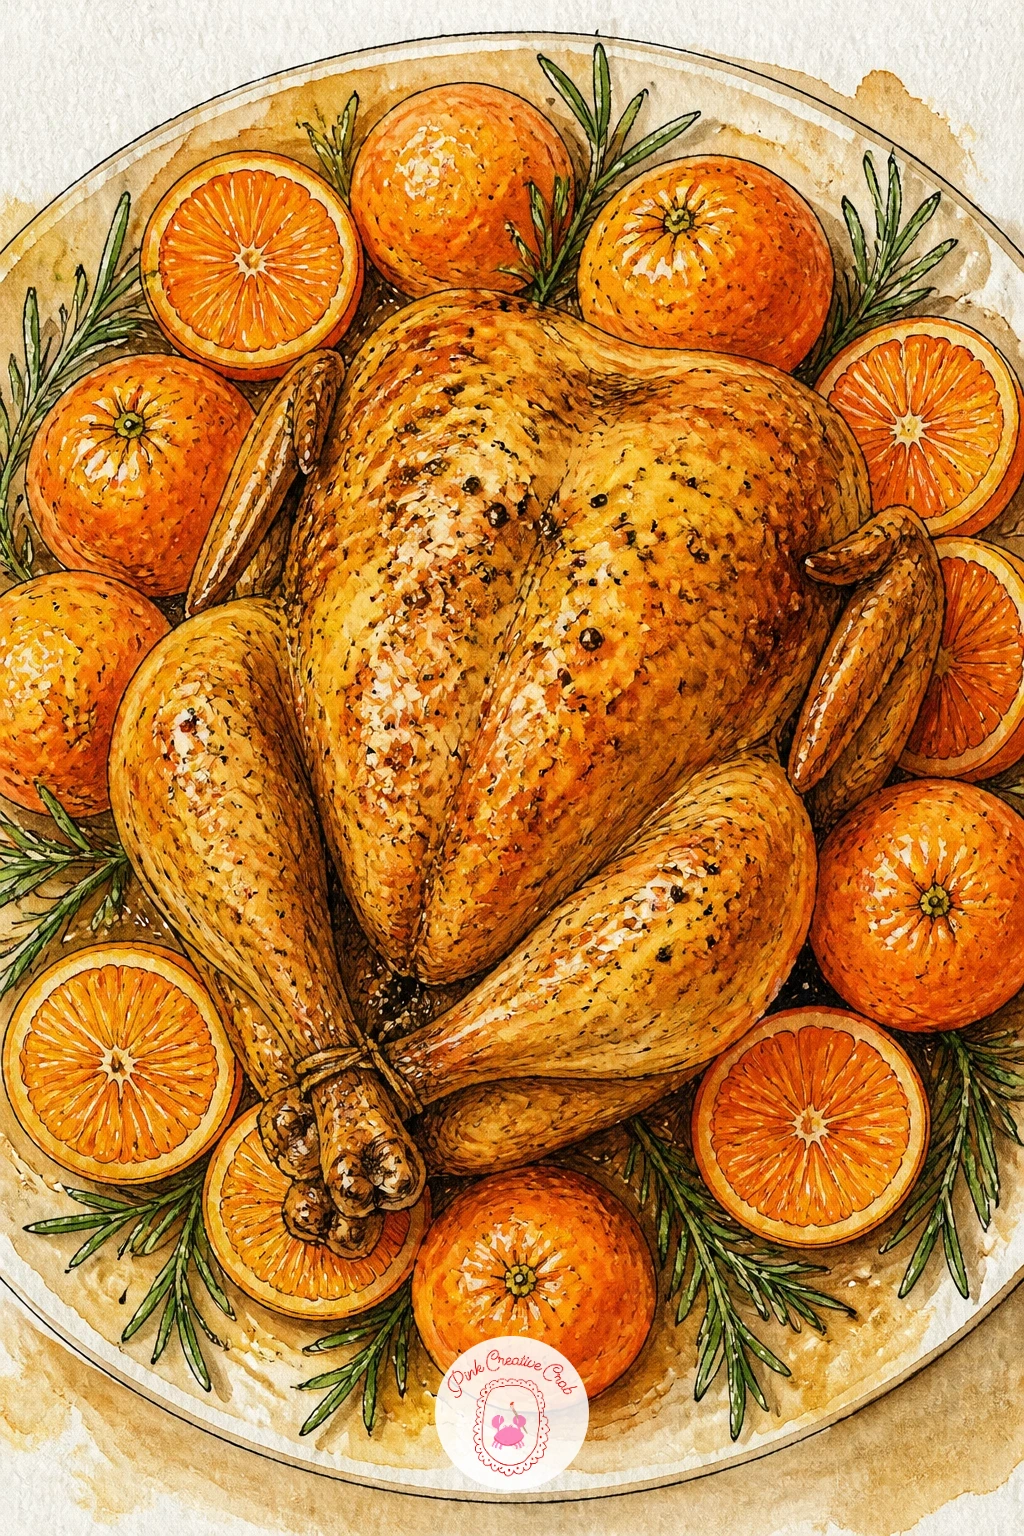
Place the bird first, an oval body with two drumsticks angled outward, sketched large enough to fill most of the page. A roast chicken surrounded by clementines sits squarely at the eye level of someone looking down at a serving platter, so keep your perspective straightforwardly from above rather than from the side.
Ink the chicken skin with short curved hatching lines to suggest the crisp roasted texture, then ring the bird with four or five whole clementines and a couple of halved ones showing their segmented centers. Paint the chicken in warm golden brown with darker burnt orange in the crispy crevices, and the clementines in bright orange with a thin white pith ring where they are sliced.
The skin goes wrong when it is painted as one flat brown shape, so load your brush with less water for the darker roasted patches and let the lighter gold show through in the center of the breast.
Tuck a few rosemary sprigs between the clementines for a dash of green against all that orange and gold.
You Will Need
- fine liner pen
- watercolor paints in gold, orange and burnt orange
- fine round brush
- reference photo of a roast bird
Palette: Burnt Orange,Yellow Ochre,Cadmium Orange,Sap Green
Look at how a real roast chicken catches light unevenly across the breast, that uneven shine is what separates a flat drawing from a juicy looking one.
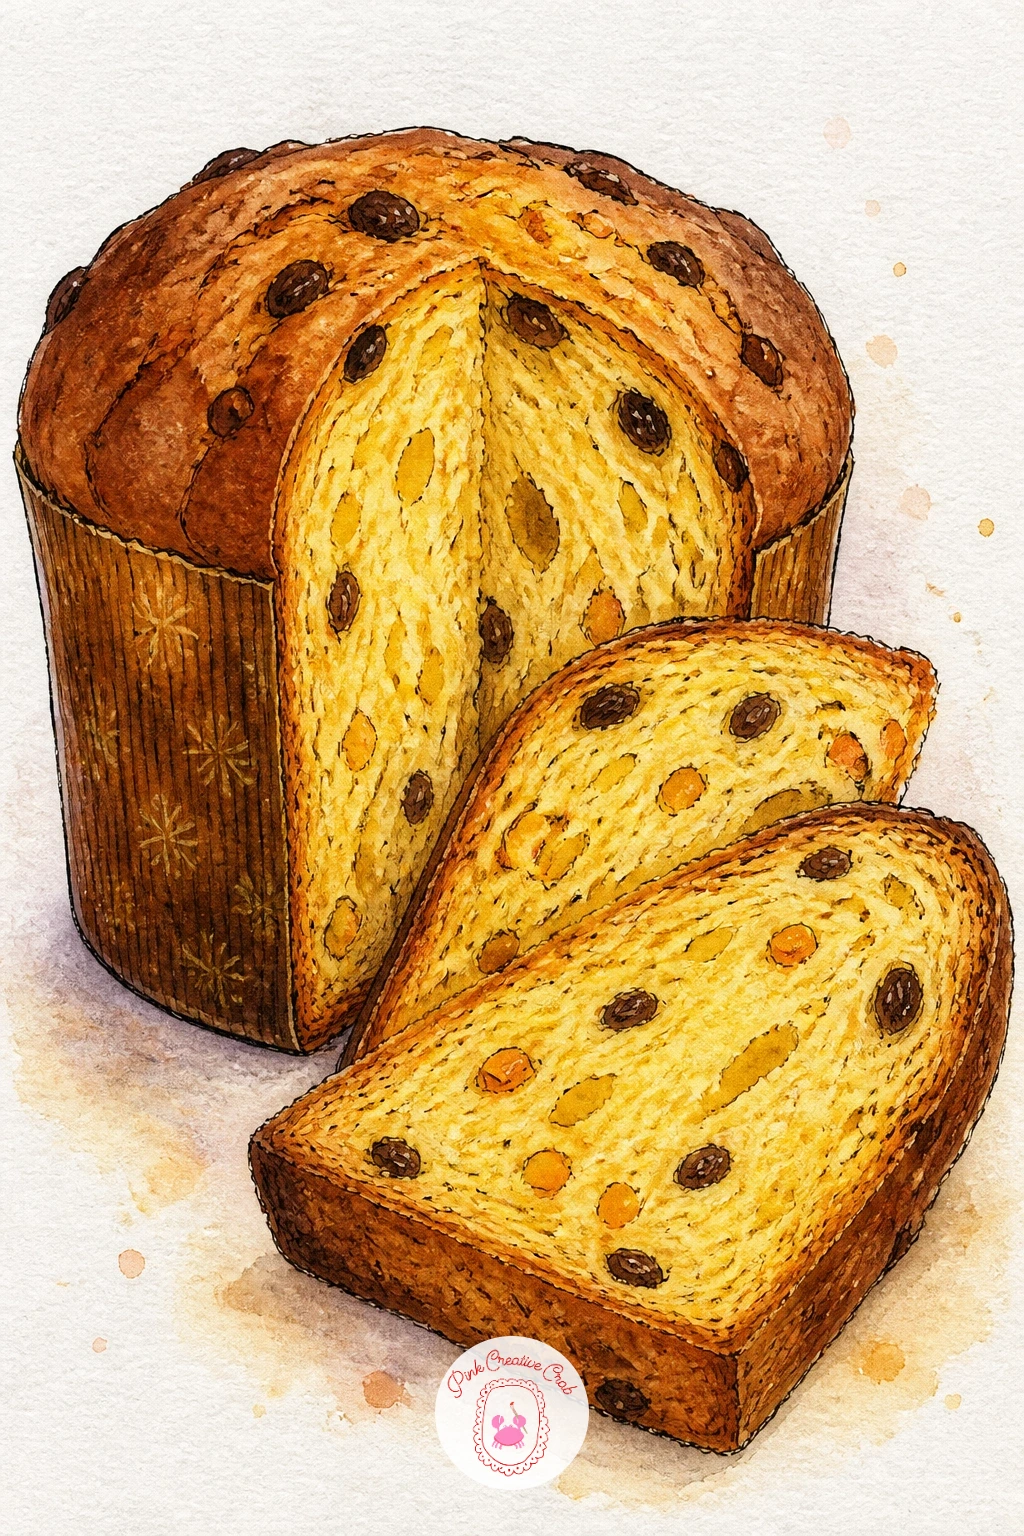
Draw the dome shape before anything else: a tall rounded loaf, wider at the base, slightly domed on top, that is your whole panettone sliced on a board before a single ink line goes down. Cut one or two slices and lean them against the loaf so the inside texture shows, candied fruit scattered through pale yellow crumb.
Ink the crust with short rough strokes for its papery wrapped texture, then dot the interior crumb with small irregular shapes for the candied orange and raisins. Paint the crust in golden brown, the crumb in pale buttery yellow, and the candied fruit in bright orange and deep red scattered unevenly through the slice.
Panettone crumb looks wrong when the candied fruit bits are too evenly spaced, so scatter them in loose clusters instead of a neat grid, just like the real bread.
No panettone on hand to reference, a simple round brioche loaf sliced the same way works as a stand in while you practice the shapes.
You Will Need
- fine liner pen
- watercolor paints in gold and yellow
- fine round brush
- wooden board for background
Palette: Golden Brown,Naples Yellow,Cadmium Orange,Deep Red
Dust the whole loaf lightly with white gouache afterward for powdered sugar, the same dry brush technique used on the croissant tree idea works here too.
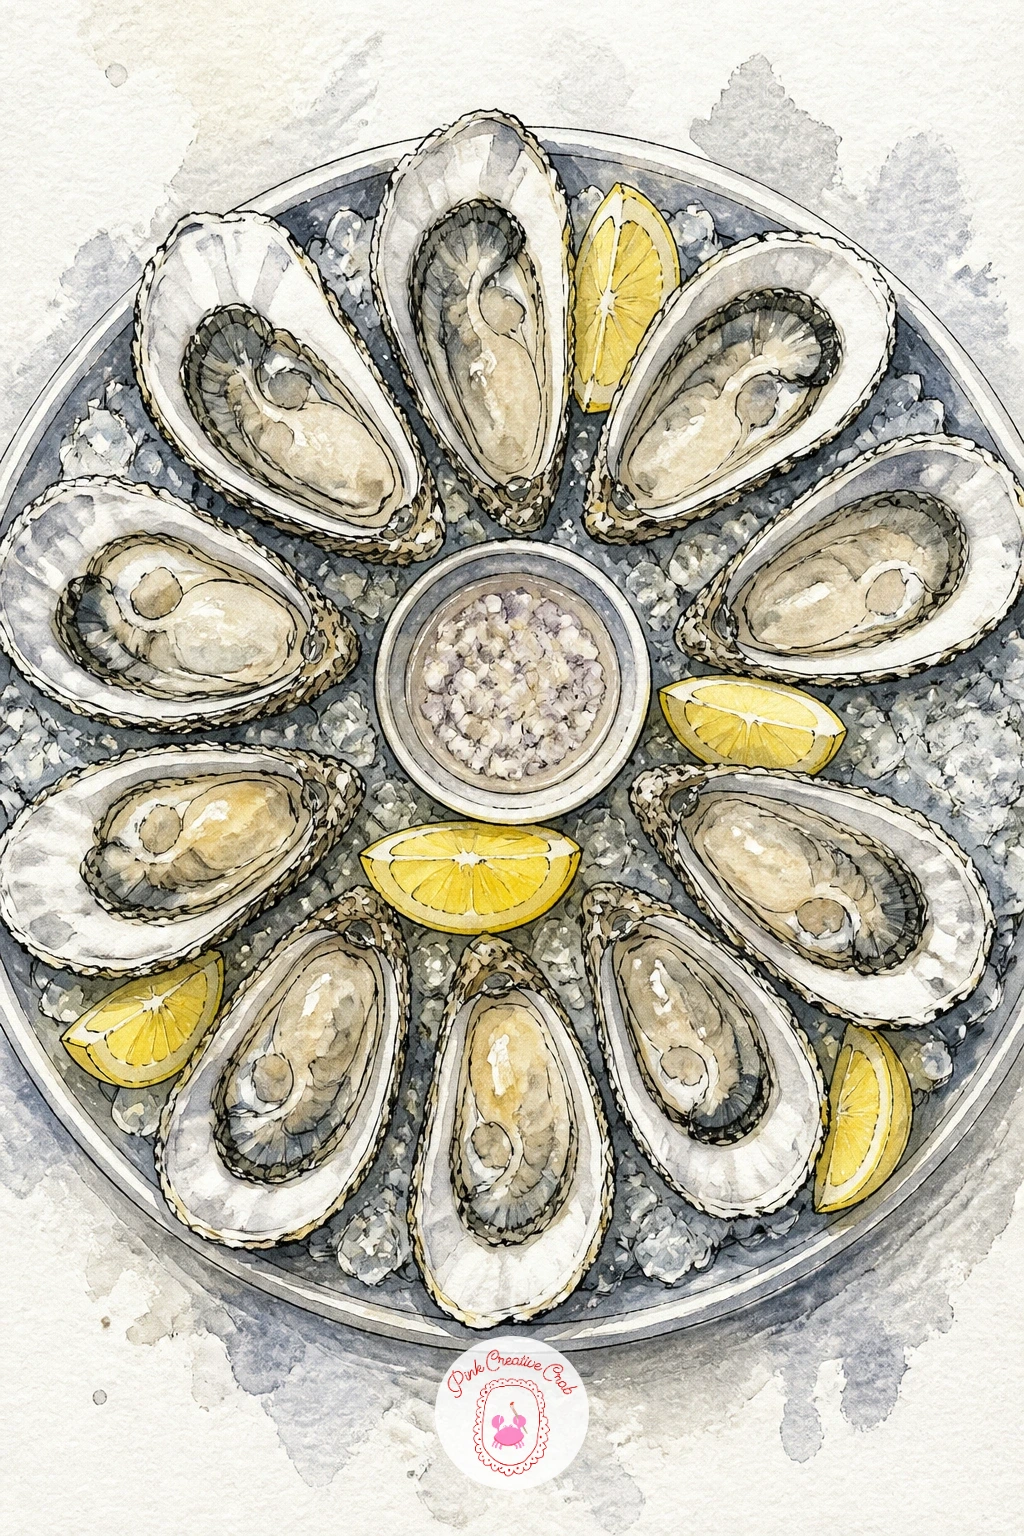
Map the platter as an oval first, then place six or eight oyster shells around its edge like petals, pointed ends toward the center. A seafood platter with oysters and lemon works best viewed straight from above, so keep every oyster shell the same distance from an invisible center point as you sketch them in.
Ink each shell with curved ridged lines fanning out from the hinge, then add two or three lemon wedges and a scatter of ice chips drawn as simple angular shapes between the shells. Paint the shells in cool gray and pale lavender, the oyster meat inside in soft cream and gray, and the lemon in bright zesty yellow for contrast.
Oyster shells turn muddy fast if you mix too many colors into one wash, so keep the shell palette to two or three cool grays and let the lemon be the only truly warm color on the page.
A few sprigs of dill or parsley tucked between the shells break up the cool palette nicely.
You Will Need
- fine liner pen
- watercolor paints in cool gray and lemon yellow
- fine round brush
- reference photo of oyster shells
Palette: Payne’s Grey,Lavender Grey,Lemon Yellow,Cream White
Try this one as a close in crop with only four or five oysters filling the whole frame for a bolder, more graphic magazine look.
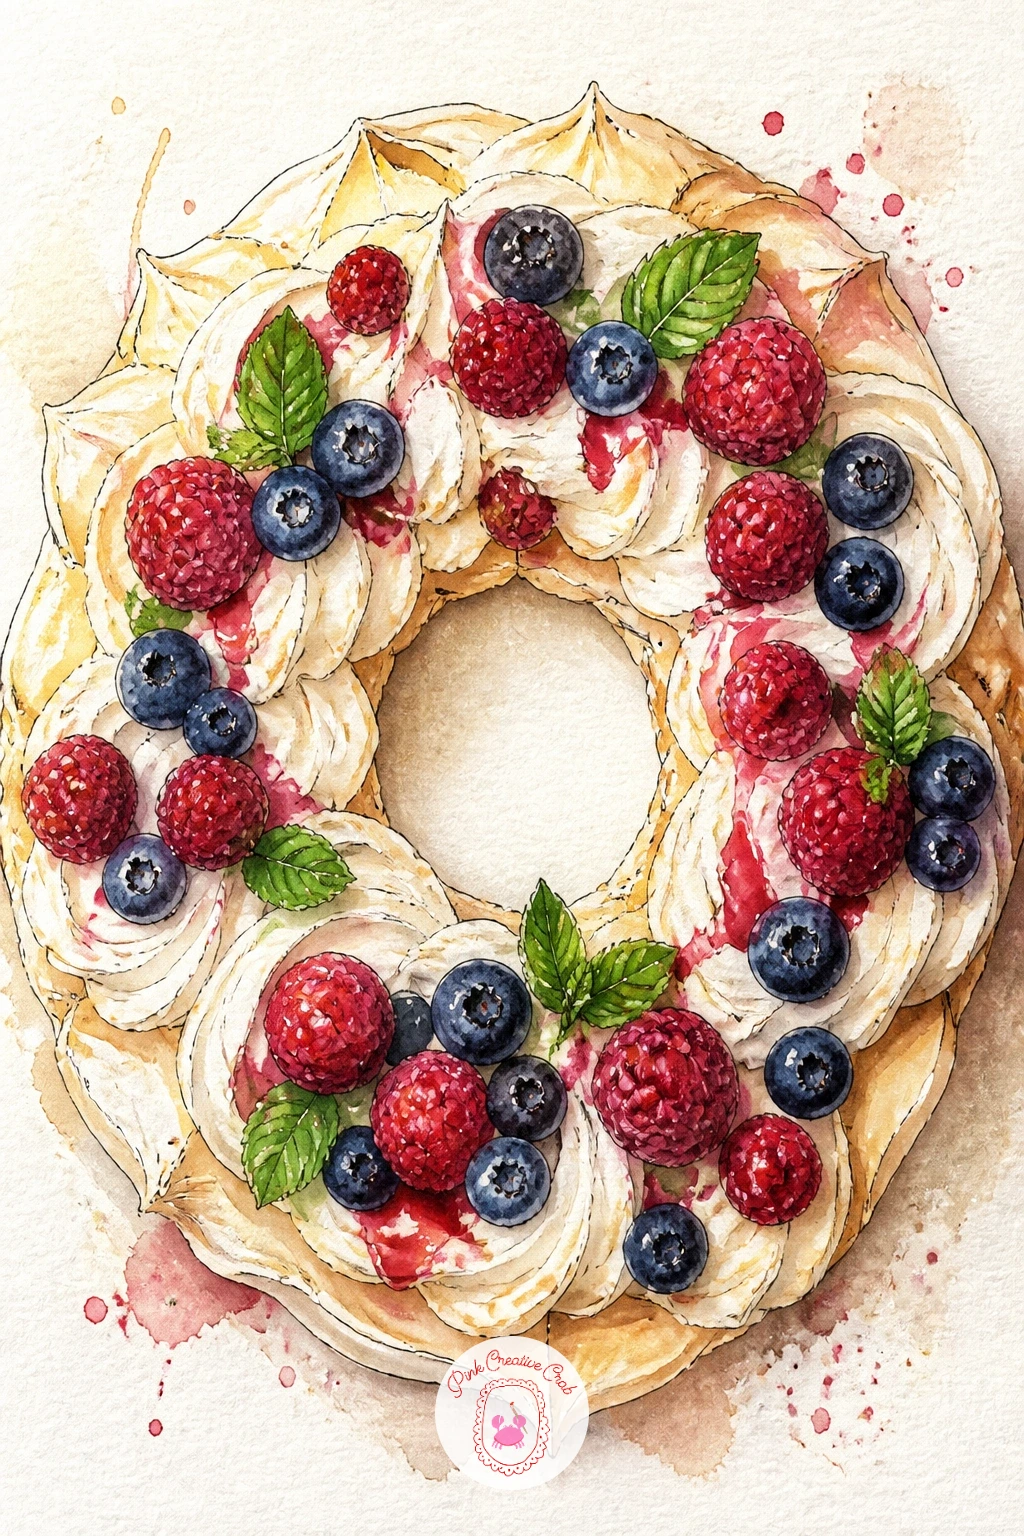
Shape the ring first: a wide donut shape in pencil, soft and uneven at the edges since meringue never holds a perfect circle. The pavlova wreath with berries and mint builds outward from that ring, piled with billowy cream and a scatter of fruit around the top.
Ink the meringue edge with jagged cracked lines, never smooth, then add loose cloud shapes for whipped cream pooling across the top. Paint the meringue in warm white with pale cream shadows, the cream topping in soft ivory, and scatter in berries, raspberry red and blueberry blue with a few mint leaves in bright green.
Meringue reads flat if it is left pure white, so even in the lightest areas drop in a faint wash of warm pink or yellow gray for shadow before the cream and berries go on top.
For a quicker version, paint just a quarter section of the wreath close up rather than the whole ring, still reads clearly as a pavlova.
You Will Need
- fine liner pen
- watercolor paints in cream and berry tones
- fine round brush
- mint green paint
Palette: Cream White,Raspberry Red,Blueberry Blue,Mint Green
Add a light pencil grid of eight segments before you start so the berries and mint leaves distribute evenly around the ring instead of clumping on one side.
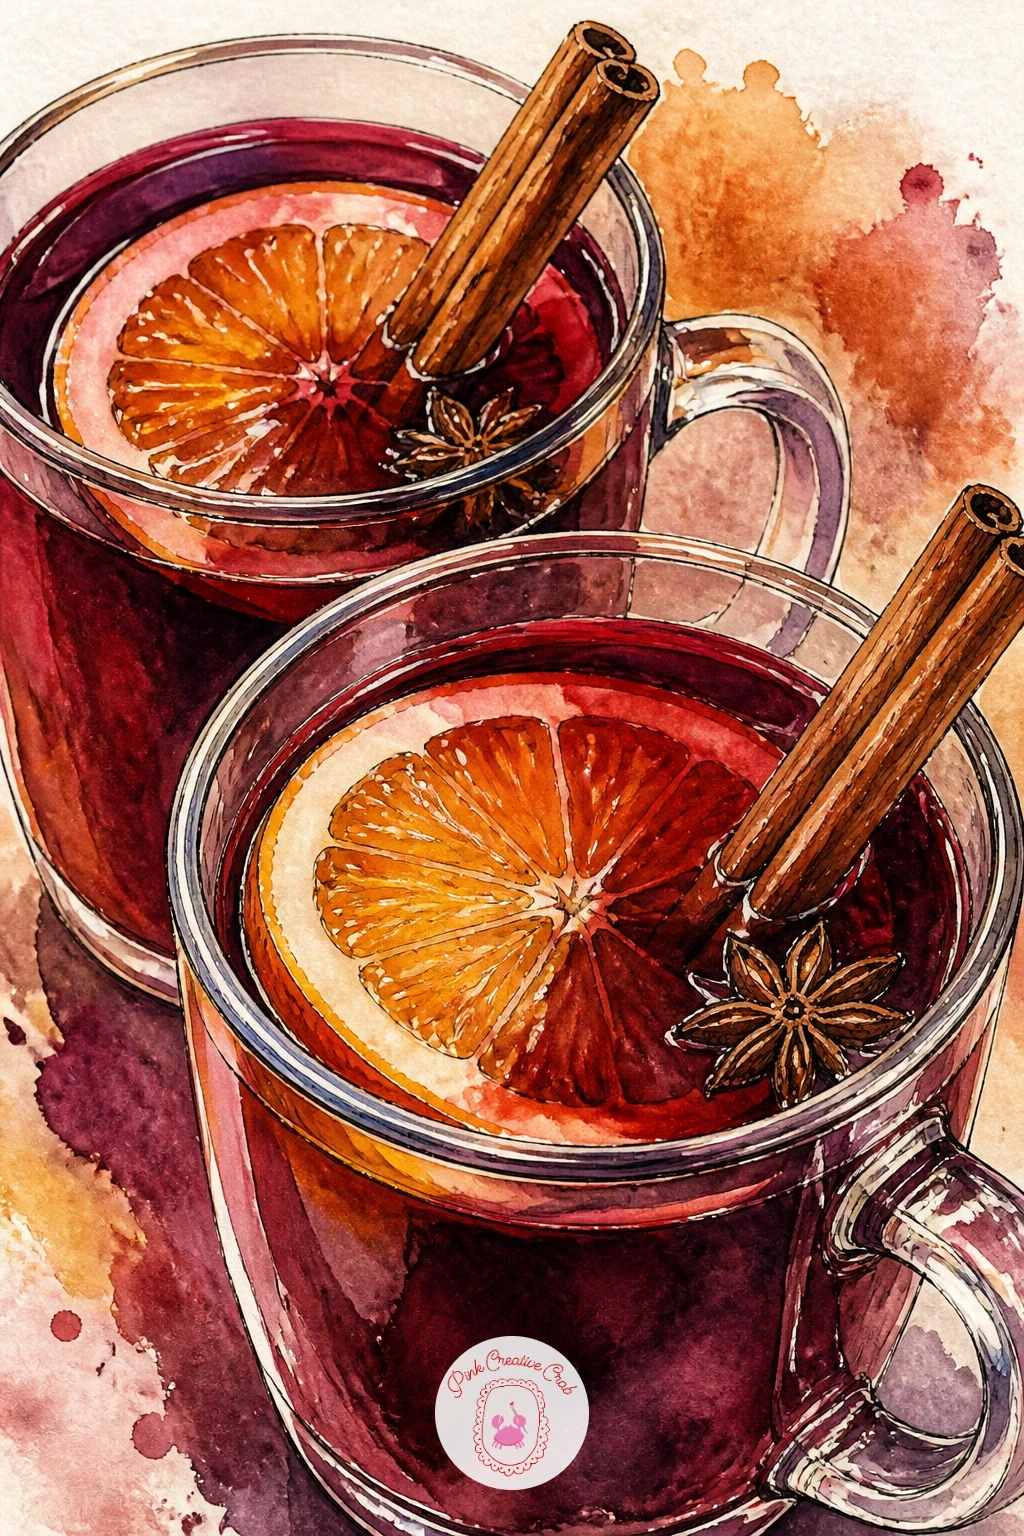
Sketch two glass mugs side by side, simple cylinder shapes with a handle loop on each, slightly offset so one sits a little behind the other. Mulled wine in glass mugs with orange slices needs that warm deep red to glow through clear glass, so plan your white highlight strips on the glass before any color touches the paper.
Ink the mugs with clean confident lines, leaving two narrow vertical gaps unlined for the glass highlights, then add a floating orange slice and a cinnamon stick in each mug. Paint the wine in deep garnet red, working wet into wet so it pools richly, and leave the highlight strips untouched white paper showing through.
Glass always looks wrong painted as one flat color, so once the red wash dries, drop in small triangles of pale blue gray near the rim to suggest the glass catching reflected light.
No glass mugs handy to study, a simple wine glass photo online gives you the same reflective highlight logic.
You Will Need
- fine liner pen
- watercolor paints in deep red and gray
- fine round brush
- masking fluid or white gel pen for highlights
Palette: Garnet Red,Burnt Orange,Cool Grey,Cinnamon Brown
Try adding a few star anise floating near the surface, their star shape is a quick win for extra festive detail with very little extra drawing time.
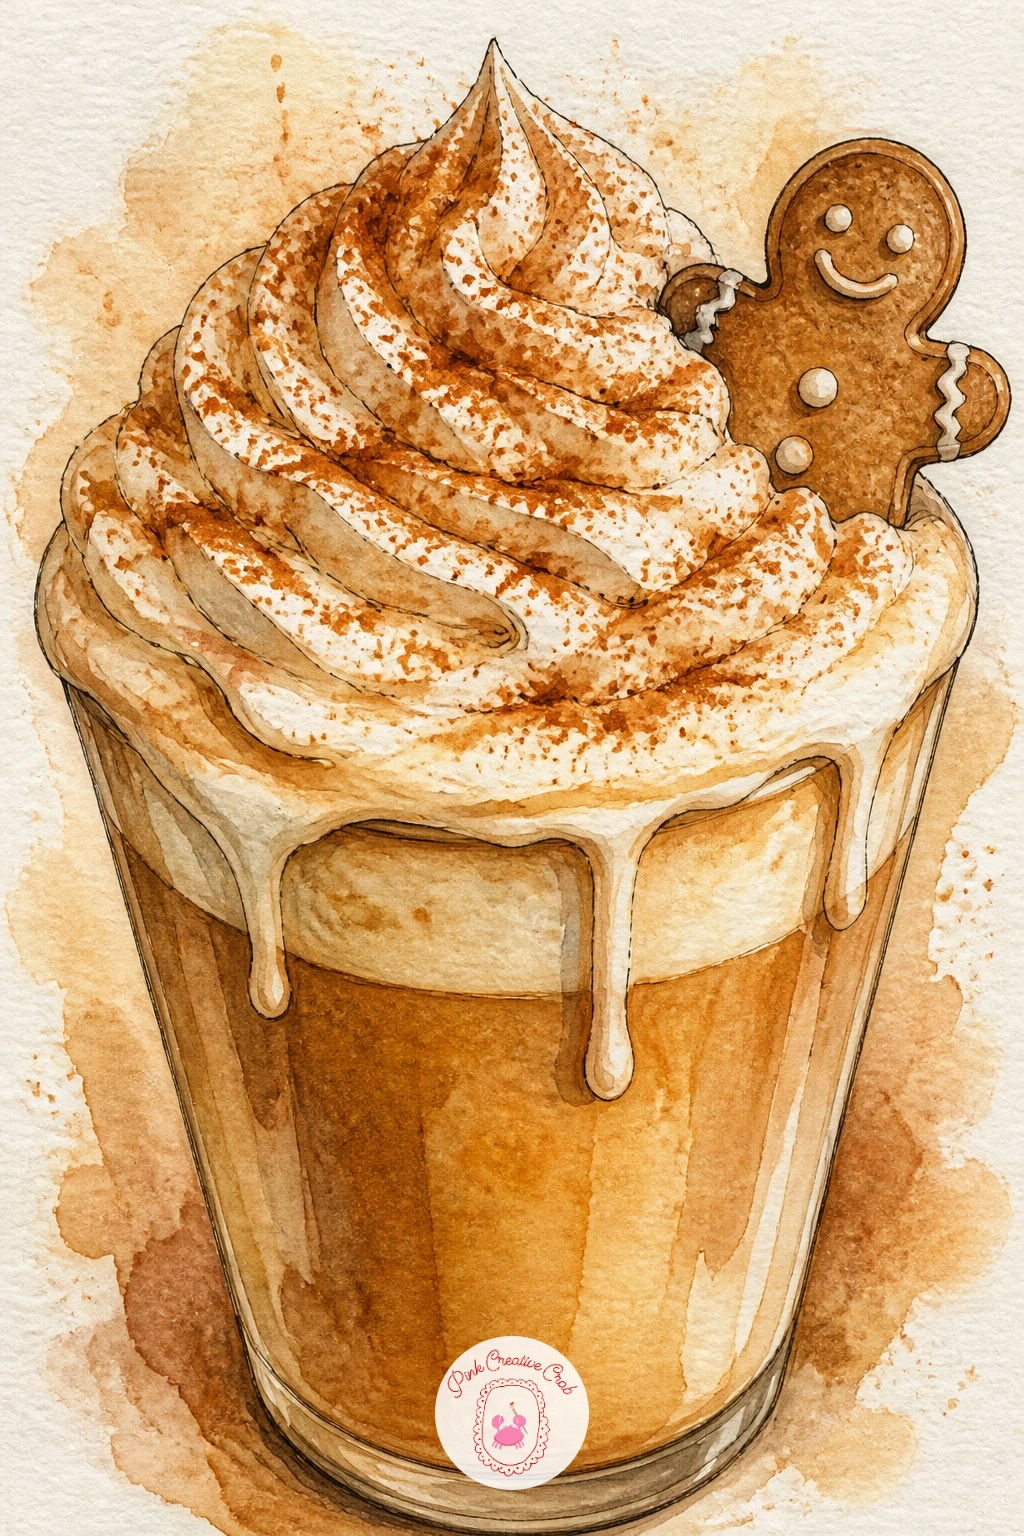
Draw a simple tapered cup first, narrower at the base, then pile a generous cloud shape of whipped cream on top that overflows slightly past the rim. A gingerbread latte with whipped cream earns its charm from that overflowing cream, so do not be shy about letting it spill past the cup’s edge in your pencil sketch.
Ink the cup with a clean outline and a simple sleeve band, then the cream with soft overlapping scallops rather than one smooth dome. Paint the coffee visible at the rim in deep warm brown, the cream in soft ivory white with gray shadows tucked into its folds, and finish with a scatter of cinnamon dust in warm brown across the top.
Whipped cream flattens out if you paint it as one solid white shape, so leave patches of bare white paper between gray shadow strokes to keep the texture soft and dimensional.
Drop in a small cookie or gingerbread man leaning against the cup for an easy added detail once the main drawing is dry.
You Will Need
- fine liner pen
- watercolor paints in brown and warm gray
- fine round brush
- cinnamon colored pencil for dusting texture
Palette: Coffee Brown,Ivory White,Warm Grey,Cinnamon Brown
Try this scene close up with the cup filling most of the page for a bold magazine style crop rather than a small centered drawing.
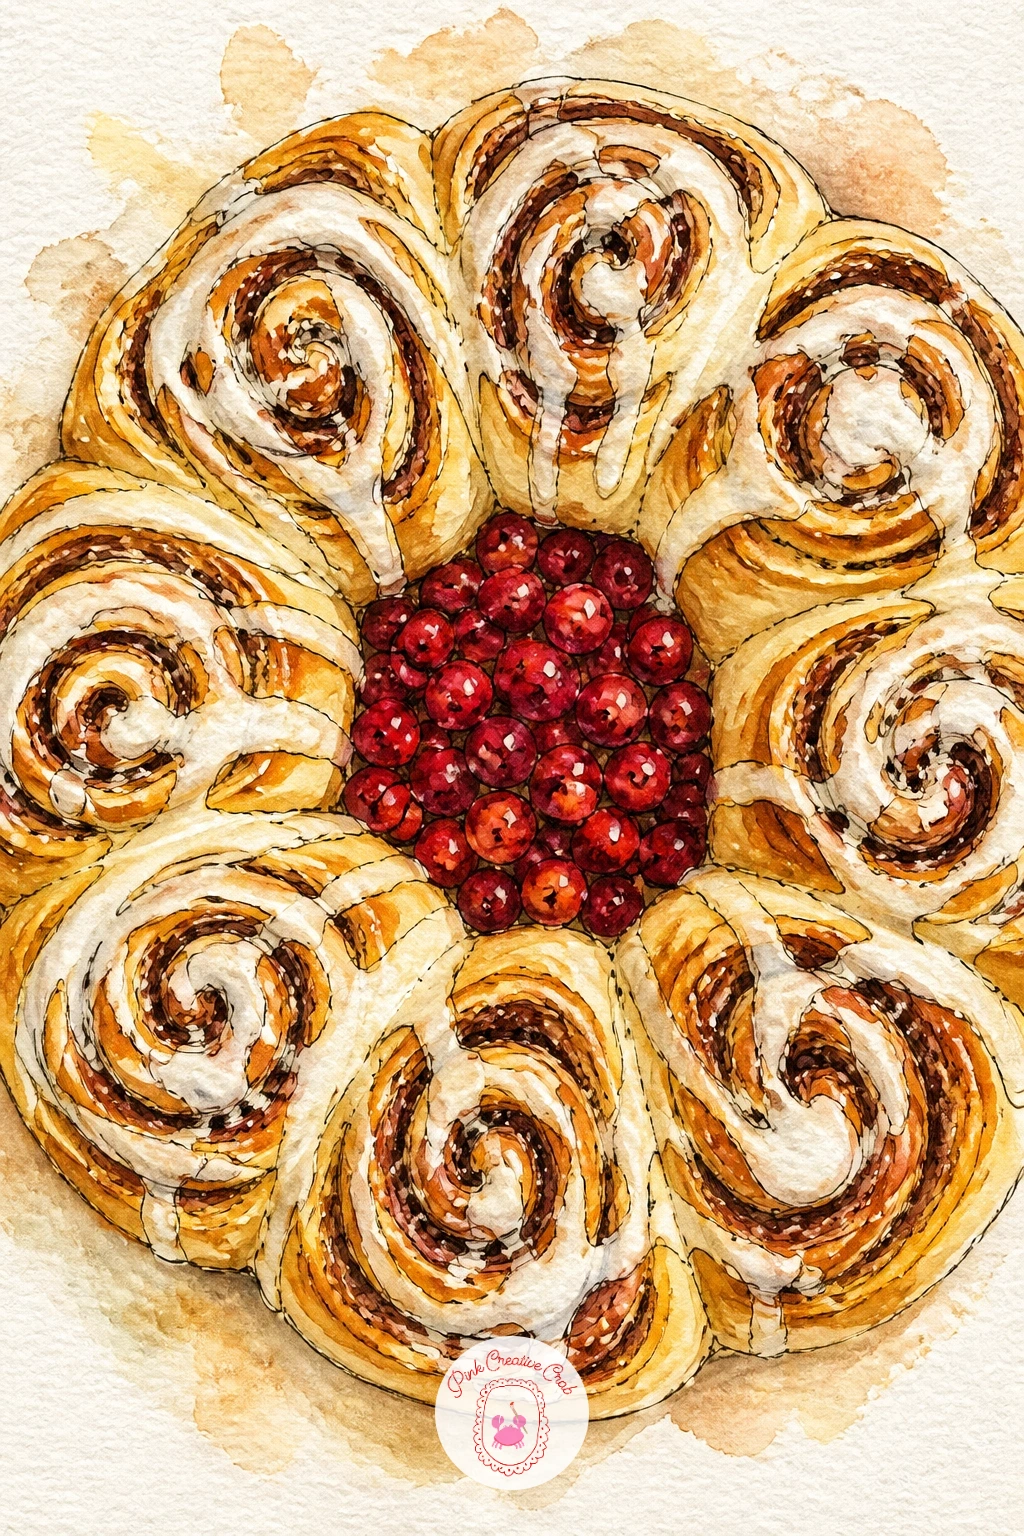
Arrange six or seven cinnamon rolls in a circle first, pencil only, each roll a simple spiral shape nestled against its neighbors. The cinnamon roll wreath with its ring shape needs even spacing to read well, so lightly mark a circle guide before placing each roll around it.
Ink each spiral with a loose curling line rather than a perfect coil, since real dough swirls unevenly, then drizzle a glaze pattern of thin wavy lines across the whole ring once the rolls are in place. Paint the dough in warm golden brown, the glaze in bright white left mostly as untouched paper, and tuck a few cranberries or a sprig of holly into the center gap.
The glaze is the part to save for last, painted as one wet line dragged across the dry rolls underneath so it pools naturally in the grooves rather than looking painted on flat.
Swap cranberries for orange slices in the center if that fits your own table better.
You Will Need
- fine liner pen
- watercolor paints in golden brown
- fine round brush
- white gouache for glaze highlights
Palette: Golden Brown,Caramel,Cream White,Cranberry Red
For a quick version, draw just three rolls in a loose arc instead of a full wreath, it still reads clearly and saves half the time.
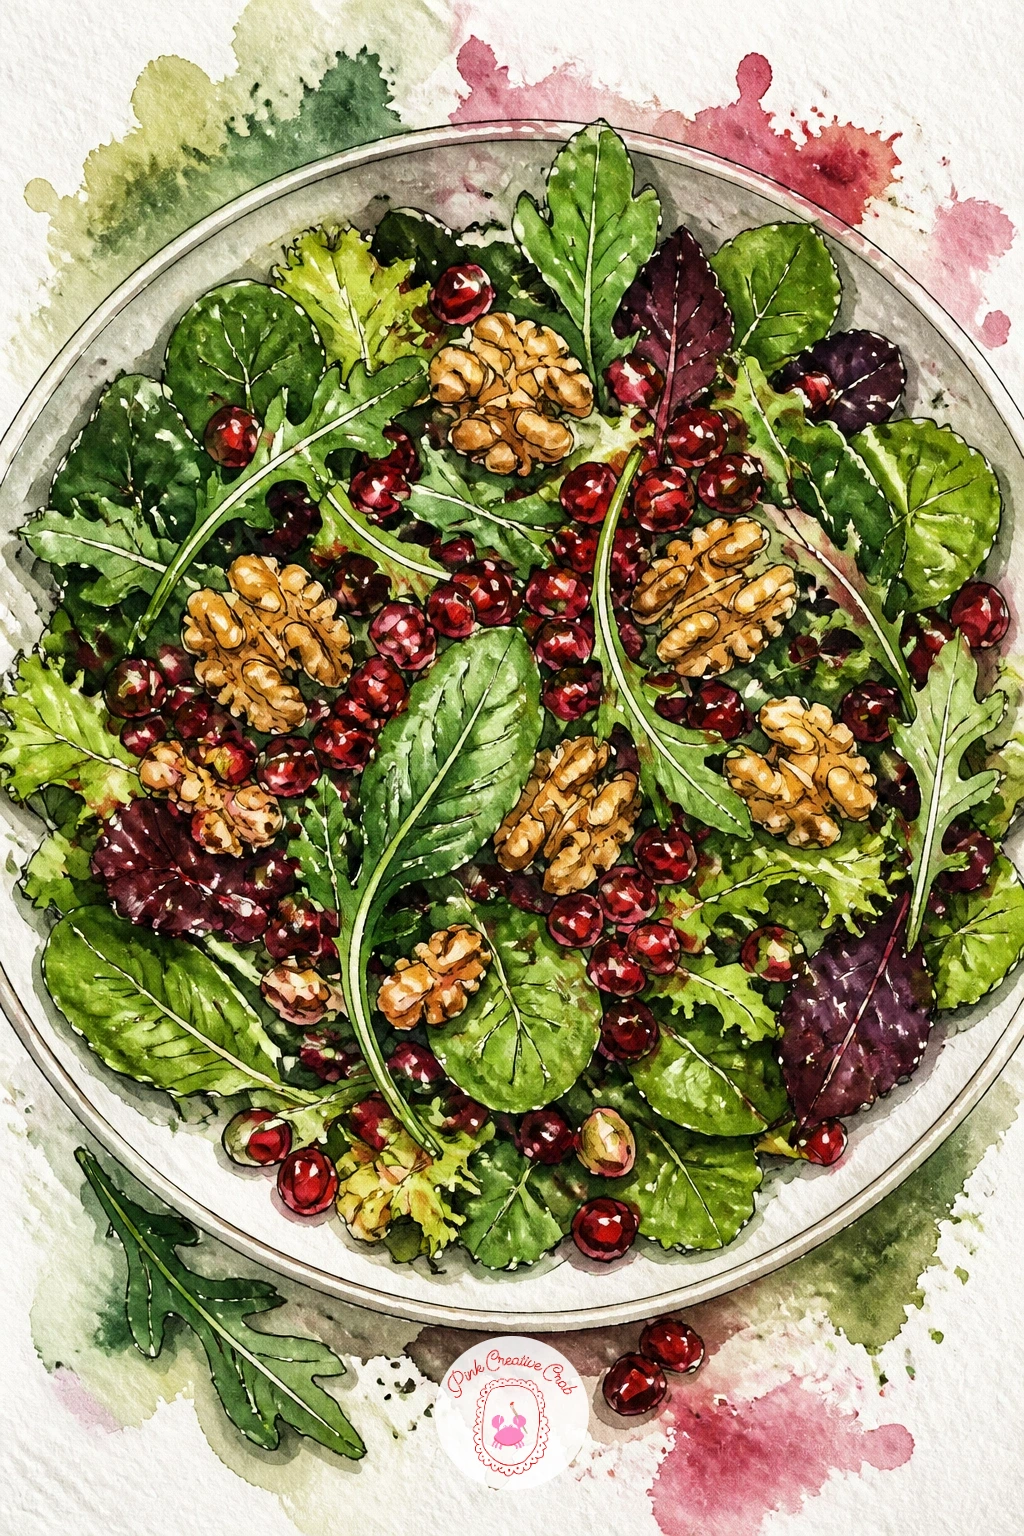
Lay the greens down first as loose overlapping leaf shapes filling a wide shallow bowl, then scatter pomegranate seeds across the top like scattered jewels. A salad of pomegranate and greens depends on contrast for its holiday feel, so keep the greens varied in shape, some rounded leaves, some torn and jagged.
Ink the leaf edges loosely, never perfectly smooth, and dot the pomegranate seeds as small clustered circles rather than one solid red mass. Paint the greens in two or three shades, deep green in shadow and lighter sage where light hits, then the pomegranate seeds in bright ruby red with a tiny white highlight dot on each one.
Seeds look flat and candy like if every one gets the same red, so vary a few toward deeper maroon and a few toward lighter coral as you paint.
Add crumbled white cheese and a few walnut halves scattered through for extra texture if you want a fuller composition.
You Will Need
- fine liner pen
- watercolor paints in green and ruby red
- fine round brush
- white gel pen for seed highlights
Palette: Sap Green,Sage Green,Ruby Red,Cream White
Study a real pomegranate cut open for reference, the seeds cluster in irregular honeycomb pockets rather than scattering evenly, worth getting right.
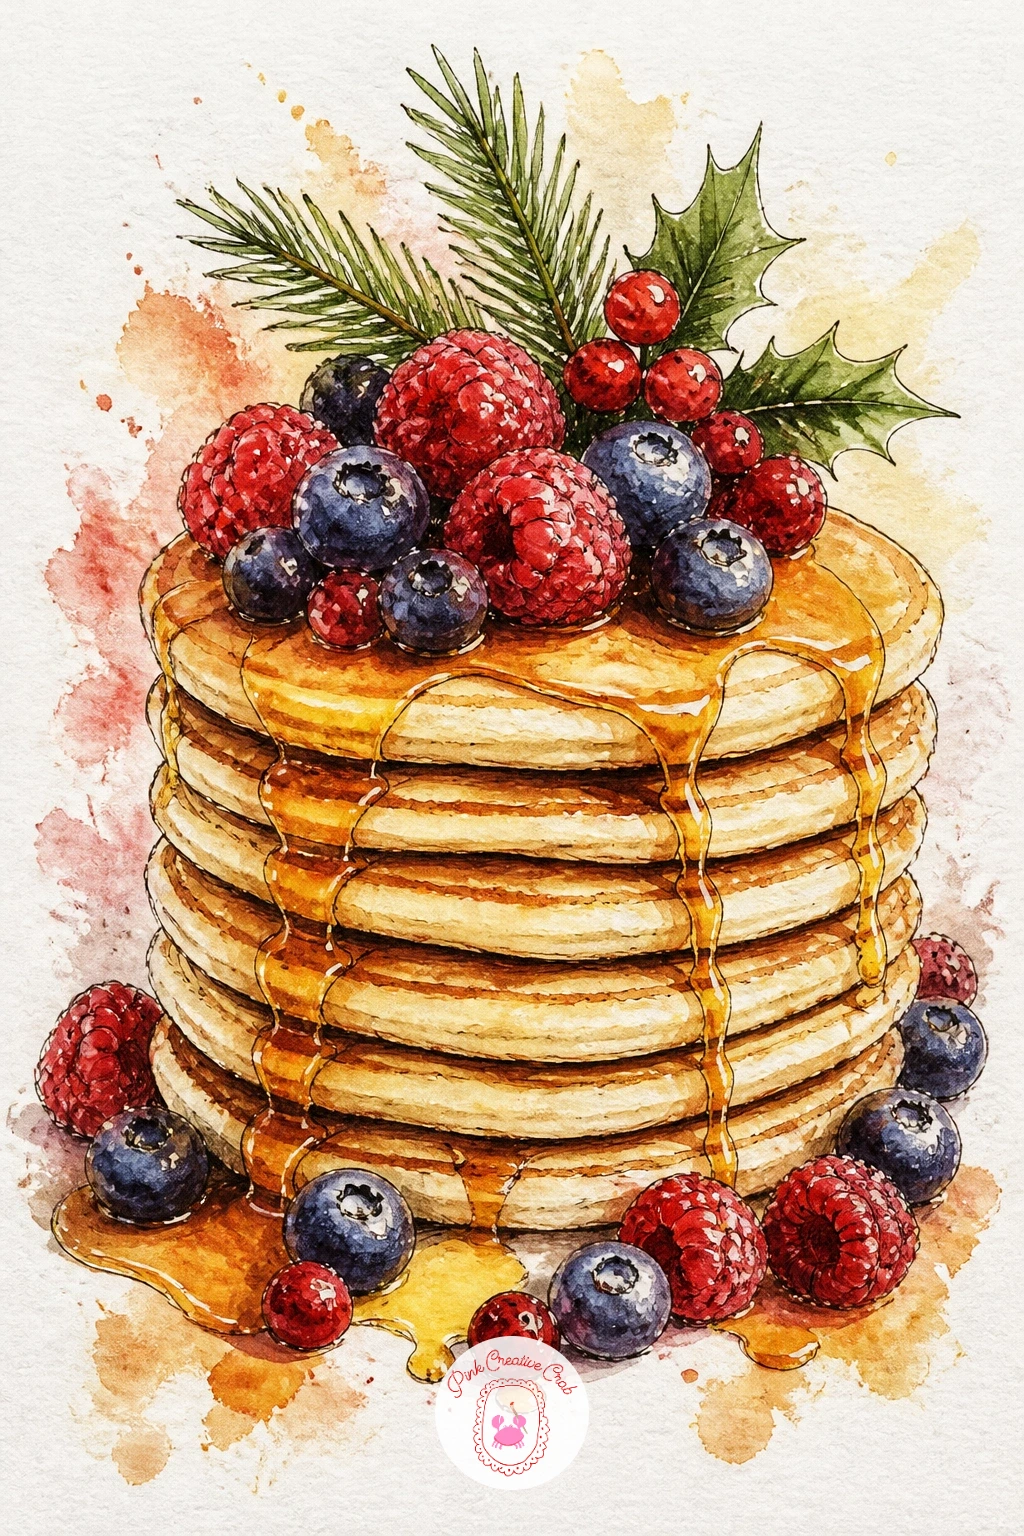
Build a tall stack of four or five pancakes, each one a slightly flattened oval in pencil, offset a little so the stack leans with character rather than standing perfectly straight. Christmas pancakes stacked with berries get their height from eye level, so draw this one from a low side angle rather than straight down, letting the stack rise tall in the frame.
Ink each pancake edge with a soft wavy line, then let a thick pour of syrup run down one side in ink before you paint, since syrup drips read better planned in line first. Paint the pancakes in warm golden brown, darker at the edges, with the syrup in deep amber and a tumble of raspberries and blueberries cascading down one side.
Stacks collapse visually if every pancake is painted the same flat gold, so darken the undersides where one pancake shadows the one below it.
A dusting of powdered sugar flicked on with a dry brush finishes it in under a minute.
You Will Need
- fine liner pen
- watercolor paints in gold and berry tones
- fine round brush
- white gouache for sugar dust
Palette: Golden Brown,Amber,Raspberry Red,Blueberry Blue
Try a close up crop of just the top two pancakes with syrup dripping off the edge for a bolder magazine style shot.
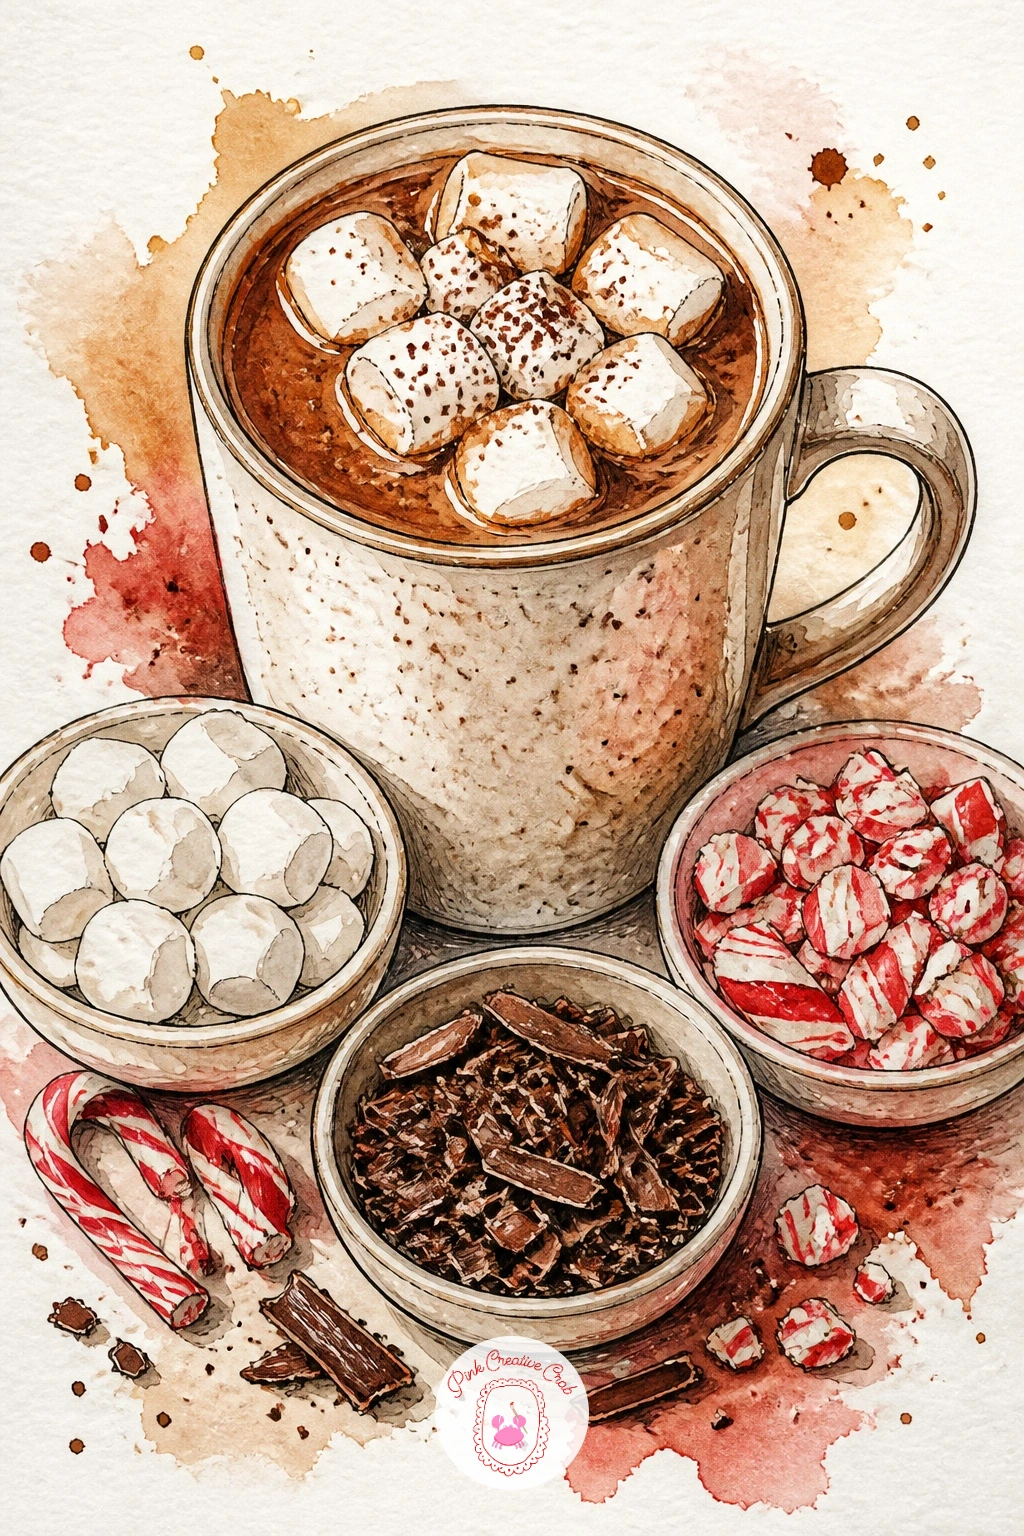
Sketch a row of small bowls and jars along the back, then one tall mug of hot chocolate front and center, since a hot chocolate bar with toppings is really a still life of containers around one hero drink. Keep the mug largest in the frame with the toppings arranged smaller behind it so the eye knows where to land first.
Ink the mug with a simple outline and handle, then each small bowl behind it holding marshmallows, crushed candy cane, and chocolate shavings, each drawn as a cluster of simple repeated shapes. Paint the chocolate drink in deep warm brown, the marshmallows in soft white with gray shadow, and the candy cane bits in red and white stripes for a pop of color.
The scene gets cluttered fast with this many small elements, so keep your ink lines loose and let color do the separating, warm brown for chocolate, cool white for marshmallow, bright red for peppermint.
Next time, try this scene from directly overhead instead, turning the bowls into a ring of little circles around the central mug.
You Will Need
- fine liner pen
- watercolor paints in brown, white and red
- fine round brush
- reference photo of a hot cocoa spread
Palette: Coffee Brown,Cream White,Peppermint Red,Warm Grey
Use a white gel pen over the dried marshmallows for a soft fluffy highlight, it sells the texture better than paint alone can manage.
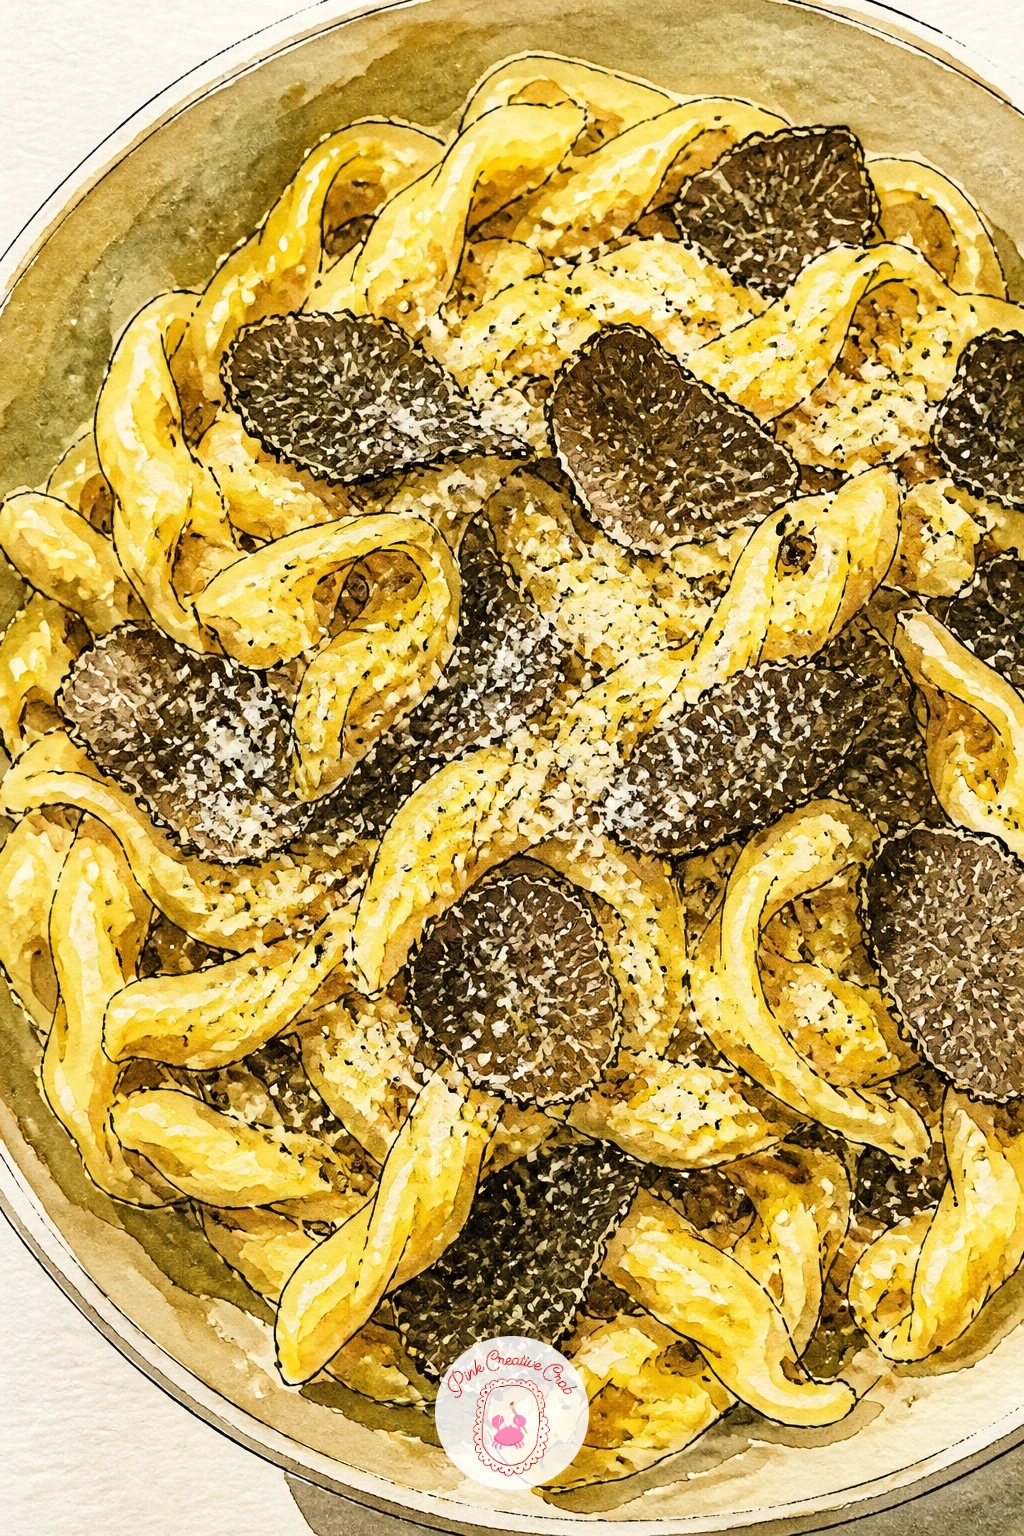
Twist a nest of pasta into the center of a wide shallow bowl, drawn as loose looping lines rather than individual strands, since a pasta dish with truffle for Christmas Eve lives or dies on that tangled nest shape looking natural rather than stiff. Shave in a few thin truffle slices on top as small irregular dark ovals once the nest shape is settled.
Ink the pasta with flowing curved lines that follow the twist of the nest, then add a light scatter of grated parmesan as tiny white dots across the surface. Paint the pasta in warm buttery yellow with cream colored highlights, the truffle shavings in deep near black brown, and a faint olive oil sheen in pale gold pooling at the base of the bowl.
The nest reads as a flat tangle if every strand gets the same value, so darken the pasta where strands cross over each other and leave the top ridges lighter where light catches them directly.
Finish with a single sprig of fresh thyme laid across the top for a restaurant plated look.
You Will Need
- fine liner pen
- watercolor paints in buttery yellow and dark brown
- fine round brush
- white gouache for parmesan dots
Palette: Naples Yellow,Cream White,Dark Umber,Olive Green
Look at the way restaurant plating photos crop in tight on the bowl with almost no background showing, that framing instantly reads as elegant.
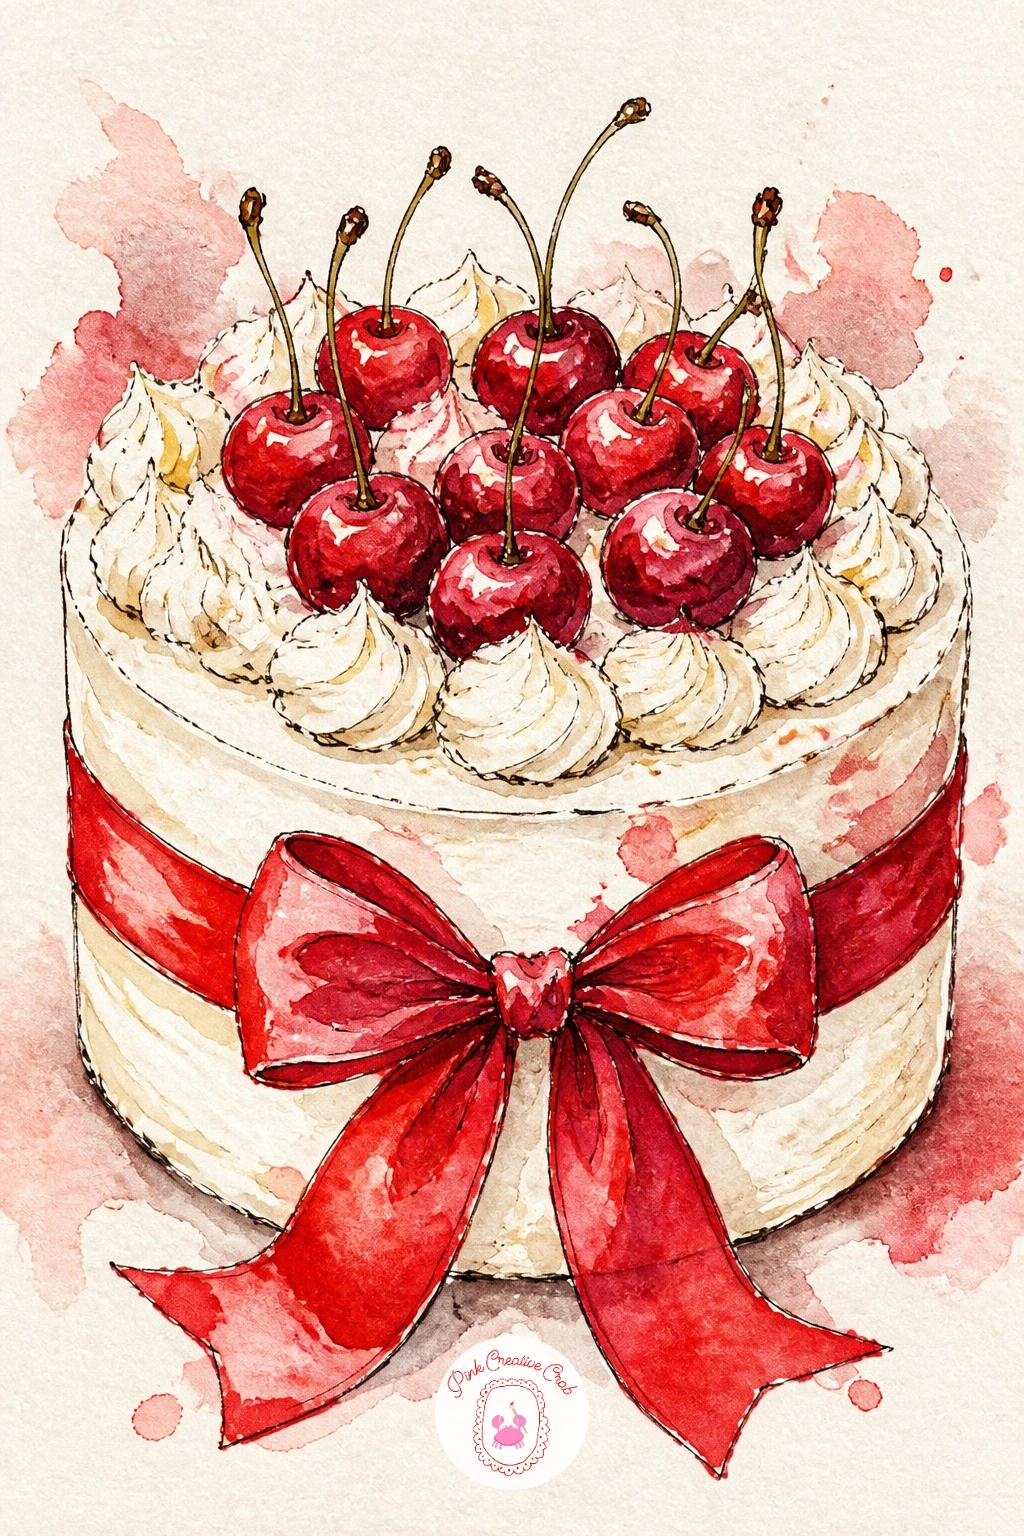
Draw a simple round layer cake first, straight sides, flat top, then wrap a wide ribbon shape around its middle before any frosting detail goes in. A cake with a red ribbon and cherries uses that ribbon as the main graphic element, so make the ribbon bold and slightly glossy looking rather than a thin flat line.
Ink the cake’s frosted surface with soft horizontal strokes to suggest smoothness, then the ribbon with a clean confident outline and a small bow or knot where it meets. Paint the cake in soft white or cream, the ribbon in rich holiday red with a darker red shadow where it wraps around the back, and top with a cluster of glossy red cherries.
Cherries look dull if painted flat, so leave a tiny white highlight dot on each one before the red wash fully dries, letting it stay as untouched paper.
Swap the cherries for a scatter of gold sugar pearls if you want a more neutral palette.
You Will Need
- fine liner pen
- watercolor paints in cream and holiday red
- fine round brush
- white gel pen for highlights
Palette: Cream White,Holiday Red,Deep Maroon,Gold
Try angling the view slightly from above so both the ribbon wrap and the frosted top are visible at once, giving the cake more dimension.
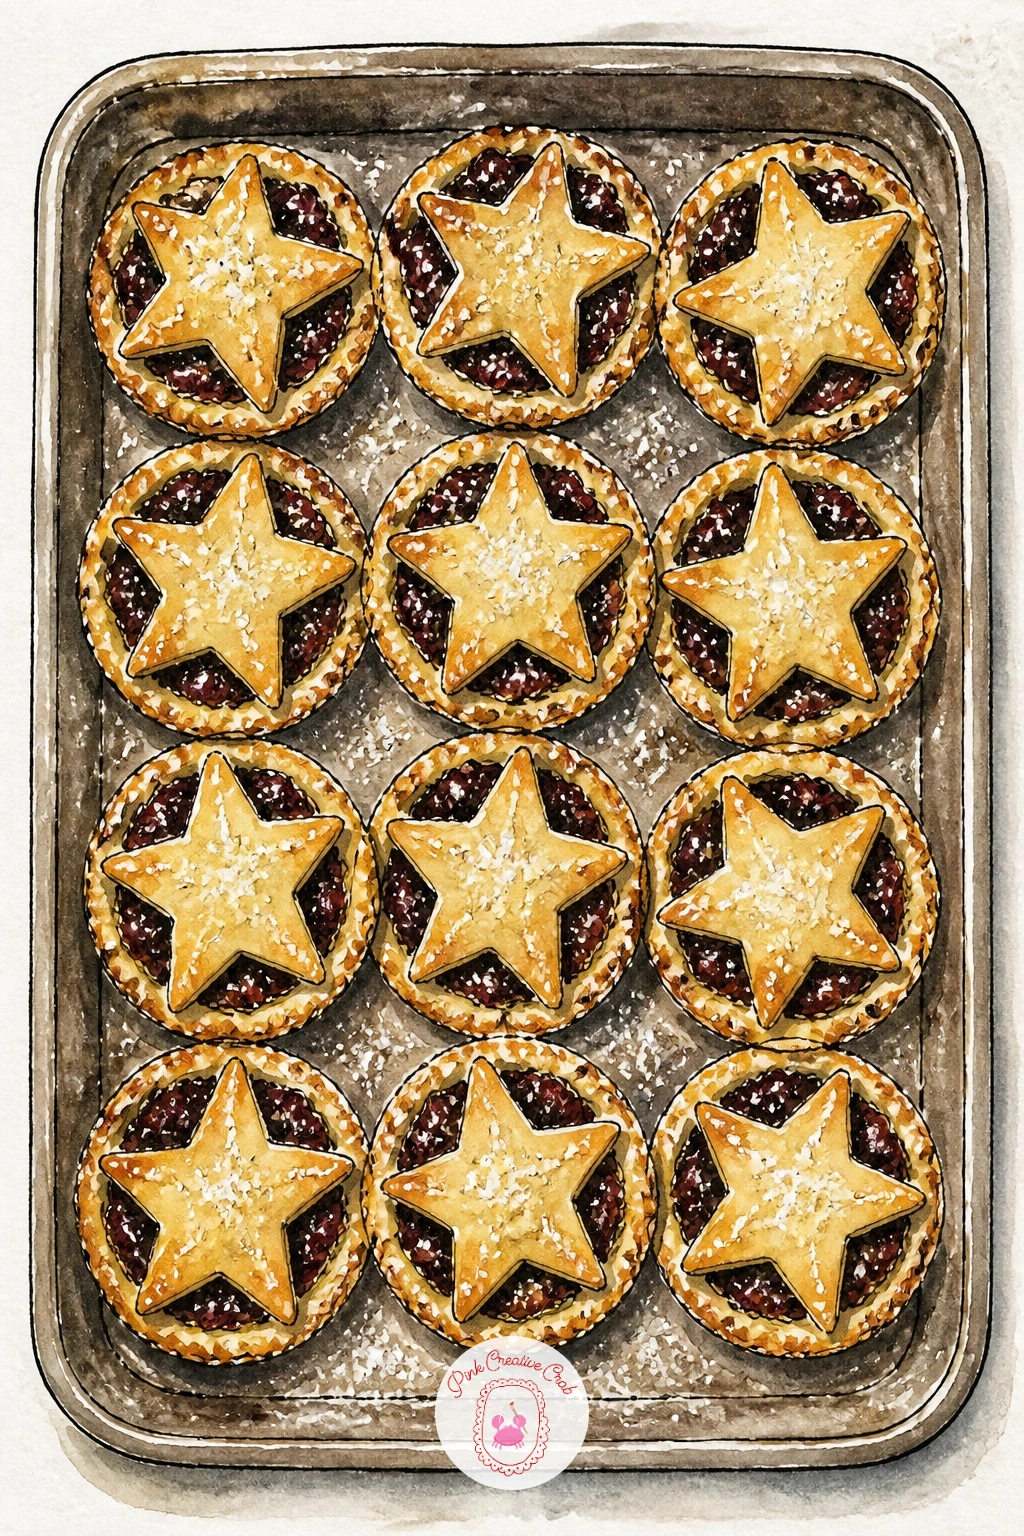
Place five or six small round pies in a loose grid, each one a simple circle with a star shaped cutout of pastry on top. A tray of mince pies with stars needs those star shapes cut cleanly, so pencil a small five point star template once and reuse the same size across every pie for consistency.
Ink the fluted pastry edges with short repeated scallops, then the star cutouts as clean sharp points showing the dark filling peeking through underneath. Paint the pastry in pale golden brown, the filling glimpsed through the stars in deep burgundy, and dust the whole tray with a light scatter of powdered sugar in white.
Pastry turns flat and plasticky if painted as one even gold, so vary the wash slightly pie to pie and darken the fluted edges where they cast tiny shadows onto the filling.
For speed, draw just three pies close up rather than a full tray and let one show a bite taken out for character.
You Will Need
- fine liner pen
- watercolor paints in gold and burgundy
- fine round brush
- white gouache for sugar dust
Palette: Golden Brown,Burgundy,Cream White,Caramel
Check out these cozy pencil sketch ideas if you want a softer graphite version of this scene before adding ink and color.
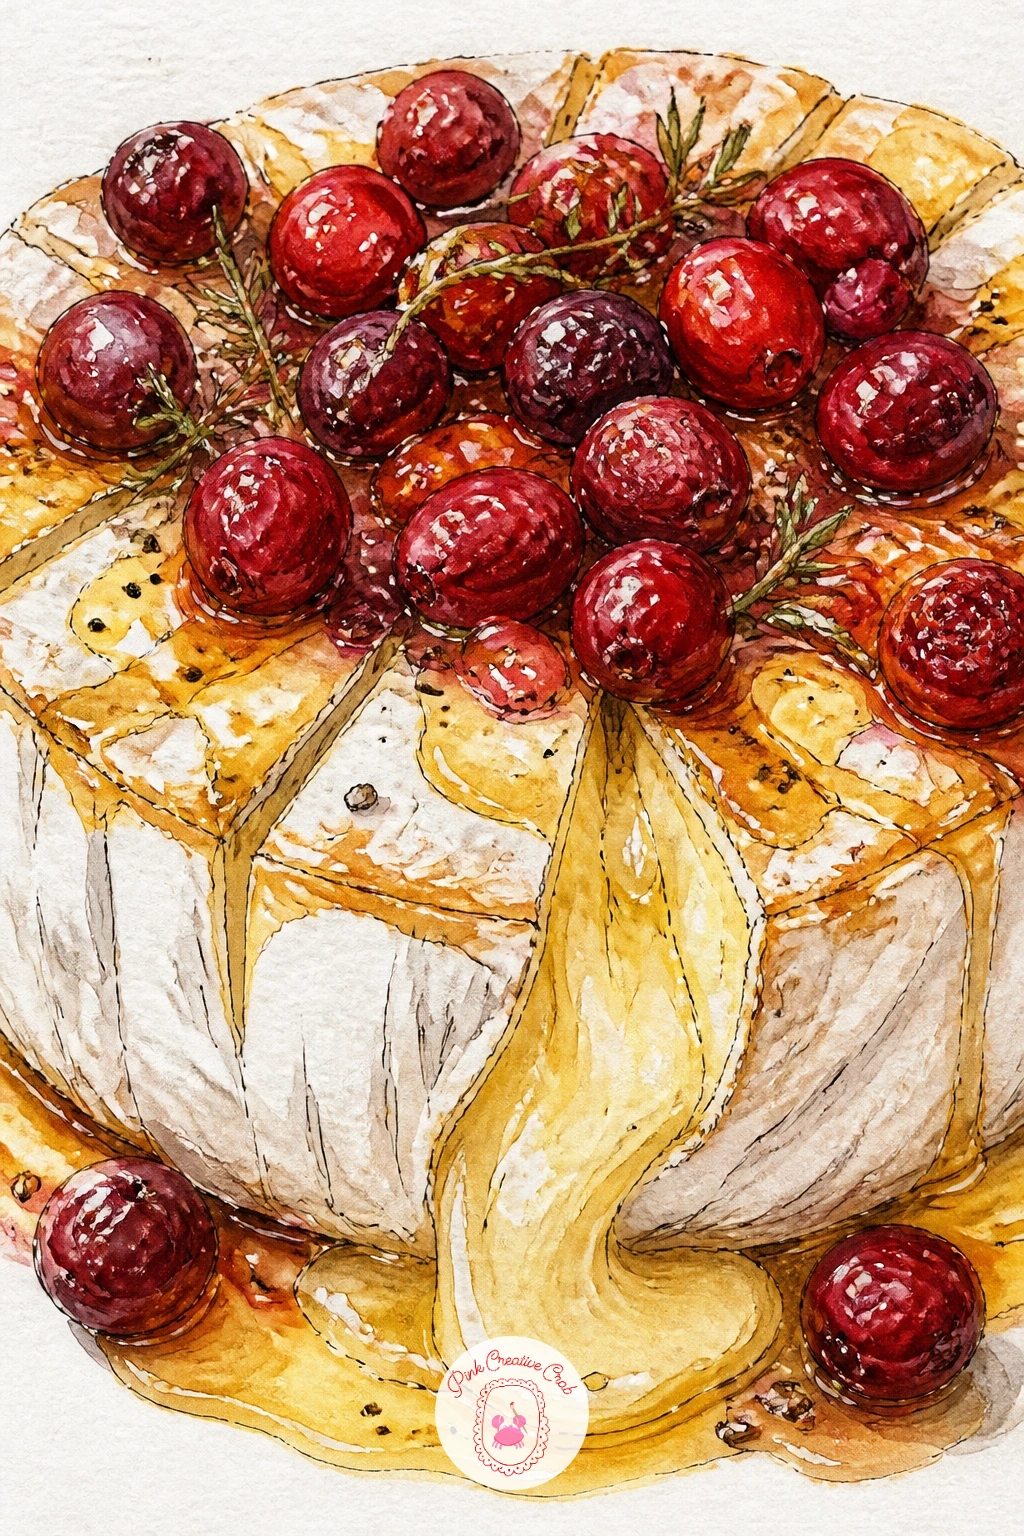
Center a round wheel shape on the page, drawn with a slightly melted bulging edge rather than a crisp circle, since brie baked with cranberries is prized for that soft oozing look once it comes out of the oven. Score the rind lightly with a crosshatch pattern before adding the cranberry topping.
Ink the rind’s crosshatch lines first, then a cluster of small round cranberries pooled across the top with a drizzle of honey running between them. Paint the rind in warm golden tan with the scored lines left slightly darker, the melted cheese peeking from the cuts in soft ivory, and the cranberries in bright ruby red glistening with a touch of honey amber.
The melted cheese reads stiff if it stays perfectly within the rind’s circle, so let a little ivory wash bleed just past the scored edge where the cheese has oozed out in real life.
Add a few walnut halves and a sprig of rosemary tucked beside the wheel for an easy finishing touch.
You Will Need
- fine liner pen
- watercolor paints in tan and ruby red
- fine round brush
- amber paint for honey drizzle
Palette: Golden Tan,Ivory White,Ruby Red,Amber
Look closely at photos of real baked brie, the scored lines puff up and separate slightly as it bakes, worth exaggerating a touch for drama.
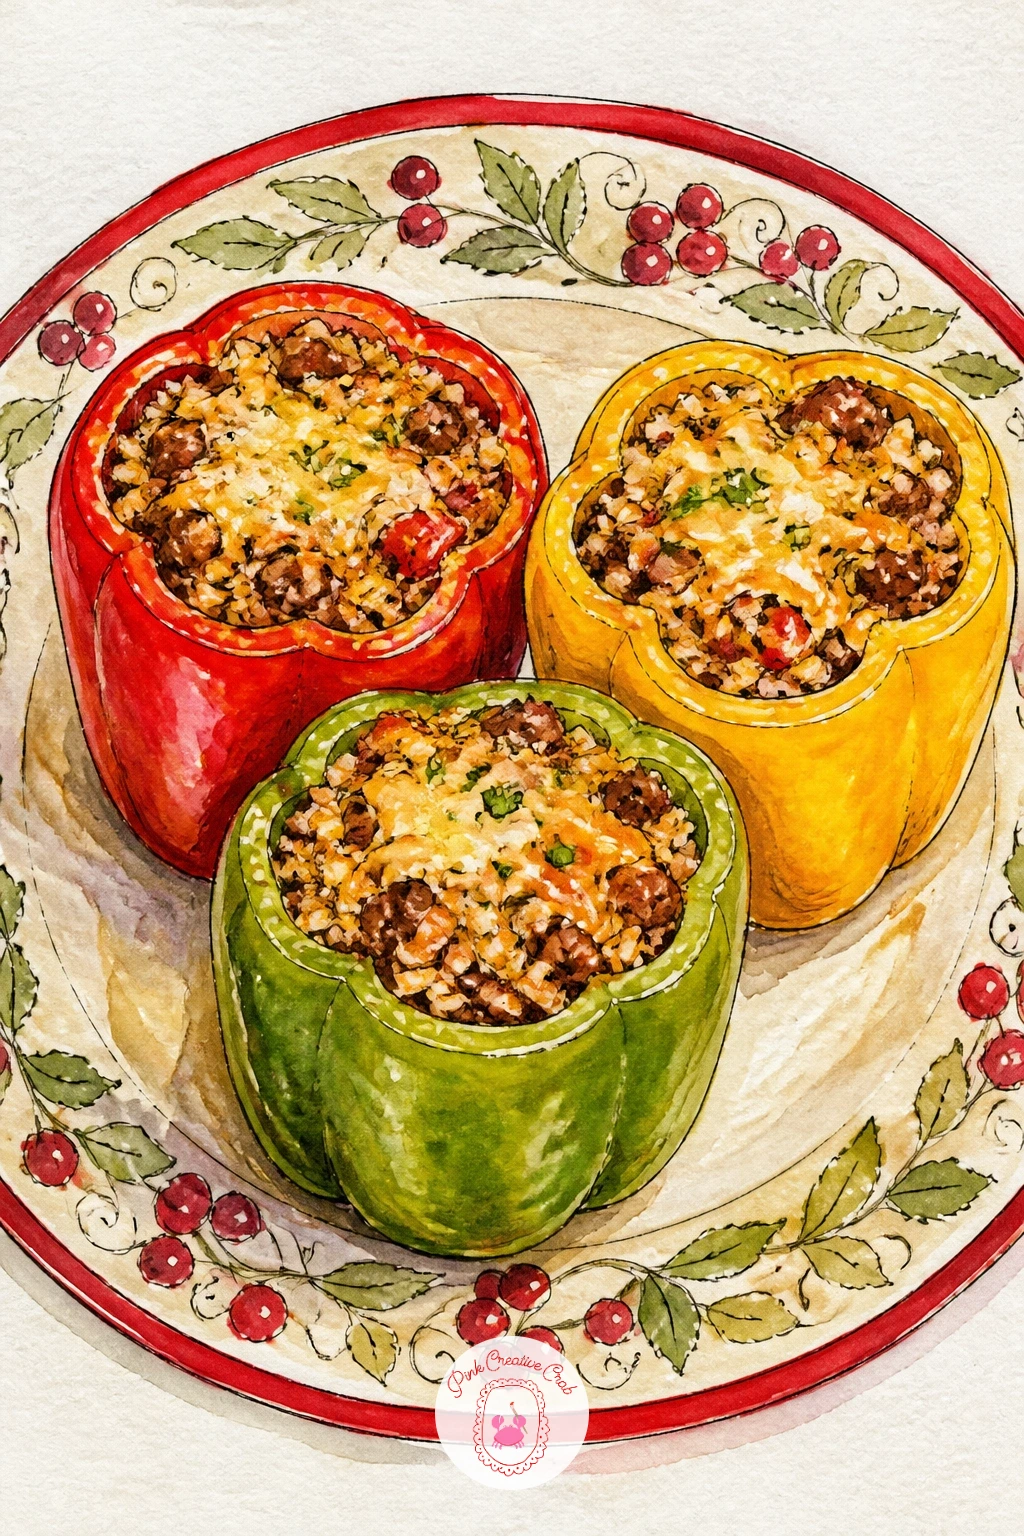
Draw three peppers standing upright side by side, each a simple rounded shape with the top sliced off and filling piled visibly inside. Stuffed peppers on a festive plate work well viewed almost straight on at table height, letting the viewer look slightly down into each pepper’s open top to see the rice and vegetable filling.
Ink each pepper’s glossy skin with a few curved highlight lines left unlined for shine, then the filling inside as a loose mix of small dots and shapes for rice, herbs and diced tomato. Paint the peppers in bright red, yellow and green for variety across the three, the filling in warm golden rice tones with flecks of red and green mixed through.
Pepper skins look dull without their characteristic shine, so leave a narrow curved strip of white paper untouched on each one before you even start painting, planned at the sketch stage.
Swap one pepper’s color for orange if you want a fourth variation across the plate.
You Will Need
- fine liner pen
- watercolor paints in red, yellow and green
- fine round brush
- reference photo of stuffed peppers
Palette: Cadmium Red,Golden Yellow,Sap Green,Naples Yellow
Vary the three pepper colors deliberately, red, yellow and green side by side instantly reads as festive without needing any other holiday prop.
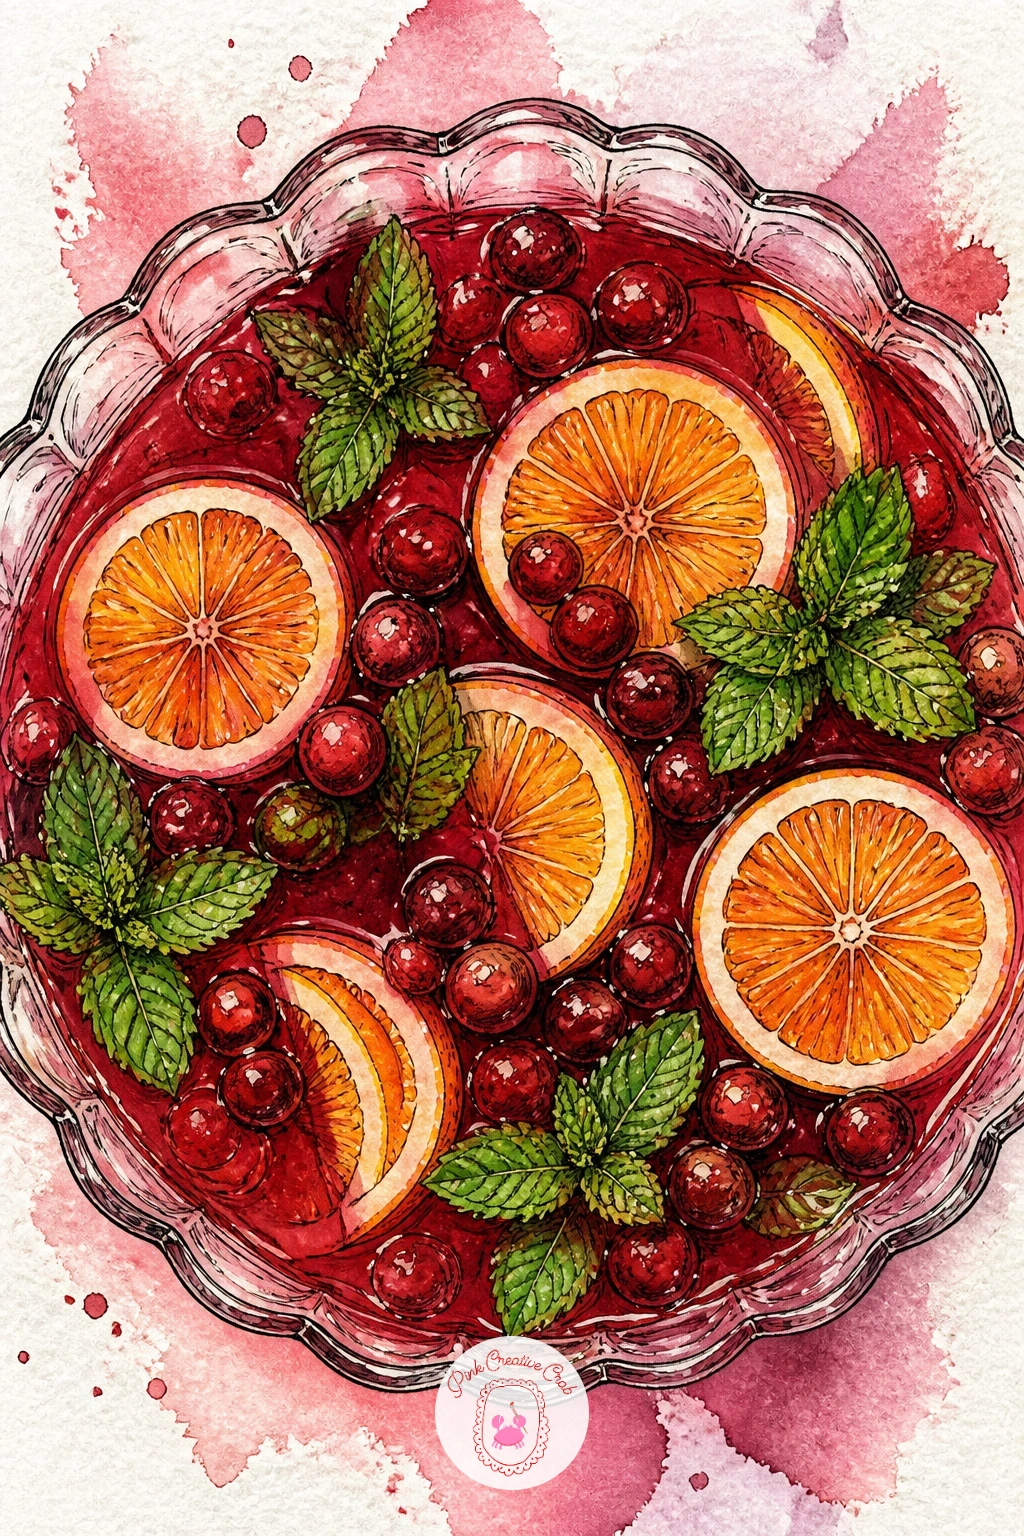
Sketch a wide bowl shape first, a simple curved basin viewed from slightly above so the liquid surface inside reads as an oval. A bowl of Christmas punch with floating fruit needs that oval surface drawn accurately, since every floating orange slice and cranberry sits flat against it.
Ink the bowl’s rim and a few fruit slices floating on top, orange rounds, whole cranberries, a sprig of mint, scattered unevenly rather than in a tidy ring. Paint the punch itself in deep ruby red with a slightly darker shadow near the bowl’s edges, the orange slices in bright citrus tones, and tiny cranberries dotted in deep red across the surface.
Liquid in a bowl looks flat if painted one solid color, so drop a little extra water into the center of your wet wash and let it bloom lighter there, suggesting the surface catching light.
A ladle resting against the bowl’s edge adds an easy extra prop if you want more in the frame.
You Will Need
- fine liner pen
- watercolor paints in ruby red and citrus orange
- fine round brush
- extra water for wet into wet blooms
Palette: Ruby Red,Citrus Orange,Cranberry Red,Mint Green
Try dropping a little rubbing alcohol into the wet red wash for an interesting bloom texture across the punch’s surface, a fun experimental option.
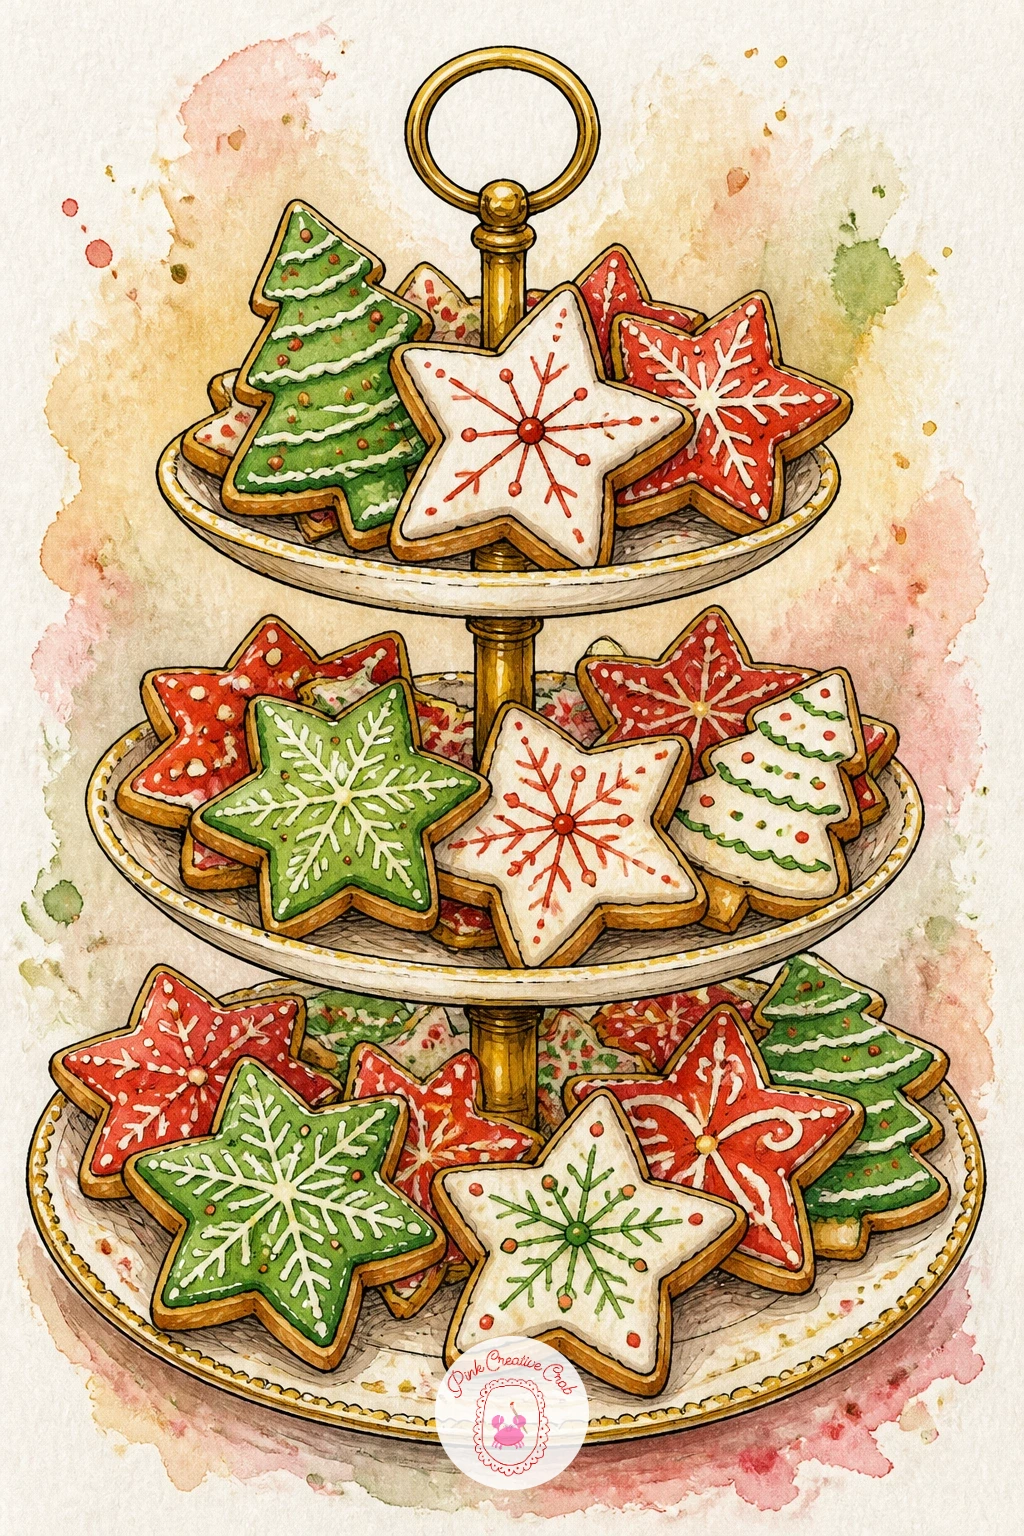
Build the stand first as two or three simple plate shapes stacked on a thin central pole, then fill each tier with a different cookie shape, stars, trees, round sugar cookies with icing. A cookie platter on a tiered stand rewards variety, so make sure no two cookies on the same tier look identical.
Ink each cookie’s outline simply, then add icing details as thin white gel pen lines once the base colors are dry rather than trying to paint fine icing lines with a loaded brush. Paint the cookies in warm golden brown with each one getting a different icing color, red, green, white, and a scatter of sprinkles as tiny colored dots.
The stand collapses visually if every tier is the same density of cookies, so leave a few gaps on the top tier and pack the bottom tier fuller, mimicking how a real platter gets picked over.
For a quicker version, draw just the top tier close up with four or five cookies rather than the whole stand.
You Will Need
- fine liner pen
- watercolor paints in gold and icing colors
- white gel pen for icing lines
- fine round brush
Palette: Golden Brown,Holiday Red,Sap Green,Cream White
For more cookie shape ideas and easy sketch warm ups, these easy Christmas drawing ideas are a good place to borrow a few extra icons from.
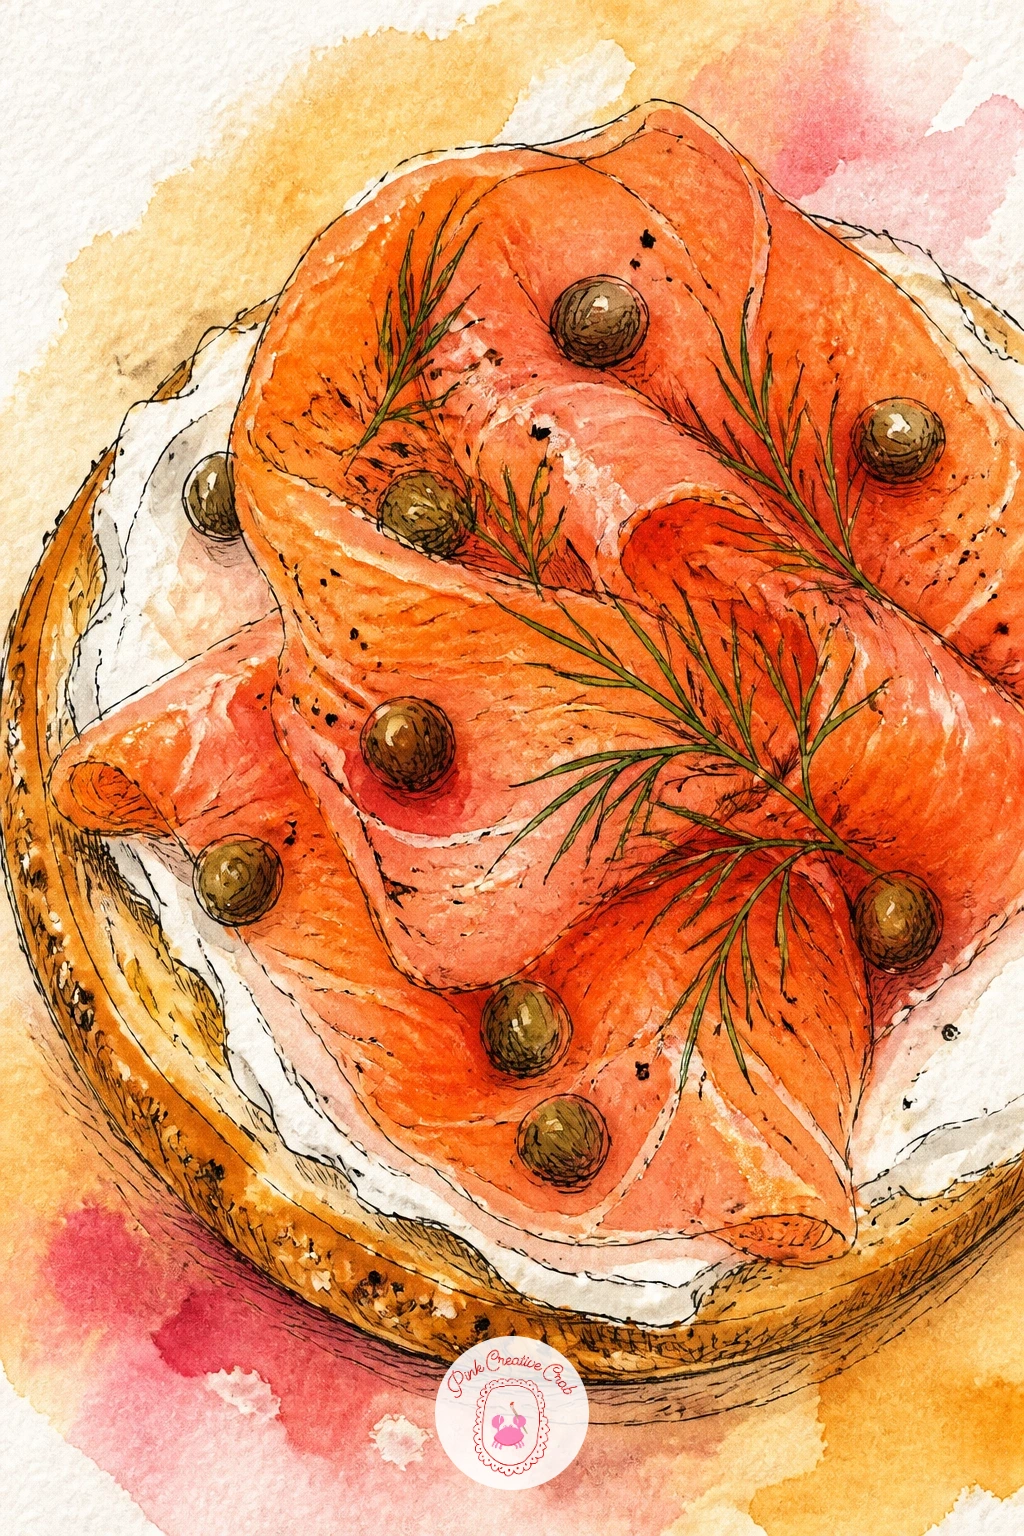
Place an open faced bagel half at the center of the page, drawn as a thick ring shape with the hole clearly visible, then layer cream cheese and salmon across its surface in loose overlapping shapes. A bagel brunch with salmon and dill is all about that layered top, so build it in the order it would actually sit on the plate, cream cheese first, then salmon, then capers and dill last.
Ink the bagel’s textured crust with small irregular bumps, then the salmon with soft wavy lines following its natural grain. Paint the bagel in warm golden brown, the cream cheese in soft white, the salmon in coral pink with deeper orange pink streaks, and finish with small dark green dill fronds and tiny dark capers scattered on top.
Salmon looks flat painted as one solid pink, so drag a slightly drier brush of deeper coral through the wet wash to pull out the natural striping you see in real smoked salmon.
Add a wedge of lemon and a second bagel half beside it if you want a fuller brunch spread.
You Will Need
- fine liner pen
- watercolor paints in pink and gold
- fine round brush
- dark green paint for dill
Palette: Golden Brown,Coral Pink,Cream White,Dark Green
Check these beginner food doodle ideas for quick warm up sketches if layered textures like salmon feel tricky at first.
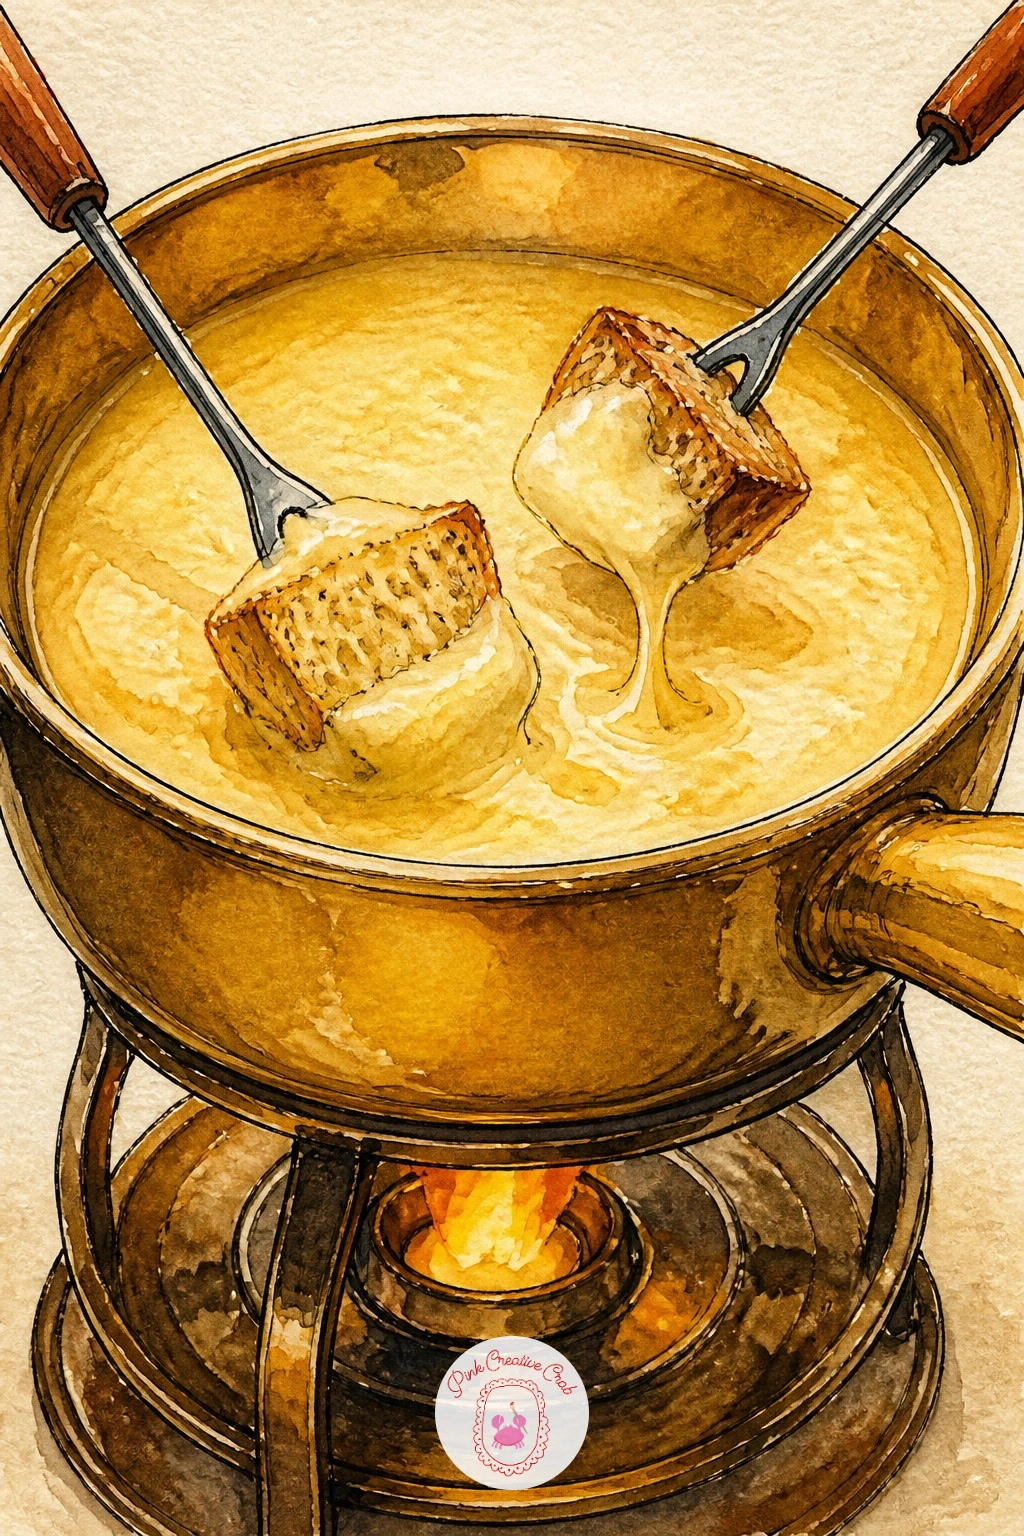
Draw the pot first, a simple rounded vessel on short legs with a small flame shape beneath it, then surround it with chunks of bread on long fondue forks. A fondue pot with bread and friends works best with two or three forks angled dipping into the pot, giving the scene a sense of motion and shared company.
Ink the pot with a clean outline and a few drip marks running down its side, then the bread chunks as rough torn cubes rather than smooth squares. Paint the cheese inside the pot in warm melted gold, thick and glossy looking, the bread in golden brown crust with pale interior, and a tiny orange flame flickering beneath the pot.
Melted cheese looks stiff if it is painted with a hard edge, so work wet into wet for the cheese itself and let the edges stay soft and slightly uneven where it meets the pot’s rim.
Swap the cheese fondue for a chocolate fondue instead, same pot and bread, just change the inside color to deep brown.
You Will Need
- fine liner pen
- watercolor paints in gold and brown
- fine round brush
- orange paint for the flame
Palette: Melted Gold,Golden Brown,Flame Orange,Cream White
Try showing just one hand holding a fork dipping into the pot for a more personal, candid magazine style crop next time.
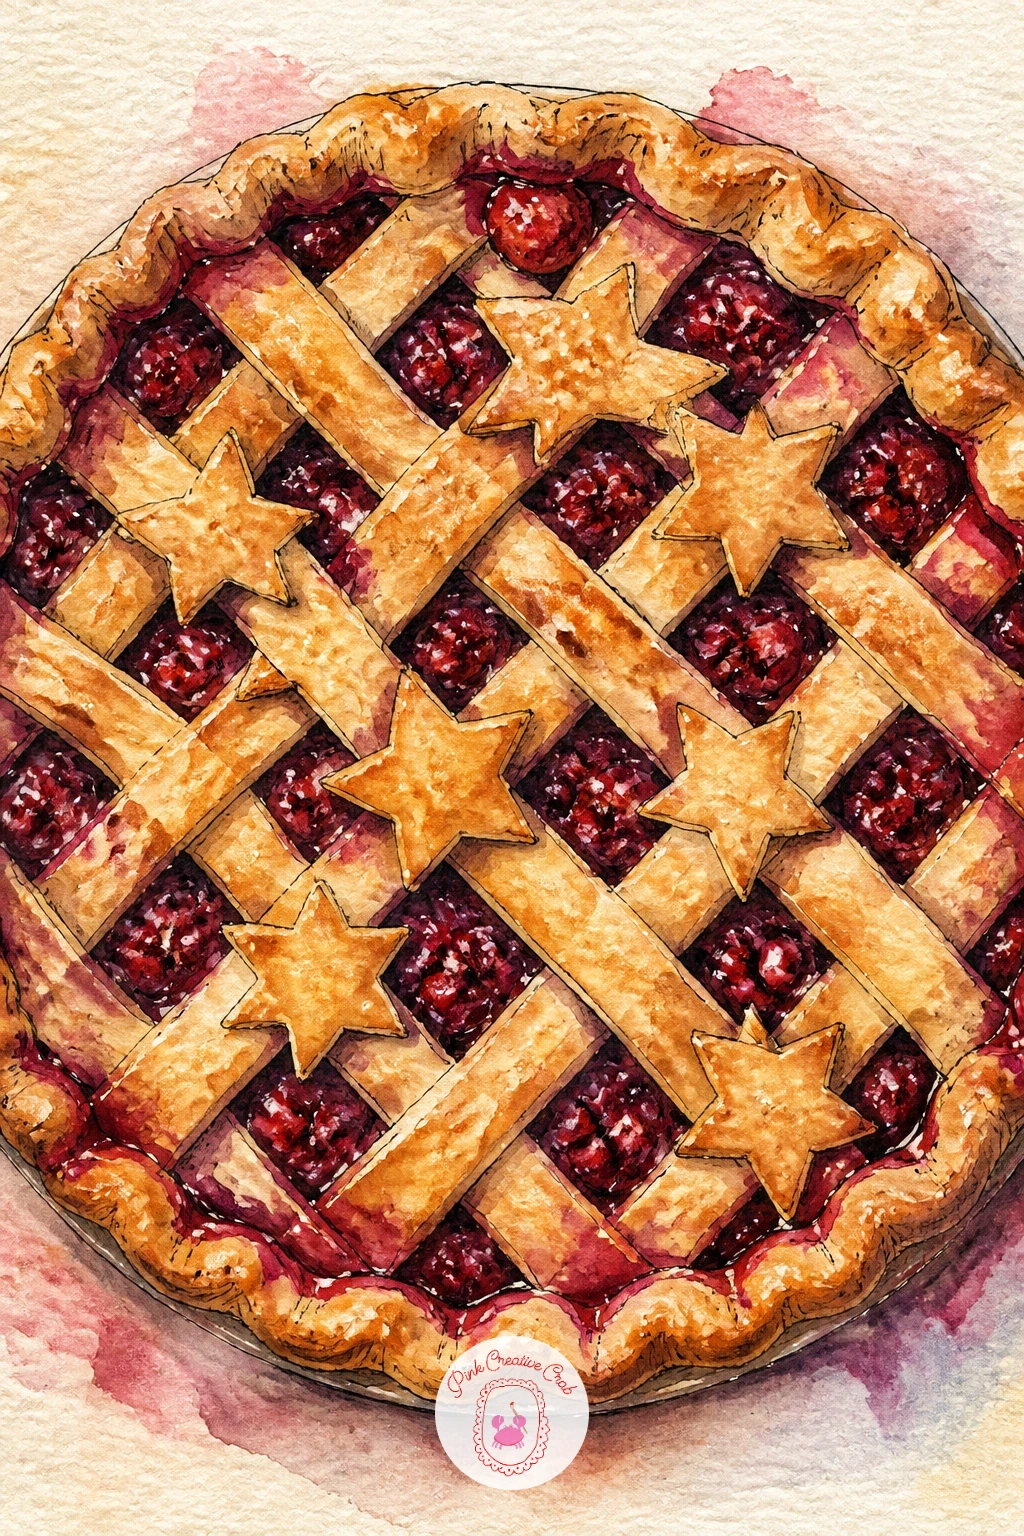
Sketch a round pie dish first, then plan the lattice before inking a single line: light pencil guides crossing in a simple weave pattern across the top, with a few cut star shapes placed where strips overlap. A pie with a lattice star top needs that weave planned ahead, since inking it freehand tends to drift crooked by the far edge.
Ink the lattice strips with a ruler if you like clean lines, or freehand for a more rustic look, then the star cutouts showing the dark berry filling glimpsed beneath. Paint the crust in warm golden brown with darker edges where it browns most, the filling in deep berry red or purple peeking through the stars and lattice gaps.
Lattice crusts look wrong when every strip is the same width, so vary them slightly and let a couple of edges curl up or look slightly uneven, the way a hand crimped crust really behaves.
A dusting of flour as tiny white flecks across the crust adds a nice homemade touch at the very end.
You Will Need
- fine liner pen
- ruler for lattice guides
- watercolor paints in gold and berry red
- fine round brush
Palette: Golden Brown,Deep Berry Red,Burnt Sienna,Cream White
For a landscape style companion piece afterward, these still life drawing ideas cover more table objects worth sketching from life.
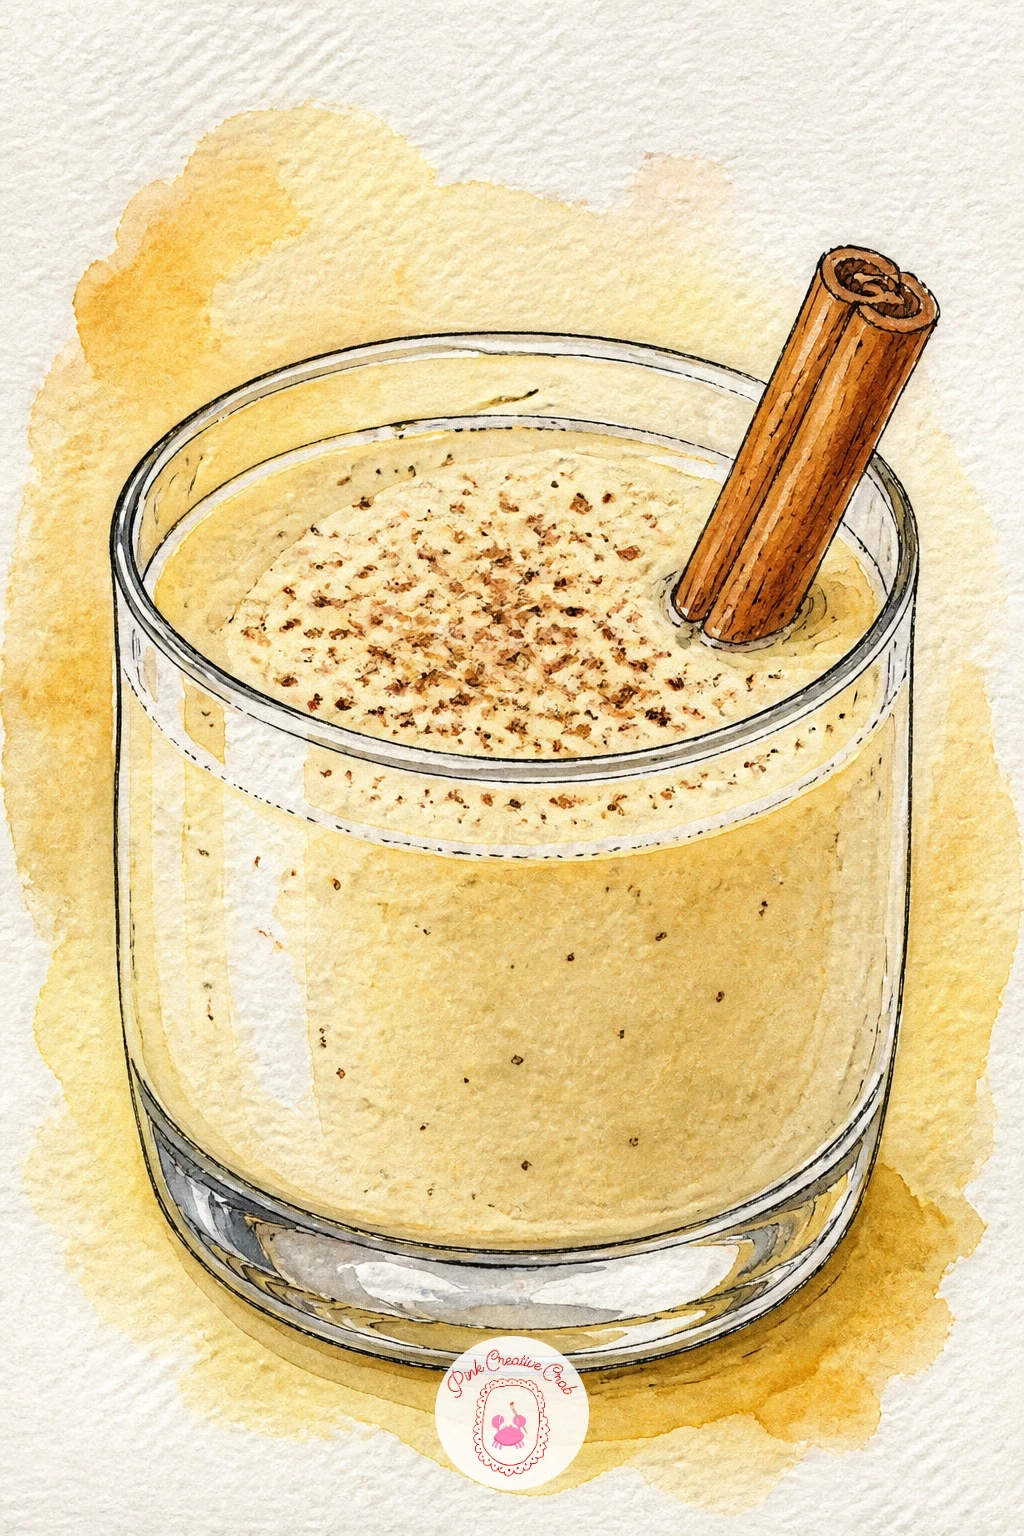
Draw a short wide glass first, simple straight sides, then fill it most of the way with a pale creamy liquid leaving a little headroom at the top. A glass of eggnog with nutmeg relies on that pale creamy color reading rich rather than thin, so mix your wash a touch more opaque than a usual watercolor dilution.
Ink the glass outline cleanly with one narrow highlight strip left unlined, then the surface of the eggnog with a slightly curved meniscus line near the rim. Paint the eggnog in warm pale yellow cream, then once fully dry, speckle the surface with tiny reddish brown dots for grated nutmeg using the tip of a nearly dry brush.
Eggnog looks too watery if the color is too pale, so build it in two layers, a first wash of pale yellow and a second slightly warmer layer once the first is dry, for real creamy depth.
A cinnamon stick propped against the glass rim is an easy finishing prop.
You Will Need
- fine liner pen
- watercolor paints in pale yellow cream
- fine round brush
- brown paint for nutmeg speckles
Palette: Pale Cream Yellow,Warm Ivory,Nutmeg Brown,Cinnamon Brown
Try grouping two glasses together instead of one, it instantly suggests company gathered for the holiday without adding much extra drawing.
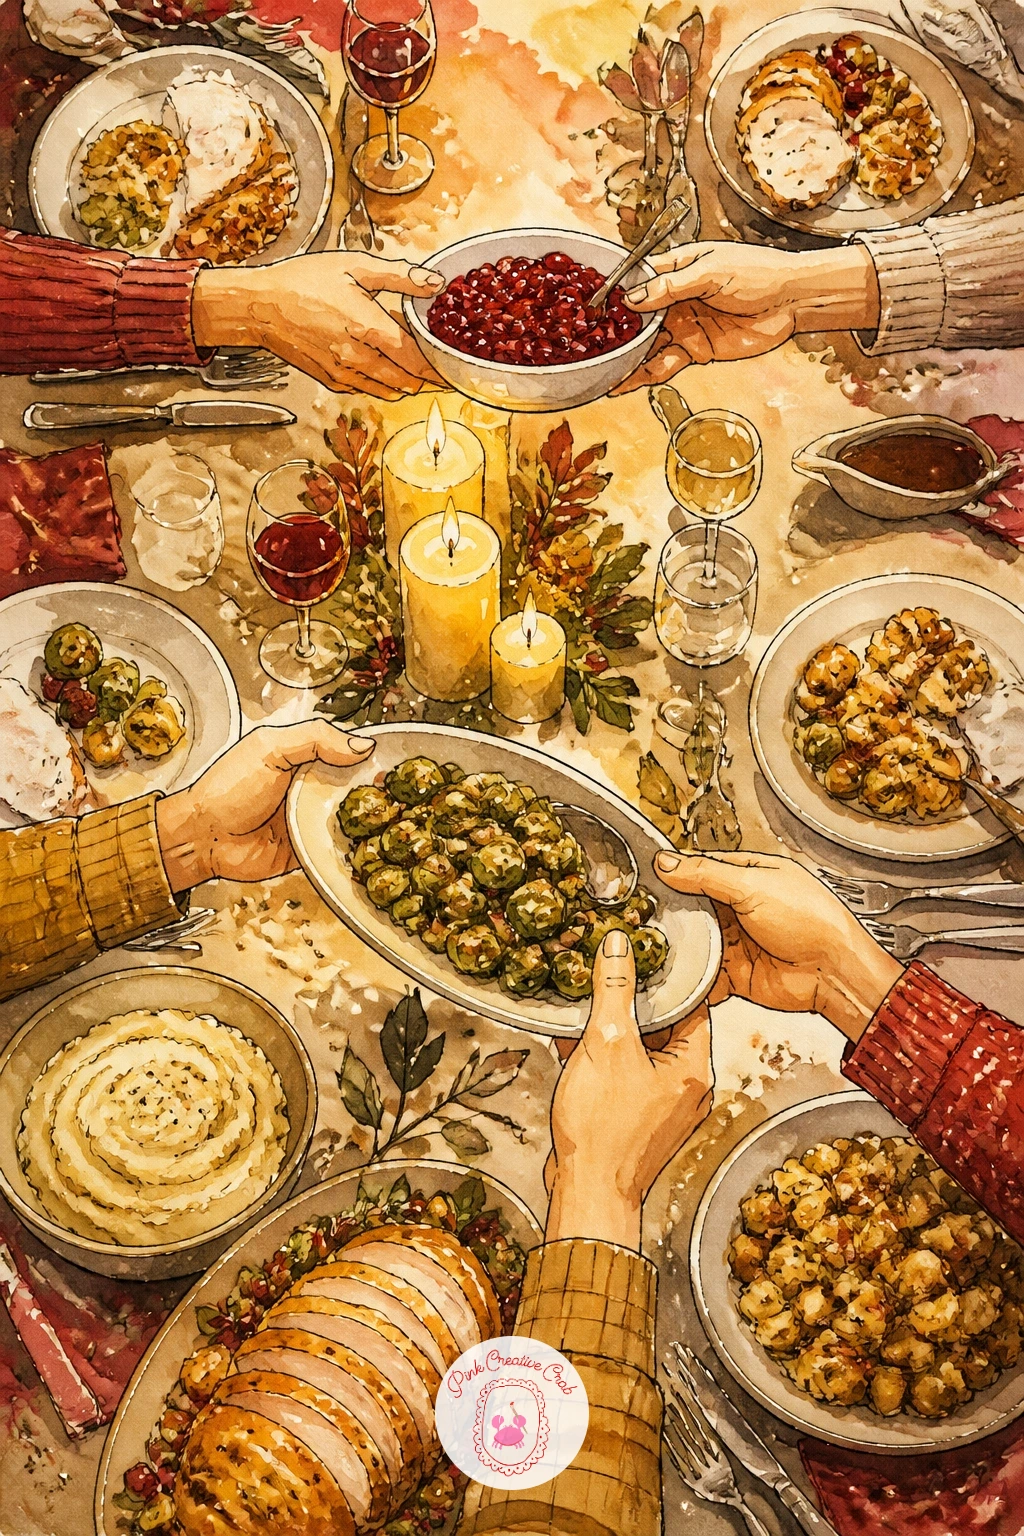
Frame this one wide: a candlelit table seen from one end, two or three hands reaching to pass a dish, with plates, glasses and a centerpiece filling the middle ground. A family passing dishes at a candlelit table is the most ambitious scene on this list, so sketch loosely first, blocking in just the table’s edge, the candle positions, and rough ovals for each dish before any detail.
Ink the candle flames and glassware last, since their highlights depend on everything around them being settled first, then work the hands and dishes with simple confident shapes rather than tight detail. Paint the whole scene in warm candlelight tones, golden light falling across the center of the table and cooler shadow toward the edges of the page.
Group scenes like this go wrong when every element gets equal light, so commit to one strong light source from the candles and let the corners of the page stay darker and looser.
If a full table feels like too much today, crop in to just two hands and one passed dish for a simpler version with the same warm feeling.
You Will Need
- fine liner pen
- watercolor paints in warm gold and shadow brown
- fine round brush
- reference photo of a set table
Palette: Candlelight Gold,Warm Umber,Cream White,Deep Red
For more help building a full scene like this, these Christmas scene drawing ideas walk through staging a warm lit interior step by step.
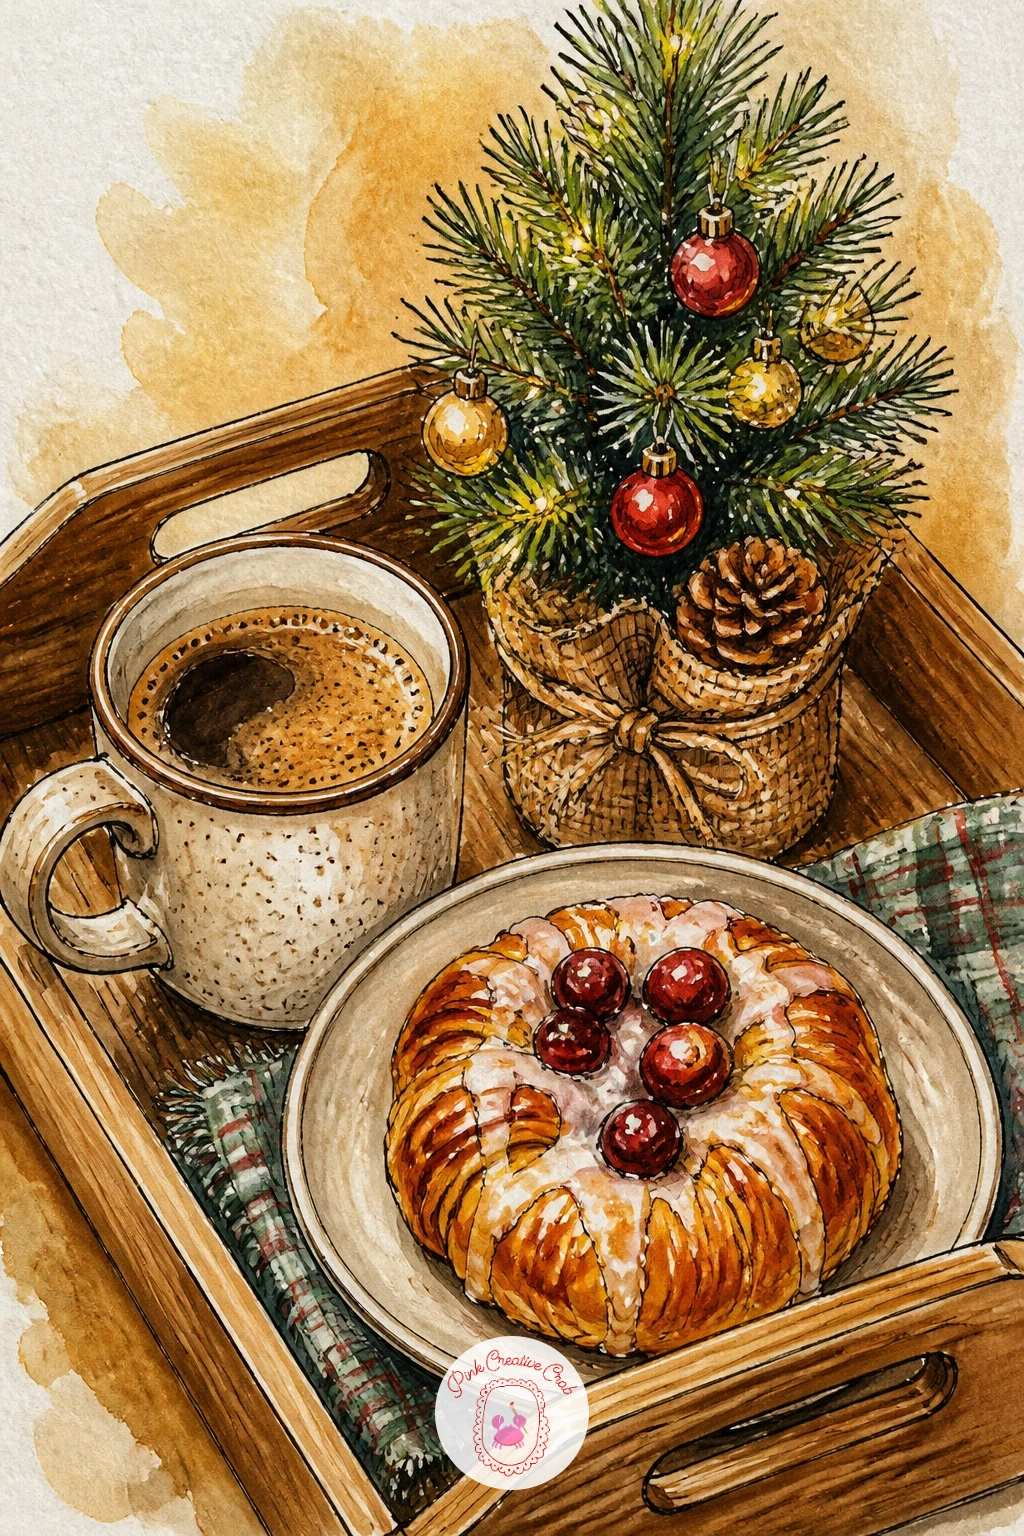
Sketch a wooden tray shape first, then arrange a small plate, a mug and a tiny potted tree across it, each item kept simple and slightly overlapping. A cozy breakfast tray with a mini tree works well viewed from a close, almost intimate angle, as if you are looking down at your own lap on a slow morning.
Ink the tray’s wood grain with a few loose parallel lines, then the mini tree as a simple triangle shape with tiny ornament dots, the mug and plate with clean rounded outlines. Paint the tray in warm honey brown, the tree in deep green with small red and gold dot ornaments, and the breakfast items in whatever warm tones suit, pastry gold, coffee brown.
The scene feels stiff if everything sits in a perfect grid, so angle the mug slightly and let the tree lean just a touch, small imperfections that make a tray feel actually used.
A folded napkin or a candy cane resting on the tray’s edge adds an easy extra detail.
You Will Need
- fine liner pen
- watercolor paints in brown and green
- fine round brush
- gold and red paint for ornament dots
Palette: Honey Brown,Deep Green,Holiday Red,Gold
Try this scene in a square format instead of the usual rectangle, trays photograph and draw especially well cropped square for a cozy feed style look.
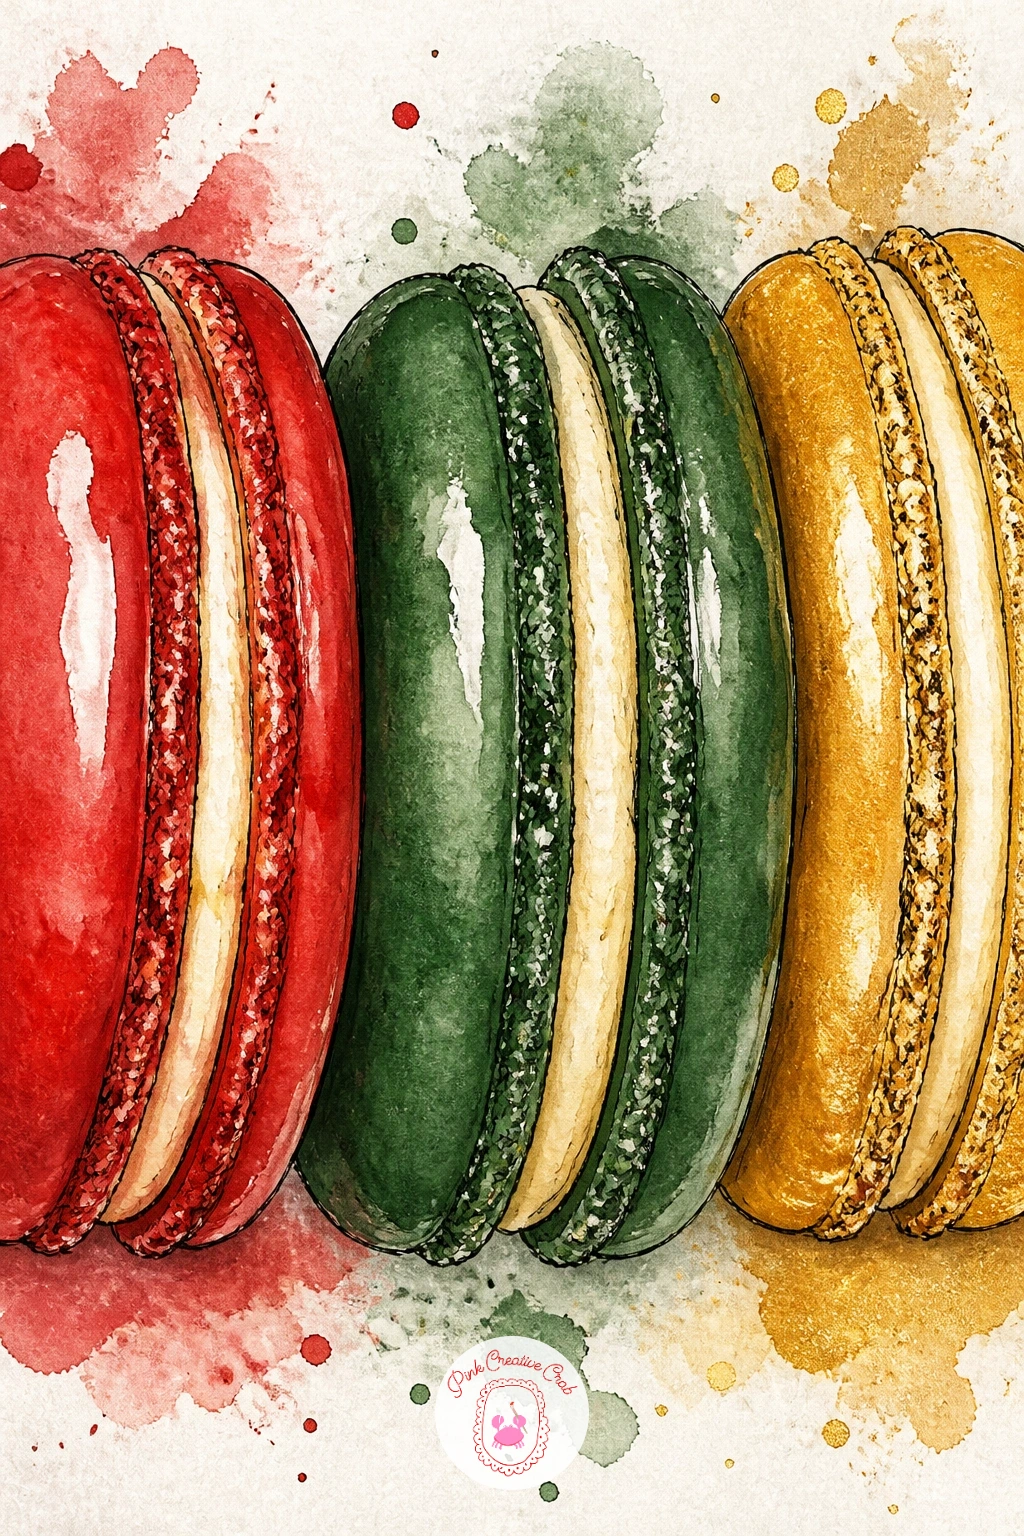
Line up five or six macaron shells, each a simple flattened circle with a ruffled foot edge, arranged in a loose row or small pile. Macarons in red, green and gold are mostly a color exercise, so plan your three colors evenly across the group before inking a single shell so the composition balances.
Ink each shell’s smooth top and ruffled bottom edge, keeping the line light since macarons have a delicate glossy surface that heavy ink lines flatten out fast. Paint each shell in one of the three colors, cherry red, forest green, warm gold, with a thin cream colored filling line visible between the two shell halves.
Macaron shells look chalky if painted completely flat, so leave a small soft highlight of bare paper near the top of each shell before the color fully dries, suggesting their glossy surface.
Group them on a small plate or box with a ribbon for a bit more festive packaging context if you want a fuller composition.
You Will Need
- fine liner pen
- watercolor paints in red, green and gold
- fine round brush
- reference photo of macarons
Palette: Cherry Red,Forest Green,Gold,Cream White
Try a close in crop of just three macarons stacked for a bolder, simpler composition if a full row feels busy.
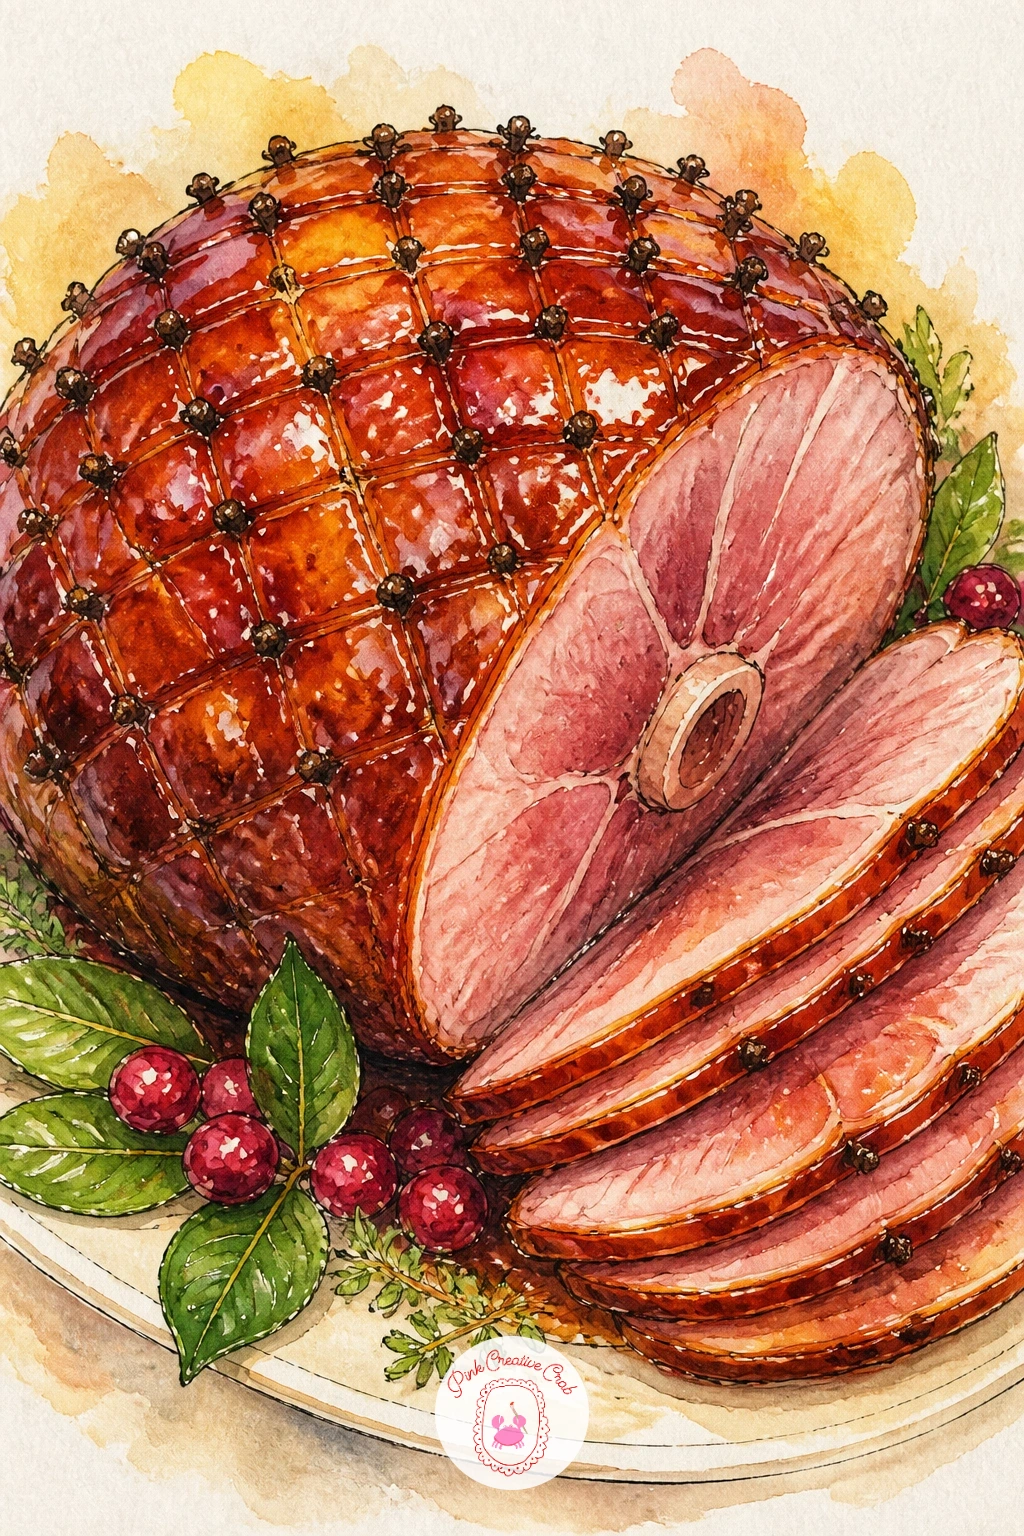
Draw the ham’s rounded wedge shape first, wider at one end, tapering toward the bone, then plan a diamond crosshatch pattern lightly in pencil across its glazed surface. A ham glazed with honey and cloves earns its shine from that crosshatch, so place a small clove dot at each diamond intersection before inking the surrounding lines.
Ink the crosshatch pattern and the clove dots, then the glaze drips running down the sides as a few confident wavy lines. Paint the ham in deep reddish brown with a glossy amber glaze wash over the top, leaving a few bright highlight streaks of bare paper where the glaze catches the light most.
The glaze looks dull without that shine, so once your amber wash is dry, add one or two crisp white gouache highlight streaks along the top ridge for real glossy sparkle.
Surround the ham with a few roasted vegetables or orange slices if you want a fuller holiday platter scene.
You Will Need
- fine liner pen
- watercolor paints in reddish brown and amber
- fine round brush
- white gouache for glaze highlights
Palette: Deep Reddish Brown,Amber Glaze,Burnt Sienna,Cream White
Look at how light hits a glossy glazed surface in a real photo, the highlights sit in long thin streaks rather than small round dots, worth copying directly.
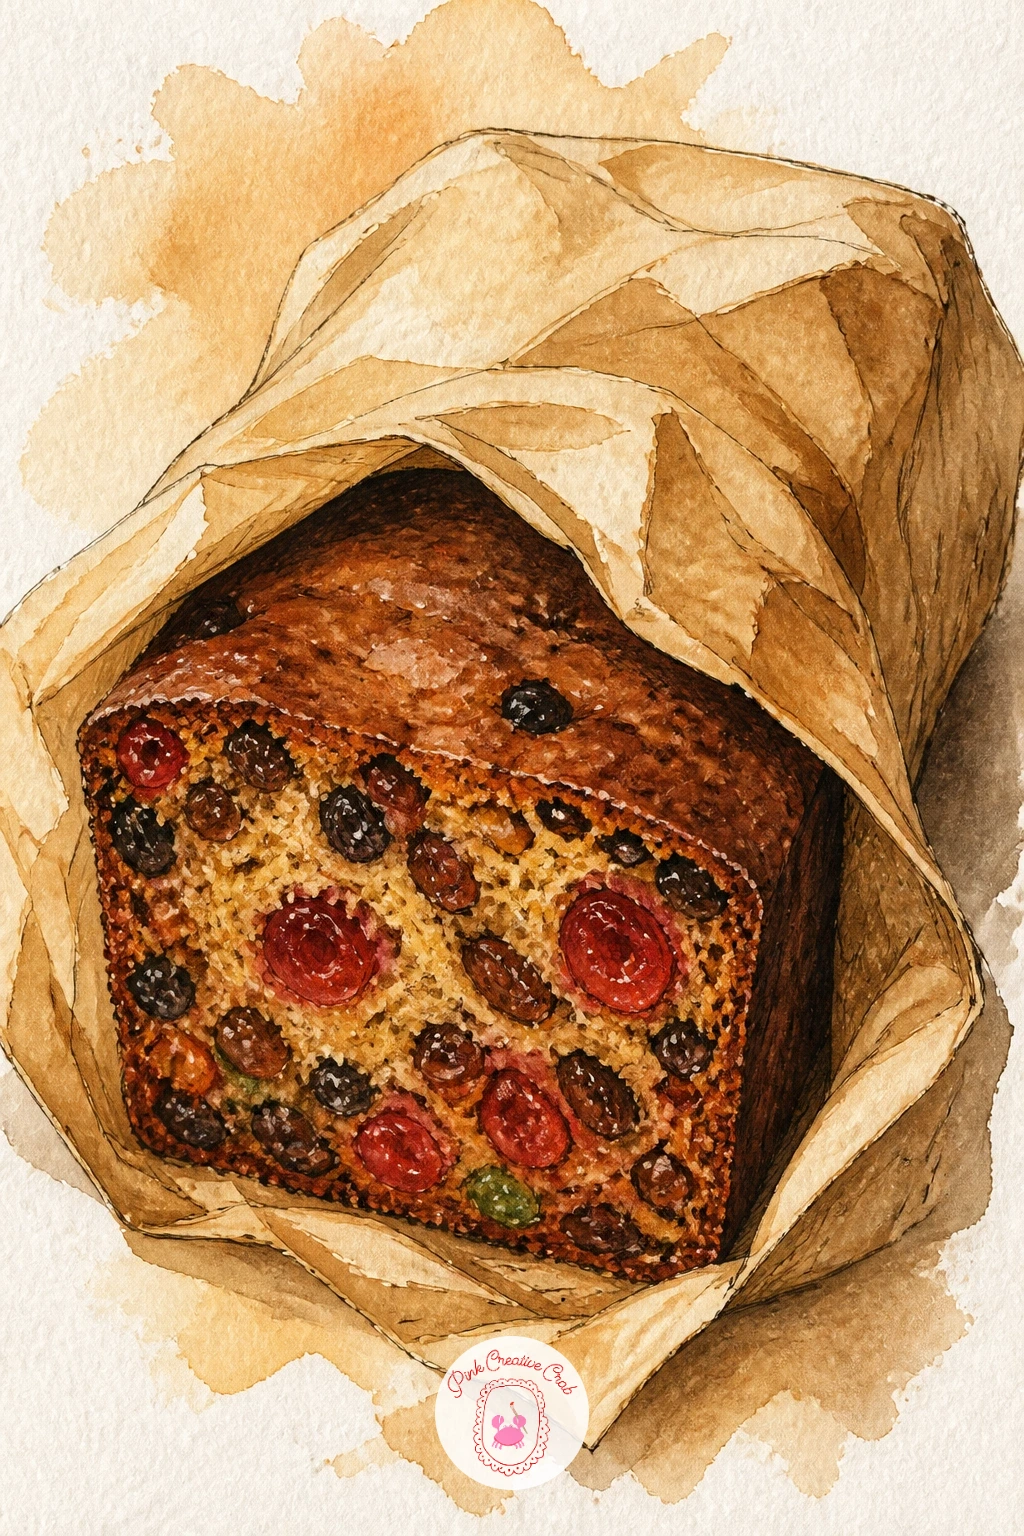
Draw a simple rectangular loaf shape first, then wrap it loosely in paper, the paper drawn as a few soft folded planes rather than a tight perfect wrap. A fruit cake wrapped in brown paper plays with texture contrast, rough kraft paper against the dense studded cake peeking through one open end or a cut slice.
Ink the paper’s folds and creases with soft angular lines, then the exposed cake slice with small irregular dots and shapes for candied fruit and nuts studded through the dark crumb. Paint the paper in warm kraft brown with a bit of texture left as dry brush streaks, the cake itself in deep spiced brown with bright flecks of red, green and gold for the candied fruit pieces.
The paper looks flat without a little texture, so once your brown wash dries, drag a dry brush loaded with slightly darker brown lightly across the surface to suggest its rough fibrous texture.
Tie a thin string or ribbon around the wrapped loaf for an easy extra detail that ties the whole package together.
You Will Need
- fine liner pen
- watercolor paints in kraft brown and spiced brown
- dry flat brush for paper texture
- fine round brush
Palette: Kraft Brown,Spiced Dark Brown,Holiday Red,Forest Green
For more wrapped gift and paper texture practice beyond food, these small canvas Christmas painting ideas cover similar surfaces worth studying.
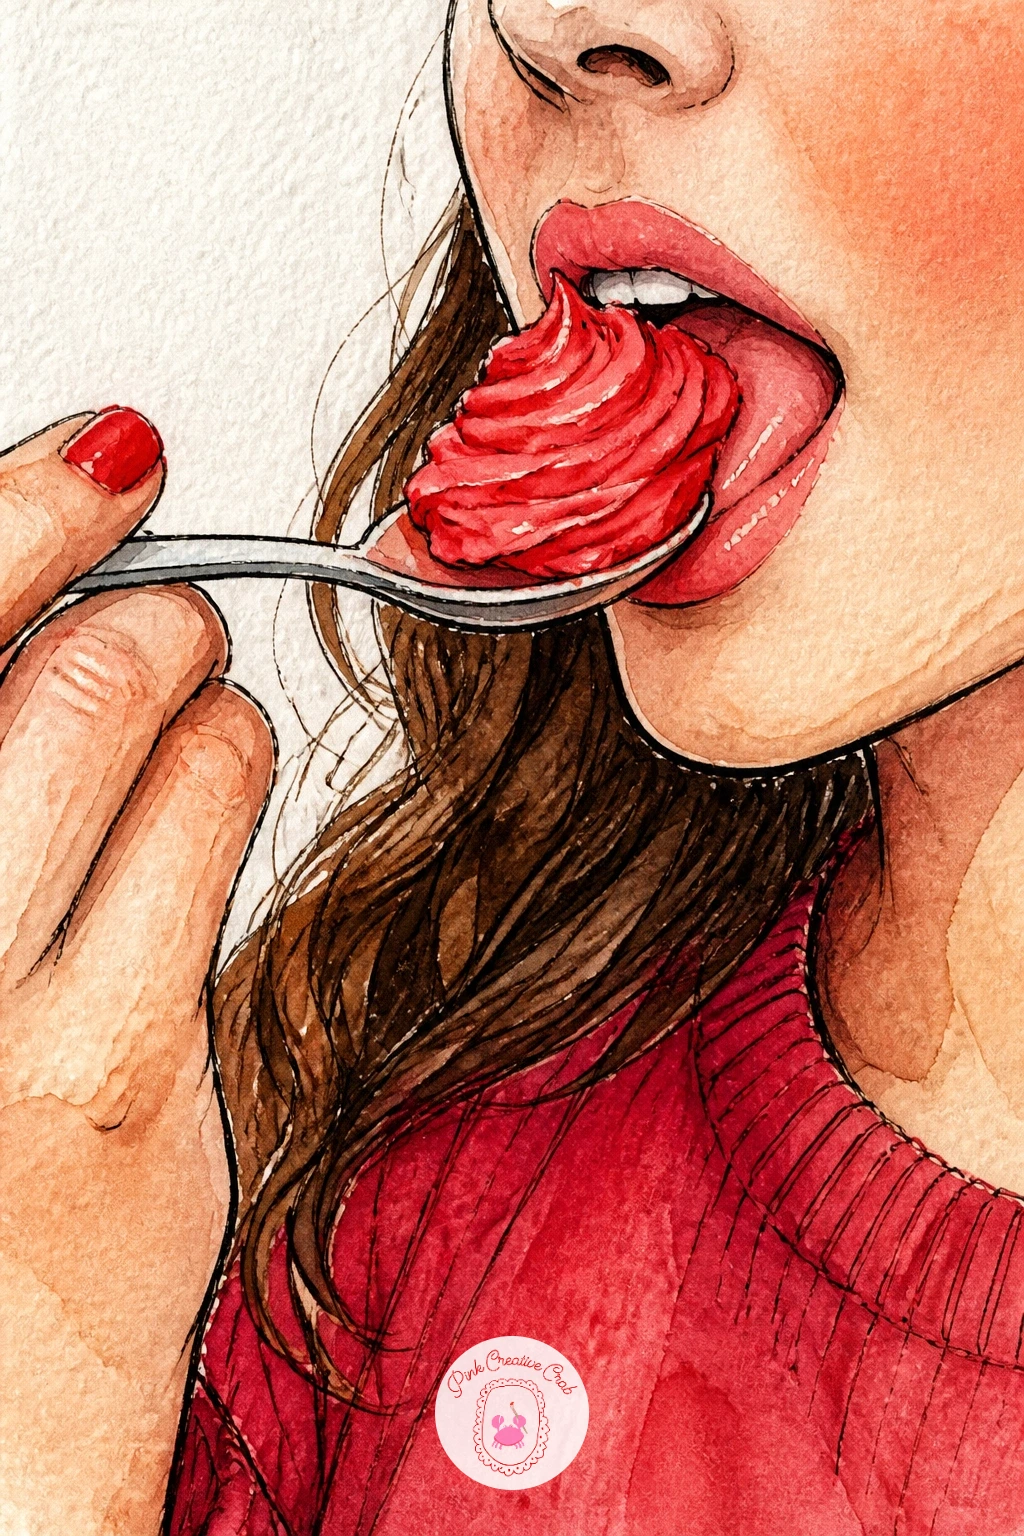
Sketch the hand and spoon first, a simple relaxed grip with the spoon tilted up toward an implied mouth just at the edge of the frame, since a girl licking frosting from a spoon works best cropped close rather than showing a full figure. Build the hand with simple rounded shapes for the fingers before worrying about any fine detail.
Ink the spoon with a clean metallic outline left with a narrow unlined highlight strip, then the frosting piled on top in a soft swoop with a little extra dripping down the spoon’s handle. Paint the skin tone in warm soft peach or brown depending on your reference, the spoon in cool silver gray, and the frosting in bright holiday red or white with a sprinkle of color flecks on top.
Hands are the part most likely to go wrong, so simplify, three or four basic finger shapes read better than an over detailed hand that ends up looking stiff.
Crop even tighter, just the spoon and a corner of lips, if the full hand feels like too much today.
You Will Need
- fine liner pen
- watercolor paints in skin tone and frosting color
- fine round brush
- cool gray for the spoon
Palette: Warm Peach,Cool Silver Grey,Holiday Red,Cream White
For more guidance drawing hands and faces at this friendly level, these beginner pencil drawing ideas are worth a look before tackling this one.
What to Do Next
Pick one dish that is already calling to you, pencil it in loosely on a scrap corner first, then move to a fresh page on your watercolor block once the shapes feel right. The table is long and nobody is finishing all thirty two tonight, so start with whichever one makes you hungry just looking at it.
Frequently Asked Questions
What paper works best for christmas food drawing in watercolor and ink?
A cold press watercolor block works best, since it handles repeated wet washes without buckling or pilling under the pen. Hot press paper is smoother but wicks ink faster, which can blur fine food details.
Should I ink before or after the watercolor wash?
Ink your lines first, over a light pencil sketch, then let the ink dry fully before any paint touches the paper. Painting first risks the ink pen catching on raised watercolor texture and skipping.
How do I stop food colors turning muddy?
Mix fewer colors into each wash and let layers dry between passes instead of blending wet into wet constantly. Test warm reds and golds together on scrap paper first, since Christmas palettes crowd quickly if overmixed.
What is the easiest christmas food drawing idea to start with?
A simple cheese board or a stacked pancake scene makes a forgiving starting point, since both rely on repeated basic shapes rather than tricky reflective surfaces. Save glassware and glossy glazes for once you feel steadier.
How do I make food drawings look as styled as a magazine photo?
Crop in close so the dish fills most of the frame, and commit to one light source so shadows fall consistently across the scene. Leaving a few deliberate white gaps for steam or shine does the rest.
Have any thoughts?
Share your reaction or leave a quick response — we’d love to hear what you think!
-
 0
-
0
-
0
-
0
-
0
-
0


