

Table of Contents
- Fireplace Bunting Banner
- String Light Letters
- Steamed Window Greeting
- Chalkboard Welcome Sign
- Gift Tag Message
- Cocoa Mug Lettering
- Candy Cane Letters In Snow
- Ornament Letter Garland
- Paper Garland Doorway
- Knit Stocking Cuff
- Wreath Ribbon Banner
- Snow Globe Etching
- Advent Calendar Banner
- Christmas Card Stamp
- Frosted Cupcake Letters
- Gingerbread Roof Message
- Knit Sweater Message
- Poinsettia Pot Ribbon
- Nutcracker Scroll Banner
- Pine Door Sign
- Tree Ornament Spelling
- Train Car Letters
- House Roofline Lights
- Skating Pond Trails
- Church Bell Scroll
- Vintage Postcard Banner
- Santa Workshop Window
- Carolers Songbook Page
- Sleigh Bell Letters
- Gift Box Ribbon Spelling
- Owl With Scarf Banner
- Fox With Lantern Banner
- Train Station Clock Banner
- Night Sky Constellation Message
- Snowy Village Skyline Banner
- Santa’s Sleigh Sky Trail
- Church Window Stained Glass Message
- Frequently Asked Questions
A merry christmas drawing earns its keep when the greeting is not stamped on top of the picture but built right into it. Lights spell the words along a roofline, breath fogs the message onto a windowpane, ribbon trails it across a stack of gifts.
Every idea here uses colored pencil for the scene and a black fineliner for the lettering, and every one fits into a single sitting. Pick the subject that matches your mood, from a simple mug of cocoa to a stained glass window, and work from pencil sketch to color to ink.
Using these images: You are welcome to use the images in this post for personal projects: print them, draw or paint from them, color them, or add them to your own cards, journals, scrapbooks and gifts. Handmade items that include them may be sold in small batches of up to 30 pieces per design. Anything beyond that is commercial use and is not permitted, including selling more than 30 items, selling or sharing the images themselves (as prints, digital files, print-on-demand designs or stock), and presenting the artwork as your own. For any other use, please ask first.
Fireplace Bunting Banner
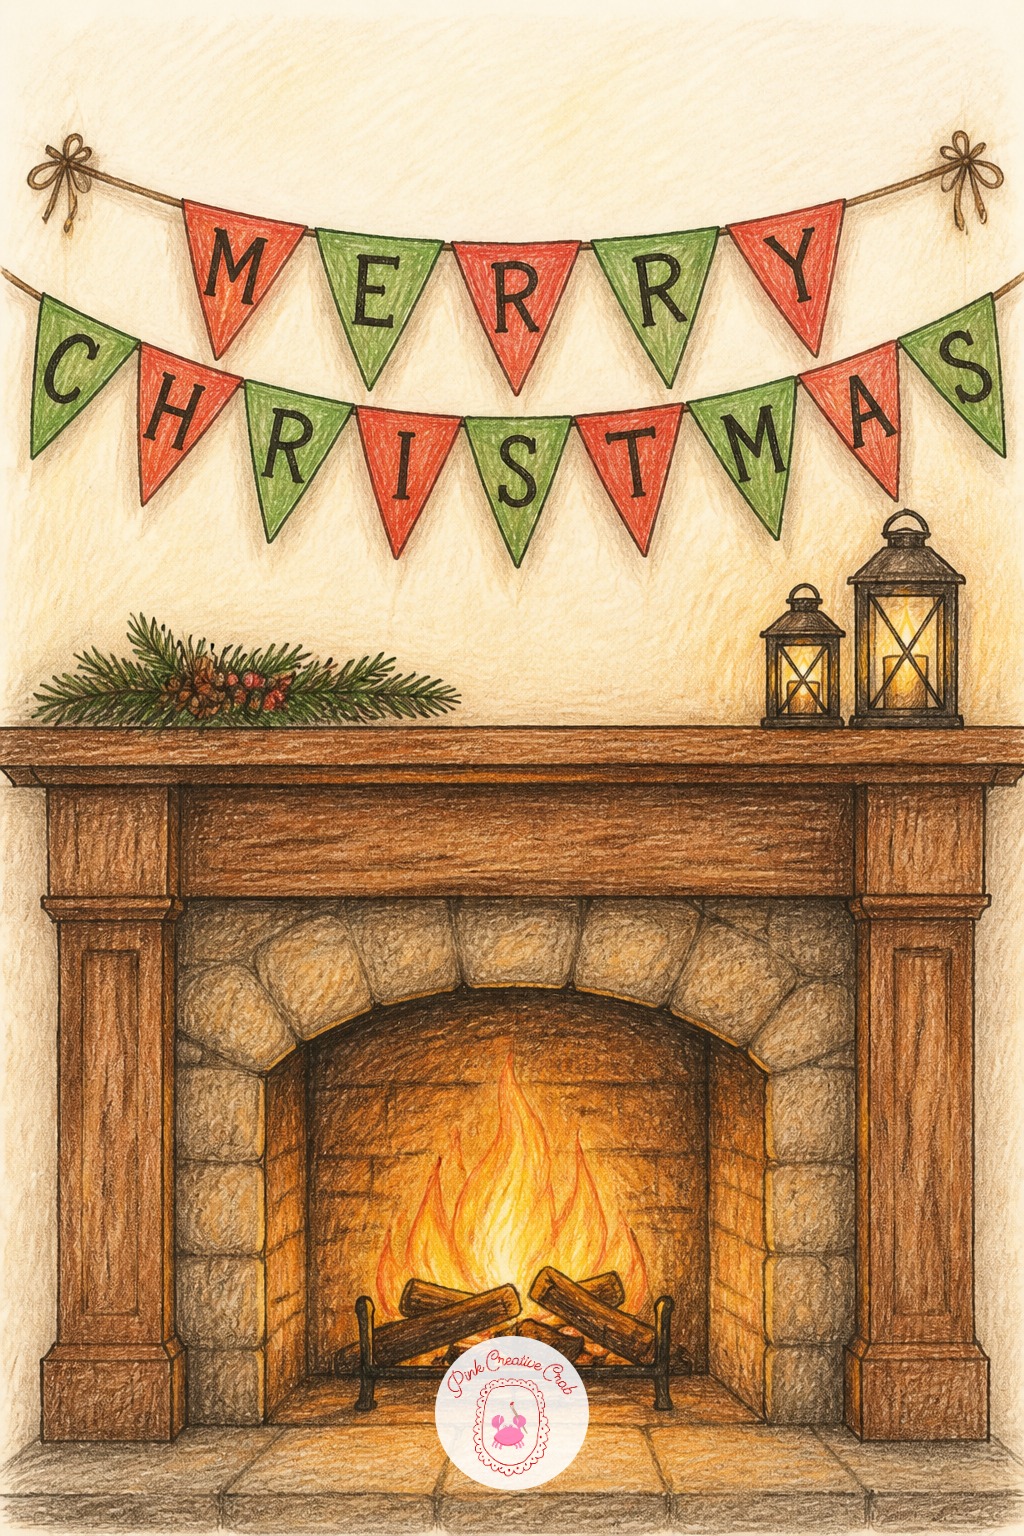
Sketch the mantel as a plain rectangle with a few logs stacked below, then string a line of small triangle flags across the top. Give each flag one letter of the greeting, spaced evenly before any ink goes down.
Shade the mantel warm brown, color the flags in alternating red and green, then letter them last in fineliner. The usual mistake is crowding the letters toward one end, so sketch all the flags first and check the spacing before you commit to ink.
String Light Letters
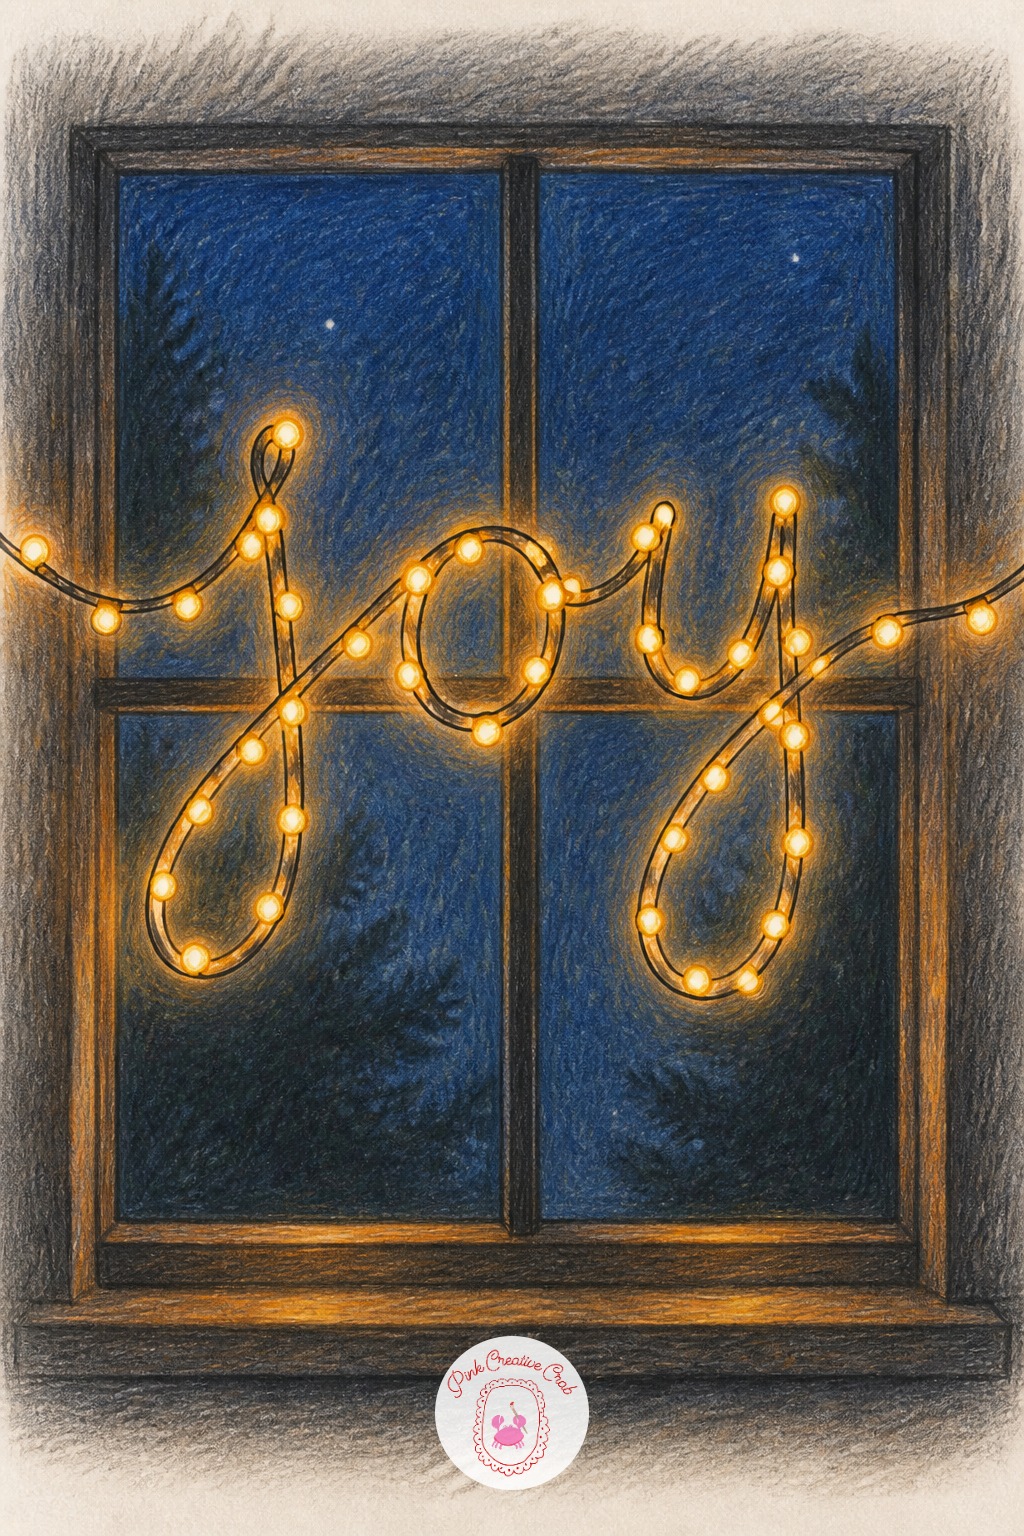
Draw a loose cord looping across a window or porch railing, then place bulb shapes along the loops so they trace out each letter. Keep the bulb spacing even before adding any color, since this is what makes the letters readable from a distance.
Color the bulbs warm yellow and orange with a touch of red, then outline each one in fineliner once the pencil layers are dry. Letters drawn too round often blur together, so keep the loops slightly angular where they need to be.
Steamed Window Greeting
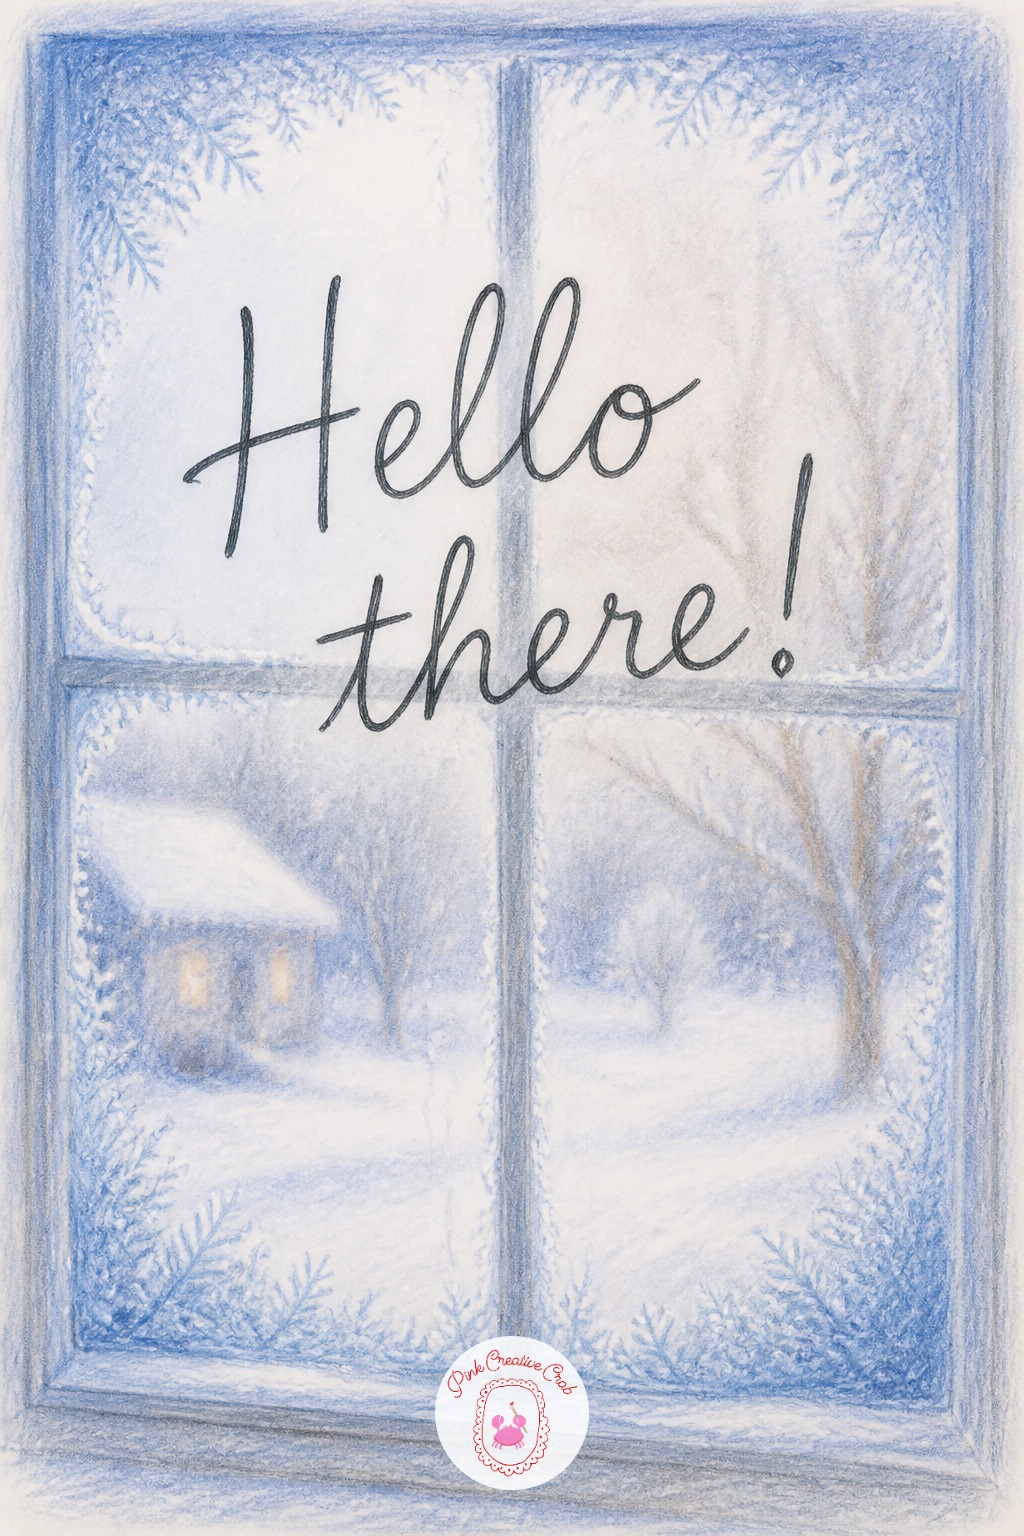
Block in a simple window pane with a frosty blue edge, leaving the center area loose and pale. Write the greeting across the middle with fineliner in a wavering, finger-drawn style rather than neat print, since that is what reads as condensation.
Soften the frost around the edges with light blue and gray pencil, blending gently with a tissue for a foggy look. If the letters come out too tidy, loosen the strokes with a slight wobble before you finish the frame.
Chalkboard Welcome Sign

Draw a simple rectangle chalkboard inside a plain wood frame, then build up the board in layered charcoal gray and black colored pencil until it reads solidly dark. Leave the lettering area blank until the board is fully colored.
Write the greeting with a white gel pen across the dark board, mimicking real chalk strokes, then tuck a small holly sprig in one corner with fineliner. Patchy dark coverage is the common mistake, so build the black in several light layers rather than one heavy pass.
Gift Tag Message
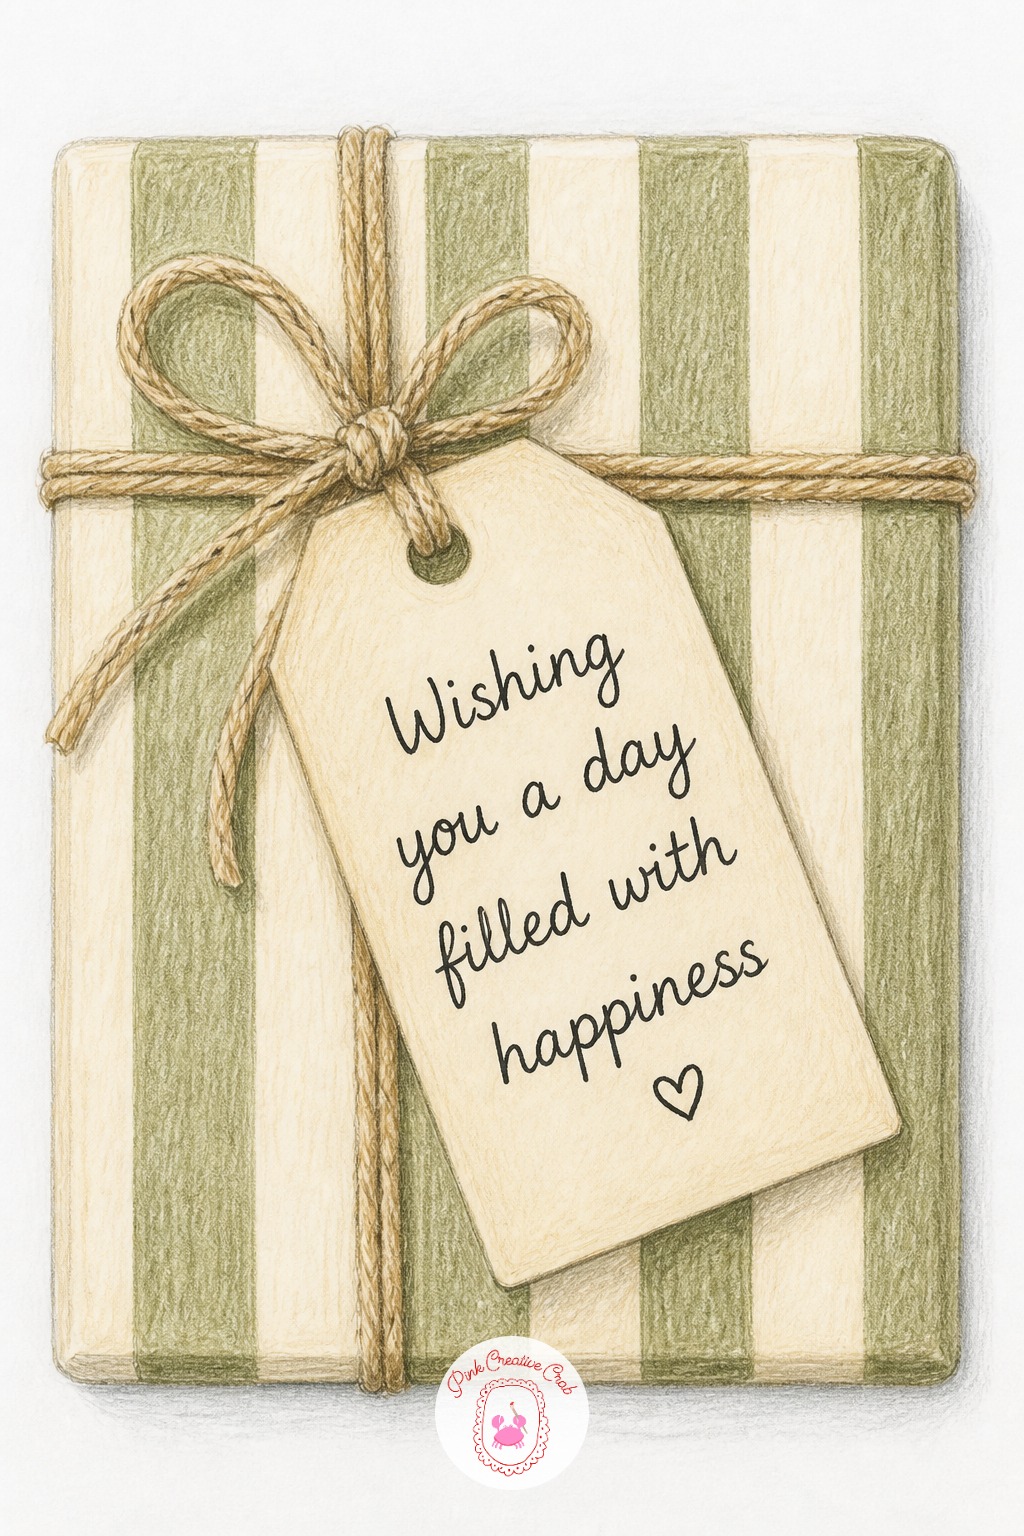
Sketch a wrapped box in simple striped paper, then add a small tag tied with twine at the ribbon knot. Keep the tag large enough to hold the full phrase across two lines.
Color the wrapping paper in red and green stripes, leave the tag plain cream, then letter the greeting in fineliner once the twine and bow are drawn. If the words crowd the tag edge, write the second word slightly smaller than the first. This is a quick pencil idea worth trying first.
Cocoa Mug Lettering
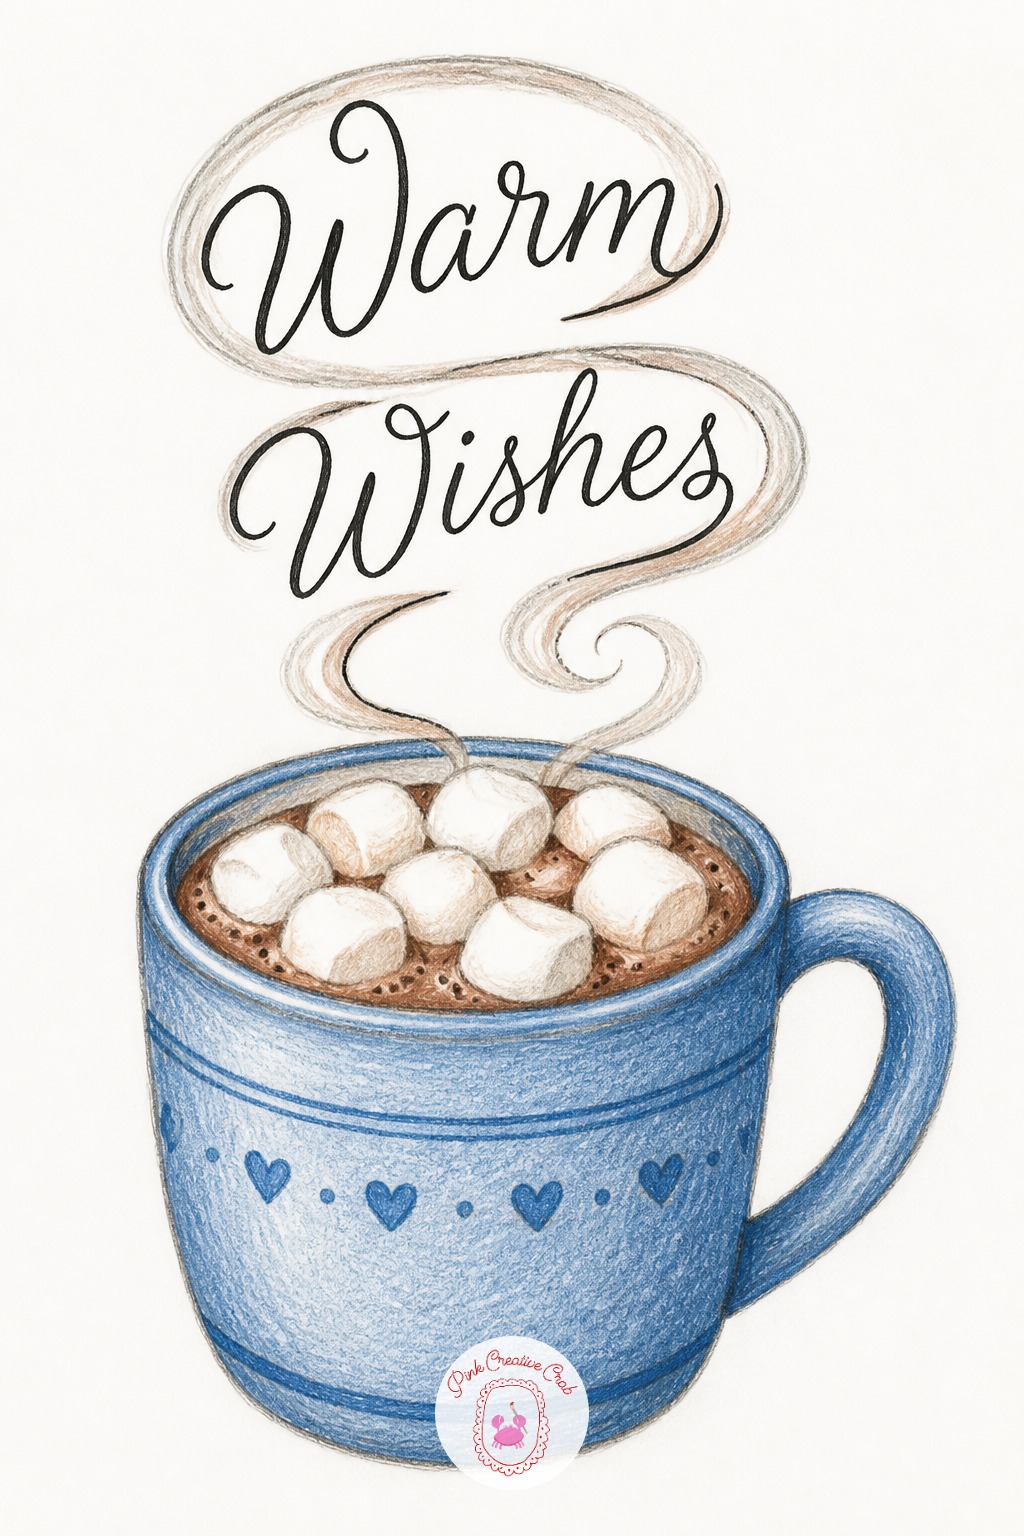
Block in a simple mug shape with a few marshmallows floating on top, then add a loose curl of steam rising above the rim. Give the steam two or three separate curls rather than one thick cloud.
Color the mug red or brown, shade the marshmallows with a soft gray shadow underneath, then letter one word along each steam curl in fineliner. Crowding the words onto one curl is the common mistake, so give each word its own loop of steam.
Candy Cane Letters In Snow
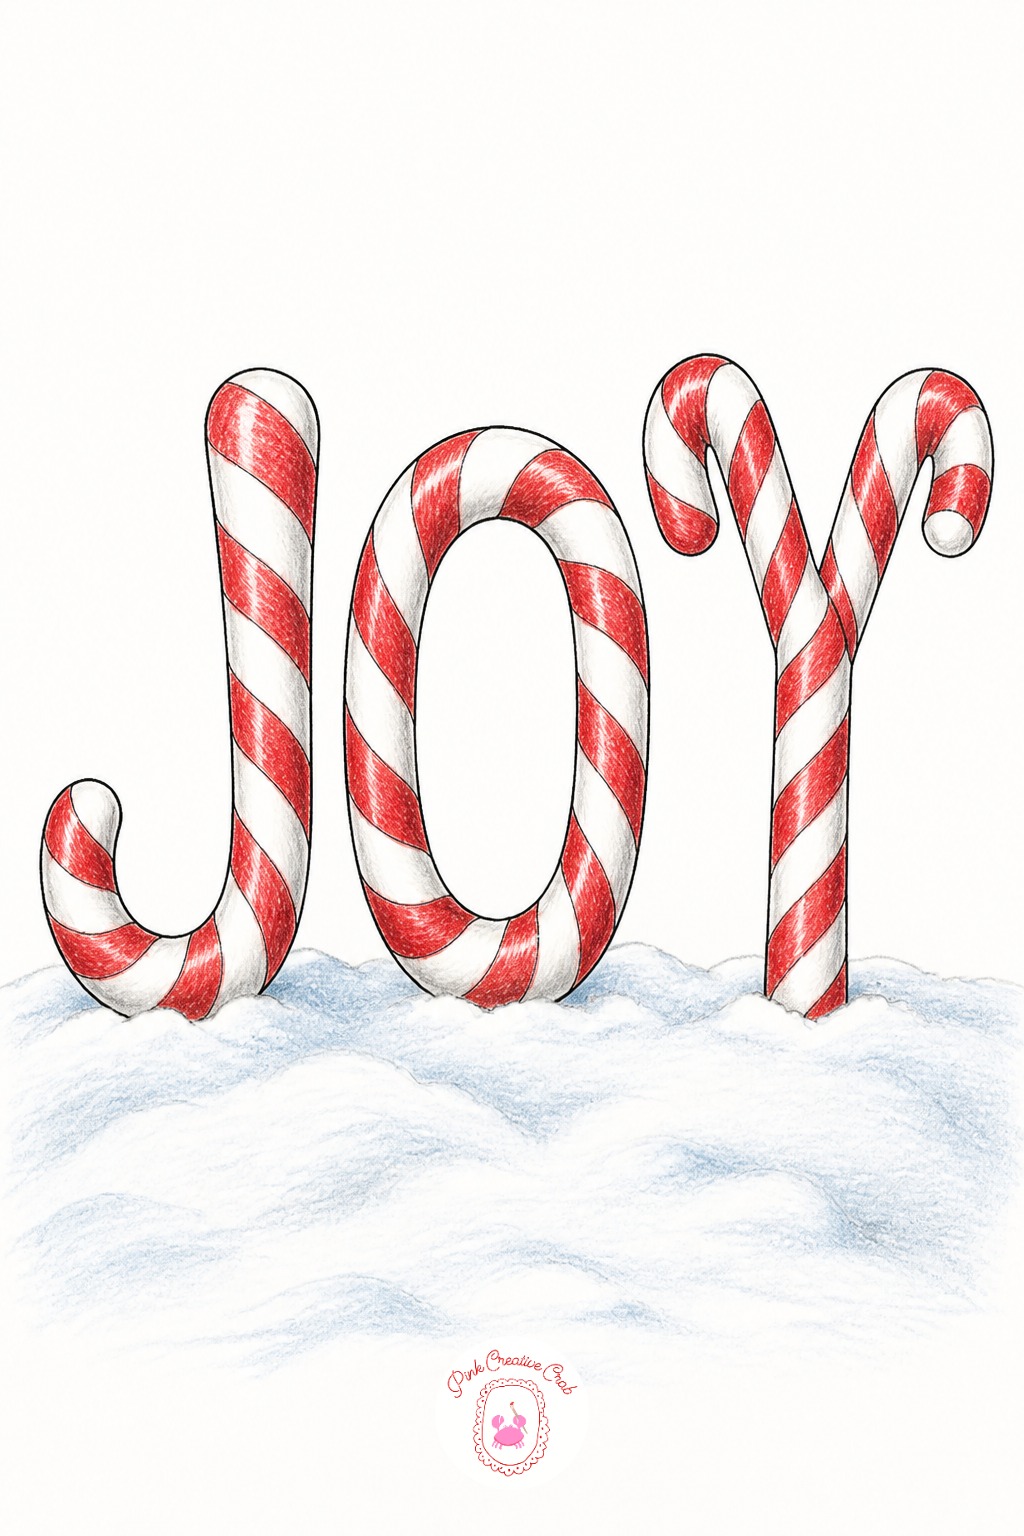
Plant a row of candy canes directly in the snow, bending each one into the shape of a letter rather than drawing a straight cane. Sketch the letter shapes first in pencil before adding any stripes.
Color each cane with red stripes on white, keep the stripes following the curve of the letter, then shade the snowdrift around the base in pale blue gray. Thin canes are hard to read as letters, so thicken the main shape before you add the stripe pattern.
Ornament Letter Garland

String a simple cord across the top of the page and hang a row of round ornaments from it, one letter per ornament. Sketch all the ornament circles the same size before adding any color.
Color each ornament a different jewel tone, limiting the palette to three colors so they read as a set rather than a scramble. Letter each one in fineliner last, then add a small highlight dot for shine. Too many colors fighting each other is the usual pitfall here.
Paper Garland Doorway
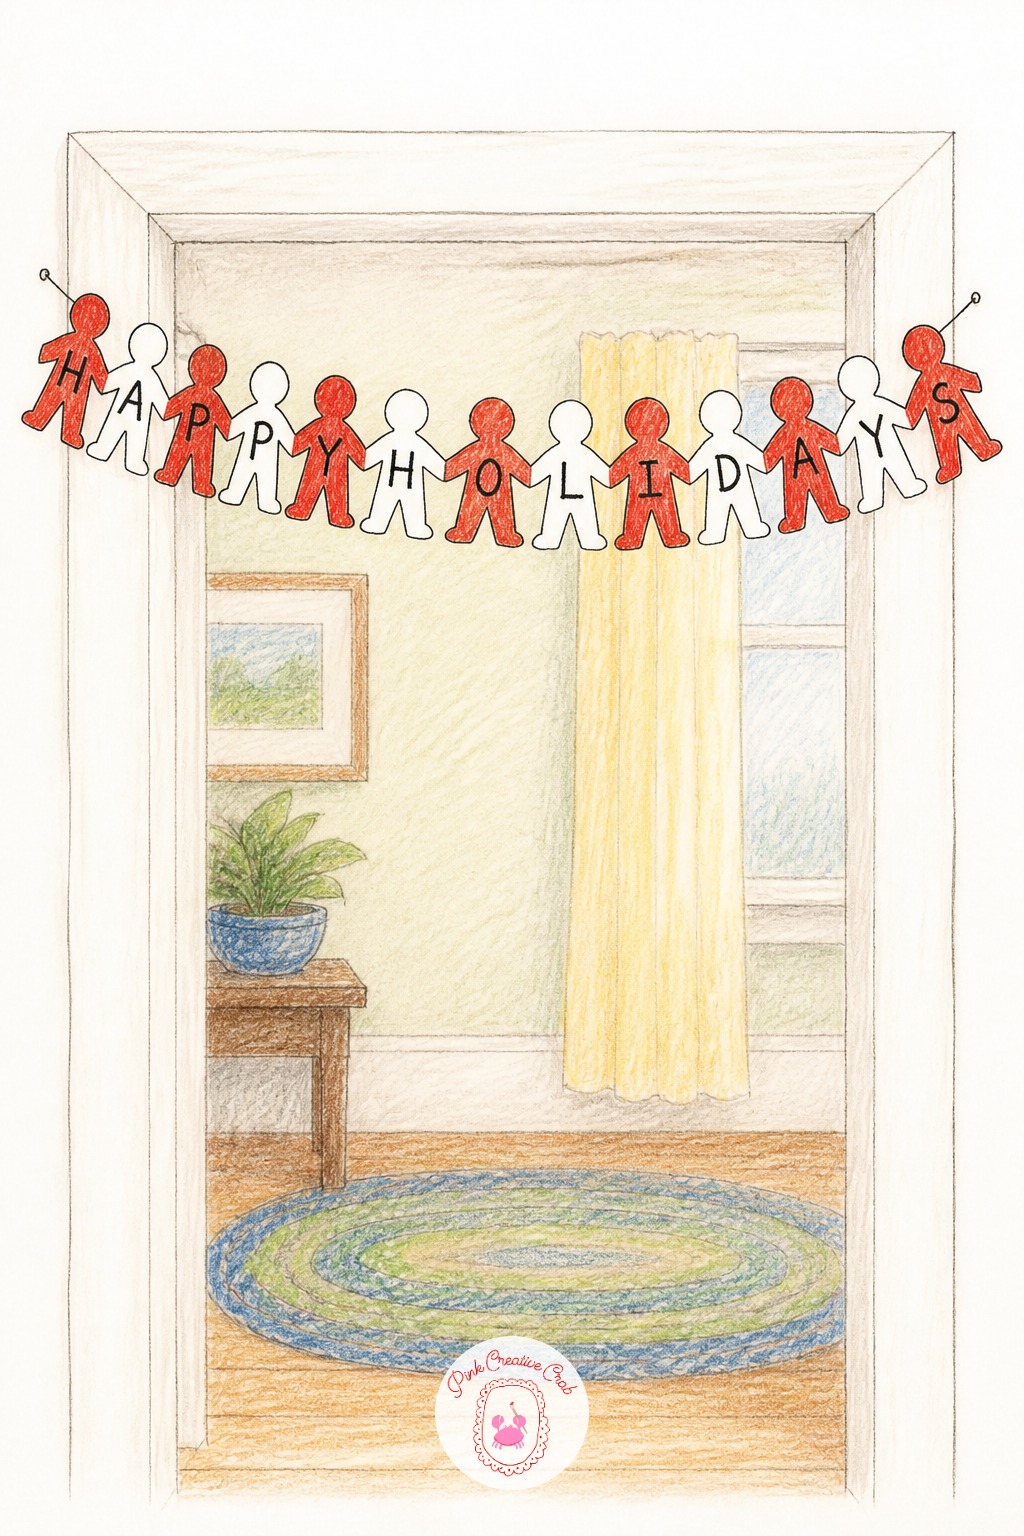
Cut a strip of paper dolls in your sketch, alternating simple folded shapes across a doorway, each one holding part of the greeting. Keep the loop spacing even across the whole strip before coloring.
Alternate red and white across the shapes, outline the fold lines in fineliner, then letter the words so each shape carries one word or syllable. Uneven loop spacing is what makes a garland look lopsided, so pencil in the full row first.
Knit Stocking Cuff
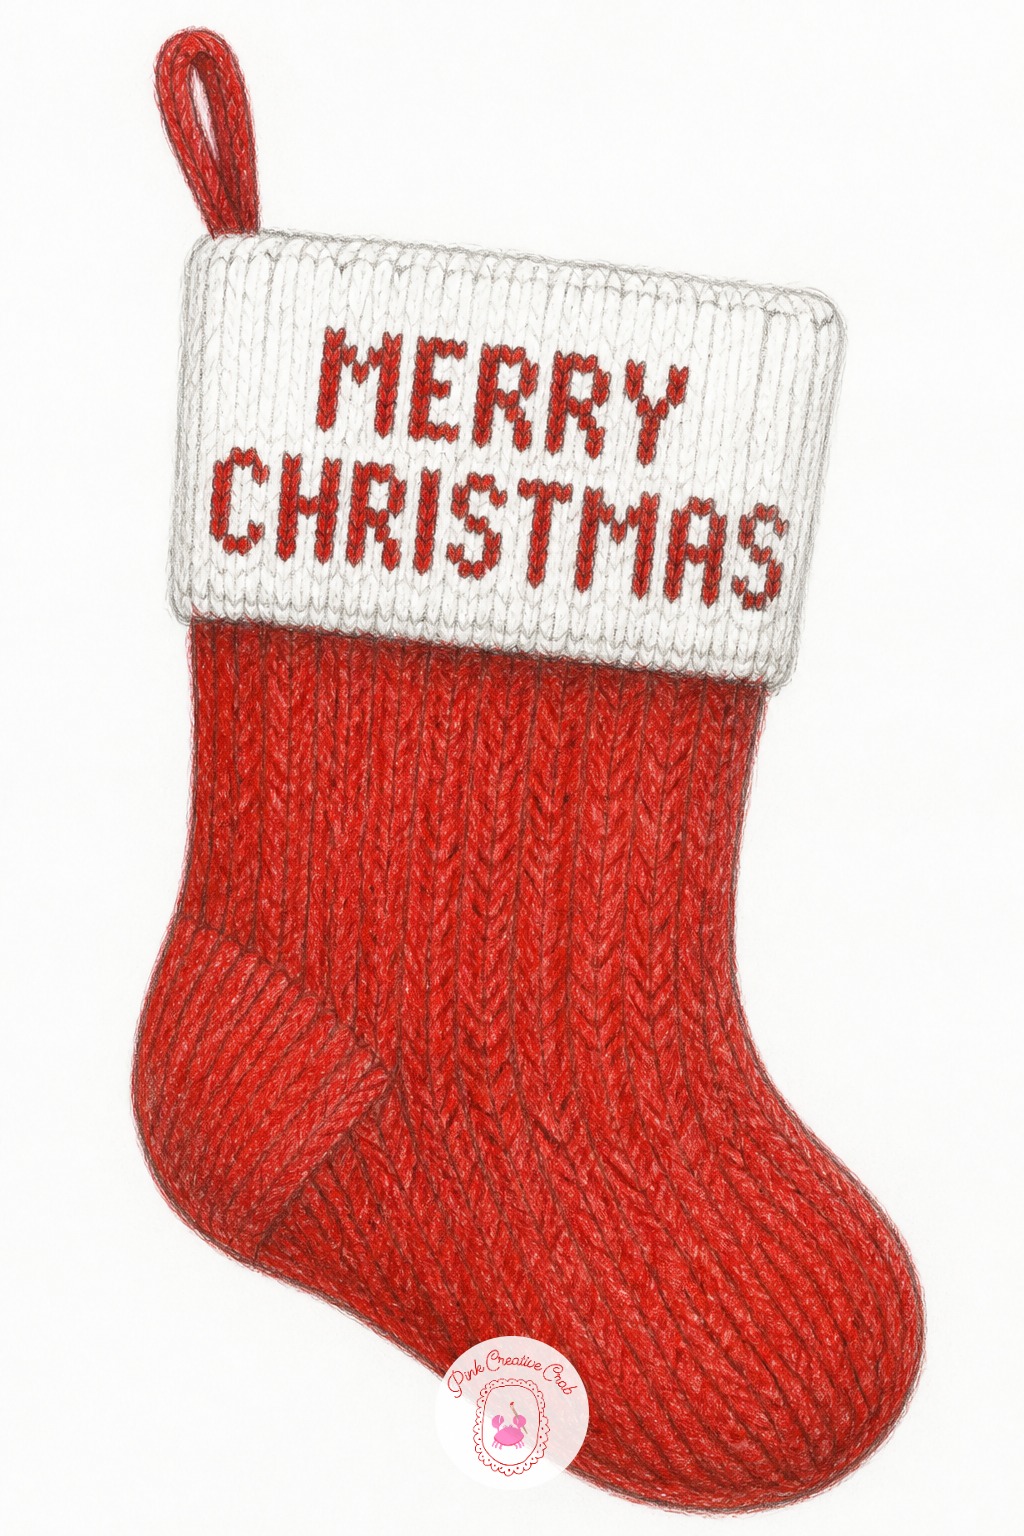
Draw the stocking body first, then add a wide cuff band at the top with a simple zigzag knit pattern running across it. Sketch the cuff as a flat rectangle before curving it to fit the stocking shape.
Shade the body deep red with a white toe and heel, then letter the greeting into the cuff pattern in block fineliner letters. Letters warp badly if drawn on the curve first, so work them out flat and curve the whole band afterward.
Wreath Ribbon Banner

Build the wreath from short overlapping pencil strokes in varied green shades, varying the length and direction so the pine looks textured rather than uniform. Add a ribbon banner draped diagonally across the front.
Letter the greeting along the ribbon in fineliner, then tuck in a few pinecones and red berries for color. Overly even pine strokes are the usual tell, so let some branches sit longer and looser than others.
Snow Globe Etching
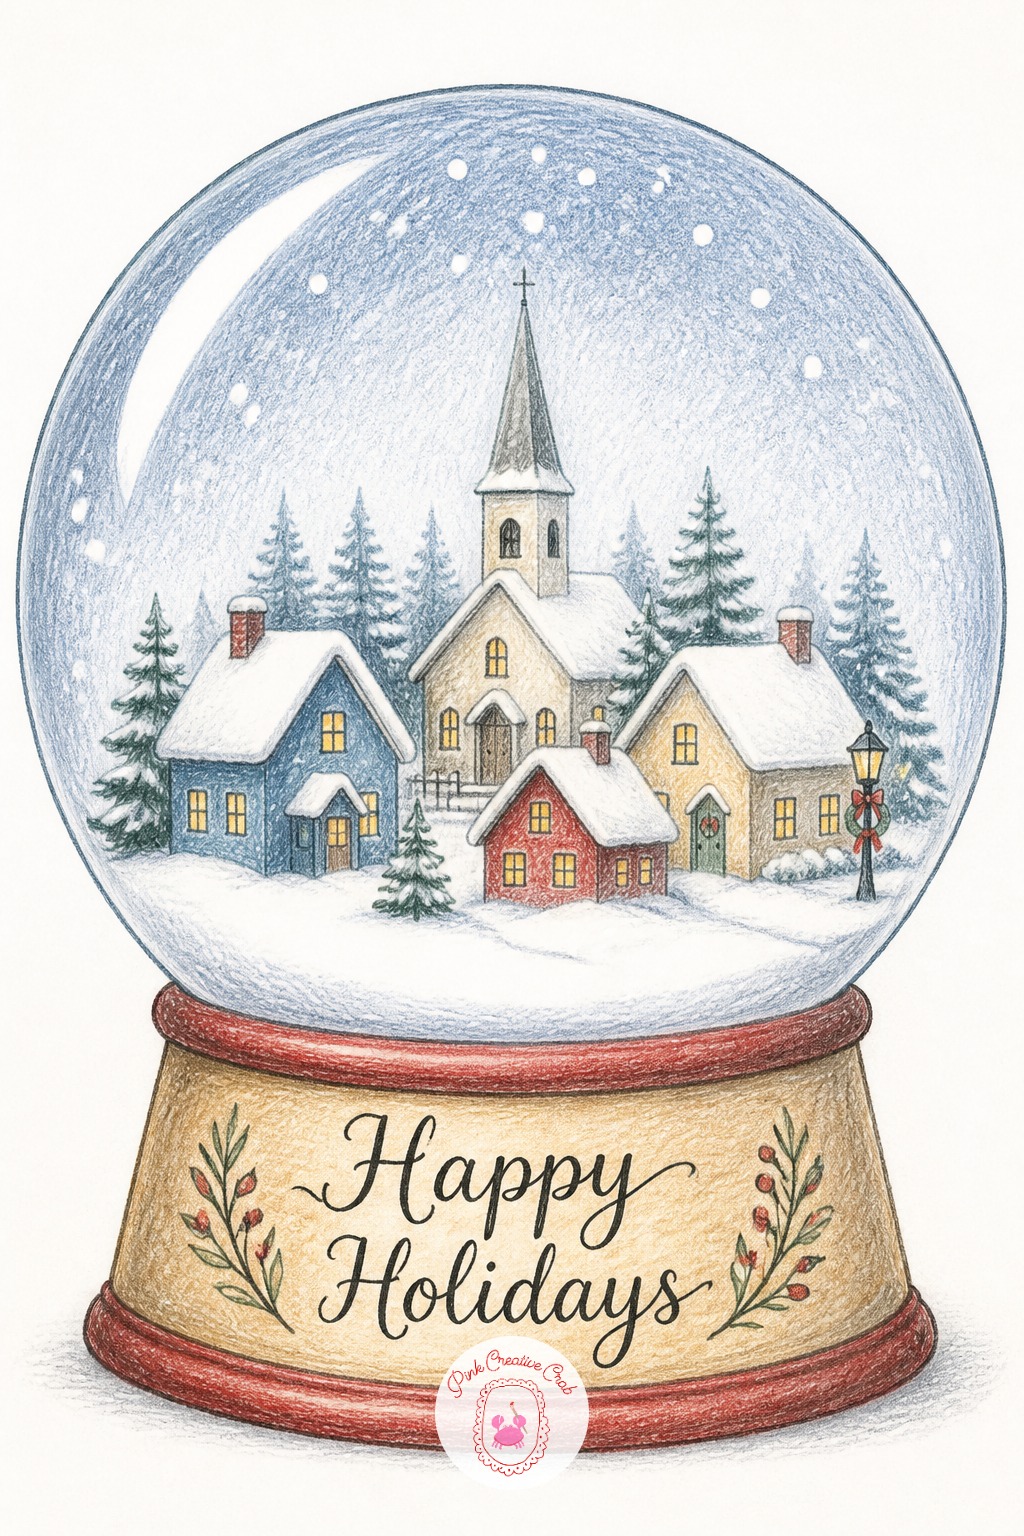
Sketch a round glass dome on a simple base, with a tiny snowy village inside drawn in loose, small shapes. Keep the glass highlight as one light crescent rather than shading the whole dome dark.
Letter the greeting along the base plate in fineliner, then add a white gel pen highlight along the glass edge for shine. Overshading the dome is the common mistake, since a snow globe reads as glass through contrast, not through heavy color.
Advent Calendar Banner
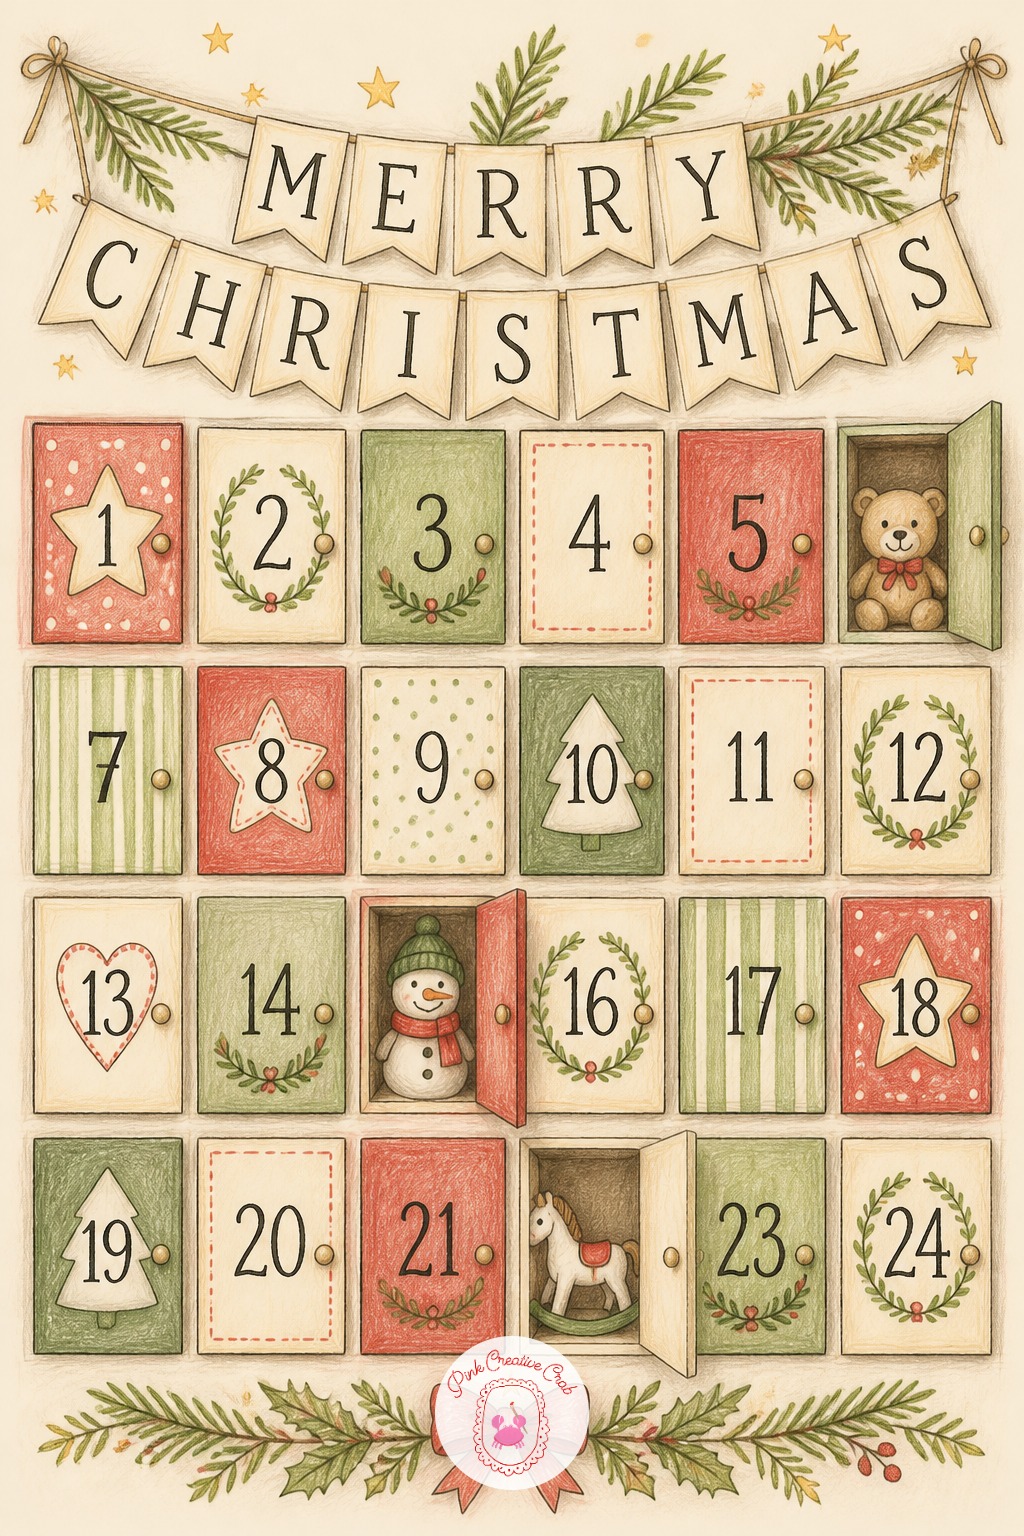
Pencil a light grid of small numbered doors across the page, then drape a banner above the top row carrying the greeting. Keep the grid even by ruling faint guide lines first.
Color a few doors open to show tiny pictures inside, leave most closed and plain, then letter the banner in fineliner once the grid is colored. An uneven grid is the most common slip, so check the guide lines before adding any ink.
Christmas Card Stamp
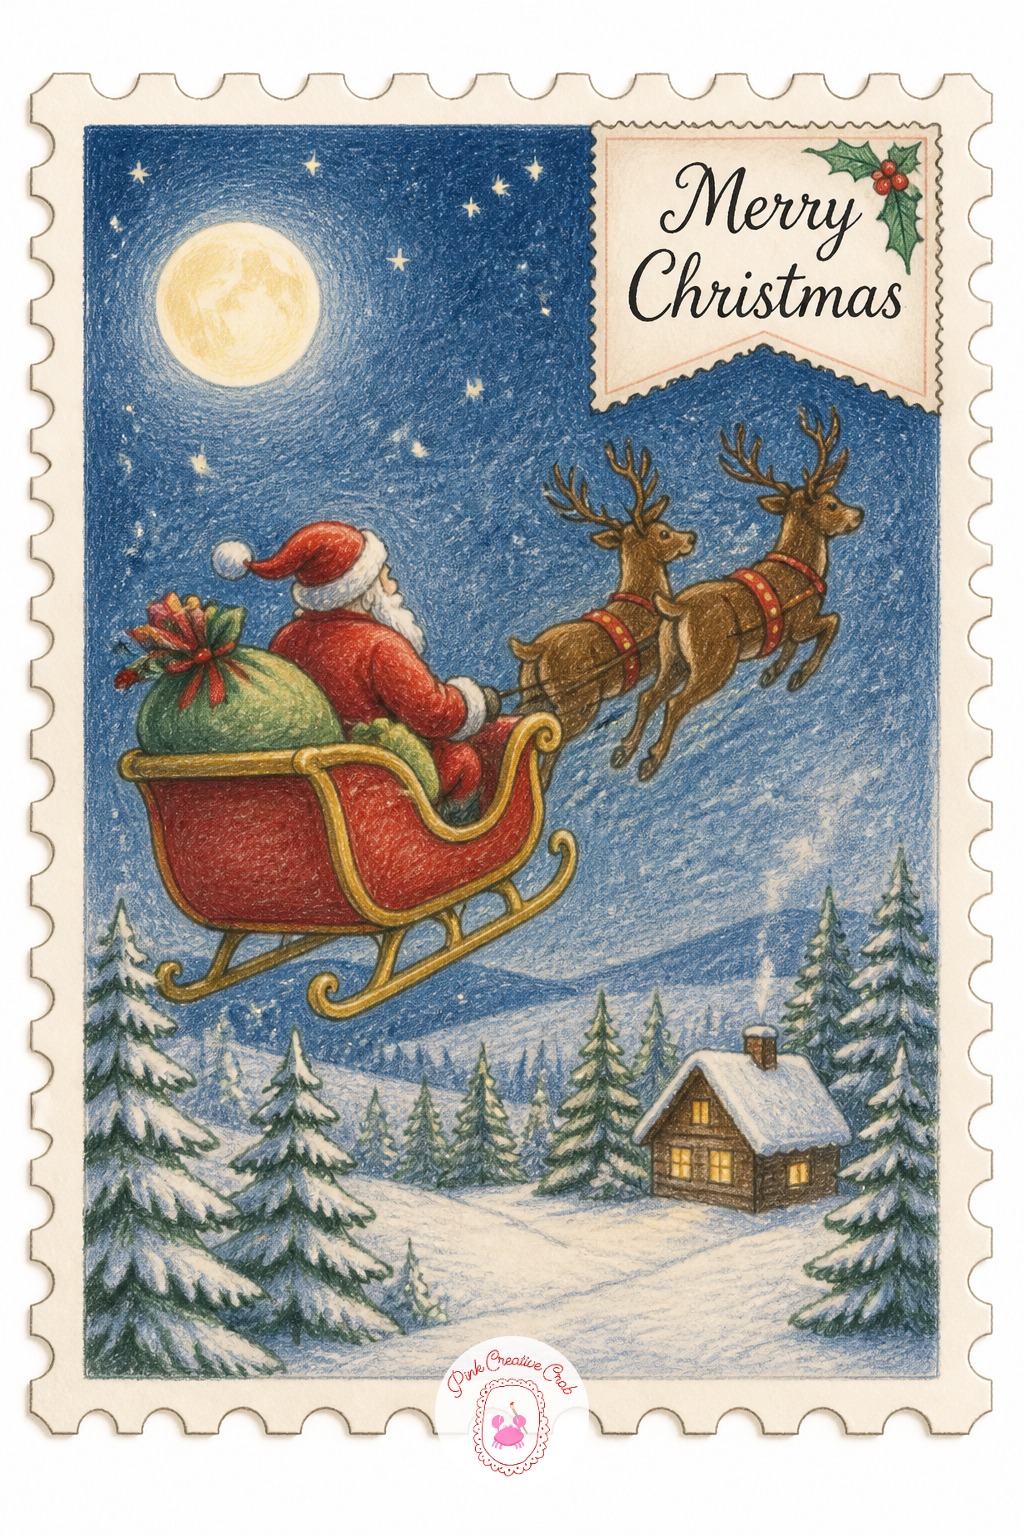
Draw a simple card scene of a plain tree or a sleigh in one corner, then add a small stamp shape in the opposite corner with a tiny banner bearing the greeting. Keep the stamp small so it frames the scene rather than competing with it.
Color the main scene first, then letter the stamp banner last in fine detail. A stamp drawn too large is the usual mistake, so sketch it no bigger than a thumbnail before adding color. This pairs well with ideas from this beginner sketching list.
Frosted Cupcake Letters

Line up a row of simple cupcake shapes, each topped with a swirl of icing holding one letter. Sketch the swirls all the same height before coloring so the row reads evenly.
Shade the icing cream white with soft gray fold shadows for dimension, color the wrappers in stripes, then letter one letter per swirl in fineliner. Flat looking icing is the common issue, so add a shadow line under each swirl’s curve.
Gingerbread Roof Message
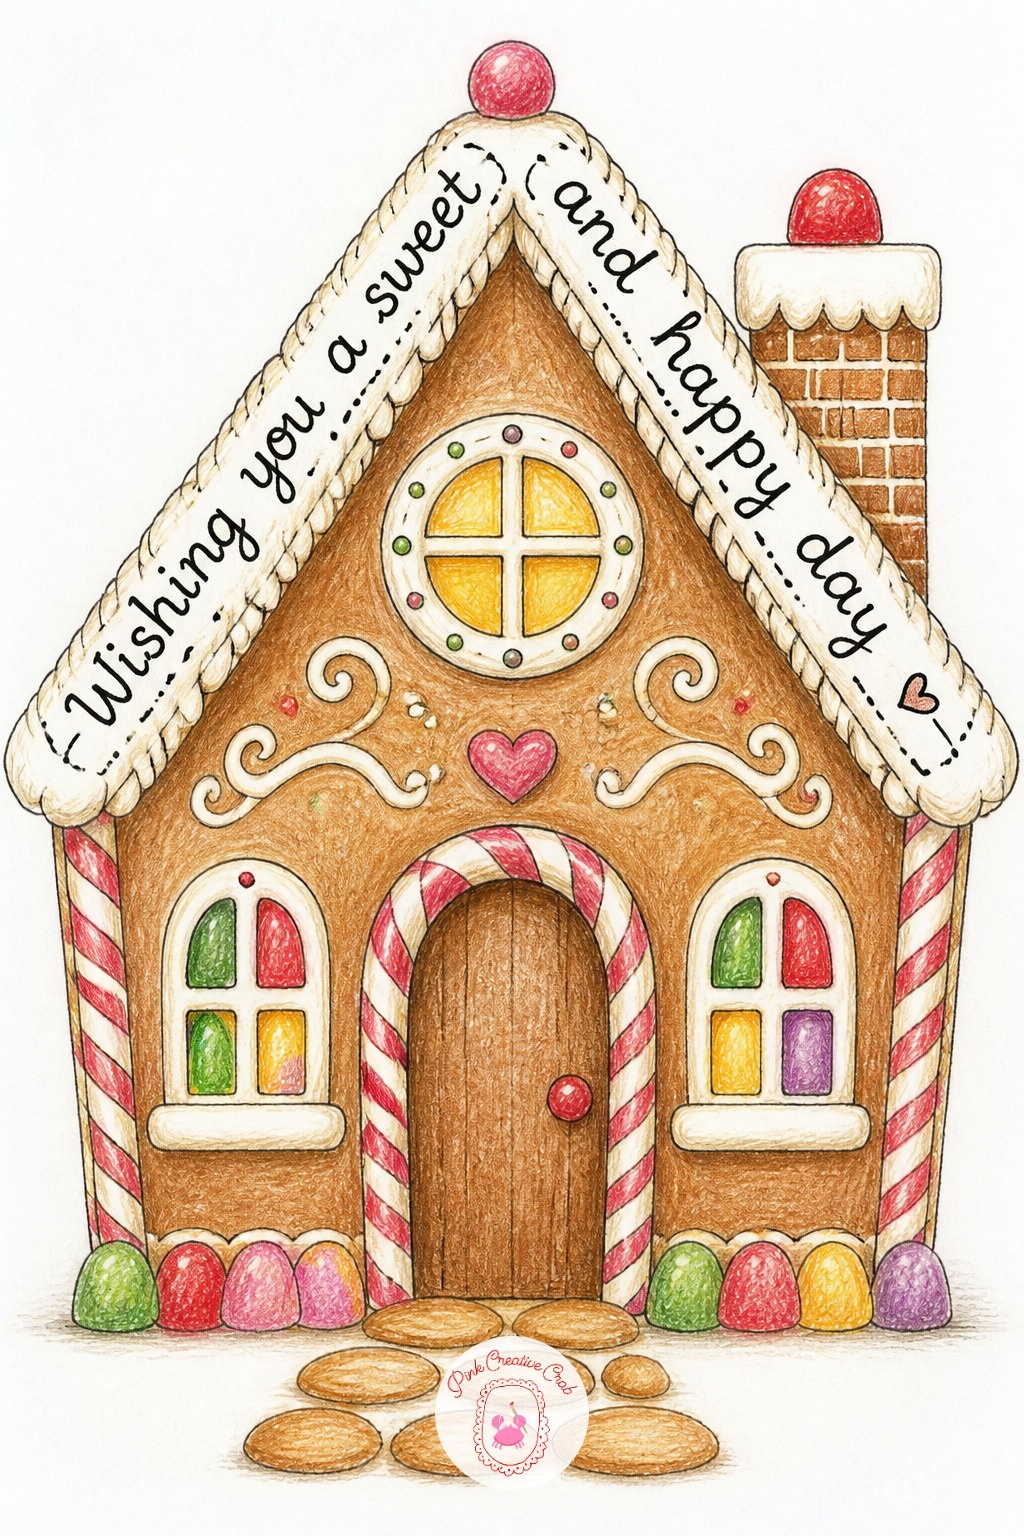
Sketch a simple gingerbread house with a triangle roof and gumdrop windows, then plan the greeting running along the roof ridge in piped icing lines. Keep the roof base a light tan so the icing shows up clearly against it.
Color the walls warm brown, add candy details in bright dots, then letter the icing message along the ridge in white gel pen or fineliner. Letting the roof go pure white is the mistake that swallows the lettering, so leave it a shade darker than the icing.
Knit Sweater Message
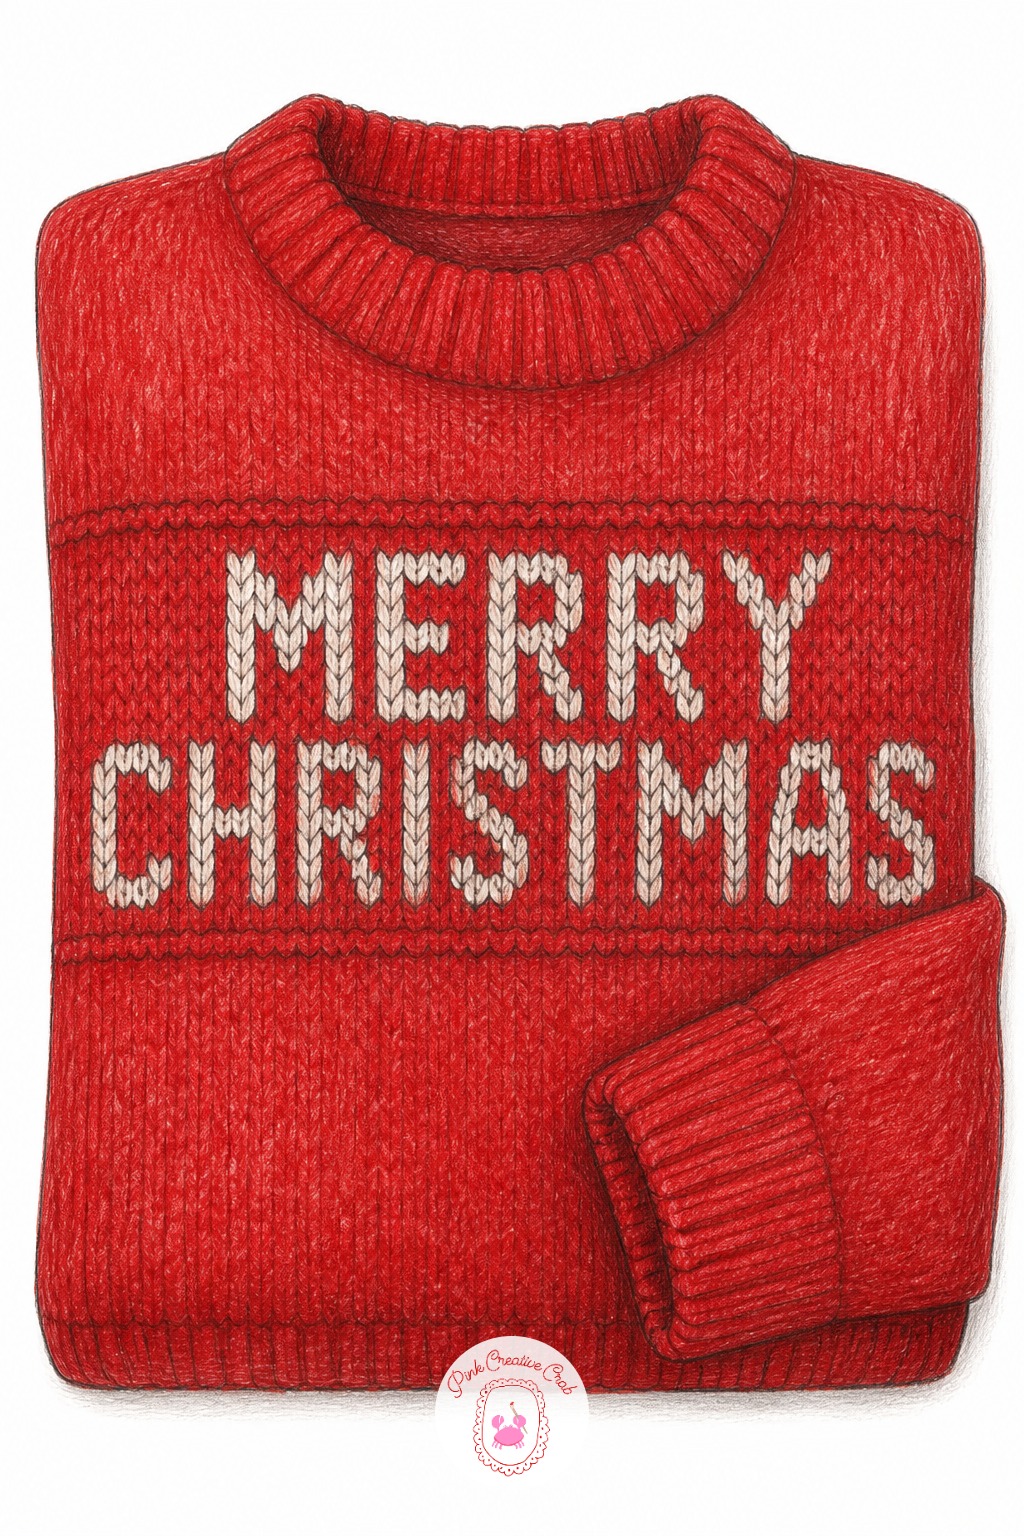
Draw a folded sweater lying flat, sleeves tucked under, with a simple ribbed pattern running along the cuffs and hem. Leave open space in the center of the chest for the greeting.
Color the body in a solid holiday shade, keep the ribbing in a slightly darker tone, then letter the greeting into the chest panel like it was knit into the pattern. Crowding the words at the neckline is the usual error, so center the phrase with room on either side.
Poinsettia Pot Ribbon
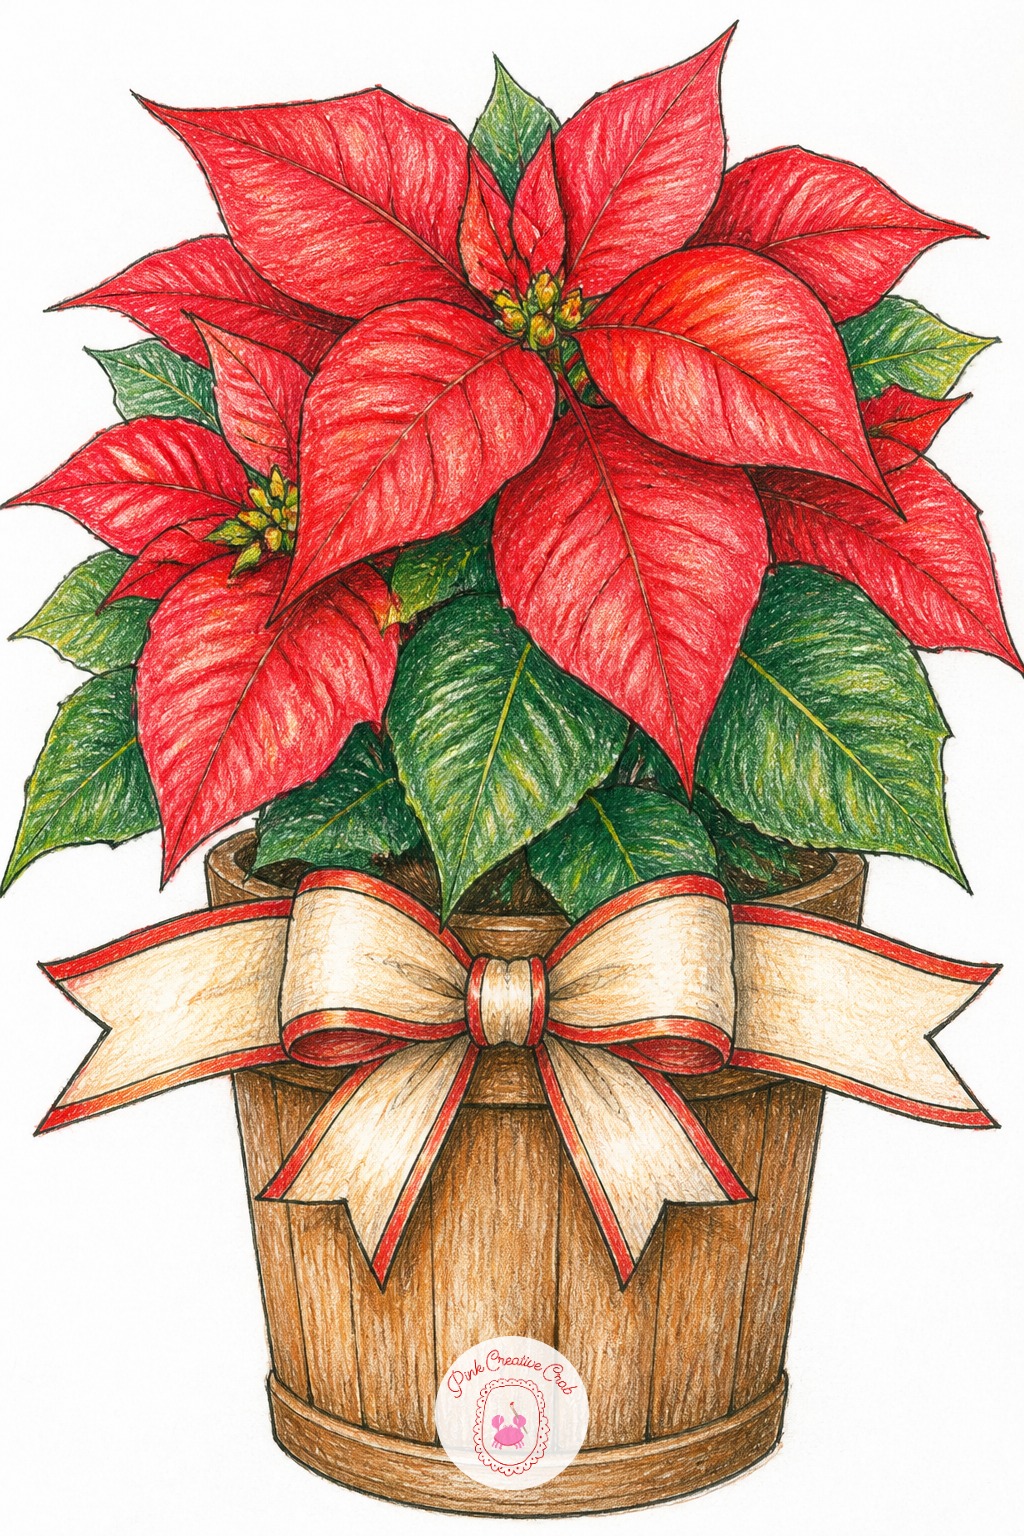
Block in five or six bold poinsettia leaves rather than a crowded cluster, each leaf shaded red with a darker vein line. Sit the plant in a simple wooden pot.
Tie a ribbon banner around the pot rim, trailing out to one side, and letter the greeting along it once the plant is colored. Overdetailing every petal is the common trap, so keep the leaf count low and the shapes bold.
Nutcracker Scroll Banner

Sketch a nutcracker soldier figure standing straight, one arm extended holding an unrolled scroll. Keep the face simple, just a few lines for the features and mustache.
Color the uniform in red, gold, and black, then letter the scroll in fineliner once the figure is fully shaded. A flat looking scroll is the usual mistake, so add a slight curl and soft shadow at each end of the banner.
Pine Door Sign
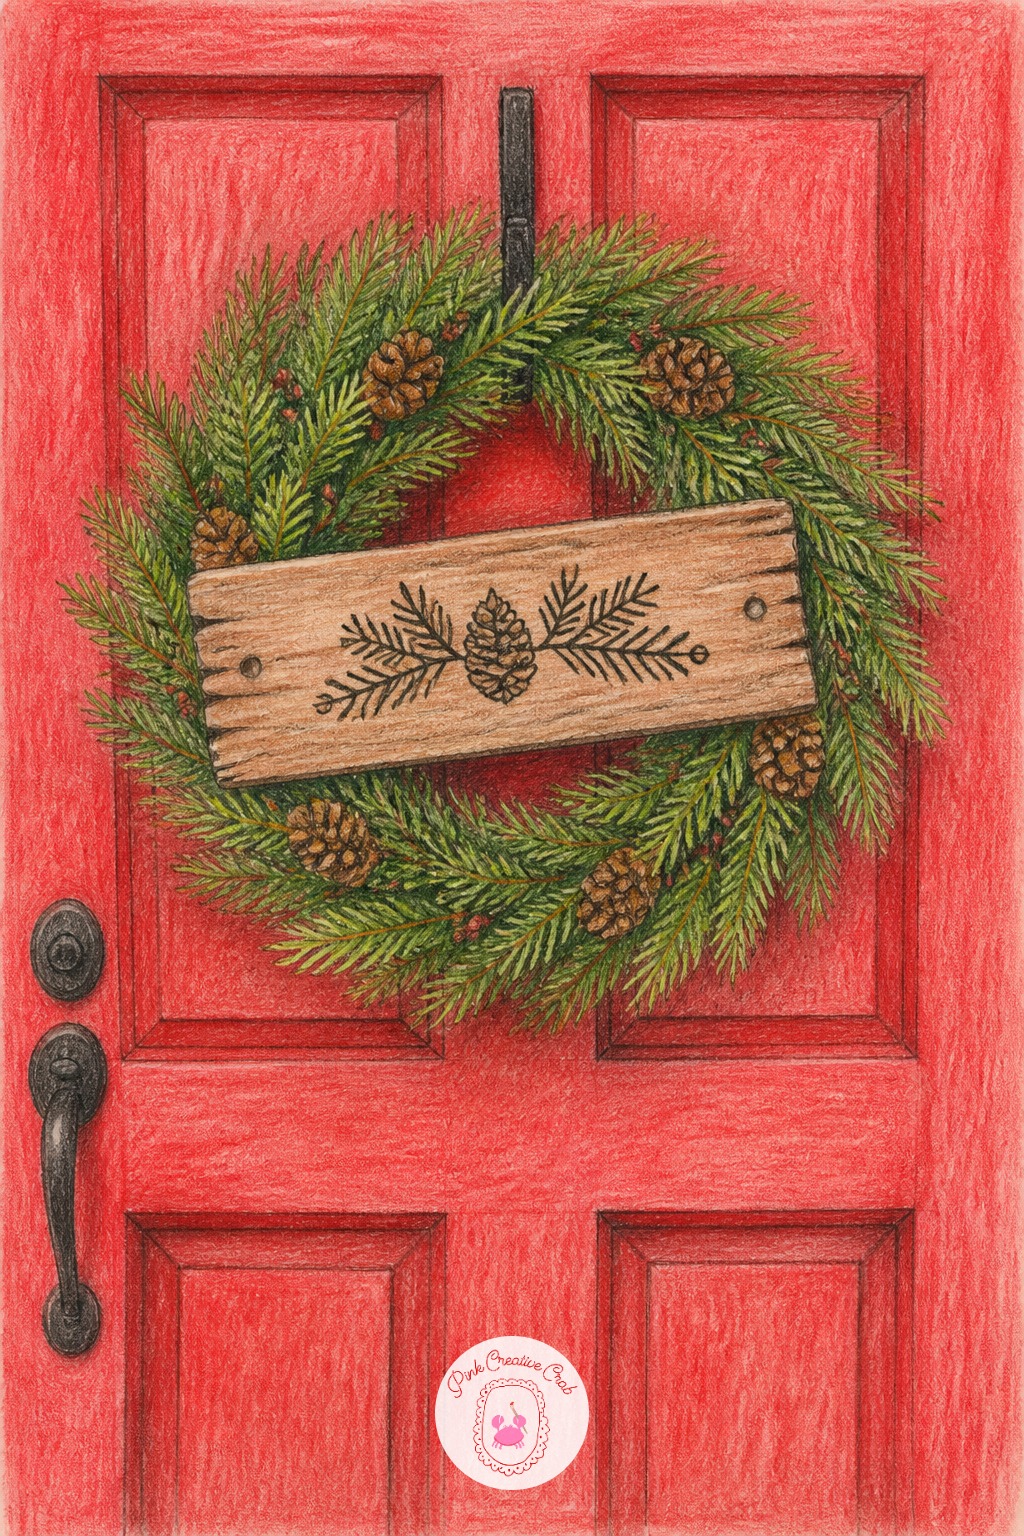
Draw a front door with a round wreath hung at center, then add a small rustic wood sign tucked into the wreath ring. Sketch the wood grain lines with varied spacing rather than a perfectly even pattern.
Color the door a deep red, the wreath in layered greens, then letter the sign in a burned-in looking fineliner style. Mechanical, ruler straight grain lines are the giveaway of a rushed sign, so let the lines wander slightly.
Tree Ornament Spelling
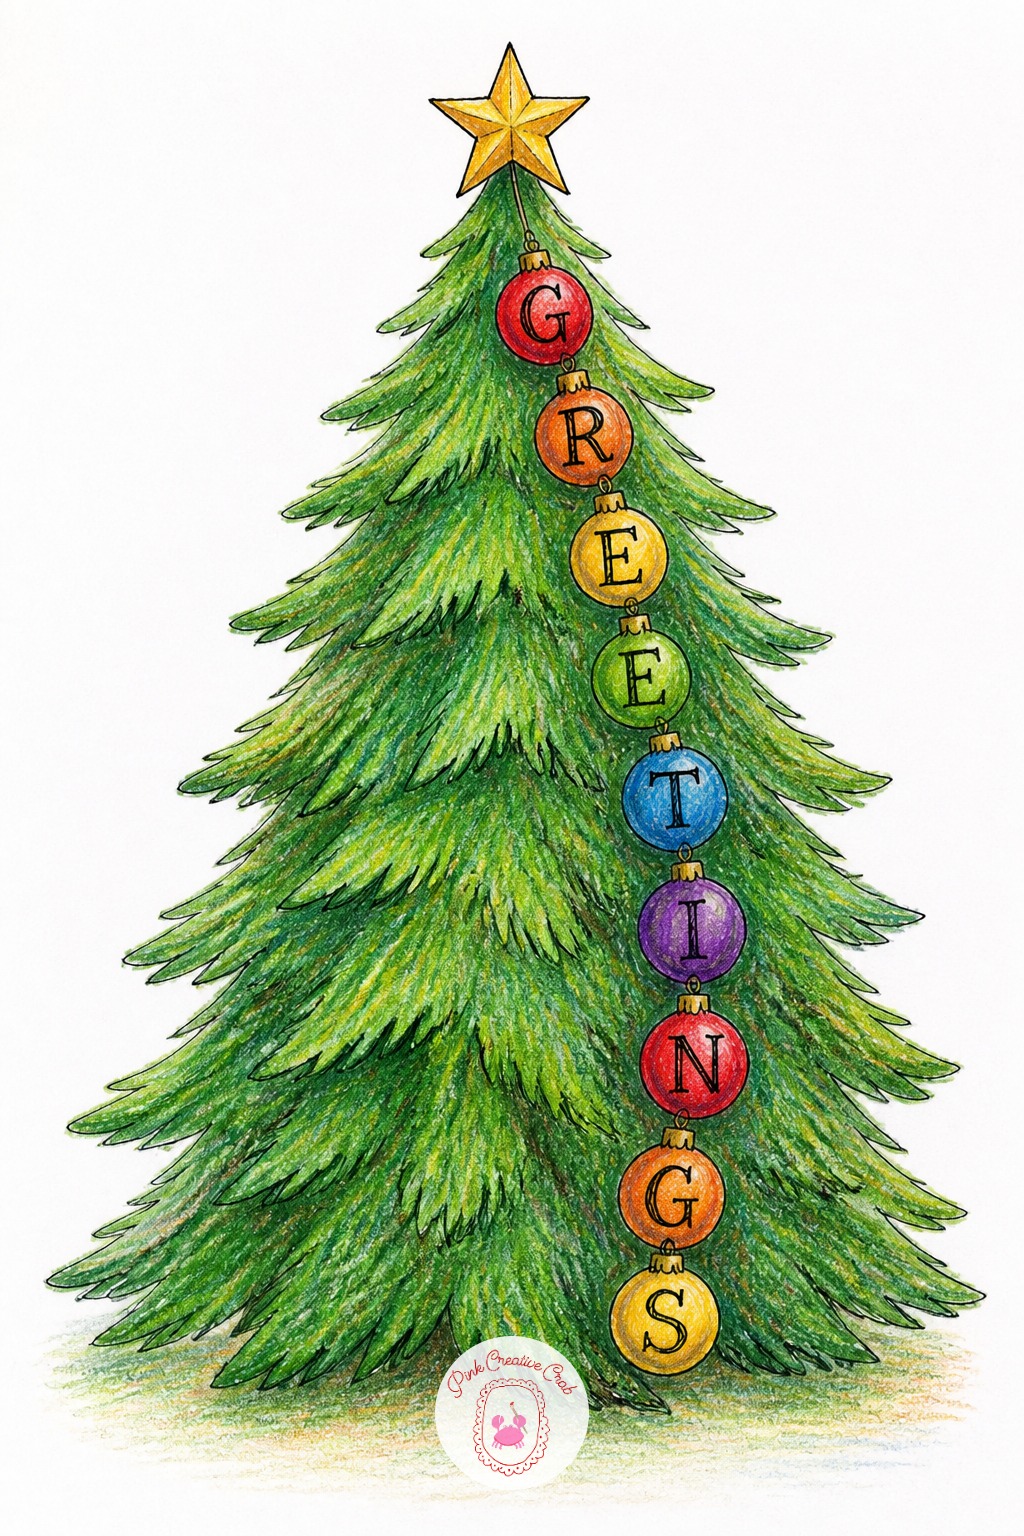
Block in a full triangle christmas tree shape with layered green pencil, working from the bottom branches up to the star on top. Pick one garland strand to carry the lettering.
Hang a row of ornaments down that single strand, one letter per ornament, keeping the ornament base light before adding ink. Shiny ornaments can swallow dark lettering, so letter them before adding the brightest highlight dots.
Train Car Letters
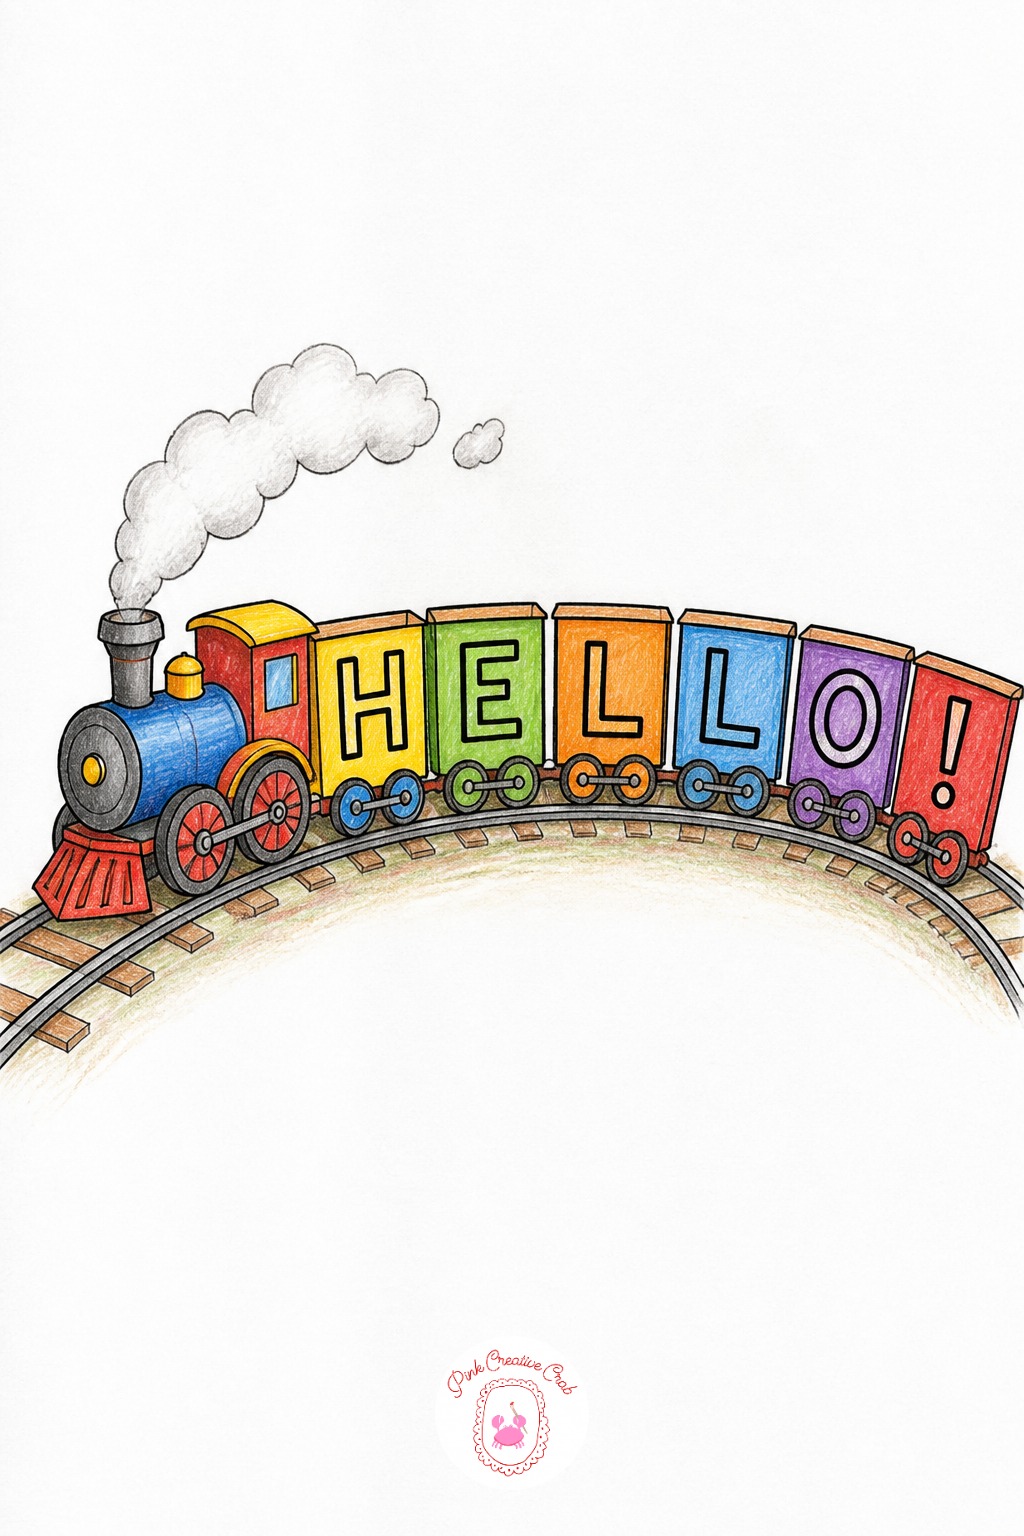
Sketch a toy train on curving track, with each car drawn as the same size box before any color or lettering goes in. Add a puff of smoke above the engine.
Color the cars in bright primary shades, add simple wheels, then letter one letter per car in fineliner once the boxes are colored. Uneven box sizes are the most common issue, so measure the first car and copy it for the rest. Pair this with the ideas in this doodle roundup for a full page spread.
House Roofline Lights
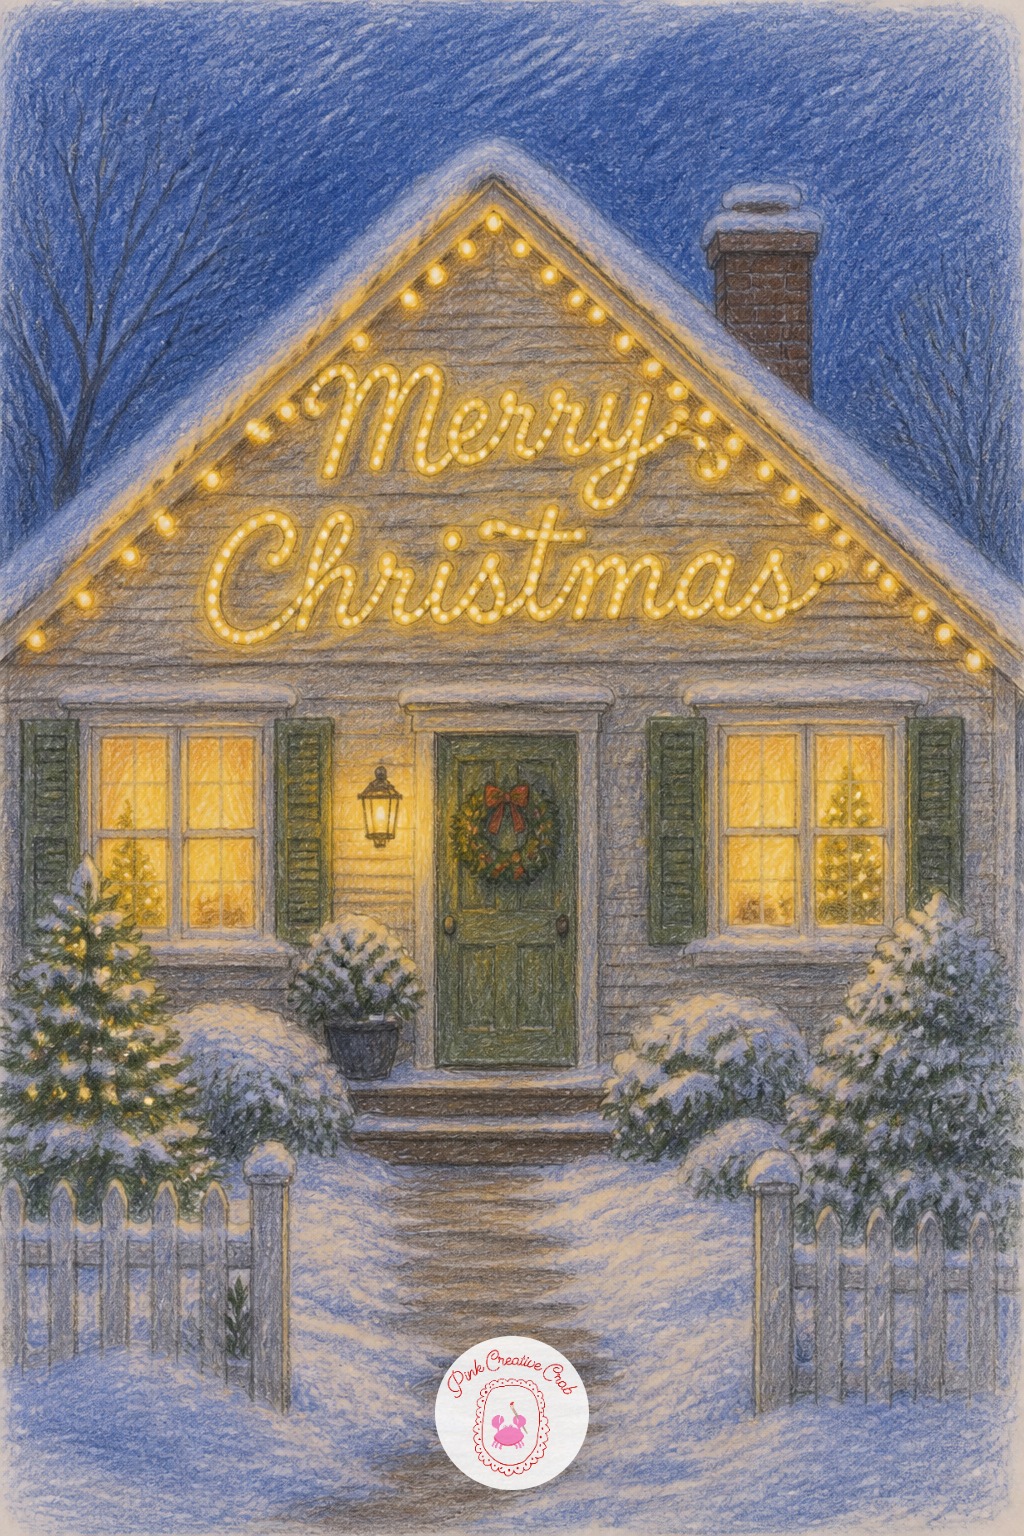
Draw a small house front with a snowy roofline, then loop a string of lights along the edge, shaping the loops into letters rather than a plain scallop. Sketch the letter shapes lightly before adding bulbs.
Color the windows warm glowing yellow, shade the roof in cool white and gray snow, then color and outline the bulb letters last. Bulbs drawn too small to read as letters is the common problem, so enlarge the dots along the roofline.
Skating Pond Trails
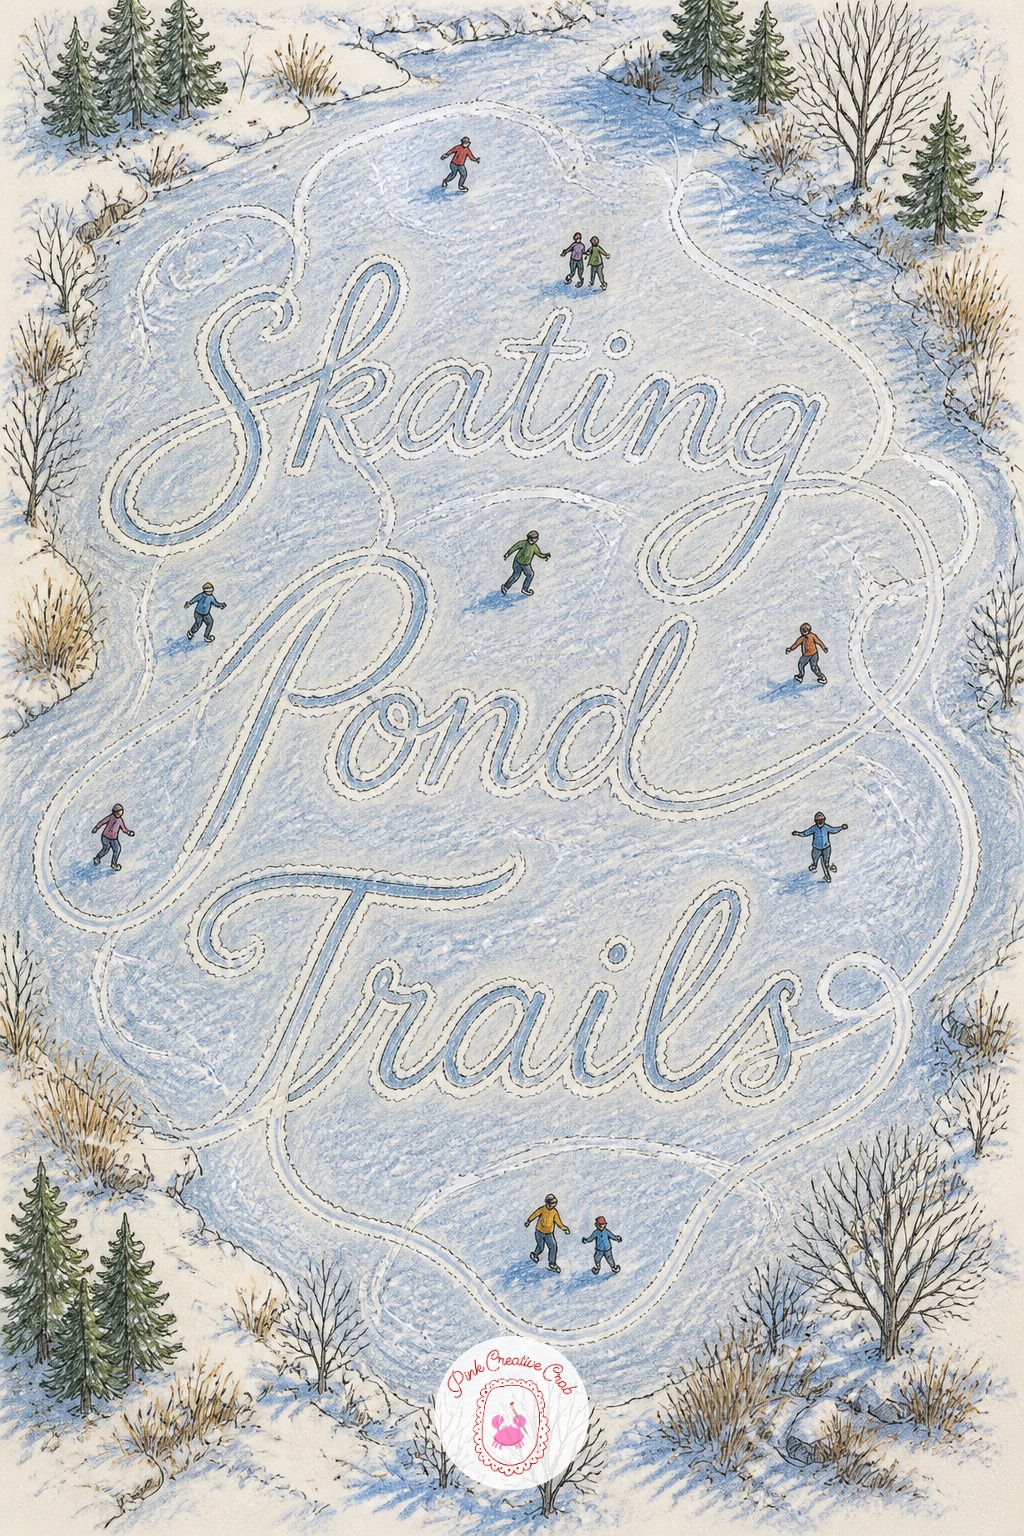
Sketch a frozen pond from a slight angle, with a couple of small skater figures in the distance. Carve the greeting into the ice itself using looping, slightly wobbly skate blade trails rather than straight lines.
Shade the ice pale blue with white highlight streaks, then add the trail lines last in fineliner following natural curves. Trails that look too ruler straight read as drawn rather than skated, so let each line wobble a little.
Church Bell Scroll
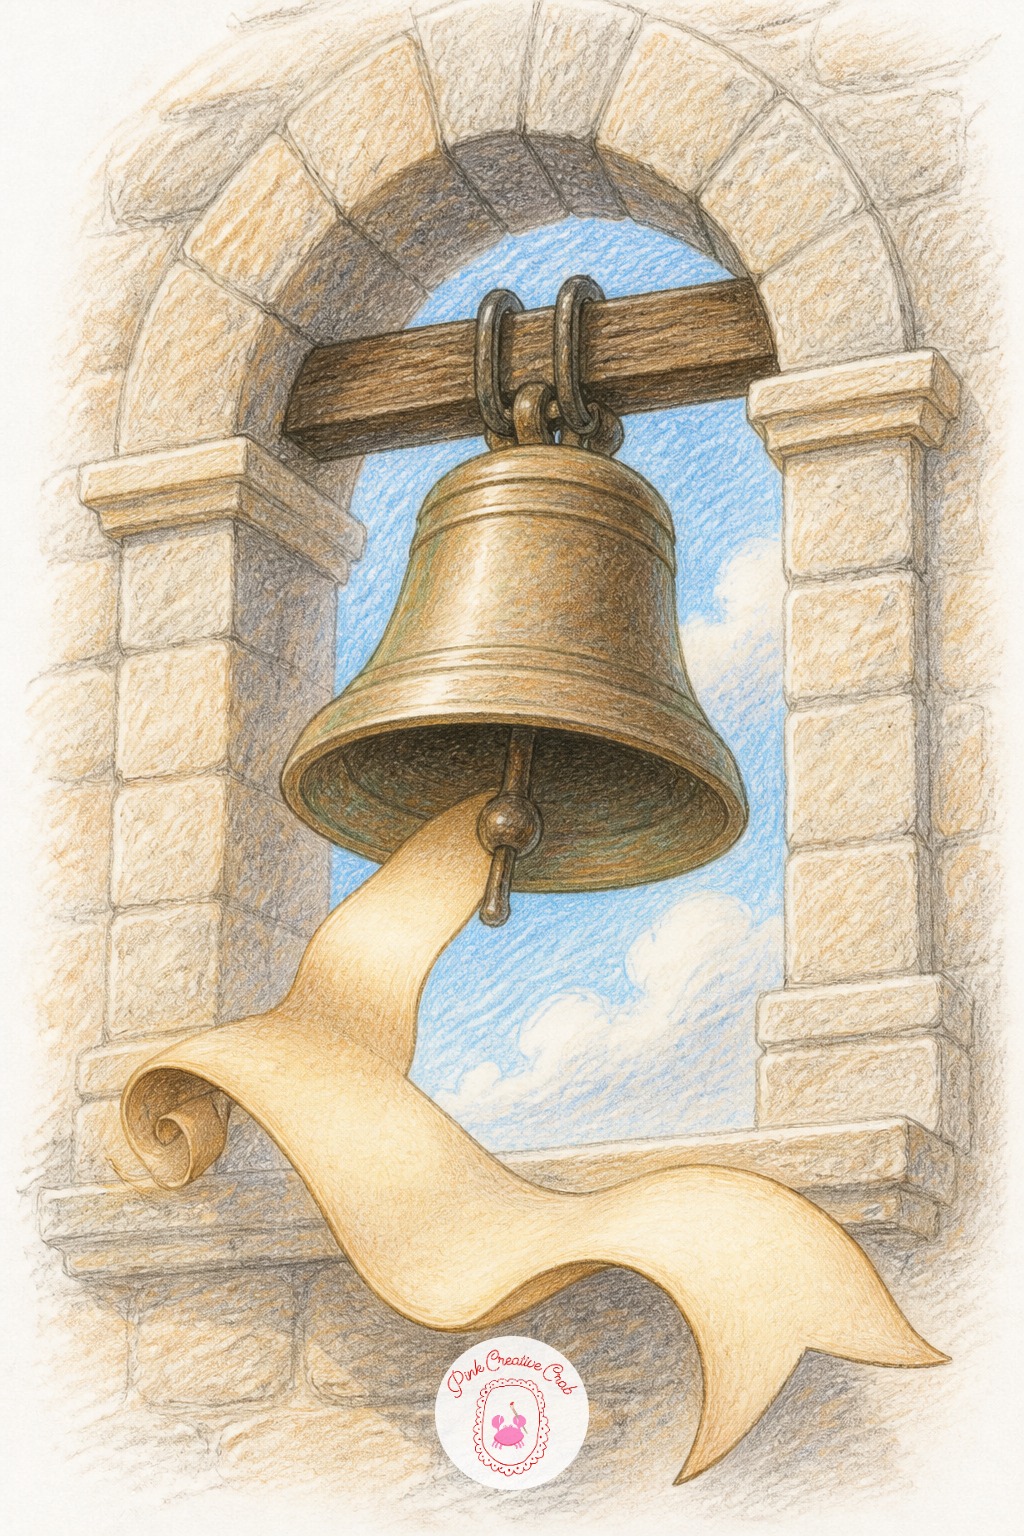
Draw a large bell hanging from a simple arch or beam at the top of the page, with a ribbon scroll flowing out from the bell mouth below it. Keep the scroll loose with a few soft folds.
Shade the bell in bronze and gold tones, add stone texture to the arch behind it, then letter the scroll in fineliner once the folds are shaded. A stiff, flat scroll is the usual mistake, so build in a gentle wave along its length.
Vintage Postcard Banner
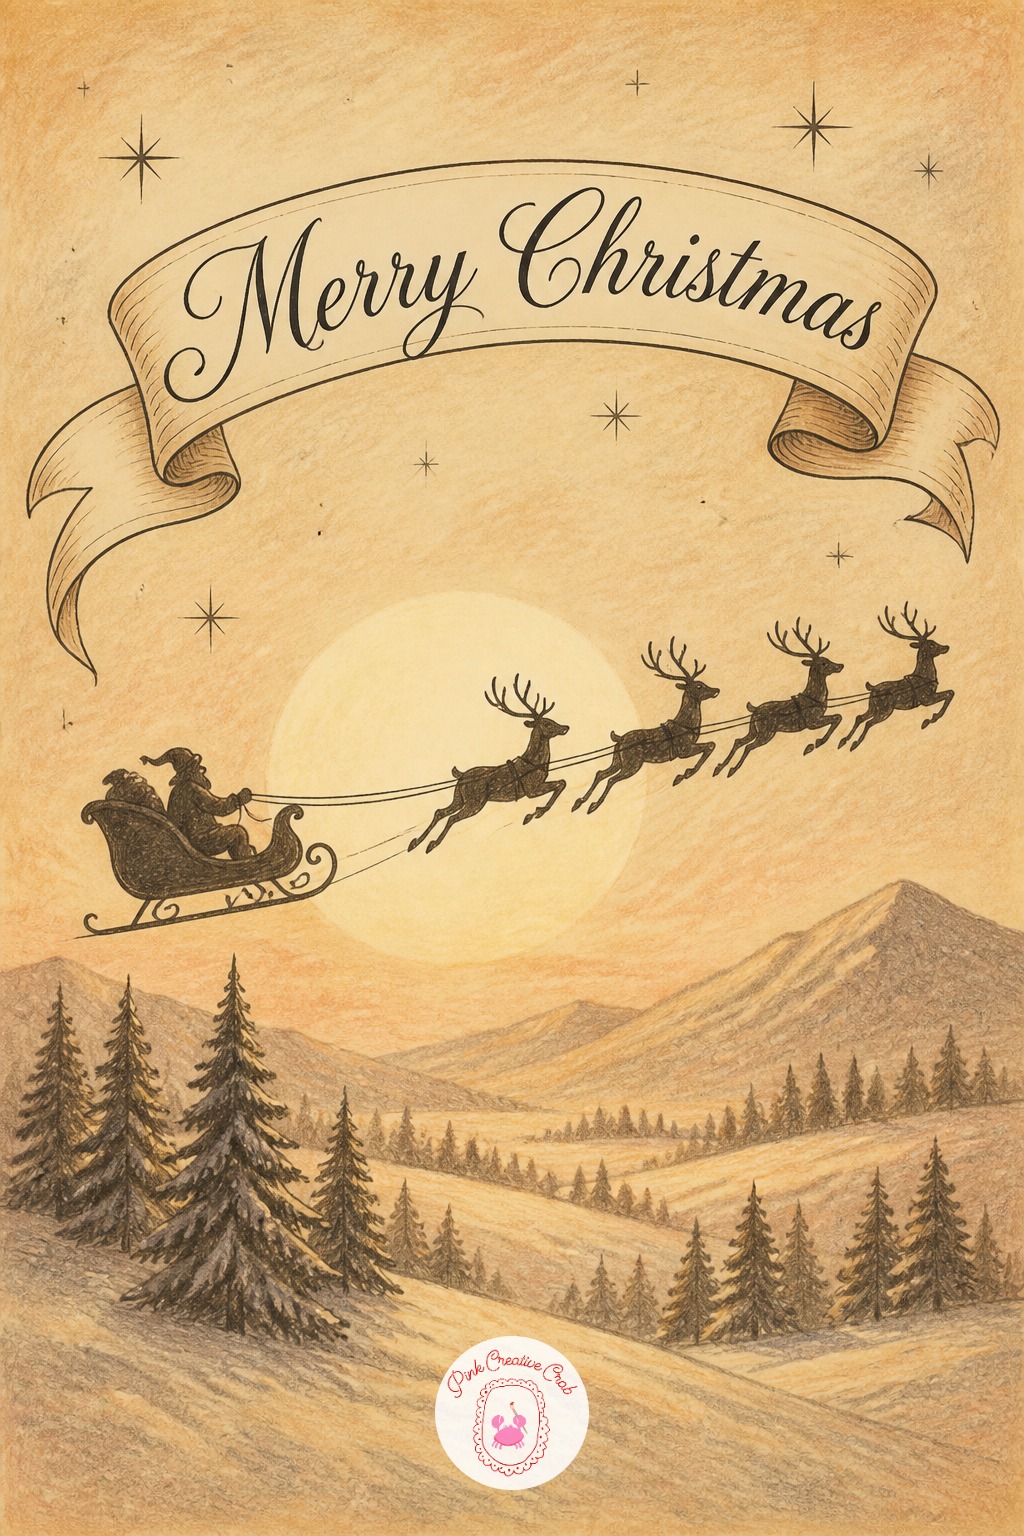
Sketch a sleigh and reindeer silhouette crossing a hill, keeping the whole scene simple shapes rather than fine detail. Arch a banner above the scene for the greeting in a flowing script.
Mute the palette with sepia, dusty red, and soft gray rather than bright holiday colors, to keep the vintage postcard feel. Bright modern colors break that mood fastest, so layer the pencil with a brown undertone before adding any other shade.
Santa Workshop Window
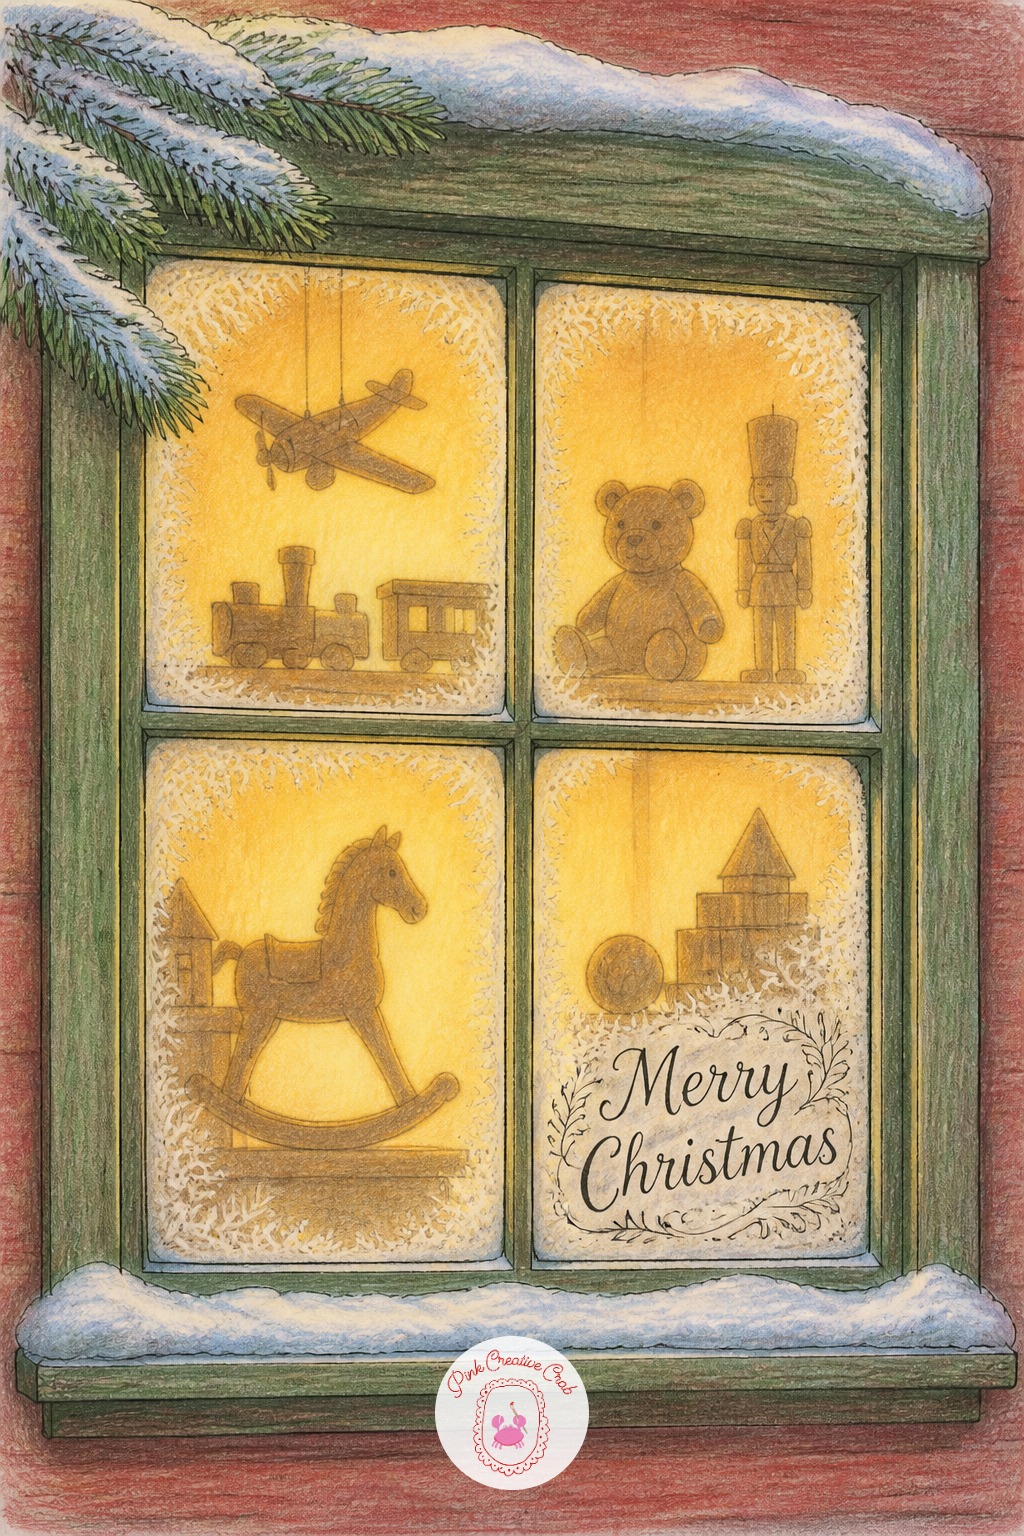
Draw a tall window with frosted edges, and keep the toys visible inside as simple silhouettes rather than detailed figures. A warm glow fills the center of the glass.
Letter the greeting into the frosted corner of the glass, then shade the warm interior light in soft yellow and orange. Crowding the window with too many detailed toys is the common trap, so keep two or three simple shapes visible through the glass.
Carolers Songbook Page
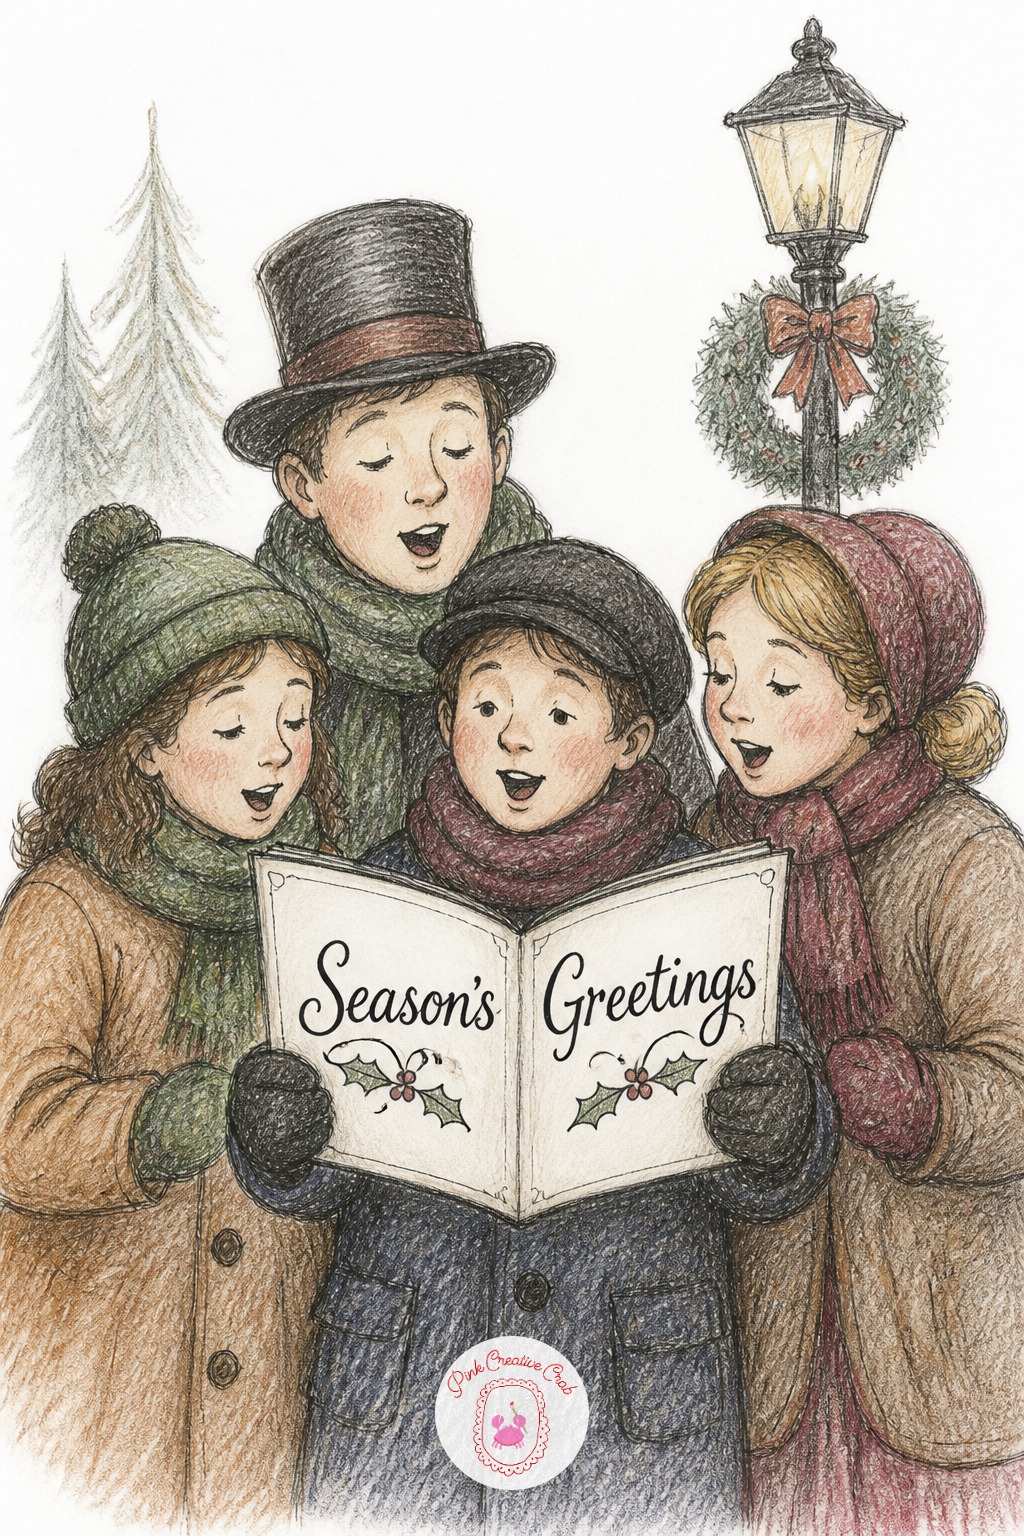
Sketch two or three caroler figures bundled in scarves and coats, one holding an open songbook facing outward. Keep the faces minimal, just a hint of a smile.
Shade the coats in muted winter colors, letter the open songbook page with the greeting as the song title, and keep the scarves as the most detailed part of each figure. Overworked faces pull focus from the book, so keep features light.
Sleigh Bell Letters
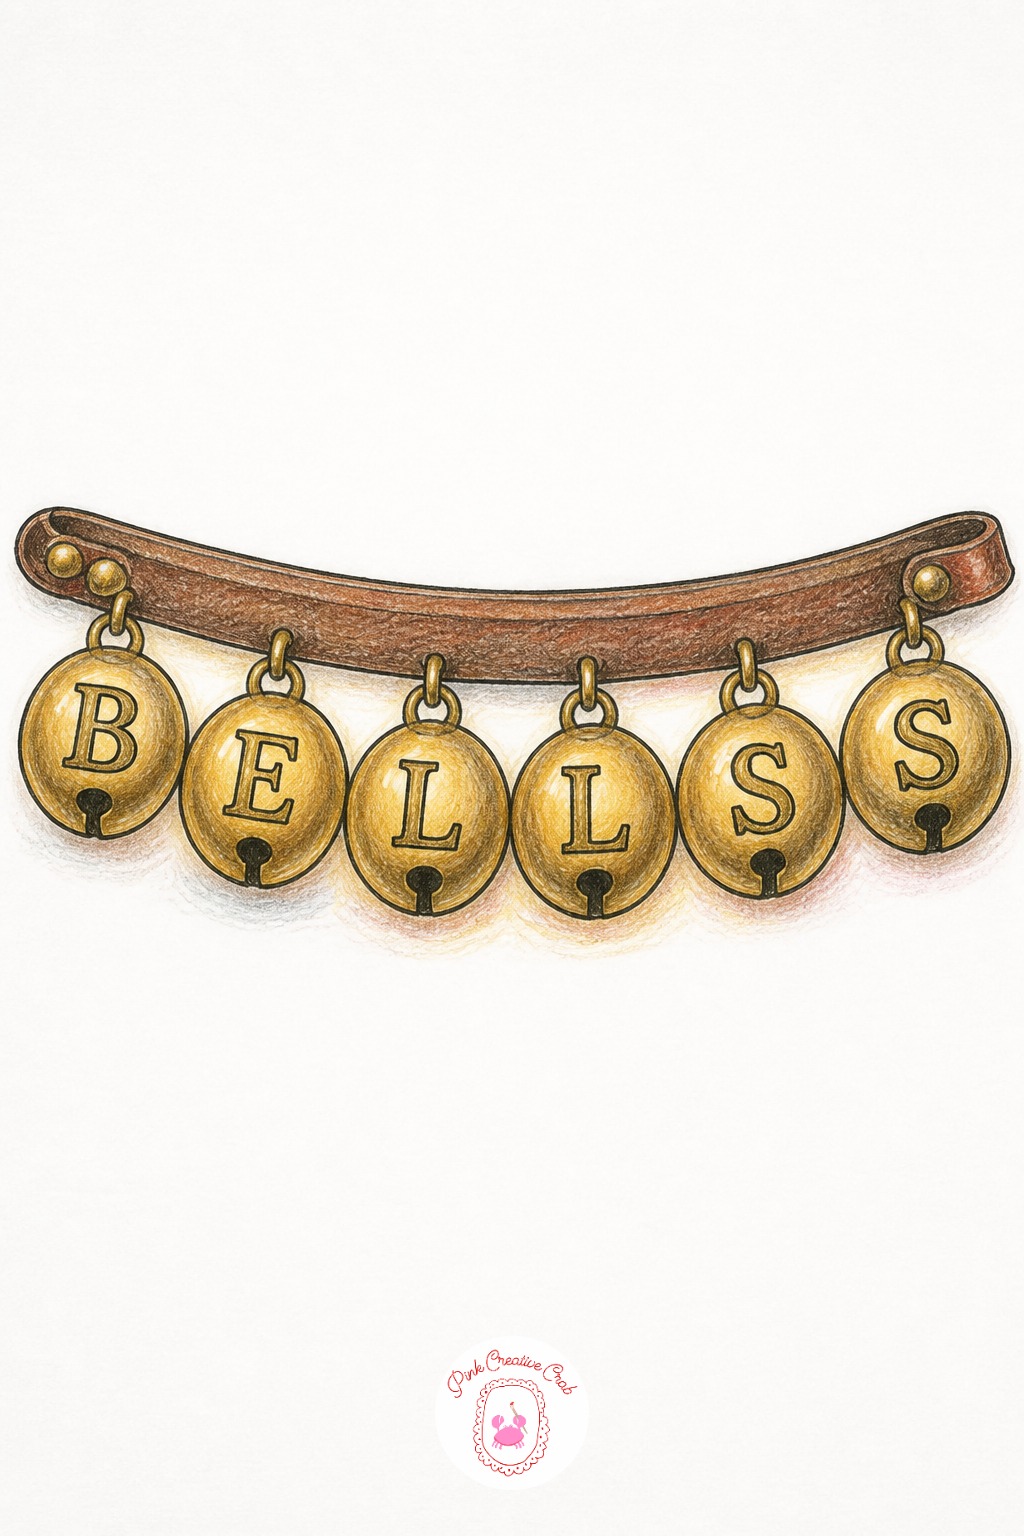
Draw a row of round bells strung along a leather strap, one letter engraved on each bell. Sketch the bells all the same size before adding any shine.
Color the bells brass and gold, add a crescent highlight to each for metallic shine, then letter them in fineliner once the shading is done. Flat looking bells are the common mistake, so make sure each highlight crescent sits in the same direction for consistent light.
Gift Box Ribbon Spelling
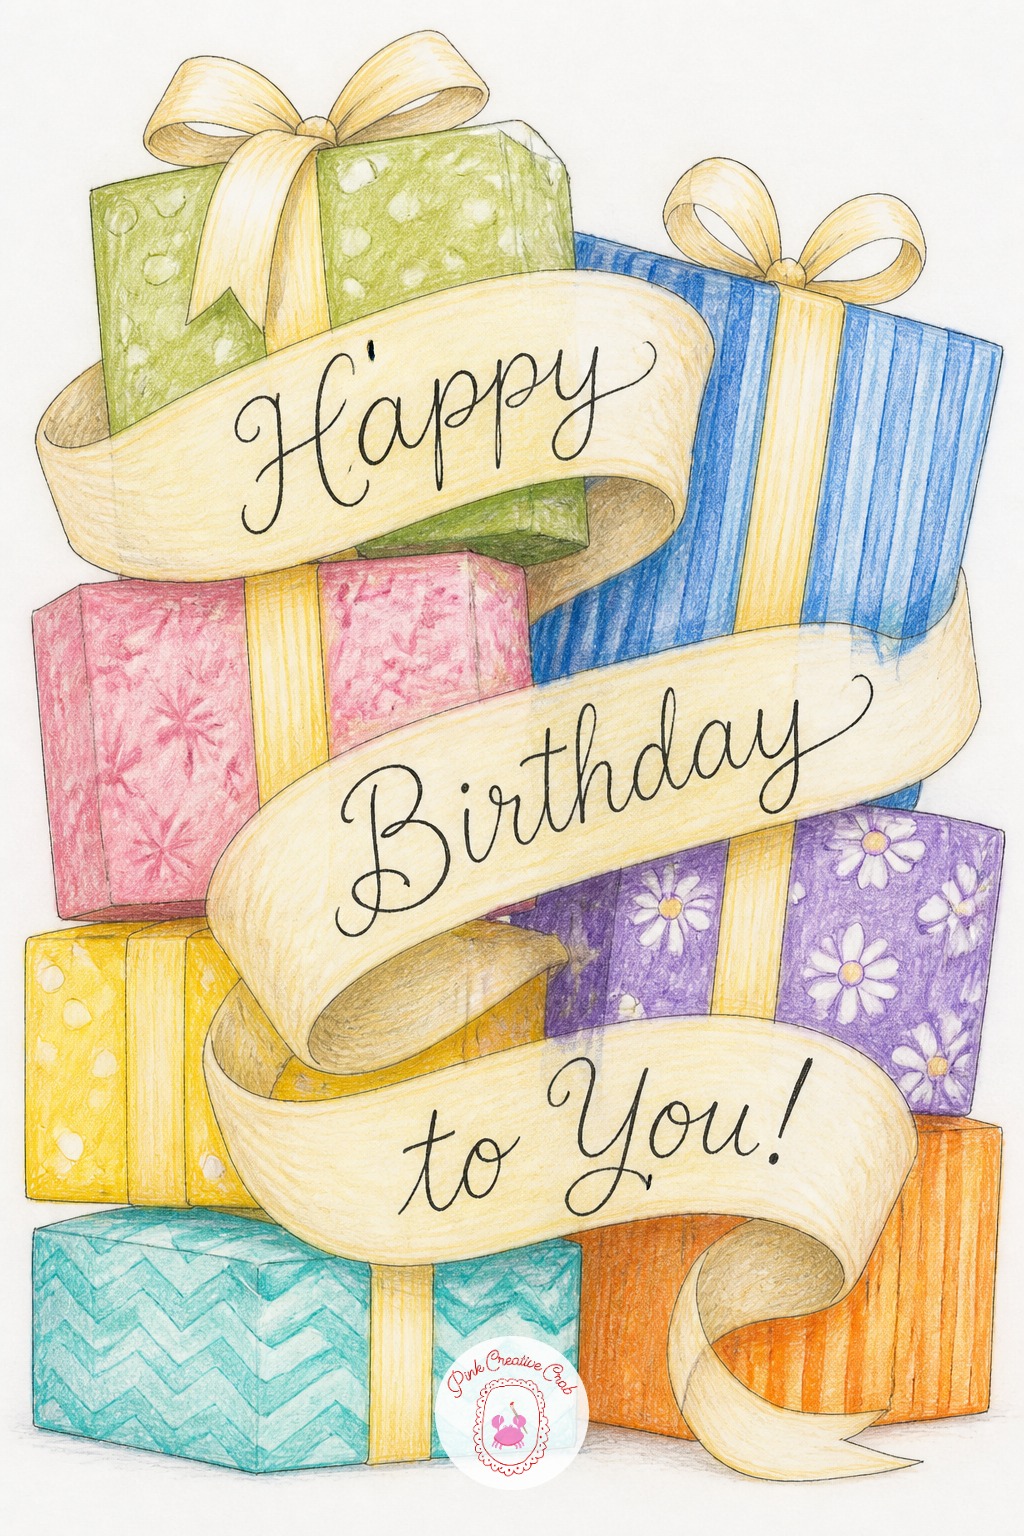
Stack three or four wrapped boxes with different patterns, stripes, dots, and plaid, then trail a plain solid ribbon across the stack in loose loops. Keep the ribbon solid colored so the lettering stands out against the busy boxes.
Color the boxes first, then letter the ribbon last in fineliner, following its natural curves. Ribbon lettering gets lost against a patterned box, so always keep the ribbon itself a plain, uncluttered color.
Owl With Scarf Banner
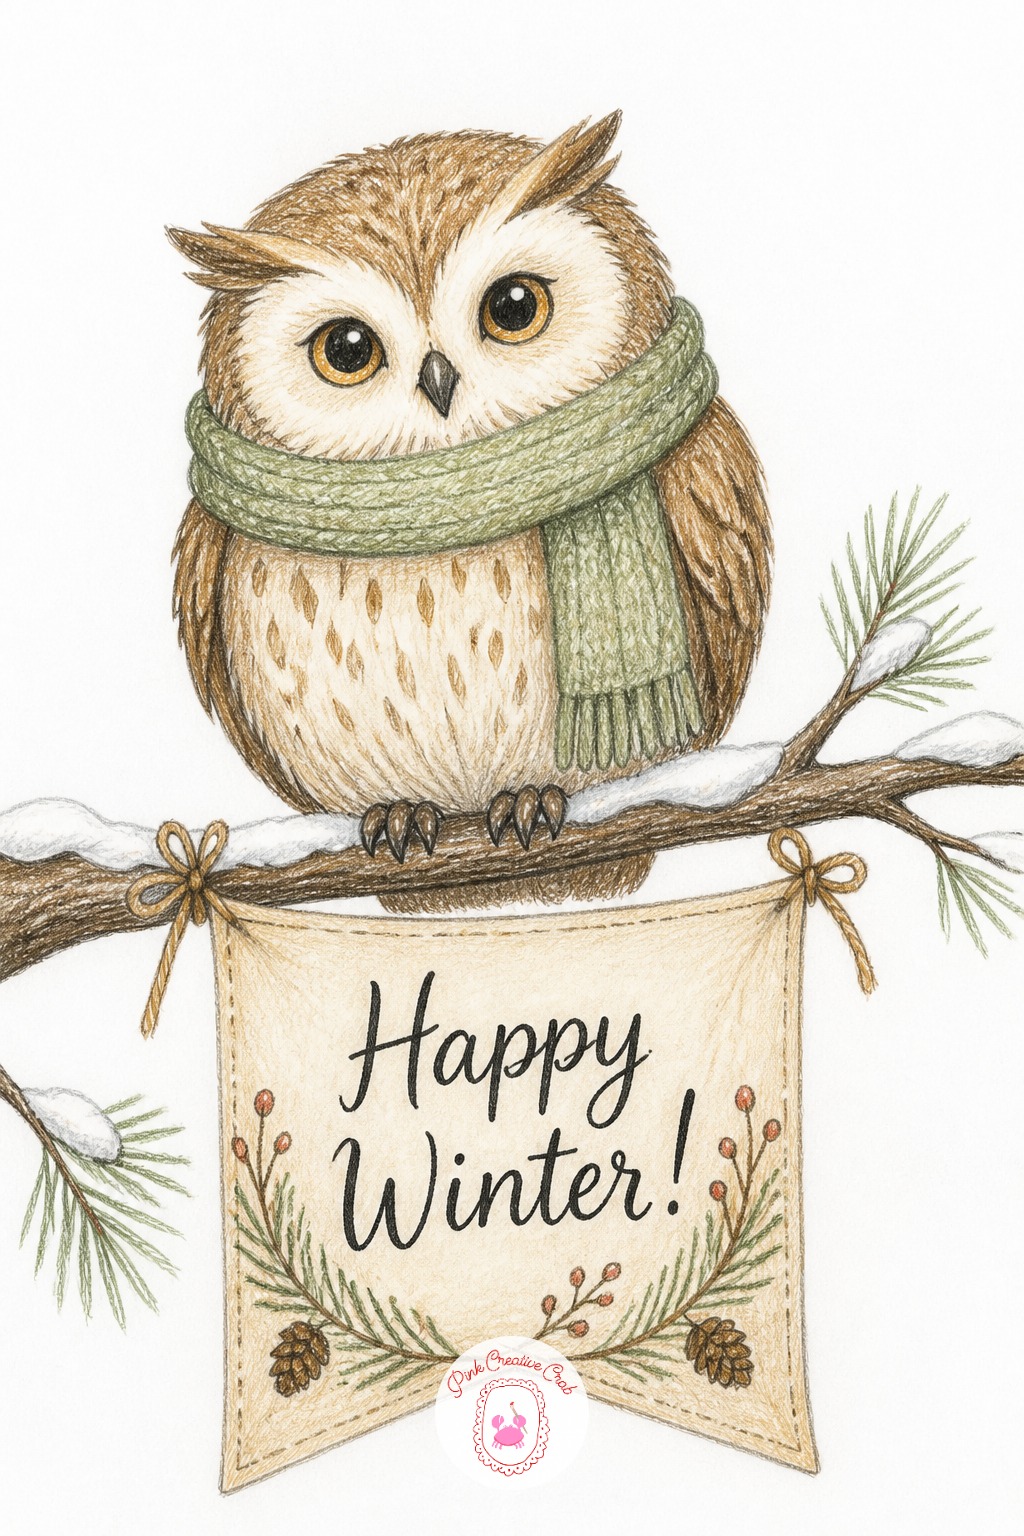
Block in a round owl body shape first, then add the feather texture afterward so the overall shape stays solid. Perch the owl on a snowy branch wearing a knit scarf.
Shade the feathers in layered brown and cream strokes, color the scarf in a bright contrasting stripe, then letter a small banner tied to the branch in fineliner. Overworked feather texture is what loses the owl’s shape, so keep the body outline solid before adding detail.
Fox With Lantern Banner
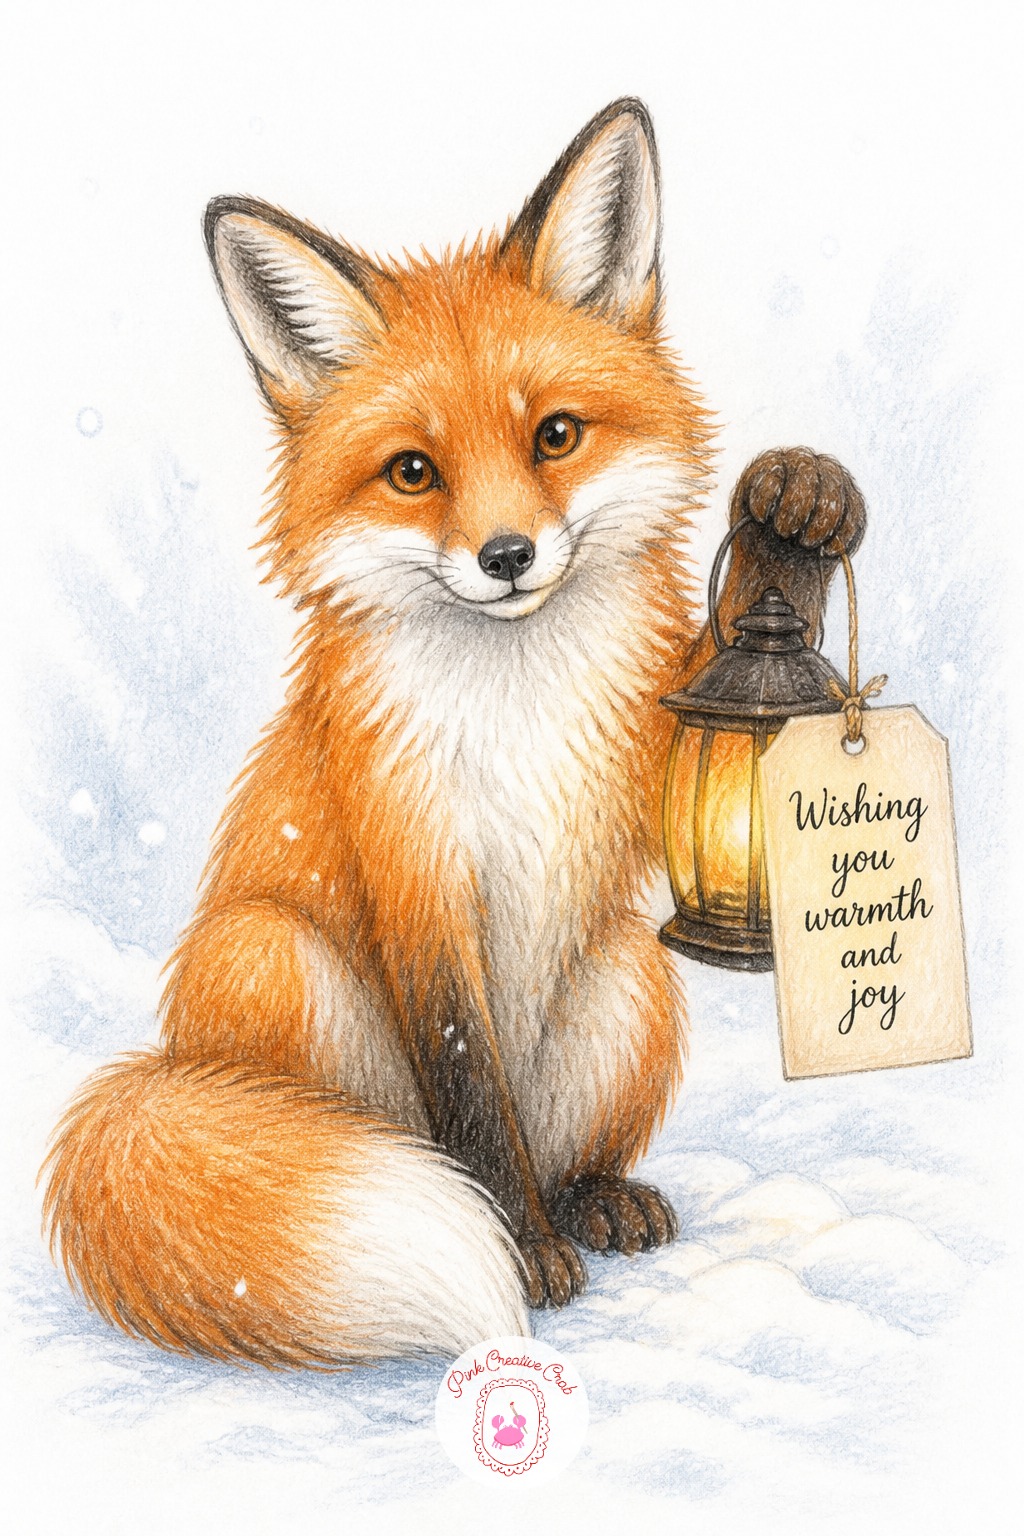
Sketch a fox sitting upright in snow, holding a small lantern by its handle. Vary the direction of the fur strokes across the body, head, and tail rather than using one direction throughout.
Color the fur orange and white, shade the lantern glow warm yellow, then letter a small tag hanging from the lantern handle. Fur drawn in one uniform direction looks flat and plastic, so change stroke direction at each body section.
Train Station Clock Banner
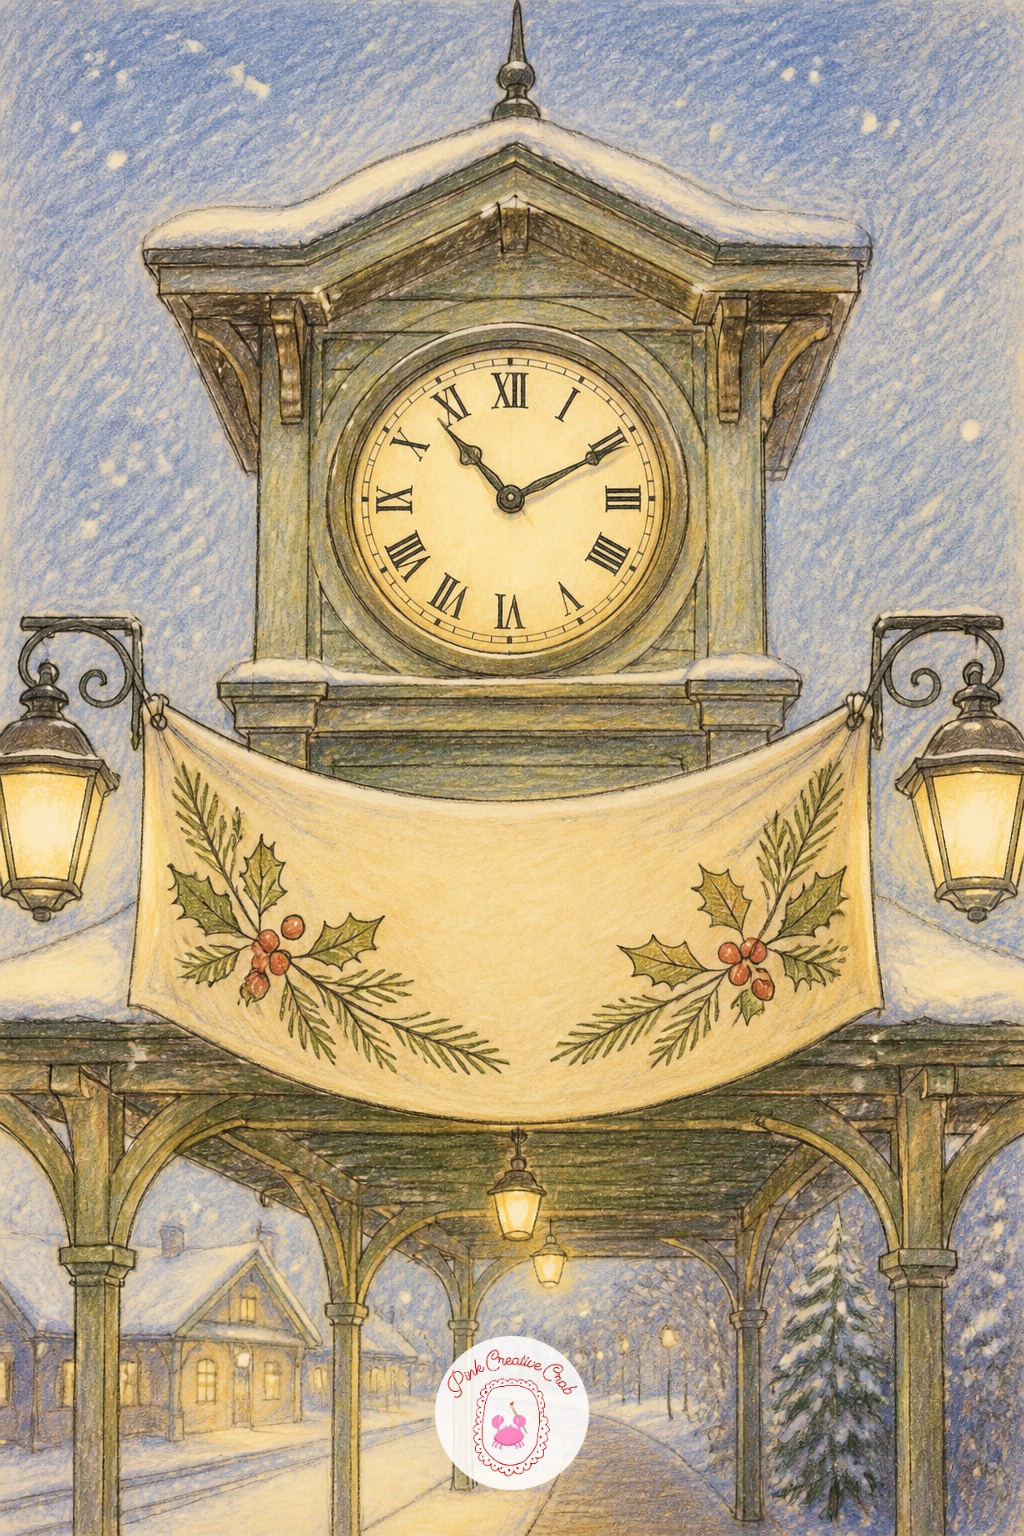
Draw a large round clock face at the center of a simple station facade, then drape a banner beneath the numbers rather than overlapping them. Keep the banner clearly separate from the clock ring.
Shade the stone facade in cool gray, color the clock face cream with black numbers, then letter the banner once the clock is finished. Crowding the banner against the numbers is the usual clash, so leave a gap between the two.
Night Sky Constellation Message
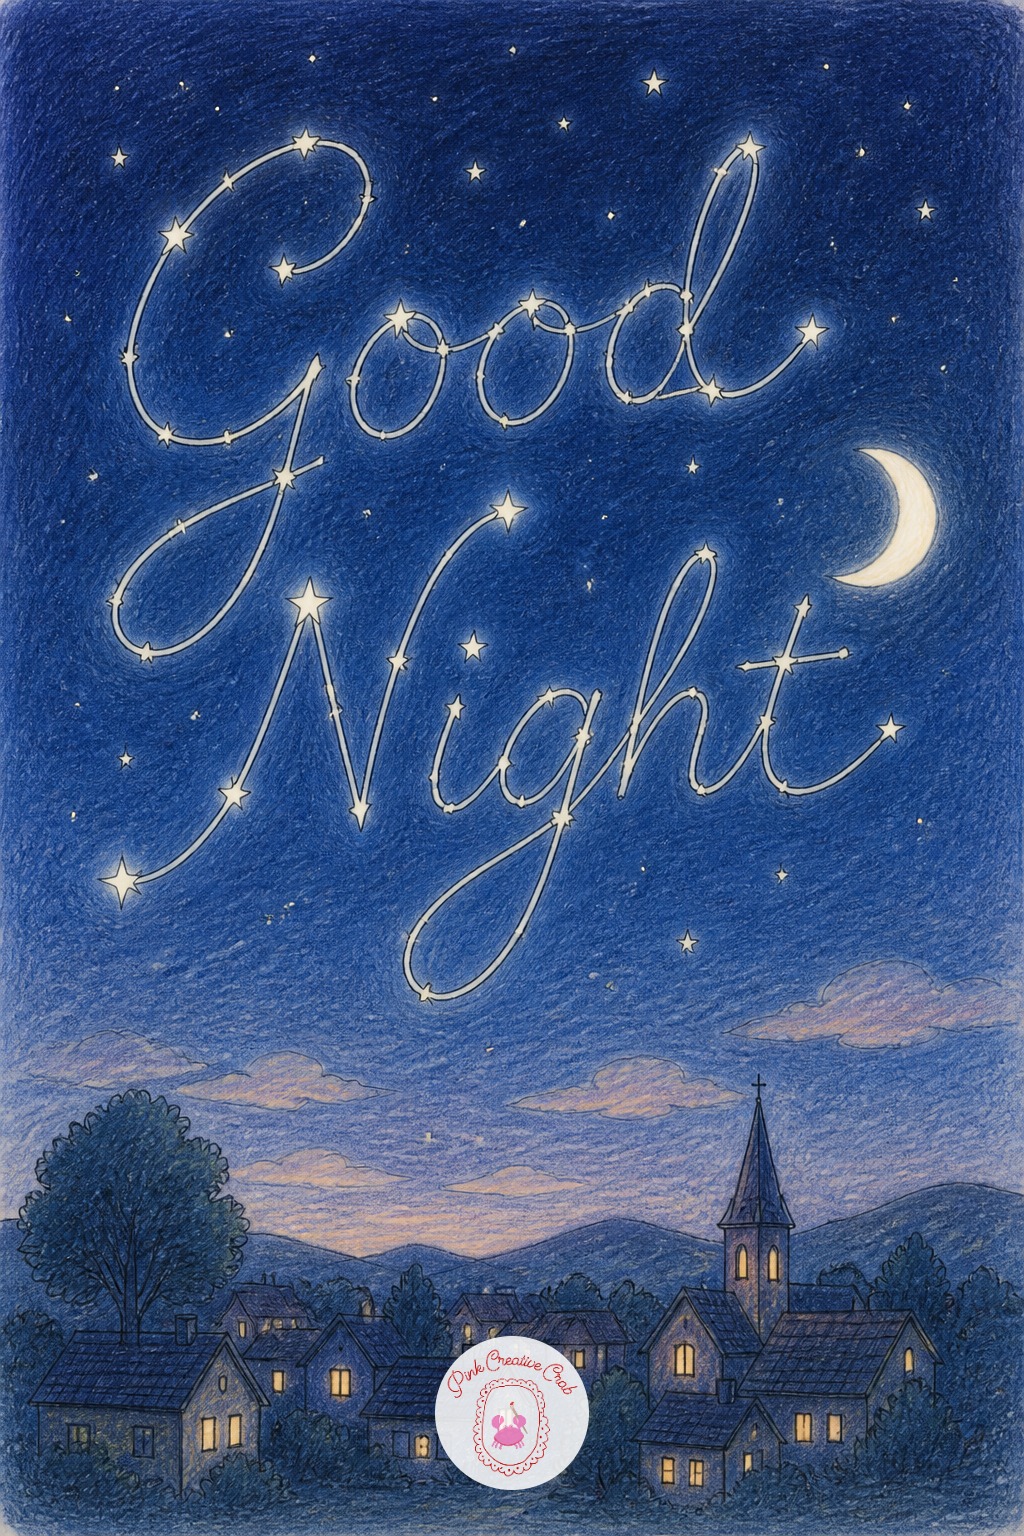
Block in a dark blue night sky over a simple village skyline, keeping the rooftops as plain silhouettes. Dot in a scattering of stars across the upper half of the page.
Connect select stars with thin curving lines to form the greeting like cursive constellations, using a white gel pen for both the stars and the connecting lines. Straight, geometric lines read as a diagram rather than handwriting, so let the connecting lines curve.
Snowy Village Skyline Banner
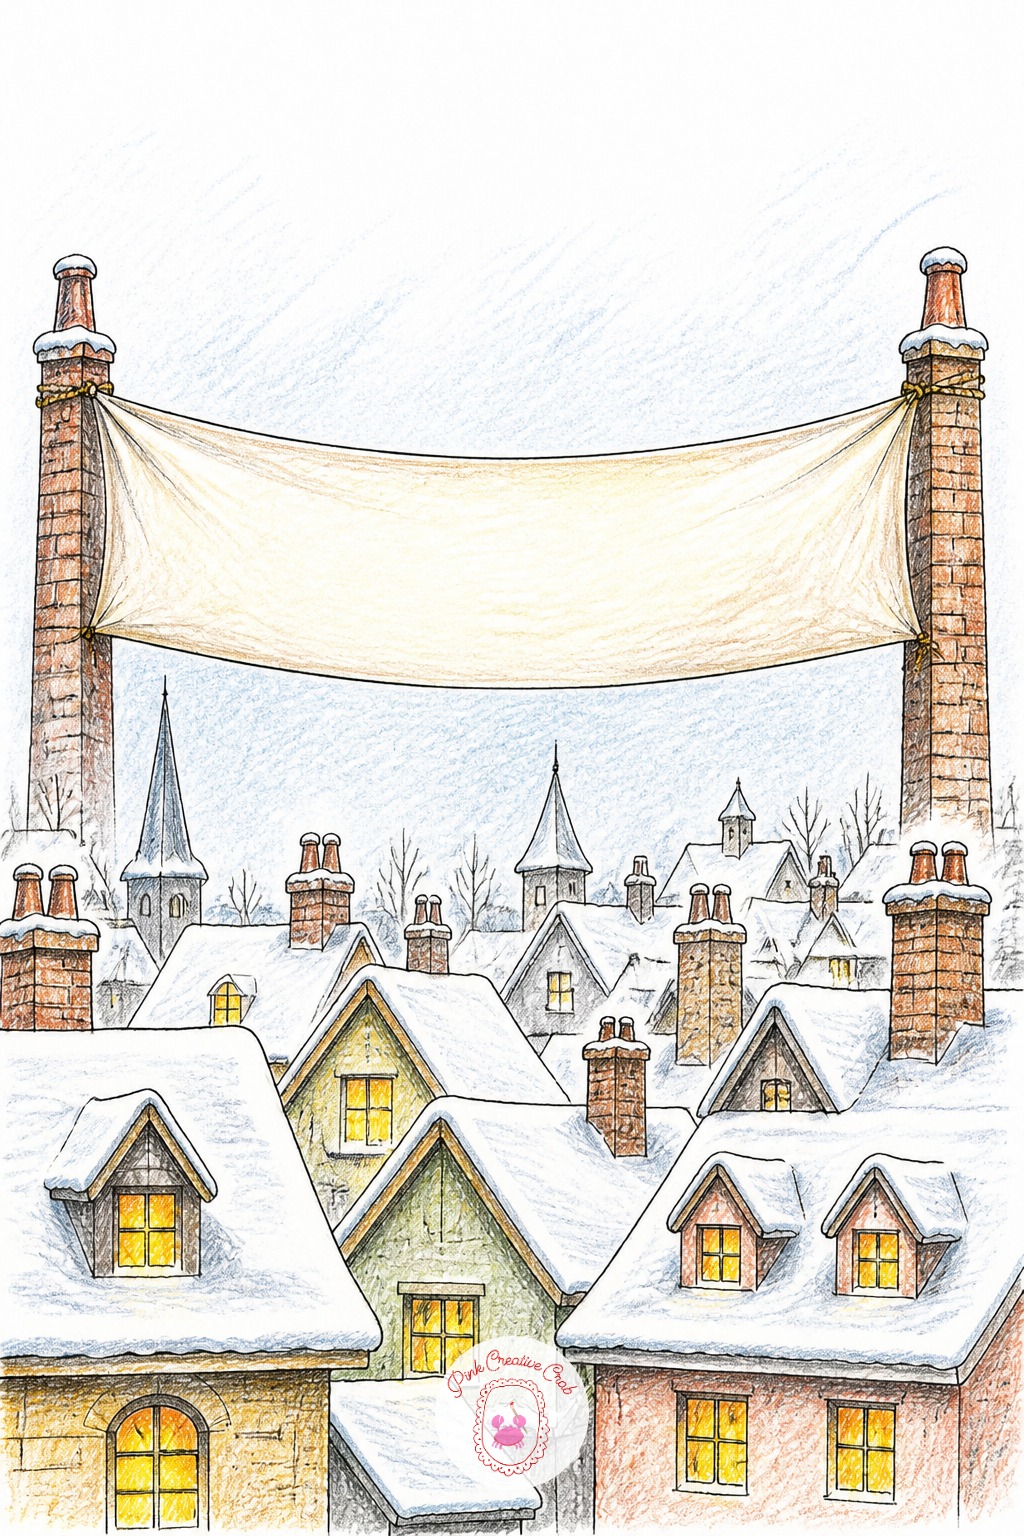
Sketch a row of simple cottage rooftops under a blanket of snow, dotting a few windows with warm light. Stretch a wide banner across the sky between two of the rooftops.
Shade the rooftops in soft grays and whites, color the window glow yellow, then letter the banner once its gentle sag curve is sketched. A banner drawn perfectly flat looks stiff, so give it a soft dip in the middle before lettering. For more cottage rooftops, see this village scene drawing guide.
Santa’s Sleigh Sky Trail
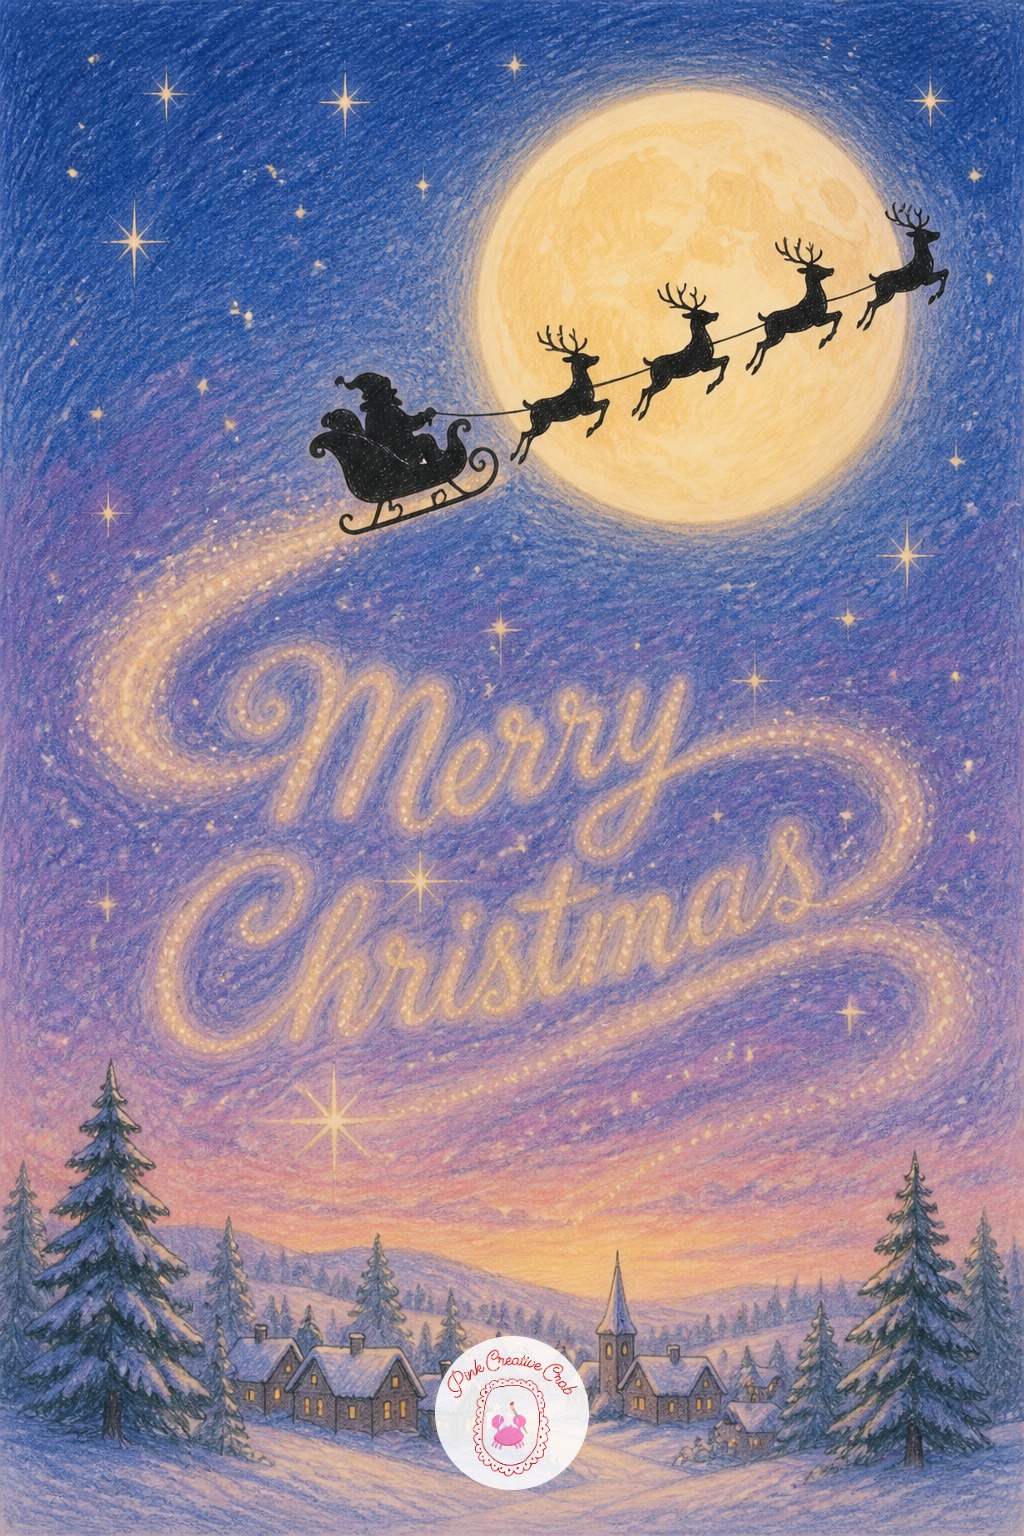
Draw a sleigh and reindeer silhouette crossing in front of a full moon, keeping the shapes simple and dark against the glow. Trail a line of sparkle dust behind the sleigh.
Shade the moon soft yellow with a slight halo, keep the sleigh and reindeer solid black silhouettes, then letter the greeting along the sparkle trail in fineliner. Scattered, random dust obscures the letters, so keep the sparkle aligned just above or below the word shapes.
Church Window Stained Glass Message
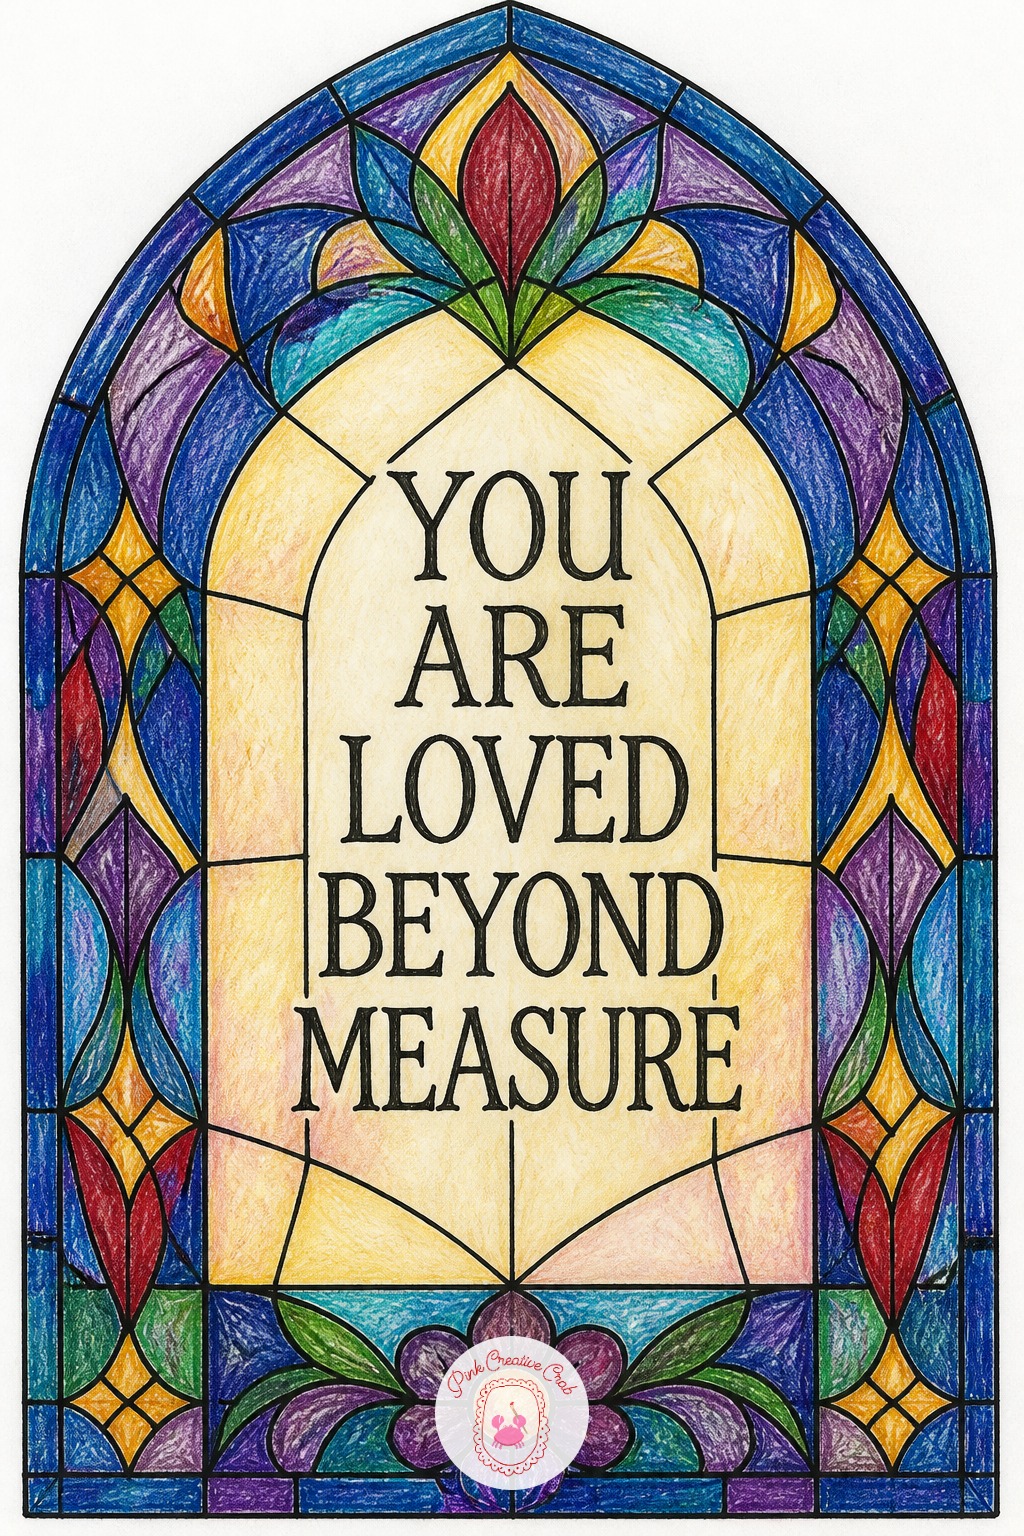
Sketch a tall arched window divided into panels with thick lead lines, keeping the overall shape simple before adding any color. Reserve the center panel for plain, uncolored glass.
Color the surrounding panels in jewel tones, red, blue, and gold, then letter the greeting across the plain center panel in black fineliner to mimic lead lines. Too many colors around the lettering panel is the usual clutter, so keep that one panel clear.
What to Do Next
Pick one subject from this list, maybe the cocoa mug or the gift tag if this is your first merry christmas drawing, and set up on a plain sheet of smooth white paper. Sketch the shapes light, build the color in layers, and save the fineliner lettering for the very last step.
Frequently Asked Questions
What size paper works best for a merry christmas drawing in colored pencil?
A standard sketchbook page or a half sheet of smooth white paper is plenty. Smaller scenes like a mug or a gift tag need less room to finish in one sitting, while a village skyline or a full tree benefits from a slightly larger page.
Should the lettering go in before or after the colored pencil layers?
Pencil in the letter positions lightly before any color, so spacing is right, but save the actual fineliner ink for last. Laying ink first risks smudging it while you blend and layer the colored pencil around it.
How do I keep the fineliner from smudging over the pencil color?
Let the colored pencil layers sit for a few minutes before inking, and rest your hand on a scrap sheet rather than directly on finished color. Work from top to bottom or left to right so your hand never drags back over wet ink.
What colors read as Christmas without looking like clip art?
Lean on warm cream, deep red, forest green, and brass gold rather than pure bright primary shades. Muting the palette with a touch of brown or gray underneath keeps the scene feeling hand drawn instead of printed.
Can these ideas work as actual holiday cards?
Yes, many of them, like the gift tag, the postcard, and the stamp corner, are sized to fit a folded card easily. Draw directly on cardstock instead of sketchbook paper if you plan to send the finished piece.
Have any thoughts?
Share your reaction or leave a quick response — we’d love to hear what you think!
-
 0
0 -
0
-
0
-
0
-
0
-
0


