

Table of Contents
We’re about to paint some seriously wild animals, and trust me—watercolor makes their fur look AMAZING! 🎨 Lions, tigers, bears (oh my!)… these creatures practically beg to be painted with those gorgeous, flowing brushstrokes. Whether you’re a total beginner or you’ve been painting for years, there’s something magical about capturing a tiger’s stripes or a bear’s fuzzy texture. Ready to see which wild animals made our list?
Ready to get messy and make something awesome? Let’s plunge in!
Materials & Tools You’ll Need
Before you start painting majestic elephants and sneaky foxes, let’s grab the right supplies—trust me, having good materials makes ALL the difference (and saves you from a lot of frustration). You don’t need fancy stuff to create cute drawings, but these essentials will turn your drawing easy ideas into actual artwork:
Quality supplies aren’t about being fancy—they’re about turning your creative ideas into actual art without the headache.
- Watercolor paints (a basic 12-color set is PERFECT for beginners!)
- Watercolor paper (regular paper will buckle and warp—been there, done that 😅)
- Round brushes in small, medium, and large sizes
- A water cup and paper towels (for all those happy little accidents)
Seriously, that’s it! We’re keeping things simple so you can focus on expressing your inner wildlife artist instead of shopping forever.
Watercolor Techniques for Fur and Texture
Want softer fur? Try wet-on-wet! Drop color onto damp paper and watch it bloom (it’s like MAGIC, honestly). Perfect for that soft bunny belly we all love.
Pro tip: Layer, layer, layer! Start light, build darker. Your first attempt won’t look perfect—ours never do either—but that’s the whole point of experimenting.
Don’t forget dry brush for those whiskers and individual hairs. Just drag an almost-dry brush across textured paper. Boom! Instant realistic detail.
15+ Wild Watercolor Animal Ideas
Pick your favorite, grab your brush, let’s GO! 🐾
Big Cats
We’re about to paint some of THE most stunning creatures on the planet, and honestly, big cats are where watercolors really get to show off! 🦁 These powerful animals have incredible faces (those eyes!), gorgeous patterns, and dramatic fur textures that look absolutely magical when the paint bleeds and blends on wet paper.
Whether you’re drawing a mighty lion with that iconic mane, a sleek tiger prowling through bamboo, or a spotted leopard draped over a tree branch, you’re going to LOVE how these paintings turn out!
Idea #1: Majestic Lion Portrait
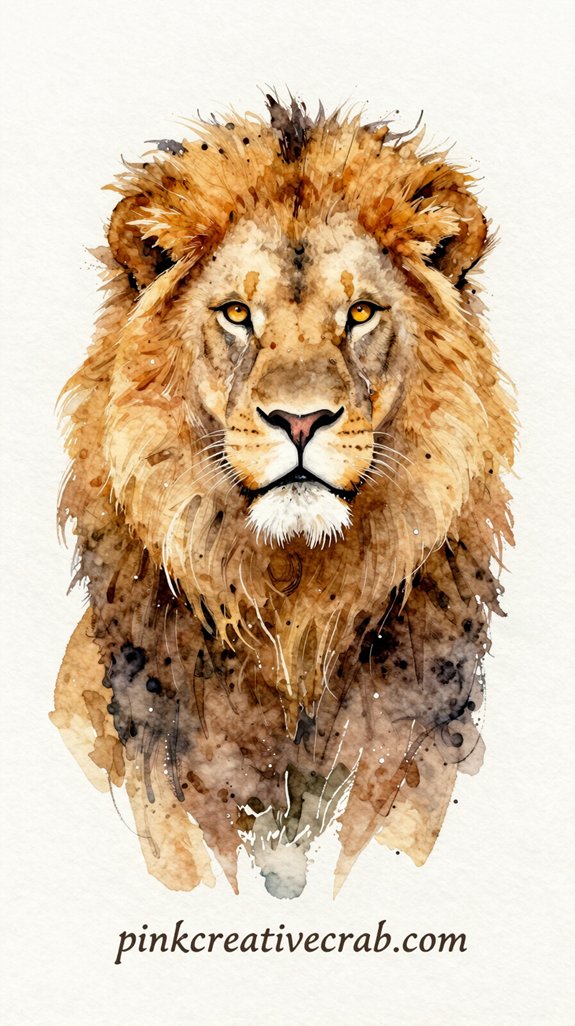
We love using a wet-on-wet technique for the mane because it creates those gorgeous, unpredictable color flows. (Honestly, happy accidents are our favorite part!) Add deeper browns while everything’s still damp, and watch the magic happen.
For the face, keep it simple—two confident eyes, a basic nose, maybe some whiskers if you’re feeling fancy. The mane does most of the heavy lifting anyway! Your lion doesn’t need to be realistic to be absolutely STUNNING.
Idea #2: Lion Cub in Grass
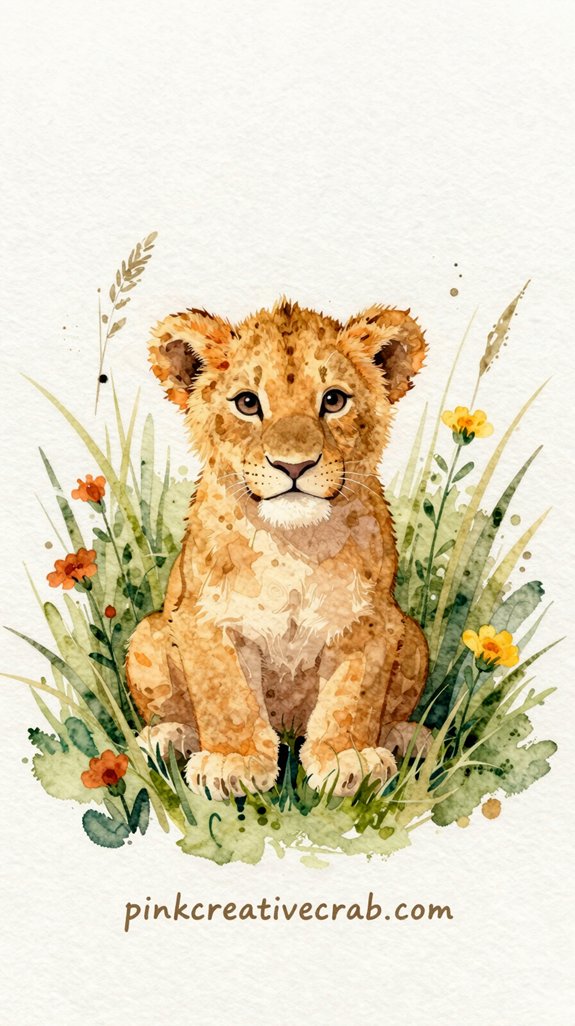
Cuteness overload alert! 🦁 Moving from our grown-up lion to a sweet little cub changes everything—we’re going for adorable, not fierce. Think big, curious eyes peeking through tall grass blades, and those oversized paws that cubs HAVEN’T grown into yet (totally relatable, right?).
We’ll use soft, buttery yellows for the fur, keeping edges fuzzy and gentle. The grass? Let it go WILD with loose, spontaneous strokes—don’t overthink it! Layer different greens while they’re still wet for that dreamy, blended look.
Here’s our favorite trick: leave white highlights in those eyes to make them sparkle with mischief. Add tiny whisker dots, maybe a playful expression, and boom—instant heart-melter! 💛
This one’s perfect for testing your wet-on-wet technique without pressure.
Idea #3: Fierce Tiger Face
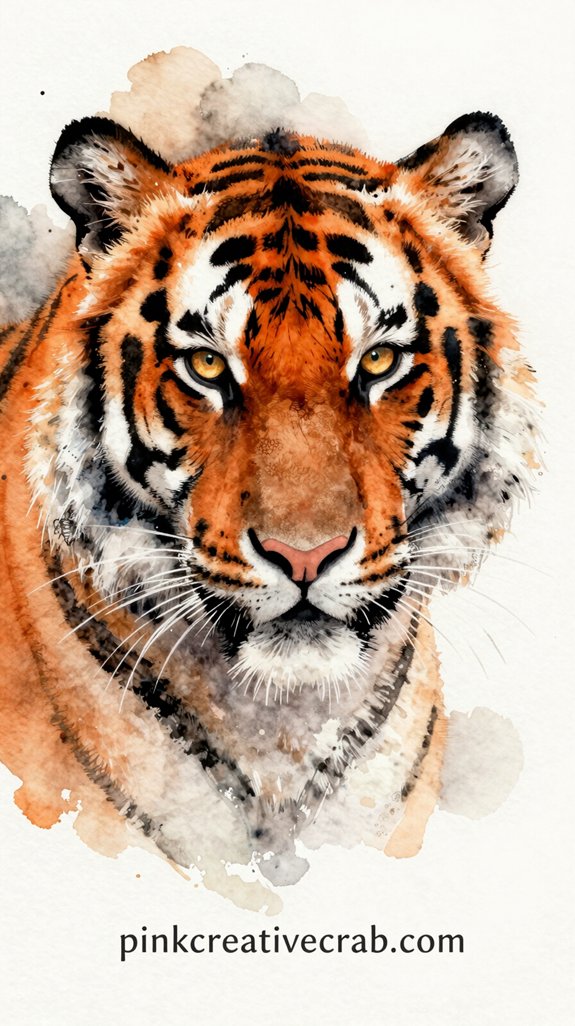
Tigers bring THE drama! 🐯 This isn’t your gentle, fuzzy project—we’re talking intense eyes, bold stripes, and that “I’m the apex predator” energy that makes tigers absolutely magnetic.
Start with those EYES—paint them first, because everything else builds around that piercing stare. Use darker oranges and burnt siennas for the stripes, letting them bleed slightly into wet fur for that soft, realistic look. Don’t stress about perfect symmetry (tiger stripes are naturally wonky anyway!).
Here’s the secret: leave white spaces! Those whisker dots, the muzzle highlights, the eye gleams—they’re what make your tiger POP off the page.
Want extra intensity? Add tiny flecks of yellow or green in the iris.
This is your chance to capture raw, untamed beauty in watercolor form!
Idea #4: Tiger in Bamboo Forest
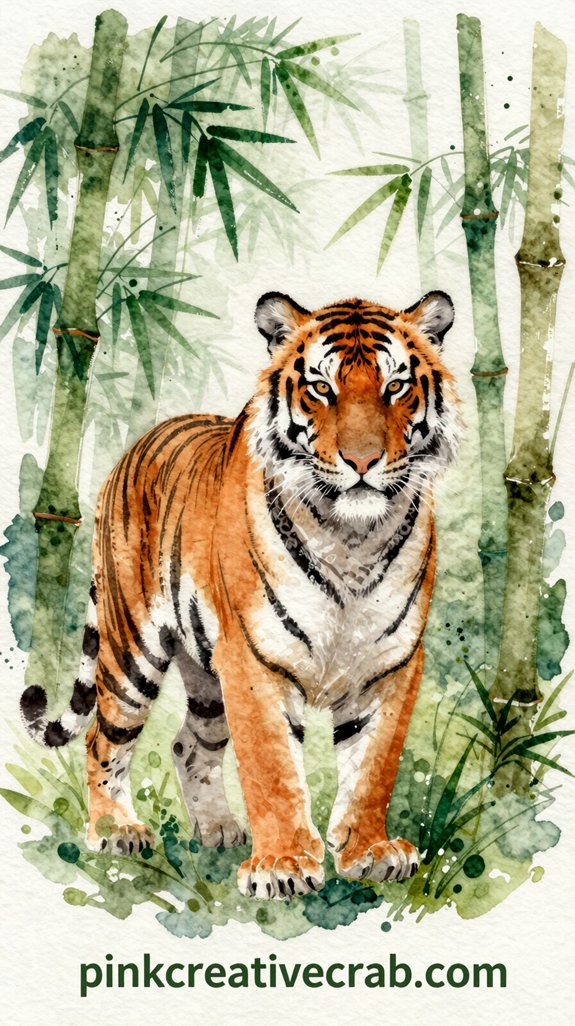
When you combine a tiger with a bamboo forest, you’re creating an ENTIRE scene that tells a story! 🎋 This project kicks things up a notch because now you’re not just painting an animal—you’re building a whole atmosphere.
Start with your tiger positioned in the middle, maybe peeking through stalks. Paint the bamboo FIRST using long, confident strokes—vertical lines with joints breaking them up. Let the green vary from light to dark (wet-on-wet technique works perfectly here!). Then add your tiger weaving between the stalks.
The coolest part? You can paint the bamboo in the foreground super dark to create depth, making your tiger look like it’s ACTUALLY hiding in there. It’s like magic, except you’re the magician! 🎨
Idea #5: Leopard on Branch
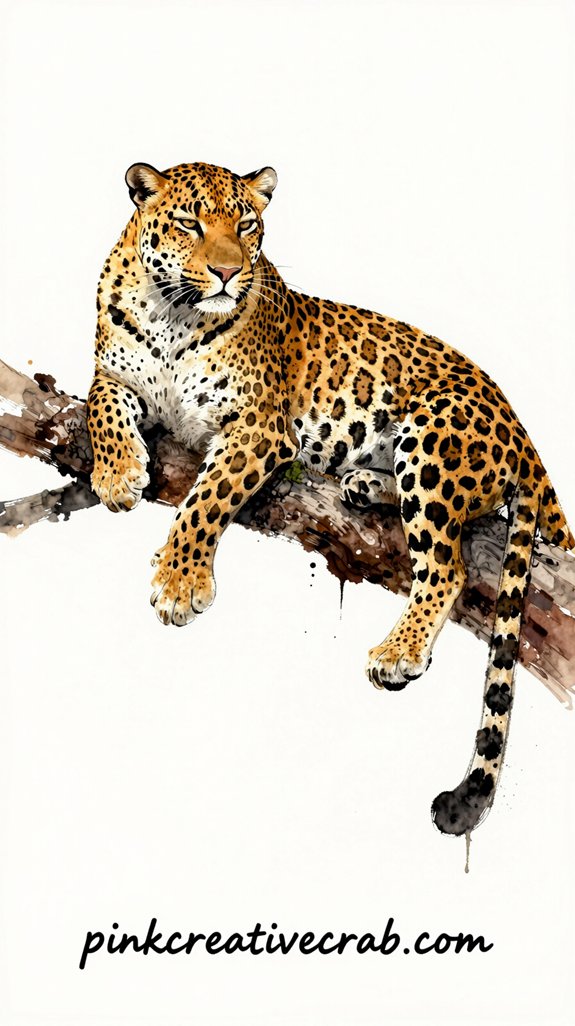
Here’s the fun part: you get to paint those gorgeous ROSETTES (the spots!) in loose, organic clusters. Don’t stress about making them perfect—nature isn’t symmetrical, and neither should your painting be! The tail is KEY here, so let it dangle down dramatically for that “I’m literally the coolest cat alive” vibe.
Pro tip: use a darker wash for the branch to make your leopard pop forward. Layer your yellows and ochres while they’re still damp for that dreamy, blended fur effect. STUNNING! 🎨
Bears & Forest Dwellers
Let’s paint some AMAZING bears and their forest friends, because honestly, these fuzzy giants are some of the most fun subjects you’ll ever tackle in watercolor! 🐻 We’re gonna create four totally different bear personalities—from a powerful grizzly standing proud to an adorable panda munching bamboo, plus a majestic polar bear surrounded by snow and the cutest black bear cub you’ve ever seen. Trust me, once you see how those wet washes create incredible fur texture (way easier than you think!), you’ll want to paint bears on everything.
Idea #6: Grizzly Bear Standing Tall
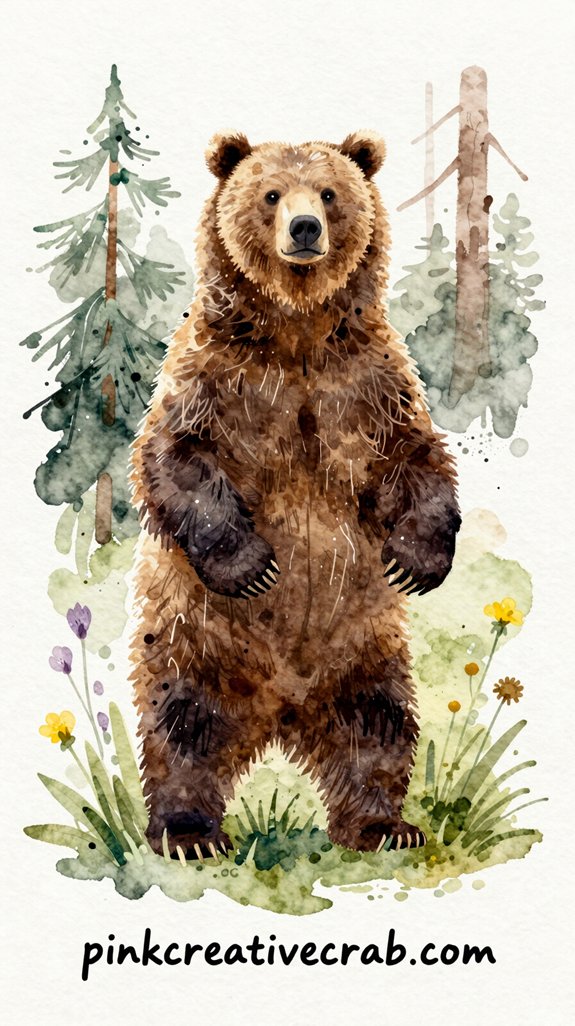
There’s something absolutely MAGICAL about painting a grizzly bear rearing up on its hind legs, and trust me, this pose is way easier than it looks! Start with a simple oval for the body, then add those powerful arms reaching up toward the sky. 🐻 The SECRET? Paint the belly lighter than the back—grizzlies have this gorgeous natural gradient that makes them look three-dimensional!
We LOVE adding wet-on-wet texture for the fur, especially around the chest area. Don’t stress about perfect proportions (my first attempt looked like a fuzzy potato). Focus on capturing that intimidating stance instead! Pro tip: A tiny bit of white mixed with brown creates those stunning highlights that’ll make your bear practically jump off the page.
Idea #7: Panda Eating Bamboo
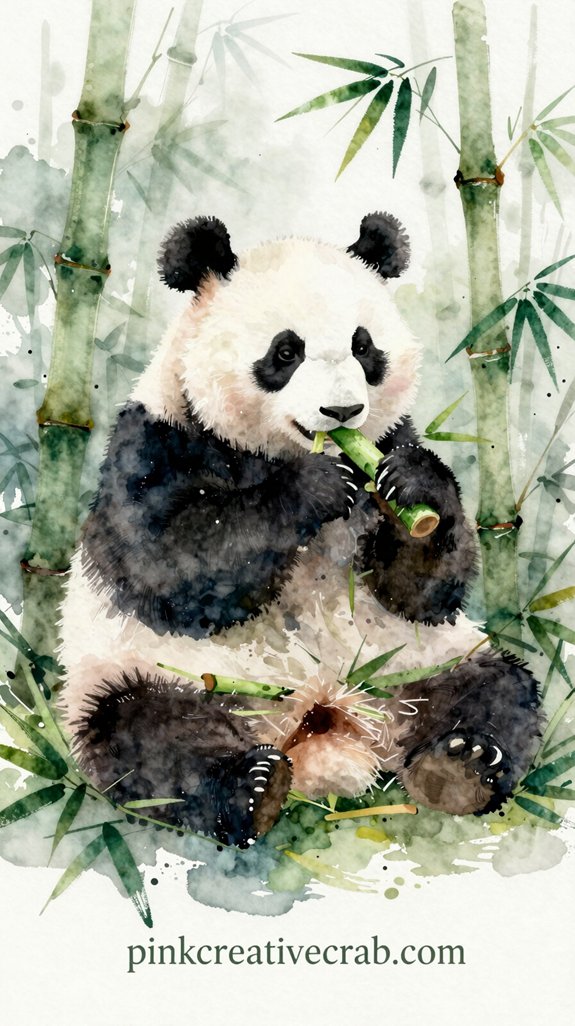
Pandas might just be the MOST forgiving watercolor subject ever, and I’m obsessed with painting them munching on bamboo! 🐼 Start with two overlapping circles—one for the head, one slightly bigger for that adorably round body—and you’ve already nailed the basic shape.
Now here’s where it gets FUN: those signature black patches around the eyes, ears, arms, and legs are your friend! Let your brush do the heavy lifting—wet-on-wet creates soft, fuzzy edges that look incredibly realistic (because pandas ARE fuzzy).
Don’t overthink the bamboo stalks; they’re basically just green vertical strokes with subtle segmentation lines.
Pro tip: leave plenty of white space! Pandas are mostly white, so resist overworking the piece. A few strategic black patches, some bamboo leaves, maybe a playful pose—and you’ve created pure MAGIC. ✨
Idea #8: Polar Bear in Snow
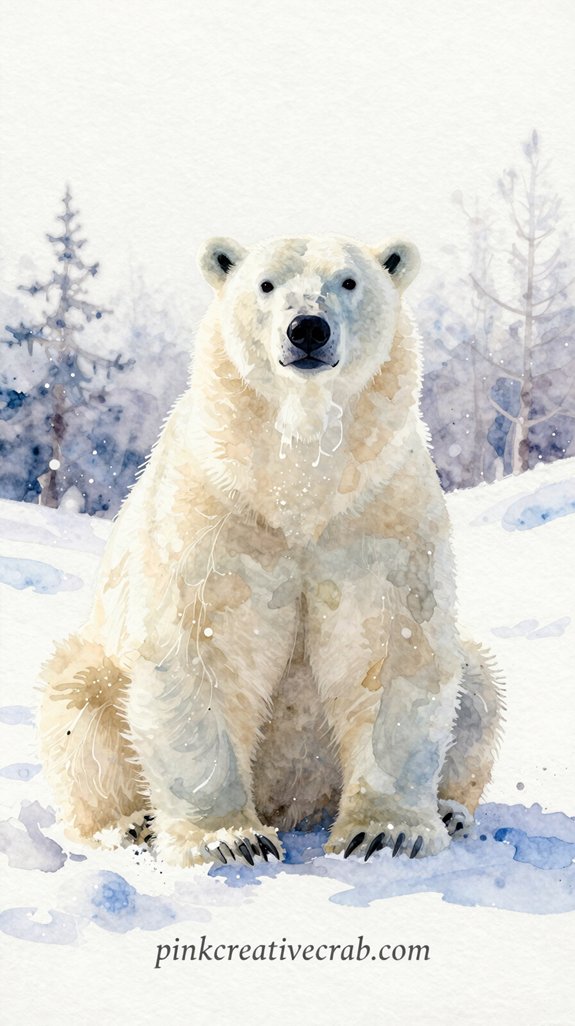
Speaking of adorable bears, let’s crank up the difficulty just a TINY bit with a polar bear in snow—and yes, I said difficulty because painting white on white is basically watercolor’s version of a trust fall! 🐻❄ But here’s the secret that’ll change everything: you’re not actually painting the bear white.
Mind. Blown. 🤯
You’re painting the SHADOWS! Use super light blue-grays and lavenders (yes, purple!) for those subtle shadows on the bear’s fur, then let the white paper do all the heavy lifting. The snow? Same deal—just hint at those icy shadows beneath your bear. Add a tiny black nose, dark eyes, and maybe some delicate blues around the edges. Suddenly you’ve got a majestic arctic giant that looks like it walked straight out of the tundra!
Idea #9: Black Bear Cub
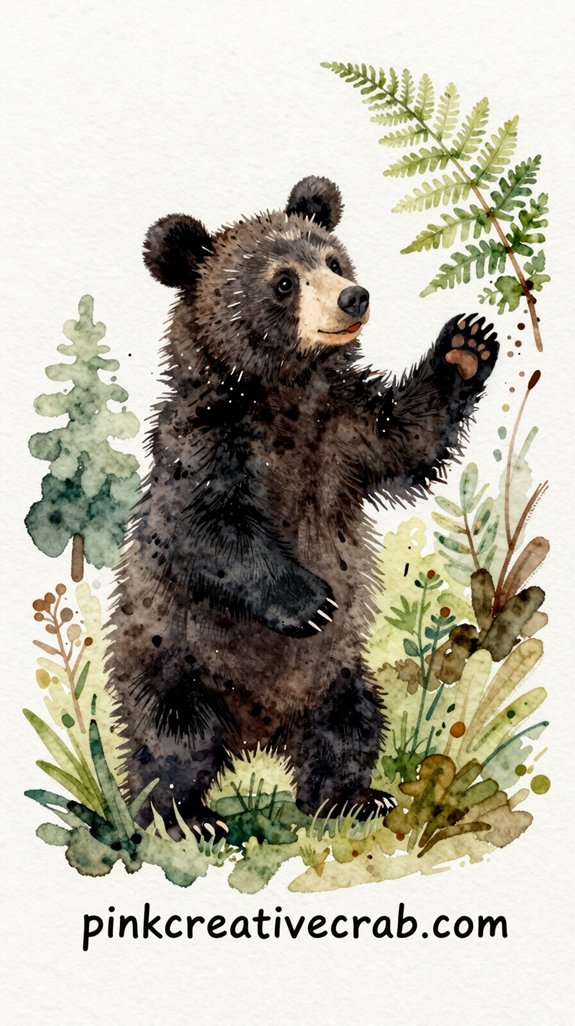
After mastering that polar bear, you’re totally ready to tackle another furry friend that’s basically the complete opposite in the color department! 🎨 Black bear cubs are SUCH a fun challenge because you get to play with rich, dark colors instead of all those tricky white shadows—but here’s the plot twist: you still can’t just slap pure black everywhere and call it a day!
Start with indigo and burnt umber for those gorgeous dark fur tones. Layer Payne’s gray on top while it’s still damp (hello, happy accidents!), then add tiny touches of sepia for warmth. The secret? Leave little white highlights on the nose and eyes—that’s where your cub comes ALIVE! Don’t forget those adorably rounded ears and maybe some wet-nose shine. Pro tip: dilute your darks for the belly fur to show dimension!
Wolves & Wild Canines
We’re moving into WILD CANINE territory now, and honestly, these might be some of our favorite pieces to paint! 🐺 Wolves have this incredible intensity in their eyes, foxes are basically nature’s little tricksters with the fluffiest tails ever, and arctic foxes—oh my goodness—they’re like living clouds with adorable faces.
Let’s capture that wild spirit with three stunning watercolor projects: a dramatic howling wolf silhouetted against the moon, a sly fox nestled in crunchy autumn leaves, and a mesmerizing arctic fox portrait that’ll make everyone say “awww!”
Idea #10: Howling Wolf at Moon
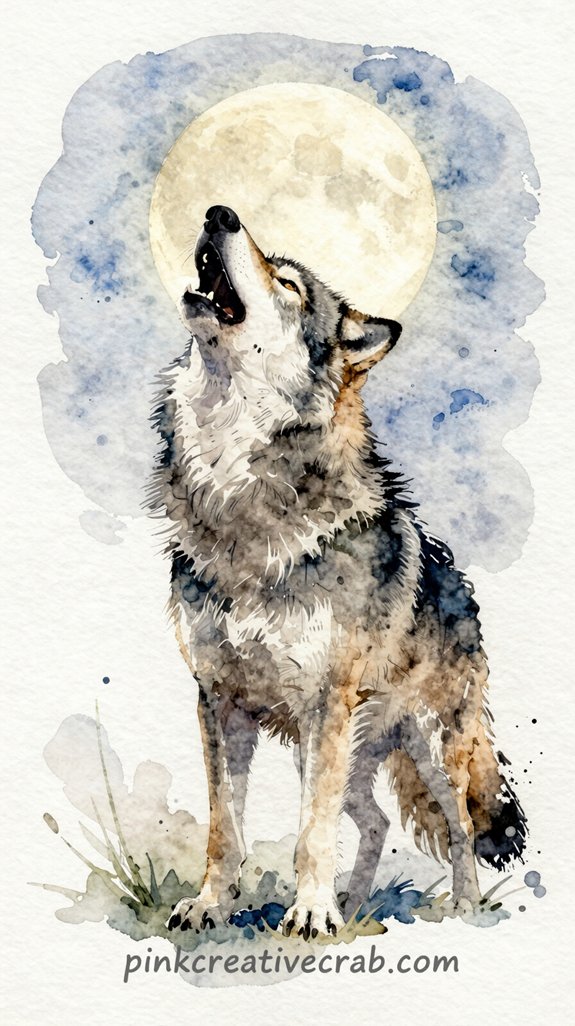
Look up at that glowing moon, because we’re diving into one of THE most iconic wolf scenes you can paint – the classic howling silhouette!
Here’s the trick: paint your moon FIRST with yellows and oranges, let it dry (patience, we know!), then add your wolf as a dark silhouette in the foreground. Use blacks and deep blues for maximum drama! 🌙
Want extra pizzazz? Add some pine trees along the bottom, maybe a few stars scattered around. The contrast between that bright, glowing moon and your dark wolf creates INSTANT impact – even if your wolf looks slightly more like a confused dog (we’ve all been there, friend 😅).
Pro tip: keep your wolf shape simple and bold. This isn’t about perfect details, it’s about that emotional punch!
Idea #11: Fox in Autumn Leaves
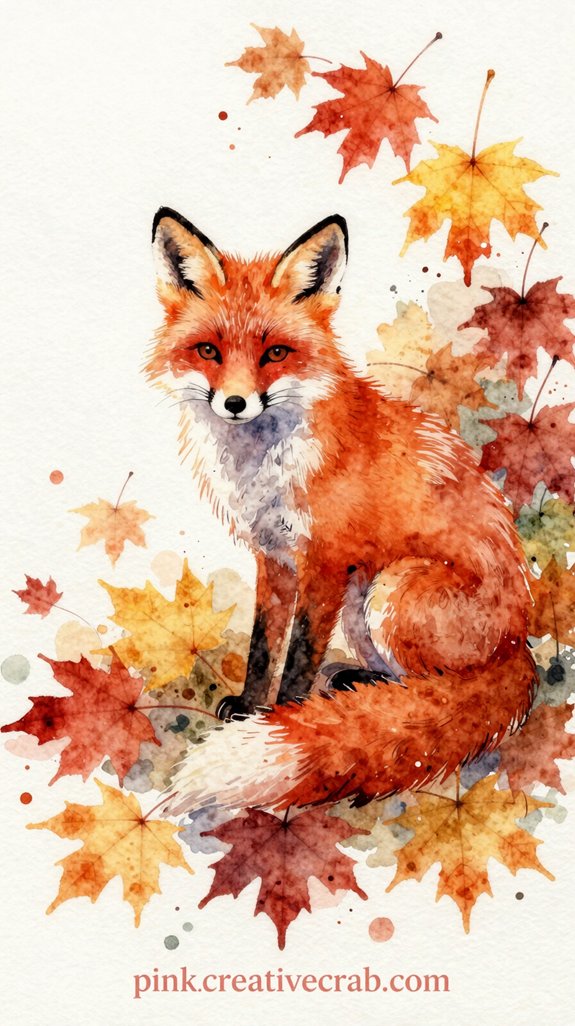
This one’s SO satisfying because you get to go wild with oranges, reds, yellows, and browns – basically every warm color in your palette is invited to this party. 🍂 We LOVE how forgiving this painting is – if your colors bleed together? Perfect! That’s autumn magic happening right there.
Start with your fox’s russet body, then drop in burnt sienna while it’s still wet for instant depth. The leaves are where you get to be absolutely chaotic (in the best way). Layer different warm tones, let them mingle and merge, add some splatters for texture. Don’t overthink the leaf shapes – they’re supposed to look windswept and wild! Add those signature white whiskers at the end, and boom – you’ve got yourself an autumn masterpiece. 🦊
Idea #12: Arctic Fox Portrait
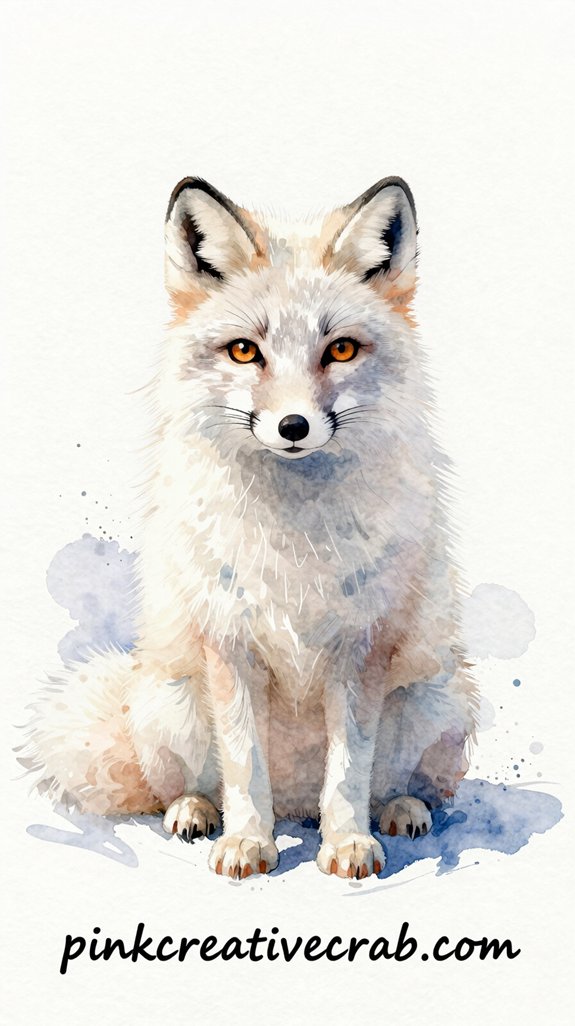
The secret? Embrace those cool blues and grays for shadows—pure white paper rarely works (shocking, right?). We love adding the tiniest hints of lavender and pale blue to show dimension in that thick winter coat.
Those ears are adorably small and rounded, unlike their red fox cousins!
Pro tip: Keep your brushstrokes super soft and fuzzy. Think CLOUD, not sharp edges. And don’t forget those piercing dark eyes—they’re your focal point against all that pale fur.
The minimal color palette actually makes this EASIER for beginners. Less mixing, more magic! ✨
African Safari Animals
Now let’s head to the African savanna, where some of the MOST iconic animals roam free! 🦒 We’re painting three absolute favorites here—a mighty elephant showing off those gorgeous tusks, a giraffe reaching up (because tall is their whole vibe), and zebra stripes so bold and beautiful they practically paint themselves.
These safari stars are super fun to capture in watercolor, and honestly, the loose, flowy nature of our medium makes their wild energy come alive on the page!
Idea #13: Elephant with Tusks
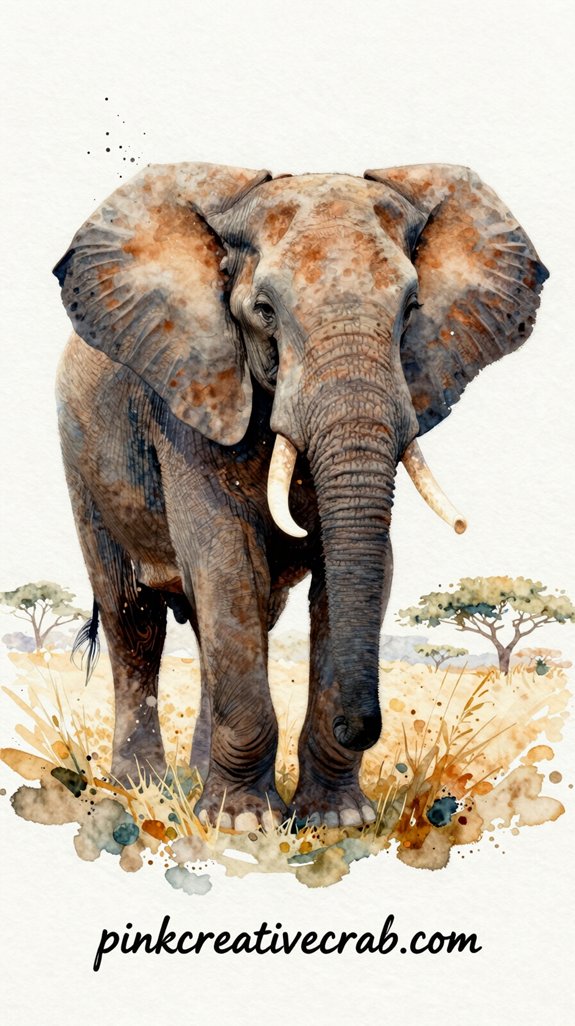
Here’s the trick: use a tiny brush for those amazing eyelashes and wrinkles around the trunk. Don’t stress about perfection—elephants are beautifully imperfect! Add some dusty browns or ochres around the feet for that authentic safari dirt vibe.
Pro move: splatter some watered-down paint in the background for an abstract savanna effect. It’ll look like you totally planned it! 😄
Idea #14: Giraffe Stretching Tall
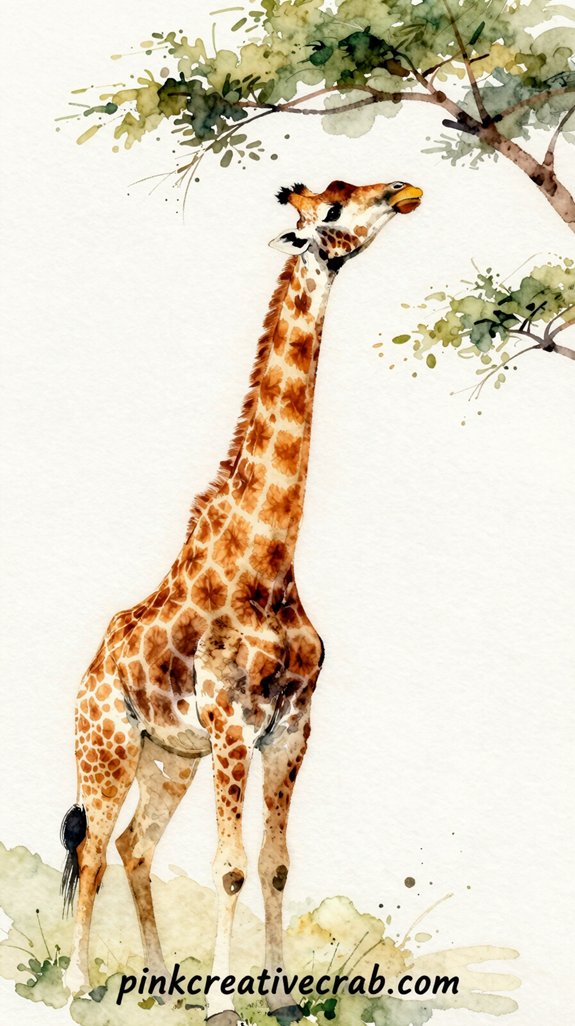
Sticking with our safari theme, let’s talk about painting giraffes—because honestly, what’s NOT to love about an animal that’s basically 60% neck? 🦒 These gentle giants are SO fun to paint because you can go wild with those iconic spots (no two giraffes are exactly alike, which means you literally can’t mess this up).
Start with that looooong neck stretched upward, maybe reaching for some acacia leaves. Use warm yellows and oranges for the base coat, then add those irregular brown patches while everything’s still wet so they bleed together beautifully.
The spots can be wonky, asymmetrical, whatever—nature’s already chaotic here!
Pro tip: Don’t stress about making the proportions perfect. Giraffes are ALREADY weird-looking (in the best way), so embrace the awkwardness. Add some leafy branches above to show what they’re reaching for! 🌿
Idea #15: Zebra Stripes Close-up
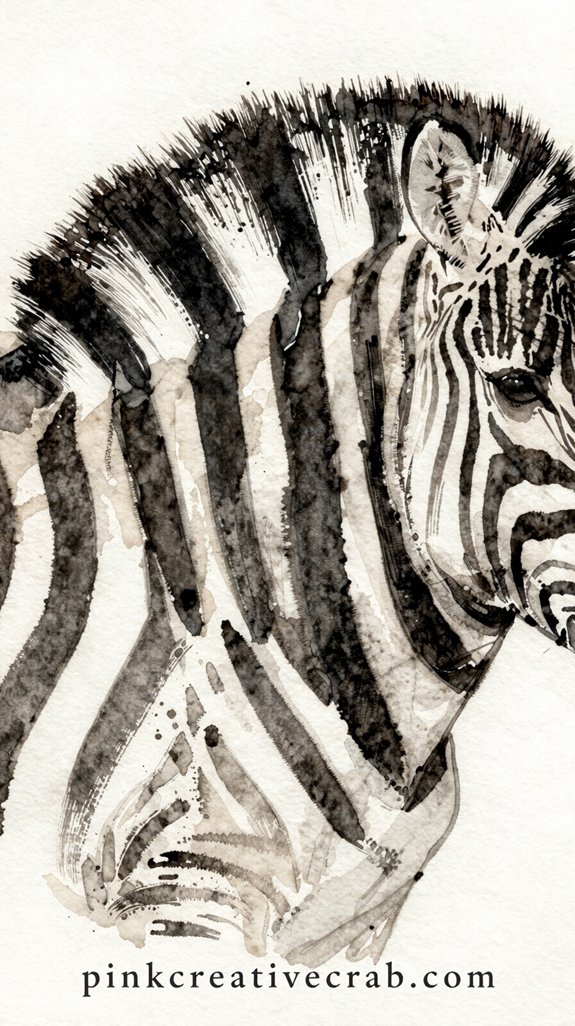
One of the most striking patterns in nature has to be zebra stripes, and painting them up close is like creating edible candy cane chaos on paper! 🦓 Instead of trying to paint the whole zebra (which can feel overwhelming), zoom WAY in on just a section—maybe the shoulder, the flank, or that muscular neck area.
Here’s our favorite trick: paint the white stripes FIRST with clean water, then drop in your blacks and grays while everything’s wet. The colors will bleed and blur at the edges, creating that soft, fuzzy texture where black meets white. SO much better than trying to paint perfect hard lines!
Let some stripes curve, overlap, and get a little wonky. Real zebras aren’t perfectly symmetrical anyway (surprise!), so embrace those happy accidents. 🎨
Bonus Wild Animals
We’ve got THREE more wild animals that didn’t quite fit into our safari collection, but they’re WAY too cool to skip! 🎨 First up is a powerful gorilla chilling in the jungle (those expressive eyes are everything), then we’re painting a majestic rhino portrait that’ll make you fall in love with these prehistoric-looking giants.
Finally—brace yourself—a cheetah RUNNING at full speed. These bonus beauties are some of our favorites, and honestly, they might just steal the show from all the other animals we’ve painted so far!
Idea #16: Gorilla in Jungle
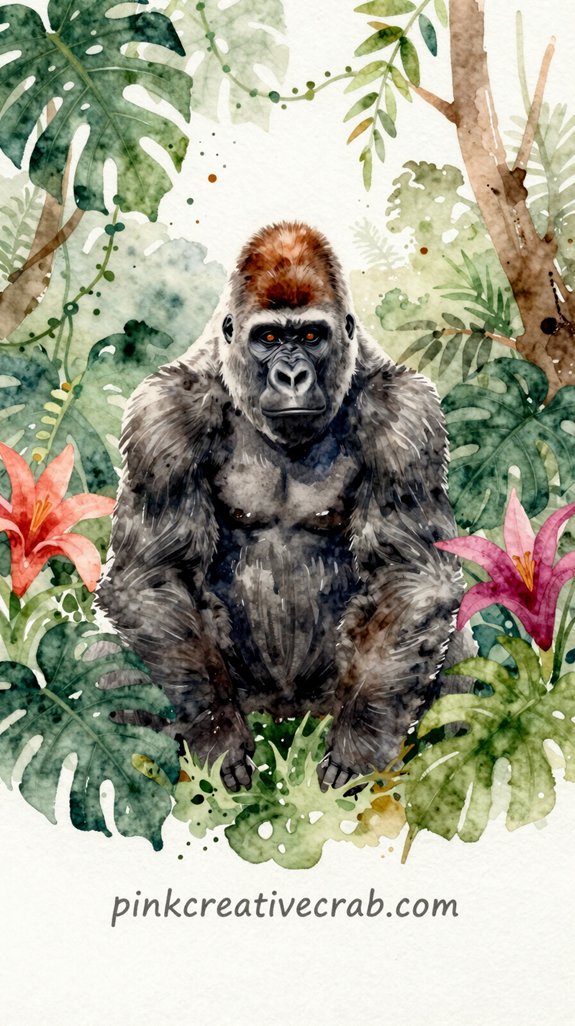
The mighty gorilla deserves a backdrop that’s just as powerful as he is, and nothing screams drama quite like a lush jungle setting! We’re talking deep greens, wild vines, and those GORGEOUS tropical leaves that make everything feel alive. 🌿
Start by painting your gorilla’s muscular frame in rich grays and blacks, then let the jungle explode around him with vibrant emerald and jade tones. Don’t be shy with those colors! Layer different greens to create depth, add some splashy yellows for sunlight peeking through the canopy (because who doesn’t love that dappled light effect?), and throw in hints of tropical flowers for pop.
The contrast between your gorilla’s dark silhouette and the bright jungle? *Chef’s kiss!* It’s absolutely stunning, trust us.
Idea #17: Rhino Portrait
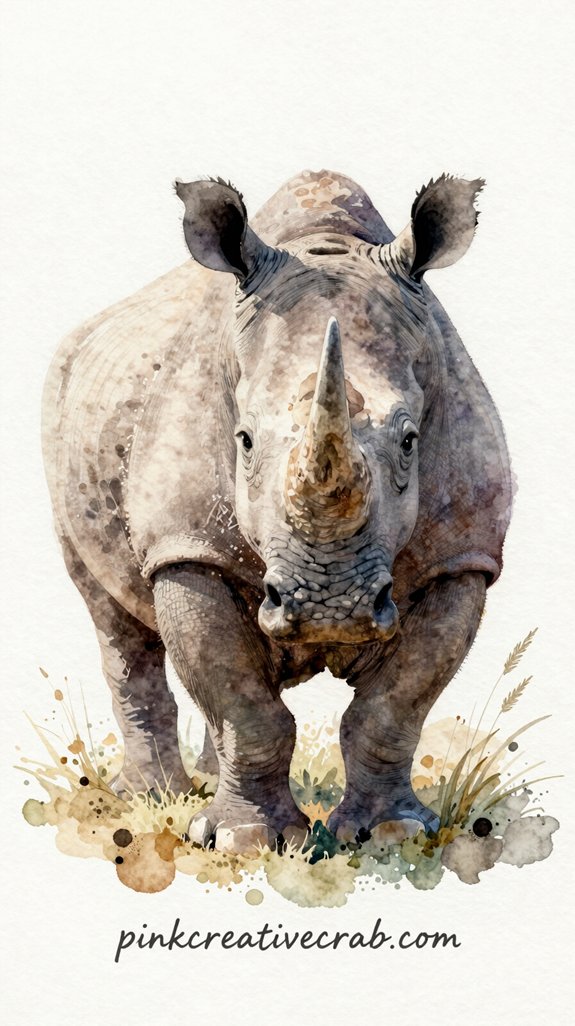
From swinging through jungle branches, let’s charge straight into something equally powerful but WAY more armored—the magnificent rhino! 🦏 Listen, there’s something absolutely incredible about capturing a rhino’s face up close, and we’re talking SERIOUS close-up here.
Those wrinkles? TEXTURE HEAVEN. We love painting each fold and crease with layered grays, letting darker tones settle into the deeper lines. The horn demands attention—use burnt umber at the base, shifting to lighter ochres toward the tip. Here’s our favorite trick: leave tiny white highlights on that leathery skin to show moisture and dimension (because dry, flat rhinos are nobody’s favorite). Don’t stress perfection! Those imperfect edges actually make your rhino feel MORE alive. Quick question—have you tried splattering texture? Game-changer for that rough, prehistoric vibe! 🎨
Idea #18: Cheetah Running
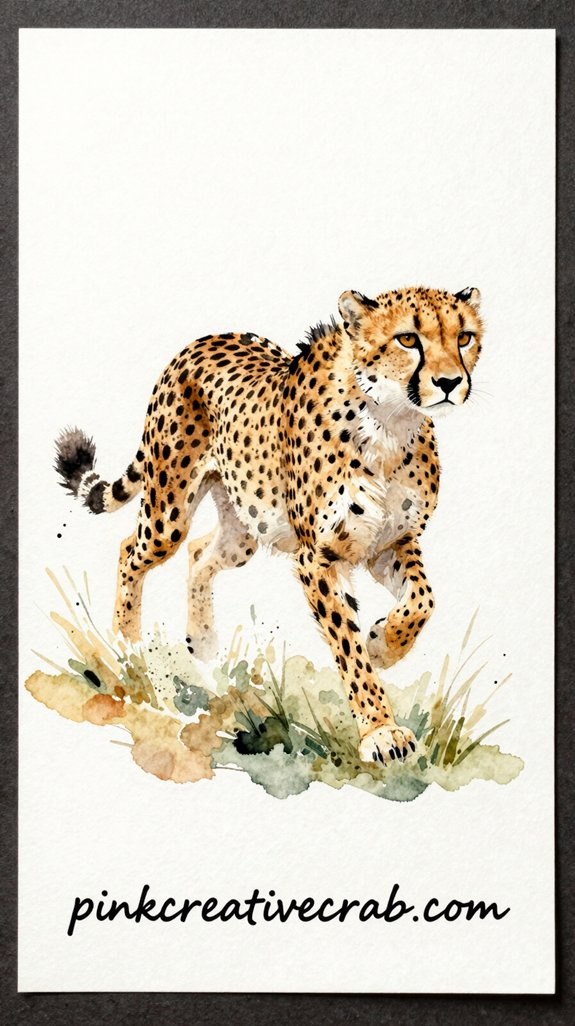
We’re obsessed with the stretched-out body pose, those impossibly long legs fully extended, tail flying behind like a rudder. Start with loose, flowing strokes—nothing stiff here! The spots? Don’t stress about perfection (they’re running too fast to count anyway, ha!). Focus on motion lines, maybe some watercolor splashes trailing behind to show movement.
Pro tip: tilt your cheetah diagonally across the page for maximum drama! Add a blur effect by dragging wet pigment with your brush while it’s still damp. Your cheetah should look like it might leap right off the canvas. Speed = freedom! ⚡
Practice Projects to Try
Now that you’ve got the basic techniques down, it’s time to put brush to paper and create something AMAZING! 🎨 Start with simple subjects that are forgiving and fun—think chunky pandas, round little hedgehogs, or those adorable blobfish that always look slightly disappointed (honestly, same).
Here’s our favorite beginner-friendly lineup:
| Difficulty | Animal | Why It’s Perfect |
|---|---|---|
| Easy | Panda | Round shapes, bold contrast |
| Easy | Hedgehog | Messy spikes = happy accidents! |
| Medium | Red Panda | Cute factor through the ROOF |
| Medium | Sloth | Slow subject, relaxed vibes |
| Advanced | Peacock | Color explosion practice |
Mix techniques you’ve learned—wet-on-wet for soft fur, dry brush for whiskers, salt for texture. Don’t stress perfection! Your first attempts will teach you MORE than any tutorial ever could.
Conclusion
We’ve walked through the jungle together, learned the secret languages of fur and whiskers, and now YOU are the wild animal whisperer! 🎨 Each brushstroke is like releasing these magnificent creatures back into the world—your world. So grab those paints, make some happy accidents (they’re the BEST teachers!), and let your inner wildlife roar. The savanna awaits, friend, and honestly? It’s gonna be AMAZING! ✨
Have any thoughts?
Share your reaction or leave a quick response — we’d love to hear what you think!
-
 0
0
-
0
-
0
-
0
-
0
-
0


