

A rainbow drawing is one of those projects that turns a quiet kitchen table into an art studio in about two minutes, and it never asks for anything fussy to get started. Grab a fineliner, a handful of markers and whoever is nearby, because every idea below is small enough to color in one sitting and happy enough to land straight on the fridge.
You will find 27 little scenes here, each one a rainbow doing something cheerful with a friend: a bunny on a slide, a cat on a bridge, a duck in a raincoat. Every idea comes with a simple version for little hands and one extra touch a grown-up can add, so you can sit down together and both walk away with a finished picture.
Using these images: free for personal projects such as printing, coloring, cards, journals and gifts. Handmade items that include them may be sold up to 30 pieces per design. More than that is commercial use and is not permitted, and neither is selling or sharing the images themselves or passing them off as your own. Please ask before any other use.
Start with the cottage, because everything else in this scene hangs off it. Draw a simple square with a triangle roof, one round door, two small windows, and let a child keep the walls as plain rectangles while an adult adds a chimney or a flower box under the window.
Once the cottage outline is inked, arc the rainbow bands behind the roof with the fineliner, starting from one edge of the page and ending at the other so it looks like it rises from behind the hill. Color the cottage first in warm tones, then layer the rainbow bands from red to violet, blending each stripe into its neighbor while the marker is still wet so the colors do not sit in hard lines.
If the bands come out uneven, do not panic: a slightly wobbly rainbow still reads as cheerful, especially once the grass and sky are filled in around it. Swap markers for colored pencils if that is what is on hand, pressing a little harder for the rainbow than the house so it stays the star of the picture.
Keep the rainbow bands wide and few rather than thin and many, that is what keeps this easy for small hands today.
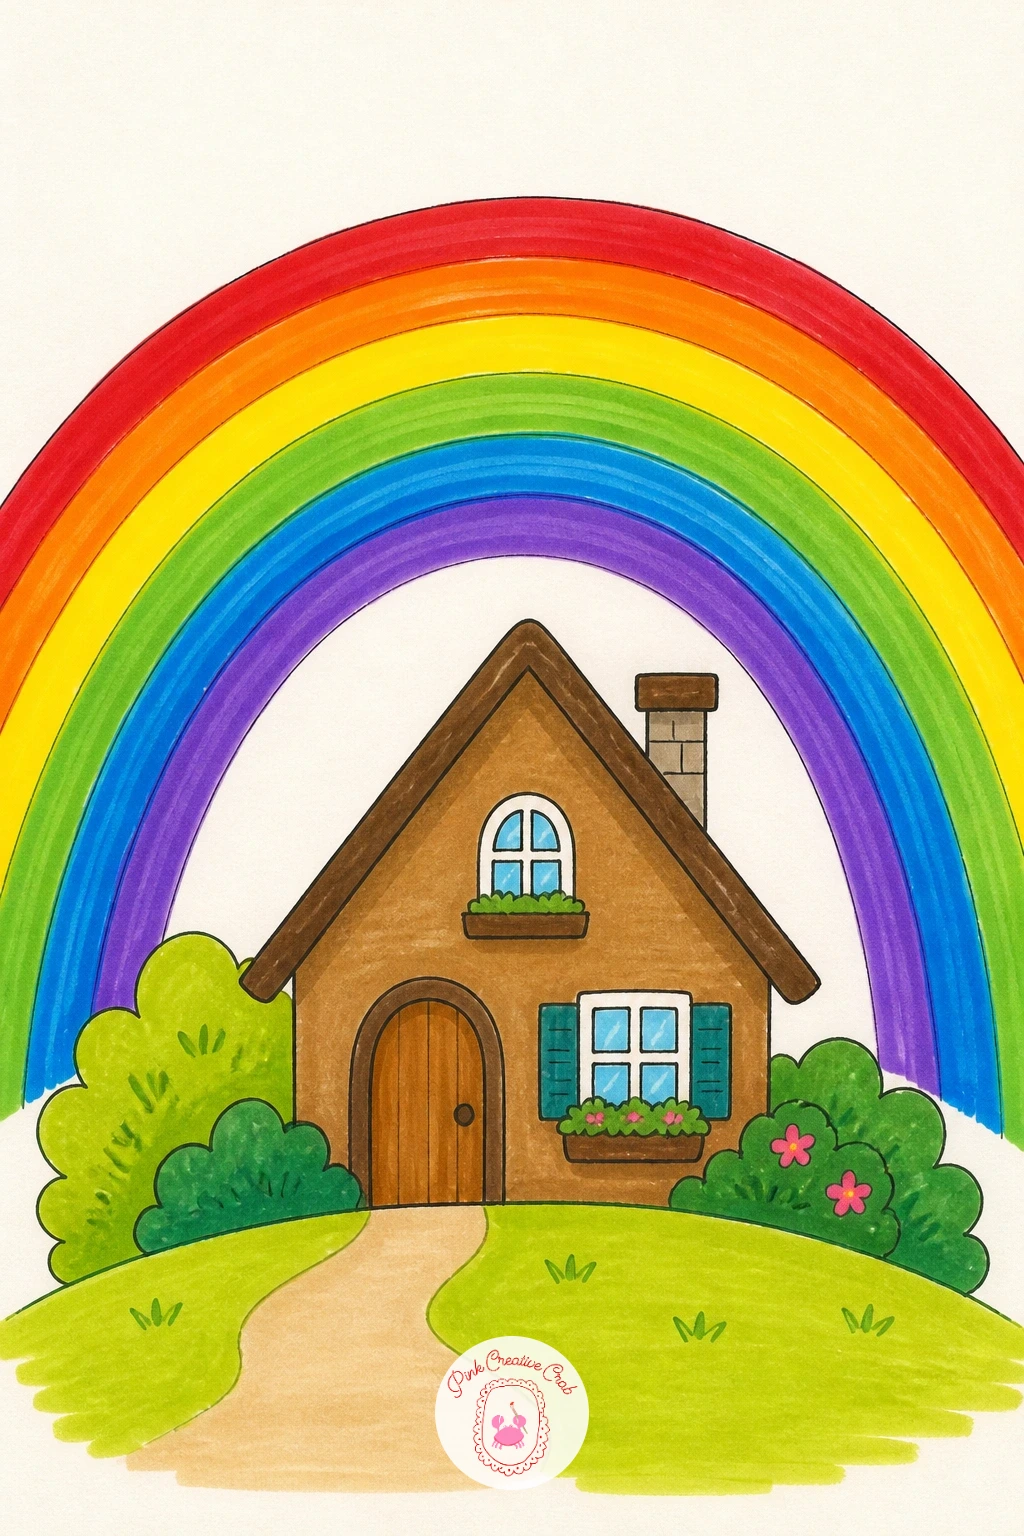
Palette: Poppy Red,Sunflower Yellow,Sky Blue,Cottage Brown
Picture the rainbow as a playground slide this time, curving down from a small cloud at the top to the ground on the right. Draw the cloud first as a soft bumpy shape, then let the rainbow bands flow out from underneath it in a gentle downward curve, ending in a little flat landing spot.
Place the bunny near the top for a child’s simple version: a round head, two long ears, oval body, and tiny paws gripping the slide edge. An adult can add motion lines trailing behind the bunny and a little puff of dust where the paws meet the ground to suggest speed.
Keep the eye level low, looking up slightly at the cloud, since that is what makes the slide feel tall and exciting rather than flat. Color the bunny white or soft grey last, after the rainbow bands are blended, so marker bleed from the stripes does not muddy the fur.
If markers run low on one color, finish that single stripe in colored pencil and nobody will notice once the page is full.
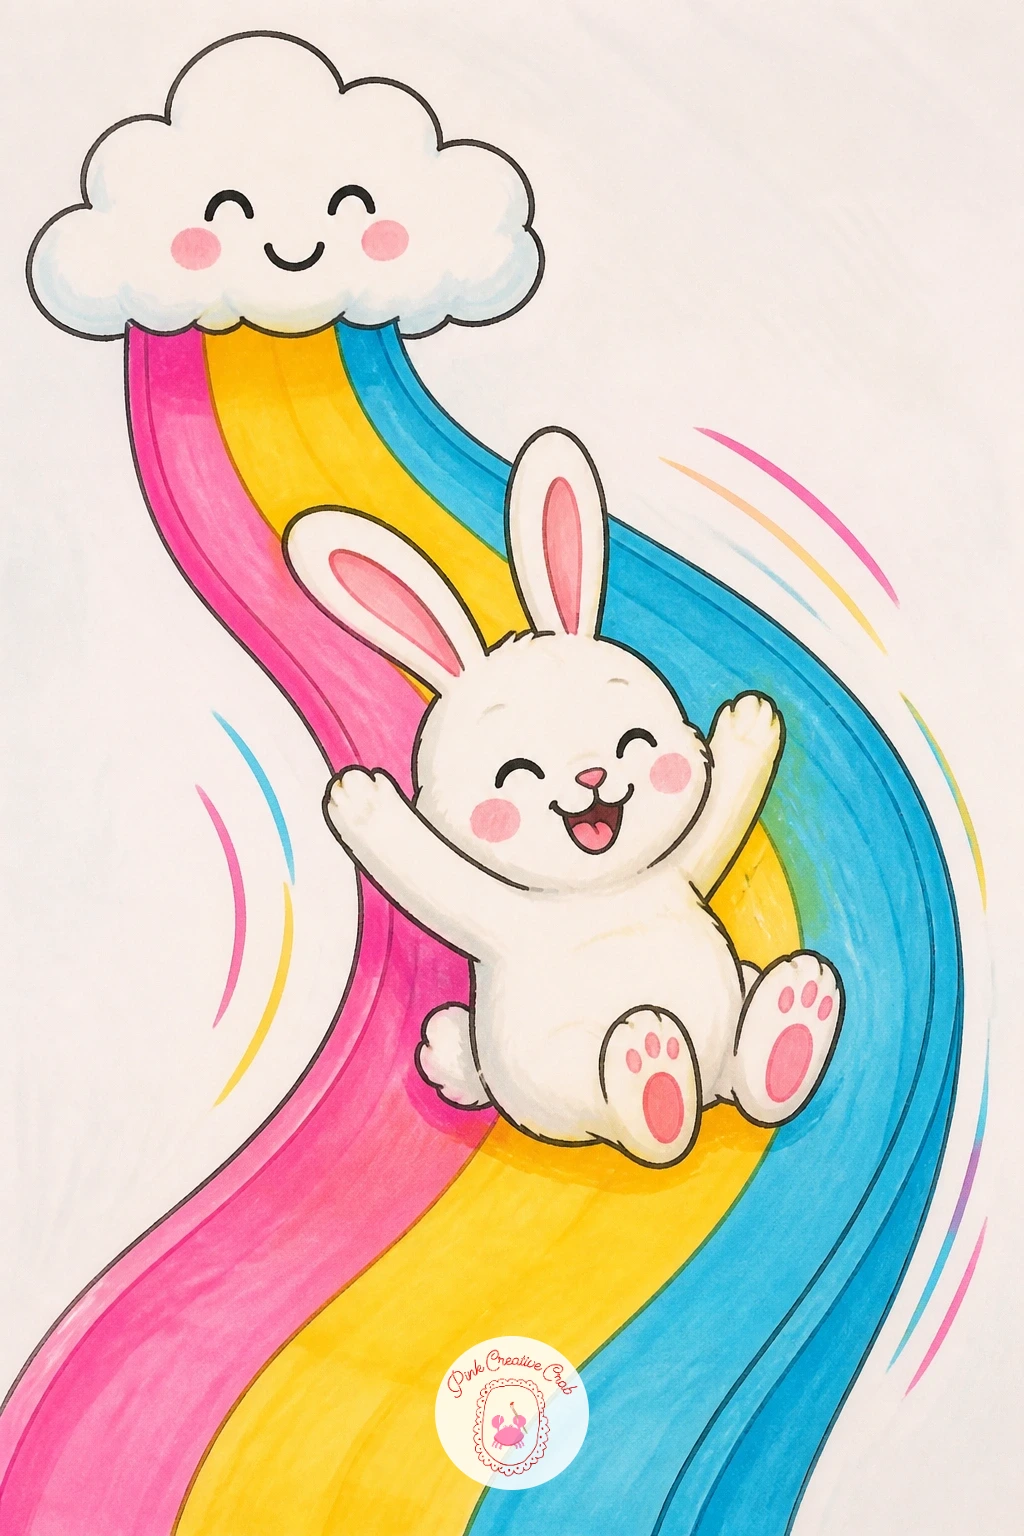
Palette: Bubblegum Pink,Lemon Yellow,Grass Green,Cloud Grey
Try the slide from a side view too: a cloud on the left, rainbow curving down to the right, bunny mid-slide with ears flying up.
Give the cat a steady path to walk on by drawing the rainbow as a gentle arch, thicker and flatter than a sky rainbow so it reads clearly as a bridge. Sketch the bands first in pencil if that helps keep them even, then ink over the top once the curve looks right.
For the cat, a simple sitting-walking pose works best for a first try: oval body, round head, triangle ears, one paw lifted mid-step. A more confident artist can add a curled tail swishing up behind the cat and a few whisker lines for character.
Compare the cat’s body length to one rainbow band’s width before inking, that one proportion check keeps the cat from towering over the bridge or disappearing into it. Color the bridge first in smooth marker blends, then the cat in flat color with a darker outline on the paws and ears for depth.
Leave small white gaps between the cat’s fur and the rainbow bands so the two shapes stay separate and easy to read.
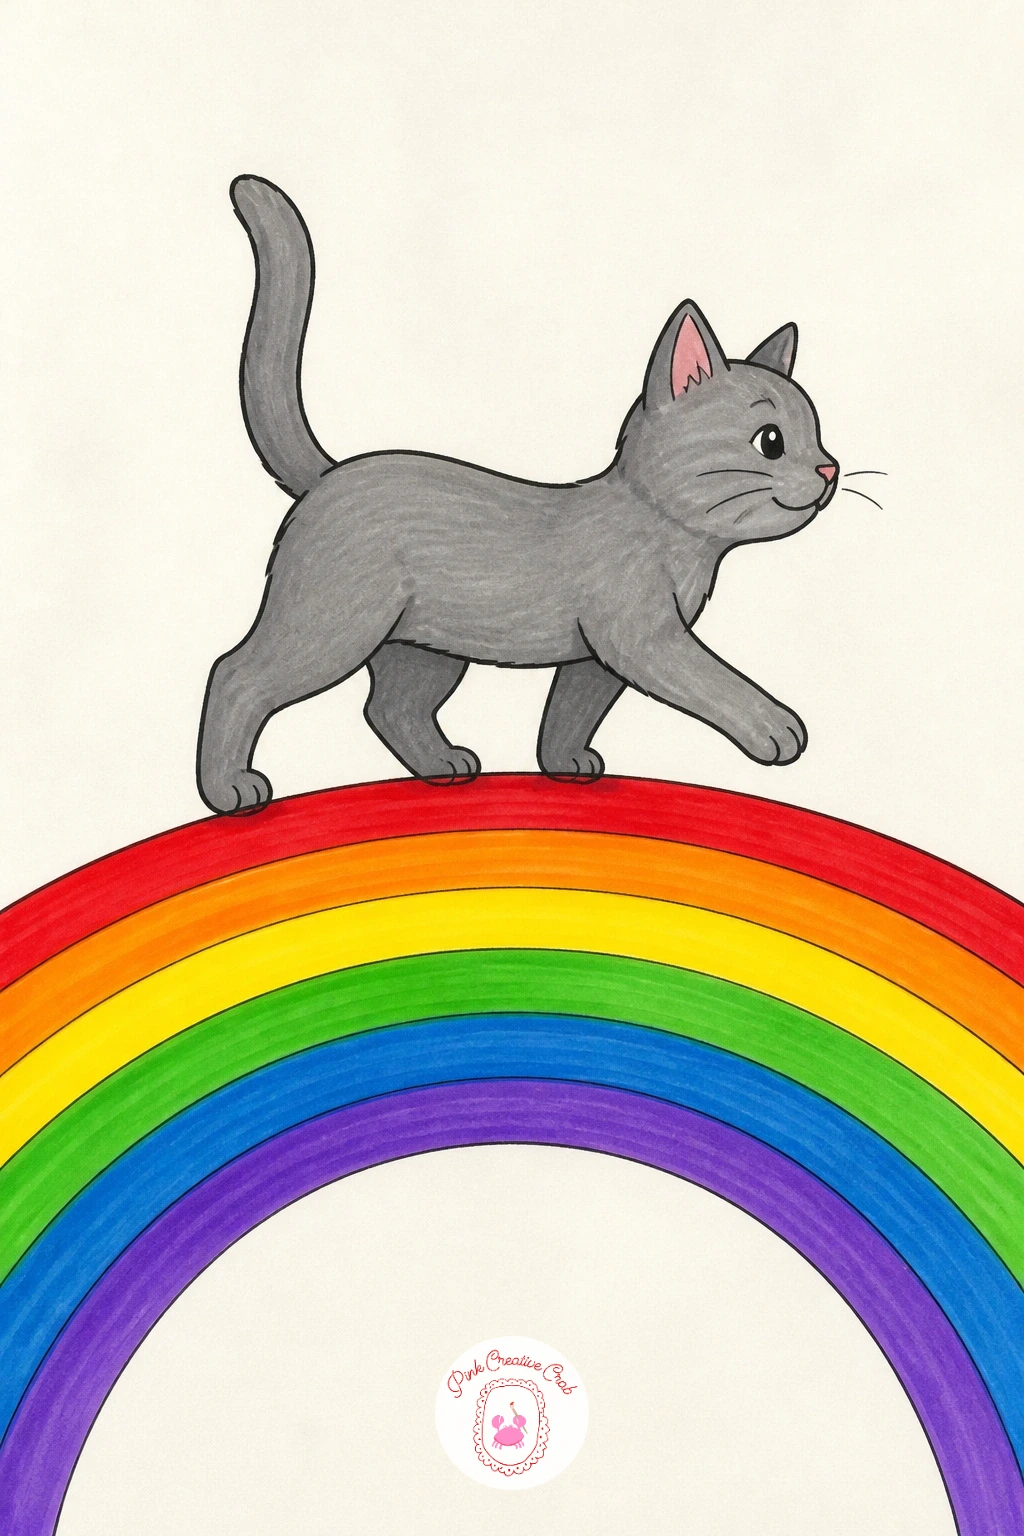
Palette: Tangerine Orange,Turquoise,Violet,Soft Grey
This one turns the cloud itself into the main character, so draw it big and soft first, filling most of the upper half of the page with bumpy rounded edges. Add two simple dot eyes and a curved smile before anything else, since the face decides how friendly the whole picture feels.
Give the cloud two small stick arms reaching down to hold the ends of the rainbow like a jump rope, with the rainbow bands drooping slightly in the middle under its own weight. A child can keep the arms as simple lines, while an adult might round them into soft sleeve shapes for extra charm.
Light the cloud from above with a touch of pale blue shading on its lower curves, that single light source is what keeps a white cloud from looking flat on the page. Blend the rainbow bands where they meet the cloud’s hands so the colors look held rather than pasted on.
Keep the smile simple and the eyes wide apart, that is the fastest way to make any shape look happy.
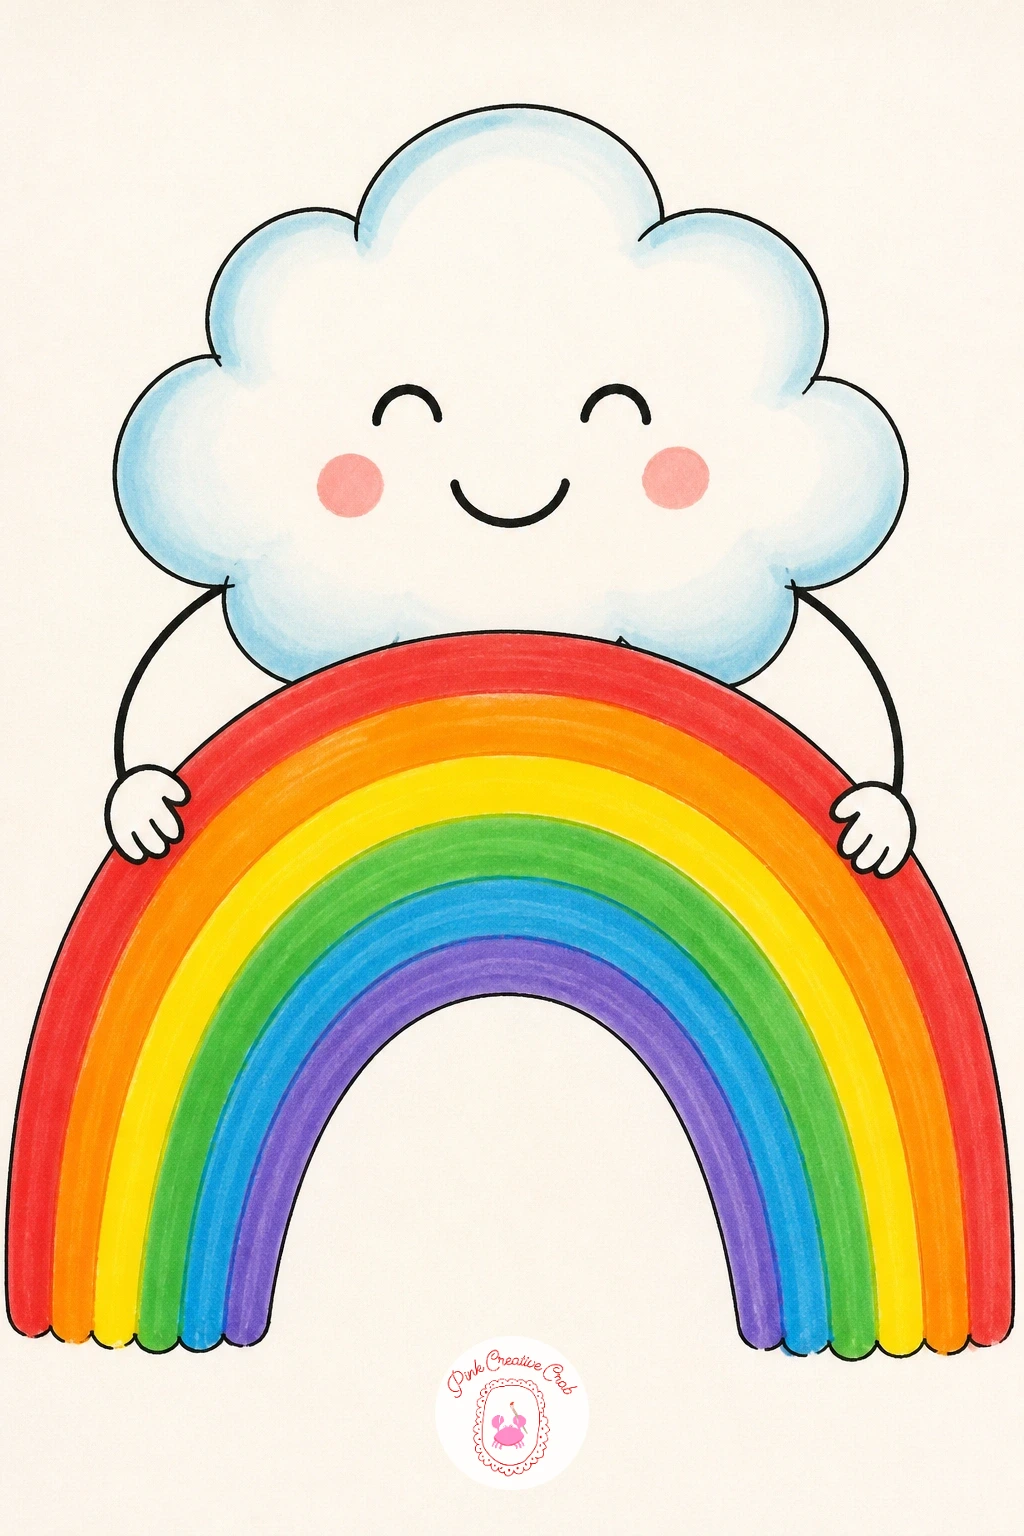
Palette: Cloud White,Pale Blue,Coral Pink,Mint Green
Treat the jar like a simple container drawing before any color goes near it: two vertical lines, a curved base, a slightly wider lip at top, and a lid if there is one. Keep the glass outline light so the rainbow bands inside show through as the main attraction.
Draw the rainbow bands stacked flat inside the jar like layers of liquid, rounding off the top band to follow the curve of the glass. A child can keep four or five thick stripes, while an adult might add a thin wavy line along each stripe edge to suggest liquid shimmer.
Use a toothbrush flick of white paint or a few dots from a white gel pen above the jar for little sparkle marks, that quick texture trick makes the jar look magical rather than just colored in. If gel pen is not available, a handful of tiny white circles left unfilled by marker does the same job.
Leave a thin white highlight stripe down one side of the jar before coloring, it reads instantly as glass once the rainbow is in.
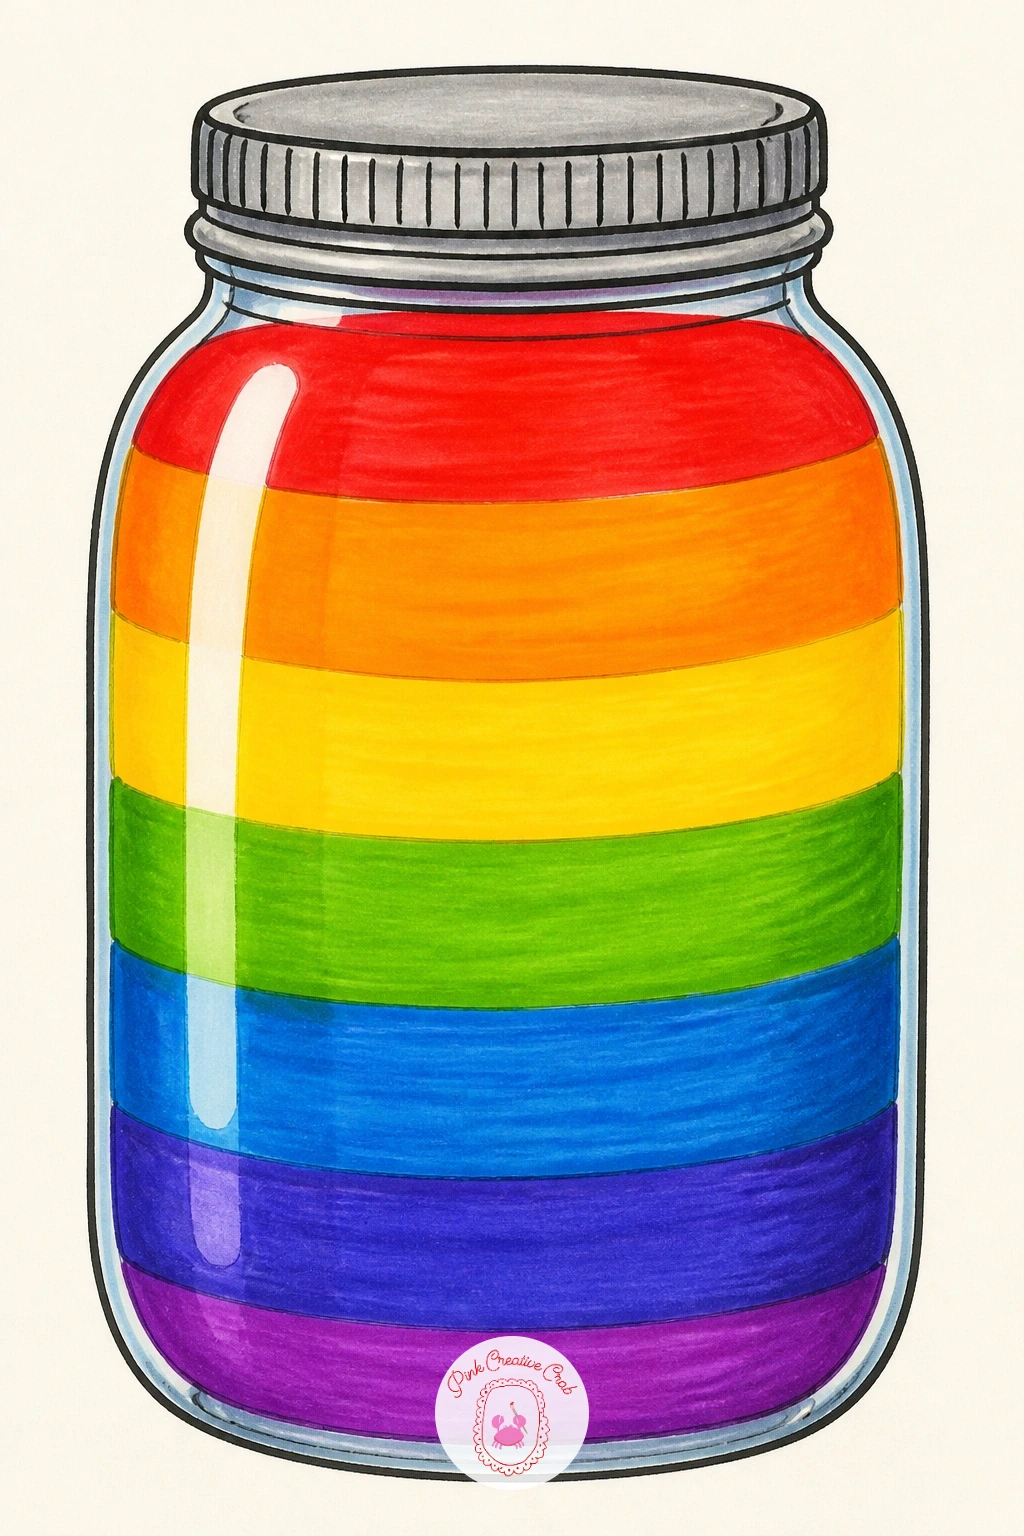
You Will Need
- white gel pen
Palette: Ruby Red,Golden Yellow,Sky Blue,Indigo
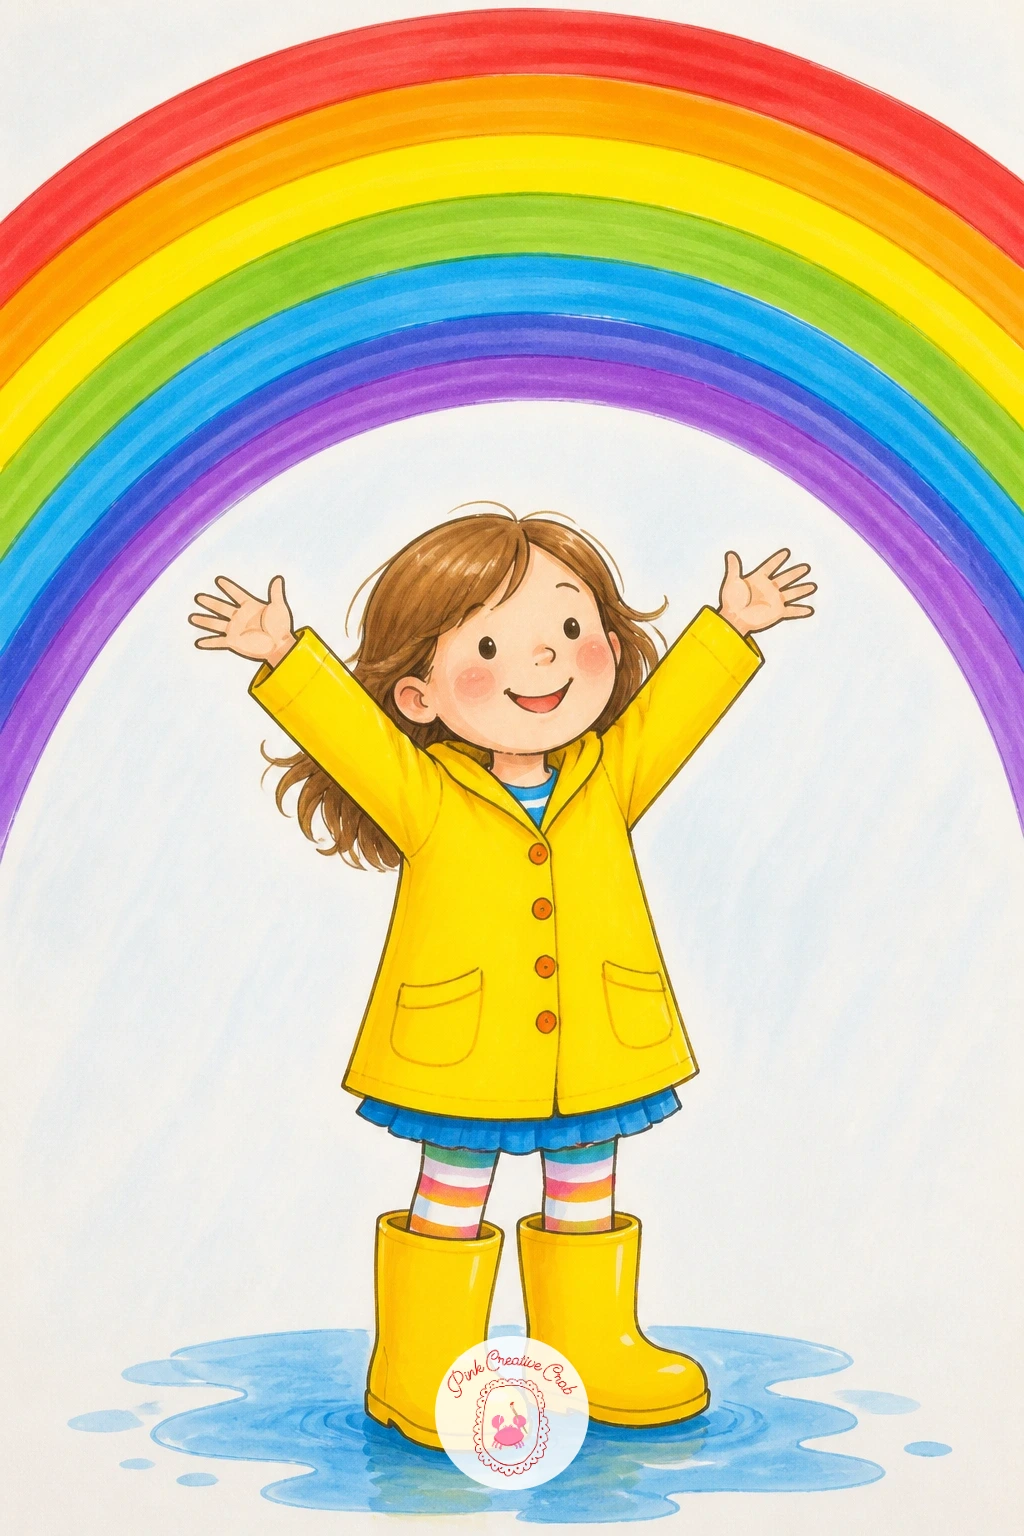
Build the girl from simple shapes first: an oval head, a triangle dress or coat, two straight legs ending in chunky yellow boots that take up more space than seems natural, because oversized boots are what make this drawing read as playful.
Draw the rainbow arching over her head after the figure is set, matching its width roughly to her outstretched arms if she has them raised, which keeps the proportions feeling balanced rather than random. A beginner can keep her standing still looking up, while a more confident artist can give her one leg mid-splash in a puddle.
Color the boots first in solid bright yellow since they anchor the whole picture, then move up through the coat and finally the rainbow, so nothing drips onto a finished area. If yellow runs out, any bold solid color on the boots still does the job as long as it contrasts with the rest of her outfit.
This girl pencil drawing approach to building a figure from simple shapes works well here too if the pose needs more confidence.
Palette: Boot Yellow,Raincoat Red,Puddle Blue,Grass Green
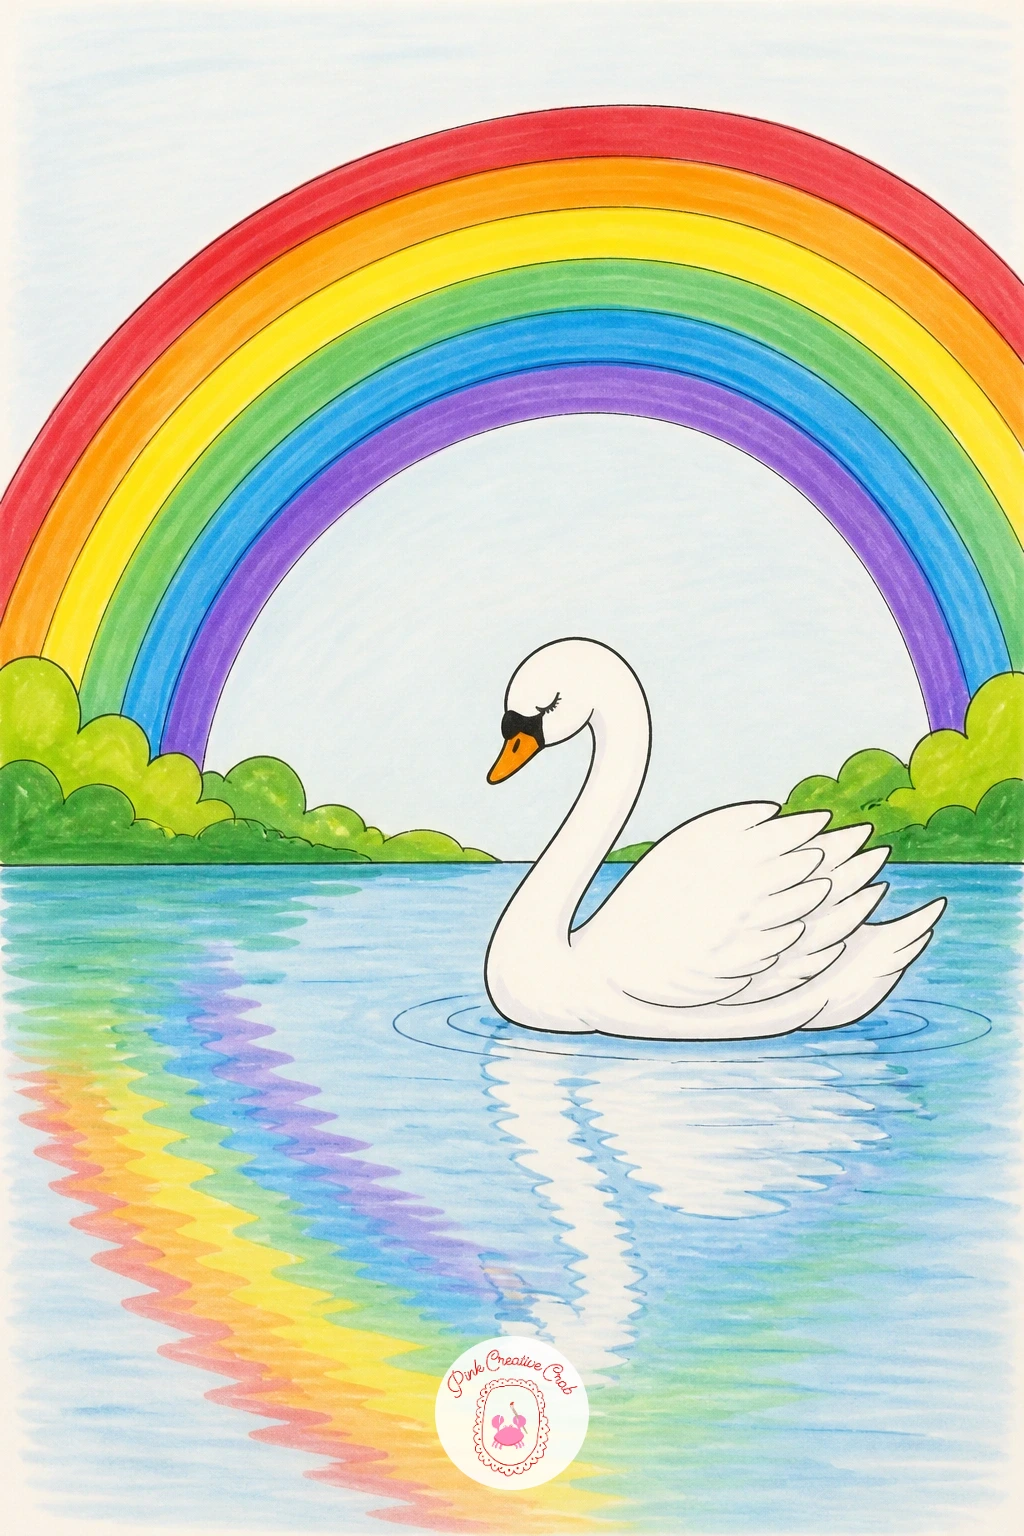
Lay the lake down first as a simple horizontal band across the lower third of the page, since everything else sits on top of this flat line of water. Draw the swan as an S-curve neck rising from a smooth oval body, which is the one shape that makes a swan instantly recognizable.
Place the rainbow arcing from one side of the lake to the other, then add its mirror image in paler, slightly wavy colors reflected in the water below. That reflection trick, lighter and looser than the original, is what turns a plain rainbow into a believable lake scene.
Keep the swan pure white with a simple orange beak and let the water ripples stay as a few curved lines rather than a busy pattern underneath it. If blending markers feels tricky on water, colored pencil in soft circular strokes gives a similar calm ripple effect.
Add one or two small ripple lines right where the swan’s body meets the water, that single detail keeps it from looking like it is floating above the lake instead of on it.
Palette: Lake Blue,Swan White,Soft Violet,Reed Green
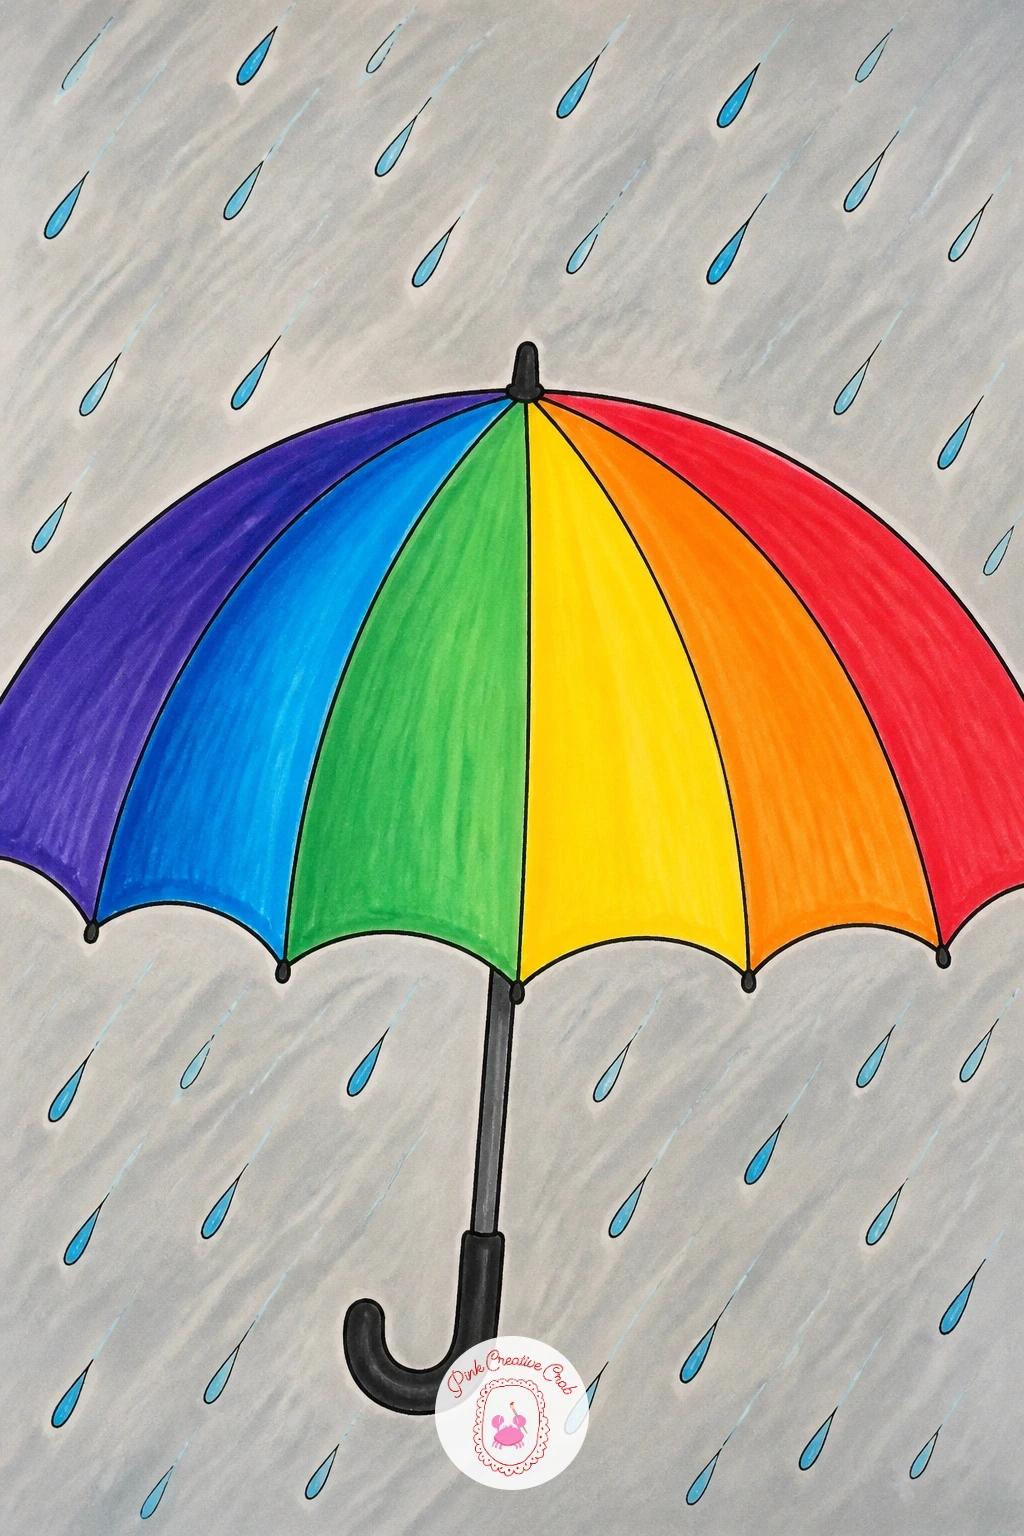
Draw the umbrella dome first as a simple half circle divided into six or seven wedge sections, each one colored a different rainbow shade so the umbrella itself becomes the rainbow rather than something painted in the sky. Keep the handle as one curved line underneath.
Add straight diagonal raindrops falling all around the umbrella, spaced evenly so the page does not feel cluttered, and let a couple of drops bounce off the umbrella’s edge as tiny curved splash marks. An adult might add a small puddle below with a few ripple rings for extra polish.
Light the scene from one side so one half of the umbrella looks slightly brighter than the other, that small shift in tone keeps a flat rainbow dome from looking like a painted pie chart. A grey or cool blue wash behind everything sets the rainy mood fast.
If the color wedges blend into each other by accident, outline each one again in fine black pen once dry, it sharpens the whole umbrella instantly.
Palette: Rain Grey,Umbrella Red,Umbrella Orange,Umbrella Blue
Build the cake as a stack of simple flattened ovals, each one a different rainbow color, narrowing very slightly toward the top so the whole stack reads as a cake rather than a tower of pancakes. Six layers is plenty for a confident drawing, four works fine for a quick one.
Finish the top with a swirl of white frosting drawn as a simple zigzag or cloud shape, then add one cherry or candle for a focal point. A child can stop there, while an adult might add a drip of frosting running down one side of the top layer for a bakery look.
Work the layers in ten minutes for a quick sketch with flat color in each band, or spend closer to forty minutes adding a thin dark line under each layer to suggest where one slice meets the next, which gives real depth to the stack. Either version finishes in one sitting.
If the cake leans to one side once colored, a thick plate drawn underneath it visually straightens the whole thing out.
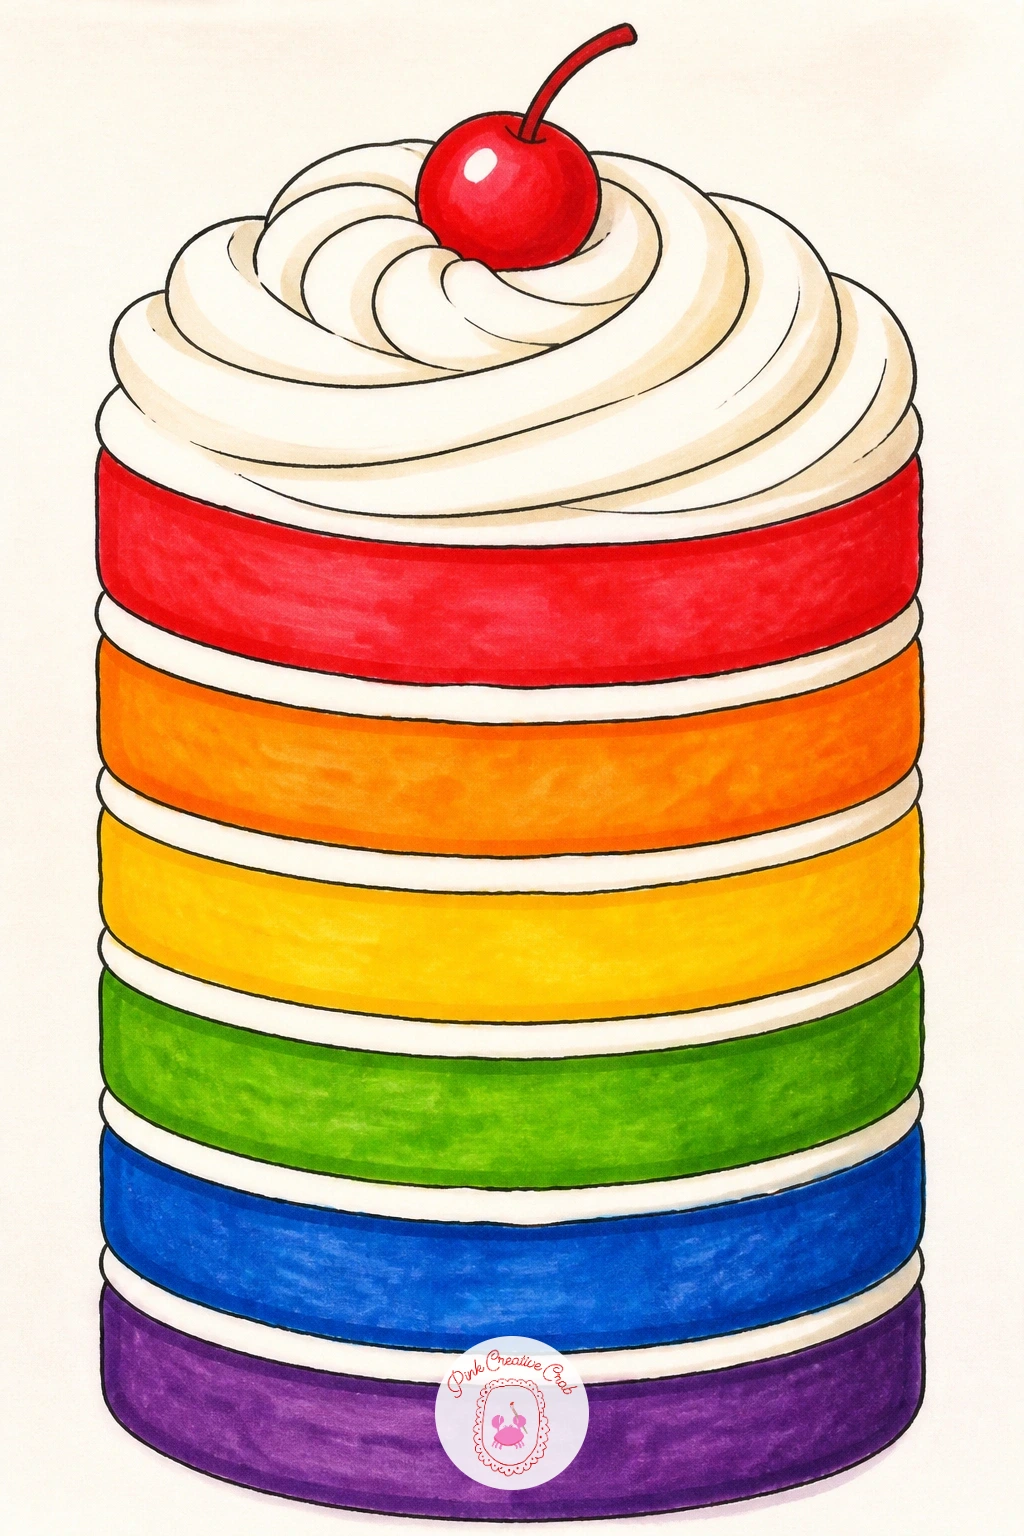
Palette: Strawberry Pink,Lemon Yellow,Mint Green,Frosting White
Sketch the kite shape first as a simple diamond, then divide it into rainbow colored triangles meeting at the center so the kite itself carries all the stripes rather than a sky arc. A long curling tail with a few small bow shapes trails off the bottom point.
Draw the string as one long curved line running down to a small hand or just off the edge of the page, letting the curve bow slightly in the wind rather than running perfectly straight. That one small curve does more to suggest motion than any amount of extra detail.
Color each kite triangle as a flat block first, then add the tail bows last in alternating colors so the whole thing feels tied together as one object. If the diamond shape comes out lopsided, a ruler for just the two straight cross-struts keeps the rest of the freehand drawing looking intentional.
Fly it against a plain pale sky, a busy background behind a kite this colorful fights for attention it does not need.
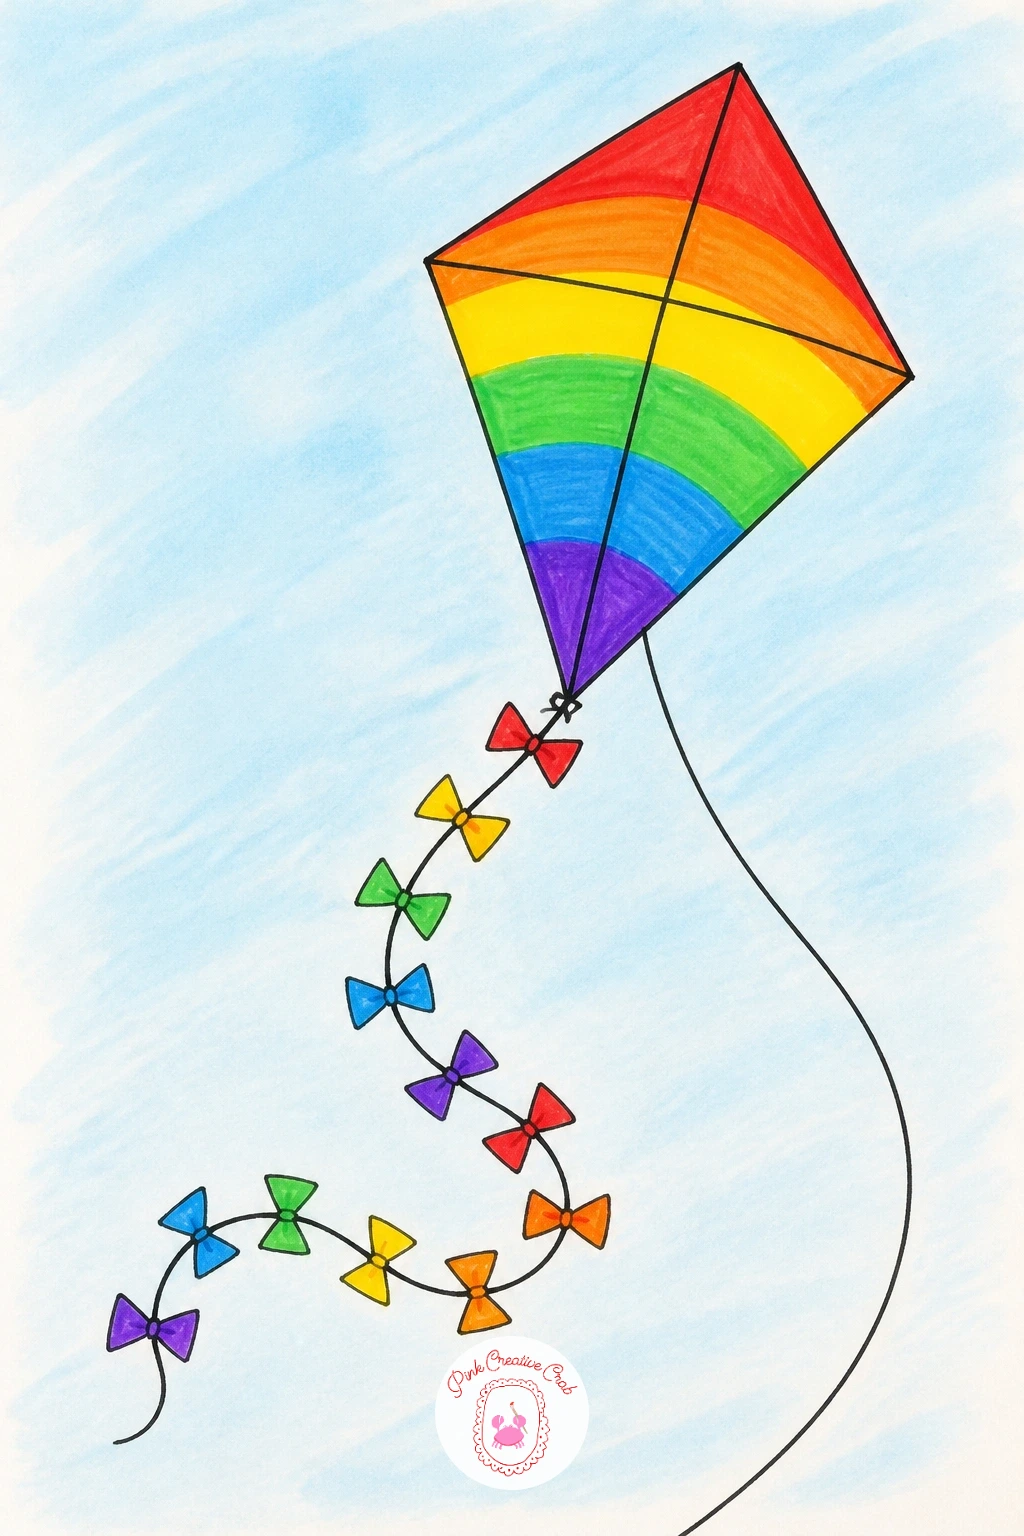
Palette: Kite Red,Kite Yellow,Kite Blue,Kite Purple
Draw the teacup first as a simple rounded cup on a small saucer, keeping the handle as one easy curved loop since fussing over it too long slows down the fun part. A steady hand can add a thin painted stripe or a few dots around the cup rim for a china pattern.
From the cup’s rim, let the rainbow bands flow upward and outward like steam or a fountain, curving gently to one side rather than standing straight up, which makes the pour feel alive instead of stiff. Thicker bands near the cup and thinner ones as they rise upward help sell the pouring motion.
Blend each rainbow band at the point it leaves the cup so there is no hard line between cup and color, that single blending step is what makes the rainbow look poured rather than stuck on. Colored pencil works as a softer alternative if marker blending feels tricky on a small area.
Keep the saucer and table surface plain and pale so the rainbow pour stays the brightest thing on the page.
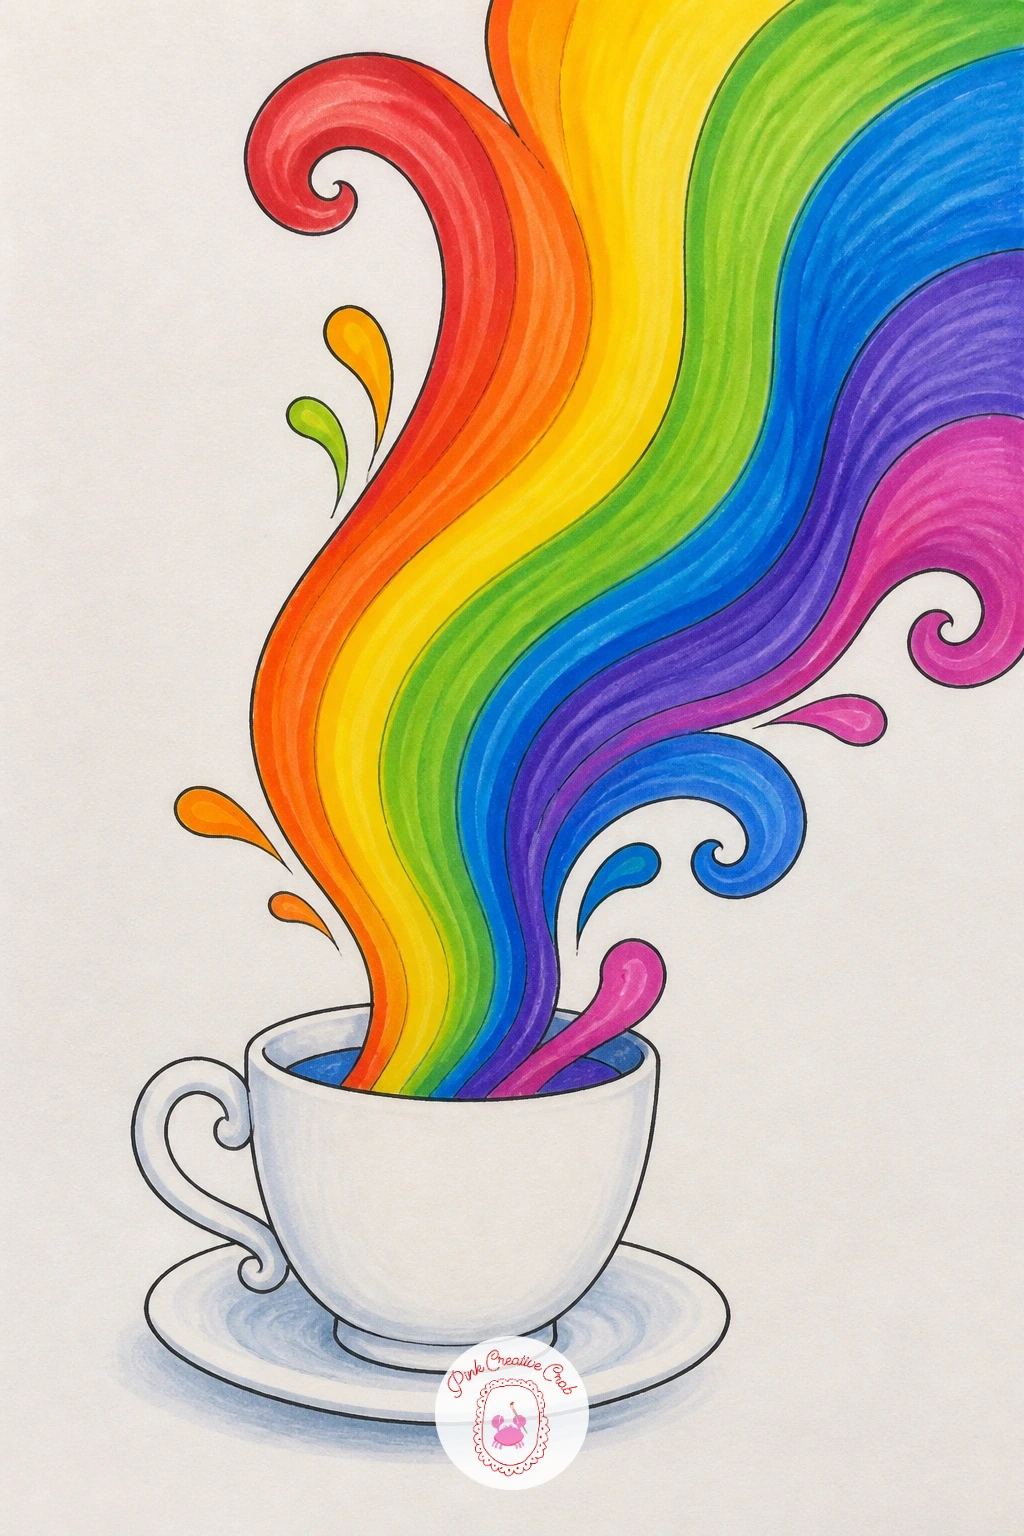
Palette: Teacup White,Rose Pink,Sunshine Yellow,Sky Blue
Start the unicorn with a simple arched body mid-leap, front legs reaching forward and back legs trailing behind, since that single curved spine is what gives the jump its energy. Keep the head small with one spiral horn and a flowing mane drawn as a few wavy ribbon shapes rather than many thin lines.
Place the rainbow arc underneath the unicorn’s leap like a jump rope being cleared, matching the height of the arc roughly to the unicorn’s own body length so the jump looks achievable rather than impossibly huge. A child can keep the mane as solid pink, while an adult might blend two or three mane colors together for a candy effect.
Color the unicorn’s body in a soft flat white or cream first, then work the mane and tail in bright blended color last so nothing bleeds onto the clean body. If the legs look stiff, a slight bend at each knee joint fixes it instantly.
A sparkle or two near the horn, left white and uncoloured, finishes the magic without any extra drawing.
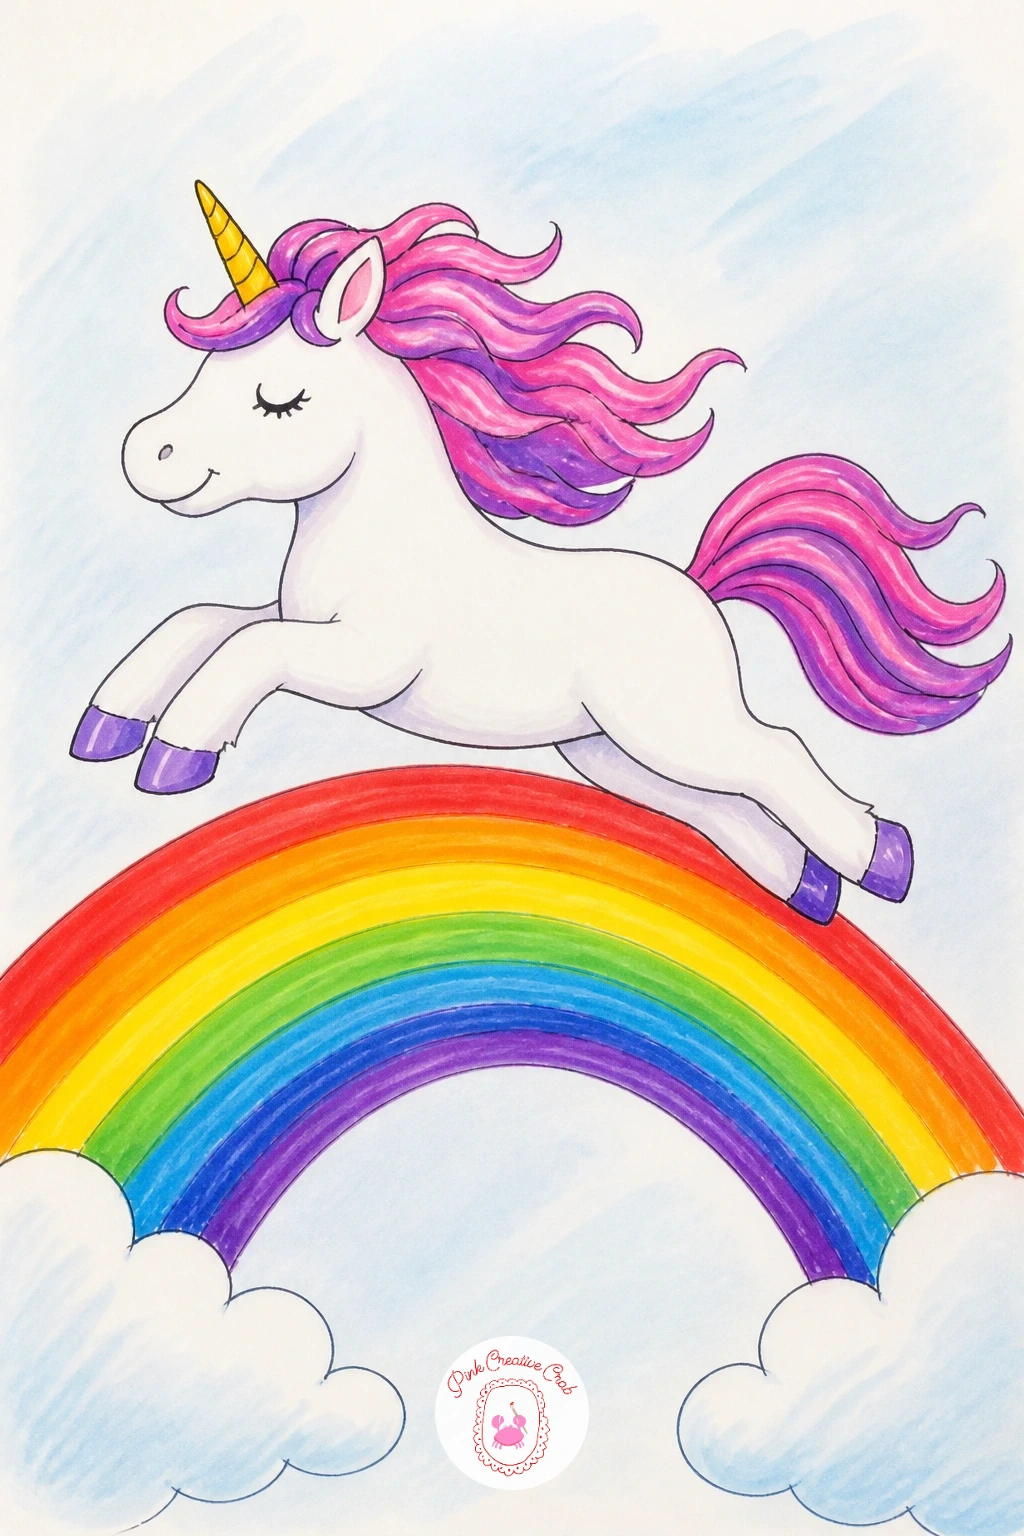
Palette: Cream White,Candy Pink,Lilac Purple,Mint Green
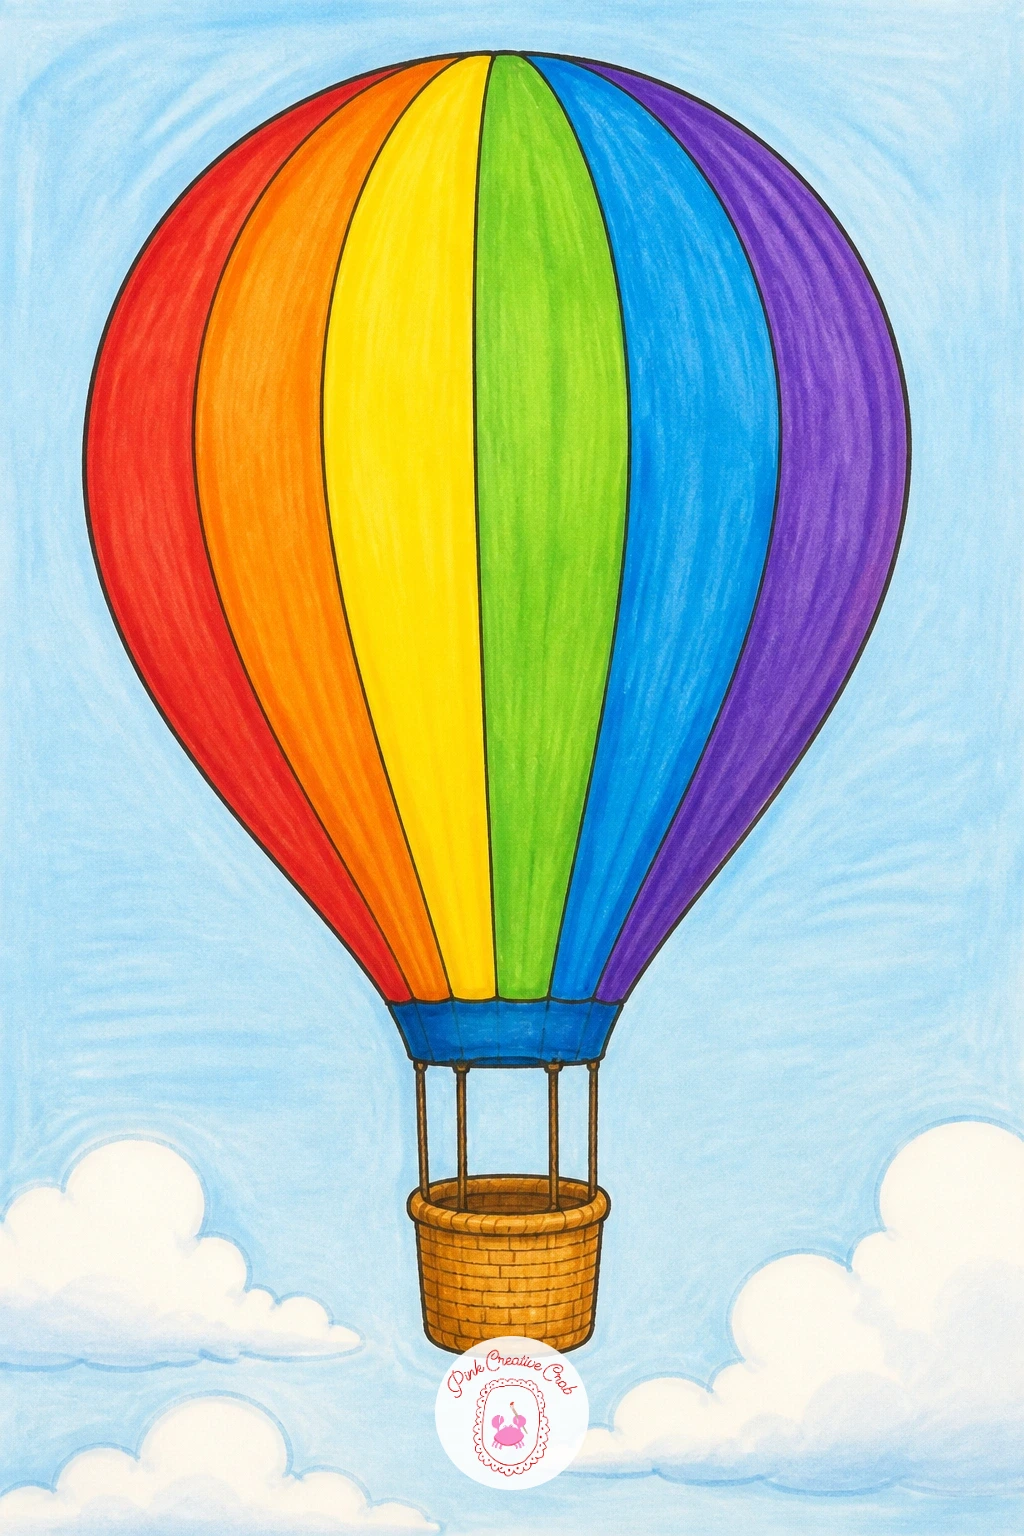
Draw the balloon envelope first as a large rounded teardrop shape, then divide it into vertical rainbow stripes running from top to bottom rather than horizontal bands, since vertical stripes are what make a balloon shape read correctly. The basket hangs below as a simple small rectangle with woven cross-hatch lines.
Connect balloon to basket with a few straight guide lines before inking, checking that the basket sits centered under the widest part of the balloon so the whole thing looks balanced rather than tipping. A confident artist can add one or two tiny passengers waving from the basket edge.
Float the balloon against a pale sky with a few soft clouds well below it, which gives a strong sense of height without drawing anything else complicated. Blend each vertical stripe top to bottom in one smooth marker stroke to avoid patchy color.
If the teardrop shape feels tricky freehand, start from a simple circle and stretch the bottom into a gentle point, that is an easier path to the same shape.
Palette: Balloon Red,Balloon Orange,Balloon Blue,Basket Brown
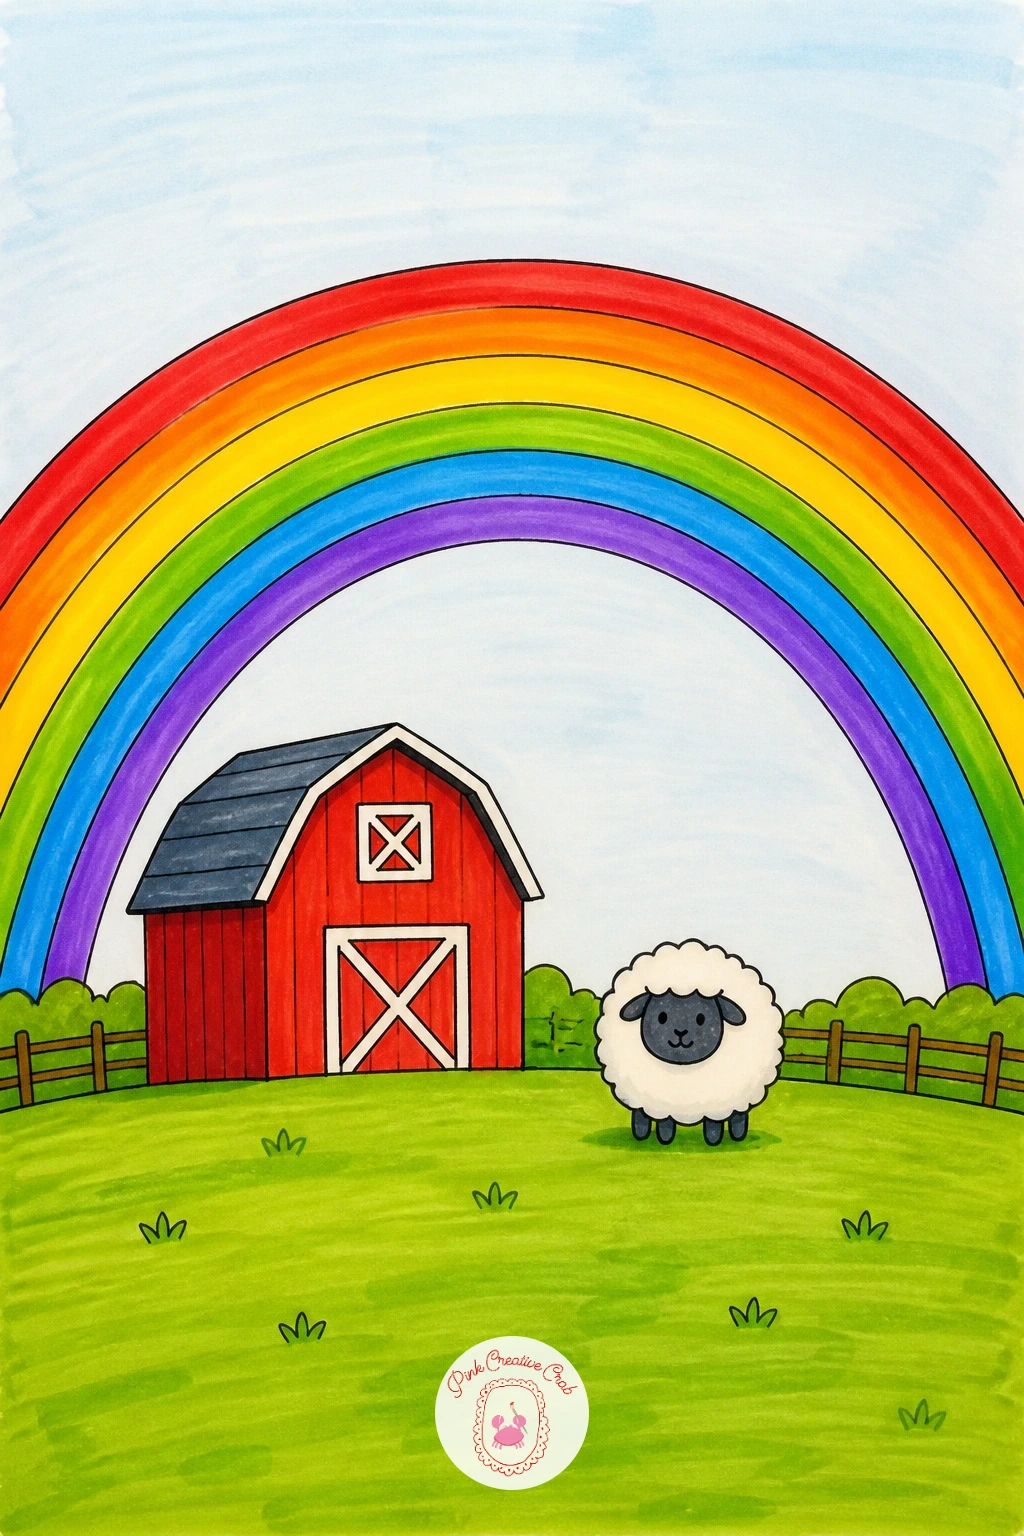
Lay out the farm scene with a simple red barn in the middle distance, a fence line of a few short posts, and one friendly animal such as a round sheep or a small pig near the front, since one clear character keeps the scene from feeling crowded. The rainbow arcs behind the barn roof.
Place the horizon line low on the page, about a third of the way up, so the rainbow and sky have plenty of room above it to feel big and open. That low horizon is the single choice that makes any outdoor rainbow scene feel spacious rather than cramped.
Color the barn and animal first in solid flat tones, then work the rainbow last in smooth blended bands so it sits clearly behind everything else. A field of simple green with a few short grass strokes along the bottom edge finishes the ground without much extra work.
If the barn looks too plain, one small round window near the roof peak adds charm in a single extra shape.
Palette: Barn Red,Field Green,Sky Blue,Sheep White
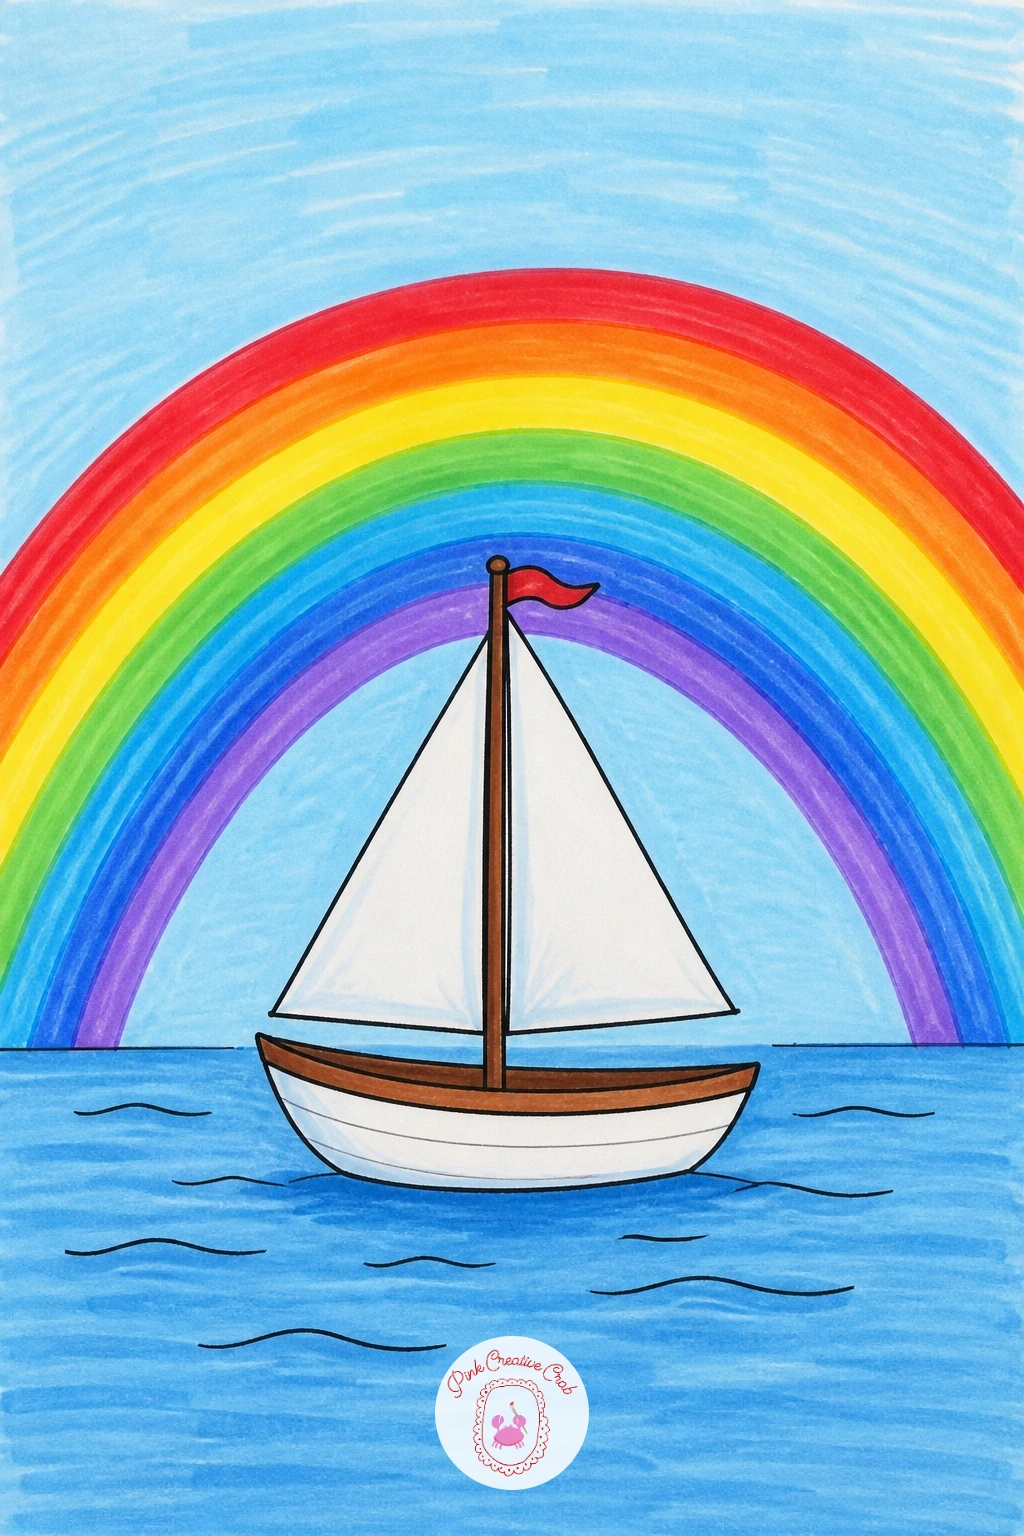
Draw the sailboat hull first as a simple curved crescent shape sitting on a flat horizontal waterline, then add one tall triangle sail leaning slightly as if caught by wind. Keep the mast as one straight vertical line connecting hull to sail.
Arc the rainbow from behind the sail across to the far edge of the water, overlapping slightly behind the sail’s tip, which creates a sense of distance between the boat and the rainbow rather than having them float side by side flatly. A beginner can keep the sail plain white, while an adult might add a simple colored stripe pattern on it to echo the rainbow.
Give the water just a few short horizontal lines near the boat to suggest gentle waves, more than that starts to compete with the rainbow for attention. If the hull shape feels tricky, trace around a curved object like a spoon bowl for a clean crescent line.
Keep the whole scene’s horizon low, the same trick that works for farm and lake scenes works here too.
Palette: Hull Brown,Sail White,Ocean Blue,Rainbow Coral
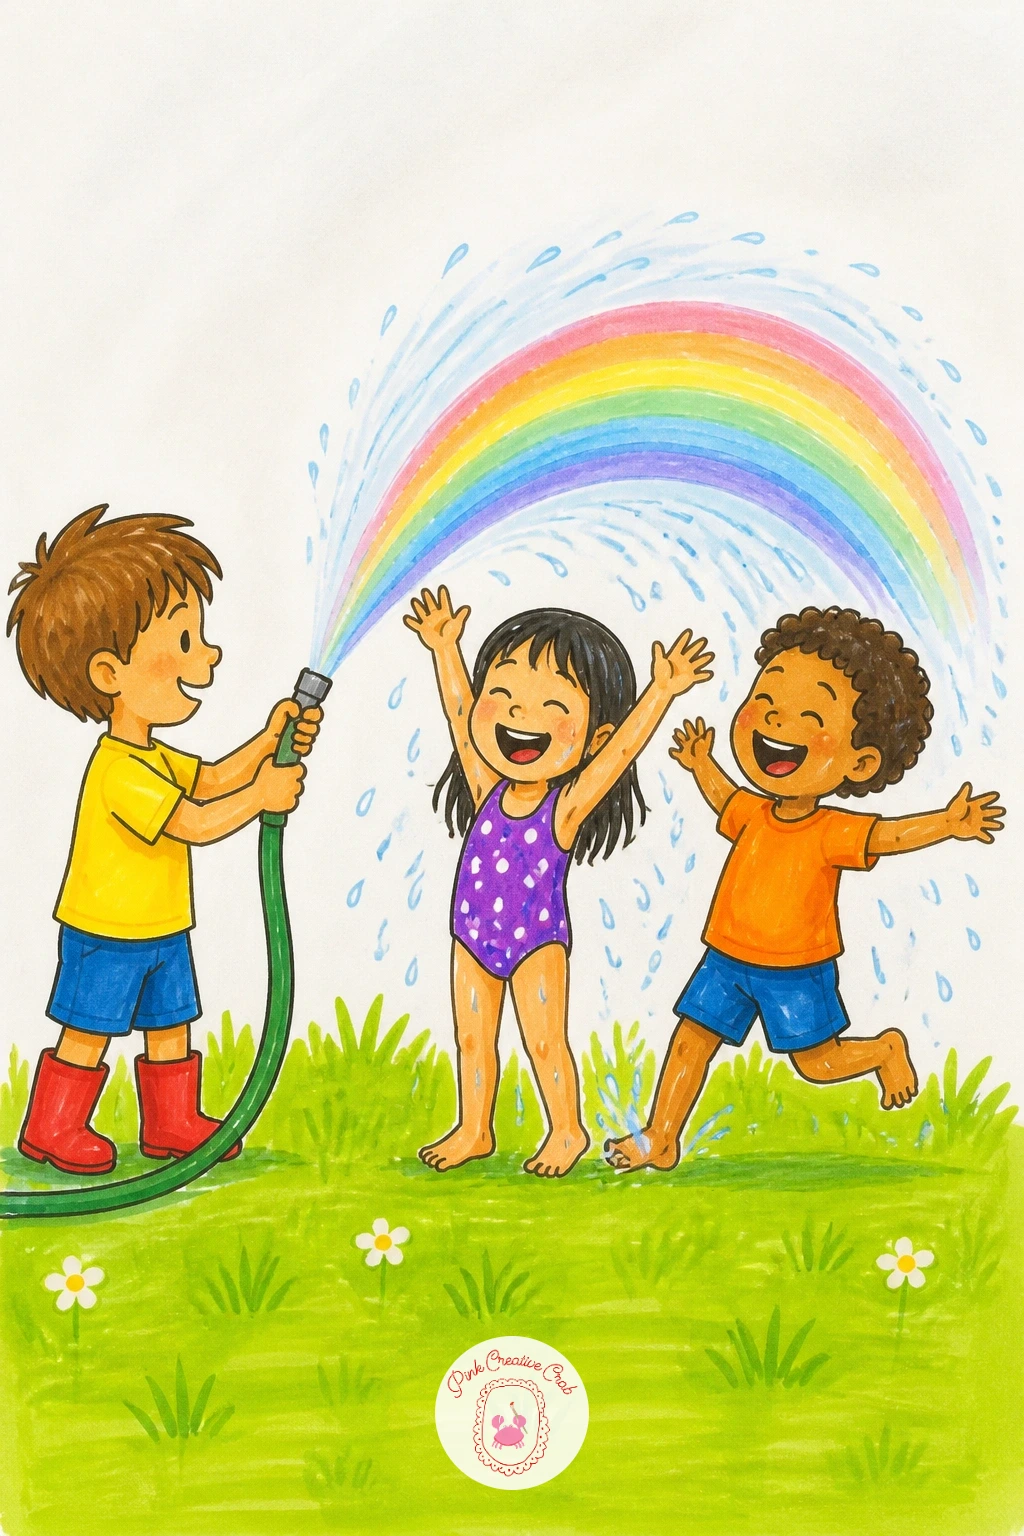
Start with two simple figures standing close together, one holding a hose with the other reaching up toward the spray, since the pose with raised arms is what tells the whole story of chasing water on a sunny day. Keep both figures in simple rounded shapes, easy for a child to copy stroke for stroke.
Spray the hose water as a fan of short curved lines arcing from the nozzle, with a small rainbow forming right inside that spray, smaller and softer in color than a sky rainbow since it is catching light rather than standing alone. A confident artist can add scattered water droplets as tiny circles across the spray.
Light this scene from behind the children, which is what makes a hose rainbow appear at all, so keep their fronts slightly in shadow with a few darker pencil lines while the spray itself stays bright. Grass underfoot in quick green strokes grounds the whole scene fast.
If drawing two figures feels like a lot, one child alone with the hose tells the same happy story.
Palette: Grass Green,Spray Blue,Sunshine Yellow,Skin Tone
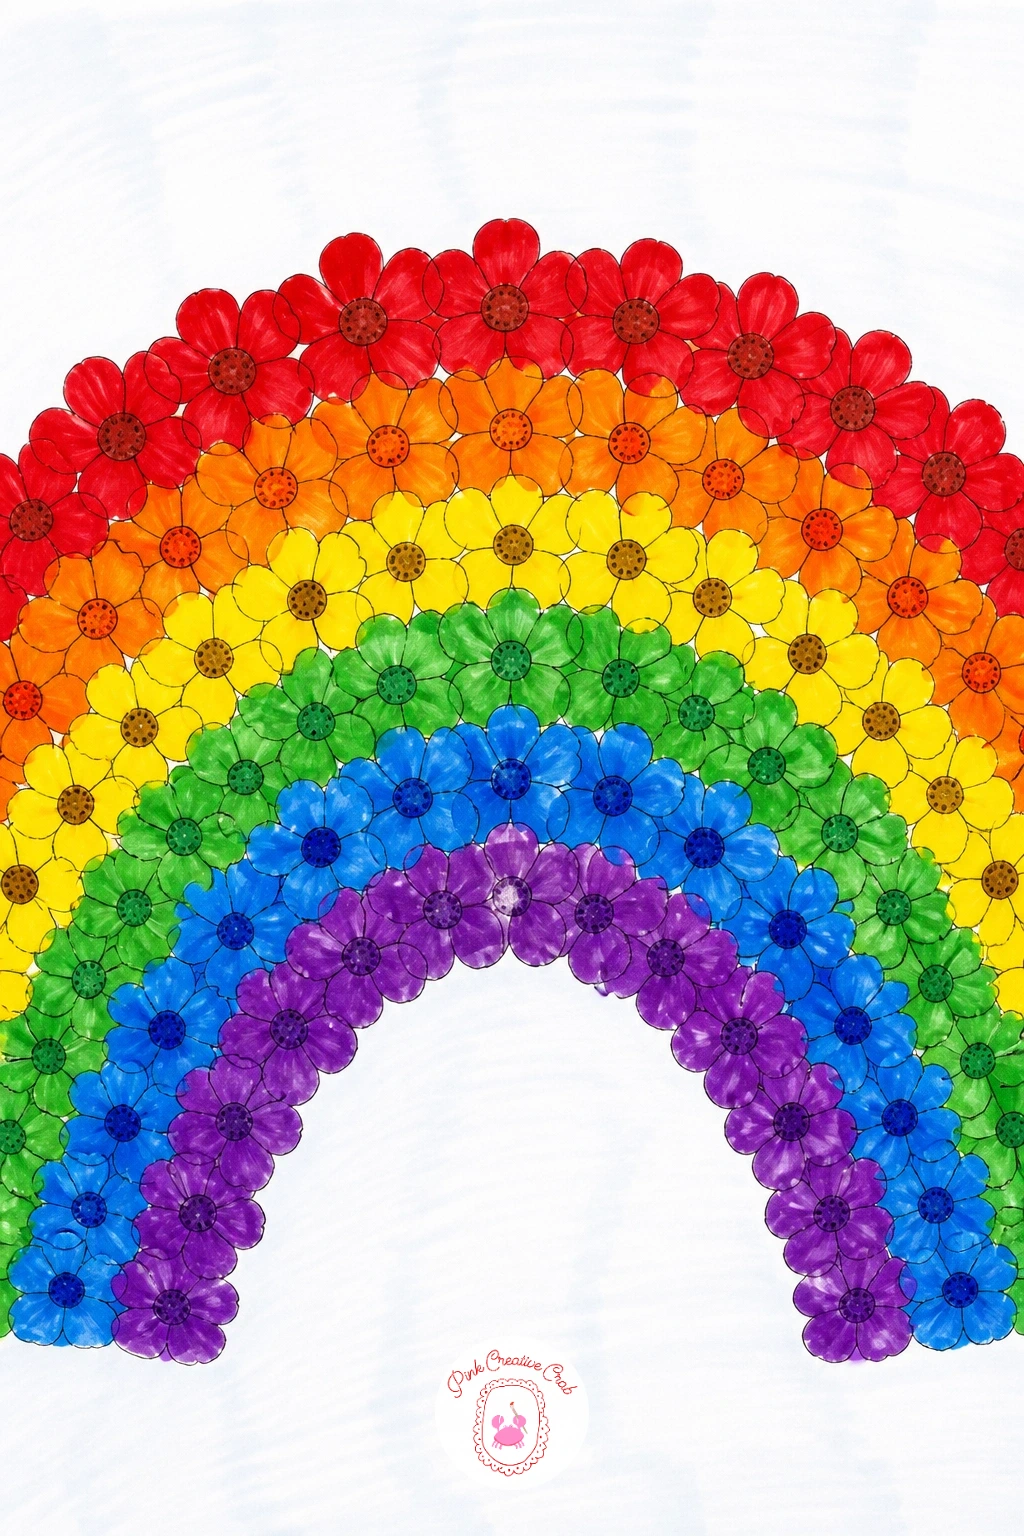
Arrange this rainbow as curved rows of flowers instead of painted bands, drawing one row at a time from the outer red arc down to the inner violet one. Keep each row to a few large, clearly shaped blooms rather than many small ones, which stays easy to color and still reads instantly as a rainbow.
Vary the flower shapes slightly row to row, simple five-petal blooms for the red row, round pom-pom shapes for the orange row, and so on, since that small variety keeps the piece interesting without adding real complexity. Stems and leaves can stay implied rather than drawn, since the flower heads alone carry the rainbow shape.
Color each row in its rainbow shade first, then come back with a slightly darker shade of the same color for just the center of each flower, that one shading trick gives the blooms real form. Swap in colored pencil for the centers if markers feel too heavy for such a small area.
This idea pairs naturally with ideas from a flower bouquet drawing session if flowers are already a favorite subject at home.
Palette: Poppy Red,Marigold Orange,Daisy Yellow,Violet
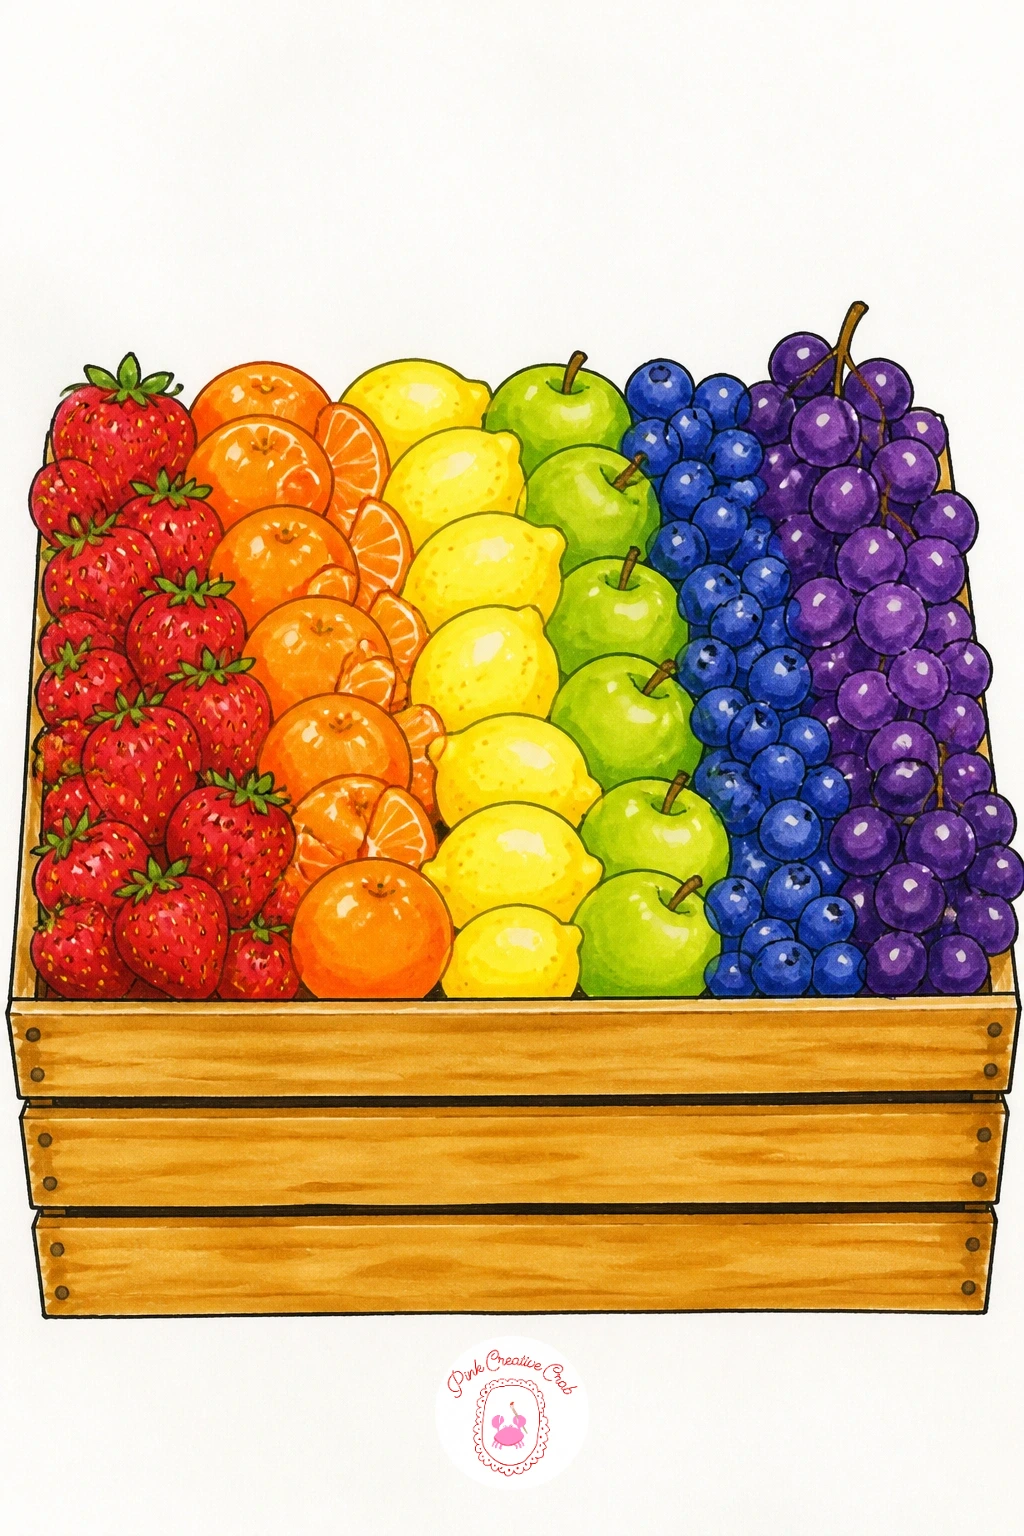
Draw the wooden crate first as a simple open box shape with a few horizontal slat lines across the front, since that crate outline is what holds the whole composition together. Fill it with a handful of different fruits arranged loosely in rainbow order from one side to the other.
Pick fruits with clear simple outlines for the easiest version: a strawberry, an orange, a lemon, an apple, a few grapes, and a plum cover the spectrum without needing anything tricky to draw. An adult can add a small leaf or stem on two or three pieces for extra realism.
Overlap a couple of the fruits slightly rather than lining them up in a neat row, that small overlap is what makes a crate of fruit look like it was just picked rather than arranged for a photograph. Color each fruit as a smooth flat shape first, then add one small white highlight dot to each for shine.
If a fruit shape feels too fiddly, swap it for a simple round one in the right color, the rainbow order matters more than botanical accuracy here.
Palette: Strawberry Red,Orange,Lemon Yellow,Grape Purple
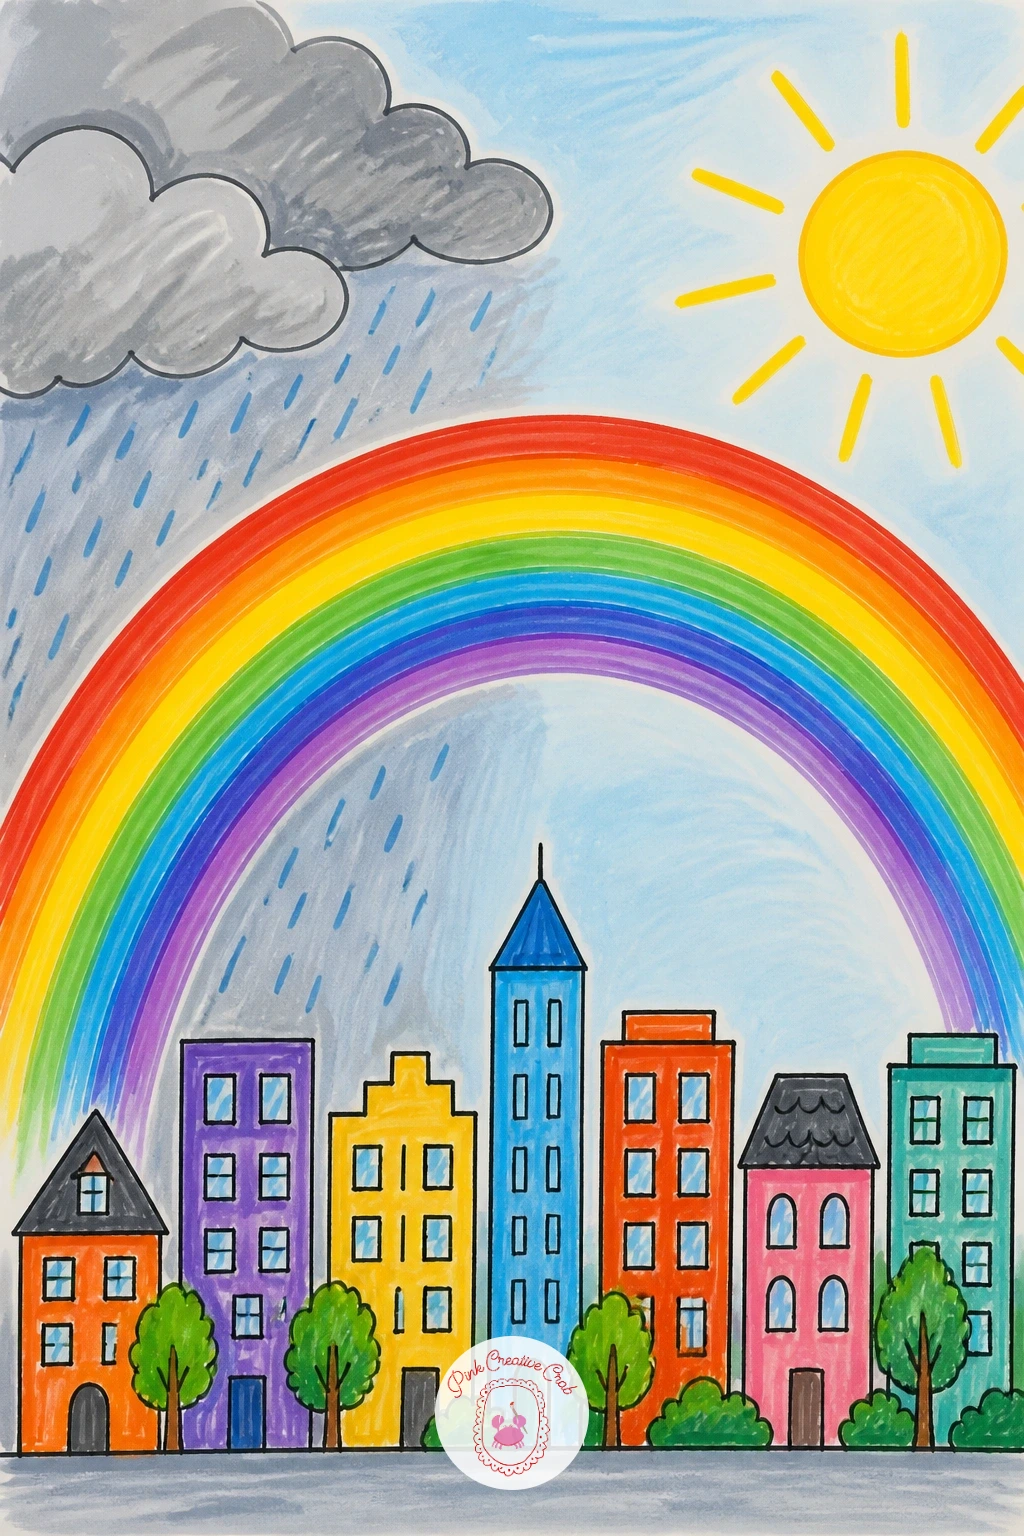
Sketch a simple city skyline first as a row of rectangle buildings of varying heights along the bottom of the page, keeping windows as a few small squares rather than a full grid, since too many tiny windows slow down a beginner fast. The rainbow arcs up behind the tallest building.
Add a handful of straight raindrops still falling on one side of the page while the sun breaks through on the other, which is the moment that explains why there is a rainbow at all. A confident artist can add one tiny open umbrella on a sidewalk for scale.
Light one half of the sky in soft grey rain-cloud tones and the other half in pale warm sunlight, that single light split does more to sell the after-the-rain feeling than any amount of extra detail. Blend the rainbow bands softly where they meet this mixed sky so the transition feels natural.
If the buildings start looking too uniform, change the roofline of just one or two to break the pattern.
Palette: Building Grey,Rain Grey,Sun Yellow,Sky Pink
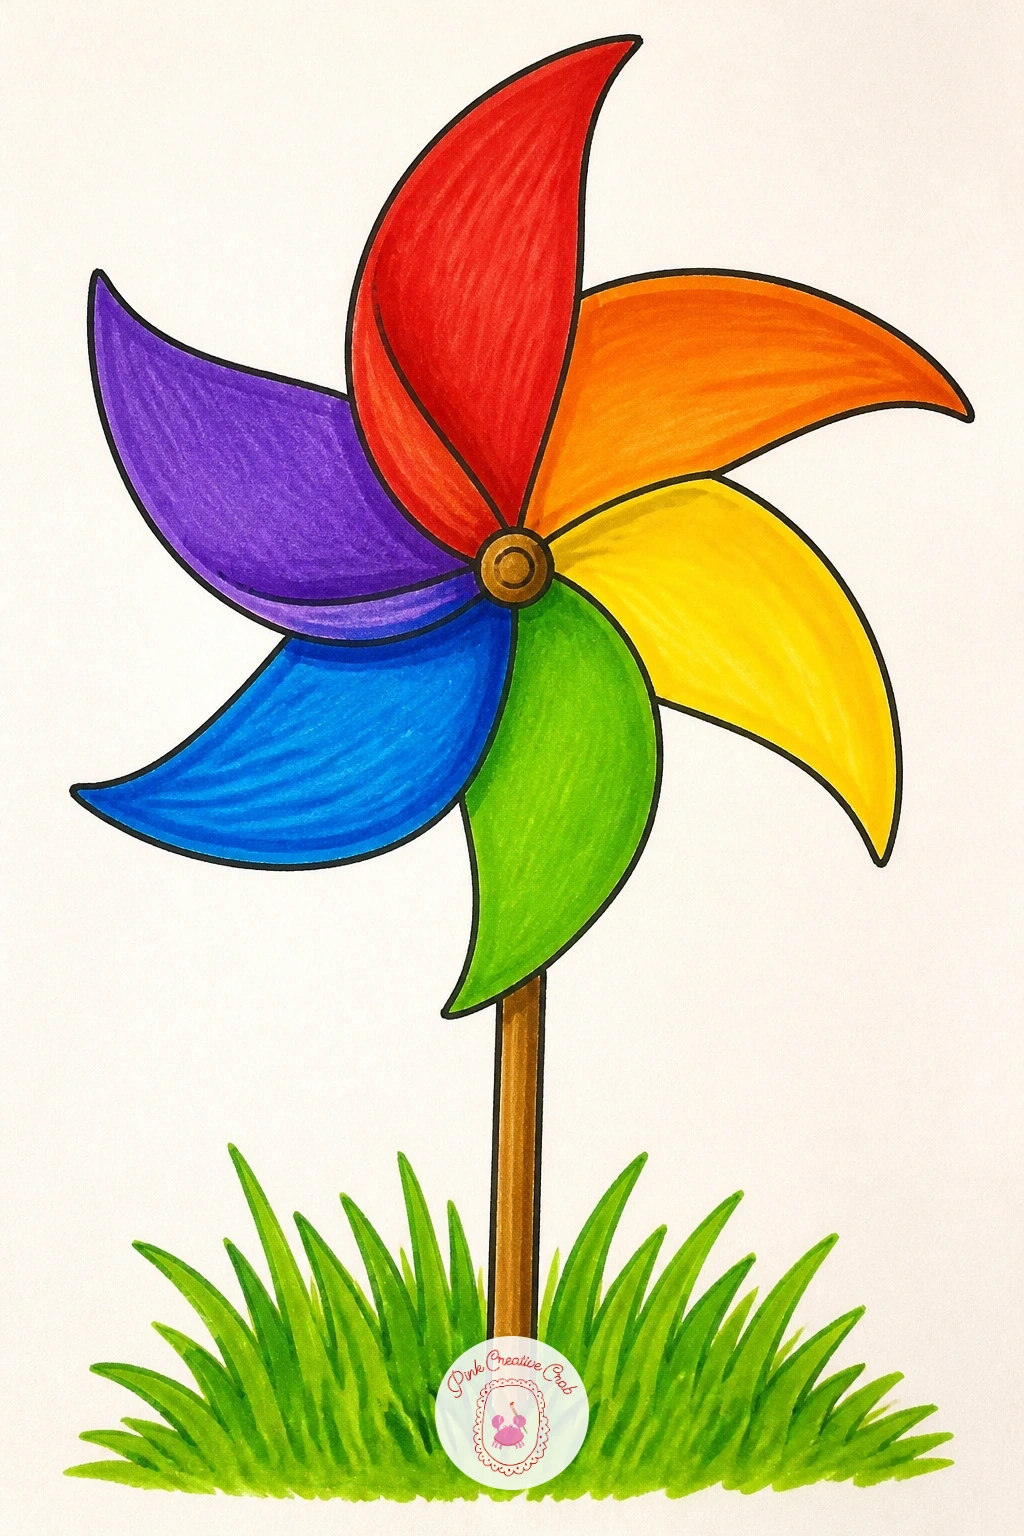
Draw the pinwheel starting from its center point, adding four or six triangle blades spinning outward like the points of a star, then color each blade a different rainbow shade so the toy itself becomes the rainbow rather than something in the background. A small button or pin shape marks the exact center.
Attach a simple straight stick handle running down from the center, planted into a patch of grass or held by a small hand at the edge of the page. Curve two or three of the blade tips slightly as if caught mid-spin, which reads instantly as motion without needing speed lines.
Check that opposite blades match in size before inking the final lines, that one comparison keeps the pinwheel looking balanced rather than lopsided once it is colored. If the triangle blades feel tricky to space evenly, lightly mark the center point with a few pencil guide lines first like spokes on a wheel.
Finish with a tiny white highlight line along one blade edge to suggest the shine of plastic or foil.
Palette: Pinwheel Red,Pinwheel Yellow,Pinwheel Blue,Pinwheel Purple
Build the bicycle from two simple circles for wheels first, connecting them with a basic frame of straight and diagonal lines, since getting the wheel spacing right before adding anything else keeps the whole bike from looking lopsided later. A round basket on the front holds a small bundle of flowers.
Color the bike frame itself in rainbow stripes running along the top tube and down the fork, rather than painting a rainbow somewhere else in the scene, so the bicycle carries the color directly. A child can keep it to three or four stripe colors, while an adult might wrap color all the way around the frame curves.
Keep both wheels the same size and sitting on the same flat ground line, that one proportion check is what keeps a bicycle looking like it would actually roll. Spokes can stay as a few simple crossed lines rather than a full circle of them.
If the frame geometry feels fiddly, a lighter pencil layout first, erased after inking, makes this one much easier.
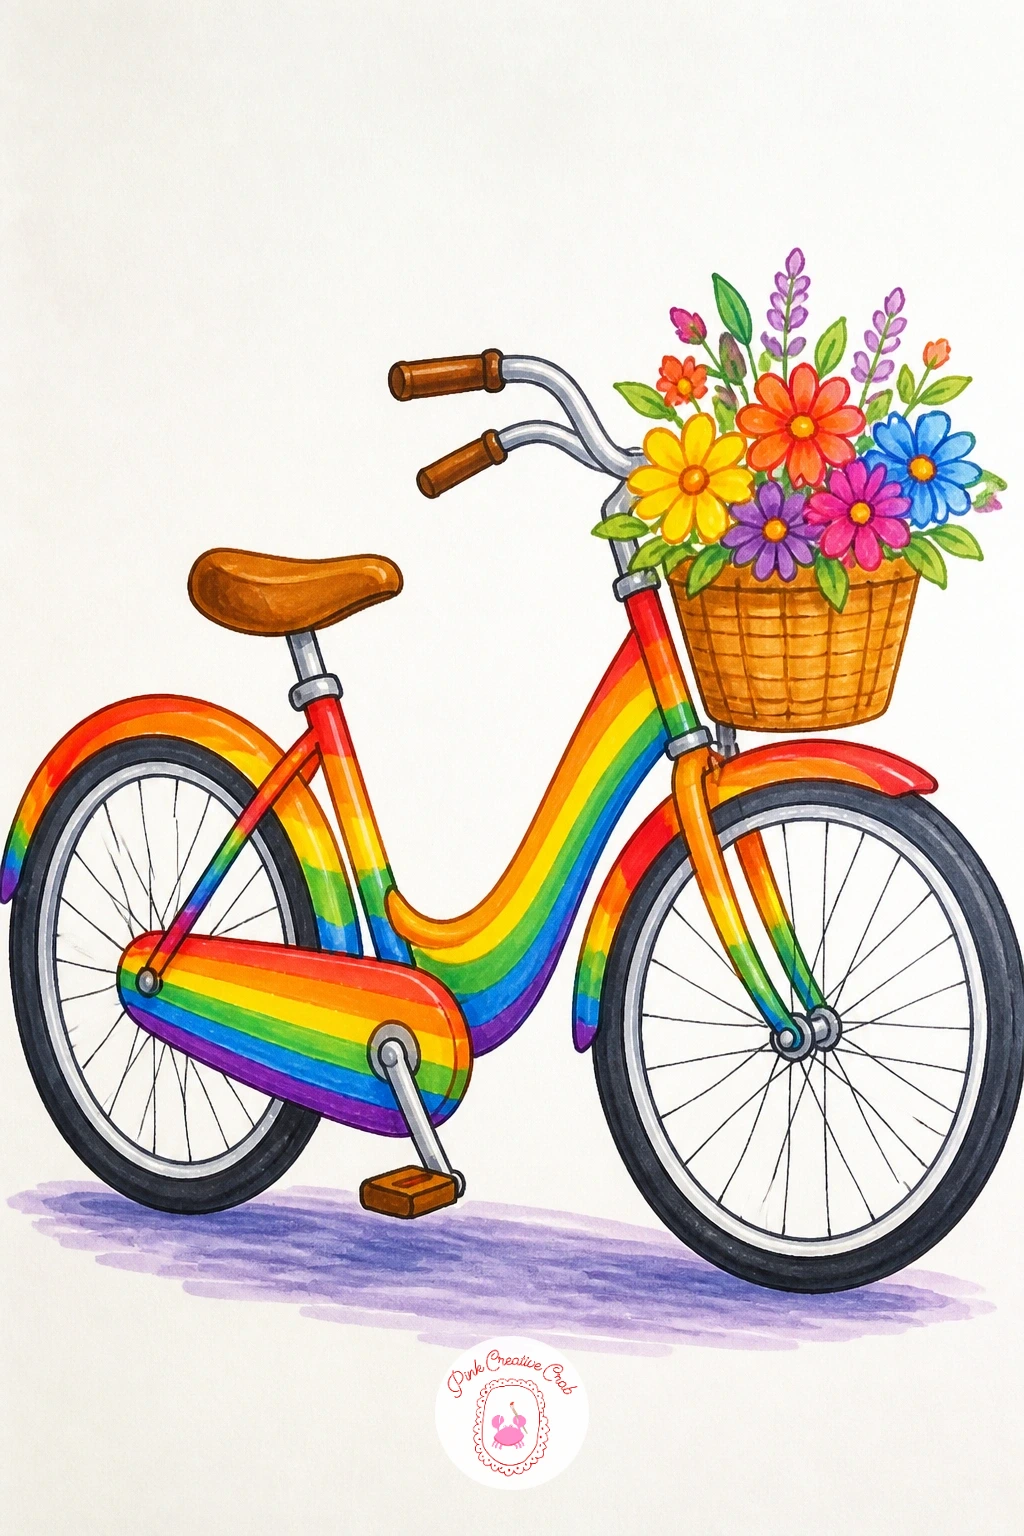
Palette: Frame Red,Frame Orange,Frame Blue,Basket Brown
Start with a simple glass prism or crystal shape hanging near a window, drawn as a faceted diamond with a few straight angled edges to suggest cut glass. A thin string or thread above it connects to the top edge of the page.
From one lower corner of the prism, fan out a soft rainbow of light across the wall below it, with the bands wider and paler than a sky rainbow since this is light spread thin rather than solid color. Keep the wall itself plain so the colored light patch stands out clearly against it.
Light this whole scene from one window edge of the page, since that single light source is the entire reason the prism throws color at all, and a pencil line suggesting a window frame nearby helps explain it. Blend the light bands very softly into the white wall with light pressure so they fade rather than stop abruptly.
If blending that softly feels hard with marker, a dry cotton swab dabbed quickly over wet marker lightens the edge nicely.
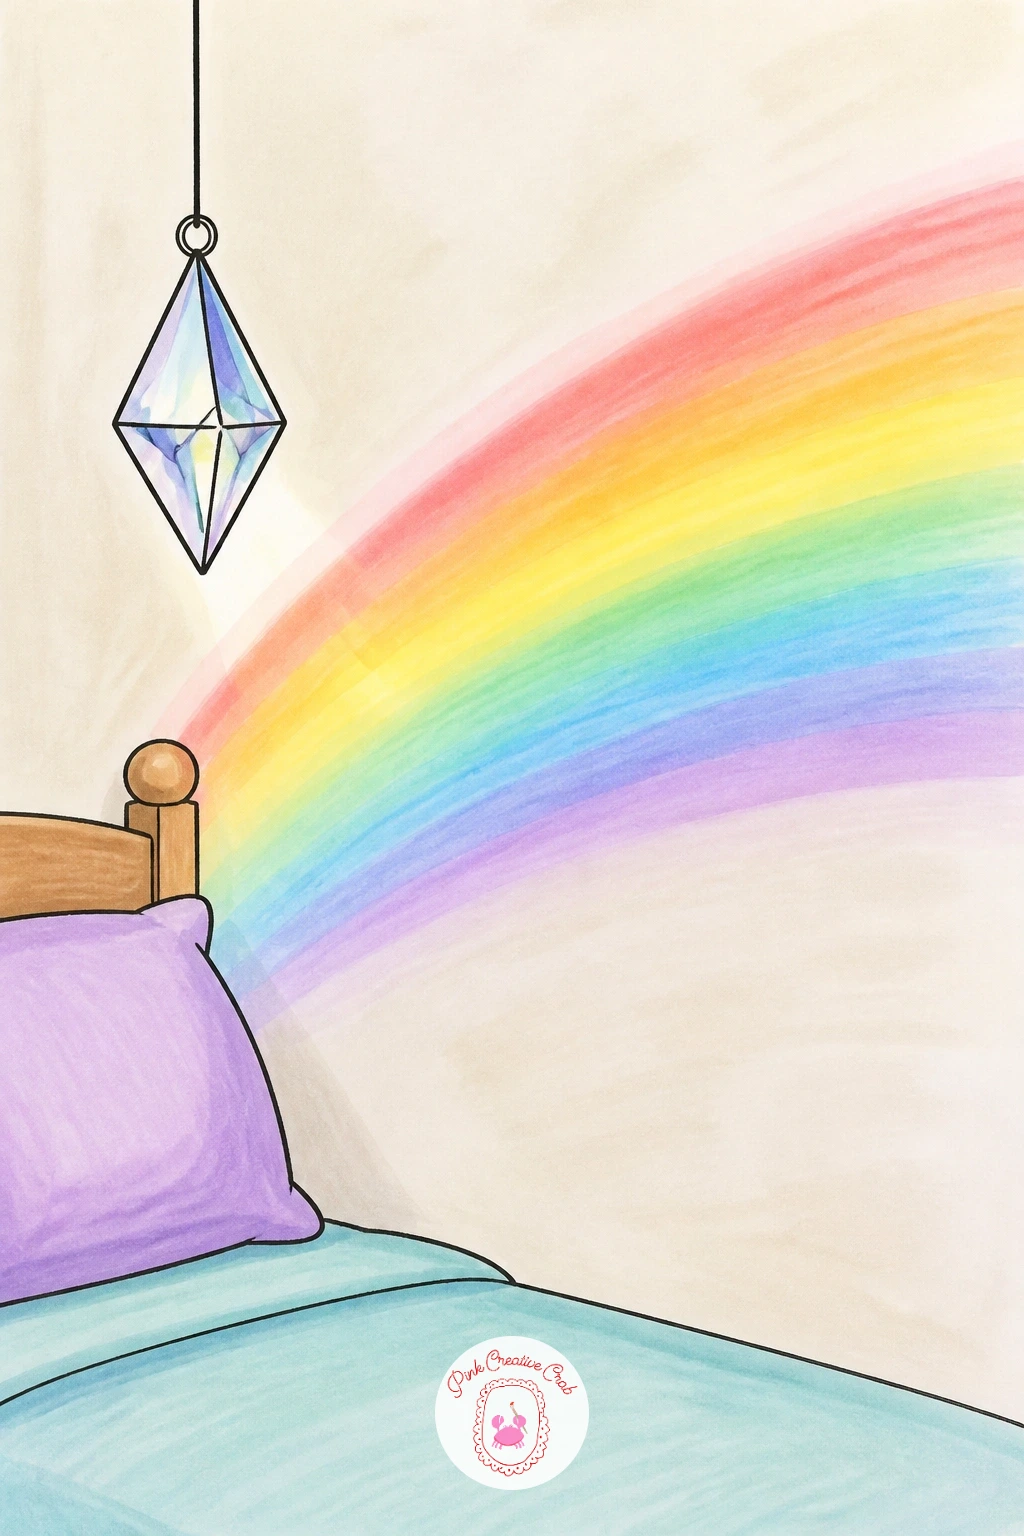
Palette: Prism Clear,Light Pink,Light Yellow,Light Blue
Stack three or four simple flattened ovals for pancakes, each one tinted a different pastel rainbow shade, since a true pancake color underneath a wash of rainbow tint reads more believable than fully saturated stripes. A pat of butter melts on top as a small yellow square with rounded corners.
Drizzle syrup down the sides in a thin wavy line that pools slightly at the base of the stack, which is the detail that sells this as food rather than a plain striped tower. A confident artist can add a dusting of small dot shapes for powdered sugar across the top pancake.
Shade the underside of each pancake slightly darker than its top surface, that single light and shadow step is what gives the stack real thickness instead of looking like flat paper discs glued together. Keep syrup color warm and glossy by leaving one small white highlight unfilled where it catches light.
If pastel markers are not on hand, go bold and bright instead, a stack of rainbow pancakes always reads as a treat either way.
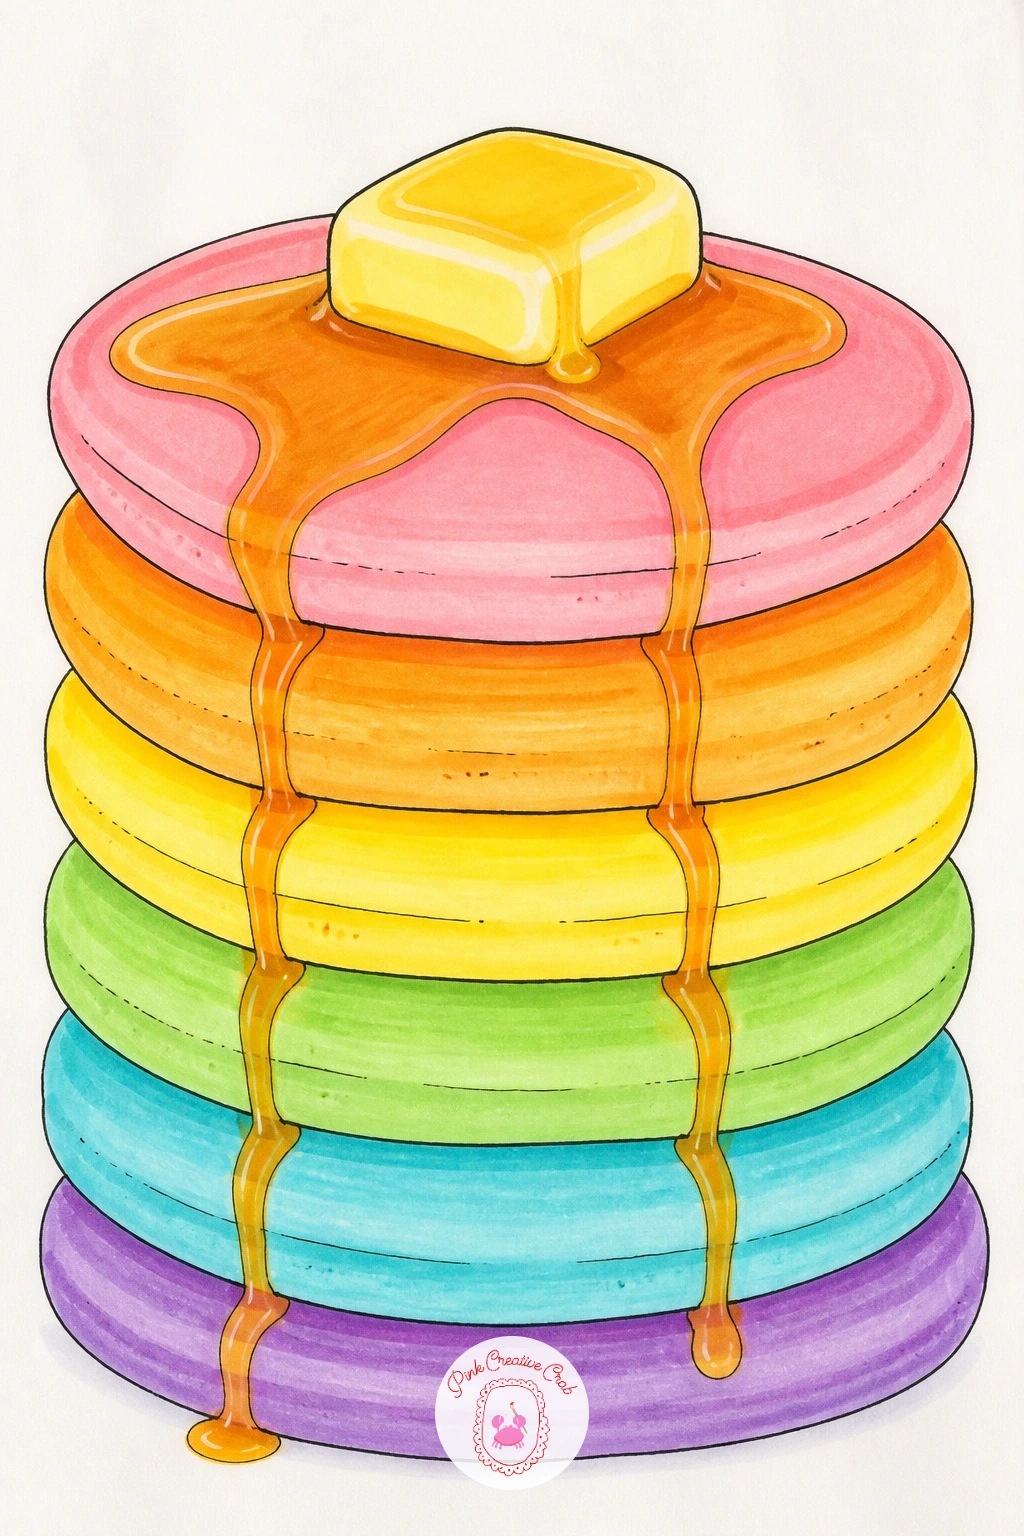
Palette: Pancake Pink,Pancake Yellow,Pancake Blue,Syrup Brown
Draw the tent first as a simple triangle shape with a flat base, then divide it into vertical rainbow panels running from the peak down to the ground, similar in spirit to the balloon stripes but tighter and more upright. A small rolled-back flap at the front shows a dark triangle doorway.
Place one or two simple pine trees beside the tent and a small campfire circle of stones in front, with a few orange flame shapes licking upward, since the campfire glow gives the scene a clear light source to work with. A confident artist can add a marshmallow on a stick near the fire for one more character touch.
Light the tent’s fire-facing side slightly warmer and the shaded side slightly cooler, that small temperature shift in color is what separates a flat striped triangle from a tent that looks lit by a real fire. Keep the night sky behind everything a deep plain color so the rainbow stripes and fire glow stand out sharply.
If a full night sky feels like too much, a plain dusky blue wash behind the tent does the same job quickly.
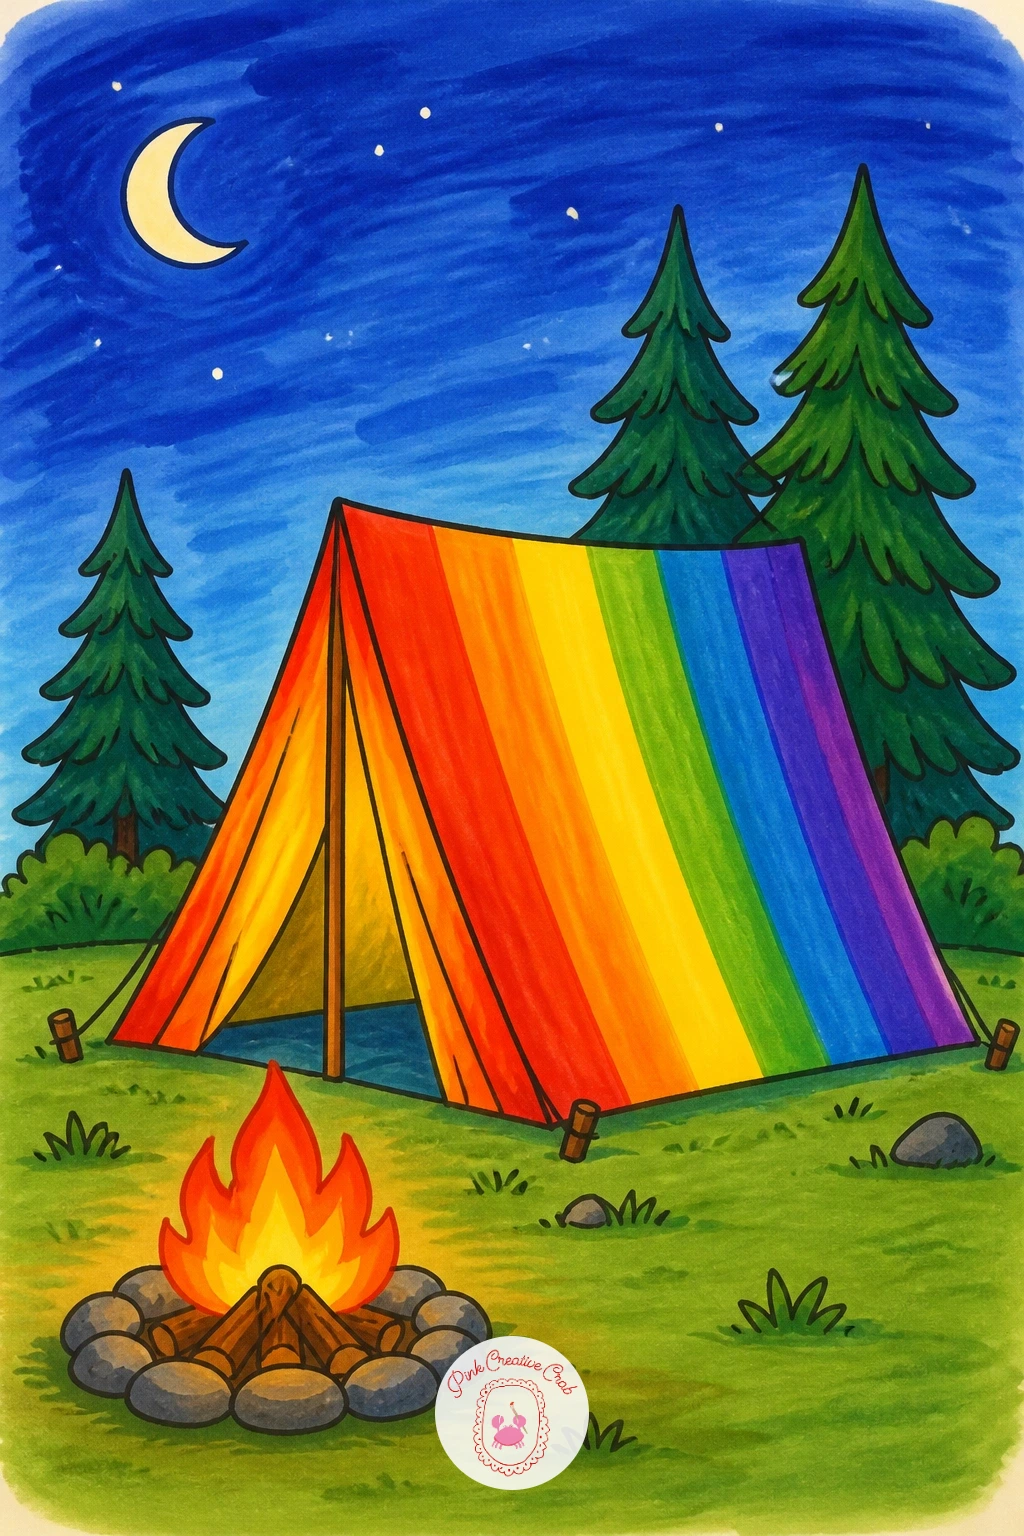
Palette: Tent Red,Tent Yellow,Pine Green,Night Blue
Shape the ice pop first as a simple rounded rectangle with gently curved top corners, then divide it into horizontal rainbow layers from top to bottom, leaving the bottom third plain for the wooden stick to show through. Keep the stick itself a simple flat rectangle in light brown.
Add a few drip lines trailing down from the bottom edge of the ice pop, melting slightly in the heat, with one or two small drops caught mid-fall just below it. That melting detail is what turns a plain striped rectangle into something that clearly reads as a cold treat.
Finish the quick version in about ten minutes with flat color in each layer and simple drips, or spend closer to forty minutes adding a light textured stipple across the surface with the tip of the marker to suggest icy crystals catching light. Both versions finish in one sitting.
If drips feel hard to draw convincingly, a single teardrop shape repeated two or three times at different sizes does the trick instantly.
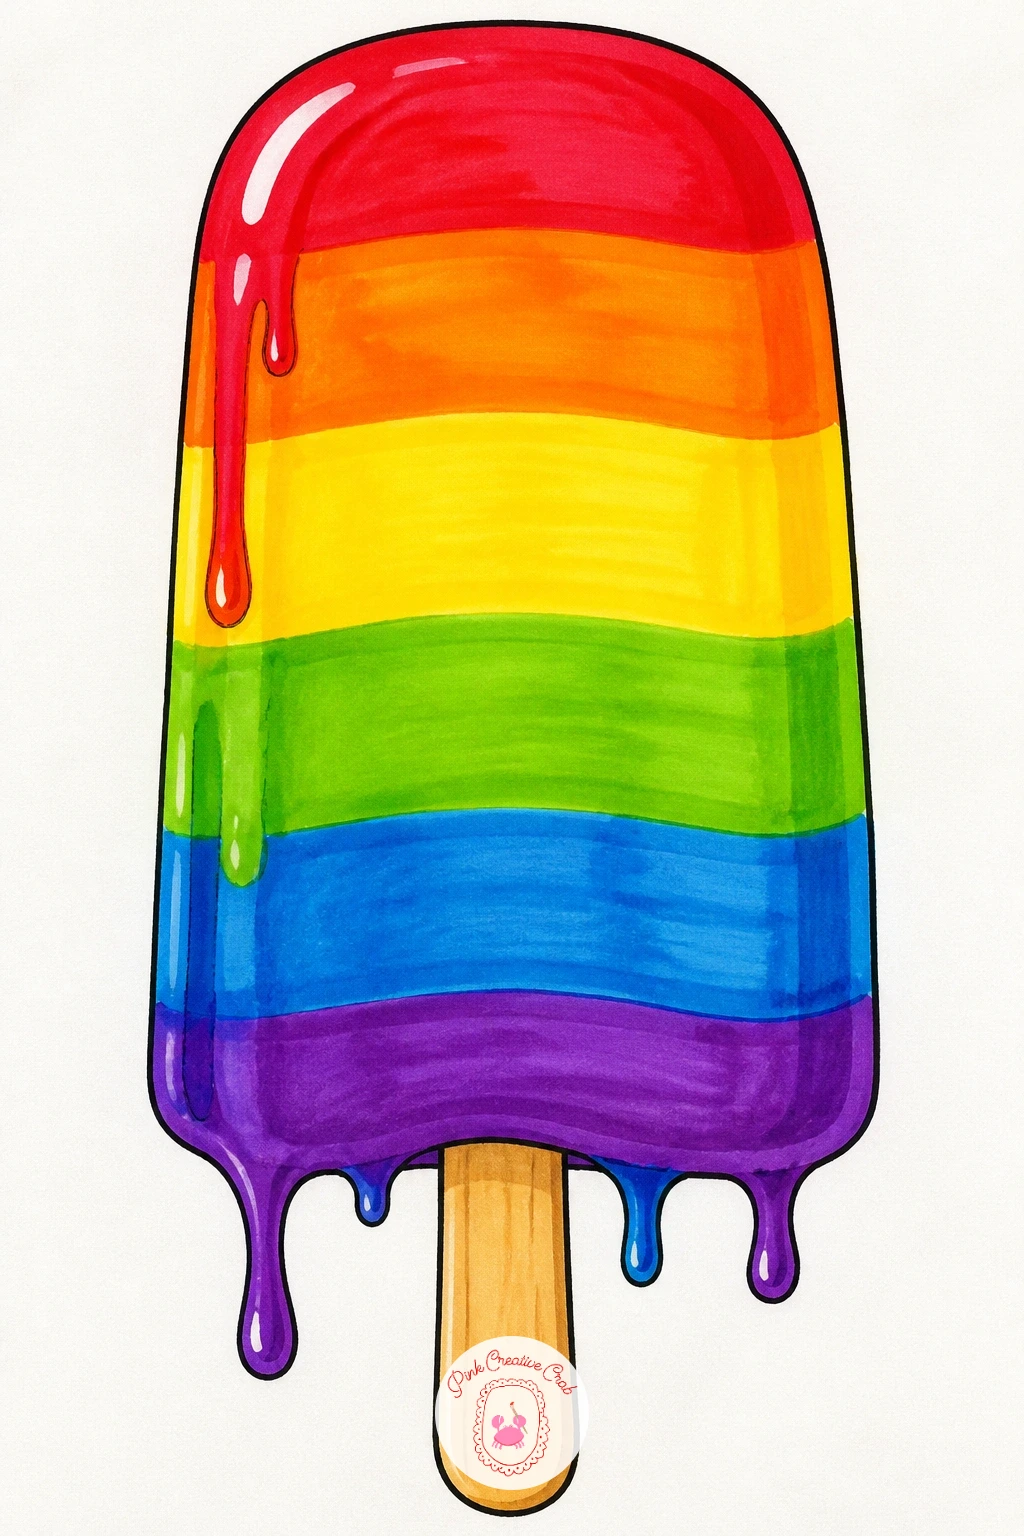
Palette: Pop Red,Pop Orange,Pop Blue,Stick Tan
Build the duck from a simple round body and head, flat orange bill, and two webbed feet, since this basic duck shape is one most hands already know how to draw from memory. Dress it in a small raincoat drawn as a simple curved cape shape over the back and sides.
Color the raincoat in rainbow stripes running across the back like a tiny cape version of the balloon or tent stripes, keeping the duck’s own yellow body visible at the head, wings and feet so the two elements stay distinct. A confident artist can add a tiny rain hat with its own small brim.
Place the duck standing in a shallow puddle with a few ripple rings around its feet and one or two raindrops still falling nearby, since that small amount of rain context explains the raincoat without needing a whole storm scene. Keep the puddle reflection simple, just a pale echo of the duck’s yellow body underneath.
If stripes on such a small coat feel fiddly, three wide bands instead of six still reads clearly as rainbow.
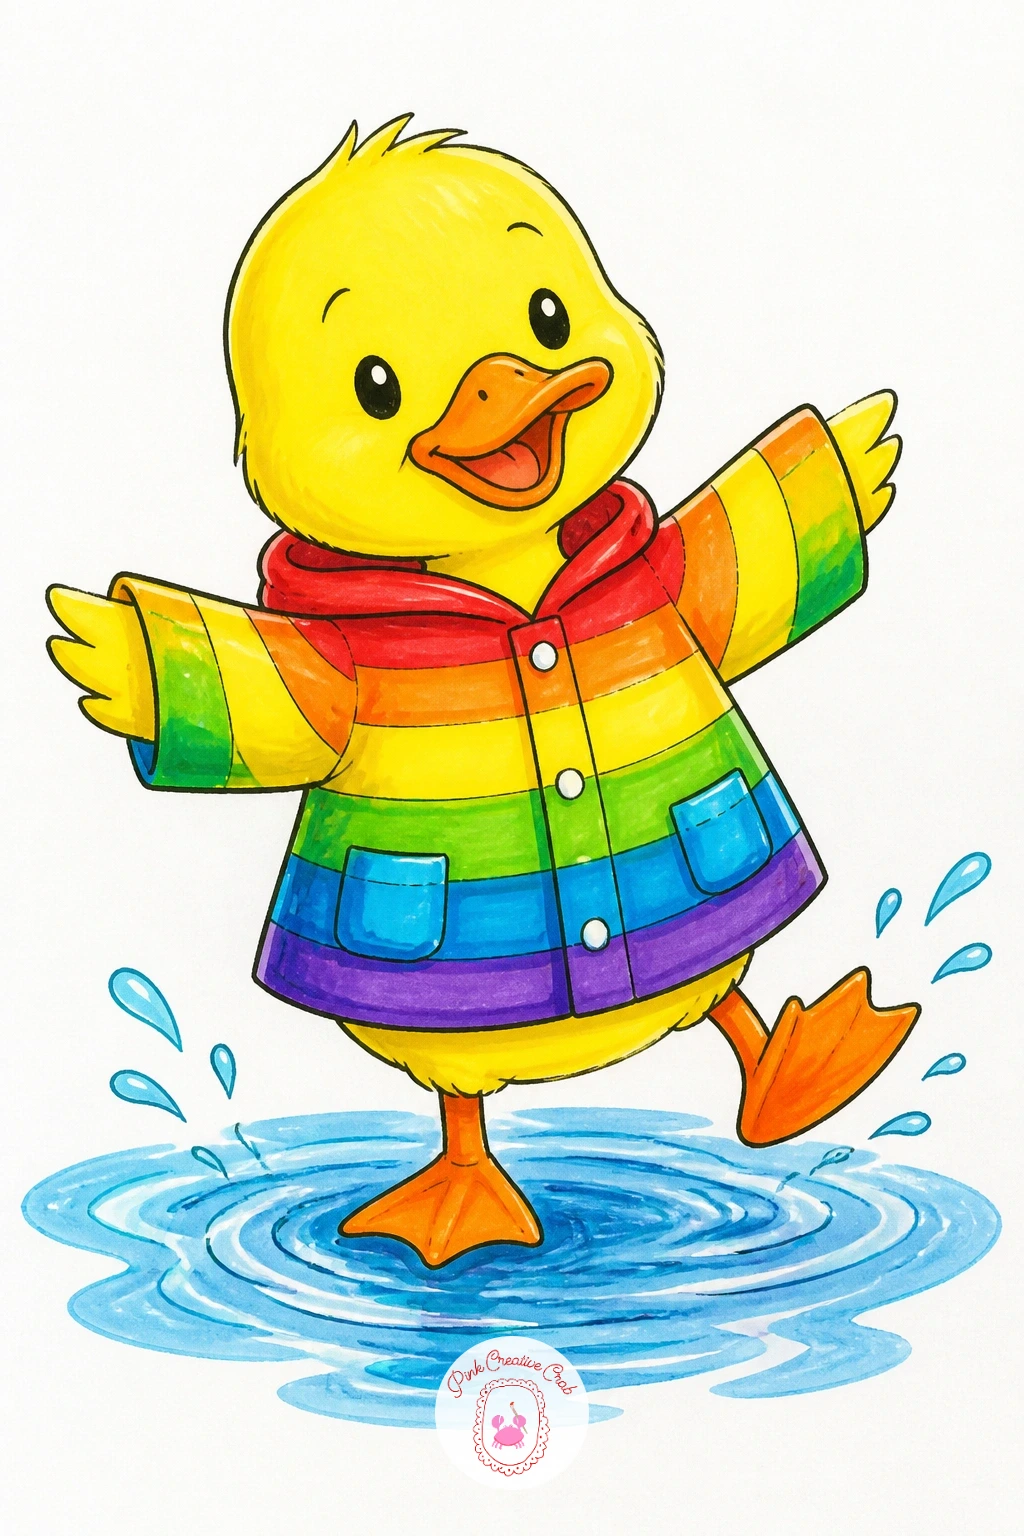
Palette: Duck Yellow,Coat Red,Coat Blue,Puddle Grey
Finish the set with a small beach hut drawn as a simple square with a flat or slightly peaked roof, one door and maybe a tiny window shutter, sitting on a strip of sand near the bottom of the page. The rainbow arcs up behind it from one side to the other, echoing the very first cottage idea but with a coastal feel.
Add a few simple wave lines along the shore and one or two seagulls as small flying M shapes in the sky for scale and movement. Color the hut in two bright flat tones, then let the rainbow bands blend smoothly behind the roofline last, so the hut stays crisp and the sky stays soft.
Vary this one next time by changing the hut’s colors to match a favorite palette, or by adding a little beach chair and umbrella beside it for a busier version once the basic scene feels easy. Keep the horizon low so there is plenty of open sky for the rainbow to stretch across.
Finish today with just the hut and rainbow if time is short, the extra beach details can always wait for another sitting.
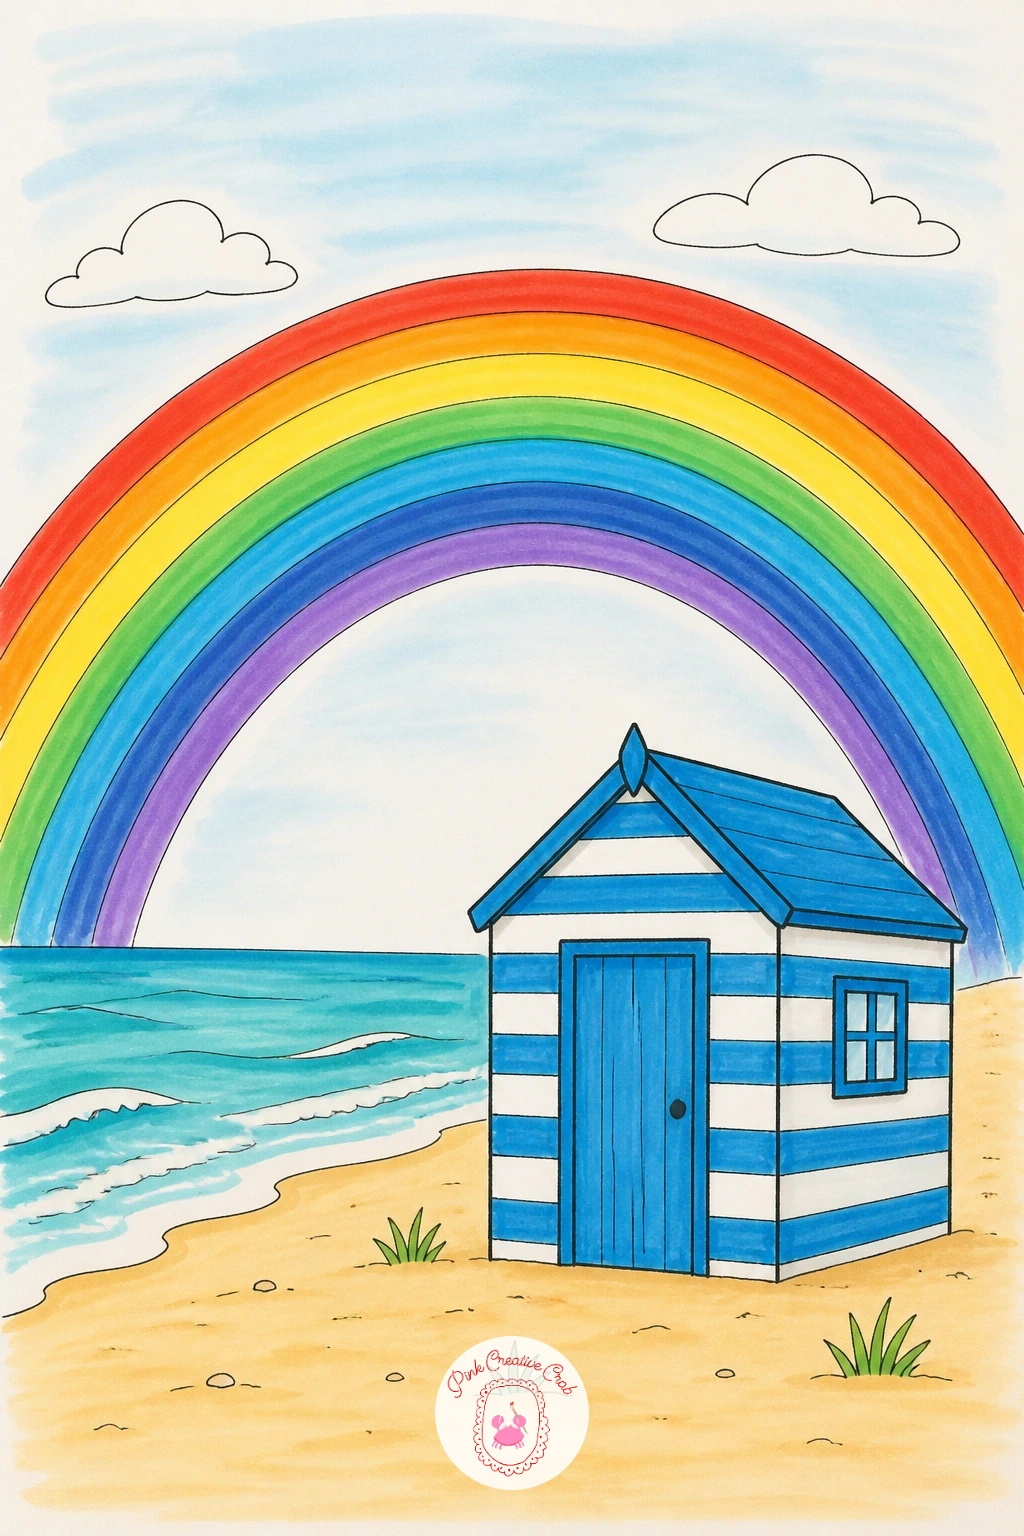
Palette: Hut Blue,Hut White,Sand Tan,Ocean Teal
What to Do Next
Pick one idea from the list, whichever character made you smile first, and start with its basic shapes in pencil before any color touches the page. A smooth sheet of marker paper and a fresh fineliner make the whole thing more fun, and there is always tomorrow for the next rainbow.
Frequently Asked Questions
What is the easiest rainbow drawing for a young child to start with?
A rainbow over a simple cottage or a rainbow in a jar works best first, since both use only a few wide bands and one basic shape. Keep stripes thick and few rather than thin and many for the easiest result.
How many colors does a rainbow drawing actually need?
Four to six bands look complete and are far easier to blend than attempting all seven spectrum colors. Red, orange, yellow, green, blue and violet in wide even bands read as a full rainbow without extra fuss.
What is the best way to blend alcohol markers for smooth rainbow stripes?
Color each stripe while the marker ink is still wet along its edge, then touch the next color right into that damp line so they merge slightly. Working quickly stripe by stripe prevents hard, patchy borders between colors.
Can these rainbow drawing ideas be done with crayons or colored pencils instead?
Yes, any of these scenes work with crayons, colored pencils or watercolor if alcohol markers are not available. Press firmly and blend with circular strokes to get a similar smooth, bright look to the finished rainbow.
How do I stop a rainbow drawing from looking flat or stiff?
Curve the rainbow bands gently rather than drawing them as a perfect geometric arc, and always give the scene one clear light source. A slight lean, a reflection, or a shadow under the main character adds real depth fast.
Have any thoughts?
Share your reaction or leave a quick response — we’d love to hear what you think!
-
 0
-
0
-
0
-
0
-
0
-
0


