

Castle drawing gives you permission to build a whole kingdom out of flat blocks of pretty color, and that is exactly what this list is for. Every idea below is a small fairy tale moment: a turret catching the sunset, a goat trotting over a drawbridge, a dragon dozing in the sun, each one simple enough to finish on a small canvas in a single sitting.
Work through them in any order you like, from the easiest pink hilltop castle to the busier courtyard markets and tiny villages near the end. Keep your palette soft and your shapes clean, and let each castle feel like the start of its own story.
Using these images: free for personal projects such as printing, coloring, cards, journals and gifts. Handmade items that include them may be sold up to 30 pieces per design. More than that is commercial use and is not permitted, and neither is selling or sharing the images themselves or passing them off as your own. Please ask before any other use.
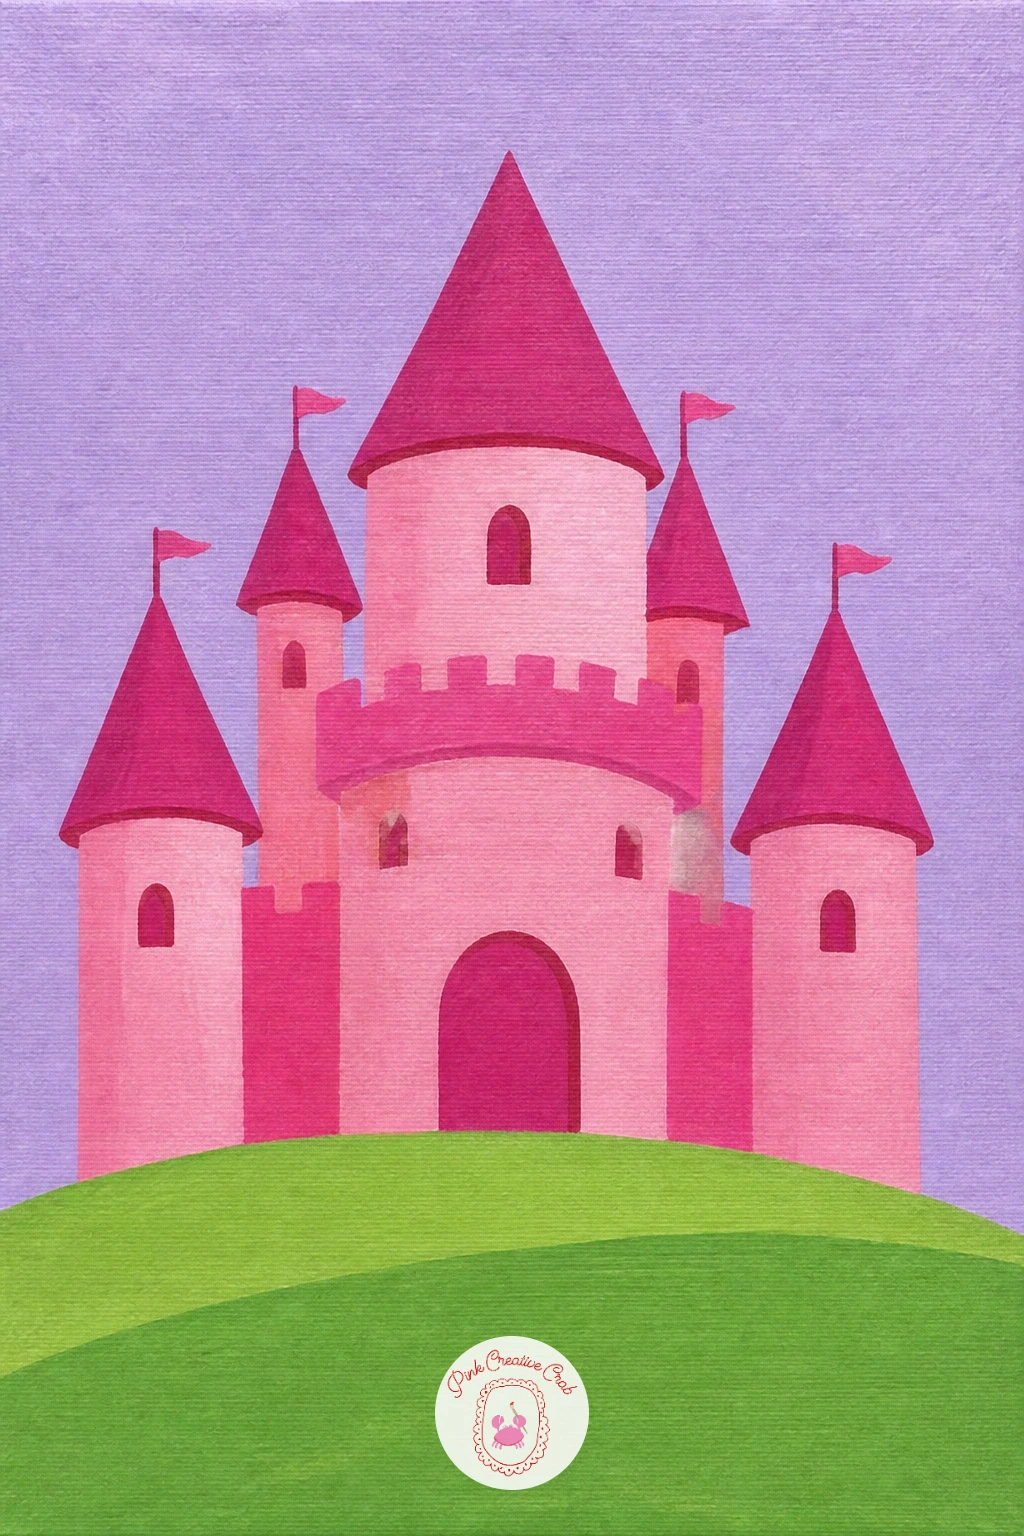
Start the whole list with something forgiving: a pink castle on a hill, round and friendly against a pale sky. Block in the sky first with a thin wash of soft blue or lavender, then let it dry while you sketch the castle shape low on the canvas in pencil, a simple body with two or three towers and triangle roofs.
Fill the castle in flat blush pink, then add the hill in a soft sage green beneath it, painting right over the pencil lines once you are happy with the shape. Keep the towers simple rectangles topped with triangles rather than fussy turrets, since this is the easiest castle on the list and sets the tone for the rest.
If the pink looks too sweet once it is dry, mute it with a tiny touch of raw sienna mixed straight into the leftover paint on your palette. No pink paint on hand works fine too, since a warm coral or dusty rose reads the same way from a little distance.
Finish today by outlining the windows and roofline in white paint pen once everything else is fully dry.
You Will Need
- white acrylic paint pen
Palette: Blush Pink,Sage Green,Pale Lavender,Soft White
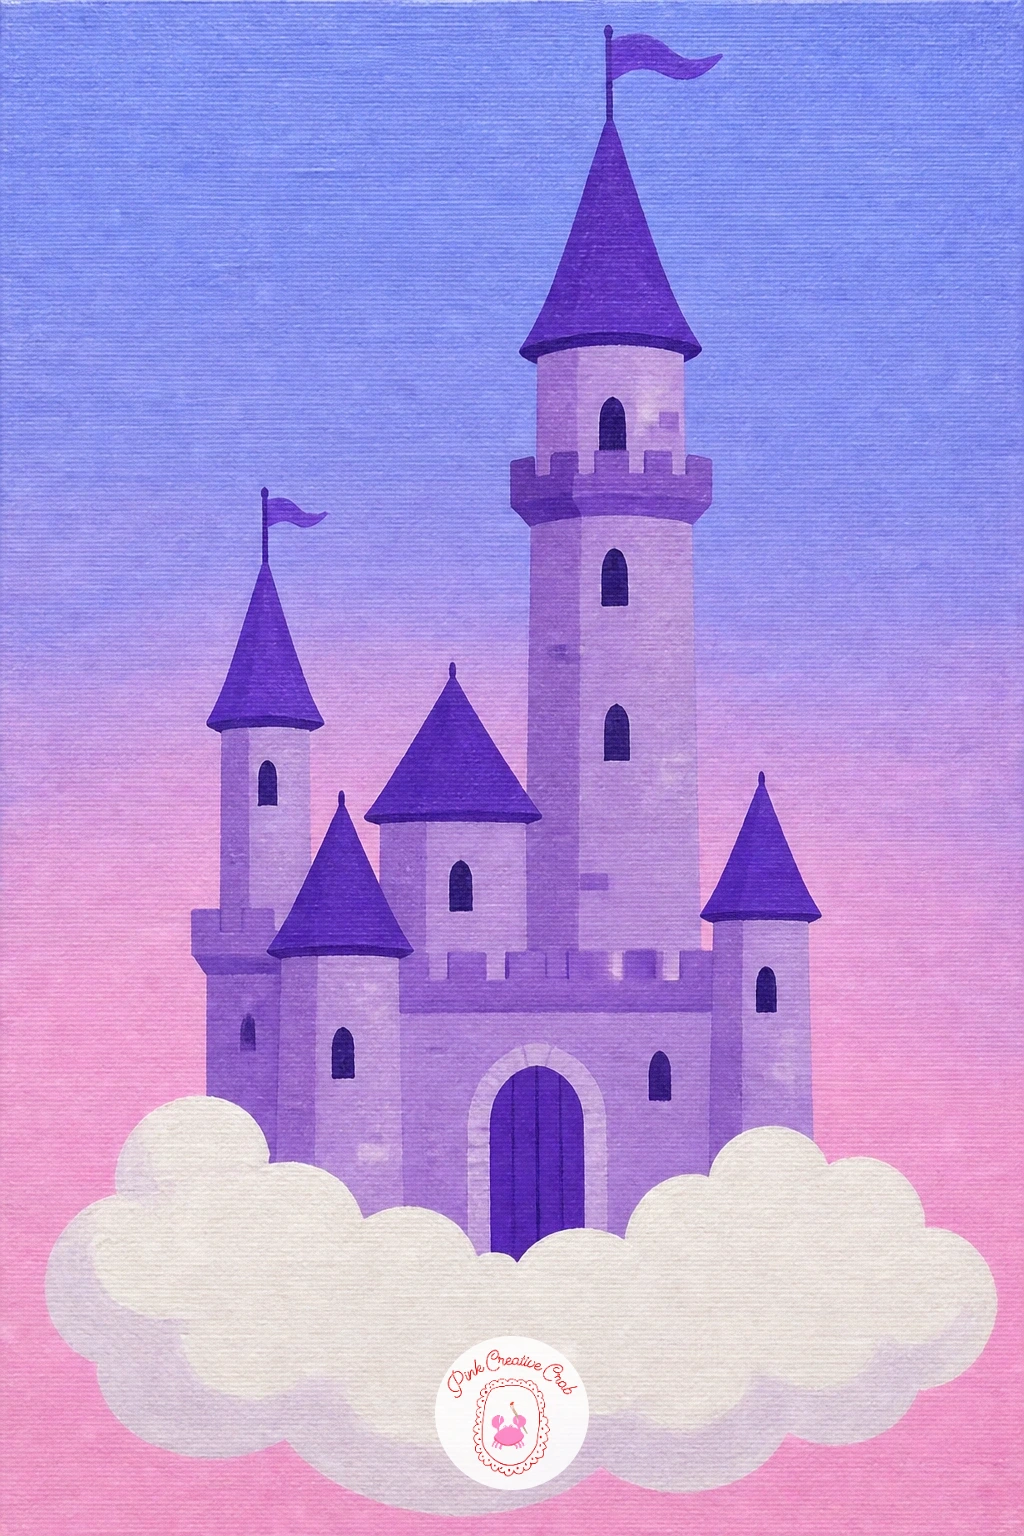
Lift the whole idea off the ground next with a castle resting on a cloud, floating with nothing beneath it but sky. Paint the background first in a gradient from deep periwinkle at the top to pale pink near the bottom, blending while the paint is still wet so the transition stays soft.
Once that layer dries, paint a puffy white cloud shape across the lower third of the canvas, keeping its edges rounded and bumpy rather than sharp. Sit the castle on top of the cloud in flat lilac or cream, with a single tall tower and a small flag, painted after the cloud is dry so the edges stay crisp.
Think about where the light comes from here: if the sun sits to one side, shade the far side of each tower with a slightly deeper shade of the same color rather than grey, which keeps the whole scene feeling pastel rather than heavy.
Finish today by adding two or three tiny white dots of stars near the top corners for a touch of sparkle.
Palette: Periwinkle,Soft Pink,Cloud White,Lilac
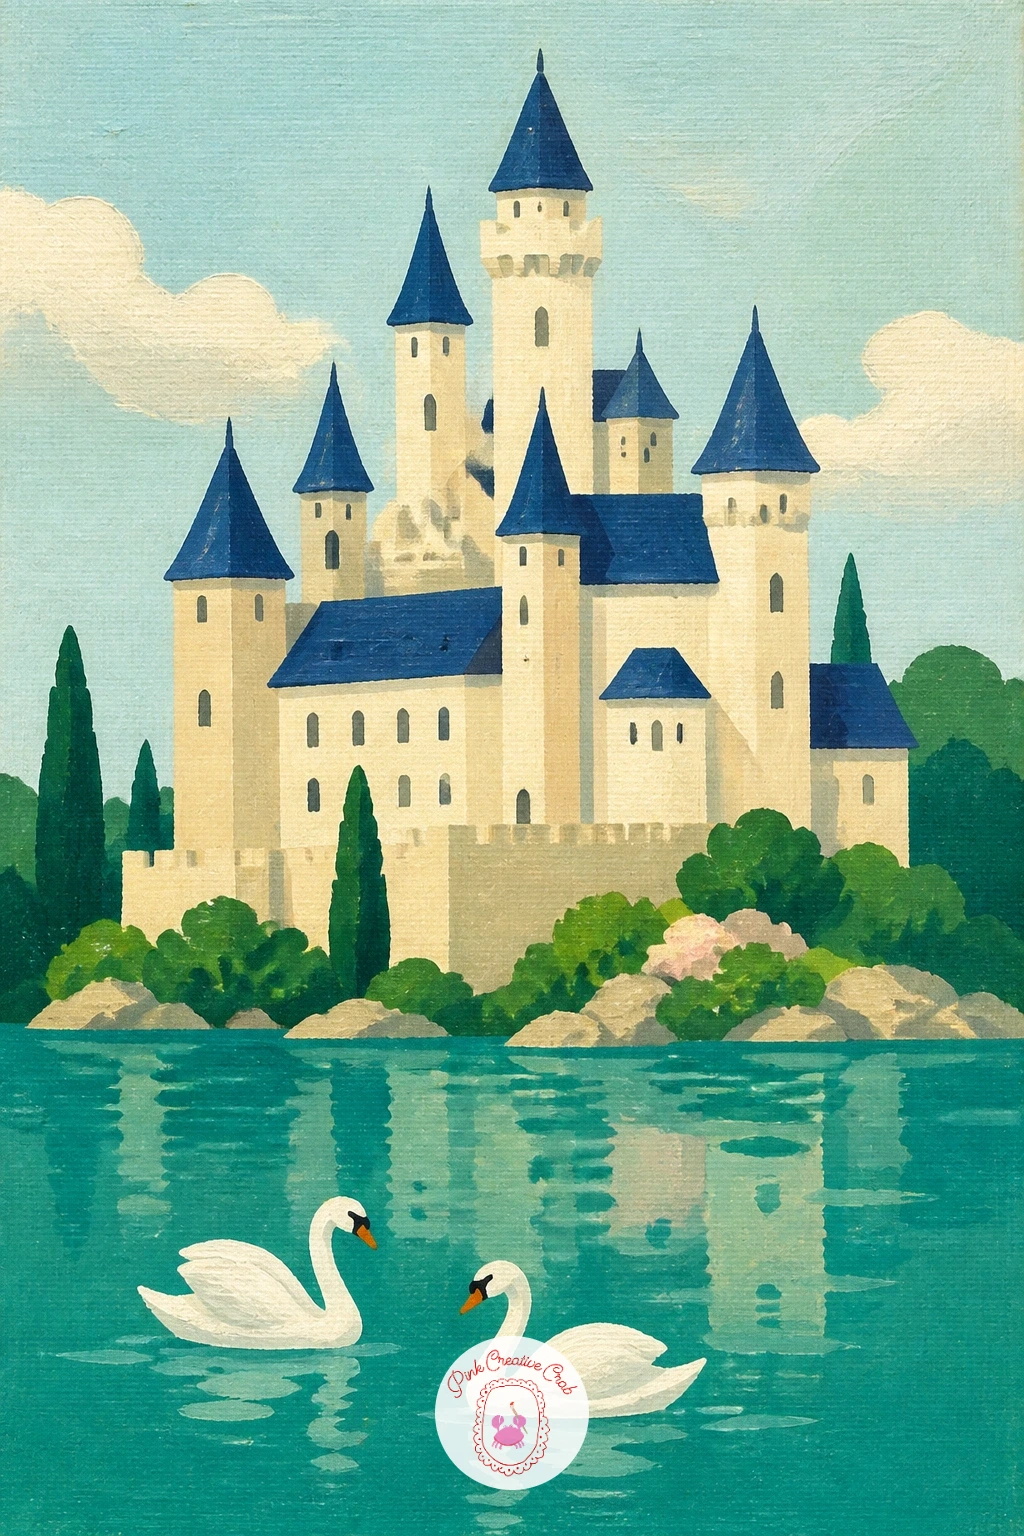
Bring in water for the first time with a castle on a lake with swans gliding past its base. Paint the sky and a flat band of lake water first, keeping the water a slightly deeper, cooler blue than the sky so the two bands stay distinct once dry.
Add the castle rising from the far shore in cream or pale grey, then paint two or three swans near the bottom edge as simple white S-curve bodies with small orange beaks. Save the swans for last, since painting them over dry water is far easier than working around them.
Compare sizes before you commit to the swans: each one should be noticeably smaller than a single castle window, which keeps the scale of the whole scene believable at a glance.
No white paint pen for the fine beak and eye details is fine, since the tip of a small round brush does the same job if you steady your hand on the canvas edge.
Palette: Sky Blue,Lake Teal,Cream,White
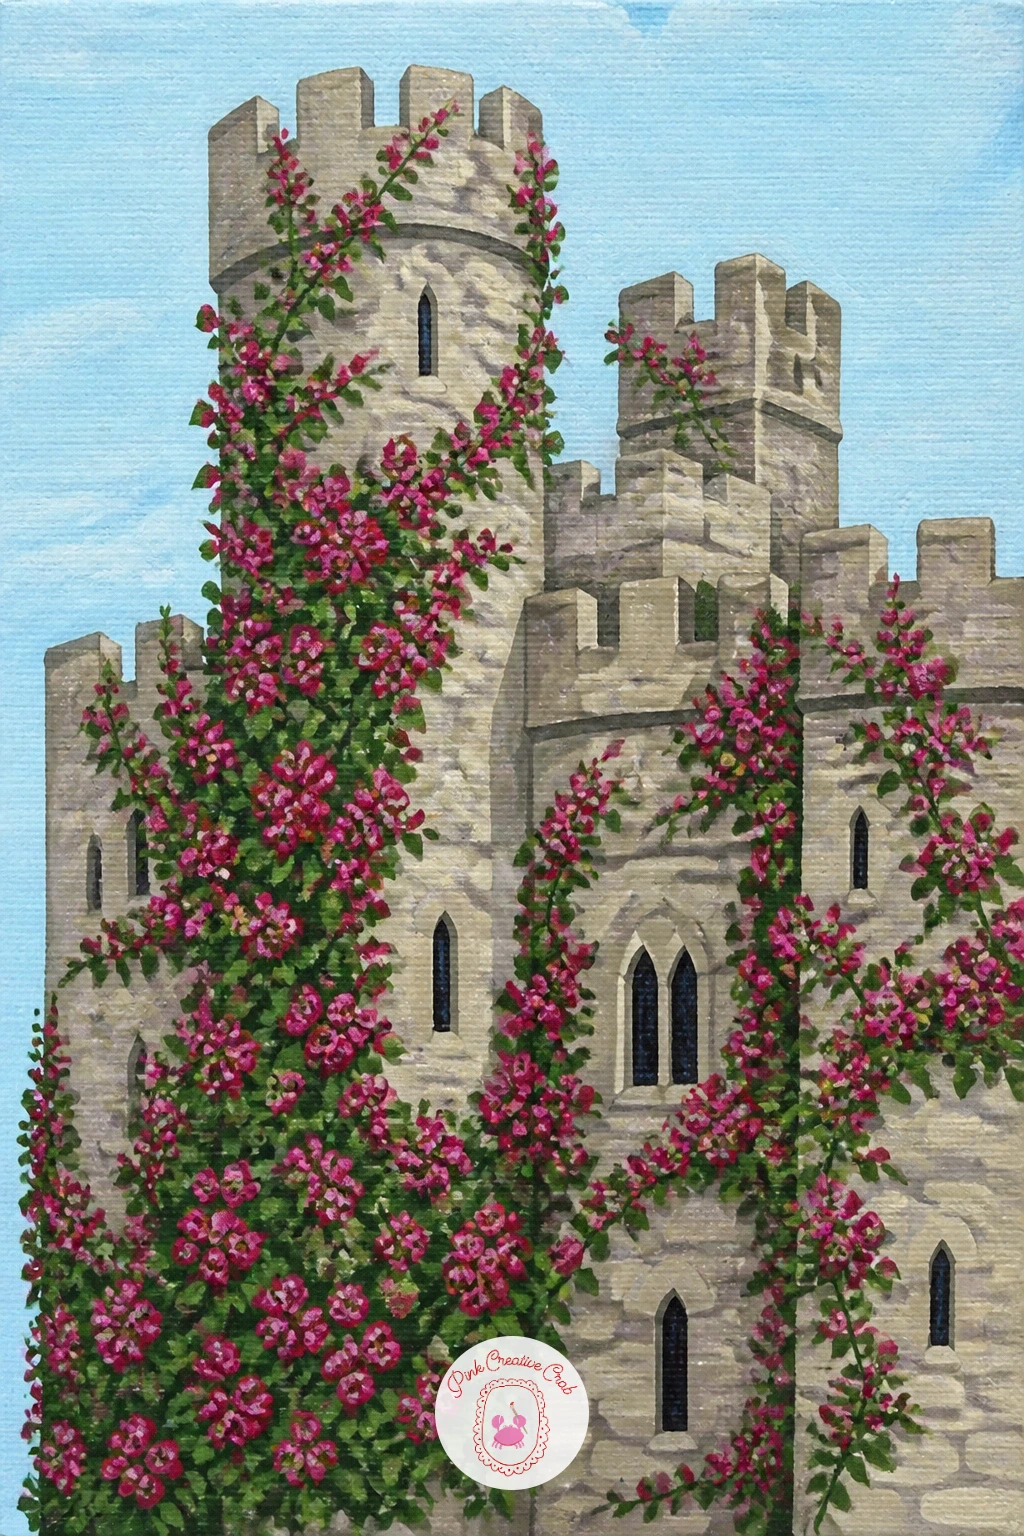
Give a castle some romance with one covered in climbing roses from base to battlement. Paint the castle body first in a warm stone color, a flat creamy tan, then let it dry fully before any greenery goes near it.
Once dry, paint loose vine shapes climbing up one side in a mid green, then dot clusters of tiny rose shapes along the vines in a deep rose pink, each flower no more than a few small dabs of a loaded round brush. Work from the base of the wall upward so the roses thin out naturally as they climb, rather than covering the whole castle evenly.
The edges of each rose cluster are where this one can turn muddy: keep your brush fairly dry and dab rather than drag, which keeps each pink dab distinct instead of blending into the green underneath.
If painting tiny flowers feels fiddly, swap the dabbed roses for a few larger simplified blooms instead, which still reads as climbing roses from a normal viewing distance.
Palette: Warm Stone,Leaf Green,Rose Pink,Pale Sky
Frame a tiny castle inside a glass dome for a castle in a snow globe, one of the most charming objects on this whole list. Paint a simple castle and a patch of white snowy ground first, filling most of the canvas, then paint a large circle around it in a very pale blue with slightly lowered opacity so it reads as glass.
Add a curved highlight along the upper edge of the circle in white to suggest the glass catching light, and paint a simple wooden base in brown beneath the globe to finish the shape. Dot a few small white circles scattered inside the dome last, once everything else is dry, to stand in for falling snow.
The quick ten-minute version stops at the castle, snow and glass outline. Given forty minutes, add a soft shadow beneath the base and a few extra snow dots drifting just outside the dome’s edge for depth.
Finish today with one bright white dot right on the glass itself as a single reflected highlight.
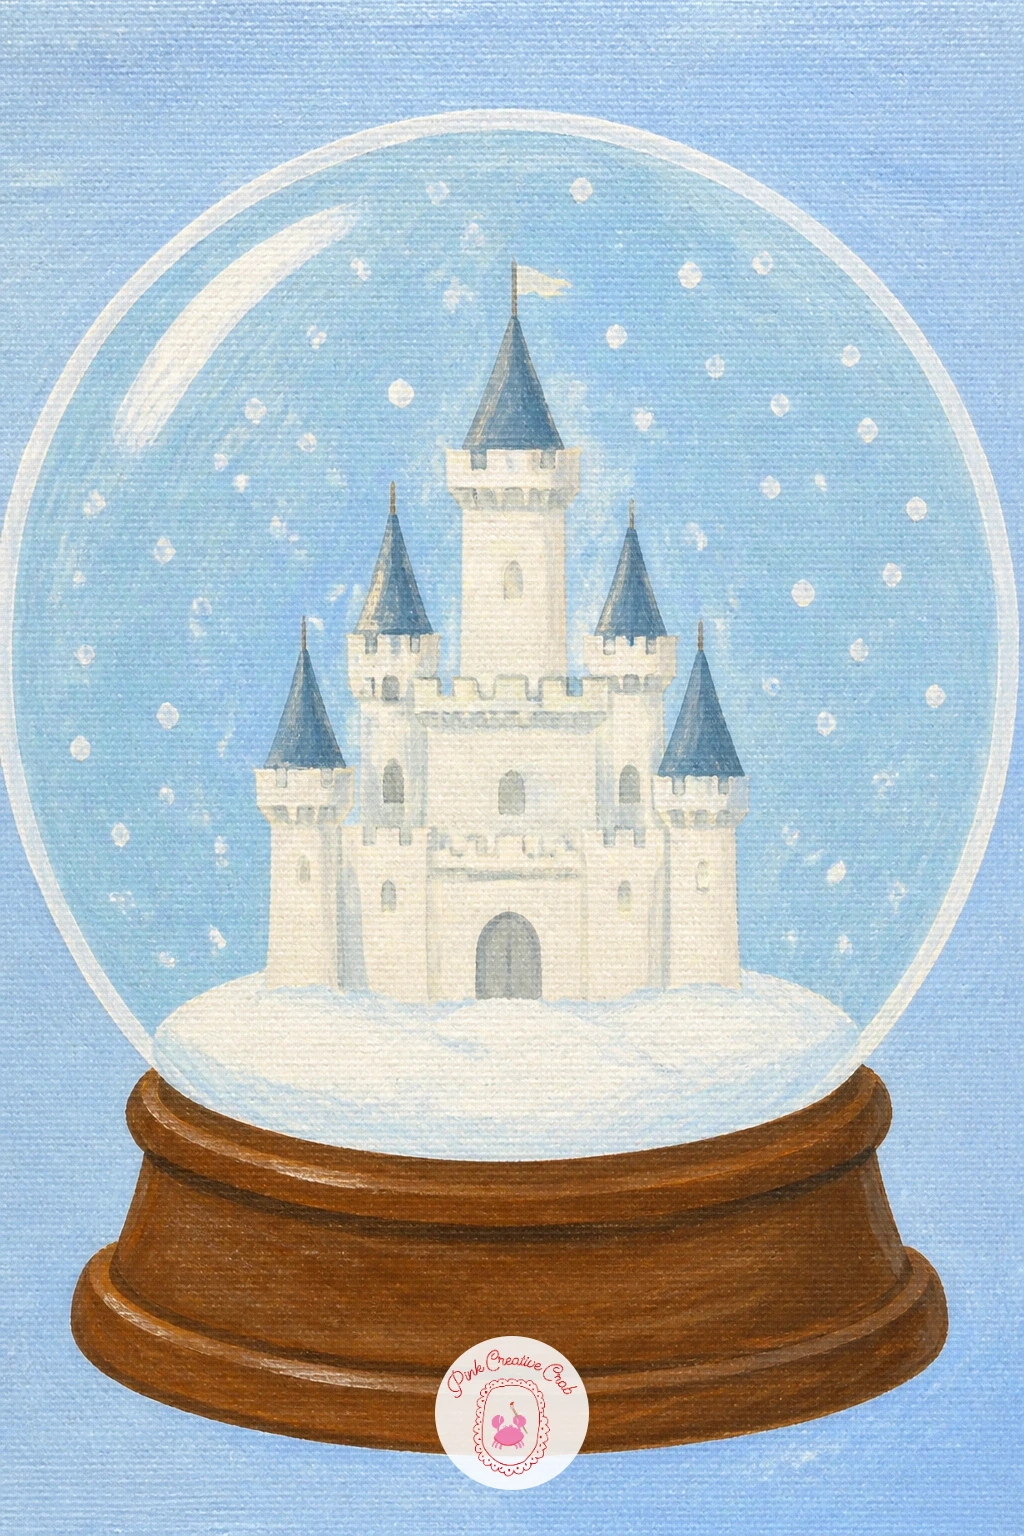
Palette: Glass Blue,Snow White,Soft Grey Castle,Warm Brown
Try a slightly bigger circle than feels natural at first. A snow globe drawn too small next to its castle looks cramped rather than magical.
Add a little humor with a castle drawbridge and one goat trotting across it mid-journey. Paint the castle and its moat first, with the drawbridge lowered flat across the water in warm wood brown, then let that layer dry before the goat goes in.
Build the goat from simple shapes: an oval body, a smaller oval head, four thin straight legs and two short triangle ears, all in a soft cream or grey. Place it roughly a third of the way across the bridge rather than dead center, which gives the scene a sense of motion toward the gate.
Measure the goat against the drawbridge planks before you commit to its size, since a goat taller than the castle door will throw off the whole scale of the painting.
No grey paint on hand works fine, since a warm oatmeal or pale tan goat reads just as clearly against the brown bridge.
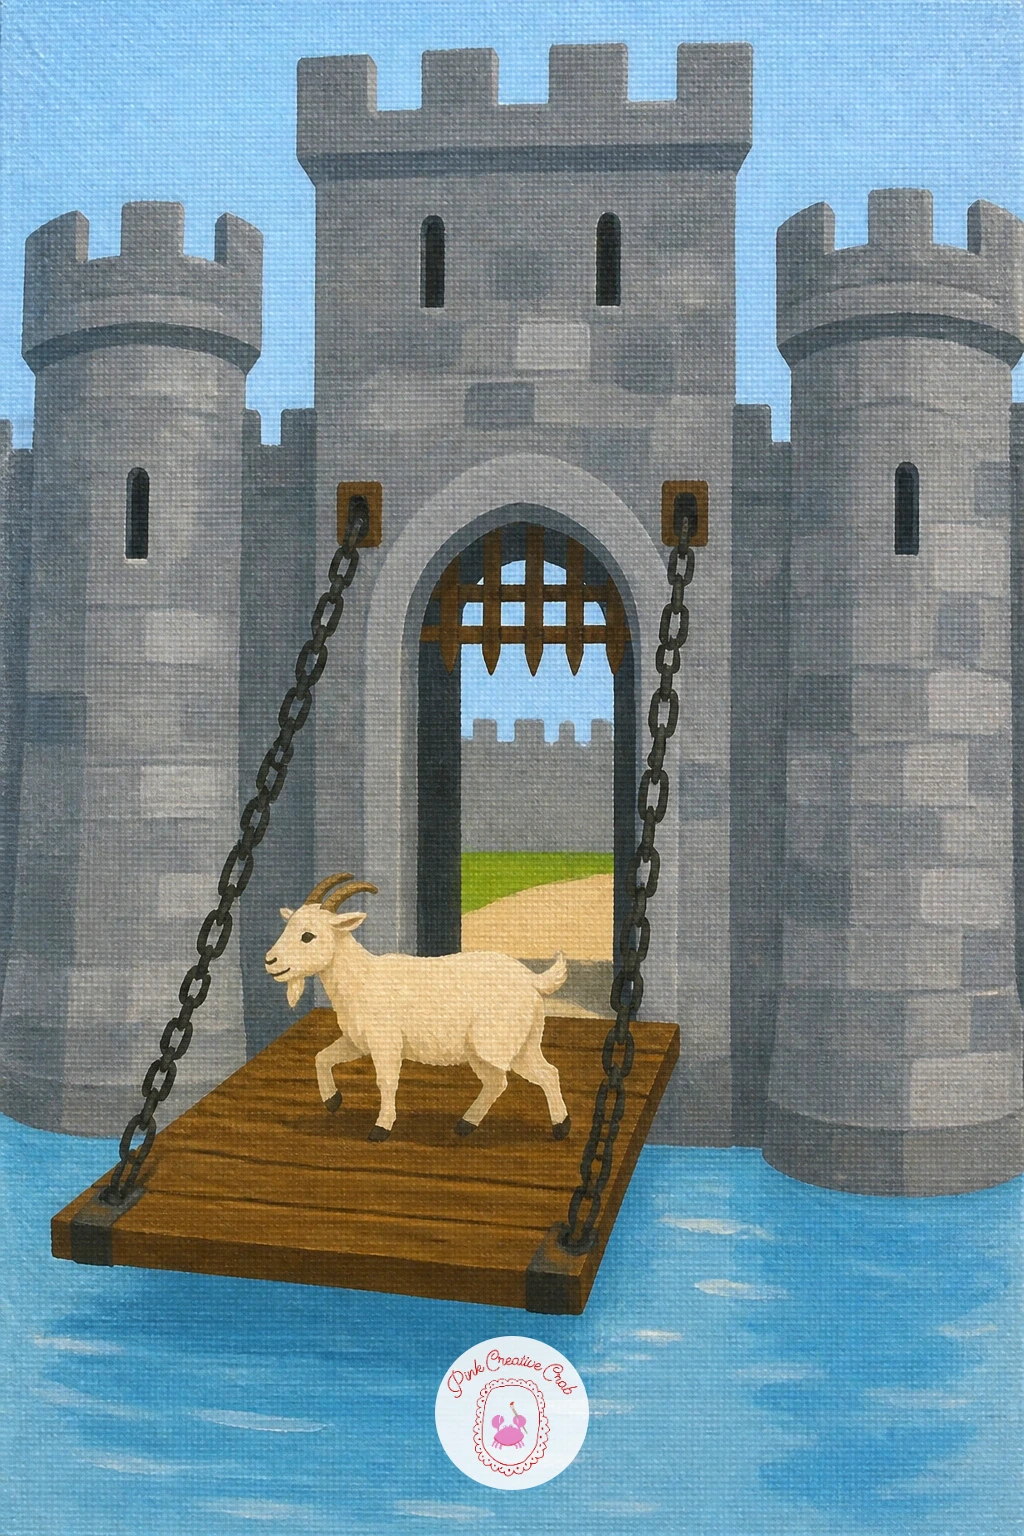
Palette: Wood Brown,Moat Blue,Stone Grey,Oatmeal
Bring food into the kingdom with a castle bakery, its lower floor turned into a little shopfront. Paint the castle body first in soft stone, then block in a warm striped awning over a ground floor window in a candy color like mint or coral.
Once the awning is dry, paint a small window display beneath it: a few simple round loaves and a stacked pastry or two, each no more than a dab or two of a small brush loaded with a single warm color. Keep the display shapes loose and rounded rather than detailed, since tiny bread shapes read better simplified than overworked.
This is a nice one to try twice: paint the quick ten-minute version with just the awning and a plain window, then come back another day and add a hanging sign and a basket of bread by the door for the fuller forty-minute scene.
Finish today by adding a thin trail of white paint pen smoke from a small chimney.
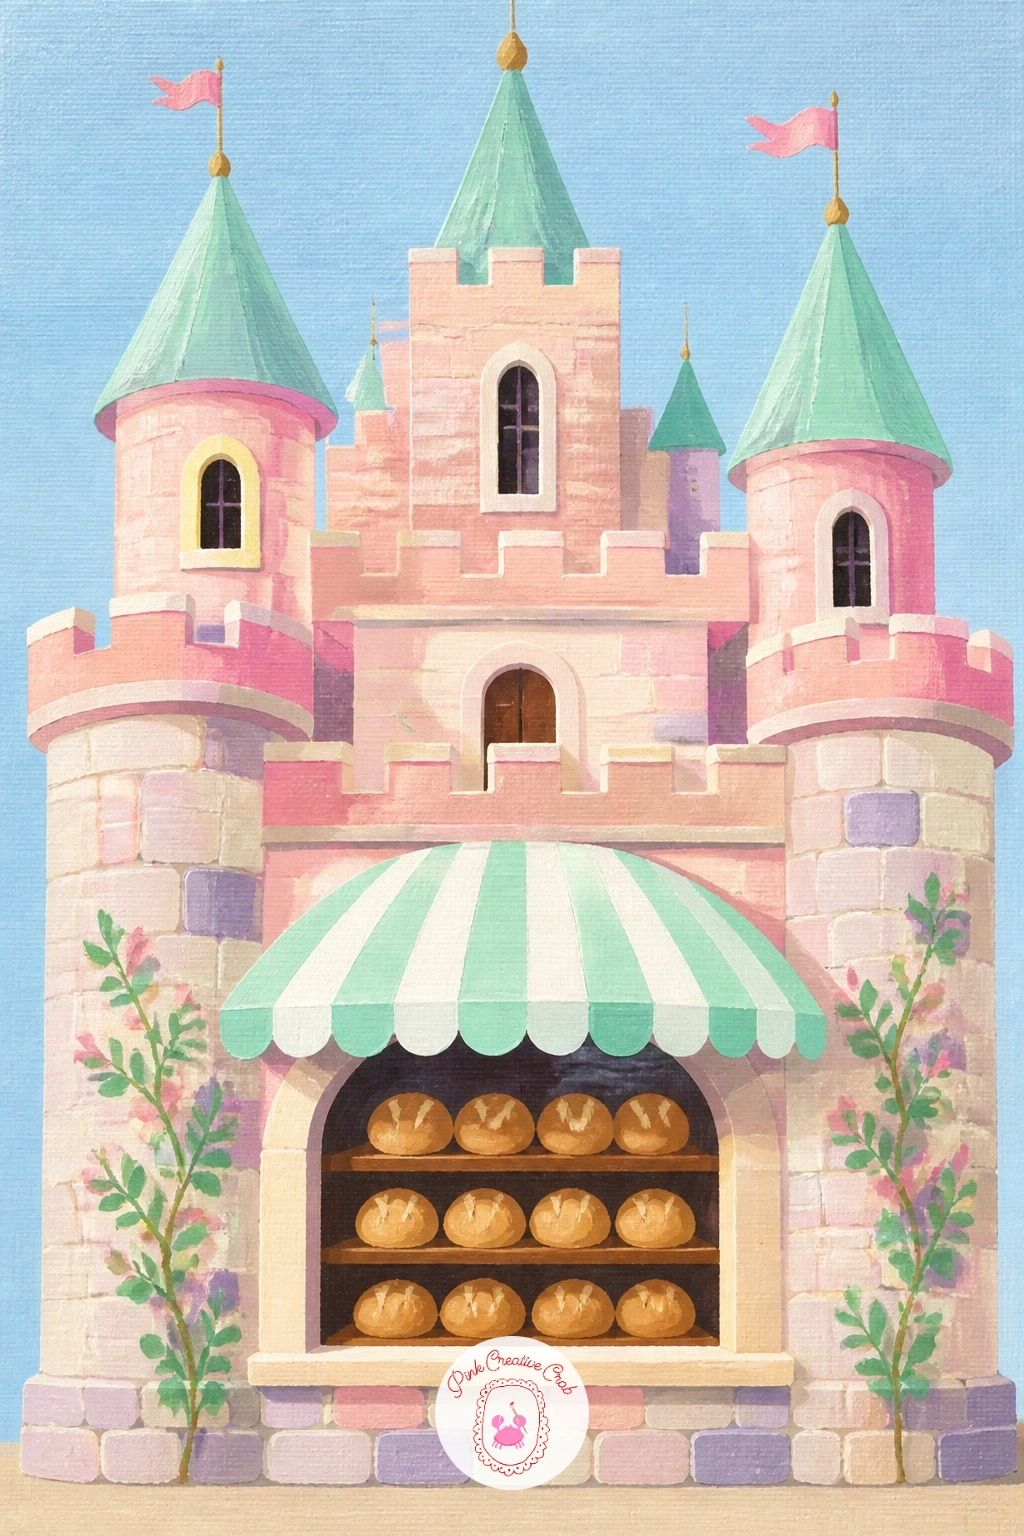
You Will Need
- white acrylic paint pen
Palette: Stone Grey,Candy Mint,Warm Bread,Coral Awning
Shrink the whole kingdom down for a castle rising from inside a teacup, one of the sweetest small scenes in this list. Paint the teacup shape first, a simple curved cup and saucer in a soft pastel with a thin painted gold or white rim, then let it dry completely.
Paint the castle emerging from the cup’s rim afterward, scaled so its tallest tower reaches only about as high as the cup itself, which keeps the proportion playful rather than confusing. Fill the inside of the cup with a flat pale color to suggest tea or clouds, whichever reads more dreamlike to you.
If the castle looks too large once it is in, a kneaded eraser lifts stray pencil guidelines cleanly before you paint over them, so sketch lightly first and check the size against the cup before committing any paint.
Finish today by adding one thin curl of white steam rising beside the nearest tower.
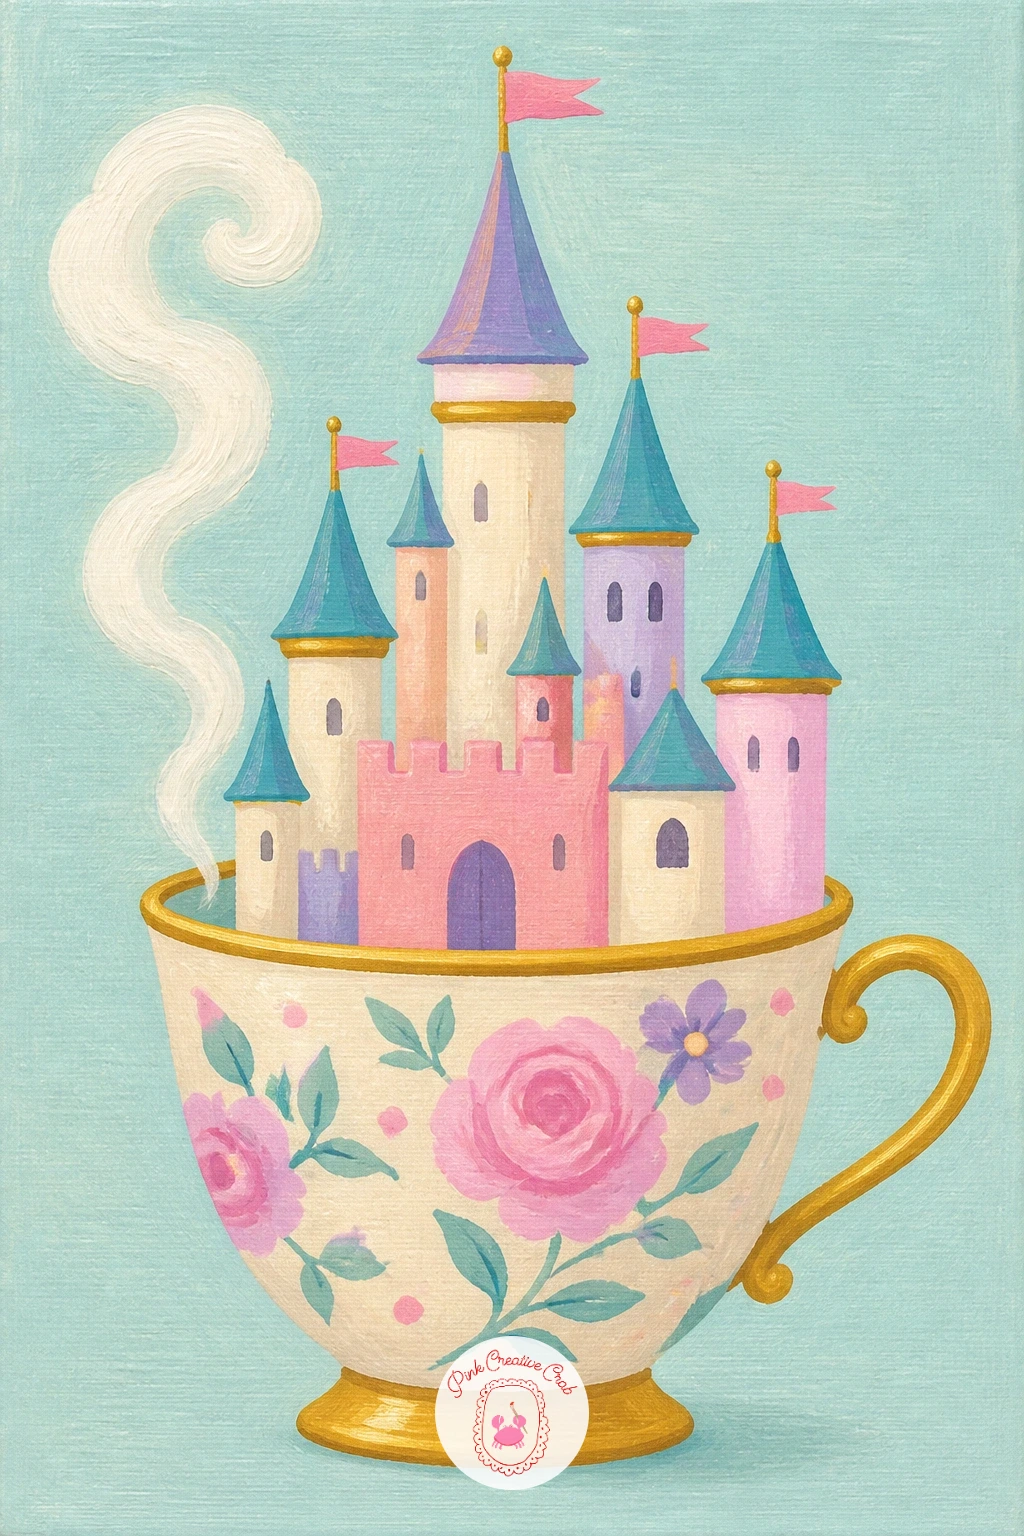
Palette: Soft Blush,Gold Rim,Cloud White,Pale Mint Castle
Give the kingdom a slow, gentle traveler with a castle balanced on a turtle’s back, wandering through calm water or grass. Paint the turtle first as a large simple dome shell in deep green with a few curved line details, plus a small head and four stubby legs peeking out from beneath it.
Once the shell is dry, paint the castle sitting directly on top in flat cream or pale blue, scaled so it covers most of the shell’s surface without hiding the turtle’s head or legs. Keep the castle light in a literal sense: a single tower with a flag reads better here than a sprawling fortress, since the turtle needs to look like it could carry the weight.
Vary this one next time by swapping the setting beneath the turtle, painting it wading through a shallow pond instead of standing on open ground, which changes the whole mood with very little extra work.
Finish today with one small flag on the tower in a color that pops against the green shell.
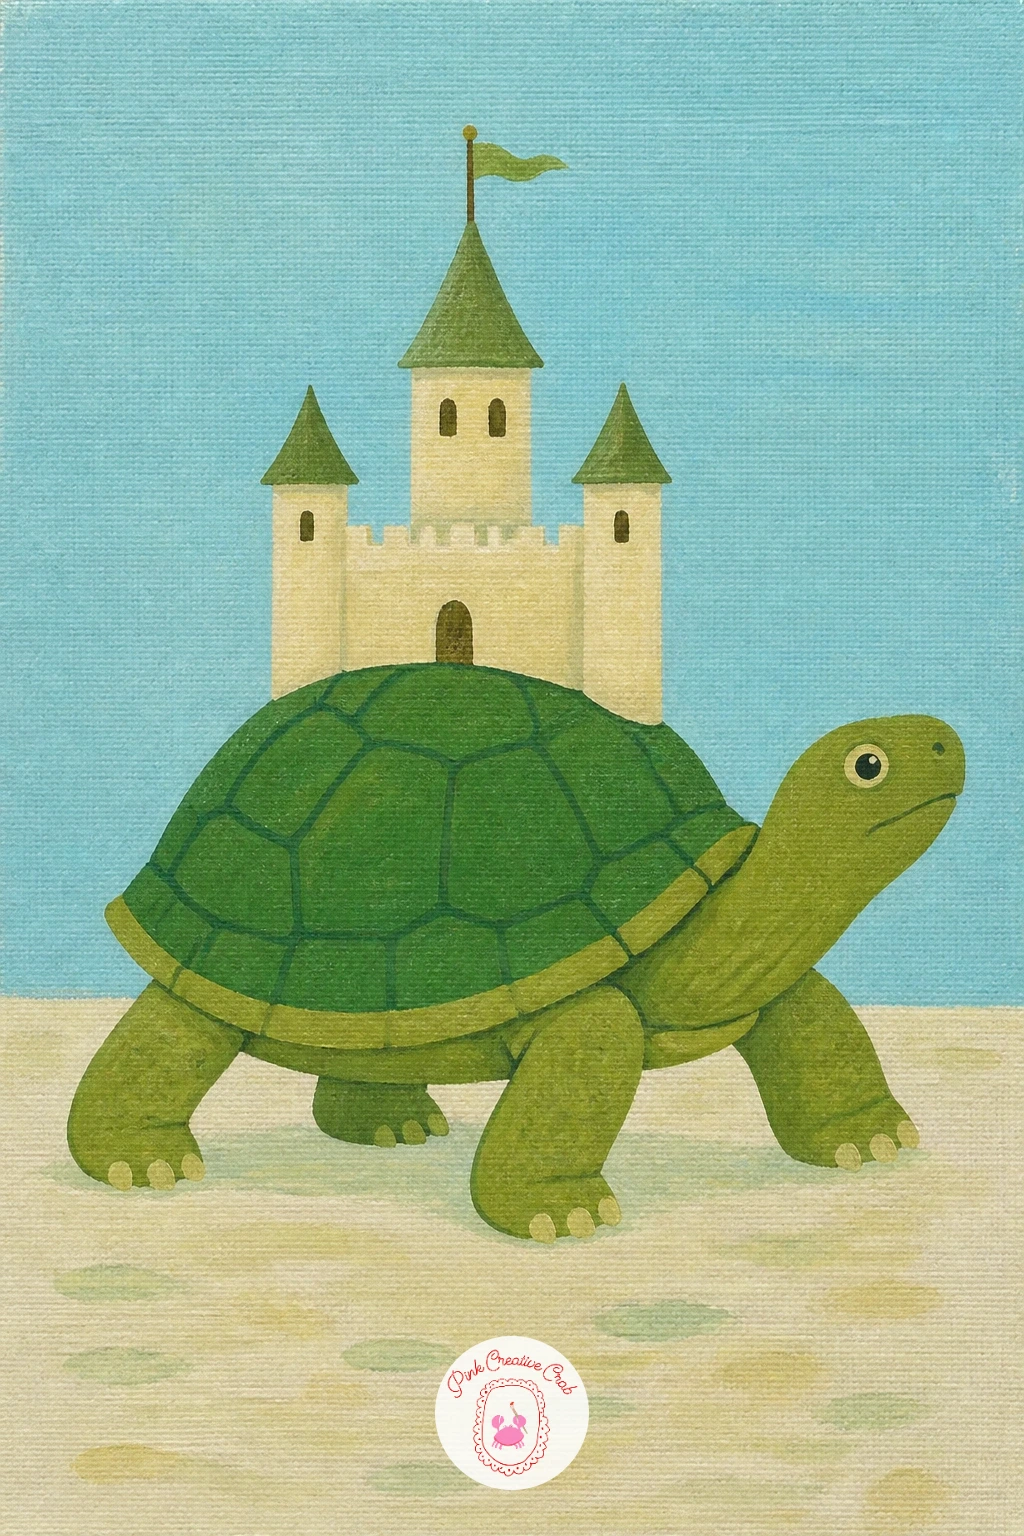
Palette: Shell Green,Cream Castle,Flag Coral,Pale Sky
Bring in strong color for the first time with a castle at sunset, its towers hung with flags catching the last light. Paint the sky first in horizontal bands from deep orange near the horizon up through pink and soft purple higher up, blending the bands into each other while the paint stays wet.
Once the sky is dry, paint the castle as a dark warm silhouette, a flat blend of deep plum and brown rather than pure black, which keeps it feeling painted rather than cut out. Add two or three small triangle flags along the roofline in a bright accent color, since a dark castle against a bright sky needs that one pop of contrast to stay lively.
Light source matters most in this scene: keep every edge of the castle dark and let all the glow live in the sky behind it, resisting the urge to paint any bright highlights onto the stone itself.
Finish today by softening the horizon line with a thin streak of the lightest sky color dragged along the castle’s base.
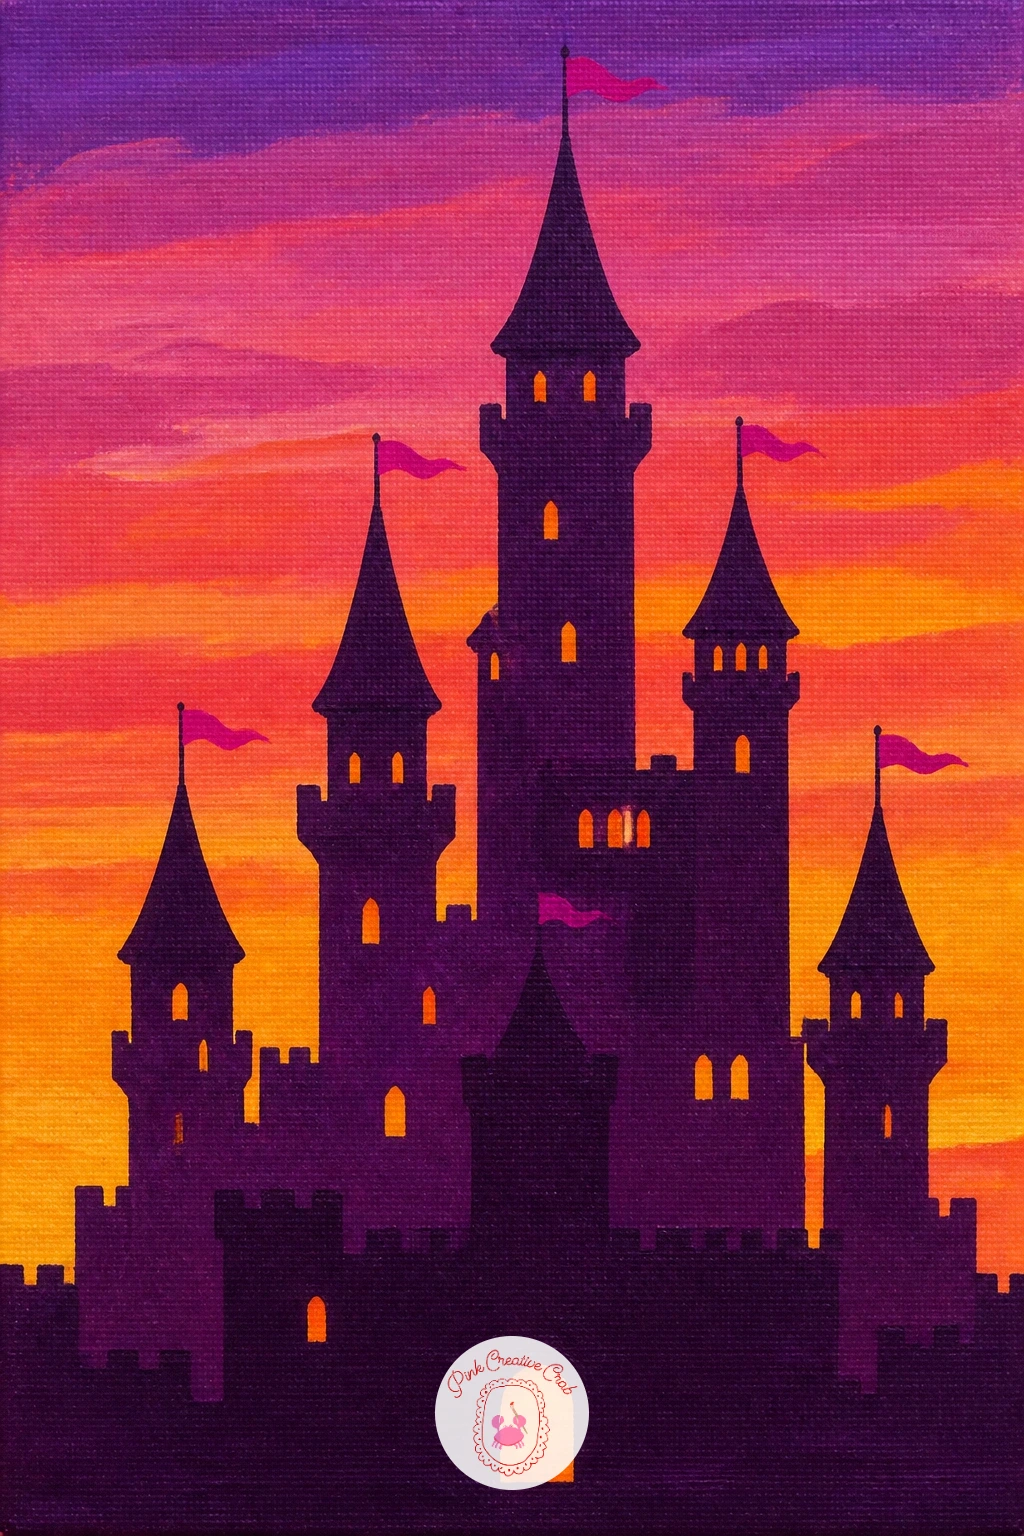
Palette: Sunset Orange,Blush Pink Sky,Dusk Purple,Silhouette Plum
Fill the courtyard with life for a castle garden party, tables and umbrellas set out on the lawn below the towers. Paint the castle and a flat green lawn first, then add two or three small round tables as simple circles with thin legs, spaced out rather than clustered together.
Top one or two tables with a striped umbrella shape in a cheerful color, then dot a few tiny figures nearby using simple rounded bodies and small dress or coat shapes, no faces needed at this distance. Keep the figures small compared to the castle doorway, which keeps the whole scene feeling grand rather than crowded.
If figures feel tricky to place, start with the umbrellas and tables alone for the quick version, then add one or two small figures only once you are happy with the layout, since it is far easier to add a figure than to remove a bad one.
Finish today by scattering a few small flower dabs along the lawn’s edge in a bright contrasting color.
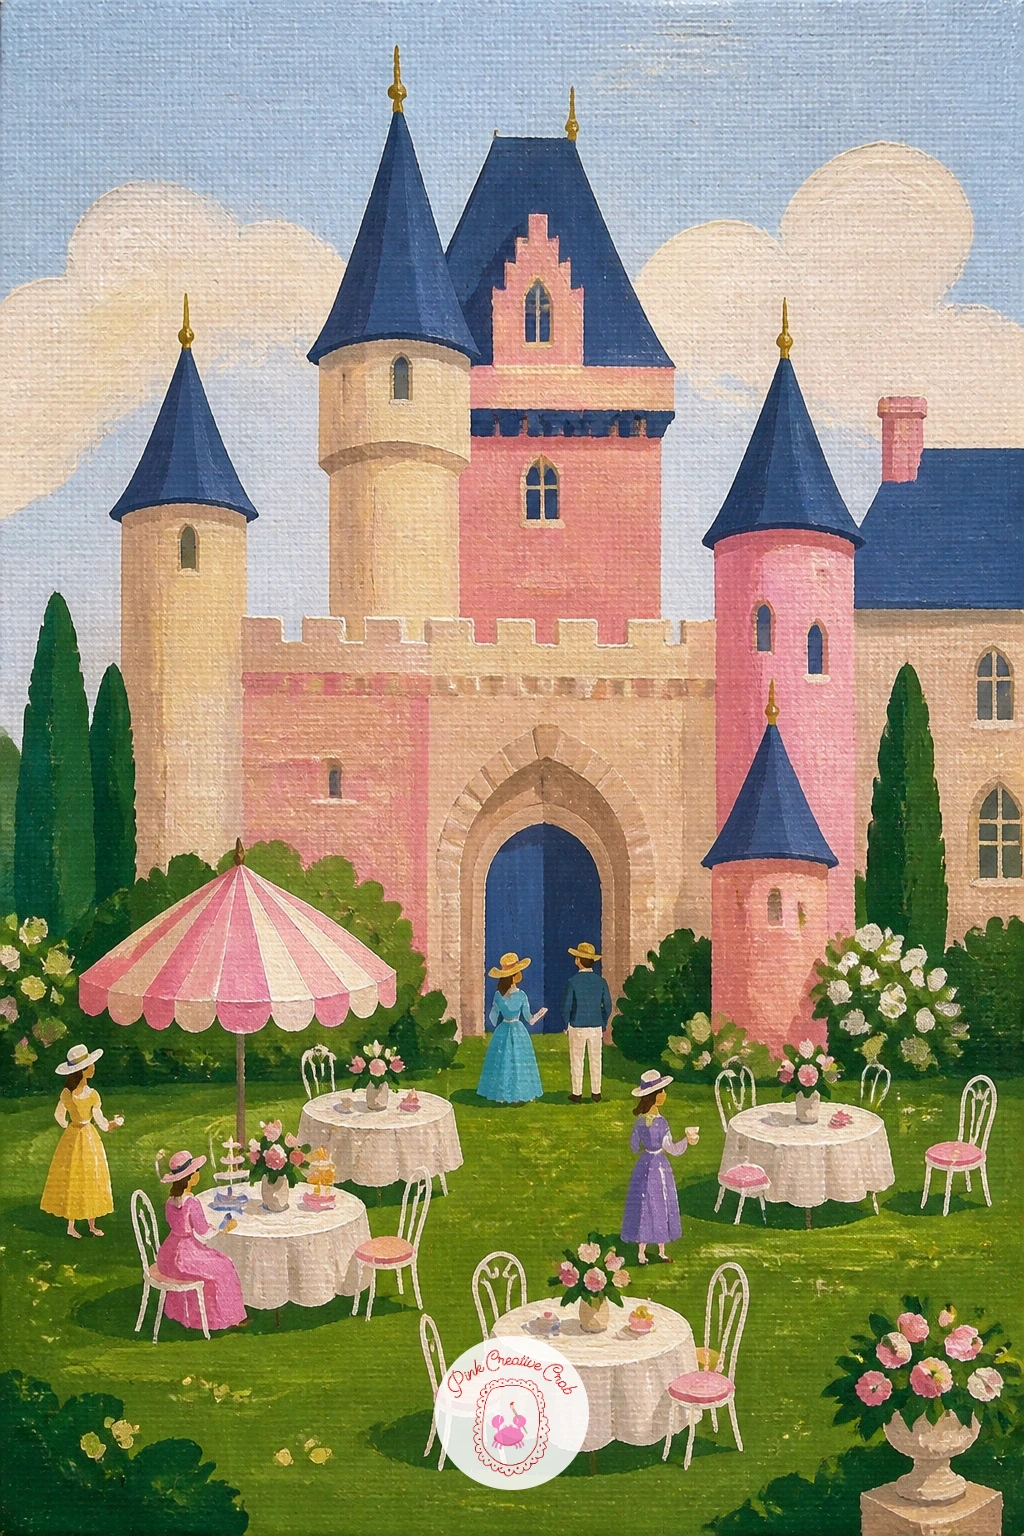
Palette: Lawn Green,Umbrella Coral,Stone Castle,Sky Blue
Surround the castle in color next with one standing at the edge of a lavender field stretching toward the horizon. Paint the sky and castle first in soft pale tones, then let that layer dry completely before the field goes in, since lavender rows painted over wet castle paint tend to smear.
Build the field with short diagonal strokes of purple across the lower half of the canvas, working in rows that get slightly smaller and closer together as they approach the castle to suggest distance. Leave thin gaps of the pale background color between rows rather than filling the whole area solid, which keeps the texture looking like rows of flowers rather than a flat purple block.
A dry, flat brush dragged lightly over each row leaves a slightly broken, textured stroke that reads as individual lavender stems far better than a smooth fill ever does.
No purple paint mixed on hand works fine, since a simple mix of red and blue with a touch of white gets you there quickly.
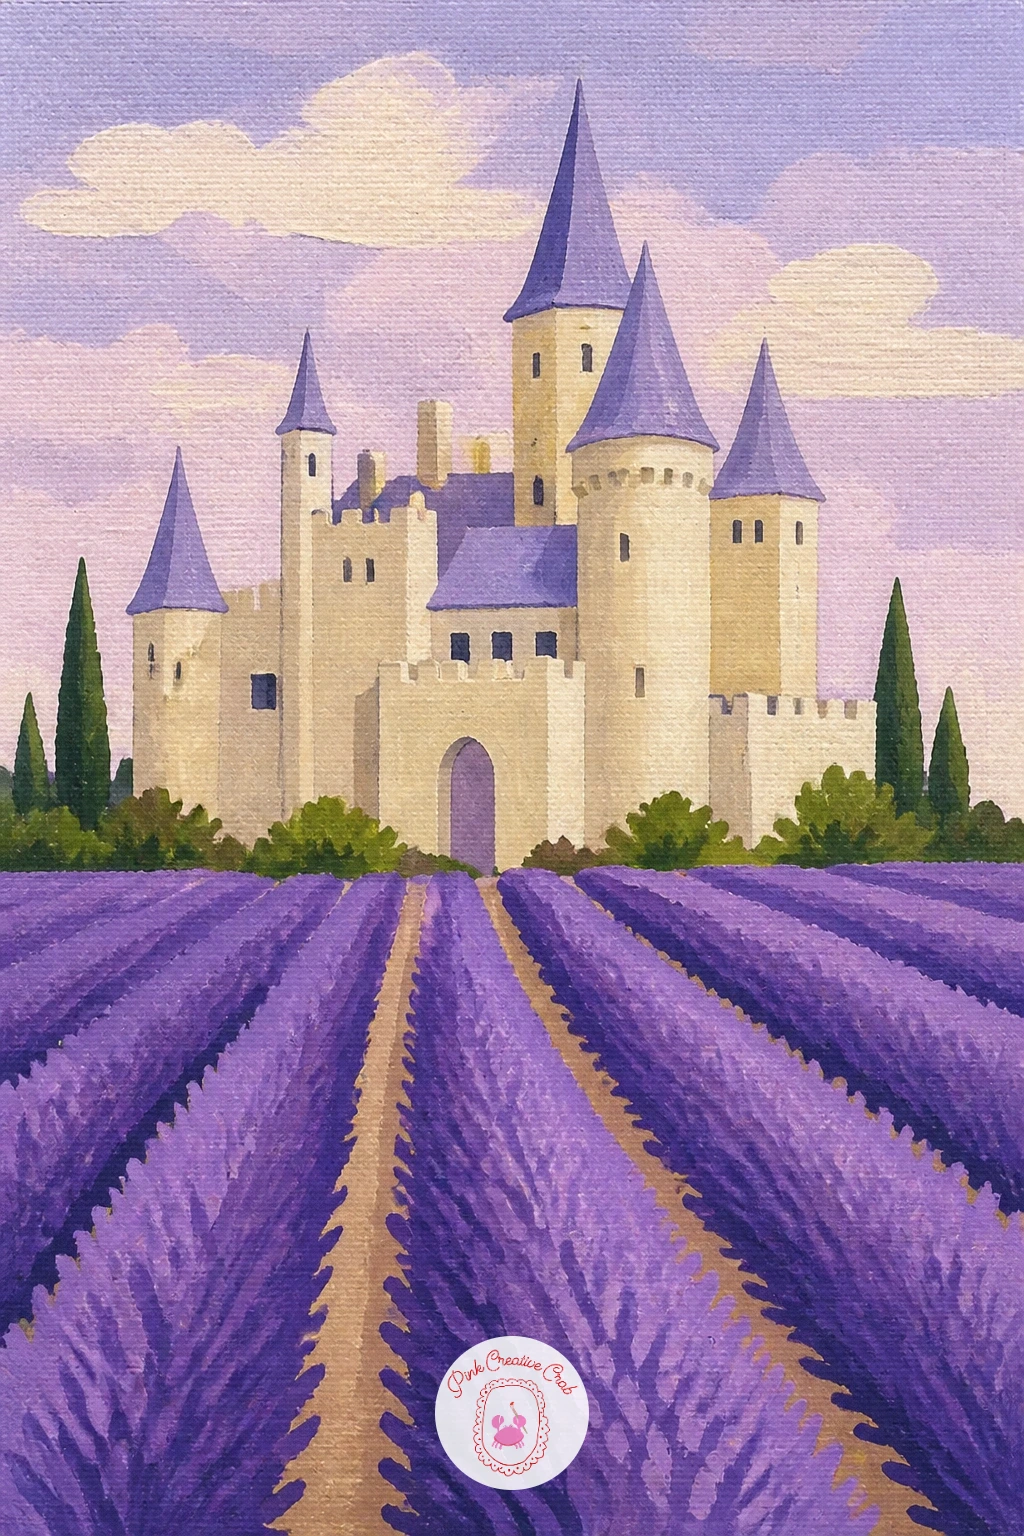
Palette: Lavender Purple,Pale Lilac,Cream Castle,Soft Sky
Add a storybook guardian with a dragon napping on a castle tower, curled up in the sun rather than breathing fire. Paint the castle first, keeping one tower slightly wider and flatter at the top so there is a clear flat roof for the dragon to rest on.
Once dry, paint the dragon as a curled comma shape in a soft green or dusty blue, tail wrapped around its own body, with two small folded wing shapes and closed eyes to keep the mood peaceful rather than fierce. Work the dragon in flat color first, then add a few curved line details along its back in a slightly darker shade of the same color once that base layer is dry.
Compare the dragon’s curled length to the width of the tower roof before you paint it in: it should cover most of the flat top without hanging dramatically over the edges, which keeps the scale calm and convincing.
Finish today with two tiny puffs of white smoke drifting from one closed nostril.
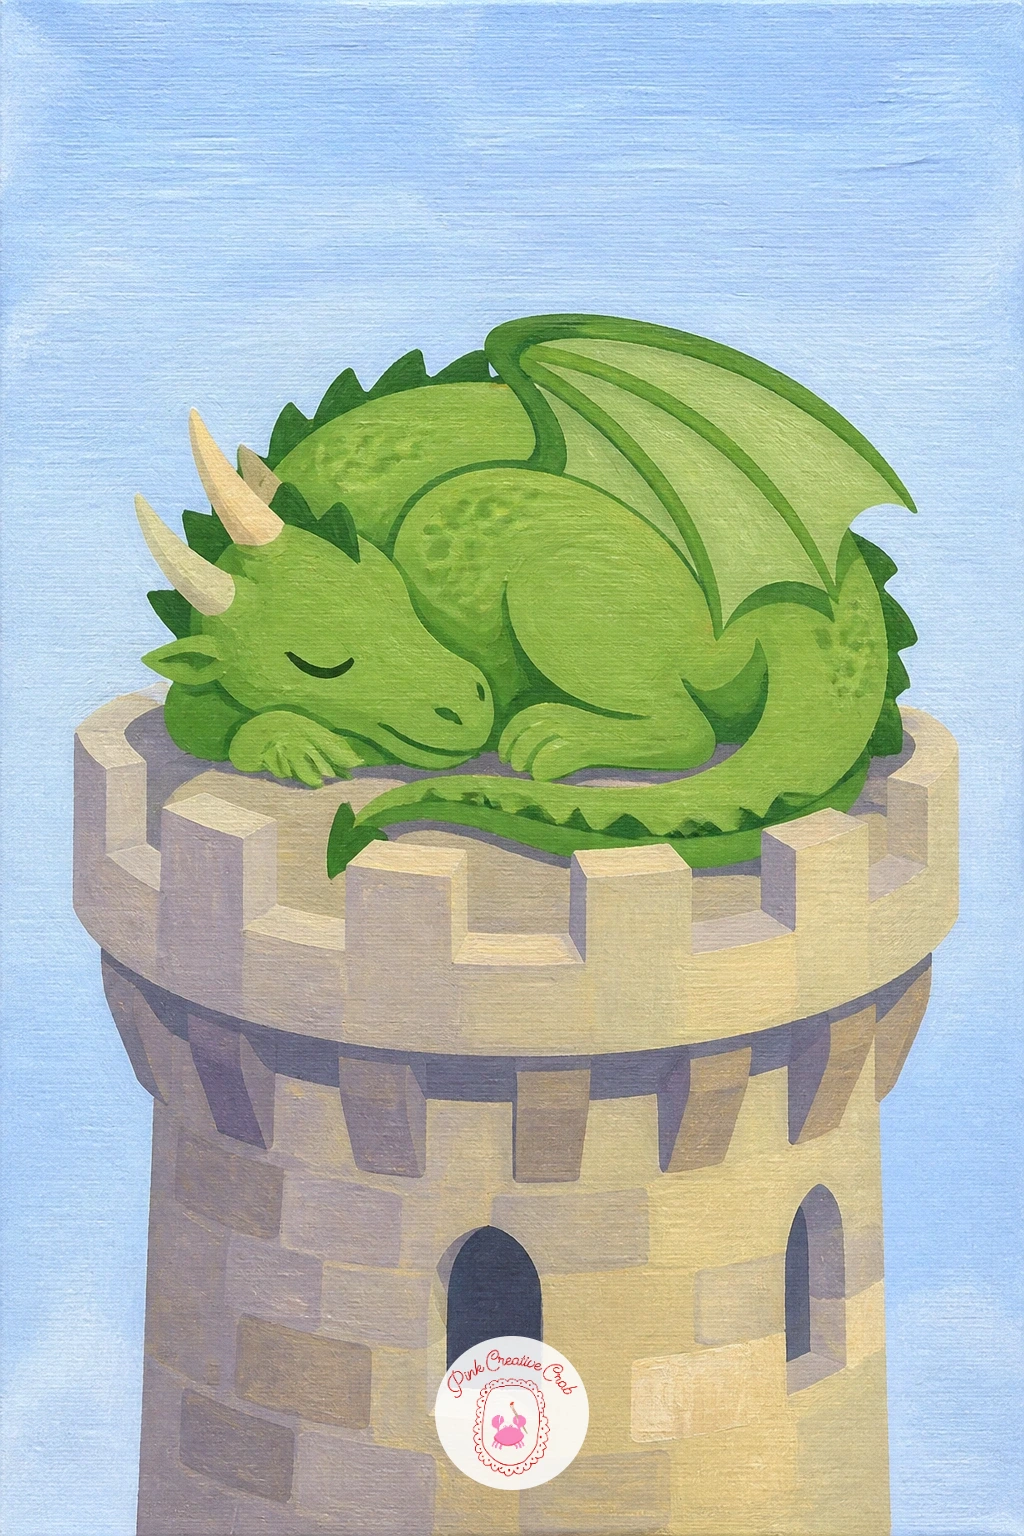
Palette: Dragon Green,Dusty Blue,Stone Castle,Soft Sky
Give the kingdom a quiet, bookish corner with a castle library tower, its windows glowing warm against the stone. Paint the tower first as a single tall rounded shape, then add two or three arched windows down its height in a deep warm gold to suggest candlelight inside.
Once the windows are dry, paint simple rows of tiny rectangle books stacked along the inside of the window frames, just a few dashes of color per window rather than a detailed shelf. Keep the rest of the tower in a cooler stone tone so the glowing windows read as the clear focal point of the whole painting.
The quick ten-minute version stops at two glowing windows and a plain tower. With forty minutes, add a small circular stained glass window near the top and a vine of ivy climbing one side for extra charm.
Finish today by adding one small bird perched on the windowsill in silhouette.
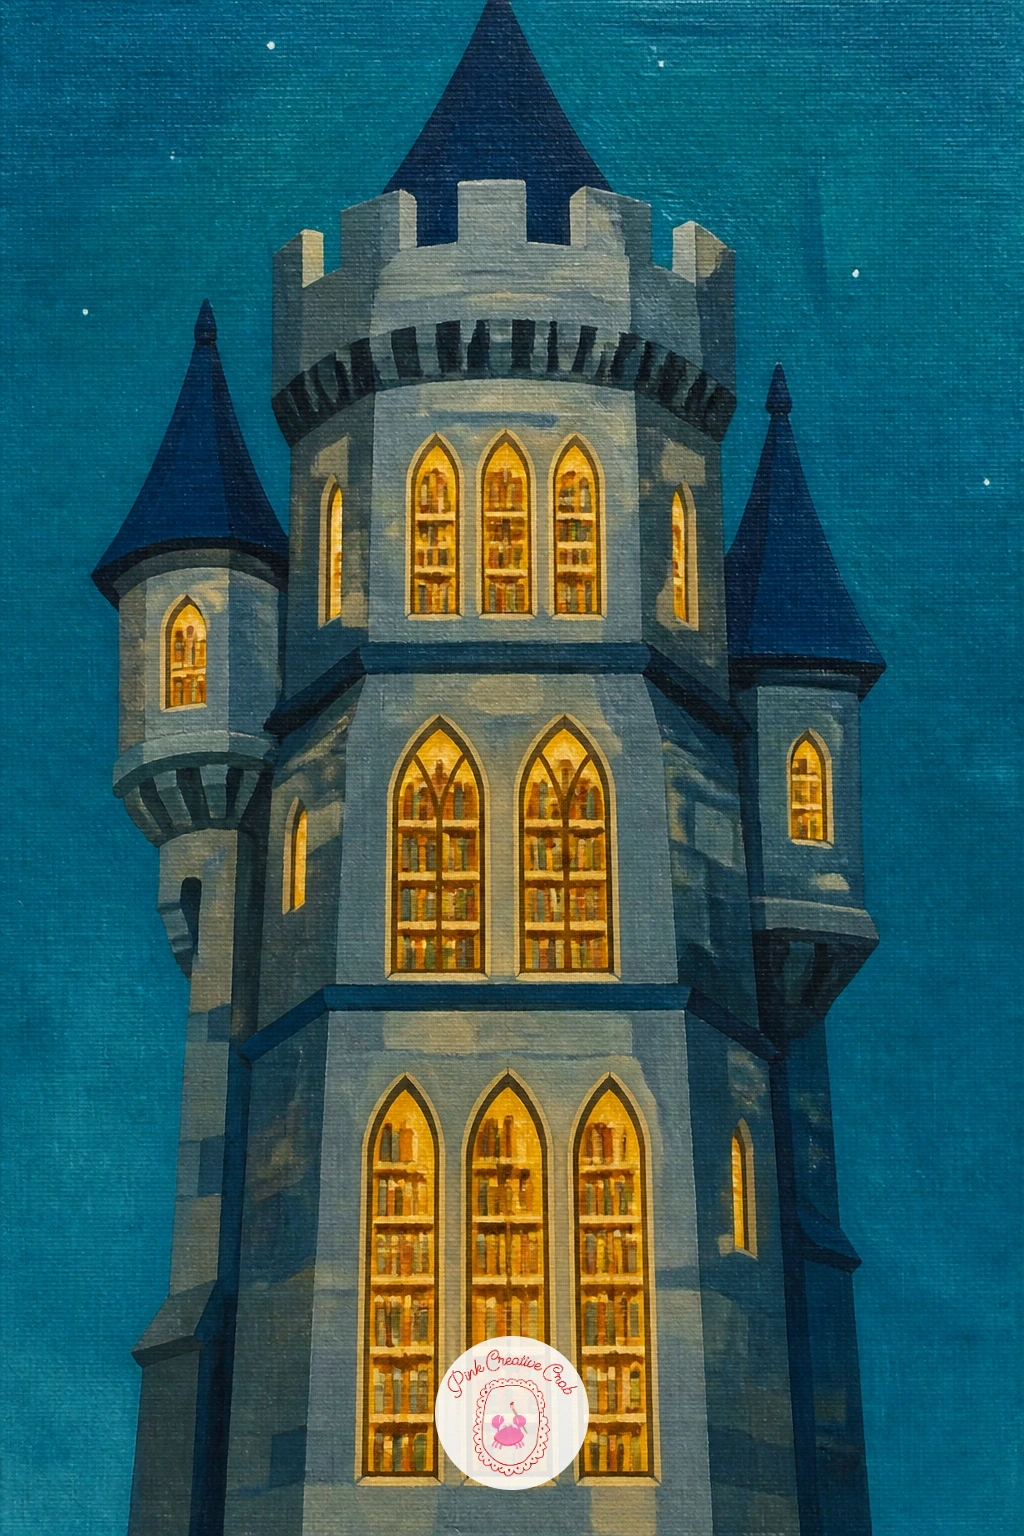
Palette: Stone Grey,Candle Gold,Deep Teal Sky,Ivy Green
Return to greenery with a castle fully wrapped in climbing ivy, more overgrown and romantic than the earlier rose covered wall. Paint the castle stone in a cool grey first, then let it dry before building the ivy up from the base in several overlapping shades of green.
Work the ivy in loose, leafy clumps rather than single vine lines, using a smaller round brush to dab clusters of tiny leaf shapes that thicken near the ground and thin out as they climb toward the roofline. Leave a few windows and a section of roofline completely free of ivy so the castle shape still reads clearly beneath all the greenery.
If the greens start to look flat and uniform, mix two slightly different shades, a warm olive and a cooler sage, and alternate between them as you dab, which gives the ivy far more depth without any blending.
Finish today by adding one tiny red berry cluster tucked into the greenery near a window.
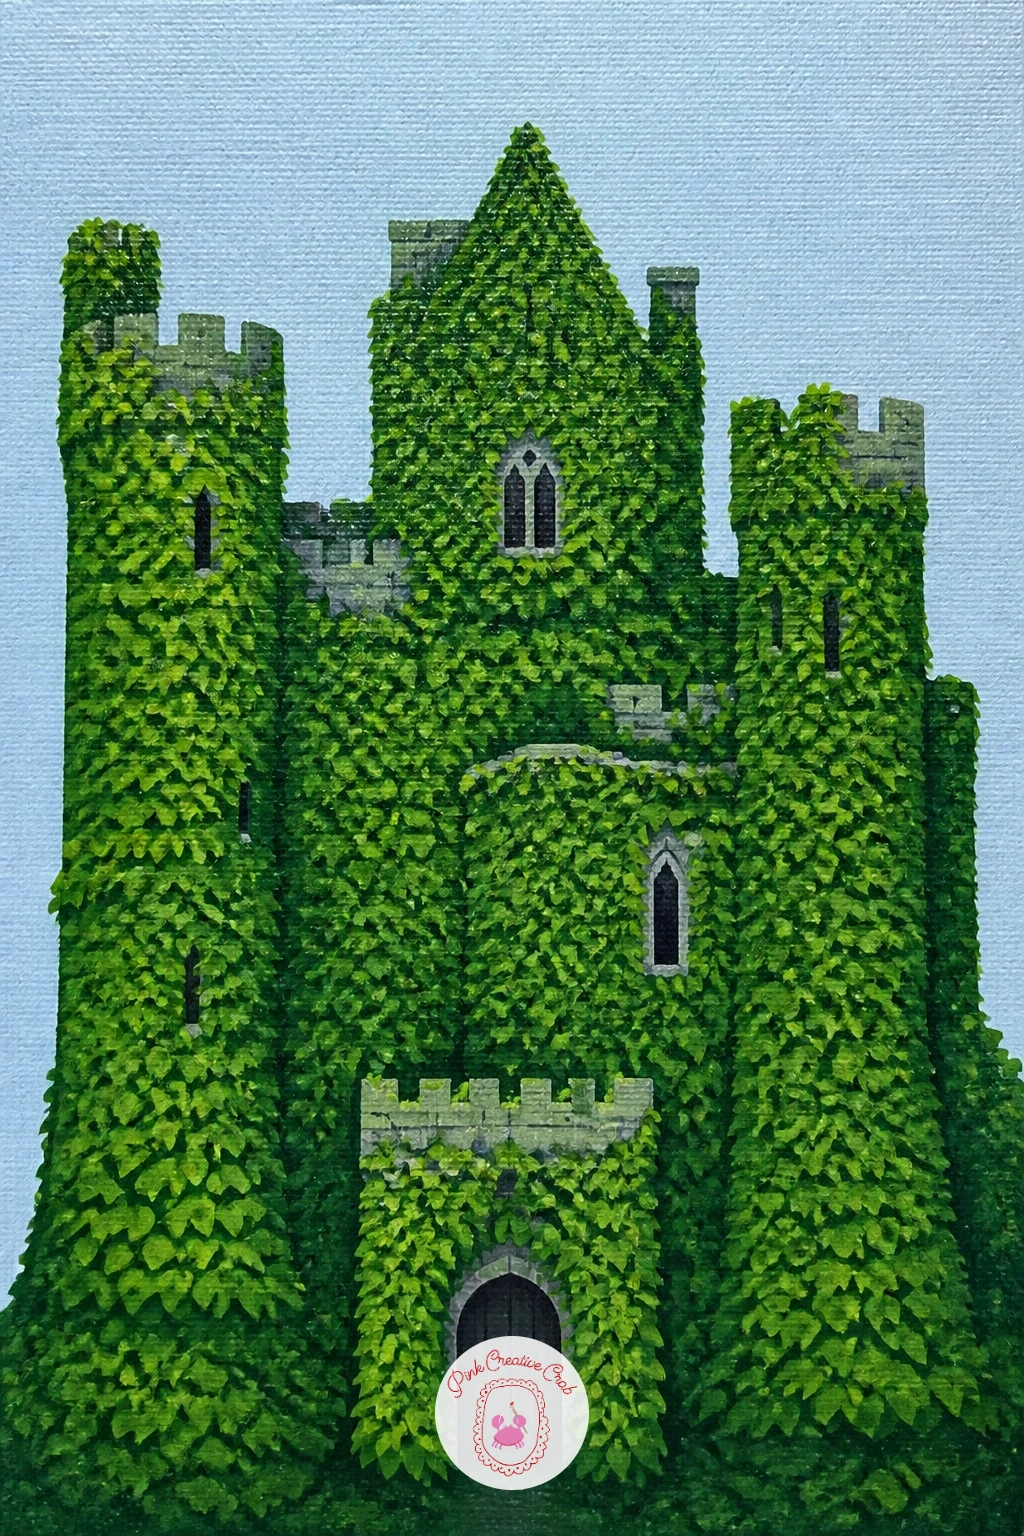
Palette: Stone Grey,Olive Ivy,Sage Ivy,Berry Red
Move the castle into the woods for a scene with a castle in a forest, a deer or two pausing near the treeline. Paint a soft gradient sky first, then block in rounded tree shapes along both sides of the canvas in varied greens, leaving a clear gap in the middle for the castle to show through.
Paint the castle in the gap in a pale stone color, slightly smaller than the surrounding trees to suggest distance, then add one or two deer near the bottom edge as simple standing shapes in soft brown with small raised heads. Place the deer so they are clearly smaller than the nearest tree trunks, which keeps the whole scene’s sense of scale believable.
If a deer’s legs look too stiff once painted, a thin highlight line of a lighter brown down one side of each leg suggests roundness without needing to repaint the shape.
Finish today by adding a scatter of small white dots through the trees as distant wildflowers.
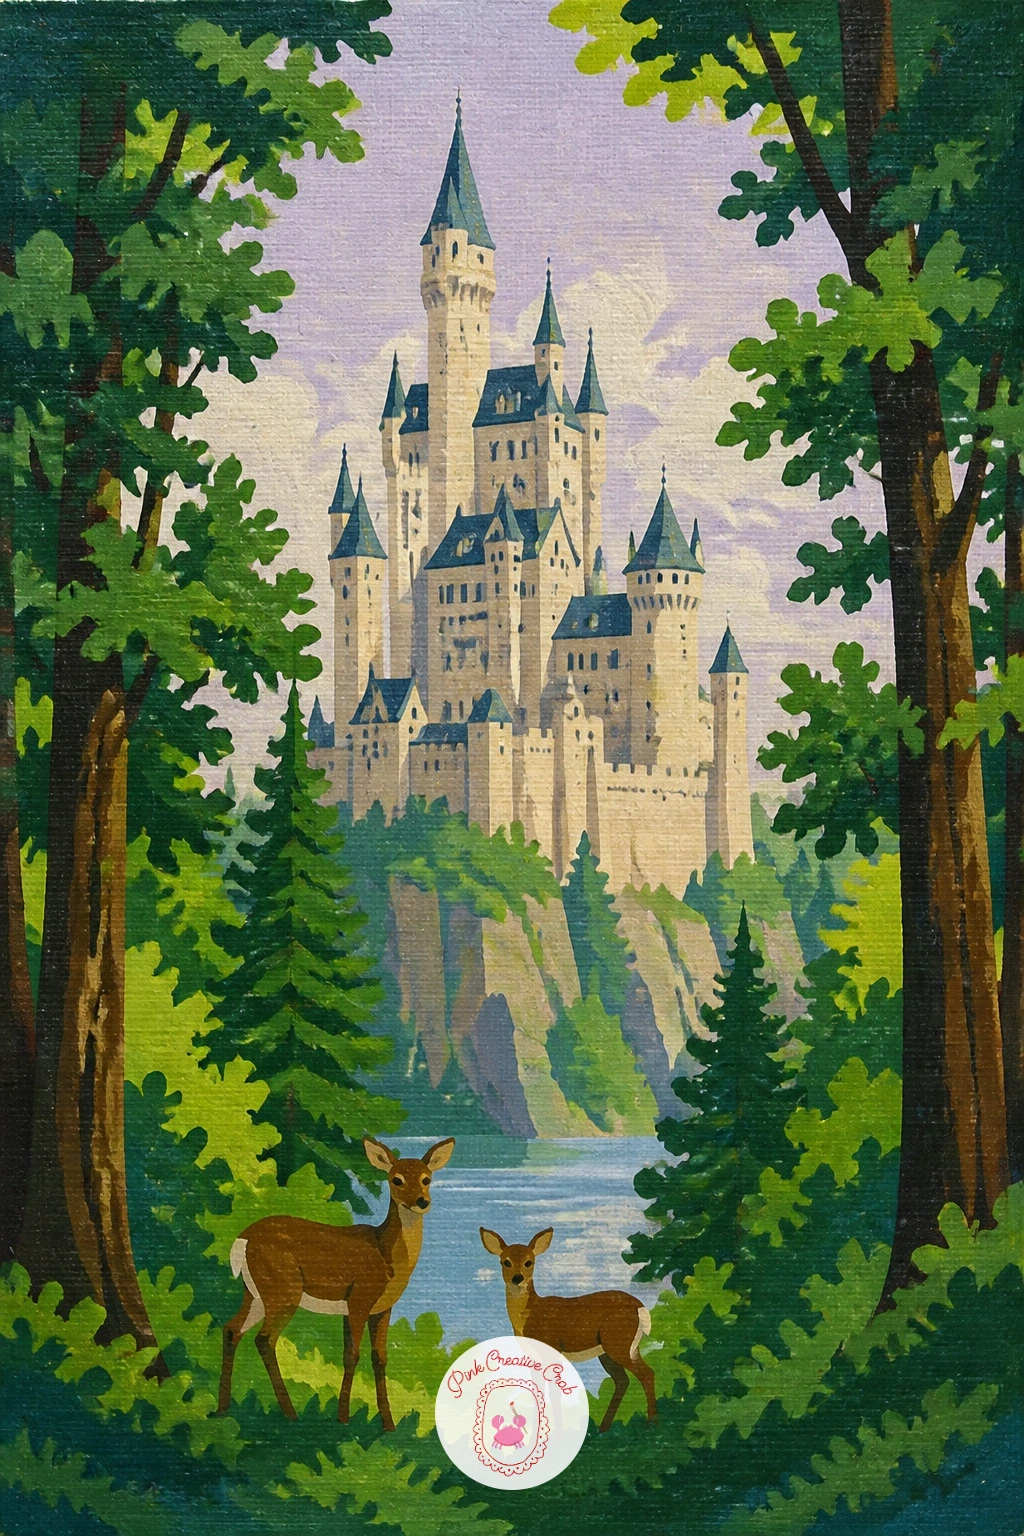
Palette: Forest Green,Pale Stone,Deer Brown,Soft Sky
Turn the whole kingdom sweet with a castle made of cake, towers of frosted layers instead of stone. Build each tower as a stack of rounded rectangles in alternating cake colors, pale pink and cream work well, then paint a thin drizzle of icing along the top edge of every layer in white.
Once the tower layers are dry, add a few decorative details on top, a cherry, a small flag made of a cocktail-stick shape, or a swirl of piped icing at each turret peak, keeping every decoration simple and rounded rather than fussy. Vary the cake flavors across different towers next time you paint this one, trying a chocolate brown layer or a mint green layer for a different palette entirely.
The icing drizzle is the trickiest part: thin your white paint slightly with water first, since paint straight from the tube tends to sit too thick and loses that dripping look.
Finish today by adding a cherry on the very top tower for a clear focal point.
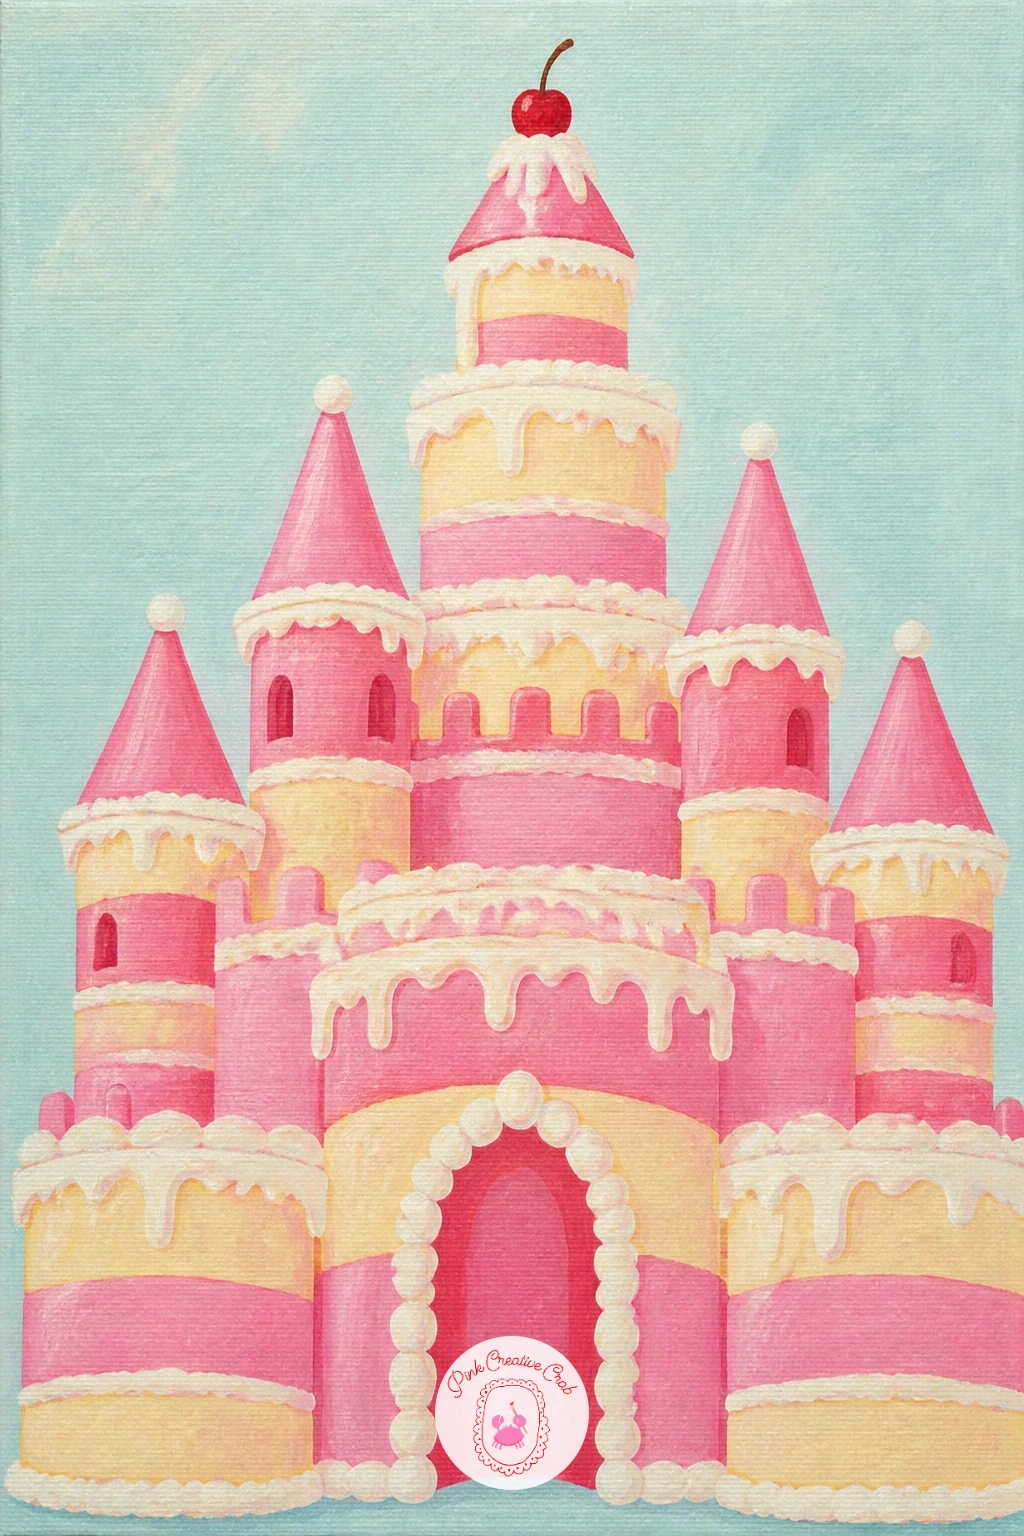
Palette: Cake Pink,Cream Layer,Icing White,Cherry Red
Cool the palette down with a castle in winter, snow settled thick along every rooftop and ledge. Paint the sky first in a pale, slightly grey-blue, then block in the castle in cool stone tones before adding snow, since it is far easier to add white on top of dry paint than around it.
Paint a layer of snow along every flat surface, roofs, window ledges and the ground, using a slightly thicker application of white so it sits visibly on top of the stone beneath. Keep the snow line clean and crisp along each roof edge rather than soft, which reads more like fresh snow than melting slush.
If the scene feels flat once the snow is in, a touch of pale blue shadow painted along one side of each snowy shape gives it enough form to look three-dimensional without any real blending.
Finish today by scattering a handful of small white dots falling through the sky as snowflakes.
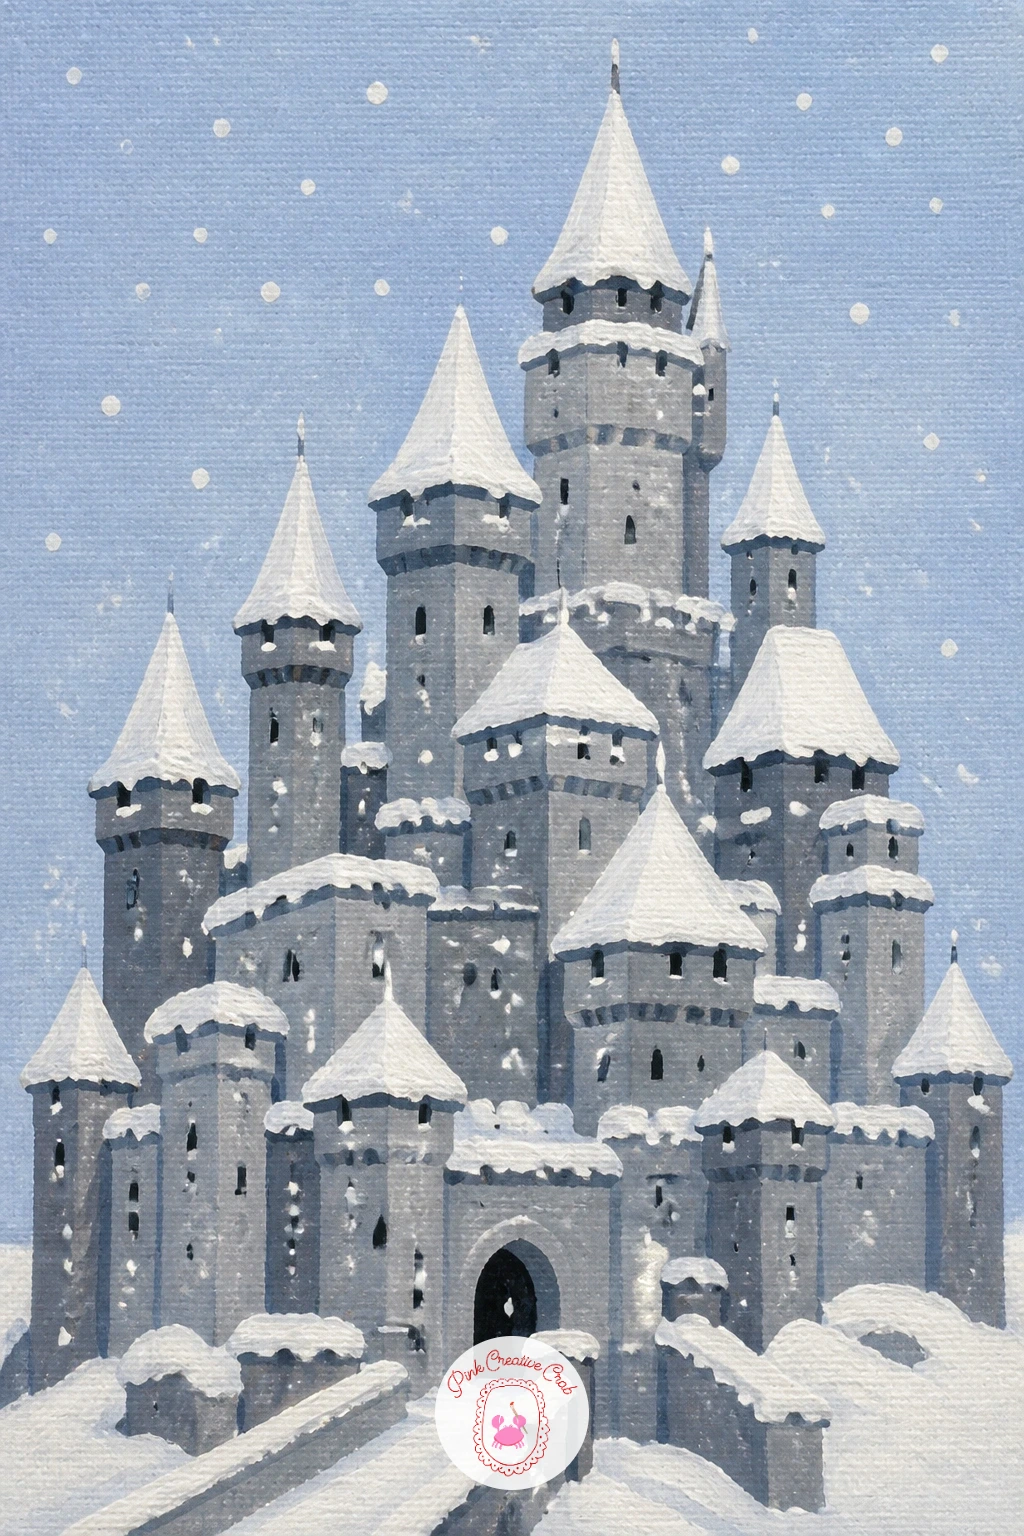
Palette: Winter Sky,Cool Stone,Snow White,Shadow Blue
For more cold weather scenes once this one is finished, the ideas in this winter sketchbook list make a nice companion set.
Fill the ground level with activity for a market in a castle courtyard, stalls lined up beneath the walls. Paint the castle and a flat stone courtyard floor first, then add three or four small striped stall shapes along the bottom edge, each just a simple tent triangle over a rectangle table.
Once the stalls are dry, dot a few small goods on each table, baskets, fabric rolls or fruit, using just one or two dabs of color per item rather than detailed objects. Keep every stall a slightly different color from its neighbor, which does more to make the market feel lively than any amount of extra detail would.
Working this one in forty minutes rather than ten mostly means adding a few small figures browsing between the stalls, kept smaller than the stalls themselves so the courtyard still reads as spacious.
Finish today by adding one small flag or bunting line strung between two stalls.
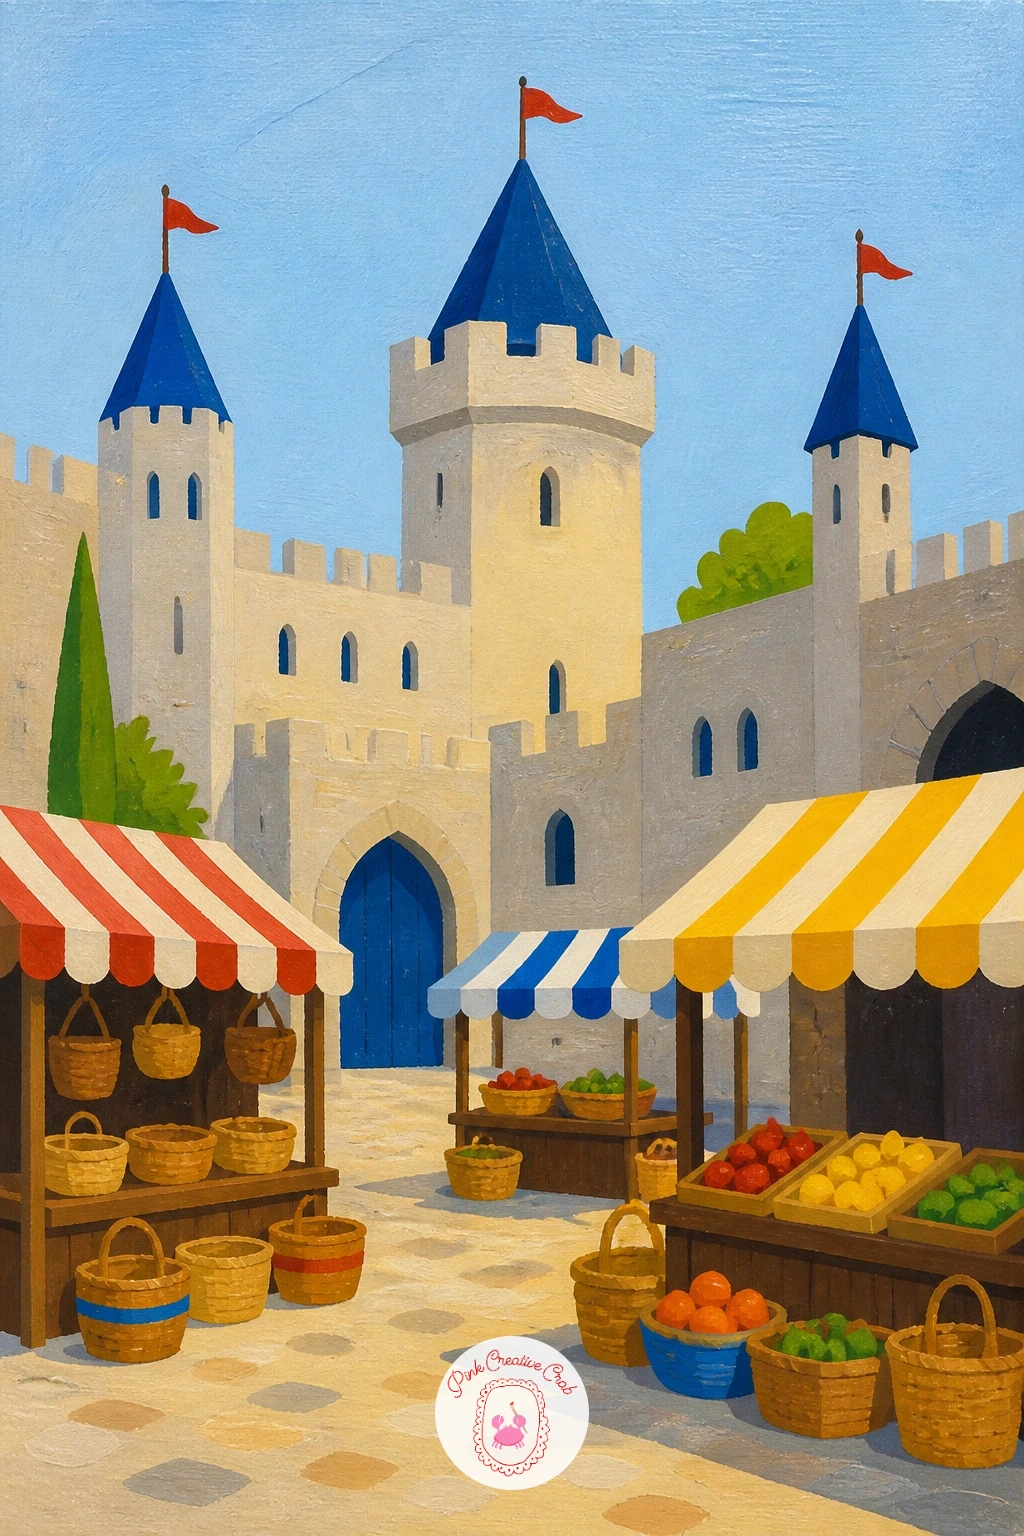
Palette: Stone Courtyard,Stall Coral,Stall Mustard,Castle Grey
Lift the mood with a castle beside a cluster of hot air balloons drifting past its towers. Paint the sky and castle first, then add two or three balloon shapes floating at different heights, each one a simple striped sphere with a small basket hanging beneath on thin lines.
Vary the size of each balloon slightly depending on how far it sits from the castle, since a balloon the same size near and far flattens the sense of distance. Paint the nearest balloon largest and boldest in color, letting the furthest one sit smaller and a touch paler to recede into the sky.
Stripe each balloon in two alternating colors, painted once the base sphere shape is fully dry so the stripes stay crisp rather than bleeding into each other.
Finish today with one tiny figure waving from the nearest basket for a quick sense of story.
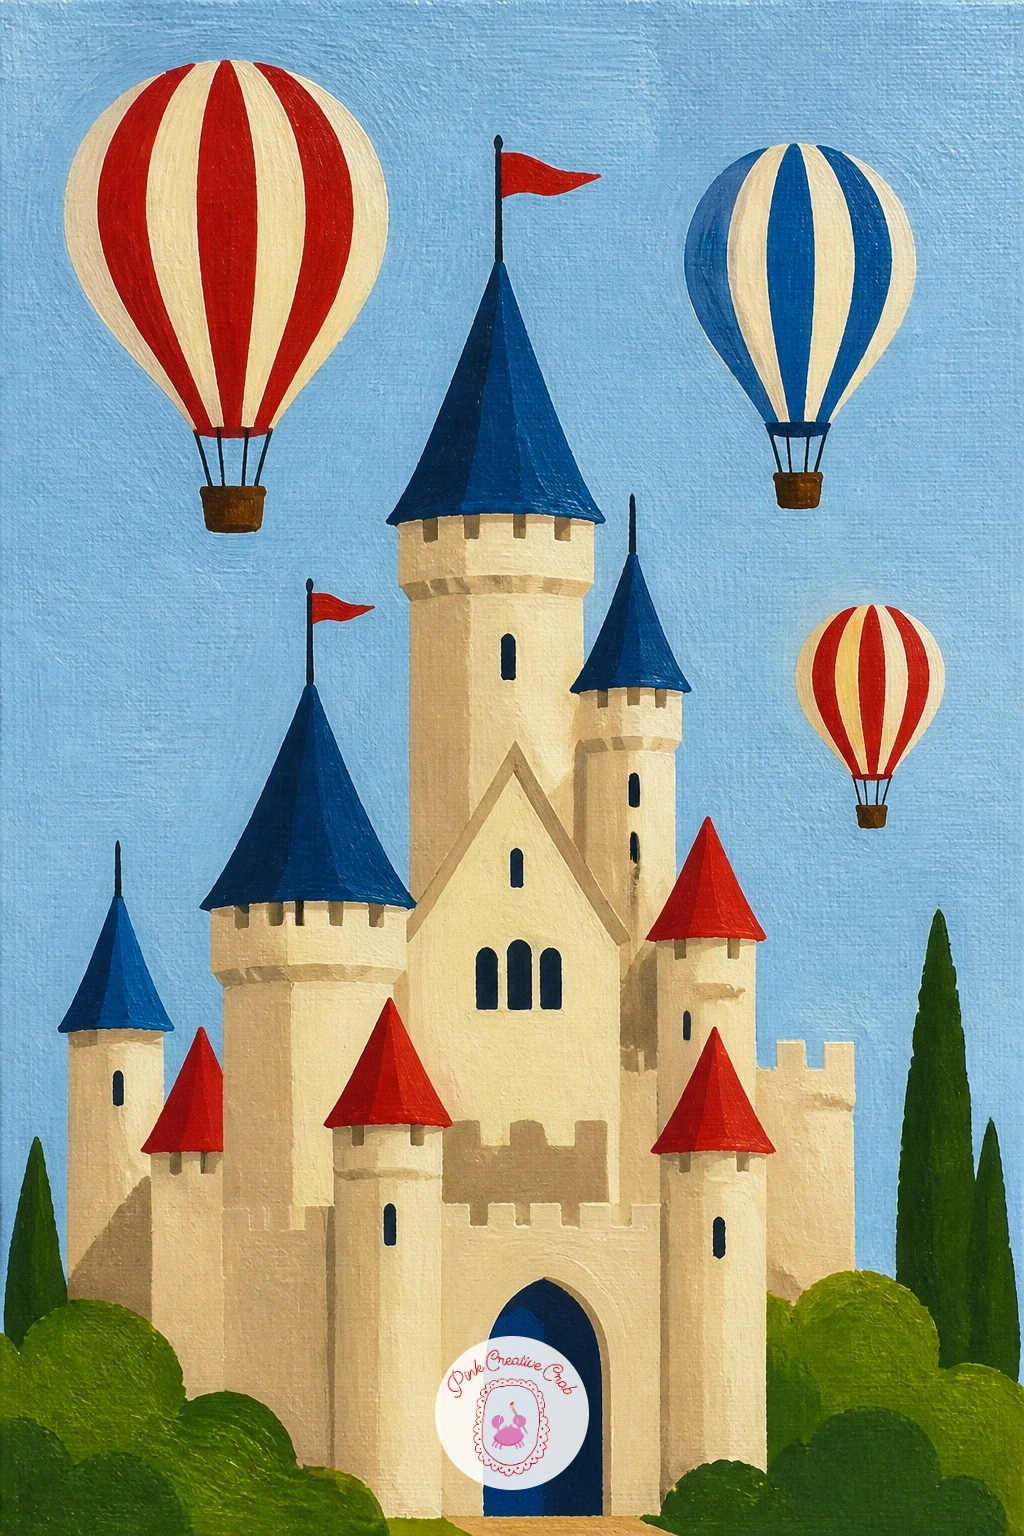
Palette: Balloon Red,Balloon Yellow,Sky Blue,Castle Cream
Bring a quieter moment to the water’s edge with a castle moat and a small family of ducks paddling along it. Paint the castle and the flat band of moat water first, then let it dry fully before the ducks go in on top.
Paint one adult duck as a simple rounded body with a small head and orange beak, then add two or three smaller duckling shapes trailing behind in a line, each noticeably smaller than the last. Keep every duck a flat shape without much detail, since from this distance a simple oval with a beak reads clearly as a duck.
If the ducks start looking too similar to the swans from earlier in this list, keep these bodies rounder and lower in the water with visible little wakes behind them, which gives the scene its own distinct feel.
Finish today by adding a few thin curved lines trailing behind each duck to suggest ripples.
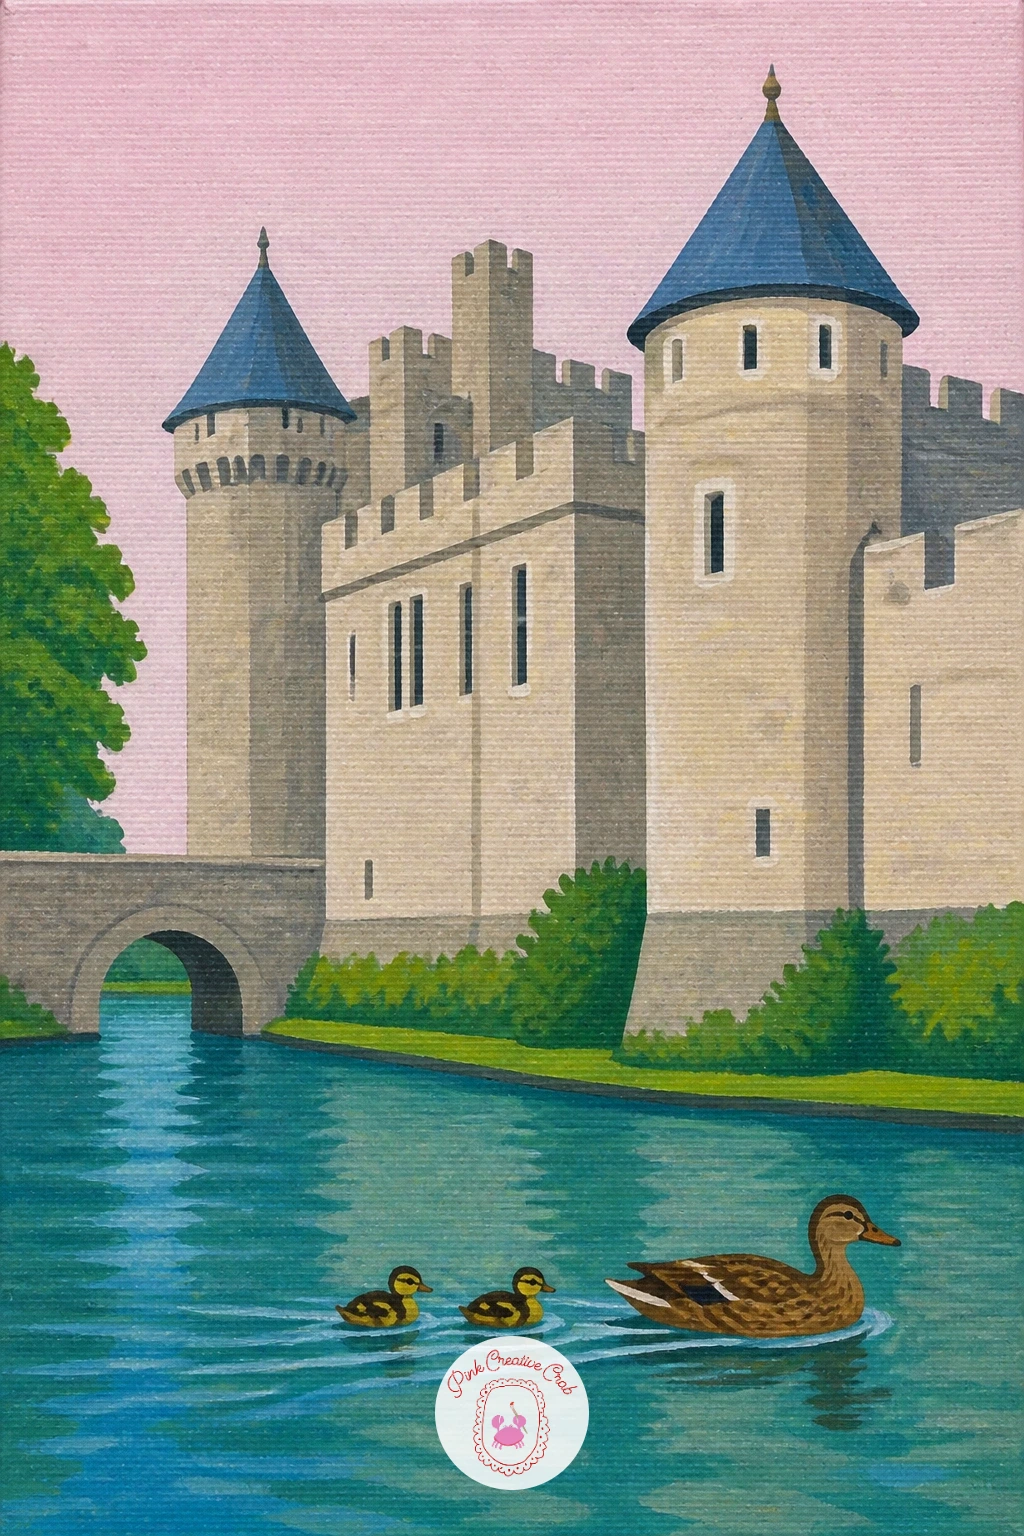
Palette: Moat Blue,Duck Brown,Duckling Yellow,Castle Stone
Add a human moment with a princess waving from a castle window, a small figure framed by stone. Paint the castle wall first, keeping one window slightly larger and more detailed than the rest since it will carry the whole story of this piece.
Paint the princess as a simple shape filling that window, a rounded head, a triangle for a dress collar, and one raised arm, in a bright color that stands out clearly against the stone around it. Keep her face as simple as a dot for each eye and a small curved smile, since this distance does not call for detailed features.
Compare the size of the window to the figure inside it before finishing: she should fill most of the window frame without crowding it, which keeps the moment feeling intimate rather than cramped.
Finish today by adding one small flower box beneath her window in a cheerful contrasting color.
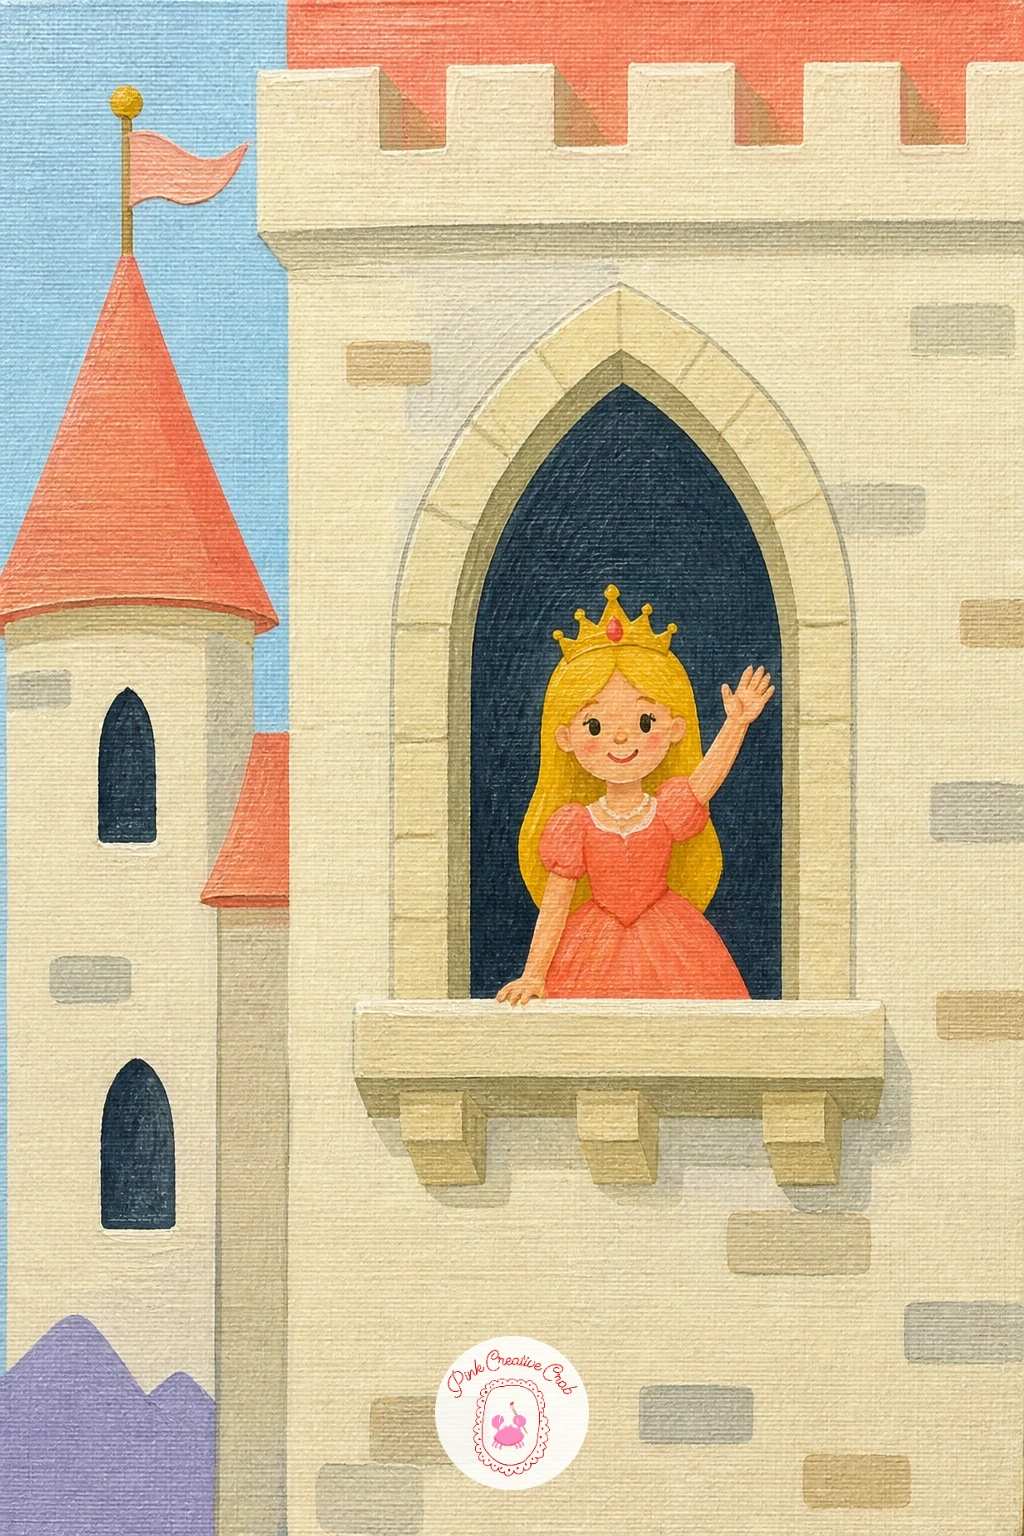
Palette: Castle Stone,Dress Coral,Window Gold,Soft Sky
If you enjoy painting small figures like this one, the girl pencil drawing ideas list has more practice subjects at a similar scale.
Bring spring in fully with a castle standing among cherry blossom trees in full bloom. Paint the castle and sky first in soft pastel tones, then build the blossom trees on either side using rounded cloud-like canopy shapes in a gentle pink rather than individual branches.
Once the canopy shapes are dry, dot a scatter of slightly deeper pink across each one with a small round brush to suggest texture and depth, and let a few loose petal shapes drift down across the sky itself. Keep the trunks thin and mostly hidden behind the blossom canopy, since the color is doing all the work in this scene rather than detailed branches.
If the blossom color looks flat once it is down, a dry brush loaded with barely any paint dragged lightly across the canopy edge softens it into something closer to real texture.
Finish today by letting three or four petals drift all the way down to rest near the castle door.
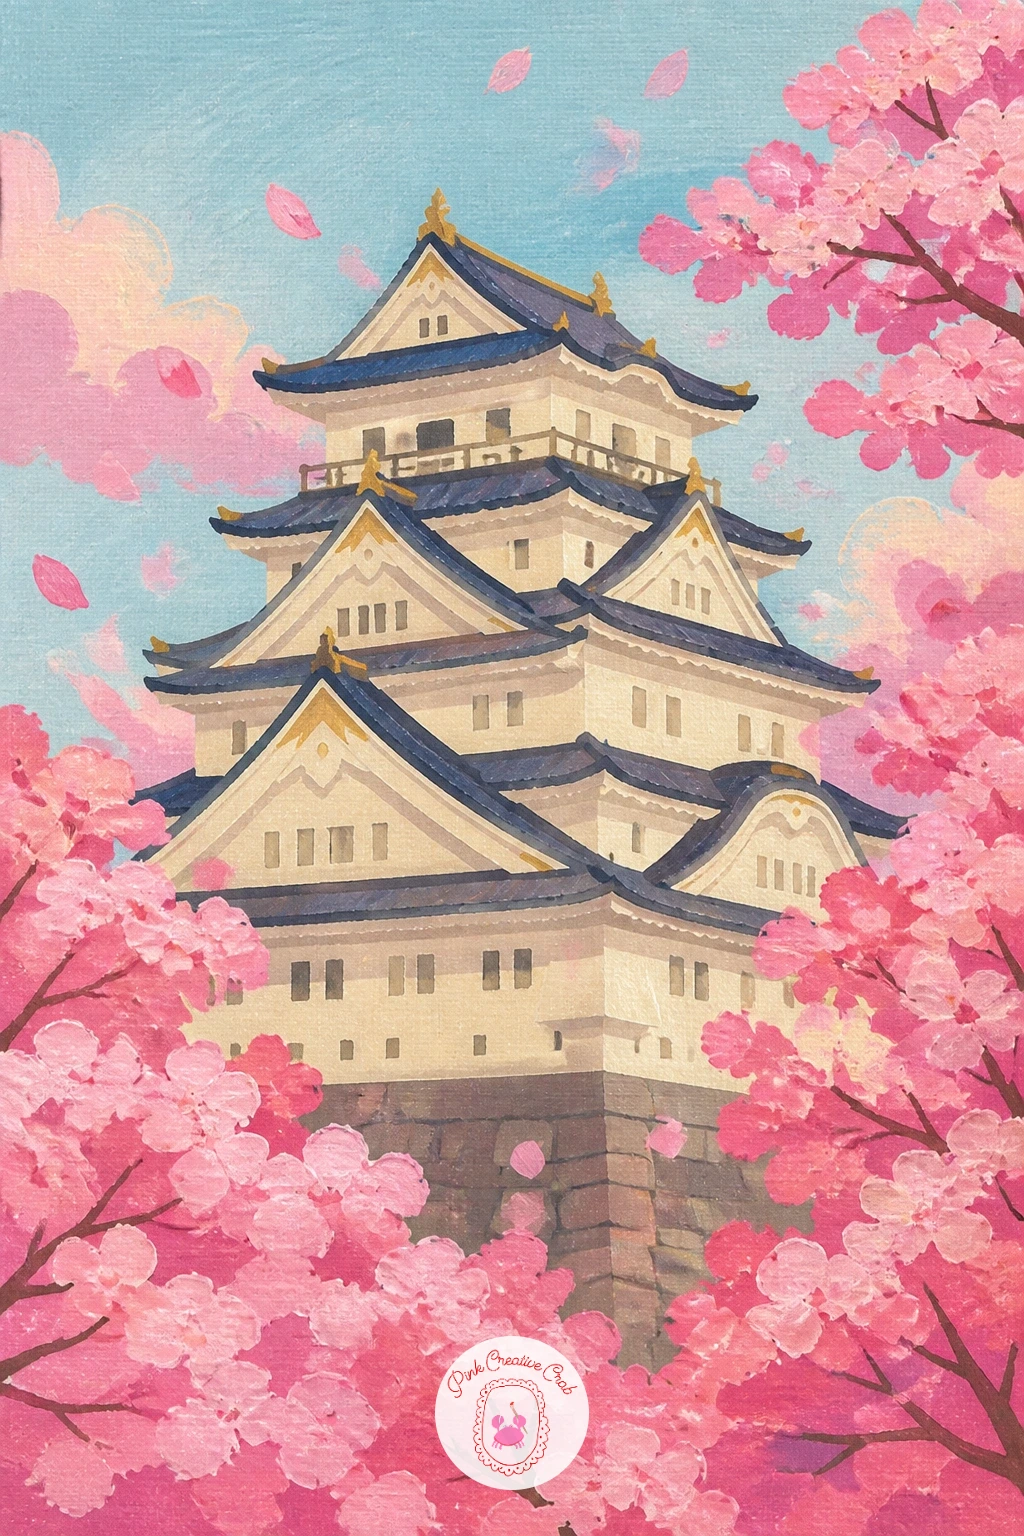
Palette: Blossom Pink,Deep Blossom,Castle Cream,Pale Sky
Take the kingdom to the coast with a castle perched on a cliff above the sea. Paint the sky and sea first in two flat bands, keeping the sea a richer, deeper blue than the sky so the horizon line stays clear once both are dry.
Paint the cliff rising from the sea in a warm grey or tan, angled steeply, then set the castle on top scaled small enough that the cliff clearly reads as tall beneath it. Keep the eye level low in this one, looking slightly up at the castle from somewhere near the waterline, which makes the cliff feel properly dramatic.
If the cliff edge looks too neat, a few jagged diagonal strokes of a darker grey along its face suggest rock texture quickly without any need for fine detail work.
Finish today by adding a few small white caps on the waves near the cliff base.
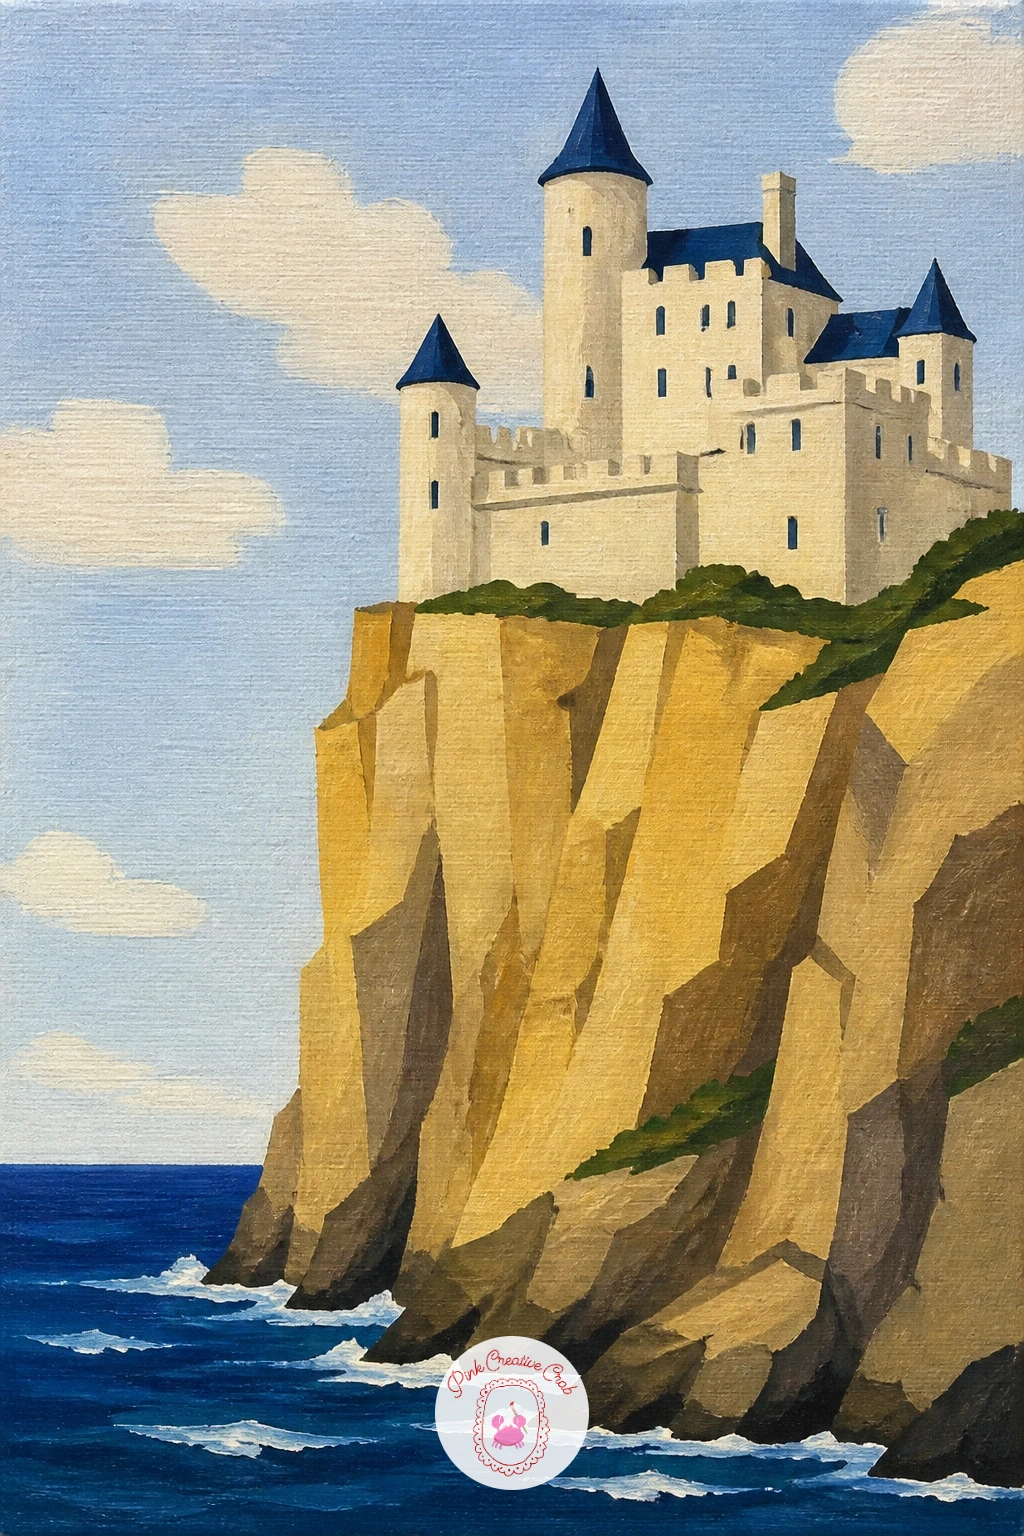
Palette: Sea Blue,Sky Blue,Cliff Tan,Castle Cream
Shift into a cozy autumn mood with a castle beside a pumpkin field stretching out from its walls. Paint the castle and a warm autumn sky first in soft orange and gold tones, then block in a flat field of muted green below for the vines.
Once the field is dry, dot rounded pumpkin shapes scattered across it in varying sizes, using a warm orange with a small curved brown stem on top of each one. Keep most pumpkins smaller near the castle and larger toward the front of the canvas, which gives the field a simple sense of depth without much extra work.
This pairs nicely with any cozy seasonal drawing you might already be planning, since the warm palette carries easily between the two.
Finish today by adding one small lantern glowing in a nearby castle window to match the autumn light outside.
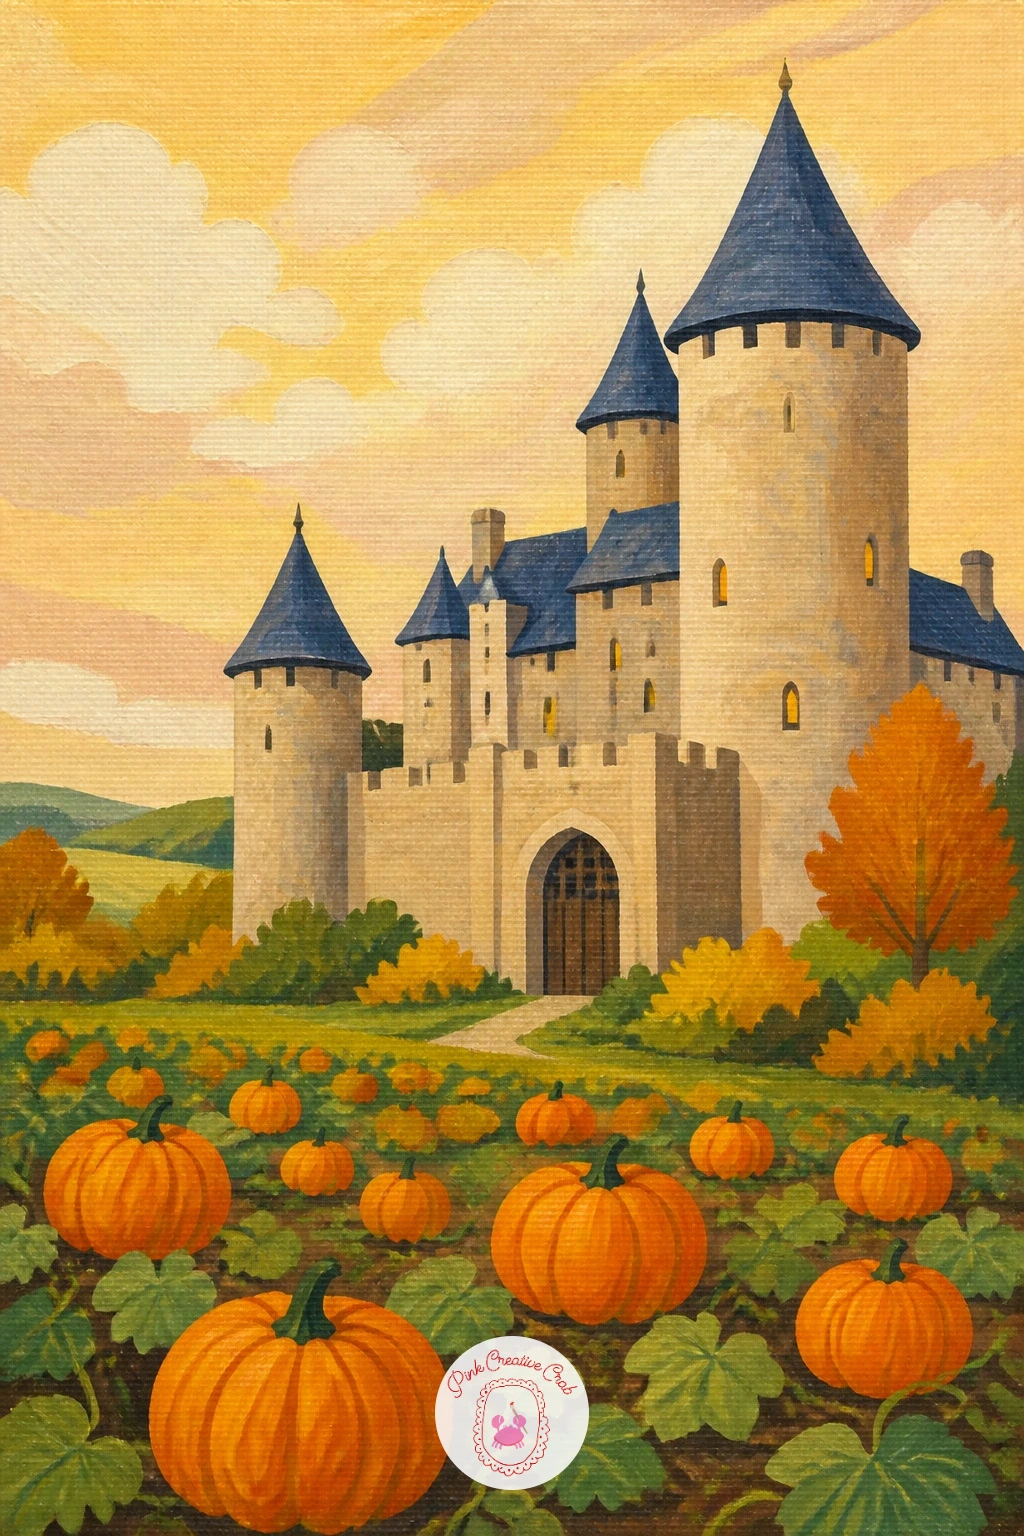
Palette: Autumn Orange,Vine Green,Pumpkin Orange,Warm Stone
Let a little time pass with castle ruins and a few sheep grazing quietly among the broken walls. Paint a soft green hillside first, then build the ruins as a few jagged partial wall shapes in warm grey stone, deliberately leaving gaps and broken tops rather than a complete castle outline.
Once the ruins are dry, paint two or three sheep nearby as simple rounded white bodies with small dark legs and a tiny dark face shape, scattered at slightly different distances across the hillside. Keep the sheep smaller than the lowest standing wall, which keeps the scale of the ruin believable even without a full castle shape to compare against.
The broken edges of the walls are the one hands-on trick here: a dry, stiff brush dragged roughly along a torn edge gives it a crumbled texture that a smooth painted line never quite manages.
Finish today by adding a patch of wildflowers in a bright color growing up through one broken wall.
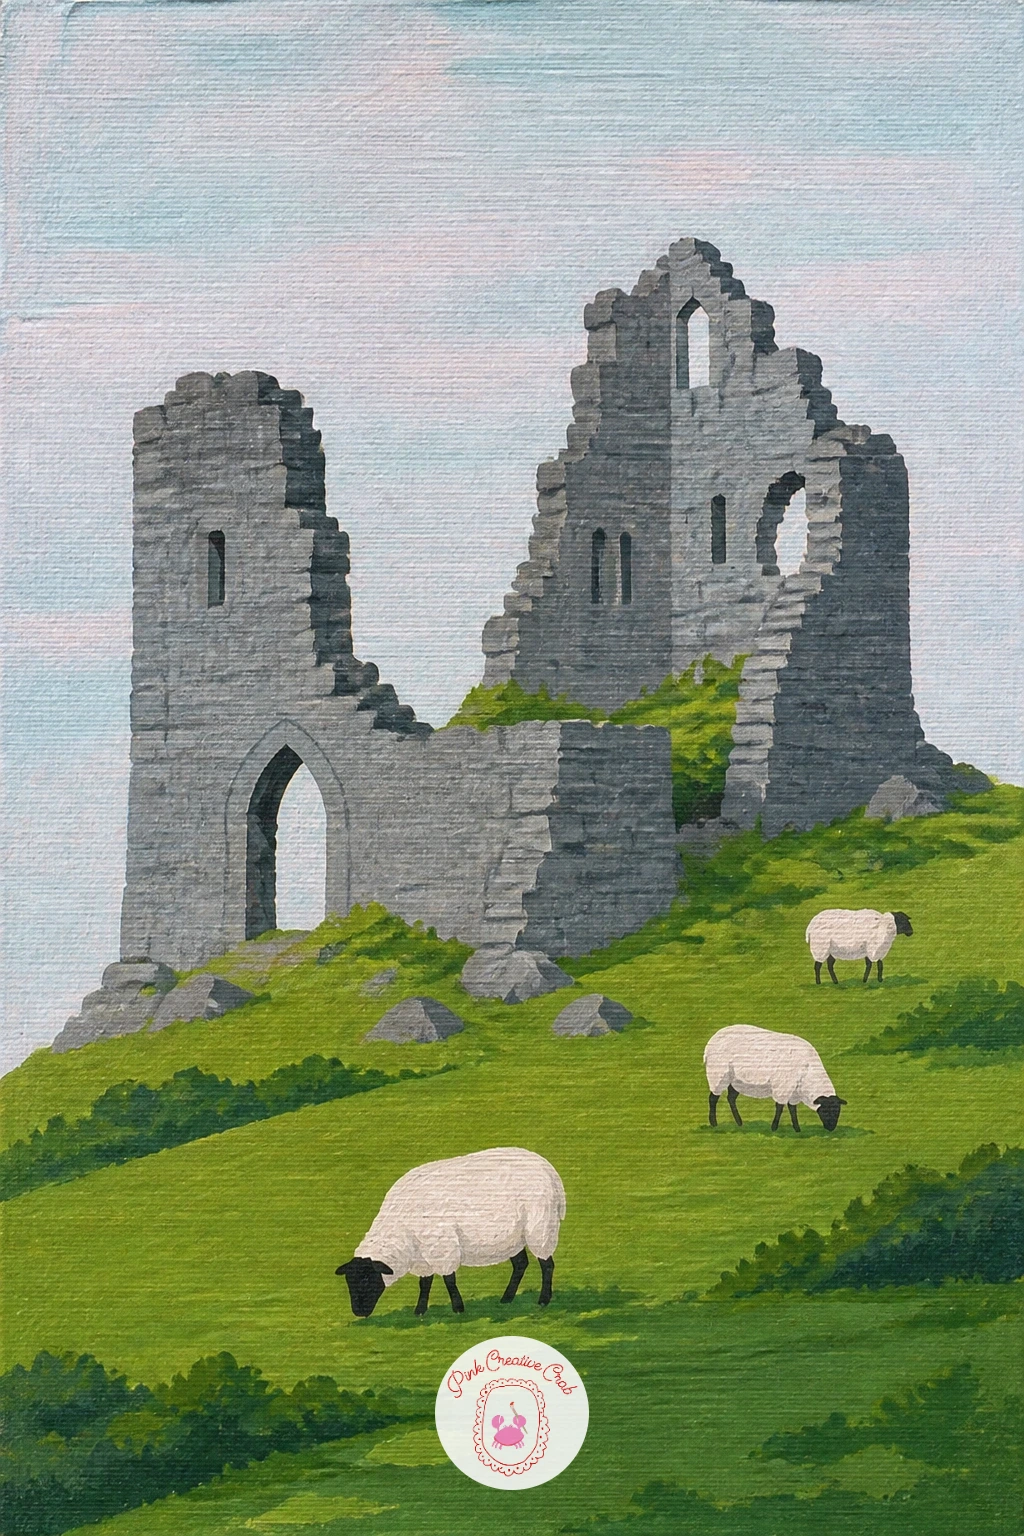
Palette: Ruin Grey,Hillside Green,Sheep White,Soft Sky
Double the castle for one final water scene with a castle reflected clearly in a still pond beneath it. Paint the castle and sky across the upper half of the canvas first, then paint a near mirror copy of the same shapes directly below, flipped vertically, for the reflection.
Keep the reflection’s colors slightly softer and less saturated than the original castle above, since reflected light always reads a touch dimmer than the real thing. Draw one or two thin horizontal lines across the reflection in a slightly lighter tone to suggest gentle ripples breaking up the mirror image.
If flipping the shape accurately feels tricky by eye, turn the canvas upside down once the top castle is dry and paint the reflection as if it were the main subject, then turn it back the right way round when you are done.
Finish today by adding a single lily pad floating on the water’s surface near the shoreline.
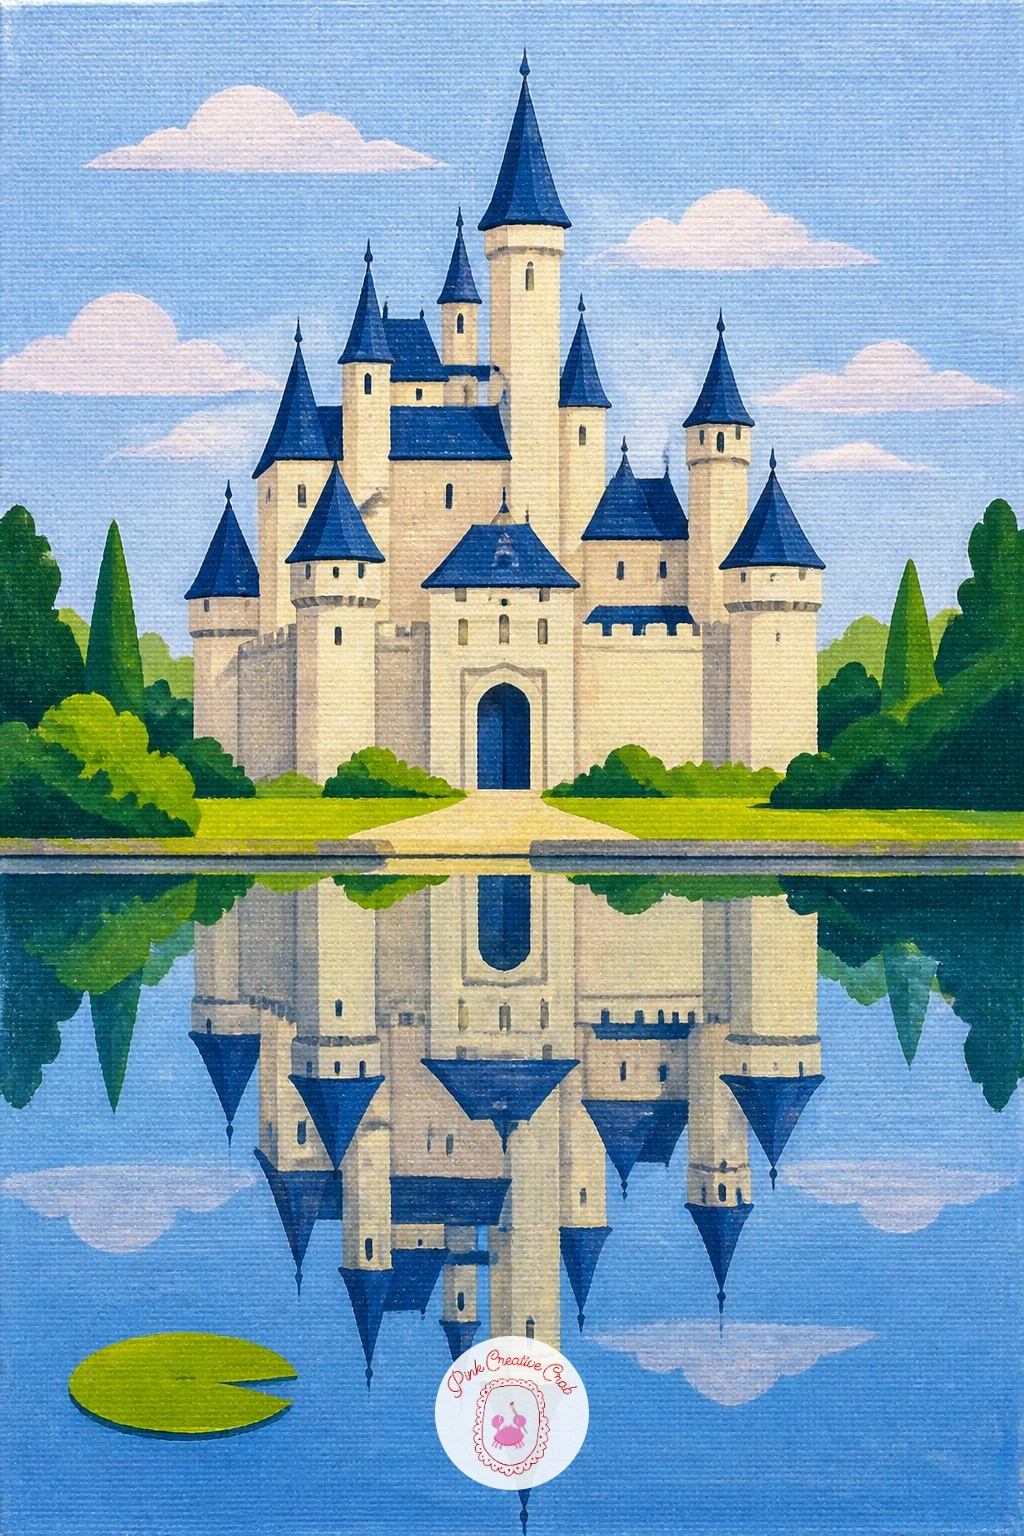
Palette: Pond Blue,Castle Cream,Reflection Grey,Lily Green
Change the viewpoint for this one with a castle seen from inside a small rowing boat out on the water. Paint the water and distant castle first across the upper two thirds of the canvas, keeping the castle fairly small since it sits some distance away from the viewer.
Paint the boat itself filling the lower edge of the canvas in warm wood brown, angled slightly so it feels like something the viewer is sitting inside rather than looking at from outside. Add one simple oar resting across the boat’s edge in the same brown, with just a thin highlight line along its length to suggest it catching the light.
This changes the whole feel of the scene through perspective: because the eye level sits low, right at the water’s surface, the castle in the distance should sit on or just above the horizon line rather than looming large.
Finish today by adding a small ripple pattern around the base of the boat where it meets the water.
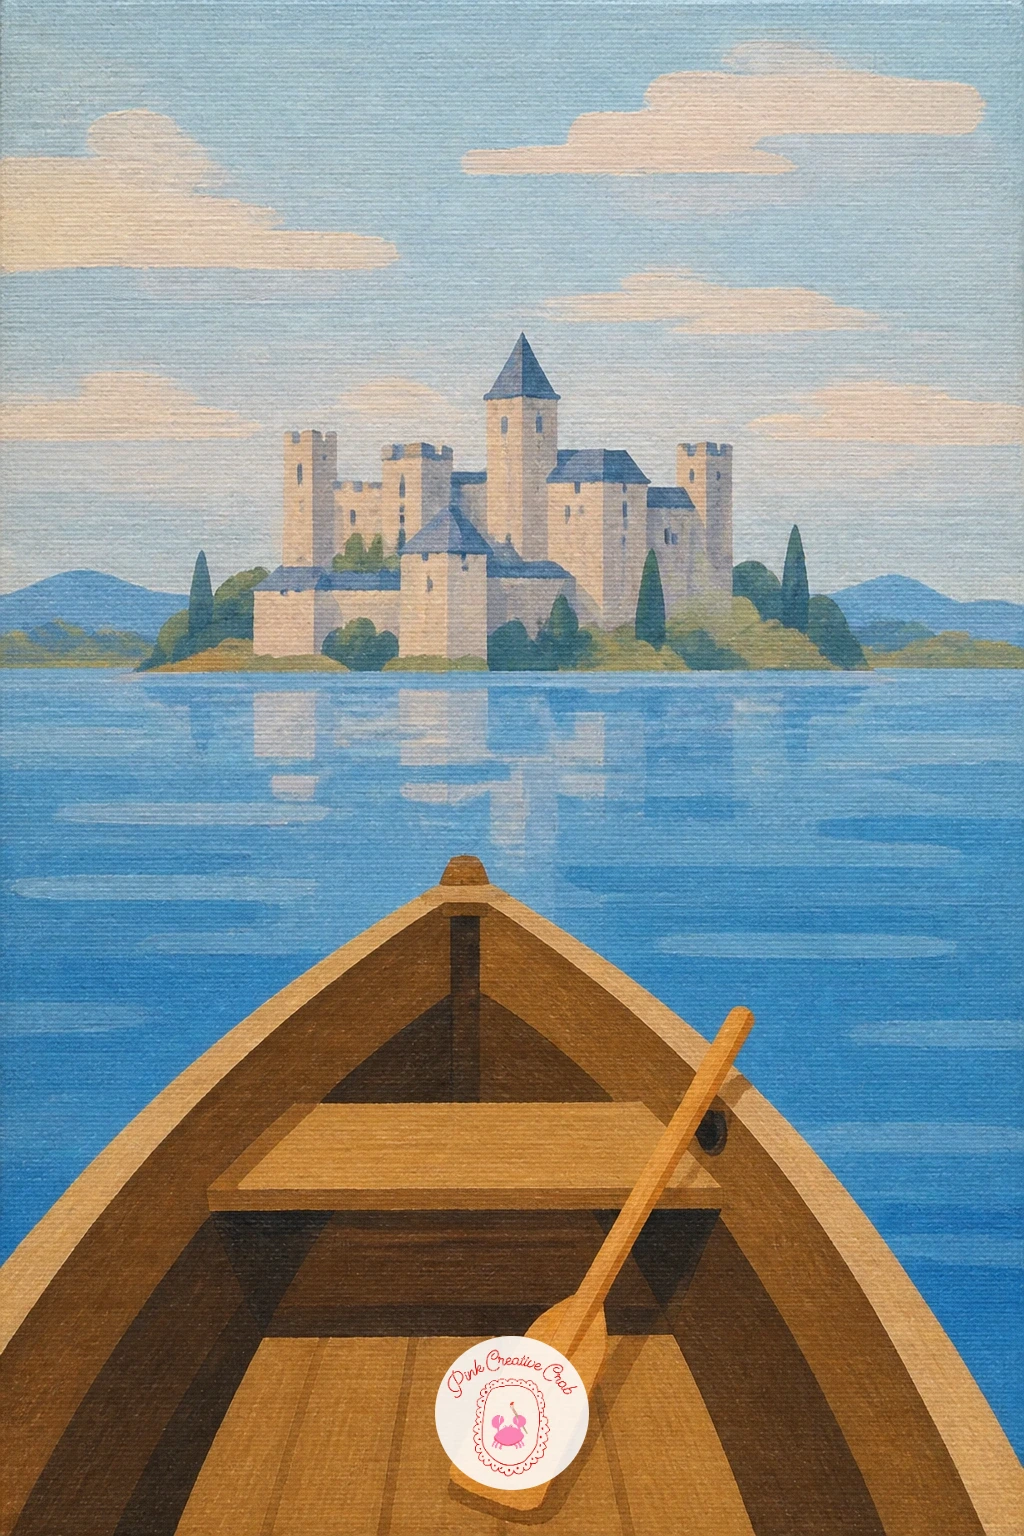
Palette: Water Blue,Distant Castle,Boat Brown,Soft Sky
Close the whole list out with the busiest scene of them all: a castle with a tiny village spread out below its walls. Paint the castle first at the top of the canvas, then build the village beneath it as a cluster of small simple house shapes, each just a rectangle body and a triangle roof in a different soft color from its neighbors.
Vary the roof colors across the cluster, two or three warm tones and one or two cooler ones, which keeps a fairly busy area of the painting feeling lively rather than repetitive. Keep every house clearly smaller than the castle’s smallest tower, which anchors the whole scene with the castle as the obvious focal point.
If you enjoyed building this little settlement, the same approach of stacking simple roof and wall shapes carries well into a full village scene on its own another day.
Finish today by adding a thin winding path connecting the village up toward the castle gate.
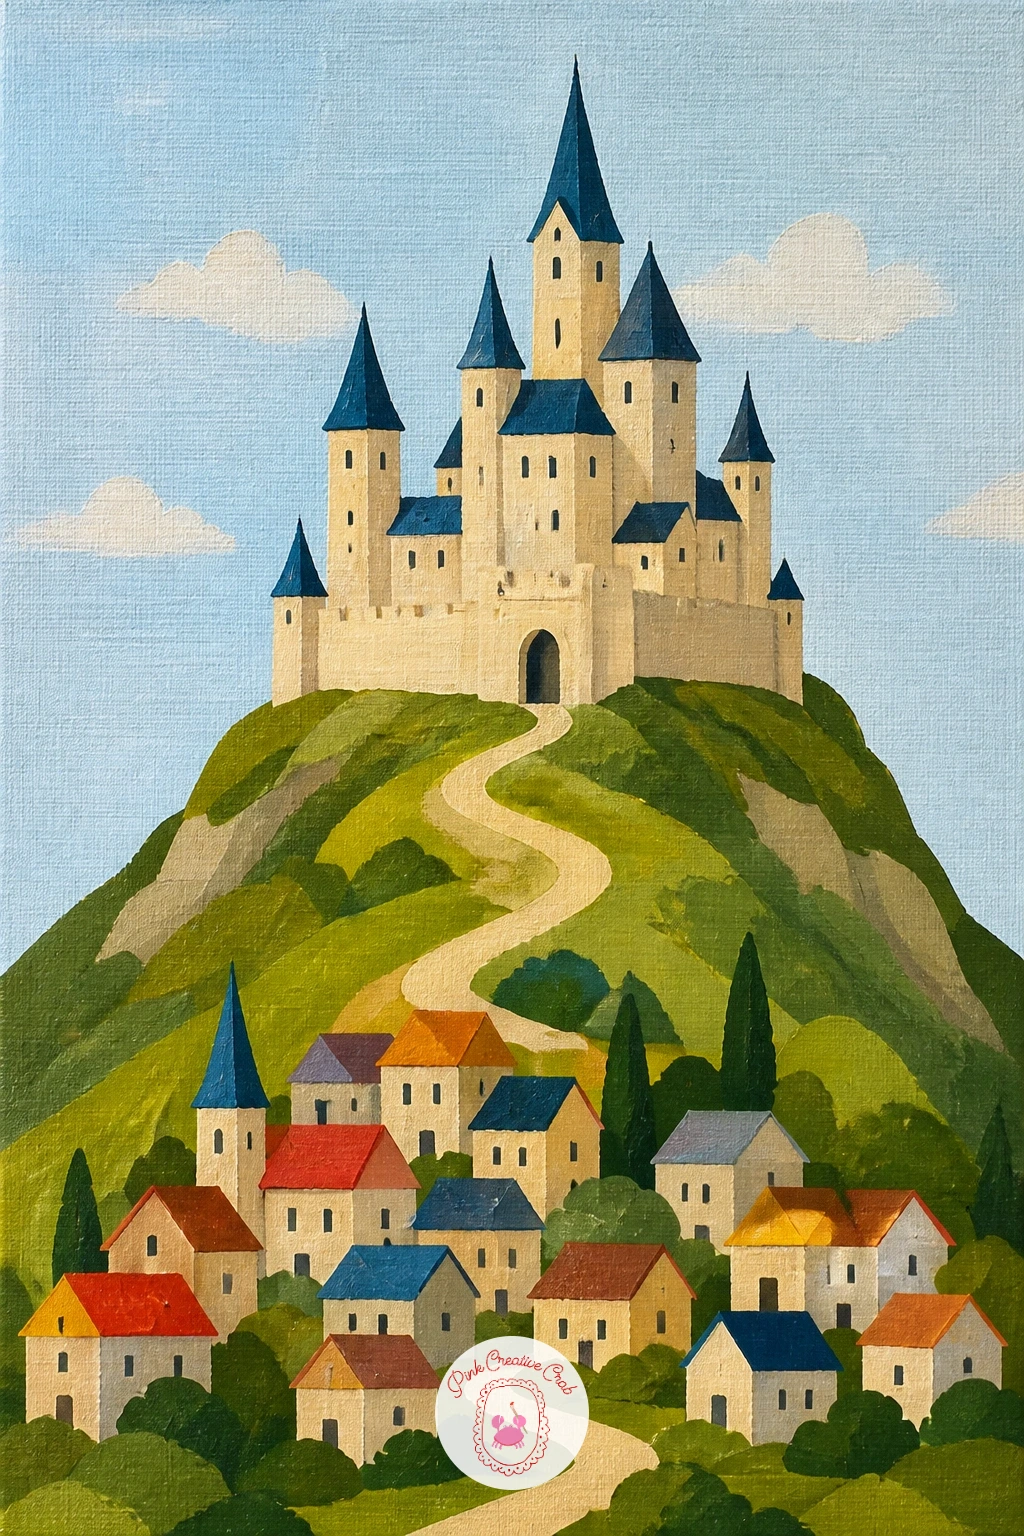
Palette: Castle Cream,Roof Terracotta,Roof Sage,Soft Sky
What to Do Next
Pick whichever castle caught your eye first, pull out a small canvas, and start with the sky. Once that dries, the rest follows quickly, and you will have a finished fairy tale scene before the afternoon is out.
Frequently Asked Questions
What paint works best for a castle drawing like these?
Acrylic paint on a small canvas works best, since it dries fast and covers in flat, even blocks of color. Craft acrylics or a basic student set both do the job without needing to blend.
How do you keep a pastel castle from looking too sweet or flat?
Mute bright pastels slightly with a touch of brown or grey mixed in, and vary tones between neighboring shapes. A little shadow or a deeper shade of the same color adds just enough depth.
What size canvas suits these castle scenes?
A small canvas, roughly eight by ten inches or similar, suits every idea on this list well. That size lets the castle fill the frame without the details becoming too fiddly to paint.
How do you keep the castle looking simple rather than overworked?
Stick to two or three basic tower and roof shapes per castle and resist adding extra windows or bricks. Flat color blocks with clean edges read as charming rather than plain at this scale.
Can these castle ideas work in other mediums besides acrylic?
Yes, the same flat block approach works well in gouache or even colored pencil with heavy, even coloring. The shapes and story details carry across mediums without much adjustment.
Have any thoughts?
Share your reaction or leave a quick response — we’d love to hear what you think!
-
 0
-
0
-
0
-
0
-
0
-
0


