

A jellyfish painting is one of the kindest subjects you can hand yourself on a canvas: no hard edges to get right, no faces to match, just soft color drifting through light water. The bell is forgiving, the tentacles can wobble and still look graceful, and the whole thing comes together in blocks of flat color that acrylic handles beautifully.
Below you will find jellyfish leading the way, then a string of other sea creatures that all live in the same sunlit, pale aqua world: turtles, seahorses, a cuttlefish mid-color-change, even a whale shark. Every idea is sized for one sitting on a small canvas, so pick whichever one catches your eye and get your water mixed.
Using these images: free for personal projects such as printing, coloring, cards, journals and gifts. Handmade items that include them may be sold up to 30 pieces per design. More than that is commercial use and is not permitted, and neither is selling or sharing the images themselves or passing them off as your own. Please ask before any other use.
Moon jellyfish are the gentlest place to start, since the bell is just a soft dome and the fringe underneath is loose and forgiving. Block in pale turquoise water first, blending it lighter near the top of the canvas where sunlight would reach. Let that dry before you add the jellyfish.
Paint the bell as a rounded dome in soft white mixed with a touch of the water color, so it glows rather than sits flat on top. Work wet-into-wet along the lower edge so the dome fades softly into the fringe, then add the short frilly tentacles last with a thin brush, keeping them loose and slightly curved.
If the fringe ends up looking like a solid blob, thin your white with water and dab it with a dry brush to break it into wispy strands. Swap a flat brush for a small sponge if you want a softer, more diffused edge on the bell.
Keep your very first wash thin, almost like tinted water, so the canvas underneath still shows through and the whole scene feels sunlit rather than painted solid.
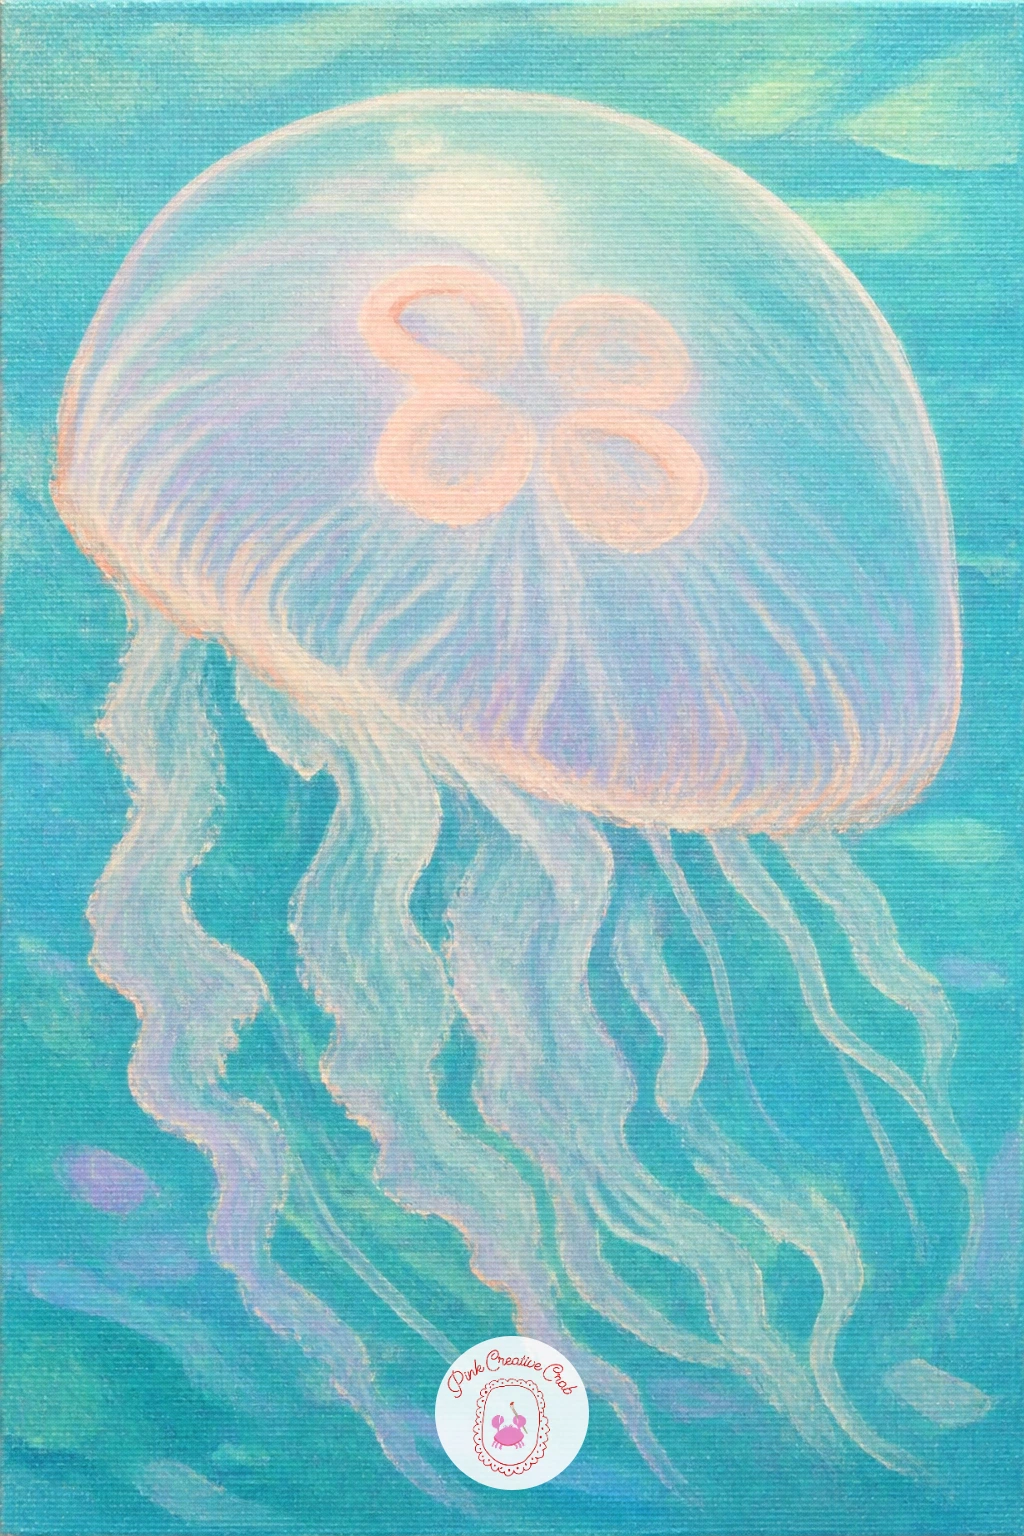
Palette: Titanium White,Turquoise Light,Pale Aqua,Payne’s Grey
Once a single jellyfish feels comfortable, try three rising together toward rays of sunlight. Start with the background, painting loose diagonal rays in pale yellow and seafoam that fan out from one upper corner, blending the edges while the paint is still wet so the rays feel soft rather than drawn with a ruler.
Place your three jellyfish at different heights and sizes, the largest nearest the bottom of the canvas, to give a real sense of them rising through the water. Painting the farthest one smaller and slightly hazier than the nearest one is the simplest way to suggest distance without any real perspective drawing.
Keep tentacles short and simple on all three so the group reads clearly instead of turning into tangled lines. If the rays start looking too stripy and artificial, soften them with a dry brush dragged lightly across the direction of the light.
Finish with a few pale dots of white dabbed between the jellyfish for drifting light and tiny particles in the water.
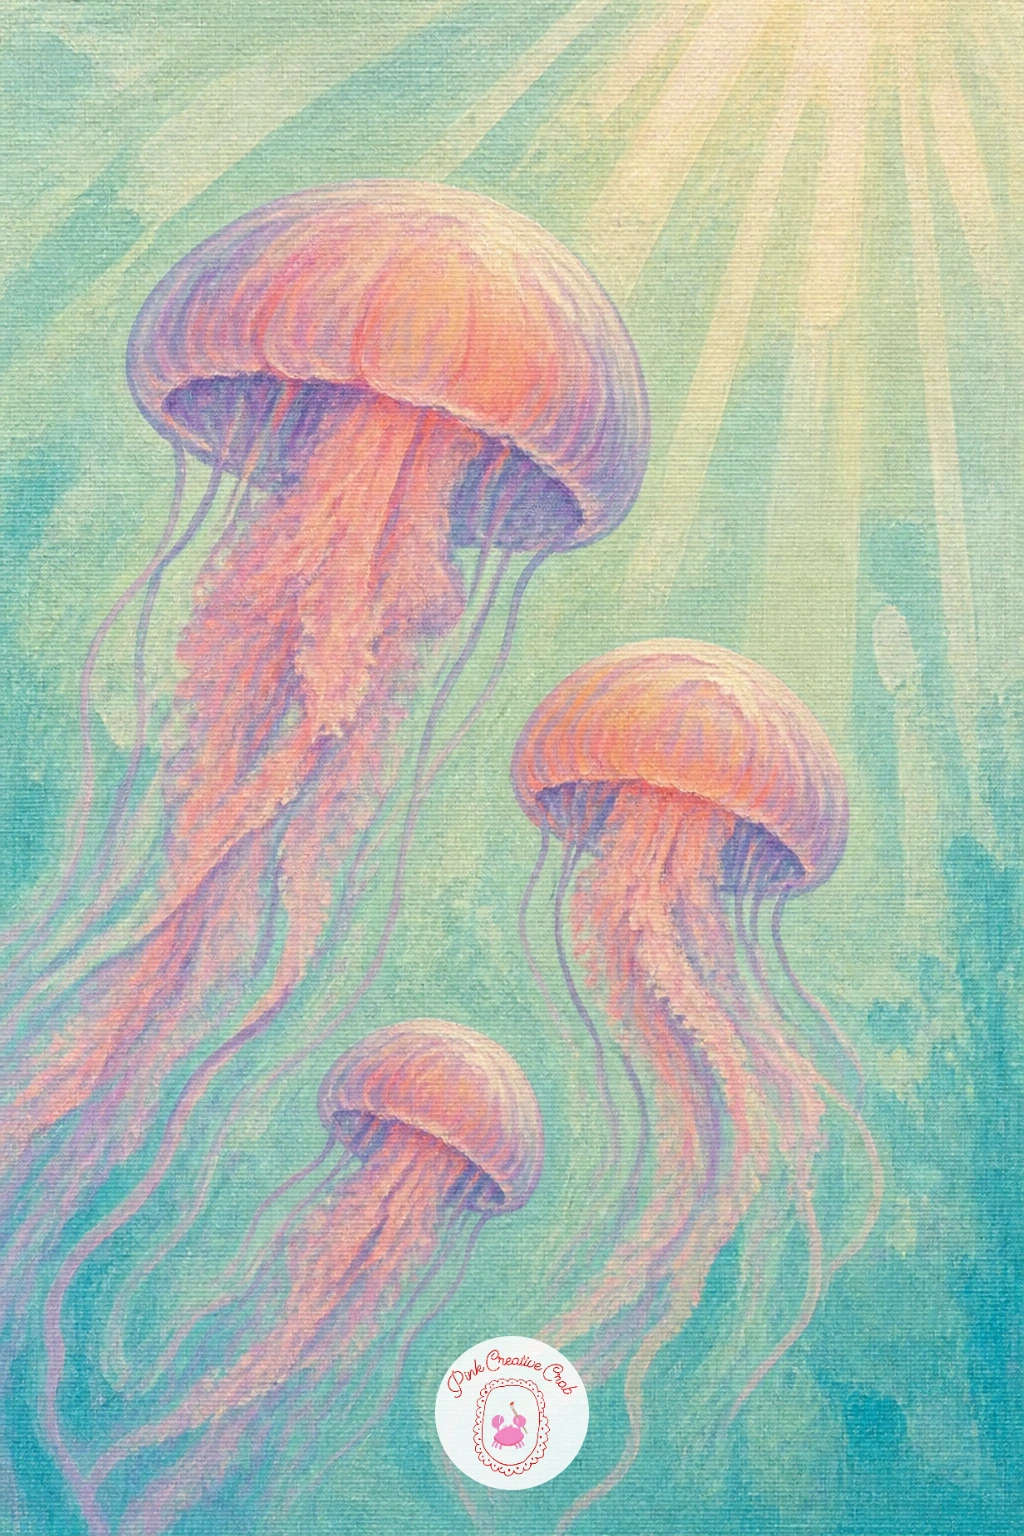
Palette: Naples Yellow,Seafoam Green,Titanium White,Cerulean Blue
Try this one on a vertical canvas rather than a square, it suits the rising movement and makes the light rays feel taller and more dramatic.
This jellyfish swaps the usual pale palette for coral pink, and the long ribbon tentacles give you a chance to practice flowing, graceful lines. Paint the water first in a light seafoam, then build the dome in a warm coral pink, keeping the top rounded and the underside slightly flatter.
The ribbons are the real character here. Load a thin round brush generously and let each tentacle trail down in a loose S curve rather than a straight line, varying the length so some reach almost to the bottom of the canvas and others stop short.
Measuring the dome against the ribbons helps keep the whole thing in proportion: the dome should sit roughly a third of the way down the canvas, leaving plenty of room below for the ribbons to drift and curl. If the ribbons look stiff, thin the paint further and paint them with the brush barely touching the canvas, letting the hand move loosely from the wrist.
A fan brush dragged gently along a wet ribbon can soften its edge if you do not own a liner brush.
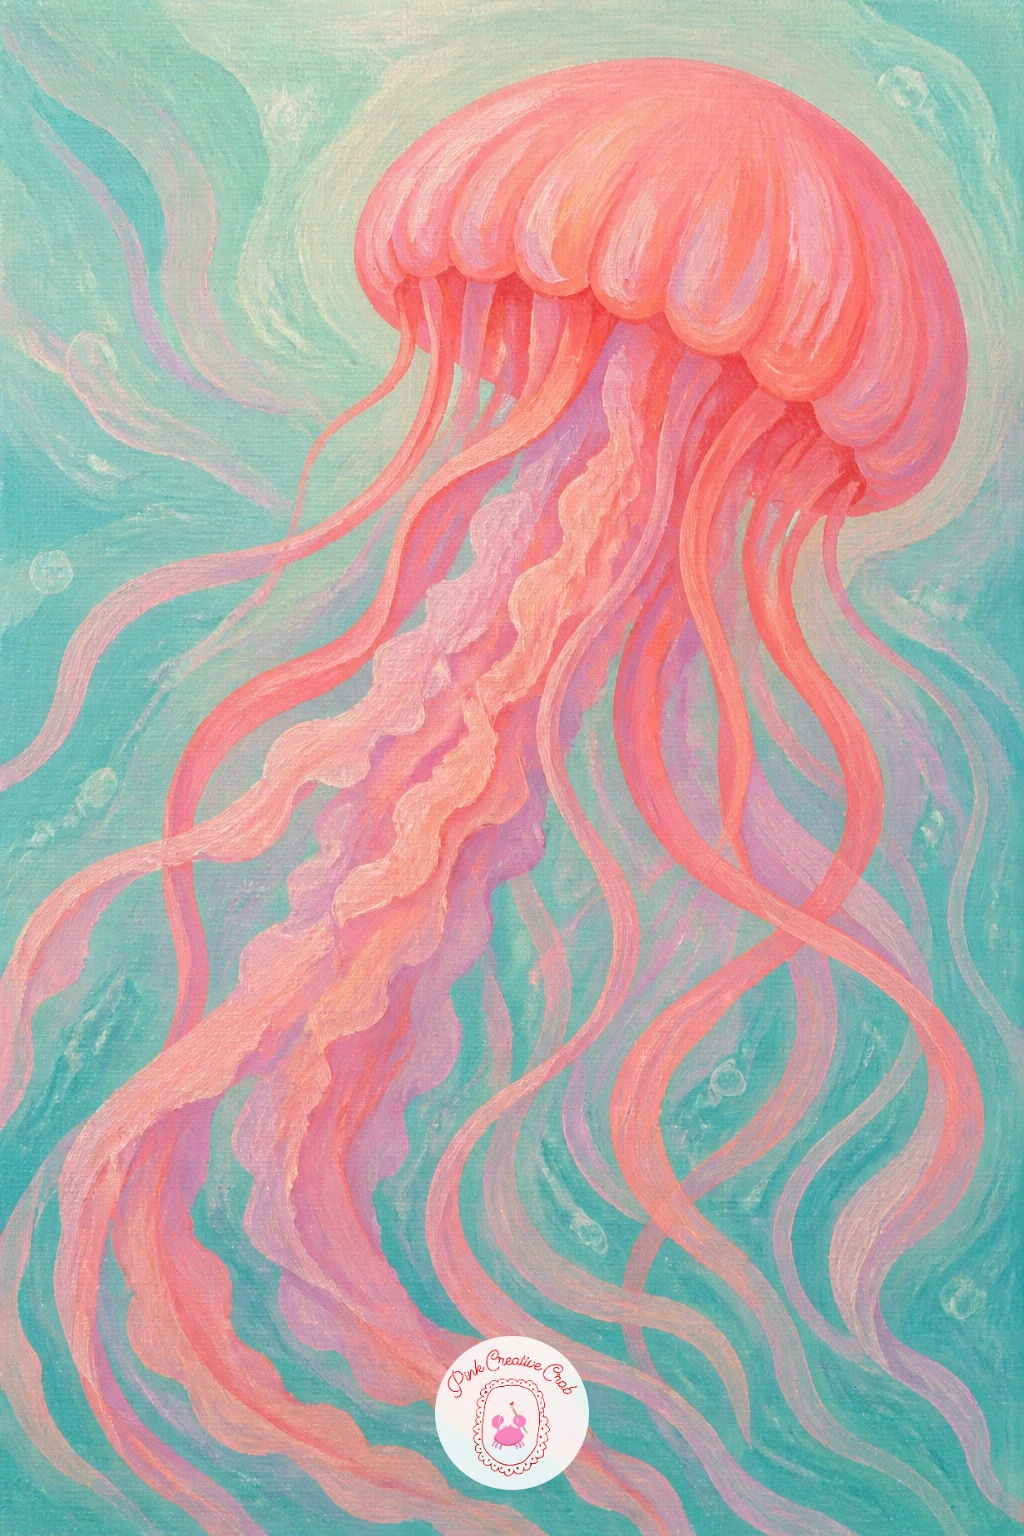
Palette: Coral Pink,Seafoam Green,Titanium White,Alizarin Crimson
Painting this jellyfish from below, looking up through its bell toward the sun, changes everything about where the light sits. The sun becomes a soft pale glow behind and through the jellyfish rather than hitting it from the side, so paint your background first as a bright warm patch near the top, fading out to cooler aqua at the edges.
Place the jellyfish dome so it sits between you and that glow, letting the center of the dome stay thinner and lighter so sunlight seems to pass straight through the translucent bell. The surrounding rim can stay a touch more opaque and defined.
Tentacles trail straight down toward the viewer in this view, so keep them fairly vertical and slightly converging rather than curling sideways. If the glow looks too flat or even, go back in with a soft dry brush and lift a little color from the very center while it is still workable, letting the canvas peek through.
One concrete tip: paint the glow before the jellyfish every time, never try to add light on top of a finished dome.
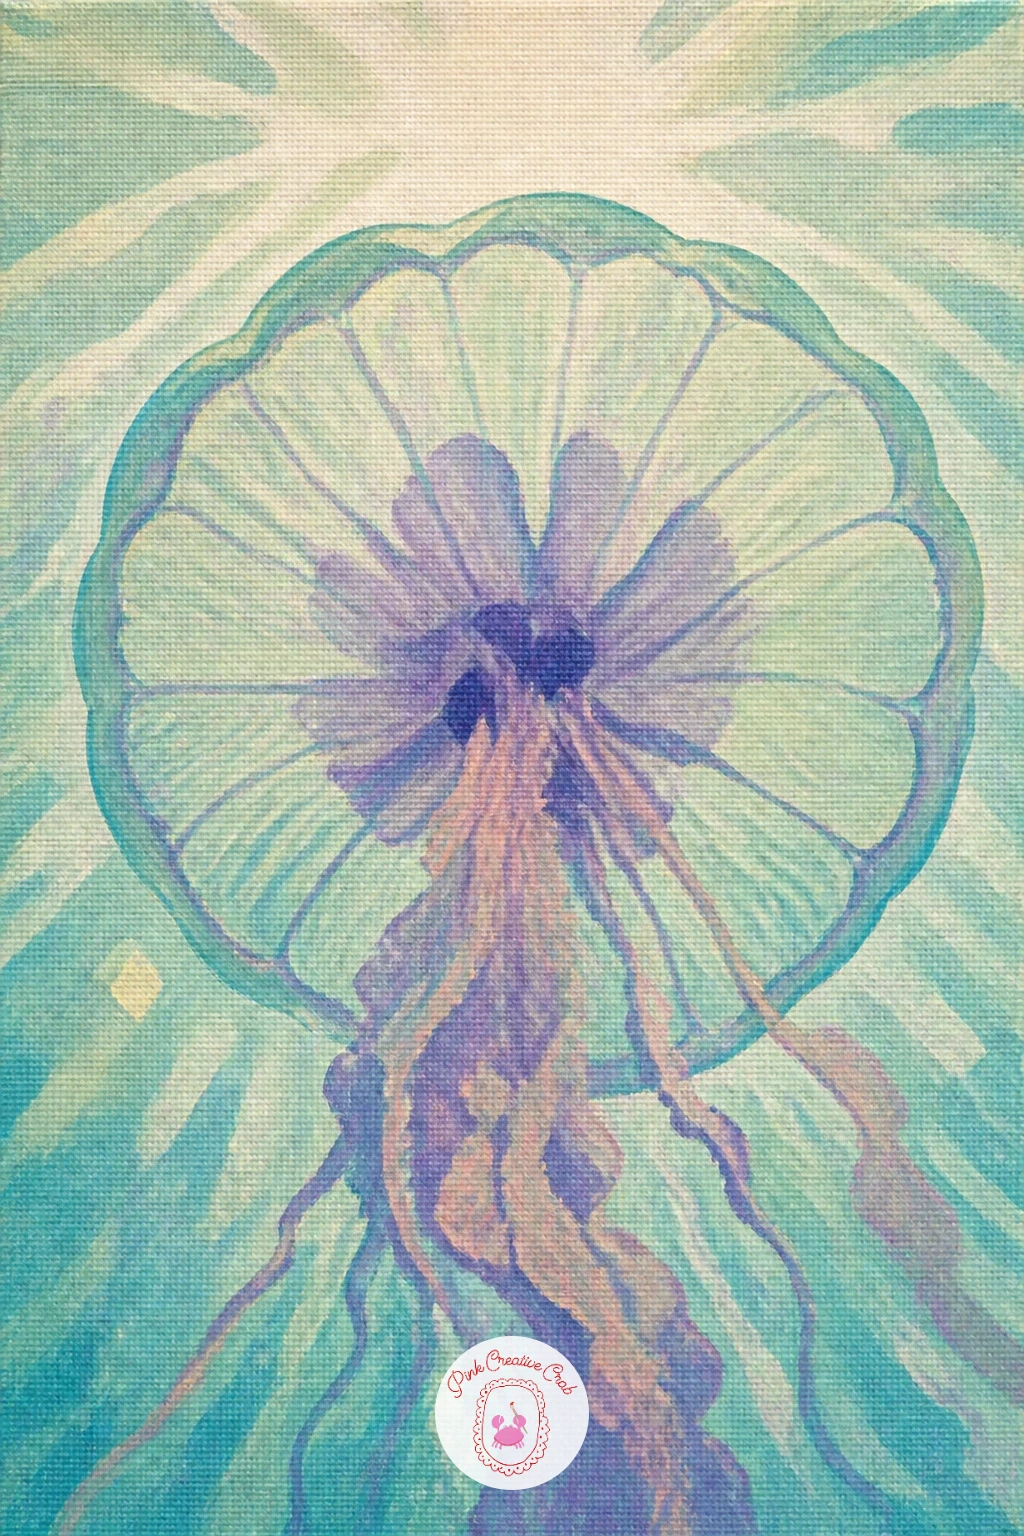
Palette: Naples Yellow,Pale Aqua,Titanium White,Cerulean Blue
This idea pairs a jellyfish with a small fish tucked among its tentacles for safety, a nice bit of storytelling without adding any complexity to the brushwork. Paint the jellyfish first using whatever approach felt most comfortable in the earlier ideas, keeping the tentacles loose and slightly spread out rather than all pointing one direction.
Once the tentacles are dry, add the tiny fish nestled near the middle of the tangle, small enough that it reads as hiding rather than swimming freely. A few confident brushstrokes are enough: an oval body, a small triangle tail, one dot for the eye.
The easy mistake is painting the fish too large, which breaks the sense of scale and safety the idea depends on. Keep it no bigger than a fifth of the jellyfish bell, and tuck it slightly behind one or two tentacles by painting those tentacles last, right over the edge of the fish.
A fine liner brush or even a toothpick dipped in paint works well for the thin tentacle lines crossing in front of the fish.
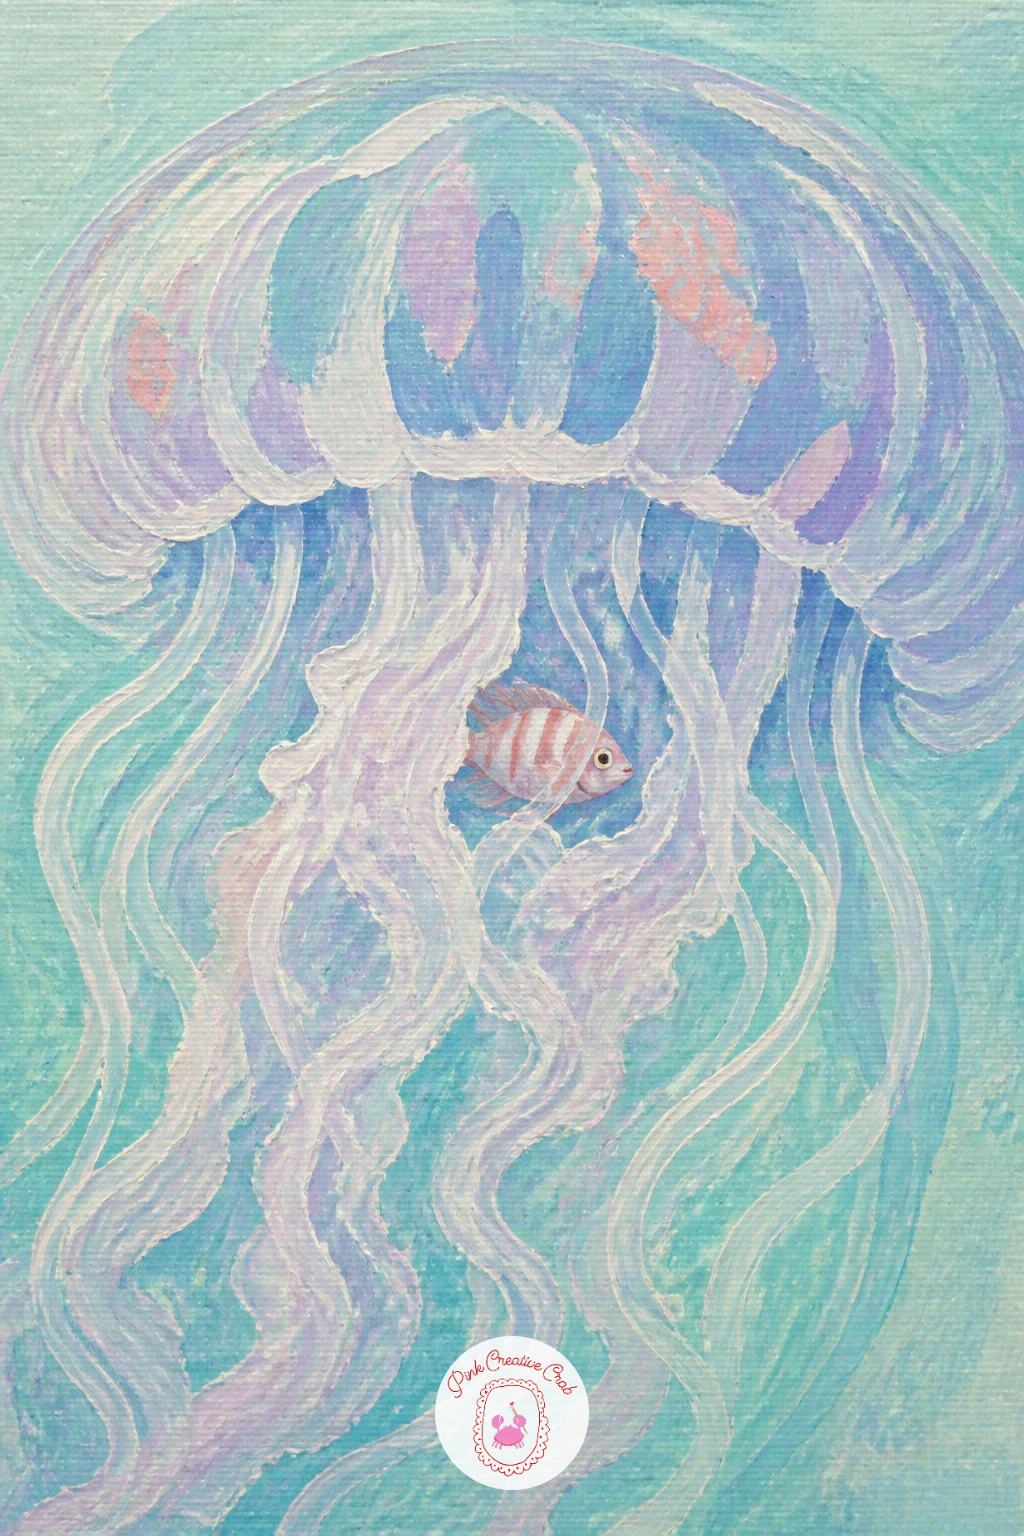
Palette: Pale Aqua,Titanium White,Cadmium Yellow Light,Payne’s Grey
The lion’s mane jellyfish is the most dramatic shape on this list, with tendrils that flow and tangle like hair rather than hanging in neat ribbons. Start with a lighter water background than usual, since the orange tendrils need pale aqua around them to really glow.
Paint the bell first as a warm reddish dome, then begin the tendrils in long sweeping strokes that curve and cross one another, working from the bell outward and letting some strokes overlap wet-into-wet for soft blending where they meet.
This is a good subject for practicing dry brush texture: once the main orange tendrils are down, drag a nearly dry brush loaded with a touch of white or pale yellow lightly across them to suggest fine wispy strands catching the light, without repainting the whole shape.
If the tendrils turn into a solid orange mass, thin your paint more and use a smaller brush, building the tangle gradually rather than all at once. A fan brush is a good swap if you do not have a rigger brush for the fine strands.
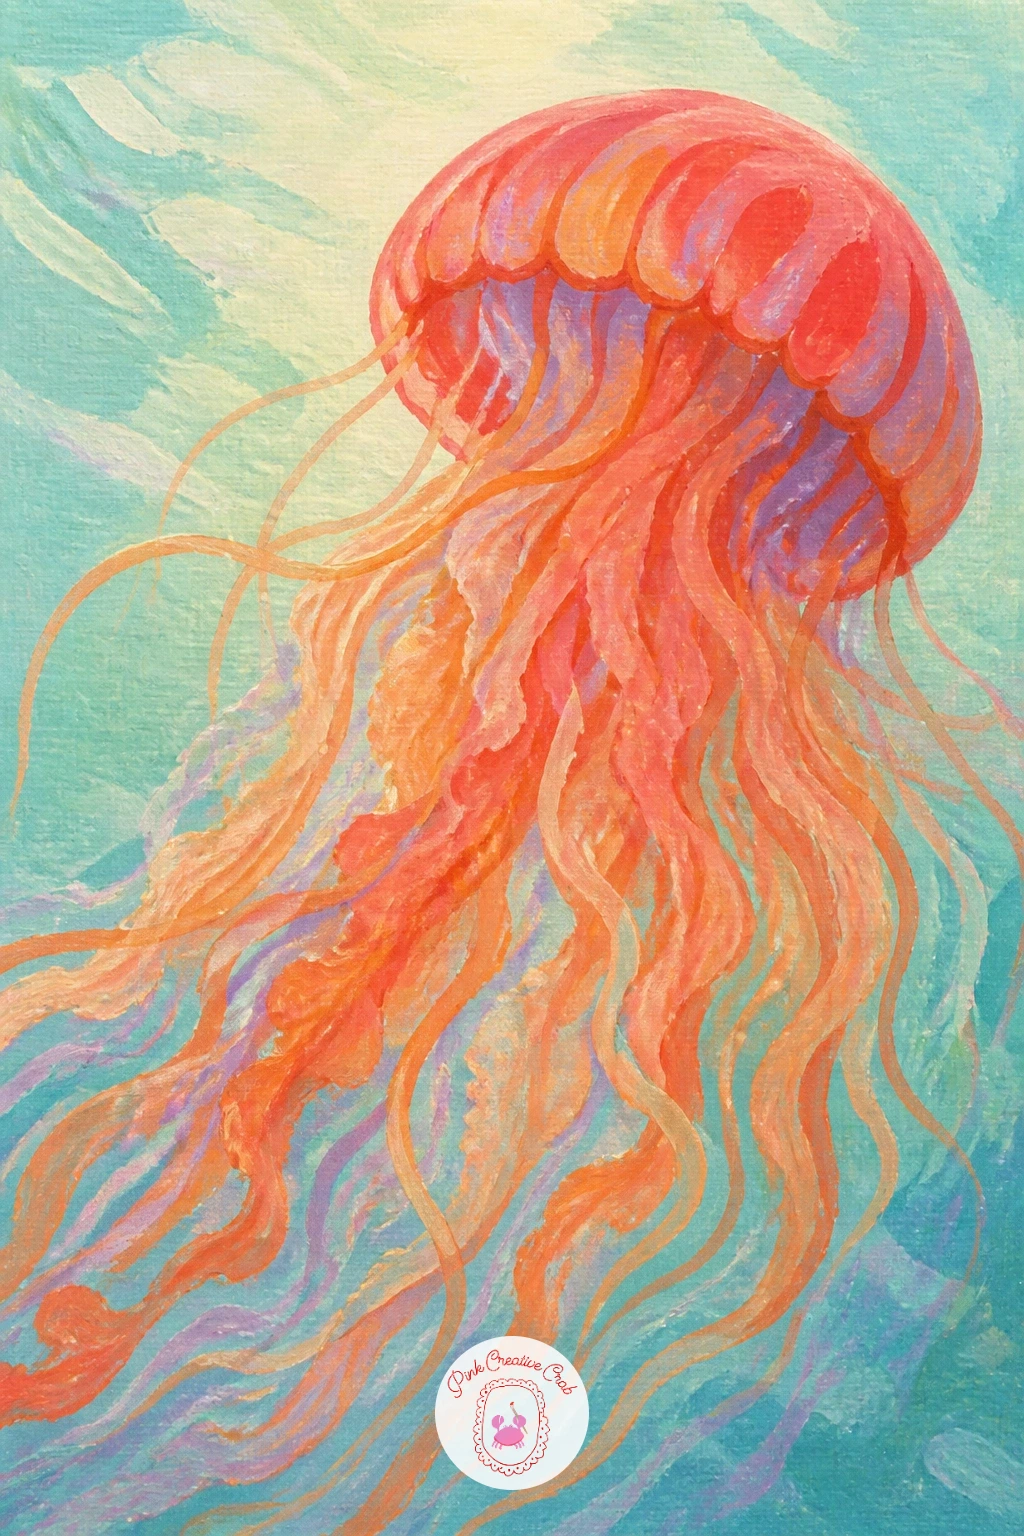
Palette: Cadmium Orange,Burnt Sienna,Pale Aqua,Titanium White
Adding a snorkeler gives this jellyfish painting a sense of scale and a quiet little story: someone pausing in the water to watch it drift past. Block in the water first with a gradient from pale seafoam near the top to a slightly deeper aqua lower down, since the snorkeler will sit nearer the surface.
Paint the snorkeler as a simple silhouette, dark and fairly flat in color compared to the glowing jellyfish, floating horizontally near the top third of the canvas with fins trailing behind. Keep the figure loose, a curved back, two fin shapes, no real facial detail needed at this distance.
The jellyfish then drifts below and slightly ahead, painted with the same glowing technique used in earlier ideas so it visually contrasts with the flatter, darker snorkeler. Comparing the fin length to the jellyfish bell width as you paint keeps the two in sensible proportion to one another.
If the silhouette looks stiff, round out the shoulders and let one arm trail rather than both sitting symmetrically.
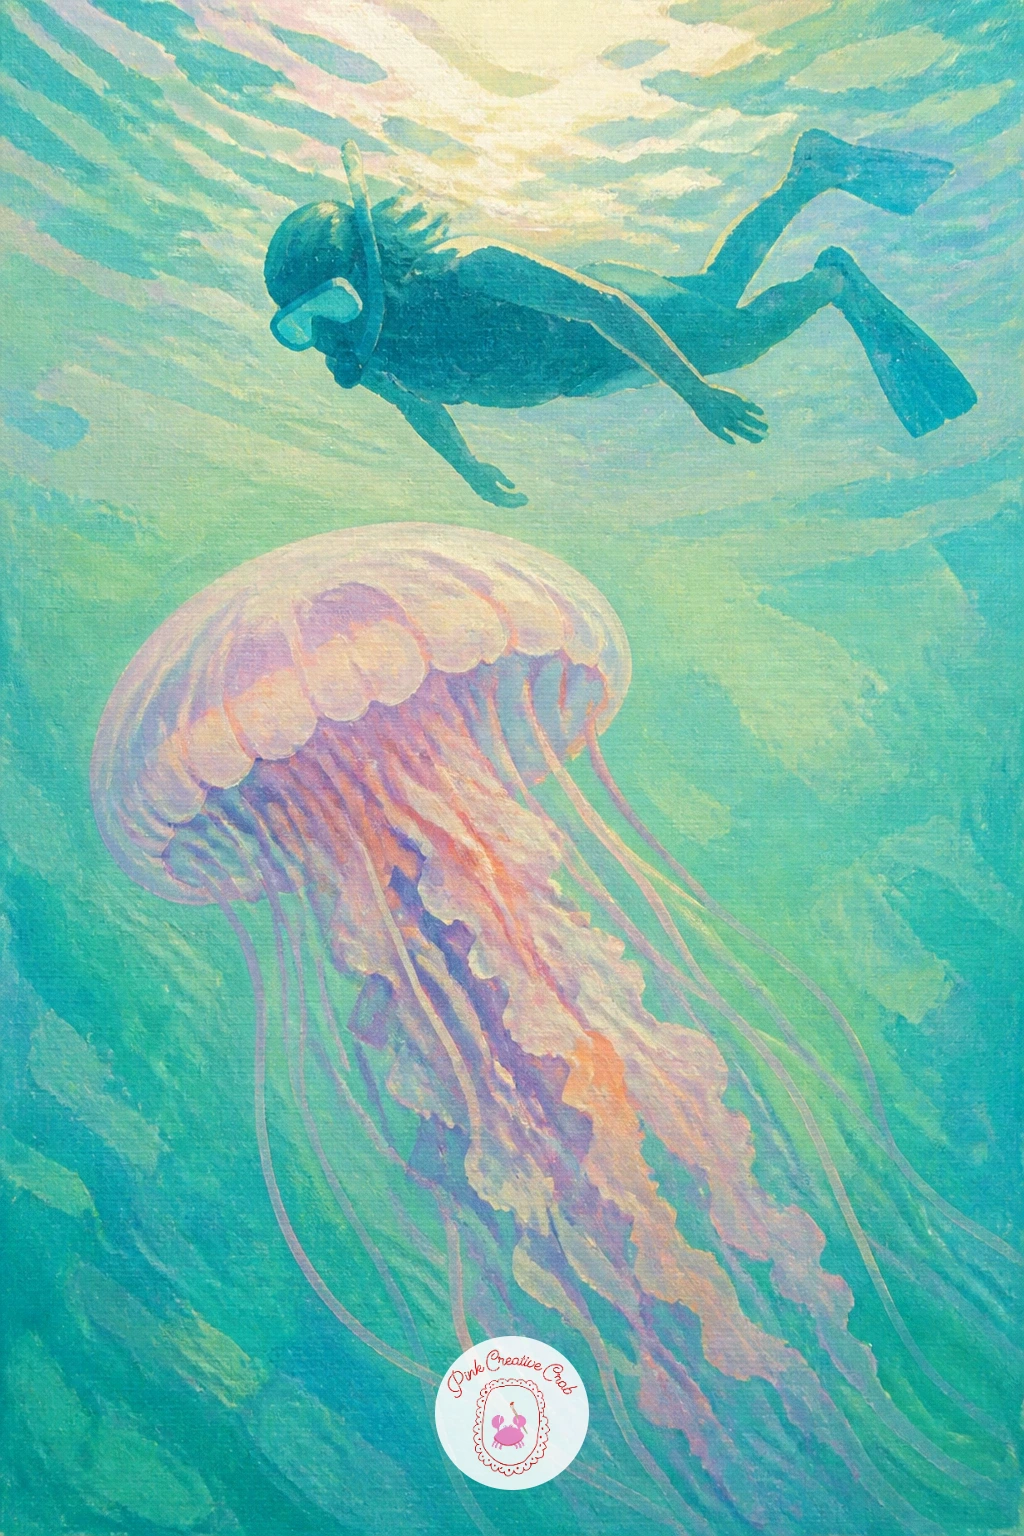
Palette: Payne’s Grey,Pale Aqua,Titanium White,Naples Yellow
Look at underwater photography for the shape fins make when trailing behind a kicking leg, it reads much more naturally than a straight flipper shape.
This jellyfish gets a full setting rather than floating in open water, with a sandy seabed scattered with shells along the bottom of the canvas. Paint the water first, keeping it pale and clear since sunlight needs to reach all the way to the sand below.
Block in the seabed as a warm pale sand color across the bottom quarter of the canvas, blending its top edge softly into the water above so there is no hard line. Scatter a few shell shapes along the sand using small confident dabs, varying their size and tilt so they look naturally dropped rather than lined up.
Paint the jellyfish drifting above the sand, keeping it pale enough that it still contrasts against the lighter water around it rather than blending into the busy sand below. A kneaded eraser pressed gently onto dry acrylic can lift a touch of color back off the sand if the shells start looking too heavy or dark.
Keep shell detail minimal, a curved outline and one or two lines, since from this distance underwater nothing reads as sharp.
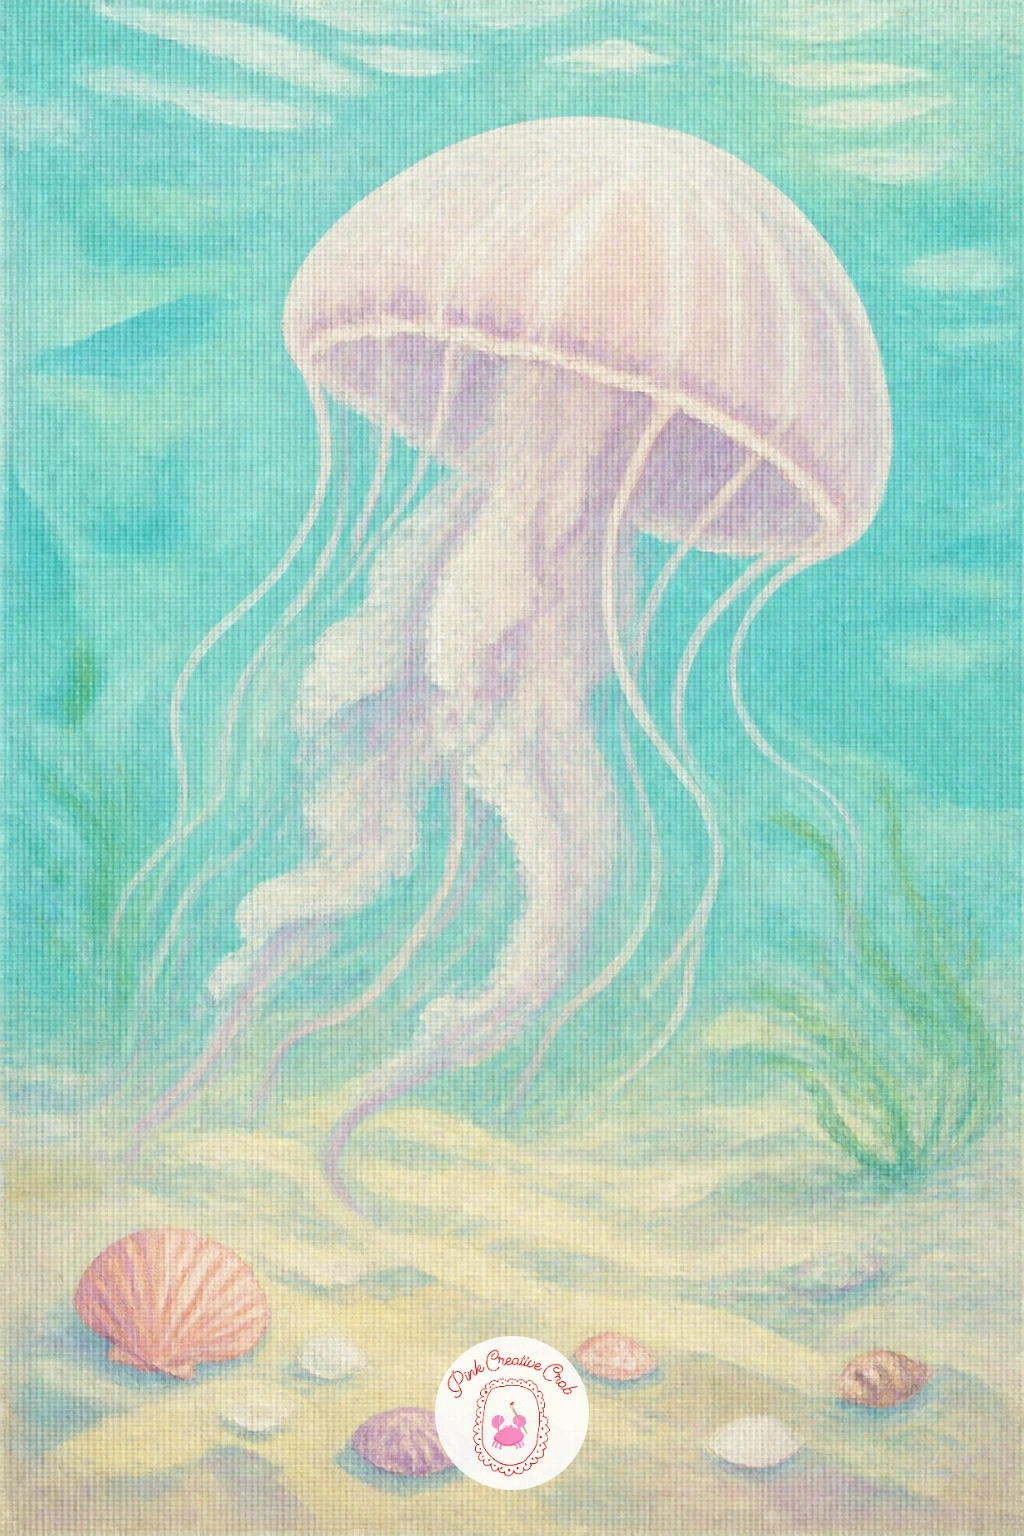
Palette: Naples Yellow,Pale Aqua,Titanium White,Burnt Sienna
Here the eye level flips entirely: you are underwater looking up at the pale underside of a little boat, with a jellyfish drifting beneath it. Paint the upper portion of the canvas as brighter, almost sunlit water near the surface, since that is where the boat hull sits, and let it darken slightly as it moves down the canvas.
The boat itself is just a simple curved silhouette near the top edge, flat and dark against the bright water above it, with maybe a thin oar or two trailing down if you want a little more story. Keep it small and simple, this is a supporting shape, not the main subject.
The jellyfish then floats in the clearer water below, glowing softly the way it does when lit from above. Painting the boat noticeably smaller and flatter than the jellyfish, even though boats are larger in real life, is what sells the distance and the underwater viewpoint.
If the hull shape looks awkward, simplify it to a long curved line, nothing more.
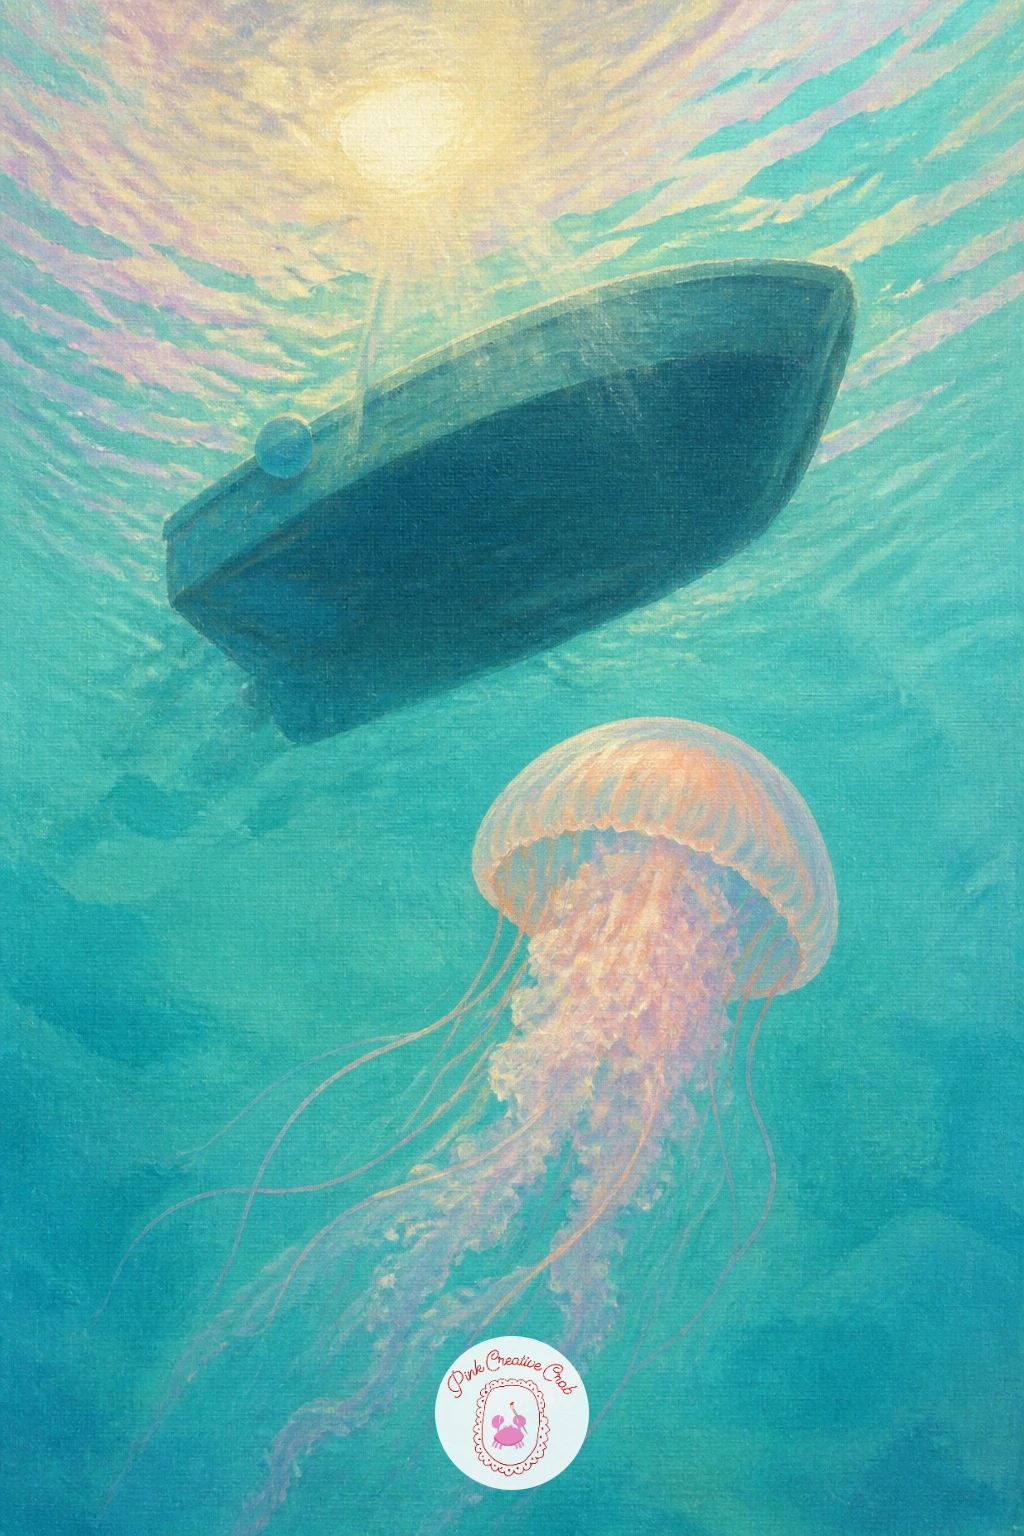
Palette: Payne’s Grey,Pale Aqua,Naples Yellow,Titanium White
Pairing two jellyfish facing slightly toward each other gives this painting the feel of a slow, graceful dance. Paint the water first, keeping it pale and even across the canvas so attention stays on the pair rather than the background.
Place the first jellyfish a little left of center and the second slightly higher and to the right, their bells tilted so they seem to lean toward one another rather than floating in identical straight poses. Vary their size slightly too, since identical twins read as stiff and mechanical rather than lively.
Let a few of their tentacles drift toward each other and almost touch, which is what really sells the sense of movement between them. If they end up looking too separate and static, add one or two long tentacles from each that curve gently in the other’s direction.
For next time, try the same pose with one jellyfish a warm coral and the other a cool lilac, so the pair contrasts as well as mirrors each other.
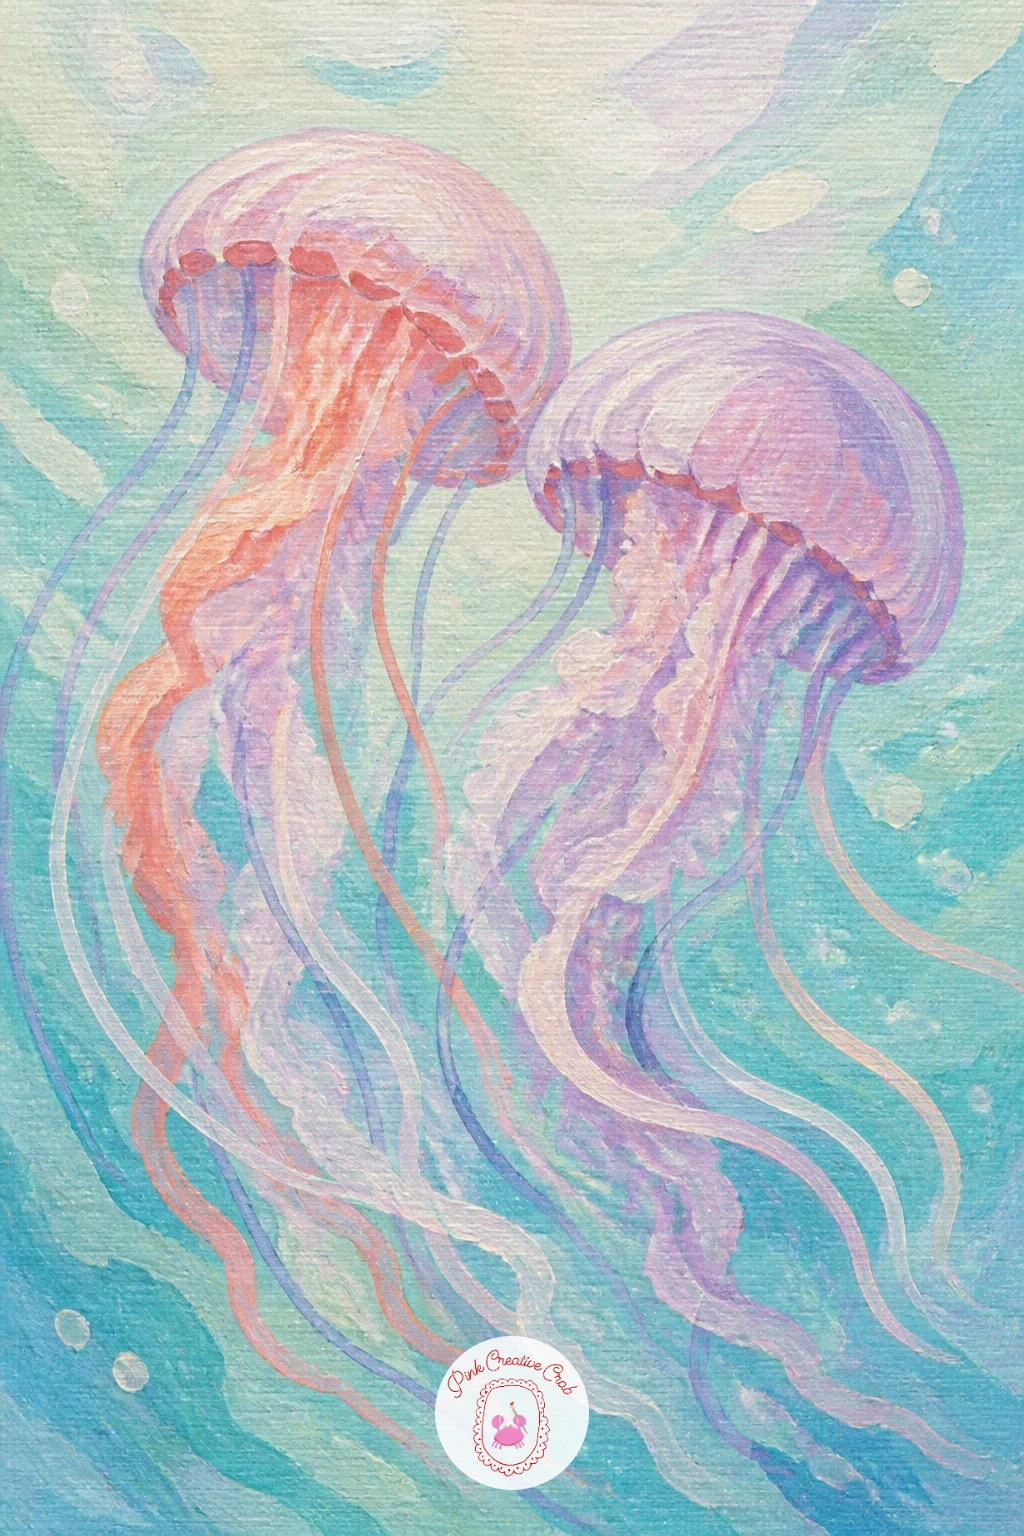
Palette: Pale Aqua,Lilac,Coral Pink,Titanium White
A striped jellyfish is a nice change of pace, since the stripes give you a reason to work with a steady hand and a thin brush rather than loose soft edges everywhere. Keep the water very clear and pale here, almost white near the top, so the purple stripes have somewhere bright to stand out against.
Paint the dome shape first in a pale lilac base, letting it dry fully before adding stripes, since wet stripes on wet base color will simply bleed into a muddy mix. Pull each stripe from the top of the dome down to the fringe in one smooth stroke, spacing them evenly by eye or with a few light pencil guide marks first.
If a stripe wobbles, do not try to fix it mid-stroke, let it dry and paint a clean one directly over the top once it has set. Thin tentacles in the same purple finish the piece, kept simple and short compared to earlier ribbon-tentacle ideas.
A ruler held just off the canvas as a guide, not touching it, can steady your hand for the straighter stripes near the top of the dome.
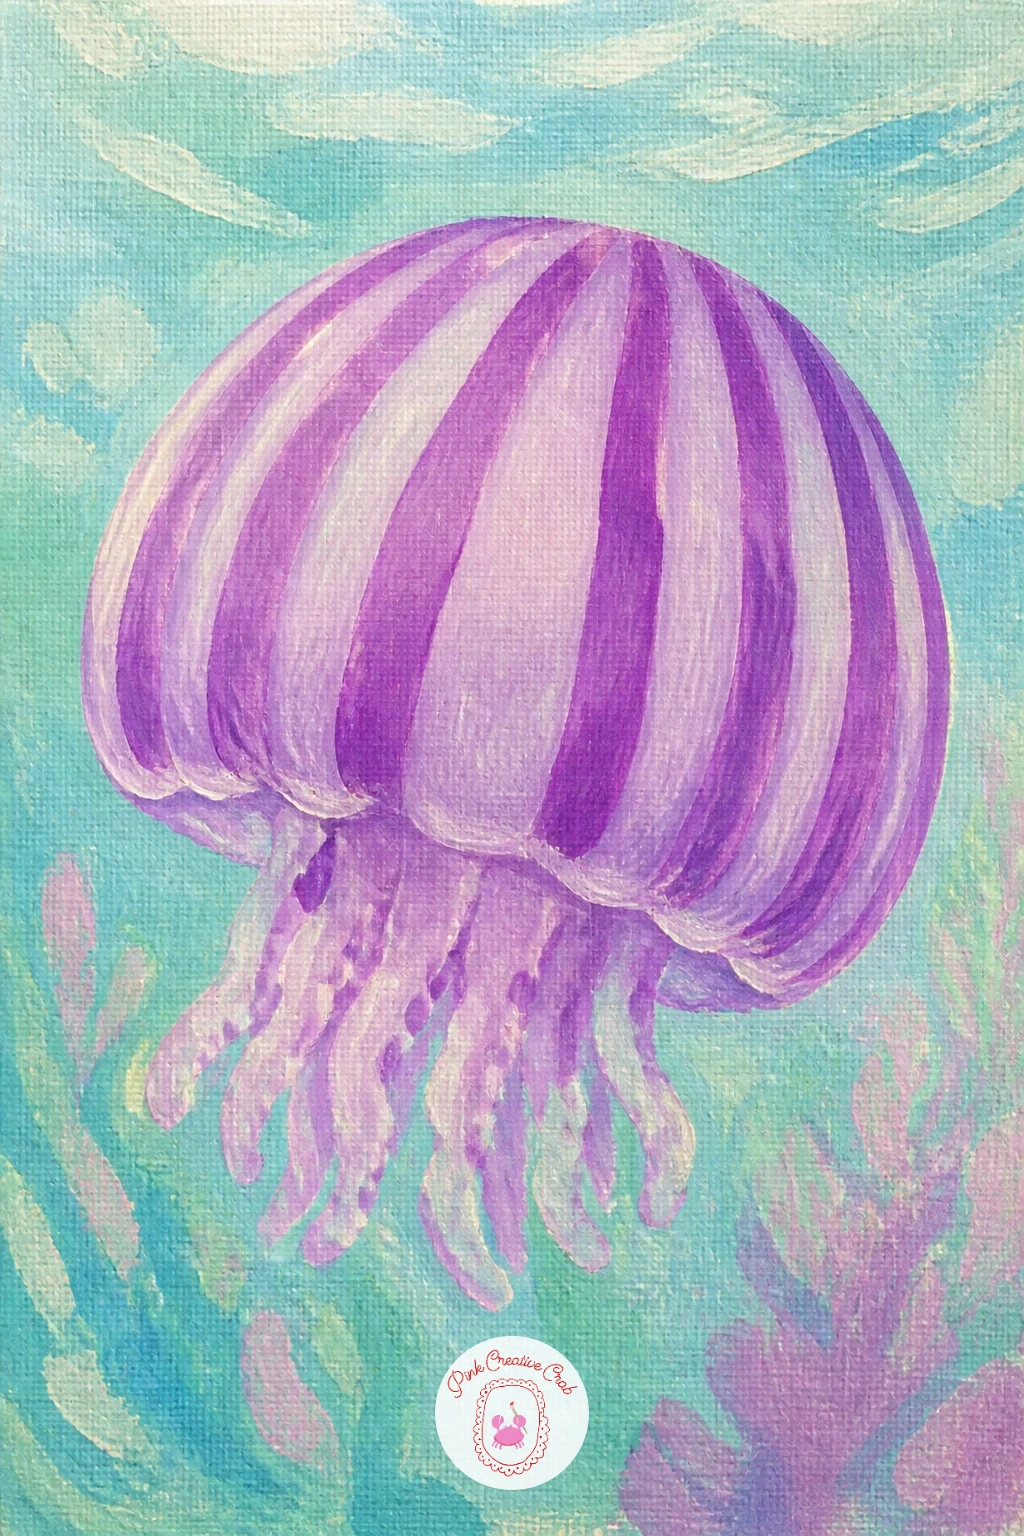
Palette: Lilac,Purple,Titanium White,Pale Aqua
This jellyfish gets a lively neighbor in the form of a small coral reef along one side of the canvas. Decide first where the light source sits, since reef shapes catch light differently depending on their angle, and keep it consistent with a soft sunlit glow coming from the upper corner.
Block in the reef as a cluster of simple rounded and branching shapes in coral pink and soft orange, keeping individual coral heads chunky rather than fussy and detailed. This reads better from a distance and keeps the whole piece feeling relaxed rather than overworked.
The jellyfish then drifts in the open water beside the reef, painted paler and softer so it clearly separates from the busier, more textured coral shapes. Checking that the jellyfish takes up roughly the same visual weight as the reef cluster keeps the composition balanced rather than one side feeling empty.
If you enjoy reef painting, this pairs well with the ideas in these easy sea painting ideas for more reef and water techniques.
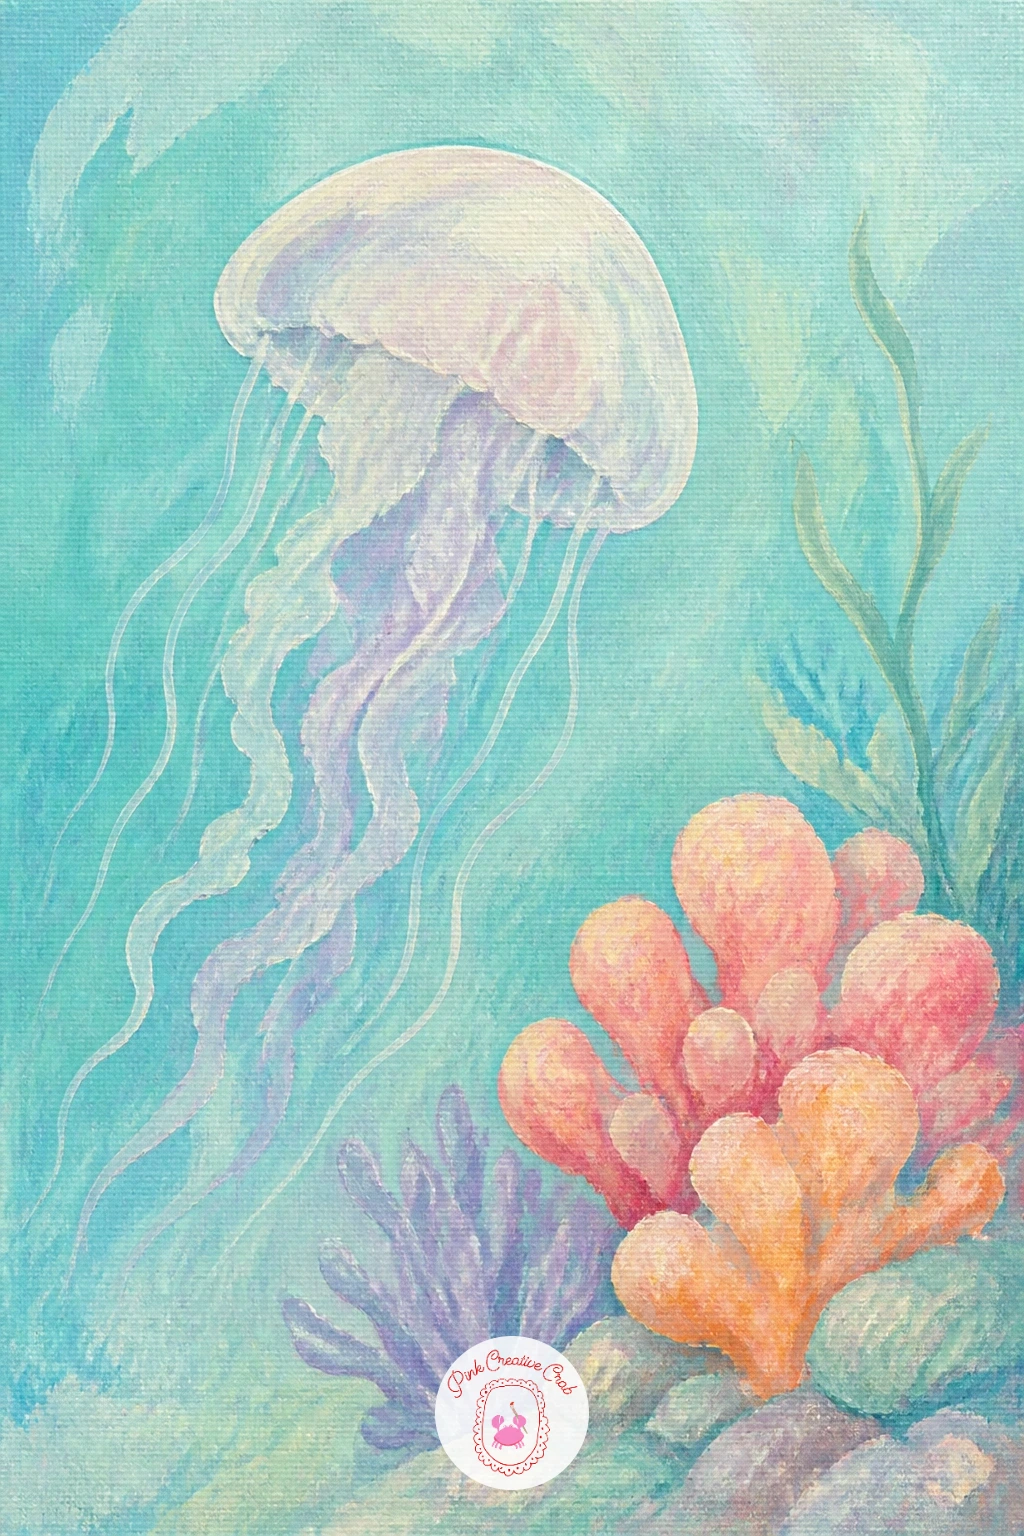
Palette: Coral Pink,Cadmium Orange,Pale Aqua,Titanium White
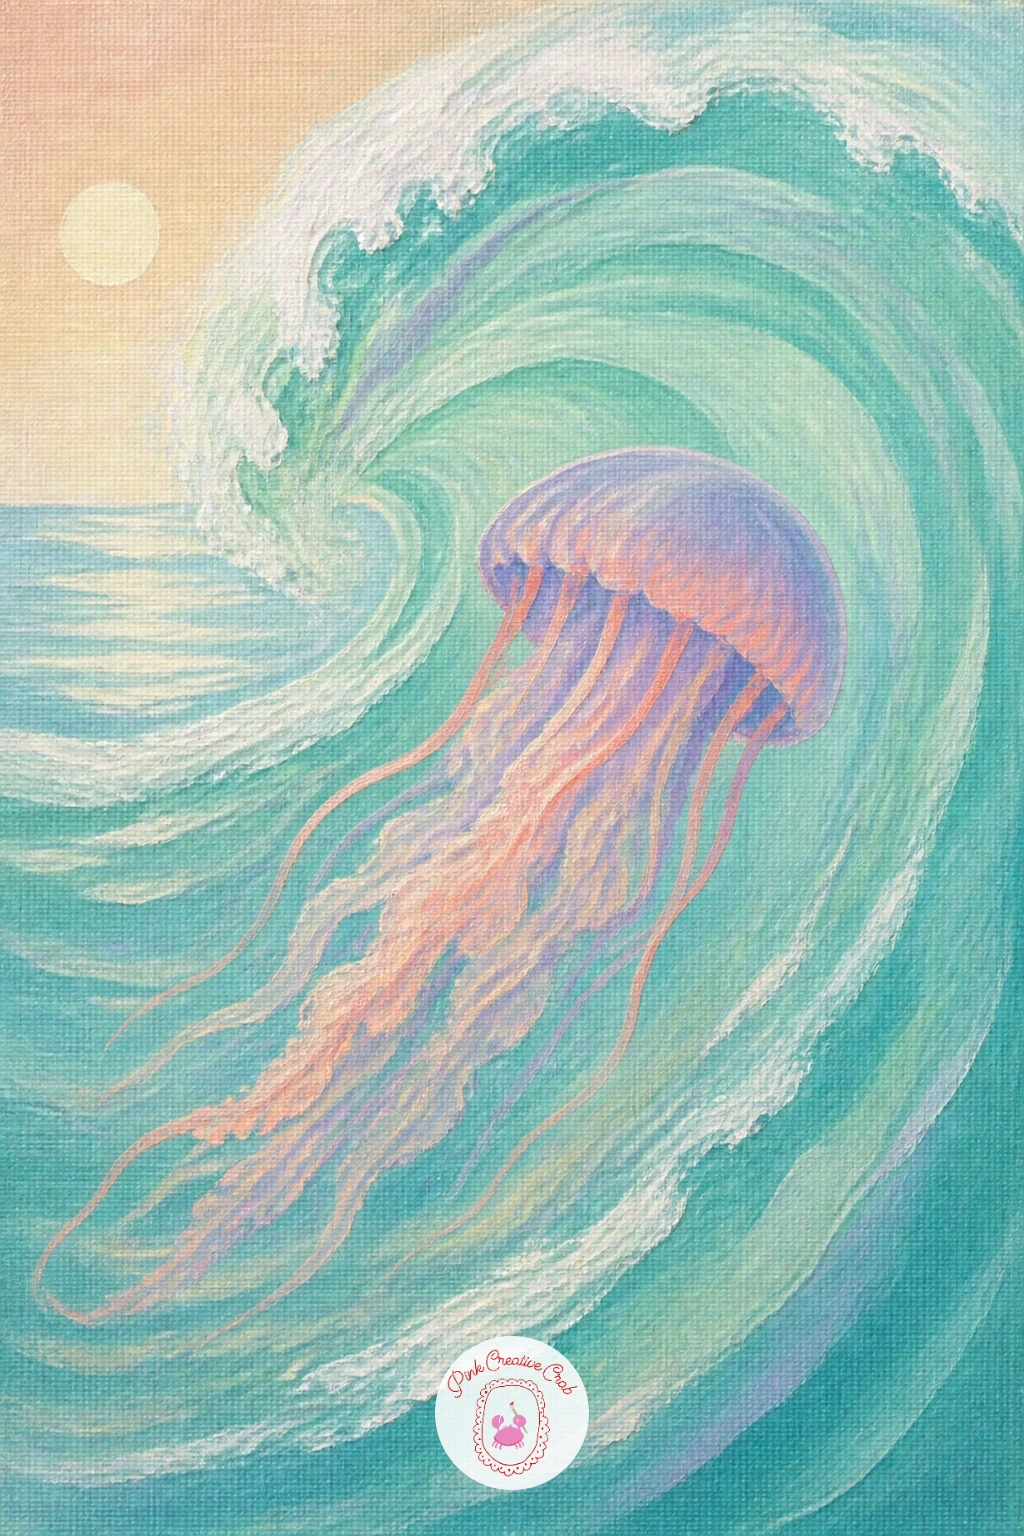
Catching a jellyfish inside a curling, sunlit wave adds motion that the calmer floating poses do not have. Start with the wave shape itself, a broad curving sweep of lighter aqua near its crest where sunlight hits it, darkening slightly toward its base, and let that dry before adding anything on top.
Paint the jellyfish so it sits inside the curve of the wave rather than simply in front of it, letting its bell and tentacles follow the same curving direction the water is moving. This one small choice does more than anything else to make the painting feel like real movement rather than a jellyfish floating over a wave shape.
White foam flicked lightly along the crest of the wave, using an old toothbrush loaded with thinned white paint, finishes the energy nicely. If you do not have a toothbrush handy, a stiff dry brush tapped against your finger over the canvas gives a similar scattered effect.
Keep the foam light and scattered, heavy clumps of white will flatten the sense of light moving through the water.
You Will Need
- old toothbrush for splatter
Palette: Pale Aqua,Cerulean Blue,Titanium White,Naples Yellow
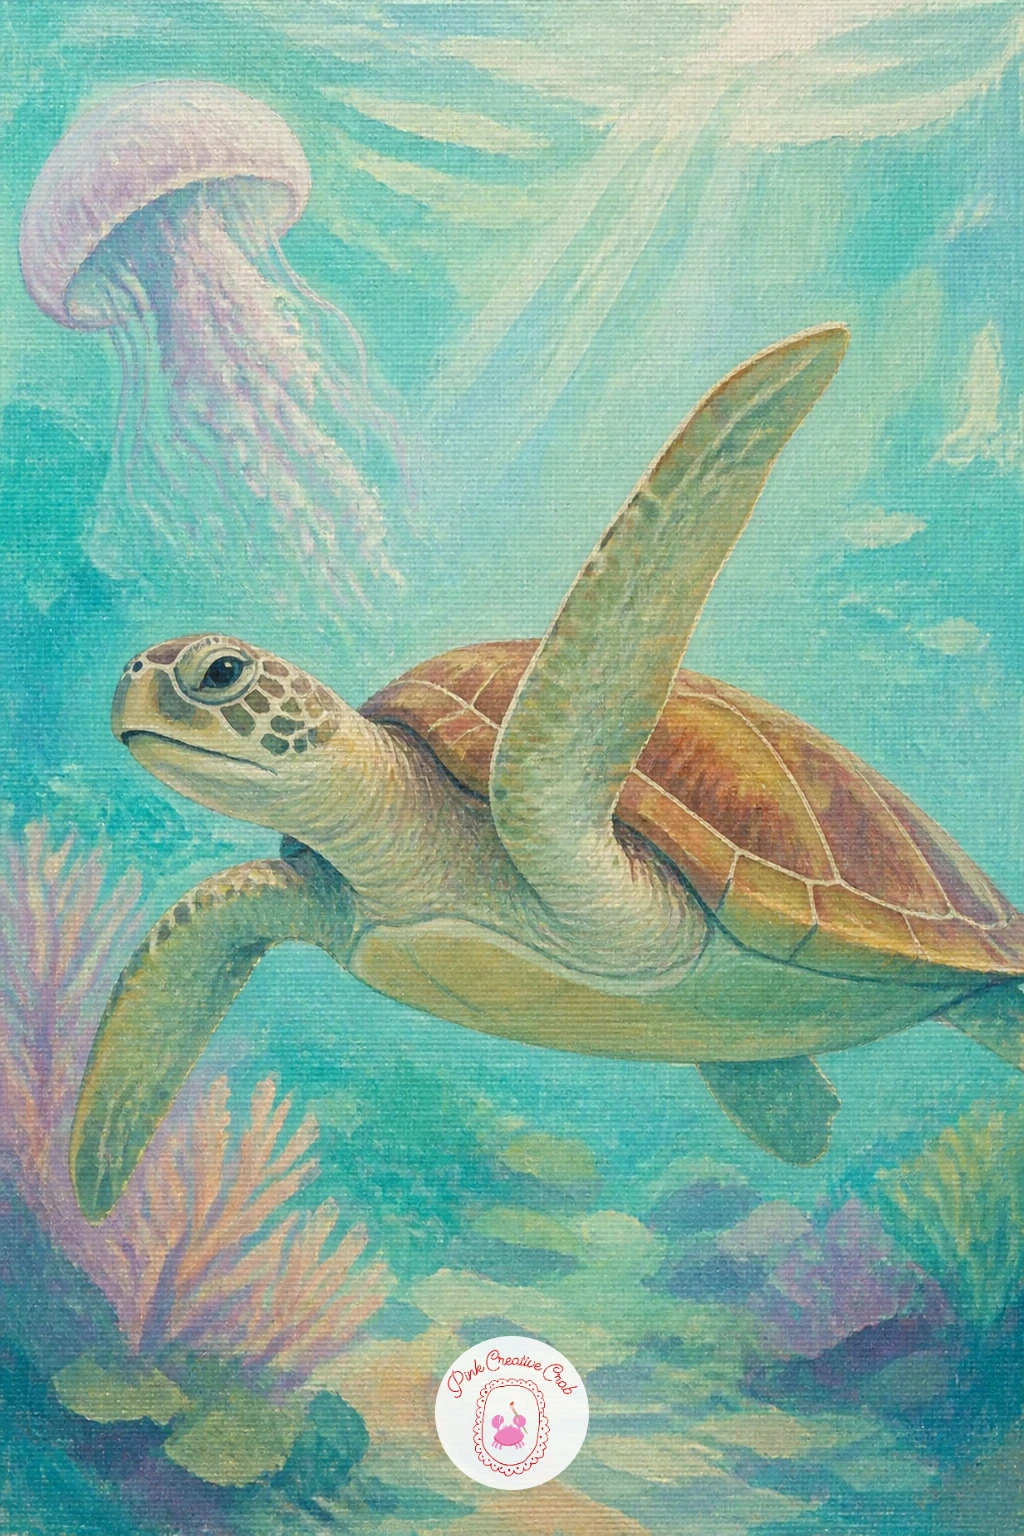
Pairing a jellyfish with a sea turtle as they pass each other gives you two very different shapes to balance on one canvas. Paint the water first, keeping it pale and even, then place the turtle swimming across the middle of the canvas with its flippers mid-stroke, one reaching forward and one trailing back for a sense of motion.
The turtle’s shell is the trickiest part: block it in as a simple domed oval first, then add a loose pattern of soft hexagon-ish shapes once the base color is dry, keeping the pattern light and slightly uneven rather than a perfect grid.
The jellyfish drifts below or beside the turtle, smaller in the composition so the turtle clearly leads the eye. If the turtle’s flippers look stiff, round their tips and curve them slightly rather than painting them as flat paddles.
For a ten minute version, paint just the turtle’s silhouette and the jellyfish as simple shapes with no shell pattern. The forty minute version adds the shell texture and soft shading along the turtle’s underside.
Palette: Sap Green,Burnt Sienna,Pale Aqua,Titanium White
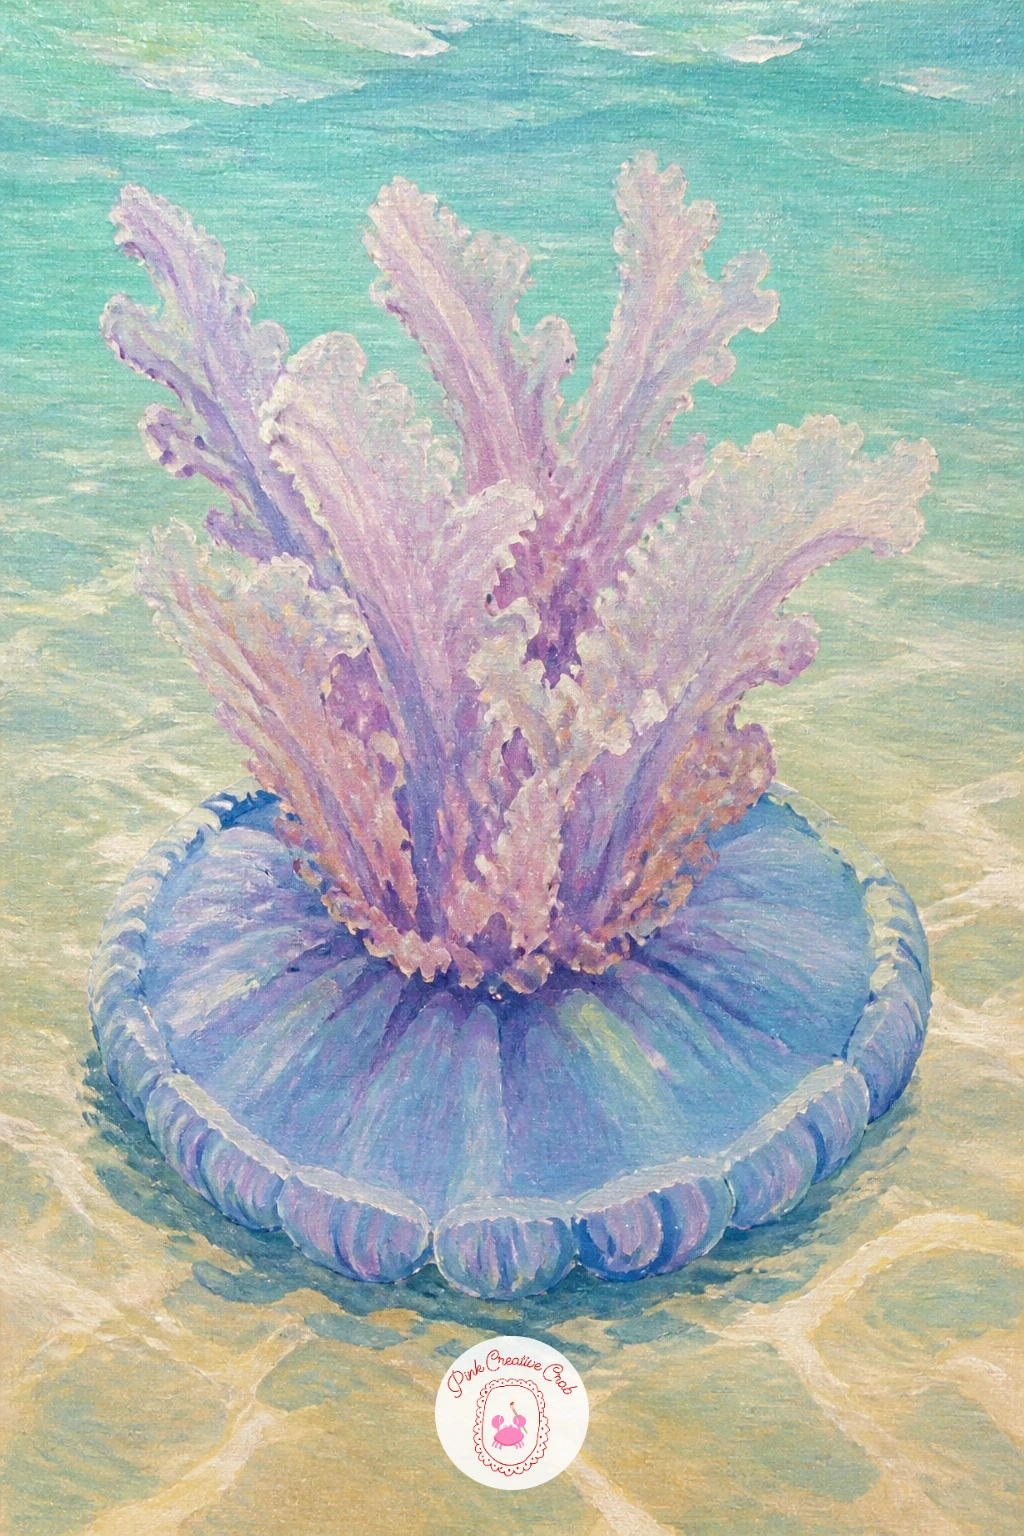
The upside-down jellyfish rests bell-down on the seabed with its frilly arms facing up toward the light, which makes it one of the more unusual shapes on this list. Paint the sandy bottom first across the lower half of the canvas, then the jellyfish sitting directly on it, its dome flattened slightly where it meets the sand.
Work the frilly upper arms in loose upward strokes, letting them fan outward and catch more light than the shaded underside closer to the sand. This is a good subject for a dry brush pass once the base layer is dry, dragging a nearly dry brush loaded with pale color across the frills to break up the edges and suggest texture without painting every strand.
If the frills end up looking like a solid clump, pull a thin clean brush through them while still slightly wet to separate a few strands apart.
Swap a toothpick for the fine separating lines if your thinnest brush feels too soft to control.
Palette: Naples Yellow,Pale Aqua,Cadmium Orange,Titanium White
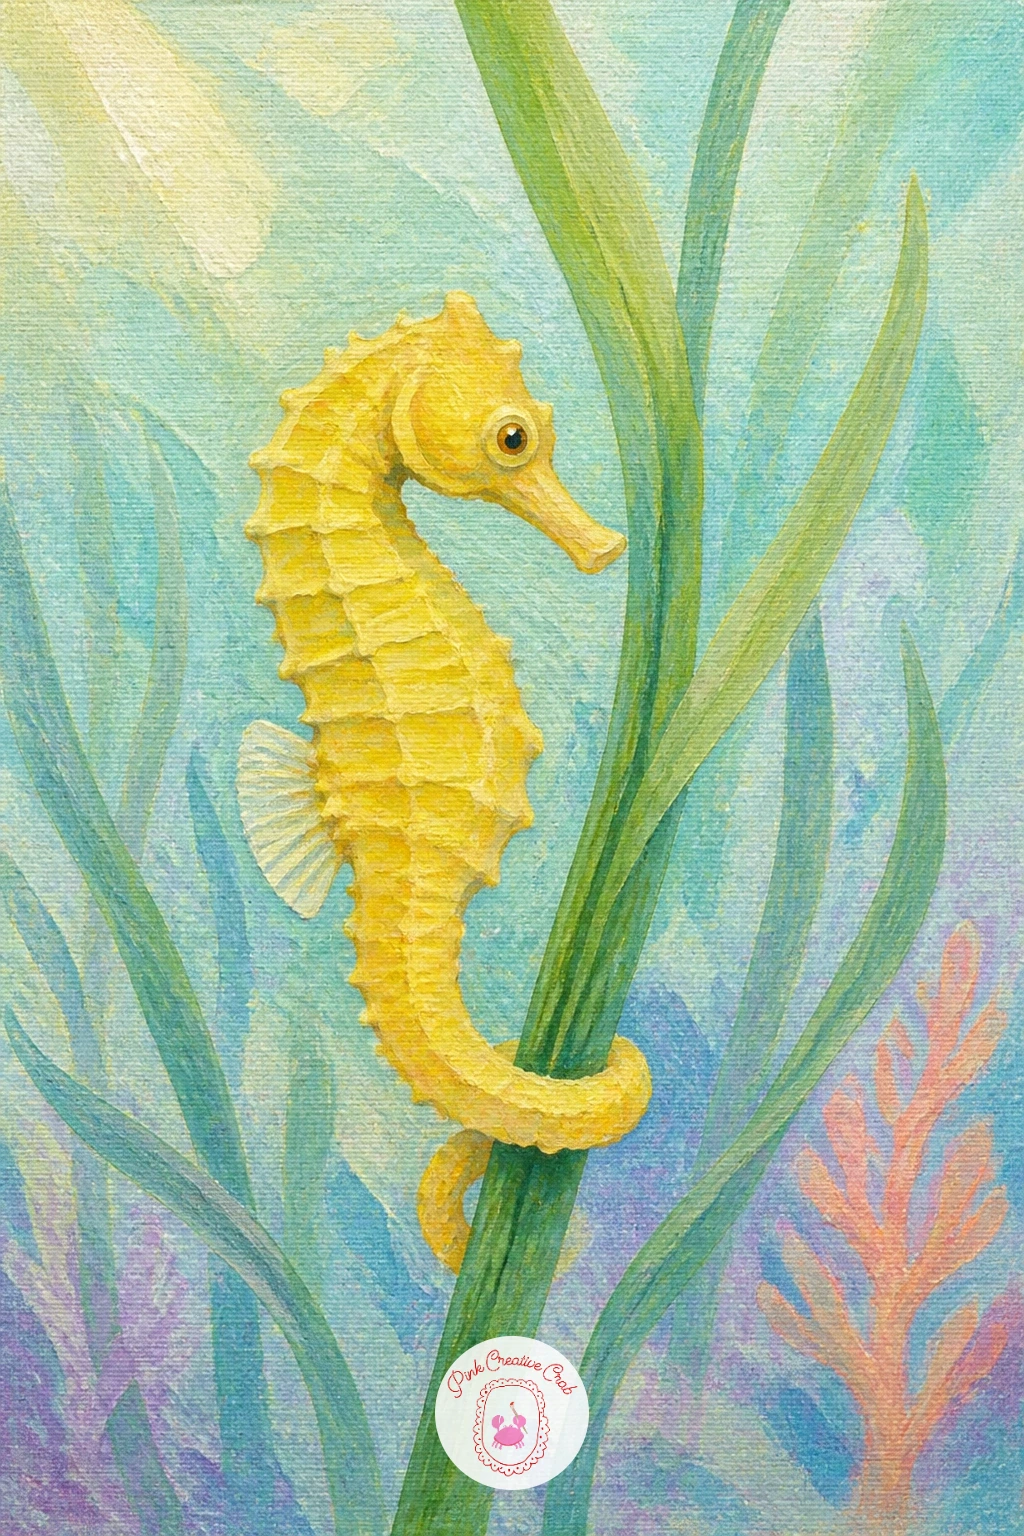
Moving on from jellyfish, a seahorse curled around a strand of seagrass is a lovely small subject with a built-in sense of calm. Paint the water in your usual pale aqua wash, then add one or two tall strands of seagrass swaying gently up through the canvas, their tips curving softly rather than standing stiff and straight.
Build the seahorse’s body next, starting with the curved S-shaped spine that gives it its character, then adding the small snout, the curled tail wrapped around the grass, and the fin along its back in a few confident strokes. Comparing the length of the seahorse’s body to the height of the grass strand keeps the scale believable.
If the tail curl looks flat, paint the grass strand first and let it dry, then paint the tail directly overlapping it so the wrap reads clearly in front of the grass.
Keep the seahorse’s texture simple, a few short curved lines along its back are enough to suggest its ridged body without overworking it.
Palette: Cadmium Yellow Light,Sap Green,Pale Aqua,Titanium White
The nautilus shell is one of the most satisfying shapes to paint because of its neat spiral, and it drifts calmly rather than needing any sense of fast motion. Lightly sketch the spiral first with a pencil before any paint goes down, since getting the curl roughly right from the start saves a lot of frustration later.
Block in the shell’s base color, then add the darker reddish-brown stripes that radiate out from the center, following the curve of the spiral rather than painting them as straight lines. Keep a thin section of pale cream between each stripe so the spiral pattern stays crisp rather than blurring into one solid band.
Paint the soft tentacles peeking from the shell’s opening last, loose and simple, with the pale aqua water surrounding the whole shell in a gentle wash. If your stripes drift off the spiral path, thin a little white paint and gently blend over the mistake before it dries fully, then redraw that section.
A fine brush loaded quite dry works best for keeping the stripes crisp rather than runny.
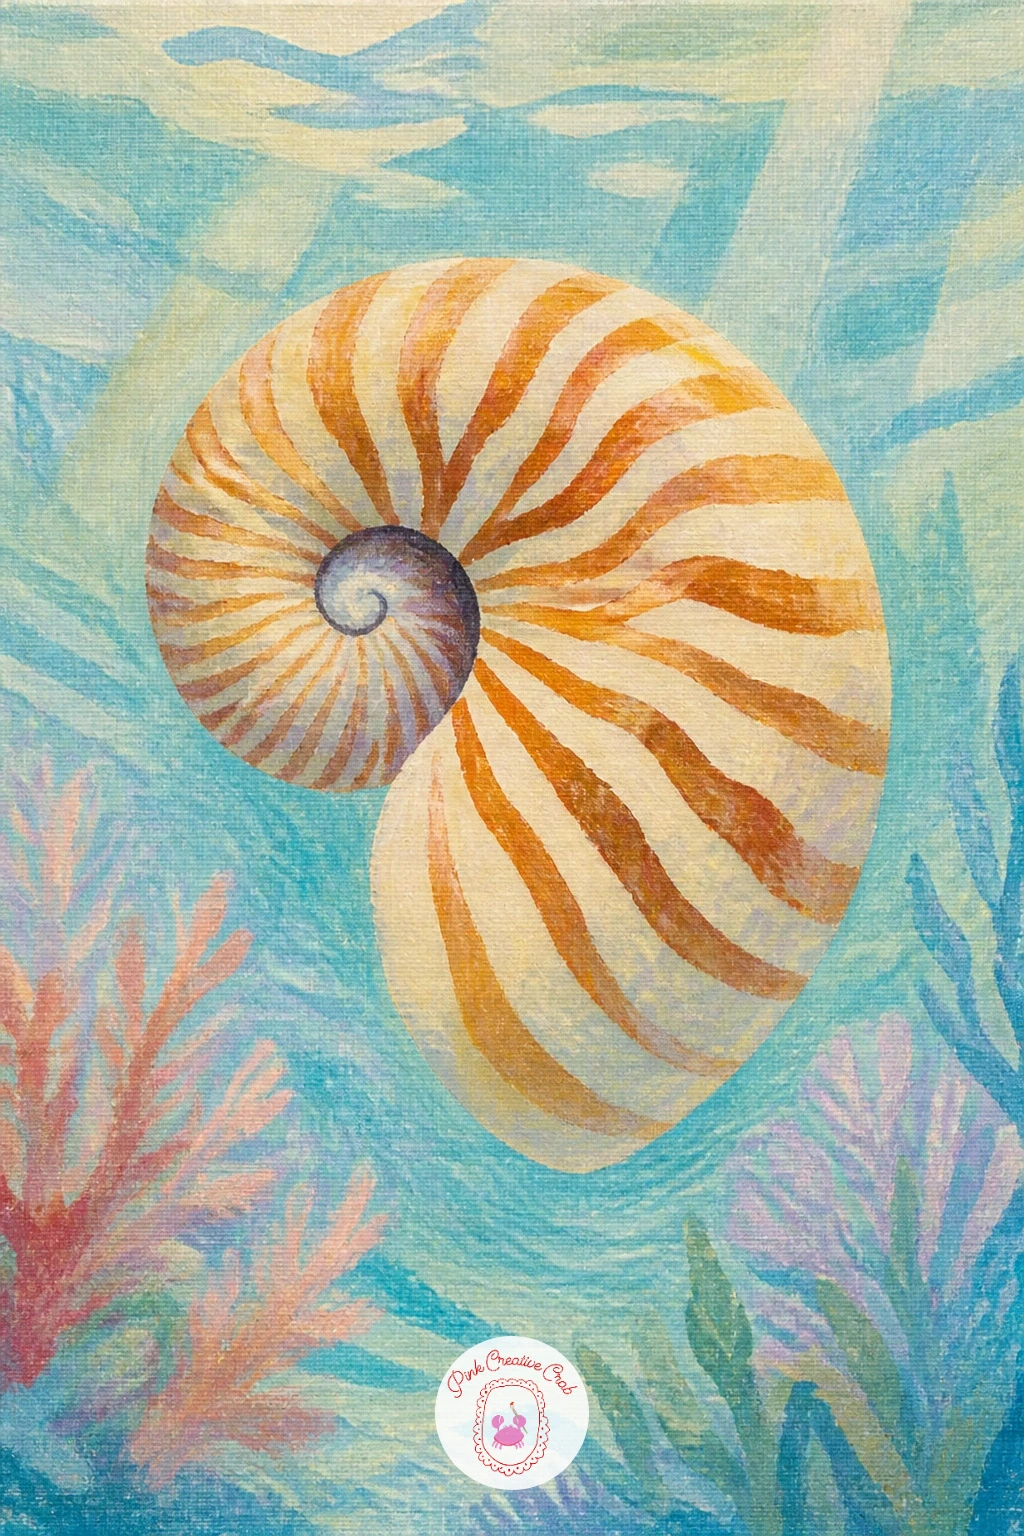
Palette: Burnt Sienna,Naples Yellow,Pale Aqua,Titanium White
A nudibranch sea slug lets you go a little wild with color since these creatures really do come in bright, almost unbelievable combinations in real life. Paint a simple rock shape first, keeping it rounded and textured with a dry brush dabbed over the base color for a bit of surface roughness.
Build the nudibranch’s body on top as a long soft curved shape, then add its frilly gills along the back and the two small feelers near its head in a contrasting bright color, lilac against orange or yellow against pink both work nicely. Keep the body glossy looking by leaving a thin streak of lighter color along its top ridge where light would catch it.
If the frills along its back look too busy, simplify them to a row of small evenly spaced bumps rather than trying to paint each individual gill.
This is a quick ten minute subject if you keep the rock plain and the nudibranch simple, or a slower forty minute piece if you add more rock texture and a richer gradient along the slug’s body.
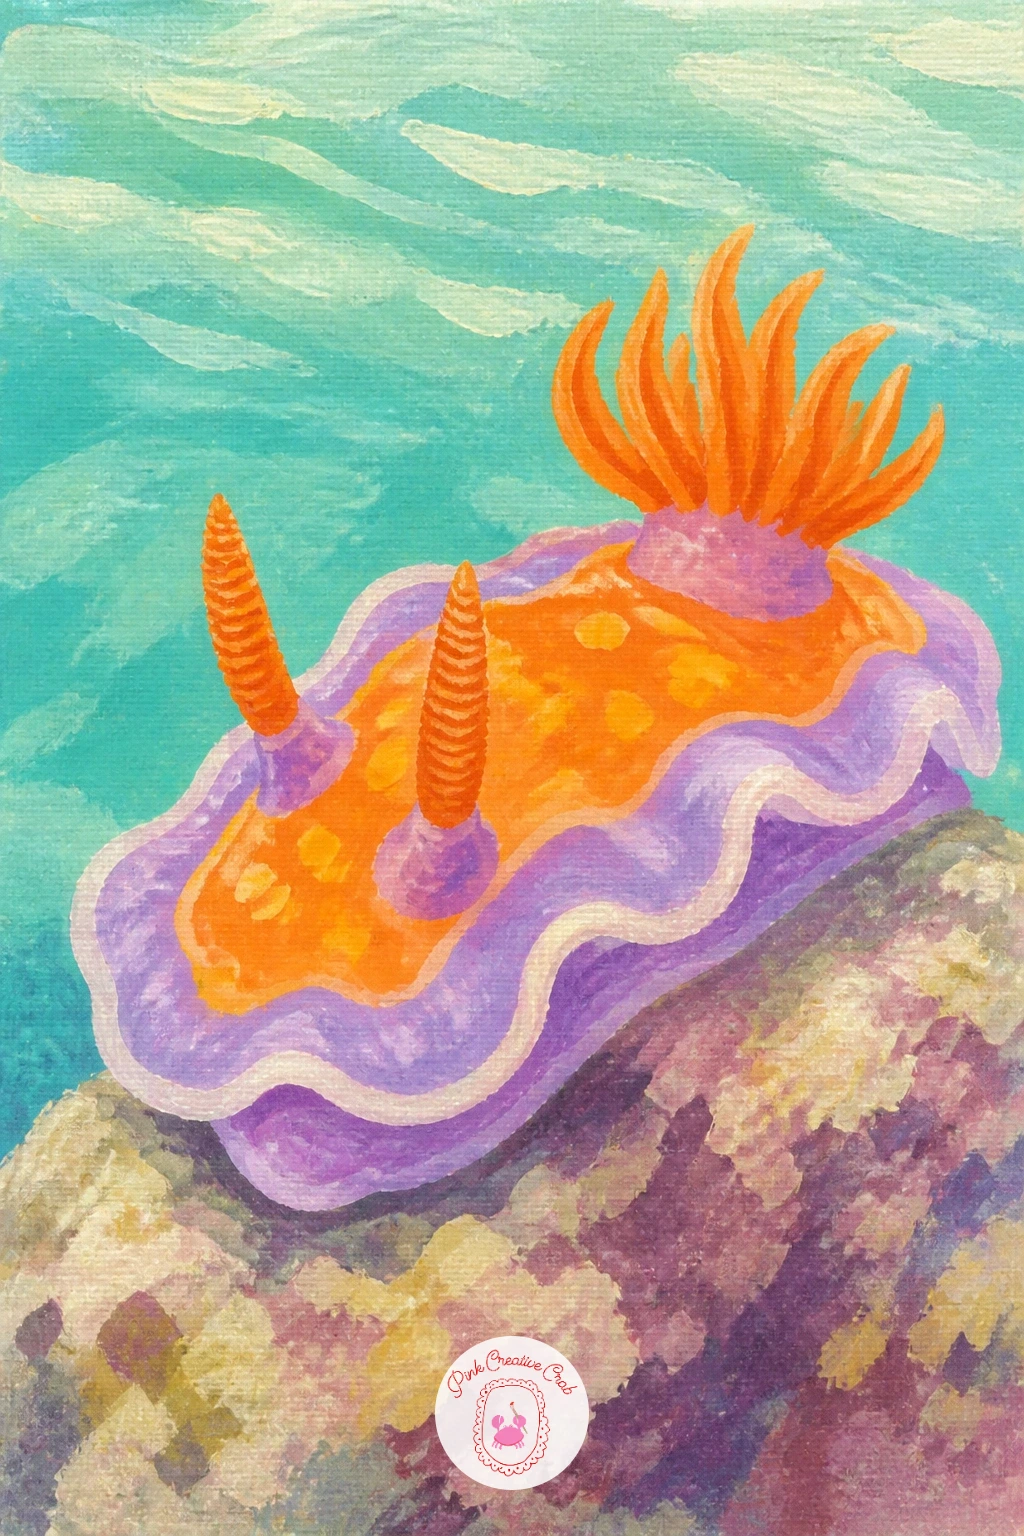
Palette: Cadmium Orange,Lilac,Payne’s Grey,Titanium White
Look up real nudibranch photos before you start, their color combinations are bolder than most people expect and worth copying closely.
Painting a manta ray from below, gliding overhead against bright water, is a nice change in scale after the smaller creatures on this list. Paint the water first as a bright glowing wash near the top of the canvas, since the ray will be seen in silhouette against the sunlit surface above it.
Block the ray in as one broad flat triangular shape with the two wingtips curving gently rather than pointed sharply, and keep it noticeably darker than the glowing water behind it so the silhouette reads clearly. The tail trails off thin and simple behind the body.
Eye level matters a lot here: keep the ray’s whole body above the midpoint of the canvas and angled slightly so one wingtip dips lower than the other, which makes the gliding motion believable instead of a flat symmetrical stamp shape.
If the silhouette feels too stiff and geometric, round the front edge of the body slightly rather than keeping a sharp straight line across the front.
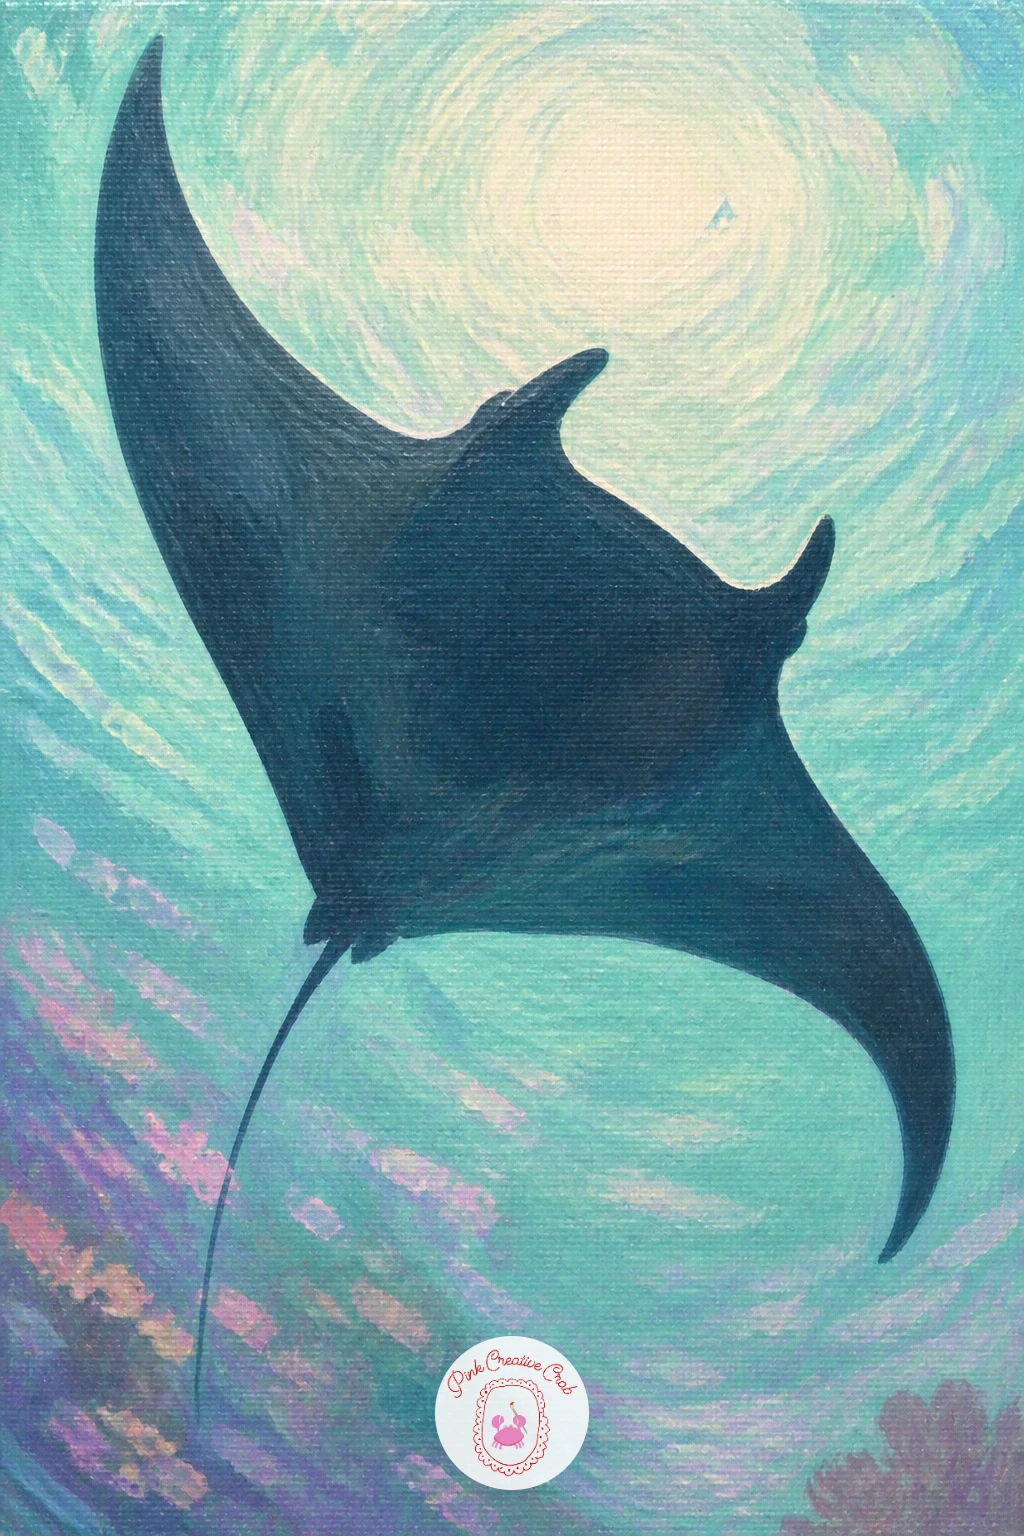
Palette: Payne’s Grey,Naples Yellow,Pale Aqua,Titanium White
A puffed-up pufferfish is a fun, rounded subject that sits well next to a small piece of coral. Start with the body as a simple circle, slightly flattened at the bottom where it would sit in the water, and block it in with a pale yellow or cream base.
Add the small fins and the little pointed spines over the top once the base is dry, keeping the spines short and evenly spaced rather than long and sharp, since a gently puffed pufferfish looks friendlier with stubby spines. A couple of darker spots scattered across the body break up the plain color nicely.
Comparing the size of the pufferfish’s eye to the width of its whole body is a good proportion check, the eye usually sits larger and rounder than people expect relative to the body, which is part of what gives it that surprised expression.
Place a small simple piece of coral beside it for scale and setting, painted more loosely than the pufferfish so the fish stays the clear focus.
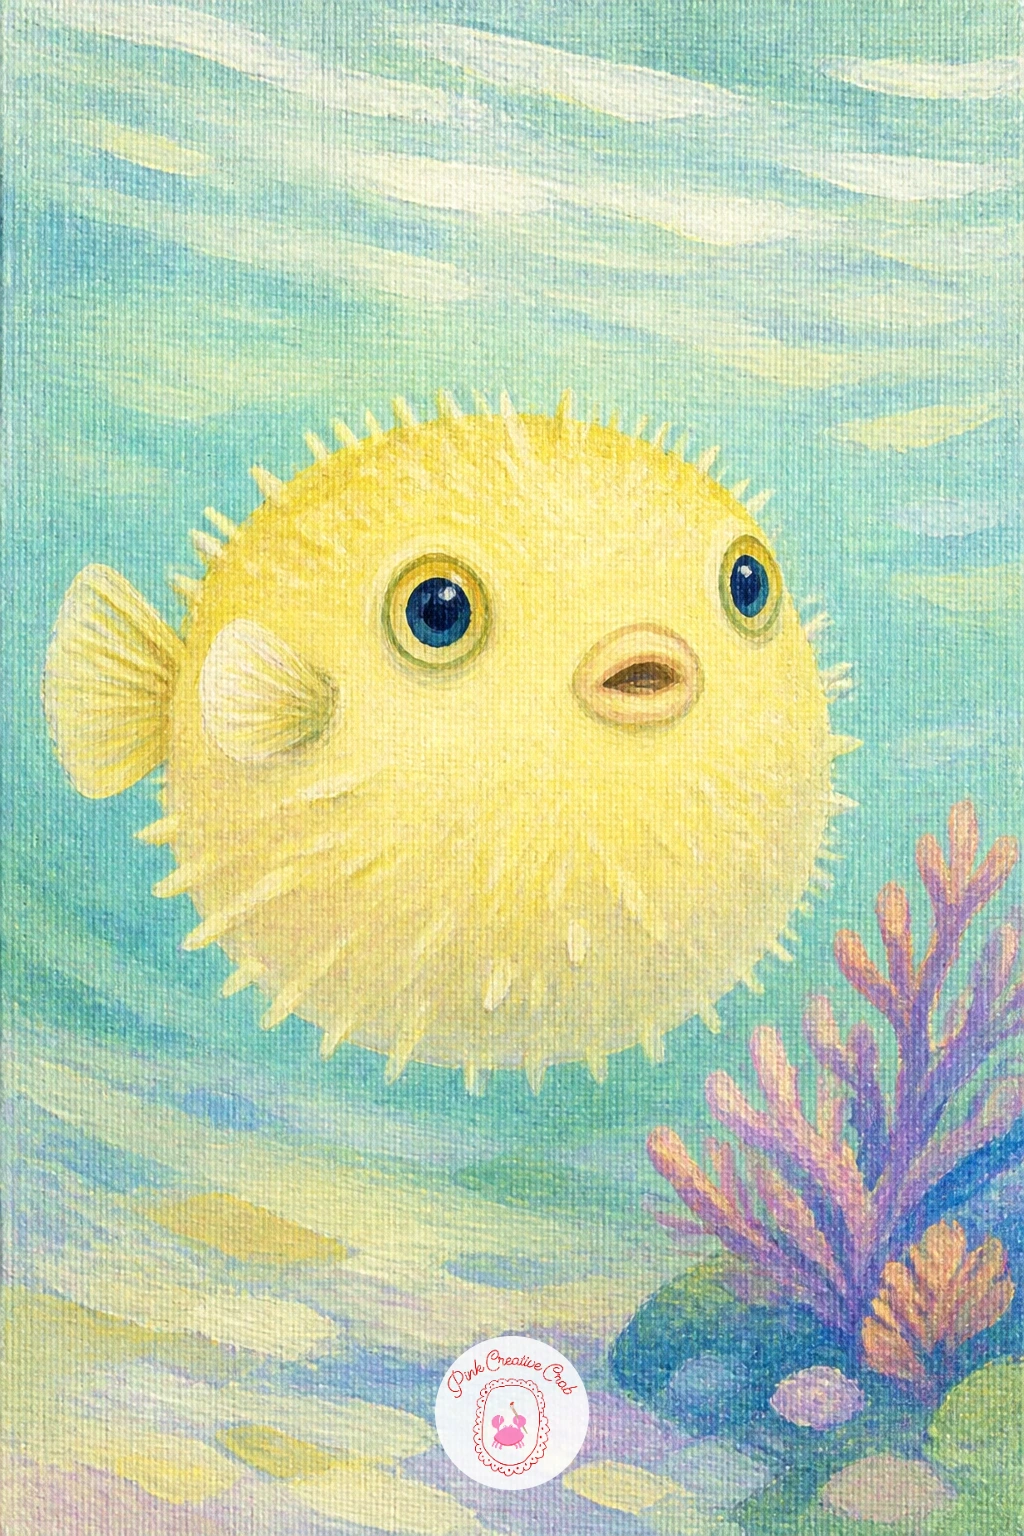
Palette: Naples Yellow,Cadmium Orange,Payne’s Grey,Pale Aqua
A cuttlefish mid color-change is a chance to paint something genuinely soft and blended, since the whole point is that its skin shifts gradually rather than in sharp patches. Paint the body shape first, a rounded oval with the fin rippling along its edge, then work your colors wet-into-wet across its surface so they melt into one another rather than sitting in hard blocks.
Start with a base of pale lilac, then while it is still wet, dab in patches of soft coral and seafoam here and there, blending the edges of each patch gently with a clean damp brush so no patch has a crisp outline. This wet blending is the whole trick to making the color-change feel believable.
The two tentacles trail simply below the body, kept short and uncomplicated so they do not compete with the color shifting on the body itself.
If your patches dry before you can blend them, work in smaller sections at a time, blending each one fully before moving to the next rather than trying to cover the whole body at once.
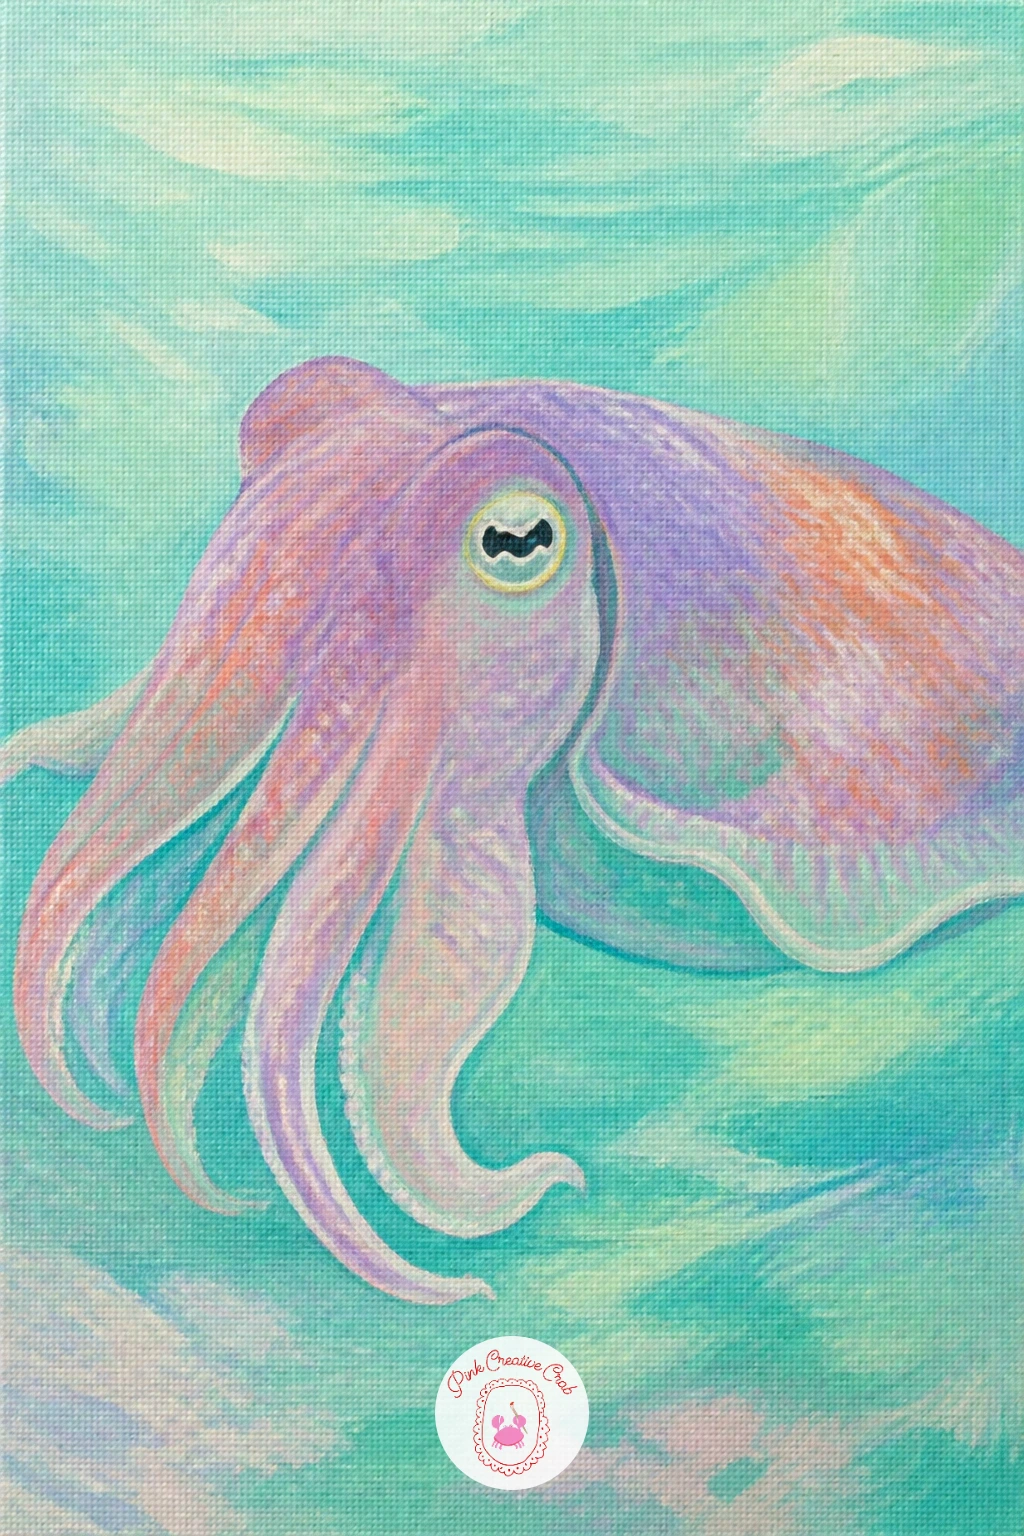
Palette: Lilac,Coral Pink,Seafoam Green,Titanium White
Three angelfish swimming in a gentle row give you practice repeating a shape with small variations, which is a nice skill to carry into busier paintings later. Block in all three bodies first as tall flat diamond shapes with long trailing fins, varying their height slightly on the canvas so they do not line up in a perfectly flat row.
Paint one base color across all three first, then differentiate them with simple vertical stripes in a contrasting color once that base is dry, varying the stripe spacing slightly between each fish so they read as individuals rather than stamped copies.
Overlap the edge of one fish slightly in front of another to suggest they are swimming at slightly different depths, which also helps break up the repetition. If the three fish feel too identical even after that, make the furthest one noticeably smaller and a touch paler to push it back in the water.
Keep their fins soft and slightly see-through by thinning the paint right at the fin edges.
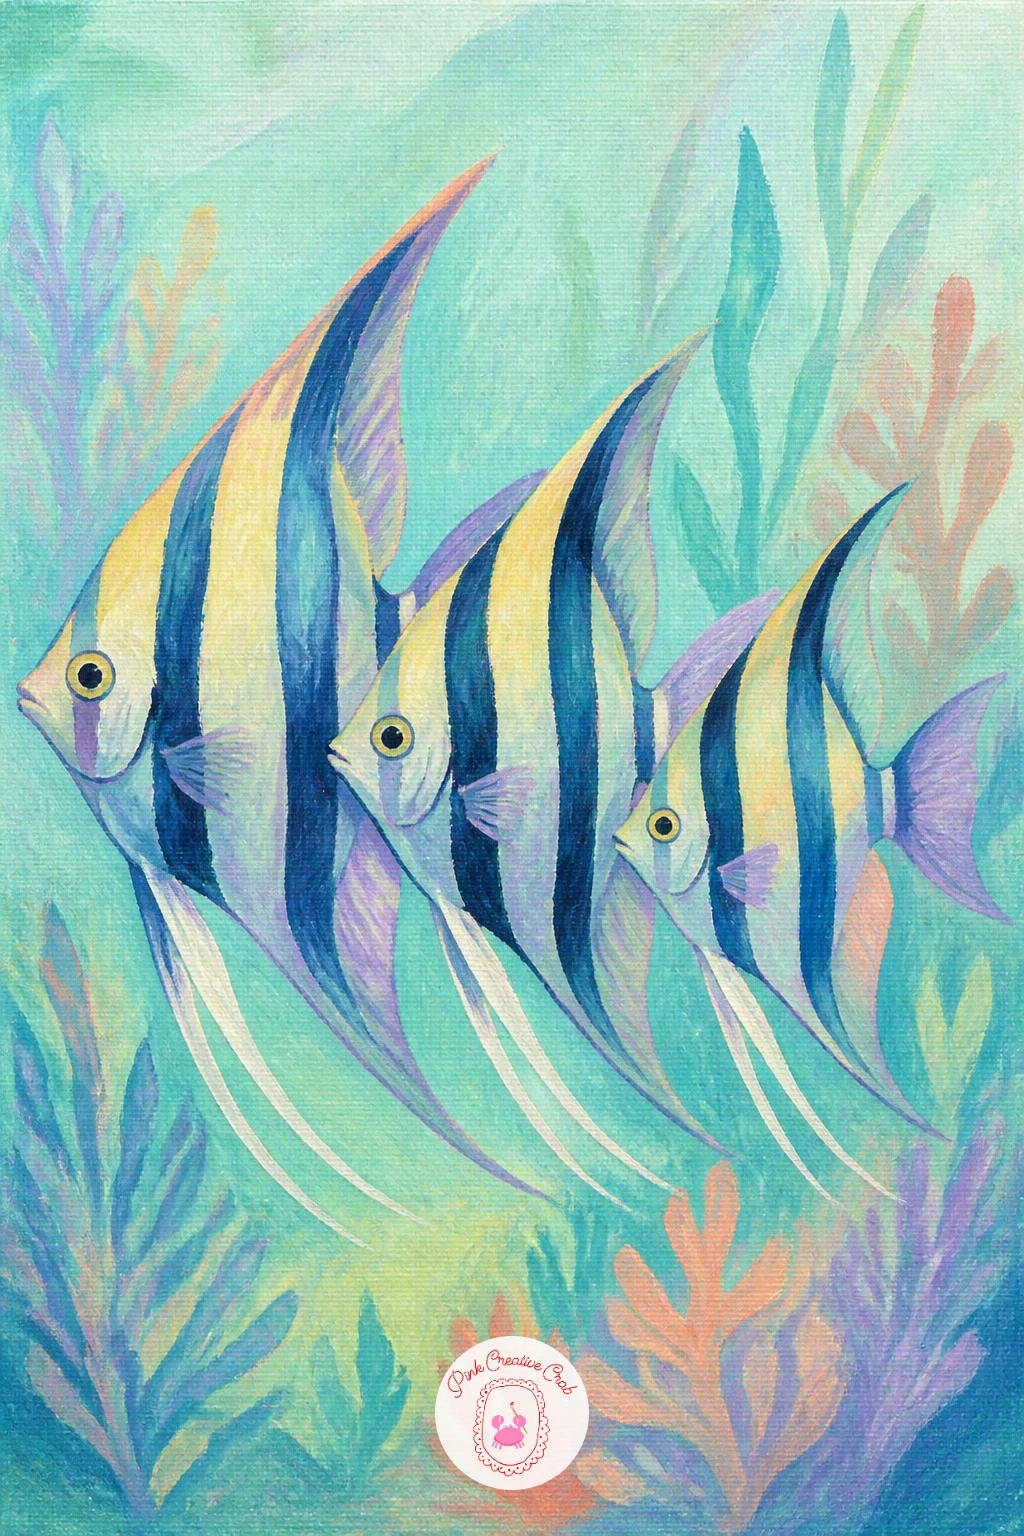
Palette: Payne’s Grey,Cadmium Yellow Light,Pale Aqua,Titanium White
A clownfish tucked into the waving arms of a sea anemone is a classic pairing, and the anemone gives you a satisfying texture exercise. Paint the anemone first as a cluster of soft tube-like arms rising from a rounded base, each arm slightly different in length and curve so the whole cluster feels alive and swaying rather than stiff.
Once the anemone is dry, add the clownfish nestled among the arms, keeping its orange and white stripes simple, two or three white bands outlined thinly in a darker color across an orange body. Painting the clownfish only partly visible, with an arm or two of the anemone overlapping its edge, sells the sense of it being tucked in rather than floating in open water.
If the anemone arms look too uniform, vary a few tips with a slightly different color, pale pink or lilac among the main color, which also happens to be true to how many real anemones look.
Try the same clownfish pose against a plain water background next time for a simpler, quicker version of the idea.
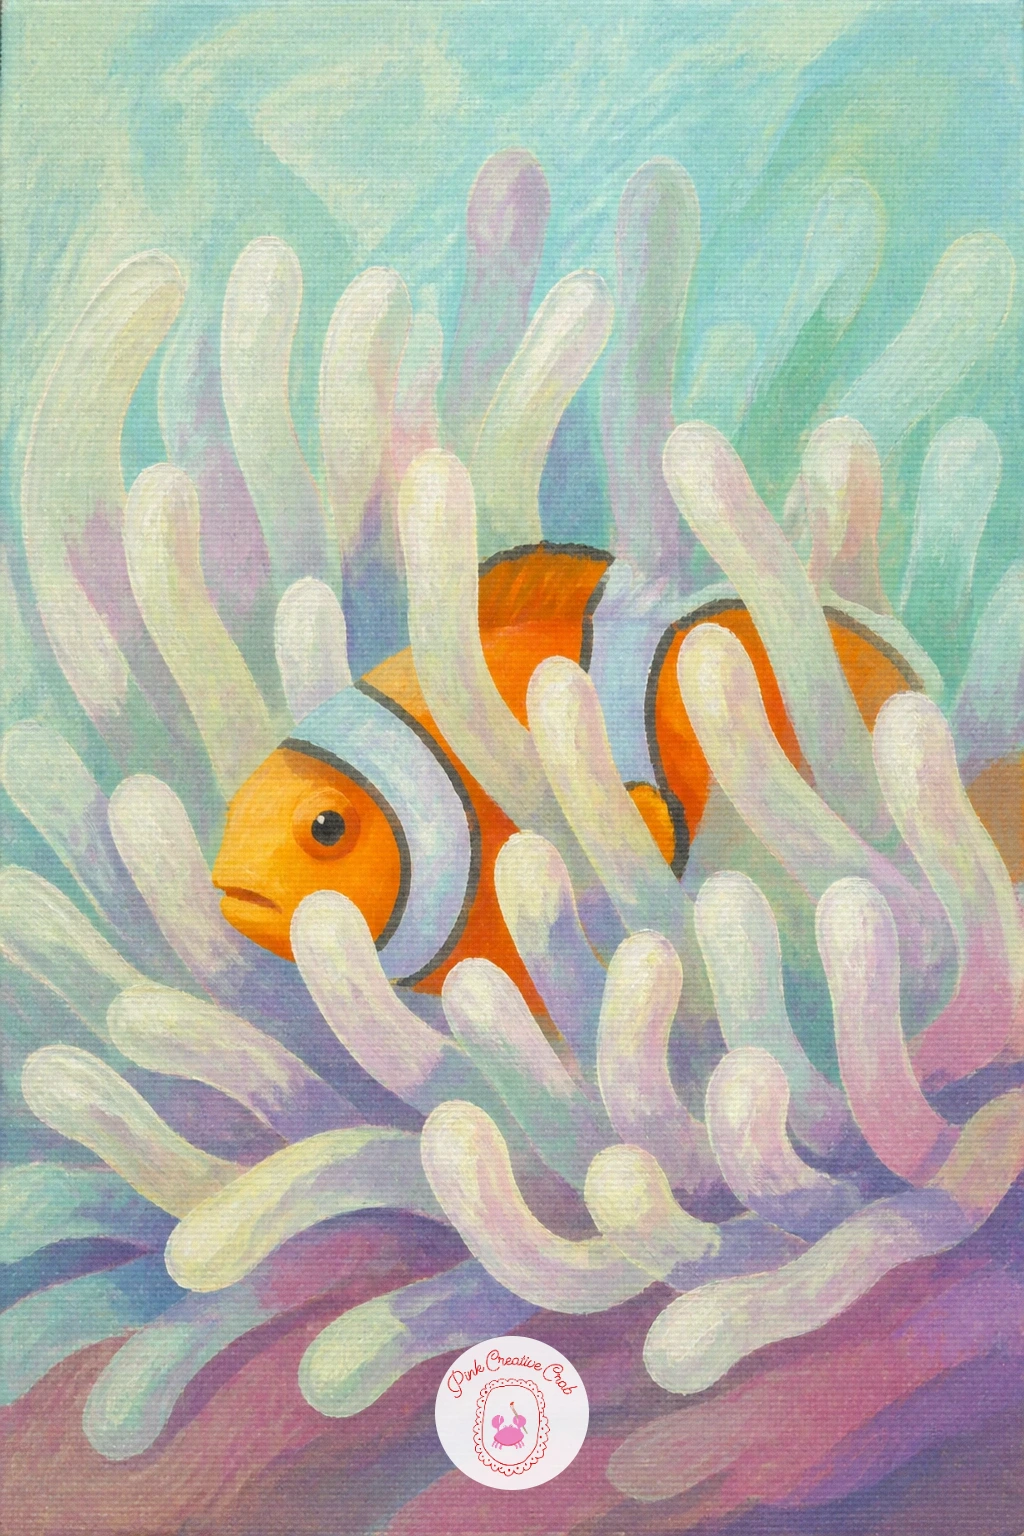
Palette: Cadmium Orange,Titanium White,Lilac,Pale Aqua
The blue sea dragon is a small, delicate creature that floats right at the surface, so this is a good chance to paint water from a slightly different angle, looking almost straight down onto it. Keep the background lighter and brighter than usual, since surface water catches more direct sun.
Build the sea dragon’s body in soft blue and silvery white, with thin frond-like fins branching off along its sides, each frond painted as a few short tapered strokes rather than one solid shape. These fronds are what give the creature its dreamy, almost otherworldly look.
Its long thin body curves gently rather than lying perfectly straight, which keeps it feeling like it is actually floating rather than pinned flat to the canvas. If the fronds end up clumping together, separate them while still wet using the tip of a dry brush pulled gently outward from the body.
A toothpick works well too for pulling apart fine fronds if your brushes feel too thick for the job.
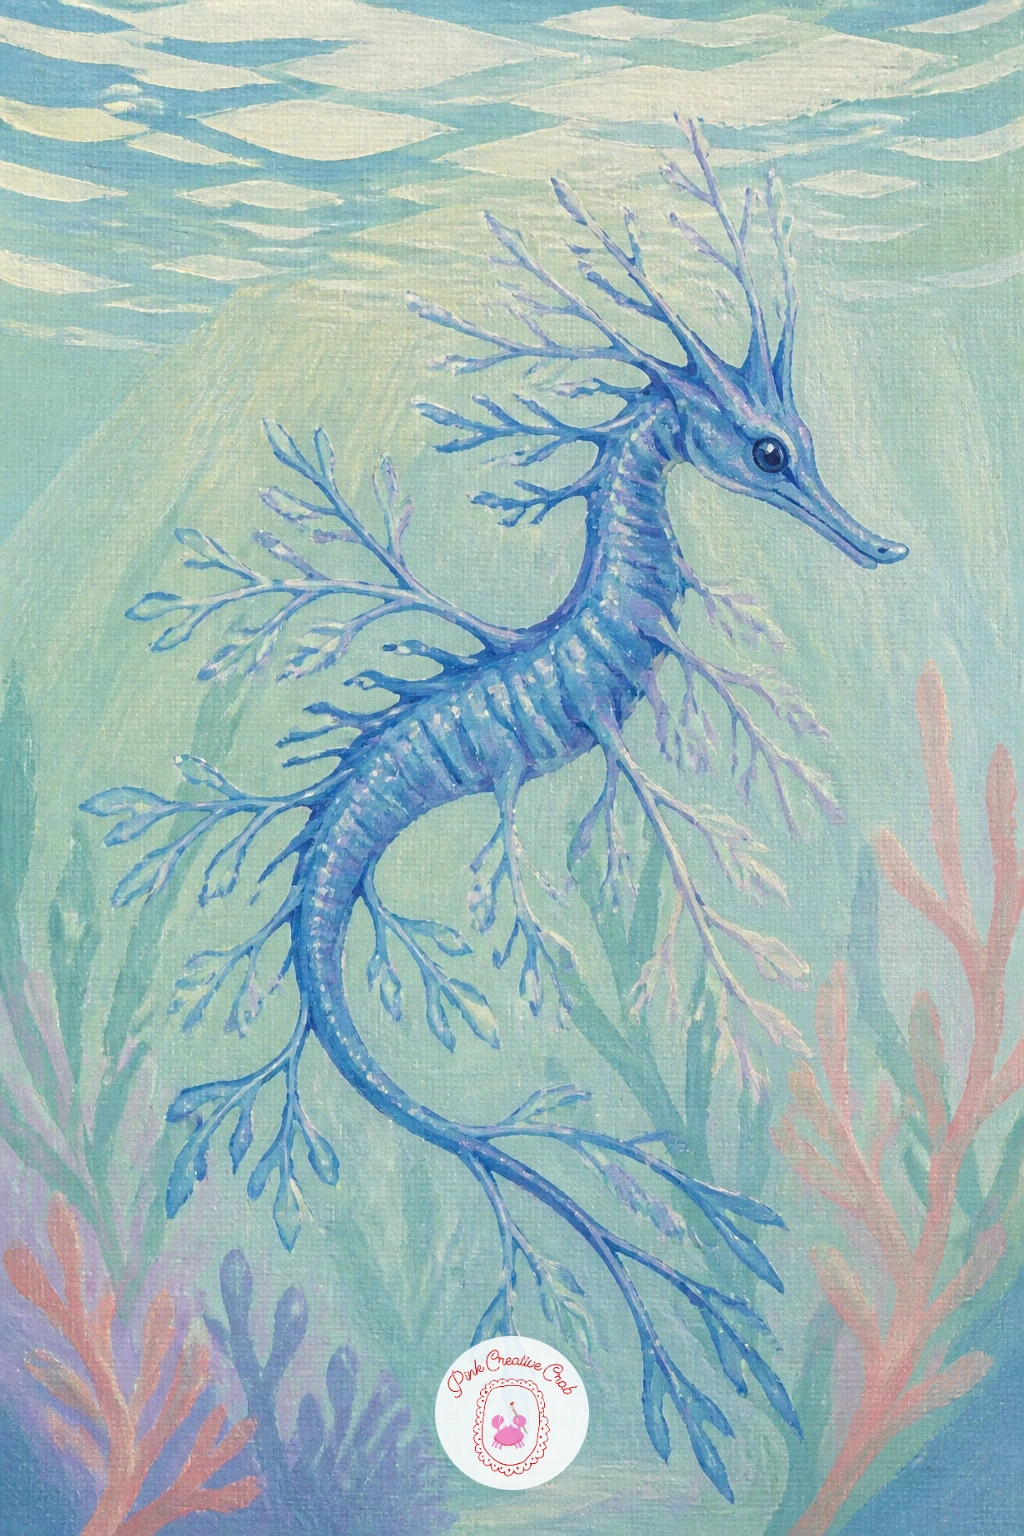
Palette: Cerulean Blue,Titanium White,Pale Aqua,Payne’s Grey
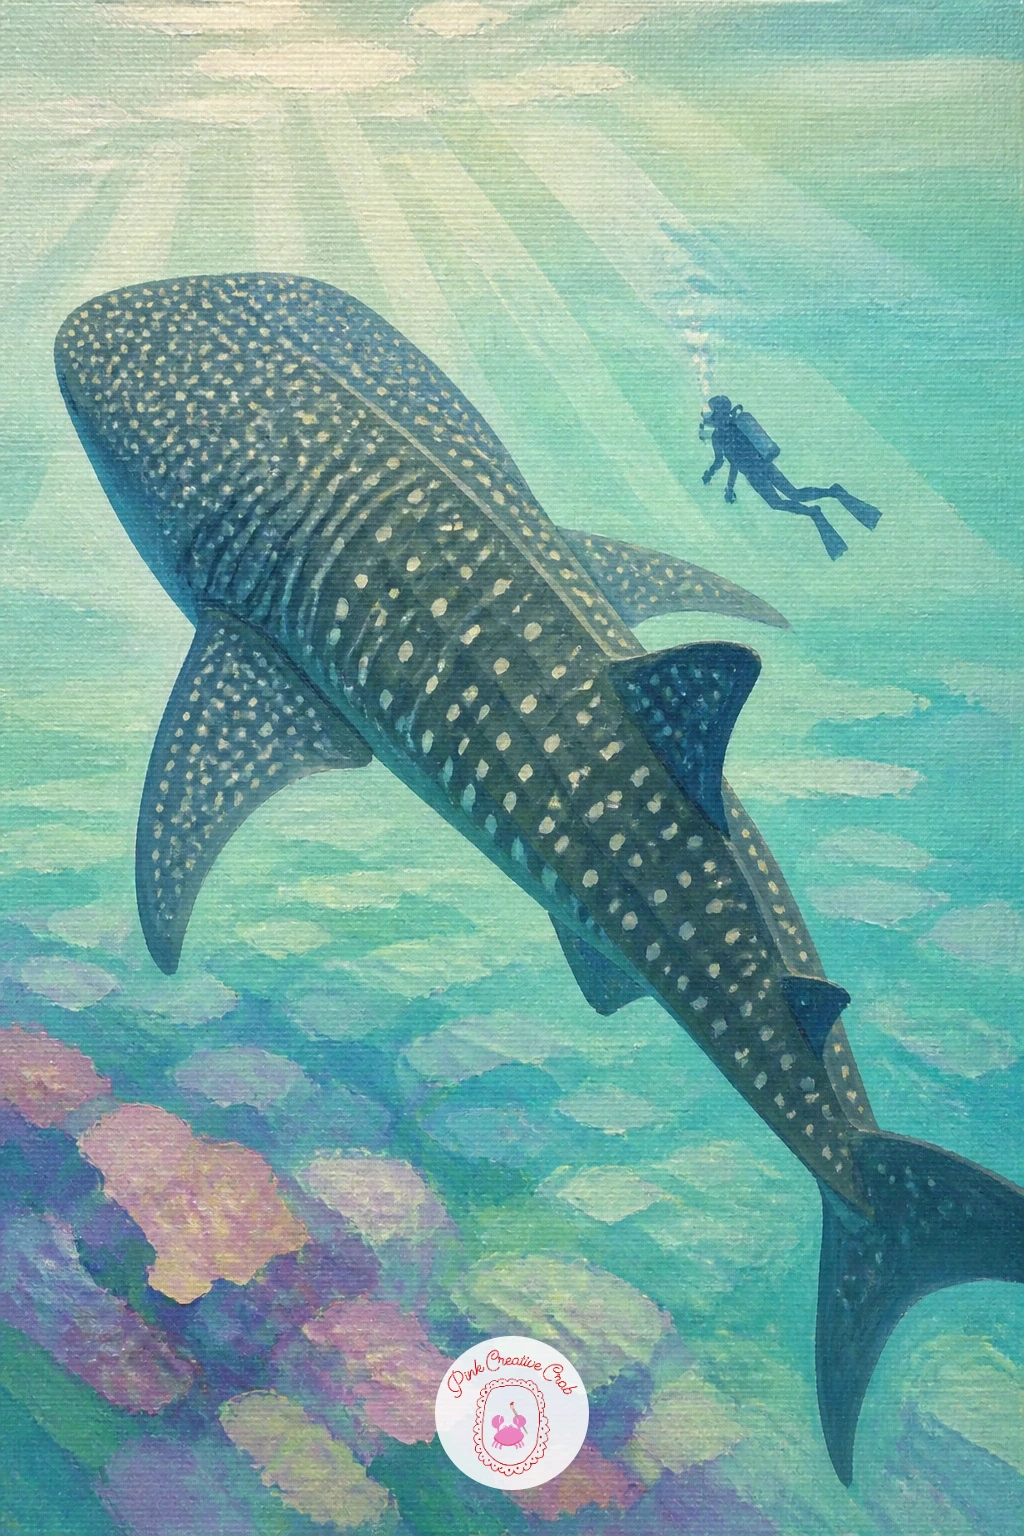
A whale shark is the largest creature on this list, so pairing it with a small diver is the simplest way to show just how big it really is. Paint the water first in a bright, open wash, since whale sharks are usually seen in clear sunlit water near the surface.
Block in the whale shark’s body as one long flattened oval shape taking up most of the canvas’s width, then add its pale spotted pattern once the base color is dry, scattering small cream dots in loose rows rather than a perfect grid.
Painting the diver noticeably small beside the shark’s head, maybe only as tall as the gap between two rows of spots, is what makes the size difference land. Keep the diver as a simple dark silhouette so it does not compete with the shark’s detailed pattern.
If the spot pattern feels overwhelming to place, work in loose diagonal bands across the body rather than trying to scatter them randomly all at once.
Palette: Payne’s Grey,Naples Yellow,Pale Aqua,Titanium White
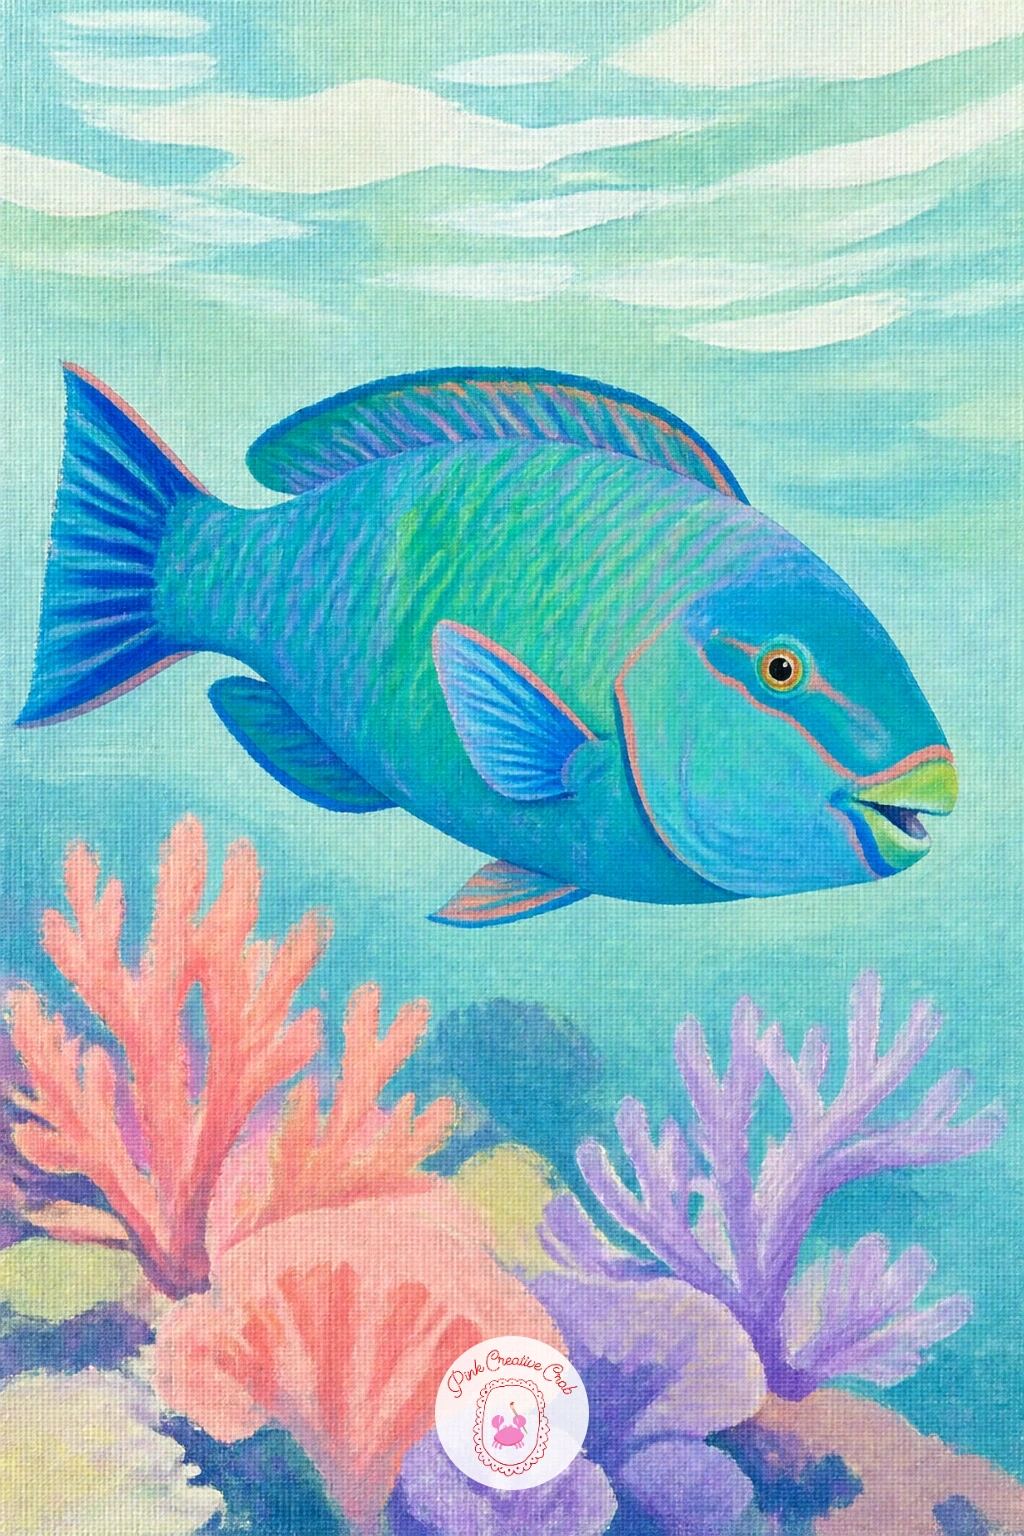
A parrotfish gives you a reason to paint a fuller little coral garden, since these fish are always shown moving through busy reef scenery. Start with a cluster of simple rounded and branching coral shapes across the lower half of the canvas in a mix of coral pink, lilac and soft orange, keeping individual pieces chunky rather than fussy.
Paint the parrotfish swimming just above the coral in bright blue-green, blocking in the body shape first and adding a few streaks of a contrasting color like coral pink or yellow along its side once the base is dry. Its fins trail softly rather than sitting stiff and straight.
Checking that the fish is noticeably larger than any single piece of coral keeps the scale sensible and the fish as the clear subject rather than getting lost in the reef below it.
If the coral garden looks too flat and even, vary the height of a few pieces so the reef has a slight silhouette rather than a straight line across the canvas.
Palette: Seafoam Green,Coral Pink,Lilac,Titanium White
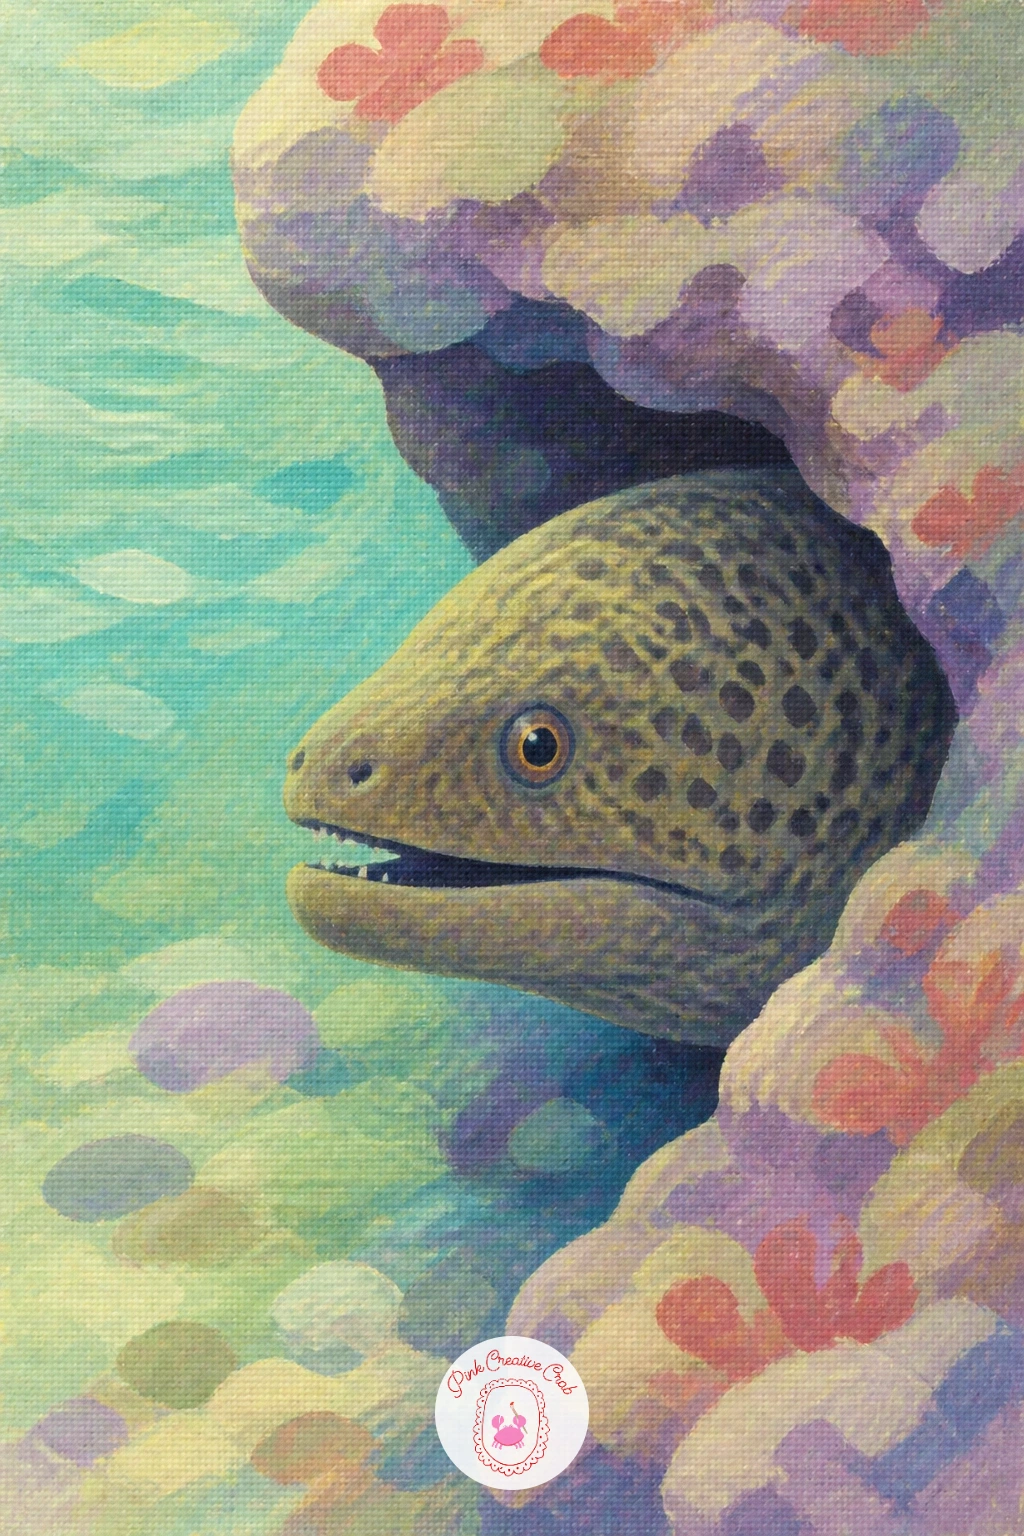
A moray eel peeking out from a crevice in a rock is a good subject for practicing a sense of something partly hidden. Paint a simple rounded rock formation first, with one dark gap or crevice left between two rock shapes for the eel to emerge from.
Build the eel’s head and the first visible curve of its body coming out of that gap, keeping most of its length implied rather than fully shown, which is part of what makes it feel like it is peeking rather than fully out in the open. A small open mouth with a few simple teeth marks and round eyes give it its usual watchful expression.
Keep the water around the rock bright and clear even though the eel itself sits in shadow near the crevice, which is the light contrast that makes the scene feel sunlit rather than murky. If the crevice looks too flat, deepen it with a darker value right where the eel’s body meets the rock edge.
Leave most of the eel’s body a mystery, painting only the head and a short curve is plenty.
Palette: Payne’s Grey,Burnt Sienna,Pale Aqua,Titanium White
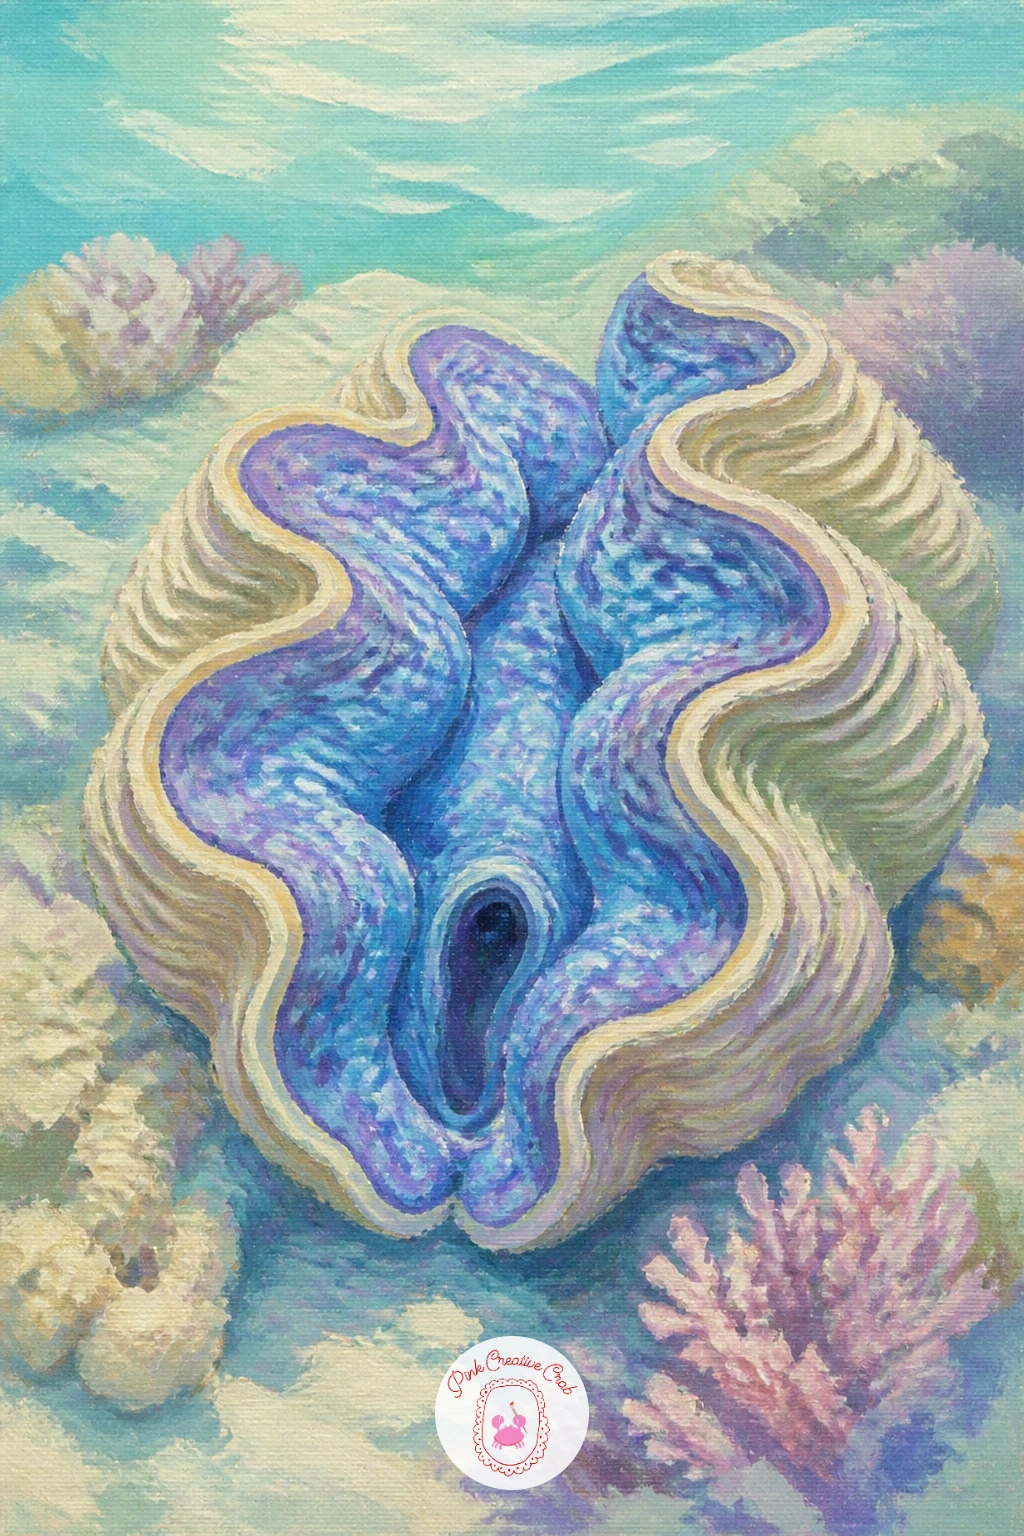
A giant clam with its shell open wide is a chance to paint a rippled, frilled edge and a glowing interior all in one subject. Paint the two shell halves first as broad curved shapes meeting at a hinge, keeping the ridged texture along each shell simple, a few wavy parallel lines rather than a fully detailed ridge pattern.
The mantle inside, the soft fleshy part visible between the open shells, is where the real color happens: block it in with a bright blue or lilac base, then dab in small bright flecks of a contrasting color while still wet so they blend softly rather than sitting as hard spots.
Comparing the width of the open shell to its height keeps the proportions believable, clams read as wider than they are tall in most views. If the mantle color looks flat, go back while it is still wet and lift a little color out gently with a clean damp brush for soft highlights.
Surround it with a bit of simple reef texture so it does not float alone on bare water.
Palette: Cerulean Blue,Lilac,Naples Yellow,Titanium White
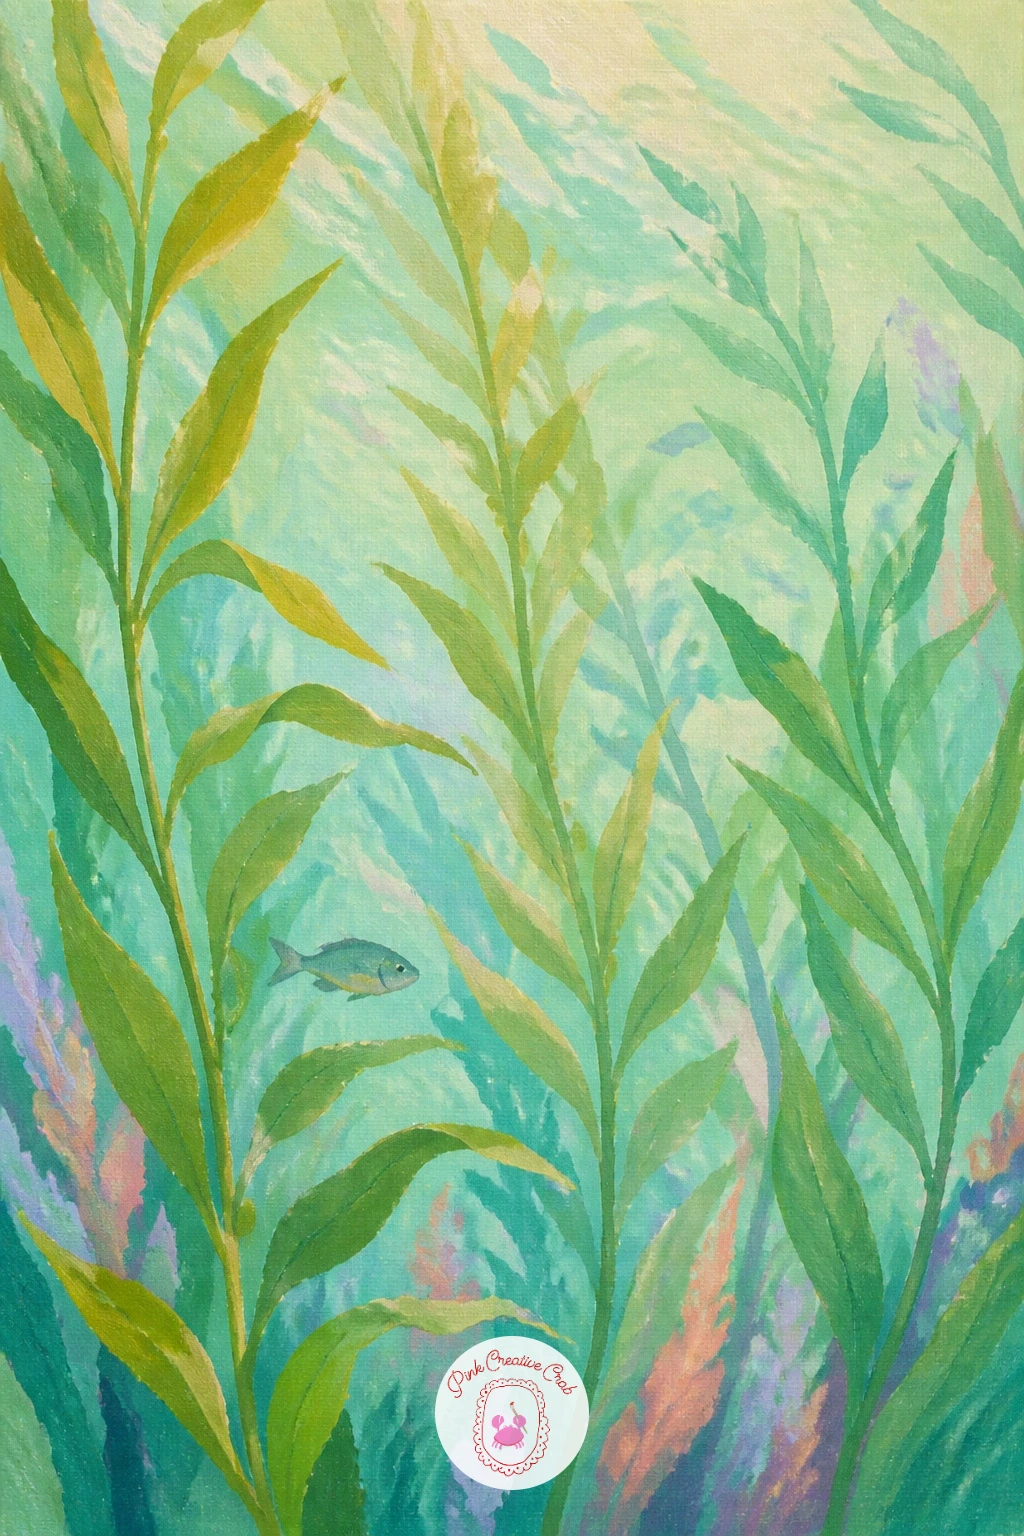
Closing out with a kelp forest is a nice way to practice tall vertical shapes and dappled light after so many rounded creatures. Paint the water first with a gradient, brighter near the top where sunlight enters and cooler and slightly deeper toward the bottom of the canvas.
Build several long kelp strands rising from the bottom edge, each one a slightly different height and curve, using a loose wavering stroke rather than a perfectly straight line, since real kelp sways gently in the current. Overlapping a few strands in front of others adds depth without any real perspective drawing needed.
Add one small fish tucked among the kelp, simple and small enough that the forest clearly remains the main subject. Dappled light coming through the kelp can be suggested with a few soft pale dabs scattered between the strands, added last once everything else is dry.
For more underwater light and water techniques like this, the ideas in this watercolor octopus collection are worth a look even if you are painting in acrylic.
Palette: Sap Green,Seafoam Green,Pale Aqua,Naples Yellow
What to Do Next
Pick one jellyfish to start with, mix a pale aqua wash bigger than you think you need, and let that dry before adding your first dome shape on top. A small canvas and a calm, sunlit palette are really all this subject asks for.
Frequently Asked Questions
What is the easiest way to paint a jellyfish in acrylic?
Paint the water first, then build the bell as a soft rounded dome in white mixed with the water color, keeping tentacles loose and thin. Working light to dark and background to subject keeps the glow believable.
How do you make a jellyfish painting look like it is glowing?
Keep the dome lighter than its surroundings and blend its edges softly into the water rather than outlining it. A touch of white dabbed or lifted at the center while still wet helps it read as lit from within.
What colors work best for a jellyfish painting with sunlit water?
Pale aqua, seafoam and soft turquoise carry the water, while coral pink and lilac work well as warm accents on the jellyfish itself. Keeping the overall palette light avoids the heavy, dark look of a night sea.
Do I need special brushes for painting jellyfish tentacles?
A thin round or liner brush gives the best control for long trailing tentacles, though a regular small round brush works fine if thinned paint is used. A fan brush can soften tentacle edges if you do not own a liner.
How can beginners keep jellyfish tentacles from looking stiff?
Load the brush generously, thin the paint slightly, and let the stroke curve naturally from a loose wrist rather than a tight grip. Varying tentacle length and curve across one jellyfish also helps them read as drifting rather than drawn.
Have any thoughts?
Share your reaction or leave a quick response — we’d love to hear what you think!
-
 0
-
0
-
0
-
0
-
0
-
0


