

A lily of the valley painting rewards you fast: a few curved stems, a row of round bells, and a page already feels like spring. That small scale is the whole appeal here, because each bloom is really just a dot, a curl and a leaf, built up in clean flat shapes rather than fussy detail.
Below you will find thirty one little scenes to paint, starting with lily of the valley in all its forms and then moving through the rest of the small white spring flowers that pair so sweetly with it. Pick whichever one catches your eye on your phone right now and you can have it finished before the light changes.
Using these images: free for personal projects such as printing, coloring, cards, journals and gifts. Handmade items that include them may be sold up to 30 pieces per design. More than that is commercial use and is not permitted, and neither is selling or sharing the images themselves or passing them off as your own. Please ask before any other use.
Start the whole set with the flower itself: a small posy of lily of the valley gathered into a tiny glass bottle. Sketch the bottle first as a simple rectangle with rounded shoulders, since getting its proportions right anchors everything else on the page. Measure the bottle’s height against its width with your brush handle held at arm’s length, so the glass does not end up too tall and thin or too squat.
Once the bottle shape sits well, paint it in pale blue with a touch of white left as a highlight streak down one side. Add the stems in fresh leaf green, then drop in each bell as a small white oval with a tiny flick of shadow underneath to seat it on the stem, working from the top of the spray down.
The flowers often come out as a scribble if you rush them, so place each bell as its own clean dot rather than a wiggly line. If you do not have a fine brush for this, a white gel pen laid over dry gouache gives the same crisp little ovals.
Keep the leaves broad and simple, just two per stem, so they frame the bells without crowding them.
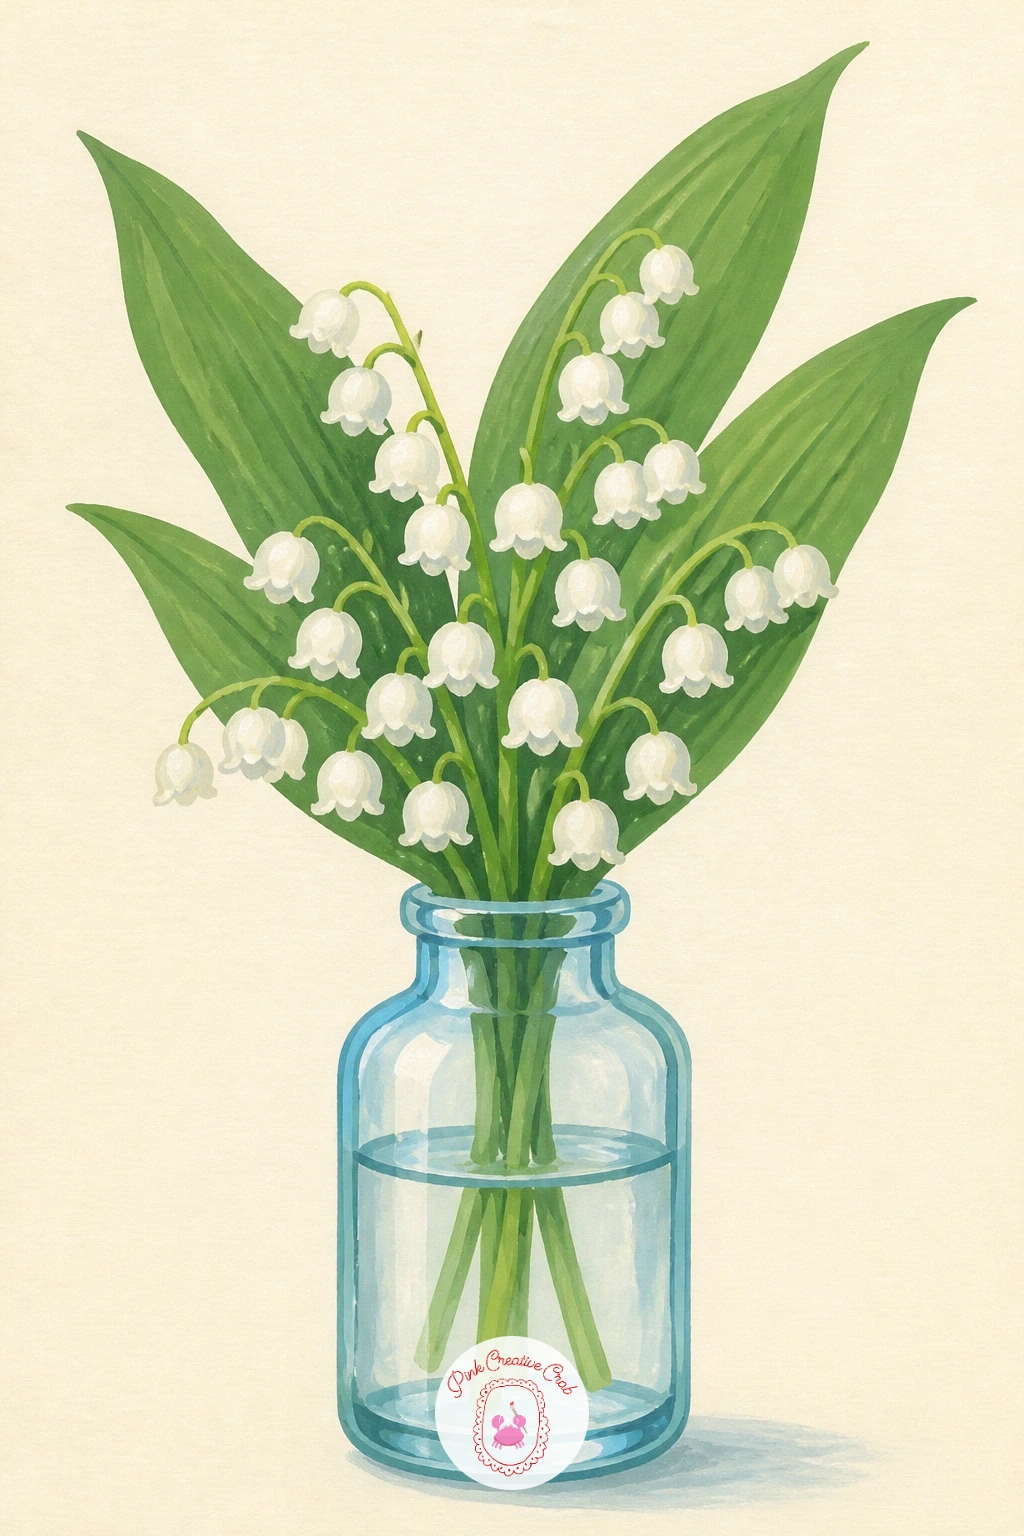
Palette: Titanium White,Sap Green,Pale Blue,Cream
Move from the bottle to something flatter: a small spray of lily of the valley tied with ribbon and laid across a folded letter. Paint the letter first as a simple cream rectangle with one soft shadow along its lower edge, so the paper reads as resting on a surface rather than floating.
Lay the stems diagonally across the paper, tips pointing toward one corner, then paint the ribbon bow in a single warm color that contrasts gently with the green. Add the bells last in white, working from the base of each stem upward so the smallest buds land near the tip.
Where beginners lose the shape is the ribbon knot, which can turn into a muddy blob if you paint it all at once. Block in the main loop shape first, let it dry, then add one thin darker line for the fold before you touch the tails.
If ribbon feels fiddly, a plain string of twine in brown is just as charming and much easier to control.
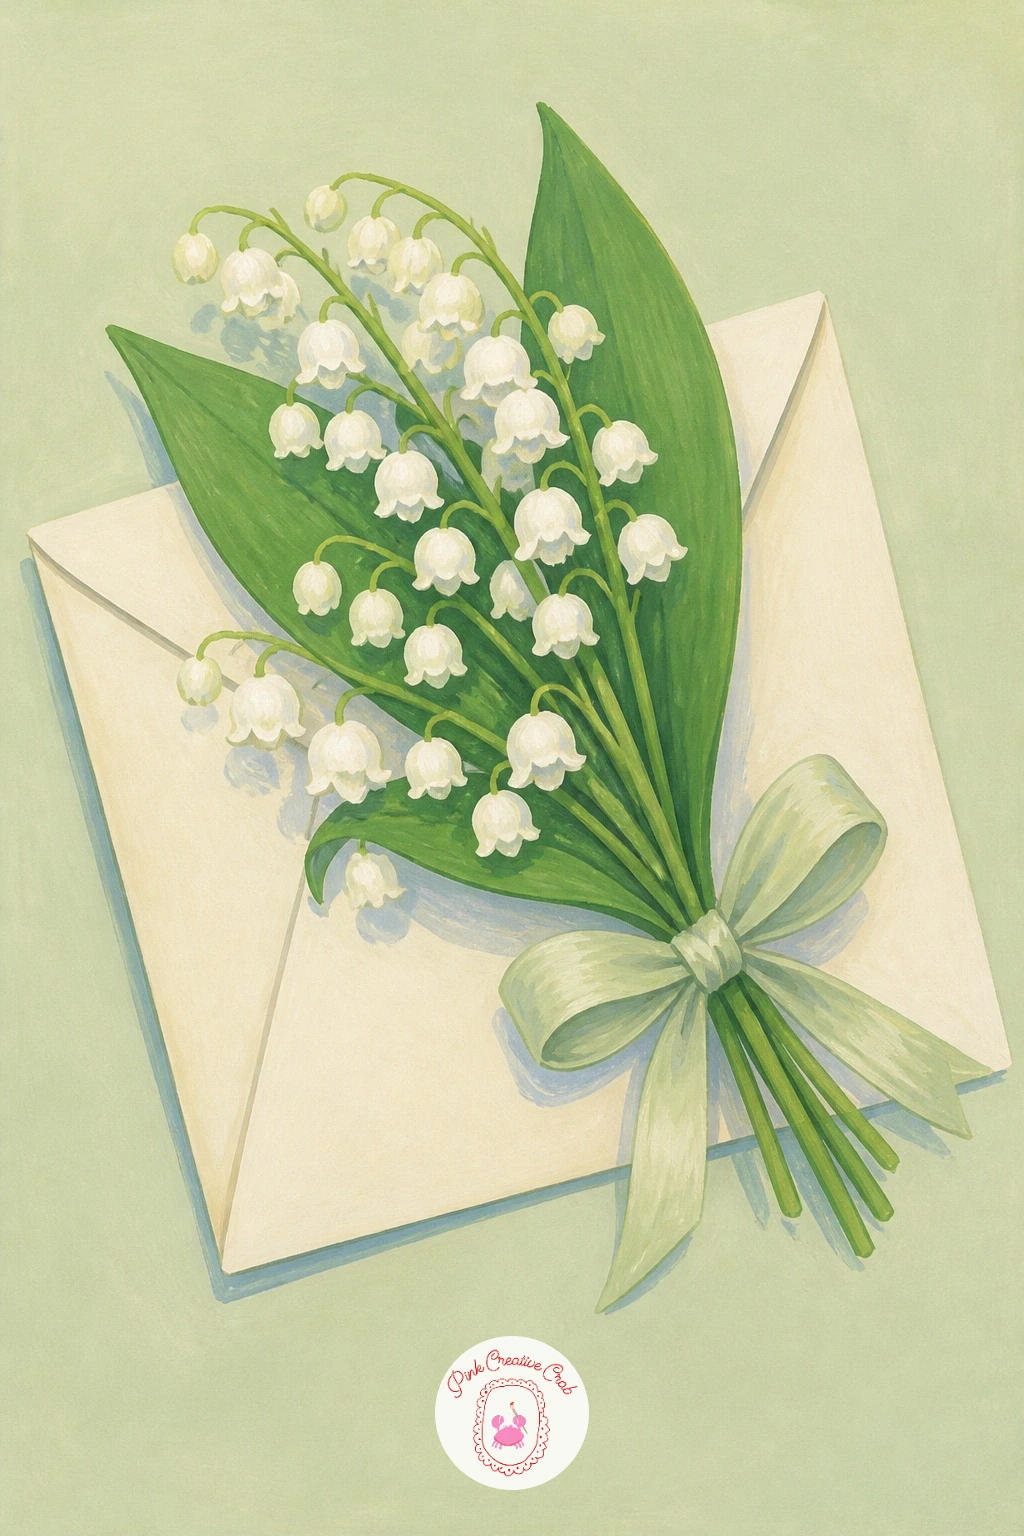
Palette: Cream,Dusty Rose,Sap Green,Titanium White
Here is where a figure joins the flowers: a girl in a bonnet bending to pick lily of the valley in the woods. Begin with her overall silhouette as a simple curved shape, bonnet, shoulders, and bent arm, before any flowers go in at all, since the figure sets the scale for everything around her.
Check her head against her torso using a quick measuring glance, roughly one head height from chin to shoulder, so the proportions stay believable even at this small scale. Paint the bonnet and dress in flat, simple color blocks first, then add the woodland floor in soft green with a few dark trunk shapes behind her.
Faces are the easy trap here: resist adding features beyond a soft suggestion of a cheek line, since too much detail on a small face reads as odd rather than charming. Let the bonnet brim shade her face instead.
Finish with a scattered handful of lily of the valley at her feet and a few stems in her gathered hand.
If full figures feel daunting, practice the pose first with a pencil sketch, the kind of groundwork covered well in a watercolor flowers tutorial.
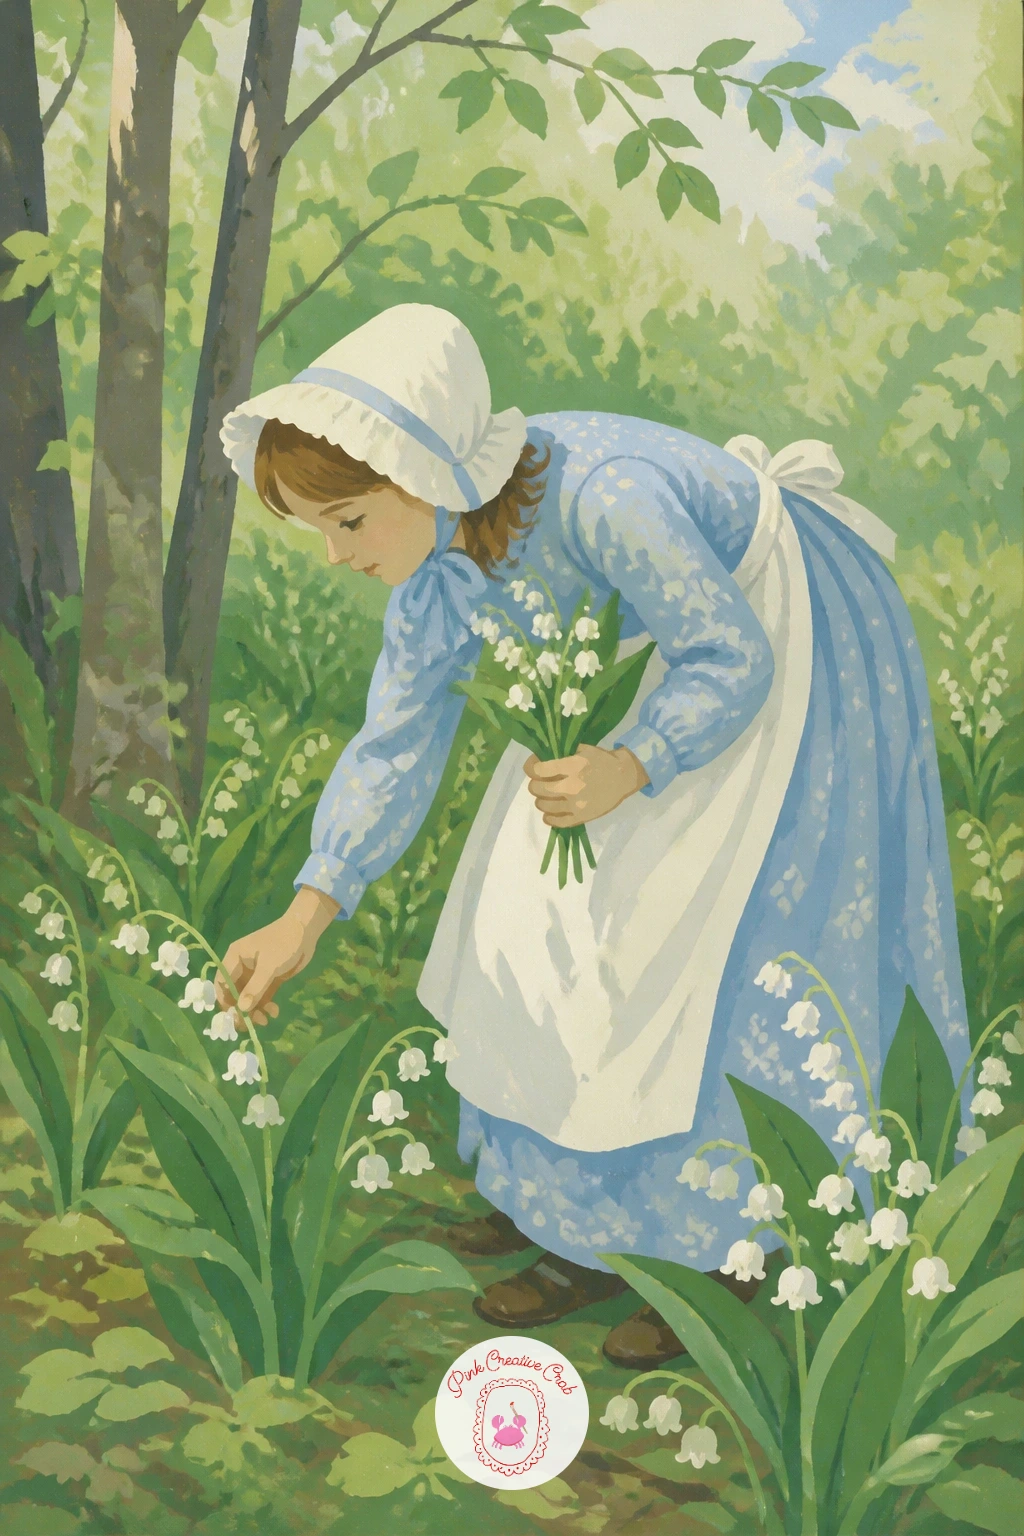
Palette: Sap Green,Soft Brown,Titanium White,Dusty Rose
Keep her pose simple and curved, bending from the waist rather than crouching, so the silhouette reads clearly even without much facial detail.
Give the flowers a cosy container next: lily of the valley arranged in a teacup, the kind of small still life that fills a page quickly. Paint the teacup first as two simple ellipses, one for the rim and one for the base curve, checking that the rim ellipse is wider than it is tall before you commit to the handle.
Once the cup shape is settled, add a thin painted pattern around its rim, a simple stripe or small dots, then let it dry fully before the stems go in on top. Build the spray of lily of the valley rising from the cup in the same order as before: green stems first, then white bells layered from base to tip.
Ellipses are the usual trip-up on a teacup, since an uneven rim makes the whole cup look tilted. If that happens, a light pencil guide circle before you paint saves the shape.
No teacup handy for reference, a saucer and mug from the kitchen will do the same job.
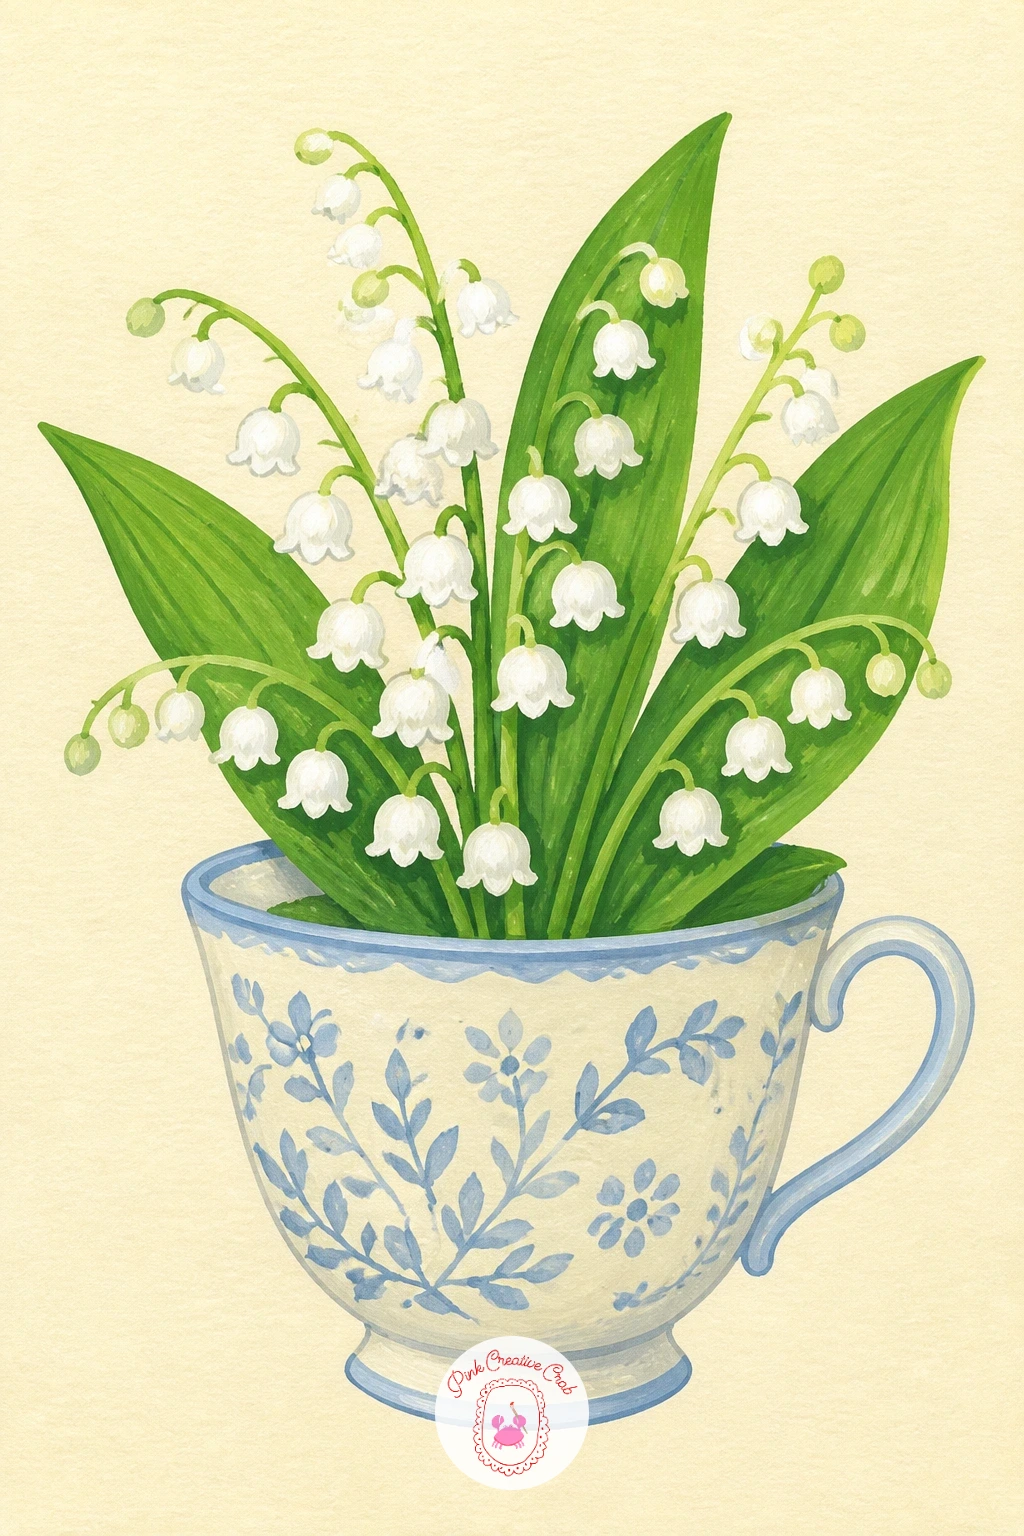
Palette: Titanium White,Pale Blue,Sap Green,Cream
Scale the same bells up into something grander: a full bridal bouquet of lily of the valley, gathered and rounded. Begin with a loose circular guideline for the whole bouquet shape, since keeping that outline round from the start stops the final painting from looking lopsided.
Fill that circle with layered stems, working from the back of the bunch forward, so the stems nearest you overlap the ones behind. Paint the bells in clusters rather than one at a time, three or four white ovals grouped together, before adding the thin green stems that hold them.
The spot where this goes wrong is the center of the bouquet, which can turn into a flat white mass if every bell is painted the same size. Vary the bell sizes slightly and tuck a few leaves through the middle to break it up.
Finish with a trailing ribbon at the base, painted last so it sits clearly in front of the stems.
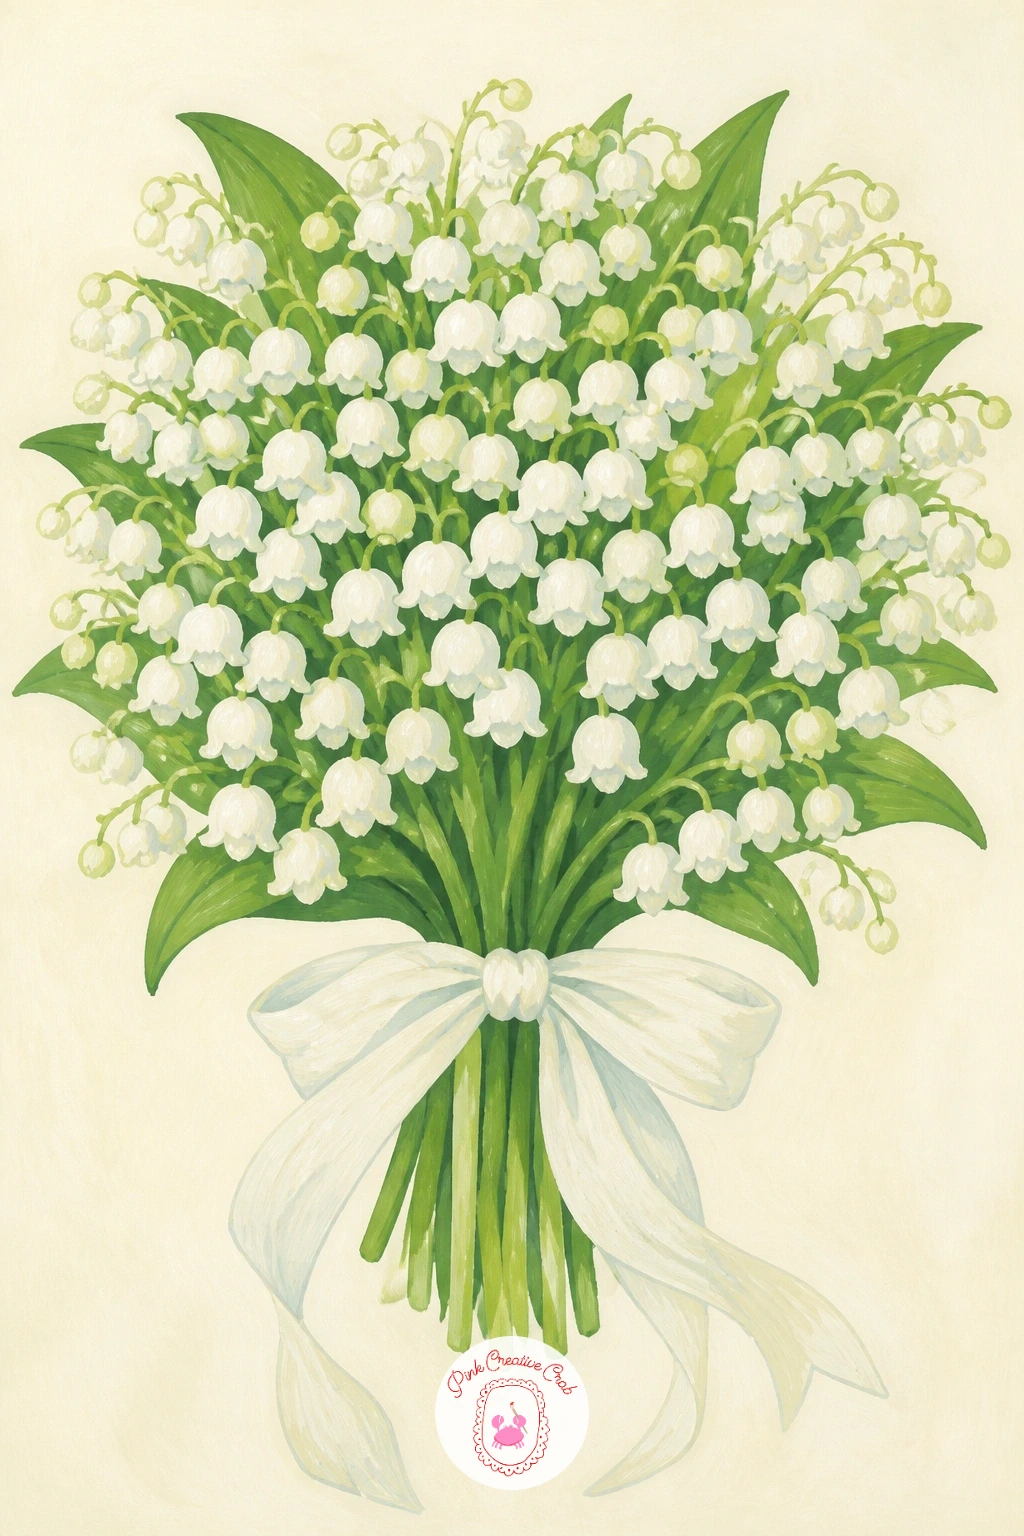
Palette: Titanium White,Sap Green,Cream,Dusty Rose
Switch containers again for a woodland feel: lily of the valley gathered in a small moss-lined basket. Paint the basket first using simple woven lines over a rounded base shape, keeping the weave suggestion loose rather than drawing every strand.
Once the basket dries, add a soft uneven edge of moss in deep green around its rim before the flowers go in, since the moss needs to sit visually behind the stems. Layer the lily of the valley rising out of the moss from the center outward, bells facing slightly different directions for a natural, gathered look.
Basket weave is where beginners overwork the piece, cramming in too many lines until it looks busy. A dry brush dragged lightly over the basket shape gives a convincing woven texture in far fewer strokes than painting each strand by hand.
If moss feels tricky, a plain bed of green tissue-like shapes reads just as well.
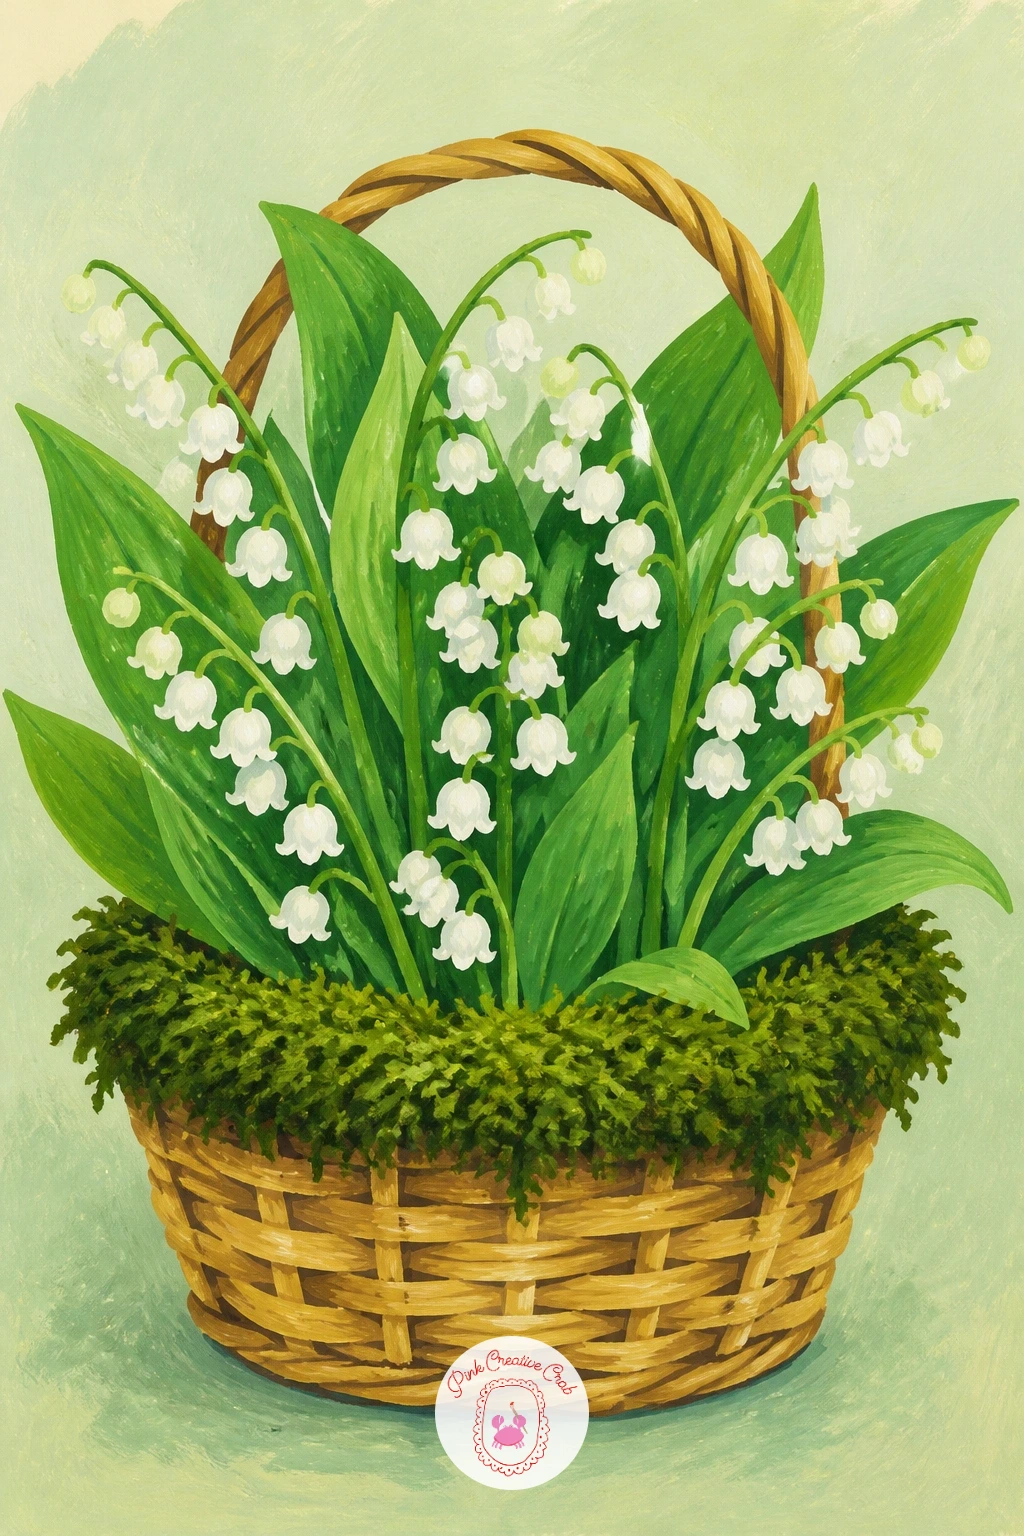
Palette: Sap Green,Soft Brown,Titanium White,Cream
Bring the scale right down for this one: a single ladybird resting on a lily of the valley leaf, close enough to fill most of the page. Paint the leaf first, large and curved, using two or three confident strokes to shape its gentle fold rather than a flat outline.
Think about where the light falls on that curved leaf before adding any shadow, since a leaf lit from the upper left needs its shadow pooling along the lower right edge to read as three dimensional. Paint the ladybird last, a simple red oval with a thin black line down the center and a scatter of small dots.
Beginners often paint the ladybird too large for the leaf, which flattens the whole scene. Hold your brush up to compare sizes before committing, the ladybird should look like a visitor, not the main event.
A single stem of bells can sit quietly behind the leaf to anchor the scene without competing for attention.
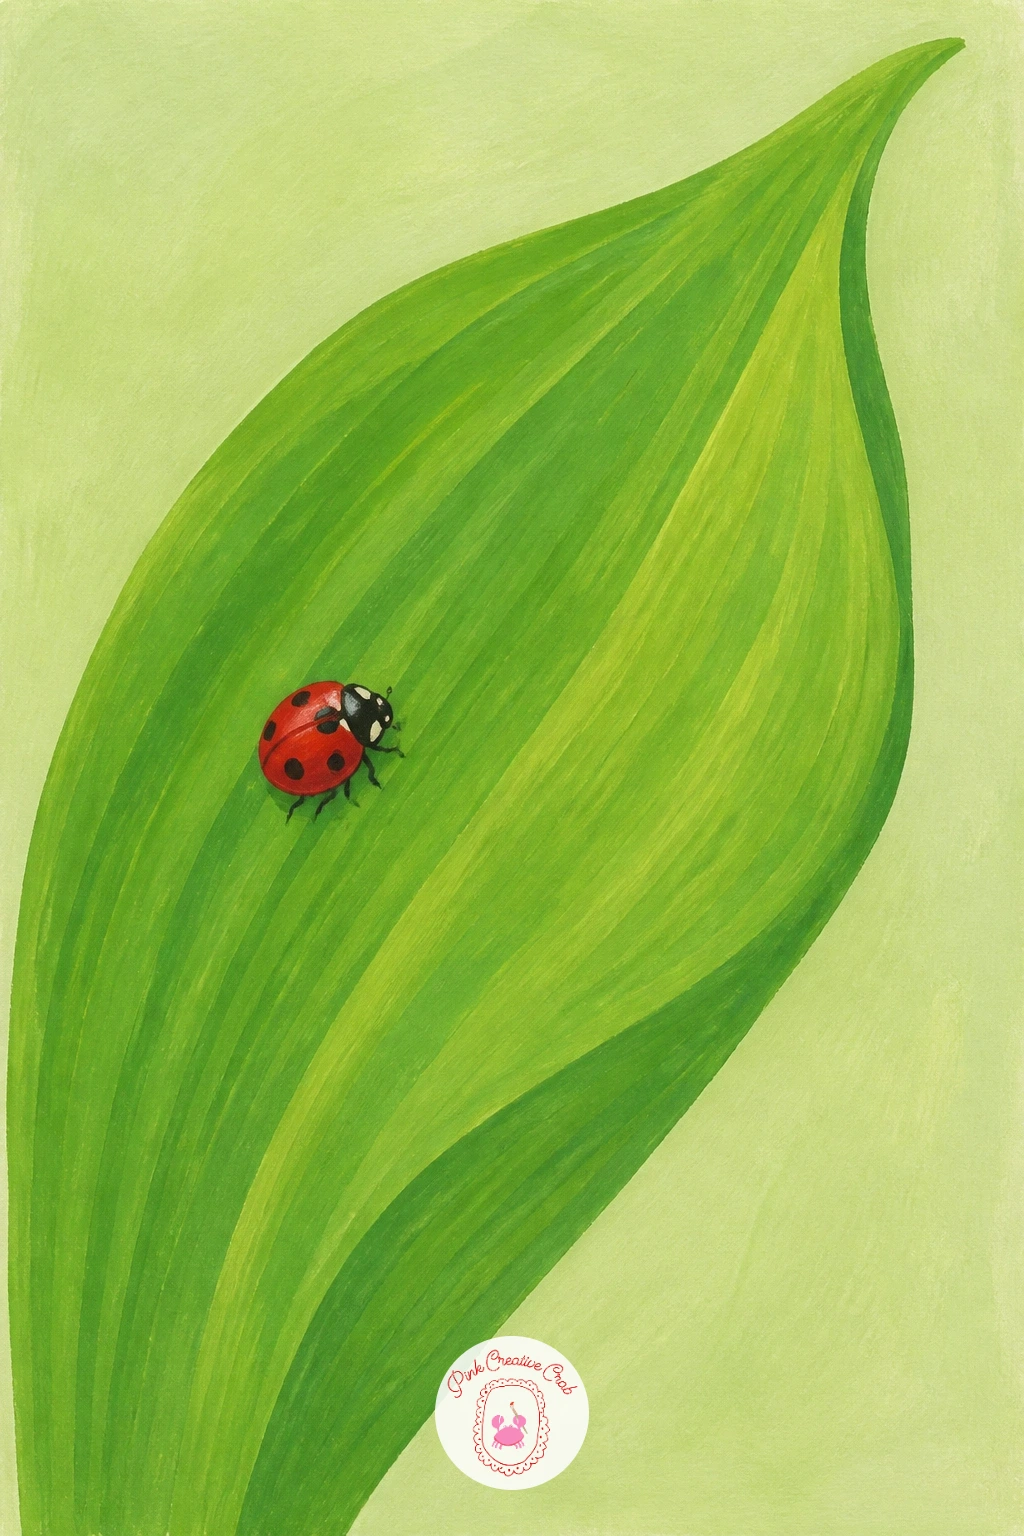
Palette: Sap Green,Poppy Red,Titanium White,Ivory Black
Set the flowers in a scene with a little story: a May Day bunch of lily of the valley wrapped in paper at a French market stall. Block in the stall first as simple flat shapes, a striped awning and a plain table edge, before any flowers go in, so the setting does not compete with the bouquet later.
In ten minutes you can stop at one wrapped bunch sitting on the table, paper cone and stems only, which still reads clearly as the subject. Given forty minutes, add two or three more bunches beside it and a soft blurred row of other stalls behind, building depth with lighter, less detailed shapes in the background.
The paper wrapping is the part that often looks stiff. Paint it as a loose cone shape with a few soft folds rather than a hard triangle, letting the edges curl slightly.
Keep the awning stripes simple and evenly spaced so they do not pull focus from the flowers.
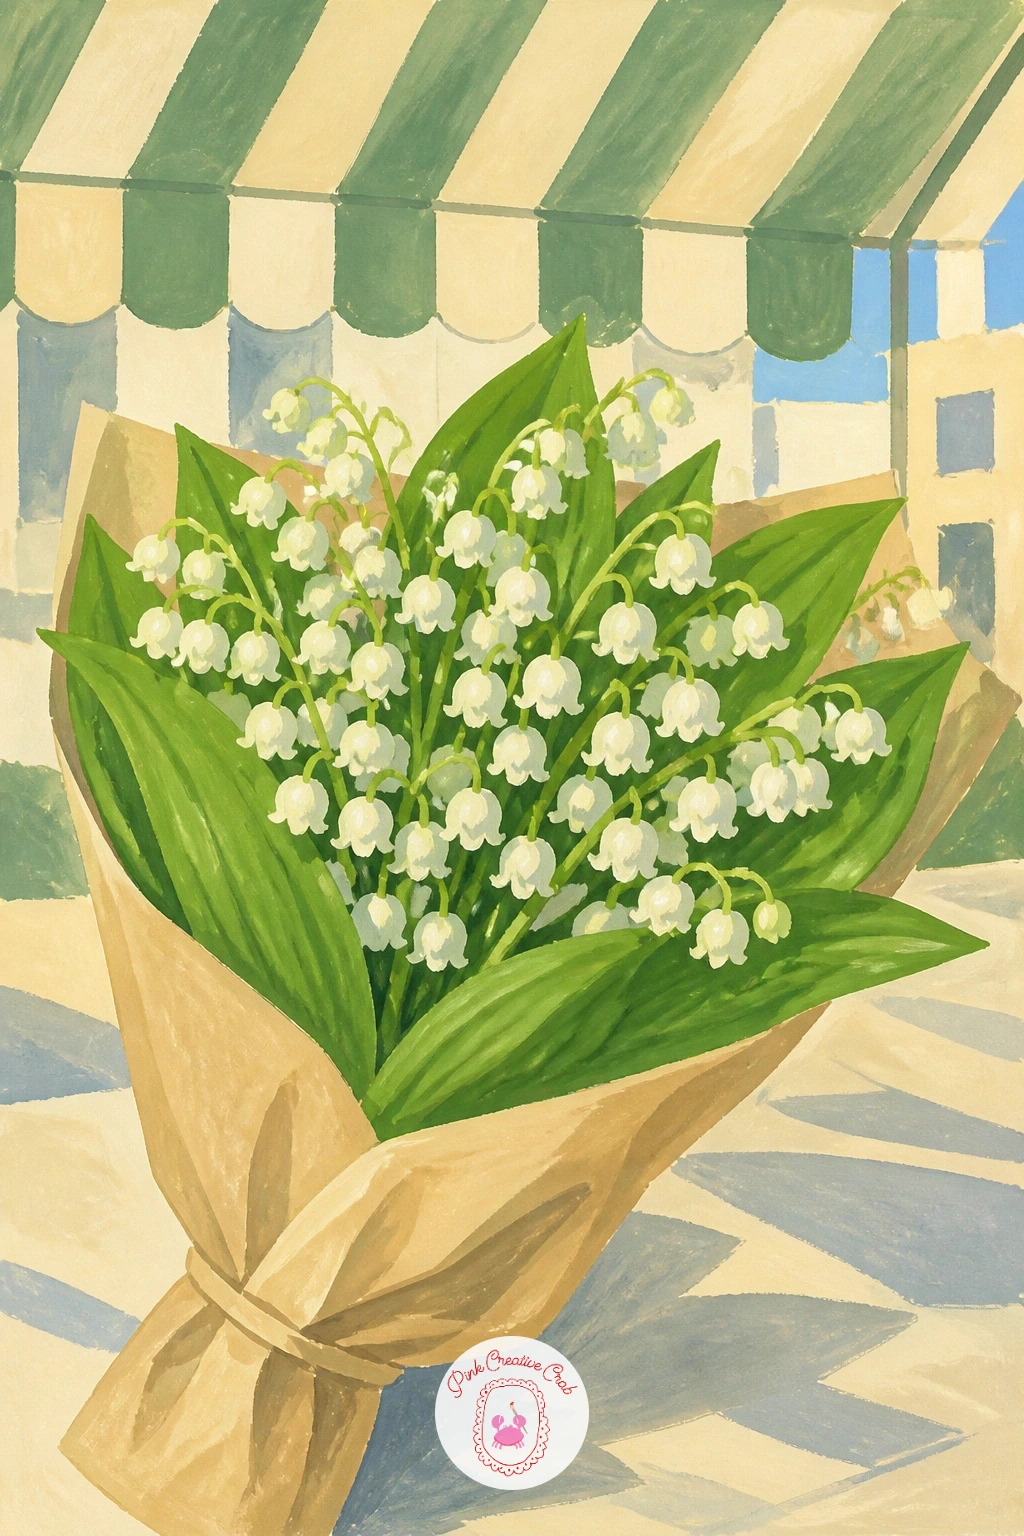
Palette: Titanium White,Sap Green,Cream,Dusty Rose
Add a small character for charm: a tiny mouse sheltering under an arching stem of lily of the valley as if it were an umbrella. Paint the stem first, curving it generously across the top of the page so there is clearly room for a mouse to crouch beneath it.
Place the mouse at a scale that makes the flower feel grand by comparison, roughly the height of two or three bells stacked, since getting that ratio right is what sells the whole idea. Build the mouse from simple rounded shapes, a soft oval body, round ears, and a thin curled tail, in soft grey or warm brown.
The mouse’s fur is where overworking creeps in fastest. Keep it as flat color with maybe one dry-brushed line for texture along the back, rather than trying to paint individual hairs.
Finish with a few fallen bells scattered near its feet for a cosy, grounded feel.
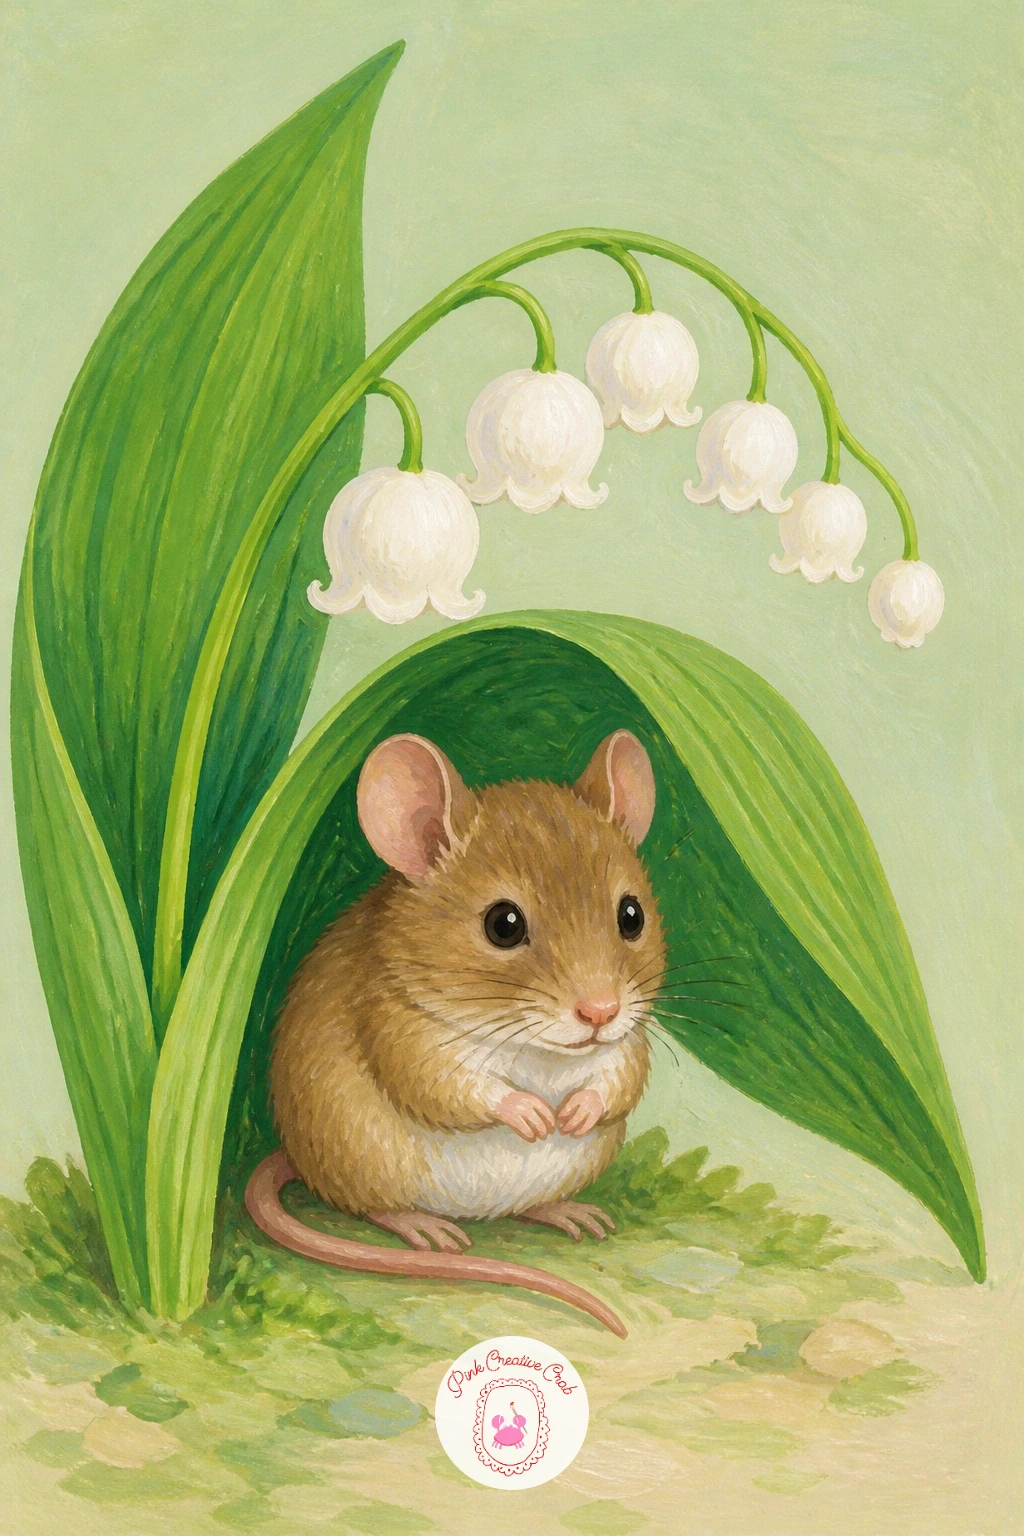
Palette: Soft Brown,Titanium White,Sap Green,Pale Blue
Bring the flowers indoors for a quiet still life: a small jar of lily of the valley sitting on a bedside table beside an open book. Lay out the table surface first as a simple flat plane, then place the book and jar on it using an eye-level choice that matters here, a slightly higher viewpoint looking down onto the table reads as cosier than a straight-on view.
Paint the book next, its pages a simple fan of white triangles, before the jar and flowers go in on top, since the book needs to look like it sits slightly behind the jar in the arrangement. Add the lily of the valley last, keeping the spray small and upright so it does not overwhelm the table.
The book is the part most likely to look flat. A single soft shadow line where the pages meet the cover gives it enough weight to feel real without extra detail.
Swap the book for a candle or a small clock if that suits your own cosy corner better.
For more small interior still life ideas like this, a browse through coffee junk journal pages offers plenty of inspiration for cosy tabletop scenes.
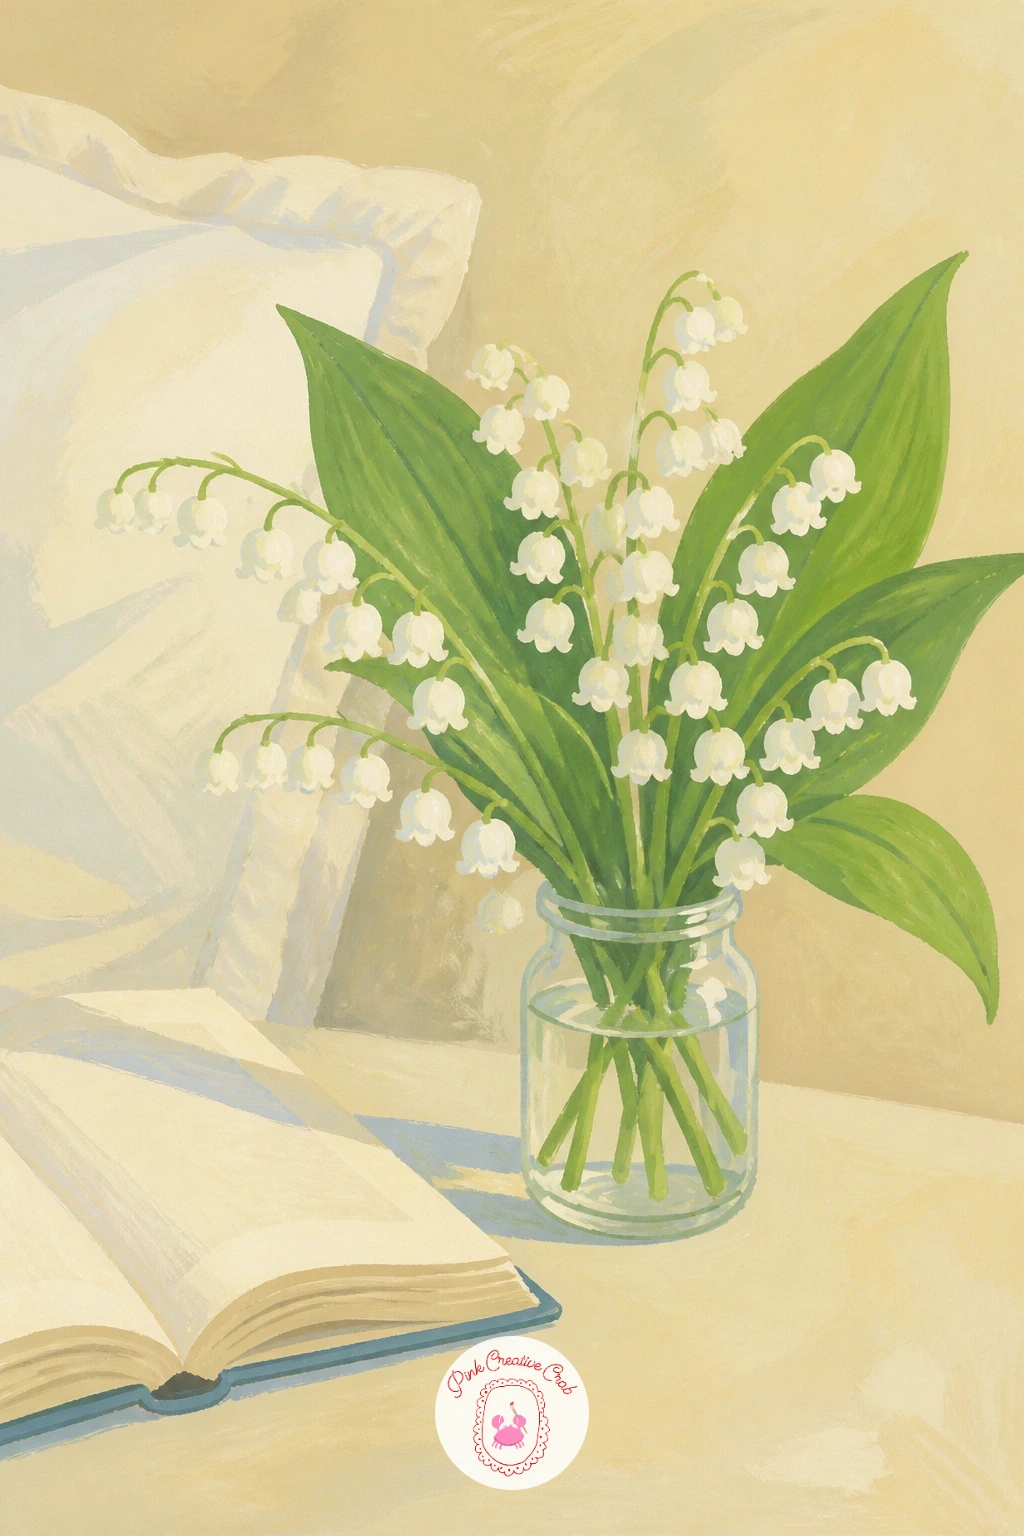
Palette: Cream,Titanium White,Sap Green,Soft Brown
Step into the wider world of small white spring flowers with snowdrops, pushing up through a patch of melting snow. Paint the snow first as a soft uneven white shape with a few grey-blue shadows to show its melting edges, before any green goes in, since the flowers need that pale ground established behind them.
Place the snowdrop stems next, thin and slightly bent, each topped with a small nodding white bud shaped like a teardrop rather than a round ball. Work from the base of each stem up to the bud, keeping the green simple and the white bud the clear focal point.
Snow is where beginners add too much blue and lose the sense of brightness. Keep most of the snow pure white or cream, and save the pale blue for just the shadowed dips and hollows.
If pure white paper feels risky, test your snow shadow color on a scrap first.
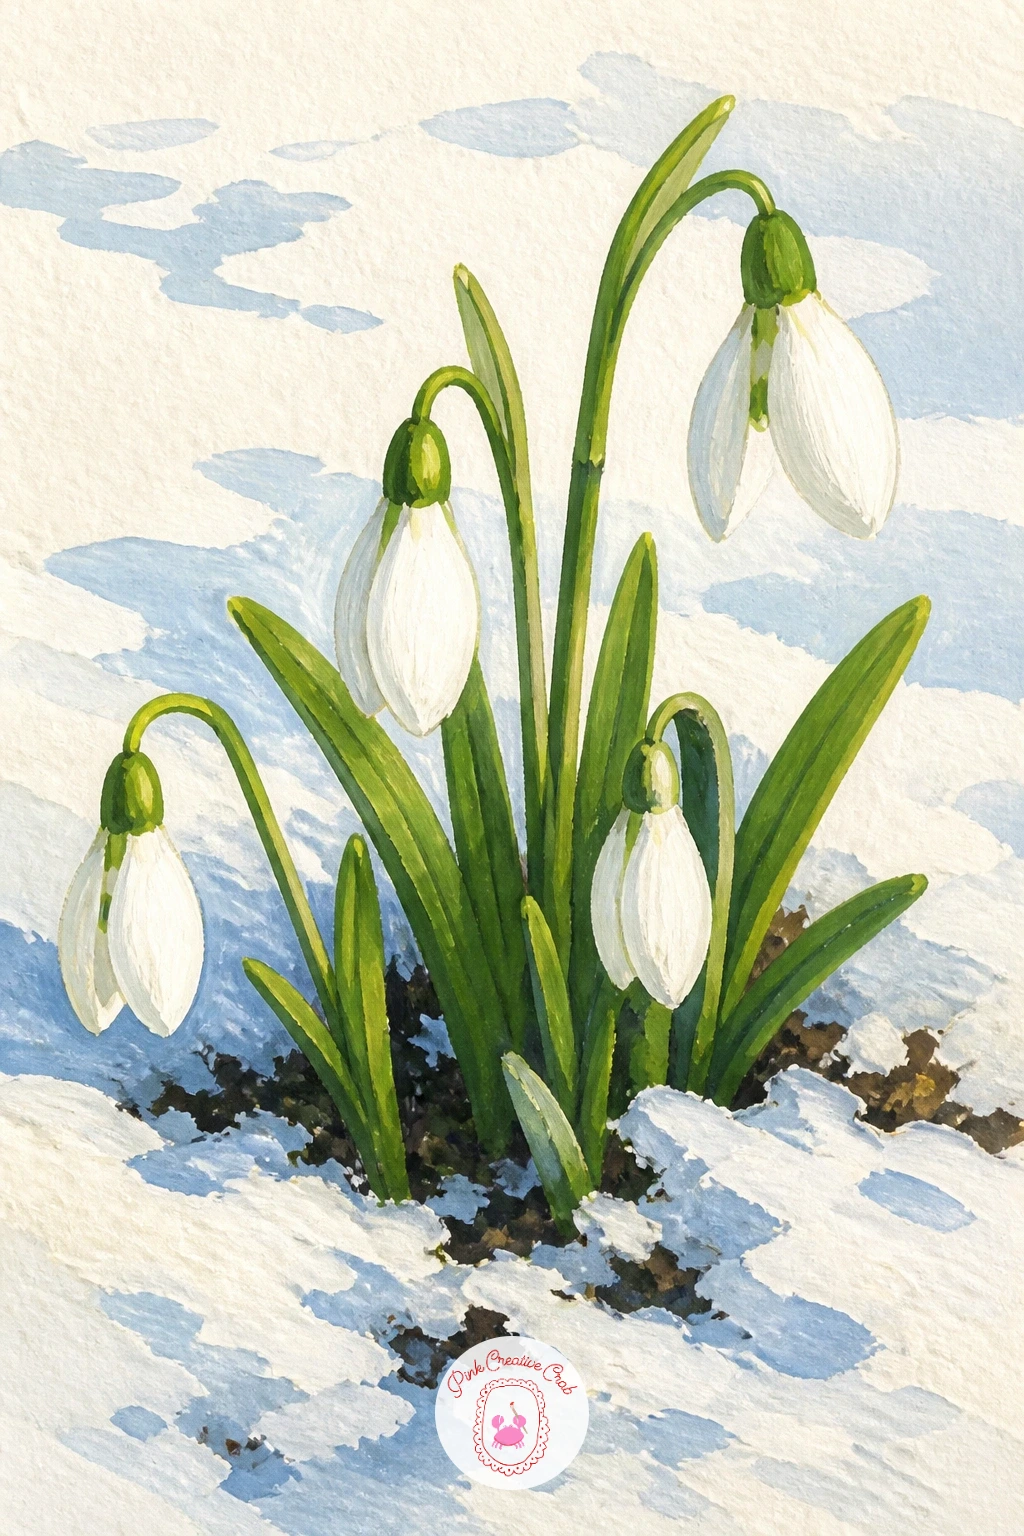
Palette: Titanium White,Pale Blue,Sap Green,Cream
Keep the early spring feeling going with a scatter of white crocus across a patch of lawn. Paint the grass first as a loose flat area of green, varying the tone slightly so it does not look like a single flat block, before placing a single crocus to judge its scale against that ground.
Build each crocus as a simple cup shape, three or four petals meeting at a point, with a small dash of yellow at the center for the stamens. Work outward from that first crocus, scattering four or five more at different sizes to suggest ones closer and farther away.
The lawn is the part that can look messy fast if you paint every blade of grass. A few short flicked strokes of a darker green here and there is enough suggestion of texture without overworking the whole area.
No yellow paint on hand, a dot of cream deepened with a touch of ochre works just as well.
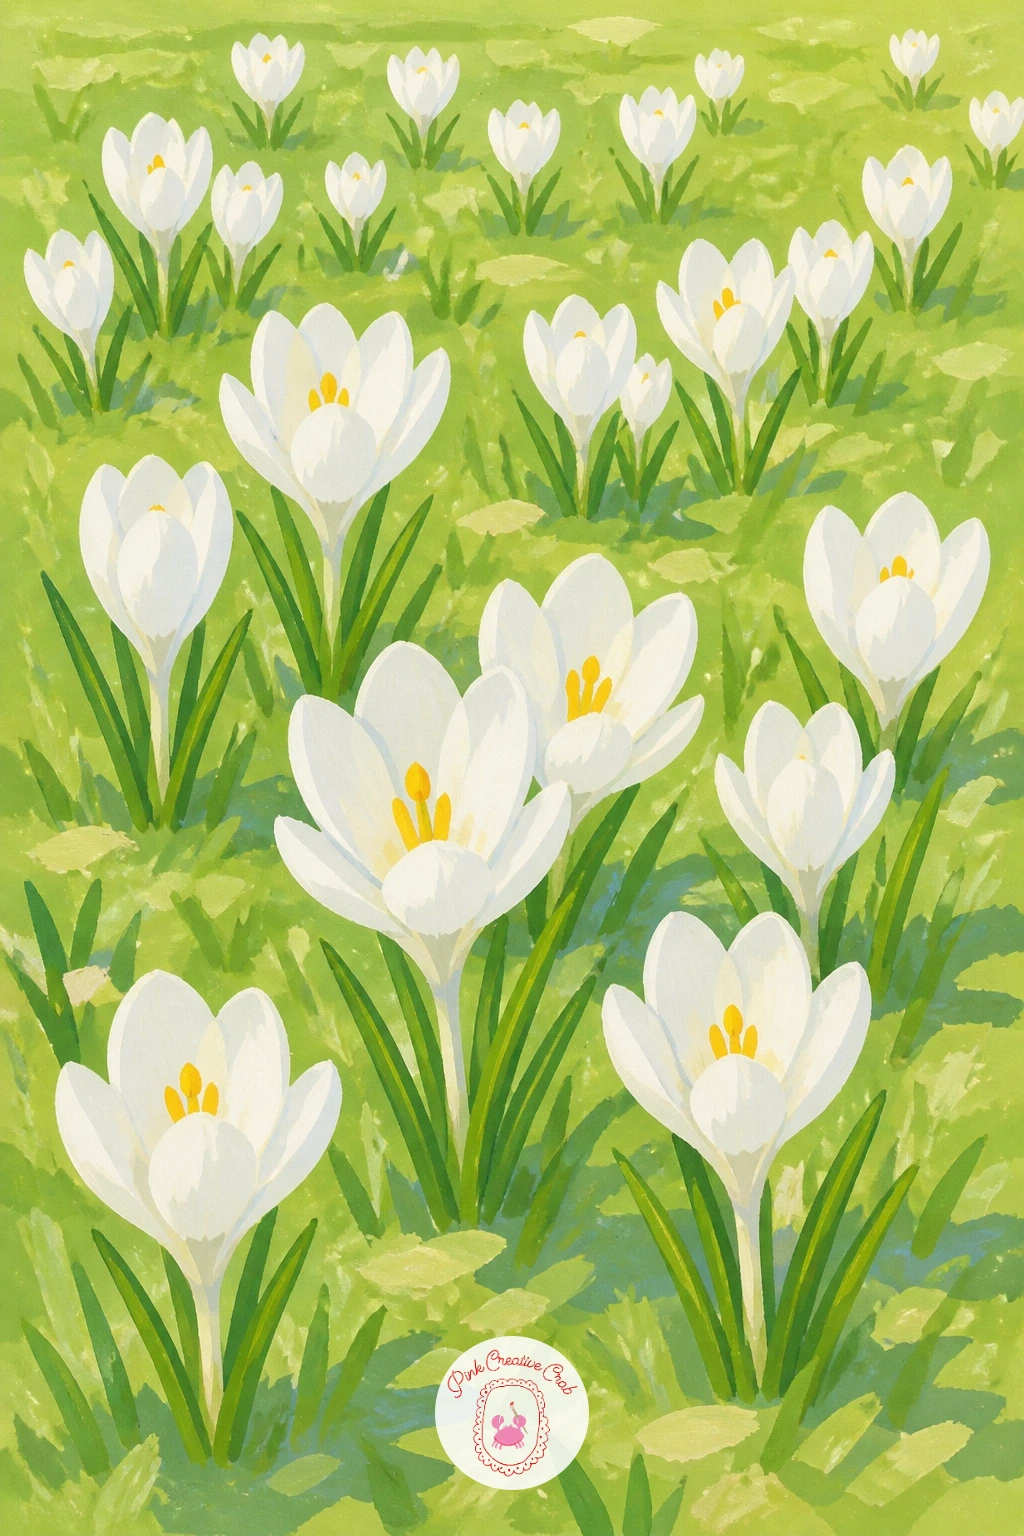
Palette: Titanium White,Sap Green,Soft Yellow,Pale Blue
Bring the scene indoors again with a pot of white hyacinth sitting on a windowsill. Paint the windowsill and a hint of window frame first as simple flat shapes, since deciding where the light source sits, usually streaming in from one side through the glass, changes where every shadow falls on the pot and flower afterward.
Build the terracotta or ceramic pot next, a simple rounded shape, before adding the hyacinth itself as a tight cluster of small star-shaped florets stacked up the stem. Paint the florets closest to the light source slightly brighter and those on the shaded side a touch more muted to show that light direction clearly.
Hyacinth florets can turn into a fuzzy blob if painted all at once. Dab them in as small individual star shapes, slightly overlapping, rather than one solid white mass.
A plain clay pot works if ceramic feels fussy to paint.
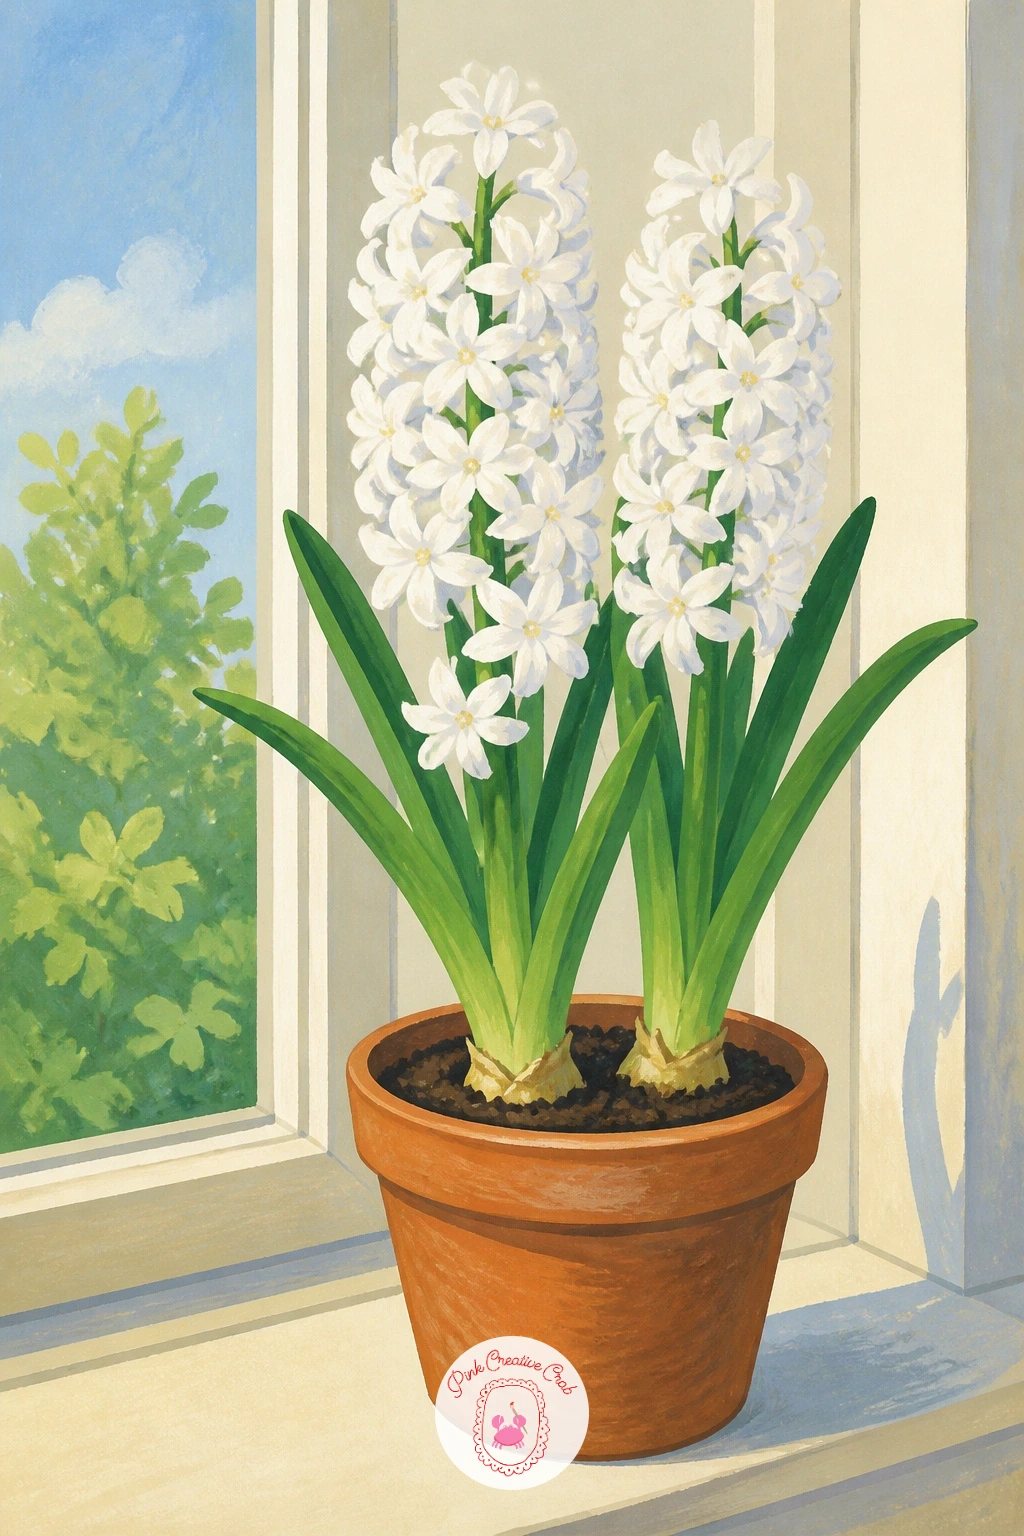
Palette: Titanium White,Sap Green,Terracotta,Pale Blue
Shift from potted to cut flowers with a simple jug of white anemones. Paint the jug first as a rounded vessel shape, checking its width against its height before adding the handle, since a jug that leans too narrow or too wide throws off the whole still life.
Place the anemone stems rising from the jug next, then build each flower as a flat white circle with a dark center, the center being what makes an anemone instantly recognizable against other white blooms. Work the darkest center markings in last, once the white petals are fully dry, so the ink-like centers stay crisp rather than bleeding.
Those dark centers are the trickiest part, since too much pressure makes them spread. A fine brush loaded lightly, or a black fineliner dotted on once the gouache is dry, keeps the mark small and controlled.
Vary the next version by painting the anemones nodding at different angles instead of all facing forward.
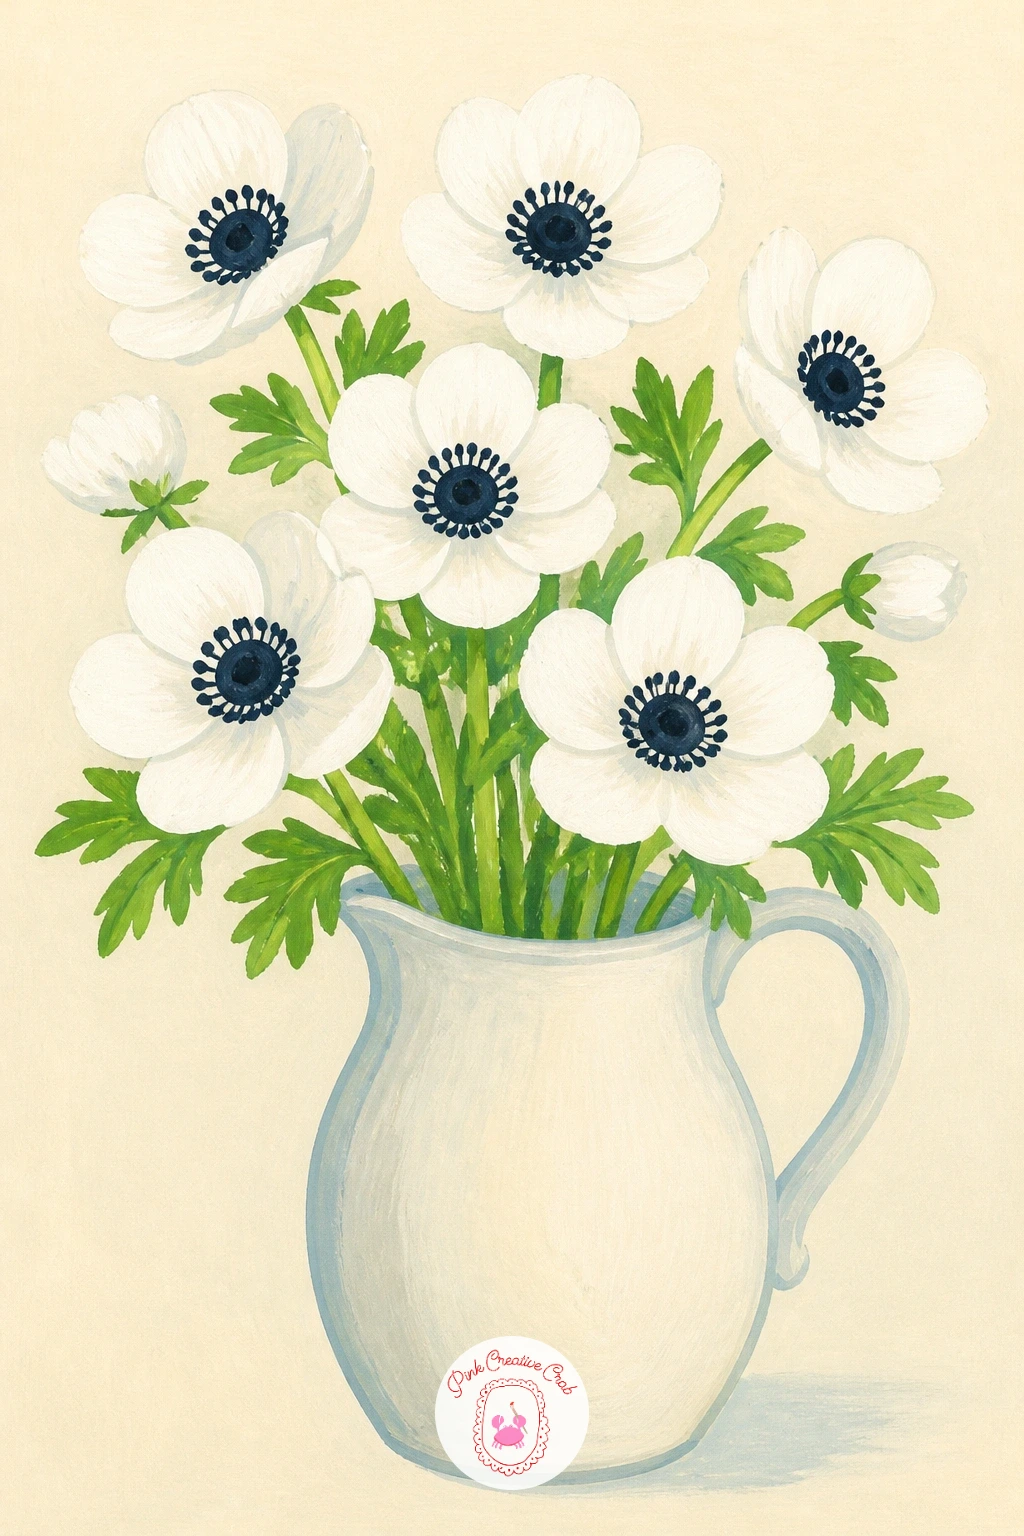
Palette: Titanium White,Ivory Black,Sap Green,Cream
Take the flowers outdoors onto structure next: sweet peas climbing a garden trellis. Paint the trellis first as a simple crisscross of thin lines, keeping the grid loose and slightly uneven since a perfectly ruled trellis looks stiffer than a real one.
Once that framework is in place, add the climbing vine winding through it, then build the sweet pea blooms as small ruffled petals in soft white with the faintest blush of pink at the edges. Work from the base of the vine upward, letting the flowers cluster more thickly near the top where new growth happens.
The ruffled petal shape is easy to overcomplicate. Two or three soft curved strokes per bloom, slightly uneven, read as delicate far better than a carefully drawn, symmetrical flower.
If a trellis feels like too much structure to paint, a simple length of string works as a stand-in support.
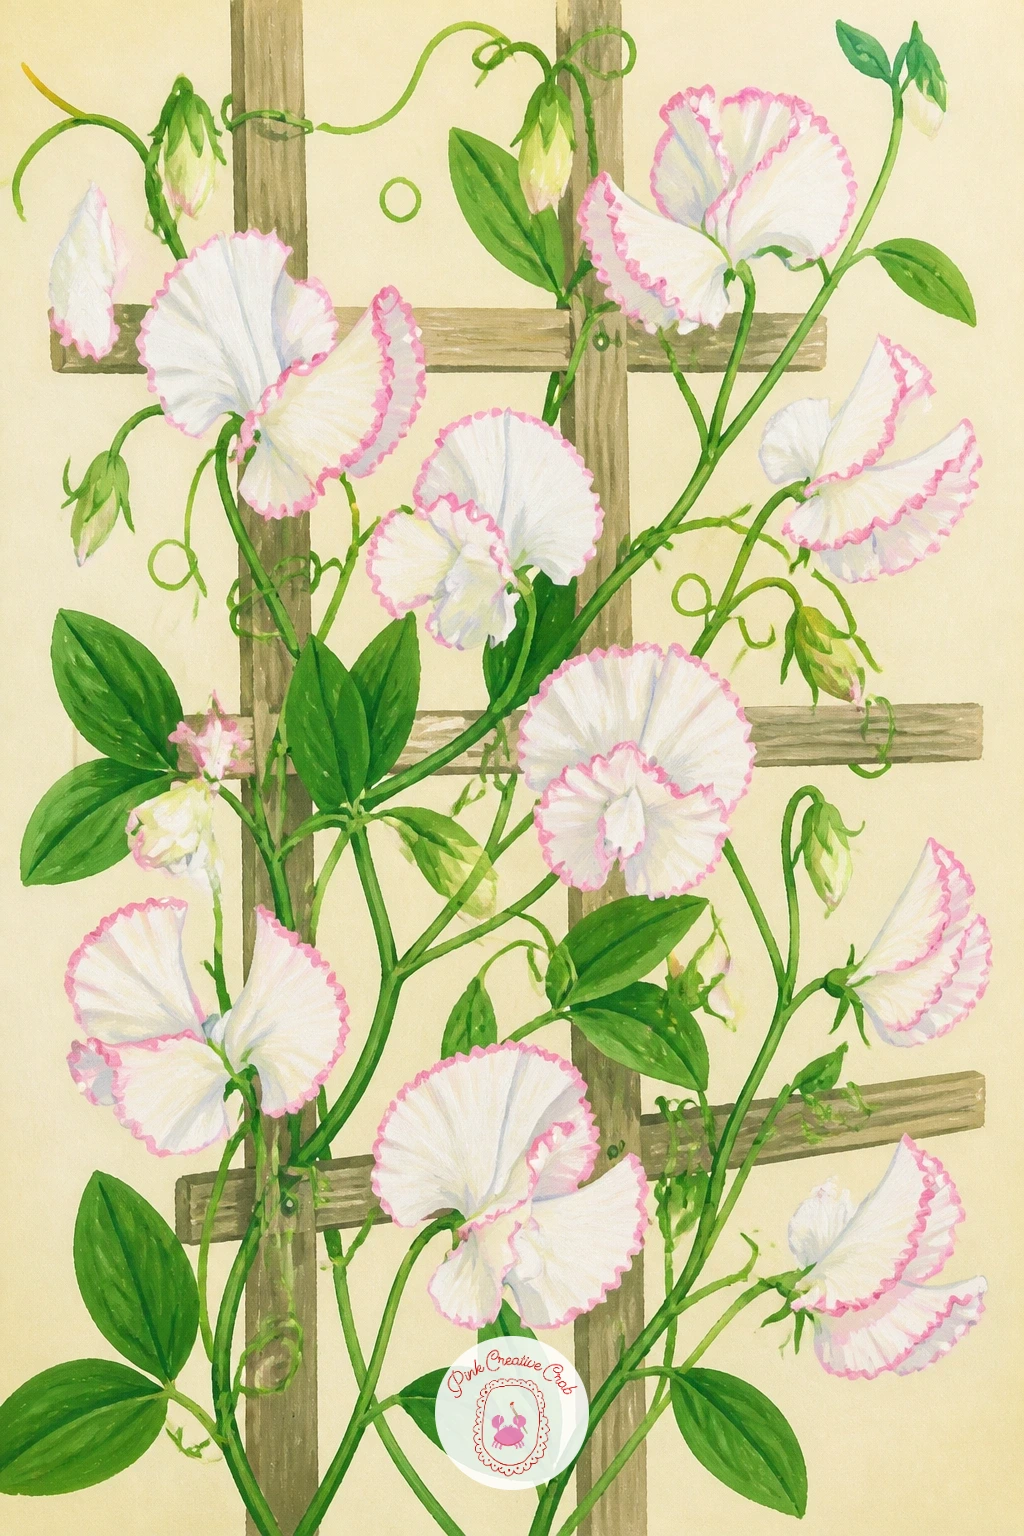
Palette: Titanium White,Dusty Rose,Sap Green,Soft Brown
Keep the climbing theme going with jasmine trailing over a garden gate. Paint the gate first as a simple flat wooden shape, a few vertical planks and a crossbar, before any vine goes in, since the gate needs to feel solid enough to support what grows over it.
Add the jasmine vine trailing along the top of the gate and down one side, then paint each small white star-shaped flower individually, five thin petals around a tiny center. Work in loose clusters rather than evenly spacing every bloom, since jasmine grows in irregular bursts along its vine.
Painting too many identical flowers in a neat row is the easiest way to flatten this scene. Vary the cluster sizes and let some buds stay closed, just a small green dot, to break up the white.
A plain fence post works as well as a gate if that is easier to draw.
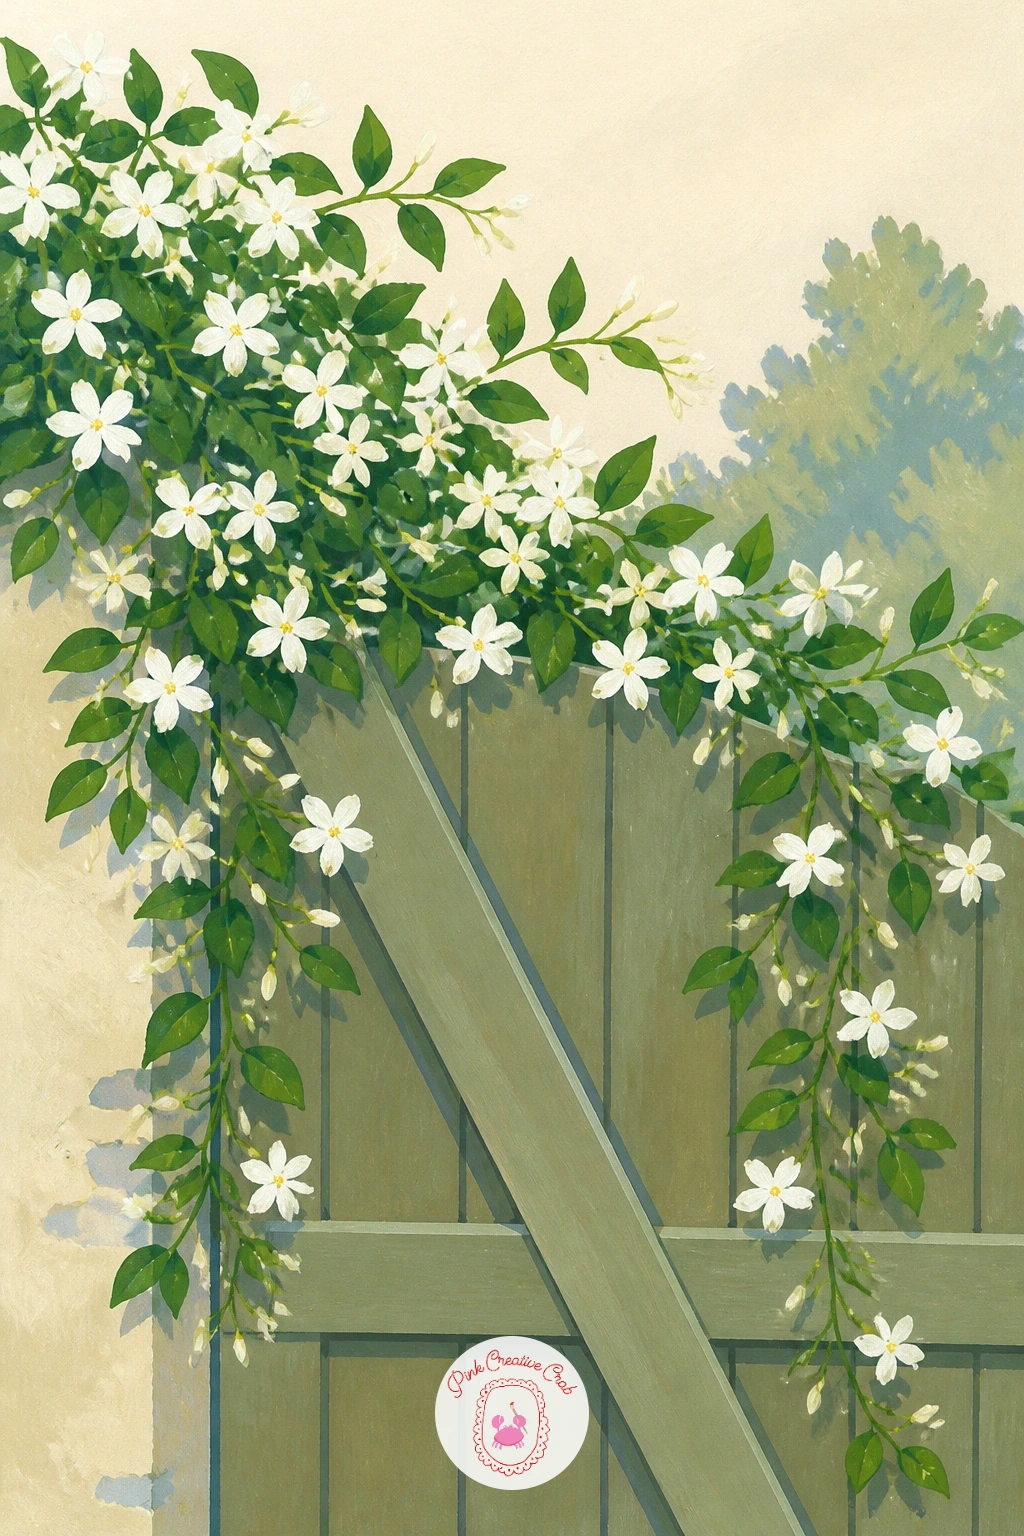
Palette: Titanium White,Sap Green,Soft Brown,Cream
Open the page up for a wider view: a scatter of white cosmos across a loose meadow. Paint the meadow ground first as a soft horizon line dividing a pale sky from a green field, deciding on that eye level before anything else, since a low horizon gives you more sky and a more open, airy feel.
Build each cosmos flower as a simple flat daisy shape, long thin petals around a yellow center, placing the nearest ones larger and the farthest smaller and less detailed to suggest distance. Work from the back of the meadow forward so closer flowers overlap the ones behind.
Cosmos petals look stiff if drawn too evenly. Let a few petals overlap slightly and vary their lengths just a touch for a more natural, breezy look.
Swap the meadow for a single stem in a jar if the wider scene feels like too much for one sitting.
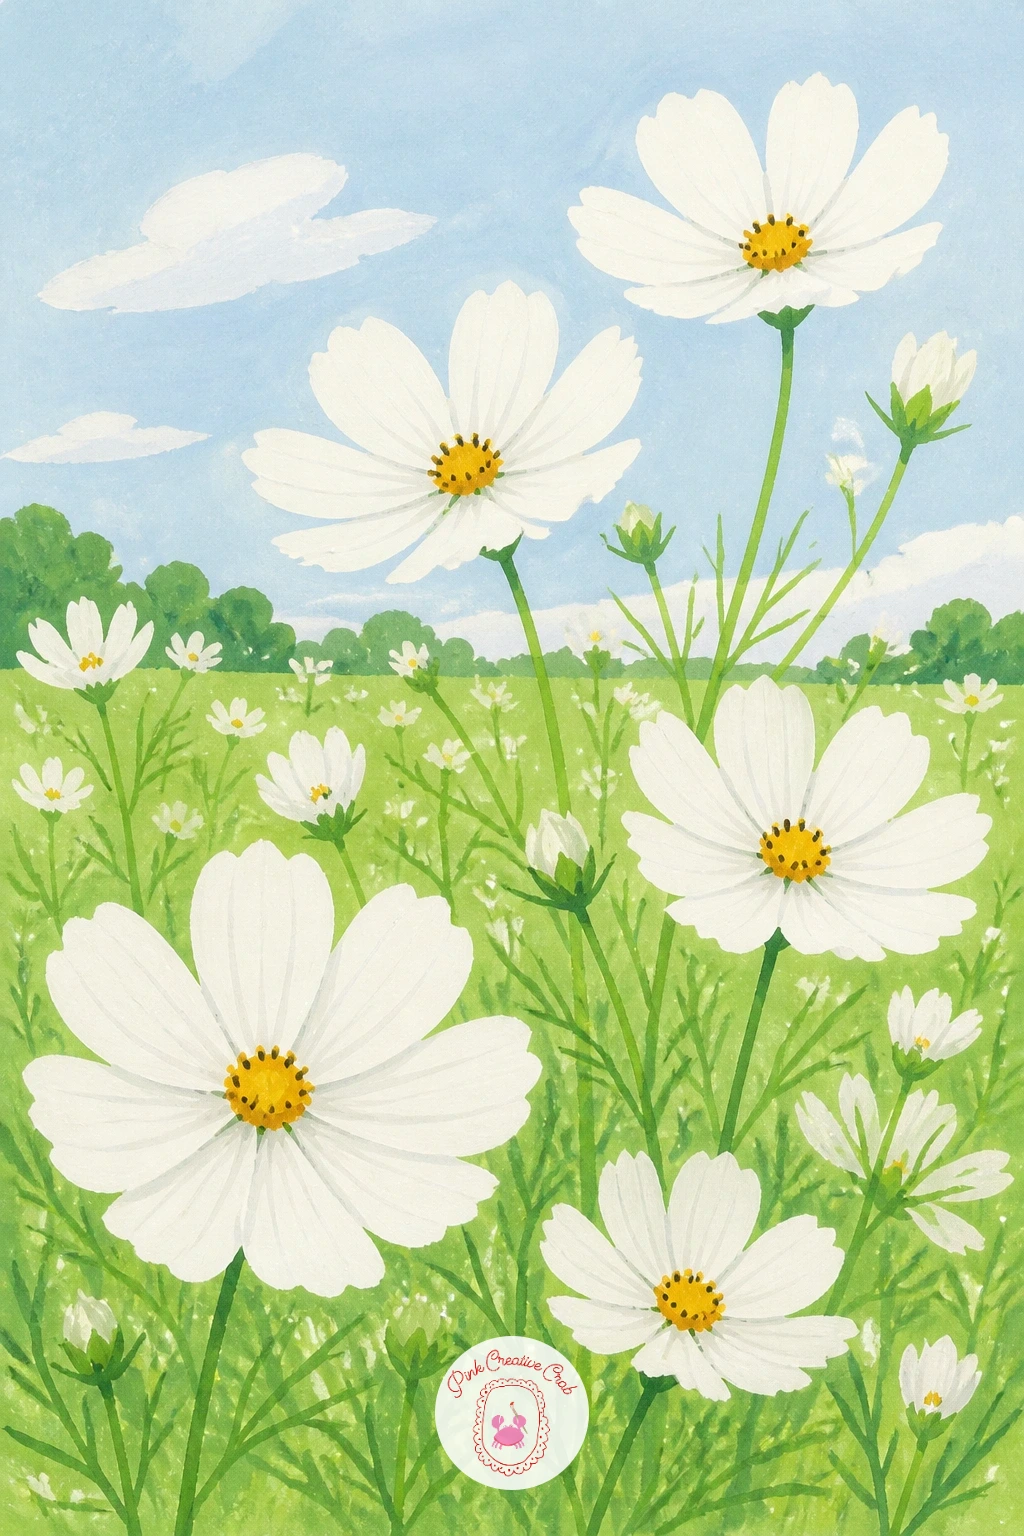
Palette: Titanium White,Soft Yellow,Sap Green,Pale Blue
Here is a flower with a distinctive shape worth slowing down for: white bleeding heart, its small heart-shaped blooms hanging from a gracefully arching stem. Sketch the arch of the stem first as a single smooth curve, since getting that curve generous enough, more than half a circle, is what makes the whole flower read correctly.
Once the stem curve sits well, add each heart-shaped bloom hanging beneath it in a neat row, smallest near the tip and larger toward the base of the arch. Paint every heart as two rounded lobes meeting at a point, with a small white droplet shape hanging just below it.
The hanging line of hearts can look stiff if spaced too evenly. Let the gaps between blooms vary slightly, and tilt a few hearts at a gentle angle rather than keeping them all perfectly vertical.
If the heart shape feels tricky at first, practice it alone a few times on scrap paper before committing to the full stem.
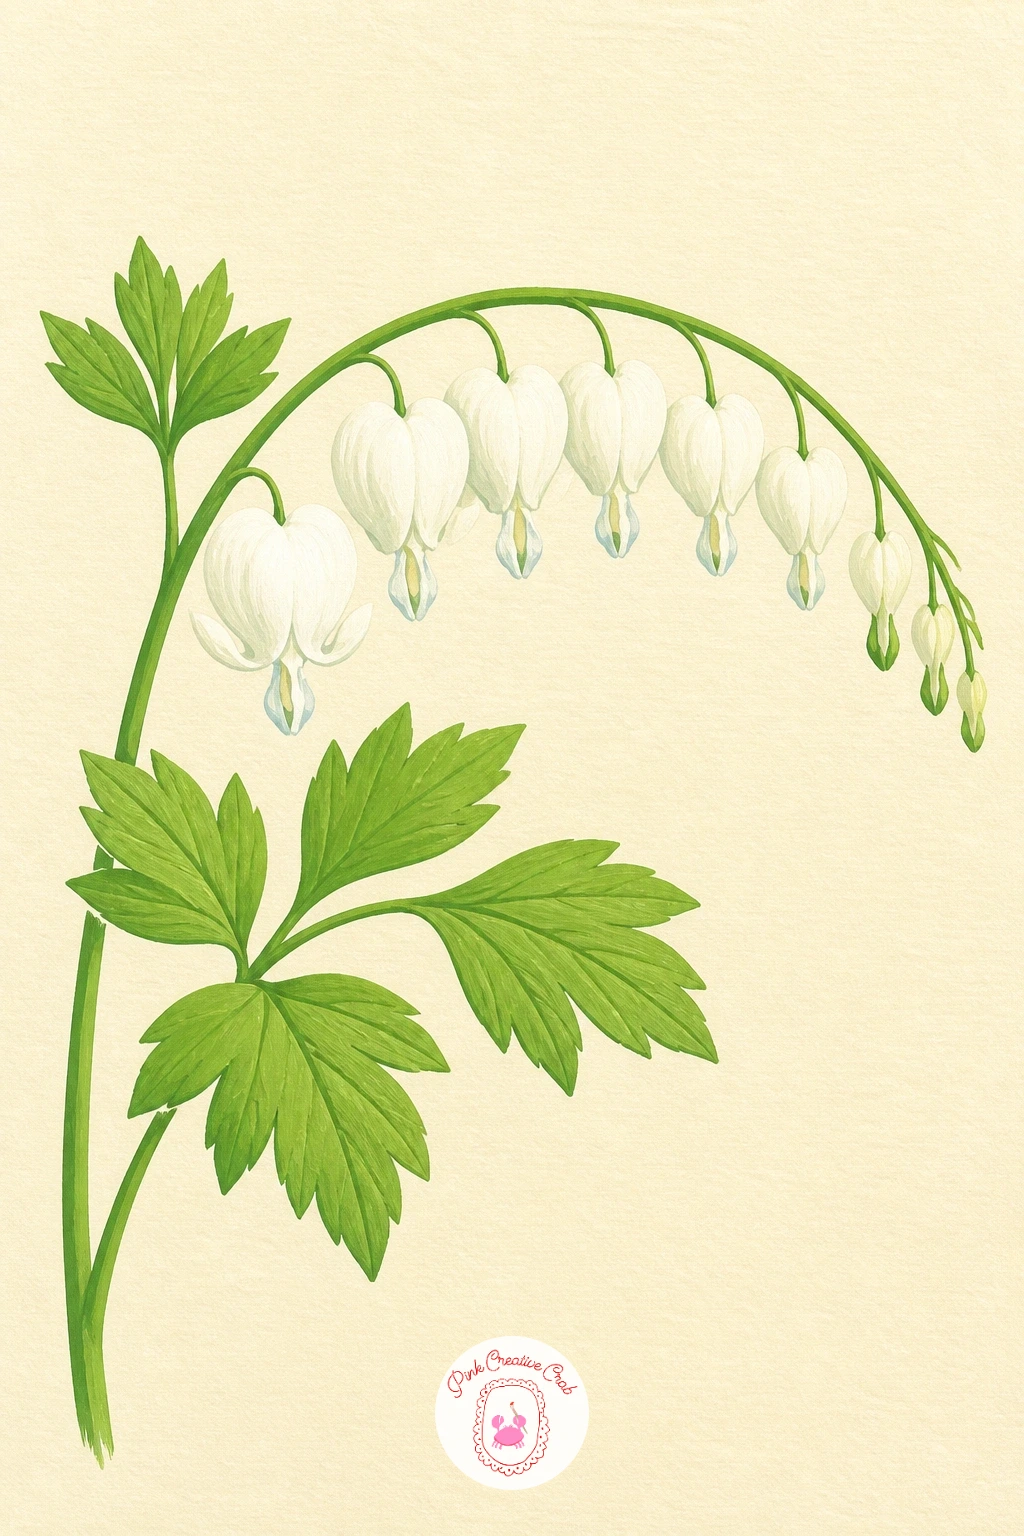
Palette: Titanium White,Sap Green,Pale Pink,Cream
Follow the water for this next scene: snowflake flowers growing in a small cluster beside a gently flowing stream. Paint the stream first as a simple curved band of pale blue with a few lighter streaks to suggest movement, before placing any flowers along its bank.
Add the snowflake flower stems next, each topped with a nodding white bell marked with small green dots near the petal tips, the detail that distinguishes them from a plain snowdrop. Work the green dots in last, once the white petals are dry, using the tip of a fine brush for a crisp small mark.
The water is where new painters often overwork things, adding too many ripple lines until it looks busy rather than calm. Two or three confident curved strokes of a slightly darker blue are enough to suggest gentle flow.
A plain patch of grass works instead of a stream if moving water feels like too much for one sitting.
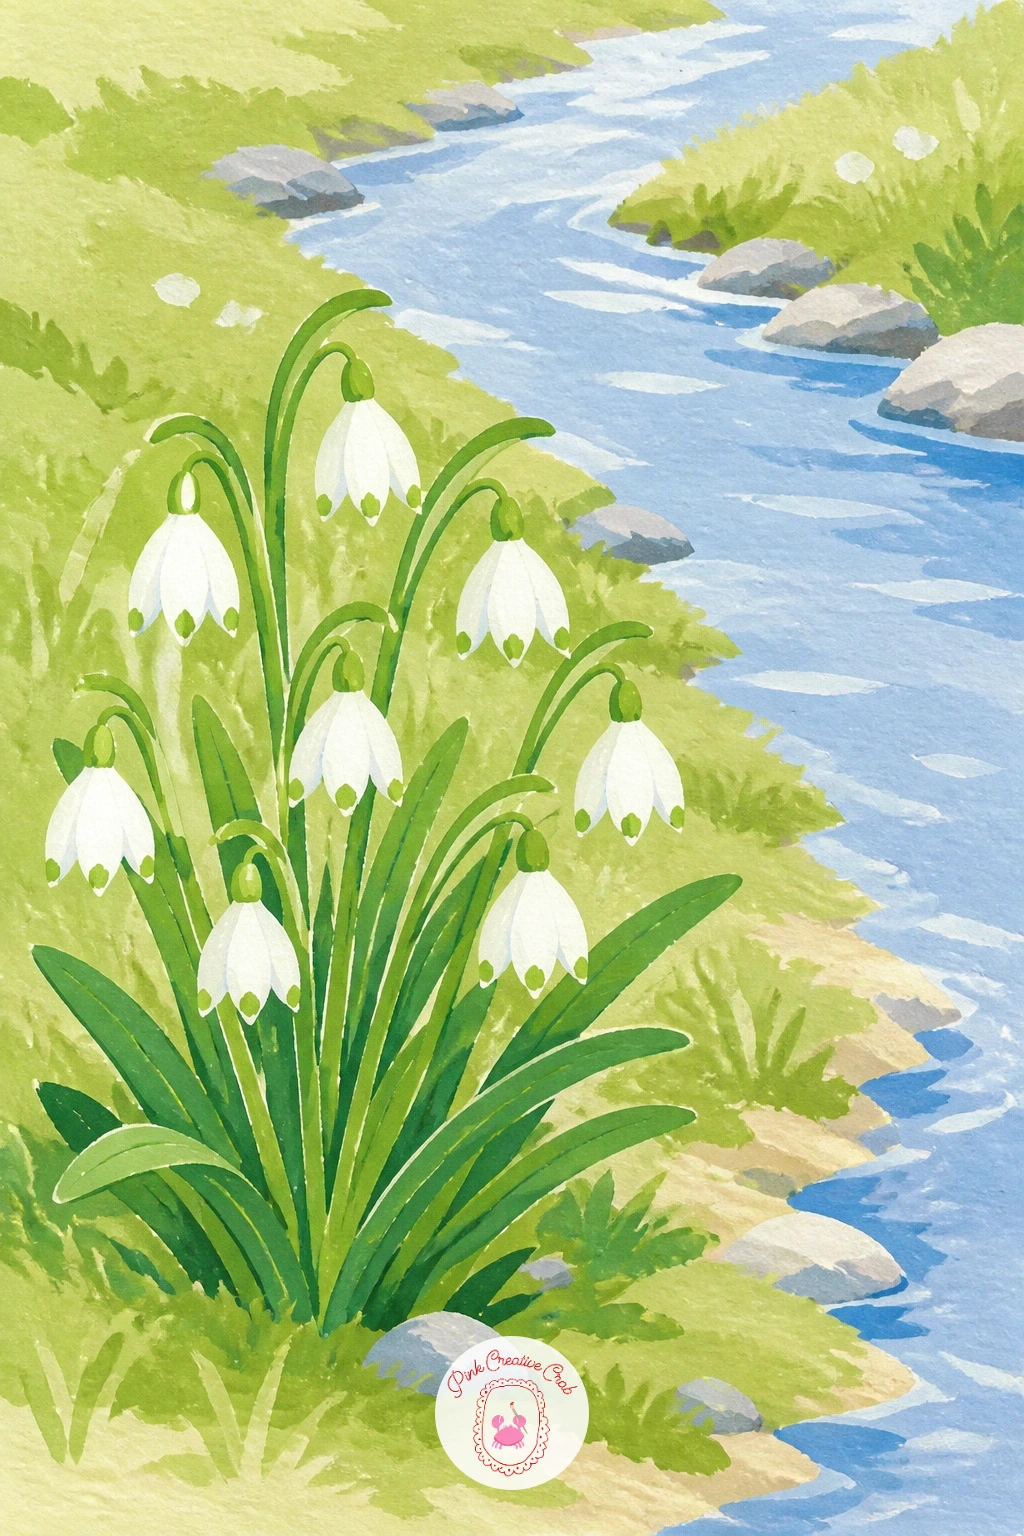
Palette: Titanium White,Pale Blue,Sap Green,Cream
Give the flowers something solid to climb next: white clematis spreading across a brick wall. Paint the wall first as a simple grid of brick shapes in warm terracotta, keeping the mortar lines light and slightly uneven, since a perfectly ruled brick pattern looks less convincing than a loose, hand-drawn one.
Once the wall is dry, add the clematis vine trailing across it, then build each large flat flower as six or seven pointed petals around a small cluster of yellow-green stamens. Work from the top of the vine down, letting a few blooms face slightly sideways rather than all facing forward.
Painting every petal the exact same size flattens the flower fast. Vary the petal lengths just slightly around each bloom so it feels hand-grown rather than stenciled.
No terracotta on hand, a mix of warm brown and a touch of orange makes a close brick color.
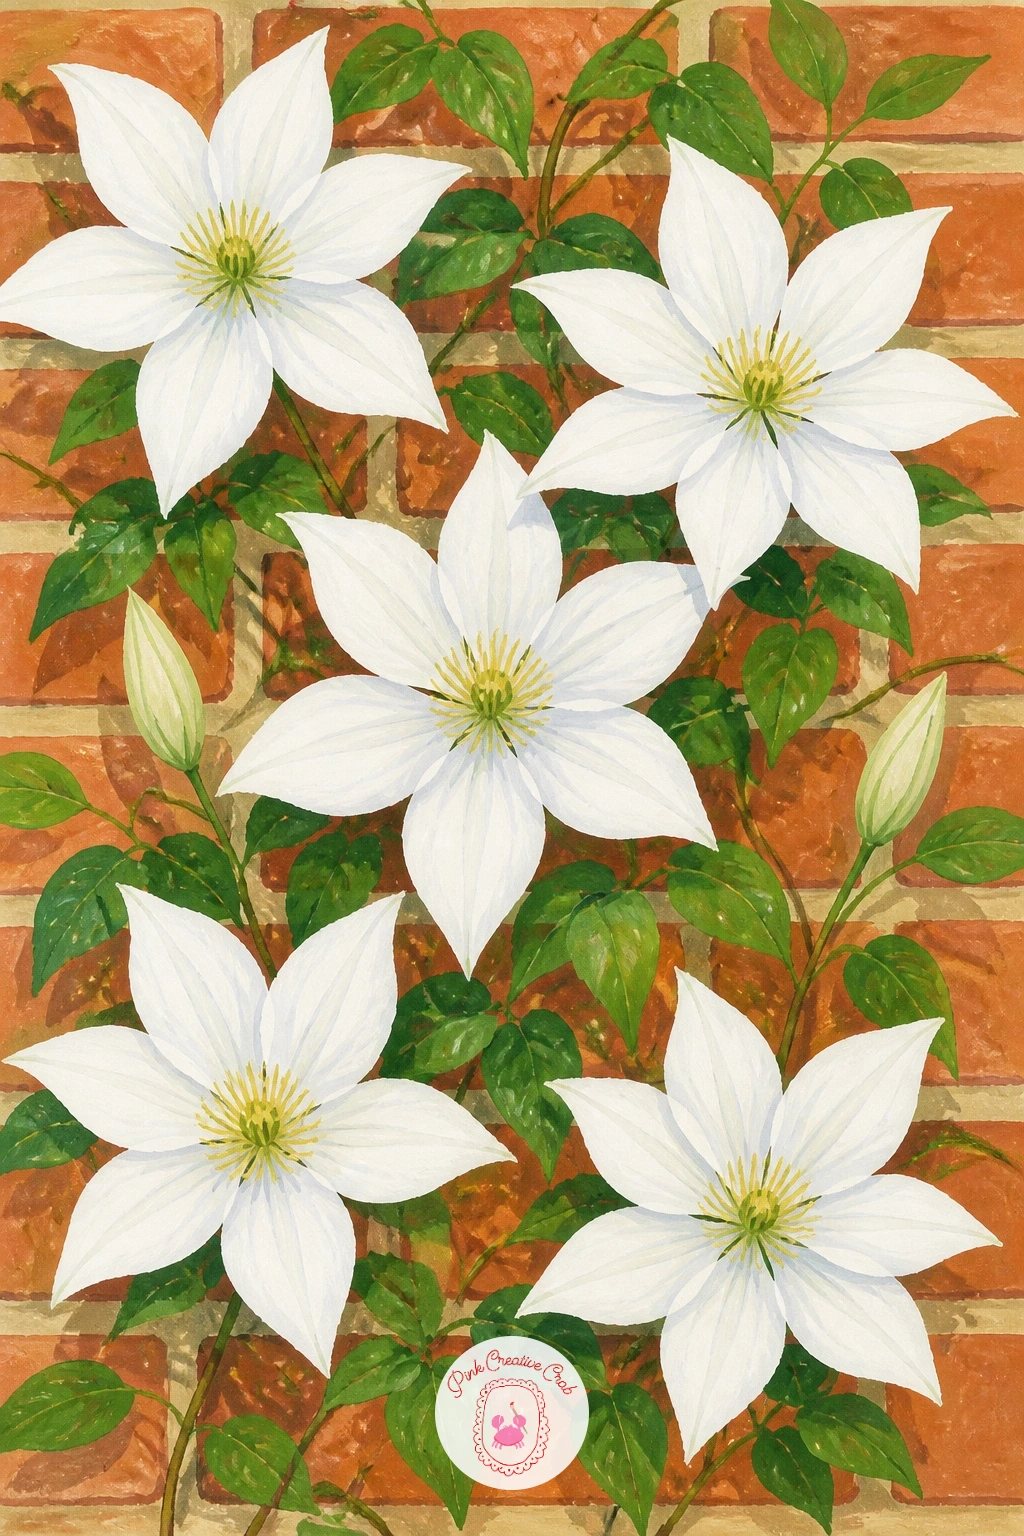
Palette: Titanium White,Terracotta,Sap Green,Soft Yellow
Scale back down for something quick and sweet: white violets in a little pot, simple enough for a short sitting. Paint the small pot first as a plain rounded shape in a warm neutral color, then place the violet leaves, soft heart shapes, arranged around its rim before any flowers go in.
In ten minutes you can stop at a handful of simple five-petaled violet flowers scattered among those leaves, each with a small yellow center dot. With forty minutes instead, add a second, smaller pot beside it and a soft cast shadow linking the two, which gives the whole piece more presence as a still life.
Violet leaves can look like a solid green mass if painted without any variation. Let a few leaf edges overlap and vary the green slightly between them so the cluster has depth.
Keep the flowers smaller than the leaves so the leaves clearly read as support rather than competing for attention.
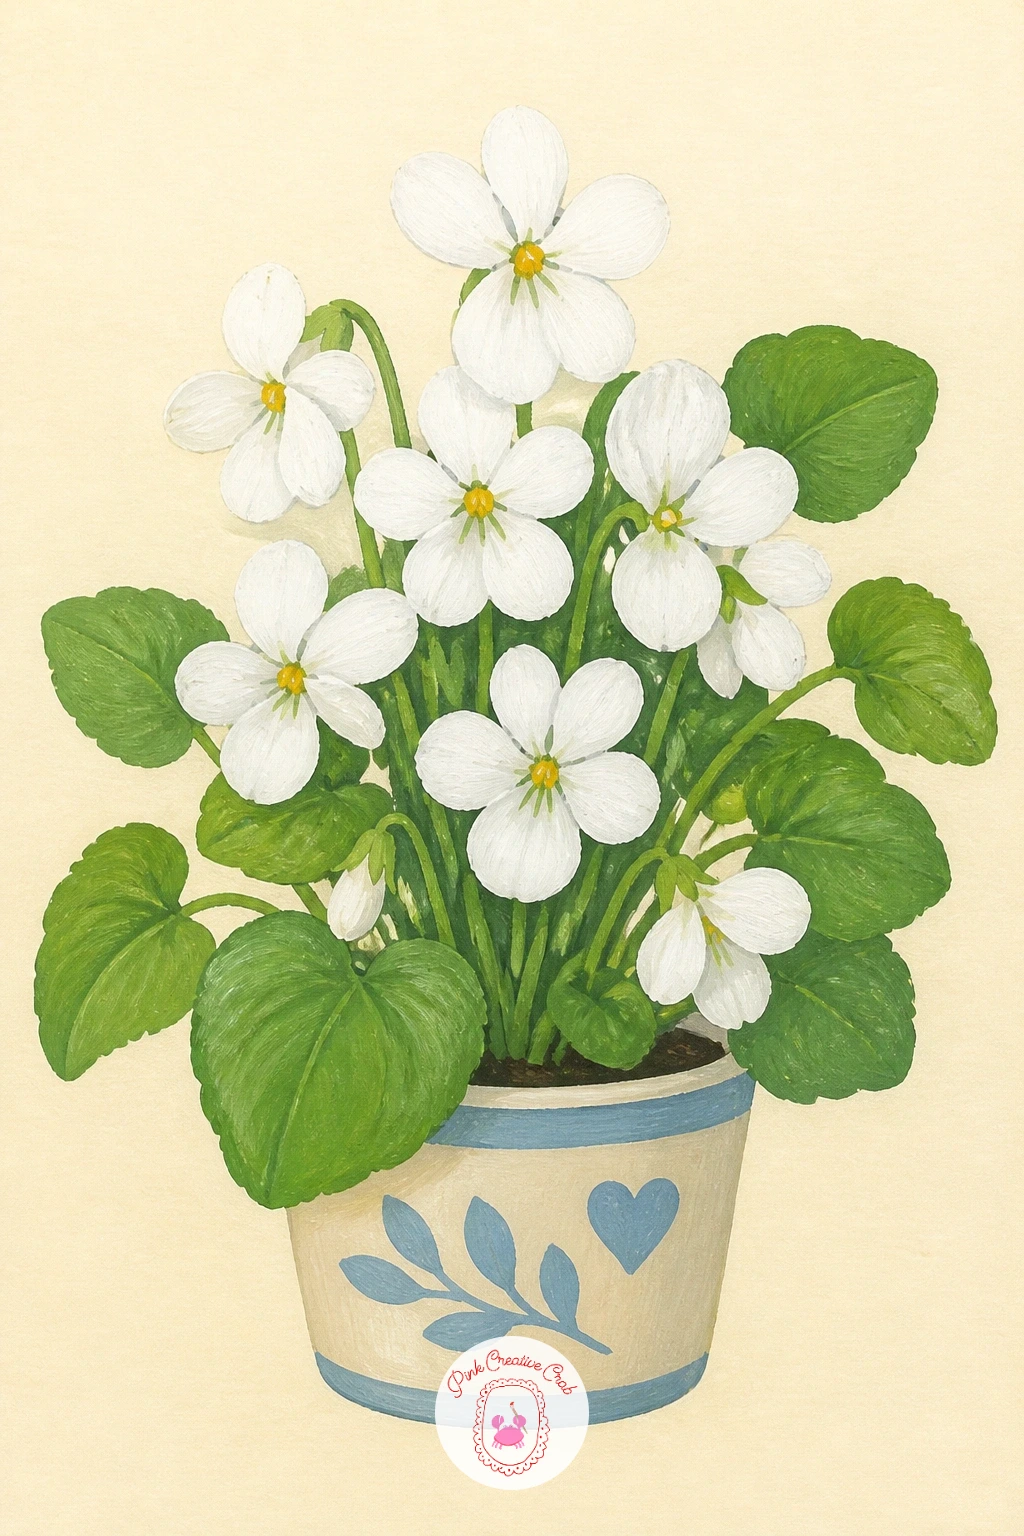
Palette: Titanium White,Sap Green,Soft Yellow,Soft Brown
Move to something fuller and more fragrant next: white lilac gathered loosely in a tall vase. Paint the vase first as a simple elongated shape, narrow at the neck and wider at the base, checking that the neck width leaves enough room for several stems to appear bundled inside it.
Build each lilac cluster as a soft cone-shaped mass of tiny individual florets, working the overall cone shape first in a pale wash, then dotting the small white florets over it once that base shape is dry. Keep the florets looser near the edges of each cluster and denser toward the center for a natural, full look.
Painting every tiny floret with equal care takes far too long and often looks stiff anyway. Suggest most of the cluster with quick dabbed white dots, saving the crisper individual florets for the front of the bunch, closest to the eye.
A smaller sprig in a jam jar works fine if a full vase feels too ambitious today.
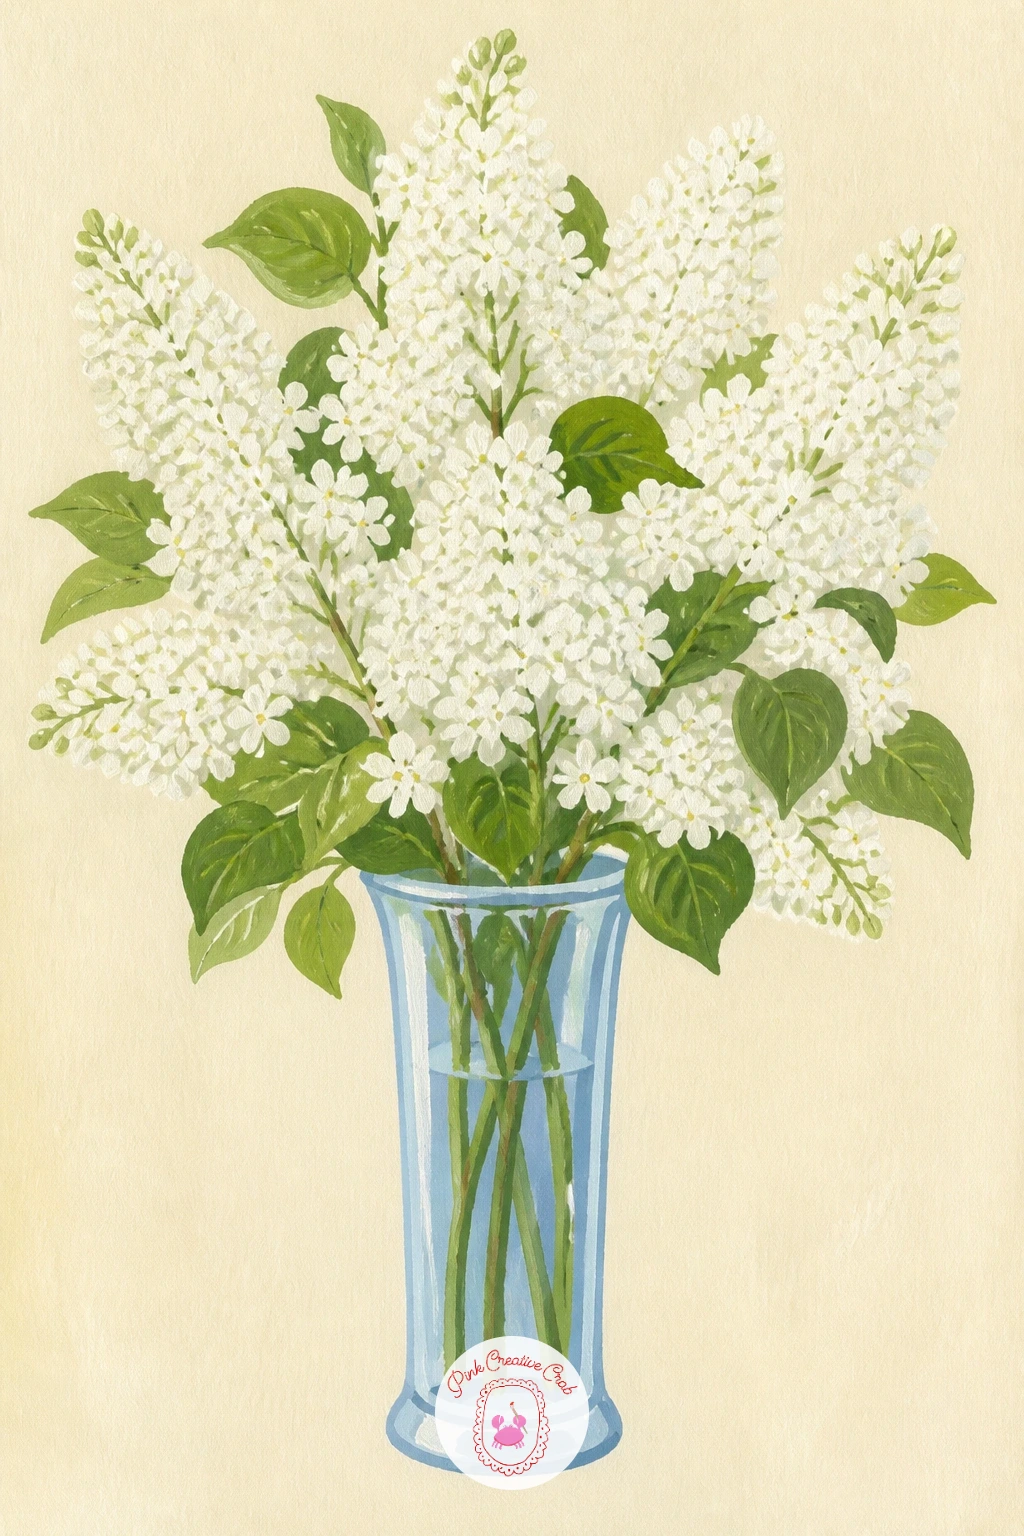
Palette: Titanium White,Sap Green,Pale Blue,Cream
Keep the gathering theme going with a simple basket of white primroses. Paint the basket first using the same loose woven lines as any other wicker container, before placing a layer of leaves around its rim to settle the flowers into.
Build each primrose as a flat five-petaled rosette with a soft yellow eye at the center, working several blooms at slightly different angles so the basket does not look like a row of identical stamps. Fill the basket from the center outward, letting a few flowers and leaves spill gently over the rim.
Spacing every primrose evenly is what makes this look mass-produced rather than gathered. Cluster a few blooms close together and leave small gaps elsewhere, the way flowers actually settle when picked.
For more ways to build a full flower arrangement like this one, the ideas in gouache painting flowers cover several useful approaches to filling a basket or vase.
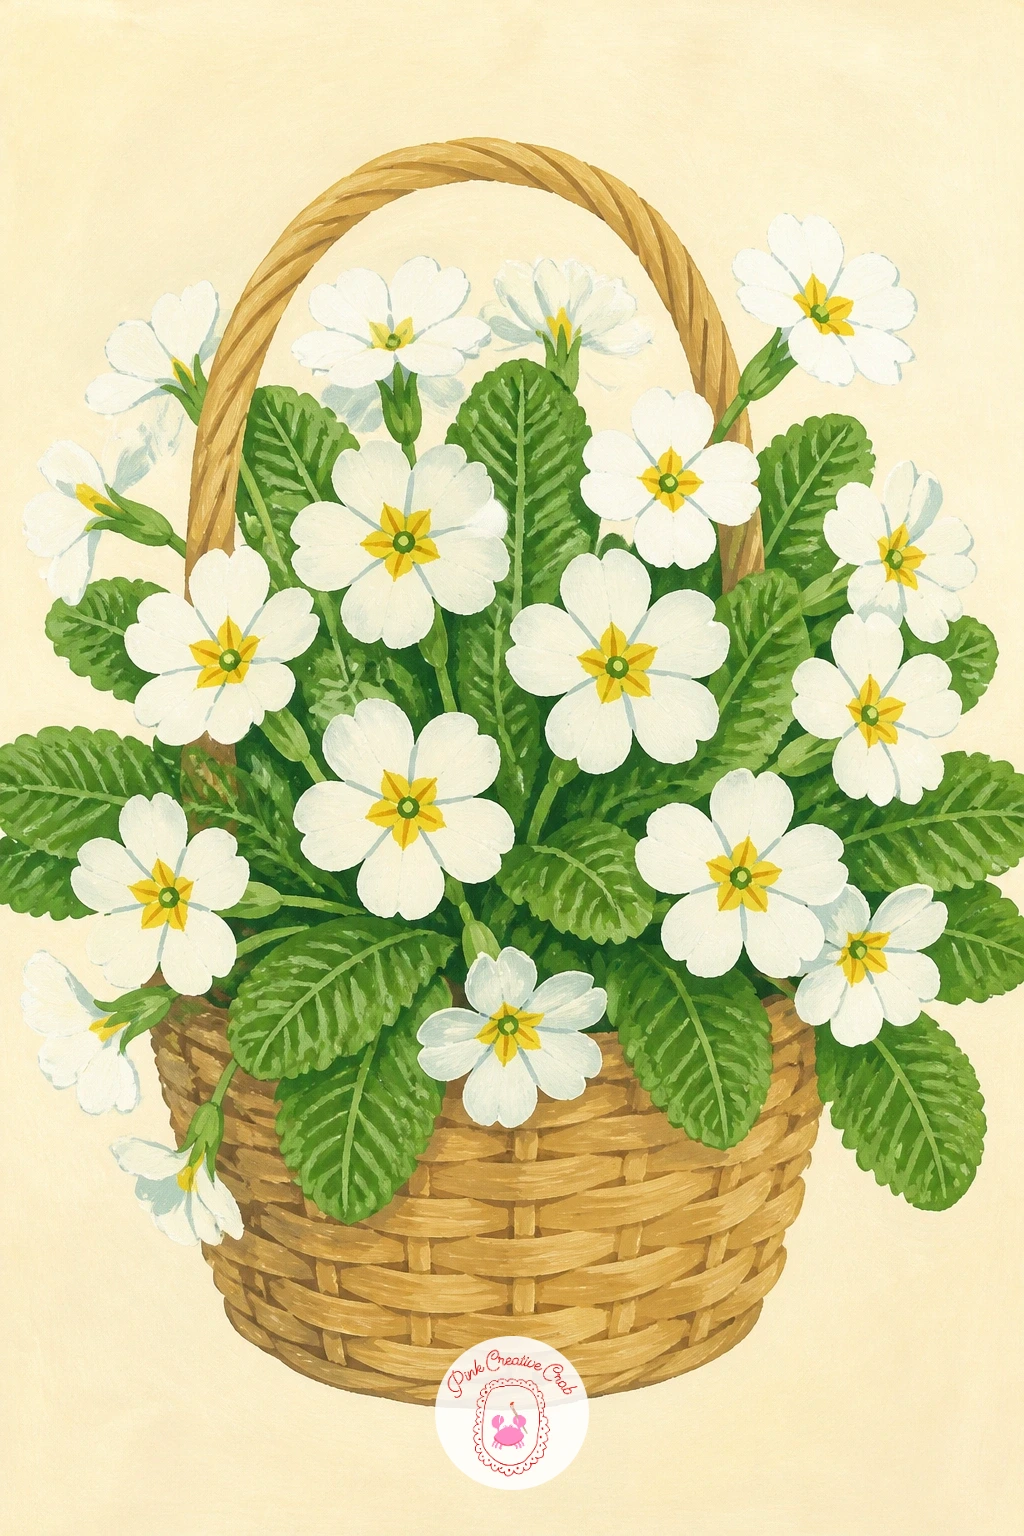
Palette: Titanium White,Soft Yellow,Sap Green,Soft Brown
Return to a small meadow moment with star of Bethlehem flowers scattered low in the grass. Paint the grass base first as a simple flat green area, then place a single flower to establish scale before adding the rest, since these blooms sit close to the ground and should never look taller than the grass around them.
Build each flower as a clean six-pointed star shape, white petals with a thin green stripe down the back of each one visible where the petals curl slightly. Work several flowers at different stages, some fully open, a few still closed as green-striped buds, scattered loosely across the grass.
Making every star-shaped flower face straight up flattens this scene quickly. Tilt a few slightly sideways or partially hidden behind grass blades so it reads as a real patch rather than a diagram.
A few simple grass blade strokes painted over the finished flowers helps tuck them into the ground convincingly.
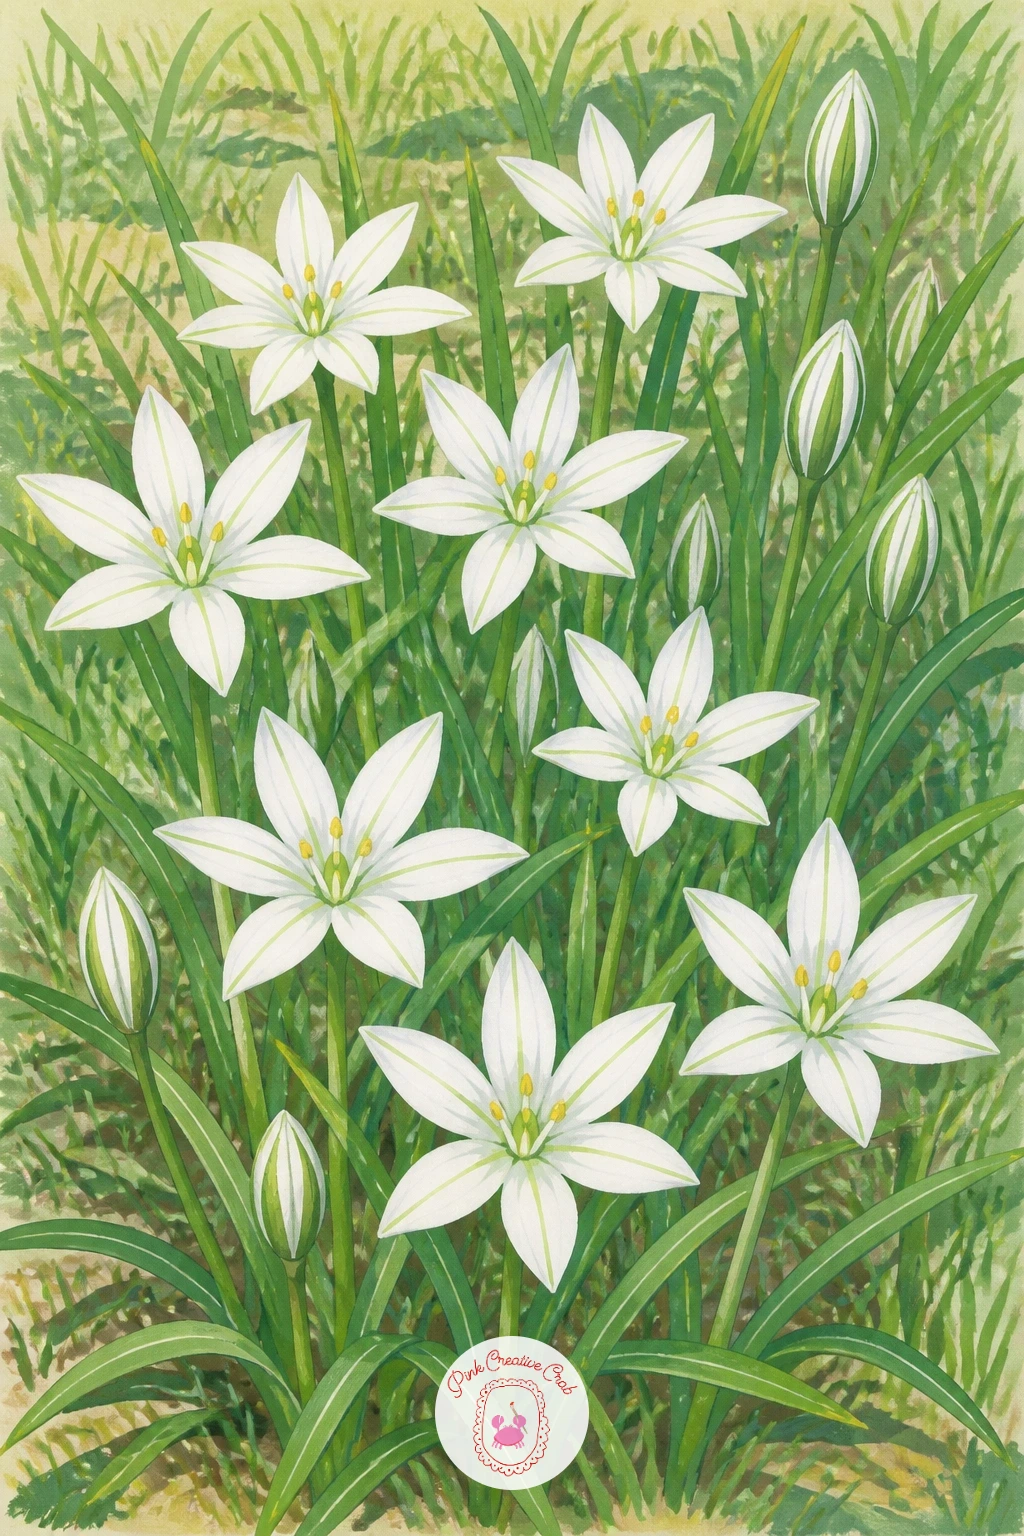
Palette: Titanium White,Sap Green,Pale Blue,Cream
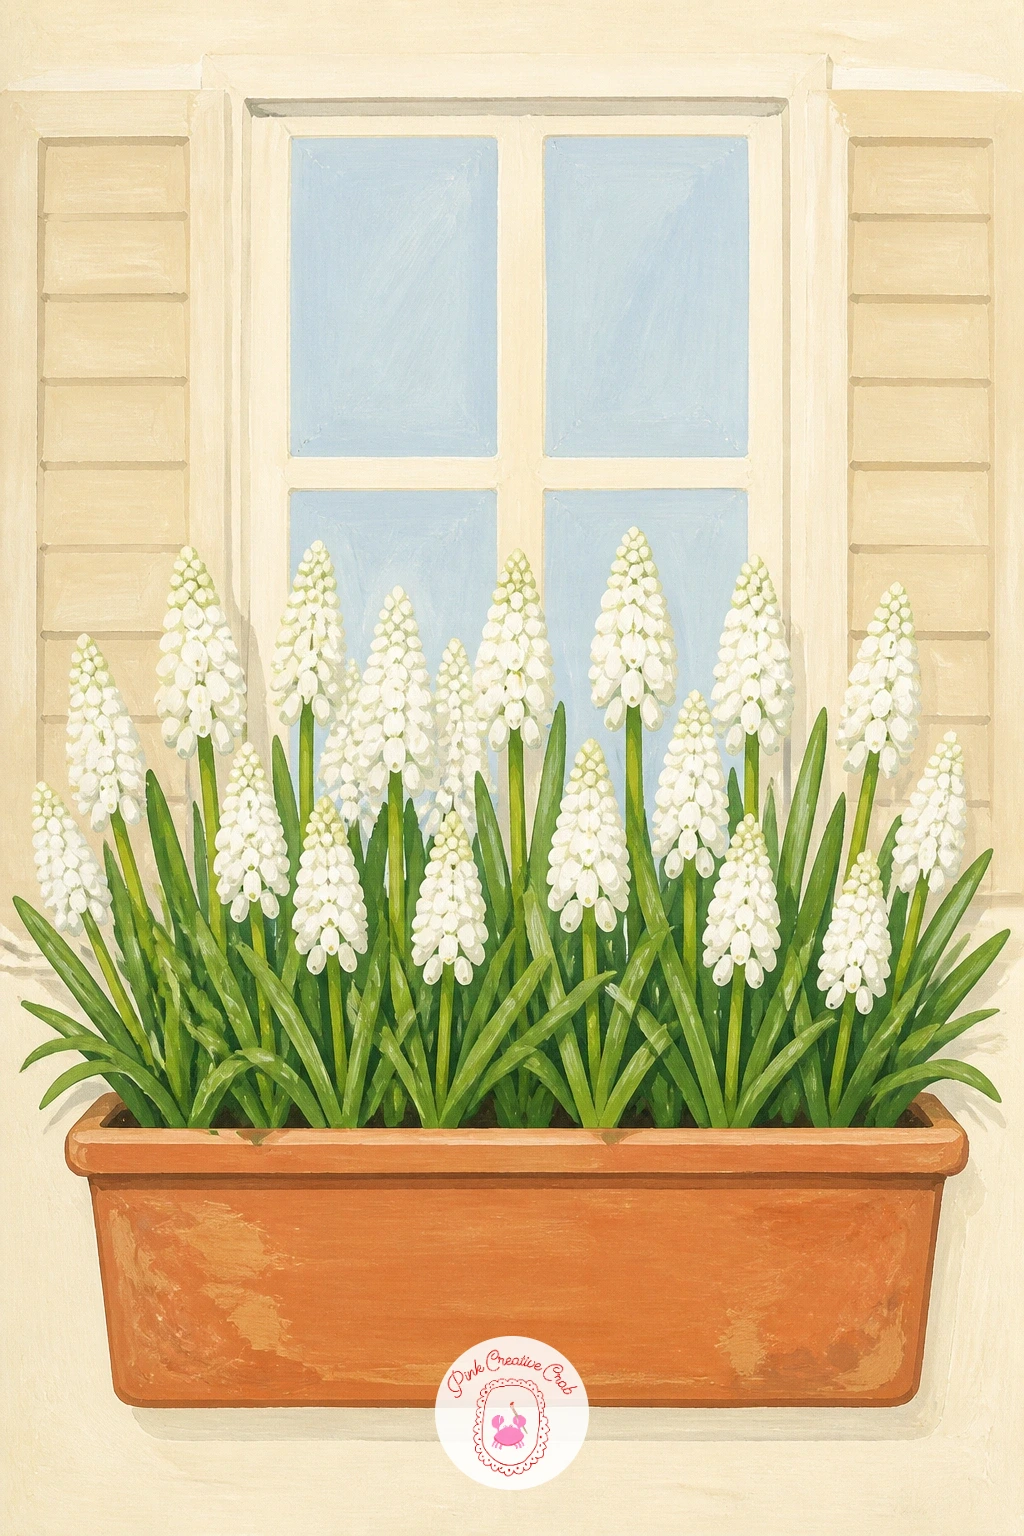
Here is a nice contrast after all that white: grape hyacinths, usually blue, painted here in their white variety, clustered in a window box. Paint the window box first as a simple rectangular container, then add a row of thin stems rising from it at slightly different heights before any florets go in.
Build each grape hyacinth spike as a tight stack of tiny round florets, denser near the bottom of the spike and tapering to a few looser dots near the top, the shape that gives this flower its name. Work spike by spike rather than trying to dot every floret across the whole box at once, so each stem keeps its own clear shape.
Crowding too many florets together turns the spike into a solid white blob rather than a textured cluster. Leave tiny gaps of background color showing between the dots to keep the texture readable.
A row of terracotta pots works as well as a window box if that fits your scene better.
Palette: Titanium White,Sap Green,Terracotta,Cream
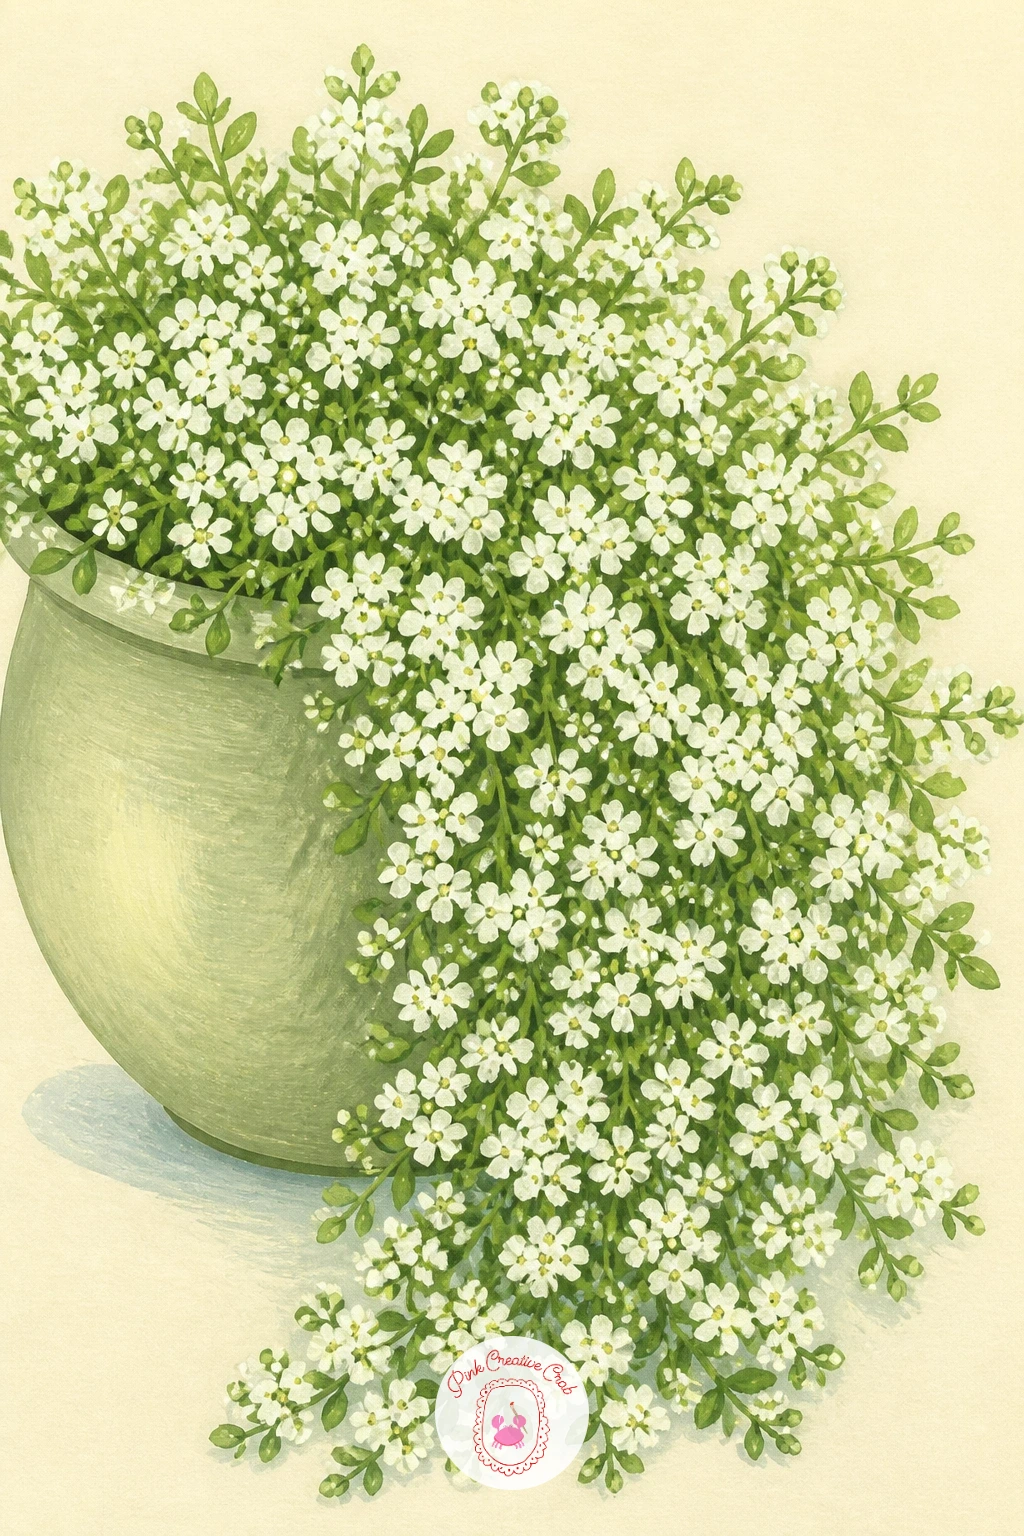
Let the flowers spill over for this one: sweet alyssum cascading loosely from the edge of a pot. Paint the pot first as a simple rounded container, leaving its lower edge open on the page since the alyssum will trail down and past it.
Build the cascading mass of tiny white flowers next, working not bloom by bloom but in loose clustered patches, since alyssum grows so densely that individual flowers barely show against the whole mass. Use quick dabbed strokes of white over a pale green undertone to suggest hundreds of tiny blooms without painting each one.
Trying to paint every individual alyssum flower is the fastest way to exhaust yourself on this one. Trust the dabbed cluster technique instead, since from a normal viewing distance it reads as convincingly full as painstaking detail would.
A plain hanging basket shape works instead of a pot if you prefer that look.
Palette: Titanium White,Sap Green,Cream,Soft Brown
Load a slightly dry brush with white for the dabbed clusters, since a drier brush gives a soft broken texture that reads as many tiny flowers at once.
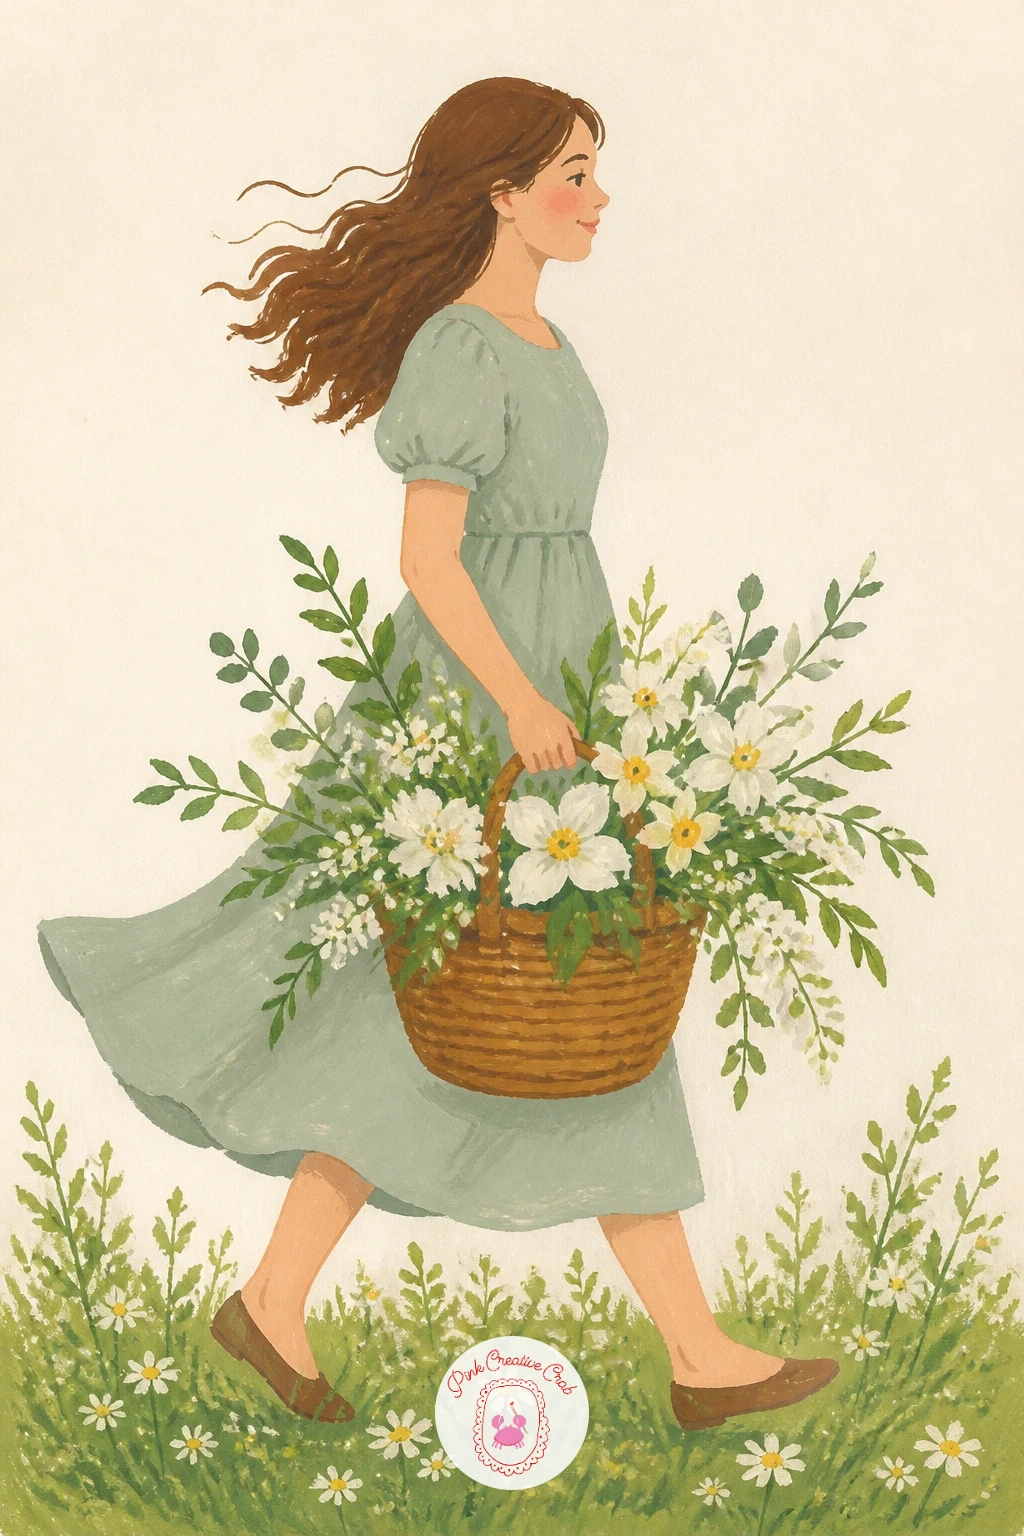
Bring a figure back in for this one: a girl carrying a basket brimming with mixed white spring flowers. Sketch her walking pose first as a simple lean, one arm bent to hold the basket at her side, before adding any flowers, since the pose needs to look balanced on its own.
Check her basket against her torso for scale, roughly a third of her height, so it reads as a real handheld object rather than an oversized prop. Paint her dress and hair in flat simple shapes first, then fill the basket last with a loose mix of small white blooms rather than any single flower type, echoing several of the others from this list.
Overcrowding the basket with too much flower variety can look chaotic. Stick to two or three flower types, repeated, rather than one of everything, so the basket reads as a cohesive gathered bunch.
If full figures still feel new, practicing hands and simple poses separately first, the kind of groundwork shown in coquette drawing lessons, helps before committing to the full scene.
Palette: Titanium White,Sap Green,Dusty Rose,Soft Brown
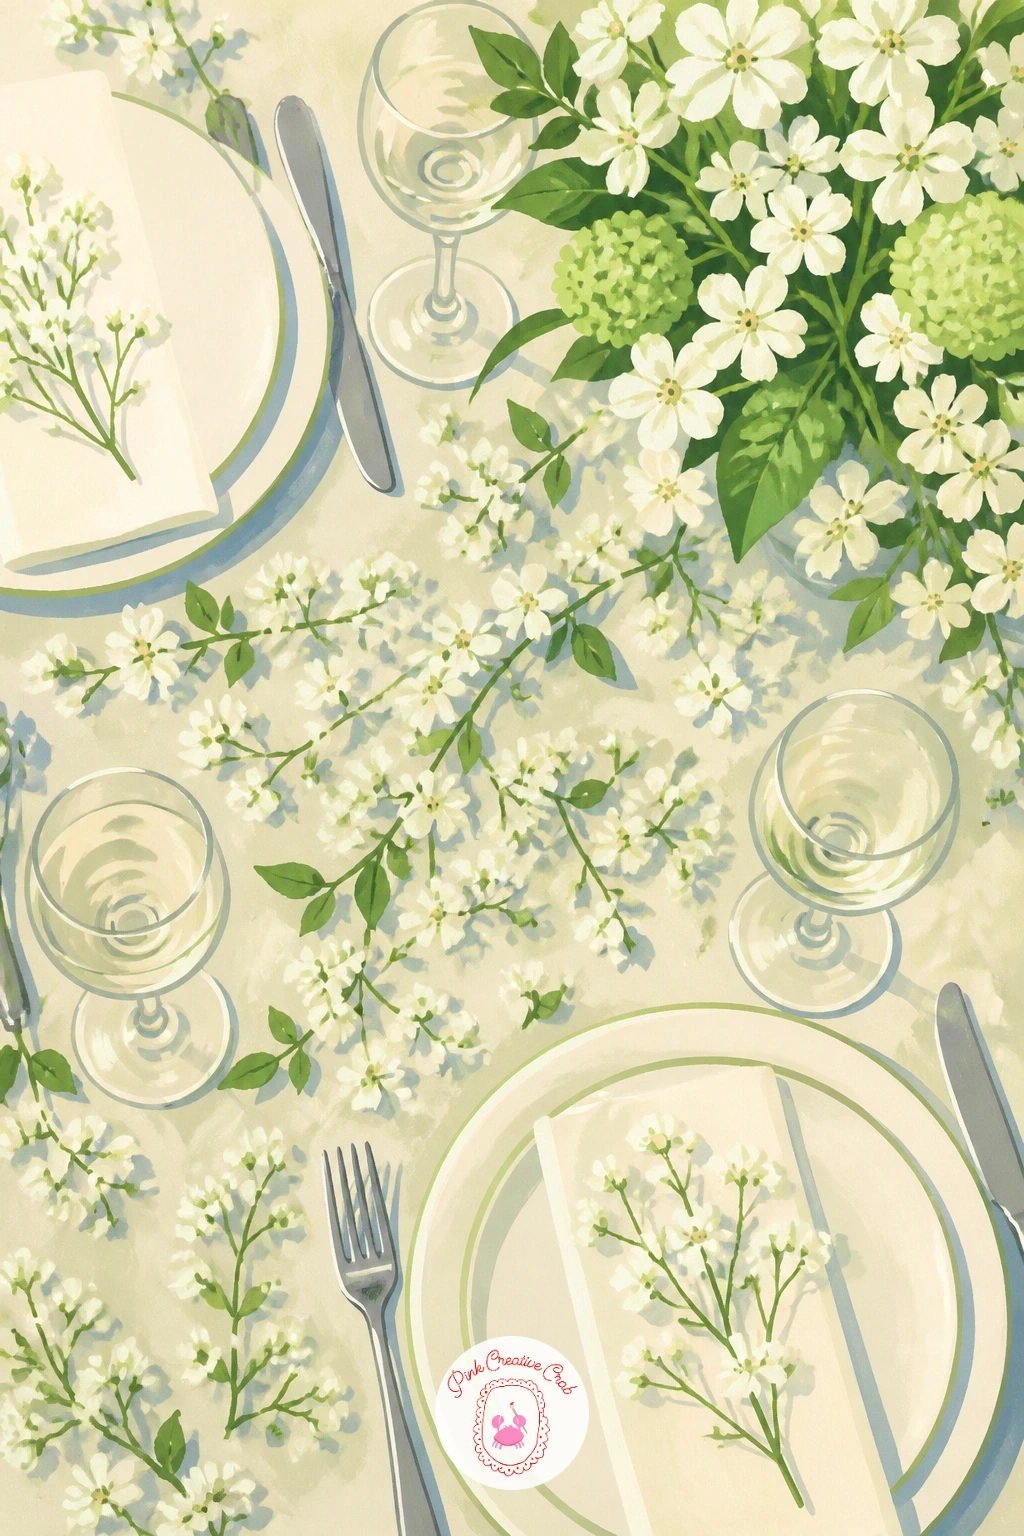
Zoom out to a fuller scene next: a spring wedding table scattered with tiny white flowers among simple place settings. Paint the tablecloth first as a flat pale base, then place one plate and glass to establish scale before adding any flowers, since the table setting anchors how large the florals should be.
Build the floral scatter next, small loose sprigs of mixed white blooms, lily of the valley and a few others from this list, tucked between the place settings rather than gathered in one central vase. Work the nearest sprigs with a touch more detail and let the farther ones on the table blur into simpler shapes.
Trying to render every plate, glass and napkin in full detail pulls focus from the flowers fast. Keep the tableware deliberately simple and let the floral scatter carry most of the visual interest.
A single place setting, rather than a full table, makes a quicker, equally pretty version of the same idea.
Palette: Titanium White,Sap Green,Cream,Pale Blue
Take the view wider again for hawthorn blossom arching over a quiet country lane. Paint the lane first as a simple receding path, narrowing toward the horizon, which sets a clear eye level and gives the hawthorn branches above something to frame.
Build the arching branches next, thick near the base and thinning toward the tips, then cover them with small clustered white blossoms rather than individual flowers, since hawthorn flowers in dense, fluffy masses. Work the blossom clusters with quick dabbed strokes, denser near the branch and looser at the outer edge of each cluster.
Painting the branches too straight and stiff loses the natural arch that makes hawthorn recognizable. Let each branch curve gently and vary the thickness along its length for a more organic shape.
No lane in your reference, a simple grassy path works just as well as the setting underneath.
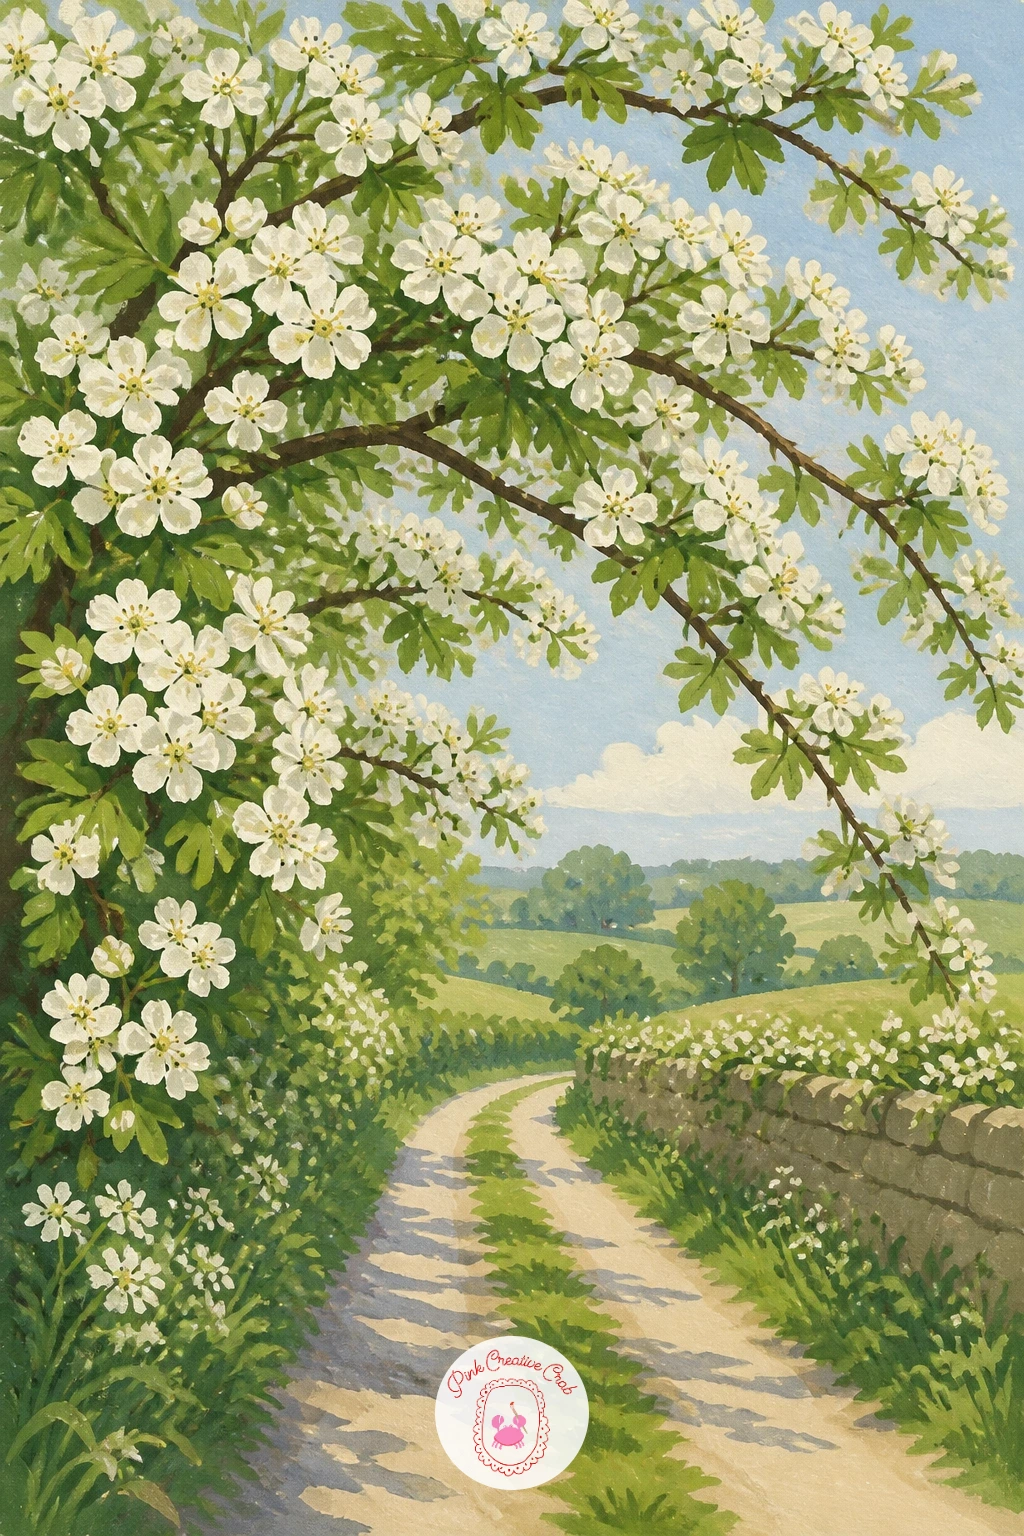
Palette: Titanium White,Sap Green,Soft Brown,Pale Blue
Bring the scale back down for something quick: white freesia in a single slender bud vase. Paint the bud vase first as a very narrow tall shape, checking that its neck is thin enough that only one or two stems could realistically fit, since that narrowness is part of what makes a bud vase read correctly.
Add the freesia stems rising from it next, each curving gently, then build the flowers along one side of each stem, trumpet-shaped blooms opening in a loose row rather than all facing the same direction. Work from the base of the stem to the tip, letting the top buds stay smaller and less open than the ones below.
Freesia stems painted perfectly straight look stiff and artificial. A gentle curve along the stem, with the flowers angled slightly outward from it, gives the whole piece more natural movement.
A simple narrow glass or test tube works fine in place of a proper bud vase.
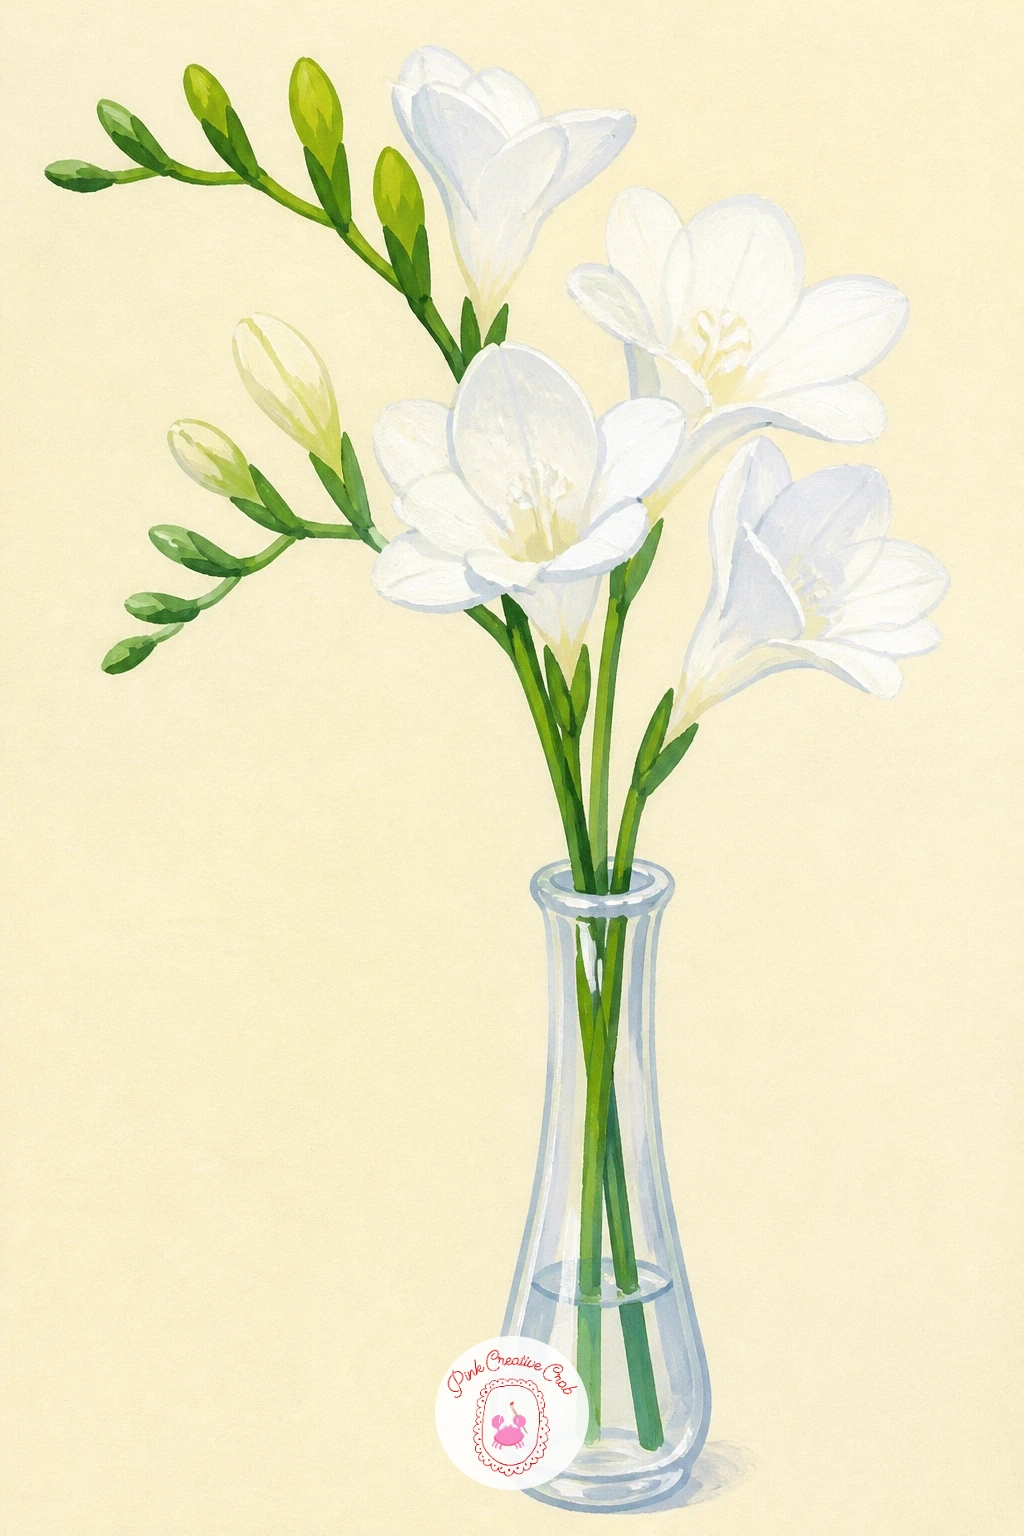
Palette: Titanium White,Sap Green,Pale Blue,Cream
Close the list with something a little grander: a single white magnolia branch laid across a table. Paint the branch first as a simple dark curved line with a few smaller offshoots, since the bare wood needs to feel sturdy enough to carry the large blooms that follow.
Build each magnolia flower next as several broad overlapping petals in soft white, working the largest bloom first to set the scale, then adding smaller buds and partially open flowers along the rest of the branch. Vary the stage of each bloom, from tight bud to fully open, so the branch feels gathered from a real tree rather than uniform.
Painting every petal the same crisp white flattens the flower. A touch of pale cream or the faintest pink mixed into the shadowed side of each petal gives the bloom real volume without much extra work.
For more large, confident floral forms like this one, the approach covered in acrylic painting flowers ideas translates well into bold gouache work too.
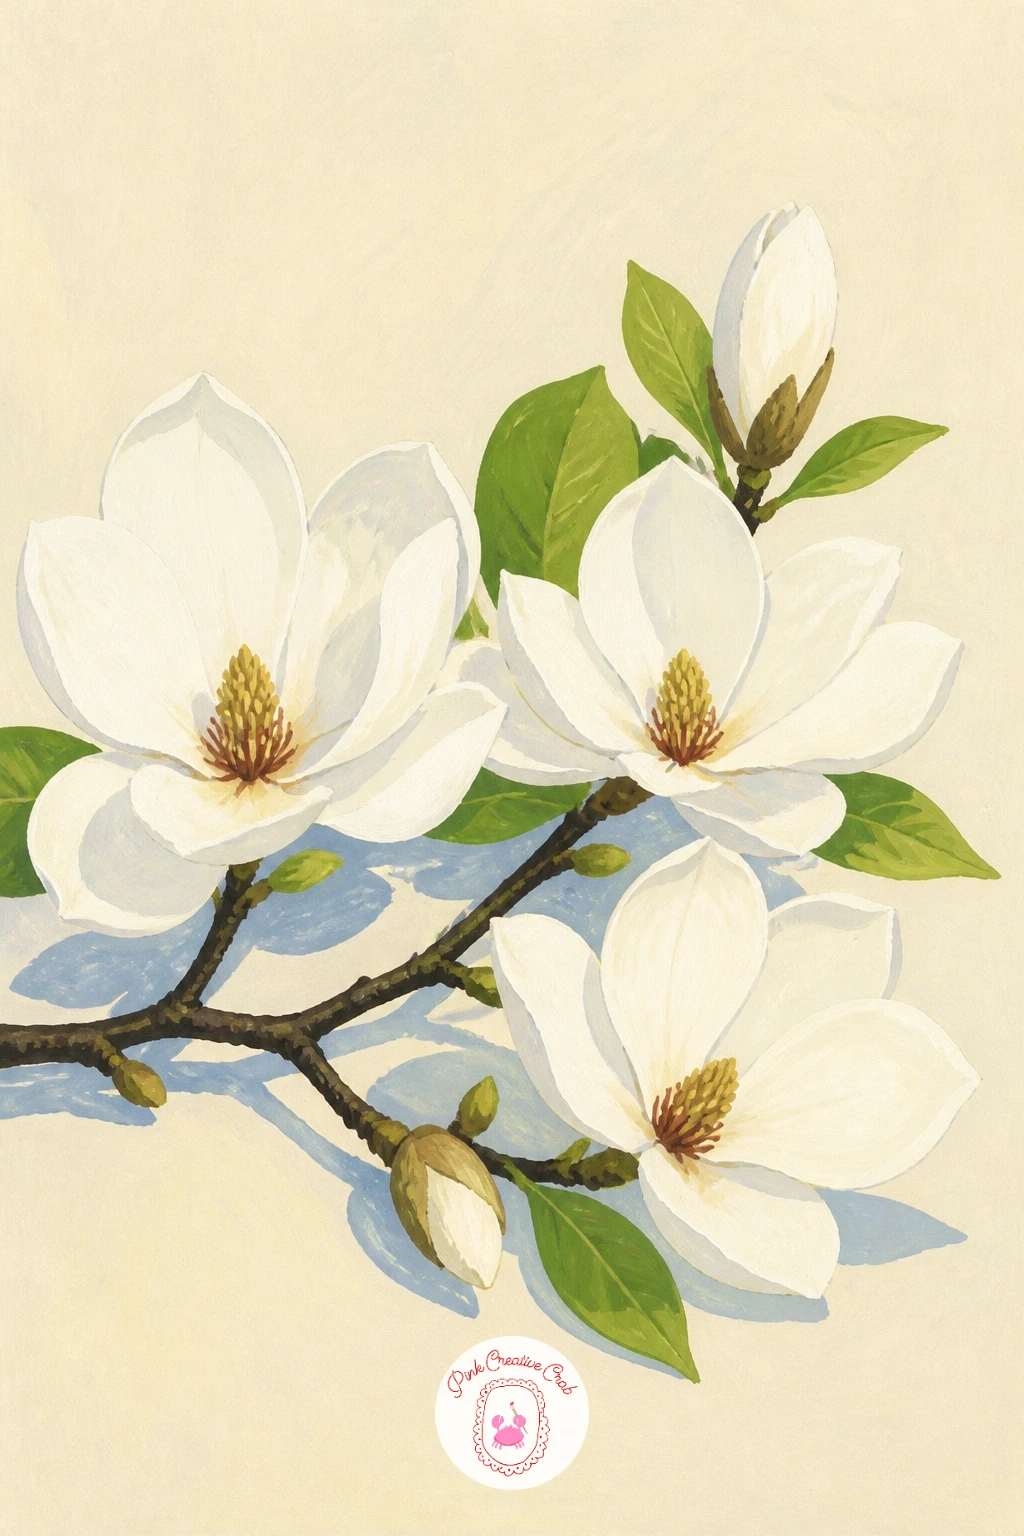
Palette: Titanium White,Cream,Soft Brown,Dusty Rose
What to Do Next
Pick whichever of these little scenes matches your mood today, fill a small sheet of smooth paper, and let the first idea lead you into the next one on a quiet afternoon.
Frequently Asked Questions
What paint works best for a lily of the valley painting?
Gouache works best because its flat opaque coverage keeps the small white bells crisp and clean. Watercolor also works if you prefer transparency, but gouache is far more forgiving for beginners painting tiny repeated shapes.
How do you paint the tiny bell shapes without them looking messy?
Paint each bell as a single small oval rather than a scribbled shape, adding a touch of shadow underneath once dry. A fine round brush or a white gel pen over dry paint keeps the shapes clean and consistent.
What size paper suits these small flower paintings?
A small to medium sheet, around five by seven inches or similar, suits these subjects well since the flowers are meant to feel large and close on the page. Larger paper works too if you want more background detail.
Can these ideas be finished in one sitting?
Yes, every idea here is built from simple flat shapes that come together in under an hour. Simpler single-flower subjects take well under thirty minutes, while fuller scenes with figures or settings take closer to forty.
What if I do not have gouache paint on hand?
Watercolor mixed with a touch of white gouache or acrylic gives a similar flat, opaque finish. Colored pencil or markers also work for these shapes if you prefer a drier medium.
Have any thoughts?
Share your reaction or leave a quick response — we’d love to hear what you think!
-
 0
-
0
-
0
-
0
-
0
-
0


