

Acrylic painting flowers is one of the most joyful and rewarding places to start your painting journey. There is something magical about watching a blank canvas slowly bloom into a garden of color — and the best part? You absolutely do not need to be an expert to make it happen.
Whether you have never picked up a brush before or you are just looking for fresh inspiration, this guide has you covered. Additionally, acrylics are wonderfully beginner-friendly — they dry quickly, clean up with water, and forgive mistakes beautifully. So grab your paints, take a deep breath, and let’s grow something gorgeous together.
Key Takeaways
Acrylic paint is one of the most forgiving mediums for beginners — mistakes dry fast and can be painted right over, so there’s no pressure.
Starting with simple flower shapes like daisies and sunflowers builds your confidence quickly and teaches core techniques you’ll use for every painting.
Learning to mix just a few key colors gives you an endless palette for painting beautiful, realistic flowers without needing dozens of tubes.
Table of Contents
- Start Simple: Paint a Classic Daisy
- Acrylic Painting Flowers with the Petal-by-Petal Method
- Try a Bold Sunflower Step by Step
- Use a Round Brush to Paint Loose Roses
- Layer Acrylic Colors to Build Depth in Flower Petals
- Paint a Wildflower Field with Flat Brushes
- Beginner Acrylic Flower Painting on Black Canvas
- Create Soft Backgrounds to Make Flowers Pop
- Mix Your Own Greens for Natural-Looking Stems and Leaves
- Acrylic Painting Flowers with a Palette Knife
- Try the Fan Brush Technique for Textured Petals
- Paint a Simple Tulip with Just Three Colors
- Use Wet-on-Wet Blending for Silky Flower Gradients
- Acrylic Floral Painting Inspired by Impressionism
- Paint a Cheerful Bunch of Mixed Wildflowers
- Add White Highlights to Make Petals Look Dimensional
- Try Negative Painting to Define Flower Shapes
- Create a Lavender Field Scene for Beginners
- Paint Loose and Expressive Peonies with Big Brushstrokes
- Use Reference Photos to Paint Realistic Flower Details
- Finish Strong: Add Fine Details with a Liner Brush
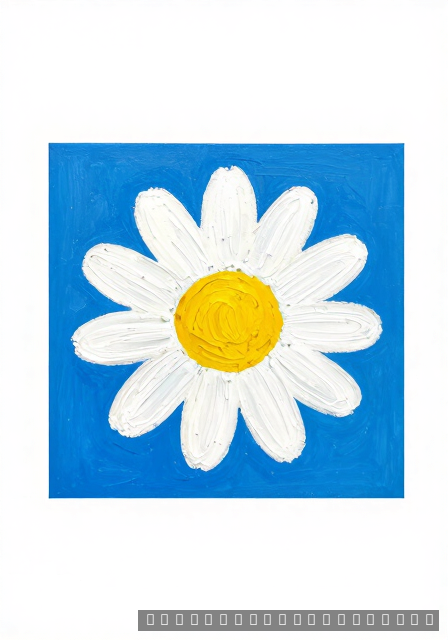
Start Simple: Paint a Classic Daisy
Daisies are honestly the perfect first flower to paint with acrylics. Because they have simple, recognizable shapes, you can focus on brush control without feeling overwhelmed. Start with a soft yellow circle for the center, then add white petals radiating outward. Even imperfect petals look charming, so please don’t stress about making them identical!
Additionally, daisies teach you a wonderful foundational skill: painting light colors over dark backgrounds. Try a mid-blue or green background first, then layer your white petals on top. As a result, your flower will pop beautifully. Meanwhile, a tiny dot of cadmium yellow in the center adds instant life and warmth to the whole painting.
For your first daisy session, however, keep your supplies minimal and enjoyable. A few basic brushes and a starter acrylic set are truly all you need. Check out these beginner-friendly acrylic paint sets for flowers to get started with confidence today!
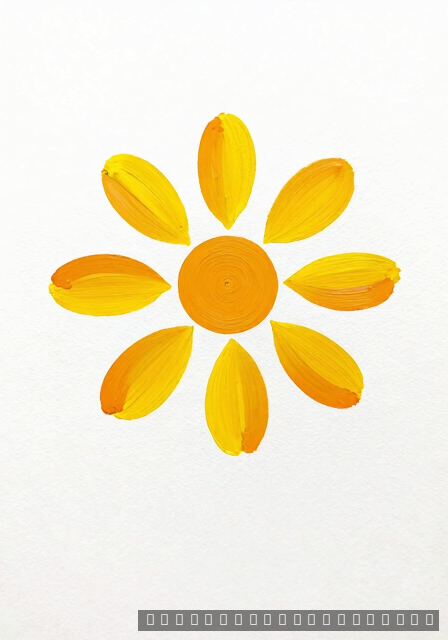
Acrylic Painting Flowers with the Petal-by-Petal Method
The petal-by-petal method is a wonderful gift for beginners because it completely removes the guesswork from flower painting. Instead of trying to paint the whole flower at once, you simply focus on one petal at a time. Therefore, each brushstroke feels manageable and satisfying rather than stressful. Many students find this approach genuinely relaxing once they get started!
To begin, lightly sketch your flower shape with a pencil or thin paint. Then, working petal by petal, apply your base color using smooth, confident strokes. Additionally, you can add a slightly darker shade along one edge of each petal to suggest gentle shadow. However, don’t overthink it — even simple two-tone petals look impressively realistic. Because acrylics dry quickly, you can build layers without long waits between steps.
Having the right brushes truly makes this method shine. Flat and filbert brushes work especially well for individual petals. These acrylic painting brushes for beginners are a great investment for your flower painting journey!
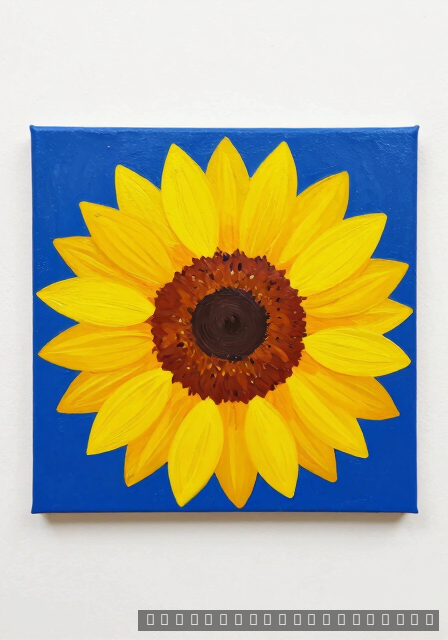
Try a Bold Sunflower Step by Step
Sunflowers are absolutely made for acrylic painting beginners! Because they are bold, bright, and full of personality, small imperfections actually add to their charm rather than taking away from it. Start with a rich dark brown or burnt umber circle for the center, then build outward with layers of golden yellow petals. Honestly, the messier your petals look, the more energy and life your sunflower has!
Meanwhile, adding depth is easier than you might think. Simply mix a touch of orange into your yellow for the shadowed petal edges, then highlight the tips with pale yellow or even a tiny hint of white. As a result, your sunflower will look textured and dimensional rather than flat. Additionally, a simple green or deep blue background helps your golden blooms absolutely glow on the canvas.
For bold, rich sunflower colors, quality acrylic paints make a real difference. Therefore, treat yourself to a reliable set you’ll reach for again and again. These bright acrylic paints for sunflower painting will keep your yellows vivid and beautiful!
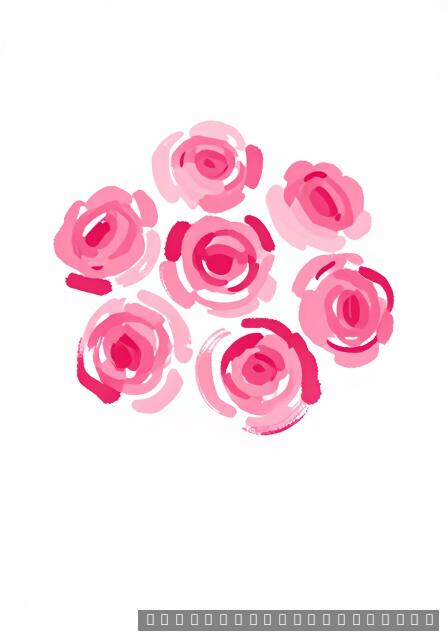
Use a Round Brush to Paint Loose Roses
Loose, impressionistic roses are one of the most rewarding things you can learn to paint with acrylics. However, many beginners assume roses are too complicated — and that simply isn’t true! Using a round brush, you can create gorgeous roses with just a few confident, sweeping strokes. The secret is to think of the rose as a spiral of overlapping curves rather than a perfectly detailed flower.
Begin with your deepest shadow color, such as deep magenta or burgundy, at the center of your rose. Then, working outward, gradually lighten your color by adding white or a touch of pink. Because acrylics blend beautifully while still wet, you can soften harsh lines easily. Additionally, don’t worry about painting every petal — suggested shapes read as roses just as convincingly as detailed ones do. For example, three or four confident curved strokes can create a completely believable bloom!
A good quality round brush is genuinely your best friend for this technique. Therefore, investing in even one great brush pays off immediately. Try these round brushes for acrylic flower painting for smooth, expressive results!
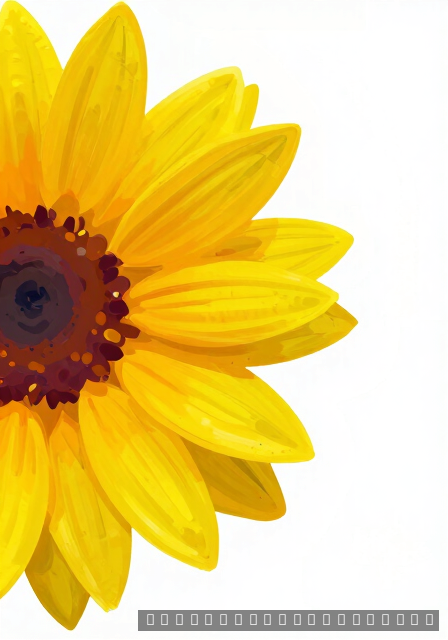
Layer Acrylic Colors to Build Depth in Flower Petals
One of the most magical things about acrylic painting flowers is how layering transforms flat shapes into something that feels genuinely three-dimensional. Because acrylics dry so quickly, you can add layer upon layer without muddying your colors. Start with your darkest shadow tones first, then gradually work toward your lightest highlights. As a result, your petals gain beautiful depth and a sense of soft, natural light falling across them.
Additionally, you don’t need many colors to achieve this effect. For example, a simple rose can be built using just three values: a deep shadow pink, a mid-tone base, and a bright highlight. However, the blending between these values is where the real magic happens. Try gently dry-brushing lighter colors over dried darker layers to create soft, feathery transitions that look incredibly realistic.
Understanding how colors interact makes layering even more rewarding. Our Color Mixing Guide: Everything You Need to Know is a wonderful companion resource for this technique. Meanwhile, stocking up on acrylic medium for blending flowers helps you achieve those beautifully smooth transitions!
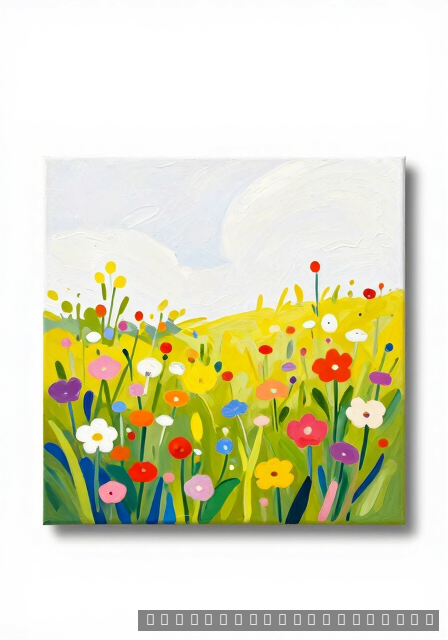
Paint a Wildflower Field with Flat Brushes
Painting a wildflower field feels ambitious, but with flat brushes it is honestly one of the most approachable and joyful projects for beginners! Because flat brushes create natural dabbing and stippling textures, they mimic clusters of small flowers effortlessly. Start with a soft sky background and a simple green base for your meadow. Then, layer loose impressionistic flower shapes on top using confident, upward flicking strokes.
Meanwhile, the beauty of wildflower paintings is their wonderful freedom from perfection. Unlike painting a single detailed bloom, a field painting invites you to be loose and spontaneous. Therefore, load your flat brush generously and tap, drag, and flick color across your canvas. Additionally, try mixing unexpected colors like lavender against warm oranges or soft pinks beside bright yellow — wildflowers are naturally joyfully chaotic!
If you enjoy this impressionistic approach to painting, you might also love exploring other mediums. For example, check out Acrylic vs Watercolor vs Oil vs Gouache: Which Medium Should You Choose? for inspiration. Also, these flat brushes for acrylic landscape painting are fantastic for creating lush, textured meadow scenes!
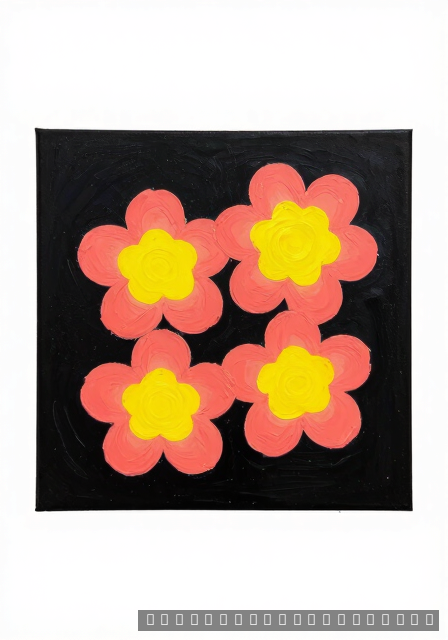
Beginner Acrylic Flower Painting on Black Canvas
Painting on a black canvas feels a little daring, but it is genuinely one of the most beginner-friendly surfaces you can work on! Because the dark background does so much visual work for you, even simple flower shapes instantly look dramatic and polished. Bright acrylics like coral, violet, and golden yellow glow magnificently against black in a way that white canvas simply cannot replicate. Therefore, this is a wonderful technique for building confidence quickly.
Additionally, you don’t need to worry about leaving gaps in your painting — any unpainted areas simply become beautiful dark shadows automatically. Start with the brightest parts of your flower first, then add darker mid-tones last. However, make sure your acrylics are applied generously and opaquely, as thin layers may look washed out against the dark surface. As a result, your flowers will look richly saturated and strikingly luminous.
For even more foundational painting confidence before your next project, the Art Fundamentals: Complete Guide to Drawing & Painting Basics is a brilliant resource. Meanwhile, grab yourself some beautiful black canvas panels for acrylic painting and let your flowers truly shine!
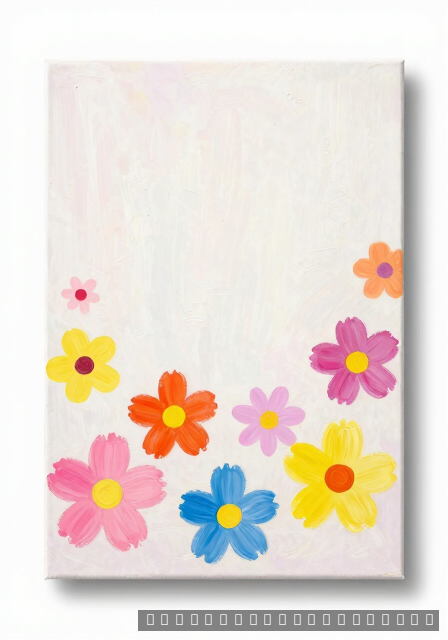
Create Soft Backgrounds to Make Flowers Pop
A beautiful background can completely transform your flower painting. However, many beginners skip this step and wonder why their flowers look flat. The good news? Soft, blended backgrounds are surprisingly easy with acrylics. Simply wet your canvas, apply two or three diluted colors, and gently blend them together while still wet. Because acrylics dry quickly, working in small sections helps a lot.
Additionally, choosing muted or contrasting background colors makes your flowers stand out naturally. For example, a soft grey-blue background makes warm pink roses absolutely glow. Therefore, think of your background as the stage that lets your flowers perform. You do not need perfection here — soft and slightly uneven backgrounds actually look more organic and lovely.
Experimenting with backgrounds is genuinely fun, and every attempt teaches you something new. To get started smoothly, grab a set of soft blending acrylic paints that mix and dilute beautifully for creating dreamy, effortless backgrounds behind your flowers.
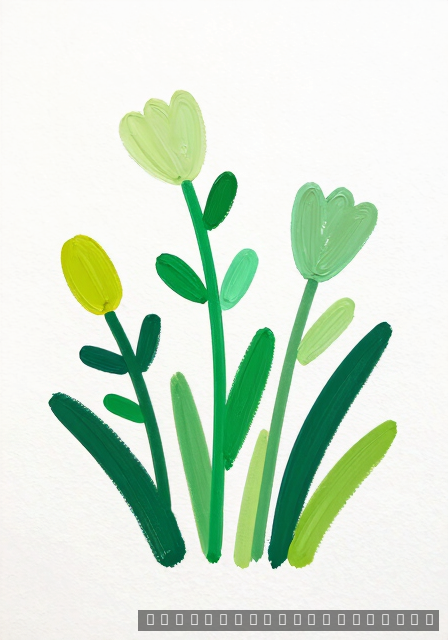
Mix Your Own Greens for Natural-Looking Stems and Leaves
Store-bought green straight from the tube can look surprisingly artificial on flowers. However, mixing your own greens is easier than you think, and the results are so much more natural. Simply combine blues and yellows in different ratios to create warm, cool, light, and dark greens. For example, adding a touch of red or brown tones down bright greens into rich, earthy shades perfect for stems.
Additionally, varying your greens across a single painting adds incredible depth. Because leaves in real life are never one single shade, using three or four mixed greens instantly makes your painting feel alive. Therefore, do not be afraid to experiment on a scrap piece of paper first. Small tests save big frustration later, and they are genuinely satisfying little discoveries.
For a deeper understanding of mixing all kinds of colors beautifully, check out this fantastic Color Mixing Guide: Everything You Need to Know. Meanwhile, stock up with a great yellow and blue acrylic paint mixing set to start blending gorgeous natural greens today.
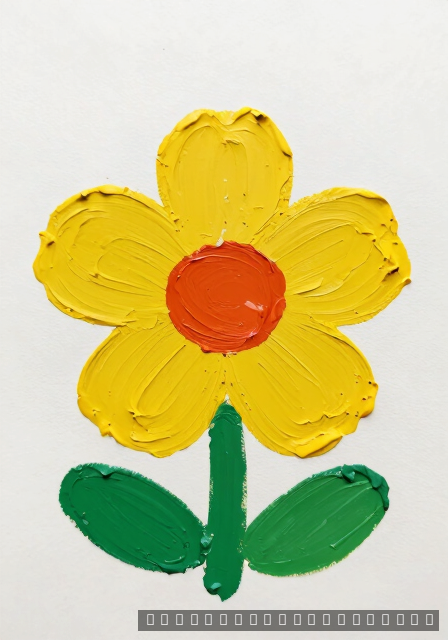
Acrylic Painting Flowers with a Palette Knife
Painting flowers with a palette knife feels almost like sculpting, and it is incredibly exciting for beginners. However, most people assume palette knives are only for professionals. That is simply not true! Because acrylic paint is thick and forgiving, a palette knife lets you create bold, textured petals with satisfying swoops and dabs. Each stroke looks uniquely expressive and beautifully imperfect.
Additionally, palette knife flowers often look more dynamic and lively than brush-painted ones. For example, loading your knife with two colors at once creates gorgeous natural blending within a single petal stroke. Therefore, try simple flowers like roses or dahlias first, where layered petals hide any wobbles. As a result, your confidence builds quickly with every colorful swipe.
Palette knife painting is one of those techniques that immediately feels rewarding, even on your very first attempt. To dive in, pick up a set of flexible painting palette knives for acrylics — they come in various shapes, and each one creates a wonderfully different petal texture.
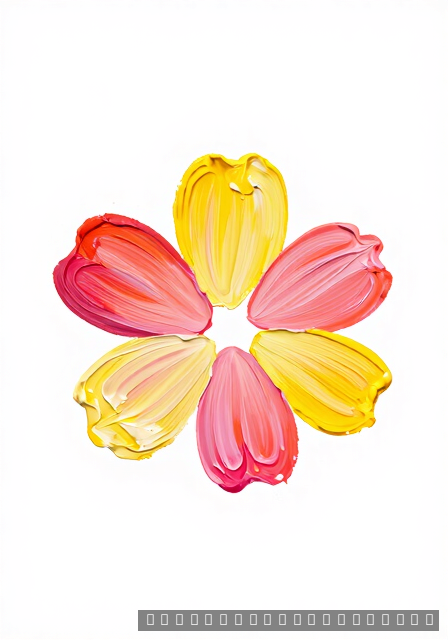
Try the Fan Brush Technique for Textured Petals
A fan brush is one of the most underrated tools for painting flowers, and beginners absolutely love it. Because its spread-out bristles create multiple marks at once, a single stroke can suggest several delicate petals simultaneously. Therefore, flowers like chrysanthemums, daisies, and wildflowers become almost effortless. Simply load the brush lightly, then sweep outward from the flower center for instant petal magic.
Additionally, varying your pressure changes the effect beautifully. Light pressure creates wispy, delicate petals, while firmer pressure makes broader, more solid strokes. For example, layering light strokes over dried darker ones adds wonderful depth and dimension. However, remember to clean your fan brush gently — the splayed bristles need a little extra care between colors.
This technique is genuinely one of the most fun surprises in acrylic painting, and results come quickly even for total beginners. Grab a good fan brush set for acrylic painting and start experimenting today — you will be amazed at the beautiful textured petals you create on your very first try.
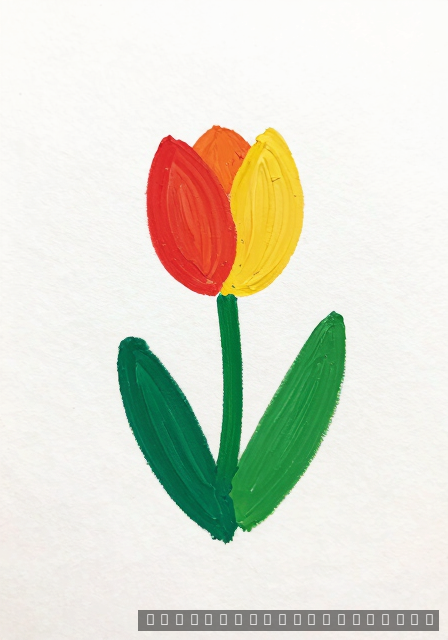
Paint a Simple Tulip with Just Three Colors
Tulips are honestly the perfect beginner flower, and painting one with only three colors is a wonderful confidence-building exercise. Because their shape is simple and bold, you do not need dozens of shades to make them look convincing. Choose one main petal color, one darker shade for shadows, and one lighter shade for highlights. As a result, you learn the fundamentals of light and depth without feeling overwhelmed.
Additionally, this three-color approach teaches you something valuable — painting is about observation, not complexity. For example, a red tulip can look stunningly realistic with just crimson, dark burgundy, and soft coral. Therefore, mix these three shades first before touching your canvas. Having your colors ready in advance makes the whole painting process feel calm and enjoyable.
If you want to build strong painting fundamentals beyond this exercise, the Art Fundamentals: Complete Guide to Drawing & Painting Basics is a wonderful resource. Meanwhile, start your tulip today with a beginner-friendly three primary color acrylic paint starter set that makes mixing simple and fun.
Use Wet-on-Wet Blending for Silky Flower Gradients
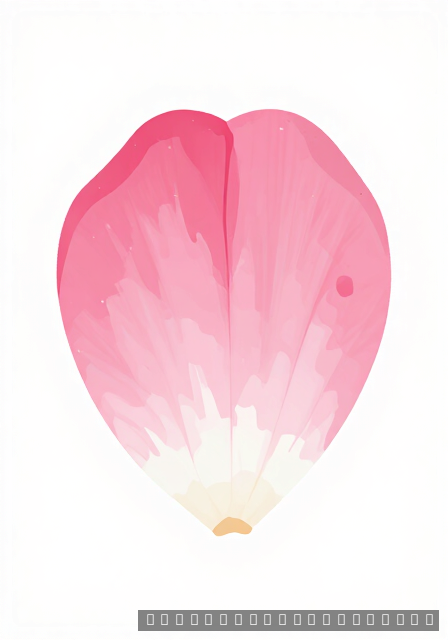
Wet-on-wet blending creates the most gorgeous silky gradients in flower petals, and it is easier with acrylics than most beginners expect. However, timing is everything — you need to work while both paint layers are still wet. Therefore, mix your colors in advance and work confidently and quickly. Adding a small amount of acrylic retarder to your paint slows drying time, giving you precious extra blending minutes.
Additionally, this technique works beautifully for flowers with naturally gradated petals, like peonies, roses, and morning glories. For example, blending deep magenta into soft pink at petal edges creates an almost watercolor-like softness. Because acrylics are opaque, you can also correct mistakes easily by painting over dried areas. As a result, there is genuinely very little to fear when experimenting with this approach.
If you enjoy soft blending effects, you might also love exploring the Watercolor Painting: The Ultimate Beginner to Advanced Guide for comparison. For now, try blending with an acrylic retarder medium and soft brush set to achieve those dreamy, silky flower gradients you have been admiring.
Acrylic Floral Painting Inspired by Impressionism
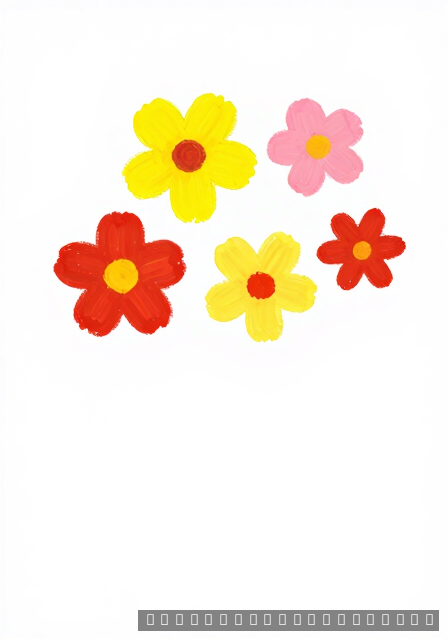
Impressionist-style flower painting is wonderfully freeing, especially for beginners who worry too much about getting things exactly right. Because Impressionism celebrates loose, energetic brushwork over precise detail, small imperfections actually add to the charm. Therefore, think short dabs, broken color, and lively marks rather than careful outlines. Artists like Monet and Renoir used this approach to make flowers feel alive with light and movement.
Additionally, color is everything in Impressionist painting. For example, instead of mixing one flat pink, dab several pinks, lilacs, and creamy whites side by side and let the viewer’s eye blend them naturally. However, try not to overwork areas — knowing when to stop is part of the beauty. As a result, Impressionist florals often look more vibrant and joyful than highly detailed paintings.
If you are curious about how different painting styles and mediums compare, the Acrylic vs Watercolor vs Oil vs Gouache: Which Medium Should You Choose? guide is a fantastic read. Meanwhile, gather your supplies with a beautiful Impressionist style acrylic paint and brush set and start dabbing your way to gorgeous, light-filled floral paintings.
Paint a Cheerful Bunch of Mixed Wildflowers
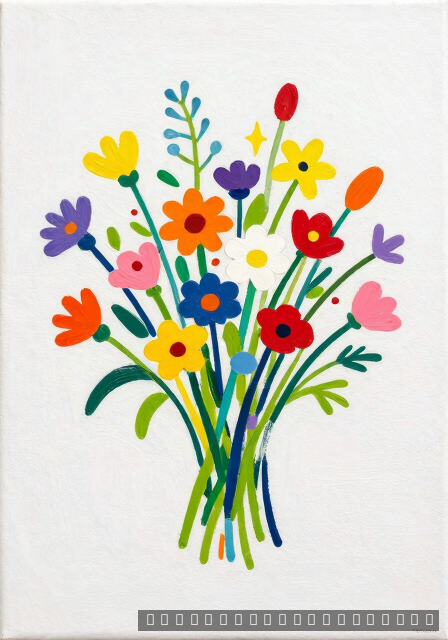
Mixed wildflowers are one of the most forgiving subjects you can paint with acrylics. Because wildflowers come in all shapes and sizes, there is no such thing as a “wrong” flower here. Simply gather a few reference images, pick three or four flower types you love, and start placing loose shapes on your canvas. Daisies, black-eyed Susans, and simple five-petal blooms are wonderful starting points.
Additionally, mixing flower types adds natural variety without requiring perfection. Try alternating warm and cool colors throughout your bunch for a lively, garden-fresh feeling. However, do not worry about making every stem perfectly straight. A slight curve actually looks more realistic and relaxed.
As you build confidence, layering colors will make your bouquet feel full and vibrant. For smooth color mixing and coverage, high-quality acrylic craft paint sets are a fantastic investment that will carry you through dozens of cheerful projects.
Add White Highlights to Make Petals Look Dimensional
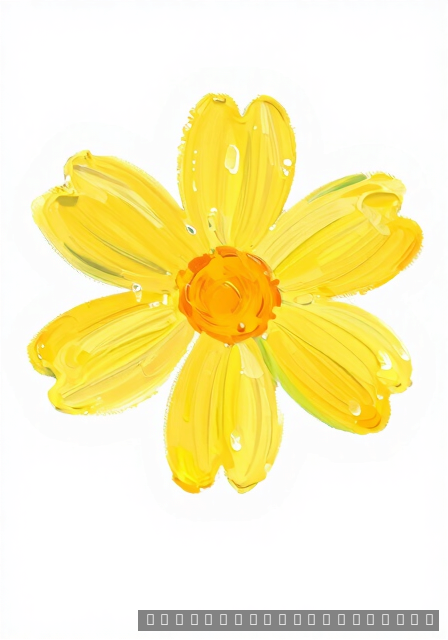
White highlights are truly magical. Just a tiny stroke of white or light cream paint on the edge of a petal can make a flat flower suddenly look three-dimensional. Because acrylic paint dries quickly, you can add highlights in just minutes after your base layer is set. That fast drying time is one of the best advantages of this medium.
However, less is definitely more when it comes to highlights. Try loading just a small amount of paint onto the tip of a round brush and gently dragging it along the lightest edge of each petal. Meanwhile, keep your other hand steady by resting it lightly on the canvas edge.
For best results, practice this technique on a spare piece of paper before committing to your painting. A detail round brush set will give you precise, controlled strokes that make your highlights look confident and clean.
Try Negative Painting to Define Flower Shapes
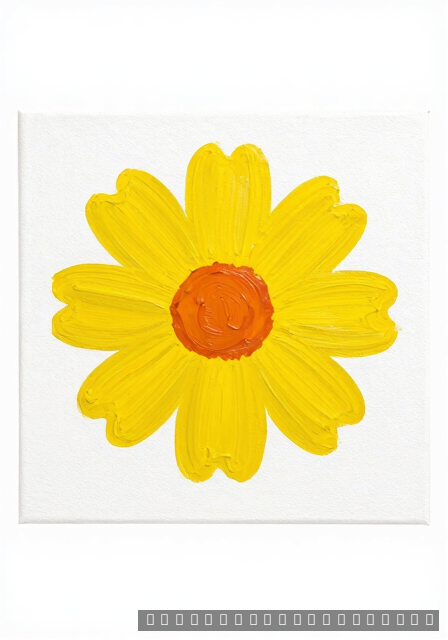
Negative painting is a technique that sounds tricky but is actually very beginner-friendly. Instead of painting the flower itself, you paint the background around it. As a result, the flower shape is revealed through the contrast between the background color and the unpainted area. It is a clever way to create crisp, beautiful flower outlines without needing a steady hand for outlines.
For example, start by sketching your flower lightly in pencil. Then mix a deep background color, such as a rich forest green or dark navy, and paint carefully around your flower shape. Additionally, soft edges around some petals can actually make the composition feel more natural and painterly.
This technique pairs beautifully with the layering methods described in the Color Mixing Guide: Everything You Need to Know. To get started, try a set of flat and filbert acrylic brushes that make controlled background coverage easy and satisfying.
Create a Lavender Field Scene for Beginners
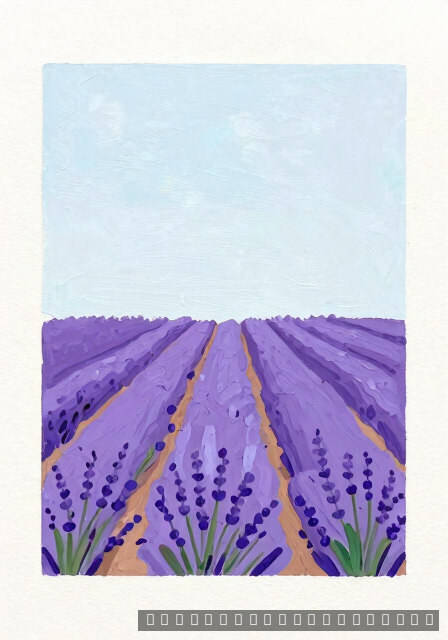
A lavender field painting is one of the most soothing and rewarding projects a beginner can try. Because lavender is essentially clusters of tiny purple blooms on green stems, you can create the whole field with simple dabbing and dragging brushstrokes. No intricate detail is needed, and that is what makes this scene so approachable and fun.
Start by painting a soft blue-purple sky and a simple green ground. Then, using a small fan brush or stiff bristle brush, dab mixtures of purple, violet, and lavender from the bottom of your canvas upward. Meanwhile, leave a little sky peeking between the rows for an airy, open feeling.
For a deeper understanding of the color palette choices that make lavender scenes glow, the Color Mixing Guide: Everything You Need to Know is a wonderful companion resource. A fan brush set for acrylic painting will help you build those dreamy textured rows effortlessly.
Paint Loose and Expressive Peonies with Big Brushstrokes
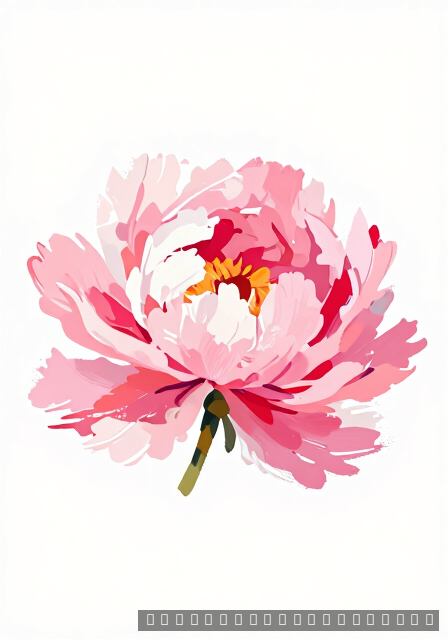
Peonies look incredibly complex, but here is a secret: loose and expressive brushwork actually captures their fluffy, layered beauty better than tight, careful painting. Because peonies have so many soft petals, bold strokes in slightly varied pinks and creams mimic that lush texture naturally. Give yourself permission to paint freely, and the results will genuinely surprise you.
Start with a mid-tone pink base for the whole flower shape. Then, using a flat or filbert brush, sweep curving strokes of lighter pink, coral, and white from the outer edges inward. Additionally, a few darker shadow tones tucked between petals will add wonderful depth.
Expressive painting like this is deeply connected to foundational art skills. If you want to strengthen your overall painting confidence, the Art Fundamentals: Complete Guide to Drawing & Painting Basics is an excellent resource. For this project, a large flat and filbert brush set will give your peonies that beautifully bold, gallery-worthy look.
Use Reference Photos to Paint Realistic Flower Details
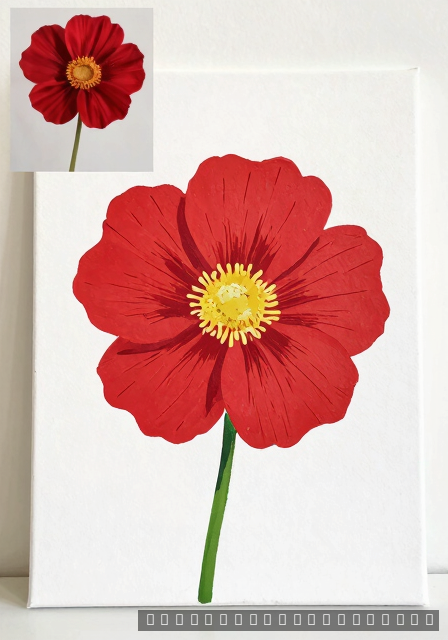
Reference photos are one of the most powerful tools available to beginner painters. Because real flowers have such intricate details, having a clear photo nearby helps you notice subtle color shifts, vein patterns, and petal curves you might otherwise guess at. Do not feel like using a reference is cheating. Every professional artist does it.
However, the goal is not to copy every single detail. Instead, focus on the most important shapes and color areas first, then add smaller details in later layers. For example, notice where light hits the petals and where shadows gather between them. Those two observations alone will make your painting look surprisingly realistic.
Additionally, learning to observe carefully is a skill that transfers across all art forms. The Pencil Drawing: Complete Beginner to Advanced Guide covers observation techniques beautifully. To capture fine details accurately, a set of fine detail acrylic paint brushes will become your best friends.
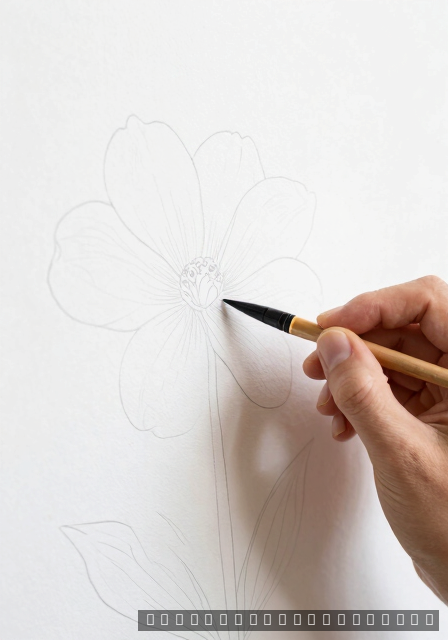
Finish Strong: Add Fine Details with a Liner Brush
You have built your layers, painted your petals, and your flower painting is looking wonderful. Now it is time for the finishing touch: fine details with a liner brush. These tiny strokes, such as stamens, vein lines, and small petal edges, are what transform a good painting into a great one. Because a liner brush holds a lot of paint in its long bristles, it glides smoothly for those delicate finishing lines.
Thin your acrylic paint slightly with water so it flows easily from the brush tip. Then, with a relaxed hand, add small lines and dots where needed. Meanwhile, stand back frequently to check whether each detail is actually improving the painting or adding visual clutter. Sometimes less is truly more.
Finishing details are a skill worth developing across every medium. For more technique inspiration, the Art Fundamentals: Complete Guide to Drawing & Painting Basics is a fantastic resource. To nail those finishing touches, a liner brush set for acrylic painting will give you the precision and confidence to finish every painting strong.
Final Thoughts
You have just discovered 21 wonderful ways to dive into acrylic painting flowers, and honestly, any one of them is the perfect place to start. Remember, every great artist began exactly where you are right now — standing in front of a blank canvas, brush in hand, wondering if they could really do this. The answer, for you, is a resounding yes.
Therefore, do not worry about making everything look perfect. Instead, focus on enjoying the process, celebrating each petal you paint, and noticing how much you improve with every single session. Even a wobbly daisy is a victory worth cheering, because you made something from nothing — and that is genuinely wonderful.
So pick your favorite idea from this list, set up your paints, and let the flowers flow. Share your creations with a friend, post them online, or simply hang them on your wall with pride. However you choose to celebrate, just know that your art matters and your creative journey is only just beginning. Happy painting!
Frequently Asked Questions
How do you paint flowers with acrylics for beginners?
Start with simple shapes like daisies or tulips, because these have easy, recognizable forms. First, lightly sketch your flower with pencil. Then block in the base colors and build up layers gradually. Additionally, use a round brush for petals and don’t overblend — fresh, confident strokes look beautiful. Practice makes each painting better than the last.
What brushes do you use for acrylic flower painting?
A round brush is your best friend for painting petals, however a flat brush works wonderfully for broad background washes. Additionally, a liner or detail brush helps add fine stems and highlights. For beginners, a basic set of three — round, flat, and liner — covers almost everything. Therefore, you don’t need to invest in dozens of brushes right away.
How do you blend acrylic paint for flowers?
Blending acrylics requires working quickly because the paint dries fast. However, adding a small amount of acrylic retarder slows drying time and makes blending easier. Additionally, you can use the wet-on-wet technique by painting a second color directly onto a still-wet base. For example, blending pink into white creates gorgeous soft petal gradients with minimal effort.
What are the best acrylic colors for painting flowers?
A simple starter palette includes Titanium White, Cadmium Yellow, Cadmium Red, Magenta, Ultramarine Blue, and Burnt Sienna. Additionally, Sap Green and Yellow Ochre handle most leaves and stems beautifully. Therefore, you can mix hundreds of flower colors from just these few tubes. For example, mixing red and white gives you every shade of pink you could need.
How do you paint realistic rose petals with acrylics?
Start by painting the darkest shadow color first, because this gives you a foundation to build on. Then add your mid-tone base color over most of the petal. Additionally, use a lighter mix or white to paint curved highlight strokes along the petal edges. The key is layering gradually rather than rushing. As a result, your roses will look naturally dimensional and beautiful.
Can you paint flowers on canvas with acrylic paint?
Absolutely — canvas is actually one of the best surfaces for acrylic flower painting! Stretched canvas and canvas boards are both excellent options for beginners. Additionally, acrylics adhere beautifully to canvas without any special preparation. However, a light gesso primer coat improves coverage and makes colors look more vibrant. Therefore, canvas is highly recommended as your go-to surface.
How do you paint loose floral paintings with acrylics?
Loose floral paintings rely on confident, gestural brushstrokes rather than careful detail. Therefore, use a larger round brush and load it with plenty of paint. Additionally, try not to overwork each stroke — place it and move on. For example, a single curved stroke can suggest a petal perfectly. Embracing happy accidents is also key, because looseness is all about freedom and expression.
What techniques are used for acrylic flower painting?
Popular techniques include wet-on-wet blending, dry brushing for texture, palette knife painting, and layering. Additionally, negative painting — painting the background around flower shapes — creates striking results. Stippling with a sponge adds lovely petal texture, however glazing thin transparent layers builds incredible depth. Therefore, experimenting with several techniques helps you discover what suits your personal painting style best.
How long does it take to learn to paint flowers with acrylics?
You can paint a recognizable, beautiful flower in your very first session — honestly! However, building real confidence typically takes a few weeks of regular practice. Additionally, painting for even 20–30 minutes a few times per week leads to noticeable improvement quite quickly. Therefore, consistency matters far more than long marathon sessions. Most beginners feel genuinely proud of their results within the first month.
How do you paint a sunflower step by step with acrylics?
Start by painting a dark brown circle for the center. Then use Cadmium Yellow to paint individual petal shapes radiating outward. Additionally, add Yellow Ochre shading at the base of each petal for depth, and use bright yellow highlights at the tips. Next, paint the green stem and leaves. Finally, add texture details to the center using Burnt Sienna and a small round brush.
Have any thoughts?
Share your reaction or leave a quick response — we’d love to hear what you think!
-
 0
0 -
0
-
0
-
0
-
0
-
0


