

⭐ Key Takeaways
✦ Mastering light and shadow is the single biggest skill that makes painted food look real and three-dimensional.
✦ Layering thin glazes of acrylic color builds rich, luminous depth that makes food subjects glow from within.
✦ Texture techniques like dry brushing, palette knife marks, and stippling are what separate good food paintings from truly mouth-watering ones.
Acrylic painting food is one of the most rewarding and surprisingly joyful subjects any advanced artist can explore. There is something truly magical about recreating the glossy skin of a ripe tomato or the golden crust of a fresh-baked loaf entirely from pigment and skill. Food invites viewers in. It stirs memory, warmth, and hunger all at once.
However, painting food convincingly takes more than just picking up a brush. It requires understanding how light behaves on different surfaces, how colors shift in shadow, and how texture tells a story. Additionally, advanced acrylics offer a stunning toolkit for all of this — fast drying times, rich layering potential, and incredible versatility. Therefore, whether you are painting a humble bowl of strawberries or an elaborate patisserie scene, these 15 ideas will inspire you to push your skills further and have a wonderful time doing it.
Table of Contents
- The Secret to Painting Glossy Cherries That Look Good Enough to Eat
- How a Single Light Source Transforms Your Acrylic Painting Food From Flat to Stunning
- Pure Magic: Capturing the Translucent Glow of Fresh-Cut Citrus in Acrylics
- That Dreamy Moment When a Bowl of Strawberries Comes Alive on Your Canvas
- Unbelievably Satisfying: Mastering the Crackled Crust of Freshly Baked Bread
- 5 Glazing Layers That Give Painted Honey the Most Irresistible Golden Depth
- Why Painting a Humble Garlic Bulb Might Be the Best Exercise for Advanced Artists
- So Cozy and Warm: Painting a Steaming Mug of Hot Chocolate With Acrylics
- The Trick to Painting Realistic Blueberries With That Perfect Dusty Bloom
- Surprisingly Emotional: How a Classic Fruit Still Life Teaches Everything About Color
- Making Chocolate Look Rich, Dark, and Utterly Decadent With Acrylic Layers
- 3 Palette Knife Moves That Instantly Nail the Fluffy Texture of Whipped Cream
- Painting the Soft, Pillowy Folds of Fresh Pasta — and Loving Every Single Second
- Wondrous and Detailed: Exploring Acrylic Painting Food With a Lush Market Scene
- The Juiciest Watermelon Slice You Will Ever Paint With Acrylics — Start to Finish
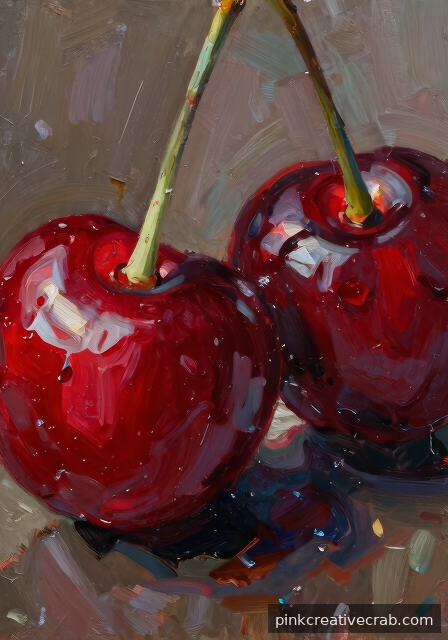
The Secret to Painting Glossy Cherries That Look Good Enough to Eat
Glossy cherries are one of those subjects that look incredibly impressive yet are surprisingly approachable once you understand the formula. The secret lies in layering — building up deep, rich reds first, then allowing each layer to dry completely before adding the next. Because acrylics dry fast, you can move through these stages quickly, which makes cherries a genuinely rewarding subject for advanced painters.
Additionally, the highlight placement makes all the difference. That bright, sharp white dot sitting slightly off-center is what transforms a flat red circle into a juicy, three-dimensional fruit. However, many artists rush this step. Instead, take your time and use a tiny round brush with a confident, single stroke.
For blending the deep shadow tones, a softening brush works beautifully — try a small blending brush set for acrylics to get those smooth transitions. Meanwhile, checking out our Color Mixing Guide: Everything You Need to Know will help you nail that luscious cherry red perfectly.
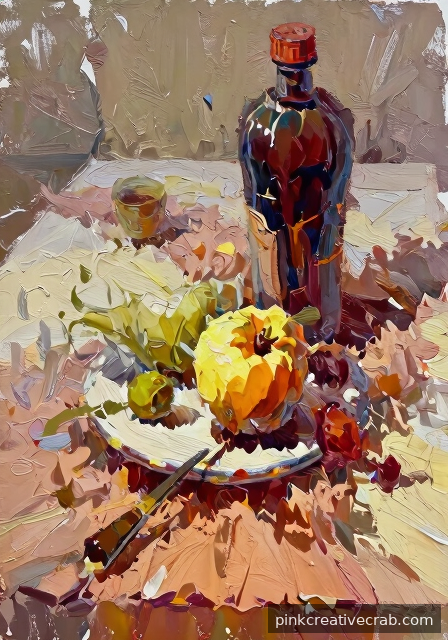
How a Single Light Source Transforms Your Acrylic Painting Food From Flat to Stunning
One light source is genuinely your best friend when painting food in acrylics. Many beginners struggle with flat-looking results, and the culprit is almost always inconsistent lighting. However, once you commit to a single direction — say, light coming from the upper left — everything suddenly starts making sense. Shadows fall predictably, highlights become intentional, and your food subjects gain immediate depth.
For advanced painters, this principle becomes even more powerful because you can start pushing contrast dramatically. Therefore, don’t be shy about making your darks really dark and your lights really bright. That bold contrast is exactly what makes painted food look mouthwateringly real. Additionally, squinting at your reference photo helps you see the light structure more clearly without getting distracted by details.
Building this skill connects beautifully with understanding core Art Fundamentals: Complete Guide to Drawing & Painting Basics. Meanwhile, a good adjustable tabletop art lamp for painting lets you control your real-life light source consistently as you work.
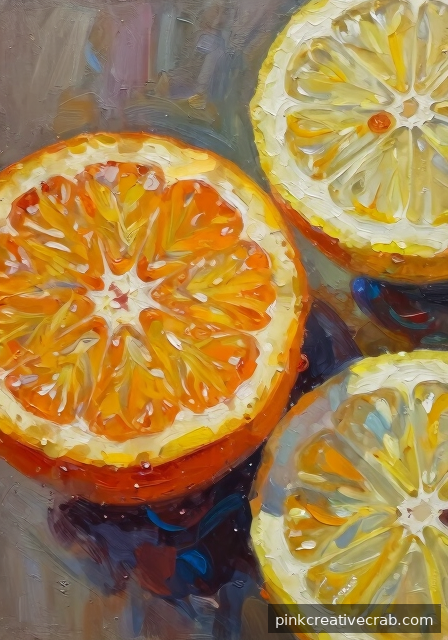
Pure Magic: Capturing the Translucent Glow of Fresh-Cut Citrus in Acrylics
Fresh-cut citrus slices are genuinely magical subjects because of their inner glow — that luminous quality where light seems to pass right through the flesh. Capturing translucency in acrylics feels challenging at first, but it’s absolutely achievable. The trick is starting with a warm, bright yellow-orange underpainting and then building thin, transparent glazes on top rather than opaque layers.
Because each segment of an orange or lemon has its own little pocket of light, you’re actually painting many small glowing shapes. That’s wonderfully satisfying once you see it that way! However, resist the urge to overwork the surface — fresh, confident brushstrokes preserve that lively, juicy feeling. Additionally, leaving some areas slightly lighter than you think necessary helps mimic how light travels through the fruit.
Understanding glazing techniques will help enormously here, so exploring our Color Mixing Guide: Everything You Need to Know is a great next step. For smooth, translucent layers, a glazing medium for acrylic painting is a worthwhile addition to your supply kit.
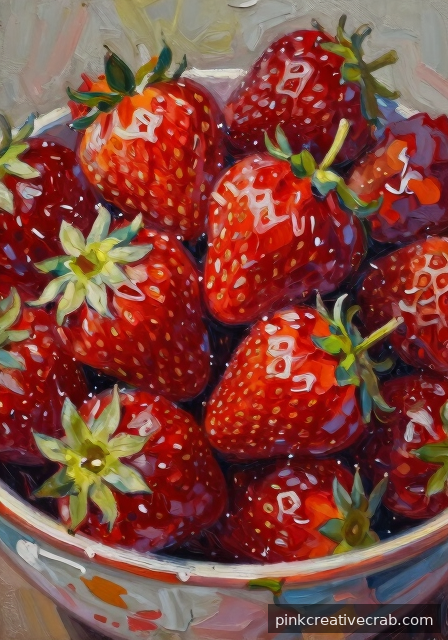
That Dreamy Moment When a Bowl of Strawberries Comes Alive on Your Canvas
There’s a specific magical moment when a bowl of strawberries stops looking like paint and starts looking like actual fruit — and honestly, it never gets old. For advanced acrylic painters, strawberries offer a beautiful combination of challenges: the bumpy textured surface, the subtle color variations from pale pink to deep crimson, and those bright little seeds. Each of these elements rewards careful observation.
However, the real secret is not painting every seed individually from the start. Instead, build your base colors and values first, then add seeds as a final detail layer. Because the seeds sit slightly above the surface, they catch light on top and cast tiny shadows underneath — a small detail that adds enormous realism. Additionally, the green leafy tops provide a wonderful color contrast that makes the reds sing.
For texture work on the berry surface, a fan brush set for acrylic painting can create gorgeous organic marks. Meanwhile, if you want to explore foundational skills further, our Art Fundamentals: Complete Guide to Drawing & Painting Basics covers everything you need.
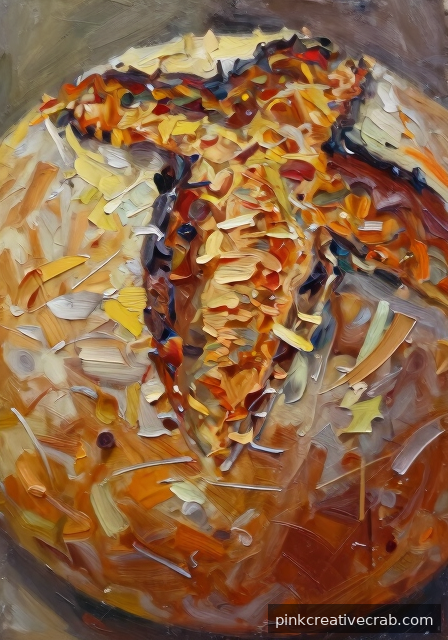
Unbelievably Satisfying: Mastering the Crackled Crust of Freshly Baked Bread
Painting freshly baked bread is one of those subjects that feels almost meditative — and the crackled crust is where all the fun happens. Because the texture is complex and organic, you actually have a lot of freedom here. No two loaves are identical, which means your brushwork doesn’t need to be precise. Instead, it needs to feel spontaneous and layered, which suits acrylics perfectly.
For advanced artists, the key is building texture in stages. Start with a warm burnt sienna and yellow ochre base, then dry-brush lighter tones across raised areas. Additionally, a palette knife can drag paint beautifully across the surface to mimic those jagged crust splits. However, always let each layer dry before adding the next — this preserves the dimensional quality that makes bread look genuinely crusty.
For achieving realistic bread texture, a palette knife set for acrylic painting is absolutely worth having nearby. Additionally, if you’re curious about how acrylics compare to other mediums for texture work, our guide Acrylic vs Watercolor vs Oil vs Gouache: Which Medium Should You Choose? offers a thorough breakdown.
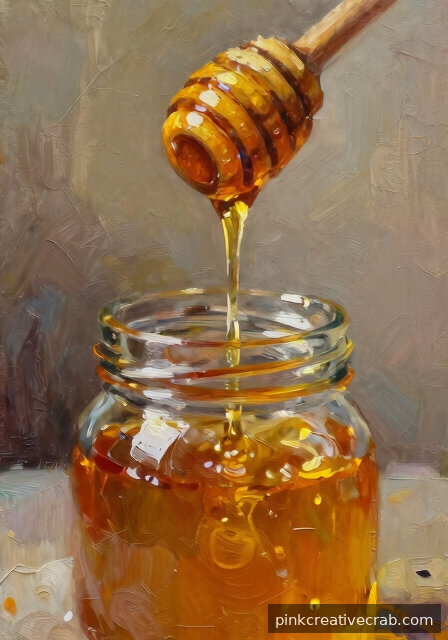
5 Glazing Layers That Give Painted Honey the Most Irresistible Golden Depth
Honey is one of the most visually captivating subjects you can paint in acrylics, and glazing is the technique that makes it truly sing. Because honey is translucent, transparent, and luminous all at once, building up multiple thin glazing layers creates that gorgeous inner glow that opaque paint simply cannot achieve. Each layer adds warmth and depth without obscuring what’s beneath — and that’s the magic.
For best results, start with a warm golden yellow base and allow it to dry fully. Then apply your first glaze using a mixture of raw sienna and glazing medium, keeping it very thin. However, patience is essential here — rushing between layers muddies the colors. Additionally, varying your glaze colors slightly with each layer (moving progressively warmer and deeper toward the bottom of your honey jar) creates beautiful visual complexity.
For these techniques, a acrylic glazing medium and varnish set will give you maximum control over transparency. Meanwhile, deepening your color knowledge through our Color Mixing Guide: Everything You Need to Know will help you select the most luminous golden tones possible.
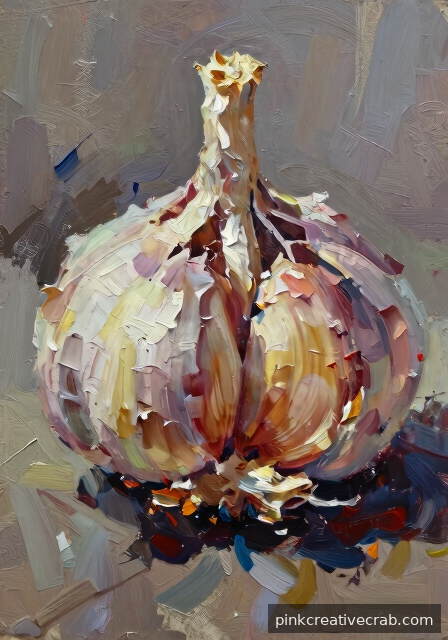
Why Painting a Humble Garlic Bulb Might Be the Best Exercise for Advanced Artists
A garlic bulb doesn’t sound glamorous, but honestly, it might be one of the most rewarding subjects an advanced acrylic painter can tackle. Because garlic has such complex surface qualities — papery, semi-translucent skin over firm rounded cloves — it challenges you to observe more carefully than almost any other food subject. Additionally, the subtle color variations (creamy whites, soft purples, warm tans) demand sophisticated color mixing.
However, the real gift of painting garlic is what it teaches you about form. Those individual cloves nest together in a wonderfully organic way, creating overlapping shadows and highlights that sharpen your understanding of three-dimensional volume. Therefore, mastering garlic genuinely levels up your overall painting skills — not just for food subjects, but for everything.
For capturing those delicate papery textures, a detail round brush set for acrylic painting gives you beautiful precision for fine lines. Meanwhile, if you want to strengthen your foundational observation skills alongside painting, our Drawing Techniques Encyclopedia: 50+ Essential Methods is a fantastic companion resource.
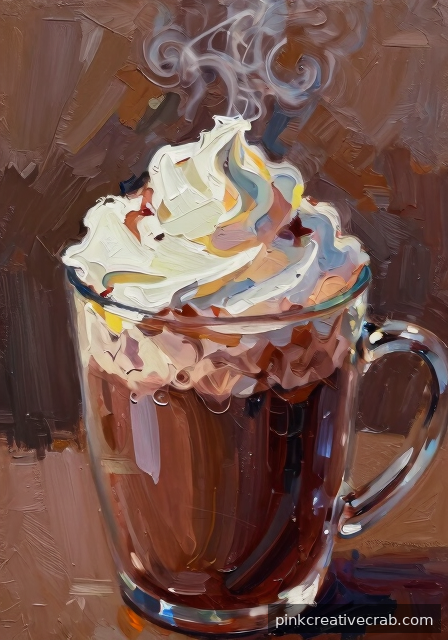
So Cozy and Warm: Painting a Steaming Mug of Hot Chocolate With Acrylics
Few subjects feel as inviting as a steaming mug of hot chocolate. Acrylics are perfect for this one because they let you build up warmth gradually — deep chocolatey browns in the mug, soft cream whites on top, and those dreamy wisps of steam floating upward. Even beginners can nail this with patience and layering.
The secret is starting dark and working light. Lay down your richest browns first, then slowly mix in warmer tones toward the rim where light catches the liquid. Steam is surprisingly fun — thin white strokes with a slightly dry brush create that airy, dissolving effect beautifully. Additionally, a soft blurred background makes your mug pop instantly.
For this cozy project, a warm-toned palette with titanium white for highlights will take you far. Check out this acrylic paint set for food painting to get started with the right colors.
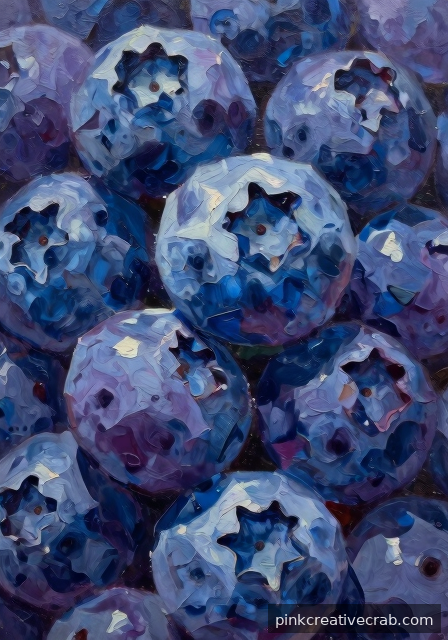
The Trick to Painting Realistic Blueberries With That Perfect Dusty Bloom
Blueberries are one of those subjects that look deceptively simple but reward careful observation enormously. That beautiful dusty bloom — the soft, powdery coating on each berry — is actually what makes them look real rather than plastic. Understanding how light interacts with that matte surface is the key to everything.
However, don’t let that intimidate you! The bloom effect comes from mixing a cooler, slightly desaturated version of your blue and layering it softly over your base color. Because acrylics dry quickly, you can build this effect in passes without muddying earlier layers. A tiny reflected light spot near the bottom of each berry instantly adds dimensional roundness.
For blending these subtle tonal shifts smoothly, soft filbert brushes are absolute game-changers. Therefore, treating yourself to the right tools makes a real difference — try these soft filbert brushes for acrylic painting for gorgeous berry textures.
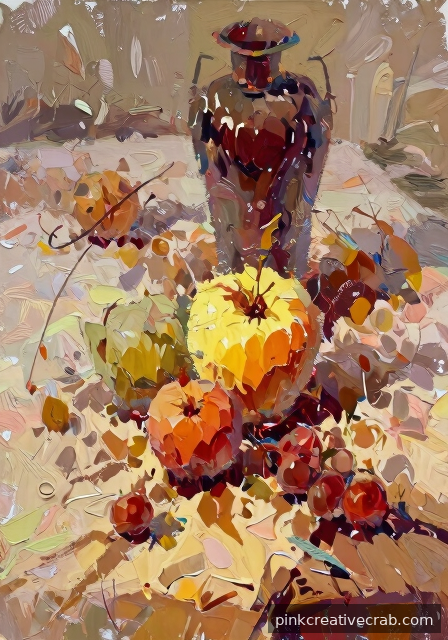
Surprisingly Emotional: How a Classic Fruit Still Life Teaches Everything About Color
A bowl of fruit sounds simple, yet experienced painters return to this subject again and again — and for good reason. Still life fruit paintings are essentially a master class in color relationships, shadow, reflected light, and temperature. Additionally, they teach you how colors influence each other when placed side by side, which is a skill that transforms every painting you make afterward.
For example, the red reflected glow from an apple landing on an orange nearby is pure magic to paint. Meanwhile, the cool shadow beneath a grape creates depth that makes the whole composition breathe. These interactions feel surprising until you train your eye, and then you see them everywhere. Our Color Mixing Guide: Everything You Need to Know dives deep into exactly these relationships.
Building a small color study palette before diving in helps enormously. Therefore, a quality color mixing palette for acrylics lets you experiment confidently before committing to canvas.
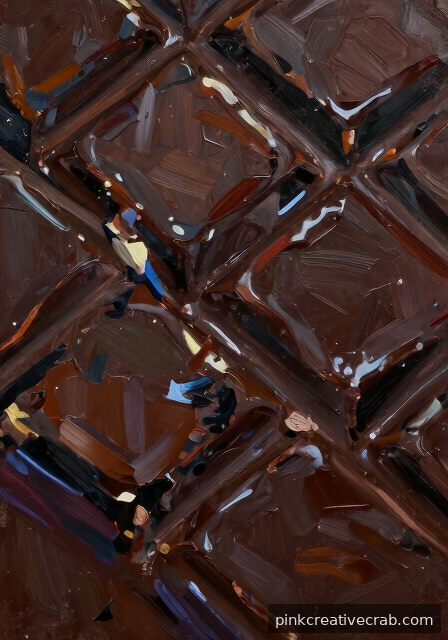
Making Chocolate Look Rich, Dark, and Utterly Decadent With Acrylic Layers
Painting chocolate that actually makes viewers hungry is a beautiful challenge. The key lies in layering — dark chocolate especially requires multiple transparent glazes to achieve that deep, almost luminous darkness. Starting with a flat brown and calling it done is the most common beginner mistake, however building slowly creates incredible richness.
Burnt umber, raw sienna, and a touch of ultramarine blue together create chocolate shadows that feel genuinely deep. Additionally, the shiny highlight on a chocolate square is surprisingly light — almost white — and placing it confidently transforms the whole piece. Because acrylics allow glazing beautifully, you can add translucent warm layers that glow from within.
For achieving those gorgeous transparent glaze effects, an acrylic glazing medium is essential. As a result, your darks become luminous rather than muddy — explore options with this acrylic glazing medium for painting to unlock the technique.
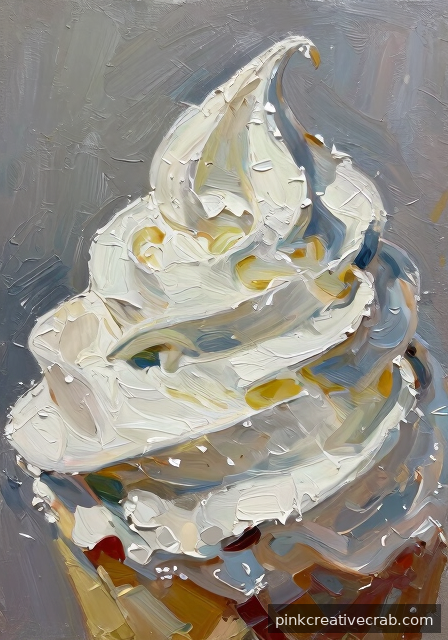
3 Palette Knife Moves That Instantly Nail the Fluffy Texture of Whipped Cream
Whipped cream is honestly one of the most joyful things to paint with acrylics. The palette knife is your best friend here because its flat, flexible edge creates soft ridges and peaks that brushes simply cannot replicate. Additionally, the physical act of applying thick paint is incredibly satisfying — almost like actually dolloping cream onto a dessert.
Three moves make all the difference: the gentle lift-and-pull for soft peaks, the small circular swirl for rounded dollops, and the delicate tap-and-release for airy texture. However, the most important thing is loading your knife generously with thick white paint. Because impasto texture catches light naturally, your whipped cream will look three-dimensional almost immediately. Warm it slightly with a tiny touch of yellow for that real cream color.
For building beautiful thick textures, a quality palette knife set is worth every penny. Therefore, explore a palette knife set for acrylic texture painting and enjoy the delicious process.
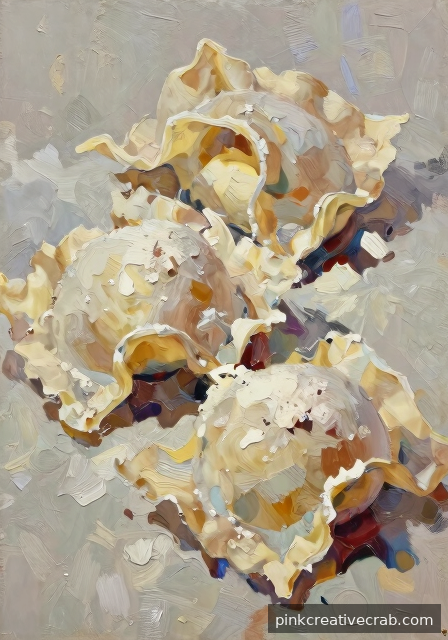
Painting the Soft, Pillowy Folds of Fresh Pasta — and Loving Every Single Second
Fresh pasta is one of those underrated painting subjects that surprises everyone with how beautiful it becomes on canvas. The soft, floury pale tones, the gentle shadows tucked into each fold, and the wonderfully organic shapes make this a genuinely meditative subject to paint. Meanwhile, the creamy yellows and warm whites feel so satisfying to mix and apply.
Because pasta has matte, slightly rough surface texture, you can use a dry-brush technique to suggest that floury quality brilliantly. Soft edges where folds overlap create depth without needing heavy contrast. Additionally, the gentle cast shadows underneath each piece anchor everything and make your composition feel grounded and real. Don’t rush these shadows — they do so much quiet work.
A good fan brush helps enormously for suggesting fine flour dusting across your pasta shapes. Therefore, treating yourself to one makes the whole experience even more enjoyable — try a fan brush set for acrylic texture for wonderfully soft effects.
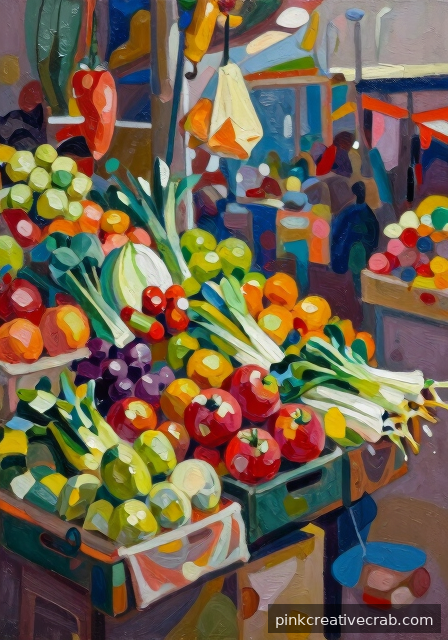
Wondrous and Detailed: Exploring Acrylic Painting Food With a Lush Market Scene
A vibrant market scene overflowing with fruits, vegetables, herbs, and textures is perhaps the ultimate food painting adventure. Because there is so much visual richness to explore, you can spend weeks returning to this subject and discovering something new every time. Additionally, market scenes invite you to practice nearly every technique — reflective surfaces, matte textures, transparent skins, and dramatic light all appear together beautifully.
However, the key to making a complex scene work is establishing your light source early and staying consistent. Warm afternoon market light creates gorgeous golden shadows and glowing highlights across everything. For beginners worried about complexity, our Art Fundamentals: Complete Guide to Drawing & Painting Basics provides exactly the compositional grounding you need. Breaking the scene into small manageable sections makes the whole project feel totally doable.
A comprehensive brush set covering fine detail work and broader coverage areas is essential for market scenes. Therefore, investing in variety pays off — explore a complete acrylic brush set for detailed painting and enjoy every wonderful brushstroke.
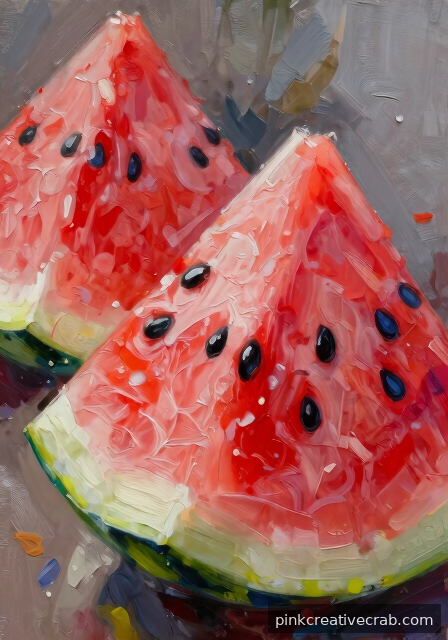
The Juiciest Watermelon Slice You Will Ever Paint With Acrylics — Start to Finish
A watermelon slice is honestly one of the most satisfying subjects you can paint with acrylics. The bright pinks and reds, the crisp white rind, those little black seeds — everything about it is cheerful and fun. Additionally, the simple shapes make it surprisingly approachable, even if you’re newer to painting. You’re going to love how this one turns out.
However, getting that juicy, luminous quality takes a bit of know-how. The secret is layering your colors gradually, building from light to dark and letting each layer dry fully before adding the next. For example, starting with a pale coral base and slowly deepening toward rich crimson creates that gorgeous wet-fruit glow. Understanding color mixing really helps here, so check out this Color Mixing Guide: Everything You Need to Know for extra confidence with your palette.
Meanwhile, don’t skip the tiny details — a thin white highlight along the rind edge makes everything pop beautifully. Grab yourself some quality acrylic paint set for beginners and let’s create the juiciest watermelon ever!
Final Thoughts
Acrylic painting food is honestly one of those subjects that keeps on giving. Every apple, every croissant, every glistening grape holds a new challenge and a new opportunity to grow. The more you paint food, the more you start to truly see it — noticing the way light wraps around a peach, or how shadows under a stack of pancakes are never simply brown. That kind of seeing is a gift that spills over into everything else you paint.
Additionally, do not be afraid to celebrate your progress along the way. A crust that finally looks crusty, a highlight that finally pops, a shadow that finally has depth — these are genuine victories worth acknowledging. Therefore, keep a little sketchbook or photo journal of your food painting journey because looking back at your growth is one of the most motivating things you can do as an artist.
Most importantly, remember that the goal is not a perfect painting. It is a joyful one. So pull out your palette, pick a subject that makes you genuinely hungry, and let acrylic painting food become one of the most delicious habits of your creative life. You have absolutely got this — now go paint something wonderful.
Frequently Asked Questions
How do you paint food with acrylics for beginners?
Start with simple, bold subjects like a single apple or a lemon. First, block in your base colors, then build shadows and highlights gradually. Additionally, use reference photos in good lighting. Because acrylics dry fast, work in small sections. Therefore, thin your paint slightly with water so layers blend more smoothly and forgivingly.
What acrylic colors do you mix to paint realistic food?
Realistic food relies on warm and cool color relationships. For example, mix Cadmium Yellow with Raw Sienna for golden baked goods, or Quinacridone Red with Alizarin Crimson for deep berries. Additionally, always mix a neutral shadow tone using complementary colors rather than black, because pure black tends to deaden the vibrancy of painted food.
How do you make food look shiny in acrylic painting?
Shine comes from a small, bright specular highlight placed confidently with a fine brush. However, the area around the highlight must be significantly darker to create contrast. Additionally, use pure Titanium White or a warm tinted white depending on your light source. Therefore, plan your highlight placement before you begin rather than adding it as an afterthought.
What are the best acrylic painting techniques for painting fruit?
Wet-on-dry glazing is ideal for building the luminous depth of fruit skin. Additionally, dry brushing creates subtle texture on surfaces like peaches or plums. Soft blending with a damp brush while paint is still wet helps smooth color transitions beautifully. For example, layering warm undertones beneath cooler surface colors gives fruit incredible life and realism.
How do you paint texture on food with acrylic paint?
Texture is all about tool choice and paint consistency. For example, use a palette knife for rough bread crusts, a stippling brush for orange peel, and a dry fan brush for cake crumbs. Additionally, thick impasto paint creates physical texture that catches real light. Therefore, varying your application method across a single painting adds enormous visual richness.
Can you use acrylic paint on food safely?
Acrylic paint is not food safe and should never be applied to food intended for eating. However, it is widely used on decorative ceramic dishes, wooden boards, and food-adjacent props for photography or display purposes. Additionally, always seal decorative painted items with a food-safe sealant if they will contact food surfaces. Therefore, treat acrylic-painted kitchenware as decorative only.
How do you paint bread and baked goods with acrylics?
Start with a warm mid-tone base of Yellow Ochre and Burnt Sienna. Then build darker, richer tones in the crevices using Burnt Umber. Additionally, dry brush lighter, golden highlights across raised edges to suggest a crunchy crust. Because baked goods have such tactile texture, palette knife marks and thick paint application add wonderful authenticity to your finished painting.
What is the best way to paint a still life of food with acrylics?
Set up your arrangement with a single strong light source, ideally from one side. Additionally, choose a cohesive color palette across your objects to unify the composition. Start with a toned ground rather than white canvas because it helps mid-tones read more accurately. Therefore, sketch lightly, block in shadows first, then build up your lights progressively for the most convincing results.
How do you blend acrylic paint to make food look realistic?
Because acrylics dry quickly, blending requires either working fast or using a slow-dry medium. Additionally, the wet-on-dry glazing technique creates smooth transitions without requiring wet blending at all. For example, layering thin transparent washes of color over a dry base builds seamless gradients beautifully. Therefore, embrace layering as your primary blending strategy for the most luminous, realistic food results.
What acrylic painting tips help beginners paint food that looks delicious?
Focus on three things: strong contrast, accurate color temperature, and confident highlights. Additionally, use fresh reference photos with clear lighting rather than relying on memory. Because beginners often under-darken shadows, push your darks further than feels comfortable. Therefore, a rich dark shadow next to a warm mid-tone and a bright highlight is the simple formula that makes painted food look truly irresistible.
Have any thoughts?
Share your reaction or leave a quick response — we’d love to hear what you think!
-
 0
0 -
0
-
0
-
0
-
0
-
0


