

You know that feeling when you step into a botanical garden and the air suddenly feels heavier, warmer, almost *alive*? That’s exactly what tropical watercolor can do for your walls—minus the humidity. But here’s the thing: most people think you need advanced skills to paint convincing jungle scenes. (Spoiler: you don’t!) Whether you want dreamy monstera leaves or dramatic cascading waterfalls, these twelve ideas will show you exactly where to start.
What Do You Need for Tropical Watercolor Painting?
Everything you need for tropical watercolor painting fits into a surprisingly small kit—and that’s great news if you’re anything like me and tend to overbuy supplies! Honestly, you don’t need fancy stuff to create stunning watercolor tropical painting.
Here’s what actually matters:
- Quality watercolors in vibrant greens, blues, and florals (student-grade works fine!)
- Cold-press watercolor paper (it handles water without turning into a soggy mess—learned that the hard way)
- Round brushes in sizes 4, 8, and 12 (these three cover everything)
Idea #1: Easy Tropical Watercolor for Beginners – Monstera Leaf in Deep Saturated Green Against a Warm Ochre Background
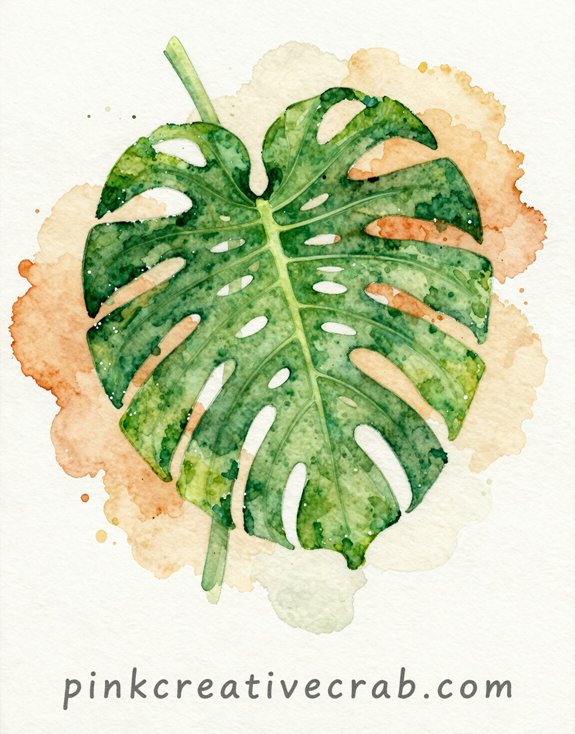
If you’ve never painted tropical watercolor before, the monstera leaf is your new best friend—trust me on this one. It’s got those dramatic split leaves that scream “watercolor jungle painting” without requiring crazy precision. And here’s the genius part—mistakes actually ADD character!
Start with a warm ochre wash for your background. Let it dry completely (I’ve rushed this approximately 847 times—don’t be me).
Then mix a deep, saturated green using viridian and a touch of black. Paint the leaf shape with bold strokes. The splits? Just negative space you LEAVE unpainted.
This combo makes your tropical jungle watercolor pop like nothing else. Way better than those fussy watercolor tropical flowers everyone struggles with. Simple. Bold. Totally Instagram-worthy.
Idea #2: Toucan Perched on a Branch Loaded with Ripe Tropical Fruit in Bold Contrasting Colors
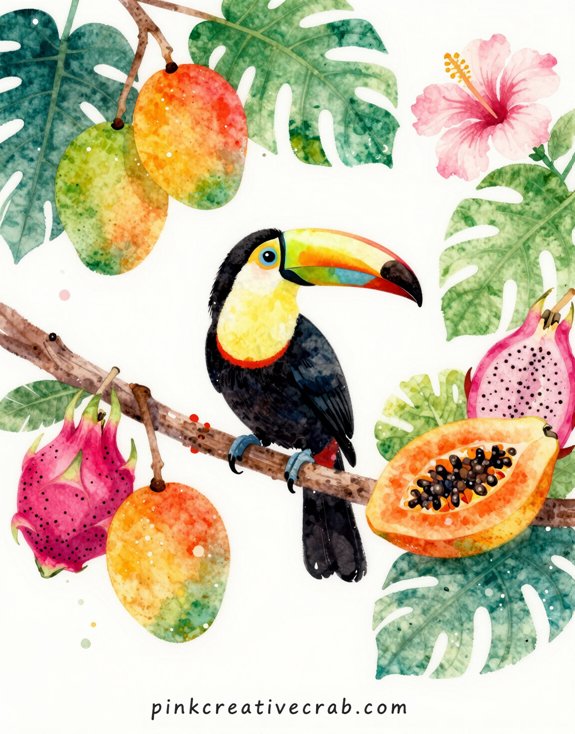
When you’re ready to level up your tropical scene watercolor art game, toucans bring that WOW factor that flat-out demands attention. Their oversized beaks practically BEG for vivid oranges and yellows—don’t hold back here!
Surround your bird with mangoes, papayas, and bananas dripping from branches. The contrast is where magic happens. Dark plumage against bright fruit? *Chef’s kiss.*
Here’s my rookie mistake: I once made everything the same intensity. Total visual chaos! Instead, let your toucan be the star—pop that beak with saturated color while keeping background foliage softer and muted.
And those branch textures? Quick, confident strokes work better than fussy details. Think loose and gestural.
This tropical scene watercolor art instantly transforms any space into your personal jungle sanctuary!
Idea #3: Tropical Watercolor Painting Ideas – Bird of Paradise Flower in Vivid Orange and Blue Against Dark Jungle Green
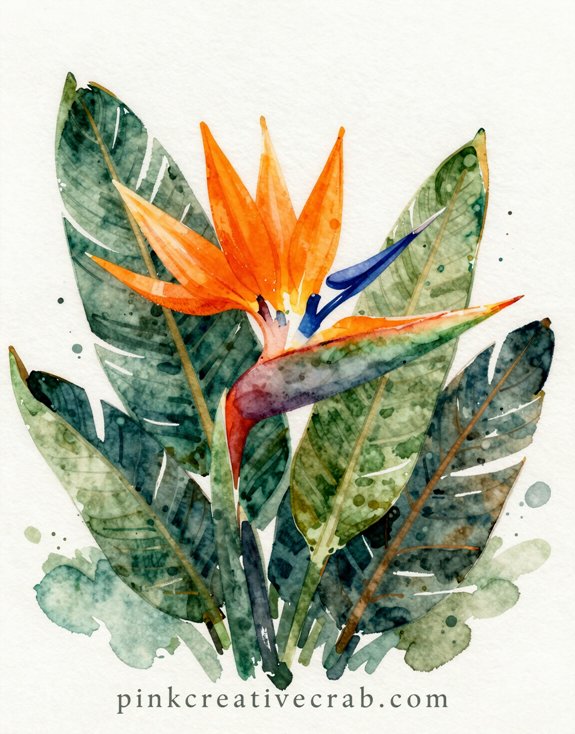
Here’s the thing about painting deep jungle greens—they can turn into a murky, lifeless blob faster than you can say “oops” (trust me, I’ve created plenty of sad brown puddles).
Mixing Deep Tropical Greens Without Your Palette Becoming One Dark Muddy Mass
And here’s the game-changer: Keep your greens separate on your palette. Don’t let them touch until they’re on the paper. So give each shade its own little territory.
Need variation? Layer them wet-on-dry instead of pre-mixing everything. Your jungle will have actual DEPTH instead of looking flat and dead. Trust me—your Bird of Paradise deserves better than mud!
Idea #4: Jungle Waterfall Cascading Into a Turquoise Pool Surrounded by Oversized Ferns
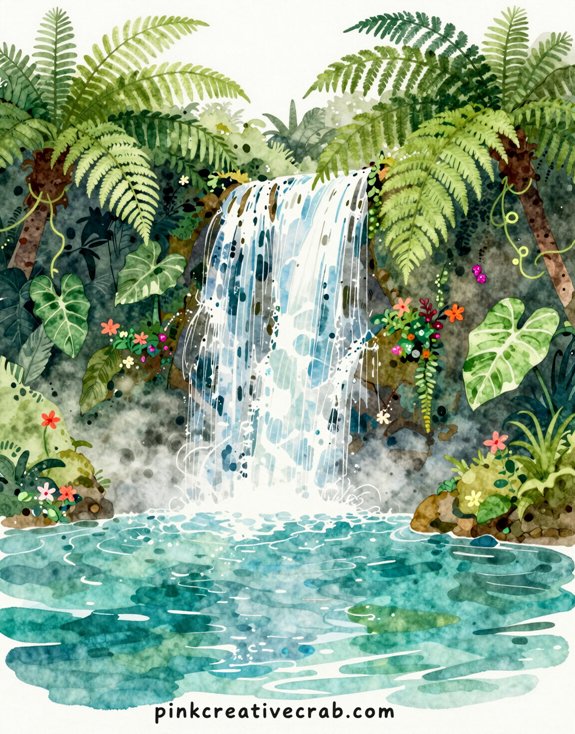
This jungle waterfall scene practically PAINTS itself—and honestly, it’s one of those subjects where you can’t really mess up because nature’s already doing the heavy lifting.
Start with your turquoise pool at the bottom. Mix cerulean blue with a TINY bit of viridian—emphasis on tiny because I once made mine look like dishwater. Layer it wet-on-wet for that dreamy glow.
Now the waterfall itself? Here’s the trick: leave white paper showing through! Paint AROUND the falling water using grays and blues. The negative space creates the cascade. Mind-blowing, right?
Those oversized ferns flanking everything? Go BOLD. Exaggerate their size. Make them ridiculously big—we’re talking fantasy jungle here. And don’t stress about botanical accuracy. Nobody’s checking your species identification!
Idea #5: Easy Hibiscus Watercolor Tropical for Beginners – Giant Hibiscus Bloom in Vivid Fuchsia with Gold Stamens on a Teal Background
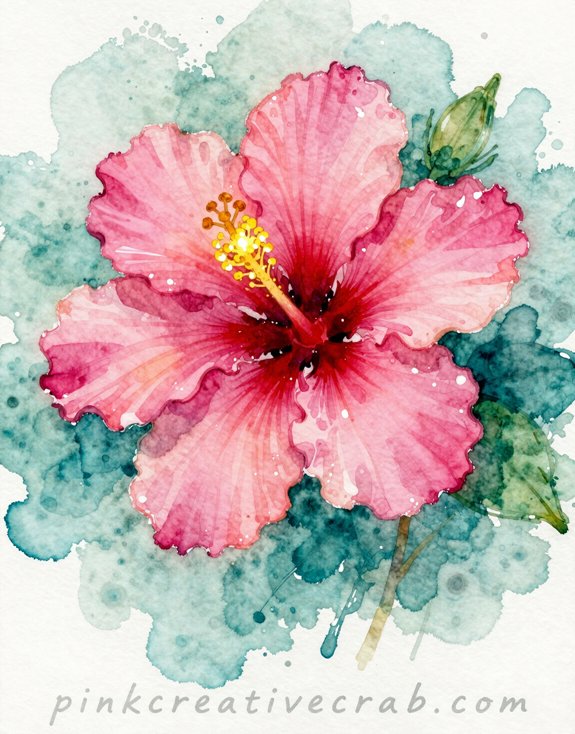
Waterfalls are gorgeous, but let’s be real—sometimes you want something SIMPLE that still screams “tropical paradise.” Enter the hibiscus: basically nature’s way of showing off in flower form.
This piece is PERFECT for beginners. Why? Because hibiscus blooms are forgiving—wonky petals? That’s just artistic interpretation! Start with wet-on-wet technique for those soft petal edges. Drop vivid fuchsia onto damp paper and watch it bloom (see what I did there?). The teal background makes your flower POP without fighting for attention.
Here’s my trick: paint gold stamens LAST using metallic watercolor or even acrylic ink. They’ll shimmer against that fuchsia and—trust me—suddenly you’re a tropical artist! No jungle complexity required.
Idea #6: Parrot Pair in a Canopy — Scarlet Macaws Silhouetted Against Backlit Tropical Leaves
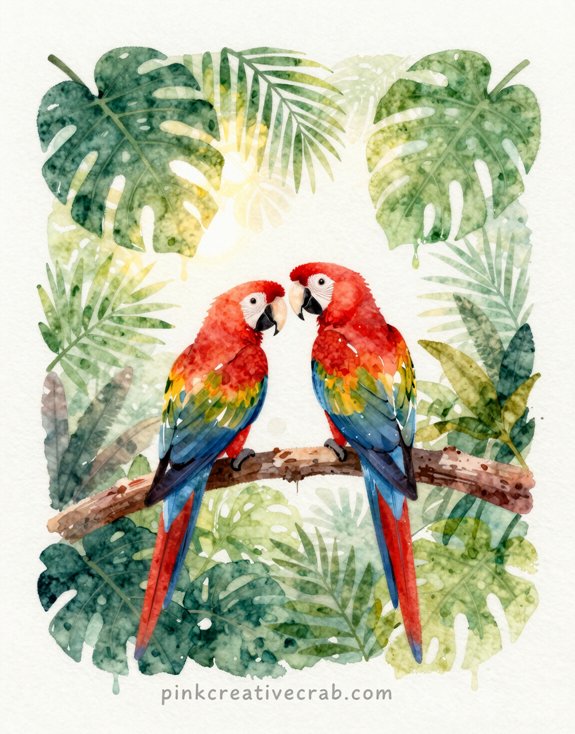
You know what makes tropical leaves look SO convincing? That glossy, backlit shine—and honestly, I used to paint them flat and dull until I learned this trick. The secret is leaving crisp white highlights exactly where light punches through the leaf (trust me, it’s tempting to fill in ALL the space, but don’t!).
Start by painting your leaf shapes in layers, leaving those bright spots completely dry, then drop in darker greens while everything’s still wet to create that high-contrast GLOW effect.
How to Paint Tropical Leaves with Their Distinctive High-Contrast Shine
Backlit tropical leaves create some of the most dramatic lighting effects you’ll ever paint—and they’re actually EASIER than you’d think. Here’s the trick: wet your leaf shape completely, then drop dark green at the edges only. Let it bloom inward naturally (gravity does the work!).
While still damp, lift out the center vein with a clean, thirsty brush—this creates that glowing highlight. The light shines THROUGH the leaf, not on it, so your edges stay dark while the middle glows. I used to paint leaves flat green, wondering why they looked dead. So boring! But this wet-in-wet approach? Total game-changer. Your parrots will pop against these luminous leaves.
##
Palm fronds dancing in the breeze, exotic flowers bursting with color, crystal-clear ocean waters—tropical scenes practically BEG to be painted in watercolor. But here’s the thing—you need the RIGHT supplies to nail those vibrant jungle vibes!
| Supply | Why You Need It | Budget Pick |
|---|---|---|
| Tropical Pigments | Intense yellows, greens, magentas | Winsor & Newton Cotman |
| Cold Press Paper | Holds moisture for blending | Canson XL |
| Round Brushes | Details AND washes | Princeton Aqua Elite |
| Masking Fluid | Preserves white highlights | Pebeo Drawing Gum |
| Spray Bottle | Creates atmospheric effects | Any dollar store find |
Trust me—I wasted MONTHS using student-grade paints that looked muddy. (So frustrating!) Invest in quality pigments first. Your tropical paradise deserves it!
Idea #7: Easy Pineapple Watercolor Tropical – Pineapple in Full Color on a Flat Graphic Background with Geometric Leaf Detail
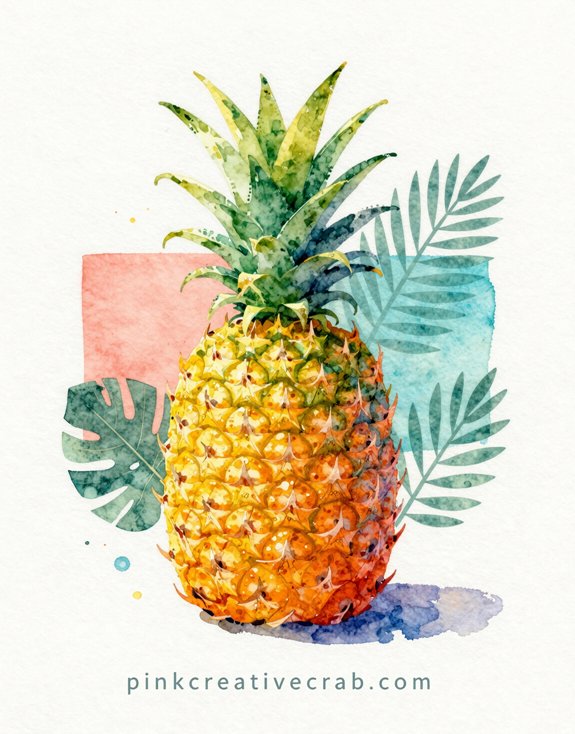
Now that you’ve got your supplies sorted, let’s tackle something FUN and totally beginner-friendly—a bold tropical pineapple! This project mixes full-color watercolor with flat graphic elements—think modern meets playful.
Start by painting your pineapple in gorgeous golden yellows and burnt oranges. Don’t stress about perfection! I’ve made plenty look like lumpy potatoes, and they STILL turned out adorable.
Here’s the game-changer: add a solid-color background in a contrasting shade (navy blue works wonders). And those leaves? Make them geometric—sharp angles instead of natural curves. It creates this amazing tension between organic and structured.
The flat background keeps things simple while your pineapple POPS. Trust me, this combo looks way more sophisticated than the effort required!
Idea #8: Jungle Dawn — Layered Mist, Silhouetted Palms, and a Slice of Vivid Sky Above the Canopy
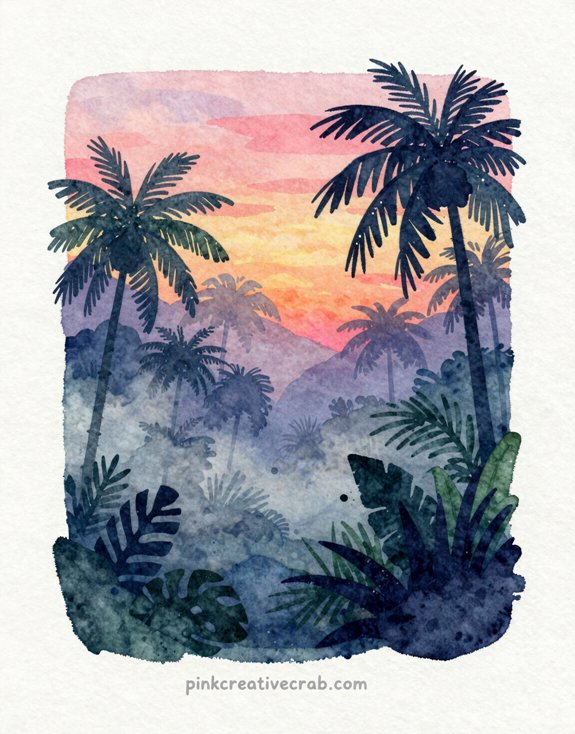
Something magical happens when you paint atmospheric layers instead of crisp details—and this jungle dawn piece is ALL about that dreamy mood! You’ll work wet-on-wet for those GORGEOUS mist layers (I used to skip this part and wondered why my jungles looked flat—don’t be me).
Start with pale yellows and pinks at the top for your sunrise sky. Then add successive layers of deeper greens below, letting each one blur into the next while still damp.
Here’s the cool part: once everything dries, paint your palm silhouettes in dark greens or near-black right over those misty layers. The contrast? Chef’s kiss! And those silhouettes don’t need to be perfect—wonky palms actually add character.
Idea #9: Flamingos Wading in a Pink-Tinted Salt Lake with Their Reflections Doubled Below
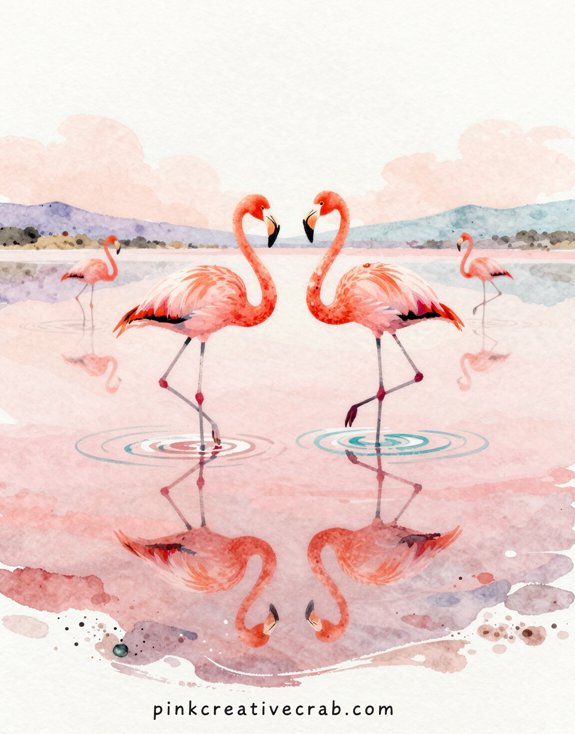
When you layer soft pinks and purples across wet paper to create a salt lake, you’re basically painting a dream—and adding flamingos makes it even better! Let those colors BLEED together while everything’s still soaking wet. That’s the magic.
Now here’s where I always messed up: painting the reflections too dark. Your mirror image should be softer—more whisper than shout. Add just a hint of water to your flamingo pink before you paint those upside-down birds below.
And don’t stress about perfect symmetry! Real reflections ripple and shimmer. So let your brush dance a little looser on those doubled shapes. The imperfection sells the illusion.
Pro tip: Salt those wet areas (yes, actual table salt) for gorgeous crystalline texture!
Idea #10: Tropical Watercolor Painting – Overwater Bungalow Surrounded by Transparent Lagoon Water in Every Shade of Teal
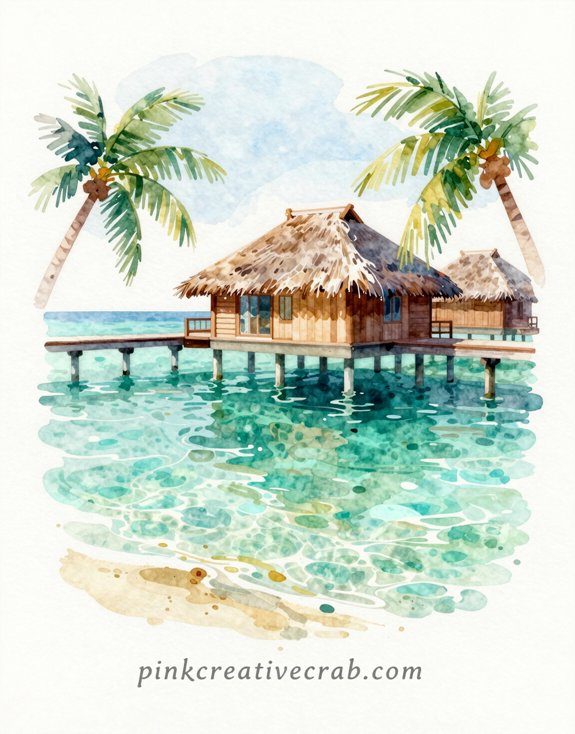
You want your tropical palette to POP—but not in that tourist-shop-painting way that makes people wince. The trick is layering teals from transparent turquoise to deep peacock blue, building depth gradually instead of slapping down one screaming cyan and calling it a day (been there, regretted that!).
And here’s the secret: keep your whites CRISP and reserve your most saturated colors for tiny accent areas—because nothing says “vibrant tropical lagoon” like knowing when to hold back.
Building a Tropical Color Palette That Feels Vibrant Without Screaming
Creating a tropical palette that pops without looking like a tourist gift shop requires one secret weapon—and it’s not what you’d think.
It’s restraint.
I know—boring, right? But hear me out. Instead of throwing every tropical color onto your paper (guilty!), pick THREE main hues and let them shine. For lagoon scenes, that means committing to teal variations. Deep emerald. Soft aquamarine. Turquoise with gray undertones.
And here’s the game-changer: Add ONE neutral anchor. White sand. Weathered wood. Storm clouds on the horizon.
This keeps things VIBRANT without screaming “I bought this at the airport!”
Idea #11: Rainforest Floor Looking Upward — Shafts of Light Cutting Through Layered Canopy
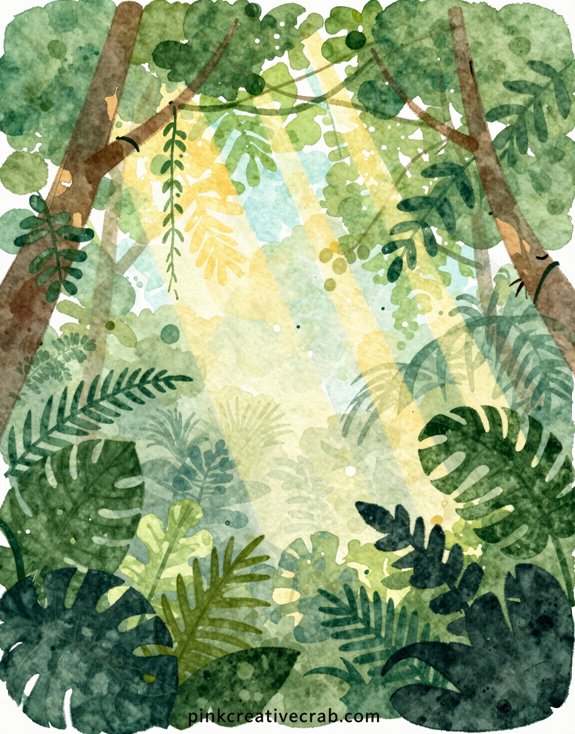
Since most tropical paintings focus on eye-level views of flowers and foliage, flipping your perspective upward creates instant drama—and honestly, it’s one of those “why didn’t I think of this sooner” moments. You’re lying on the forest floor, looking UP through towering palm fronds and tangled vines.
The magic happens when you paint those golden light shafts breaking through the canopy—use vertical strokes and leave white paper for the brightest rays. Layer your greens from dark (forest floor) to light (sky peeking through).
And here’s the kicker: you don’t need perfect tree anatomy! Just suggest shapes with loose brushwork. The light does all the heavy lifting. This perspective makes even small paintings feel EPIC and immersive. Plus, you’ll never run out of composition ideas!
Idea #12: Easy Banana Leaf Watercolor Tropical – Giant Banana Leaf Torn and Backlit, Every Vein Glowing in Warm Green
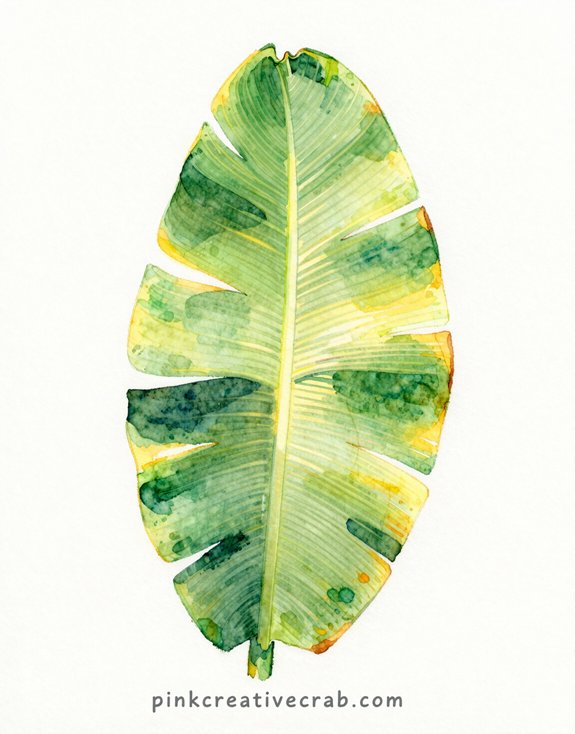
Banana leaves practically BEG to be painted with backlighting—and honestly, I ignored this setup for way too long because I thought “one leaf” wouldn’t be interesting enough.
SO wrong.
Position a single torn banana leaf against a window and watch magic happen. Those veins? They transform into glowing highways of warm green and gold. The tears along the edges catch light differently—creating natural drama without you lifting a finger.
Start with wet-on-wet for that luminous glow. Let yellows and sap greens bleed together where light hits strongest. Then—here’s the key—drop in darker greens while everything’s still damp for those shadowy pockets between veins.
The tears are your compositional gift. Paint AROUND them. Let white paper shine through damaged edges.
One leaf. Maximum impact.
Do you want your tropical painting to feel like an exotic escape, a bold botanical print, or a moody jungle adventure?
The MOOD you choose shapes literally every brushstroke that follows. Seriously—it’s that important!
Want a breezy exotic escape? Think soft edges, pale aquas, and sunshine yellows. Your watercolors should feel weightless and dreamy.
Going for bold botanical print vibes? Amp up those CONTRASTS. Deep greens against crisp whites. Sharp leaf edges. Graphic and confident—no wimpy washes here!
But maybe you’re craving moody jungle energy? (My personal favorite.) Layer those shadows. Add indigo to your greens. Let things get a little wild and mysterious.
I once painted a “relaxing” tropical scene that looked like angry broccoli because I mixed moods halfway through. Don’t do that! Pick your vibe FIRST, then let every color choice support it.
Frequently Asked Questions
What Paper Weight Works Best for Tropical Watercolor Paintings?
You’ll achieve stunning tropical effects with 140lb (300gsm) cold-pressed watercolor paper. This weight won’t buckle under wet washes needed for lush foliage, while its texture captures vibrant pigments that make jungle scenes pop authentically.
How Do I Frame Tropical Watercolors to Protect Them From Humidity?
You’ll want to use acid-free mats and UV-protective glass in sealed frames with moisture barriers. Consider adding silica gel packets behind the backing board, and mount your tropical watercolors away from direct sunlight or high-humidity areas.
Can I Use Tropical Watercolors in a Bathroom or Kitchen?
You can display tropical watercolors in bathrooms and kitchens if you’ll protect them properly. Use UV-protective glass, seal frames completely, and guarantee adequate ventilation. Consider high-quality prints instead of originals to prevent moisture damage.
What Size Should Tropical Watercolor Paintings Be for Living Rooms?
You’ll want statement pieces that practically transform your walls into portals! For living rooms, go bold with 24×36 inches or larger—oversized tropical watercolors create that immersive, jungle-inspired atmosphere you’re craving.
How Do I Clean Tropical Watercolor Paintings Without Damaging Them?
You’ll protect your tropical watercolors by gently dusting them with a soft, dry microfiber cloth. Don’t use water or cleaning solutions—they’ll damage the delicate pigments. For stubborn dirt, consult a professional art conservator immediately.
Have any thoughts?
Share your reaction or leave a quick response — we’d love to hear what you think!
-
 0
0
-
0
-
0
-
0
-
0
-
0


