

Table of Contents
We’ve all admired beautiful watercolor paintings and thought they’re too difficult to create ourselves. But here’s the truth: you can paint charming animals in just 30 minutes with simple techniques! Whether you’re picking up a brush for the first time or returning after years away, these twelve projects will build your confidence. Let’s explore how basic shapes, a few essential strokes, and forgiving watercolor methods can transform your blank paper into delightful creatures.
Simple Watercolor Cat With Loose Brushstrokes
A watercolor cat makes the perfect first animal project because cats naturally have soft, fuzzy edges that hide small mistakes. Start with a light pencil sketch of a simple sitting cat shape. Mix your paint wet, then load your brush generously. Use expressive brushwork to create the body with quick, confident strokes that flow in the direction of fur growth. Don’t worry about perfect lines—loose painting creates charm!
Try bold color choices like orange, gray, or even purple for creative flair. Let colors blend on the paper naturally by working wet-on-wet (applying paint to damp paper). For best results, wait for your paper to reach the shiny wet stage where you see a uniform sheen without pooling. Add darker tones while everything’s still wet for natural shadows. Paint the eyes last using a tiny brush, adding a white dot for sparkle. Your cat will look artistic and alive in just minutes!
Cheerful Robin on a Branch
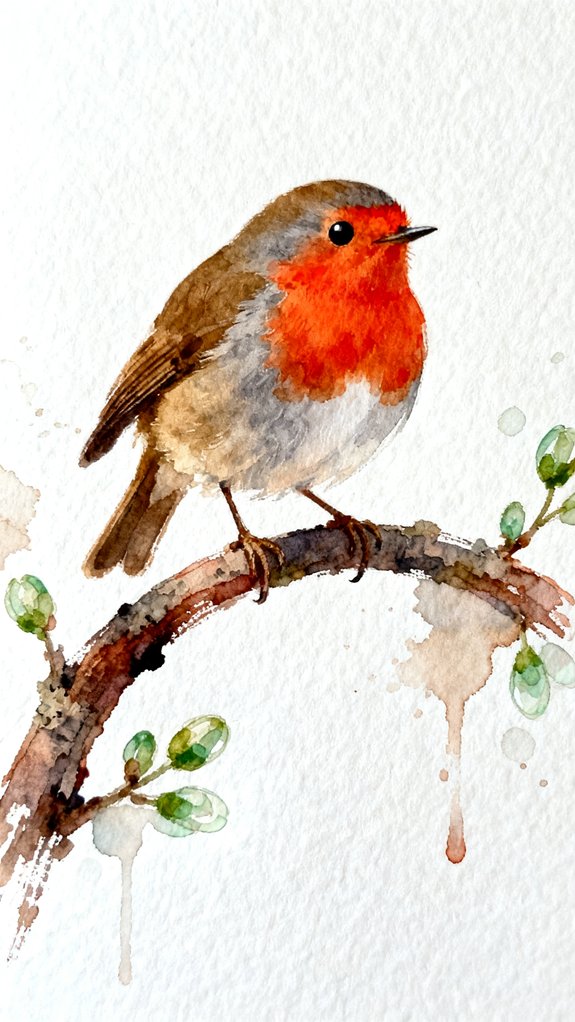
Robins bring instant joy to watercolor paintings with their distinctive orange-red breasts and friendly posture. We’ll start by sketching a simple oval for the body and a circle for the head.
The cheerful robin’s plump oval body and round head create the perfect foundation for capturing this beloved garden bird in watercolor.
Paint the breast first using cadmium orange mixed with a touch of red, working while the paper’s still damp for smooth blending. This wet-on-wet technique allows the colors to flow and mix naturally on the paper, creating that soft, feathered appearance. The back and wings need burnt umber with touches of gray – keep these areas darker for contrast.
Add a simple branch beneath using raw sienna and burnt umber. Now let’s enhance that perched posture by tilting the body slightly forward, making your robin look alert and curious!
For added interest, paint vibrant foliage behind using loose green washes. Finish with a small yellow beak and black eye dot.
Minimalist Goldfish Using Wet-on-Wet Technique
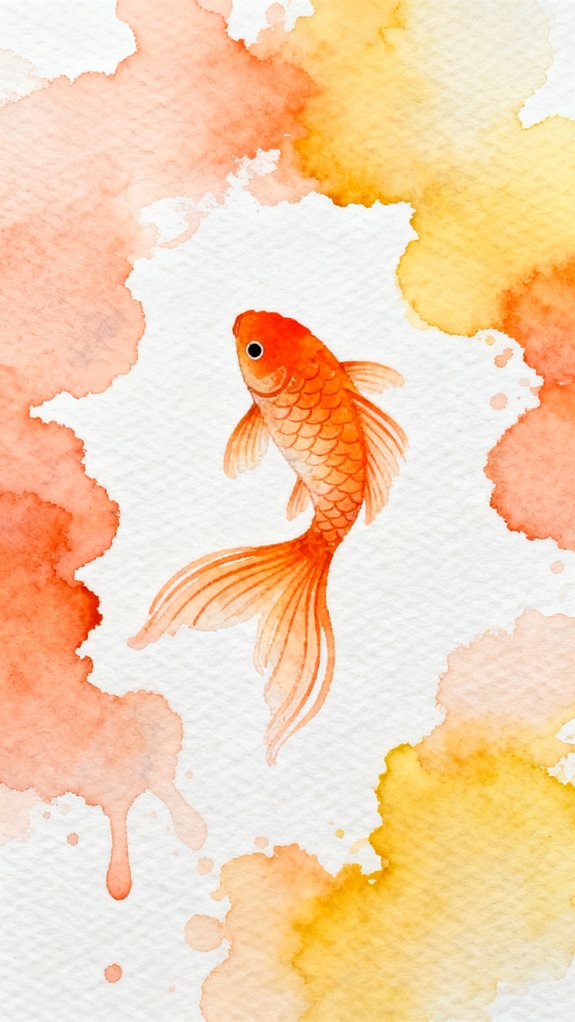
Goldfish make perfect subjects for practicing wet-on-wet technique, where we add paint to already dampened paper. We’ll create flowing fins and a graceful tail using water flow techniques that let colors blend naturally.
First, sketch a simple oval body and triangular tail. Wet the entire fish shape with clean water, leaving the paper glistening but not puddled. While it’s still damp, drop in orange paint at the head, letting it spread organically. Add a touch of red near the tail for depth.
Now we’ll adjust pigment saturation levels by adding more water for lighter areas and concentrated paint for darker spots. This creates dimension! Let the colors mingle on their own—that’s the beauty of this technique.
For richer oranges and reds, try mixing warm with warm colors to keep your goldfish looking vibrant rather than muddy.
Add a small black dot for the eye once everything dries completely.
Fluffy Bunny Rabbit in Three Easy Steps
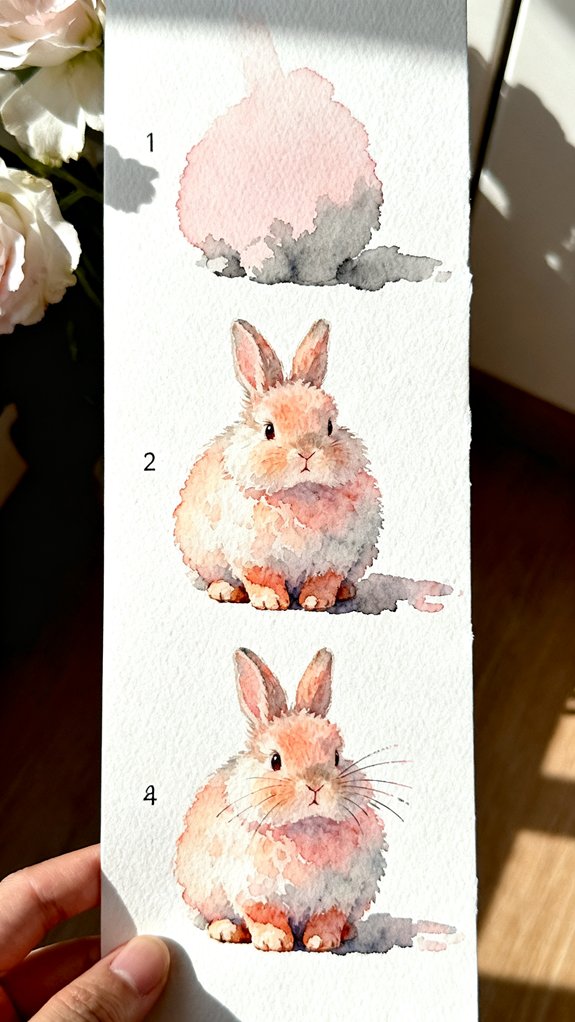
Moving from the fluid grace of fish, let’s tackle something with texture and softness. Bunnies are perfect for experimenting with fluffy bunny poses that look adorable and forgiving.
Step 1: Sketch two circles—a smaller one for the head, a larger one for the body. Add two elongated ovals on top for bunny ear shapes. Keep your pencil lines light!
Step 2: Paint the body with diluted gray or brown, leaving white spots for highlight areas. This creates that fluffy appearance we’re after.
Step 3: While still damp, add darker pigment around the edges. This technique (called wet-on-wet) makes the fur blend naturally. Paint a pink nose, dot the eyes, and you’re done!
The key is embracing imperfection—fuzzy edges actually enhance the fluffy texture. If you prefer more control over your initial sketch, consider using graphite pencils since they offer excellent erasability for adjusting your light guidelines before painting.
Whimsical Owl With Basic Shapes
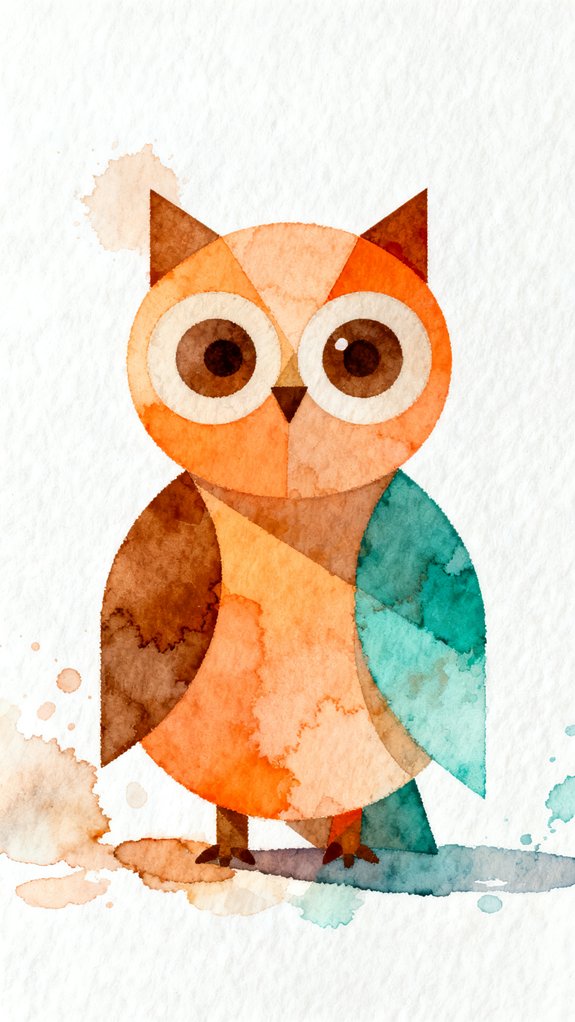
Owls bring together everything we’ve learned so far—simple shapes, layered colors, and expressive details. We’ll start with simple geometric shapes: a rounded body and a circle for the head. Sketch lightly in pencil first, then outline with a pale brown wash.
Next, we’ll create the expressive facial features that give owls their charm! Paint two large circles for eyes, leaving white highlights to add life. Add a small triangle beak between them. The key is making those eyes oversized—that’s what creates the whimsical look. Getting the proportions of facial features right is essential for capturing that endearing, cartoonish quality.
For feathers, use short brushstrokes in varying browns and grays. Layer them while the paint’s still damp for a soft, blended effect. Add tiny ear tufts on top, and you’ve got an adorable owl with tons of personality!
Gentle Deer Head Portrait
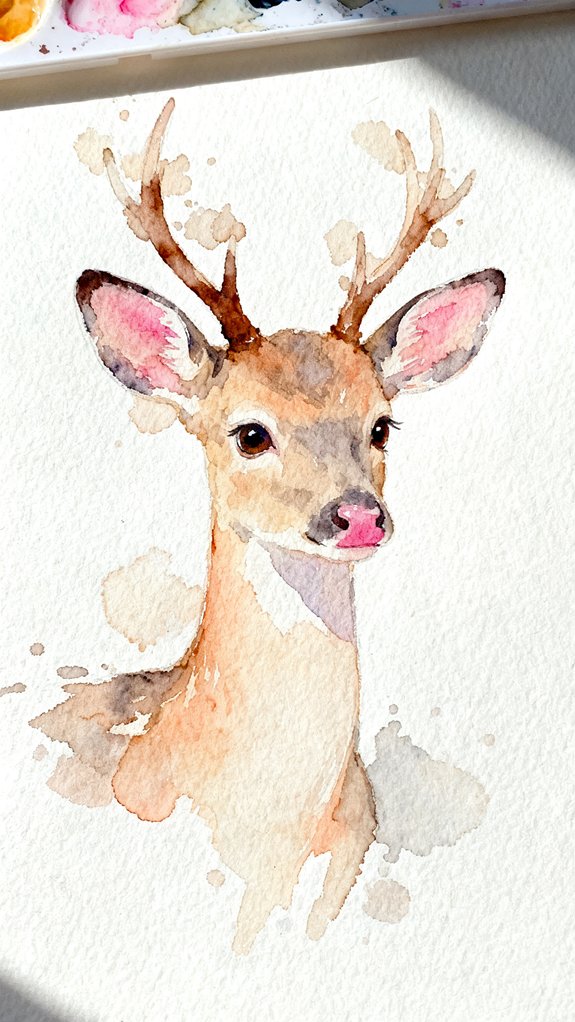
Building on our owl’s personality, let’s paint a deer that captures grace and gentleness in just a few simple steps.
Start with a light brown wash for the face, keeping edges soft and rounded. While wet, drop in darker brown along the sides to create depth. This wet-on-wet technique (adding paint to damp paper) creates natural blending.
Next, we’ll focus on those delicate facial features that make deer so endearing. Paint two large, dark eyes with a tiny white dot in each for life. Add a small black nose, then sketch thin legs below using your brush tip. Remember that reflected light along the edges of the face and nose can add dimension and prevent your deer from looking flat.
Our soft color palette of tans, light browns, and peachy undertones creates that gentle woodland feeling. Keep everything loose—you’re capturing essence, not photographic detail! Let happy accidents happen.
Playful Dolphin Jumping From Water
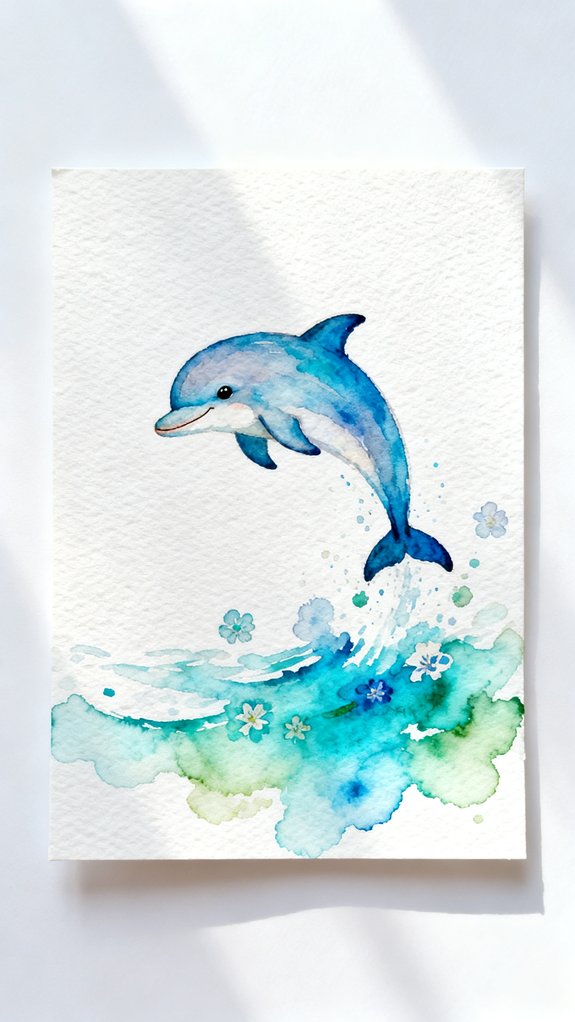
Nothing brings energy to watercolor painting quite like a dolphin leaping through ocean spray! We’ll capture that dynamic movement in just 30 minutes.
Start with a curved arc for the dolphin’s body, keeping it sleek and streamlined. The shape should look like a tilted crescent moon. Paint with diluted gray-blue, leaving white patches for highlights where sunlight hits.
Now let’s add buoyant energy with splash effects! Use loose, upward brushstrokes around the dolphin’s tail and belly. Let the water blend naturally—this creates that fresh, spontaneous feeling.
While damp, drop in darker blues for depth and shadows. The contrast makes your dolphin pop forward, similar to how artists use chiaroscuro techniques to create dramatic emphasis through light and shadow.
Finally, flick white paint with your brush for ocean spray droplets 🙂 This technique adds excitement and motion to your composition!
Cute Hedgehog Using Dry Brush Texture
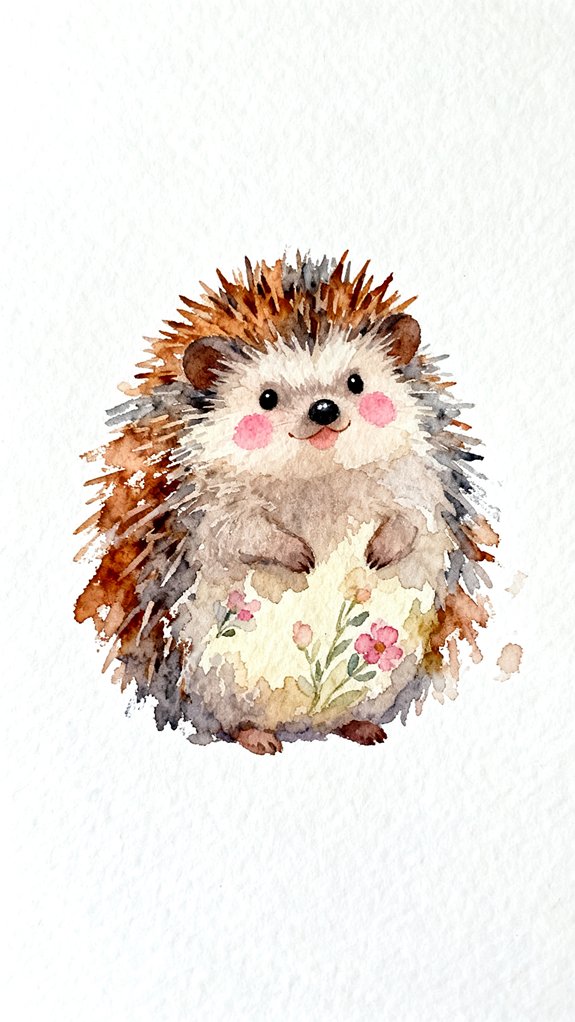
From smooth, fluid ocean movements, we’re now exploring a completely different texture technique! The hedgehog’s spiky coat is perfect for learning dry brush methods, where we’ll use very little water to create textured details.
Start by sketching a simple oval body and round head. Mix brown paint with minimal water until it’s thick. Wipe your brush on a paper towel so it’s barely damp. Now drag it outward from the body in quick strokes to create spines! This technique lets individual bristles make realistic-looking quills.
Add a pale belly and tiny pink nose for a balanced composition. Use a finer brush for the face, keeping those features soft and gentle. This approach of building up layering and gluing pages of texture works similarly to mixed media art forms like junk journaling.
The contrast between rough spines and smooth face creates visual interest that’s surprisingly simple to achieve!
Graceful Butterfly With Transparent Wings
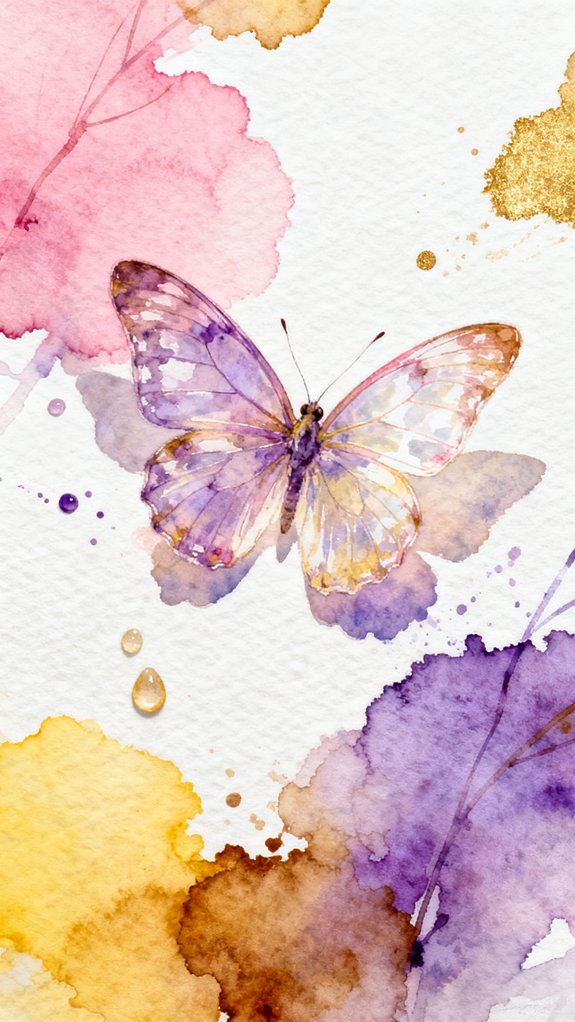
Butterflies showcase one of watercolor’s most magical effects: layering translucent colors to create see-through wings! We’ll paint these delicate creatures using a wet-on-wet technique that creates soft, blended color washes.
Watercolor butterflies capture nature’s delicate beauty through translucent wing layers that shimmer with soft, blended colors.
Start by sketching a simple butterfly outline lightly in pencil. Wet one wing section with clean water, then drop in pale yellow and pink. Let the colors merge naturally – that’s how we create transparency! Add a second layer once dry to build depth in certain areas. This technique works beautifully because watercolor relies on transparency and white paper to create luminous effects.
The body needs definition, so paint it with darker pigment while wings are still damp. This contrast makes wings appear more delicate. Finally, add delicate line details using a thin brush: wing veins, antennae, and body segments.
Let colors stay light and airy – heavy pigment destroys that magical see-through effect we’re after!
Friendly Penguin With Bold Contrast
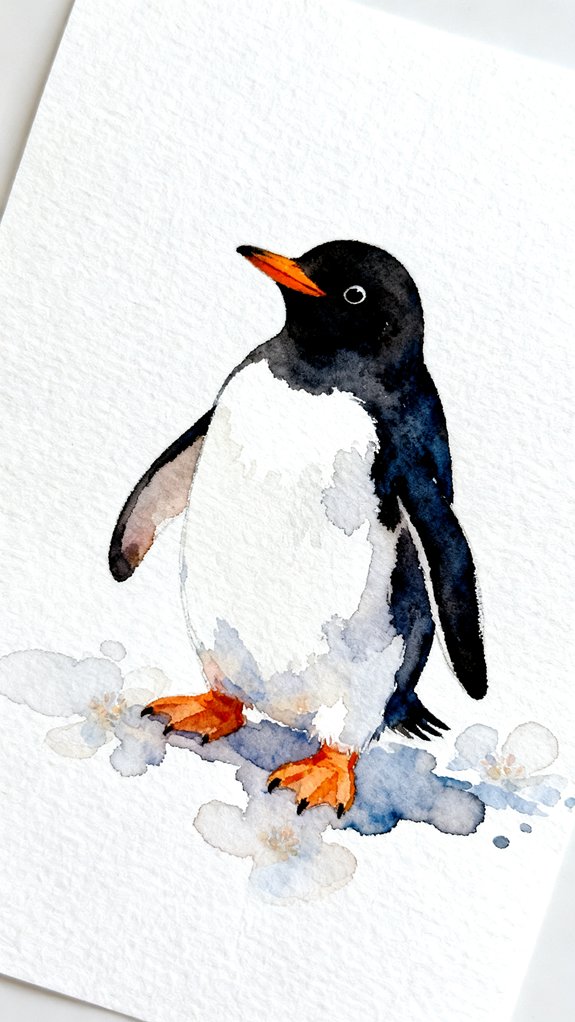
While butterflies require delicate transparency, penguins demand the opposite: strong, dramatic contrast between black and white! This minimalist composition makes penguins perfect for practicing vivid color contrasts.
Start with a simple oval body, then add a smaller circle for the head. Paint the back, wings, and head with bold black strokes, leaving the belly pure white. Let these areas dry completely between colors.
Here’s what makes this technique innovative:
- Wet-on-dry method creates sharp, clean edges between colors
- Negative space (unpainted white areas) does half the work
- High contrast produces maximum impact with minimal effort
This approach mirrors the chiaroscuro technique used by master artists, where dramatic contrast between light and dark creates strong three-dimensional effects and mood. Add orange feet and beak for warmth. You’ll love how professional this looks with just three colors!
Sweet Sleeping Fox in Warm Tones
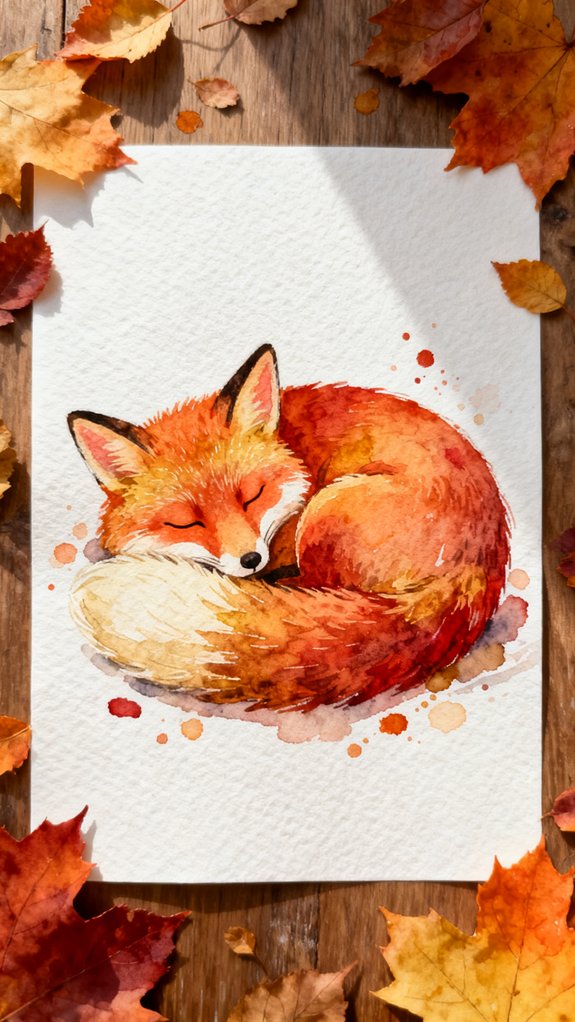
After mastering bold penguin contrasts, you’re ready for something softer: a curled-up fox rendered in cozy autumn colors.
Start by sketching a simple circle for the fox’s curled body, then add a tucked head with closed eyes showing a serene expression. This pose suggests he’s napping in his cozy den!
Mix burnt orange with burnt sienna for the fox’s base coat, applying it while leaving white areas for highlights. The warm tones blend beautifully when wet, creating natural fur gradients.
Add darker orange along the spine and tail tip for depth. Use a fine brush to paint tiny eyelashes and a peaceful smile—these details bring your fox’s serene expression to life.
Let colors flow together naturally; this creates that dreamy, restful feeling we’re after.
Colorful Tropical Parrot Perched Simply
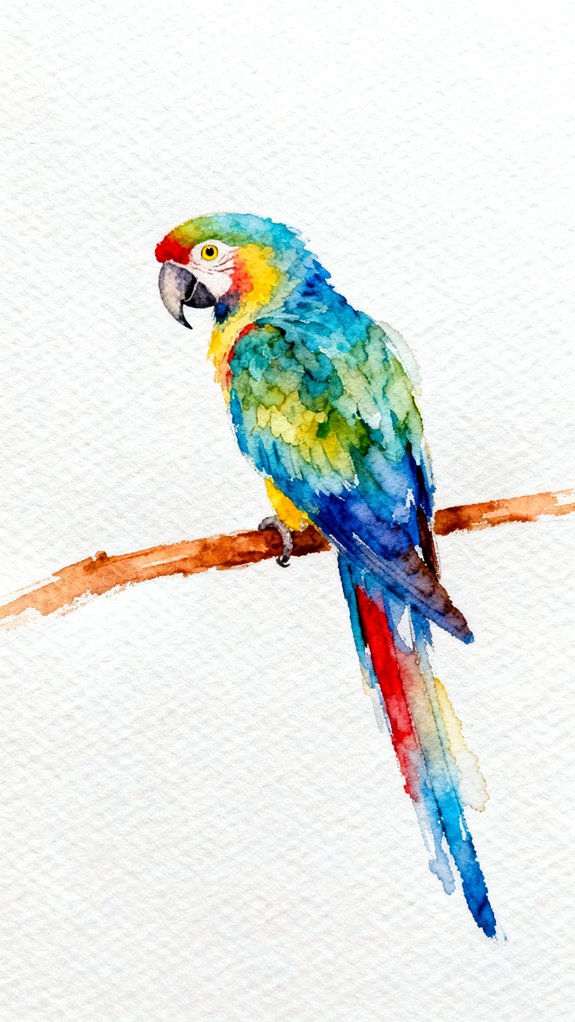
Since parrots showcase nature’s boldest colors, they’re perfect for practicing vibrant watercolor blending without worrying about realism. We’ll start with a simple side-view parrot on a branch, which makes perch positioning straightforward—just one horizontal line! Choose three bright colors for the feathers (we love turquoise, yellow, and magenta), then let them blend wet-on-wet.
Parrots’ natural flamboyance makes them ideal subjects for bold watercolor experimentation—vibrant blending matters more than perfect anatomy.
Key techniques for your tropical beauty:
- Layer colors while wet to create natural feather gradients
- Add a curved beak and round eye for instant character
- Suggest tropical foliage behind with loose green washes
The beauty here is embracing bold color choices. Don’t overthink the anatomy—parrots are naturally flamboyant, so your experimental approach actually captures their essence! This project builds confidence in color mixing.
Frequently Asked Questions
What Type of Watercolor Paper Works Best for Painting Animals?
We recommend using cold pressed paper with a cotton-based composition for your animal paintings. This combination provides ideal texture and absorbency, allowing you to achieve stunning detail and vibrant color layering that’ll transform your artistic results.
How Do I Fix Mistakes When Painting With Watercolors?
We’ll lift wet mistakes by blotting excess paint with a damp brush or paper towel. For dried errors, we can creatively incorporate them by gradually building up layers, transforming mishaps into unique textures and depth.
What Basic Brushes Do I Need to Start Painting Watercolor Animals?
We’ll need just three brush types: a round (#8), a detail brush (#2), and a flat wash brush. Surprisingly, mastering basic brush handling techniques matters more than owning expensive supplies for creating stunning animal portraits.
Can I Use Student-Grade Paints Instead of Professional Watercolors?
Yes, we recommend starting with student-grade paints! While they have lower pigment quality and less consistent paint consistency than professional grades, they’re perfect for learning techniques and experimenting with color mixing before investing heavily.
How Long Should I Wait Between Layers for Watercolors to Dry?
We recommend waiting 5-10 minutes between layers—most artists rush this 70% of the time. Proper drying time between layers guarantees you’re controlling watercolor flow for details, preventing muddy colors and maintaining crisp edges in your paintings.
Conclusion
Look at us—we’ve painted twelve adorable animals without breaking a sweat! We’ve mastered wet-on-wet blending, dry brushing, and negative space like watercolor wizards. Sure, your first cat might look more like a potato with whiskers, but that’s the charm of loose brushwork. We’ve proven anyone can create something delightful in just thirty minutes. Now grab those brushes and paint something furry, feathered, or finned. Your sketchbook’s waiting! 🎨
Have any thoughts?
Share your reaction or leave a quick response — we’d love to hear what you think!
-
 0
0
-
0
-
0
-
0
-
0
-
0


