

There is something about a moon watercolor painting that feels like it paints itself: the paper does half the magic the moment pigment meets water and blooms into a soft glow. These scenes lean into the opalescent, dreamy side of celestial art, with iridescent blues, lilac and pearl pink standing in for moonlight, and plenty of salt-textured stars scattered across quiet skies.
Below are 31 moon and night-sky scenes, each with its own small story, a cat on a rooftop, a girl fishing for stars, a witch’s shelf of moonlit potions. They run from quick five-minute washes to slightly more detailed pieces, so pick whichever one matches your mood and the time you have today.
Using these images: free for personal projects such as printing, coloring, cards, journals and gifts. Handmade items that include them may be sold up to 30 pieces per design. More than that is commercial use and is not permitted, and neither is selling or sharing the images themselves or passing them off as your own. Please ask before any other use.
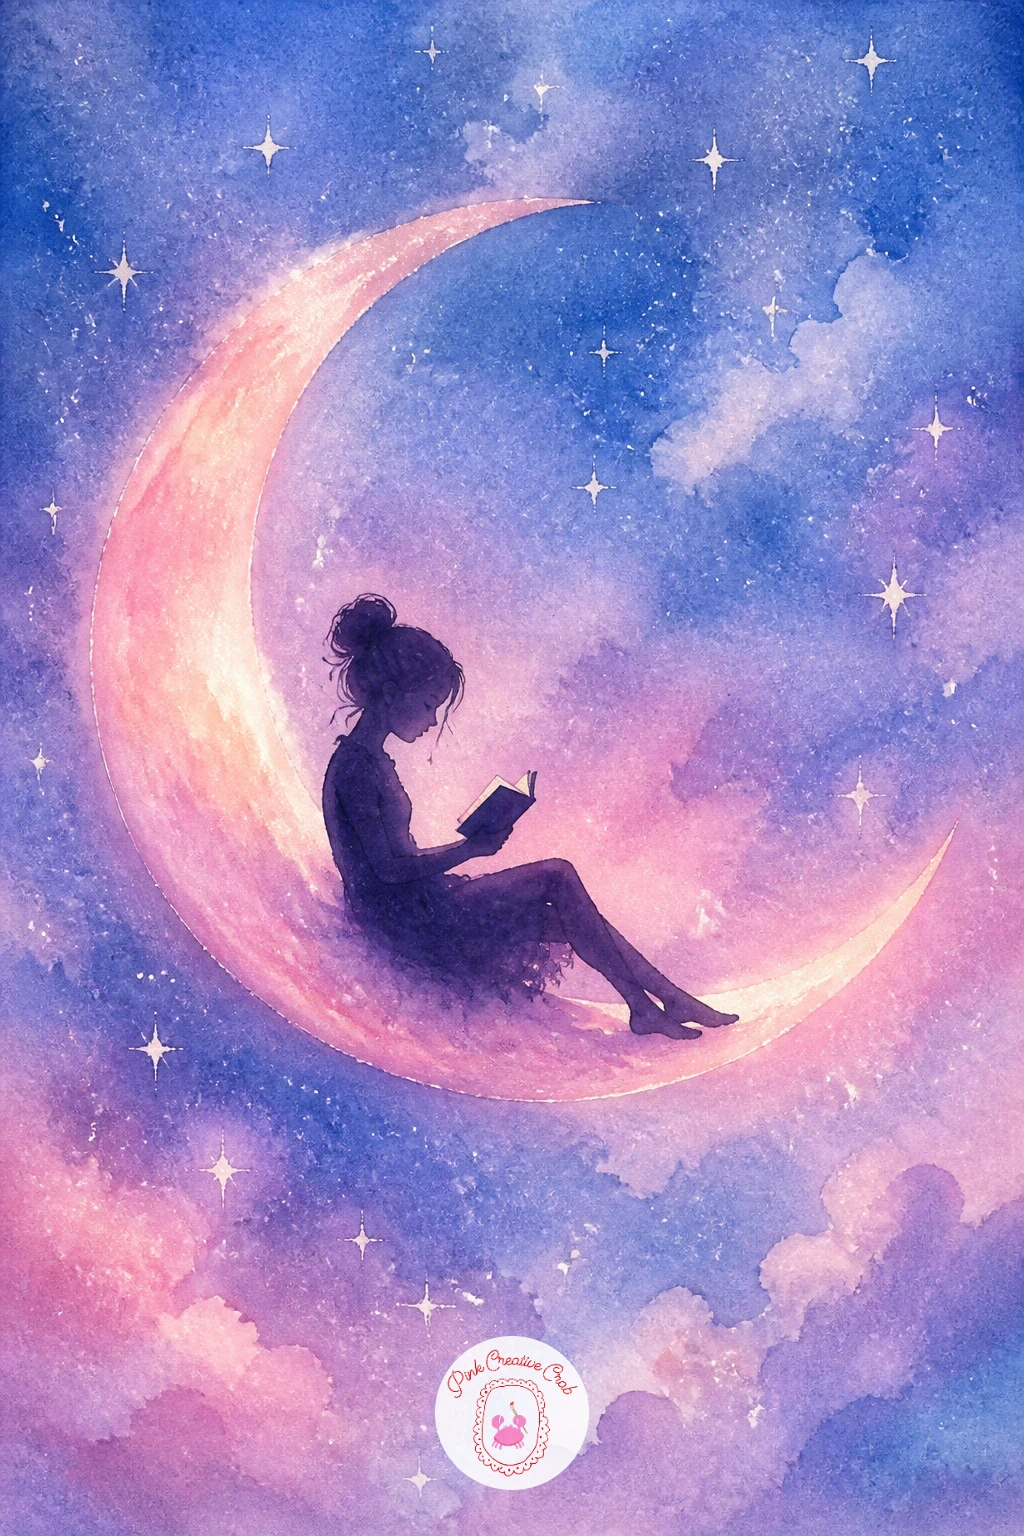
Start simple with a girl sitting on a crescent moon reading, a favorite celestial image that is easier to paint than it looks. Pencil a thin crescent shape low on the page, then paint the sky first in wet-on-wet washes of iridescent blue and lilac so it dries soft and glowing before you add anything on top.
Once the sky is dry, paint the crescent moon in pearl pink mixed with a little white gouache, leaving the inner curve crisp against the sky. Add the girl as a simple silhouette sitting in the curve of the moon, knees bent, a tiny book shape in her hands, using a small round brush and a flat wash of dark plum or navy.
The common slip here is making the figure too detailed, which fights with the dreamy sky. Keep her as a soft silhouette and let the moon and sky carry the color. If you do not have gouache, white colored pencil over dry paint gives a similar soft highlight.
Finish today by flicking a few tiny white dots around her with a toothbrush for distant stars.
You Will Need
- white gouache or white gel pen
- toothbrush for star splatter
Palette: Cerulean Blue,Lilac,Pearl Pink,Payne’s Grey
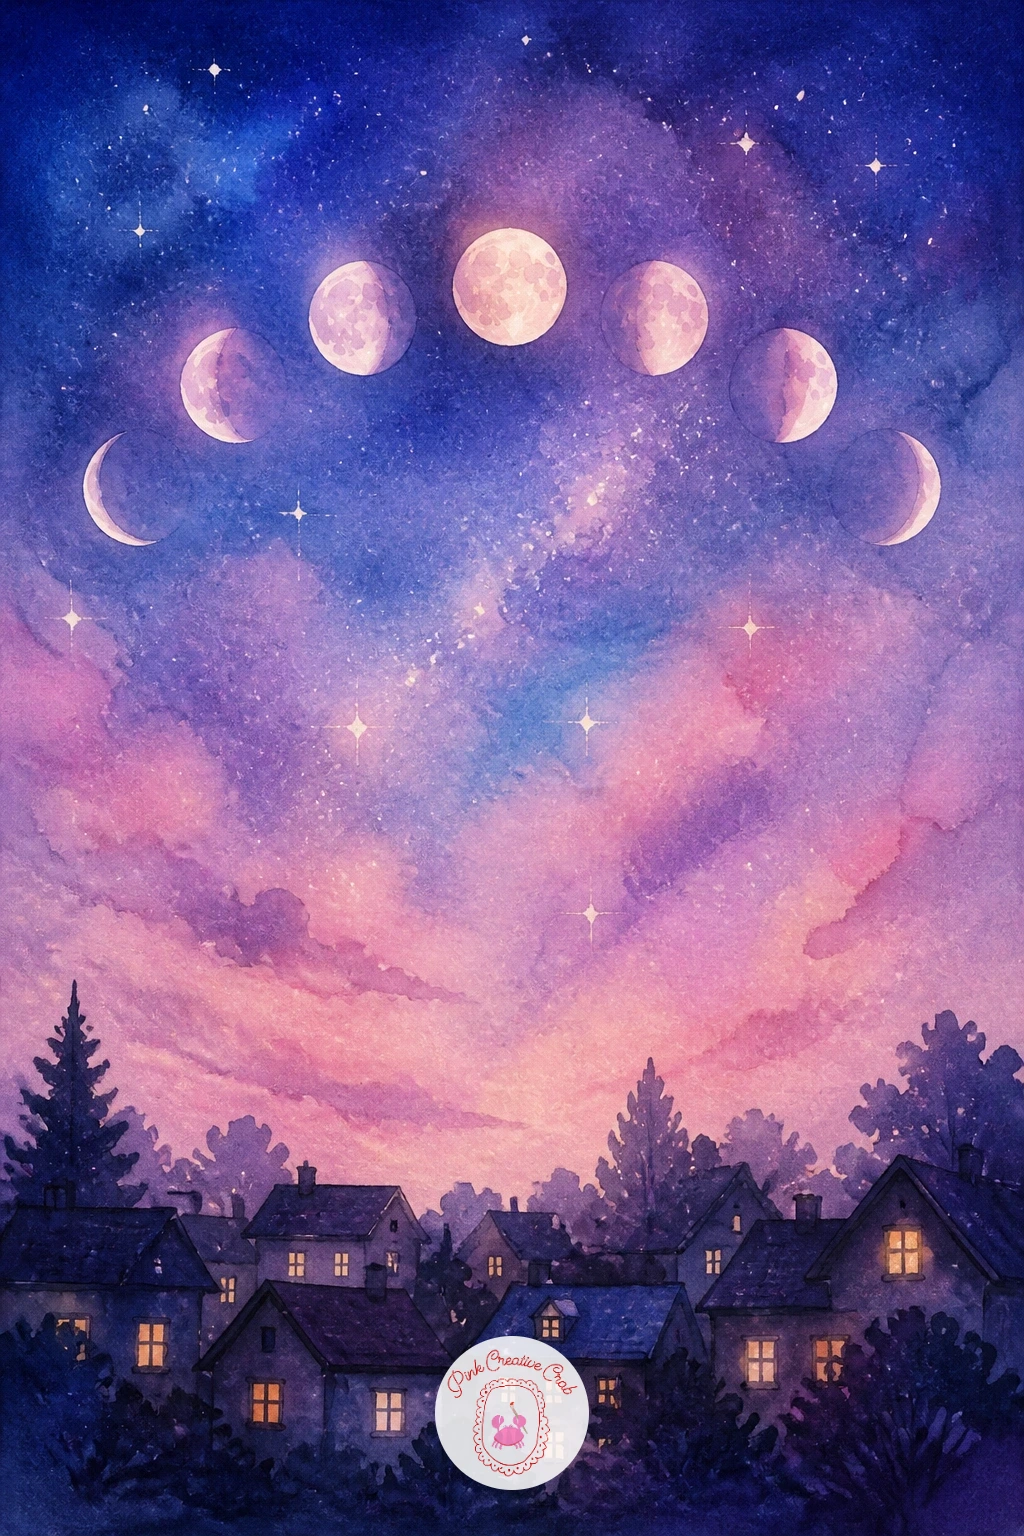
Moon phases above a sleeping village turns a simple arc of circles into a full night-sky story. Measure first: lightly pencil a gentle curved line across the top third of the page and mark eight evenly spaced dots along it so your phases do not bunch up on one side.
Paint the sky behind the phases in one flowing wash of deepening blue and lilac, darker at the top, fading toward soft pink near the horizon. While that dries, paint each moon phase as a small circle, masking the dark portion with a light grey-blue wash and leaving white paper for the lit crescent.
Beneath it all, add a row of tiny dark rooftops and one or two glowing yellow windows for the sleeping village. If the spacing of your phases looks uneven once painted, a few extra stars tucked between the gaps will balance it out without a repaint.
Swap masking fluid for a dry brush if you do not have any, it still gives a soft edge on the dark side of each moon.
You Will Need
- masking fluid (optional)
- ruler or straight edge for spacing
Palette: Payne’s Grey,Lilac,Pearl Pink,Naples Yellow
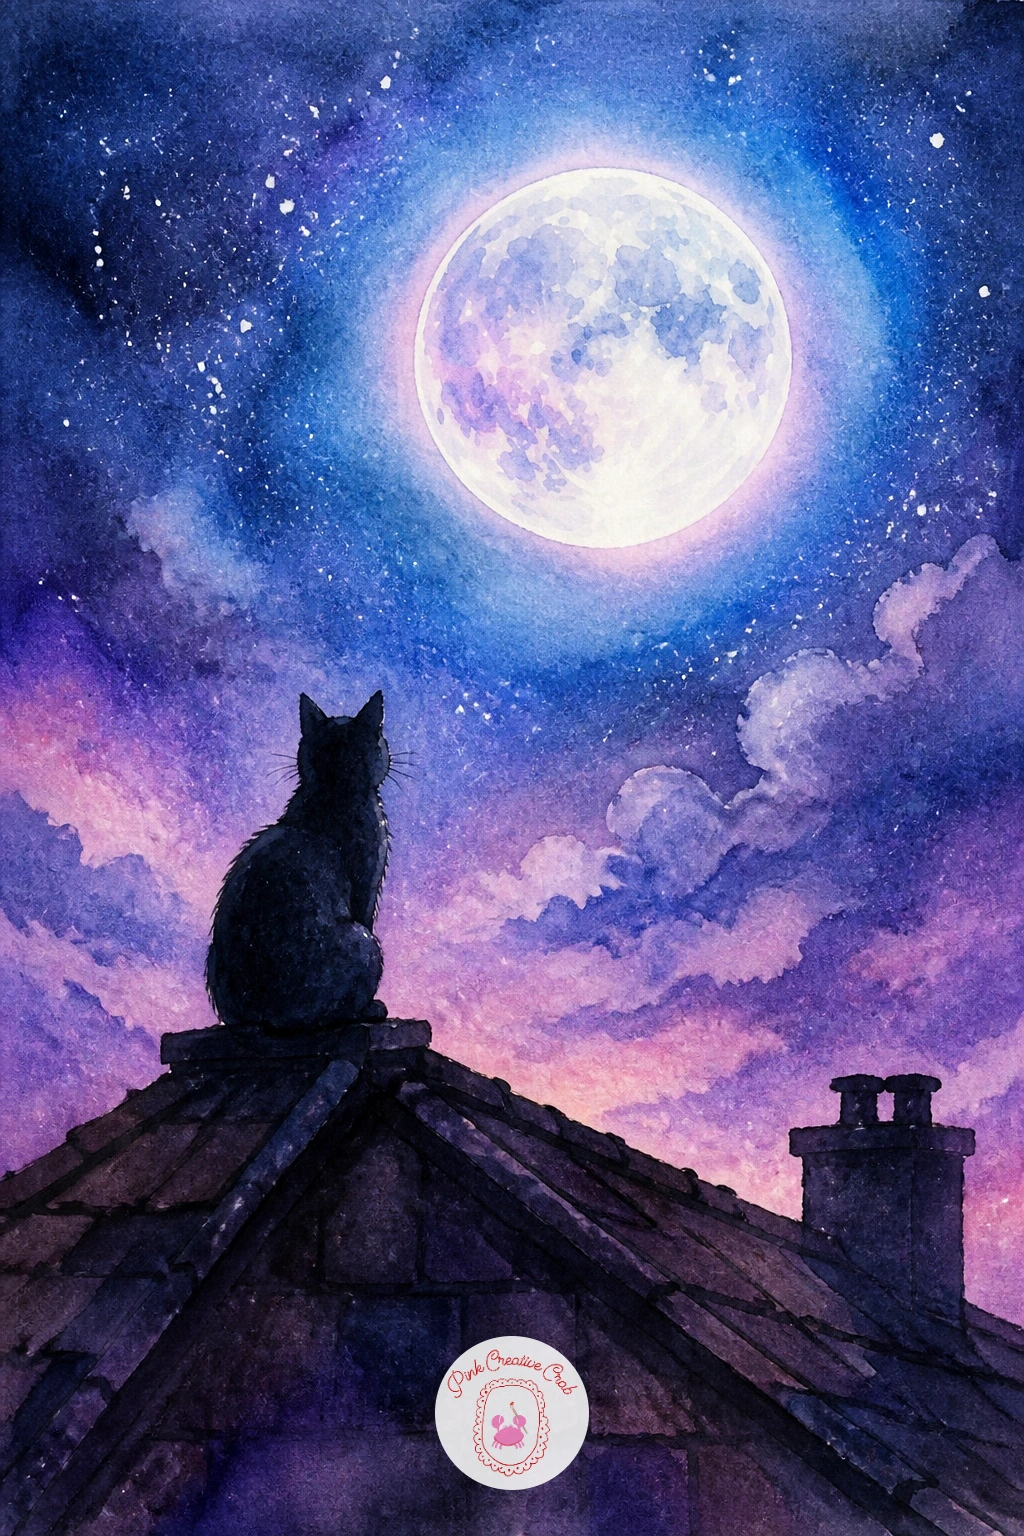
Following the sleepy village, a cat watching a full moon from a rooftop brings the celestial theme down to something small and tender. Paint the full moon first as a soft circle of white left untouched, surrounded by a wet-on-wet halo of iridescent blue bleeding outward into the night sky.
Let that dry completely before adding the rooftop as a dark triangle silhouette along the bottom edge, and paint the cat sitting on its ridge in one confident loaded brushstroke, tail curled, ears pointed toward the moon. A fine liner brush adds the whiskers and a thin outline once everything else is dry.
If the moon’s glow looks too hard-edged, lift a little color out around its rim with a damp clean brush while the wash is still slightly wet. For reference, look at how real moonlight rims the edges of rooftops rather than lighting them flat.
No liner brush on hand means a fine detail pencil works just as well for the whiskers.
You Will Need
- fine liner brush or detail pencil
Palette: Payne’s Grey,Cerulean Blue,Titanium White,Lilac
If you love painting cats in small night scenes, there are more feline poses worth trying in this cat watercolor ideas roundup.
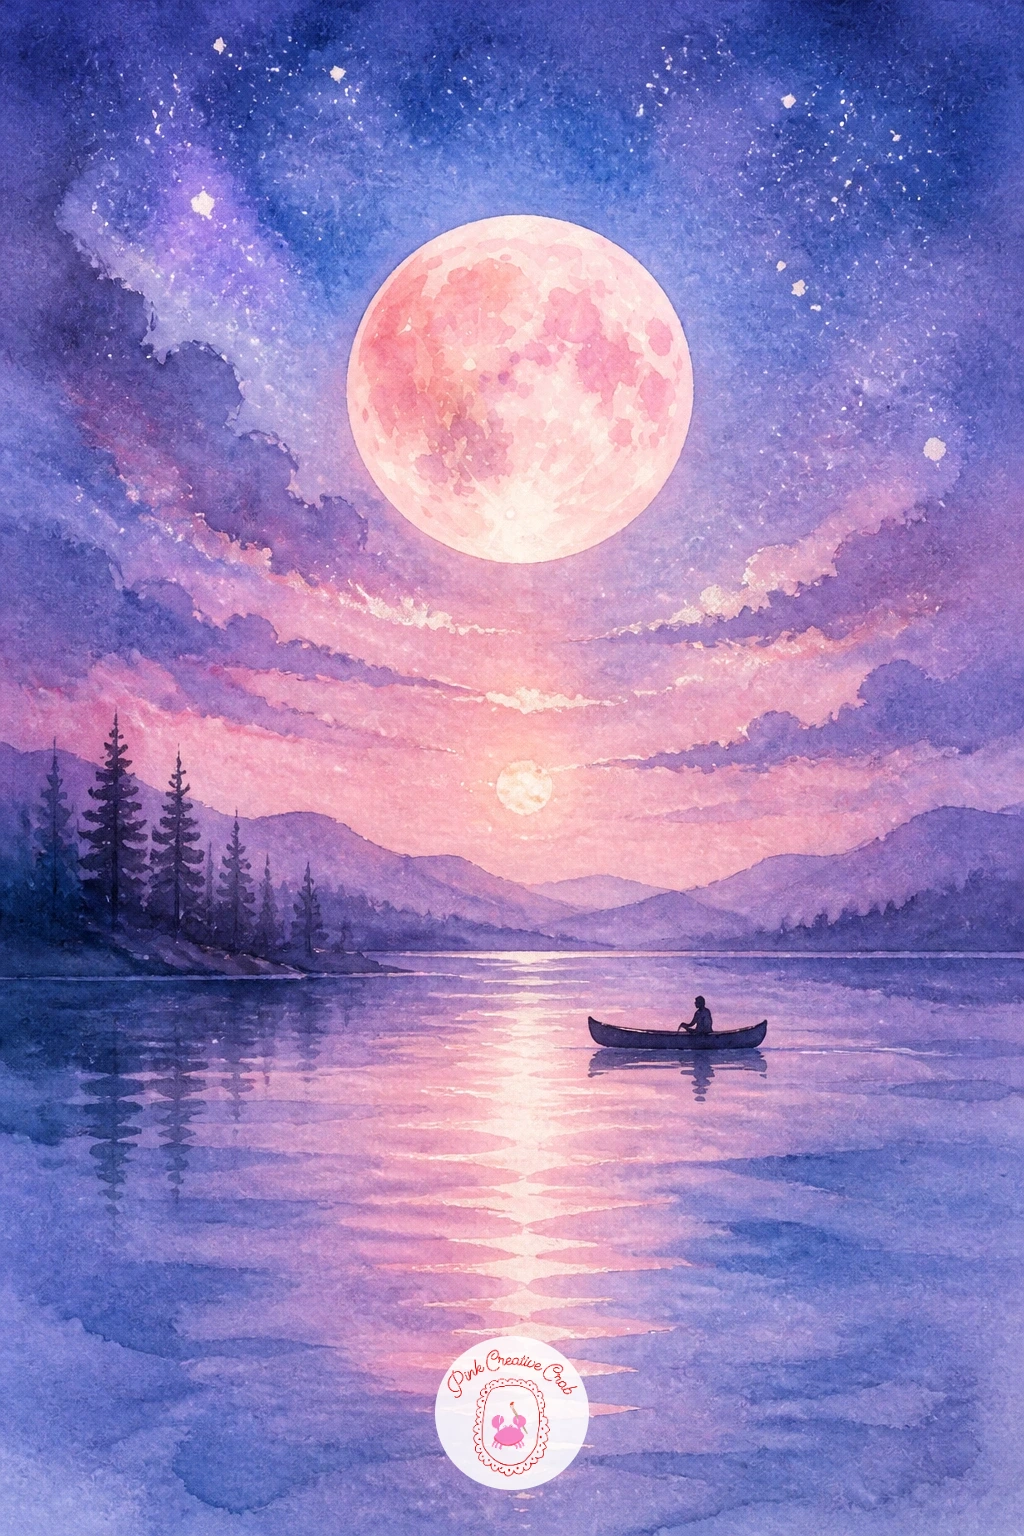
Water doubles the moon’s glow, so a moon reflected in a still lake with a canoe is a satisfying next step. Think about eye level here: place the horizon line roughly at the center of the page so the moon above and its reflection below feel equally weighted.
Paint the sky and the moon first, iridescent blue fading to lilac near the horizon, with the moon a soft circle of pearl pink and white. Flip your brush downward for the reflection, using slightly broken, elongated strokes rather than a solid circle, since reflections on water always shimmer and stretch.
Drop in a small dark canoe silhouette low on the water, slightly off-center, with one tiny figure if you like. The usual mistake is painting the reflection as neat as the moon itself, so keep it looser and let the colors bleed a little for realism.
No lake reference handy, just picture the moon’s circle stretched into broken vertical streaks.
Palette: Cerulean Blue,Lilac,Pearl Pink,Payne’s Grey
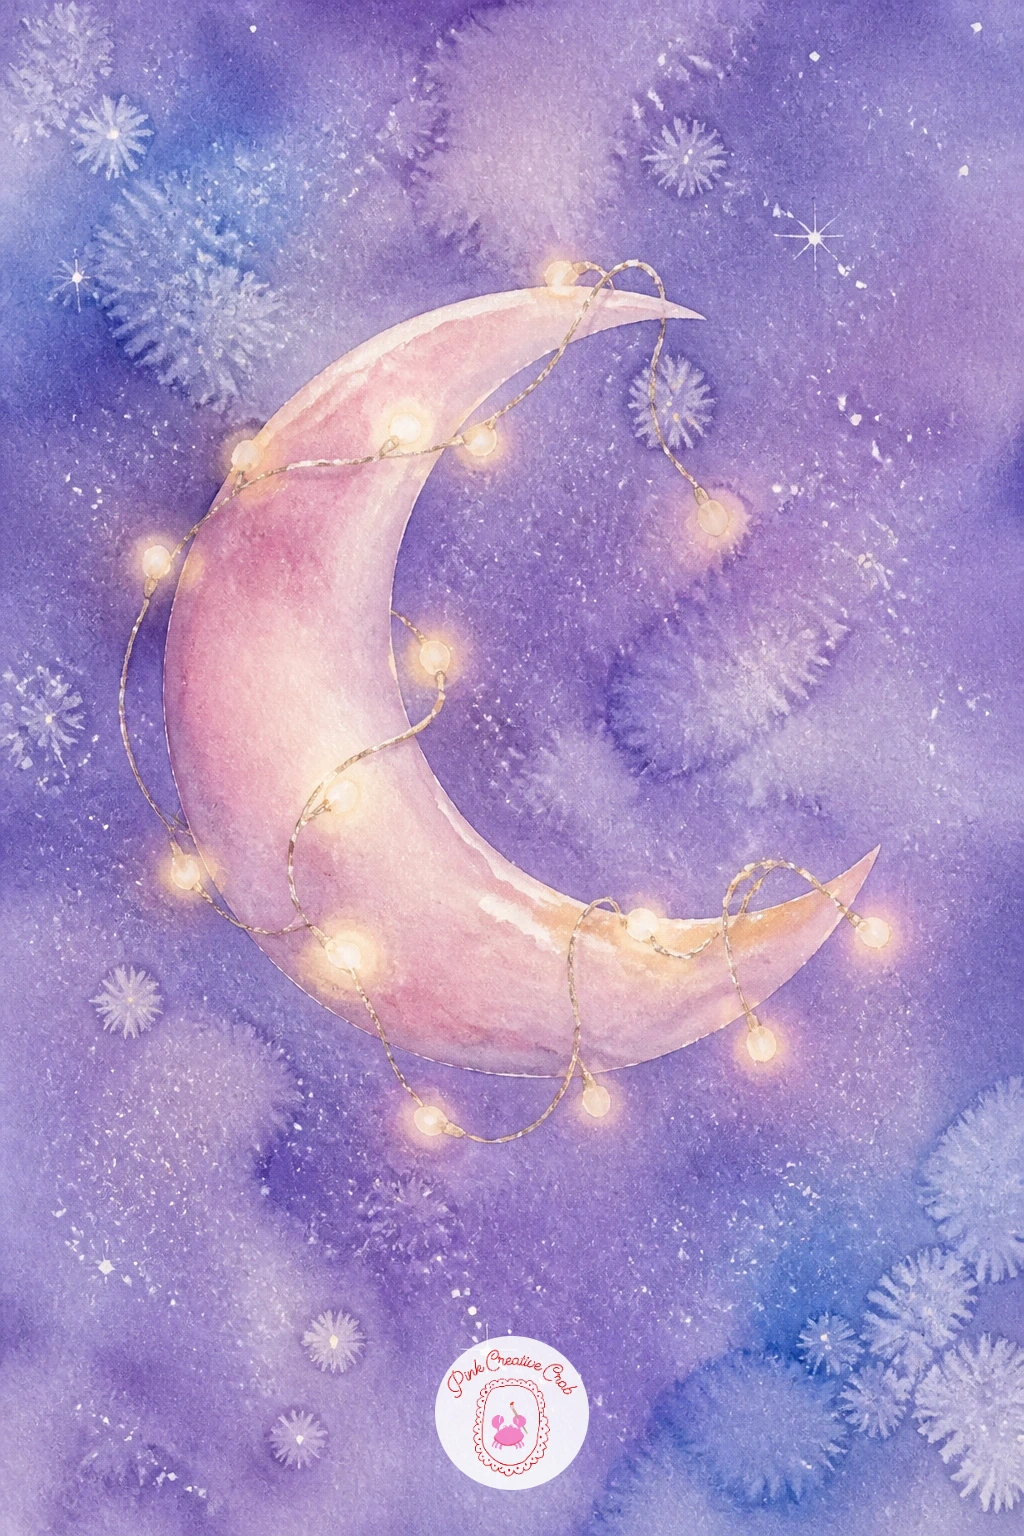
Trade the open sky for something cozier with a crescent moon tangled in fairy lights, a playful scene for anyone who loves the celestial look with a warm twist. Paint the crescent moon first in pearl pink and white, keeping the curve clean against a deep lilac-blue wash behind it.
Once dry, paint a loose looping string with a fine brush, curving it across and around the moon’s tips as if caught there. Add tiny dots of warm yellow and white gouache along the string for the lights, spacing them unevenly so it reads as a real tangle rather than a straight row.
The trick with the lights is dry brush work, barely any water on the brush, so each dot of gouache sits raised and bright instead of bleeding into the sky. If gouache is not available, a white gel pen does the same job once the painting is fully dry.
Keep the string’s curve loose and a little uneven, it reads far more natural than a perfect loop.
You Will Need
- white or yellow gouache
- fine detail brush
Palette: Lilac,Pearl Pink,Naples Yellow,Titanium White
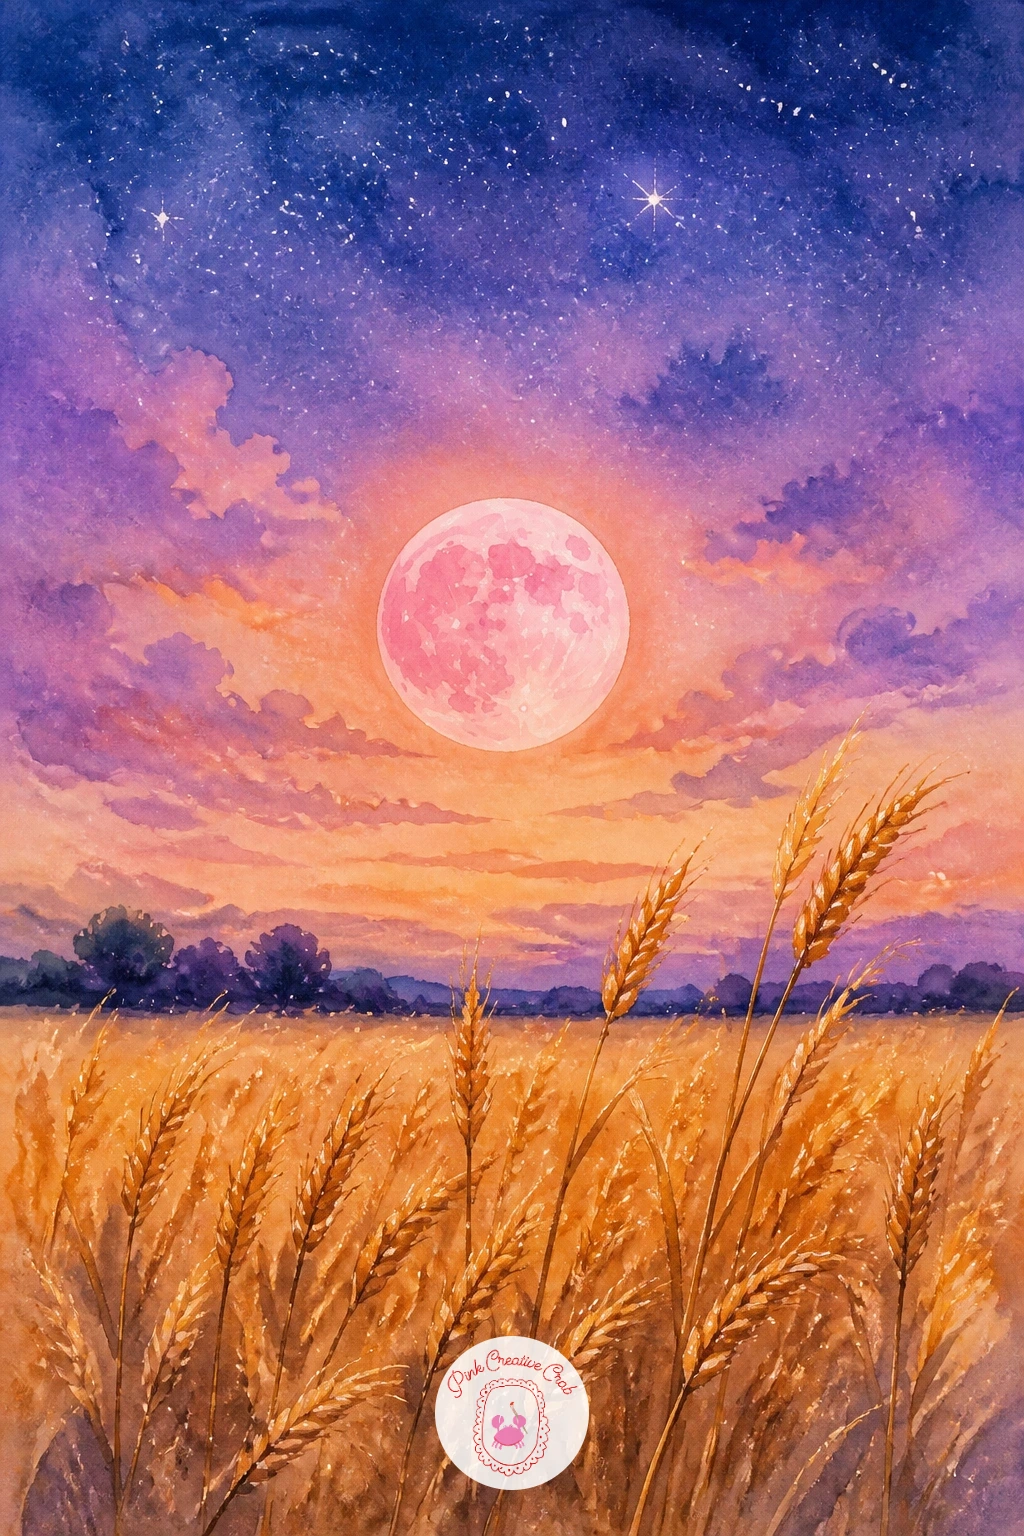
Shift the palette toward warmth for a pink harvest moon over a wheat field, where the light source does all the work. Since the moon sits low and large near the horizon here, keep it slightly oversized, that low, swollen look is exactly what makes a harvest moon read as a harvest moon.
Wash the sky in warm pink and soft orange near the moon, cooling into lilac higher up, then paint the moon itself as a soft circle left mostly as untouched paper with a faint pink tint. Below the horizon, pull a dry brush loaded with ochre and burnt sienna upward in short flicks to suggest stalks of wheat catching the moon’s glow along their tips.
If the wheat field ends up too solid and flat, lift a few strokes out with a clean damp brush while still wet to let light break through. Swap burnt sienna for plain yellow ochre if that is what is in your set, the field will just read a touch softer.
Finish with a handful of short, varied-length wheat strokes, uniform ones look stiff and unconvincing.
You Will Need
- dry brush for wheat texture
Palette: Pearl Pink,Burnt Sienna,Yellow Ochre,Lilac
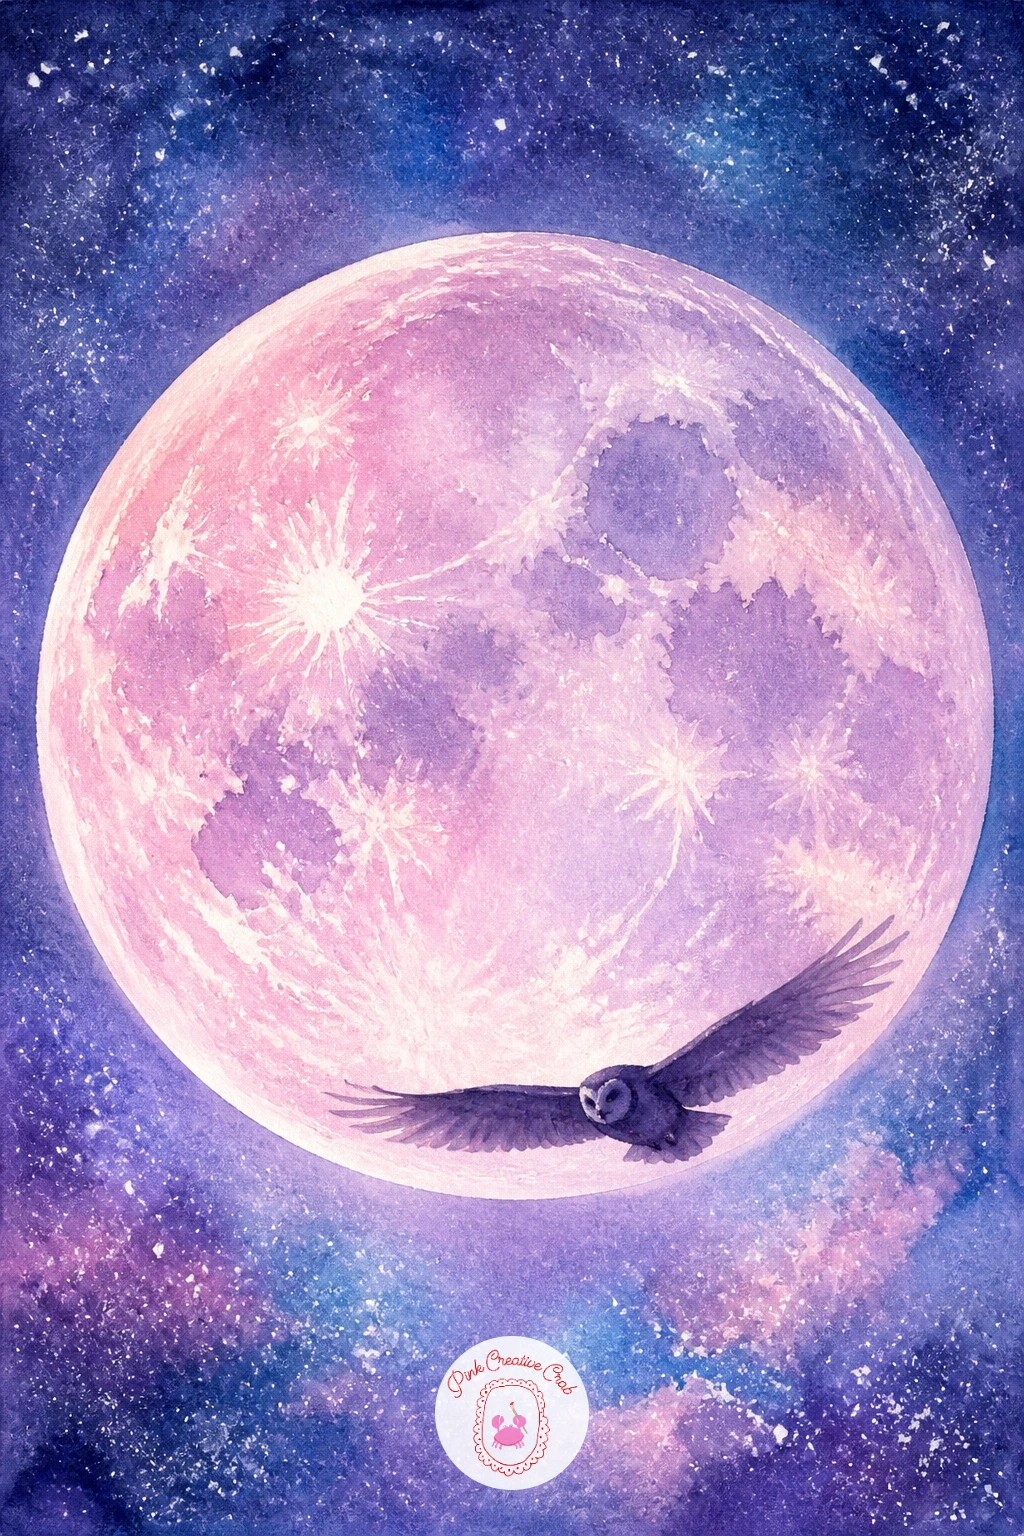
From a warm field scene, move to something more graphic with an owl flying across a giant moon, a classic celestial silhouette that is simpler than it looks. Make the moon fill most of the page, painted as a smooth wet-on-wet circle of pearl pink and lilac with a soft white glow bleeding into the sky around its rim.
Let that dry fully, then paint the owl in one flat silhouette of deep plum or near-black, wings spread mid-flight, positioned slightly off-center so it crosses the lower third of the moon rather than sitting dead in the middle. A single dry-brush stroke for each wingtip gives the feathers a soft, feathered edge instead of a hard cutout shape.
The usual error is centering the owl too perfectly, which flattens the composition. Nudge it to one side and angle the wings slightly upward for a sense of motion.
No deep plum in your palette, a mix of Payne’s grey and a touch of crimson gets you there.
You Will Need
- dry brush for wing edges
Palette: Pearl Pink,Lilac,Payne’s Grey,Deep Plum
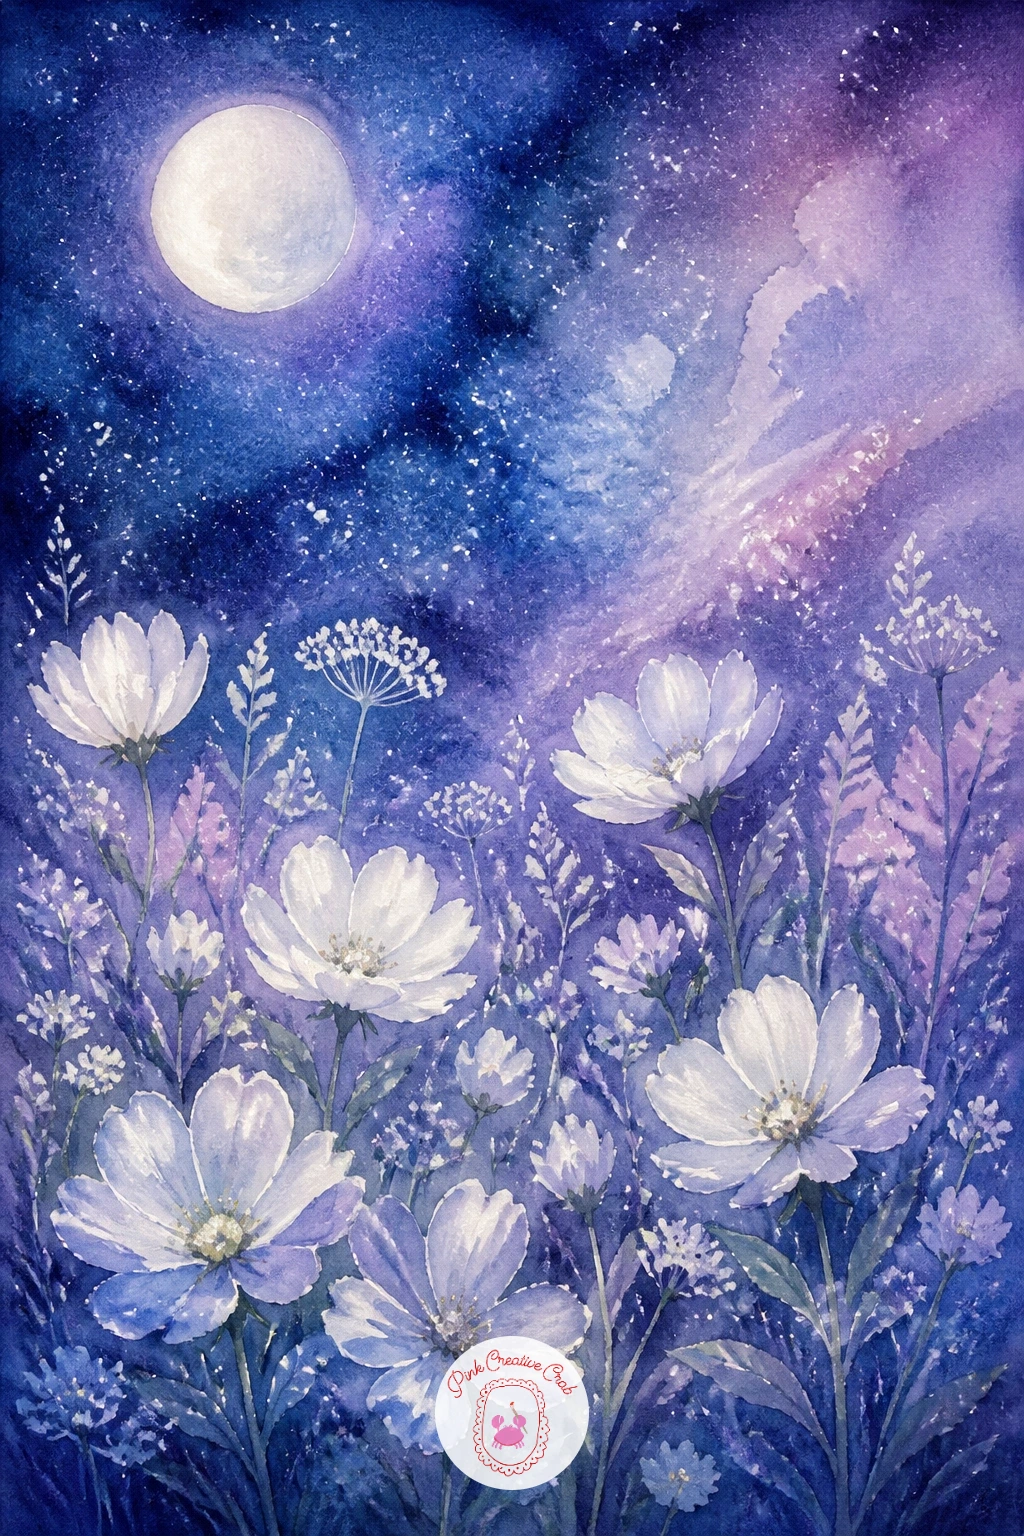
Bring the moon down to earth with a moon garden with white flowers, a gentler scene built mostly from negative space. Paint the night sky first in a deep blue-lilac wash, then while it is still slightly damp, drop clean water or a touch of masking fluid where the flowers will sit so the white paper stays protected.
Once dry, add the moon as a soft glowing circle in one corner, then shape each flower with a few simple petal strokes left as untouched white paper, their shadows just a thin crescent of pale grey-lilac along one edge. Tall dark stems and a scatter of small round leaves ground the flowers at the base of the page.
Flowers that disappear into the dark background usually need that single shadow crescent added once everything is dry, it is what separates them from the sky instead of blending flat. If you do not have masking fluid, simply paint around each flower shape carefully with a small brush.
For more ways to build whole gardens with soft petals and loose stems, the easy watercolor flower guide has plenty of ideas.
You Will Need
- masking fluid (optional)
Palette: Payne’s Grey,Lilac,Titanium White,Sap Green
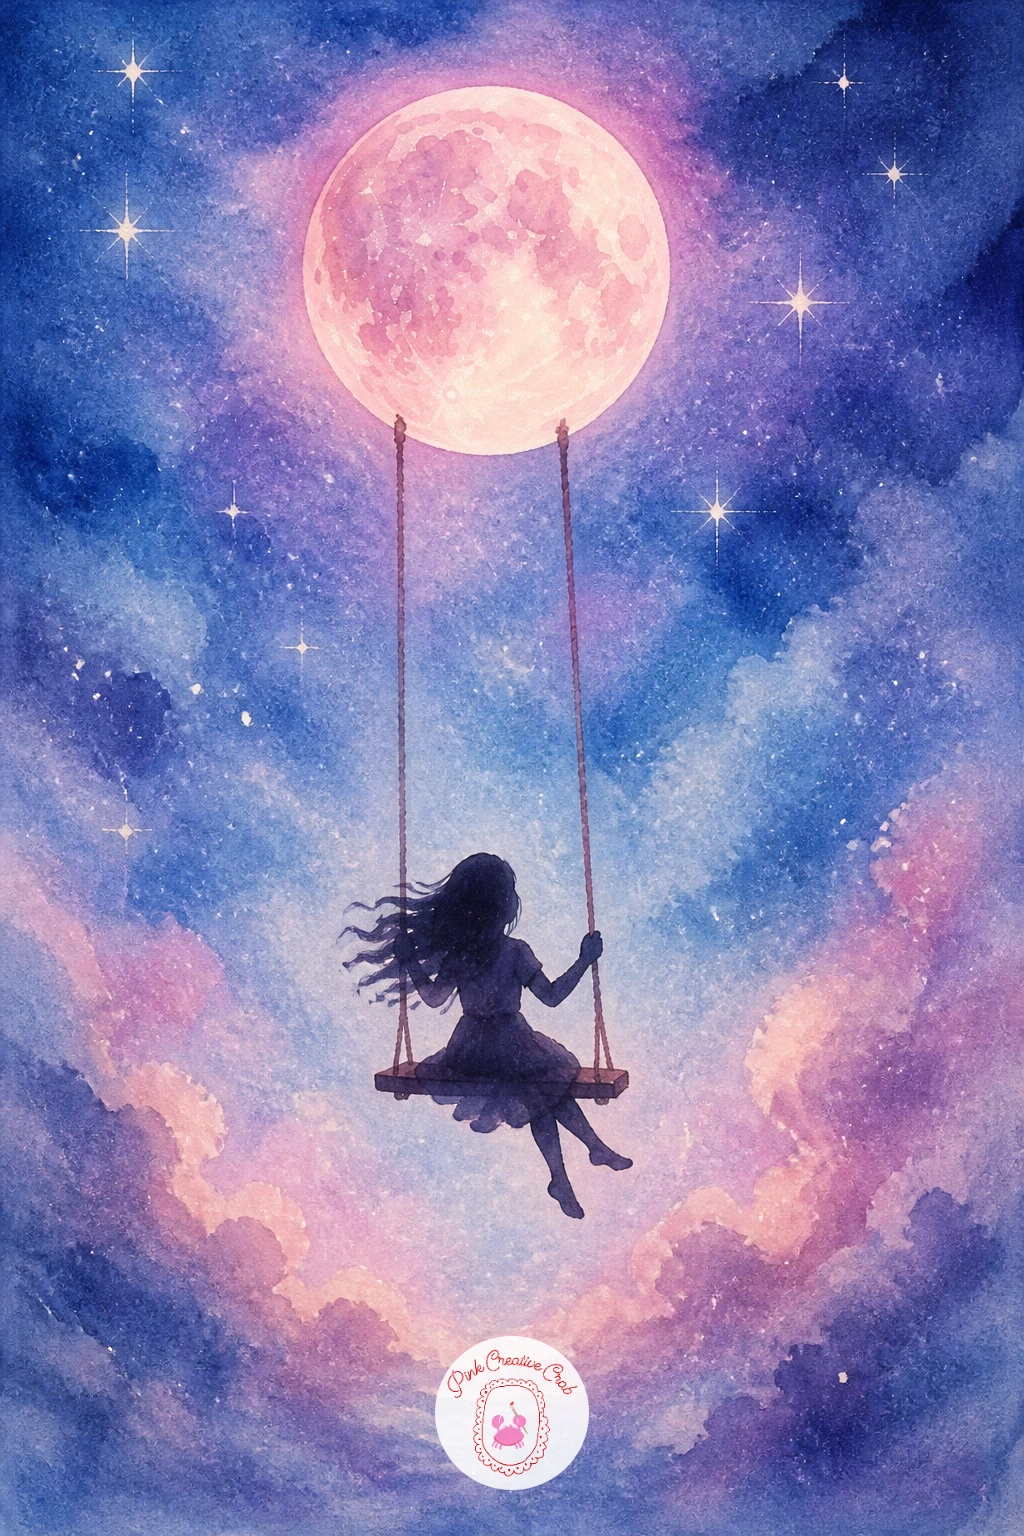
Keep the whimsical mood going with a swing hanging from the moon, a dreamy image that needs careful eye-level planning to look right. Sketch the moon high on the page first, then lightly pencil two long, slightly curved lines dropping down from its lower edge before you paint, so the ropes read as hanging rather than floating randomly.
Paint the moon and sky together wet-on-wet in pearl pink and iridescent blue, then once dry, paint the rope lines with a fine brush in a thin warm brown or grey, keeping them slightly uneven since perfectly straight ropes look stiff. Add a small wooden swing seat at the bottom with a girl sitting on it, her legs kicked forward, painted as a simple silhouette.
If the ropes end up too thick, thin them down with a damp brush before the paint sets, or just add a second thinner line beside the first for a woven look. Swap the seated girl for an empty swing if figures feel tricky, the scene still reads as magical either way.
Keep her pose simple, one line for the back, two for the legs kicking forward is all it needs.
You Will Need
- fine detail brush
Palette: Pearl Pink,Cerulean Blue,Burnt Umber,Payne’s Grey
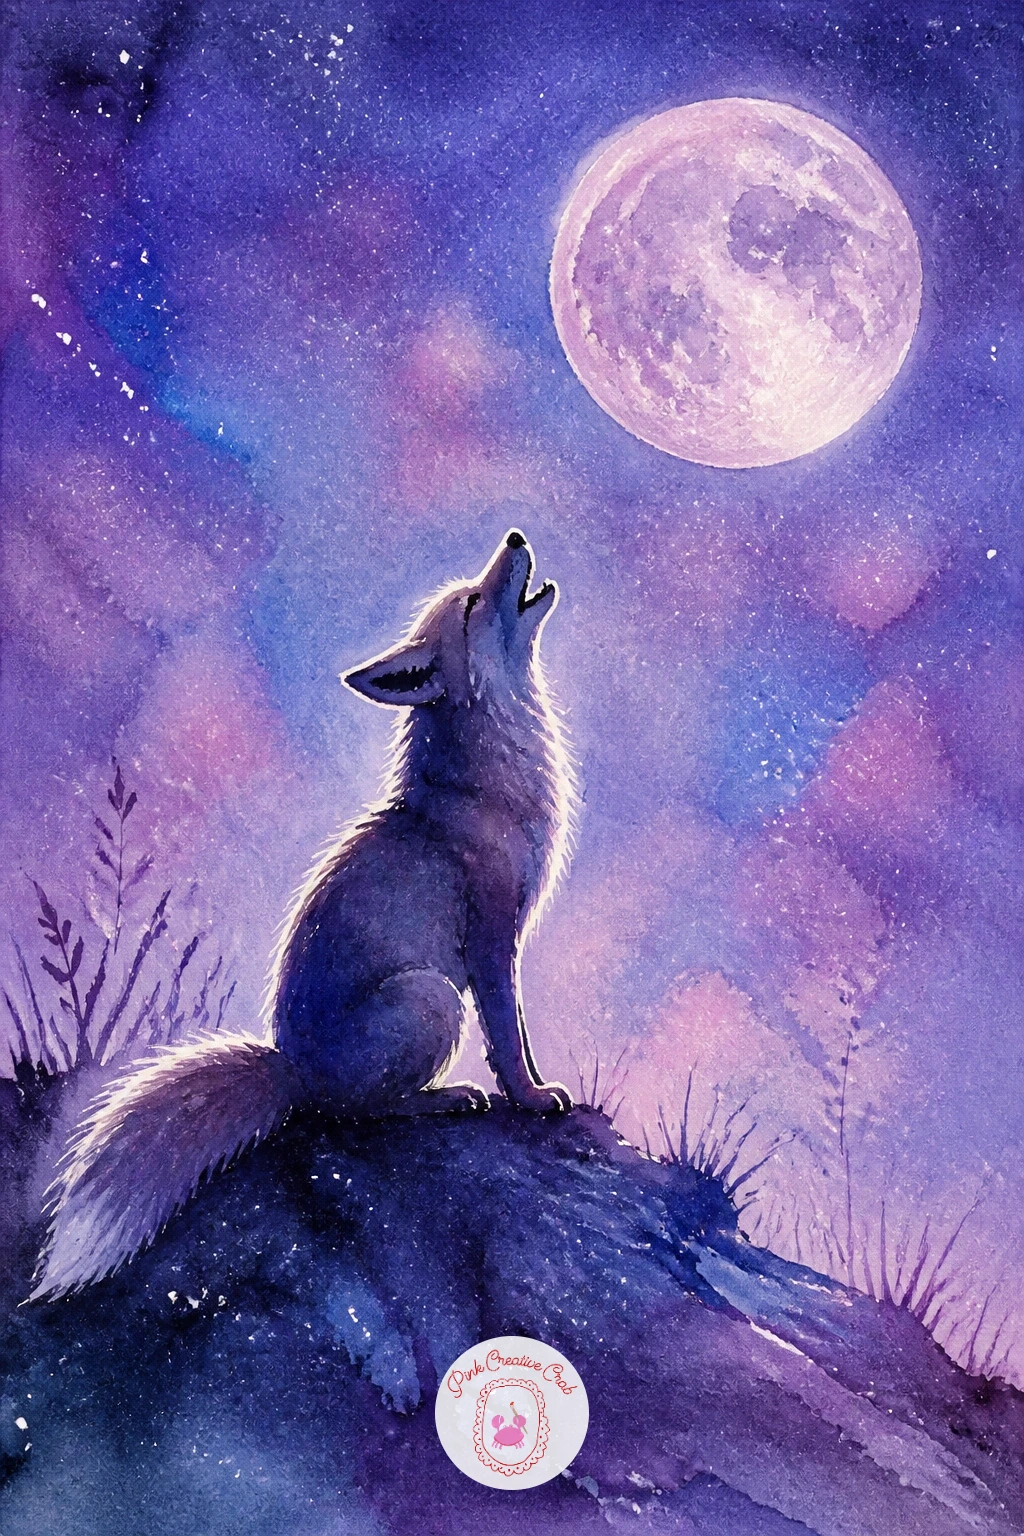
Wildlife brings its own drama, so try a fox howling at a lavender moon next. Place the moon high and slightly behind the fox rather than directly above, this lighting choice means the fox’s upper edges catch a thin rim of pale light while the rest of its body stays in warm silhouette.
Wash the sky in soft lavender fading into deeper violet near the top, then paint the moon as a simple pale circle before adding the fox in flat burnt orange, head tilted back, mouth slightly open. A thin line of white gouache or lifted color along the fox’s back and ears suggests that moonlit rim without needing to paint every hair.
Foxes often go wrong around the tail, which can look like a lump rather than fur. Pull a few short dry-brush strokes outward from the tail’s edge once the base color is dry to break up the silhouette.
No lavender premixed, a touch of blue into your pink or violet gets you close enough.
You Will Need
- dry brush for fur texture
Palette: Lavender,Burnt Orange,Payne’s Grey,Titanium White
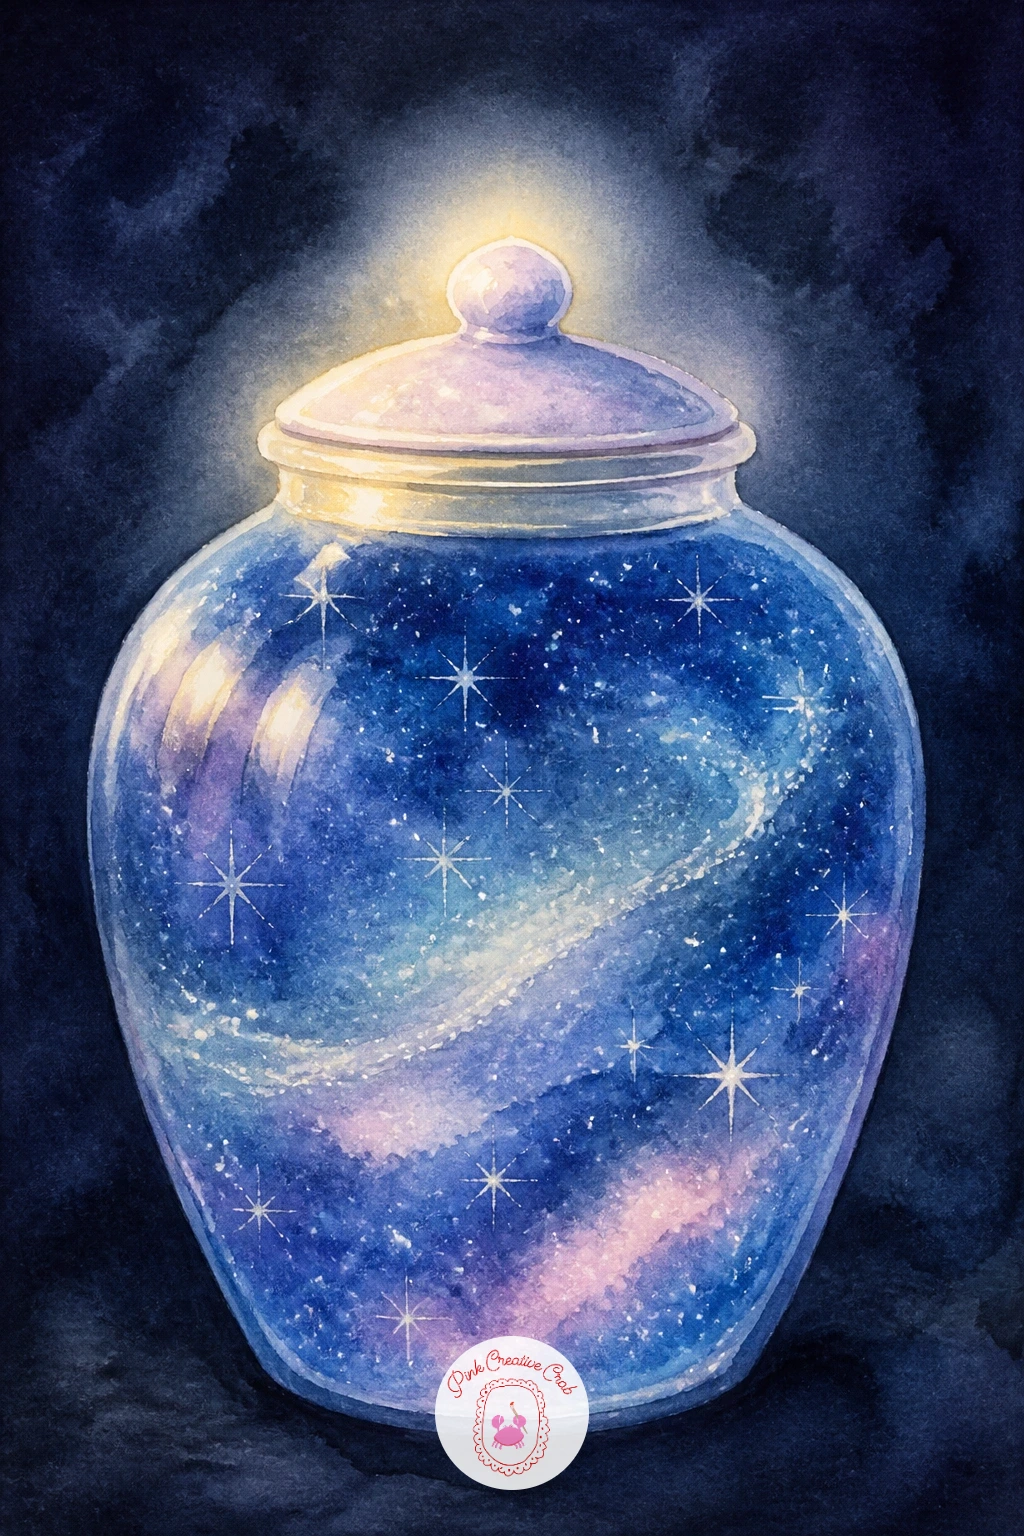
Give the celestial theme a cozy, still-life turn with a moon jar with stars inside, a quick ten-minute piece that still rewards more time. For the fast version, paint a simple rounded jar shape in light grey-blue, drop in a wash of deep night-blue inside it while wet, then flick a few dots of white gouache for stars before it dries, done.
For the forty-minute version, add a soft glow radiating from the jar’s opening using a damp brush to lift color outward, paint a tiny lid with a highlight along its rim, and build the stars in two layers, tiny white dots plus a few larger ones with a faint halo dabbed around them.
The glass itself usually looks too solid if painted in one flat wash. Leave small streaks of white paper unpainted along one side to suggest reflections on curved glass.
If gouache is not available, a gel pen works once the jar is completely dry.
Set the jar on a dark surface with just a hint of shadow beneath it to ground it in the scene.
You Will Need
- white gouache or gel pen
Palette: Payne’s Grey,Cerulean Blue,Titanium White,Lilac
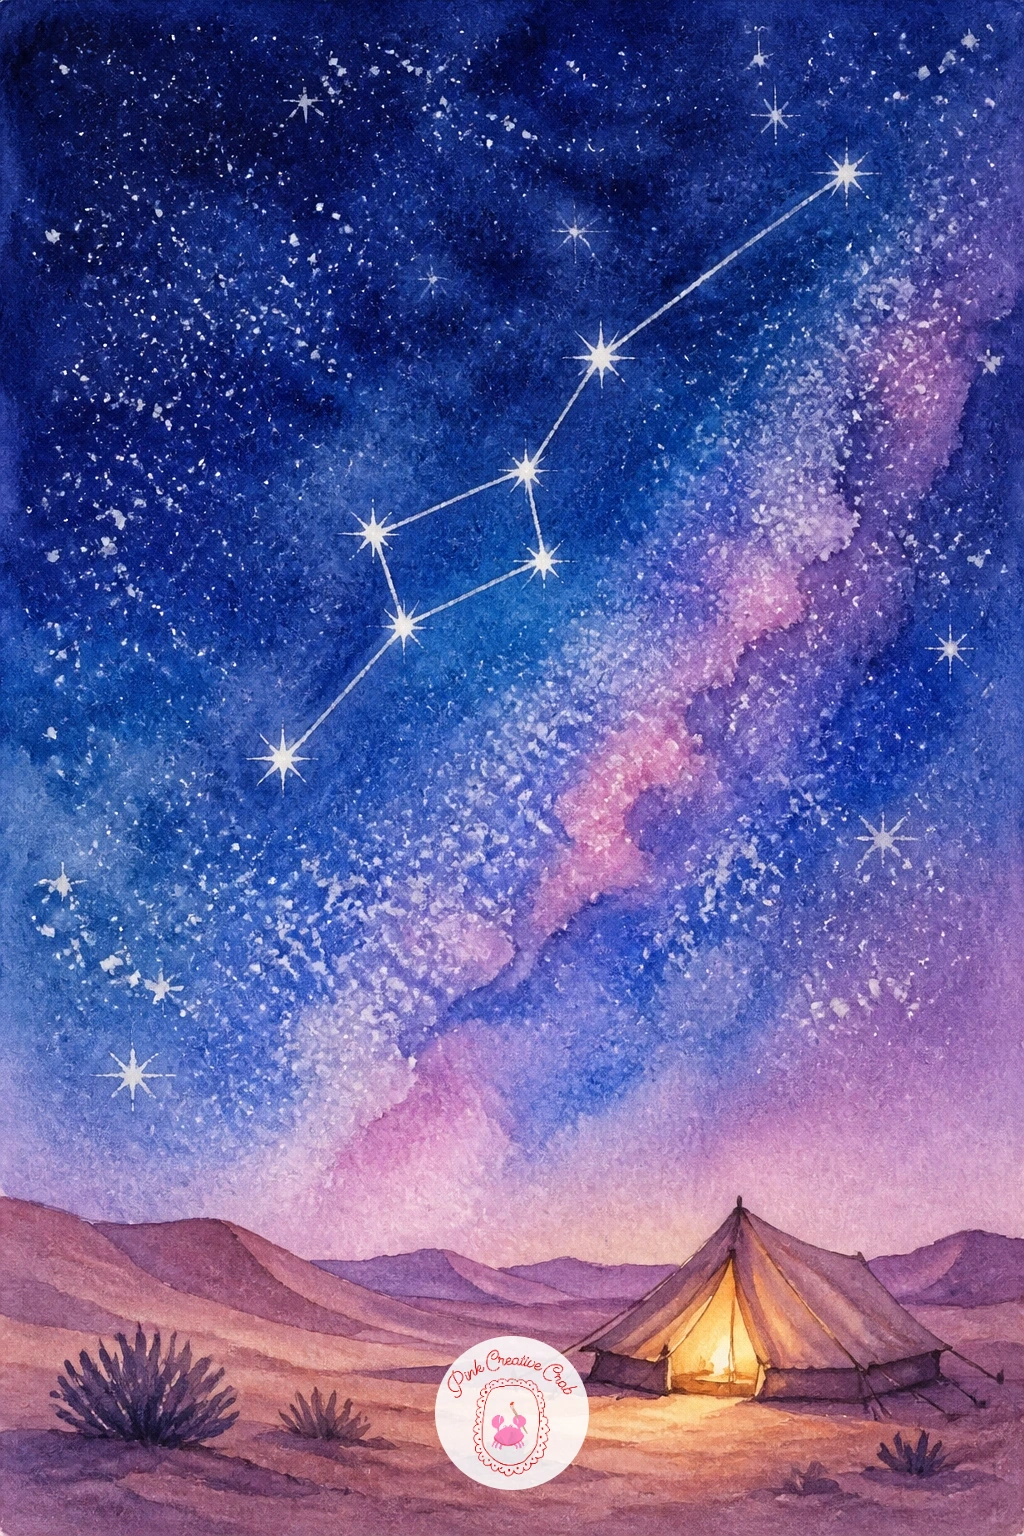
Zoom out to a wider scene with constellations over a desert camp, which leans on the same wet-on-wet sky technique with a new setting underneath. Paint the sky first in a deep indigo-to-lilac gradient, then while it is still damp, sprinkle coarse salt across it and let it sit undisturbed until fully dry for that scattered, starry texture.
Once dry, brush away the salt and paint low rolling dunes in warm sandy tones along the bottom third, keeping the horizon line low so the sky dominates the page. Add a small dark tent silhouette and a tiny triangle of warm firelight glow beside it, then connect a few of the salt-texture stars with thin white gouache lines for a simple constellation shape.
Salt left on too long or in a too-wet wash can over-bloom into shapeless blotches, so brush it off the moment the paper looks matte rather than glossy. No salt on hand, flicking a diluted white gouache with a toothbrush gives a similar scattered star effect.
Keep your constellation lines few and simple, three or four connecting lines read clearly while a dozen turn into visual noise.
You Will Need
- coarse salt for texture
- white gouache for constellation lines
Palette: Indigo,Lilac,Sandy Ochre,Payne’s Grey
For more on building soft graded skies with this wet-on-wet technique, the wet-on-wet watercolor guide covers it step by step.
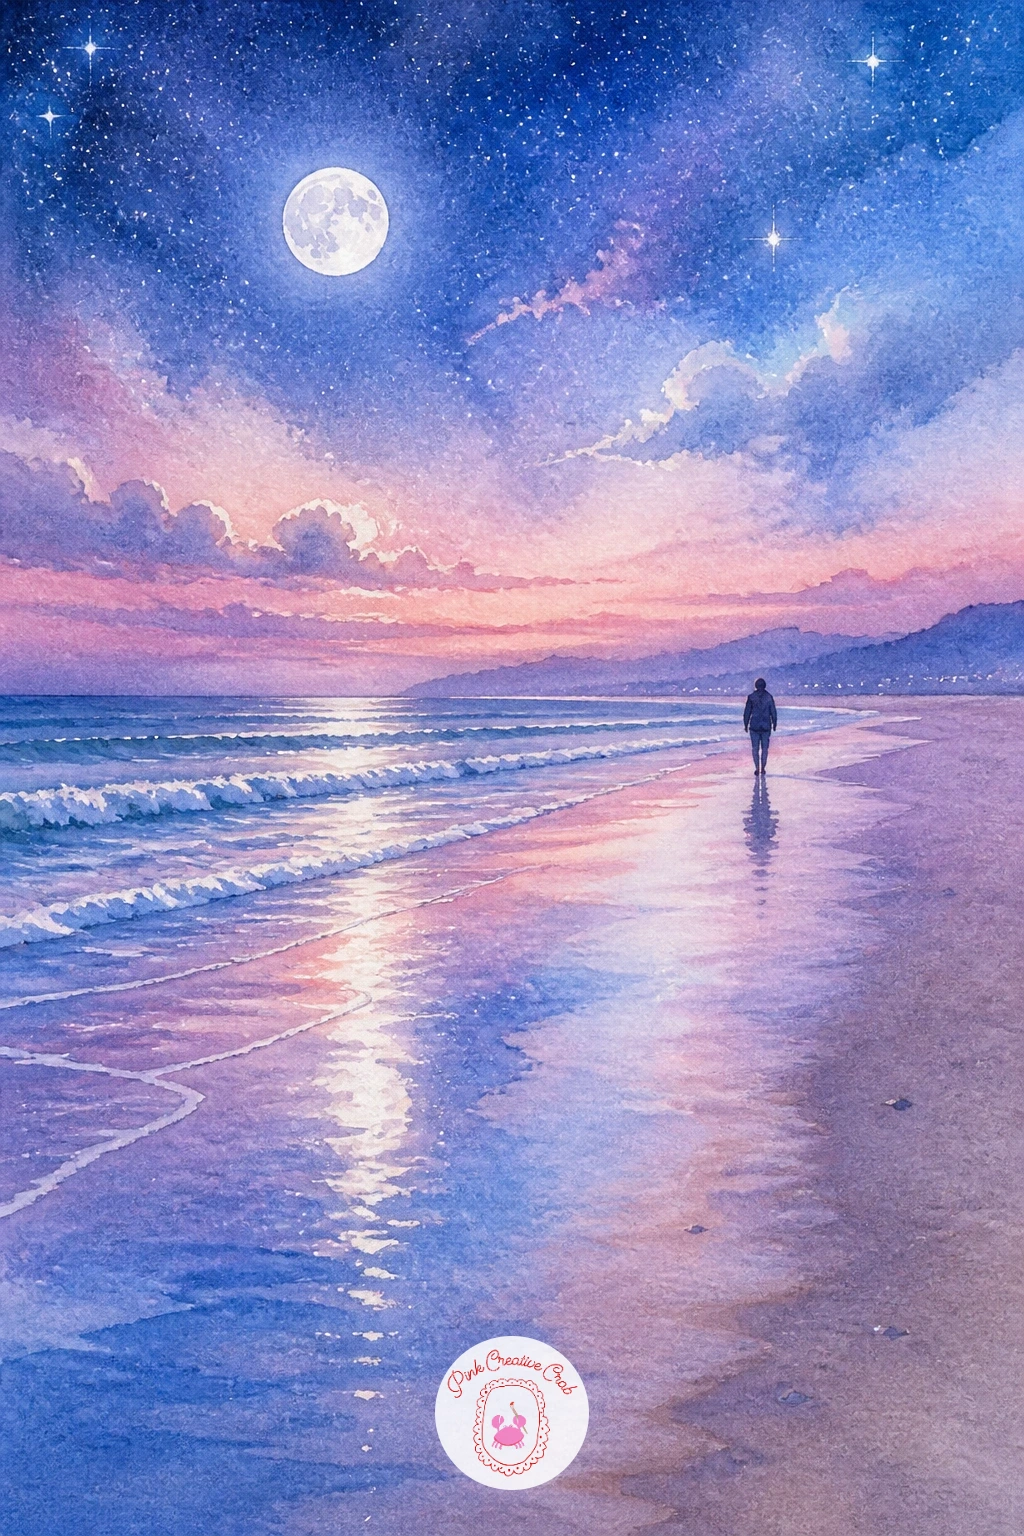
Trade sand dunes for shoreline with a moonlit beach with a lone walker, a quiet scene built on just a few value shapes. Keep the horizon low again, roughly a third of the way up the page, so the moonlit sky and its reflection on wet sand both get room to glow.
Paint the sky and moon together in soft blue and pearl pink, then bring that same wash down onto the sand below the horizon in loose horizontal strokes so the beach catches the same moonlight. While the sand is still slightly damp, drag a clean dry brush sideways to lift a streak of lighter color for the wet sand’s shine.
Add one small dark figure walking along the shoreline, just a few confident strokes for the body and a longer thin shadow stretching toward the viewer. If the figure disappears into the sand tone, a touch more contrast in just that one shape will bring it forward without repainting the whole beach.
Swap the dry-brush lift for a tissue dab if your brush is too soft to lift color cleanly.
You Will Need
- dry brush or tissue for lifting
Palette: Cerulean Blue,Pearl Pink,Payne’s Grey,Sandy Ochre
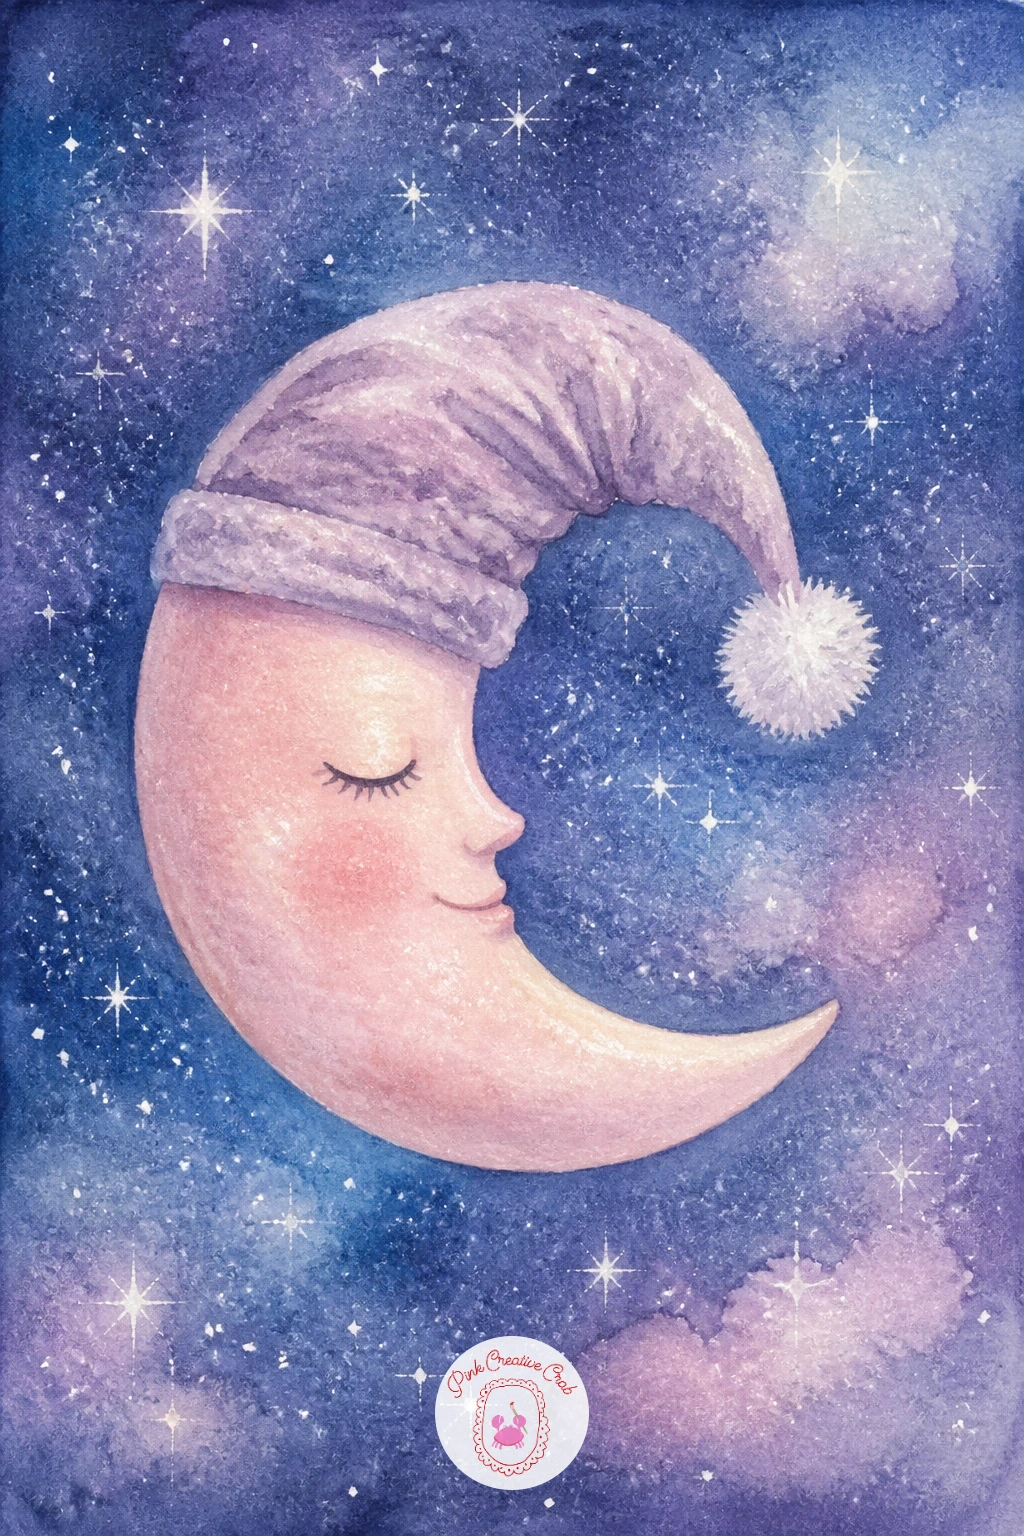
Add some personality with a crescent moon wearing a sleeping cap, a playful character piece that works well as a quick practice page. Paint the crescent shape first in soft pearl pink, keeping the curve smooth, then once dry use a fine brush to add two small closed eyes and a gentle curved smile right in the fuller part of the crescent.
The sleeping cap sits on the upper tip of the moon, painted as a simple triangle in a cozy color like dusty lilac with a small white pompom at its point left as untouched paper or a dot of gouache. A faint blush of pink on the cheek, just a soft dab of color with a damp brush, gives the face warmth.
Faces on a crescent often go wobbly if both eyes are painted at once, so paint one, let it set for a second, then match the other to it rather than rushing both together. If your lines wobble anyway, a few tiny stars scattered nearby pull attention away from it.
No fine brush available, a brush pen with a fine tip gives the same crisp line for the sleepy face.
You Will Need
- fine detail brush or brush pen
Palette: Pearl Pink,Dusty Lilac,Titanium White,Payne’s Grey
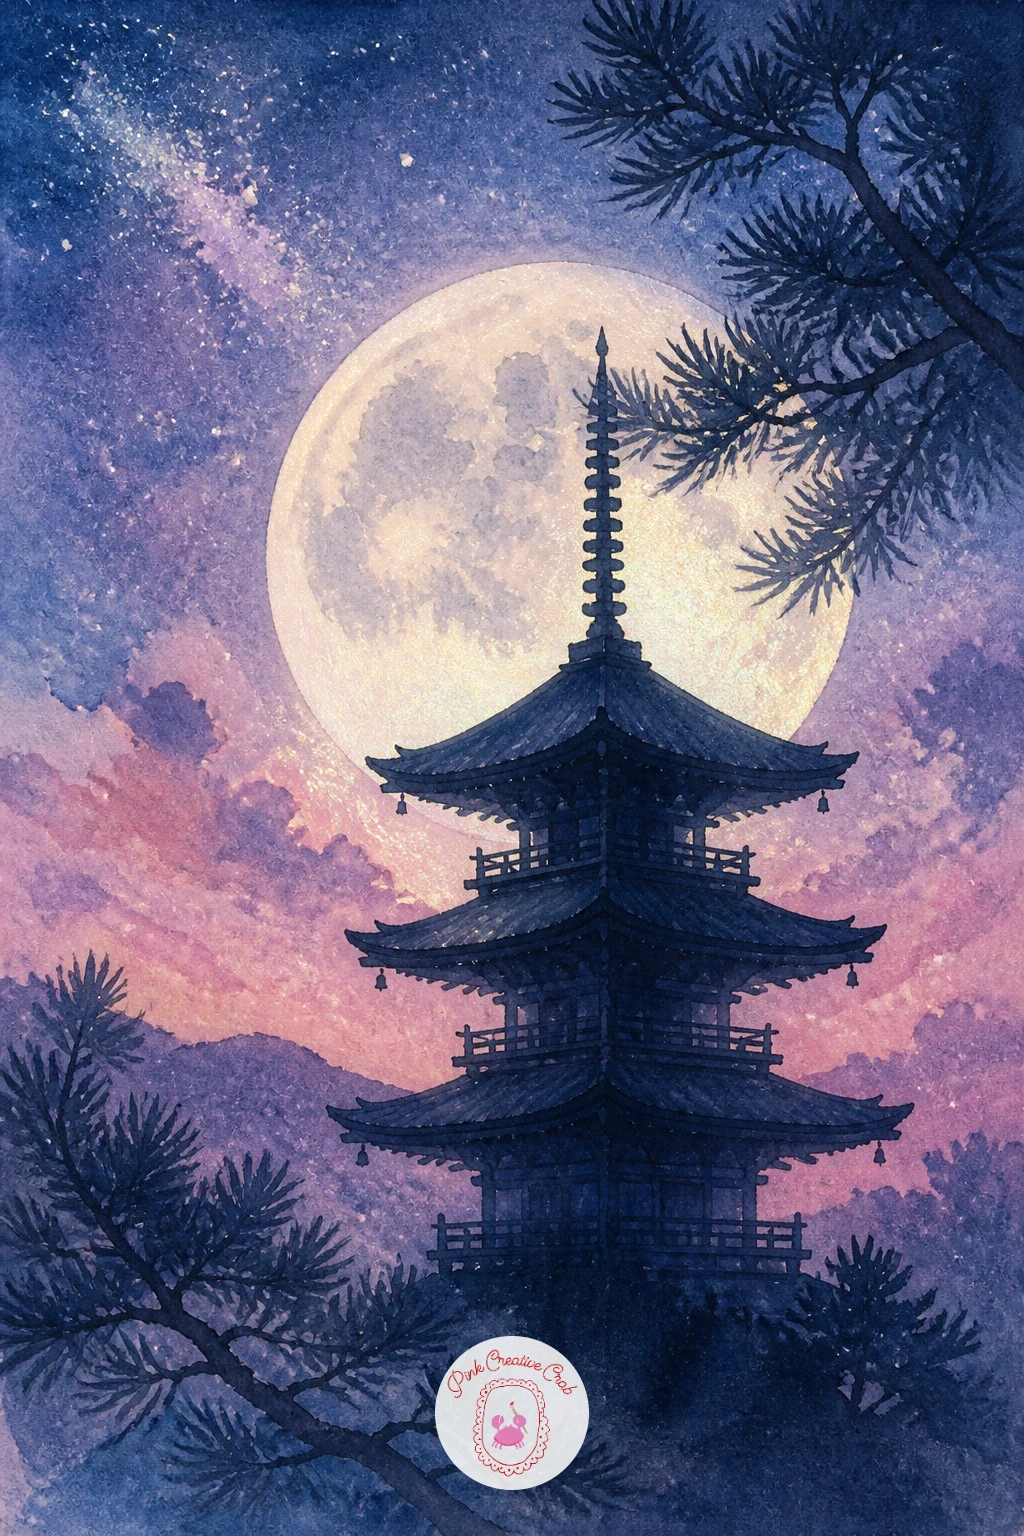
Architecture adds structure to the series with a full moon behind a Japanese pagoda, where the light source sits directly behind the building and changes everything about how you paint it. Paint the moon first as a full glowing circle, then let it dry completely before adding the pagoda, since the building needs to sit as a clean dark silhouette cut against that glow rather than blending into it.
Build the pagoda’s tiered roofline with a ruler-straight edge or careful freehand strokes, keeping each tier distinct, then paint the whole structure in one flat wash of deep indigo or near-black so it reads as a true silhouette. A few thin branches of a pine tree in the foreground, painted with a dry brush dragged upward, frame the scene and add depth.
The roofline is where this one usually falls apart, so lightly pencil the tiers before painting if your hand is not steady with a brush alone. Swap the pine branches for simple bamboo stems if evergreen shapes feel fussy.
Let the moon’s glow bleed softly into the sky before adding the silhouette, that glow is what sells the whole scene.
You Will Need
- ruler for roofline (optional)
Palette: Pearl Pink,Indigo,Payne’s Grey,Sap Green
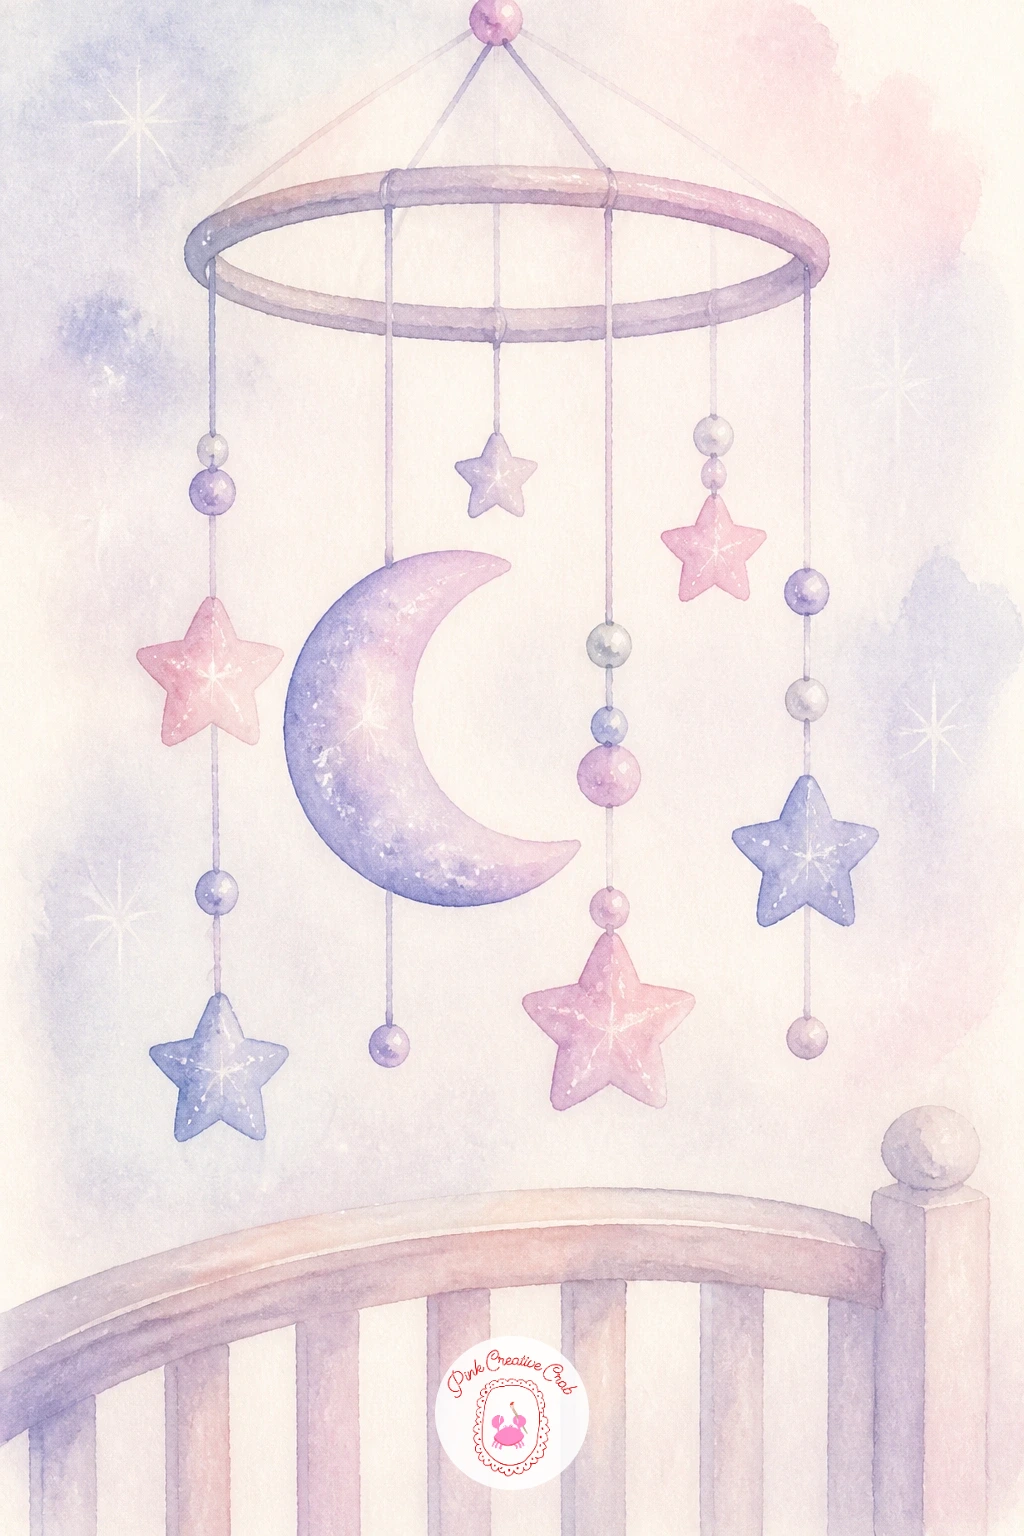
Soften the mood with a moon and stars mobile over a crib, a gentle nursery-themed scene that works well as a gift piece. Sketch a simple curved mobile frame at the top of the page first, then hang three or four thin threads down from it at slightly different lengths so the shapes do not line up too evenly.
Paint a small crescent moon and two or three star shapes in soft pastel pink and lilac, leaving the threads as thin pencil lines touched up with a fine brush once the shapes are dry. Below, suggest the top rail of a crib with just a few soft horizontal strokes in pale wood tones, enough to place the scene without painting the whole crib in detail.
Mobiles often look stiff when every shape matches in size, so vary the moon and stars slightly and let one hang lower than the rest. If thread lines smudge into the shapes above, wait until the shapes are fully dry before adding them with a dry fine brush.
Keep the color palette soft and limited here, two or three pastels feel calmer than a full celestial mix.
You Will Need
- fine detail brush
Palette: Pearl Pink,Dusty Lilac,Pale Wood,Titanium White
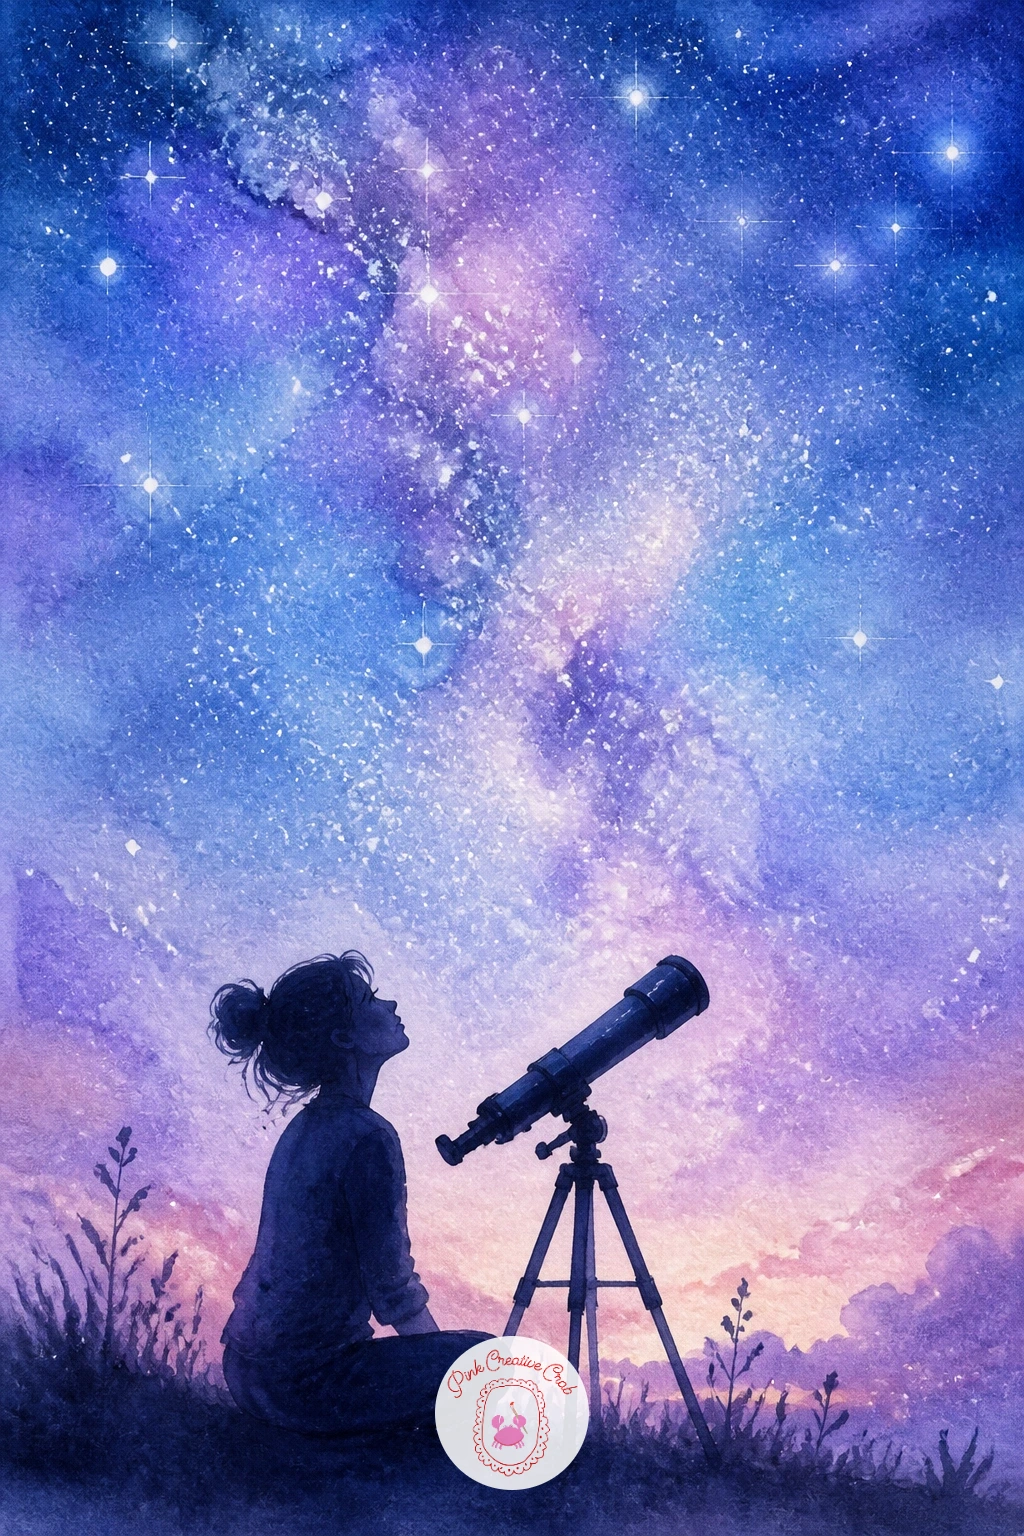
Bring a human figure back into focus with a woman stargazing with a telescope, which hinges on getting her proportions comfortable rather than perfect. A quick trick: her head-to-body height when seated or kneeling at a telescope is usually about four to five head-lengths, measure that lightly in pencil before you commit any paint.
Paint the night sky first in iridescent blue and lilac with a scatter of salt-texture stars, then add her silhouette once dry, kneeling or standing beside a simple telescope shape built from two tapered tube strokes and a tripod of three thin lines. Keep her in flat dark silhouette so she reads clearly against the glowing sky behind her.
Telescopes often come out too bulky if the tube is painted as one thick shape, so narrow it toward the eyepiece end for a more realistic taper. No salt for texture, tiny dots flicked from a toothbrush loaded with white gouache work just as well.
Angle her head slightly upward and the telescope along the same line, it instantly reads as looking at something specific rather than just standing there.
You Will Need
- coarse salt for texture (optional)
Palette: Cerulean Blue,Lilac,Payne’s Grey,Titanium White
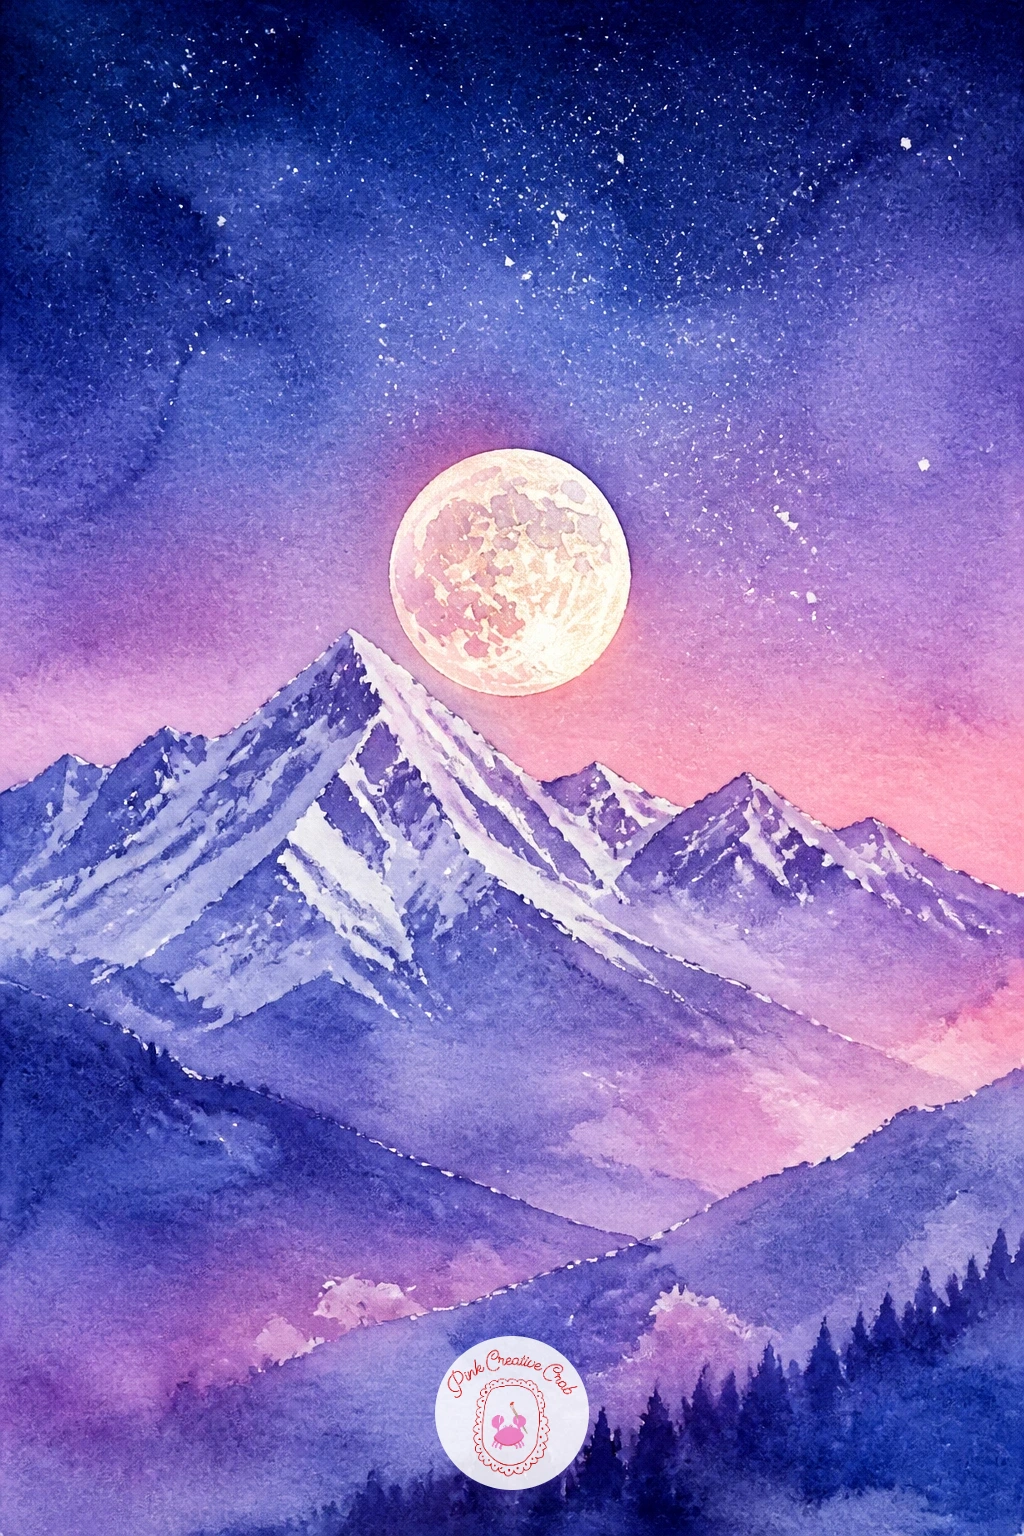
Cool the palette down with a moon rising over snowy mountains, where the eye level sits low so the mountains loom large against the sky. Paint the sky first in a graded wash from deep indigo at the top to soft pink near the horizon, then while still damp, lift a soft circle of color out with a clean brush where the moon will glow.
Once that layer is dry, paint the jagged mountain silhouettes in flat deep blue-grey, keeping their peaks uneven and slightly overlapping for depth, with the furthest peaks a touch lighter and softer than the closest ones. A dry brush loaded with white gouache dragged lightly along the ridgelines suggests snow catching the moon’s glow.
Mountains often flatten out if every peak is the same value, so darken the closest range and lighten the ones behind it before adding any snow highlights. Swap the lifted moon for a simple painted white circle if lifting color feels fiddly, it still reads just fine.
Vary the height and angle of each peak, perfectly even mountains look more like a cardboard cutout than a range.
You Will Need
- white gouache for snow highlights
Palette: Indigo,Pearl Pink,Slate Blue,Titanium White
If snowy peaks and graded skies are becoming a favorite, there are more layered sky techniques in the easy watercolor skies collection.
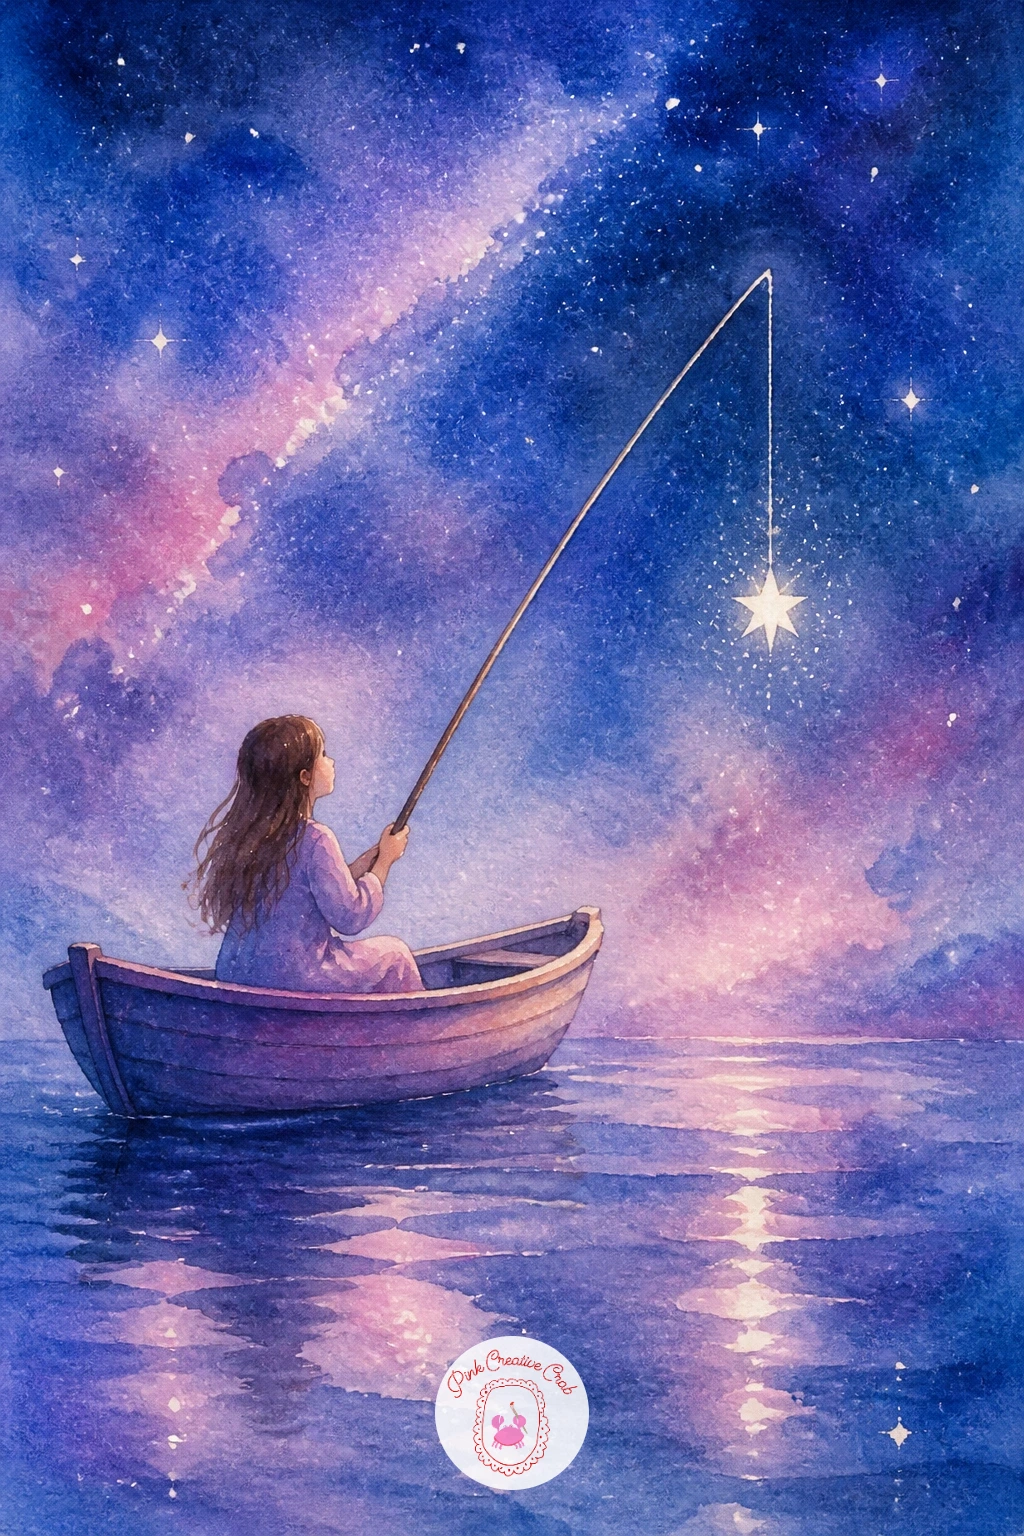
Return to a whimsical story with a girl fishing for stars from a boat, floating on a sky rather than water. Paint the background first as one continuous wash of deep blue-lilac from top to bottom, since there is no horizon line here, the whole page is sky.
Once dry, paint a small simple boat shape low on the page, just a curved hull and two short lines for the sides, with the girl sitting inside holding a thin fishing line that trails upward off the edge of the page. Dot a few salt-texture or gouache stars along the line as if she is reeling them in, with one slightly larger star right at the hook.
The boat can look like it is floating in nothing if there is no sense of motion, so add a few thin curved lines beneath it, like gentle cloud-waves, to ground it in its surroundings. No salt handy, small dabbed dots of white gouache in varying sizes give the same scattered star feel.
Make the star at the end of the line slightly bigger and brighter than the rest, it draws the eye straight to the story.
You Will Need
- coarse salt for texture (optional)
- white gouache for stars
Palette: Indigo,Dusty Lilac,Payne’s Grey,Titanium White
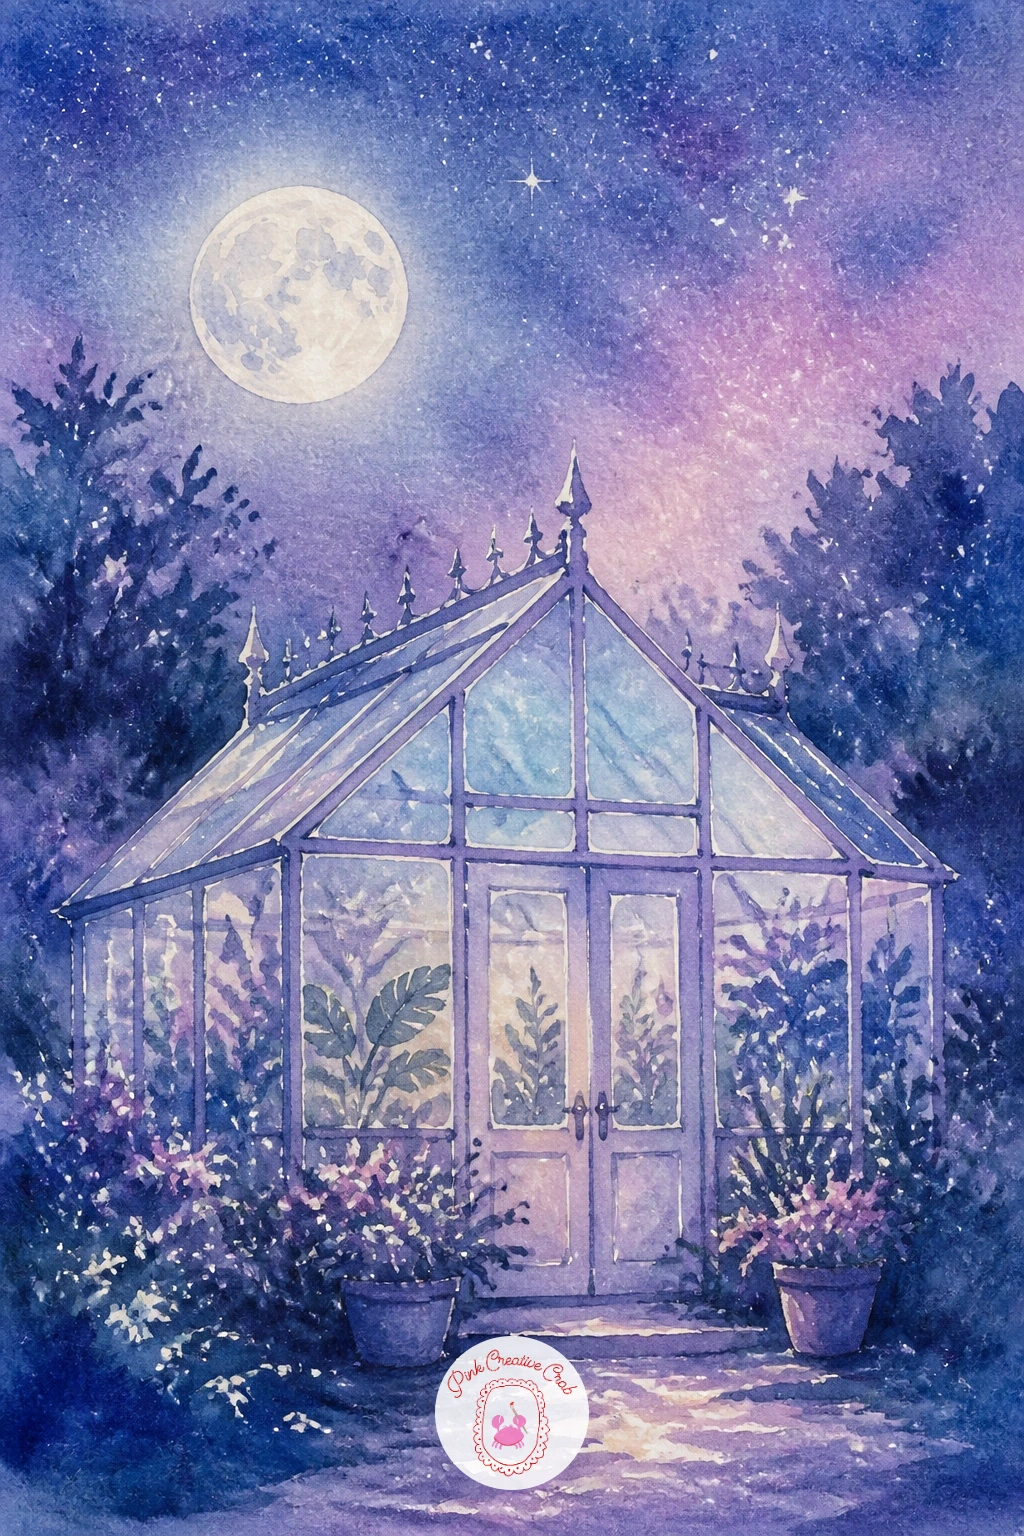
Glass and glow come together in a moonlit greenhouse, a scene that rewards patience with reflective surfaces. Paint the night sky and a soft moon behind the structure first, then once fully dry, pencil in the greenhouse’s simple gabled frame so the glass panels stay as clean geometric shapes.
Paint the panels in pale blue-lilac washes, leaving thin strips of white paper between each pane for the frame, then drop a slightly darker wash into alternating panels so the glass does not look flat and uniform. Inside, hint at leafy plant shapes in silhouette with a few loose dark green strokes, just enough to suggest life inside without painting every leaf.
Greenhouses often look too busy if every pane gets the same treatment, so vary two or three panels with a touch more moonlight glow where it would naturally hit the glass closest to the moon. Swap a ruler for a steady freehand line if the frame feels too rigid drawn perfectly straight, a slightly looser hand suits the dreamy mood anyway.
Leave a few panels almost blank white, it reads as moonlight glinting off the glass far more than an even wash would.
You Will Need
- ruler for frame lines (optional)
Palette: Pearl Pink,Cerulean Blue,Sap Green,Payne’s Grey
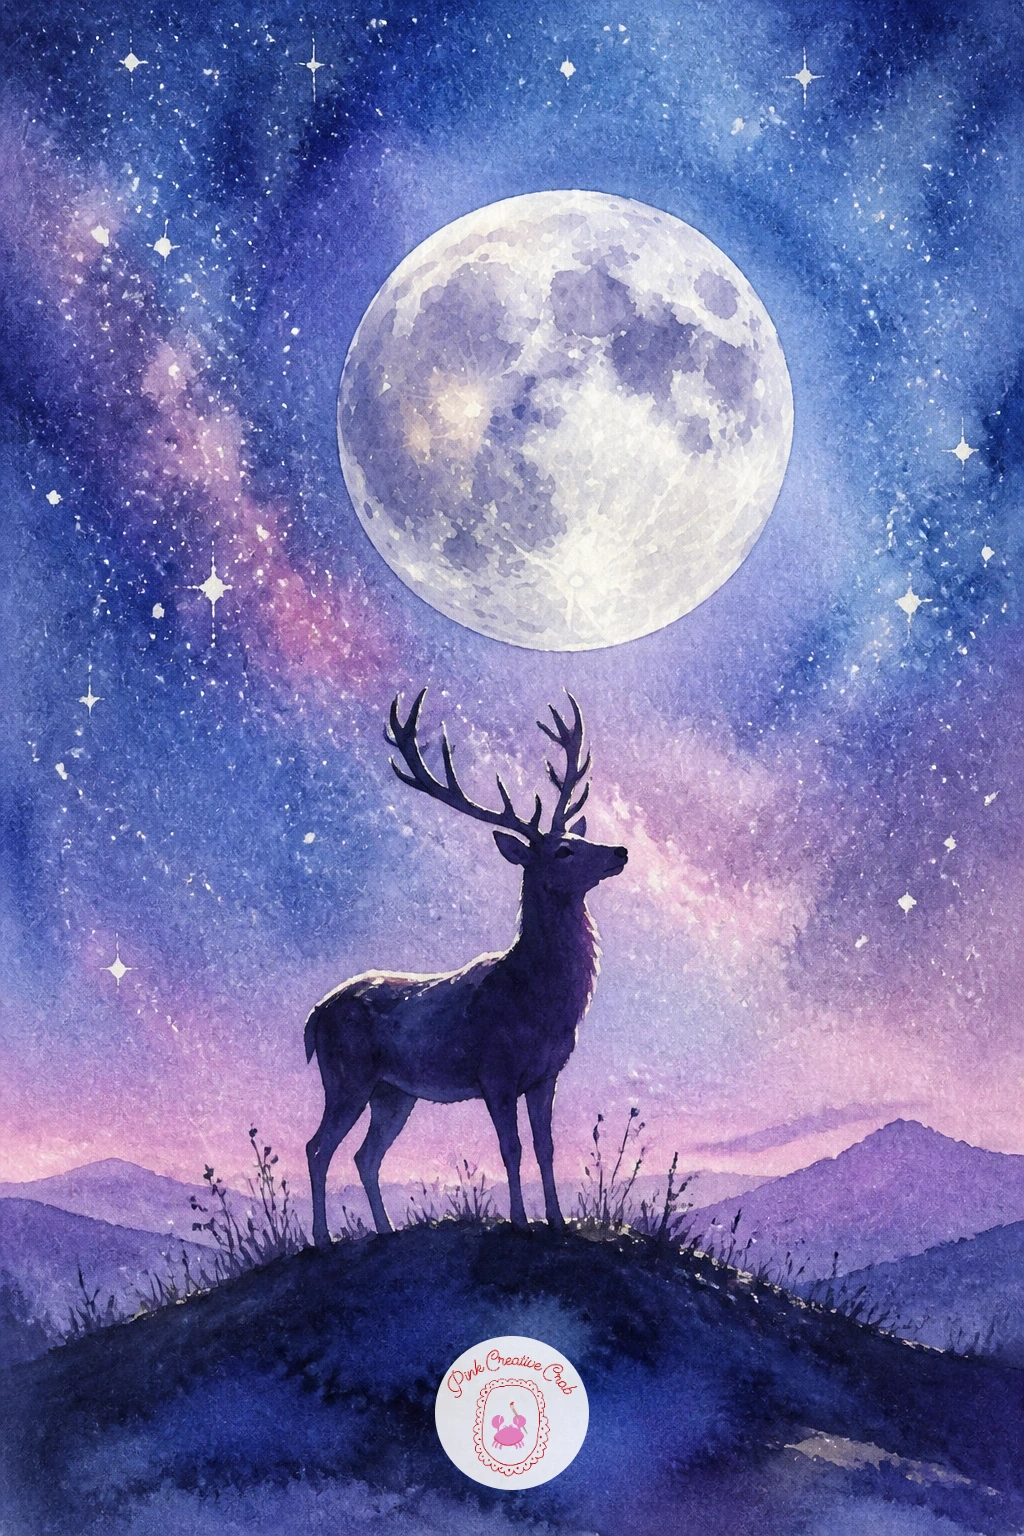
Return to the forest for a deer under a big silver moon, another chance to practice light source and silhouette together. Place the moon high and slightly behind the deer so its back and antlers catch a thin rim of silvery light while the body stays in soft shadow, the same trick used earlier for the fox but on a larger, stiller animal.
Paint the moon and sky first in silvery blue-grey and lilac, then once dry, paint the deer standing still in profile, flat dark silhouette, with a few single dry-brush strokes along its back and antler tips to suggest that moonlit rim. Keep the legs long and slender, a common place deer silhouettes go wrong is legs painted too short and stocky.
If the silhouette looks stiff, soften the edge of the belly and chest very slightly with a damp brush before it fully dries, just enough to avoid a hard cutout look. No reference for antlers, keep them simple, two or three branching lines read clearly at this scale.
Add one or two low shrubs in flat silhouette near the deer’s feet to ground it in a setting rather than floating in open space.
You Will Need
- dry brush for rim light
Palette: Silvery Blue,Lilac,Payne’s Grey,Titanium White
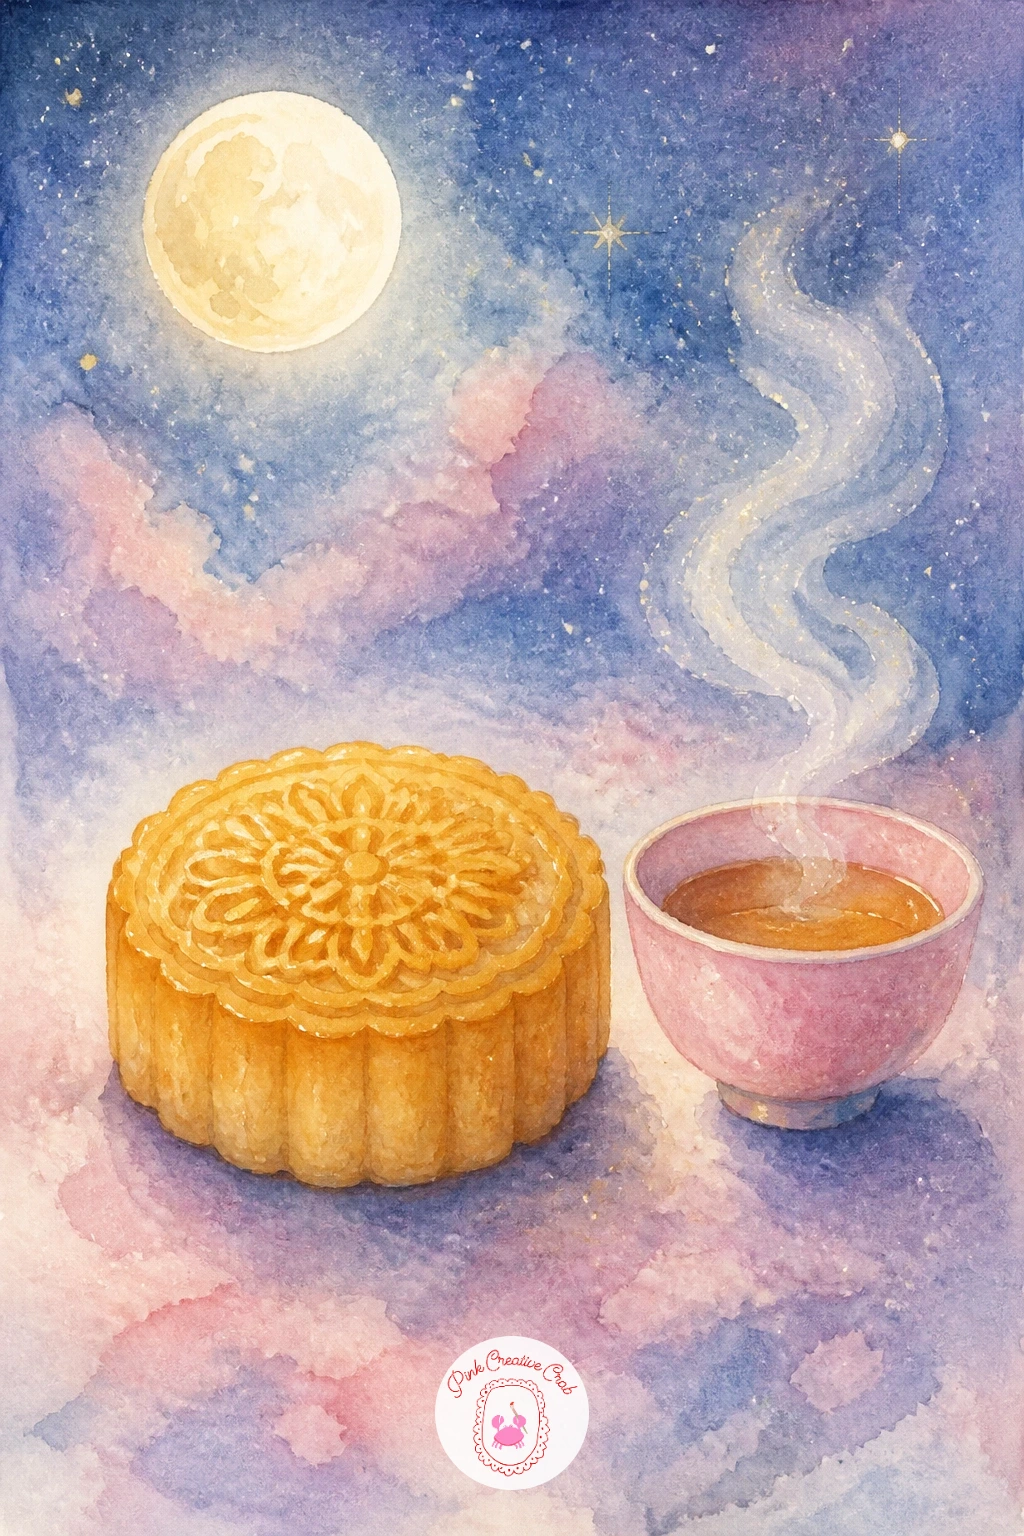
Take a cozy still-life break with a moon cake with a cup of tea, a quiet celebration scene that works beautifully as a ten-minute piece. For the quick version, paint a simple round moon cake shape in warm golden brown with a few faint pressed-pattern lines on top, then add a small teacup beside it in soft pearl pink with a thin curl of steam.
For the forty-minute version, add the decorative pattern on the moon cake’s surface more carefully, a simple flower or lattice design pressed in with a fine dry brush once the base color is dry, and paint a small plate beneath both items with a soft cast shadow linking them together.
The cake’s pattern often disappears if painted while the base wash is still wet, so always wait until it has dried before adding any fine detail lines on top. Swap the teacup for a small moon-shaped cookie if you would rather lean further into the celestial theme.
Add one small golden crumb or sesame seed beside the cake, it is a tiny detail that makes the whole still life feel lived-in.
You Will Need
- fine dry brush for pattern detail
Palette: Golden Brown,Pearl Pink,Burnt Sienna,Titanium White
For more cozy food-and-drink pairings like this one, the easy watercolor food ideas list is worth a look.
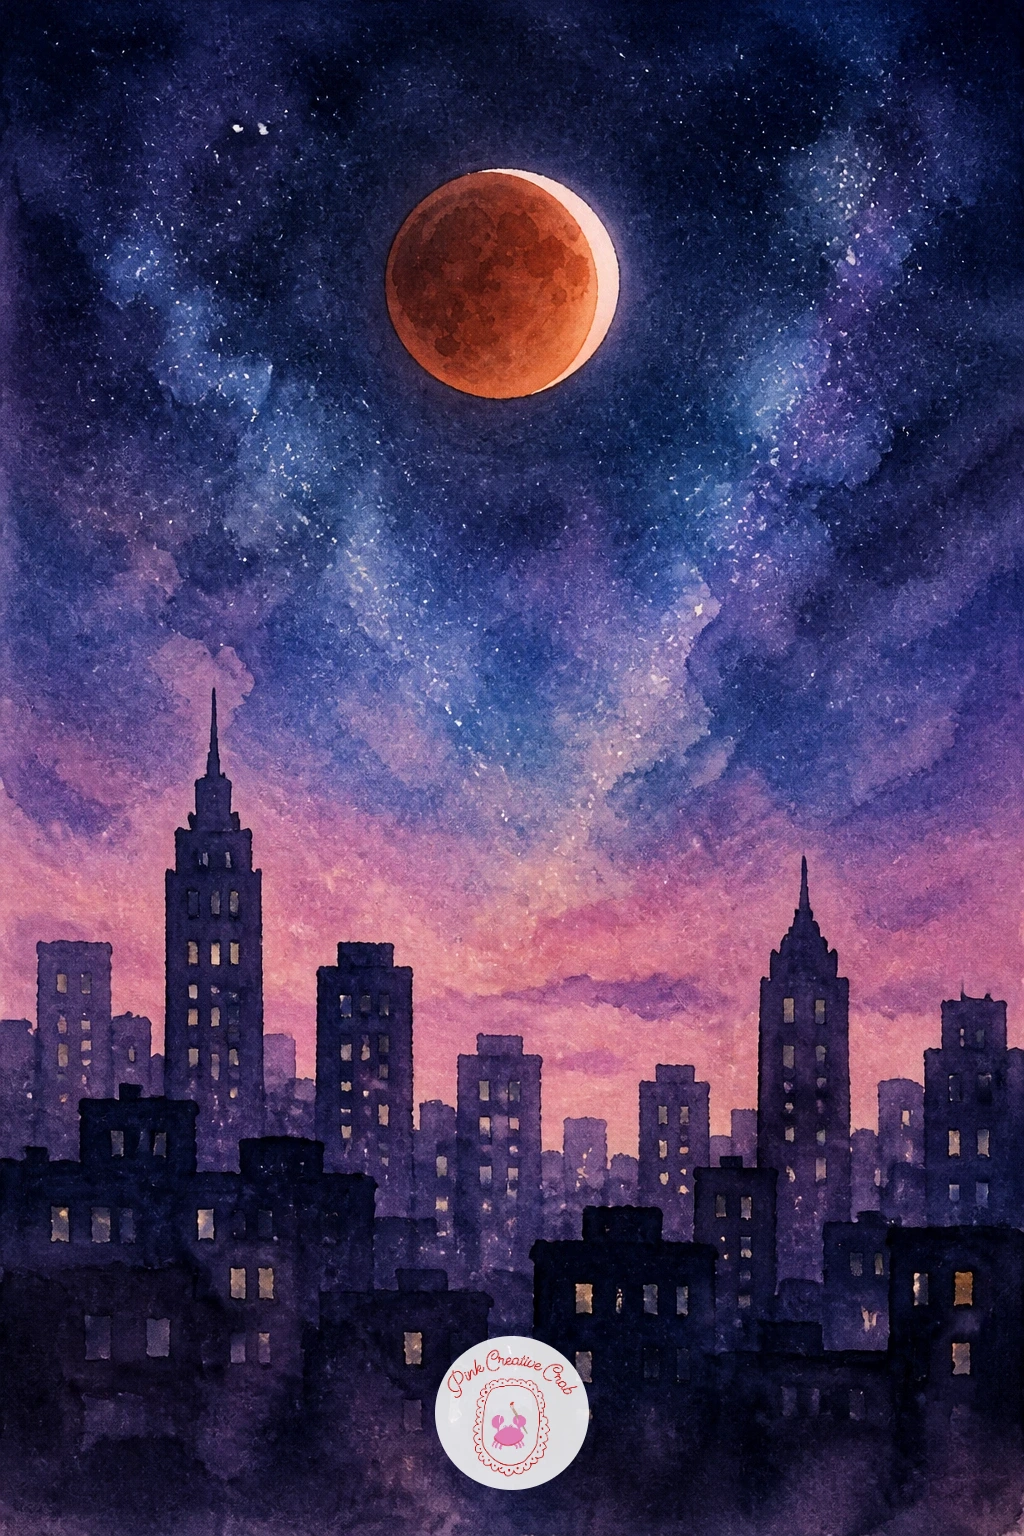
Step into drama with a lunar eclipse over a city, where the light source quite literally dims and shifts the whole mood. Paint the moon first as a full circle, but instead of bright white or pink, wash it in a deep coppery red-orange, the actual color of a lunar eclipse, with a thin crescent sliver of brighter light left along one edge.
Let that dry, then wash the surrounding sky in deep indigo rather than the usual lilac, since an eclipse dims everything around it too. Add a simple city skyline in flat black silhouette along the bottom, varying the building heights and adding one or two tiny lit windows for warmth against all that cool darkness.
The eclipse moon can look like an ordinary orange circle if that bright crescent sliver is skipped, so always leave or add that thin highlight, it is what makes the eclipse read correctly. No copper or burnt orange in your set, mix red and a touch of brown for a close match.
Keep the skyline simple rectangles of varying height, intricate buildings compete with the moon for attention.
Palette: Burnt Orange,Indigo,Payne’s Grey,Naples Yellow
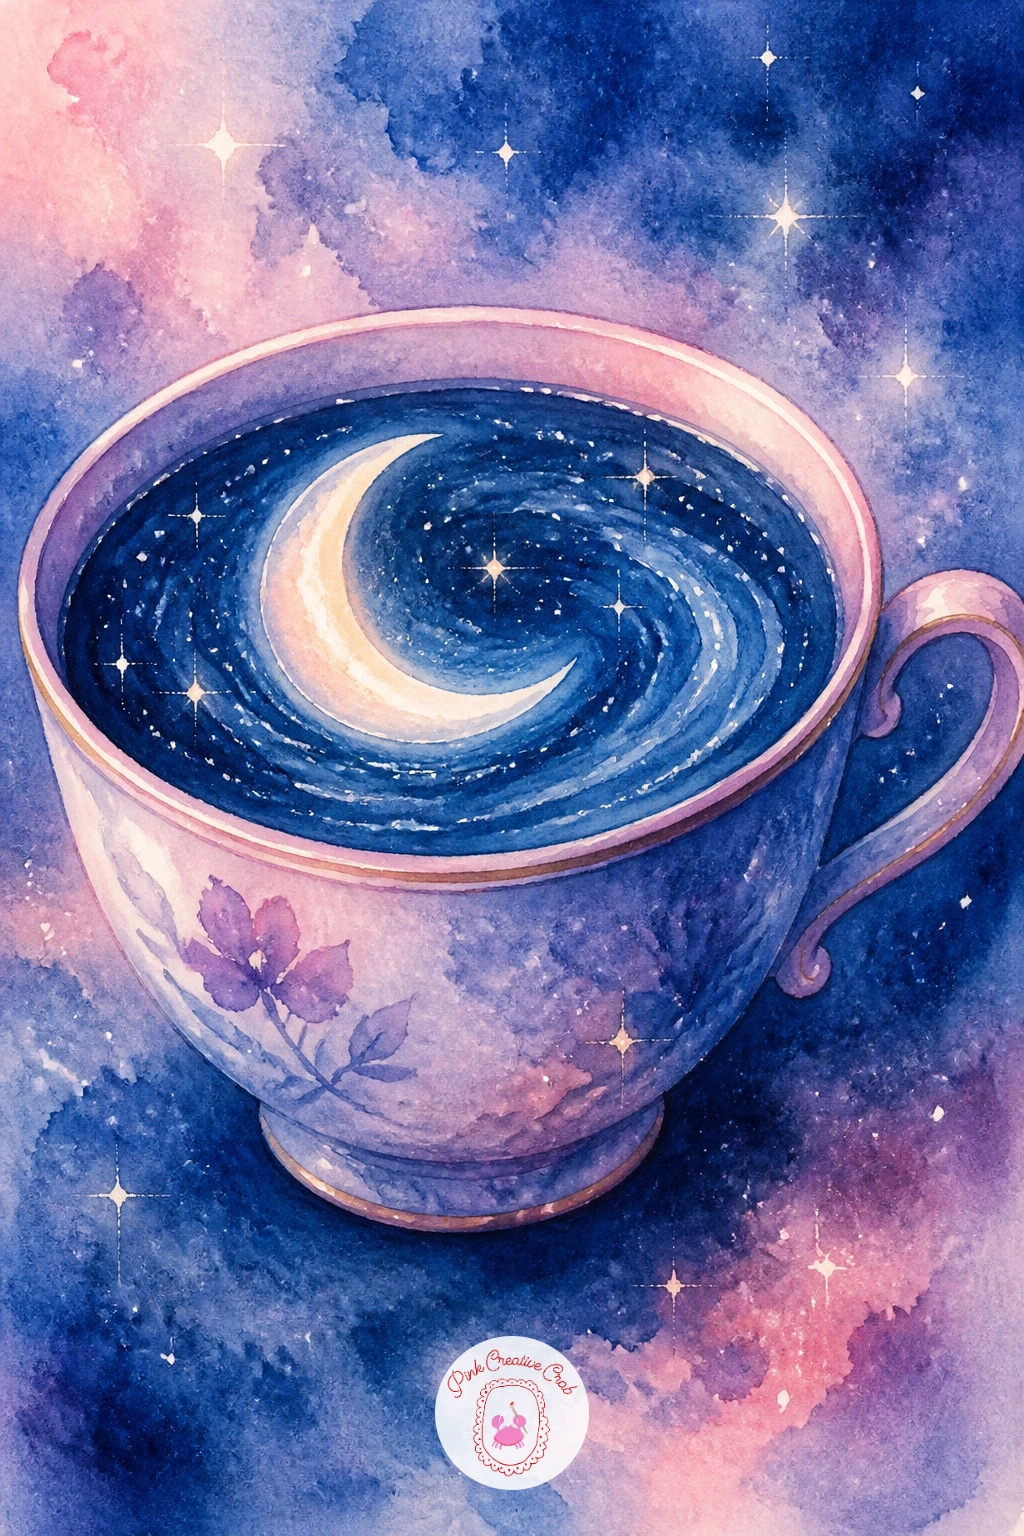
Scale right back down with a moon in a teacup, a small surreal still life that fits neatly into a spare corner of any sketchbook. Paint a simple teacup shape first, keeping the oval of the rim slightly wider than it feels natural to draw since an open cup rim always reads as more elliptical than expected from this angle.
Once the cup is dry, paint the inside as a deep night-blue wash rather than tea, then drop in a glowing crescent or full moon shape right at the center, with a scatter of tiny white gouache stars around it. A thin white highlight along the cup’s rim and handle, left as untouched paper or lifted with a damp brush, sells the ceramic shine.
The rim’s ellipse is where this one usually goes wrong, too narrow and the cup looks like it is tipped forward oddly. Flatten that oval more than feels right and it will read correctly once the rest of the cup is painted. Swap the handle for a simple mug shape if an elegant teacup handle feels fiddly to paint.
Add one tiny star just outside the cup’s rim, as if it escaped, for a playful final touch.
You Will Need
- white gouache for stars
Palette: Indigo,Pearl Pink,Titanium White,Cerulean Blue
Keep the playful character theme alive with a cloud bed with the moon asleep, pairing a soft moon face with a fluffy painted bed. Paint the moon first as a round pale pink shape with the same simple sleeping face used earlier, closed eyes and a gentle smile, then let it dry before building the clouds around it.
Shape the cloud bed with loose, rounded wet-on-wet strokes in soft white and pale blue-grey, leaving plenty of untouched white paper so the clouds stay light and fluffy rather than heavy. Tuck a thin blanket shape in a dusty lilac tone over the lower half of the moon, as if it is pulled up to its chin, with one corner draping loosely over the edge of the cloud.
Clouds painted too wet all at once tend to lose their fluffy edges and turn into a flat blob, so paint them in a few separate loaded strokes rather than one continuous wash, letting some edges stay soft and others slightly more defined. No pale blue-grey mixed, a touch of Payne’s grey heavily diluted gets the same gentle shadow.
Add two or three tiny stars drifting near the top corner, like a lullaby settling over the whole scene.
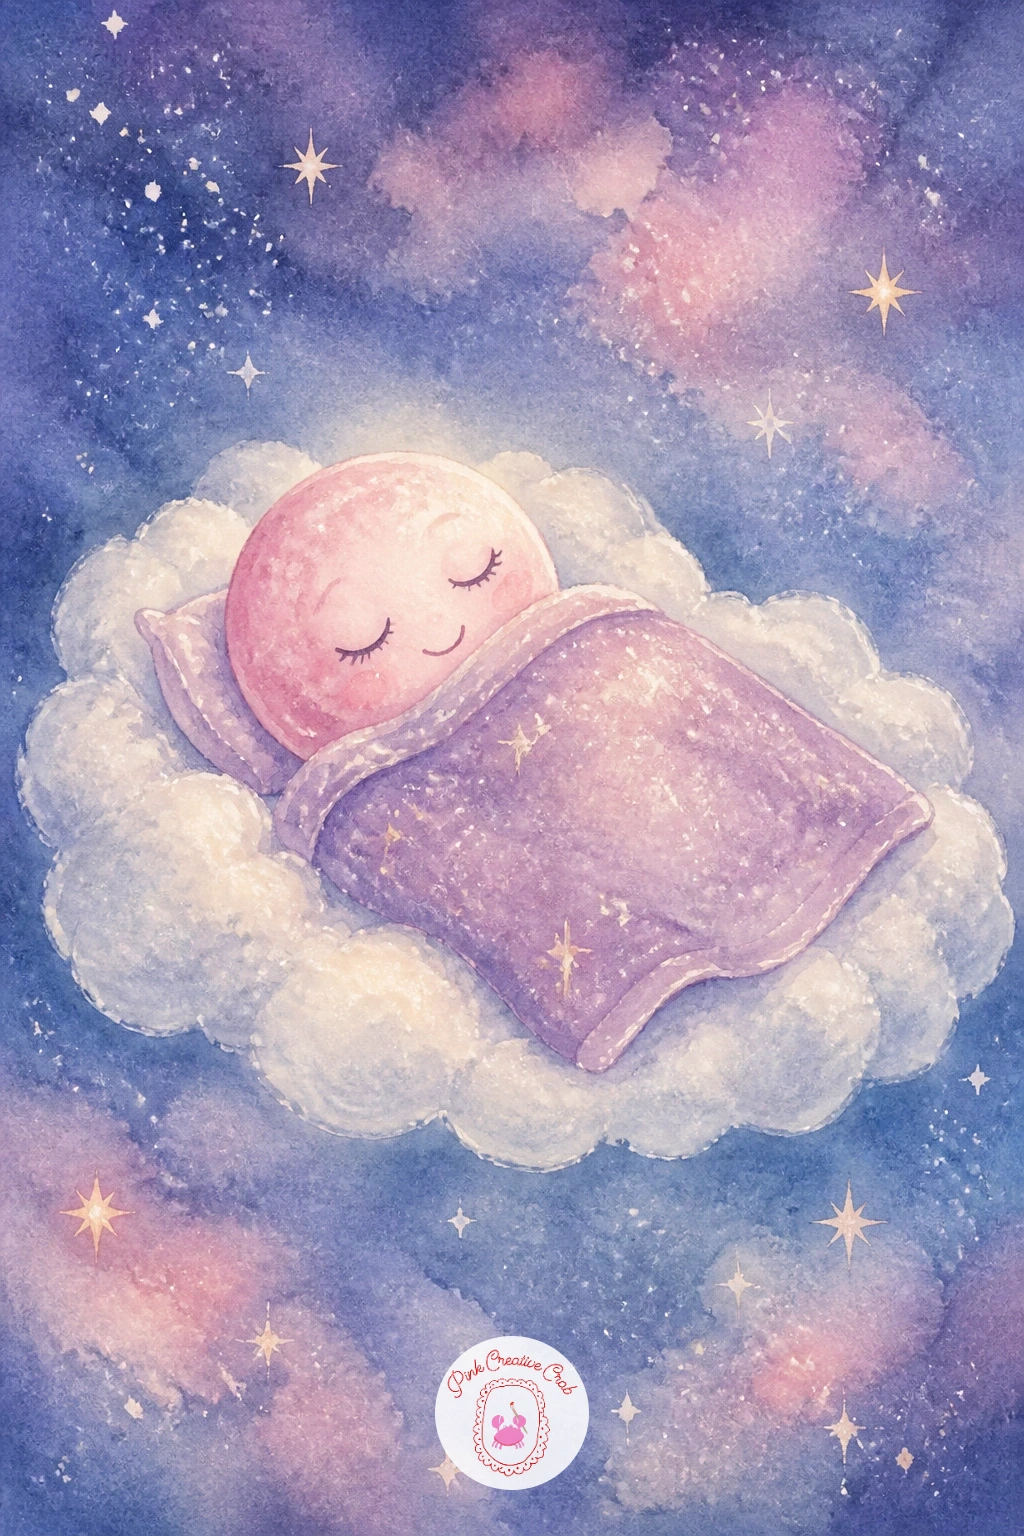
Palette: Pearl Pink,Titanium White,Dusty Lilac,Payne’s Grey
Bring back a coastal setting with a moon over a lighthouse, a strong vertical composition against the mostly horizontal scenes so far. Place the lighthouse off-center, roughly a third of the way in from one edge, with the moon positioned high on the opposite side so the eye travels naturally between the two anchor points.
Paint the sky and moon first in iridescent blue and pearl pink, then once dry, paint the lighthouse as a tall narrow silhouette with a small lantern room at the top, adding a single warm yellow dot of light there that contrasts against all that cool moonlight. Rocky cliffs or crashing waves in simple dark shapes at the base finish the scene.
The lighthouse often ends up too short and stubby, so sketch its height first against the page, it should read as noticeably taller than it feels natural to draw. Swap crashing waves for calm water if the texture of foam feels too fiddly today, a still sea works just as well under this much moonlight.
Let that one warm lantern light be the only warm color in an otherwise cool scene, the contrast does most of the storytelling.
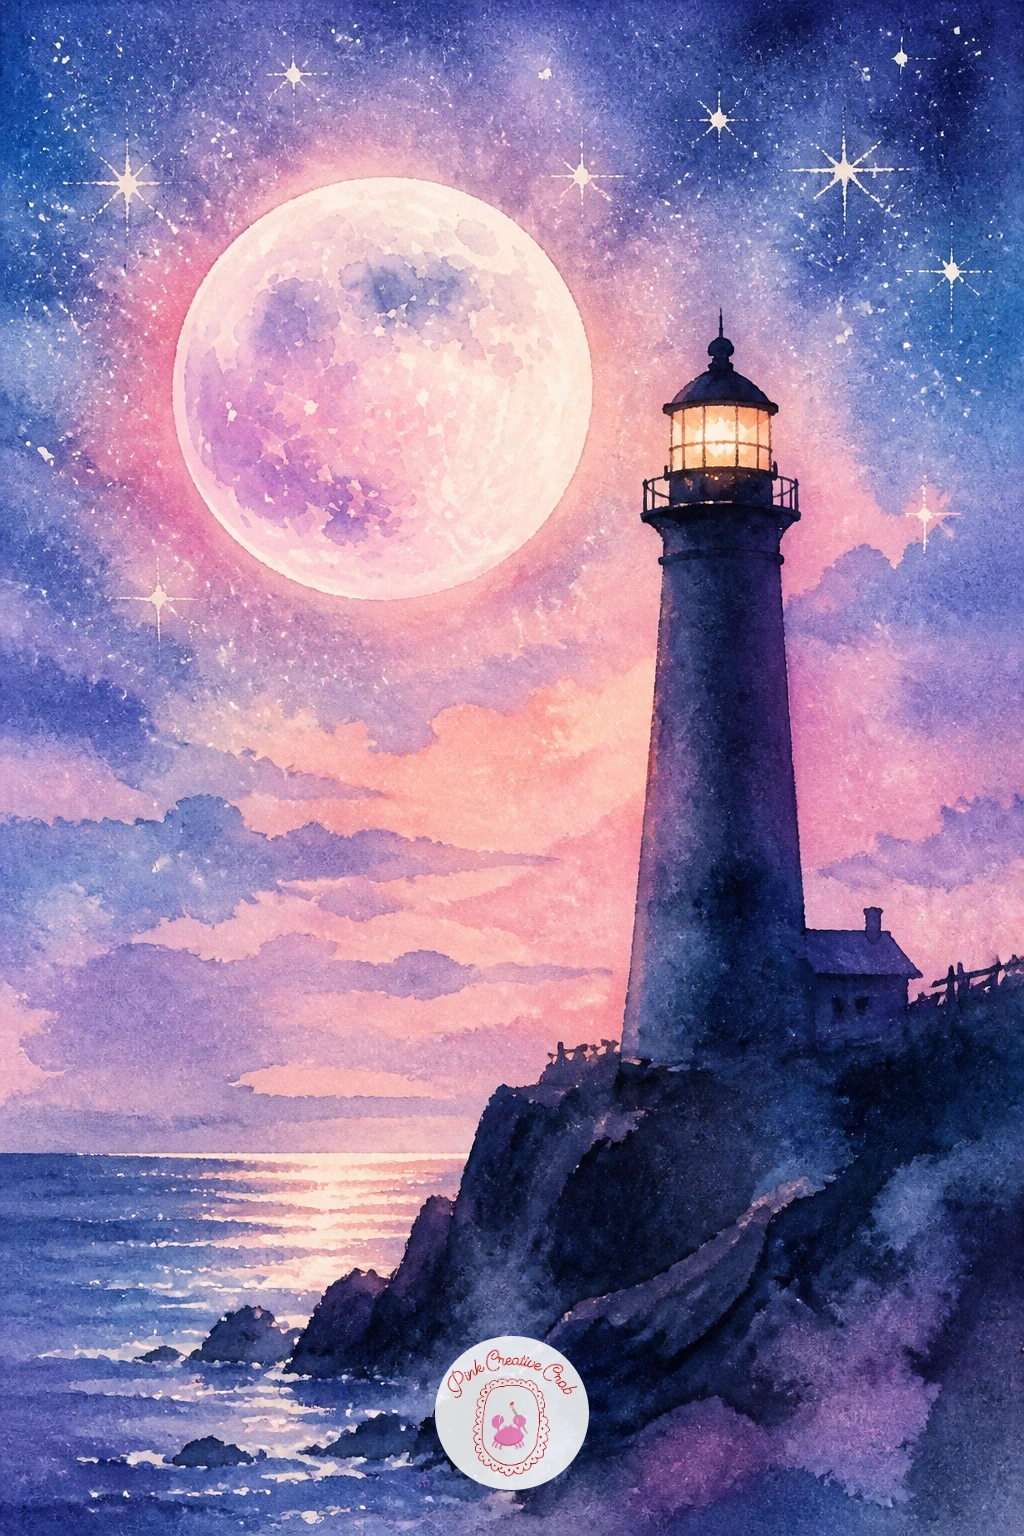
Palette: Cerulean Blue,Pearl Pink,Payne’s Grey,Naples Yellow
For more coastal night scenes built the same way, the easy watercolor ocean scenes list pairs well with this one.
Return to the ground with a shooting star over a field of tents, a gentle camping scene anchored by one bright diagonal streak. Paint the night sky first in a smooth gradient from deep indigo to soft lilac, scattering a handful of small white gouache dots for distant stars once the wash is dry.
Add a row of small triangular tent silhouettes along the bottom in varying sizes, with one or two tiny glowing lantern dots beside them for warmth, then paint the shooting star as one confident diagonal streak of white gouache with a short tapering tail, angled across the upper portion of the sky.
A shooting star painted too thick and even looks more like a ruled line than a streak of light, so taper the brushstroke from a small bright point down to nothing, lifting the brush as you go. No gouache for the streak, a sharp white colored pencil pressed firmly works nearly as well once the sky is fully dry.
Angle the star’s streak to point roughly toward the tents, it quietly ties the whole composition together.
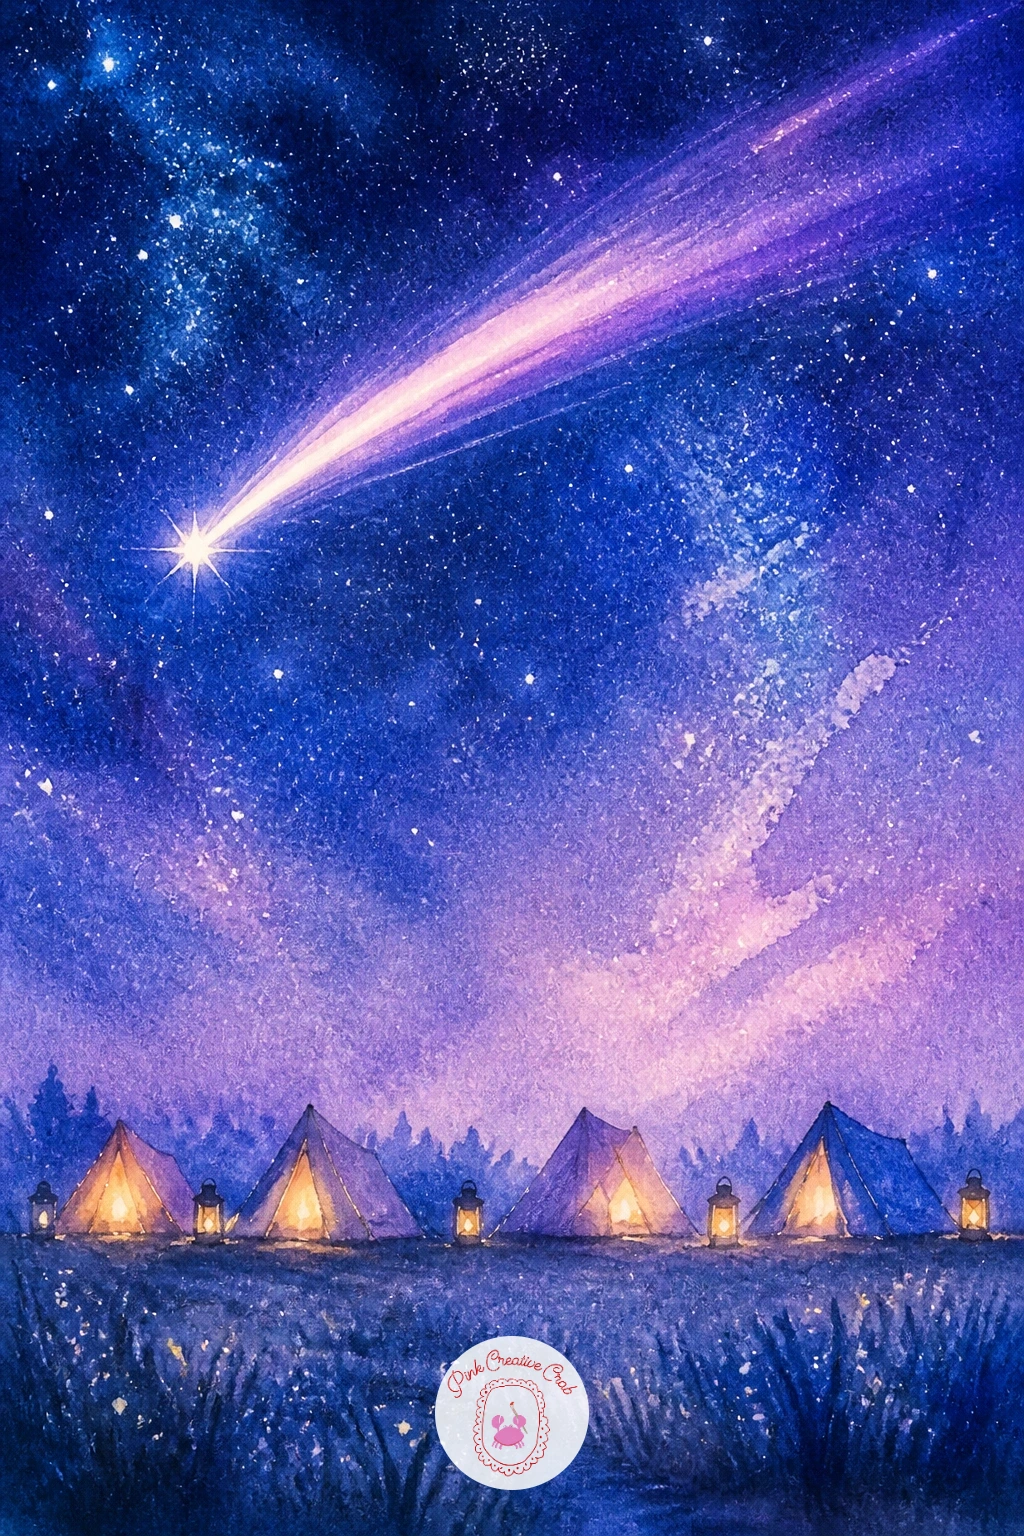
You Will Need
- white gouache for star streak
Palette: Indigo,Lilac,Payne’s Grey,Naples Yellow
Give the whole celestial trend center stage with an opalescent moon with holographic glow, a piece built entirely around shimmer rather than scene. Paint the moon as a large circle filling most of the page, blending iridescent blue, lilac and pearl pink together wet-on-wet so the colors shift and bleed into each other with no hard divisions between them.
While that wash is still slightly damp, add tiny touches of iridescent or interference watercolor along one edge of the moon, these shimmer differently depending on the angle it catches light, which is exactly the holographic effect this piece is chasing. Once fully dry, flick a few salt crystals across the surface for extra sparkly texture, brushing them off once the paper looks matte again.
The whole effect collapses into mud if too many colors are layered on top of each other while still wet, so work quickly with only two or three hues and let them do the blending rather than overworking it with a brush. No interference or iridescent watercolor on hand, a very light touch of white gel pen dotted sparingly after everything dries gives a similar shimmer suggestion.
Keep the background around the moon nearly empty, the shimmer reads far stronger against plain space.
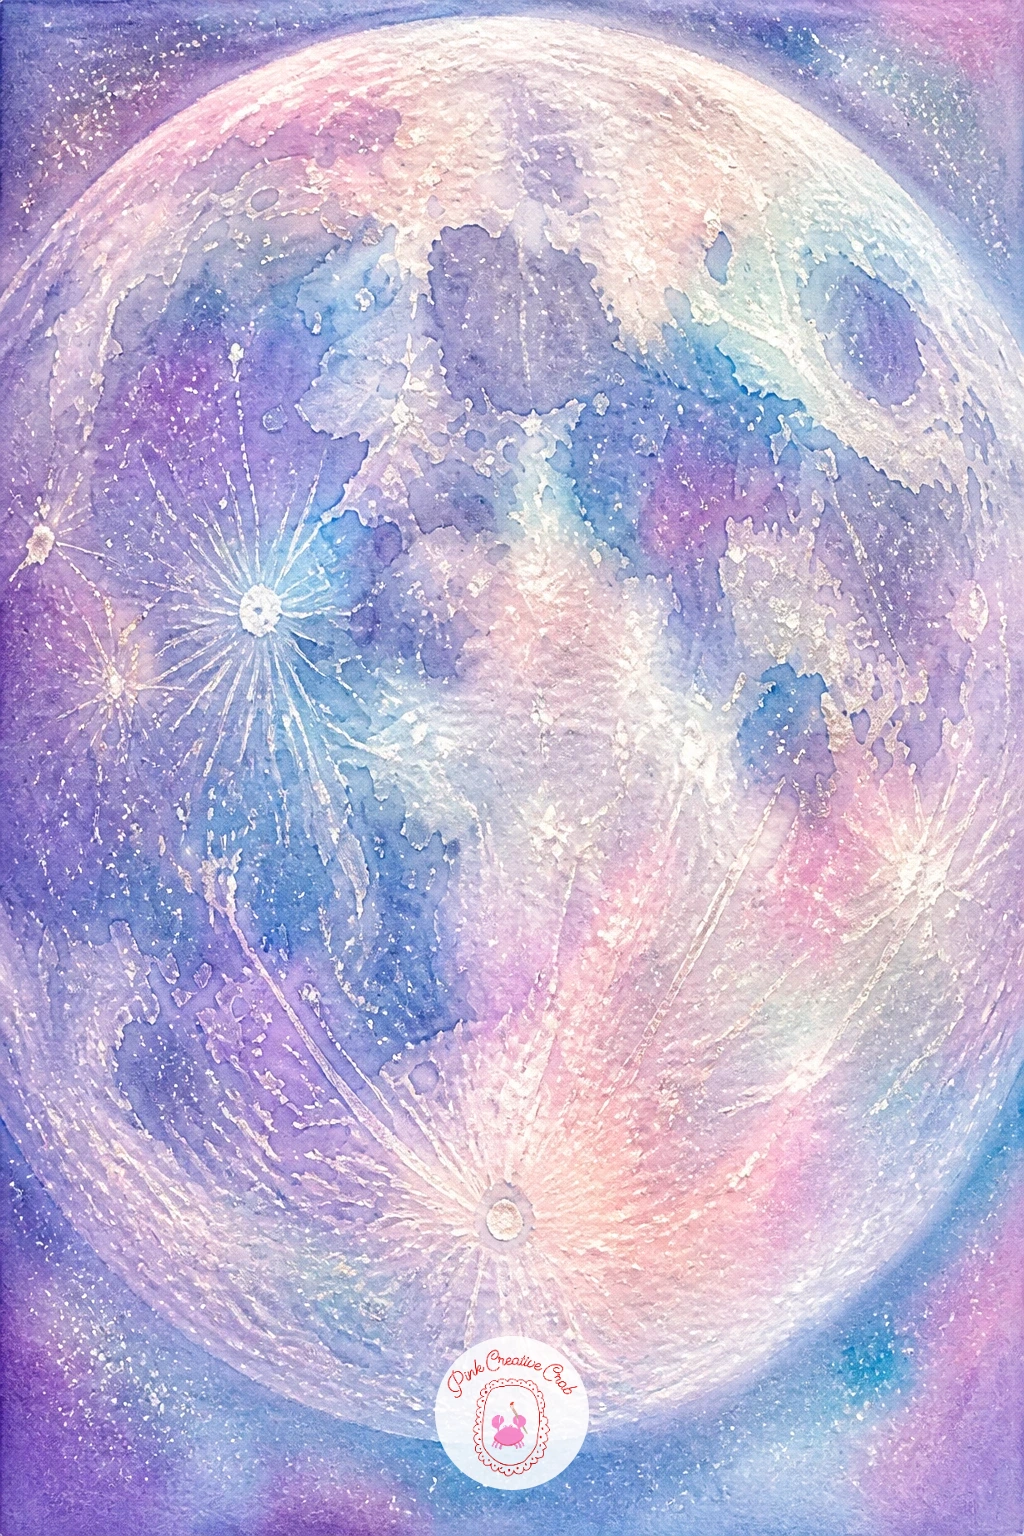
You Will Need
- iridescent or interference watercolor
- coarse salt for texture
Palette: Iridescent Blue,Lilac,Pearl Pink,Titanium White
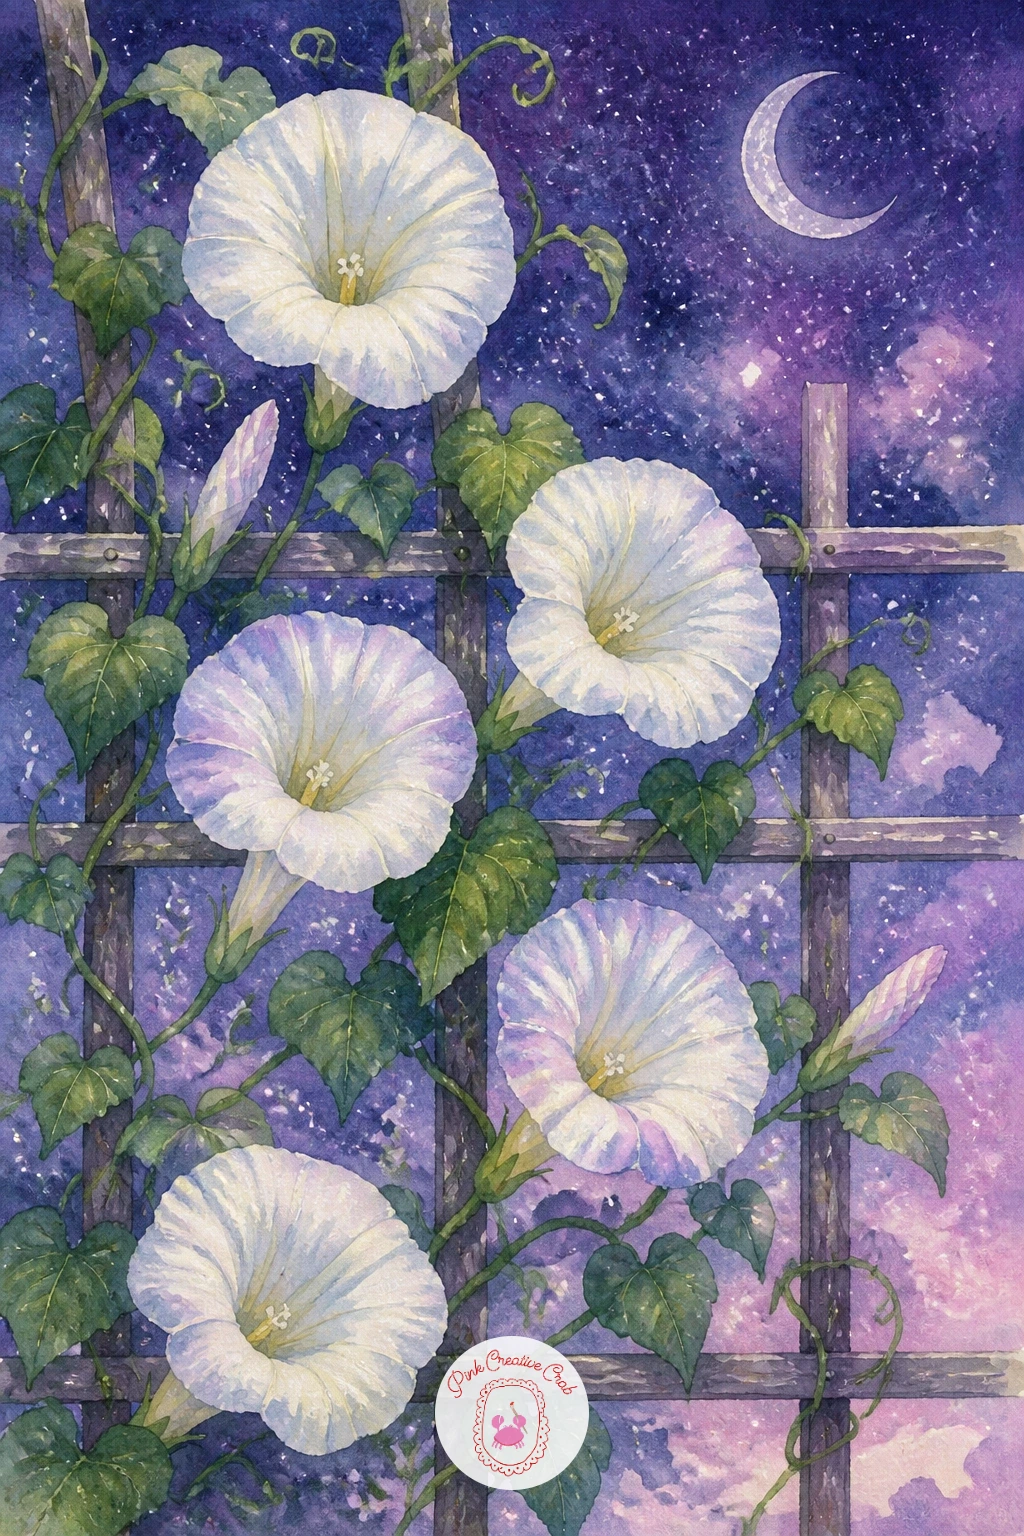
Bring the botanical side of the celestial trend forward with a moonflower vine on a trellis, since moonflowers bloom only at night and pair naturally with this whole theme. Pencil a simple crosshatched trellis structure first using light, evenly spaced lines, this grid gives the climbing vine something logical to wrap around rather than floating freely.
Paint the large trumpet-shaped moonflowers in white and pale cream, using the same negative-space trick as the earlier moon garden, protect the flower shapes with masking fluid or careful painting around them before washing a deep twilight blue-purple background behind the whole trellis. Once dry, add thin green stems and heart-shaped leaves winding along the trellis lines, with one or two flowers painted mid-bloom in soft shadow rather than fully open.
Flowers that look pasted flat onto the vine usually need a thin crescent shadow added along one side once dry, the same trick used for the moon garden, it gives each bloom just enough form to feel three-dimensional. Swap masking fluid for careful painting around each flower if you prefer not to use it.
Pair this one with the earlier simple watercolor flowers techniques if you want more practice with negative-space blooms.
You Will Need
- masking fluid (optional)
Palette: Deep Twilight Purple,Titanium White,Sap Green,Lilac
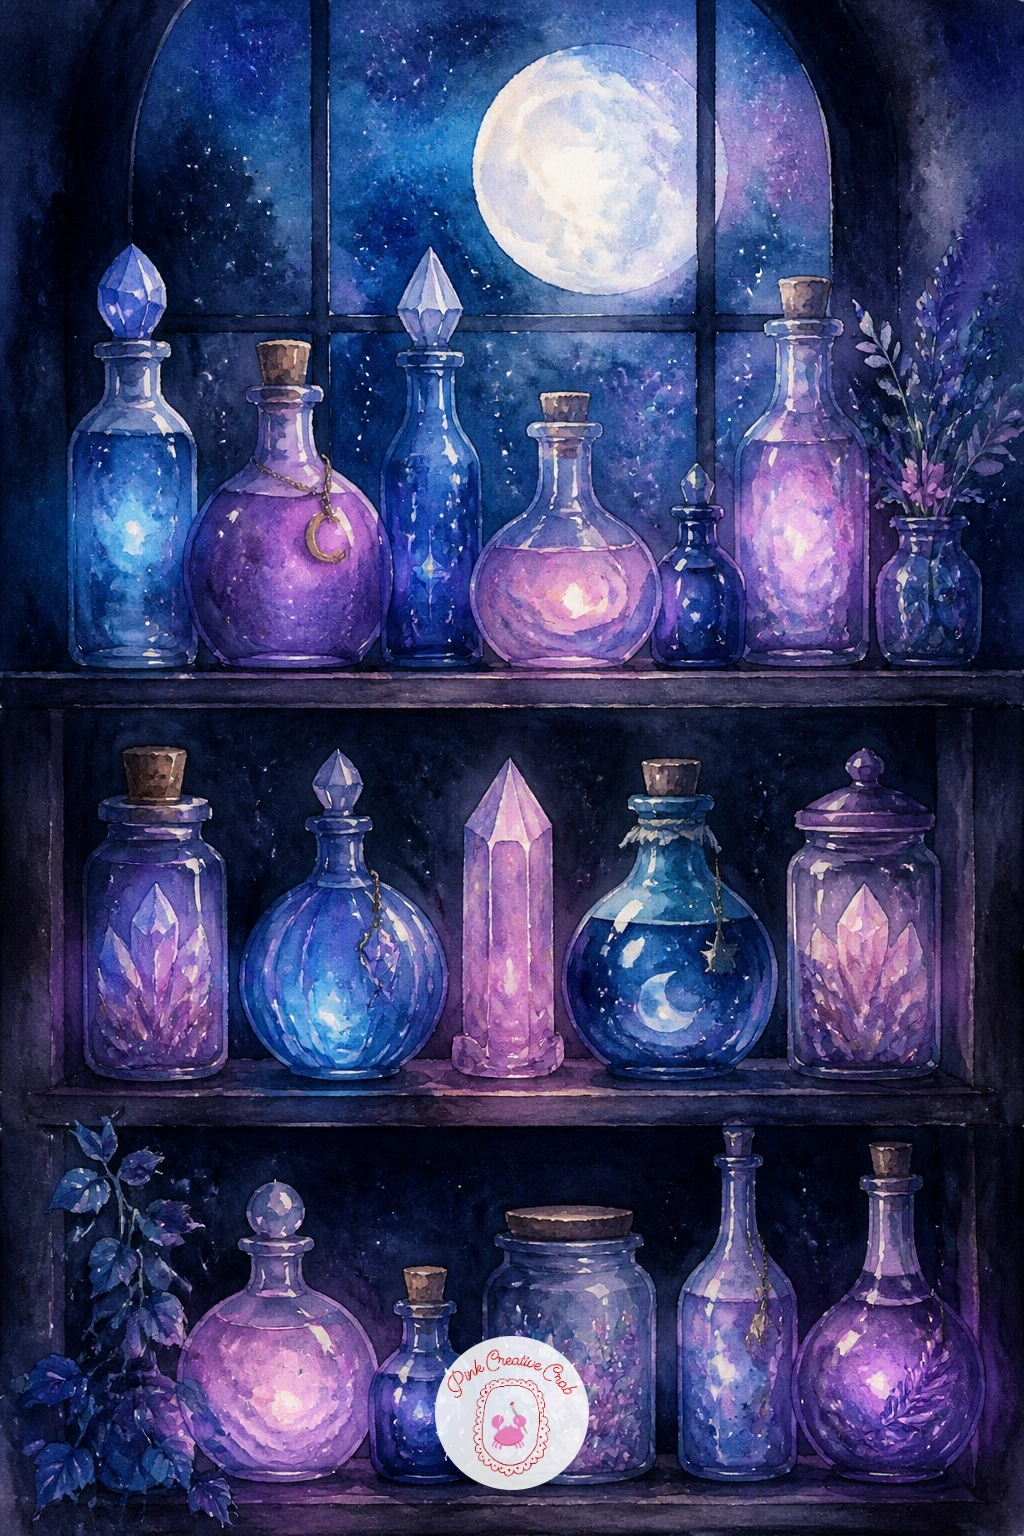
Add a little mystery with a witch’s moonlit potion shelf, a still life that leans into the celestial theme through color rather than literal moons and stars. Paint a simple dark wooden shelf first as one flat horizontal plank, then arrange two or three bottle silhouettes along it in varying heights, each filled with a different glowing liquid in iridescent blue, lilac or pearl pink.
Paint the window behind the shelf as a soft circle or arch of moonlight bleeding into deep indigo, visible just behind or above the bottles, so the whole scene reads as lit by that one source. A few dried herbs or a small crystal shape tucked beside the bottles, painted as simple loose silhouettes, round out the shelf without overcomplicating it.
Bottles often look flat if the glowing liquid inside is painted as one solid color, so leave a thin vertical strip of lighter color down one side of each bottle to suggest light passing through glass. No interference watercolor for extra shimmer, a little white gouache dotted sparingly into the liquid once dry gives a similar magical glint.
Vary the liquid colors across the bottles rather than repeating one, it keeps the shelf visually interesting at a glance.
You Will Need
- white gouache for shimmer
Palette: Indigo,Cerulean Blue,Lilac,Payne’s Grey
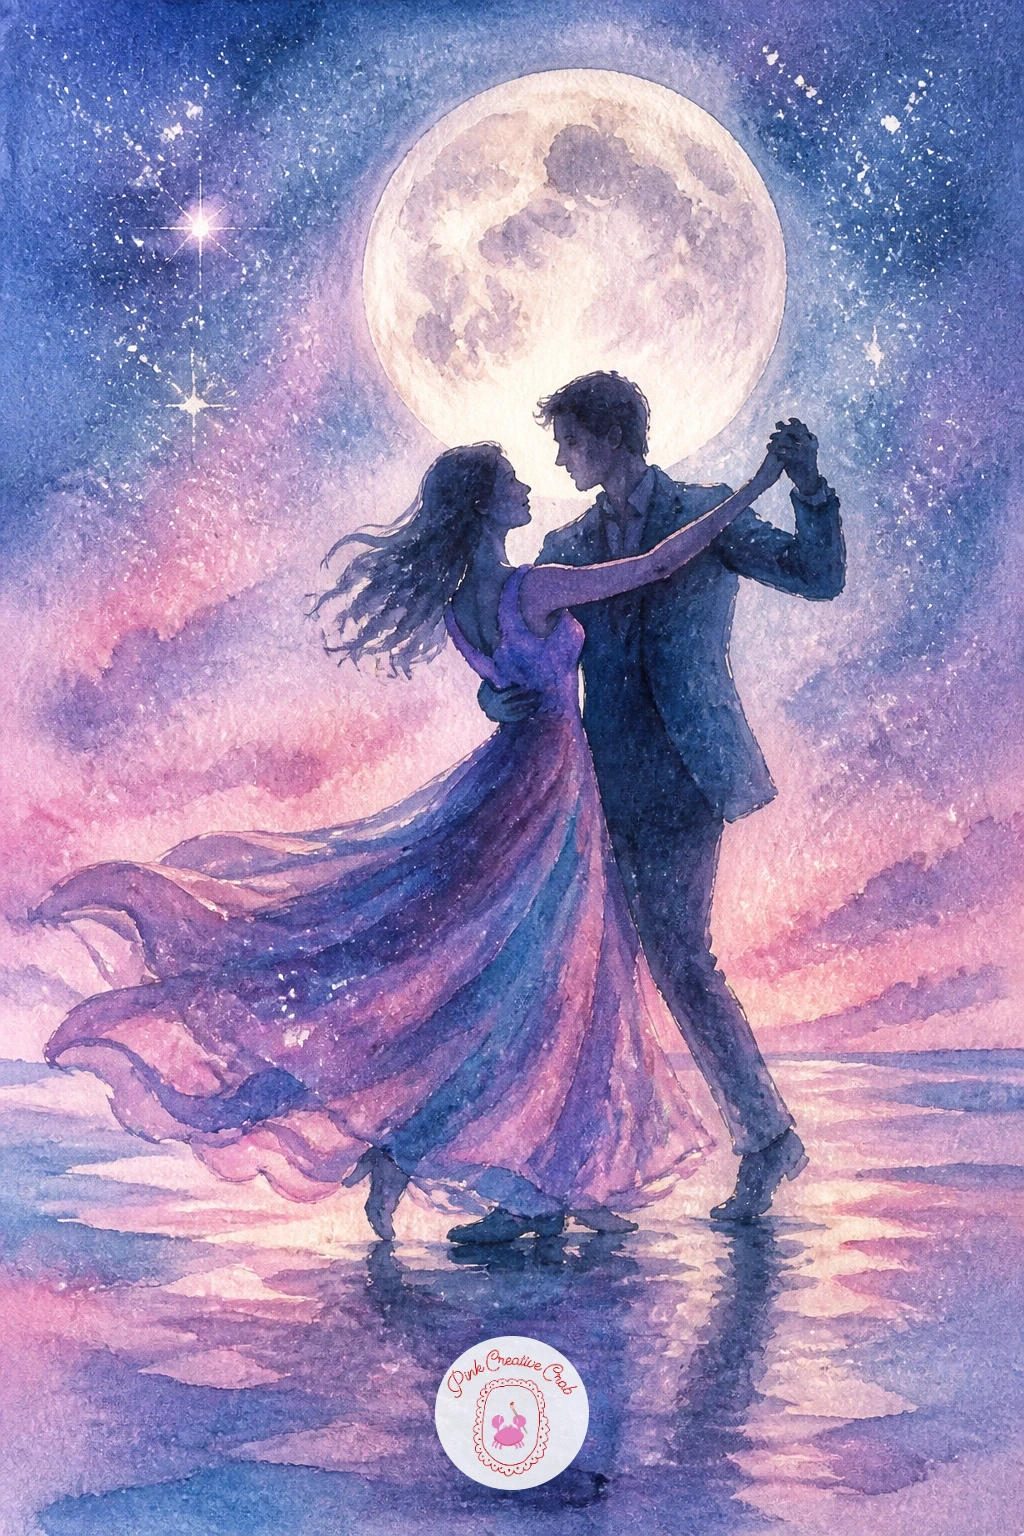
Close the collection with a couple dancing under a full moon, a romantic scene that ties the whole celestial theme together with two simple figures. Paint the full moon and glowing sky first in pearl pink and iridescent blue, letting the color bleed softly outward from the moon’s edge before it dries completely.
Once dry, paint the two figures as one connected silhouette shape rather than two separate ones, since dancers mid-movement overlap at the arms and bodies, a single flowing brushstroke captures that connection far better than piecing together two stiff outlines. Keep their pose simple, one figure slightly leaning back, the other with an arm raised, and let a flowing skirt or coat hem trail outward with a loose dry-brush stroke to suggest motion.
Figures that look static usually need that trailing fabric or hair added last, it is the detail that reads as movement rather than a frozen pose. If painting two figures feels daunting today, a single dancer with arms outstretched under the moon tells nearly the same story.
For more figures-in-motion practice before tackling a pair, browsing other colorful sketchbook ideas can help loosen up quick gesture shapes.
Palette: Pearl Pink,Cerulean Blue,Payne’s Grey,Lilac
What to Do Next
Pick one moon that matches the mood you are in today, a quick glowing crescent if time is short, or the full pagoda or lighthouse scene if you want to settle in for a while. Start with a sheet of cold press watercolor paper and keep your sky wash wet while you work the moon into it, that single habit carries most of this collection.
Frequently Asked Questions
What colors work best for a moon watercolor painting?
Soft iridescent blue, lilac and pearl pink create the dreamy celestial glow this style is known for. Keep a near-black like Payne’s grey on hand for silhouettes, and white gouache for highlights and stars.
How do you paint a realistic glow around the moon?
Paint the moon and sky together while both are still wet so the color bleeds outward naturally into a soft halo. Working dry and adding a glow afterward almost always looks like a hard-edged sticker instead.
What is the best way to paint stars in a night sky?
Flicking diluted white gouache from a loaded toothbrush gives a natural scattered look across a dry, painted sky. Salt sprinkled into a still-damp wash creates a different, softer sparkle and both work well together.
Do I need special paint for the opalescent or holographic moon look?
Iridescent or interference watercolor gives the clearest shimmer, since it shifts color depending on the light. Without it, a sparing touch of white gel pen added once the painting is fully dry still suggests that glow.
How do I stop my moon from looking flat?
Leave the moon’s shape as untouched white paper or a very pale wash, and let the sky around it do the work with a soft bleeding halo. A single thin shadow crescent along one edge also adds just enough form.
Have any thoughts?
Share your reaction or leave a quick response — we’d love to hear what you think!
-
 0
-
0
-
0
-
0
-
0
-
0


