

Watercolor bugs are having a real moment, and once you see a page of them lined up together you understand why. A ladybird on a daisy, a dragonfly catching the light, a snail trailing across a strawberry leaf: tiny subjects like these let you practice fine brushwork without committing to a big painting, and they finish fast enough to actually enjoy.
This list gives you 27 of them, each a small creature caught in its own quiet moment in the garden or the grass. Work through them in order if you like, since the tricks build from simple washes to more detailed shells and wings, or just pick whichever one is sitting outside your window today.
Using these images: free for personal projects such as printing, coloring, cards, journals and gifts. Handmade items that include them may be sold up to 30 pieces per design. More than that is commercial use and is not permitted, and neither is selling or sharing the images themselves or passing them off as your own. Please ask before any other use.
Start the list with a dragonfly resting on a reed, a subject that teaches the two basic shapes behind almost every bug on this page: a long thin body and a pair of wings. Pencil in a slim oval body and one tall reed stem first, keeping the lines light since watercolor shows every mistake underneath.
Paint the reed in a wash of sap green, let it dry completely, then lay the wings down as the thinnest possible glaze of grey-blue so the paper shows through. Add the body last in short strokes of teal and brown, darker at the head and tail.
The usual trouble spot is wings that look heavy and flat. Fix that by using a nearly dry brush for the wing veins so they stay delicate rather than solid.
If you do not own a fine liner brush, a regular round brush pulled to a sharp point on scrap paper first will do the same job today.
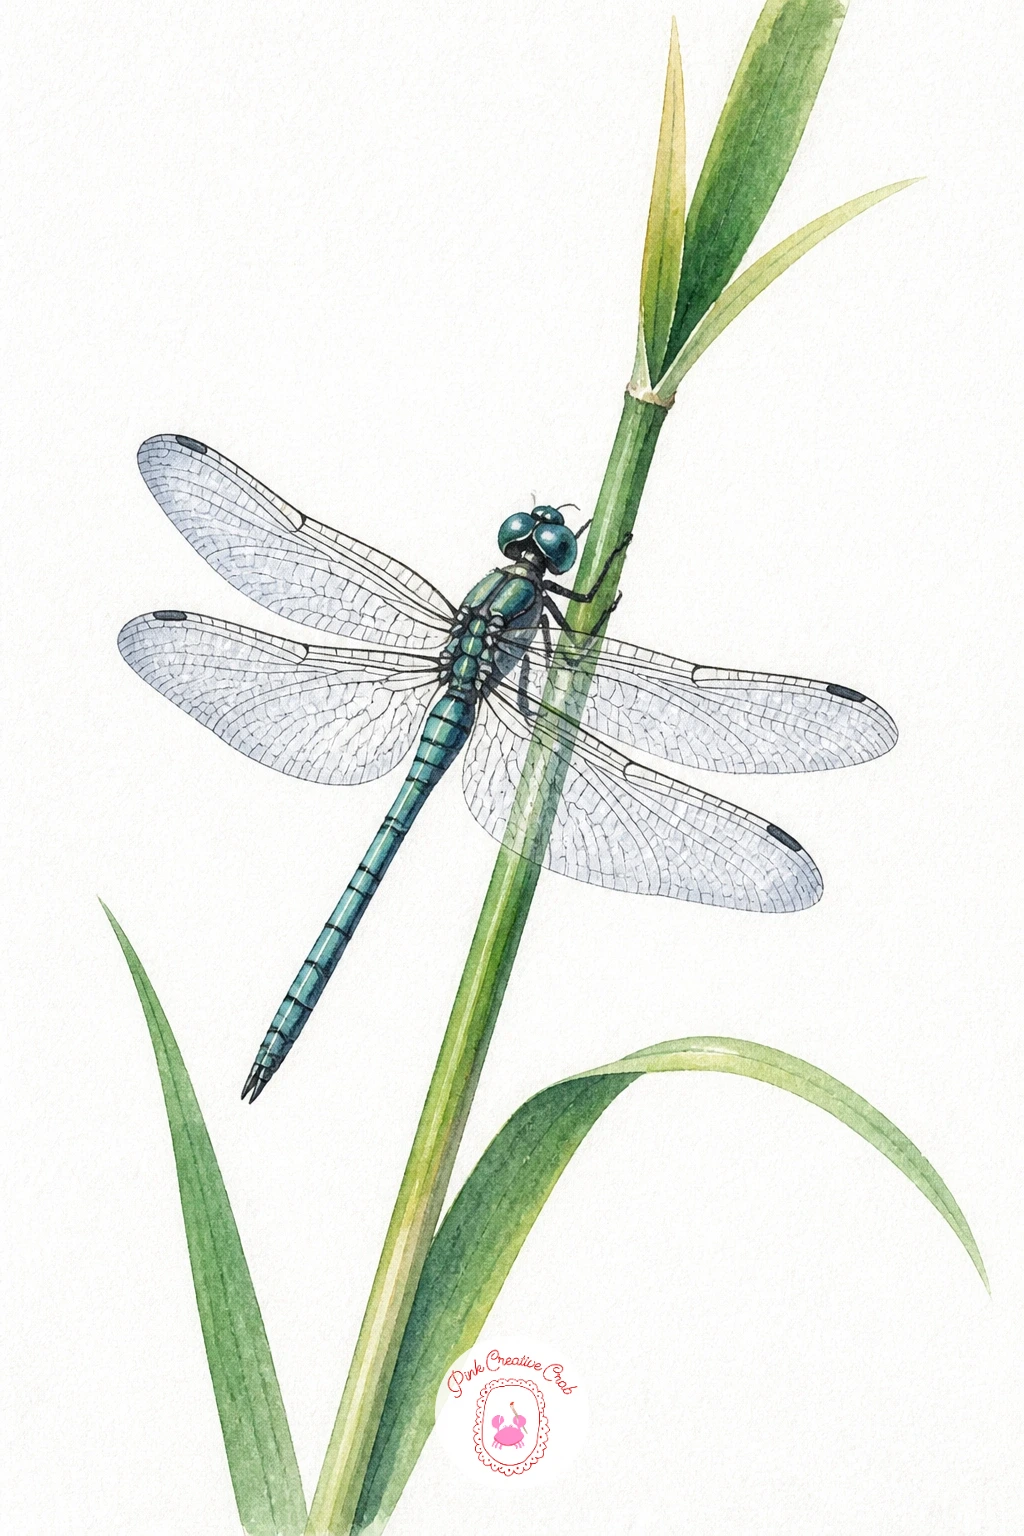
Palette: Sap Green,Payne’s Grey,Raw Umber,Teal
Move from reeds to petals with a ladybird climbing a daisy, a gentle way to practice keeping edges clean next to a bright wash. Paint the daisy first: a circle of yellow for the centre, then white petals left as bare paper with only a grey shadow wash defining their edges, and let that dry fully before adding anything else.
Drop in the ladybird as a simple red oval, letting the paint pool slightly at the centre for a rounded, glossy look. Once that red is dry, paint the black head and a thin line down the back, then dot on the spots with the tip of your brush.
Here is where proportion matters: hold your brush up against the daisy centre and compare it to the ladybird’s size, since bugs painted too large next to their flower read as cartoonish rather than true to nature. Keep the ladybird roughly a third the width of the flower head.
If red feels too flat on its own, mix in a touch of orange at the top of the shell before it dries, so the curve catches a little warmth.
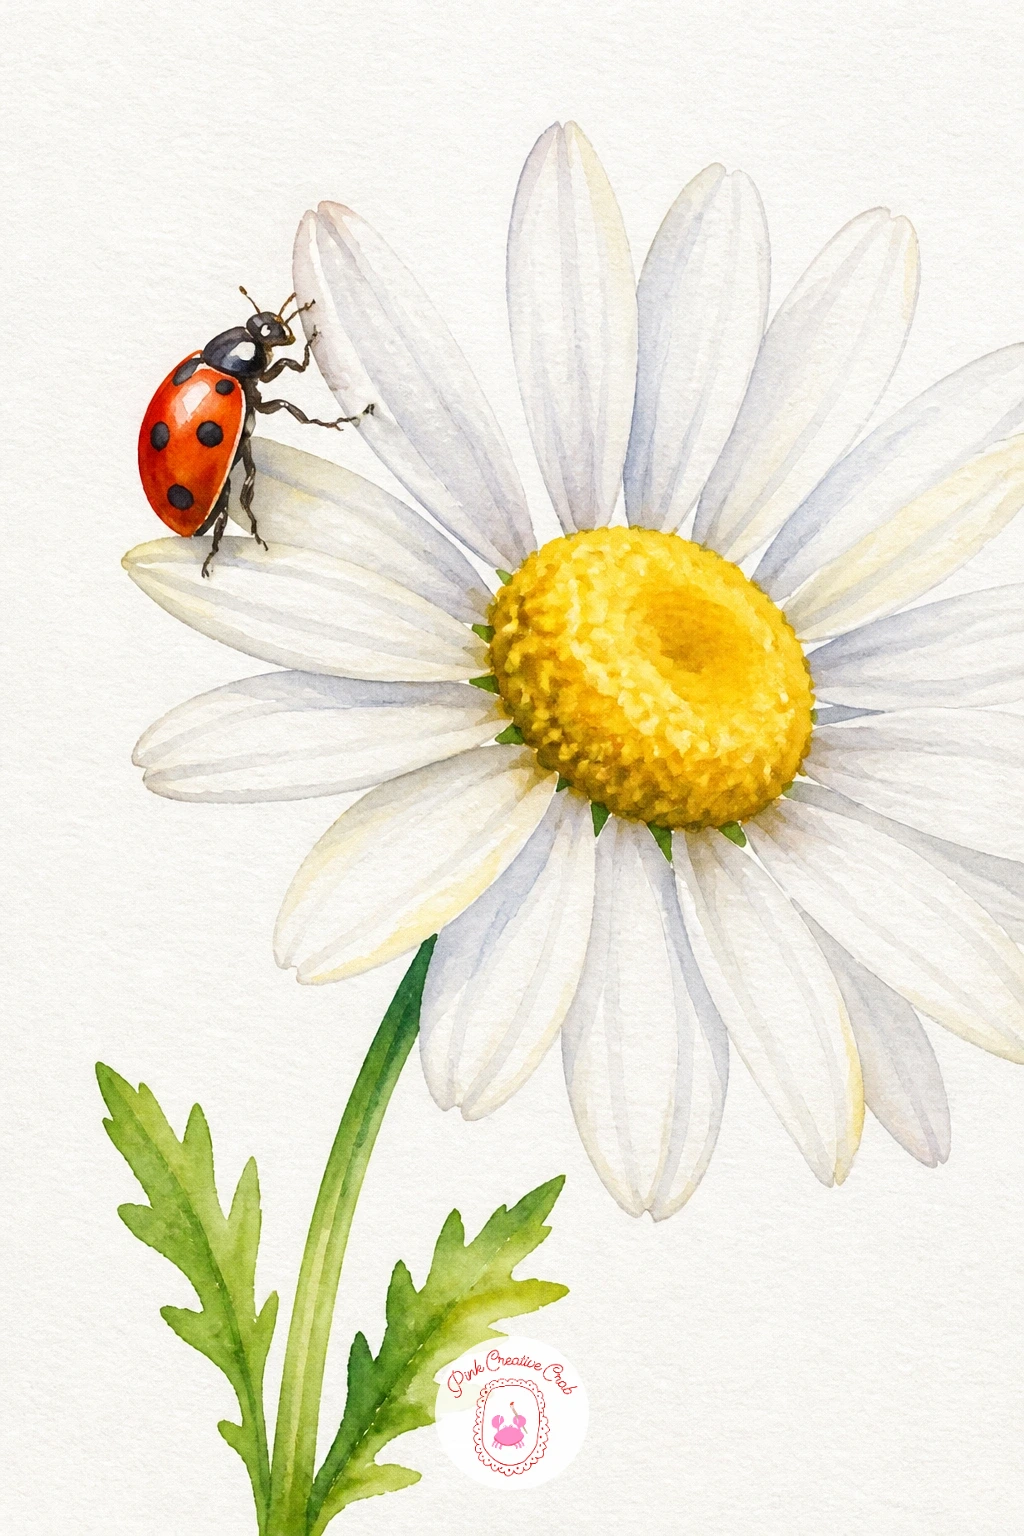
Palette: Cadmium Red,Lemon Yellow,Ivory Black,Neutral Grey
After two bright, cheerful subjects, a stag beetle on a mossy log gives you something darker and more sculptural to sink into. Sketch the log as a simple curved cylinder first, then the beetle’s oval body with its two curved mandibles reaching forward, since those horns are what make this beetle instantly recognisable.
Paint the log in a loose wash of raw umber and burnt sienna, dabbing in clumps of mossy green while it is still damp so the colours bleed softly into each other. Once dry, build the beetle’s shell in dark brown-black, leaving a thin highlight line along the top edge where light would catch a glossy surface.
Where this goes wrong is a beetle that sits flat on top of the log instead of looking like it is gripping it. Fix that by painting a small dark shadow directly under the beetle’s belly and legs, which pins it to the surface instantly.
If you want extra texture in the moss, dab a dry brush loaded with dark green over the wet wash instead of painting it smooth.

Palette: Burnt Sienna,Raw Umber,Hooker’s Green,Ivory Black
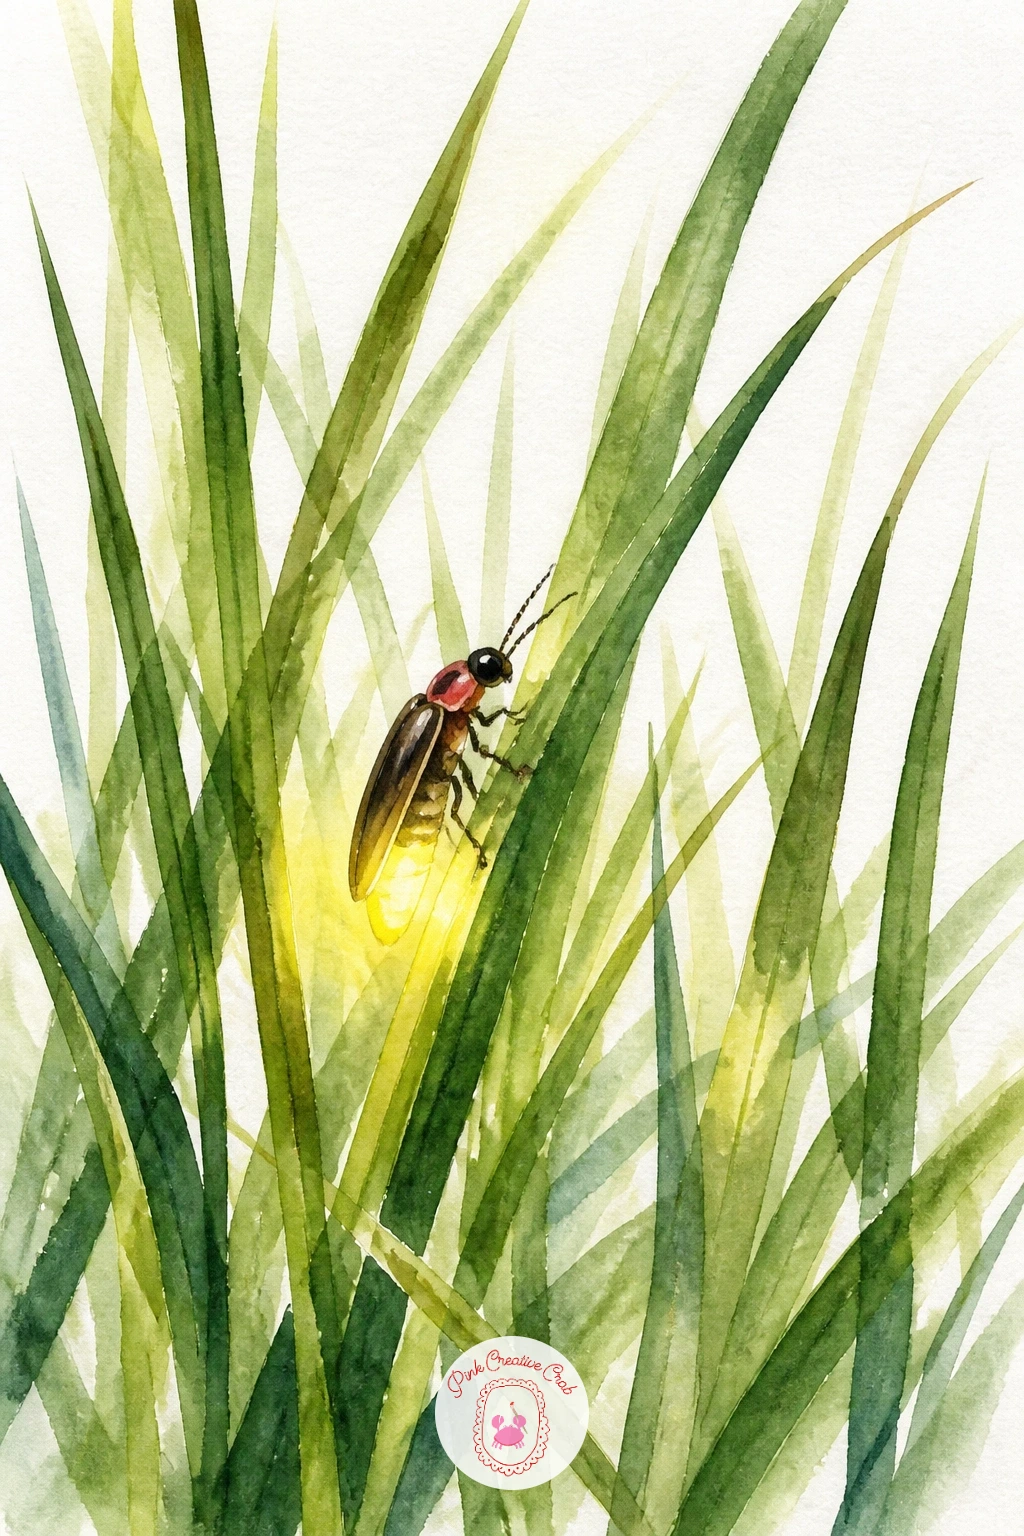
Give yourself a break from heavy shells with a firefly glowing in tall grass, a subject built almost entirely on light rather than detail. Paint loose blades of grass first in varying greens, letting some strokes stay pale and others go darker so the page has depth before the firefly even appears.
The firefly itself is tiny: a dark oval body no bigger than a grain of rice, painted once the grass is fully dry. The glow is the real subject here, so think about where that light source sits and paint a soft yellow-orange halo around the body using a wet brush that pushes colour outward from the centre.
The common mistake is making the glow too solid, which turns it into a sticker rather than light. Keep diluting your yellow as you move outward from the body so it fades to nothing at the edges.
A white gel pen dotted once at the very centre after everything dries adds a last spark that reads as bioluminescence rather than paint.
You Will Need
- white gel pen
Palette: Sap Green,Olive Green,Cadmium Yellow,Ivory Black
Keep the grassy mood going with a grasshopper on a wheat stalk, a subject with strong straight lines that reward a steady hand. Paint the wheat stalk first as a tall golden stem with small seed heads branching off, using a dry brush dragged upward so the texture stays bristly rather than smooth.
Once that is dry, build the grasshopper in sections: a long curved body in olive green, then the oversized back legs bent in a sharp zigzag, since that bent-leg shape is what instantly reads as grasshopper rather than any other insect.
Forty minutes gives you time to add fine antennae and the faint segmented lines along the body with a very fine brush, while a ten minute version can stop after the body and legs are blocked in with flat colour and still look complete.
Today’s tip: paint the legs slightly darker than the body so they read as a separate, overlapping shape rather than blending into one green blob.
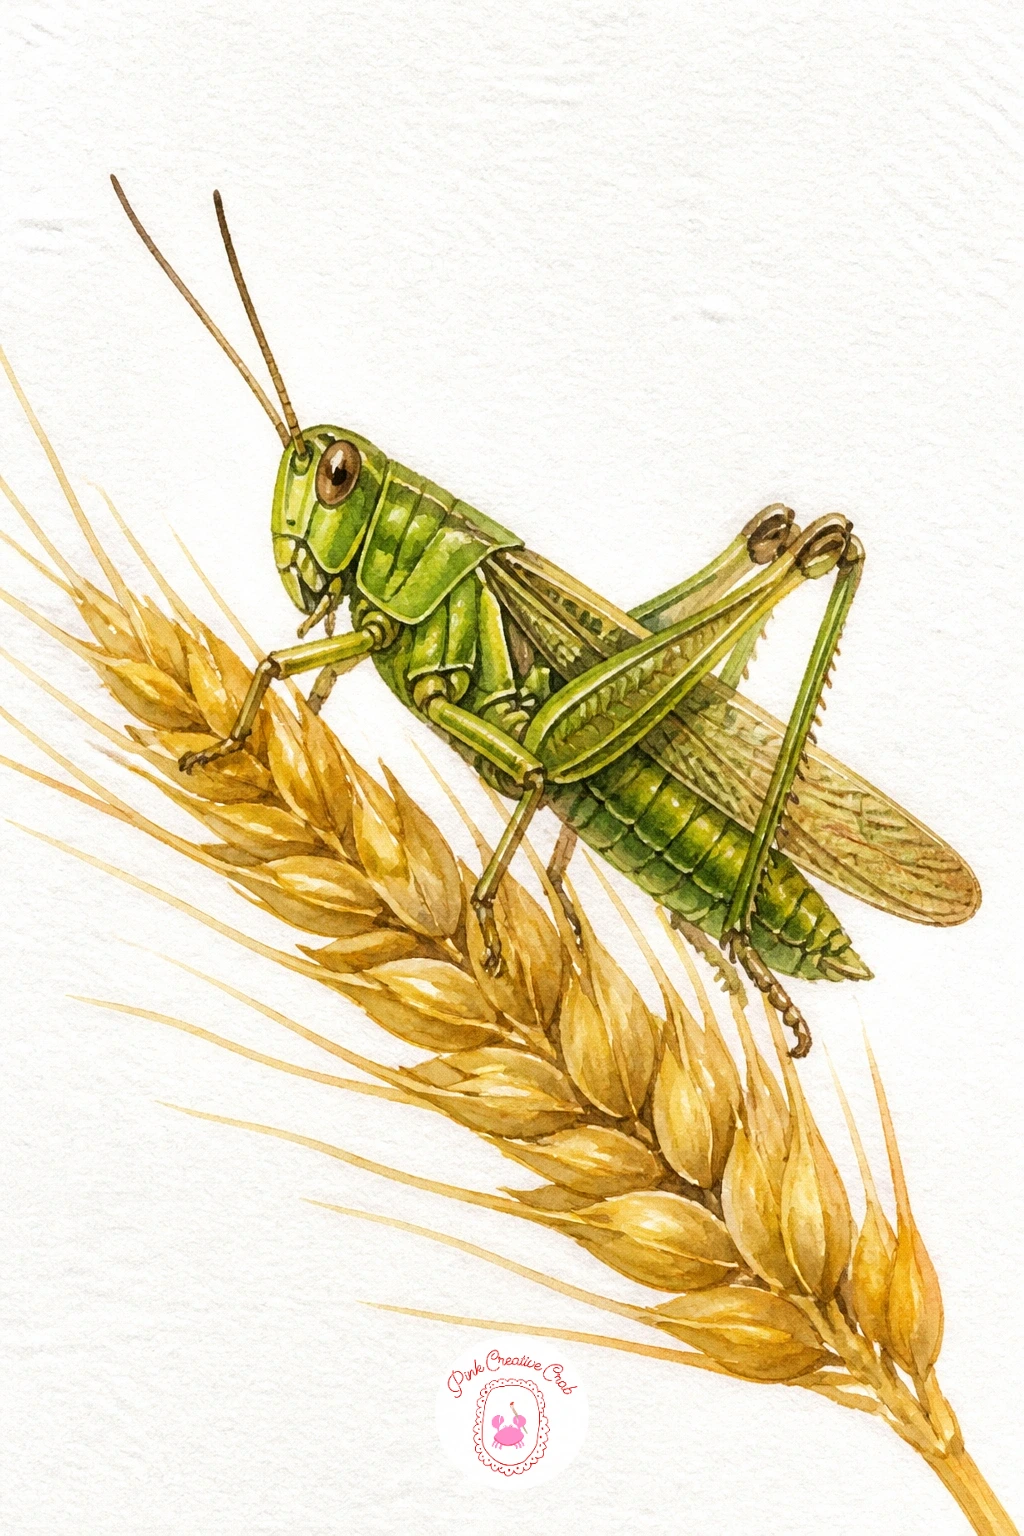
Palette: Olive Green,Gold Ochre,Sap Green,Raw Umber
Now try the shell that gives this whole trend its sparkle: a jewel beetle with an iridescent shell, painted without any background to distract from the colour play. Draw a simple oval beetle body and divide the shell into two halves down the centre, since real jewel beetles have that visible seam.
Paint the shell in overlapping washes rather than one flat colour: start with teal, drop in violet and emerald green while still wet, and let them merge unevenly across the surface. This wet-on-wet blending is what creates the shifting, iridescent look instead of a plain painted beetle.
The trick that makes or breaks this one is edges. Keep the very outline of the shell slightly darker than the centre, since a dark rim around a bright blended middle is exactly how light behaves on a glossy curved surface.
If your colours are muddying instead of glowing, you are likely overworking the wet paper. Touch the brush down once per colour and leave it alone.
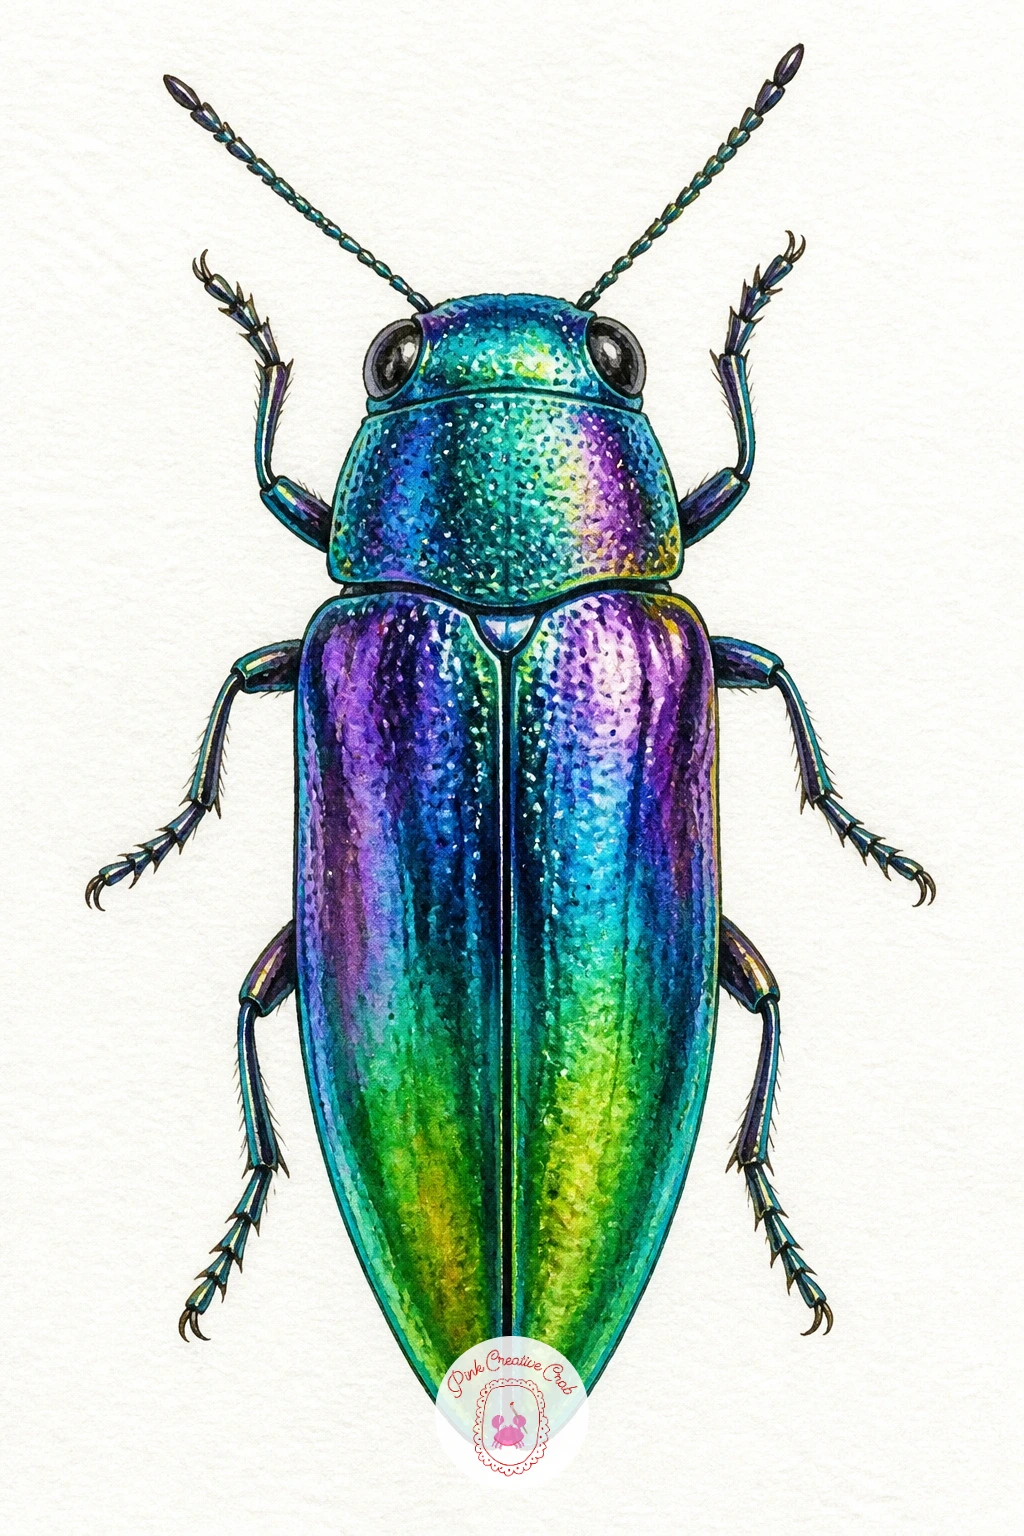
Palette: Viridian,Dioxazine Violet,Emerald Green,Ivory Black
Try metallic watercolor or a touch of interference blue medium over the dry shell for a true shimmer that plain pigment cannot quite match.
Soften the mood again with a snail on a strawberry, a sweet pairing that works because the two textures contrast so well. Paint the strawberry first in warm red with a yellow undertone left showing near the top, then once dry, flick tiny yellow seed dots across the surface with the very tip of your brush.
The snail’s shell is a simple spiral: start at the centre and paint outward in a loosening coil of brown and tan, leaving a thin white highlight curving through it to suggest shine. The soft body underneath gets a pale grey-beige wash with two thin antennae in dark brown.
If this is your first time painting a spiral shell, pencil the coil lightly first rather than trying to paint it freehand, since a wobbly spiral is the single most common way this subject goes wrong.
No red on hand that feels right? A mix of alizarin crimson and a touch of orange gives the same ripe, sun-warmed strawberry colour.
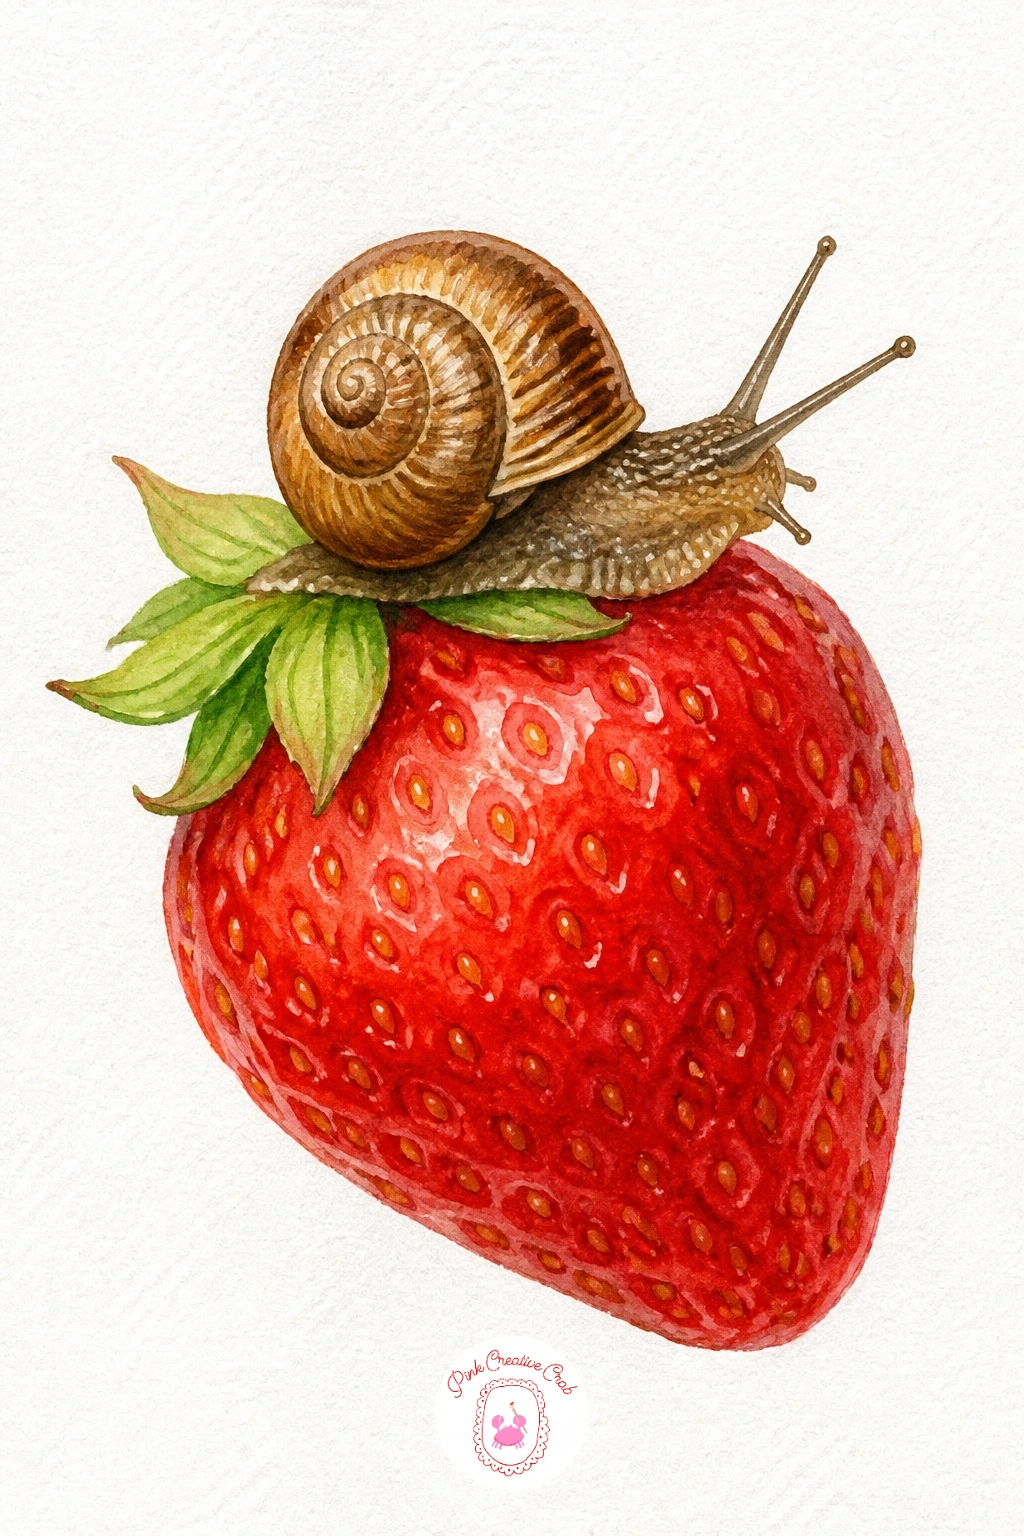
Palette: Cadmium Red,Raw Sienna,Burnt Umber,Lemon Yellow
Bring the pace right down with a caterpillar on a leaf, one of the gentlest subjects on this list and a good one if you want to relax into a wash rather than chase fine detail. Paint a single curved leaf first in two greens, a lighter wash in the centre and a darker one along the edges, blending them while still damp so the leaf has natural depth.
Once the leaf is dry, paint the caterpillar as a simple row of soft overlapping bumps in green or yellow-green, each one slightly rounded like a string of beads. A thin dark line along the top and small black dots for the face finish it off.
The easiest way this subject fails is a caterpillar that looks stiff and straight. Curve the row of bumps gently to follow the leaf’s natural bend instead of painting it in a dead straight line.
For a quick ten minute version, stop at the flat green bumps with no shading; for the longer version, add a thin shadow under the caterpillar’s body where it presses into the leaf.
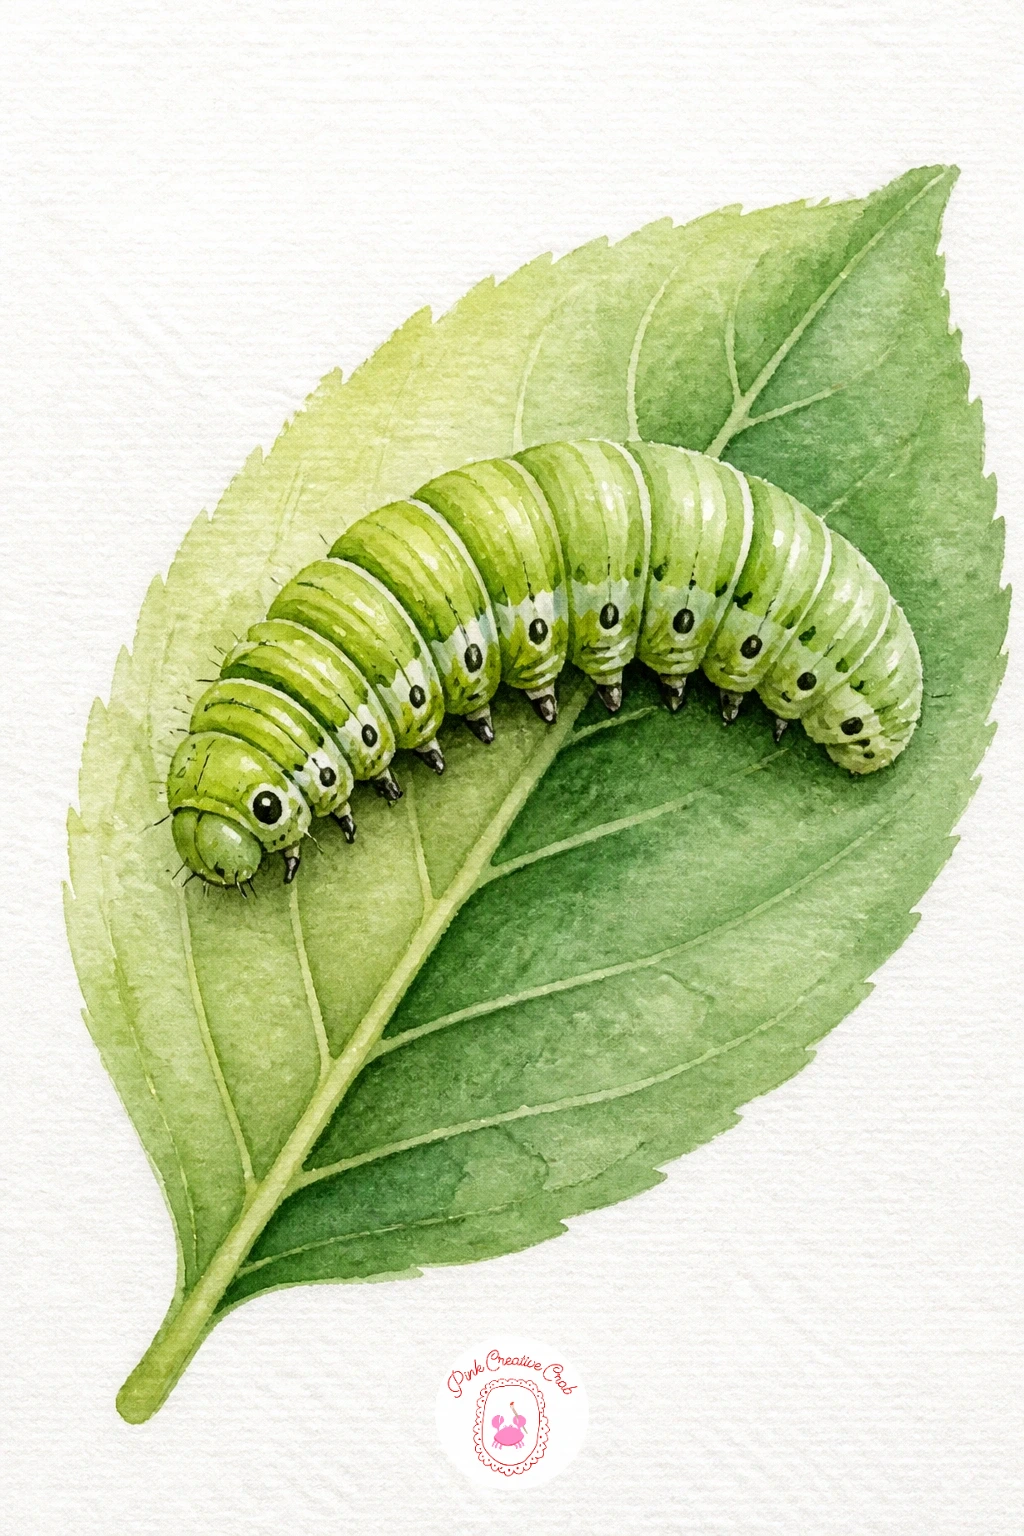
Palette: Sap Green,Leaf Green,Hooker’s Green,Ivory Black
Raise the difficulty with a praying mantis on a rose, a subject that asks for more patience with shape since the mantis has a long triangular head and folded front legs unlike anything painted so far. Paint the rose first in loose layered petals of pink and crimson, working from the centre outward and leaving the lightest petals almost dry-brushed near the edges.
Let the rose dry completely before adding the mantis in pale green, building the long thin body and bent front legs with a fine brush in confident single strokes rather than scratchy repeated lines. The triangular head with two small eyes goes in last.
Compare the mantis’s length against the rose bloom before you commit to the pencil sketch, since a mantis that is too short loses its elegant, stretched silhouette. It should run nearly the full height of the flower.
If pink feels too soft against the green, deepen the rose’s shadow petals with a touch of violet mixed into the crimson.
For more flower practice before tackling this pairing, these simple watercolor flowers ideas cover petal layering in detail.
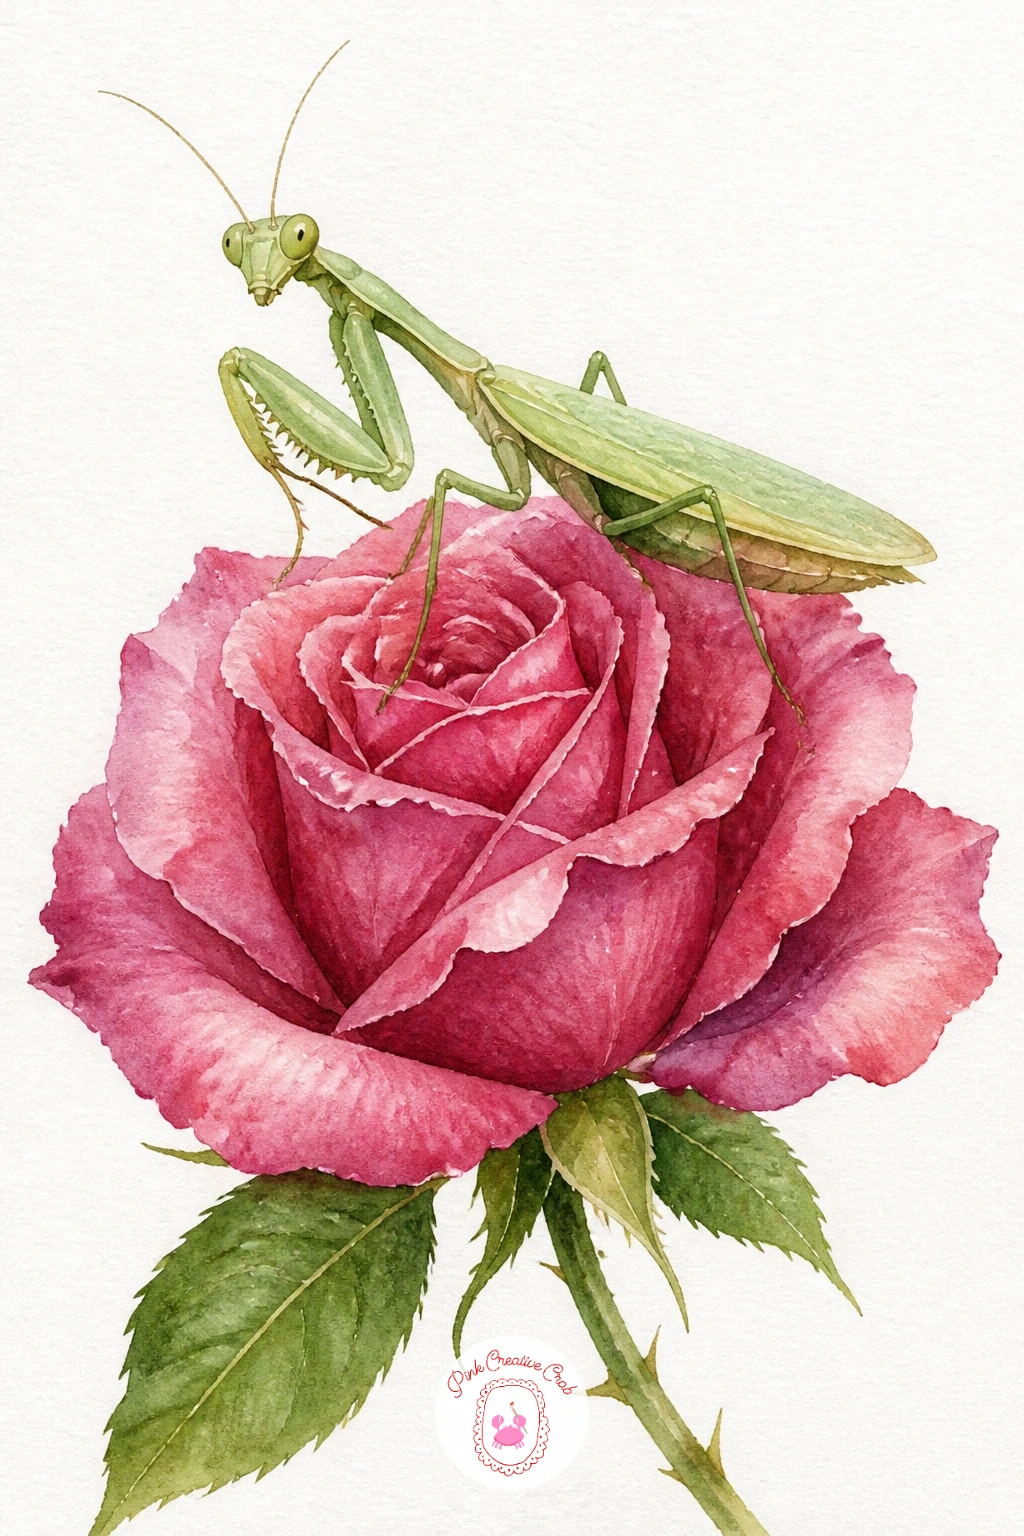
Palette: Alizarin Crimson,Opera Pink,Sap Green,Dioxazine Violet
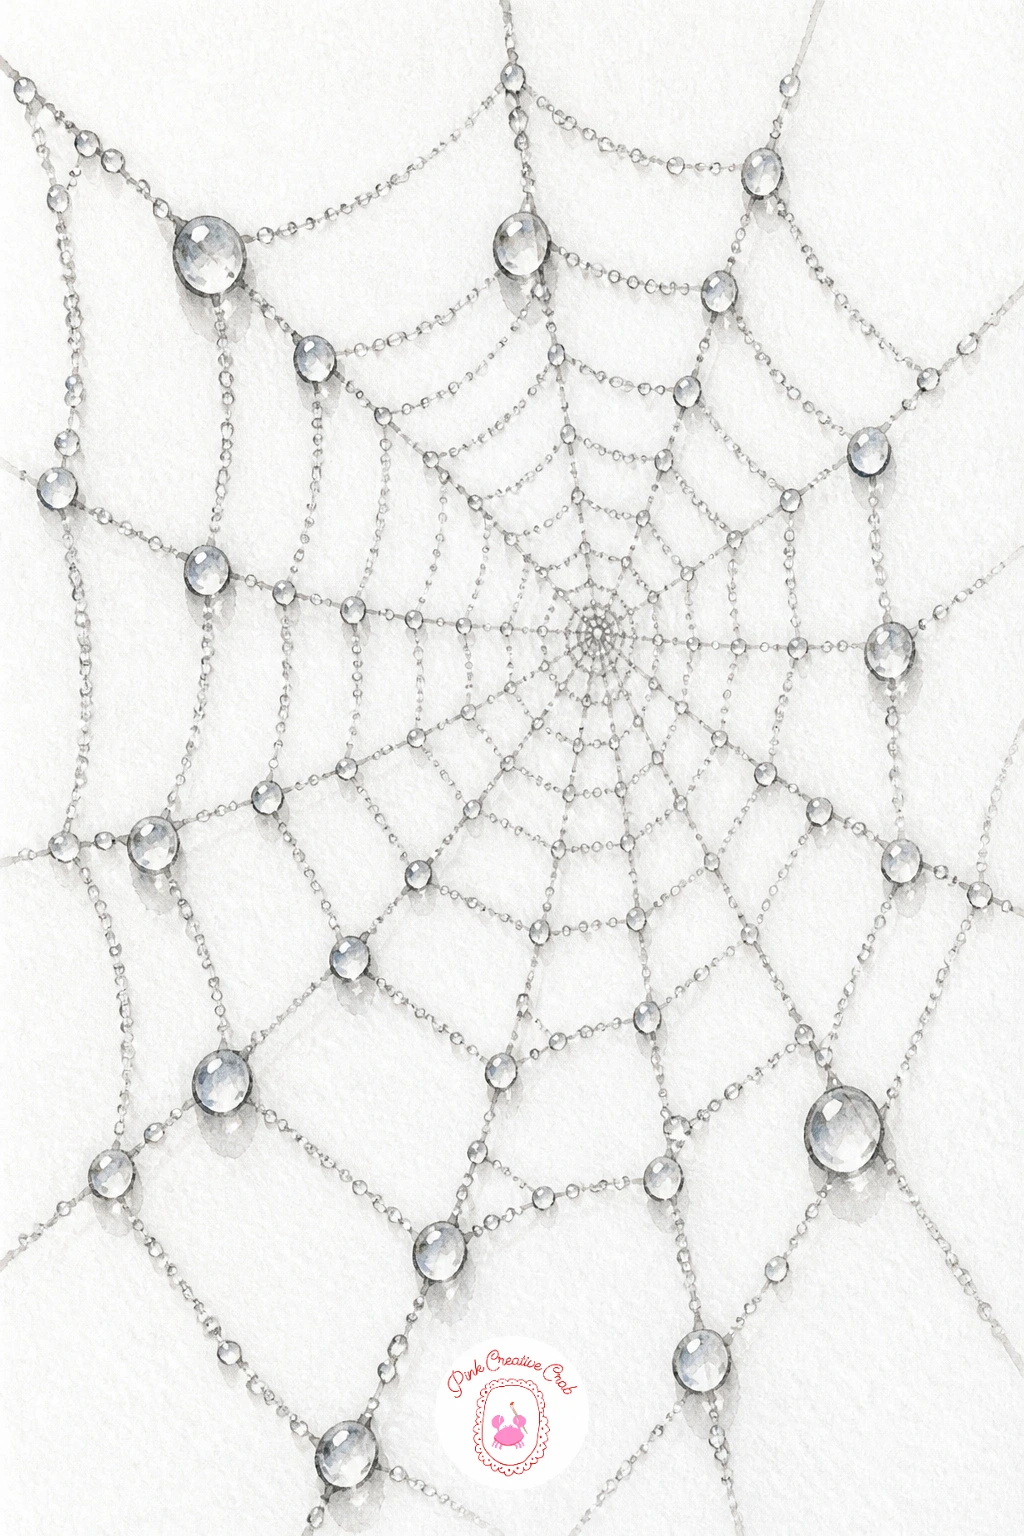
Switch gears entirely for a spider web with dew drops, a subject with almost no colour at all where the magic is in light and spacing. Pencil a faint radial guide of spokes first, then paint the web itself with a very fine brush and thinned grey, working from the centre outward in a loose spiral that does not need to be perfectly even.
Leave the dew drops as untouched white paper, then once the web is dry, paint a tiny curved shadow under each one and a single bright highlight dot with white gel pen to make them catch the light. This is the whole trick to convincing water droplets: shadow below, highlight above.
The eye level matters more than it seems here. Paint the web slightly tilted rather than perfectly flat-on, as if you are looking at it from a slight angle in the garden, which instantly makes it feel three-dimensional rather than like a diagram.
If your web lines come out shaky, steady your hand by resting your wrist on the table and pivoting from the elbow.
You Will Need
- white gel pen
Palette: Payne’s Grey,Neutral Grey,Titanium White
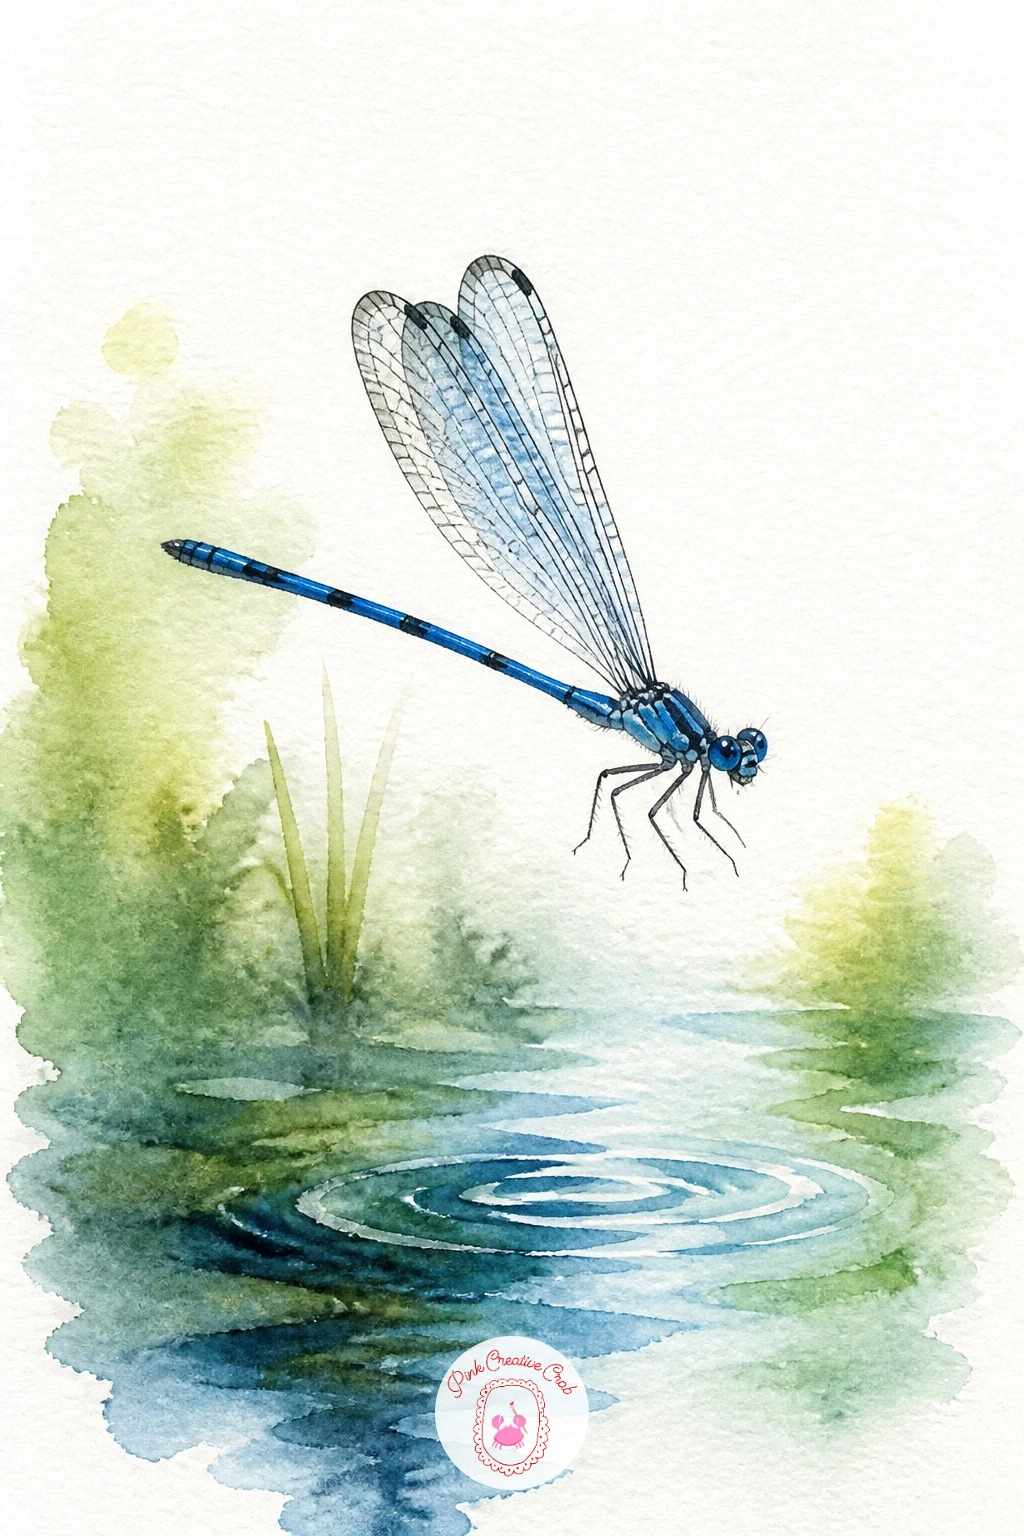
Come back to colour with a damselfly over water, a close cousin of the earlier dragonfly but slimmer and painted with a sense of hovering rather than resting. Paint a soft loose wash of blue-green water first, filling most of the lower half of the page, and let a few lighter ripples show through as dry paper.
Once the water is dry, add the damselfly above it in electric blue, its body even thinner than a dragonfly’s and its wings held together above the back rather than spread flat, which is the detail that tells the two apart.
Where the light sits changes everything here: decide the sun is coming from one side and paint that side of the body a shade brighter, with the shadow side deepened toward navy. That single choice makes the damselfly feel lit rather than flat.
If electric blue is not in your palette, mix ultramarine with a touch of white gouache or simply leave more water in your wash for a paler, glowing version.
Palette: Cerulean Blue,Ultramarine,Turquoise,Payne’s Grey
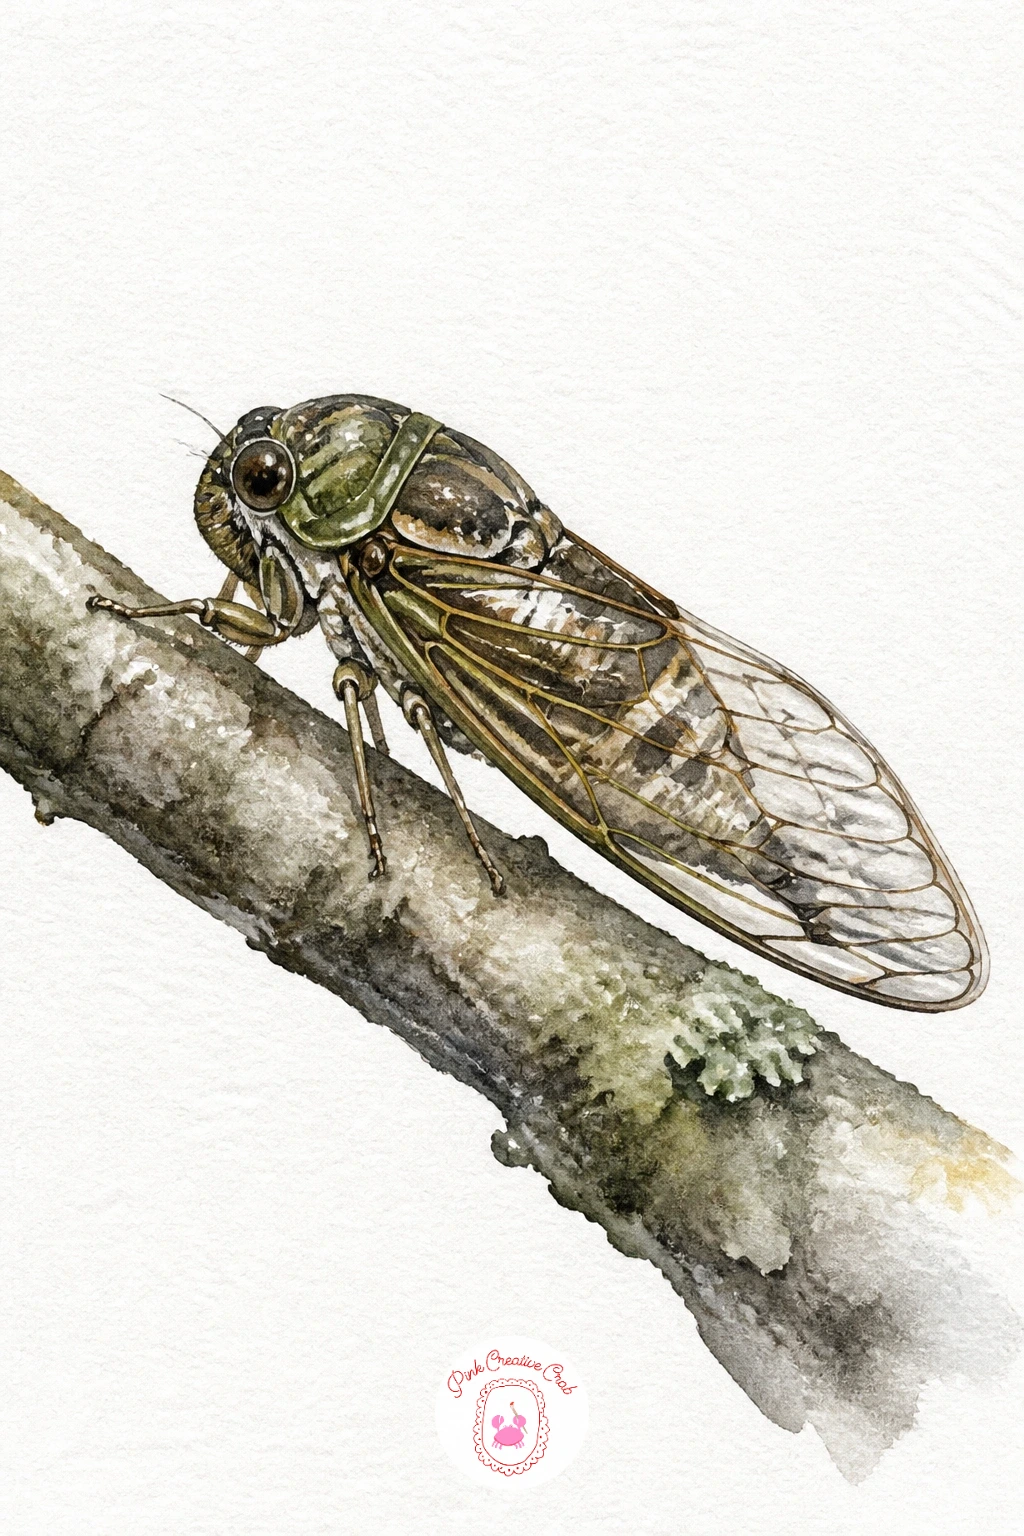
Give the brush a more textured subject with a cicada on a branch, where the real challenge is the clear, veined wings rather than the body. Paint the branch first as a simple curved brown line with a dry-brush texture for bark, then let it dry fully before the cicada goes anywhere near it.
Build the cicada’s body in olive-brown with the wings painted as the thinnest wash of grey, almost transparent, so the branch colour behind them shows faintly through. Once dry, use a fine brush to add the wing veins in slightly darker grey, following the natural branching pattern rather than straight lines.
The usual stumble is wings so pale they disappear completely into the white background. Save them by painting one very thin grey outline around the wing shape itself before you add veins, which gives the transparent area something to sit inside.
If you want more texture on the branch, scratch a few light lines into the still-damp paint with the end of your brush handle.
Palette: Raw Umber,Olive Green,Neutral Grey,Burnt Sienna
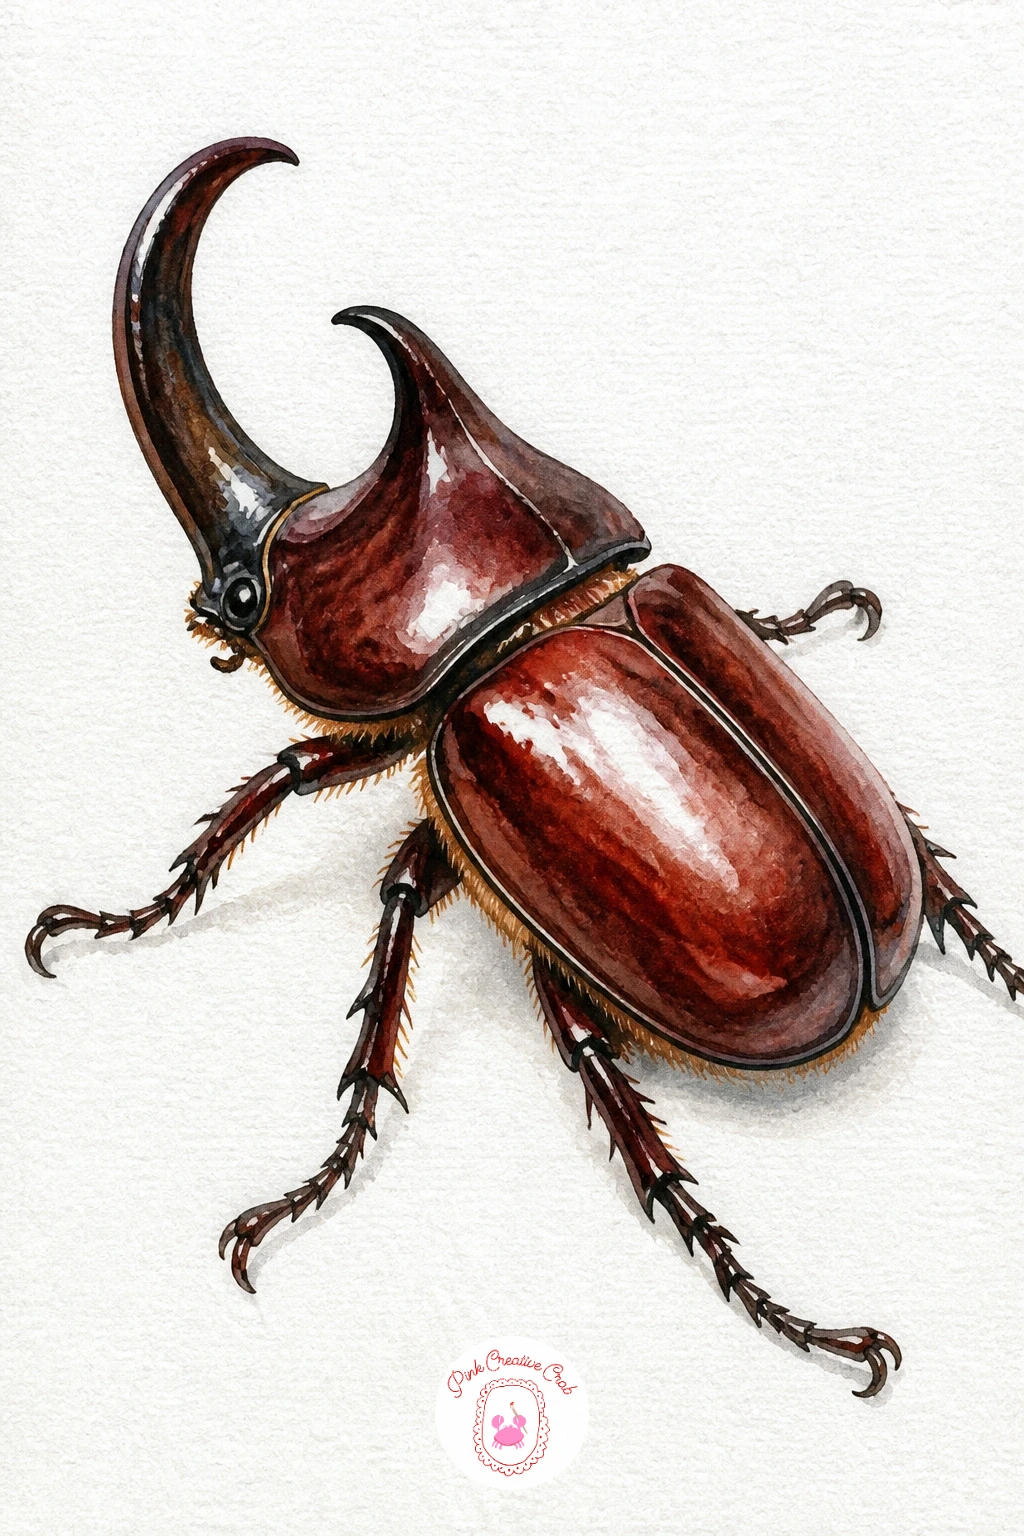
Paint the biggest personality on this list with a rhinoceros beetle, instantly recognisable by the single curved horn rising from its head. Sketch the body as a large rounded oval first, then the horn as a strong curved line sweeping up and forward, since getting that curve confident and smooth matters more than any other line in this piece.
Block in the shell with a deep reddish-brown, leaving the horn a shade paler since horns on real beetles are often less glossy than the shell. Once dry, add a single curved highlight along the top of both the shell and horn in a nearly dry brush to suggest a hard, polished surface.
Ten minutes gets you a bold, flat silhouette with just the highlight added, which already reads clearly as this beetle. Forty minutes lets you add the small ridged texture along the shell’s underside and tiny jointed legs beneath the body.
Vary it next time by painting the same beetle mid-stride on a textured bark background instead of alone on white.
Palette: Burnt Sienna,Raw Umber,Ivory Black,Raw Sienna
Tell a tiny story with an ant carrying a leaf, a subject that is less about the insect’s anatomy and more about the sense of effort in the pose. Paint the leaf first, tilted at an angle above where the ant will stand, in a fresh green wash with a slightly darker vein line once dry.
The ant itself is three small dark ovals joined in a row, thin bent legs reaching down to the ground, and two thread-fine antennae reaching forward. Paint it in a near-black brown rather than pure black, which keeps it from looking like a flat silhouette.
Compare the leaf size to the ant honestly before you paint: a leaf two or three times the ant’s own body length reads as a believable load, while a leaf the same size as the ant looks like a mistake in scale.
If pure black feels too harsh against the green leaf, warm it slightly with a touch of burnt umber mixed in.
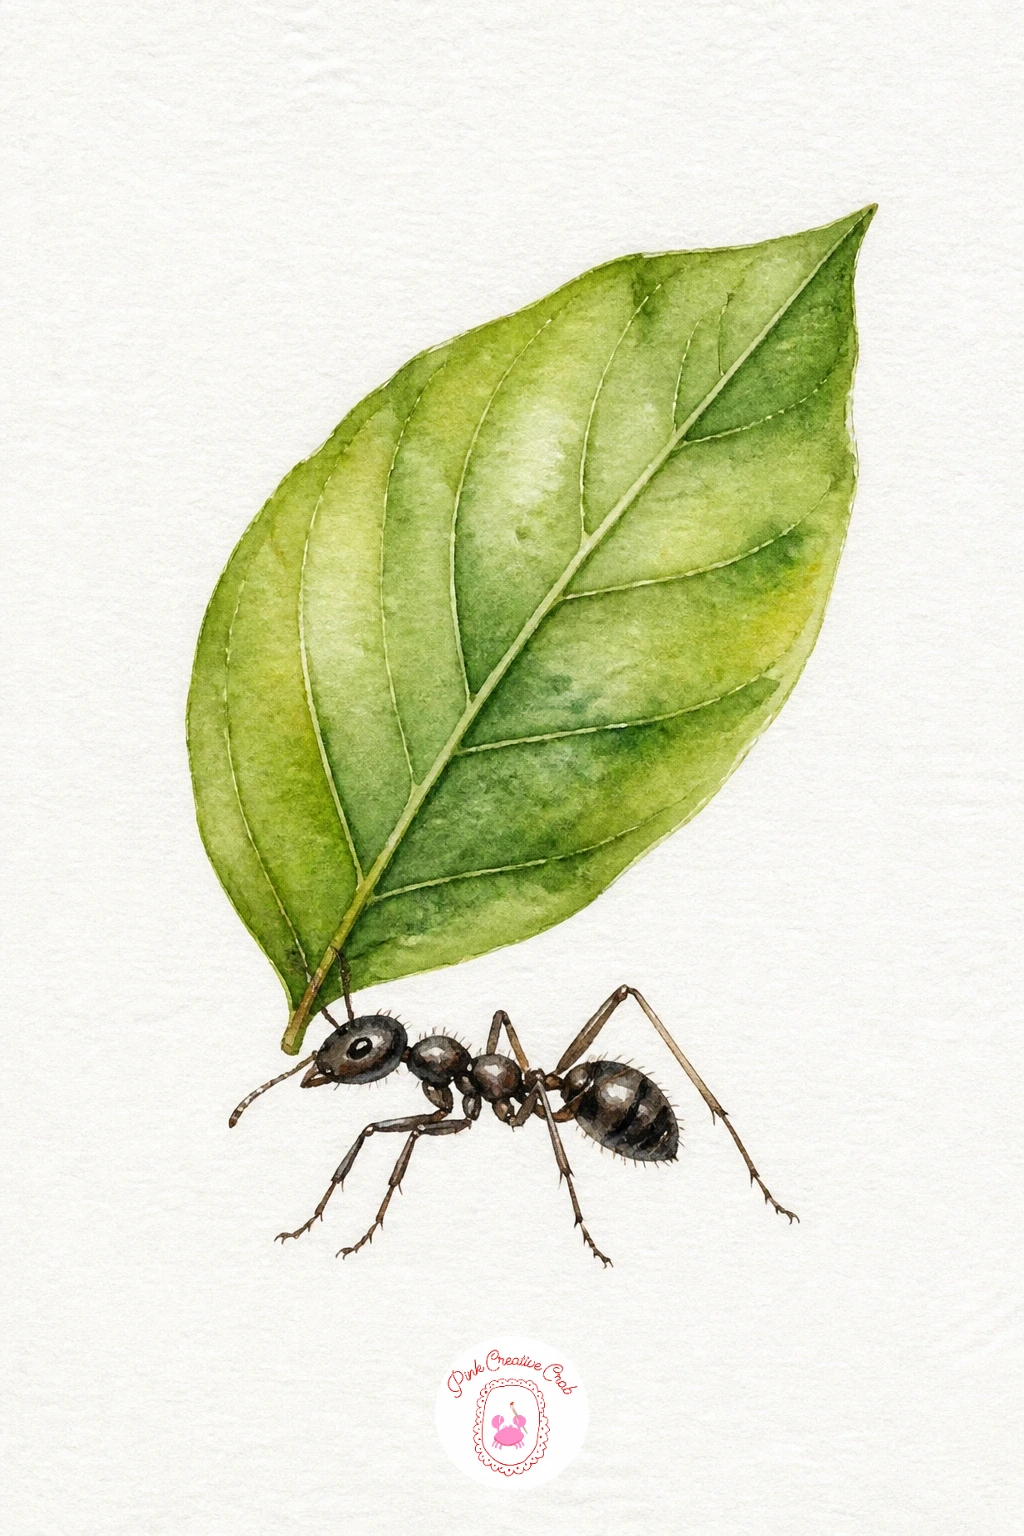
Palette: Burnt Umber,Leaf Green,Sap Green,Ivory Black
Return to a cheerful pairing with a ladybird on a mushroom, a fairytale-leaning subject that works well after the more serious ant and beetle. Paint the mushroom cap first in warm red with the classic white spots left as untouched paper, then the pale stem below it in a quick grey-cream wash.
Once dry, add the ladybird exactly as before, a glossy red oval with a black head and dotted shell, placed partway up the curve of the cap so it looks like it is mid-climb rather than simply parked on top.
If this is your first time painting a mushroom cap, leave the white spots as careful circles of bare paper rather than painting them in with white gouache afterward, since reserved white paper always looks cleaner and brighter than paint laid over colour.
Swap the classic red cap for a soft brown one if you would rather the mushroom not compete with the ladybird’s own red shell.
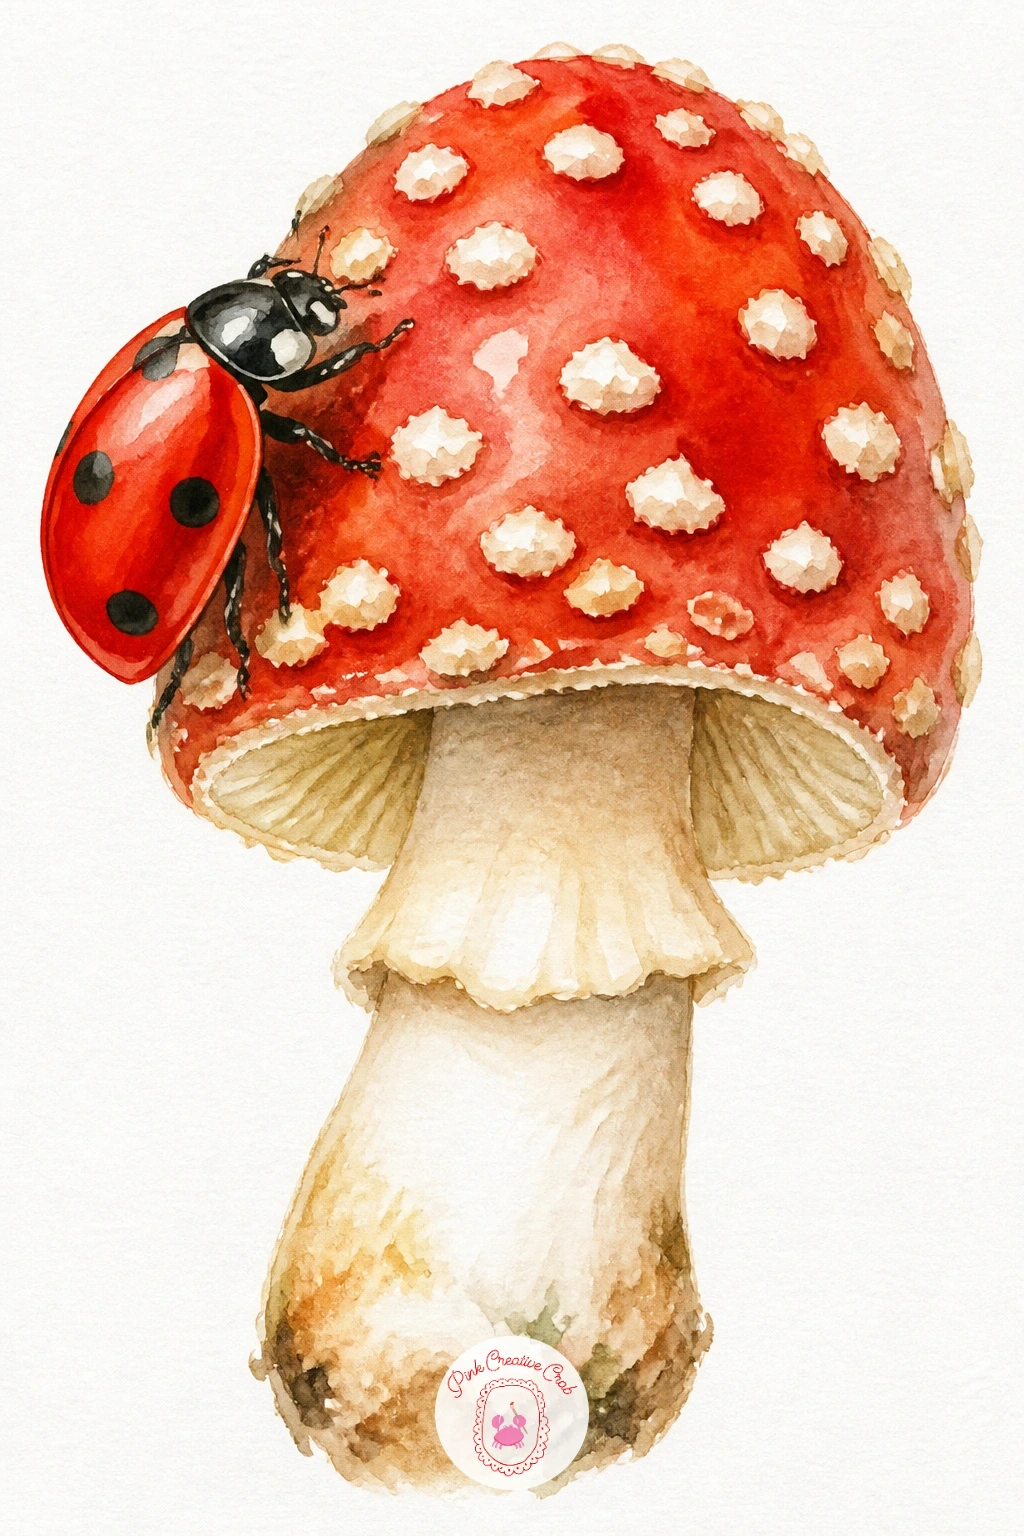
Palette: Cadmium Red,Ivory Black,Neutral Grey,Raw Umber
Shift the whole mood with a cricket in moonlight, the first truly nocturnal subject here and a chance to practice painting colour against a dark wash rather than white paper. Lay down a deep indigo background wash across the whole page first and let it dry fully, since everything else gets painted on top of this night sky.
Paint the cricket in warm brown with slightly raised back legs, using a touch of opaque gouache mixed into your watercolor if you have it, since ordinary transparent watercolor can look dull sitting on top of such a dark base. A thin crescent moon in pale yellow goes in one corner.
Deciding where that moonlight falls changes the whole piece: pick one side of the cricket to catch a pale highlight facing the moon, and keep the opposite side nearly lost in the dark wash.
No gouache on hand? Mix your cricket colour stronger than usual, with far less water than you would normally use, so it has enough body to show up.
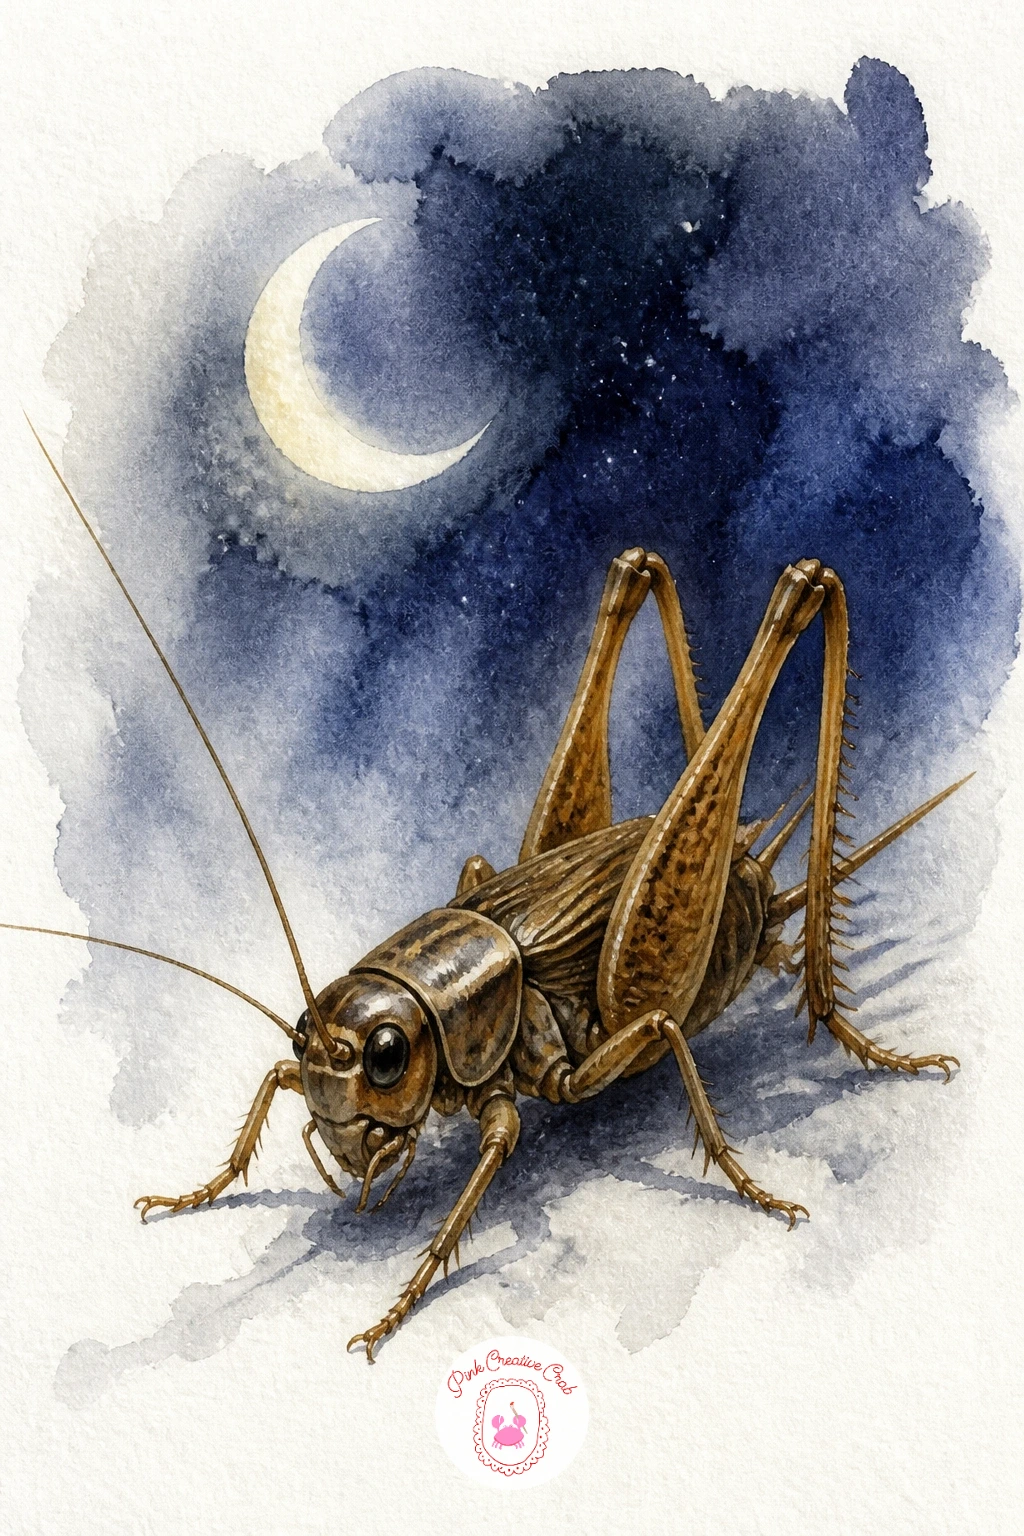
Palette: Indigo,Raw Umber,Lemon Yellow,Titanium White
Opaque white gouache mixed into small amounts of colour is worth keeping nearby for every night scene, since it is the only way watercolor shows up over a dark wash.
Settle back into daylight with a shield bug on a raspberry leaf, named for the simple flat pentagon shape of its back that makes it an easy, satisfying shape to paint. Paint the leaf first with its slightly jagged toothed edge, a detail that sets raspberry leaves apart from the smoother leaves painted earlier in this list.
Once dry, paint the shield bug’s back as one confident flat shape in muted green, slightly darker along the centre seam, then add short legs tucked close to the body underneath.
The jagged leaf edge is the part most likely to go wrong, turning into a messy scribble if you rush it. Paint it slowly as a series of small connected triangles rather than one continuous wavy line.
If green feels too close to the leaf colour and the bug disappears, shift its shade toward a soft bronze-green instead so the two shapes stay distinct.
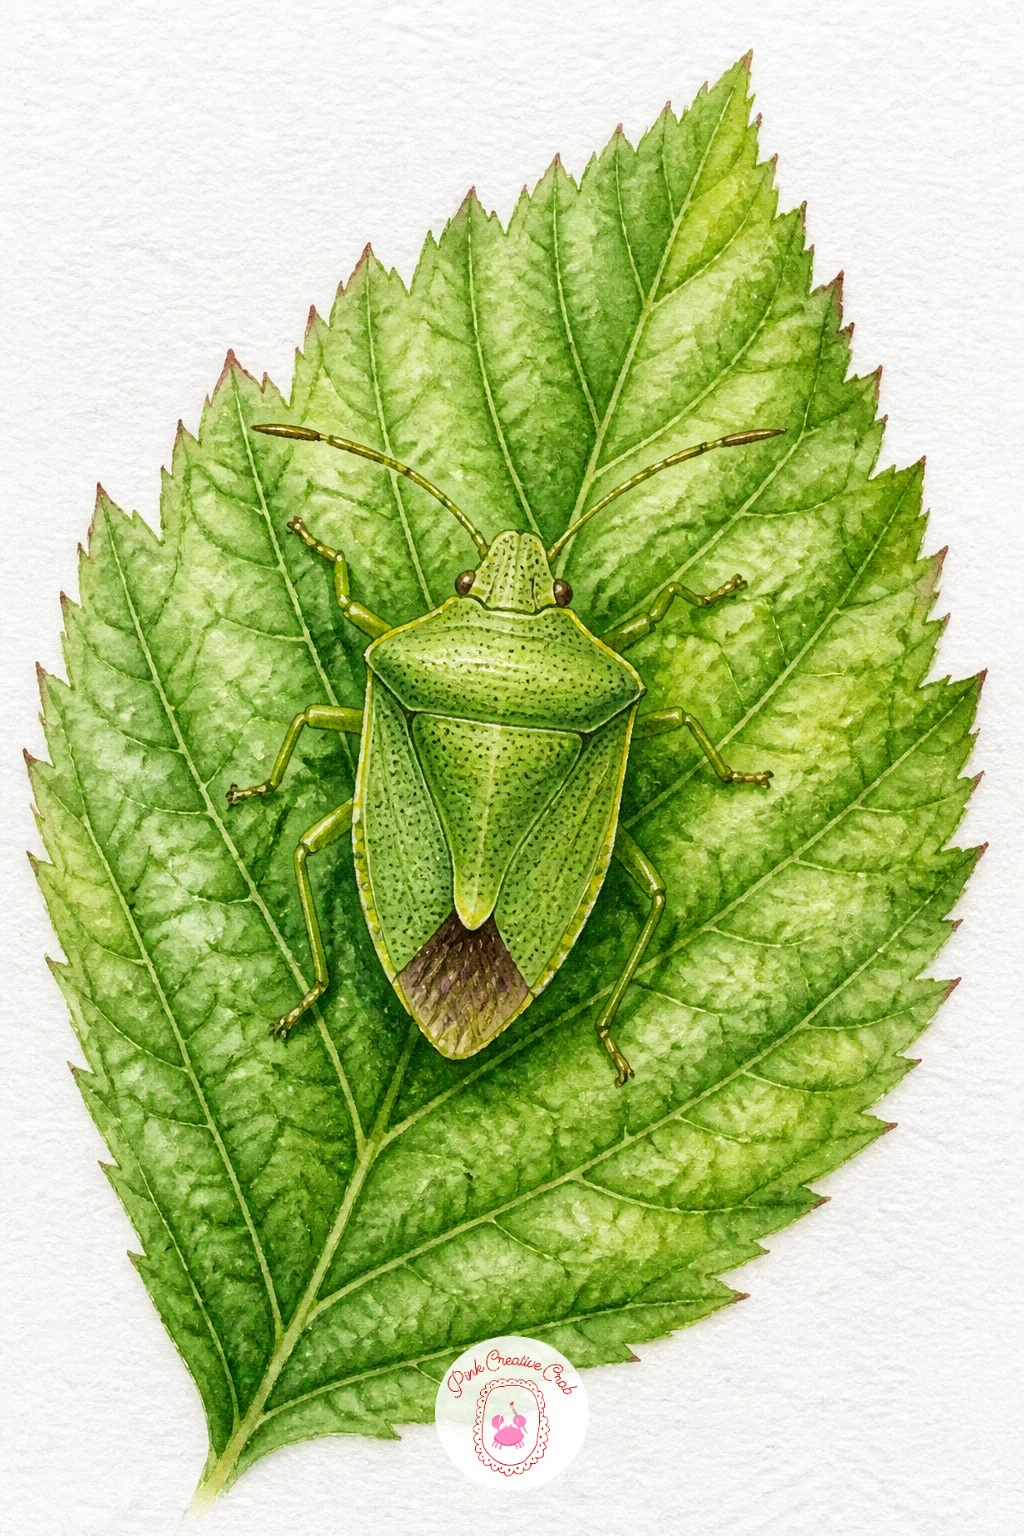
Palette: Sap Green,Olive Green,Raw Sienna,Hooker’s Green
Pair naturally with the earlier firefly by painting a glow-worm on moss at night, a quieter kind of light since a glow-worm’s light sits low and steady rather than flickering. Build a dark mossy ground first with layered greens and touches of near-black in the shadows, keeping the surface uneven and soft-edged rather than flat.
The glow-worm itself is a simple elongated oval, pale and segmented, with a small warm yellow-green glow painted at its tail end where the real light comes from. Build that glow in several thin layers rather than one strong wash, so it builds up gently instead of looking stamped on.
For a quick ten minute version, paint the moss loosely and add just one soft glow; the forty minute version adds small flecks of brighter green moss catching the glow’s light nearby, which sells the idea that it is truly lighting its surroundings.
One tip for today: keep the glow’s yellow-green noticeably warmer than every other green on the page, or it will blend into the moss instead of standing out.
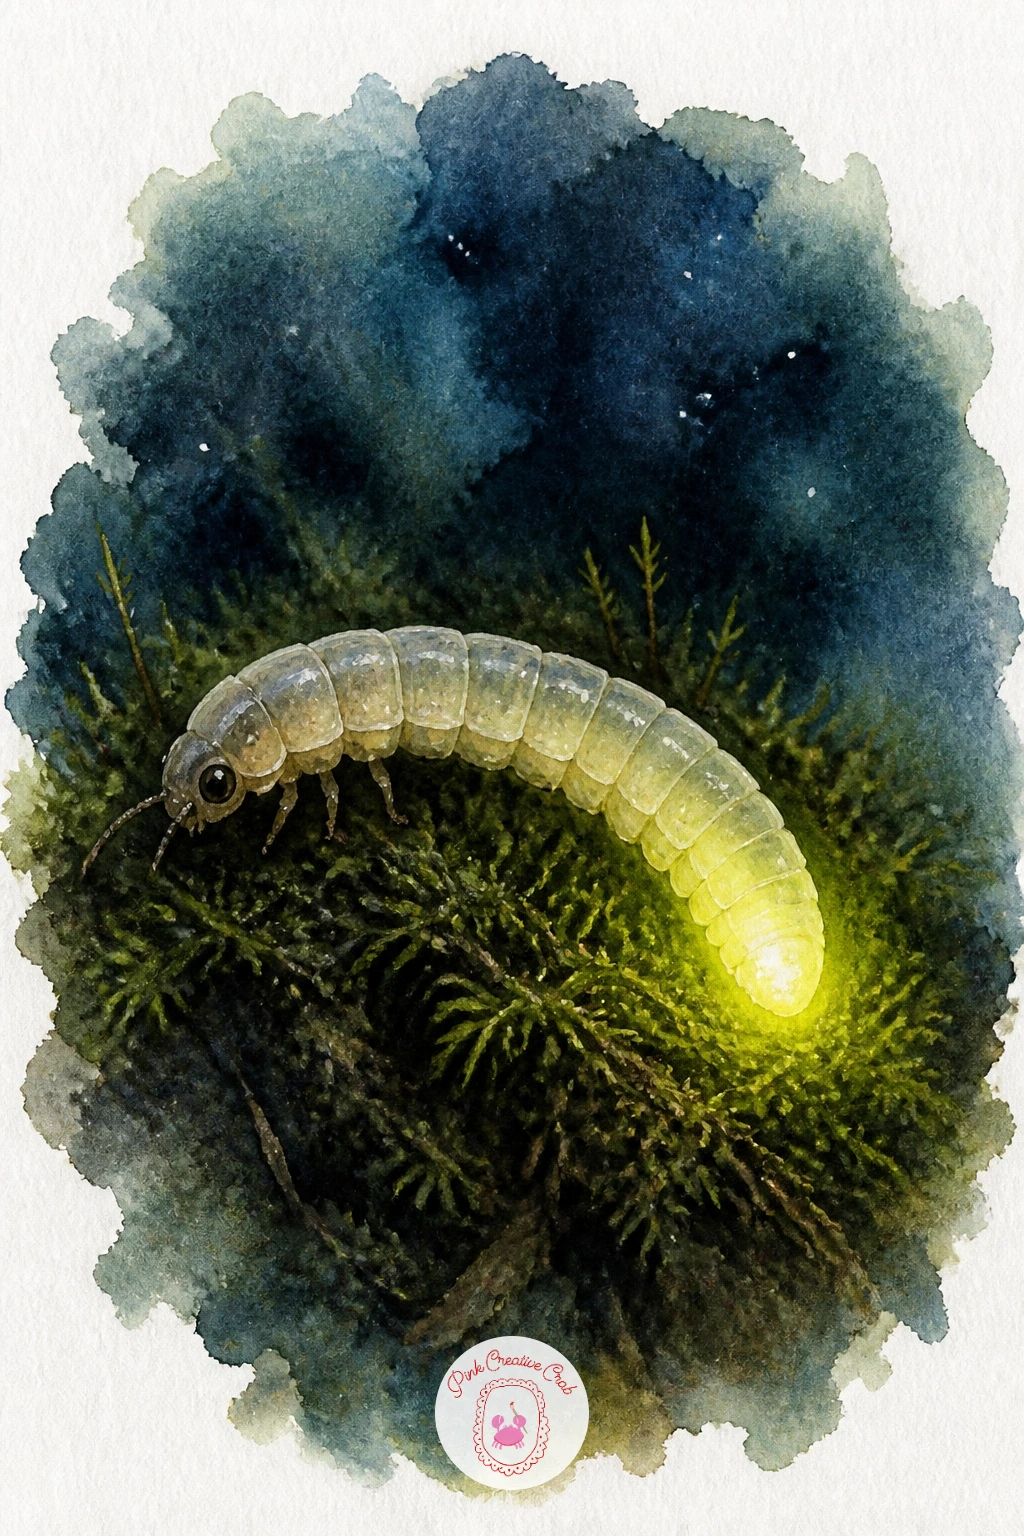
Palette: Hooker’s Green,Payne’s Grey,Chartreuse,Ivory Black
Take on a smaller, lesser-painted subject with a weevil on a wildflower, recognisable by its long curved snout that no other bug on this list has. Paint a simple wildflower first, a few loose petals in soft lavender or pink around a small yellow centre, kept light and quick since the weevil is the real focus.
Build the weevil’s oval body in muted brown-grey, then carefully extend the long thin snout forward from the head in one steady brush stroke, since a shaky snout is the one thing that will make this bug unrecognisable.
Measure the snout against the body before committing to it: it should run roughly half the length of the body itself, which is what gives this beetle its distinctive silhouette.
If grey-brown feels dull next to the flower, warm the mix slightly with a touch of raw sienna so the weevil still reads as earthy rather than lifeless.
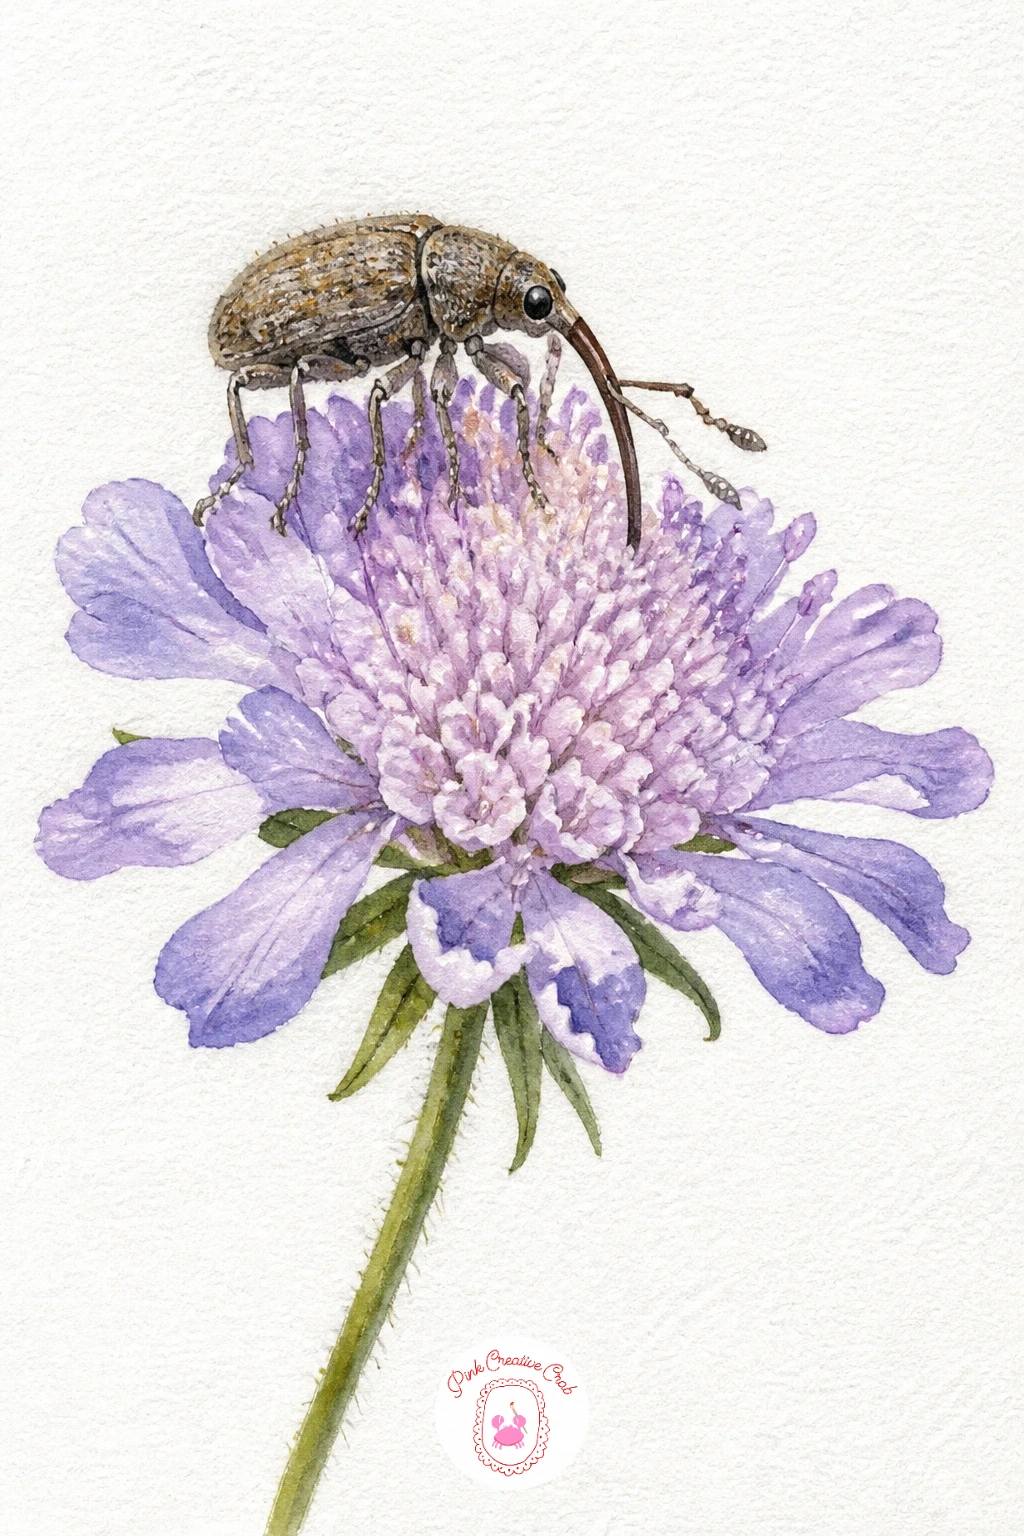
Palette: Raw Umber,Raw Sienna,Lavender,Lemon Yellow
Try something architectural with a lacewing on a window pane, where a few faint grey lines suggest glass and a frame around a delicate pale green insect. Pencil a simple window grid lightly first, then paint the panes in the thinnest grey wash so they barely register, leaving the lacewing as the brightest, clearest shape on the page.
The lacewing’s wings are its defining feature: pale green, almost see-through, with a fine lattice of veins painted in a slightly darker green once the base wash is completely dry. Its body stays small and simple compared to all that wing detail.
Painting glass changes how you think about edges: keep every line in the window frame straight and slightly cooler in tone than the lacewing itself, so the insect feels warm and alive against something hard and flat.
If the fine vein lines feel intimidating, simplify them to just four or five main lines rather than a full net, which still reads clearly as lacewing wings.
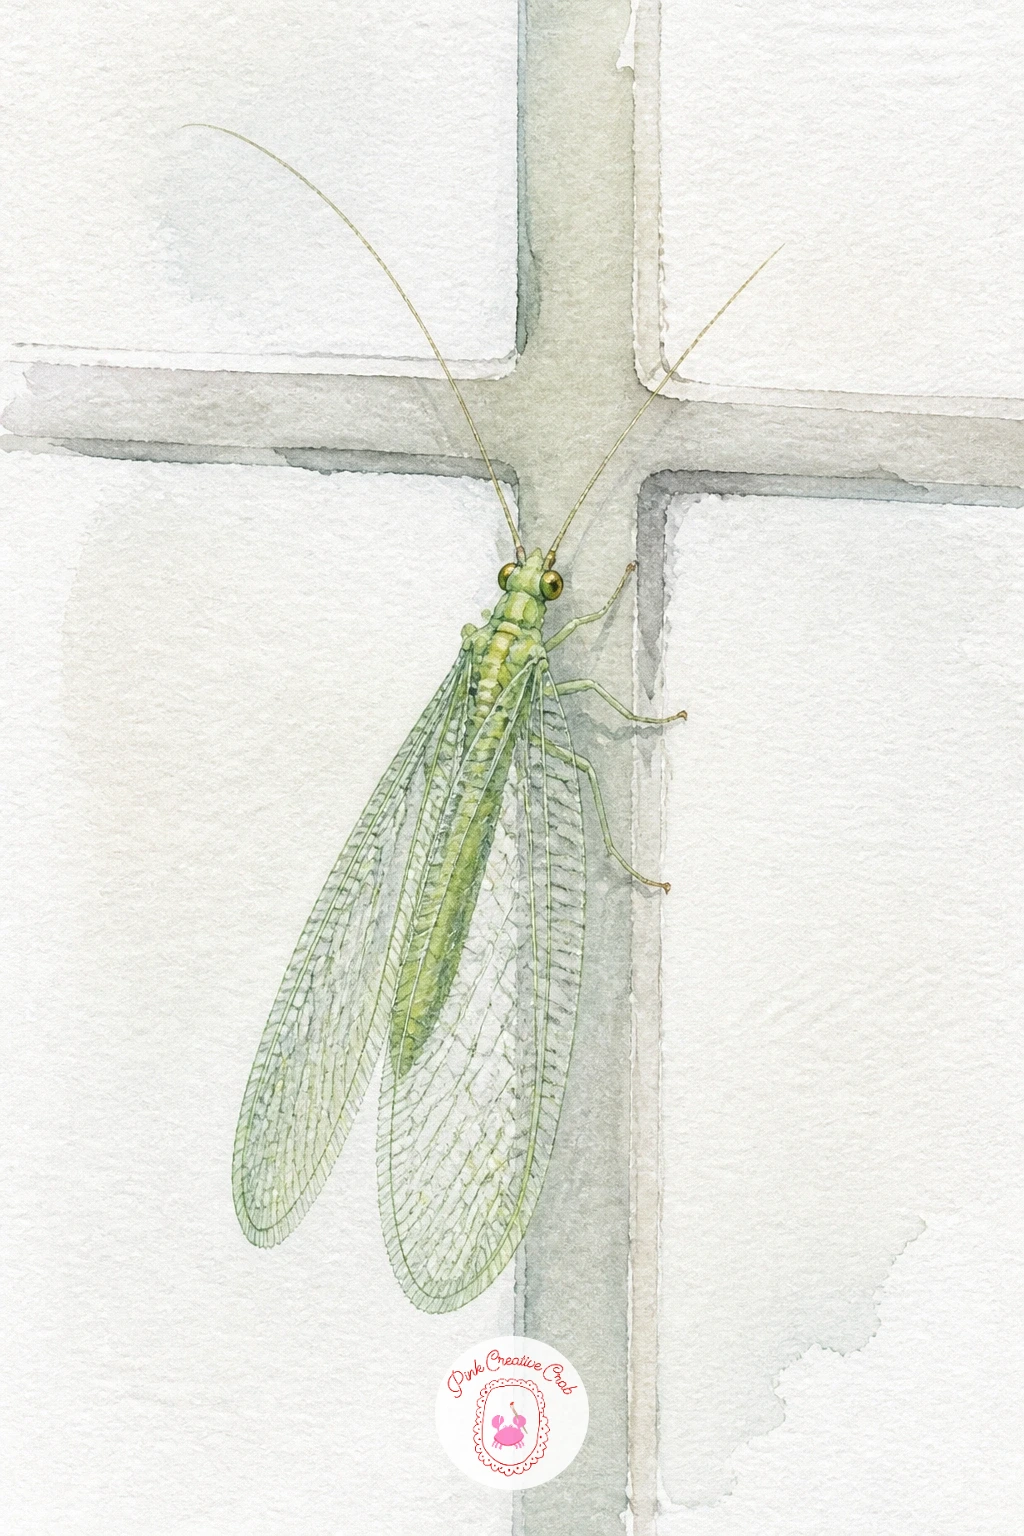
Palette: Pale Green,Sap Green,Neutral Grey,Payne’s Grey
Add some movement with a dung beetle rolling a ball, a genuinely charming little action scene once you let go of any squeamishness about the subject. Paint the ball first as a simple dark brown circle, textured with small uneven dabs rather than painted perfectly smooth, since real texture there sells the whole idea.
Position the beetle behind the ball with its back legs braced against it and front legs reaching forward along the ground, which is the pose that reads as pushing rather than simply standing beside it. Paint the beetle’s shell in a deep glossy black-brown with a single curved highlight.
Quick version: ten minutes gets you the ball and a simple side-on beetle silhouette, already a complete little scene. The forty minute version adds a faint motion line or small dust marks trailing behind the ball to suggest it has already rolled some distance.
If black feels too stark, mix in a touch of dark green or brown so the shell has warmth rather than looking painted with ink.
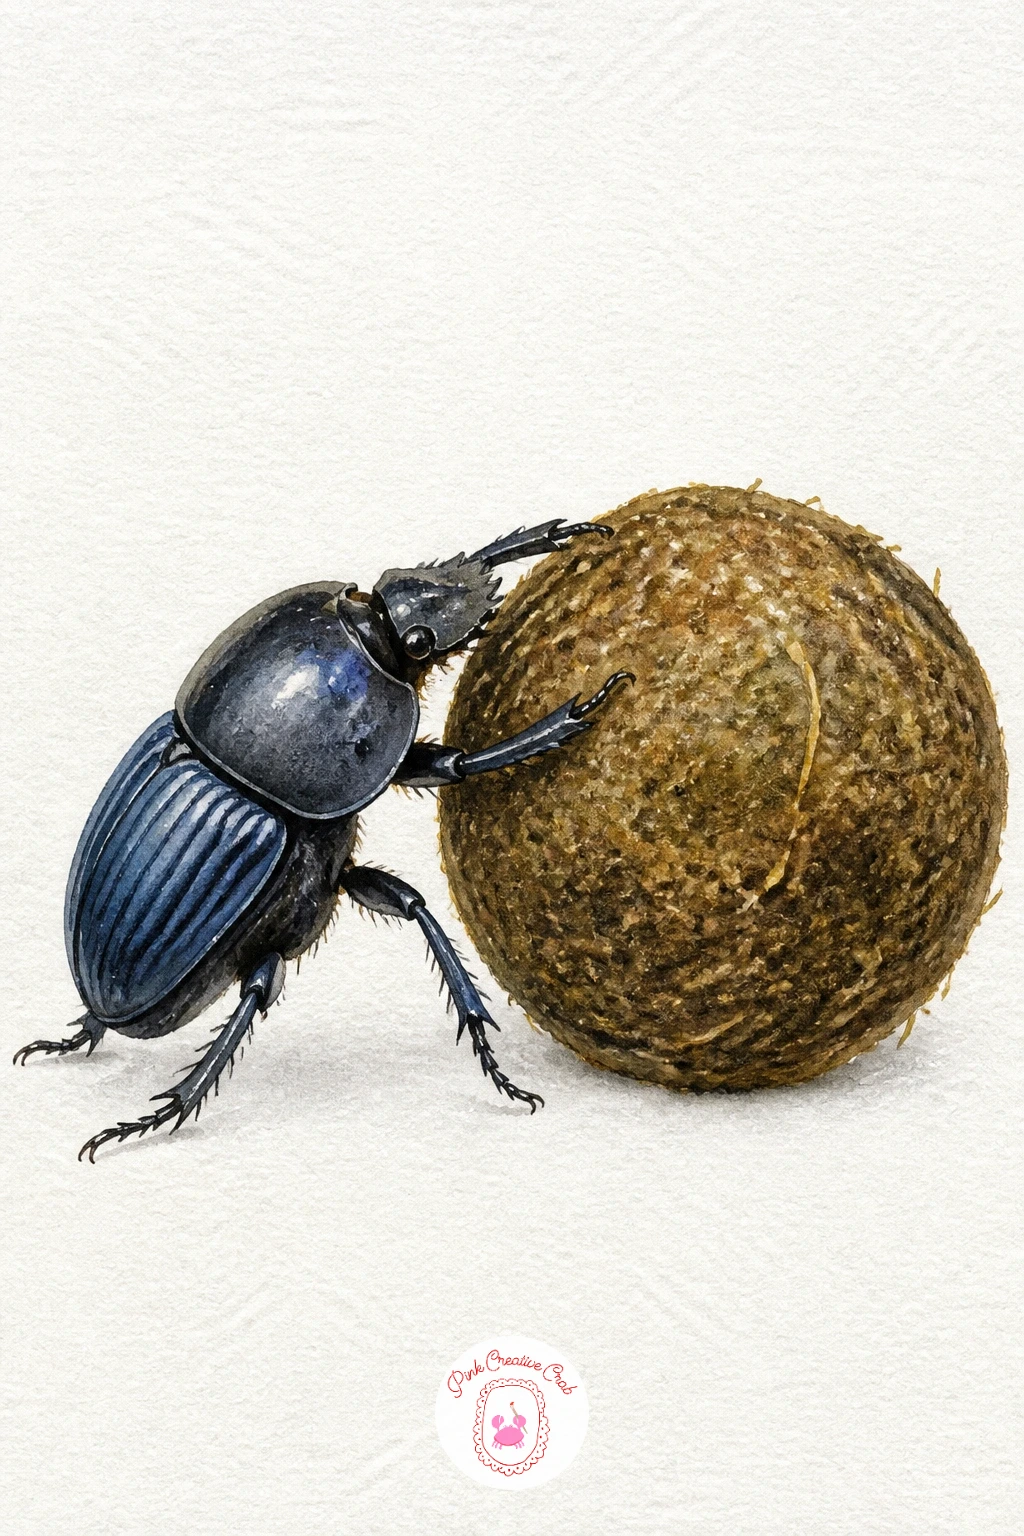
Palette: Burnt Umber,Ivory Black,Raw Sienna,Hooker’s Green
Build on the earlier ladybird ideas with a ladybird family on a rose stem, a small cluster of three or four ladybirds at different sizes climbing one thorny green stem together. Paint the stem first, tall and slightly curved, adding small triangular thorns along its length with the tip of a fine brush.
Paint each ladybird using the same method as before, glossy red ovals with black dotted shells, but vary their sizes slightly and turn a couple of them at different angles so the group feels natural rather than stamped from the same template.
Compare each ladybird’s size to its neighbours as you go rather than painting them one at a time in isolation, since a family group only convinces the eye when the sizes vary just slightly, the way real siblings would.
If you are short on time, three ladybirds make a complete, balanced group just as well as four or five.
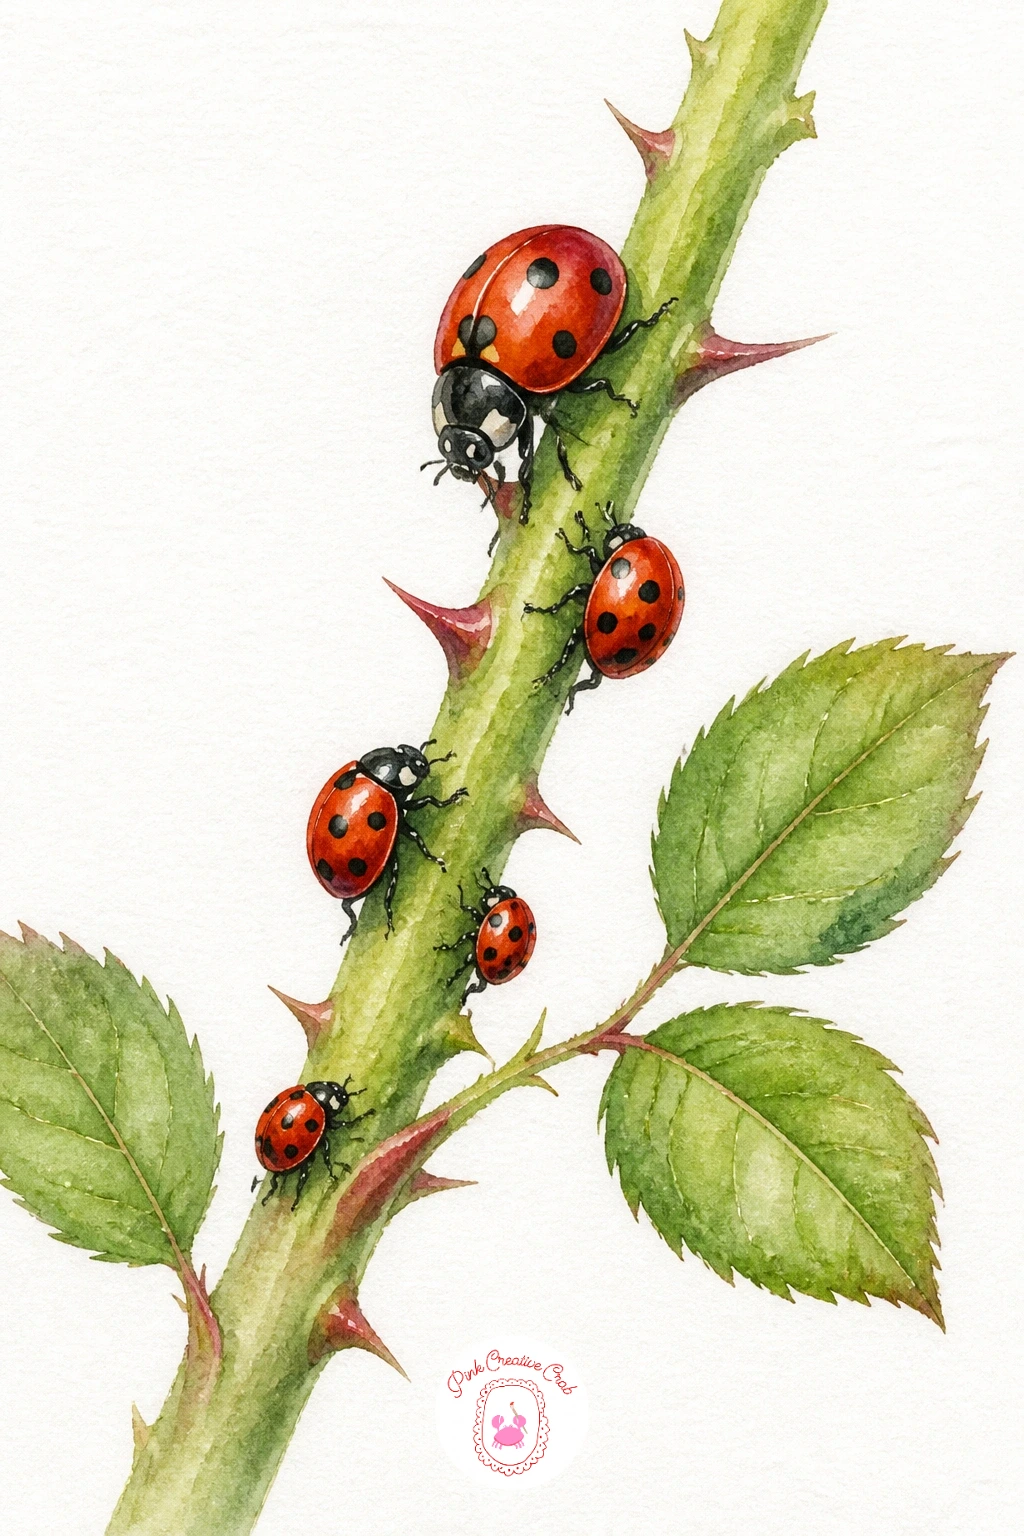
Palette: Cadmium Red,Ivory Black,Sap Green,Hooker’s Green
Return to the dragonfly one more time, now with rainbow wings in sun, a showpiece subject that pulls together the iridescent technique from the jewel beetle earlier on a bigger, more dramatic scale. Paint the slender body first in deep teal, then let it dry completely before the wings get any attention at all.
Build each wing in the thinnest possible washes of pink, yellow, blue and violet, letting them blend wet-into-wet so the colours shift gradually across the wing the way sunlight splits through something delicate and transparent. Keep every wash so diluted that the white paper still glows through underneath.
Deciding where the sun sits here changes everything: imagine light coming from directly behind the dragonfly, which is why the wings carry a full rainbow rather than one flat colour, and keep the body itself slightly silhouetted and darker against that light.
If colours start to muddy together, work on one wing at a time and let each one dry before starting the next rather than painting both together.
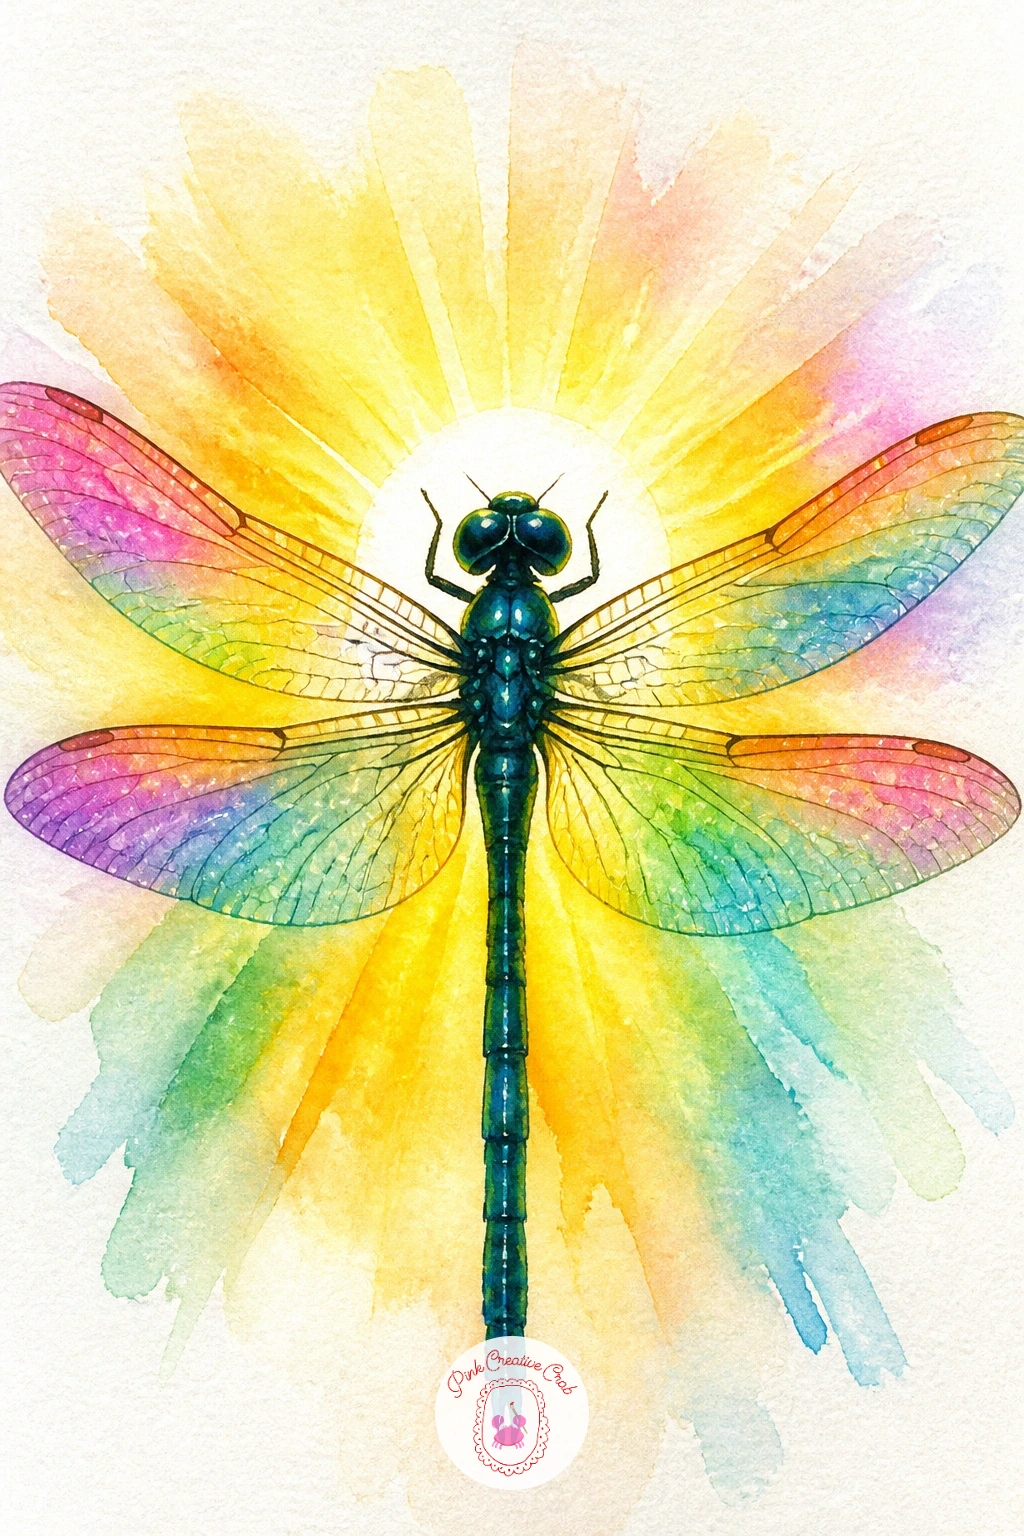
Palette: Teal,Opera Pink,Lemon Yellow,Dioxazine Violet
Pull several ideas together with a beetle collection in a vintage frame, styled like an old natural history plate rather than any single bug alone. Pencil a simple oval or rectangular frame first with a thin decorative border, then plan three or four small beetles arranged inside it with even spacing, almost like a specimen display.
Paint each beetle in a different jewel tone, drawing on the shell techniques from the jewel beetle and rhinoceros beetle ideas earlier in this list, so the collection shows real variety rather than four identical shapes in different colours.
Spacing is the trick worth measuring here: leave roughly equal gaps between each beetle and keep them loosely aligned in a grid or gentle arc, since uneven, cramped spacing is what makes a collection look messy rather than curated.
Next time, swap beetles for a mixed set pulling in a ladybird or dragonfly from elsewhere on this list for an even more varied little archive.

Palette: Burnt Sienna,Viridian,Dioxazine Violet,Raw Umber
Add some gentle humour with a snail race on a garden path, two snails side by side mid-journey along a strip of stone. Paint the path first as a simple curved band of warm grey-brown, with a few loose cracks and pebble marks dabbed in while still damp for texture.
Paint both snails using the same spiral-shell method from earlier, but vary their colours slightly, one warmer brown and one cooler grey, and stagger them so one sits a little ahead of the other along the path.
If this is your first time suggesting motion in a still painting, add a short curved trail of faint grey behind each snail, the kind of silvery line a real snail leaves, which instantly implies they have been moving and tells the small story of the race.
Swap the garden path for a plain curved line of green grass if stone texture feels fussy today.
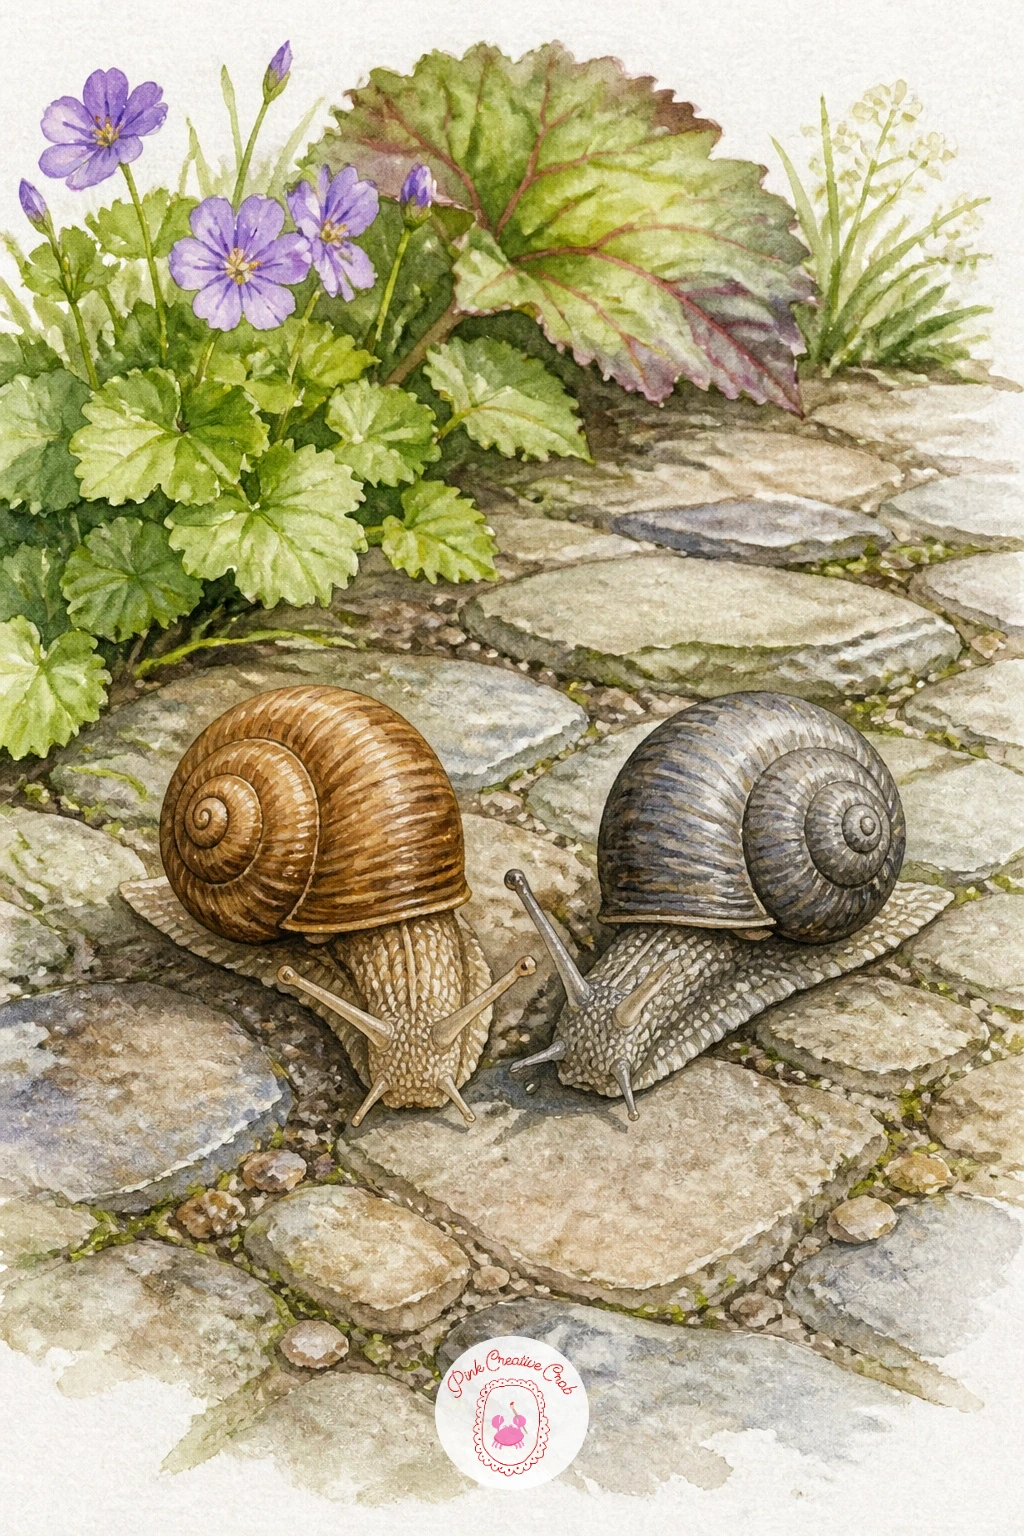
Palette: Raw Umber,Neutral Grey,Burnt Sienna,Raw Sienna
Test your patience with a stick insect on a twig, a subject that is genuinely tricky because the whole point is that the insect should nearly vanish into its background. Paint a simple bare twig first in muted brown, slightly knobbly along its length, and let it dry completely.
Paint the stick insect in almost the same brown as the twig itself, just a touch cooler or greener, running its long thin body parallel along the twig’s length. Thin jointed legs extend out at careful angles, since those angled legs are the one clear giveaway that this is an insect and not just another twig.
The whole challenge here is camouflage without total invisibility. Add one small dark eye and a slightly different texture or sheen on the insect’s body so a viewer’s eye catches it after a second look, the way it would happen in real life.
If your twig and insect blend too completely, cool the insect’s colour very slightly with a touch of green so there is just enough separation to notice.
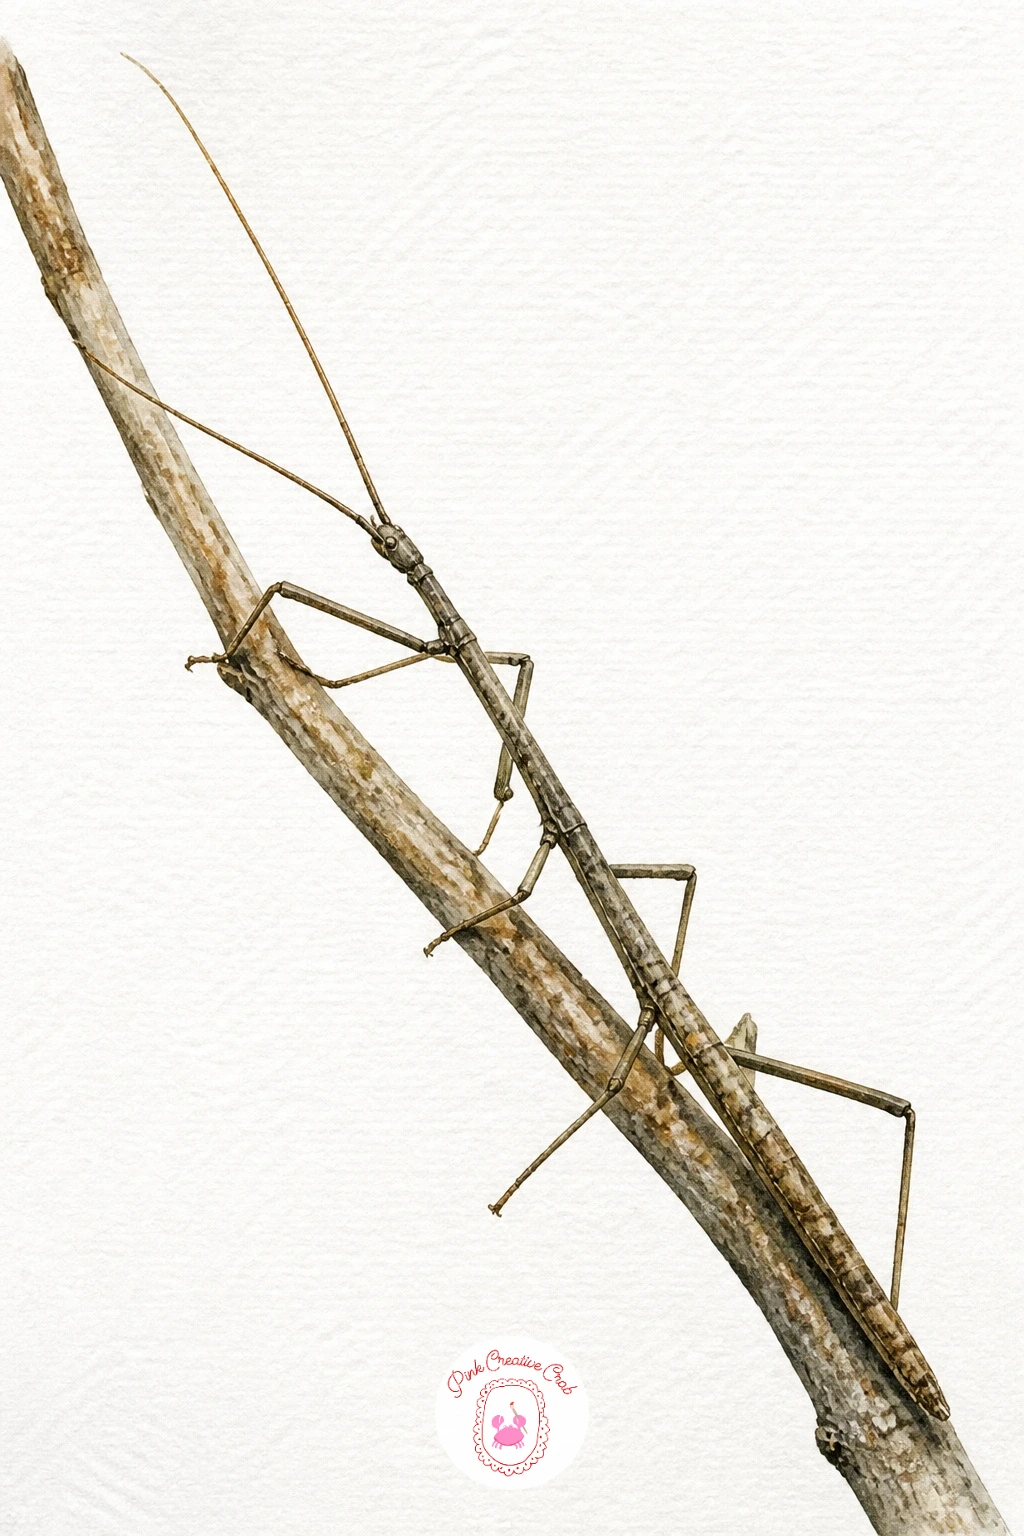
Palette: Raw Umber,Olive Green,Raw Sienna,Ivory Black
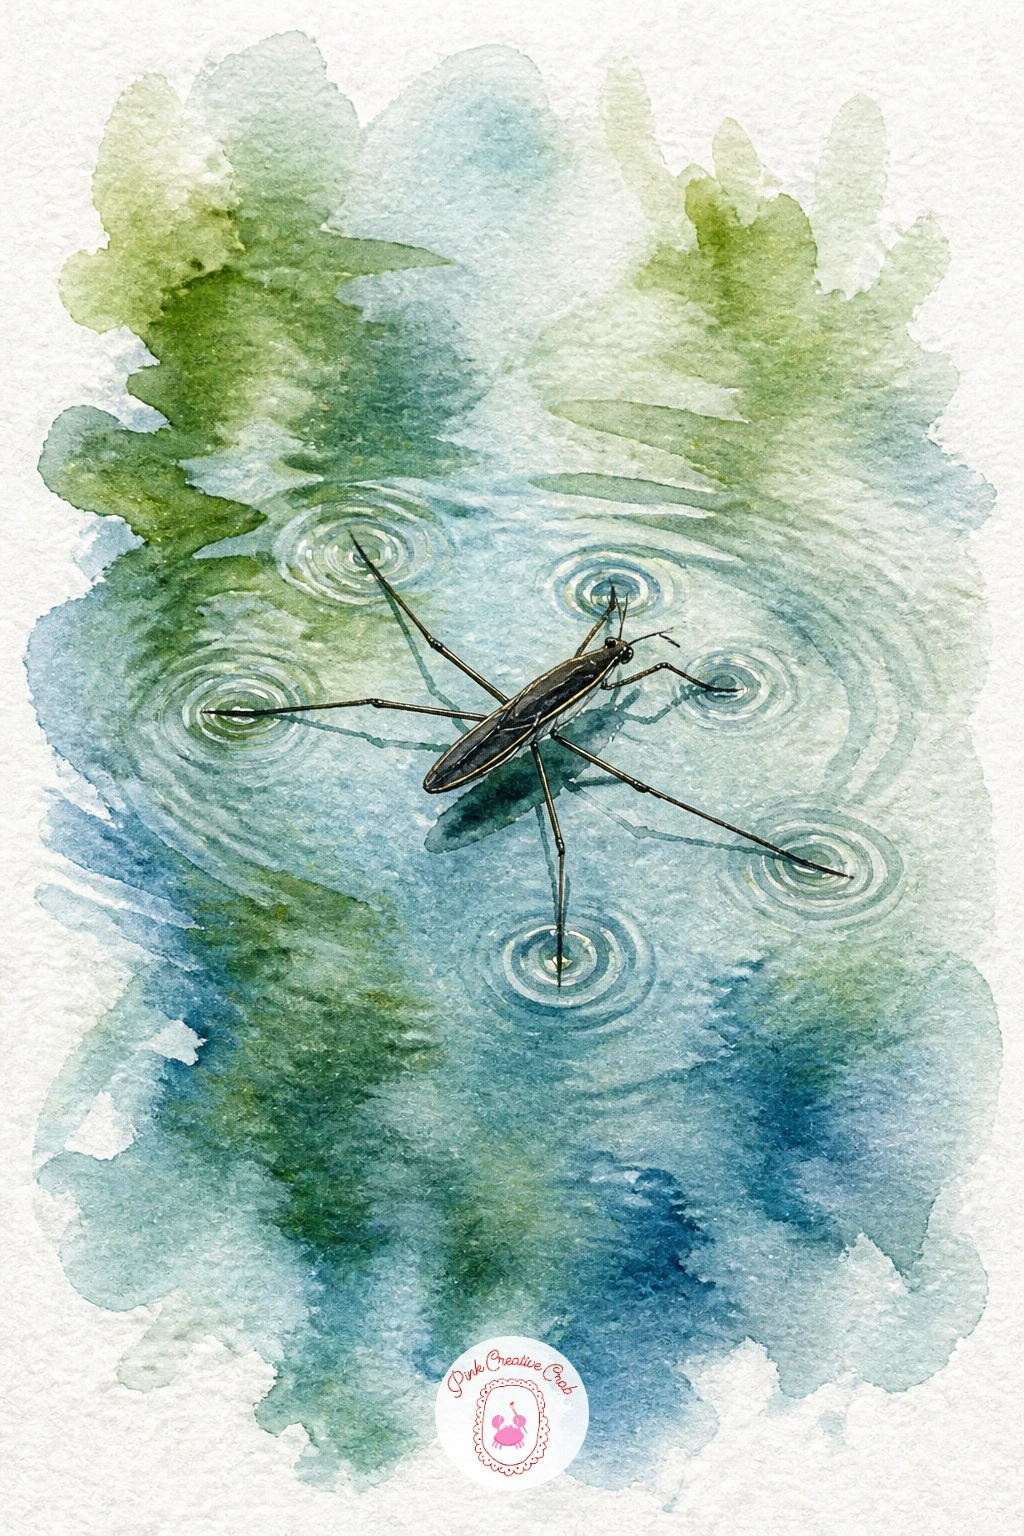
Close the list on the water with a water strider on a pond, a subject that lets you finish on reflections and ripples rather than another shell or wing. Paint a loose wash of blue-green water filling most of the page, varying the tone slightly so the surface feels alive rather than flat.
Once the water is fully dry, paint the water strider as a tiny dark body with four long, impossibly thin legs spread wide, each leg ending in a small dimple of darker water painted directly beneath it, since that dimple is what shows the insect’s weight pressing on the surface without sinking.
Here is the one hands-on trick that sells this whole piece: lift a tiny bit of paint with a damp clean brush right around each foot dimple so a faint ring of lighter water appears, exactly like real surface tension catching the light.
If lifting paint feels fiddly, a thin circle of pale yellow-white painted around each foot gives nearly the same glowing effect with less risk.
Palette: Cerulean Blue,Turquoise,Payne’s Grey,Ivory Black
For more practice with reflective water surfaces before this one, the techniques in these easy watercolor ocean scenes carry over nicely to a still pond.
What to Do Next
Pick whichever bug matches the mood you are in today, grab a small sheet of cold press paper, and keep the first washes loose since the fine detail always comes last. Once a few of these feel easy, try grouping two or three on one page for a small nature collection of your own.
Frequently Asked Questions
What is the best watercolor paper for painting small bugs with fine detail?
Cold press paper in a heavier weight works best since it holds up to fine brushwork without buckling. Its slight texture also helps dry-brush details like legs, antennae and wing veins sit crisply on the surface.
How do you paint iridescent or shiny beetle shells in watercolor?
Build iridescence by blending two or three jewel tones wet into wet rather than mixing them on the palette first. Touch each colour down once and let them merge naturally, then add a single highlight once fully dry.
What brush size is best for tiny details like antennae and legs?
A size zero or size one round brush pulled to a fine point handles most insect detail well. Keep a slightly bigger round brush on hand too for the larger washes like leaves, petals and backgrounds.
How do you keep a watercolor bug from looking too flat or cartoonish?
Add one small shadow beneath the bug where it meets its surface, since that single dark shape instantly grounds it in the scene. Varying pressure and dilution across the body also avoids a flat, single-tone look.
Can these watercolor bug ideas be painted without a lot of experience?
Yes, most of these ideas use the same basic oval and wash techniques repeated with small variations. Starting with the earlier, simpler subjects like the ladybird or caterpillar builds confidence before trying the more detailed beetles.
Have any thoughts?
Share your reaction or leave a quick response — we’d love to hear what you think!
-
 0
-
0
-
0
-
0
-
0
-
0


