

Kawaii doodles are the fastest way to fill a page with something that makes you smile back at it. Every one of these starts as a simple outline you can finish in a single sitting, then gets just enough pink and mint marker to feel soft and sweet without any real shading skill required.
Scroll through and you will find smiling snacks, pastel pets and a few tiny scenes mixed in, ordered from the easiest little face to the slightly busier group scenes. Grab a fineliner and whatever pink and mint markers you have, pick one that makes you grin, and draw it right now.
Using these images: free for personal projects such as printing, coloring, cards, journals and gifts. Handmade items that include them may be sold up to 30 pieces per design. More than that is commercial use and is not permitted, and neither is selling or sharing the images themselves or passing them off as your own. Please ask before any other use.
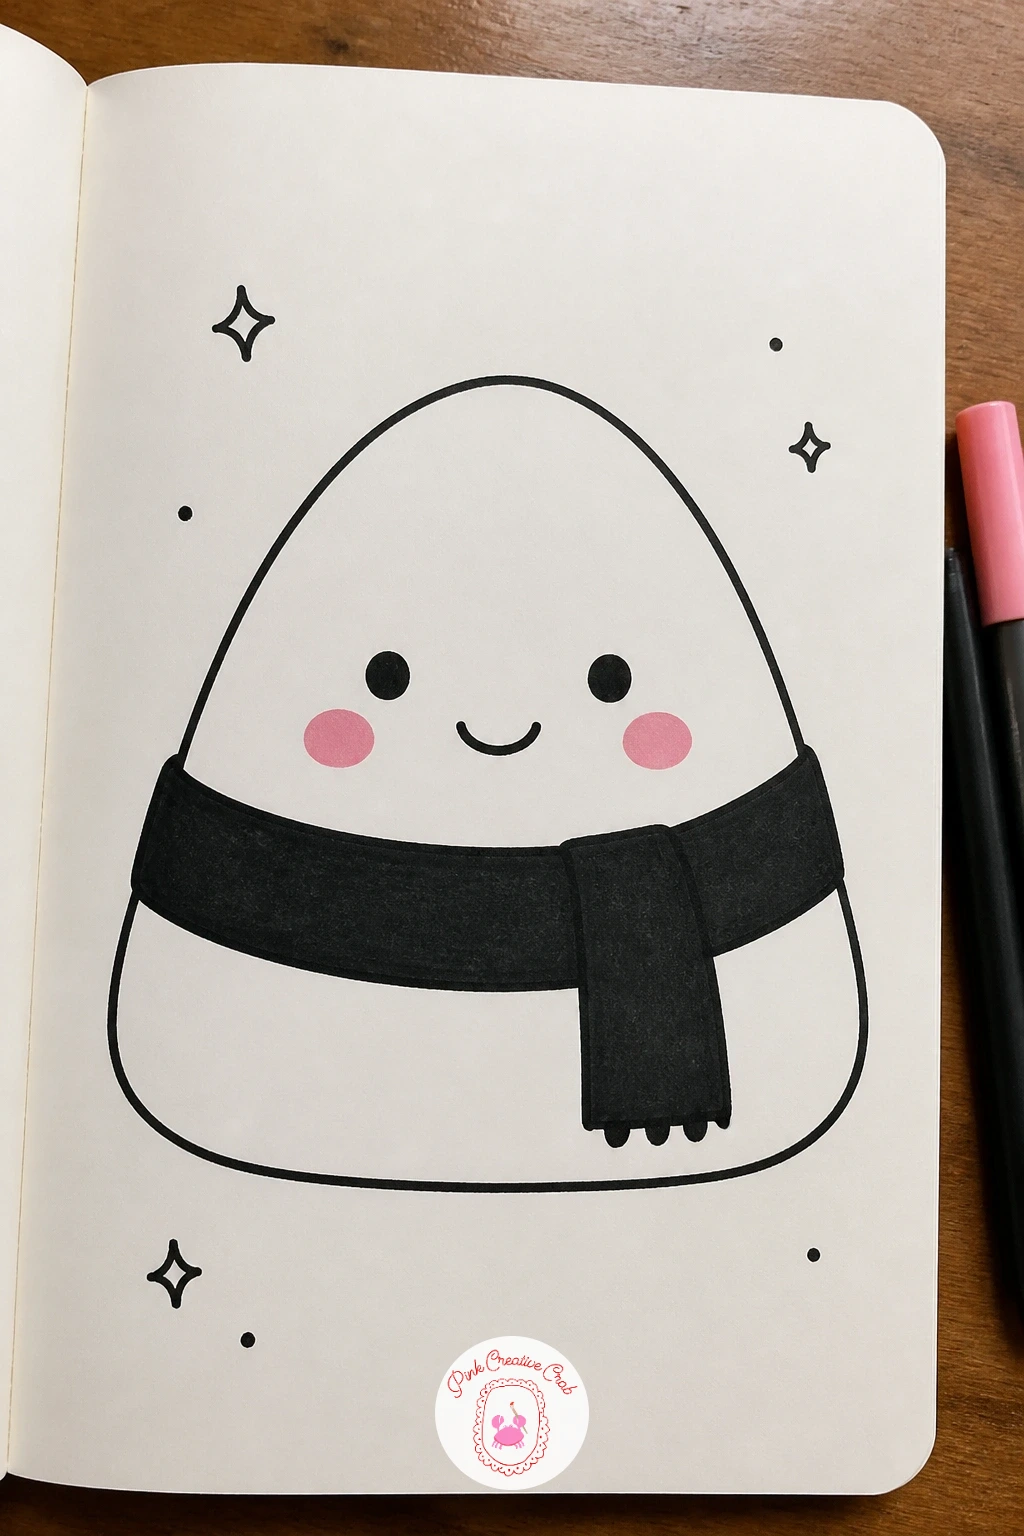
Start with onigiri, the classic triangle shape that makes a perfect first kawaii doodle. Draw a rounded triangle in fineliner, keeping the corners soft rather than sharp, then add a thin black band across the bottom third to stand in for the nori wrapper.
Give the face two small dot eyes and a tiny curved smile sitting just above the nori line, then add two blush circles below the eyes. Colour the blush with pink marker in small circular strokes and leave the rice white.
If the triangle comes out lopsided, fix it by drawing a faint pencil guide triangle first and tracing over it once you are happy, erasing any stray lines after the ink dries. Swap the fineliner for a fine brush pen if that is what you have on hand.
Finish by adding one or two tiny sesame seed dots in mint on the rice for a bit of extra colour. Keep the first few onigiri you draw small, no bigger than a thumbnail, so the shape stays confident and round.
Palette: Soft Pink,Mint Green,Ink Black
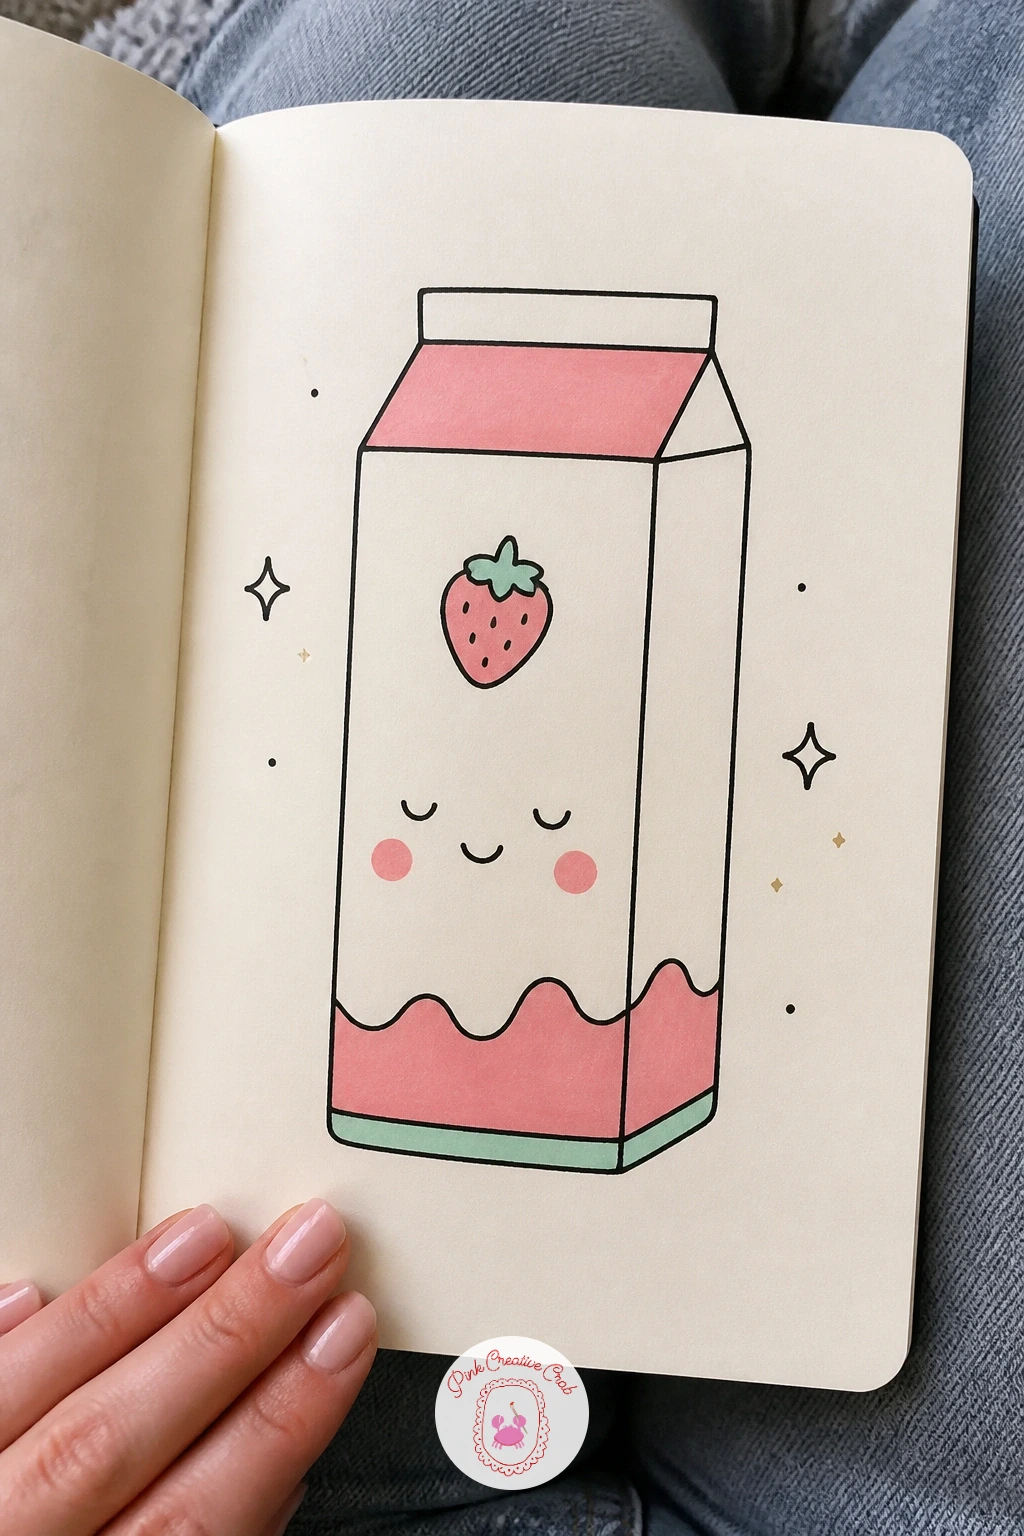
Move from onigiri to a strawberry milk carton, a simple rectangle shape with one fun twist at the top. Draw a tall rectangle, then fold the top corners inward with two diagonal lines to form the classic carton peak, and add a tiny triangle spout.
Sketch a small strawberry on the front panel, just a rounded heart shape with a few short lines for seeds and a tiny green leaf cap, then give the whole carton a sleepy or happy face just below the strawberry. Pink marker fills the strawberry and a faint blush on the carton’s cheeks, while mint can shade the leaf.
Cartons often end up too narrow and tip-heavy, so check the width against the height before you ink: a ratio of about one to two keeps it standing steady. If markers are not handy, coloured pencil works just as well for the light fill.
One concrete tip: ink the fold lines at the top slightly thicker than the body outline so the carton silhouette reads clearly even at a small size.
Palette: Soft Pink,Mint Green,Cream White
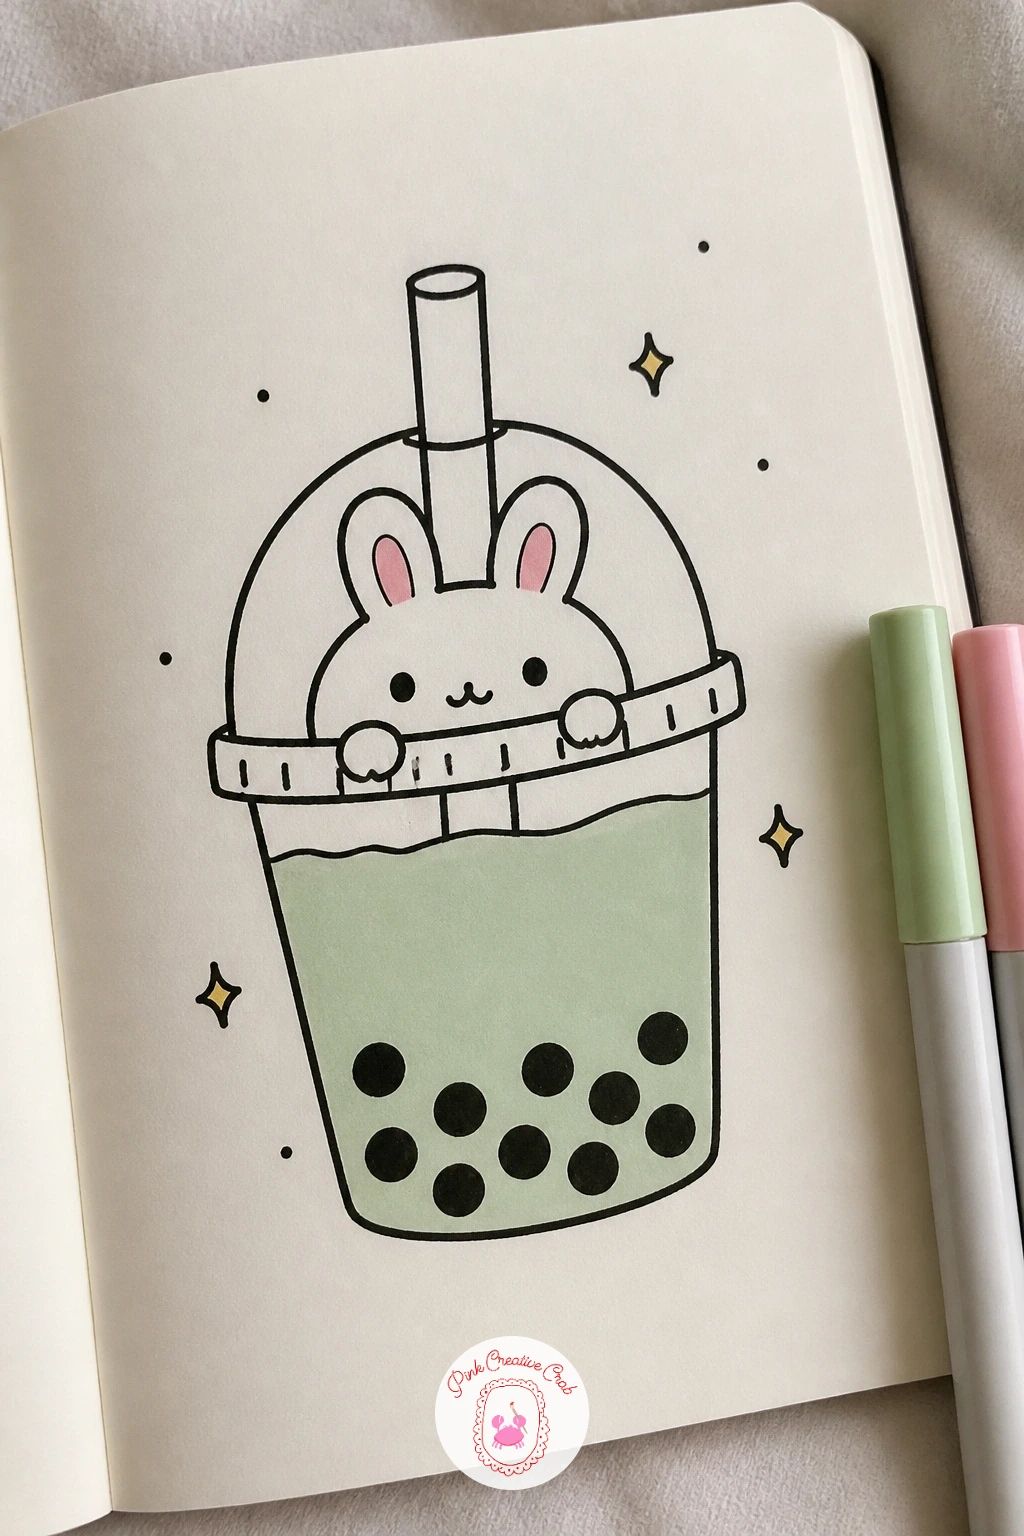
Bubble tea cups give you a lovely rounded container to play with after the straight-sided carton. Draw a cup shape that is narrower at the bottom and wider at the top, add a domed lid with a straw poking through, then nestle a small bunny face and two ears peeking out above the rim as if the bunny is sitting inside.
Place the bunny’s eyes and tiny mouth so the eye level sits just below the cup rim, which makes it look like it is genuinely looking out over the edge rather than floating above it. Draw a row of small circles near the bottom of the cup for tapioca pearls, filled solid in black or left as outlines.
Shade the tea itself with a light mint or pink wash from marker, leaving a thin white highlight strip down one side so the cup looks rounded rather than flat. If the bunny ears come out uneven, redraw just the shorter one rather than starting the whole cup again.
Try a bare marker nib dragged quickly over the cup body for a soft gradient instead of flat colour, which adds a nice bit of depth with almost no extra effort.
Palette: Mint Green,Soft Pink,Ink Black
Reference an actual bubble tea cup photo for the lid shape if you can, since getting the dome and straw angle right sells the whole idea fast.
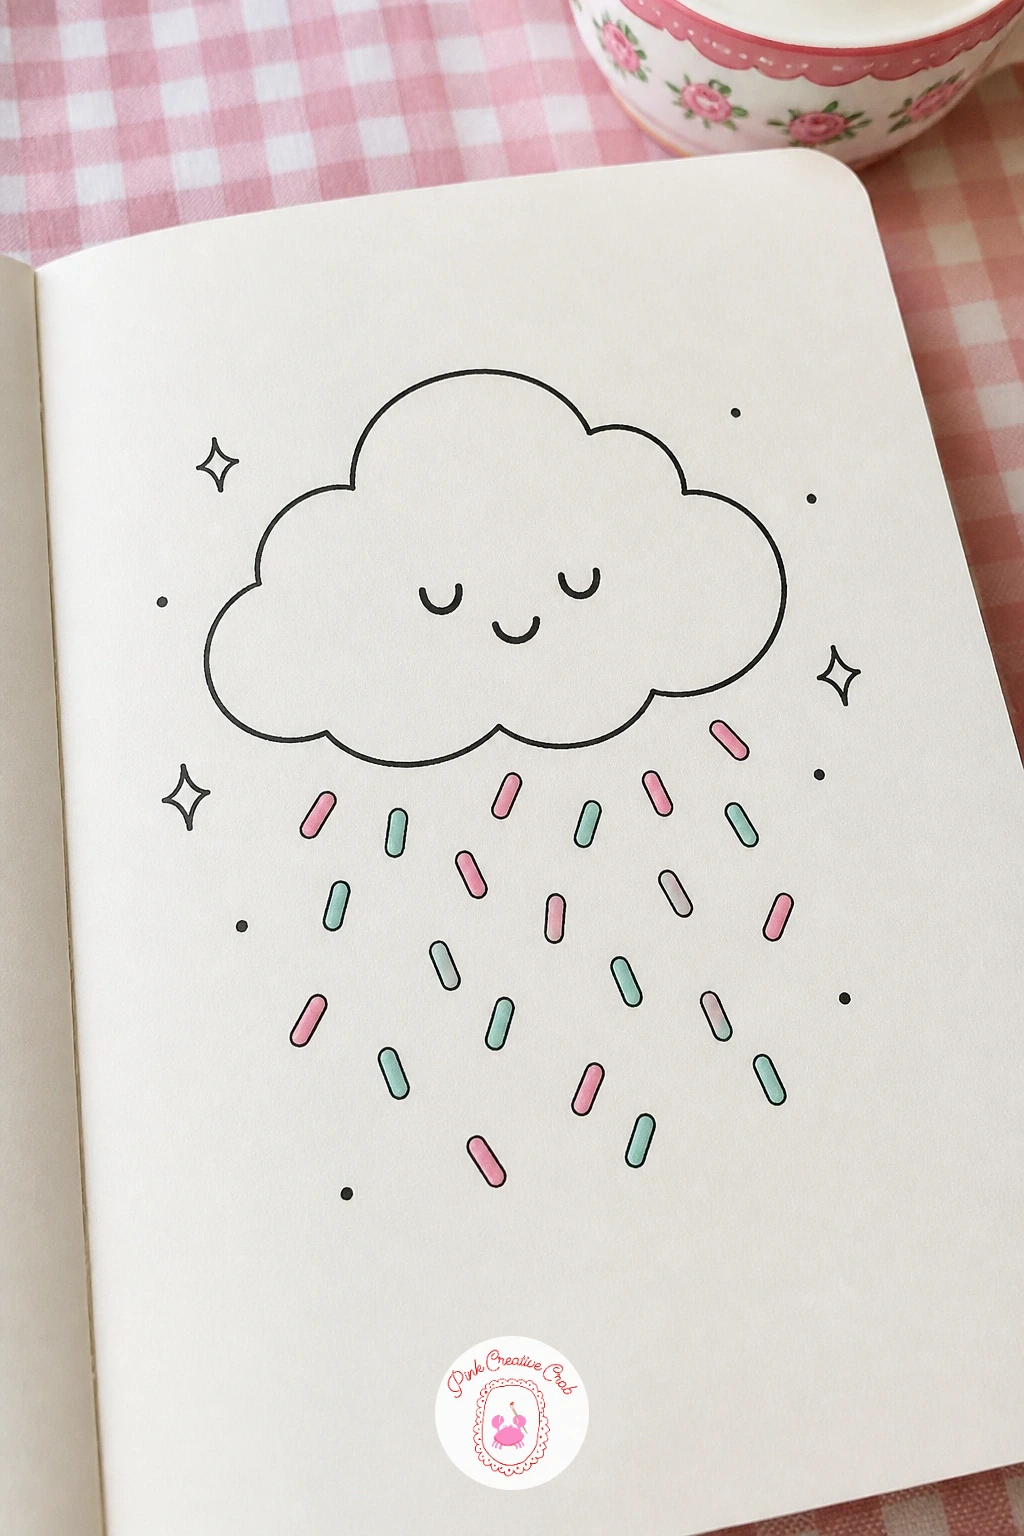
After two containers in a row, switch to something with no hard edges at all: a cloud raining sprinkles. Draw the cloud as a row of overlapping bumps along the top and a flatter curved line along the bottom, then give it a small closed-eye smile and two blush dots.
Below the cloud, scatter short diagonal lines and tiny ovals falling down the page to read as sprinkles rather than rain. Colour half the sprinkles pink and half mint so the pattern feels playful rather than random, alternating roughly every other one.
Clouds often end up looking like a lumpy potato if the bumps are all the same size, so vary them: a couple of big rounded bumps, a few smaller ones tucked between. A cotton swab dabbed lightly in grey marker under the cloud’s belly adds a soft shadow if you want a bit more weight.
Keep the sprinkle shapes loose and quick rather than carefully drawn, since speed is what makes them look like they are actually falling.
Palette: Mint Green,Soft Pink,Pale Grey
Toast is a forgiving shape to draw since bread is naturally a bit uneven anyway. Sketch a rounded square with a soft arched top, like a classic bread slice, then add a wobbly border line just inside the edge to suggest the crust.
Place a melting square of butter slightly off-centre near the top, drawing it with a few drips running down one side, then give the toast a wide happy mouth and closed eyes just below the butter. A light golden-brown wash across the whole slice (or just leave it white with mint cheeks if you only have two markers) finishes the base.
The eye level on a cute face usually sits a little above the vertical centre of the shape, which here means keeping the eyes close under the butter rather than near the toast’s middle, so it looks like it is looking straight at you. If the arched top comes out lopsided, flatten it slightly with a second ink pass rather than erasing.
Add a few small steam lines rising off the butter for a warm, fresh-from-the-toaster feel.
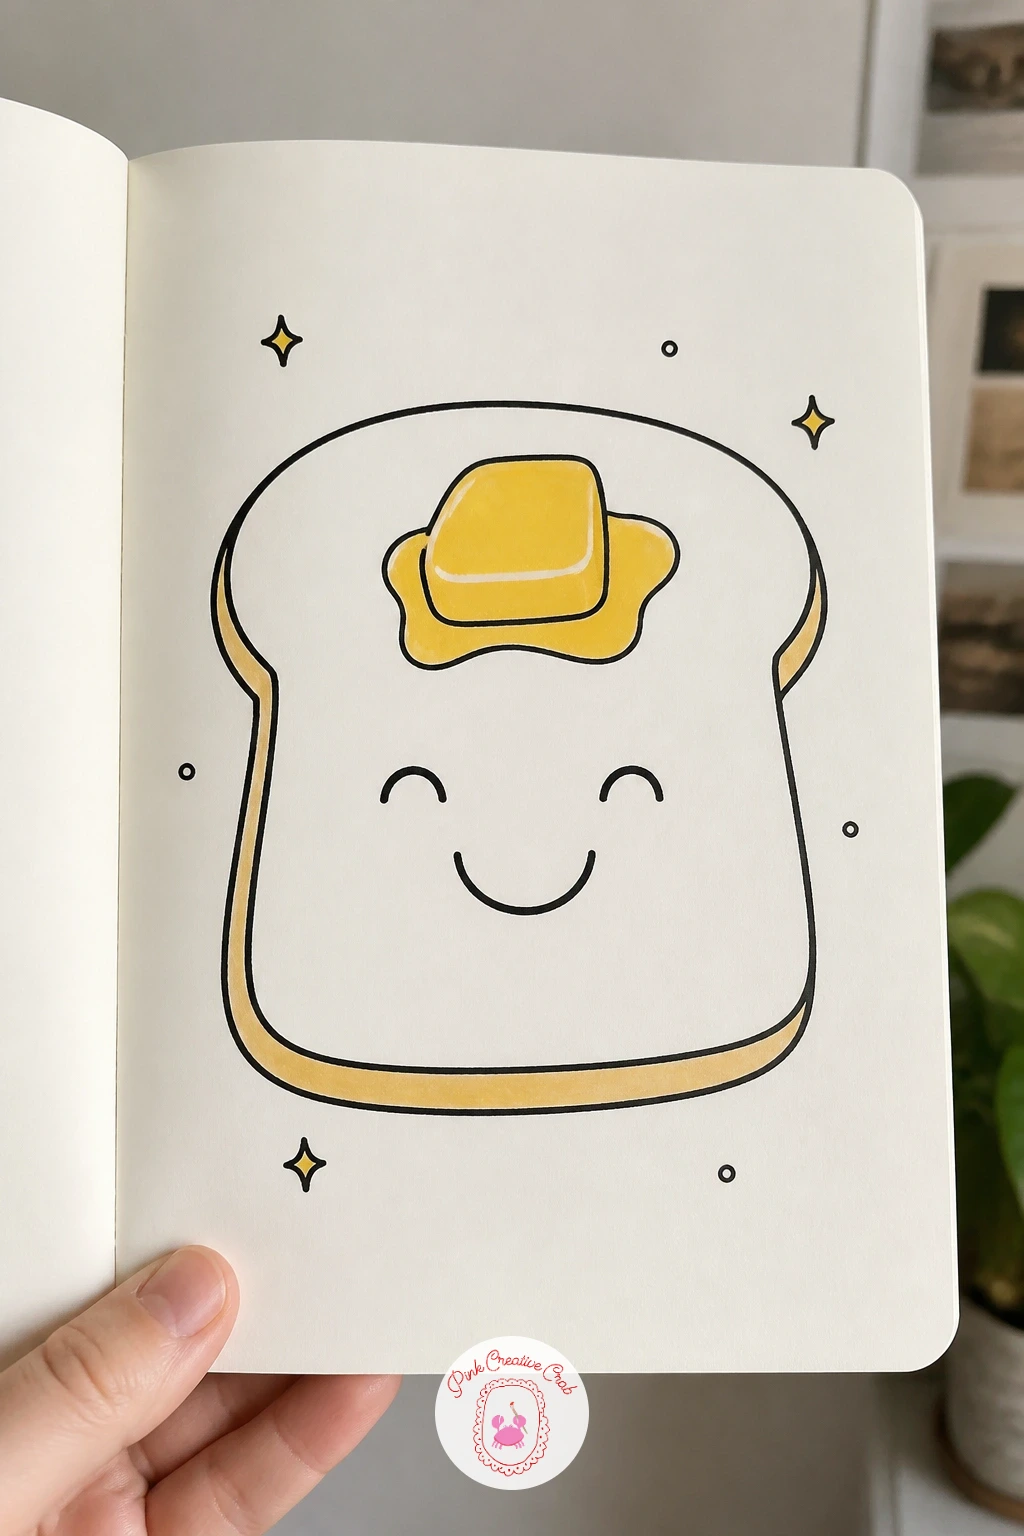
Palette: Soft Pink,Mint Green,Golden Tan
Mochi gives you one of the roundest, simplest shapes in this whole list, so this is a great one if the last few felt fiddly. Draw a soft squashed circle, wider than it is tall, with a tiny indent pinched at the top like a real mochi bun.
Inside that outline, add two triangle cat ears peeking from the top edge, a simple cat face in the centre with closed curved eyes, and two tiny paw shapes tucked along the bottom where the mochi meets the ground. Keep every line rounded, since straight edges will fight the soft mochi feel.
Colour the body a very pale pink and leave the face area white for contrast, which also gives you somewhere clean to add whiskers in fine black lines afterward. If the ears end up too big, trim the ink lines down rather than fighting with the whole shape.
For more ideas blending animals and sweet faces, the cute cat doodles collection is worth a browse before you move on down this list.
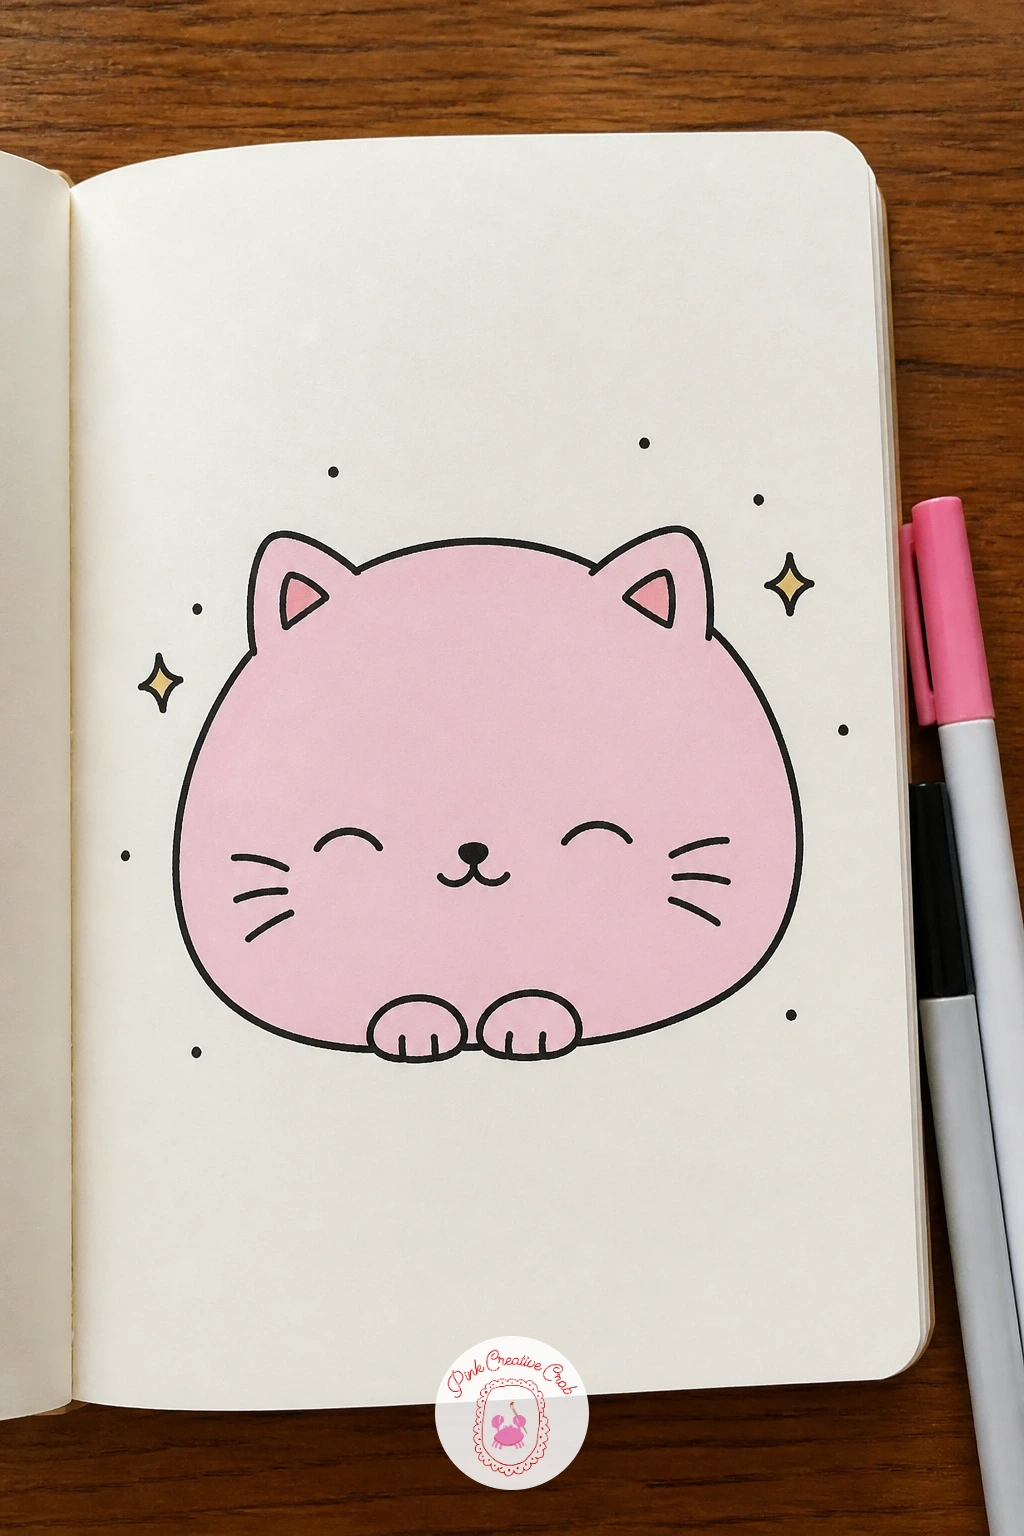
Palette: Soft Pink,Cream White,Ink Black
Give your hand a short break from food shapes with a happy cactus in a pot. Draw a simple trapezoid pot first, narrower at the base, then build the cactus body above it from two or three rounded bumps stacked and overlapping slightly, like a plump barrel shape with one small arm branching off.
Add short straight spine marks scattered across the cactus in little clusters of three, always keeping them pointing slightly outward so they read as prickly rather than scribbled. Give the cactus a simple smiling face near the top bump and a tiny pink flower blooming on its head.
Light from above means the top of each cactus bump stays white while a thin mint shadow line sits along the lower curve of each one, which is enough shading to make the rounded body feel three-dimensional. If the pot looks too plain, add a few horizontal stripe lines or a simple pattern near the rim.
One tip for today: draw the spines last, after all the colour is in, so the clean fineliner marks sit crisply on top of the marker fill.
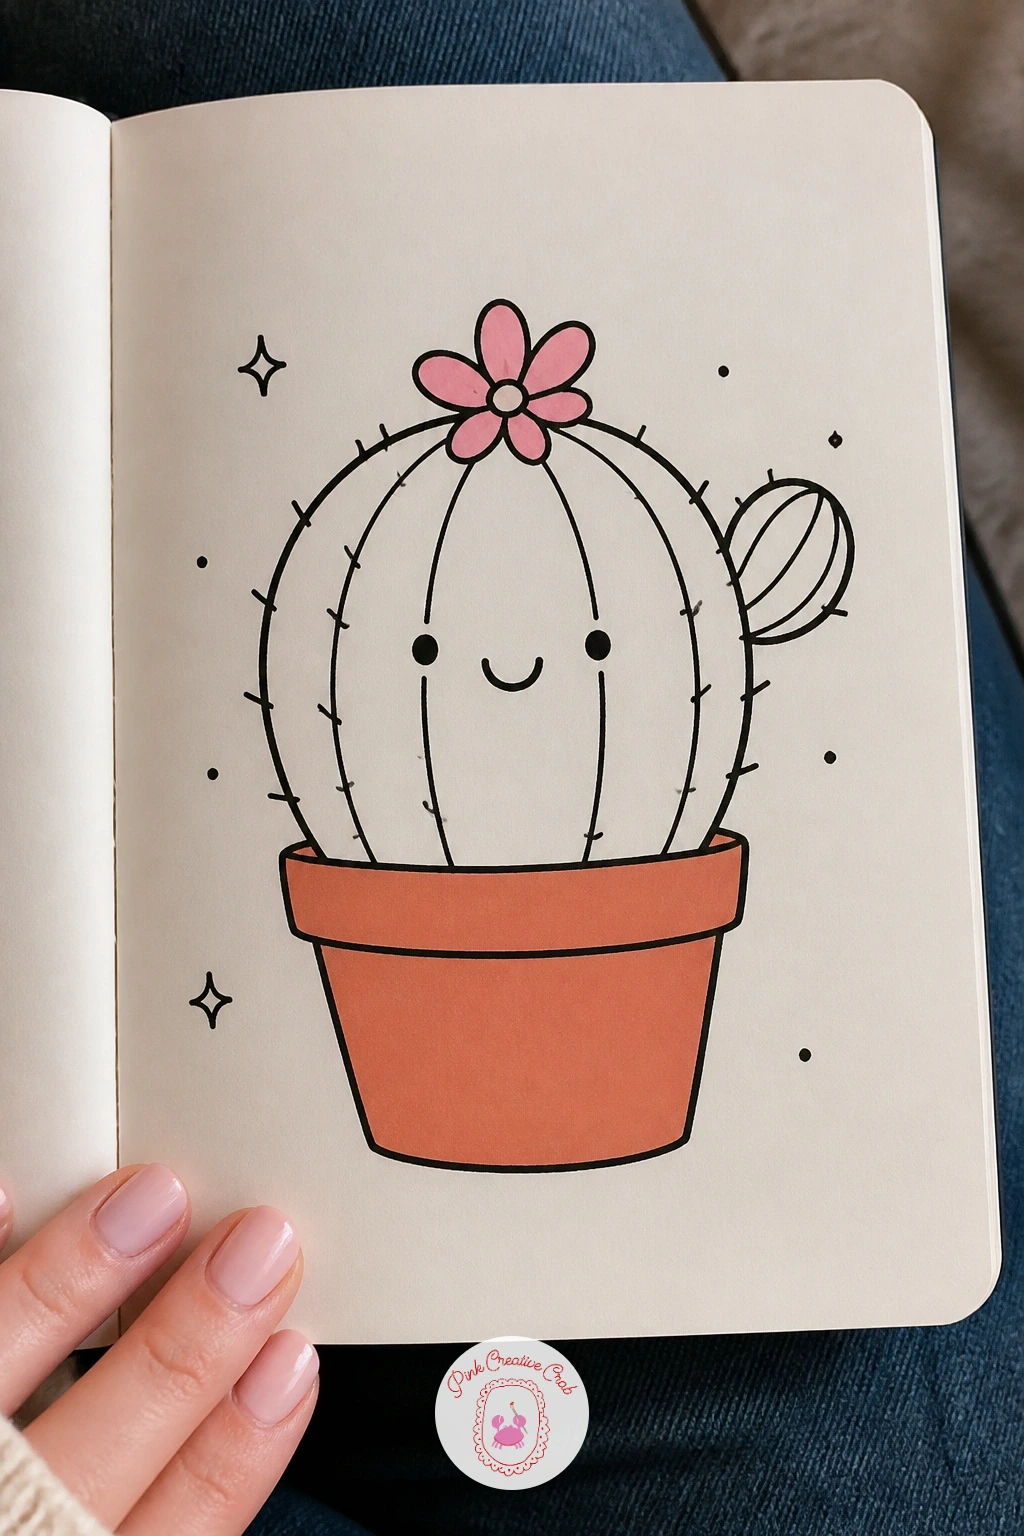
Palette: Mint Green,Soft Pink,Terracotta
Pairs of characters are a fun next step once single shapes feel easy, and avocados give you a built-in way to show personality through pose. Draw two avocado halves side by side, each a rounded teardrop shape with a large pit circle inside, then tilt one slightly toward the other so they look like they are leaning in together.
Give each avocado a simple face, varying the expressions a little, perhaps one with a wide open smile and the other with closed happy eyes, so the pair reads as two distinct characters rather than copies. Add tiny arm lines on the inner sides so it looks like they are holding hands or linking arms between the two shapes.
Mint fills the flesh and a thin pink line separates it from the darker pit, while the skin can stay outlined in black or get a light green edge if you have a darker marker. If the pit circles come out too big and crowd the face, redraw just the pit smaller rather than restarting the whole avocado.
Try this pairing trick again with other foods once it works here, since any shape doubles nicely into a little couple.
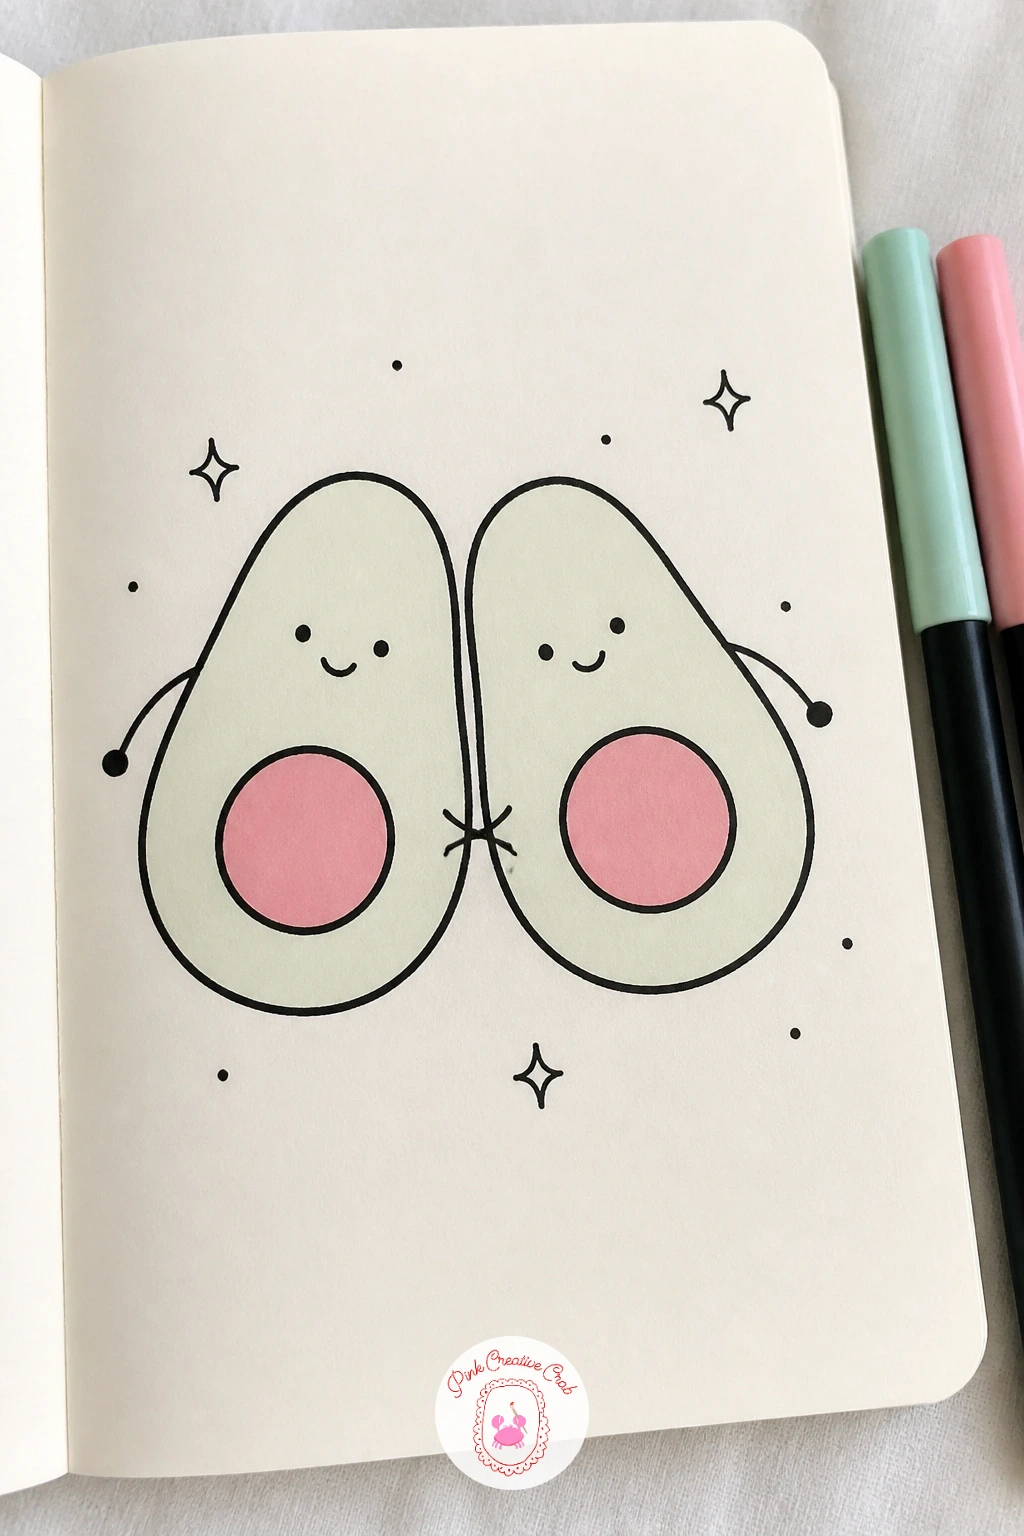
Palette: Mint Green,Soft Pink,Ink Black
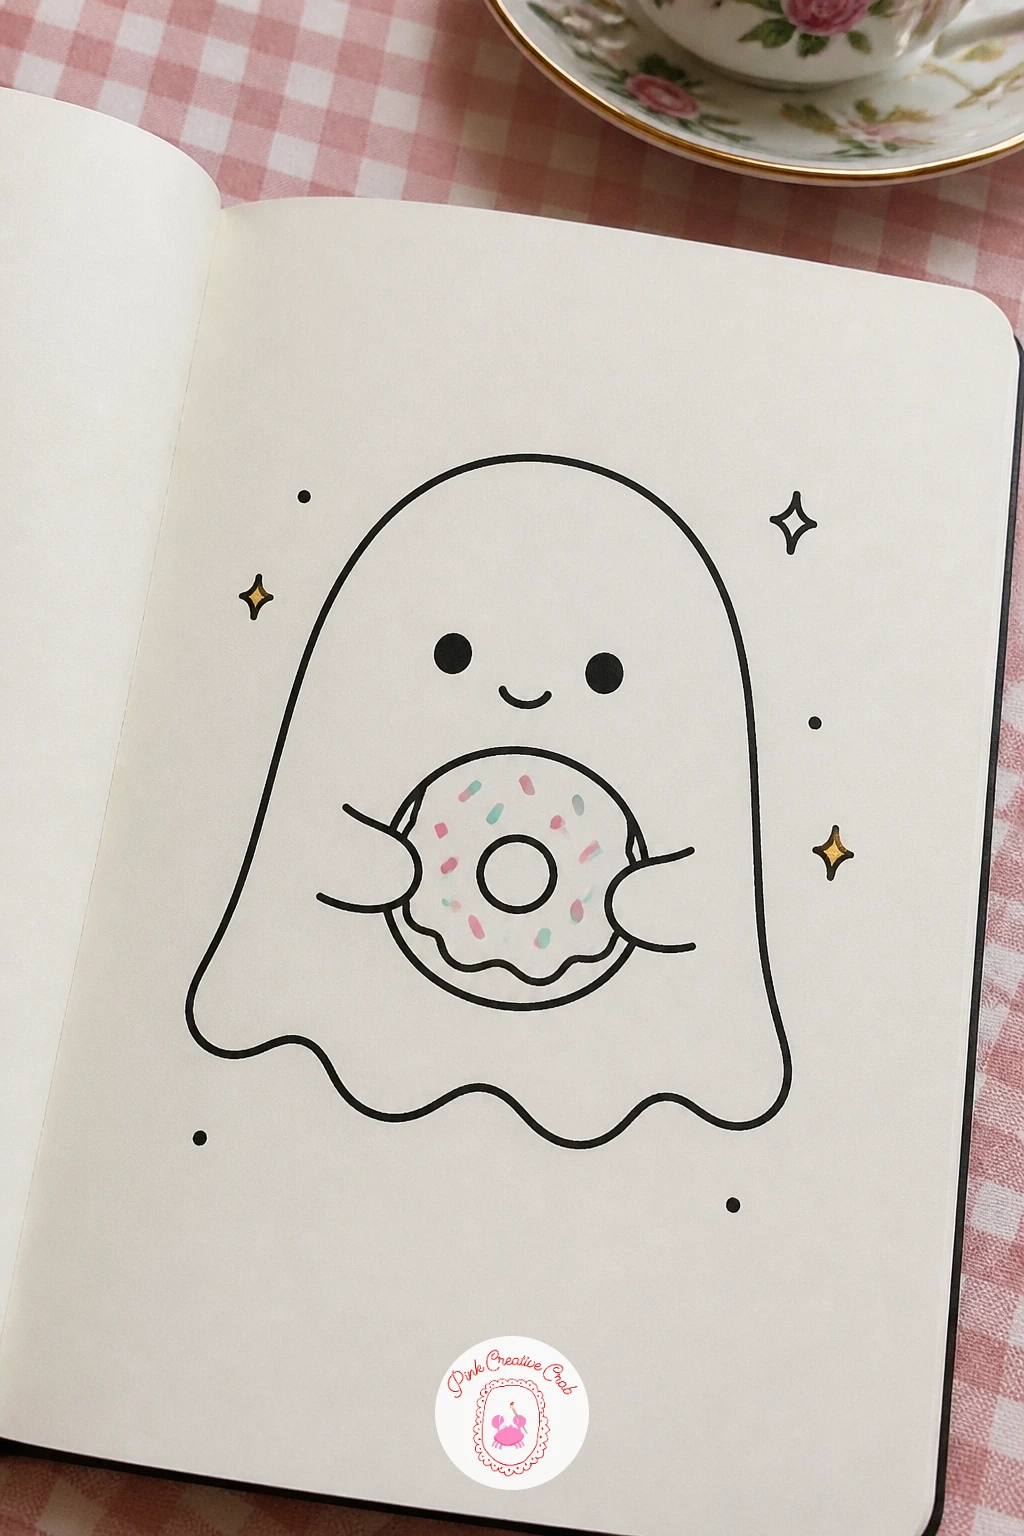
Ghosts are about the simplest outline you can draw, which makes them a good base for adding a prop like a donut. Sketch a rounded dome shape for the head and body in one continuous line, finishing the bottom edge in three or four soft wavy points instead of a straight line.
Draw two small oval arms reaching forward from the sides, holding a simple ring-shaped donut between them, then add a scattering of tiny dot sprinkles on top of the donut in pink and mint. Keep the ghost’s face minimal: two dot eyes and a small round mouth is enough.
The wavy bottom edge often ends up uneven on the first try, so sketch it faintly in pencil first, aiming for points of a similar height, before inking over the best version. A soft grey marker dragged lightly along one side of the ghost’s body gives it gentle shading without losing the simple flat look.
For more spirited characters built the same friendly way, the spooky doodles list makes a nice companion piece to this one.
Palette: Cream White,Soft Pink,Mint Green
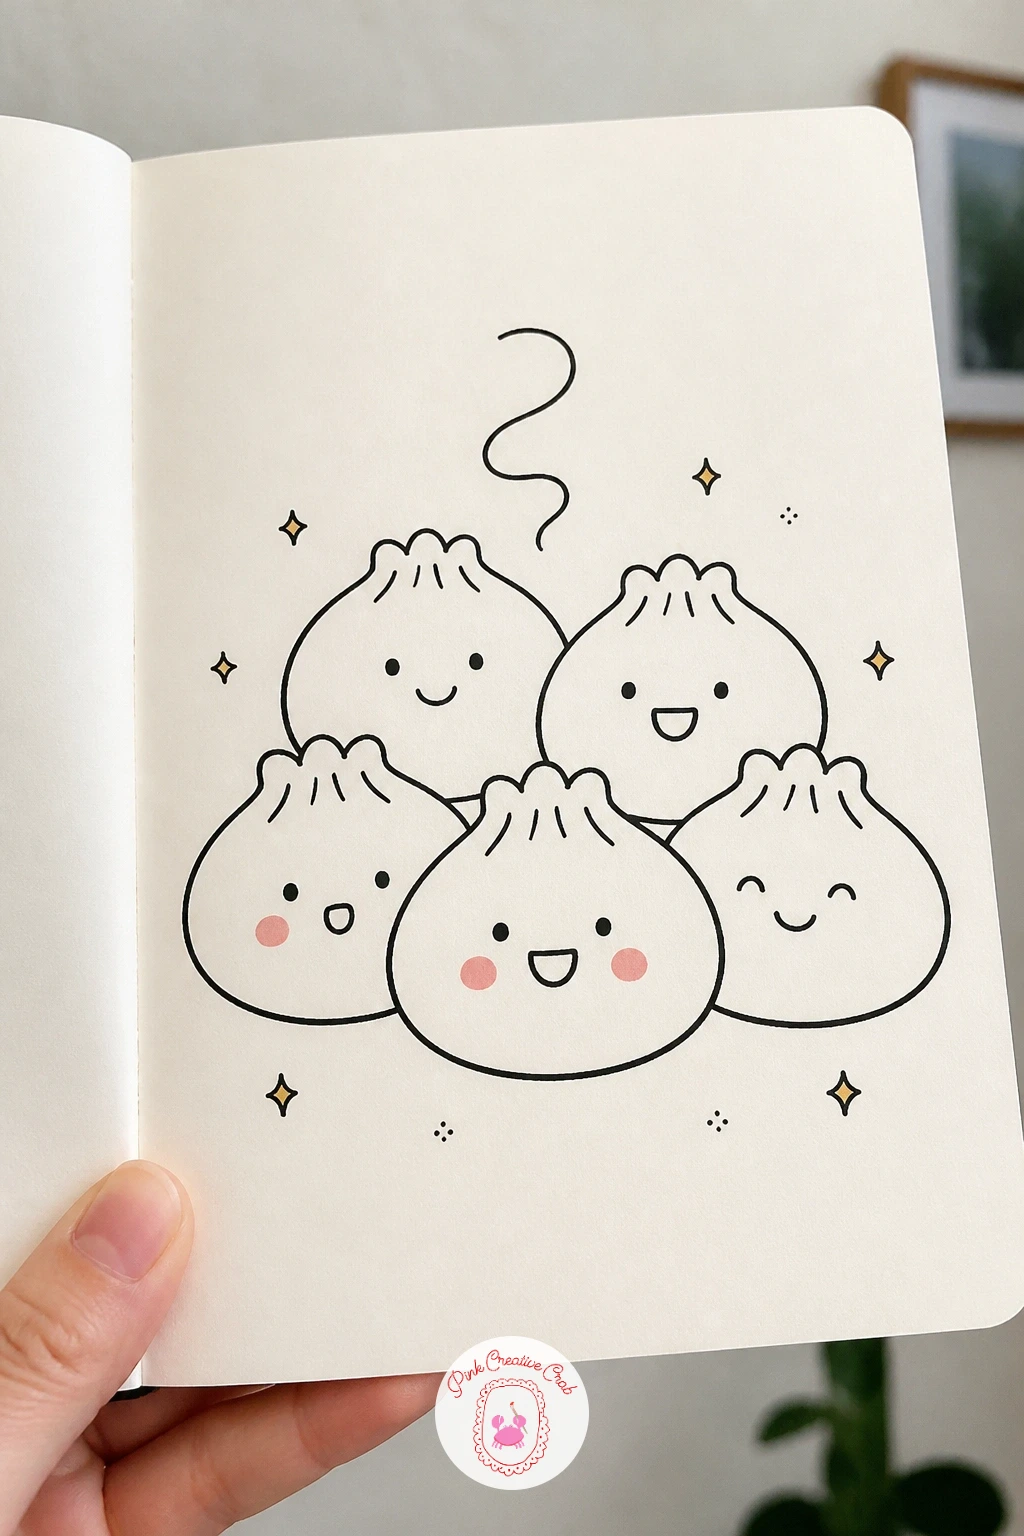
Dumplings let you practise drawing a small group all at once, which is a nice change of pace after solo characters. Draw one larger dumpling first, a rounded crescent shape with a pleated top edge made from a row of small curved lines, then add two or three smaller dumplings clustered around it at different sizes.
Give each dumpling its own simple face, varying the expression slightly between them so the family feels individual rather than copied and pasted. A light steam curl rising from the group ties them together as one warm little scene.
Keep the biggest dumpling’s face at a slightly lower eye level than the smaller ones, which reads naturally as the group looking toward each other rather than all facing forward identically. If the pleated edges start looking messy, reduce them to just three or four clean curves instead of trying to fit in too many.
One tip for today: stagger the dumplings so they slightly overlap rather than lining up in a neat row, which makes the group feel more like a cosy little family.
Palette: Cream White,Soft Pink,Mint Green
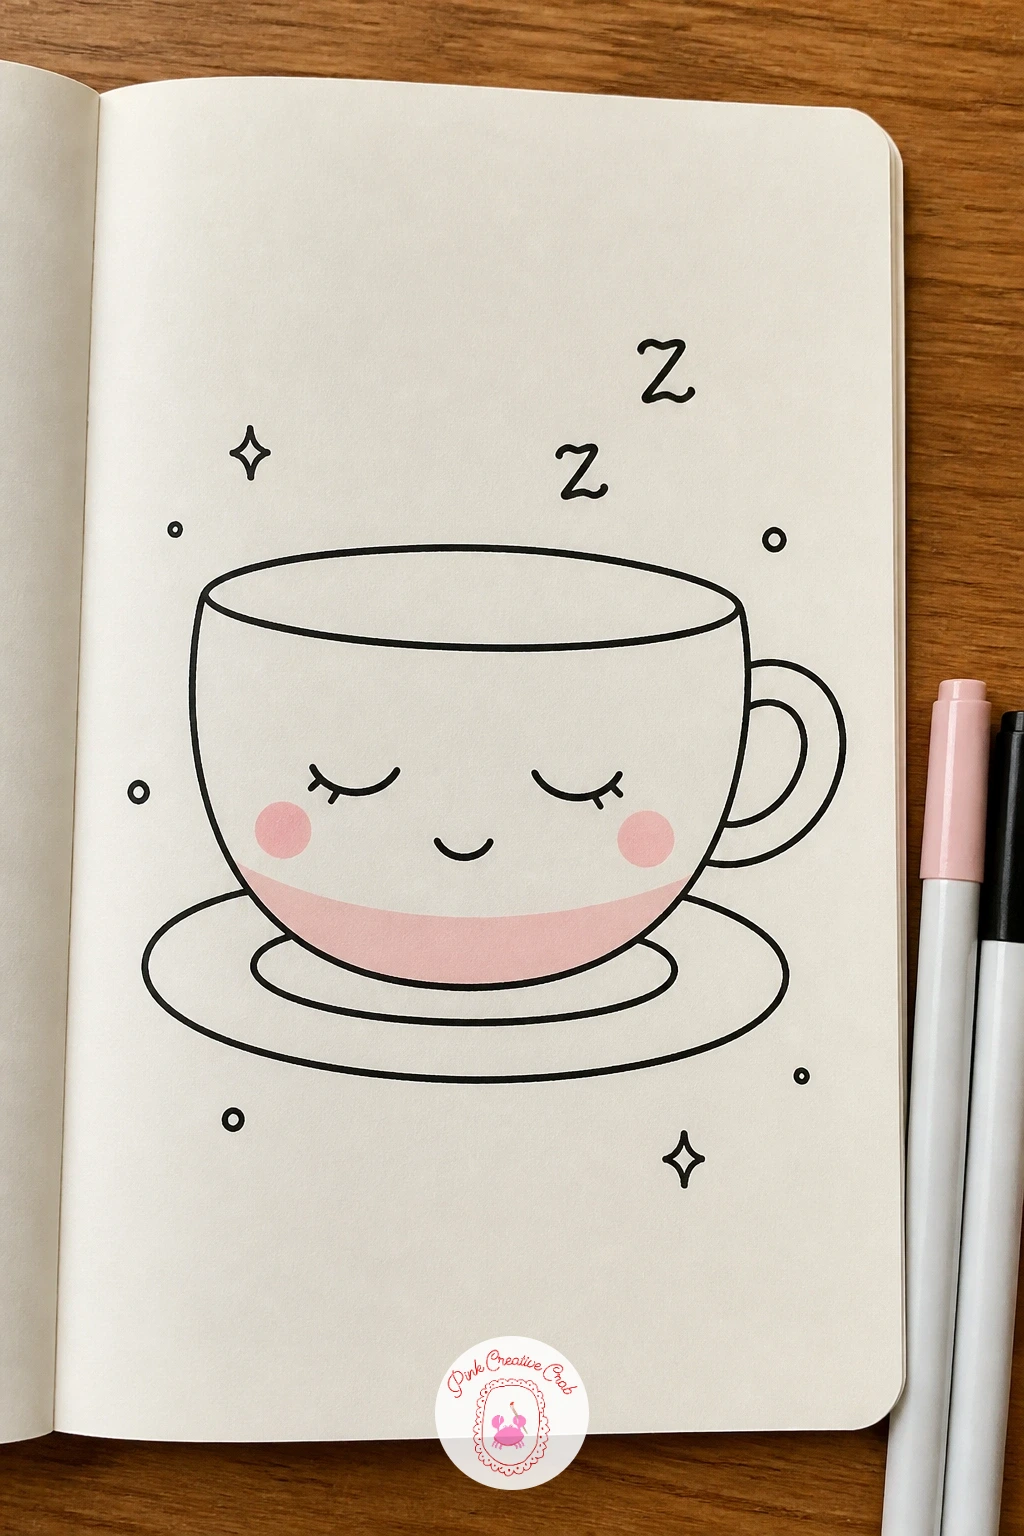
Shift the mood down a notch with a sleepy teacup, a quieter subject after the busy dumpling family. Draw a simple wide cup shape with a small curved handle on one side and a thin saucer line beneath it, then fill the top with a gently curved line to suggest tea inside.
Give the cup two closed, drooping eyes rather than open dots, with a tiny open mouth or soft smile, which instantly reads as sleepy instead of alert. A single “z” shape floating above the rim seals the mood.
Light shading along the lower half of the cup in pink or mint, left lighter near the top, gives it a gentle roundness without much extra work. If the handle looks too thin and fragile, thicken the inner and outer curve slightly so it reads clearly as part of the cup rather than a stray line.
Try drawing the same cup wide awake next time, with open round eyes and a straight steam line, to see how much a single expression changes the whole feel of an object.
Palette: Soft Pink,Mint Green,Cream White
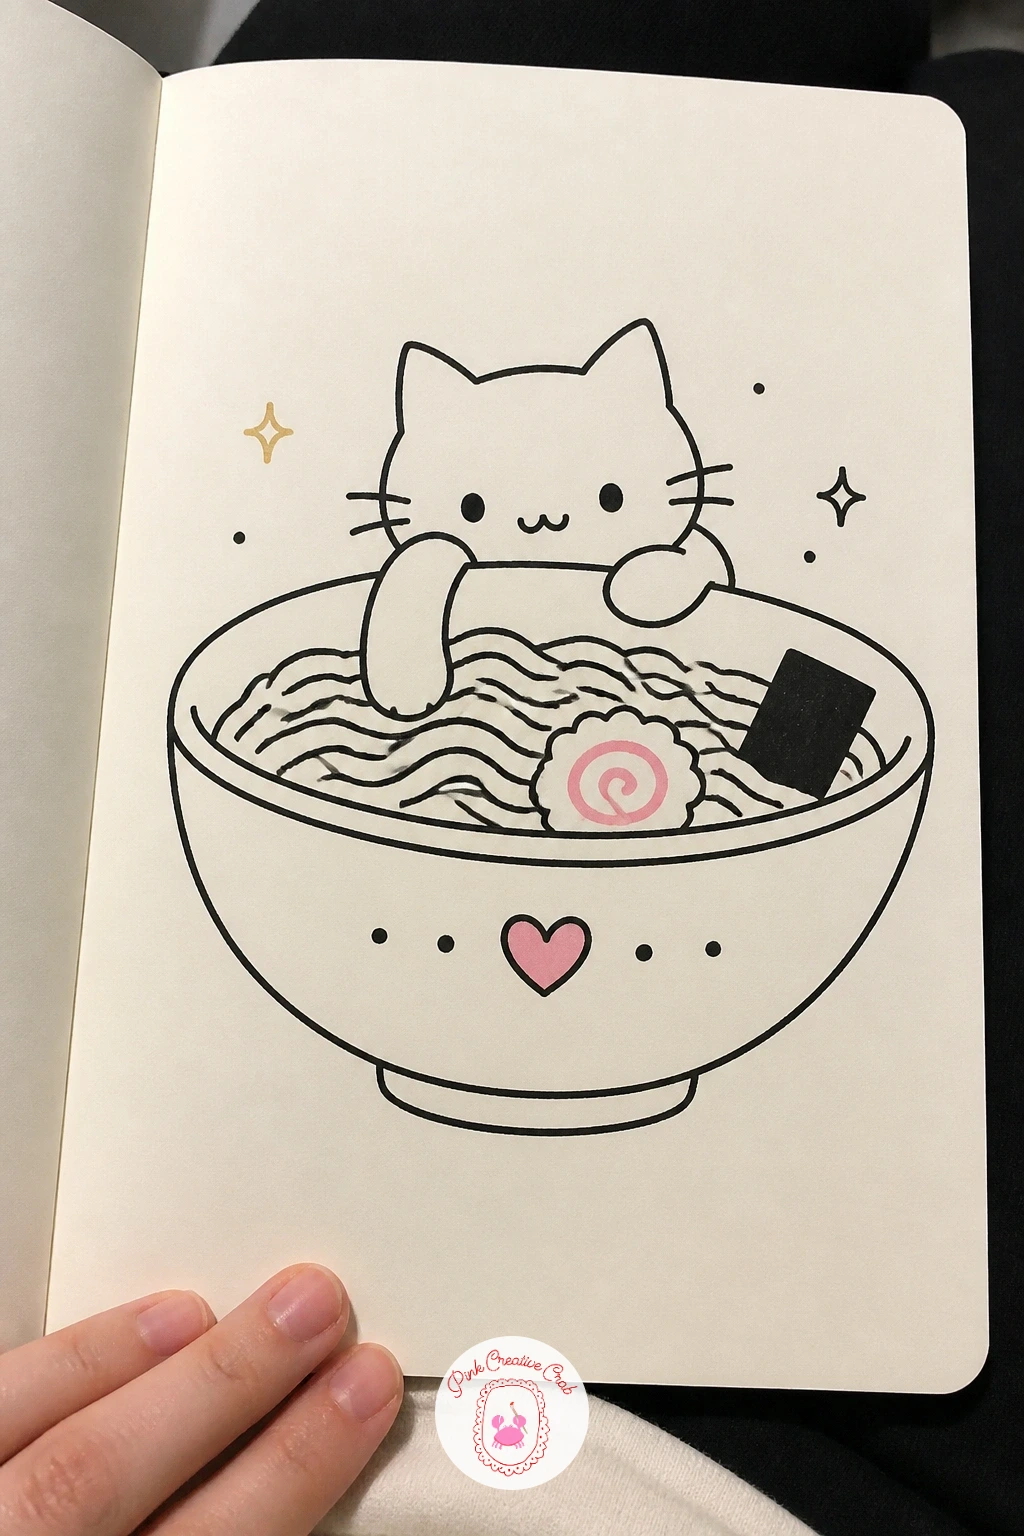
Ramen bowls bring together a few shapes you have already practised: a rounded container, wavy lines and a small character tucked inside. Draw a wide bowl shape with a slightly flared rim, then fill the top with wavy noodle lines overlapping in loose loops rather than straight strands.
Add a simple round cat face peeking up from behind the bowl’s rim, as if it is about to steal a noodle, along with one small paw reaching over the edge. Scatter a couple of circle toppings on the noodles and a pink swirl slice for naruto fish cake.
The bowl rim sits at the cat’s chin level if you want it to look like it is genuinely resting there, which keeps the proportions believable even in such a playful scene. If the noodle lines turn into a tangled mess, reduce them to four or five clean loops instead of filling the whole bowl.
For more pairings of food and animal characters at this same easy level, have a look through food doodles for beginners.
Palette: Cream White,Soft Pink,Mint Green
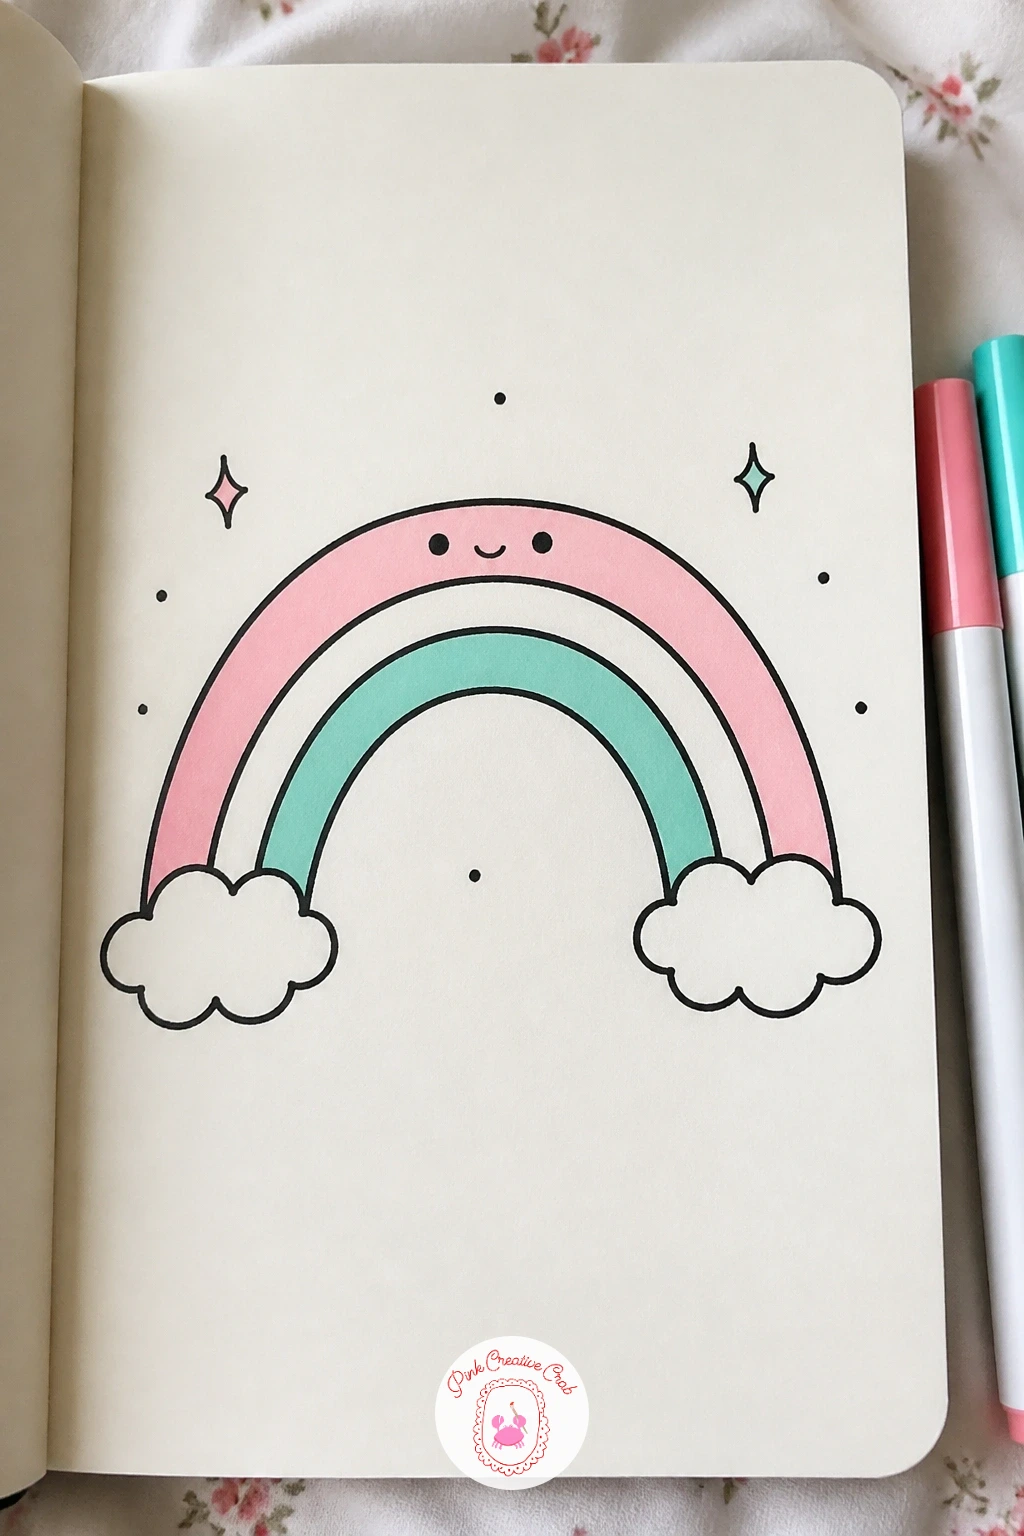
Rainbows are a satisfying subject because the curved bands do most of the visual work for you. Draw one smooth arch line first as your guide, then add four or five parallel bands following that same curve, each a consistent width, finishing with small fluffy cloud shapes tucked under each end.
Give the rainbow a simple face sitting in the middle band, with the eyes and mouth placed right at the arch’s highest point so the expression reads clearly from a distance. Alternate pink and mint for two of the bands and leave the rest as thin outlines or soft pastel fills if you want to keep it light.
Bands often end up uneven in width if you rush, so lightly pencil two guide lines marking the inner and outer curve before adding the internal stripes. If you only have two markers, skip some bands entirely and let plain white paper show between painted ones for a cleaner, more modern look.
One tip for today: keep the cloud shapes at each end smaller than the arch itself, since oversized clouds tend to swallow the rainbow’s shape.
Palette: Soft Pink,Mint Green,Cream White
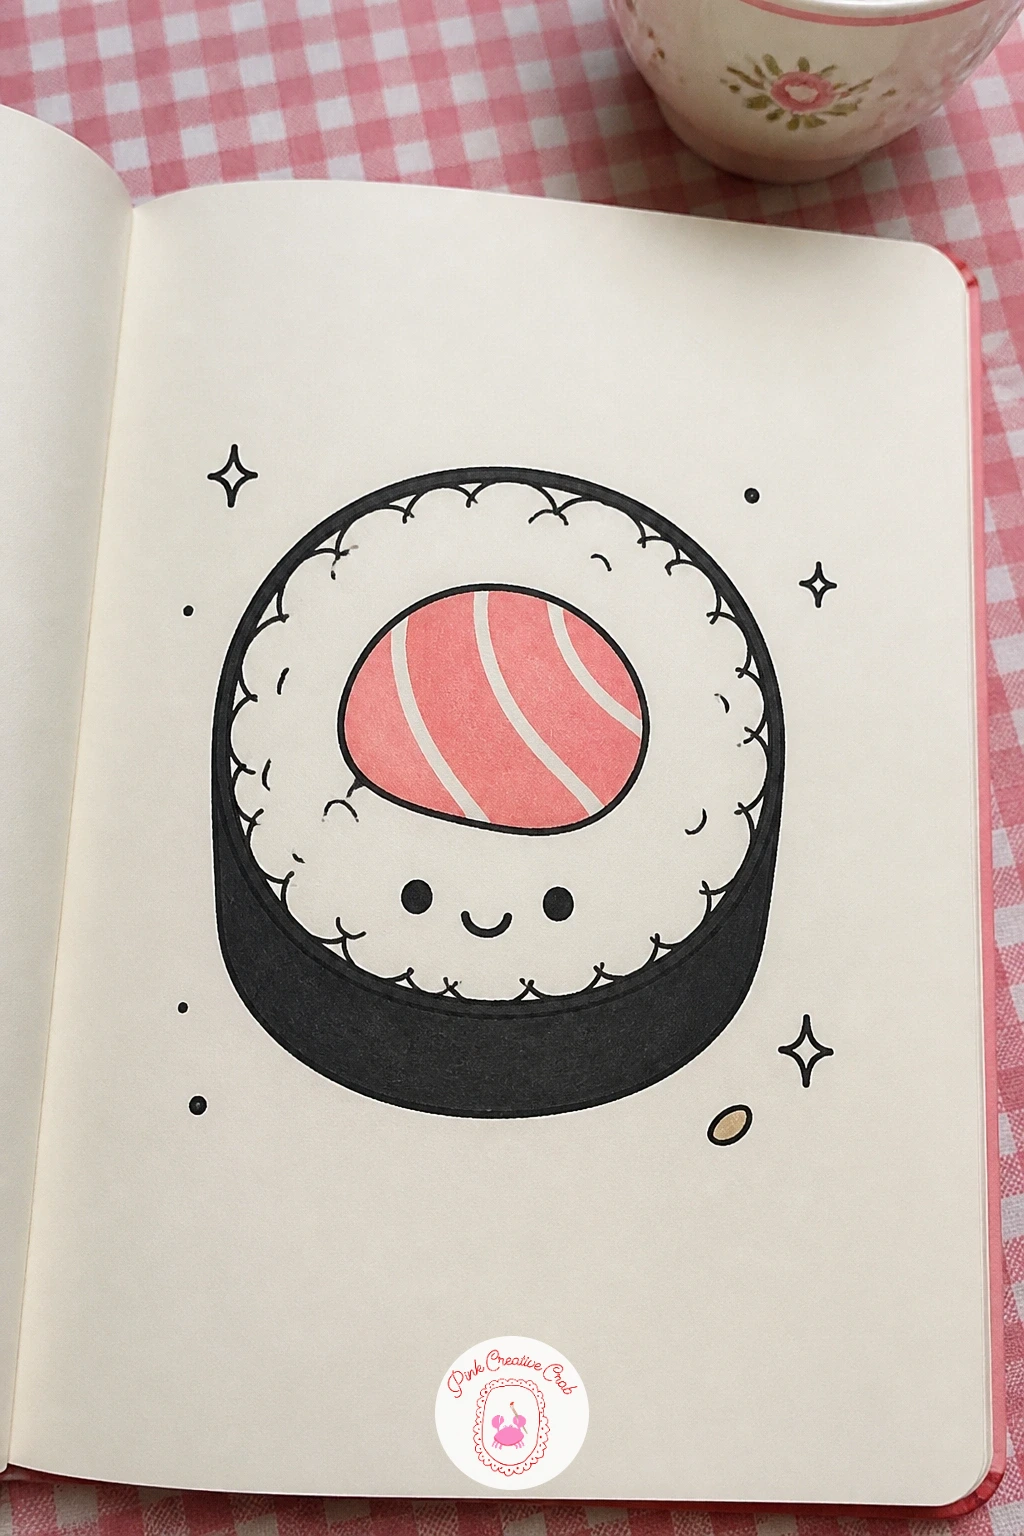
After the free curves of a rainbow, come back to a tidy geometric shape with a happy sushi roll. Draw a simple circle for the cross-section, add a thinner ring just inside the outer edge for the nori wrapper, and fill the centre with two or three simple shapes, maybe a pink oval for fish and a few short lines for cucumber.
Place a small smiling face directly on the rice ring, keeping the eyes close together near the centre so the expression stays readable even at a small size. A single grain of rice or sesame seed dot drawn just outside the main circle adds a nice bit of scatter.
Circles are easiest to keep round if you trace something small, like a coin or a marker cap, rather than freehanding the outline, especially for a first attempt. If the inner fillings look cramped, simplify to just one filling shape rather than three.
Draw a whole row of these side by side once the single roll works well, each with a slightly different filling and expression, for a quick platter of characters.
You Will Need
- a small coin or cap to trace the circle
Palette: Soft Pink,Mint Green,Cream White
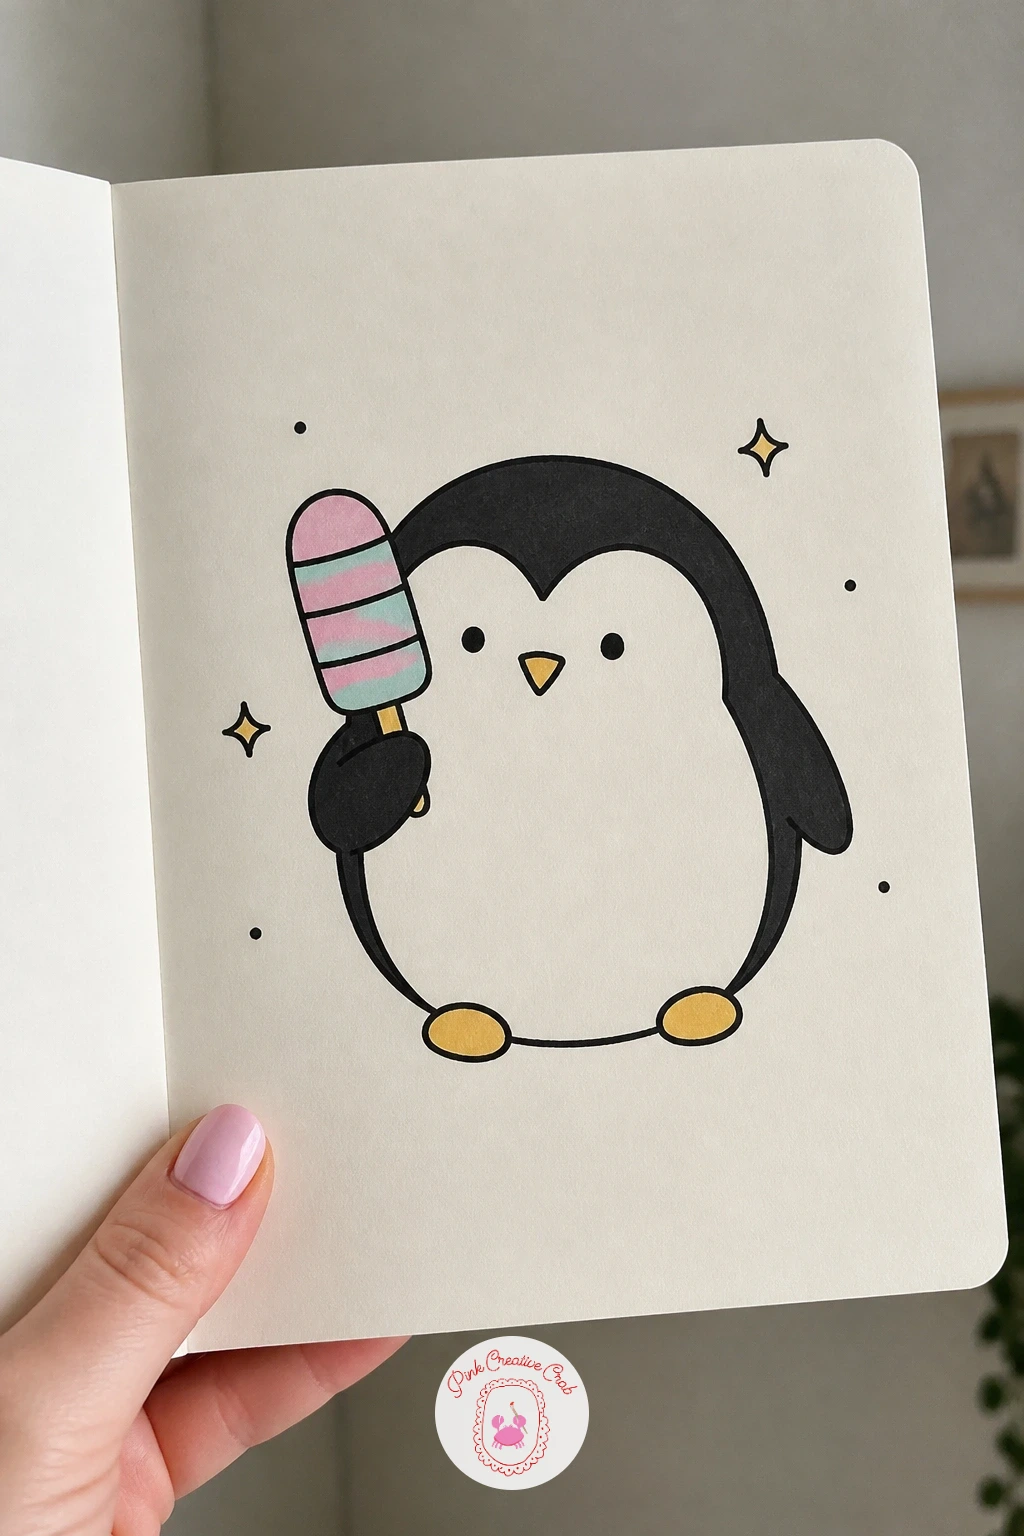
Bring in a cold-weather character with a penguin holding a popsicle, a nice contrast after the warm food shapes. Draw a simple rounded body shape, wider at the bottom, then add a lighter belly patch, two small flipper arms, and a short triangle beak with tiny round feet beneath.
One flipper holds a simple popsicle shape up near the penguin’s face: a rounded rectangle on a short stick, with a bite taken out of one corner for extra charm. Keep the eye line sitting just above the beak so the penguin looks like it is glancing happily at its treat rather than staring forward blankly.
Shade the body with light grey or leave it black-outlined only, then colour the popsicle in alternating pink and mint stripes. If the flipper holding the popsicle looks stiff, angle it slightly upward from the shoulder instead of straight out to the side, which reads as a much more natural, relaxed pose.
For more animal-led ideas with this same cheerful approach, browse the wider kawaii sketchbook list for extra inspiration.
Palette: Soft Pink,Mint Green,Pale Grey
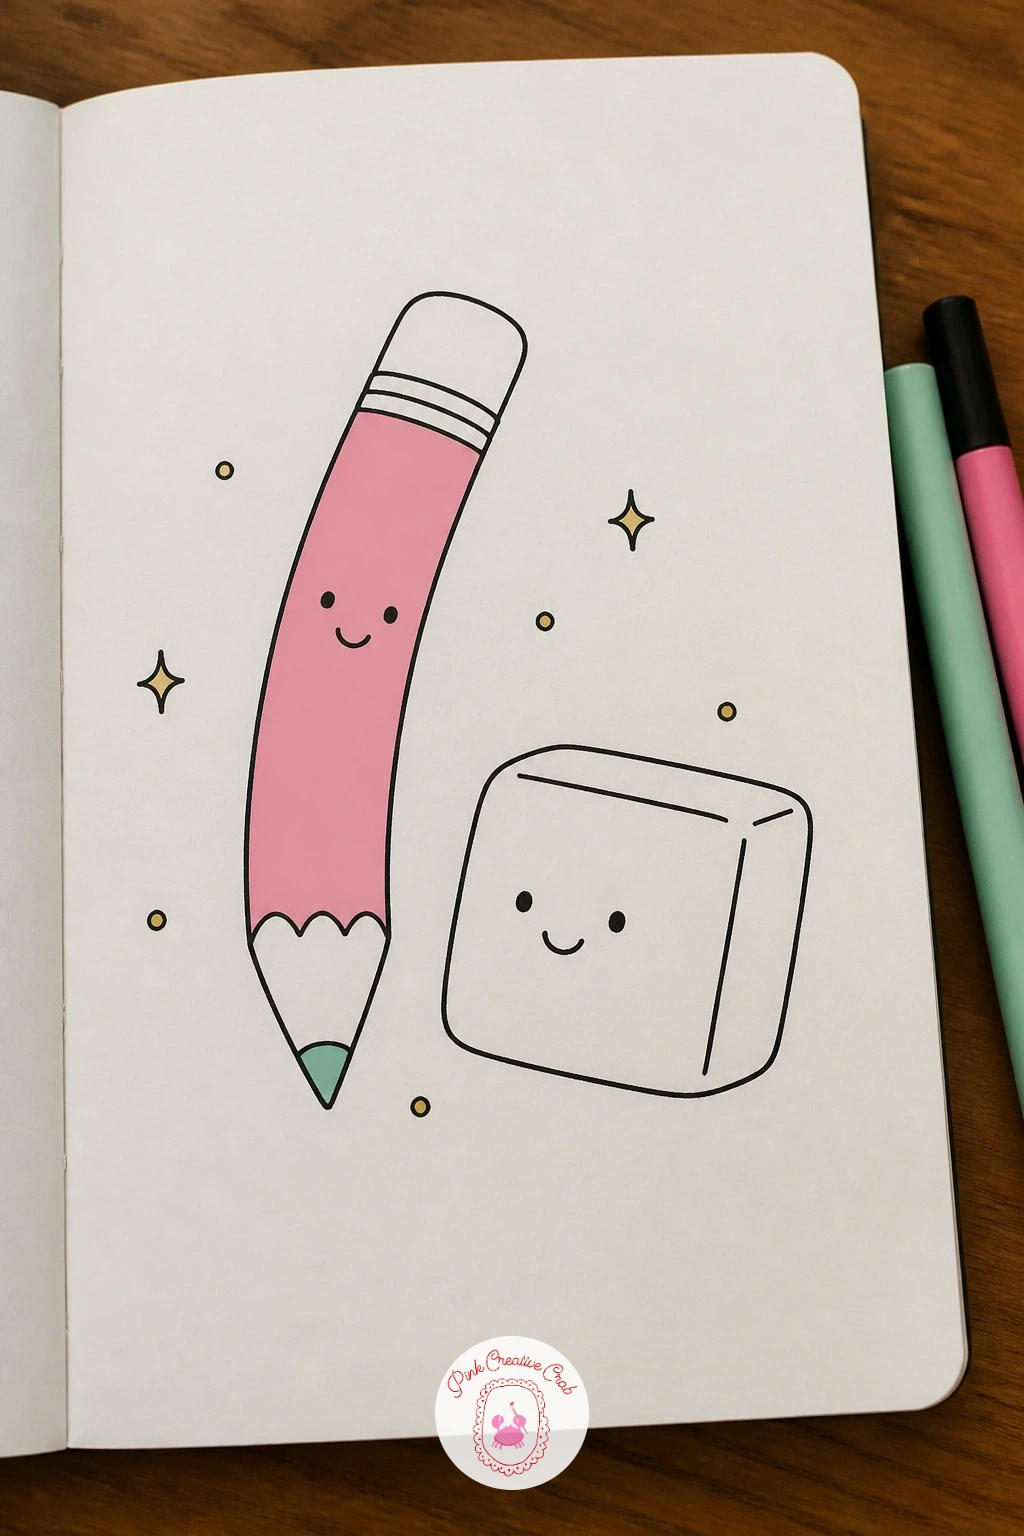
Turn the attention to your own art supplies with a smiling pencil and eraser pair, a fun little meta subject for this list. Draw the pencil as a long thin shape with a pointed tip and a small rounded eraser cap, then give it a simple face partway down the body, keeping the features small since the shape itself is narrow.
Beside it, draw a plump rounded eraser block with its own separate face, tilted slightly toward the pencil as if they are chatting. Colour the pencil’s body in pastel pink with a mint tip and keep the eraser a soft cream or pink block.
Narrow shapes like a pencil are easy to make look stiff, so curve the body very slightly rather than drawing it perfectly straight, which gives it a touch of friendly personality. If the face ends up too close to the pointed tip and looks cramped, shift it down toward the middle of the pencil body instead.
One tip for today: add a tiny sparkle or motion line near the pencil tip to suggest it has just finished writing something fun.
Palette: Soft Pink,Mint Green,Cream White
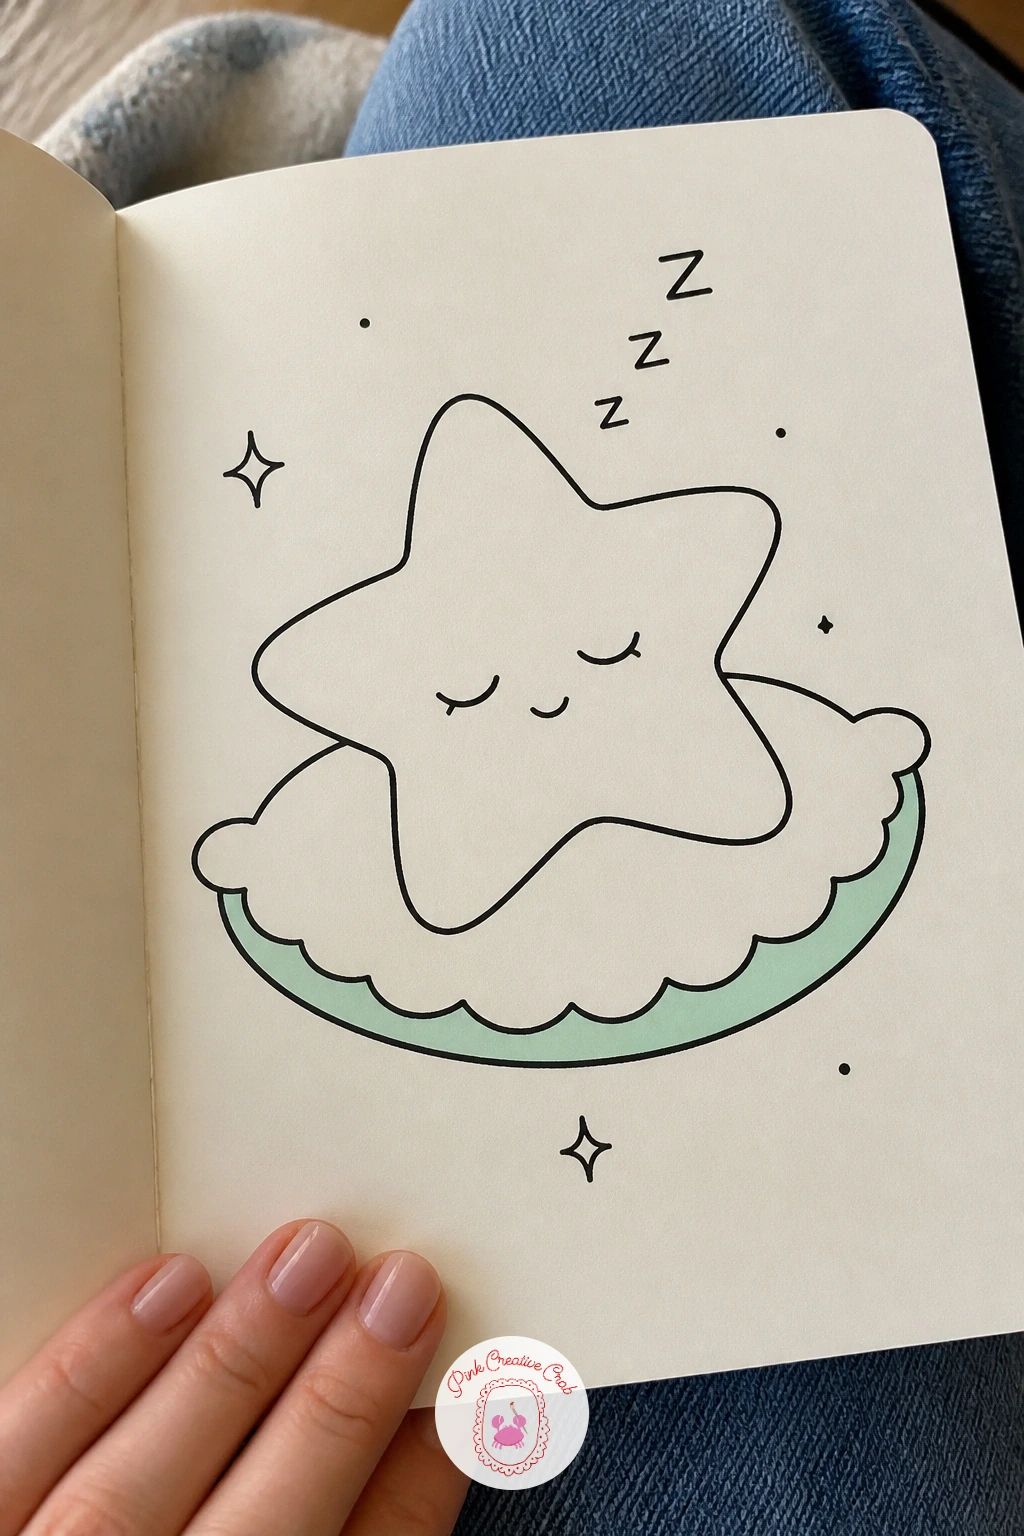
Take the pace down again with a sleeping star resting on its own tiny pillow, a quiet, simple subject after the busier pencil pair. Draw a classic five-point star shape with slightly rounded points rather than sharp ones, then place a small rectangular pillow beneath it with a soft scalloped edge.
Give the star closed, curved sleepy eyes and a tiny open mouth, with one small “z” drifting up from its head to confirm the mood. Keep the star’s points even by sketching a light pencil guide circle first and placing each point at a roughly equal distance around it before inking.
Light here comes from directly above, so a thin mint shadow sits only along the lower edge of the star and the pillow, which keeps both shapes feeling soft and grounded rather than flat. If the points come out uneven, it still reads fine since sleepy stars are meant to look a little soft and lopsided.
Draw a whole scattering of smaller stars twinkling around the sleeping one for extra atmosphere once the main shape feels secure.
Palette: Soft Pink,Mint Green,Cream White
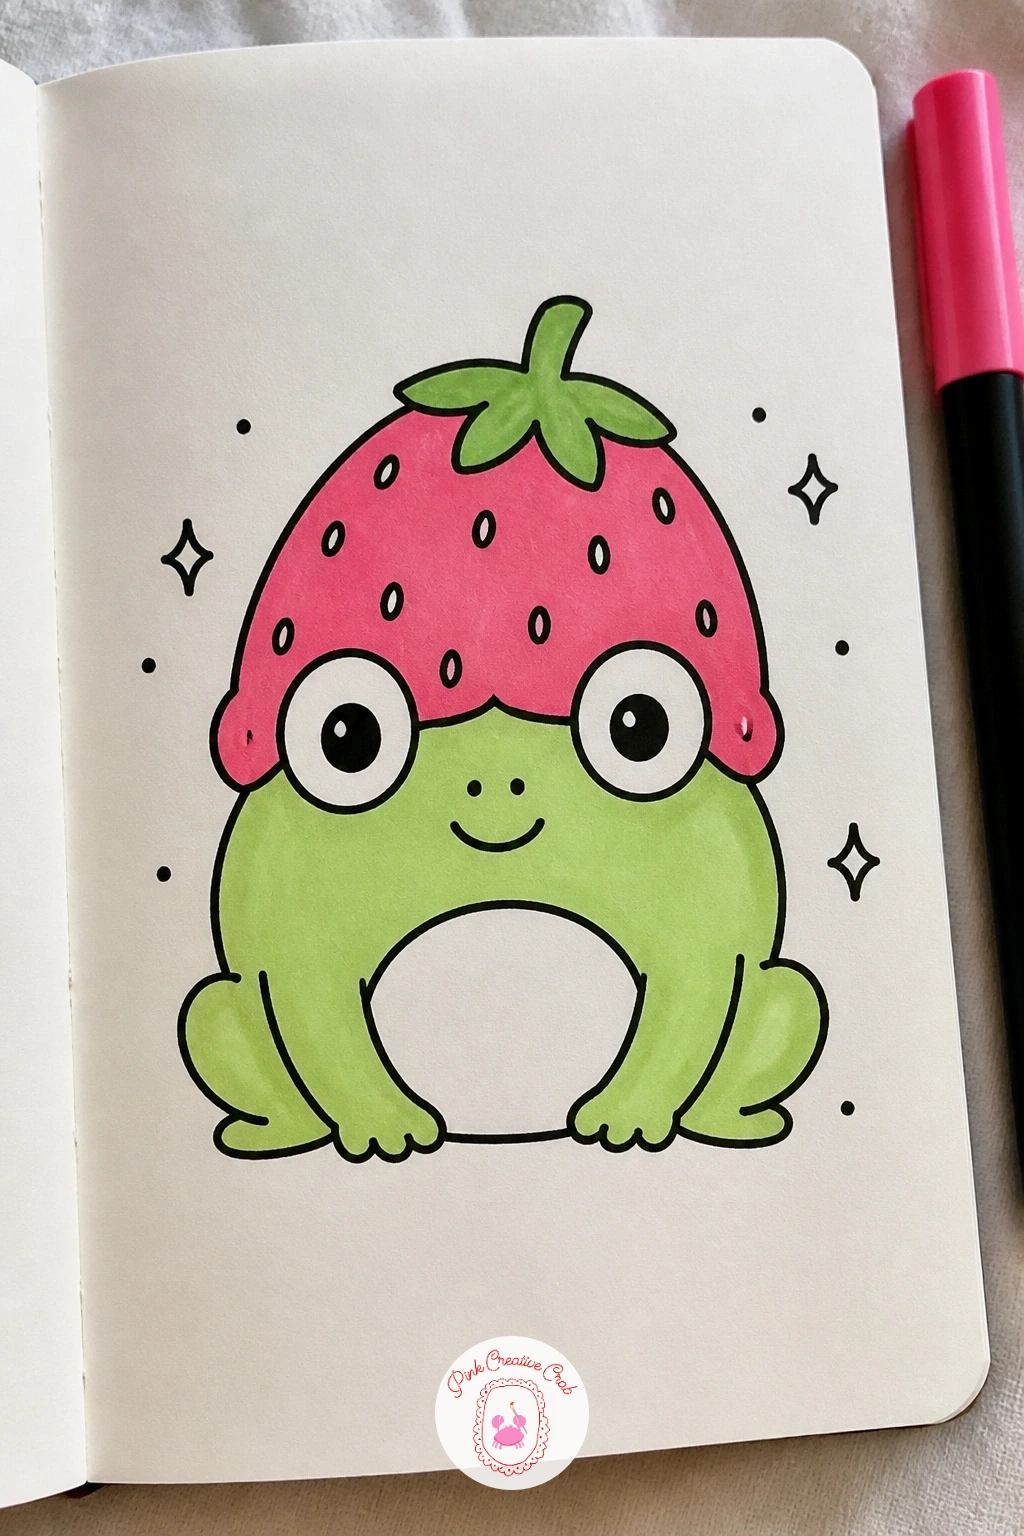
Bring in some fresh character energy with a frog wearing a strawberry as a hat, a playful combination of animal and food. Draw a simple rounded frog head and body as one connected shape, with two bulging oval eyes on top and a wide curved smile beneath them.
On top of the head, place an upside-down strawberry shape like a little cap, complete with a few seed dots and a leafy green rim sitting right at the frog’s hairline. Keep the frog’s eyes large relative to the head, since oversized eyes are what make this style read as cute rather than realistic.
Green marker fills the frog’s body while pink covers the strawberry hat, leaving the belly a lighter cream shade for contrast. If the strawberry hat looks like it is floating above the head rather than sitting on it, overlap the two shapes slightly more so the leaf rim tucks behind the frog’s brow line.
Swap the strawberry for a small leaf or flower hat next time to see how easily the same frog base can carry different accessories.
Palette: Mint Green,Soft Pink,Cream White
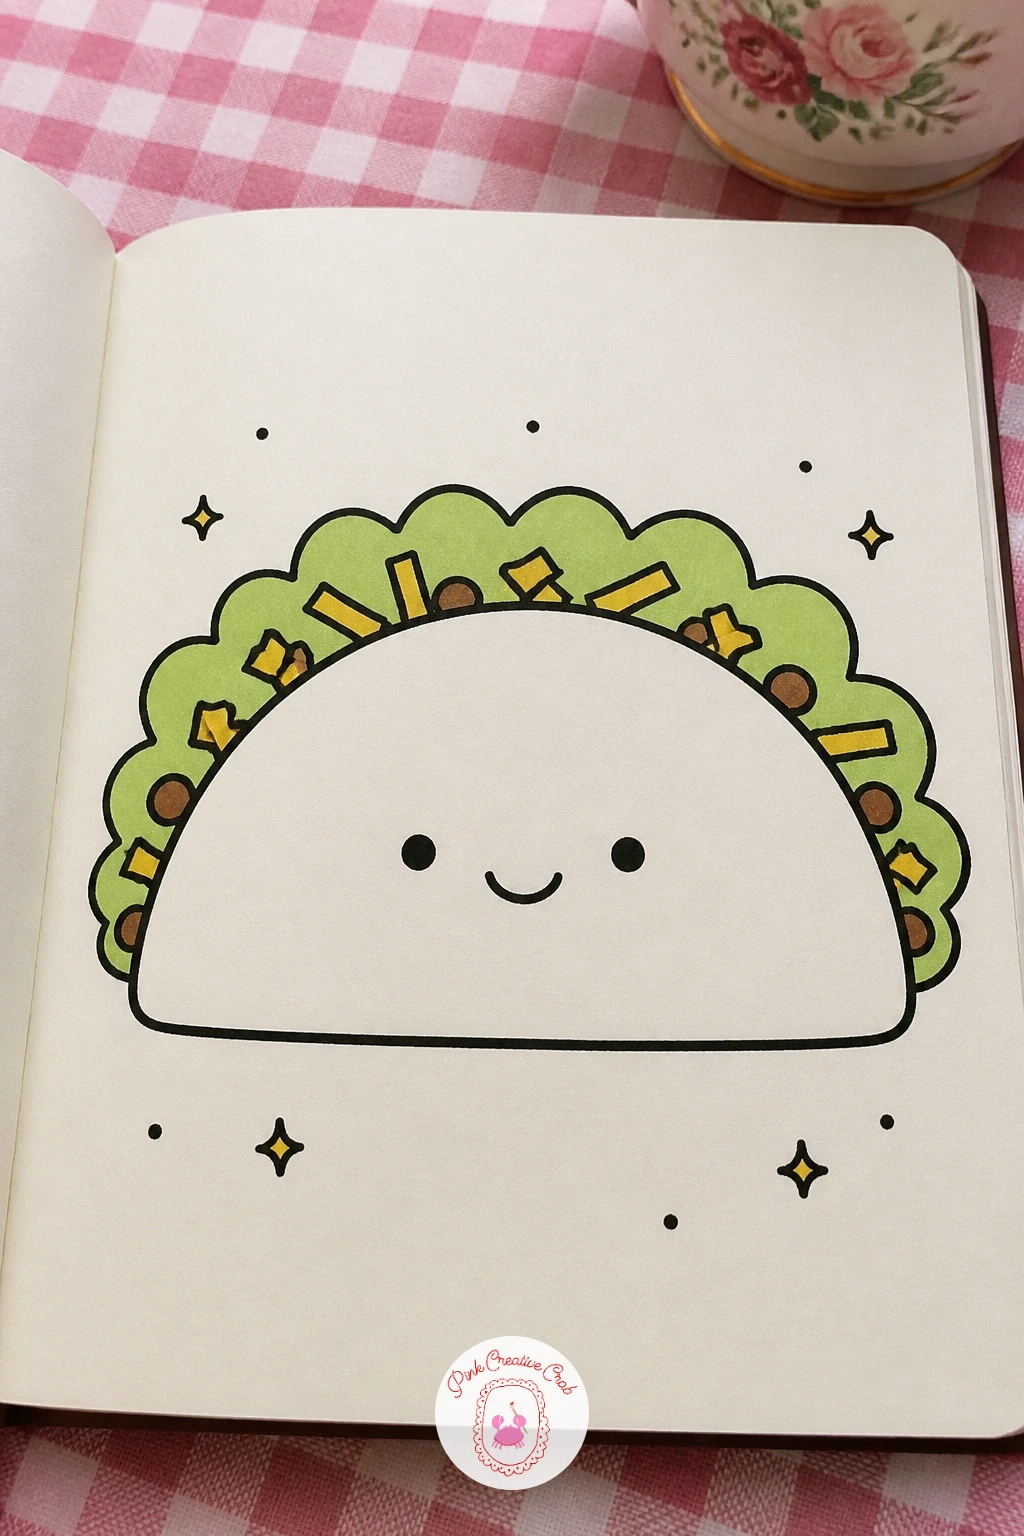
A happy taco gives you a fun curved shell shape to practise after the rounder frog. Draw a simple semicircle for the shell, then fill the top edge with a scalloped lettuce line, a few small rectangle shapes for cheese, and a scatter of dots for other fillings spilling just over the rim.
Place the taco’s face in the lower half of the shell, where the fold naturally creates a flatter resting spot for the features, which keeps the expression from getting lost among the toppings. A single small arm or leg poking out from under the shell adds a bit of personality if you want to push it further.
Shells are easiest to keep crisp if you draw the curved base line first in one confident stroke rather than several short ones, since short strokes tend to wobble more. If the toppings start crowding the face, simplify down to just lettuce and cheese, skipping extra filling dots.
One tip for today: colour the cheese pieces mint instead of the expected yellow, which keeps the whole doodle inside this pastel pink and mint palette.
Palette: Mint Green,Soft Pink,Cream White
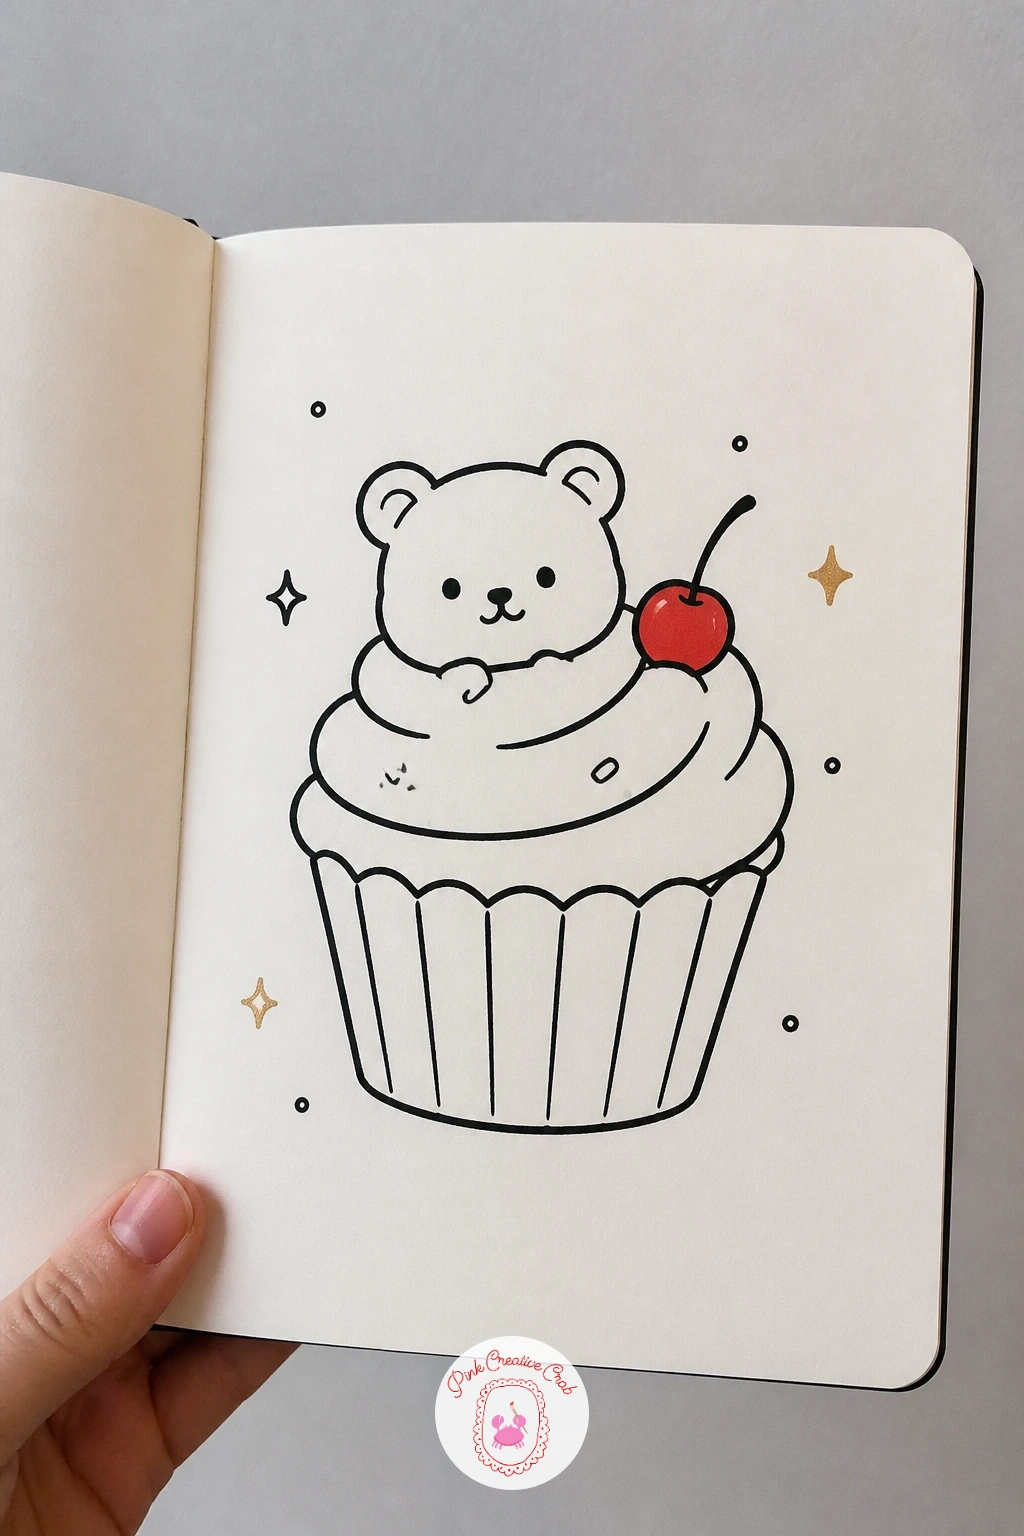
Combine an animal and a dessert shape with a small bear poking out of a cupcake, similar in spirit to the earlier cat in a mochi shape but built differently. Draw the cupcake base first, a simple fluted cup shape with vertical ridge lines, then build a swirl of frosting on top using one continuous looping line.
Nestle a round bear head into the top of the frosting swirl, with two small rounded ears, a simple snout oval, and a sleepy or happy expression, so it looks like the bear’s head has popped up out of the icing. A tiny cherry or sprinkle sits beside the head to finish the dessert feel.
The frosting swirl is the trickiest part here, so practise it separately a few times on scrap paper before committing to ink, since a smooth continuous loop reads far better than a shaky one. If it still looks uneven, go over the outer edge once more in ink to clean up the silhouette.
Try shrinking the bear’s head further into the frosting next time, so just the ears and eyes peek out, for a shier, more hidden version of the same idea.
Palette: Soft Pink,Cream White,Mint Green
Head off the food theme entirely with a kawaii planet, a round body with a tilted ring that is simple but satisfying to draw. Start with a solid circle for the planet body, then draw a flattened ellipse ring passing in front of and behind it, erasing the small section of the ring line that the circle overlaps.
Give the planet a simple smiling face positioned slightly off-centre rather than dead middle, since eyes placed exactly in the middle tend to look startled rather than friendly. Scatter a few small stars and one tiny crescent moon around the planet to fill the empty space.
The ring’s tilt is what sells the three-dimensional feel here, so keep it at a clear diagonal angle rather than drawing it as a flat horizontal oval, which would look more like a hat brim than a ring. If erasing the overlap line gets messy, ink the planet circle last so it naturally sits on top of the ring.
Colour the ring pink and the planet body mint, or try the reverse combination, to see which balance you prefer for future space doodles.
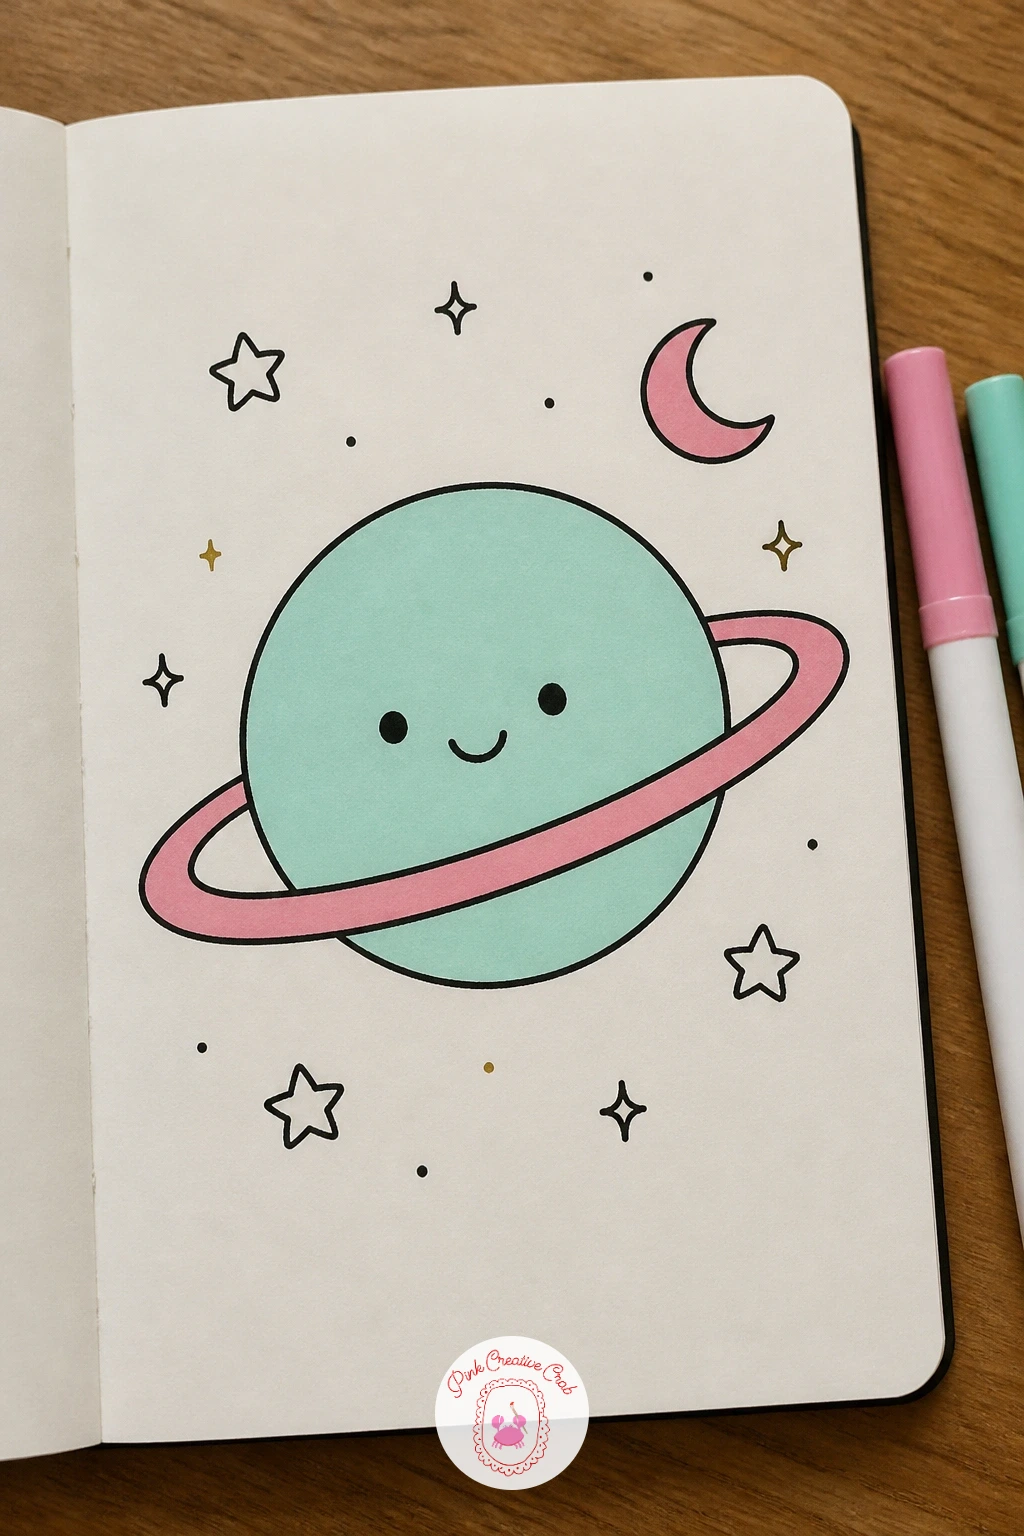
Palette: Mint Green,Soft Pink,Cream White
Bring the focus back to breakfast with a smiling fried egg sitting in a pan, a shape built from two very different curves. Draw the pan first as a wide shallow circle with a straight handle extending off to one side, then add the egg inside: a soft irregular white outline with a smaller rounded yolk circle near its centre.
Place the egg’s face directly on the yolk, keeping the features small since the yolk circle is the smallest shape in the whole drawing. A few short curved lines around the white’s edge suggest the slightly crispy, bubbled texture real fried eggs get at the rim.
The white often ends up too perfectly round if you are not careful, so vary the edge with two or three flatter sections and one or two bulging curves, since a slightly irregular outline looks more convincingly like a fried egg. If the handle looks too thin, double the outline for extra sturdiness.
One tip for today: leave the yolk a warm pink instead of yellow to keep this piece matching the rest of your pastel page.
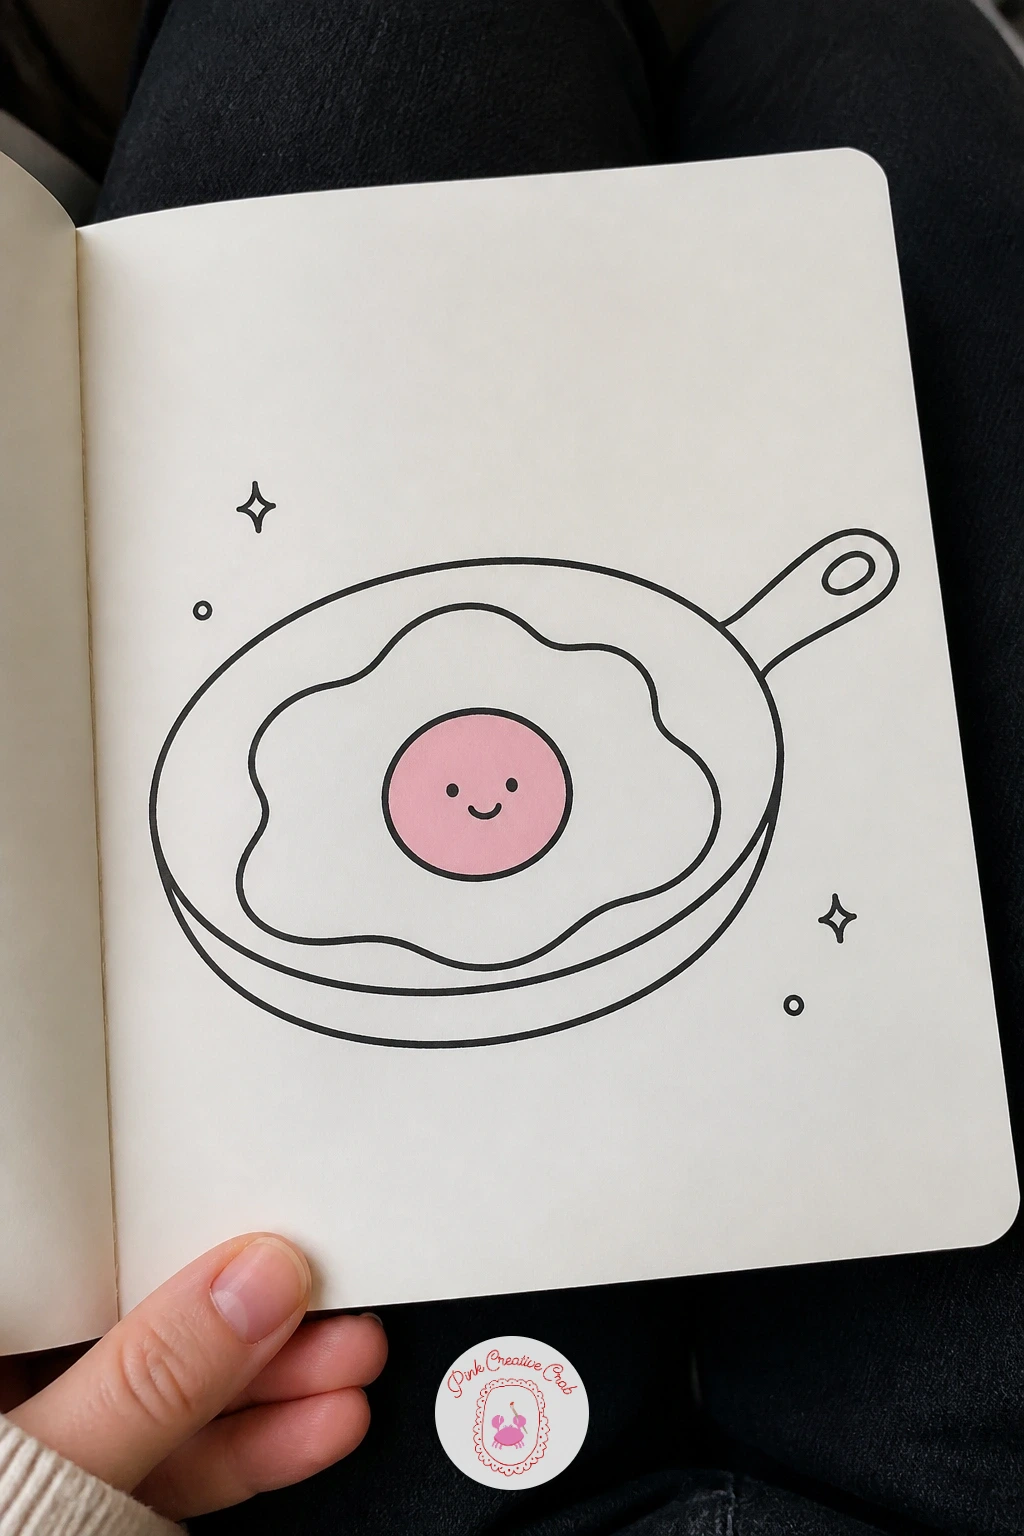
Palette: Cream White,Soft Pink,Pale Grey
Return to a floating character with a small cat napping on a cloud, pairing two shapes you have each drawn separately earlier in this list. Draw the cloud first using the same overlapping bump method as before, slightly flattened on top to give the cat somewhere stable to lie.
Lay the cat along that flattened top in a simple curled shape, just an oval body with two triangle ears, a tail curling around one side, and closed sleepy eyes. Keep the cat noticeably smaller than the cloud beneath it, since a cat drawn too large will make the cloud look flimsy by comparison.
A loose mint shadow along the underside of the cloud grounds the whole scene and separates it gently from the white page. If the cat’s curled pose looks stiff, loosen the tail line into a longer, looser curve that wraps further around the body.
For more sleepy, cosy character pairings in this same gentle mood, take a look at the winter doodles list for related ideas.
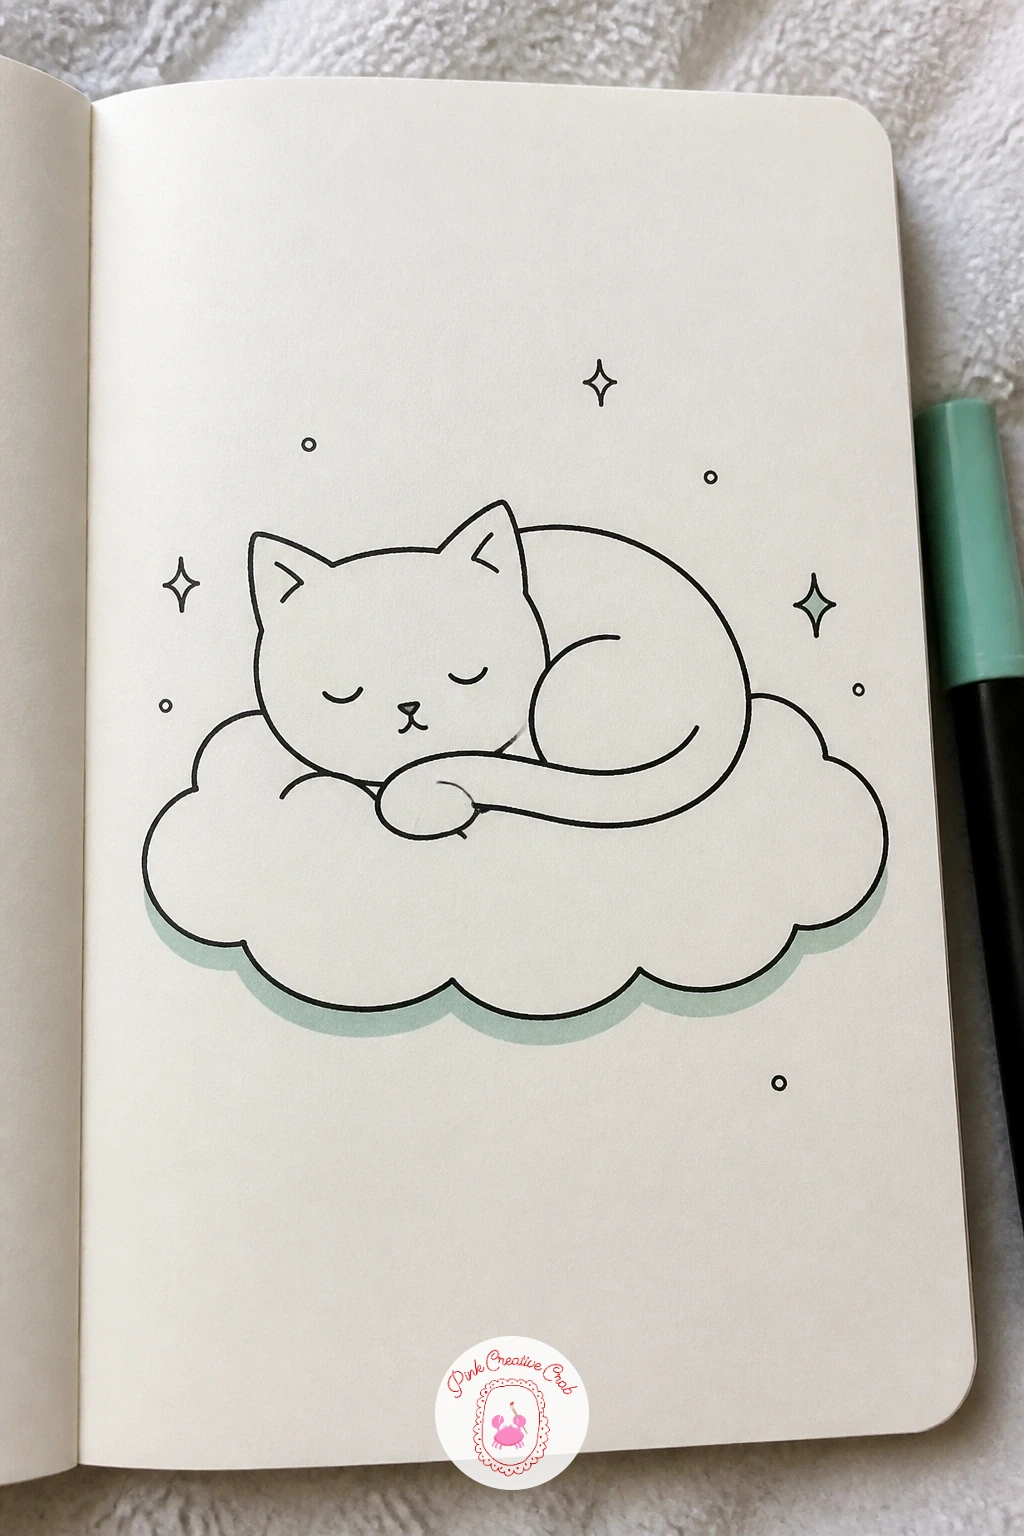
Palette: Mint Green,Cream White,Soft Pink
Come back to a simple container shape with a happy juice box, quicker to draw than the earlier milk carton since it keeps a plain rectangular form. Draw a straightforward rectangle, add a small straw poking in at an angle near the top corner, and place a simple fruit icon, perhaps a pink cherry pair, on the front panel.
Give the box a wide open smile and two round eyes positioned in the upper half, leaving room below for the fruit icon so the two elements do not overlap. A thin highlight strip down one side of the box, left white against a mint colour fill, gives it a glossy, cheerful feel.
The straw angle is the part most likely to look off, so draw it entering the box at roughly the same diagonal as a real straw would sit, around a forty-five degree lean, rather than straight up and down. If the fruit icon gets too detailed and clutters the front, simplify it down to a plain circle with a tiny leaf.
Swap the cherry icon for a different fruit each time you redraw this one, which is an easy way to build a whole set of juice box characters.
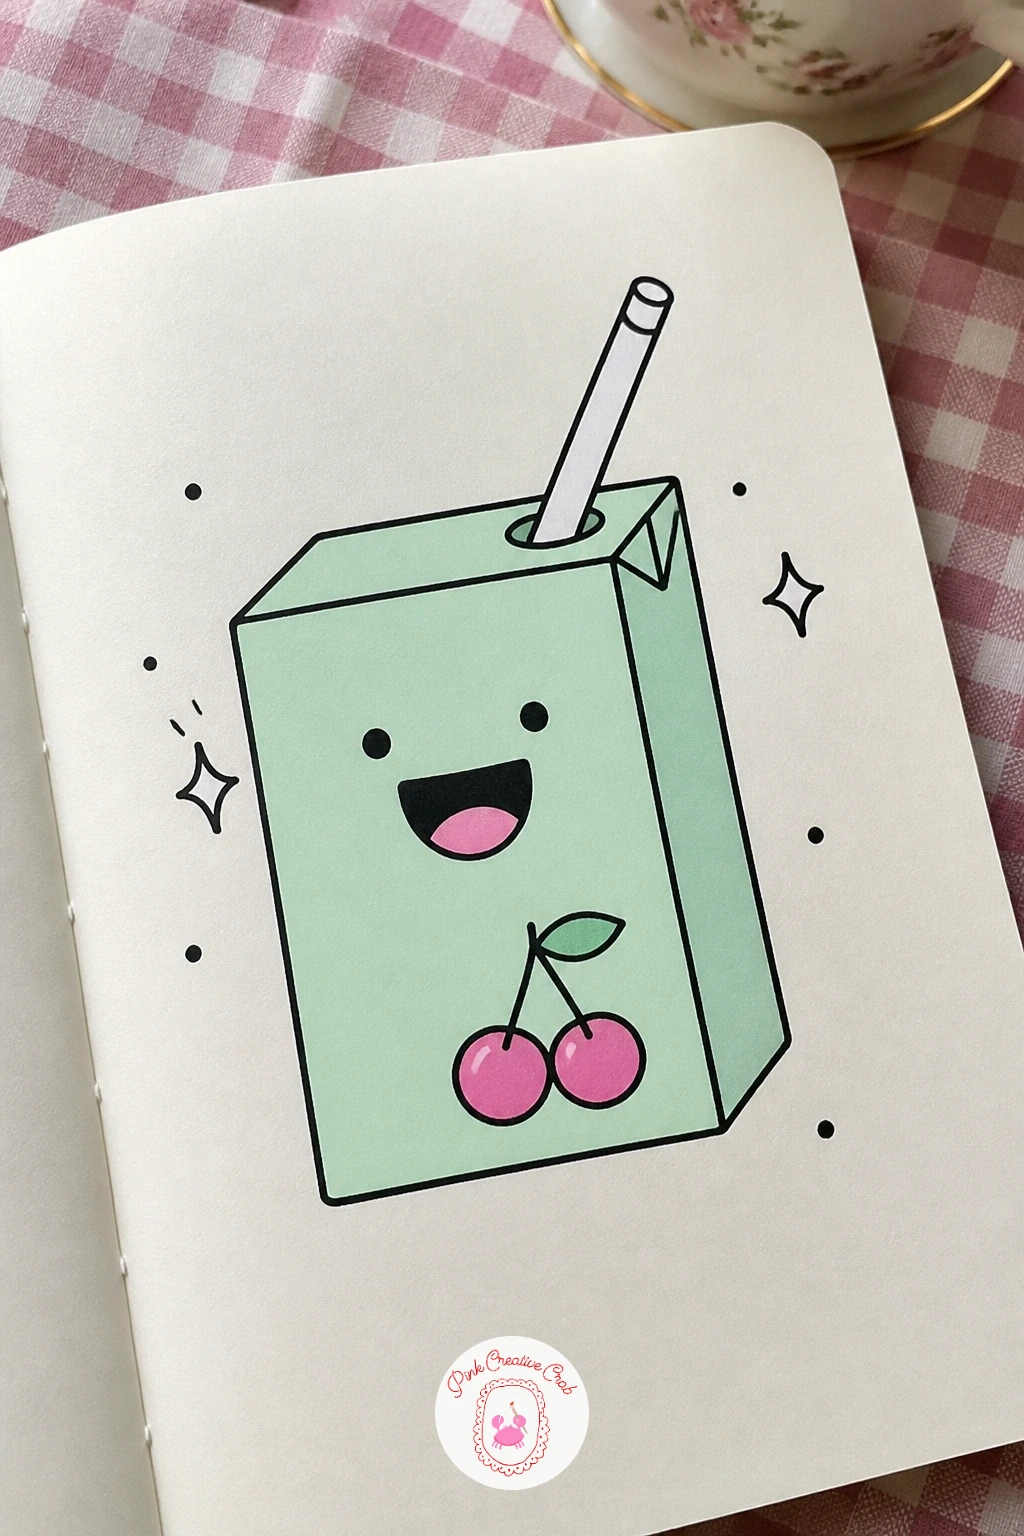
Palette: Mint Green,Soft Pink,Cream White
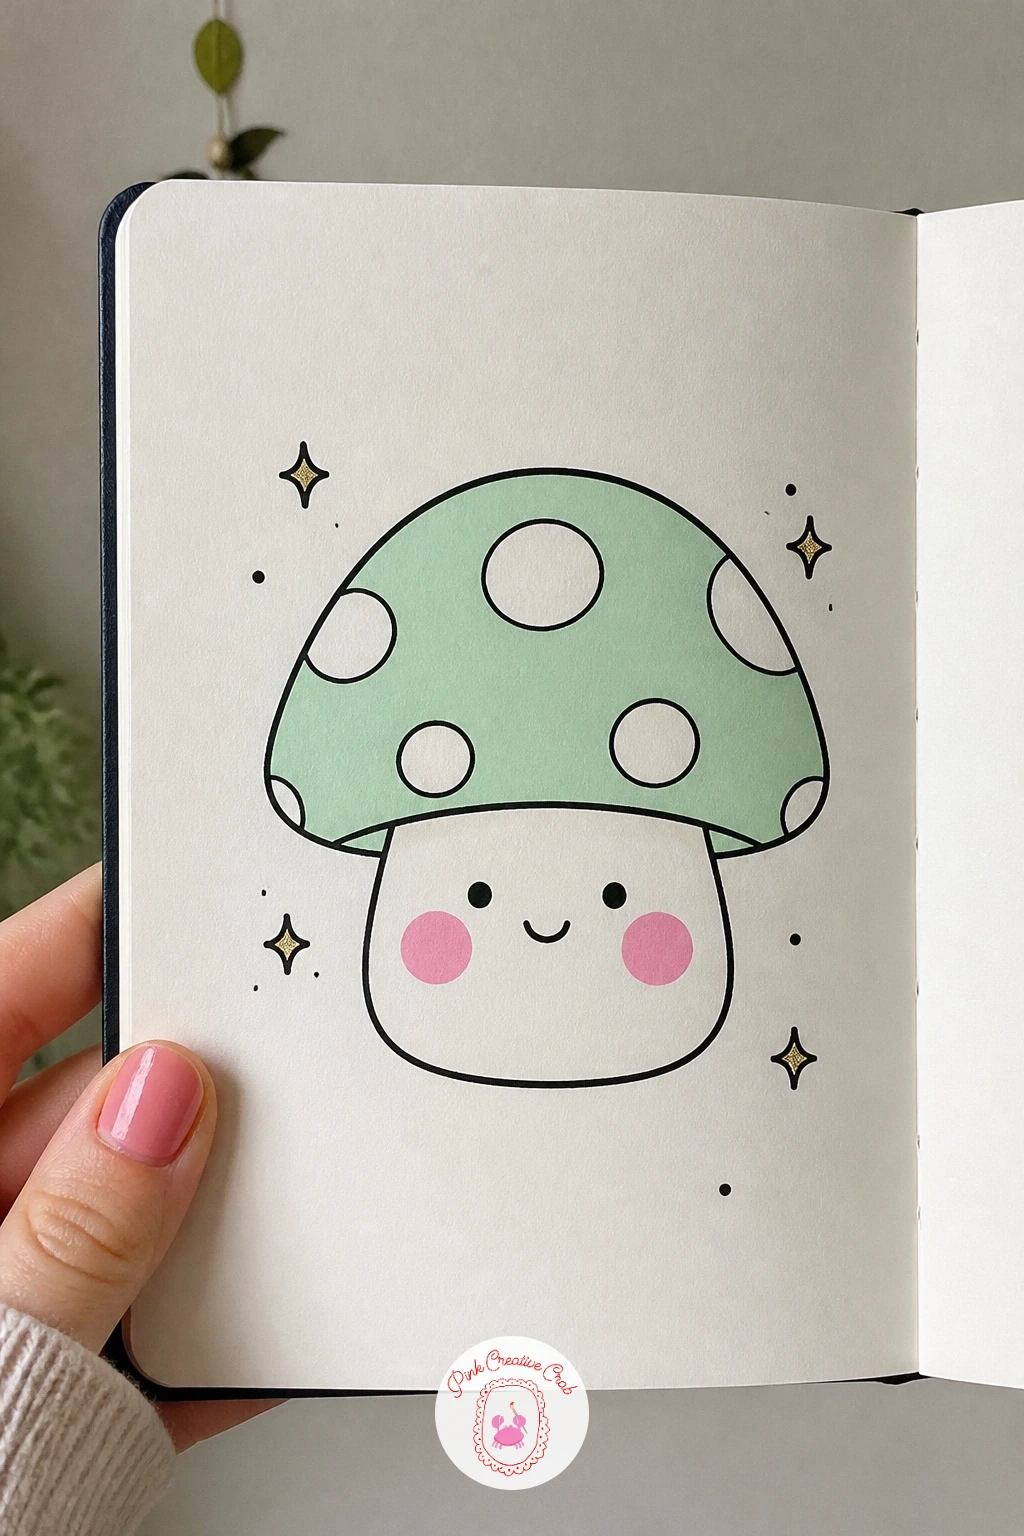
Mushrooms offer a simple dome and stem shape that is almost impossible to get wrong. Draw a rounded dome cap first, then a shorter, slightly narrower stem beneath it, making sure the stem sits centred under the widest point of the cap so the mushroom balances visually.
Scatter a few small white dot spots across the cap, either left blank against a coloured fill or outlined if the cap stays white, then add a simple face low on the stem with two prominent blush circles taking up much of the available space. Big blush marks are what carry this particular idea, so make them larger and pinker than you might on other subjects.
If the cap looks too flat, add a thin curved line just under its front edge to suggest the underside gills, which gives it a touch more dimension without much extra work. A fine-tip pink marker, rather than a broad one, keeps those blush circles neat at this small scale.
One tip for today: colour the cap mint and leave the stem cream white, which reads clearly as a mushroom shape even from a glance.
Palette: Mint Green,Soft Pink,Cream White
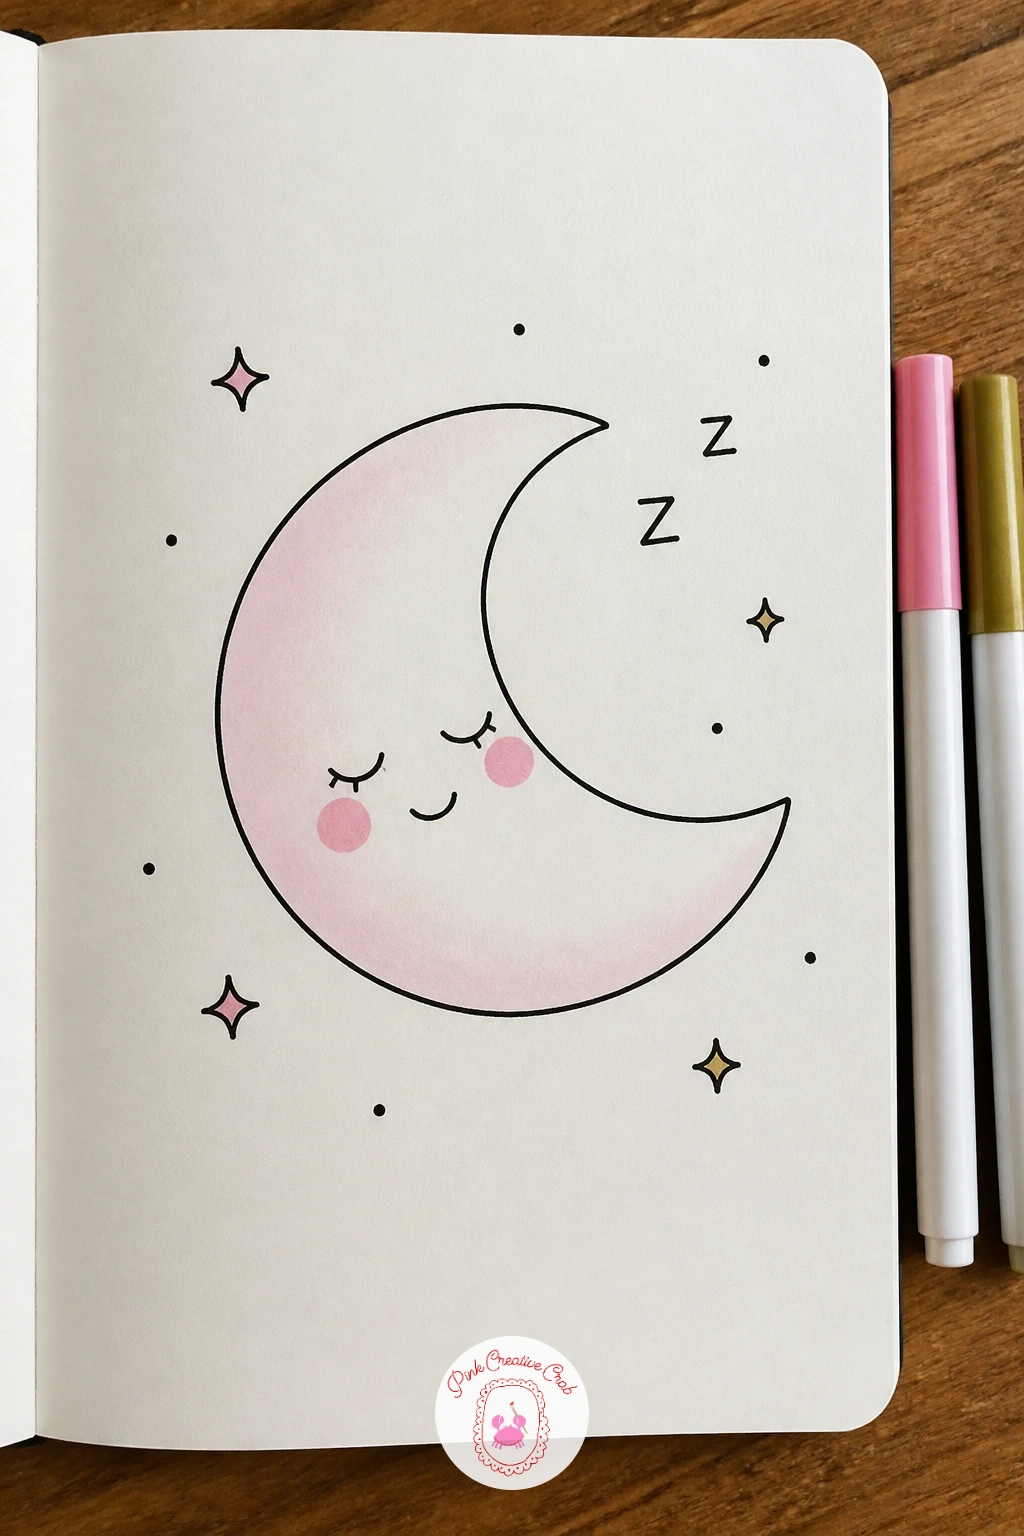
Pair this quiet subject with the earlier sleeping star for a little night sky set, though it works perfectly well on its own too. Draw a simple crescent moon shape, keeping the two points fairly rounded rather than sharp, and place the face toward the fuller, rounder side of the crescent rather than squeezed into the thin tip.
Give the moon closed sleepy eyes, soft pink cheeks, and a single floating “z” drifting from its head, matching the sleepy mood of the star from earlier in this list. A thin pastel pink wash across the whole crescent, left lighter near the points, adds a gentle glow.
Crescents often end up too thin to hold a face comfortably, so widen the rounded side slightly if the features feel cramped once you sketch them in. If you want a bit more challenge, add a few tiny stars drifting nearby with faint connecting dotted lines, like a loose constellation.
Try drawing a full circular moon version next time with the same sleepy expression, to see how differently the same face reads on a different silhouette.
Palette: Soft Pink,Cream White,Mint Green
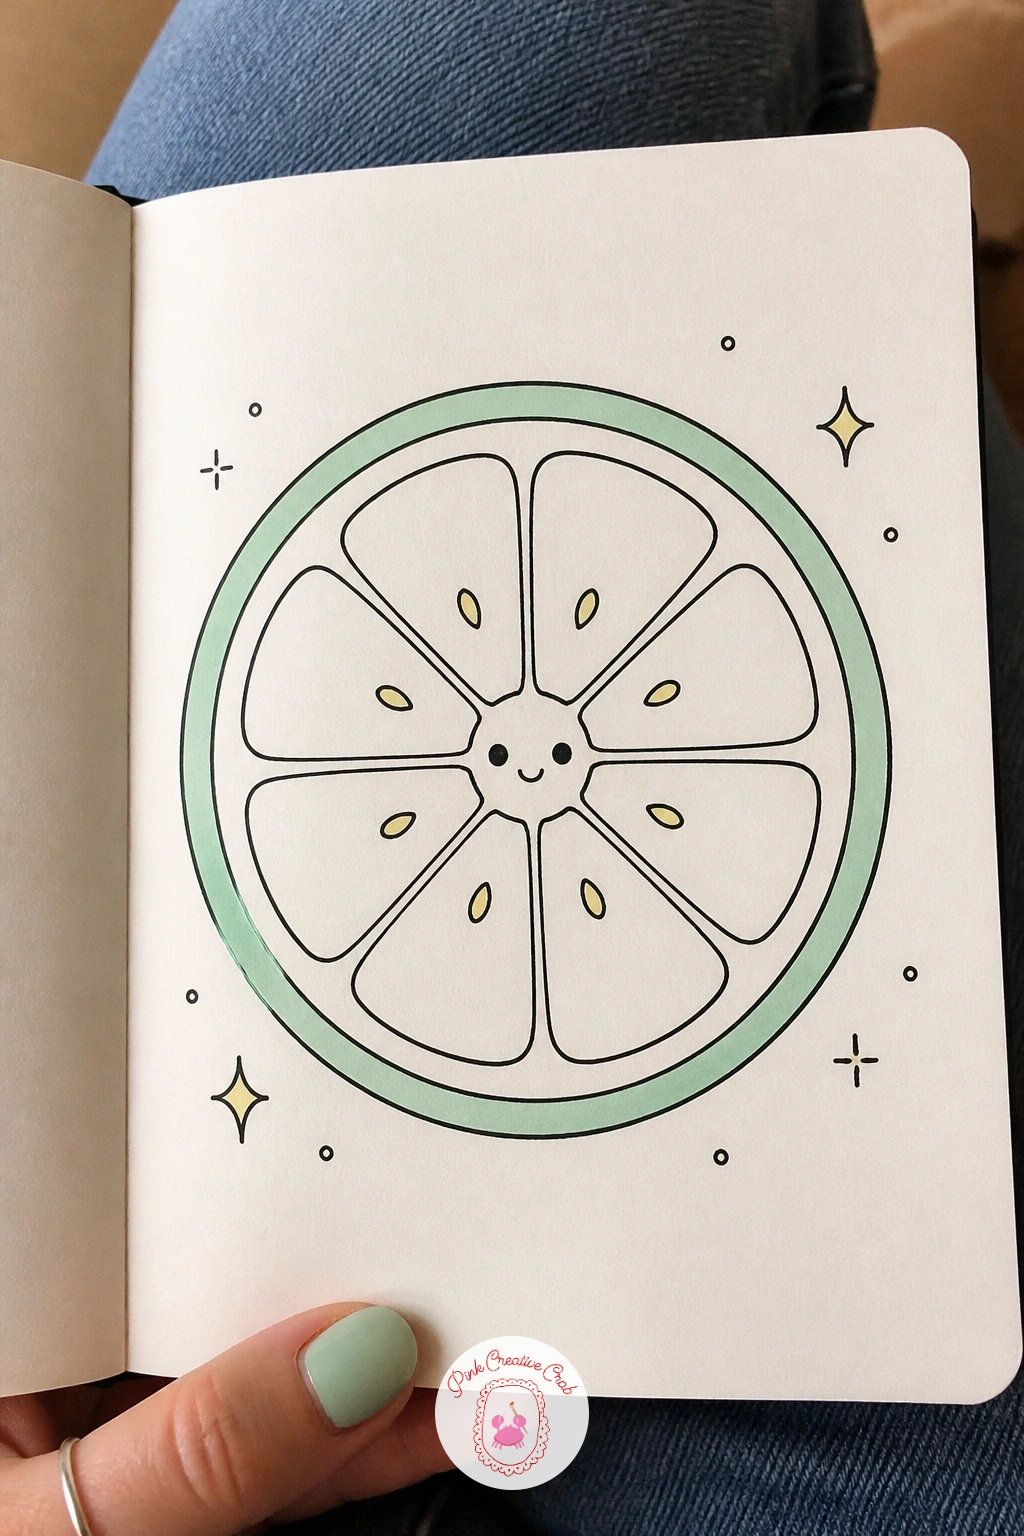
A lemon slice gives you concentric shapes to practise, which is a nice technical step up from the single outlines used so far. Draw an outer circle for the peel, then a slightly smaller inner circle for the flesh, and divide that inner circle into six or seven wedge segments radiating from the centre like a pie.
Place a simple face in the very centre where the wedges meet, keeping it small since that point is naturally the busiest part of the drawing. A few tiny seed shapes scattered inside two or three of the wedges add realistic detail without much extra effort.
Wedge lines are easiest to keep even if you lightly mark the centre point first, then draw each dividing line out to the inner circle’s edge one at a time, checking the spacing as you go rather than rushing through all of them at once. If the wedges come out uneven, it still reads fine, since real lemon segments are naturally a little irregular.
Colour the peel mint for a playful twist on the usual yellow, keeping the segmented flesh a pale cream to maximise contrast with the face.
Palette: Mint Green,Cream White,Soft Pink
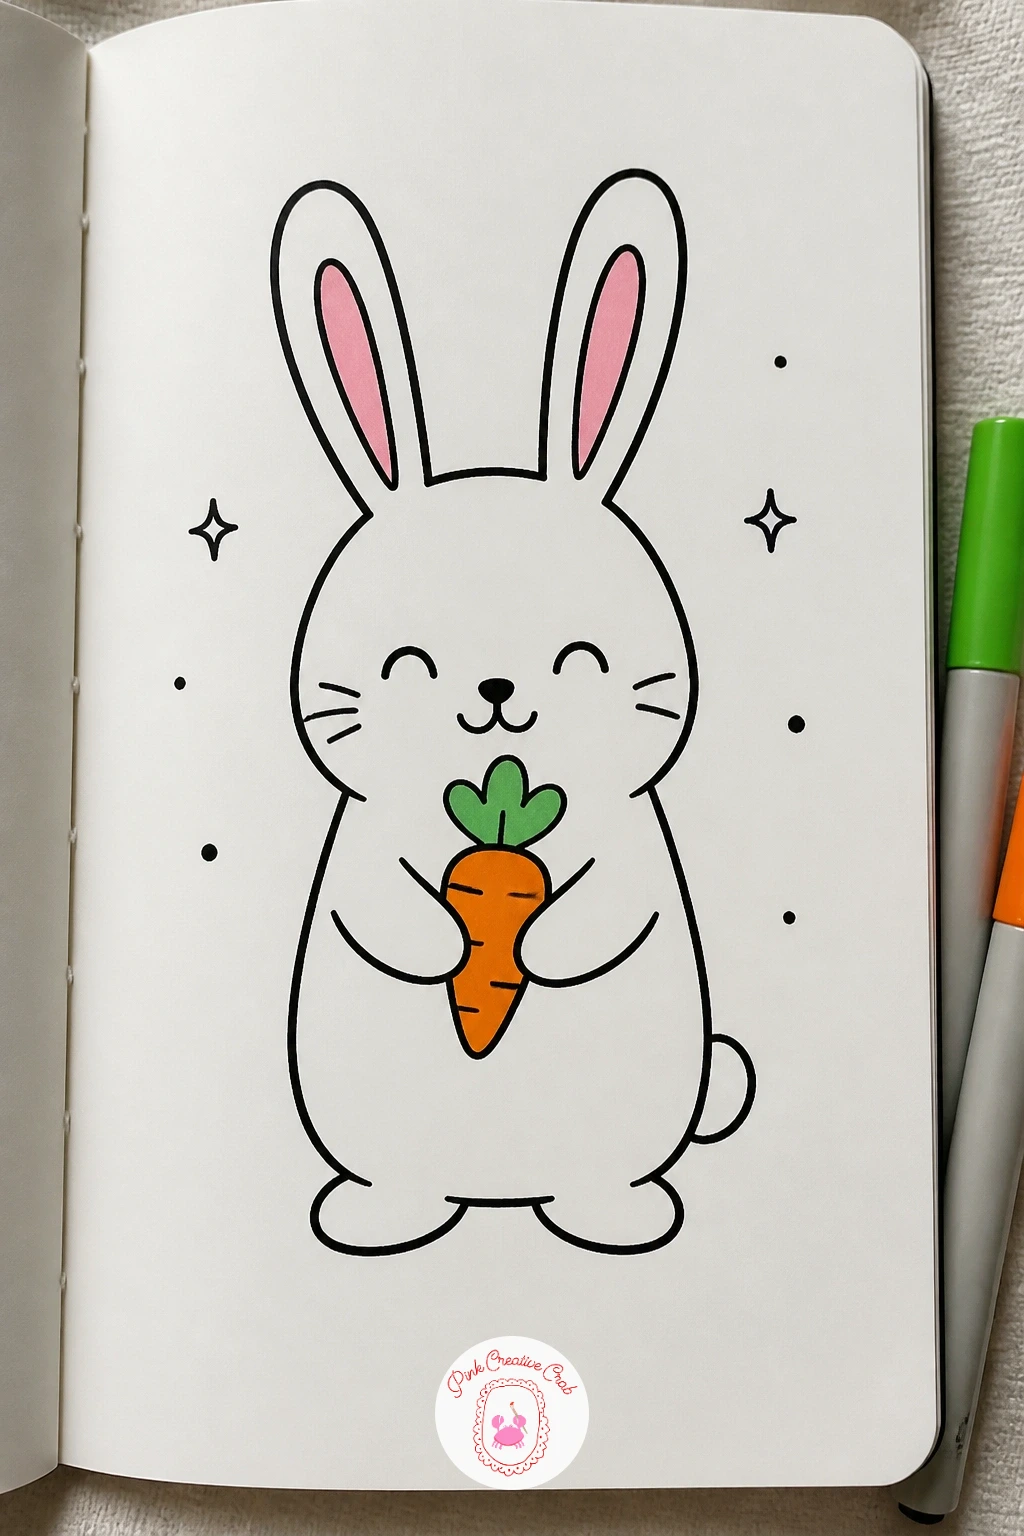
Bring back a bunny character, this time standing and holding a carrot rather than tucked inside a cup like earlier. Draw a simple rounded body with two long upright ears, a small round head, and two front paws held together in front of its chest, leaving a gap between them where the carrot will sit.
Draw the carrot as a simple elongated triangle with a leafy green top, placed so it rests between the bunny’s paws as though freshly picked. Keep the ears slightly different lengths or angles from each other rather than identical, which makes the pose feel more relaxed and natural.
The paws are the trickiest part to place correctly, so sketch the carrot shape first and then build the paw ovals around it, rather than drawing the paws first and trying to squeeze the carrot in afterward. If the ears end up too long and throw off the proportions, shorten them until they measure no more than the height of the bunny’s head and body combined.
One tip for today: give the bunny closed happy eyes rather than open ones, since a closed, contented expression suits this quiet little scene well.
Palette: Cream White,Mint Green,Soft Pink
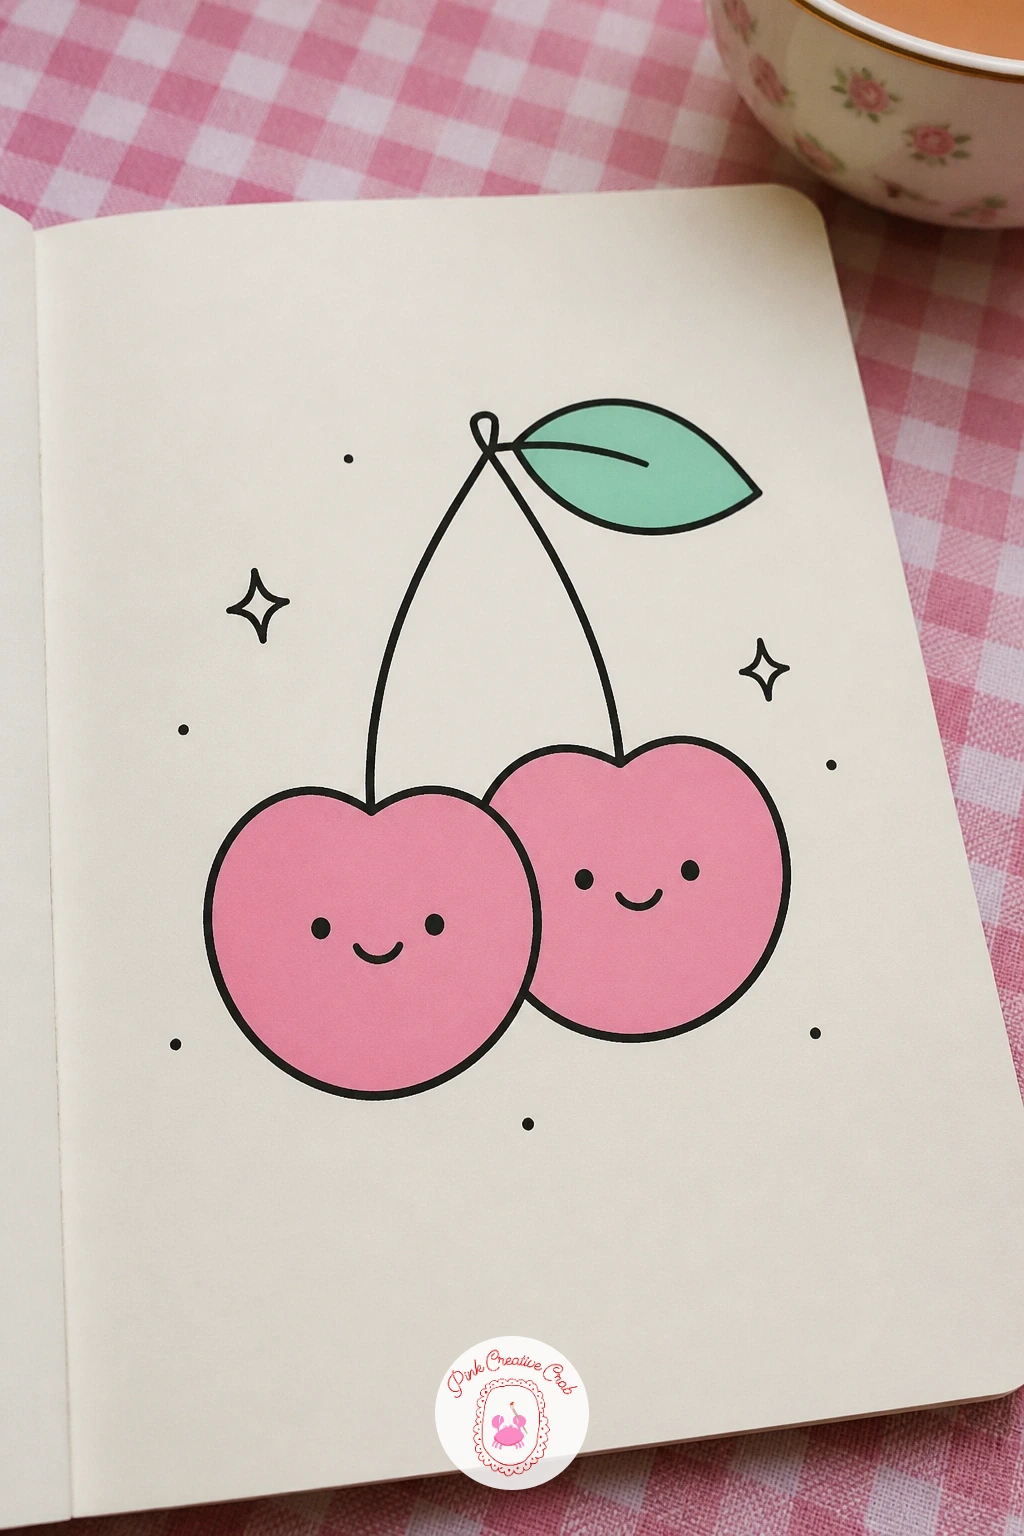
Two connected cherries make a quick, satisfying subject built almost entirely from circles and a single curved stem. Draw two overlapping circles of a similar size, then connect them both to a single curved stem line meeting at a point above, just like a real cherry pair hanging together.
Give each cherry its own small face, varying the expressions slightly between the two so they feel like a little duo rather than identical twins. A single small leaf at the stem’s top corner finishes the shape.
Circles that overlap evenly are easier to manage if you draw both outlines lightly in pencil first, checking that neither cherry dominates the other in size, before inking the final lines. If the stem curve looks stiff, redraw it with a slightly longer, looser swoop rather than a tight little hook.
Try varying the overlap amount next time, pulling the two cherries further apart or closer together, to see how much that single change shifts the whole composition’s feel.
Palette: Soft Pink,Mint Green,Cream White
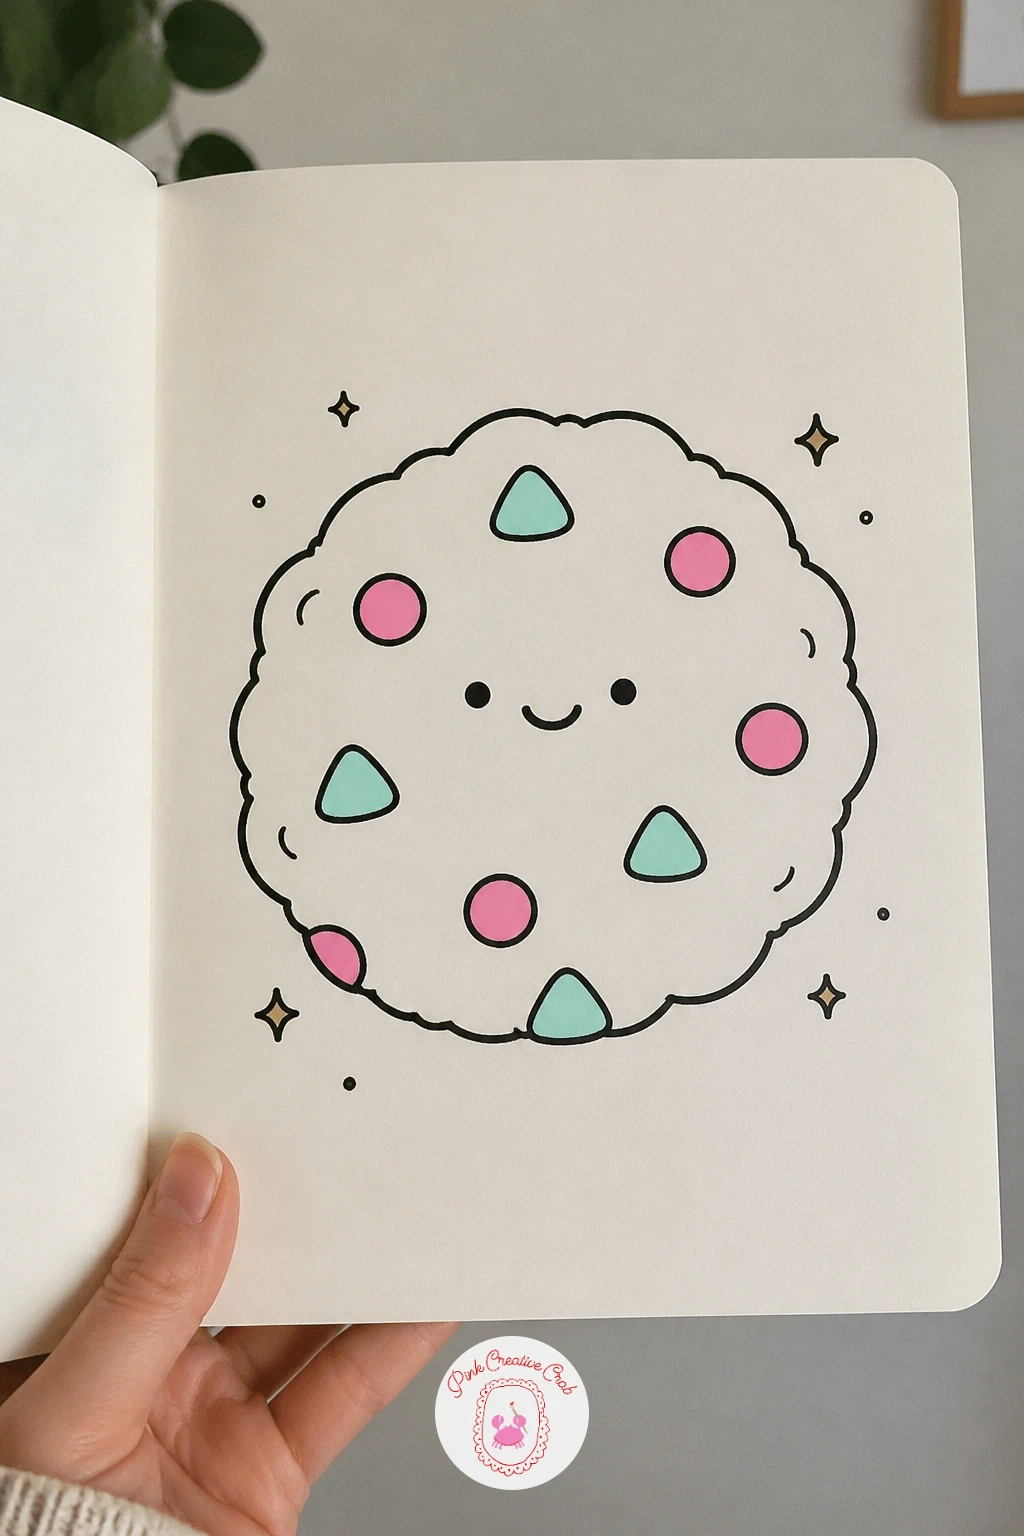
A smiling cookie is about as straightforward as this list gets, which makes it a good one to return to whenever you want something quick and reliable. Draw a slightly irregular circle outline, since a perfectly round cookie looks less convincing than one with a few gentle bumps along the edge.
Scatter a handful of small chocolate chip shapes across the surface, drawn as rounded teardrops rather than plain circles for a bit more texture, then add a simple smiling face in any open space between the chips. Keep the chips varied in size so the surface does not look too evenly patterned.
The bumpy outline is easiest to control if you draw it in several short overlapping curves rather than one long continuous line, which naturally produces that slightly imperfect, home-baked edge. If the chips end up crowding the face, clear a space for the features first before adding the rest of the chips around it.
Colour the cookie body a warm cream and fill the chips in pink or mint instead of brown, keeping the whole piece inside this pastel palette.
Palette: Cream White,Soft Pink,Mint Green
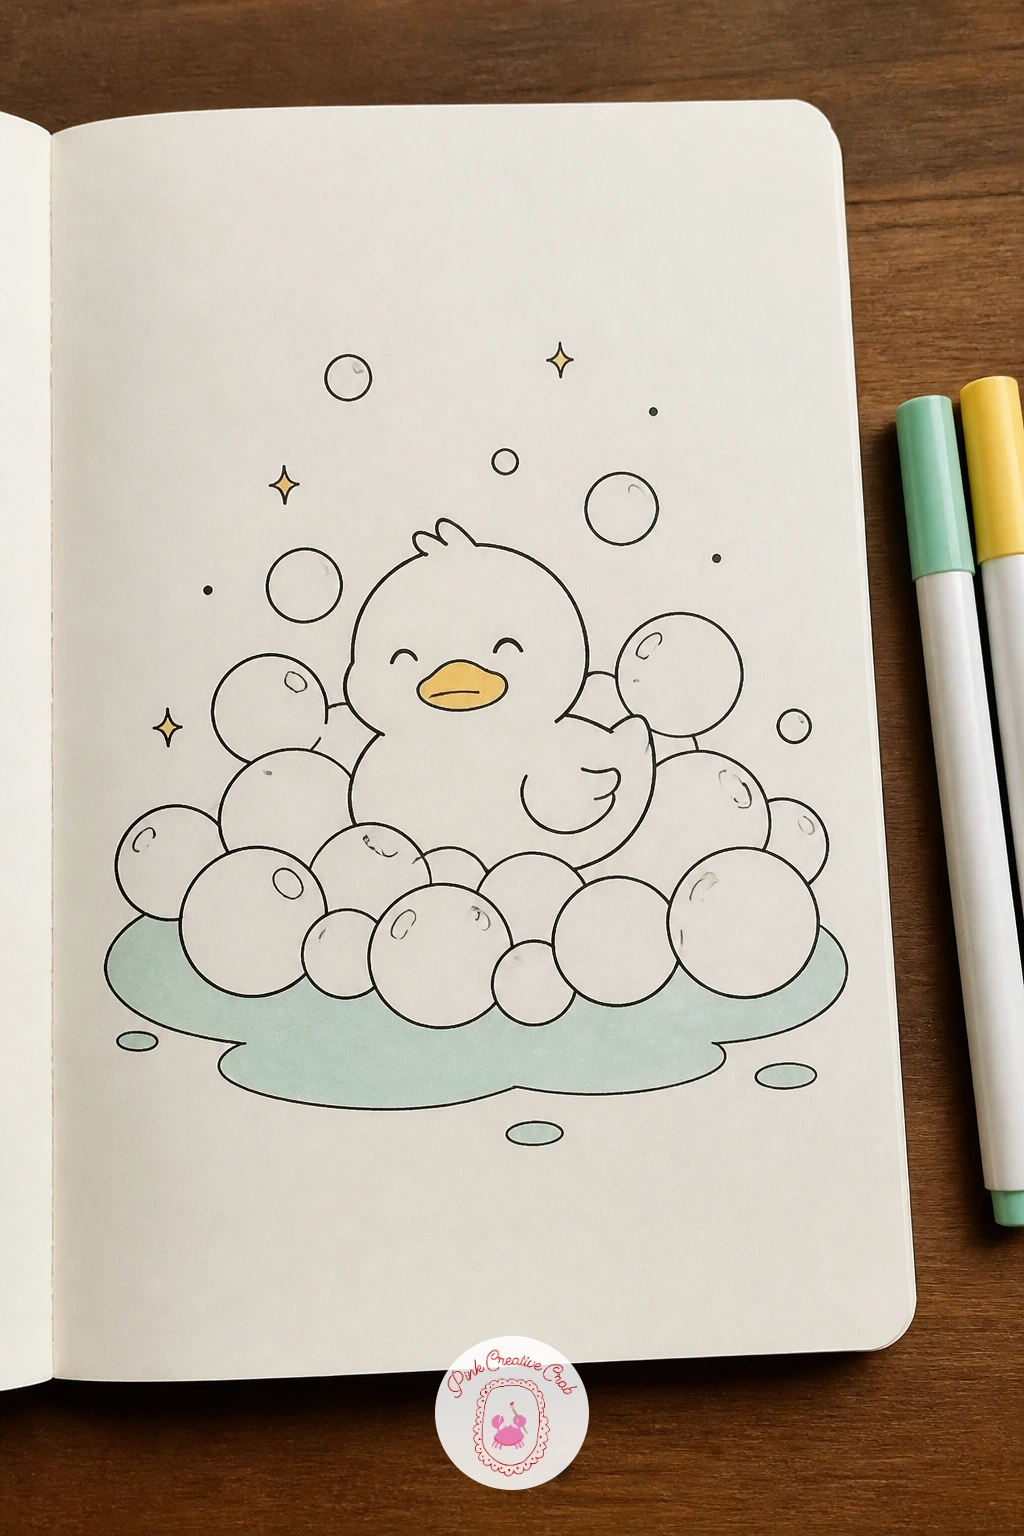
Build a small scene for this next one rather than a single object, pairing a rubber duck with a mound of bubbles. Draw a simple rounded duck shape first, a wide oval body with a smaller round head, a small triangle beak, and closed happy eyes, then surround its lower half with a cluster of overlapping bubble circles of varying sizes.
Keep the largest bubbles near the duck’s base and let them shrink in size as they drift upward and outward, which gives the pile a natural, airy feel rather than a flat wall of identical circles. One or two bubbles floating off on their own above the main pile add a nice finishing touch.
If the bubbles start looking too uniform, vary a few outlines into slightly flattened or stretched ovals instead of perfect circles. A light mint wash across only the lower bubbles, leaving the upper ones white, suggests water pooling at the base without needing any actual water line drawn in.
For more small character scenes built the same simple way, the ocean doodles list pairs nicely with this watery little moment.
Palette: Soft Pink,Mint Green,Cream White
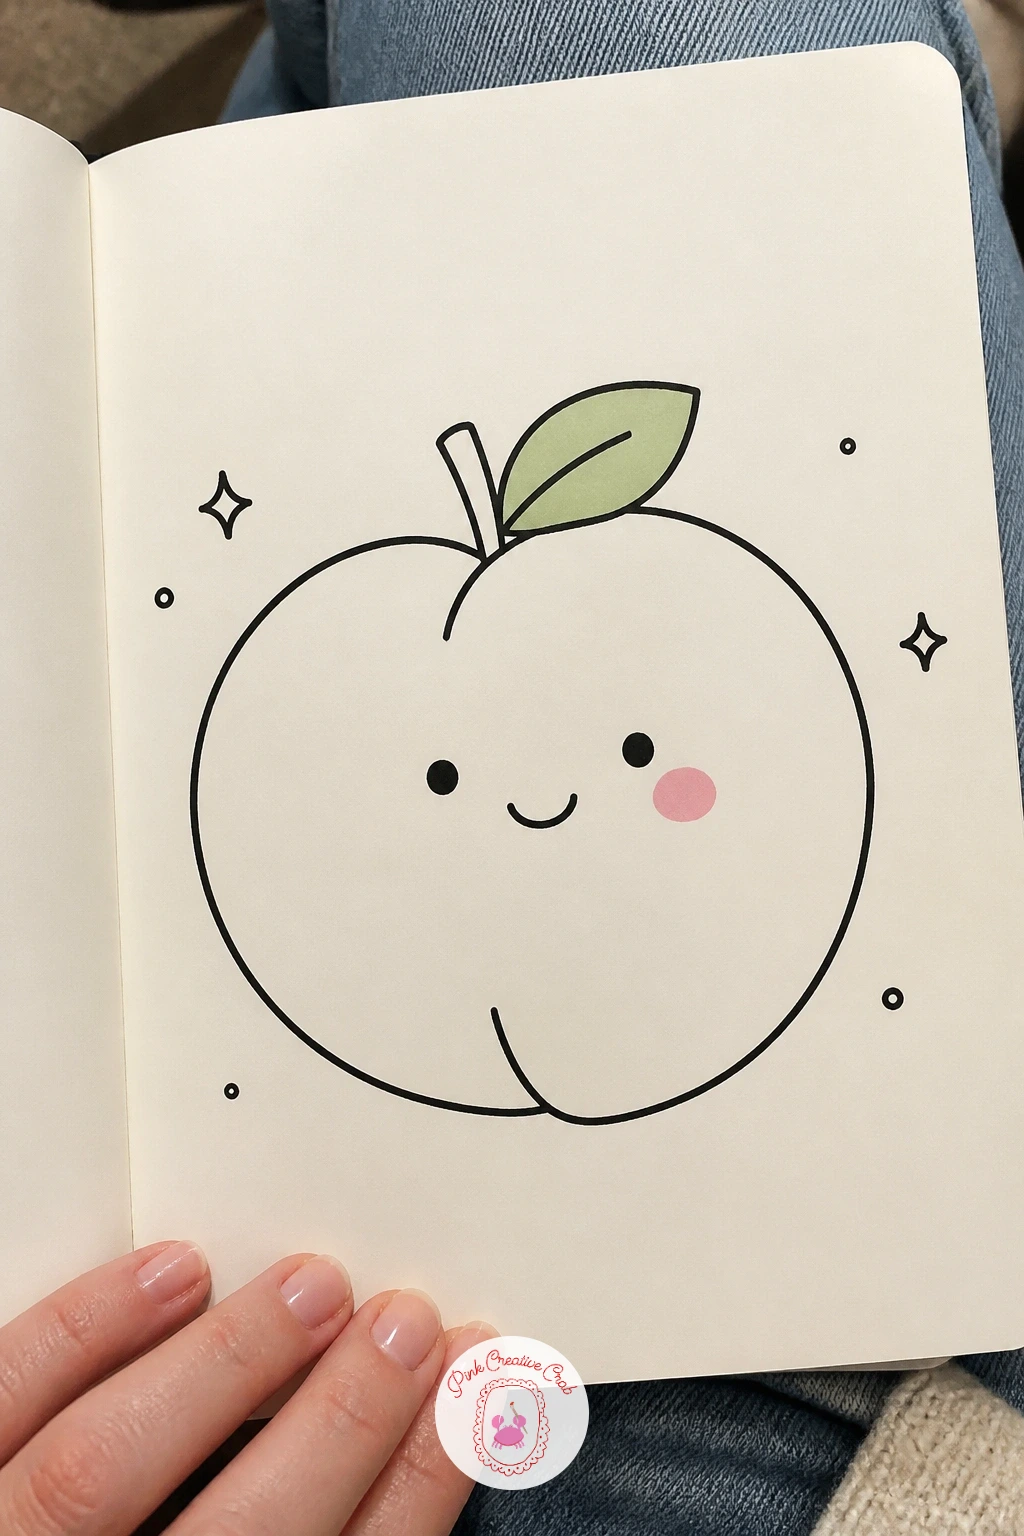
A happy peach uses the same rounded body shape as the earlier avocado but with a distinctive centre crease that gives it personality. Draw a plump circular shape first, then add one curved line running from top to bottom slightly off-centre to suggest the peach’s natural dip.
Place a small leaf and short stem at the top where the two lobes meet, then add a simple smiling face sitting on the larger of the two sides, keeping it a little off-centre to work with that dividing line rather than against it. A gentle pink blush gradient across the rounder cheek side finishes the fruit’s warm colouring.
The centre crease line is what makes this read as a peach rather than a plain circle, so keep that line soft and curved, never straight, and avoid making it so deep that it splits the shape into two obviously separate halves. If the blush gradient looks patchy, go over it with a second light layer once the first has dried rather than pressing harder the first time.
One tip for today: use a lighter pink for the main body and a deeper pink only for the blush, so the two tones stay clearly distinct.
Palette: Soft Pink,Mint Green,Cream White
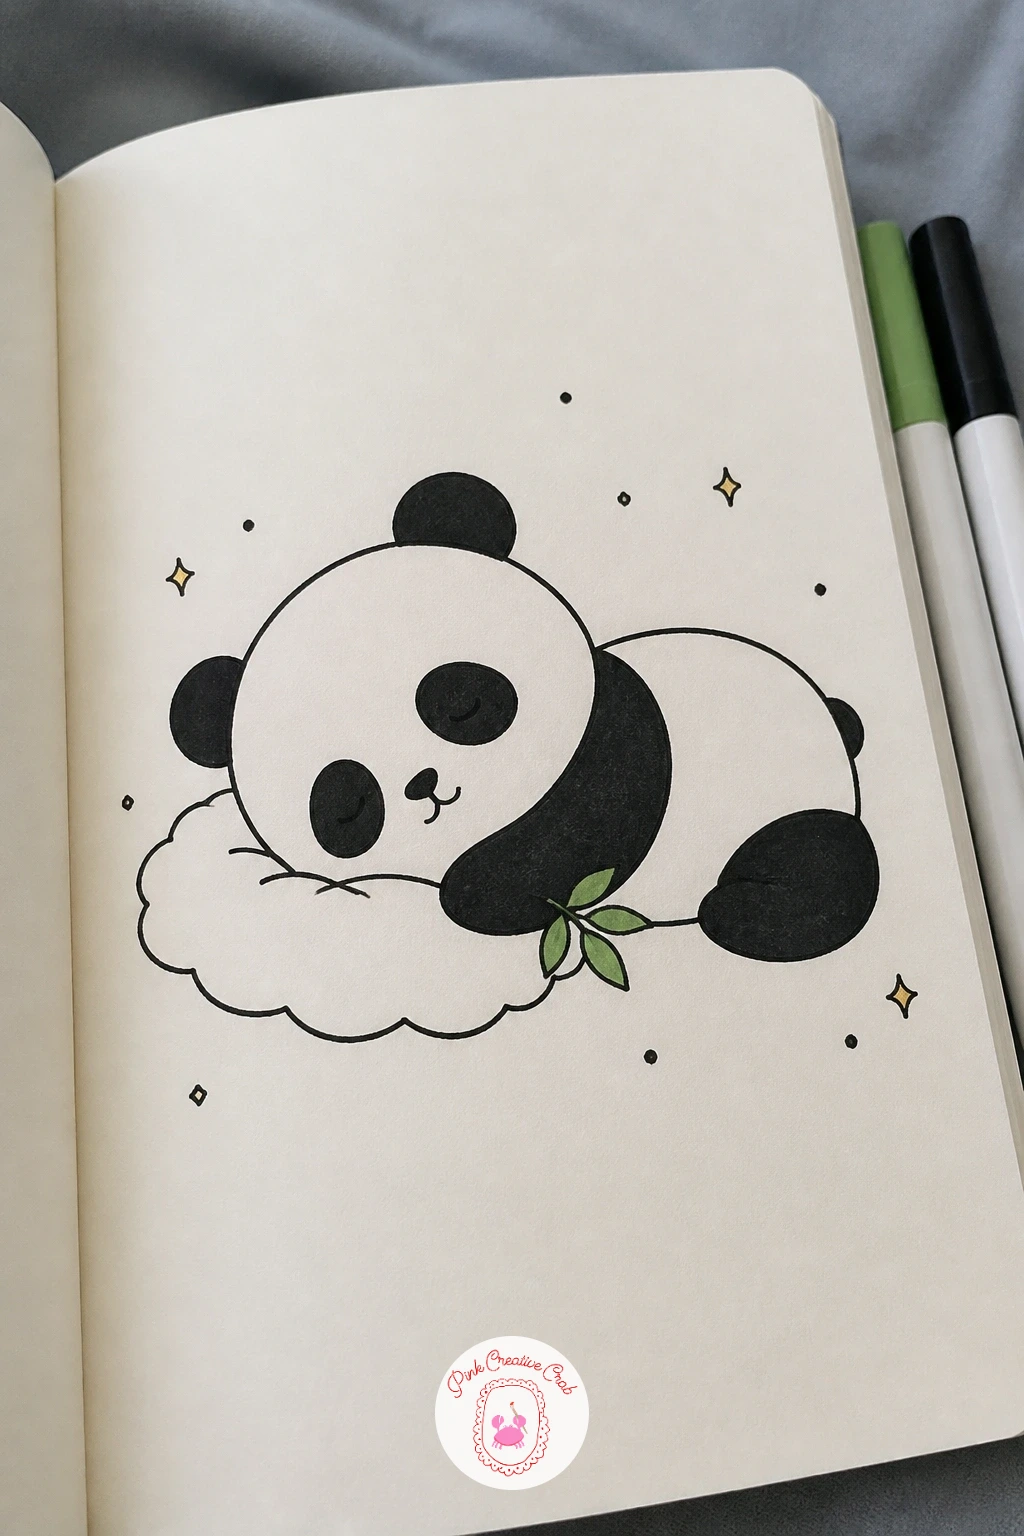
Close out the list with a sleepy panda resting on a pillow, a calm finishing subject that pulls together several shapes practised earlier: the rounded body of the mochi cat, the pillow from the sleeping star, and the soft closed eyes used throughout. Draw a simple rounded panda body first, add two round ears and the classic black eye patches, then place it lying on its side across a small rectangular pillow with a scalloped edge.
Keep the panda’s black patches, ears and simple limb shapes filled solid for strong contrast against the white body, since that strong black and white split is what makes a panda instantly recognisable even in a simple doodle. A small bamboo leaf resting nearby or tucked under one paw adds a nice familiar detail.
If the lying-down pose looks stiff, soften the back curve into a longer, more relaxed arc and let one paw rest loosely rather than at a sharp right angle. For a quicker ten-minute version, skip the pillow and bamboo leaf entirely and just draw the sleeping panda alone, then add both back in for a fuller forty-minute scene once you have time.
For more small sleepy animal scenes at this same gentle pace, the anime doodles list is a good place to keep exploring afterward.
Palette: Ink Black,Cream White,Mint Green,Soft Pink
What to Do Next
Pick one idea that made you smile on the way down this list, whether that is the smiling onigiri at the start or the sleepy panda at the end, and sketch it on plain or dot grid paper with your fineliner before adding pink and mint accents. Keep the first attempt small and loose, then try a second version once the shape feels familiar.
Frequently Asked Questions
What pens work best for kawaii doodles?
A black fineliner in a fine tip, around 0.3 to 0.5, gives clean confident outlines for kawaii doodles. Pastel pink and mint markers or coloured pencils fill in small accent areas, so you do not need a large marker set to get started.
Do I need to know how to draw to try kawaii doodles?
No, kawaii doodles rely on simple rounded shapes rather than realistic drawing skill. Circles, teardrops and soft triangles combined with a basic smiling face cover most of the subjects on this list, so steady, confident lines matter more than fine art training.
How do I make my doodles look more kawaii?
Keep eyes large, simple and placed slightly below centre on rounded, soft-edged shapes with few sharp corners. Small blush circles under the eyes and a closed curved smile or tiny open mouth add most of the charm with very little extra drawing.
What paper should I use for kawaii doodles?
Plain or dot grid paper in a sketchbook works well, since dots help keep small shapes even without showing through finished lines. Choose paper heavy enough to handle light marker colour without bleeding through to the next page.
How long does each kawaii doodle take to finish?
Most of these ideas take between ten and twenty minutes once you are comfortable with the shapes. Simple single subjects finish fastest, while small group scenes or paired characters take a little longer to balance and colour.
Have any thoughts?
Share your reaction or leave a quick response — we’d love to hear what you think!
-
 0
-
0
-
0
-
0
-
0
-
0


