

Princess drawings do not have to mean a castle silhouette and a wand. Give your princess a basket of groceries, a laundry line, or a baby dragon on a lead, and suddenly she feels like someone you know, crown and all. That little mismatch between the gown and the chore is the whole joke, and it is what makes these so fun to draw with a child or on your own.
Below are 28 ordinary moments for an entirely original princess, each one built for colored pencil and finishable in a single sitting. Every idea has a simple version for small hands and a small extra for anyone who wants to push the shading or the scene a little further.
Using these images: free for personal projects such as printing, coloring, cards, journals and gifts. Handmade items that include them may be sold up to 30 pieces per design. More than that is commercial use and is not permitted, and neither is selling or sharing the images themselves or passing them off as your own. Please ask before any other use.
Start with a princess grocery shopping, because it is the easiest way to show off a gown without drawing a full body in motion. Sketch her standing still, basket hooked over one arm, crown slightly crooked, and let the bags of carrots and a long baguette poking out of the basket do the storytelling.
Draw the triangle of the skirt first, then the oval head and a simple crown on top, before adding the basket last so it overlaps the skirt naturally. If the proportions feel off, measure the skirt as about three head heights tall before you commit to the arms, that one ratio keeps her from looking squashed or too tall.
If this is your first time shading a gown, block in one light base color first and only then layer a second shade into the folds, working from the waist down. Swap colored pencil for crayon if that is what is on hand, the waxy layering still works for the basic blocks of color.
Kids can keep the dress one flat color and a plain basket. An adult version can add a second layer of shading along the skirt folds and a few tiny labels on the grocery bags.
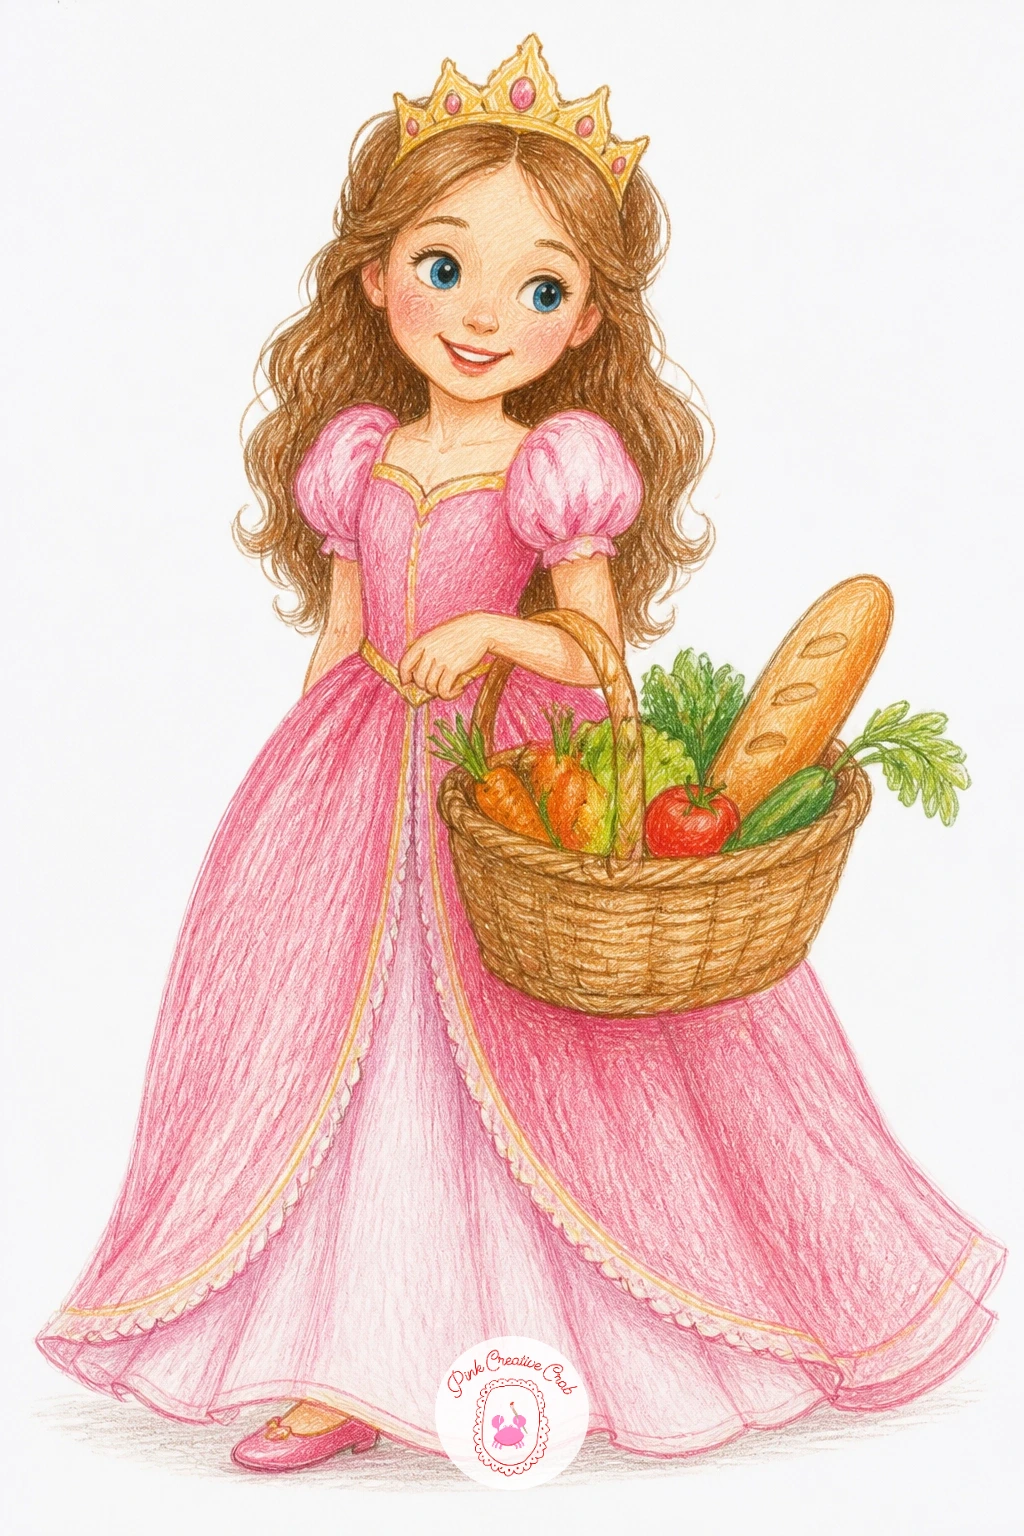
Palette: Blush Pink,Goldenrod,Moss Green,Warm Beige
Move from the market basket to a laundry line, where a princess pins up her own gowns between two posts like anyone else. This one is really an exercise in eye level: keep the horizon low, around her waist, so the line of hanging dresses stretches above her and reads as a proper washing day rather than a pile on the ground.
Draw her torso and raised arm first, pin held up to the line, then build the hanging clothes as simple rectangles and triangles clipped along a single curved line. Light from one side matters here too, since it lets you leave one side of each hanging gown paler and shade the other, which gives the fabric some weight instead of looking flat and paper thin.
The line itself tends to go wobbly, so lightly sketch it with a ruler edge in pencil before you ink or color anything on top. No ruler on hand, trace along the edge of a book instead.
Children can hang two simple dresses on the line. Older artists can add a third piece, like a tiny crown shaped pincushion, and shade the shadows the clothes cast on the grass below.
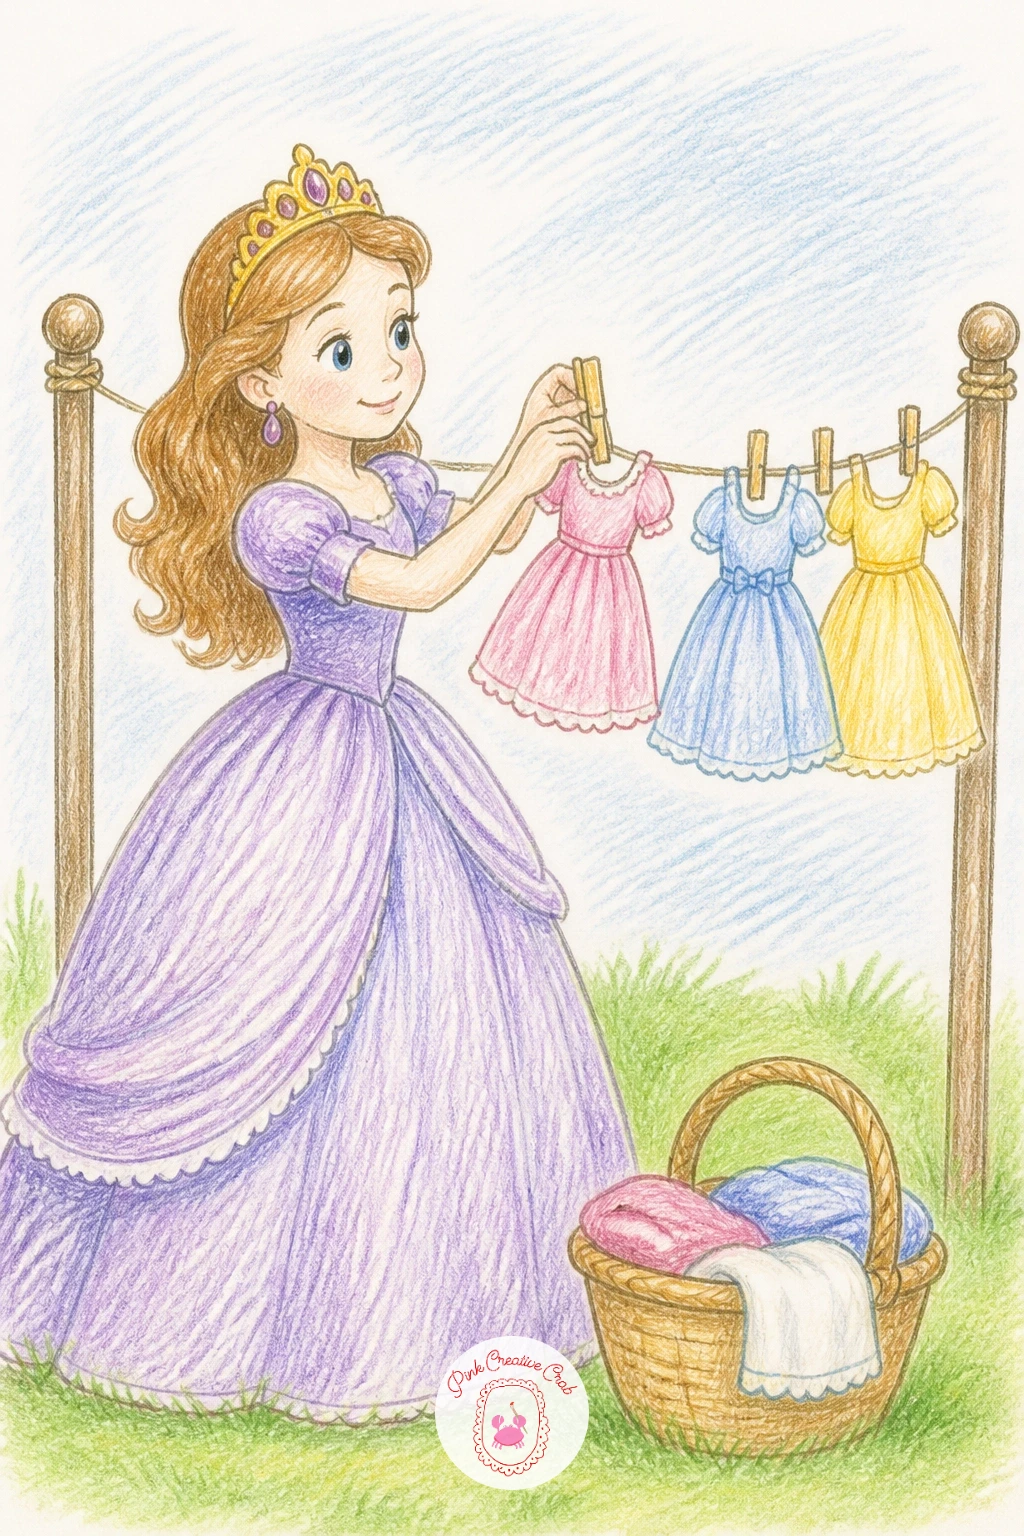
Palette: Sky Blue,Lavender,Soft Yellow,Grass Green
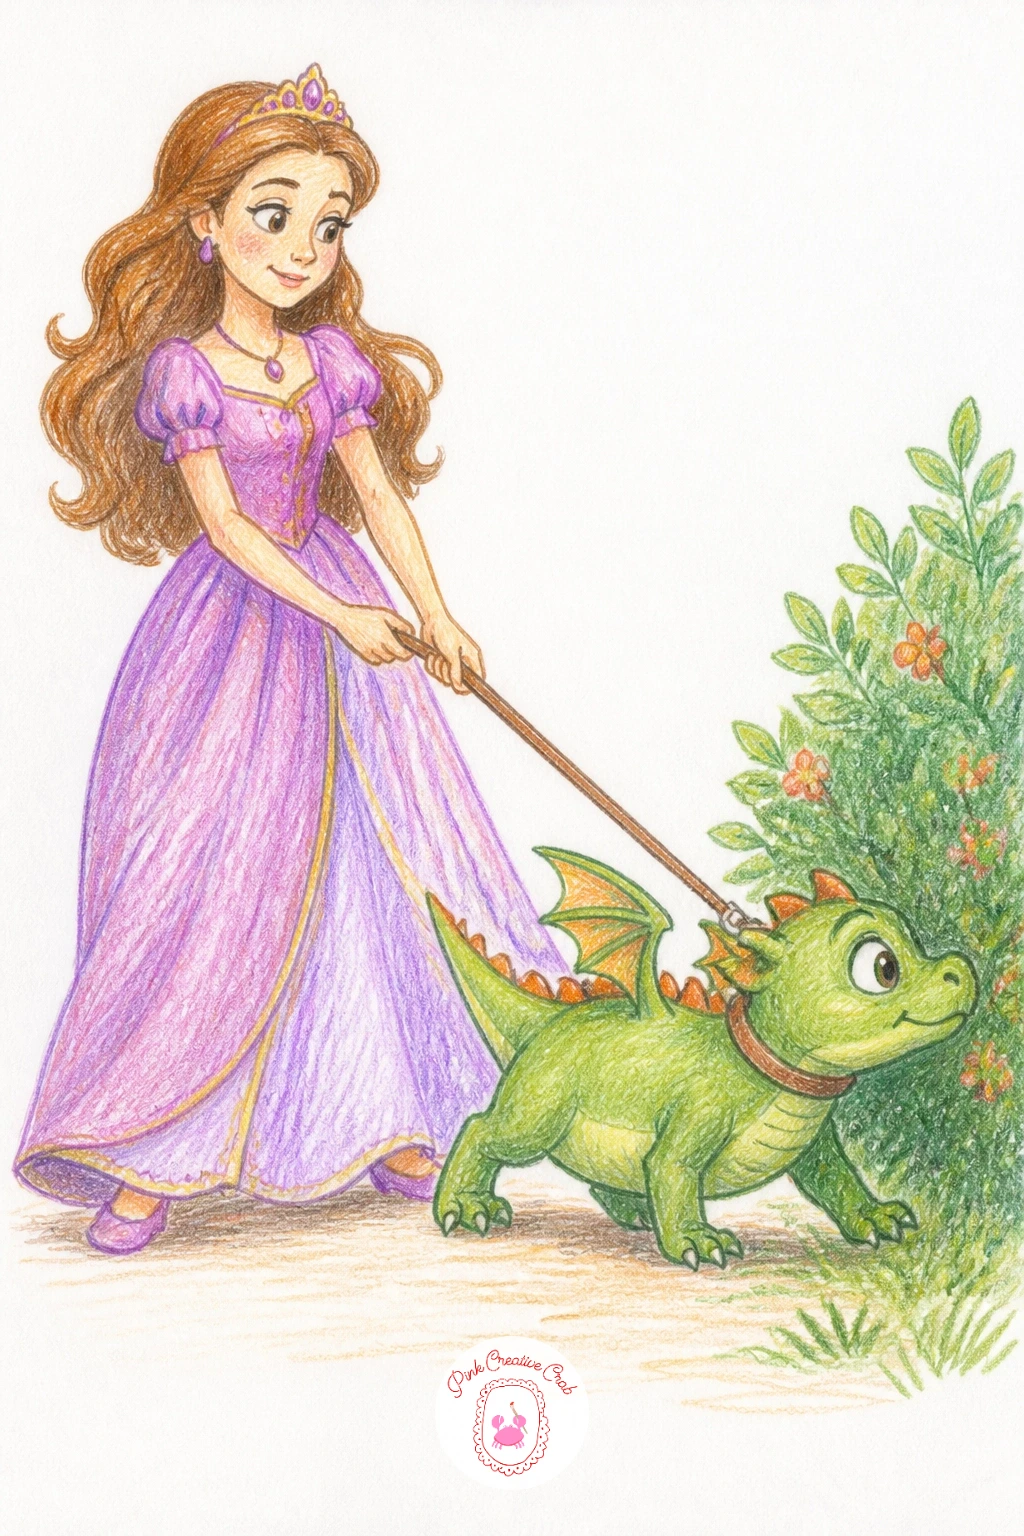
After the washing line, give her something livelier to manage: a princess walking her baby dragon on a leash like an overgrown puppy that has not learned to heel yet. The dragon should be small, round, and clearly more interested in a bush than in walking properly, which is most of the humor in this one.
Draw the princess upright and calm first, then the dragon low and stretched toward the leash’s full length, tail curling behind it. This is the texture idea, so once the basic shapes are down, use short dry strokes of green and gold pencil over the dragon’s back for little scale bumps, and a kneaded eraser to lift tiny pale highlights along its spine.
The leash line often ends up too straight and stiff, so let it sag slightly in the middle like a real leash does. If a kneaded eraser is not available, a rolled bit of plain eraser does the same lifting job in a pinch.
Simplify the dragon to a smooth round shape for younger artists. Adults can add the scale texture and a thin curl of smoke from its nostrils.
You Will Need
- kneaded eraser
Palette: Emerald Green,Burnt Orange,Lilac,Soft Cream
Look at a photo of a puppy pulling on its lead for the pose, the dragon’s stretched neck and dug-in feet work exactly the same way.
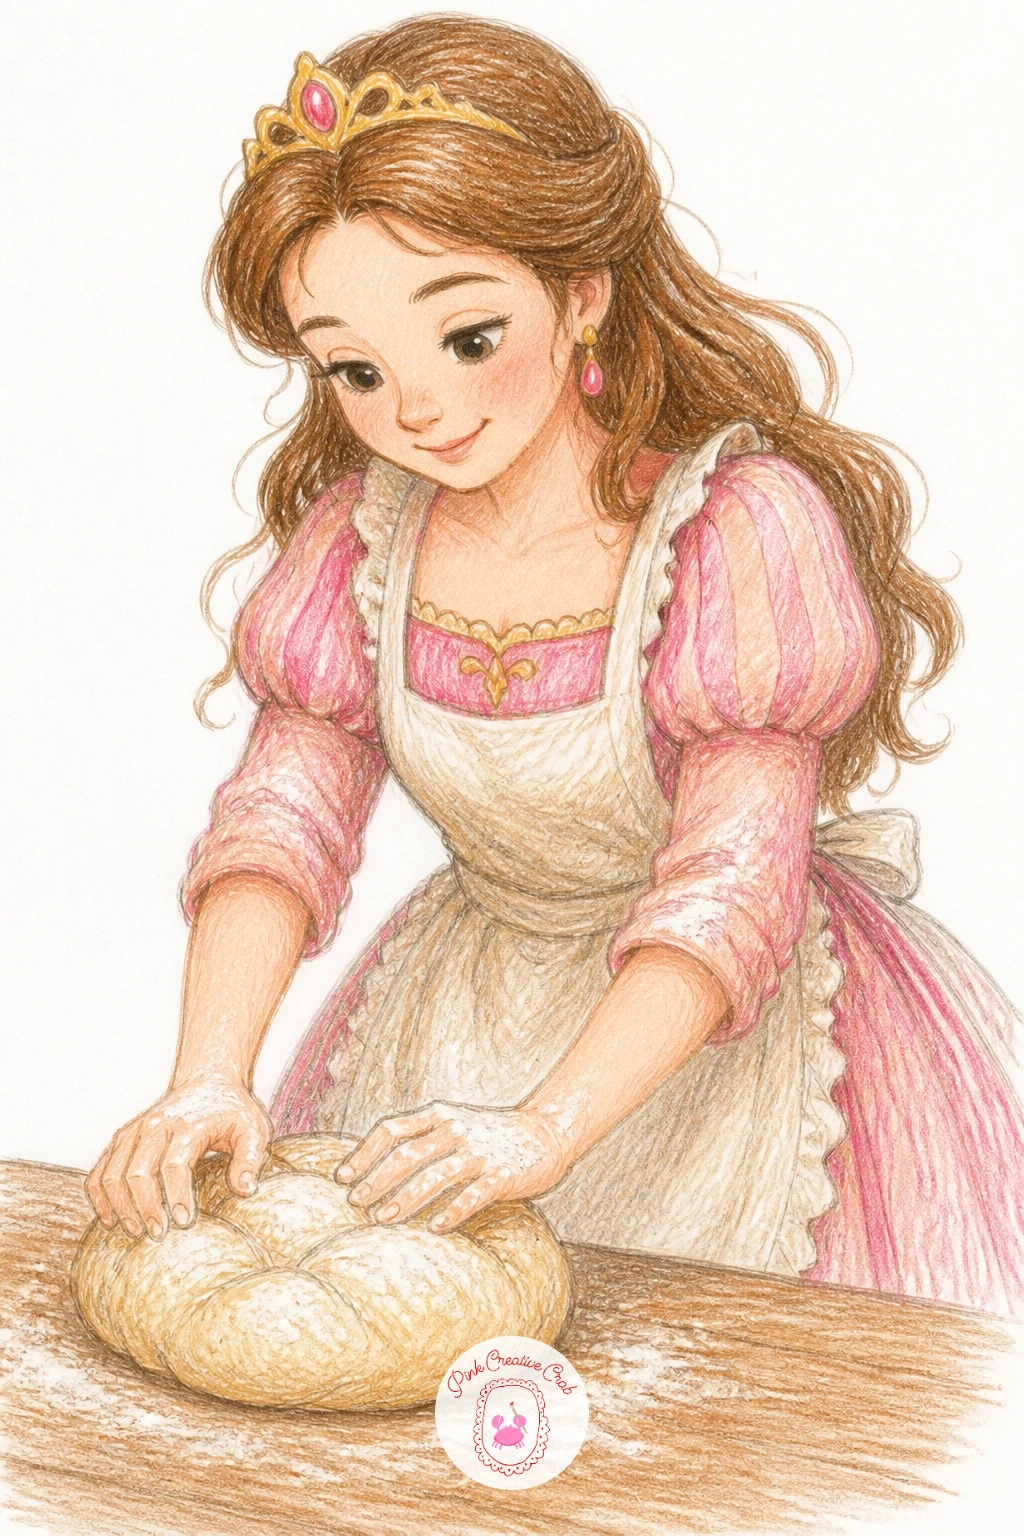
From a dragon on a leash to something calmer: a princess baking bread, apron tied loosely over her gown, flour dusted on her hands. The rolling pin and the loaf give you two simple shapes to anchor the whole drawing around her.
Sketch the apron shape over the gown first so the two layers read clearly, then add the rolling pin under one hand and a round loaf or braided bread shape on the table. Work the shading on the bread last, going darker at the edges of each bump so it looks baked rather than flat and pale all over.
Flour dust is the forgiving trick here: a few white gel pen specks scattered over her apron and the table hide any wobbly linework underneath and instantly read as “baking in progress.” If you do not own a white gel pen, a tiny bit of white colored pencil pressed firmly does almost the same job.
Kids can keep it to one round loaf and a plain apron. Adults might add a second loaf cooling on a rack and a light golden crumb texture across the bread’s surface.
You Will Need
- white gel pen
Palette: Warm Brown,Cream White,Dusty Rose,Flour White
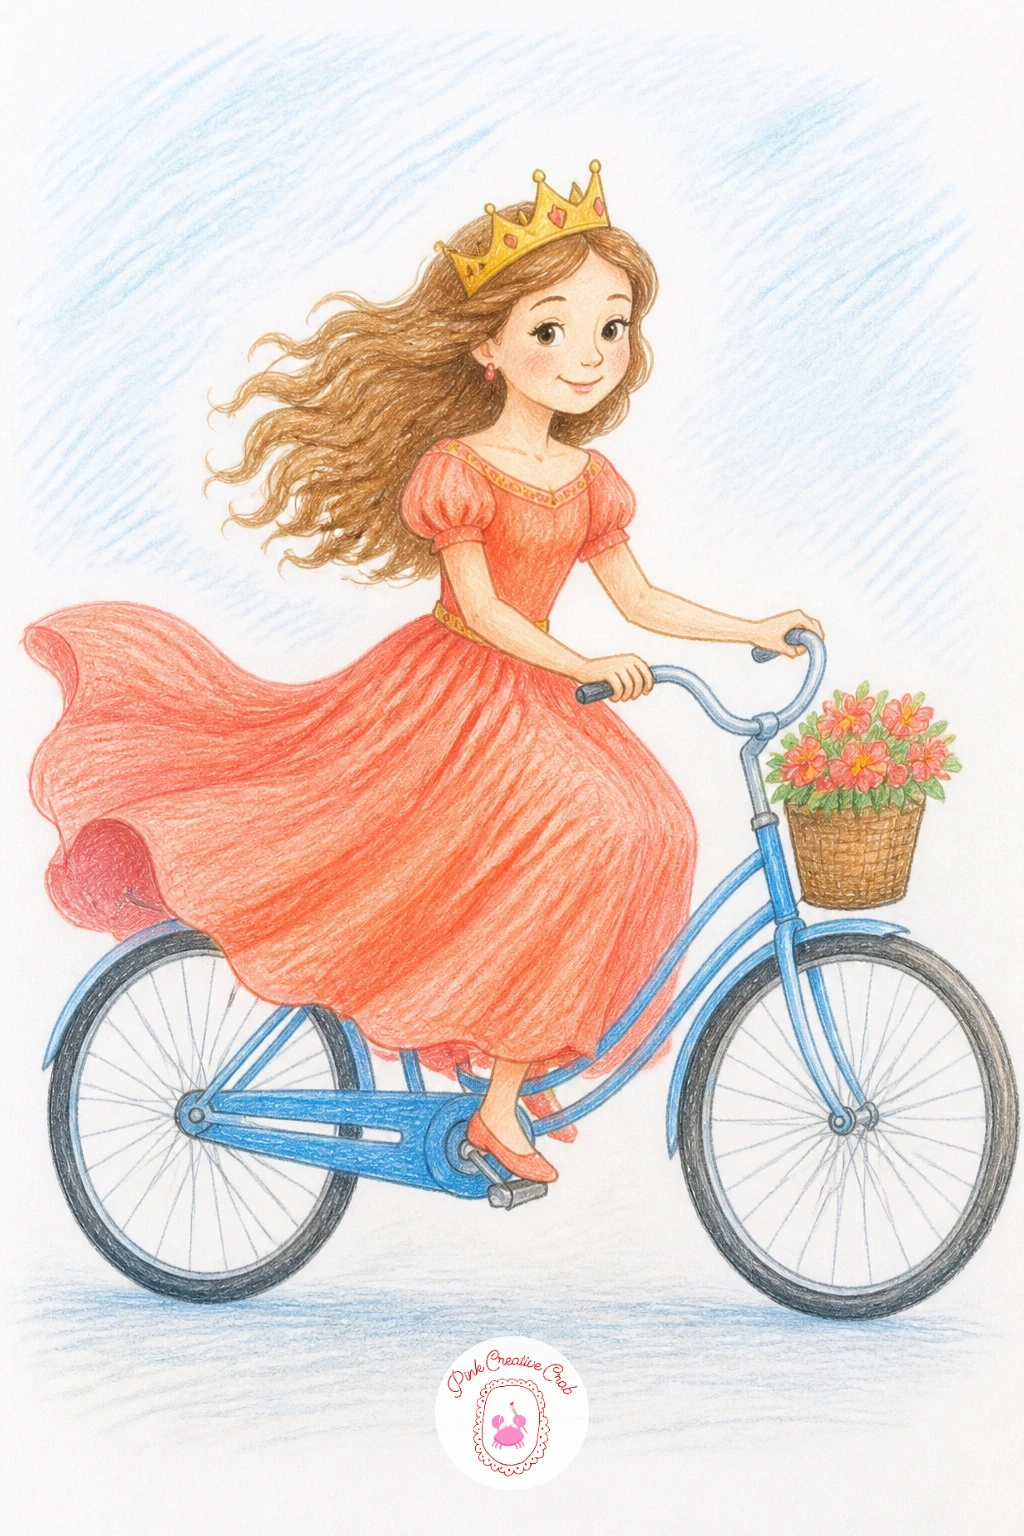
Give the baker a reason to get outside and put her on a bicycle, gown billowing sideways and crown somehow still balanced. This one lives or dies on the wheels, so trace two circles of the same size with a cup or a coin before you draw anything else, and keep them level on the same baseline.
Build the bicycle frame between the two wheels first, then sketch her seated body over it, skirt flaring out to one side as if caught mid pedal. Let the flying hem of the gown trail off the page edge a little, which does more to suggest speed than any motion lines you could add.
The front wheel often ends up smaller than the back one by accident, so check them against each other before you ink. No coin or cup handy, trace around the rim of a glass instead.
Younger artists can draw the bike stationary with her sitting upright. Adults can tilt the whole bicycle slightly and add a streaming ribbon from her crown for extra motion.
You Will Need
- small plate or cup to trace circles
Palette: Coral Pink,Steel Grey,Sunny Yellow,Sky Blue
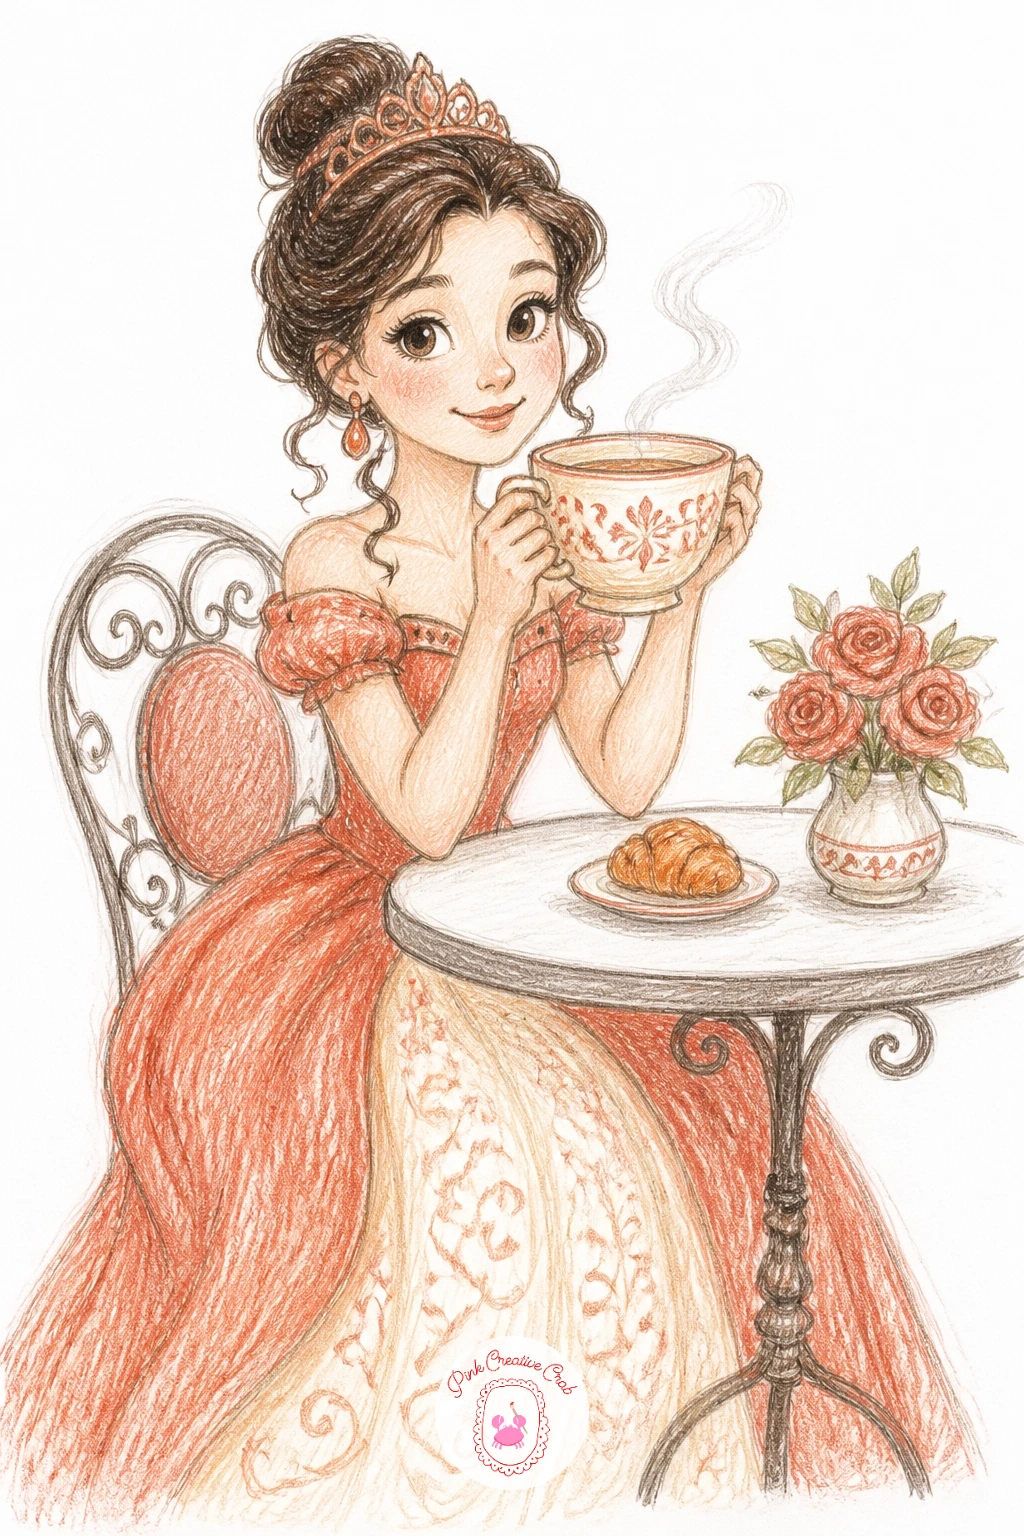
After all that pedaling, she has earned a seat at a cafe table with a cup of something warm. Keep the whole scene to three simple shapes: the round table, her seated figure, and one oversized teacup so the humor of royal scale sits right there on the saucer.
Draw the table and chair first as light ovals and rectangles, then place her sitting figure on top, one hand curled around the cup’s handle. Steam rising from the cup is the one extra touch worth adding, a few loose curved lines in a pale grey pencil drifting upward and fading as they rise.
Hands holding cups are notoriously fiddly, so if fingers look like sausages, simplify to a soft closed fist shape around the handle instead of drawing each finger. A mug shape swapped in for the teacup works just as well if teacups feel too fussy to draw.
Kids can leave the table bare apart from the cup. Adults can add a small pastry on a plate and a folded napkin with a tiny crown stitched on it.
Palette: Terracotta,Cream,Dusty Blue,Soft Brown
From the cafe table to the garden bed, where a princess kneels in the dirt with a trowel, gloves clearly too big and a smudge of soil on one cheek. This is the idea to try eye level on: kneel the viewpoint down low with her, roughly at her shoulder height, so the flower bed rises up in front rather than lying flat underneath her like a map.
Sketch her kneeling body first, weight tipped forward over the trowel, then build the flower bed as a loose row of overlapping round blooms in front of her knees, biggest ones closest to the bottom of the page. That low eye level also means the light source should sit up and to one side, throwing a soft shadow across the flowers nearest her hands.
Kneeling figures often come out with legs too long, so shorten the lower leg by about a third once it disappears behind the flower bed. No trowel reference handy, a kitchen spoon shape works as a stand in shape.
Children can draw a simple row of round flowers. Adults can vary the bed with a mix of flower shapes and add one watering can tipped beside her knee.
Palette: Moss Green,Rose Pink,Earth Brown,Buttercup Yellow
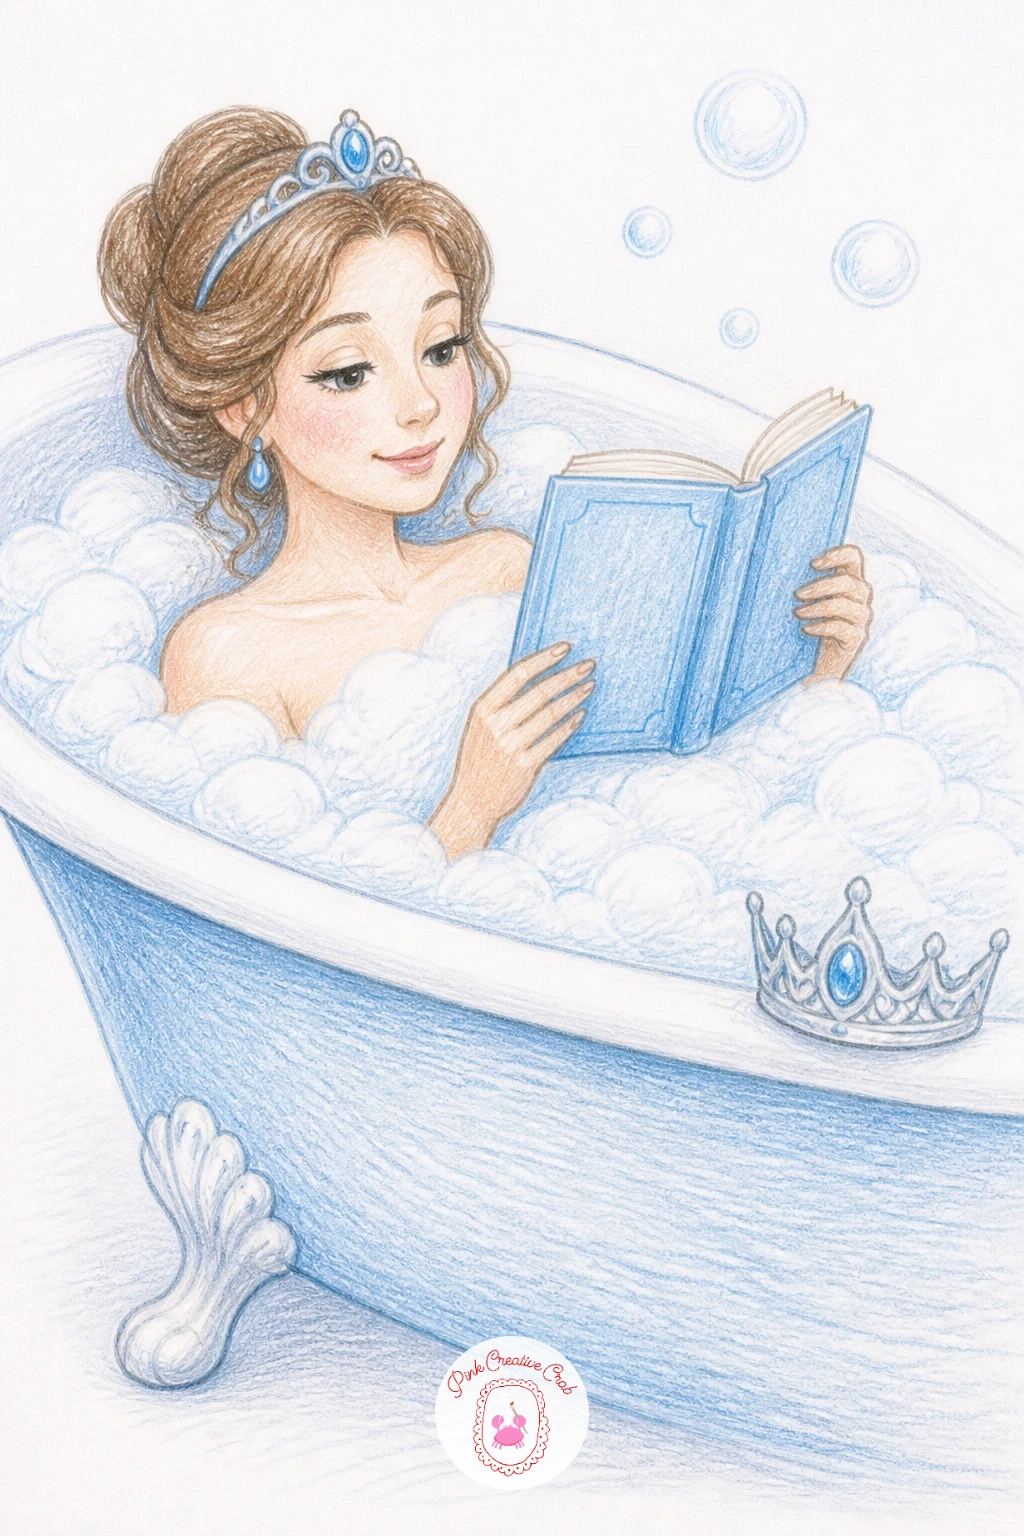
Trade the garden soil for bubbles and give the princess a book she refuses to put down even in the bath. Keep the tub a simple curved rectangle and let bubbles pile up around her shoulders so you barely have to draw the water itself.
Start with the curved tub shape, then her shoulders and head poking above the bubble line, book held up out of the suds in both hands. Build the bubbles last as a cluster of overlapping circles of different sizes, leaving tiny uncolored gaps between them so they read as light and foamy rather than one solid blob.
If the open book ends up looking like a flat triangle, round the top edge slightly where the pages fan out, that small curve is what sells it as a book and not a paper hat. A rubber duck swapped in beside the tub works as a fun substitute prop if bubbles feel fiddly to draw.
Kids can draw just a few round bubbles. Adults can layer the bubbles in two tones of white and pale blue for more dimension and add her crown resting on the tub’s edge.
Palette: Pale Blue,Soft White,Peach,Rose Pink
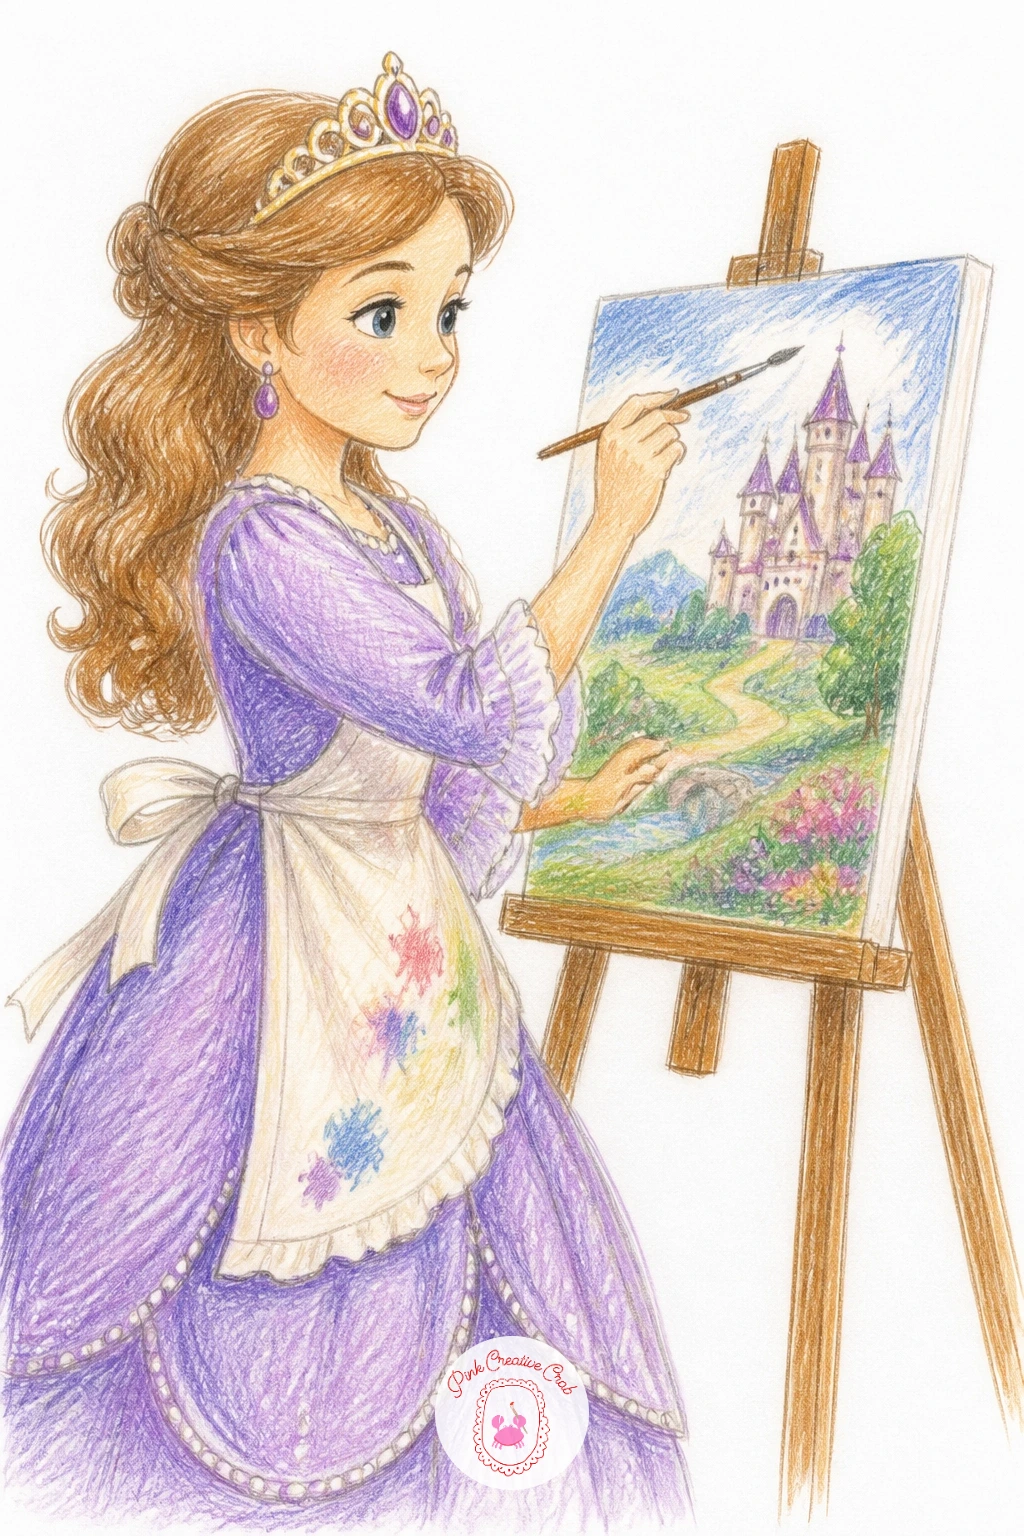
Let the princess who loves books also love paint, standing at a small easel with a brush in hand and a smock thrown over her gown. This is a good one for the quick versus slower version: in ten minutes you can block in her figure, the easel frame, and one loose colorful shape on the canvas to suggest a painting in progress.
Give the forty minute version more time on the canvas itself, actually sketching a tiny scene within the scene, maybe a sun or a flower she is painting, so the drawing has a picture inside the picture. Start with the easel legs as three simple lines meeting at a point, then her standing figure beside it, brush raised toward the canvas last.
The easel legs tend to look like they would tip over, so widen the stance at the bottom more than feels natural at first glance. No easel reference on hand, picture a simple capital A shape and build from there.
Children can paint one flat color shape on the tiny canvas. Adults can add a palette of paint dabs on her other hand and smock splatters in a few bright colors.
Palette: Lavender,Canary Yellow,Sky Blue,Brown
Move indoors to the throne room, where the real ruler of the castle turns out to be the cat curled in her lap. Draw the throne first as a tall simple chair shape with a curved back, then her seated figure settled into it, before the cat gets dropped on top of her lap last, since it should look like it claimed the seat rather than being placed carefully.
For texture, work the cat’s fur with short light pencil strokes going in the direction the fur would actually lie, rather than one flat gray shape, and use the eraser to lift a few pale highlight strokes along its back where light catches it. That small bit of stroke direction is what separates a cat from a gray blob with ears.
If the throne looks too plain, add two simple curved armrests and a few jewel shapes along the top rather than elaborate carving, which gets fussy fast at this size. A dog curled in her lap works just as well if cats are not the vibe today.
Kids can keep the cat a simple round shape with triangle ears. Adults can add the stroke textured fur and a patterned cushion under her.
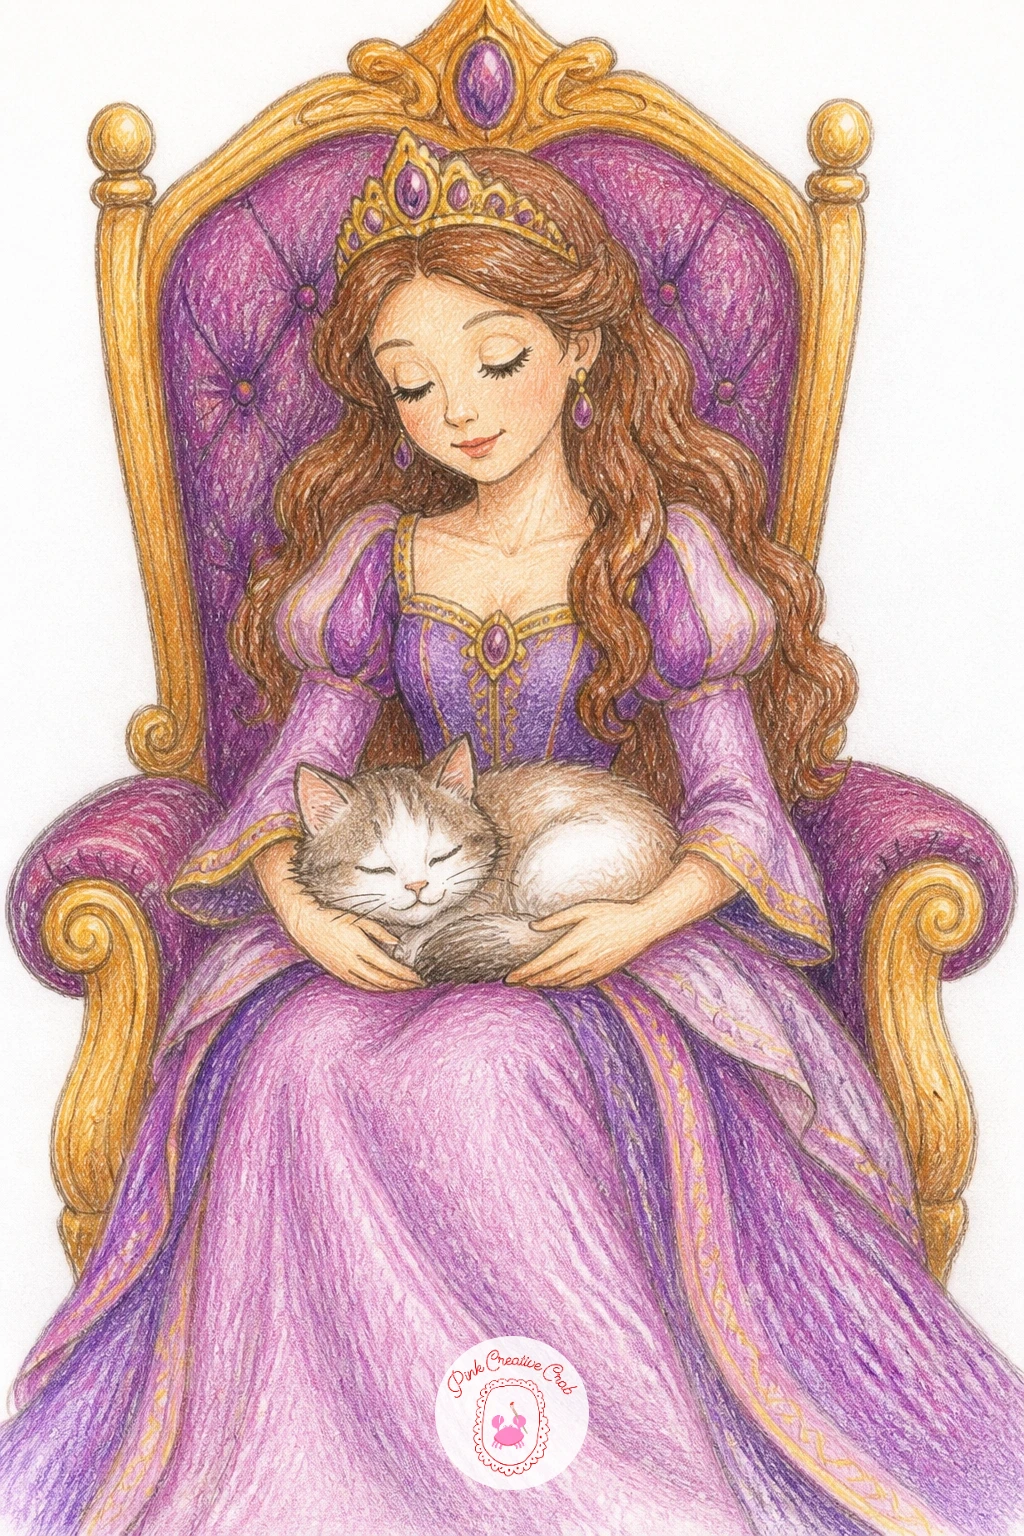
Palette: Royal Purple,Goldenrod,Warm Grey,Cream
If you want more cat poses and expressions to practice from, there is a whole set of ideas in these cat coloring pages worth a look.
From one throne to another, since a good library is basically a throne made of books. Give her a tall stack beside one hand and a single open book balanced on her knees, crown slightly askew from leaning her head back against the shelf.
Draw her seated figure first, then the bookshelf behind her as a simple grid of rectangles, varying the book heights and colors along each shelf so it does not read as one flat striped wall. Save the stack of books beside her for last, slightly leaning rather than perfectly stacked, which feels more like a real pile than a tidy tower.
Shelves full of books can quickly turn into visual noise, so keep most of the spines one or two colors and let only a handful stand out in brighter shades, which guides the eye straight to her instead of the wallpaper behind. No bookshelf reference, a simple ladder of horizontal lines filled with rectangles gets you there.
Children can draw three or four books on the shelf. Adults can vary the spine widths and add tiny titles or a ribbon bookmark trailing from the open book.
If retold fairy tale scenes are more her thing than a library corner, there is a full set of sketchbook drawings built around old tales worth browsing after this one.
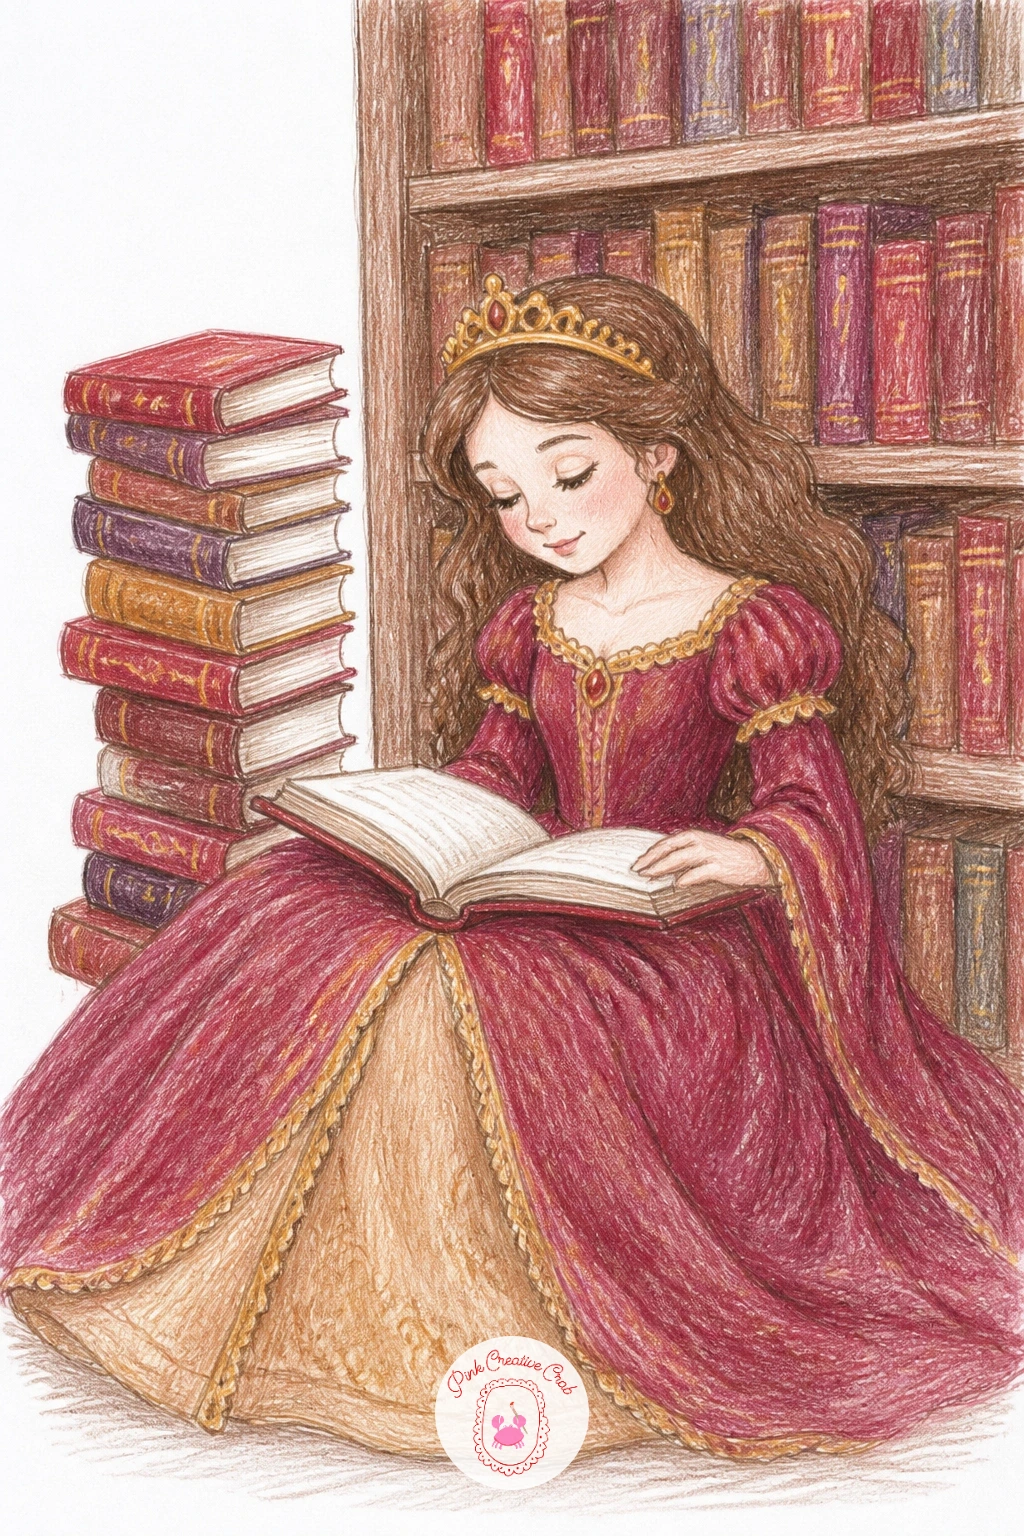
Palette: Burgundy,Forest Green,Mustard,Warm Brown
Take the books outside for a picnic, blanket spread under her and a small basket of food open beside her knees. Start with the blanket as a simple checked rectangle laid at a slight angle, since a perfectly straight blanket tends to look stiff and cut out rather than resting on grass.
Build her seated figure on top of the blanket next, legs tucked to one side, then scatter two or three simple picnic items around her, a round fruit, a small sandwich wedge, a jug. The quick ten minute version stops right there with flat colors on each shape; the forty minute version adds a woven texture to the basket with short crisscrossed pencil strokes and a dappled light pattern across the blanket as if sitting under a tree.
Checked patterns can swallow a lot of time, so draw the grid lines first in pencil, lightly, before committing to color inside each square. No basket shape coming to mind, a simple curved rectangle with a looped handle on top does the job.
Kids can keep the blanket plain and the food to one item. Adults can add the checked pattern and dappled shadow.
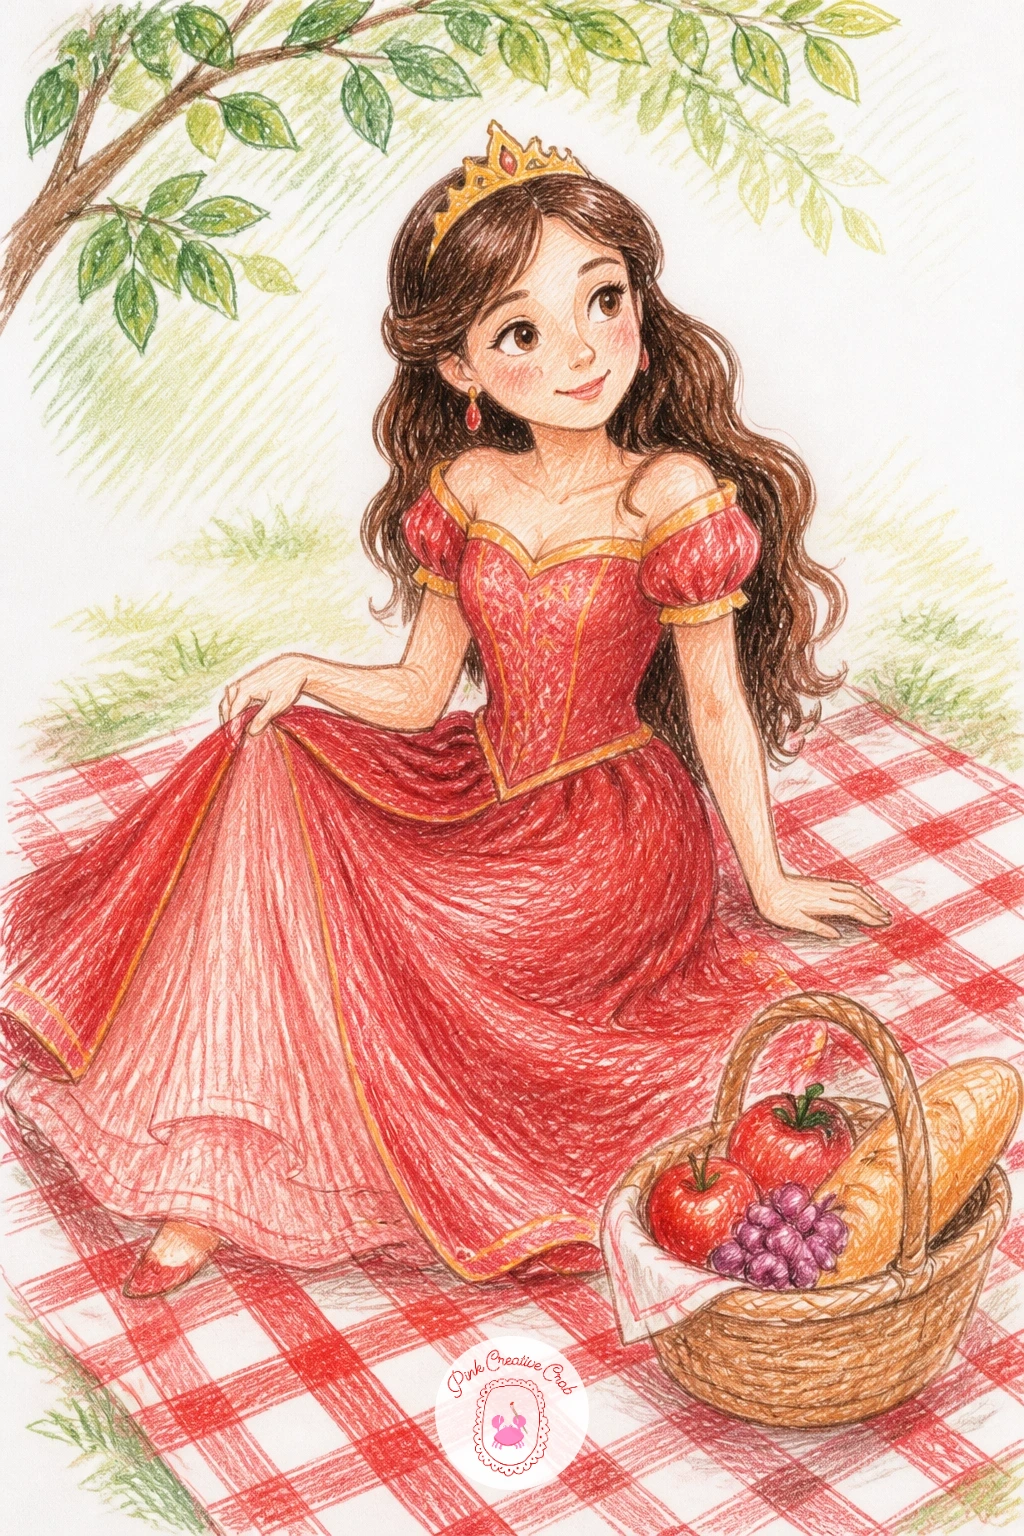
Palette: Red Gingham Red,Cream White,Grass Green,Golden Yellow
Send her off on a journey next, seated by the window of a train carriage with her chin resting on one hand. Draw the window frame first as a simple rounded rectangle, then her seated profile inside it, before adding whatever is rushing past outside, hills, trees, or another castle in the distance, sketched smaller and looser than anything inside the carriage.
Keeping the outside view looser and paler than her figure is the trick that makes the window feel like it is actually moving past, rather than just another flat picture stuck behind her. A few quick diagonal streak lines across the outside scene reinforce that sense of speed without much extra work.
The carriage interior can swallow detail fast, so keep the seat and wall to two or three plain shapes and let her figure and the window view carry the whole drawing. No train reference in mind, picture a simple bus seat and window instead, the framing trick works the same way.
Children can draw the window view as one simple shape, like a single hill. Adults can add a small suitcase on the seat beside her and a scarf trailing from her shoulder.
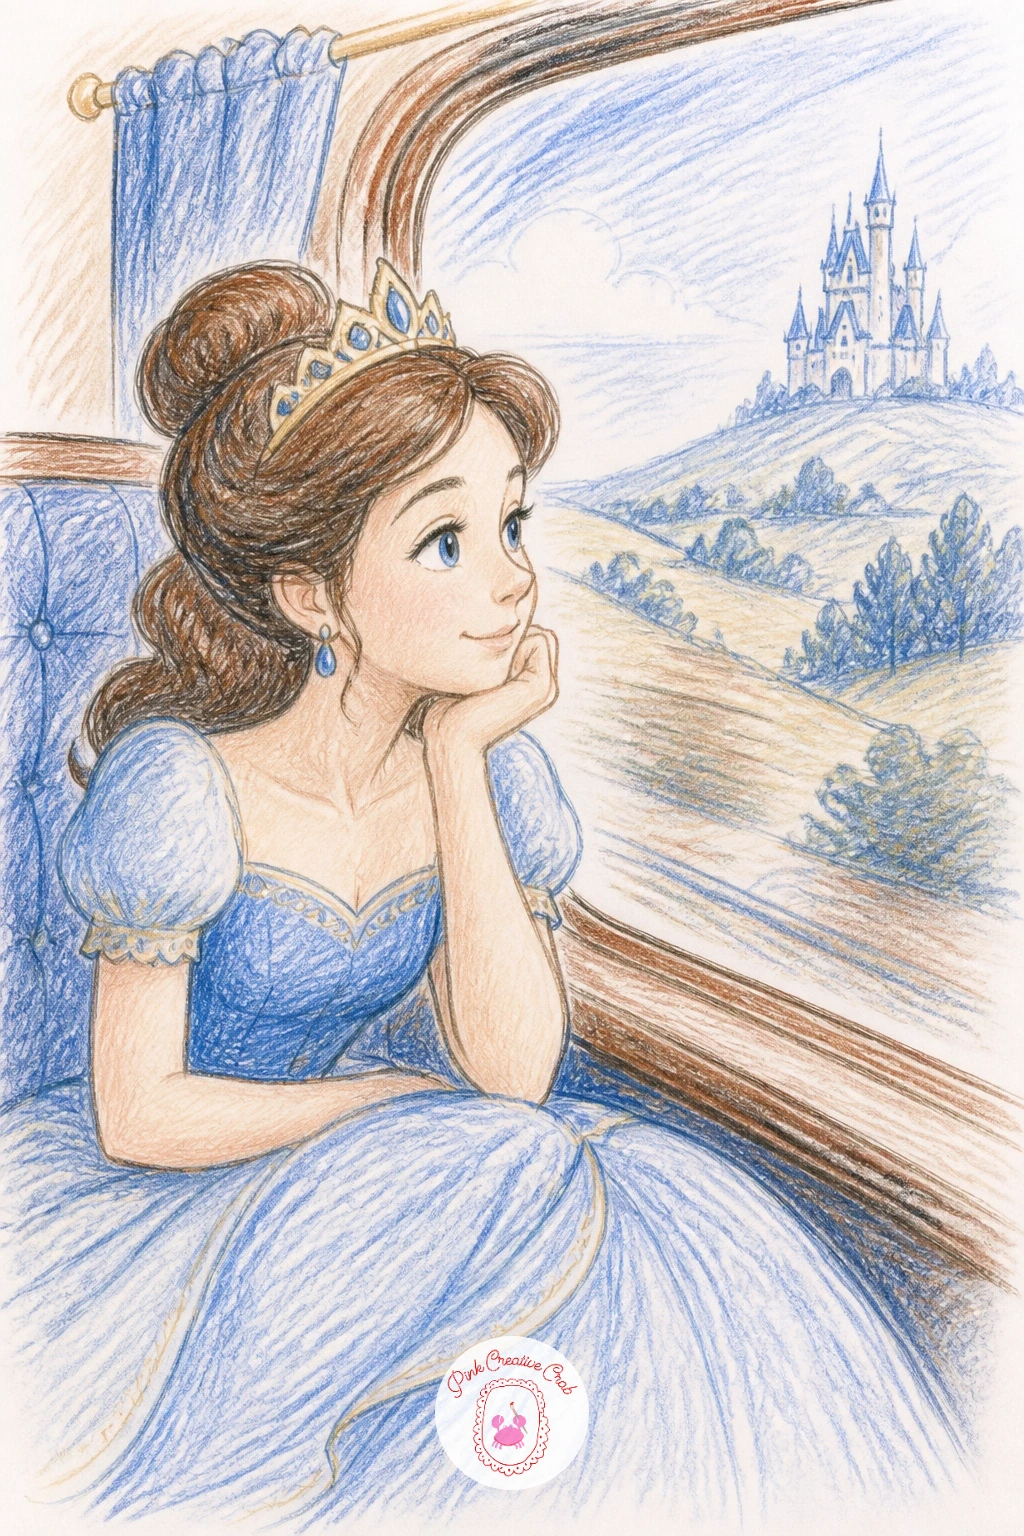
Palette: Dusty Blue,Warm Tan,Forest Green,Soft Grey
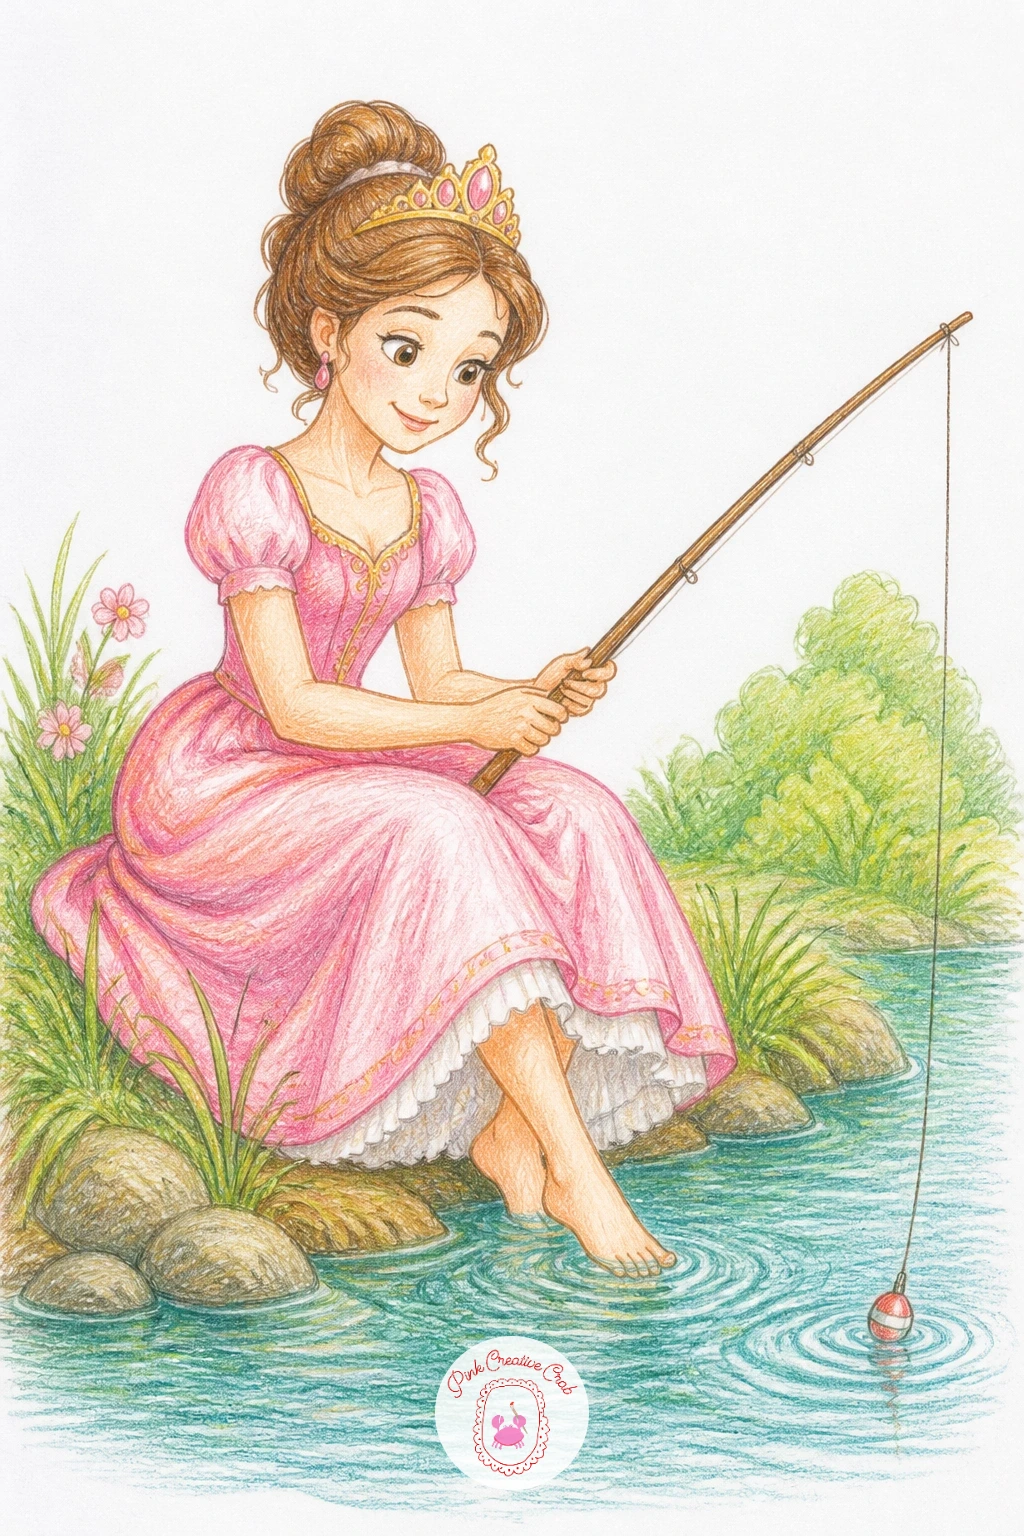
Give her a quieter outdoor moment with a fishing rod propped over a riverbank, gown tucked up slightly so it does not drag in the water. Measure the rod against her own height before you draw it fully, a fishing rod usually reads believable at about twice her height from grip to tip, which keeps it from looking like a toy stick or an oversized broom.
Sketch her seated or kneeling figure at the water’s edge first, then angle the rod out and down into the water last, with a simple curved line for the fishing line itself. Keep the water as a few horizontal wavy bands in blue and green rather than trying to render reflections, which gets complicated fast at this size.
If the rod and arm angle look awkward together, check that her elbow bends roughly where the rod crosses her body, not higher or lower. No rod reference handy, a simple long stick with a curved line at the end reads the same way.
Kids can keep the water to two flat bands of blue. Adults can add ripple circles around the line and a small fish peeking just under the surface.
Palette: Teal,Sage Green,Warm Brown,Sky Blue
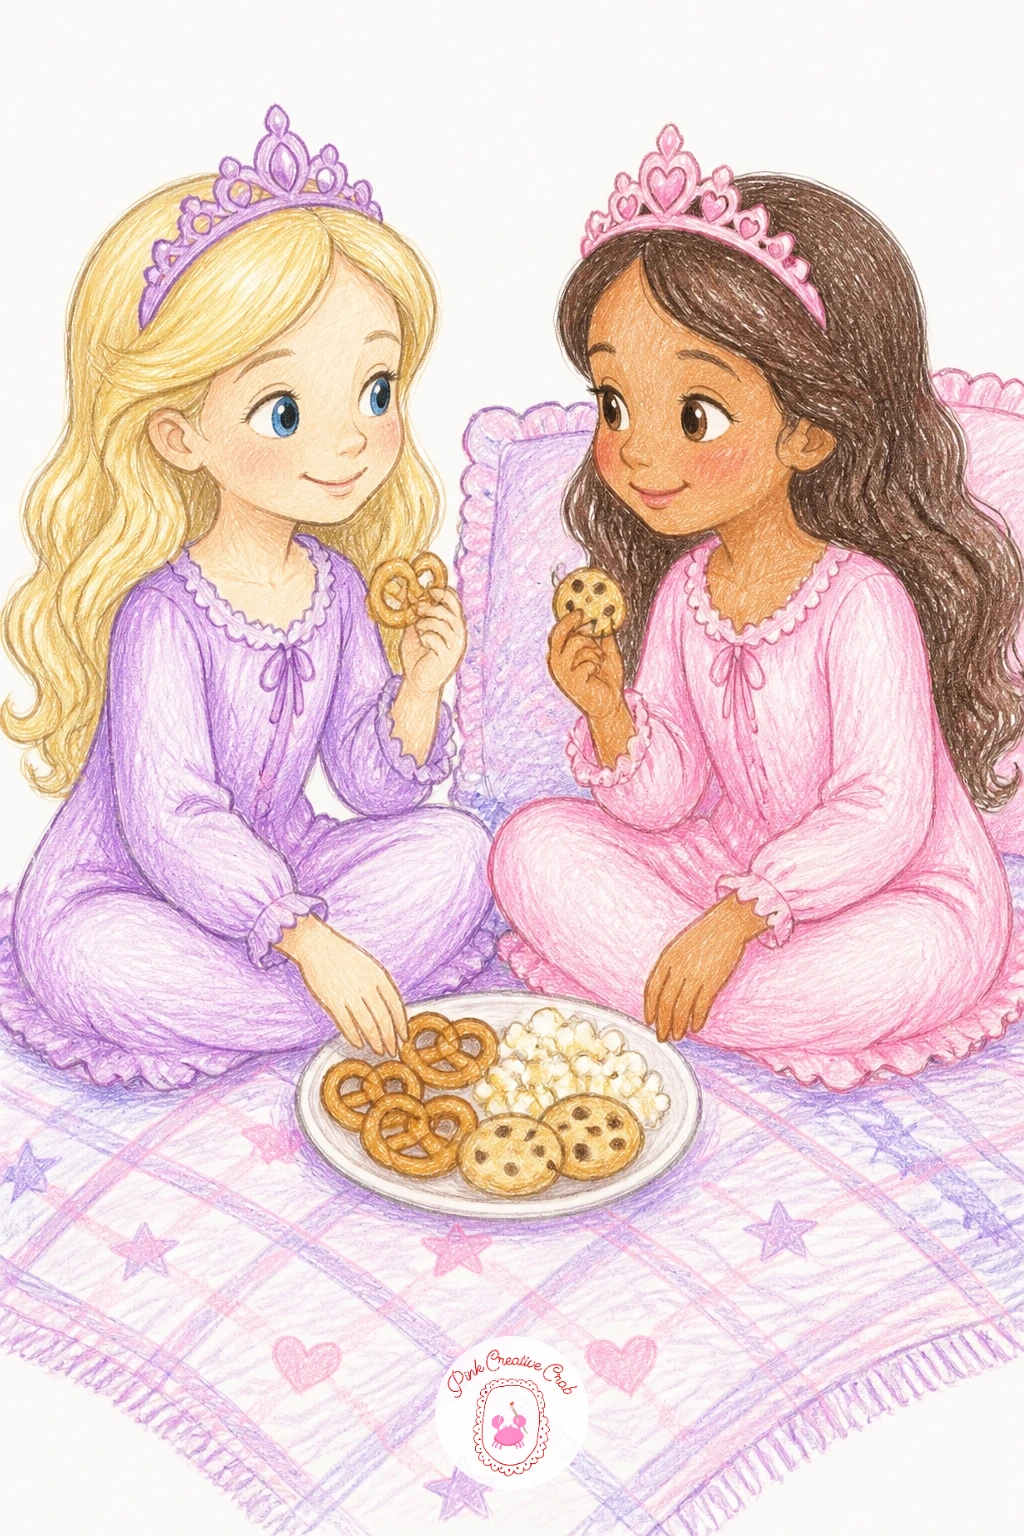
Bring in a second princess for this one, since a sleepover is no fun alone, both in nightgowns with crowns swapped for simple soft caps or none at all, sitting cross legged on a blanket with a shared plate of snacks between them. Draw the two figures facing each other first, keeping them roughly the same size so neither reads as more important than the other.
Block in the blanket underneath them as a simple patterned shape, then add the snack plate and maybe a scattered board game piece or two between their knees last, since those small props are what sell the sleepover feeling more than anything about the gowns do. Keep their poses relaxed, one leaning back on her hands, the other leaning forward, so the pair feels like mid conversation rather than posed.
Two figures close together often end up the same exact pose by accident, so change at least the tilt of one head and the position of one arm between them. No board game piece on hand to reference, a simple die shape with dots works fine.
Children can draw the two simply with plain nightgowns. Adults can add a patterned blanket and tiny details like a stuffed toy dragon between them.
Palette: Lavender,Soft Pink,Cream,Mint Green
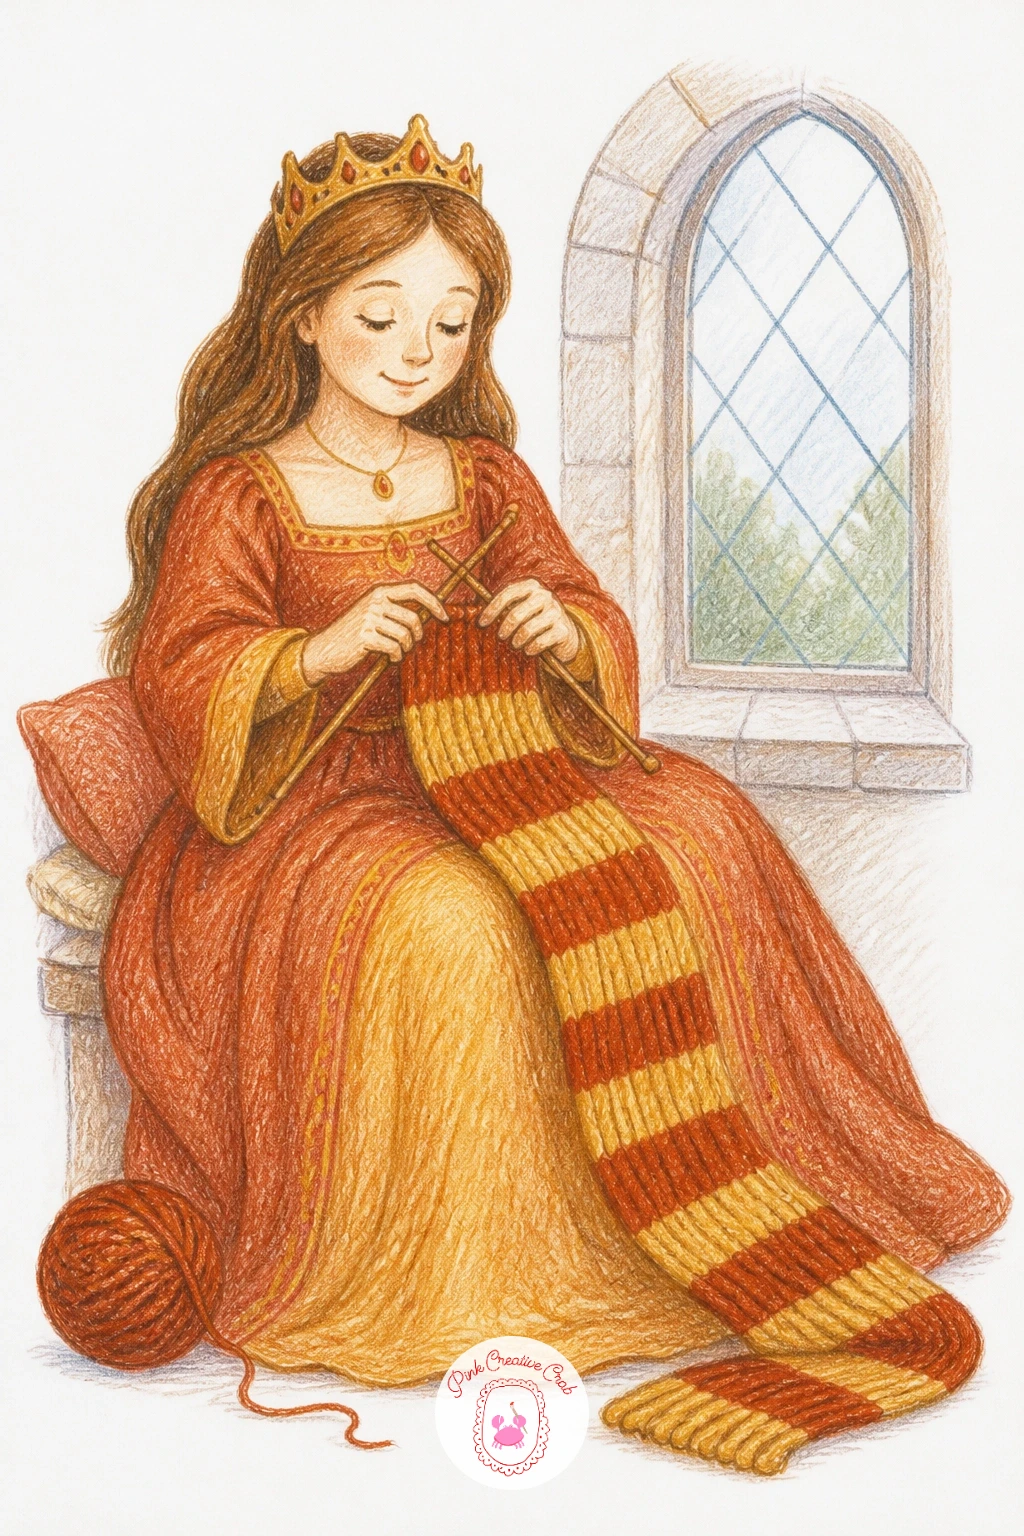
Slow things right down with a princess knitting by a window, a half finished scarf trailing off her needles onto her lap. Draw her seated figure first, hands held up and close together where the needles meet, then the yarn ball resting beside her on the floor or chair last, connected to the scarf with one loose curling line.
The scarf itself is the texture exercise here, so once the basic shape is down, use short horizontal dashes in two alternating colors across its length to suggest a knitted ribbing pattern, rather than coloring it one flat block. That same dash technique works on the yarn ball too, in a slightly looser, more circular pattern.
Knitting needles often come out too thick and end up looking like chopsticks, so keep them thin, just two straight lines with a small dot at each tip. No yarn ball reference, a simple circle with a few loose spiral lines on top reads clearly enough.
Kids can keep the scarf one flat color. Adults can add the dashed knit pattern and a cozy cat curled at her feet.
Palette: Rust Orange,Mustard Yellow,Cream,Soft Grey
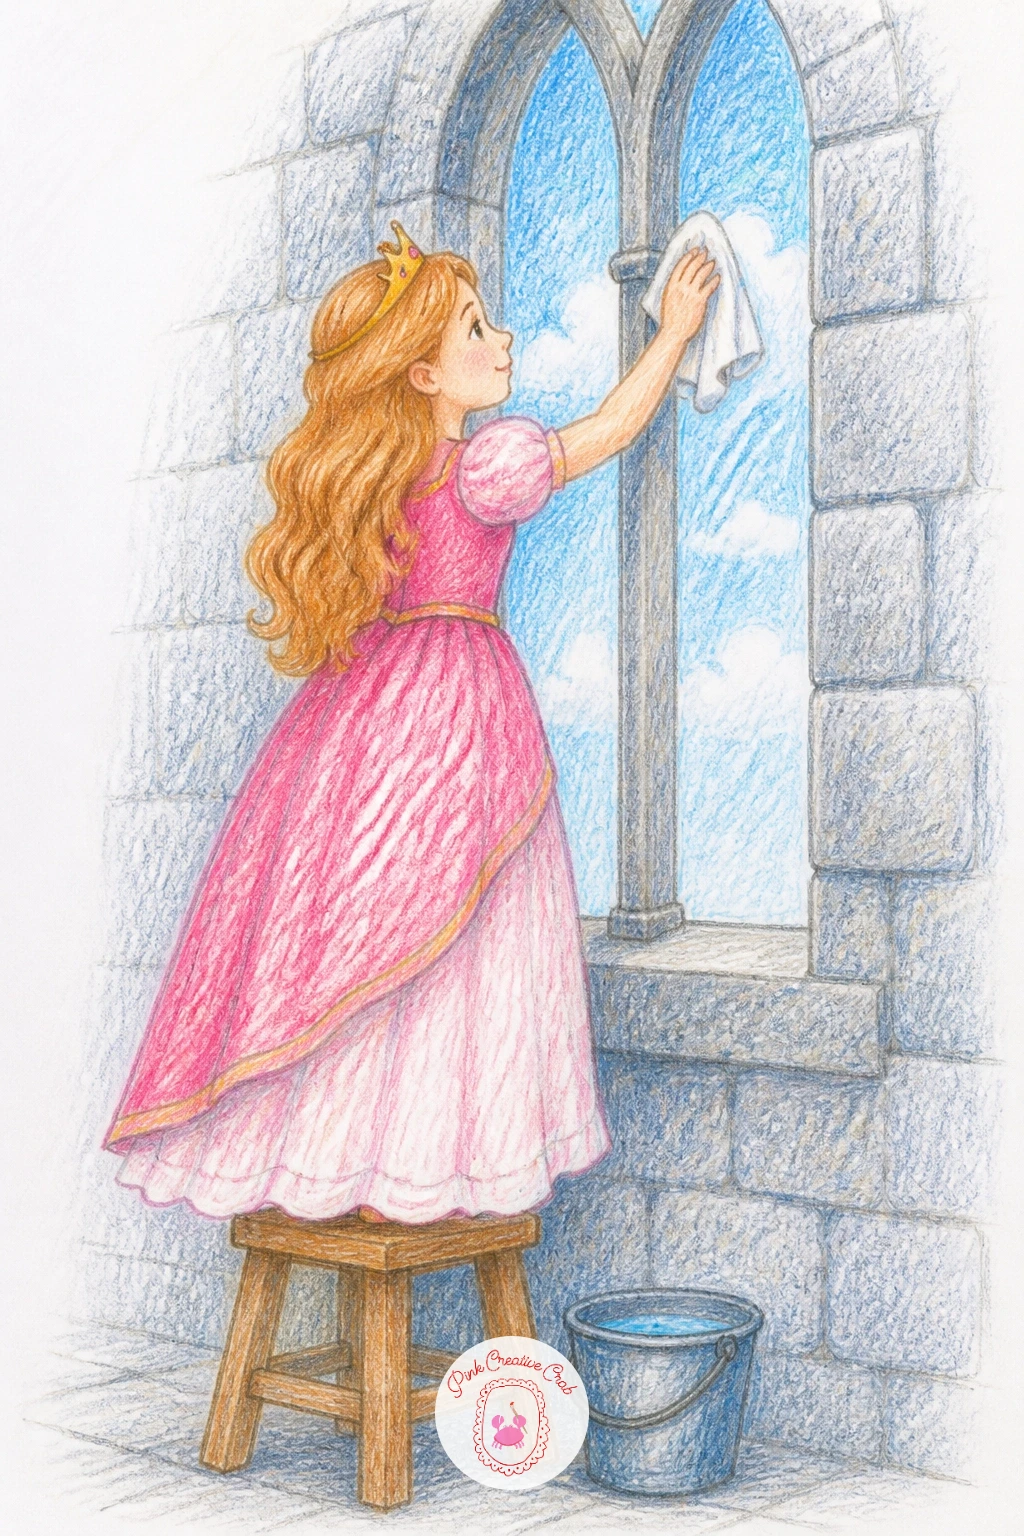
Give her a chore with a bit of height to it: a princess cleaning a tall castle window, standing on a short stool with a cloth in one hand and a bucket at her feet. Set the eye level low again here, looking slightly up at her, which makes the window behind her feel appropriately tall and grand against her small stool.
Sketch the window frame first as a simple tall arch or rectangle, then her figure standing in front of it on the stool, cloth raised toward the glass. A few curved streak lines across the glass where the cloth has already passed, left slightly lighter than the rest of the pane, suggest a window actually being cleaned rather than just standing there.
Stools and figures balanced on them often look unstable on paper, so widen the stool’s legs slightly more than feels needed and keep her weight centered directly above it. No arched window in mind, a plain tall rectangle works just as well for the frame.
Children can leave the window plain with no streaks. Adults can add the cleaning streaks and a bit of castle stonework texture around the frame.
Palette: Slate Grey,Sky Blue,Soft Yellow,Warm Brown
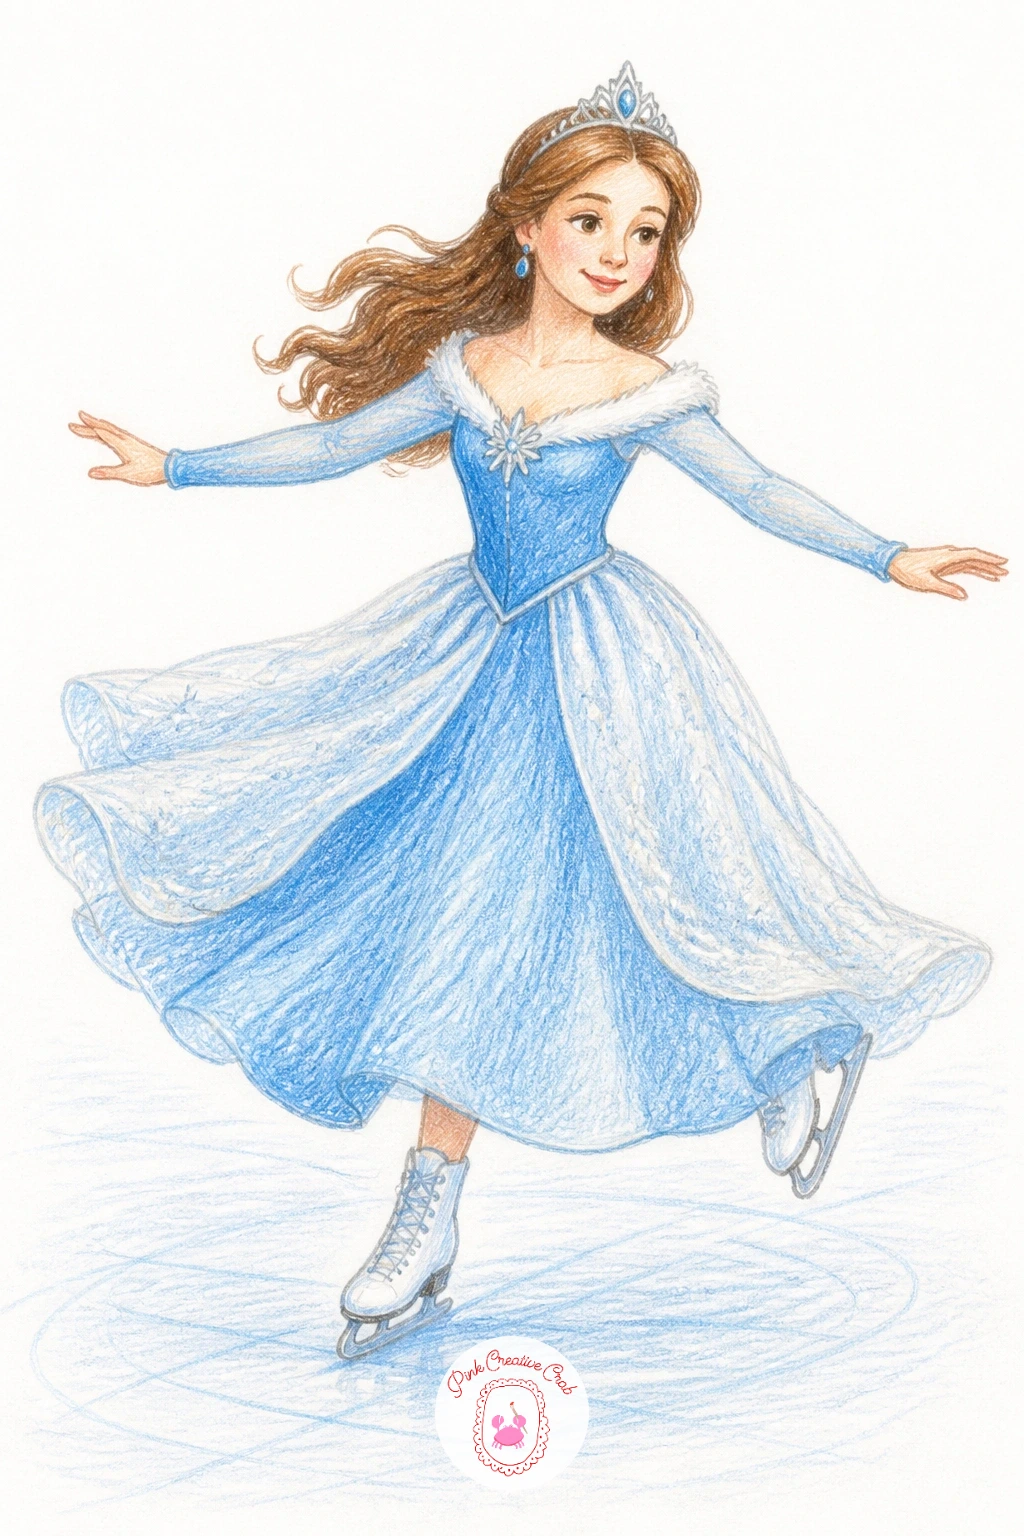
Take her from indoors to a frozen pond for a bit of ice skating, arms out for balance and gown flaring behind her mid glide. Draw her body leaning slightly forward and to one side first, since a perfectly upright skater looks frozen in place rather than actually gliding.
Add the skates as simple curved blades under her feet, then the ice itself last as a pale flat shape with a few thin curved scratch lines following the direction of her glide, which read instantly as skate marks. Leave the ice mostly white or pale blue rather than fully colored, since the contrast of her bright gown against plain ice is what makes the scene pop.
If her pose looks stiff, check that the arm on her forward side points slightly down and the other slightly up, that small asymmetry is what sells motion and balance together. No ice reference handy, picture a smooth puddle shape and scratch a few lines across it.
Kids can skip the scratch marks and keep the ice plain. Adults can add the curved skate marks and a light flush of pink on her cheeks from the cold.
Palette: Ice Blue,Soft White,Rose Pink,Silver Grey
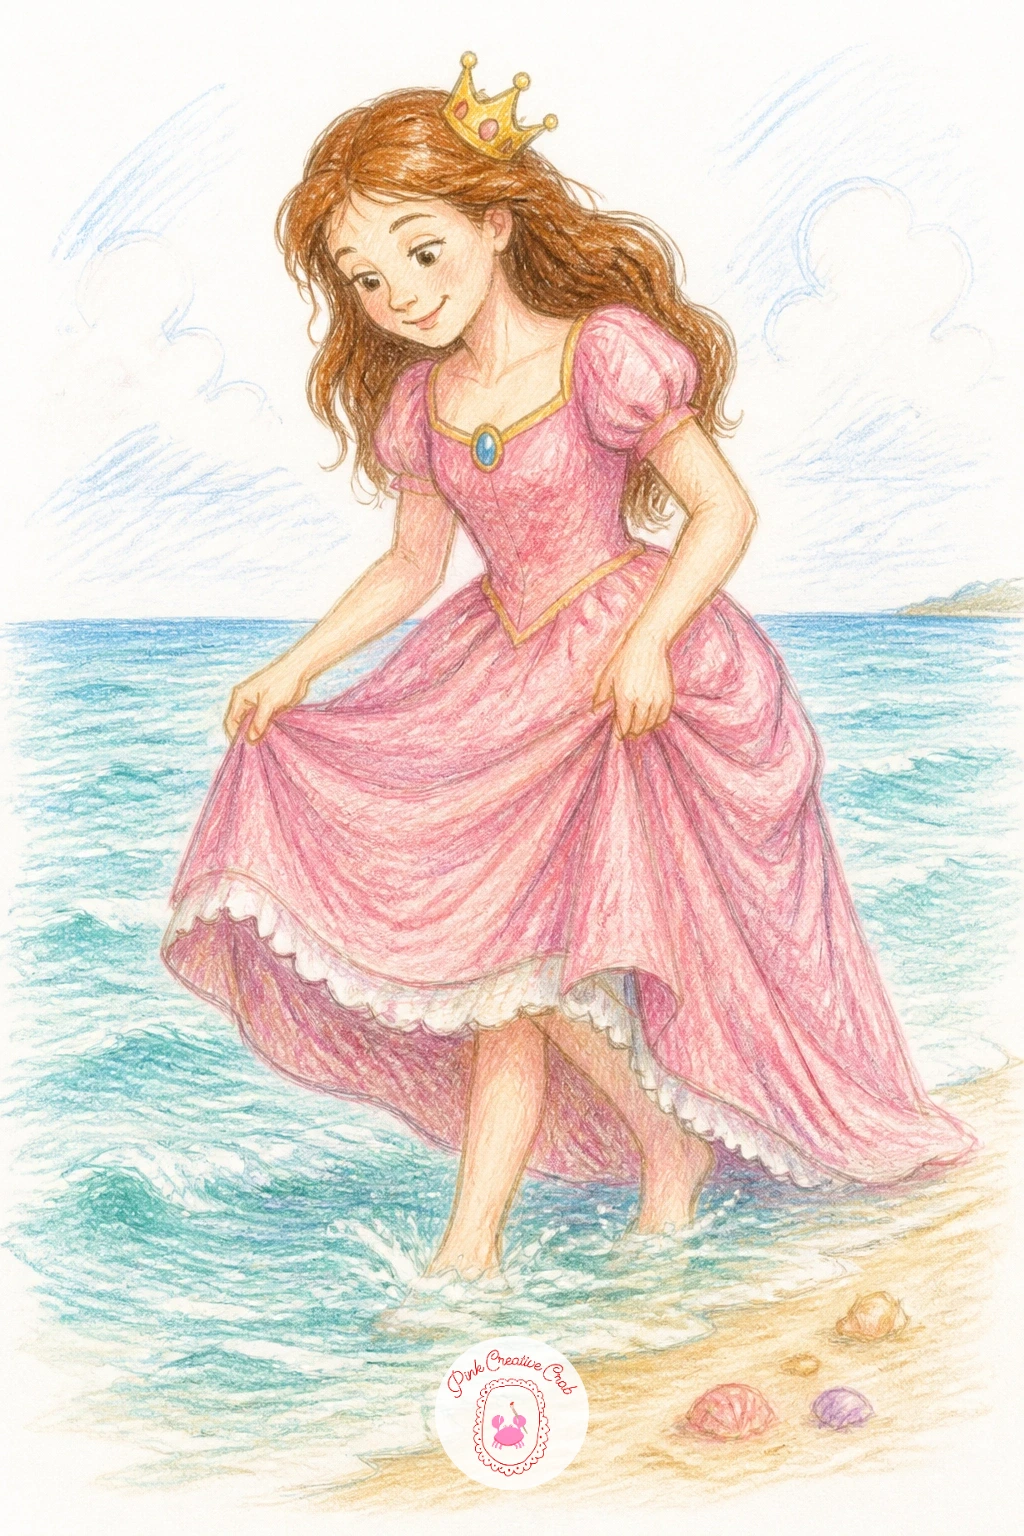
Warm things up again with a day at the beach, gown hiked up to wade in the shallows, crown slightly crooked from the sea breeze. Set the horizon line low across the page first, about a third of the way up, so there is plenty of room for sand and water below and just a strip of sky above.
Draw her wading figure next, feet half hidden in a simple wavy line of water, then build the waves behind her as a few overlapping curved bands, lightest near the shore and slightly deeper blue further out. A scattering of small shell or starfish shapes along the sand in front of her feet fills empty space without adding real complexity.
Water edges often come out as one hard straight line, so soften it with a wavy, slightly irregular edge where the sand meets the sea. No shell reference in mind, a simple fan shape with ridged lines reads as a shell easily enough.
Children can keep the water to one flat blue band. Adults can layer two or three blue tones for depth and add a seagull or two in the sky.
Palette: Turquoise,Sandy Beige,Sky Blue,Coral Pink
If you want more ideas for painting water and waves after this, there is a good set of deep sea ideas that works well alongside a beach scene.
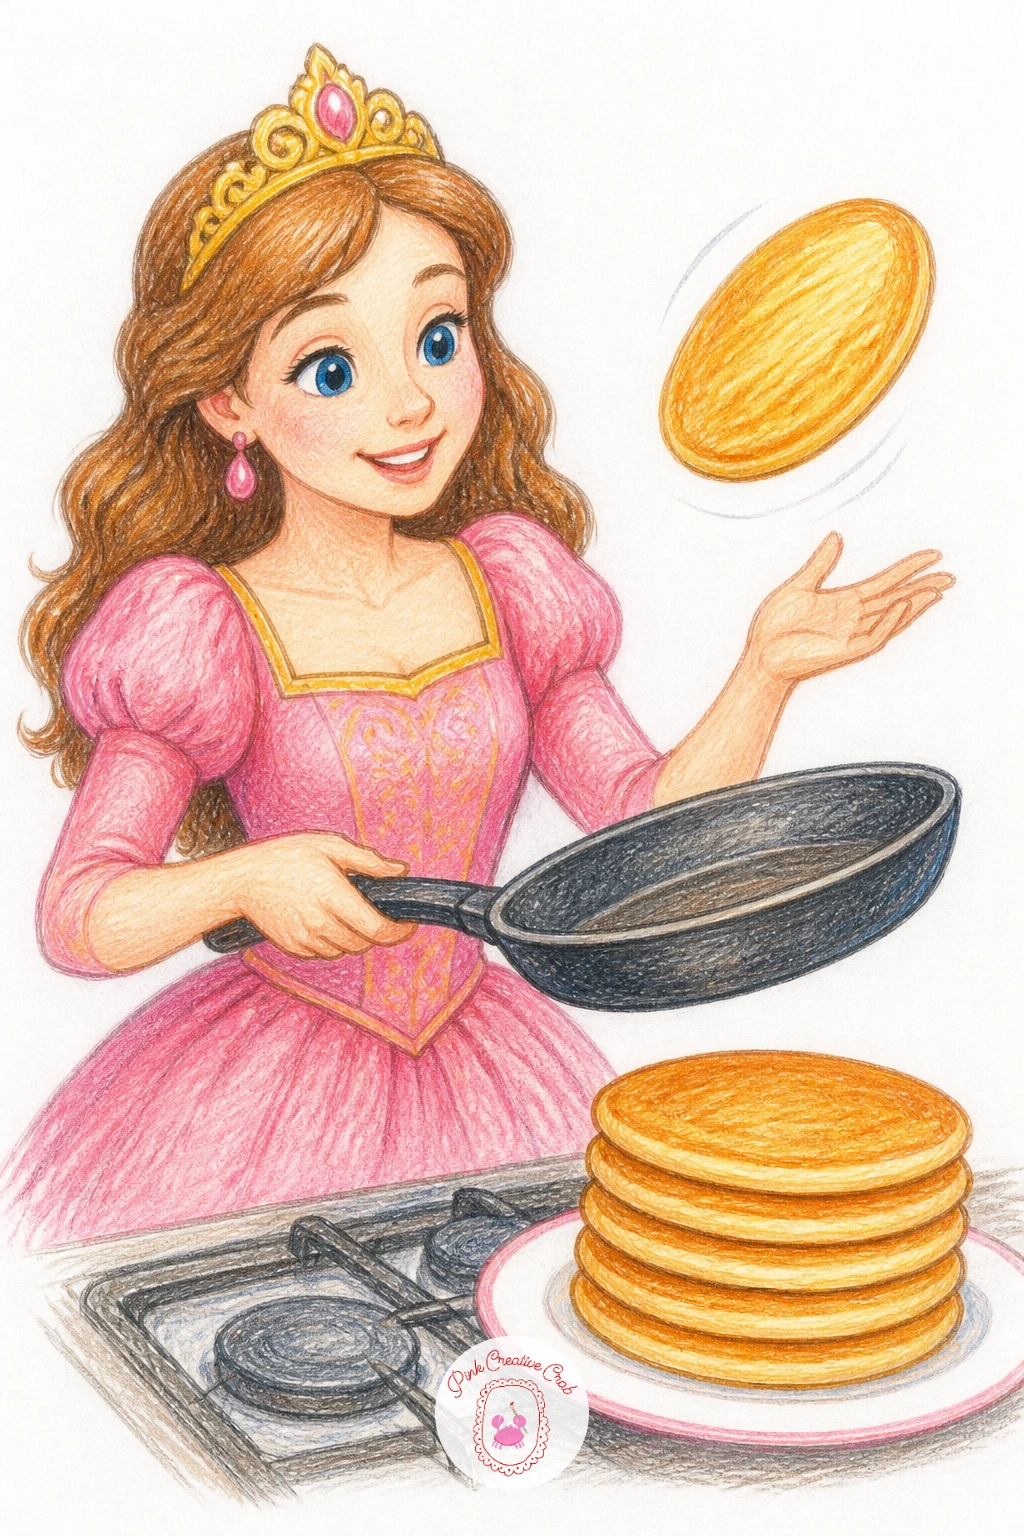
Back to the kitchen for a stack of pancakes, spatula in hand and one pancake mid flip in the air above the pan. Draw the pan and stove as simple round and rectangle shapes first, then her figure standing over it, arm raised with the spatula tilted up toward the flipping pancake.
The flying pancake is the fun part, so draw it slightly tilted and a bit higher than feels natural, almost at the top of the frame, with a couple of small motion lines trailing beneath it to show it is airborne rather than just floating oddly. Keep the stack of finished pancakes on a nearby plate slightly uneven, each one a touch smaller or larger than the last, which looks far more like real pancakes than a perfectly even tower.
If the flipping pancake ends up looking flat, add one thin curved shadow line underneath it to lift it visually off the pan. No stove reference handy, a simple square with two round burner circles on top does the trick.
Kids can skip the flying pancake and just show the stack on a plate. Adults can add the airborne pancake and a drizzle of syrup across the stack.
Palette: Golden Brown,Butter Yellow,Maple Syrup Brown,Cream
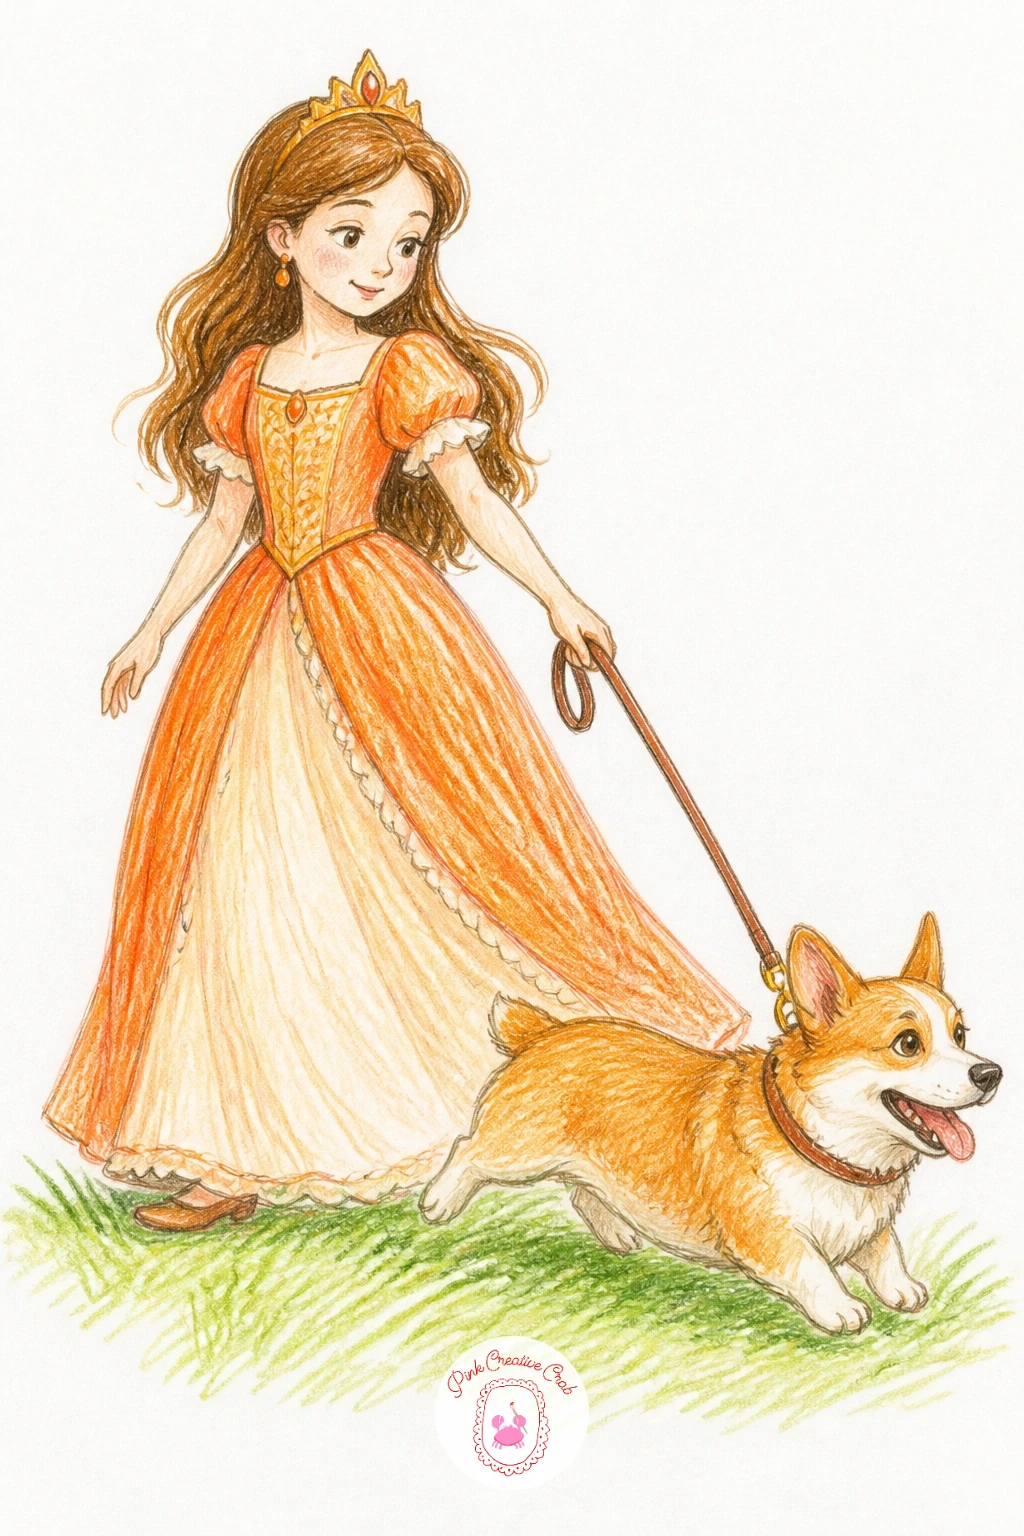
Trade the dragon on a lead for something more down to earth: a princess walking a corgi, its short legs working twice as hard as hers to keep up. Draw the corgi’s body as a long low oval first, since getting that proportion right, body noticeably longer than it is tall, is what makes it read as a corgi and not a generic dog.
Add the short legs underneath last, barely visible beneath the rounded body, then connect the leash up to her hand with a loose curved line. Her stride should lean slightly forward, as if the corgi really is pulling a little, which adds some life to an otherwise simple standing pose.
Corgi legs are easy to overdraw and end up too long, so keep checking them against the body length, they should look almost too short to be real. No corgi reference handy, think of a loaf of bread with four stubby legs tucked under it.
Children can draw the corgi as one simple oval with short legs and round ears. Adults can add the distinct orange and white coat pattern and a perked up alert expression.
Palette: Rust Orange,Cream White,Soft Pink,Grass Green
Give her a busier outdoor scene at the farmers market, standing at a small stall table piled with fruit and flowers. Build the stall table first as a simple rectangle, then pile a loose row of round shapes on top in varying sizes for the produce, apples, a pumpkin, a bunch of carrots, before her figure goes in last, standing just behind or beside the table.
Vary the produce colors more than feels necessary, since a row of identical red circles reads as nothing in particular, but a mix of red, orange, green, and yellow rounds immediately reads as a market stall. A simple striped awning overhead, just a few alternating colored triangles along the top edge, finishes the scene without much extra effort.
If the pile of produce looks like it is floating, add a thin shadow line under the lowest row where it meets the table. No awning in mind, a simple flat canopy shape with a scalloped bottom edge reads the same way.
Kids can keep the stall to three or four pieces of produce. Adults can add the striped awning and a small chalkboard sign with a price scribble.
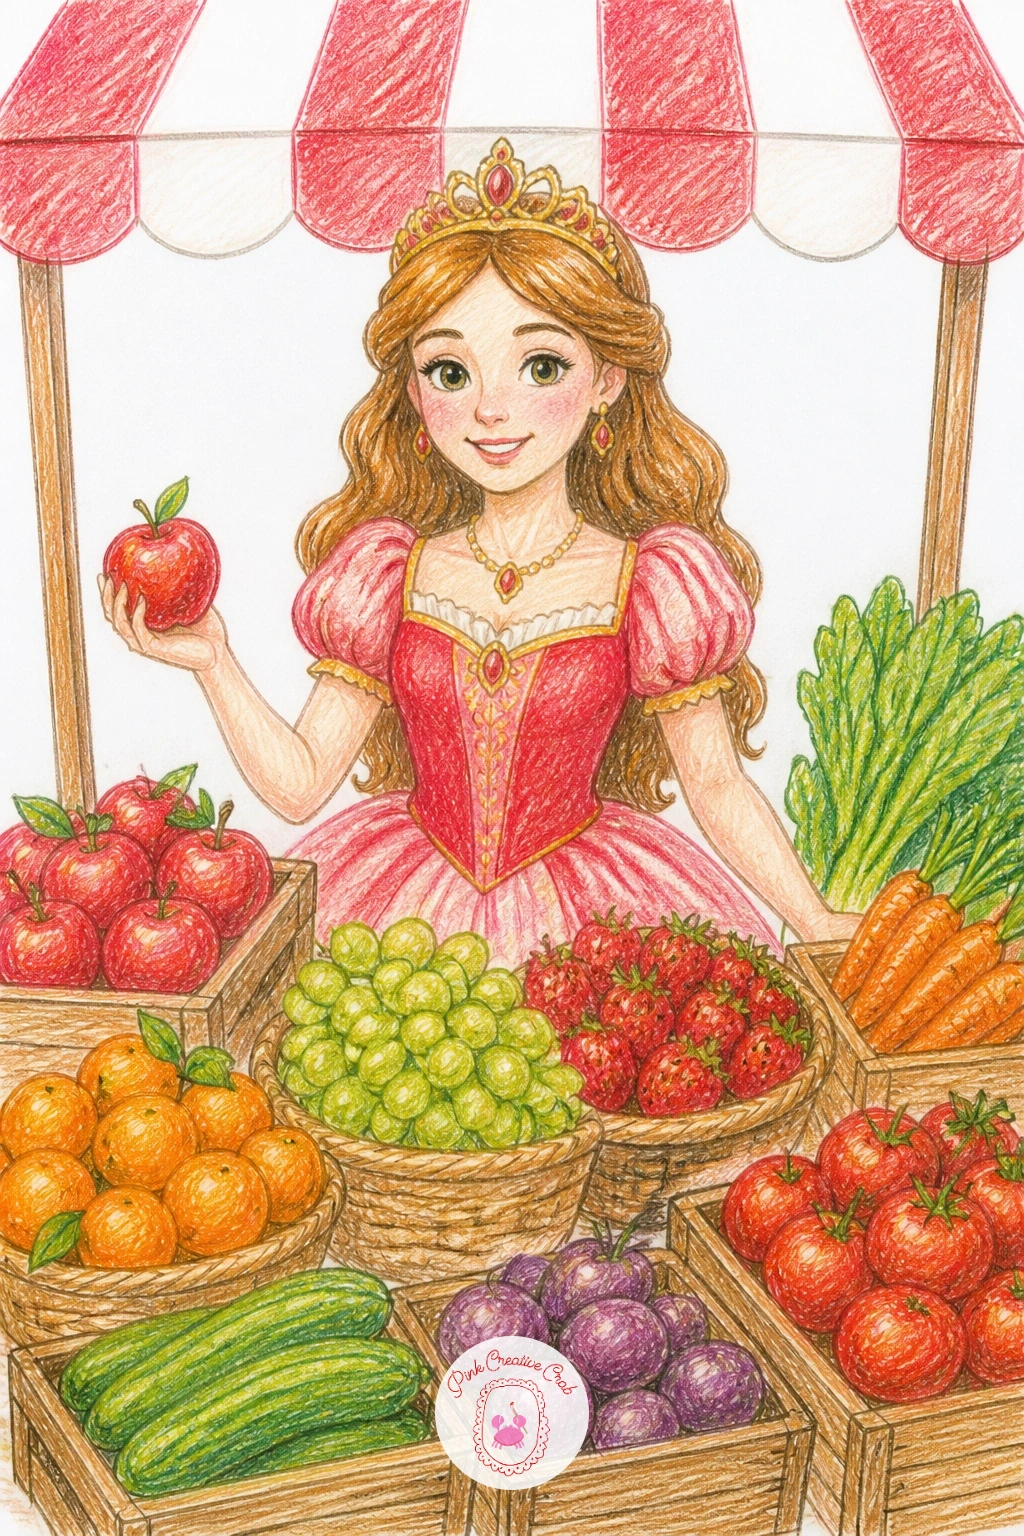
Palette: Apple Red,Pumpkin Orange,Grass Green,Warm Brown
Send her off to lessons on pony back instead of in a carriage, satchel bouncing against the pony’s side and crown pushed slightly back from the ride. Measure the pony’s body length against its own leg height before drawing the saddle and rider, a pony generally reads correctly at roughly twice as long as its legs are tall, which keeps it from looking like a miniature horse on stilts or a sausage dog shape.
Sketch the pony’s body and legs first, then her seated figure on top, leaning slightly forward into the ride, satchel strap crossing her chest last. A loose mane and tail done in a few curved overlapping strokes rather than one solid shape gives the pony some movement without much extra time spent.
Pony legs drawn too thin tend to look fragile and unconvincing, so keep them a bit thicker than seems right at first, closer to the thickness of her own arm. No satchel in mind, a simple rectangle on a long strap across her body reads clearly enough.
Children can draw the pony standing still with a plain mane. Adults can add the flowing mane strokes and a trotting leg position.
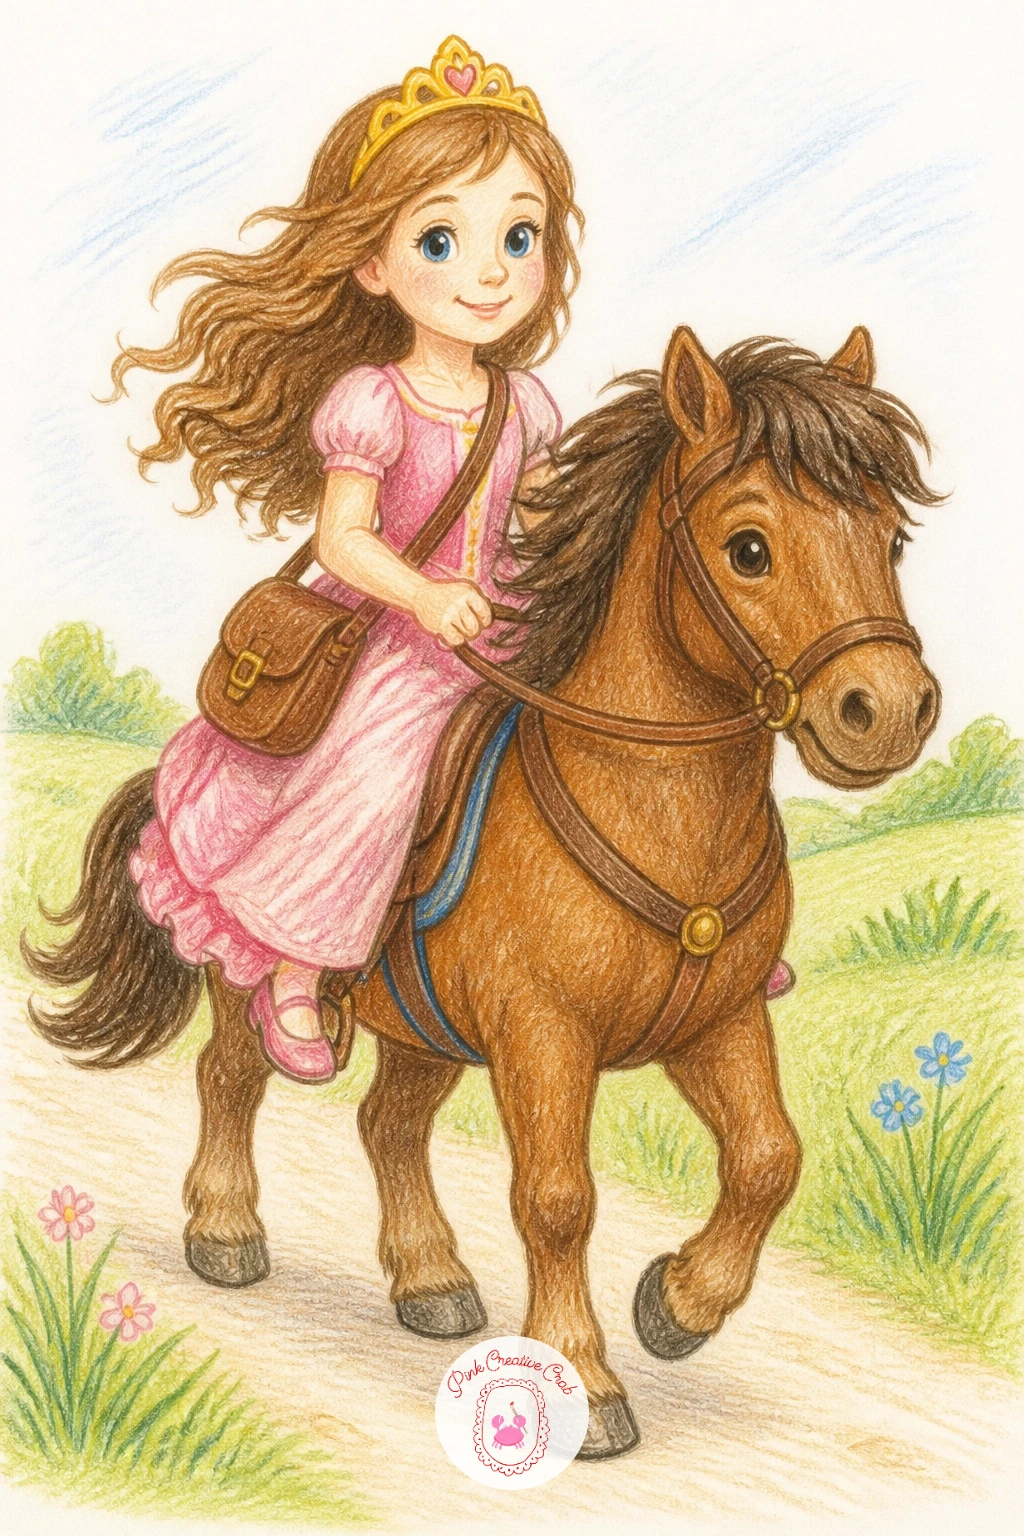
Palette: Chestnut Brown,Cream White,Sky Blue,Forest Green
Circle back to the bicycle from earlier, only this time it is upside down and she is fixing it herself, spanner in hand and gown knotted up out of the way. Draw the bicycle flipped onto its seat and handlebars first, wheels pointing upward, then her kneeling figure beside it, one hand gripping a tool at the chain.
This is a good one to try the quick versus slow version on: in ten minutes, block in the upside down bike shape and her kneeling figure with flat colors. In forty minutes, add the chain detail as a simple looping dark line around the gear, a small oil smudge on her hand, and a scattered tool or two on the ground beside her knee.
Upside down bicycles are easy to get backwards, so check that the pedals and chain sit on the same side as in the earlier bicycle drawing, just flipped vertically rather than mirrored. No spanner shape in mind, a simple rounded rectangle with a notch at one end reads clearly enough.
Kids can keep the bike simple with no chain detail. Adults can add the looping chain and the oil smudge for a lived in feel.
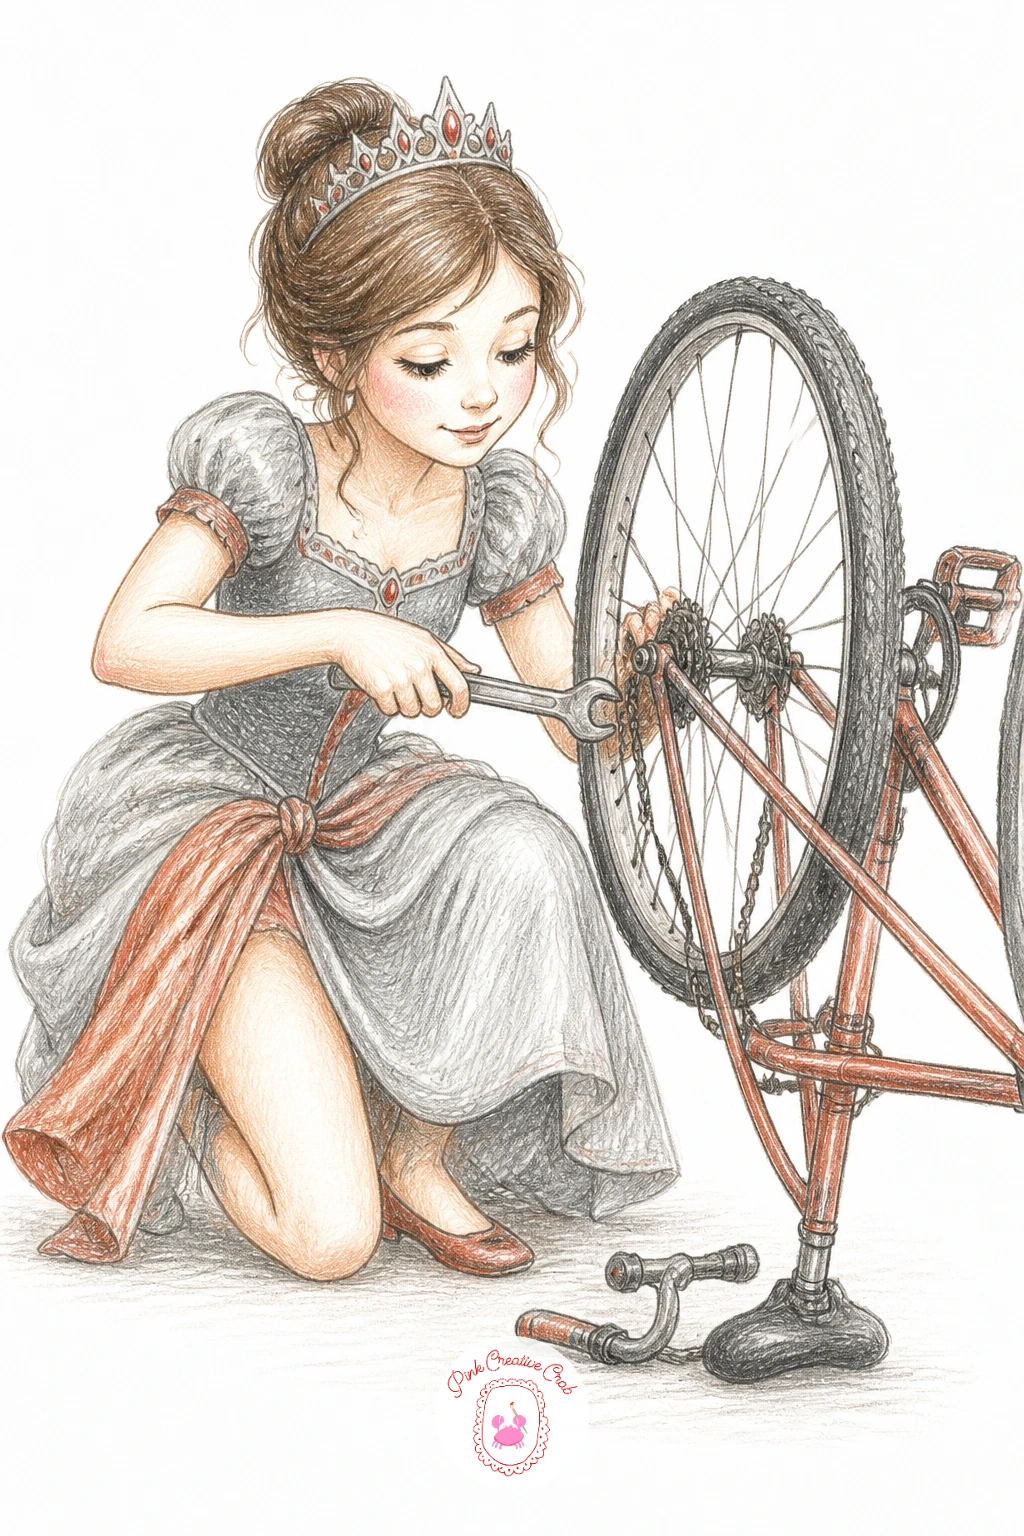
Palette: Steel Grey,Rust Orange,Denim Blue,Warm Brown
Slow the pace right down with a princess attempting yoga on a small mat, gown pooling around her in a pose that is probably not quite correct but is giving it a real go. Draw the mat as a simple flat rectangle first, then build her figure on top in a balanced pose, one leg bent, arms raised or pressed together, whichever pose feels easiest to pull off at this size.
Simple standing or seated poses work best here rather than anything too twisted, since a few clean overlapping limb shapes read more clearly than a tangle of too many crossed lines. Keep the gown loose and pooled around wherever her legs bend, rather than fitted tightly, which also hides any awkward leg proportions underneath.
If the balance pose looks like it would actually tip over, widen whatever is touching the mat, a foot or a knee, slightly more than feels realistic. No yoga mat reference needed, a simple rounded rectangle in any solid color reads immediately as a mat.
Children can draw her simply seated cross legged with hands together. Adults can attempt a standing balance pose with one leg raised.
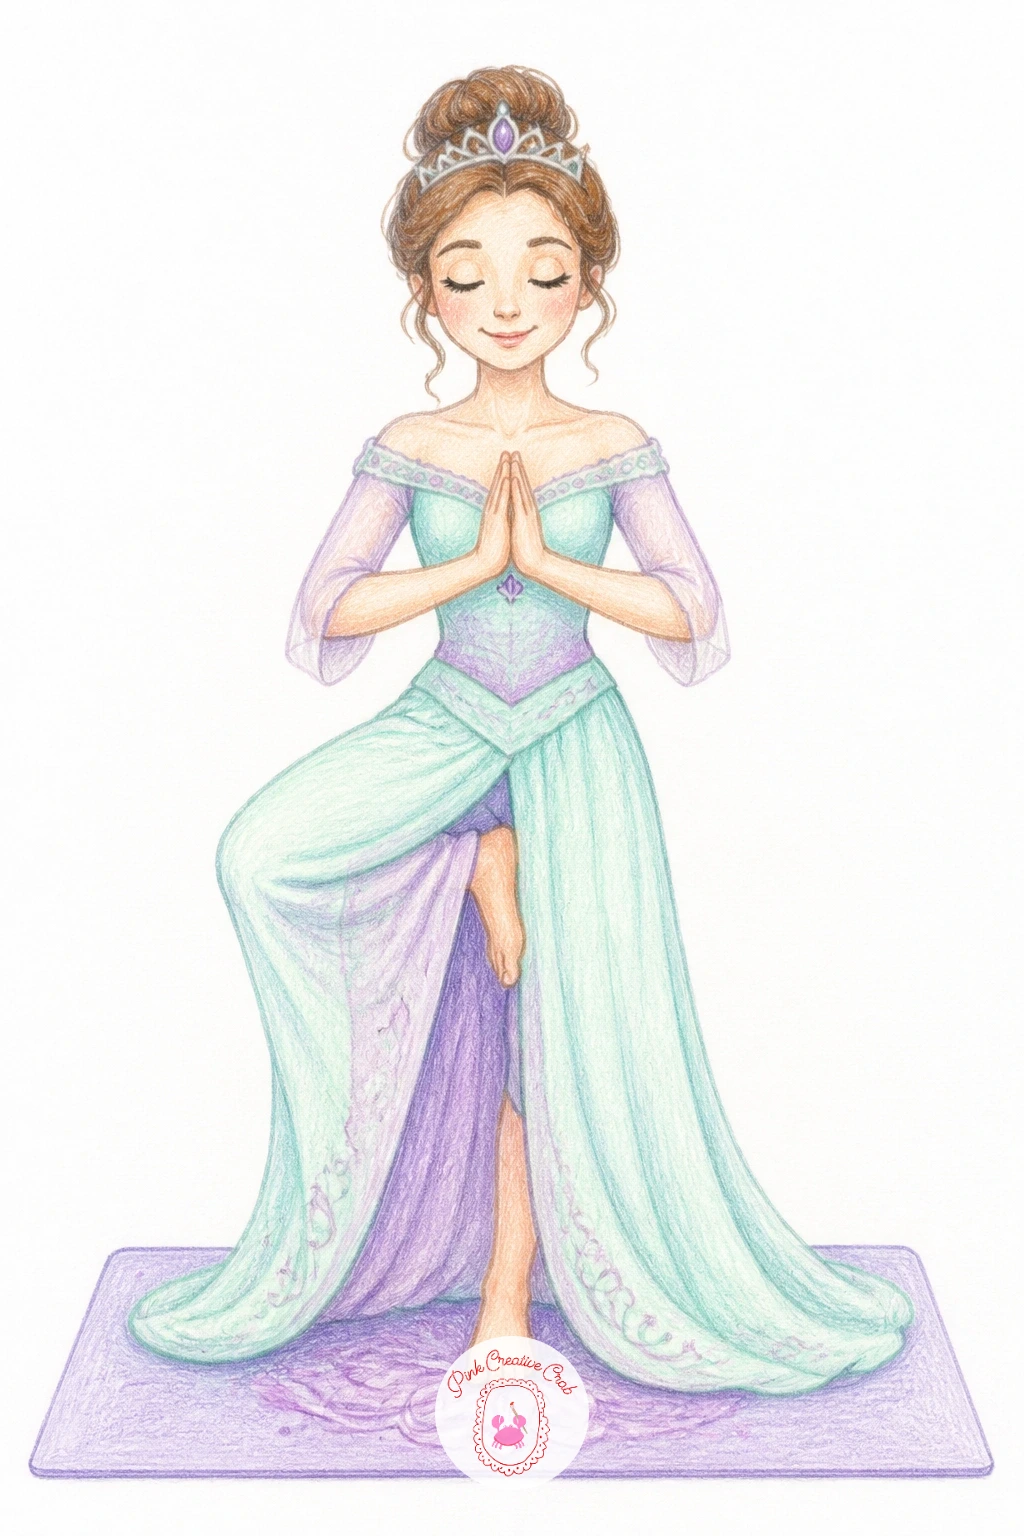
Palette: Mint Green,Soft Lavender,Warm Peach,Cream
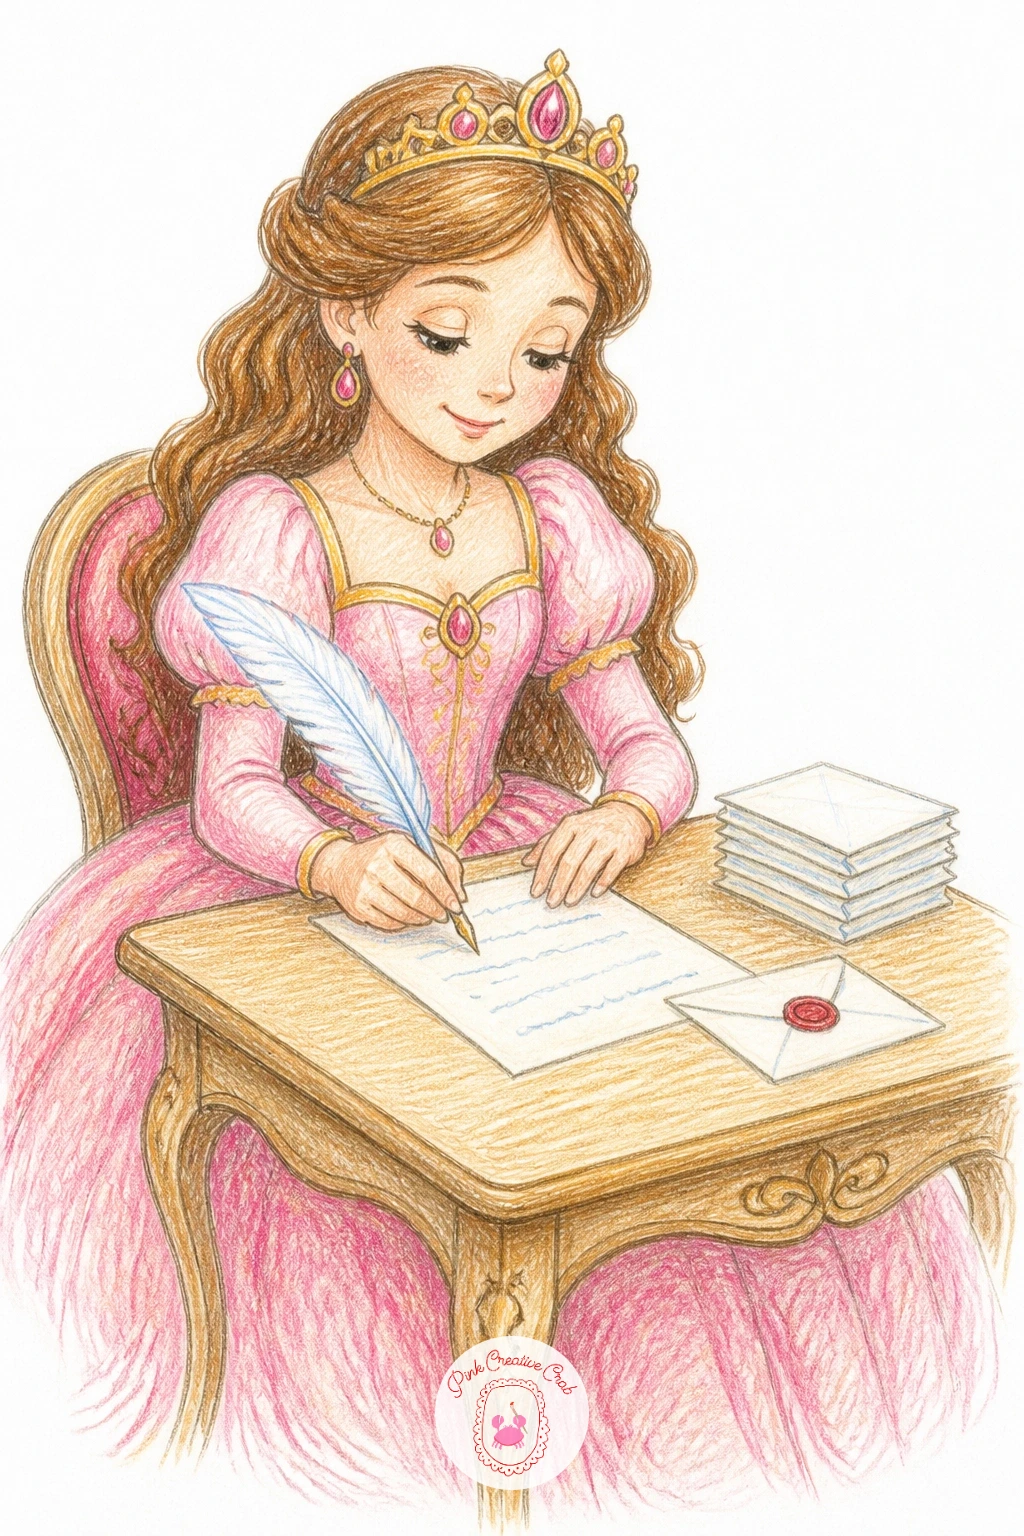
Give her a quiet moment at a small desk writing letters, quill in hand and a few finished pages stacked beside the inkwell. Draw the desk and seated figure first, then the inkwell and quill last, resting between her hand and the paper so the connection between tool and task is clear.
A folded letter with a small wax seal sitting off to one side is worth the extra few minutes, since that single round seal shape, drawn as a simple circle with a tiny pressed design inside it, does more to suggest “letter” than the paper alone ever could. Scatter a feather or two loose on the desk if the quill feels tricky to get right in one try.
Quills are easy to make too stiff and straight, so curve the feather shaft slightly and let a few wispy lines fan out from one side rather than drawing a solid triangle. No quill reference in mind, a simple curved line with a few short diagonal strokes along one side reads as feathered enough.
Kids can simplify to a plain pen and one sheet of paper. Adults can add the wax seal detail and a stack of finished letters.
Palette: Deep Burgundy,Cream Paper,Gold,Warm Brown
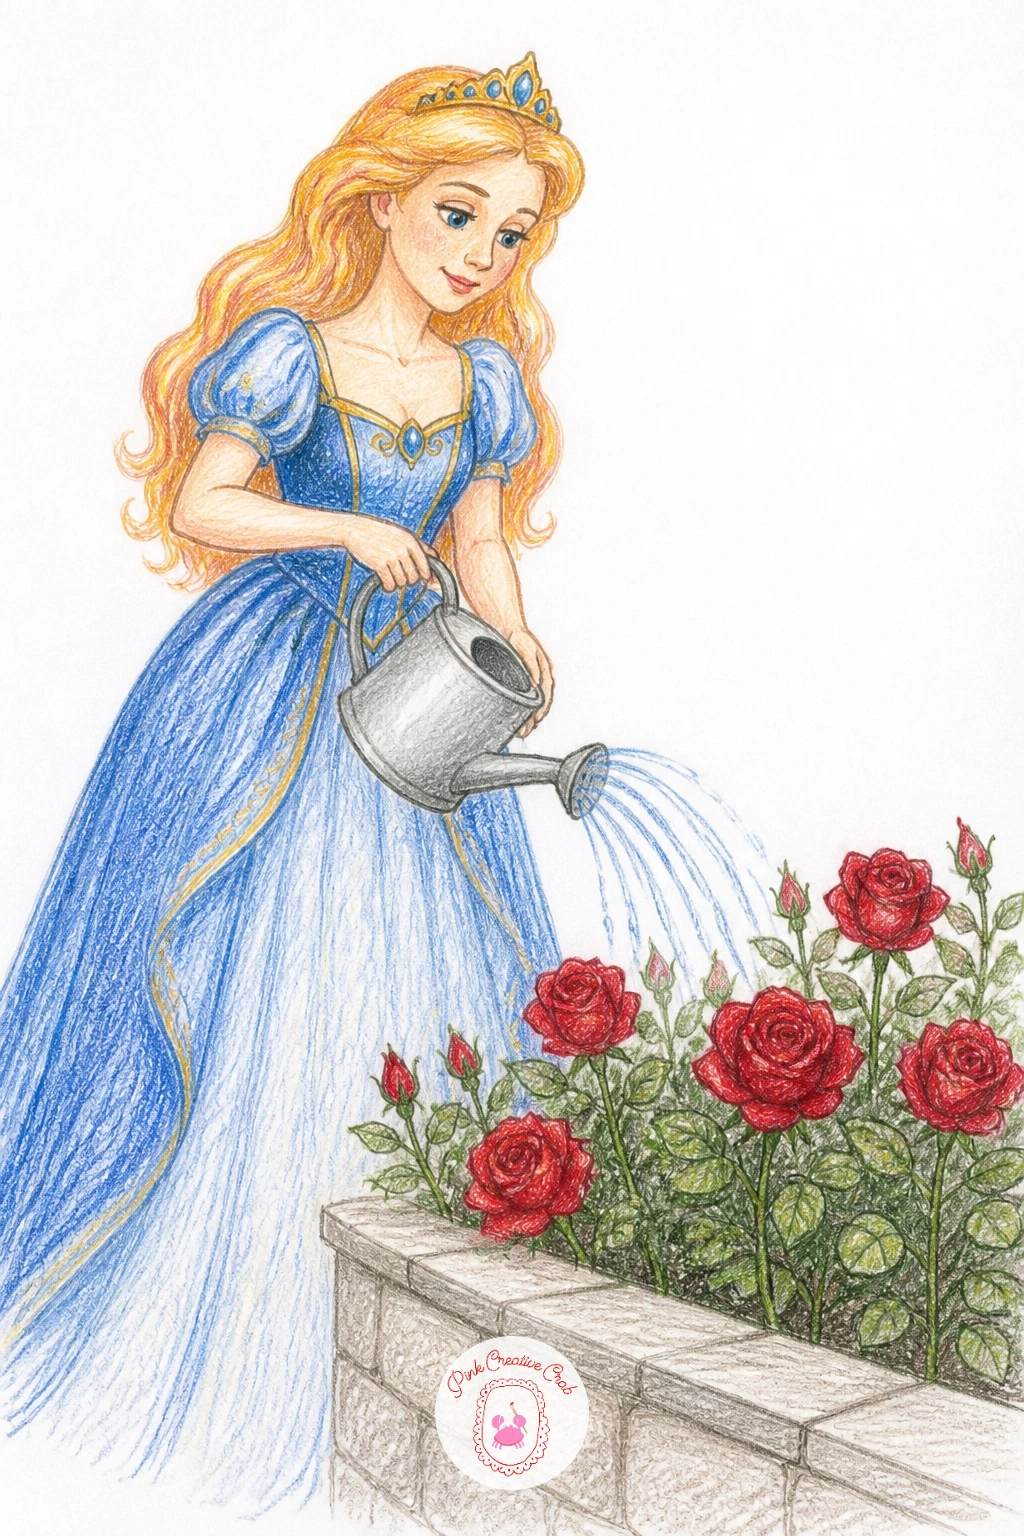
Take her back outside once more, watering can tipped over a row of rose bushes along a low garden wall. Draw the watering can first, spout angled down toward the roses, then let a few curved falling lines of water connect it to the flowers below, spaced unevenly rather than in a perfectly straight row.
Roses are one of the more satisfying shapes to shade for texture, so once the basic rounded bloom shape is down, layer a darker red into the tight curled center and leave the outer petals lighter, almost pink, which gives each rose real depth without much extra drawing. A kneaded eraser dabbed lightly across a couple of outer petals lifts a soft highlight where the light would catch the curve.
If the roses look flat and plain, check that each one has at least two value shades rather than one single red fill. No watering can in mind, a simple teapot shape with a long spout reads the same way.
Children can draw simple round rose shapes in one red tone. Adults can layer the two tone shading and add the lifted highlight.
You Will Need
- kneaded eraser
Palette: Deep Red,Soft Pink,Leaf Green,Terracotta
If roses on their own become a favorite subject, there is a wider set of flower ideas in these lily painting ideas that translates well to colored pencil too.
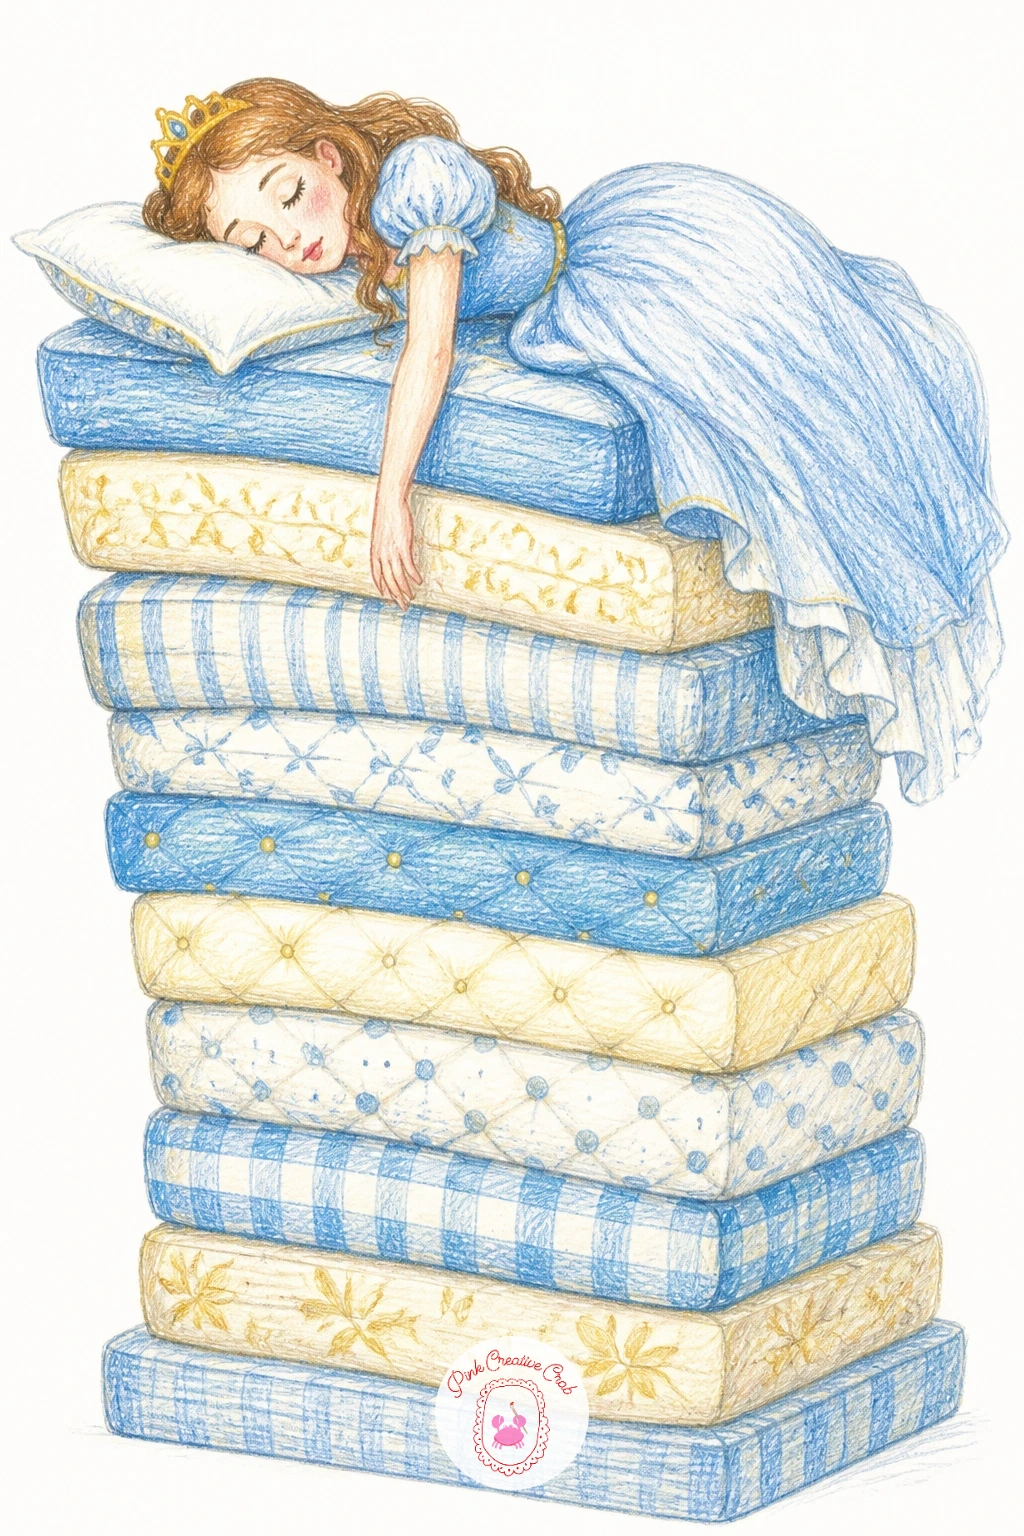
End on the classic joke itself, a princess fast asleep high on a towering stack of mattresses, one arm dangling off the side and completely unbothered by the height. Stack the mattresses first as a tall column of flattened ovals, each one slightly offset from the one below so the whole pile leans a touch to one side rather than standing perfectly straight.
Place her sleeping figure across the very top mattress last, small compared to the stack beneath her, which is really the whole visual joke of this idea: the more mattresses you stack, the funnier and more absurd the drawing gets. A tiny ladder leaned against the side of the stack is a fun optional addition that explains how she even got up there.
If the stack looks like it is about to topple over in the drawing, widen the base mattress slightly more than the ones above it so the whole pile reads as stable rather than precarious. No ladder in mind, a simple pair of parallel lines with short rungs between them reads clearly enough.
Kids can stack three or four mattresses. Adults can stack six or more and add the leaning ladder and a single pea sketched tiny at the very bottom for the old story’s sake.
Palette: Soft Blue,Cream White,Dusty Rose,Pale Yellow
What to Do Next
Pick whichever princess made you laugh first, grab a pencil and some light paper, and start with her basic shapes before any shading goes in. One finished page today beats a long list of half started ones, so start small and let the next idea wait for tomorrow.
Frequently Asked Questions
What is the easiest princess drawing to start with for a beginner?
Princess grocery shopping or princess at a cafe are the easiest starting points, since both use just a seated or standing figure with one prop, keeping the shapes simple while still being full of personality.
What colored pencils work best for storybook style princess drawings?
A core set of warm pinks, golds, greens and browns covers most scenes, since the warm storybook palette relies on layering two or three shades per color rather than owning dozens of pencils.
How do you keep the princess gown from looking flat and stiff?
Layer at least two shades of the same color into the folds rather than one flat fill, and let the hem curve or flare slightly instead of drawing it as a straight edged triangle.
Can kids and adults really work on the same princess drawing idea together?
Yes, every idea here has a simple version using basic shapes for a child and one small extra, like added shading or a texture detail, for an adult working on the same subject side by side.
How long does each princess drawing take to finish?
Most of these finish in under an hour, with a simple flat colored version taking as little as ten to fifteen minutes and the fuller shaded version closer to thirty or forty minutes.
Have any thoughts?
Share your reaction or leave a quick response — we’d love to hear what you think!
-
 0
-
0
-
0
-
0
-
0
-
0


