

Table of Contents
This vintage junk journal kit gives you a full set of antique-style pages built around one object or era each, an old love letter, a 1920s tea room, a botanical specimen, a sewing pattern, so every sheet tells its own small story. The set has 22 scene pages, 5 seamless background pages for covers and pockets, and 5 lined writing pages for your own entries.
Print everything on a heavier matte paper, at least 24 lb or a light cardstock, so ink does not bleed through and pages hold up to glue. Use your printer’s best or photo quality setting for richer color, then trim each sheet to your journal’s trim size before you tea-stain, fold or bind anything.
Using these images: free for personal projects such as printing, coloring, cards, journals and gifts. Handmade items that include them may be sold up to 30 pieces per design. More than that is commercial use and is not permitted, and neither is selling or sharing the images themselves or passing them off as your own. Please ask before any other use.
Letters and Correspondence
Folded cream paper, a wax seal and a faded ribbon sit across the page, with a pressed violet tucked into the fold and ink that trails off mid-sentence.
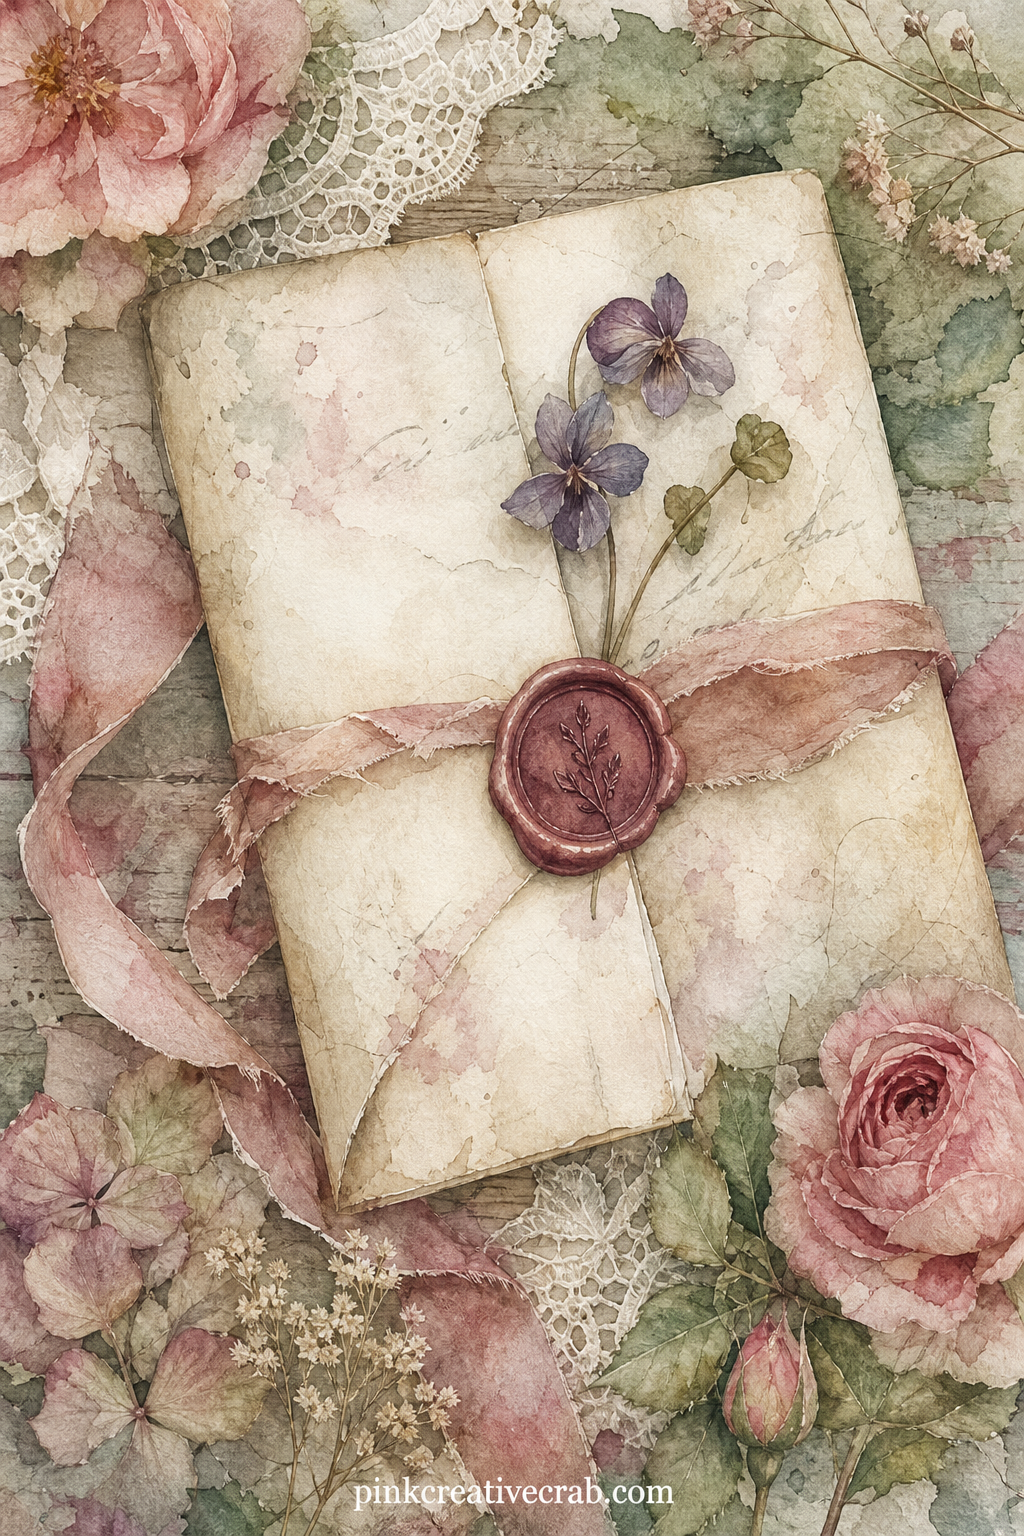
Glue a real stamp or a photocopy of one into the corner here, then slide a short note or a ticket stub behind the envelope flap so it peeks out like it just arrived.
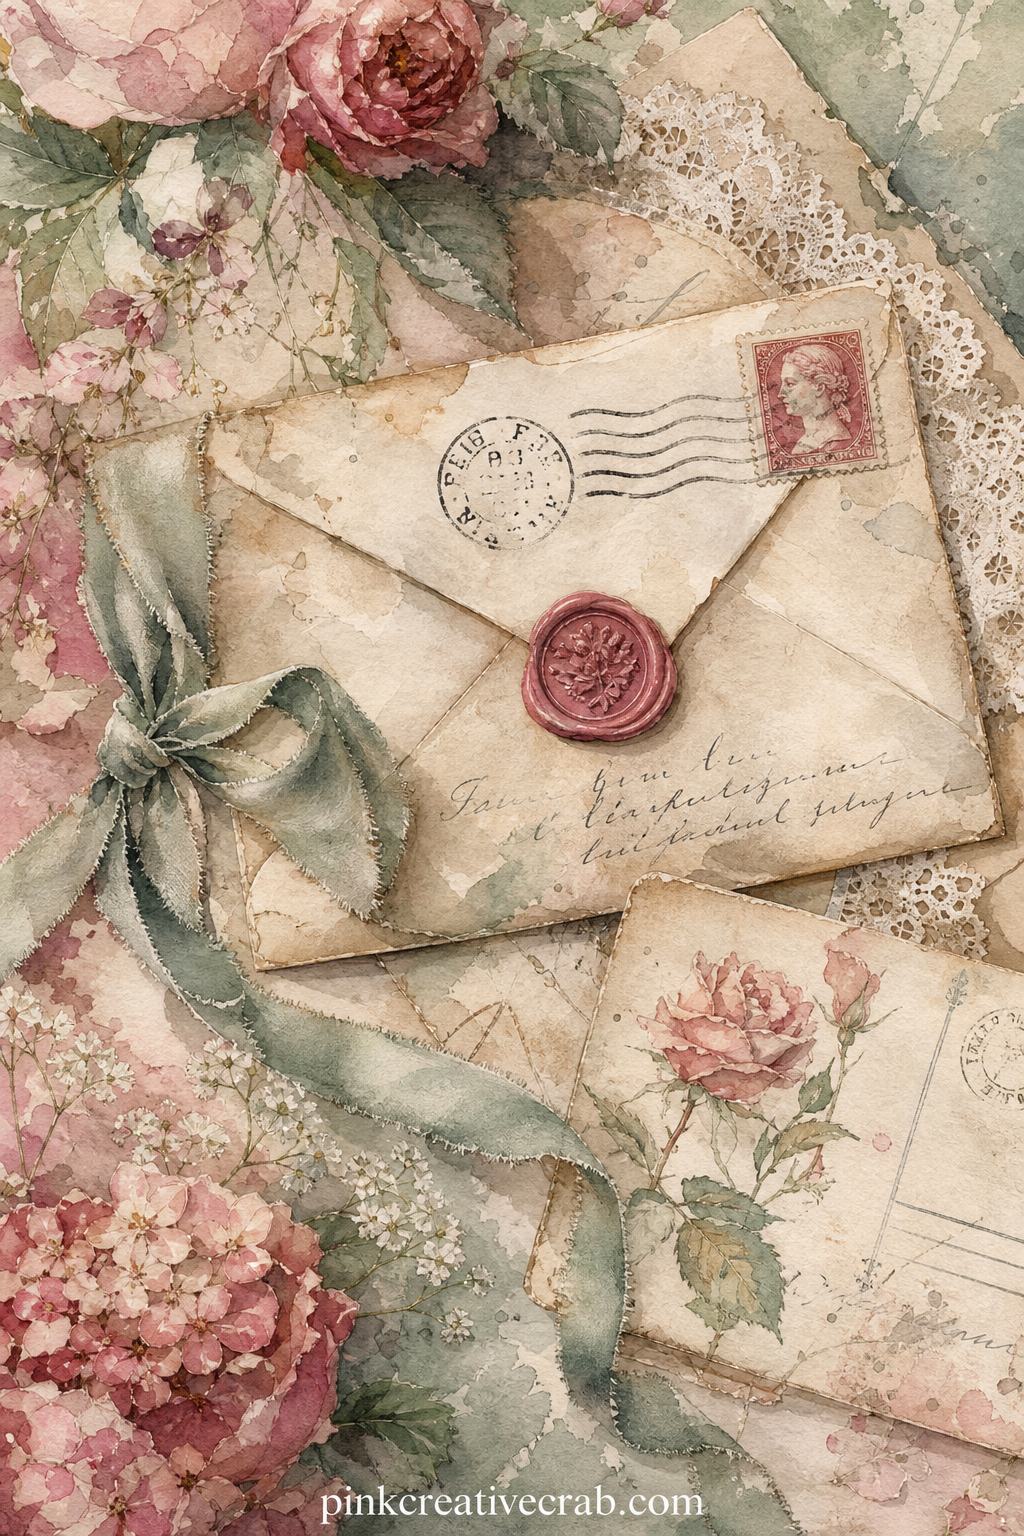
Pair this one with the Damask Writing Paper Pattern background further in the set, using it as a pocket liner behind the telegram so the pattern peeks through the torn edge.
A small calling card and a bundle of string sit beside the telegram strip, giving the page a layered, found-in-a-drawer feel without any extra fuss.
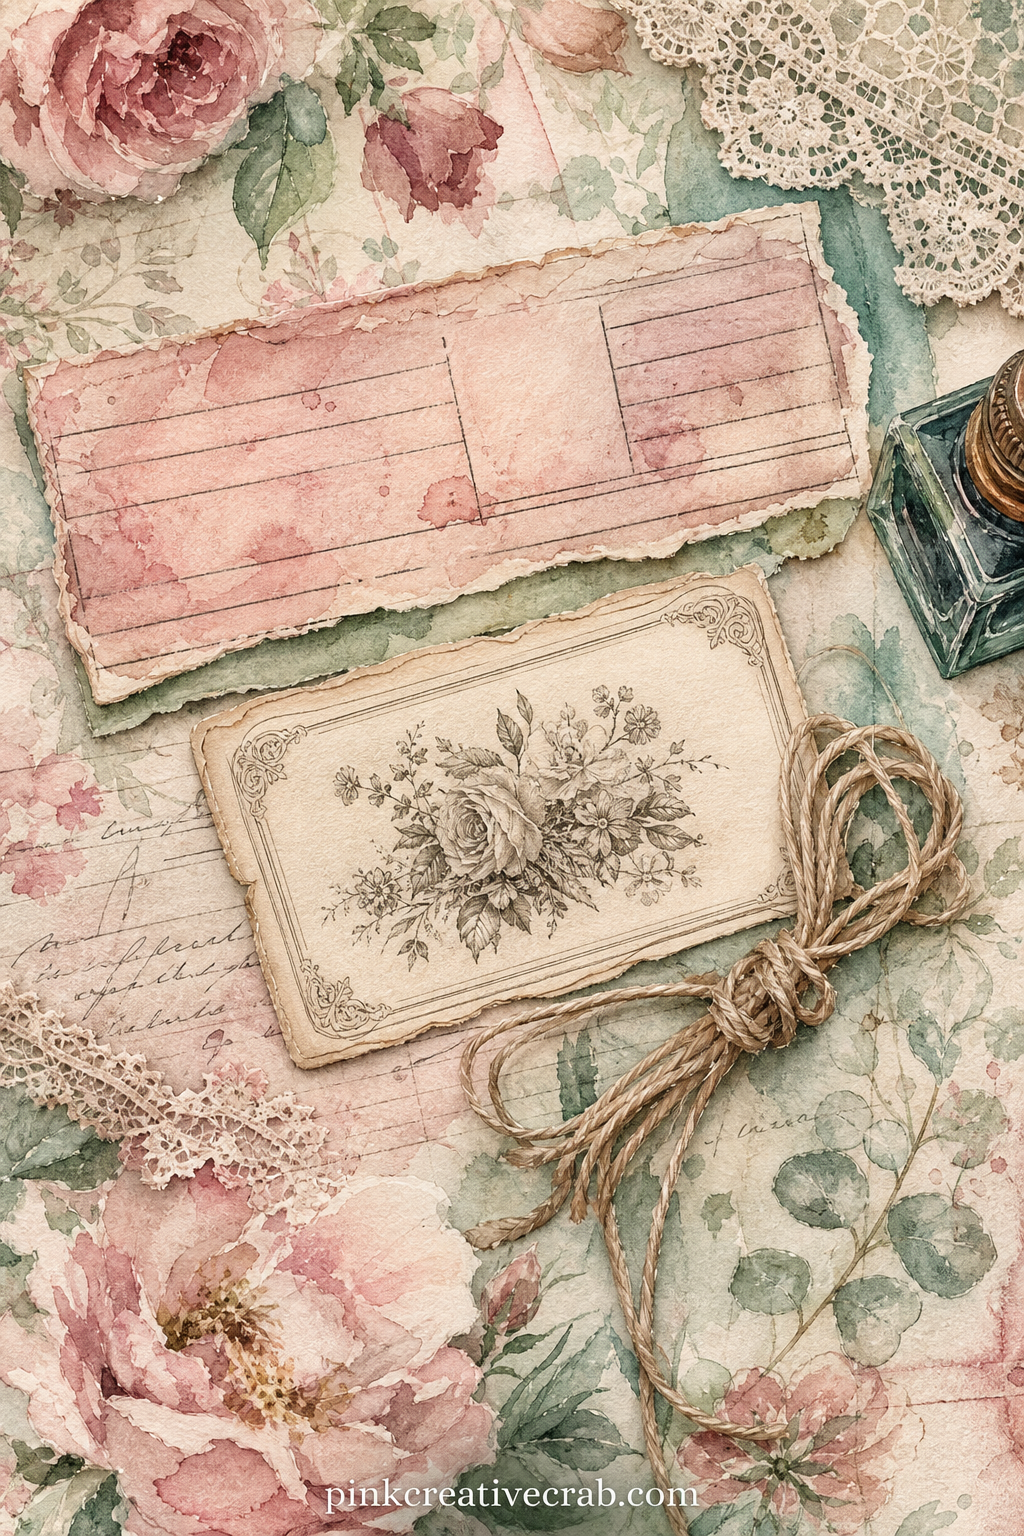
The usual mistake is making the pressed flower the whole page: keep the letter and ribbon large and let the flower sit small and off to one side, tucked under the fold.
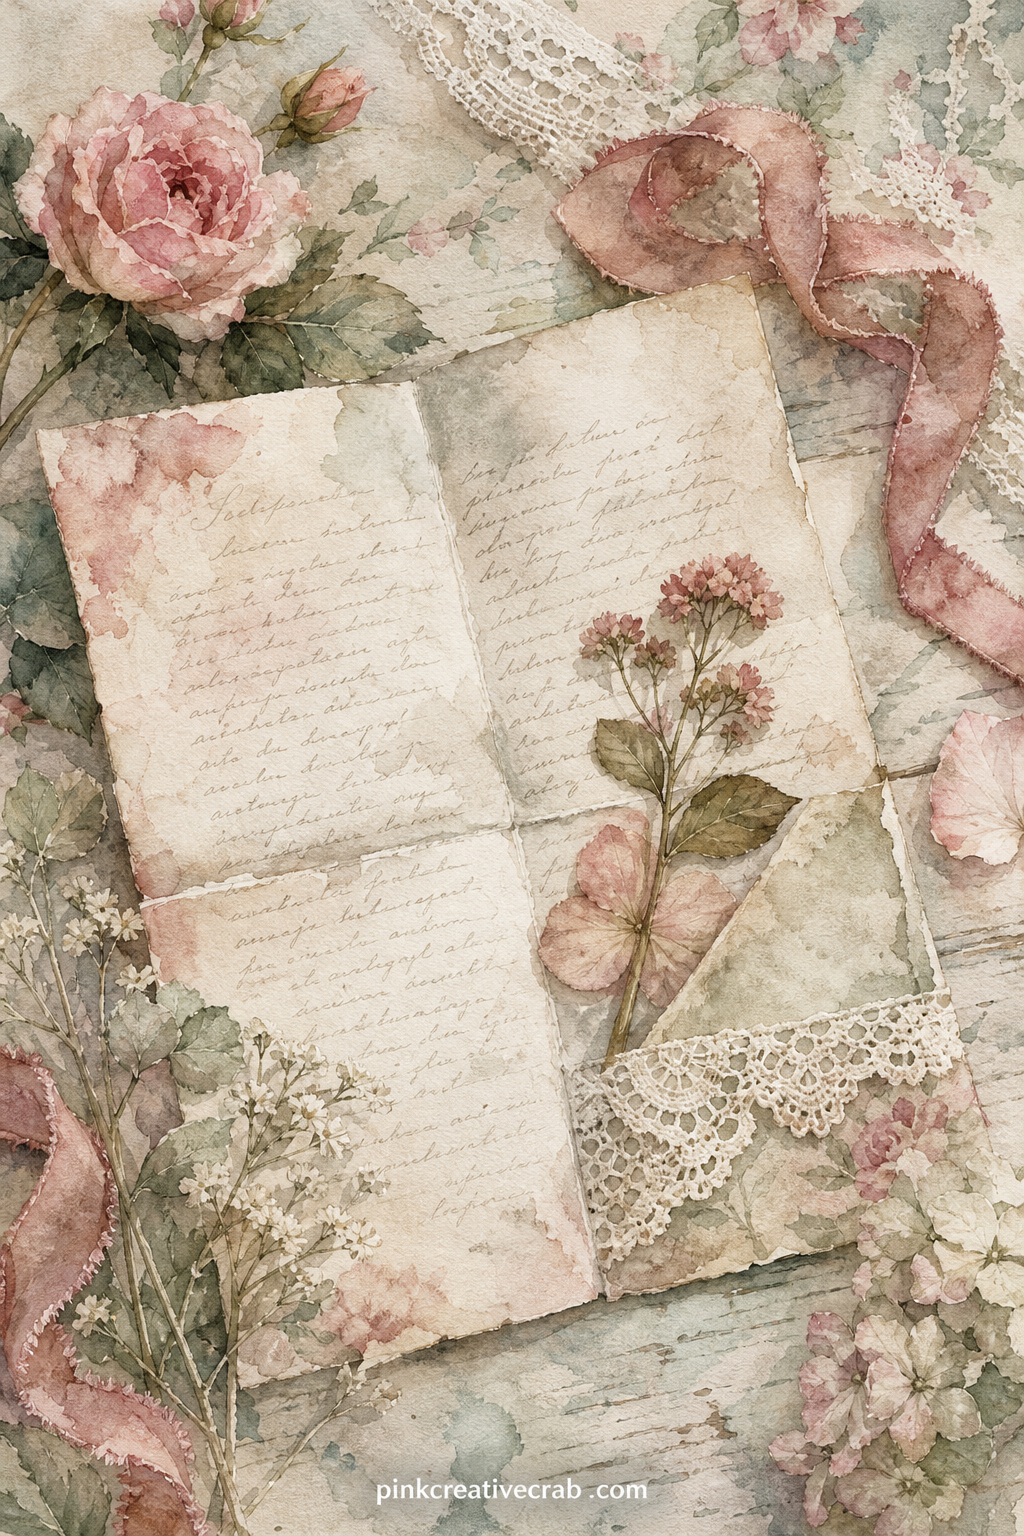
Tea Room and Parlour
A painted teapot, two mismatched cups and a slice of cake sit on a lace-edged cloth, with a folded napkin and a single rose in a short glass completing the small spread.
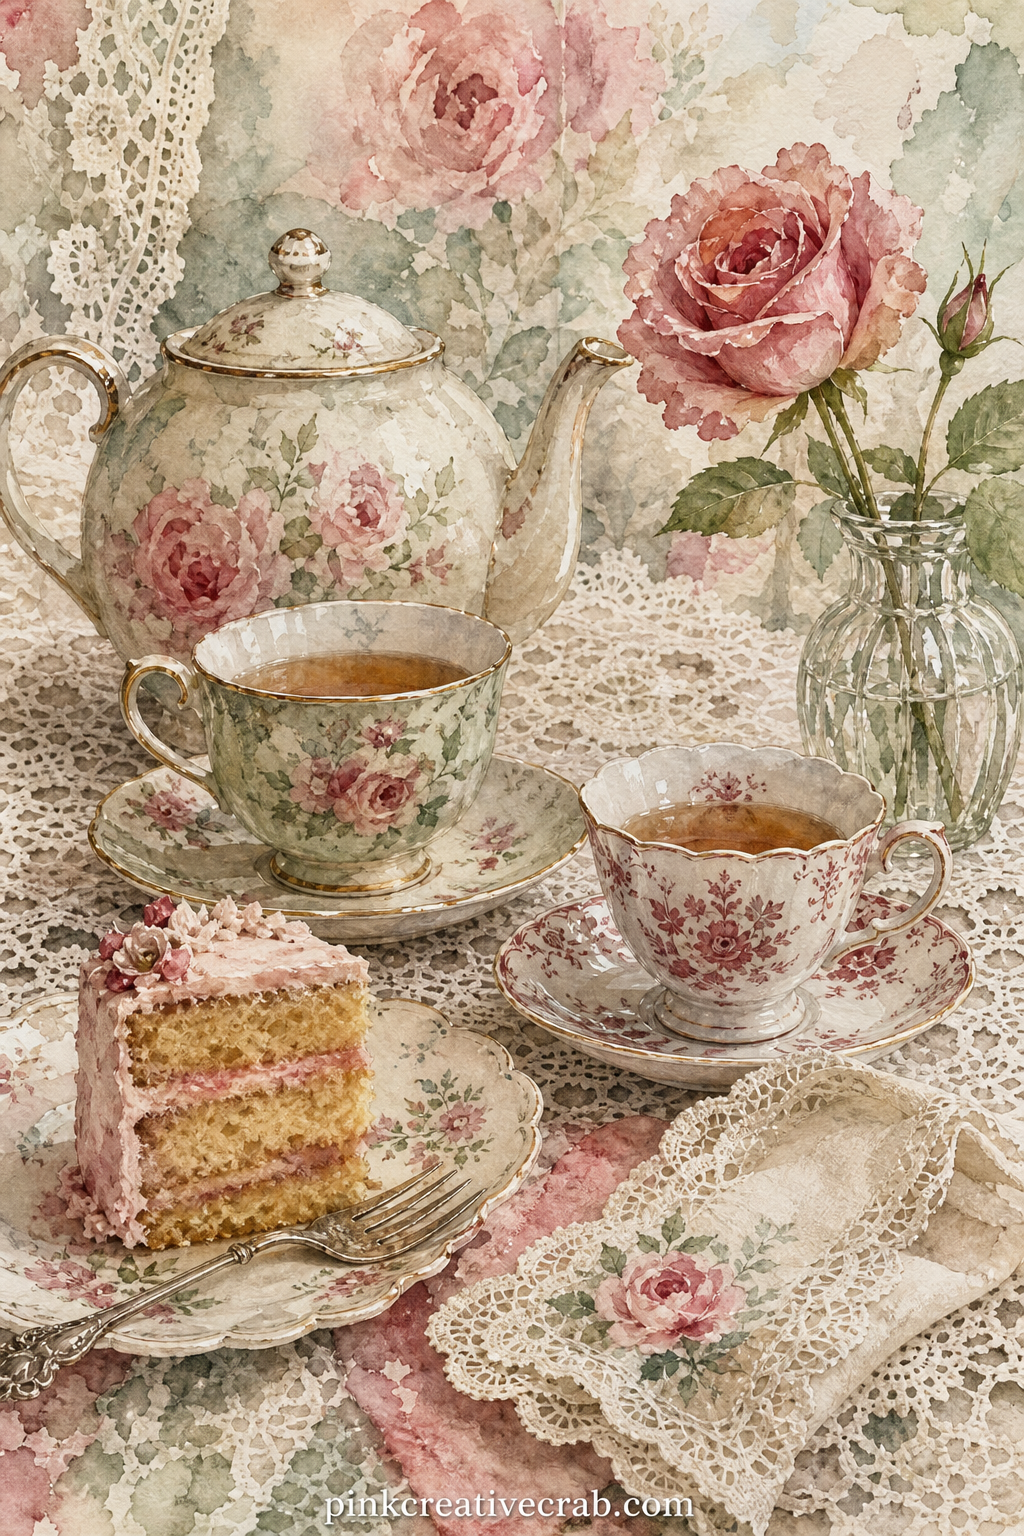
Write the actual tea you drank today along the edge of this one, or copy out a grandmother’s recipe for scones onto the blank strip beside the cup.
Looking for more gentle food subjects to practice alongside this page, the easy watercolor food ideas guide has plenty to borrow from.
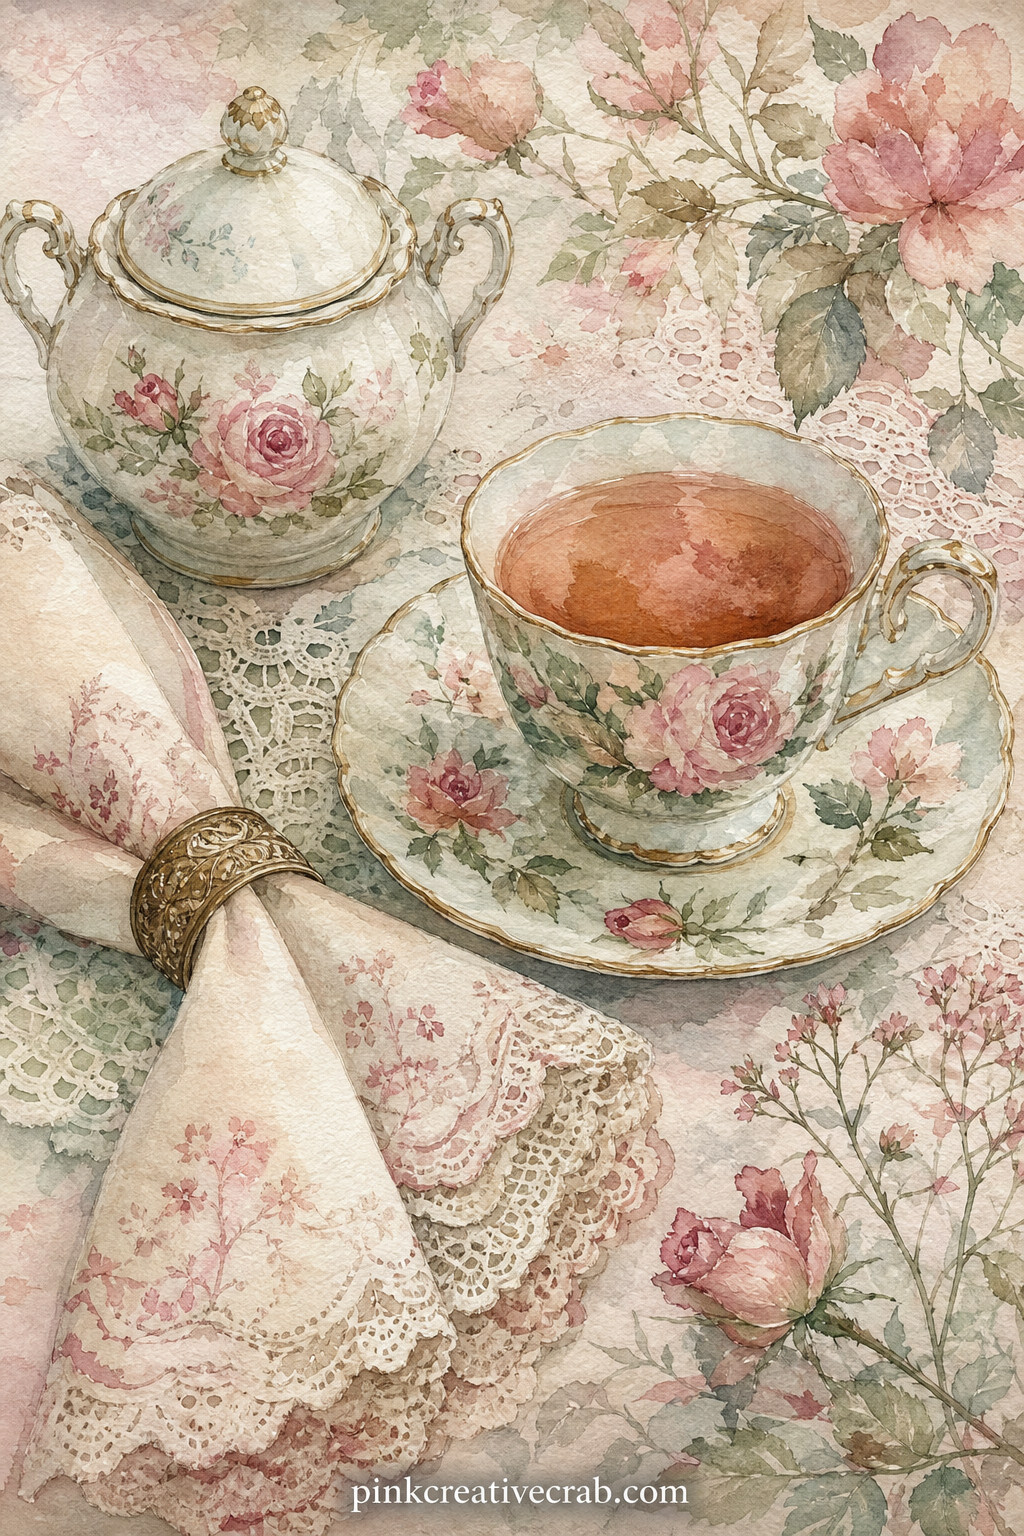
Tear the bottom edge of this page roughly, as if a page fell out of an old hymn book, then glue a scrap of sheet music or a pressed fern over the tear to hide it.
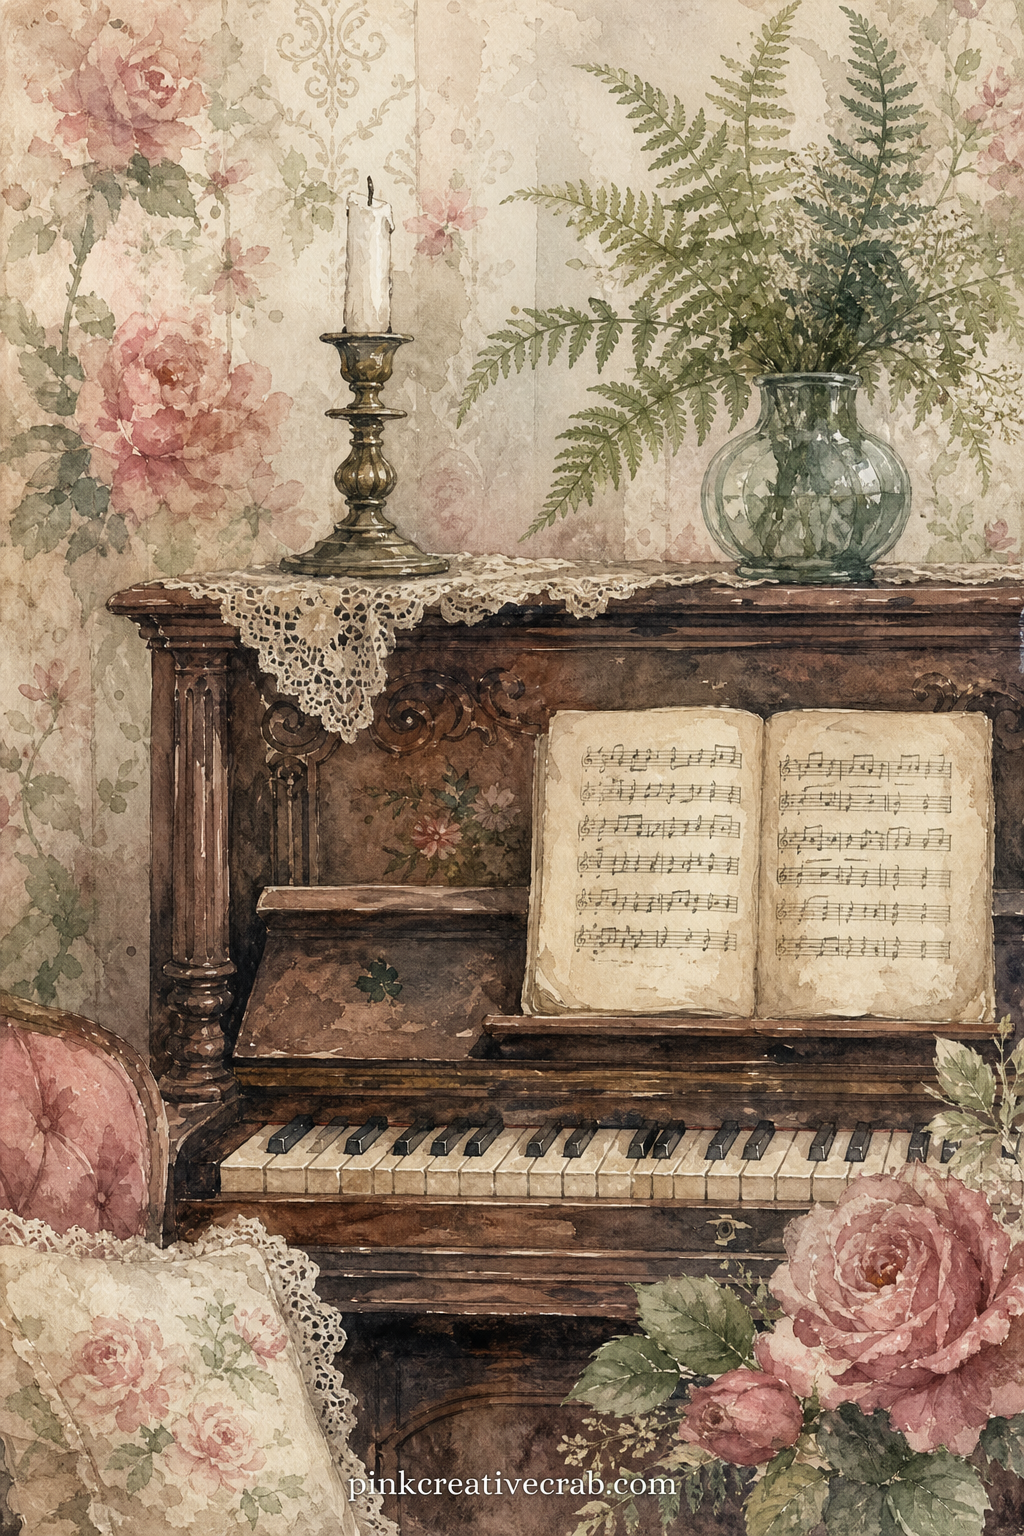
Best suited to a reader who collects real doilies: leave a little blank corner here for gluing in an actual lace scrap once the page is printed and dry.
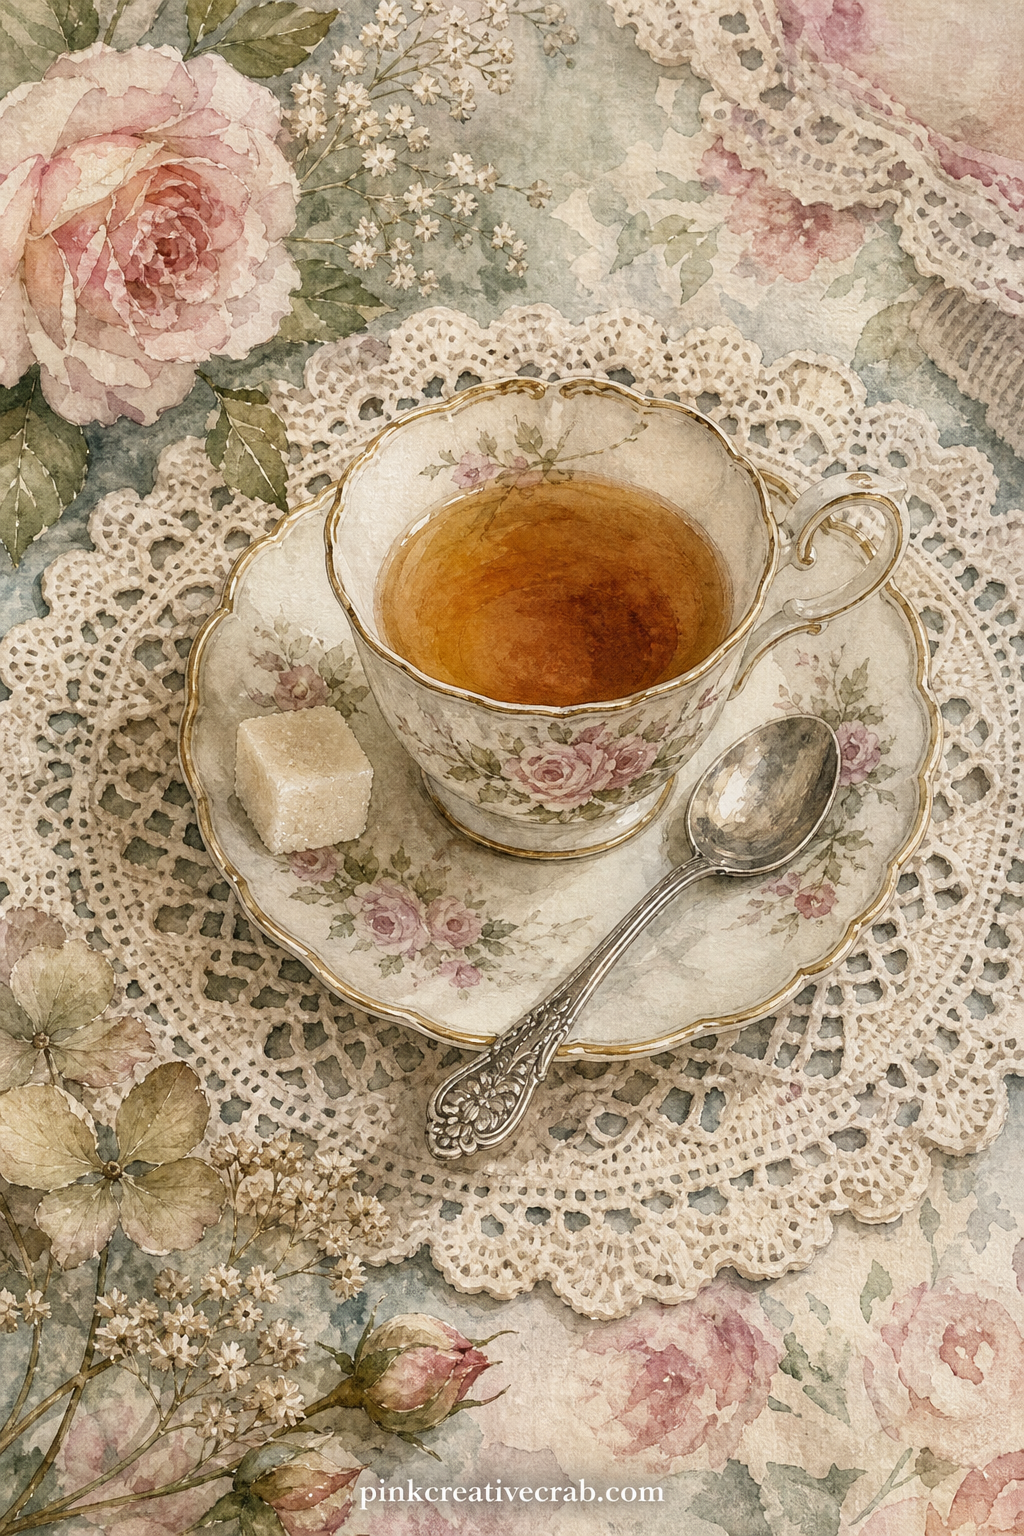
Botanical and Garden
A pressed leaf, a labeled stem and a small handwritten tag sit across pale paper, arranged the way an old naturalist’s notebook would hold them.
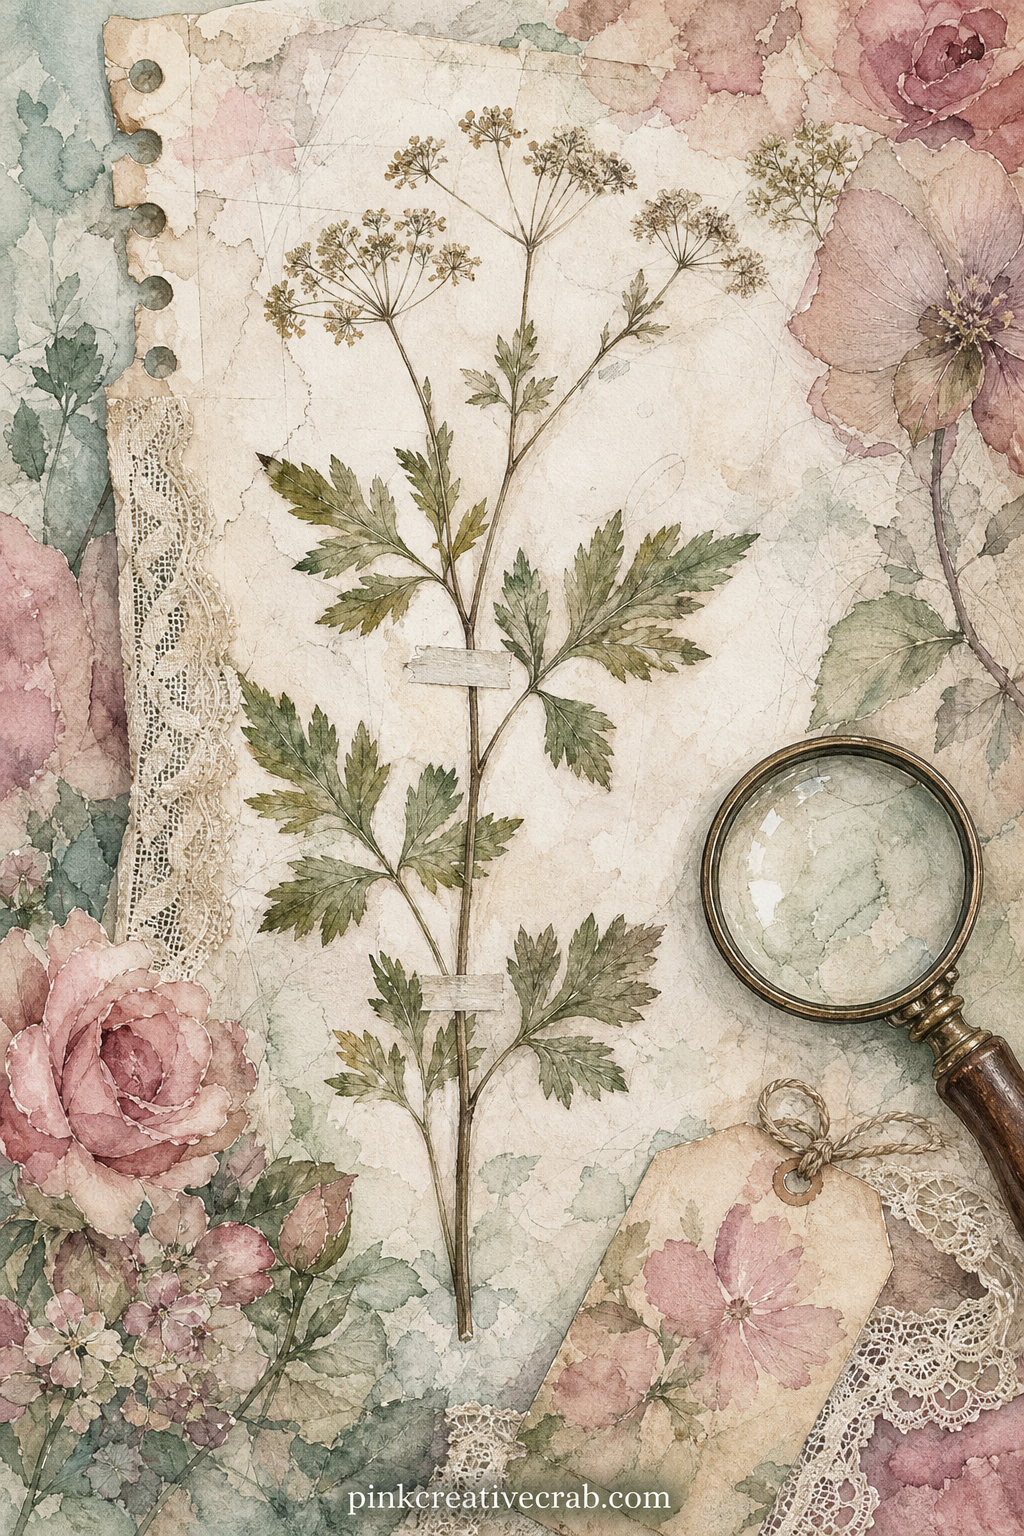
Ask yourself what grew in your garden this year, then write the answer along the bottom margin where the old botanist would have logged the date and place.
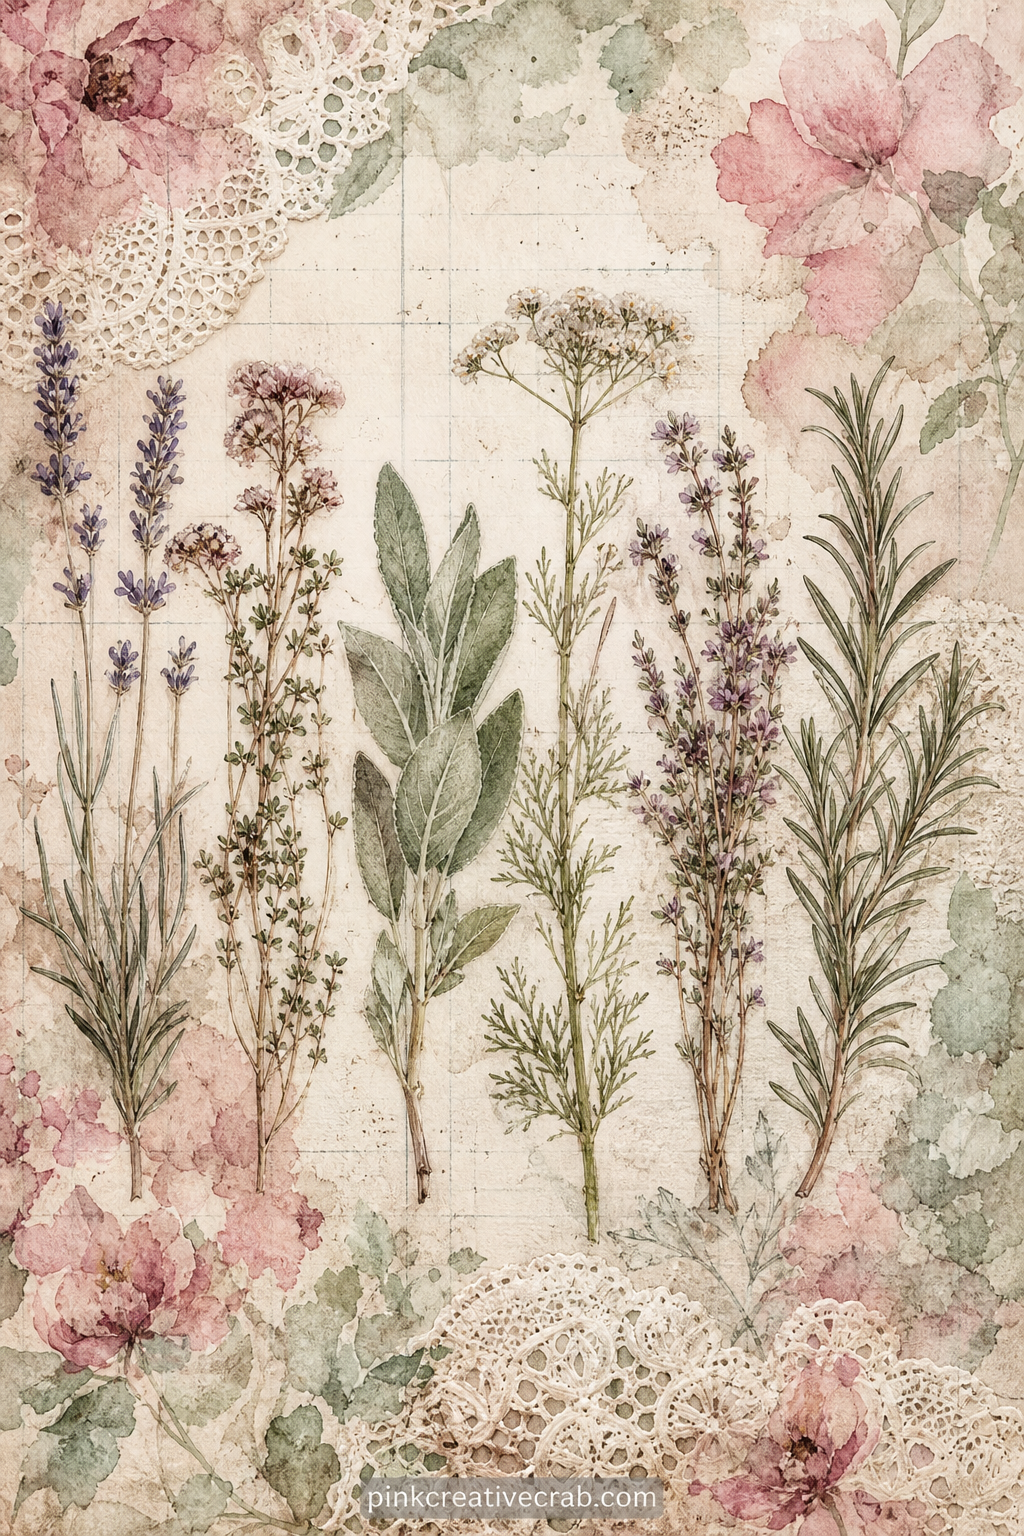
Place this page across from the Botanical Specimen Page so the two feel like facing pages torn from the same old seed catalogue, roses on one side and leaves on the other.
A short list of rose names runs down one edge, each with a tiny painted bloom beside it, the way old nursery catalogues once did.
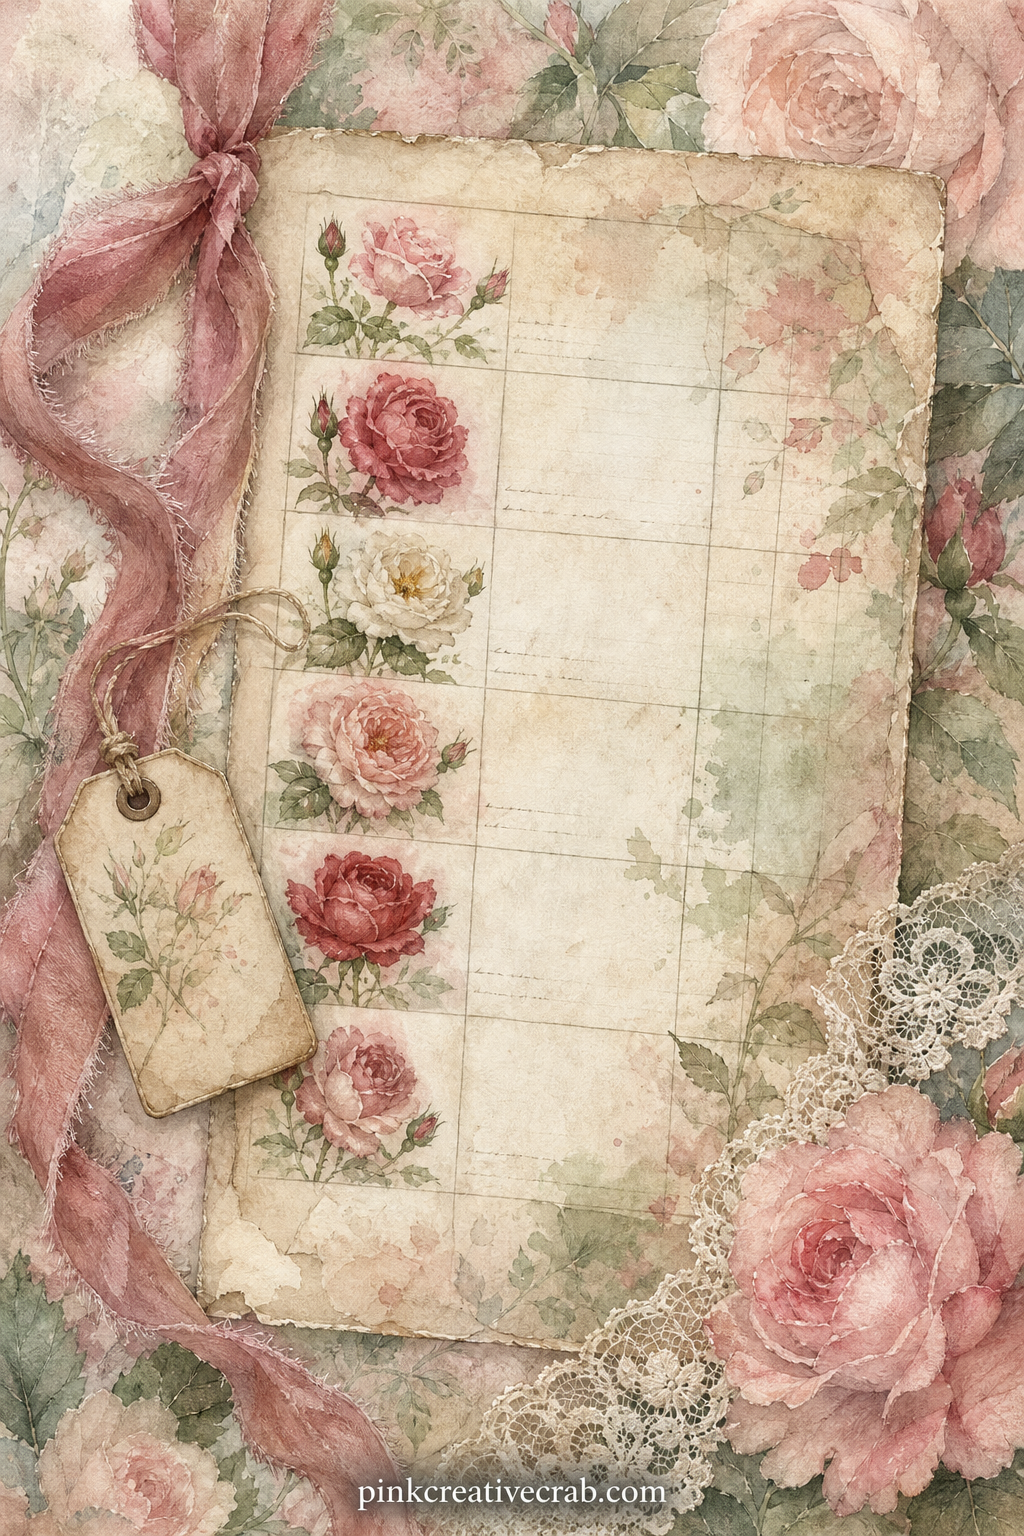
Five minutes is enough here: glue in one real pressed fern or leaf over the painted ones, add a date in the corner, and the page is finished.
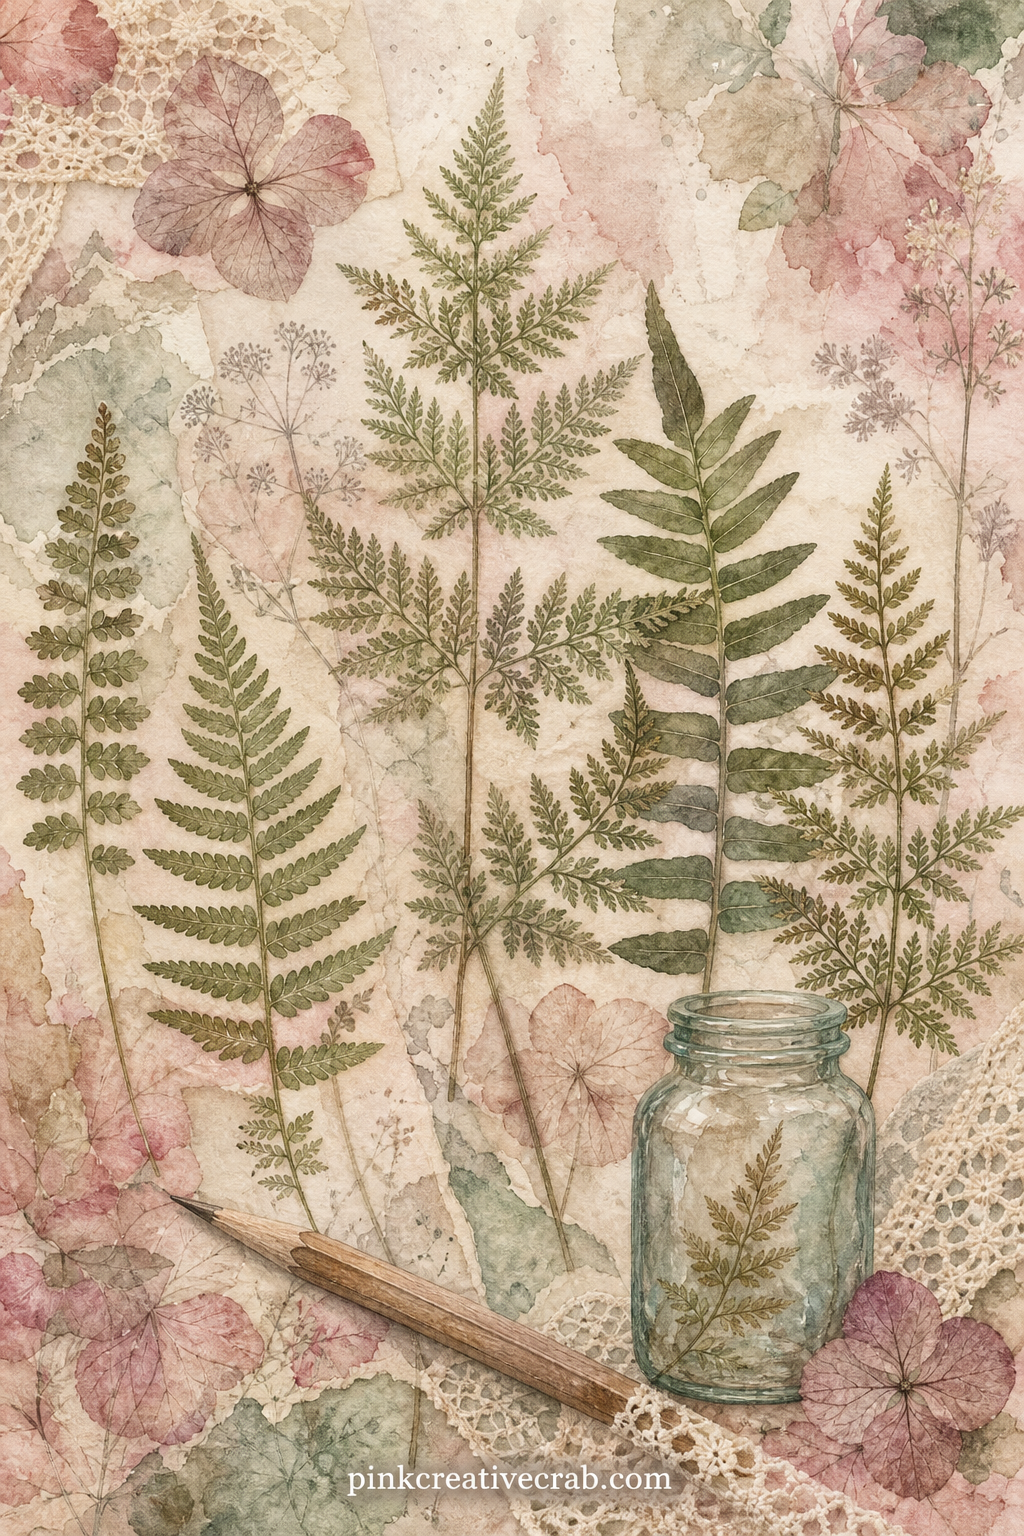
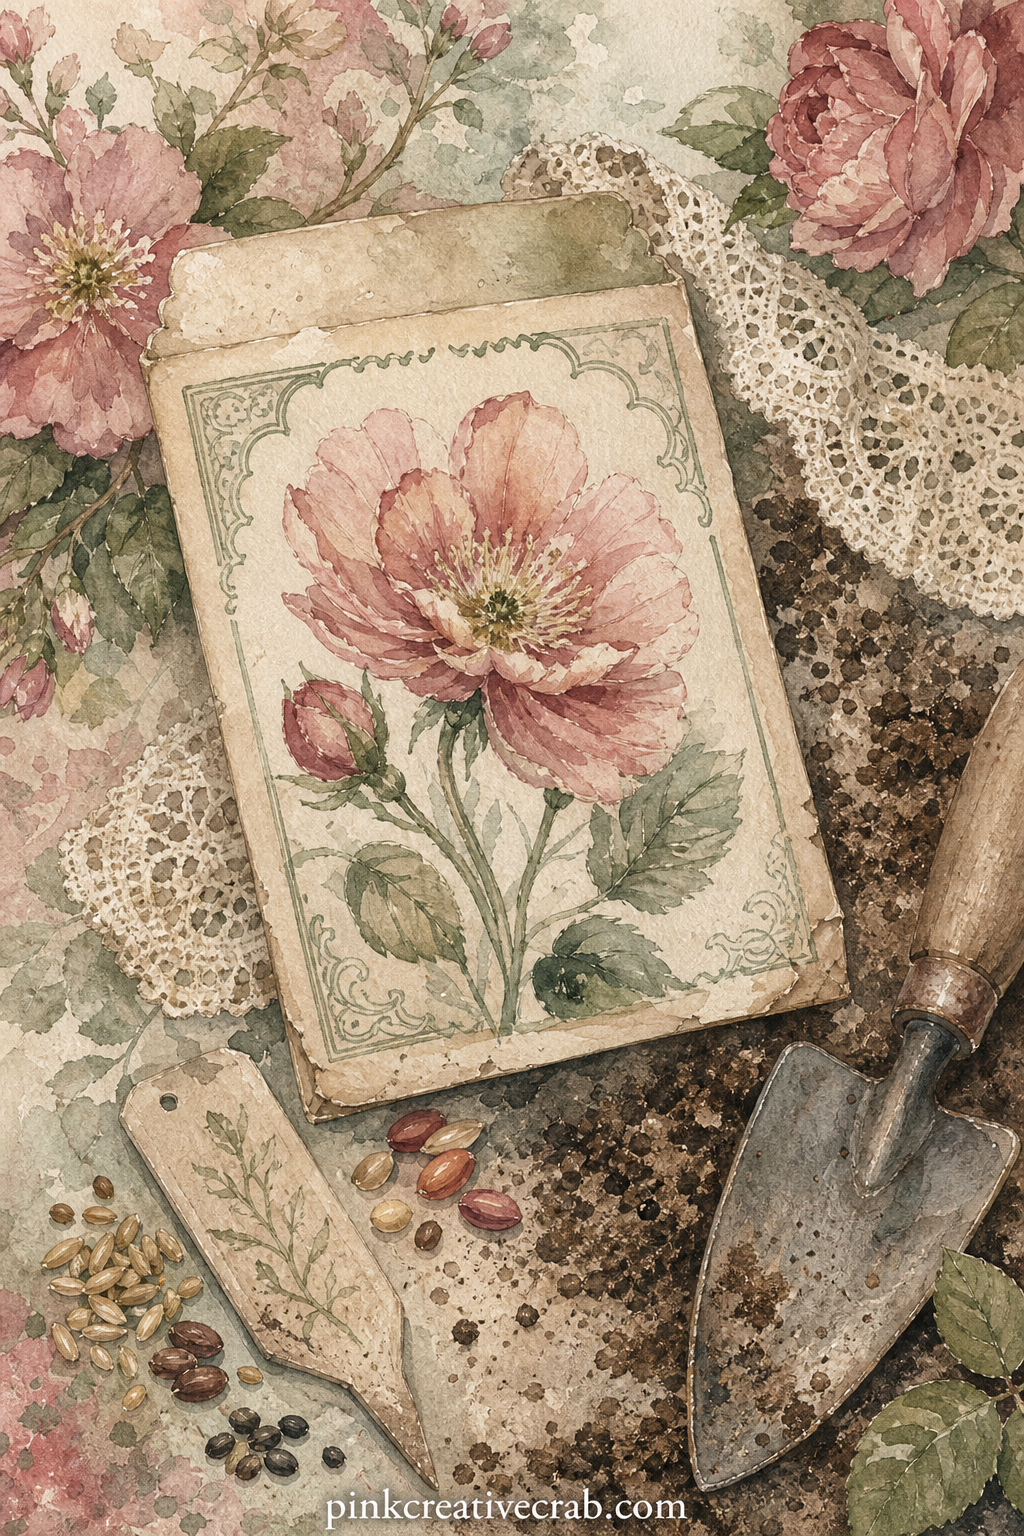
Fold this one in half to make a small pocket, the way real seed packets open, and tuck a few paper seed shapes or a folded note inside before gluing the sides down.
Sewing and Keepsakes
A folded tissue sewing pattern, a spool of thread and a loose button sit together here, the pattern’s printed lines faint under a layer of age.
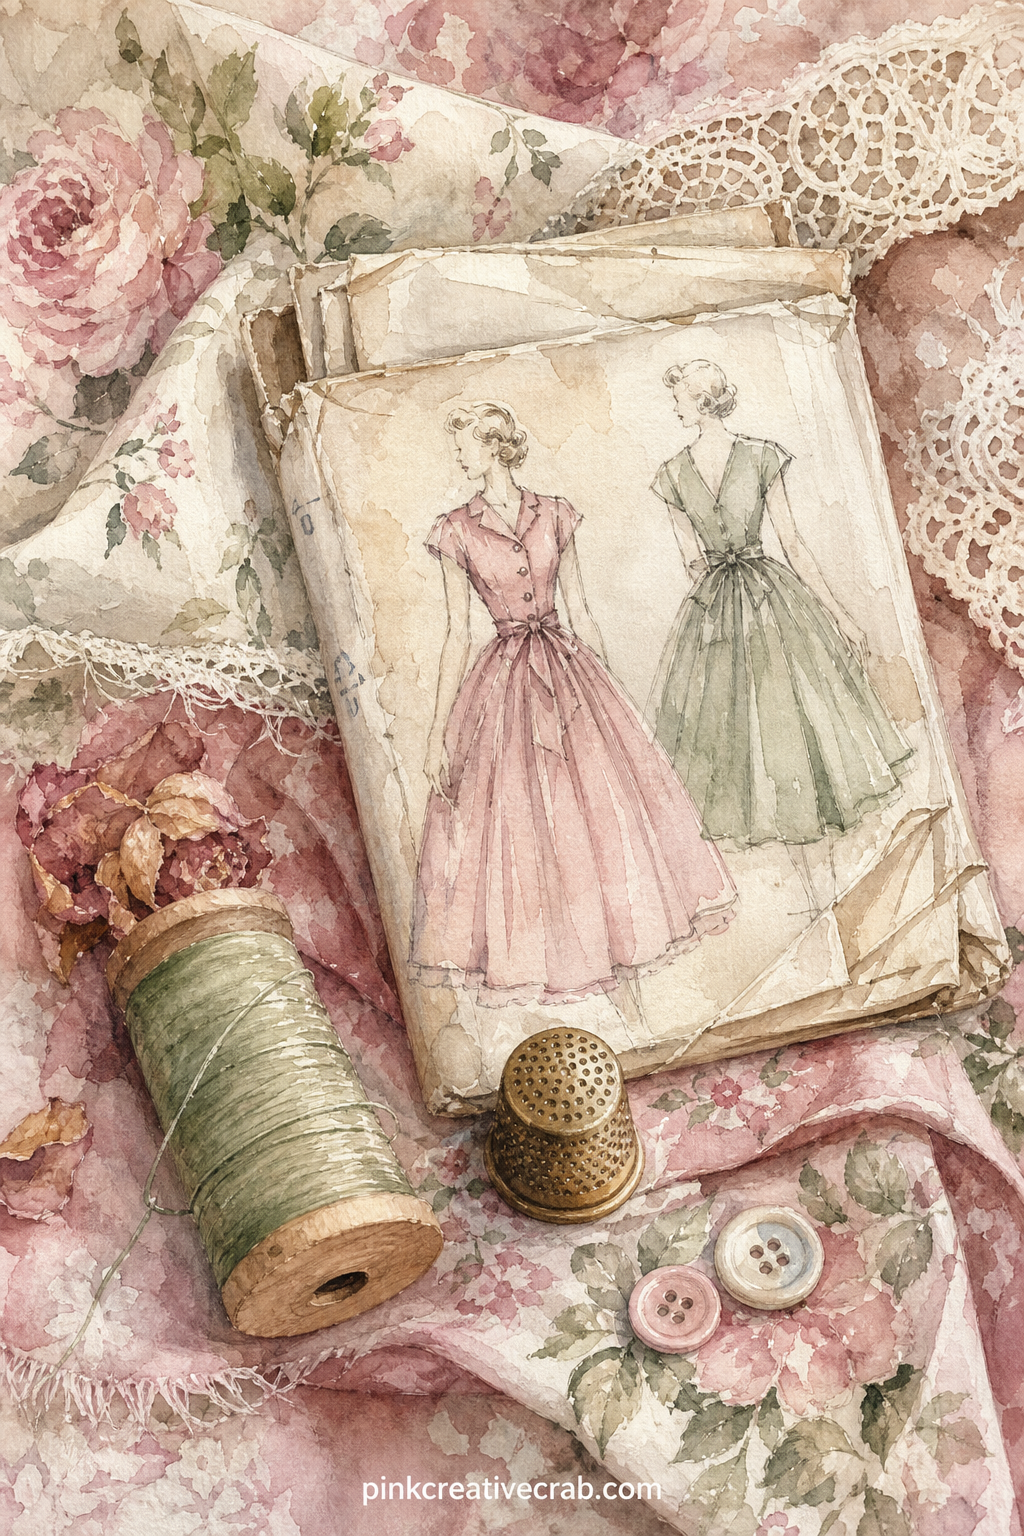
The usual mistake with this page is scattering too many buttons: keep five or six, grouped near the tin, and let the thimble and needle case carry the rest of the space.
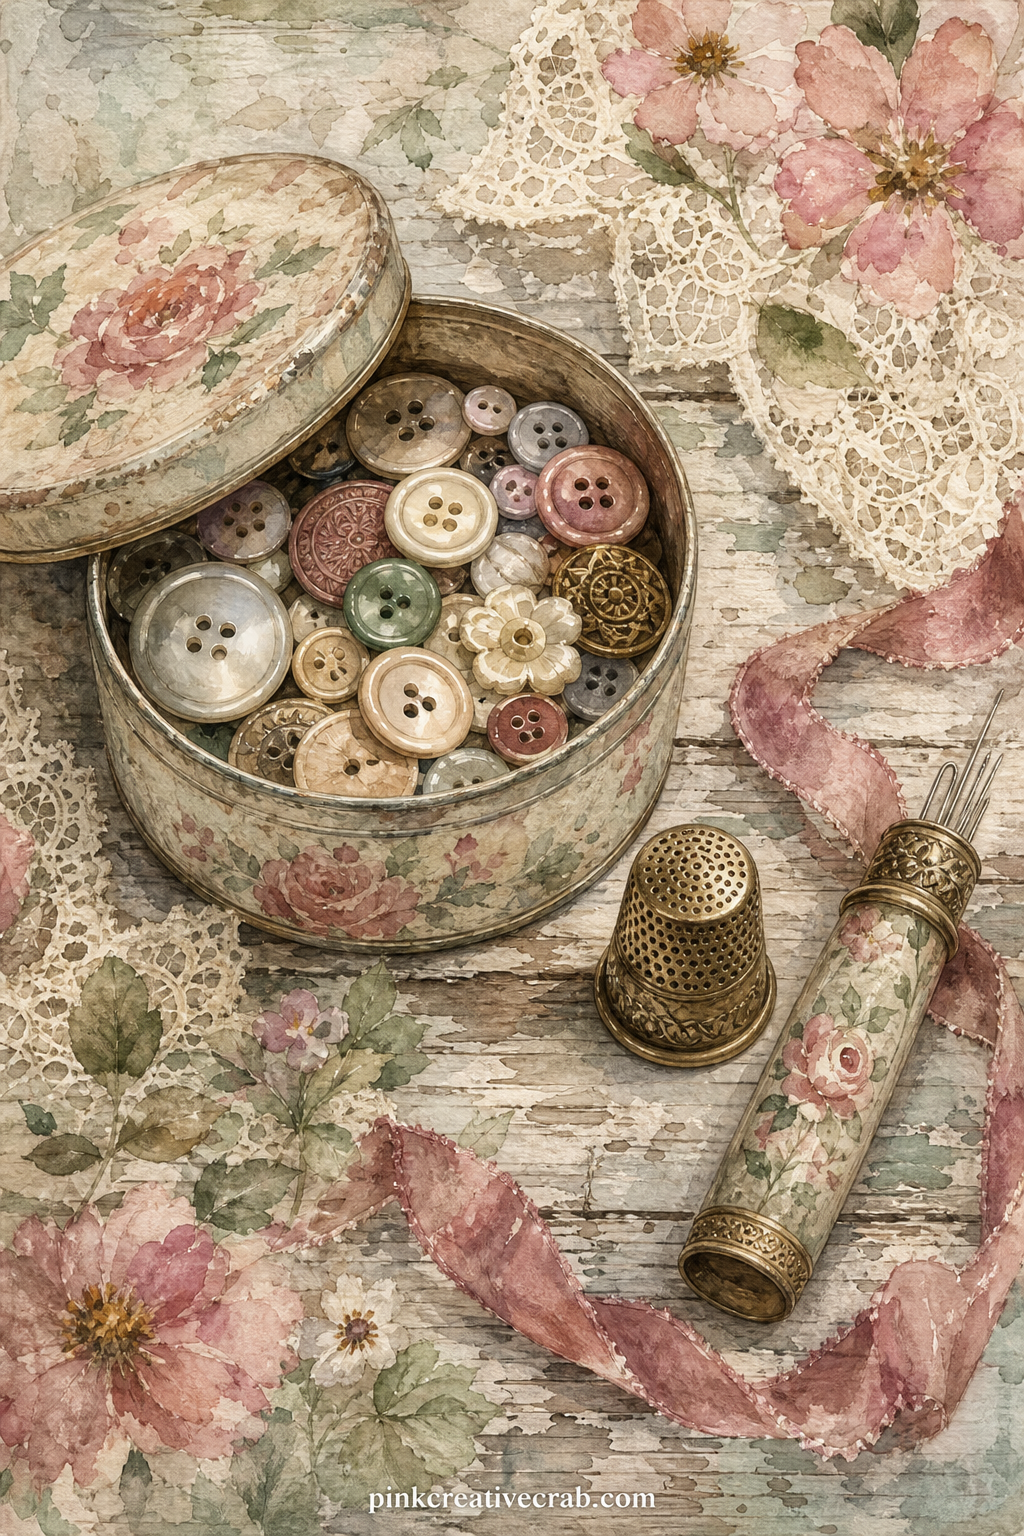
Good for the reader whose grandmother sewed: leave a line of blank thread-colored space along the bottom for naming the pattern or the year it was stitched.
A half-finished embroidery hoop sits with scissors and a spool nearby, stitches trailing off as though someone set the work down mid afternoon.
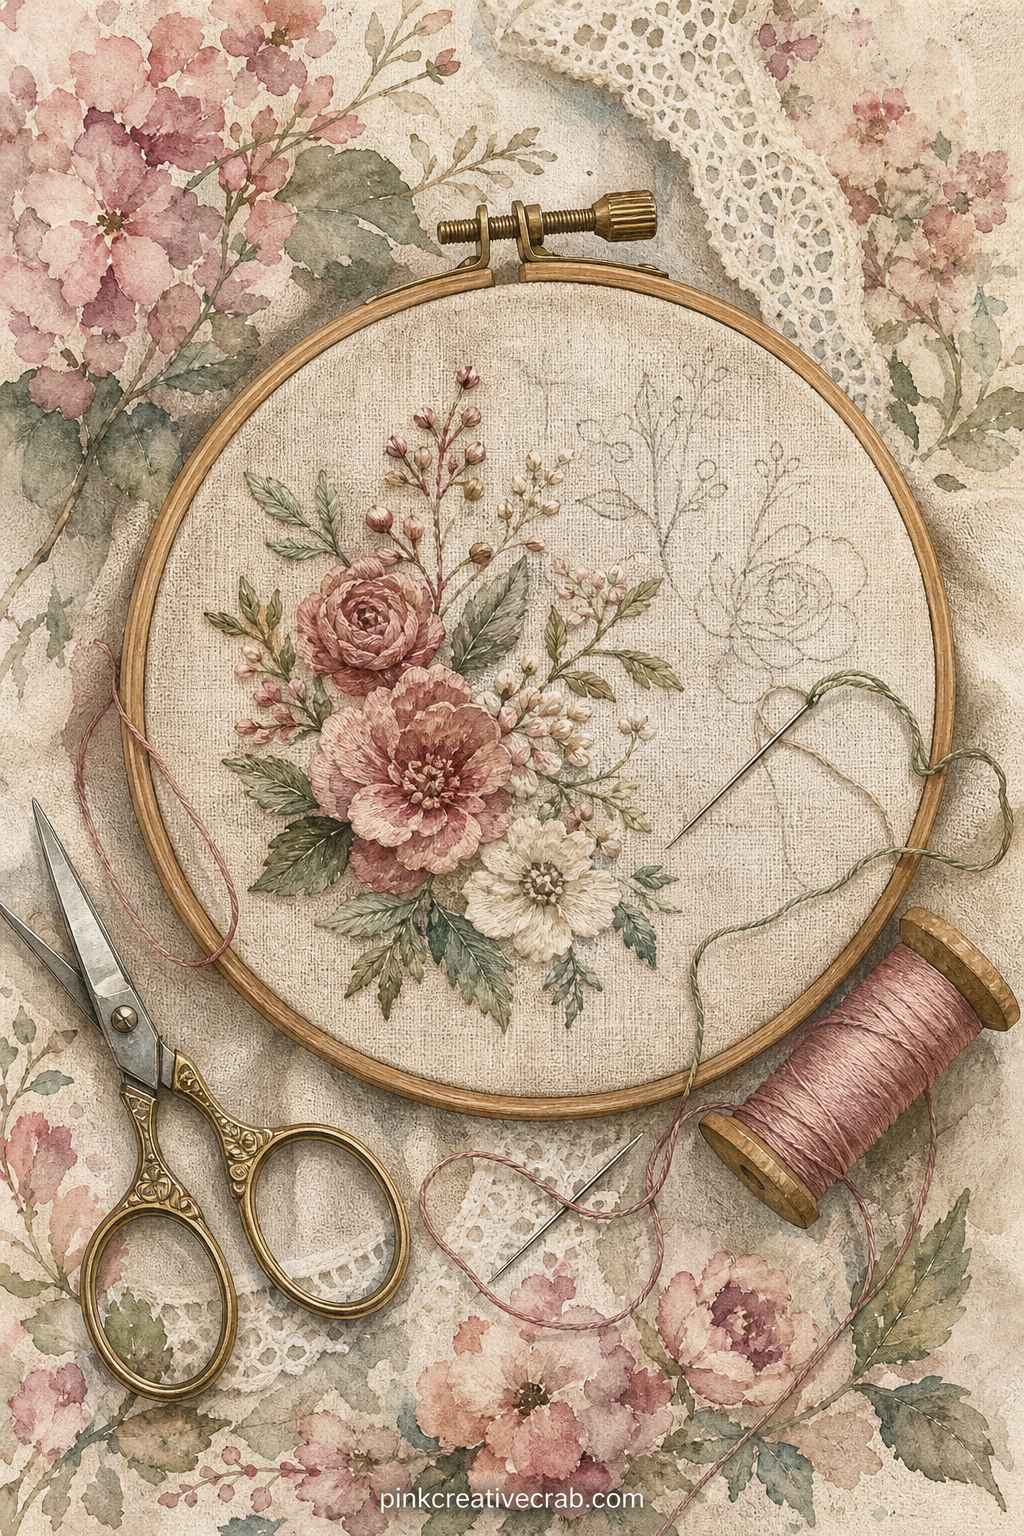
Pair this page with the Faded Lace Trim Pattern background later in the set, using the pattern as a window mat cut just smaller than the handkerchief shape.
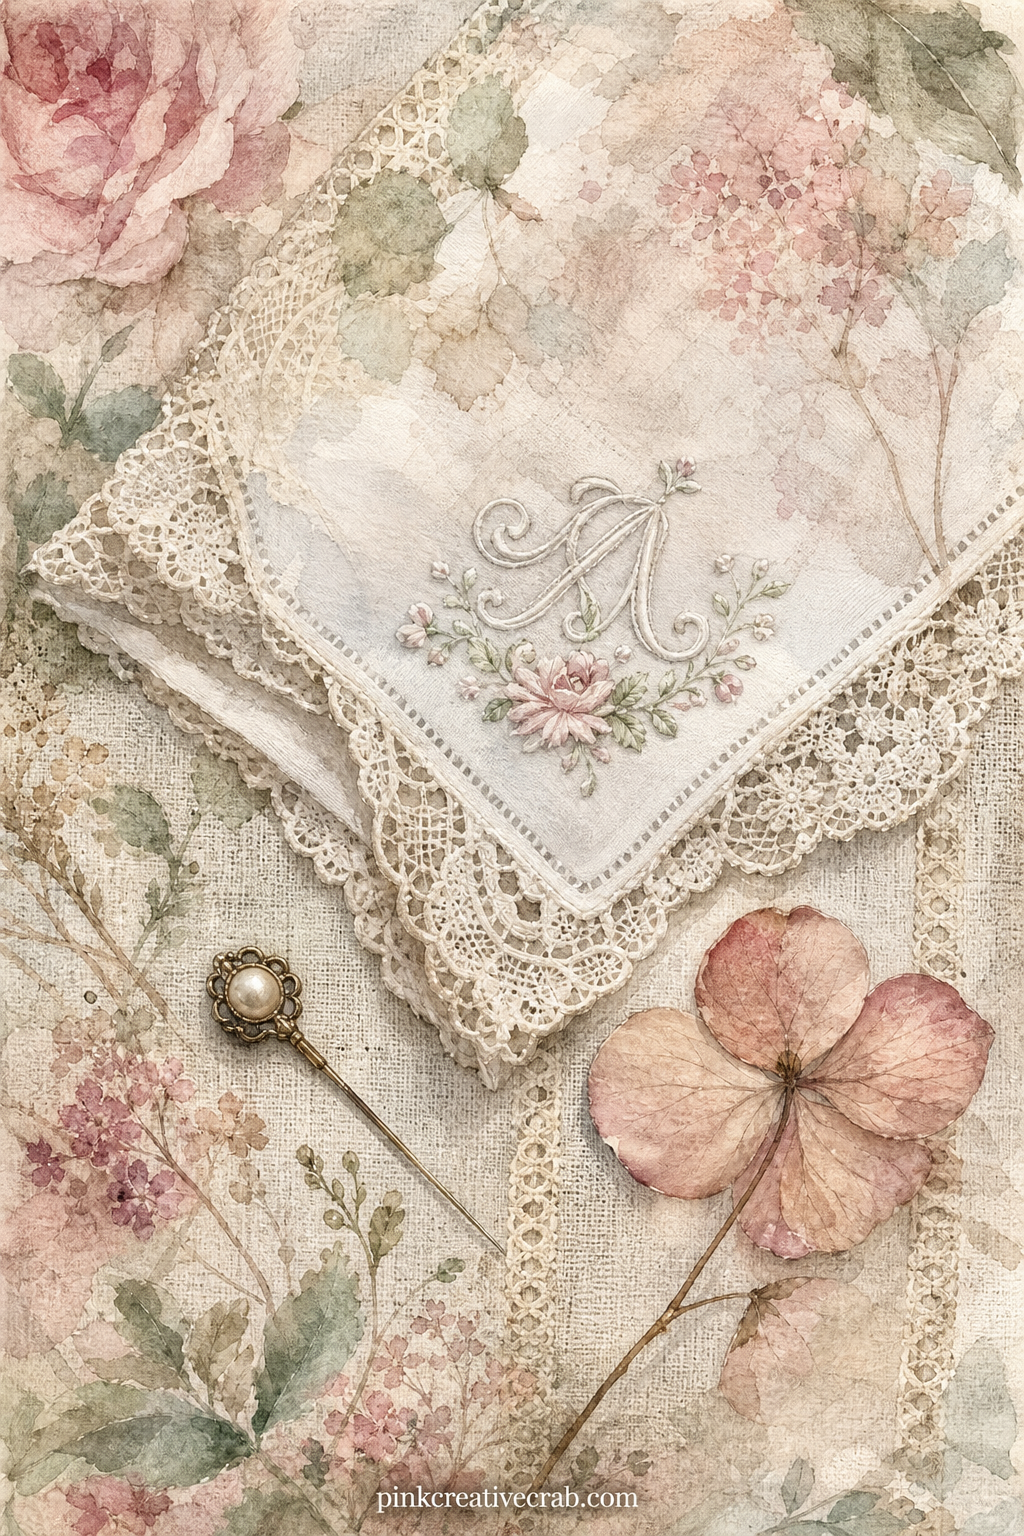
What would you keep in a box like this one, write the question along the lid in the blank space and answer it in the entry below once the page is bound in.
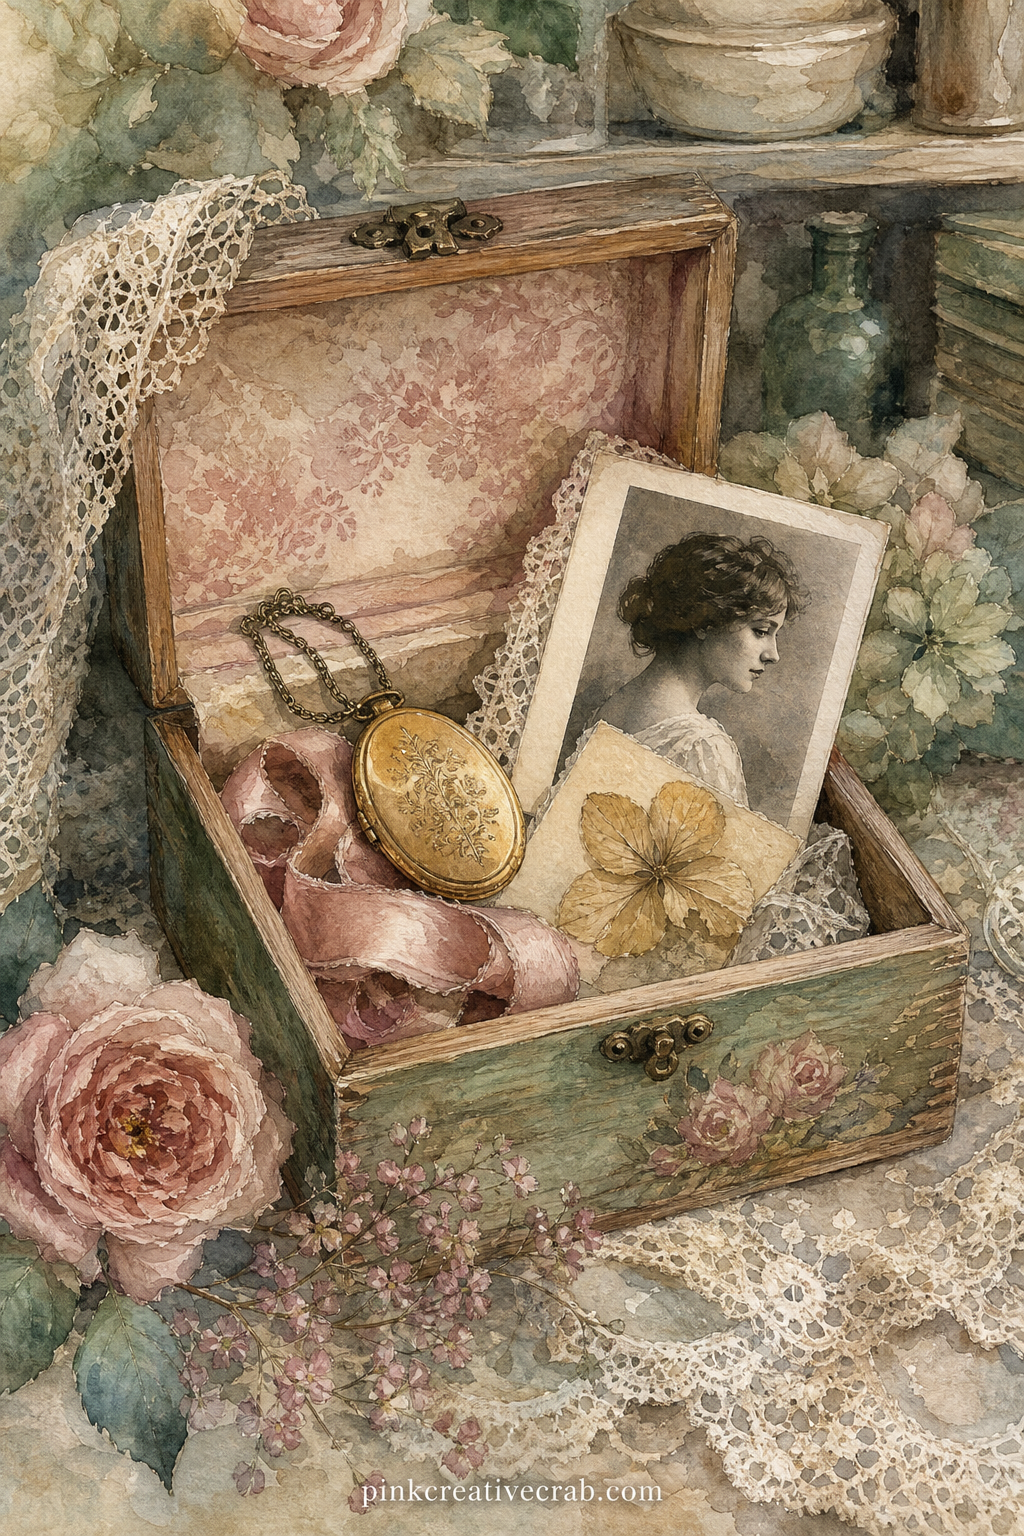
Parlour Objects and Travel
A brass-horned gramophone and a stack of records sit beside a folded dance card, the needle resting mid-groove as though the song just finished.
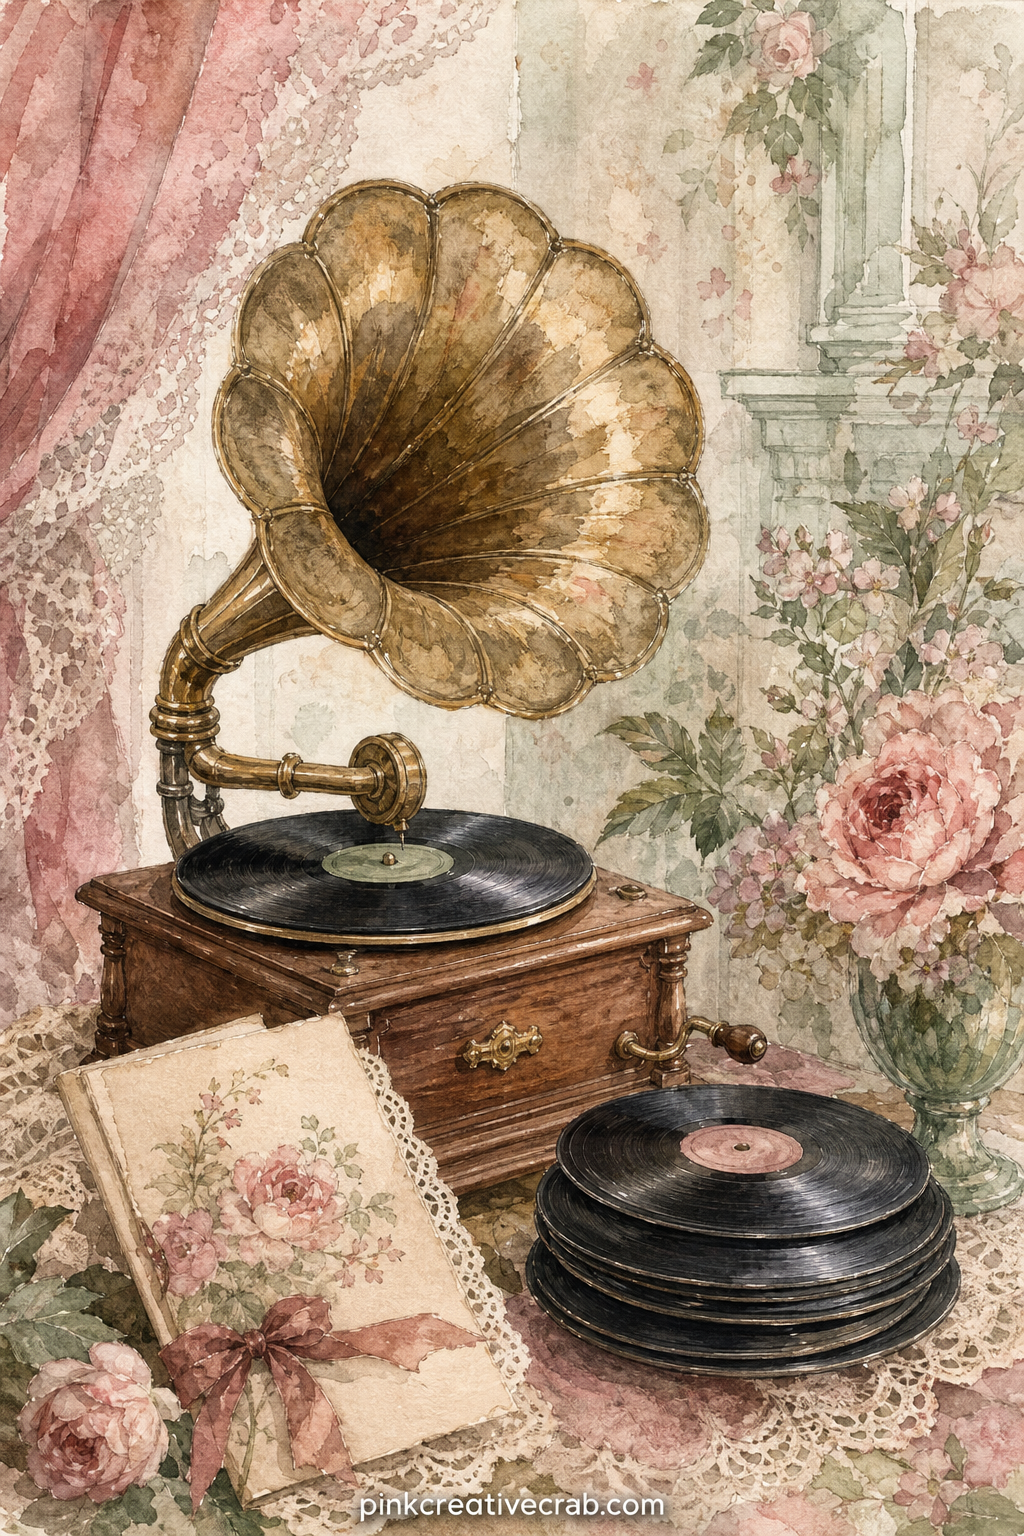
Tea-stain just the edges of this page before gluing it in, so the trunk’s painted straps and the travel labels look like they have crossed an ocean more than once.
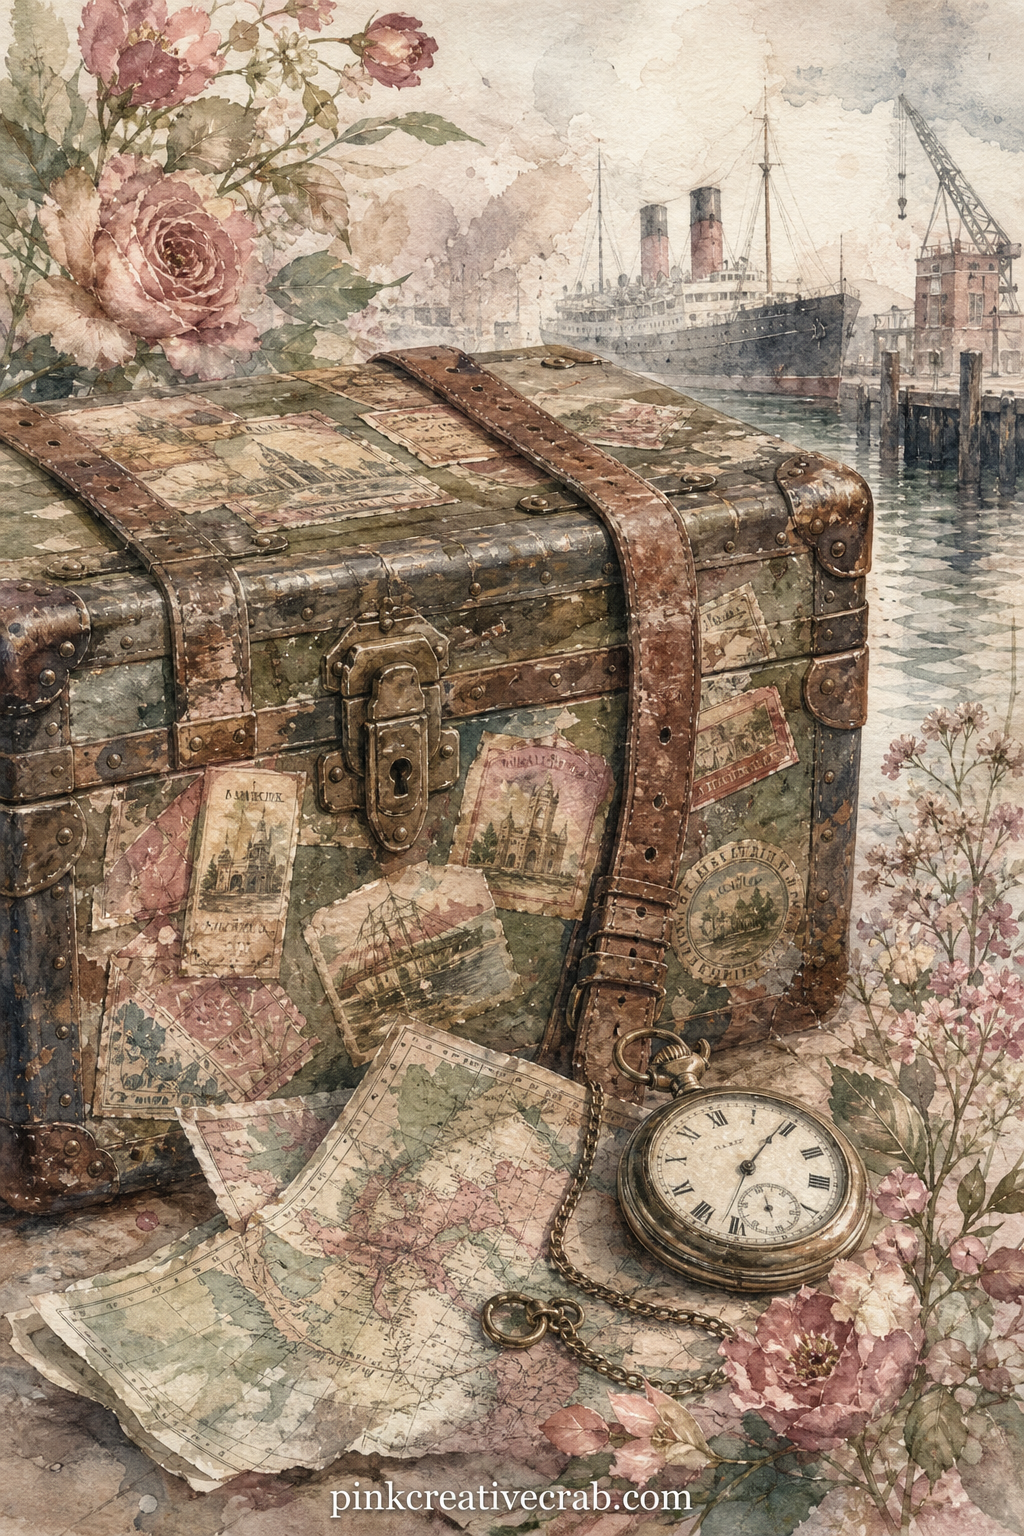
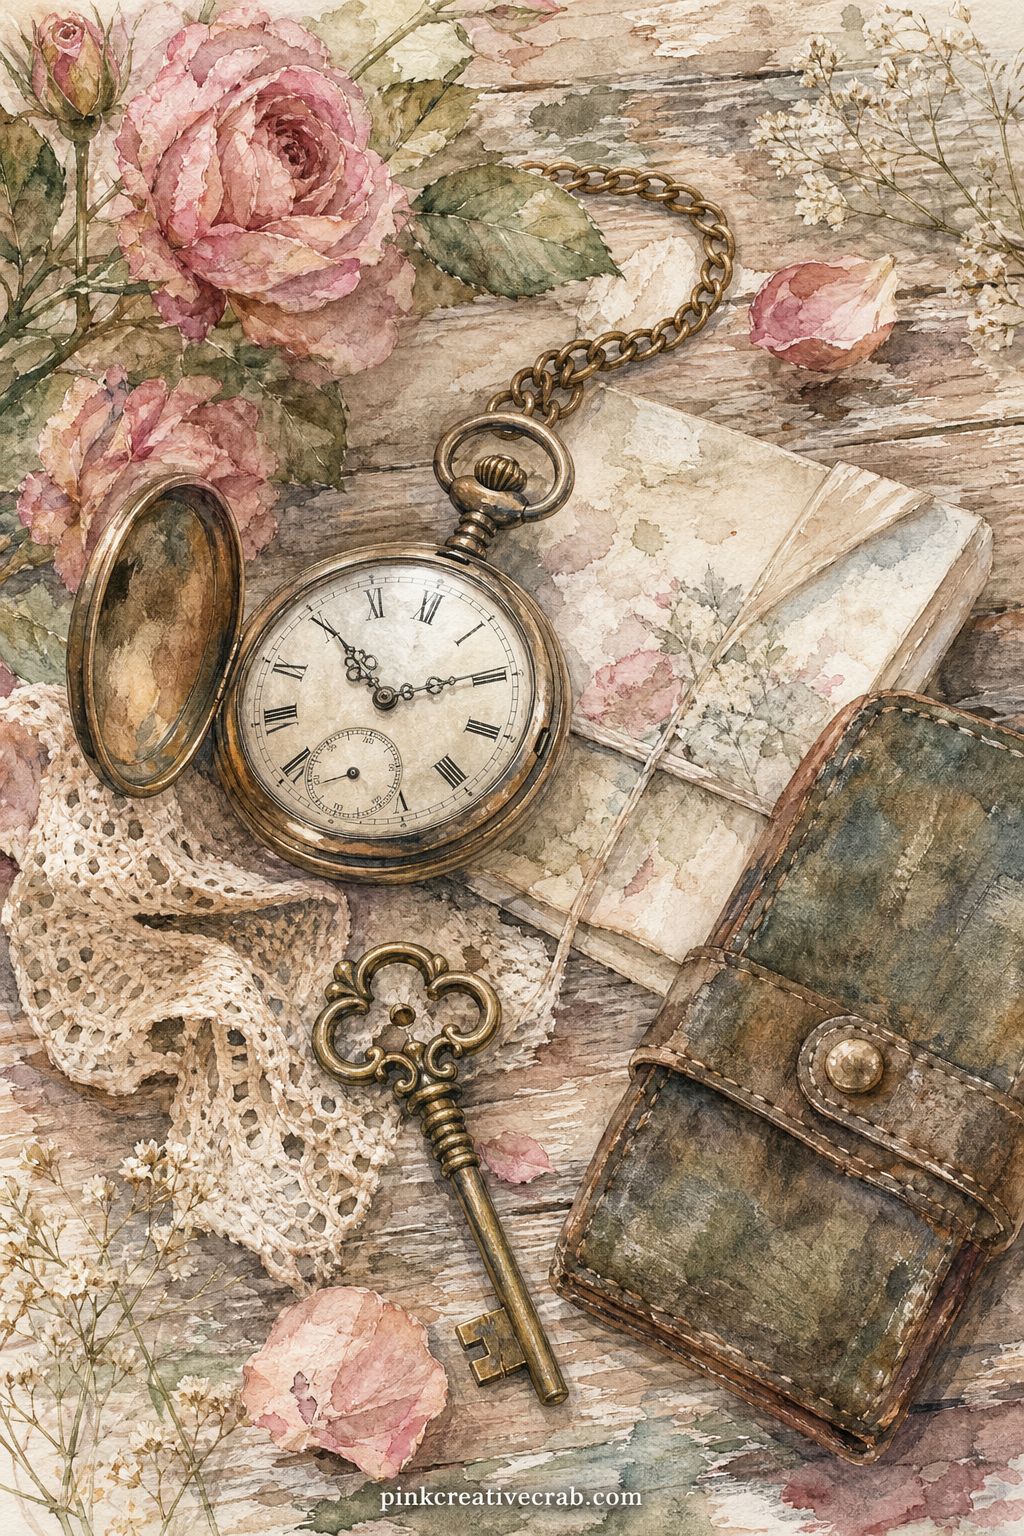
Give this page to the reader piecing together a grandfather’s story: a pocket watch, a small brass key and a folded note sit together, worn and well kept.
Leave the note’s surface mostly blank so she can write a line or two of what the watch means to her own family.
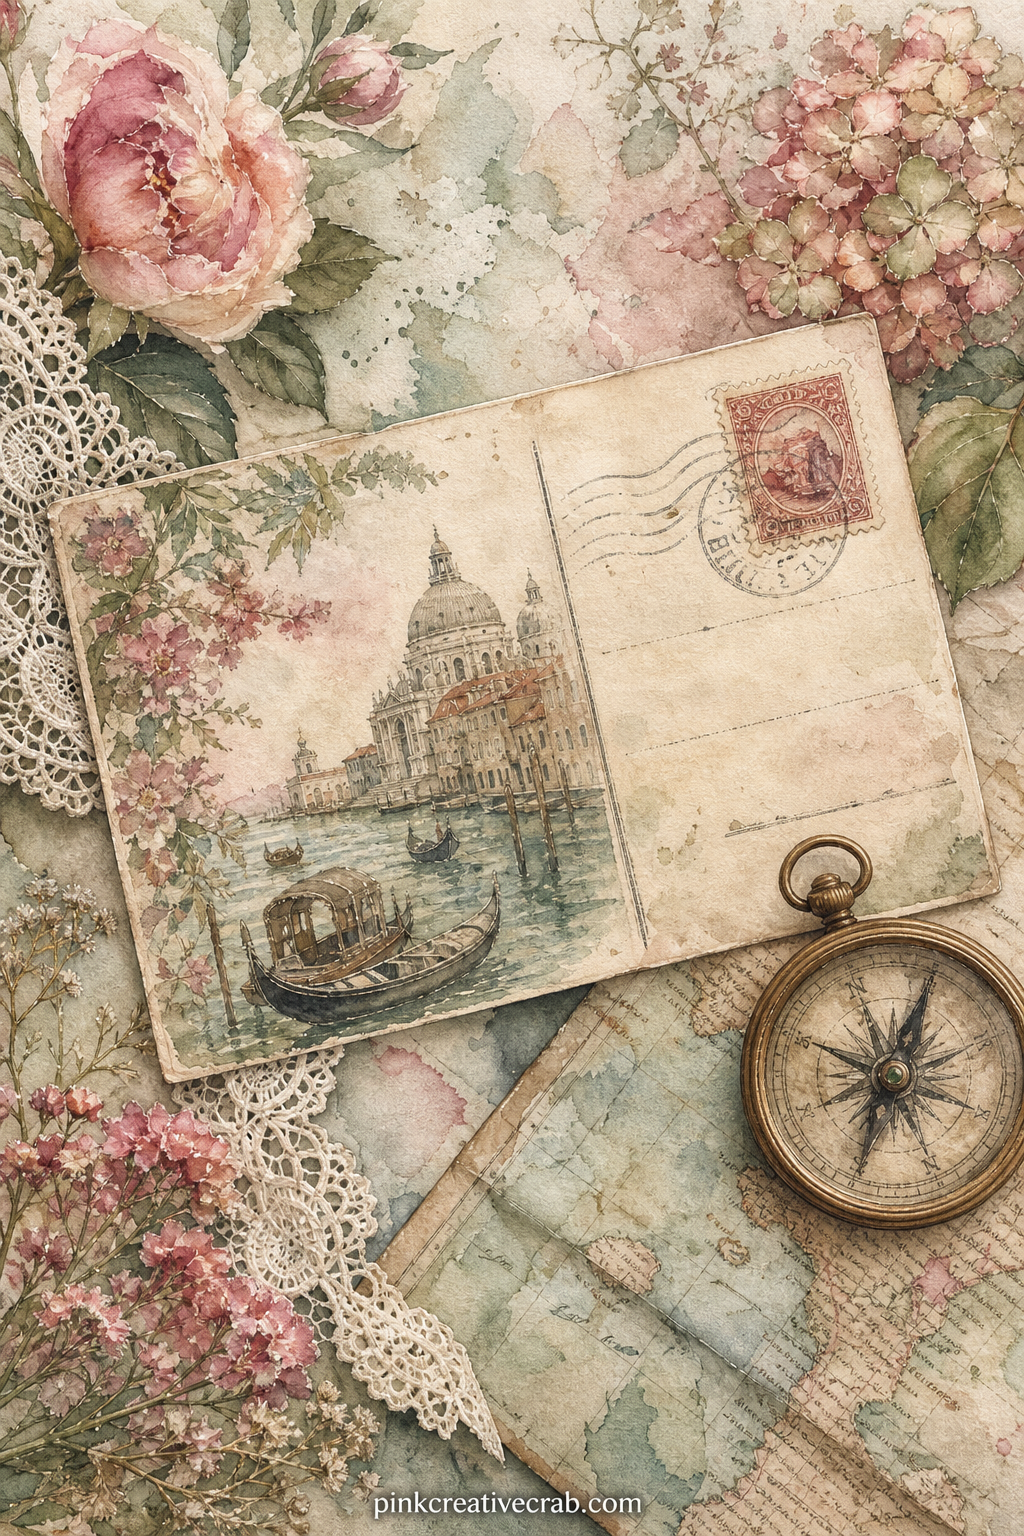
Fold a flap along the top of this page to make a small overlay, then slip a second postcard or a ticket stub underneath so two travels sit on one sheet.
Background Papers
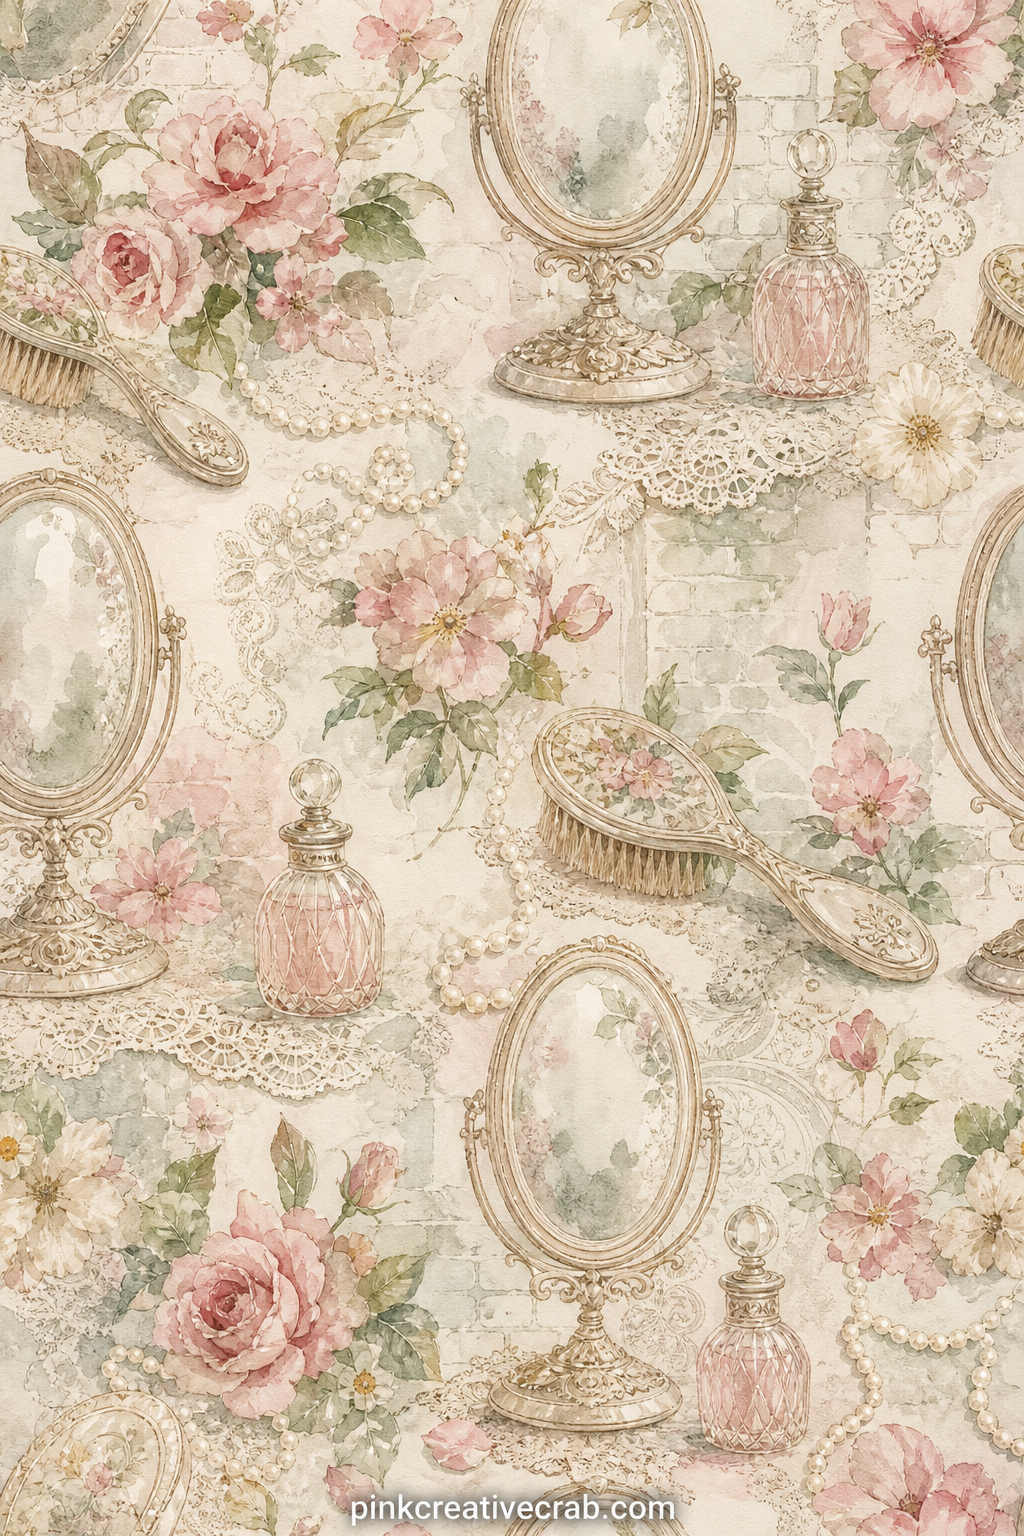
Glue in a small photograph where the mirror’s glass would be, trimmed to an oval, and the page becomes a frame for whoever you choose to remember there.
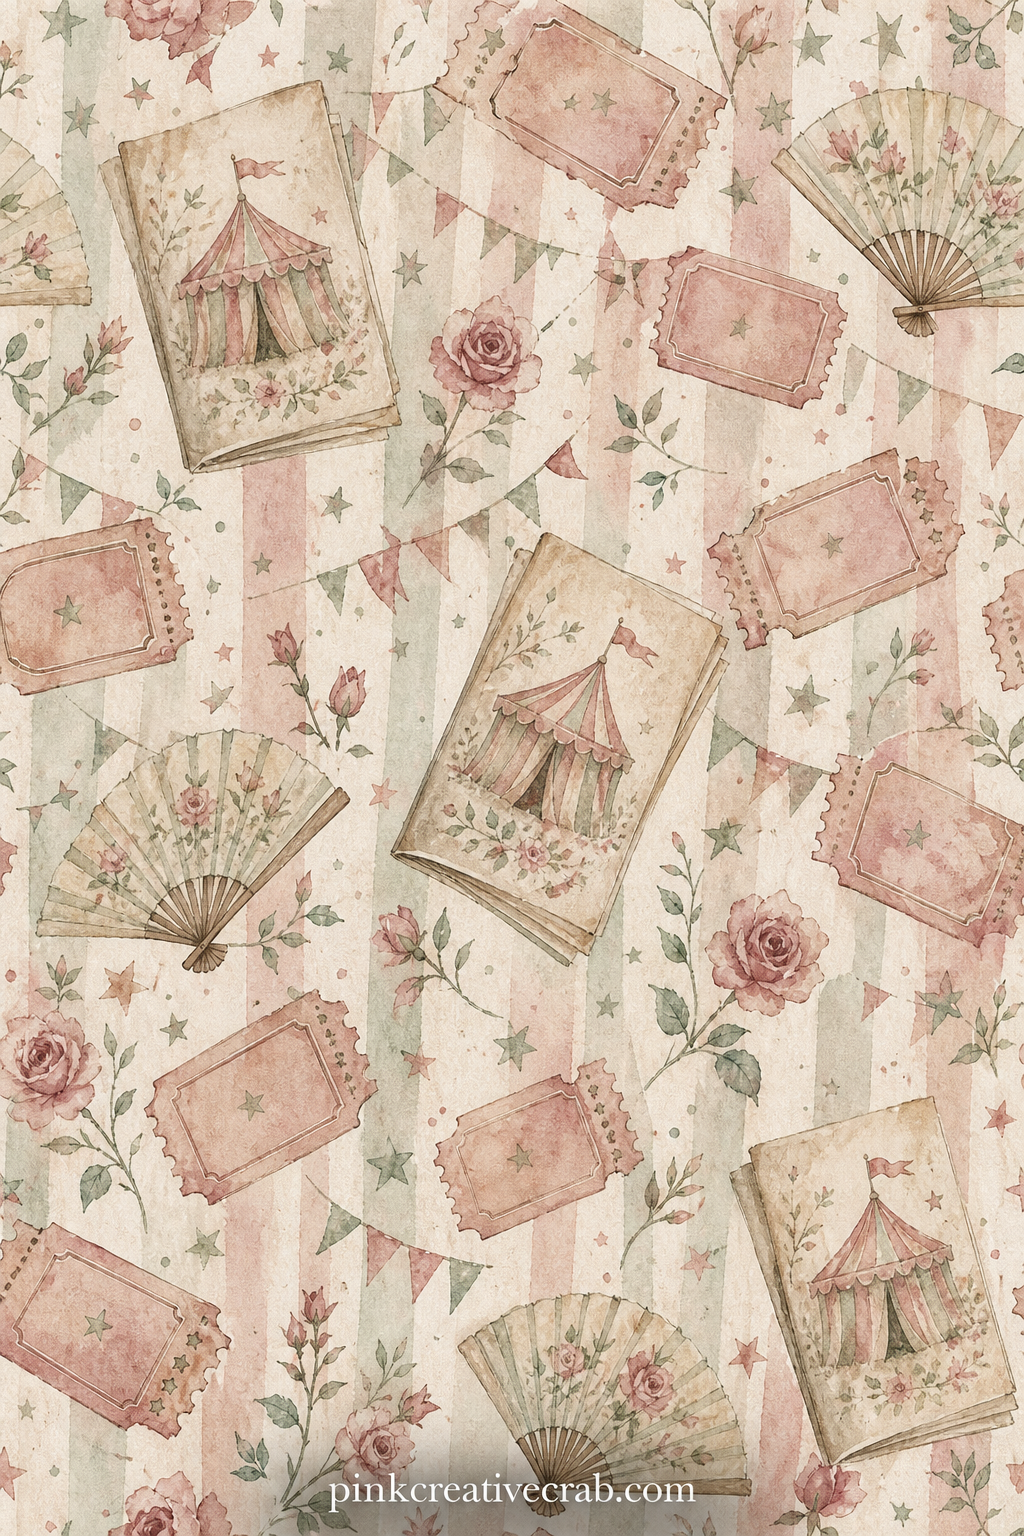
A torn ticket stub, a folded carnival program and a small paper fan sit together, bright once and softened now, the kind of page that pairs well with any fairground memory.
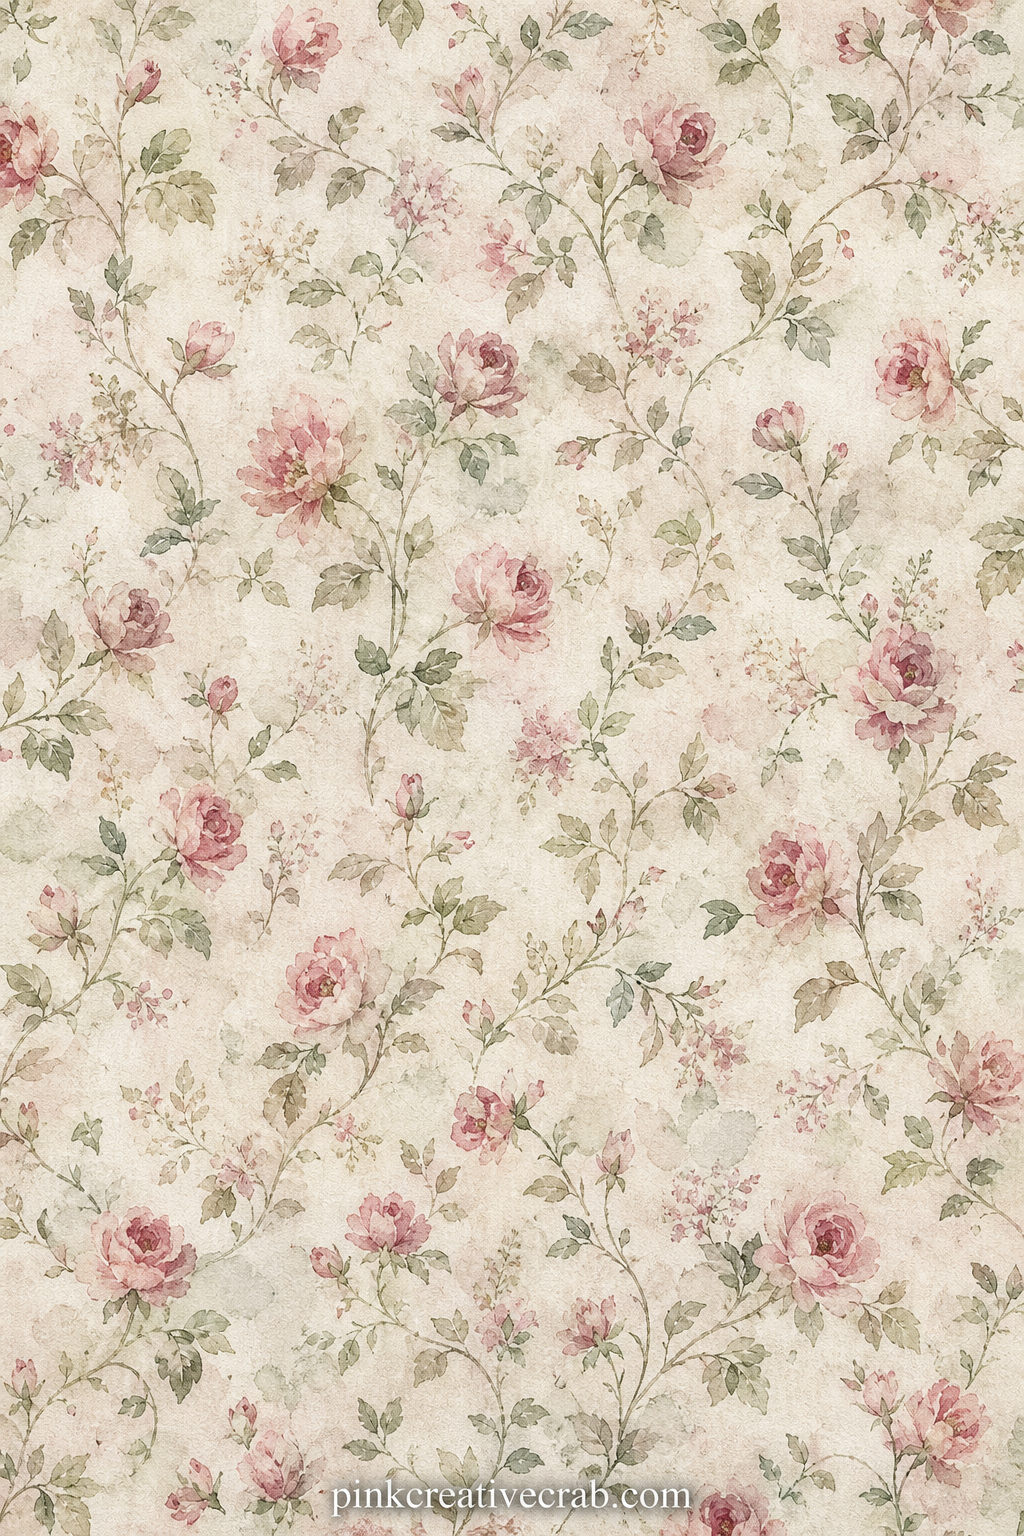
Small faded roses and trailing stems repeat edge to edge in this dusty rose and sage pattern, suited to a journal cover, a pocket lining or a mat behind a photograph.
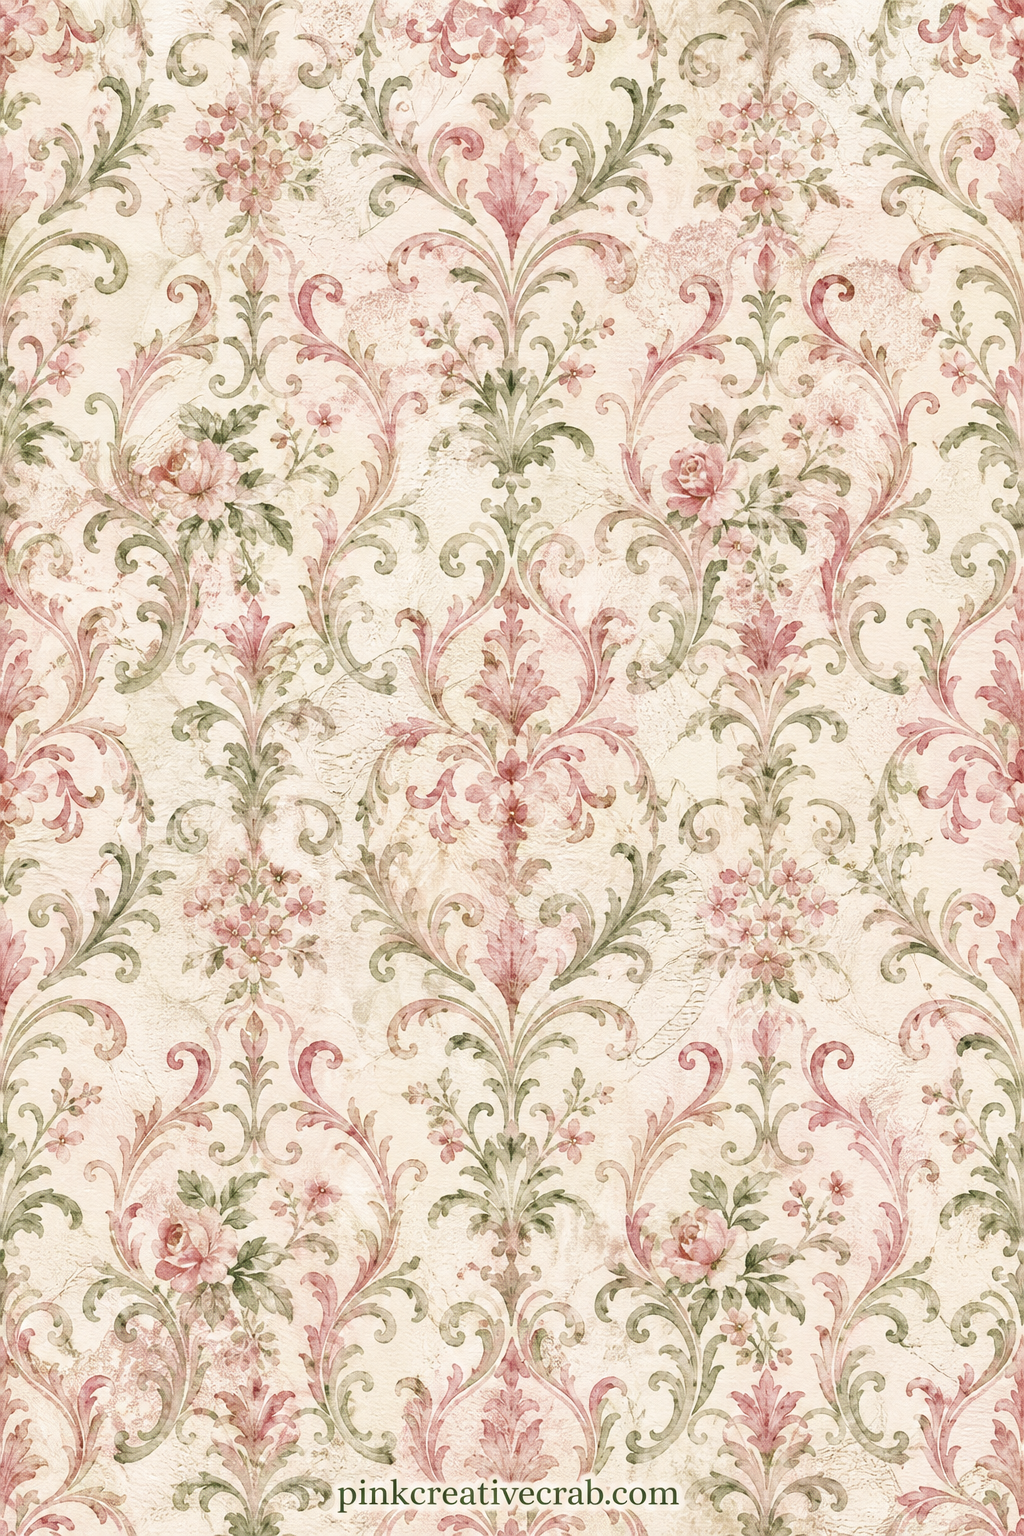
A soft damask scroll repeats across this sheet, good for lining an envelope pocket, backing a torn letter page or wrapping a small keepsake tucked into the journal.
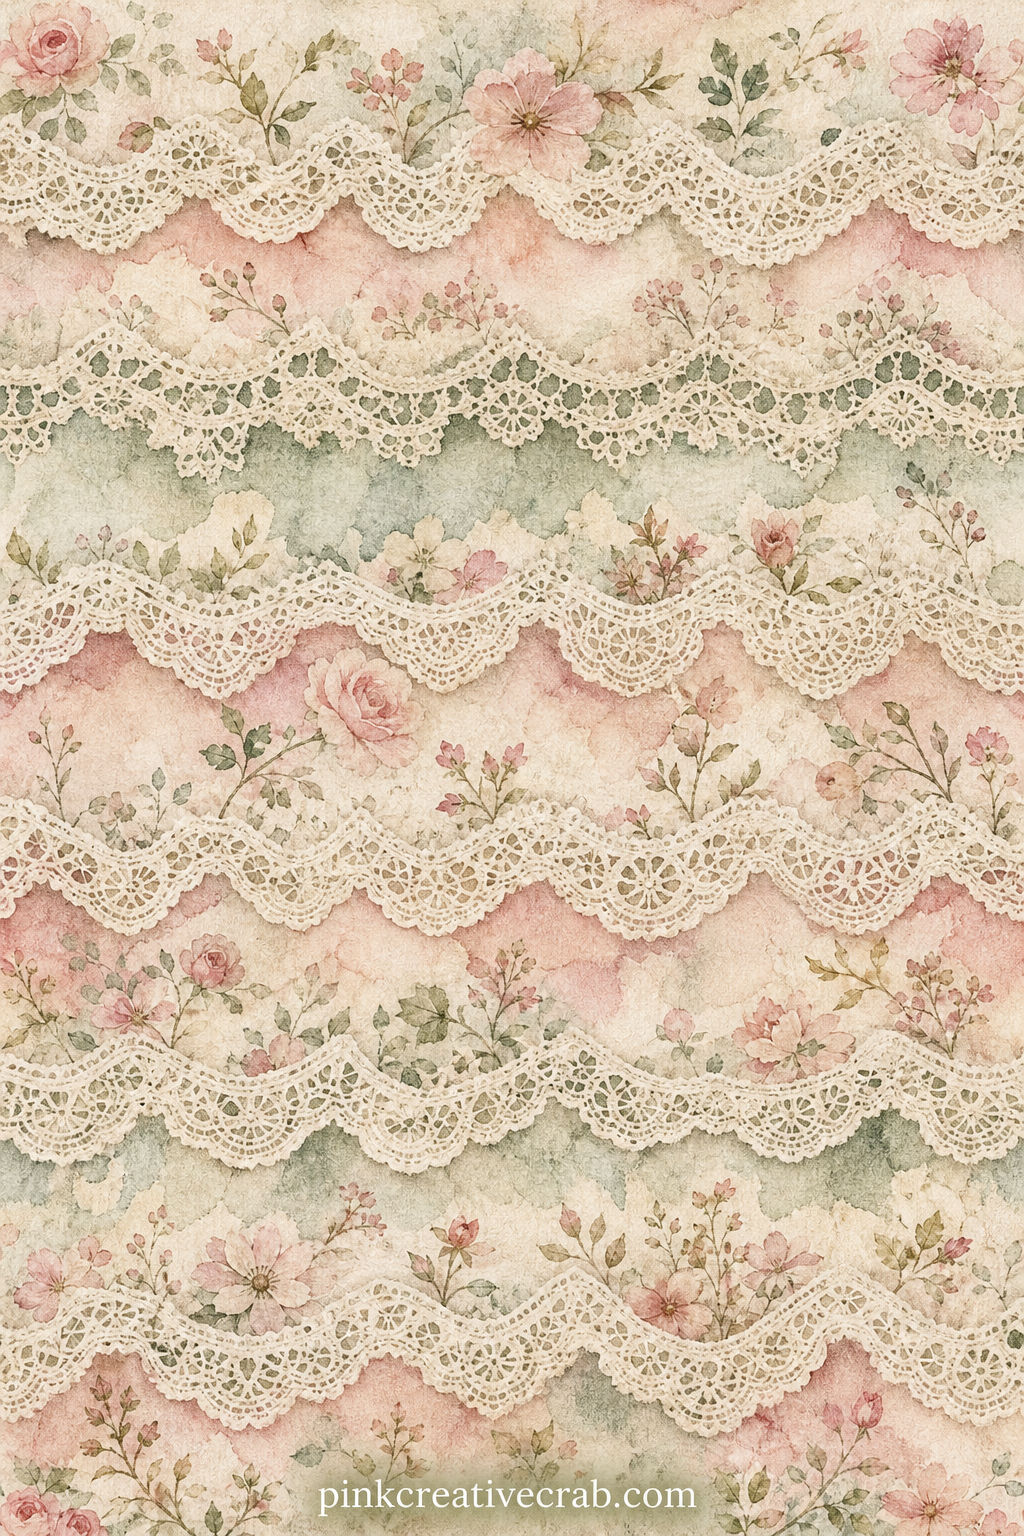
Scalloped lace edges repeat in rows across cream paper, ready to cut into strips for borders, use whole as a cover sheet, or back a handkerchief page.
Lined Writing Pages
Small pressed leaves and thin stems scatter evenly across the page, fitting under a photograph, lining a pocket, or wrapped around a bundle of letters.
Soft narrow stripes in muted tones run the length of this sheet, useful as a journal cover, a spine wrap or a plain backing behind a busier scene page.
Faded roses trail across each corner here, leaving the ruled center open for a gift list, a letter to next year, or a short memory from today’s page.
A scalloped lace band runs along the top edge, framing lines left open for a recipe copied from a relative, a packing list, or a short note to whoever reads this later.
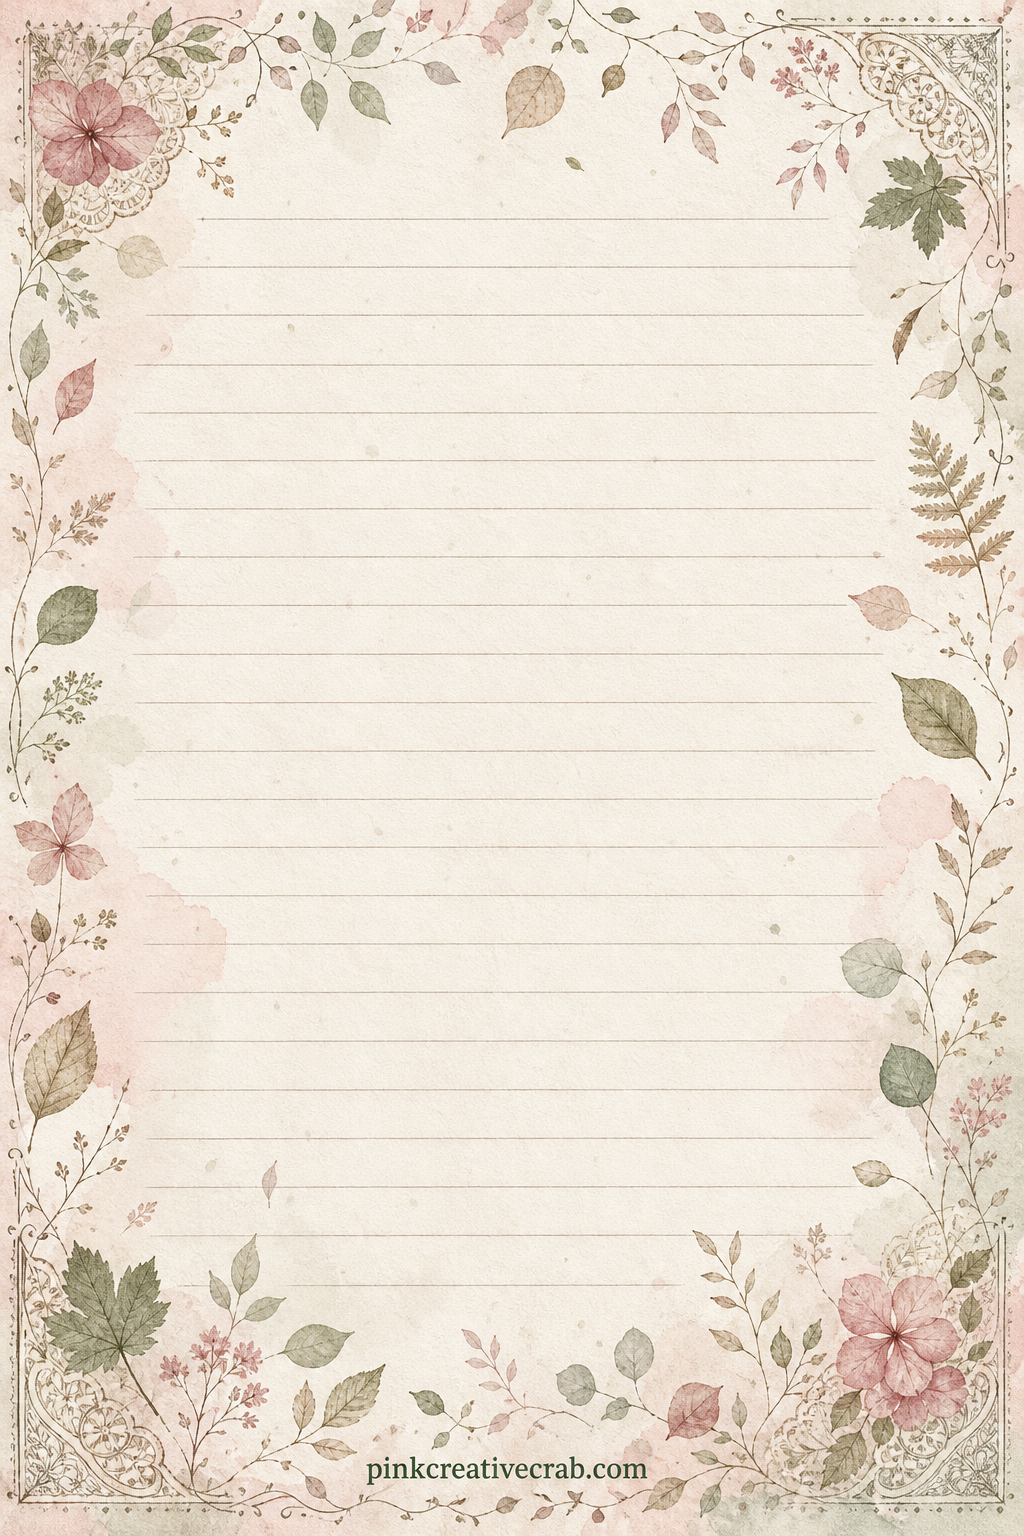
Small pressed leaves and stems frame the page on all four sides, the lined middle left open for a garden log, a pressed flower key, or a quiet daily note.
What to Do Next
Print the full set, trim each sheet, then start with the Old Love Letter Spread and work through the pages in order so the sections build naturally into one finished journal.
Frequently Asked Questions
What paper works best for a vintage junk journal kit like this one?
A matte cardstock around 24 to 32 lb holds the washed colors well and takes glue without curling. Avoid glossy photo paper, it looks too modern against the aged look of these pages and resists tea staining if you want that extra texture.
What printer settings give the best color on these pages?
Choose your printer’s best or photo quality setting and match the paper type in the print dialog to cardstock or heavyweight matte. This slows the print slightly but keeps the washes smooth instead of banded or streaky.
What size should I print the pages at?
Most junk journals run close to A5 or half letter, so print at full page size, trim to your journal’s measurements after. Trimming after printing gives cleaner edges than trying to print to an exact small size from the start.
Can I tea-stain these pages without ruining the printed color?
Yes, a light tea wash on the edges only is safest: dip just the border in cooled tea and let it dry flat before trimming or gluing. Soaking the whole sheet can soften the ink, so test on one page first.
What do I use to glue and assemble the pages?
An acid free glue stick works for most flat gluing, with a little craft glue for anything heavier like ribbon or lace scraps. Keep small scissors on hand for trimming envelope flaps, pockets and torn edges cleanly.
Have any thoughts?
Share your reaction or leave a quick response — we’d love to hear what you think!
-
 0
0 -
0
-
0
-
0
-
0
-
0


