

Table of Contents
- Single Gummy Bear
- Pair Of Heart Sunglasses
- Scoop Of Ice Cream
- Yellow Rubber Duck
- Strawberry With A Face
- Sprinkled Donut
- Iced Bubble Tea Cup
- Potted Cactus
- Patterned Garden Snail
- Ladybug On A Leaf
- Vintage Polaroid Camera
- Pair Of Roller Skates
- Retro Boombox
- Sunflower In A Mason Jar
- Floating Jellyfish
- Octopus With Bubbles
- Frog In A Yellow Raincoat
- Owl On A Branch
- Fox In A Knit Scarf
- Red Panda With A Teacup
- Hedgehog Carrying A Mushroom
- Mermaid Tail Close Up
- Dragon Fruit Slice
- Sliced Watermelon Wedge
- Teddy Bear In An Astronaut Helmet
- Hot Air Balloon Over Hills
- Carousel Horse
- Lighthouse By The Sea
- Moon Face With Stars
- Mushroom Cottage
- Peacock Feather Close Up
- Parrot On A Perch
- Frequently Asked Questions
Marker drawing ideas creative enough to finish in one sitting fill this list, all built for alcohol or water-based markers and flat color with clean fineliner lines. Every subject below works from a phone screen on the sofa: pick one, grab three or four markers, and start without hunting for reference first.
This set suits anyone who already owns a marker set and wants new subjects rather than another tutorial on blending. The thirty-two ideas run from a single piece of candy up to a small scene with several colors, so skim to whichever one matches the time actually available tonight.
Using these images: free for personal projects such as printing, coloring, cards, journals and gifts. Handmade items that include them may be sold up to 30 pieces per design. More than that is commercial use and is not permitted, and neither is selling or sharing the images themselves or passing them off as your own. Please ask before any other use.
Single Gummy Bear
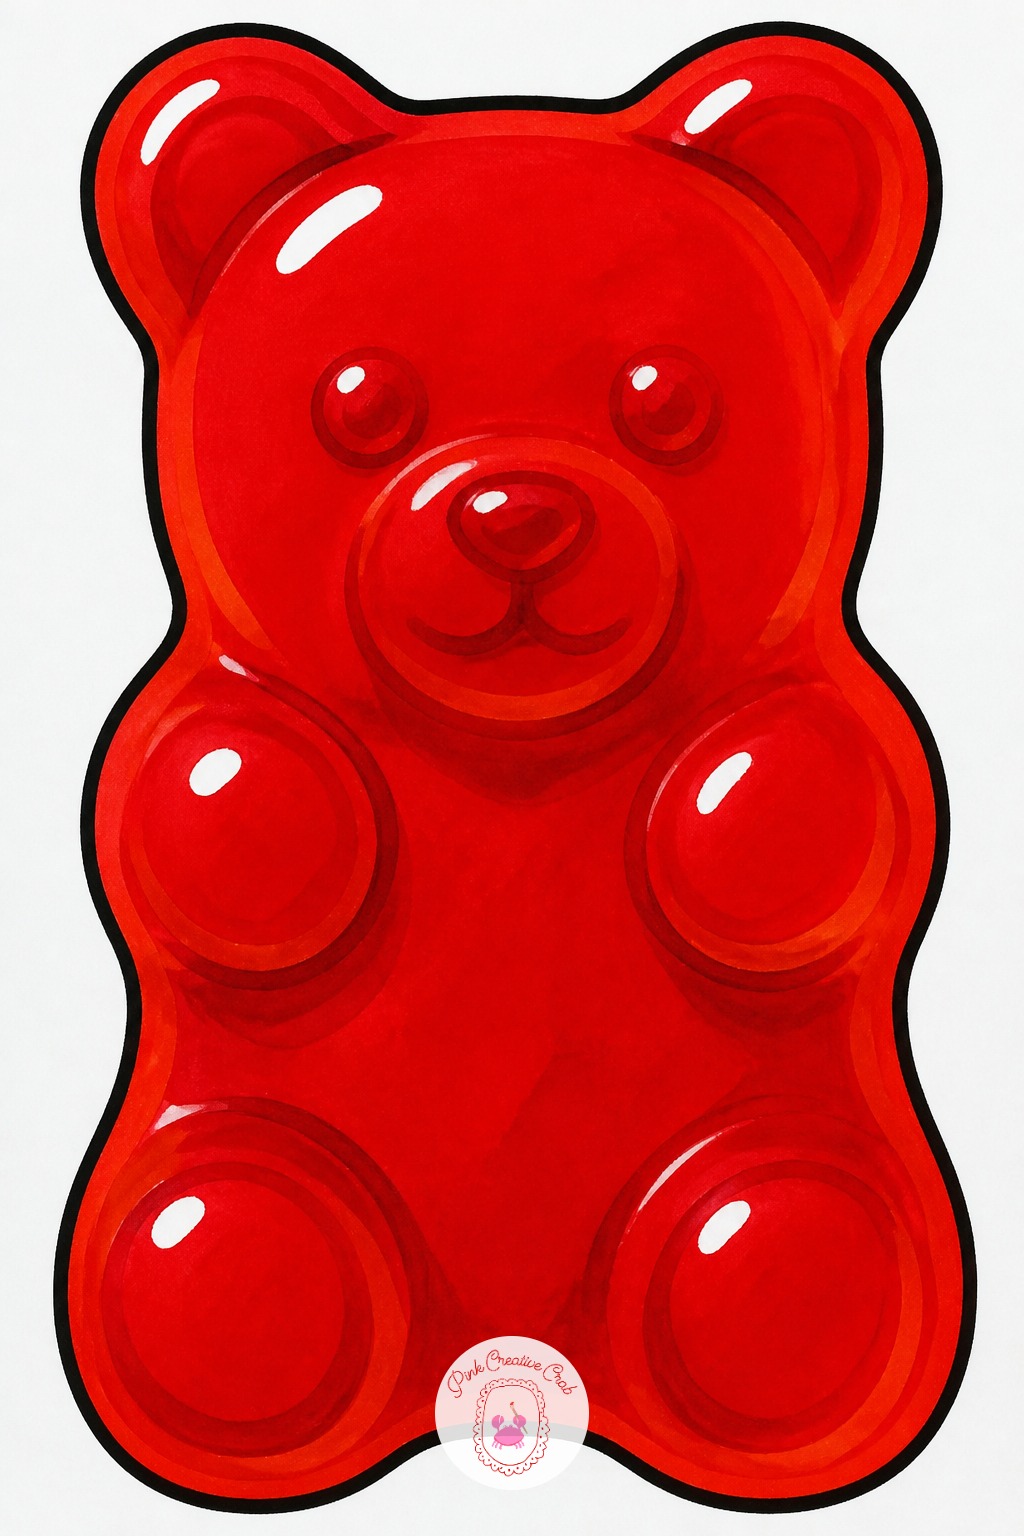
Pick a chisel-tip alcohol marker in a candy red or amber and lay down one flat pass across the whole bear shape before you add anything else. Alcohol ink needs an unbroken stroke to stay even, so load the broad tip and work top to bottom without lifting halfway through a limb.
Go over the shadow side with the same marker a second time while the first layer is still slightly wet, so the two layers melt into one soft gradient instead of a hard line. Finish the shine with two small ovals of white gel pen on the rounded belly. Use a fine black liner for the outline only after the color sits, never before, or the ink will bleed into the wet line.
Pair Of Heart Sunglasses
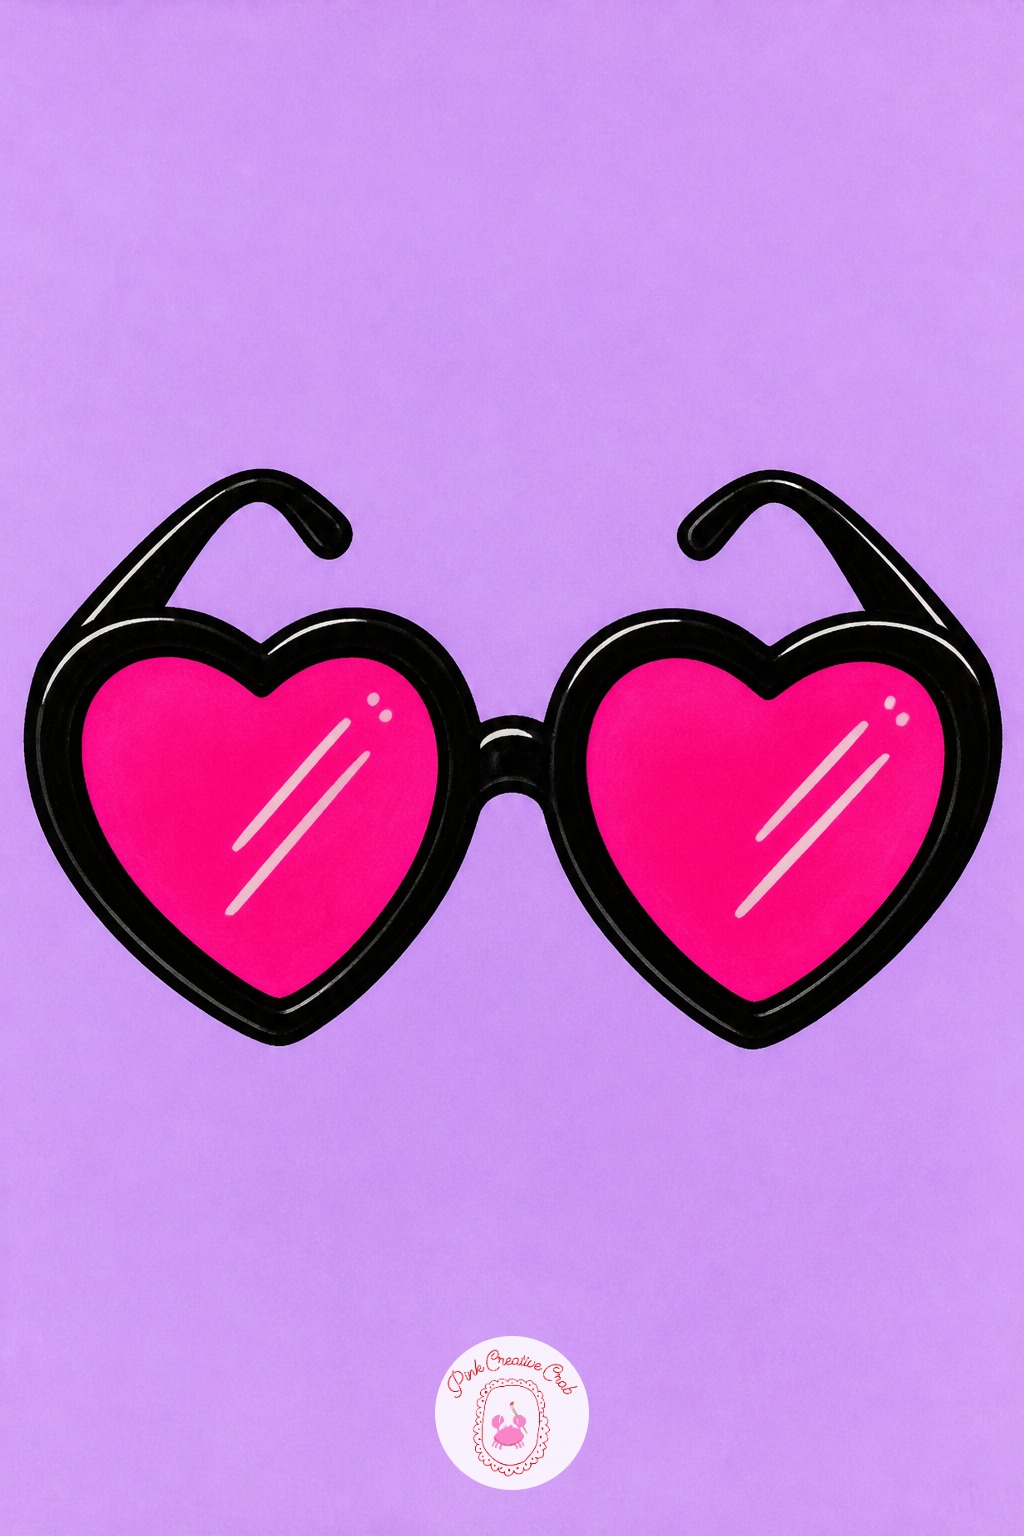
Lay the two heart-shaped lenses first, filling each with one even pass of hot pink or magenta marker before anything else touches the page. Getting the color down early means the ink has the whole sheet to dry flat without smearing into the frame.
Second, block in the plastic frame with a single bold black marker, keeping the arms and bridge as simple geometric shapes. Third, drop a small white gel pen streak across each lens for the glare. Save the fine liner outline for the very last step, tracing only the edges that need sharpening once the color has fully dried.
Scoop Of Ice Cream
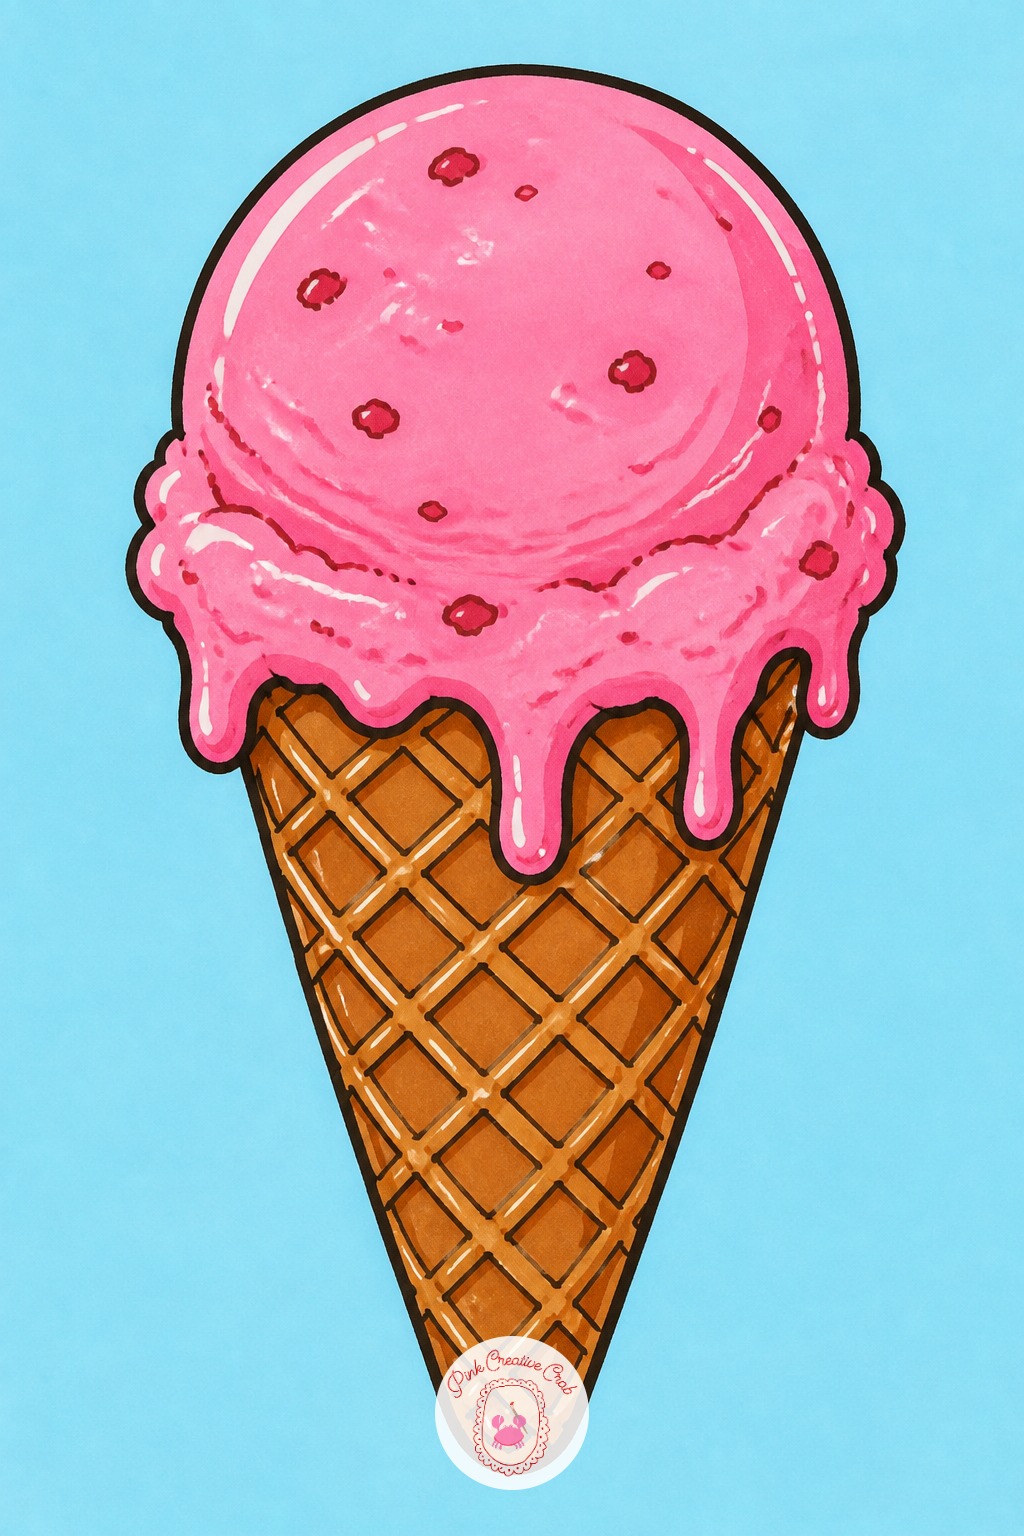
Measure the scoop before you pick up a marker: it should sit about as tall as the cone is long, otherwise the dessert looks top heavy or starved. Hold the pen at arm’s length and compare the two shapes against each other before committing to ink.
Keep the scoop’s widest point directly above the cone’s opening, not drifting to one side, so the whole drawing balances on the page. Once the proportion looks right in pencil, layer a cream or strawberry marker over the scoop in loose drips to suggest melt, then add the cone’s waffle grid in a warm brown fineliner last.
Yellow Rubber Duck
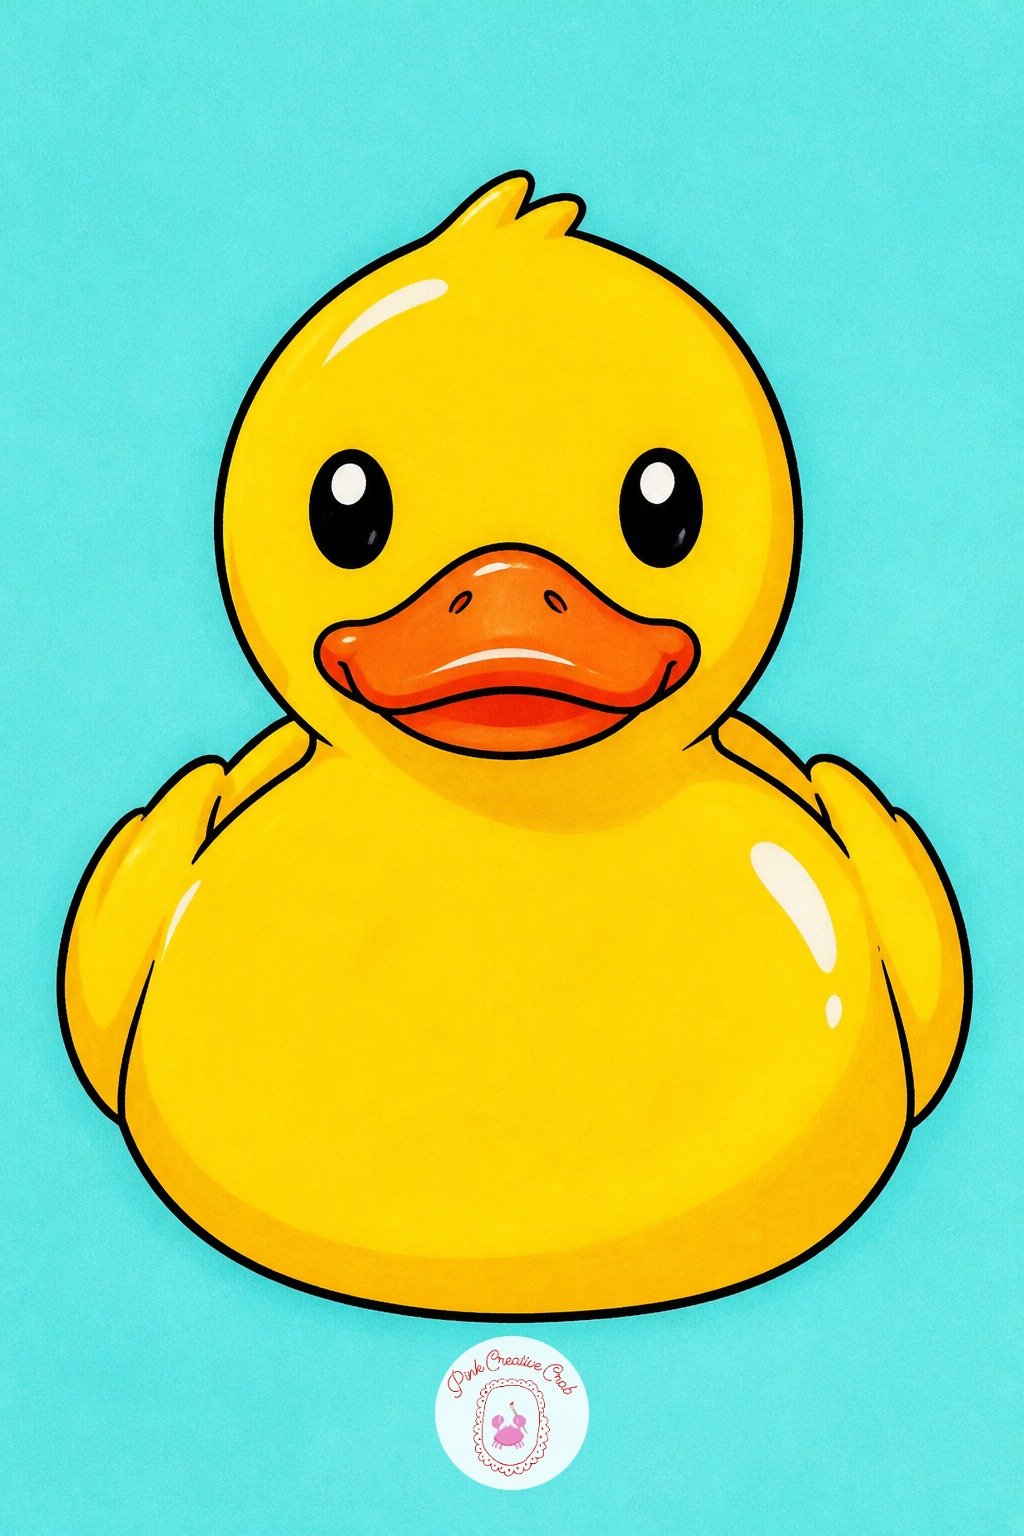
Decide where the light sits before the first marker touches the duck, because a rubber duck is really just one glossy sphere balanced on a smaller one. Pick a source from the upper left and keep every shadow on the lower right of both shapes.
That choice changes the beak too: the top catches a pale yellow, the underside goes into a warmer orange shadow tone where it tucks under the head. Drop the darkest marker only where the body meets a surface, never in the middle of the belly. One small white gel highlight on the back and the beak sells the glossy plastic shine instantly.
Strawberry With A Face
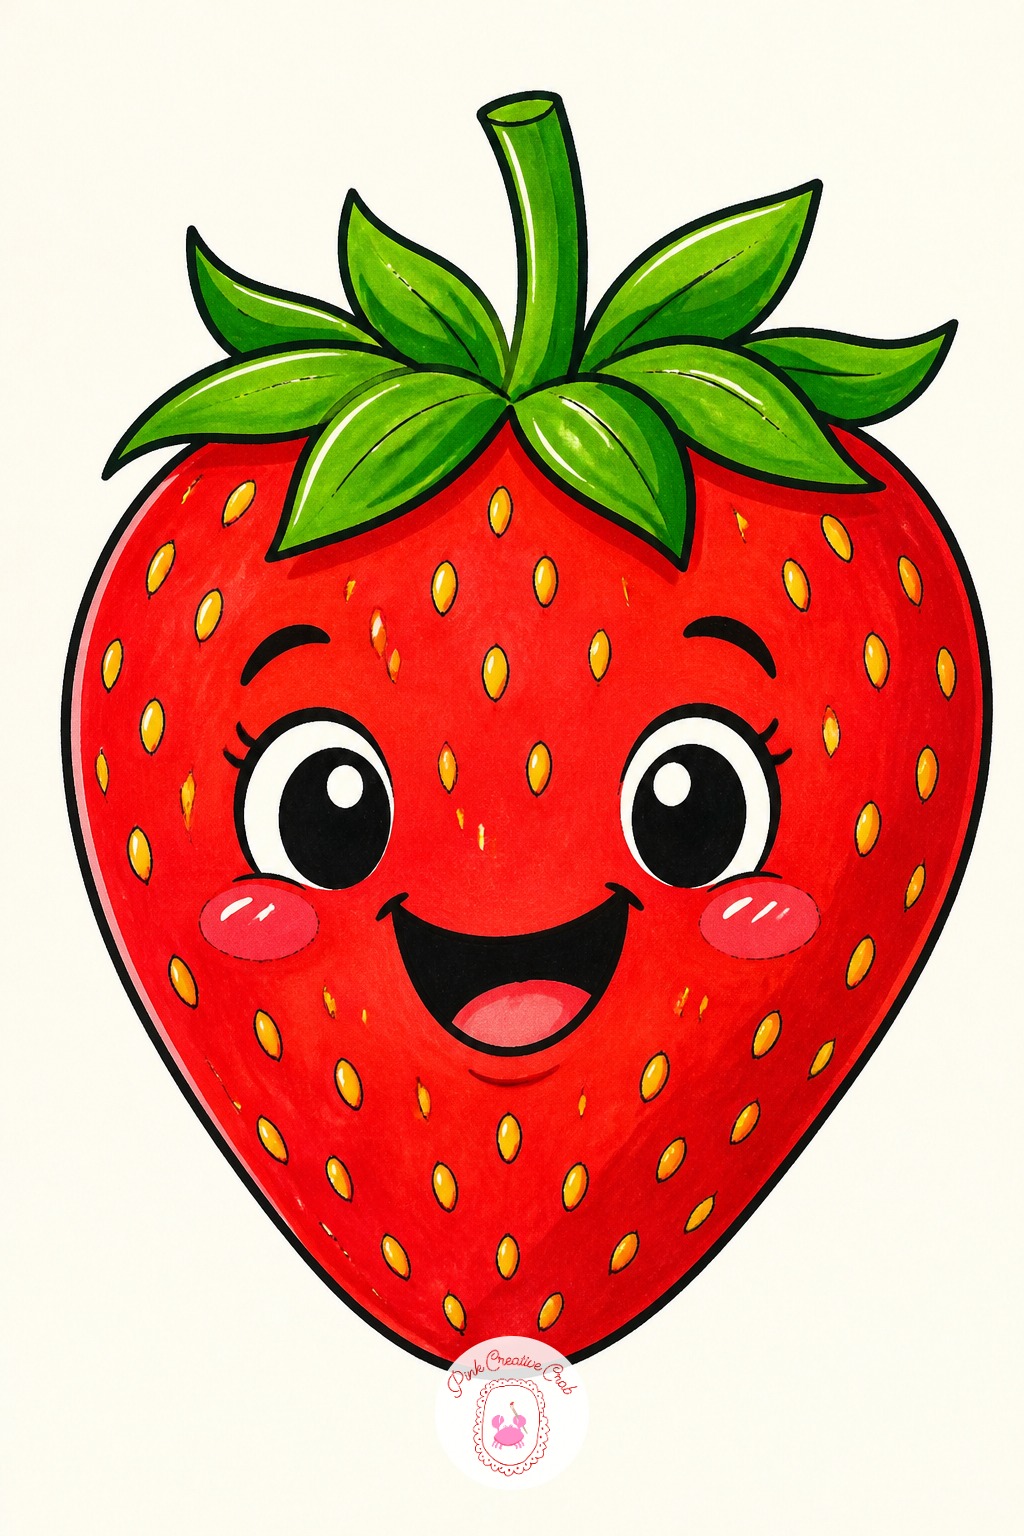
Dot the seeds in before the red fully dries and they sink into the surface instead of sitting on top like stickers. Use the fine nib end of the same marker, turned on its side, to press dozens of tiny comma shapes across the body rather than perfect circles.
Work a slightly darker red into the creases near the leafy top while the base color still has a sheen, letting the two tones bleed together at the edges for a rounded look. Keep the seed dots irregular in size, bigger near the middle and smaller toward the tip, because perfectly even rows flatten the curve of the fruit.
Sprinkled Donut
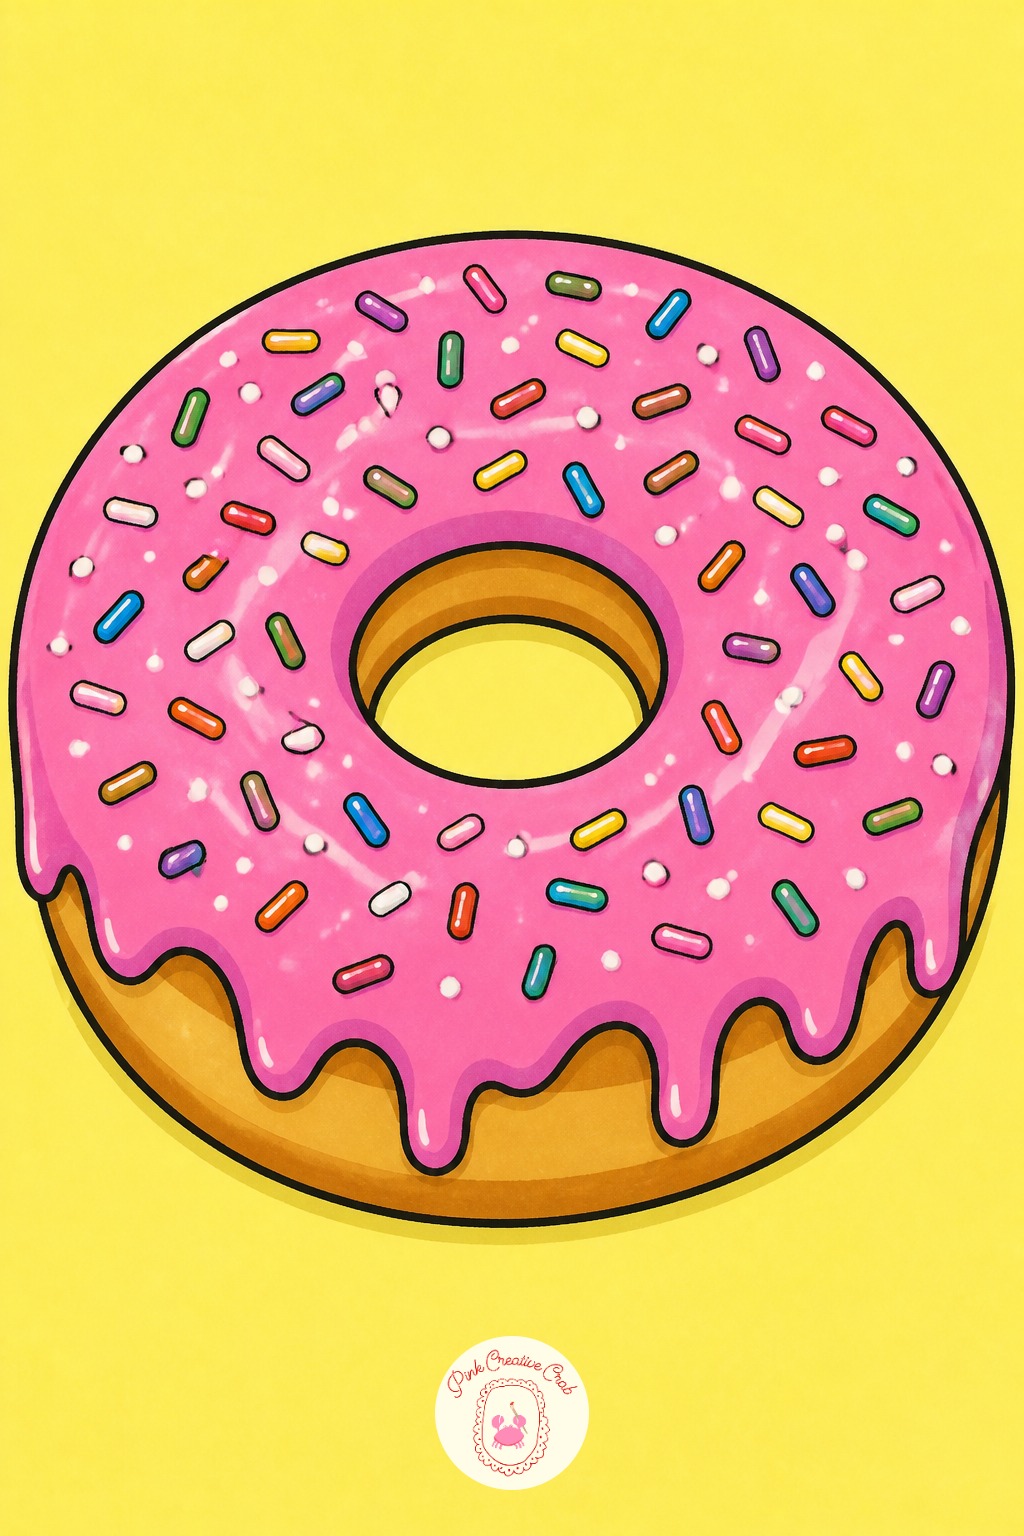
Lining sprinkles up in neat rows is the fastest way to flatten a donut drawing, because real sprinkles scatter and overlap at random angles. If yours start looking like a grid, stop halfway through the icing and turn the page upside down to check the pattern with fresh eyes.
Break up any row of three or more sprinkles pointing the same direction by angling the next one across it. Vary the sprinkle colors in small clusters of two or three rather than spreading every shade evenly, since real candy sprinkles clump when they are poured. Finish the icing drip only along the bottom curve, where gravity would actually pull it.
Iced Bubble Tea Cup
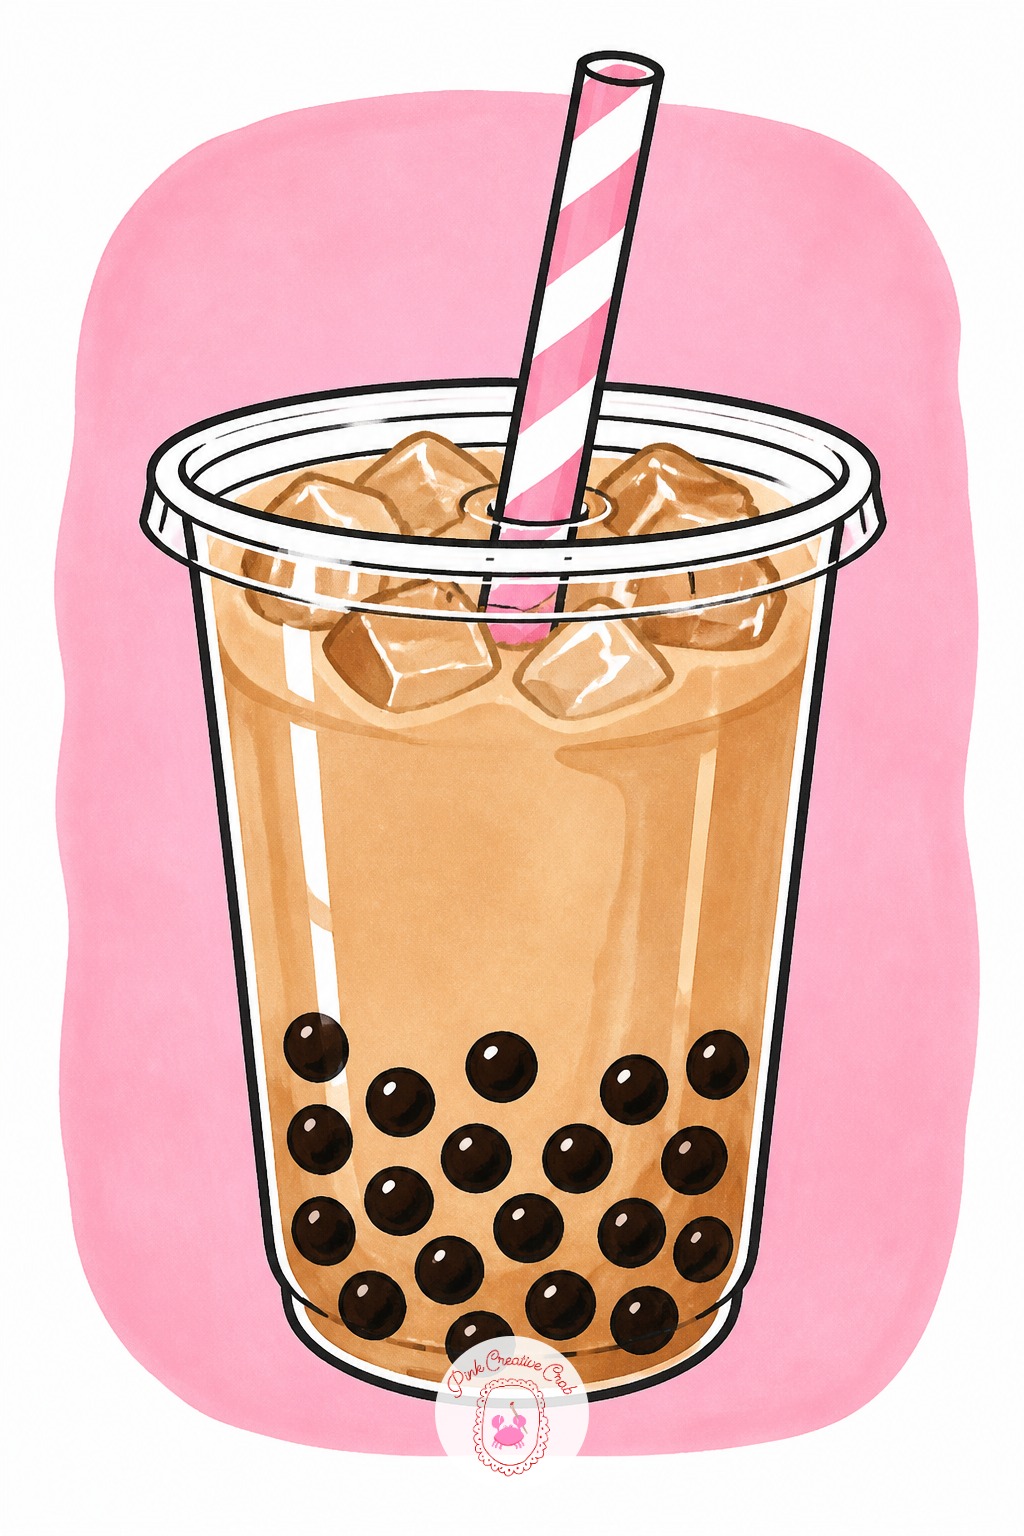
Ten minutes covers the essentials: the cup outline, one flat pass of milky tan for the tea, a row of dark brown circles for the tapioca pearls, and a straw. That version reads perfectly fine as a quick sticker-style drawing and loses nothing by stopping there.
Give it forty minutes instead and the extra time goes into layering, not new elements. Glaze a second, slightly deeper tan over the lower third of the cup to show the pearls settling, add condensation drops down the plastic in white gel pen, and shade the cup’s ribbed sides with a cool gray marker.
Potted Cactus
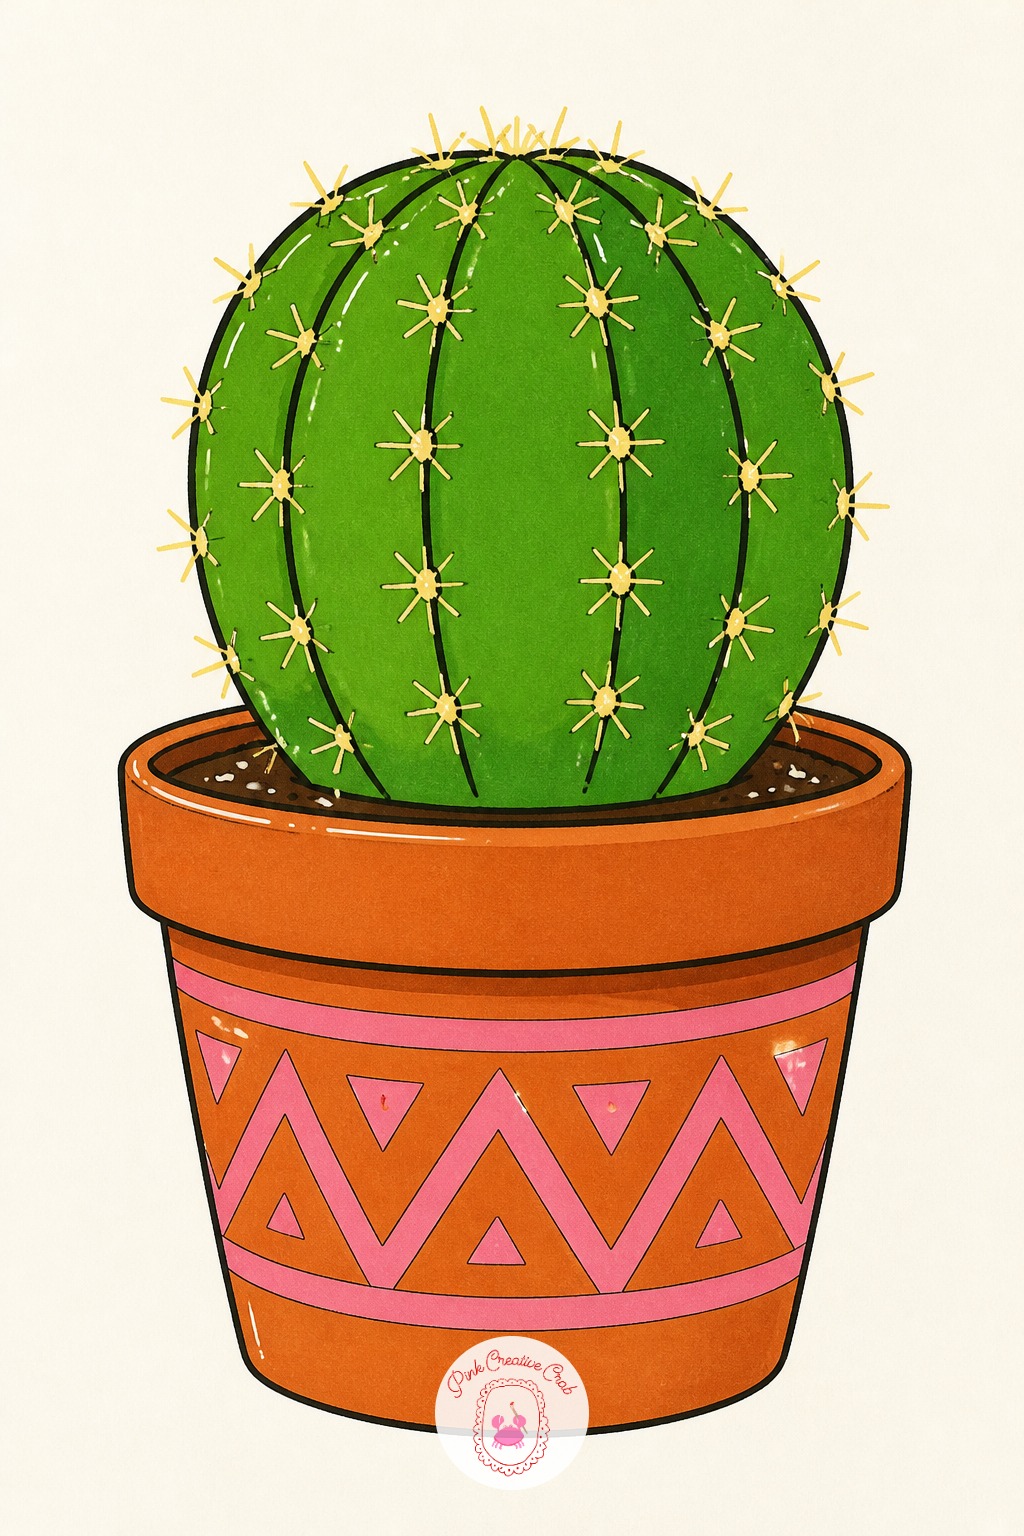
Once one round cactus in a plain terracotta pot feels easy, change a single variable rather than redrawing the whole thing from scratch. Swap the pot pattern for stripes or a scalloped rim, or trade the round cactus body for a tall columnar one with ridged sides.
Next time, add a second, smaller cactus beside the first so the pair reads as a little collection rather than one subject. Keep the palette to two greens and one terracotta across every version so the set looks related even as the shapes change.
Patterned Garden Snail
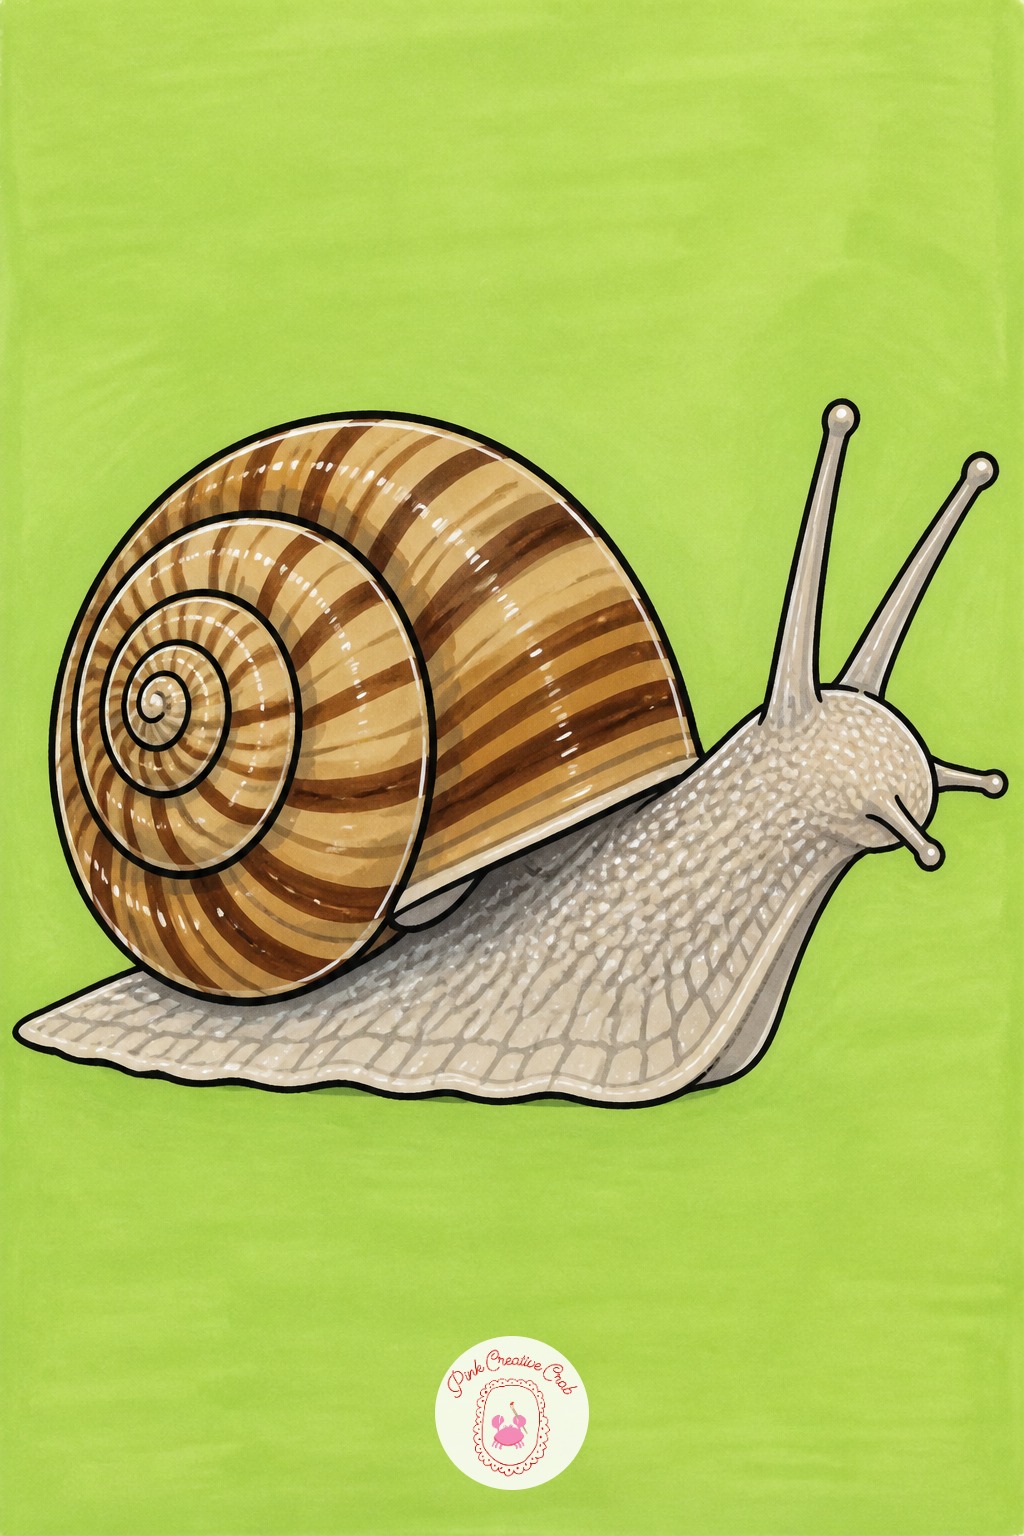
Reach for a brush-tip marker rather than a chisel tip when it comes to the shell spiral, since the flexible nib can follow a curve without the tip catching on itself. A chisel tip forces the spiral into straight segments that look more like a staircase than a shell.
Build the spiral pattern in two colors, a warm tan and a deeper brown, alternating bands as the line curls inward toward the center. Switch to a fine black liner for the snail’s body and eye stalks only, keeping that line thin so it does not compete with the bold shell pattern.
Ladybug On A Leaf
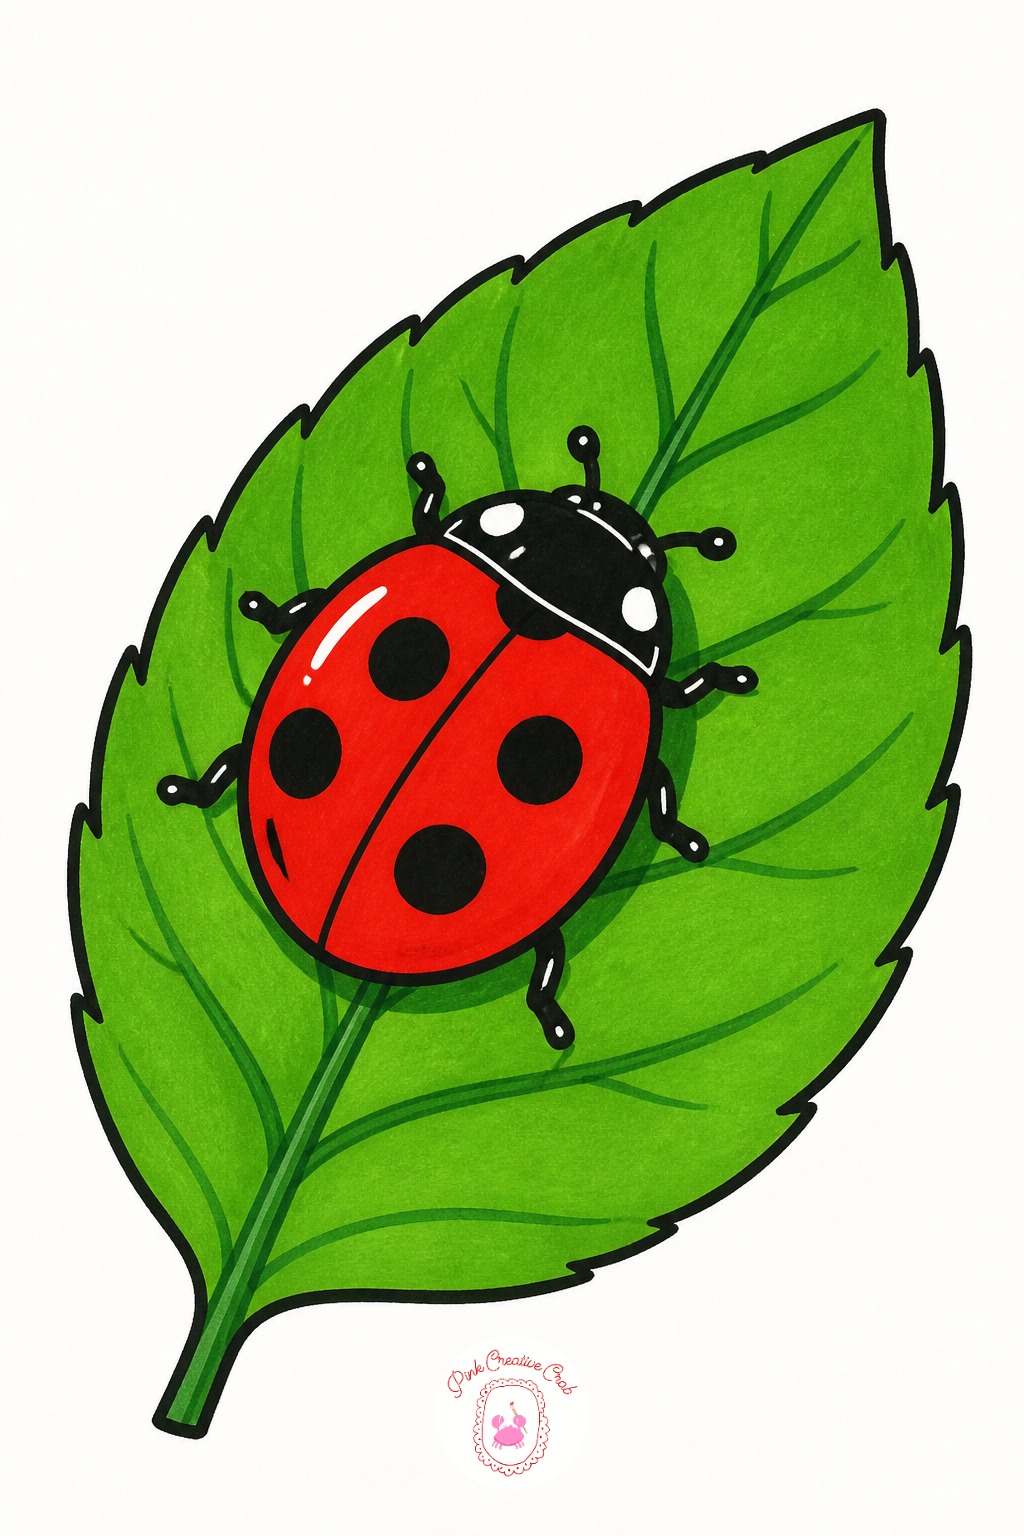
Lay the leaf down first, one flat pass of mid-green across the whole shape, and let it dry completely before anything sits on top of it. Rushing this step is how the red ladybug marker ends up bleeding into the green underneath.
Second, drop the ladybug’s body in as a simple red oval, slightly overlapping the leaf’s edge rather than centered, which makes the pose look more natural. Third, add the black head and the center line dividing the wing cases. Save the spots for last, placed only after the red has fully dried so they stay crisp.
Vintage Polaroid Camera
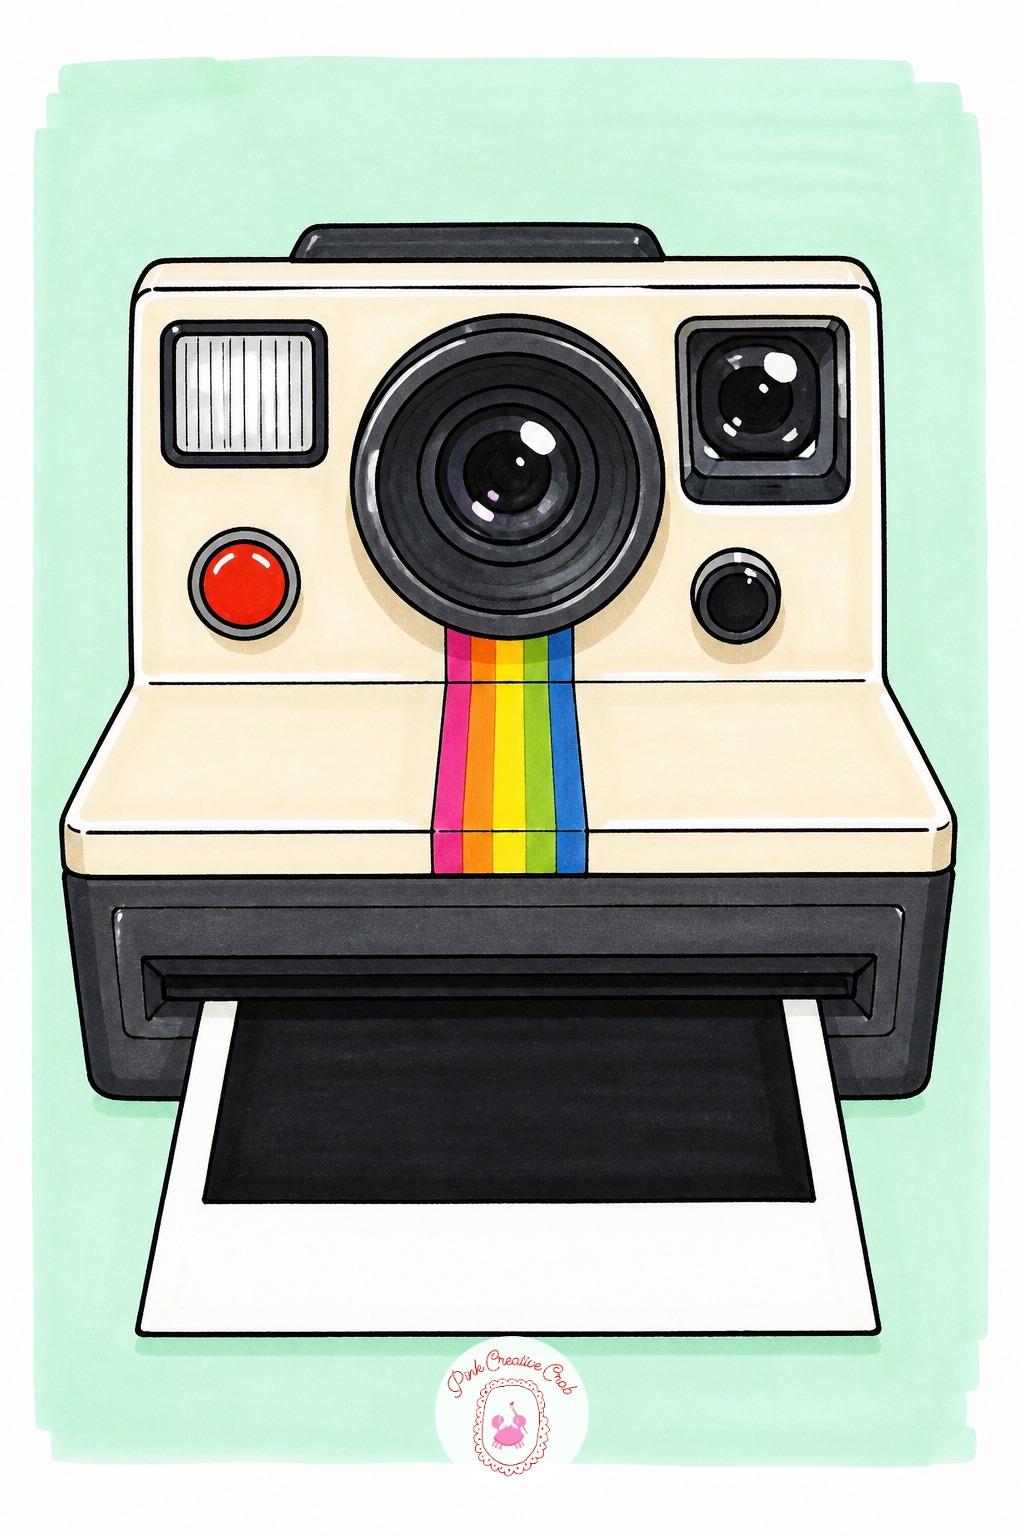
Measure the lens against the body before block coloring, since a polaroid camera’s round lens usually spans close to a third of the camera’s total width. Make it smaller and the camera reads as a toy, make it larger and the proportions tip into cartoon territory, which can work if that is the goal.
Keep the flash bar and viewfinder aligned along the same top edge, because even a slight stagger makes the whole object look bent rather than boxy. Block the body in one flat tan or cream marker and the lens barrel in charcoal gray, leaving the lens glass as untouched white paper for shine.
Pair Of Roller Skates
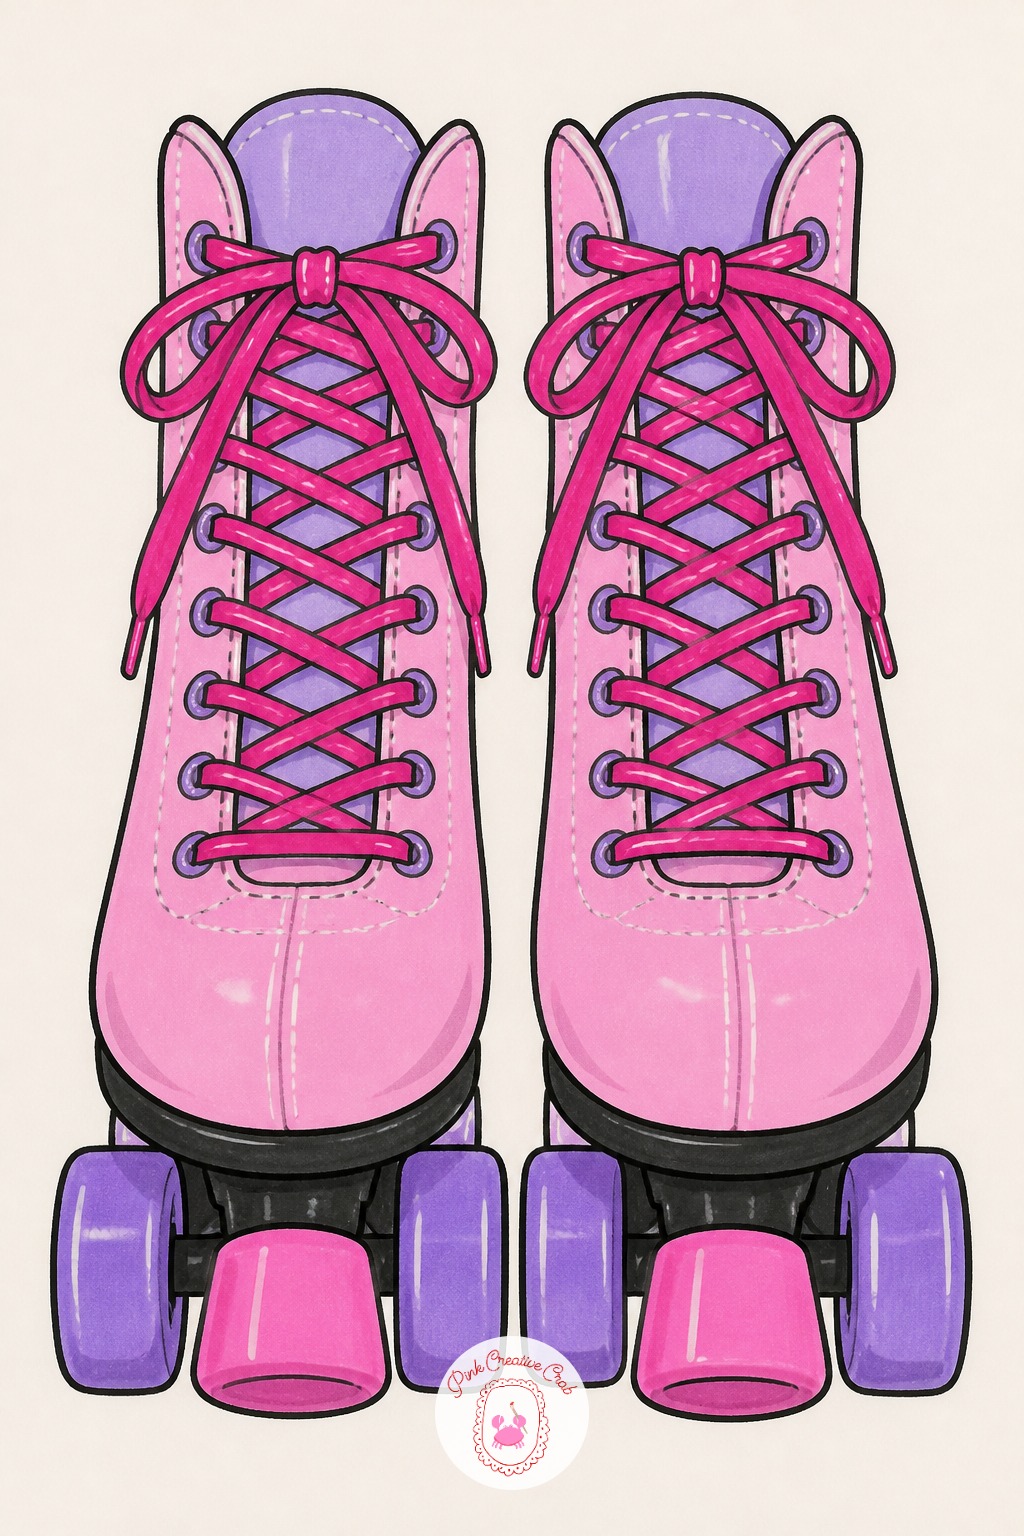
Pick the eye level before the first lace goes down. Looking slightly from above, down onto the toe of the boot, shows more of the sole and all four wheels, which makes for a far more interesting drawing than a flat side view.
With the light coming from above, every wheel casts a small shadow directly underneath it rather than to one side, and the boot’s toe cap catches the brightest highlight while the heel stays in shadow. Color the laces in a bright contrasting marker last, since they sit on top of every other shape.
Retro Boombox
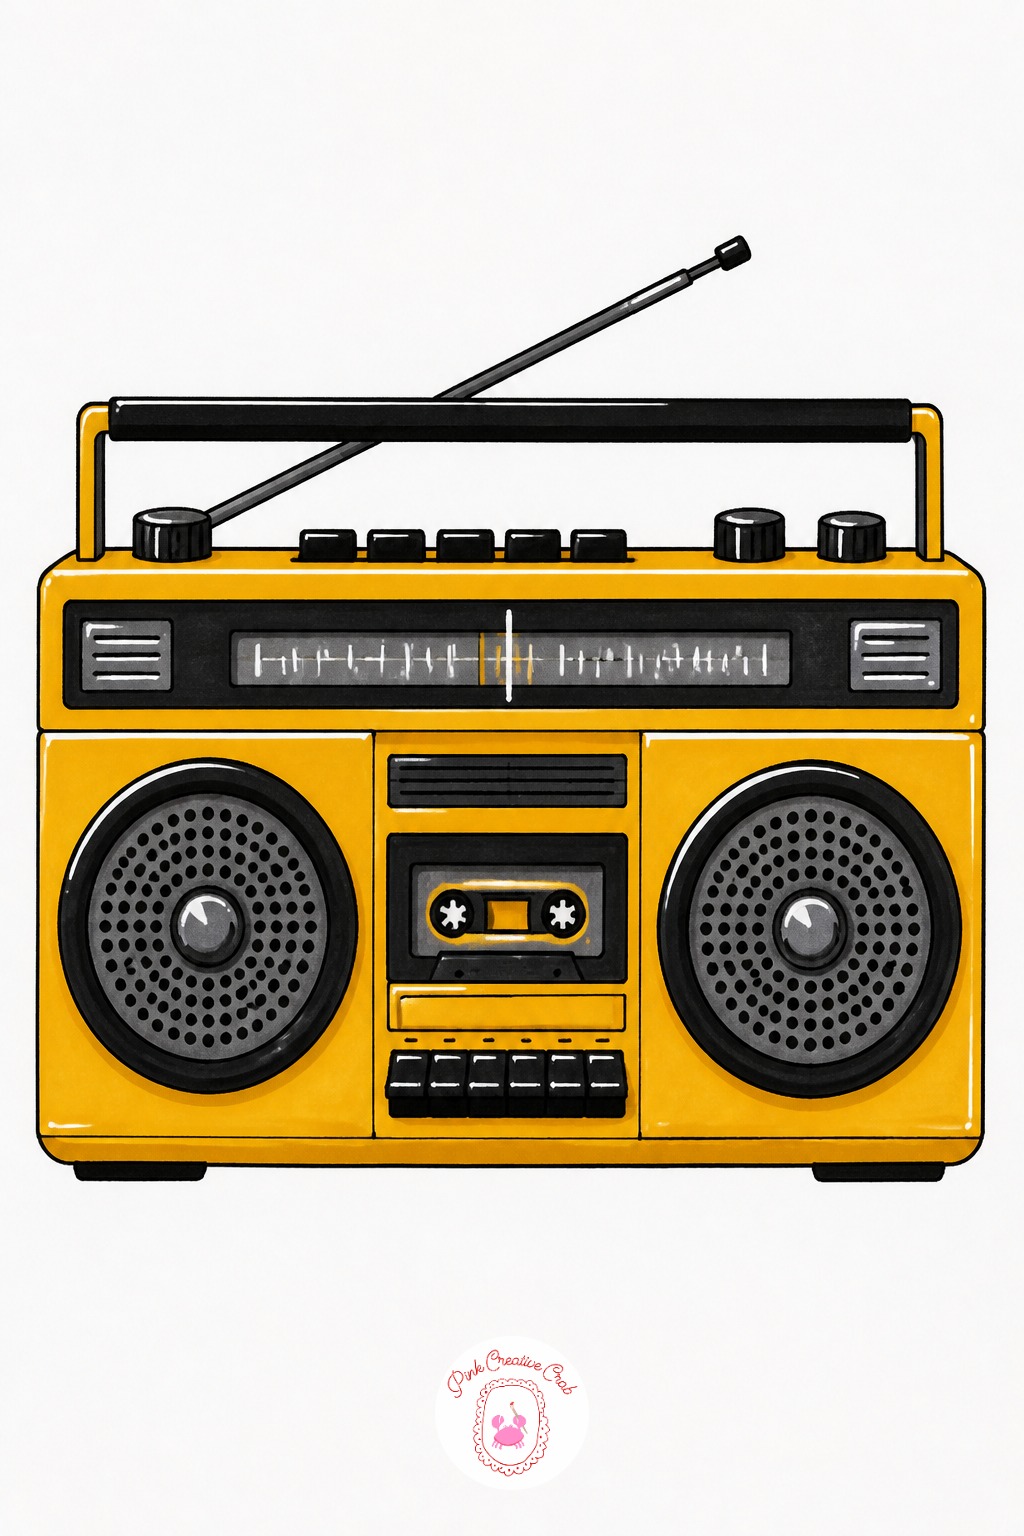
Stipple the speaker grilles with the fine end of a black liner rather than drawing a solid dark circle, tapping dozens of small dots in a tight spiral to suggest mesh without flattening the shape into a blob. Leave a few gaps of bare paper near the center where the light would catch the metal. The drawing techniques encyclopedia has more mark-making tricks worth trying once this one clicks.
For the plastic body, go over the main color twice in the same spot along one edge, building a deeper tone where the casing would curve away from the light. Antenna and buttons stay as thin black liner marks added last, once the body color is fully dry.
Sunflower In A Mason Jar
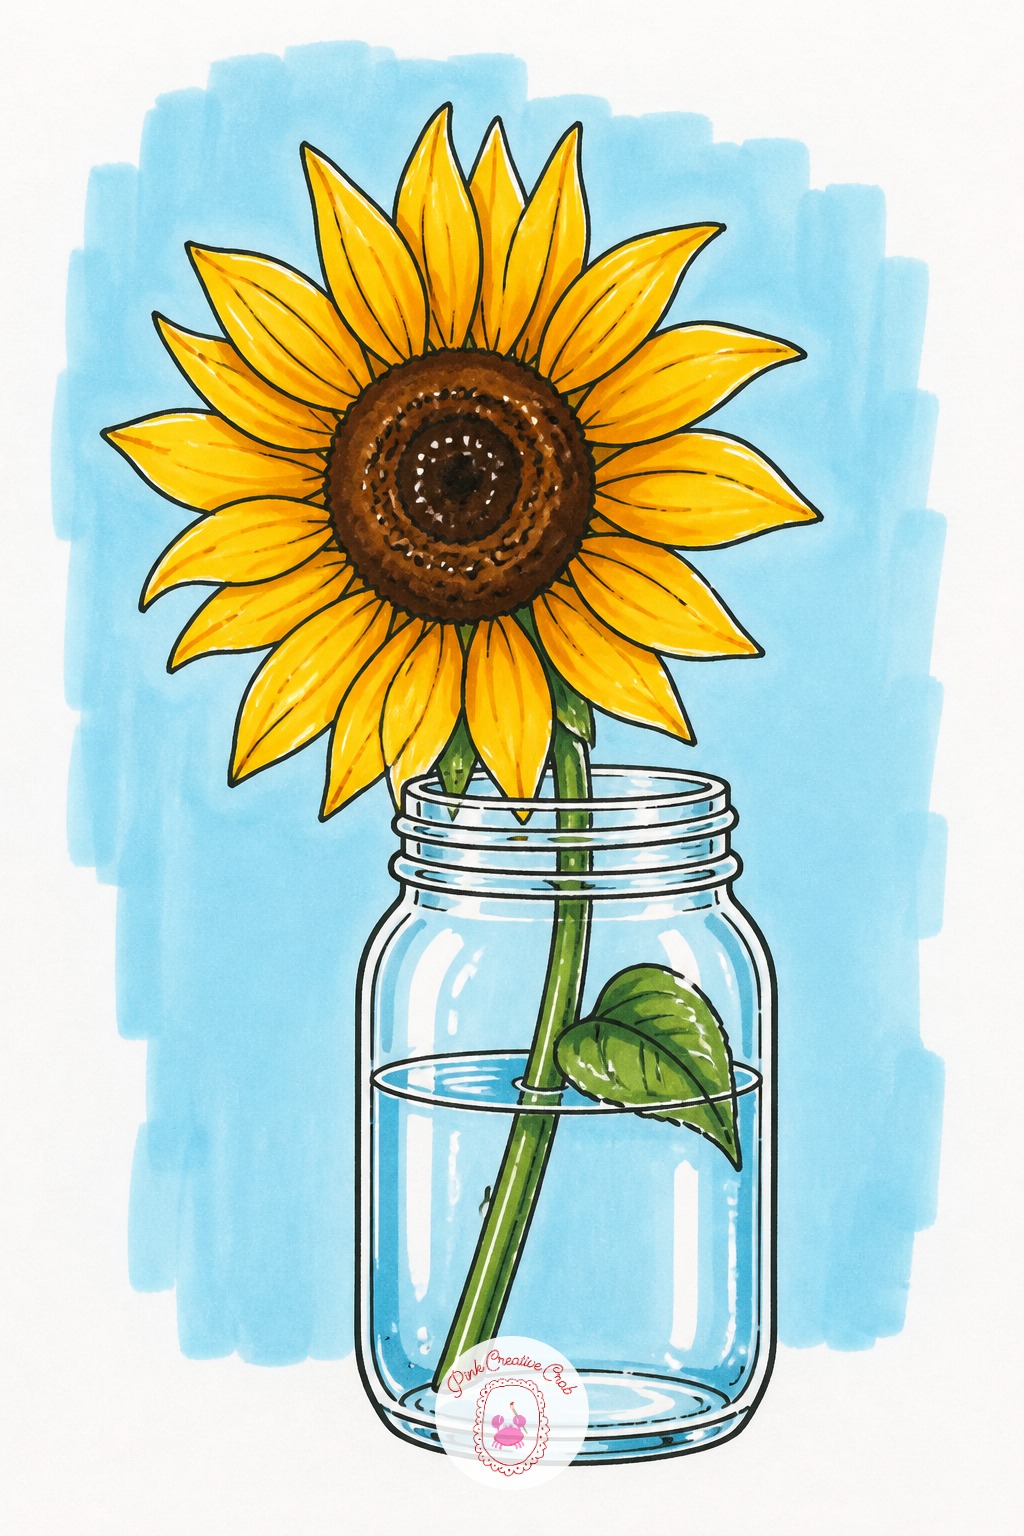
Petals that all come out the exact same width are the giveaway that a sunflower was drawn too mechanically. Real petals vary, with the ones at the back of the flower appearing shorter and slightly overlapped by the petals in front.
If the flower starts looking like a cut-out sun from a kids’ book, stop and vary at least four petal lengths before moving to the center. The other common fix happens at the jar: leave two vertical streaks of bare white paper down the jar’s sides to suggest glass catching light, and only shade the water level, not the whole jar.
Floating Jellyfish
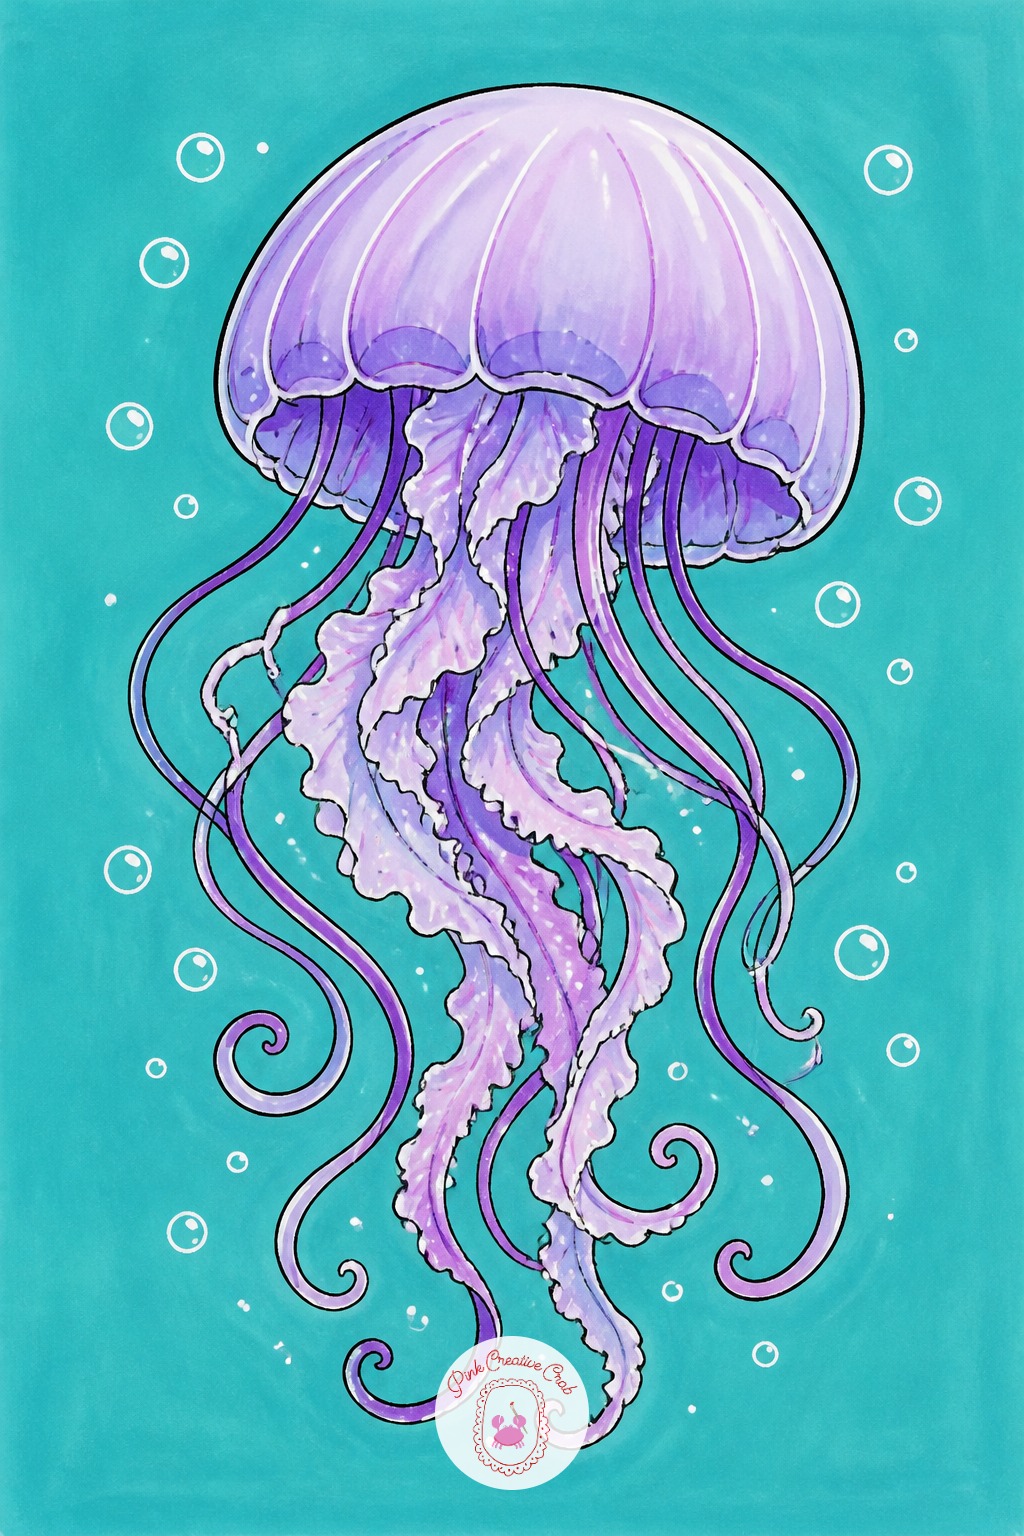
Ten minutes gets you the bell shape in one translucent-looking color and a handful of simple tentacle lines trailing below it. That short version already looks complete against a plain background.
Forty minutes adds depth: layer a second, cooler marker shade over just the top of the bell to suggest translucency, then add fine white gel pen lines radiating down through the body where real jellyfish show internal structure. Vary the tentacle lengths and let a few curl rather than hang straight, and scatter three or four small bubble circles around it.
Octopus With Bubbles
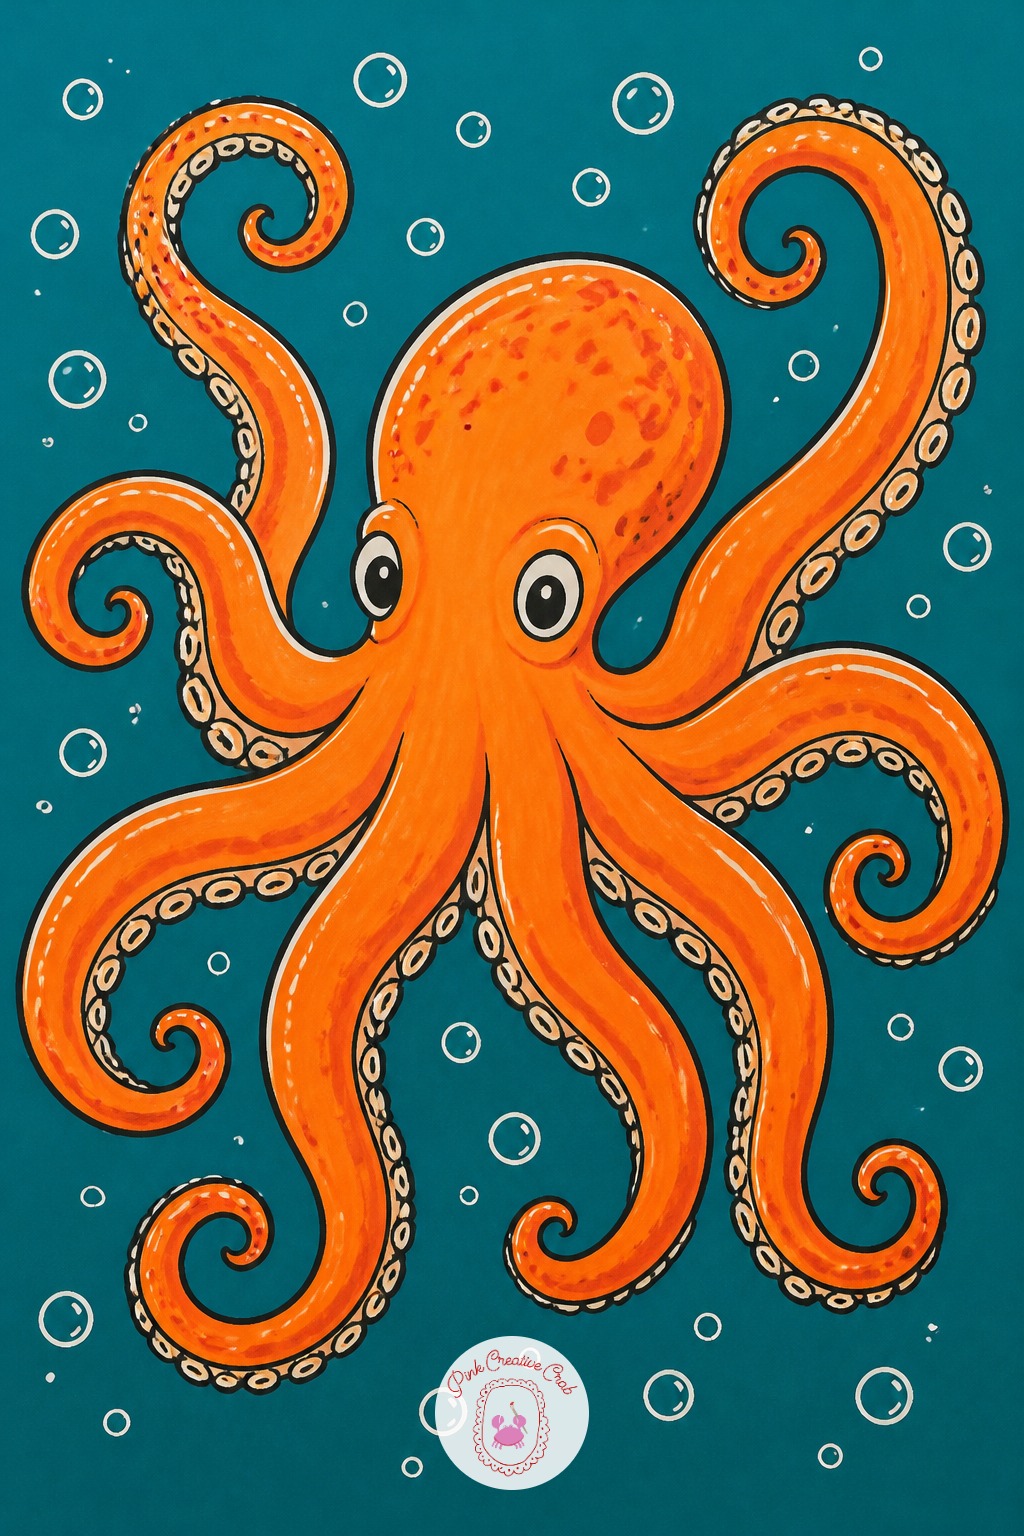
Once the basic rounded head and eight curling arms work on the page, change the pattern rather than the pose next time: try spots instead of stripes, or a pastel color family instead of the usual orange and red.
Reduce the arm curls for a calmer version, or exaggerate every curl for a busier, more playful one, since the octopus reads correctly either way as long as the head stays rounded and the arms taper toward the tips. A background shift works too: swap open water for a coral reef silhouette, keeping it flat so it never competes with the main subject’s color.
Frog In A Yellow Raincoat
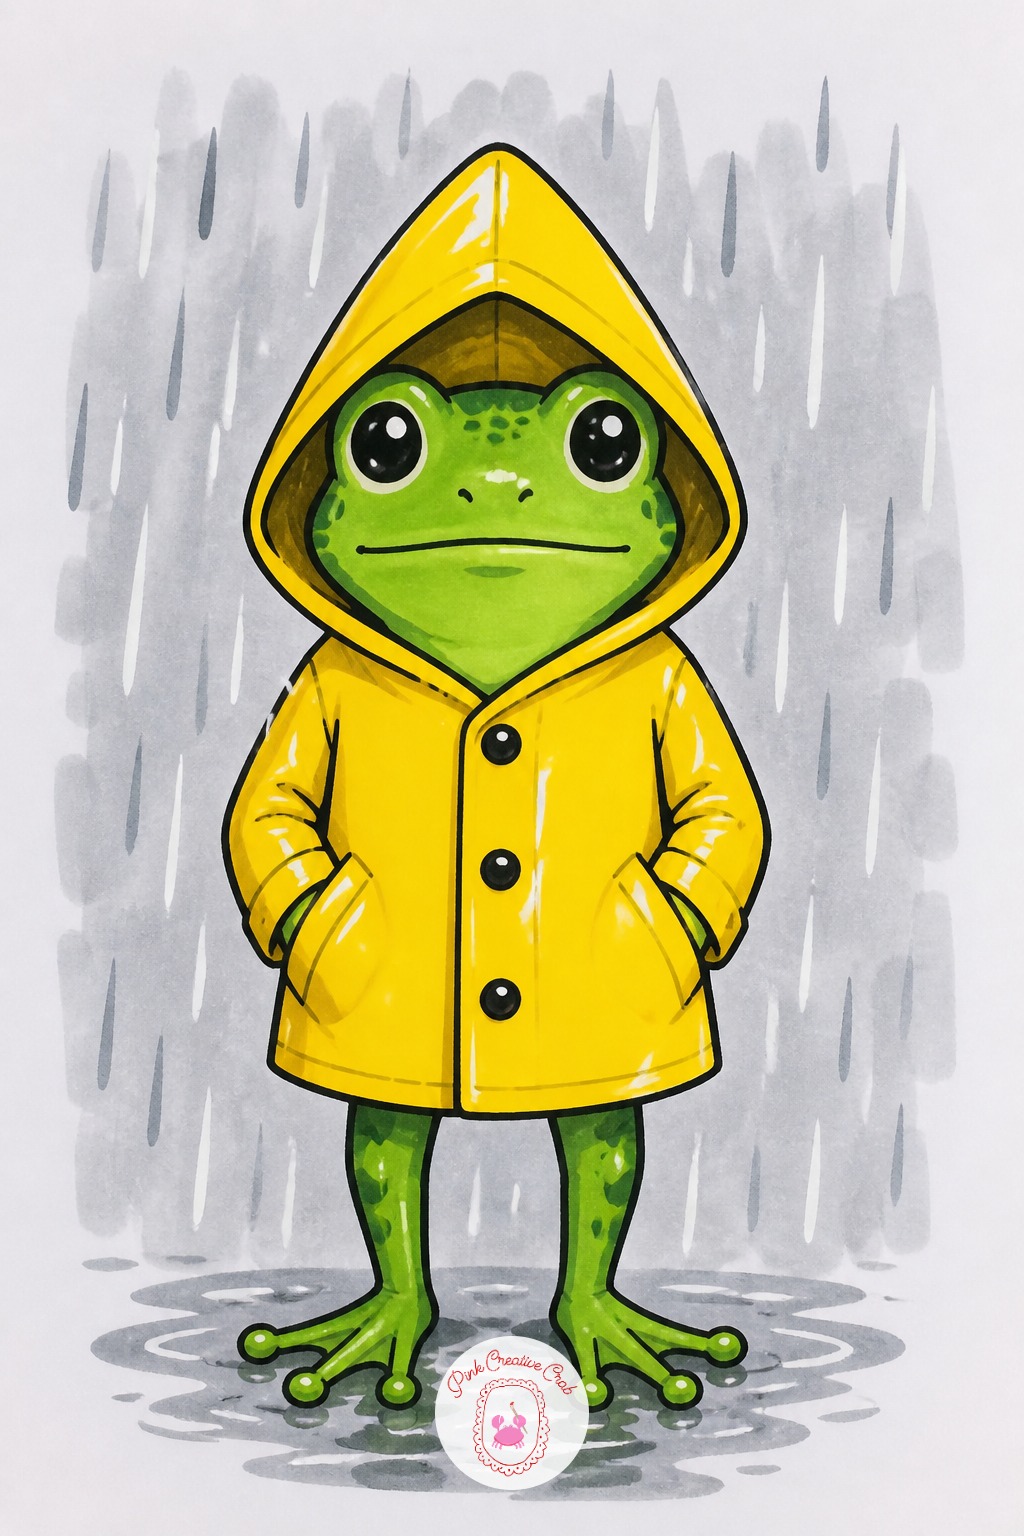
Choose a fine brush marker for the raincoat’s folds, not a broad chisel, because the thin tip can taper a fold line from thick to thin the way real fabric creases do. A chisel tip here just gives you flat bands that look like stripes instead of cloth.
Block the raincoat in one flat yellow pass first, then go back with the same marker’s narrow edge to deepen the folds at the elbow and hood. The frog’s bare skin gets a separate green marker and a different brush size entirely, since switching tip sizes between materials keeps fabric soft and skin smooth.
Owl On A Branch
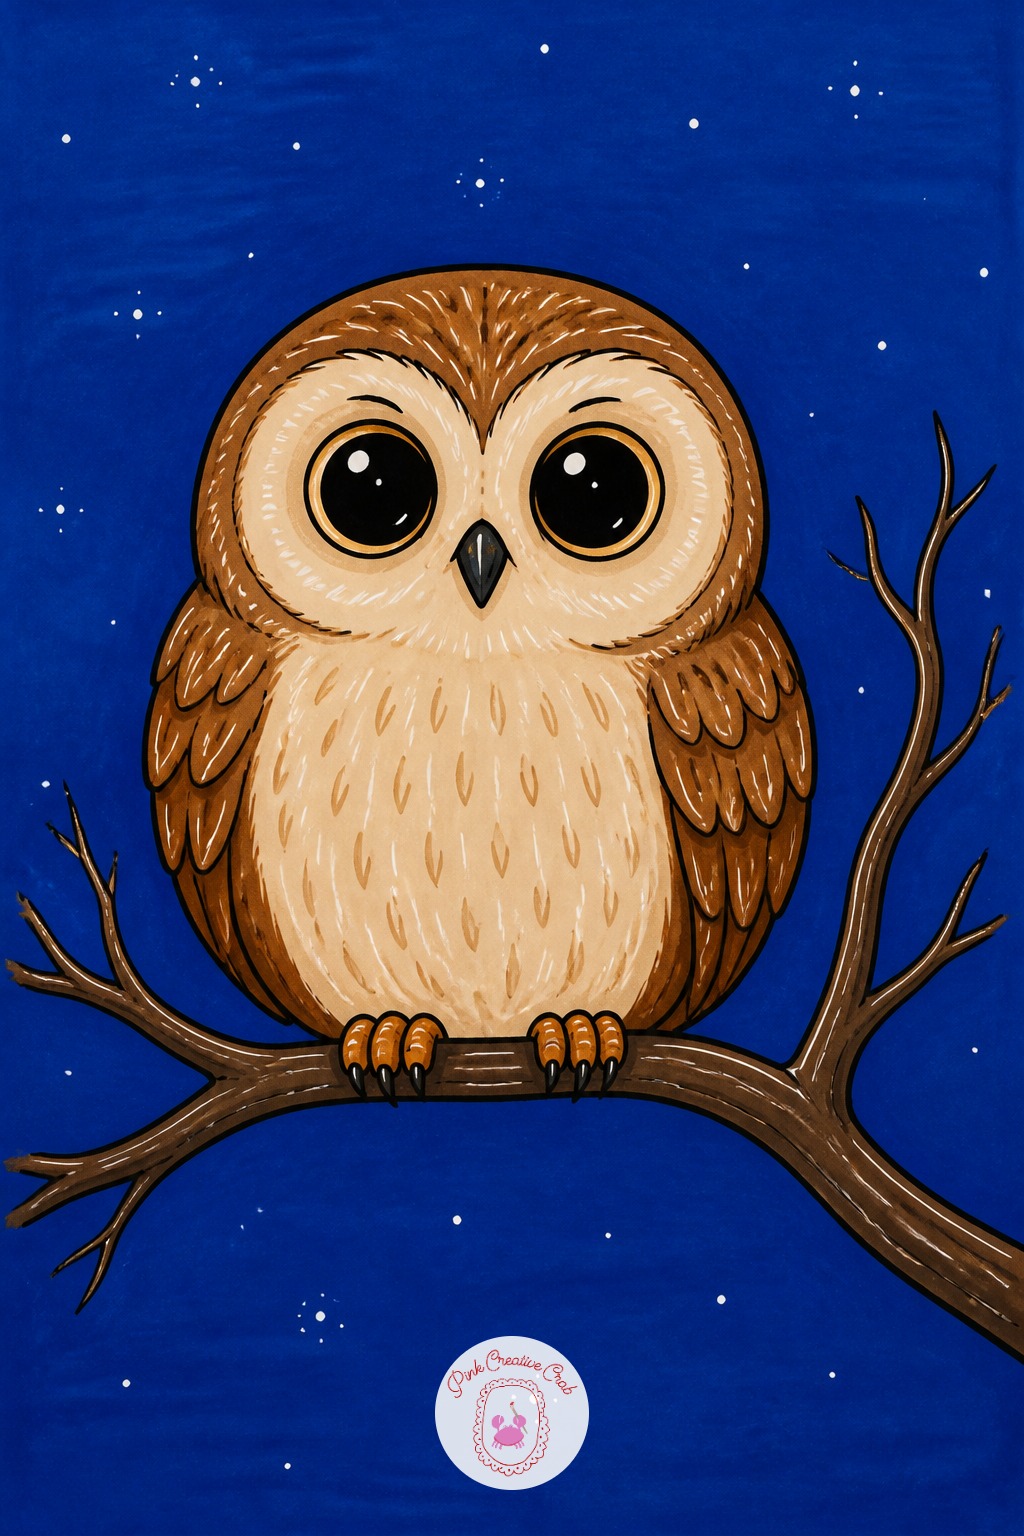
Lay the round head and body shape down first in one warm brown, before any feather detail goes anywhere near the page. Getting that solid base color flat and even gives every feather mark that follows something consistent to sit on top of.
Second, block in the pale front in a lighter cream marker, keeping the edge where it meets the brown soft rather than sharp. Third, add the two large eye circles in black, oversized rather than realistic. For more bird poses worth trying once this one works, the bird pencil drawing beginner ideas cover several easy angles. Save individual feather lines for last.
Fox In A Knit Scarf
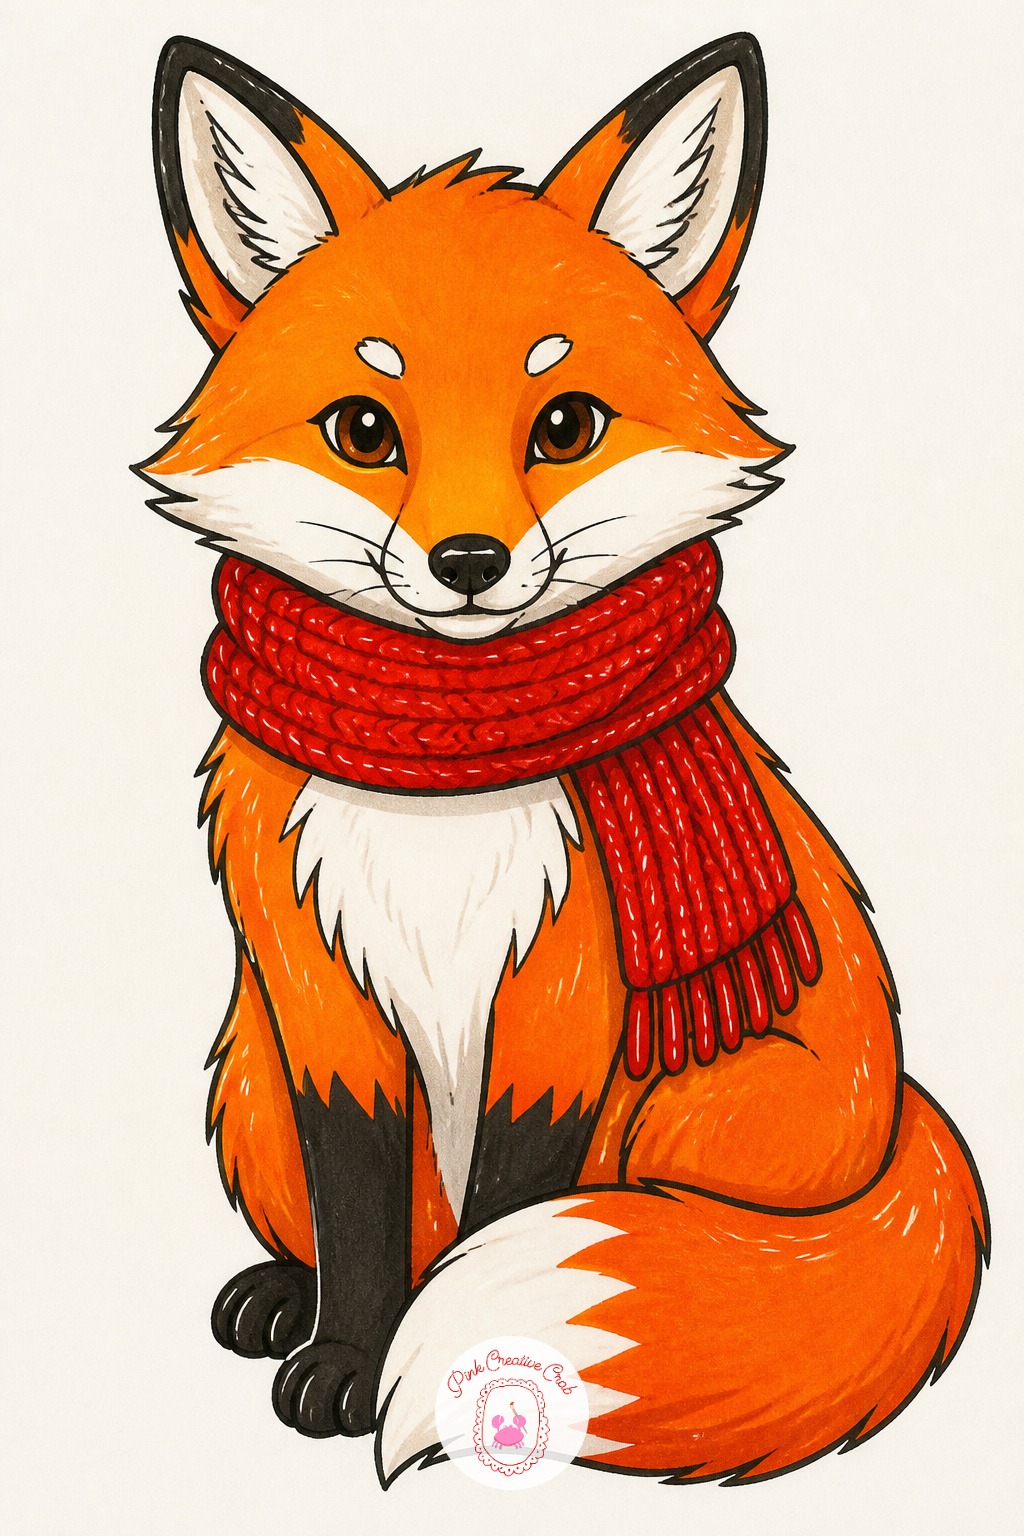
Measure the fox’s head against its body before any color goes down: a stylized sitting fox usually reads best at roughly one head height for the head and two for the body, which keeps the proportions playful rather than realistic.
Line the scarf up so it sits exactly where the neck meets the shoulders, not higher on the jaw, or the fox ends up looking like it is wearing a collar instead of a scarf. Once that placement is set in pencil, block the fox in flat orange and the scarf in a contrasting color, leaving the white chest patch bare until everything else is dry.
Red Panda With A Teacup
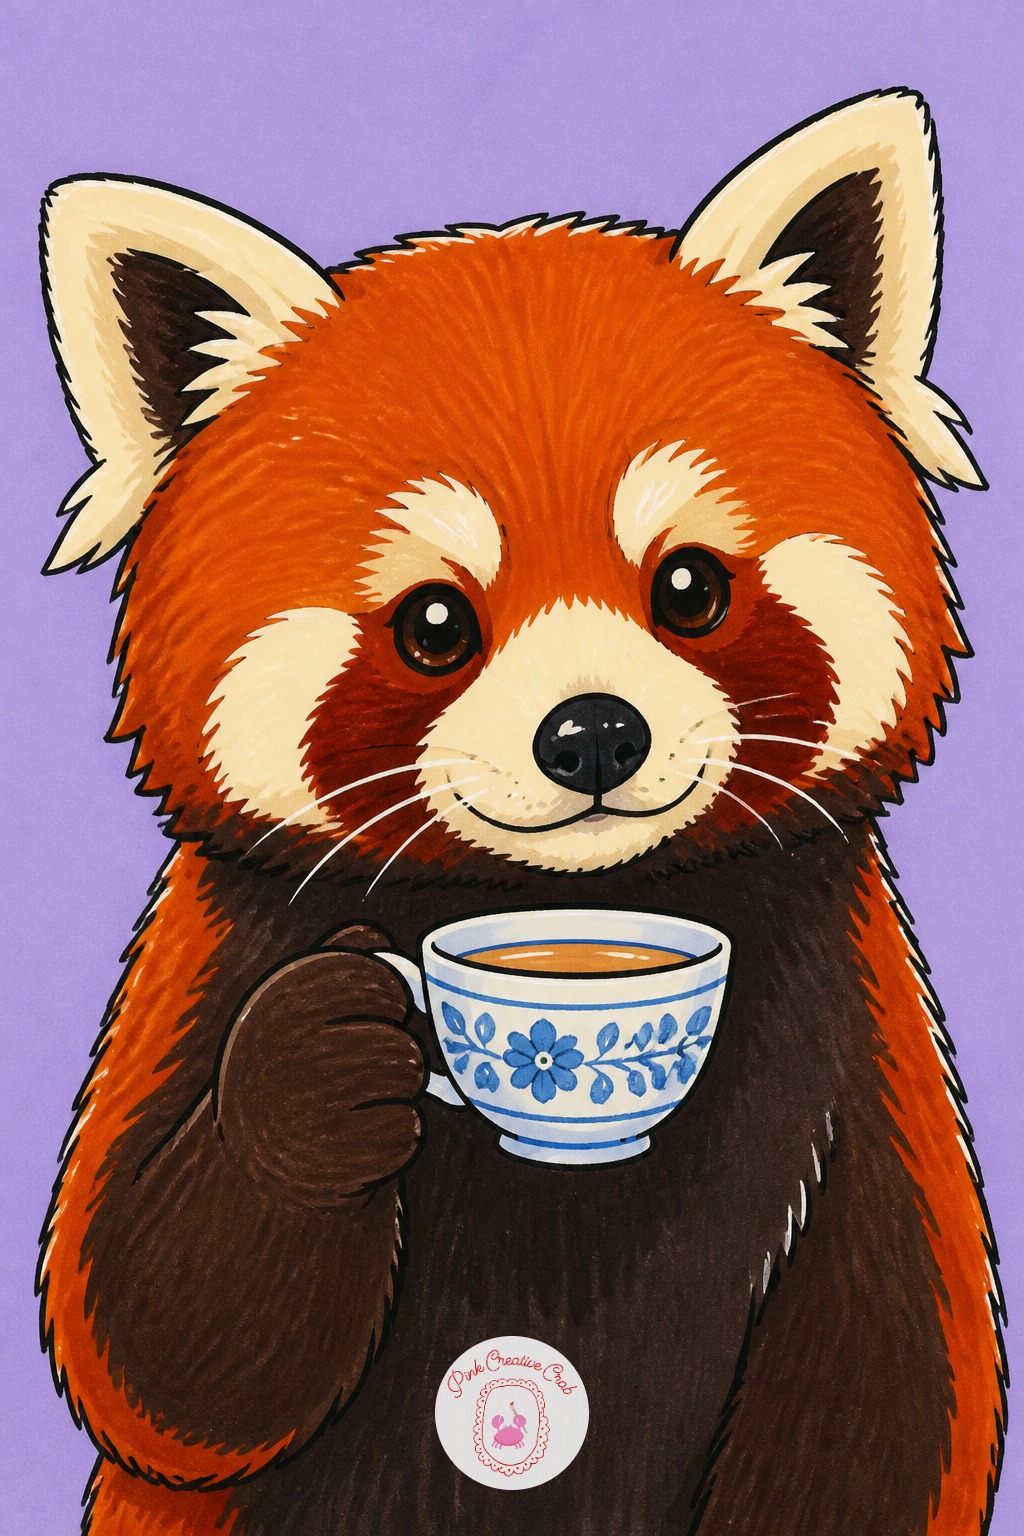
Decide which paw holds the teacup before anything else, since that choice sets the angle for the whole pose: a paw lifted toward the viewer needs the light source placed slightly behind the subject so the cup’s far side falls into shadow and reads as rounded.
With the light coming from behind and slightly above, the red panda’s ear tufts and the ring around its eyes catch a thin rim of highlight while the face itself stays in a soft mid-tone. Keep the teacup’s shadow small and tight underneath its base rather than stretching it across the whole paw.
Hedgehog Carrying A Mushroom
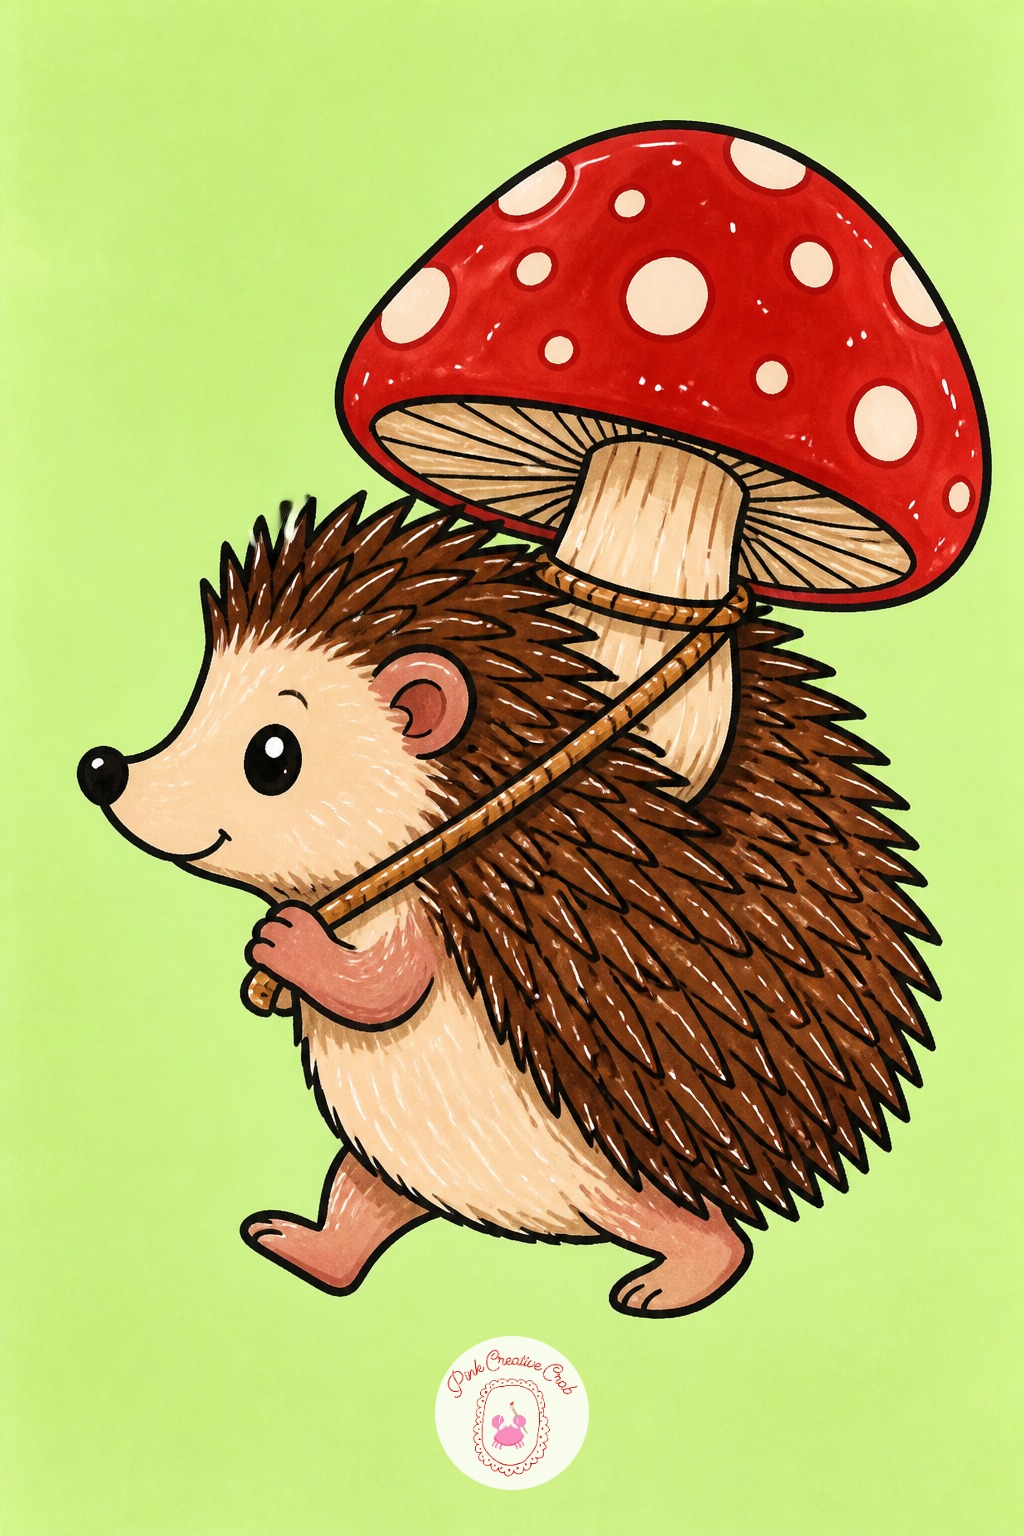
Flick the marker rather than stroke it for hedgehog spines: load the fine tip, press down briefly, and lift fast in one direction so each spine tapers to a point instead of ending in a blunt square tip.
Work the spines in two brown tones, a lighter one first across the whole back and a darker one layered over just the top third, flicking in the same direction both times so the texture reads as fur rather than scribble. The mushroom cap gets the opposite treatment: one smooth flat pass of red with a few white gel pen dots added once it is fully dry.
Mermaid Tail Close Up
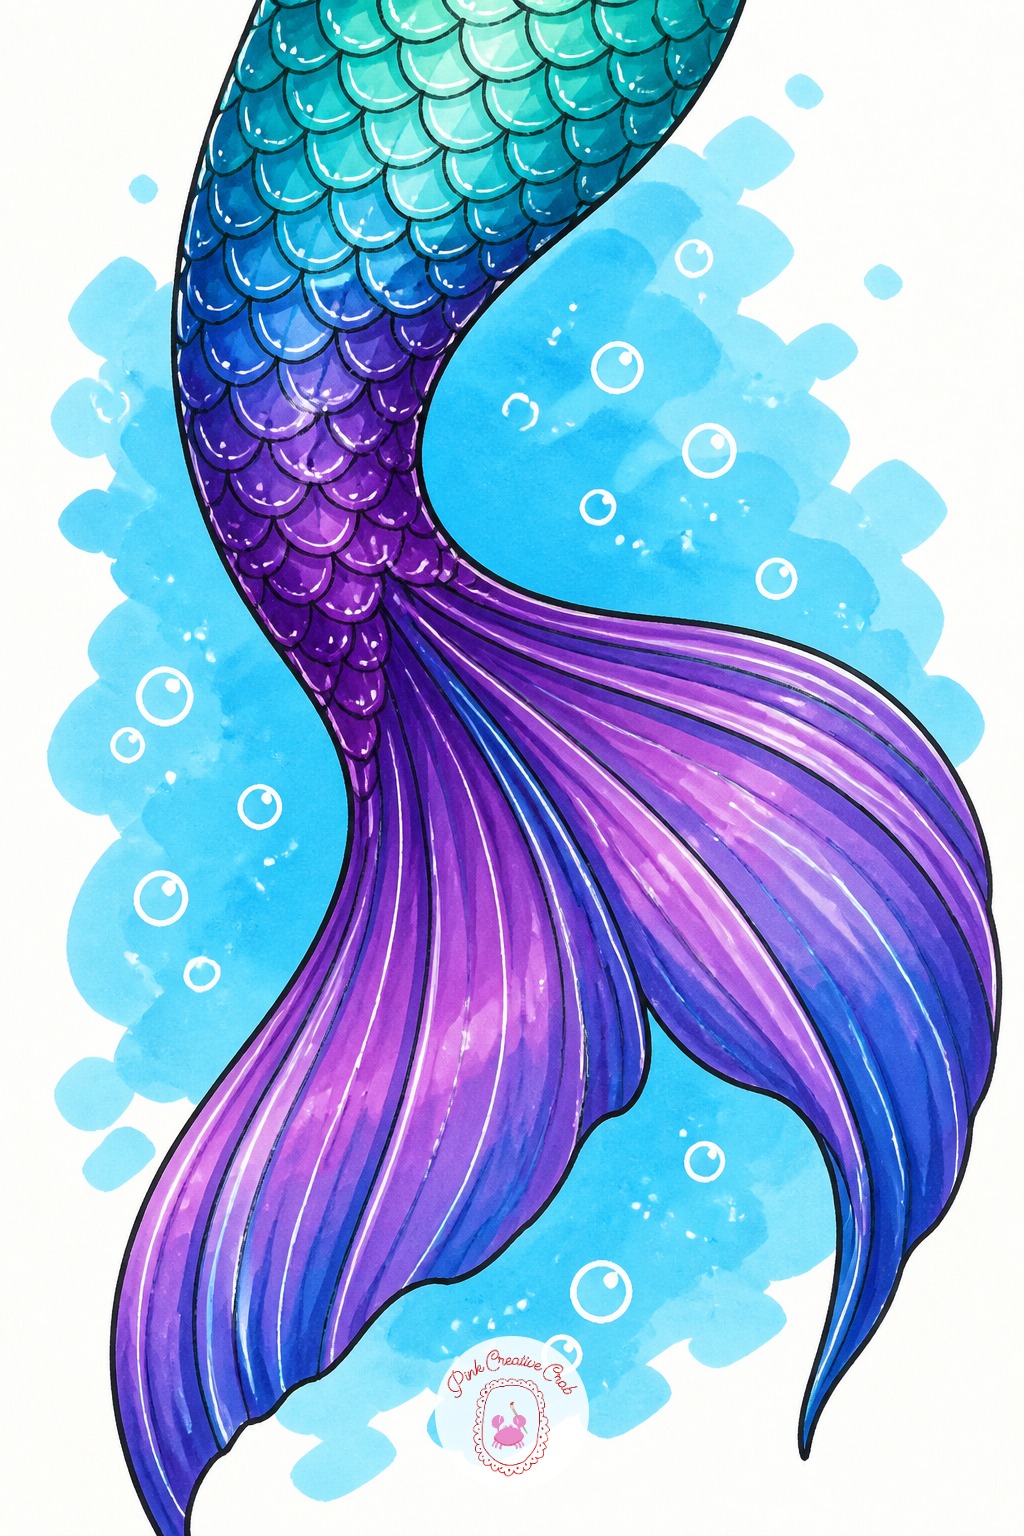
Scales drawn as identical rows of the same small circle are the most common mistake on a mermaid tail, and they flatten what should be a curved, dimensional shape. Fix it by varying scale size across the tail, larger near the hip and smaller toward the fin tip, following the taper of the shape itself.
The other frequent error is coloring the whole tail in one flat marker with no shift at all. Go back in with a second, cooler shade of the same color family along one edge of the tail, then let the fin fade into two or three color bands rather than staying one solid tone.
Dragon Fruit Slice
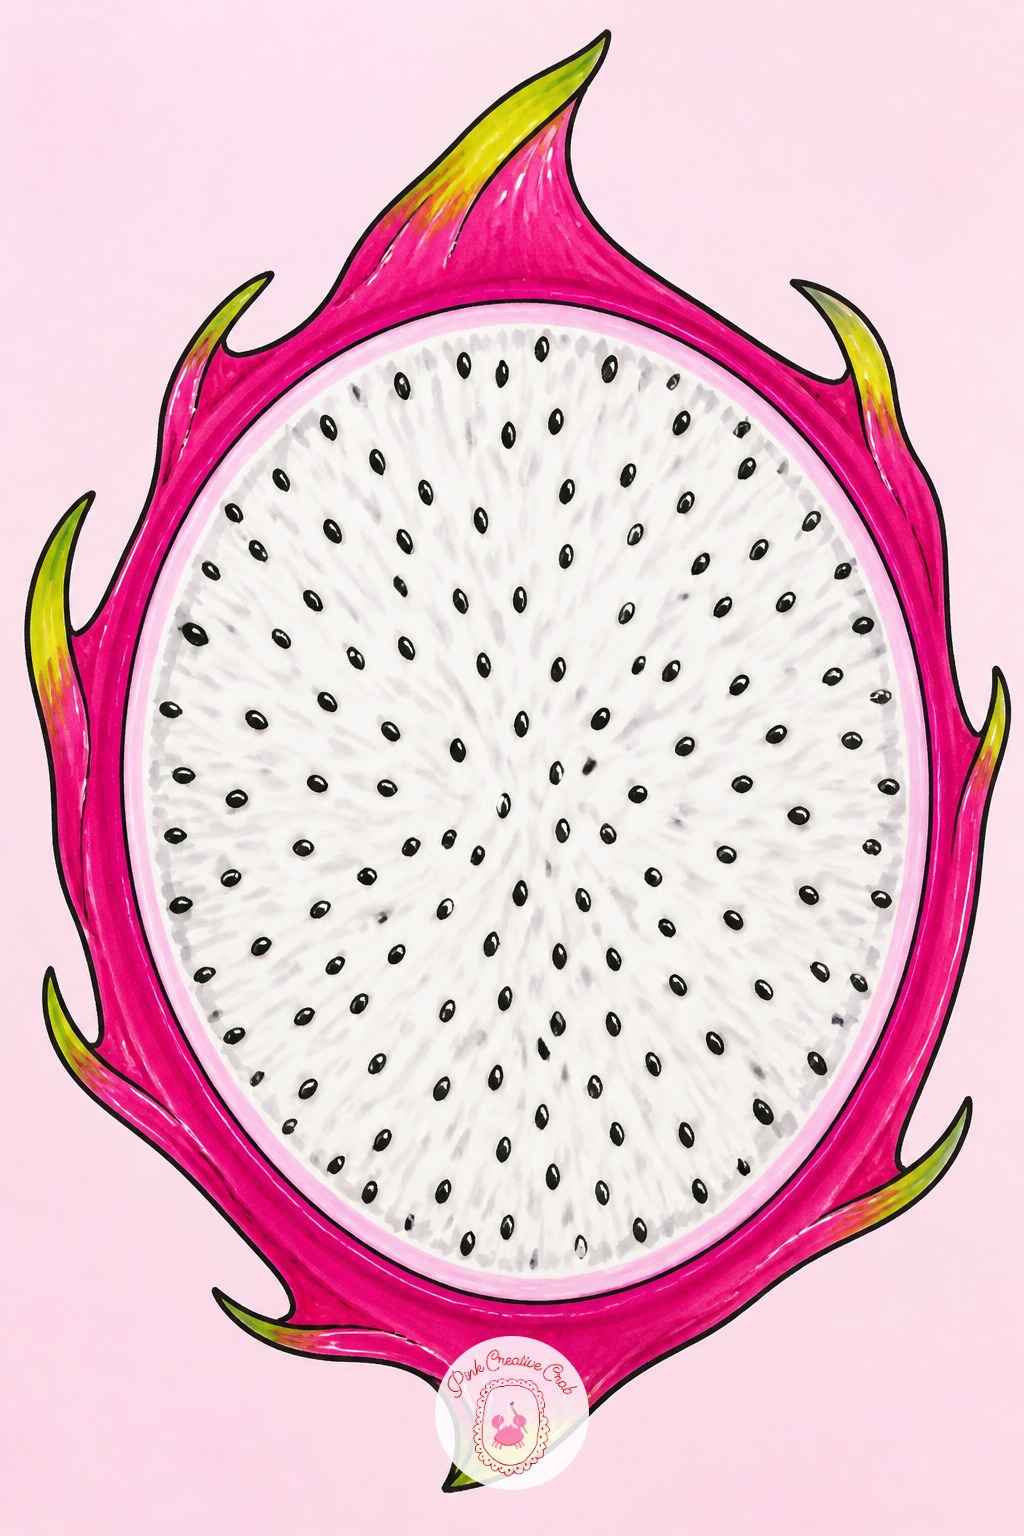
Ten minutes is enough for the basic cross section: a magenta rind, white flesh, and a scatter of small black seed dots across the center. That simplified version already reads clearly as dragon fruit against a plain background.
Forty minutes goes into the rind’s texture and the flesh’s subtle color shift, adding tiny green scale marks along the outer edge and a faint pink glaze where the white flesh meets the rind. For more one-sitting fruit subjects to round out a page, the fruit drawing pencil sketches list covers several that pair well with this one.
Sliced Watermelon Wedge
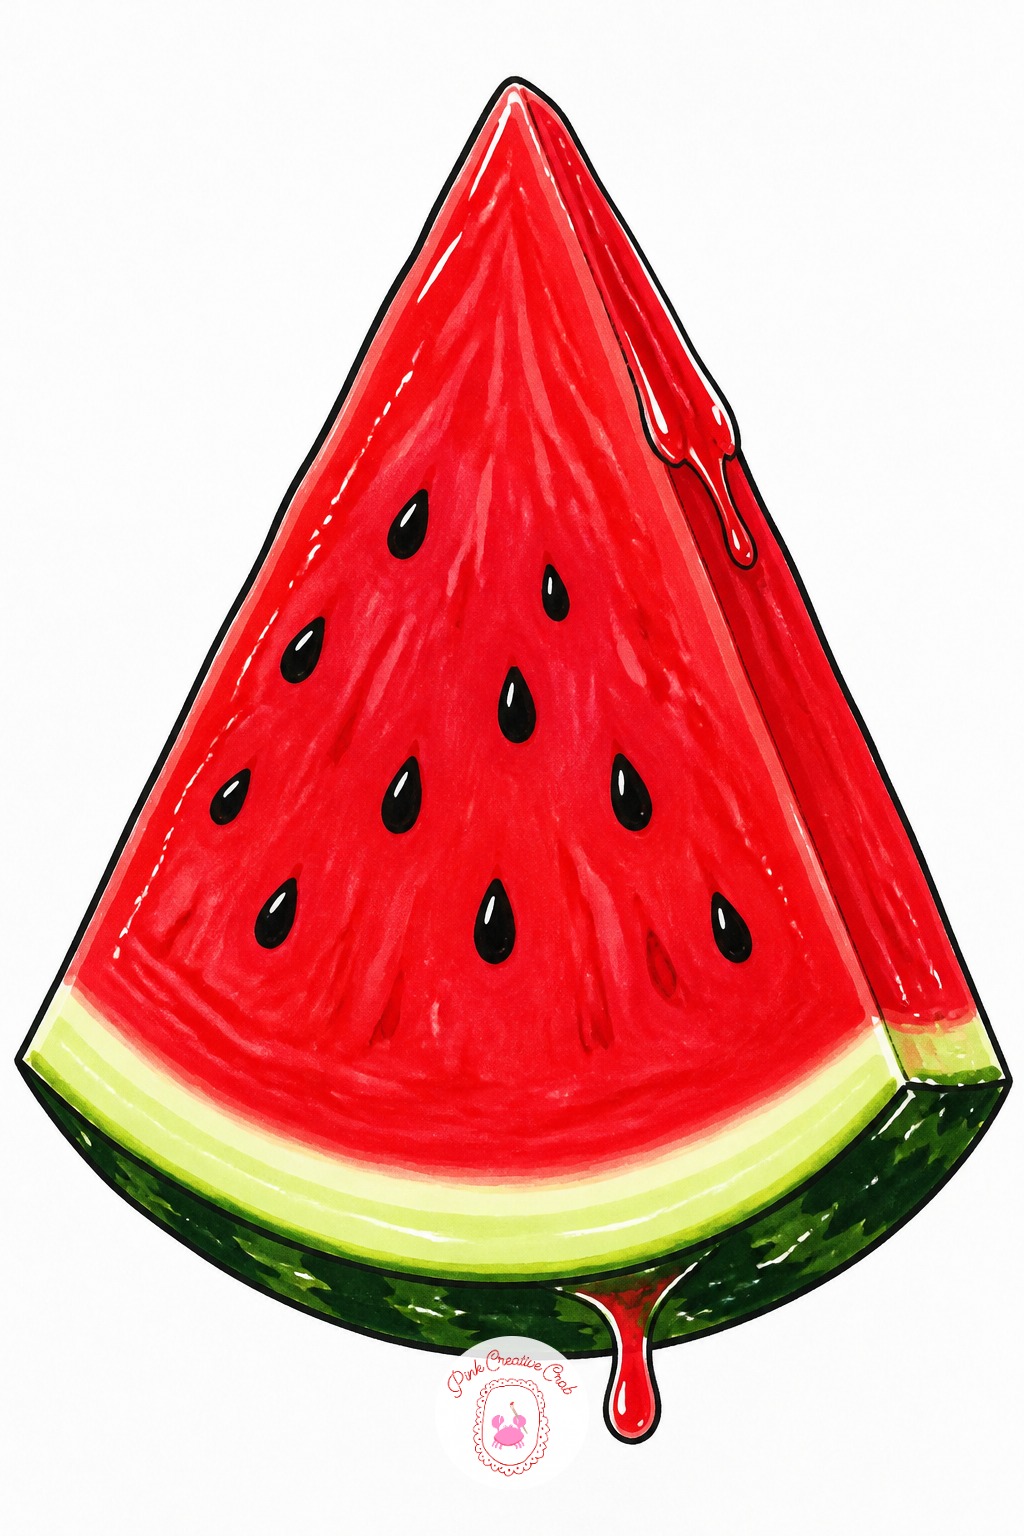
Once a single watermelon wedge with its red flesh and green rind works, change the slice angle next time rather than the fruit itself: a thin triangular wedge reads differently than a round cross section with the rind as a full ring around the edge.
Swap the seed pattern too, from the usual scattered black ovals to the pale, seedless look of modern varieties, which only needs the flesh color and skips the seed step entirely. A juicier variation adds a few drips running off the point of the wedge in a slightly deeper red.
Teddy Bear In An Astronaut Helmet
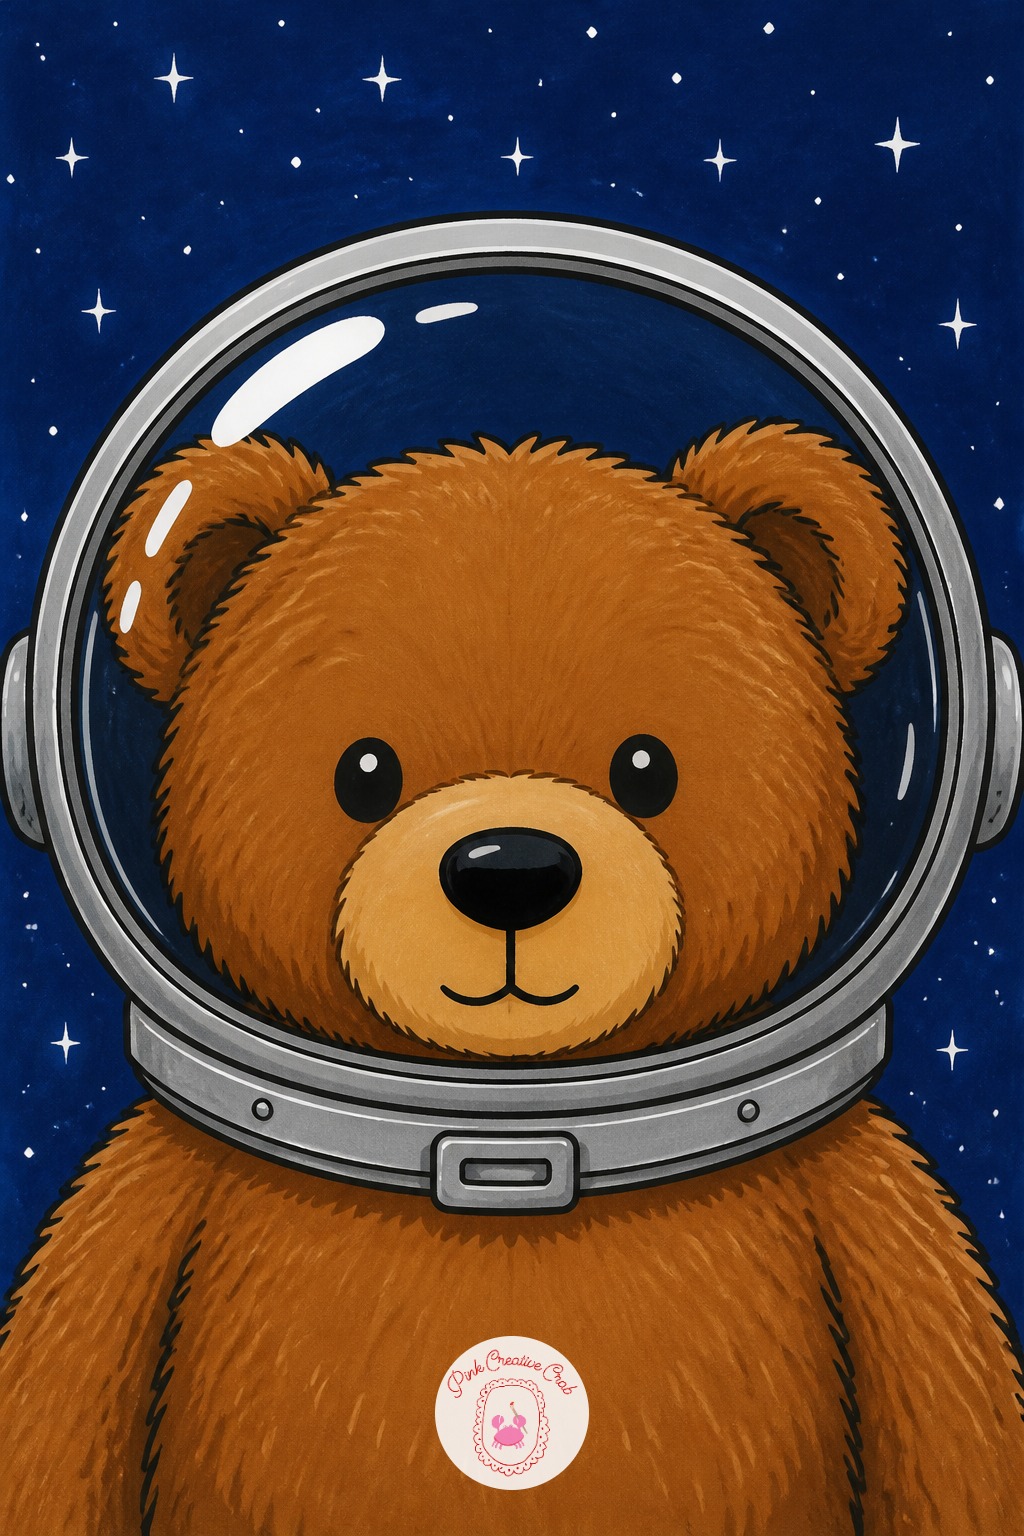
Grab a colorless blender marker for the helmet’s glass dome before you reach for any other tool, since that is what keeps the reflection looking like curved plastic rather than a flat gray circle. Run it in one direction across a light gray base layer while that layer is still fresh.
Switch to a broad chisel tip for the bear’s fur, covering the whole body in one warm brown pass, and save a fine brush tip entirely for the helmet’s seams and the suit’s small buckles. Three tip sizes across one drawing sounds like a lot, but each one is doing a job the others cannot.
Hot Air Balloon Over Hills
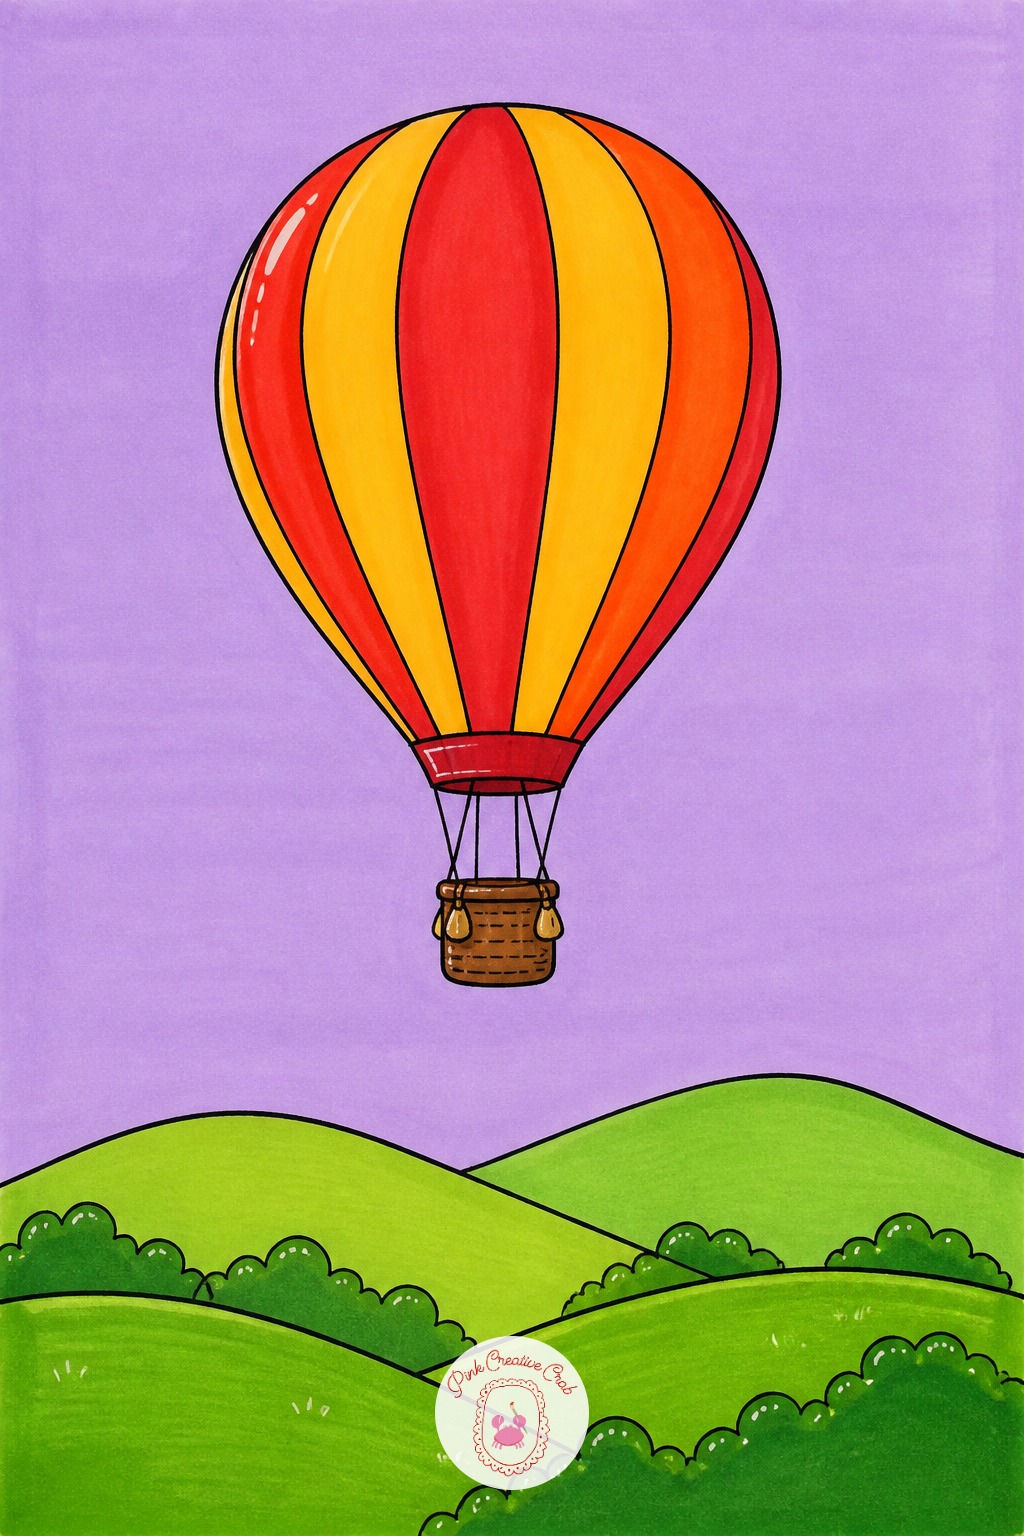
Lay the sky in first, one flat pass of pale blue or lavender across the whole background, and let it dry before the balloon goes anywhere near the page. Working background to foreground keeps every edge clean instead of fighting around a shape that is already there.
Second, block the balloon’s panels in two or three alternating colors, leaving the basket as a small plain rectangle underneath. Third, add the rolling hill shapes in flat green, overlapping the basket slightly so the whole scene reads as one space. Save the rope lines and any birds for the very last pass.
Carousel Horse
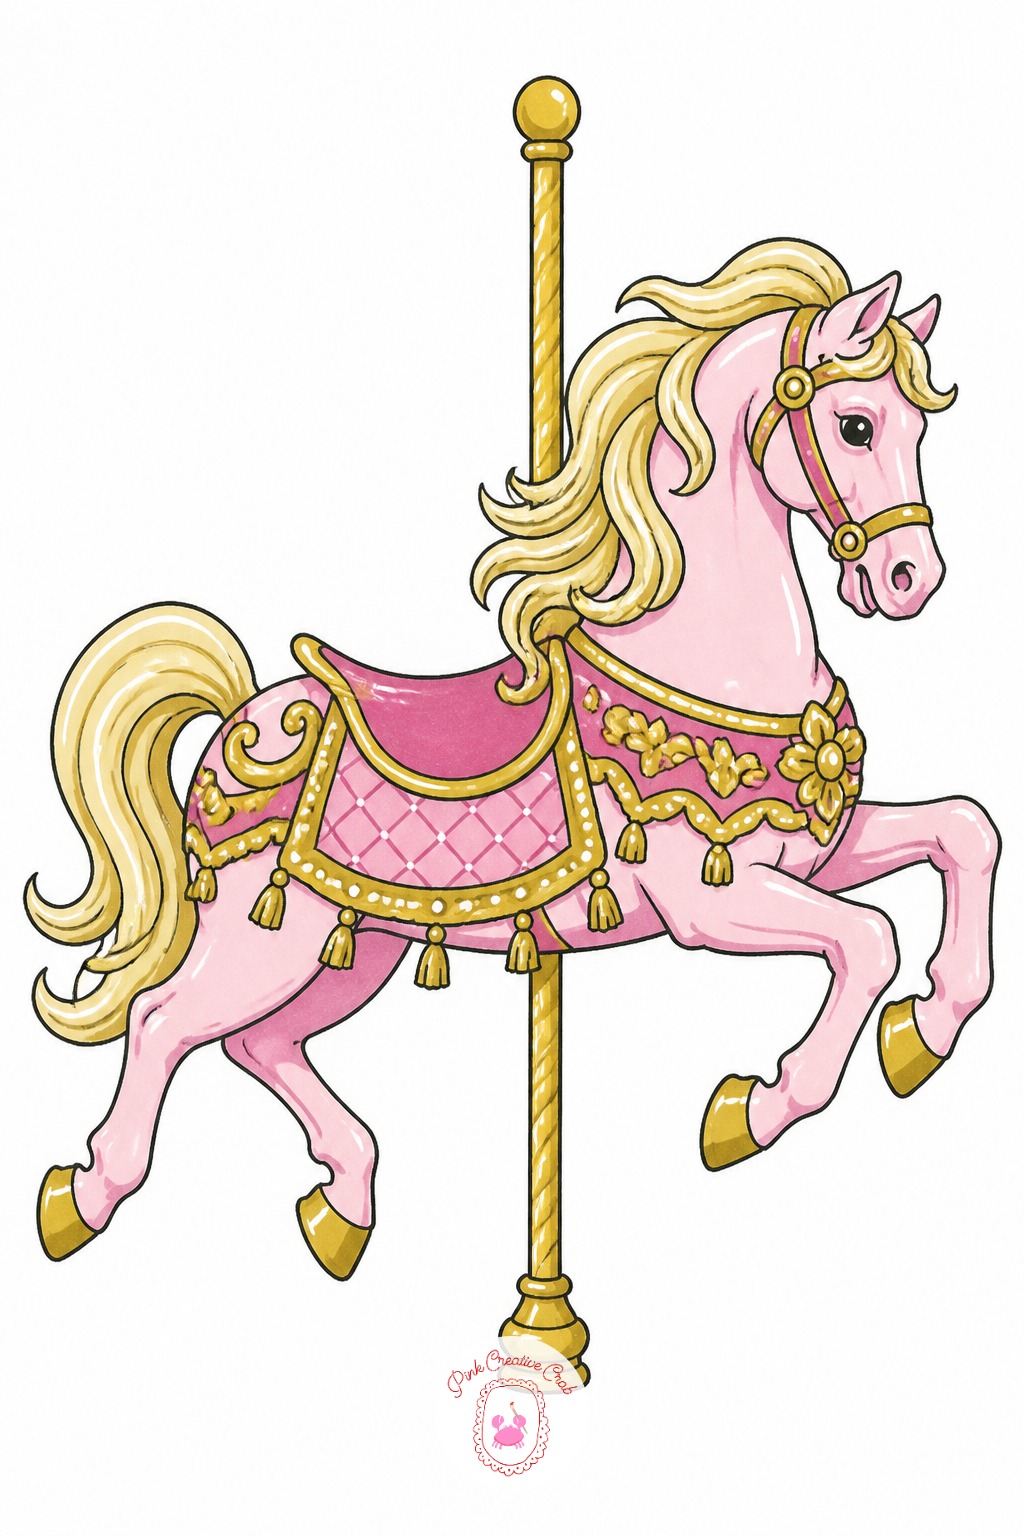
Measure the horse’s head against its leg length before adding the ornate saddle, since a carousel horse’s charm comes from the head sitting slightly larger than a real horse’s proportions would allow, closer to one and a half times the size.
Keep the pole running straight through the body’s center line, from the horse’s back down through its belly, so the whole figure looks balanced on its support rather than tipping to one side. Block the body in a flat pastel color and save the saddle’s gold trim for a separate layer addedafter the base coat has dried completely.
Lighthouse By The Sea
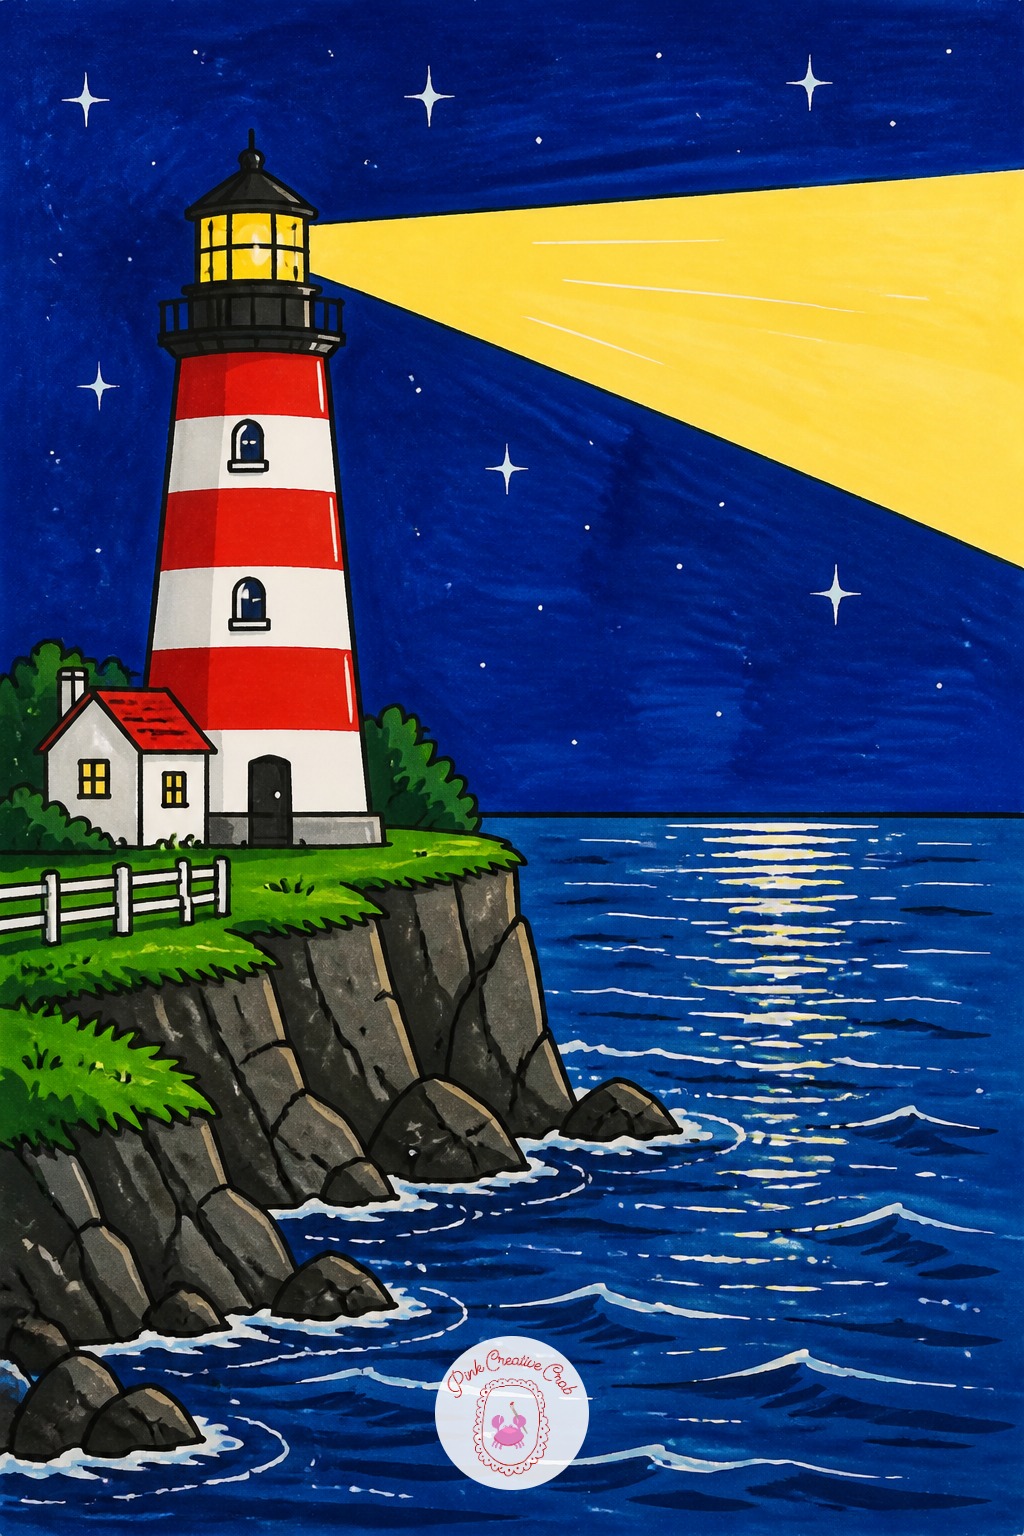
Set the light source as the lighthouse’s own beam rather than an outside sun, which changes the whole drawing: the beam becomes the brightest value on the page, so everything else, including the sky, needs to stay a shade or two darker than normal to let it read.
Angle the beam as a wide triangle sweeping across the water rather than a thin straight line, and leave that triangle as bare white paper or the lightest marker in the set. Shadows on the lighthouse itself fall on the side away from the beam, and the water beneath the light gets a thin streak of reflected white left untouched by any marker.
Moon Face With Stars
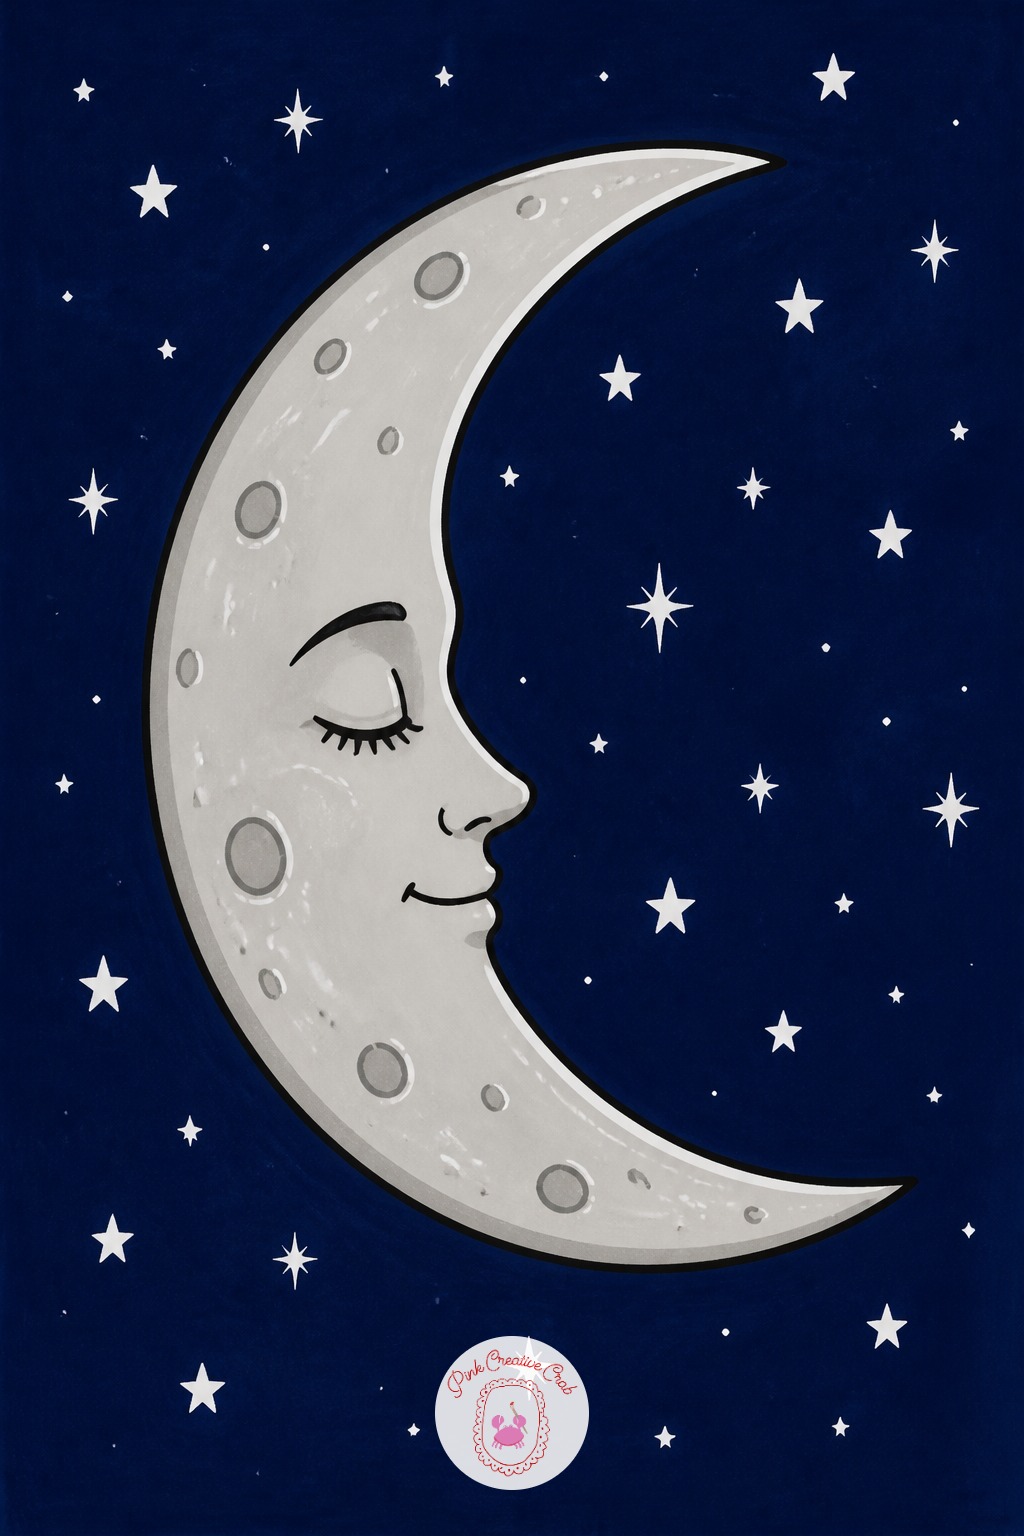
Dab rather than stroke for the moon’s craters: press the broad end of a gray marker flat against the paper and lift straight up, which leaves a soft round mark with a slightly darker edge instead of a hard-edged circle.
Vary the crater sizes and cluster a few close together near one edge rather than spacing them evenly across the whole face, since real craters bunch up in patches. Add the stars last, after the moon’s color is fully dry, using a white gel pen in a mix of small dots and a few four-point sparkle shapes.
Mushroom Cottage
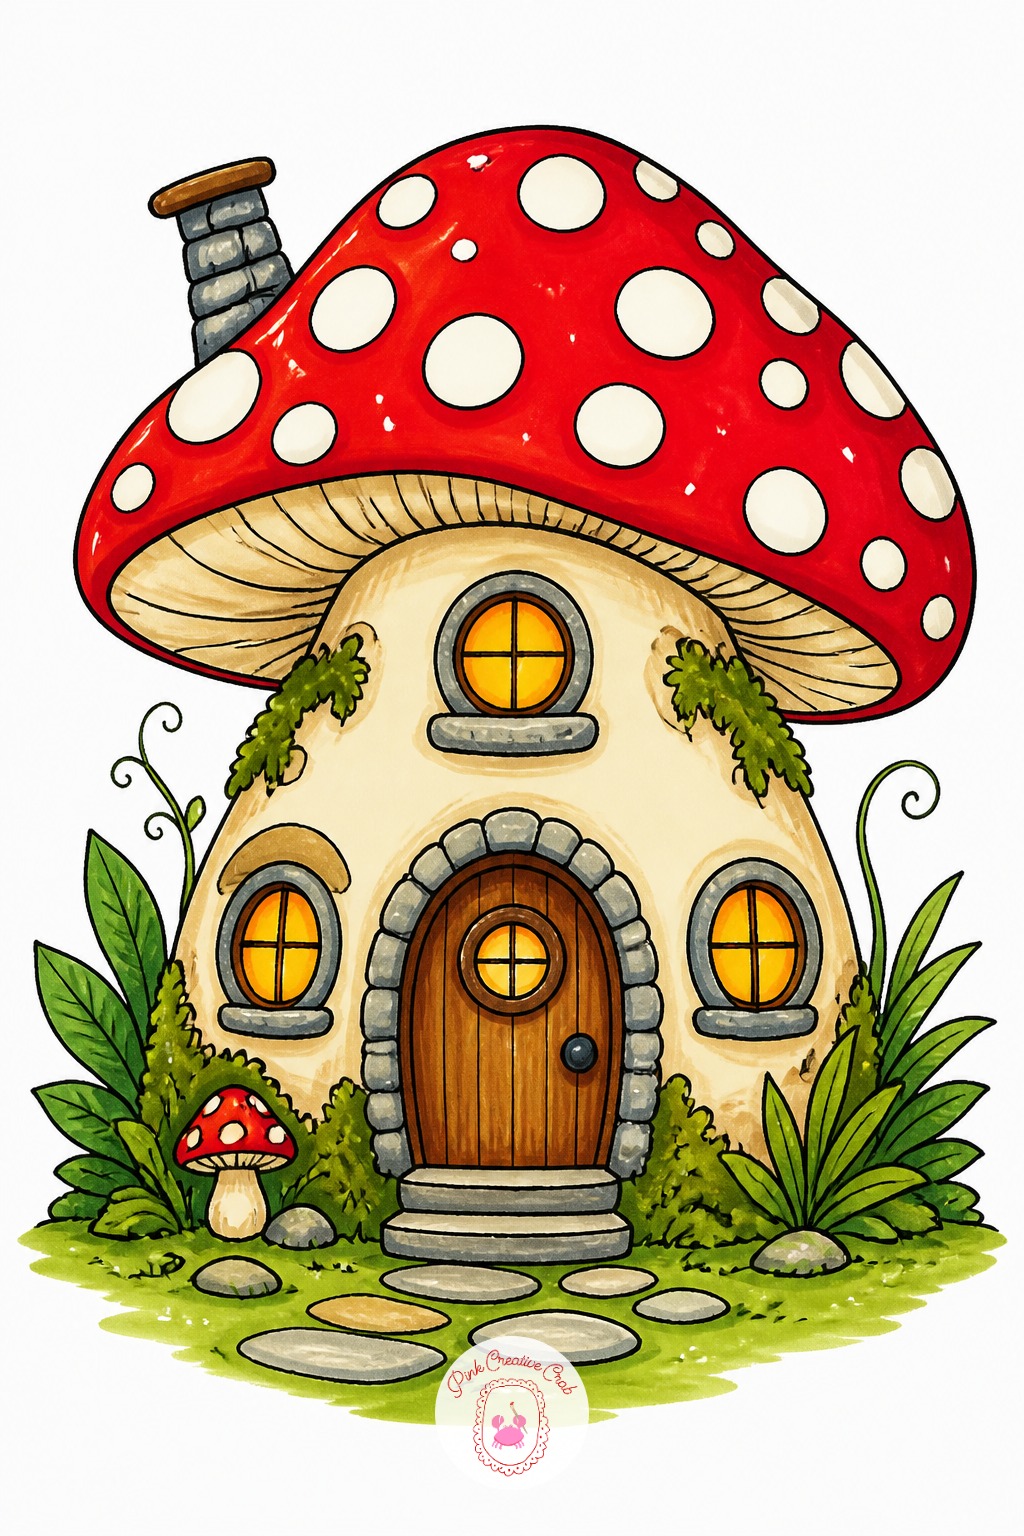
Windows that line up in a perfect grid are the fastest way to make a mushroom cottage look like a dollhouse rather than something grown from the woods. Stagger the window placements instead, and let the cap’s curve pull at least one window slightly off its own horizontal line.
The second common mistake is coloring the cap’s spots in one flat layer with no variation, which flattens the whole dome. Go back over a handful of spots with a second, slightly deeper marker once the base layer is dry. For more scenes built the same way, the village scene drawing pencil ideas apply the same staggering trick to full streets.
Peacock Feather Close Up
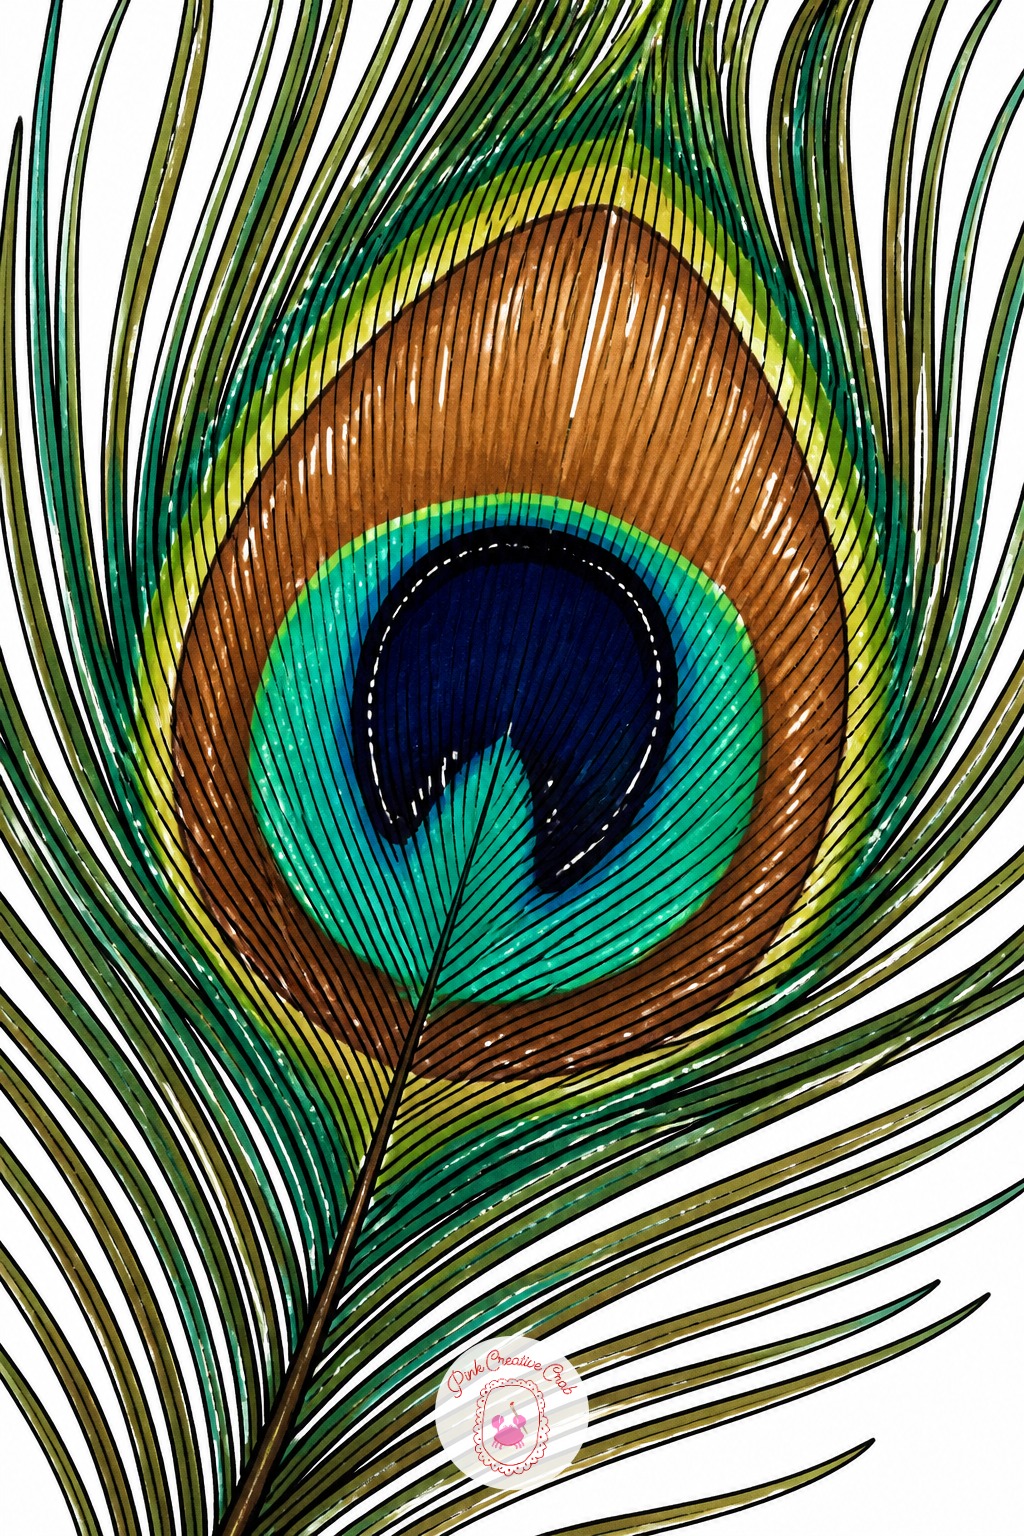
Ten minutes covers the feather’s basic shape and the eye-shaped marking at the top, filled in with two or three flat color bands of teal, blue, and bronze. That alone makes a complete, striking small drawing.
Forty minutes goes into the barbs, the fine lines radiating out from the central shaft on both sides, drawn one at a time with a fine liner rather than one quick scribble. Add tiny gold gel pen flecks scattered through the eye marking once every other color has dried, which is the detail that pulls the whole feather together.
Parrot On A Perch
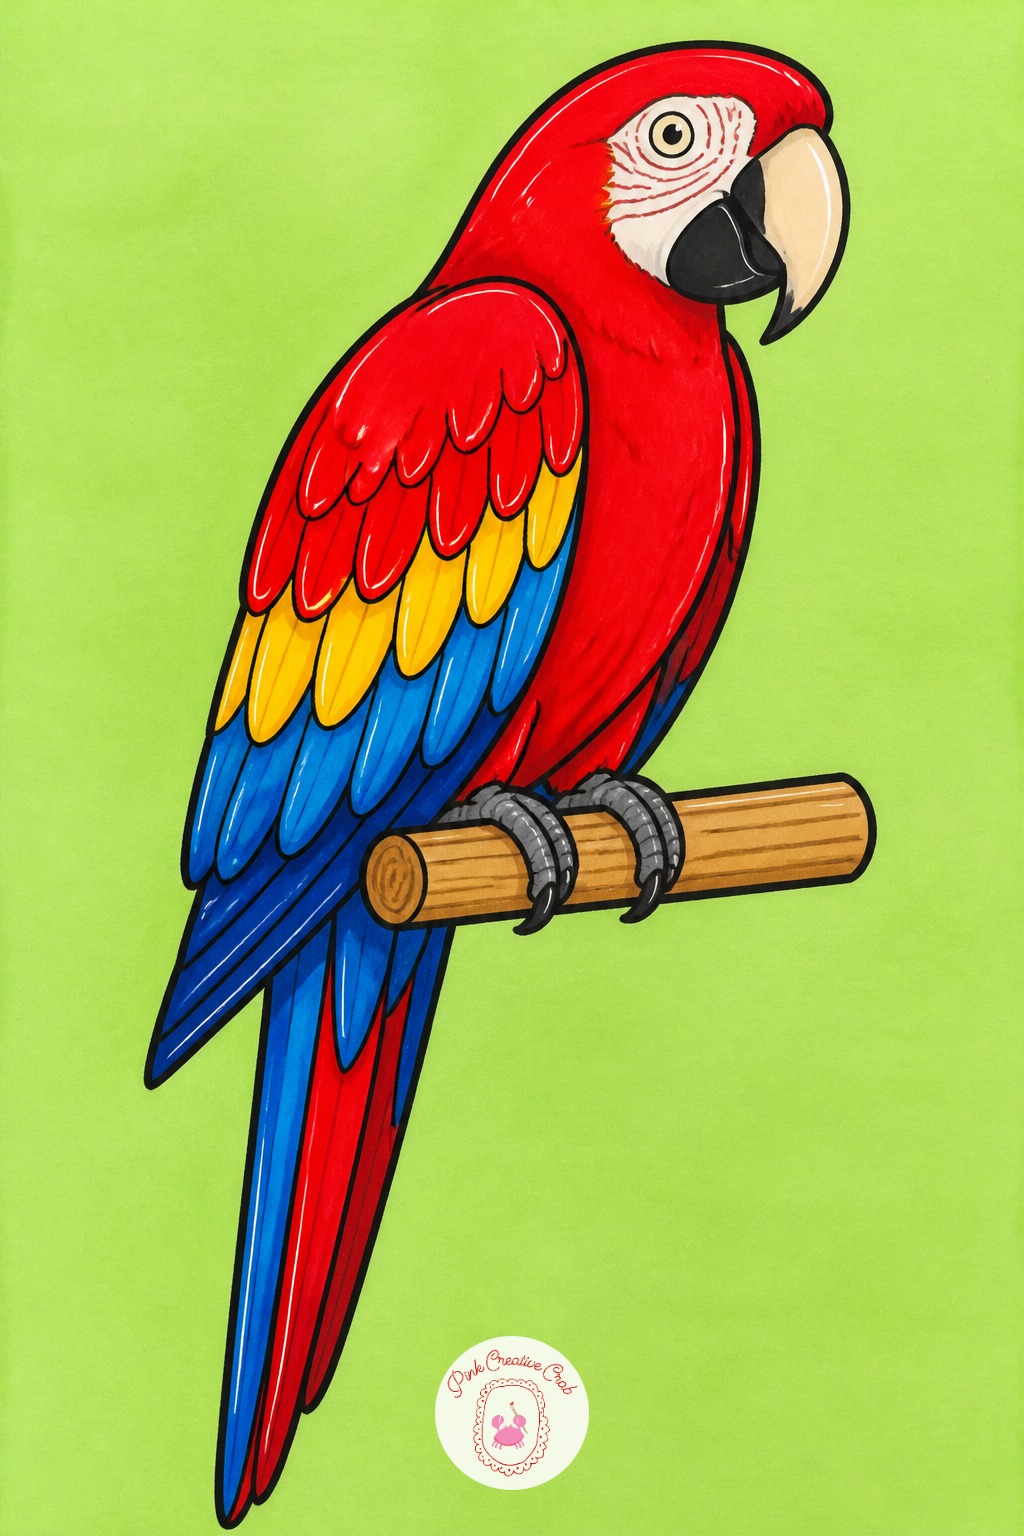
Once one parrot in bold red and blue works on the page, change the color family entirely for the next version rather than the pose: a green and yellow parrot reads as a completely different bird using the exact same shapes.
Vary the perch too, swapping a plain wooden dowel for a leafy branch with two or three simple leaf shapes tucked behind the bird’s tail. A calmer variation drops the open beak and tilted head for a straight-ahead sitting pose, which is a good one to practice feather layering on before moving to a more dynamic angle again.
What to Do Next
Start with the gummy bear or the heart sunglasses if the markers are still new to the hand, since both finish inside twenty minutes on a sheet of bleedproof marker paper. That is the whole appeal of marker drawing ideas creative like these: start small tonight, then work down the list toward the lighthouse or the mushroom cottage once the hand warms up.
Frequently Asked Questions
Do these marker drawing ideas creative work with water-based markers too, or only alcohol ones?
Most of the techniques here, especially the flat color plus fineliner outline approach, work with both. Alcohol markers blend softer and dry faster, water-based ones need slightly more drying time between layers, but the layering order described in each idea applies either way.
How do I stop alcohol marker streaks on flat color areas?
Work in one direction, overlapping each stroke slightly into the last while the ink is still wet, and keep the nib moving at a steady speed rather than pausing mid-stroke. A dry nib picked back up after the first pass has dried is the usual cause of visible streaks.
What paper keeps alcohol marker colors from bleeding through?
Bleedproof or marker-specific paper, usually a smoother, slightly coated stock, stops ink from feathering past the fineliner outline and soaking through to the next page. Regular sketchbook paper works for water-based markers but lets alcohol ink bleed and ghost through several sheets.
Can a mistake be fixed once alcohol marker ink is already down?
Not by lifting it, since alcohol ink does not erase. Cover a small error with a darker marker from the same color family, work it into a shadow or pattern, or add a fineliner detail on top that gives the eye something else to focus on instead.
Which markers are worth buying first for someone starting these drawings?
A basic set of twelve to twenty-four alcohol markers in a mix of warm and cool tones covers most of this list, alongside one black fineliner for outlines and a white gel pen for highlights. Add new colors only once a gap shows up in an actual drawing.
Have any thoughts?
Share your reaction or leave a quick response — we’d love to hear what you think!
-
 0
0 -
0
-
0
-
0
-
0
-
0


