

Table of Contents
- Puffer Fish Blowing Bubble Gum
- Starfish Sunbathing On A Rock
- Jellyfish Holding A Tiny Umbrella
- Clownfish Peeking From An Anemone
- Crab Carrying Seashell Letters
- Seal Napping On A Pink Pool Float
- Hermit Crab In A Teacup Shell
- Angelfish Wearing Tiny Sunglasses
- Seahorse Riding A Coral Bicycle
- Shrimp Carrying A Tiny Lantern
- Flounder Hiding Under A Striped Umbrella
- Sea Turtle In Snorkel Goggles Chasing Bubbles
- Stingray Gliding Like A Cape
- Narwhal Wearing A Party Hat
- Octopus Captain Steering A Tiny Boat
- Dolphin Jumping Through A Bubble Hoop
- Anglerfish With A Glowing Lamp
- Sea Otter Holding A Shell Snack Plate
- Pelican With A Fish In Its Beak
- Puffin Perched On A Buoy
- Lobster In A Chef Hat Stirring A Pot
- Manta Ray Flying Like A Kite
- Orca Wearing A Bow Tie
- Sea Lion Balancing A Beach Ball
- Walrus Playing A Ukulele
- Swordfish Dueling A Seaweed Ribbon
- Crab Playing Cards On A Towel
- Giant Squid Reading By Lantern Light
- Octopus Juggling Seashells
- Whale With A Lighthouse On Its Back
- Octopus Painting With Many Brushes
- Moray Eel Peeking From A Treasure Chest
- Humpback Whale Breaching With A Rainbow Spray
- Frequently Asked Questions
Ocean drawing ideas work best in a sketchbook when every creature gets its own page and its own little story, not another shoal of generic fish. This list leans into bold alcohol marker work: one character filling most of the frame, cropped at the edges, sitting on a colored background instead of bare white paper.
Every idea below uses the same small palette, deep teal, turquoise and navy with one warm accent, so a whole sketchbook of different ocean drawing ideas still reads as one set. Pick any one and it finishes in a single sitting, whether that is ten focused minutes or a slower forty.
Using these images: free for personal projects such as printing, coloring, cards, journals and gifts. Handmade items that include them may be sold up to 30 pieces per design. More than that is commercial use and is not permitted, and neither is selling or sharing the images themselves or passing them off as your own. Please ask before any other use.
Puffer Fish Blowing Bubble Gum
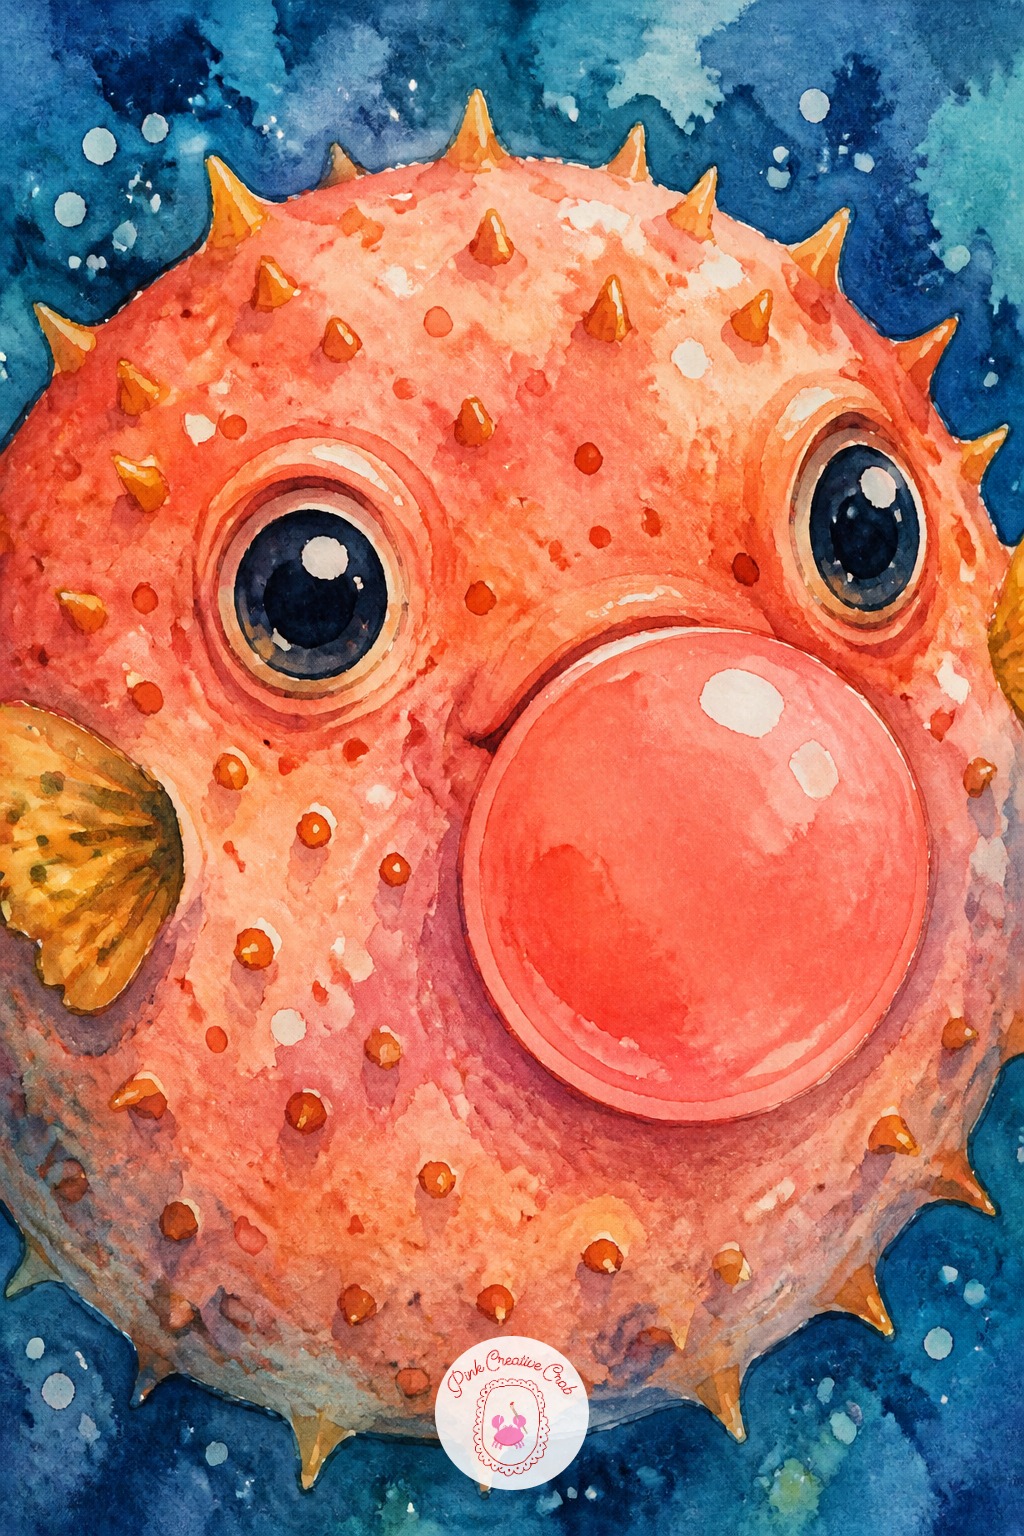
Pick a broad chisel-tip marker in warm coral for the puffer’s round belly, then switch to a fine brush nib for the spines and the small gum bubble. The wide barrel covers that big curved shape in two or three strokes without leaving hard lines, which matters because puffer skin reads as smooth and tight.
Keep a navy or deep teal marker ready for the background, and lay that color down before the fish so the edges stay crisp instead of fighting for space. Today’s tip: color the background first, let it dry, then work the puffer on top so the warm coral pops against the cool navy instead of blending into it.
Starfish Sunbathing On A Rock
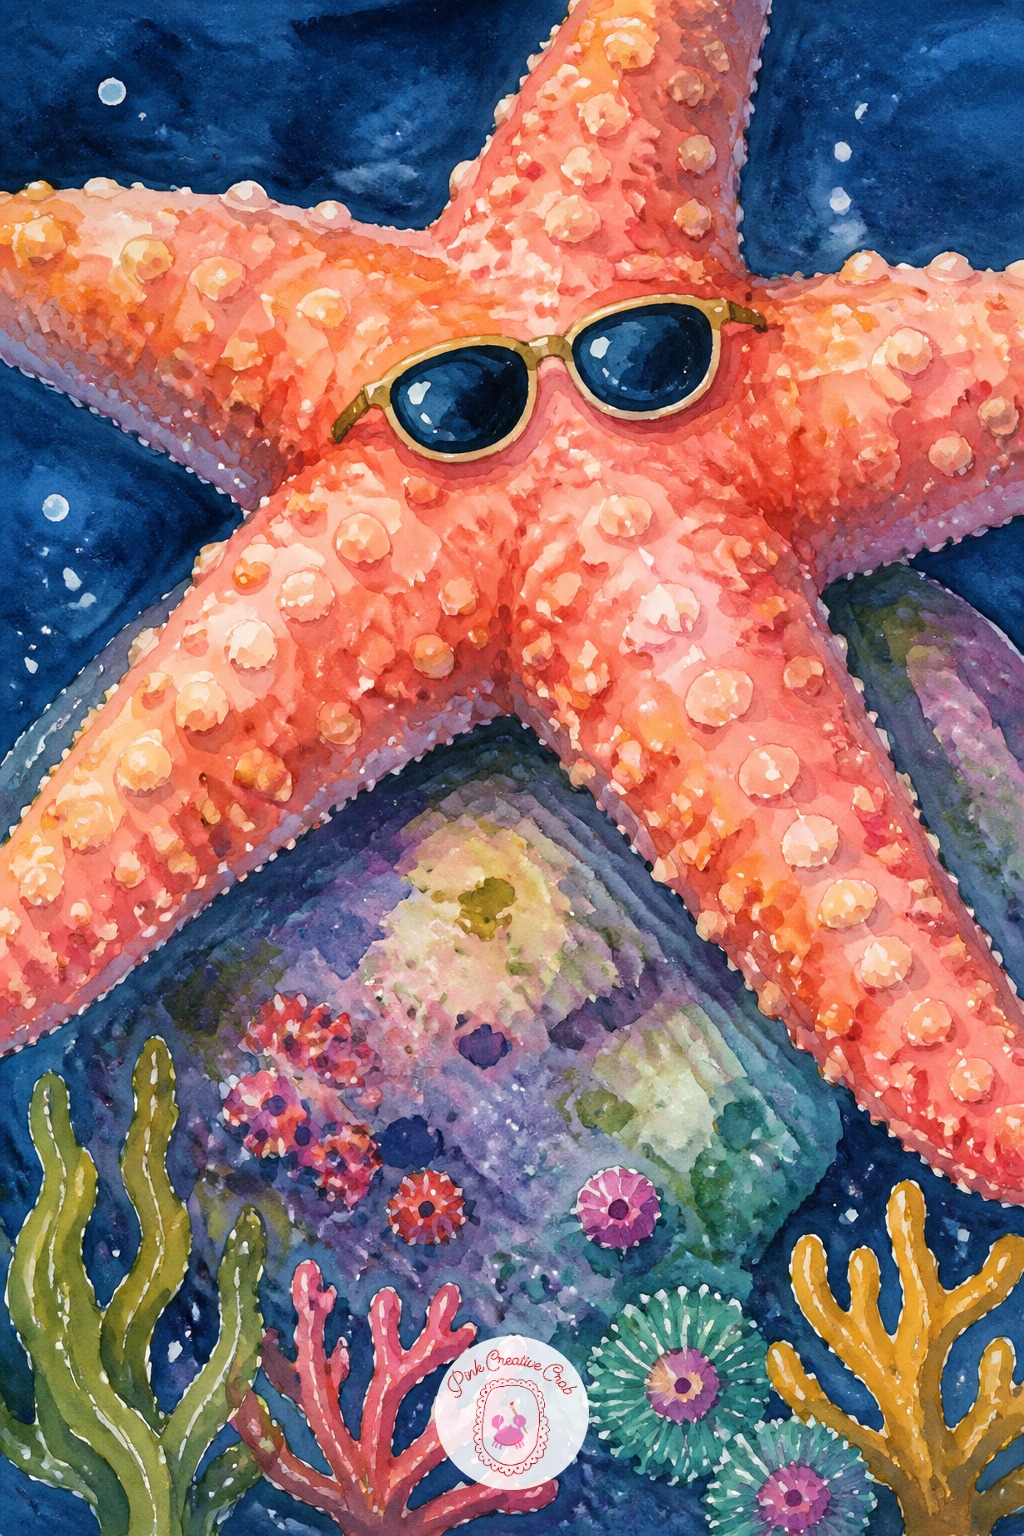
Start with the five chunky arms radiating from one center point, not the center itself. Lay those five shapes down first so the proportions stay even, then add the bumpy texture dots second, and save the tiny sunglasses for last.
Block in the warm coral or orange body before touching the rock underneath, and let the rock stay cooler gray-teal so the starfish reads as the star of the page. Today’s tip: count the arms twice before marker goes down, since fixing a sixth arm in alcohol ink is nearly impossible.
Jellyfish Holding A Tiny Umbrella
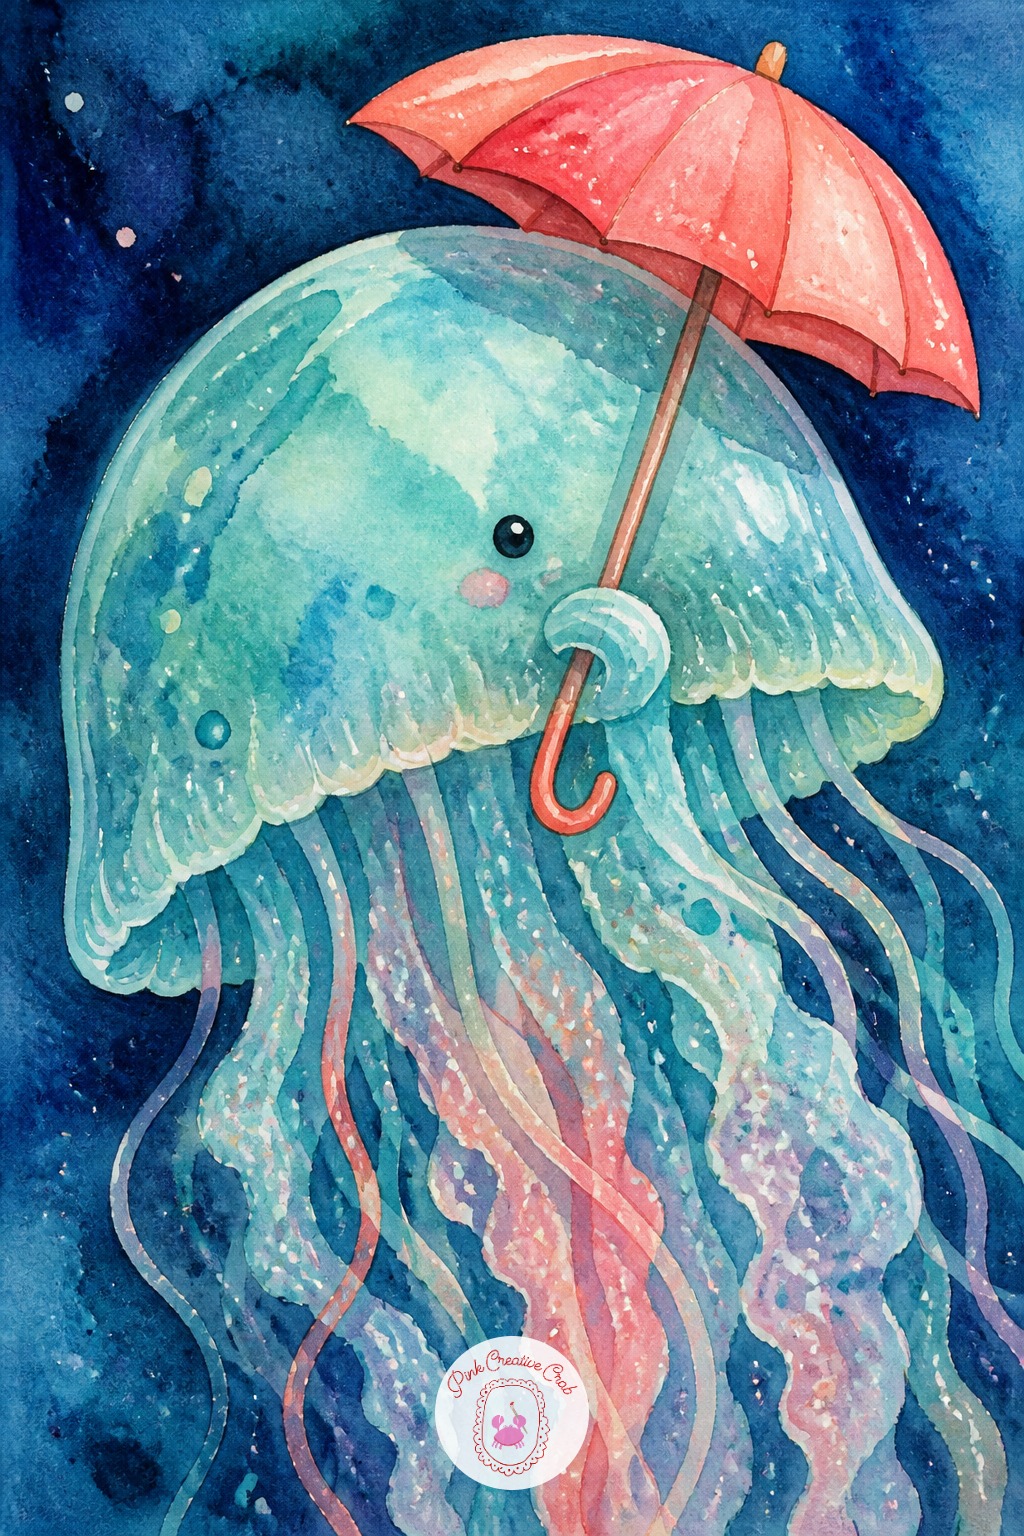
Measure the bell of the jellyfish as roughly one third of the total height, with the trailing tentacles making up the other two thirds. That ratio keeps the creature from looking top-heavy or like a deflated balloon.
Line up the umbrella handle directly under the center of the bell so the whole pose feels balanced instead of tipping to one side. Use turquoise or pale teal for the translucent bell. Today’s tip: draw one light guideline straight down the page before you start, and keep every tentacle roughly parallel to it.
Clownfish Peeking From An Anemone
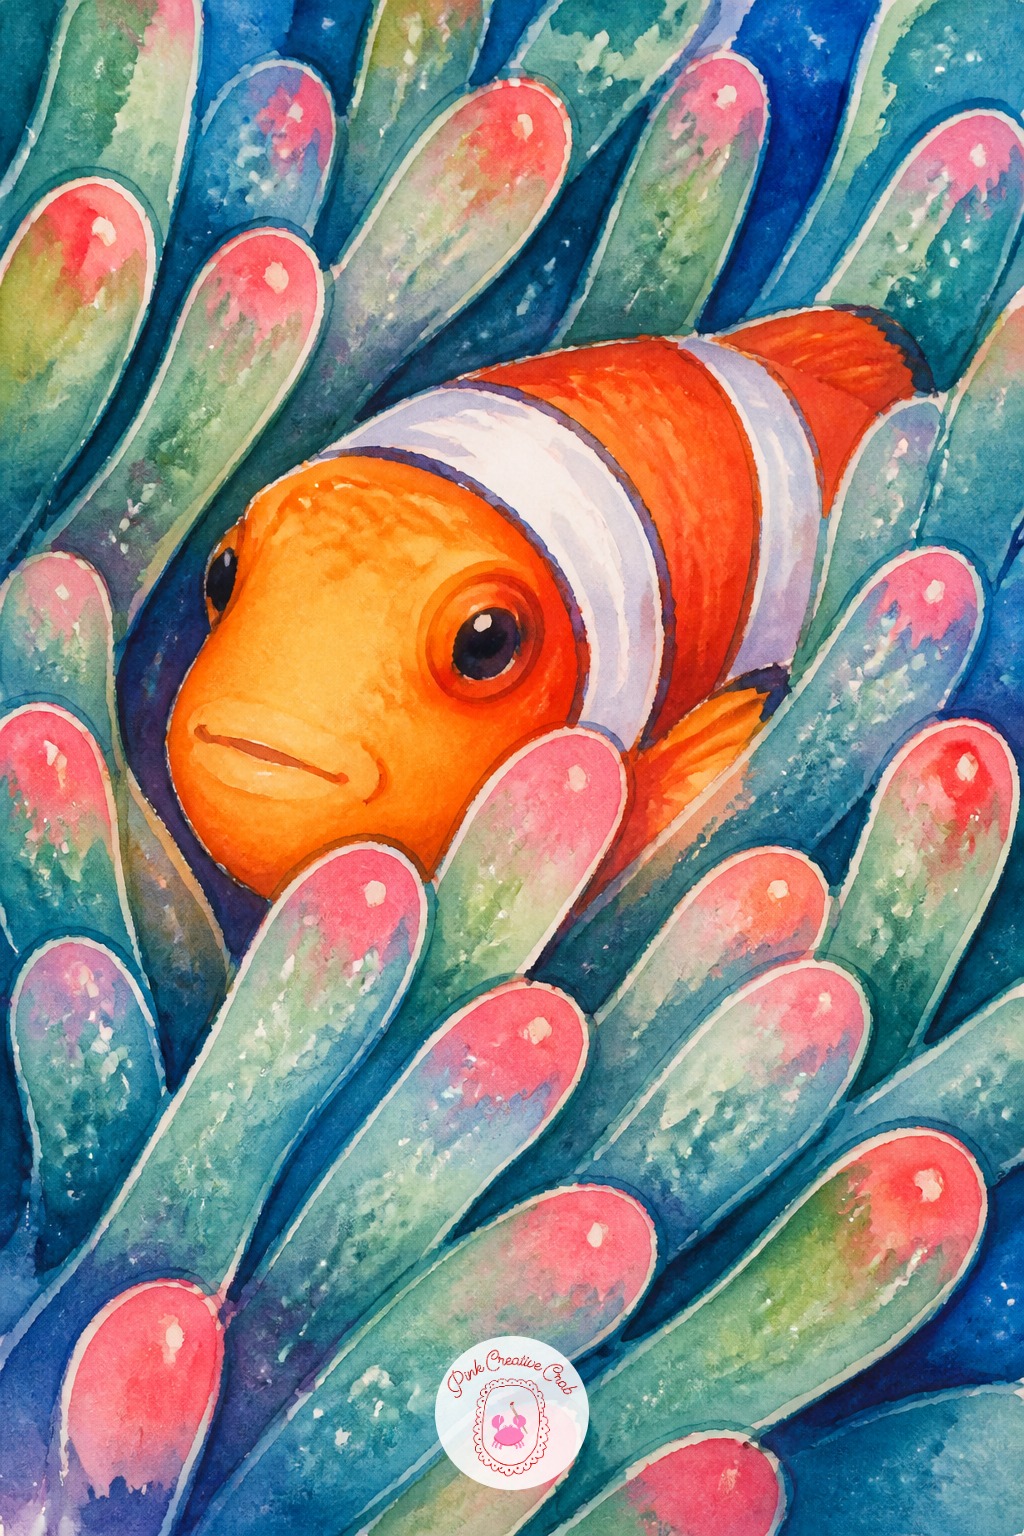
Decide where the light sits before picking up a marker: a single source from the upper corner makes the anemone’s tentacles catch white highlights along their top edges. That one choice decides which stripes on the clownfish stay bright orange and which fade into shadow.
Keep the eye level low, as if the viewer floats right beside the fish, so the anemone wraps around the top and sides of the frame. Today’s tip: leave small unmarked gaps of white paper along the lit edges, then add a thin gel pen line once the ink is dry.
Crab Carrying Seashell Letters
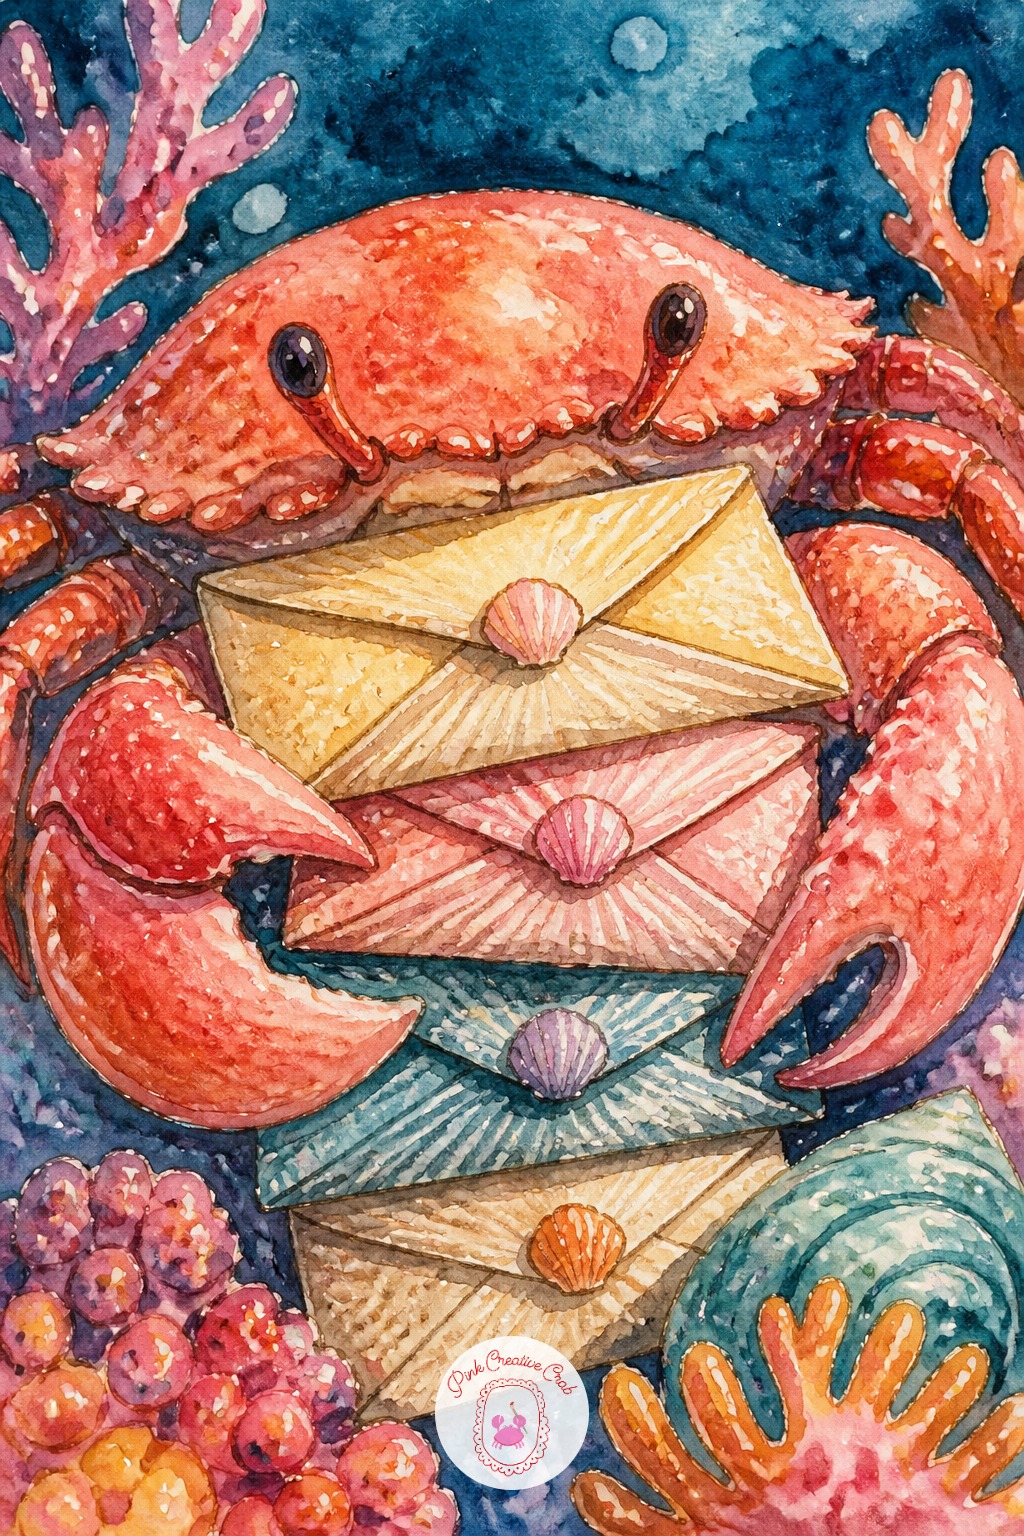
Edges make or break a crab’s shell, since it needs to look hard and smooth even in flat marker color. Lay down the base coral tone first, then go back over the rim with a slightly darker navy-coral blend to carve a crisp edge instead of a soft one.
For the seashell letters it carries, scratch tiny ridges into the still-wet ink with the empty end of a fine brush pen, which lifts thin pale lines without extra gel pen work. Today’s tip: keep each claw glossy by leaving one small unmarked highlight before adding any shadow.
Seal Napping On A Pink Pool Float
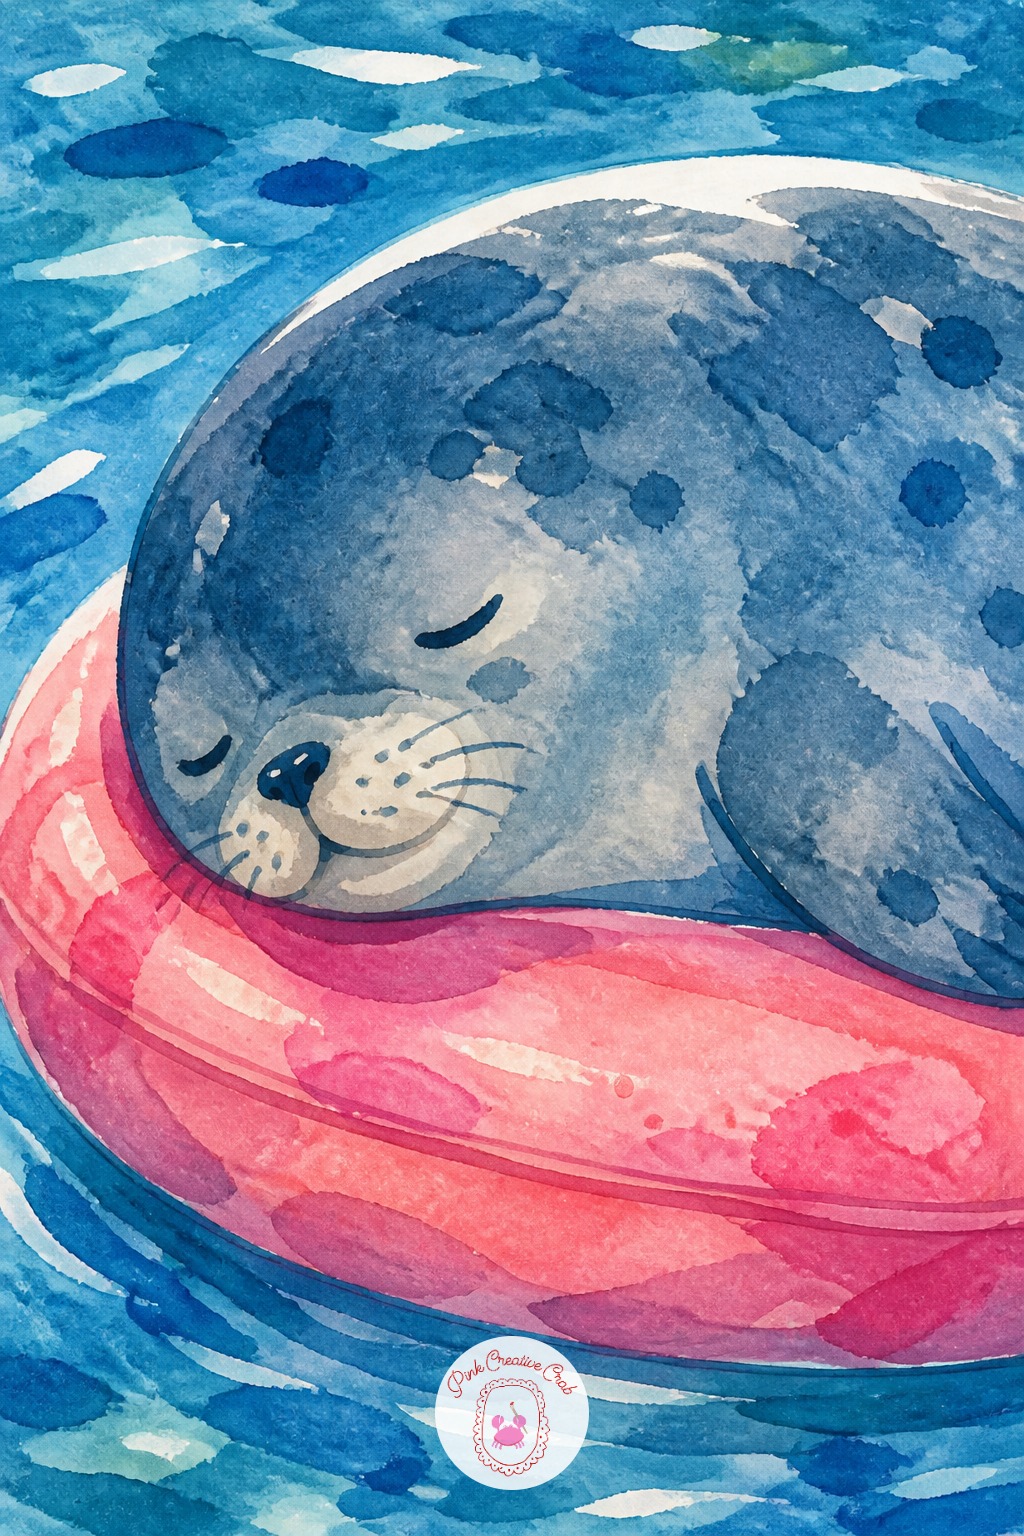
Float usually ends up flatter than the seal sitting on it, which makes the whole scene look like a sticker instead of a body resting on something soft. Fix that by letting the float’s edge curve up slightly behind the seal’s belly, as if it is sinking under real weight.
Catch this halfway through by checking the line where seal meets float: if it is perfectly straight, round it before adding more color. Today’s tip: use warm coral for the float and keep the seal in cool navy and teal grays, so the shapes never blend into one blob.
Hermit Crab In A Teacup Shell
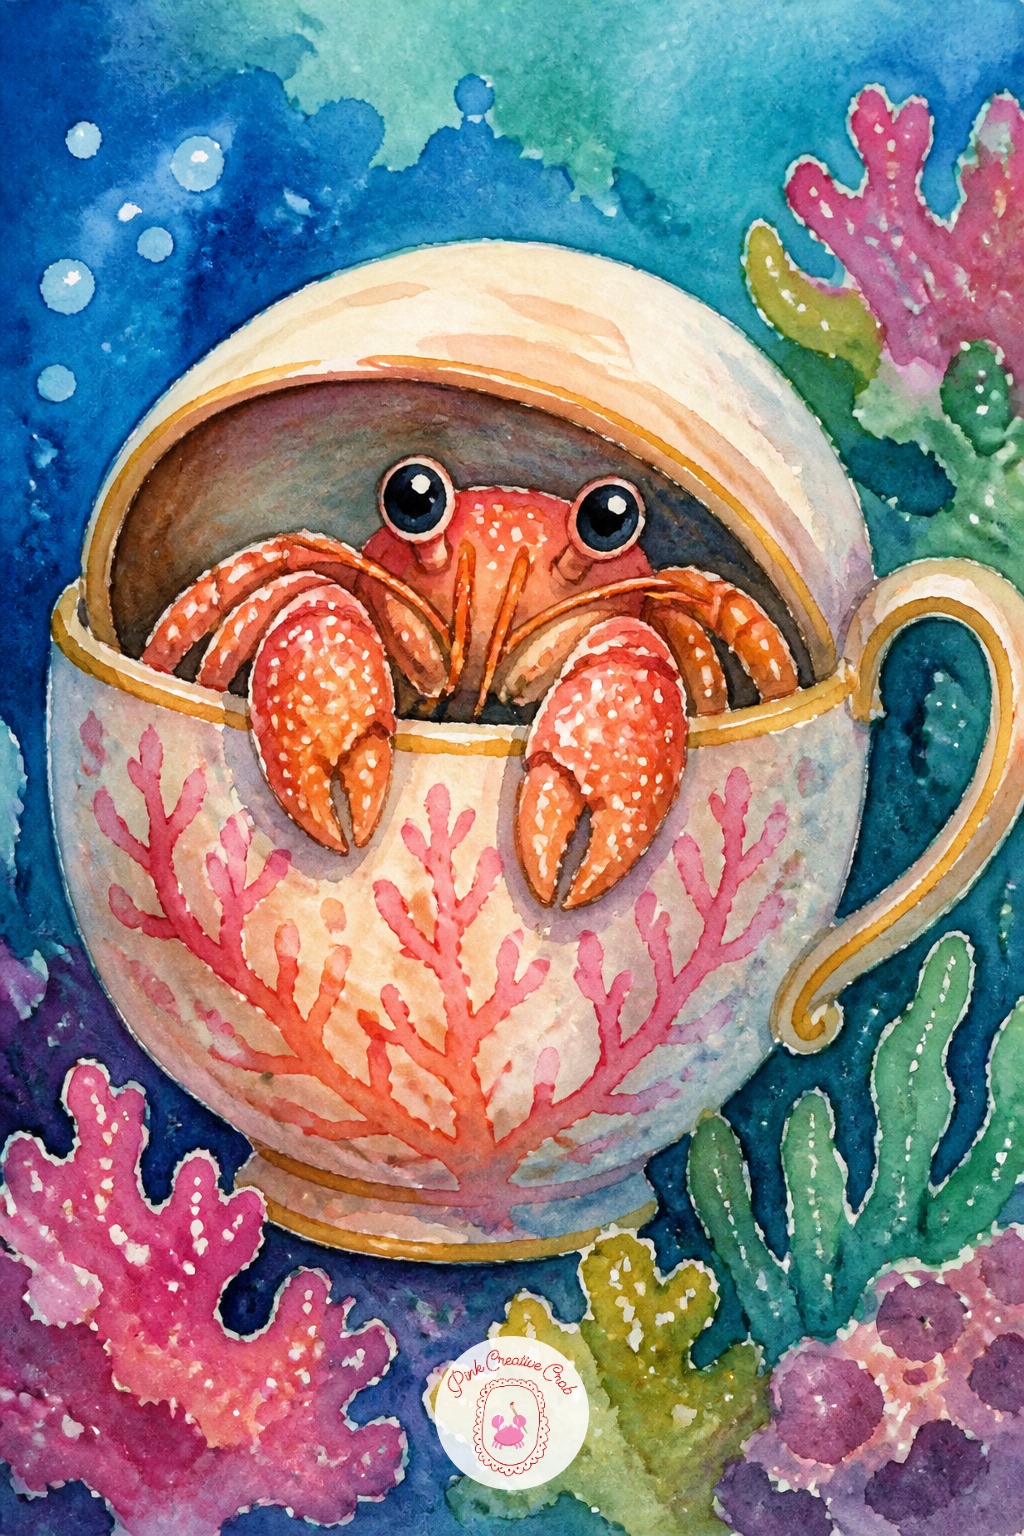
Ten minutes gets you the shell, the crab’s two front claws, and a couple of legs poking out underneath, which already reads as a finished small scene. Forty minutes lets you add the painted pattern on the teacup shell, a trail of tiny bubbles, and a second wash of shadow where the crab tucks into the opening.
If a full page character feels like a lot some days, the small warm-up sketches in ocean doodles are a good five minute start before committing to marker. Today’s tip: block in the whole shell shape first, even the hidden part, so the proportions stay honest.
Angelfish Wearing Tiny Sunglasses
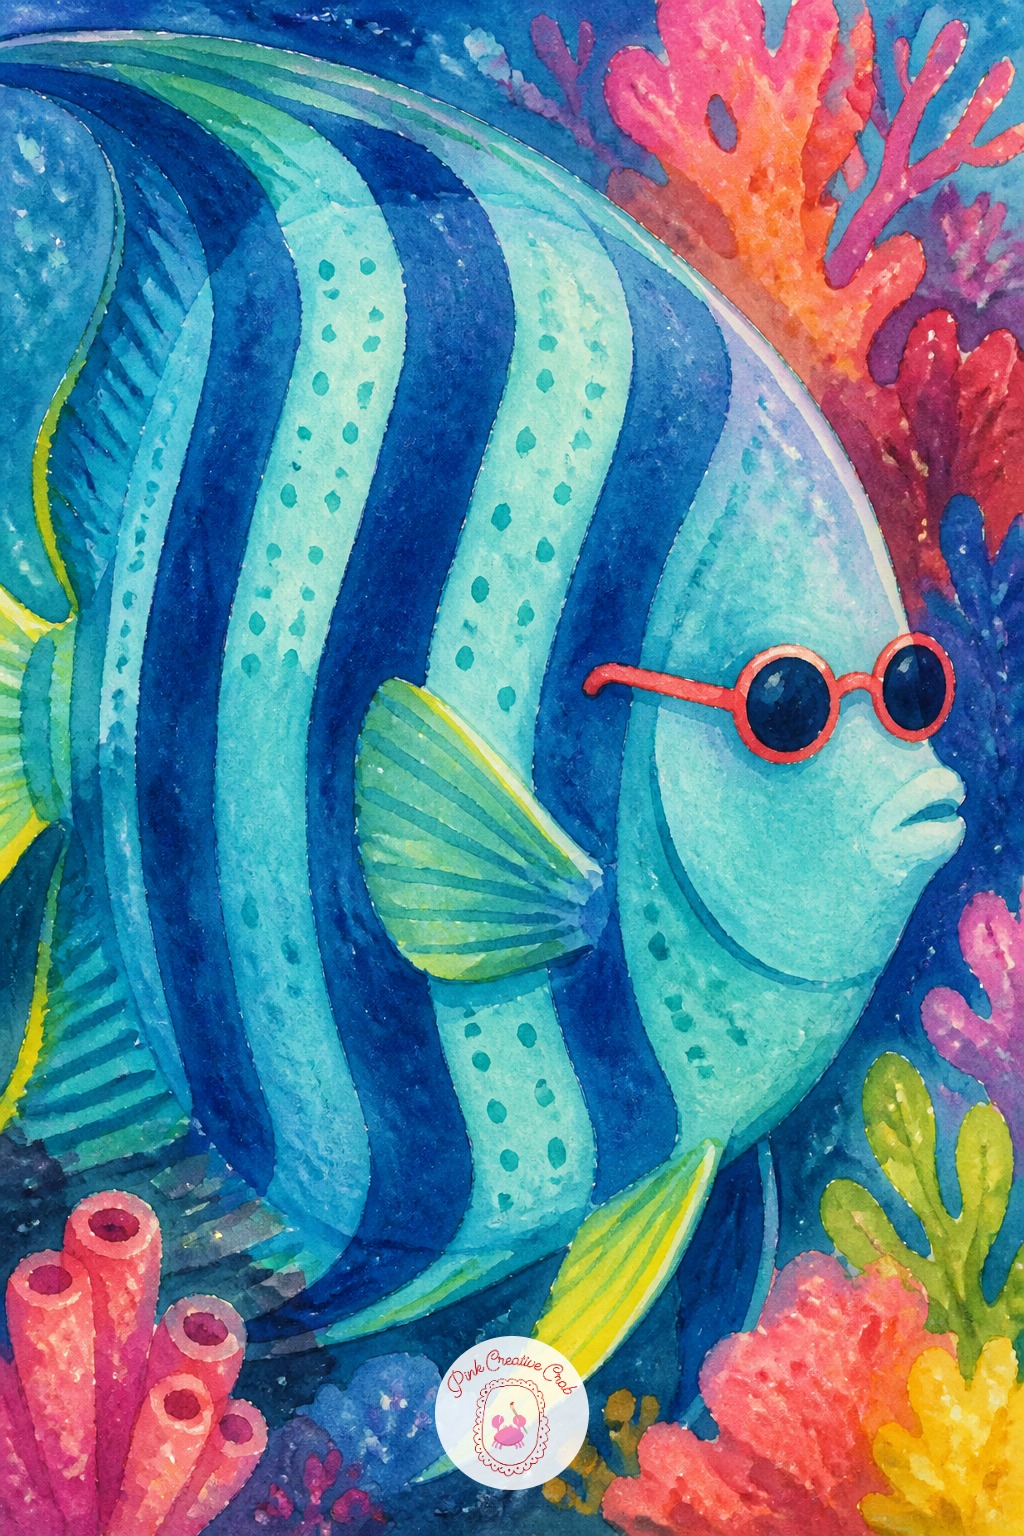
Once the first angelfish works, change the fin shape next time: try trailing ribbon-like fins instead of short triangular ones, or swap vertical stripes for bold horizontal bands. The sunglasses can shrink to a single round lens or grow into a wide cat-eye shape for a different personality.
Keep the palette the same across versions, deep teal background with turquoise and one warm accent, so a whole page of different angelfish still feels like one set. Today’s tip: note what changed next to each sketch, so later you can tell which combination worked best.
Seahorse Riding A Coral Bicycle
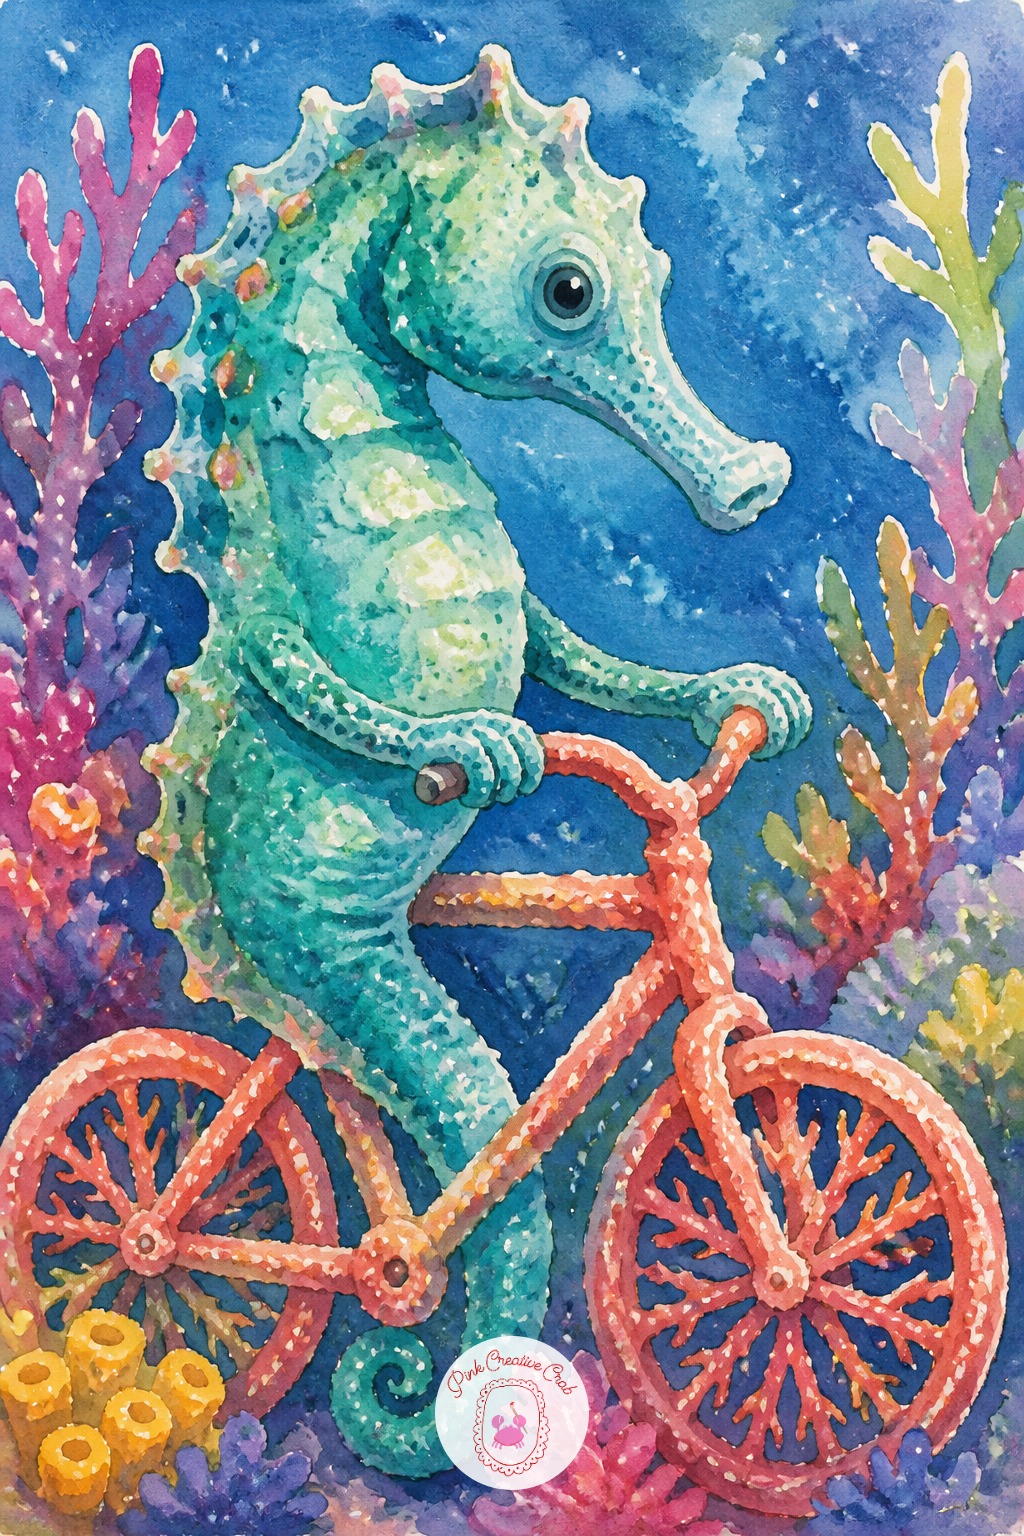
Grab a fine brush-tip marker for the seahorse’s curled tail and the thin bicycle frame, since both need a controlled, wavering line rather than a flat fill. Save the broad chisel tip for the coral tires and rounded body, where a wide stroke covers more ground in fewer passes.
A brush pen with some give in the tip handles the bony ridges along the seahorse’s back better than a stiff marker, which tends to skip over bumpy texture. Today’s tip: test the brush tip’s flex on scrap paper first, since too much pressure splays the nib and ruins a thin tail line.
Shrimp Carrying A Tiny Lantern
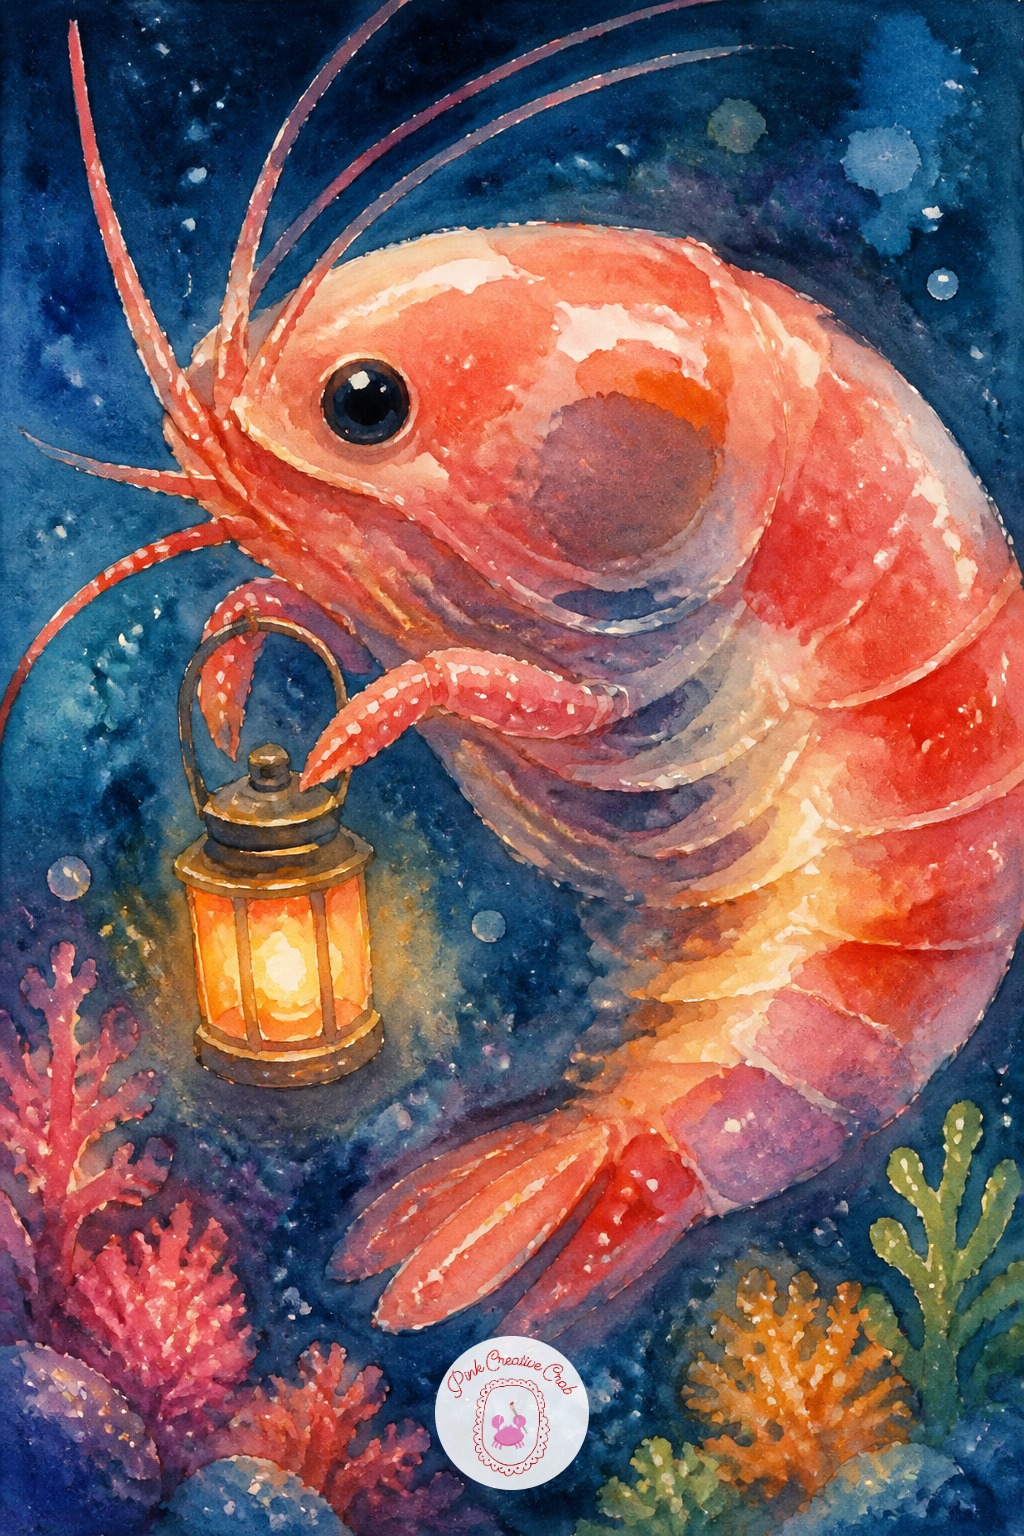
Put down the curved body first, a single smooth C shape that sets the whole pose. Second comes the legs and feelers, kept thin and slightly irregular so they do not look mechanical. Third, place the lantern in one front leg, sized no bigger than the shrimp’s head.
Save the glow around the lantern, the warmest coral or yellow-orange tone in the piece, for the very last step once everything else is dry. Today’s tip: keep that glow soft by going over it twice with the same marker rather than pressing harder on the first pass.
Flounder Hiding Under A Striped Umbrella
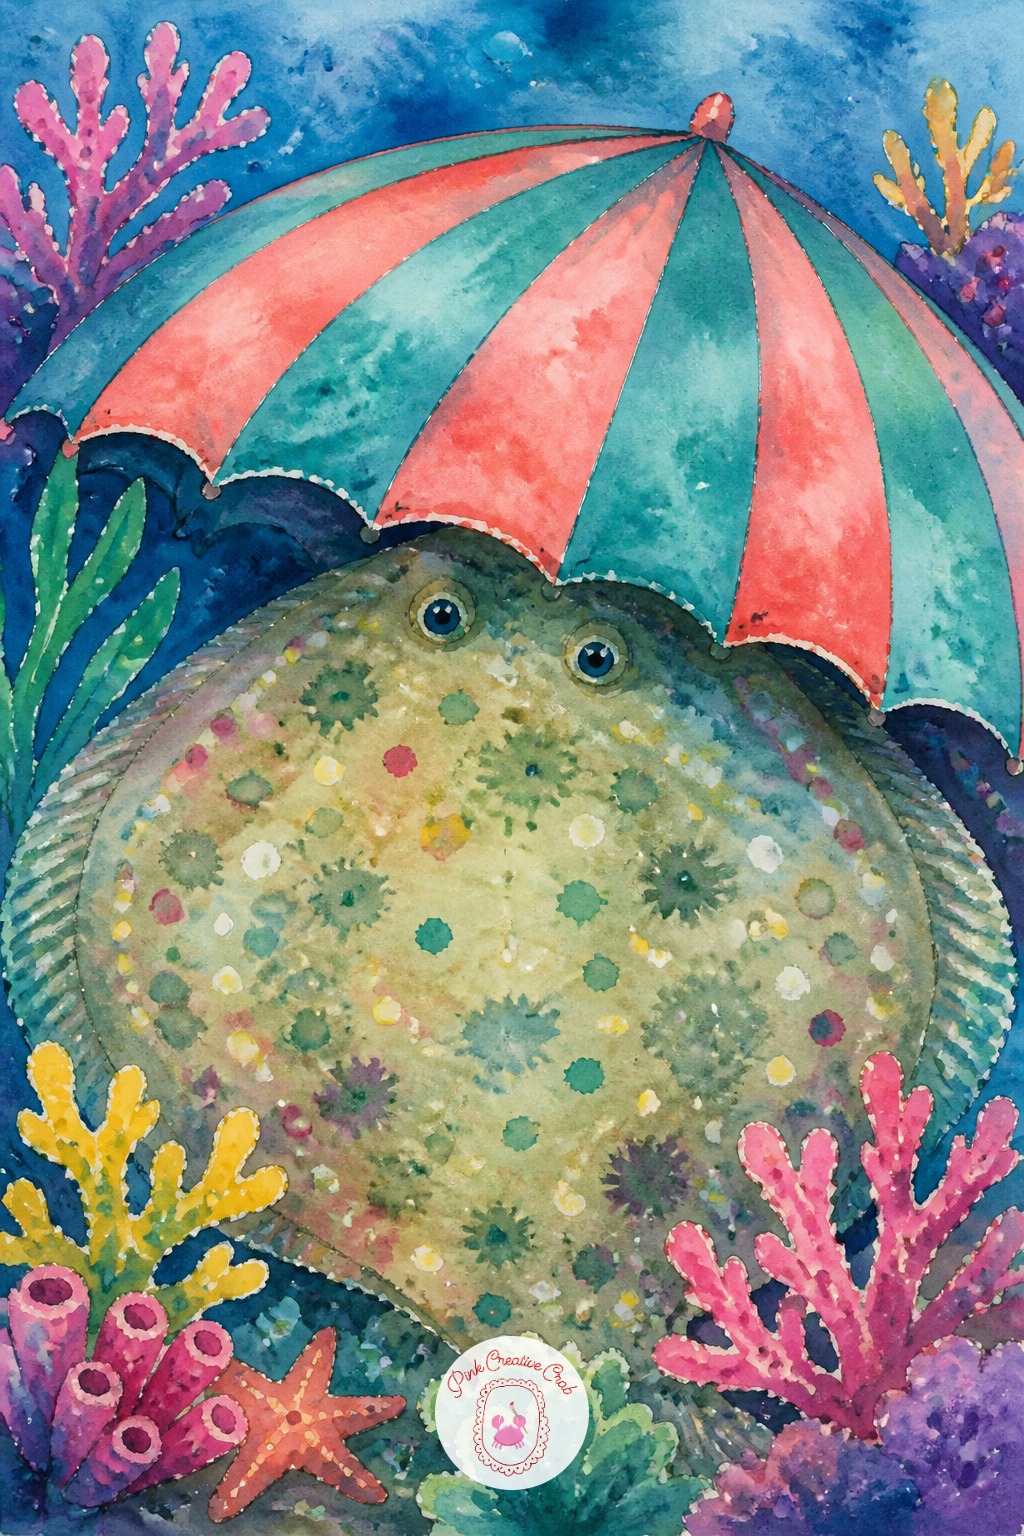
Flat fish confuse beginners because both eyes sit on the same side, so measure the head as roughly one quarter of the total body length and place both eyes close together near its top edge. Everything past that point stays low and wide, more puddle than fish.
Line the umbrella’s center pole up with the midpoint of the flounder’s back so the whole composition feels anchored rather than floating. Today’s tip: sketch a light oval for the full body first, then draw the umbrella on top.
Sea Turtle In Snorkel Goggles Chasing Bubbles
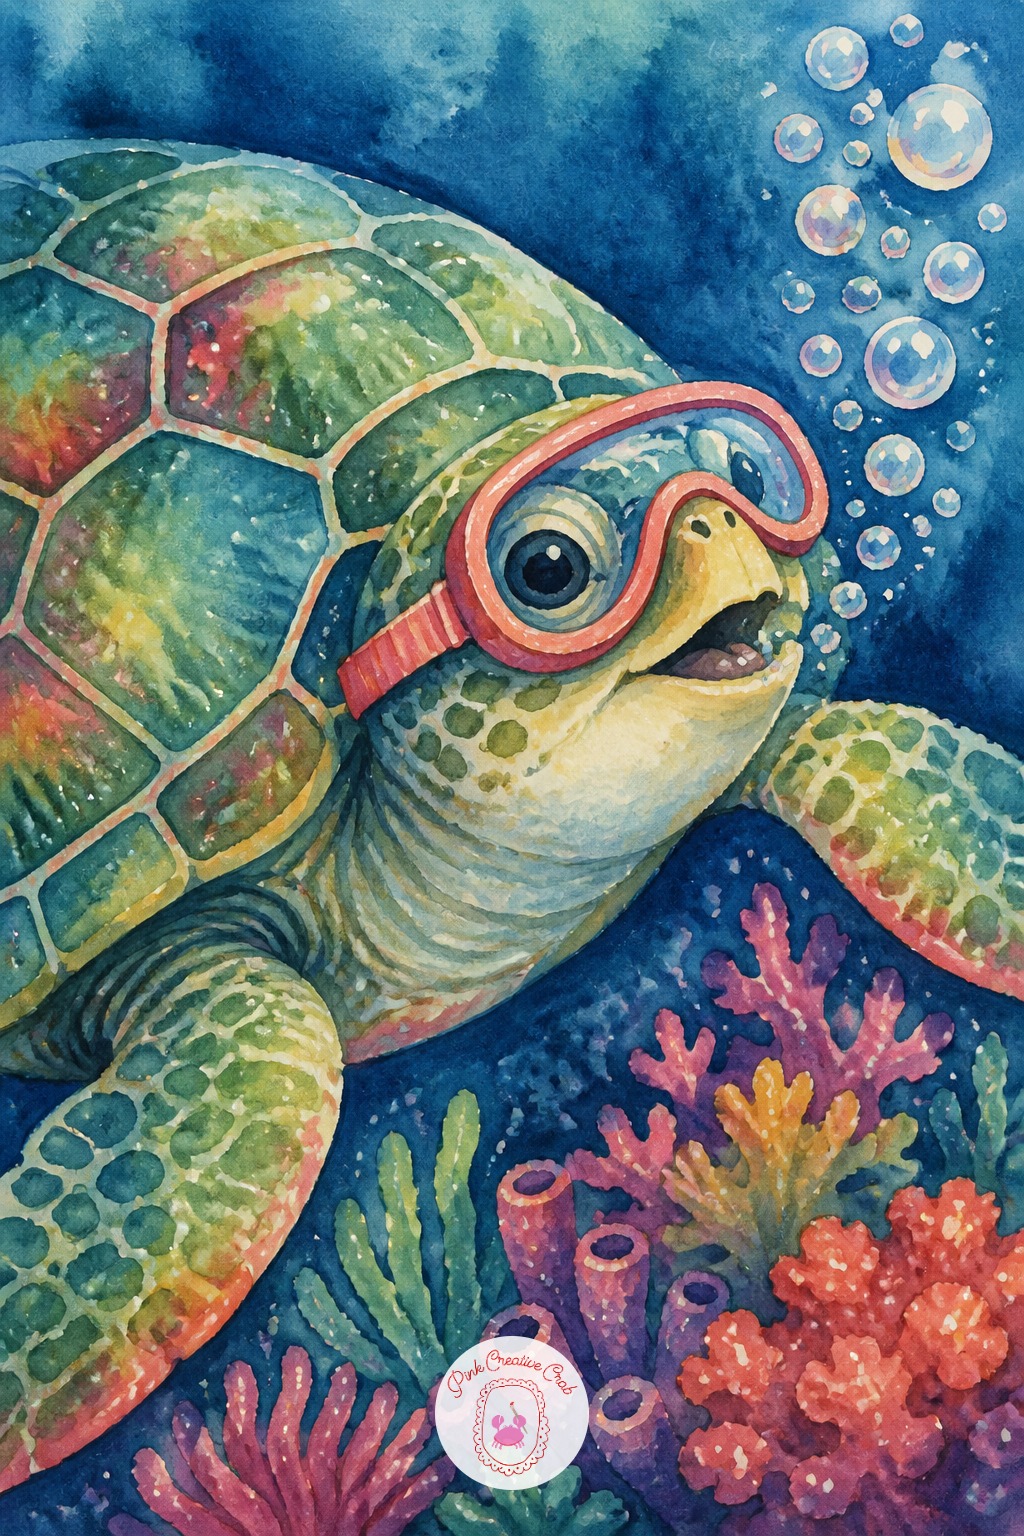
Set the eye level just above the turtle’s shell, as if the viewer swims slightly higher in the water, which lets you show both the curved top of the shell and a hint of the lighter belly plates below the flippers. Light from above means ridges get warm highlights on top and cool navy shadow in the grooves.
For readers who want the water itself to carry more of the scene, the layered backgrounds in easy watercolor ocean scenes show a softer approach worth comparing. Today’s tip: keep every bubble a slightly different size, since identical circles read as pattern instead of motion.
Stingray Gliding Like A Cape
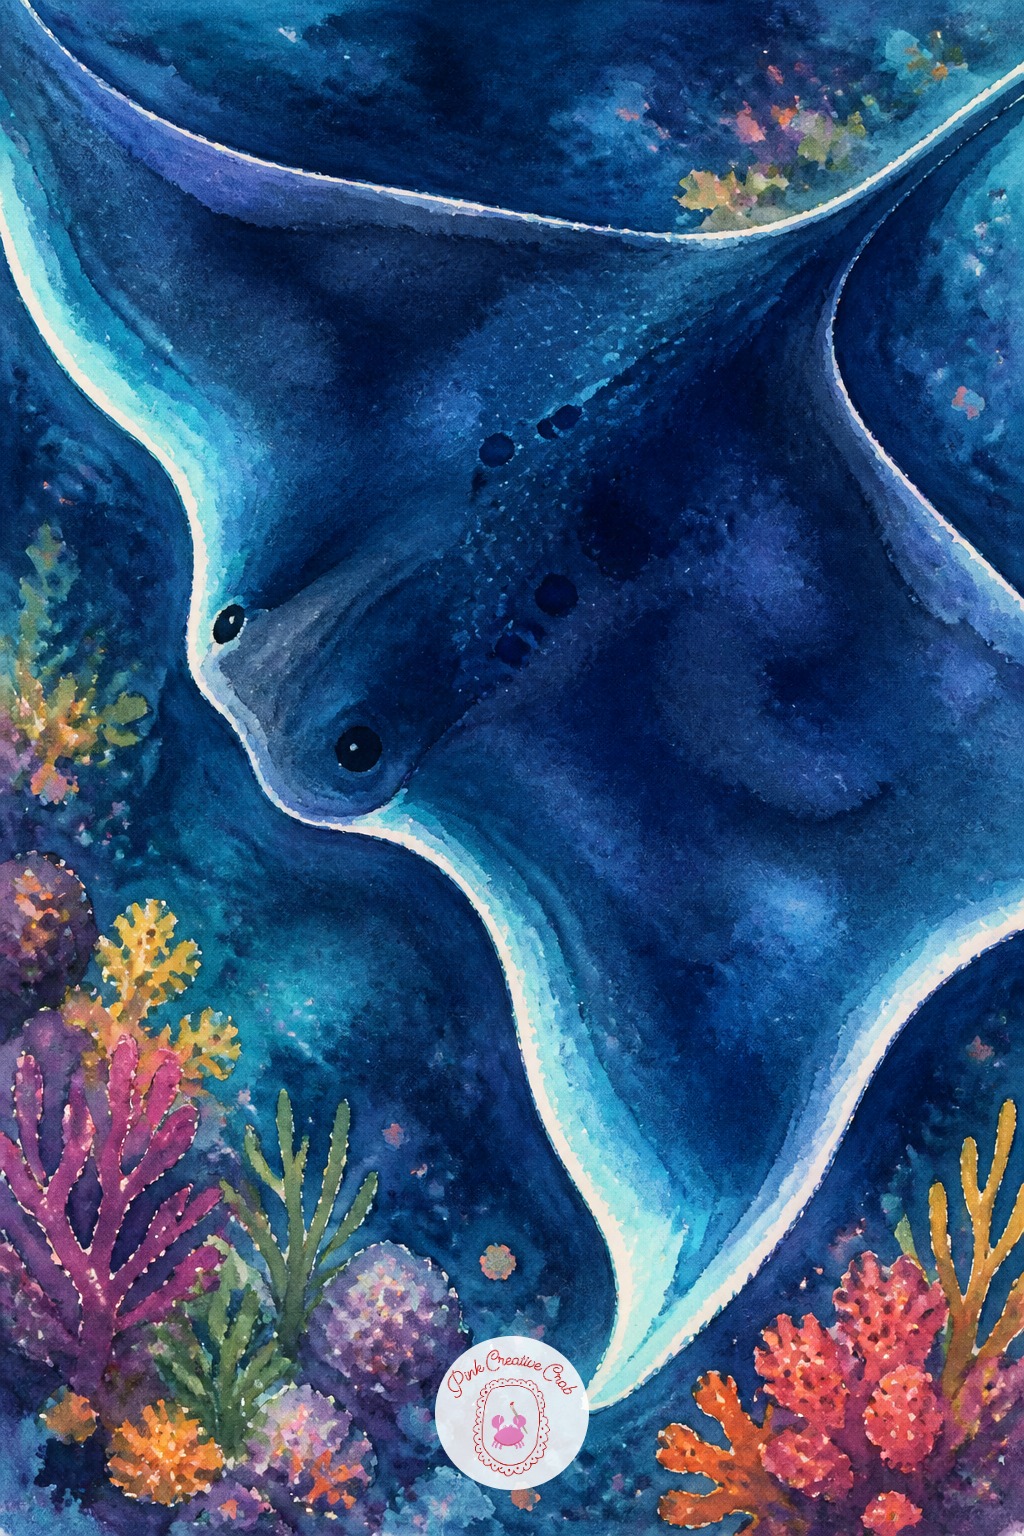
The whole charm of a ray is in its edge, that thin wavering line where the fin meets open water. Keep a fine brush marker moving in one continuous stroke along that border rather than short choppy segments, which breaks the illusion of a single soft cape.
Once the base navy color is down, dry brush a lighter turquoise along just the outer rim to suggest the fin catching light as it ripples. Today’s tip: leave the very tip of the tail unmarked white, then add it last in a thin confident line once the body color has fully dried.
Narwhal Wearing A Party Hat
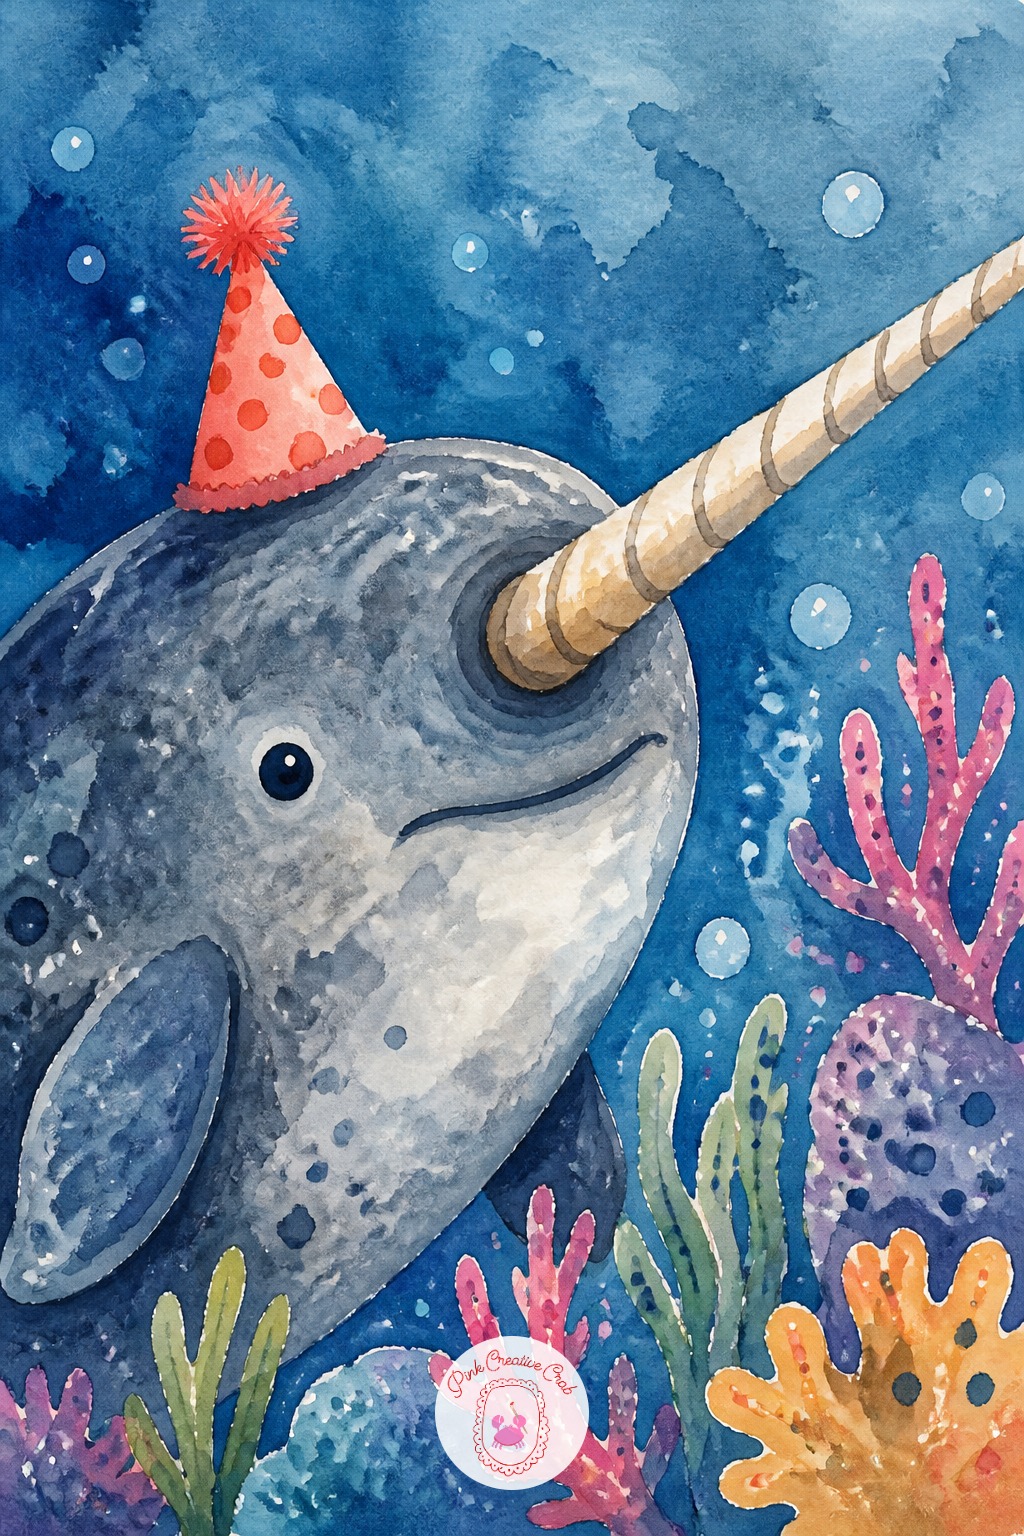
The tusk usually ends up too short and too straight, which flattens what should be the most striking line on the page. Lengthen it past what feels natural on the first pass, curving it slightly, and compare it against the narwhal’s full body length before adding any color.
Catch this halfway through by holding the sketch at arm’s length: if the tusk reads as an afterthought, extend it now before marker goes down. Today’s tip: draw the party hat small and slightly tilted, so it does not compete with the tusk for attention.
Octopus Captain Steering A Tiny Boat
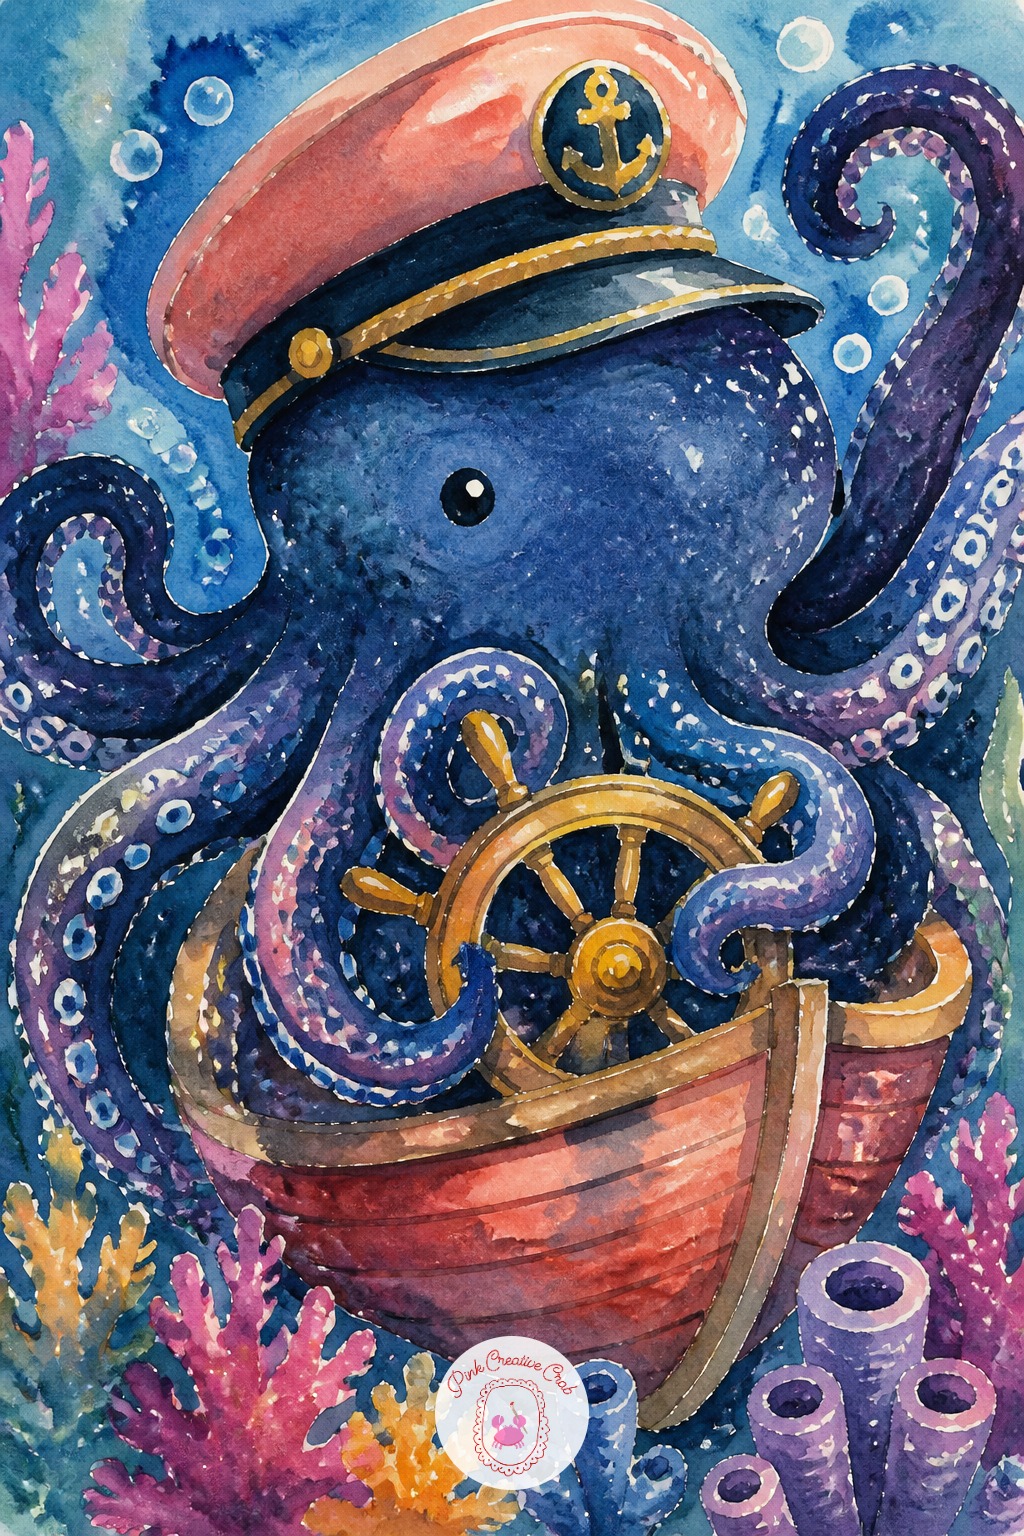
Ten minutes covers the captain’s hat, the wheel, and two or three tentacles gripping it, which already tells the whole little story. Forty minutes adds the remaining tentacles trailing off the edge of the page, a second layer of suction cup detail, and a wash of deeper navy shadow where the boat sits low in the water.
Keep the hat and one accent tentacle in warm coral so the eye knows where to land first. Today’s tip: if time runs short, finish the hat and wheel fully rather than spreading thin color across every tentacle.
Dolphin Jumping Through A Bubble Hoop
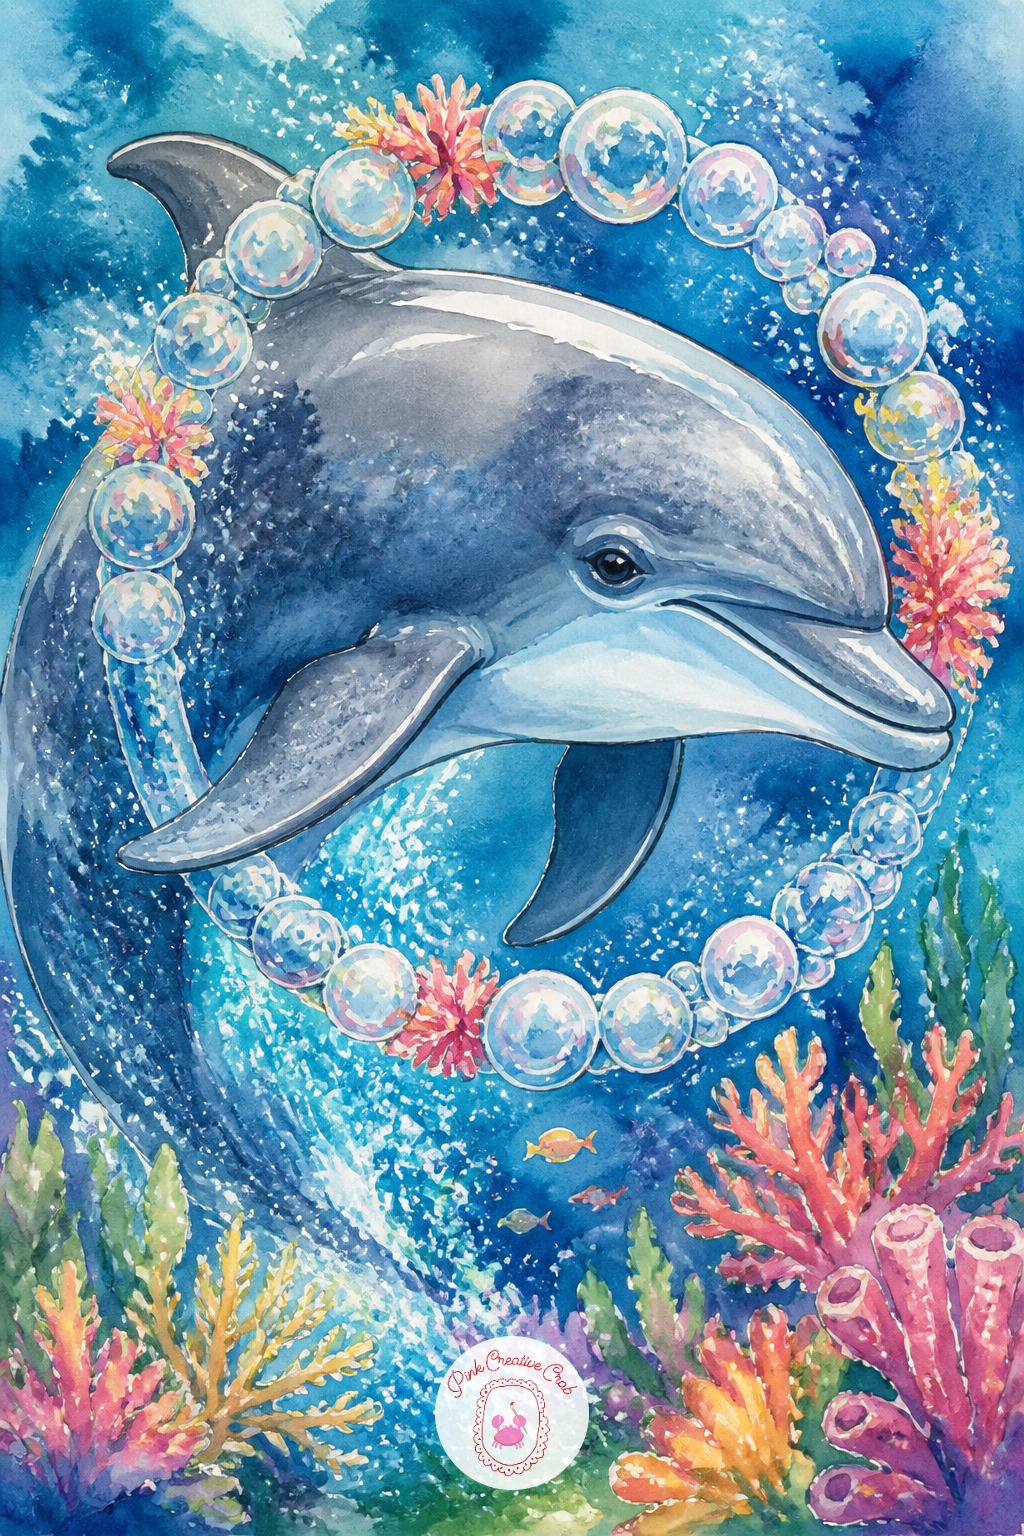
Once this leap works in profile, try it again from a steeper angle next time, nose pointing almost straight up through the bubble ring, which changes the whole energy of the pose. Swap the plain bubble hoop for one made of seaweed or coral next round to keep the series from repeating itself.
The palette can shift too: let the warm accent move from coral to soft golden orange on the water spray while the dolphin stays in cool navy and teal. Today’s tip: keep a small reference sketch of the body curve from this version for later comparison.
Anglerfish With A Glowing Lamp
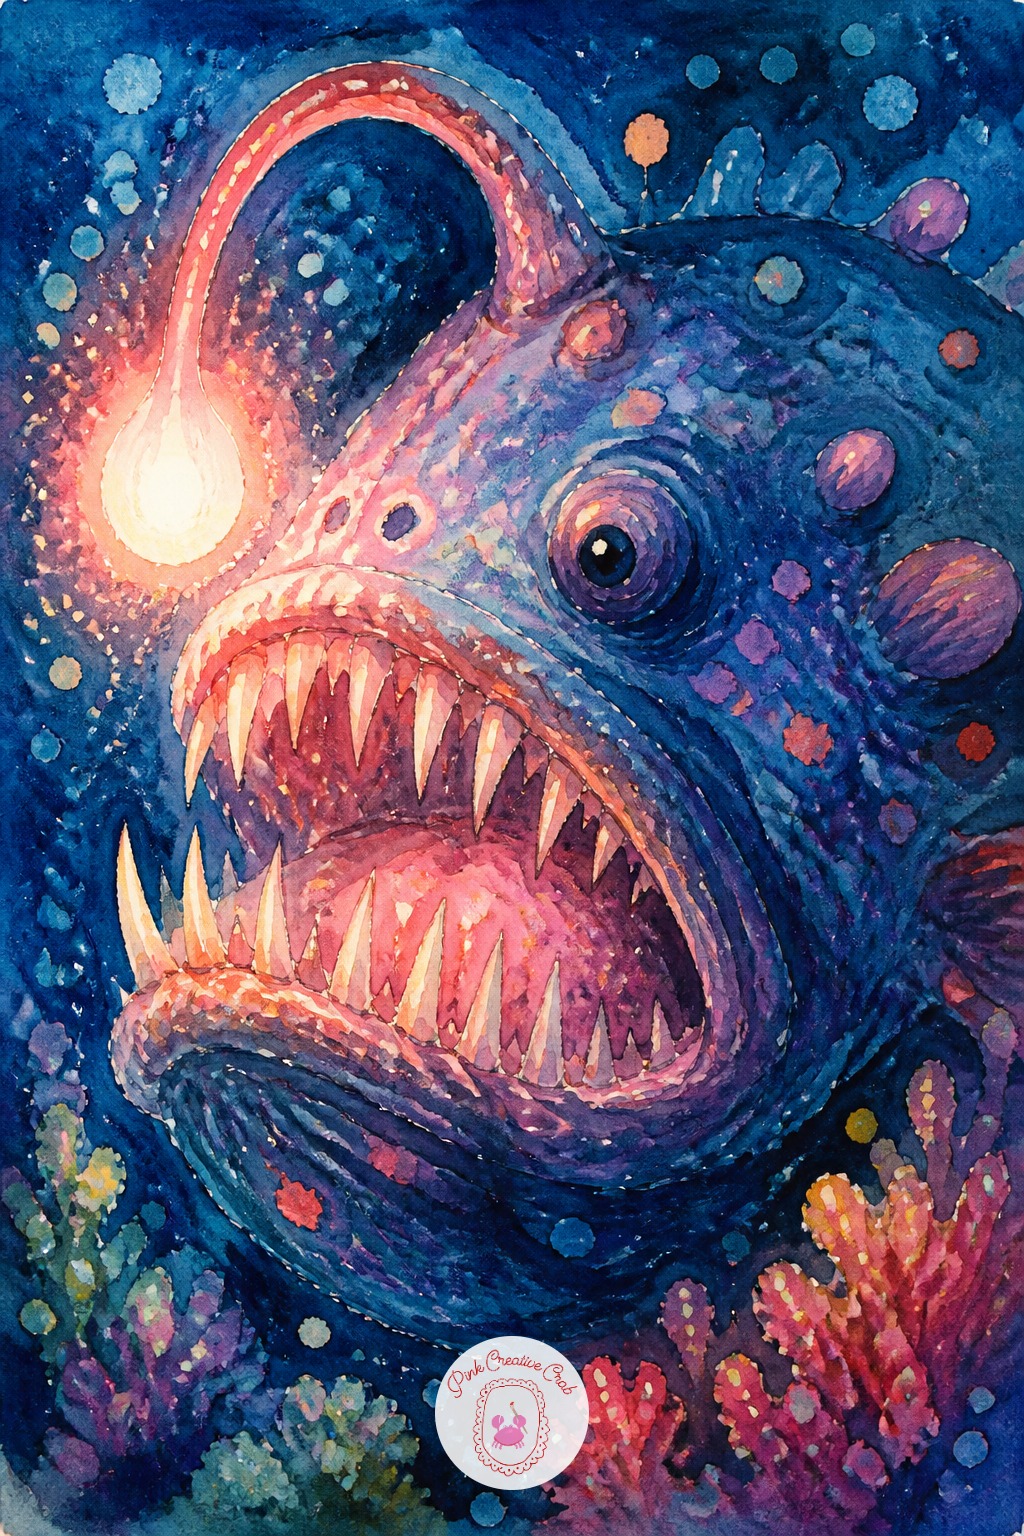
Fine brush marker earns its keep on the anglerfish’s jagged teeth and the thin stalk leading to its lamp, both needing a sharp, controlled line rather than a filled shape. Switch to a broad chisel tip for the wide, lumpy body, where texture matters more than a hard outline.
A white gel pen is not optional here: it is the only tool that can punch a bright glow through dried navy ink without smearing the dark color underneath. Today’s tip: add the gel pen highlight last, once every layer of marker is completely dry.
Sea Otter Holding A Shell Snack Plate
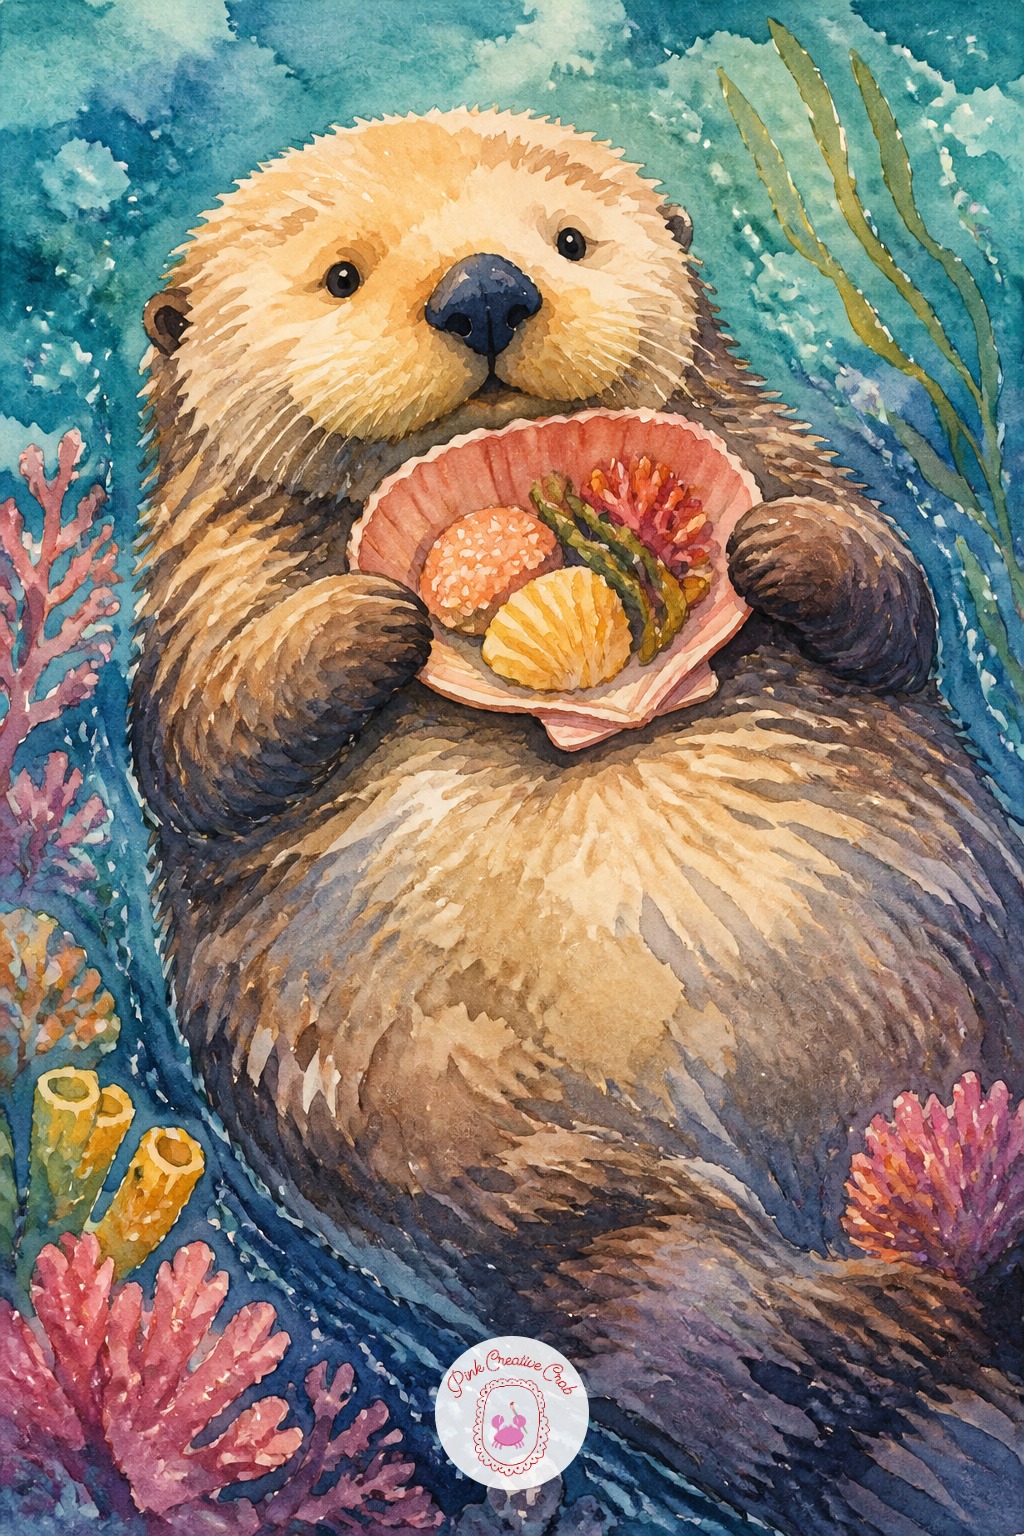
Lay down the rounded belly and chest first, since that is the otter’s main mass and everything else hangs off it. Second, place the two front paws holding the shell close together at chest height. Third, add the face, keeping the eyes small and close-set so the expression stays gentle.
The fur texture habits covered in acrylic painting animals translate surprisingly well to marker, especially short choppy strokes for buildup. Today’s tip: leave the belly fur lighter than the back fur, since real otters are paler underneath.
Pelican With A Fish In Its Beak
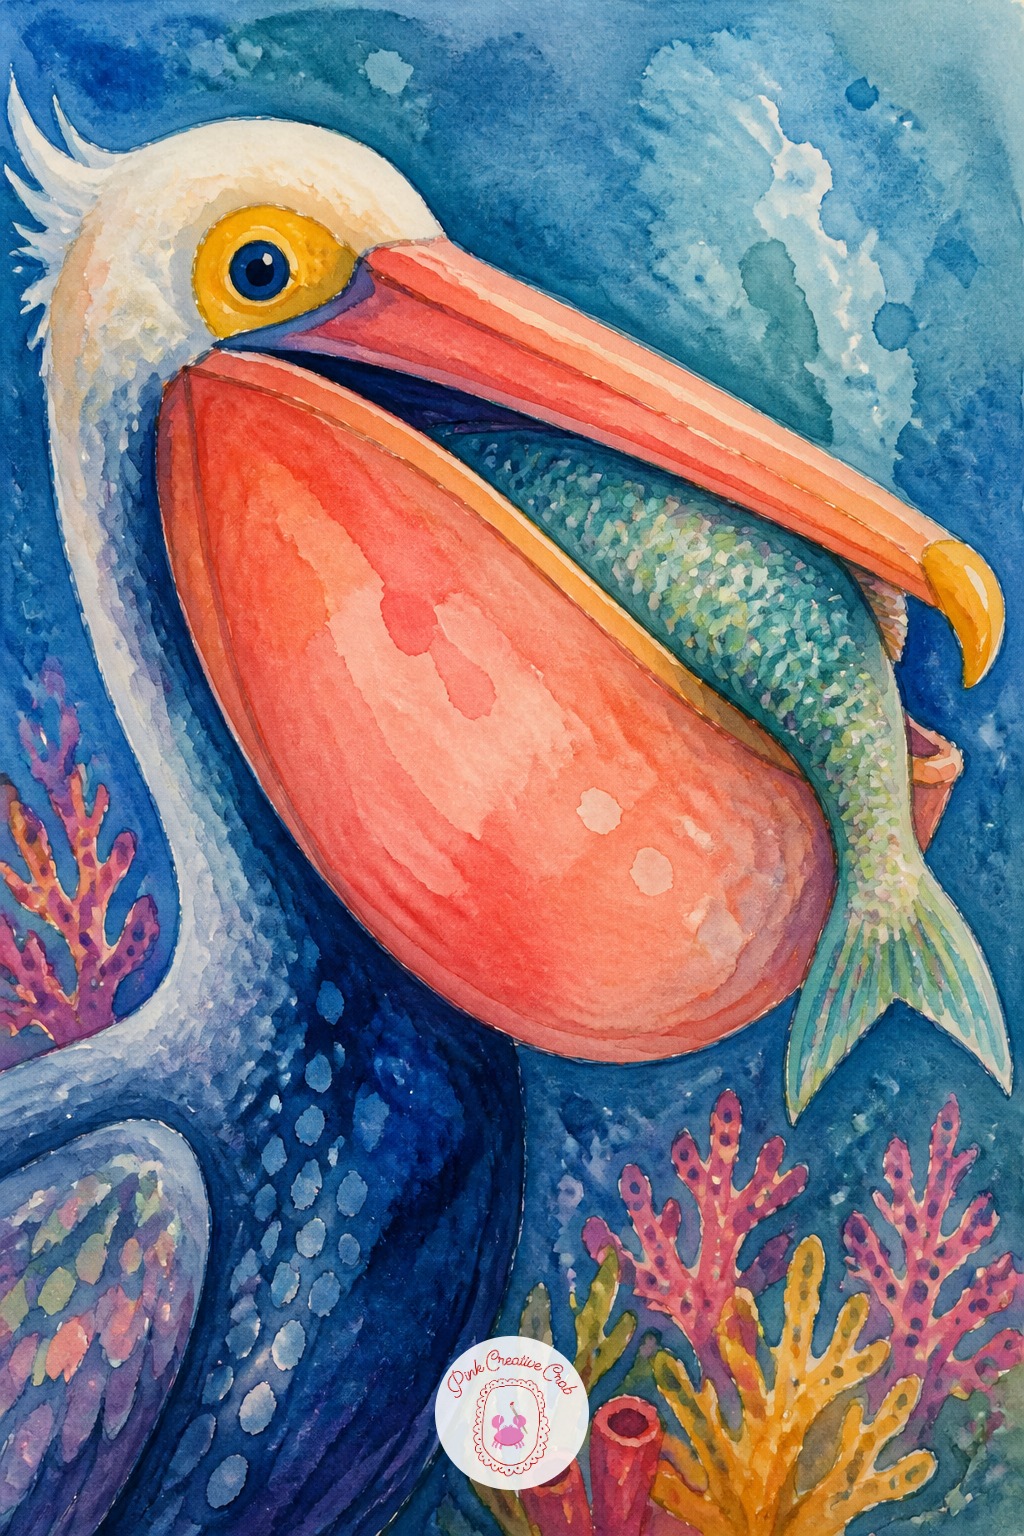
The pouch under a pelican’s beak can hold nearly its whole head in volume, so measure the beak as roughly the same length as the head and neck combined, then let the pouch balloon out below it. Skimping on that pouch size is the fastest way to make the bird look wrong.
Position the fish tail sticking out of the beak at a slight downward angle, since gravity would pull it that way mid-catch. Today’s tip: sketch the full pouch shape lightly in pencil before any marker touches the page.
Puffin Perched On A Buoy
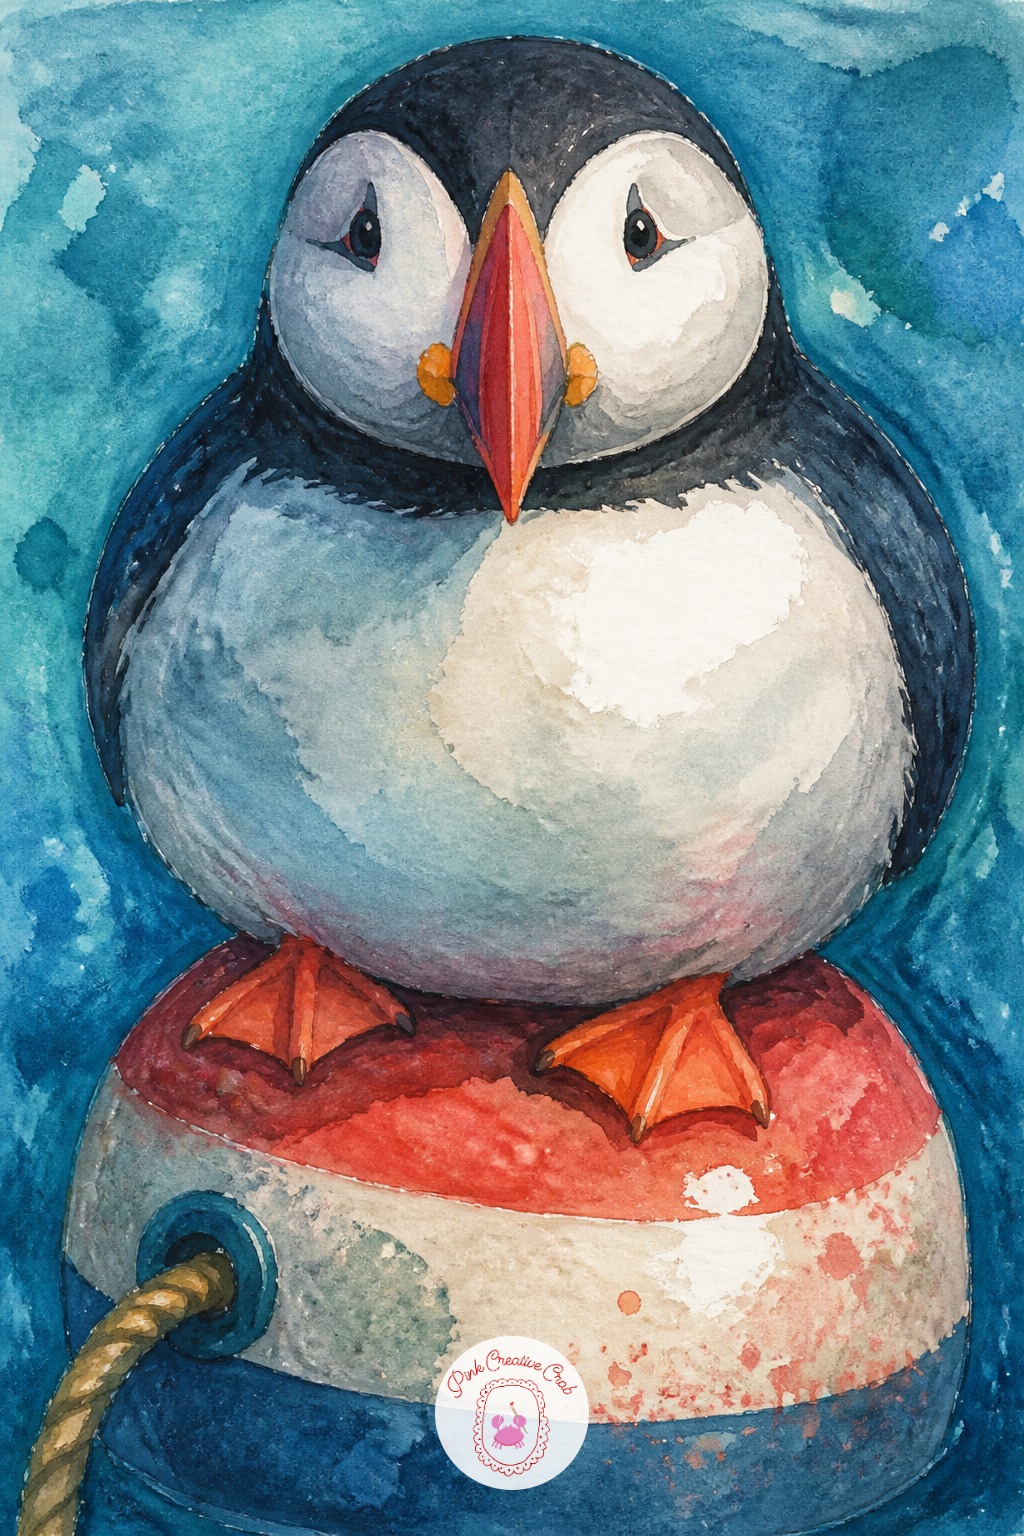
Keep the eye level low, close to the buoy’s surface, so the puffin’s round body fills most of the upper frame and the striped buoy crops off at the bottom edge. Light from one side splits the orange beak into a bright warm half and a shadowed navy half, which is most of what sells its shape.
For more on getting beak and feather proportions right before adding color, the breakdowns in bird pencil drawing cover the same bone structure under feathers. Today’s tip: keep the white chest area as bare paper until the very end.
Lobster In A Chef Hat Stirring A Pot
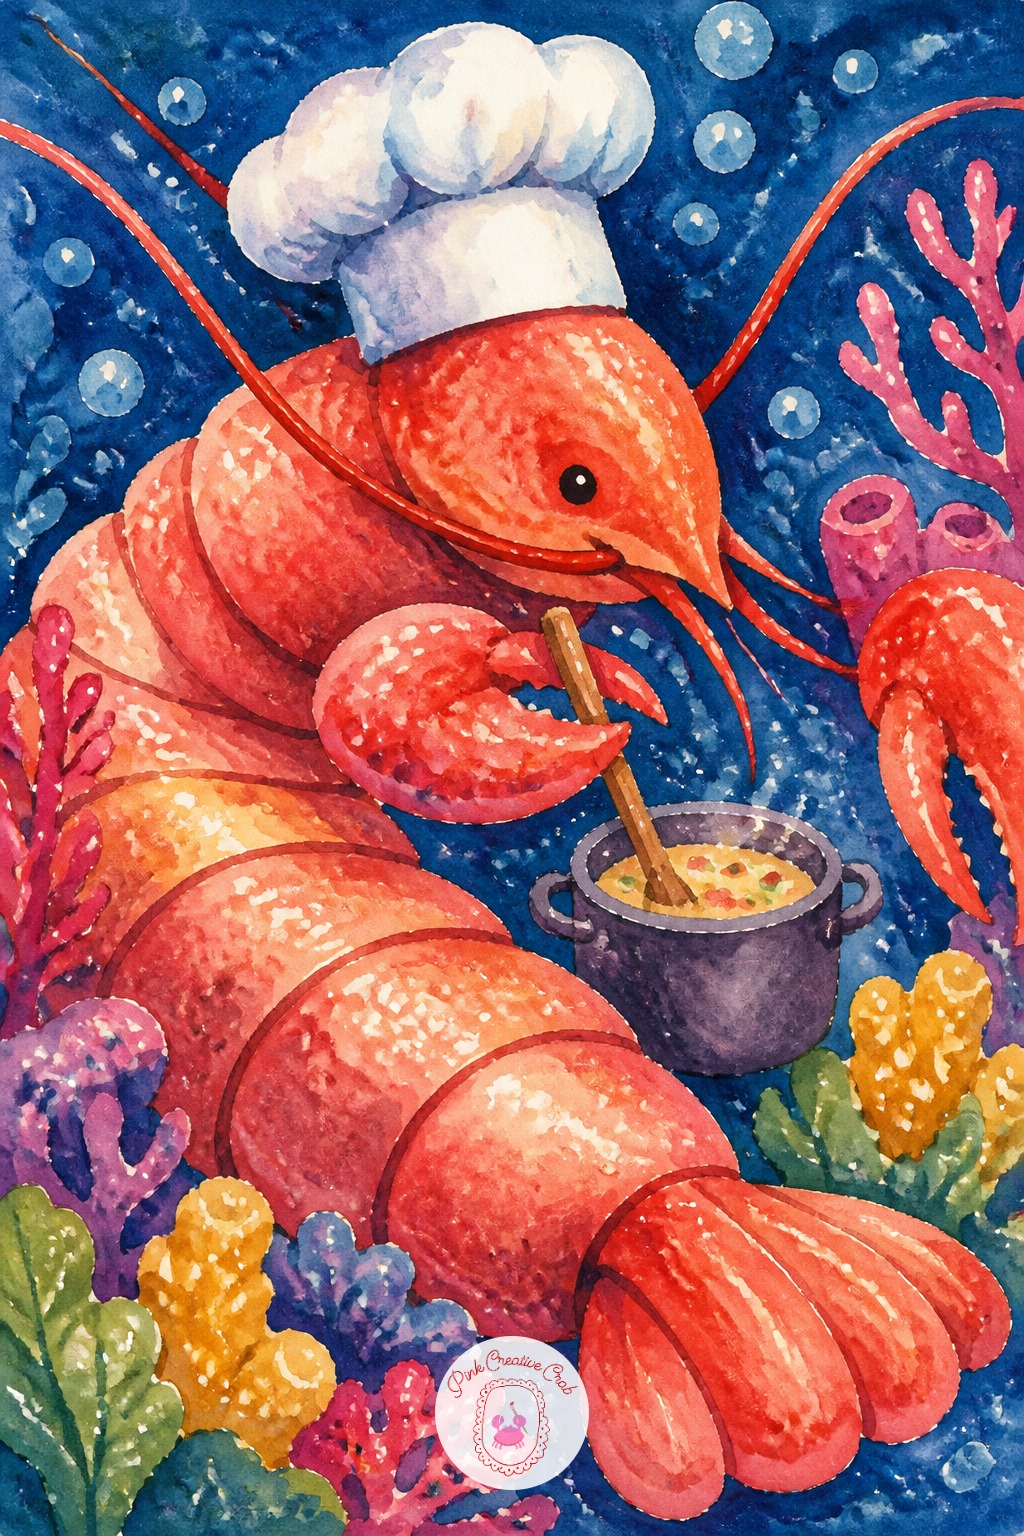
Segmented shell reads as hard and smooth at once, so break the tail into three or four clear bands with a slightly darker edge between each one rather than one smooth curve. That edge work sells shell better than shading inside each segment.
Dry brush a thin streak of lighter coral along the top of the claws where light catches a glossy shell, using a nearly empty marker dragged lightly across the surface. Today’s tip: keep the chef hat pure white paper with only a thin gray shadow line, so it stays crisp against the busy shell below it.
Manta Ray Flying Like A Kite
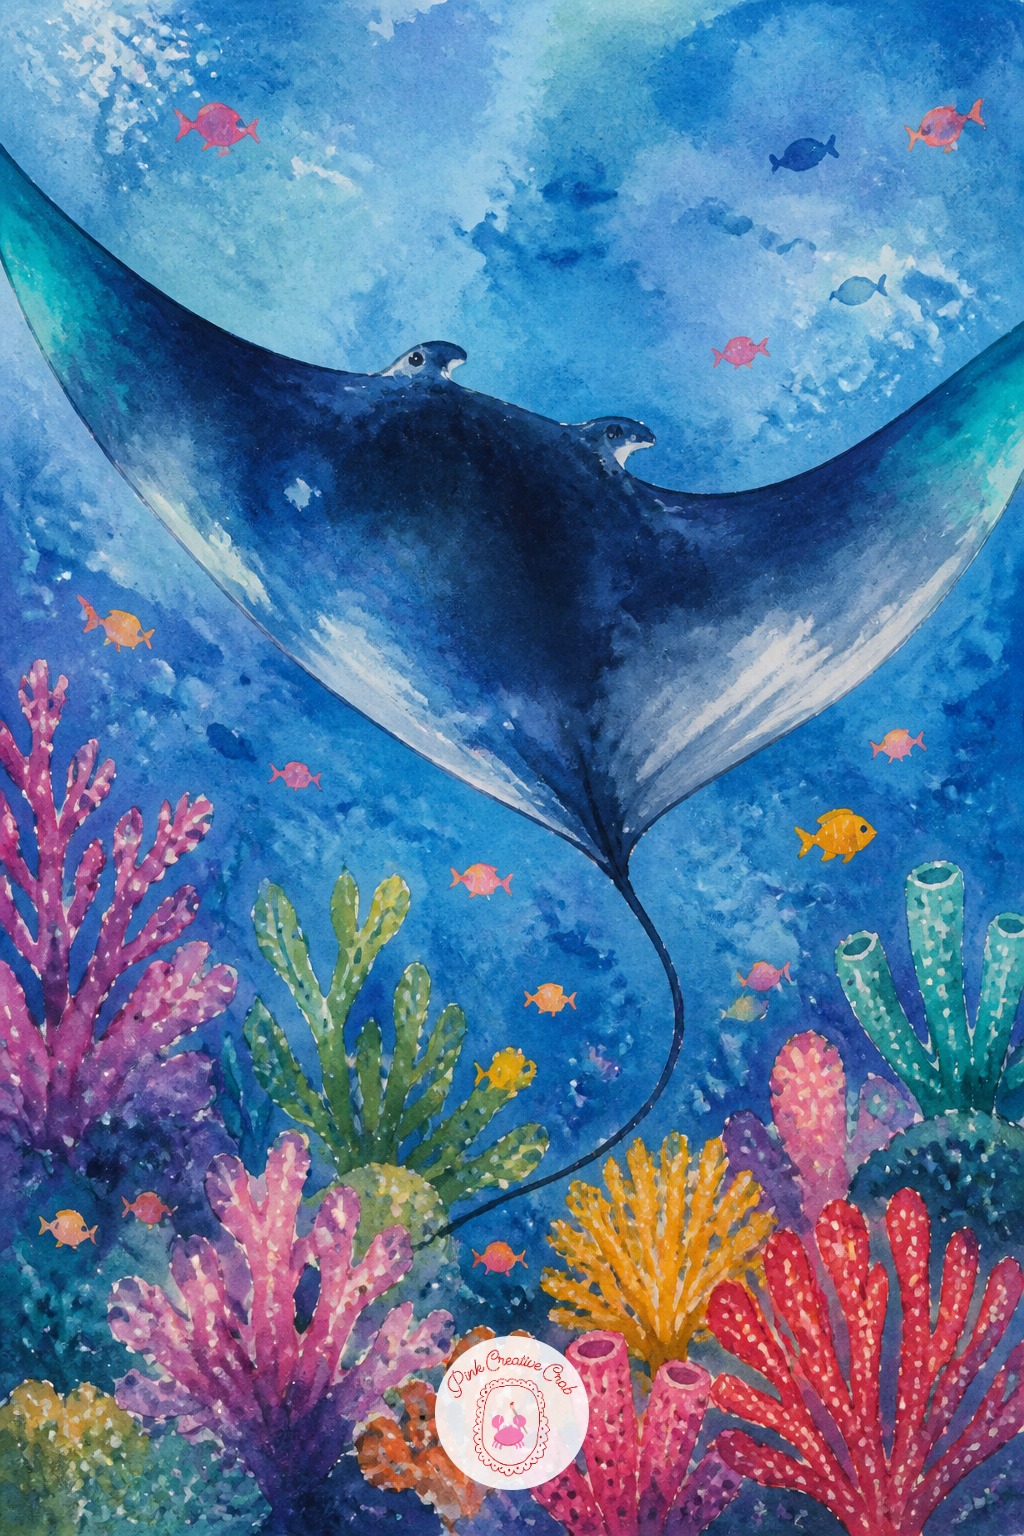
Wings usually end up too stiff and symmetrical, which kills the sense of gliding through water that makes a manta ray interesting. Let one wing tip curl slightly higher than the other mid-stroke, as if caught in a current, before locking in any color.
Check this halfway through by covering one wing with your hand: if the visible half looks like a mirror image, loosen the curve before adding marker. Today’s tip: keep the long whip-like tail trailing off the edge of the page rather than curling back into the frame.
Orca Wearing A Bow Tie
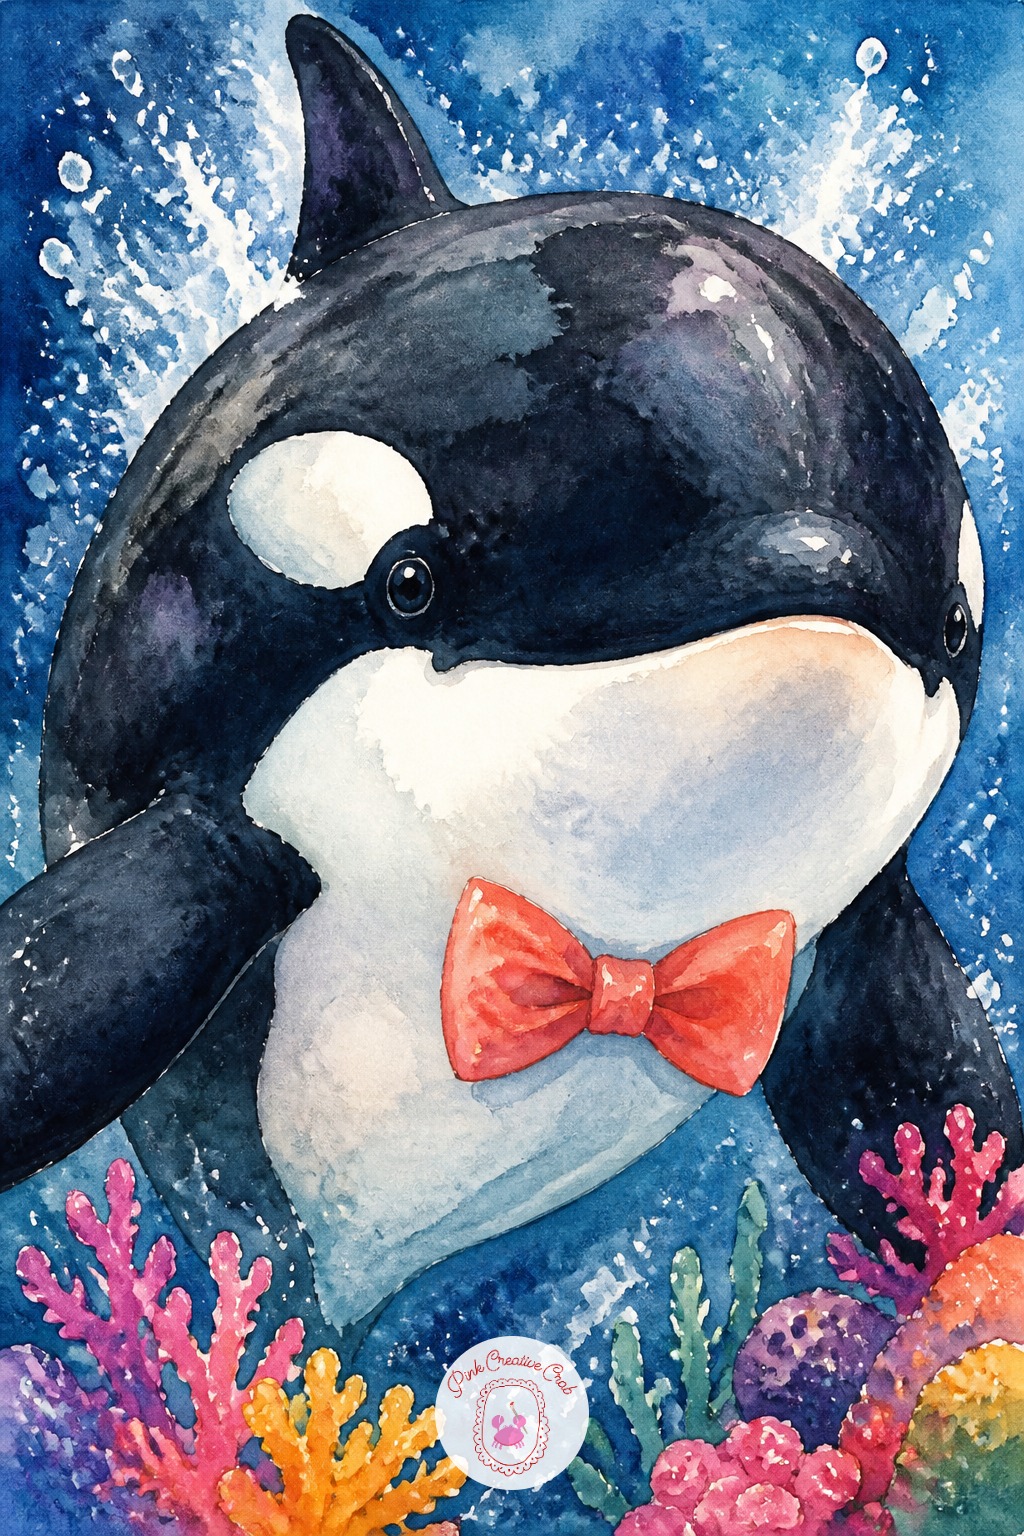
Ten minutes is enough for the strong black and white color blocks and the bow tie sitting just under the chin, which already reads as a finished character. Forty minutes adds the subtle gray patch behind the eye, a splash of white water spray, and a second navy layer deepening the shadow side of the body.
Keep the bow tie in the one warm accent color so it stands out instantly against all that black and white. Today’s tip: block in the white sections as bare paper from the start, since white marker never covers black ink cleanly.
Sea Lion Balancing A Beach Ball
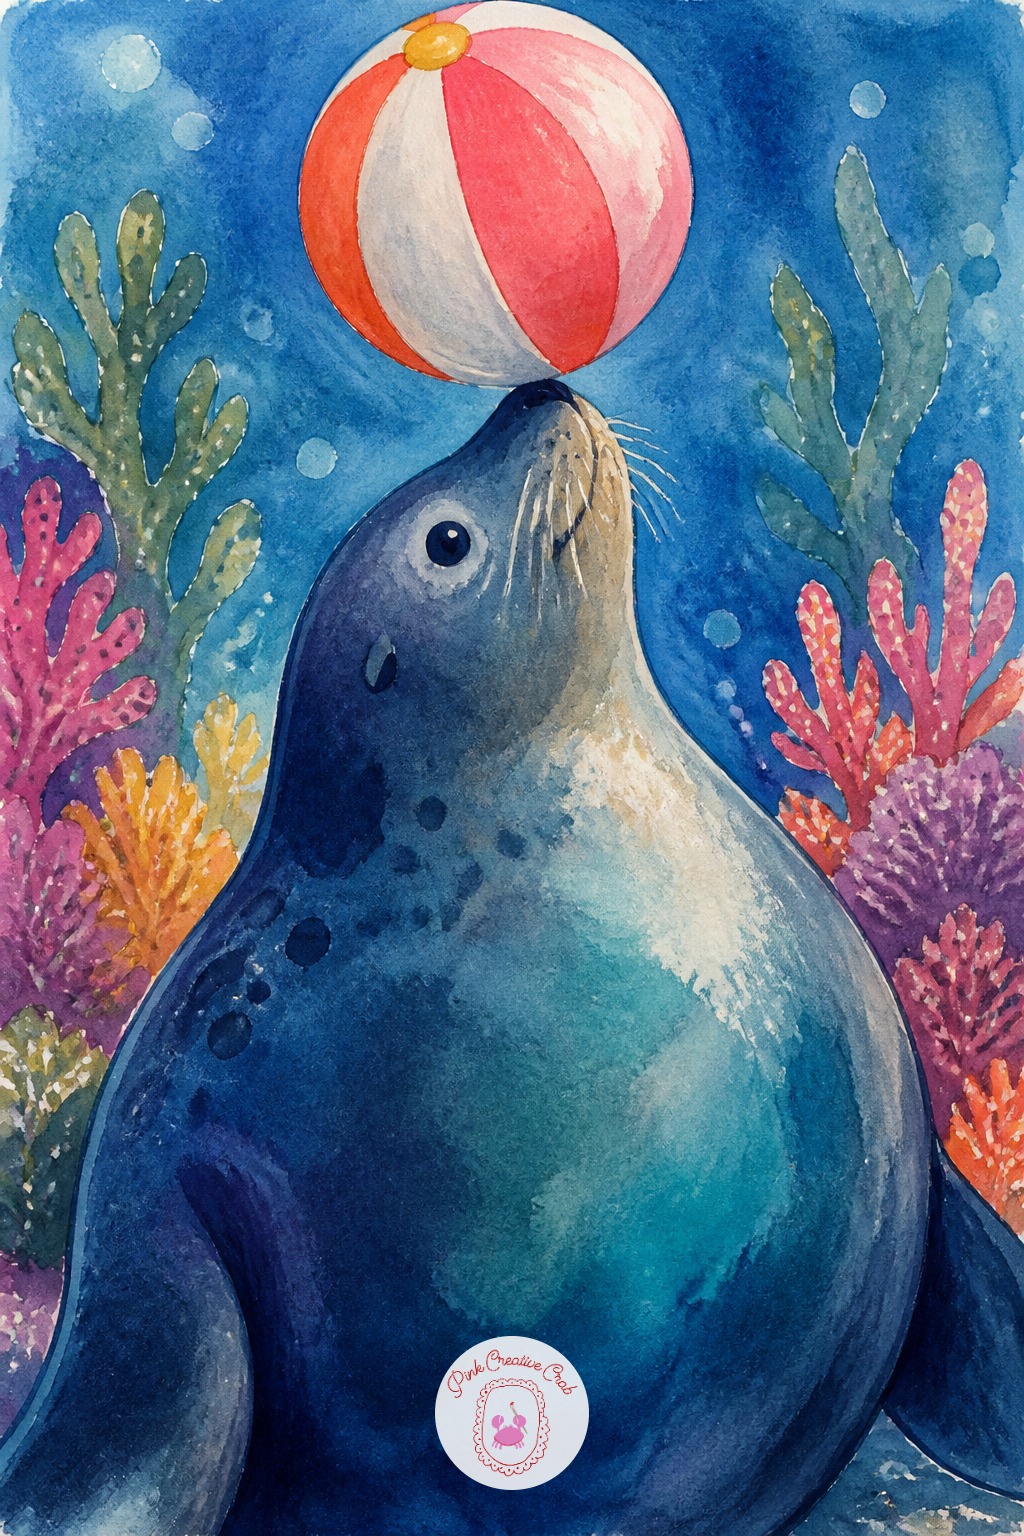
Once the balance pose works, try the ball on the nose from a front-facing angle next time instead of this side view, which is a harder pose worth building up to. The ball itself can cycle through different stripe patterns each round without touching the rest of the palette.
Keep the warm accent locked to the ball every time so the eye has one consistent anchor point across different versions of the scene. Today’s tip: scan each finished sea lion before starting the next, so small proportion improvements stay easy to track.
Walrus Playing A Ukulele
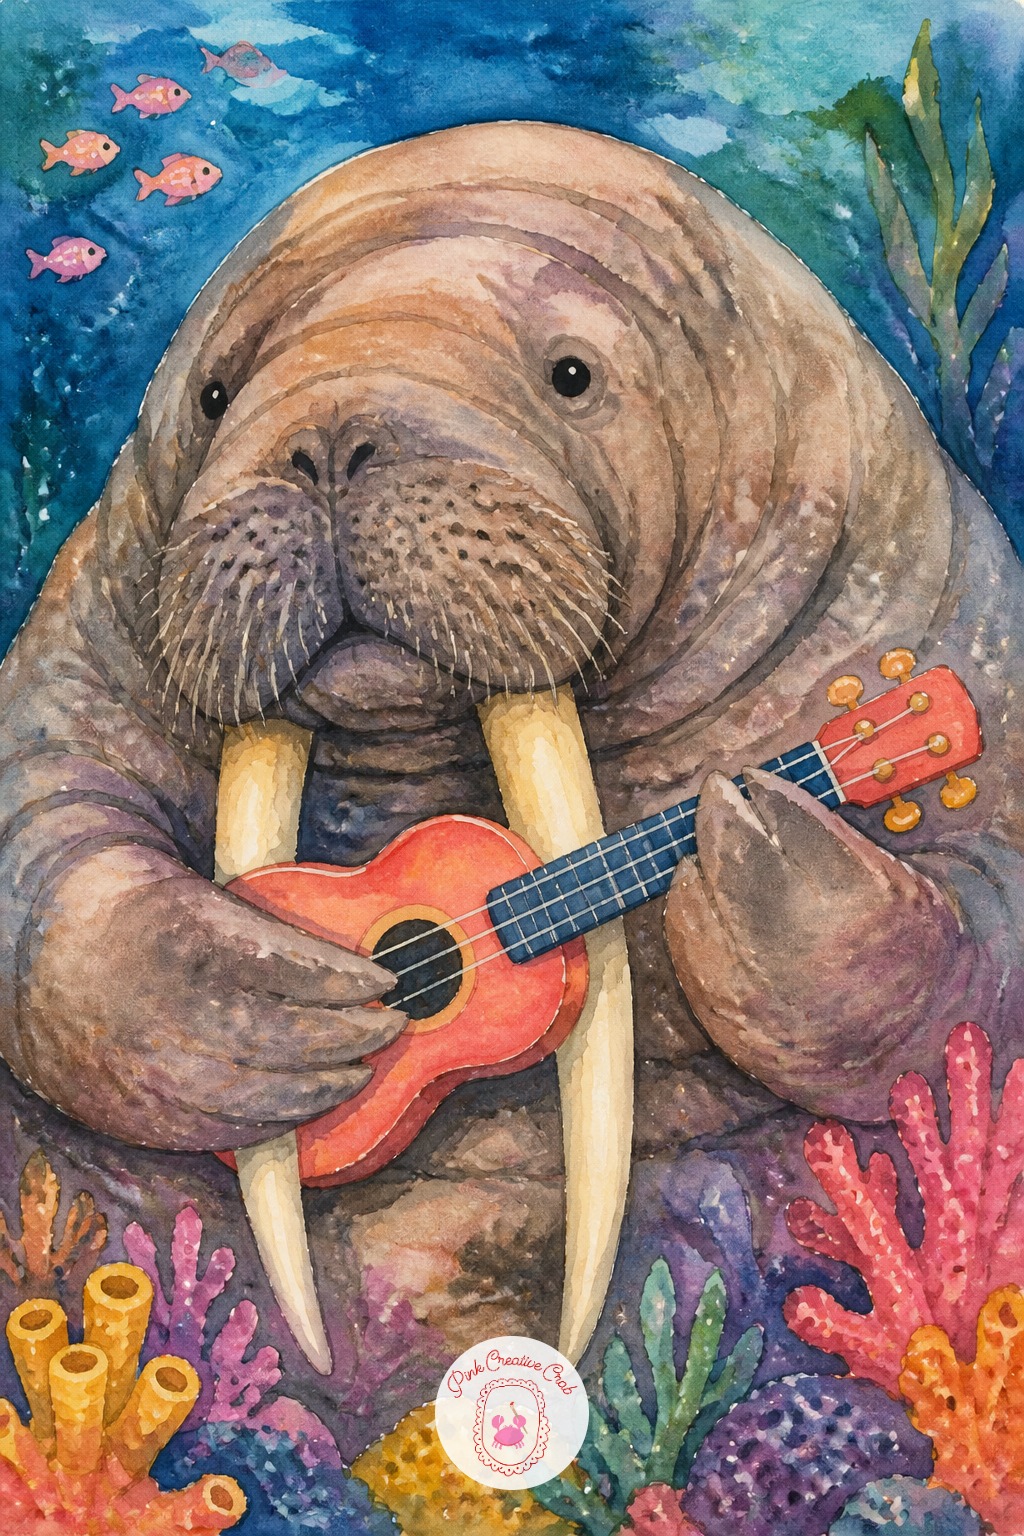
Broad chisel-tip marker in warm gray-brown handles the walrus’s heavy, wrinkled bulk in a few confident strokes, while a fine brush pen picks out the thin tusks and the ukulele’s strings. Trying to do both jobs with one nib loses either the wrinkles or the tusks.
A kneaded eraser helps too, lifting small unmarked highlights along the tusks before any ink goes down, since marker cannot easily be erased once it sets. Today’s tip: press the kneaded eraser rather than rubbing it, which lifts guidelines without smudging them into the paper.
Swordfish Dueling A Seaweed Ribbon
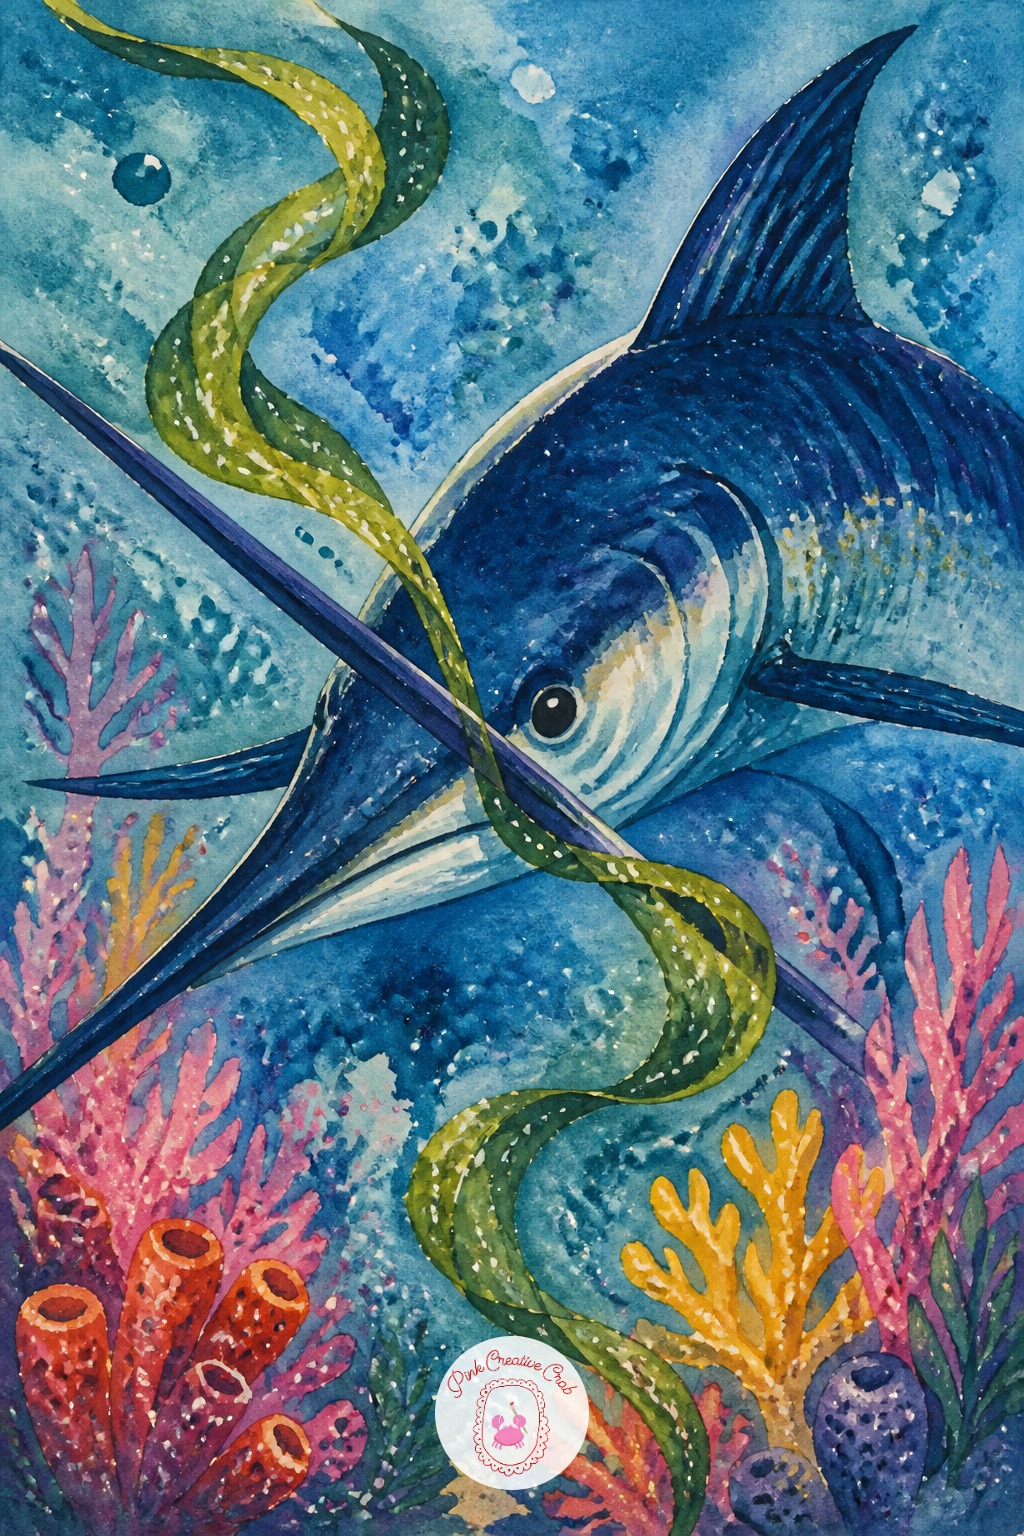
Start with the long bill, a single confident line that sets the whole energy of the pose before anything else goes down. Second, block in the sail-like dorsal fin, kept tall and slightly curved rather than flat. Third, add the body beneath it, narrower than most people expect.
Save the ribbon of seaweed for last, letting it wrap loosely around the bill rather than sitting flat against it, which adds motion to a static pose. Today’s tip: keep the bill perfectly straight even if the rest of the pose curves, since a wobbly sword reads as broken rather than fast.
Crab Playing Cards On A Towel
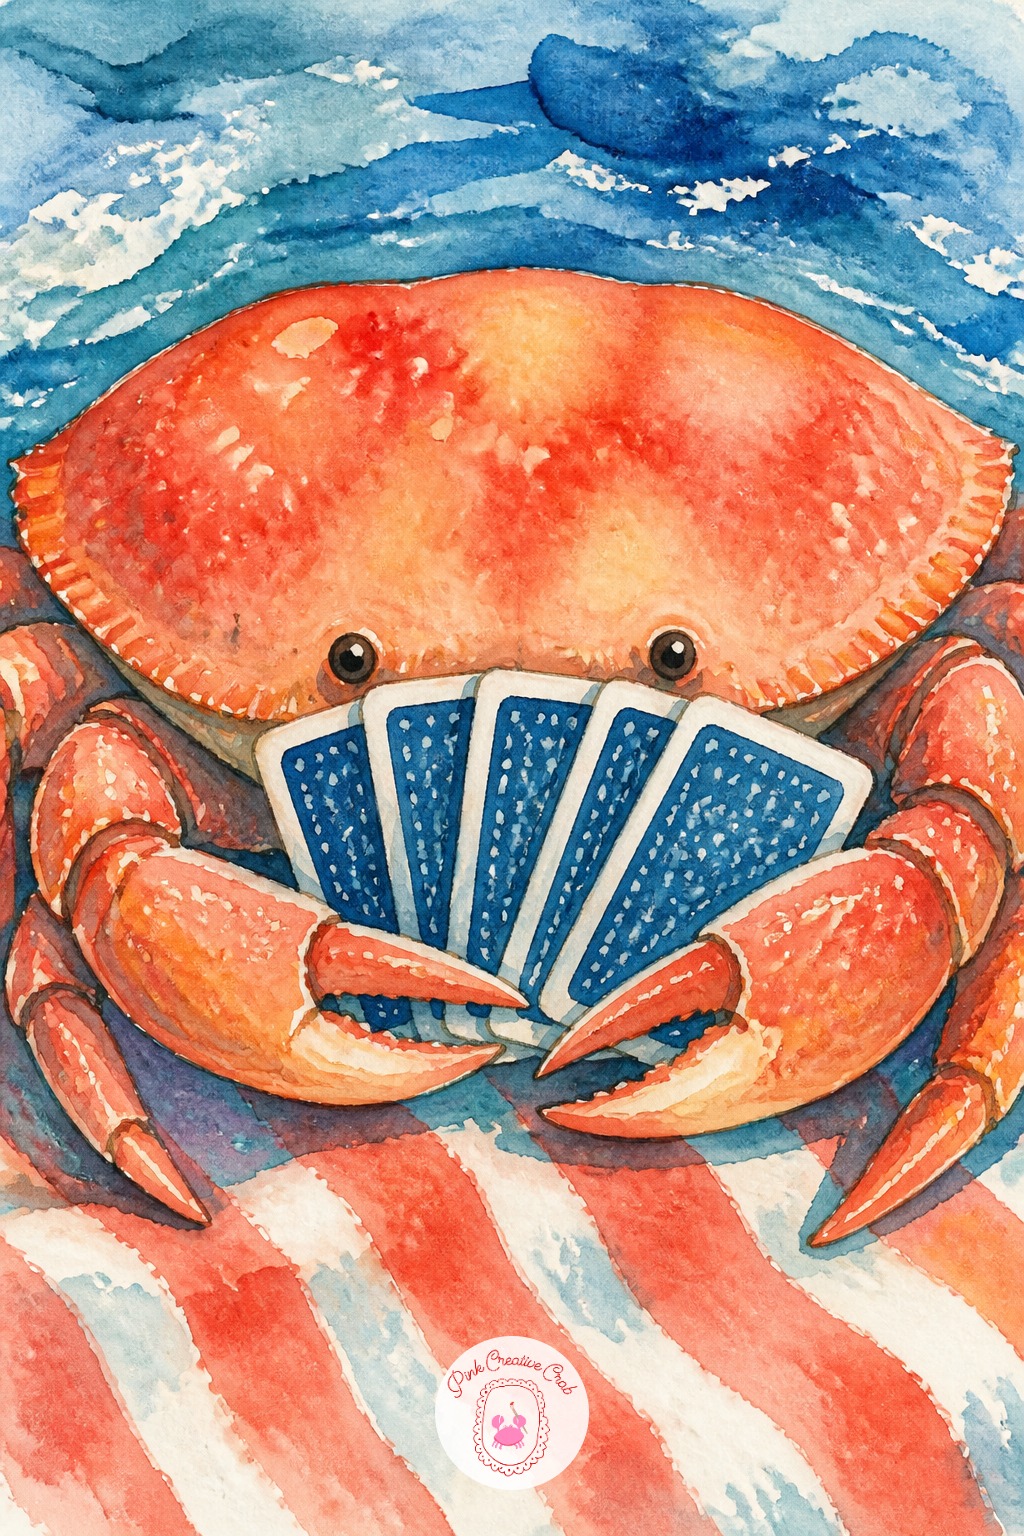
Measure the crab’s shell width as roughly twice its height, a wide flat oval rather than anything rounder, which is the detail most beginners get wrong first. Line the eyes up along the top edge of that oval, spaced about one eye-width apart.
Keep the playing cards small, no larger than one claw, so they stay a prop rather than competing with the crab for the main shape. A towel underneath in warm coral stripes ties the scene to the beach without extra background. Today’s tip: check the shell’s width against its height with a ruler before any ink.
Giant Squid Reading By Lantern Light
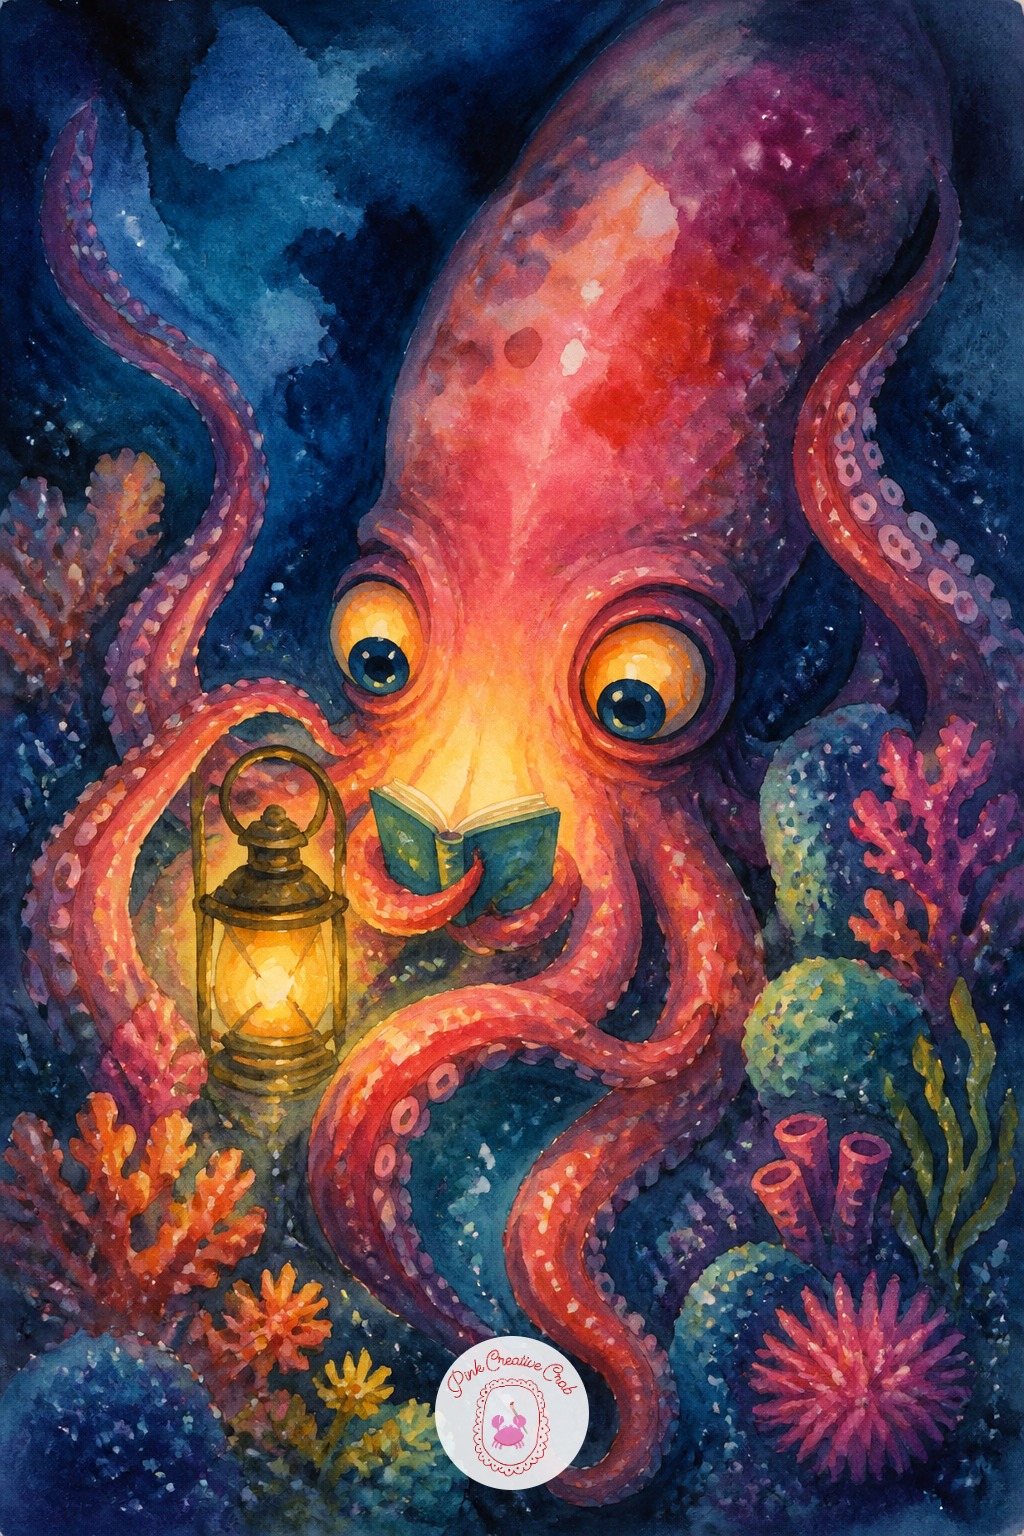
Place the lantern low in the frame so its glow lights the squid’s face and the nearest tentacles from below, throwing odd upward shadows across the eyes that make the creature feel genuinely deep-sea. Everything further from the lantern fades into flat navy with almost no detail.
That falloff is the whole trick: resist adding the same texture level to tentacles sitting in the dark as the ones caught in the light. Today’s tip: leave the two or three tentacles closest to the lantern noticeably brighter than the rest, even if it feels uneven at first.
Octopus Juggling Seashells
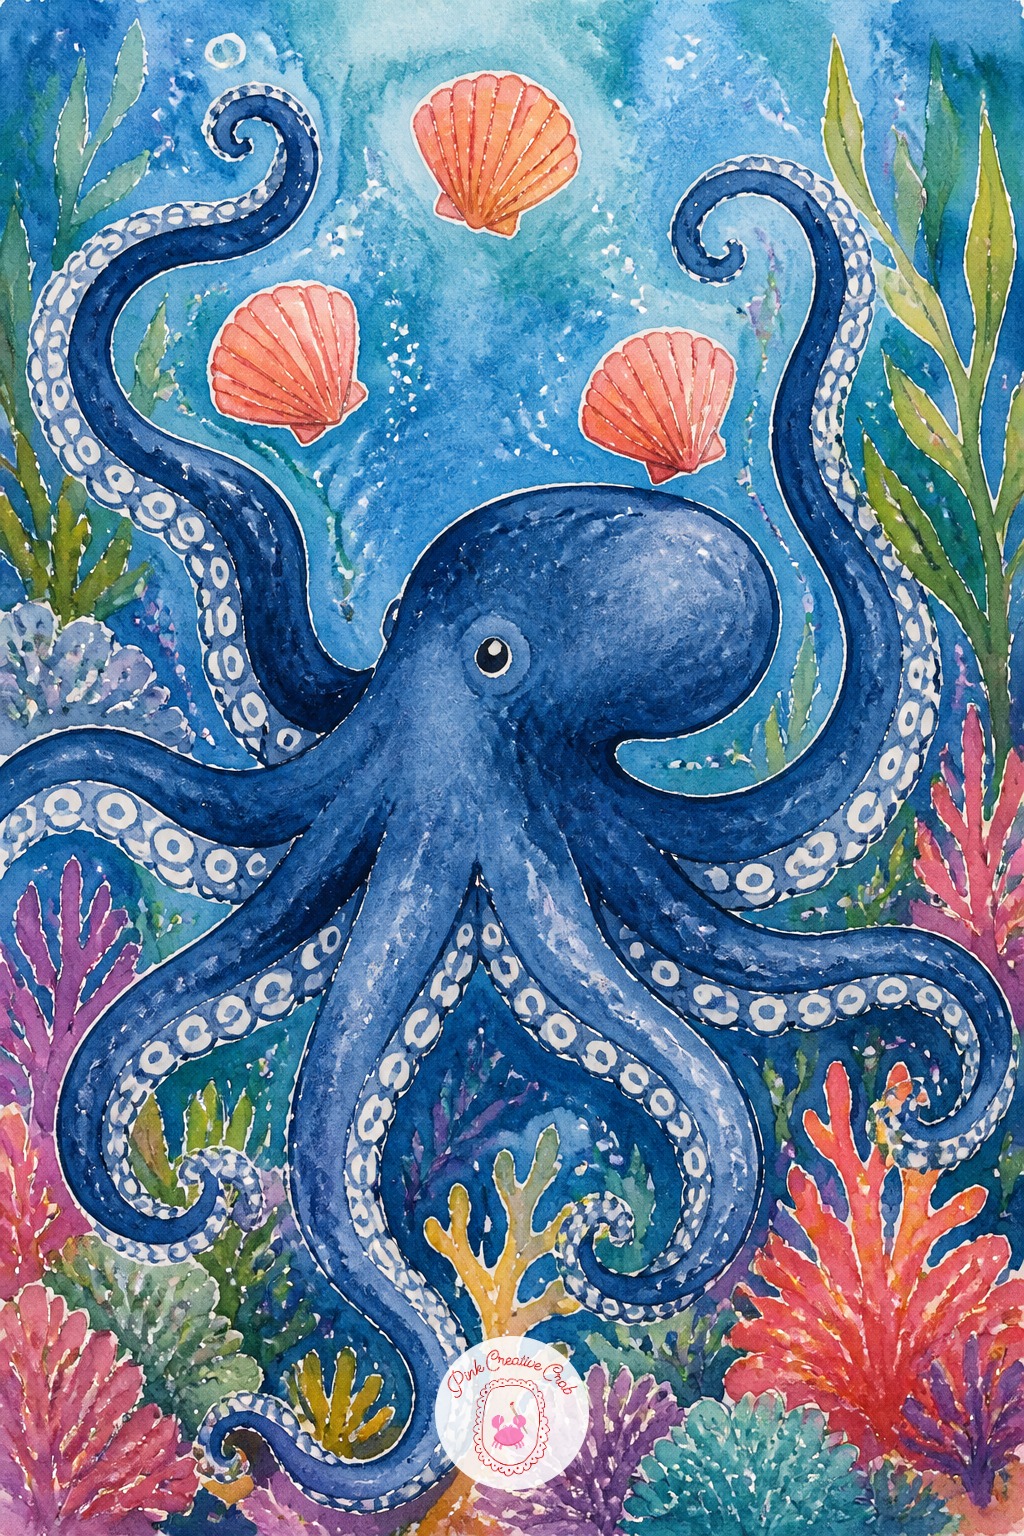
Suction cups are the signature texture here, and the fastest way to fake dozens of them convincingly is a fine white gel pen dotted in slightly uneven rows along the underside of each tentacle, rather than one perfectly even grid. Perfect spacing reads as pattern, not biology.
Keep the tentacle edges soft by blending the base color outward with a colorless blender marker before the gel pen dots go on top. Today’s tip: vary the dot size slightly from tentacle to tentacle, since real suction cups shrink toward the tip.
Whale With A Lighthouse On Its Back
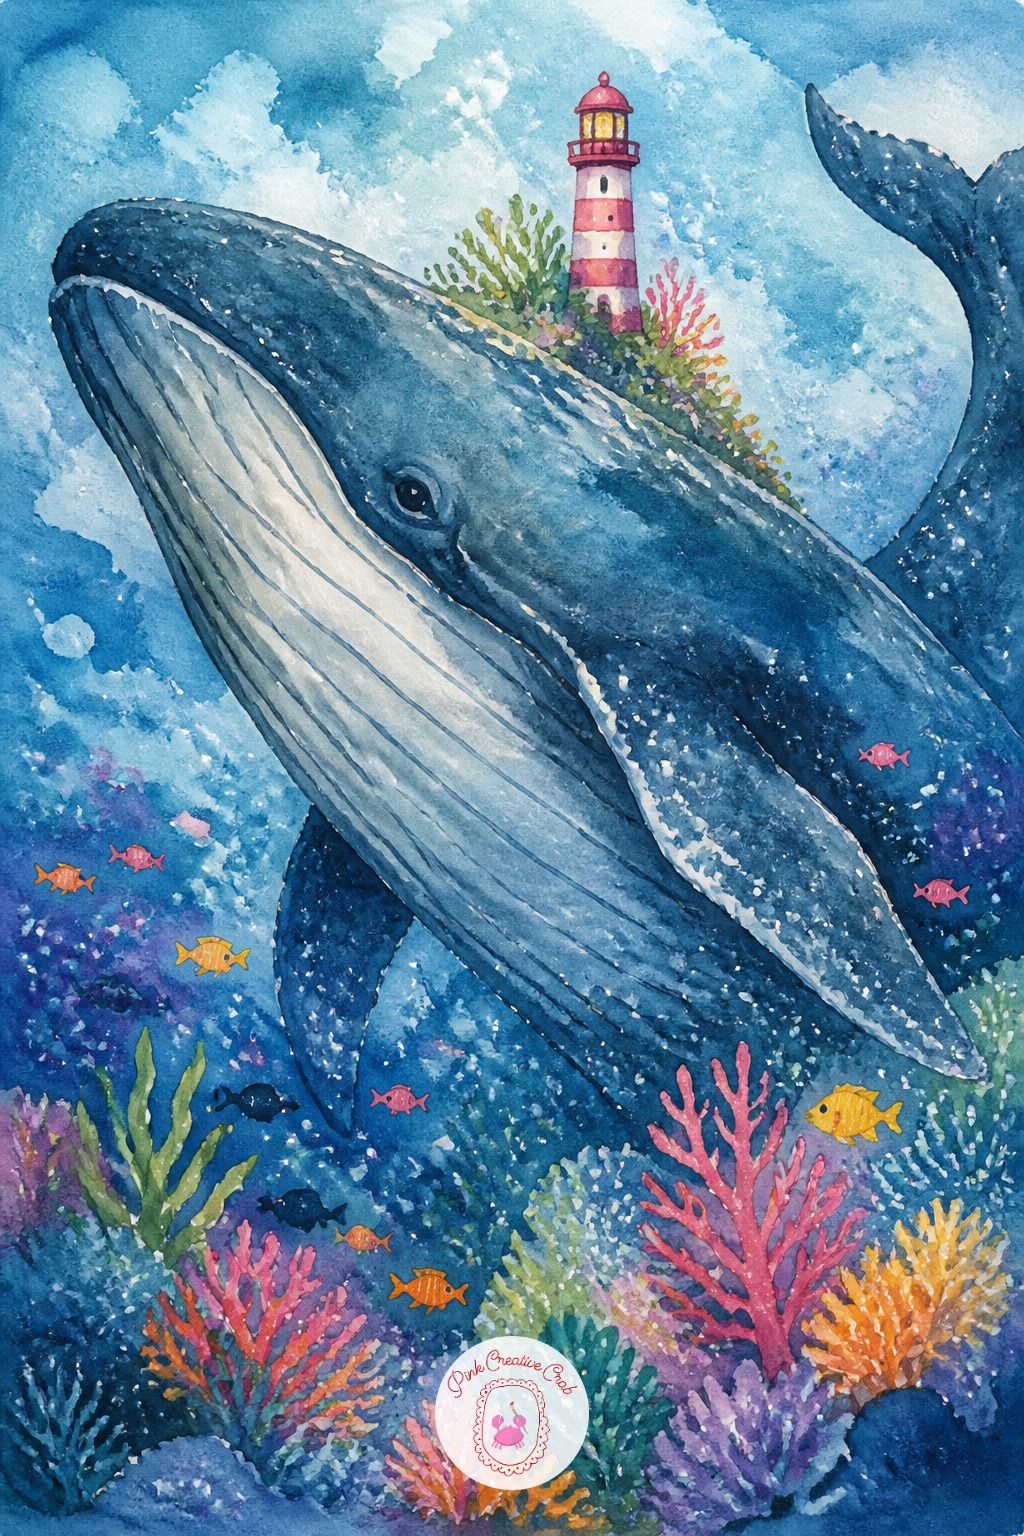
The lighthouse usually ends up the same size as a building on land, which makes it look stuck on rather than perched on a whale’s back the way the idea intends. Shrink it down until it reads closer to a large shell, then check the whale still reads as the bigger shape.
Fix this halfway through by comparing the lighthouse height against the whale’s eye: if the two are close in size, the lighthouse is still too big. Today’s tip: keep the lighthouse in the one warm accent color so it reads as deliberate rather than an accident of scale.
Octopus Painting With Many Brushes
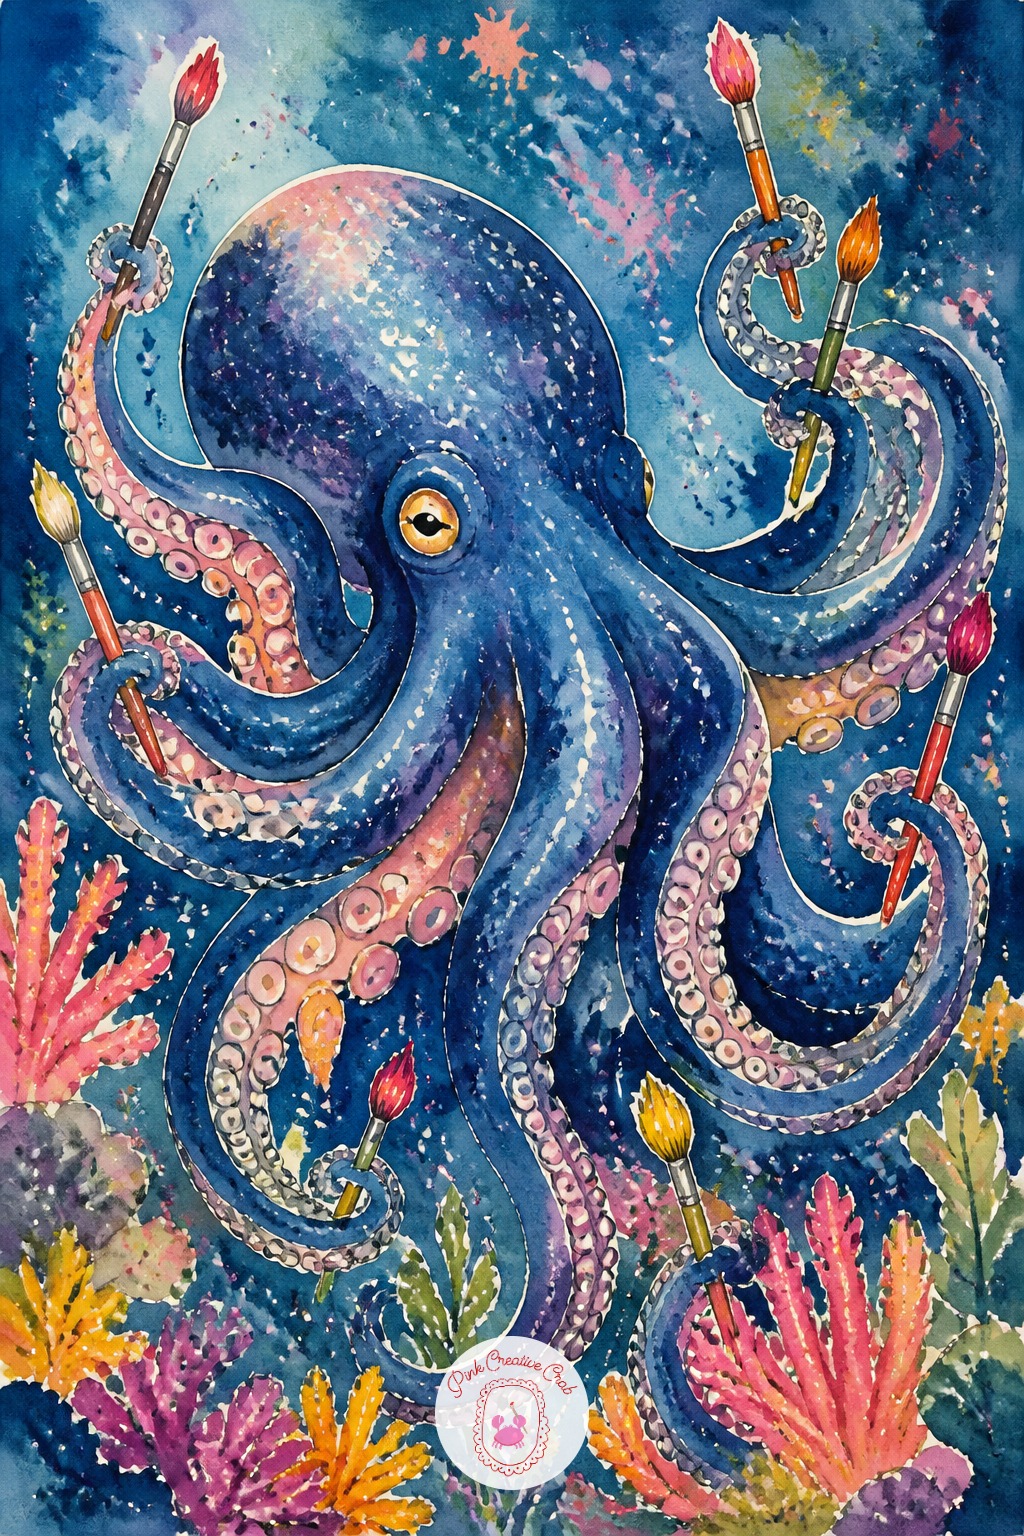
Ten minutes gets three or four tentacles each gripping a different tiny brush, which is already a full page of personality on its own. Forty minutes adds the remaining tentacles, a scatter of paint splatters in the warm accent color, and a second pass of shadow where tentacles overlap.
This is a good one to revisit on a slow day when a simpler subject feels too plain but a full scene feels like too much. Today’s tip: if time is short, finish only the two tentacles closest to the front in full detail and let the rest stay looser.
Moray Eel Peeking From A Treasure Chest
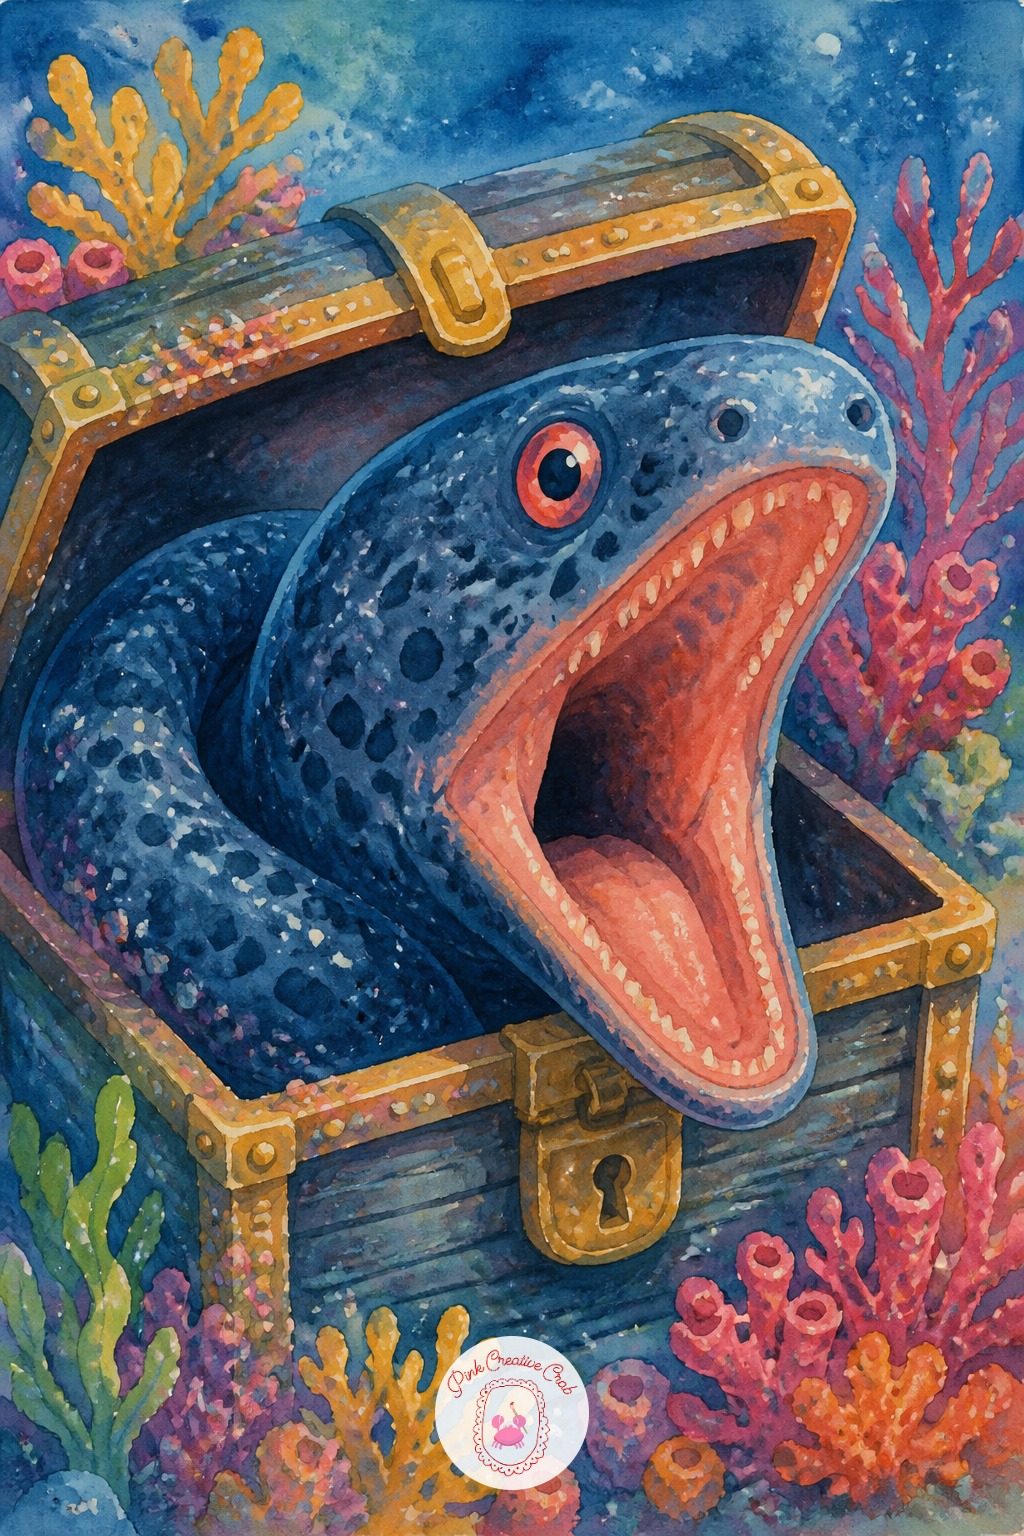
Once the eel’s head and open jaw work here, try the whole body spiraling fully out of the chest next time instead of just the head, which asks for more confidence in that long sinuous line. The treasure chest itself can swap for a shipwreck porthole or a coral archway in later versions.
Keep the eel’s eye and the inside of its mouth in the one warm accent color across every version, since that consistent detail ties a series of scenes together. Today’s tip: practice the open jaw shape separately on scrap paper first.
Humpback Whale Breaching With A Rainbow Spray
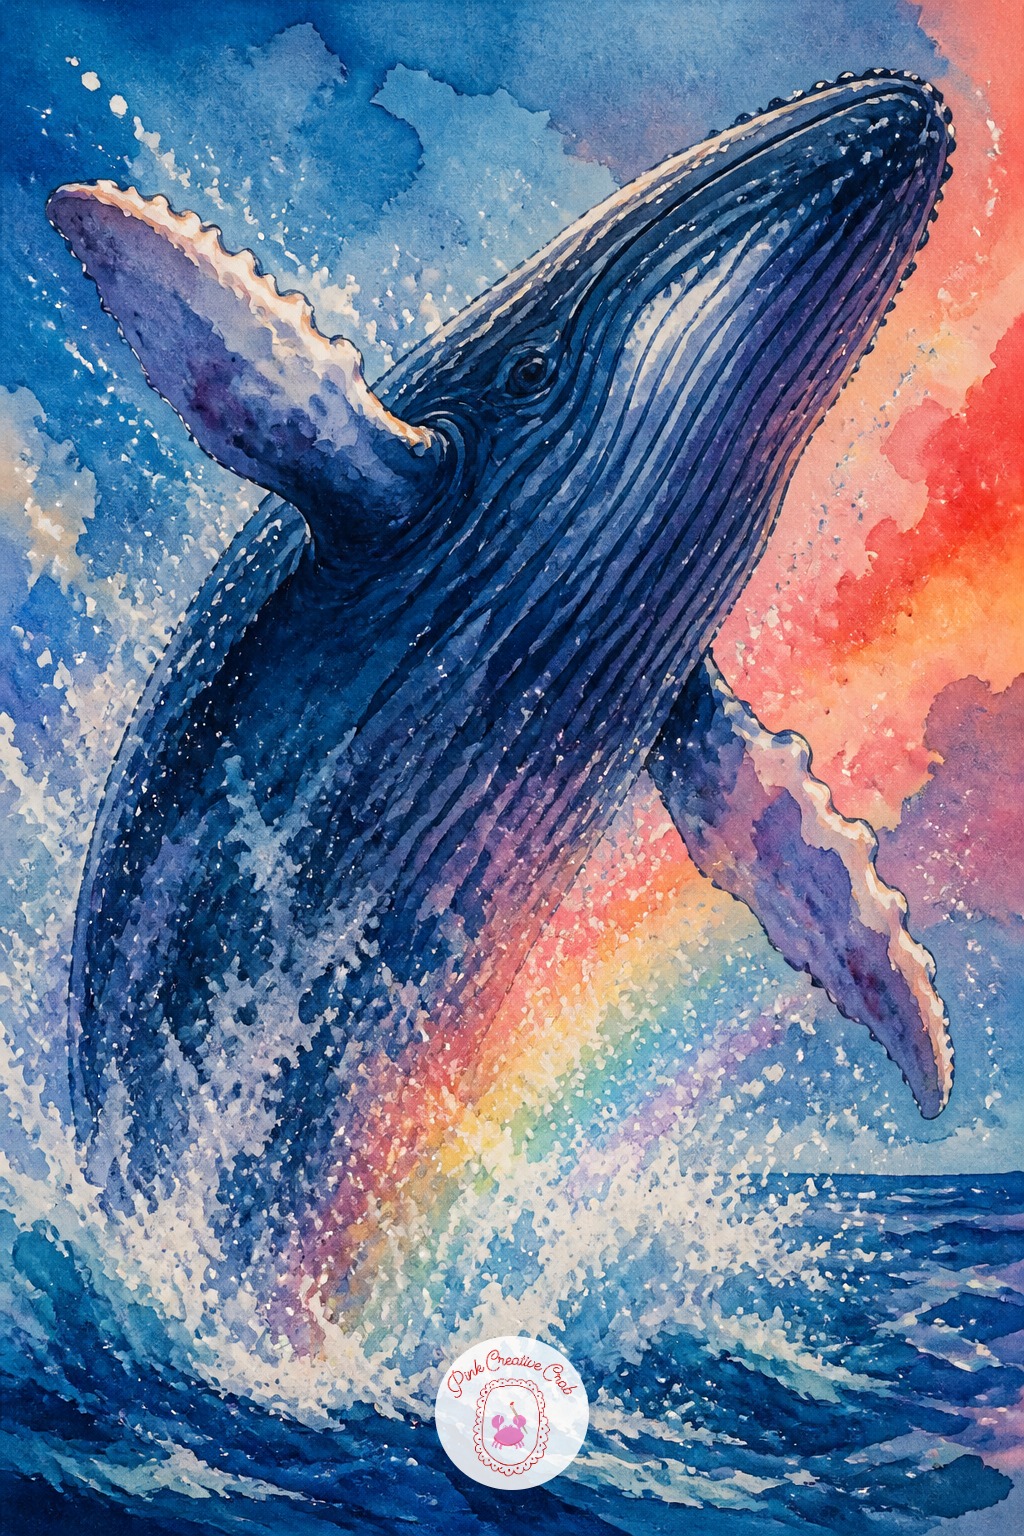
Large chisel-tip marker in deep navy covers the whale’s enormous body in long confident strokes that follow the curve of the breach, while a fine brush pen handles the knobby bumps along the jaw and the thin lines of the pectoral fins. Switching tips this often is normal for a subject this size.
A spray bottle or a nearly dry marker dragged sideways fakes the water spray exploding off the whale’s back better than any drawn line could. Today’s tip: let the body color dry completely before adding white spray on top, since wet navy under a gel pen highlight turns gray instead of staying bright.
What to Do Next
Pick one creature from these ocean drawing ideas, tape or clip a piece of marker paper flat so it does not buckle, and block in the background color first before the character goes on top. Everything else, the story, the props, the personality, comes together once those two layers are down.
Frequently Asked Questions
What paper works best for alcohol markers in a sketchbook?
Use a dedicated marker or blender paper pad rather than regular sketchbook paper, since alcohol ink bleeds through thin pages and pools unevenly on anything too absorbent. A smooth, slightly coated surface lets color glide without streaking or soaking through to the next page.
How do you keep the background color from looking muddy against the character?
Lay the background color down first and let it dry fully before adding the creature on top, rather than working both at once. Working wet into wet pulls the two colors together and dulls them, while a dry background stays a clean flat base underneath.
Why do the white highlights look gray instead of bright?
That happens when white gel pen goes down before the ink underneath is completely dry, which drags dark pigment up into the white. Wait a few extra minutes past when the page feels dry to the touch, then add every highlight last, once everything else is finished.
How many markers does a beginner actually need for these ocean drawing ideas?
Four or five colors cover the whole palette here: one navy, one deep teal, one turquoise, one warm accent like coral or orange, and a gray for small shadows. More colors than that mostly sit unused once the limited palette habit sets in.
How do you stop the character from looking too small on the page?
Sketch the main shape first and deliberately let it run off two or three edges of the page before adding any detail. Beginners tend to leave too much empty border around the subject, which is the opposite of the cropped, close-up look this style depends on.
Have any thoughts?
Share your reaction or leave a quick response — we’d love to hear what you think!
-
 0
0 -
0
-
0
-
0
-
0
-
0


