

Table of Contents
- Rainbow Sun with Simple Rays
- Happy Cloud Family
- Fat Caterpillar on a Leaf
- Smiling Flower Pot Row
- Leaf Rubbing Bouquet
- Polka Dot Ladybug
- Simple Sailboat on Waves
- Striped Beach Ball
- Wax Resist Starry Night Sky
- Rainbow Fish with Layered Scales
- Tall Sunflower Row
- Nighttime Owl in a Tree
- Textured Turtle Shell Rubbing
- Classic Three Ball Snowman
- Rainbow Arc with Clouds
- Friendly Dinosaur Silhouette
- Melted Crayon Sunset
- Scratch Art Firework Burst
- Tall Patchwork Giraffe
- Underwater Fish Scene
- Tree Trunk Bark Rubbing
- Rainbow Bridge Over Hills
- Jack-o-Lantern Face
- Striped Cat Portrait
- Rain Puddle Reflection
- Peacock Tail Feathers
- Big-Headed Robot Friend
- Campfire at Dusk
- Crumpled Treasure Map
- Zoo Animal Parade
- Mirror Wing Butterfly
- Scaled Dragon
- Frequently Asked Questions
These crayon drawing ideas give kids aged four to nine something they can finish in one sitting, with big shapes and bold color instead of tiny fiddly lines. Every idea leans on a trick crayons do better than any other tool: a wax resist sky, a rubbing pulled from a real leaf, scales built up in layers of color.
Pick one that matches the time you actually have today. Hand over a full box of crayons, a thick pad of paper, and let her press as hard as she wants.
Using these images: free for personal projects such as printing, coloring, cards, journals and gifts. Handmade items that include them may be sold up to 30 pieces per design. More than that is commercial use and is not permitted, and neither is selling or sharing the images themselves or passing them off as your own. Please ask before any other use.
Rainbow Sun with Simple Rays
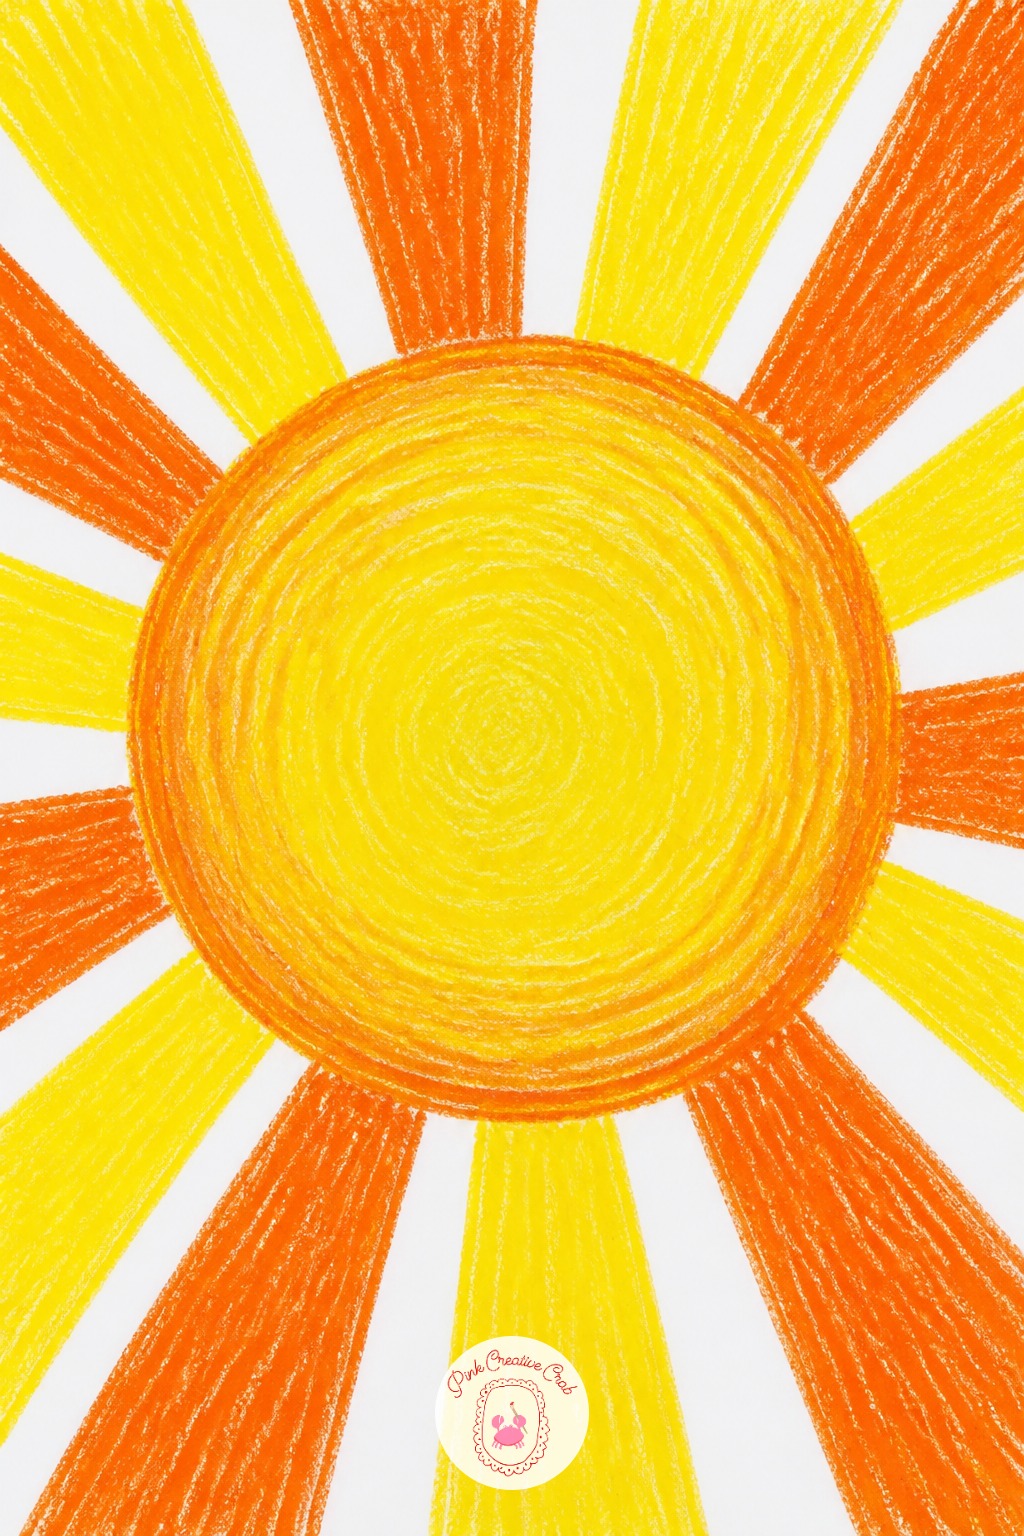
Reach for the fattest crayon in the box for this one, a jumbo yellow or orange works best because a child’s early sun is one big circle pressed down hard. Thin crayons wear a groove into the paper before the circle ever gets solid, a fat barrel fills it in three or four passes.
Draw the circle first, then add straight rays poking out like spokes on a wheel, then switch colors for every other ray so the sun reads as striped rather than scribbled. Keep the rays short and stubby rather than long and thin, they hold up better under small hands. Let the crayon lie flat for the circle’s middle so no white paper peeks through.
Happy Cloud Family
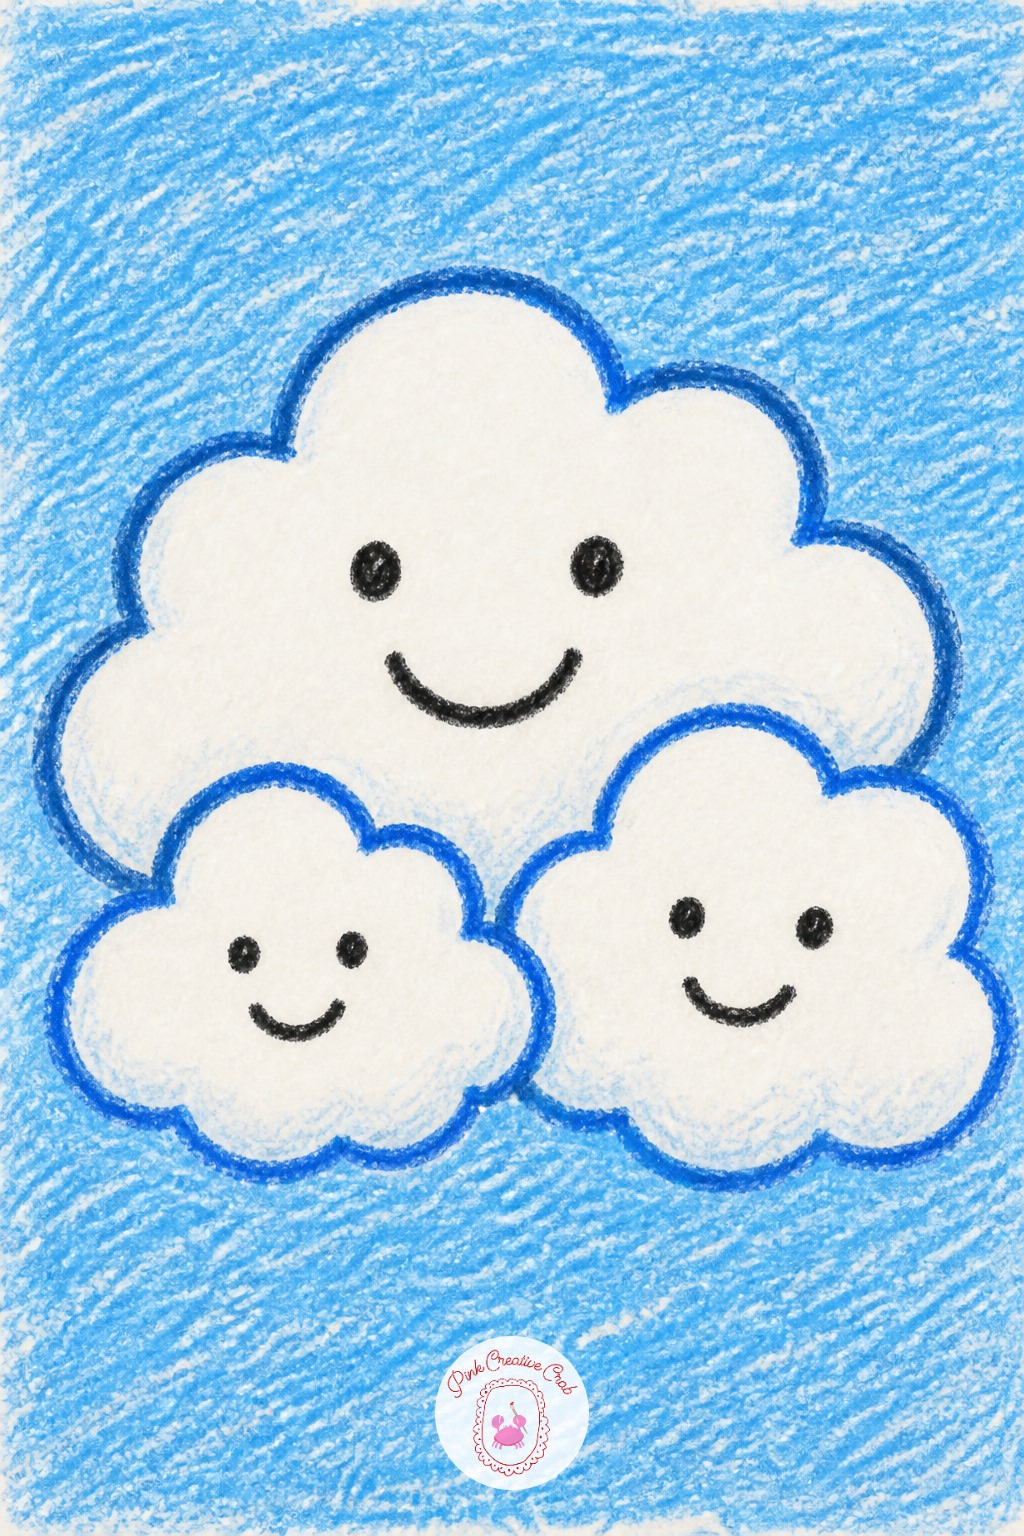
Start with the biggest cloud bump first, right in the middle of the paper, then add two smaller bumps on each side so the shape grows outward instead of upward. Draw the bumpy outline before anything else, a smooth round cloud looks more like a balloon than a cloud.
Second, give the biggest cloud two dot eyes and a curved smile. Third, add a thin blue line underneath for sky, and save sun rays or raindrops for last, once the family shape sits the way you want. For more sky moods, this guide to easy watercolor skies shows a painted version of the same idea. Keep every cloud bump the same rounded size so the family looks related.
Fat Caterpillar on a Leaf
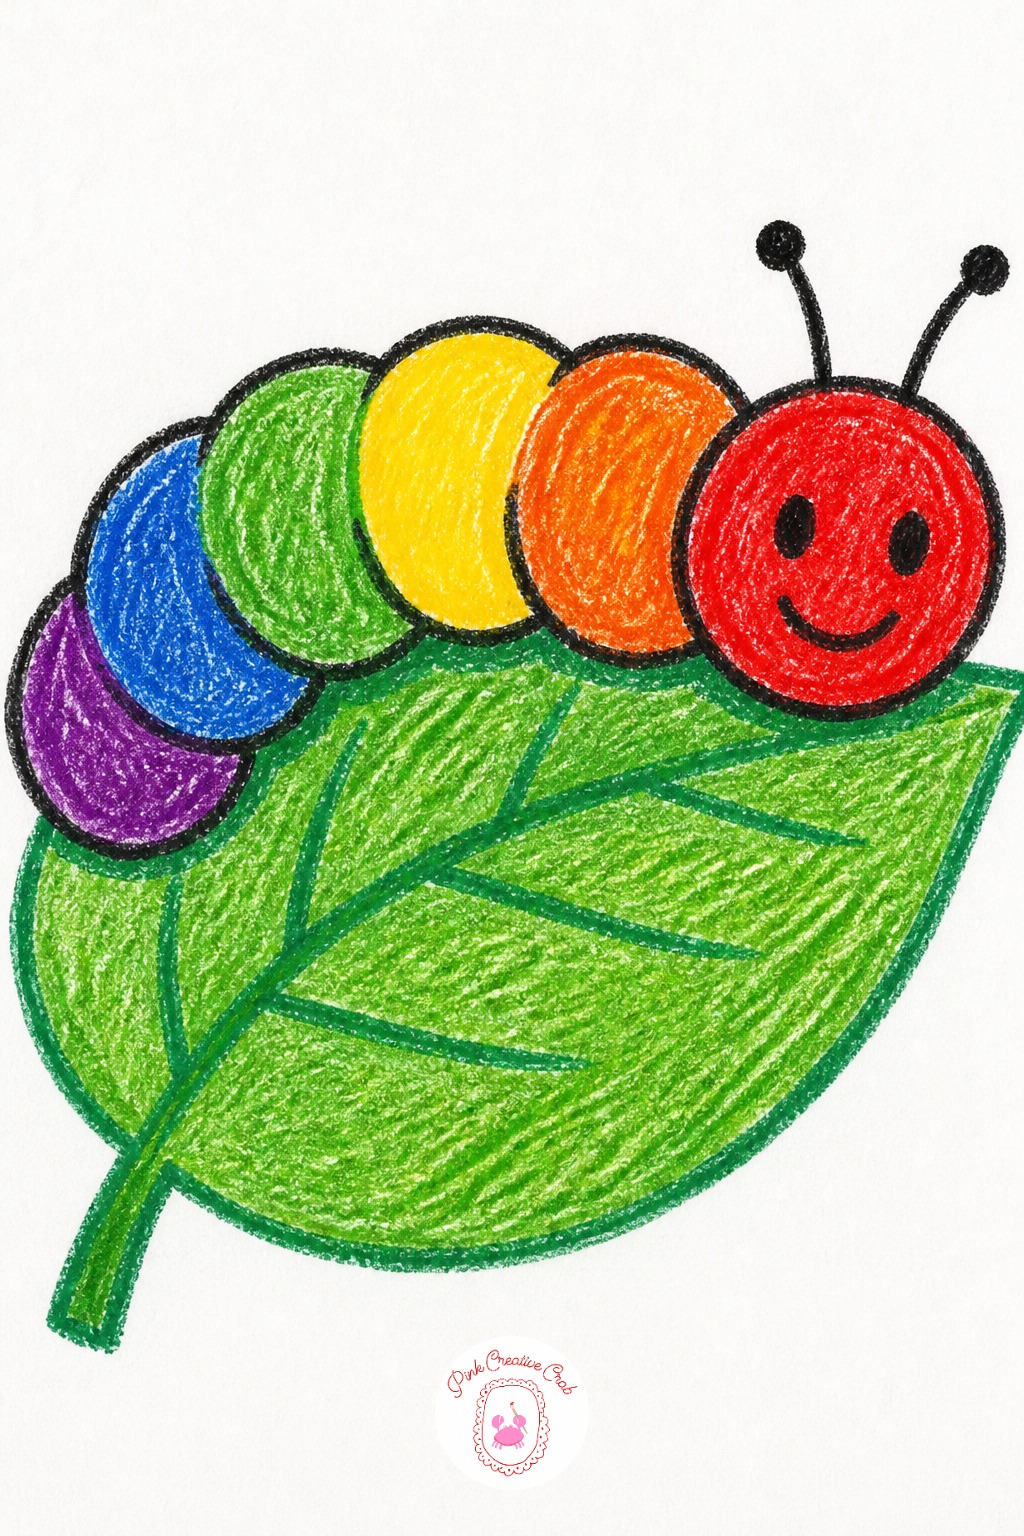
Six circles stacked in a gentle curve make a caterpillar that reads correctly to a four-year-old’s eye, not three and not ten. Count them out loud while drawing so the body stays long enough to feel like a caterpillar instead of a blob.
Make the head circle slightly smaller than the rest and set two little antenna lines on top, that size difference tells a viewer which end is the front. Color each body circle a different bright shade and let the circles touch so no white paper shows between segments. Keep the leaf underneath wider than the caterpillar is long.
Smiling Flower Pot Row
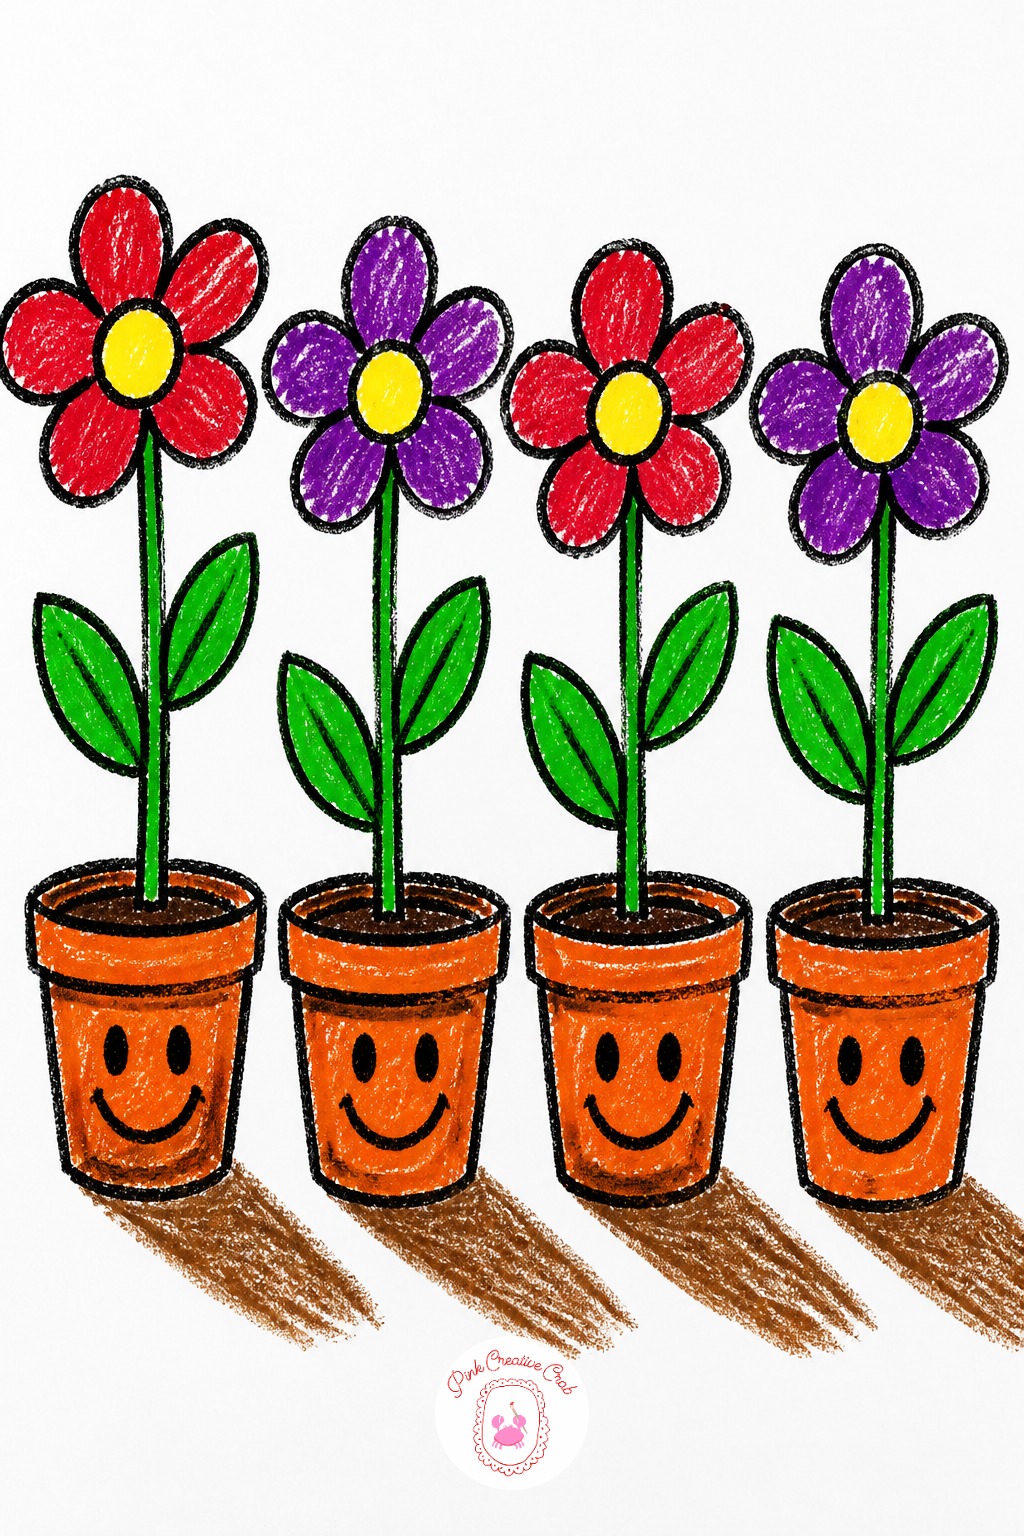
Where does the sun sit in this picture? Put it in a top corner and every flower’s shadow falls away from that corner, a short dark line at the base of each pot pointing the same direction. That single matching detail makes a whole row of flowers look like it belongs on one sunny day.
Keep the pots low on the page, as if a child’s own eye level looks slightly down on a windowsill, and let the flower heads rise taller than the pots so the eye travels up. Color the shadow side of each pot a touch darker by pressing harder with the same brown crayon rather than reaching for a second color.
Leaf Rubbing Bouquet
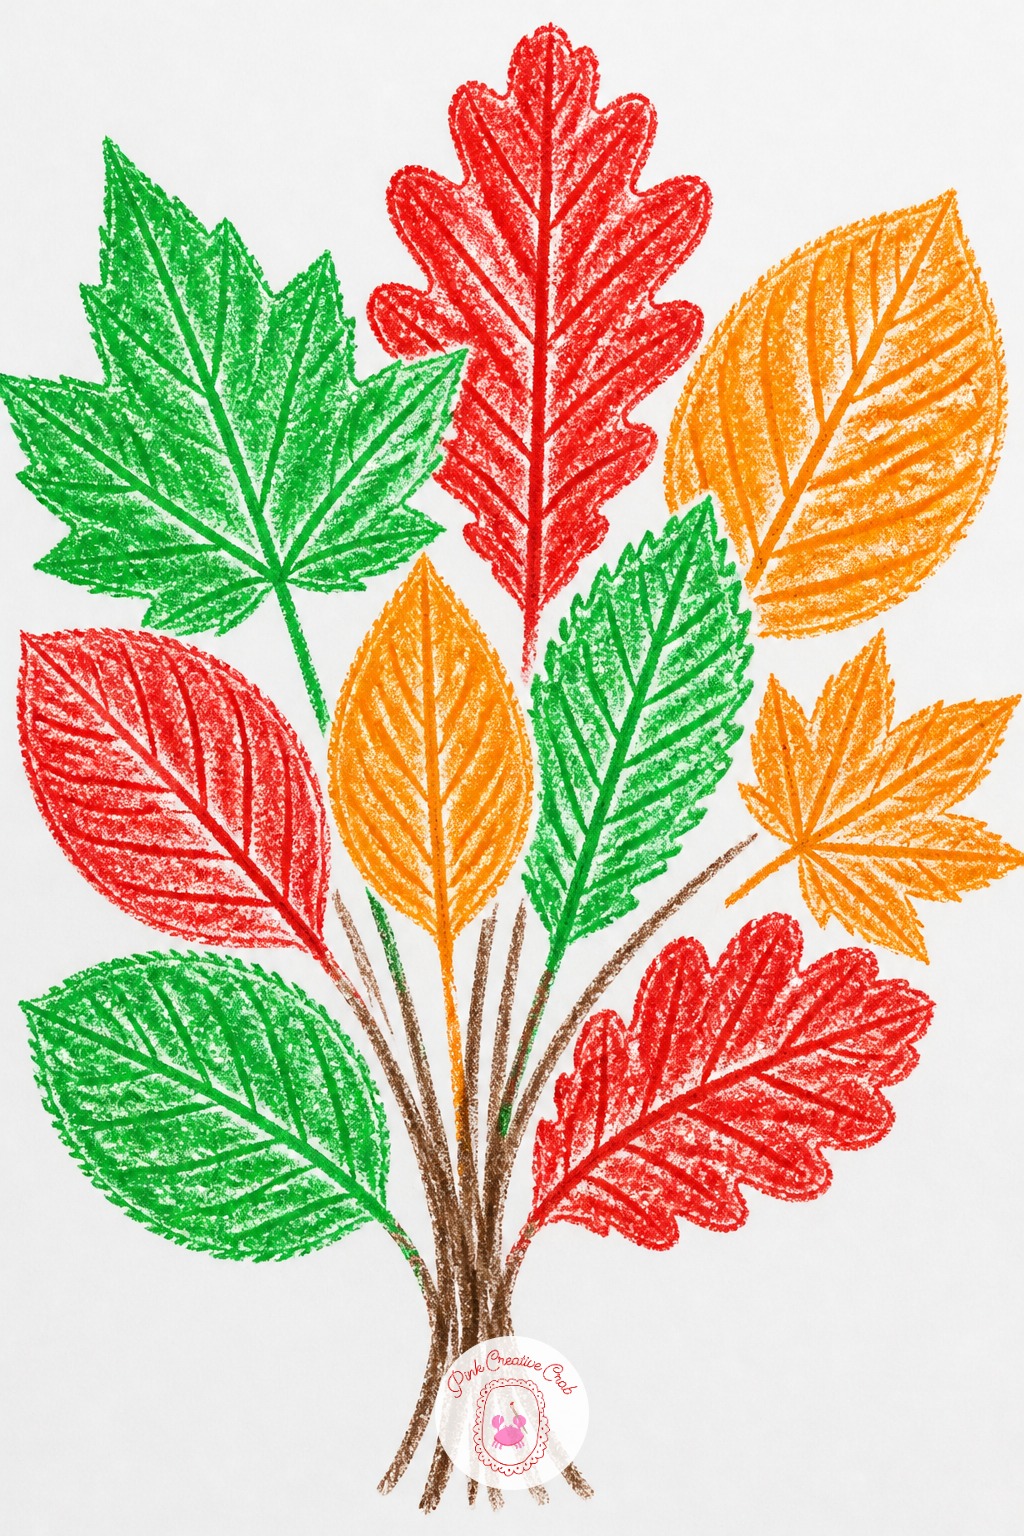
Slide a real leaf, veins facing up, under a sheet of thin paper, then rub the flat side of a peeled crayon across it in one direction only. Going back and forth smudges the veins into a blur, one steady direction pulls every vein out sharp and clear.
Collect three or four rubbings in different leaf shapes and colors, then cut around each one once it cools and arrange them like a bouquet with crayon drawn stems added underneath. Peel the paper label off the crayon first, the flat wax side needs to touch the paper directly to pick up texture.
Polka Dot Ladybug
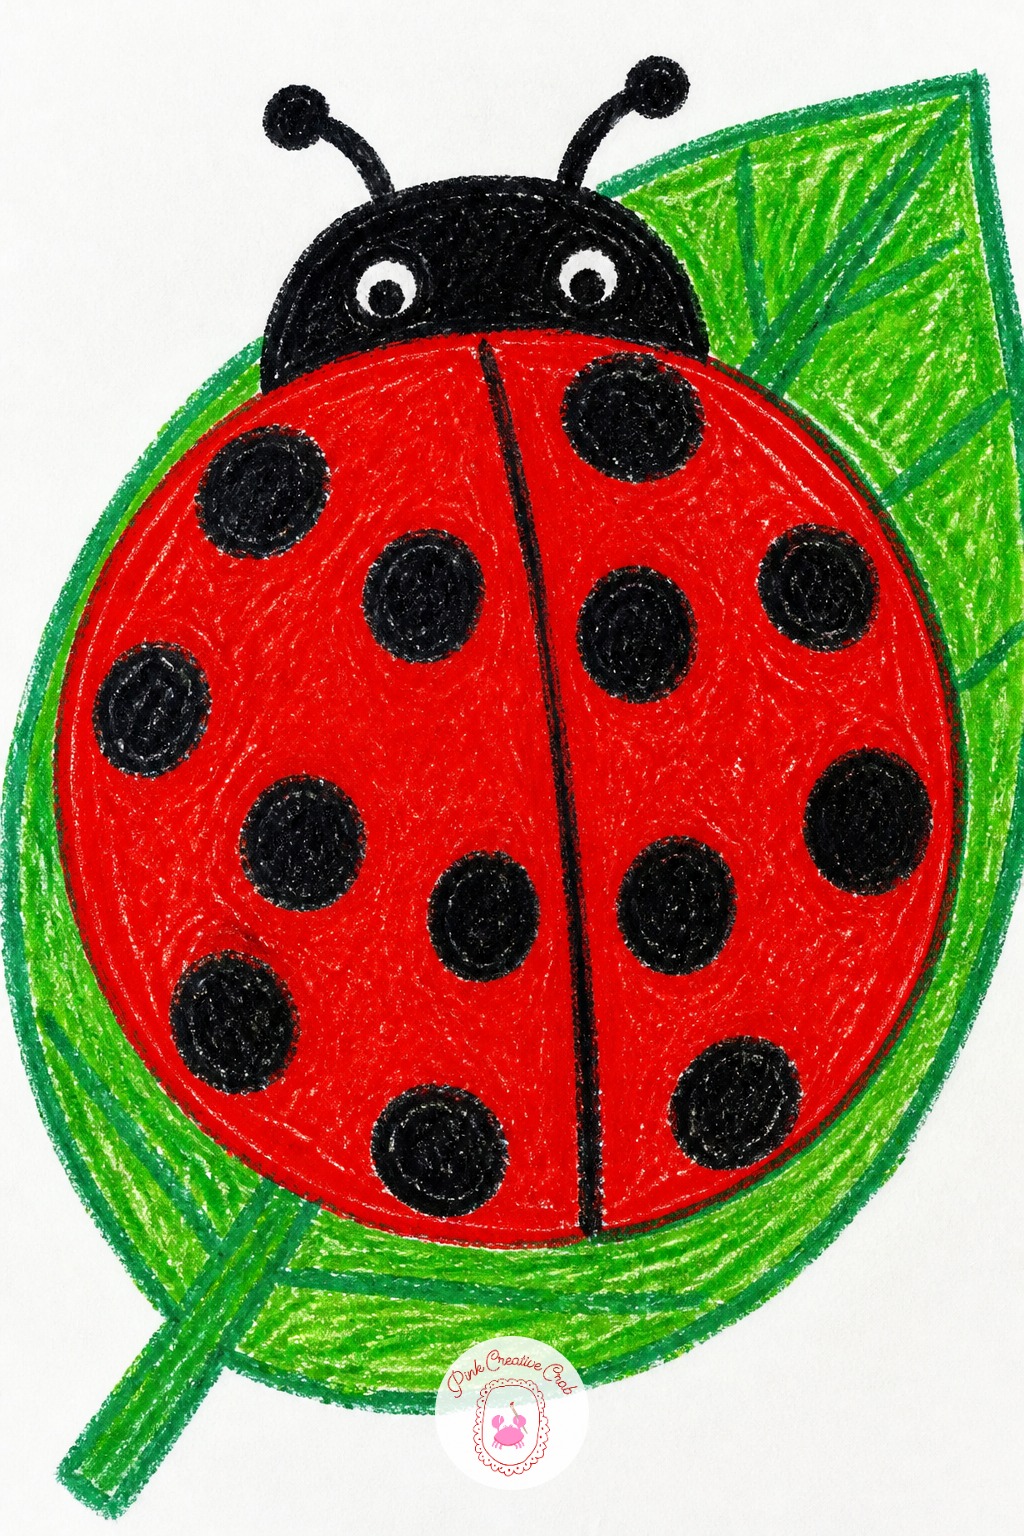
The most common slip with a ladybug is drawing the dots before the red body dries into a solid color, which leaves black dots sitting on patchy red with white gaps showing through. Fix it by coloring the whole red shell first, pressing hard enough that no paper shows, before a single dot goes on top.
Draw a half circle for the shell, a smaller circle for the head, then a straight black line down the middle of the shell to show two wings. Add the dots last, uneven sizes are fine and actually look more like a real ladybug than a perfectly even row.
Simple Sailboat on Waves
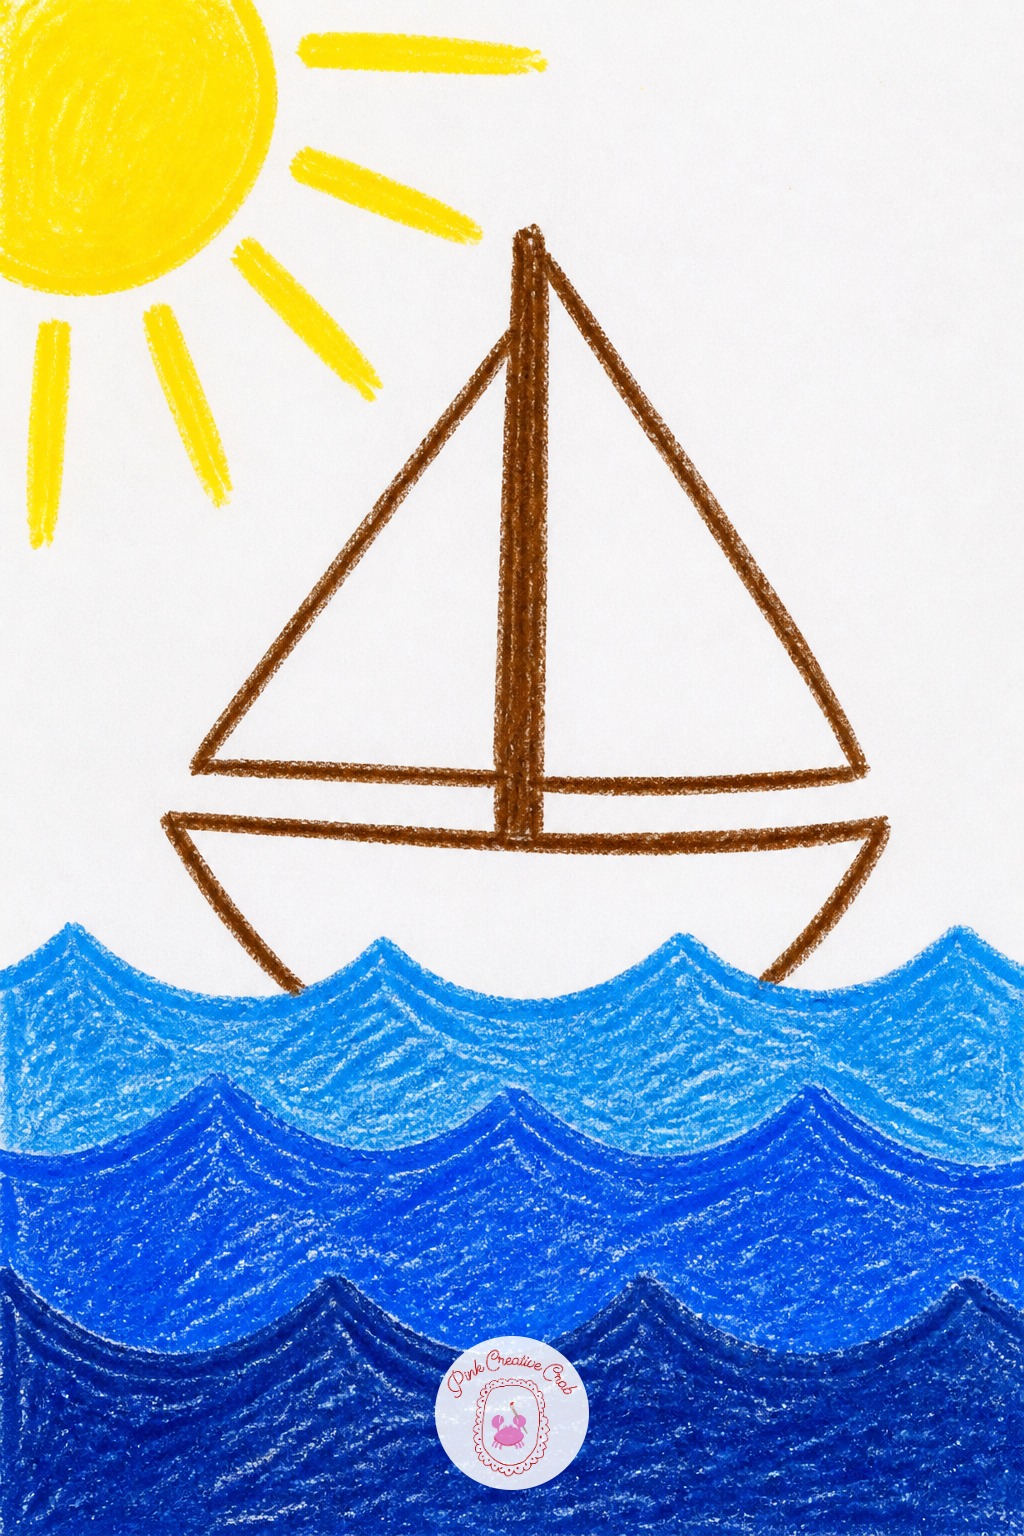
Ten minutes covers a triangle sail, a rectangle boat and three wavy blue lines underneath, colored in fast with big crayon strokes. That version works fine for a quick finish before dinner.
Give it forty minutes and add a striped sail, a flag on top, seagulls as small black checkmarks in the sky, and a sun with rays in the corner. Layer two blues for the water, a darker shade along the bottom of each wave and a lighter one near the top, so the water has depth instead of sitting flat. Either version counts as finished.
Striped Beach Ball
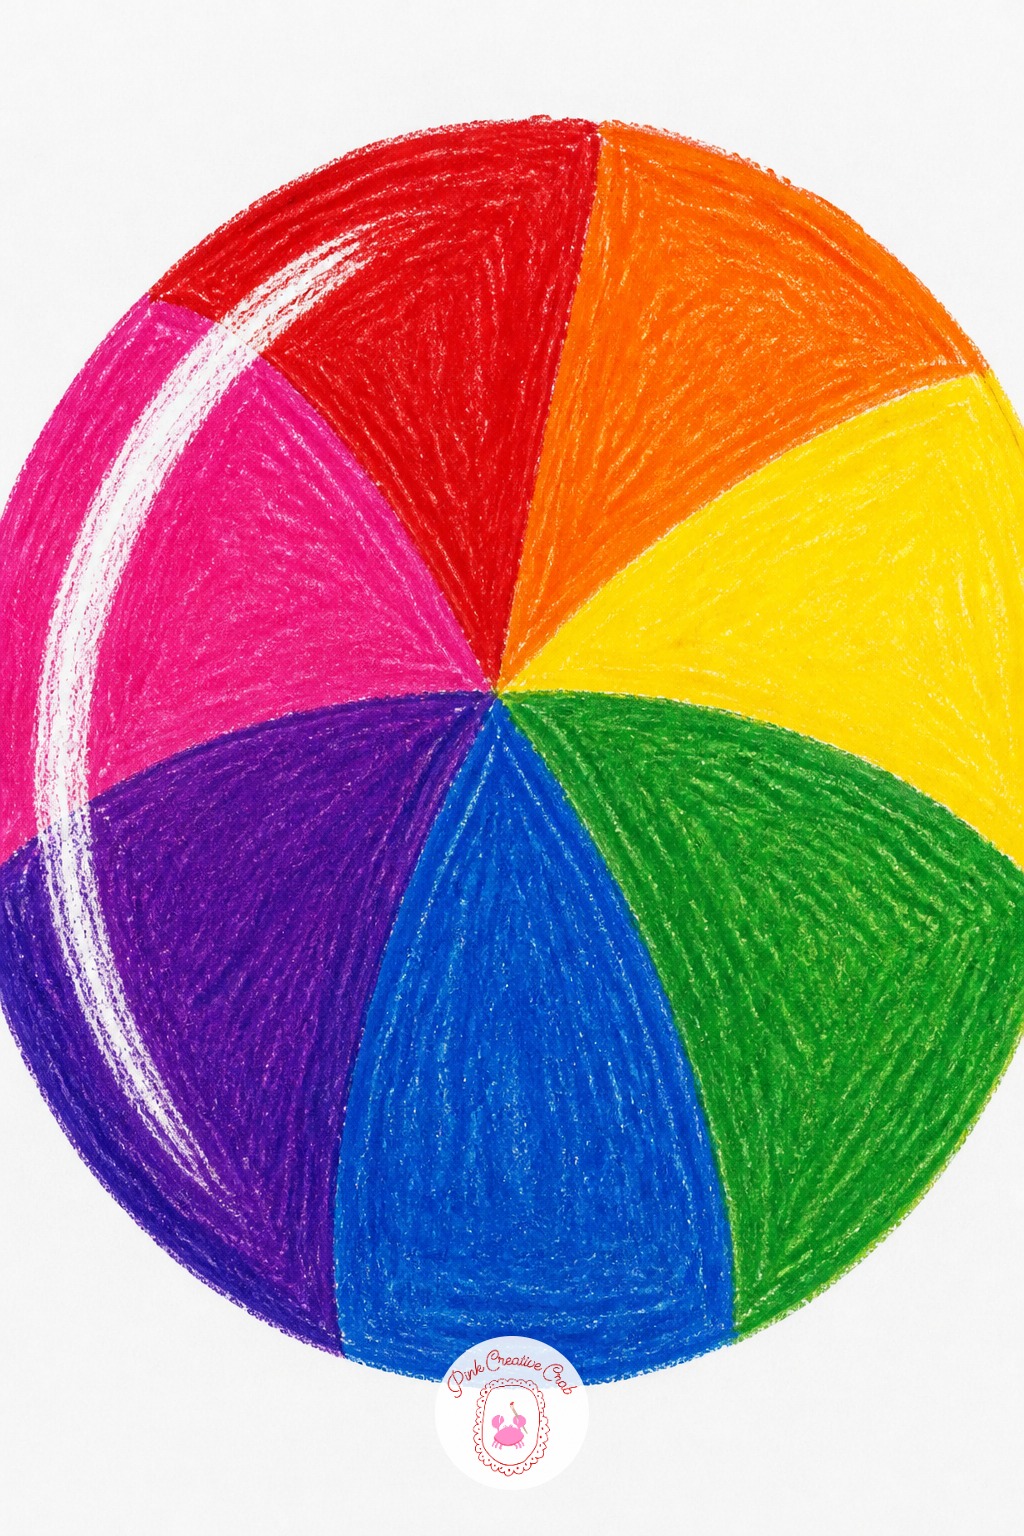
Draw one big circle, then divide it with lines that all cross through the center point, like slicing a pie, and color each slice a different bright shade. That center point trick keeps the stripes even even when a small hand draws them freehand.
Once a striped ball works, change it up: next time make the stripes curve instead of straight for a ball that looks like it is spinning, or swap the rainbow colors for just two colors in a checkerboard pattern. Add a thin white crayon highlight on one side so the ball looks round instead of flat.
Wax Resist Starry Night Sky
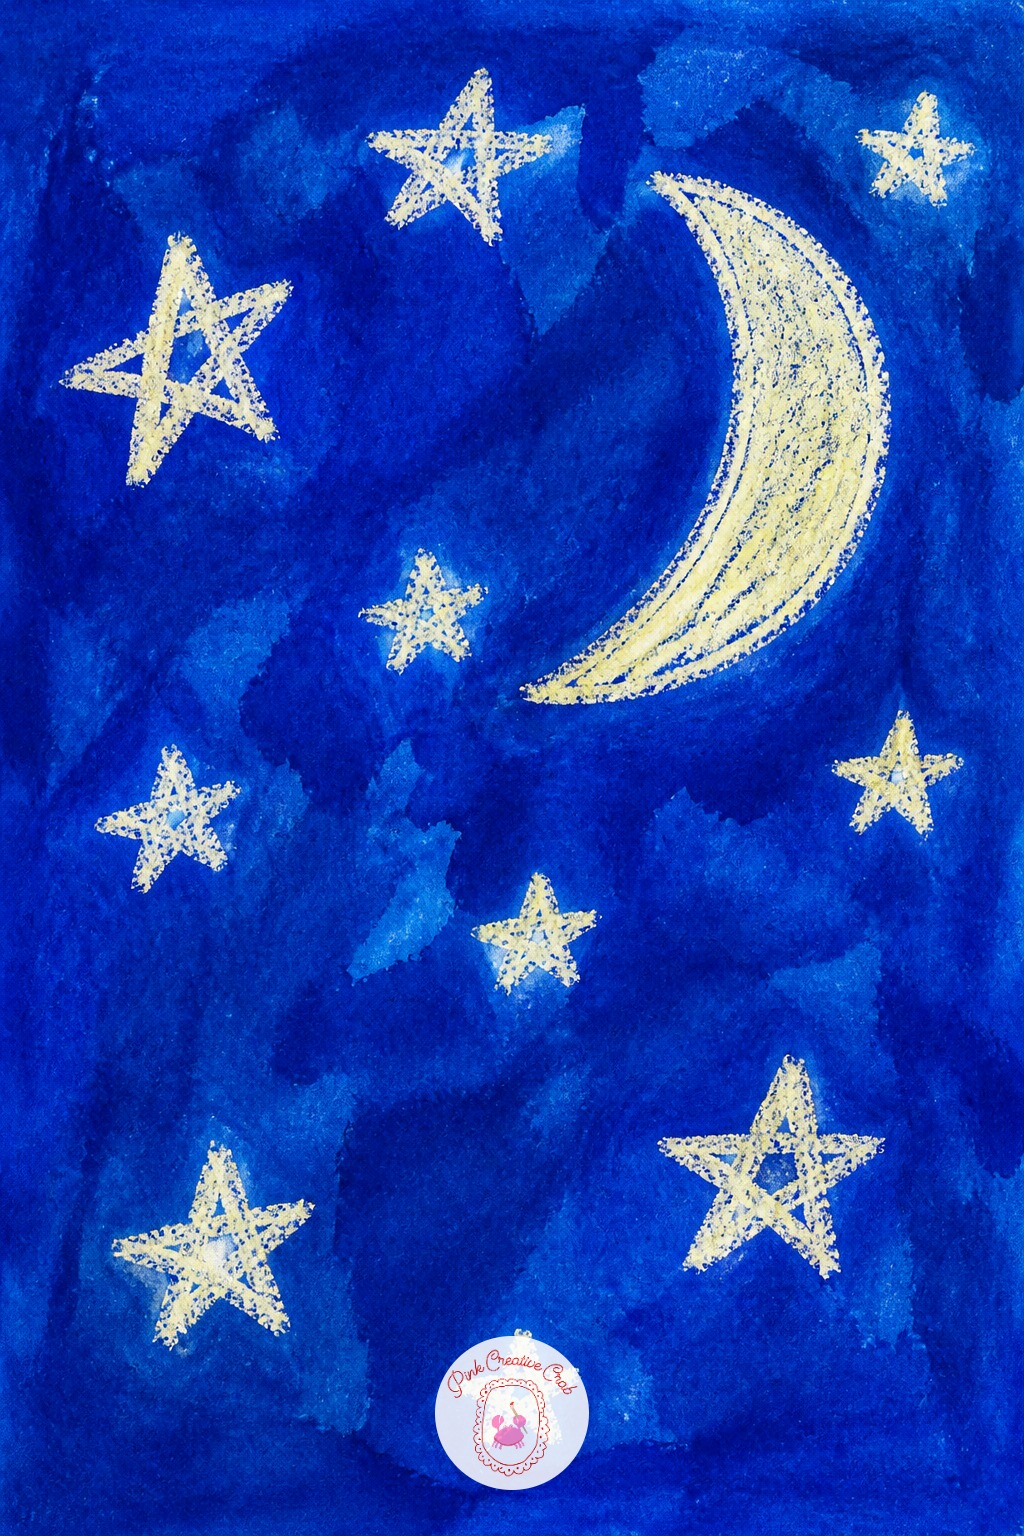
White crayon pressed firmly onto white paper leaves a shape nobody can see until the next step, which is the whole trick behind wax resist. Press hard enough that the crayon leaves a thick waxy layer, light pressure disappears completely under the paint.
Draw stars, a moon shape and a few swirly clouds in white crayon first, then brush a wash of dark blue or purple watercolor over the entire paper. The paint slides right off the waxy marks and soaks into everything else, so the stars appear like magic once the brush passes over them. This wax resist trick is one of the most reliable crayon drawing ideas for a night sky, because the white lines stay invisible until the paint goes on.
Rainbow Fish with Layered Scales
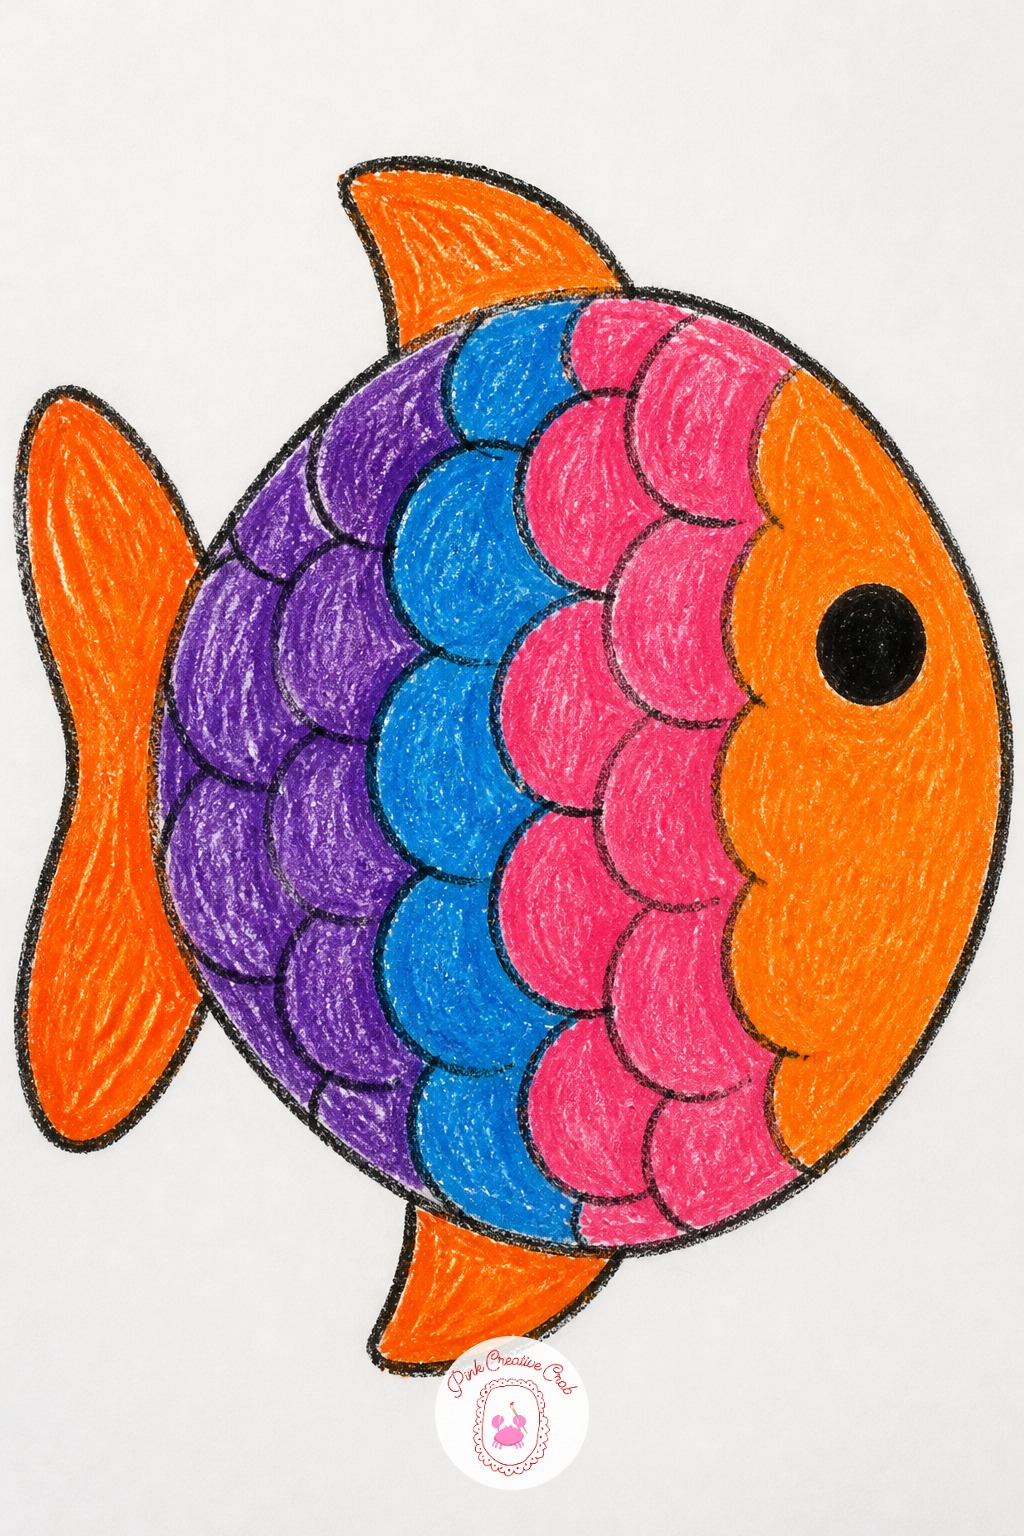
Draw the fish’s whole outline first, a fat oval body with a triangle tail, before a single scale goes on, so the color stays inside one clear shape. Second, mark a curved line near the tail for where the scale pattern will start.
Third, press small curved scoops of color in overlapping rows, starting at the tail and working toward the head, each new row overlapping the top edge of the row before it like real fish scales. Save the eye and the small fins for last, once the rainbow body is fully covered. Use at least four different colors in the rows so the layering actually shows.
Tall Sunflower Row
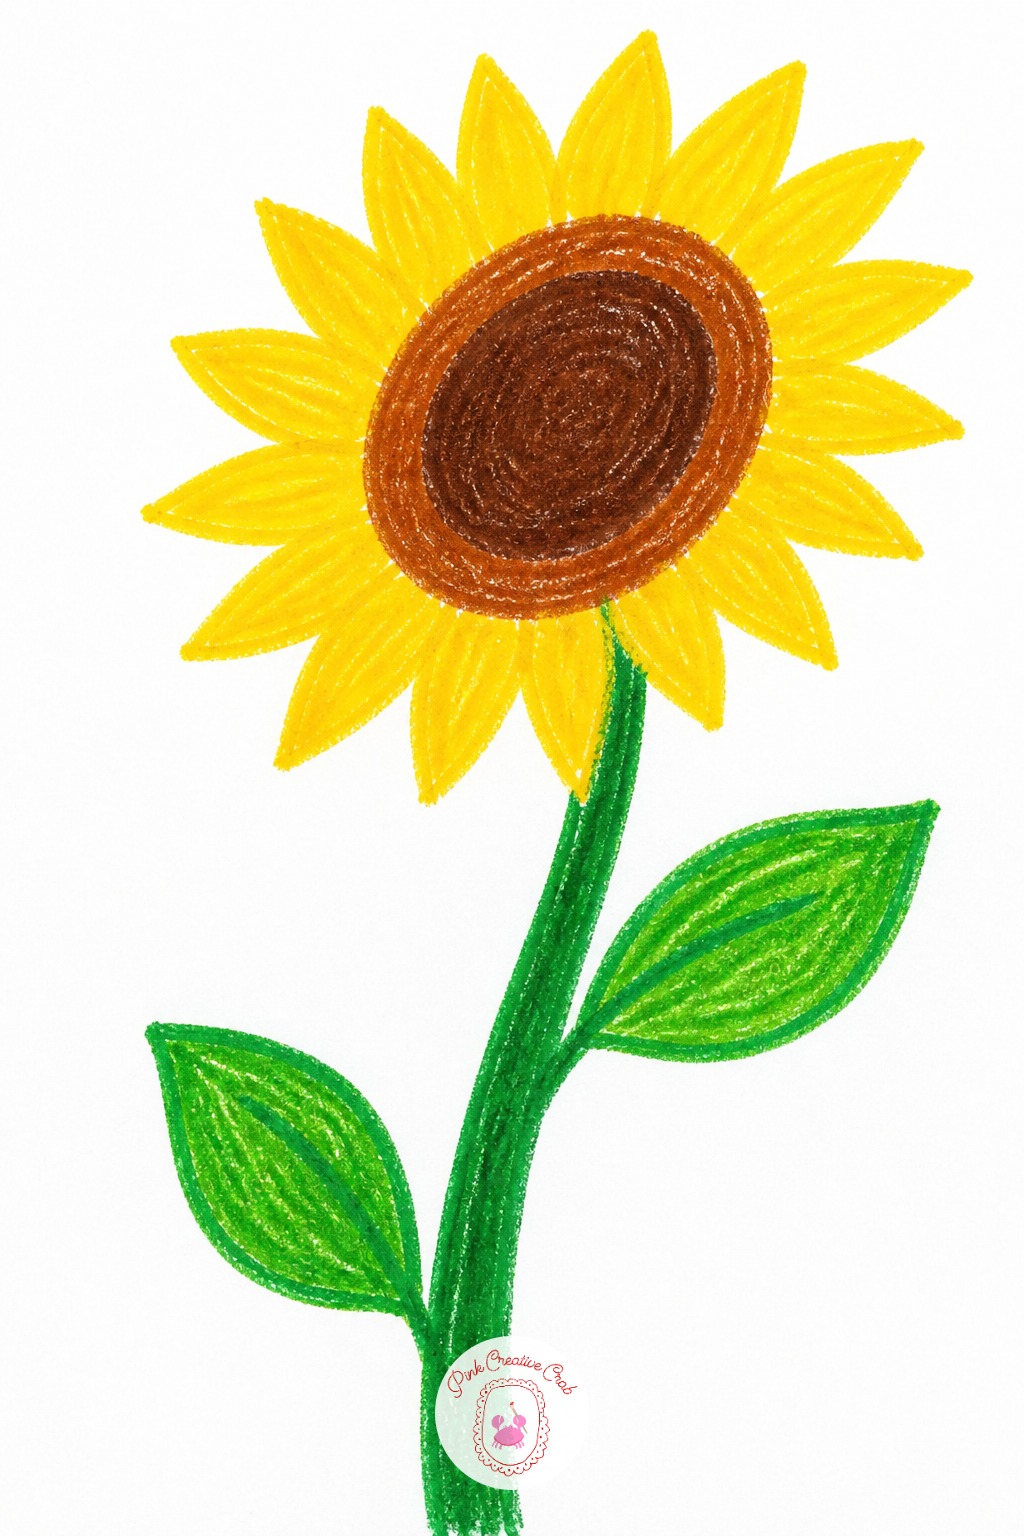
Make the flower head about as wide as two of the child’s own fists, and the stem below it roughly three times that height, so the sunflower reads as tall instead of squat. A short stem under a big flower head looks more like a lollipop than a sunflower.
Draw the brown center circle first, then ring it with pointed yellow petals all the same length, then add the stem and two leaves roughly halfway down. Lean the whole flower slightly to one side rather than drawing it bolt upright, real sunflowers rarely stand perfectly straight.
Nighttime Owl in a Tree
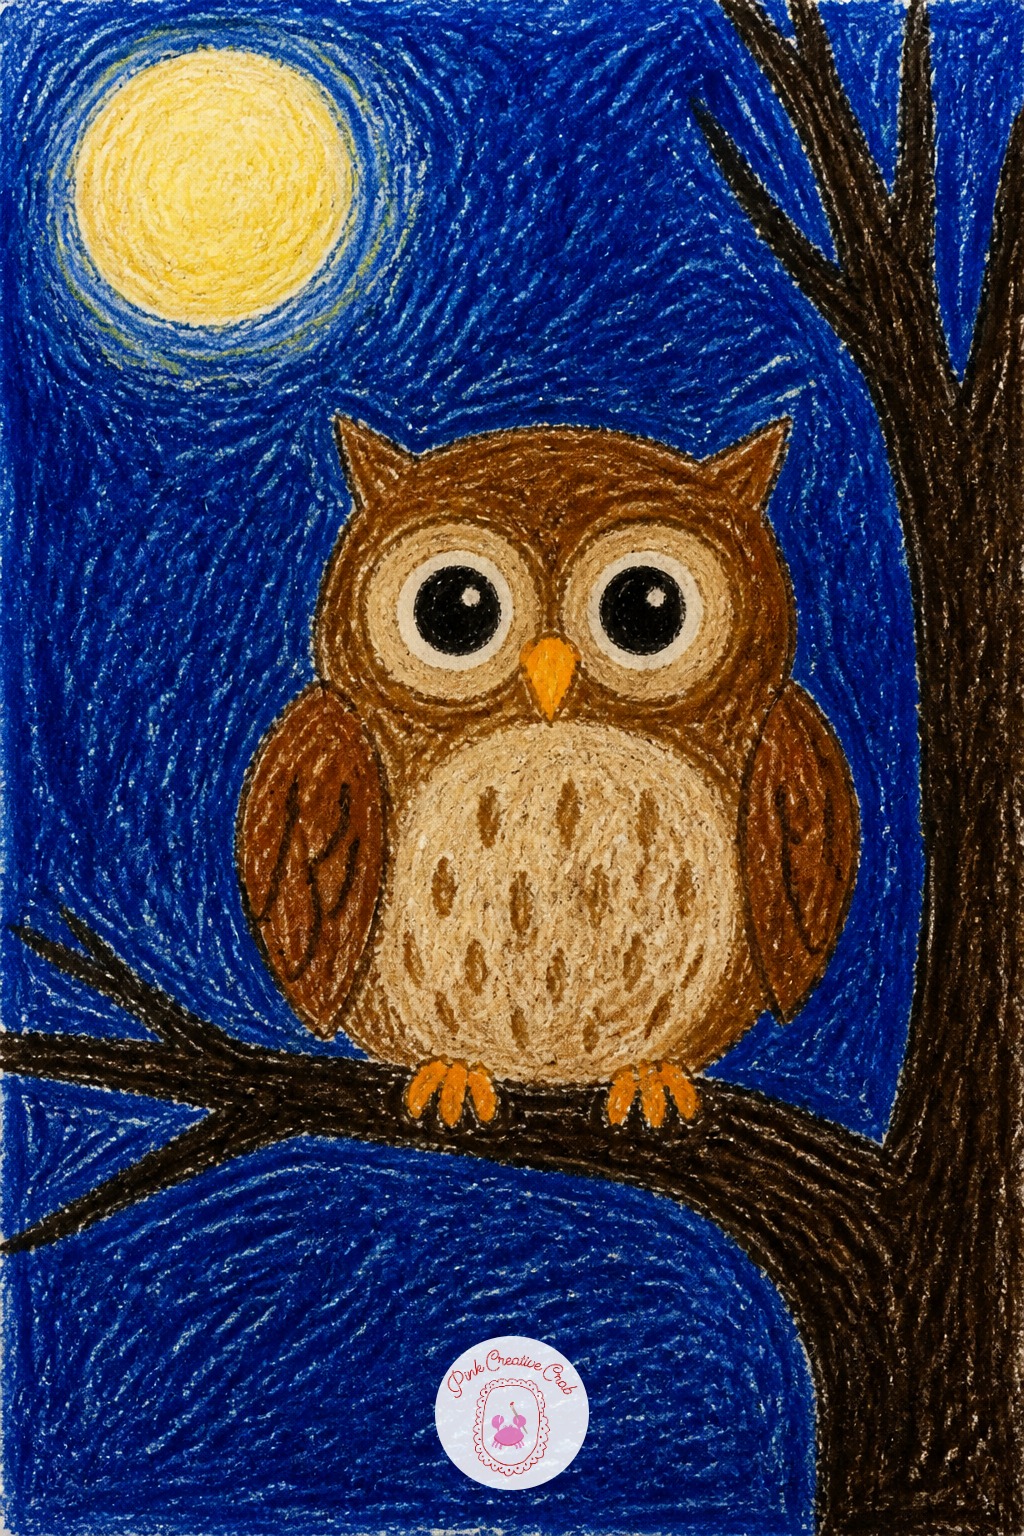
Set the moon in one corner of the paper and let it be the only light source, which means the owl’s belly facing the moon stays pale while the side turned away gets a darker shade of brown. That one shift in shading makes a flat round owl look like it is actually sitting in the dark.
Keep the owl’s body one big oval, with two smaller ovals for eyes set close together near the top, since owls have forward-facing eyes unlike most birds. For more bird shapes that work well in a beginner sketch, this bird drawing guide has related ideas. Color the branch under the owl darker than the owl itself so the bird stands out.
Textured Turtle Shell Rubbing
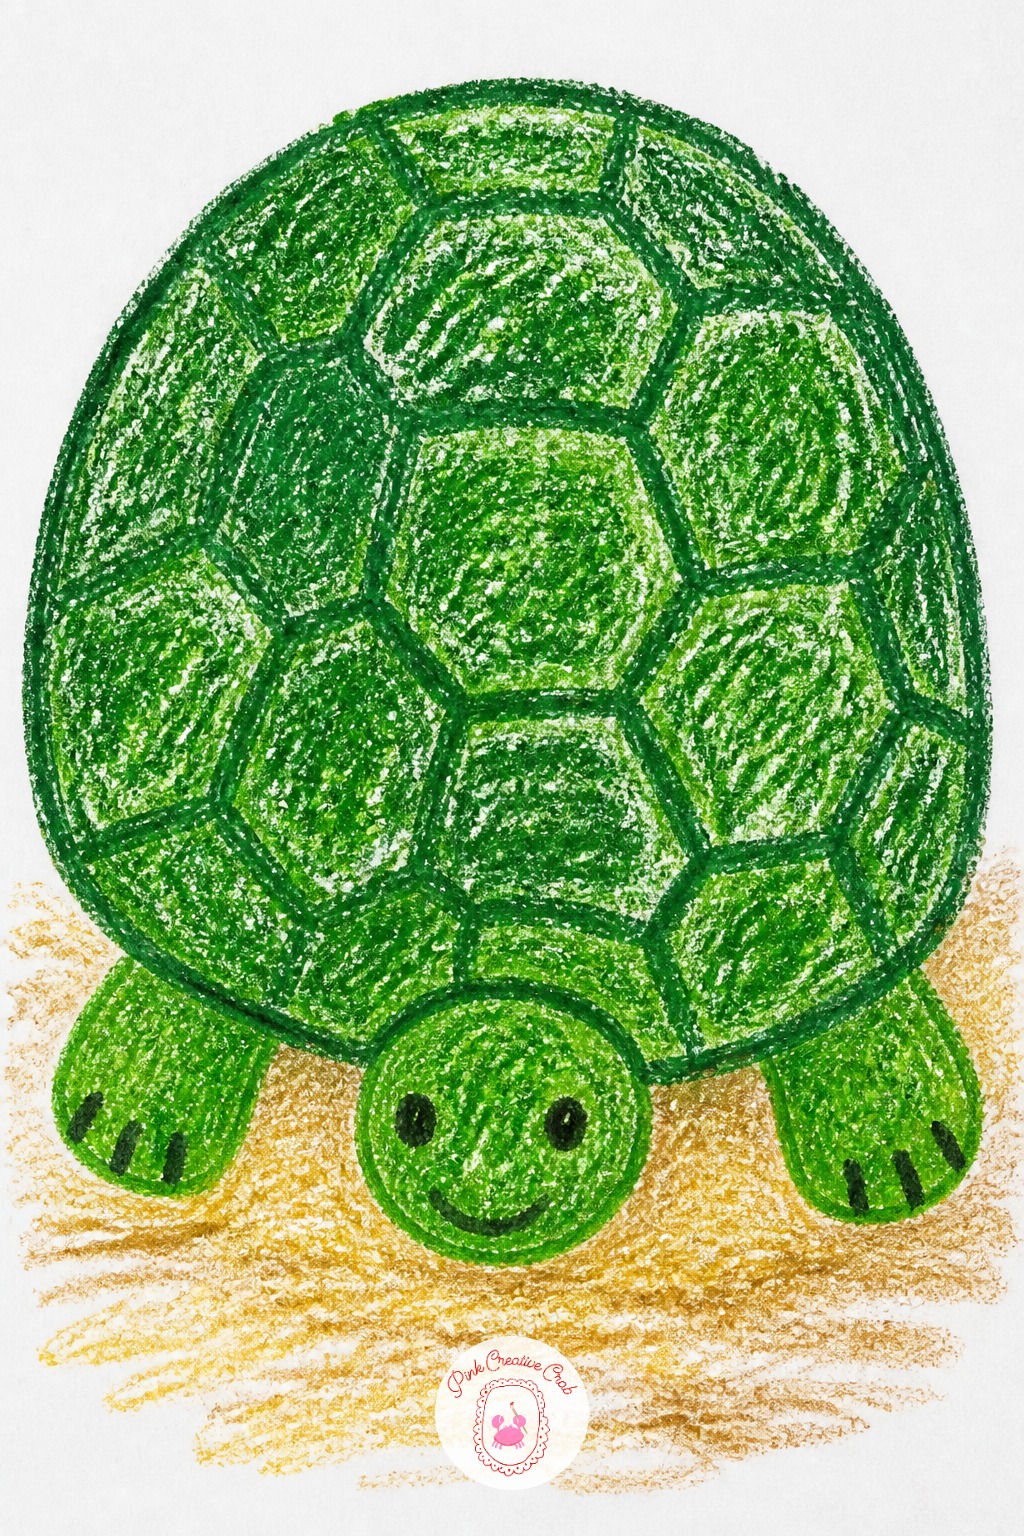
Slip a piece of coarse fabric, a scrap of corrugated cardboard, or a textured placemat under the paper where the turtle’s shell will sit, then rub a dark green crayon flat side down right over that spot. The bumpy texture underneath transfers straight into the shell without a single line drawn by hand.
Draw the turtle’s head, legs and tail around the textured patch once the rubbing is done, keeping the body shapes simple and rounded. Try a different textured object under the shell next time, a coin or a leaf gives a completely different pattern.
Classic Three Ball Snowman
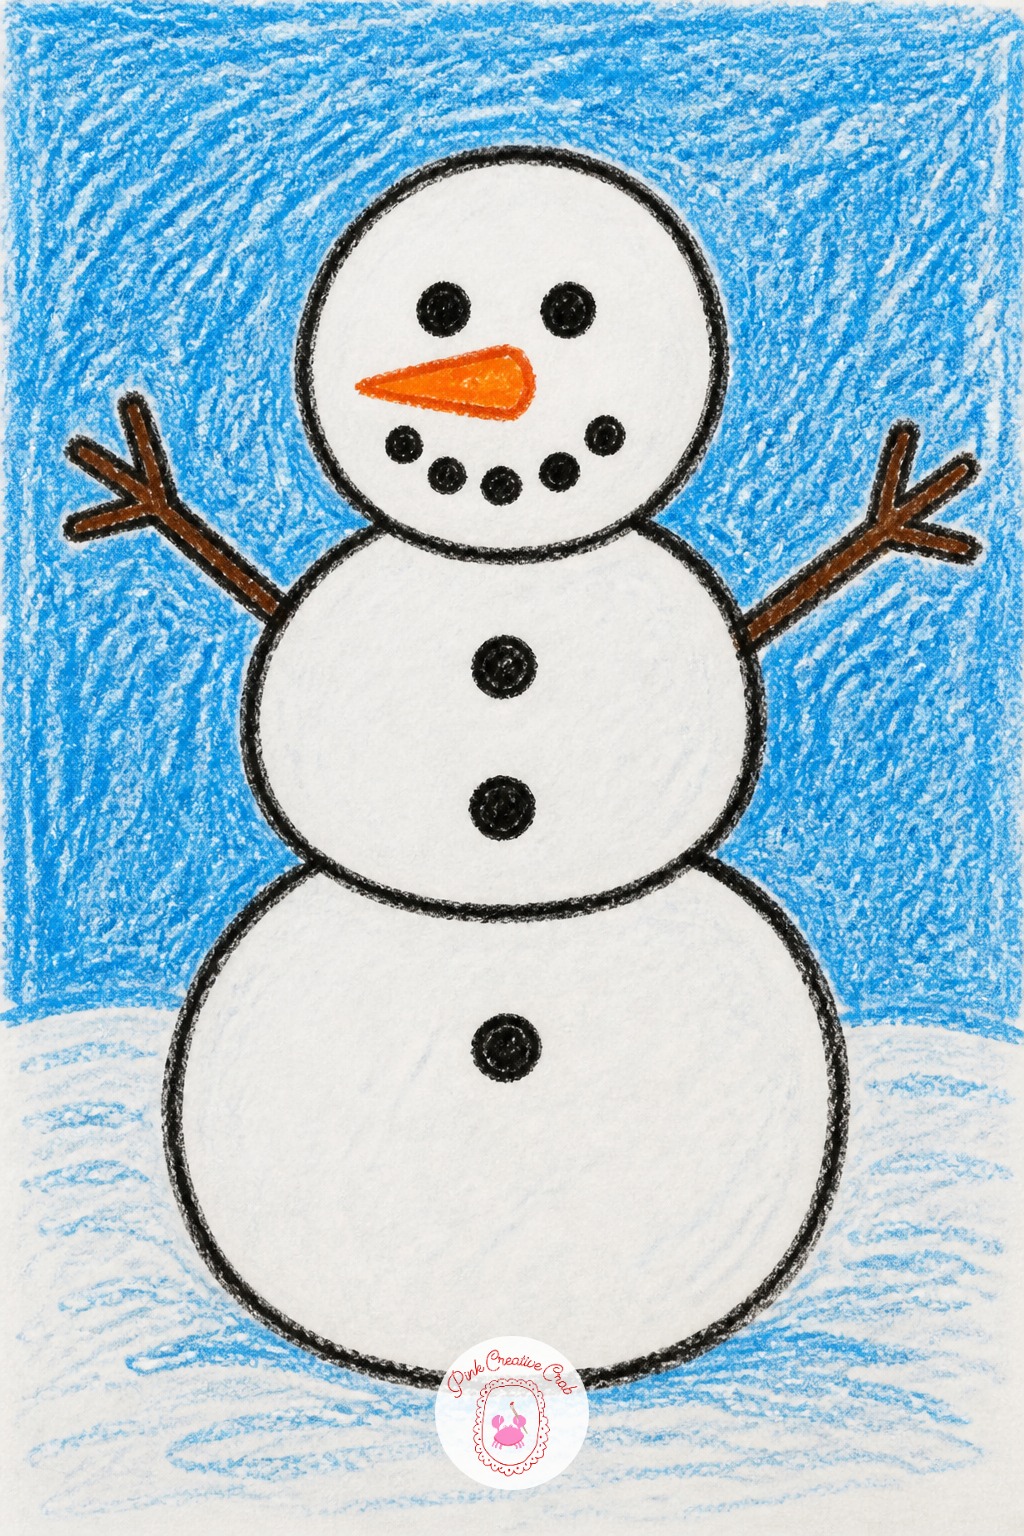
Three circles stacked with the biggest at the bottom is the classic shape, but the common mistake is making all three circles close to the same size, which flattens the snowman into a tall oval instead of three distinct balls. Halfway through, check that the bottom circle is clearly bigger than the middle one, and the middle clearly bigger than the head.
If the sizes already look off, add a thick black outline around each circle to separate them visually, that fixes the shape without starting over. Finish with stick arms, a carrot nose and button dot eyes pressed on with the tip of a dark crayon.
Rainbow Arc with Clouds
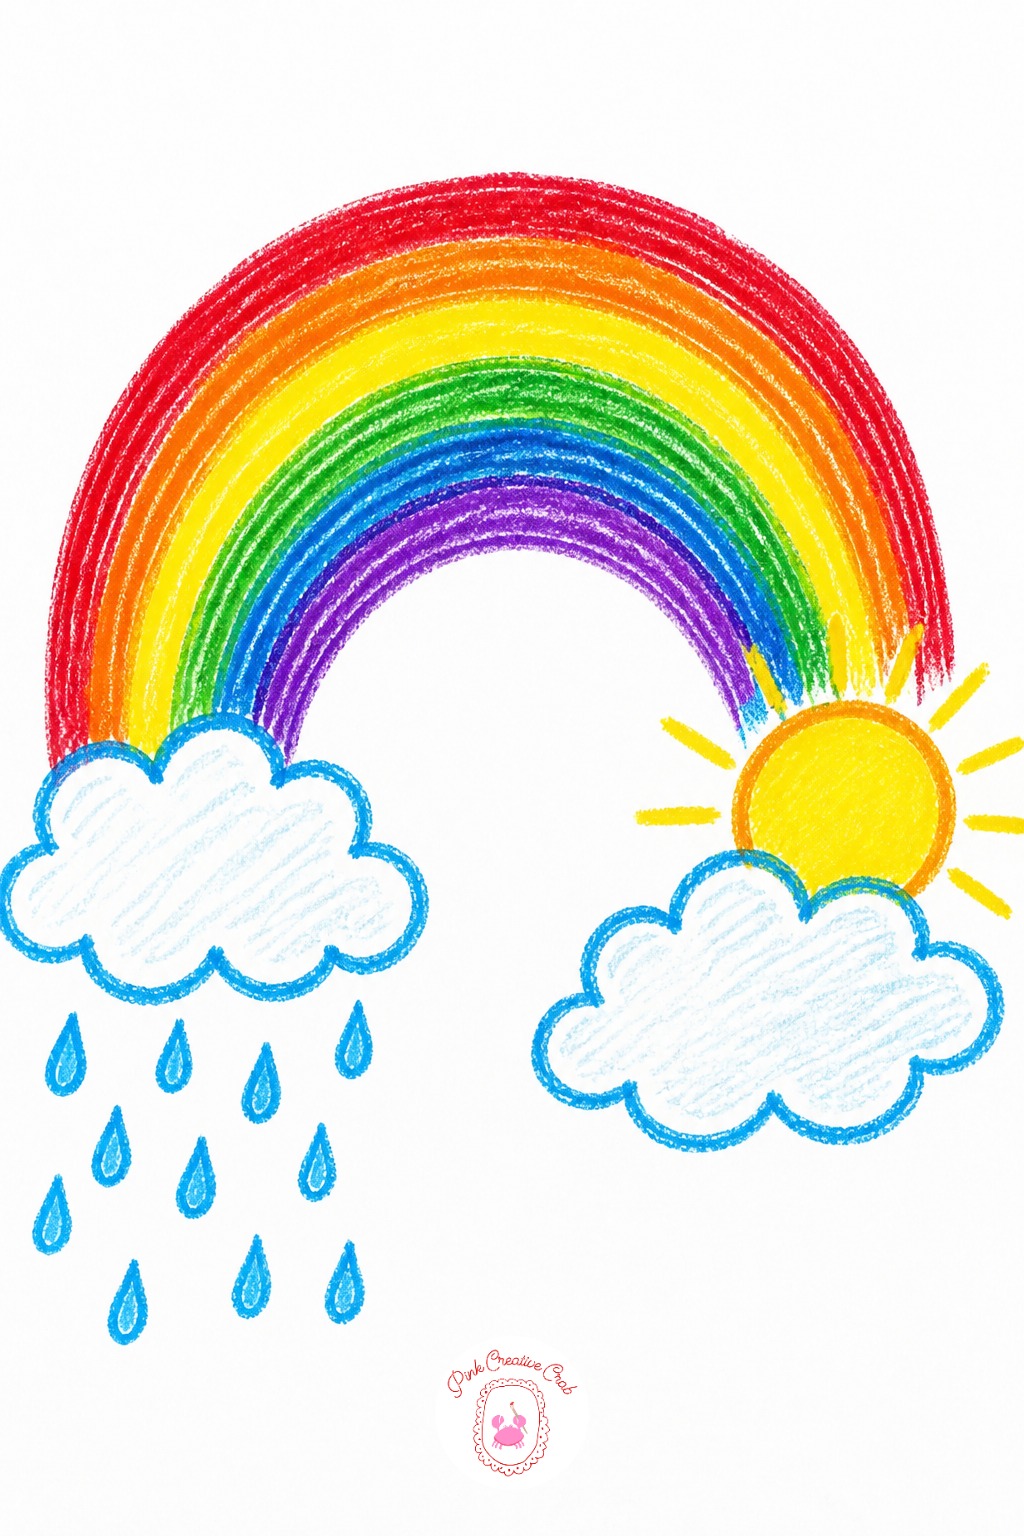
Ten minutes makes a simple arc: draw one curved line, then stack five more curved lines underneath it in rainbow order, red on the outside working down to purple. That alone finishes a bright, happy page fast.
With forty minutes, add a fluffy cloud at each end of the arc, a sun poking out from behind one cloud, and tiny raindrops falling from the far cloud to show where the rainbow came from. Keep the arc bands roughly the same width all the way around so the rainbow stays even rather than squished on one side.
Friendly Dinosaur Silhouette
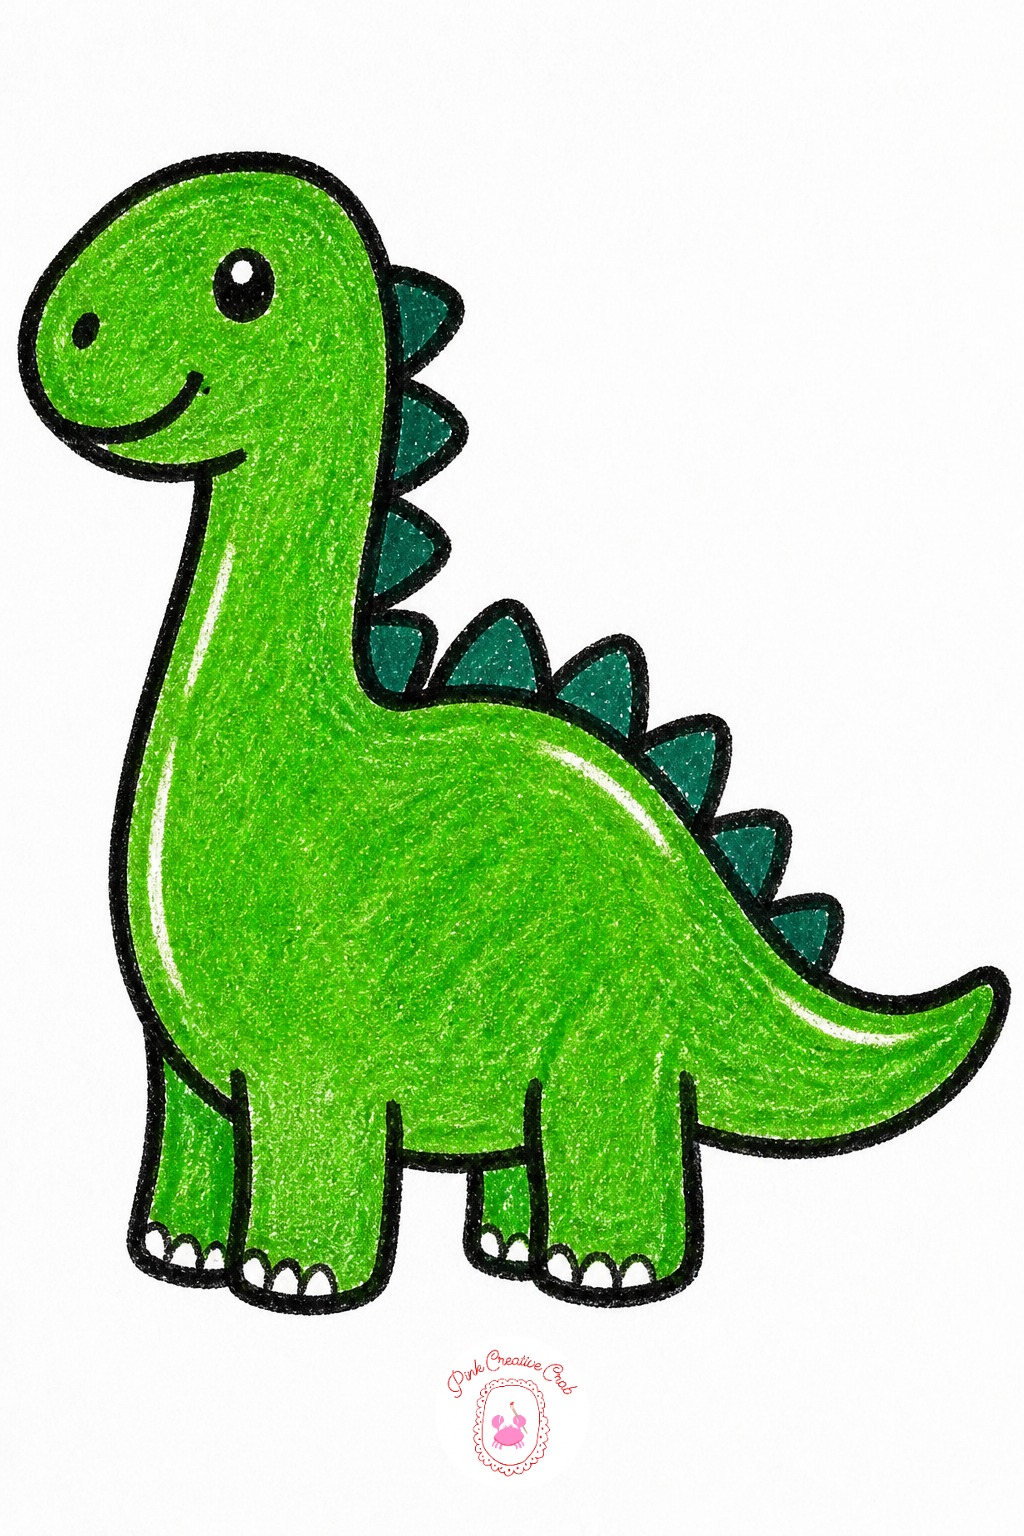
Build the dinosaur from three simple shapes: an oval body, a smaller oval head, and triangle spikes running down the back, all in one solid green. Outline the whole thing in black once the color is down so the silhouette reads clearly even from across the room.
Once that basic dinosaur works, vary it next time with a long necked shape for a different dinosaur type, or swap the spikes for a row of plates instead. Add tiny white crayon highlights along the top edge of the back so the body looks slightly rounded rather than completely flat.
Melted Crayon Sunset
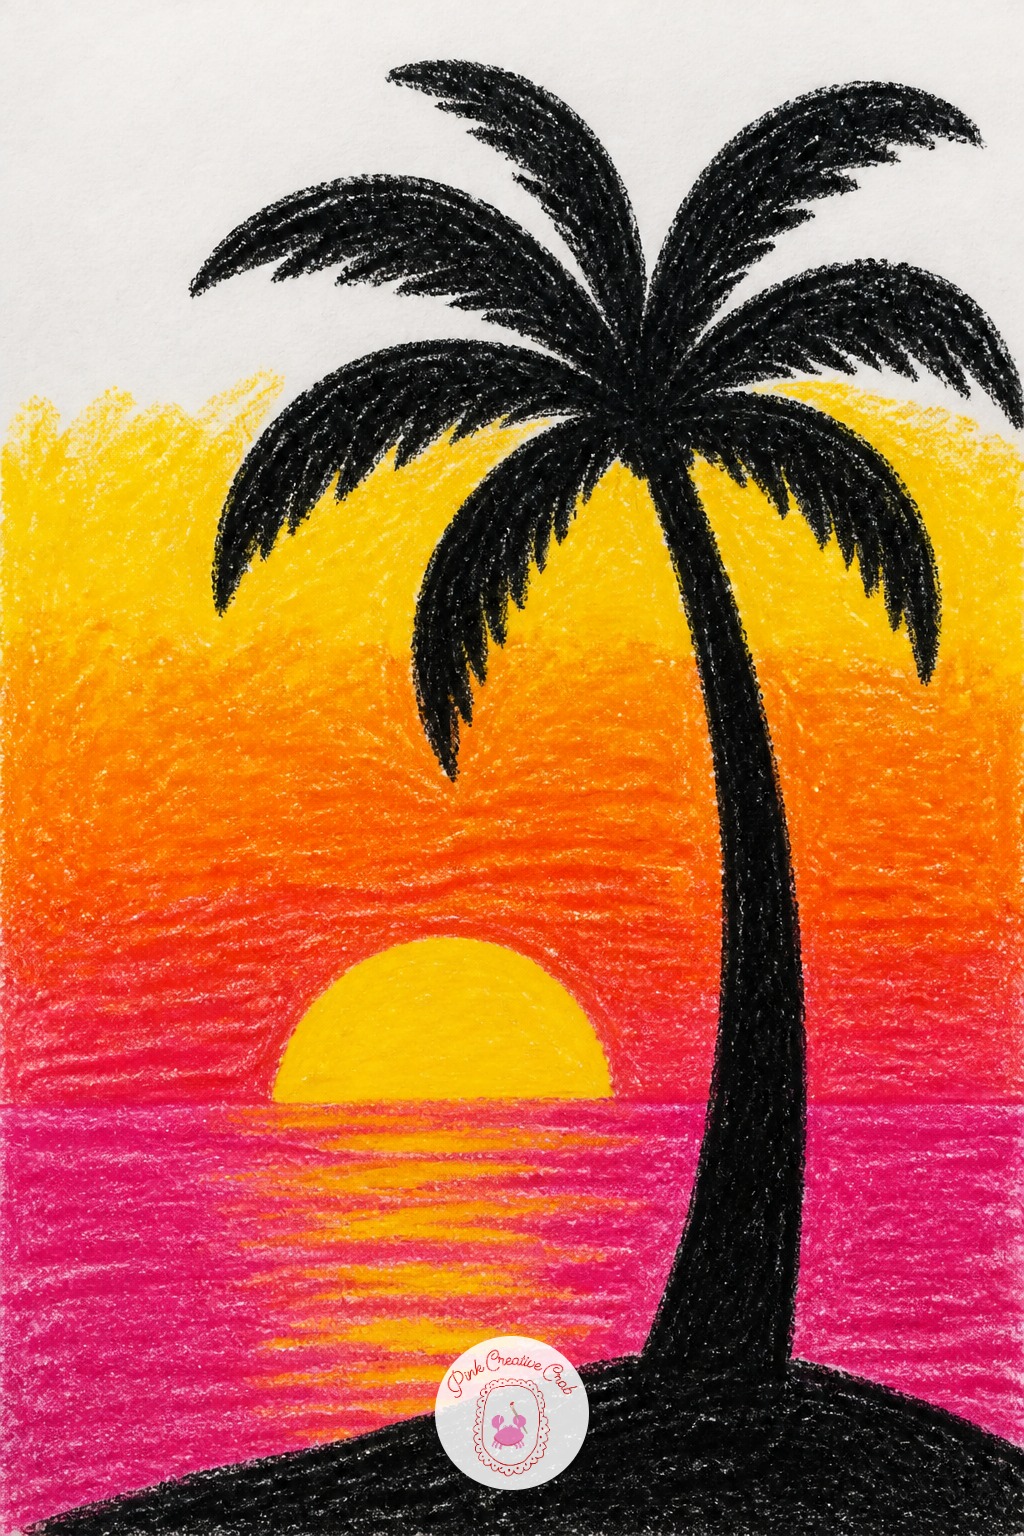
Plan this one for a moment when a grown-up has both hands free, since it needs an adult’s help with a warm iron or hair dryer. Shave small curls of orange, red, pink and yellow crayon with a dull table knife, scatter them near the bottom edge of a sheet of paper, then cover with a second sheet and press a warm iron over the top for a few seconds.
The wax melts and spreads into a soft, blended sunset with no brush needed at all. Once it cools, a child can draw simple black palm tree or bird silhouettes on top with a regular crayon. Keep the iron moving the whole time, holding it still in one spot can scorch the paper.
Scratch Art Firework Burst
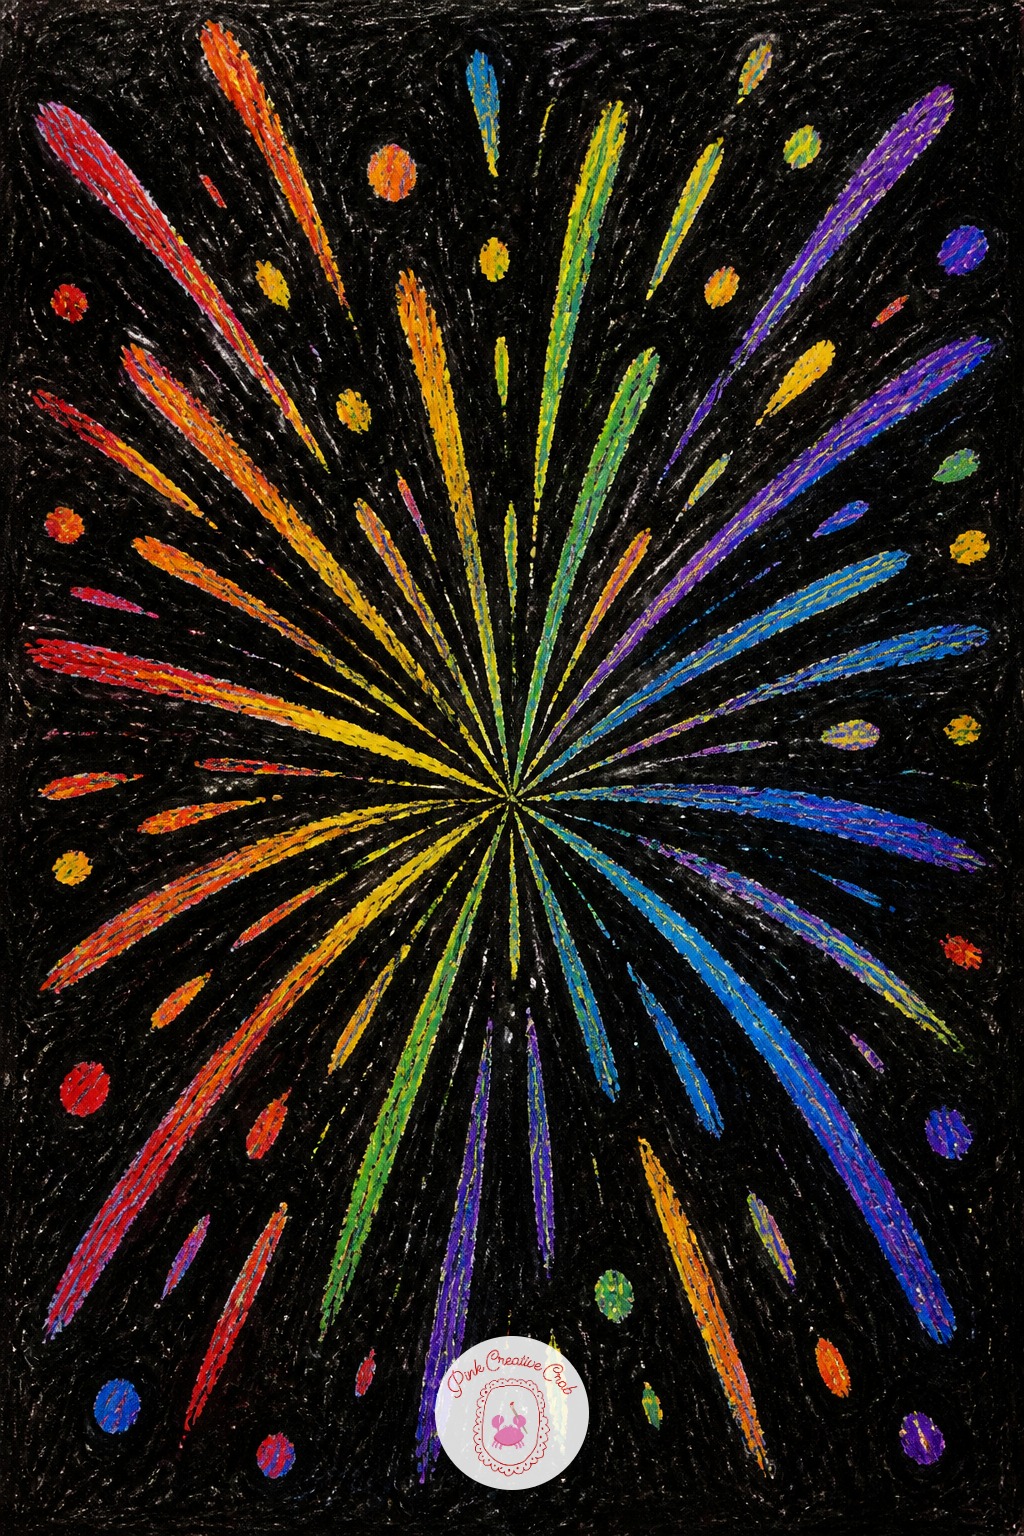
First, cover a square of paper edge to edge in several bright crayon colors, pressing hard enough to leave a thick waxy layer with no white gaps. Second, paint a full layer of black crayon or black poster paint over the entire colored square, covering every bit of bright color underneath.
Third, once the black layer is dry, scratch firework lines out from a center point using the edge of a coin or a wooden craft stick, so the bright colors show through the black like sparks. Save the thin trailing lines for last, they look best scratched lightly rather than pressed deep.
Tall Patchwork Giraffe
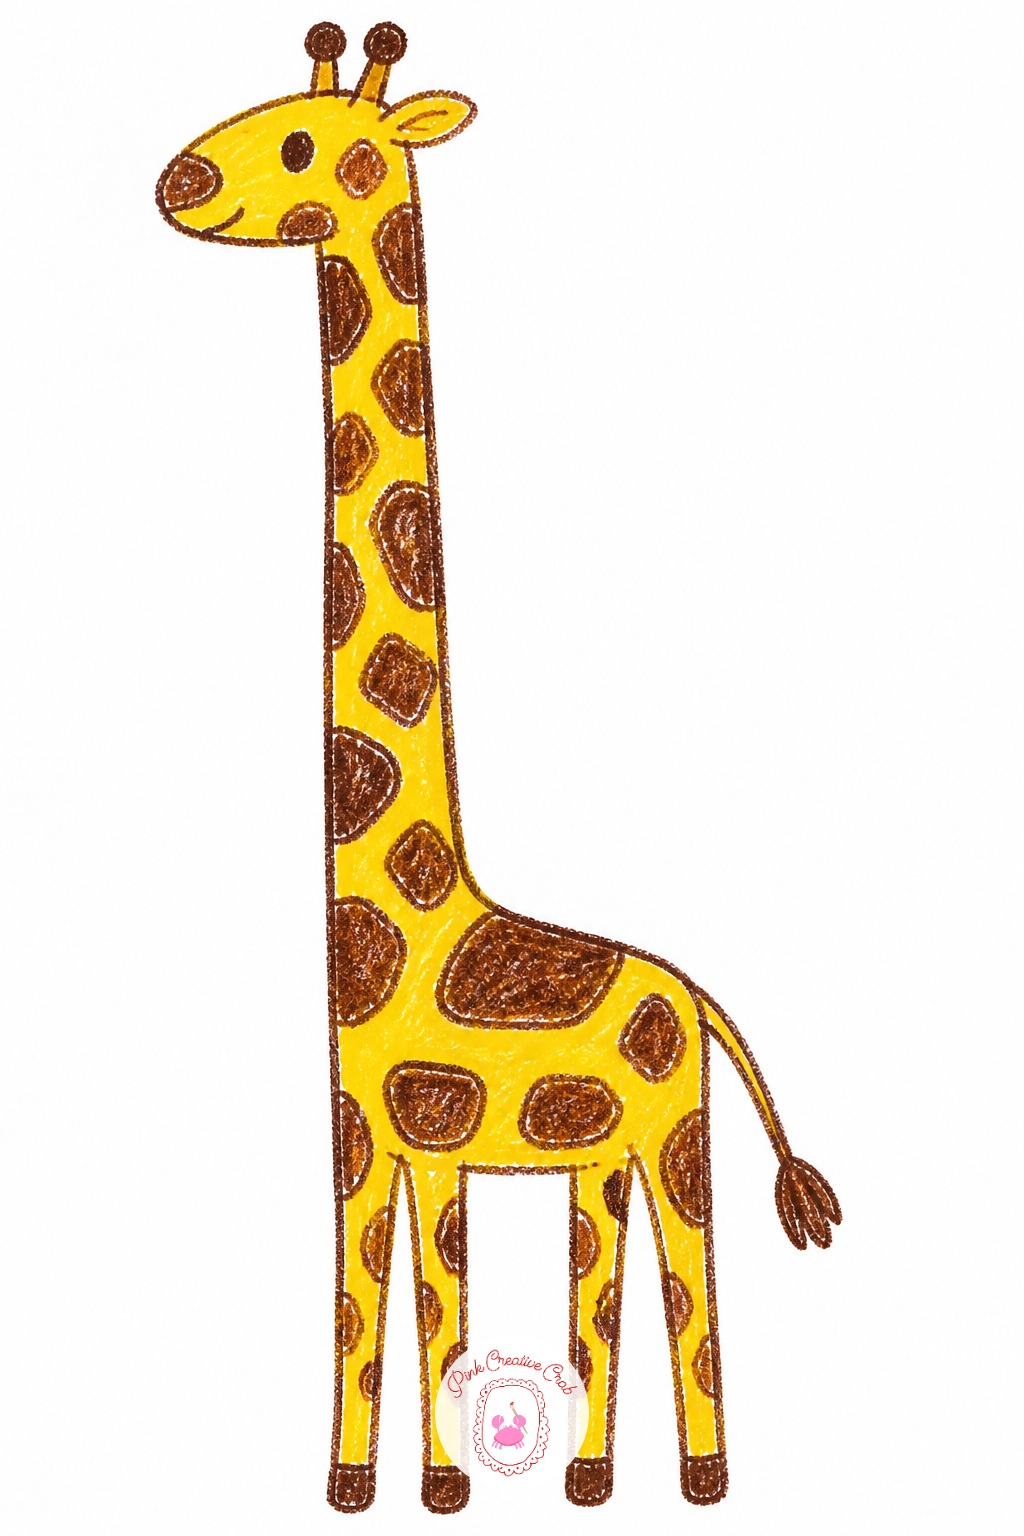
Measure before drawing: a giraffe’s neck runs about as long as its whole body, head to tail, which feels surprisingly tall on a normal sheet of paper. Turn the paper to stand upright rather than sideways before starting, it gives the neck room to stretch without running off the top.
Draw the long neck and small head first, then the body and four straight legs, then fill the whole shape with uneven patchwork spots in orange or brown rather than perfect circles. Leave thin strips of the base yellow color showing between every spot so the pattern reads clearly instead of blurring together.
Underwater Fish Scene
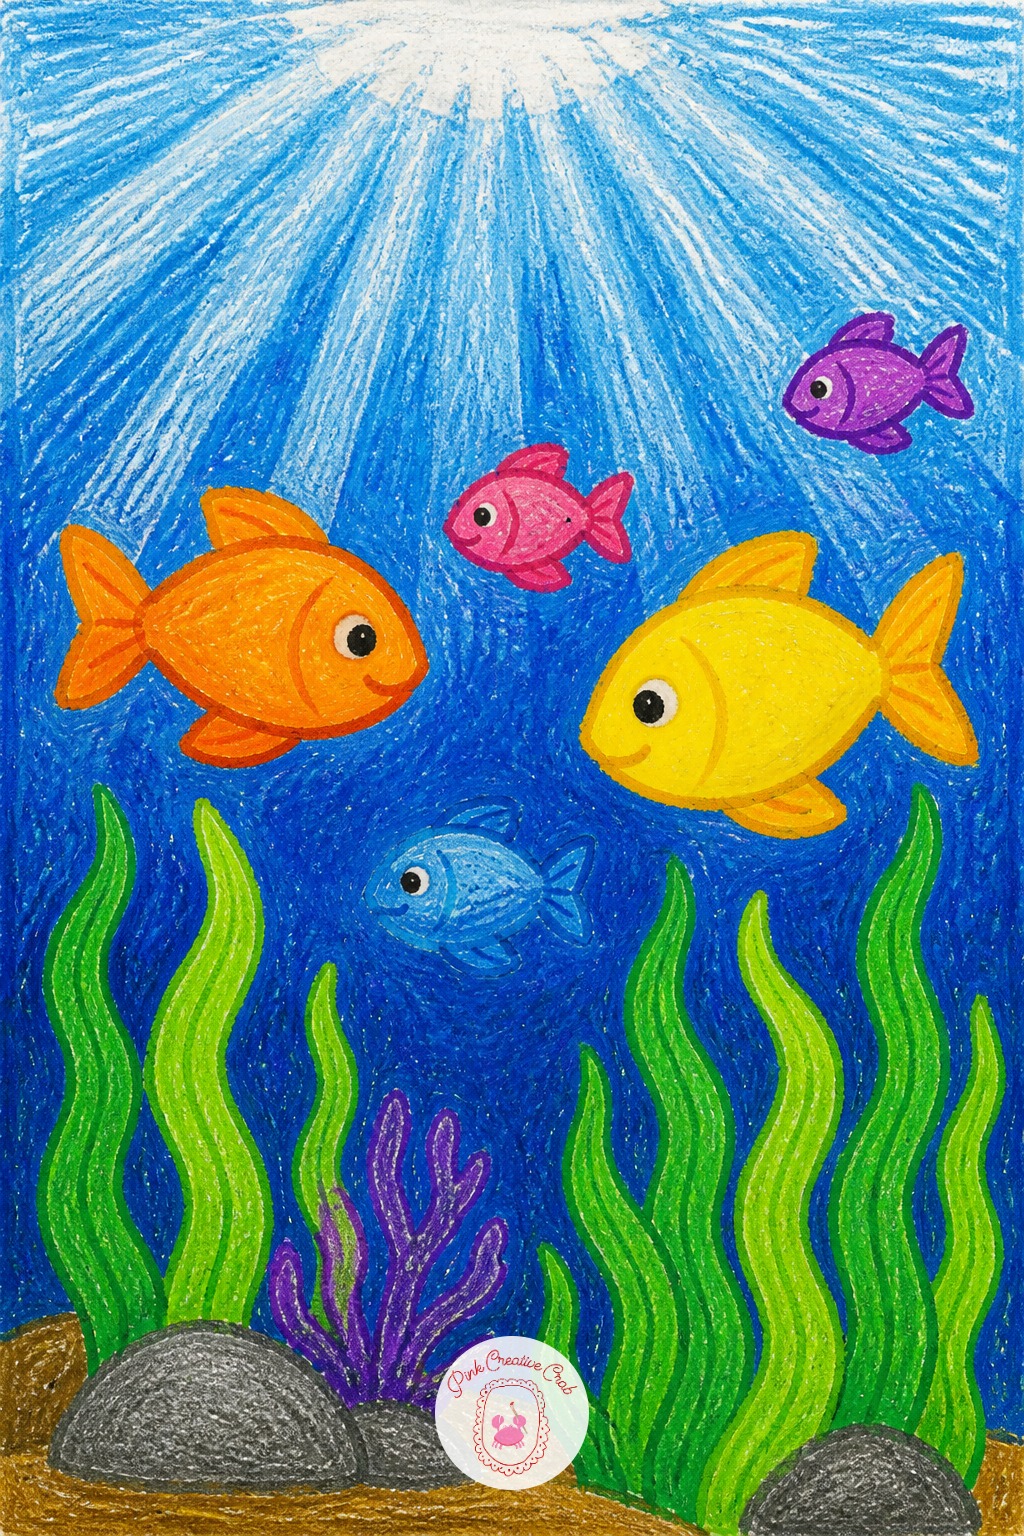
Light under water comes from straight above, so keep any sunbeam lines running from the top of the page downward, fanning out slightly as they go. That single detail turns a page of fish into a believable underwater scene instead of fish floating on a blank background.
Color the water darker blue near the bottom of the page and lighter blue near the top, closer to the light. Add fish, bubbles and seaweed after the water color is down, pressing the crayon hard enough that the fish colors sit on top of the blue rather than mixing into it.
Tree Trunk Bark Rubbing
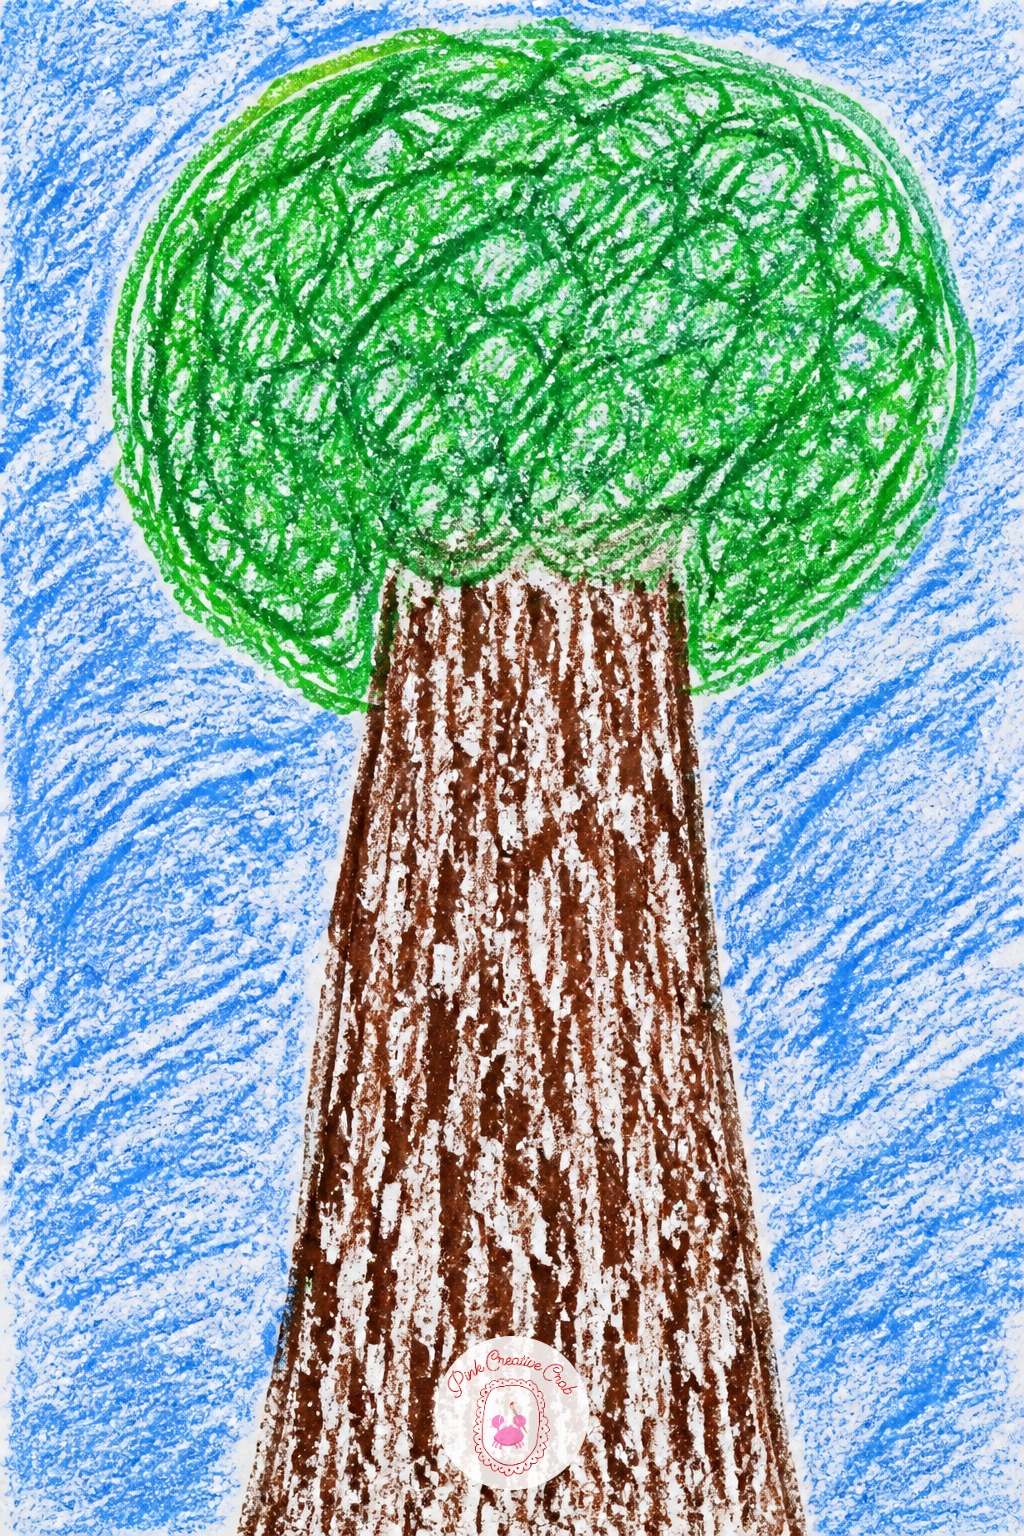
Press a sheet of paper against real tree bark outside, hold it flat with one hand, and rub a brown or gray crayon flat side down over the spot to pull up the bark’s rough pattern. Indoors, that same rubbing trick works over a textured placemat if no tree is handy.
Draw the rubbing as a tall trunk shape directly on the same page as the rest of the tree, then add a full round crown of green crayon scribbled on top. For more tree shapes to try next, this tree drawing guide has further ideas. Keep the leaf strokes short and circular rather than long and straight.
Rainbow Bridge Over Hills
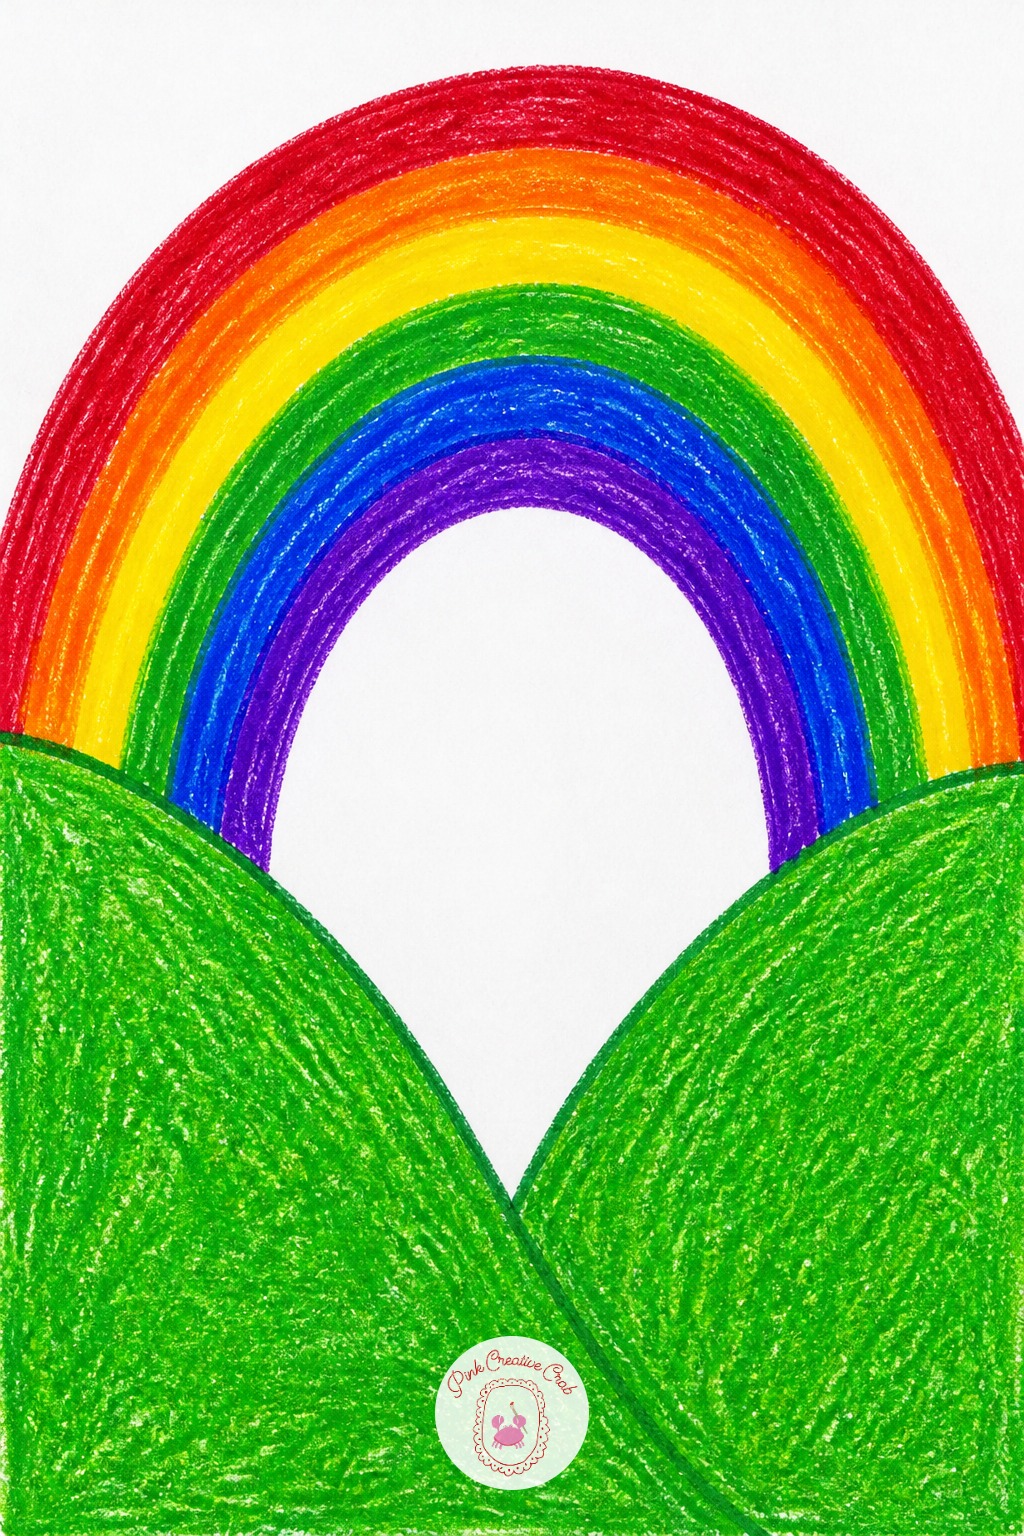
Leaving thin white gaps between rainbow bands is the most common trouble spot, since a child’s hand naturally pulls back a little at each line. Fix it halfway through by going back over every border with whichever color sits on either side, slightly overlapping the two so no white paper peeks through.
Draw the arc shape once lightly first if that helps keep the bands even, then commit to full color pressing hard in bands from the outside in. Finish with a patch of green hill at each end of the arc so the rainbow looks like it touches the ground.
Jack-o-Lantern Face
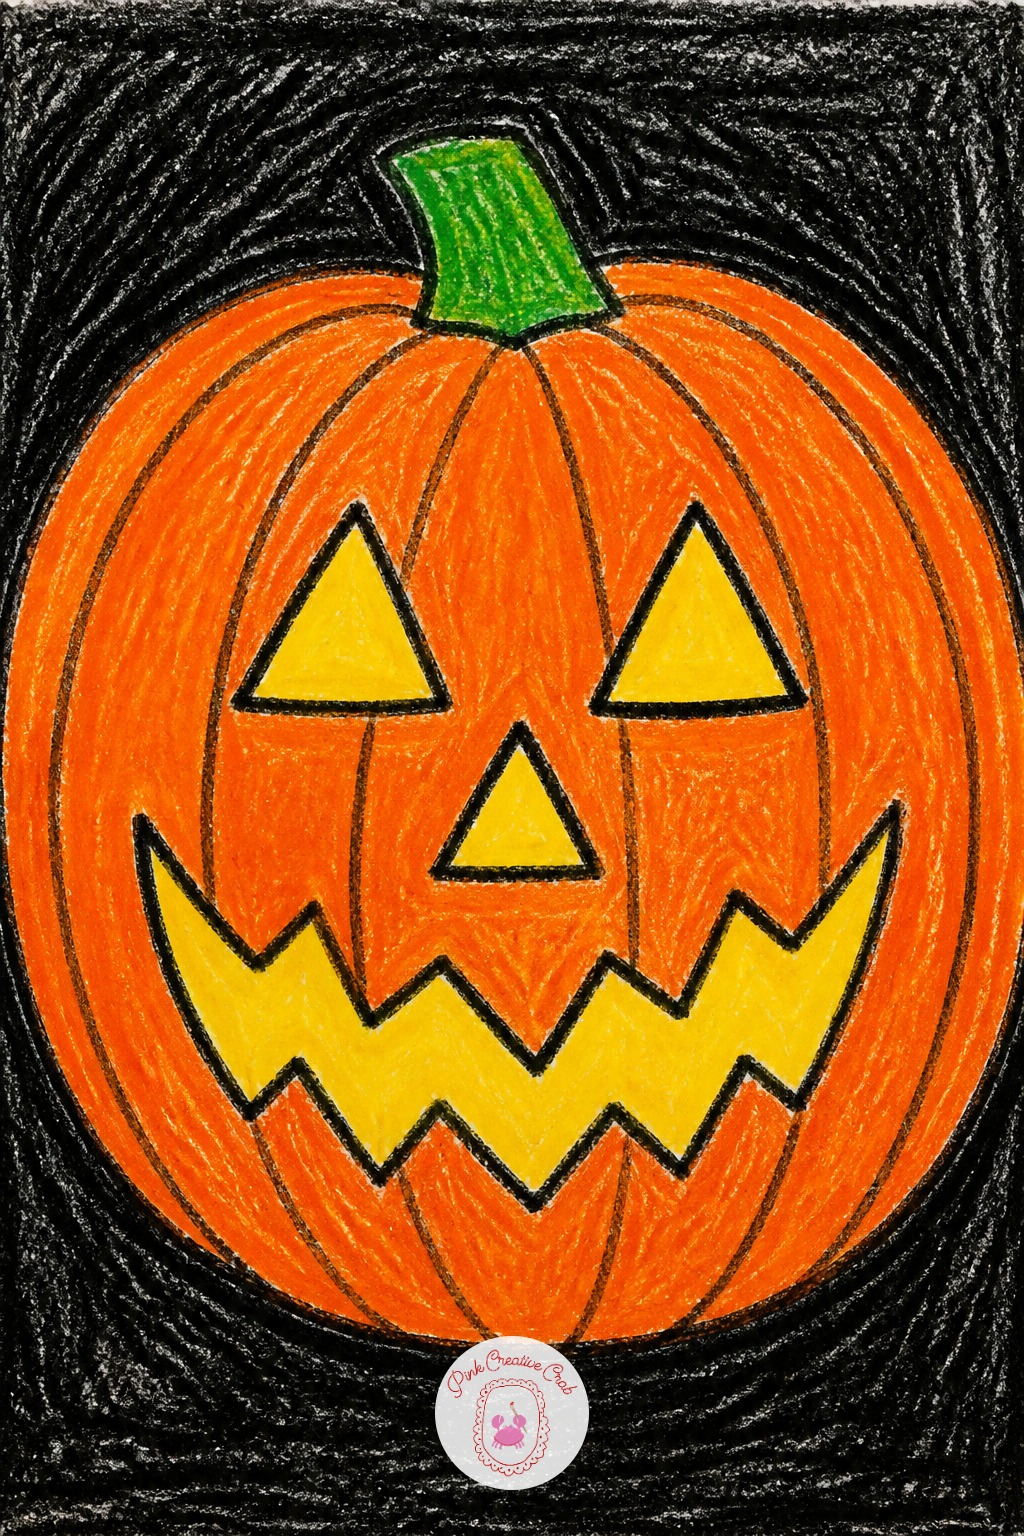
Ten minutes draws one orange circle, a triangle nose, two triangle eyes and a jagged mouth, colored in fast and solid. That alone makes a finished pumpkin face good enough for the fridge.
Forty minutes adds a curved brown stem on top, ridged lines running down the pumpkin’s sides to show its lumpy shape, and a glowing yellow light colored just inside the cut out face shapes. Press extra hard along the ridge lines with a darker orange so the pumpkin looks round rather than flat.
Striped Cat Portrait
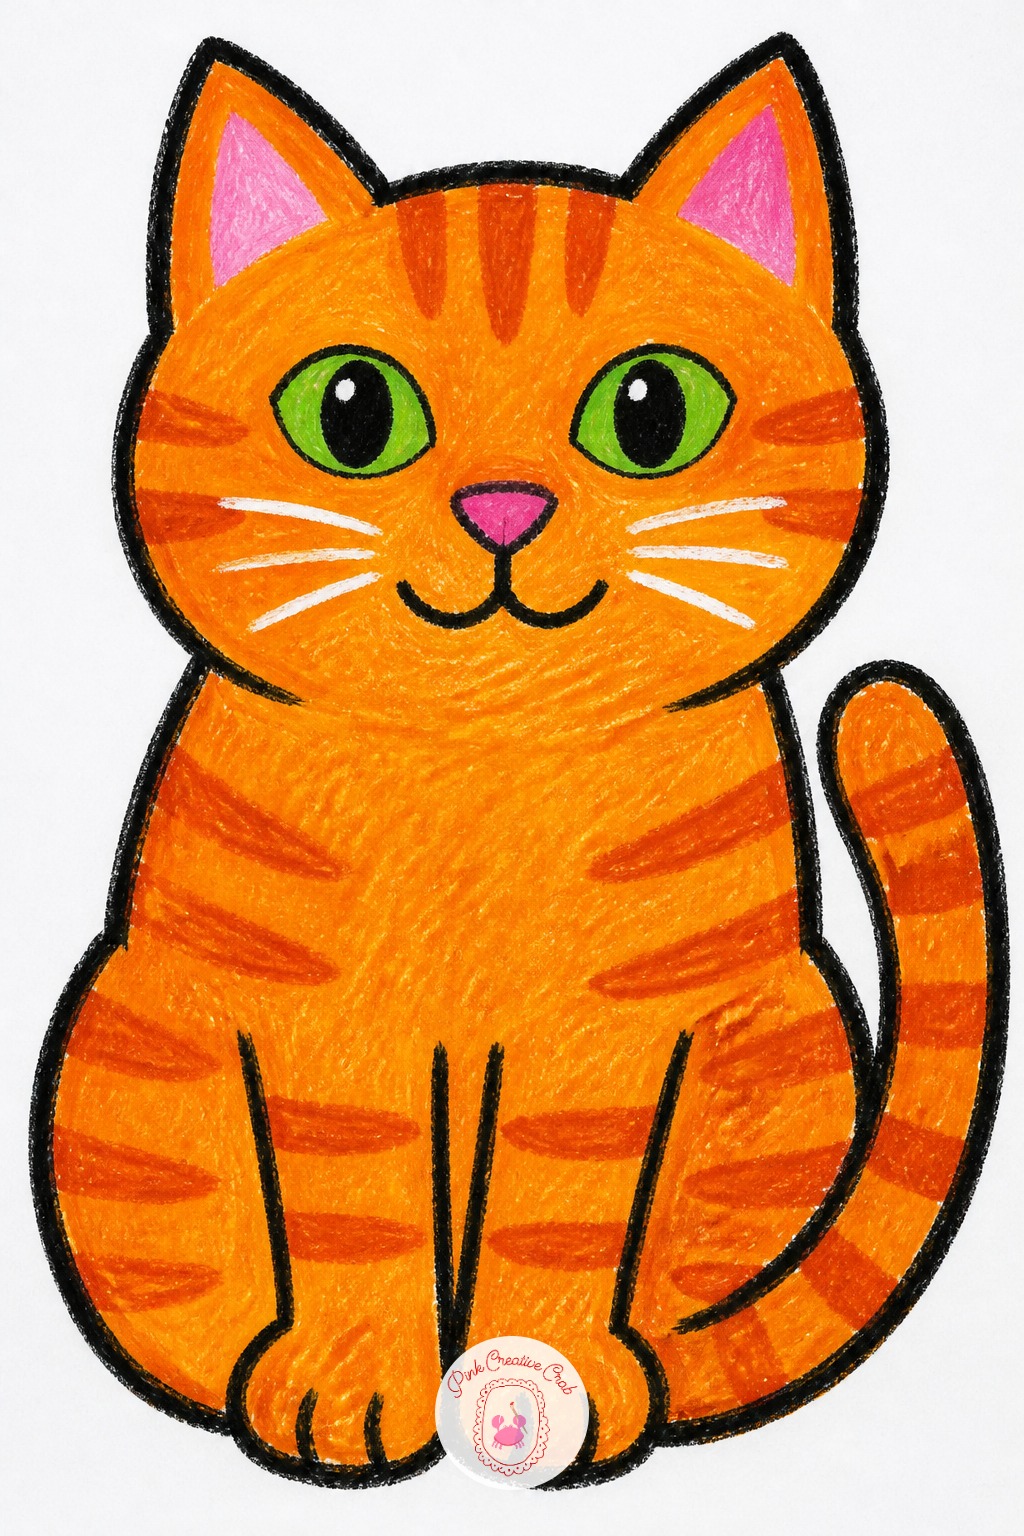
Build the cat from one big triangle eared head shape and an oval body, keeping the whole outline one continuous bold black line before any color goes in. That single black outline is what makes the portrait look finished even with simple coloring inside it.
Once a basic cat portrait works, vary it next time with different ear shapes, a striped coat instead of solid color, or a sitting pose instead of a standing one. For more cat shapes to try, this cat drawing guide has further variations worth a look. Add whiskers last with the tip of a white or black crayon.
Rain Puddle Reflection
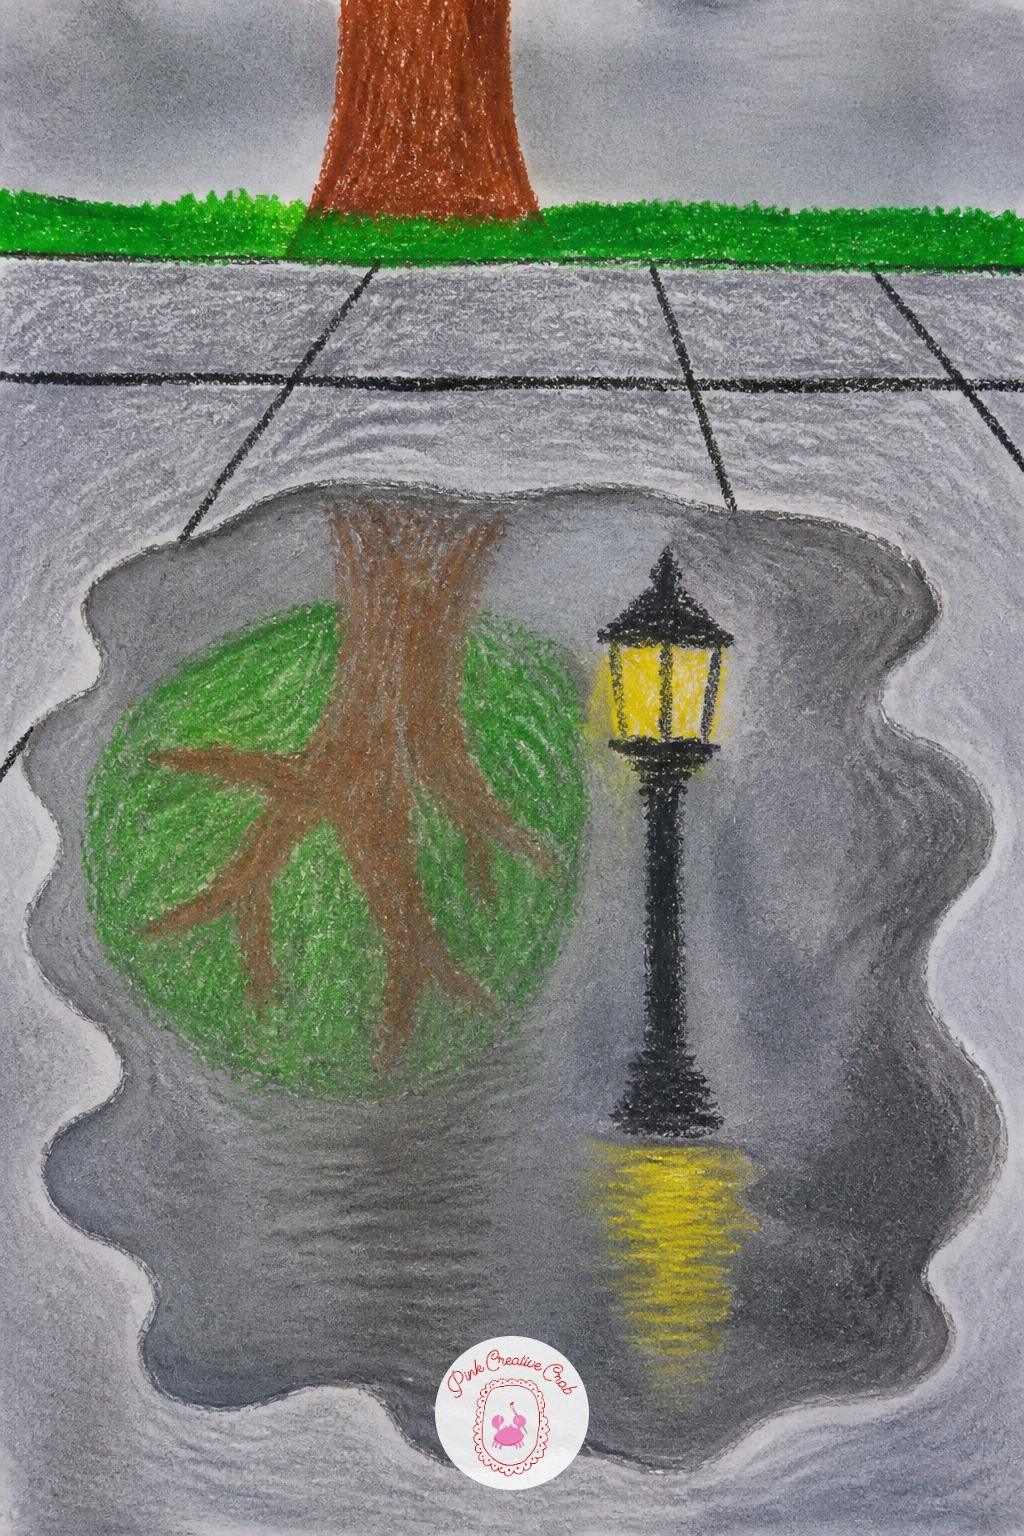
Blue and gray crayon pressed hard for the puddle shape resists a wash of darker gray or purple watercolor painted right over the top, the same trick as a wax resist night sky but turned into a puddle on the ground. A flat crayon, not a pointed one, covers the puddle shape faster and more evenly.
Draw a simple oval puddle with a few straight crayon reflections of a nearby tree or lamppost inside it before painting over everything with the watery wash. The crayon lines show straight through the paint once it dries, since wax always pushes water away.
Peacock Tail Feathers
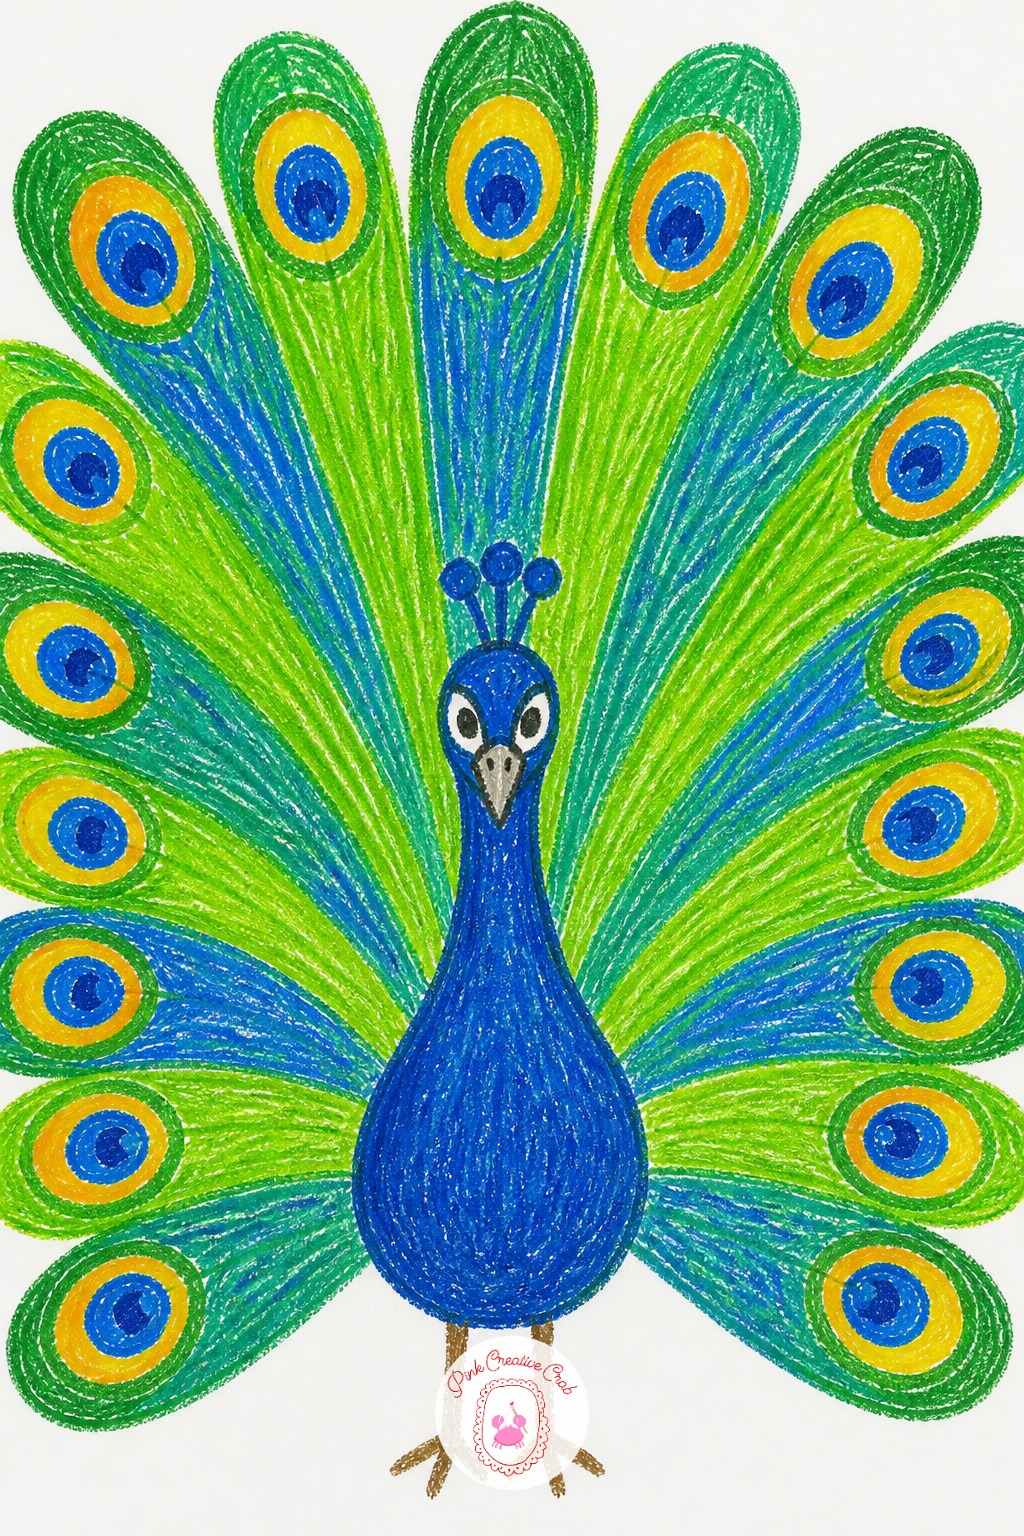
First, draw the peacock’s body and long neck as one simple curved shape, small compared to the tail that comes next. Second, fan out five or six long feather lines from the base of the tail like the ribs of a hand fan.
Third, color each feather in bands, green near the base, blue in the middle, with a small oval eye spot shape near the tip of every feather. Leave the small crown feathers on the peacock’s head for last, three thin lines topped with tiny dots finish the whole bird.
Big-Headed Robot Friend
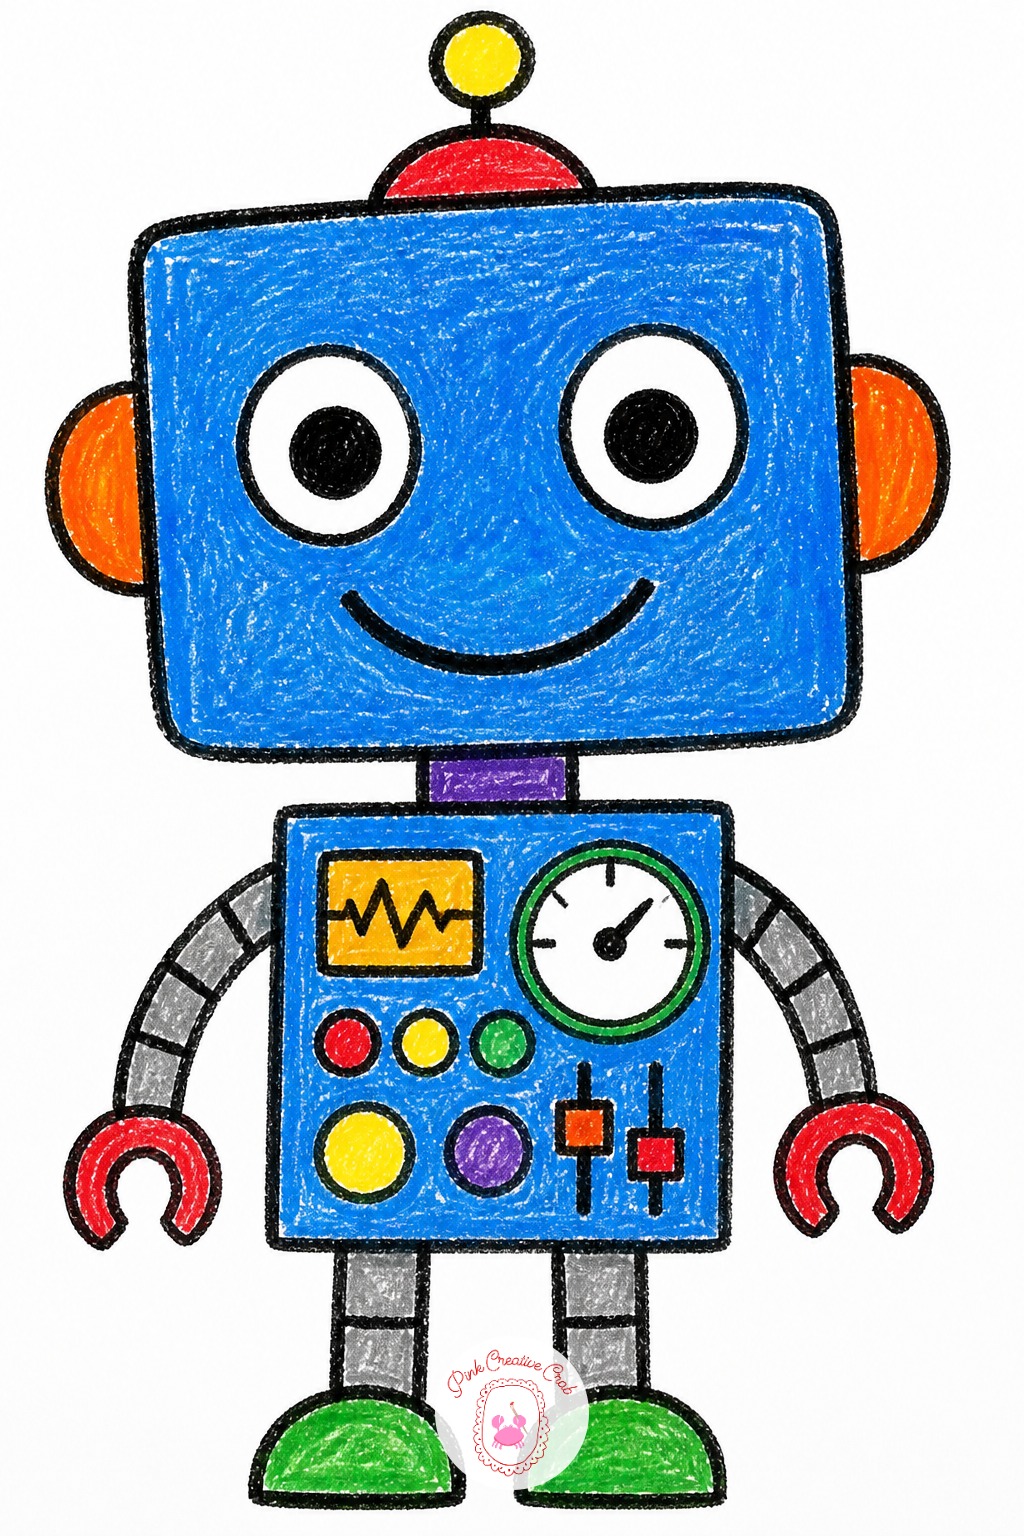
Make the robot’s head about half the width of its whole body, bigger than a human head would ever be, since an oversized head is what makes a robot read as friendly rather than frightening. A head that is too small just looks like a person in a metal suit.
Draw the head and body as two stacked rectangles first, then add short arm and leg rectangles, then fill in buttons and dials inside the body last of all. Keep every robot shape a straight edged rectangle or square, round shapes sneak the design away from looking mechanical.
Campfire at Dusk
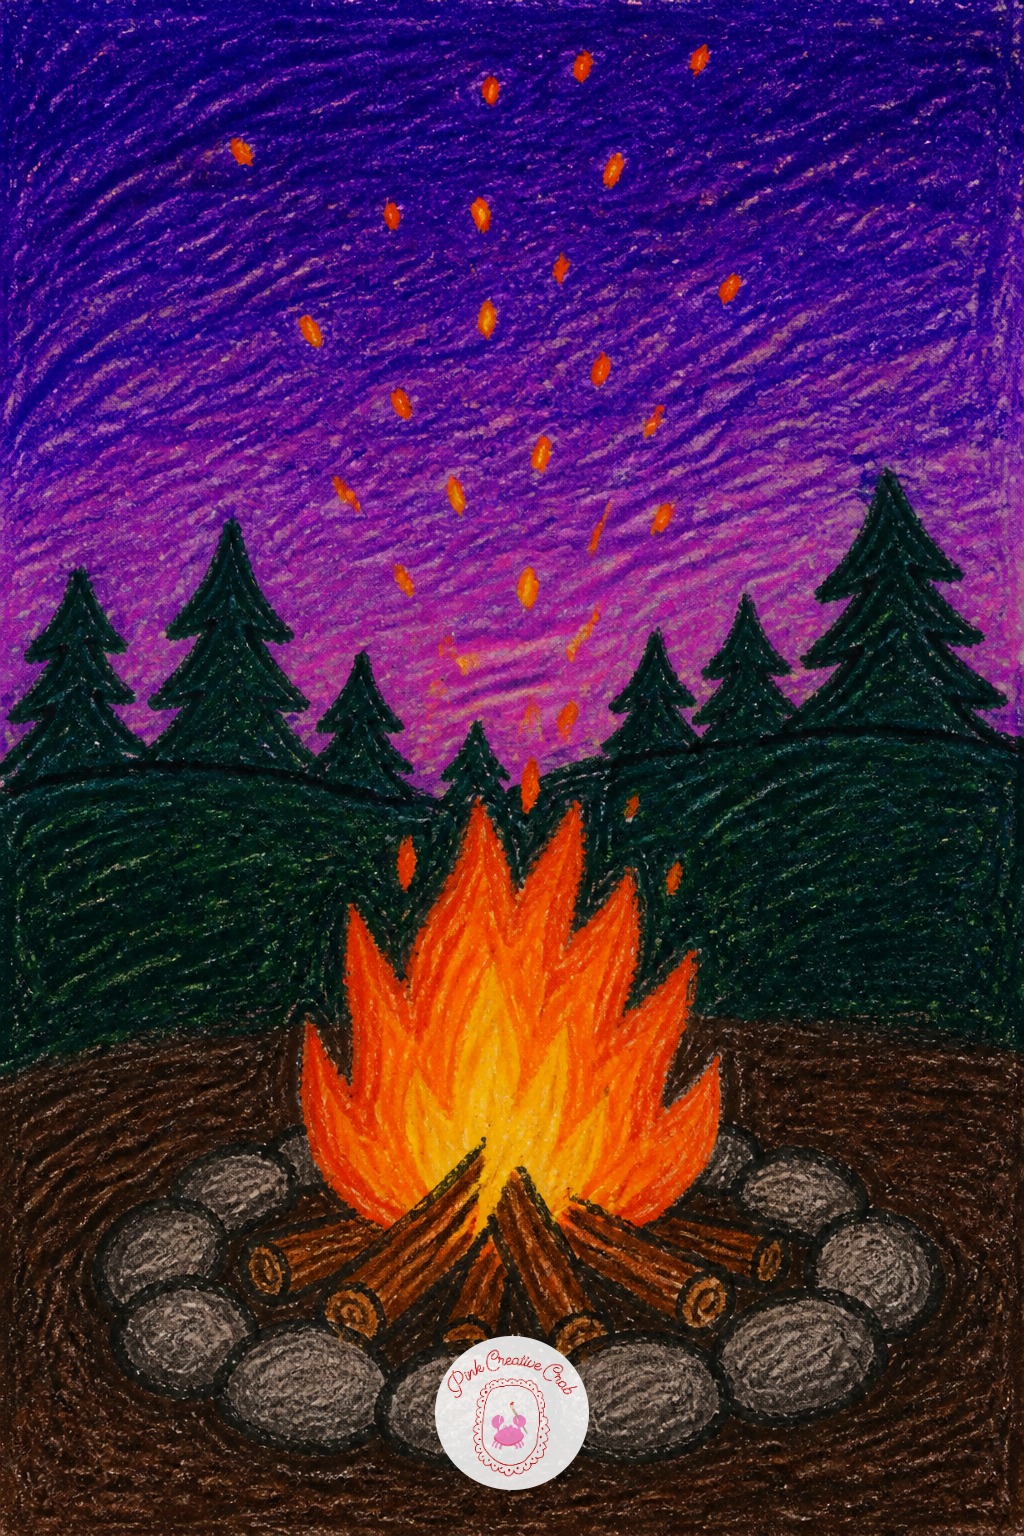
The fire itself becomes the only light source in this one, so anything close to the flames gets colored brighter and anything farther away, like the tree line, gets a darker, duller shade. That contrast alone makes a flat orange scribble look like it is actually glowing.
Draw the logs and flames first, low on the page, then build the dark hill and tree shapes around and above the fire, pressing lighter on the parts nearest the flames. Add a few tiny orange sparks floating upward last, they read best as small dashes rather than dots.
Crumpled Treasure Map
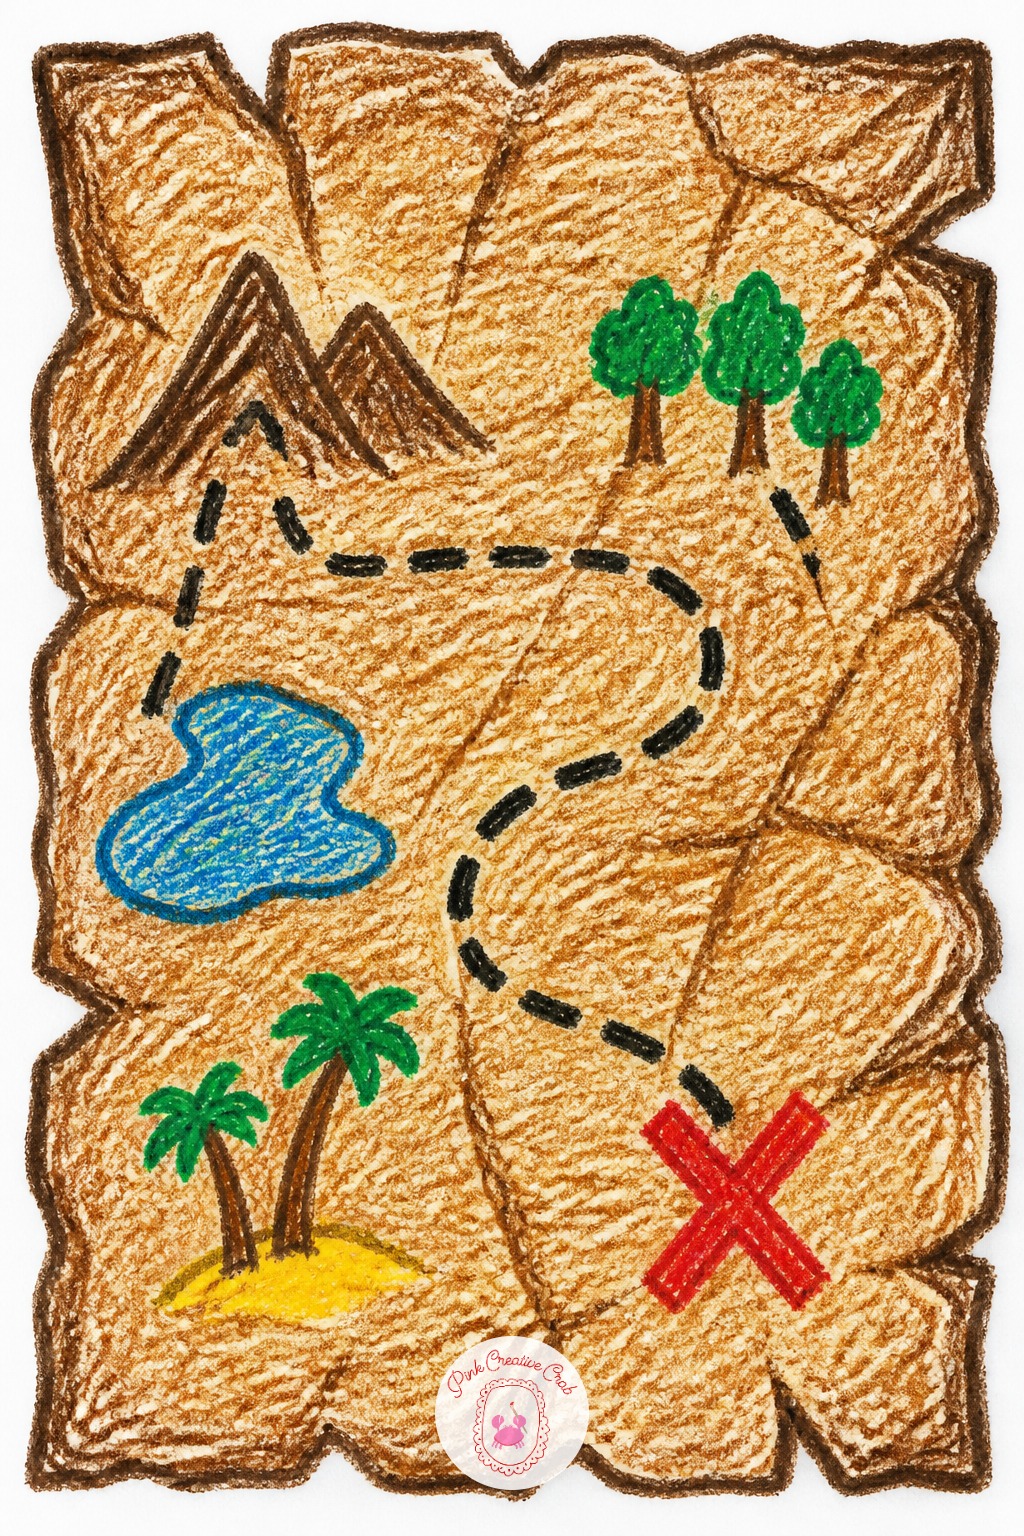
Crumple a sheet of paper into a tight ball, then flatten it back out before drawing on it, the creases give the map a worn, folded look before a single line goes down. Rub a light brown crayon flat across the whole page first, the raised creases catch the color and the creased valleys stay pale.
Draw a dotted path, an X, and a few wave lines around the edges directly on top of that textured brown background. Tear the edges of the paper by hand instead of cutting them with scissors, torn edges look far more like an old map.
Zoo Animal Parade
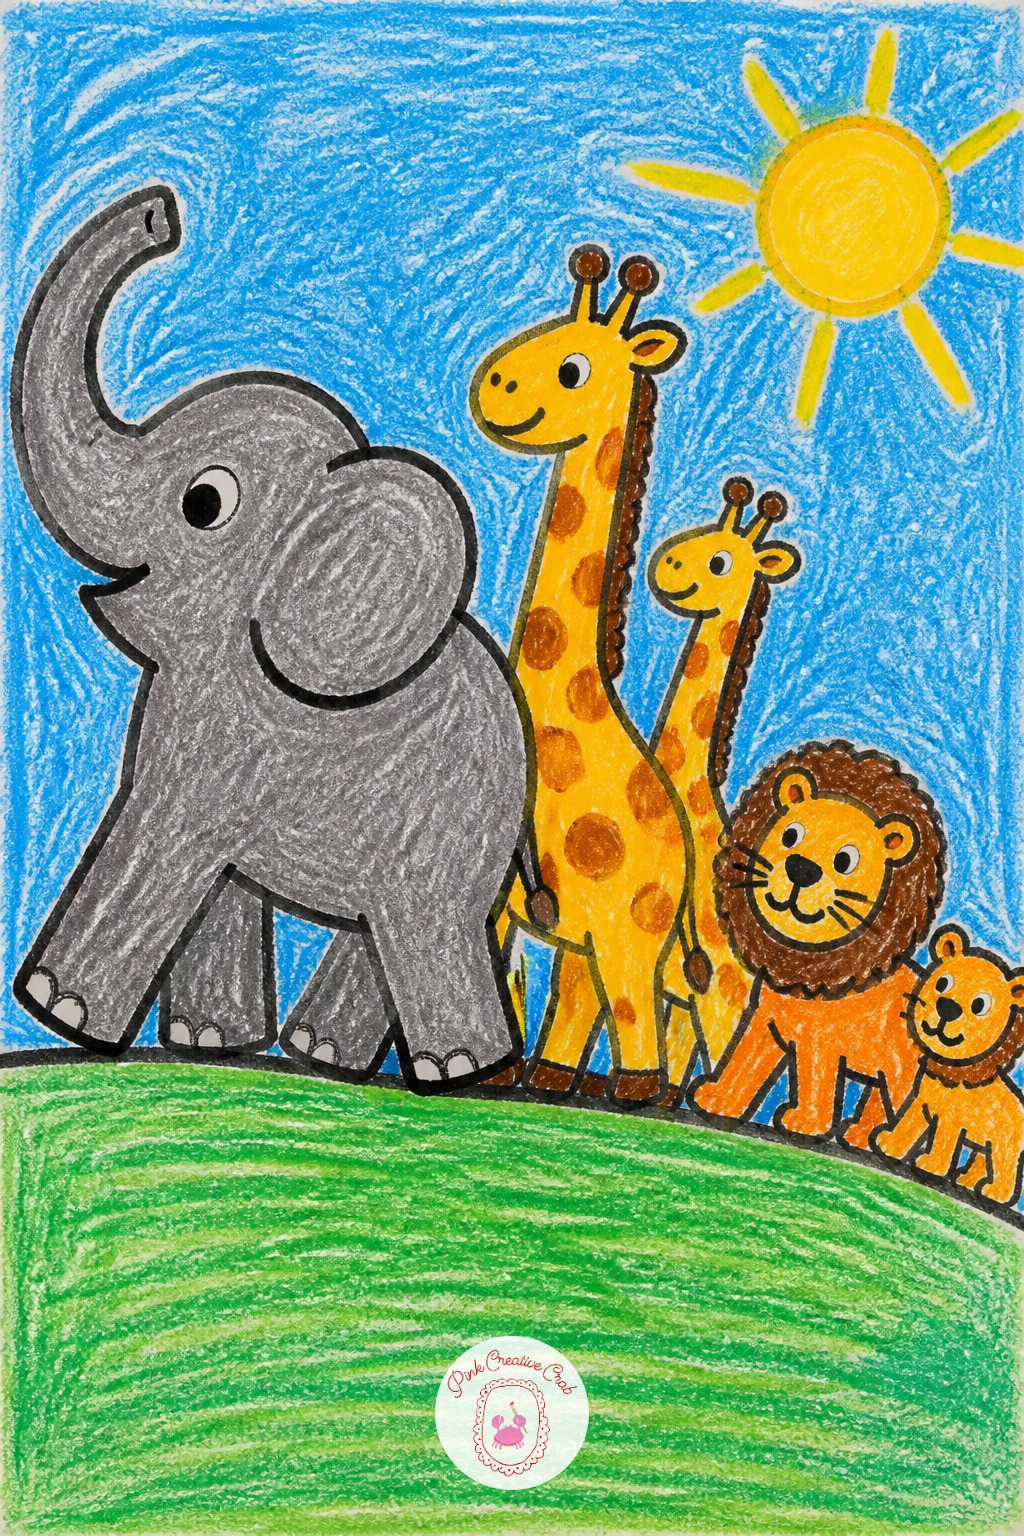
Animals drawn too close in size and too evenly spaced is the usual trouble with a zoo parade, it ends up looking like a row of stickers instead of a parade. Fix it halfway through by making at least one animal clearly bigger than the rest, an elephant or giraffe near the front works well, and overlapping two of the smaller animals behind it.
Keep every animal a simple rounded shape in one main color, with the next animal’s edge slightly tucked behind the one in front rather than floating separately. Finish the ground line last,one single curved stripe under every animal’s feet ties the whole parade together.
Mirror Wing Butterfly
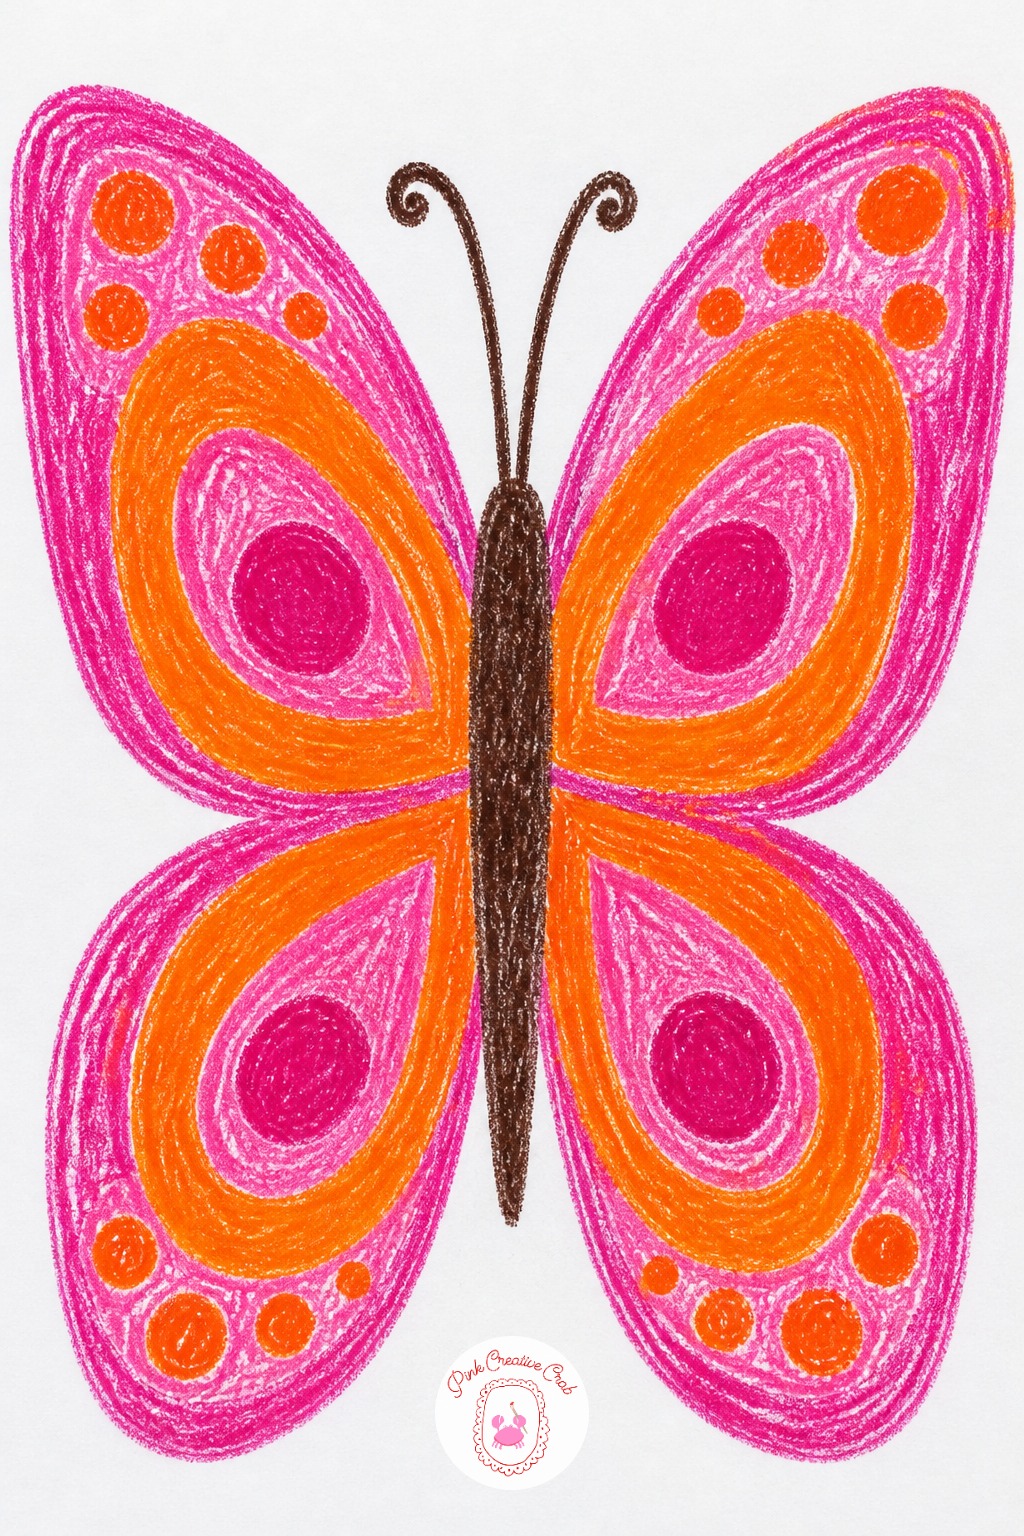
Ten minutes covers one wing shape drawn on one side of a folded crease line, then matched again on the other side, so the butterfly ends up symmetrical without any fancy printing trick. Color each matching pair of shapes the same color to keep the mirror effect clear.
Forty minutes adds a second, smaller pair of wings below the first, patterned dots or stripes repeated on both sides, and a thin curved body down the center with two antenna lines on top. For more wing patterns worth trying, this butterfly drawing guide has further ideas to borrow from.
Scaled Dragon
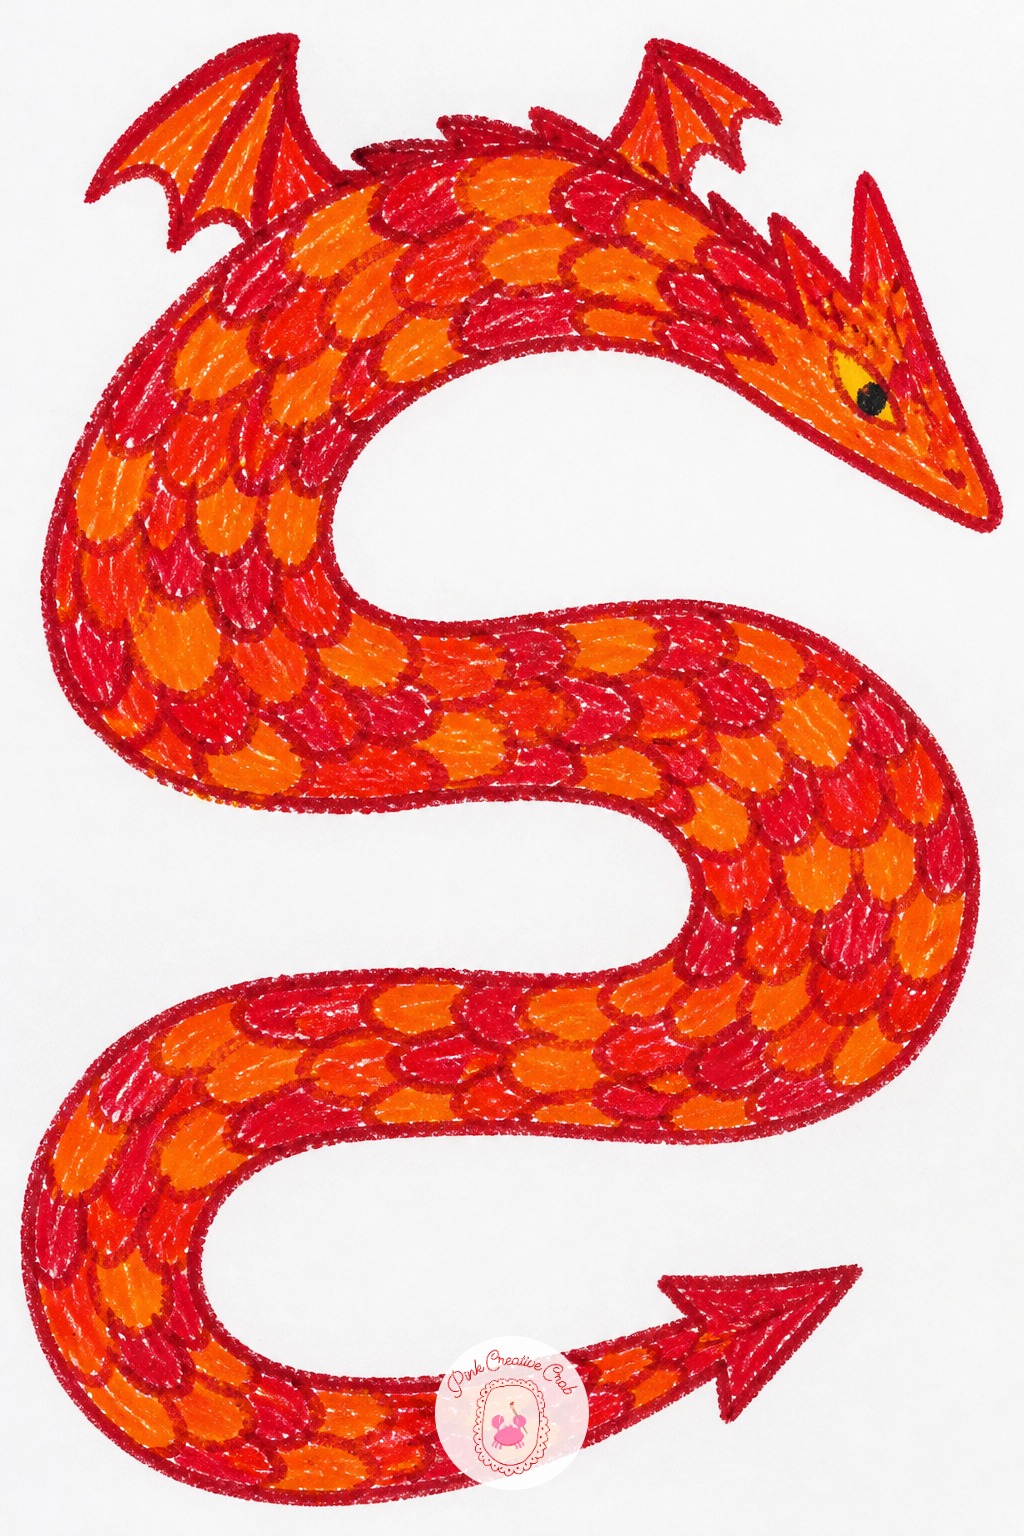
Build the dragon from one long curved body shape, a triangular head with a short snout, and small wing shapes set high on the back, all drawn before a single scale goes on. That full outline first keeps the proportions of neck, body and tail under control before any detail gets added.
Fill the body with small overlapping scale shapes, the same layered trick used for the rainbow fish earlier in this list, working from the tail toward the head. Once this dragon works, vary it next time by changing the wing shape, adding spikes down the spine, or swapping the whole color scheme to a cooler green and blue instead of warm red and orange.
What to Do Next
Pick one of these crayon drawing ideas that matches the time on hand today, tape a thick sheet of white drawing paper to the table, and hand over the full box. Start with the wax resist night sky or the leaf rubbing bouquet if this is the first try at either trick, both finish fast and show results a child can see right away.
Frequently Asked Questions
What age group do these crayon drawing ideas suit best?
Most of these crayon drawing ideas work well for children aged four to nine, since every shape stays big and simple enough for a young hand. Younger kids do best with the first half of the list, while the layered scales and scratch art ideas near the end suit kids closer to seven or eight.
Which crayons work best for kids who press hard?
Jumbo wax crayons hold up best under heavy pressure, since their wider barrel resists snapping the way a thin crayon does. Standard crayons work fine too, just keep a few spares on hand for the ideas that need a lot of solid, pressed-in color.
What paper should I use for wax resist and rubbing ideas?
Use thicker drawing paper rather than thin printer paper, since wax resist ideas get a layer of wet paint brushed over the crayon and rubbing ideas need the paper to pick up texture without tearing. A simple white drawing pad from a craft aisle handles both jobs.
How do I stop kids from mixing crayon colors into mud?
Keep a short gap between two different colors instead of blending them directly on the paper, since wax crayons do not mix smoothly the way paint does. Layering one light color over another in short strokes works better than pressing two dark colors on top of each other.
Can these ideas be finished in one sitting?
Yes, every one of these crayon drawing ideas fits into a single sitting of ten to forty minutes depending on how many extra details get added. The quick version notes point out exactly which details to skip for a faster finish and which to add if there is more time.
Have any thoughts?
Share your reaction or leave a quick response — we’d love to hear what you think!
-
 0
0 -
0
-
0
-
0
-
0
-
0


