

Iris painting has a loyal following for a good reason: those ruffled, crepe-paper petals and that deep violet-to-yellow color shift give you drama on the canvas without needing fussy detail. Every idea below works at a sitting pace, built from flat opaque shapes first and loose soft edges added once the paint is dry, so you get the crisp modern botanical look without wrestling the brush.
The first half stays with irises in every setting you can imagine, from a cottage border to a Provence field to a jar on your desk. Then the list opens out into other purple garden flowers, lilac, violet, mauve and plum, each one caught doing something: butterflies on verbena, a cat rolling in catmint, sweet peas climbing a cane frame. Pick whichever one is already calling to you and get your palette out.
Using these images: free for personal projects such as printing, coloring, cards, journals and gifts. Handmade items that include them may be sold up to 30 pieces per design. More than that is commercial use and is not permitted, and neither is selling or sharing the images themselves or passing them off as your own. Please ask before any other use.
Bearded irises in a cottage border make a forgiving first subject because the blooms sit at different heights and none of them need to match exactly. Block in the sky-to-greenery background first with a flat brush, cream showing through where light falls, then let it dry completely before adding flowers on top.
Paint each iris as two or three simple petal shapes in violet, letting the falls (the drooping lower petals) overlap the standards (the upright ones) rather than trying to draw six petals separately. Add a dab of mustard yellow at the throat of each bloom while the violet is still slightly tacky so the colors kiss at the edge without turning muddy.
Where beginners go wrong is cramming too many identical flowers in a row. Vary the height and tilt of three or four irises instead, with simple spiky leaves in sage green threaded between them. If you only have one brush size, use the edge of a flat brush to suggest the leaf blades rather than switching tools.
Finish with one tip: paint your darkest violet shadow petal last, right under the throat of the front flower, to pull the whole border forward off the background.
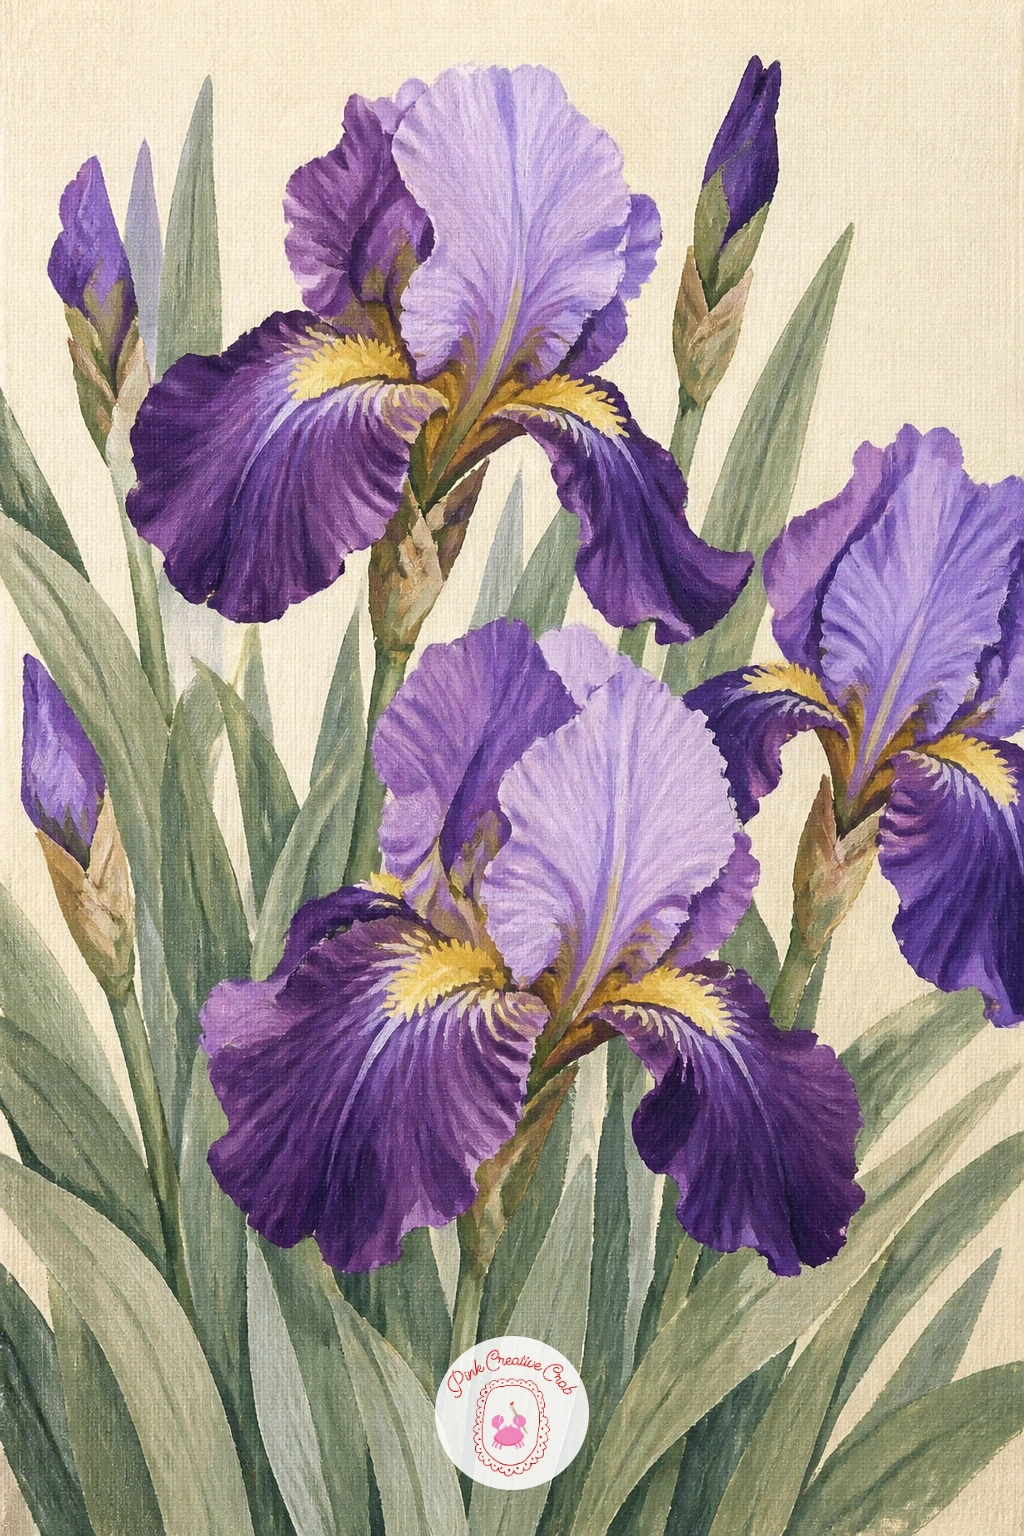
Palette: Dioxazine Purple,Mustard Yellow,Sage Green,Cream
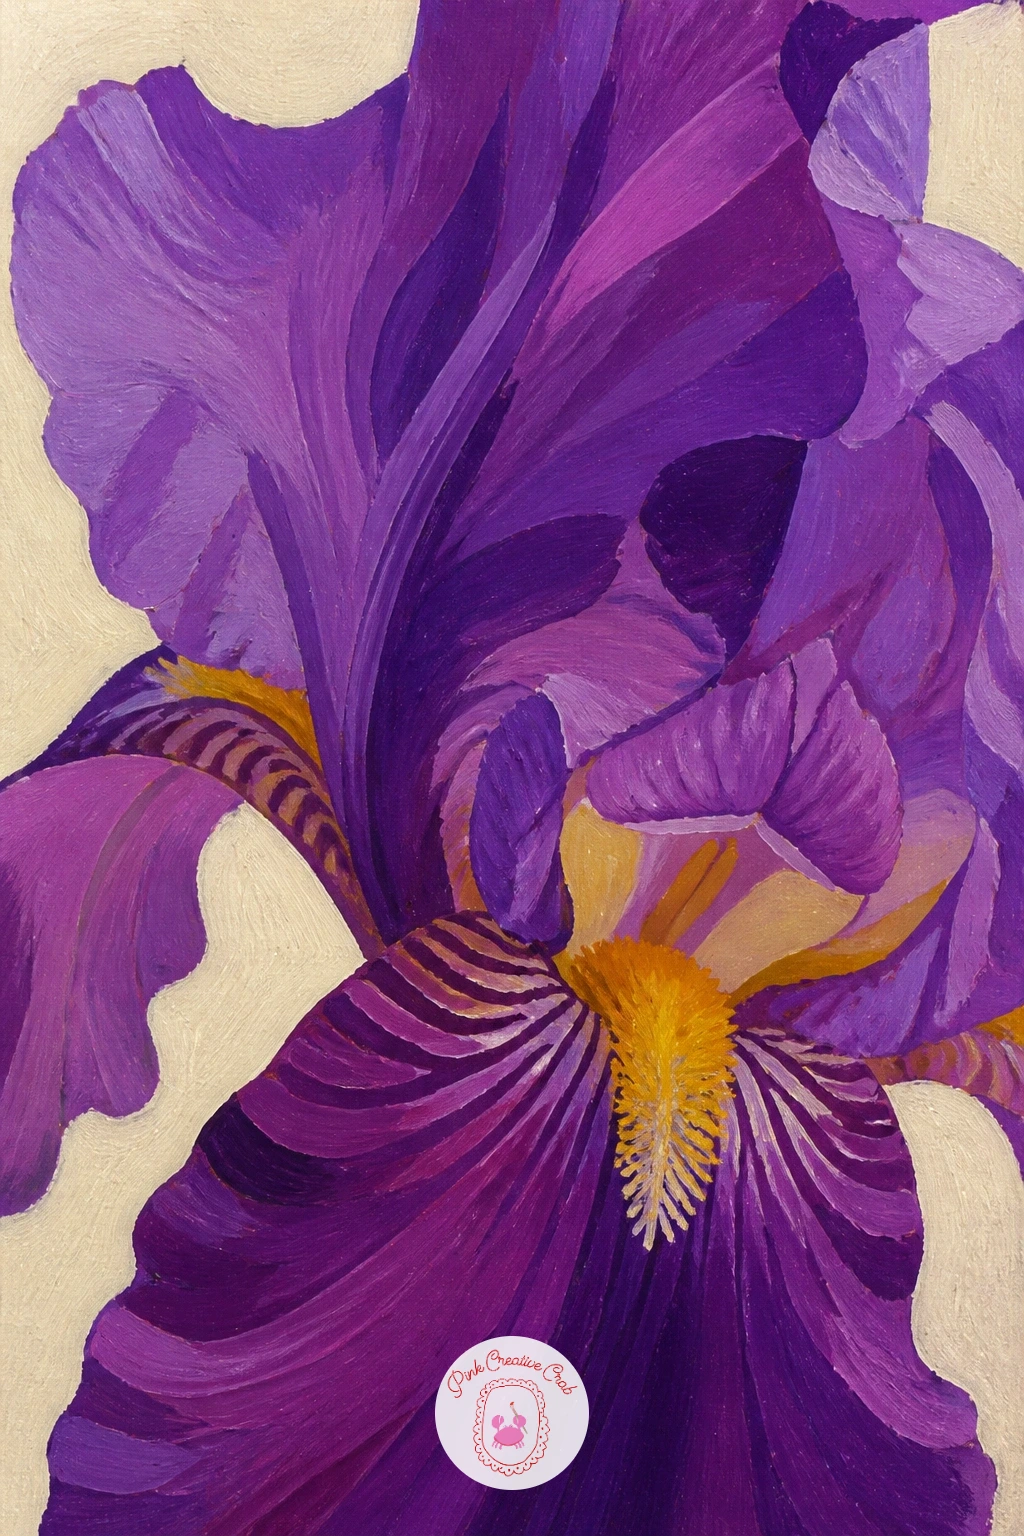
Working close-up on a single iris bloom is where the ruffled petal texture really gets to shine, so start this one on a square canvas with the flower filling almost the whole frame. Sketch the big petal shapes loosely in pencil first, keeping the falls wide and the standards narrower and more upright.
Paint in violet, mixing two tones (a cooler blue-violet and a warmer red-violet) so the petals have life rather than sitting flat. Work wet-into-wet along each petal edge to get soft color shifts, then once dry, go back in with a dry brush loaded with a touch of white to catch the ruffled ridges running down each petal.
If the petals start looking stiff, soften the outer edge with a slightly damp brush to break up the hard line, since real iris petals never have a crisp silhouette at the tip. A fan brush, if you have one, is useful here for dragging those fine ruffle lines without overworking the paint.
Keep the background a single flat cream so nothing competes with the petal detail, and finish with a tiny mustard dab where the beard (the fuzzy strip) sits on the fall petal.
You Will Need
- fan brush for the petal ruffles (optional)
Palette: Dioxazine Purple,Quinacridone Magenta,Titanium White,Mustard Yellow
A field of irises in Provence turns the single flower into a landscape, so this one starts top-down: block a pale sky strip, then a hazy line of distant hills in muted sage and lilac, and let that dry before touching the field. Keep the horizon low, no more than a third up the canvas, so the irises get most of the space.
For the field itself, work in horizontal bands rather than individual flowers: a darker violet band in the foreground, lighter lilac further back, using a dry brush dragged sideways so the texture reads as hundreds of blooms without painting each one. This is the trick that saves the whole piece, since trying to paint individual irises across a wide field always ends up busy and flat.
Once the bands are dry, flick a handful of small violet and mustard dash-marks over the foreground band with the tip of a round brush, just enough to suggest nearer flowers catching the light.
If you are short on time, stop there for a loose ten-minute version; with forty minutes, add a single row of darker cypress-green shapes along the horizon for that classic Provence silhouette.
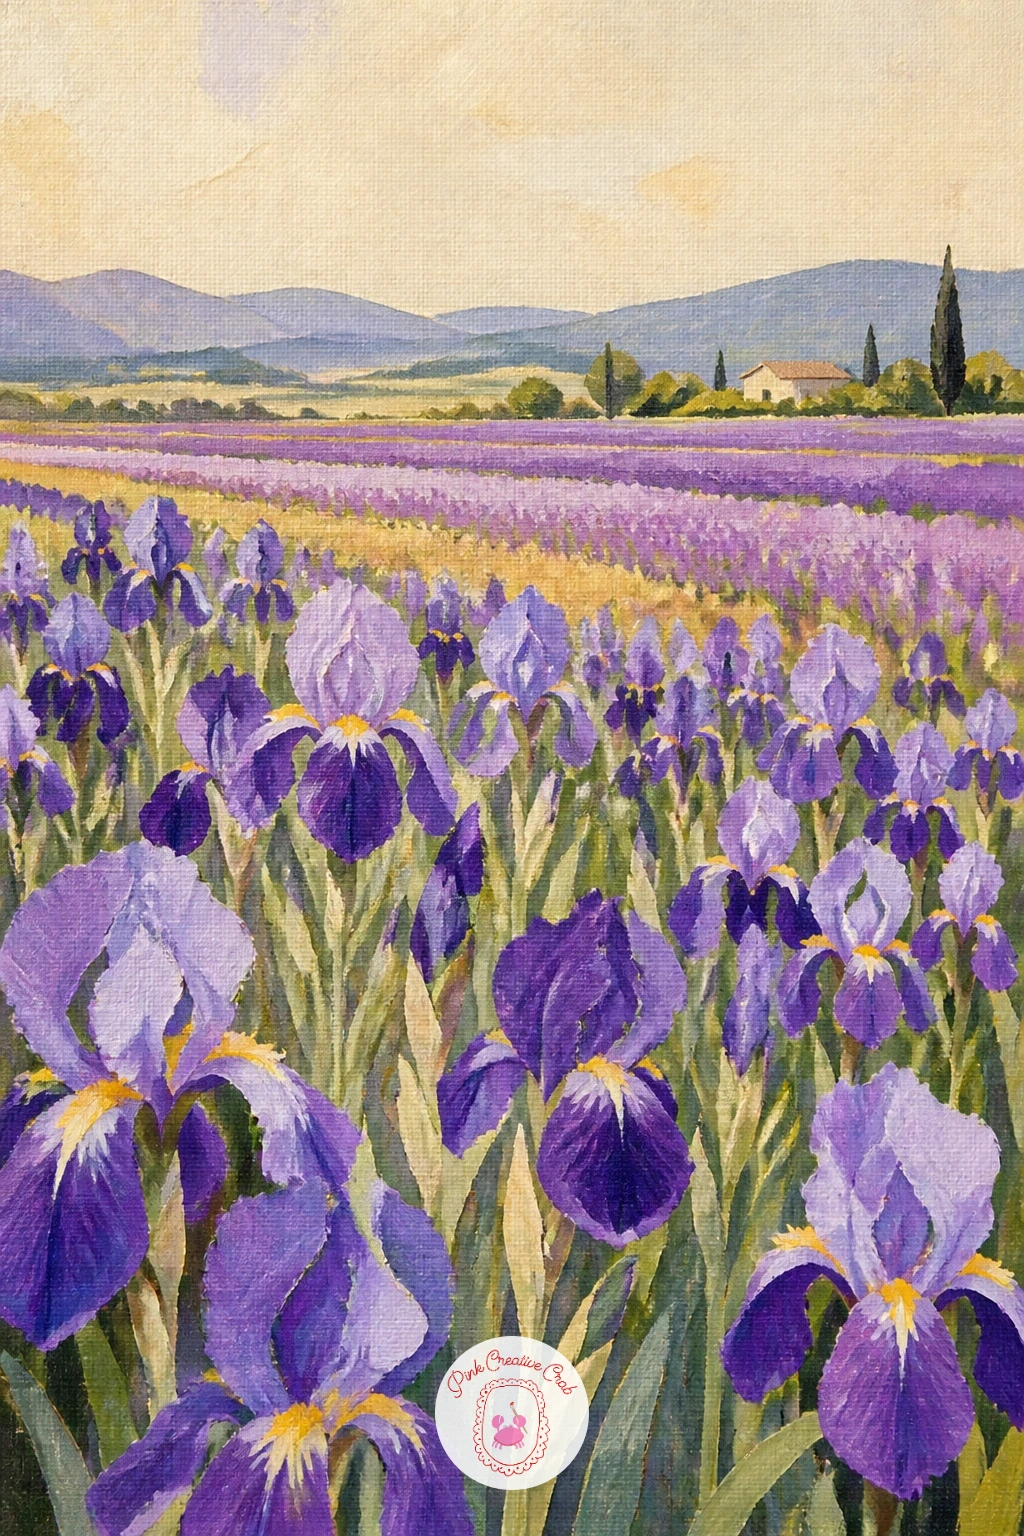
Palette: Dioxazine Purple,Lilac,Sage Green,Mustard Yellow
Irises in a tall blue vase bring the garden indoors and give you a strong vertical shape to anchor the whole composition. Start with the vase itself, a simple tall oval narrowing at the neck, painted in a flat cobalt or ultramarine blue with one lighter streak down the side to suggest the glass or ceramic catching light.
Measure before you paint the flowers: hold your brush up against the canvas and check that the vase takes up roughly a third of the height, with the flowers and leaves filling the rest, so the arrangement does not end up top-heavy or lost in a tiny jar. Add three or four iris stems at slightly different heights and angles rather than lining them up like soldiers.
Paint the blooms as loose violet shapes, saving the crisp ruffle detail for the front-facing flower only, since the others read fine as softer, simpler shapes behind it. A cotton swap works if you do not have a liner brush for the thin stems.
Finish with one or two fallen petals on the table beside the vase for a natural, lived-in feel.
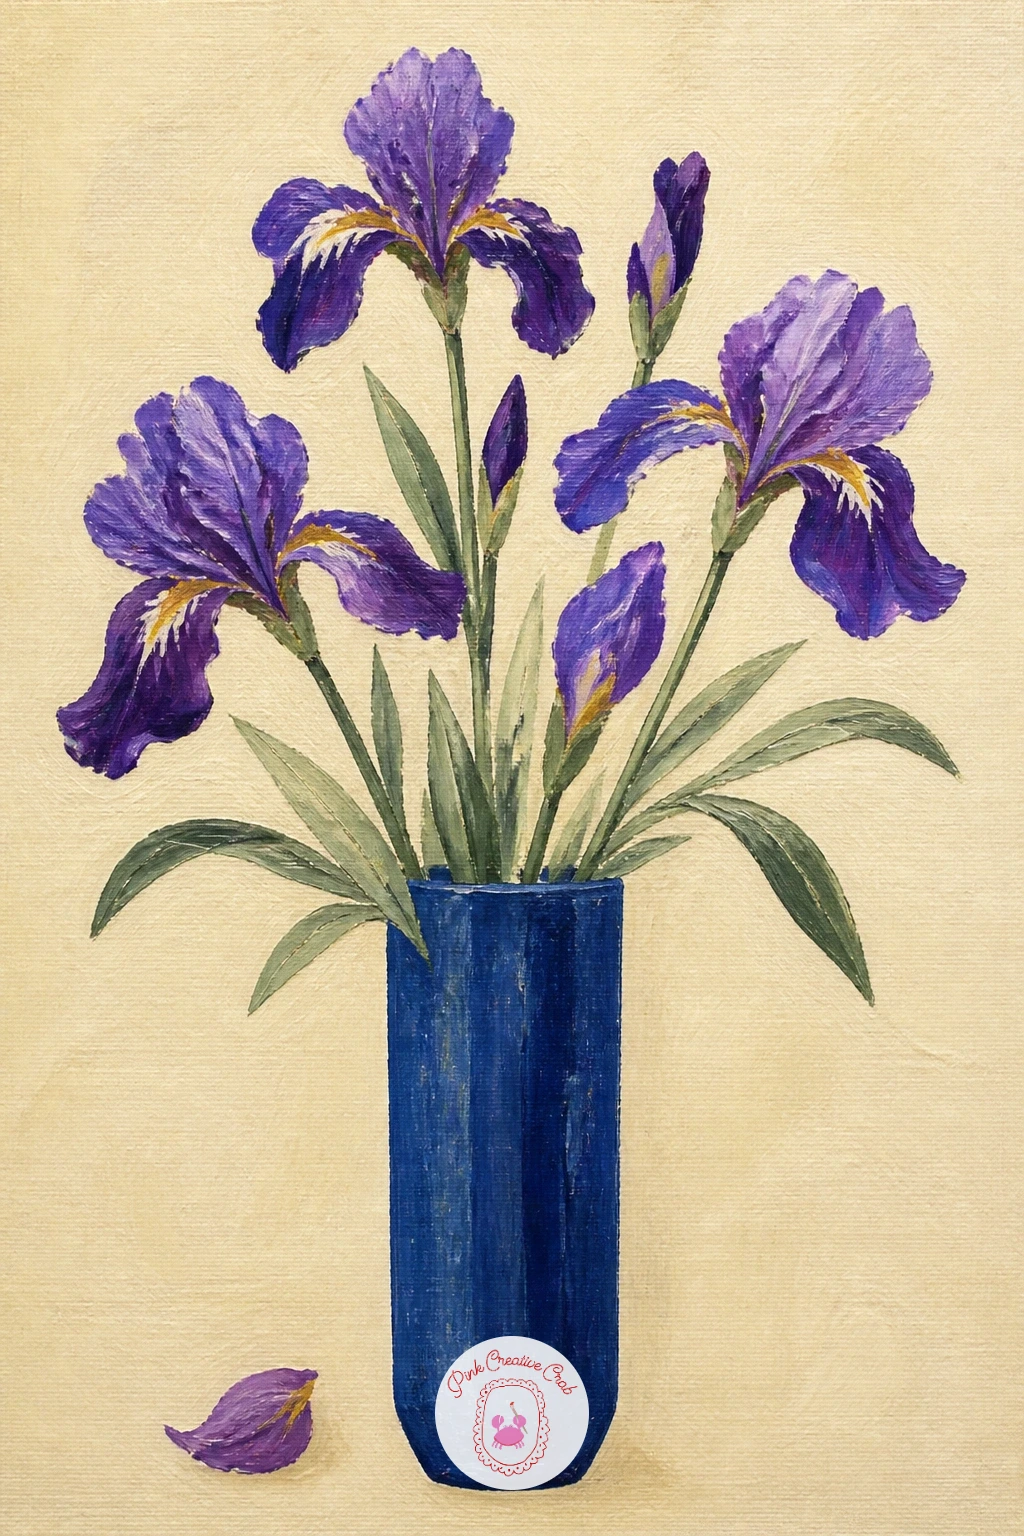
Palette: Ultramarine Blue,Dioxazine Purple,Sage Green,Cream
A girl in a lilac dress among irises adds a figure to the garden scene without needing a full portrait, since she can stay simplified and half-turned away from the viewer. Block her in first as flat shapes: a soft lilac dress, pale skin tone, hair in a loose color block, all painted before any flowers go in around her.
Keep her proportions loose rather than exact, two head-heights from shoulder to waist is close enough and reads naturally at this scale. Once she is dry, build the irises up around her waist and shoulder height, letting a few overlap the edge of her dress so she sits inside the garden rather than in front of a backdrop.
The place this goes wrong is the face: resist adding features beyond a soft suggestion of where the eyes and mouth sit, since too much detail on a small painted face reads oddly against simple flat flowers. A cotton swab dipped in paint works well for a soft cheek blush if you do not want to risk a brush.
Finish with a scatter of loose violet petal shapes drifting near her hem for movement.
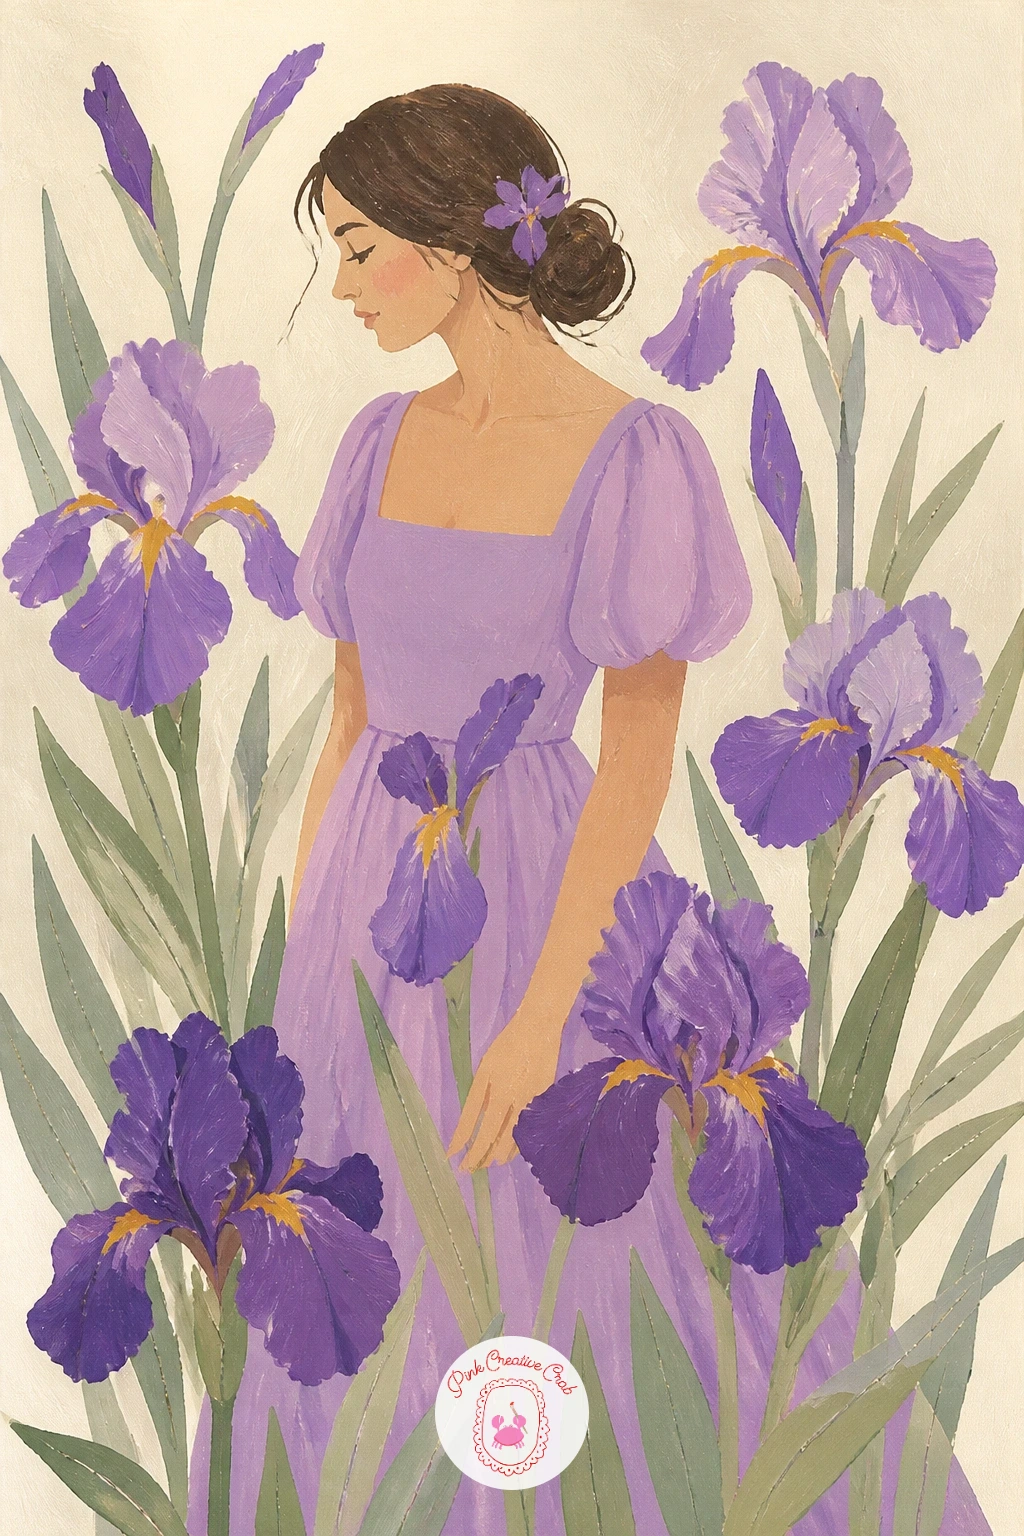
Palette: Lilac,Dioxazine Purple,Soft Peach,Sage Green
Japanese irises at a shrine garden with a wooden bridge lets you borrow a classic composition: a curved red or brown bridge crossing a pond edged with irises. Place the bridge first, a simple arched shape in warm brown, positioned off-center rather than in the middle of the canvas so the eye has somewhere to travel.
Think about eye level before you paint the pond: sitting low, at the irises’ own height, flattens the water into a narrow band behind them and makes the flowers the clear star, while a higher eye level opens up more water and makes the bridge more important. Pick one and keep every shape consistent with it.
Paint the Japanese irises in flatter, broader petal shapes than bearded irises, since the Japanese variety has wide, almost flat blooms rather than ruffled ones, in violet and white with a thin yellow throat line. Group them in twos and threes along the water’s edge.
If the water looks too busy, simplify it to one flat sage-grey tone with a few horizontal white gel pen strokes once dry for the reflection.
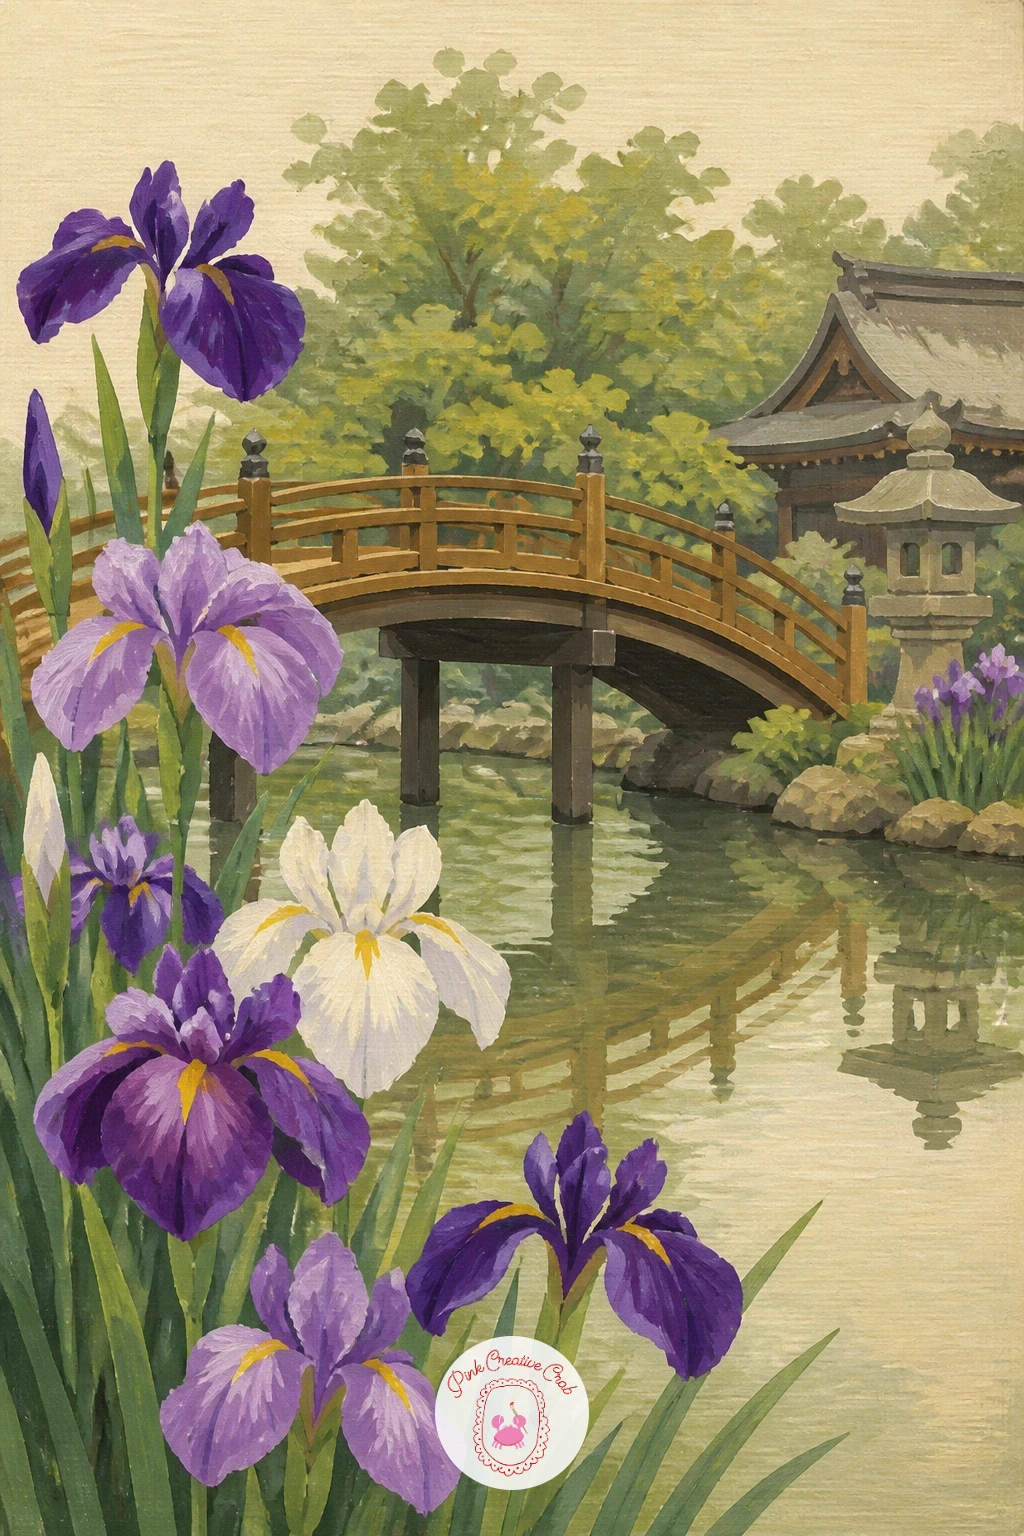
You Will Need
- white gel pen for water reflections
Palette: Dioxazine Purple,Warm Brown,Sage Grey,Mustard Yellow
Painting a yellow and purple iris pair side by side is a nice color study, since the two hues sit opposite each other and make the whole canvas glow. Give both flowers equal space rather than making one the star, with their stems crossing slightly near the base to link them visually.
Block the purple iris first in dioxazine purple, then switch brushes and paint the yellow iris in a clean mustard or cadmium yellow, keeping the petal shapes identical between the two so the color contrast does the work rather than different shapes competing for attention. Let each dry before the stems touch, to keep the colors clean where they meet.
Where this goes wrong is muddying the yellow with leftover purple on the brush, so rinse thoroughly and test on scrap paper before touching the yellow bloom. If you only have one brush, paint the purple flower entirely and let it dry hard before starting the yellow.
Finish with a single thin sage leaf crossing between the two stems to tie the pair together.
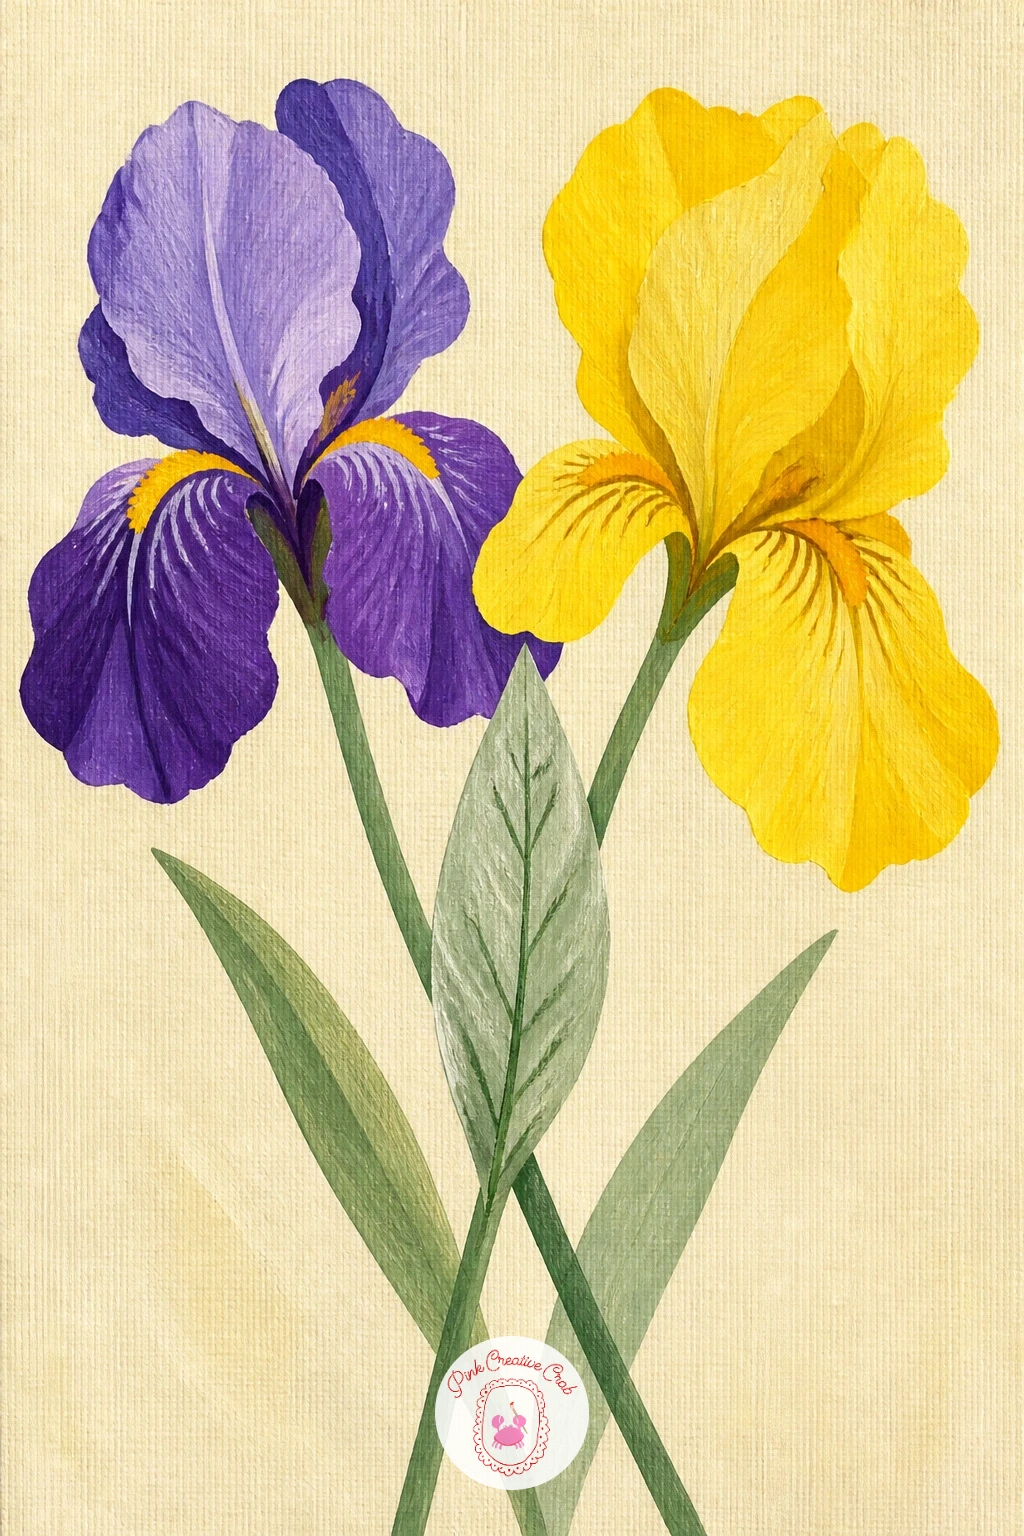
Palette: Dioxazine Purple,Mustard Yellow,Sage Green,Cream
Try the same pair in a cooler lemon yellow and a blue-leaning violet next time, to see how much the mood shifts with a cooler color pairing.
A bunch of Dutch irises at a market gives you a chance to paint a hand-tied bundle, paper wrap and all, which reads as a lovely gift-shop style canvas. Dutch irises are slimmer and more pointed than bearded ones, so keep the petals narrower and the whole flower more upright and elegant.
Paint the paper or brown kraft wrap first as a simple cone shape at the base, then build the stems up from it in a loose fan, five or six at slightly different heights. Block each iris as a quick violet shape before adding the thin yellow-orange streak that Dutch irises carry on their fall petals.
If the bunch starts looking stiff and evenly spaced, nudge two or three stems to lean slightly outward rather than all pointing straight up, since real cut flowers never stand in a perfect fan. Brown parcel paper or a torn paper bag works as reference for the wrap texture if you want to look at something while you paint.
Finish with a loose string or twine mark around the wrap to tie the bunch together.
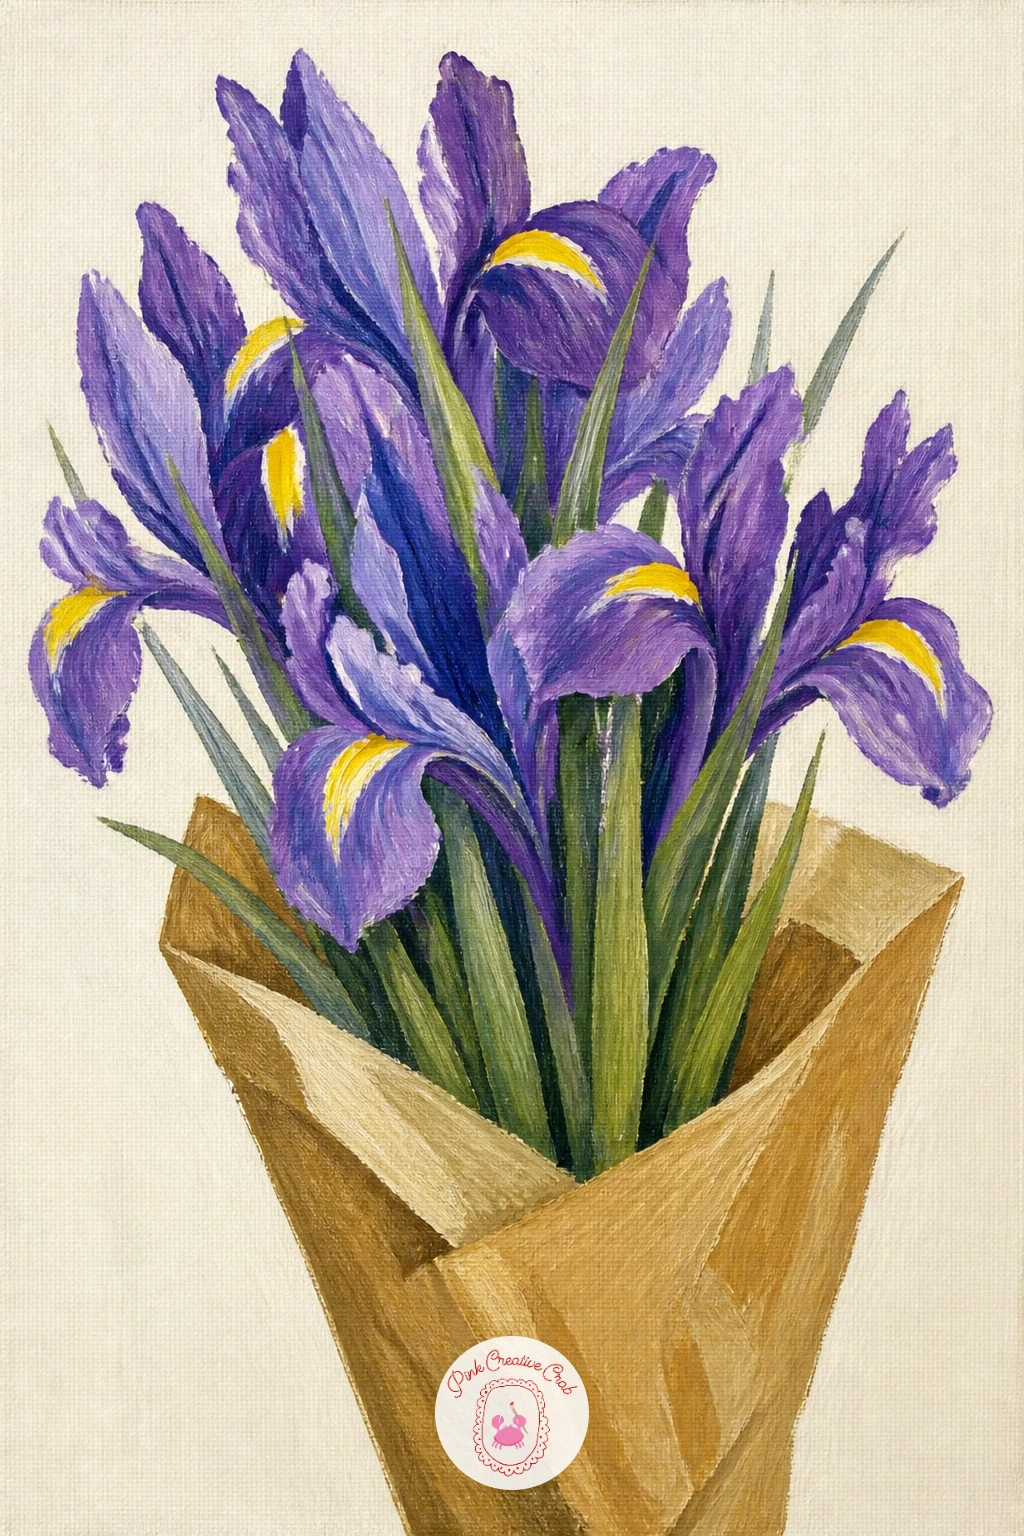
Palette: Dioxazine Purple,Mustard Yellow,Kraft Brown,Sage Green
A bee on an iris turns a single bloom into a little story, with the bee itself the smallest and last thing you paint. Build the iris first, large and centered, in your usual violet-and-yellow combination, leaving the fall petal (the one the bee will land on) a touch simpler so it does not compete with the insect later.
Once the flower is fully dry, paint the bee as a few confident shapes: an oval body in warm brown, two or three black stripe marks, and wings suggested with the thinnest wash of grey-white so they look papery rather than solid. Keep the bee smaller than you think it should be, since an oversized bee is the most common way this picture goes wrong.
A fine liner brush or even a cocktail stick dipped in paint gives you the control needed for the legs and antennae. Position the bee low on the fall petal, near the mustard throat, since that is where a real bee would be drawn to the pollen.
Finish with a tiny white gel pen dot of light on the bee’s back for a quick sparkle of life.
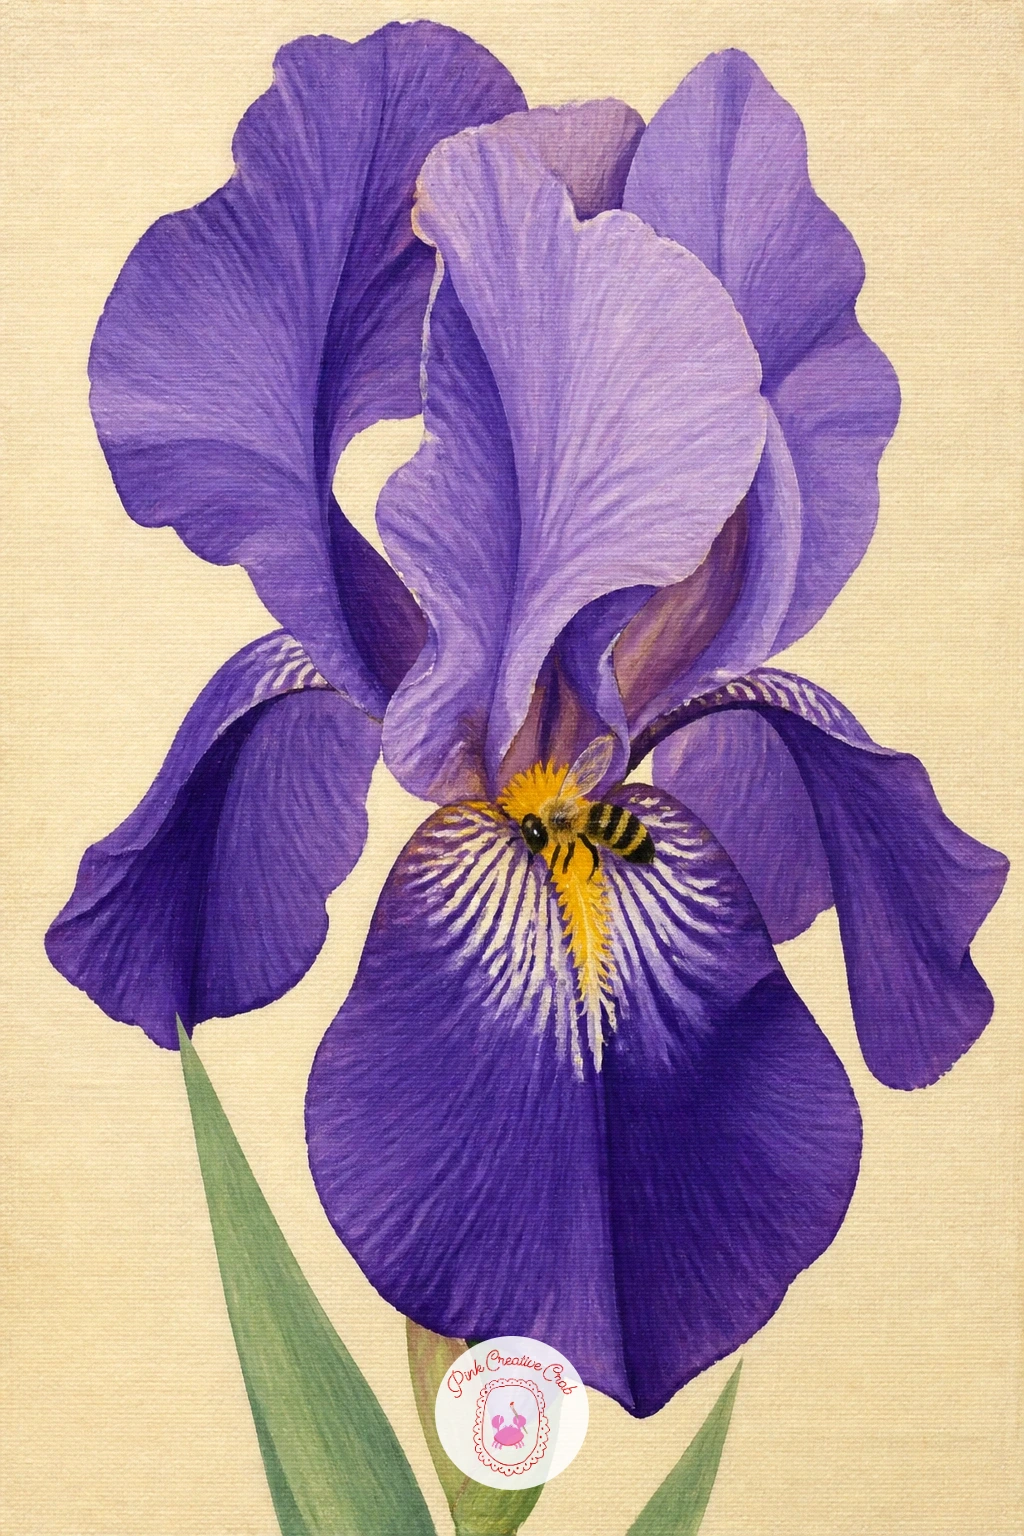
You Will Need
- fine liner brush or cocktail stick for bee legs
- white gel pen for a highlight
Palette: Dioxazine Purple,Mustard Yellow,Warm Brown,Soft Grey
If bees feel fiddly, a butterfly reads just as sweetly from a greater distance and needs far less fine detail to look convincing.
An iris in a bud vase on a desk is the quietest idea on this list and a good one for a short session, since it is just one flower and one small glass vessel. Start with the vase as a narrow clear shape, painted mostly in the cream background color with just a thin outline and one pale blue-grey streak to suggest glass.
Add the single iris stem rising from it, kept slim and a little off-center rather than dead-straight up the middle, with one or two slim leaves crossing the stem lower down. Paint the bloom at the top in your usual violet and mustard, but smaller and more compact than the close-up version, since this whole piece works on restraint.
A desk scene benefits from one small prop beside the vase, a pencil, a stack of books, or a folded note, painted as a flat simple shape so it does not pull focus from the flower. If you do not want to invent a prop, a single cast shadow under the vase does the same grounding job.
Finish with a thin dark line under the vase base to seat it firmly on the desk.
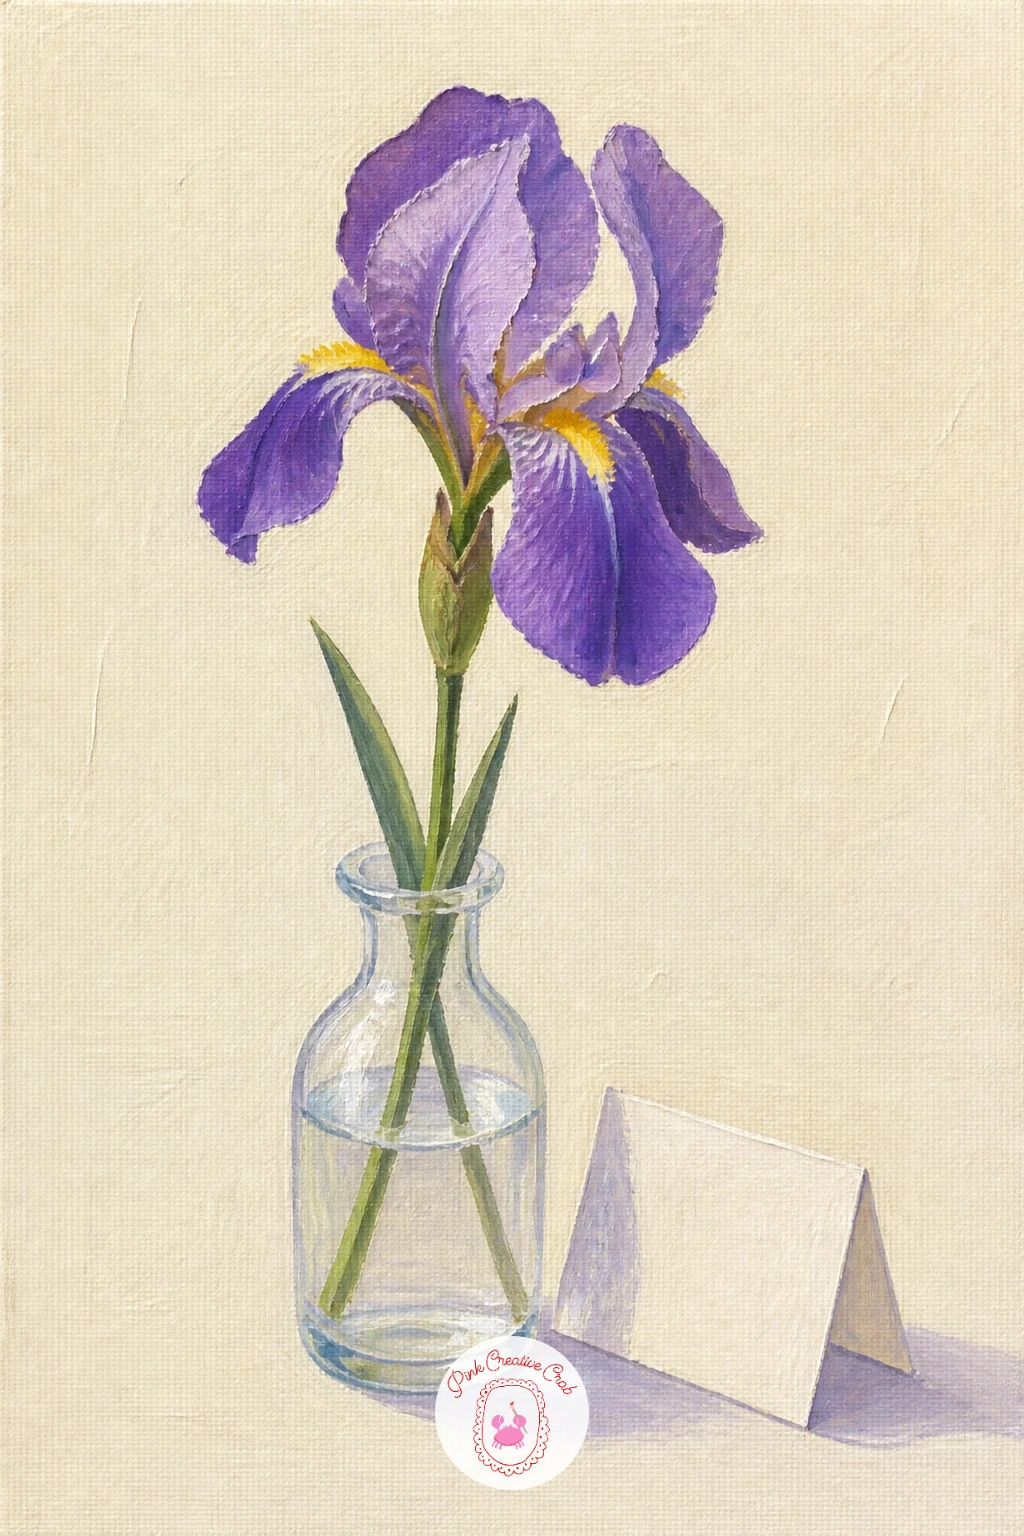
Palette: Dioxazine Purple,Mustard Yellow,Pale Blue Grey,Sage Green
Irises in the rain borrows the same violet blooms you already know and adds a mood shift, so the main new skill here is light: paint the whole background in a slightly cooler, greyer cream than usual, since rain-light flattens color and takes away warm highlights. Block your irises in a slightly muted, lower-contrast violet to match.
Once the flowers and leaves are dry, add the rain itself last, using thin diagonal lines in a pale blue-grey dragged quickly across the canvas with a nearly dry brush, all leaning the same direction as if blown by one gust of wind. Keep the lines sparse rather than covering the whole canvas, since too many rain marks turn into scribble.
A few heavier droplet shapes resting on the petal tips, added with the tip of a small brush or a white gel pen once everything is dry, sell the wet mood better than the falling rain lines alone. If a gel pen is not to hand, a toothpick dipped in white paint makes a similar small dot.
Finish by darkening just the lower third of the leaves slightly, as if soaked through.
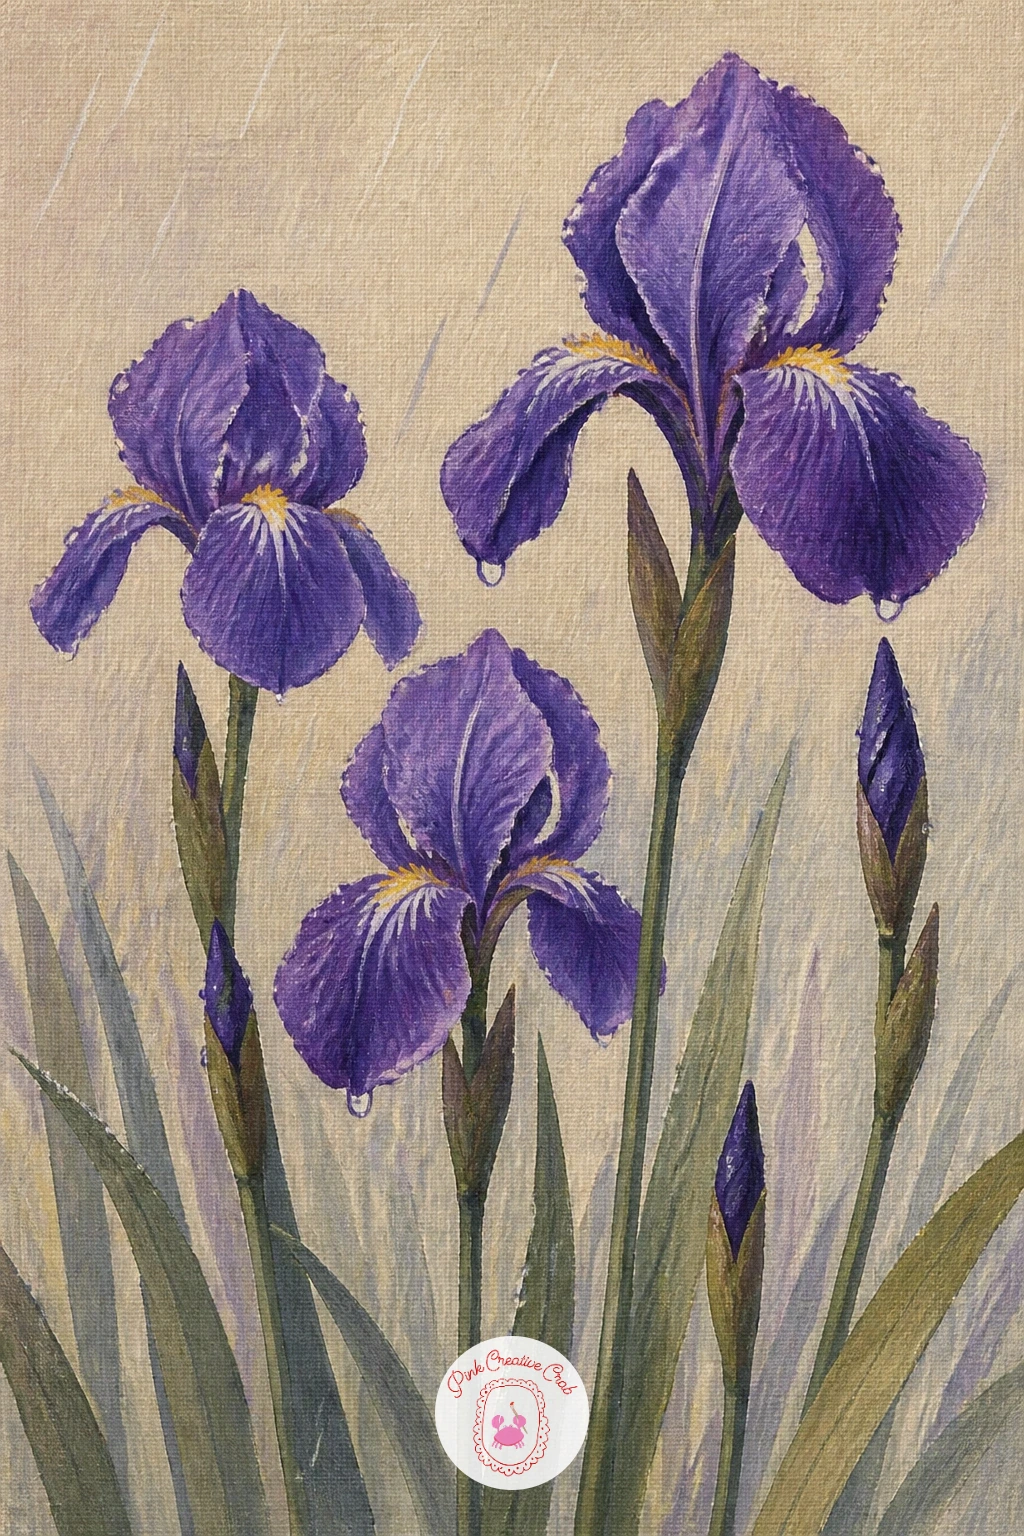
You Will Need
- white gel pen or toothpick for raindrops
Palette: Dioxazine Purple,Pale Blue Grey,Sage Green,Muted Cream
Irises in a white enamel jug on a porch brings a farmhouse feel, and the jug itself is the part worth slowing down for. Paint it as a simple rounded shape in off-white, then add one or two thin blue or grey rim lines near the top and base, the classic enamel detailing, plus a small chip mark in grey where the white has worn through, which instantly reads as old and loved.
Build the iris stems up from the jug’s neck in a loose, slightly leaning cluster, since a porch arrangement always looks more natural tilted than perfectly upright. Keep two or three blooms open and one still a tight closed bud for variety.
Place the jug on a porch ledge or step, suggested with just one or two flat plank lines in warm grey-brown beneath it, enough to ground the scene without painting a whole building. If painting wood grain feels fiddly, a single flat warm stripe under the jug does the job just as well.
Finish with a soft shadow cast to one side of the jug to seat it firmly on the surface.
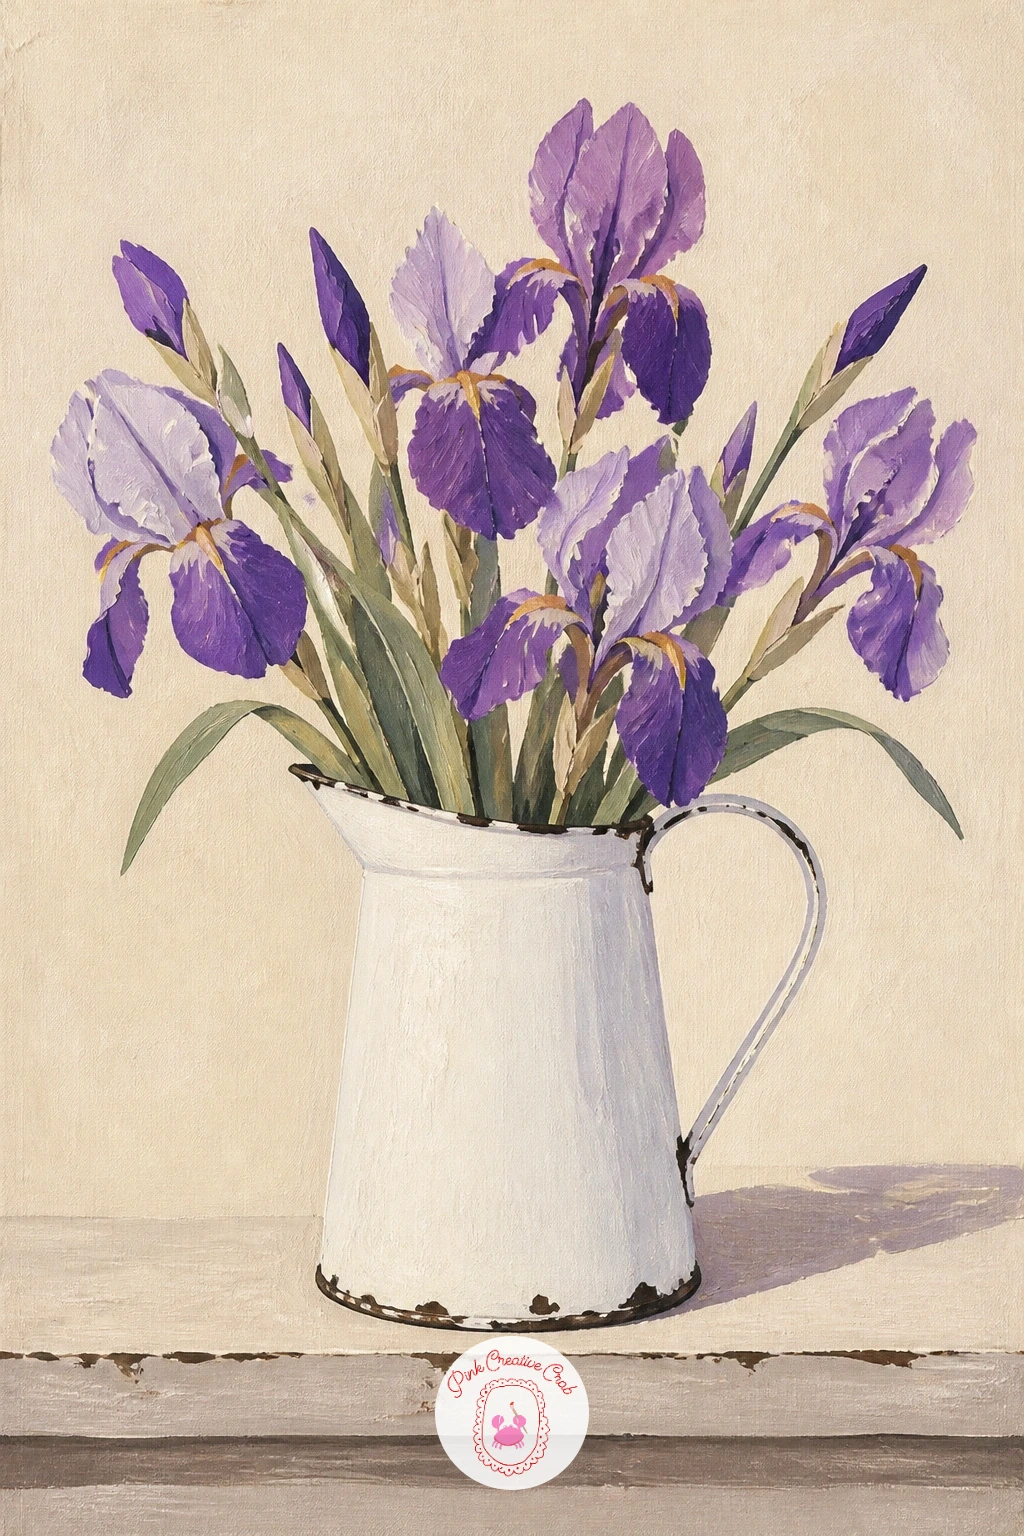
Palette: Dioxazine Purple,Off White,Soft Blue Grey,Warm Grey Brown
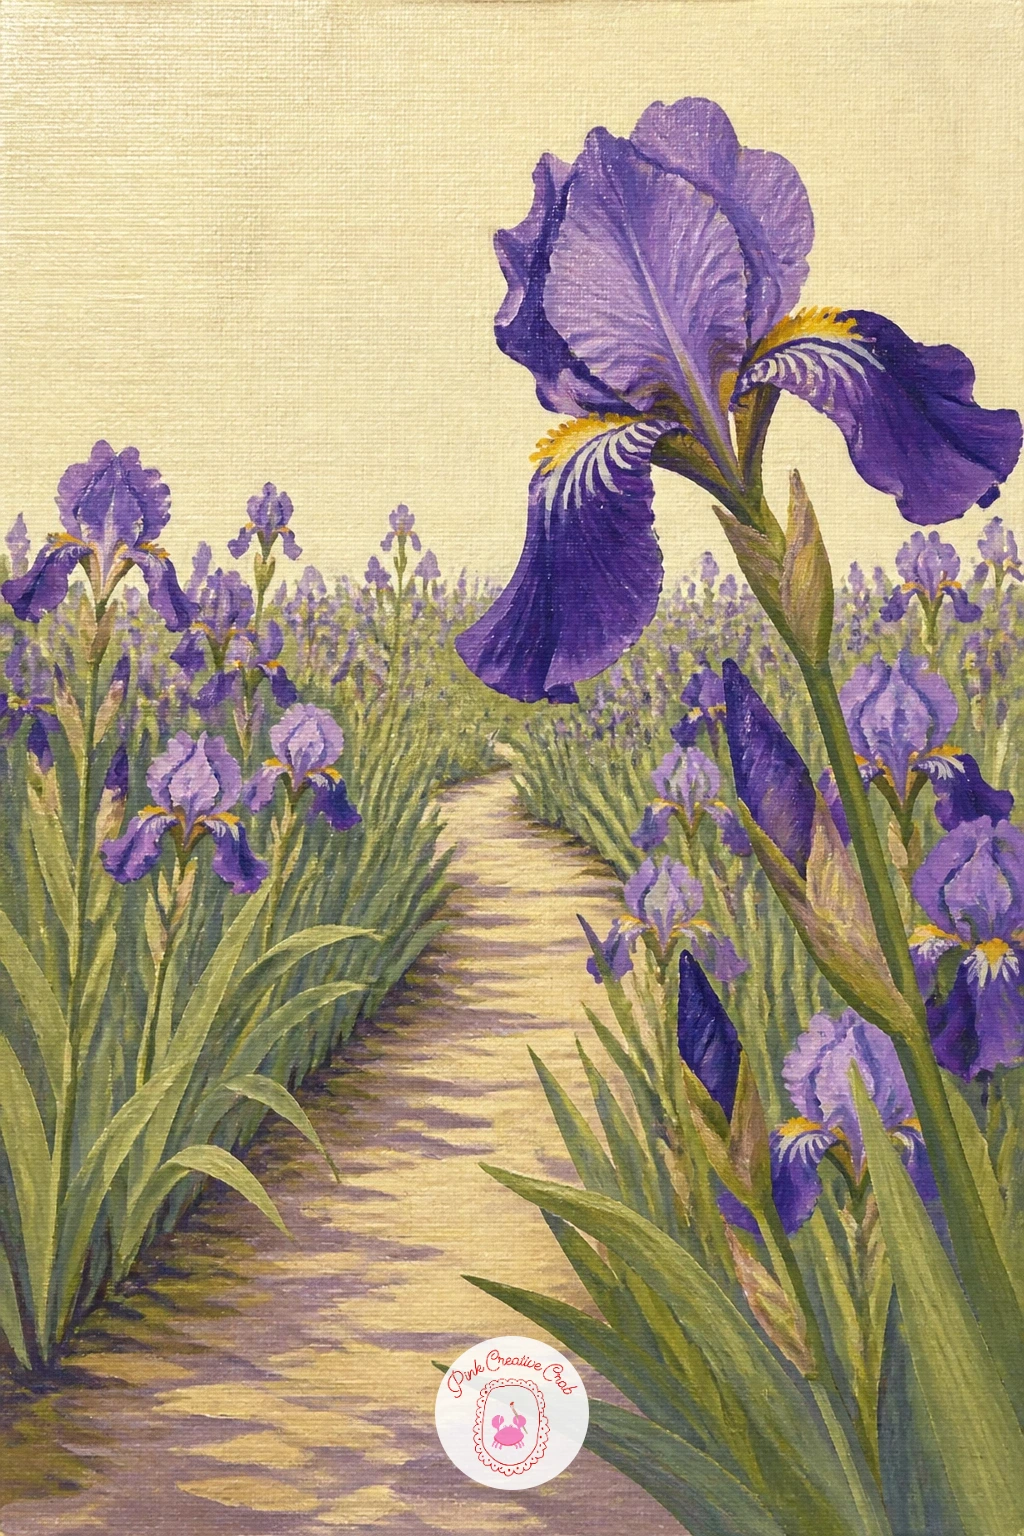
A garden path between iris beds is the most landscape-like of the iris ideas, built from back to front like a real view down a garden. Start with the path itself, a simple pale stripe narrowing as it recedes, since getting the perspective right here is what makes the whole scene convincing.
Keep the path edges converging toward a single point a little above center, roughly where you imagine the path curving out of sight, and make sure the iris beds on either side narrow at the same rate as the path, not staying the same width all the way back. This single check saves most perspective mistakes in a garden scene.
Fill the beds with iris shapes that get smaller and less detailed the further back they sit: crisp individual blooms up front, soft violet dabs further away. Add simple low hedging or stepping stones along the path edge if you want more structure.
Finish with one tall iris leaning slightly into the path in the foreground, to frame the view and give the eye a clear entry point.
Palette: Dioxazine Purple,Sage Green,Warm Stone,Cream
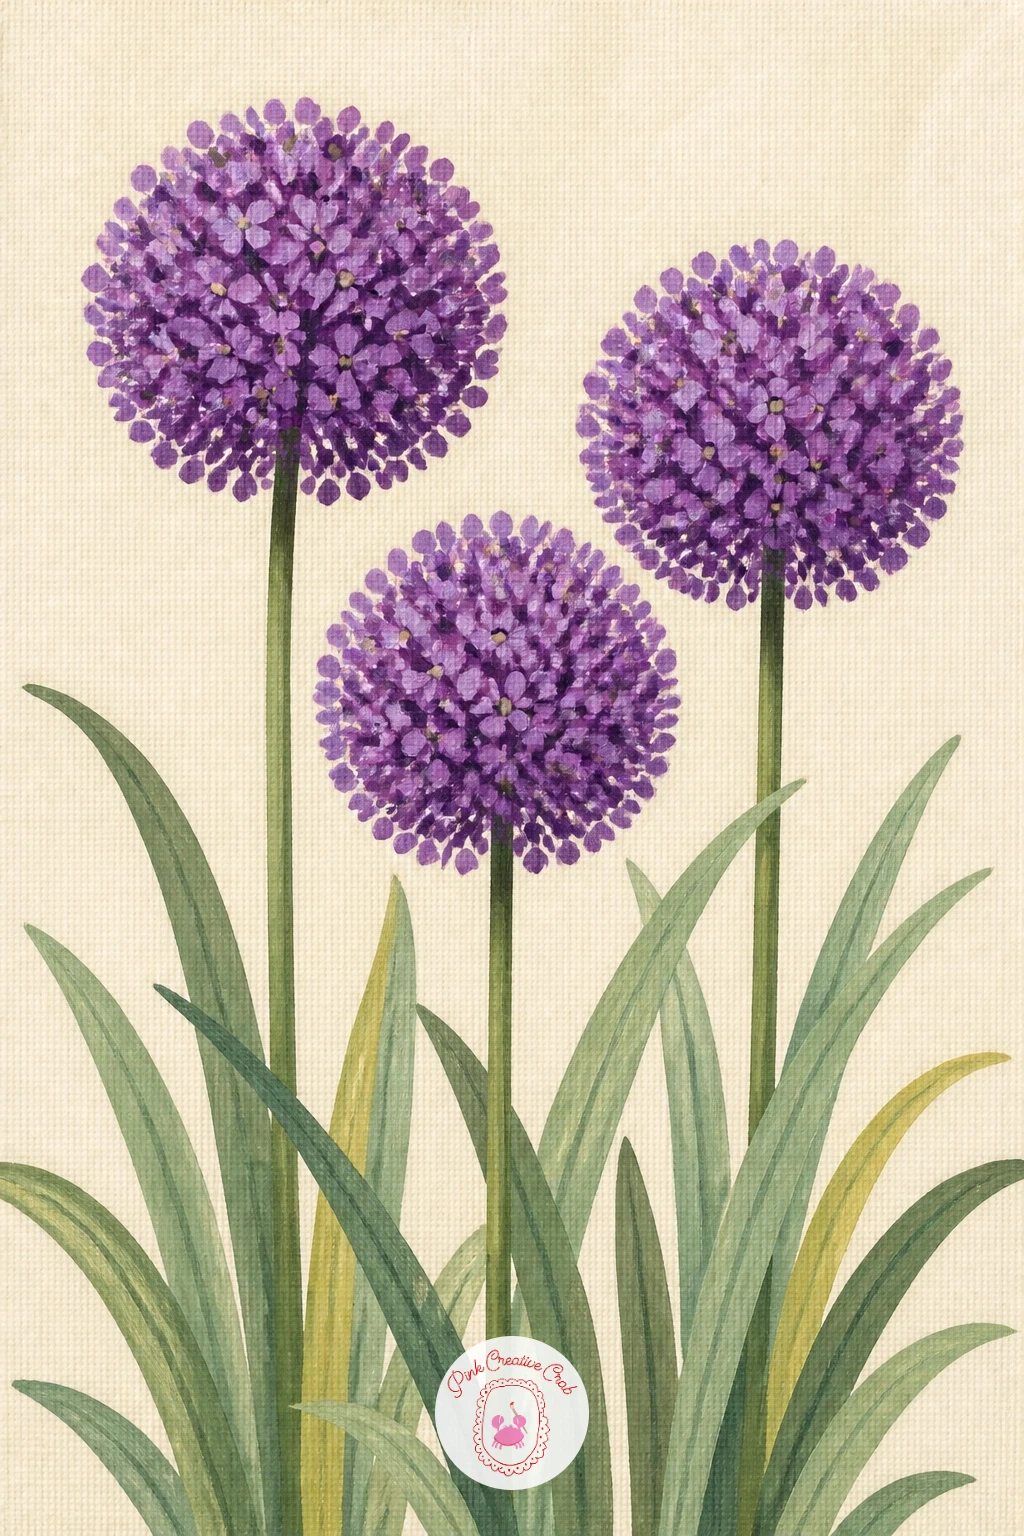
Alliums like purple balls in a garden move the list on from irises into the wider world of purple blooms, and they are a satisfying, almost geometric subject to paint. Start each allium head as a simple circle in pencil, then fill it with small dot or dash marks in violet using the tip of a round brush, working from the edge in so the sphere reads as made of hundreds of tiny florets rather than one flat disc.
Vary the pressure and spacing of your dots, denser near the edge of the circle and a little looser toward the center, which tricks the eye into seeing roundness without any actual shading. A toothbrush flicked lightly with thinned paint can speed this up across several allium heads at once if you want texture fast.
Give each sphere a single thin stem rising from a bed of simple strappy leaves, and stagger two or three alliums at different heights so they do not read as a row of lollipops. If dots feel slow, a sponge dabbed in violet gives a similar textured sphere much faster.
Finish with a few paler lilac dots scattered on the sunniest side of each sphere for light.
You Will Need
- old toothbrush or small sponge for texture (optional)
Palette: Dioxazine Purple,Lilac,Sage Green,Cream
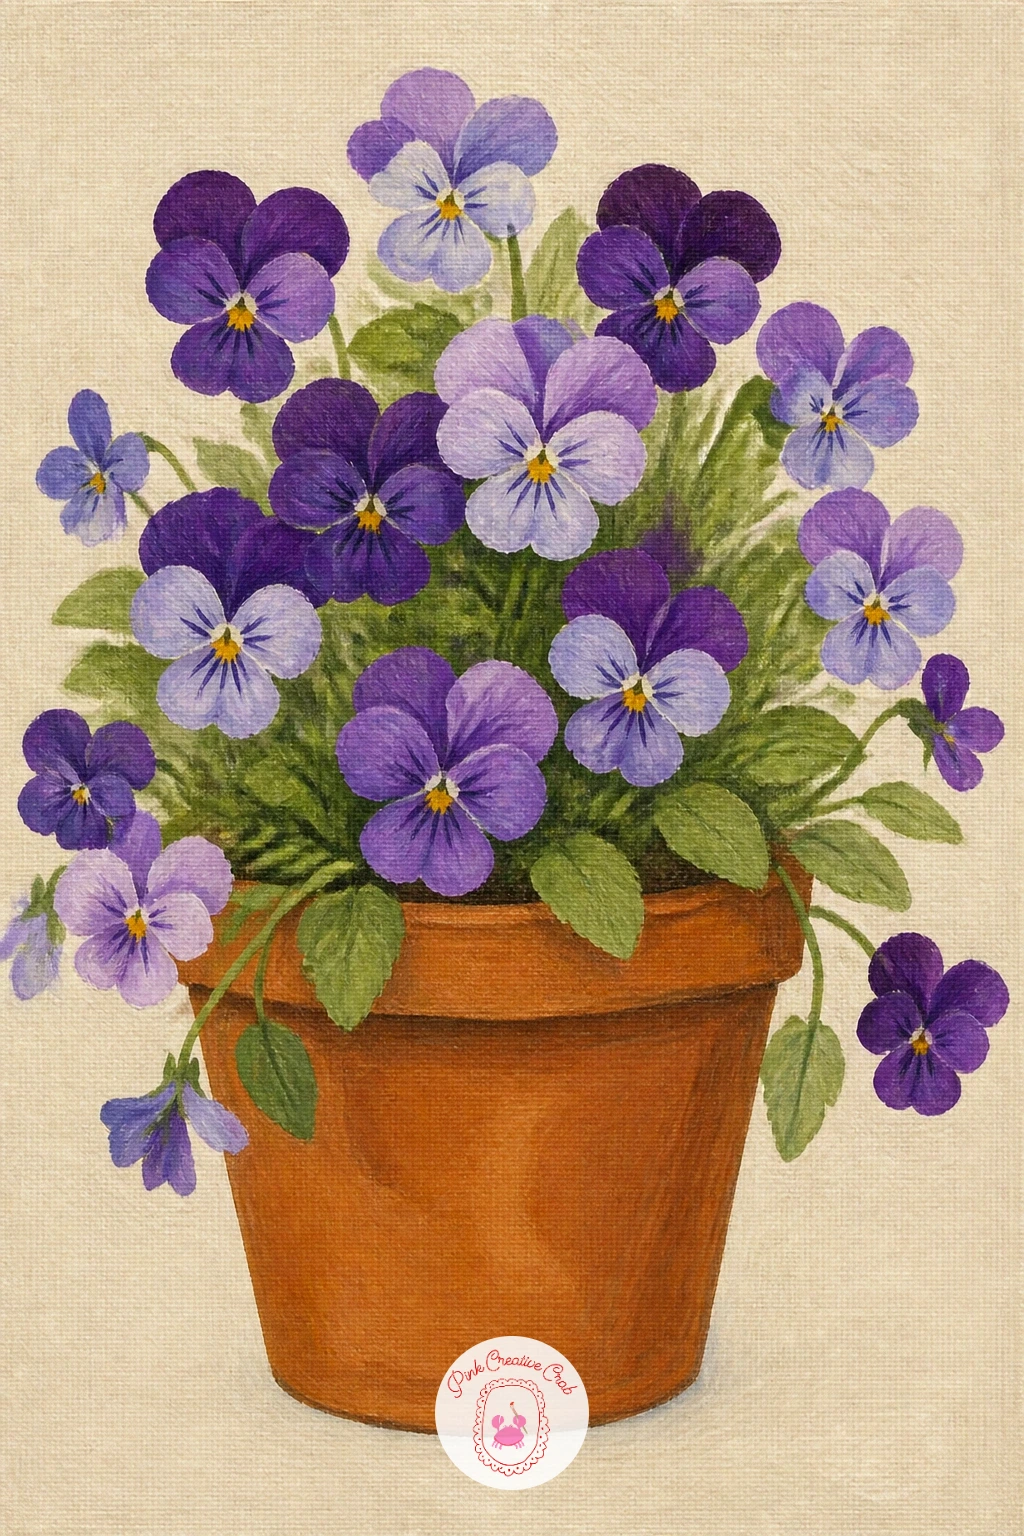
Violas in a pot are tiny, cheerful and quick, which makes them a nice change of pace after the bigger iris pieces. Paint the pot first, a simple terracotta cylinder narrowing slightly at the base, with one highlight stripe down one side to suggest its rounded form.
Fill the top of the pot with soft green foliage dabs, then add the violas as small five-petaled flower shapes in purple, lilac and sometimes a soft yellow face, scattered rather than lined up in rows. Each flower only needs a handful of brush dabs, two or three petals and a tiny dark center dot, so resist the urge to overwork any single bloom.
If the flowers start to look like blobs, pull a thin dark line from the center outward on just the front-facing blooms to suggest the petal markings violas are known for, which reads as detail from a distance without needing real precision. A cotton swab dipped in white works for a quick petal highlight if a fine brush feels fiddly.
Finish with a few trailing stems spilling slightly over the pot’s rim.
Palette: Dioxazine Purple,Lilac,Terracotta,Sage Green
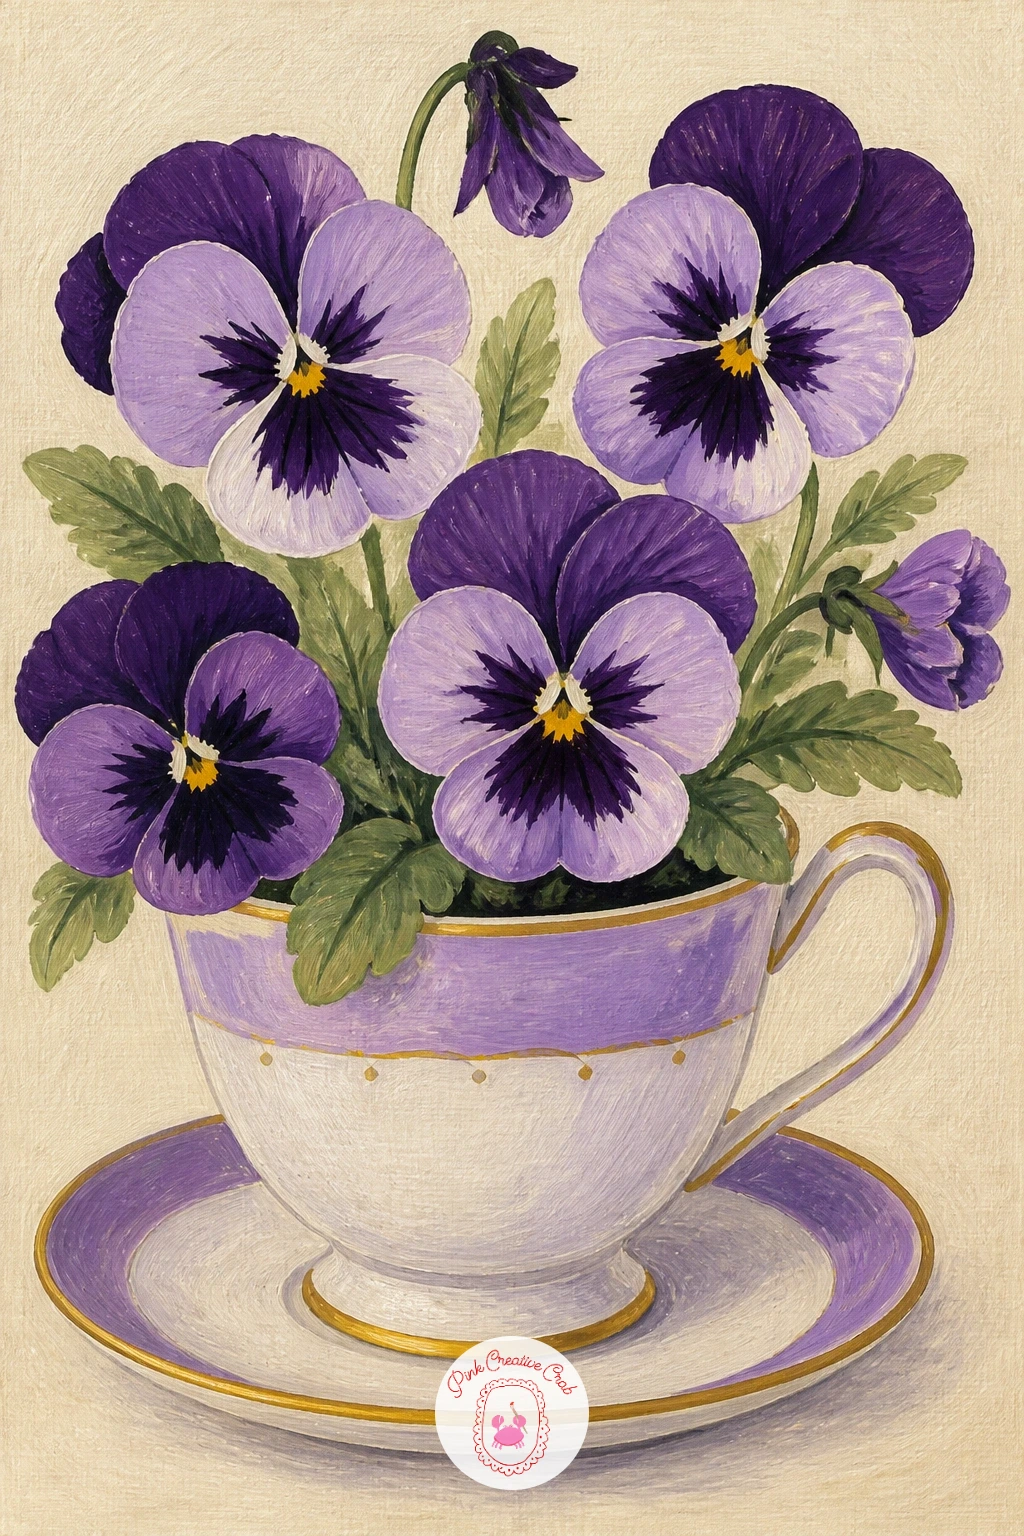
Purple pansies in a teacup pairs a flower with a small domestic object, and the teacup is worth getting right since it carries half the charm. Paint the cup as a simple curved shape with a thin saucer beneath, in white or soft cream with one decorative line or small floral dot pattern around the rim if you want extra detail.
Build two or three pansies rising from the cup, each made of five rounded petal shapes layered slightly over each other, two upper petals a touch darker than the three lower ones, which is the real pansy structure and the detail that makes them instantly recognizable. Keep a dark velvety center mark on each bloom, almost black-violet, since that is the pansy’s signature face.
Where this goes wrong is making every petal the same flat purple, so mix a second, lighter lilac for the lower petals to get that two-tone pansy look without extra effort. If you only have one purple, add white to half your puddle partway through painting the petals.
Finish with a thin steam-like curl above the cup if you want a cozy, just-poured feel.
Palette: Dioxazine Purple,Lilac,Near Black Violet,Soft Cream
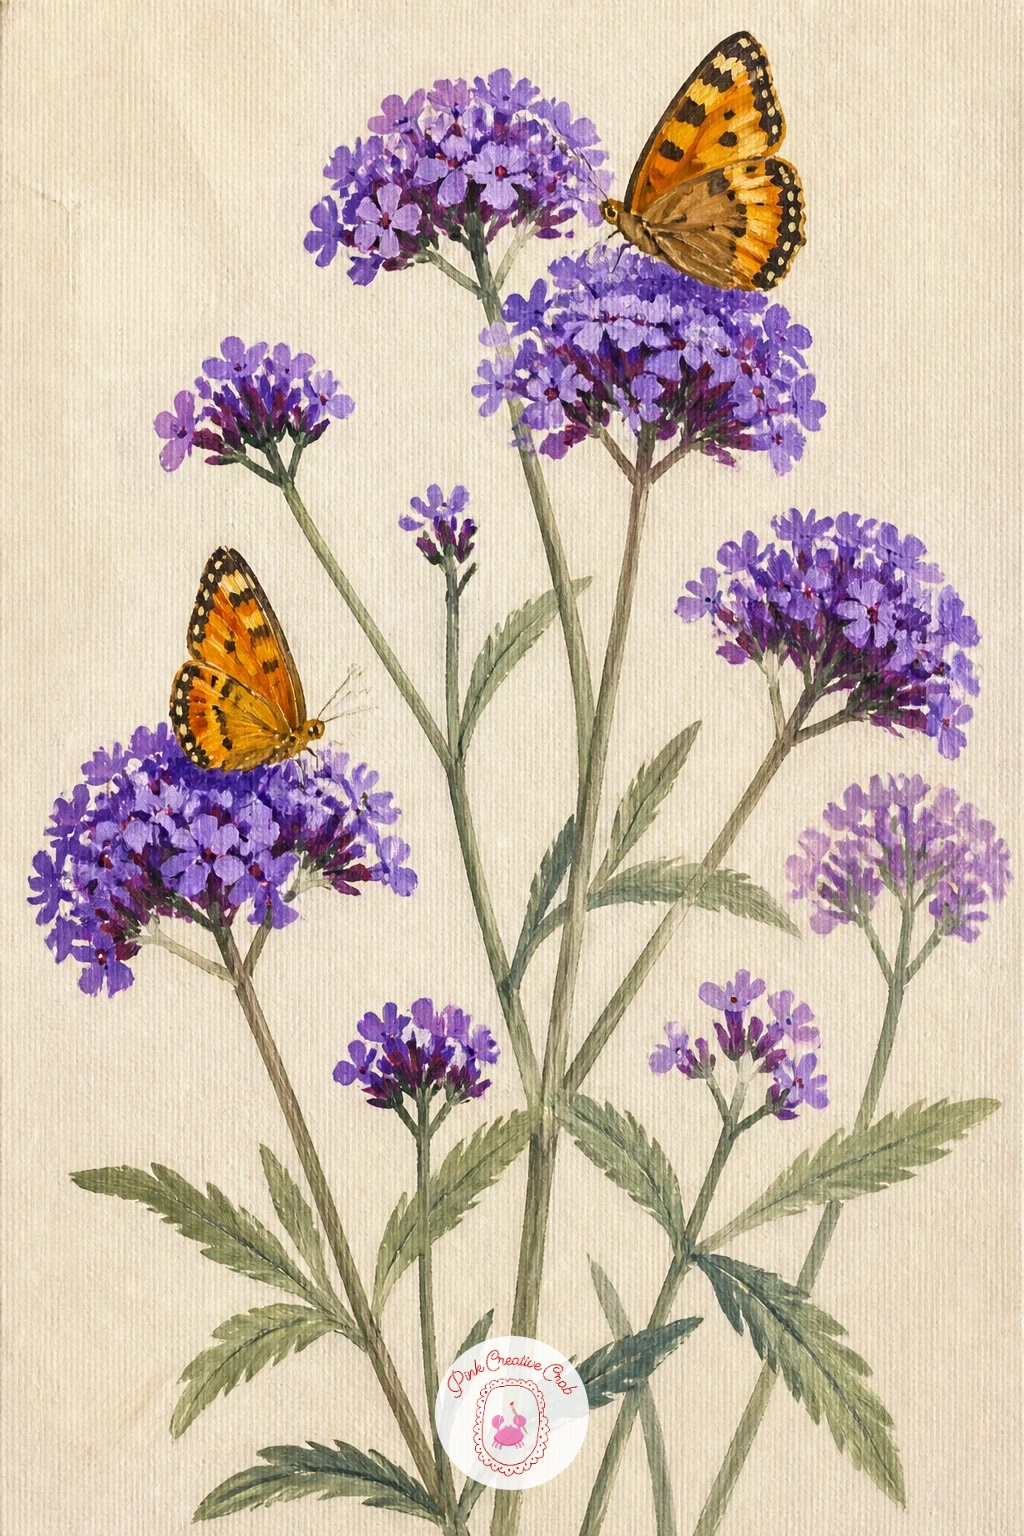
Verbena with butterflies rewards a looser hand than the structured flowers earlier on this list, since verbena grows as loose clusters of tiny tube-shaped florets on tall thin stems. Paint the stems first, several thin upright lines in sage green, then cap each one with a flat cluster of small violet dot-marks pressed close together, denser at the top of the cluster and looser at the edges.
Think about your light source before adding the butterflies: decide whether the sun sits to the left or right of the canvas, then keep every cast shadow and every brighter wing edge consistent with that one direction, which is what makes a cluttered scene like this read as coherent rather than flat and directionless.
Paint one or two butterflies resting on the verbena heads last, simple symmetrical wing shapes in a contrasting warm orange or soft white, with a single dark body line down the middle and a few thin antenna strokes. A fine liner brush helps here, but the corner of a small flat brush gives a similar crisp wing edge.
Finish with a scatter of loose violet dots drifting off one cluster for movement.
You Will Need
- fine liner brush for butterfly antennae
Palette: Dioxazine Purple,Sage Green,Warm Orange,Soft White
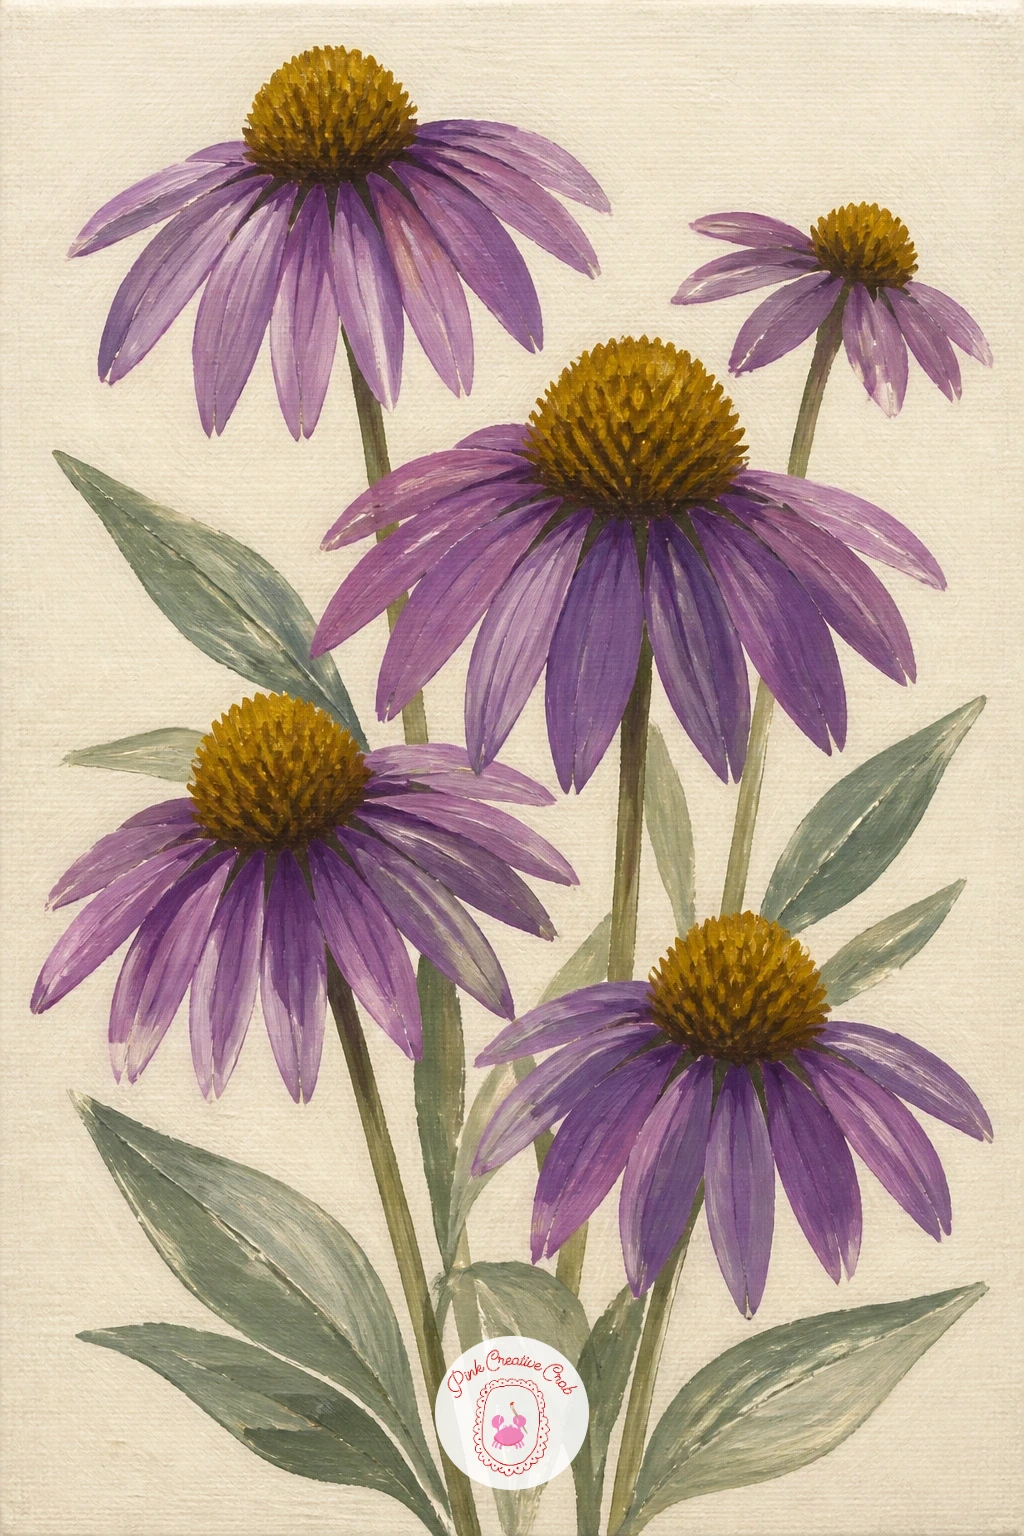
Purple coneflowers move the eye to a bolder, daisy-like shape after the softer verbena clusters, with a strong central cone that anchors the whole bloom. Start with the cone itself, a domed oval in warm mustard-brown, textured with small stippled dots using the tip of a round brush so it looks bristly rather than smooth.
Once the cone is dry, add the petals radiating outward and slightly downward, since coneflower petals droop rather than sitting flat like a daisy, in a dusky pink-violet rather than a pure purple for an authentic coneflower color. Keep the petals uneven in length and slightly irregular, which reads as more natural than a perfectly symmetrical flower.
For a quick ten-minute version, paint just one or two coneflower heads large and centered; with forty minutes, add a whole cluster at different angles, including one or two seen from the side where only the drooping petal edge and part of the cone show.
Finish with a few thin stiff leaves low on the stem, in a slightly greyer sage than your usual leaf green.
Palette: Dusky Pink Violet,Warm Mustard Brown,Grey Sage,Cream
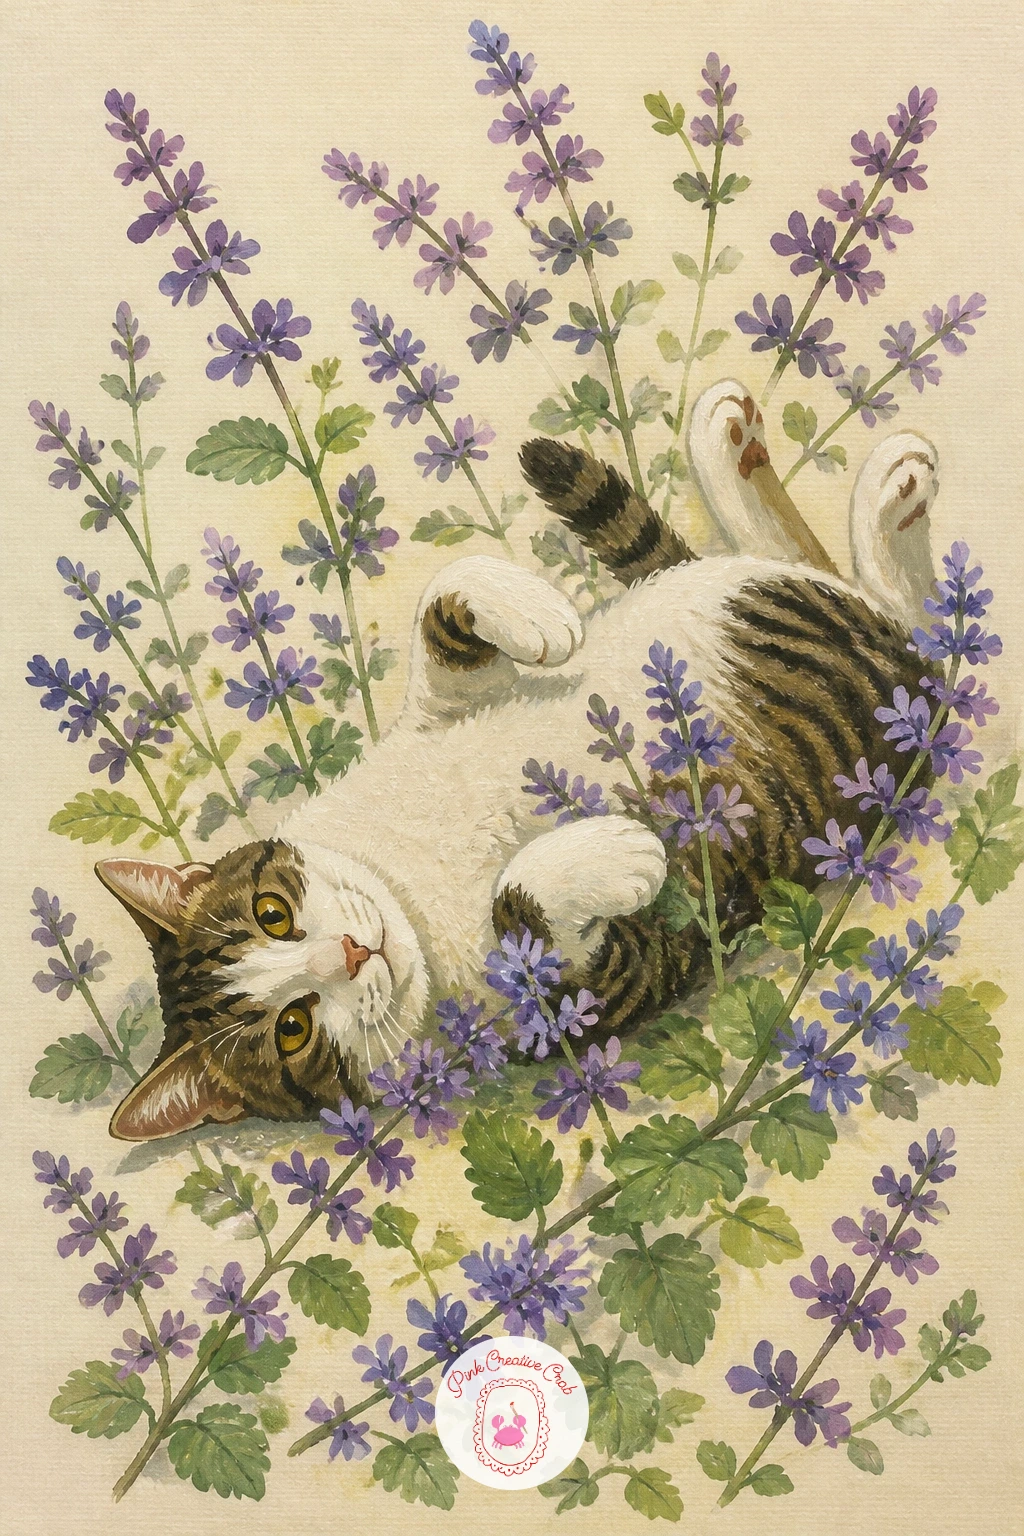
A cat rolling in catmint brings a bit of humor into the garden theme, and the trick is to keep the cat simple so it does not turn into a separate portrait exercise. Block the cat’s body first as one soft curved shape lying on its side, tail curling up, in whatever coat color you like, keeping the pose loose and relaxed rather than anatomically precise.
Build the catmint around and partly over the cat, tall thin stems topped with small spiky violet-lilac flower clusters, letting a few stems bend or flatten where the cat’s body presses against them, which is the detail that sells the rolling action. Paint these crushed stems after the cat is dry, overlapping slightly onto its fur.
If the cat’s face feels daunting, keep it in profile or even turned away entirely, since a simplified back-of-head view still reads perfectly well and avoids the trickiest feature placement. A kneaded eraser is handy for lifting a soft highlight along the cat’s back if you sketched in graphite underneath first.
Finish with a few loose petals and crushed leaves scattered around the cat for a sense of movement.
You Will Need
- kneaded eraser if sketching in graphite first
Palette: Lilac,Dioxazine Purple,Warm Grey,Sage Green
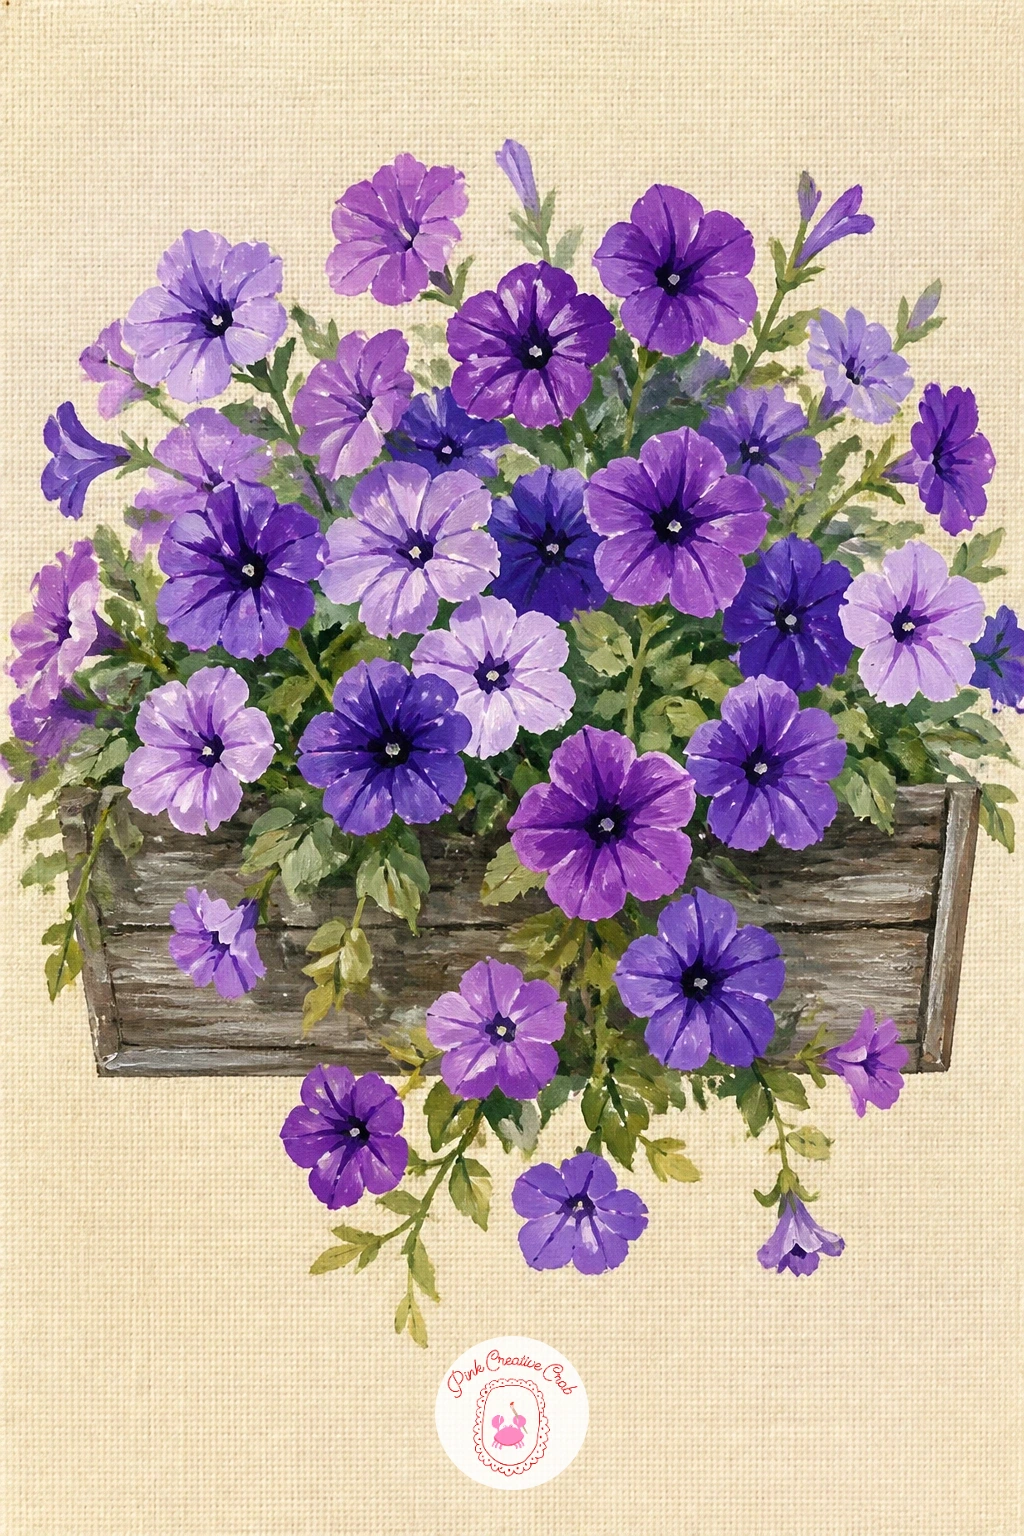
Purple petunias in a window box give you a chance to paint abundance, a tumble of trumpet-shaped blooms spilling well past the container itself. Paint the window box first, a simple long rectangle in weathered wood tone, then build petunia foliage thickly over its top edge before any flowers go in, since petunias are leafy plants and the green needs to feel generous.
Add the trumpet flowers as simple fan or star shapes, five petal lobes merging into a short throat, in a range from deep violet to paler lilac so the box does not read as one flat color block. Let several flowers trail down over the front edge of the box and even below it, since that cascading habit is what makes petunias recognizable.
Where this goes wrong is painting every flower face-on; mix in a few seen from the side or half-hidden behind leaves for variety and depth. A single thin white gel pen line down the center of one or two front-facing blooms suggests the throat without needing real shading.
Finish with a windowsill edge beneath the box to ground the whole scene.
You Will Need
- white gel pen for petal throat lines (optional)
Palette: Dioxazine Purple,Lilac,Weathered Wood Brown,Leaf Green
Purple crocus on a lawn is a lovely small-scale piece built almost entirely from negative space, since the whole point is a handful of tiny flowers pushing up through grass. Paint the lawn first as a flat mid-green background, then once dry, add the crocus blooms as simple closed cup shapes, just two or three curved petal strokes per flower, clustered in twos and threes rather than scattered evenly across the whole canvas.
Measure the scale carefully before you start: each crocus should sit no taller than a thumb’s width on your canvas, since oversized crocus flowers lose the fragile, just-emerged feeling that makes this subject work. Keep most stems hidden, just a hint of green at the base of each bloom, as if the grass is swallowing them.
Add a thin orange-yellow stamen mark inside one or two open blooms for a bright detail against all that violet and green. If your brush feels too large for these small shapes, the tip of a cotton swab gives a similarly soft, small petal mark.
Finish with a scatter of pale dots in the grass to suggest early morning light or dew.
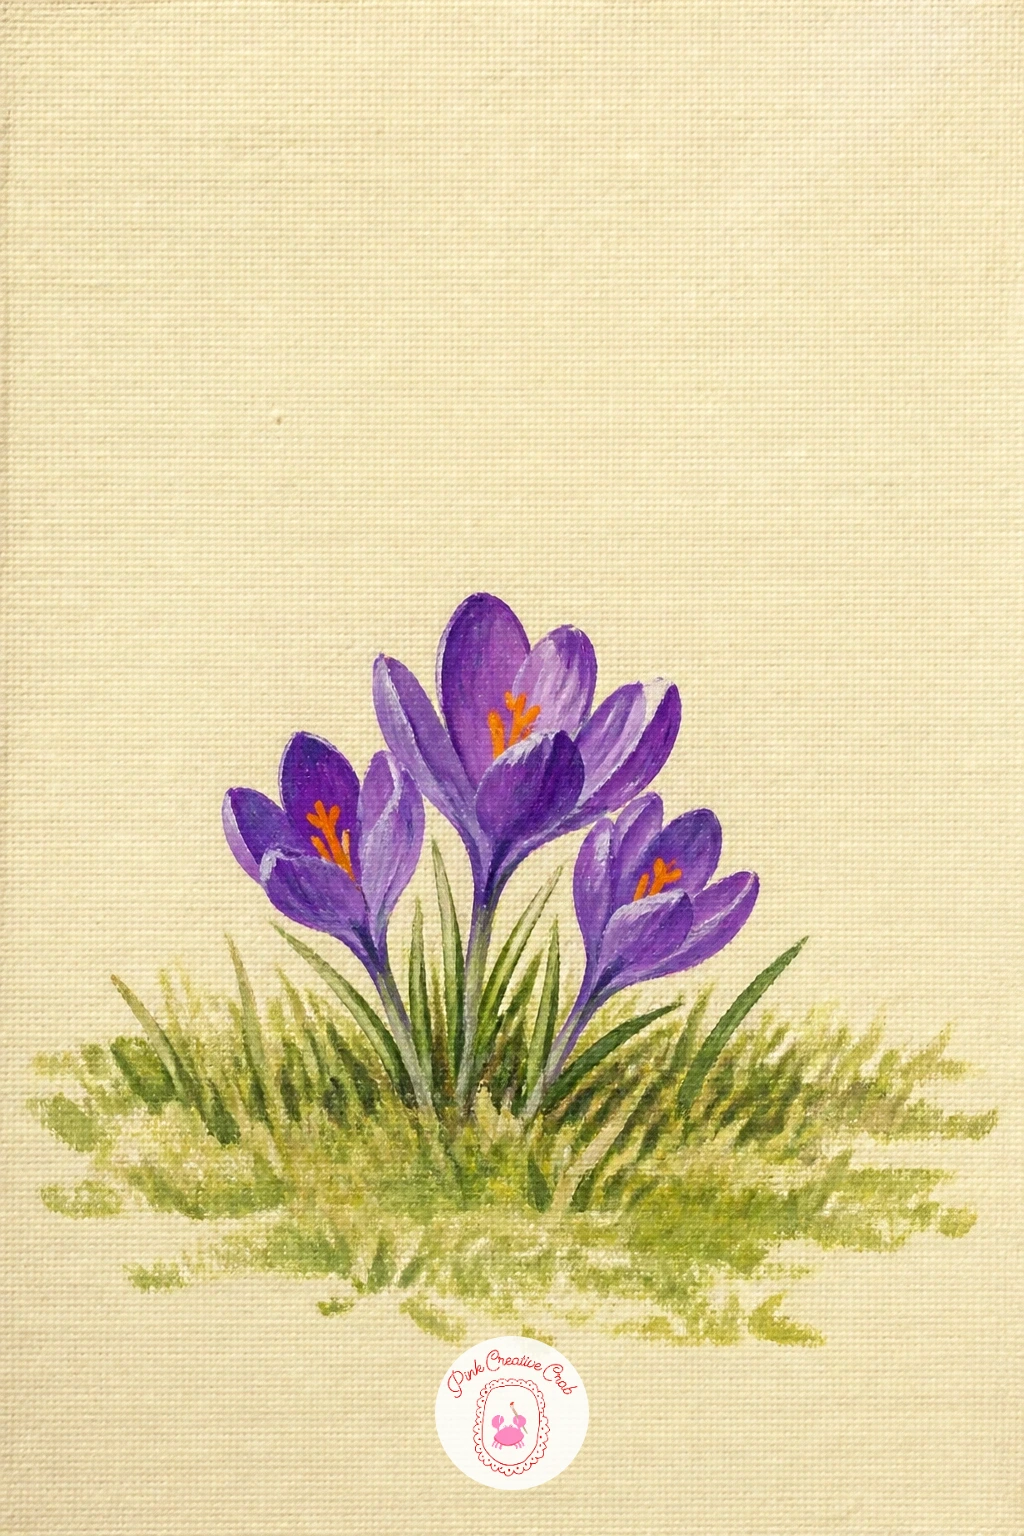
Palette: Dioxazine Purple,Mid Green,Orange Yellow,Cream
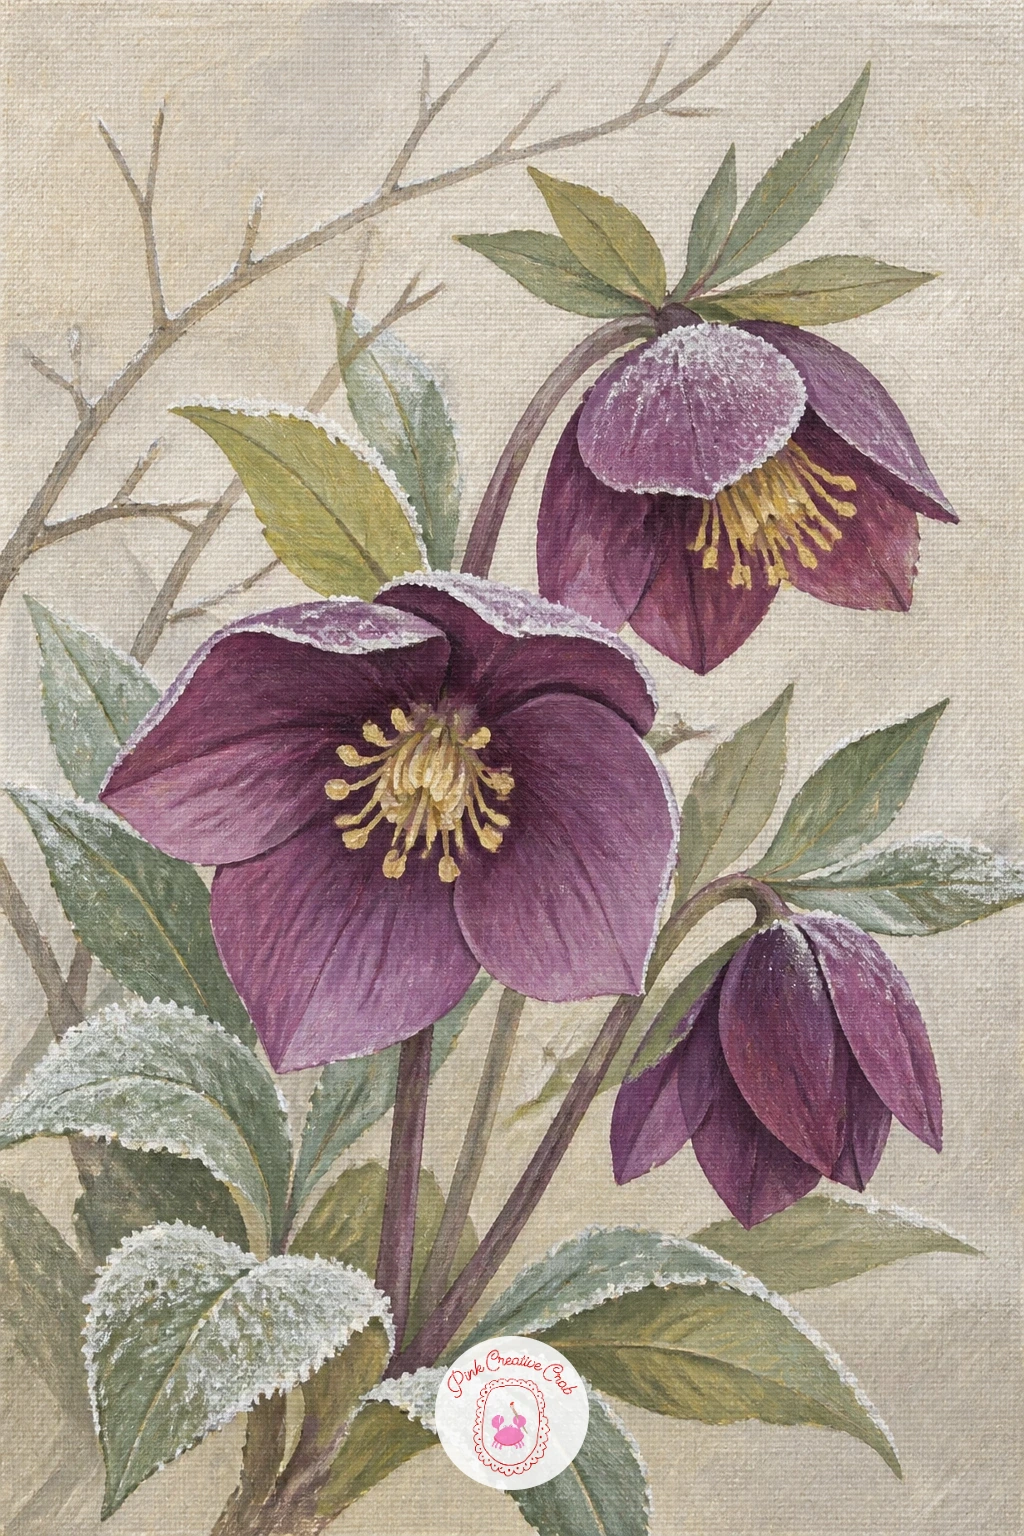
Hellebores in winter shift the palette cooler and quieter than anything else on this list, since these are the flowers that bloom through frost. Start with a muted, slightly grey-cream background rather than a warm one, which immediately sets the winter mood before a single flower goes in.
Paint the nodding heads first, since hellebores famously droop and face downward rather than up, a detail worth exaggerating a little so the flower is instantly recognizable. Use a dusky plum-purple for the outer petals, softened with white toward the center, and leave the deep leathery green leaves beneath them slightly darker and more matte than your usual spring greens.
A light dusting of frost sells the season: once the painting is dry, stipple a few small white dots along the leaf edges and petal tips with a stiff dry brush, barely loaded with white, dragged lightly rather than pressed on. If a dry brush is not available, a sponge dabbed almost dry does a similar job.
Finish with one bare twig or a few bare branch lines behind the blooms for a wintry backdrop.
You Will Need
- stiff dry brush or small sponge for the frost texture
Palette: Dusky Plum,Soft White,Deep Leaf Green,Grey Cream
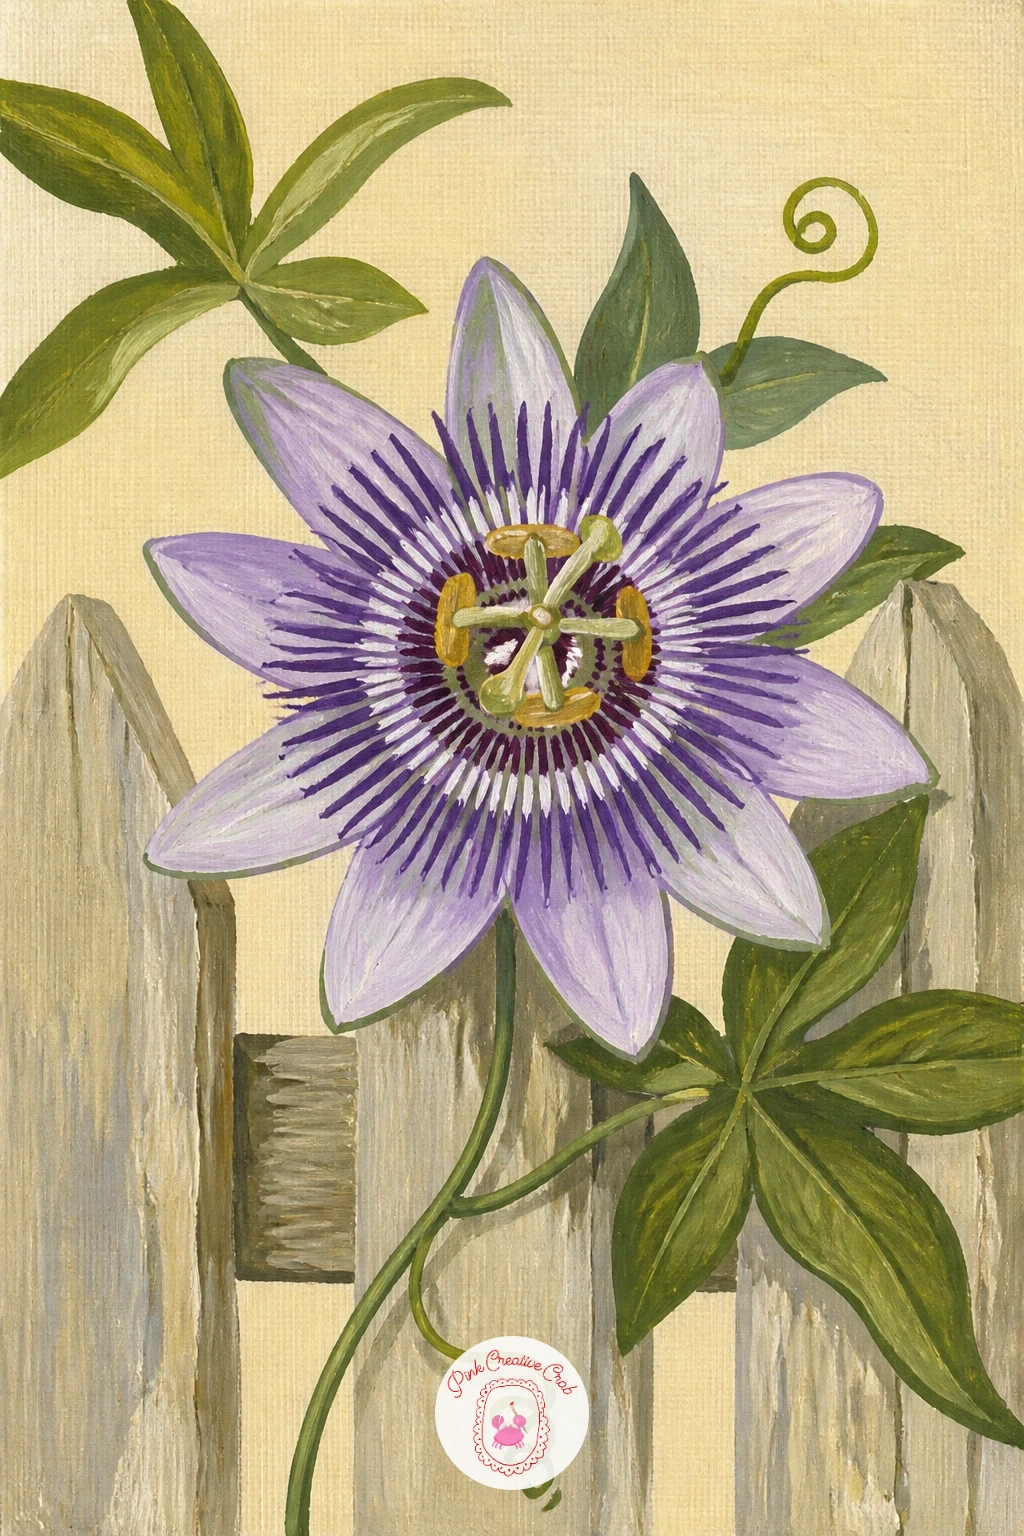
A passionflower on a fence is the most intricate bloom on this list, so give yourself the full session for it and start with patience rather than rushing the center. Paint the flat, star-shaped outer petals first in pale lilac or white, then let them dry fully before adding the famous filament crown on top, since those layers need a clean edge to separate them.
The crown is a ring of thin curled lines radiating from the center, alternating deep violet and white, painted one at a time with a fine liner brush or the tip of a round brush loaded thin. Keep the curls loose and slightly uneven rather than perfectly even, since real passionflower filaments never sit in a neat row.
Add the central structure, a small raised stem with three curved stigma shapes and a ring of stamens, last and smallest, since this part reads as detail only at close range and does not need to be anatomically exact to convince the eye. Set the whole flower against a few fence slats in warm weathered grey-brown, with one curling tendril reaching off to the side.
Finish with a single bud nearby, just a tight green spiral, for scale.
You Will Need
- fine liner brush for the filament crown
Palette: Lilac,Dioxazine Purple,Weathered Fence Grey,Leaf Green
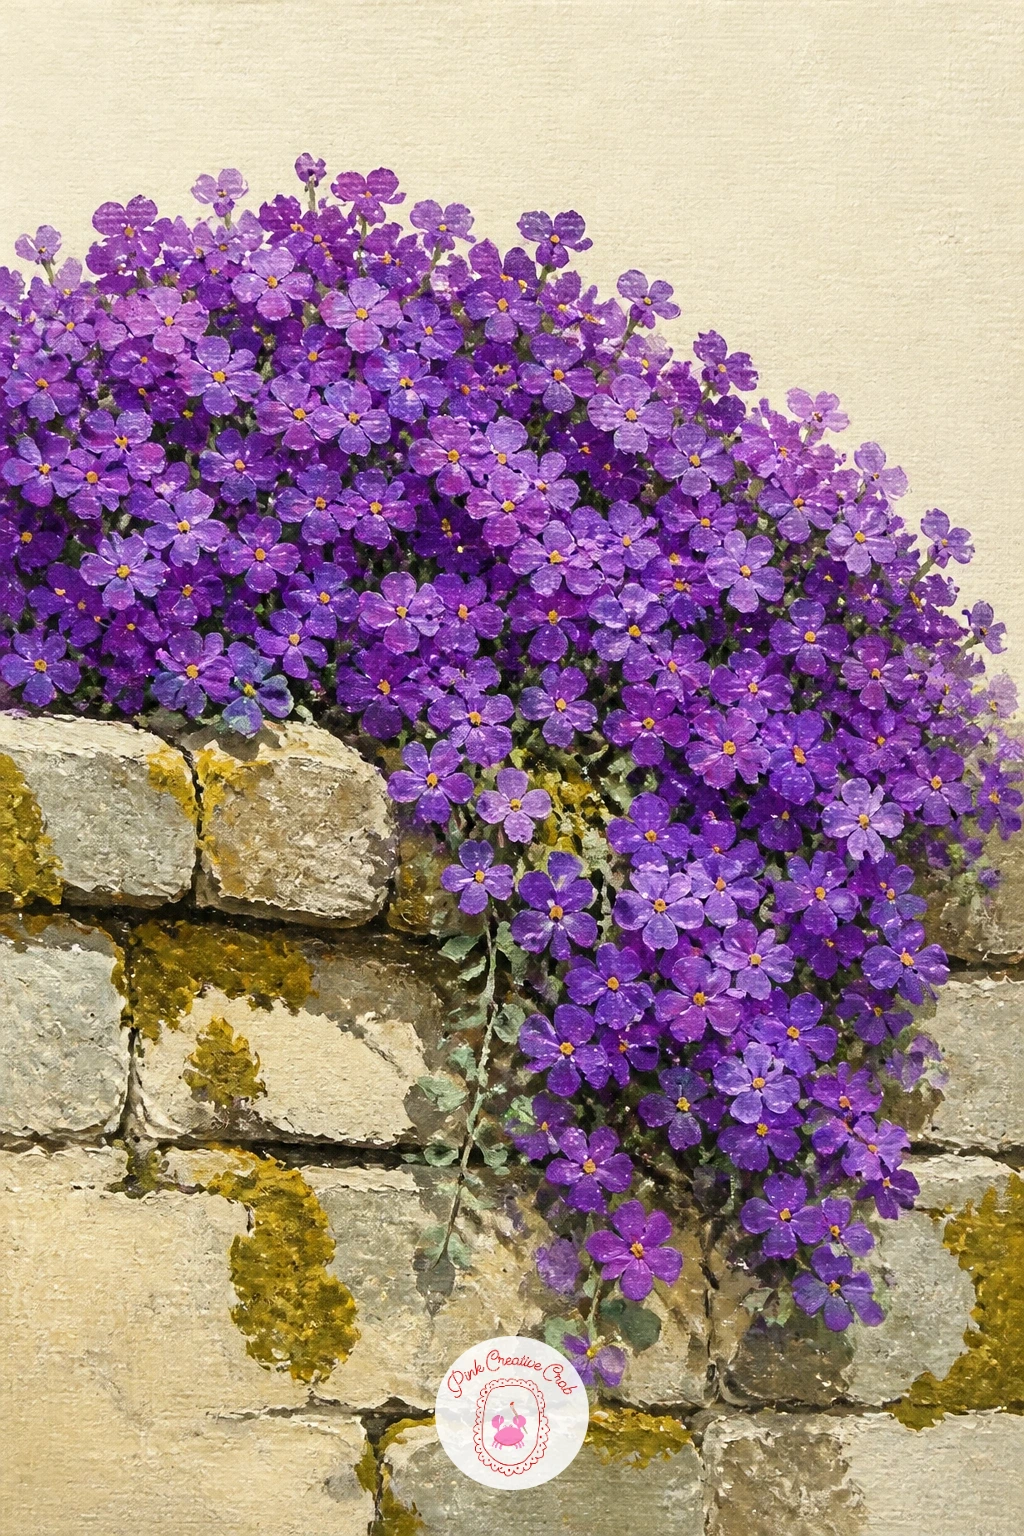
Aubretia spilling over a wall is a chance to paint real abundance with very little individual detail, since this plant grows in a dense cascading mat of tiny purple blooms. Paint the wall first, simple flat stone blocks in warm grey, leaving the top edge rough rather than a straight architectural line.
Build the aubretia as one continuous textured mass rather than individual flowers: load a stiff or dry brush with violet and dab repeatedly along the top of the wall and down over its front edge, varying the pressure so some areas sit denser and darker than others. This dry, stippled approach is what gives the mat its carpet-like texture without painting hundreds of tiny petals by hand.
Once the main mass is dry, press in a handful of lighter lilac dabs on the sunniest side of the mound for dimension, plus a few darker violet dabs tucked into the shadowed underside where it drapes over the stone. A piece of scrunched kitchen paper, dabbed rather than brushed, gives a similar mottled texture if your brush feels too precise.
Finish with one or two stone cracks or moss patches on the wall for extra texture.
You Will Need
- stiff dry brush or scrunched paper for the texture
Palette: Dioxazine Purple,Lilac,Warm Stone Grey,Moss Green
Sweet rocket in a wild garden brings a tall, airy flower into the mix after all that dense aubretia texture, and the contrast in habit is worth leaning into. Paint the stems first, several slim upright lines of varying height rising from a loose base of grasses and other wildflower shapes, since sweet rocket always grows among other things rather than alone.
Build each flower spike from the top down, a cluster of small four-petaled lilac-purple blooms tightly packed near the top of the stem and gradually looser and smaller as they move down, which mimics how the real flower spike opens unevenly. Use quick single-petal strokes rather than outlining each flower, since the loose, slightly wild look is the whole character of this plant.
If the composition feels too neat, that is the one thing to fix: let two or three stems lean at different angles and tuck in a few unrelated loose green shapes, grass seed heads or a stray daisy, so the planting reads as wild rather than arranged. A worn-down brush gives scrappier, more useful marks here than a fresh one.
Finish with a soft haze of pale lilac dabs behind the main stems for distant blooms.
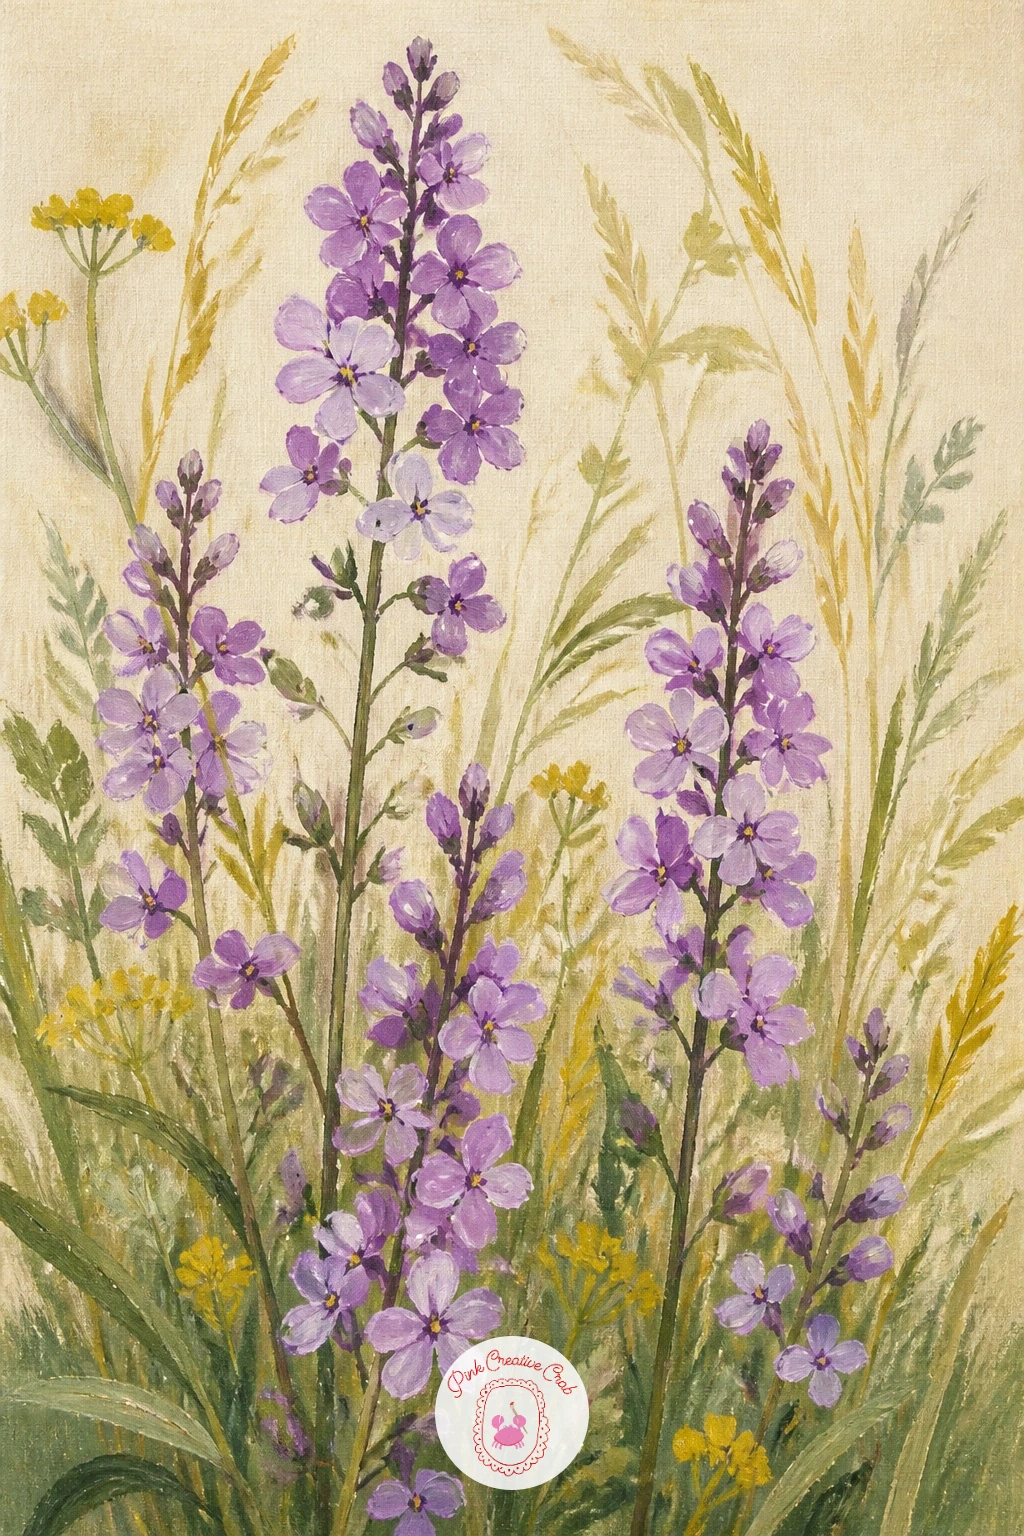
Palette: Lilac Purple,Sage Green,Soft White,Cream
Purple campanula in a pot is a gentler, more contained piece after the wildness of sweet rocket, built around the plant’s signature bell-shaped blooms. Paint the pot first, a simple rounded shape in whatever glazed or terracotta tone you like, then fill its top with soft trailing foliage that spills slightly over the rim before any flowers go in.
Add the bell flowers hanging from thin stems, each one a simple cup shape opening downward or outward, in a clear blue-violet rather than the deeper purple used for irises earlier, since campanula leans noticeably cooler and bluer. Paint the inside of a few open bells in a slightly paler tone to suggest the hollow of the cup.
Keep some blooms as tight unopened buds, simple teardrop shapes, scattered among the open bells for variety, since a pot of flowers at identical stages looks less convincing than one with a mix. A small round brush held near its tip gives better control for these small hanging bells than a larger flat one.
Finish with a cast shadow beneath the pot to seat it on its surface.
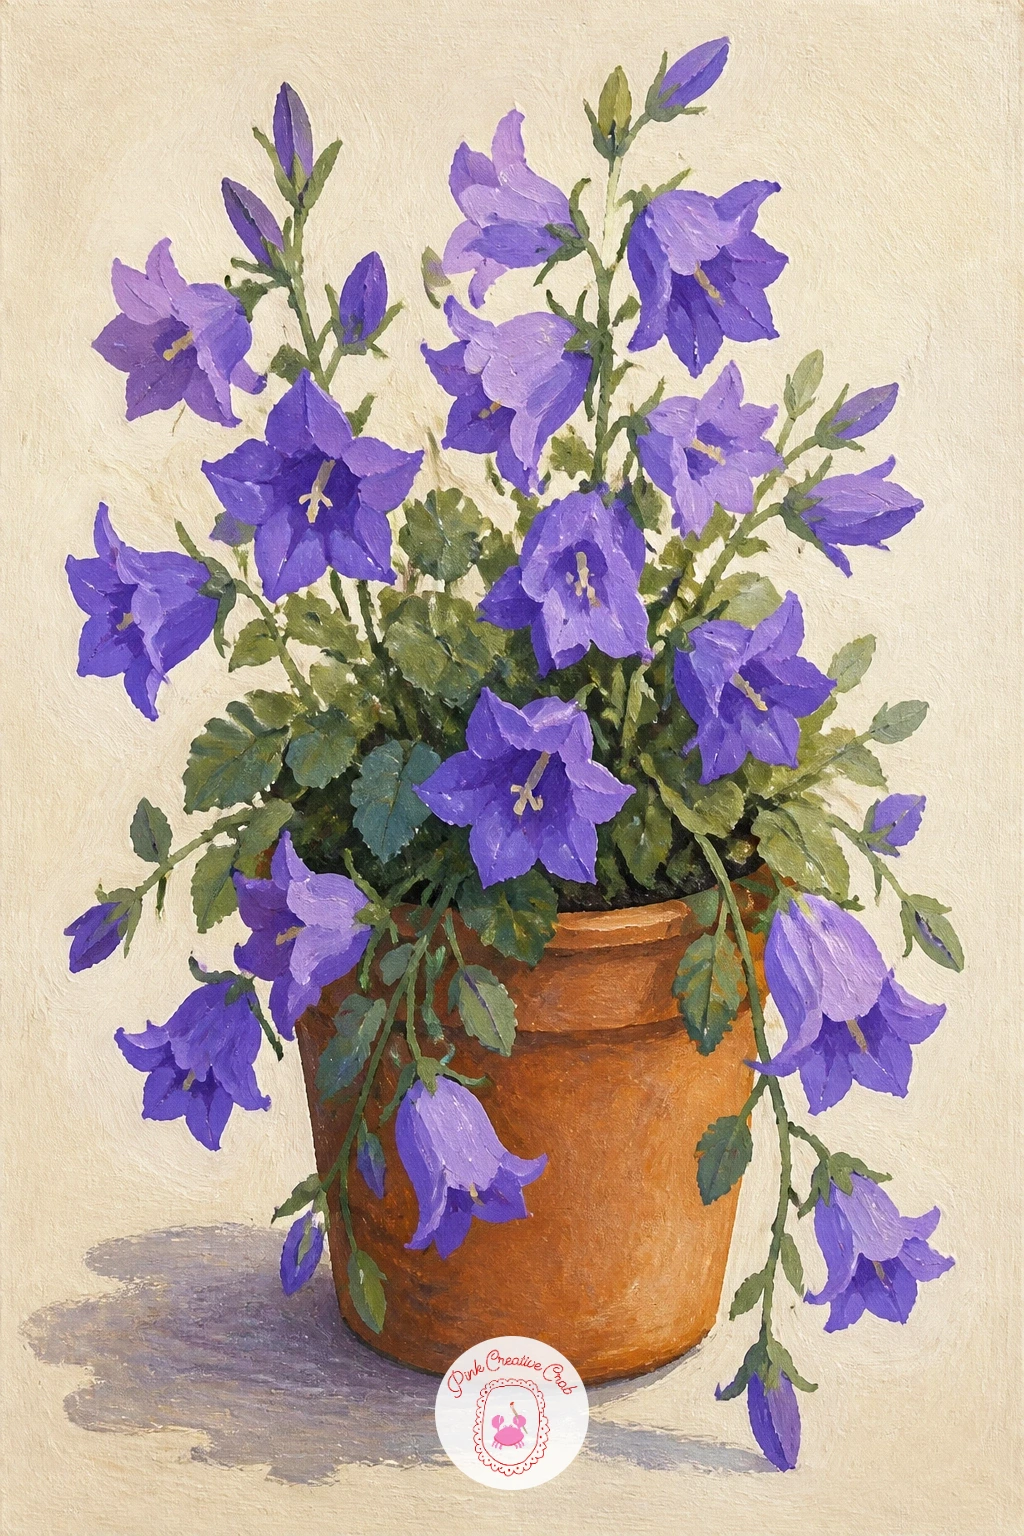
Palette: Blue Violet,Pale Violet,Terracotta,Sage Green
Purple asters in autumn carry the palette into a warmer season, so pair the familiar violet petals with mustard, rust and deeper sage tones rather than the cooler greens used earlier in the list. Start with the central disc of each aster, a small flat mustard-yellow circle, since getting this warm center down first gives you a clear anchor for the petals radiating around it.
Paint the thin, many-pointed petals next, working outward from the disc in short single strokes rather than one solid petal shape, since asters have a distinctly spiky, star-like bloom compared to the rounder irises and pansies earlier on. A dry brush dragged lightly from the center outward gives each petal a slightly frayed, textured tip that suits the autumn mood well.
Cluster three or four aster heads together at different angles, with one or two turned mostly away so only the back of the bloom and a hint of green calyx shows, which adds realism without extra petal-painting effort. If the petals look too uniform, vary a few toward a deeper plum shade for depth.
Finish with a scatter of warm rust and gold leaves nearby for the season.
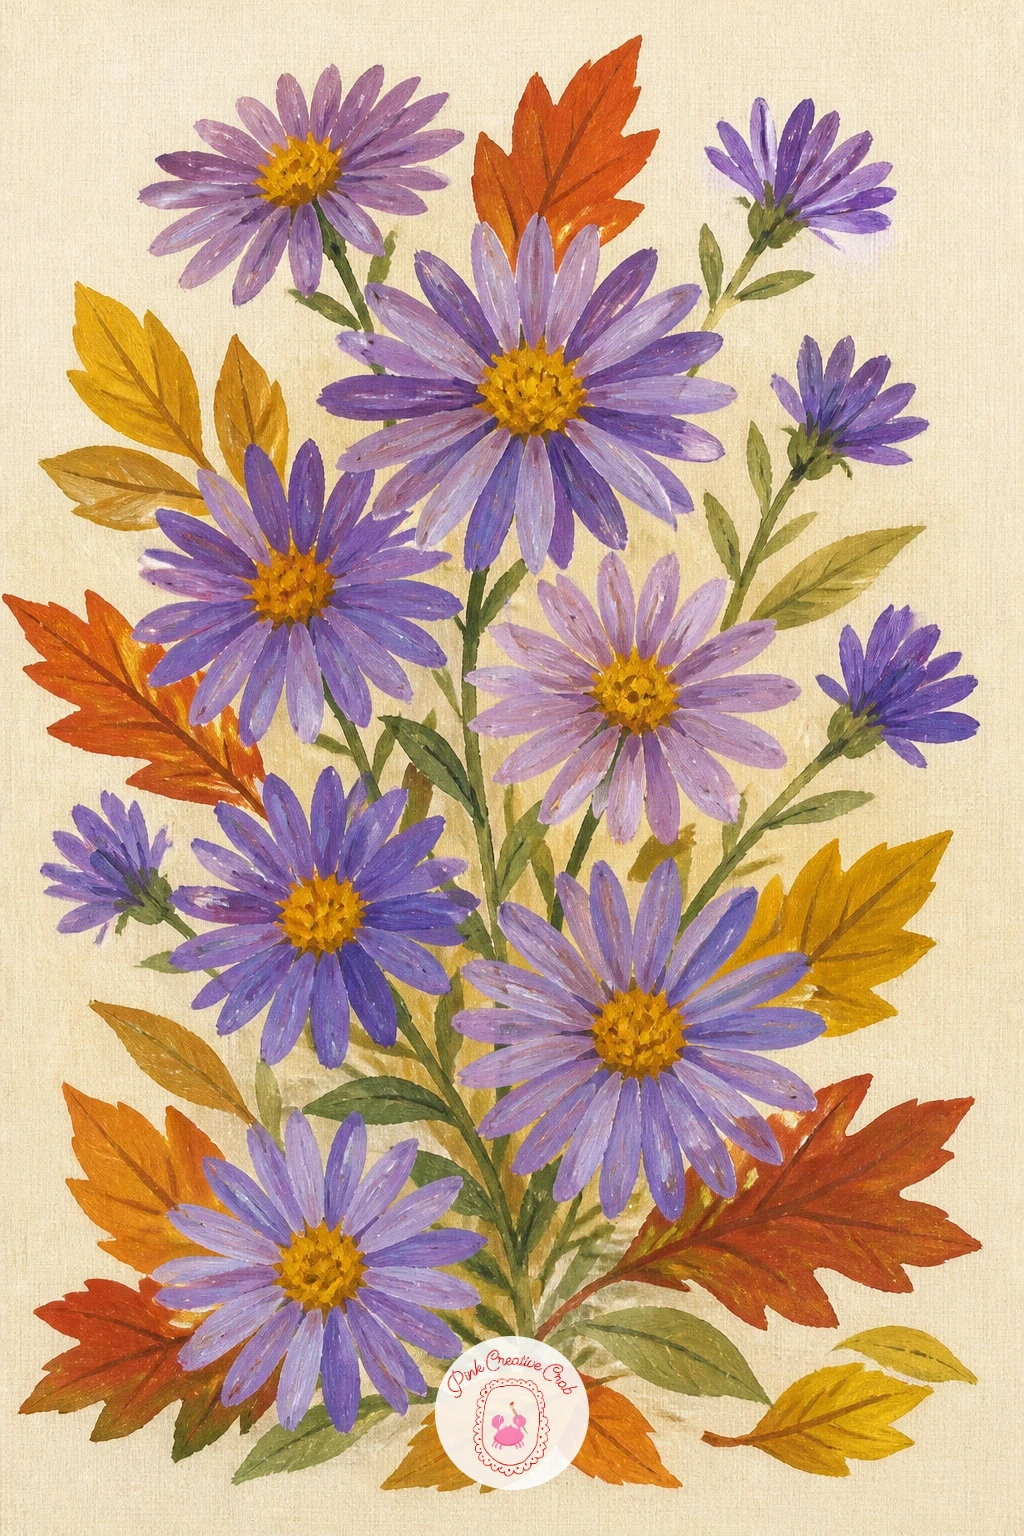
Palette: Dioxazine Purple,Mustard Yellow,Rust Orange,Deep Sage
Lilac-colored sweet peas on a cane frame closes the list with one of the prettiest and most delicate garden climbers, so take it slowly and build it in clear stages. Paint the cane frame first, two or three crossed wooden sticks in warm brown, since getting this structural scaffold down before any plant growth keeps the whole composition from feeling vague.
Add the twining stems and tendrils next, thin curling lines in sage green wrapped loosely around the canes, then build the sweet pea flowers along them, each bloom a simple ruffled double-petal shape not unlike a small butterfly, in soft lilac with a slightly deeper violet throat mark. Let the flowers cluster in twos and threes along short side stems rather than crowding the whole frame evenly.
Where this goes wrong is painting the tendrils too thick and stiff, so use the very tip of a fine brush, or a cocktail stick dipped in paint, for those curling wire-like details, which is what gives sweet peas their characteristic delicate look. Keep leaves sparse, just a few paired oval shapes low on the stems.
Finish with one or two petals caught mid-drift near the frame’s base.
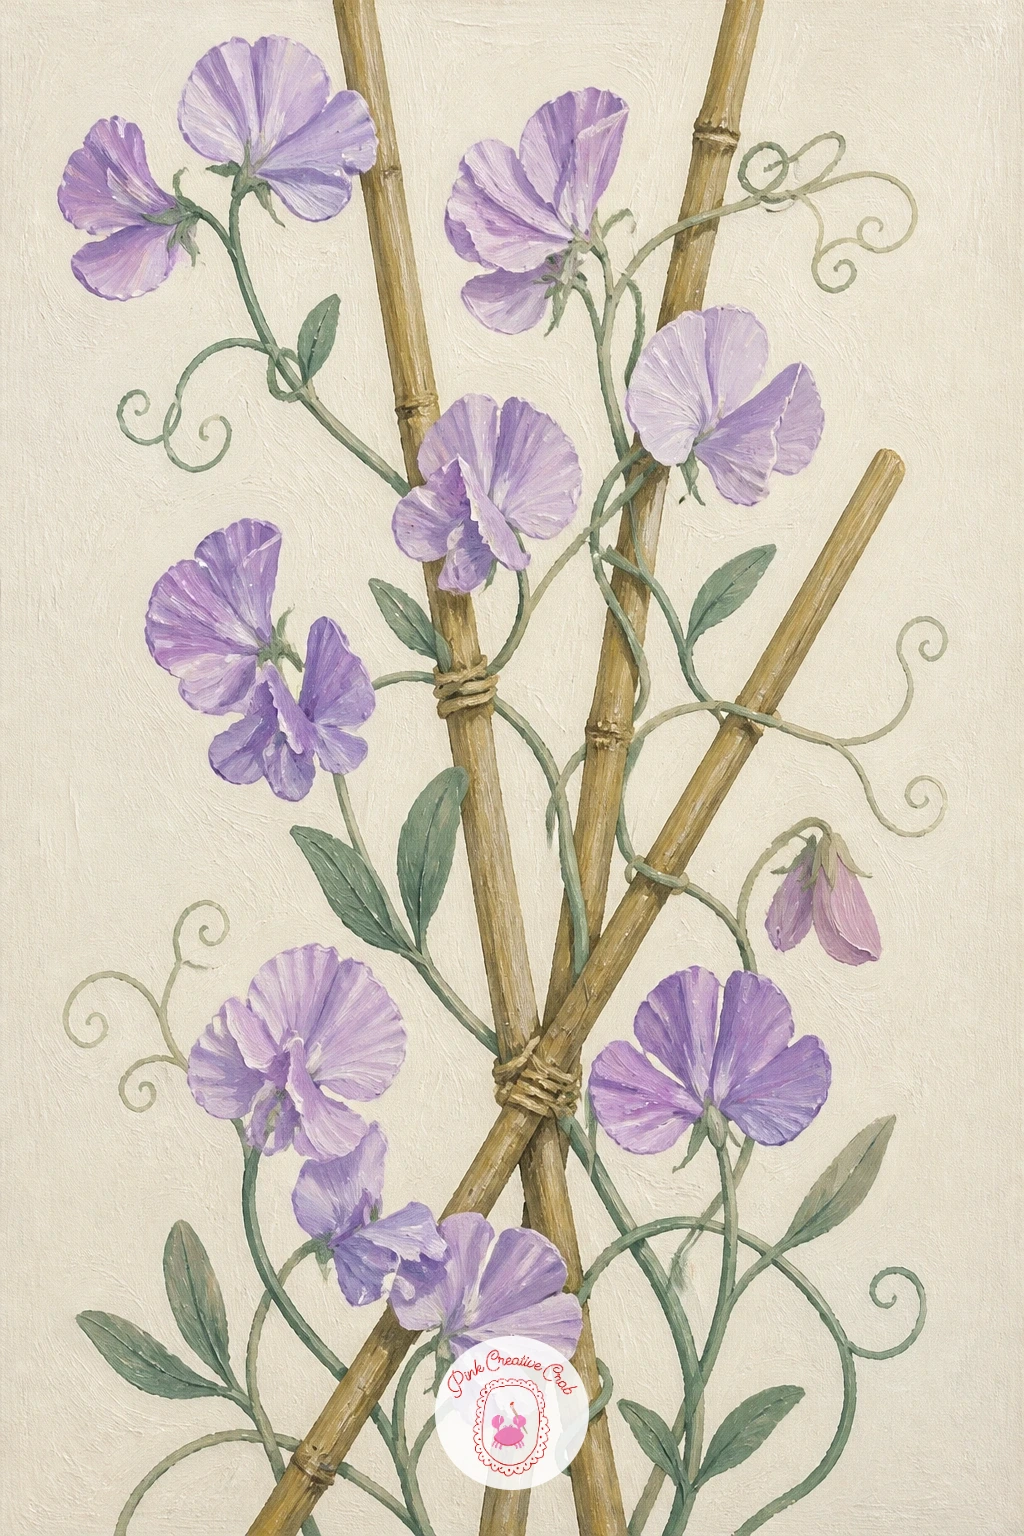
You Will Need
- fine liner brush or cocktail stick for tendrils
Palette: Lilac,Dioxazine Purple,Warm Brown,Sage Green
For more ideas on building flower shapes from simple layered petals, the guide to acrylic painting flowers for beginners covers several similar techniques.
What to Do Next
Start with whichever bloom is already sitting in your head, a single iris close-up is the kindest place to begin if you are new to this style, then let the list carry you from the garden border right through to that lilac sweet pea frame. Stretch a cream-toned canvas or board, mix your violet and mustard first, and the rest of the afternoon takes care of itself.
Frequently Asked Questions
What paint colors do you need for iris painting?
A warm and cool violet, a mustard or cadmium yellow, sage green and titanium white cover almost every idea here. Add a soft blue for vases or enamel jugs, and you can mix every shade this whole list needs from that short palette.
Is iris painting hard for a beginner in acrylic?
No, irises are a forgiving beginner flower because the petals work as two or three big simple shapes rather than fine detail. Block the main petal shapes first, let them dry, then add the throat color and any ruffled texture on top once you feel confident.
How do you paint the ruffled texture on iris petals?
Use a dry brush with very little paint and drag it lightly along the petal in the direction the ruffle falls, after the base color has dried. A fan brush gives an even finer ruffled line if you have one, but a worn flat brush works nearly as well.
Can these purple flower ideas be painted in gouache instead of acrylic?
Yes, gouache handles the same flat opaque petal shapes beautifully and dries with a similar matte finish to acrylic. The guide to gouache painting flowers for beginners has more techniques if you want to try the same subjects in that medium.
What size canvas suits these flower paintings best?
A square or near-square canvas between eight and sixteen inches lets a single iris or cluster fill the frame the way this modern botanical style wants. Larger canvases suit the field and garden path scenes, which need more room to breathe.
Have any thoughts?
Share your reaction or leave a quick response — we’d love to hear what you think!
-
 0
-
0
-
0
-
0
-
0
-
0


