

A goose drawing is the perfect outlet for the silly goose energy you cannot stop thinking about: that long neck, those tiny eyes, the total confidence of a bird who owes nobody an explanation. Every idea below leans into that attitude on purpose, so you get a goose stealing bread, a goose in rain boots, a goose icing skating like she invented the sport.
Each one is built for alcohol markers over a quick fineliner outline, so the goose stays graphic and clean rather than fussy, and every single idea finishes in one sitting. Scroll down, pick whichever goose matches your mood today, and grab your pens.
Using these images: free for personal projects such as printing, coloring, cards, journals and gifts. Handmade items that include them may be sold up to 30 pieces per design. More than that is commercial use and is not permitted, and neither is selling or sharing the images themselves or passing them off as your own. Please ask before any other use.
Start the whole set with a goose stealing a baguette, because it is the silly goose meme in its purest form. Sketch the body as one big oval tipped slightly forward, then add the neck as a long curved line that swoops down to the beak gripping the bread. Keep the baguette longer than the goose’s head so it reads instantly, sticking out both sides of the beak like she grabbed it mid-run.
Ink the outline with your fineliner once the pencil shapes feel right, then switch to markers: white or a very pale grey-blue for the body, warm tan and golden brown for the baguette crust. If this is your first time blending alcohol markers, lay the lightest color down first and work a second, slightly darker shade into the shadow side while the first layer is still fresh, so the two blend instead of leaving a hard line.
A simple trick keeps the proportions honest: the goose’s neck should be roughly as long as its body is tall, so measure one against the other with your pencil before you commit to ink. If the neck ends up too short, the goose looks more like a duck, so lengthen it rather than shrinking the body.
Finish with a few quick orange marker strokes for the feet planted mid-stride, and leave the beak open just slightly so she looks caught in the act.
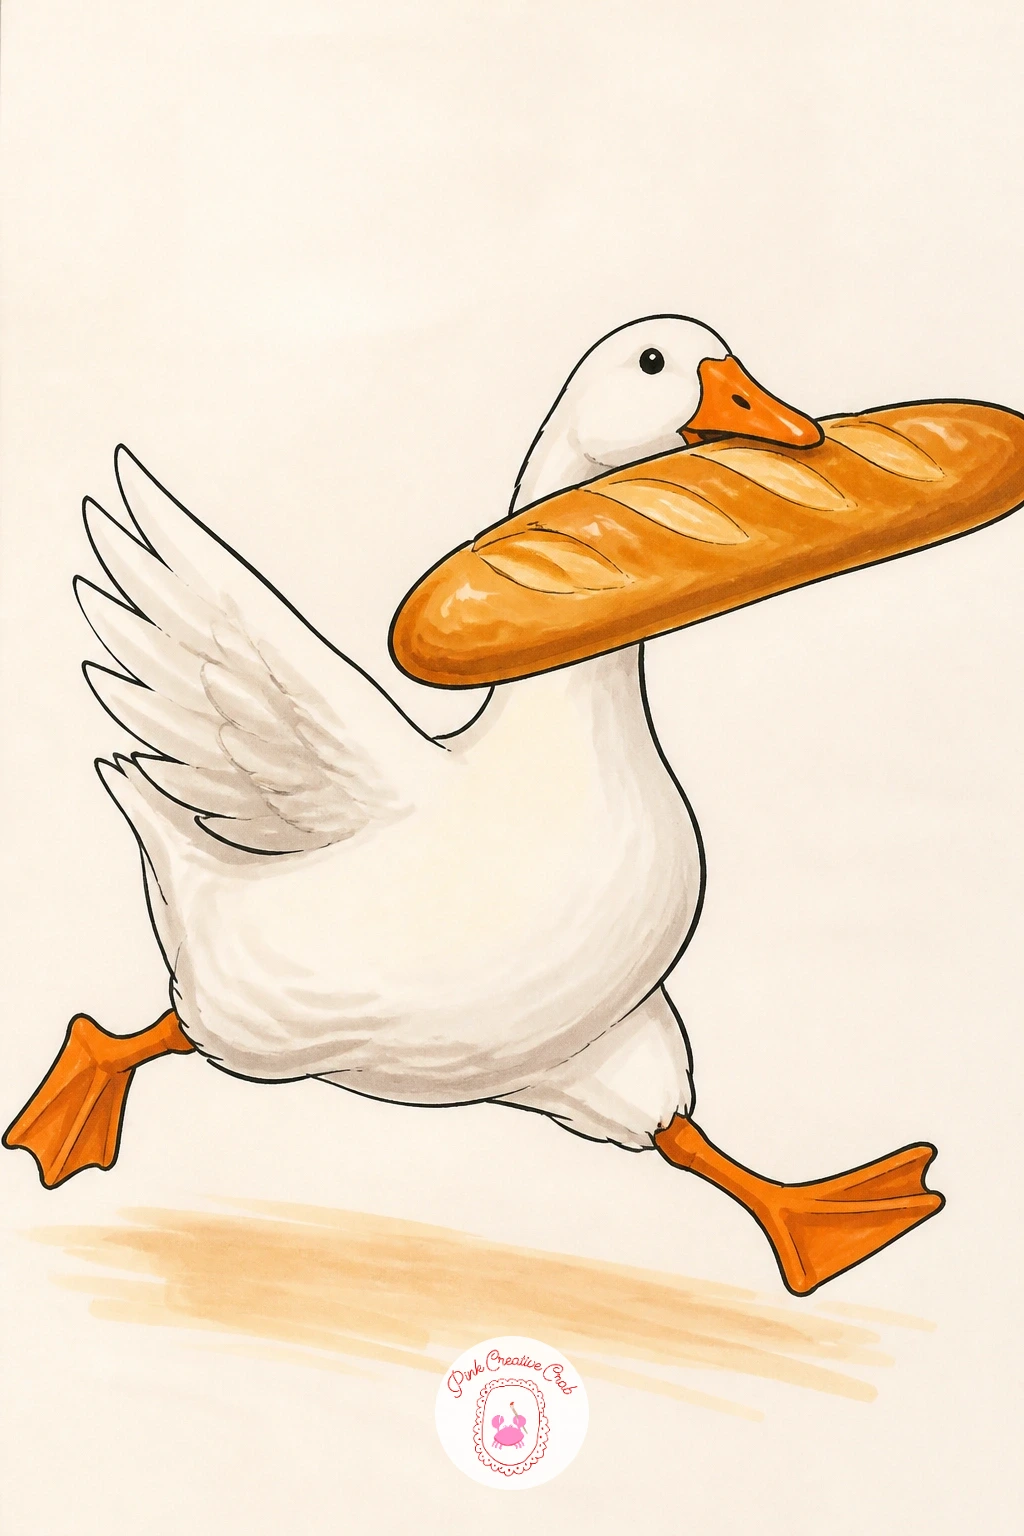
Palette: Warm White,Golden Tan,Burnt Sienna,Pumpkin Orange
Following on from the baguette heist, a goose chasing the mail carrier gives you the same confident energy but with motion lines instead of bread. Pencil the goose mid-sprint with its body stretched long and low, neck thrust forward and wings half open, then add a few curved speed lines trailing behind to sell the chase. You do not need the mail carrier in frame at all, just a fallen envelope or two scattered near the goose’s feet does the storytelling.
Ink the goose first, saving the motion lines for last so they stay loose and energetic rather than overworked. Color the body in cool white and pale grey, then push a touch of pink into the beak and feet for warmth.
Eye level matters here: keep the horizon line low, near the goose’s feet, so you are looking at her slightly from below. That low angle makes even a cartoon goose feel dramatic and a little bit menacing, which is exactly the point.
If markers feel too committed for the speed lines, switch to your fineliner alone for those, since a thinner, scratchier line actually reads as faster motion than a smooth marker stroke.
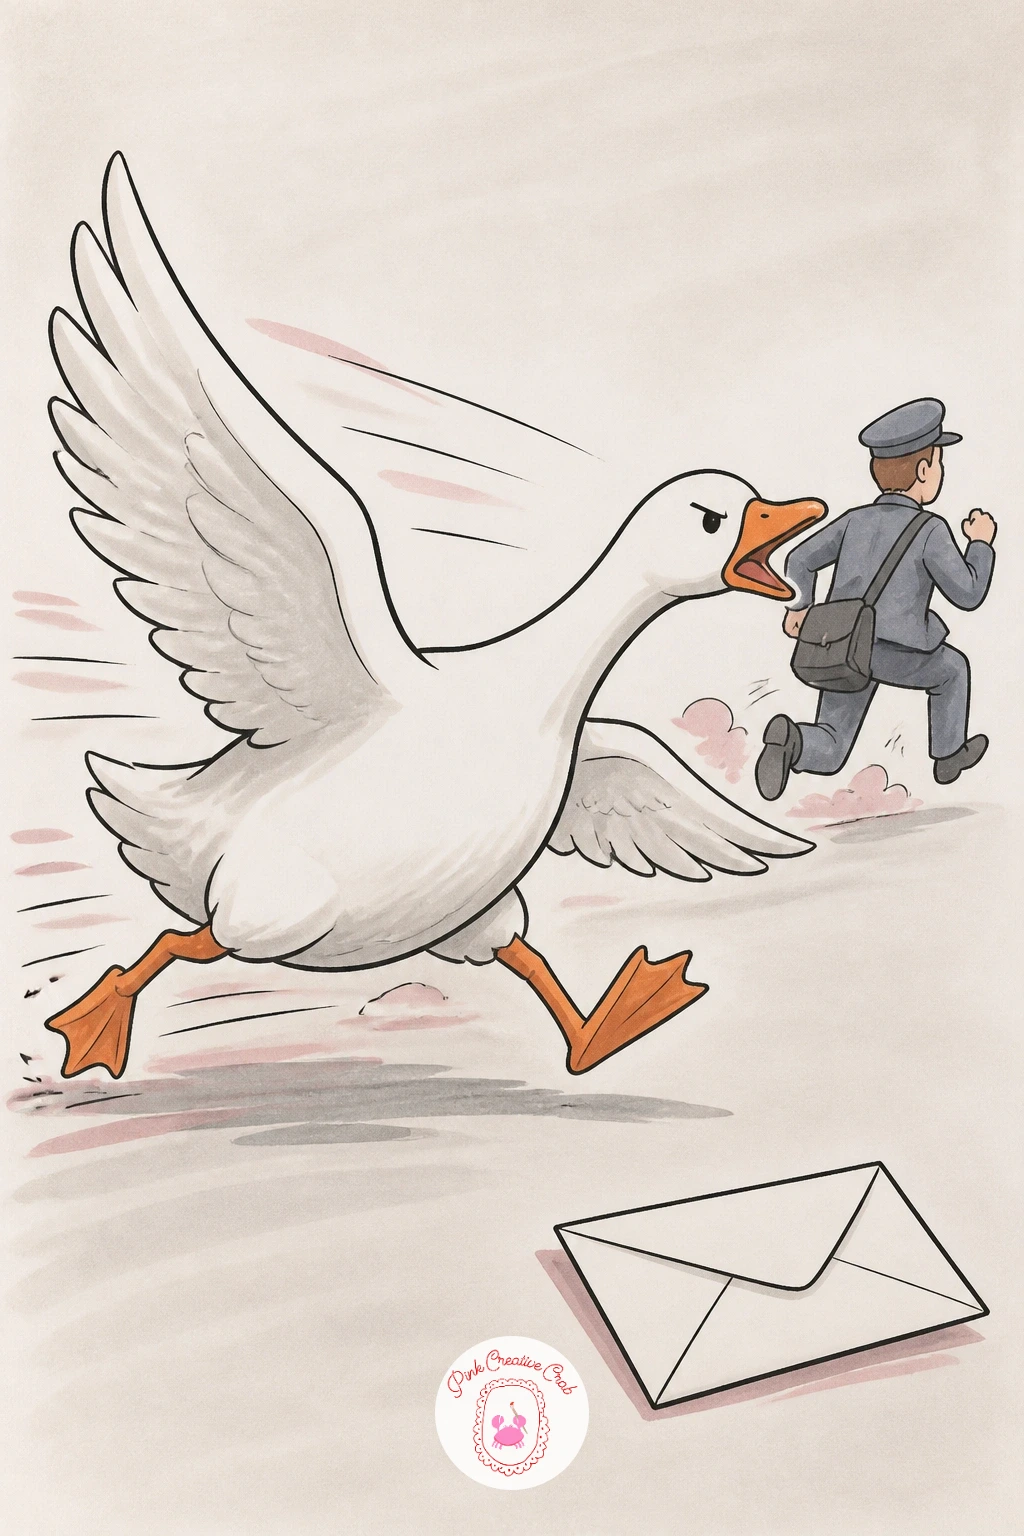
Palette: Cool White,Pale Grey,Rose Pink,Envelope Cream
Give the chase a rest and dress your goose up next, because a goose in a knitted sweater is the cozy, slightly absurd image that makes this whole trend work. Draw the body first, then wrap a simple sweater shape around the middle, leaving the neck, head and lower legs bare so the knit reads clearly against the bare goose skin.
Outline everything in fineliner, then block in the sweater with a warm color like mustard or berry red before you touch the white body at all, since it is easier to keep marker bleed off clean white feathers than to clean sweater color out of them. Add simple ribbed texture on the sweater hem and cuffs with a few short, parallel pen strokes once the marker color is dry.
For the knit texture itself, try a dry brush style trick with your marker: load very little ink onto the nib and drag it lightly over the sweater in one direction, which leaves tiny streaks that read as knit ridges instead of flat color. A beginner version can skip the texture entirely and just leave the sweater as a flat color block, which still looks charming.
Keep one tip in your pocket for today: pick a sweater color that contrasts with the goose’s orange beak and feet, so all three warm details do not fight each other.
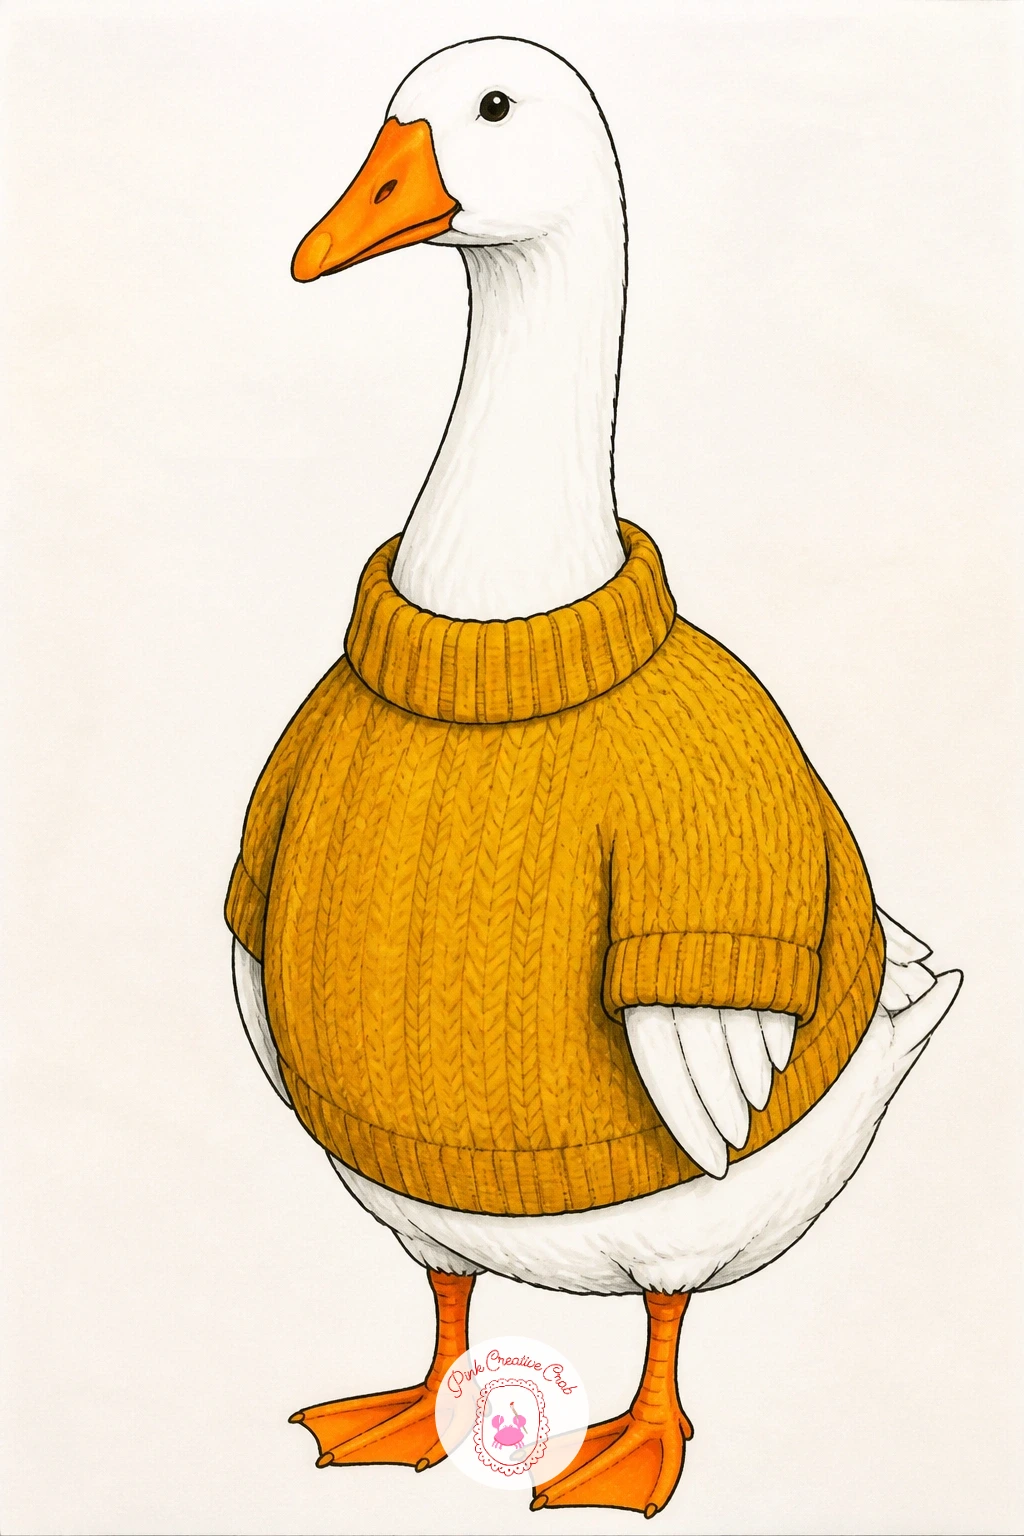
Palette: Mustard Yellow,Berry Red,Feather White,Tangerine
Look at real knitwear photos for the rib pattern on cuffs and hems, it gives you a believable texture to copy without overthinking the stitches.
Move from cozy to romantic with a goose in a flower crown, a sweet contrast to her usual chaos. Sketch the head and neck large in the frame, then build the crown as a simple ring of five or six rounded flower shapes sitting just behind the eye line, following the curve of the head rather than floating above it.
Ink the goose and the flower outlines together, then color the flowers in two or three colors maximum, something like soft pink and lavender, so the crown reads as a cohesive piece rather than a scatter of random blooms. Fill the goose’s body in clean white last, letting the colored flowers take center stage near the head.
This is a good moment to compare sizes before you ink: hold your pencil up to the screen or page and check that each flower is no wider than the goose’s eye, otherwise the crown overwhelms the face instead of framing it. A too-big flower crown is the most common way this idea goes wrong.
If you want a softer, more romantic feel, this pairs nicely with the dainty flower work covered in butterfly drawing ideas for beginners, where small repeated shapes carry a whole picture.
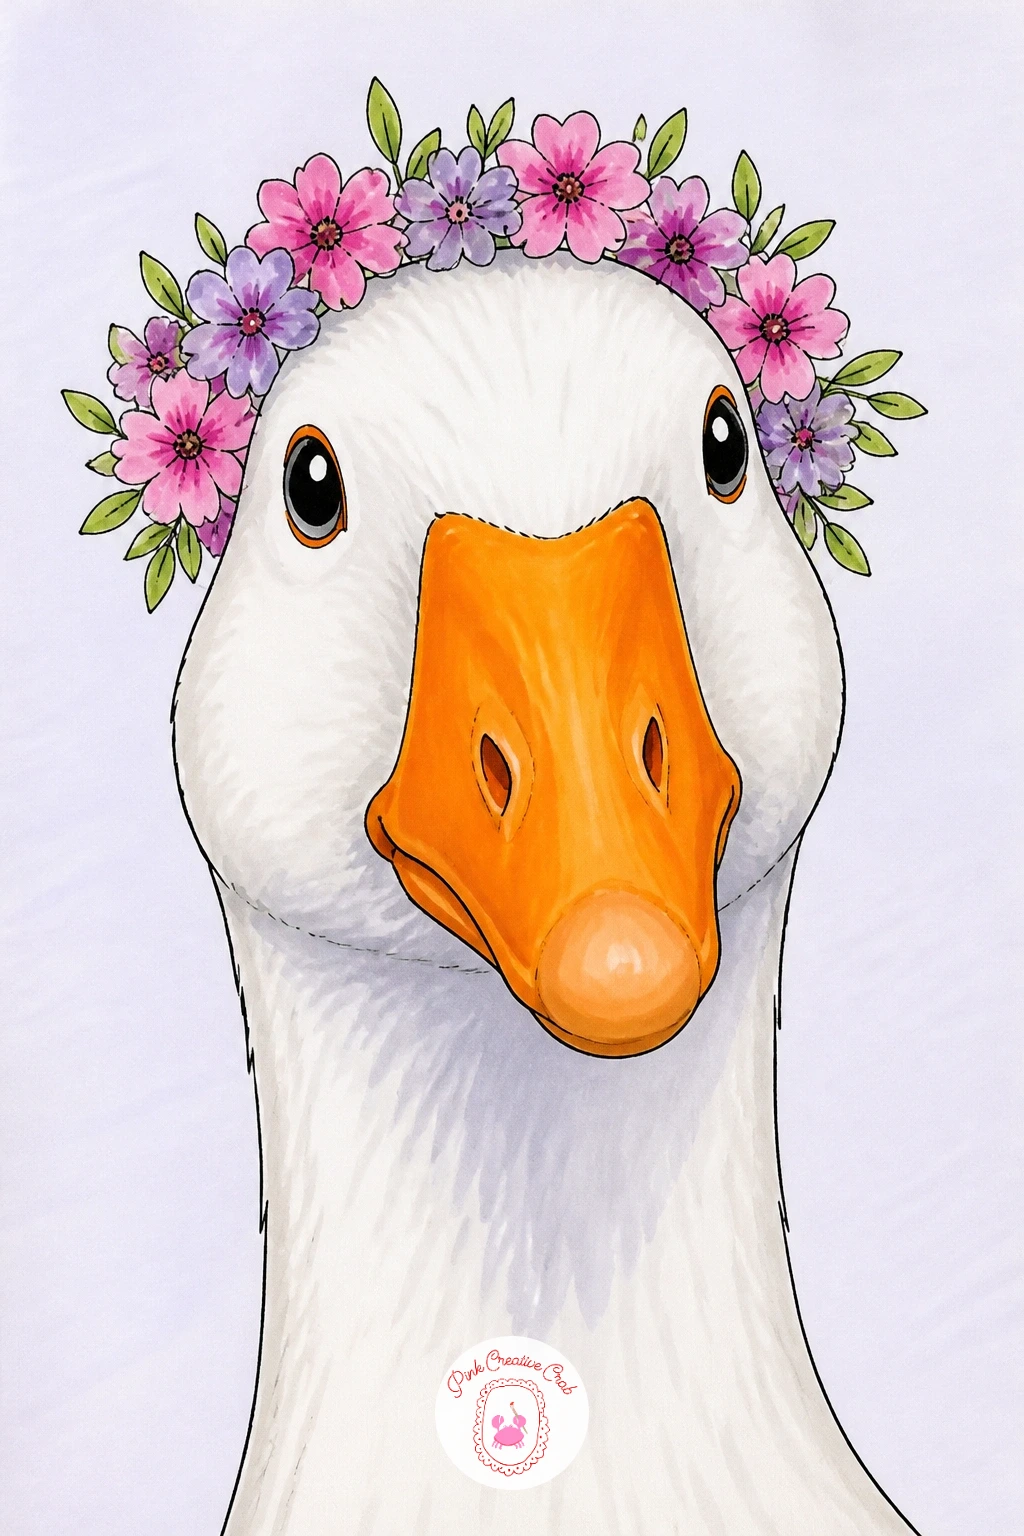
Palette: Petal Pink,Lavender,Leaf Green,Soft White
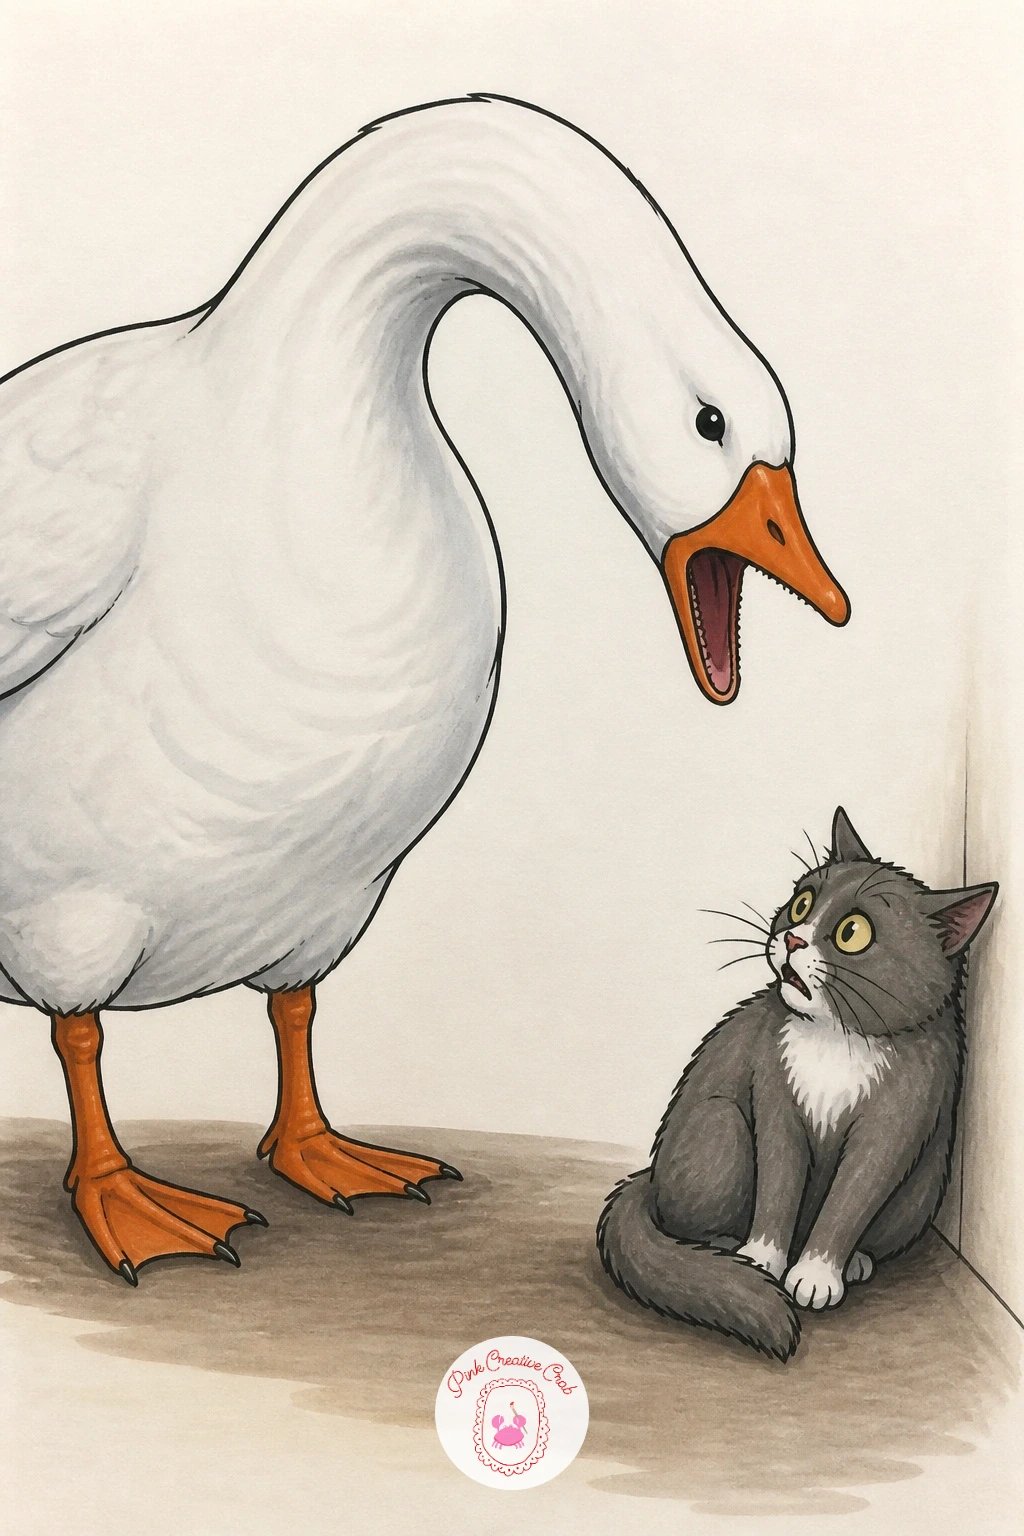
Bring in a second character now that you have the goose’s attitude down: a goose honking at a cat captures exactly the energy that makes this bird a meme. Draw the goose large in the foreground with its neck stretched up and beak wide open, then tuck a smaller, startled cat into the lower corner of the frame so the size difference does the comedy for you.
Work the goose first in fineliner and marker, keeping the open beak bright pink or orange inside to show the honk, then add the cat in a contrasting color like warm grey or ginger so it never competes with the white goose for attention. A simple puffed-up tail on the cat sells the fright without needing a detailed expression.
Light direction gives this scene some drama: imagine light coming from above and slightly behind the goose, so you can drop a soft grey shadow under her feet and a darker shadow stretching toward the cat, which visually pushes the cat back and makes the goose feel like she is looming.
Keep today’s tip simple: draw the cat’s eyes as two small, wide circles, since wide round eyes communicate alarm faster than any other detail you could add.
Palette: Snow White,Hot Pink Beak,Warm Grey Cat,Shadow Grey
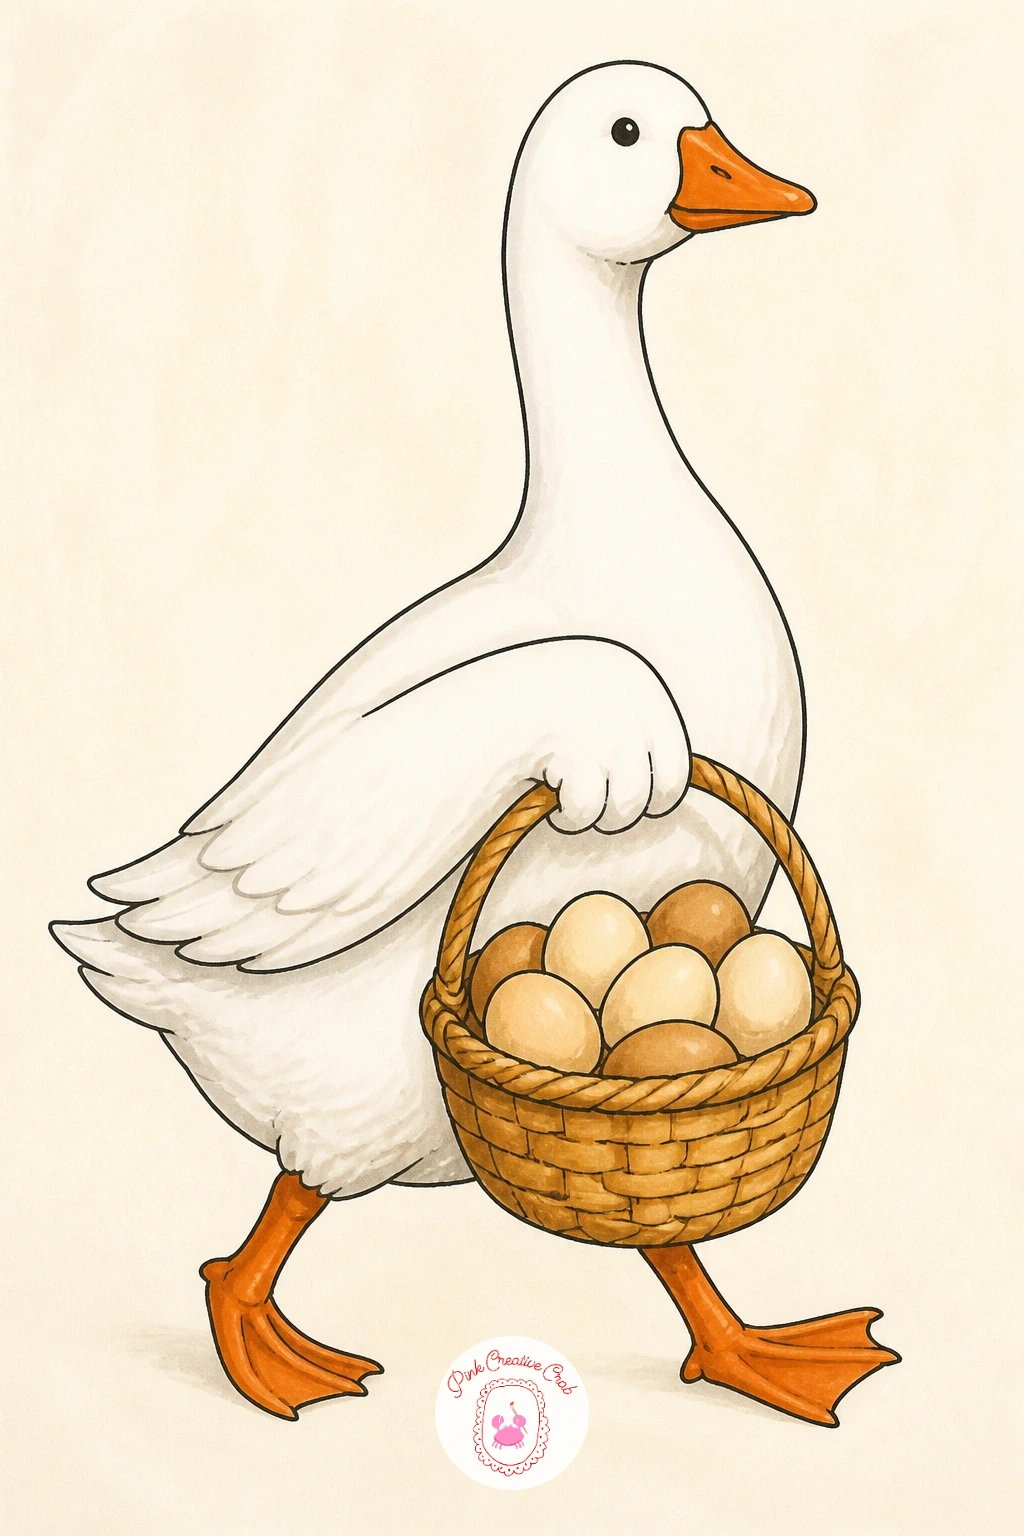
After the drama of the cat scene, settle into something gentler: a goose carrying a basket of eggs, walking along like she runs the whole farm stand. Draw the goose’s body upright and a little proud, then add a woven basket hanging from the crook of her wing or held in her beak by the handle, with three or four eggs peeking over the rim.
Ink the goose and basket outline together so the proportions between beak, handle and basket body line up, then color the basket in warm tan with a few curved lines for the weave texture before you fill in the eggs in soft cream and pale brown. Leave small white highlights uncolored on each egg to keep them looking glossy rather than flat.
In ten minutes you can stop right there with a clean, simple version. Given forty minutes, add a patterned ribbon tied to the basket handle and a bit of straw poking out from under the eggs, which turns a simple prop into a small scene on its own.
One swap worth knowing: if you do not have a tan marker for the basket, warm brown colored pencil layered over a light yellow marker base gets you the same woven look.
Palette: Basket Tan,Egg Cream,Pale Brown,Goose White
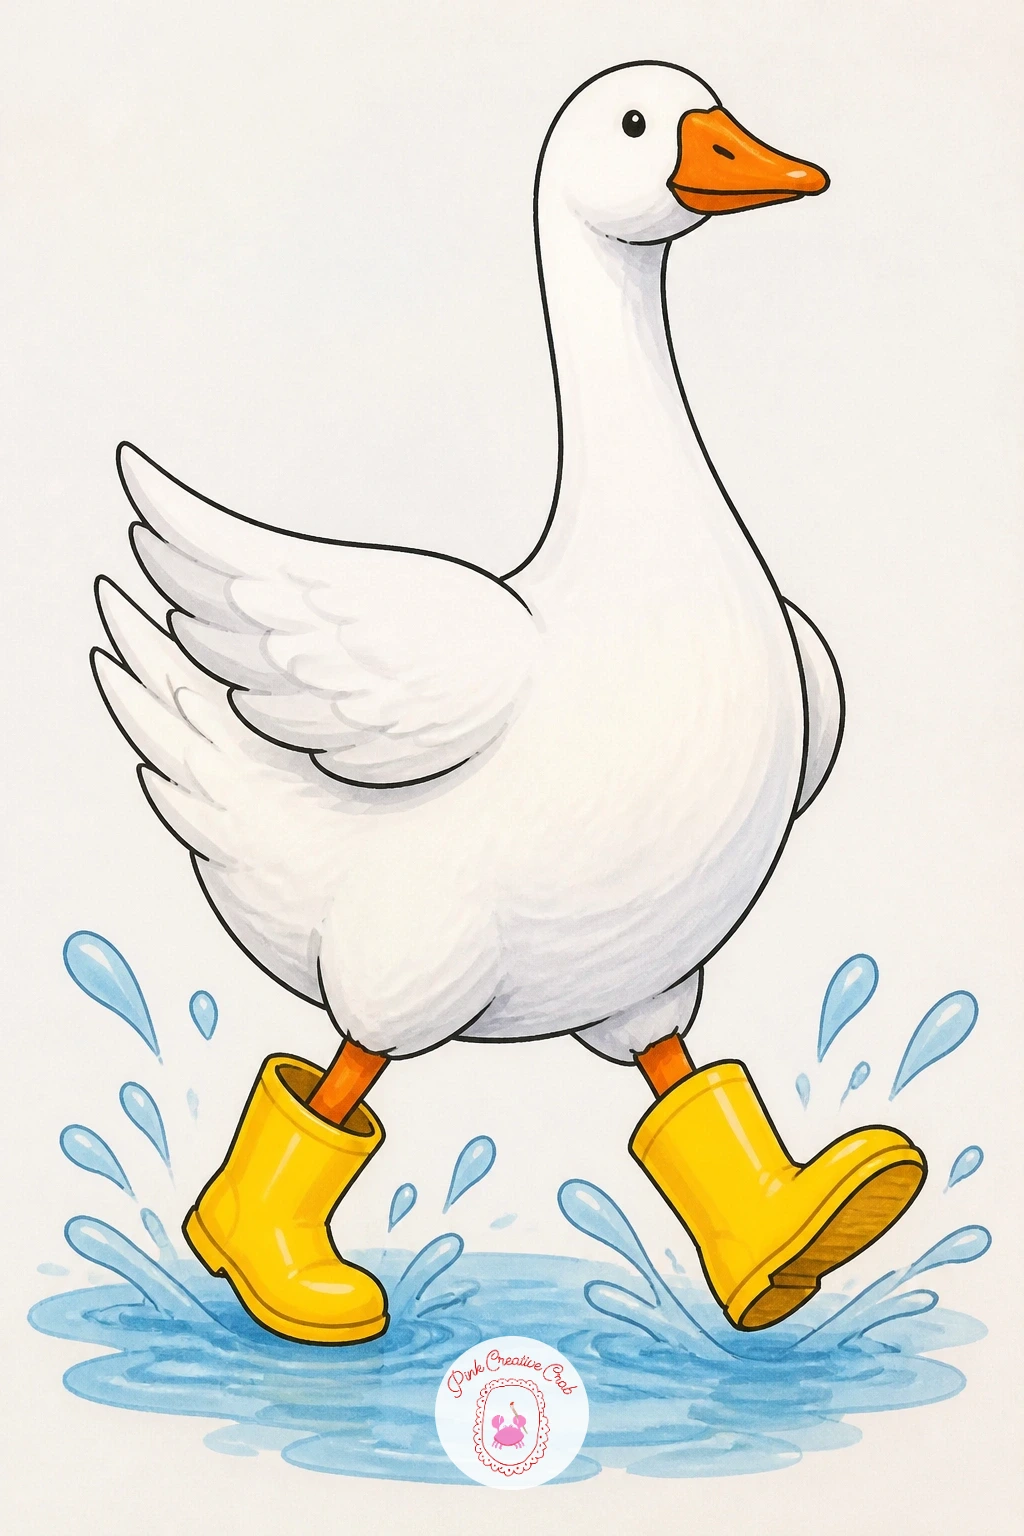
Keep the practical charm going with a goose in rain boots, splashing through a puddle like she has somewhere important to be. Sketch the body leaning slightly to one side, one leg lifted mid-step, then draw two simple rubber boots over her usually bare orange feet, rounding the toes generously so they read as boots and not shoes.
Outline in fineliner, then color the boots in a bold solid color like yellow or red before touching the white body, since bright boot color is the whole joke and deserves the strongest ink coverage in the piece. A few curved splash lines around the lifted foot, drawn last in fineliner only, finish the motion.
For the splash itself, try lifting color instead of adding it: lay a light blue puddle shape down with marker while it is still wet, then dab a clean tissue or blending marker into the center to lift some ink back out, leaving a pale highlight that looks like water catching light.
If you only have one bright marker color in your set, use it on the boots and keep everything else neutral, since one strong color pop reads better than three competing ones.
Palette: Rain Boot Yellow,Puddle Blue,Goose White,Orange Beak
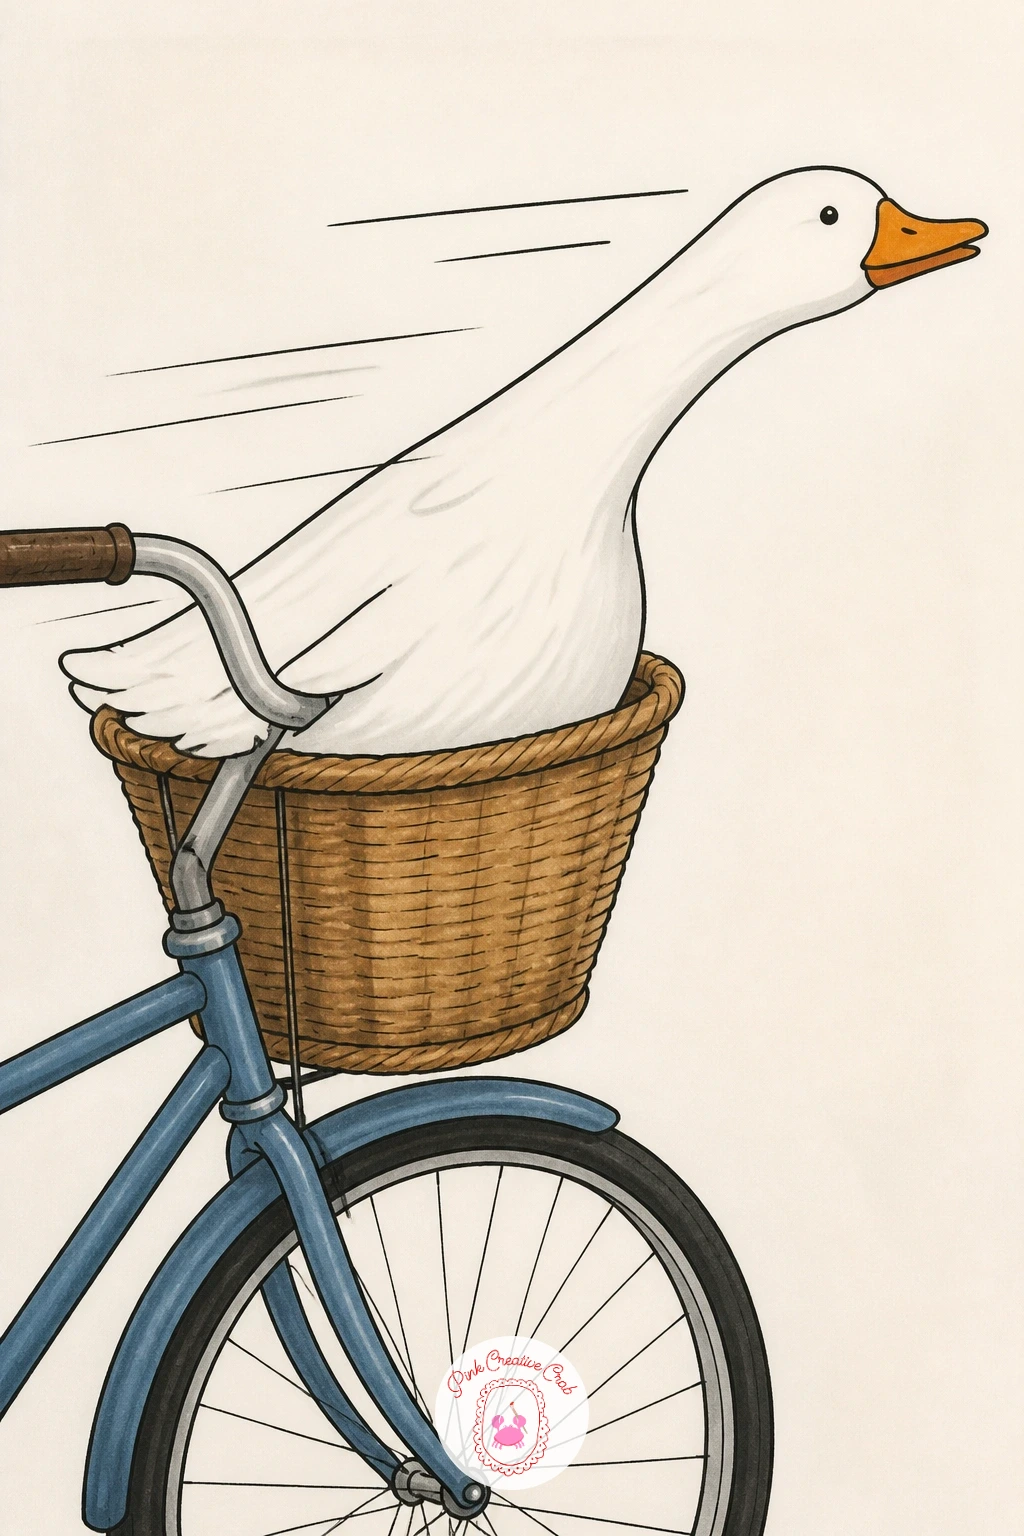
Give your goose a joyride next: a goose riding in a bicycle basket, neck craned forward into the wind like she owns the road. Draw the basket first as a simple woven oval shape, then build the goose sitting inside it with her body compact and her neck stretched long over the front edge, since that forward lean is what makes the picture feel fast.
You do not need to draw the whole bicycle, just the front wheel, handlebars and basket are enough to set the scene, so keep the pencil sketch loose and crop in close. Ink the goose and basket, then color the basket in warm wicker tones and the handlebar in a simple metallic grey before filling the goose in white with a pink flush on her cheek for extra personality.
Add two or three short diagonal lines behind the goose’s head to suggest wind and speed, matching the same loose, scratchy line quality used for motion in the mail carrier chase earlier in this list.
Today’s tip: tilt the whole basket and front wheel slightly, rather than drawing them perfectly level, since a small tilt instantly makes a static sketch feel like it is moving.
Palette: Wicker Tan,Handlebar Grey,Goose White,Blush Pink
Slow the pace right down with a goose reading the newspaper, settled on two feet with the paper held open in both wings. Draw the body first in a relaxed, slightly hunched pose, then build the newspaper as a simple rectangle folded in half, holding it up at roughly beak height so her head tilts down to read.
Ink the goose before the paper, since the paper’s straight edges are easier to keep crisp with a ruler after the organic goose shapes are already settled. Fill the paper with a few horizontal grey lines to suggest text columns rather than writing anything out, and leave the goose in plain white so the grey paper becomes the one quiet detail in the piece.
If you want a quick ten-minute version, stop there. For the forty-minute version, add a tiny pair of reading glasses perched on the beak and a coffee cup beside her feet, which turns a simple pose into a whole morning routine.
Keep the newspaper’s folded edge a single clean straight line, since a wobbly fold line is the fastest way to make a sturdy object look soft and wrong.
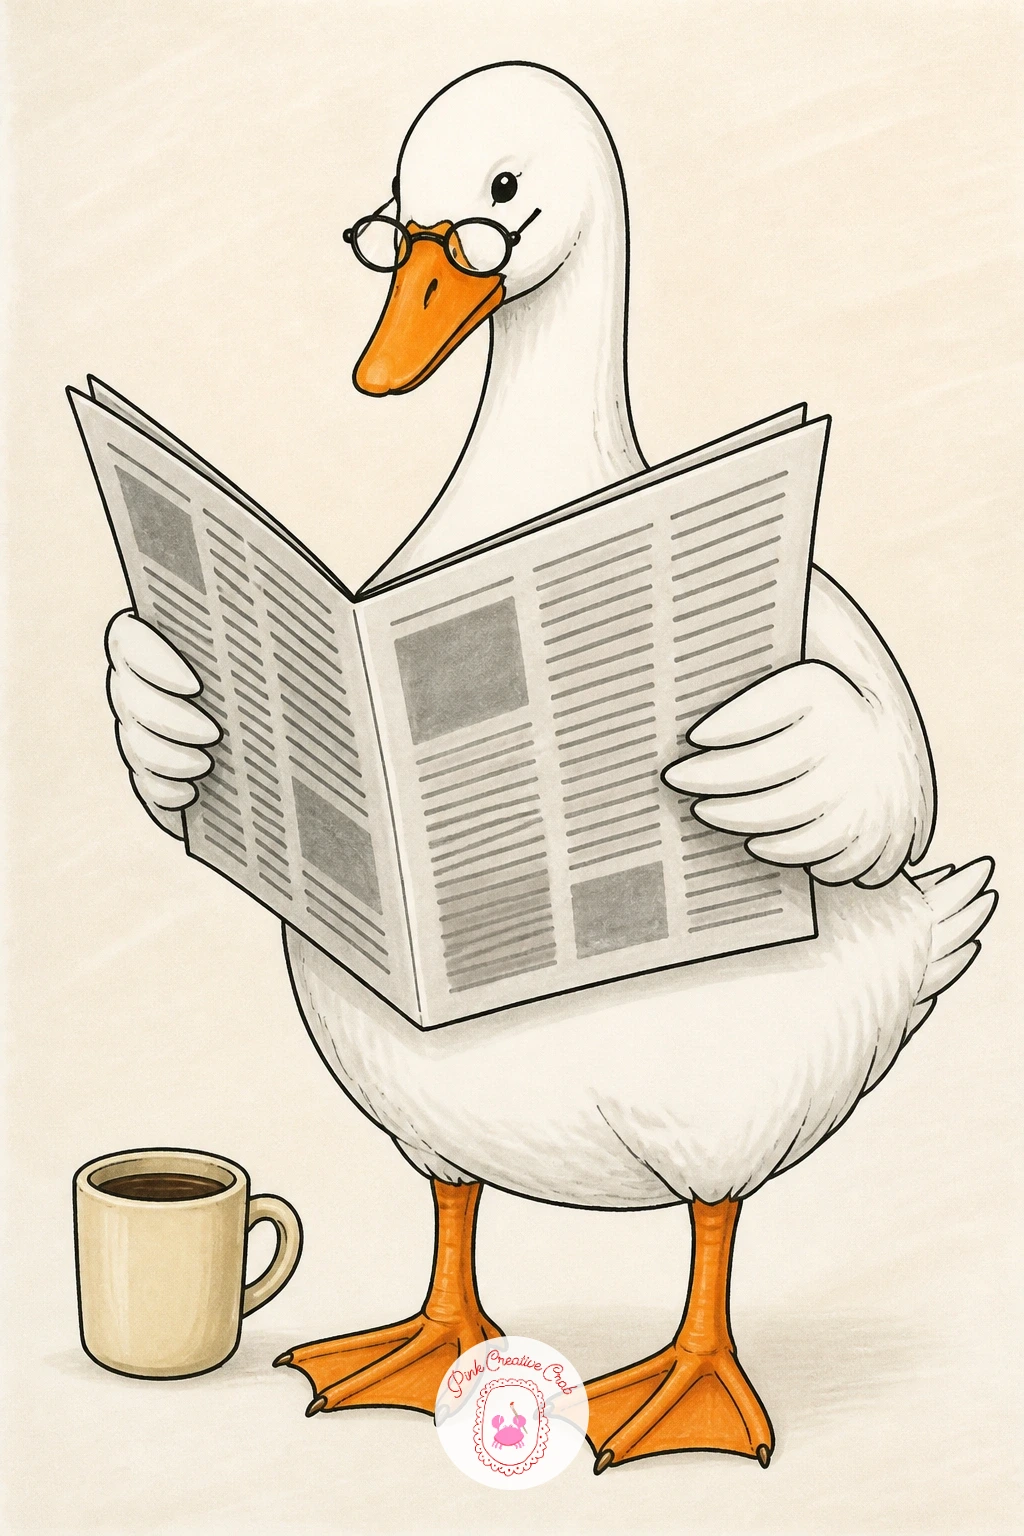
Palette: Goose White,Newsprint Grey,Paper Cream,Coffee Brown
Bring in the family now with a goose leading goslings across a pond, a classic image with a little extra charm. Draw the mother goose largest and closest to the front, then line up two or three smaller goslings behind her in a loose diagonal row, each one a simplified round body with a tiny neck, since goslings read fine with far less detail than the adult.
Ink the mother first, then the goslings, then add a simple curved waterline beneath all of them rather than a detailed pond. Color the mother in white, the goslings in soft yellow, and the water in a pale blue-green with one slightly darker ripple line under each body to anchor them to the surface.
Measuring matters here: each gosling should sit at roughly a third of the mother’s height, so hold your pencil against her body height and mark that third before sketching the babies, which keeps the family looking proportioned instead of oddly matched.
If you enjoy drawing family groupings like this, the same instinct for grouping small and large shapes together shows up in bird pencil drawing ideas for beginners.
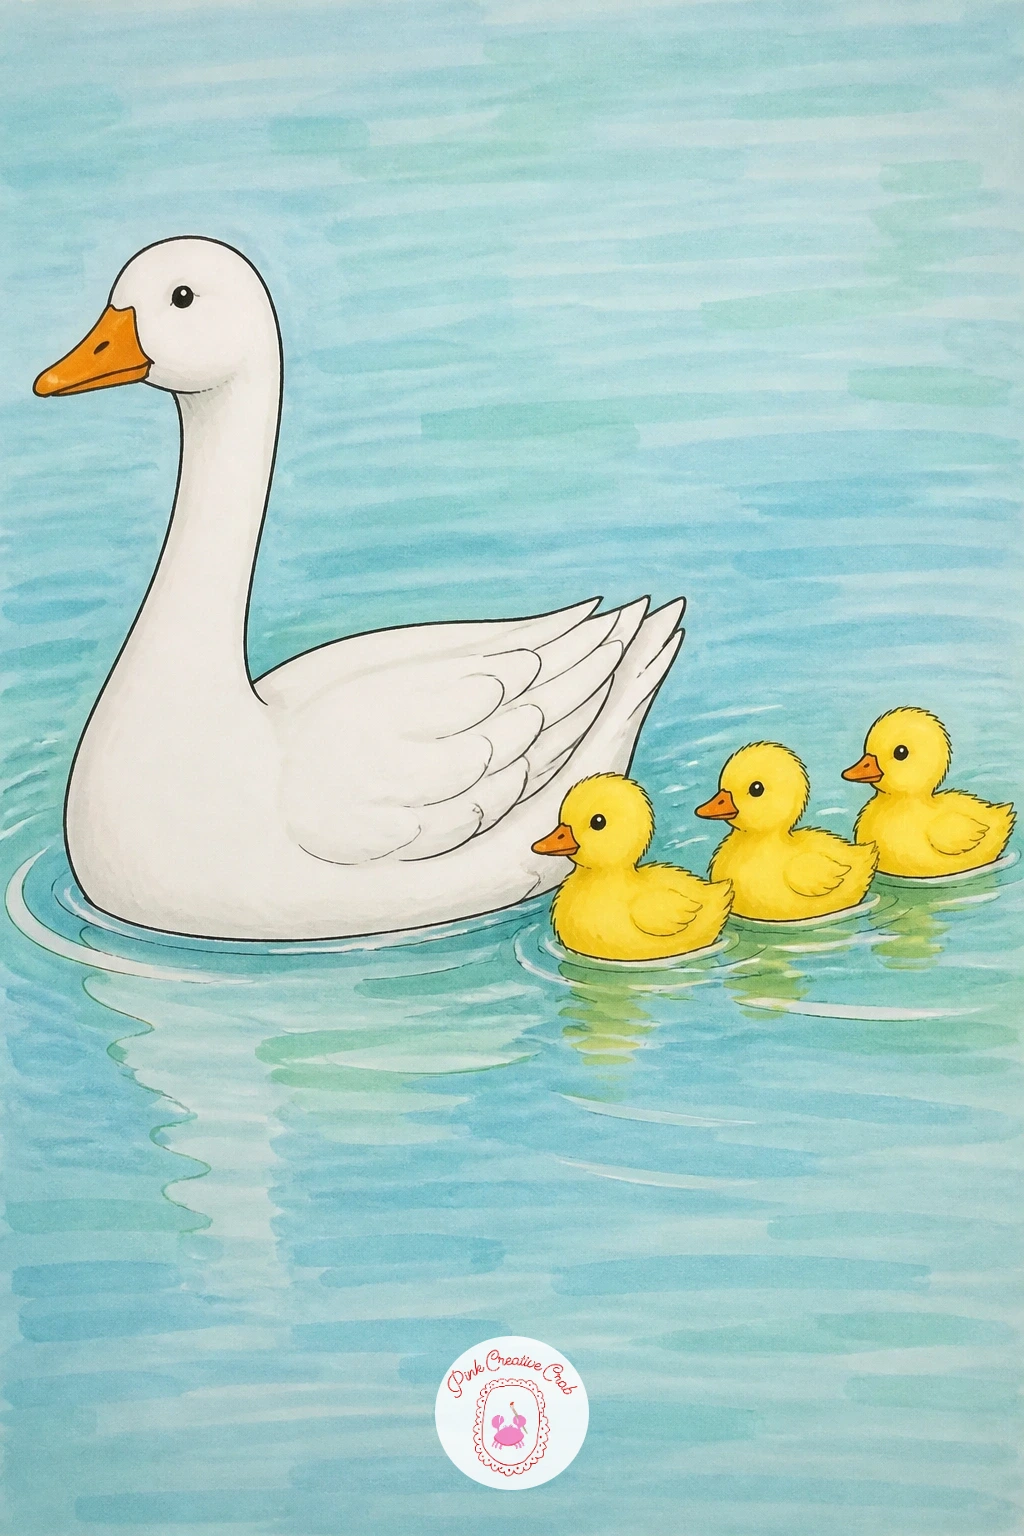
Palette: Goose White,Gosling Yellow,Pond Green,Ripple Blue
Keep the gentle mood going with a goose delivering a letter, standing upright and a little formal with an envelope held carefully in her beak. Draw the body straight and tall rather than hunched, since good posture is what sells the idea of a goose taking her job seriously, then add the envelope as a simple rectangle gripped at its corner.
Outline the goose and envelope together, then color the envelope in cream with a small red wax seal shape drawn in last, since that tiny red dot becomes the focal point of the whole piece against all the white and cream around it. Keep the goose’s feet planted close together to reinforce the formal, polite stance.
One hands-on trick helps the envelope feel crisp: once the cream marker color is dry, go over the folded edges again with a slightly darker tan marker in short straight strokes only along the fold lines, which adds just enough shadow to make the paper look like it has real folds rather than sitting flat.
If red wax seals are not your thing, swap in a simple postage stamp drawn as a small rectangle with a zigzag edge instead.
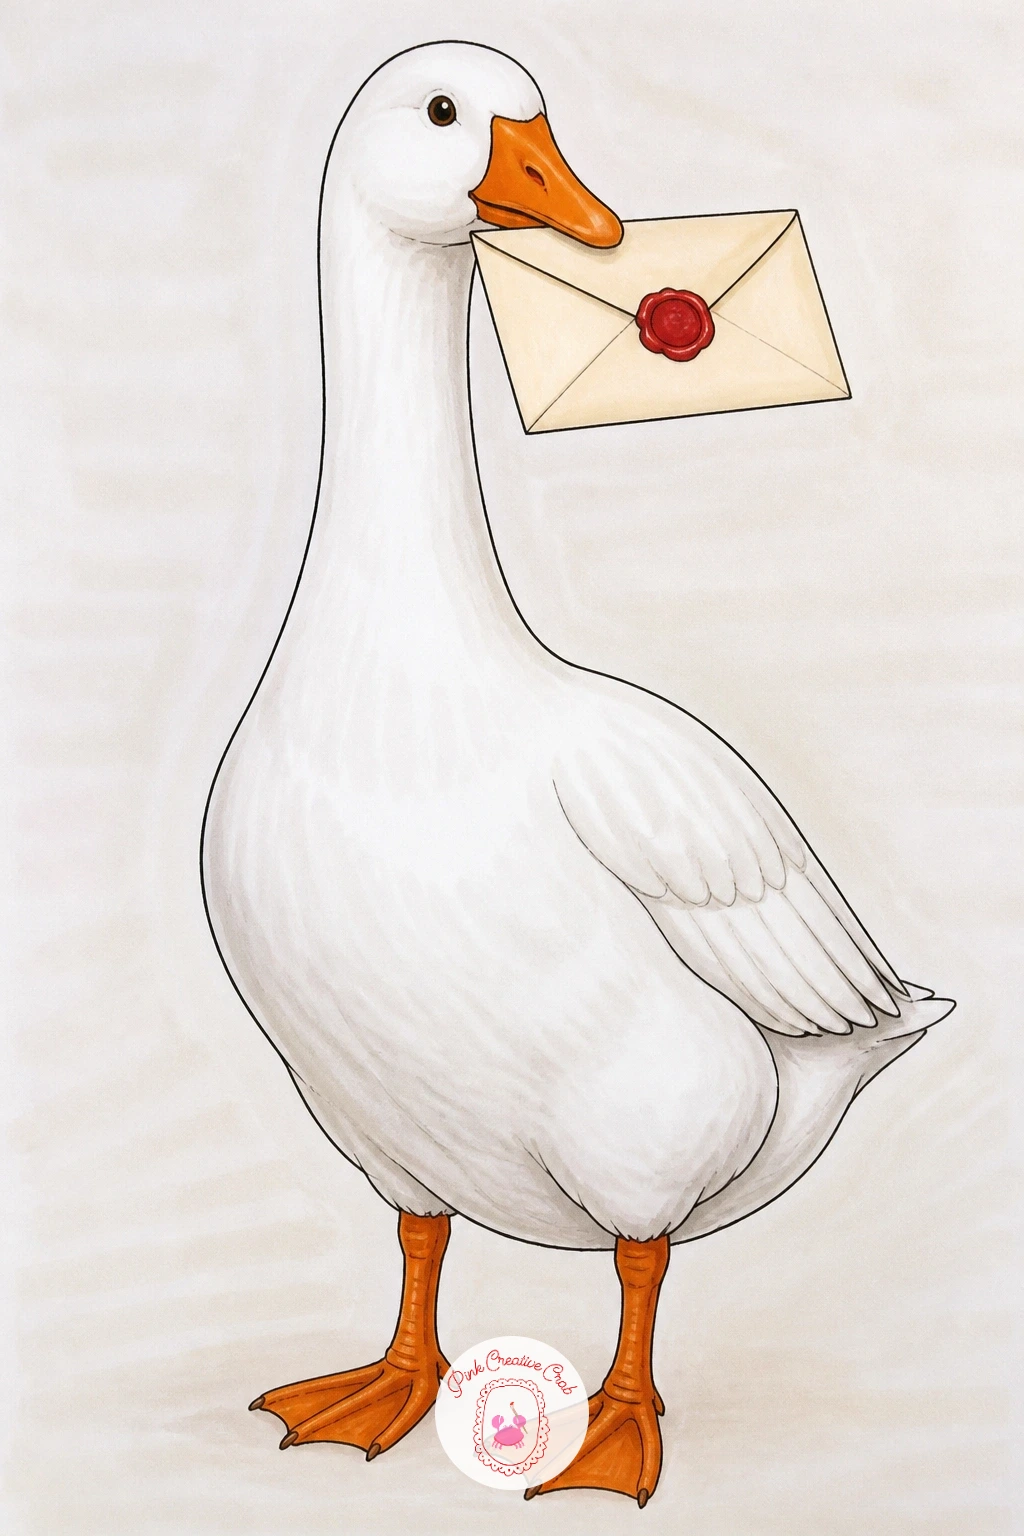
Palette: Goose White,Envelope Cream,Wax Seal Red,Fold Tan
Return to full chaos with a goose stealing a picnic sandwich, snatched straight off a red checkered blanket. Draw the goose mid-grab, neck low and stretched toward a sandwich sitting on a small triangle of blanket corner, with one wing raised as if mid-flap for balance.
Ink the goose and sandwich together so the bite marks and bread layers line up with the beak position, then color the bread in warm tan and the filling peeking out in a bright color like lettuce green or tomato red, since that pop of filling color is what makes the sandwich read clearly at a glance. Add just the corner of a red and white checkered blanket in the lower frame rather than drawing the whole picnic.
Checkered pattern can go wrong fast if you draw every square, so simplify it: draw only three or four red squares in a loose grid and let the white paper do the rest of the pattern, which still reads as checkered fabric without eating your whole sitting.
Keep today’s tip handy: angle the sandwich so one bitten corner faces the viewer, since a visible bite mark tells the whole story faster than the goose’s expression ever could.
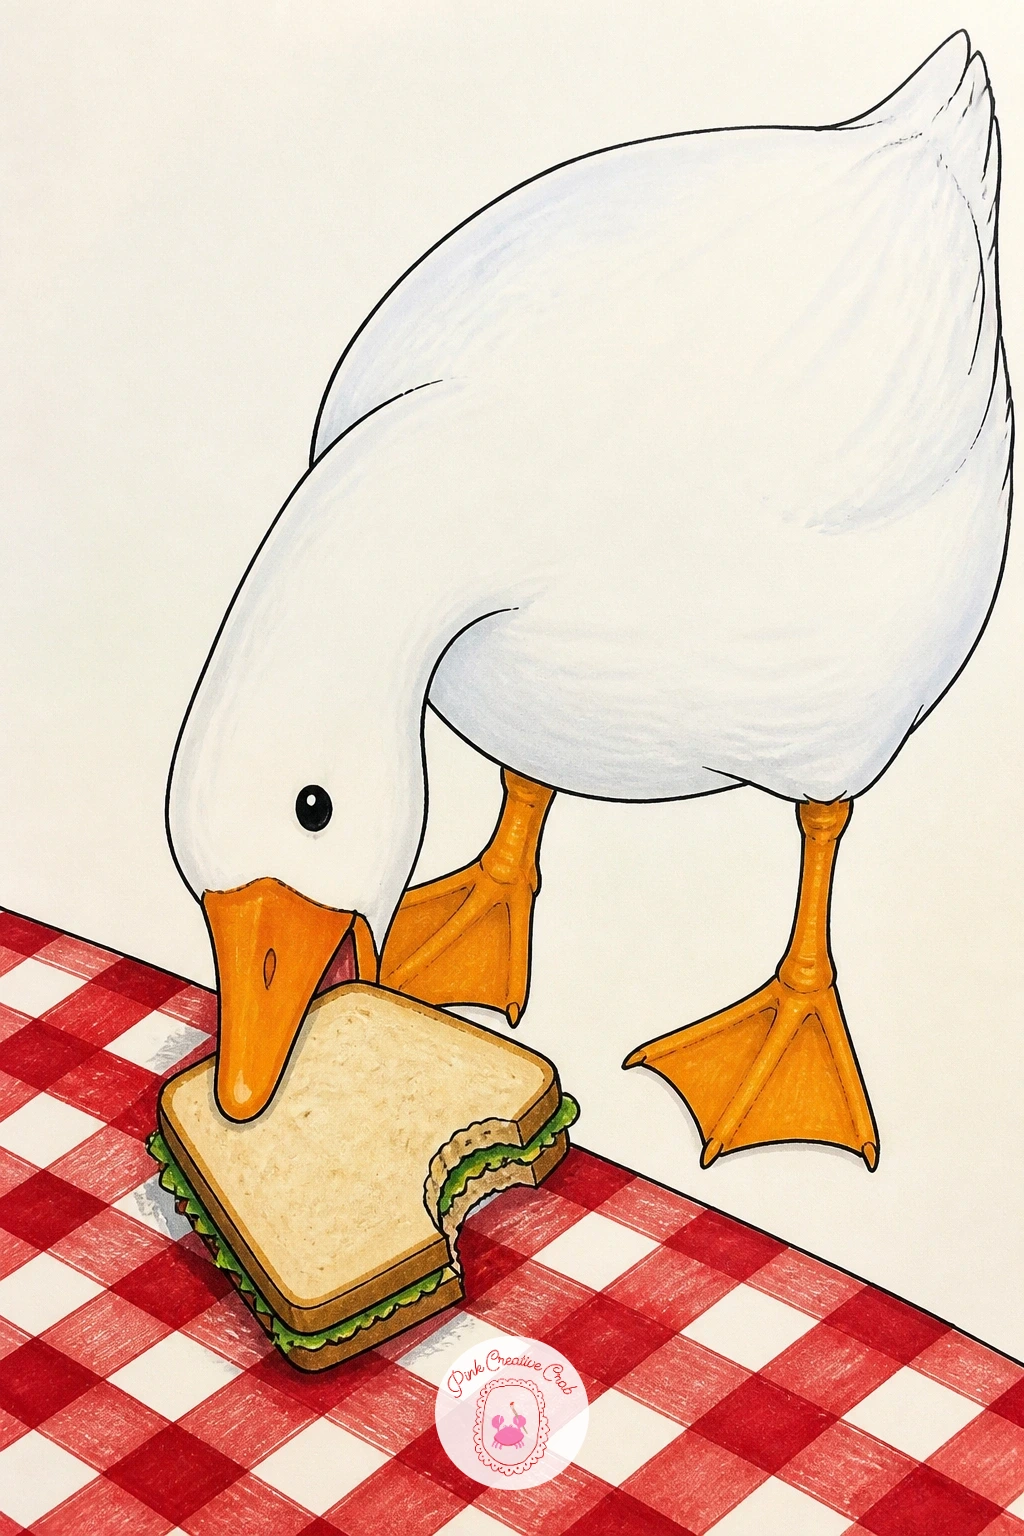
Palette: Goose White,Bread Tan,Lettuce Green,Checkered Red
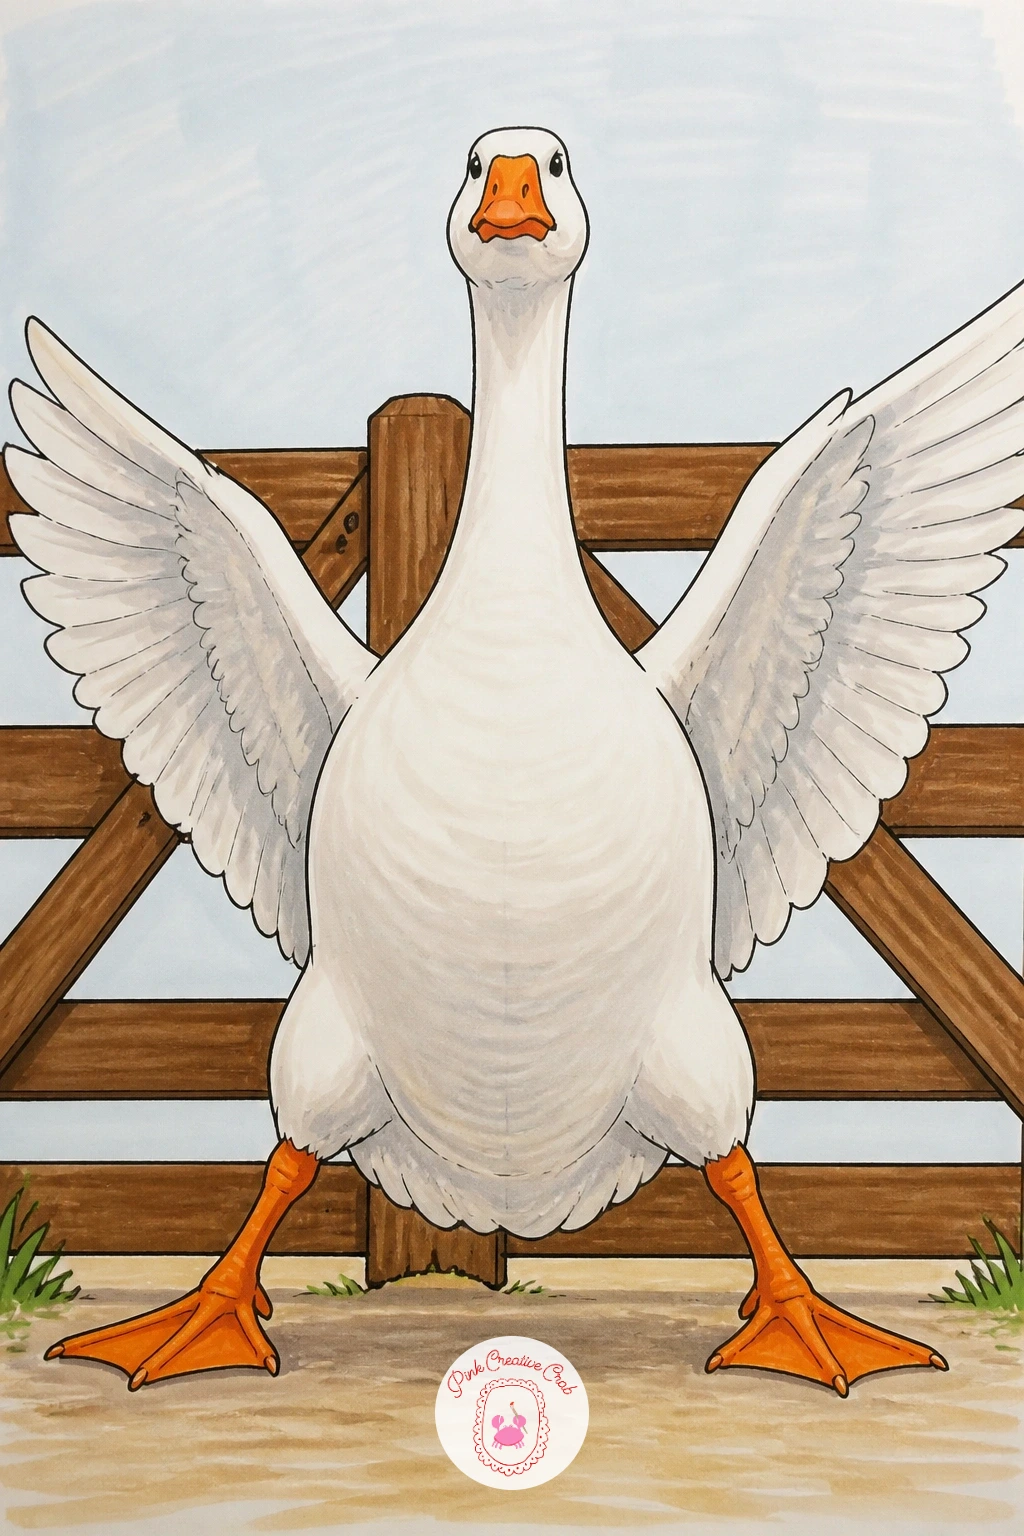
Shift into full drama with a goose guarding the farm gate, chest puffed and wings slightly spread like she is daring anyone to pass. Draw the body wide and low to the ground, wings held out from the sides rather than tucked in, then add a simple wooden gate behind her made of three or four horizontal planks and two posts.
Ink the goose first with extra attention to the wing shapes, since spread wings are the main thing selling the guard-dog attitude here, then color the gate in warm weathered brown before filling the goose in white. A streak of darker grey wash along the gate planks, applied with a nearly dry marker dragged once across the wood, gives it a worn, outdoor texture without much extra work.
Low eye level works well again for this one: draw the fence posts taller than they would look from standing height, which makes the gate feel more imposing and the goose feel more like a genuine guard than a background detail.
If you do not have a brown marker for the wood, a warm grey works just as well for a weathered, aged gate.
Palette: Goose White,Weathered Brown,Fence Grey,Shadow Grey
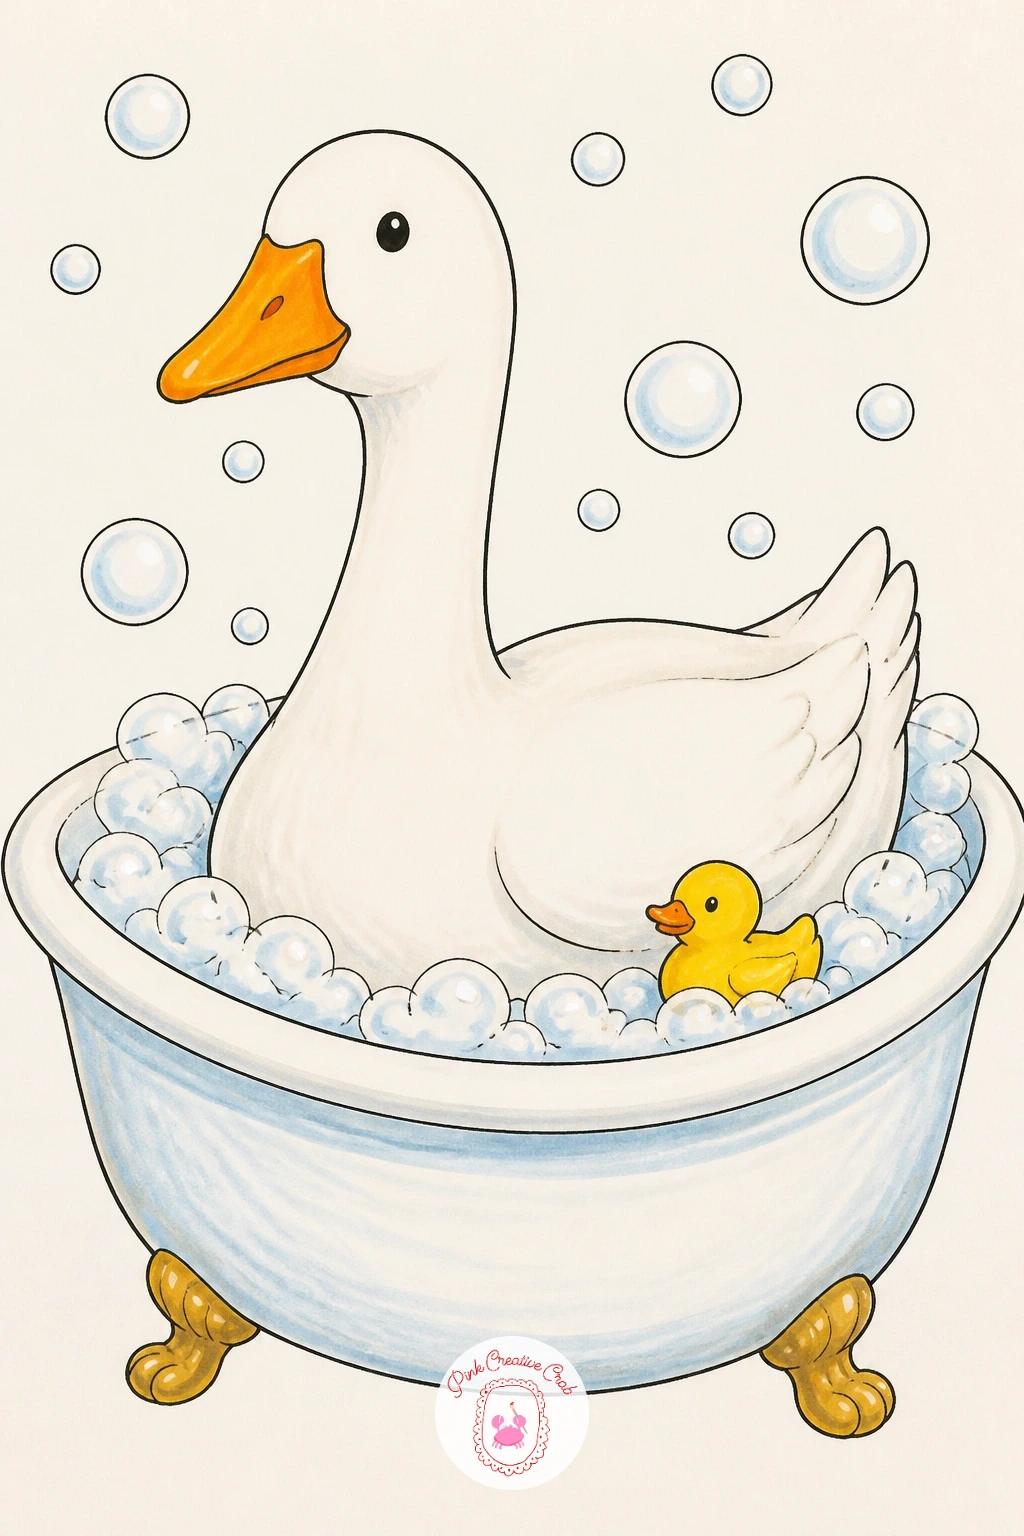
Cool things down with a goose in a bathtub, perched on the rim or sitting right in a pile of bubbles like it is the most normal thing in the world. Draw the bathtub as a simple rounded rectangle with curved feet underneath, then place the goose’s body sitting inside with just the neck and head rising above a scribbled line of bubbles.
Ink the tub and goose, then color the bubbles last using a light grey-blue outline with the white of the paper left untouched inside each bubble shape, which keeps them looking light and soapy rather than heavy. A single rubber duck floating beside the goose, drawn as a tiny yellow oval, adds a nice size contrast.
Bubble texture is the trickiest part of this one: keep each bubble outline a loose, uneven circle rather than a perfect one, since a row of perfect circles reads as polka dots instead of foam.
If grey-blue is not in your set, a pale lavender marker for the bubble outlines works just as softly.
Palette: Goose White,Tub Blue,Bubble Grey,Rubber Duck Yellow
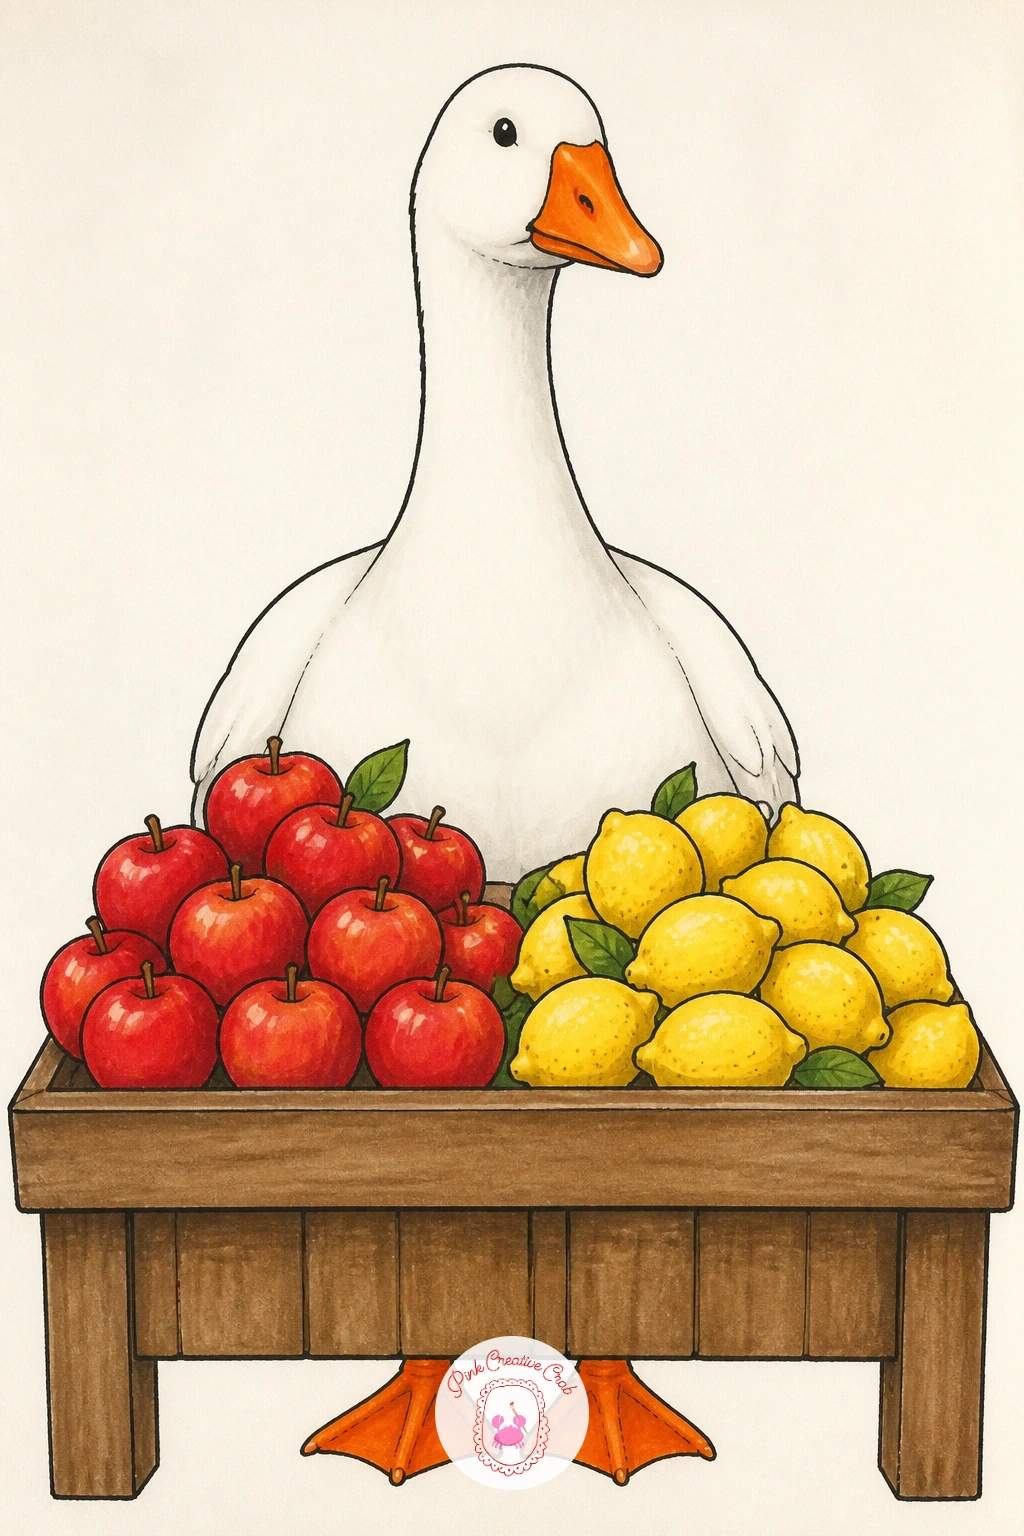
Give her a job again with a goose at a market stall, standing proudly behind a small table of produce like she runs the whole operation. Draw the goose first, upright and chest out, then build a simple wooden stall table in front of her holding three or four round shapes that read as fruit or vegetables without much individual detail.
Ink the goose and table together, then color each piece of produce a different bright color, apples in red, lemons in yellow, so the stall reads as colorful and busy even with very few shapes. Keep the goose herself in plain white so she still reads as the main subject against all that color.
If you want a quick version, three round produce shapes and a plain table front finish this in well under the forty-minute mark. For more detail, add a small striped awning above the stall and a chalkboard sign leaning against one table leg with a price scribbled on it.
One tip for today: cluster the produce toward one side of the table rather than spreading it evenly, since a slightly lopsided pile looks more like a real market stall than a tidy symmetrical one.
Palette: Goose White,Apple Red,Lemon Yellow,Stall Wood
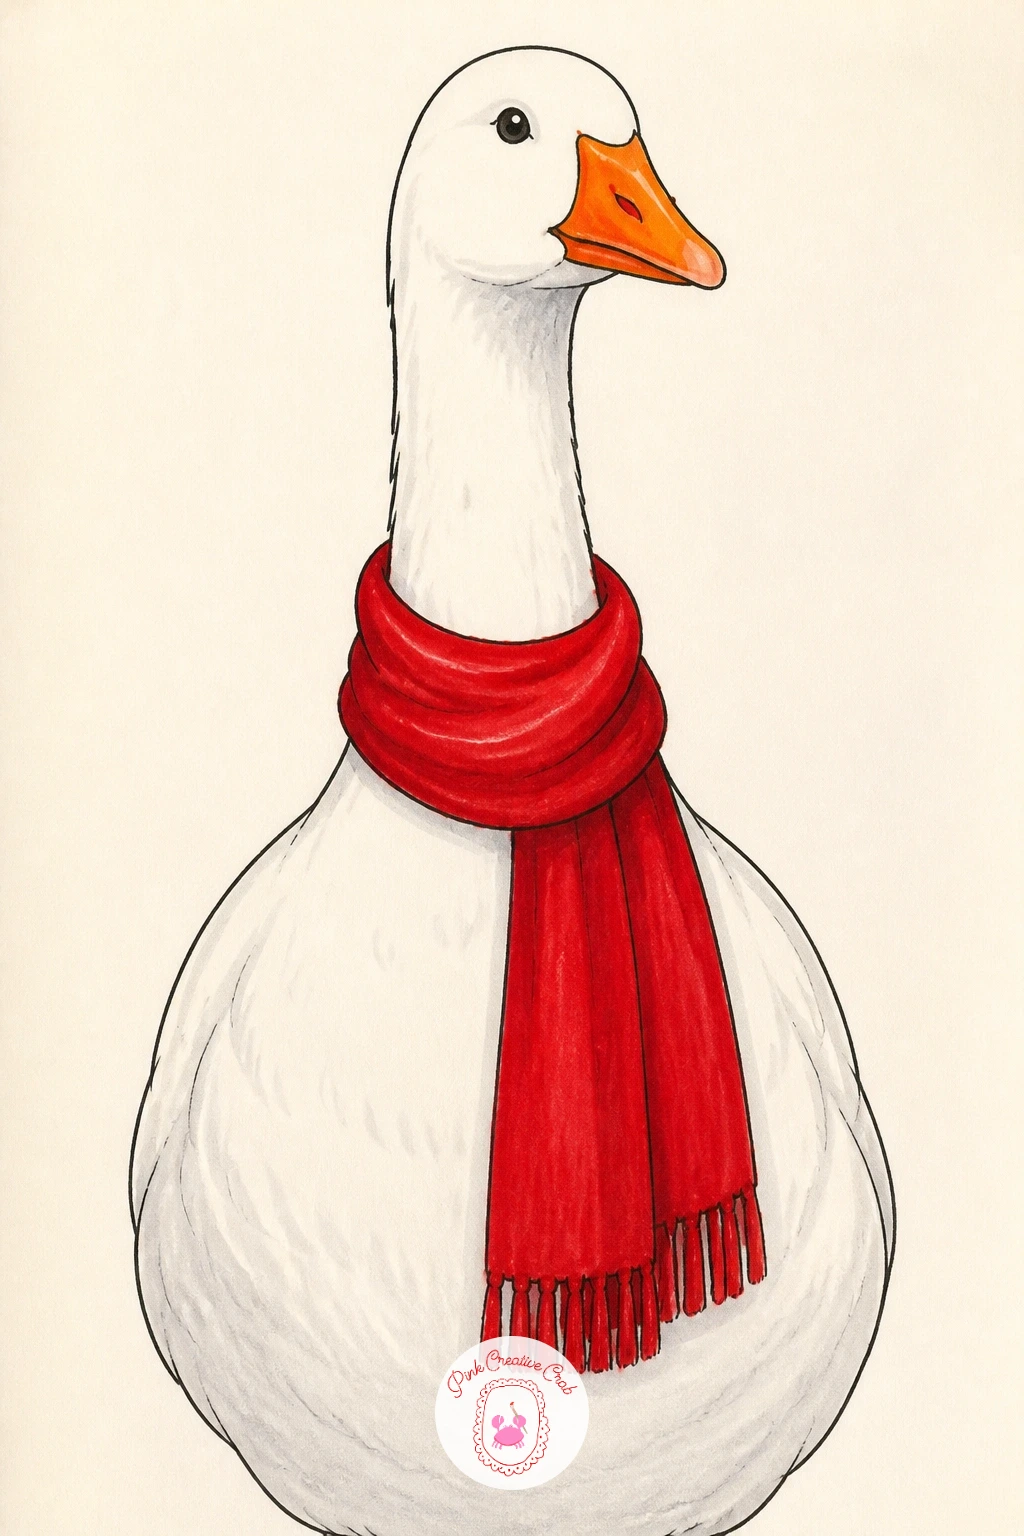
Bring the style back in with a goose in a cherry red scarf, wrapped once around the long neck and left to trail a little at the end. Draw the neck first since the scarf needs to follow its curve, then add the scarf as a simple band wrapping around with one loose tail hanging down over the chest.
Ink the goose and scarf outline together so the wrap sits naturally against the neck’s curve, then color the scarf in a single confident layer of cherry red, going back over the darker fold areas a second time while the marker is still slightly wet so the color pools and deepens there on its own. Leave the rest of the goose in clean white so the red scarf becomes the one bold note in the piece.
This is the kind of simple, graphic styling touch that also works well if you enjoy bold accessory details, similar to the bow and ribbon work in coquette drawing step by step lessons.
If cherry red is not in your set, a warm raspberry or deep rose marker gives nearly the same pop of color.
Palette: Goose White,Cherry Red,Deep Red Shadow,Orange Beak
Return to the family theme with a goose family crossing the road, this time on dry land with a proper crosswalk under their feet. Draw the lead goose mid-stride at the front of the group, then line up a second adult and two or three goslings behind in a loose row, keeping everyone’s feet roughly on the same horizontal line so the crossing reads clearly.
Ink the whole family before adding the road, then draw the crosswalk as three or four simple white stripes left unshaded against a grey road fill, which is much faster than drawing full asphalt texture and reads just as clearly. Color the adults in white and the goslings in soft yellow, keeping every beak and foot the same orange so the family feels connected.
If this is your first time drawing a group like this, draw the lead goose completely first from head to foot before starting the second one, rather than sketching all the bodies loosely at once, since finishing one figure at a time keeps the proportions from drifting across the group.
Today’s tip: stagger the goslings’ heights slightly rather than lining them up perfectly even, which makes the group feel like it is actually moving rather than posed.
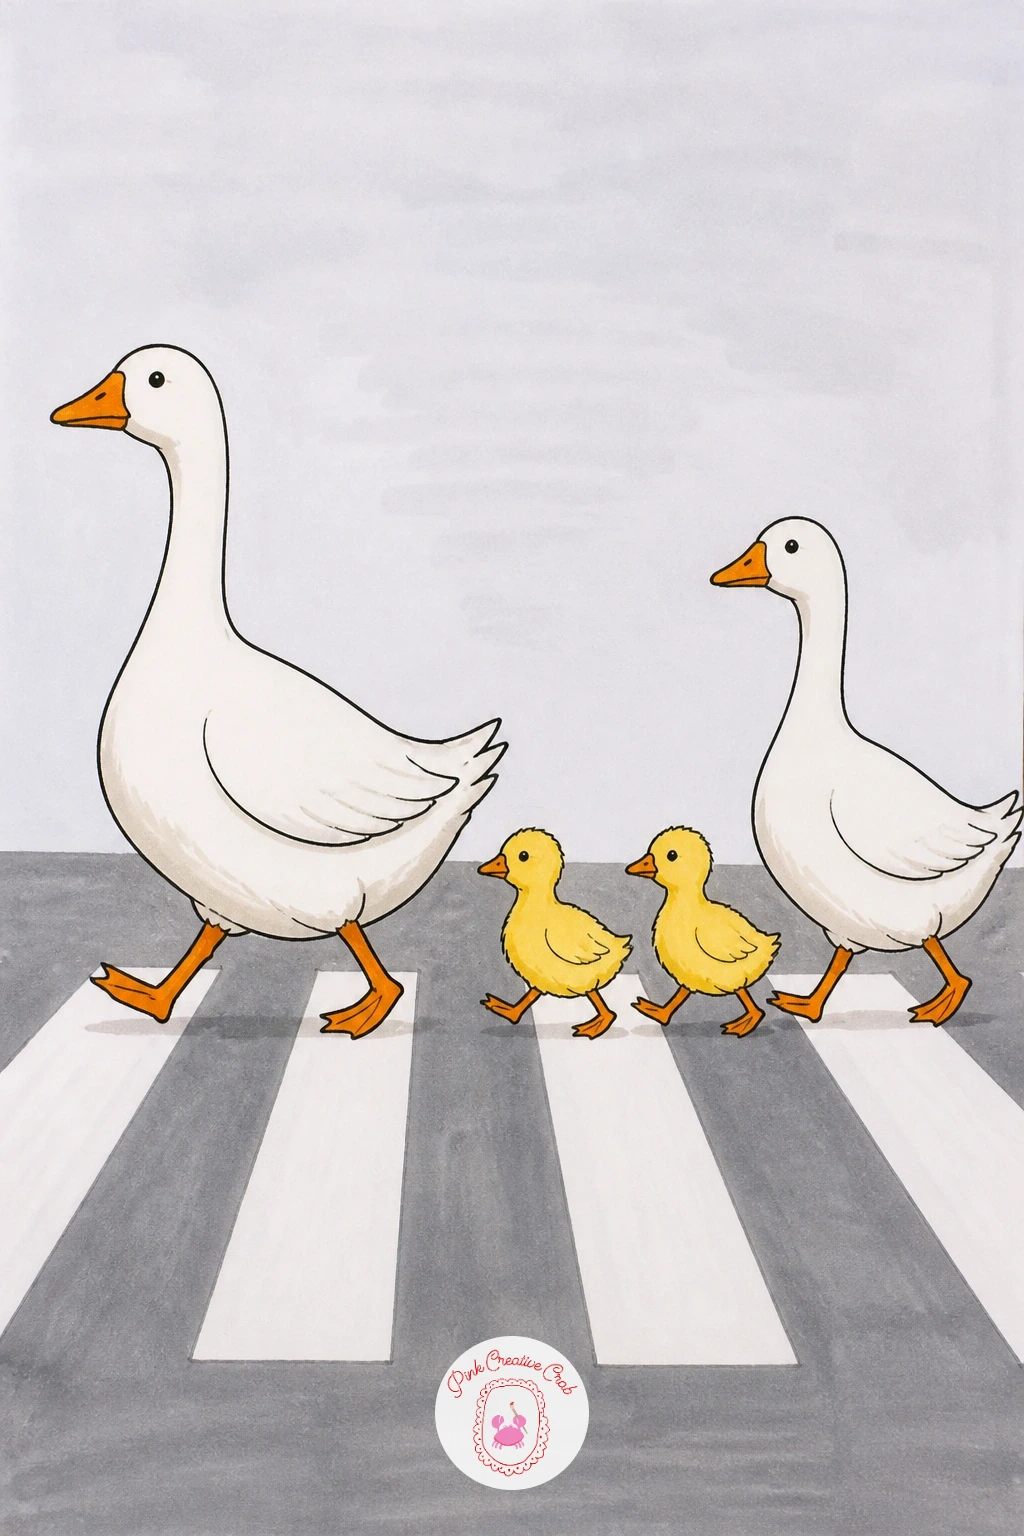
Palette: Goose White,Gosling Yellow,Road Grey,Crosswalk White
Let her relax with a goose at a cafe table, seated properly with a small cup and saucer in front of her. Draw the goose first with her body upright and one wing resting on the table’s edge, then add a simple round table shape with a cup, saucer and tiny spoon drawn on top, keeping all three objects small compared to the goose herself.
Ink the goose and table together, then color the cup and saucer in a soft pastel like mint or dusty pink, saving a thin curl of steam drawn in fineliner only as the very last mark, since adding it too early risks smudging it under your hand while you color everything else.
A quick ten-minute version stops at the cup and goose. For a longer sitting, add a small pastry on a second plate and a cafe chair back visible behind her, which turns a simple pose into a whole little scene.
If pastel markers are not in your set, a very light touch with a regular marker, going over the shape only once, gets you a similar soft tone.
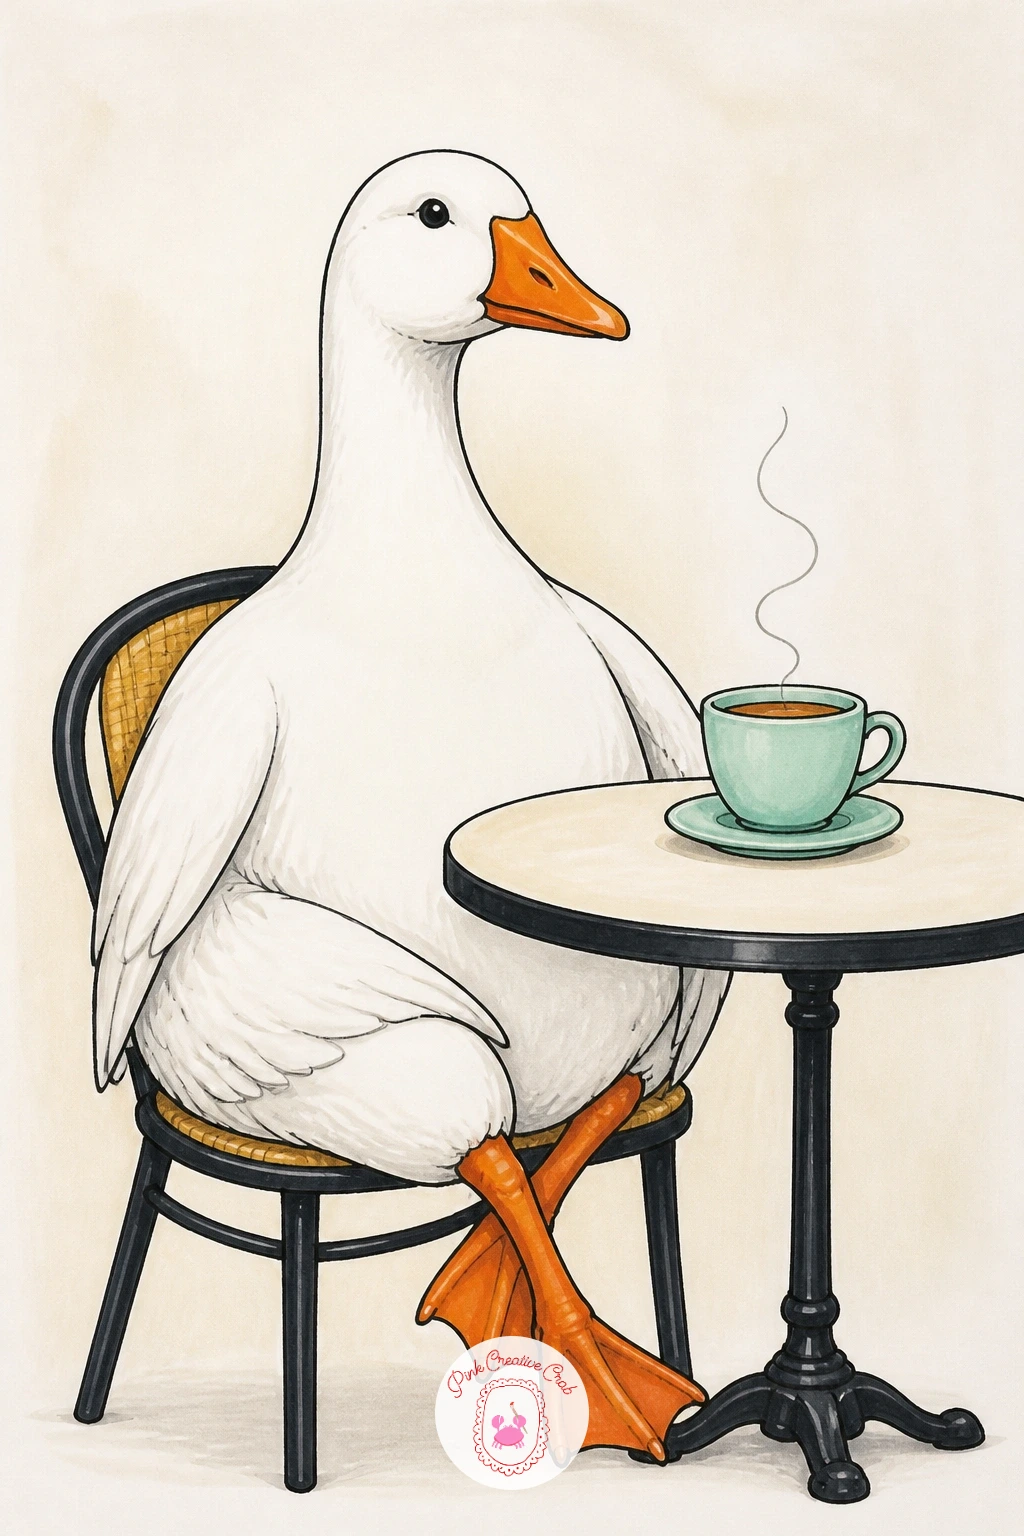
Palette: Goose White,Mint Cup,Dusty Pink Saucer,Table Tan
Keep the warm, summery mood going with a goose in a straw hat, tipped at a jaunty angle over one eye. Draw the head and neck first, then add the hat as a wide oval brim with a rounded crown sitting slightly off-center, since a perfectly centered hat looks stiff compared to one tilted with a bit of personality.
Ink the goose and hat together, then color the hat in warm straw yellow with a few short curved lines drawn across the brim to suggest woven texture, the same light touch used for the market stall’s wicker table earlier in this list. Add a thin ribbon band around the base of the crown in a contrasting color like navy or red for a quick finishing detail.
Hat brims are the part most likely to look flat, so give the underside of the brim a slightly darker yellow or warm grey shadow where it curves away from the light, which instantly gives the hat some dimension instead of looking like a flat disc stuck on the head.
Keep today’s tip simple: let the brim overlap the top of the eye slightly, since a hat sitting too high above the head looks like it is floating rather than worn.
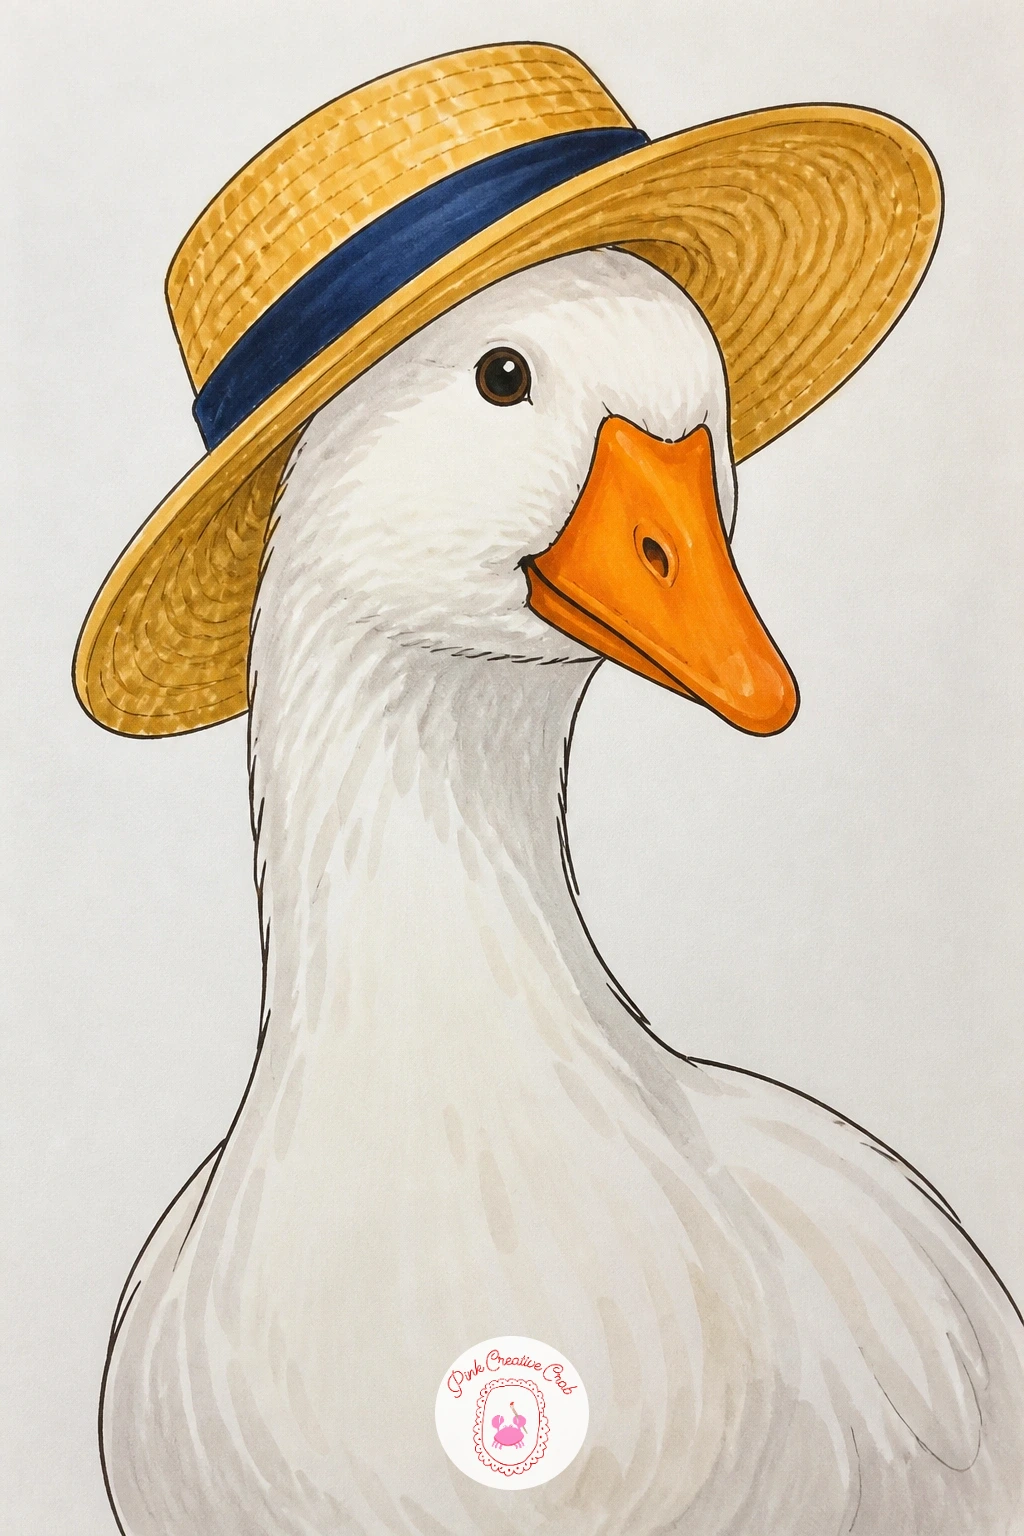
Palette: Straw Yellow,Brim Shadow,Ribbon Navy,Goose White
Simplify things with a goose with a tulip in its beak, a quiet, almost sweet image after so many busy scenes. Draw the head and neck large and close up, then add a single tulip held gently at the stem, the bloom resting just past the beak tip rather than crammed right against it.
Ink the goose and tulip, then color the tulip bloom in a bold single color like coral or magenta, leaving one thin white highlight stripe unmarked down the center of the petal to catch the light. The stem and single leaf stay simple, a clean green curve rather than a detailed botanical study.
Comparing sizes helps here too: the tulip bloom should be no larger than the goose’s eye, since a tulip that competes in size with the head stops looking delicate and starts looking like a prop she is struggling to hold.
If coral is not in your set, a warm pink or soft red works just as well for the bloom.
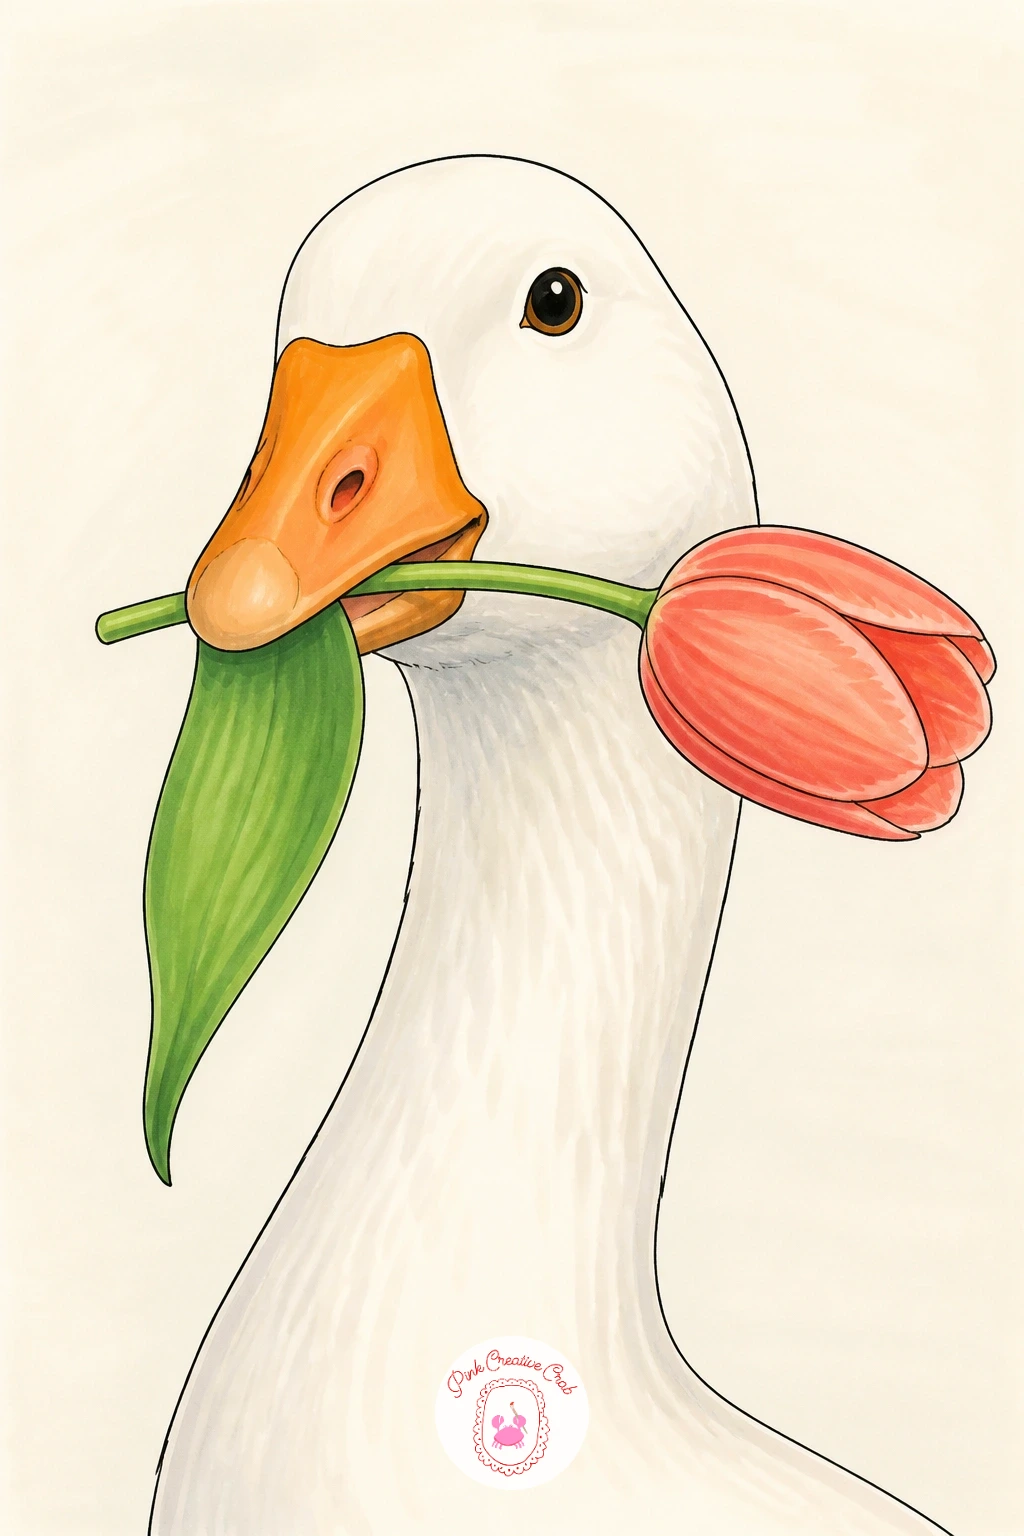
Palette: Goose White,Coral Tulip,Leaf Green,Orange Beak
Bring the chaos back with a goose running off with a ball of yarn, trailing a loose thread behind like she just raided a knitting basket. Draw the goose mid-stride with the yarn ball tucked under one wing or gripped in the beak, then let a single wavy thread line unspool behind her across the page.
Ink the goose and yarn ball first, then color the ball in a bright color like turquoise or magenta, scribbling a few overlapping curved lines across its surface in a slightly darker shade of the same color to suggest wound yarn without drawing every individual strand. Keep the trailing thread as one continuous fineliner line only, never colored, so it stays thin and readable against the page.
If you want to vary this idea next time, try swapping the yarn ball for a spool of ribbon or ending the trailing thread in a half-knitted scarf left behind on the ground, which tells a slightly different story with the same pose.
Keep the thread line loose and wavy rather than straight, since a straight line looks like a ruler mark instead of unspooling yarn.
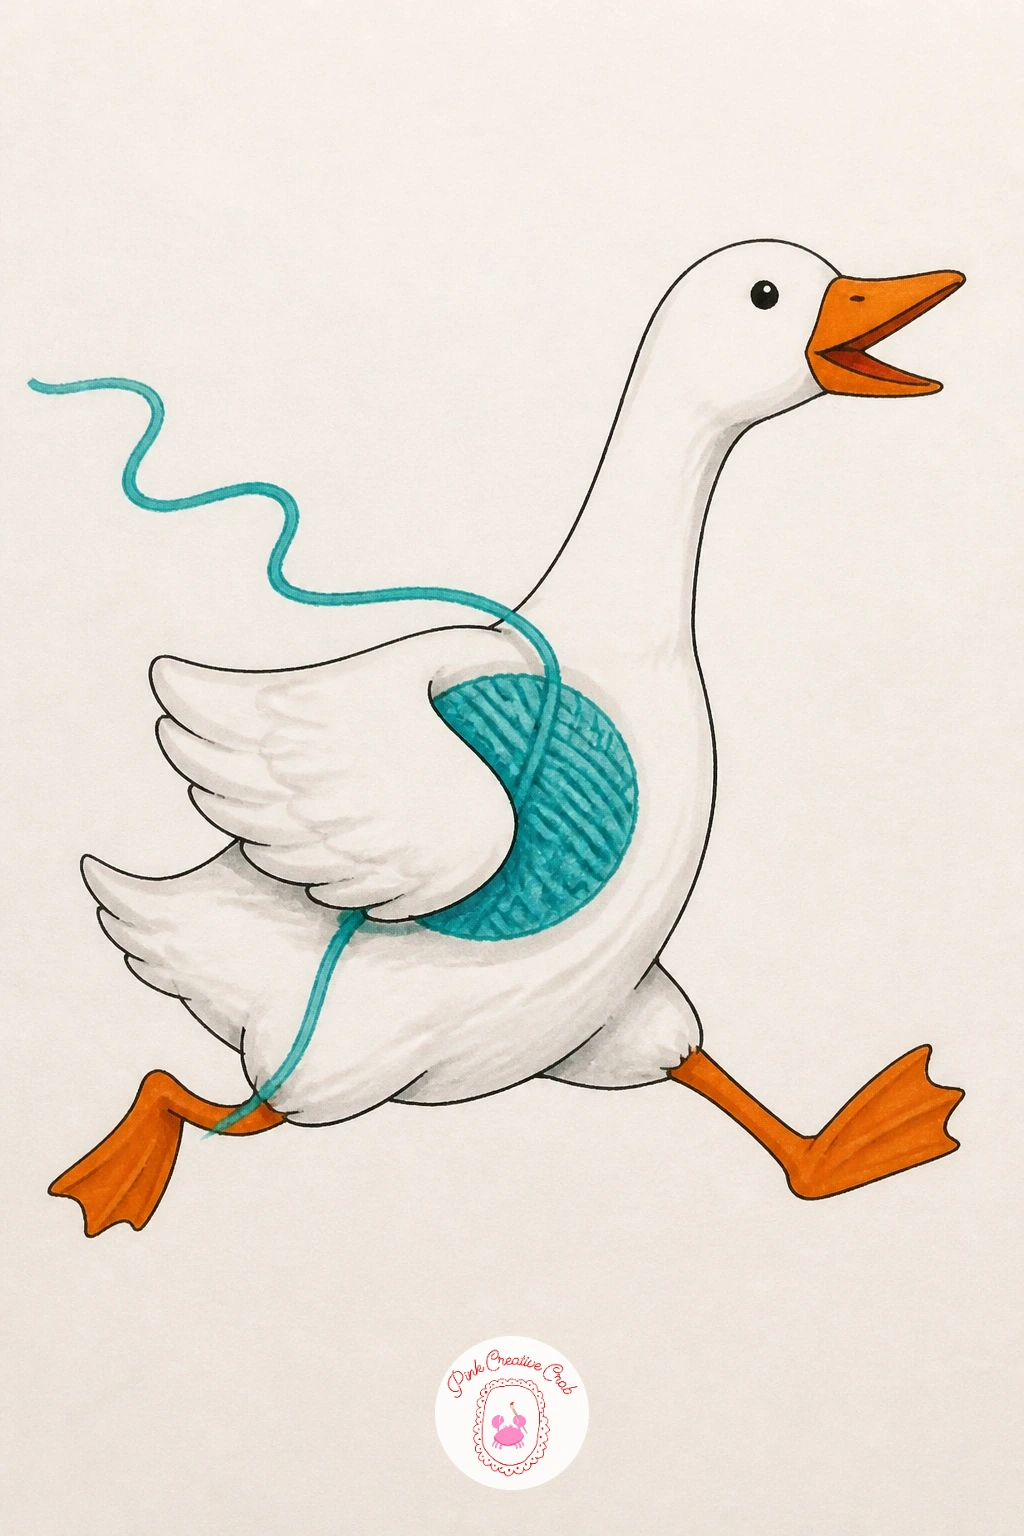
Palette: Goose White,Turquoise Yarn,Deep Teal Shadow,Orange Feet
Slow right down with a goose napping in hay, tucked into a loose nest with her head resting back against her own body. Draw the goose in a rounded, compact pose with the neck curled rather than stretched, since a curled neck is what reads instantly as sleep rather than alertness, then build a simple pile of hay underneath her using short crisscrossing fineliner strokes.
Ink the goose first, then work the hay texture in warm straw yellow marker, dragging short diagonal strokes in clusters rather than one flat wash, which gives the pile a loose, textured look without taking much extra time. Leave the goose’s closed eye as a single simple curved line to keep the sleeping expression calm and uncomplicated.
If this is your first time drawing a curled sleeping pose, sketch the neck as one continuous spiral line first before adding the head shape at the end of it, which keeps the curl smooth instead of kinked.
One swap worth knowing: if straw yellow is not in your set, a warm light brown gives the same cozy, sun-faded hay look.
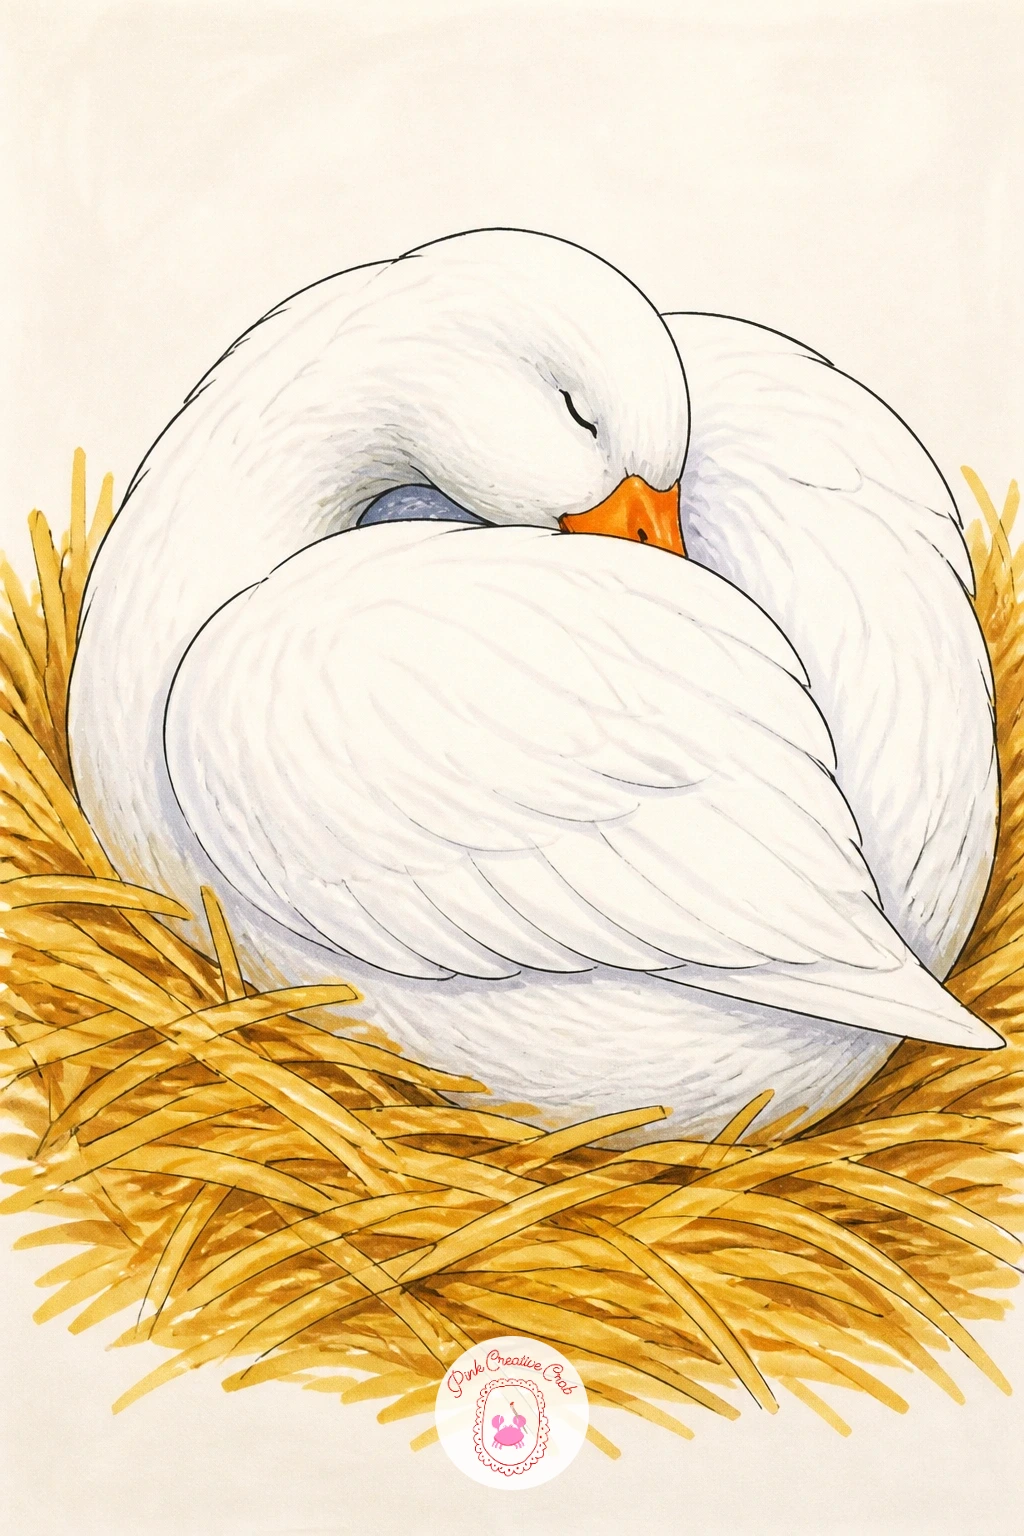
Palette: Goose White,Straw Yellow,Hay Brown,Soft Shadow
Lighten the mood further with a goose holding a balloon, the string gripped in her beak and the balloon floating up above her head. Draw the goose standing or walking first, then add a single round balloon connected by one long curved string, letting the string dip slightly in the middle like real string does under its own weight rather than drawing it perfectly straight.
Ink the goose and balloon together, then color the balloon in one bright, happy color like cherry red or sky blue, leaving a small white highlight oval unmarked near the top where light would catch its curved surface. That single highlight is what makes a flat circle read as a round, shiny balloon instead of a colored dot.
A quick ten-minute version uses just the goose and balloon. For a longer sitting, add a second, smaller balloon tied to the same string at a slightly different height, which gives the composition a bit more rhythm without much extra effort.
Keep today’s tip handy: curve the string in a gentle S shape rather than a straight line, since that one curve does most of the work of making the balloon feel light and floating.
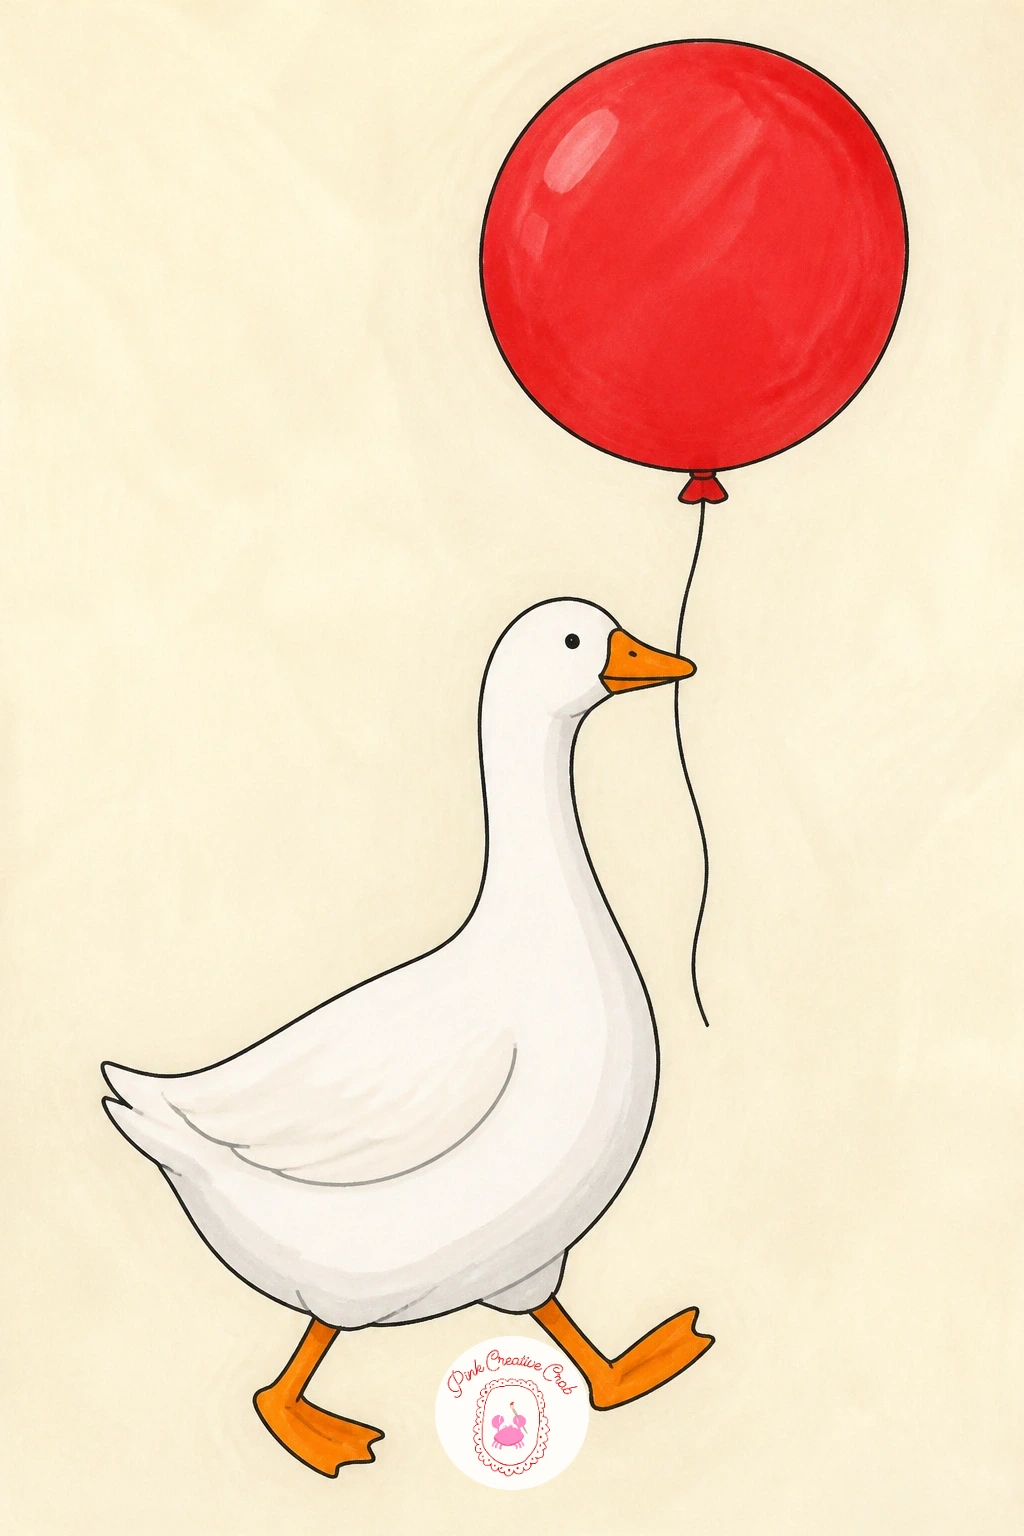
Palette: Goose White,Balloon Red,Highlight White,String Grey
Add a human companion with a goose and a farm girl, standing side by side like old friends. Draw the goose first since her size anchors the whole composition, then sketch the farm girl beside her using simple shapes, a rounded dress, basic arms and legs, a small head with a simple hairstyle, keeping the same clean, uncomplicated line quality you have used on the goose throughout this set.
Ink both figures together, then color the girl’s dress in a soft, friendly color like dusty blue or soft green, with simple braids or a bow if you want a little extra character. Keep the goose in plain white so the two figures balance each other rather than one overwhelming the other in detail.
If figure drawing is new to you, keep the girl’s proportions loose and a little stylized rather than anatomically precise, the same simplified approach used in girl pencil drawing ideas for beginners, which suits this playful goose world far better than realistic proportions would.
One tip for today: have the girl’s hand resting lightly on the goose’s back rather than holding her, since that small gesture reads as companionship instead of restraint.
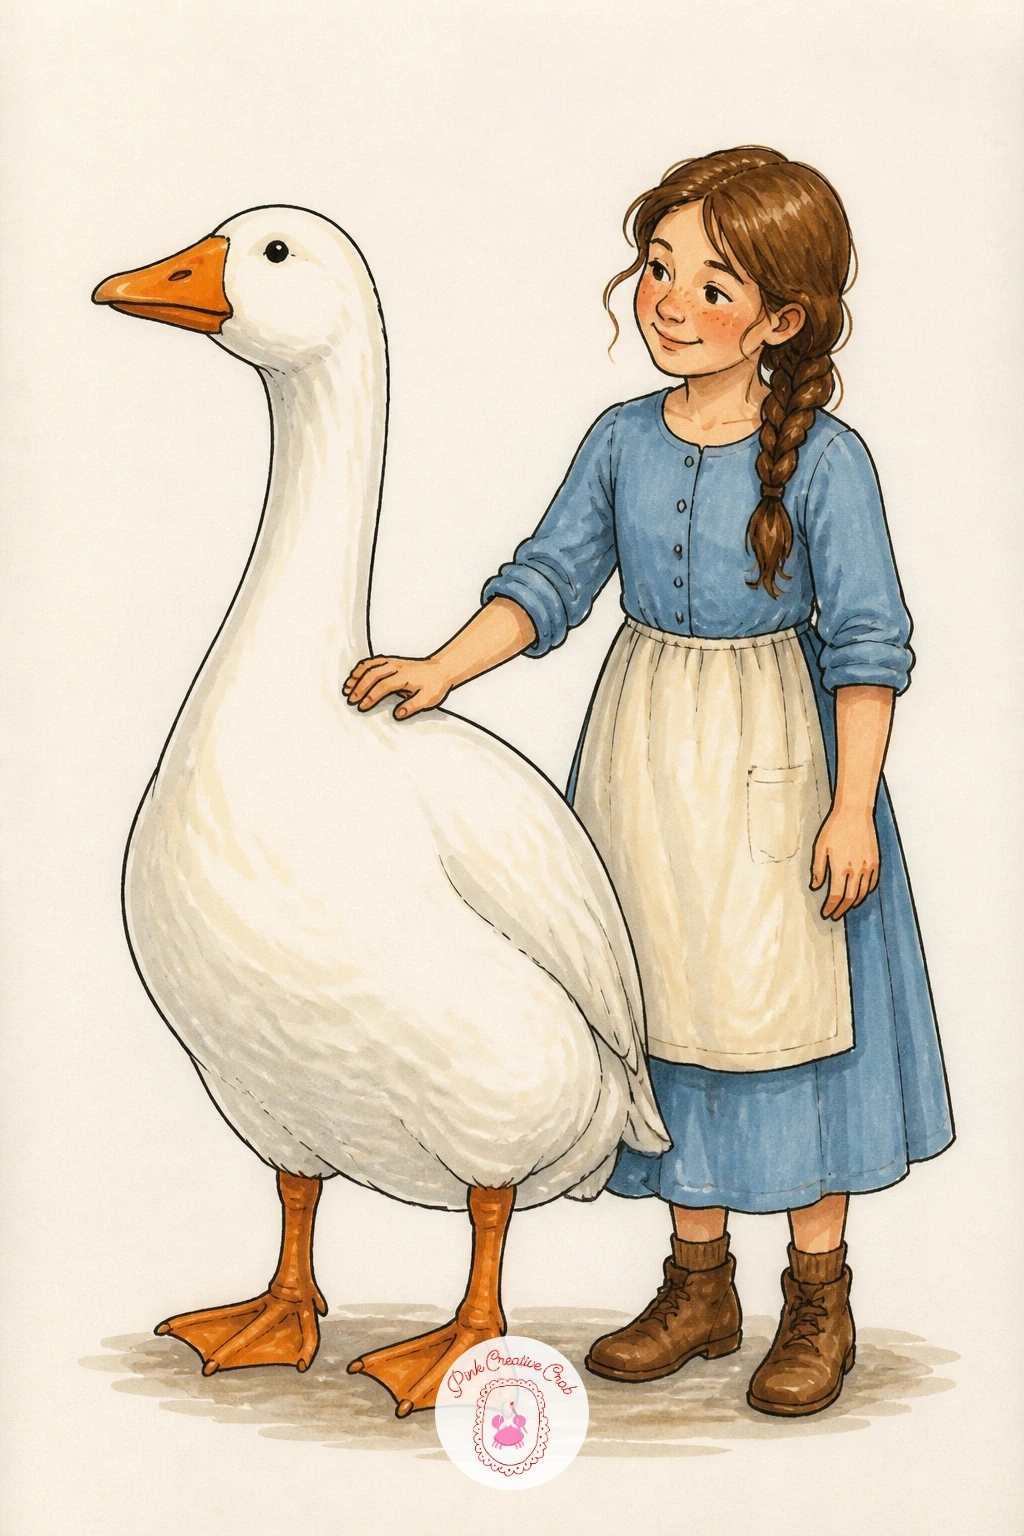
Palette: Goose White,Dusty Blue Dress,Skin Tone,Hair Brown
Settle back into the farm with a goose in a cabbage patch, standing among a few round cabbage heads like she is personally inspecting the harvest. Draw the goose first, then add two or three cabbages around her feet as simple round shapes with a few curved lines across the surface to suggest overlapping leaves, keeping the lines loose rather than tracing every leaf edge.
Ink the goose and cabbages together, then color each cabbage in a slightly different shade of green so the patch does not look like one flat color block, using a touch of pale blue-green on one and a warmer leaf green on another. Fill the goose in plain white last so she still reads clearly against all that green.
Comparing proportions helps the patch feel believable: each cabbage should sit roughly at knee height on the goose, so check that size relationship with your pencil before inking, since cabbages drawn too large start to look like boulders instead of vegetables.
If you want to vary this scene next time, swap the cabbages for pumpkins or lettuce heads using the same round base shape with different surface texture.
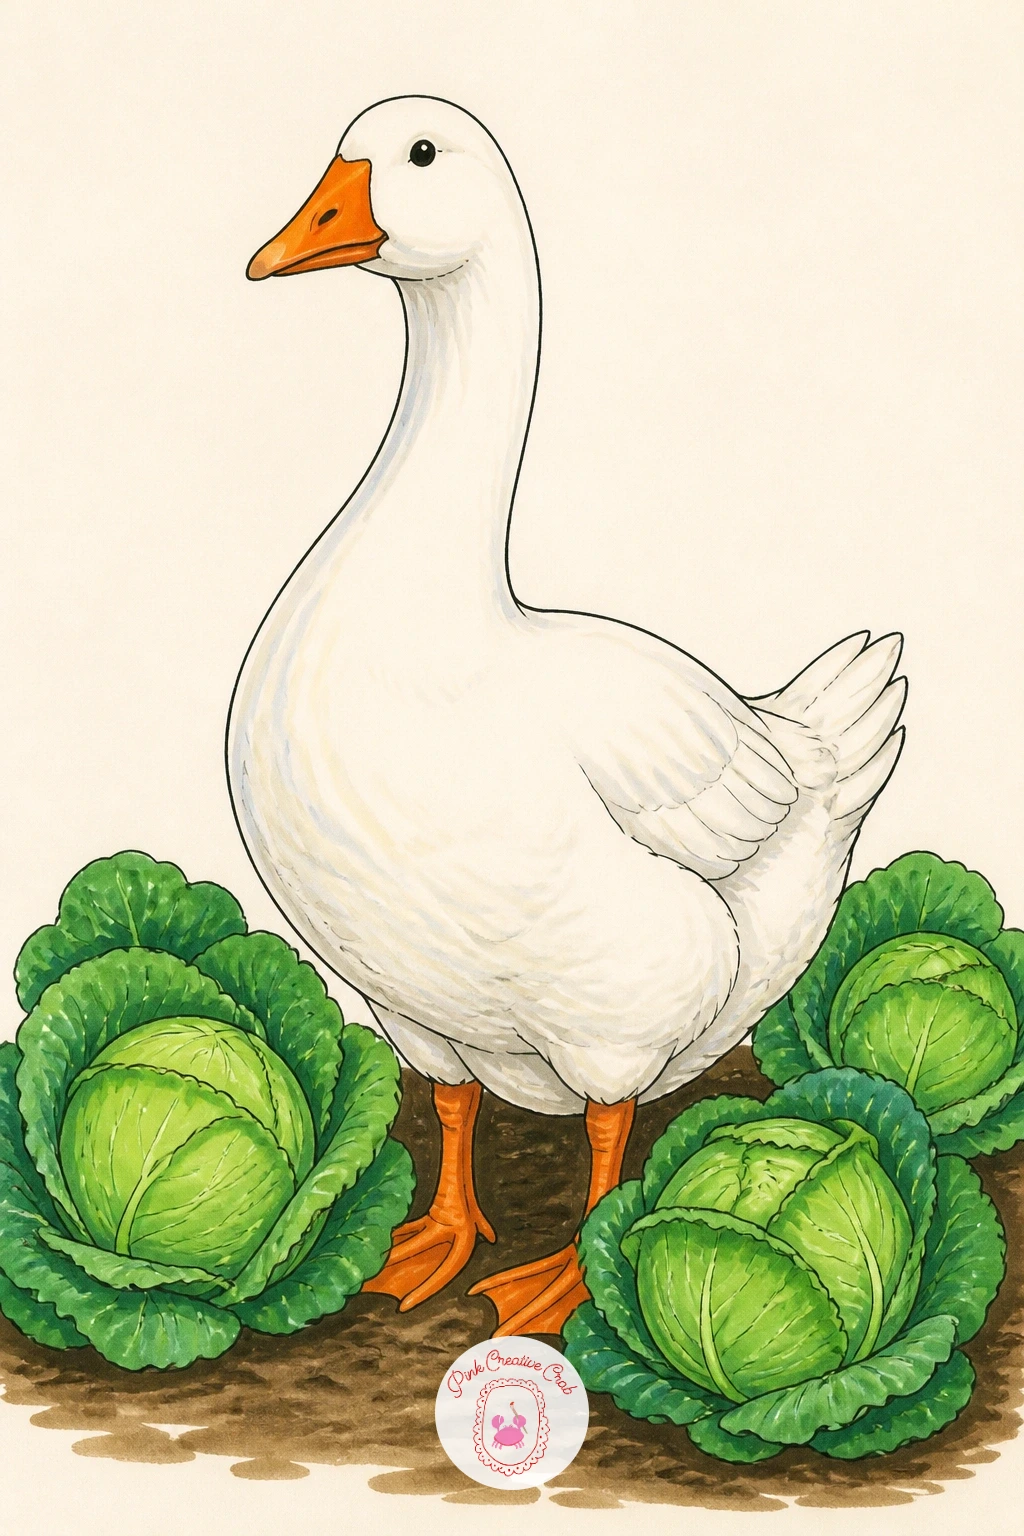
Palette: Goose White,Leaf Green,Sage Green,Soil Brown
Bring the drama back with a goose ice skating, one leg extended behind her in a dramatic glide across the ice. Draw the body leaning forward with the supporting leg bent and the other stretched straight back, then add two tiny skates on her feet, simple curved blades attached to a small boot shape over each foot.
Ink the goose and skates together, then color the ice beneath her in pale blue-white with a few curved scratch marks drawn in fineliner only to show where her blades have cut across the surface, radiating out from behind the extended leg. Keep the goose’s wings slightly raised for balance, which adds to the sense of a mid-glide pose.
Balance poses like this can tip over easily on paper, so check it by drawing a straight vertical guideline down through the goose’s supporting leg before you ink: if her head and body lean too far past that line without the extended leg balancing it, she will look like she is falling rather than gliding.
Keep today’s tip in mind: angle the ice scratch marks in a fan shape behind the skate rather than parallel lines, since a fan shape reads much more convincingly as a skid.
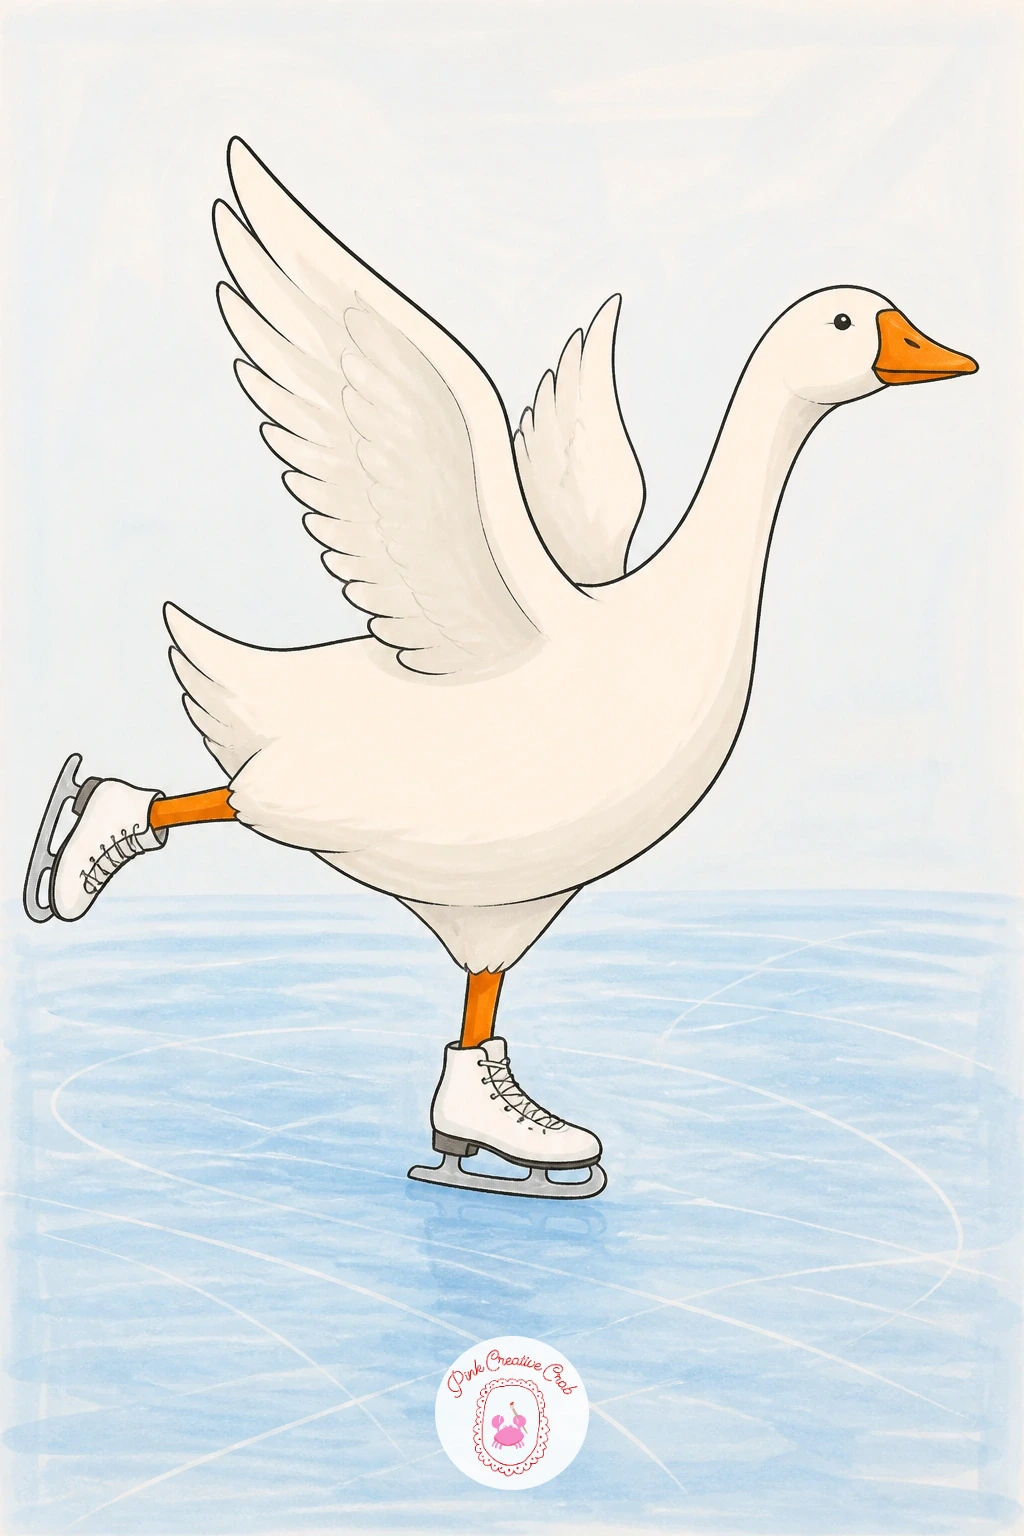
Palette: Goose White,Ice Blue,Skate Grey,Orange Beak
Bring back the quiet wit with a goose in tiny reading glasses, perched low on the beak like she is peering over them at you. Draw the head and neck large and close up, then add two small round or rectangular lenses connected by a thin bridge sitting just above the nostril, drawn slightly smaller than you think they should be, since oversized glasses on a narrow goose beak quickly look like a costume prop rather than a pair of glasses.
Ink the goose and glasses together, keeping the lens outline as a clean, thin fineliner line with no marker color inside, since leaving the lens itself white or very pale grey is what makes it read as glass rather than a solid shape.
If this is your first time drawing glasses on a beak, sketch a single straight guideline across the beak first to make sure both lenses sit level with each other, since one lens riding higher than the other is the most common mistake here.
One tip for today: add one small reflected highlight line on each lens, a short diagonal fineliner stroke, which instantly sells the idea of glass over a flat drawn circle.
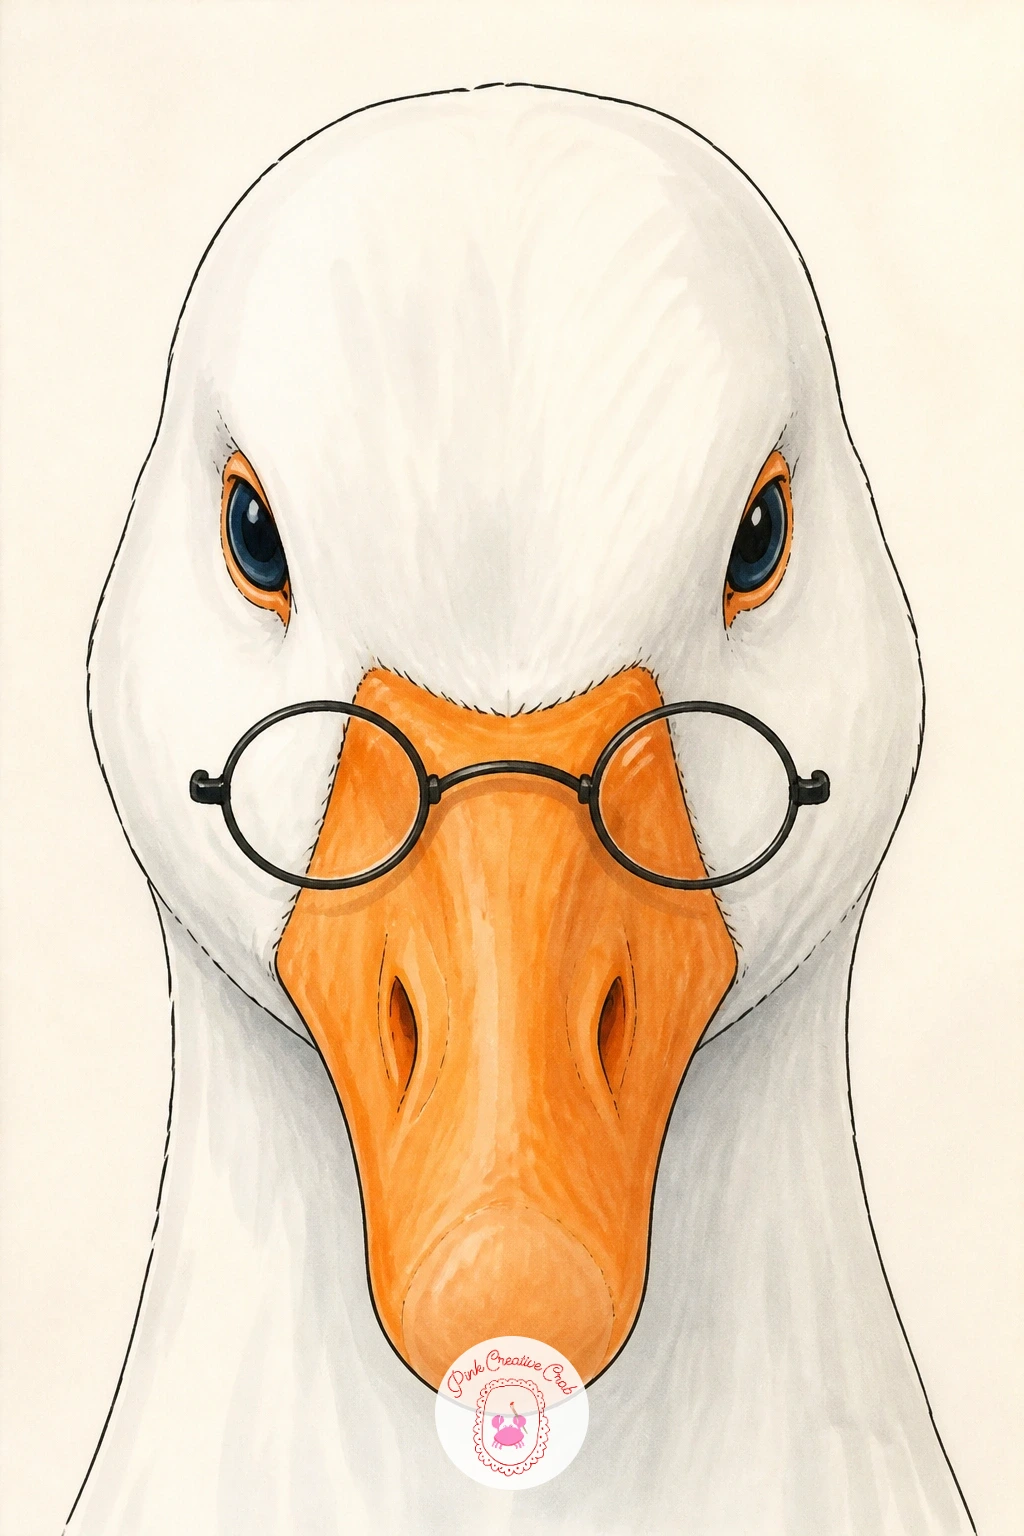
Palette: Goose White,Lens Grey,Frame Black,Orange Beak
Close the whole series out with a goose on a garden bench, perched like she has claimed the best seat in the yard. Draw the bench first as a simple slatted seat with two curved armrests, then place the goose sitting on top with her feet tucked neatly together and her body relaxed against the backrest.
Ink the bench and goose together, then color the bench in a soft weathered green or white paint color, adding a few short darker strokes along the slats to suggest worn paint without detailing every plank individually. Add a couple of simple leaf shapes or a climbing vine along one armrest in leaf green for a final cozy touch, tying this closing idea back to the garden setting that started much of this list.
If you have worked through several geese already today, this is a good one to slow down on: take the extra time on the bench’s slats and the vine detail, since a calmer final pose rounds off the set nicely after so many busy scenes.
Keep today’s tip close: let one of her feet dangle slightly off the edge of the bench rather than lining both feet up neatly, since that small asymmetry makes the whole pose feel relaxed rather than posed.
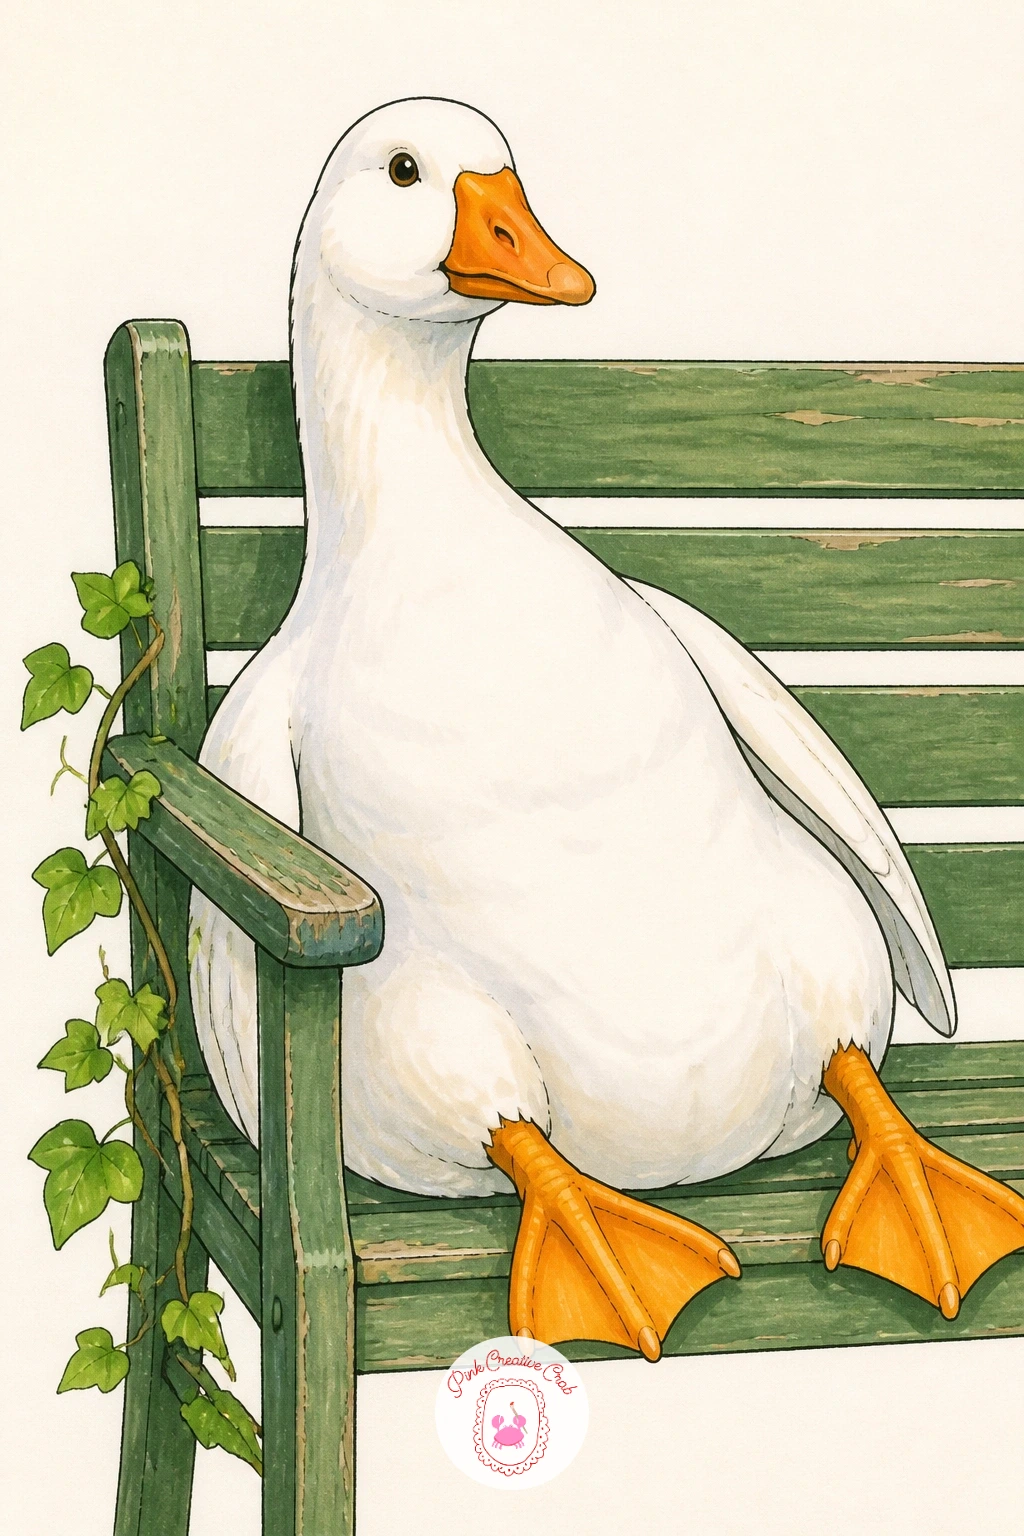
Palette: Goose White,Bench Green,Worn Paint Grey,Leaf Green
What to Do Next
Pick whichever goose matches your mood right now, sketch the body and neck lightly first, then ink and color once the proportions feel right. Grab a sheet of smooth marker paper, your fineliner and a handful of markers, and let this cheeky bird have her moment.
Frequently Asked Questions
What is the easiest way to draw a goose beginners should start with?
Start with the body as one large oval and the neck as a single long curve into the head, since those two shapes carry the whole pose. Add the beak, feet and details last, once the proportions feel right on paper.
Which alcohol markers work best for a white goose?
Use a very pale grey-blue or warm grey for the shaded side of the body rather than leaving it pure white everywhere. The white of the paper does most of the work, so one or two light shadow tones are usually enough.
How do I keep the goose’s neck from looking too short or too long?
Compare the neck length to the body height before inking, since the neck usually reads correctly at roughly the same length as the body is tall. A neck that is too short makes the goose look like a duck instead.
Do I need to draw a full background behind the goose?
No, most of these ideas work best with a light, mostly empty background so the goose stays the clear focus. A few simple props, like a bench or a basket, tell the story without needing a full scene around them.
What paper works best for alcohol markers on a goose drawing?
Smooth marker paper or bristol board works best, since alcohol markers bleed and feather on regular printer paper. A dedicated marker pad also keeps colors blending smoothly instead of streaking.
Have any thoughts?
Share your reaction or leave a quick response — we’d love to hear what you think!
-
 0
-
0
-
0
-
0
-
0
-
0


