

Christmas cookies drawing is the kind of project that fills a page with warmth in a single sitting: golden crumbs, pastel icing, a ribbon or a steaming mug, and a little story behind every plate. You already love drawing sweets, so this list leans into that: a cat stealing a cookie, a grandmother rolling dough with a child, a whole cookie house village glowing under gouache.
Below are thirty two scenes, starting simple and building up to busier compositions, each one built around a different cookie, character or small moment. Pick whichever one matches your mood tonight and you will have something finished, frosted and ready to photograph before bedtime.
Using these images: free for personal projects such as printing, coloring, cards, journals and gifts. Handmade items that include them may be sold up to 30 pieces per design. More than that is commercial use and is not permitted, and neither is selling or sharing the images themselves or passing them off as your own. Please ask before any other use.
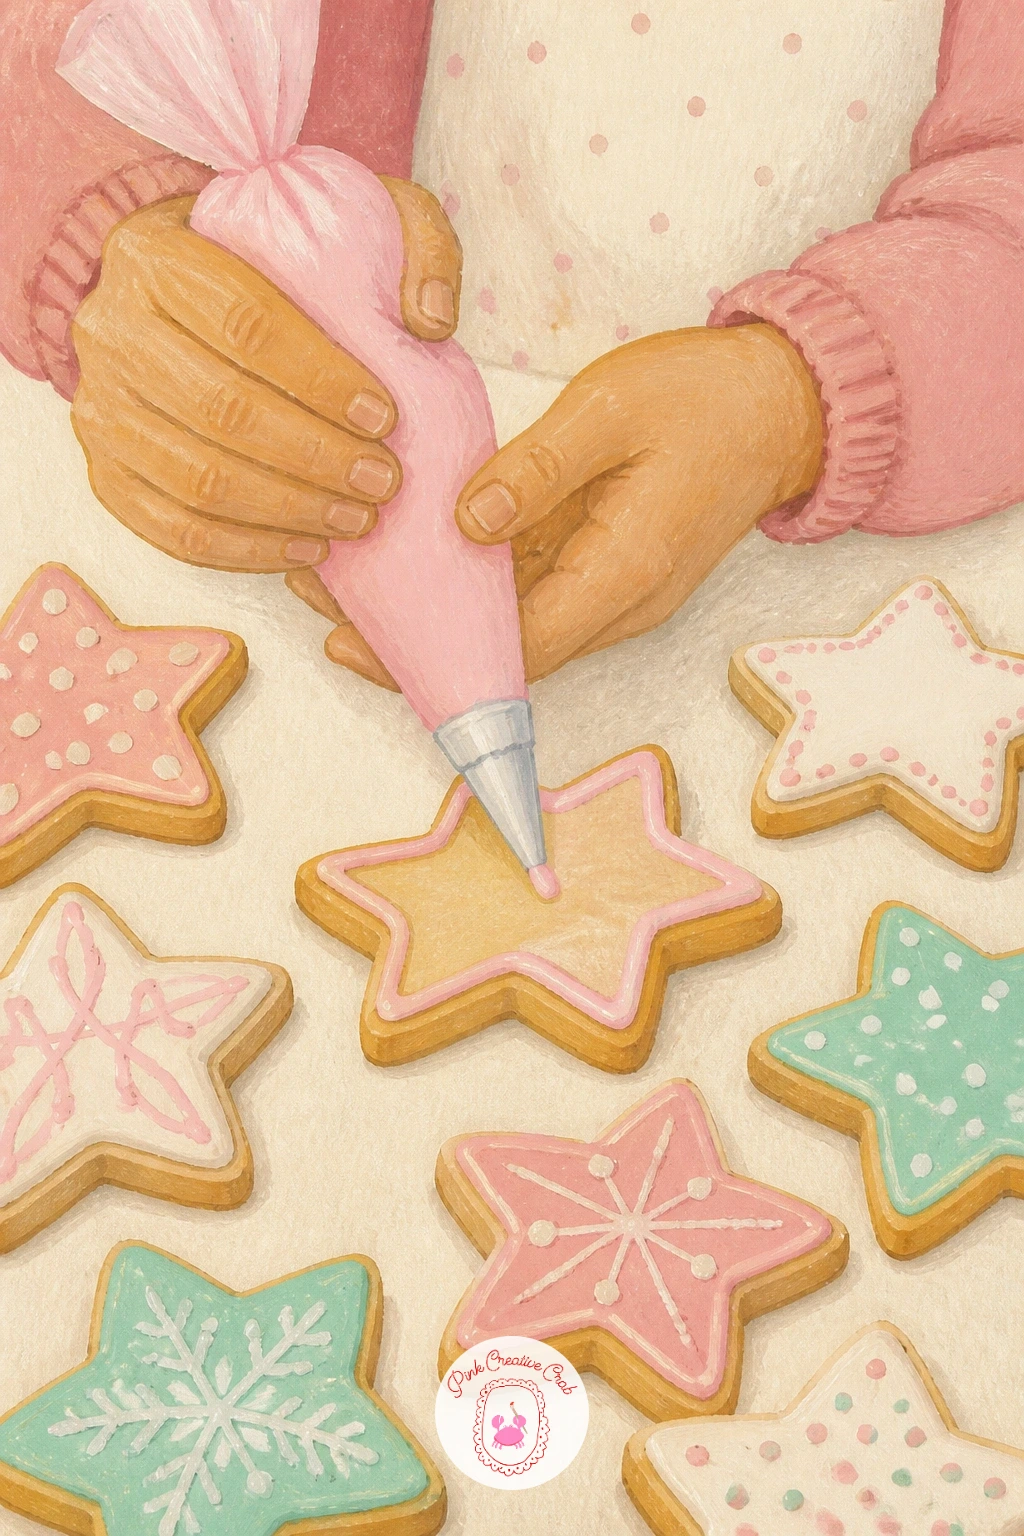
Start with the simplest scene on this list: a girl icing star cookies in pastel pink, seen from above or across the table so her hands and the cookie fill most of the page. Block in her sweater and hair in flat gouache first, then paint the star cookie shapes in warm gold before she touches them with icing.
Keep her hands loose, just a few simple shapes holding a piping bag, since hands are where beginners tense up and overwork the lines. If hands feel like too much, crop the frame tighter so only her forearms and the cookie show.
Compare the size of one star cookie to the width of her hand before you commit to the whole plate, so nothing ends up oversized or shrunken against her. That one proportion check saves the whole composition.
Swap pastel pink for a soft mint if you want a cooler palette today. Paint the piped icing lines last, in one confident stroke each, rather than scrubbing back and forth.
You Will Need
- smooth watercolor paper
- round brush size 6
- pastel pink gouache
- piping bag reference photo
Palette: Naples Yellow,Pastel Pink,Titanium White,Warm Sienna
Photograph your own hand holding a spoon for quick reference if you do not have a piping bag handy, the angle of the wrist matters more than the tool.
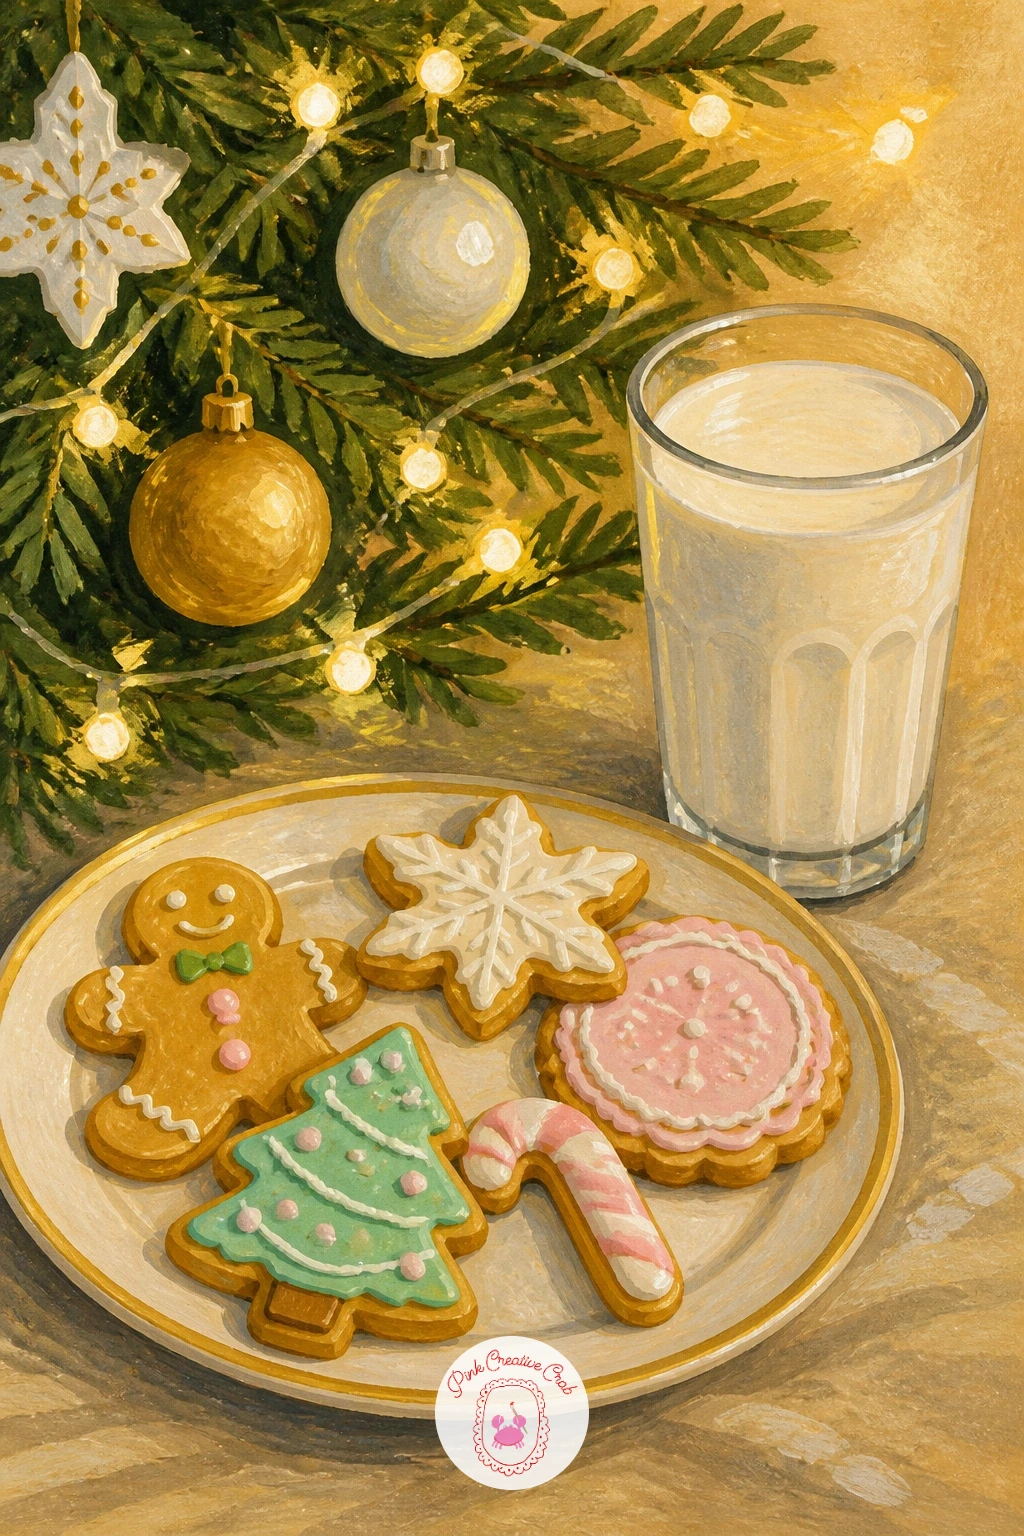
Move next to a quieter scene: a plate of cookies and milk left by the tree, glowing under string lights. Paint the plate and glass of milk first in flat white and pale grey, then drop in two or three round cookies in warm gold tones before any icing detail goes on top.
The milk glass is where this often goes wrong, since beginners paint it too white and flat. Leave a thin unpainted strip down one side for the glass highlight, and add a faint grey shadow where the glass meets the plate.
Work the background tree lights as soft dabs of white gouache over a dark green wash, added last so they sit on top and glow. If you do not have green at hand, a dark warm brown behind the plate reads just as cozy.
Finish with one tip: let the cookies overlap the plate edge slightly, it keeps the whole stack from looking stiff and centered.
You Will Need
- white gouache
- pale grey gouache
- dark green gouache
- small round brush for highlights
Palette: Dark Pine Green,Titanium White,Warm Gold,Soft Grey
Add one unlit cookie crumb on the plate beside the stack, a small detail like that tells a whole story about someone who already took a bite.
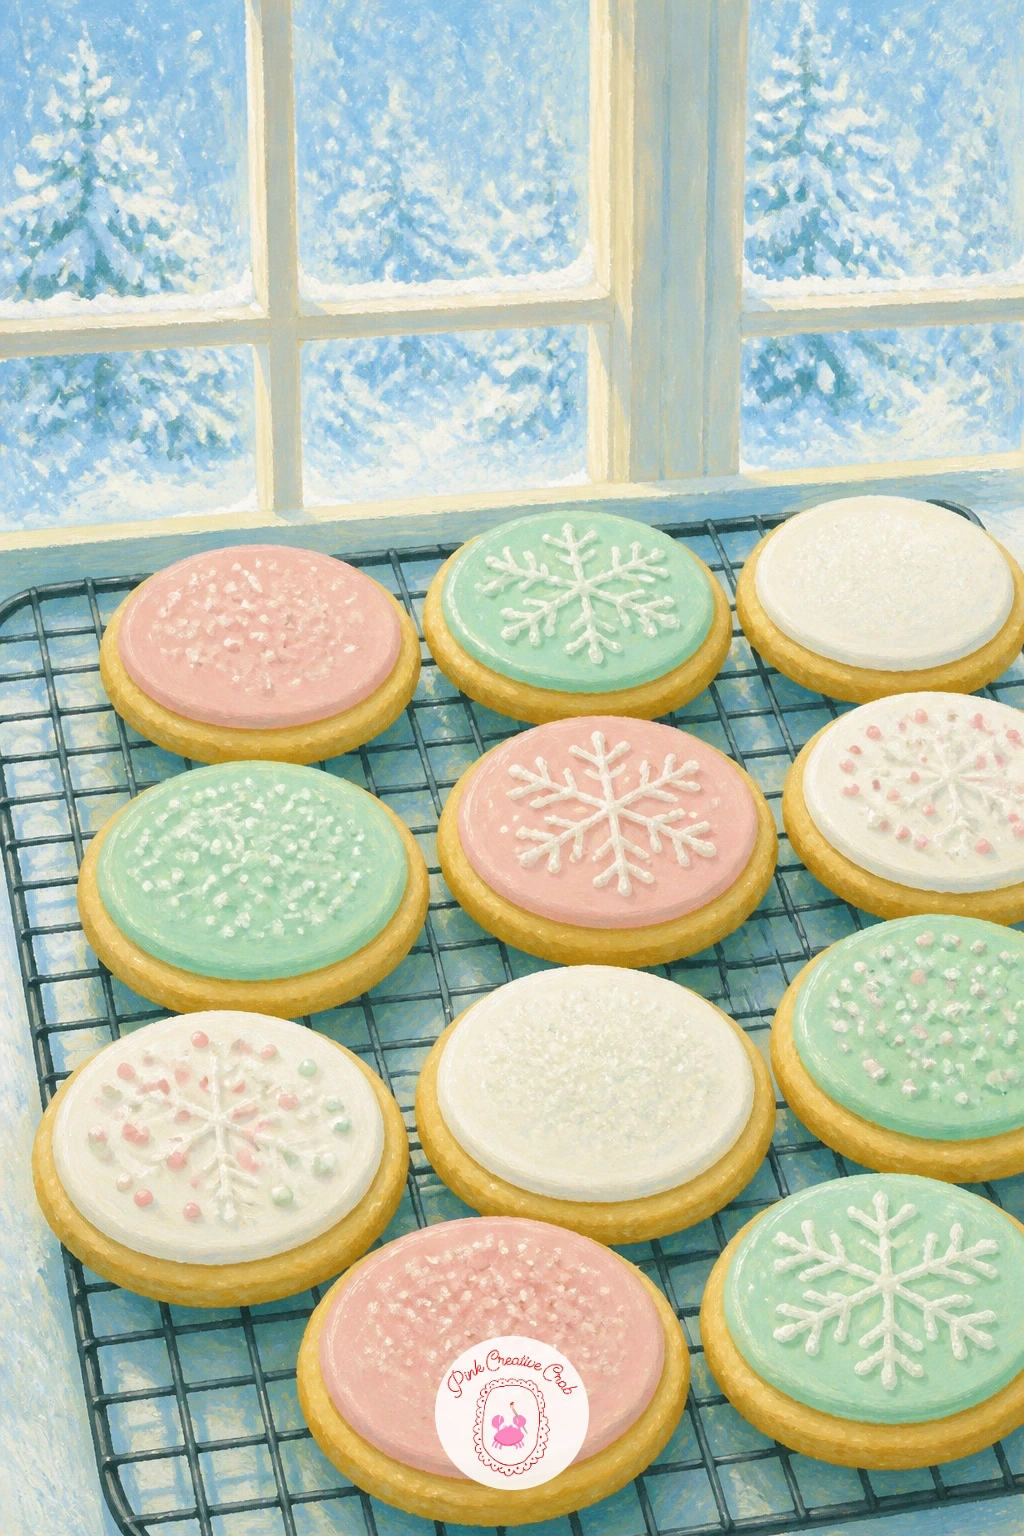
Sugar cookies cooling on a rack by a frosty window gives you a chance to play with eye level. Set the rack low and close, almost at table height, so the viewer feels like they are standing right over the cookies, then let the window and its frost pattern sit behind and slightly above the rack.
Paint the wire rack first with thin grey lines over the paper, then the cookies as flat circles resting on top of the wires, slightly overlapping them. Frost on the window glass comes last, painted in white gouache with a dry brush dragged lightly over a pale blue wash.
This scene often goes wrong when the rack wires look too heavy and flatten the cookies onto the page. Keep those lines thin and let a few break where a cookie overlaps them.
No wire rack reference on hand: a simple row of parallel lines in light grey reads just as well. Today’s tip: paint the window light slightly warmer near the glass and cooler toward the room, it sells the cold outside instantly.
You Will Need
- pale blue gouache wash
- dry flat brush
- fine liner brush for wires
- grey gouache
Palette: Pale Sky Blue,Titanium White,Soft Grey,Golden Tan
Dry brush the frost pattern in a loose fan shape from one corner of the window rather than scattering it evenly, real frost always gathers unevenly.
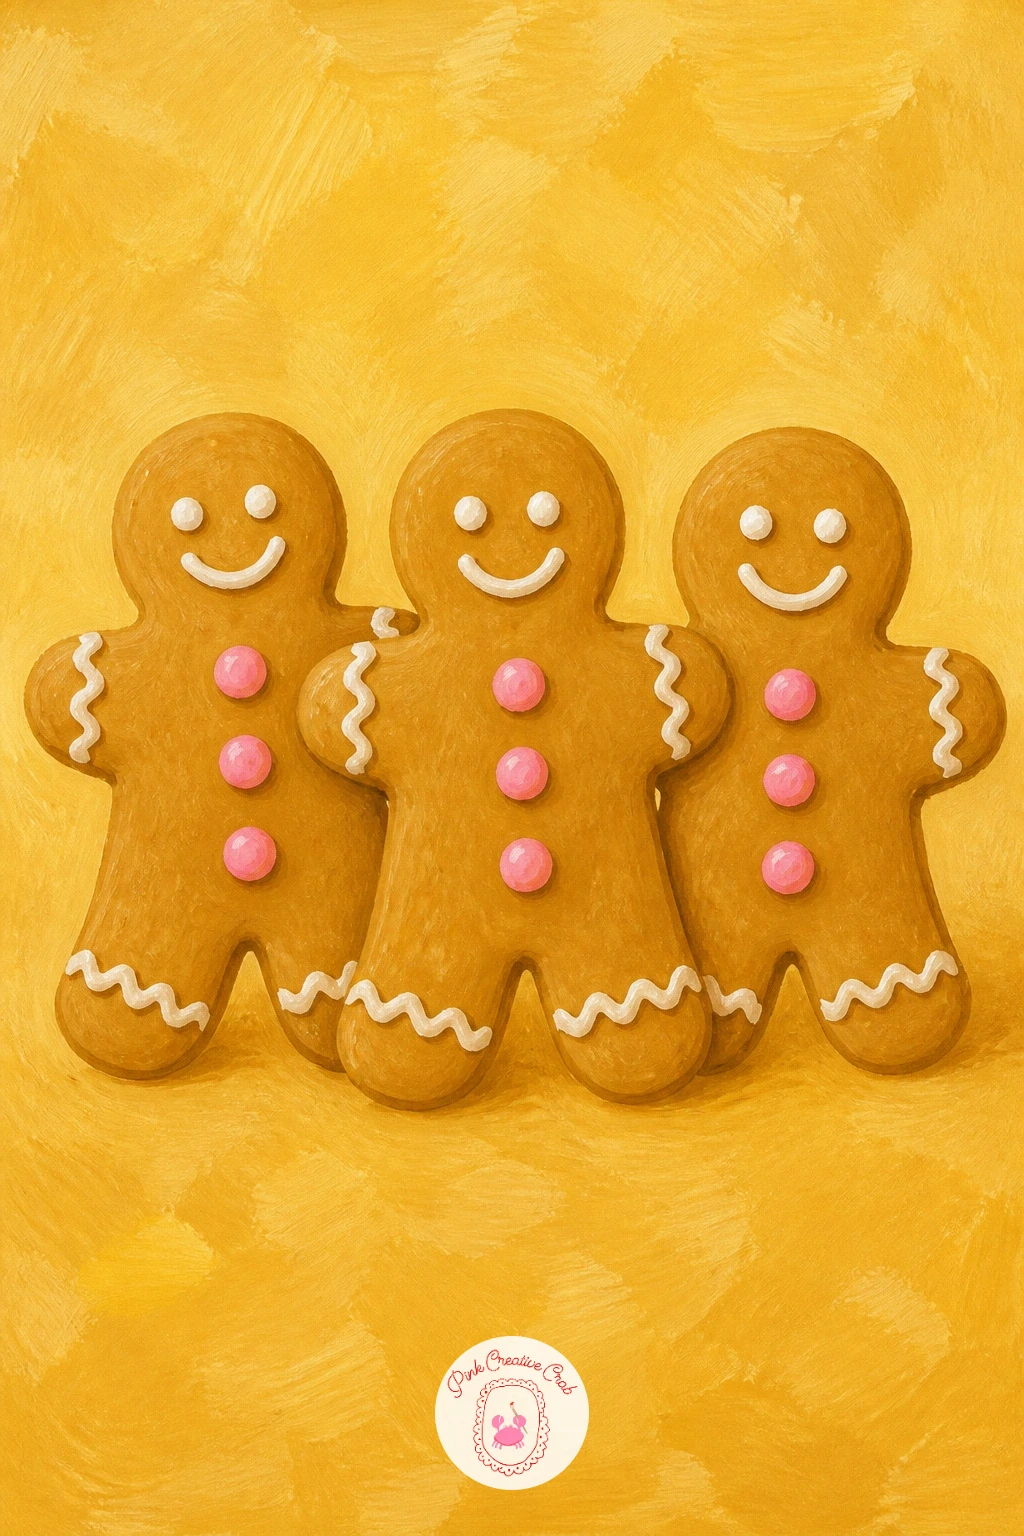
Gingerbread people with pink buttons is a classic for a reason, and it is forgiving if you keep the figures simple. Lay out two or three gingerbread shapes in warm brown gouache first, varying their poses slightly so they do not look stamped from the same cutter.
Paint the white icing trim along the arms and legs next in one steady line each, then finish with the pink button dots pressed in with the tip of a round brush, not drawn.
Arms and legs are where proportion slips, since beginners make them too thin or too long. Measure each limb against the width of the gingerbread head before committing, and keep limbs roughly that same width all the way down.
If pink feels too sweet today, swap in a soft mint for the buttons instead. Finish with a quick dot of white for a smile on each face, added last so it sits crisp on the dry brown.
You Will Need
- warm brown gouache
- white gouache for trim
- round brush for dots
- pink gouache
Palette: Gingerbread Brown,Pastel Pink,Titanium White,Soft Mint
Give one gingerbread figure a slightly raised arm instead of matching poses, a small gesture like that makes the whole row feel alive rather than cut from a mold.
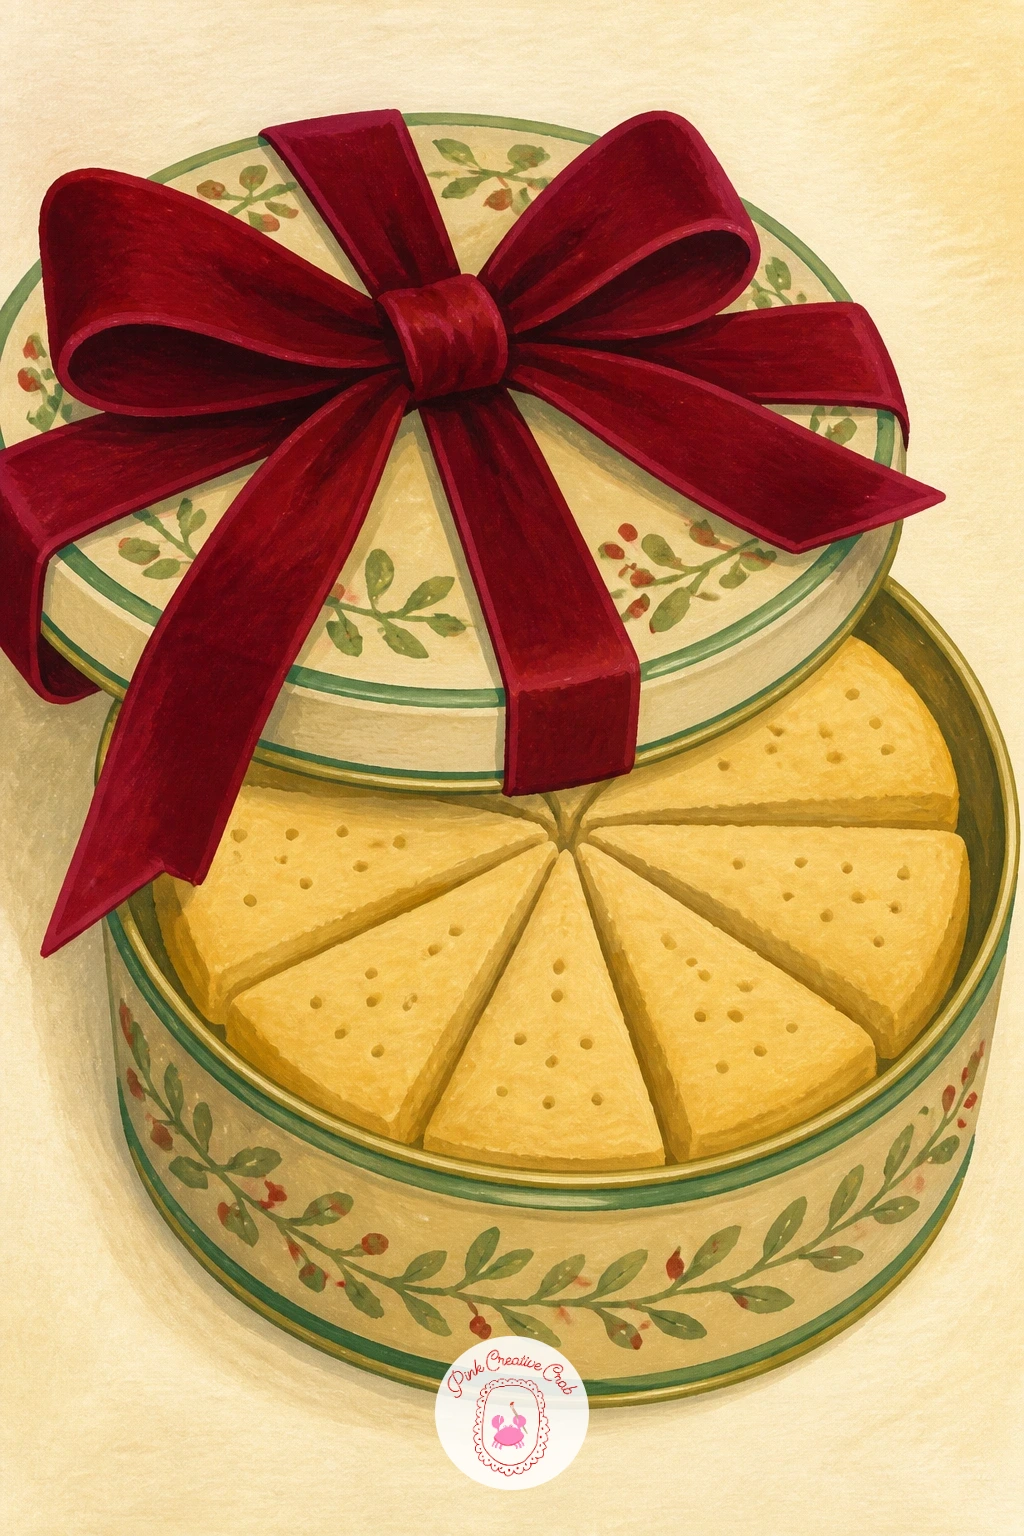
A tin of shortbread tied with a velvet ribbon moves you from cookies to a whole gift object, which means thinking about the light source. Decide early where the light falls, usually from one upper corner, and paint the tin’s lid with a highlight on that side and a soft shadow on the other.
Block in the round tin shape first in a muted gold or cream, then the ribbon in a rich red or green, wrapped so it curves slightly around the tin rather than lying flat. Shortbread wedges peeking from under the lid go in last, in pale warm tones.
Flat lighting is the usual trap here, where the tin ends up looking like a sticker rather than a round object. Darken just the lower edge of the tin slightly and lighten the top rim to suggest it curving away from you.
No velvet red on hand: a deep plum works just as well against gold. One more thing worth trying next: tilt the tin slightly open so a wedge of shortbread shows, it reads warmer than a closed lid.
You Will Need
- muted gold gouache
- deep red or plum gouache
- flat brush for shading
- fine brush for ribbon folds
Palette: Antique Gold,Deep Ribbon Red,Cream,Shadow Brown
Study a photo of an actual velvet ribbon to see how matte it looks compared to satin, velvet absorbs light so its shadows stay soft rather than sharp.
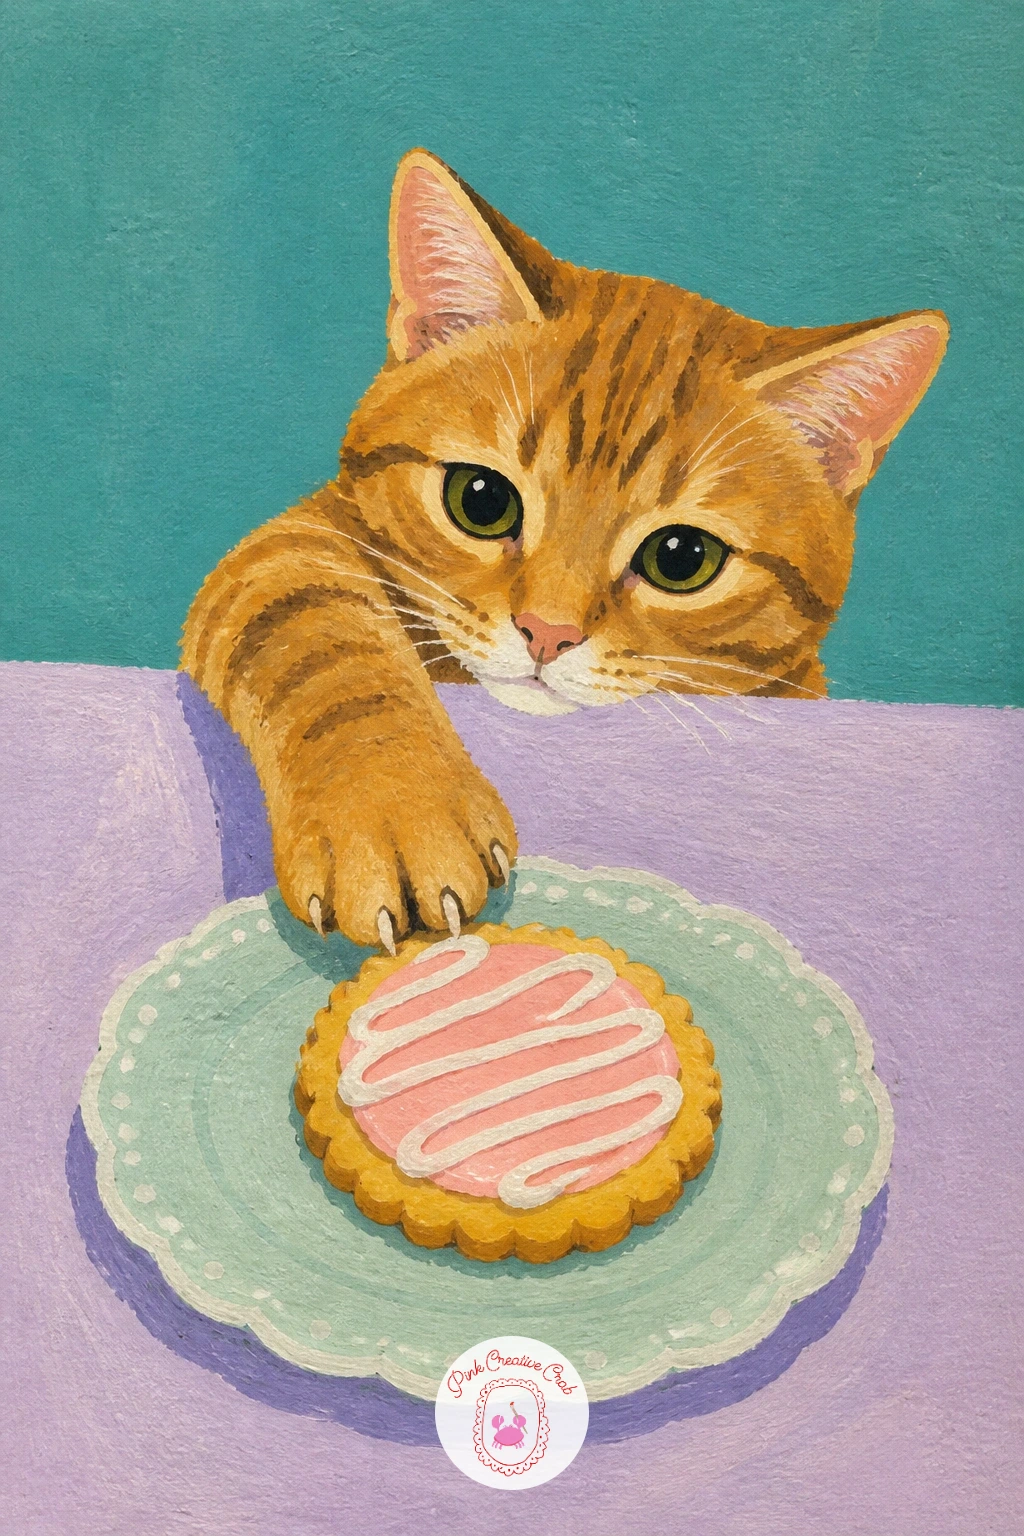
A cat stealing a cookie from the table is pure story, so let the action carry the whole piece. Sketch the cat mid reach, one paw stretched toward a cookie at the table edge, body low and alert, before any color goes down.
Paint the cat’s base coat first in flat gouache, then add the cookie and table surface, keeping the cat slightly darker in tone so it reads as the subject against a lighter, simpler background. Whiskers and fine fur lines go on last with a dry brush dragged lightly outward from the face.
The quick version, done in about ten minutes, can stop right there: cat, cookie, flat table. The forty minute version adds a second cookie already toppled on the floor and a few crumbs scattered near the paw, which doubles the story without complicating the drawing.
If you prefer dogs to cats, this same pose works just as well with a dog nosing up at the table edge instead.
You Will Need
- warm grey or orange gouache for cat
- dry brush for fur texture
- round brush for whiskers
- flat brush for table
Palette: Warm Tabby Orange,Soft Grey,Golden Tan,Titanium White
Keep the cat’s eyes slightly narrowed rather than wide and round, a sly expression sells the mischief far better than a cute wide eyed look.
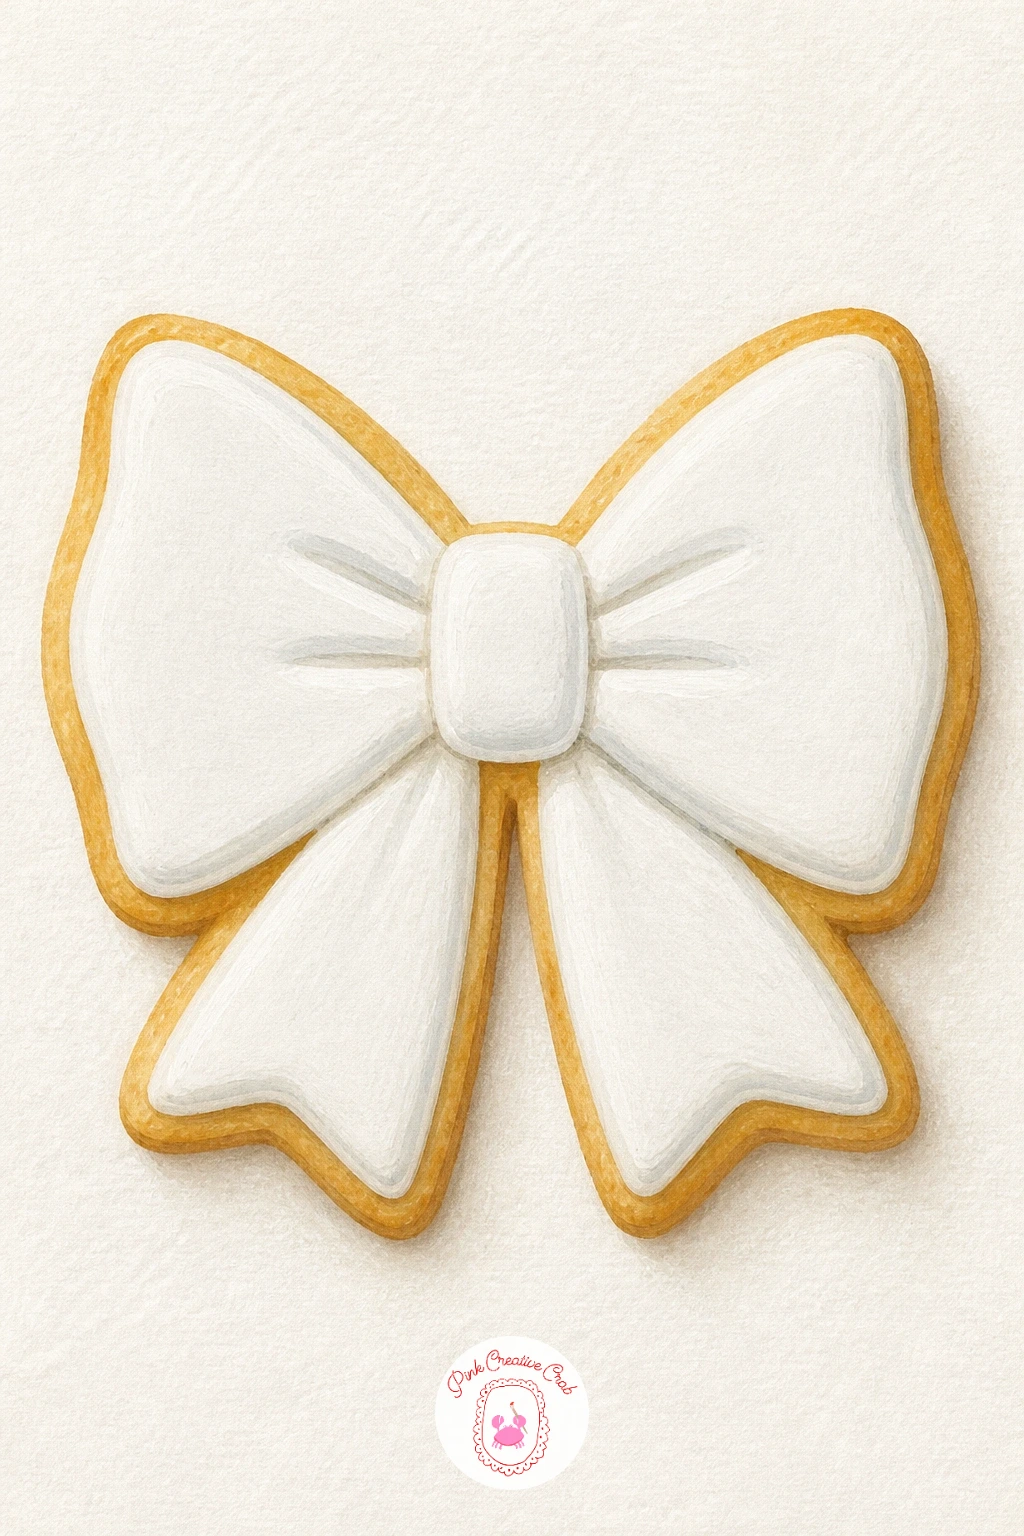
Bow shaped cookies with white royal icing bring in one of this season’s trendy designs, and the bow shape is really just two overlapping teardrops with a small knot between them. Draw the pencil guide lightly first so both sides of the bow match in size.
Paint the cookie base in warm gold, then lay the white royal icing over the top in a smooth, slightly raised looking layer, leaving the cookie edge showing as a thin golden border all around. That border is what makes the icing look piped rather than painted flat to the edge.
Symmetry is the trap here, since one loop of the bow often ends up bigger than the other. Fold your sketch paper in half to check both sides line up before you paint, or hold the paper up to a mirror.
Swap white icing for a soft blush pink if you want a trendier palette. Finish with a few tiny painted dots of icing “stitching” along the bow’s edge for extra charm.
You Will Need
- pencil for symmetry guide
- white gouache for icing
- golden gouache for cookie base
- fine brush for the knot detail
Palette: Golden Tan,Titanium White,Blush Pink,Soft Grey Shadow
Add a faint grey shadow underneath the bow cookie where it meets the plate, it lifts the shape off the page and makes the icing read as raised.
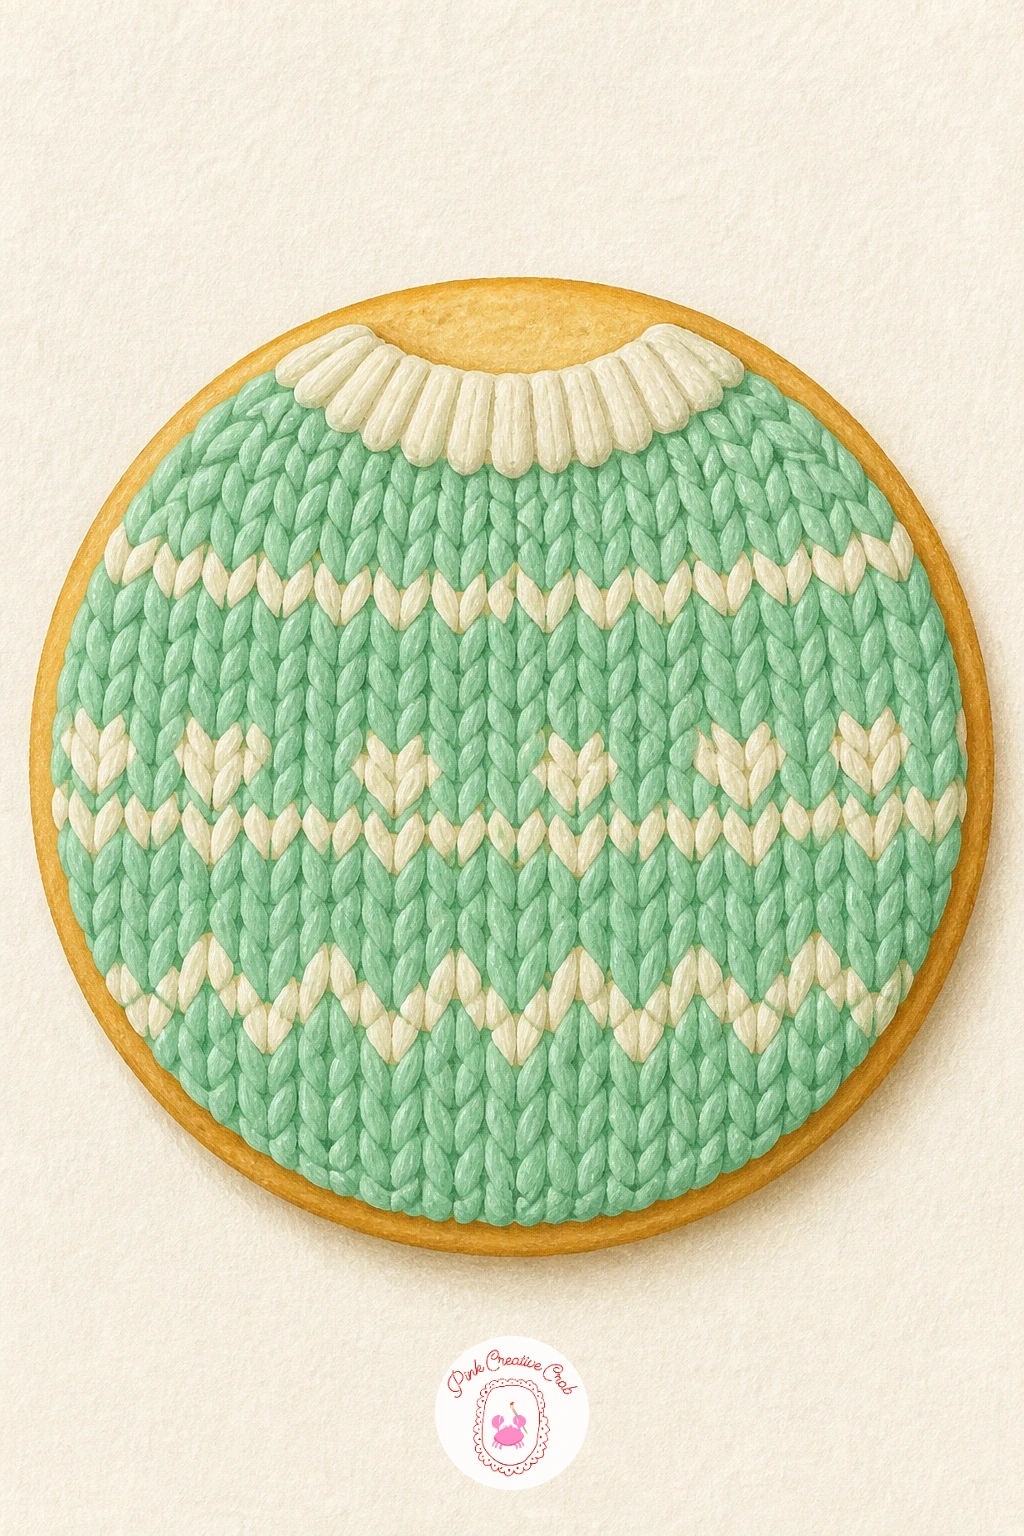
Sweater cookies with knit patterns let you play with repeating texture, which rewards patience more than skill. Paint the cookie shape first in a flat cream or pastel color, then plan the knit pattern lightly in pencil before any icing lines go on, so the rows stay even across the cookie.
Build the knit texture with short, slightly curved icing strokes in rows, like little v shapes stacked on top of each other, rather than straight lines, since real knit stitches curve. Keep a steady rhythm rather than rushing, this is the one idea on the list where slow and repetitive wins.
The quick ten minute version uses just two rows of knit pattern across the top of the cookie and leaves the rest plain. The forty minute version covers the whole cookie in pattern and adds a tiny iced border around the edge like a ribbed sweater hem.
Try it again next time in a different colorway, a soft red and cream sweater cookie looks completely different from a mint and white one.
You Will Need
- pencil for pattern guide
- fine round brush for stitches
- pastel gouache colors
- white gouache for border
Palette: Cream,Soft Mint,Blush Pink,Titanium White
Look at a real knit sweater photo before starting, the v shaped stitch pattern is easier to copy by eye than to invent from memory.
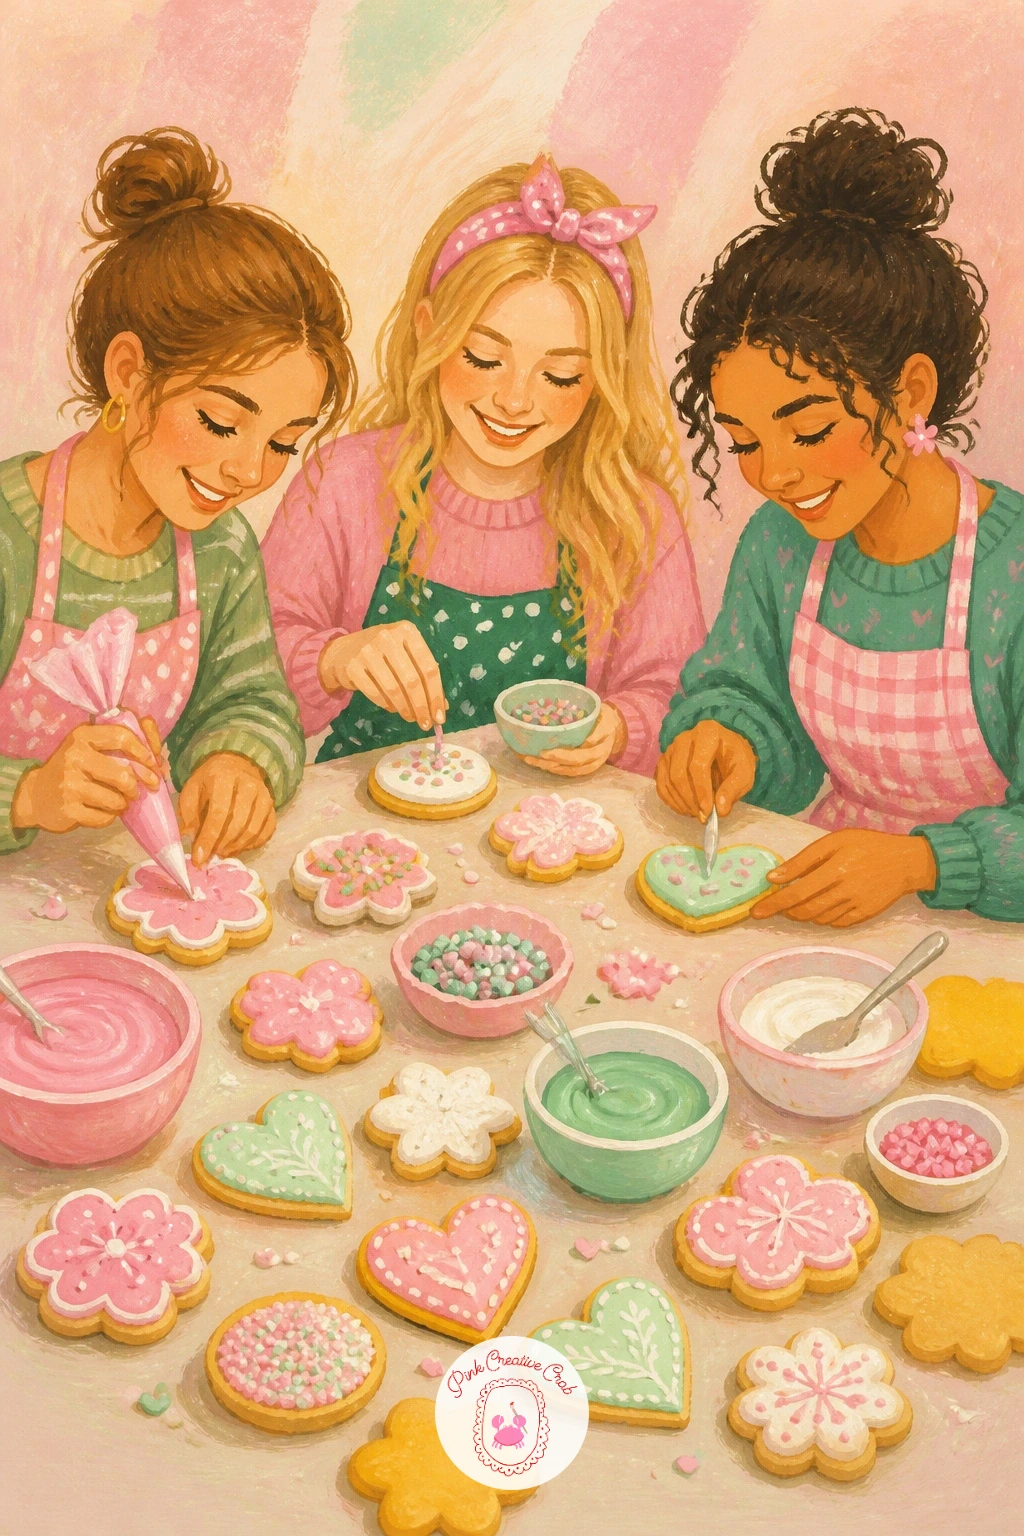
A cookie decorating party with friends is the busiest scene so far, so keep the figures loose and let the cookies and table carry the detail instead. Rough out three simple figures around a table first, varying their heights and poses, before adding a single face detail to any of them.
Paint the table and spread of cookies, icing bowls and sprinkles first as the main color block, then the figures as simpler, slightly looser shapes on top, since they sit a little further back in the story than the cookies themselves.
Crowding is the usual problem with group scenes, where everything ends up the same size and the eye has nowhere to land. Make one cookie or one bowl of icing noticeably larger and closer to the front than everything else, and let the figures get smaller and simpler the further back they sit.
If three figures feels like too much today, drop to two and give yourself more icing bowls and cookies to enjoy instead.
You Will Need
- larger paper or canvas board
- assorted gouache colors
- flat brush for table surface
- round brush for figures
Palette: Warm Gold,Pastel Pink,Soft Mint,Cream
Keep every face as just two dots and a small curve for a smile, trying for full facial detail on multiple small figures usually backfires.
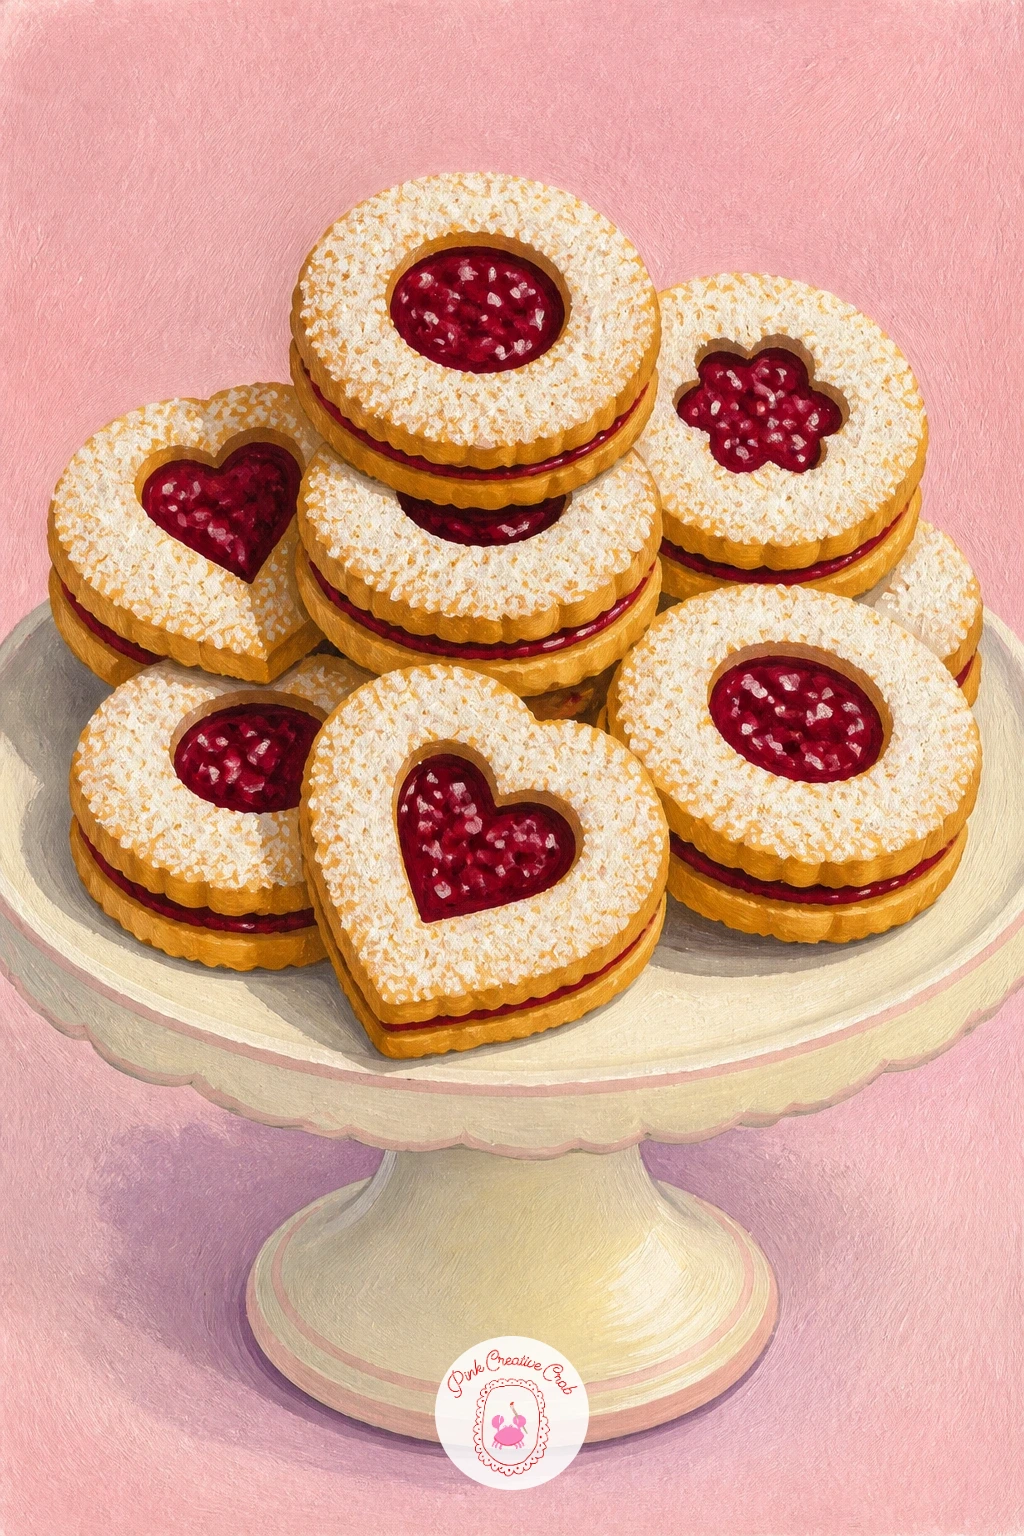
Linzer cookies with raspberry jam on a cake stand bring back a tighter, single object focus after the busier party scene. The cutout window of jam showing through the top cookie is the whole charm here, so get that shape right before anything else.
Paint the bottom cookie layer first in warm gold, then the jam as a bright, glossy red circle peeking through the cutout, and finally the top cookie layer with its small window, dusted lightly with white gouache for powdered sugar.
The jam is where this can go flat and dull if painted in one single tone. Add a tiny highlight of lighter red or even a touch of white right at one edge of the jam circle, so it reads as glossy and wet rather than matte.
Stack two or three linzer cookies on the cake stand rather than laying just one flat, it uses the height of the stand and gives the composition more presence.
No cake stand on hand to reference: a simple pedestal shape, a circle on a thin stem, reads perfectly well.
You Will Need
- bright red gouache for jam
- white gouache for powdered sugar
- cake stand reference photo
- fine brush for jam highlight
Palette: Raspberry Red,Golden Tan,Titanium White,Soft Grey Stand
Leave one tiny unpainted dot of white paper showing on the jam’s highlight before you go back with white gouache, raw paper often reads glossier than paint.
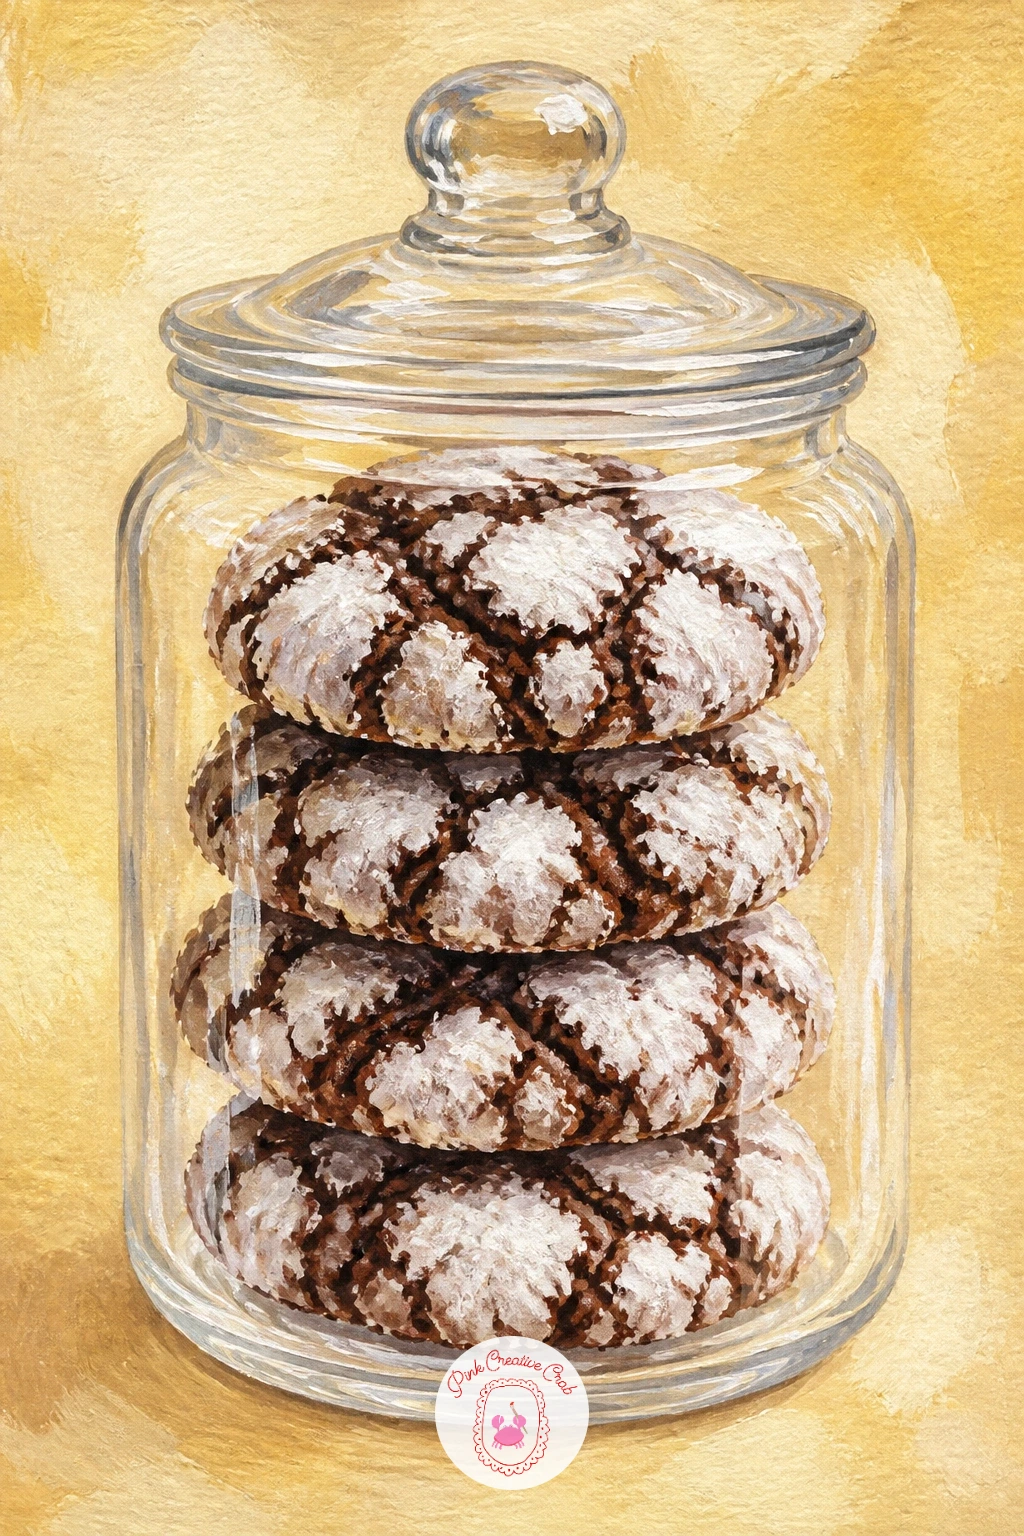
A stack of crinkle cookies in a glass jar is a good one for practicing how glass changes what sits behind it. Paint the crinkle cookies first, round and dusted heavily in white gouache over a dark chocolate base, stacked loosely so they do not all touch at the same point.
Once the cookies are dry, paint the glass jar over the top as a transparent shape: keep the cookie colors showing through but shift them very slightly paler and cooler where the glass sits in front, and add a thin white highlight down one side of the jar.
Glass often ends up looking solid and opaque if beginners paint it as its own flat color. Let the jar be mostly the cookies showing through with just a few pale curved highlight lines suggesting the glass surface, rather than a full colored layer.
No jar reference handy: a simple cylinder with rounded corners and a visible rim at top reads as glass instantly once those highlights go in.
You Will Need
- dark chocolate brown gouache
- white gouache for powdered sugar and highlights
- round brush for glass highlights
- cylinder jar reference
Palette: Dark Chocolate,Titanium White,Pale Grey Glass,Soft Cream
Add one crinkle cookie crumb resting against the inside of the glass near the bottom, it is a small detail that makes the whole jar feel touched and real.
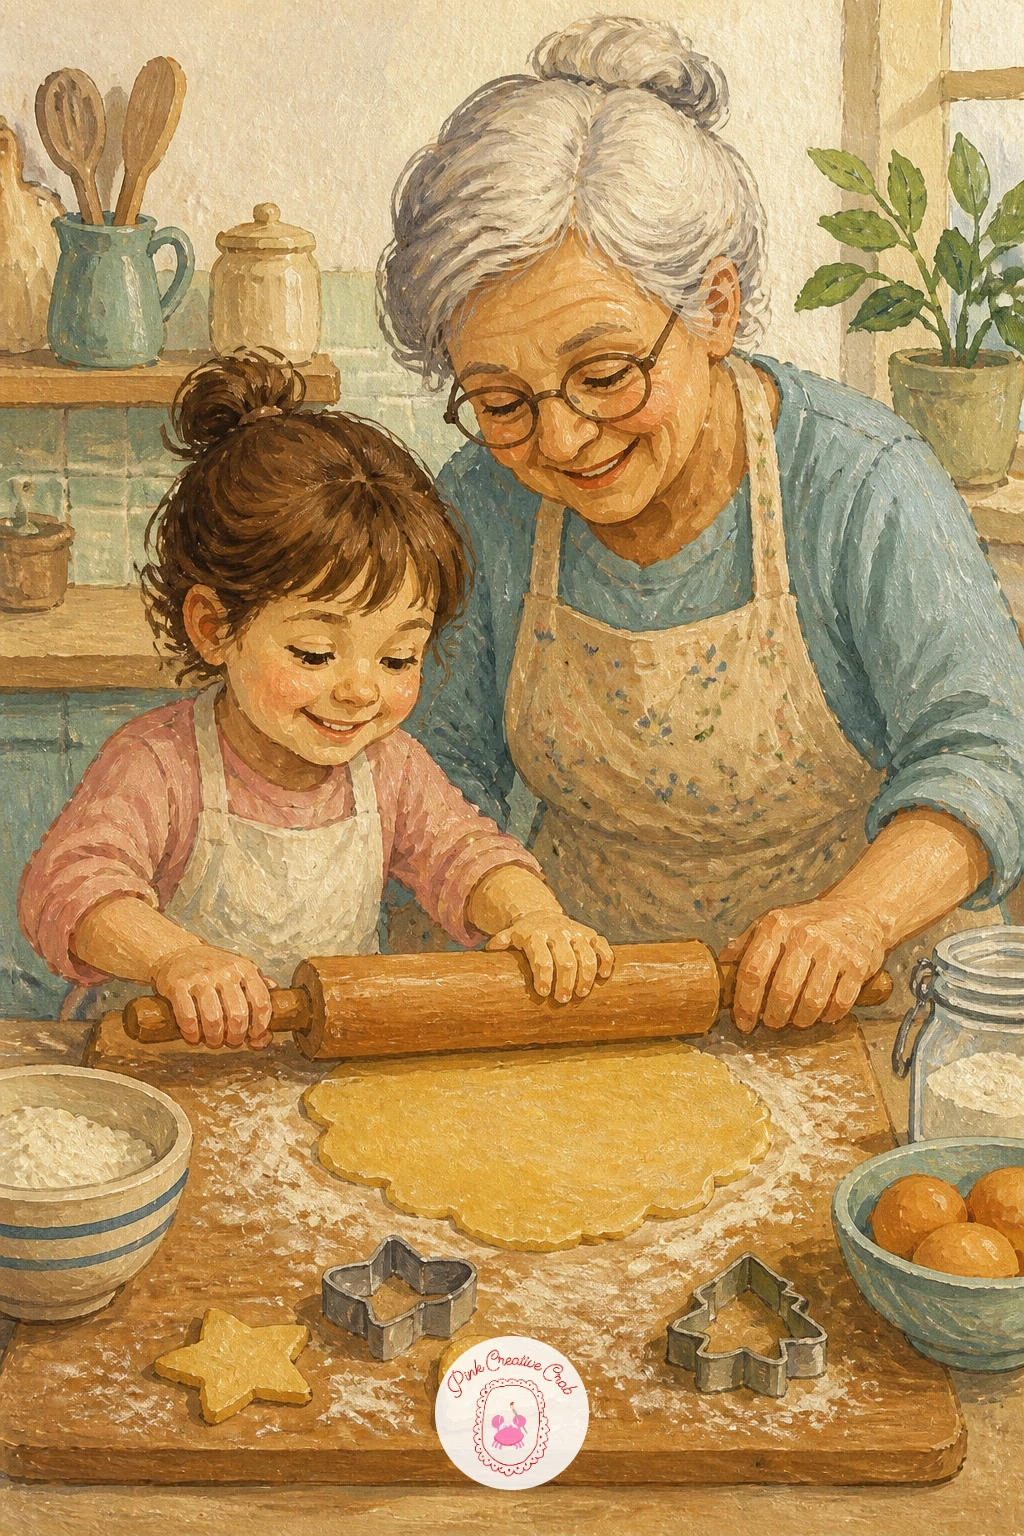
Grandmother rolling dough with a child is the warmest story on this list, and it works best drawn from the side so both figures and the rolling pin read clearly. Block in the two figures first at different heights, grandmother standing, child perhaps kneeling on a chair, before any kitchen detail goes in.
Paint the dough on the board as a pale flat shape under the rolling pin, then the figures in simple warm tones, keeping faces minimal with just a soft smile shape rather than detailed features. A dusting of flour across the board and on a sleeve goes in last with a dry, barely loaded brush.
Hands on the rolling pin are the part most likely to go wrong, so keep them as simple rounded shapes gripping the handle rather than trying to draw individual fingers. If that still feels like too much, crop the child to just their head and shoulders peeking up at the table.
For more cozy figure drawing ideas in a similar gentle style, this girl pencil drawing guide has plenty to explore.
You Will Need
- warm skin tone gouache mixes
- dry brush for flour dusting
- pencil for figure proportions
- flat brush for dough and board
Palette: Warm Flour White,Soft Apron Blue,Golden Tan,Soft Grey
Give the child a slightly tiptoe stance rather than flat feet, that small gesture reads as eager and young without any extra facial detail needed.
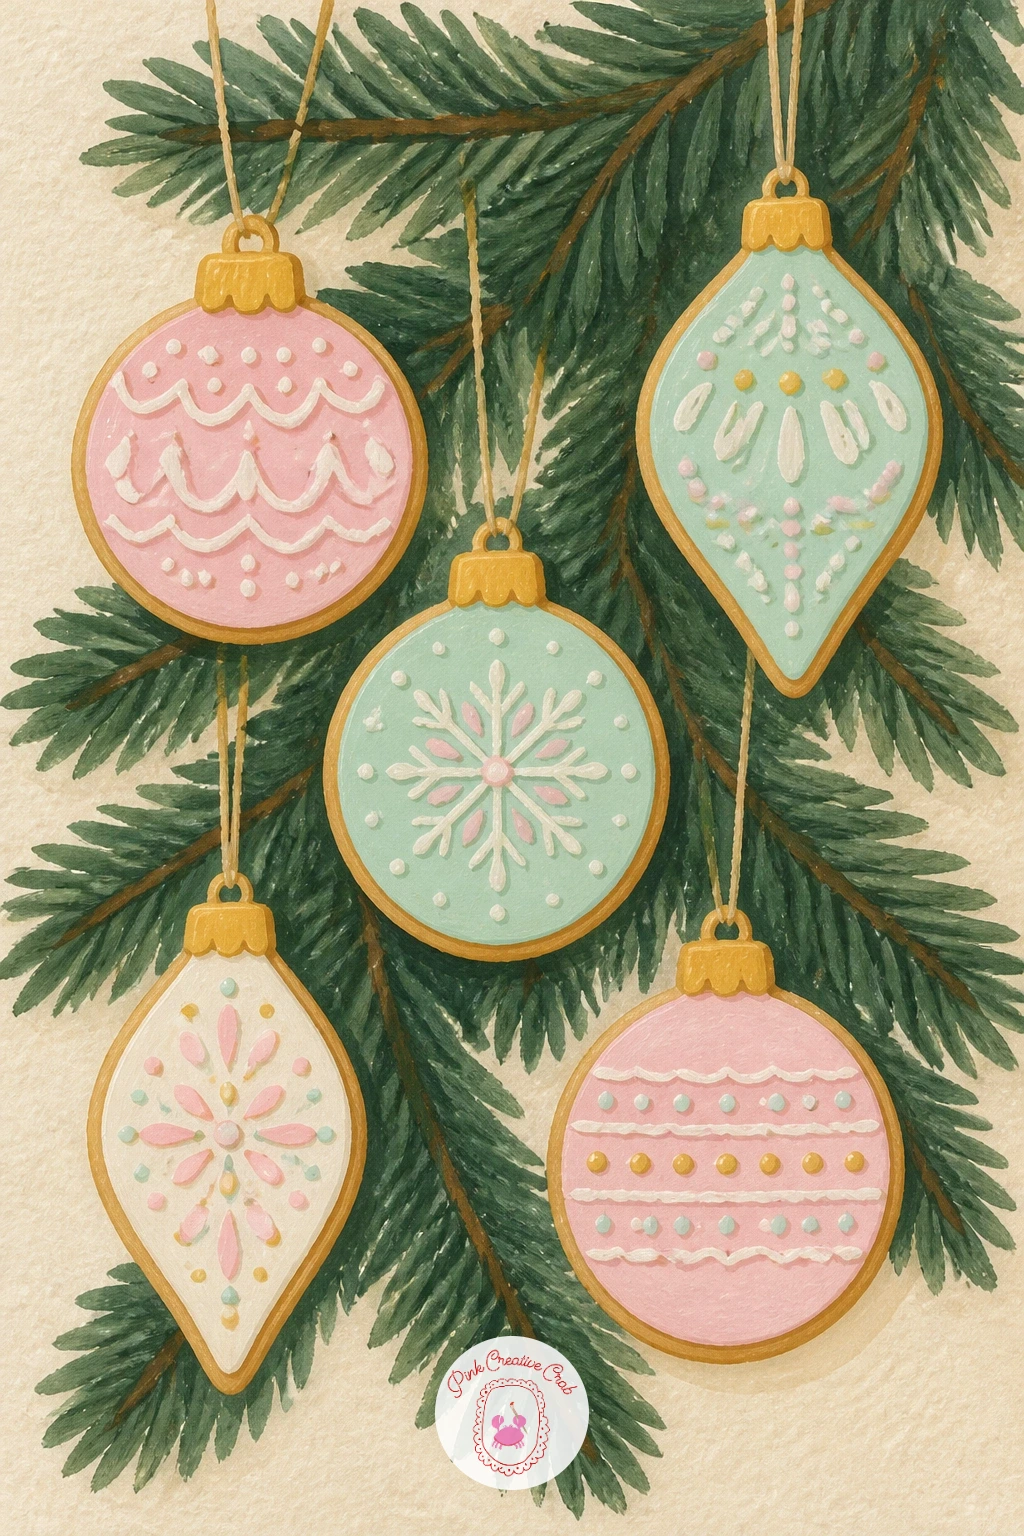
Cookies shaped like ornaments hanging on a tree is a fun twist since the cookies themselves become the decorations. Paint the tree branches first as a loose dark green backdrop, then the cookie ornaments as round or teardrop shapes hanging from thin painted strings, varying their icing colors across pastel pink, mint and gold.
Each cookie ornament gets a tiny painted loop or ribbon at the top before the string, which is what sells the idea that they are hanging rather than floating randomly against the branches.
Overlapping branches behind hanging round shapes is where perspective trips people up, since it is tempting to paint everything on the same flat plane. Let one or two cookie ornaments sit slightly in front of a branch and others slightly behind, darkening the ones further back just a touch to push them into the tree.
If pine branches feel fussy, a single simple bough across the top of the page is enough to hang three or four cookie ornaments from.
You Will Need
- dark green gouache for branches
- assorted pastel icing colors
- fine brush for string and loops
- round brush for cookie ornaments
Palette: Dark Pine Green,Pastel Pink,Soft Mint,Golden Tan
Vary the lengths of the hanging strings rather than making them all identical, uneven lengths look far more natural on a real tree.
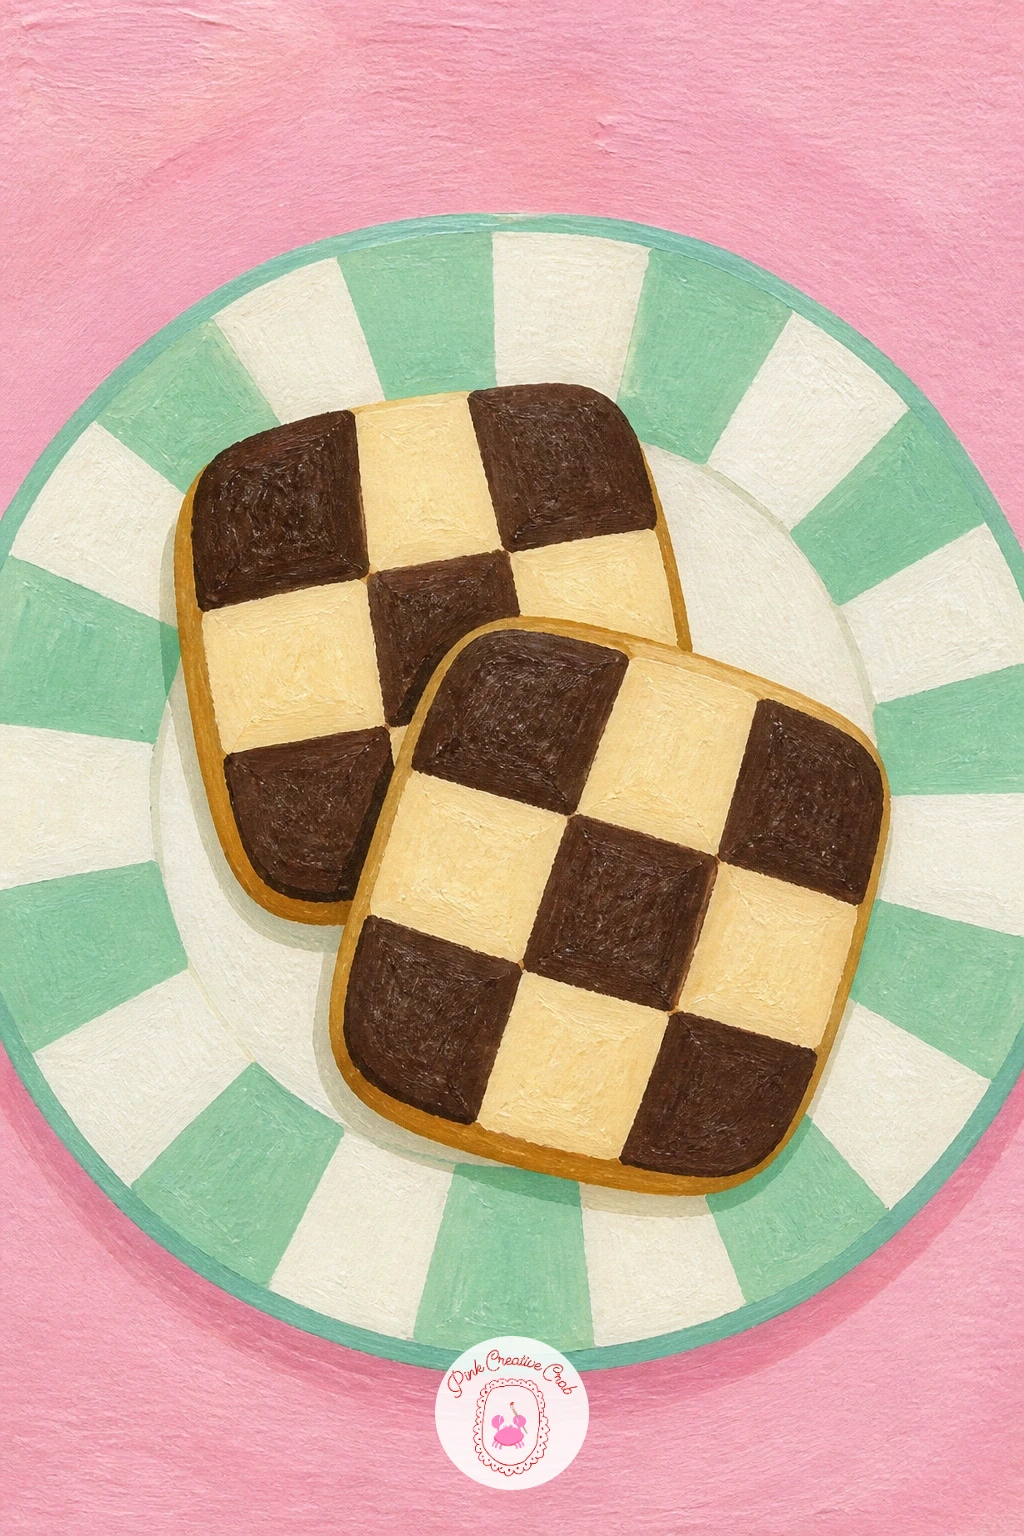
Checkerboard cookies on a striped plate is a good exercise in keeping two patterns from fighting each other on the page. Paint the plate’s stripes first, in a simple alternating color, then let the cookies rest on top in a slightly different palette so the eye can separate plate from cookie at a glance.
For the checkerboard itself, lightly pencil a grid onto each cookie before painting, then fill alternating squares in two contrasting flat colors, usually a dark chocolate and a pale cream. Keep the grid lines straight by working slowly rather than freehand guessing.
Two busy patterns side by side is the trap, since striped plate plus checkerboard cookie can read as visual noise. Keep the plate stripes wider and more muted than the sharper, smaller checkerboard squares, so one pattern clearly leads and the other supports.
Short on patience for a full grid: paint just four large squares per cookie instead of a dense grid, it still reads as checkerboard at a glance.
You Will Need
- pencil for grid lines
- dark chocolate gouache
- pale cream gouache
- ruler or straight edge optional
Palette: Dark Chocolate,Pale Cream,Soft Red Stripe,Titanium White
Turn the paper as you paint each row of squares rather than twisting your wrist, it keeps the grid lines straighter across the whole cookie.
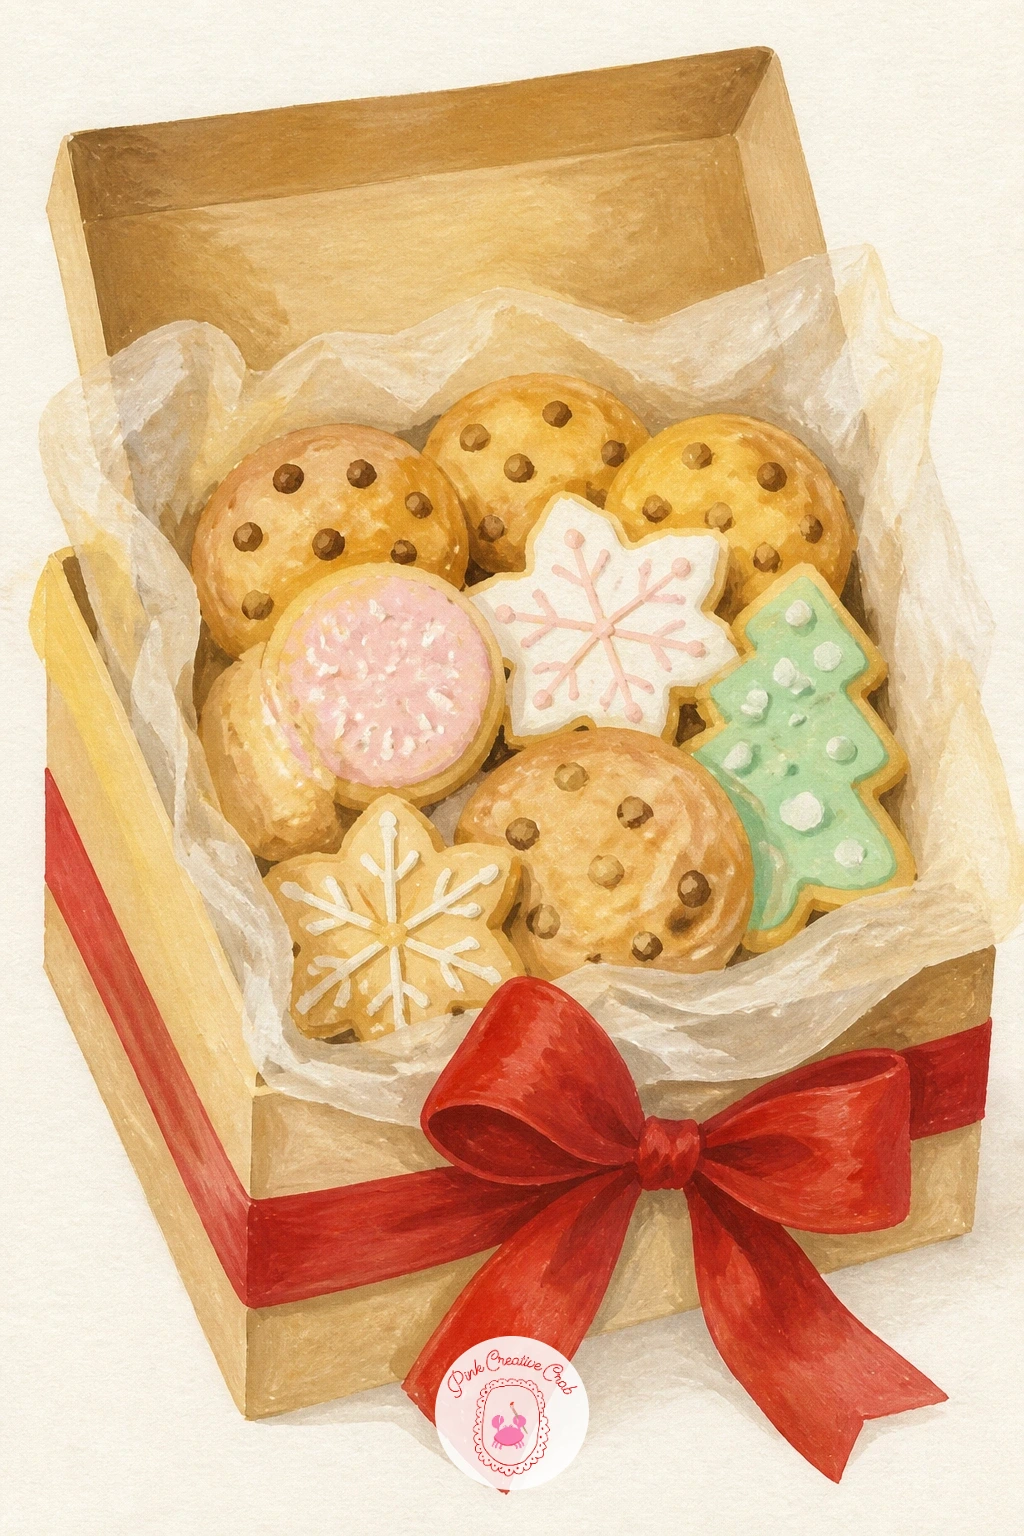
A cookie box gift with wax paper shifts focus to texture and translucency rather than icing detail. Paint the open box first as a simple rectangle, then the wax paper lining as a pale, slightly uneven shape tucked into the corners, letting a little of the box color show faintly through it.
Arrange three or four cookies on top of the wax paper last, keeping their shapes simple since the paper and box do most of the storytelling here. A loose ribbon or tag beside the box adds a nice finishing touch without much extra effort.
Wax paper painted too smooth and solid loses its crinkled, translucent quality. Use a dry brush dragged unevenly in short strokes to suggest its folds and slight sheen, rather than one flat wash.
No wax paper reference on hand: parchment paper or even a crumpled napkin photographed on a counter works just as well for the texture.
You Will Need
- pale cream or white gouache
- dry brush for wax paper texture
- assorted cookie colors
- fine brush for ribbon or tag
Palette: Soft Cream,Golden Tan,Deep Ribbon Red,Pale Grey Shadow
Add a small shadow where each cookie meets the wax paper, since that contact shadow is what keeps the cookies from looking like they float above the box.
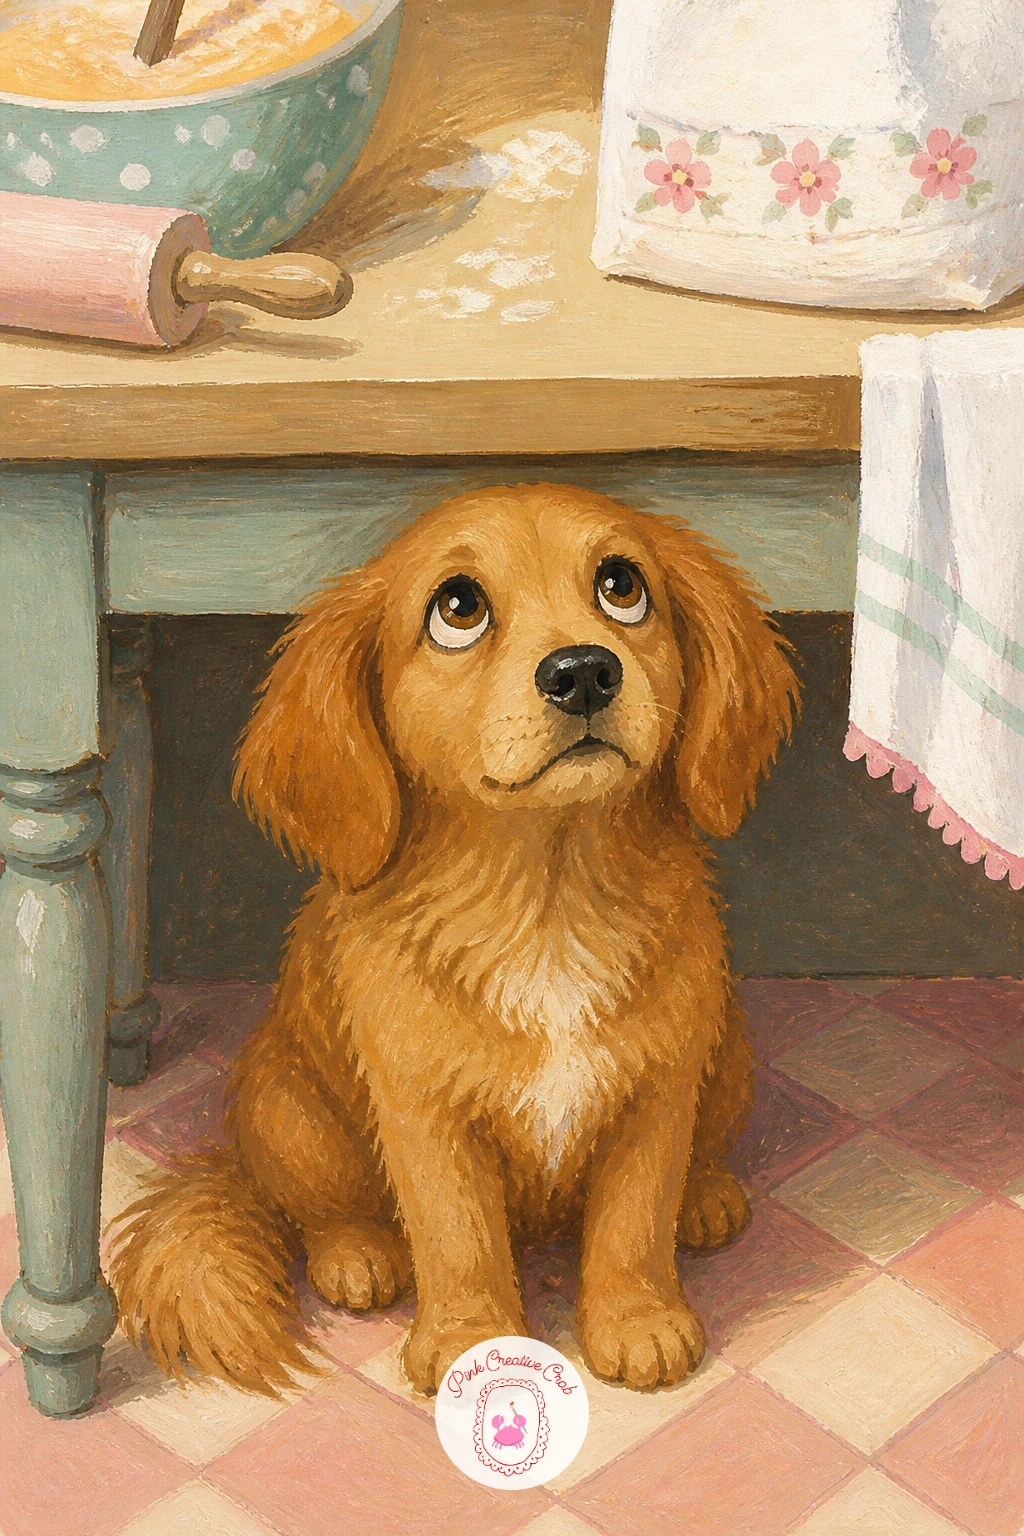
A dog begging under the baking table is a companion piece to the cookie stealing cat, this time with pure hope instead of mischief. Sketch the dog sitting low, head tilted up toward the table edge, ears slightly raised, before any color or baking detail goes in above.
Paint the dog first in flat warm tones, keeping the pose simple, then add just a hint of the table above, a rolling pin or flour bag edge, enough to suggest the scene without competing with the dog for attention.
Eyes too big and round is the common mistake that pushes a dog drawing into cartoon territory rather than a warm studied look. Keep the eyes a touch smaller and slightly angled upward to match the head tilt, and the hopeful expression will read more naturally.
For more dog poses and proportion tips in pencil, the dog pencil drawing guide is worth a look before you start.
You Will Need
- warm brown gouache for dog
- round brush for eyes and details
- pencil for pose sketch
- dry brush for fur texture
Palette: Warm Caramel,Soft Grey,Golden Tan,Titanium White
Let one ear sit slightly higher than the other, small asymmetry in a dog’s ears reads as far more alert and alive than two perfectly matched ears.
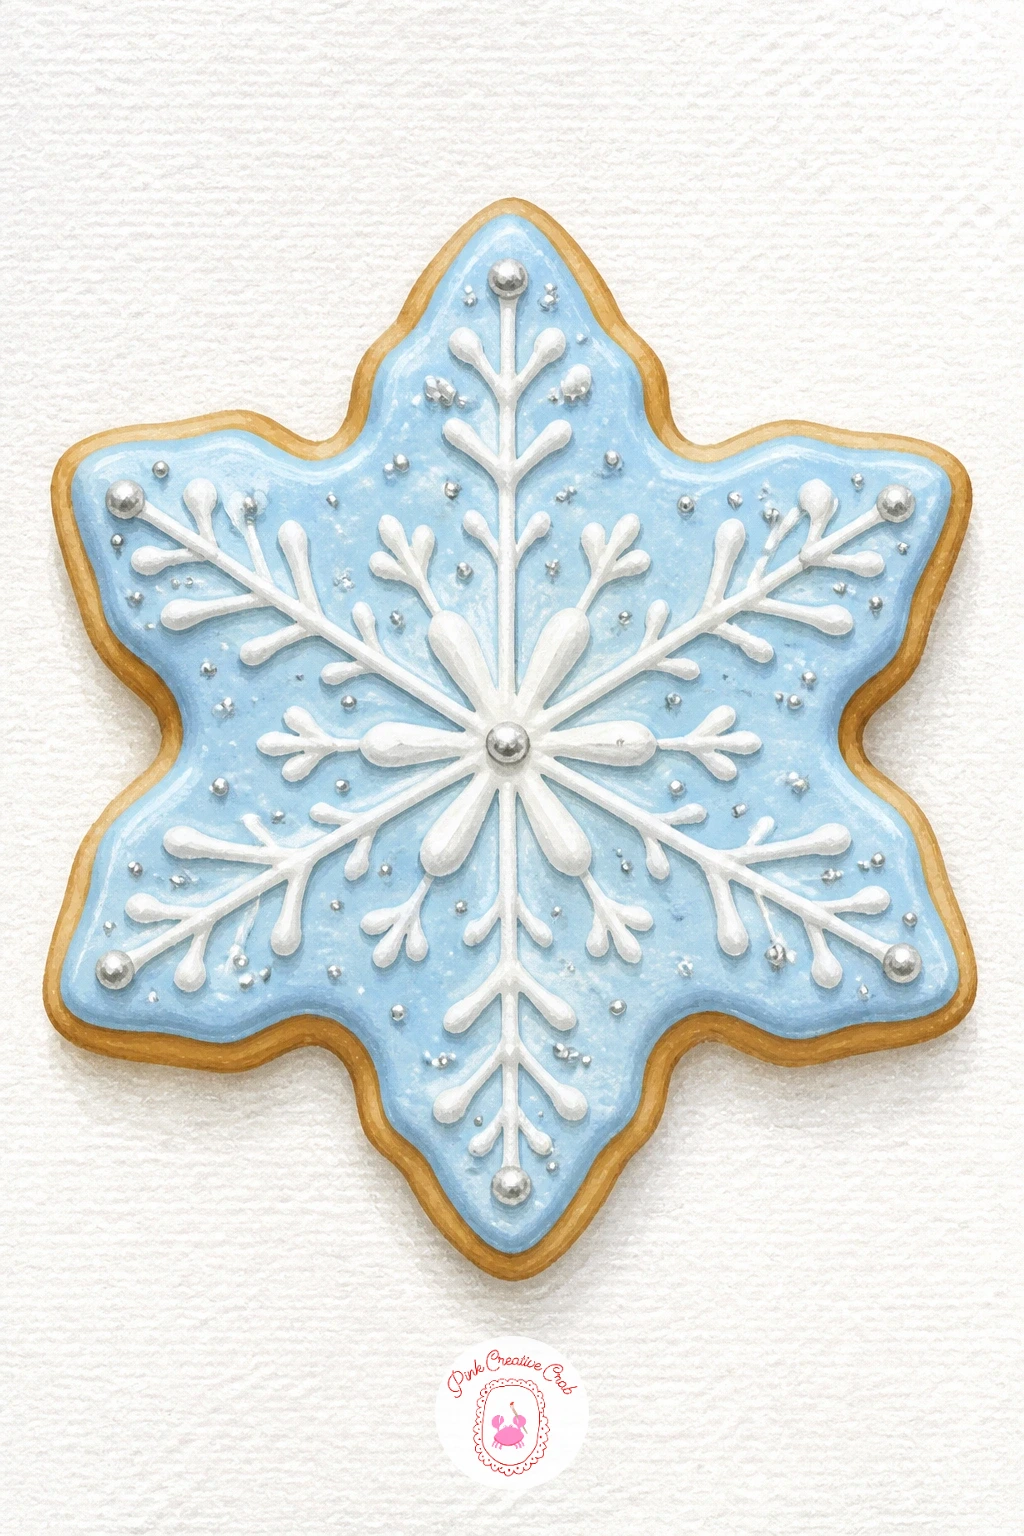
Snowflake cookies with silver sprinkles bring in some of this season’s shimmer without needing metallic paint. Paint the cookie base first in pale icy white or soft blue, then lightly pencil the snowflake’s six armed symmetry before any icing lines go on top.
Build the snowflake pattern out from the center with small branching lines, working one arm at a time and rotating the paper rather than trying to paint all six arms in the same hand position. Silver sprinkles go on last as tiny dots of pale grey with a single white highlight dot on each.
Uneven arms are the giveaway that symmetry was rushed. Lightly mark the six points around the edge of the cookie first with a compass or just by eye at even clock positions, then connect inward, and the whole snowflake holds together.
Try a second snowflake cookie next to the first at a smaller scale and slightly rotated, it adds variety without any new technique.
You Will Need
- pencil for symmetry guide
- pale blue or white gouache
- fine round brush for branching lines
- pale grey for sprinkles
Palette: Icy White,Pale Sky Blue,Soft Grey Sprinkle,Titanium White
Rotate your paper a sixth of a turn after finishing each arm of the snowflake rather than reaching across the cookie, it keeps every line equally confident.
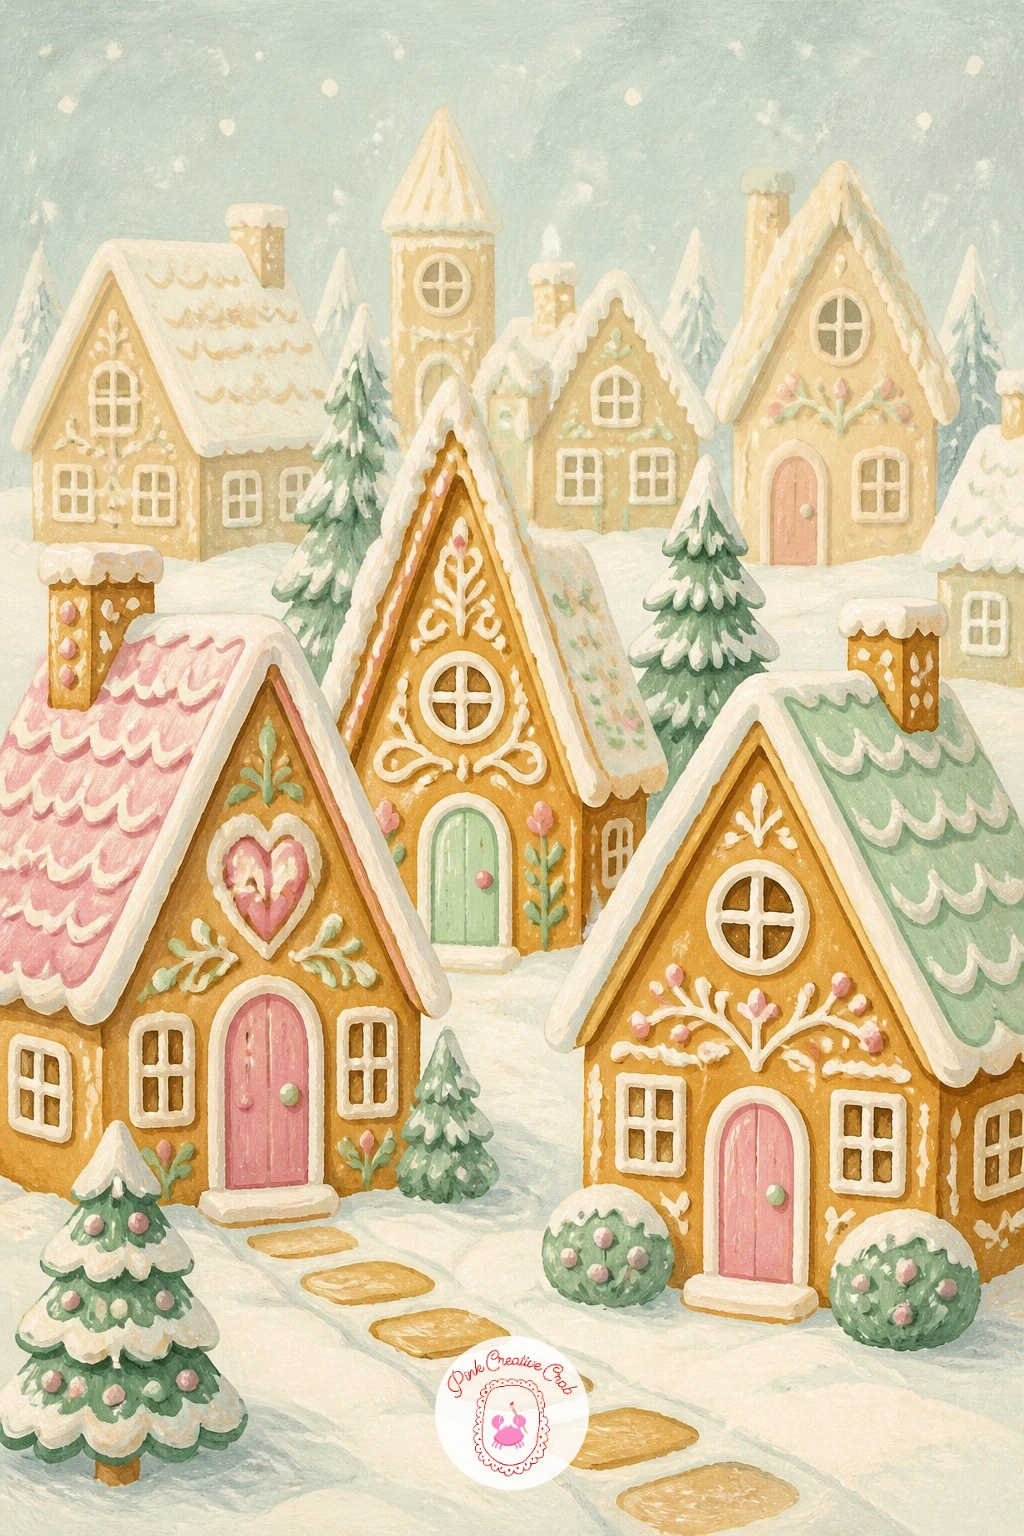
A cookie house village is the biggest build on this list, so plan it like a tiny townscape rather than one object. Sketch three or four simple house shapes of varying heights first, overlapping slightly, before deciding which one sits closest to the viewer.
Paint the house furthest back first in slightly cooler, paler tones, then work forward, making each closer house warmer and a touch more detailed with icing windows, doors and roof trim. This order keeps the sense of depth intact instead of everything reading flat.
Too many identical houses is the usual issue, where a village ends up looking like one house copied three times. Vary the roofline, window shape and icing color on each house deliberately, even if just slightly, so each one earns its place.
The forty minute version adds a candy cane fence or a dusting of white snow gouache across the rooftops. The ten minute version is just two houses side by side with simple roof icing.
You Will Need
- cool pale gouache for background houses
- warm gouache for foreground houses
- fine brush for windows and trim
- white gouache for snow dusting
Palette: Golden Tan,Pale Cool Blue,Titanium White,Deep Ribbon Red
Keep the back row of houses slightly blurrier in edge quality than the front row, a soft edge there does a lot of the depth work for you.
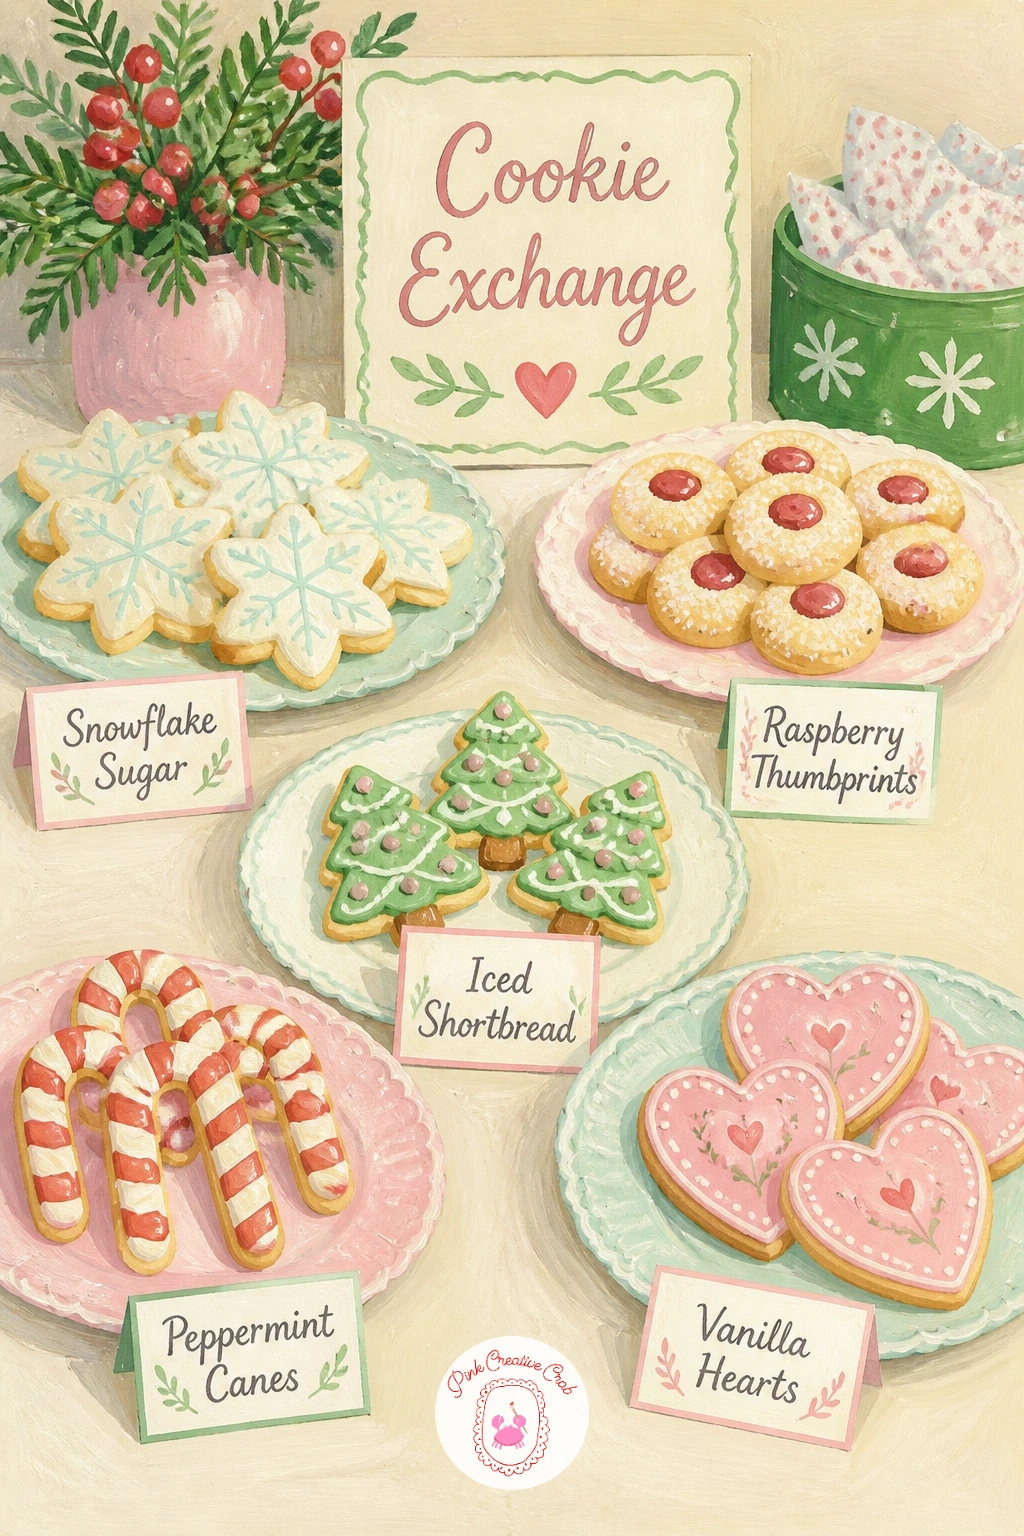
A cookie exchange table with labels is really a study in arranging several small plates without the page feeling cluttered. Rough in three or four plate shapes across the table first at slightly different sizes, leaving visible table space between them before adding any cookies.
Fill each plate with a different cookie type already covered elsewhere on this list, perhaps snowflakes on one, gingerbread on another, then add a small painted tag or label in front of each plate with a few short pencil marks suggesting handwriting rather than actual legible words.
Everything the same size is what makes a tabletop spread feel stiff. Let one plate sit closer and larger in the foreground and the others recede slightly smaller and higher on the page, which mimics how a table actually looks from a seated view.
If a full table feels ambitious today, two plates and one label card is still a complete, satisfying scene.
You Will Need
- larger paper for multiple plates
- assorted cookie colors from other ideas
- fine brush for label marks
- pencil for table layout
Palette: Golden Tan,Pastel Pink,Soft Mint,Cream Label
Keep the handwriting marks on each label as simple wavy lines rather than real letters, it reads as writing from a normal viewing distance without any lettering skill needed.
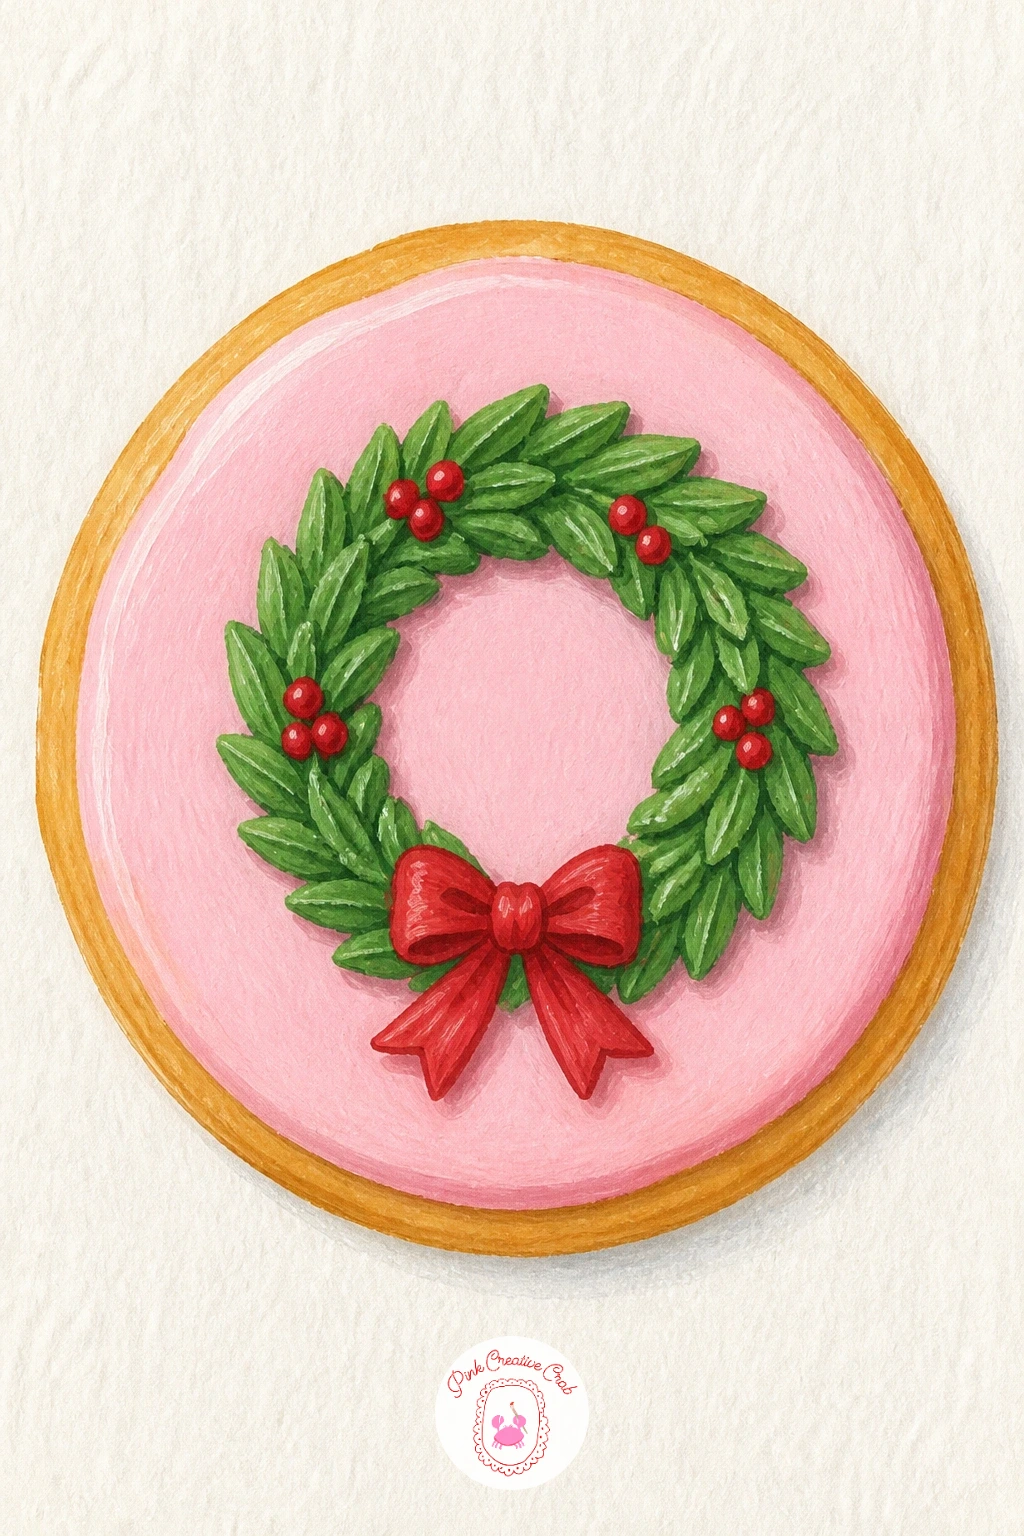
Cookies with tiny wreaths piped on takes the icing detail into a small circular design that rewards a light hand. Paint the round cookie base first, then pencil a light circle guide near the top edge where the wreath will sit, smaller than the cookie itself so a golden border shows all around.
Build the wreath with small dabs of green icing around that circle guide, slightly uneven in size the way real piped leaves are, then finish with three or four tiny red dots for berries and a small bow shape at the base of the wreath.
A wreath that ends up as a solid green ring loses the piped texture that makes this design charming. Keep the green dabs separate and visible as individual marks rather than blending them into one smooth circle.
Swap the red berries for white dots if you want a cooler, more wintry palette instead of the classic red and green.
You Will Need
- green gouache for wreath dabs
- red gouache for berries
- pencil for circle guide
- small round brush for dabs
Palette: Pine Green,Berry Red,Golden Tan,Titanium White
Load the brush lightly and dab straight down rather than dragging it, dragging flattens the dabs into streaks instead of individual piped leaves.
A mug shaped cookie with steam icing plays with suggesting something that is not really there: the steam. Paint the mug shaped cookie first, simple and rounded with a handle on one side, in warm gold with white icing marking the mug’s rim and handle outline.
For the steam, use very diluted white gouache in soft, wavy, barely there strokes rising above the mug, fading as they go up rather than staying one solid opacity. This is the detail that turns a mug cookie into a steaming mug cookie.
Steam painted too solid looks like smoke rather than warmth. Thin the white gouache with extra water for this part only, and lift a little paint back out with a dry brush while it is still damp if it goes on too heavy.
No gouache thin enough to fade this way: a very light touch with a white gel pen, dragged quickly, gives a similar soft wavy line.
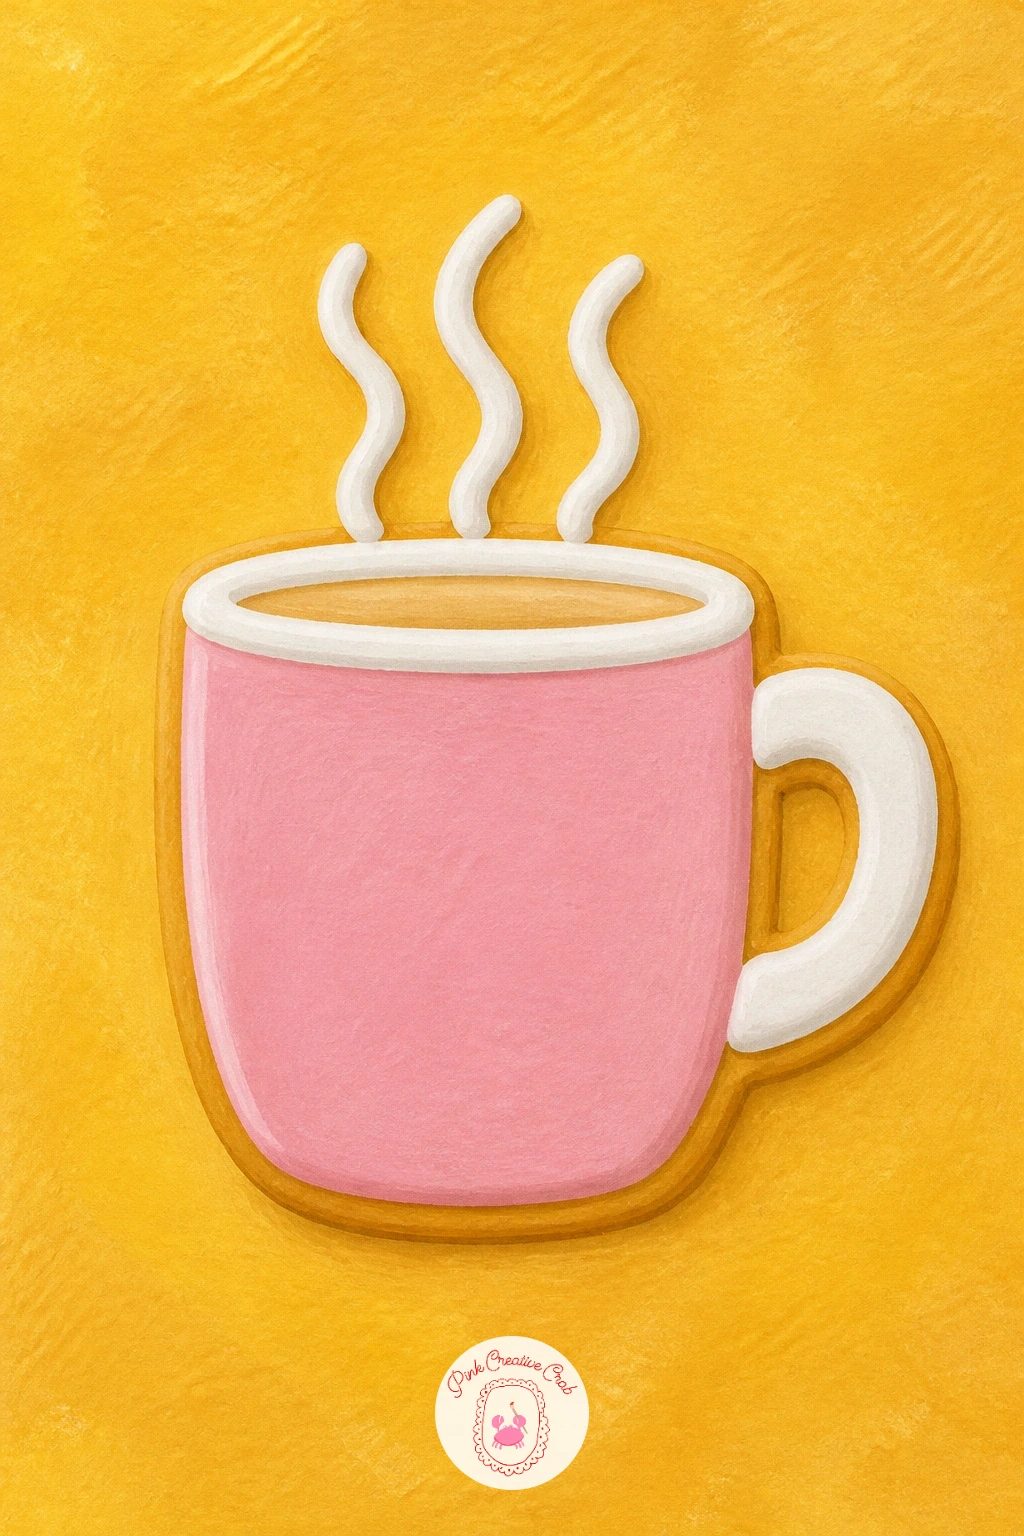
You Will Need
- white gouache diluted for steam
- round brush for mug outline
- dry brush for lifting excess paint
- golden gouache for cookie base
Palette: Golden Tan,Titanium White,Soft Grey Steam,Warm Cream
Paint two or three separate steam wisps rather than one wide cloud, individual thin lines read as rising heat far more convincingly than a solid shape.
A hand dunking a cookie in cocoa is a close, intimate crop that depends entirely on getting the hand and the dunk angle believable. Sketch just a forearm and hand holding the cookie at an angle above the mug, fingers simplified to soft rounded shapes rather than detailed knuckles.
Paint the mug of cocoa first with a few swirl marks of lighter brown on top to suggest froth, then the hand and cookie, with the cookie’s lower edge slightly darker and wetter looking where it has already touched the liquid.
Fingers that look stiff or too long are the common issue in close hand crops. Keep them short and slightly curved, and overlap one finger in front of another rather than spreading them flat and separate.
If hands still feel daunting, crop even tighter so only the cookie and a sliver of fingertip show above the mug.
For more cozy drink based scenes to pair with this one, browse the coffee drawing ideas.
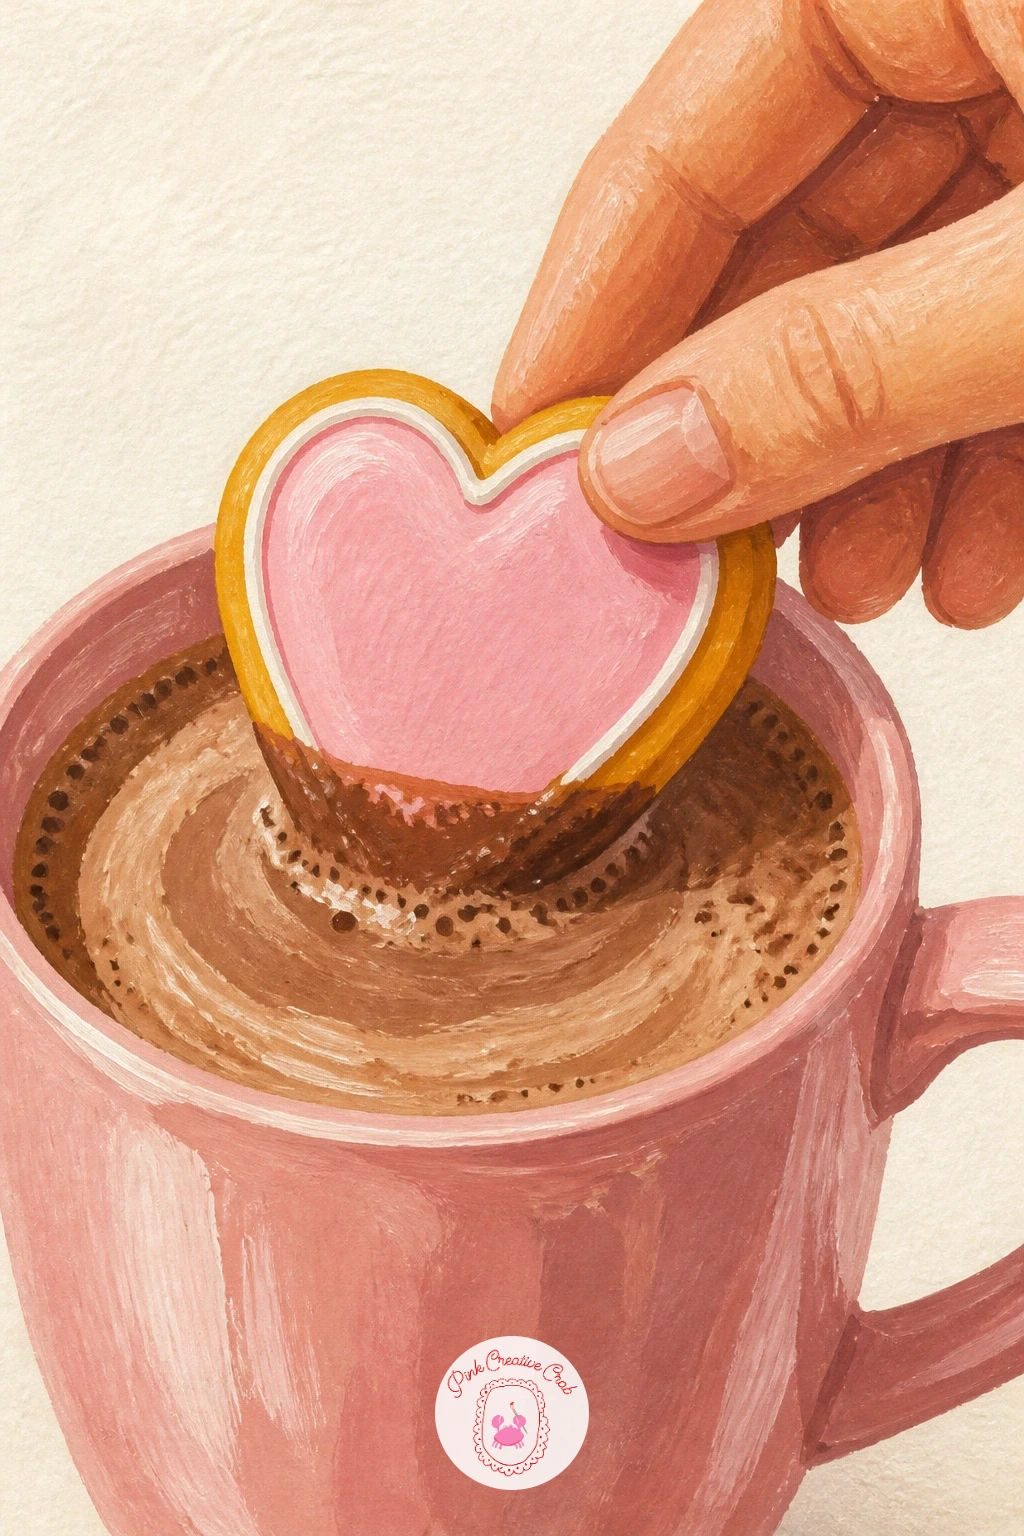
You Will Need
- warm skin tone gouache
- dark cocoa brown gouache
- round brush for froth swirls
- fine brush for cookie edge
Palette: Cocoa Brown,Warm Skin Tone,Golden Tan,Cream Froth
Darken just the bottom edge of the cookie slightly where it meets the cocoa, that one small shift sells the dunk better than any detail on the hand.
Heart cookies with Christmas sprinkles brings a softer shape back after the tighter hand crop. Draw the heart outline first using two equal curves meeting at a center dip and a point below, checking that both lobes match before you paint the cookie base in warm gold.
Ice the heart with a smooth layer of white or pastel pink gouache, leaving a thin golden border, then scatter sprinkles across the top last in a mix of red, green and white dots, keeping them randomly spaced rather than in a neat grid.
Lopsided hearts are the easiest thing to get wrong on this shape. Fold a scrap of paper in half, trace one lobe, then flip and trace it again to get a quick symmetrical guide before committing to paint.
Group two or three heart cookies overlapping slightly for next time, rather than one alone, for a fuller composition.
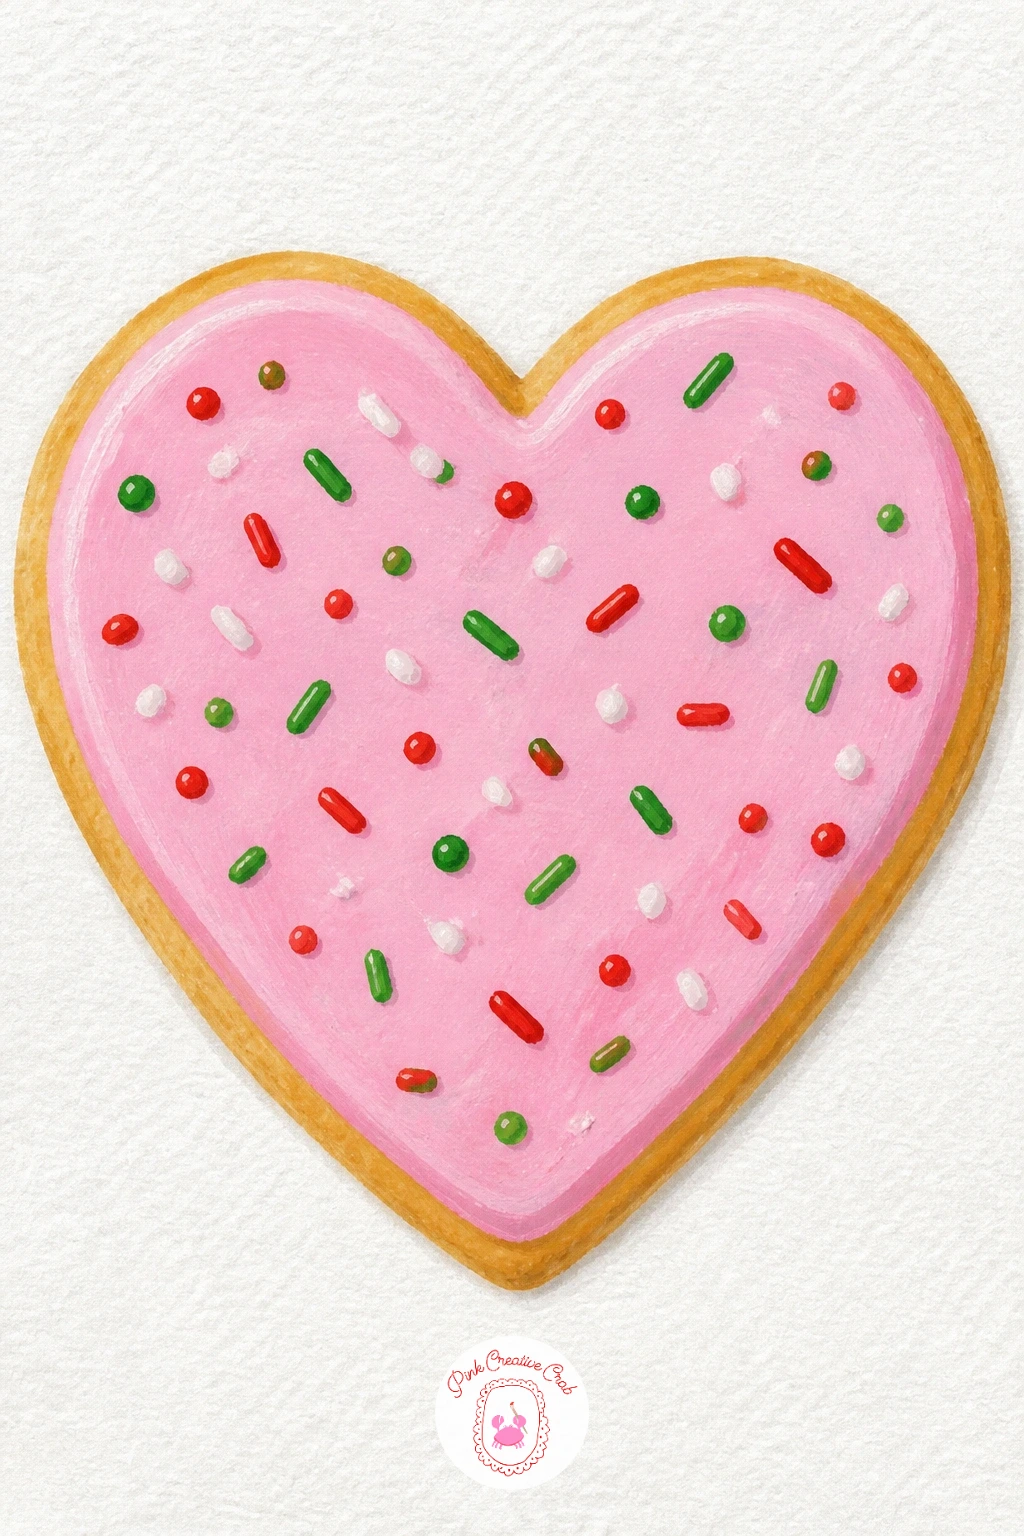
You Will Need
- pencil for heart symmetry guide
- pastel pink or white gouache
- fine brush for sprinkle dots
- golden gouache for base
Palette: Golden Tan,Pastel Pink,Berry Red,Pine Green
Scatter sprinkles thicker near the center of the heart and sparser near the edges, it mimics how real sprinkles naturally settle when poured.
Cookie cutters and flour on a wooden board strips away the baked cookie entirely and focuses on the tools instead, a nice change of pace. Paint the wooden board first with visible grain lines in warm brown, then arrange two or three metal cutter shapes, a star, a tree, a heart, scattered loosely across it.
Metal cutters need a cool highlight to read as metal rather than flat grey shapes. Add a thin streak of white or pale blue along one edge of each cutter before the flour dust goes on top in soft dry brushed white patches.
Cutters painted with even, flat grey all over end up looking like paper cutouts instead of metal. That one cool streak of highlight along a single edge is what convinces the eye it is a shiny surface.
No metal cutters to reference: simple outline shapes with a thin pale edge highlight still read as metallic from a normal viewing distance.
For more styled object arrangements like this one, the Christmas sketching ideas for beginners post has related still life setups worth trying.
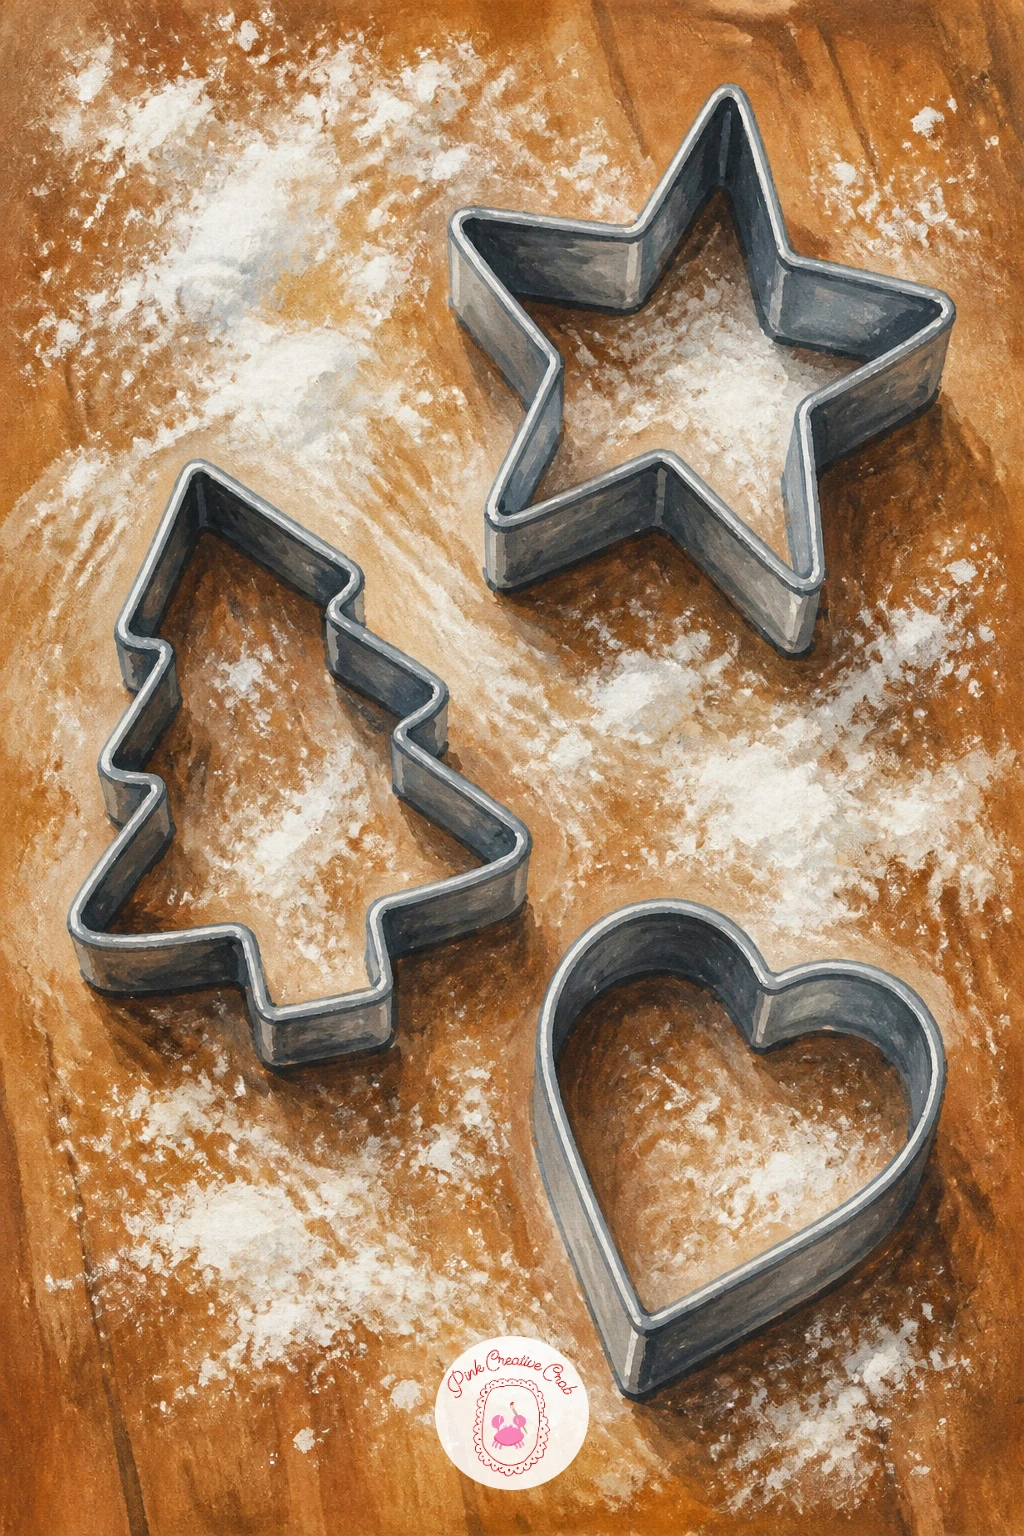
You Will Need
- warm brown gouache for board
- pale grey gouache for cutters
- white gouache for flour dusting
- fine brush for metal highlights
Palette: Warm Wood Brown,Pale Grey Metal,Titanium White,Pale Sky Blue
Drag a dry brush loaded with just a little white gouache across the board in short strokes for the flour, rather than painting even patches, for a scattered look.
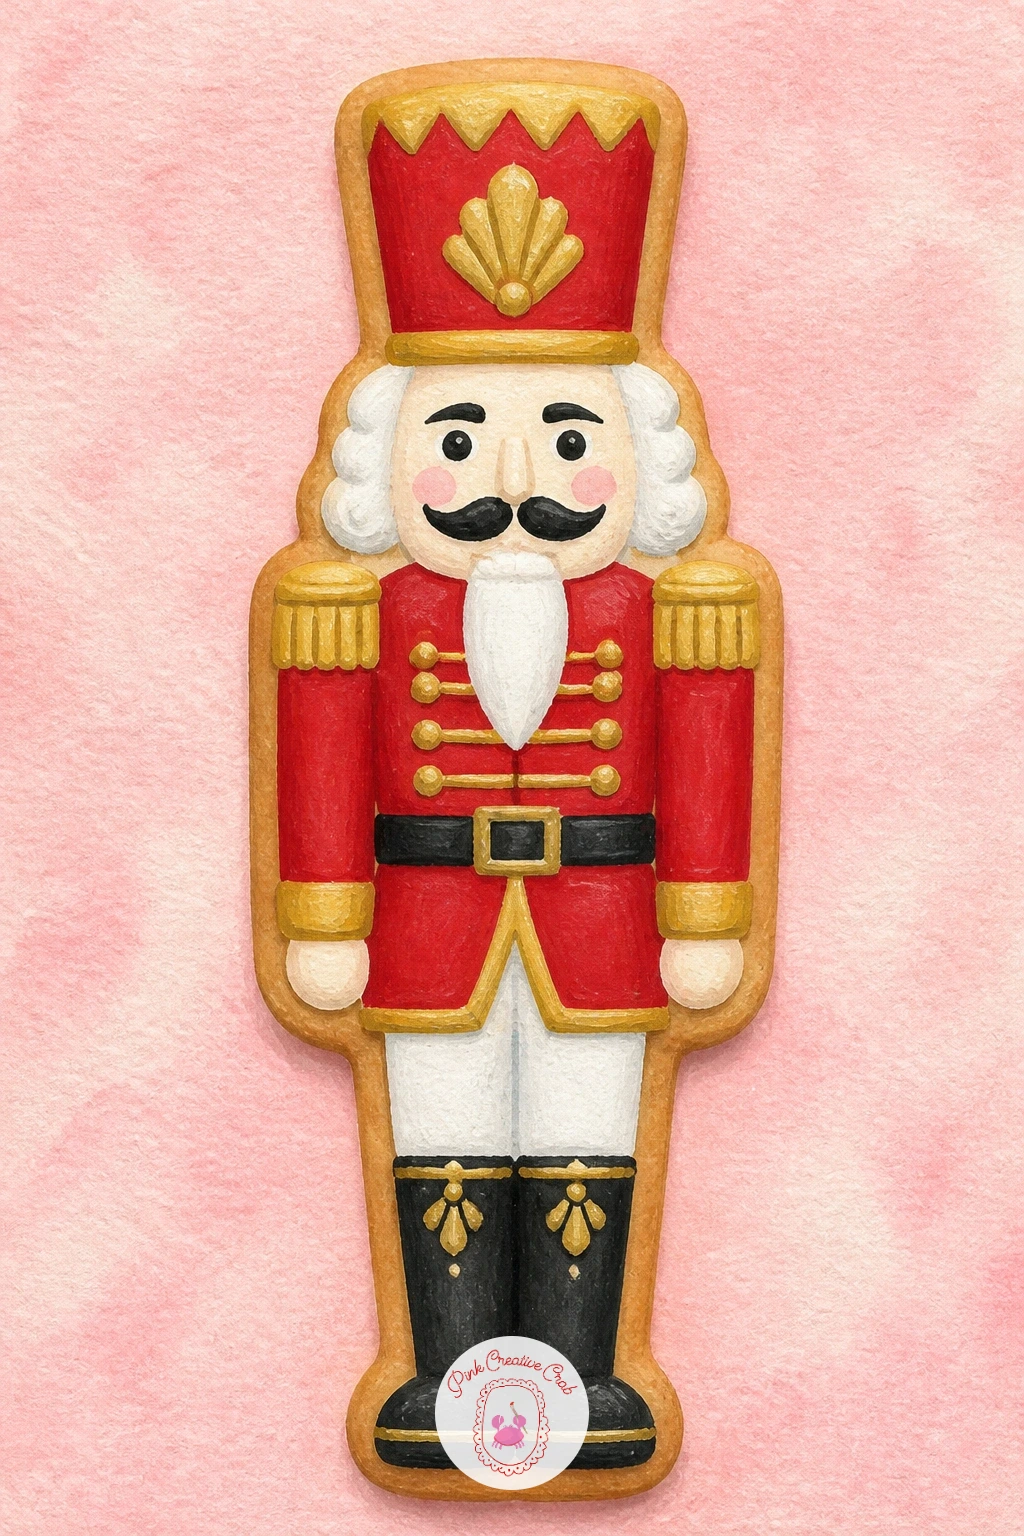
Nutcracker cookies in red and gold bring a taller, more detailed character shape into the mix. Sketch the nutcracker’s tall rectangular body and hat first, checking the hat takes up roughly a third of the total height before you paint, since a hat too small or too large throws off the whole character immediately.
Paint the base coat in red for the coat and gold for the trim and buttons, then the face and hat details last in white and black, working from the largest shapes down to the smallest painted lines.
A nutcracker that reads oddly proportioned almost always has a hat or face that is too small for the body. Measure the face height against the hat height before adding any final detail, and adjust while the paint is still simple blocks of color.
Try a blue and silver nutcracker cookie next time instead of red and gold, for a cooler toned variation that still reads clearly as the same character.
You Will Need
- red gouache for coat
- gold gouache for trim
- black and white gouache for face
- fine brush for small details
Palette: Deep Ribbon Red,Antique Gold,Titanium White,Soft Black
Keep the mustache and eyebrows as two simple curved strokes rather than detailed hair texture, that simplicity actually reads as more charming on a small cookie face.
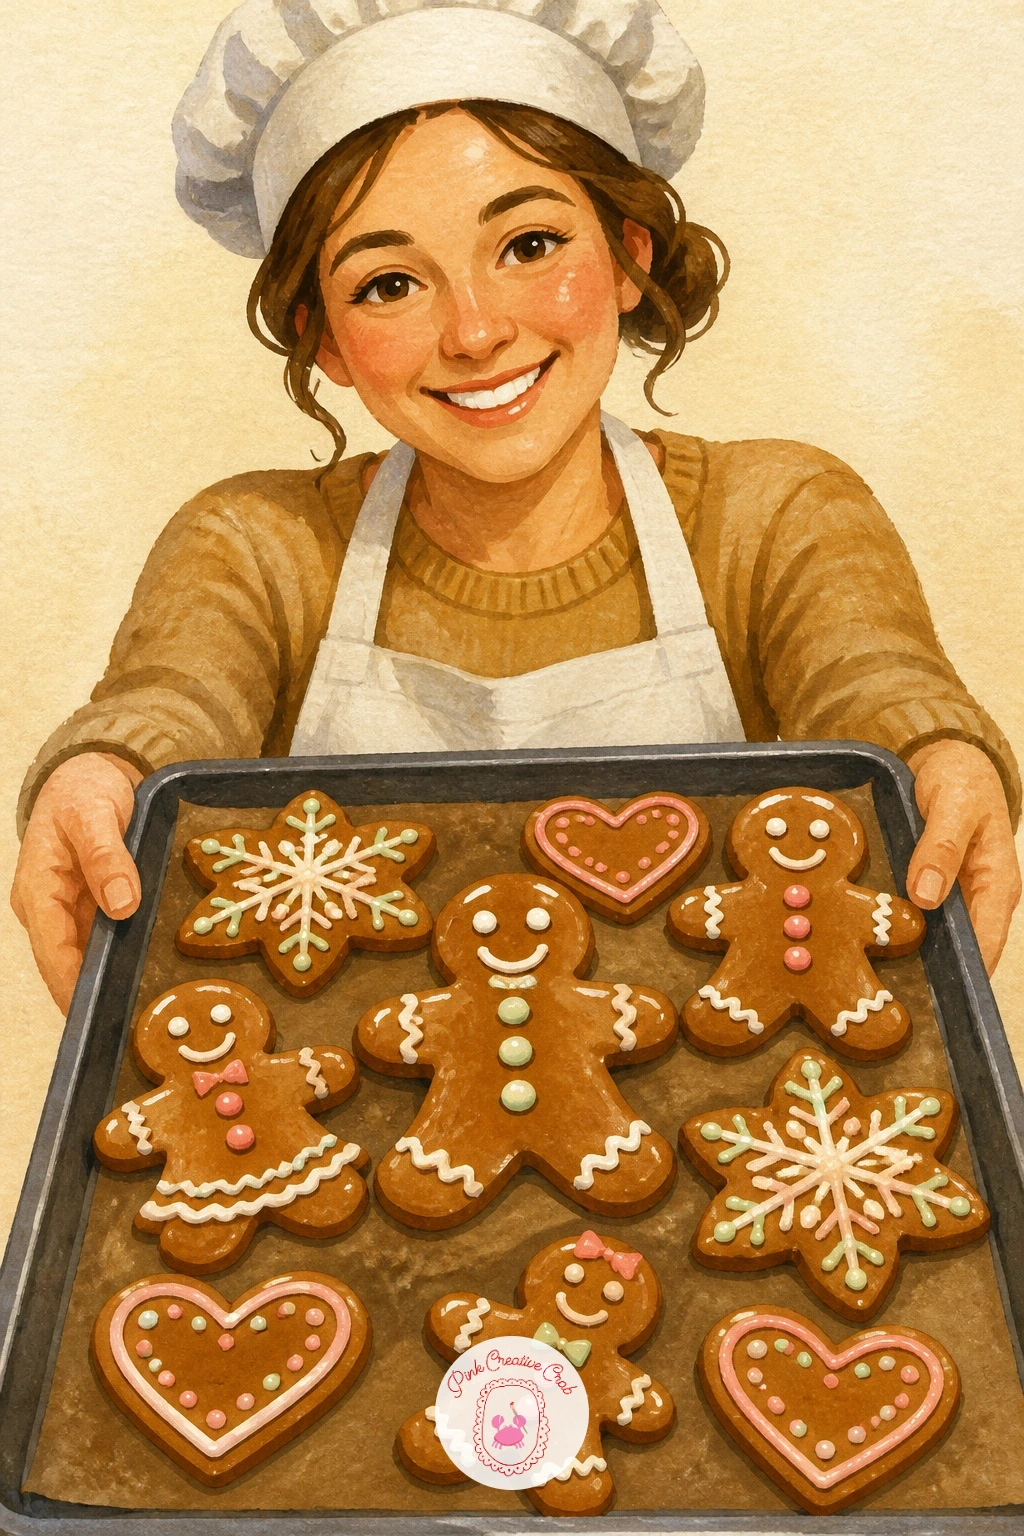
A baker holding a tray of glossy gingerbread puts a figure back in the spotlight, this time facing forward and presenting the tray toward the viewer. Sketch the figure first with the tray held at roughly chest height, arms simple and slightly bent, before any gingerbread detail goes onto the tray itself.
Paint the baker’s apron and simple clothing first in one or two flat colors, then the tray and gingerbread pieces, saving the glossy icing highlights on the gingerbread for last so they sit crisp on top of the dry base.
Gingerbread that looks dusty rather than glossy is missing its highlight entirely. Add one small bright dot or streak of white gouache on the rounded top of each gingerbread shape, exactly where the light would catch a shiny glaze.
Crop the figure at the waist if a full standing pose feels like too much today, keeping the focus on the tray and the glossy gingerbread instead.
You Will Need
- flat brush for apron and clothing
- warm brown gouache for gingerbread
- white gouache for gloss highlights
- pencil for figure proportions
Palette: Gingerbread Brown,Soft Apron Blue,Titanium White,Warm Skin Tone
Place the gloss highlight consistently on the same side of every gingerbread piece on the tray, matching highlight direction across several pieces reads as one light source.
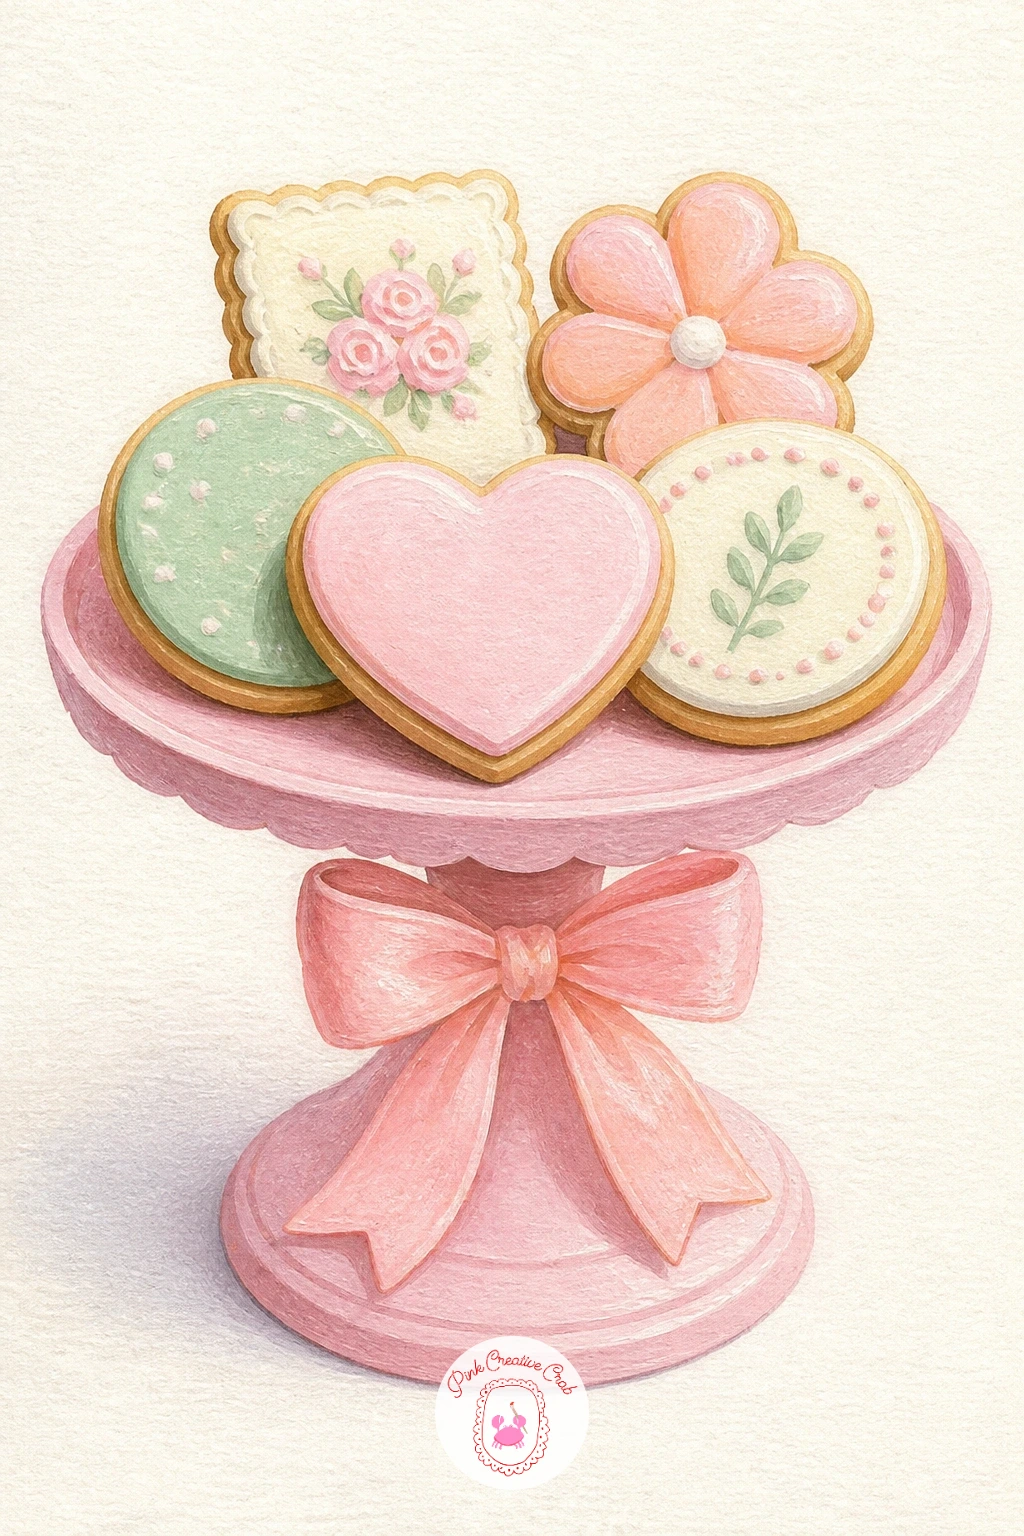
Cookies on a pink cake stand with a bow leans fully into the trendy, styled food magazine look this whole list enjoys. Paint the cake stand first as a simple pedestal shape in soft blush pink, then arrange three or four cookies on top, varying their icing colors slightly so none of them repeats exactly.
A small bow tied around the stand’s stem goes in next to last, painted in a slightly deeper pink or a contrasting mint so it stands out against the pale stand. Cookie shadows underneath each piece go in last, keeping them soft rather than sharp edged.
A stand that looks flat and paper thin is usually missing its own shading. Add a slightly deeper pink along the underside curve of the stand’s plate and a lighter highlight along the top rim, which gives it real roundness.
Swap the bow for a sprig of greenery if pink and mint together feels like too much sweetness for your taste today.
You Will Need
- blush pink gouache for stand
- assorted icing colors for cookies
- fine brush for bow
- soft grey for shadows
Palette: Blush Pink,Soft Mint,Golden Tan,Soft Grey Shadow
Keep one cookie slightly overhanging the edge of the stand, it breaks the symmetry just enough to feel styled rather than stiffly arranged.
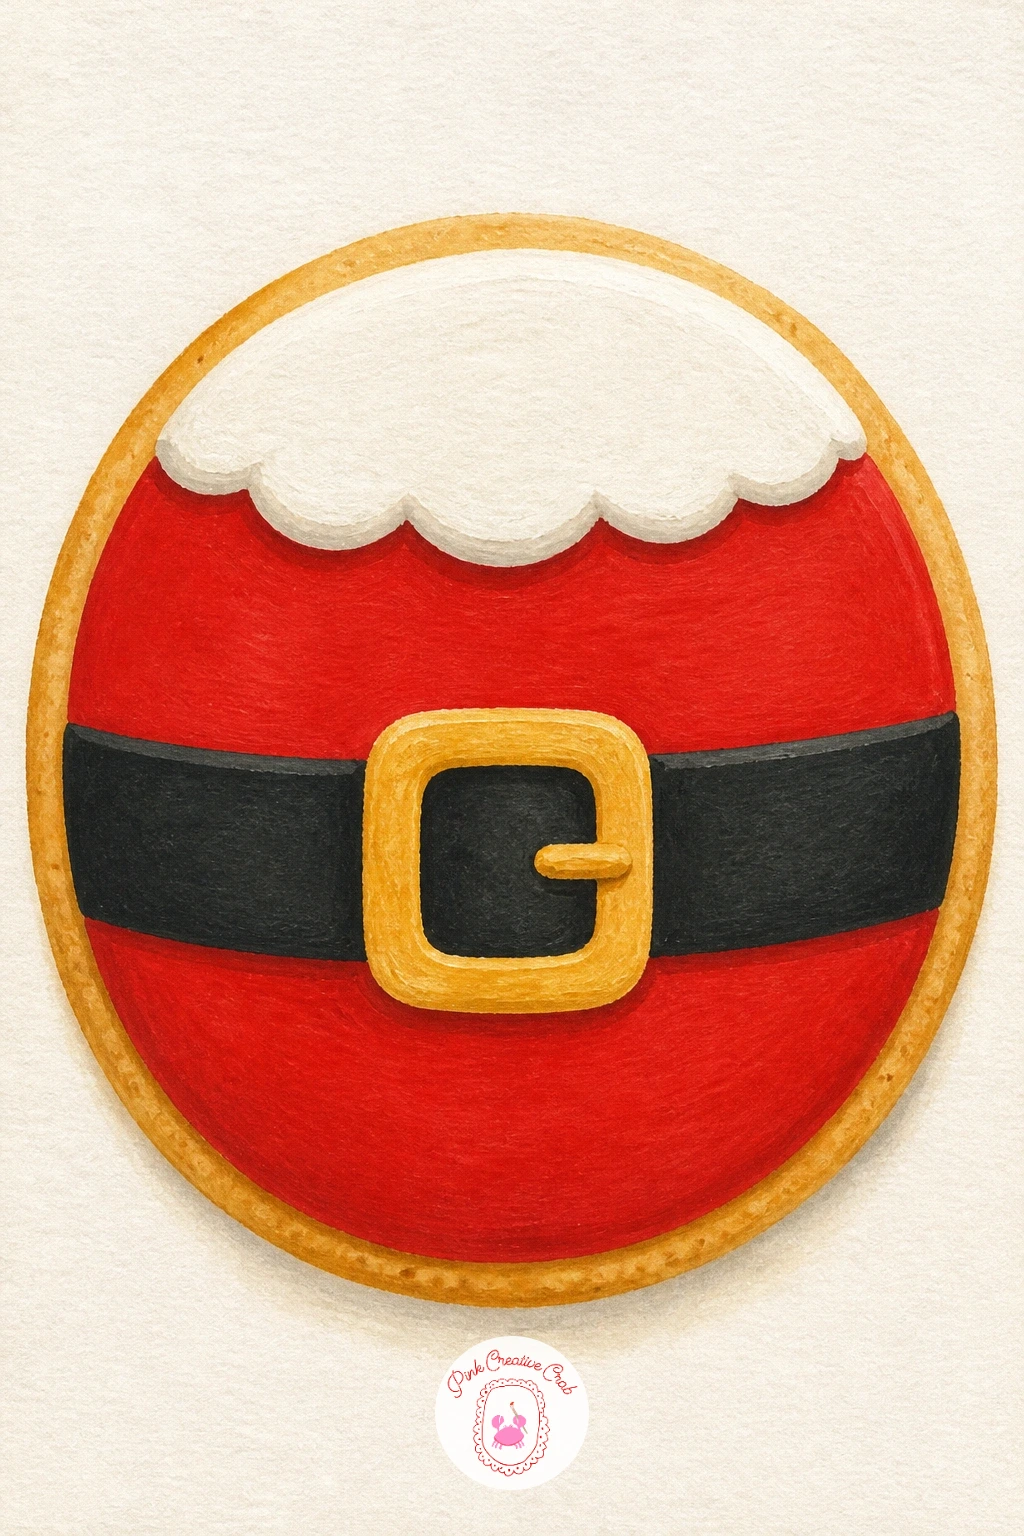
Santa belly cookies, round cookies iced to look like Santa’s red coat, belt and buttons, are one of this season’s most shared trendy designs and a fun, forgiving shape to paint. Block in the round cookie base first in warm gold, then the red coat icing covering most of the top, leaving a thin golden edge showing around the rim.
Add the black belt as a horizontal band across the middle with a gold buckle square in the center, then two or three white buttons running down from the buckle. Fur trim along the very top edge of the coat in soft white finishes the look.
A belt that drifts off center is the easiest mistake here and the most noticeable one, since the eye expects it dead center on a round cookie. Lightly mark the cookie’s vertical and horizontal center with pencil crosshairs before painting the belt, so it lands exactly where it should.
Try a green version with a gold buckle next time for a nutcracker-adjacent variation using the same simple layout.
You Will Need
- red gouache for coat
- black gouache for belt
- gold gouache for buckle and base
- white gouache for fur trim and buttons
Palette: Deep Ribbon Red,Soft Black,Antique Gold,Titanium White
Keep the white fur trim slightly uneven and bumpy rather than a smooth straight line, real piped fur trim always has small irregular bumps along its edge.
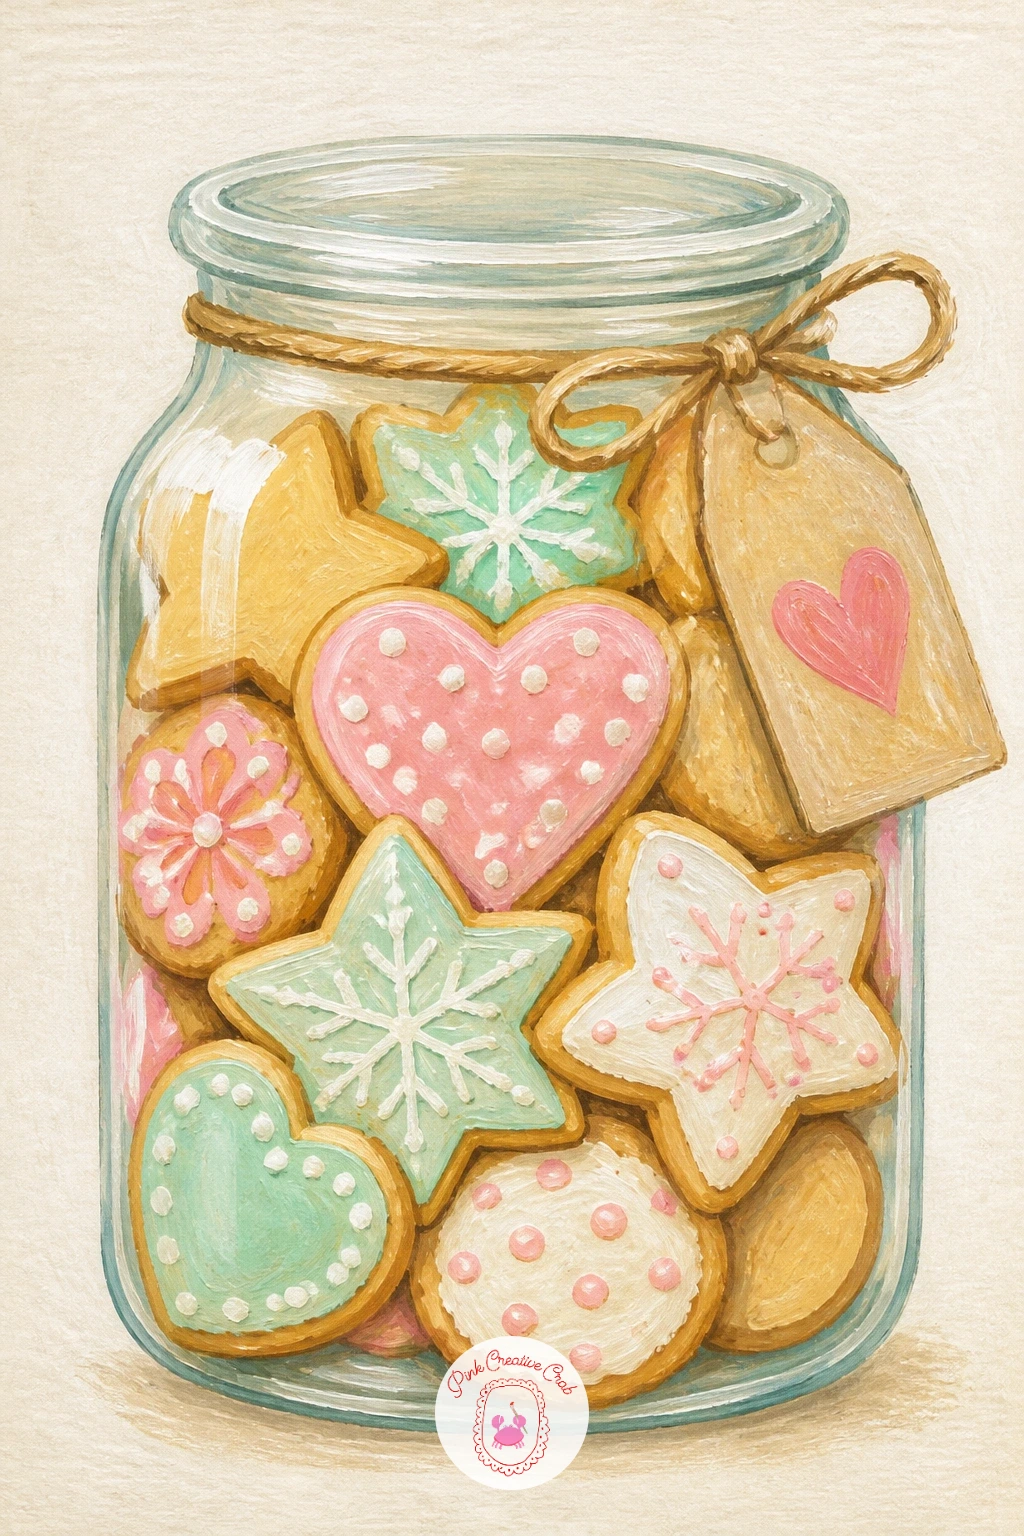
A jar of cookies with a gift tag pairs nicely with the earlier crinkle cookie jar, but this time the focus shifts to the tag tied at the neck. Paint the jar and its cookies first using the same transparent glass approach as before, letting the cookie colors show through with just pale cool highlights suggesting the glass.
The gift tag comes next, a small rectangle or circle shape tied at the jar’s neck with a thin painted string, angled slightly so it does not sit perfectly flat and stiff against the glass. A few simple pencil marks suggesting handwriting finish the tag without needing real lettering.
A tag painted perfectly flat and parallel to the page edge looks pasted on rather than tied. Tilt it a few degrees and let one corner curl slightly away from the jar, which suggests it is actually hanging from string rather than glued flat.
No jar on hand to reference: any tall cylindrical container works, since the glass technique matters more than the exact shape.
You Will Need
- glass jar reference
- cream or white gouache for tag
- fine brush for string
- assorted cookie colors inside
Palette: Pale Grey Glass,Soft Cream,Golden Tan,Deep Ribbon Red
Let the string holding the tag cross slightly in front of the jar’s highlight line, that small overlap sells the sense of depth between tag and glass.
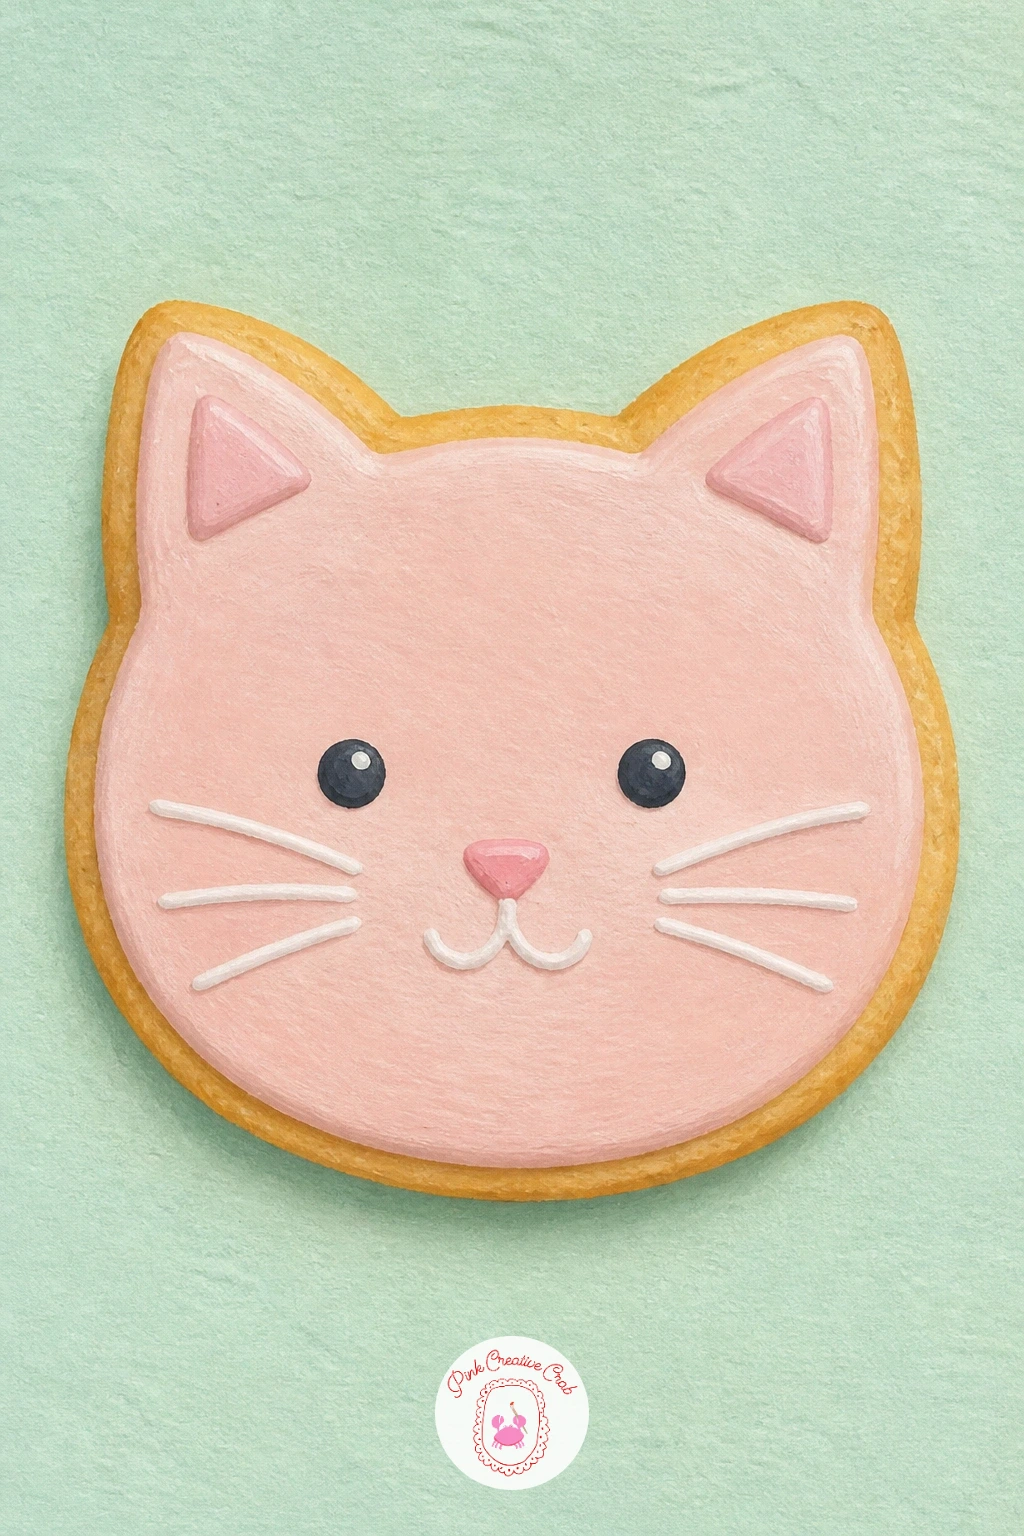
A cat shaped cookie with whiskers in icing turns the earlier cookie thief into the cookie itself, a playful full circle moment for this list. Paint the cat shaped cookie base first in warm gold, keeping the ears as simple triangles and the overall shape rounded rather than angular.
Icing goes on next: a pale face shape, two small triangle ear fills, and a simple closed eye curve or two small dot eyes, whichever feels friendlier to you. Whiskers in fine white icing lines go on last, three short strokes fanning out from each side of the face.
Whiskers painted too long or too many in number can overwhelm a small cookie face fast. Three per side, kept short and slightly curved, reads as whiskers instantly without cluttering the design.
Give the cat cookie a tiny pink nose dot and pale pink inner ears for a sweeter version, or keep it monochrome white and gold for a simpler one.
You Will Need
- golden gouache for cookie base
- white gouache for face icing
- fine liner brush for whiskers
- pink gouache for nose detail
Palette: Golden Tan,Titanium White,Pastel Pink,Soft Black
Paint the whiskers with the very tip of a fine liner brush loaded lightly, a shaky unsteady line actually looks more like a real whisker than a perfectly straight one.
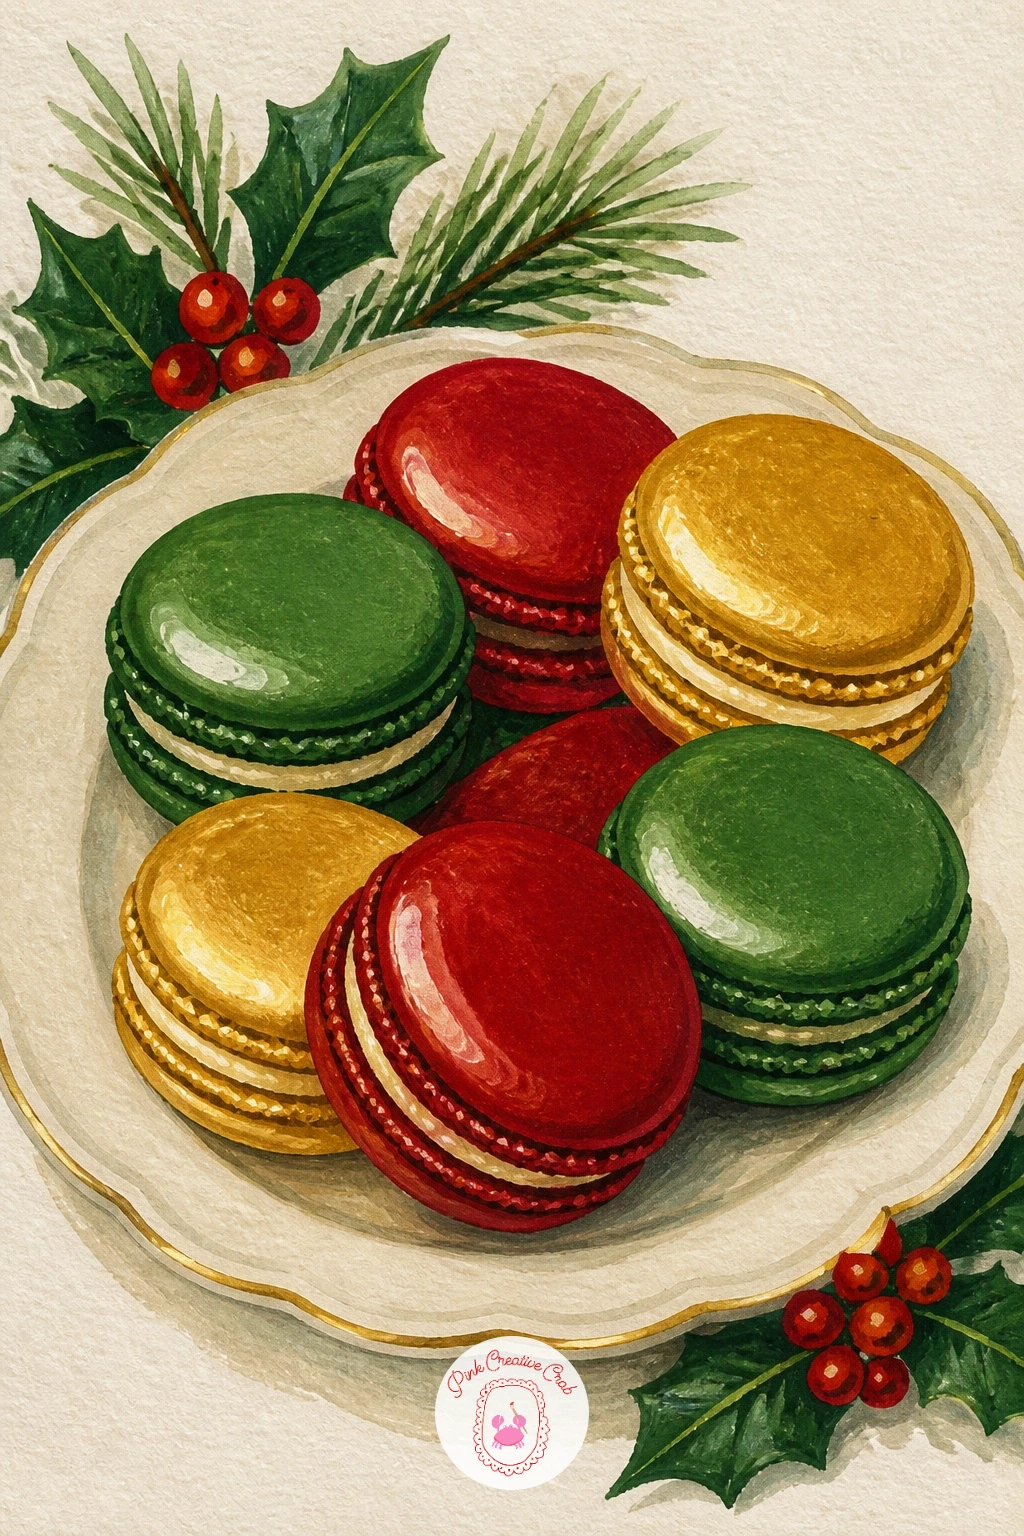
A plate of macarons in Christmas colors is a slight departure from the cookie dough family but belongs on every sweets lover’s list for its smooth, rounded shape and bold color play. Paint each macaron shell as two matching domes with a visible ruffled foot line between them, in festive colors like deep red, pine green and soft gold.
Leave a small highlight unpainted or added in white near the top of each dome before anything else dries, since macarons have a glossy, almost ceramic looking shell that needs that single bright spot to read correctly.
Flat, matte looking macarons are missing exactly that highlight and the slightly deeper shadow along their lower curve. Add both in one sitting, highlight then shadow, right after the base color while the gouache is still workable.
Vary the filling colors peeking from the ruffled middle seam across different macarons for extra variety without any new technique needed.
You Will Need
- deep red gouache
- pine green gouache
- gold gouache
- white gouache for highlights
Palette: Deep Ribbon Red,Pine Green,Antique Gold,Titanium White
Paint the ruffled foot of each macaron as a slightly textured, uneven line rather than smooth, that ruffle is the single detail that makes a macaron recognizable instantly.
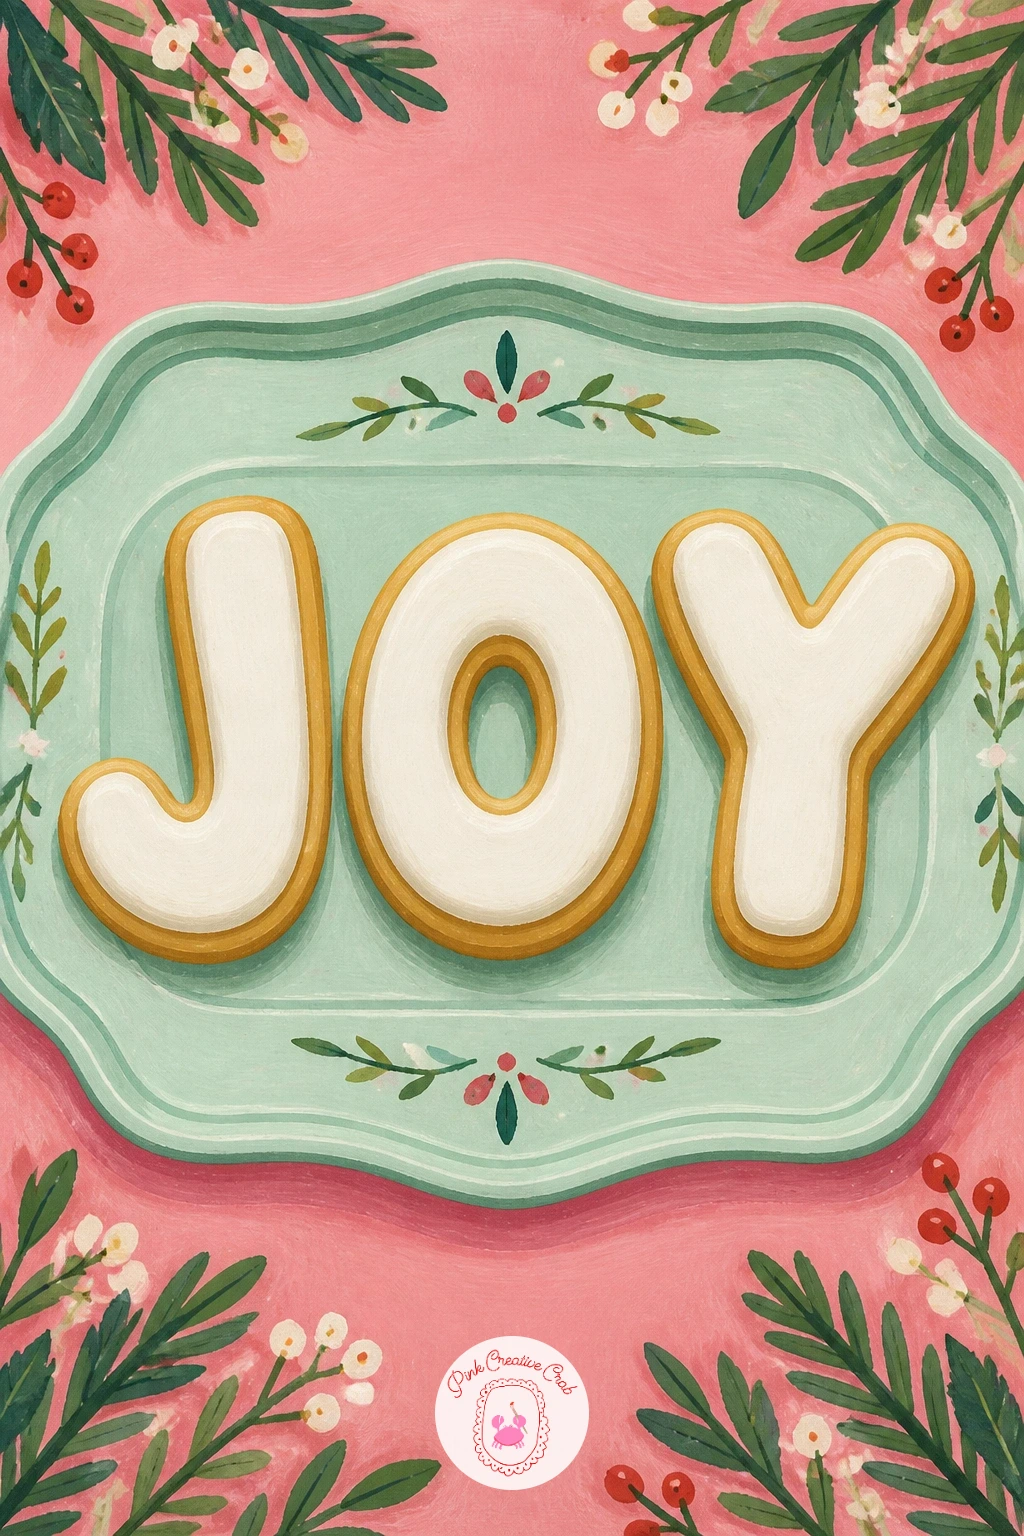
Cookies spelling JOY on a tray closes the list with a composition that ties individually iced letter cookies into one tray arrangement. Shape each letter cookie first in pencil, keeping the strokes of the J, O and Y thick and rounded rather than thin and spindly, since thin letter cookies are harder to read from a distance.
Paint each cookie base in warm gold, then ice the letters in a single consistent color, white or soft red works well, so the word reads clearly as one unit rather than three separate color choices competing with each other.
Letters that drift out of alignment on the tray are the most common issue, since J, O and Y naturally vary in width. Lightly pencil a straight guideline across the tray first and align the center of each letter cookie along that same line before painting.
Add a sprig of greenery or a few loose sprinkles beside the tray for a final festive touch once the lettering itself feels solid.
You Will Need
- pencil for letter shapes and guideline
- golden gouache for base
- white or red gouache for icing
- fine brush for tray arrangement
Palette: Golden Tan,Titanium White,Deep Ribbon Red,Pine Green
Keep all three letter cookies the same height even if their width naturally varies, matched height is what makes mismatched letter shapes still read as one tidy word.
What to Do Next
Pick whichever scene caught your eye first, whether that is a single iced cookie on plain paper or the full cookie house village, and start with a light pencil sketch on your watercolor paper before any gouache touches the page. One finished piece tonight is worth more than a long list left untouched.
Frequently Asked Questions
What paper works best for a christmas cookies drawing in gouache?
Cold press watercolor paper works best, since its slight texture holds flat gouache layers without the paint sliding around. A weight of around 140 pounds keeps the paper from buckling once a few color layers build up.
How do I keep the icing looking smooth and not streaky?
Mix the gouache slightly thicker than usual and load the brush generously before each stroke. Paint icing in one confident pass rather than scrubbing back over it, since reworking wet gouache is what causes streaks.
What if I only have watercolor paint instead of gouache?
Watercolor can still work, but mix it with less water than usual and build two or three layers to get close to the flat opaque look gouache gives naturally. Expect softer edges rather than the crisp lines gouache produces.
How do I make the cookies look warm and golden instead of flat brown?
Build the cookie base from a pale warm yellow underlayer before adding a soft brown on top, letting a little of that yellow show through at the edges. This layered approach reads as warm and baked rather than one flat brown tone.
Which christmas cookies drawing idea is easiest for a first try?
The girl icing star cookies or the heart cookies with sprinkles are the most forgiving starting points. Both use simple shapes and a single main color, so proportion and icing technique can be practiced without a busy background to manage.
Have any thoughts?
Share your reaction or leave a quick response — we’d love to hear what you think!
-
 0
-
0
-
0
-
0
-
0
-
0


