

Every Christmas cat drawing on this list starts with the same idea: cats do not care about tidy holiday decor, and that is exactly why they make the best subject. A bauble gets batted off the shelf, a stocking becomes a hiding spot, a gift box becomes a throne. That mischief is the fun part to capture, and it means you never have to draw a perfect tree or a perfect bow, just a cat being thoroughly itself in the middle of one.
Below are 36 small holiday scenes, each built around one cat and one moment, painted in warm gouache with soft fur strokes so they read like little holiday prints. Pick whichever one makes you laugh first and start there, since none of them need more than an evening and a few good brushes.
Using these images: free for personal projects such as printing, coloring, cards, journals and gifts. Handmade items that include them may be sold up to 30 pieces per design. More than that is commercial use and is not permitted, and neither is selling or sharing the images themselves or passing them off as your own. Please ask before any other use.
Before You Start
- Sketch the cat’s pose lightly in pencil first and keep the lines loose, since gouache covers mistakes but a stiff outline will show through soft fur strokes.
- Mix a little more water into your gouache for the first layers so the color goes on thin, then thicken the mix for the final fur details and highlights.
- Block in the background color before you paint the cat, so the fur edges can be softened into it while the paint is still workable.
- Test your cherry red, sage and cocoa brown mixes on scrap paper first, since gouache dries a shade lighter and darker than it looks wet.
- Keep a small dry brush on hand for flicking in individual fur strokes once the base coat of the cat’s body has dried.
- Work from the background forward: furniture or snow first, the cat’s main shape next, whiskers and small highlights last.
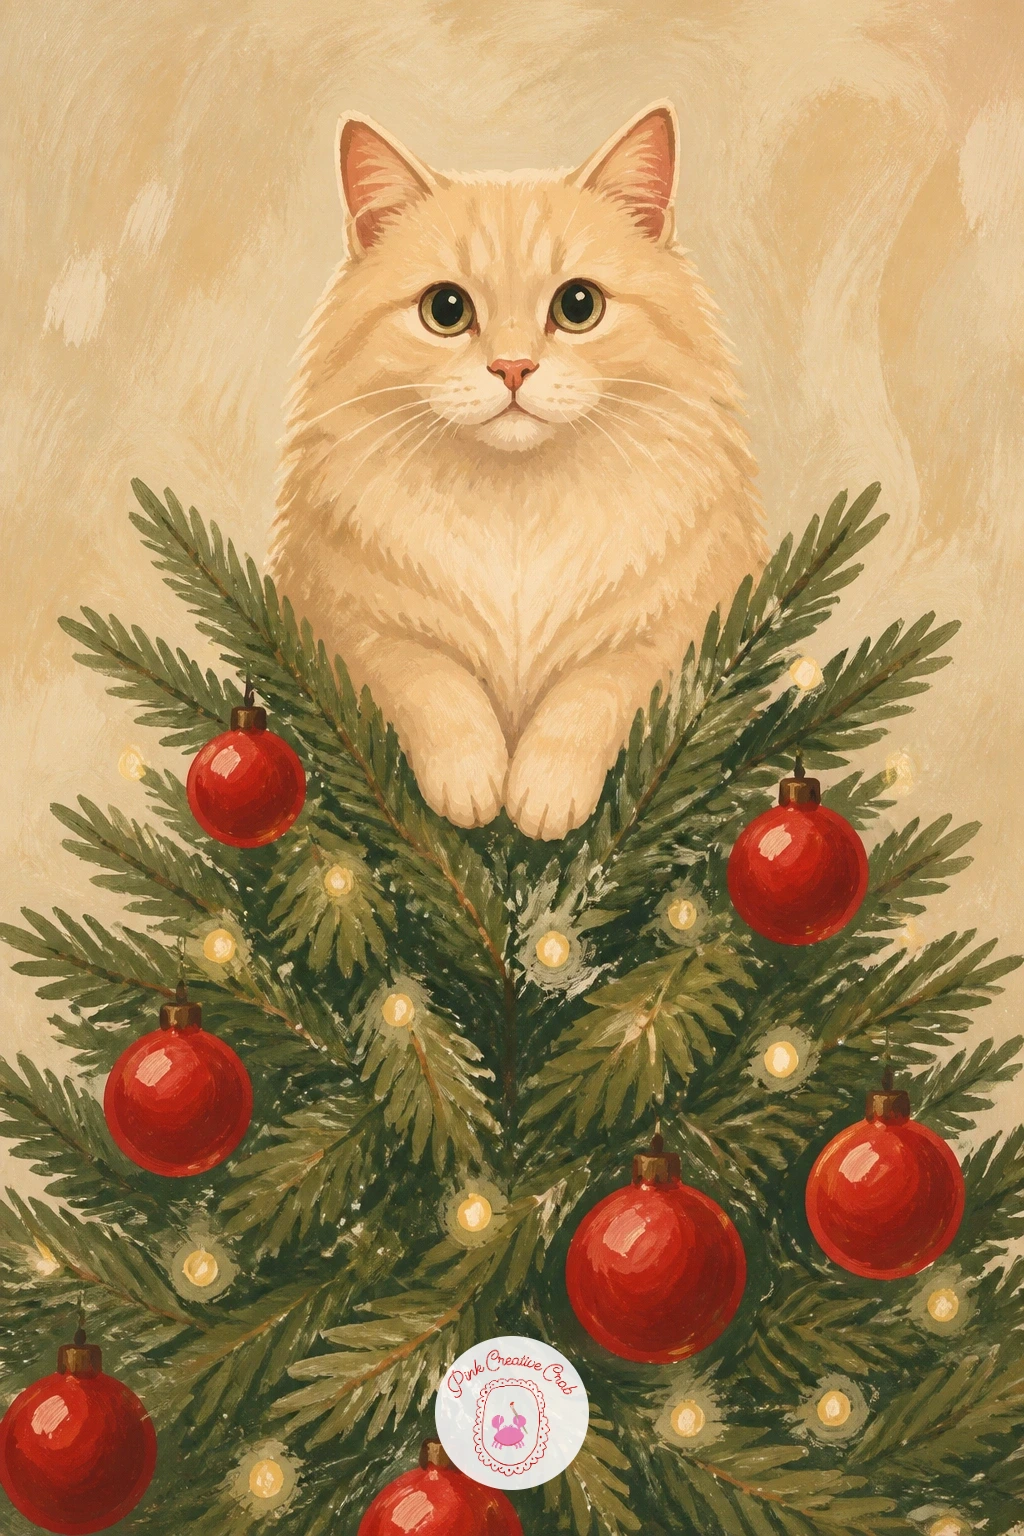
Start simple with a cat sitting inside a Christmas tree like a star, tucked into the top branches where the tree topper usually goes. Sketch a loose triangle for the tree first, then draw the cat’s round head and shoulders poking out of the top, as if it climbed in and decided to stay.
Paint the tree in two greens, a darker sage in the shadows and a lighter one on the branch tips, before you touch the cat at all. Once that is dry, paint the cat in cream or cocoa brown so it stands out clearly against the foliage, and add a few cherry red baubles tucked around it for color balance.
The common mistake here is making the tree too detailed and the cat too small, so keep the branches as simple loose triangles rather than drawing each needle. If your paper is too small for the whole tree, crop it close so only the top third shows, with the cat as the obvious star.
Finish with a few white gouache dots for fairy lights scattered through the branches, and stop before you add too many.
You Will Need
- heavyweight paper
- pencil for the sketch
- round brush size 6
- white gouache for lights
Palette: Sap Green,Cherry Red,Cream,Cocoa Brown
Try adding one gold ornament near the cat’s head to catch the eye first, since gold reads as the most special color against all that green.
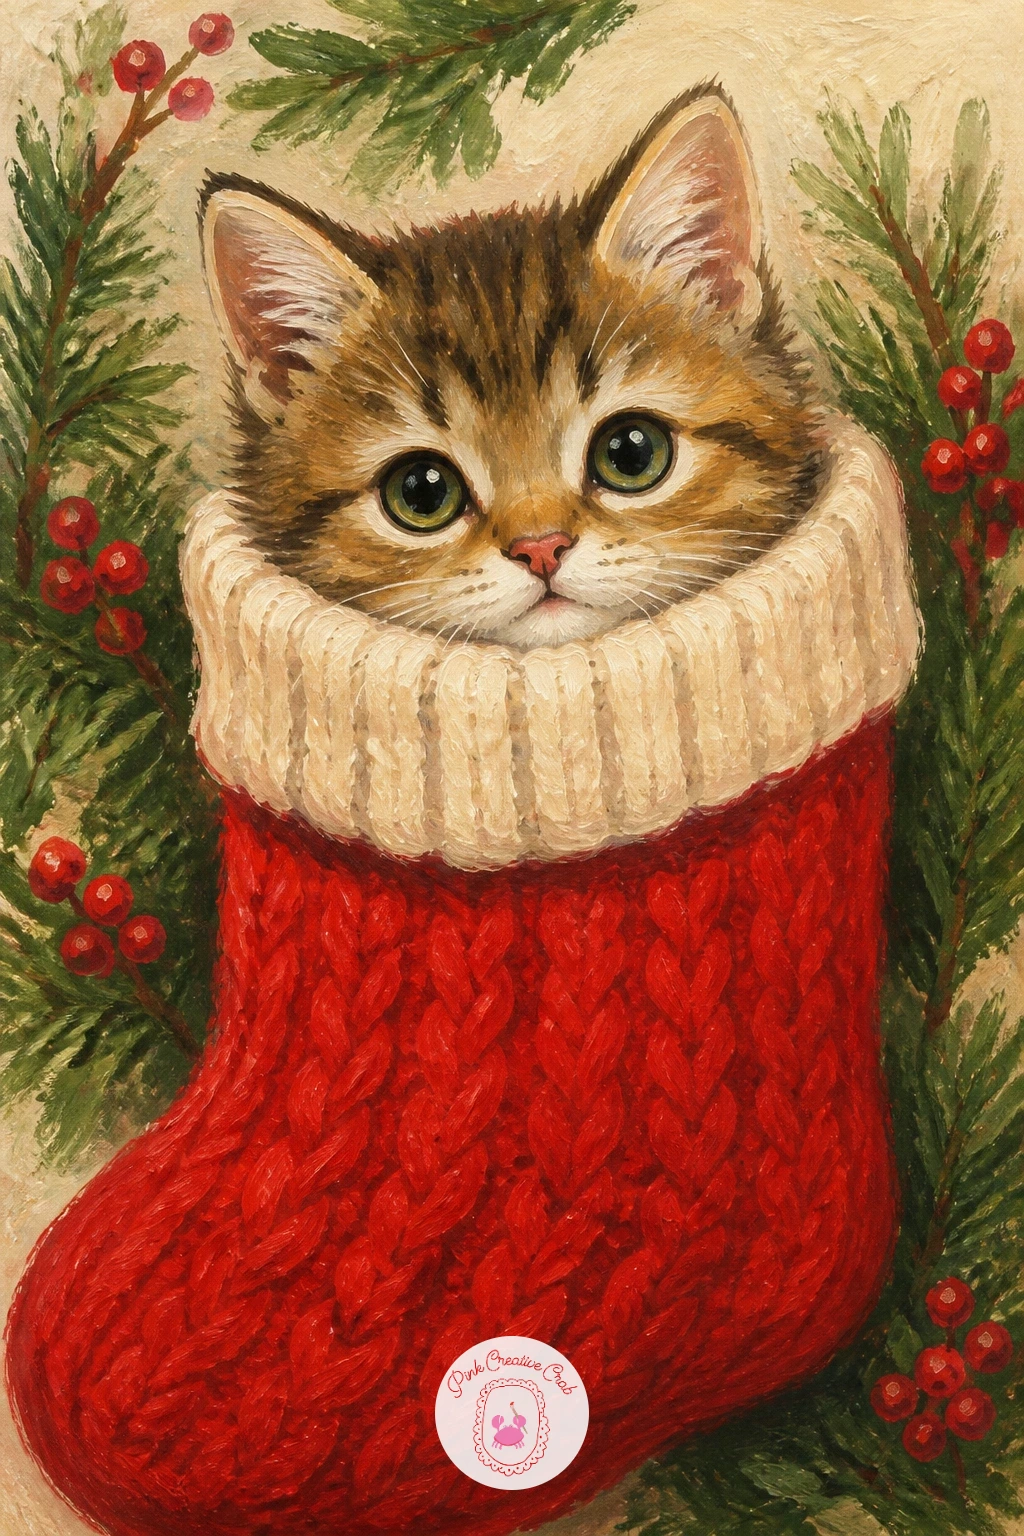
Move from tree to hearth with a kitten in a stocking with only its head out, peeking over the top like it got stuck there on purpose. Draw the stocking shape first, a long curved sock with a wide cuff at the top, then add the kitten’s round head and ears just above the opening.
Paint the stocking in cherry red with a cream cuff, keeping the brushstrokes smooth so it reads as soft knitted fabric. Let that dry fully before painting the kitten’s face, since wet-into-wet red and cream will muddy the fur color if you rush it.
A common slip is making the kitten’s head too small for the stocking, so measure the head against the stocking’s width before you commit to final lines, aiming for the head to take up at least a third of that width. If you do not have cherry red on hand, a deep rust or brick tone works just as well for the stocking.
Add a sprig of holly tucked into the cuff as your last small detail.
You Will Need
- heavyweight paper
- pencil
- round brush size 4
- holly reference image
Palette: Cherry Red,Cream,Sap Green,Cocoa Brown
Look at a real kitten photo for the proportion of head to ears, since kitten ears sit lower and wider apart than an adult cat’s.
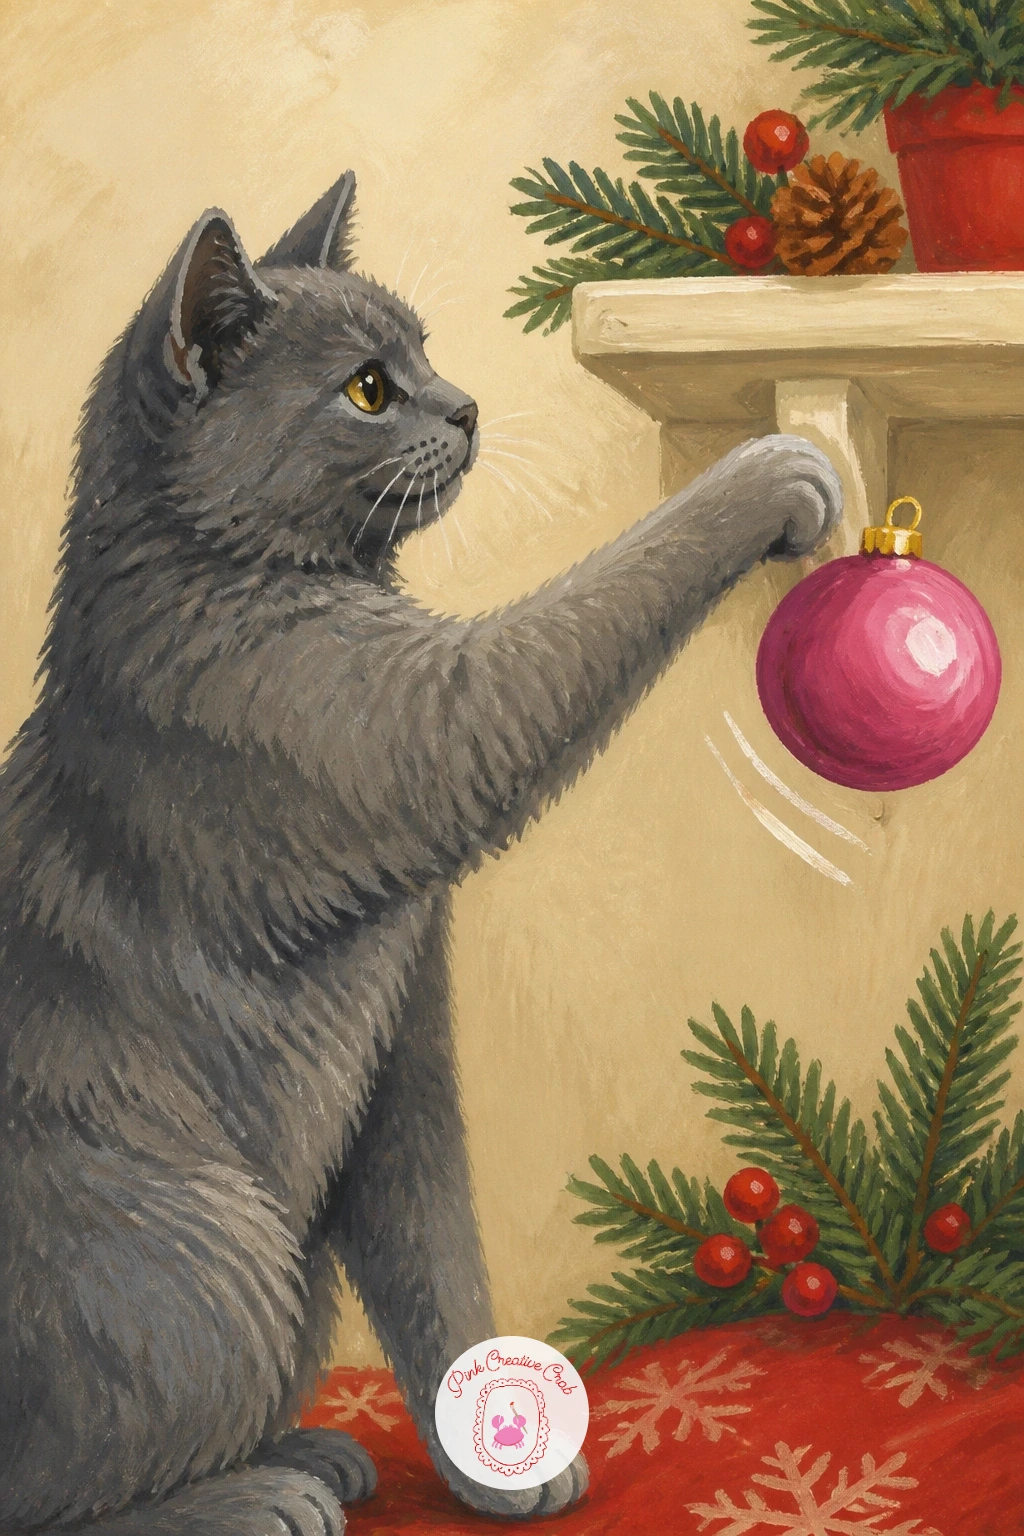
For a bit of mischief, try a cat knocking a pink bauble off a shelf, caught mid-swipe with one paw extended. Draw the shelf as a simple horizontal line first, then sketch the cat in profile sitting or crouching beside it, one front paw reaching toward the falling bauble.
Paint the shelf and wall in cream and cocoa brown so the cat and bauble pop forward, then block in the cat’s body before adding the pink bauble mid-fall below the shelf edge. The trick to selling the motion is leaving a gap of white space between the bauble and the shelf, so the eye reads it as already in the air.
This idea goes wrong most often when the paw looks stiff, so loosen your wrist and draw the reaching leg in one quick confident stroke rather than several careful ones. No pink gouache on hand means mixing cherry red with white works just as well.
Finish with a motion line or two behind the paw to suggest the swipe.
You Will Need
- heavyweight paper
- pencil
- round brush size 4
- white gouache for the motion line
Palette: Pink,Cocoa Brown,Cream,Charcoal Grey
Try this scene from a slightly lower angle looking up at the shelf, which makes the falling bauble feel higher and funnier.
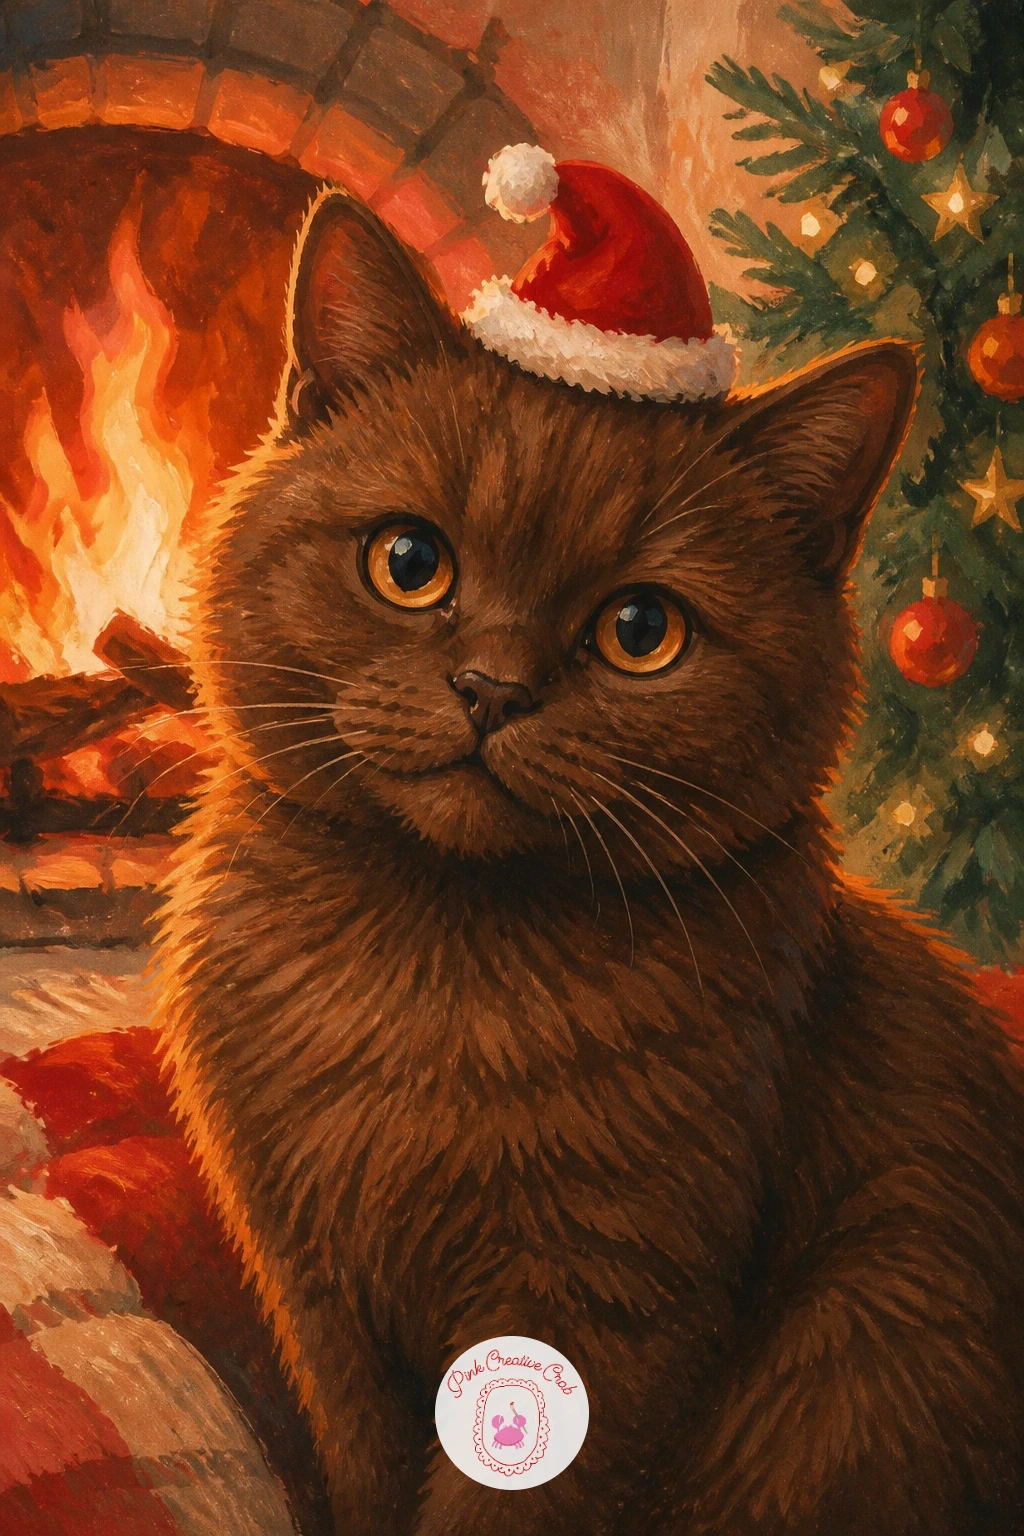
Settle things down with a cat wearing a tiny Santa hat by the fire, sitting upright and warm in front of a glowing hearth. Sketch the cat sitting tall first, then add the small pointed hat with its white trim sitting slightly tilted on one ear.
This is a good place to think about light source, since the firelight should come from one side and the cat’s fur should be warmer and brighter on that edge. Paint the base fur color first, then go back with a slightly orange-tinted cream along the lit side before adding the hat in cherry red with a cream pom.
The fire glow often ends up too even, so keep the opposite side of the cat in cooler cocoa brown shadow to make the warm side read clearly. If you want this idea for a quick evening project, see this list of cozy beginner Christmas sketches for more fireside inspiration.
Finish with a soft orange glow painted loosely behind the cat’s silhouette.
You Will Need
- heavyweight paper
- pencil
- round brush size 6
- orange gouache for firelight
Palette: Cherry Red,Cocoa Brown,Burnt Orange,Cream
Try warming your whole palette slightly with a touch of orange mixed into every color, which pulls the whole scene together under one fire glow.
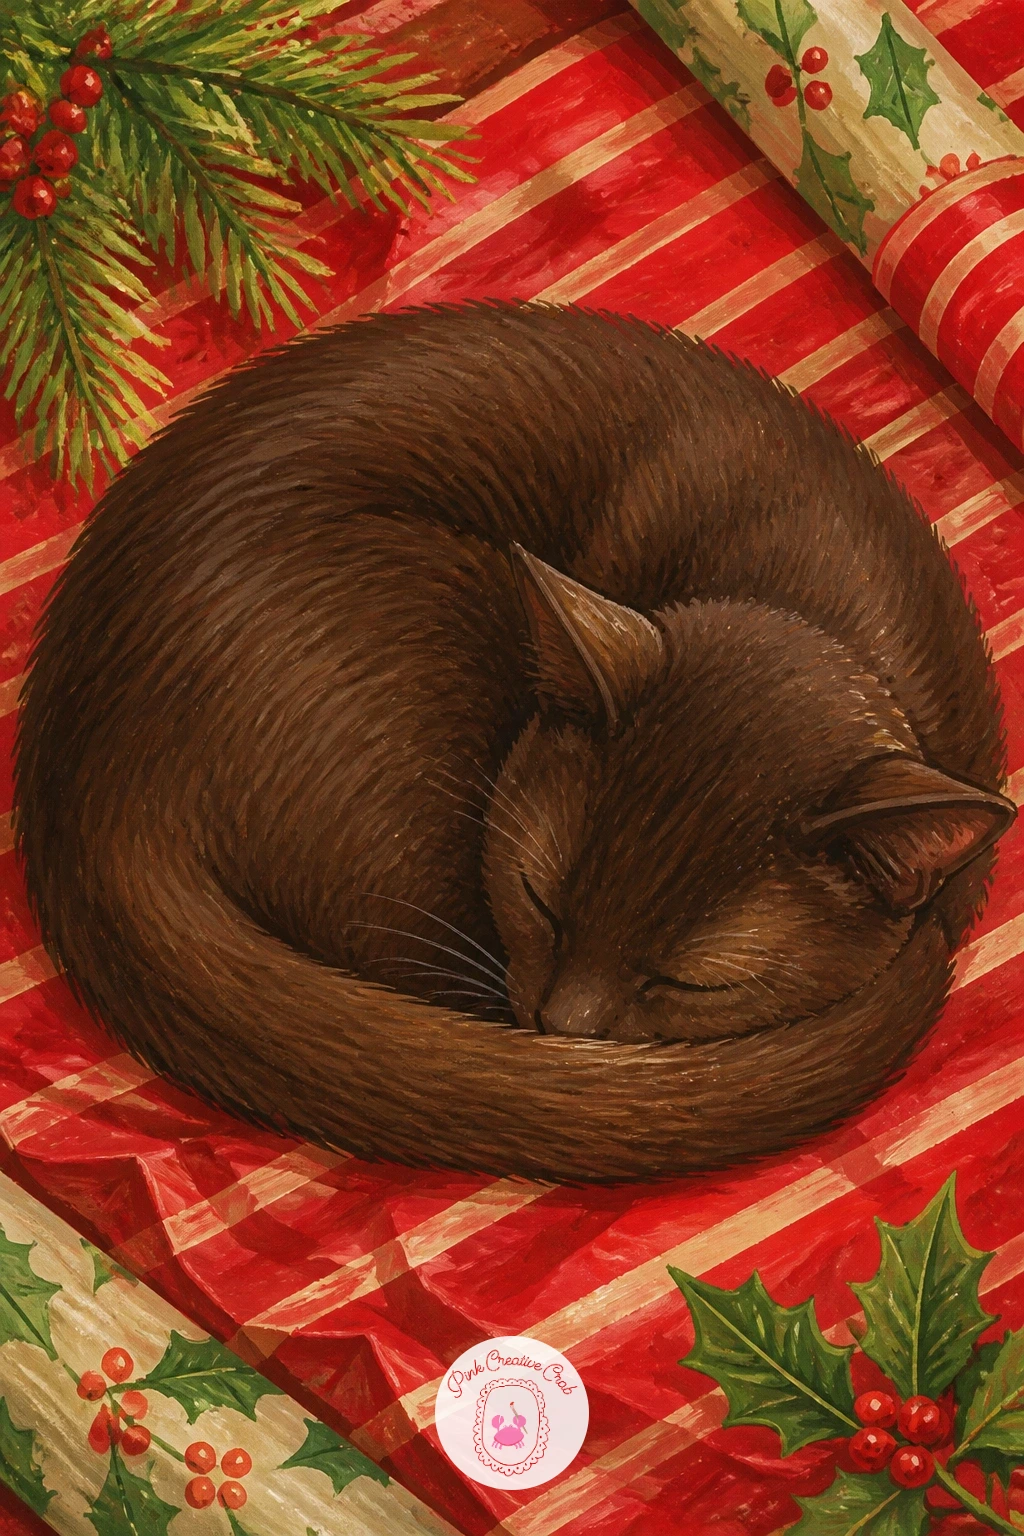
Slow the pace with a cat asleep on wrapping paper, curled into a loose circle on top of a half-unrolled sheet. Draw the paper roll first as a simple cylinder with the sheet unrolling flat beneath it, then sketch the cat curled on top with its tail wrapped around its nose.
Paint the wrapping paper pattern in cherry red stripes or simple sage dots before painting the cat, so you are not trying to paint fine pattern lines around a finished fur edge. Keep the cat’s shape as one soft rounded mass, since a sleeping curled cat has almost no visible legs or sharp angles.
The usual trouble spot is the tail, which can look like a separate stripe rather than part of the cat, so curve it close against the body and keep the same fur color running through it. Plain cream paper with a single ribbon works fine if you do not want to paint a pattern.
Add one curled ribbon trailing off the edge of the paper as a final touch.
You Will Need
- heavyweight paper
- pencil
- round brush size 4
- fine brush for pattern lines
Palette: Cherry Red,Sage Green,Cream,Cocoa Brown
Try a diagonal wrapping paper pattern instead of straight stripes, which adds movement under the cat without competing with its shape.
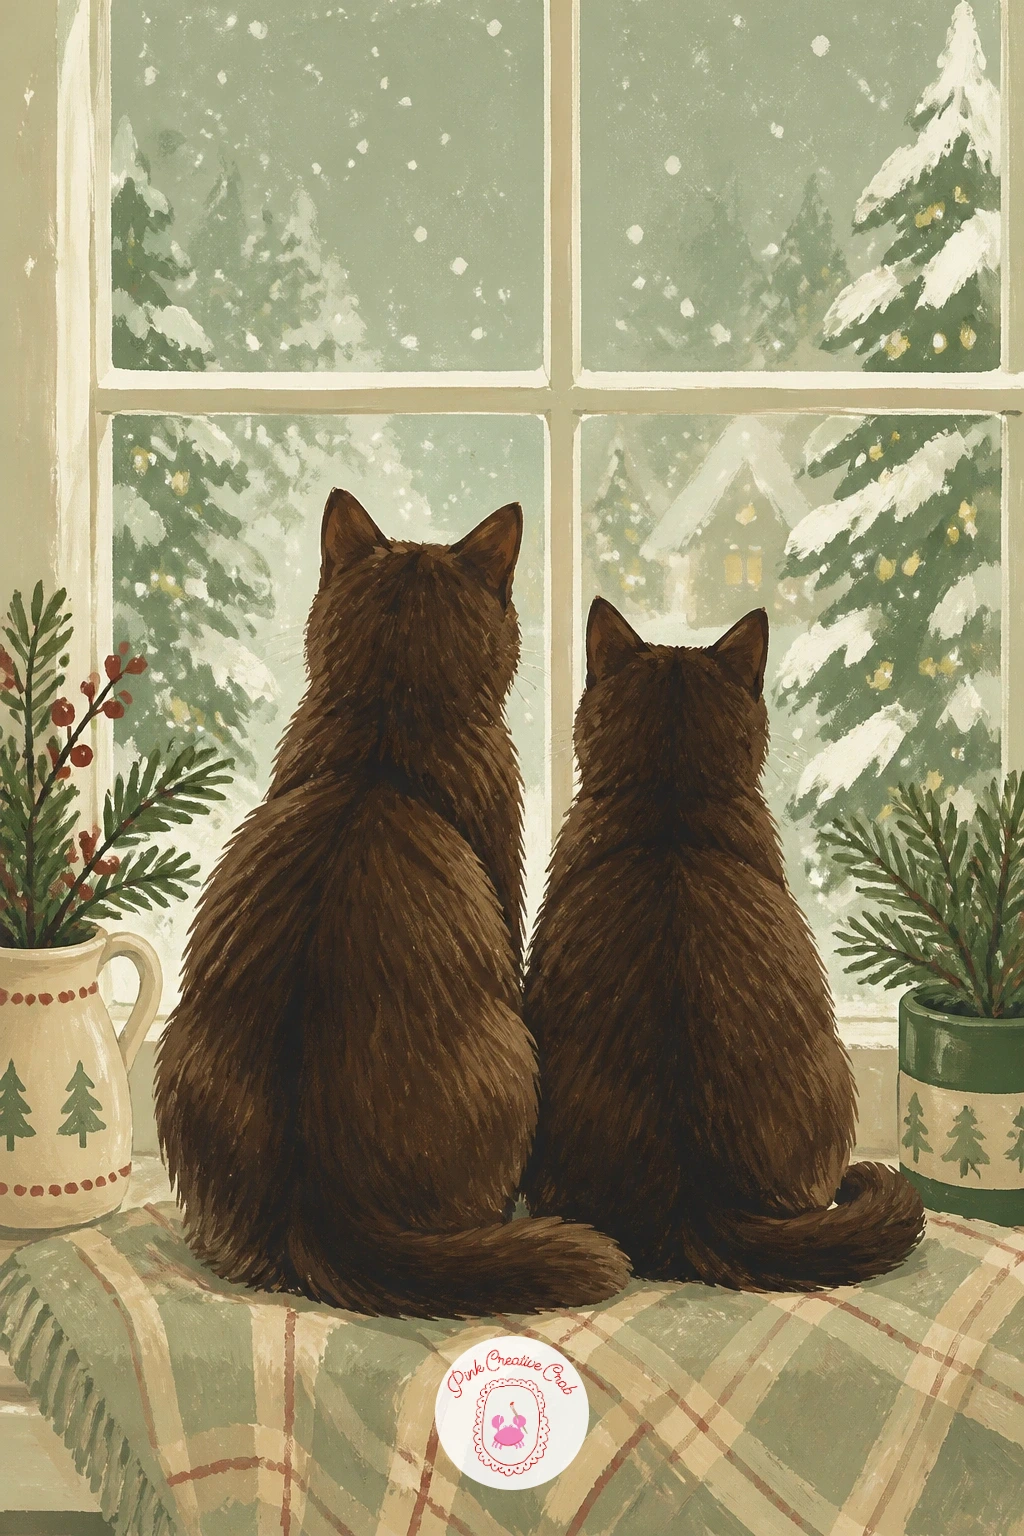
Here is your first two-cat composition: two cats watching snow from a window, sitting side by side on a sill with their backs mostly to the viewer. Sketch the window frame as a simple grid first, then place both cats as overlapping silhouettes, one slightly taller or further forward than the other for variety.
Paint the window and snowy view in cool sage and cream tones before adding the cats in cocoa brown, keeping their outlines dark enough to read clearly against the pale window light. This is a good place to think about silhouette: since you see mostly their backs, the ears and tail shapes carry all the personality, so vary their angles so the two cats do not look identical.
The scene flattens out if both cats face exactly the same way, so turn one head slightly toward the other. No sage on hand means a muted grey-green mixed from blue and yellow works for the snowy outside light.
Finish with a few dabs of white gouache for falling snow outside the glass.
You Will Need
- heavyweight paper
- pencil
- round brush size 6
- white gouache for snow
Palette: Sage Green,Cream,Cocoa Brown,Pale Blue
Try adding a small bird shape outside the window for the cats to watch, which gives both their heads something to point toward.
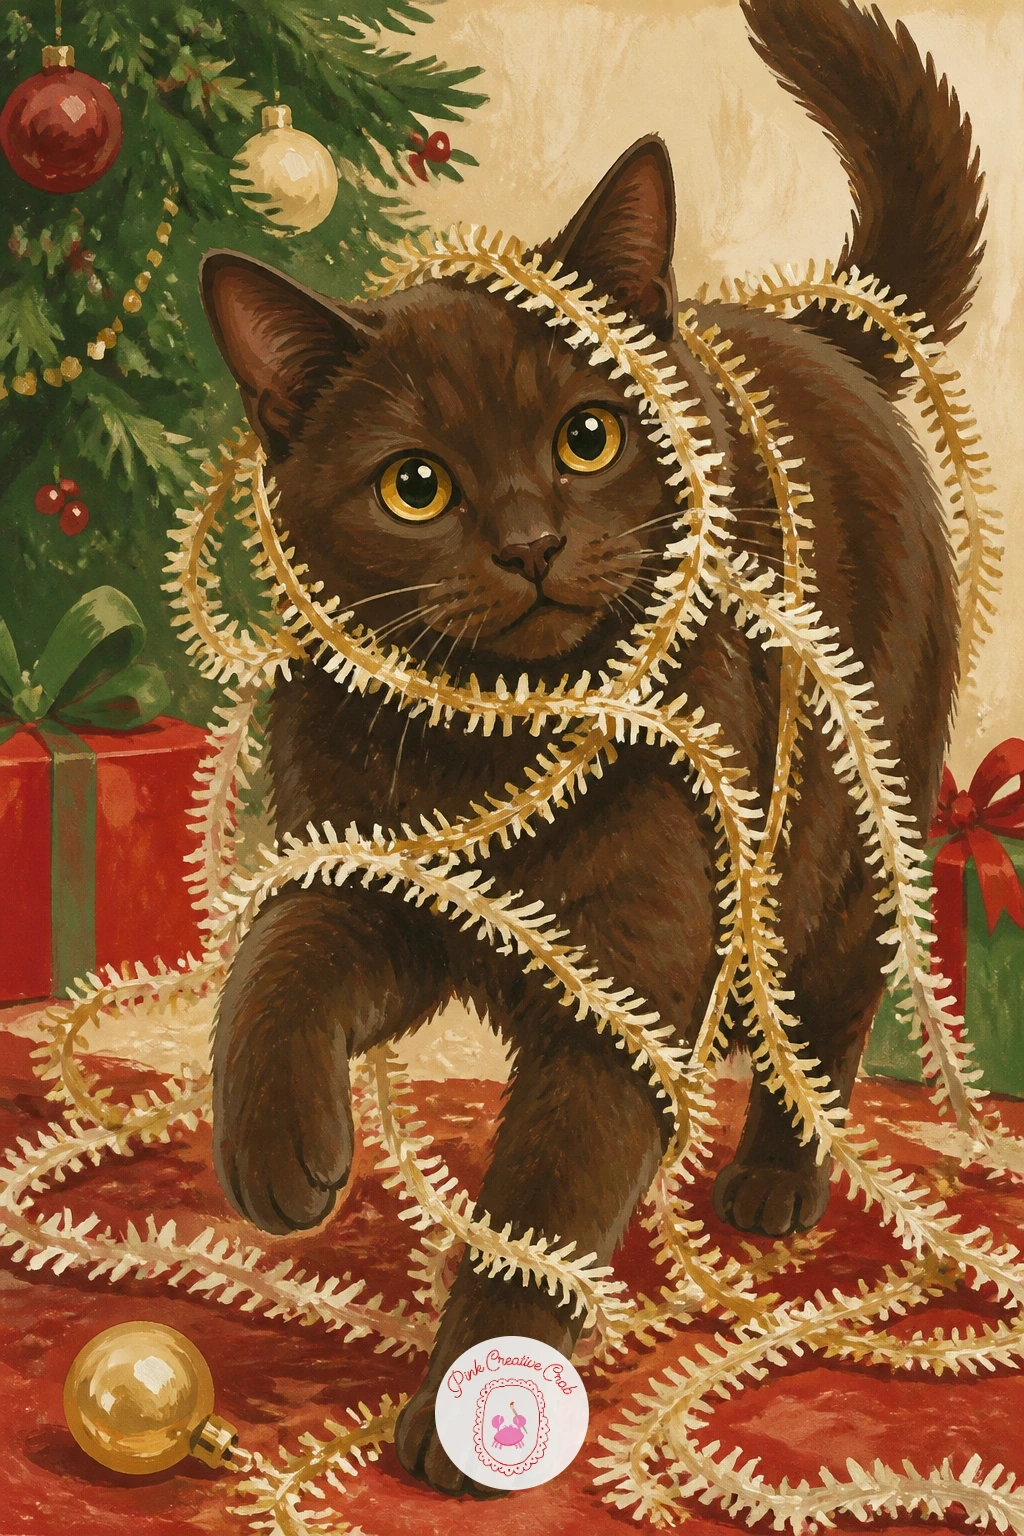
Pick up the pace with a cat tangled in tinsel, wrapped loosely in shiny strands with one strand trailing off a back leg. Sketch the cat in a slightly twisted pose first, since tangled suggests movement, then add the tinsel as loose looping lines over the sketch.
For the texture of tinsel, paint the cat’s body fully first and let it dry, then add the tinsel strands on top in cream and cherry red with a dry brush dragged lightly across the surface so the strokes look fuzzy rather than solid. This dry brush pass is what sells the shiny, slightly fuzzy look of tinsel over smooth paint.
Overworking the tinsel into thick solid ribbons is the main pitfall, so keep each strand thin and let some of the cat’s fur color show through gaps. If you do not have gold gouache, cream mixed with a touch of yellow stands in well.
Finish with a couple of loose ends flicked outward for extra energy.
You Will Need
- heavyweight paper
- pencil
- round brush size 4
- flat dry brush for tinsel texture
Palette: Cream,Cherry Red,Cocoa Brown,Pale Gold
Try flicking the dry brush in the direction the cat is moving, which makes the tinsel look like it is trailing rather than just draped.
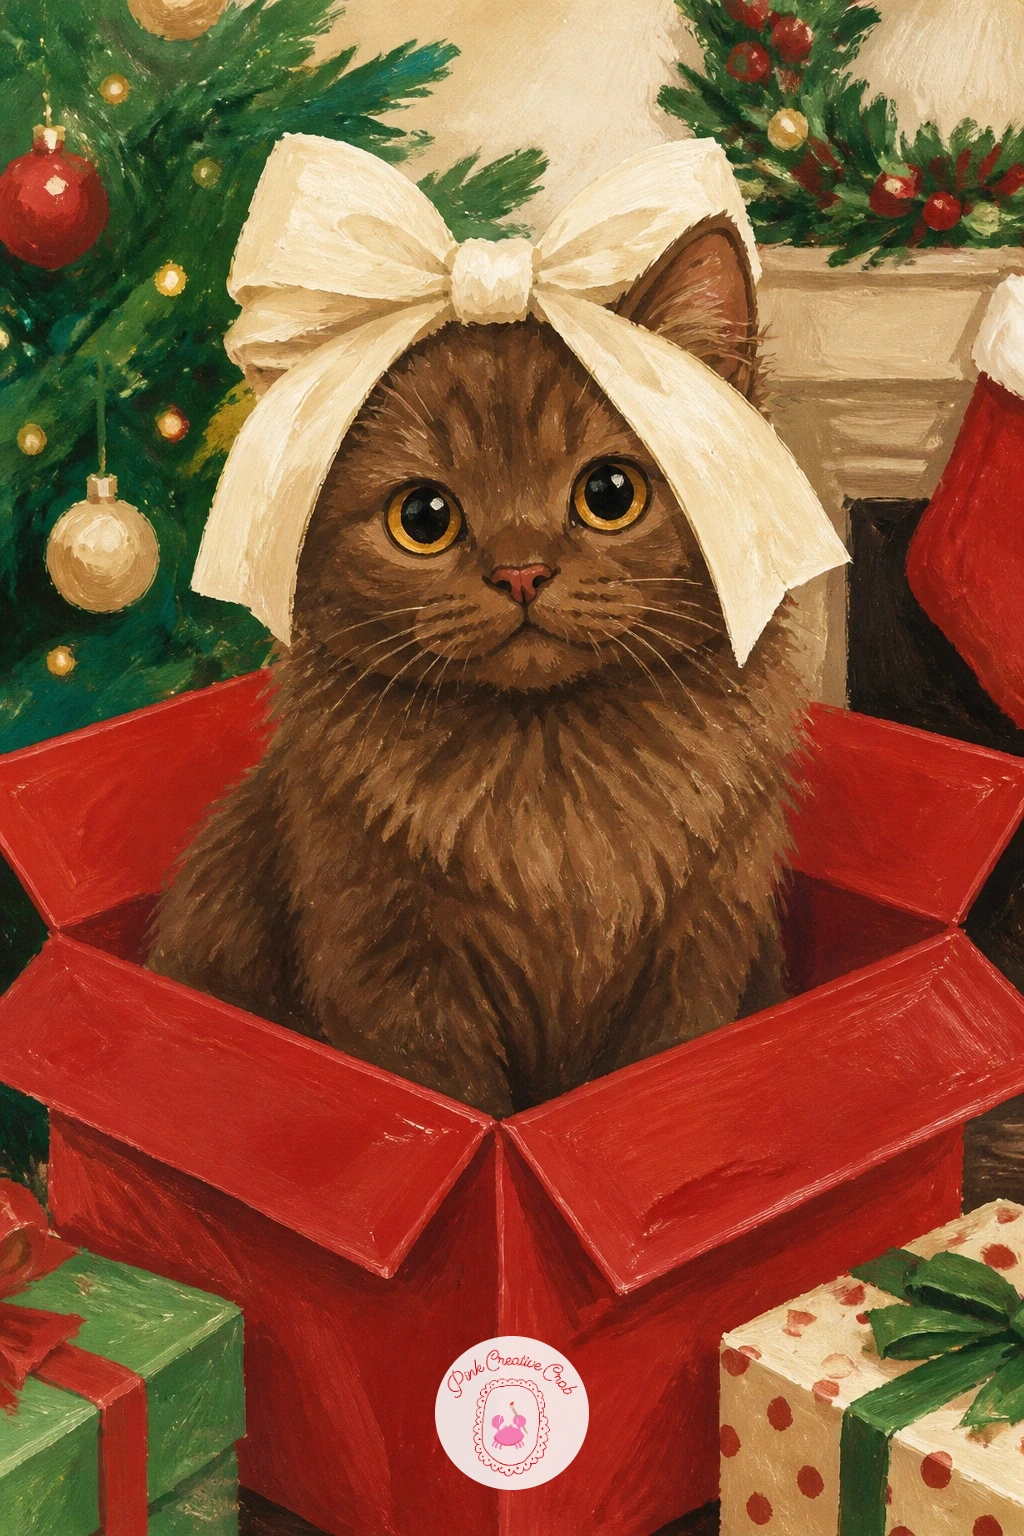
Box season arrives with a cat in a gift box with a bow on its head, sitting upright inside an open box like the best present under the tree. Draw the box first as a simple open cube shape, then sketch the cat sitting inside it with just the bow perched between its ears.
Paint the box in cherry red with a cream lid edge, then paint the cat sitting inside once the box color is dry, letting the top edge of the box overlap slightly in front of the cat’s lower body for depth. The bow goes on last in a contrasting cream or sage so it stands out clearly against the fur.
A flat-looking box is the usual problem, so add a thin darker red line along the inside edges of the box to suggest it has depth and the cat is actually sitting inside rather than behind it. A shoebox-shaped box works fine if a cube feels tricky to draw.
Finish with a little tissue paper peeking over one side of the box.
You Will Need
- heavyweight paper
- pencil
- round brush size 6
- fine brush for box edges
Palette: Cherry Red,Cream,Sage Green,Cocoa Brown
Try tissue paper in a pattern color rather than plain white, since a colored scrap peeking over the edge adds another small accent color.
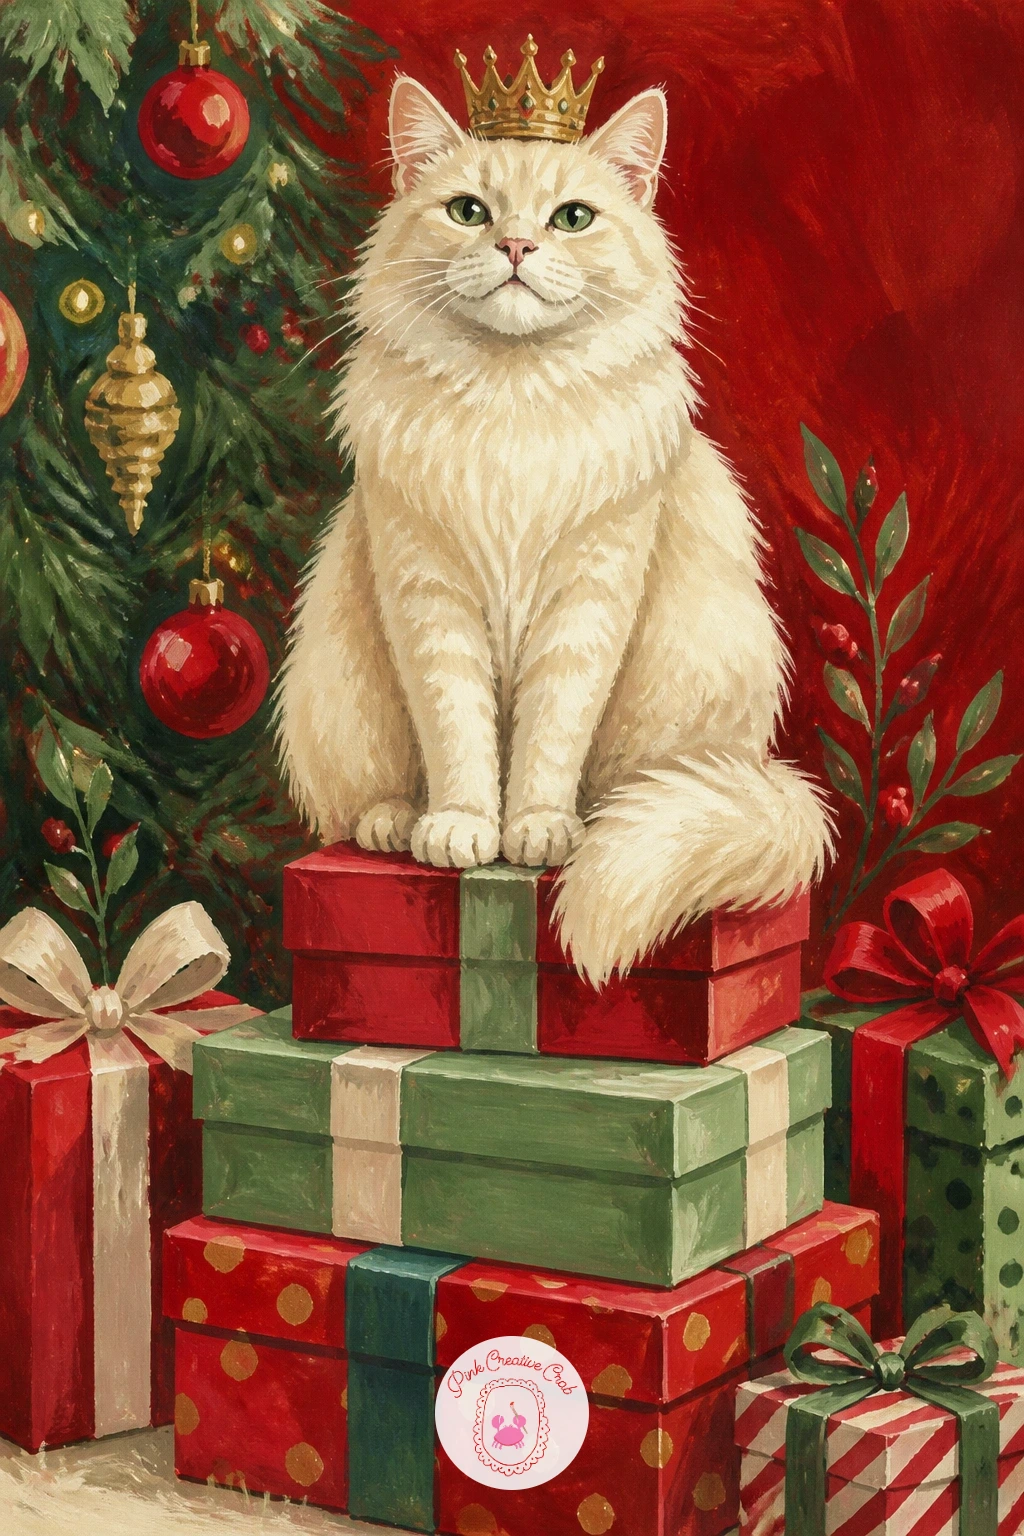
Give her a throne with a cat sitting on a stack of presents like a queen, perched regally on top of three or four stacked boxes. Sketch the boxes first in a simple stacked pyramid, varying their sizes so the stack looks stable, then draw the cat sitting tall and proud on top.
Paint each box in a different color from your palette, cherry red, sage and cocoa brown, so the stack reads as separate gifts rather than one block. Paint the cat last in cream so it reads as the clear focal point against the darker boxes below.
Posture is everything here, so lengthen the cat’s neck slightly and keep its chin lifted to read as regal rather than just sitting. If stacking three boxes feels fiddly, two larger ones work just as well for the same effect.
Add a thin gold ribbon line across one box for a final royal touch.
You Will Need
- heavyweight paper
- pencil
- round brush size 6
- fine brush for ribbon lines
Palette: Cream,Cherry Red,Sage Green,Cocoa Brown
Try tilting the cat’s head slightly to one side, which reads as more regal and amused than a perfectly straight-on pose.
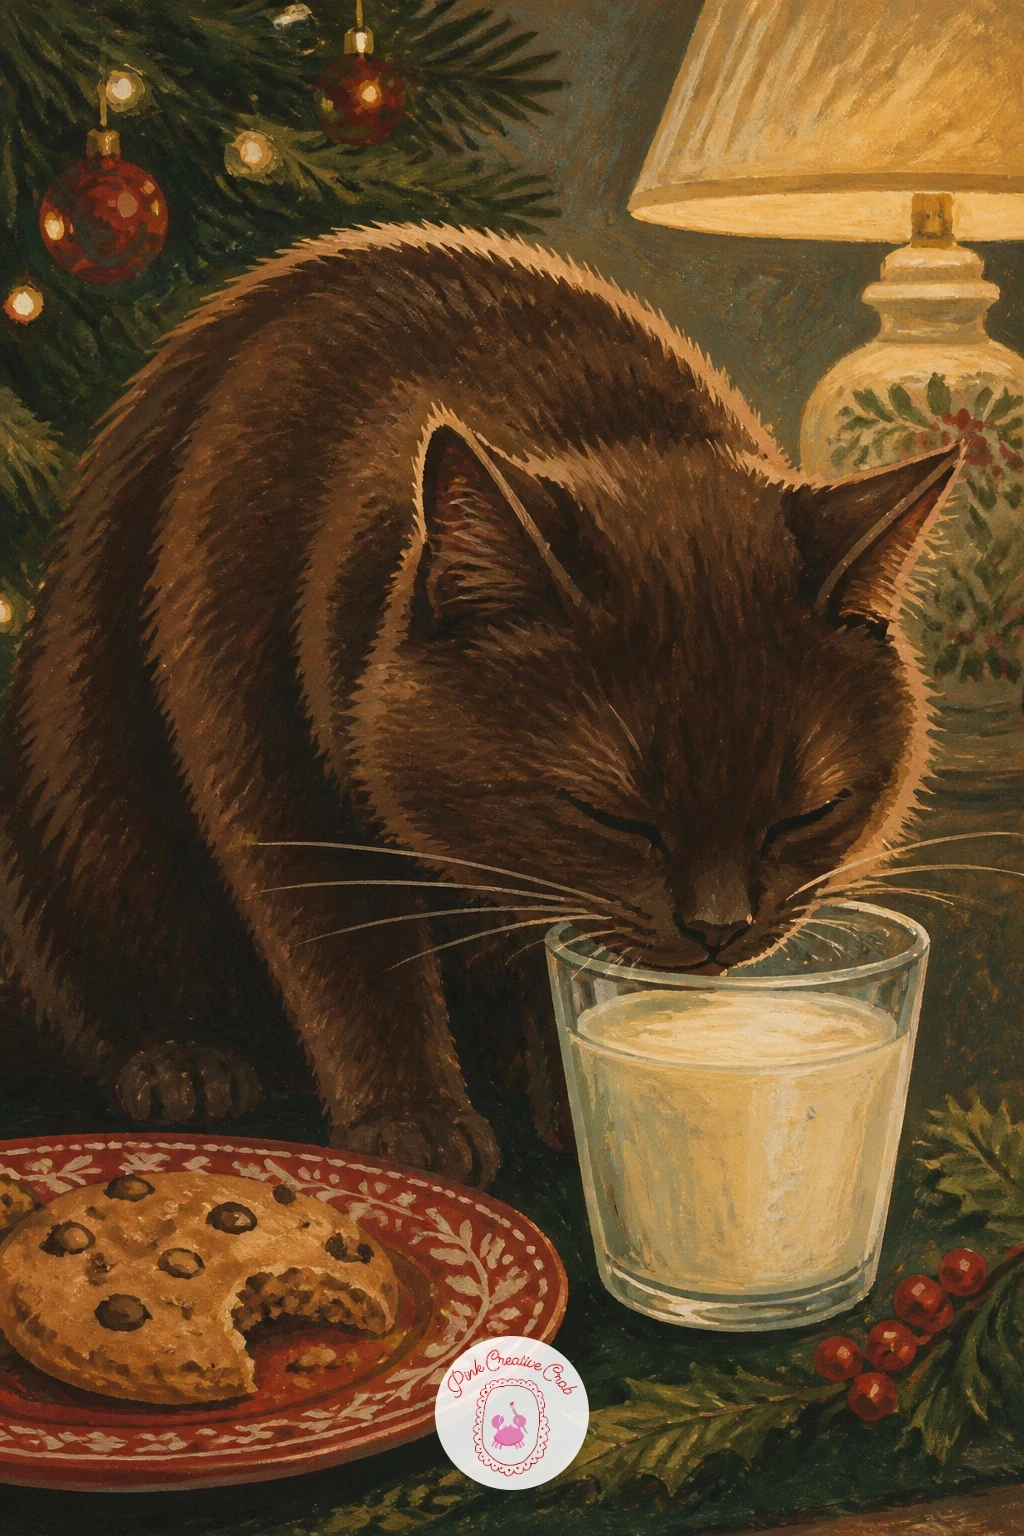
Caught in the act: a cat drinking milk left for Santa, head dipped low into a glass with cookies sitting untouched nearby. Sketch the glass and small plate of cookies first, then add the cat leaning in with its head lowered and back slightly arched.
This is a good scene to think through light source, since a single lamp or the tree lights usually give the only light in the room, so keep most of the scene in soft cocoa brown shadow with one bright highlight on the cat’s back and the glass. Paint the cat’s body first in shadow tones, then add the lit highlight last with a touch of white gouache mixed into the fur color.
The glass often ends up looking flat, so paint a thin pale blue-white highlight down one side of it to suggest glass catching light. A mug of milk works just as well as a glass if you find the glass shape tricky.
Finish with one cookie missing a bite for a bit of extra story.
You Will Need
- heavyweight paper
- pencil
- round brush size 4
- white gouache for highlights
Palette: Cocoa Brown,Cream,Pale Blue,Charcoal Grey
Try adding a faint warm glow from an unseen lamp just out of frame, which gives the whole scene a late night sneaking around feel.
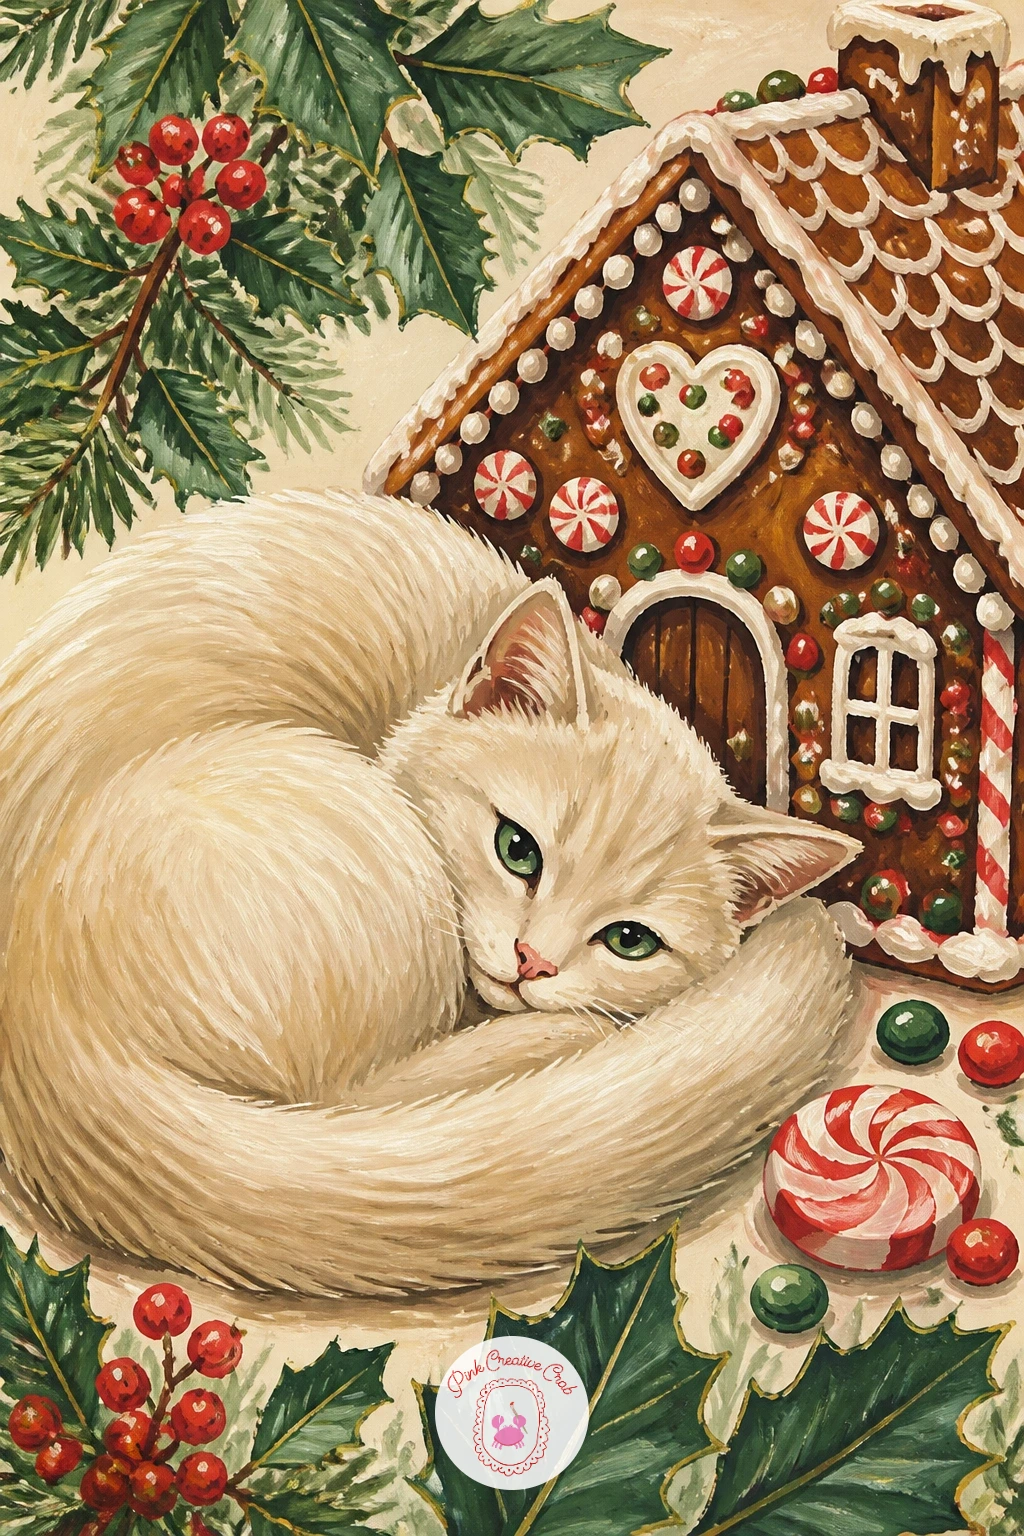
Bring in a sweet backdrop with a cat curled up next to a gingerbread house, resting beside it like a guard dog on duty. Sketch the gingerbread house first as a simple triangle roof on a square base, then curl the cat along one side of it, tail wrapped neatly around its paws.
Paint the house in cocoa brown with cream icing lines along the roof edges, letting the icing dry before you paint the cat so the lines stay crisp. The cat goes on next in a contrasting cream or grey so the two shapes read as clearly separate against each other.
Icing lines often end up too thick and heavy, so use a fine brush and thin white gouache for a lighter, more delicate line along each roof edge. If gingerbread brown feels too dark, a lighter tan works just as well for the house.
Finish with a couple of candy dot shapes in cherry red and sage along the roofline.
You Will Need
- heavyweight paper
- pencil
- fine brush for icing lines
- round brush size 4
Palette: Cocoa Brown,Cream,Cherry Red,Sage Green
Try this scene with a Victorian style cottage house instead of a plain gingerbread square, for anyone who enjoys a step by step Christmas lesson on drawing little buildings.
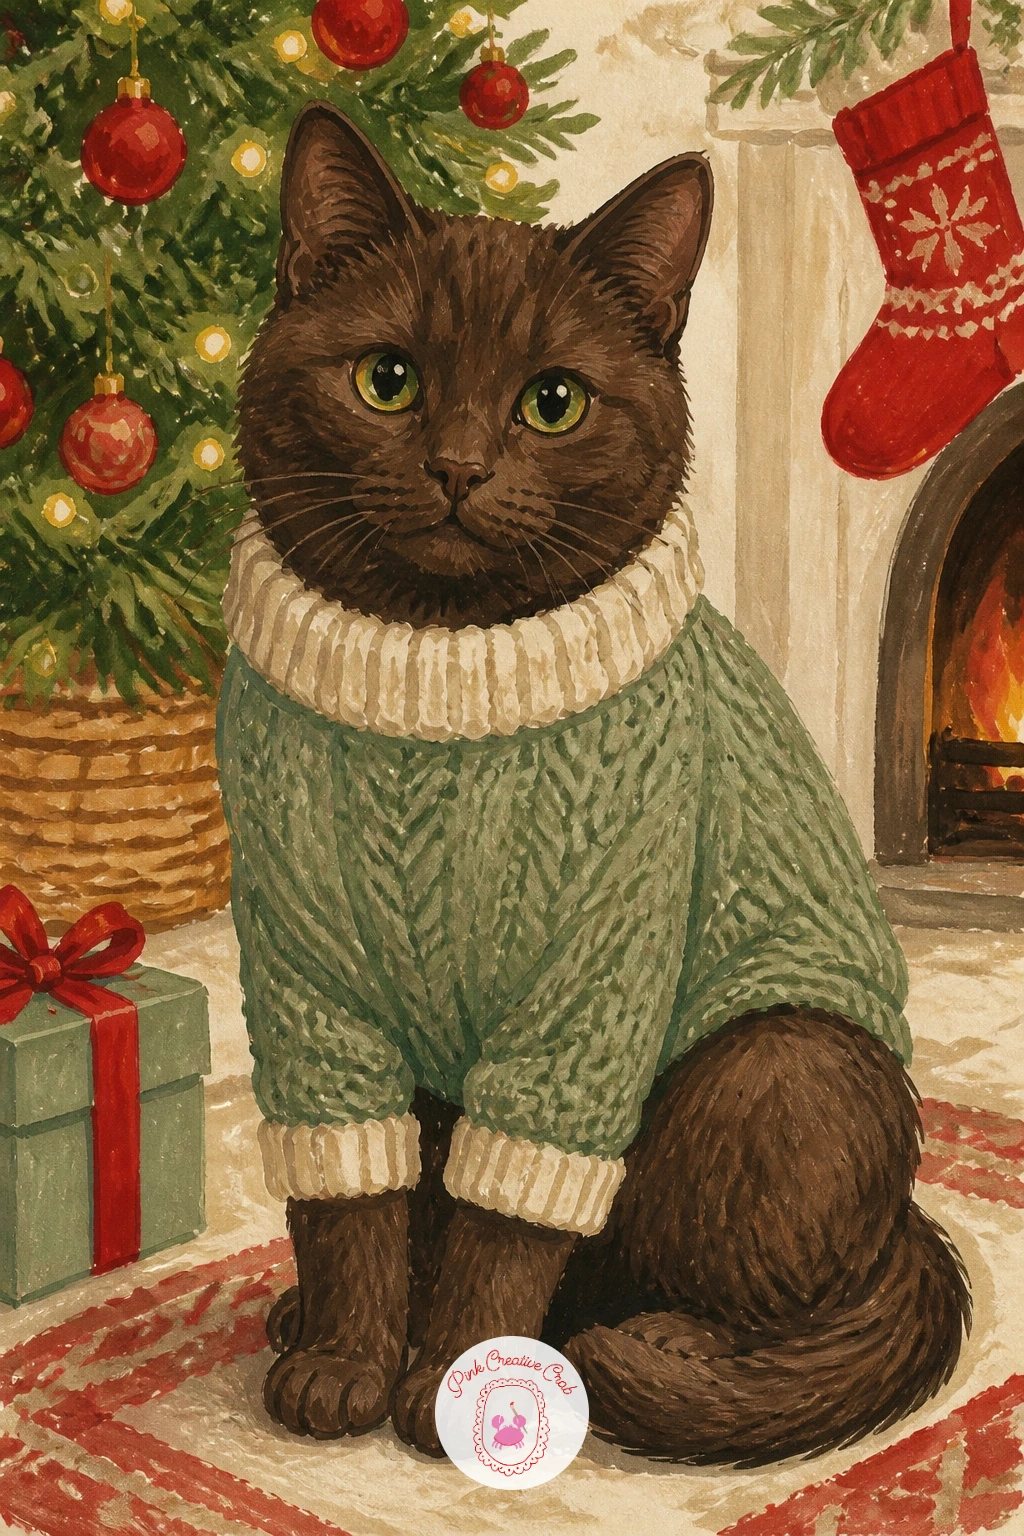
Cozy things up with a cat in a knitted sweater, sitting upright and slightly puffed out in a chunky holiday jumper. Sketch the cat’s body first, then add the sweater as a simple rounded shape covering the torso, leaving the head, legs and tail free of fabric.
Paint the sweater in sage green or cherry red with a simple knit pattern, a few short diagonal dashes in a contrasting color, painted after the base sweater color has dried. Keep the pattern loose and spaced out rather than covering every inch, since too much pattern competes with the cat’s face.
The sweater often ends up looking painted on rather than knitted, so leave a slightly raised, bumpy edge around the neck and sleeve openings using small dabs rather than a smooth line. A plain sweater with one stripe works fine if the knit pattern feels fiddly.
Finish with a small ribbed collar in cream around the neckline.
You Will Need
- heavyweight paper
- pencil
- round brush size 4
- fine brush for knit pattern
Palette: Sage Green,Cherry Red,Cream,Cocoa Brown
Try a simple snowflake or candy cane shape worked into the sweater pattern once you feel confident, instead of plain dashes.
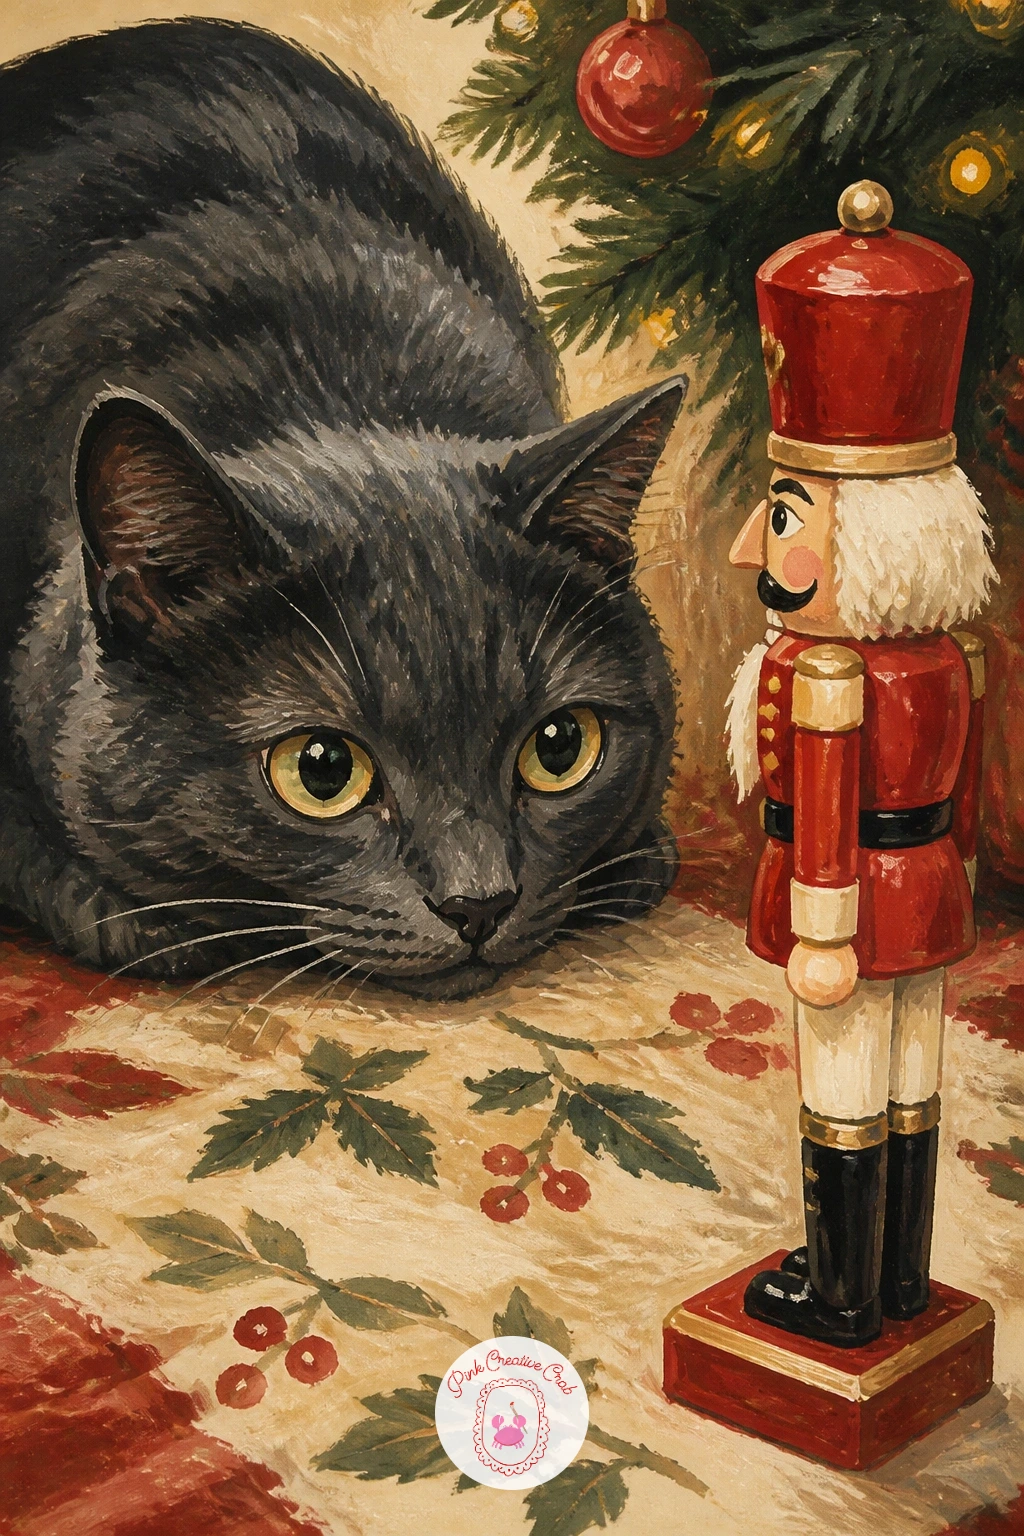
Add some tension with a cat staring at a nutcracker, crouched low and fixated on the tall wooden figure across from it. Sketch the nutcracker first as a simple tall rectangle with a pointed hat, then draw the cat crouched in profile facing it, ears forward and tail flicked out behind.
Paint the nutcracker in cherry red and cream with cocoa brown details for the uniform trim, keeping the shapes simple and toy-like rather than detailed. Paint the cat last in a solid dark tone so its silhouette reads clearly as the tense, focused shape in the scene.
The standoff loses its humor if the cat looks relaxed, so keep the back slightly hunched and the eyes wide and round rather than sleepy. If a full nutcracker figure feels like too much detail, a simpler toy soldier shape works the same way.
Finish with a thin shadow beneath both figures to ground them on the same surface.
You Will Need
- heavyweight paper
- pencil
- round brush size 4
- fine brush for uniform details
Palette: Cherry Red,Cream,Cocoa Brown,Charcoal Grey
Try widening the cat’s pupils more than usual, since round dilated eyes read as intense focus even in a simple illustrated style.
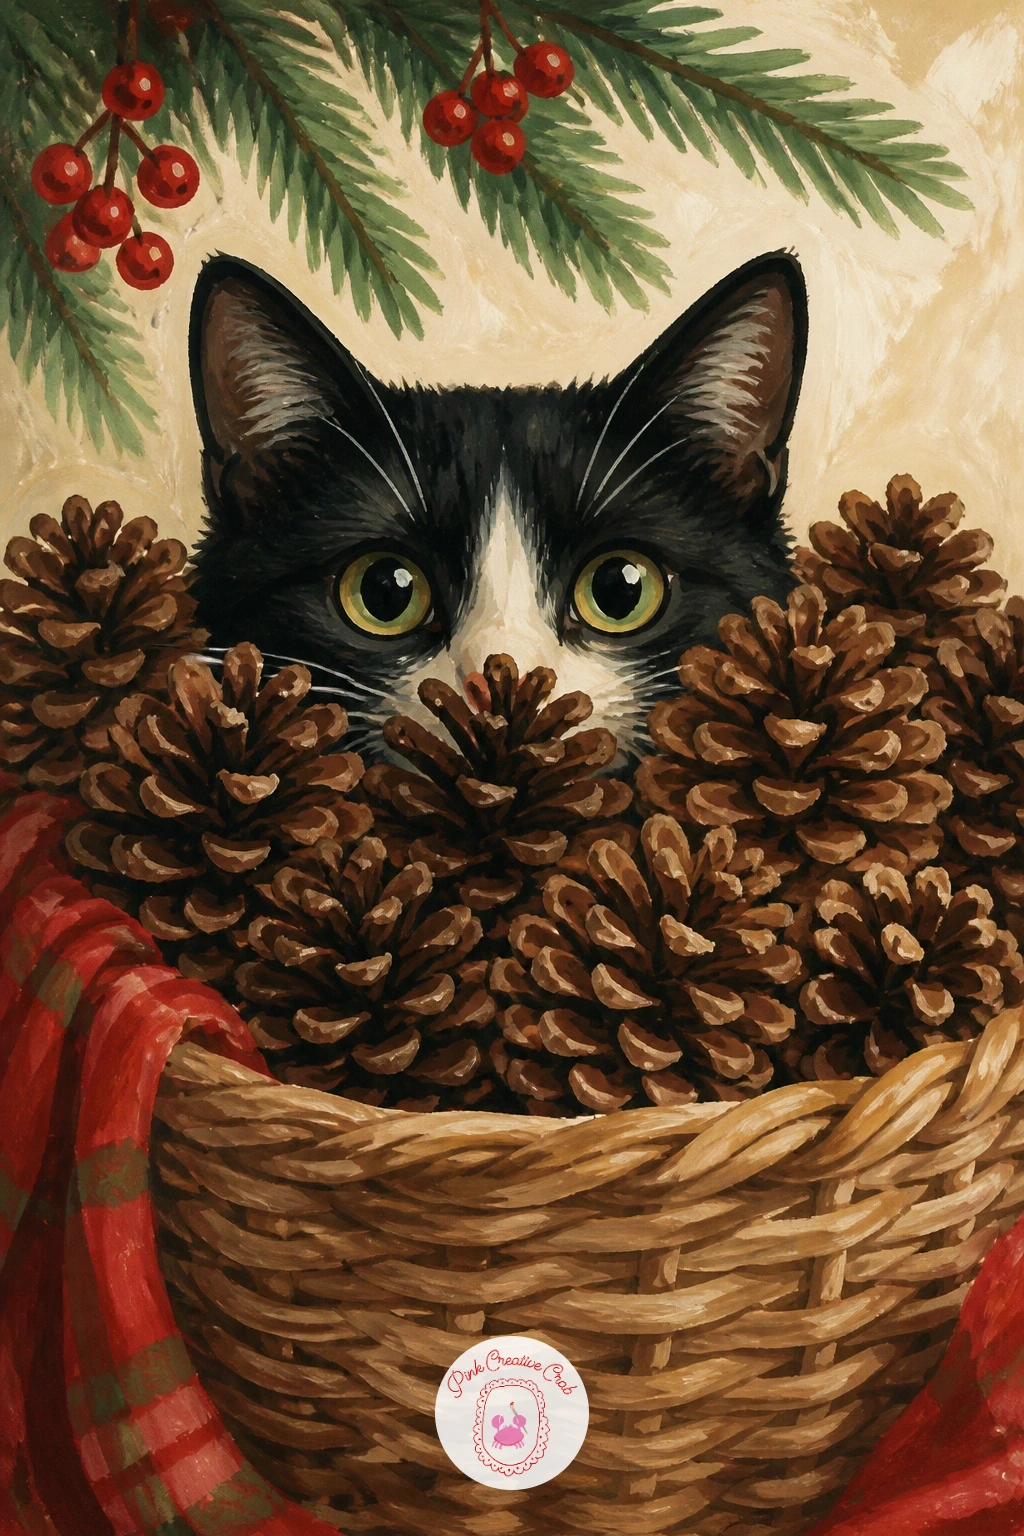
Try texture play with a cat hiding in a basket of pine cones, tucked down low with just ears and eyes visible over the rim. Sketch the basket as a wide oval first, then fill it loosely with small pine cone shapes before adding the cat peeking from among them.
Paint the pine cones in layered cocoa brown, a darker base coat first and lighter dry brush strokes added once dry to suggest their scaly texture. This dry brush layering is the trick that makes a pine cone read as textured rather than just a brown oval.
Too many identical pine cones can clutter the basket, so vary their sizes and only fully paint the three or four nearest the cat, leaving the rest as looser suggested shapes. A basket of pine cones can be swapped for a basket of wrapped gifts if pine cones feel repetitive to paint.
Finish with the cat’s eyes as the brightest point in the whole piece, drawing the eye straight to them.
You Will Need
- heavyweight paper
- pencil
- round brush size 4
- flat dry brush for pine cone texture
Palette: Cocoa Brown,Cream,Charcoal Grey,Sage Green
Try adding a sprig of real looking sage leaves tucked among the pine cones for a touch of green that breaks up all the brown.
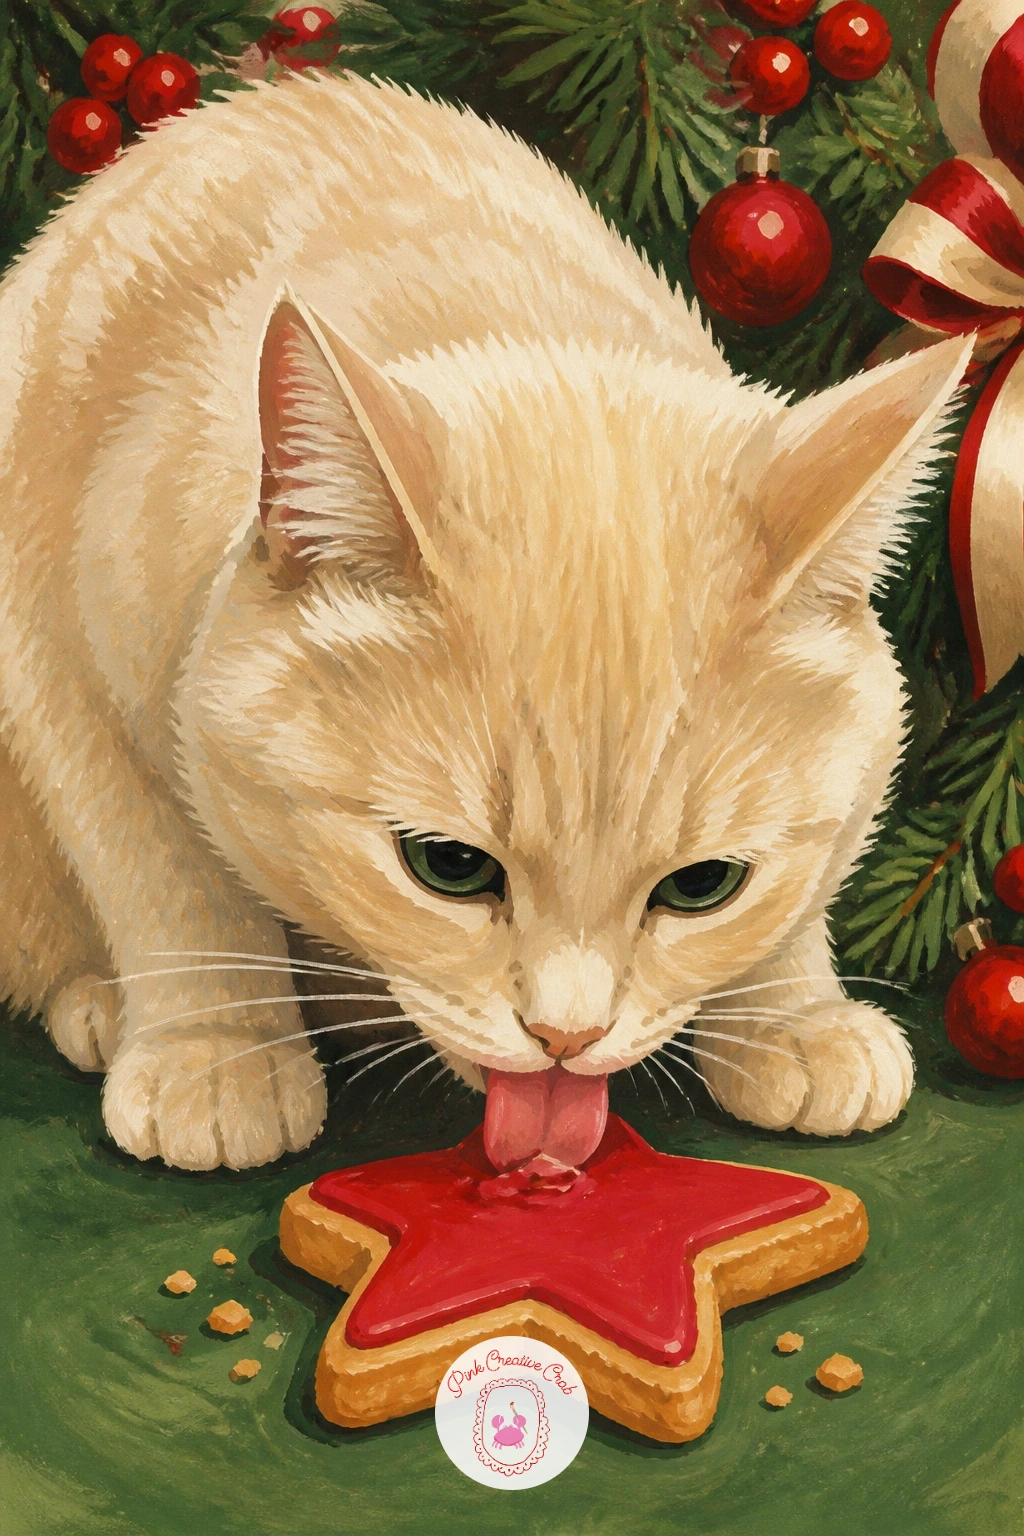
Keep the mischief going with a cat licking icing off a cookie, tongue out and paw holding the cookie steady on the floor. Sketch the cookie first as a simple star or round shape, then draw the cat crouched over it with its head tilted down and tongue extended.
Paint the cookie in cream with cherry red icing details, letting it dry fully before adding the cat so the icing edges stay crisp rather than bleeding into the fur color. The tongue is a tiny but important detail, so keep it small and pink, painted last with the tip of a fine brush.
An overly long or wide tongue reads as odd rather than funny, so keep it short and slightly curled, just long enough to clearly reach the icing. If icing feels tricky to paint neatly, a plain gingerbread cookie with one bite missing works as a simpler alternative.
Finish with a few crumbs scattered around the cookie for extra story.
You Will Need
- heavyweight paper
- pencil
- fine brush for tongue and icing
- round brush size 4
Palette: Cream,Cherry Red,Pink,Cocoa Brown
Try this idea alongside the cookies from this list of cozy beginner Christmas sketches for more food-themed pairings.
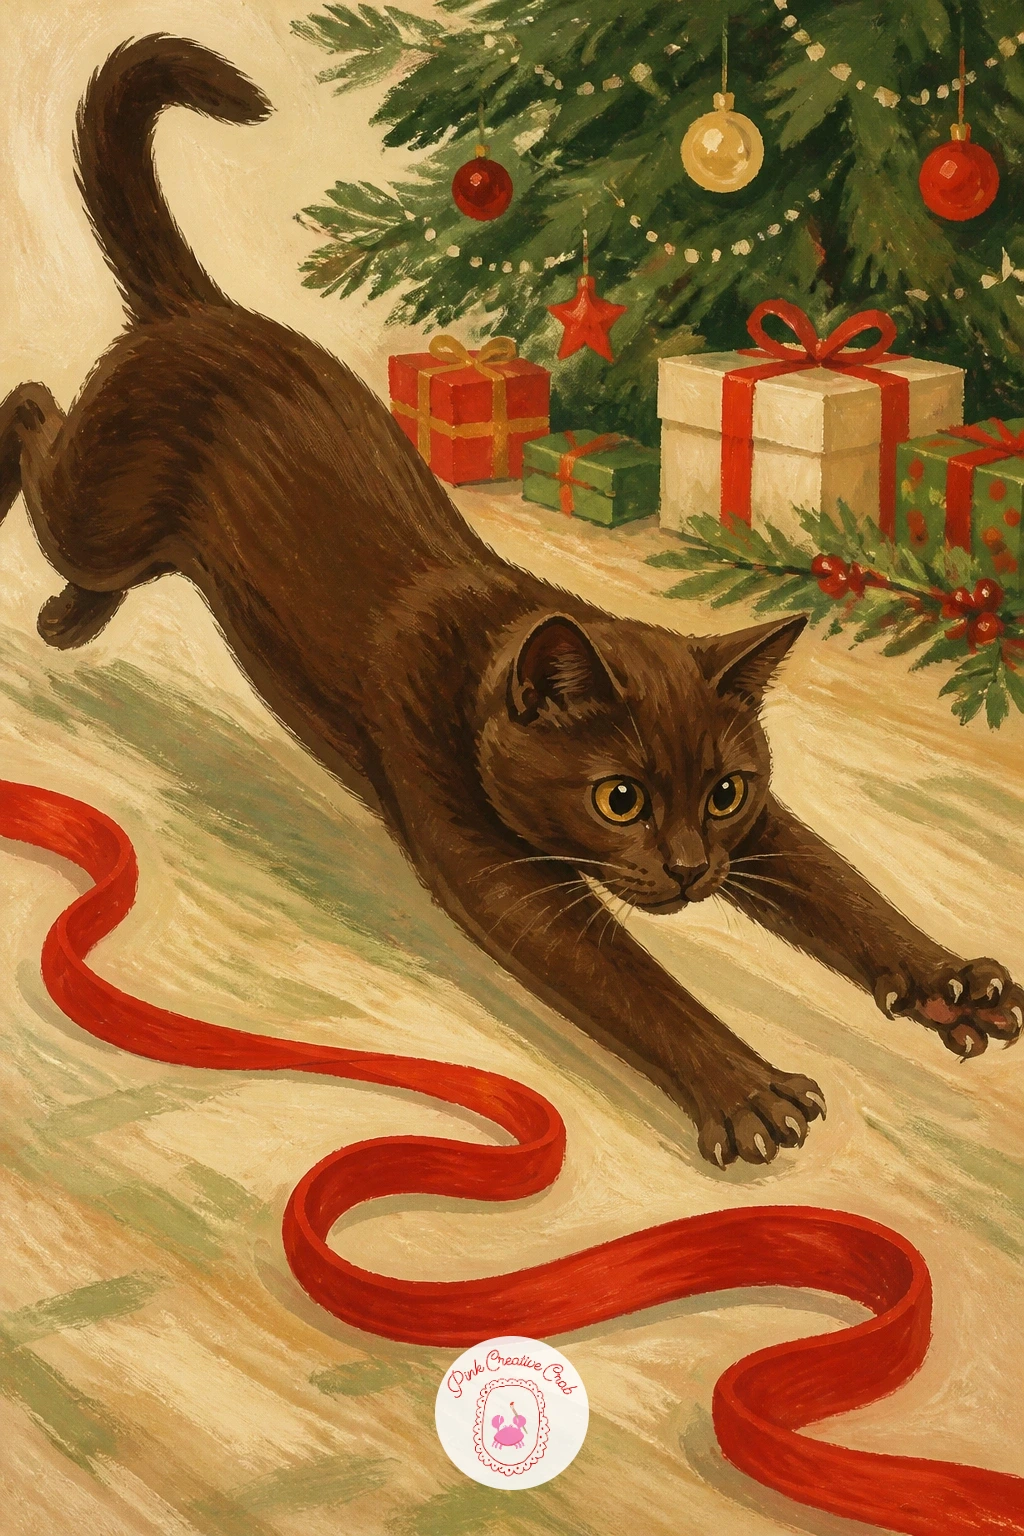
Add movement with a cat chasing a ribbon across the floor, caught mid-leap with the ribbon trailing just out of reach. Sketch the cat in a stretched, dynamic pose first, front paws extended and back legs pushing off, then add the ribbon curving ahead of it in a loose S shape.
Paint the ribbon first in cherry red so you can plan the cat’s pose around where it leads the eye, then paint the cat in cocoa brown or cream, keeping the whole body elongated to suggest speed. This quick ten-minute version can stop right there with a plain background.
A forty-minute version adds a soft motion blur behind the back paws using a dry brush dragged lightly in the direction of movement, plus a floor shadow to ground the leap. A stiff, symmetrical pose is the main thing that kills the energy here, so keep the body curved and the legs at different angles.
Finish with the ribbon’s end trailing off the edge of the page.
You Will Need
- heavyweight paper
- pencil
- round brush size 4
- flat dry brush for motion blur
Palette: Cherry Red,Cocoa Brown,Cream,Charcoal Grey
Try sketching the ribbon’s curve before the cat’s pose, since a good ribbon shape naturally tells you where the body should stretch toward.
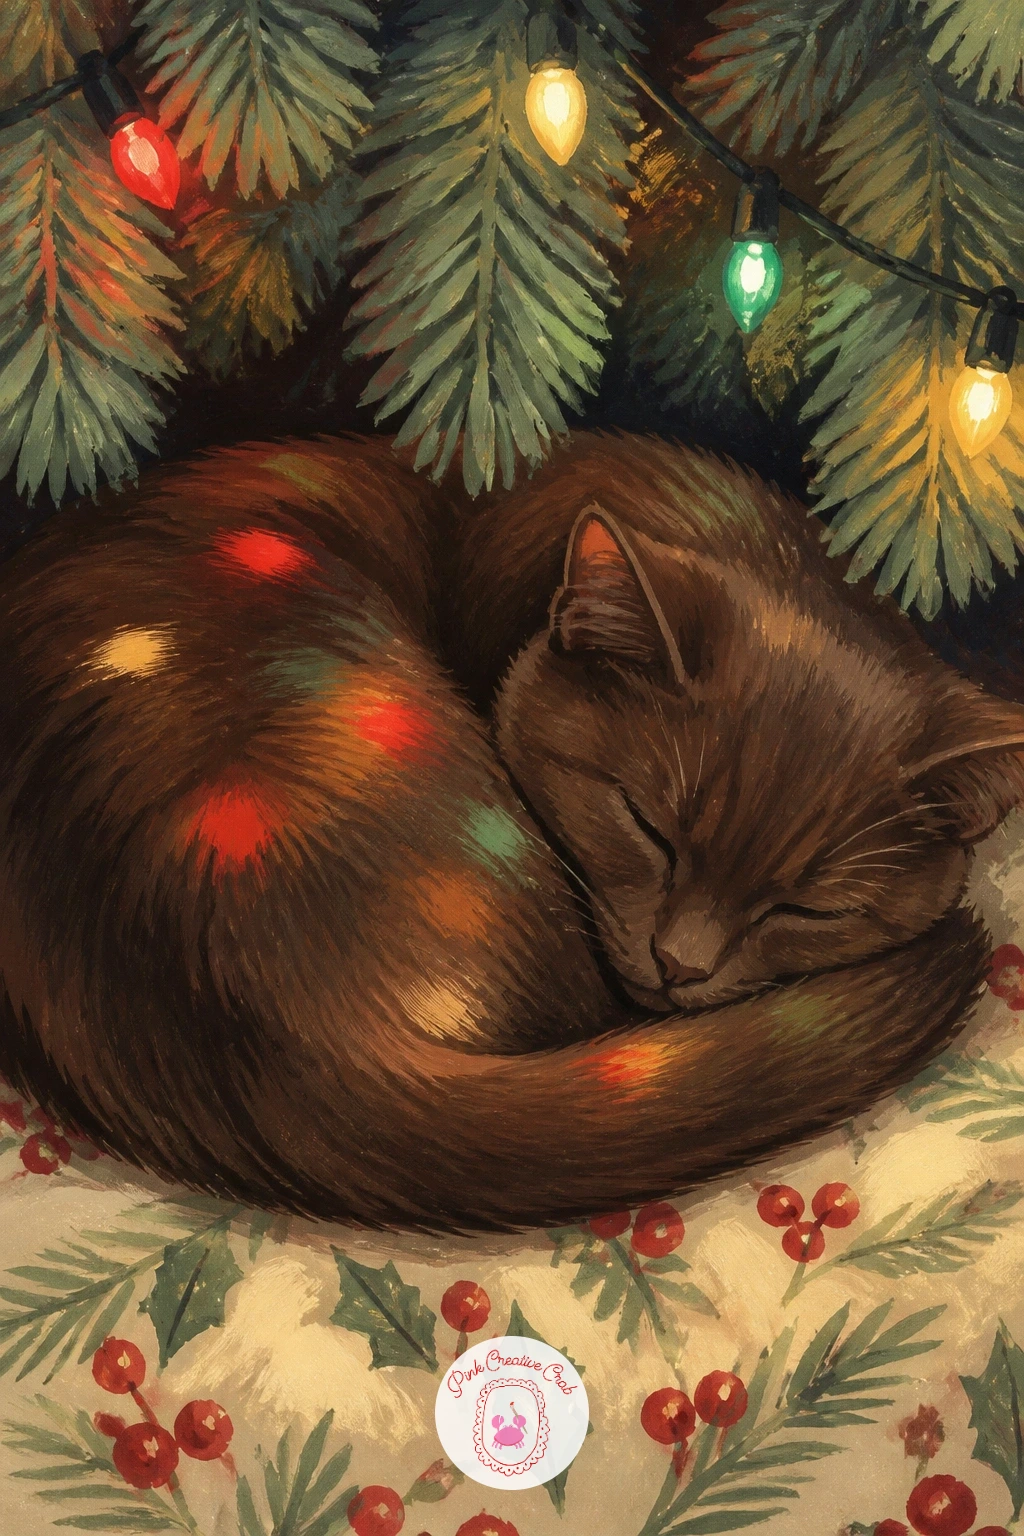
Slow back down with a cat sleeping under the tree lights, curled at the base of the tree bathed in a soft colored glow. Sketch the cat curled into a loose oval first, then add a few low tree branches arching over it with small light bulb shapes dotted along them.
This scene is all about light source, since the string lights should cast small pools of color onto the cat’s fur below them. Paint the cat’s base color first, then dab tiny spots of cherry red, sage and cream gouache directly onto the fur where a light would shine down, blending the edges softly while still wet.
Too many light spots can look like a rash rather than a glow, so limit it to four or five soft dabs placed where the lights actually hang above. If painting the full tree feels like too much, just a few branches arching into the corner of the page works the same way.
Finish with one slightly brighter light dabbed right above the cat’s head as the focal point.
You Will Need
- heavyweight paper
- pencil
- round brush size 4
- fine brush for light dabs
Palette: Sage Green,Cherry Red,Cream,Cocoa Brown
Try working on toned paper instead of white for this one, since a warm beige base makes the glowing light spots feel even softer.
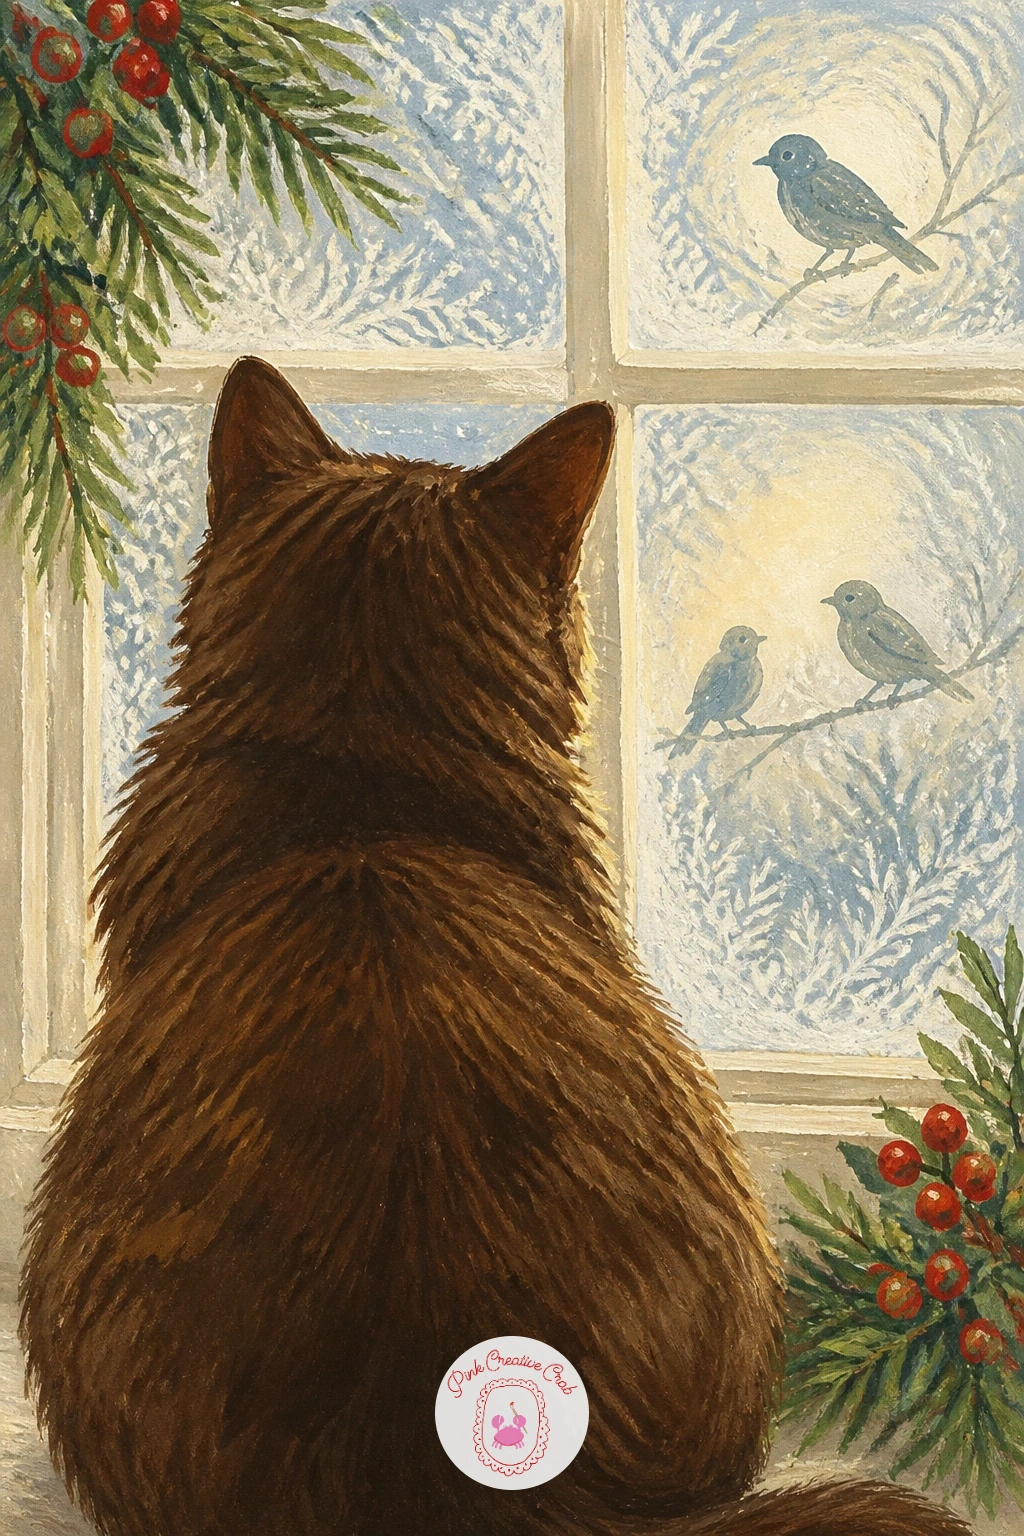
Turn to a quieter mood with a cat looking out of a frosted window at birds, sitting tall and alert with its back mostly to the viewer. Sketch the window frame first with a simple frosted pattern of swirls along the edges, then draw the cat in profile or from behind, head lifted toward a couple of small bird shapes outside.
Paint the frosted edges in pale cream and white gouache using small curved strokes, leaving the center of the glass clear for the view outside. The cat’s silhouette should be solid and dark against that paler window, so keep its edges crisp where they meet the glass.
Birds that are too detailed will distract from the cat, so keep them as tiny simple silhouettes, just a rounded body and a small beak shape. If painting a full window frame feels complicated, a round porthole-style window works as a simpler shape to fill.
Finish with the cat’s tail curled neatly around its paws for a calm, focused pose.
You Will Need
- heavyweight paper
- pencil
- fine brush for frost pattern
- round brush size 4
Palette: Pale Blue,Cream,Cocoa Brown,Charcoal Grey
Try this composition alongside the ideas in this list of Christmas scene drawing ideas for more snowy window views.
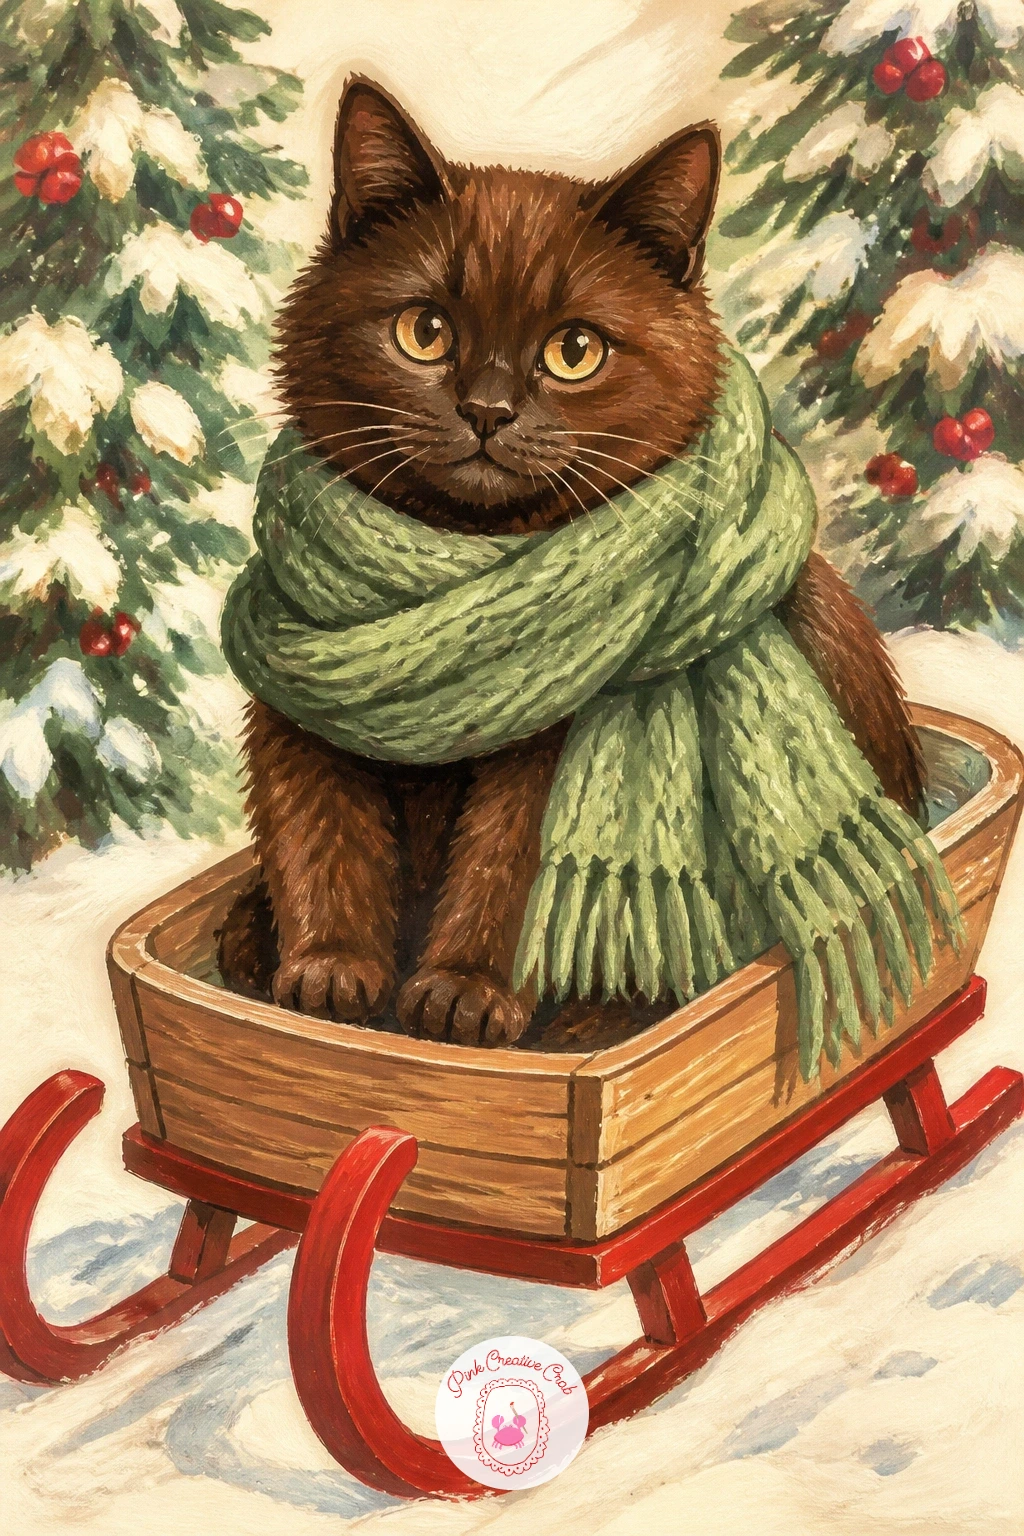
Bundle up with a cat in a scarf sitting in a sled, perched upright in a small wooden sled as if waiting for a ride. Sketch the sled first as a simple curved-front base with two side rails, then add the cat sitting inside it, a long scarf wrapped loosely around its neck and trailing to one side.
Paint the sled in cocoa brown wood tones with cherry red runners, then paint the cat sitting inside once the sled is dry, letting its body slightly overlap the sled’s edge for depth. The scarf goes on last in sage or cream, painted with a few loose wavy strokes so it looks like it is catching the wind.
A sled that looks flat rather than three-dimensional is the common issue, so add a simple curved shadow beneath it to ground it on the snow. If a full sled feels fiddly, a simple toboggan shape without side rails works just as well.
Finish with a light dusting of white gouache snow flicked around the base.
You Will Need
- heavyweight paper
- pencil
- round brush size 6
- fine brush for scarf detail
Palette: Cocoa Brown,Cherry Red,Sage Green,Cream
Try letting the scarf ends trail off one side of the sled, which adds a sense of a breeze and makes the whole scene feel less static.
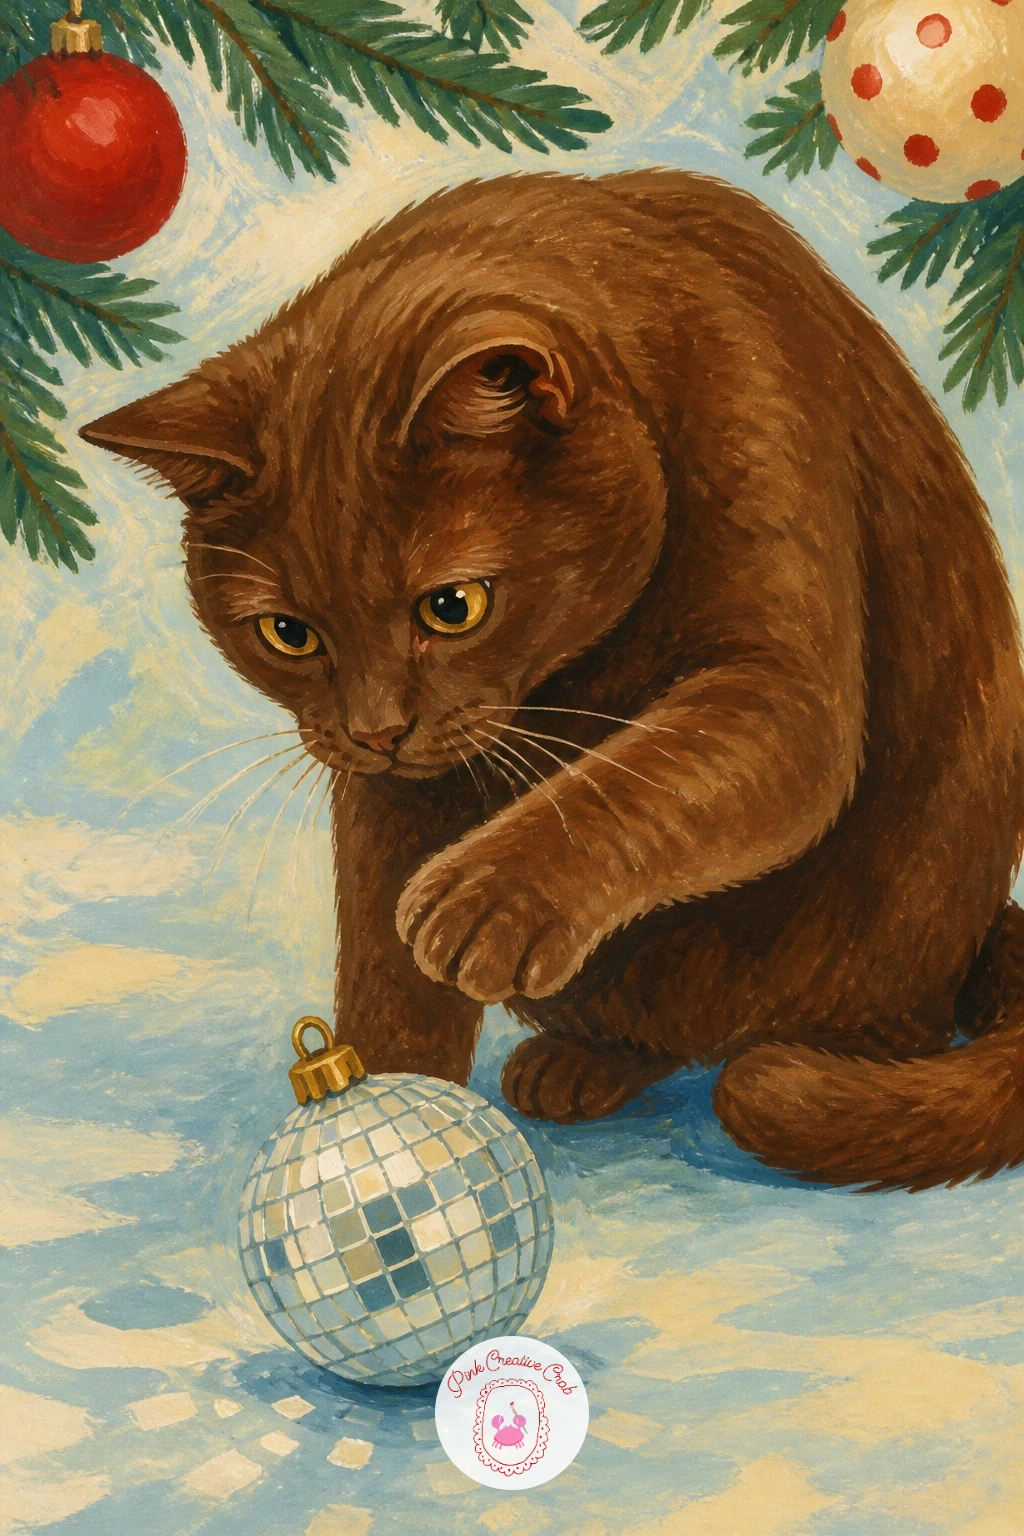
Bring in some sparkle with a cat batting a disco ball ornament, paw raised mid-swing at a small round mirrored bauble hanging from a branch. Sketch the cat in a playful crouched pose first, one paw raised and eyes fixed upward, then add the ornament as a simple circle just above the paw.
Paint the ornament with small patches of pale blue, cream and grey dabbed in an irregular pattern to suggest its many reflective facets, rather than trying to paint every tiny mirror tile. This patchwork dabbing is the one trick that makes a plain circle read instantly as a disco ball.
Painting too many even, uniform facets makes the ornament look like a checkerboard rather than something shiny and random, so vary the size and placement of each dab. A plain round bauble works as a simpler swap if the faceted texture feels tricky.
Finish with one bright white gouache dot for the strongest reflected highlight.
You Will Need
- heavyweight paper
- pencil
- fine brush for facets
- round brush size 4
Palette: Pale Blue,Cream,Charcoal Grey,Cocoa Brown
Try adding a thread or string holding the ornament to a branch above, which anchors it in the scene and gives the paw something to reach toward.
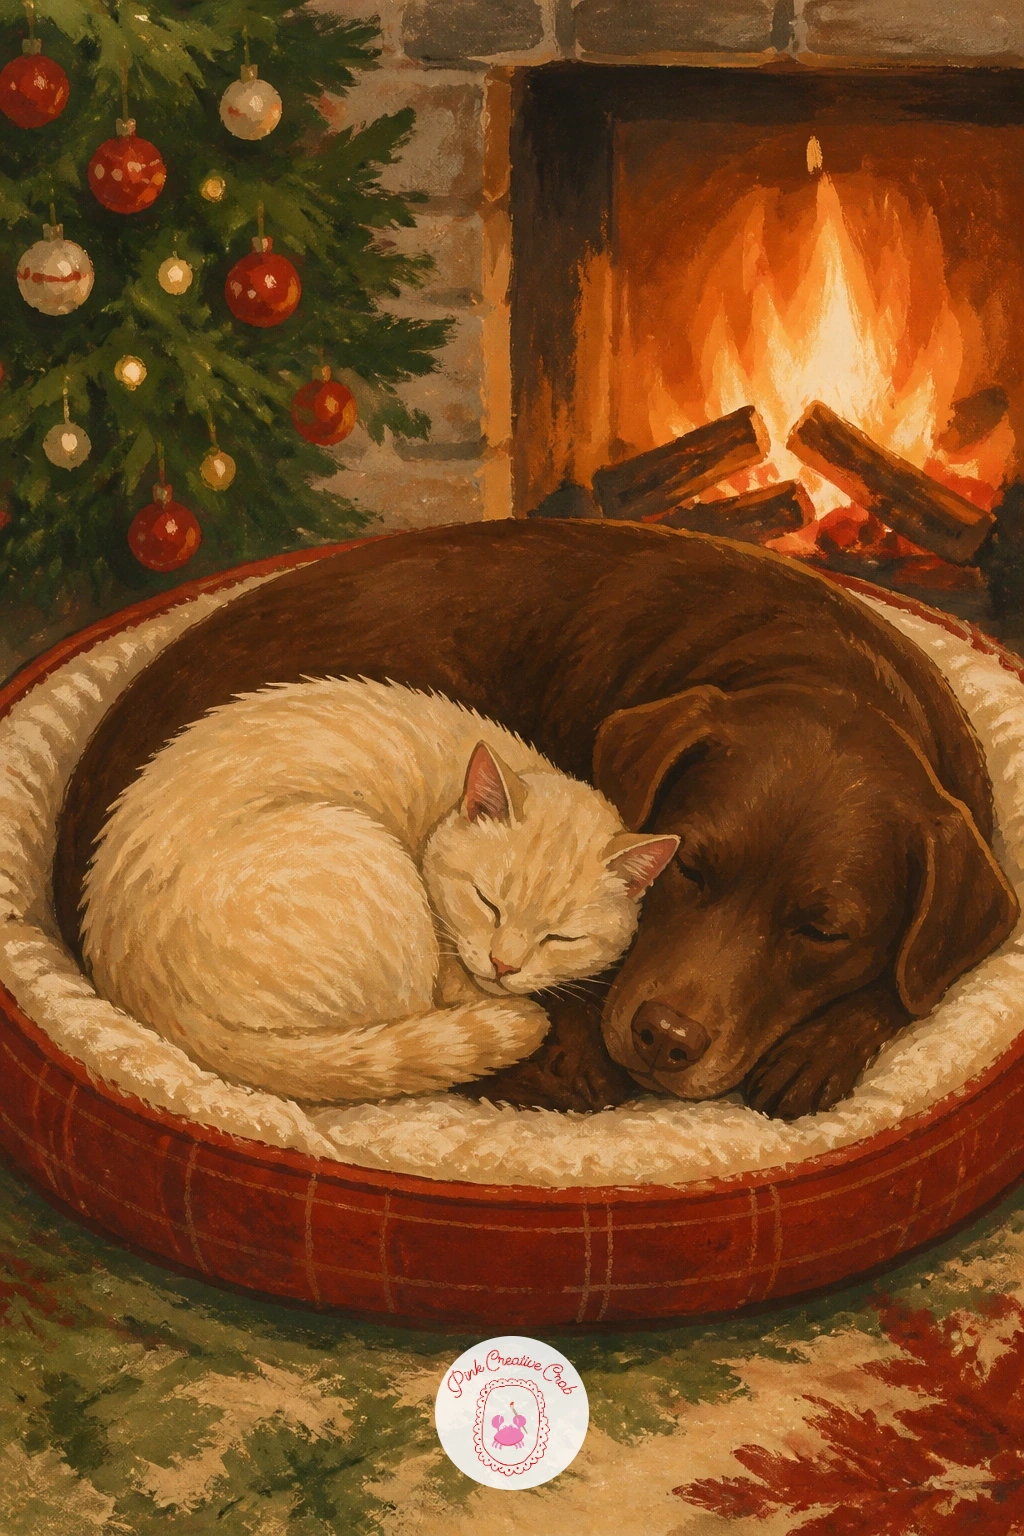
Try a two-animal scene with a cat and a dog sharing one bed by the fireplace, curled together in an unlikely but peaceful truce. Sketch the bed as a simple oval cushion shape first, then fit both animals into it, the cat curled smaller and tucked against the dog’s larger curled body.
Paint the dog first since it is the bigger shape, in cocoa brown or cream, then paint the cat second in a contrasting tone so the two bodies read clearly apart even while overlapping. Keep both sets of eyes closed or half closed for a peaceful, sleepy mood rather than any tension between them.
Making the two animals the same size removes the charm of this pairing, so keep a clear size difference between them. If a full dog body feels complex, just the dog’s head resting beside the cat works as a simpler version of the same idea.
Finish with the firelight glow from one side of the piece, same as the earlier solo fireside cat.
You Will Need
- heavyweight paper
- pencil
- round brush size 6
- fine brush for fur blending
Palette: Cocoa Brown,Cream,Burnt Orange,Charcoal Grey
Try adding one of the dog poses from this list of dog pencil drawing ideas if you want a bit more variety in the dog’s shape.
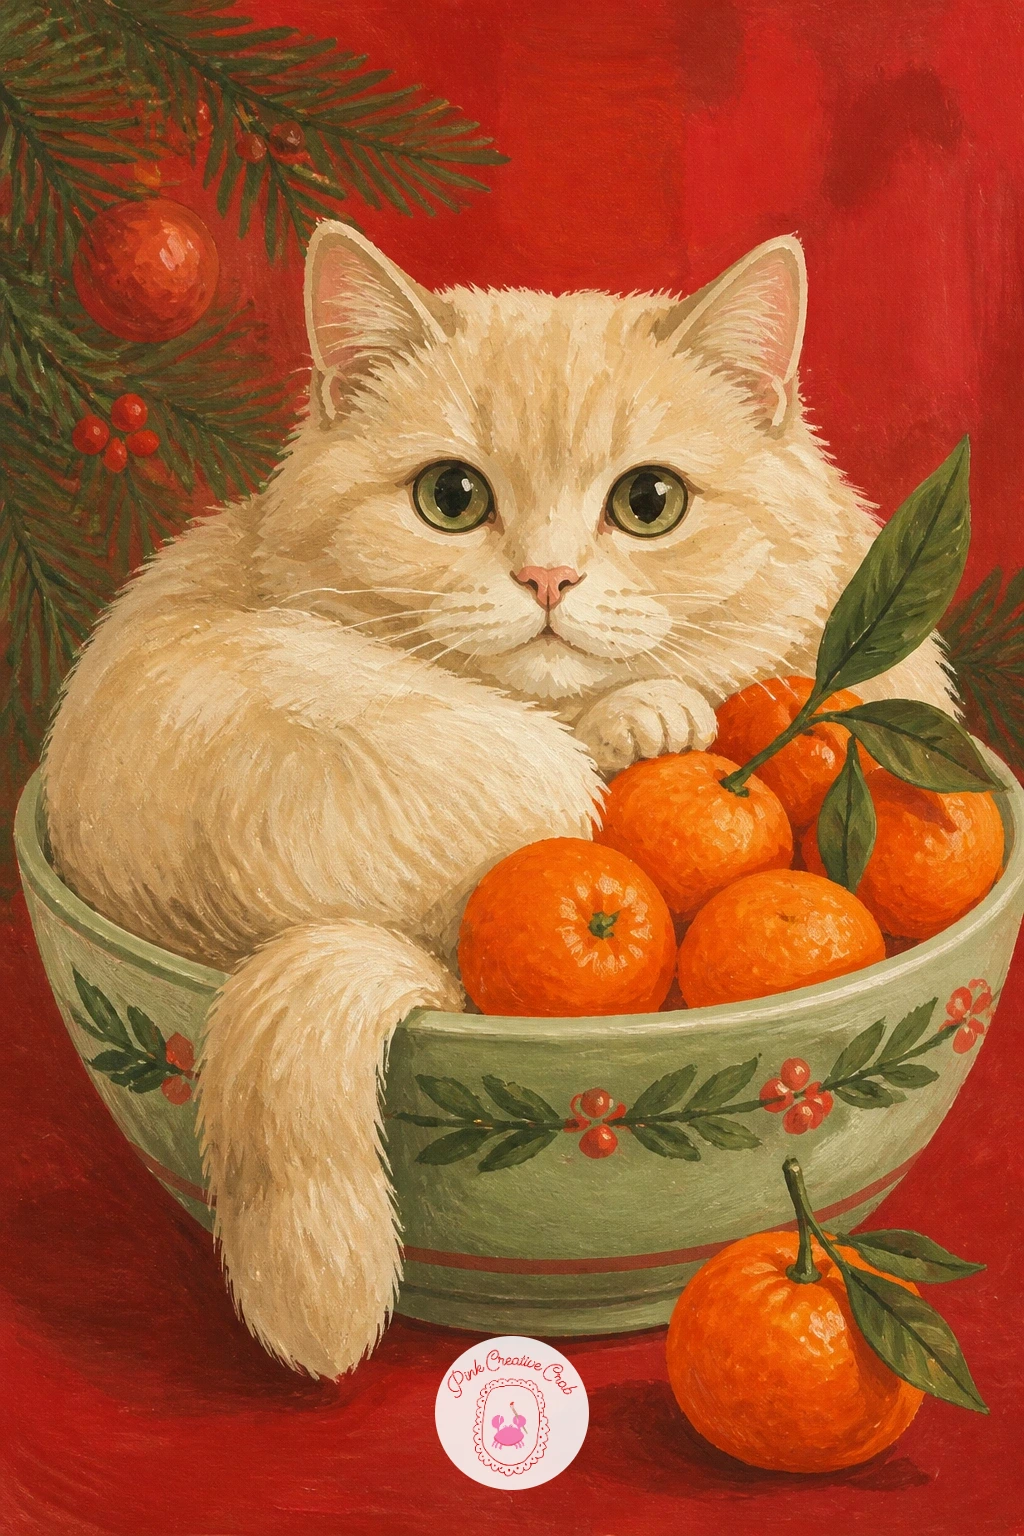
Add a bit of color play with a cat sitting in a fruit bowl of clementines, squeezed into a bowl far too small for it among a pile of orange fruit. Sketch the bowl as a wide shallow oval first, fill it loosely with small clementine circles, then draw the cat sitting on top, paws tucked in and tail hanging over the edge.
Paint the clementines first in bright orange with tiny cream highlights, then paint the cat sitting among them in a contrasting cream, cocoa brown or grey so it reads clearly against all that orange. This comparison trick helps with proportion: use one clementine’s width against the cat’s paw to judge how large to keep the fruit relative to the cat.
Too many identically sized clementines look repetitive, so vary a few in size and let one or two sit half hidden behind the cat’s body. A bowl of apples in cherry red works just as well if clementines feel fiddly to paint.
Finish with a single green leaf tucked among the fruit for contrast.
You Will Need
- heavyweight paper
- pencil
- round brush size 4
- fine brush for highlights
Palette: Burnt Orange,Cream,Sage Green,Cocoa Brown
Try comparing the size of one clementine against the cat’s paw before painting the rest, since that single comparison keeps the whole bowl in proportion.
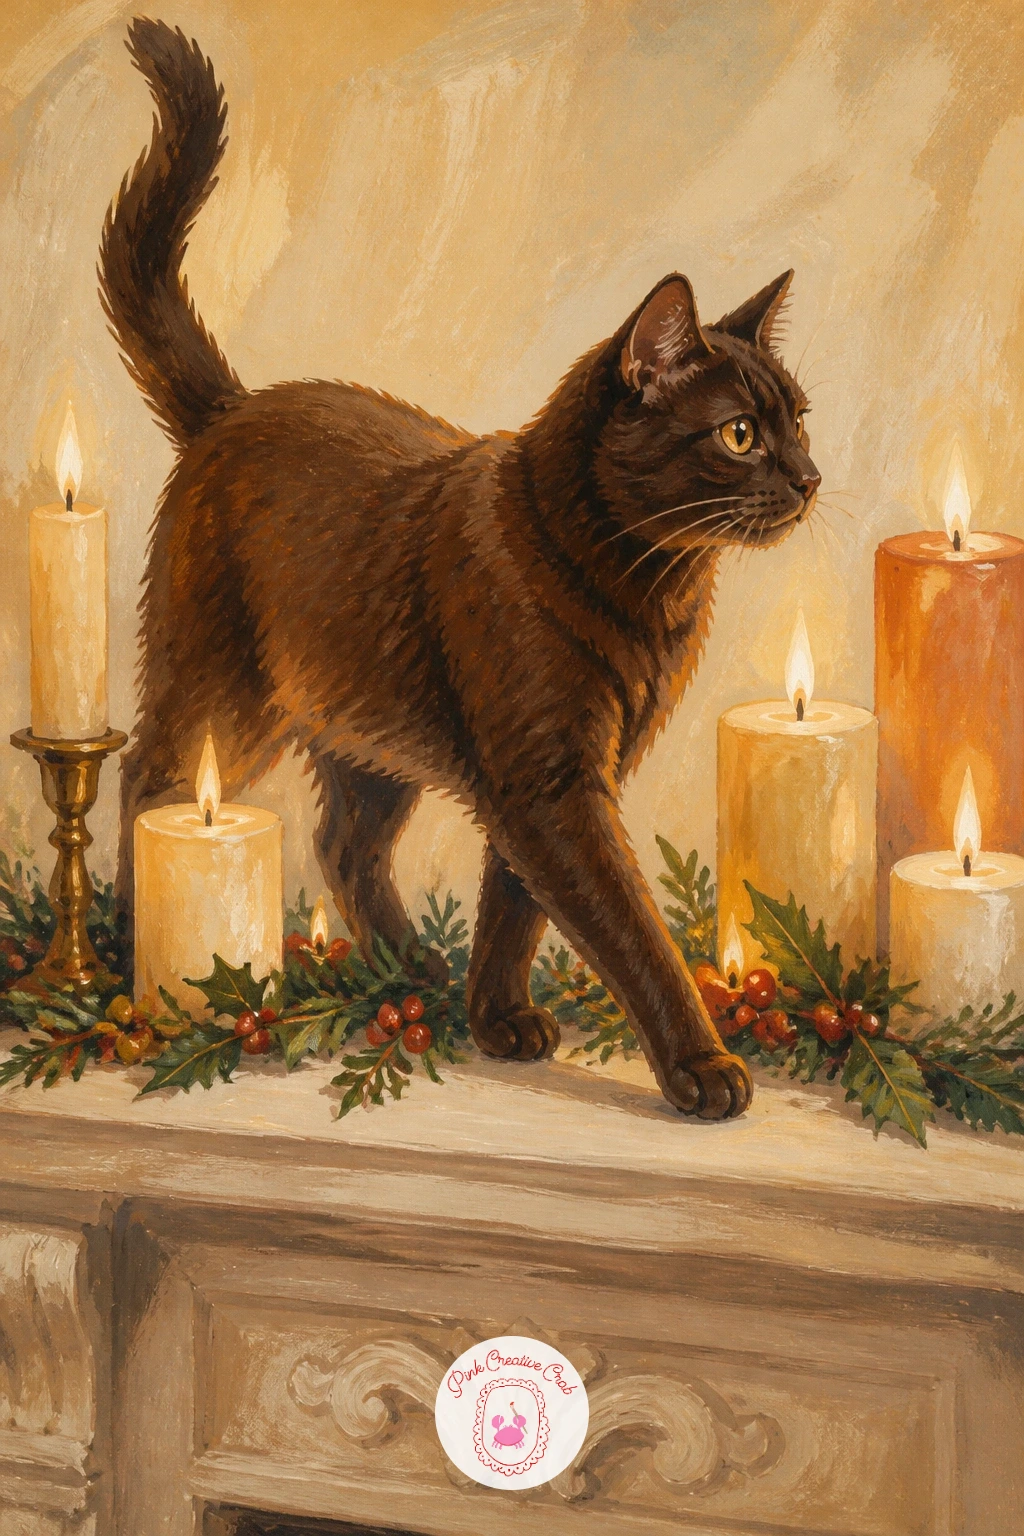
Find a dramatic setting with a cat on a mantel among candles, walking carefully between a row of lit candles on a fireplace shelf. Sketch the mantel as a simple horizontal ledge first, then add three or four candles of different heights along it, with the cat weaving between them mid-step.
This is a strong spot to think about light source again, since each candle flame should cast a small warm glow onto the nearest part of the cat’s fur. Paint the cat’s base color in cool cocoa brown shadow first, then add small warm orange highlights only on the sides facing the candle flames.
Evenly lighting the whole cat flattens the drama, so keep most of the body in shadow and let the candlelight pick out just the edges nearest each flame. If an open flame feels tricky to paint convincingly, a string of small fairy lights along the mantel works as a safer, simpler glow.
Finish with a thin wisp of smoke above one candle for extra atmosphere.
You Will Need
- heavyweight paper
- pencil
- fine brush for flames
- round brush size 4
Palette: Cocoa Brown,Burnt Orange,Cream,Charcoal Grey
Try varying the candle heights more than feels natural, since an uneven row reads as more charming and less stiff than a perfectly matched set.
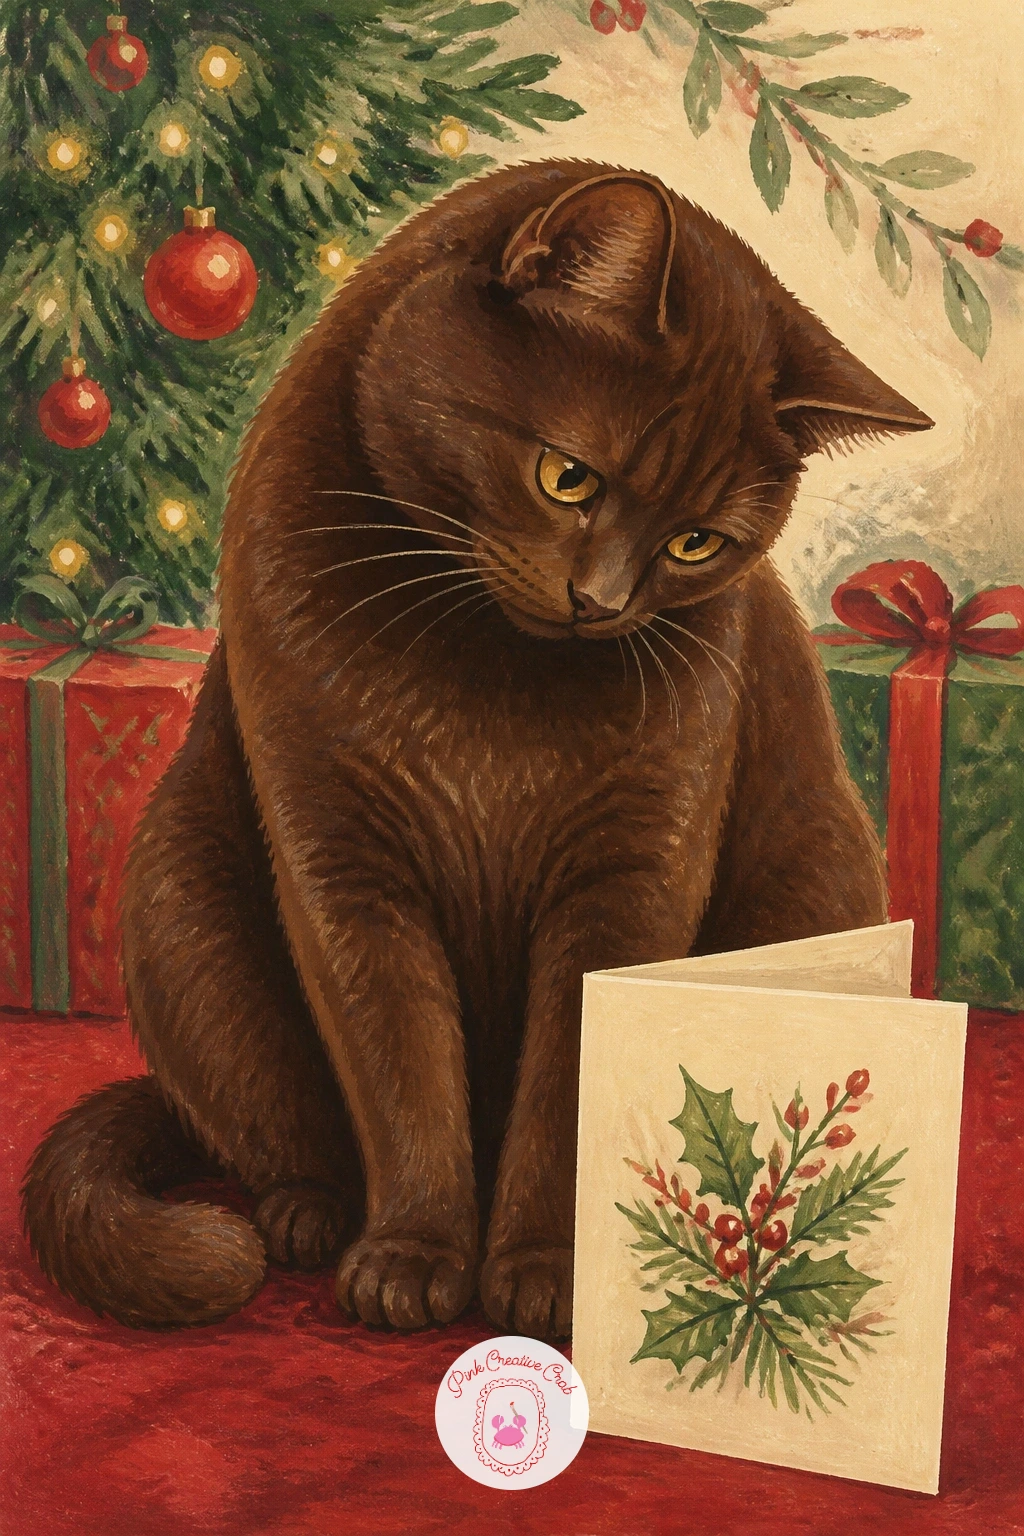
Slow the mood with a cat reading a Christmas card, sitting with a card propped open in front of it as if studying the message inside. Sketch the cat sitting upright first, then add the card as a simple folded rectangle standing just in front of its paws, tilted slightly toward the cat.
Paint the card in cream with a small simple scene painted on its front, a tiny tree or holly sprig, before painting the cat behind it. Keep the card’s own illustration loose and small, since it only needs to suggest a greeting card rather than become a detailed picture within the picture.
Making the card too large compared to the cat throws off the whole scene, so keep the card roughly the height of the cat’s head for a believable size. If a standing card feels tricky to balance, a card lying flat on the floor in front of the cat works just as well.
Finish with the cat’s head tilted slightly, as if genuinely puzzling over the card.
You Will Need
- heavyweight paper
- pencil
- fine brush for the card illustration
- round brush size 4
Palette: Cream,Cherry Red,Sage Green,Cocoa Brown
Try this one as a pair with the ideas from this list of Merry Christmas drawing ideas if you want the card itself to carry some lettering.
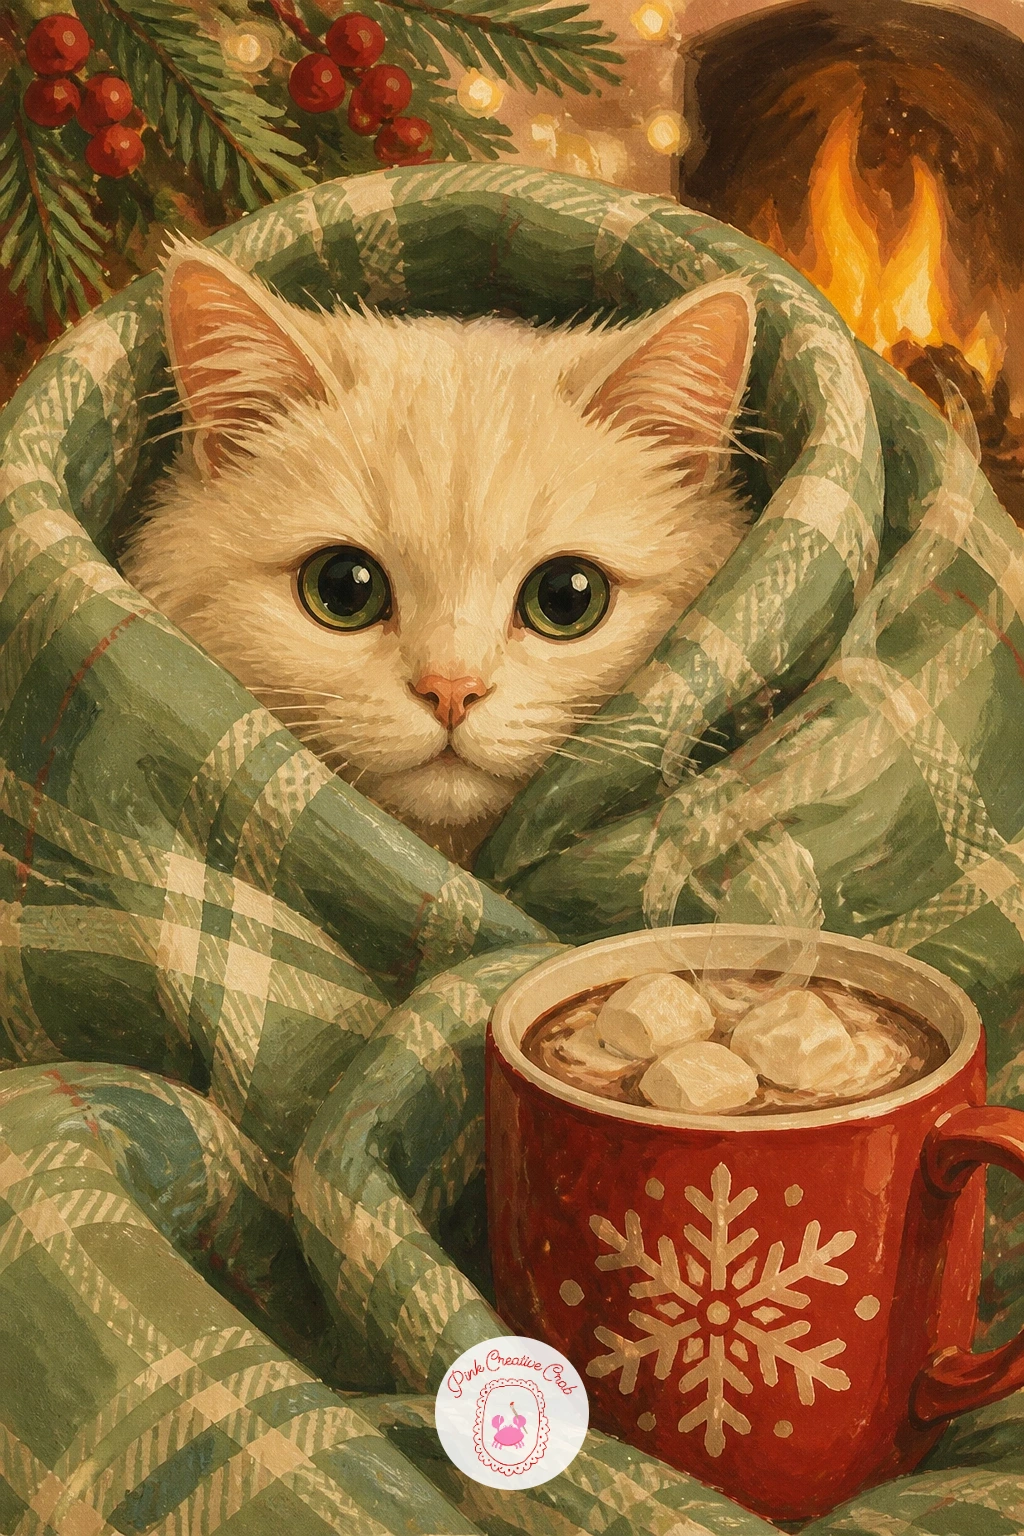
Get extra cozy with a cat wrapped in a blanket with cocoa, peeking out from a folded blanket beside a steaming mug. Sketch the blanket first as a soft rounded mass with a few fold lines, then tuck the cat’s head into the top of it, with the mug sitting just beside the blanket’s edge.
Paint the blanket in sage green or cherry red plaid, using a few simple crossed lines once the base color dries rather than a complicated tartan pattern. Paint the cat’s face last in cream so it stands out clearly against the folds, and add the mug in cocoa brown with a soft white steam curl rising from it.
Steam that looks too solid or straight reads as smoke rather than warmth, so paint it as a loose wavy line that fades out toward the top. A plain solid blanket without plaid works just as well if the crossed lines feel fussy.
Finish with one paw just visible peeking out from under the blanket fold.
You Will Need
- heavyweight paper
- pencil
- round brush size 4
- fine brush for plaid lines
Palette: Sage Green,Cherry Red,Cream,Cocoa Brown
Try adding a marshmallow floating in the cocoa mug as one tiny extra detail, since it adds charm without any real extra painting time.
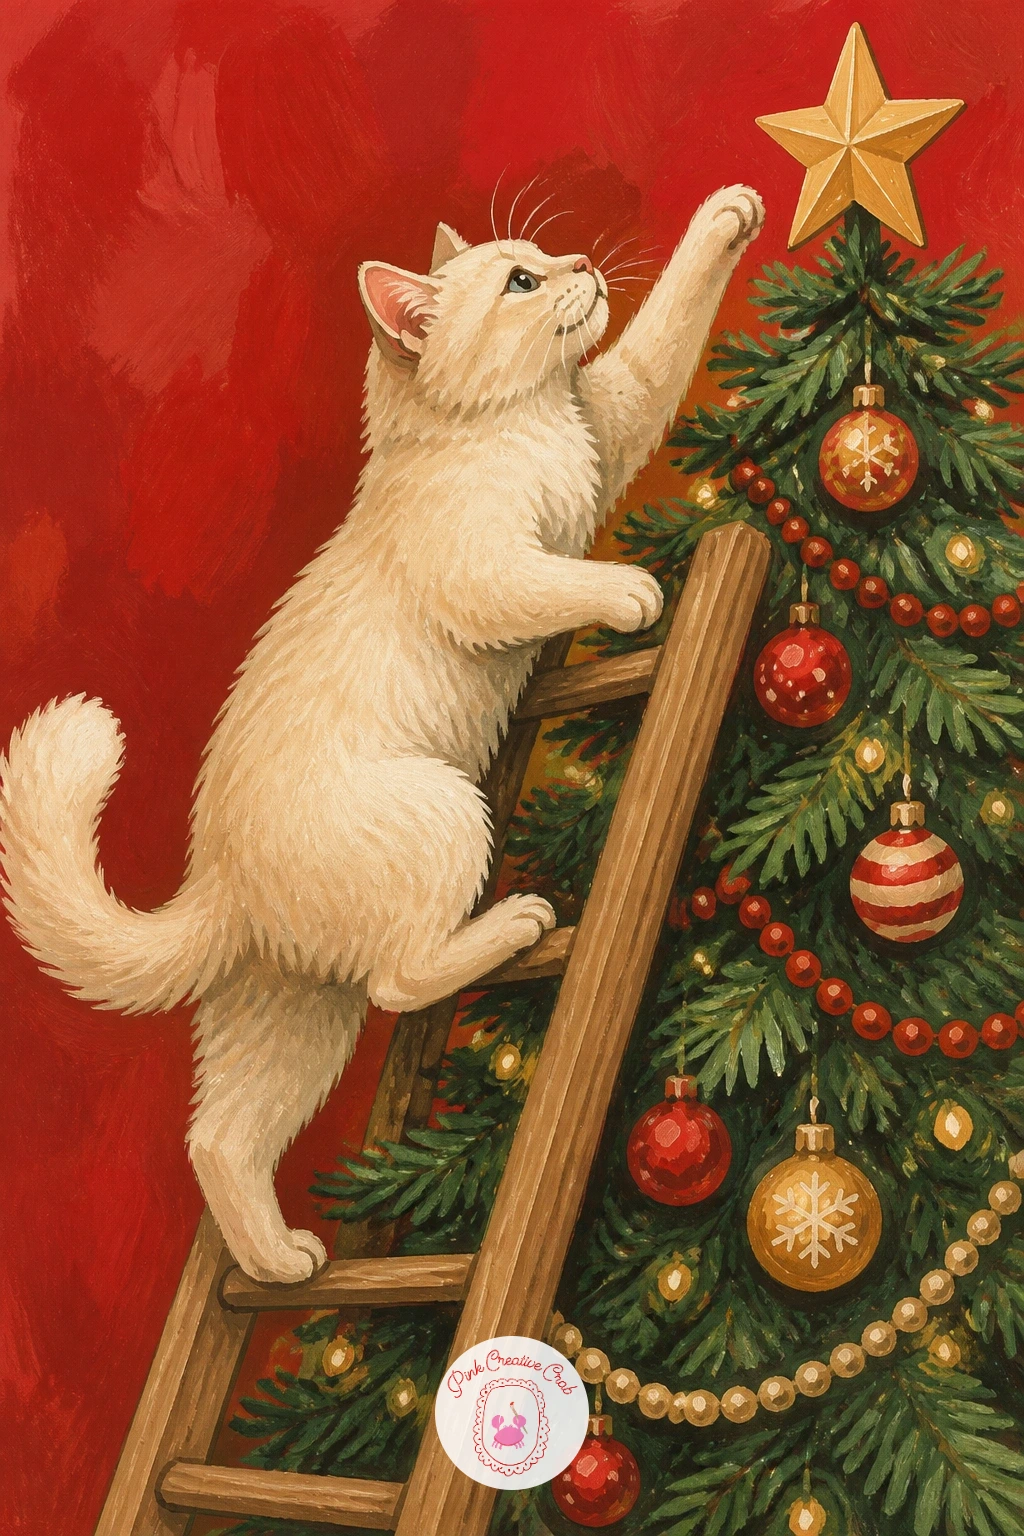
Ramp up the ambition with a cat climbing a ladder to reach the top of the tree, caught partway up a small wooden ladder leaned against the branches. Sketch the ladder first as two parallel lines with evenly spaced rungs, then draw the cat gripping one rung with both front paws, back legs braced on the rung below.
Paint the ladder in cocoa brown wood tones before the cat, keeping the rungs evenly spaced using a ruler or straight edge if your lines wobble. Paint the cat climbing it last, with its body angled diagonally to match the determined upward reach of the pose.
A ladder with uneven rung spacing looks unstable in a way that distracts from the cat, so measure the gaps once with a pencil mark before committing to paint. If a full ladder feels like too much structure, the cat climbing directly up the tree’s trunk works as a simpler swap.
Finish with the tree topper just out of reach above the cat’s raised paw for a bit of story tension.
You Will Need
- heavyweight paper
- pencil
- ruler for ladder rungs
- round brush size 4
Palette: Cocoa Brown,Sap Green,Cream,Cherry Red
Try leaving the tree topper just out of reach above the cat’s raised paw, which gives the whole scene a clear sense of a goal.
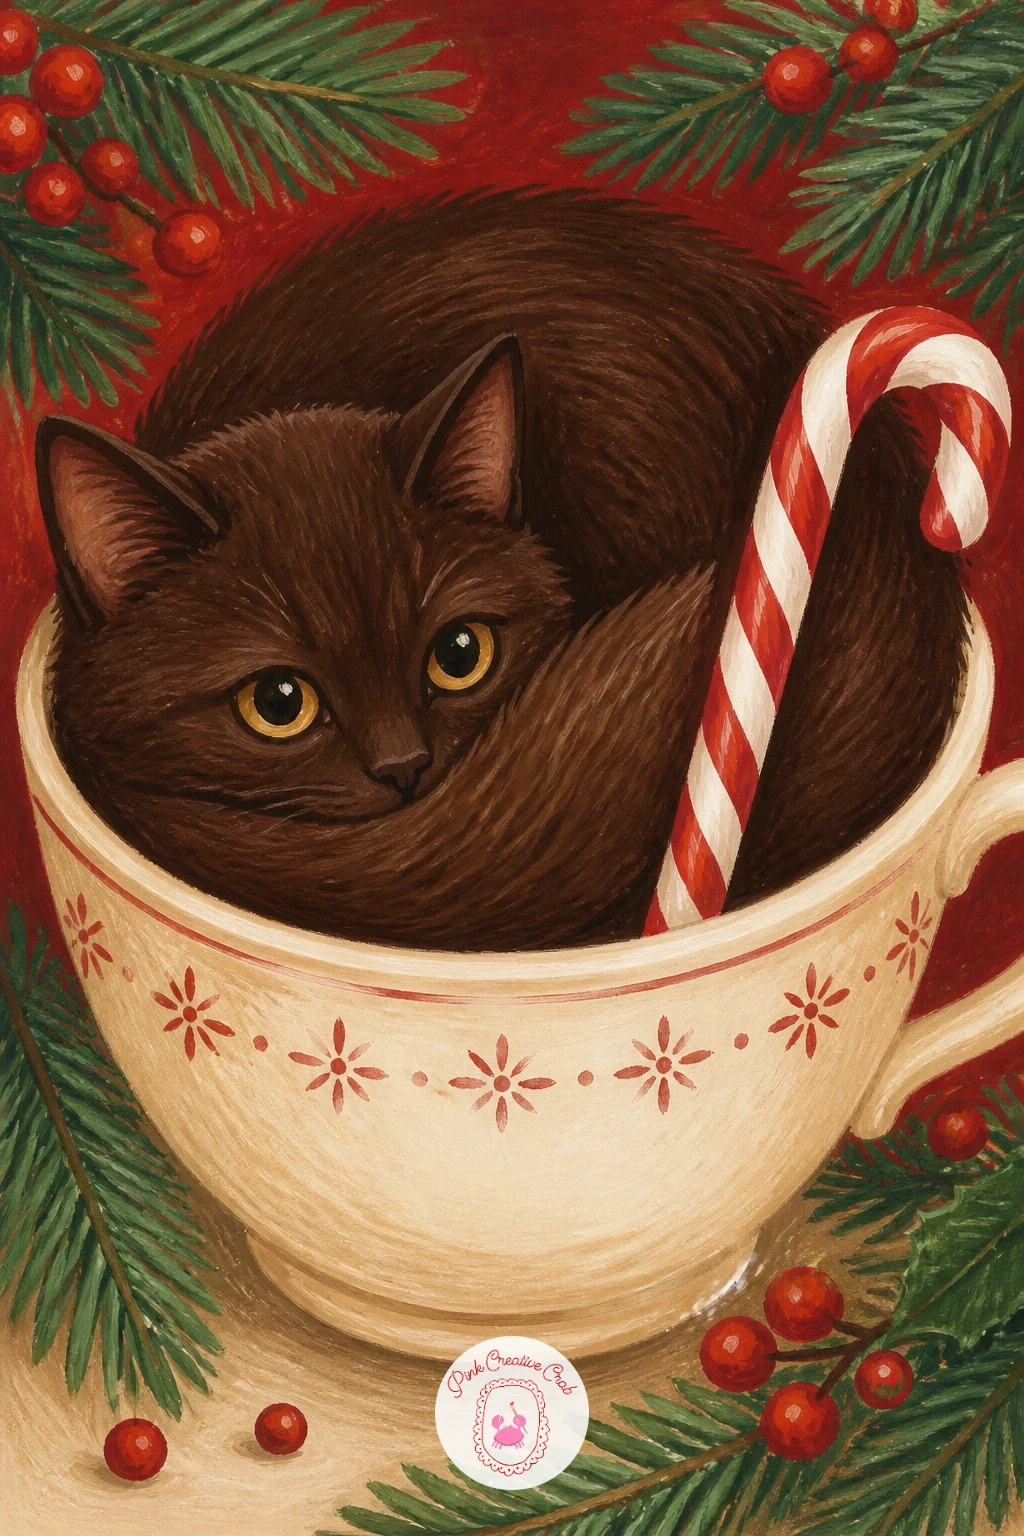
Shrink the scale with a cat in a teacup with a candy cane, tucked impossibly into an oversized cup with a striped candy cane leaning against the rim. Sketch the teacup first as a simple rounded shape with a handle, then fold the cat’s body into it, paws and tail tucked in close.
Paint the teacup in cream with a thin cherry red rim line, then paint the cat sitting inside once the cup is dry, letting its fur slightly overlap the inner rim so it looks properly nestled in rather than floating above it. The candy cane goes in last, leaned against the outside of the cup in cherry red and white stripes.
Making the teacup too small for a believable cat squeeze is the usual issue, so sketch the cat’s curled size first and build the cup around it rather than the other way round. If a teacup feels fussy to shape, a simple round mug works the same way with less handle detail.
Finish with a thin steam line if you want the cup to feel freshly poured. For more cup shapes to practice, see this list of teapot drawing lessons.
You Will Need
- heavyweight paper
- pencil
- round brush size 4
- fine brush for the rim line
Palette: Cream,Cherry Red,Cocoa Brown,Charcoal Grey
Try sketching the curled cat shape before the cup, then build the cup’s outline around it, which keeps the squeeze looking snug rather than awkward.
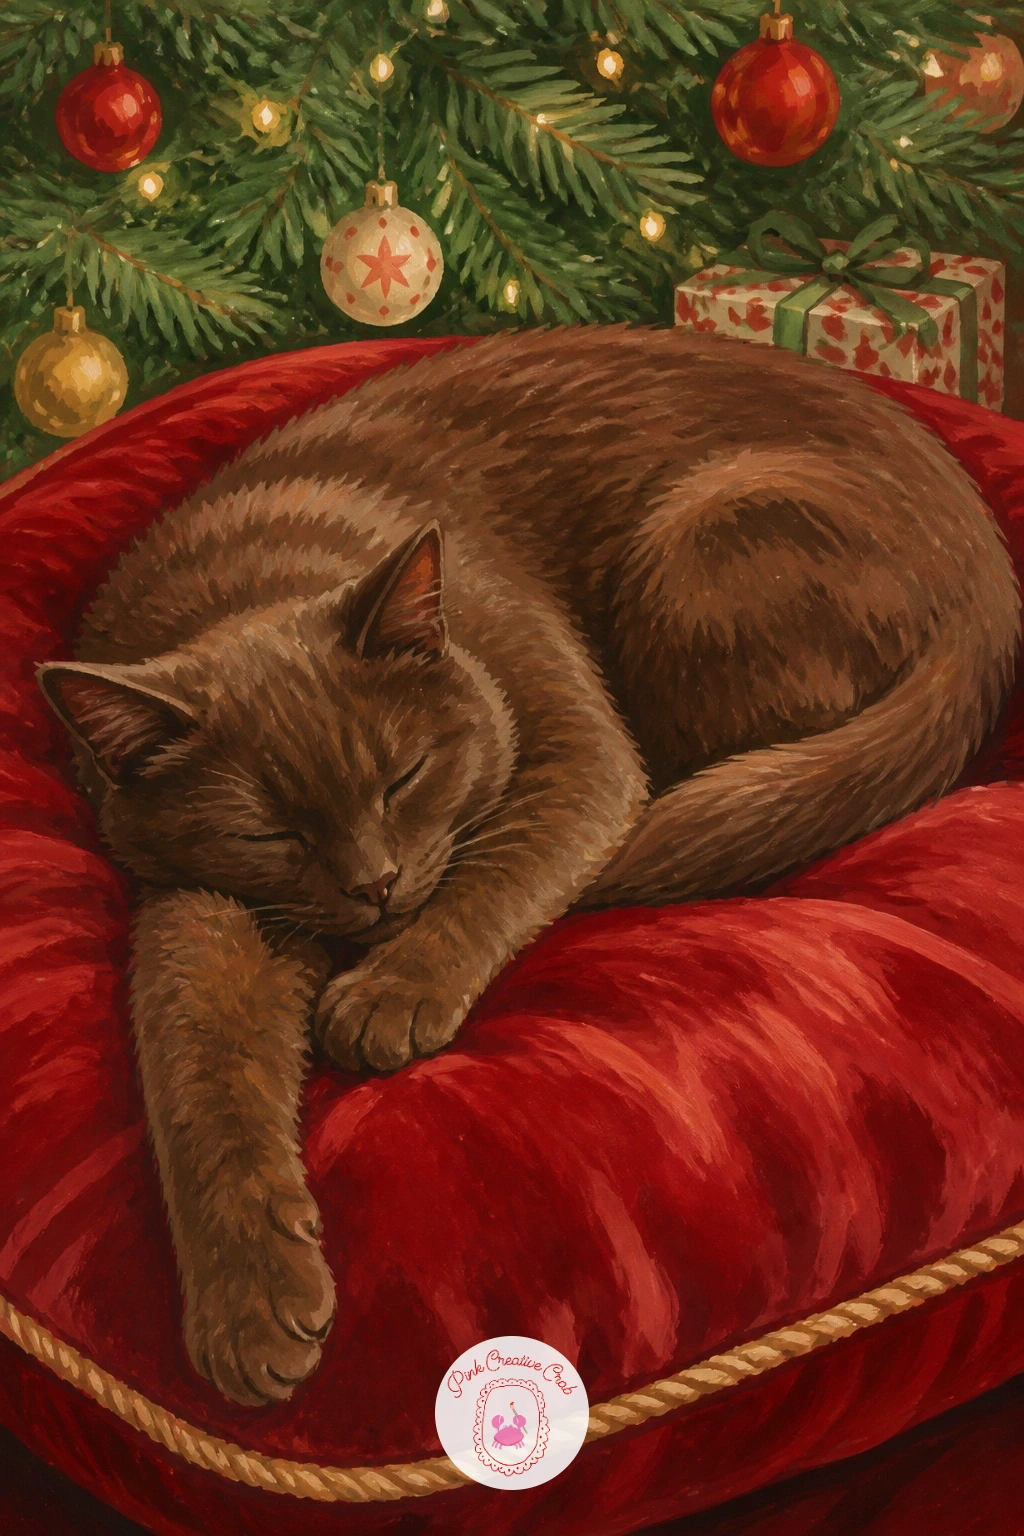
Return to something calm with a cat sleeping on a velvet cushion, stretched out full length on a plush round cushion in rich color. Sketch the cushion first as a soft rounded shape with a few plump folds, then lay the cat along its length in a relaxed, fully stretched pose.
Paint the cushion in deep cherry red, then while the paint is still slightly damp, lift a little color out with a clean dry brush along the folds to suggest the soft sheen of velvet catching light. This lifting trick is what separates flat fabric from fabric that looks plush and touchable.
Painting the cushion as one flat block of color loses all that softness, so keep at least two or three lifted highlight streaks along the main folds. A plain cotton cushion in cream works as a simpler alternative if the lifting technique feels tricky to control.
Finish with a tassel or piping detail along one edge of the cushion.
You Will Need
- heavyweight paper
- pencil
- round brush size 6
- clean dry brush for lifting highlights
Palette: Cherry Red,Cream,Cocoa Brown,Charcoal Grey
Try lifting color out while the paint is still damp rather than waiting until it dries, since dried gouache will not lift cleanly off the paper.
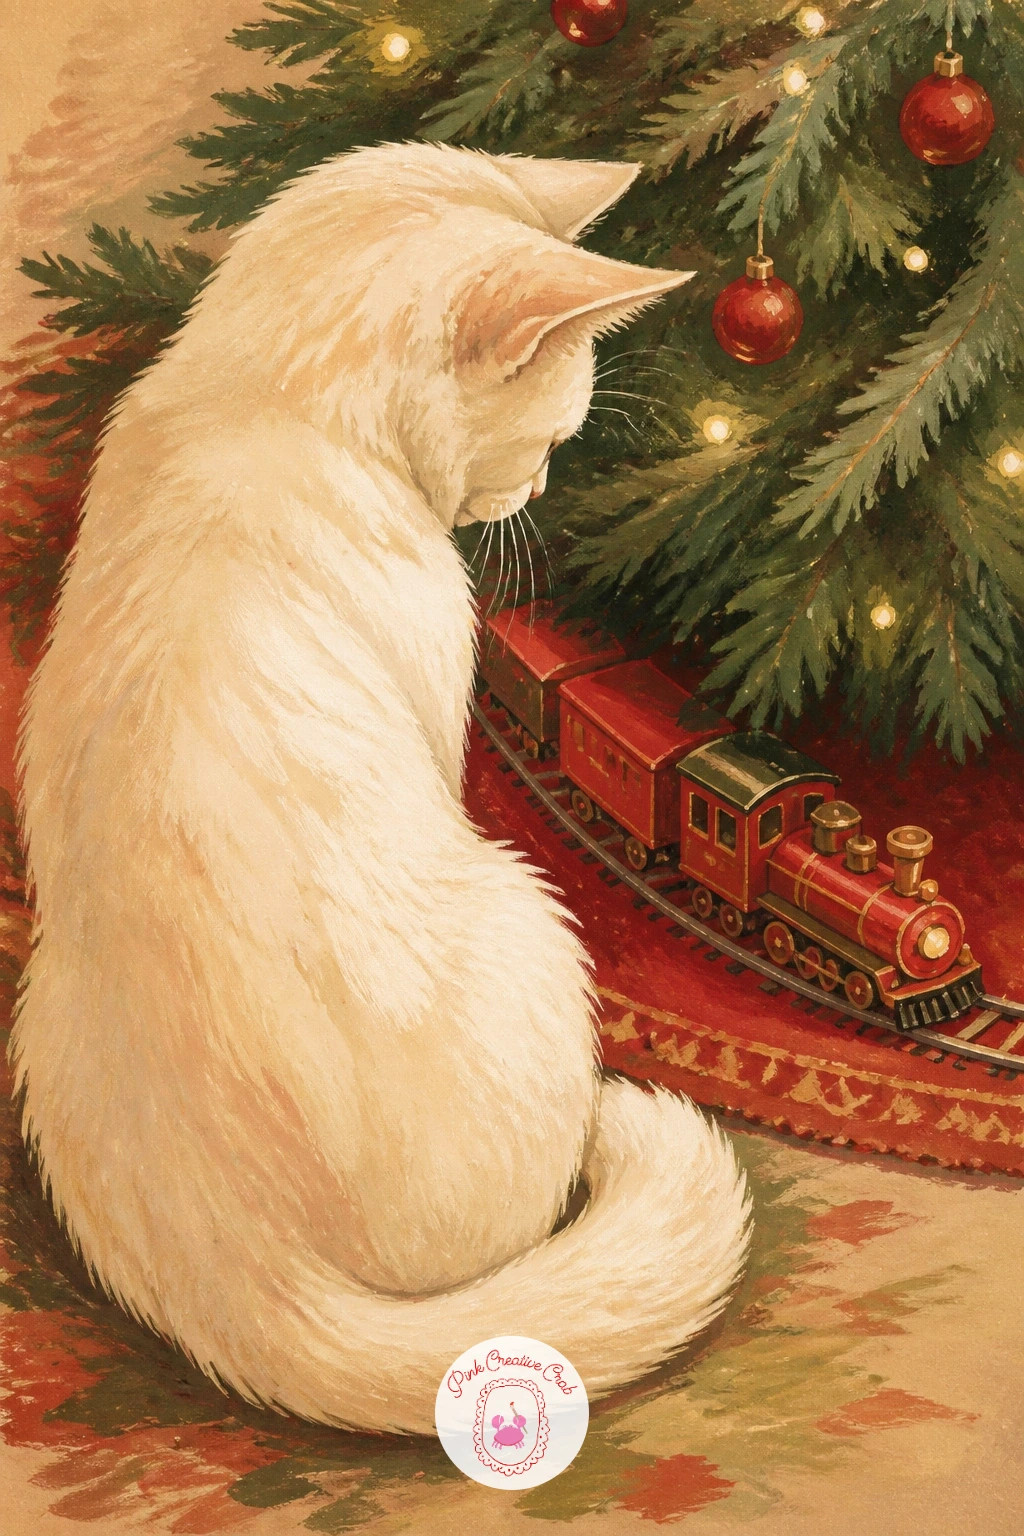
Bring in some motion with a cat watching a train circle the tree, sitting perfectly still while a small toy train loops around the tree’s base on its track. Sketch the circular track first as a simple oval at the base of the tree, then add the small train as a few connected rectangles, with the cat sitting just outside the loop, head turning to follow it.
Paint the track and train in cocoa brown and cherry red, keeping the train’s shapes simple and blocky like a toy rather than a detailed real train. Paint the cat last, its whole body still except for the head turned to track the train’s movement.
A cat that looks like it is looking at nothing in particular loses the joke, so make sure the angle of its head and eyes points clearly toward the train. If a circular track feels complex to draw, a straight stretch of track with the train partway along it works just as well.
Finish with a little puff of white smoke from the train’s chimney for charm.
You Will Need
- heavyweight paper
- pencil
- round brush size 4
- fine brush for track details
Palette: Cocoa Brown,Cherry Red,Cream,Sage Green
Try angling the cat’s eyes and head clearly toward the train before adding any other detail, since that angle alone carries the whole joke of the scene.
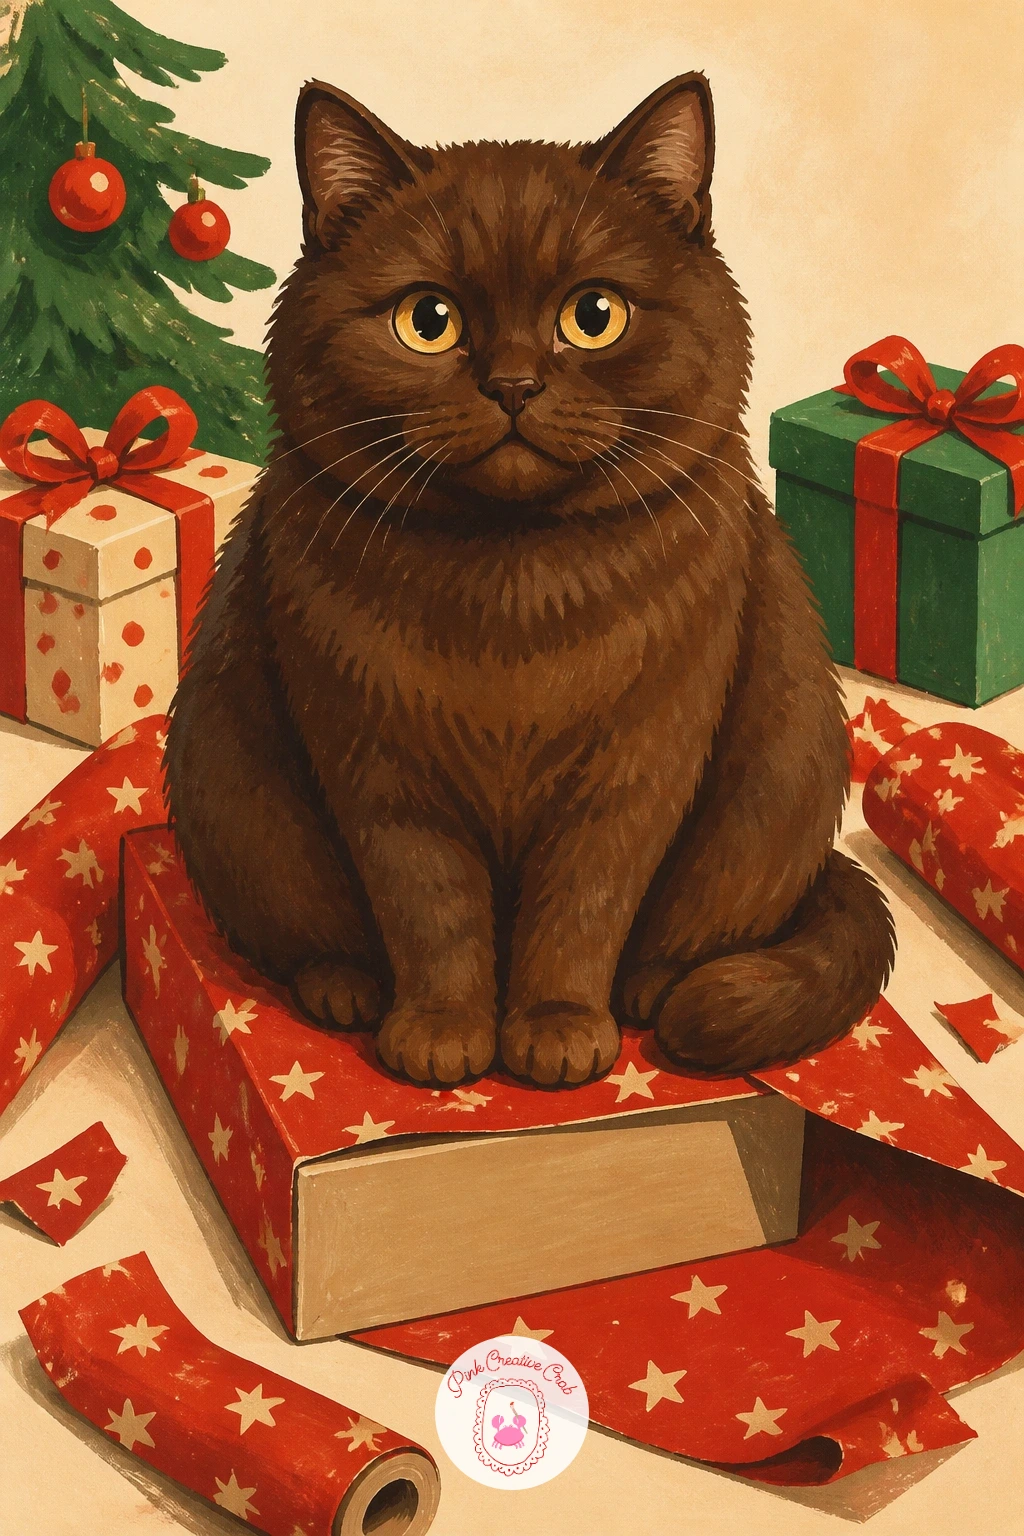
Keep the humor going with a cat helping wrap gifts by sitting on the paper, planted firmly in the middle of a half-wrapped box and a roll of paper. Sketch the half-wrapped box and roll of paper first, then place the cat sitting squarely in the middle of it all, paws tucked and a look of complete indifference on its face.
Paint the wrapping paper pattern and box first, then paint the cat on top, letting its body overlap the edges of the paper and box slightly so it reads as genuinely sitting in the mess rather than floating above it. A roll of ribbon or a pair of scissors nearby adds a nice extra prop.
Keeping the cat’s expression too alert ruins the gag, since the humor relies on it looking completely unbothered by the chaos it is causing. If a full wrapping scene feels busy, just the cat sitting on one sheet of paper with nothing else around works just as well.
Finish with one piece of tape stuck to the cat’s paw for extra comedy.
You Will Need
- heavyweight paper
- pencil
- round brush size 4
- fine brush for small props
Palette: Cherry Red,Cream,Sage Green,Cocoa Brown
Try keeping the cat’s expression flat and unbothered rather than alert, since that deadpan look is what makes the whole scene funny.
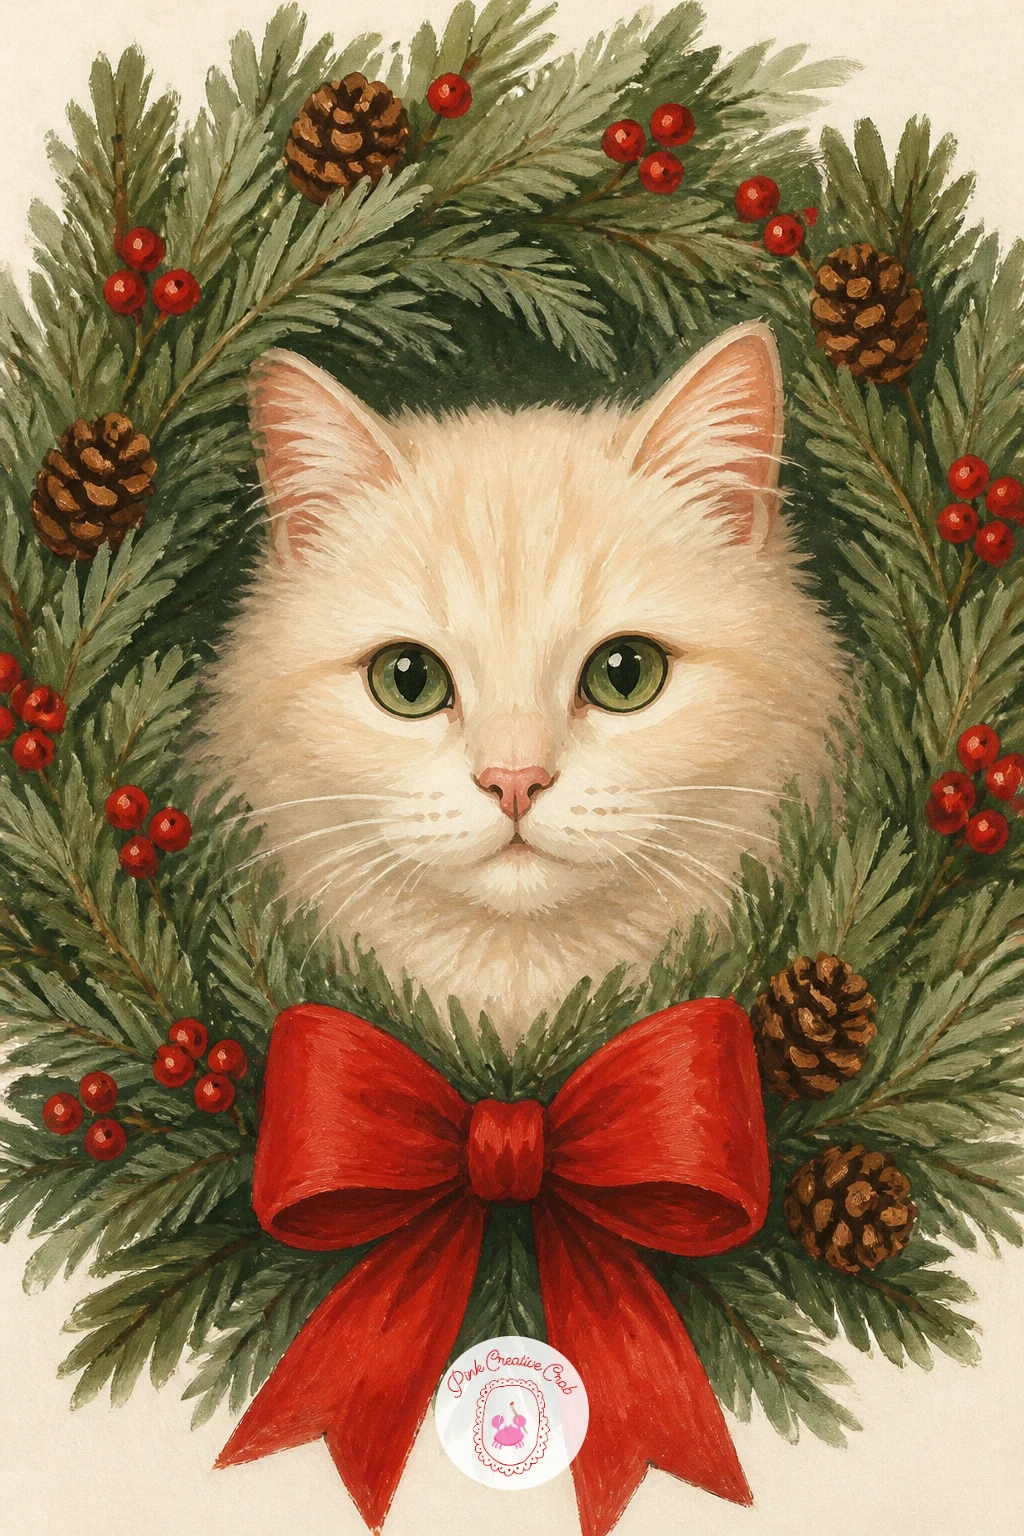
Frame things up with a cat in a wreath, its face peeking through the center of a round pine wreath hung on a door or wall. Sketch the wreath first as a thick circular ring made of loose overlapping leaf shapes, then draw the cat’s face filling the center opening, as if it has pushed its head straight through.
Paint the wreath in layered sage green, a darker base coat first and lighter dry brush strokes added for individual pine needles once it dries. Paint the cat’s face last in the center, keeping its edges crisp against the green so it clearly reads as popping through the ring rather than sitting behind it.
A wreath painted as one flat green blob loses all its texture, so vary your greens and let the dry brush strokes fan outward in different directions around the ring. A simpler holly-leaf wreath with fewer, larger leaves works if the needle texture feels fiddly.
Finish with a cherry red bow at the bottom of the wreath and a few berries scattered through the green.
You Will Need
- heavyweight paper
- pencil
- flat dry brush for pine texture
- fine brush for berries
Palette: Sage Green,Sap Green,Cherry Red,Cream
Try varying the direction of your dry brush strokes around the ring, since needles that all point the same way look stiff rather than natural.
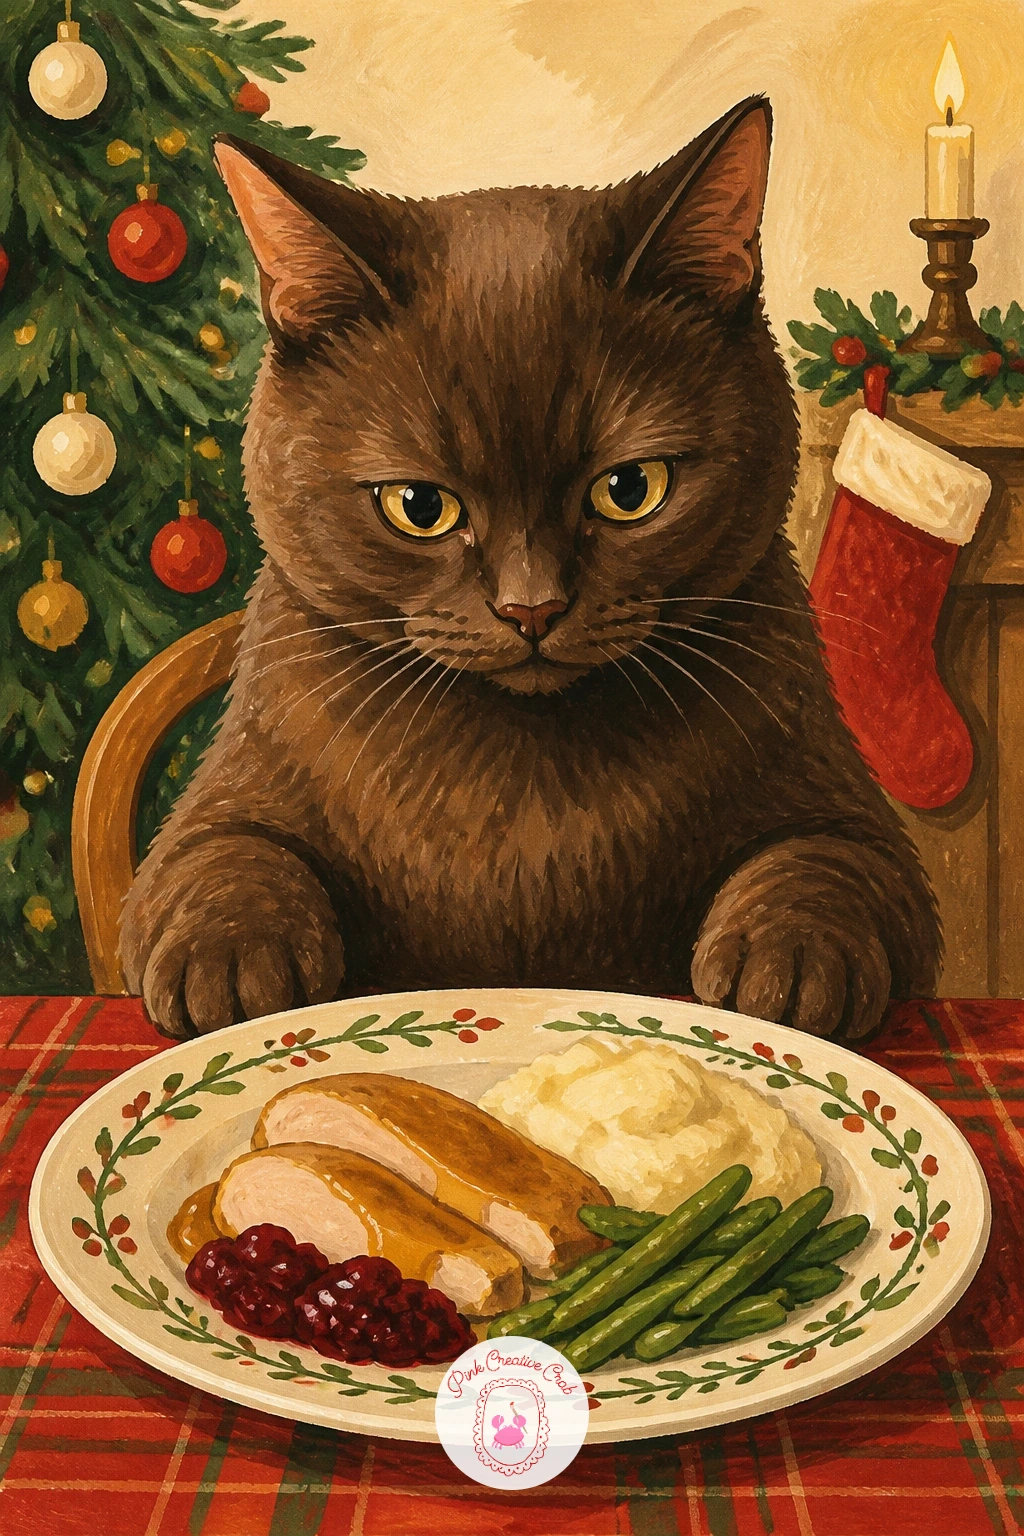
Bring the family scene together with a cat at the Christmas dinner table, sitting up at the table itself as if it has claimed a seat among the guests. Sketch the table edge first as a simple horizontal line with a plate and a few dishes sketched loosely on top, then draw the cat sitting upright in a chair, front paws resting on the table’s edge.
Paint the table setting in cream and cherry red first, keeping the dishes and food simple suggested shapes rather than detailed still life. Paint the cat last, sitting as tall and proper as a dinner guest, with an expectant expression aimed at the nearest plate.
Overcrowding the table with detailed food takes attention away from the cat, so keep two or three simple shapes, a roast, a bowl, a candle, and let the rest of the surface stay plain. If a full table feels like too much, just a single plate and the cat’s paws reaching toward it works as a simpler version.
Finish with one strand of tinsel draped along the table edge for a festive touch.
You Will Need
- heavyweight paper
- pencil
- round brush size 6
- fine brush for table details
Palette: Cream,Cherry Red,Cocoa Brown,Sage Green
Try giving the cat a slightly guilty or expectant expression rather than a neutral one, which turns a simple table scene into a small story.
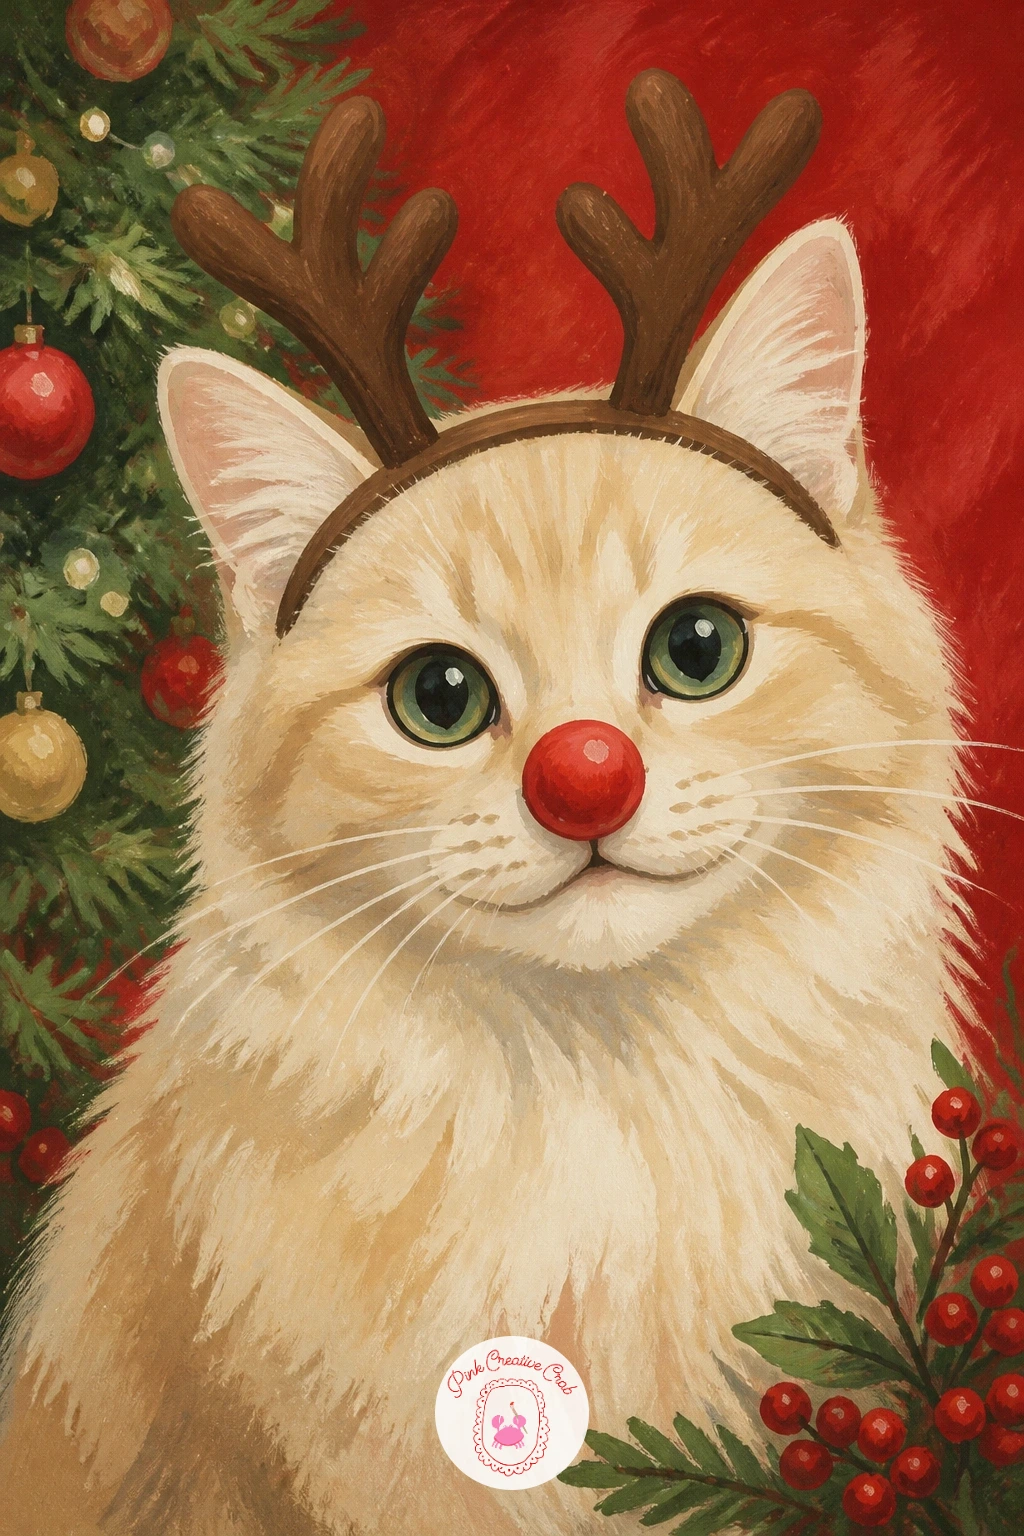
Have some fun with a cat dressed as a reindeer, wearing a small set of felt antlers and a red nose clipped over its own. Sketch the cat’s head and ears first, then add the antlers as simple branching shapes rising just above the ears, and a round red dot over the nose.
Paint the cat’s fur first in its base color, then add the antlers in cocoa brown once the fur is dry, keeping the branches simple and slightly asymmetrical for a handmade look. The red nose goes on last as one bright, slightly glossy dot, the smallest but most important shape in the whole piece.
Antlers that are too large or symmetrical can overpower the cat’s face, so keep them proportioned closer to the size of the ears themselves and let one side sit at a slightly different angle. A single antler slipping sideways adds even more comedy if you want to push the joke further.
Finish with a small jingle bell shape hanging just below the chin.
You Will Need
- heavyweight paper
- pencil
- fine brush for antlers
- round brush size 4
Palette: Cocoa Brown,Cherry Red,Cream,Charcoal Grey
Try tilting one antler slightly off-center, since a perfectly symmetrical costume looks less funny than one that is just slightly askew.
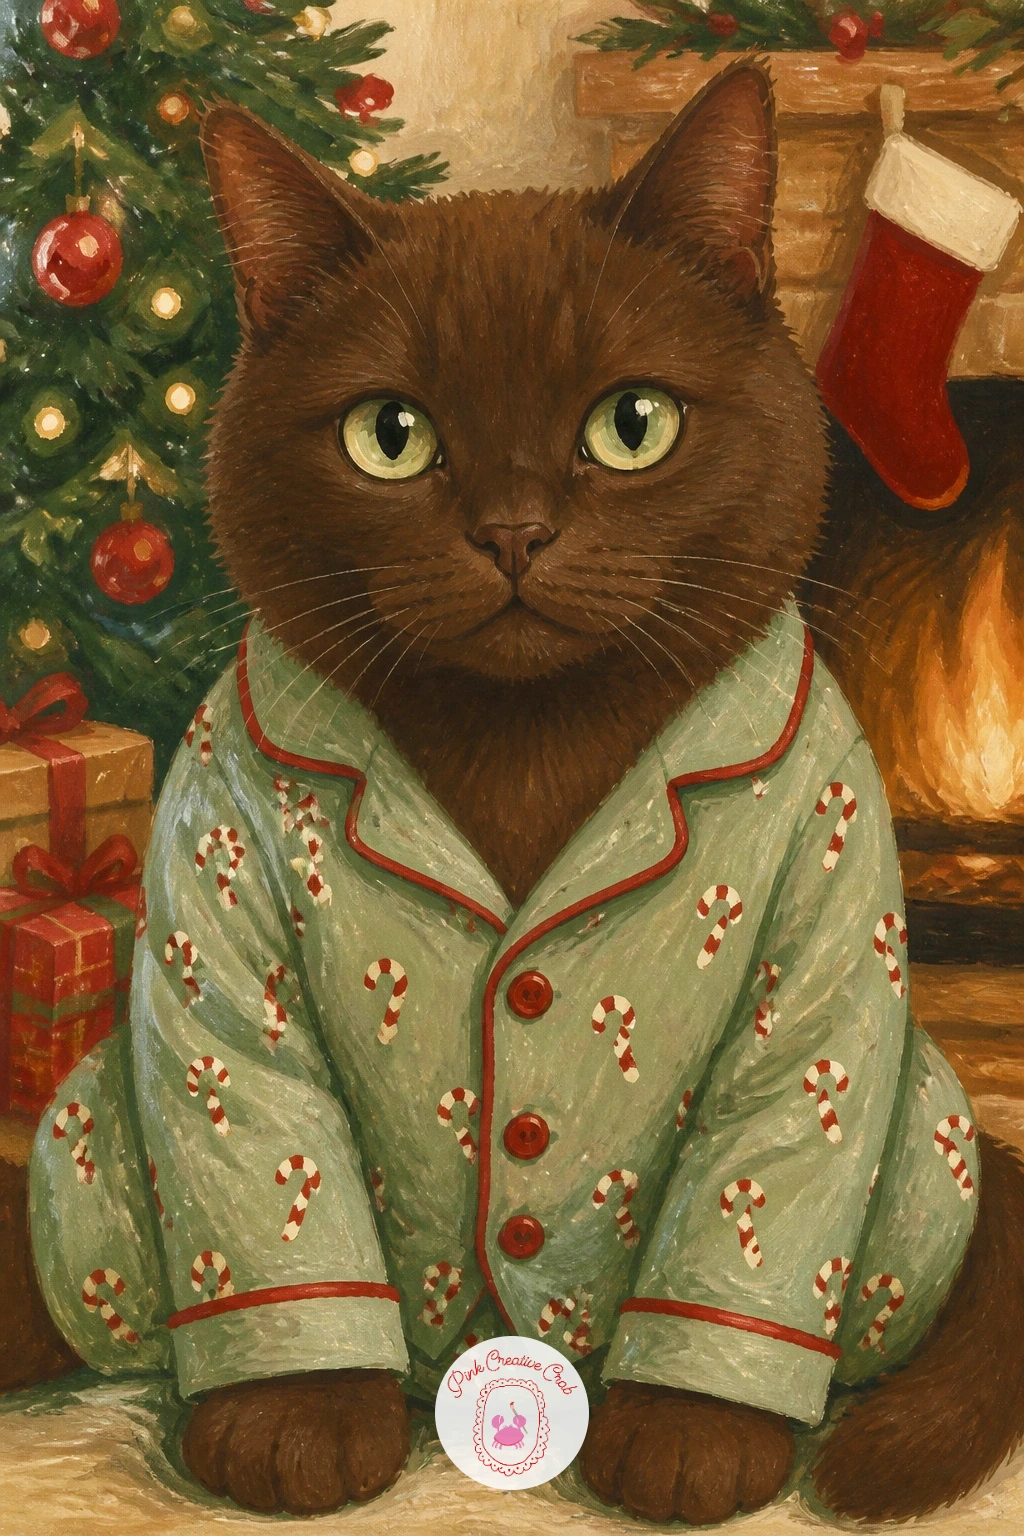
Keep the costume theme going with a cat in a christmas pajama set, patterned all over in a small repeating print. Sketch the cat’s body first, then add the pajama shape covering the torso and legs, leaving the head, paws and tail free, same approach as the earlier sweater idea.
Paint the base pajama color first in cream or sage, then once dry, add a small repeating pattern across it, tiny candy canes or dots in cherry red, keeping each motif small and evenly spaced with a fine brush. Working the pattern after the base color dries keeps every little shape crisp instead of bleeding into a blur.
A pattern that is too large or crowded can swallow the cat’s whole silhouette, so keep each motif no bigger than a fingertip and leave visible gaps of base color between them. A simple striped pajama print works as an easier swap if small repeating motifs feel fiddly.
Finish with a tiny cuffed collar in a contrasting color at the neckline.
You Will Need
- heavyweight paper
- pencil
- fine brush for pattern motifs
- round brush size 4
Palette: Sage Green,Cherry Red,Cream,Cocoa Brown
Try keeping each pattern motif the same small size throughout, since uneven dots or shapes read as messy rather than charmingly handmade.
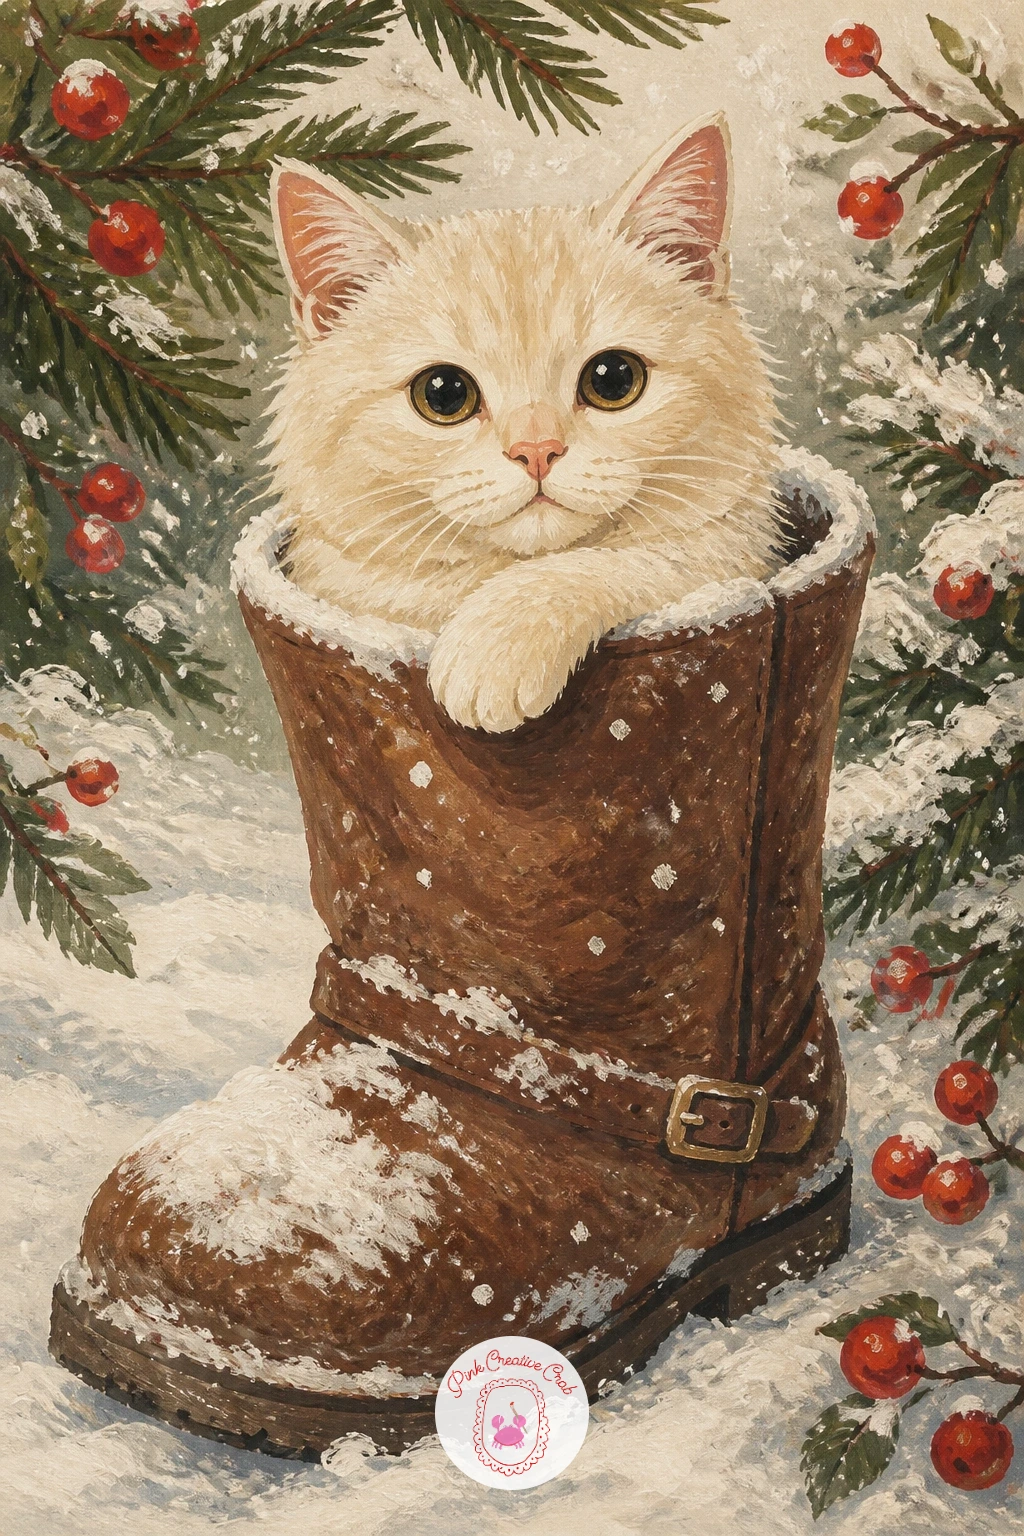
Bring the outdoors in with a cat sitting in a snow-filled boot, tucked into a tall winter boot left by the door with snow still dusting its rim. Sketch the boot first as a tall curved shape with a wide opening at the top, then draw the cat sitting inside it, just the head and shoulders visible above the rim.
Paint the boot in cocoa brown leather tones with cream laces, then paint the cat sitting inside once the boot color is dry. Add a dusting of white gouache snow along the top rim and a few flicked dots around the base to suggest it was just brought in from outside.
The boot can look too stiff and shoe-like if the leather color is painted perfectly flat, so vary the brown slightly with a touch of darker shading down one side to suggest the curve of the material. A simple wellington boot shape works as an easier swap if the laced boot feels fiddly to draw.
Finish with one paw resting over the edge of the rim.
You Will Need
- heavyweight paper
- pencil
- round brush size 4
- white gouache for snow
Palette: Cocoa Brown,Cream,Charcoal Grey,Pale Blue
Try shading one side of the boot darker than the other, which gives the leather shape enough curve to feel like a real boot rather than a flat cutout.
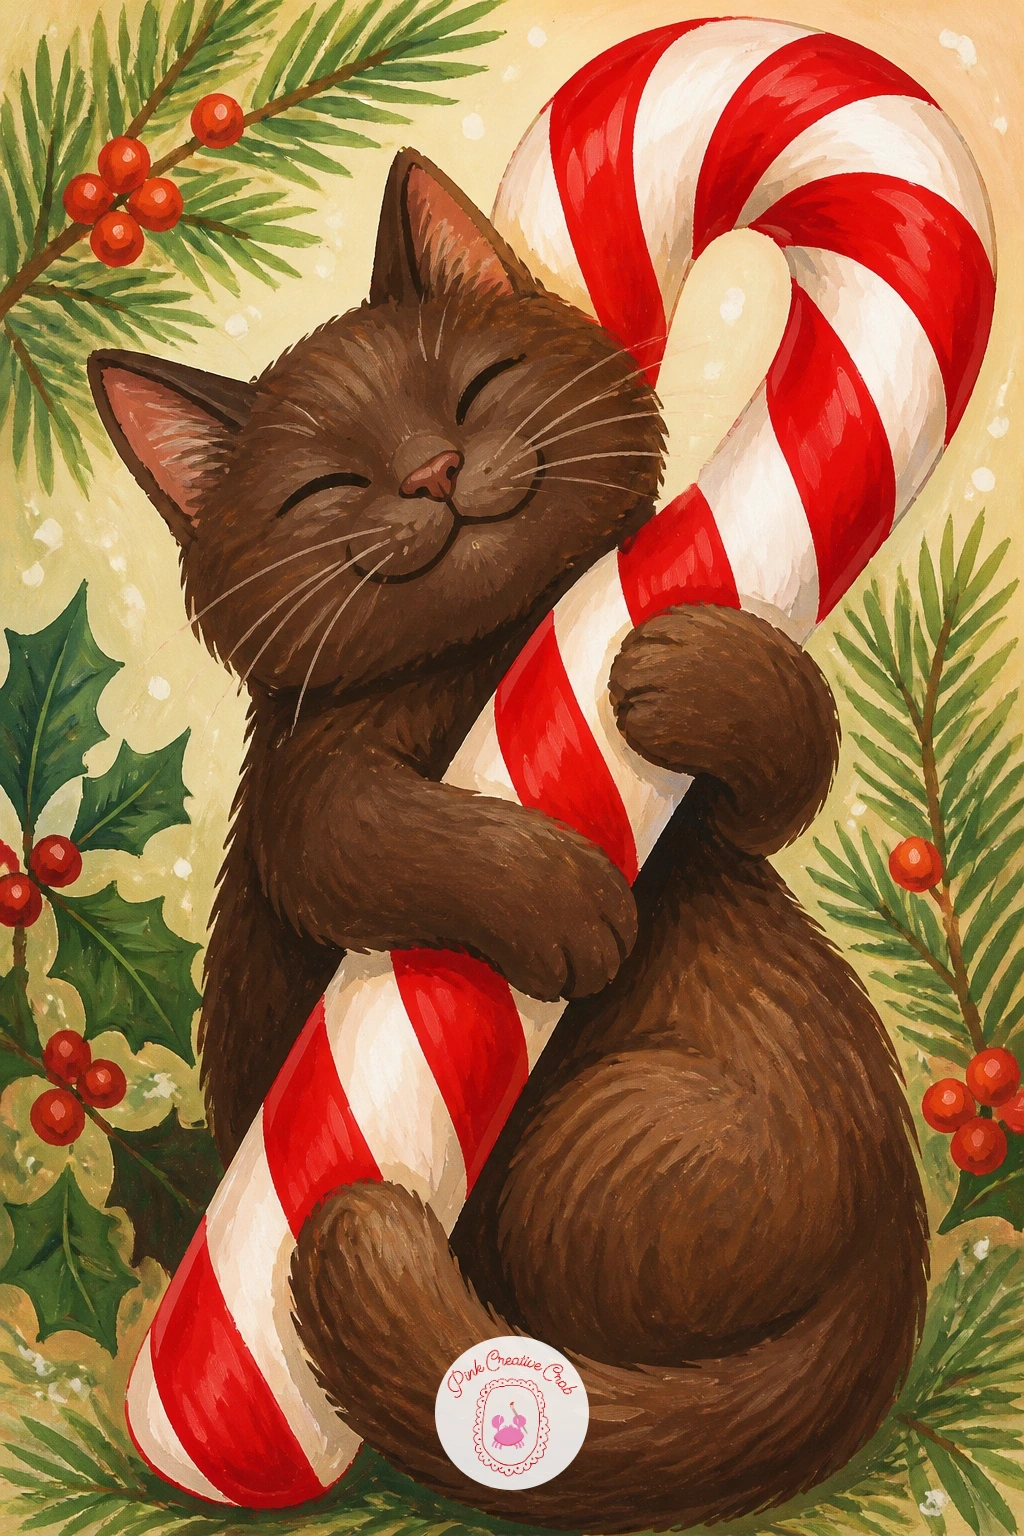
Close out the list with a cat hugging a giant candy cane, wrapped around a candy cane taller than itself with both front paws holding on. Sketch the candy cane first as a tall curved shape with its hook at the top, then draw the cat climbing or hugging it from one side, front paws wrapped around the stripe.
Paint the candy cane in cherry red and white diagonal stripes, letting each stripe dry before adding the next so the colors stay clean and separate rather than blending into pink. Paint the cat last, clinging to the side with its body curved to match the candy cane’s own curve at the top.
Straight, stiff stripes painted with a shaky hand are the main risk here, so use a ruler as a guide for the stripe edges even though the final lines are painted freehand inside them. A smaller mini candy cane works as a simpler version if the full curved shape feels ambitious.
Finish with the cat’s expression a little smug, as though it has claimed the whole candy cane for itself.
You Will Need
- heavyweight paper
- pencil
- ruler for stripe guides
- round brush size 4
Palette: Cherry Red,Cream,Cocoa Brown,Charcoal Grey
Try curving the cat’s whole body to echo the candy cane’s hook shape at the top, which ties the two shapes together into one unified composition.
What to Do Next
Pick whichever cat moment made you smile first, whether that is the one hiding in the stocking or the one eyeing the dinner table, and start with a light pencil sketch on heavyweight paper before any paint goes down. One finished scene today is plenty, and the rest of the list will still be here for next time.
Frequently Asked Questions
What kind of paper works best for a Christmas cat drawing in gouache?
Heavyweight paper made for gouache or watercolor works best, since gouache needs a surface that can take several wet layers without buckling or pilling. Anything under 200gsm tends to warp once you add washes and highlights on top.
How do you keep cat fur looking soft instead of flat in gouache?
Build the fur in thin layers, starting with a watered down base coat and adding short dry brush strokes once it dries for texture. Painting the whole cat as one flat block of opaque color is what makes fur look stiff rather than soft.
What colors work well for a cozy Christmas cat palette?
Cherry red, sage green, cream and cocoa brown cover almost every scene on this list and mix well together without turning muddy. Keep white gouache on hand too, for snow, highlights and small festive details like lights or icing.
How do you make a cheeky cat pose look funny rather than stiff?
Exaggerate one thing, a raised paw, a tilted head or a flat unbothered expression, rather than trying to make the whole pose busy. A single clear gesture reads as funnier than a cat doing several things at once.
Can these Christmas cat drawing ideas work in colored pencil instead of gouache?
Yes, the same poses and scenes translate well to colored pencil, though the fur strokes will look more linear than soft and blended. Build color in light layers and save your darkest pencil pressure for the very last details.
Have any thoughts?
Share your reaction or leave a quick response — we’d love to hear what you think!
-
 0
-
0
-
0
-
0
-
0
-
0


