

A watercolor mermaid gives you everything the opalescent trend loves in one sitting: water that blooms on its own, scales that catch light like mother of pearl, and a story to tell in every scene. Each idea below sits in a seaside or underwater moment, built with the same loose, glowing palette so the whole set reads like pages from one dreamy sketchbook.
Work through them in any order, phone propped beside your paper. You will find simple sunset poses for your first try and more layered scenes, storms, coral gardens, glowing lanterns, for when you want to push the shimmer further.
Using these images: free for personal projects such as printing, coloring, cards, journals and gifts. Handmade items that include them may be sold up to 30 pieces per design. More than that is commercial use and is not permitted, and neither is selling or sharing the images themselves or passing them off as your own. Please ask before any other use.
Start with the easiest pose in the set: a mermaid sitting on a rock at sunset, tail curled to one side. Pencil in a simple seated silhouette first, just an oval for the torso and a curved tail shape, before any paint touches the page.
Paint the sky first while the paper is still dry, washing in warm coral and lilac in loose horizontal strokes, then drop a little more pigment at the horizon so it glows. While that sky is still damp, touch in the rock shape with a dark warm grey so its edge softens into the light.
Once the sky is dry, paint the mermaid: warm skin tone first, then a tail in teal and lilac, letting the two colors bleed into each other wet on wet for that opalescent sheen. The hair usually goes wrong by looking too stiff, so paint it as one loose flowing shape rather than many thin lines.
If you do not have a warm grey, mix a little orange into your blue for the rock instead. Finish today’s version with a thin white gel pen line along the tail’s edge once everything is bone dry, to catch the sunset light.
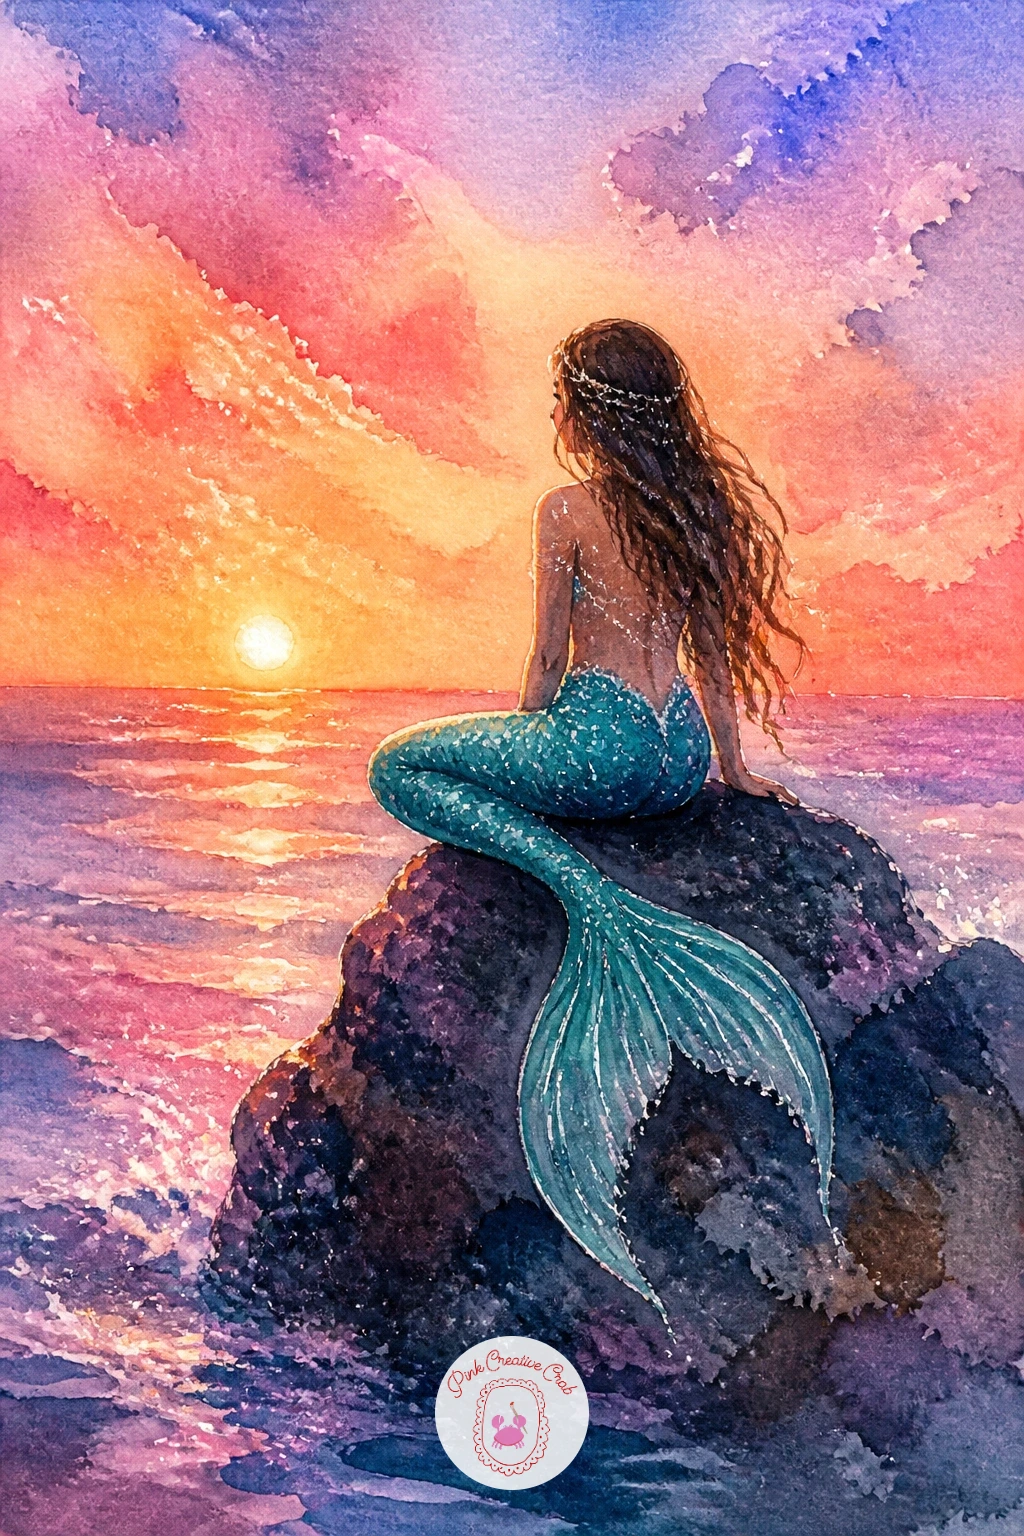
Palette: Quinacridone Coral,Lilac,Teal,Payne’s Grey
Give your mermaid a quiet moment with a mermaid reading a book underwater, floating with the pages open in front of her. Sketch her in a relaxed curled pose first, knees bent, tail trailing, with the book held in both hands at chest height.
Wet the whole background first and drop in deep teal and blue-violet so the water looks like it surrounds her rather than sits behind her, letting the colors pool unevenly for that underwater shimmer. Once that layer is dry, paint her figure on top in warmer, lighter tones so she reads as the focal point against the dark water.
The book is easy to overwork, so keep it to a simple pale rectangle with two or three faint pencil lines for pages rather than trying to paint text. If your washes have gone muddy in the background, lift a little color out with a damp clean brush while it is still wet to open up some lighter patches around her.
No large brush for the wash? A travel-size flat brush loaded generously with water does the same job. Finish with tiny bubbles in white gel pen drifting up from the book.
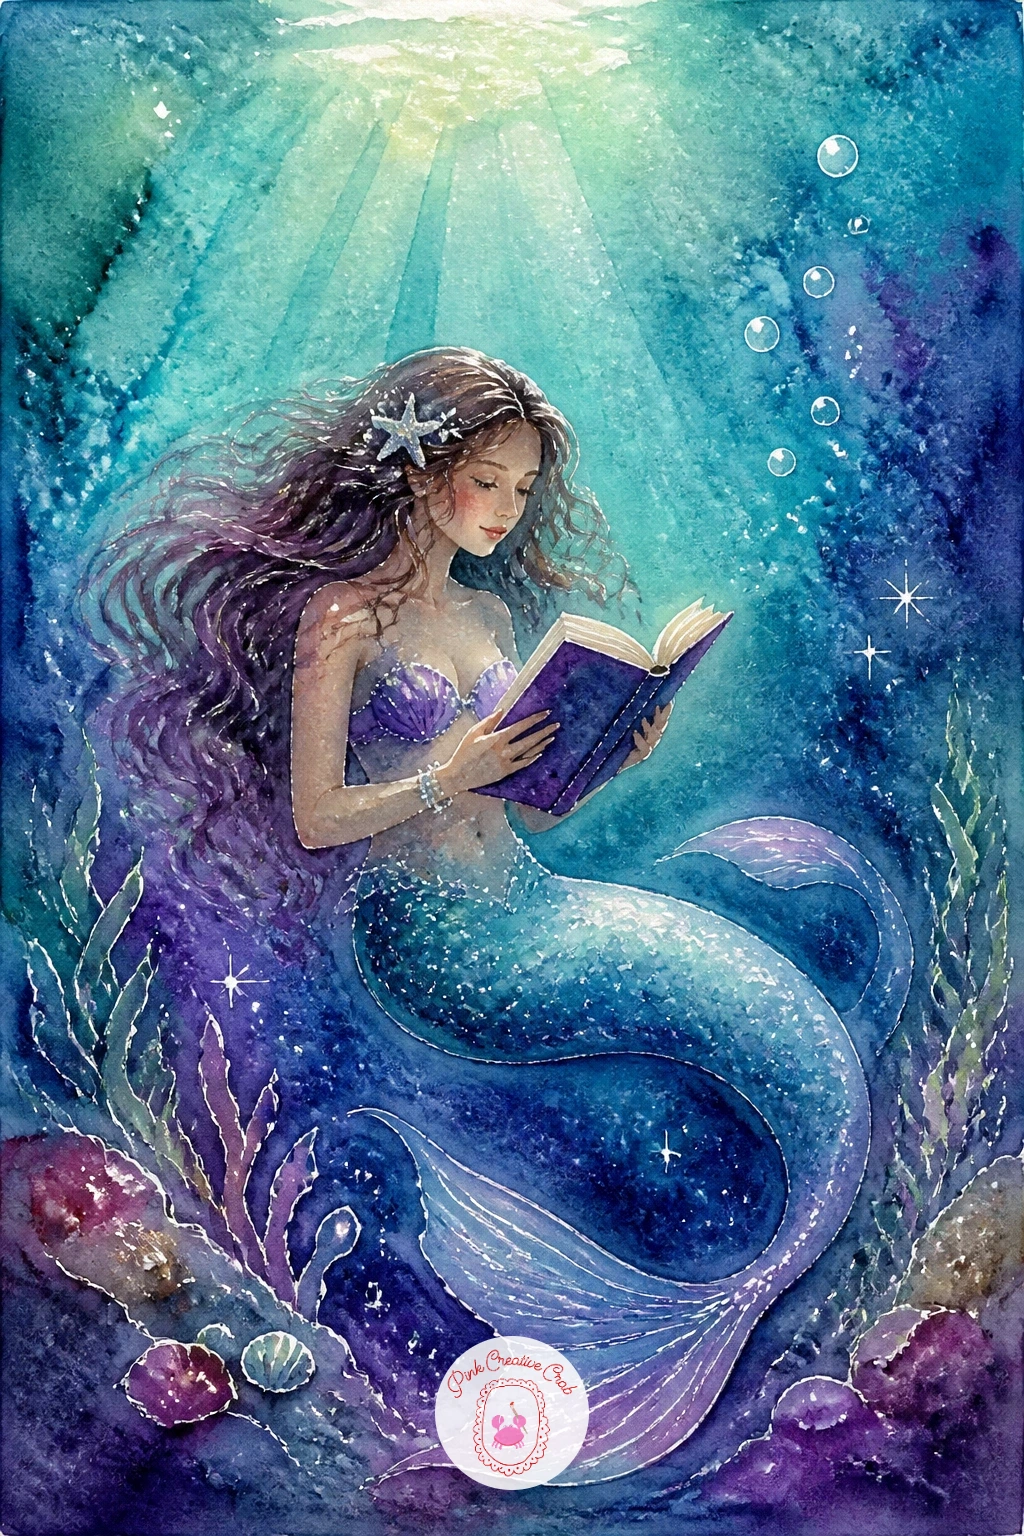
Palette: Prussian Blue,Blue Violet,Pearl Pink,Sap Green
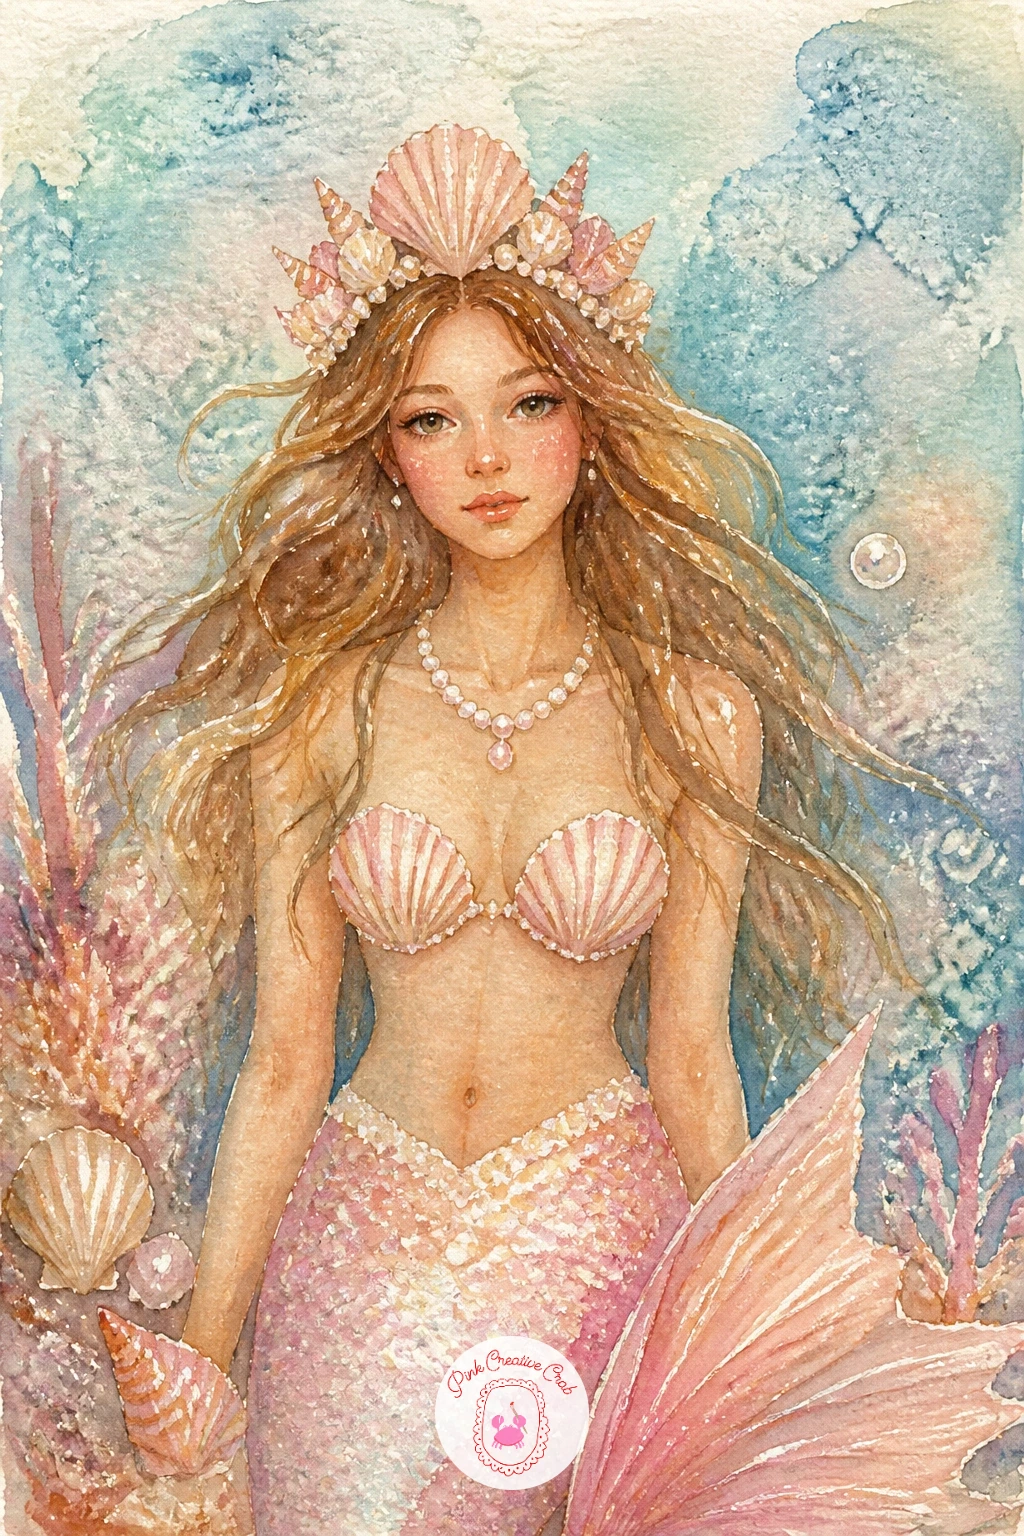
This one is about ornament more than pose, so keep a mermaid with a pearl necklace and shell crown simple and front-facing, shoulders up, tail barely suggested below. Pencil the crown shapes first, small scallop and spiral shells arranged like points on a circlet, before you paint anything.
Measure the crown against the width of her head before you commit to paint: it should sit no wider than the distance between her ears, or it will look oversized once color goes in. Paint her hair in loose warm tones first, then add the crown shells in cream and soft pink once the hair is dry so the edges stay crisp.
For the necklace, dot in a row of pearls with a dry brush loaded with white gouache or white gel pen, spaced slightly unevenly since perfectly even dots read as stamped rather than hand drawn. The crown often ends up too fussy, so stop at three or four shell shapes rather than filling the whole circlet.
No gouache on hand? A white gel pen gives the same pearl highlight once the paint is fully dry. Try shimmer watercolor for the shells if you have it, it catches light exactly like the real opalescent trend.
You Will Need
- white gouache or white gel pen for pearls
Palette: Naples Yellow,Shell Pink,Burnt Sienna,Cream White
Add movement with a mermaid swimming with dolphins, her body arched in a long diagonal line beside two curved dolphin shapes. Block in the dolphins first as simple grey silhouettes with a pencil, keeping their bodies as smooth curves rather than sharp angles, since dolphins read instantly from silhouette alone.
Think about where the light comes from before you paint: if it falls from above, the dolphins’ backs and the mermaid’s upper tail get the palest wash, while their undersides stay in cool shadow blue. Paint the water as one continuous wet-into-wet wash behind all three figures so they look like they share the same current.
Dolphins often come out looking stiff, so curve their tails slightly upward as if mid-motion, and let the mermaid’s hair stream backward in the same direction to tie the whole scene together. A fan brush dragged lightly through wet paint gives a sense of speed in the water around them.
If grey paint looks flat, warm it slightly with a touch of violet for shadow. Keep today’s tip simple: paint all three figures’ outlines first in pencil so their proportions match before any color goes down.
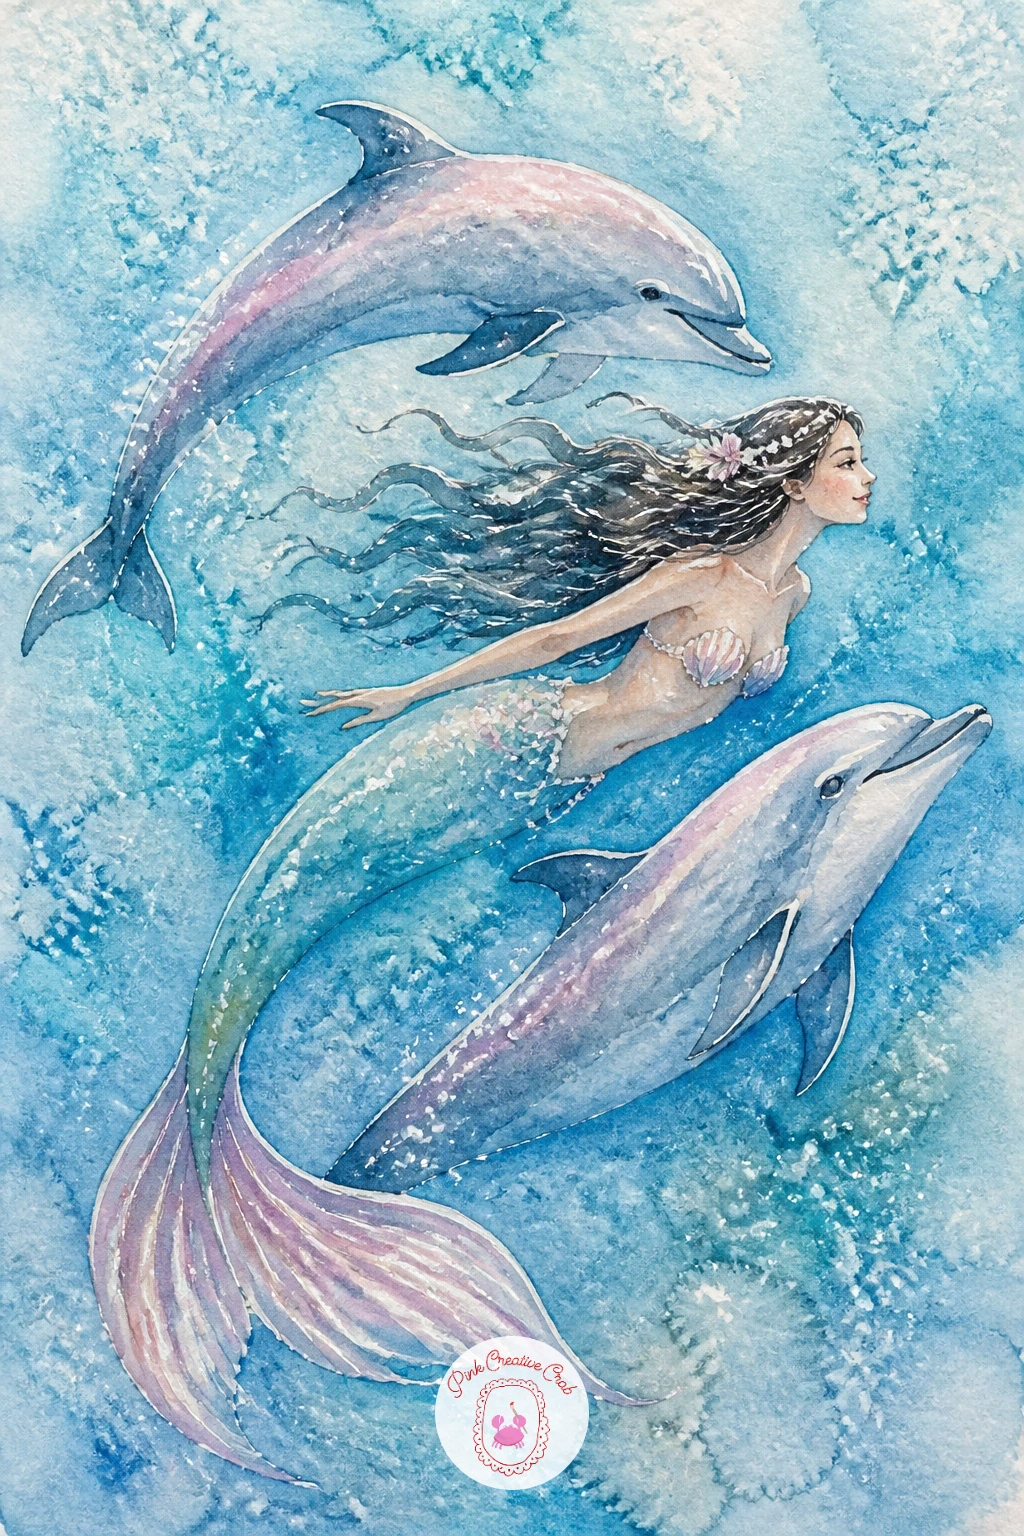
Palette: Payne’s Grey,Cerulean Blue,Violet Grey,Pearl Pink
Bring in a quiet vanity moment with a mermaid combing her hair in a shell mirror, seated sideways so both her profile and the mirror’s reflection show. Draw the mirror first as a rounded shell shape with a simple handle, then sketch her figure angled toward it.
The reflection is the trickiest part of this scene, and it goes wrong when it looks identical to her face rather than a mirrored, softer version. Paint her actual face first in full color, then paint the reflection inside the shell in paler, slightly blurred tones, as though seen through water and nacre rather than glass.
Work her hair in long sweeping strokes with a large round brush, pulling color from root to tip in one motion so it does not look choppy. Once dry, add a fine comb shape in her hand with a liner pen, just a few short teeth lines, nothing elaborate.
If your shell mirror shape looks lopsided, trace around a small coin or bottle cap for the rounded outline before painting inside it. Keep the mirror’s edge in a pearly cream so it glows against the darker hair.
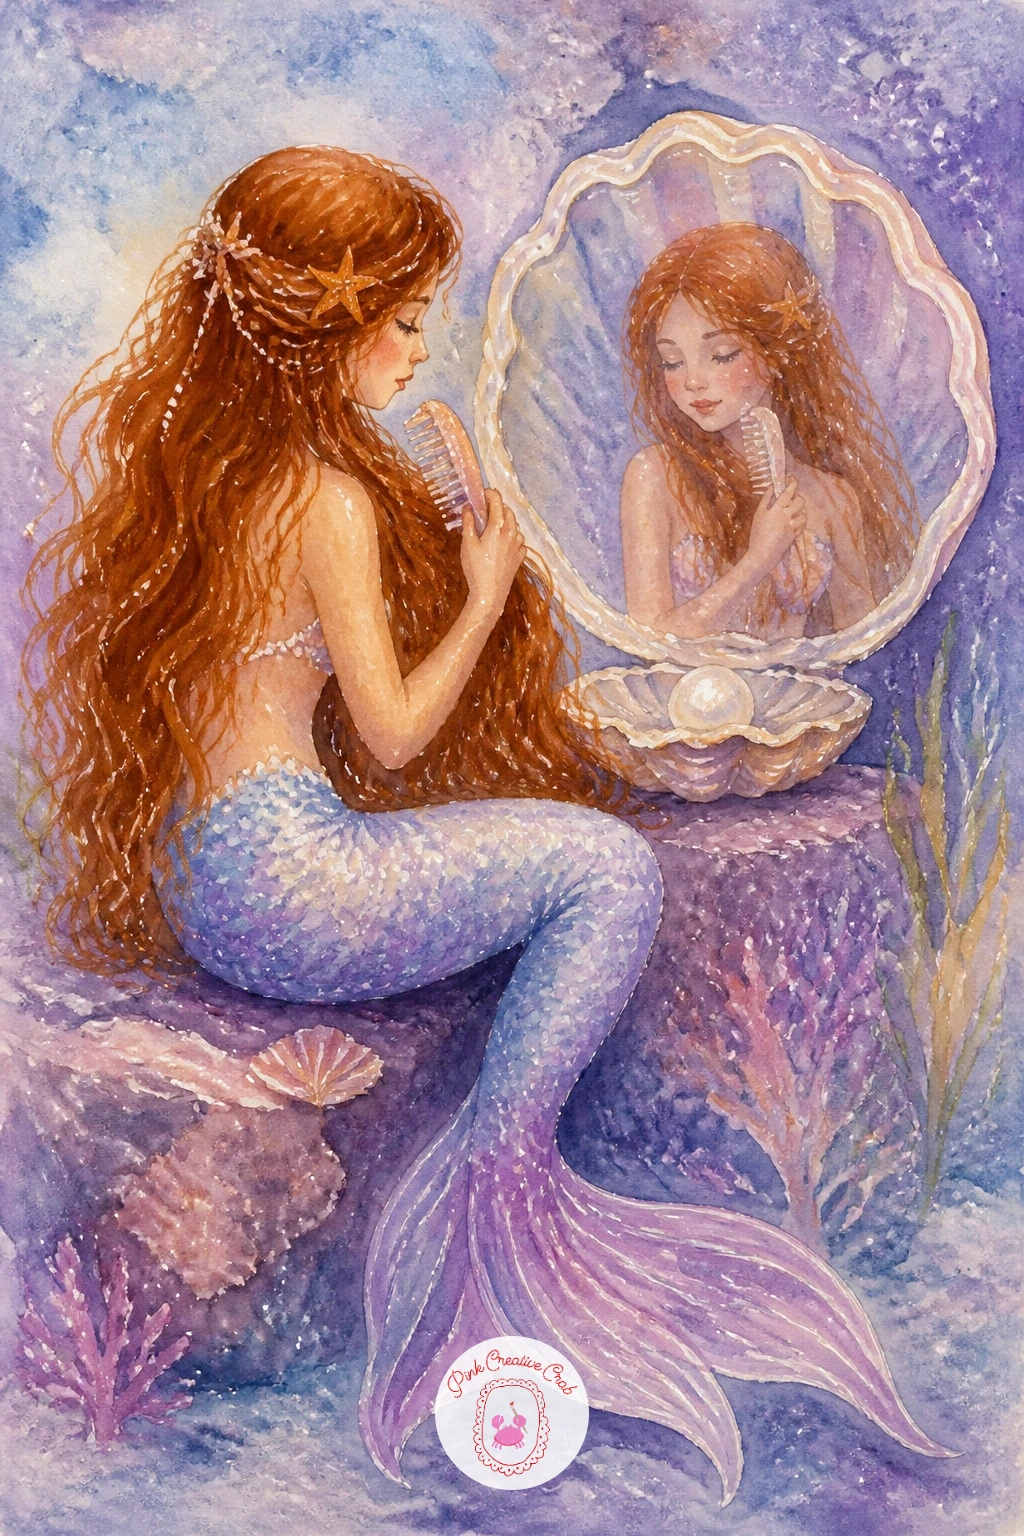
Palette: Burnt Sienna,Cream White,Lilac,Teal
For a mermaid in a kelp forest, build the background before the figure for once, since the tall ribbons of kelp need to feel like they surround her. Paint the kelp strands first as long vertical strokes in varying greens, dragging the brush upward and letting some strands fork near the top.
Here is the one trick worth learning for this scene: dry brush a second, darker green over a few kelp strands once the first layer is dry, so some stand forward and others recede, giving the whole forest real depth. Only once that background is fully dry should you paint the mermaid swimming through the gaps, in lighter, warmer tones so she stands apart from the green.
Kelp forests can turn into a flat green smudge if every strand matches in tone, so vary your green mix: more yellow in some, more blue in others. A fan brush or even an old credit card edge dragged through wet green paint adds believable texture fast.
No fan brush? The torn edge of a sponge dabbed lightly works for kelp texture too. Try this scene’s forty-minute version by adding small fish silhouettes tucked between the kelp strands for extra depth.
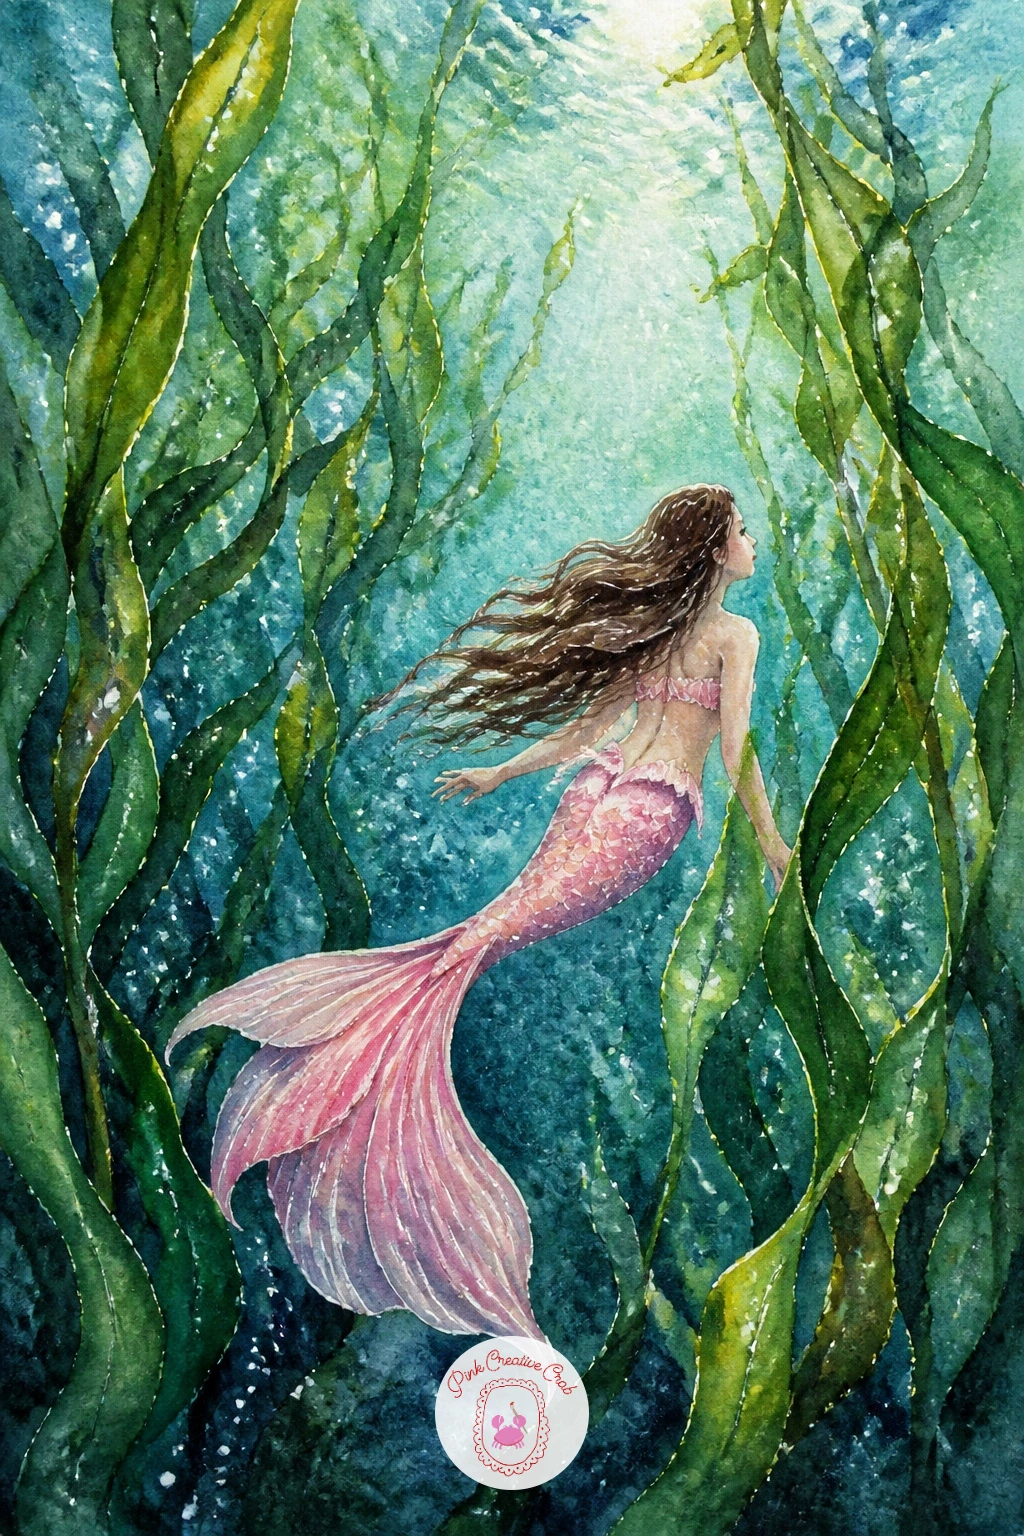
Palette: Sap Green,Viridian,Olive Green,Pearl Pink
Try a fan brush dragged through wet green paint for extra kelp texture, it reads more like moving fronds than a flat brush stroke ever will.
Give the page a glow with a mermaid holding a jellyfish lantern, her arm raised with a softly rounded jellyfish shape lighting the scene like a lamp. Paint the background water dark first, deep blue-violet washed edge to edge, so the lantern has somewhere to shine against.
Once that background is bone dry, paint the jellyfish bell in pale pink and lilac with a soft round brush, leaving the very center nearly white to suggest its glow, then pull thin trailing tentacles downward with a fine liner brush. This is the moment to reach for masking fluid if you want crisp bright highlights: dab a little onto the jellyfish center before painting the dark background, then peel it off once dry to reveal clean light.
The mermaid herself should stay in shadow compared to the lantern, so mix her skin and tail tones slightly darker and cooler than you normally would. If the jellyfish ends up too solid and opaque, lift a little color from its center with a damp brush while still wet to open up the glow.
No masking fluid at hand? A white gel pen over dry paint gives a similar pop of light. Keep today’s tip simple: paint the glow area first in the lightest wash you will use all picture.
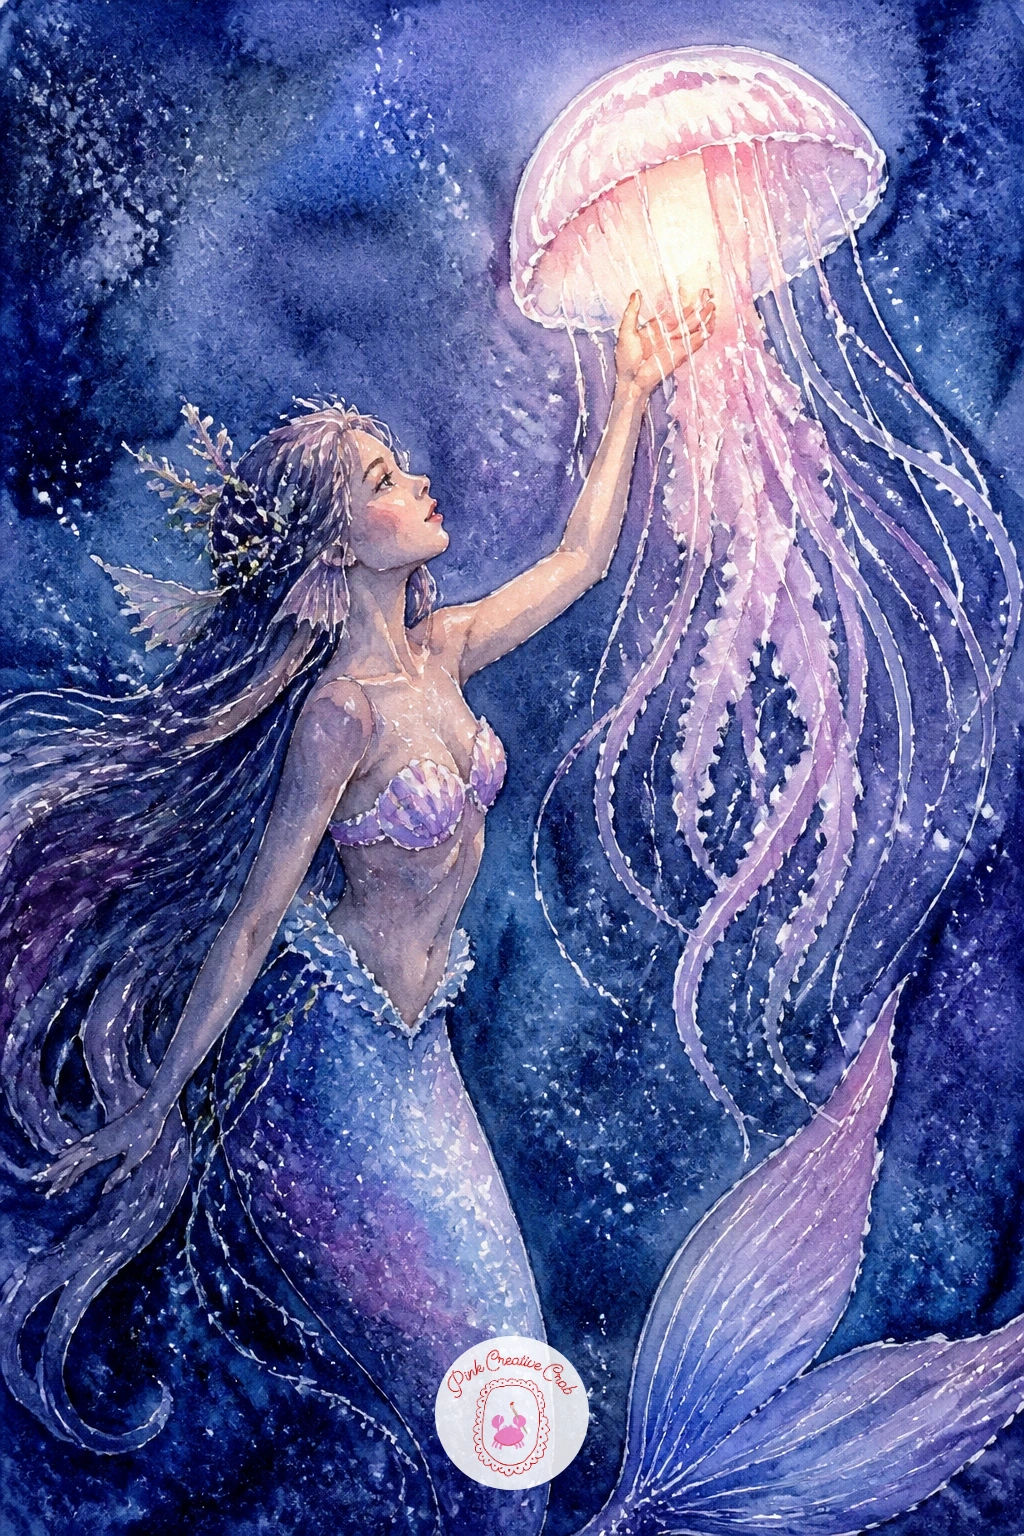
You Will Need
- masking fluid (optional)
Palette: Indigo,Lilac,Pearl Pink,Payne’s Grey
Friendship takes center stage in a mermaid and a sea turtle, swimming side by side at a relaxed, equal pace. Sketch the turtle’s shell first as a simple domed hexagon shape, then build the mermaid’s pose to echo its gentle curve, so the two shapes feel connected rather than separately placed.
Compare their sizes before you paint: a sea turtle’s shell is usually about the same length as the mermaid’s torso, so measure against your pencil sketch to avoid a turtle that reads too small or too much like a boulder. Paint the shell in warm olive and burnt sienna patches, leaving thin pale lines between them for the segments, then move to the mermaid in cooler blues and teals so the two palettes complement without competing.
Turtle shells often look flat without some texture, so once the base color is dry, add small dry-brushed darker patches on each segment for a leathery feel. If your shell pattern bleeds together too much, let each wash dry fully before adding the next segment’s color.
Swap burnt sienna for ochre if that is what you have, the warm effect is the same. Try this pairing again later with a smaller baby turtle tucked near her tail.
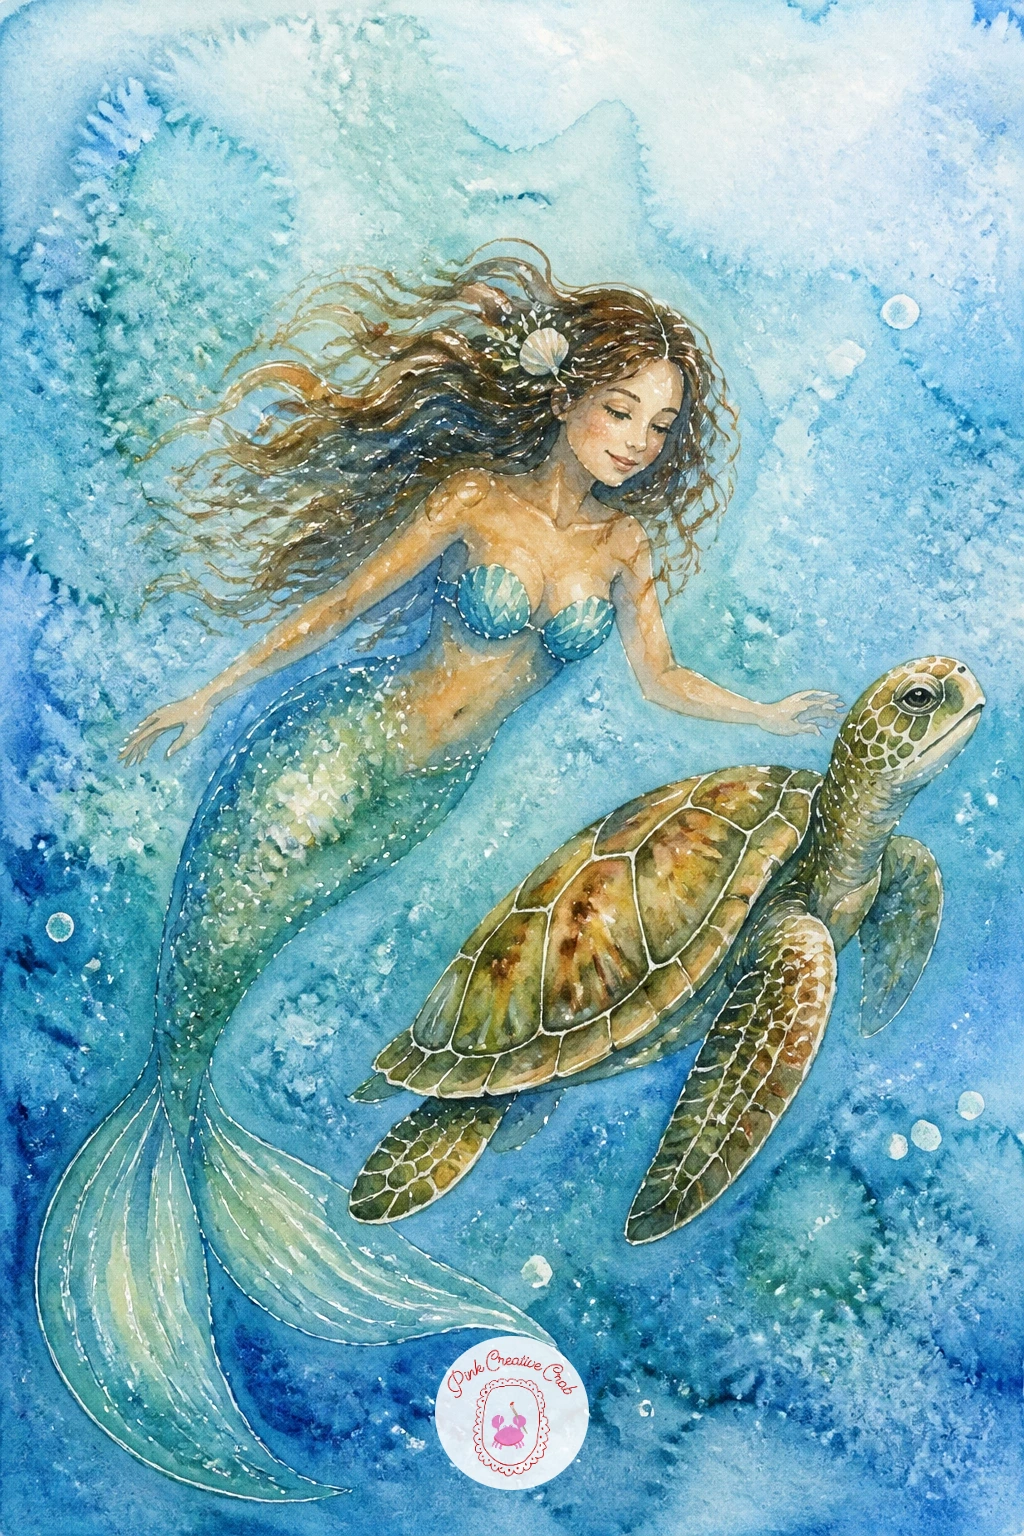
Palette: Olive Green,Burnt Sienna,Cerulean Blue,Teal
Slow the mood down with a mermaid napping in a giant shell, curled up inside its curved hollow like a bed. Draw the shell first as one large spiral or clam shape, big enough that her whole curled body fits comfortably inside its curve, then fit her sleeping pose into that space rather than the other way around.
Paint the shell’s outer ridges in warm pink and cream, working from the hinge outward in slightly fanned strokes to suggest its natural ribbing. Once that is dry, paint the mermaid inside in softer, muted tones since sleep scenes read best with less contrast than action scenes.
The folds of a giant shell can look stiff if every ridge is the same width, so vary your strokes, some close together near the edges and wider near the center. A damp brush dragged along a still-wet ridge softens its edge into shadow nicely if a line looks too harsh.
If you do not have a large brush for the sweeping shell strokes, load a smaller round brush more heavily with water and paint. For an easy ten-minute version, skip the ridges and paint the shell as one soft rounded shape with only a hint of shading at the hinge.
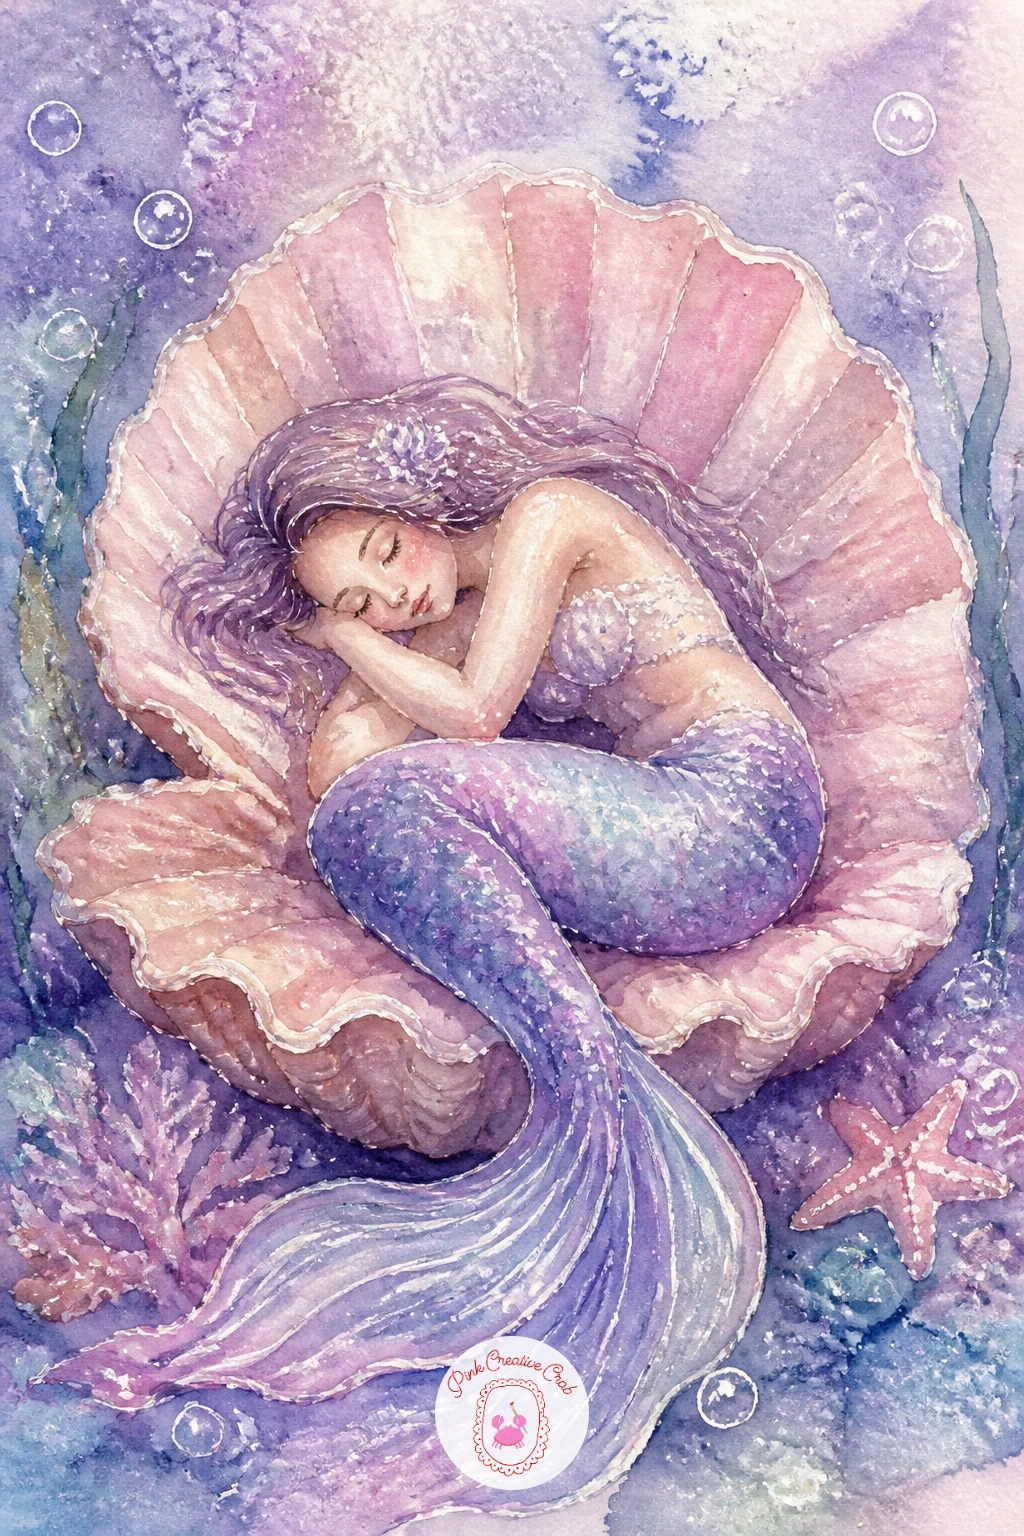
Palette: Shell Pink,Cream White,Lilac,Pearl Pink
Build in some narrative with a mermaid peeking at a ship, half-hidden behind a wave crest while a small sailing ship passes in the distance. Pencil the ship first as a simple triangle-sailed silhouette far on the horizon, kept small and loose since detail there would pull focus from her.
Think about eye level here: if you paint the ship high and small near the top of the page, the viewer reads her as low in the water looking up and out, which makes the whole scene feel more like a secret, stolen glimpse. Paint the sky and sea first as one soft graded wash, then add the ship once dry as a few confident dark strokes, no more than five or six brushmarks total.
Her peeking pose is easy to overdo with too much visible body, so keep most of her submerged, just eyes, hair and maybe one hand above the waterline. If the ship ends up too large and competes with her, you can always fade it further with a damp brush to push it back into the distance.
No fine liner for the ship’s mast? The edge of a flat brush dragged in one quick stroke works just as well. Keep today’s tip to this: smaller and paler always reads as farther away.
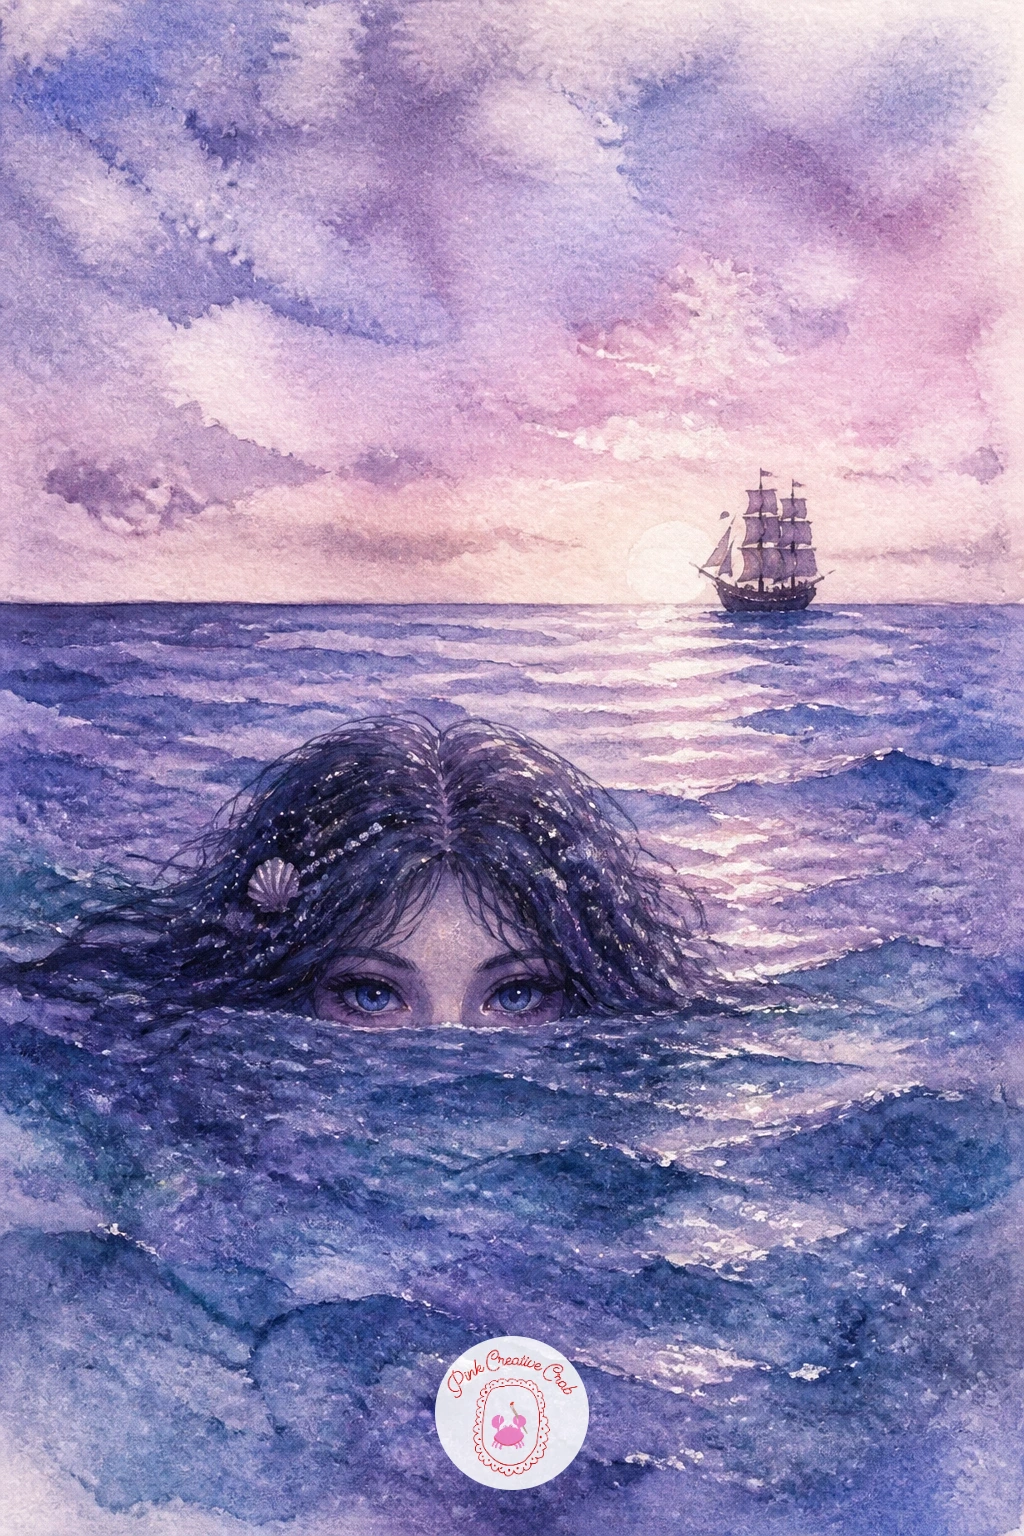
Palette: Payne’s Grey,Pearl Pink,Cerulean Blue,Lilac
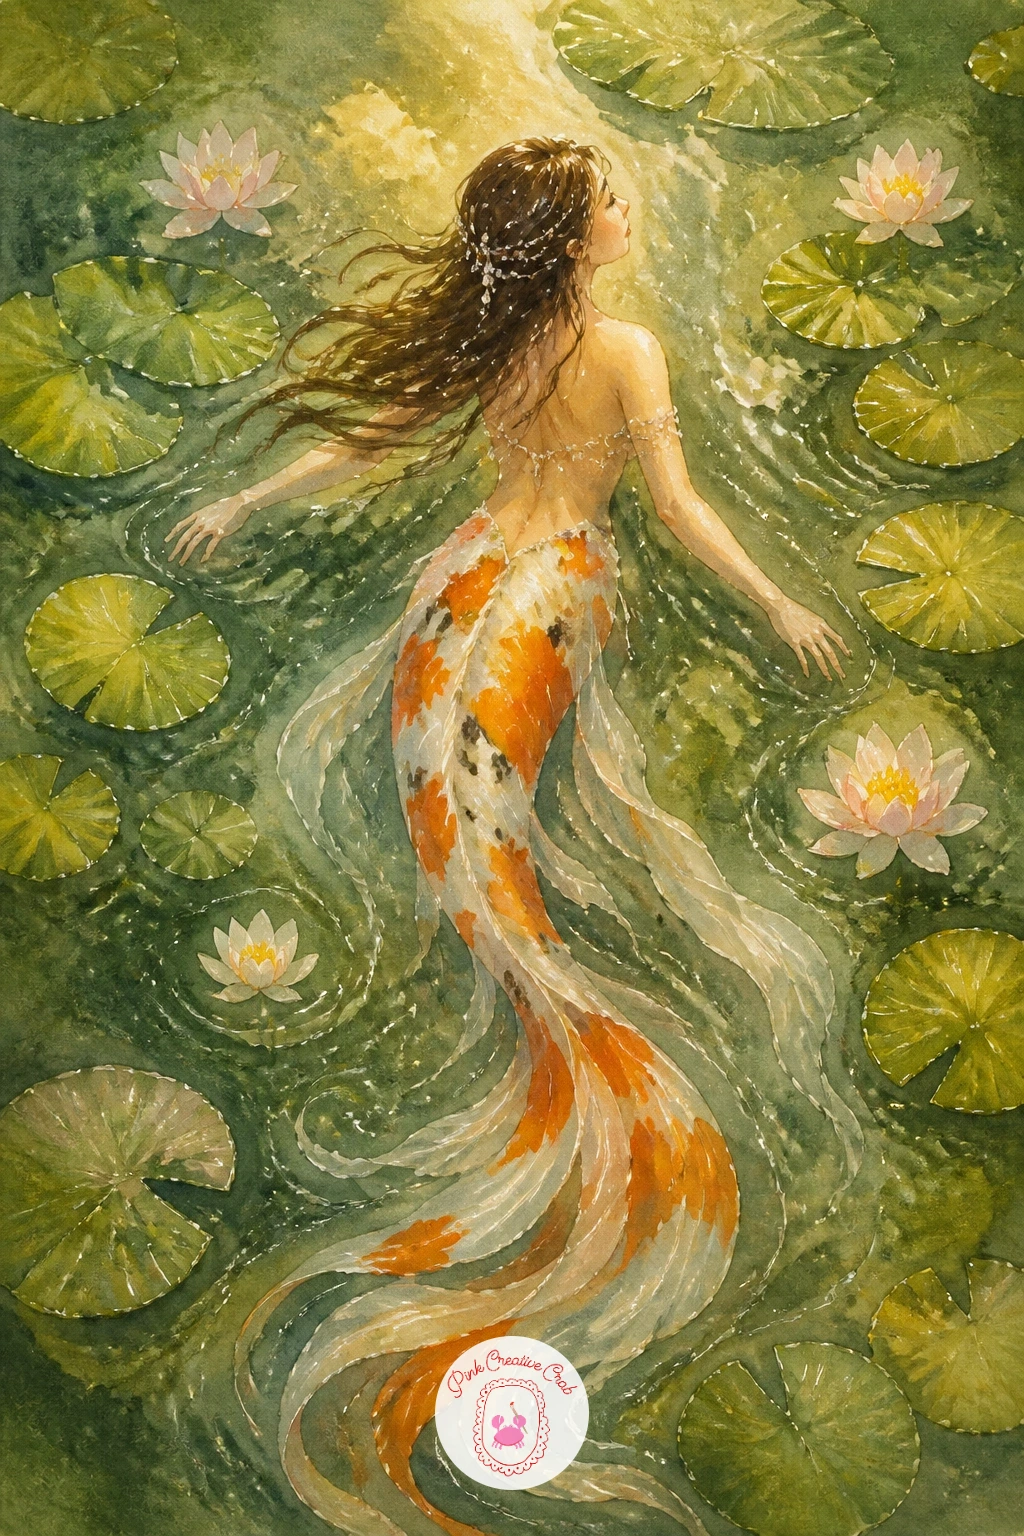
Palette: Cadmium Orange,Ivory Black,Moss Green,Cream White
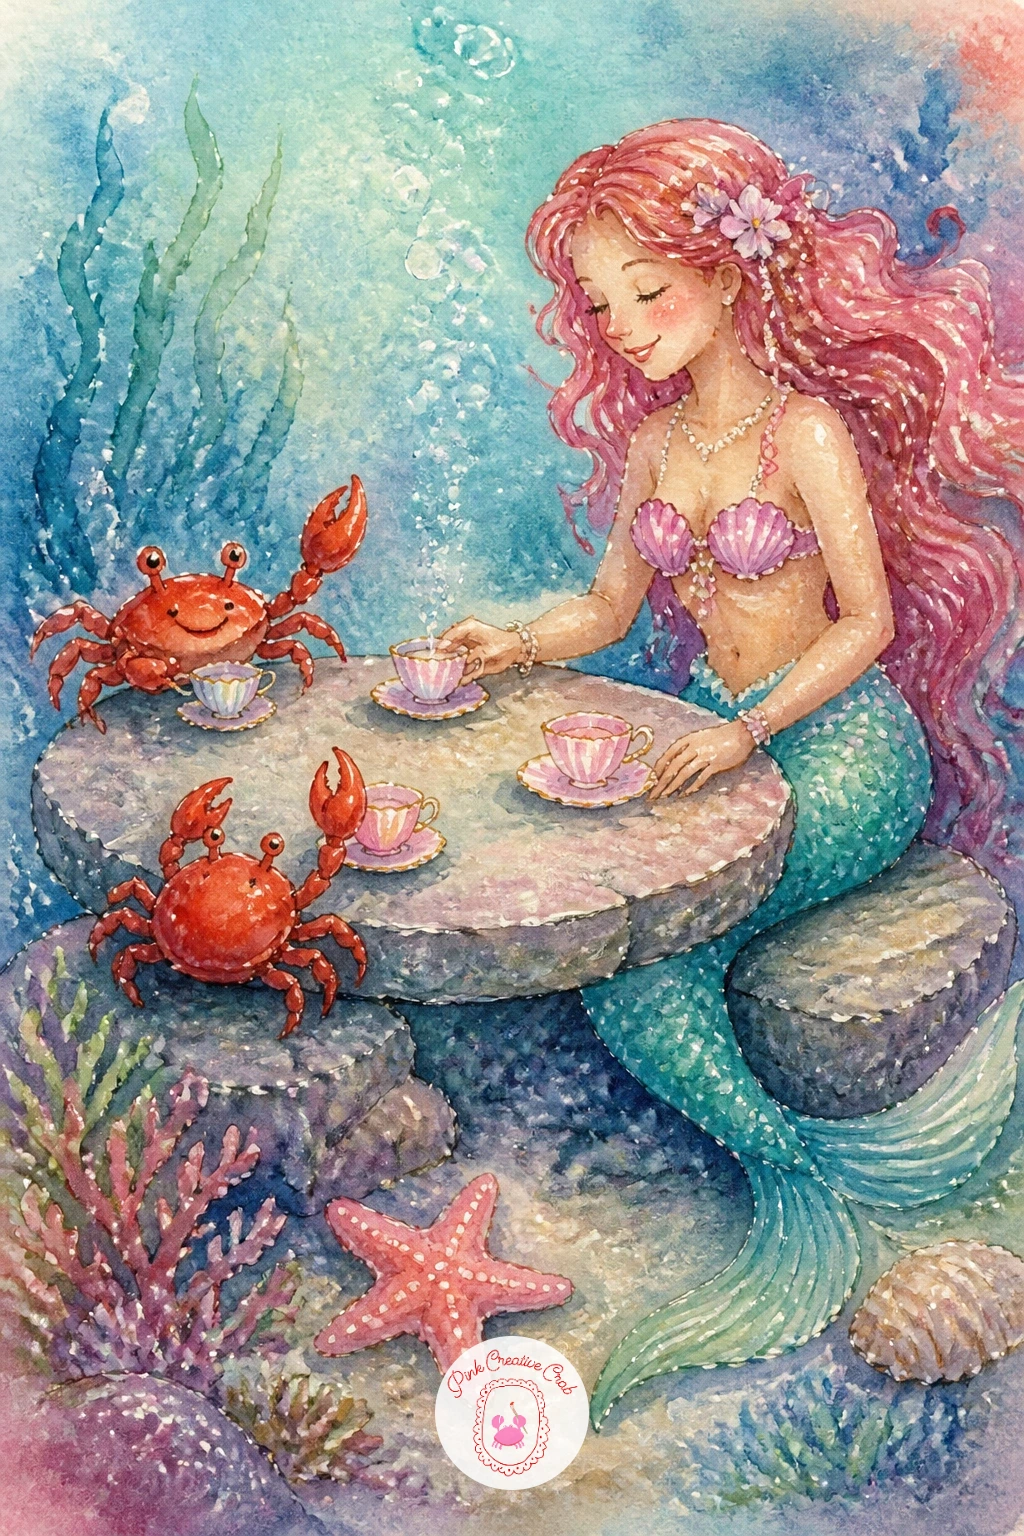
Palette: Cadmium Red,Shell Pink,Cream White,Teal
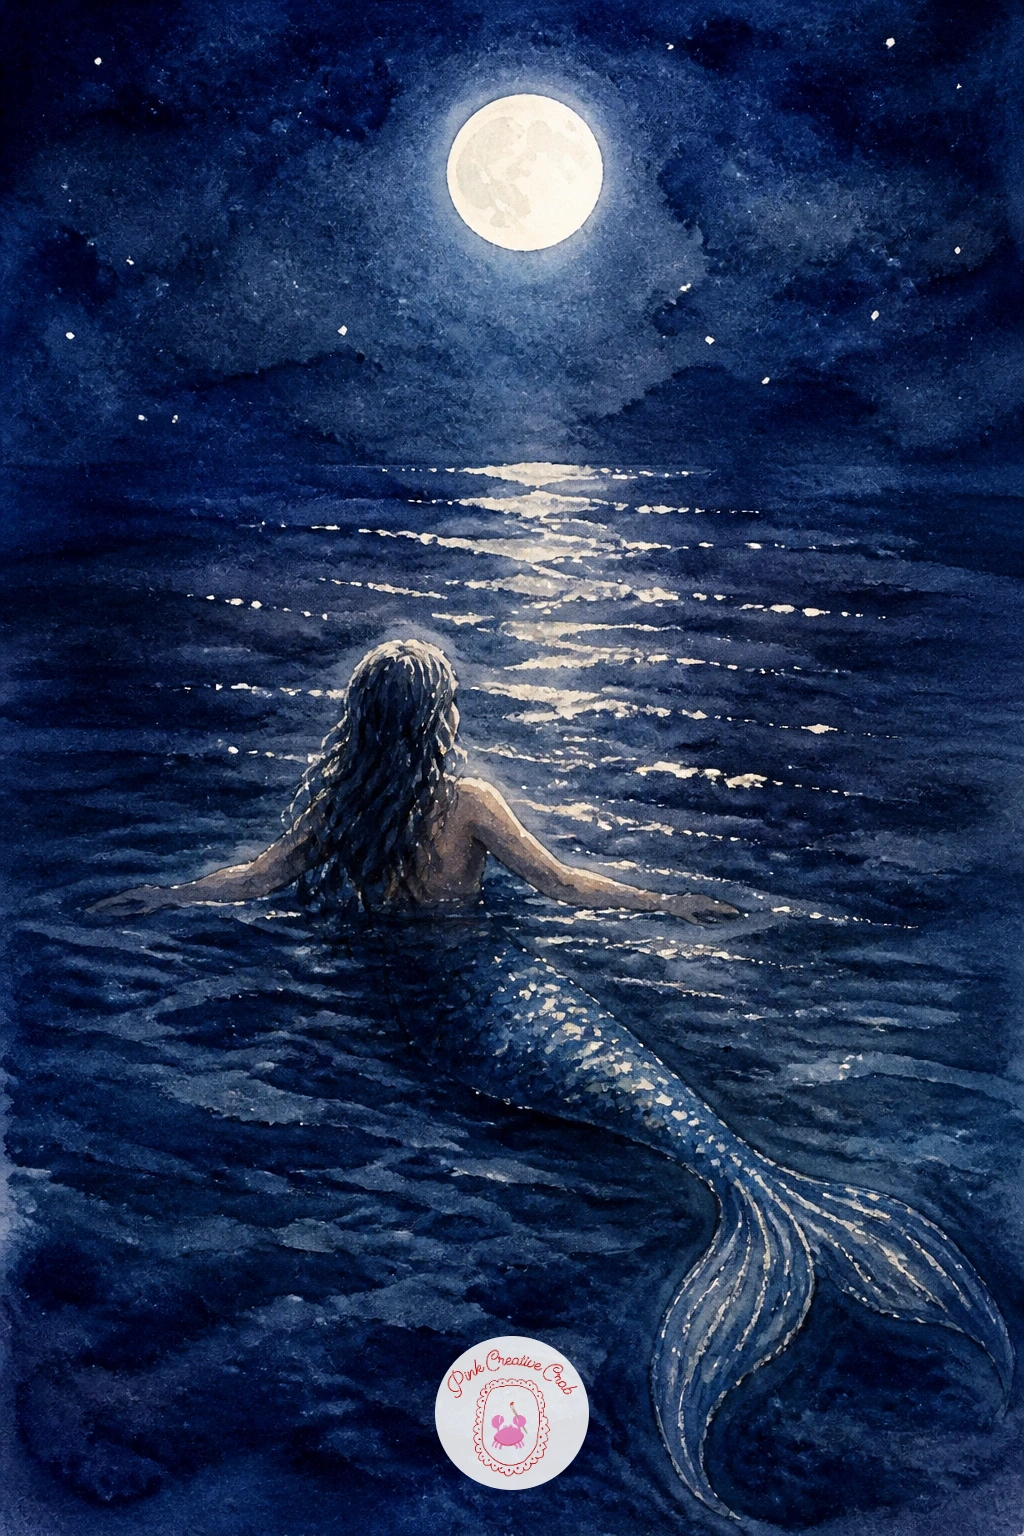
Palette: Indigo,Payne’s Grey,Cream White,Pearl Pink
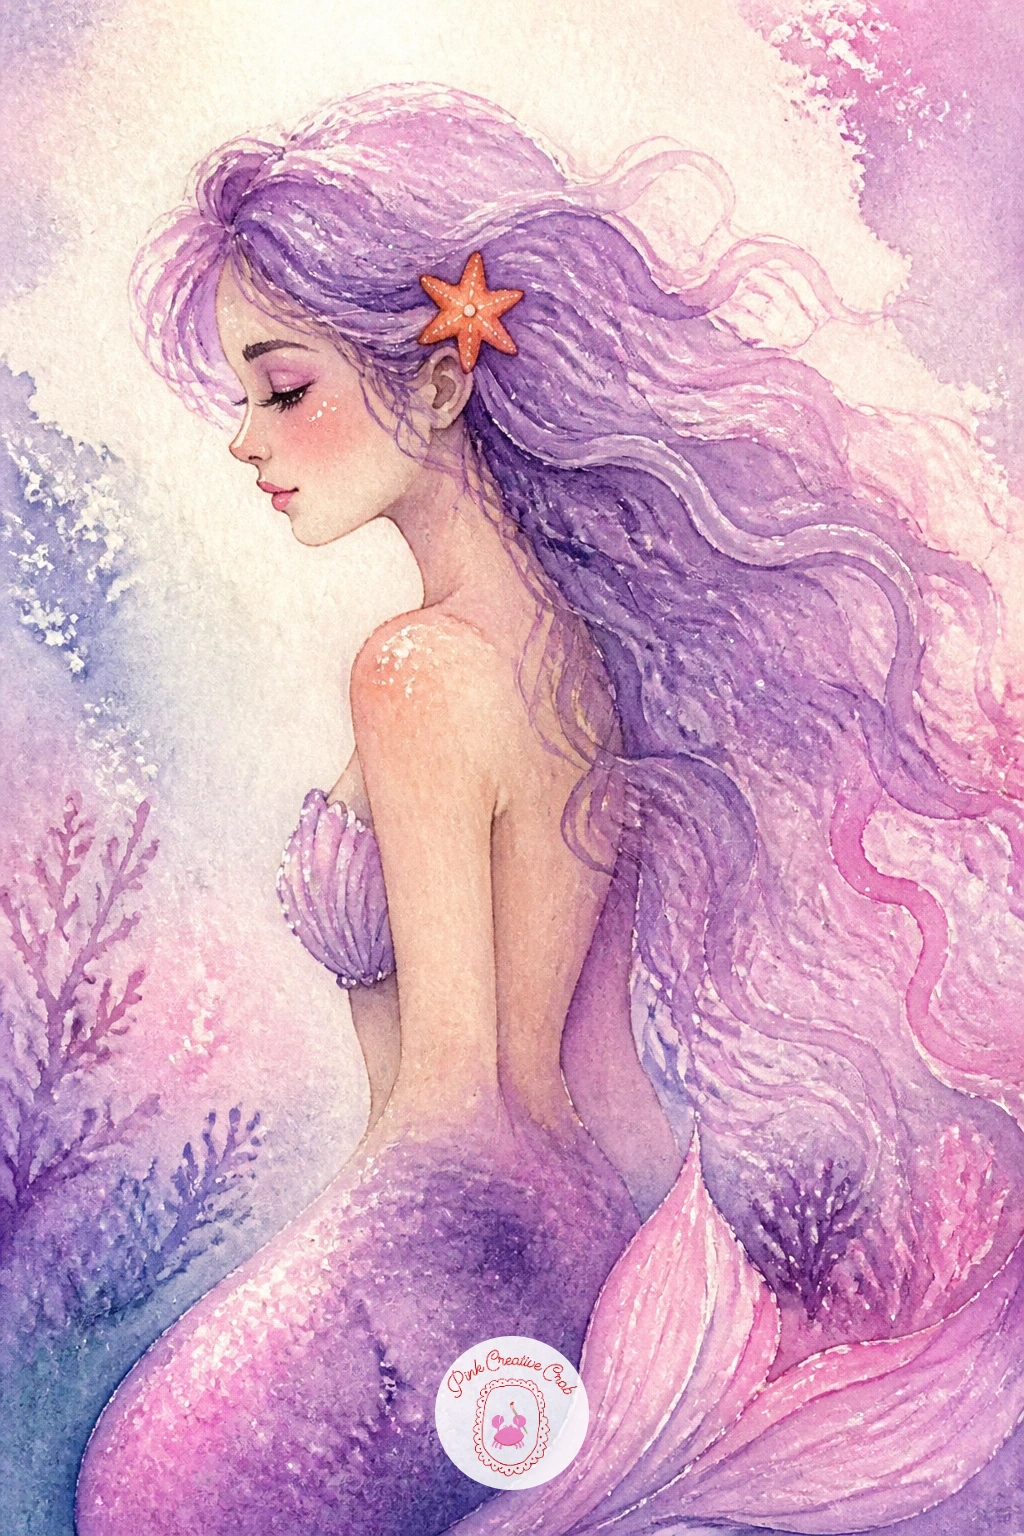
Palette: Coral,Burnt Sienna,Lilac,Pearl Pink
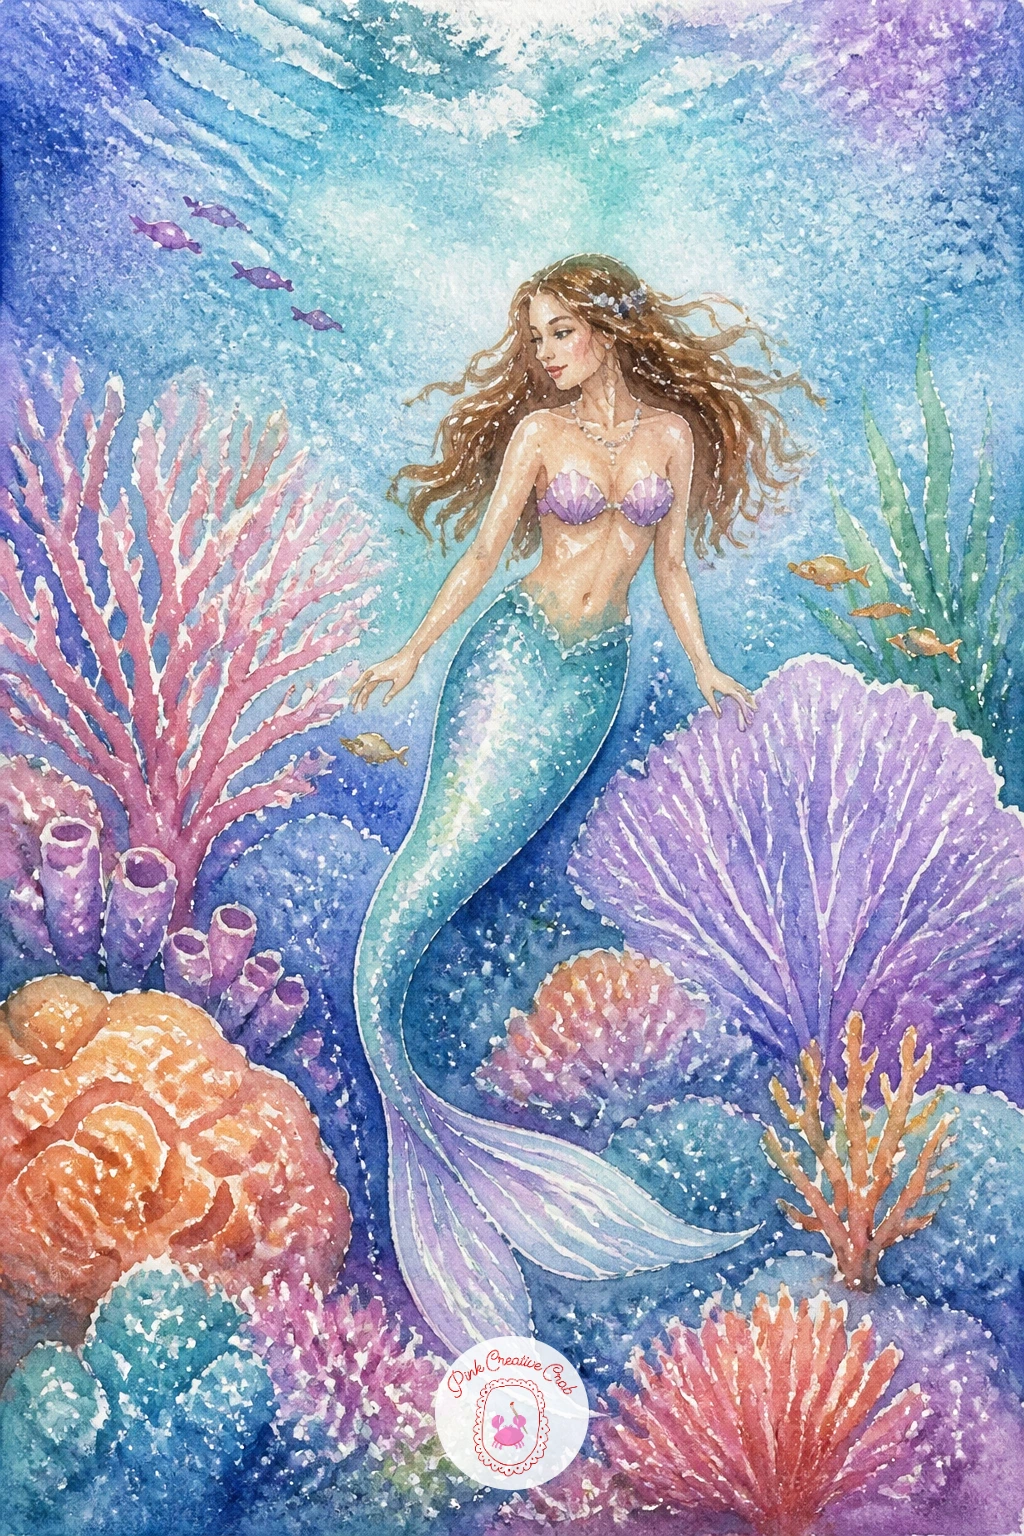
You Will Need
- kneaded eraser
Palette: Coral,Lilac,Cadmium Orange,Teal
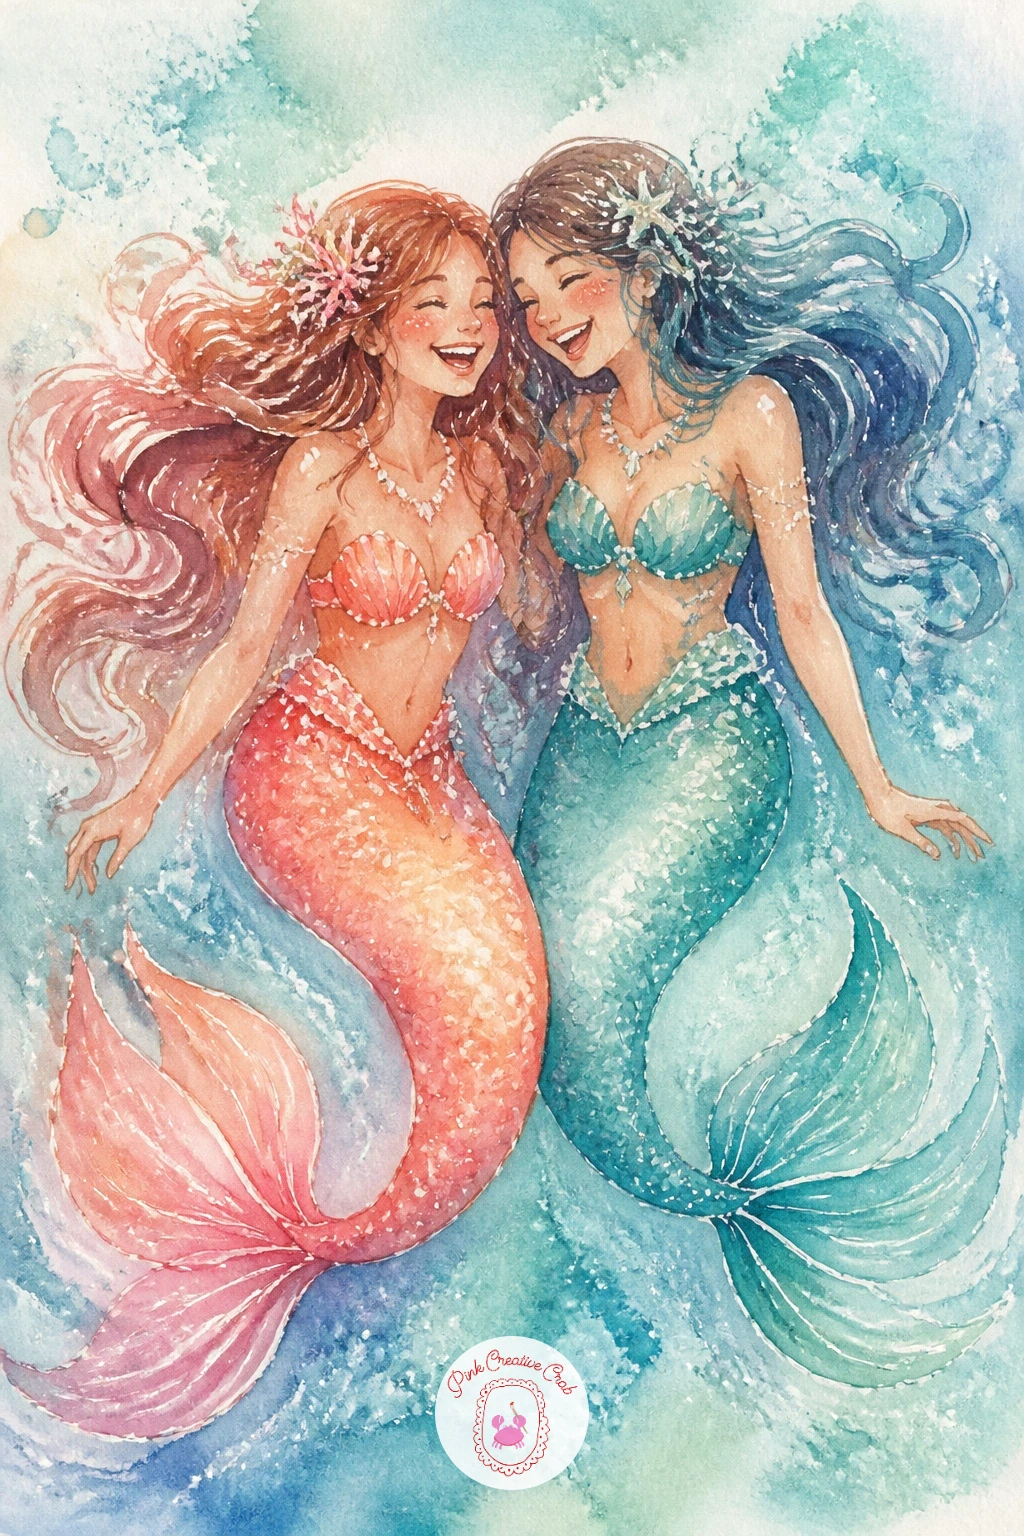
Palette: Coral,Teal,Lilac,Pearl Pink
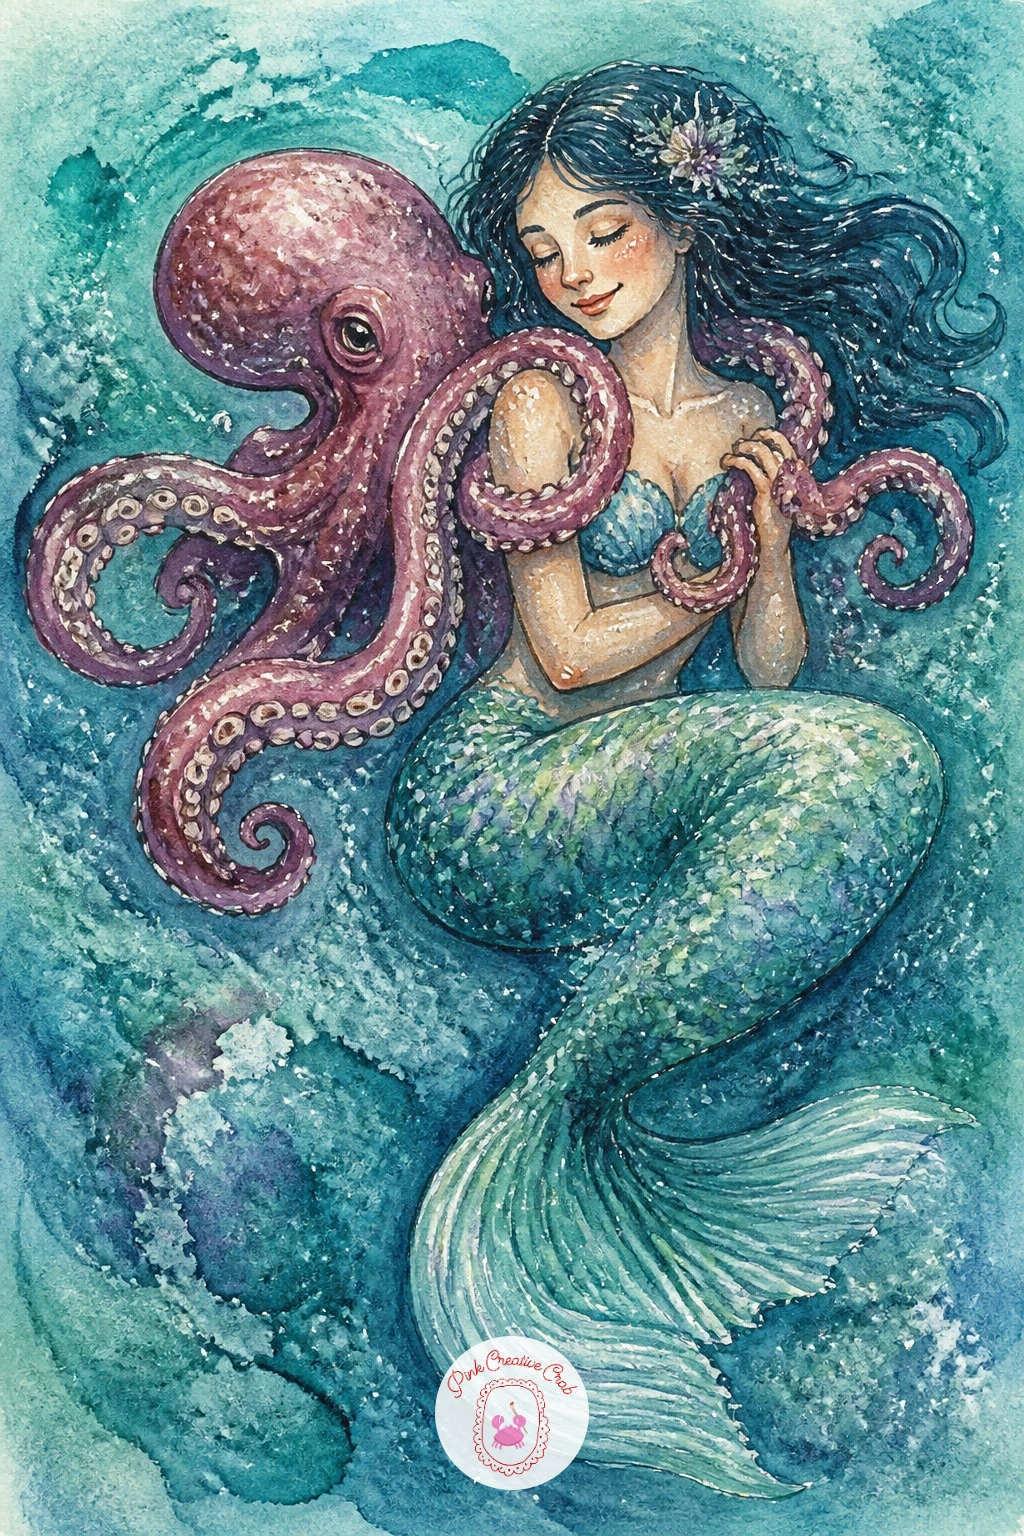
Palette: Red Violet,Burnt Sienna,Teal,Cream White
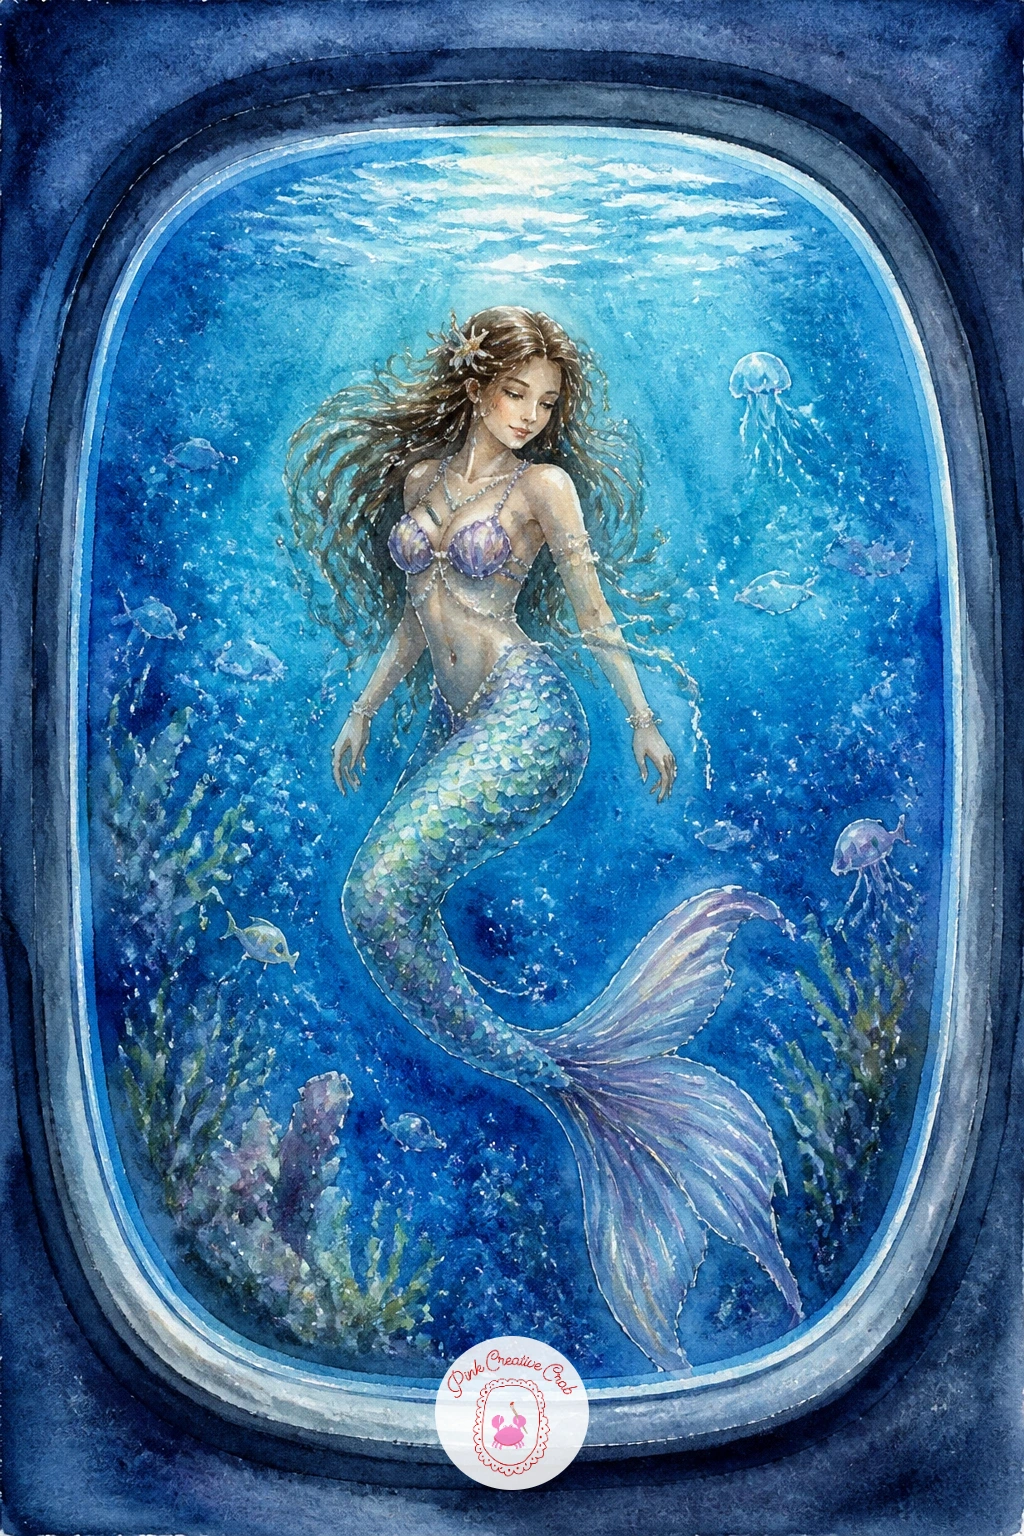
Palette: Cerulean Blue,Prussian Blue,Cream White,Pearl Pink
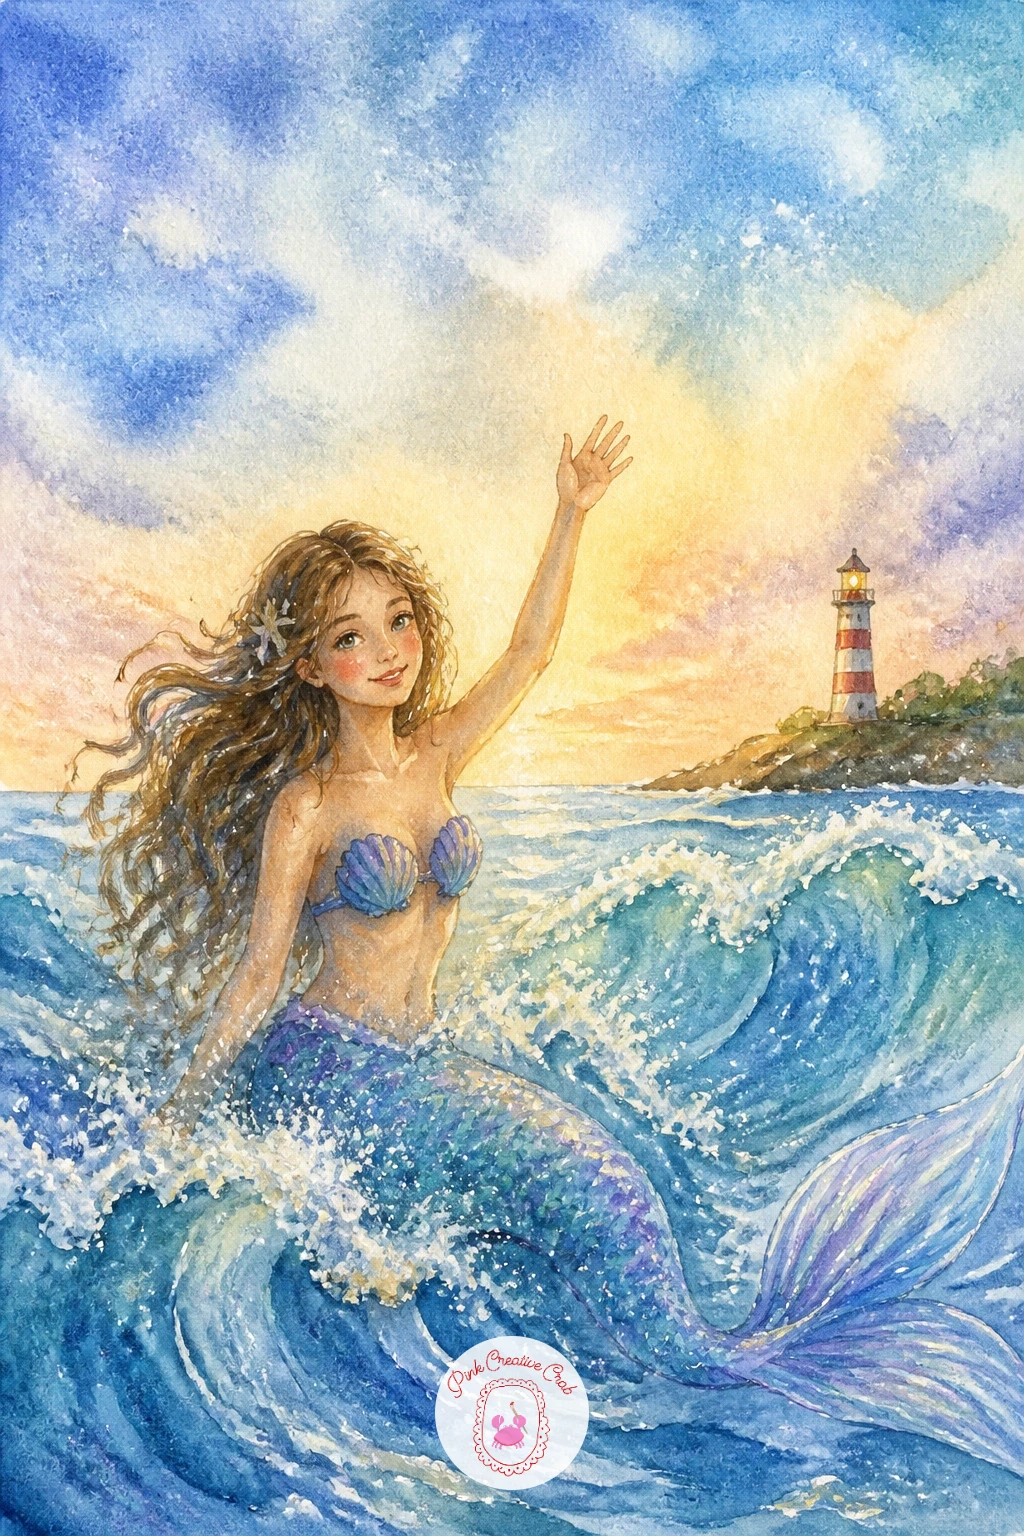
Palette: Cerulean Blue,Cream White,Cadmium Red,Pearl Pink
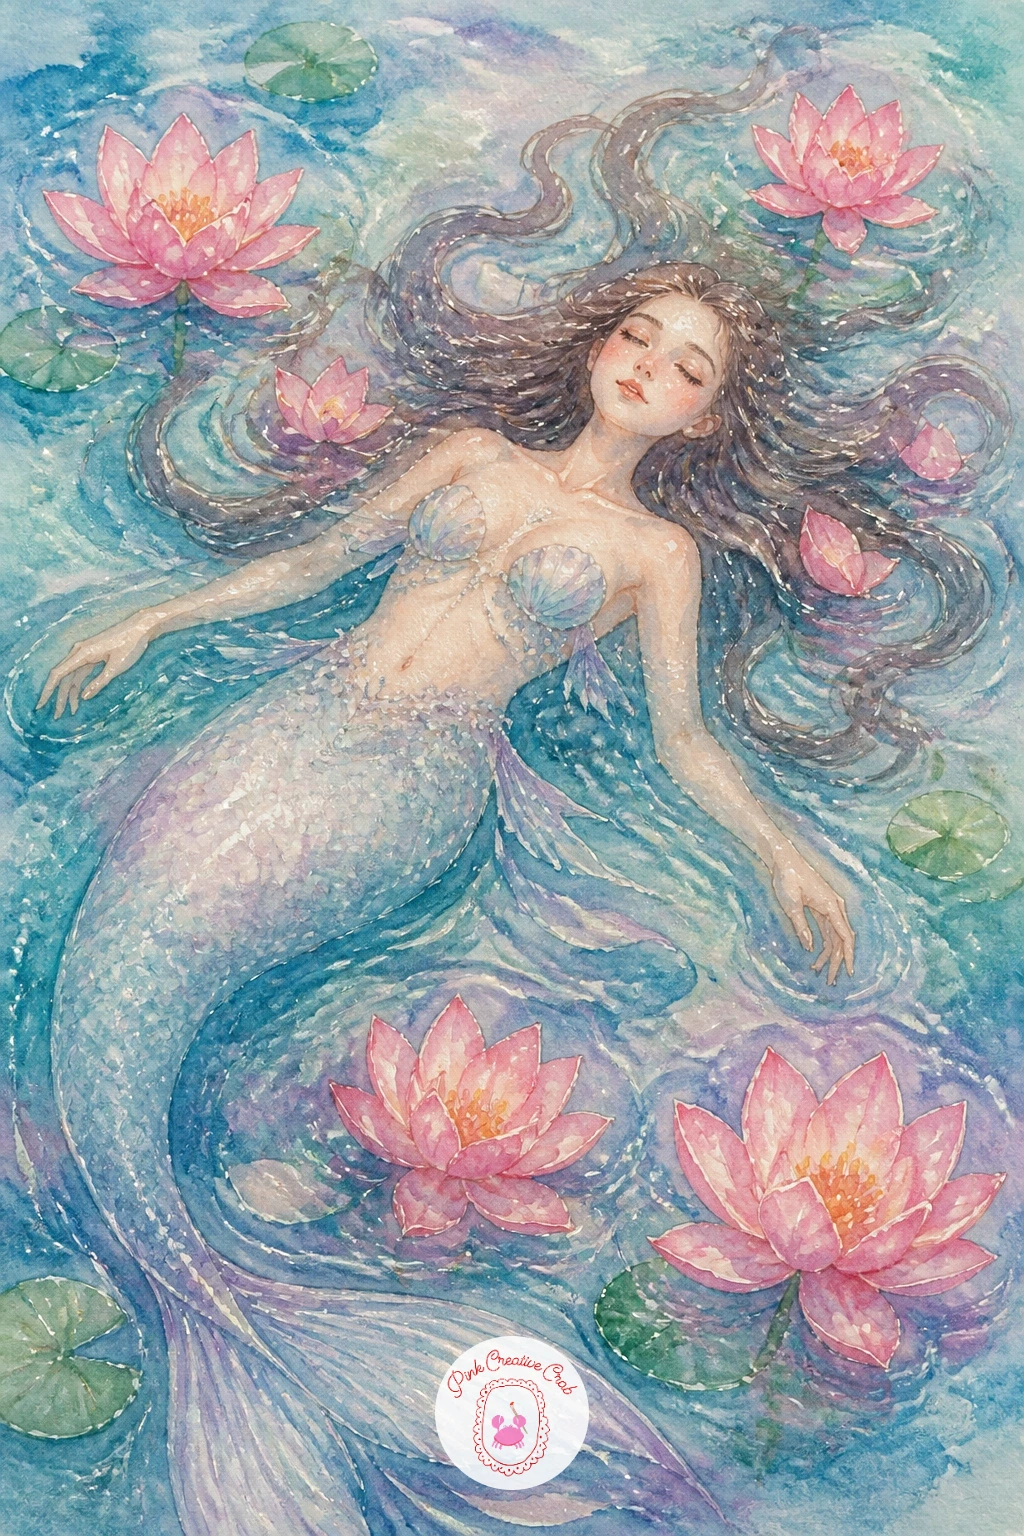
Palette: Shell Pink,Opera Pink,Sap Green,Cream White
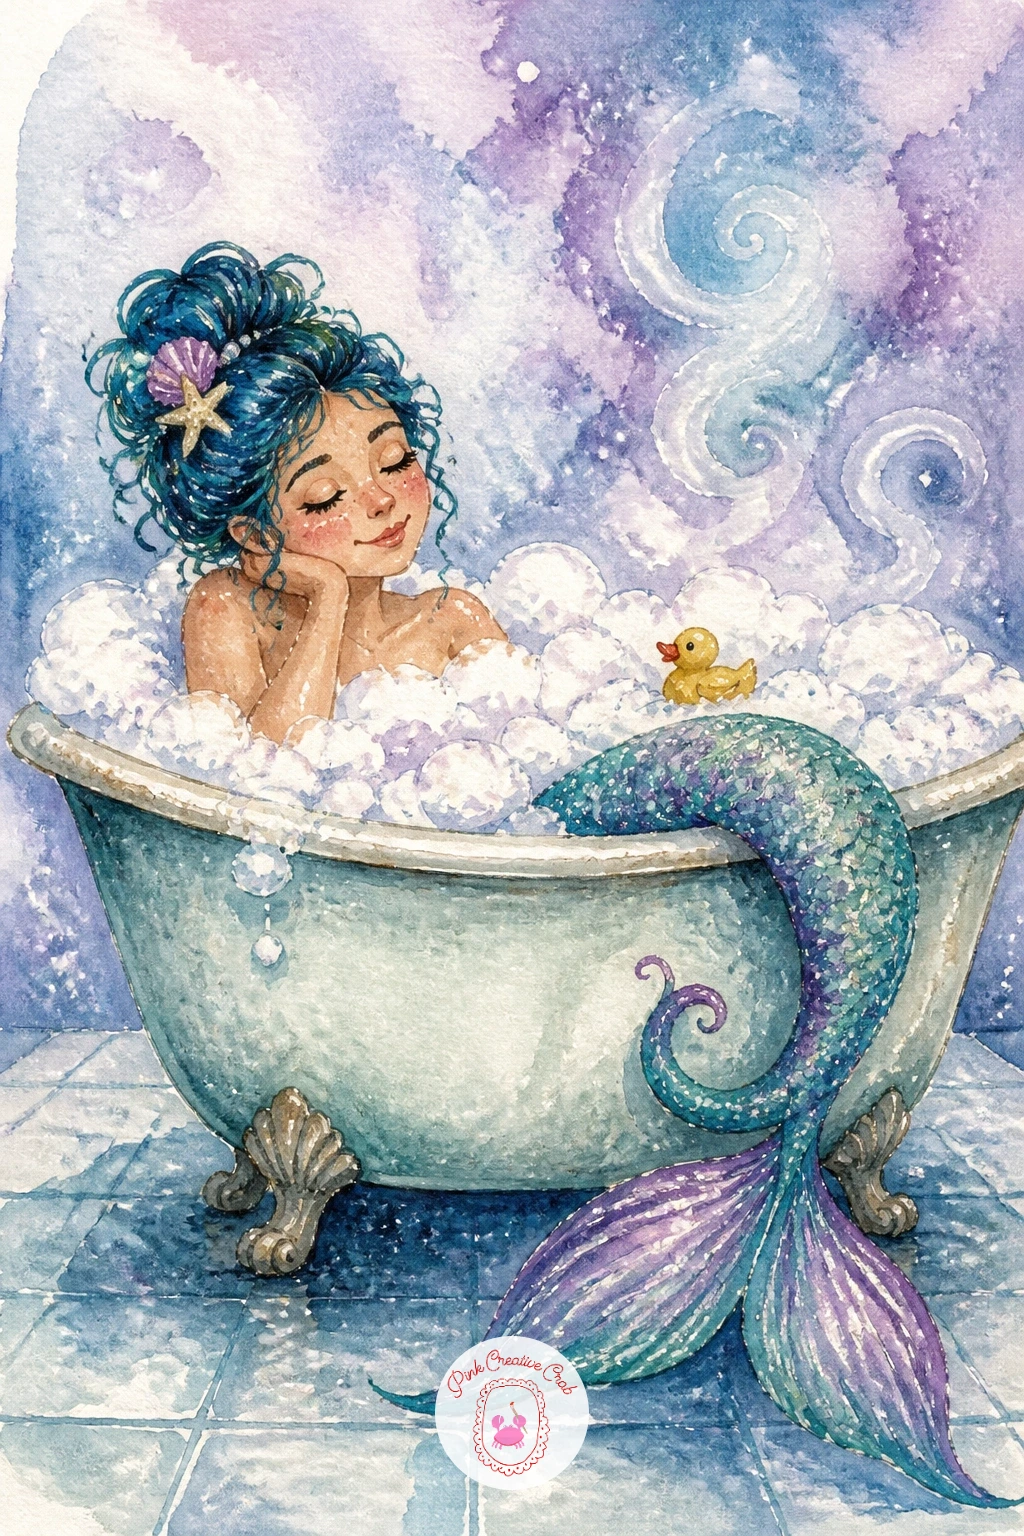
Palette: Cream White,Pearl Pink,Payne’s Grey,Teal
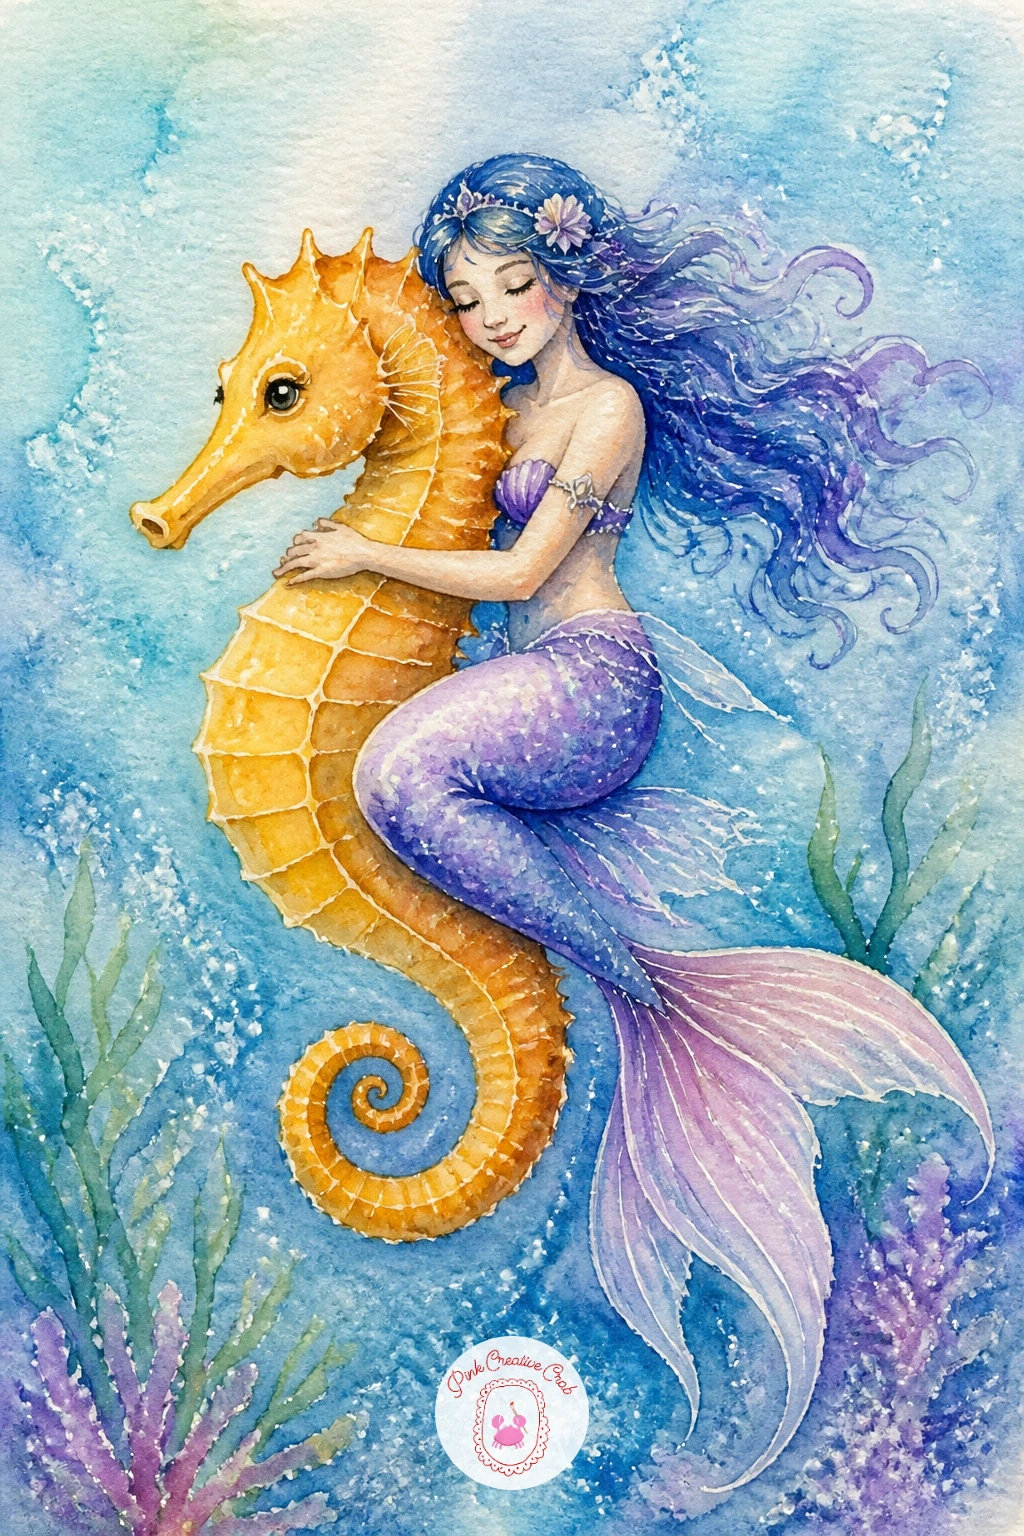
Palette: Yellow Ochre,Cadmium Orange,Lilac,Cerulean Blue
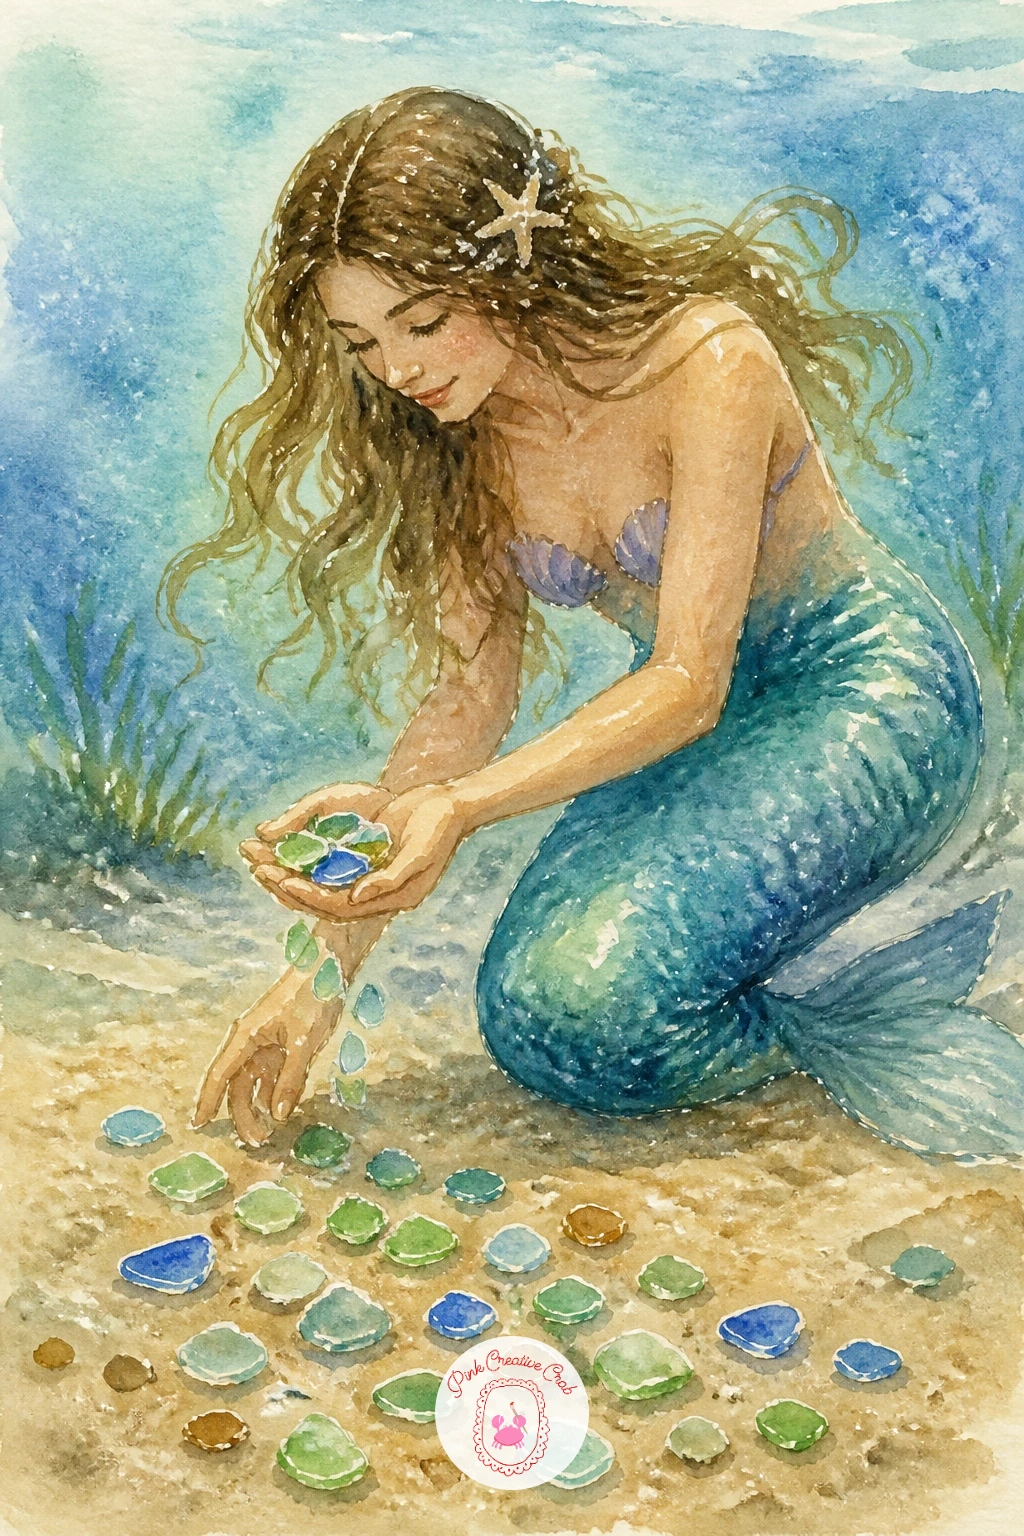
Palette: Sea Green,Cerulean Blue,Amber,Beige
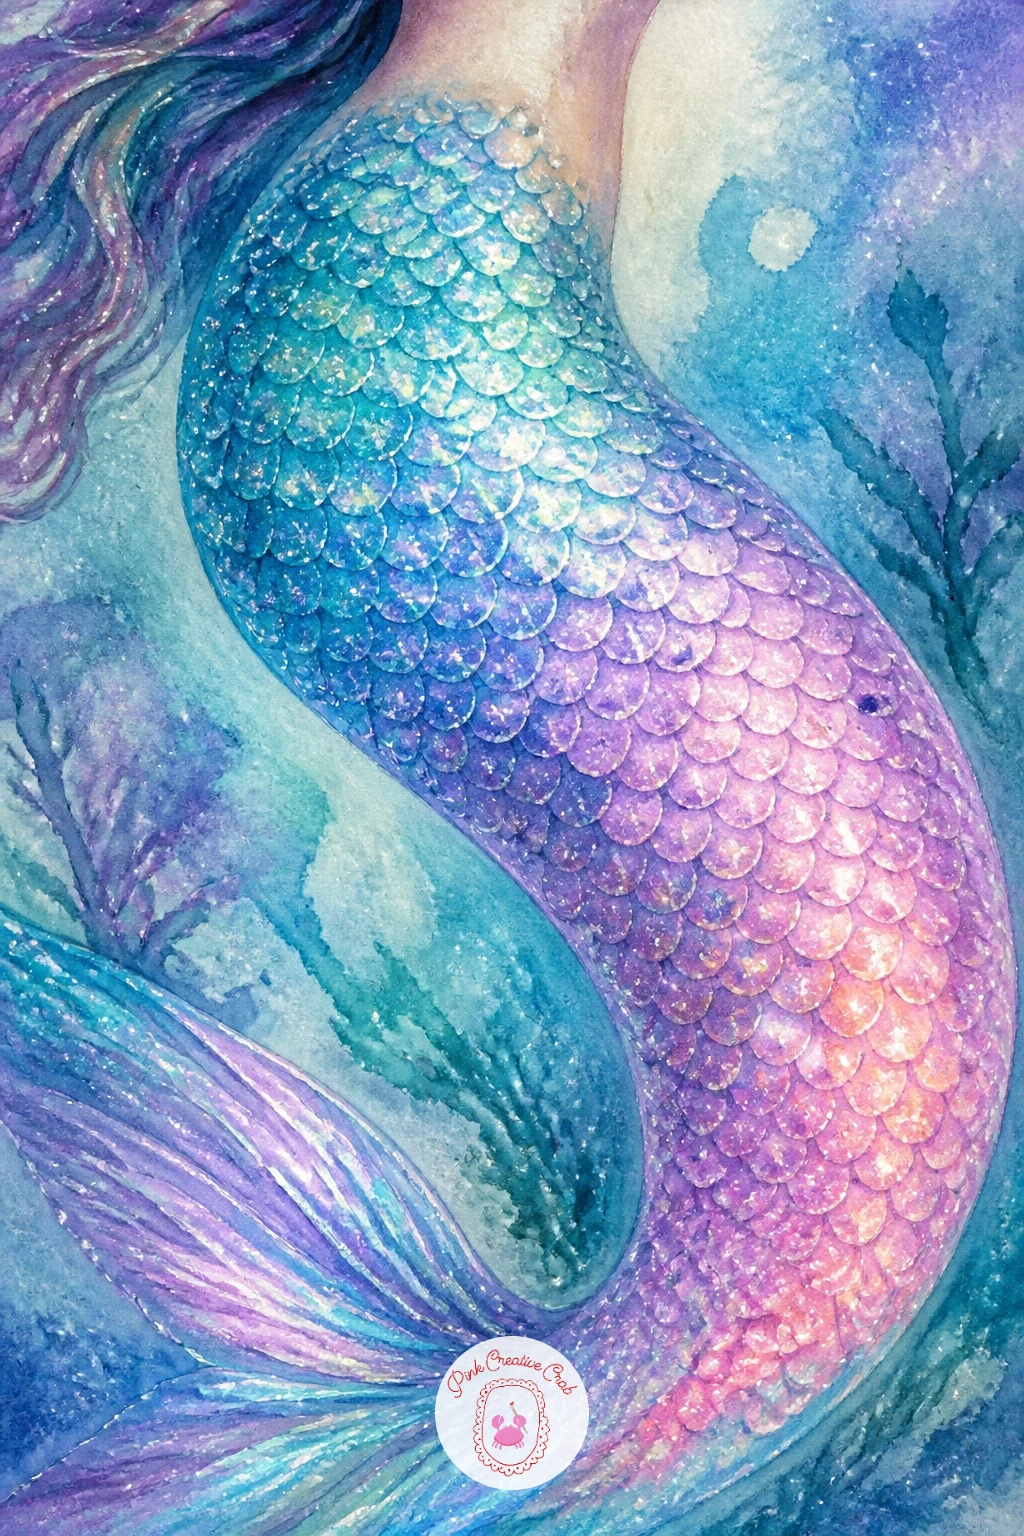
You Will Need
- interference or duochrome watercolor (optional)
Palette: Interference Teal,Lilac,Pearl Pink,Cream White
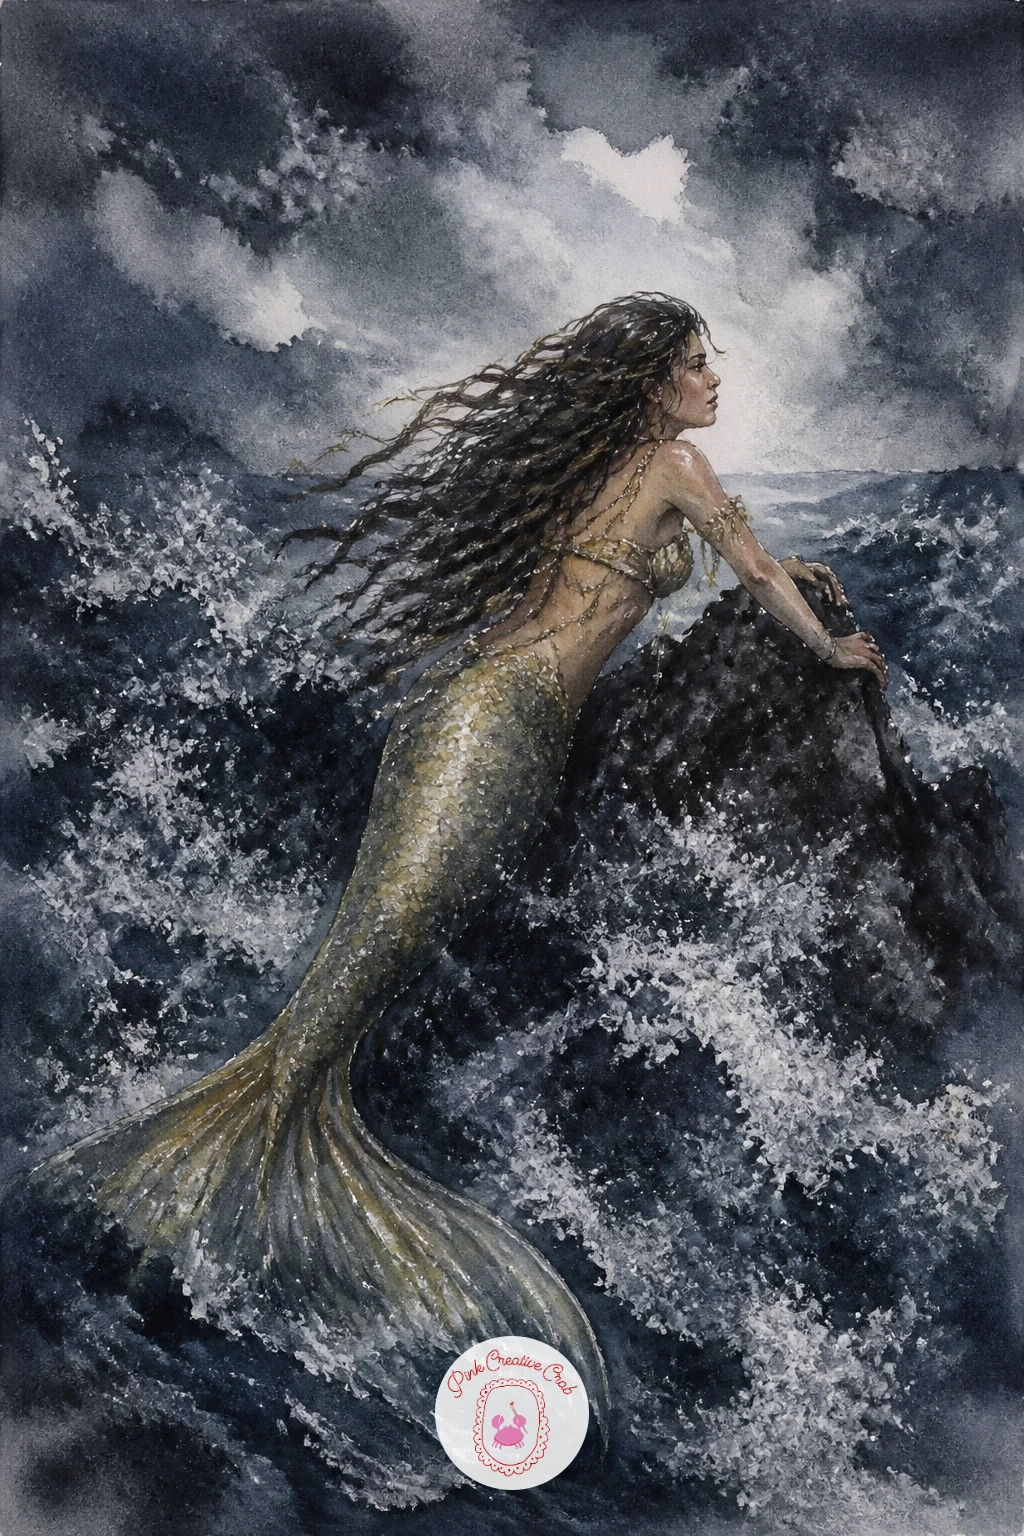
You Will Need
- table salt for texture
Palette: Payne’s Grey,Indigo,Pearl Pink,Cream White
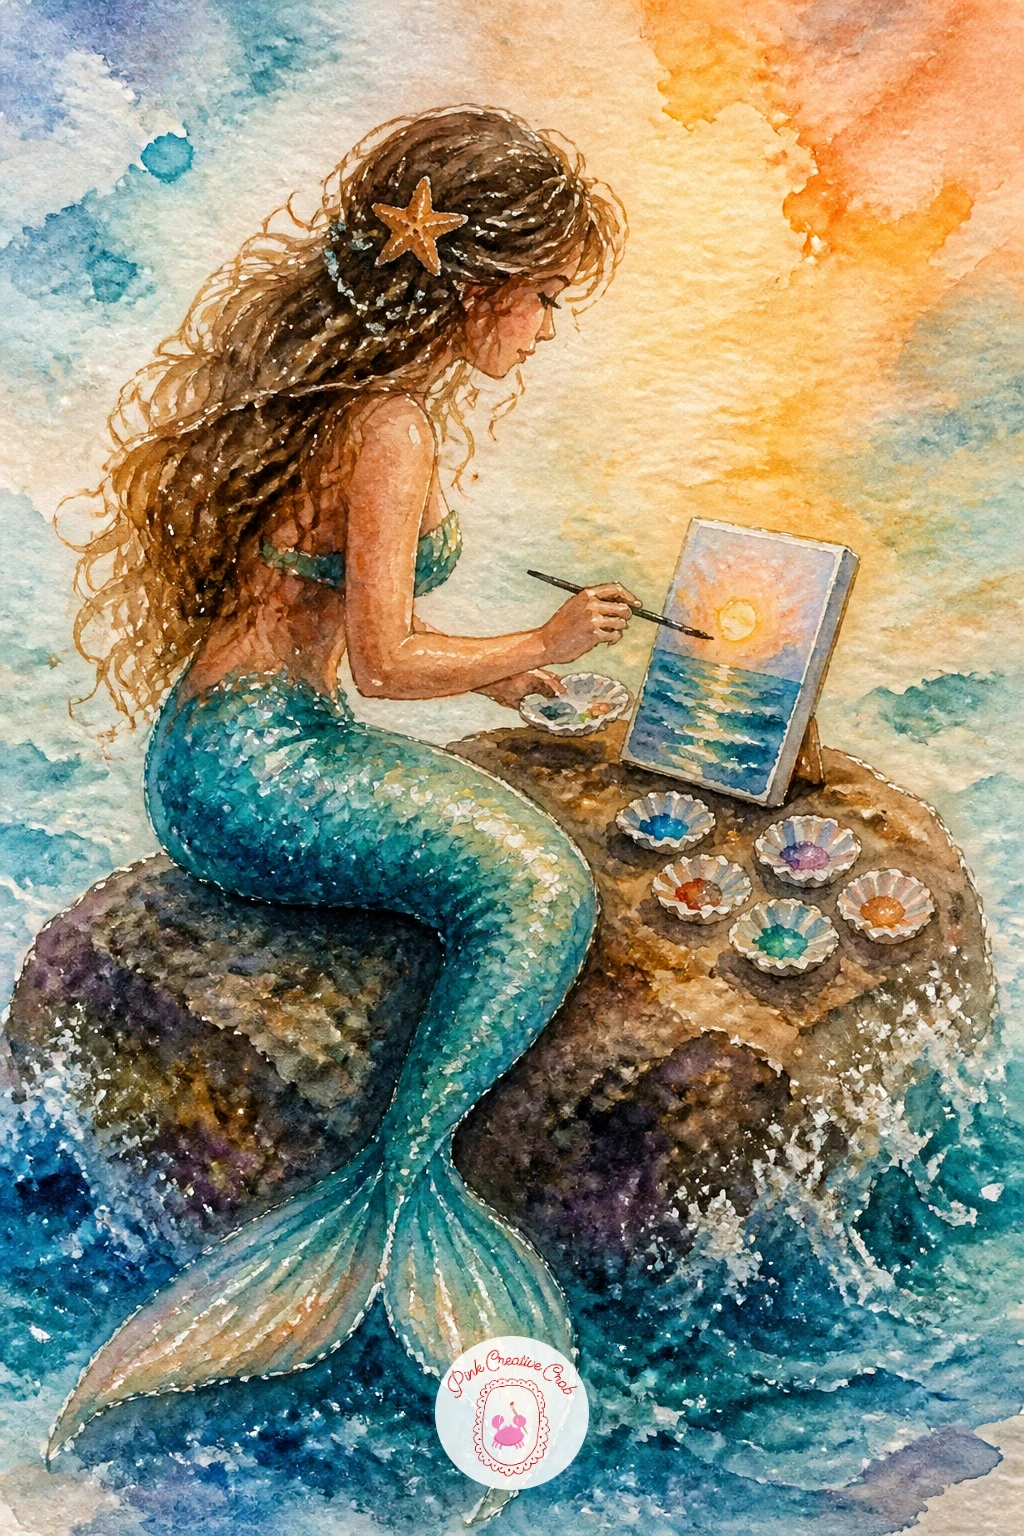
Palette: Burnt Sienna,Teal,Lilac,Cream White
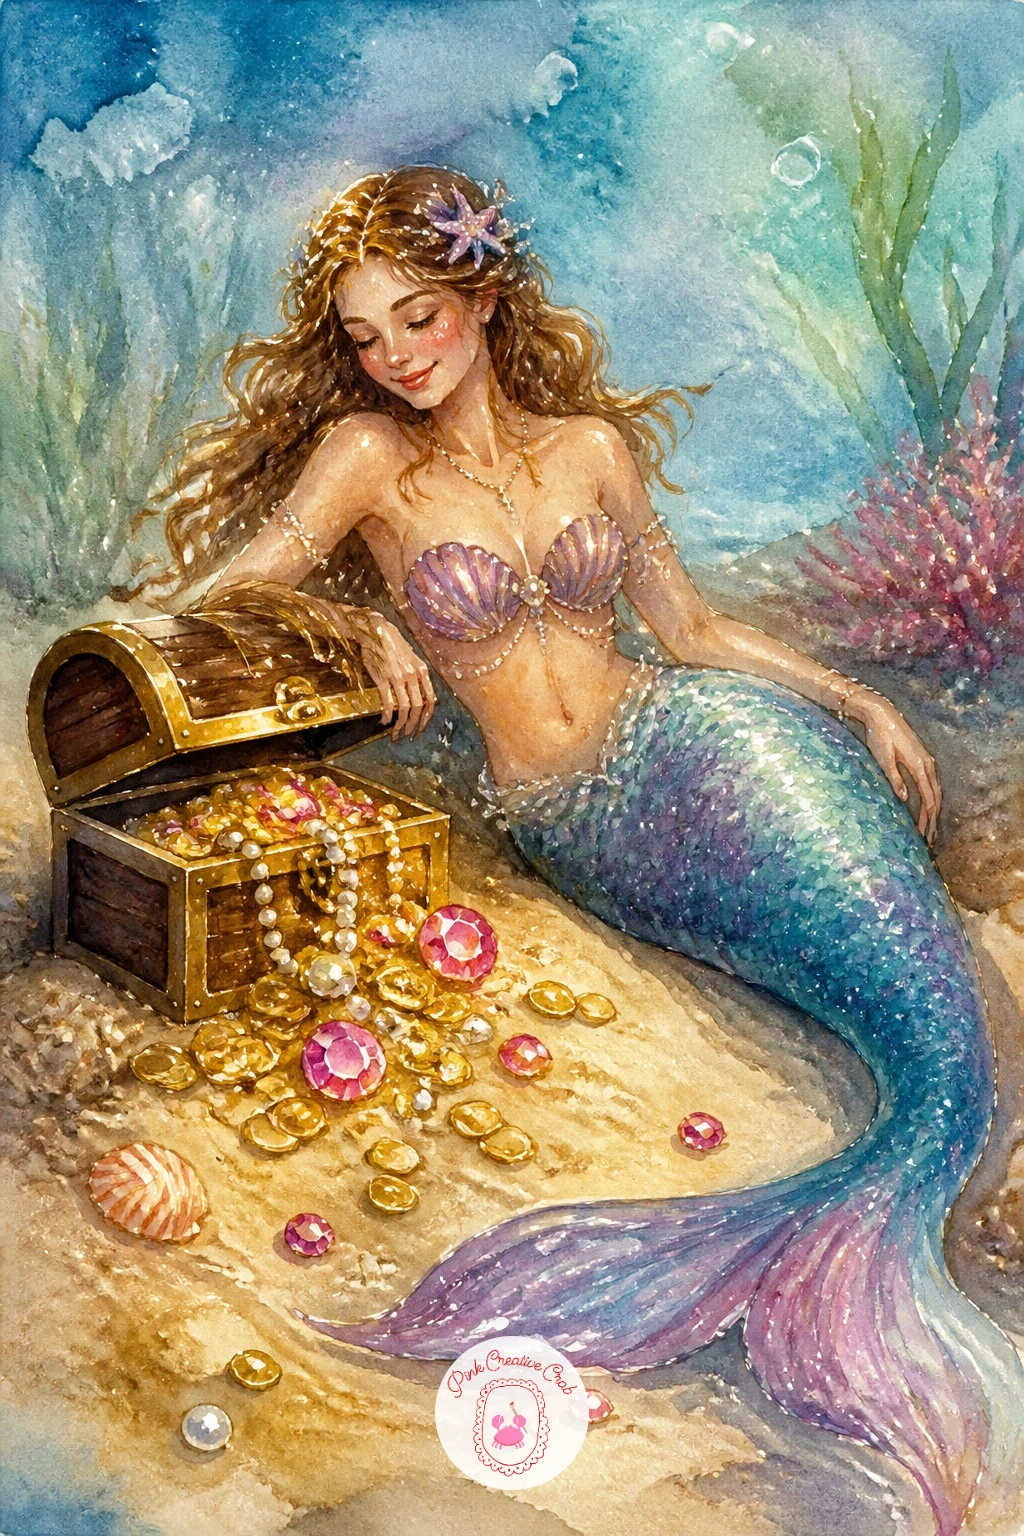
Palette: Burnt Sienna,Gold Ochre,Pearl Pink,Teal
What to Do Next
Pick one mermaid that matches your mood today, sketch her pose lightly in pencil first, and let the water do some of the work once your brush touches the page. Start on a small sheet of cold press paper if this is your first try, and work up to the storm and iridescent scale ideas once a few simpler ones feel comfortable.
Frequently Asked Questions
What colors give watercolor mermaid paintings that iridescent look?
Iridescent mermaid paintings rely on layering teal, lilac and pearl pink wet into wet so the colors bloom into each other. Interference or duochrome watercolors add real shimmer, and a white gel pen over dry paint fakes the same glint if you do not own them.
How do you paint a believable mermaid tail in watercolor?
Paint the tail as one smooth curved shape first, then add color variation while it is still wet so hues blend naturally rather than sitting in hard bands. Scale detail, if you add it, works best added once the base wash is completely dry.
Have any thoughts?
Share your reaction or leave a quick response — we’d love to hear what you think!
-
 0
-
0
-
0
-
0
-
0
-
0


