

A cactus drawing is one of the kindest places to spend an afternoon with colored pencils: the shapes are round and forgiving, the spines are quick marks instead of fussy detail, and every pot gives you a fresh little stage to build a scene on. These plants already have personality before you even add a face, so a wobbly line or a smudge just reads as character.
Below you will find 27 of them, from a plain pot on a windowsill to a whole desert motel glowing at sunset. Work through them in order if you like building confidence, or just scroll until one makes you smile and start there.
Using these images: free for personal projects such as printing, coloring, cards, journals and gifts. Handmade items that include them may be sold up to 30 pieces per design. More than that is commercial use and is not permitted, and neither is selling or sharing the images themselves or passing them off as your own. Please ask before any other use.
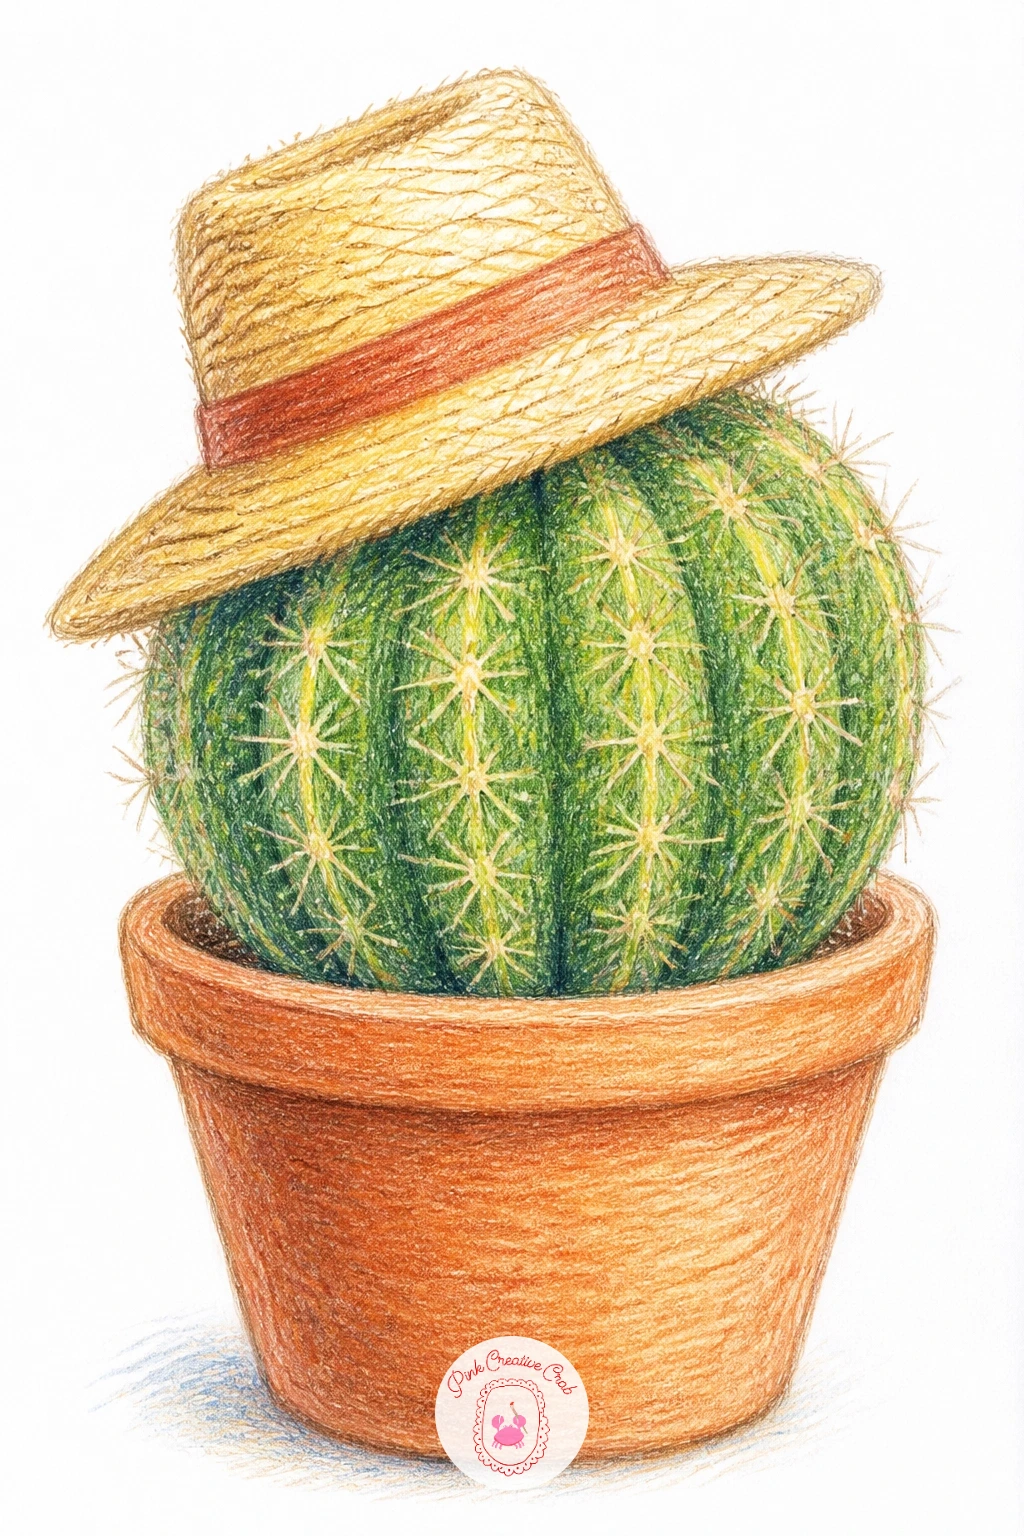
Start simple with a cactus wearing a straw hat, a round barrel shape topped with something it has no business wearing. Pencil a plump oval body first, then a terracotta pot underneath it, and only after those feel right add the hat as a shallow dome with a brim that tips slightly to one side.
Layer the green in two passes: a light base of apple green over the whole body, then a darker sap green pushed into the shadow side so the form feels round instead of flat. The hat works best in warm ochre and raw sienna, with a thin band of a third color like terracotta where the hatband sits.
Beginners often draw the hat flat, like a disc glued on top. Angle the brim down on one side and curve the crown slightly so it sits on the cactus like a real hat would. No straw paper to study? A photo of any sun hat works just as well for the shape.
Finish with a few short white gel pen flicks for spine tips once the pencil layers are fully dry.
You Will Need
- white gel pen
Palette: Apple Green,Sap Green,Raw Sienna,Terracotta
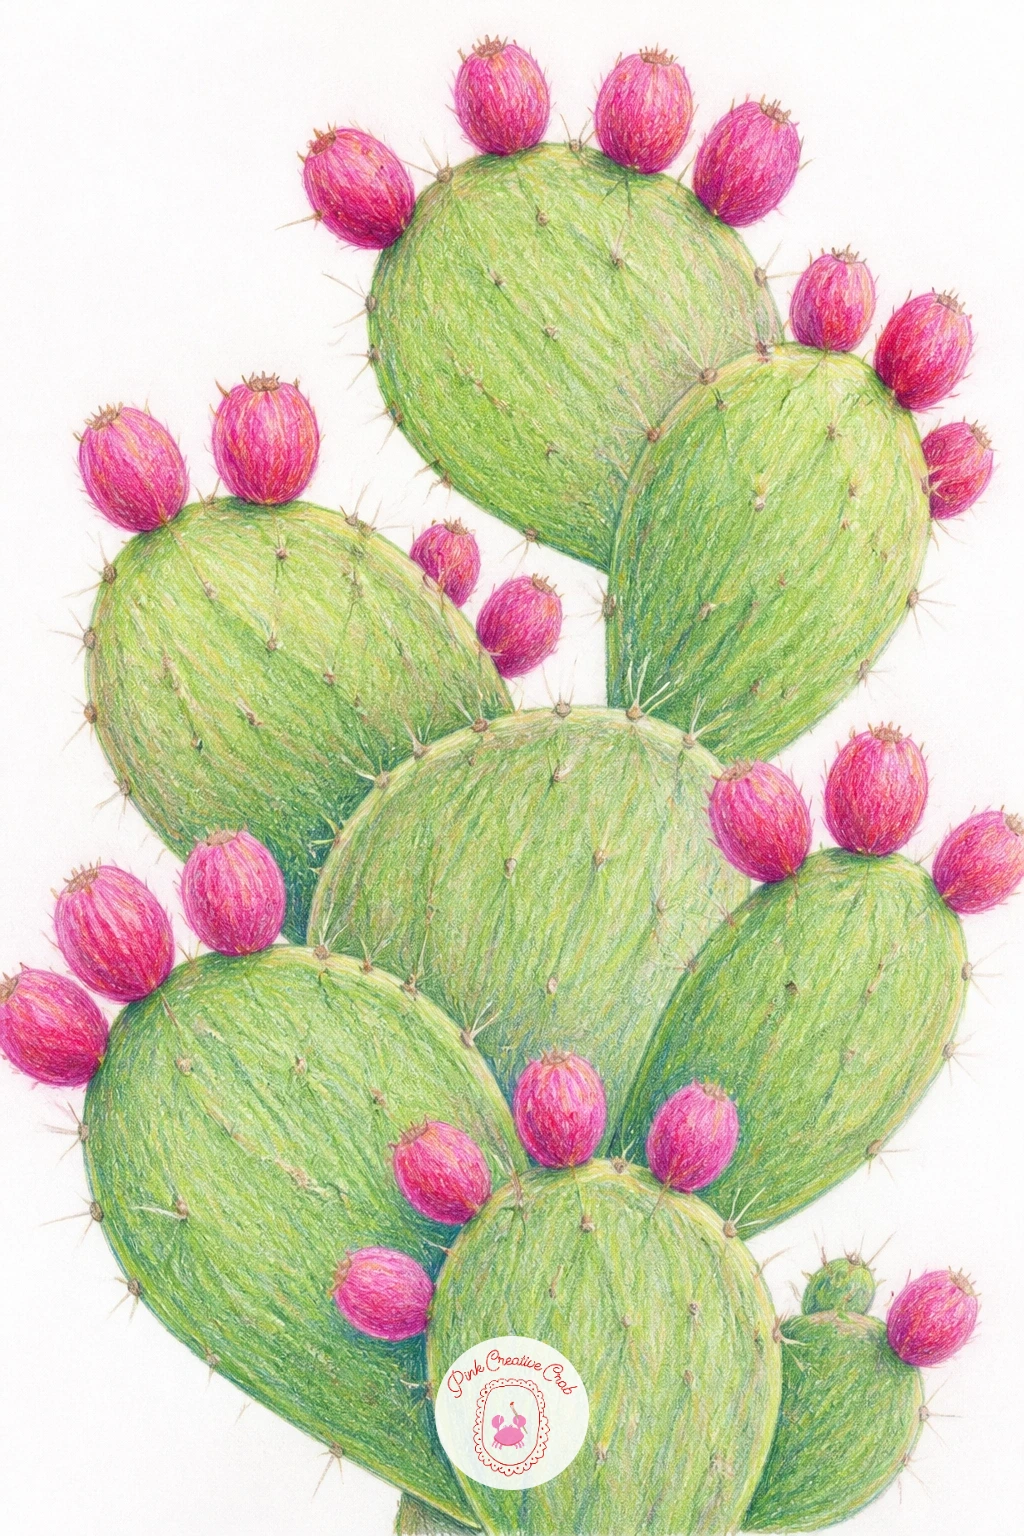
Once a single rounded cactus feels comfortable, try a prickly pear with pink fruit, which is really just a chain of flattened oval pads stacked and overlapping. Sketch three or four paddle shapes loosely overlapping each other, larger at the base and smaller toward the top, before any color goes down.
Base each pad in a cool sage green, then push a deeper teal green along one edge of every pad to separate them visually where they overlap. The fruit sits in small clusters near the pad edges: round them off in magenta with a warm coral pencil blended into the tips for a ripe glow.
The trick that saves this subject is comparing pad sizes against each other rather than guessing: hold your pencil up to the drawing and check that no single pad is accidentally twice the size of its neighbor. No magenta in your set? Mix pink and a touch of purple pencil in light layers instead.
Add fine dot clusters in brown for the areoles where spines would grow, just a few per pad.
Palette: Sage Green,Teal Green,Magenta,Coral
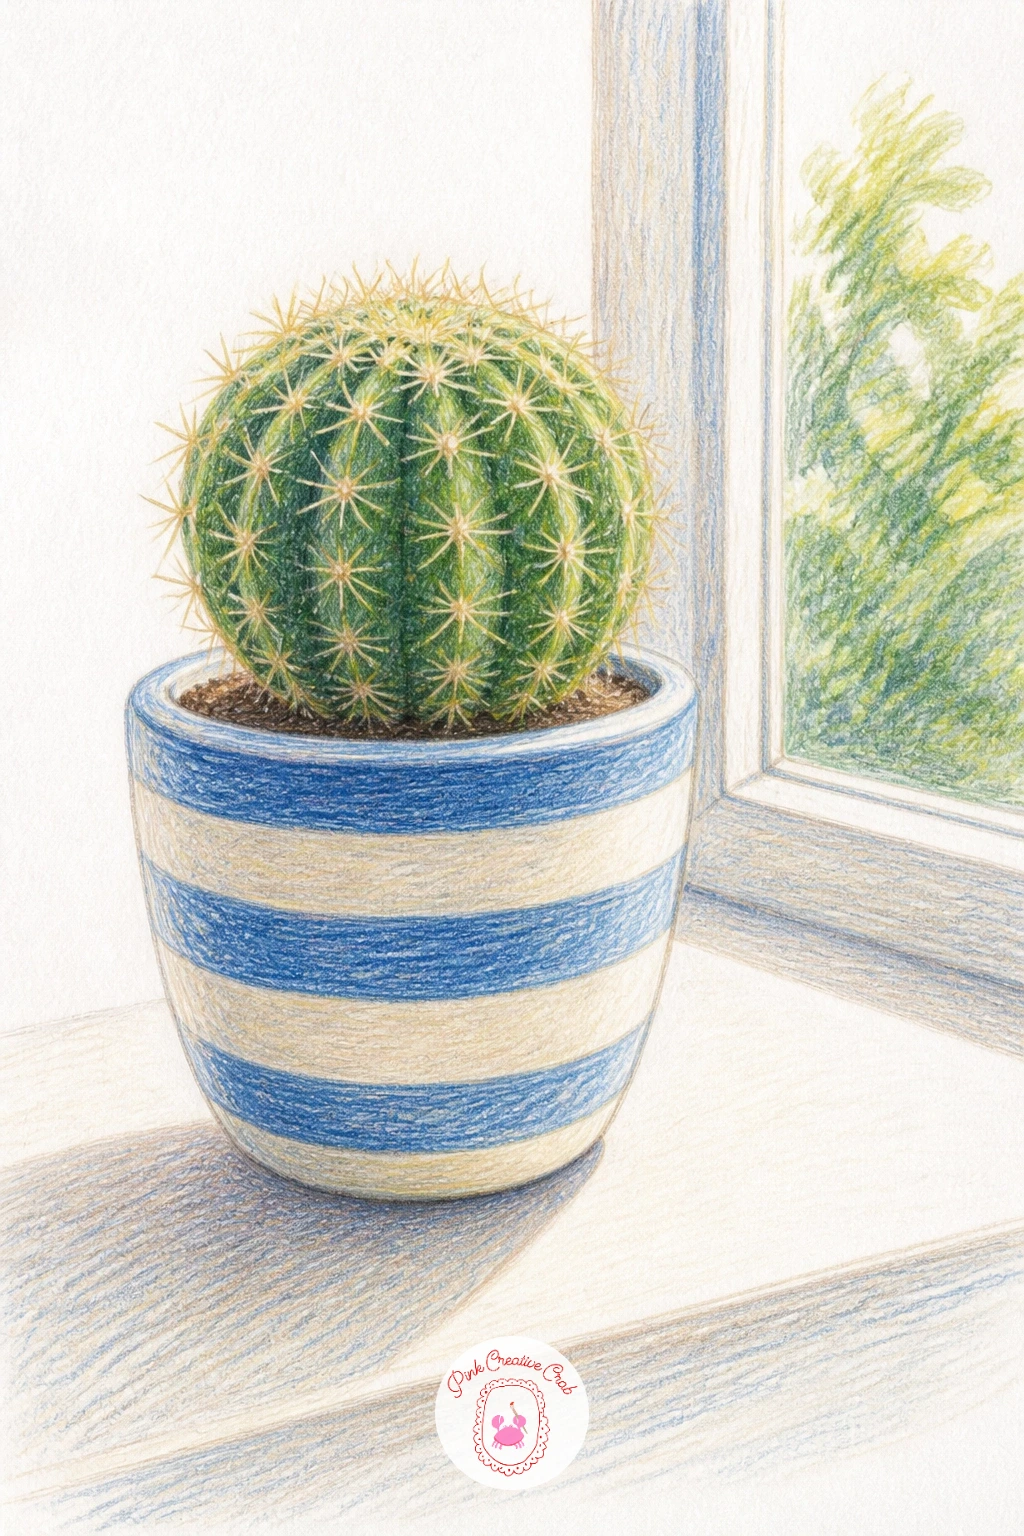
Give your plant a proper home next with a cactus in a striped pot on a windowsill, a quiet little scene that leans entirely on where the light falls. Decide first whether the sun comes from the left or right of the frame, since every shadow in this drawing follows that one choice.
Draw the pot first with evenly spaced stripes in two colors, like a soft blue and cream, keeping the lines slightly loose rather than ruler straight. Build the cactus body above it in rounded green layers, then push a strip of deeper shadow green down the side away from your chosen light, and let the windowsill below cast a soft gray shadow in the same direction.
The common mistake here is shading the pot and the cactus from two different directions by accident, which makes the whole scene feel flat. Step back and check both shadows point the same way. If you want a quieter version, try a fruit basket drawing on the same windowsill another day using the same light logic.
Add a thin line of white gel pen along the sunlit edge of the pot to finish the glow.
You Will Need
- white gel pen
Palette: Dusty Blue,Cream,Apple Green,Cool Gray
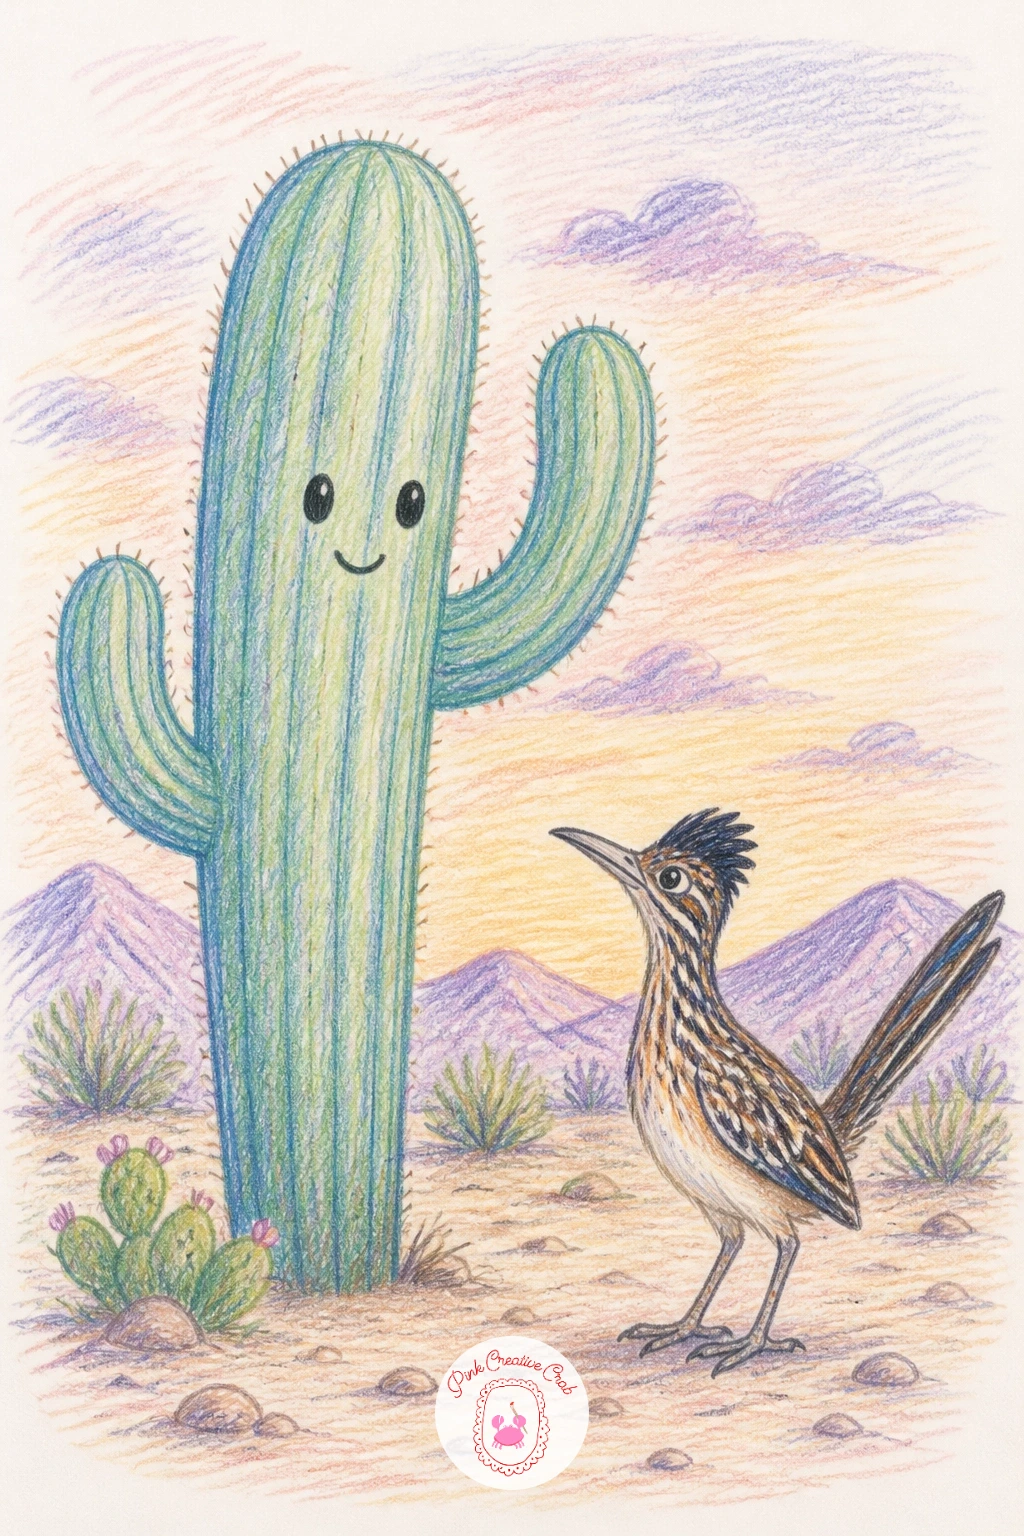
Bring in some movement with a saguaro waving at a roadrunner, a tall desert icon with one arm raised as if caught mid greeting. Block in the tall central trunk first, narrower at the top, then add one arm bent upward and one resting lower, using gentle curves rather than straight lines so the whole plant feels soft.
Color the saguaro in a cooler green than usual, almost blue green, since it usually stands against a warm desert sky. Paint that sky in soft peach and lavender bands behind it, then add the roadrunner low in the frame as a small brown and cream silhouette with a long tail, running just below the waving arm.
For the quick ten minute version, keep the saguaro and roadrunner as flat colored shapes with minimal shading. Given forty minutes, add ribbed vertical lines down the trunk in a darker green and a few pencil strokes of texture on the roadrunner’s tail feathers.
Keep the roadrunner smaller than the saguaro so the plant stays the hero of the scene.
Palette: Blue Green,Peach,Lavender,Burnt Umber
Move into blossoms with a barrel cactus in bloom, where the whole appeal sits in that crown of bright flowers ringing the top. Draw the barrel body as a wide, slightly squashed circle rather than a true sphere, since real barrel cacti are flatter than people expect.
Shade the body in warm olive green with deeper shadow curves running vertically to suggest its rounded ribs. Pack the top with five or six small flowers in hot pink or magenta, each one just a simple rounded cluster of petals, slightly overlapping so the crown feels full rather than sparse.
The easiest way to keep this plant from looking lumpy is measuring: the barrel’s width should be noticeably wider than its height, more pumpkin than egg. If pink pencils run dry, coral or warm orange flowers work just as well against the olive green body.
Finish with tiny yellow dots at the center of each flower for pollen.
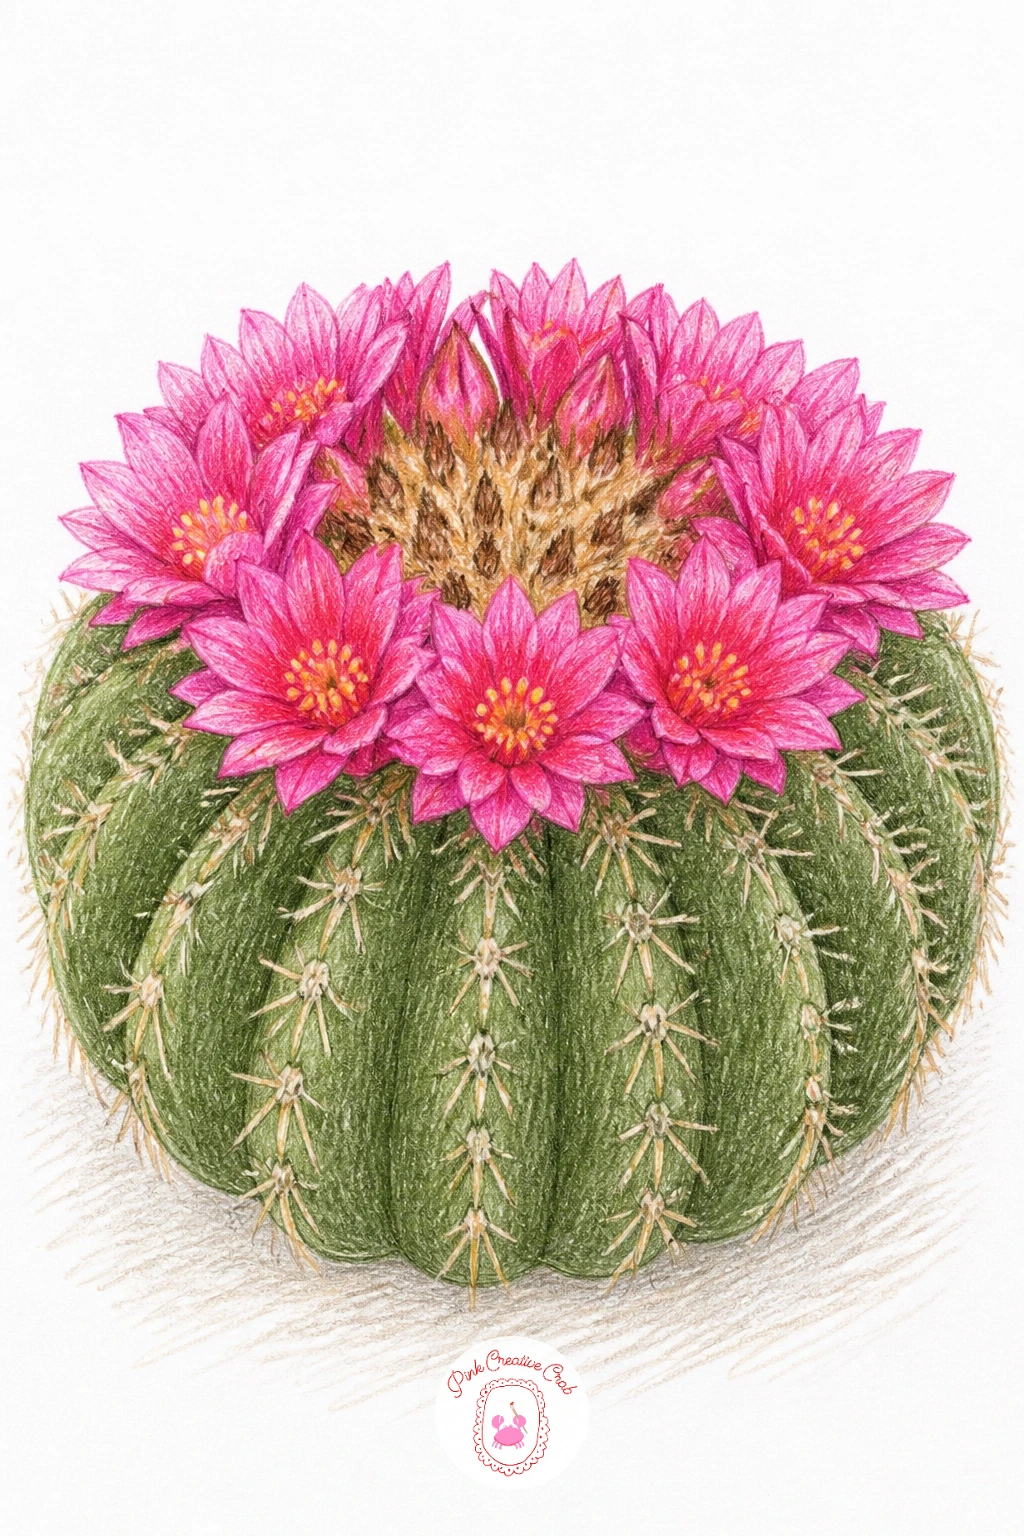
Palette: Olive Green,Hot Pink,Deep Olive,Yellow
Line up a cactus family in a terracotta row, a tall one, a medium one and a small round pup all sharing a single long planter box. Sketch the planter first as one continuous rectangle, then place the three plants inside it with clear size differences, the tallest at one end and the littlest pup near the other.
Vary the greens slightly between the three so they do not read as copies of each other: a cooler green for the tall one, a warmer yellow green for the medium, and a soft gray green for the round pup. Shade each one from the same light direction so they still belong together as a family.
If you want personality here, give just one of the three a tiny smiling face, which reads as more charming than giving all of them faces. For a different kind of grouping scene later, the staggered rhythm here works just as well for a bird pencil drawing of birds lined up on a wire.
Keep the terracotta planter in one warm flat tone so it does not compete with the greens above it.
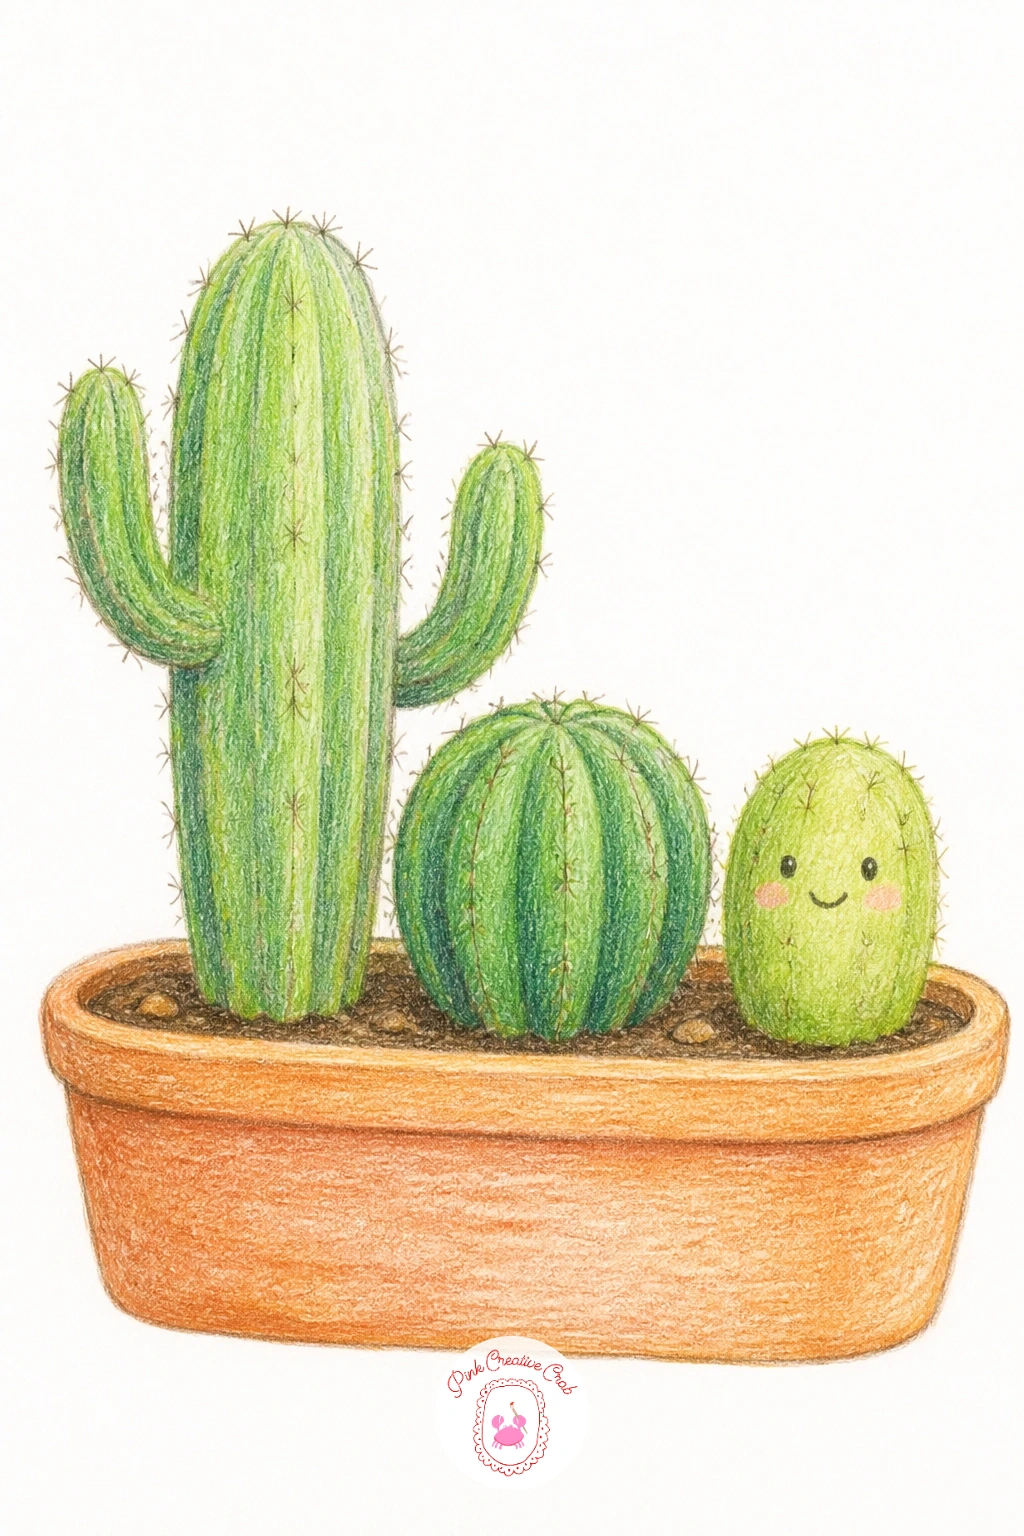
Palette: Terracotta,Cool Green,Yellow Green,Gray Green
Give a plant a little costume with a bunny ear cactus with a flower crown, those two rounded paddle ears sitting side by side like a shy rabbit. Draw the two ear shapes slightly uneven in size and angle, leaning gently toward or away from each other, since perfectly symmetrical ears look stiff.
Base them in a pale sage green with tiny dotted clusters in brown marking where the soft spines would be, pressed lightly since bunny ear cactus spines are famously fine and fuzzy rather than sharp. Perch a small flower crown of three or four tiny daisies and a leaf or two across the top of one ear, tilted so it looks like it might slip off.
The edges of each paddle are where this drawing can go wrong if they come out too sharp and straight. Soften them with a light touch and a slightly wavy line, then use a kneaded eraser to lift a few highlight dots along the sunlit edge for that fuzzy glow.
No daisies on hand to reference? Small five petal flowers from any garden photo work the same way.
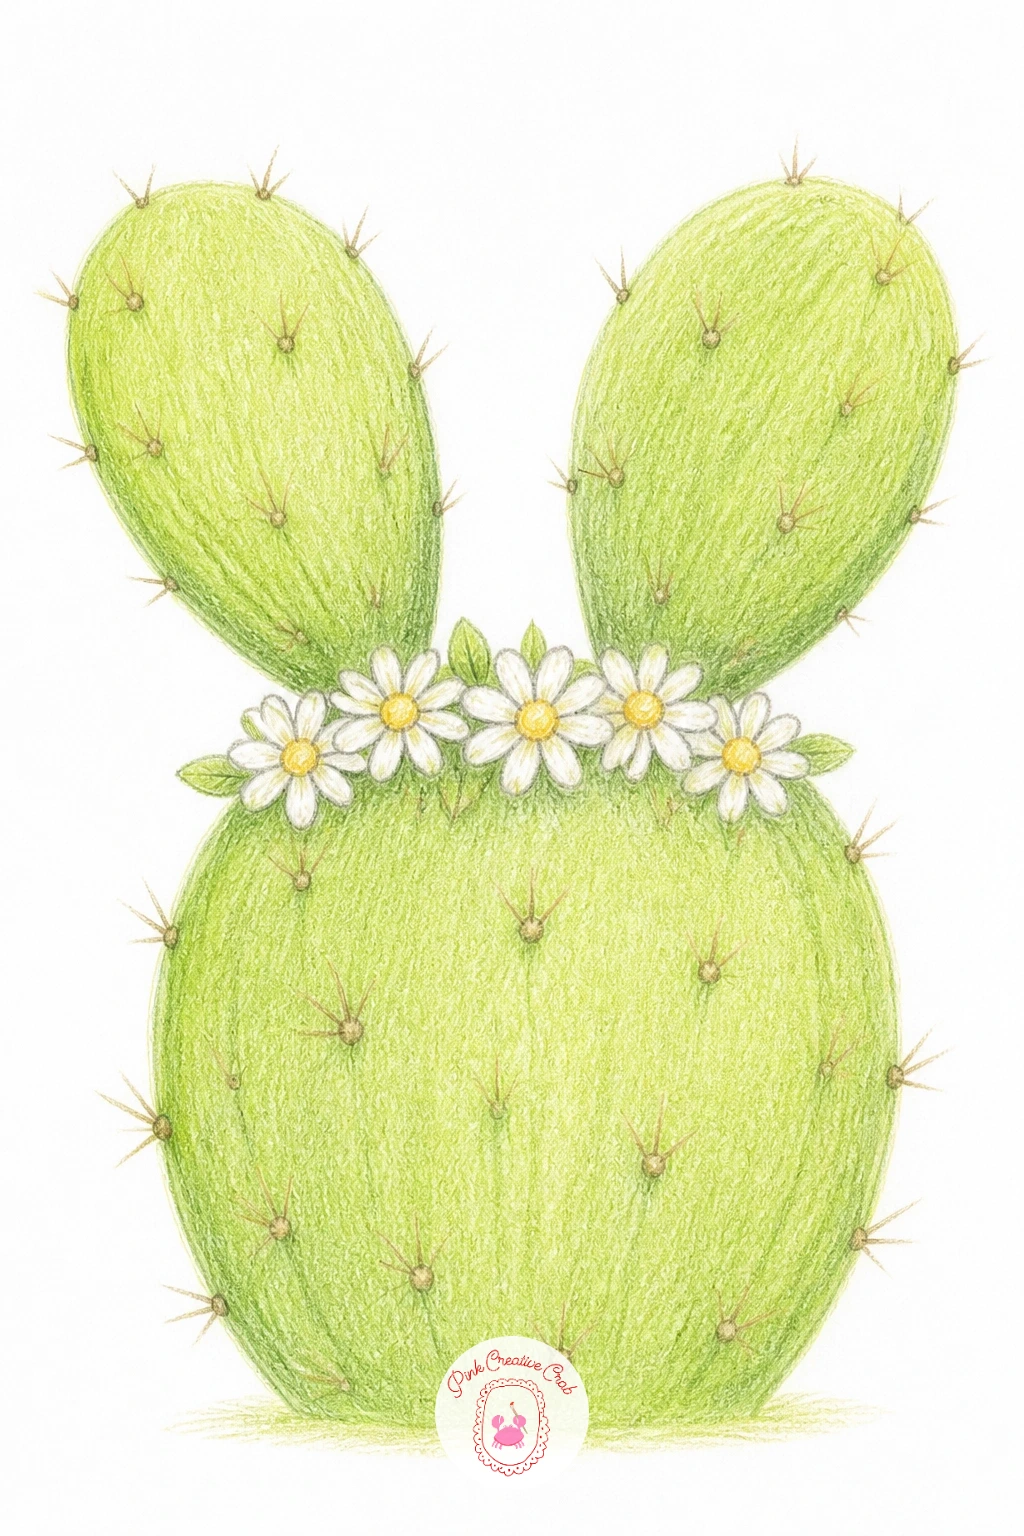
You Will Need
- kneaded eraser
Palette: Pale Sage,Soft Brown,Cream White,Soft Yellow
Shrink the scale down with an aloe in a teacup, a spiky little rosette tucked into something delicate and unexpected. Draw the teacup first, keeping its curve gentle and its handle small, then let the aloe spikes spring up and out of the rim in a loose fan so a few overlap the cup’s edge.
Paint the aloe in a cool blue green, lighter toward the tips of each spike and darker where they meet at the base, which gives the rosette a sense of depth without much extra work. The teacup itself works nicely in a soft floral pattern or a single pastel color with a thin gold rim line in a warm yellow pencil.
Spacing the spikes evenly around the rosette is the trick that keeps this looking intentional rather than scribbled: lightly sketch a small circle as a guide and let each spike radiate from it before adding color. A plain mug works just as well if teacups feel fussy to draw.
Finish the spike tips with a tiny touch of reddish pencil, which many aloe varieties show naturally in bright light.
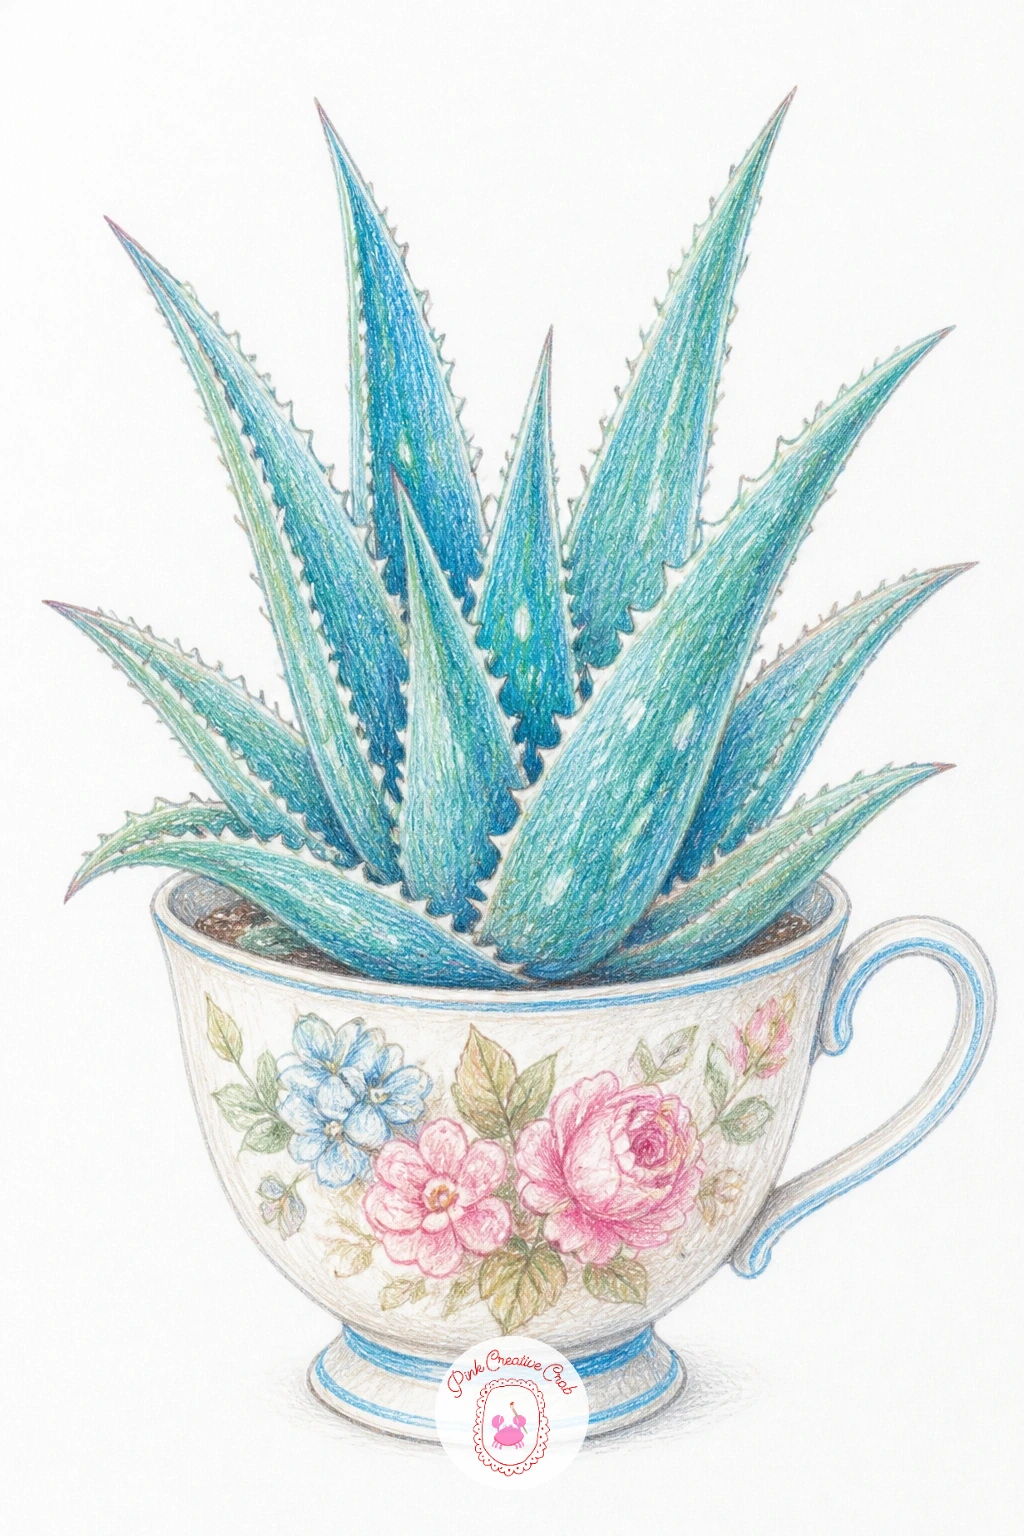
Palette: Blue Green,Soft Pink,Gold,Reddish Brown
Bring in some humor with a cactus holding a balloon very carefully, little stubby arms stretched out and the balloon string pinched between two spines. Draw the cactus body first with two small arm bumps added to the sides, then place a round balloon just above and slightly to one side, connected by a thin curved string.
The balloon is the star color-wise here: a bright red or warm yellow works best against the cactus green, shaded with a small white highlight left untouched near its top for shine. Keep the cactus itself simple and matte so all the brightness sits in that one balloon shape.
Faces are easy to get wrong on a round cactus if the features sit too close to the edge. Keep the eyes and tiny worried mouth closer to the center of the body, which reads as far more expressive than features crowded near the rim.
If red pencil looks too harsh, a soft coral balloon reads just as cheerfully against the green.
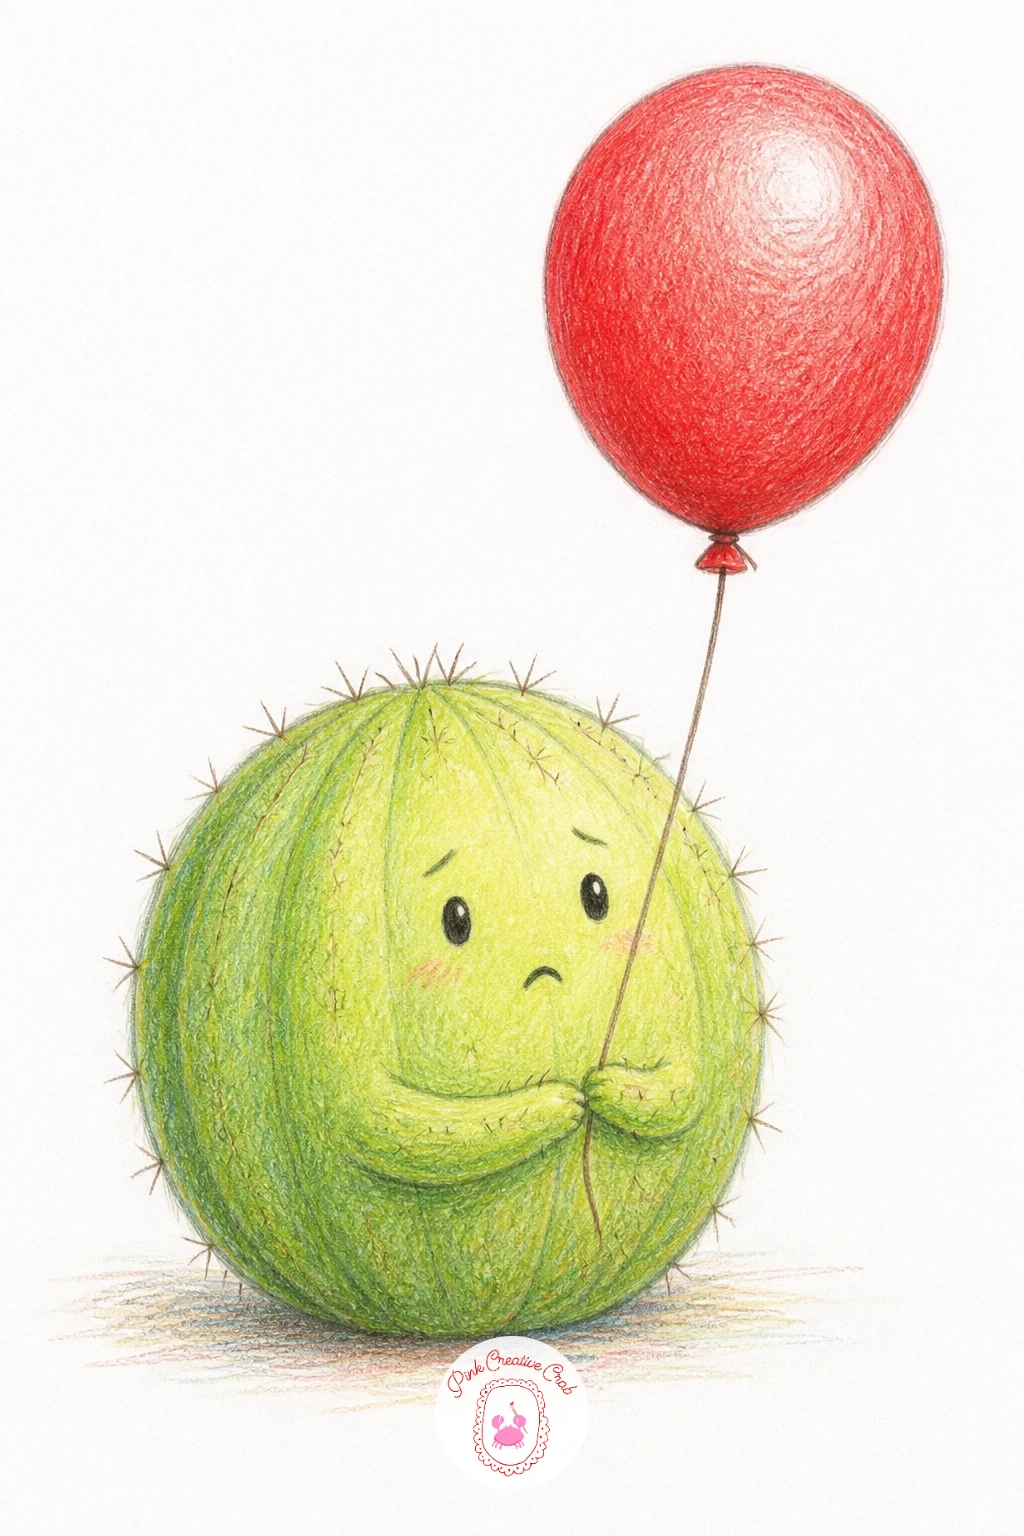
Palette: Apple Green,Bright Red,White,Soft Coral
Try giving the cactus slightly crossed eyes looking up at the balloon string instead of straight ahead. It adds instant comedy without any extra drawing.
Try a moon cactus next, that cheerful bright orange or pink ball grafted on top of a plain green base, since the two part body makes it an unusually fun shape to draw. Sketch the lower green cactus as a simple ribbed cylinder, then add the round colored top as a distinctly separate sphere sitting on it, slightly smaller in width than the base below.
Base the top ball in hot coral or magenta, keeping the color flat and bright since real moon cactus tops often look almost unnaturally vivid. Shade the green base with gentle vertical ribs in two tones so it reads as sturdy and plain compared to the flashy top.
For a ten minute version, keep both parts as flat blocks of color with simple ribbing. With more time, add tiny spine clusters along each rib line in a pale cream dotted pattern, which is where most of this drawing’s charm lives.
No bright coral pencil in your set? Layer red and orange together for a close match.
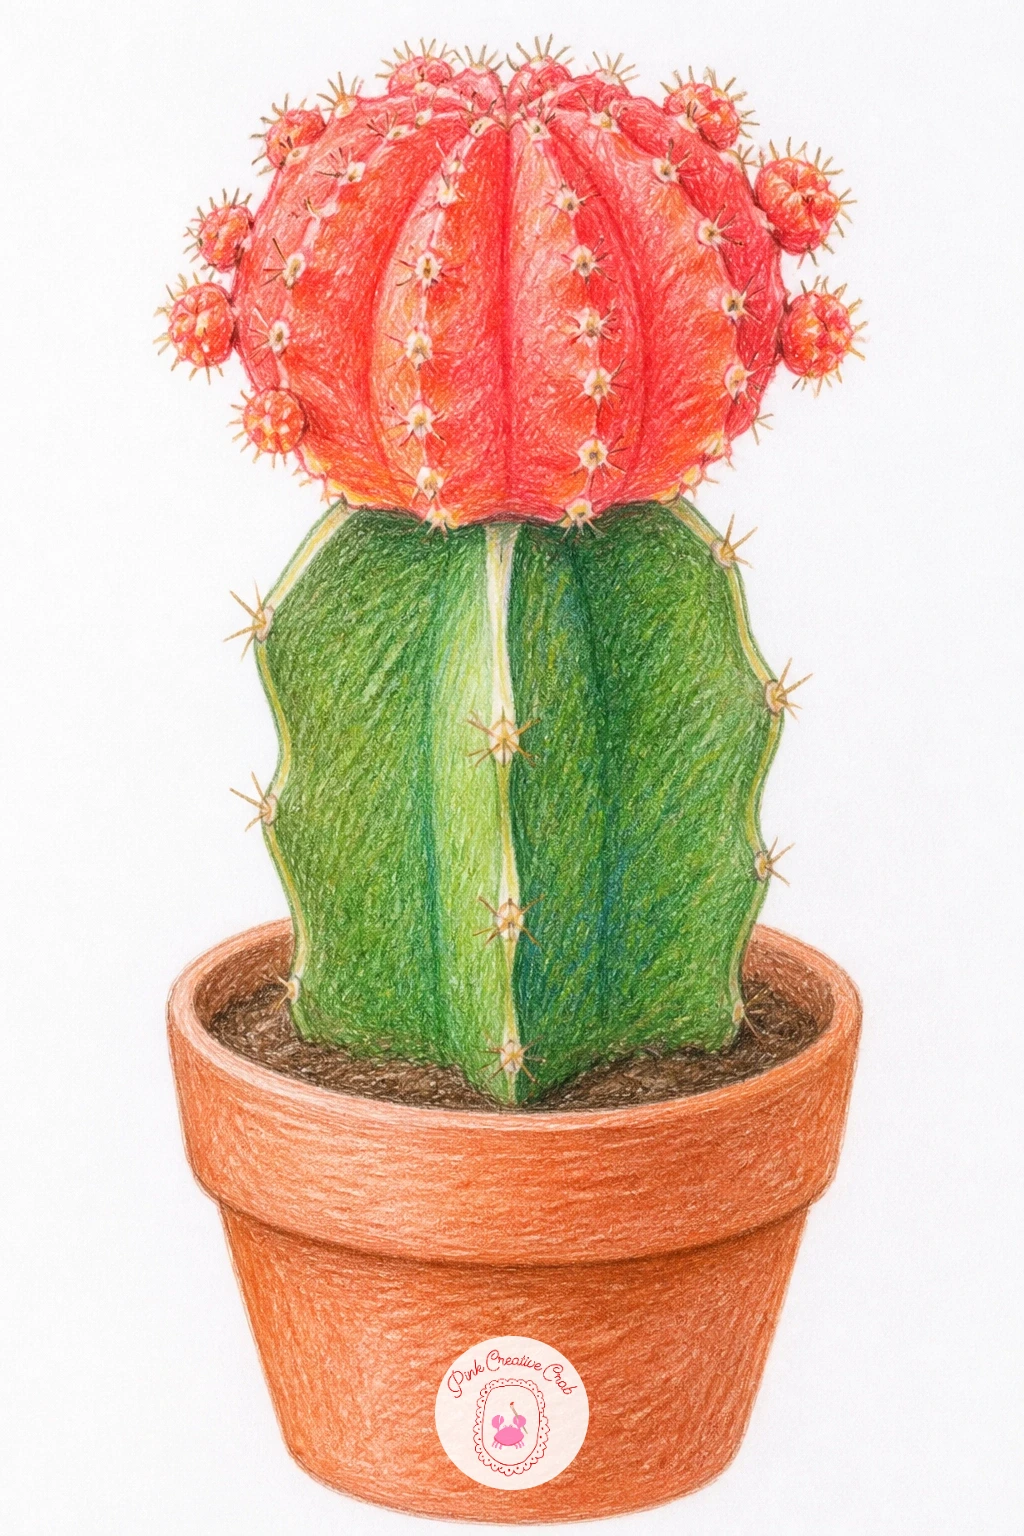
Palette: Hot Coral,Apple Green,Deep Green,Cream
Pick a playful container next with a cactus in a cowboy boot planter, the plant poking cheerfully out the top of a worn leather boot. Draw the boot first, keeping its curve and pointed toe confident even if slightly wobbly, then build the cactus spilling out the opening with a few arms leaning in different directions.
Color the boot in warm tan or chestnut brown with a few simple stitch lines in a darker tone along the seams, which instantly reads as leather without much extra work. The cactus on top can be any shape you like, a round ball or a tall column, shaded in its usual greens with the shadow falling where the boot would naturally block light.
Boots are tricky if the heel ends up too thin or the toe too pointed to read clearly. Keep the whole boot a bit chunkier and rounder than you think it should be, which reads as sturdier and more charming on paper.
A simple ankle boot shape works just as well if a cowboy boot feels like too much to tackle today.
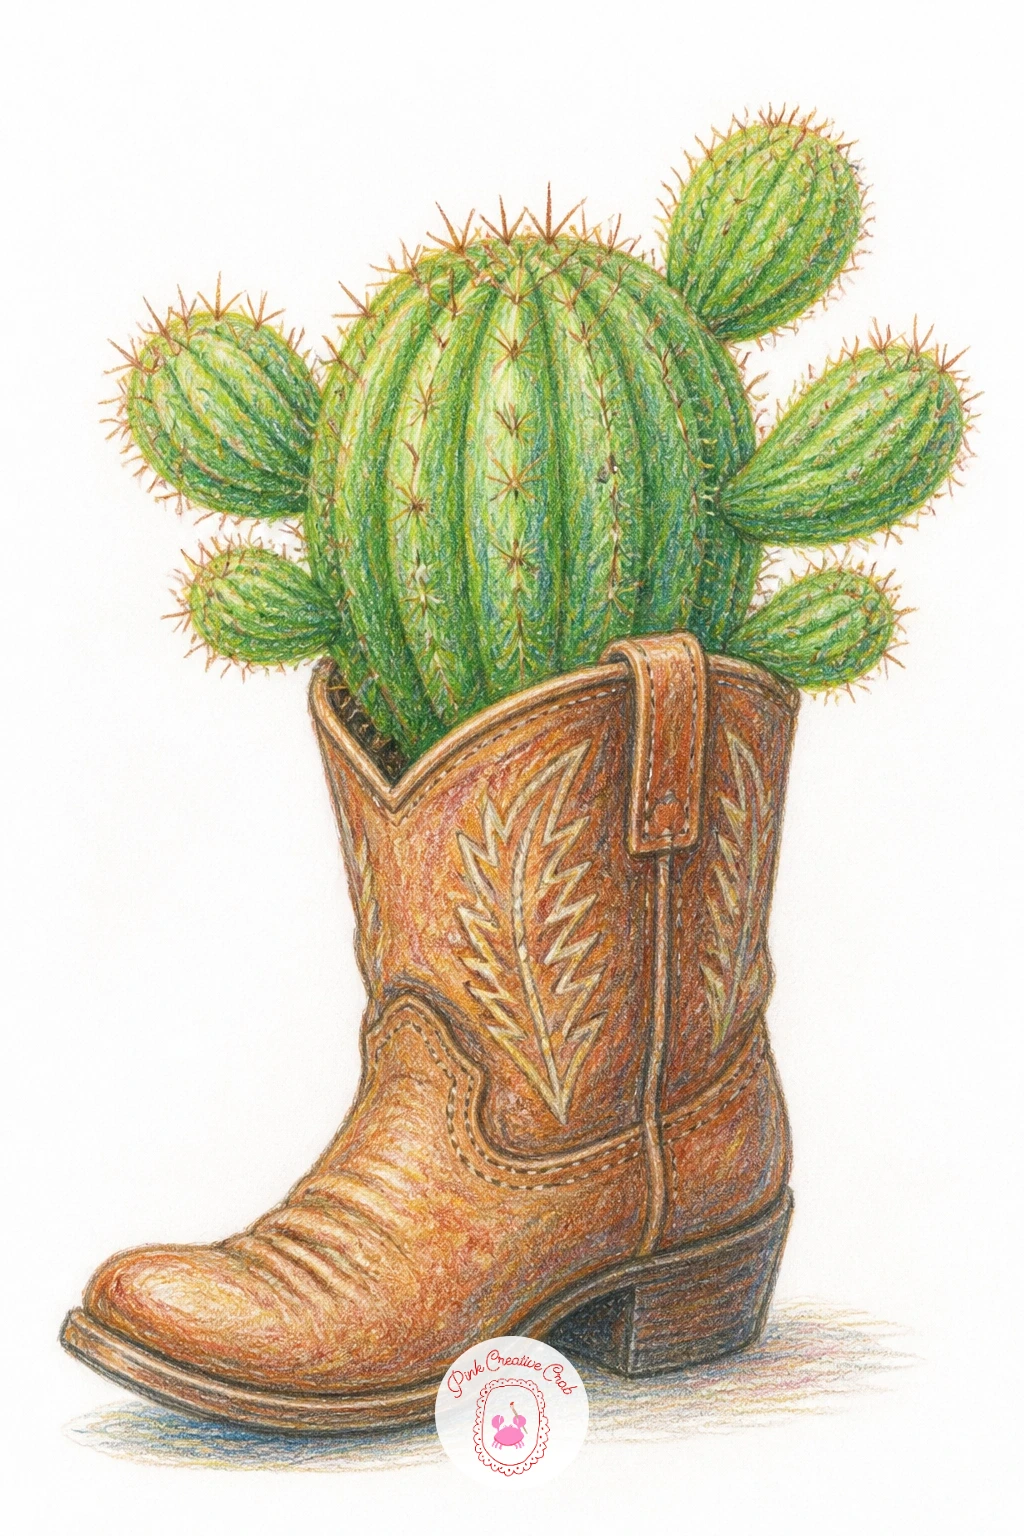
Palette: Chestnut Brown,Tan,Apple Green,Deep Brown
Widen the scene with a desert garden with agave, a small cluster of different plants sharing one patch of sandy ground instead of a single pot. Place the agave at the center first, its pointed leaves radiating outward in a strong star shape, then tuck a smaller round cactus and a low succulent clump around its base.
Color the agave in a cool blue gray green, which separates it nicely from the warmer greens on the plants beside it, and let the sandy ground below sit in pale warm ochre with scattered small stones in gray. Shade everything from one consistent light direction so the whole little garden feels like one real place rather than three separate drawings pasted together.
Agave spikes often end up too thin and floppy when rushed. Press slightly firmer at the base of each leaf and taper off gently toward the tip, which keeps them looking structural rather than limp.
Add a few scattered small rocks in the foreground to ground the whole scene.
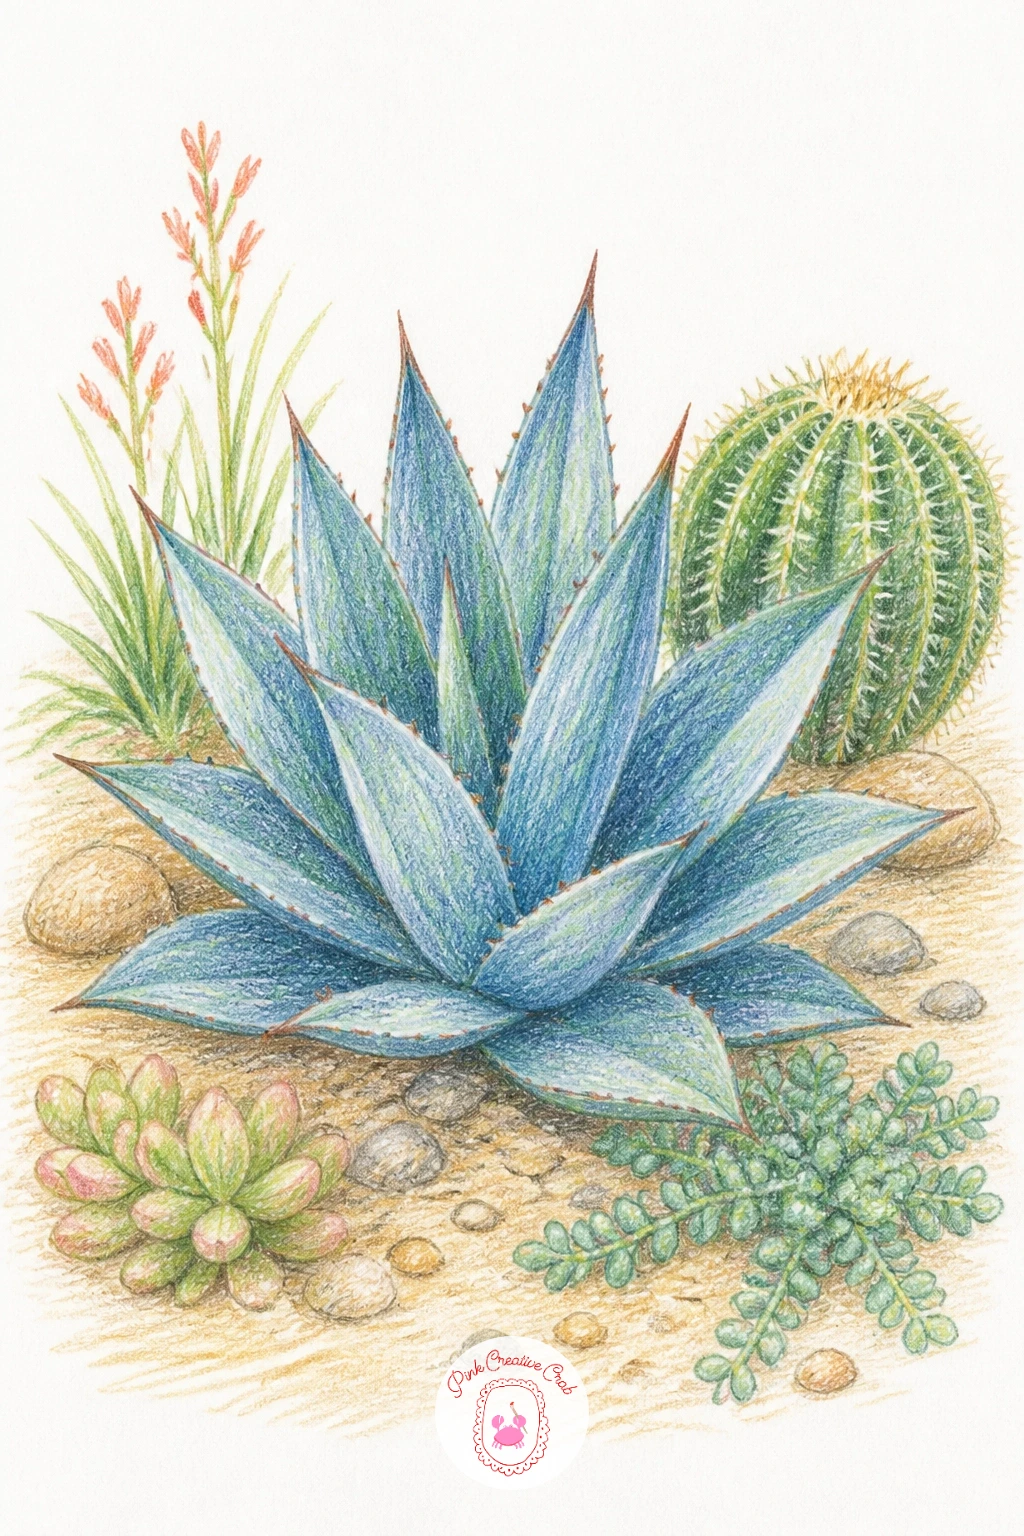
Palette: Blue Gray Green,Apple Green,Pale Ochre,Gray
Arrange a succulent wreath next, a full ring of different rosettes and trailing bits all tucked together as if ready to hang on a door. Sketch a light guide circle first, then build individual rosette shapes around it, varying their size so the wreath feels full and a little uneven rather than perfectly even like a clock face.
Give each rosette its own color so the ring reads as a mix: a blue green echeveria here, a soft purple one there, a warm yellow green succulent beside it, tying the whole thing together with a simple brown twig base peeking through in small gaps. Let a few thin trailing stems hang slightly below the ring at the bottom for movement.
Wreaths tend to look stiff when every rosette faces the same direction. Angle a few slightly inward or outward and vary their sizes so the eye keeps moving around the ring instead of settling on one spot.
For a different ring of small repeated shapes, the same even spacing trick works nicely for a butterfly drawing pencil border around a page.
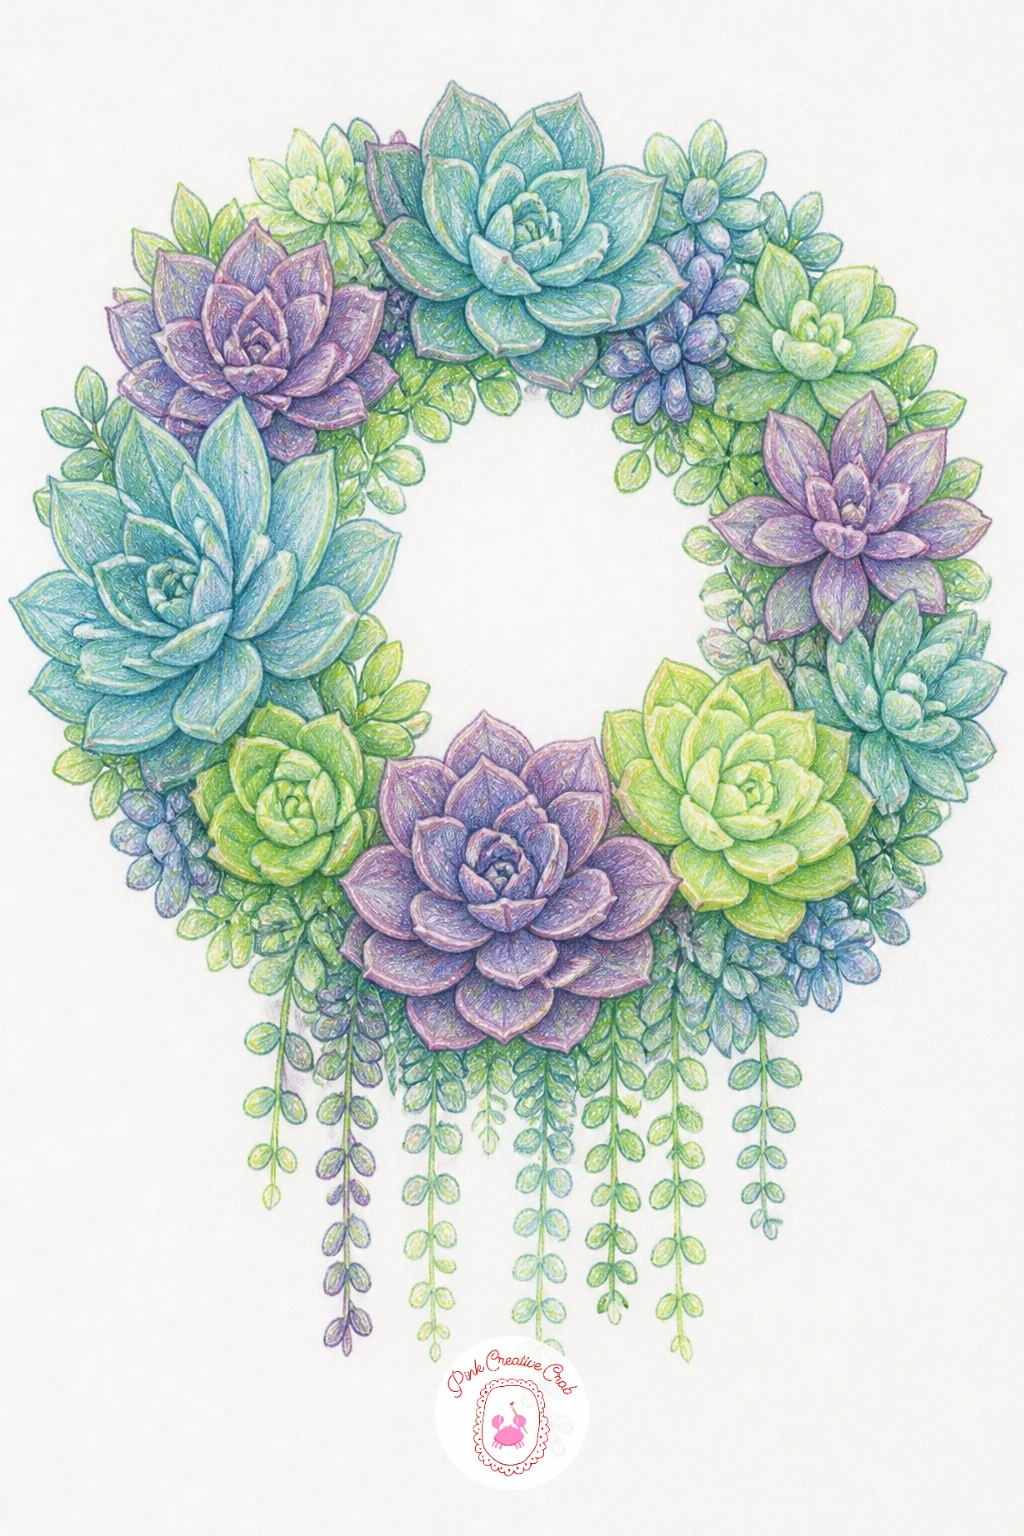
Palette: Blue Green,Soft Purple,Yellow Green,Brown
Settle a jade plant in a market basket, those round coin shaped leaves spilling generously over a woven edge. Build the basket first with a simple crosshatch pattern of curved lines suggesting woven texture, then let the jade plant’s thick branching stems rise up and arch outward from the center.
Paint the leaves in a deep glossy green with small highlight dots left slightly lighter near their rounded tips, since jade leaves naturally catch light on their smooth, plump surface. The basket works well in warm honey brown with the weave lines in a slightly darker shade to suggest depth between the strands.
Jade stems look wrong when drawn as thin single lines. Give each stem real width and a visible slight curve, since the plant’s woody structure is part of what makes it recognizable at a glance.
Any woven basket or plain ceramic pot photo gives you enough reference for the texture if a market basket is not nearby.
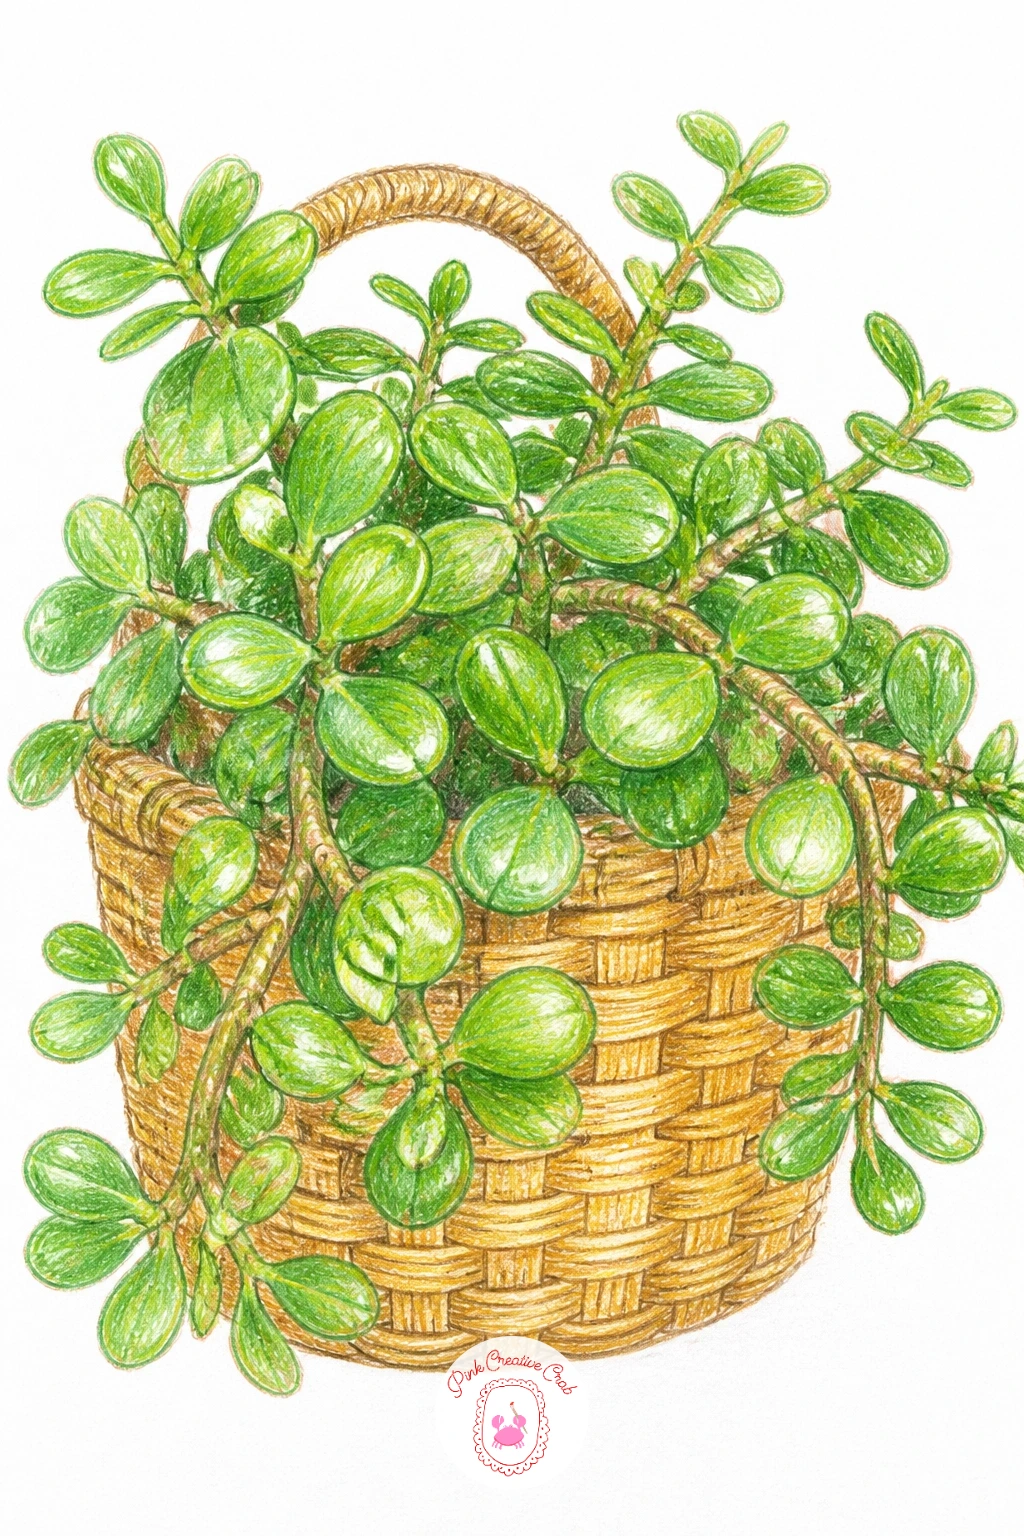
Palette: Deep Green,Light Green,Honey Brown,Dark Brown
Step outside the pot with a cactus shop window, a little storefront scene packed with several plants lined up behind glass. Draw a simple window frame first, dividing it into panes if you like, then fill the space behind it with three or four different cactus and succulent shapes at varying heights, like a tiny crowded shelf.
Keep the window frame in a warm faded color like dusty teal or soft red, then let the plants inside stay the visual focus with their usual range of greens. A painted sign or small lettering above the window is optional, kept simple if you add it at all since lettering is easy to overdo in a small space.
This scene can get cluttered fast if every plant is drawn with equal detail. Pick one or two to render fully and let the rest stay simpler silhouettes further back, which actually reads as more convincing depth.
A soft gray wash behind the glass panes helps separate the shop interior from the plants themselves.
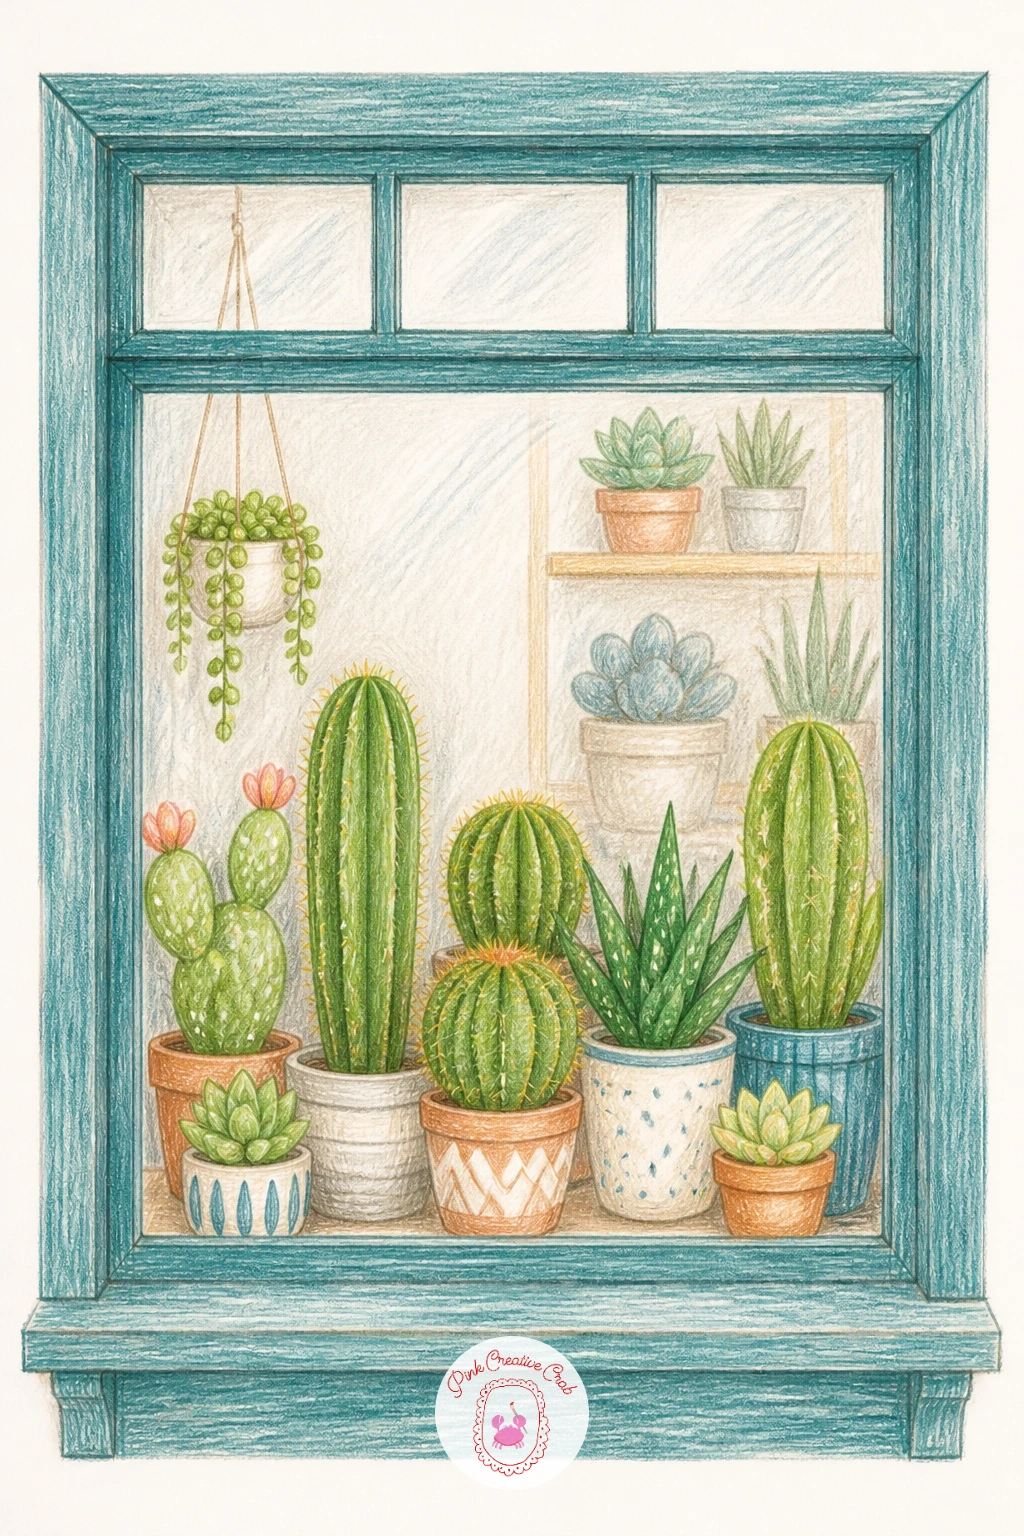
Palette: Dusty Teal,Apple Green,Terracotta,Soft Gray
Bring a person into the scene with a girl watering her cactus, a small watering can tipped gently over a potted plant on a table or sill. Start with the cactus and pot first since they anchor the whole composition, then add the girl’s arm and the watering can reaching in from one side, keeping her mostly cropped out of frame so the plant stays the focus.
Shade her sleeve or hand in a soft warm tone that contrasts gently with the cactus green, and let a few small water droplets fall between the can’s spout and the soil, drawn as tiny clear ovals with a touch of white gel pen highlight. The eye level here matters: place the can slightly above the pot and angle it down, which makes the pour feel natural rather than floating.
Hands are the part most likely to go wrong in a quick sketch. Keep the visible hand simple, just enough fingers curled around the can’s handle, rather than trying to render every knuckle.
If a full hand feels like too much today, crop even tighter and show only the can’s spout and the falling water.
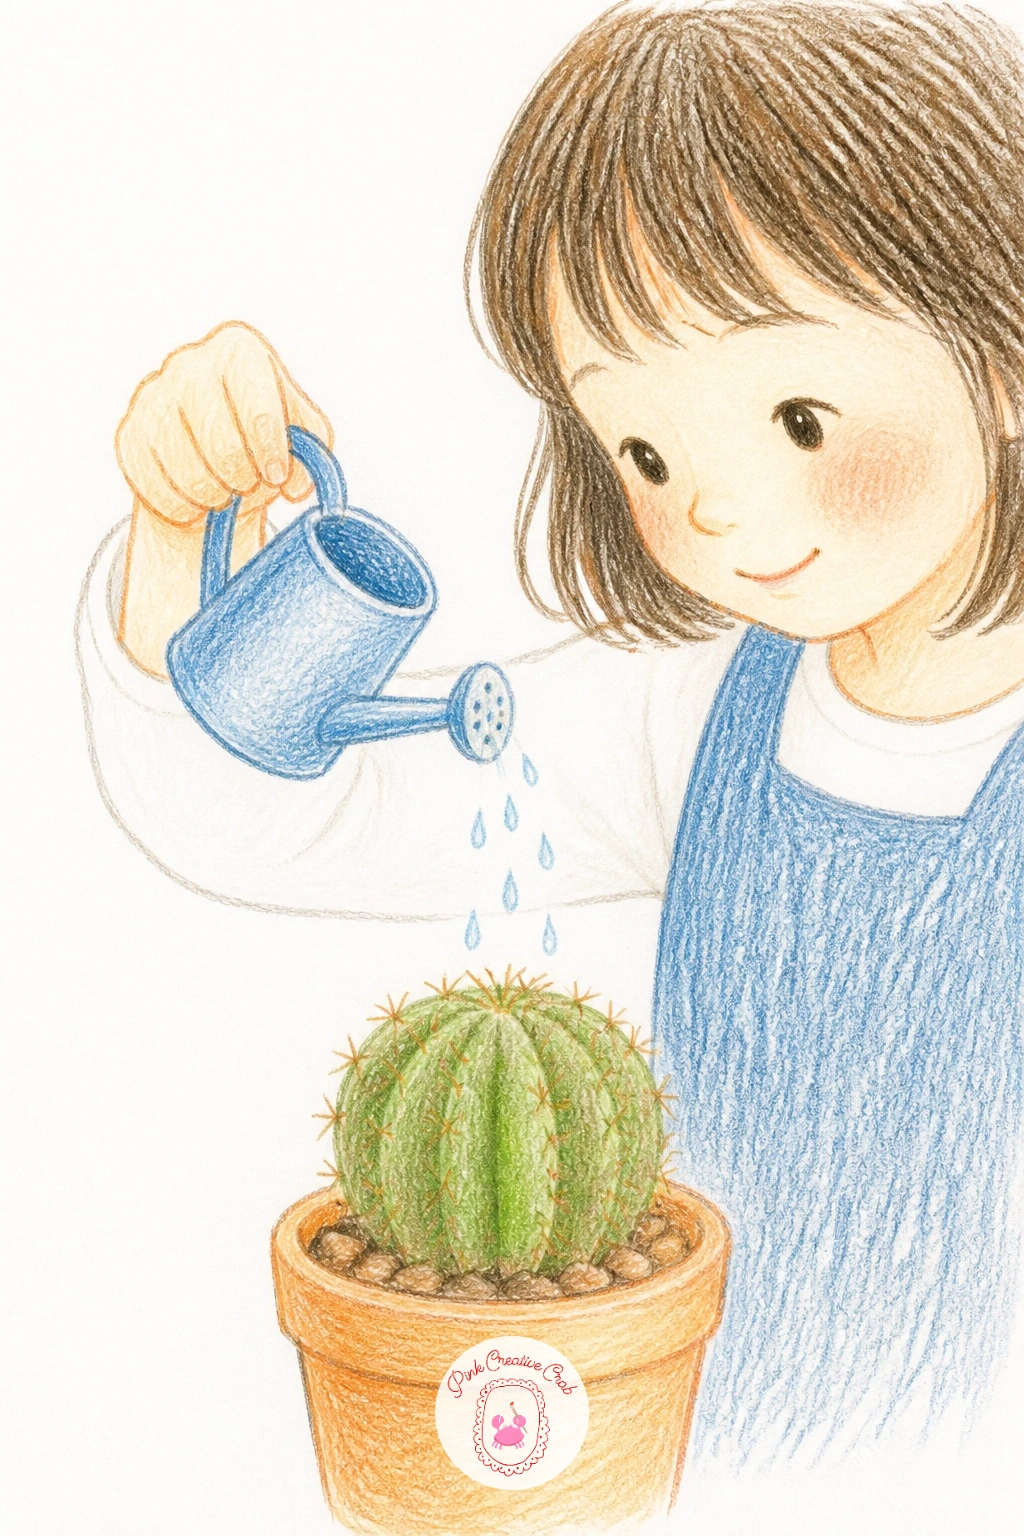
You Will Need
- white gel pen
Palette: Apple Green,Warm Skin Tone,Soft Blue,Terracotta
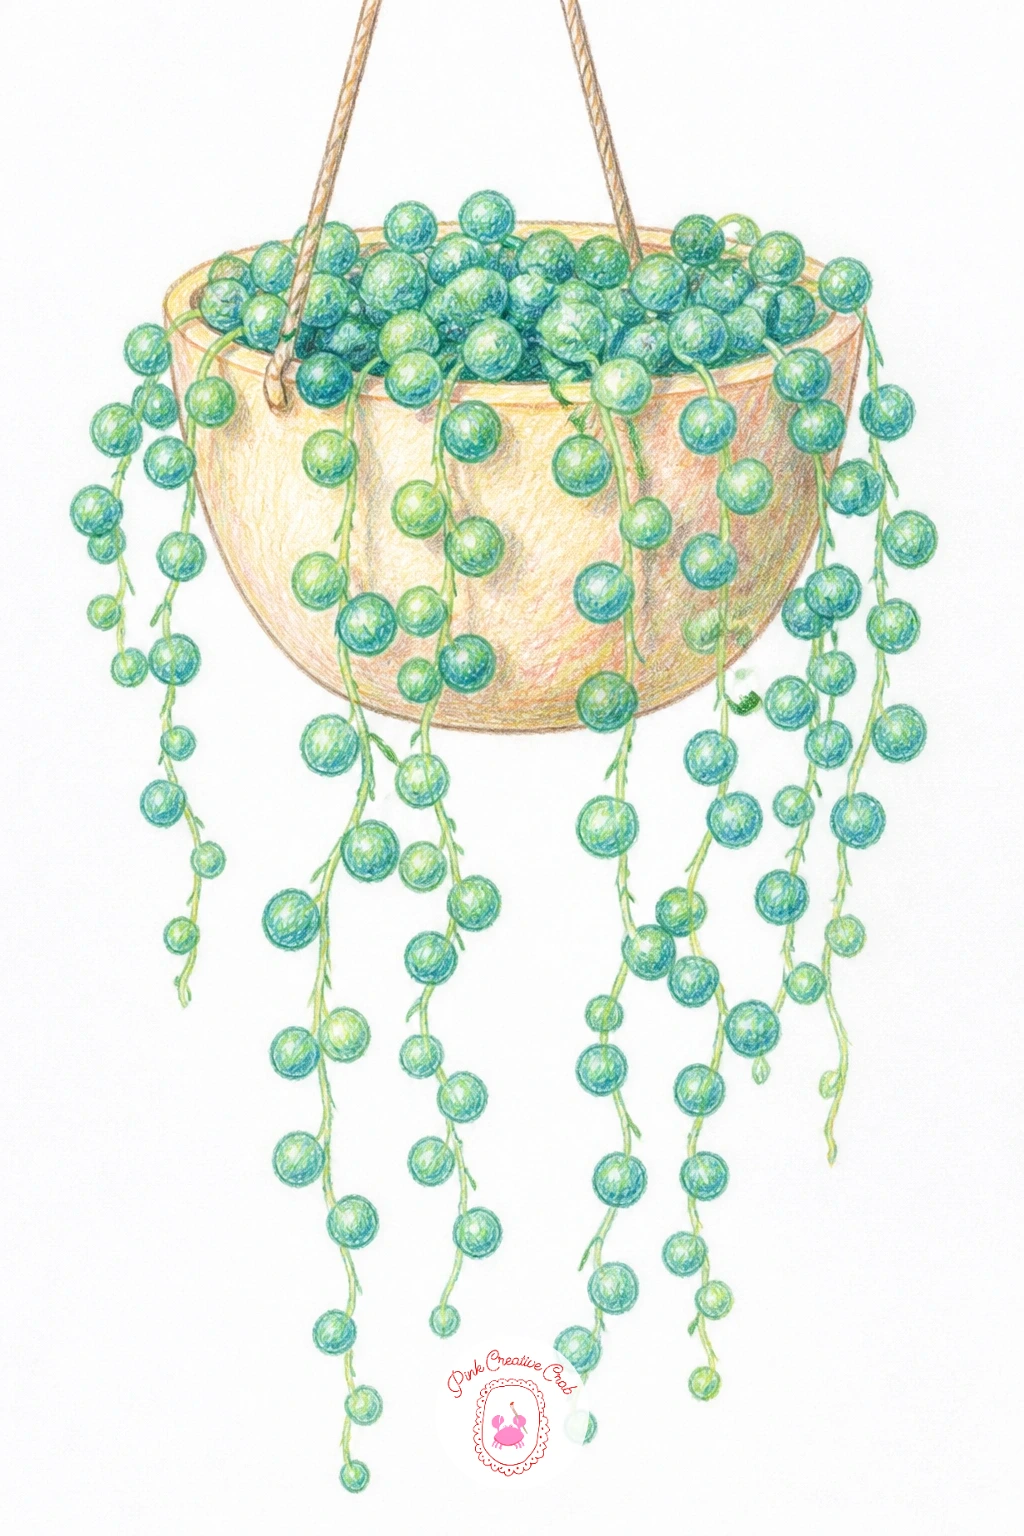
Let something trail down with a string of pearls in a hanging pot, those tiny round beaded stems cascading over the edge in long ropes. Draw the pot first, suspended by a simple braided or knotted cord, then let several long trailing lines fall from the rim, each one made up of small overlapping circles rather than a continuous line.
Color the little bead shapes in a cool blue green with a tiny highlight dot left on each one near the top, since the glossy surface of real string of pearls catches light distinctly on every single bead. Vary the length of each trailing strand so they do not all stop at the same point, which keeps the cascade feeling natural rather than trimmed with scissors.
Drawing every single bead the same size flattens this subject fast. Let the beads nearer the pot sit slightly larger and the ones at the trailing tips shrink gradually, which adds a gentle sense of distance to each strand.
A simple round pot in any warm neutral color keeps the beaded strands as the clear star of the piece.
Palette: Blue Green,Cream,Warm Neutral,Dark Green
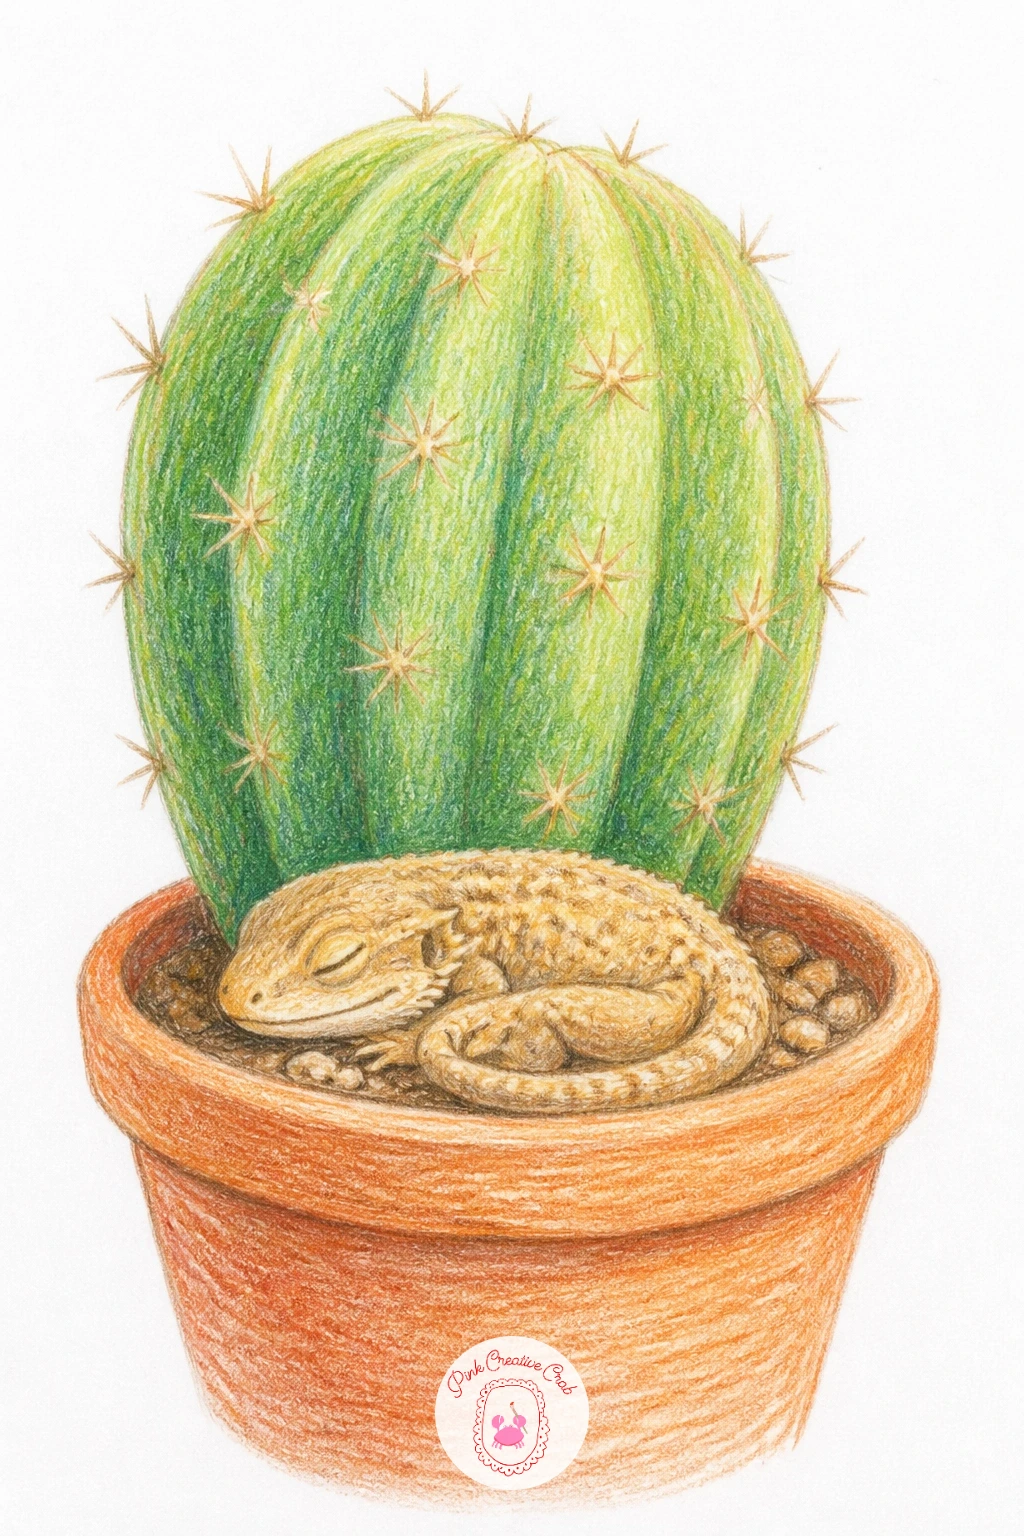
Add a quiet companion with a cactus with a sleepy lizard, a small desert friend curled up and dozing right at the base of the plant. Draw the cactus first as your anchor shape, then nestle the lizard into a gap between its arms or at its base, curled into a loose comma shape with eyes closed.
Paint the lizard in warm sandy tones with a few darker brown spots along its back, keeping the texture soft rather than scaly in fine detail, which suits this gentle sleepy mood. The cactus stays in its usual greens, with the lizard’s warm tones giving the whole piece a nice contrast between cool plant and warm creature.
Lizards often end up stiff and straight when drawn quickly. Curve the body and tail into a relaxed loop, tucking the tail around toward the front legs, which instantly reads as asleep rather than alert.
If reptile anatomy feels tricky, a simple curled gecko shape from any reference photo gives you enough to work from.
Palette: Apple Green,Sandy Tan,Brown Spots,Terracotta
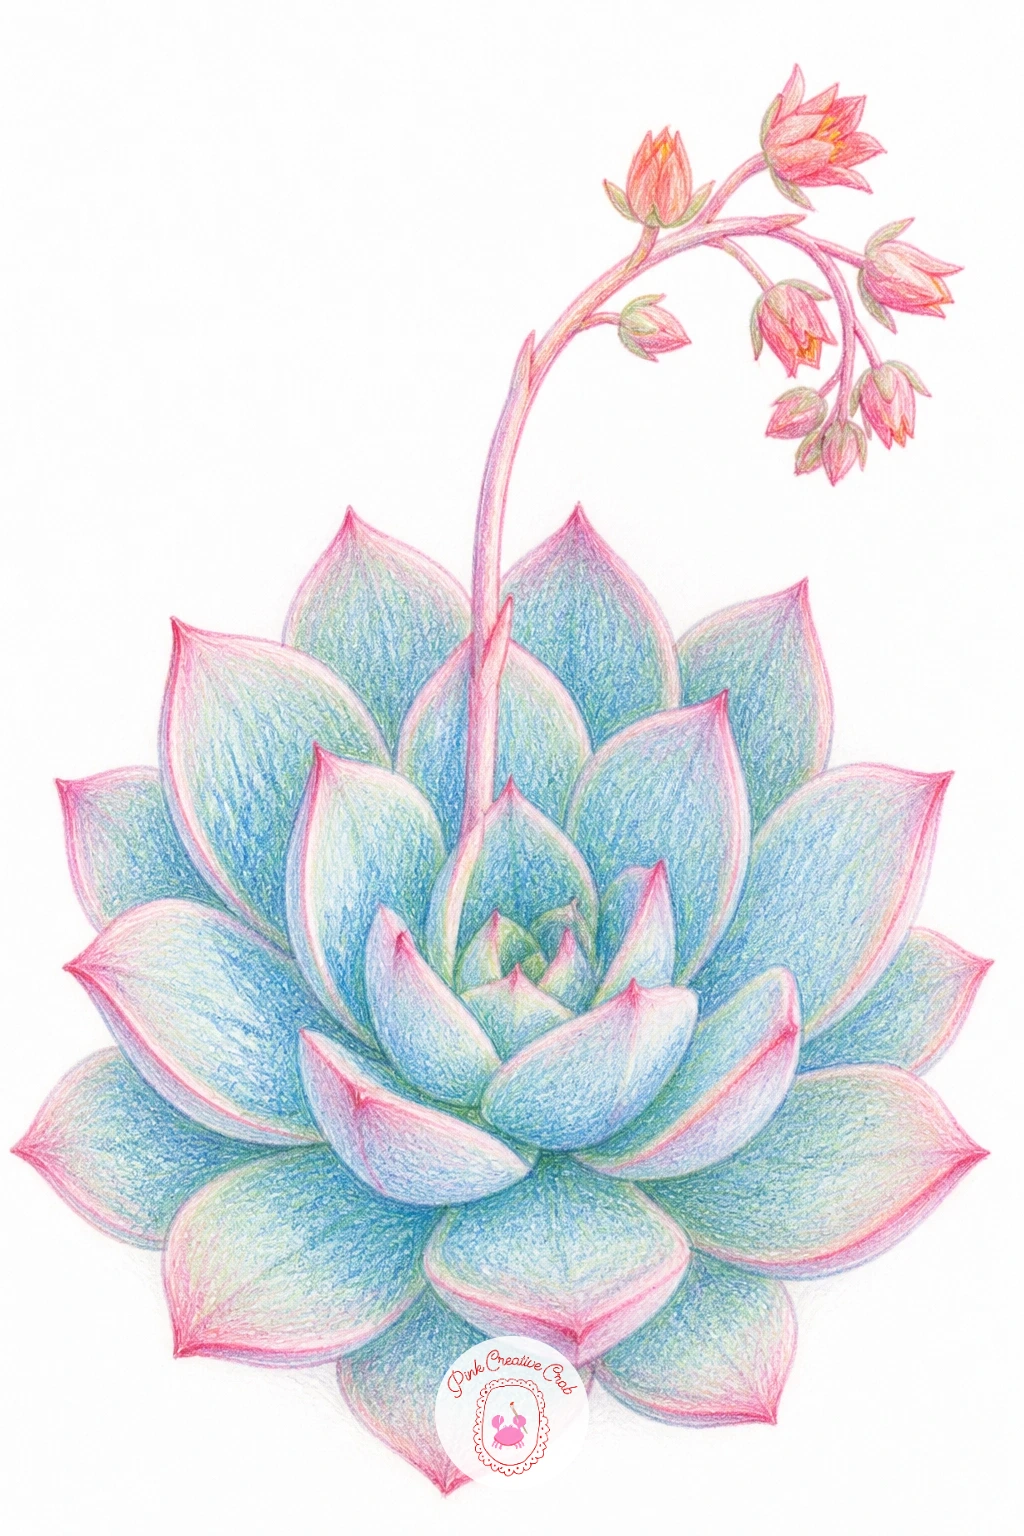
Return to a single plant for a blooming echeveria rosette, that perfect spiral of thick petal like leaves with a tall flower stalk rising from the center. Start from the middle and work outward, drawing smaller tight leaves first and letting each ring of leaves grow larger as you spiral toward the outer edge.
Shade each leaf with a gradient from soft blue green at the base to a blush pink or lavender at the tip, which is exactly how many echeveria varieties naturally color in bright light. The flower stalk rises up from the center in a thin curved line, ending in a small cluster of bell shaped orange or coral blooms.
The spiral falls apart fast if leaves are added randomly instead of in rings. Work one full ring at a time around the center before starting the next, checking that each new ring slightly overlaps the one before it.
No lavender pencil handy? A light touch of pink over blue green creates a similar blush at the leaf tips.
Palette: Blue Green,Blush Pink,Coral,Lavender
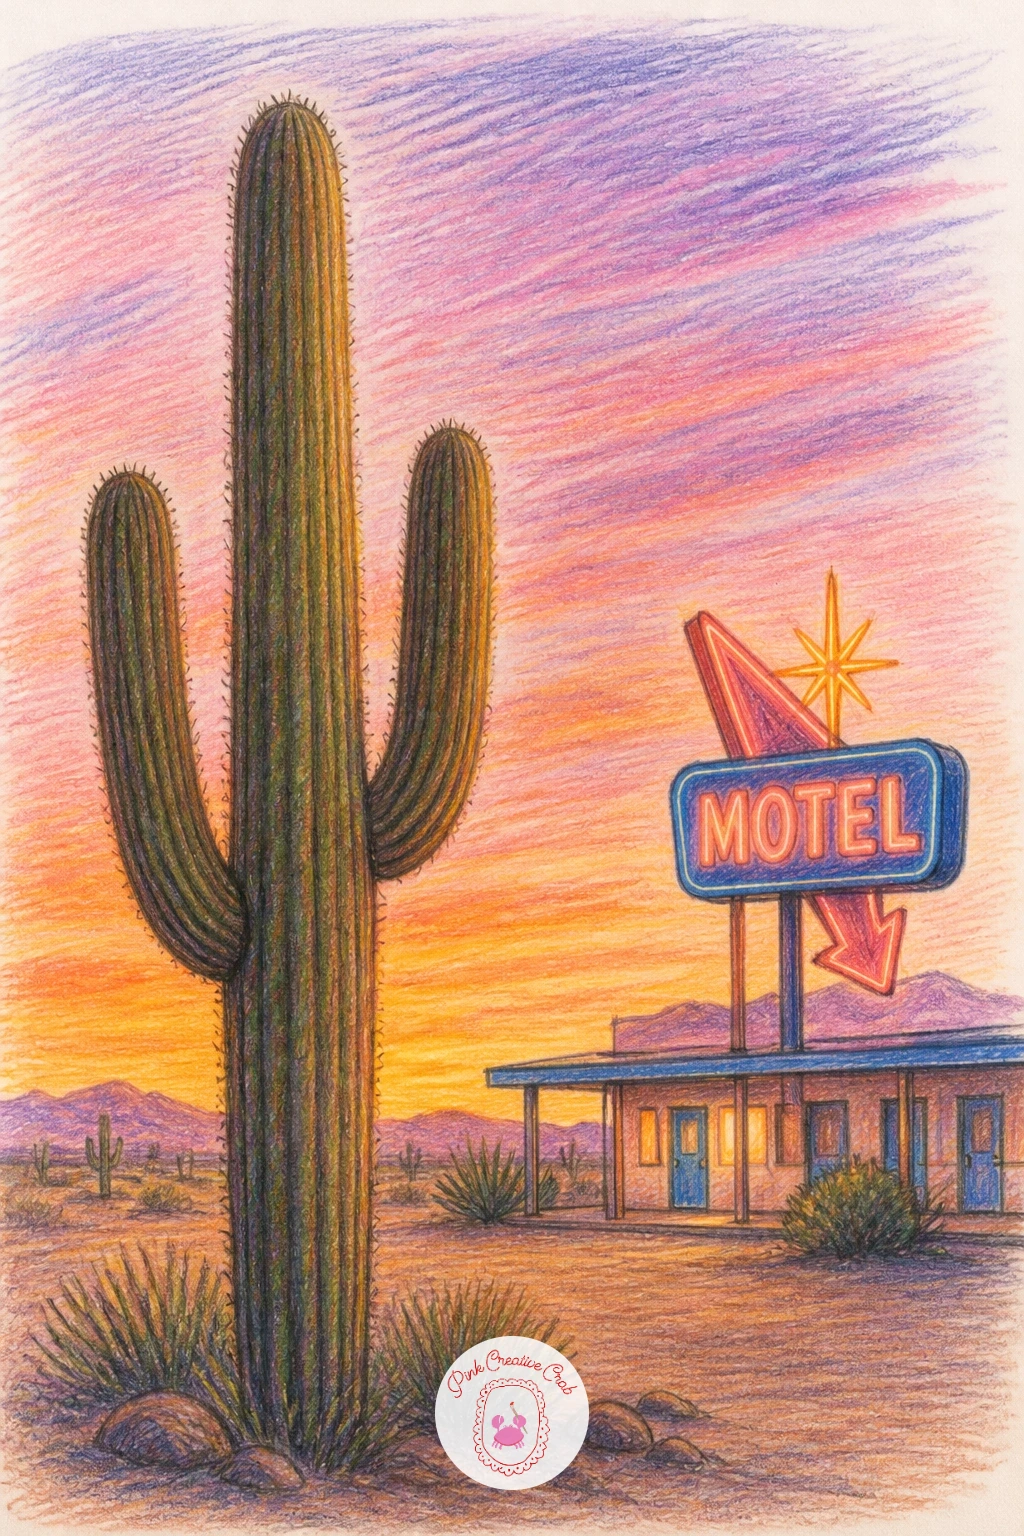
Build a full little landscape with a cactus by a roadside motel at sunset, a tall saguaro silhouette standing in front of a glowing neon sign. Place the horizon line low on the page first, then let the motel building and its sign sit along that line while the saguaro stands taller in the foreground, clearly closer to the viewer than the building behind it.
Paint the sky in bands of warm orange, pink and deep purple, since sunset skies work best built from light to dark in horizontal layers rather than blended all at once. Keep the saguaro and motel mostly as dark silhouette shapes against that glowing sky, with just the neon sign picked out in a bright accent color like turquoise or hot pink to suggest it lighting up.
This scene reads as flat if the saguaro and the motel sign sit at the exact same brightness. Keep the cactus darker and simpler in silhouette so the eye travels straight to the glowing sign behind it.
A simple rectangle sign with one or two shapes is plenty, no need to render full lettering.
Palette: Warm Orange,Deep Purple,Hot Pink,Turquoise
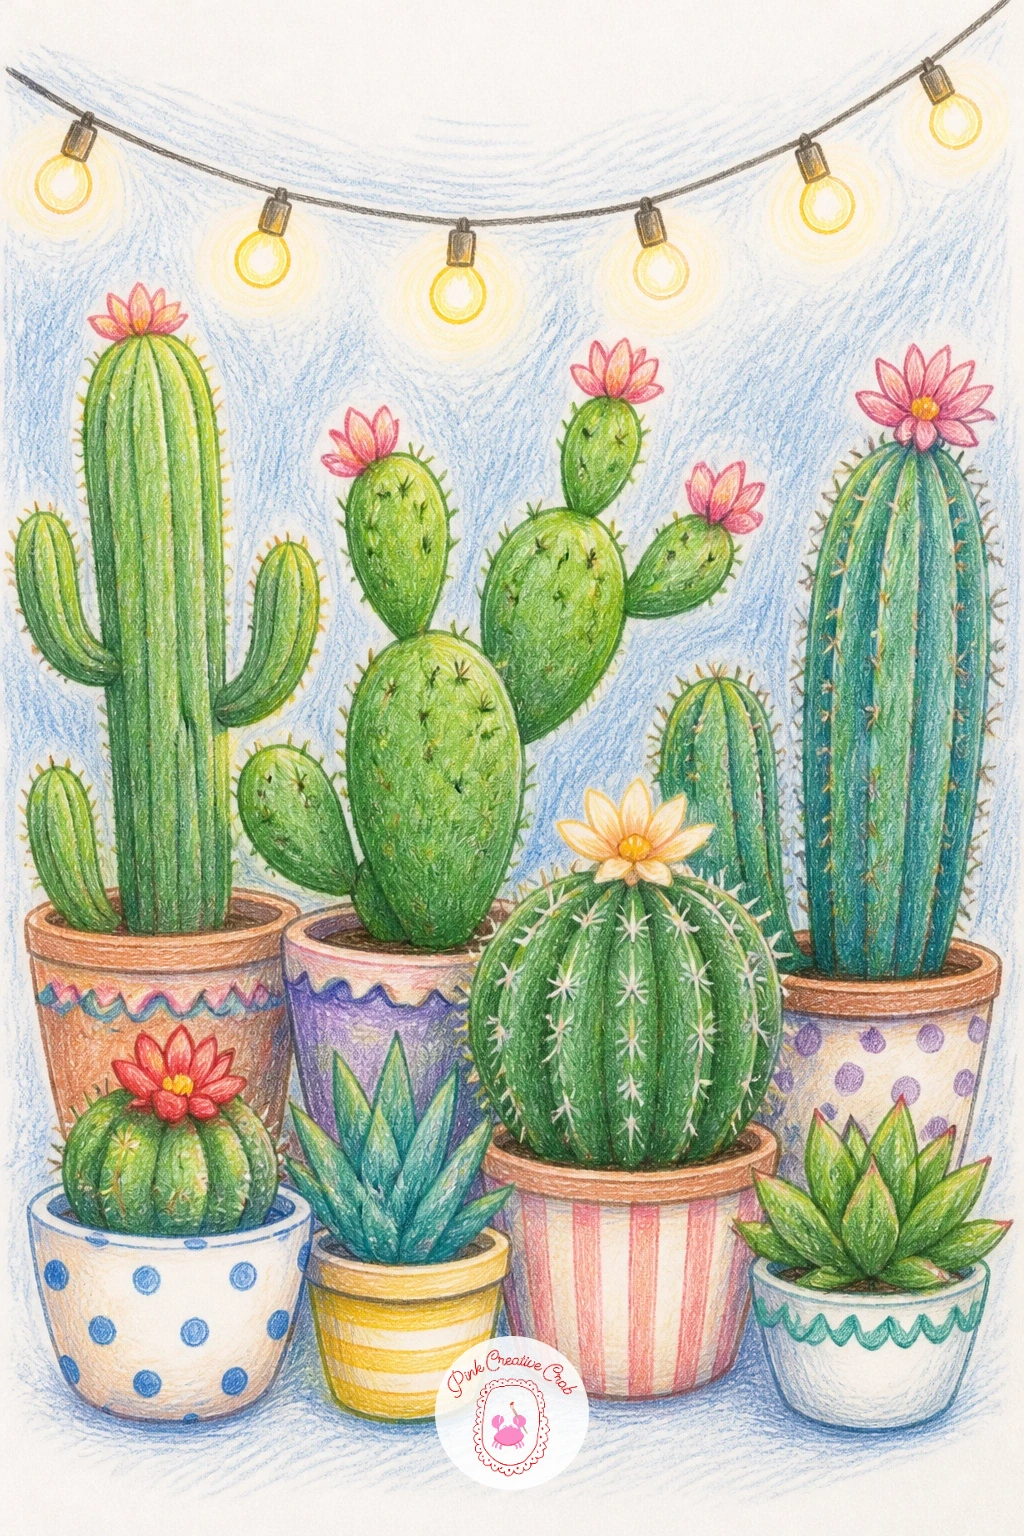
Keep the warm evening mood going with a cactus party with string lights, several small potted plants gathered together with a strand of little bulbs draped above them. Arrange three or four different cactus and succulent pots in a loose cluster first, varying their heights, then add a gently looping string of lights across the top, swagging down in soft curves between imaginary posts.
Color the lights in warm yellow with a tiny white gel pen dot at the center of each bulb for shine, scattered unevenly along the dark string rather than perfectly spaced, which feels more festive and less like a ruler drew it. The plants themselves stay in their usual green range, letting the warm bulbs provide the pop of color against them.
Too many evenly sized bulbs in a straight line reads as stiff rather than cheerful. Let the string sag naturally between two points and let a few bulbs cluster closer together than others.
A soft dusk blue background behind the whole scene makes the warm lights glow even more.
You Will Need
- white gel pen
Palette: Dusk Blue,Warm Yellow,Apple Green,Terracotta
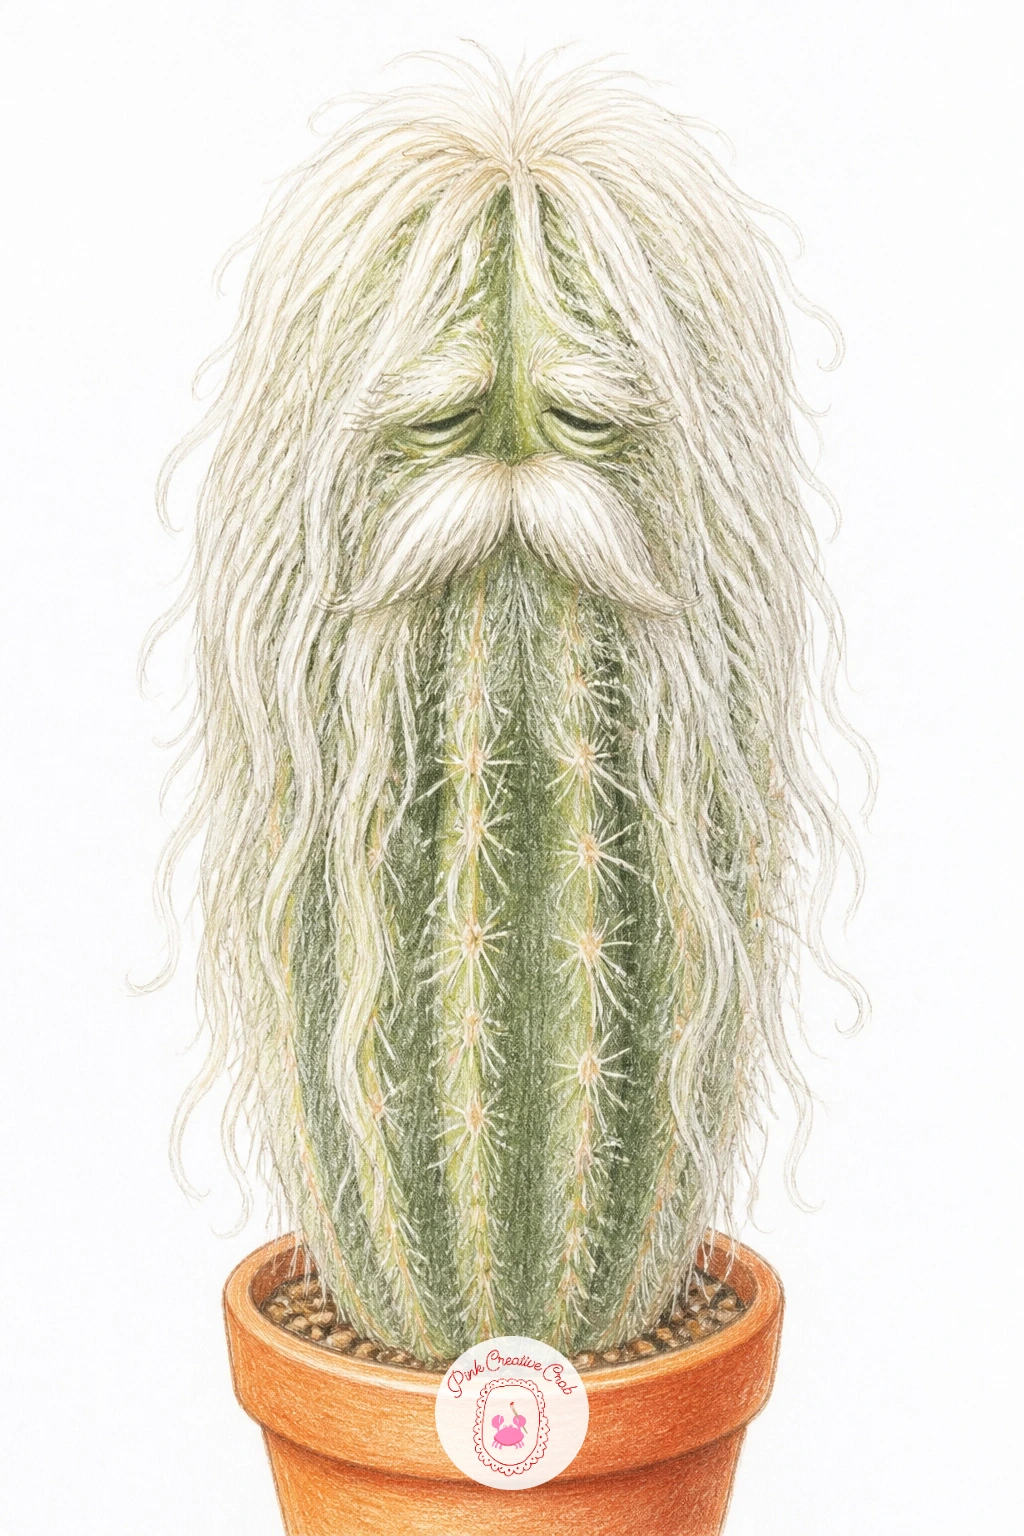
Give a plant real whiskers with an old man cactus with white hair, that shaggy column covered in long soft looking white fibers instead of ordinary spines. Draw the tall cylindrical body first, then cover its surface in loose wavy white lines running mostly vertically, letting a few strands curl or flop slightly rather than lying perfectly straight.
Base the body in a muted green barely visible beneath the white covering, then build the white hair in layers: a light gray underlayer first, then pure white strokes on top following the same direction, leaving small gaps where the green peeks through underneath. A simple round pot in warm clay finishes the scene without pulling focus from all that texture.
This subject looks wrong fastest when the white covering is too even and flat. Vary the thickness and let some strands overlap others, with a few gaps near the top where the plant’s crown still shows through.
A white charcoal pencil or white gel pen over the colored pencil layers adds a nice final texture pass if you have one.
You Will Need
- white gel pen
Palette: Muted Green,Light Gray,Pure White,Clay
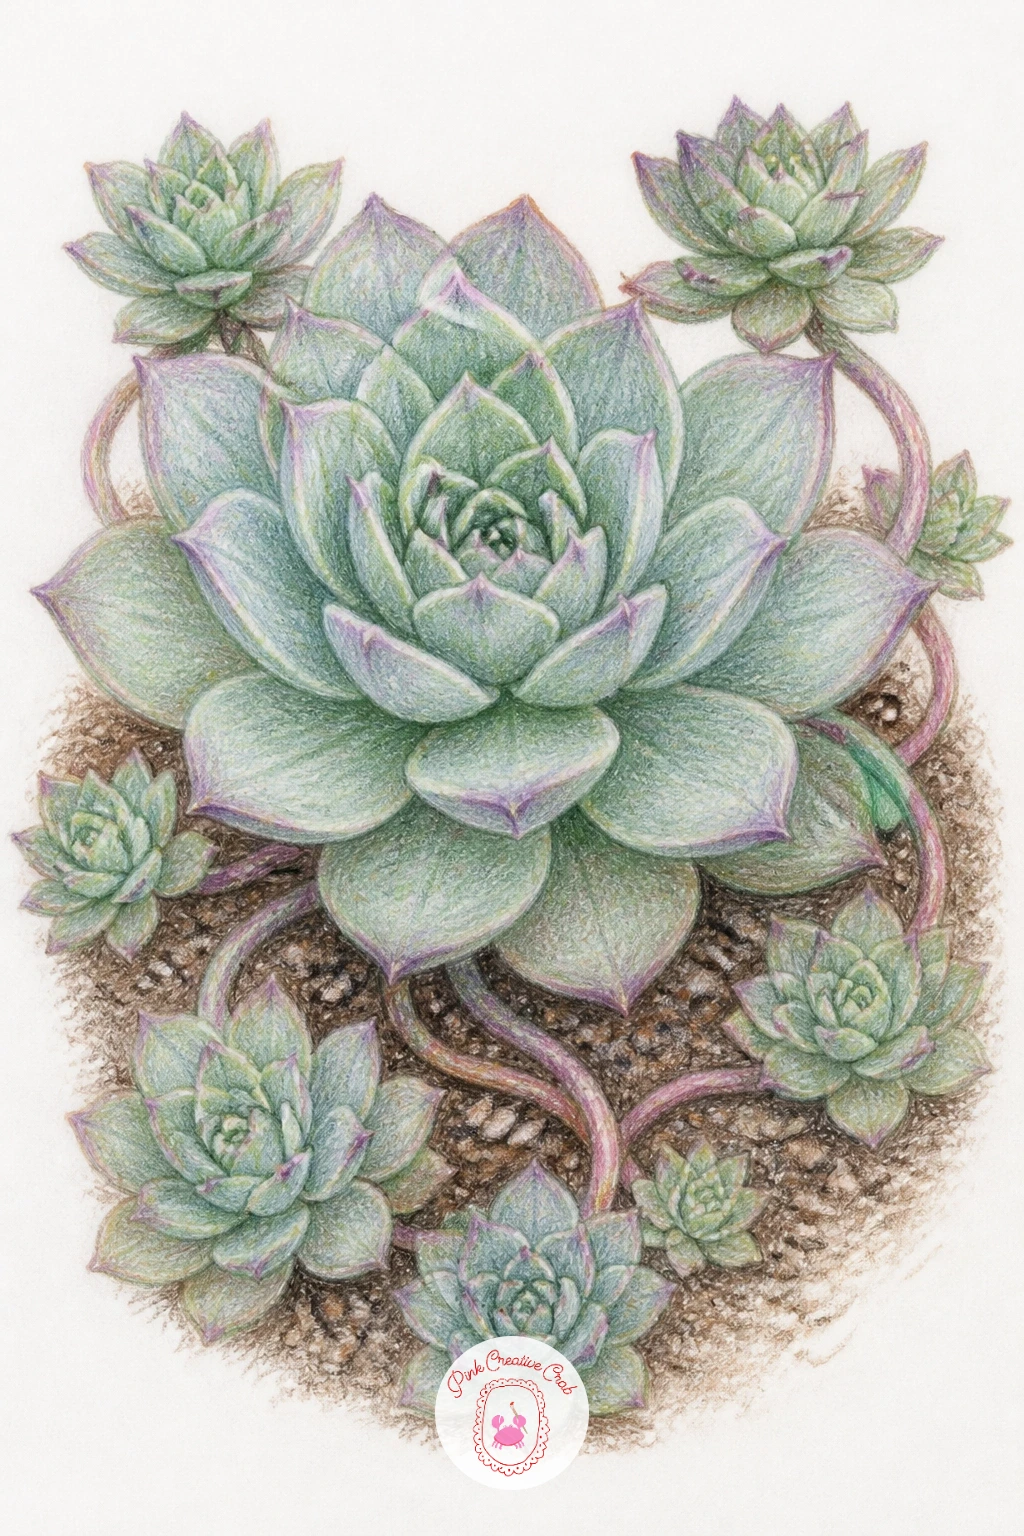
Zoom into ground level for a hen and chicks succulent, one larger rosette surrounded by a scatter of smaller identical pups budding off around it. Draw the central hen rosette first using the same spiral method as before, then scatter several much smaller rosette pups around its base, connected by thin curling stem lines called stolons.
Keep the color consistent between the hen and her chicks since they are genetically the same plant, a soft gray green overall with a faint purple blush at each leaf tip. Vary only the size dramatically between them, the main hen notably larger than every surrounding pup.
This planting looks scattered rather than connected if the little stolon lines joining each pup to the mother plant get left out. Add those thin curved lines even faintly, since they are what tells the story of the family relationship at a glance.
Plant the whole group directly in soil rather than a pot for a nice change of setting, with a few small pebbles scattered around the base.
Palette: Gray Green,Soft Purple,Brown Soil,Pale Gray
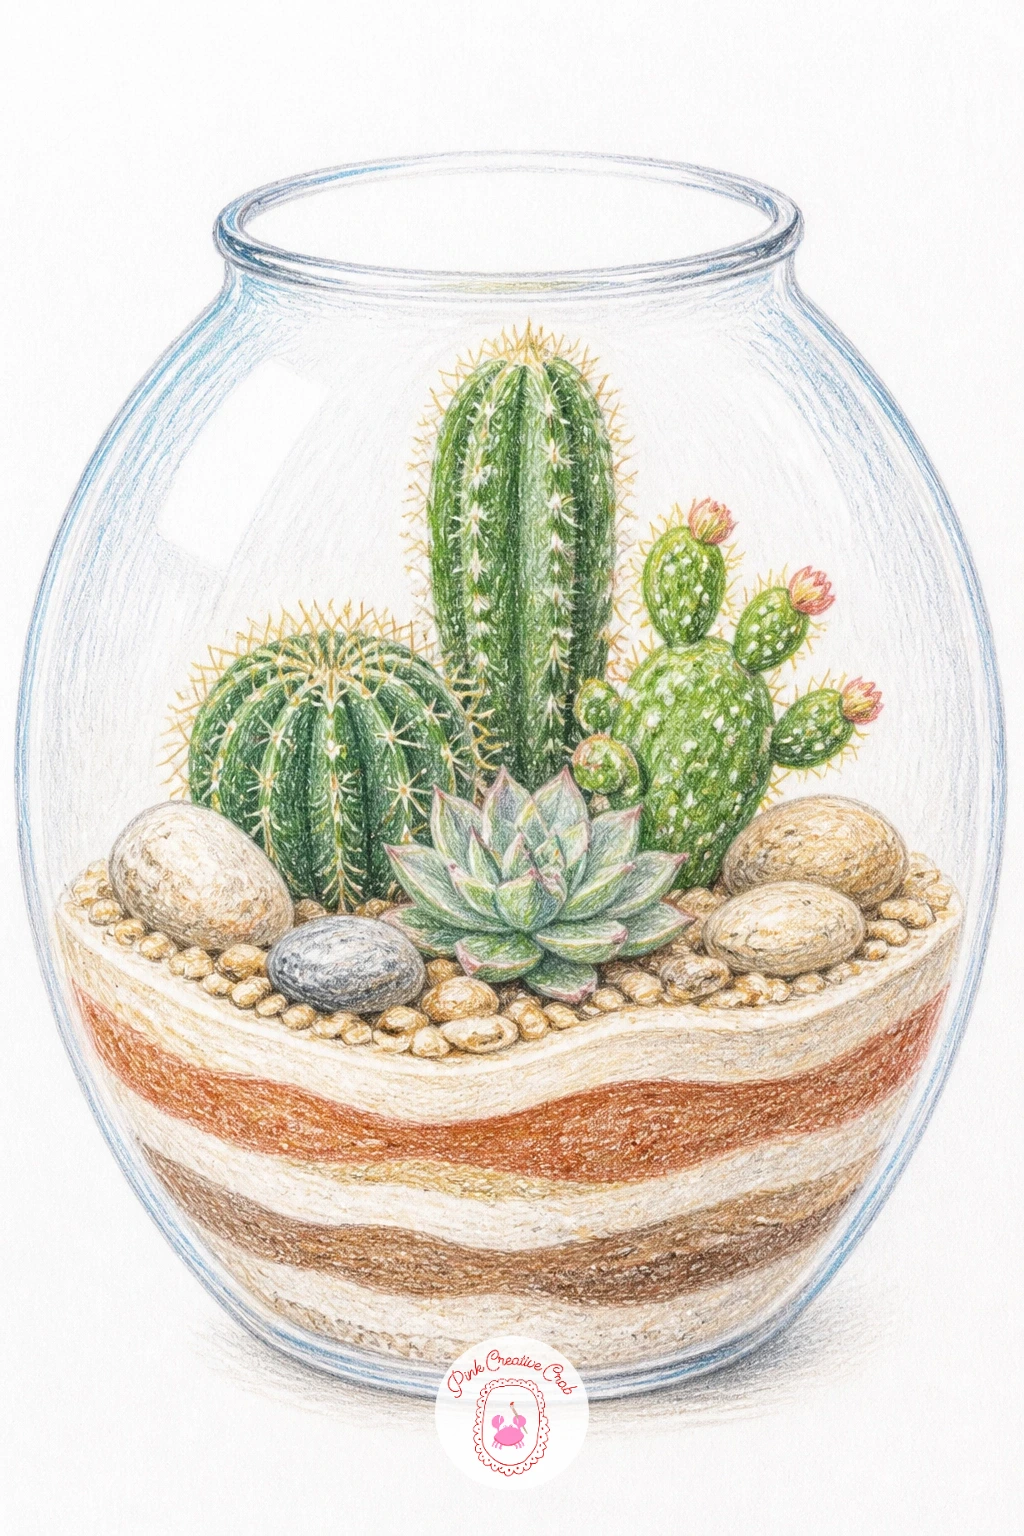
Build a tiny world with a cactus terrarium, several small plants layered inside a clear glass container with visible bands of colored sand at the bottom. Draw the glass vessel first as a simple rounded or straight sided shape, keeping its outline light since glass reads best through what it lets you see rather than heavy linework.
Layer the sand at the bottom in two or three horizontal bands of different warm colors like tan, rust and cream, then place two or three tiny cacti and small stones above that, each plant kept small enough that several fit comfortably inside the glass shape. A few faint curved highlight lines along the glass edge suggest the reflective surface without overdoing it.
Glass containers look confusing if too many reflection lines get added. Keep highlights to just two or three clean curved strokes in white gel pen, placed along one side where the light would naturally catch the glass.
Small pebbles or tiny wood pieces at the surface finish the layered look nicely.
You Will Need
- white gel pen
Palette: Tan Sand,Rust Sand,Cream Sand,Apple Green
Return to a long cascading plant with a donkey’s tail in a macrame hanger, those plump teardrop leaves packed tightly along trailing stems that spill down from a knotted hanger. Draw the hanging pot first with the macrame cords knotted in a simple diamond pattern above it, then let several thick trailing stems fall from the rim, each one covered densely in small overlapping teardrop leaves.
Color the leaves in a pale dusty blue green, almost powdery looking, since donkey’s tail has a natural soft bloom on its surface that makes it look slightly frosted. Pack the leaves close together along each stem rather than spacing them out, since this plant grows notably dense and full compared to most trailing succulents.
The macrame knots are easy to overcomplicate. Keep the pattern to simple crossed loops repeated a few times, which reads clearly as macrame without needing to draw every individual fiber.
A plain hanging cord works fine if macrame detailing feels like too much for today.
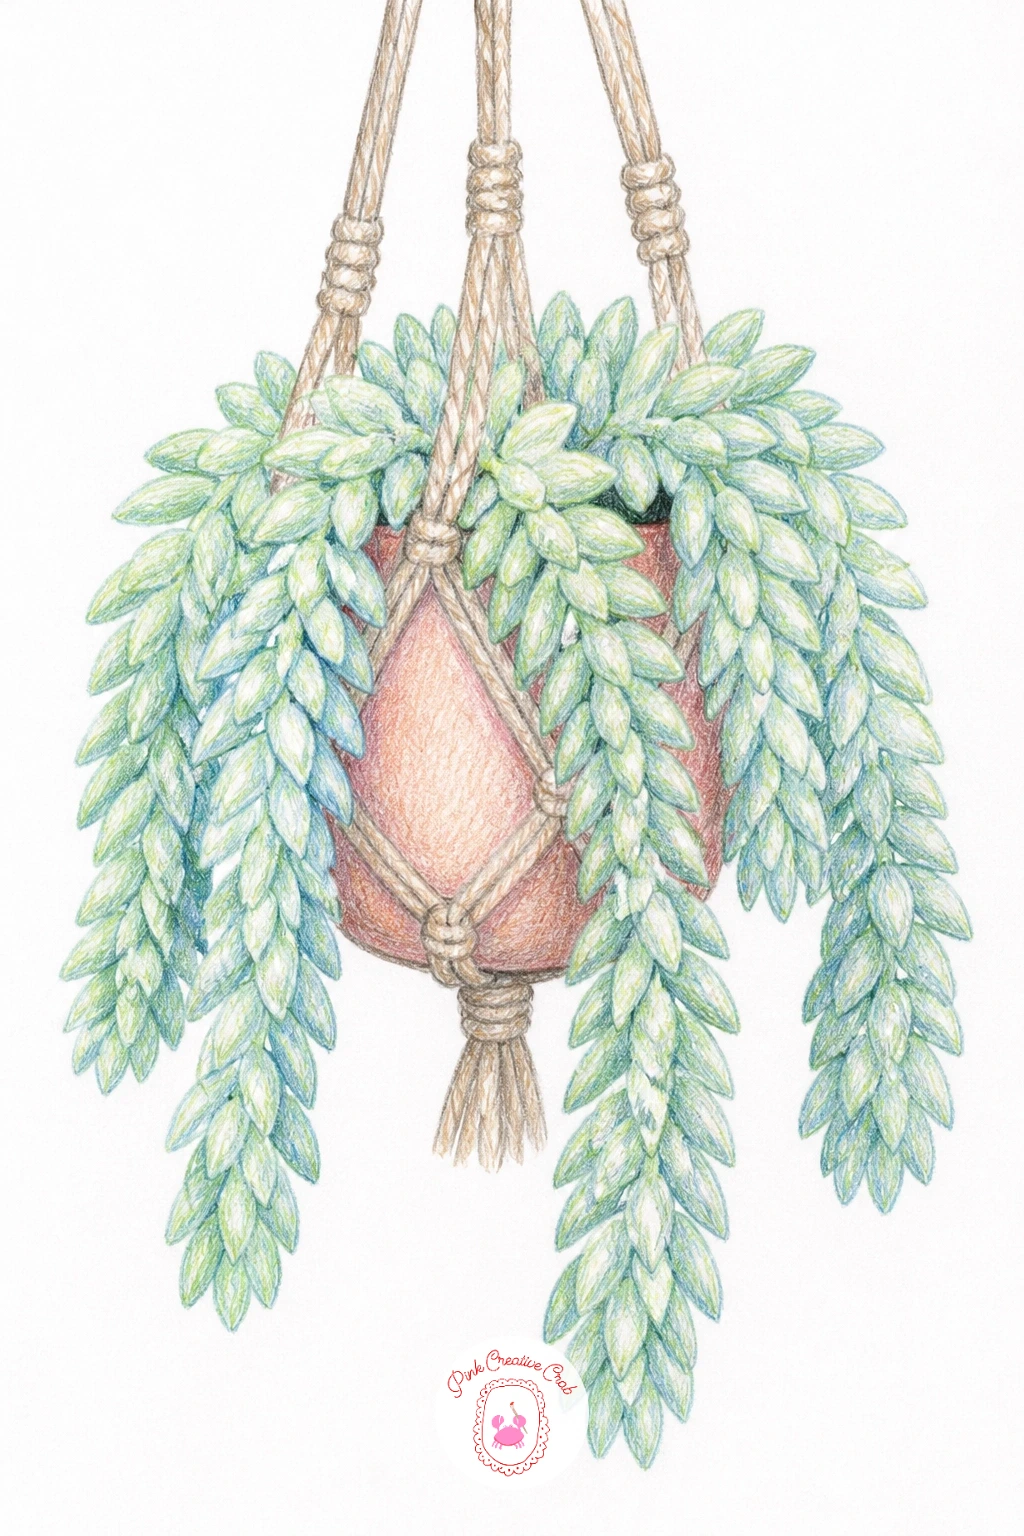
Palette: Dusty Blue Green,Rope Tan,Terracotta,Pale Blue
Have some fun with the weather in a cactus with a tiny umbrella in the rain, a plant that famously hates water holding up its own shelter against falling drops. Draw the cactus body first, then add a small open umbrella tilted above it, held by one tiny arm reaching up, with its canopy angled to shield the body below.
Paint the umbrella in a bold contrasting color like deep red or navy so it pops clearly against the green cactus, then scatter thin diagonal lines across the whole scene in a cool light blue to suggest falling rain, keeping the lines all angled the same direction for consistency. A few raindrops bouncing off the umbrella’s edge, drawn as tiny curved splashes, add a nice finishing touch.
Rain lines look messy if they go in random directions across the page. Pick one consistent angle, usually leaning slightly to one side, and keep every single rain line parallel to it.
Leave the ground beneath the cactus slightly darker and damp looking in gray blue to sell the whole rainy mood.
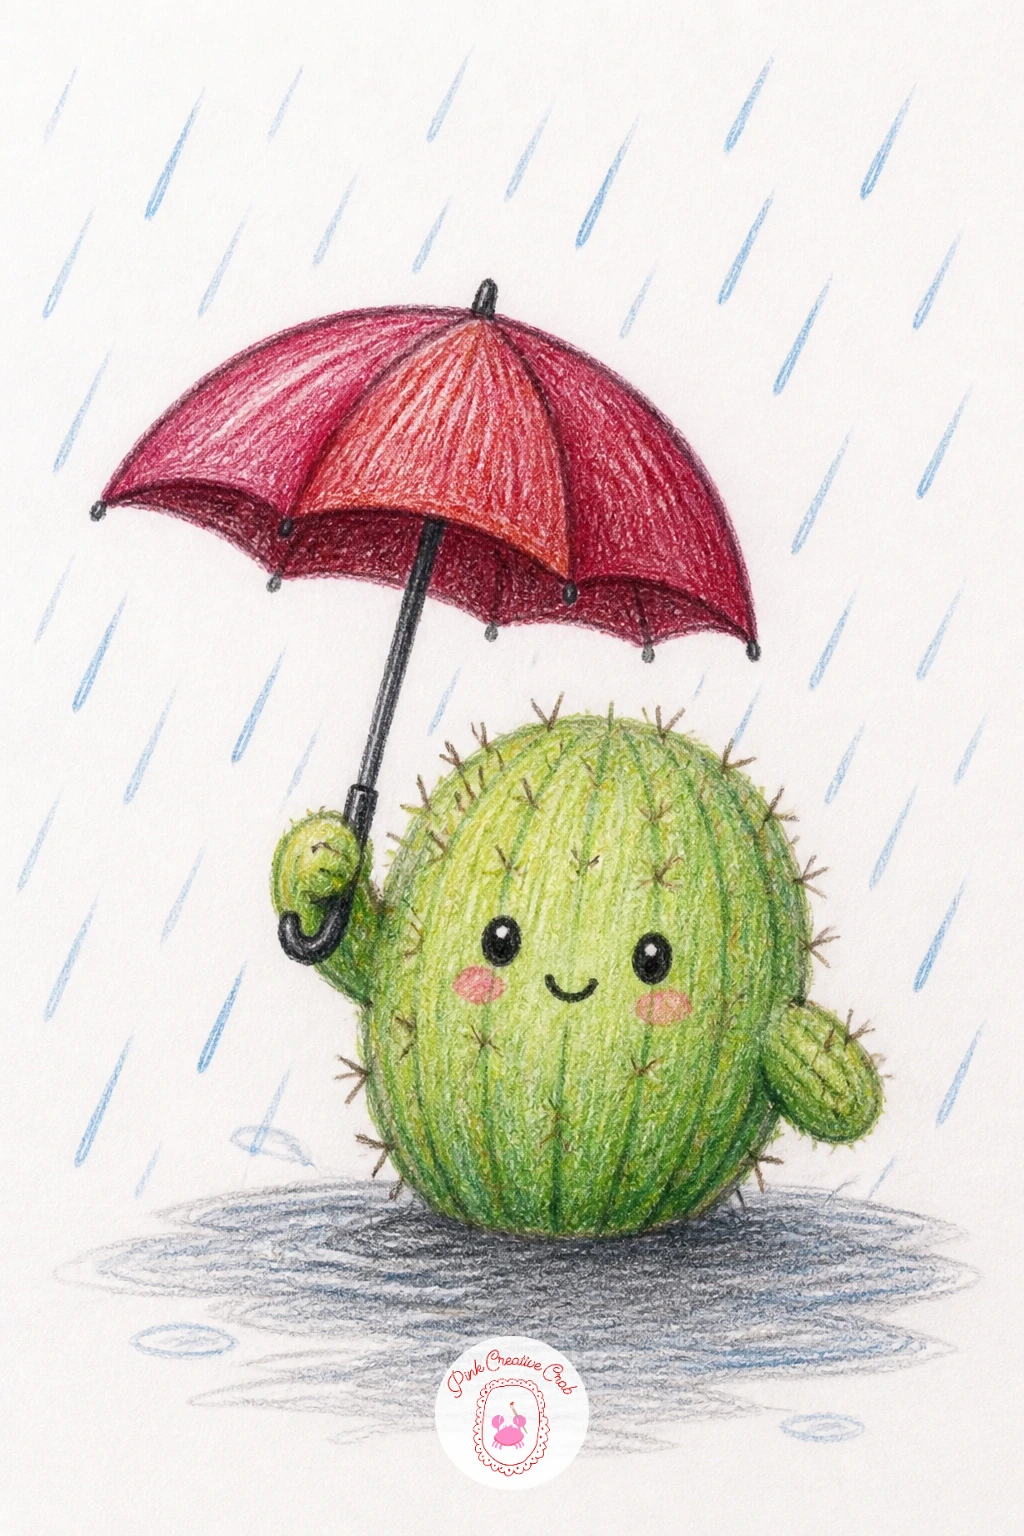
Palette: Apple Green,Deep Red,Light Blue,Gray Blue
Close the list on something sweet with a cactus getting a hug from a cat, a brave little pet wrapping its paws carefully around the spiny plant anyway. Draw the cactus first as your anchor, then add the cat curled or leaning in from one side, front paws reaching around the cactus body in a gentle embrace, its face tucked in close with eyes half closed in contentment.
Color the cat in warm orange tabby stripes or soft gray, whichever feels more charming to you, keeping its fur texture suggested with a few short directional strokes rather than drawn hair by hair. The cactus stays in its usual greens, perhaps with a couple of spines bent slightly under the gentle pressure of the hug to sell the closeness between them.
Paws wrapped around a round object often end up looking flat and pasted on rather than wrapping believably. Curve the visible paw shapes to follow the cactus body’s roundness, and let a little of the cactus disappear behind the cat’s arm where it overlaps.
For more affectionate pet pairings like this one, a Christmas cat drawing uses the same gentle curled pose with a holiday twist.
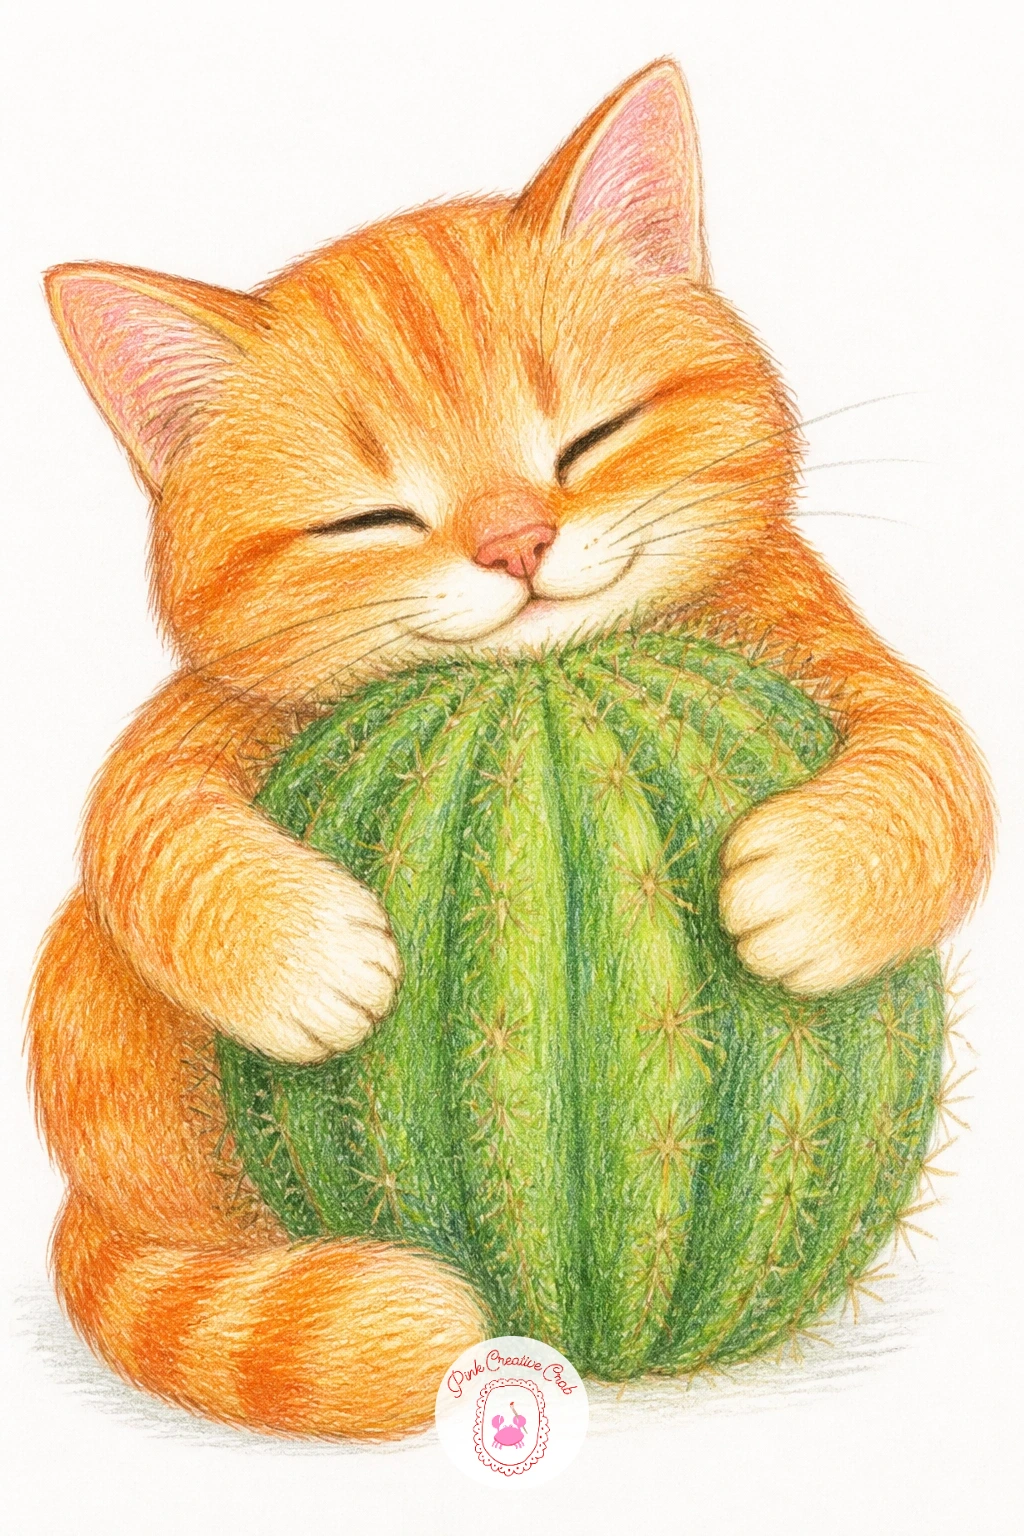
Palette: Apple Green,Warm Orange,Soft Gray,Cream
What to Do Next
Pick whichever cactus caught your eye first, pull out your colored pencils and a sheet of warm toned paper, and give yourself one sitting to finish it start to end. The spiky plants forgive wobbly lines better than almost any other subject, so there is no reason to wait for the perfect afternoon.
Frequently Asked Questions
What is the easiest way to start a cactus drawing if you have never drawn one before?
Start with one rounded shape and a plain pot, nothing else. Block in the basic outline lightly in pencil first, then build color in thin layers rather than pressing hard right away, which keeps early mistakes easy to fix.
How do you draw cactus spines so they look soft instead of scratchy?
Use short, light pressure strokes added last, after all the base color is in place. Pulling the pencil away from the body rather than pressing into it keeps each spine looking like a fine line instead of a harsh scratch.
What colors work best for a realistic but cheerful cactus palette?
Mix a cooler and a warmer green in the same drawing rather than one flat green throughout. Adding one unexpected warm accent, like a terracotta pot or a pink bloom, keeps the greens from feeling monotonous.
Can you draw these cactus scenes with regular pencils instead of colored pencils?
Yes, graphite alone works well if you focus on value instead of color, using darker shading for the shadowed side of each rounded shape. The same layering and shape building steps still apply with just one tone.
How do you make a cactus drawing look less flat and more three dimensional?
Decide on one light direction before you start shading, then keep every shadow in the scene consistent with it. Rounding the color from light to dark across each curved surface is what actually creates the sense of volume.
Have any thoughts?
Share your reaction or leave a quick response — we’d love to hear what you think!
-
 0
-
0
-
0
-
0
-
0
-
0


