

Table of Contents
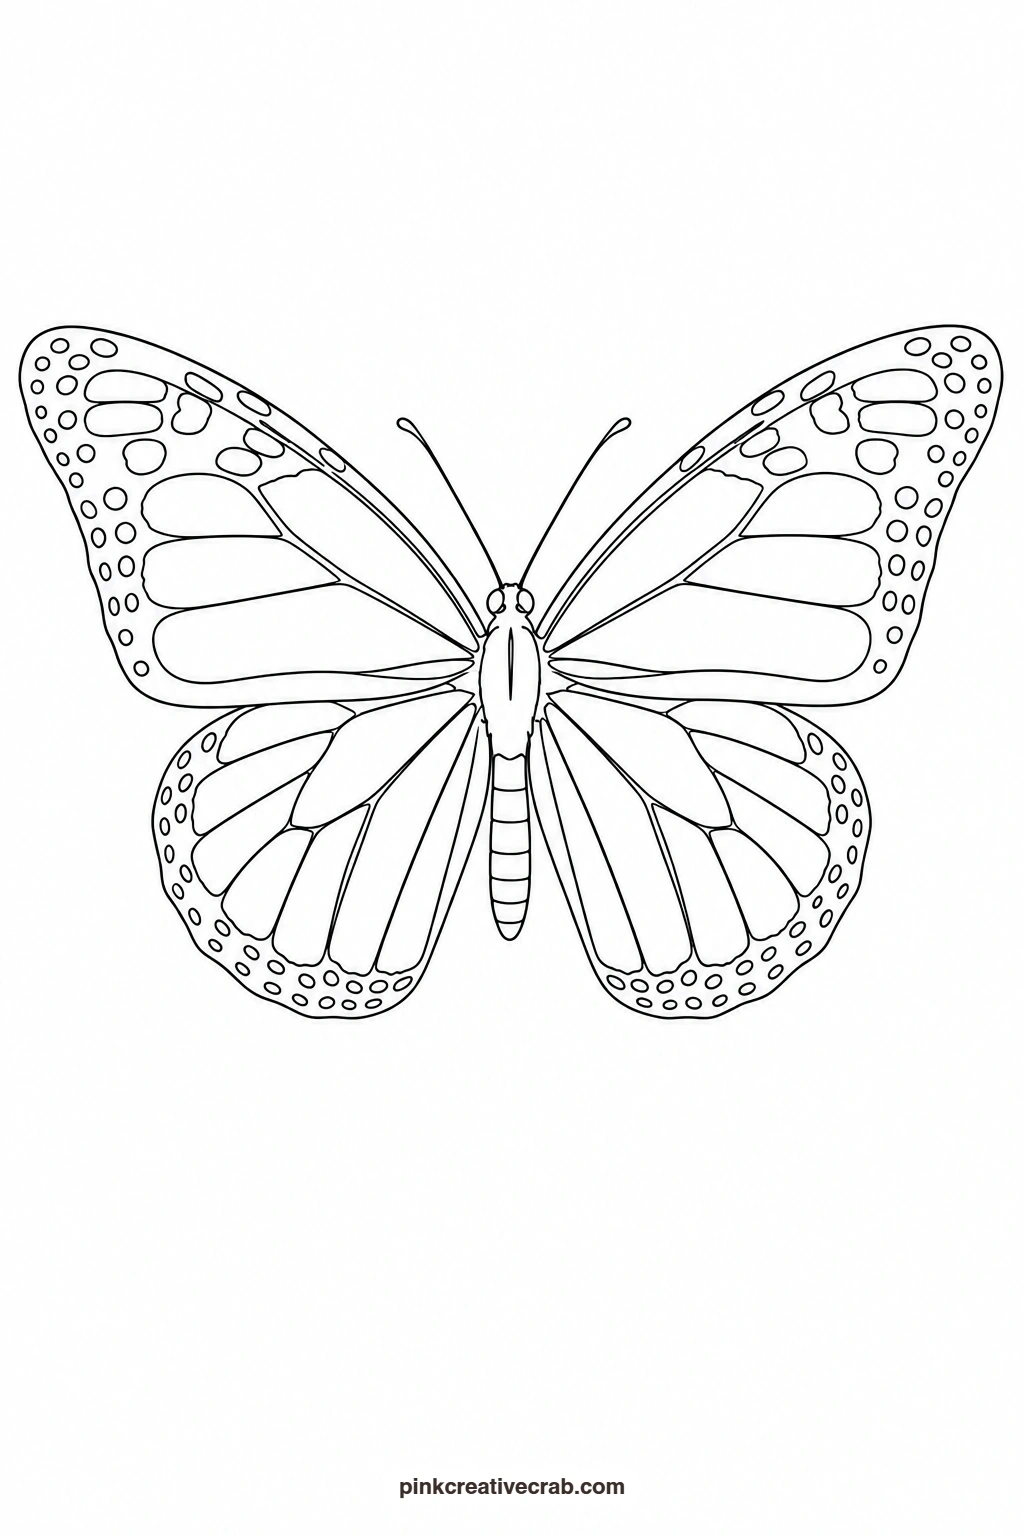
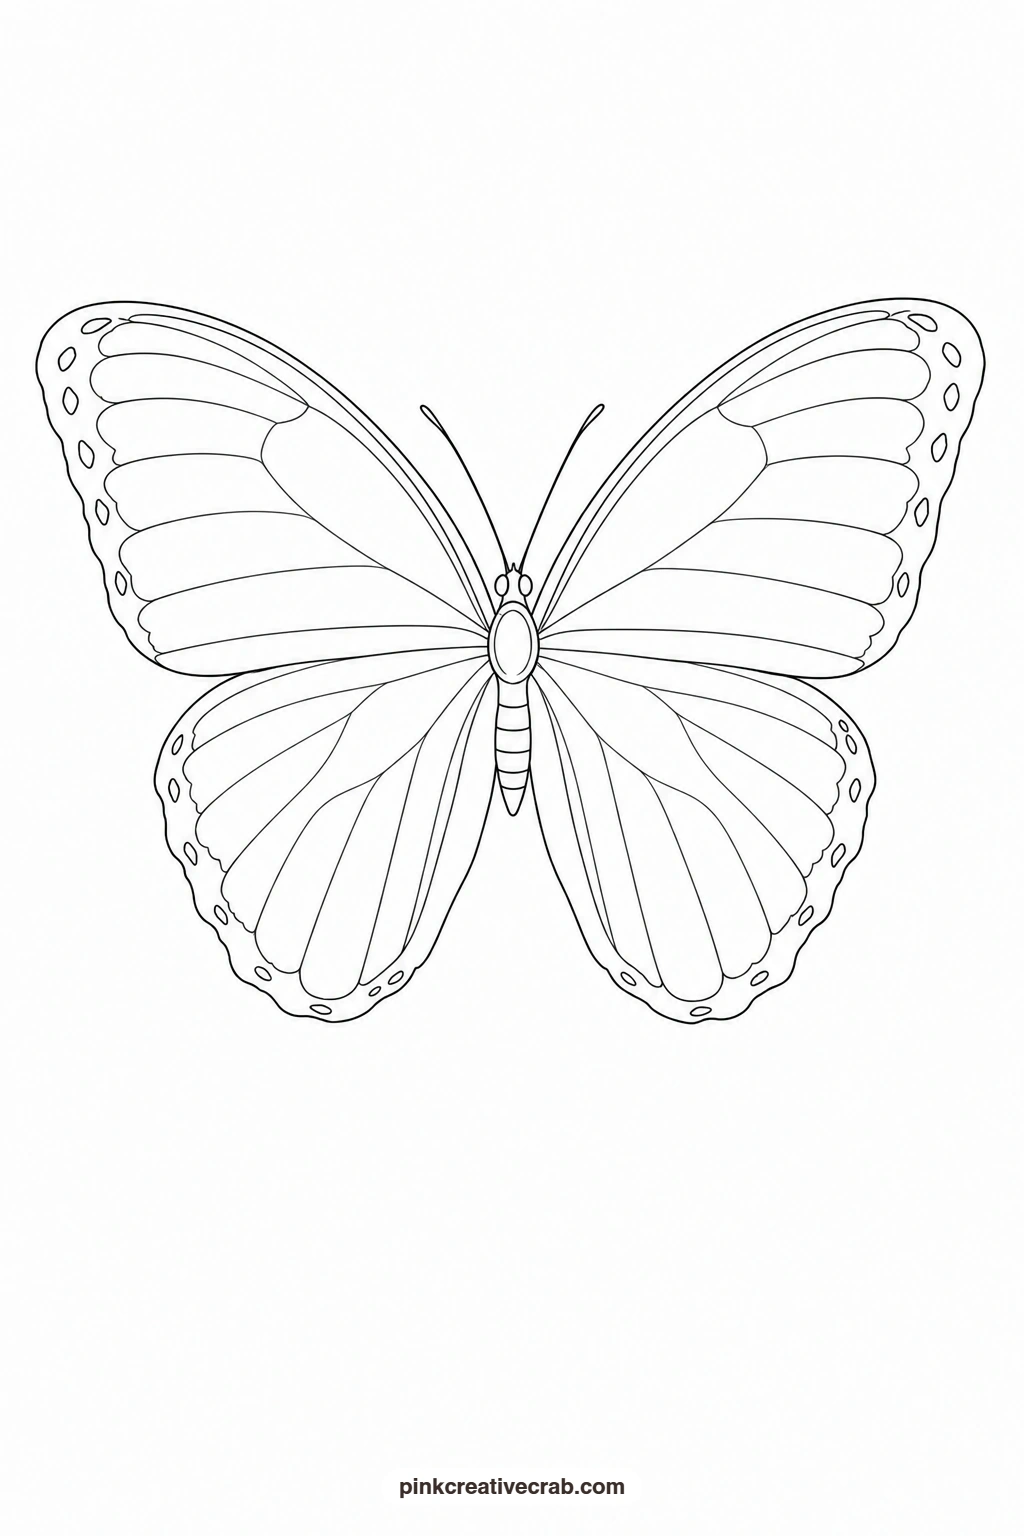
Each butterfly template here gives you a finished watercolor example and a clean printable outline built from a handful of big, closed shapes. No tiny overlapping veins to fuss over and no background scenery to plan, just one butterfly sitting in the middle of the page with room to breathe.
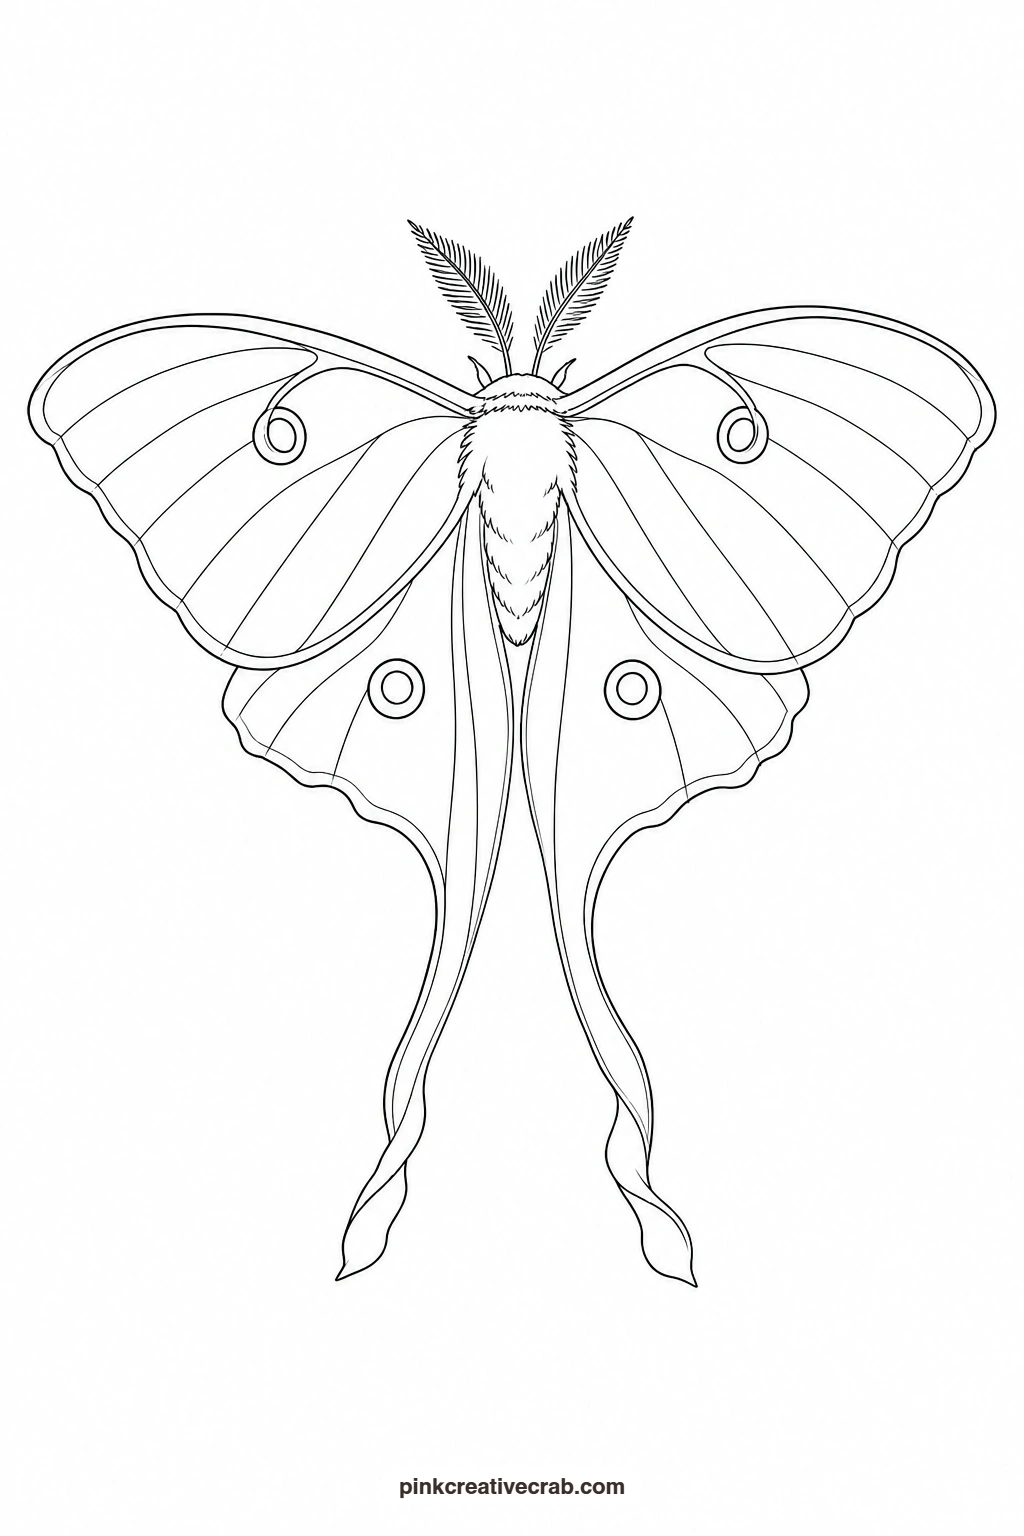
Print the outline at the size you want, then transfer it to your watercolor paper by taping both to a sunny window or a light pad, or use graphite transfer paper if the window trick feels fiddly. Once the lines are on your paper, prop the painted example beside you and follow the colour order in each entry.
Using these images: free for personal projects such as printing, coloring, cards, journals and gifts. Handmade items that include them may be sold up to 30 pieces per design. More than that is commercial use and is not permitted, and neither is selling or sharing the images themselves or passing them off as your own. Please ask before any other use.
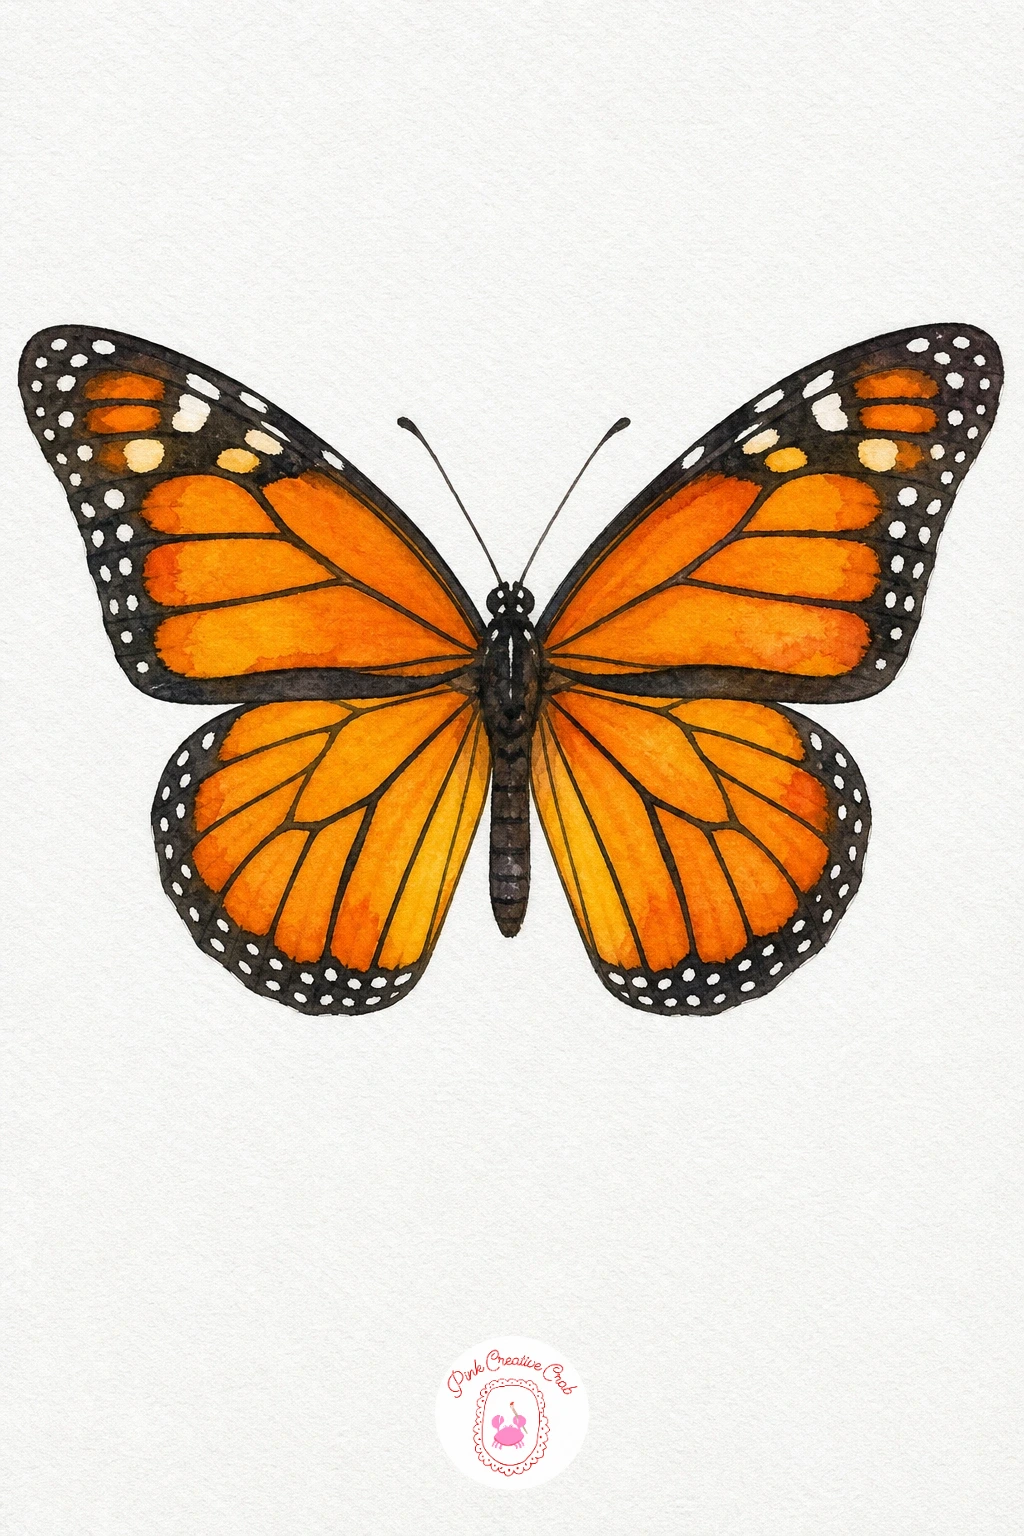
Orange Monarch Butterfly
Paint both wings with a flat wash of cadmium orange, leaving the border and vein lines as bare paper for now. While the orange is still slightly damp, drop a touch of burnt sienna near the body so the colour deepens toward the centre. Once dry, fill the wing borders and vein shapes with black, then add a few dots of white gouache or a white gel pen along the dark edges. Keep the body a simple black oval with two thin antennae, that is the one touch that makes it read as a finished monarch.
You Will Need
- white gel pen or white gouache
Palette: Cadmium Orange,Burnt Sienna,Ivory Black,Titanium White
Blue Morpho Butterfly
Wet the whole wing shape first, then drop in bright cerulean blue at the centre of each wing and let it bloom outward on its own. While it is still wet, touch a little phthalo blue along the outer wing edge so the colour darkens naturally without hard lines. Leave a thin margin of white paper right at the very edge of each wing to keep the shape crisp. Finish with a simple black oval body and two short curved antennae once everything is fully dry.
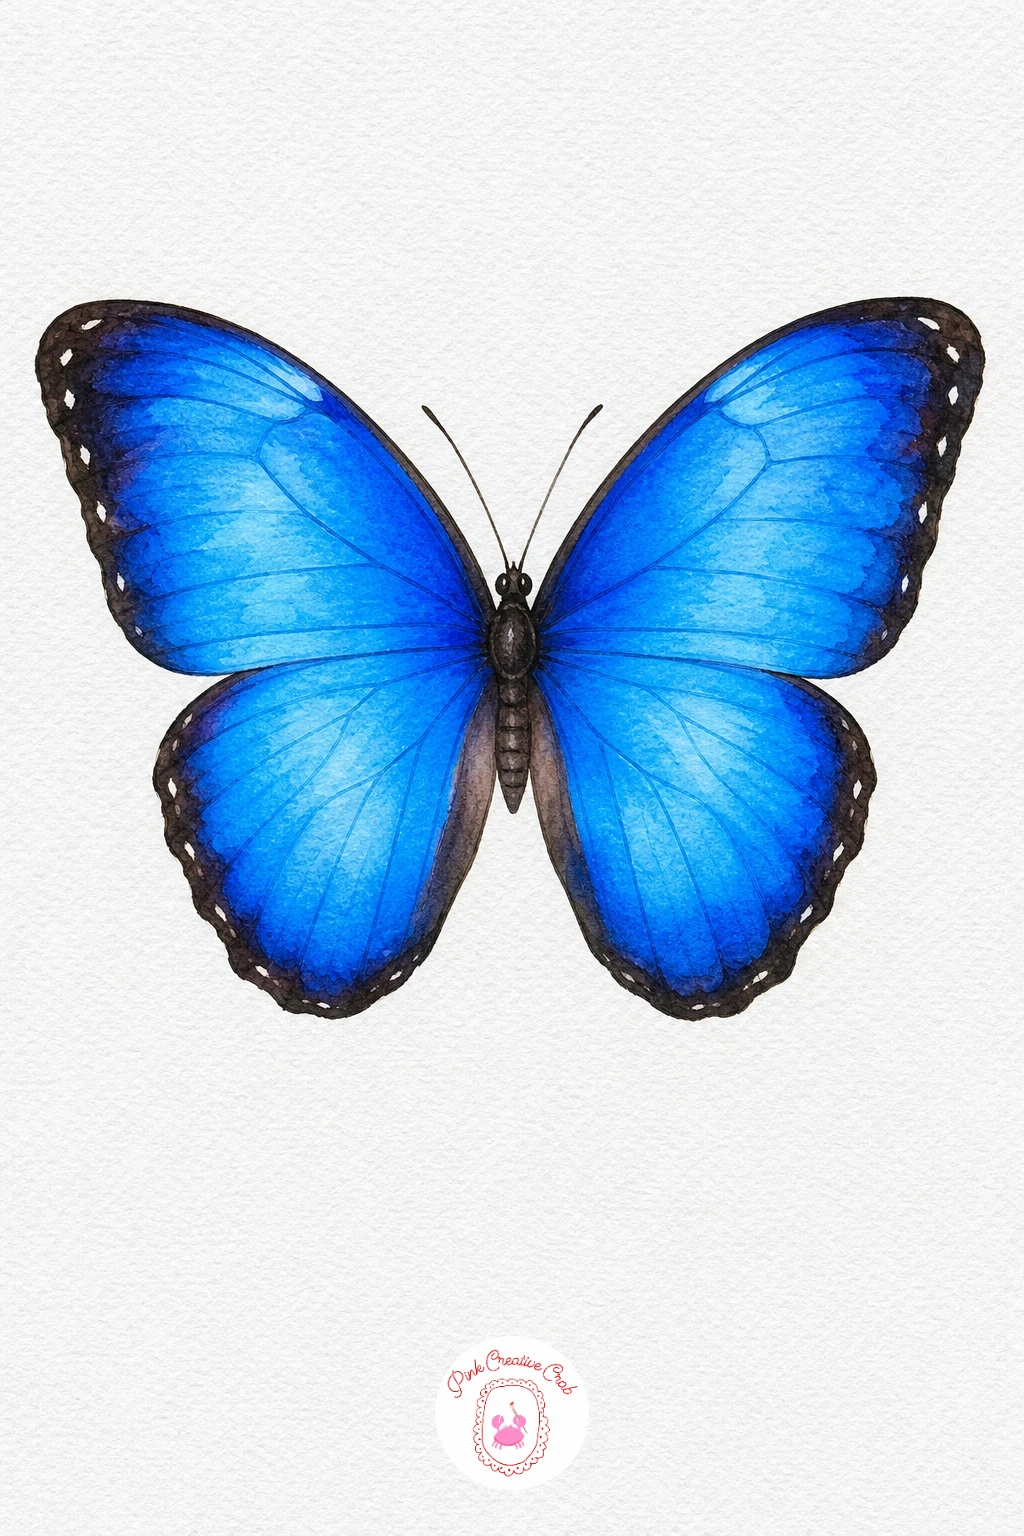
Palette: Cerulean Blue,Phthalo Blue,Ivory Black
If the blue looks flat, try a small flick of a toothbrush loaded with dark blue paint along the outer edge for a soft speckled shimmer.
Yellow Swallowtail Butterfly
Lay a pale lemon yellow wash across both wings first and let it dry completely before adding detail. Paint the black border stripes along the top and outer edges of each wing in one confident stroke rather than many small dabs. Add a small patch of blue just above each tail point and a tiny dot of orange-red beside it, that single colour accent is what makes a swallowtail recognisable. The tail points are the one part worth transferring carefully since they are thin and easy to round off by accident.
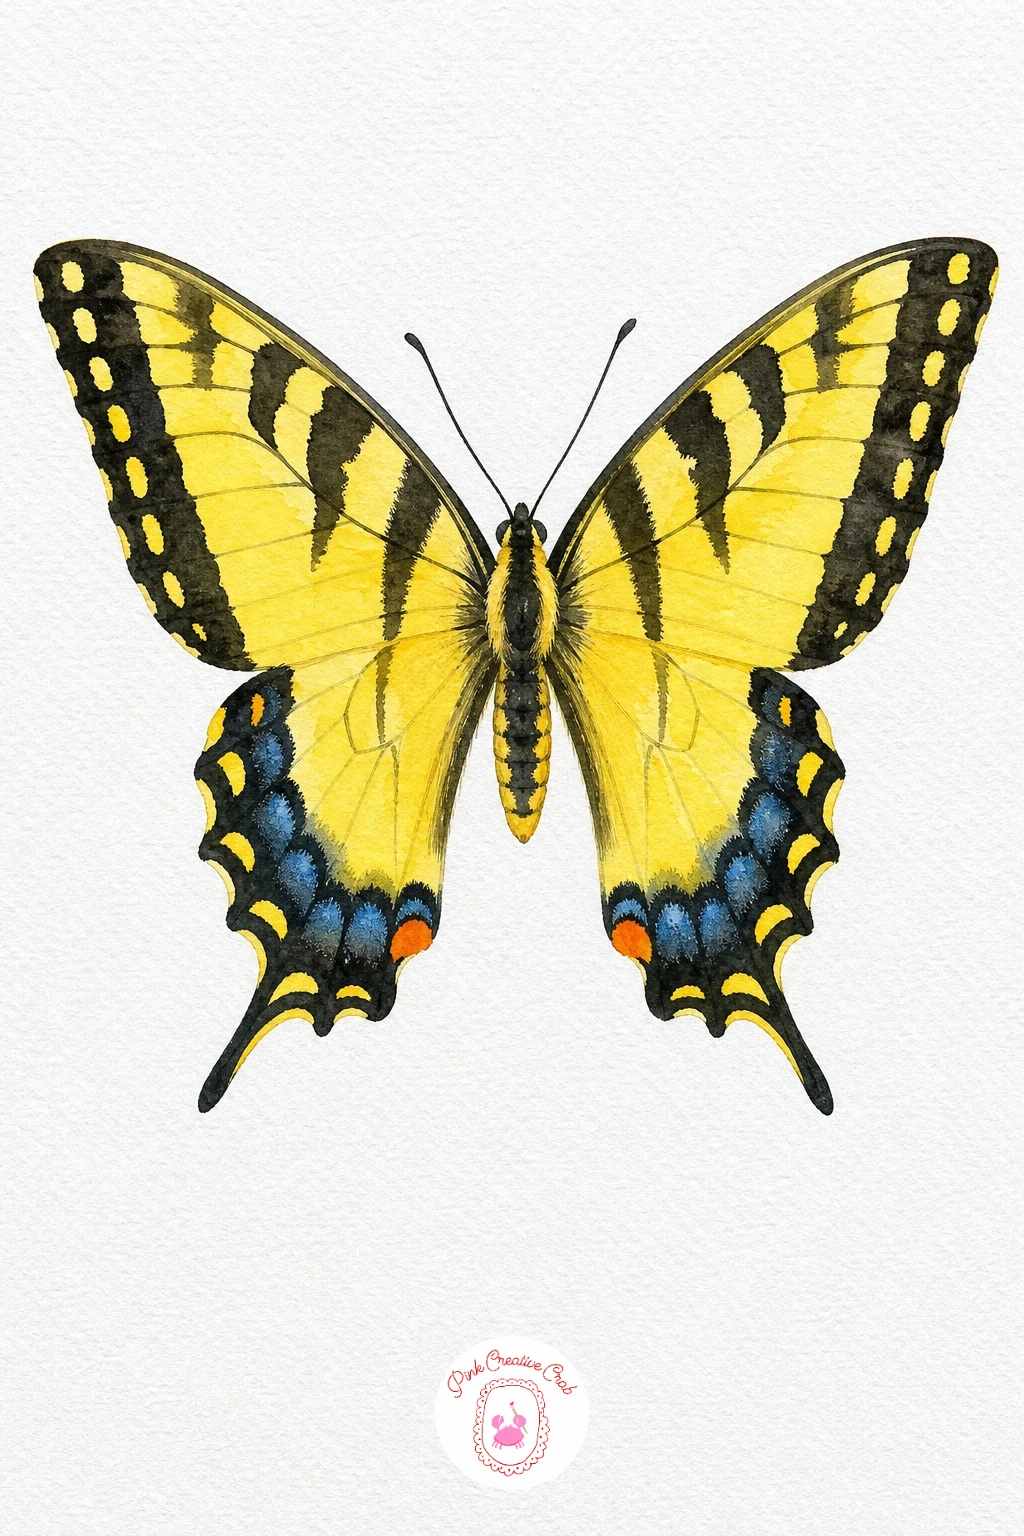
Palette: Lemon Yellow,Ivory Black,Cerulean Blue,Cadmium Red
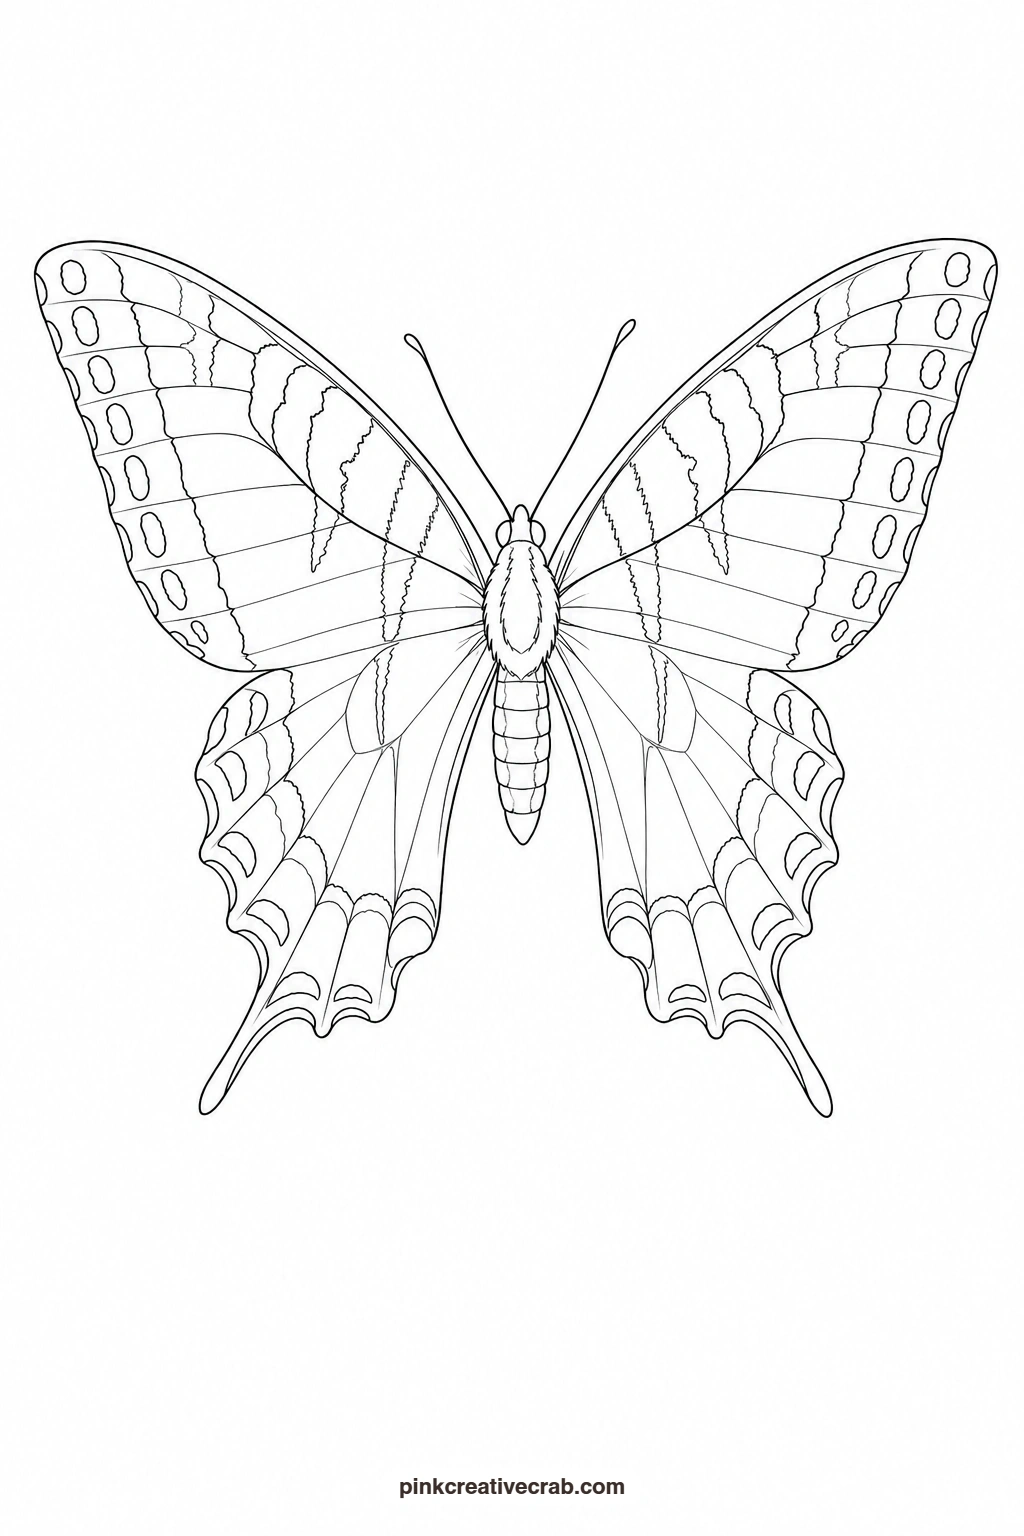
Peacock Butterfly With Eye Spots
Start with a flat wash of rust red or burnt orange across all four wings and let it dry fully, this base colour is what gives the painting its warmth. Paint the four round eye spots next, starting with a yellow ring, then a blue centre, then a tiny black dot in the middle of each, working one spot at a time so the colours stay separate. Keep the outer wing edge a dark grey-brown band with pale cream markings along it for contrast. The round spots are the whole point of this one, so paint them slowly and keep the circles even.
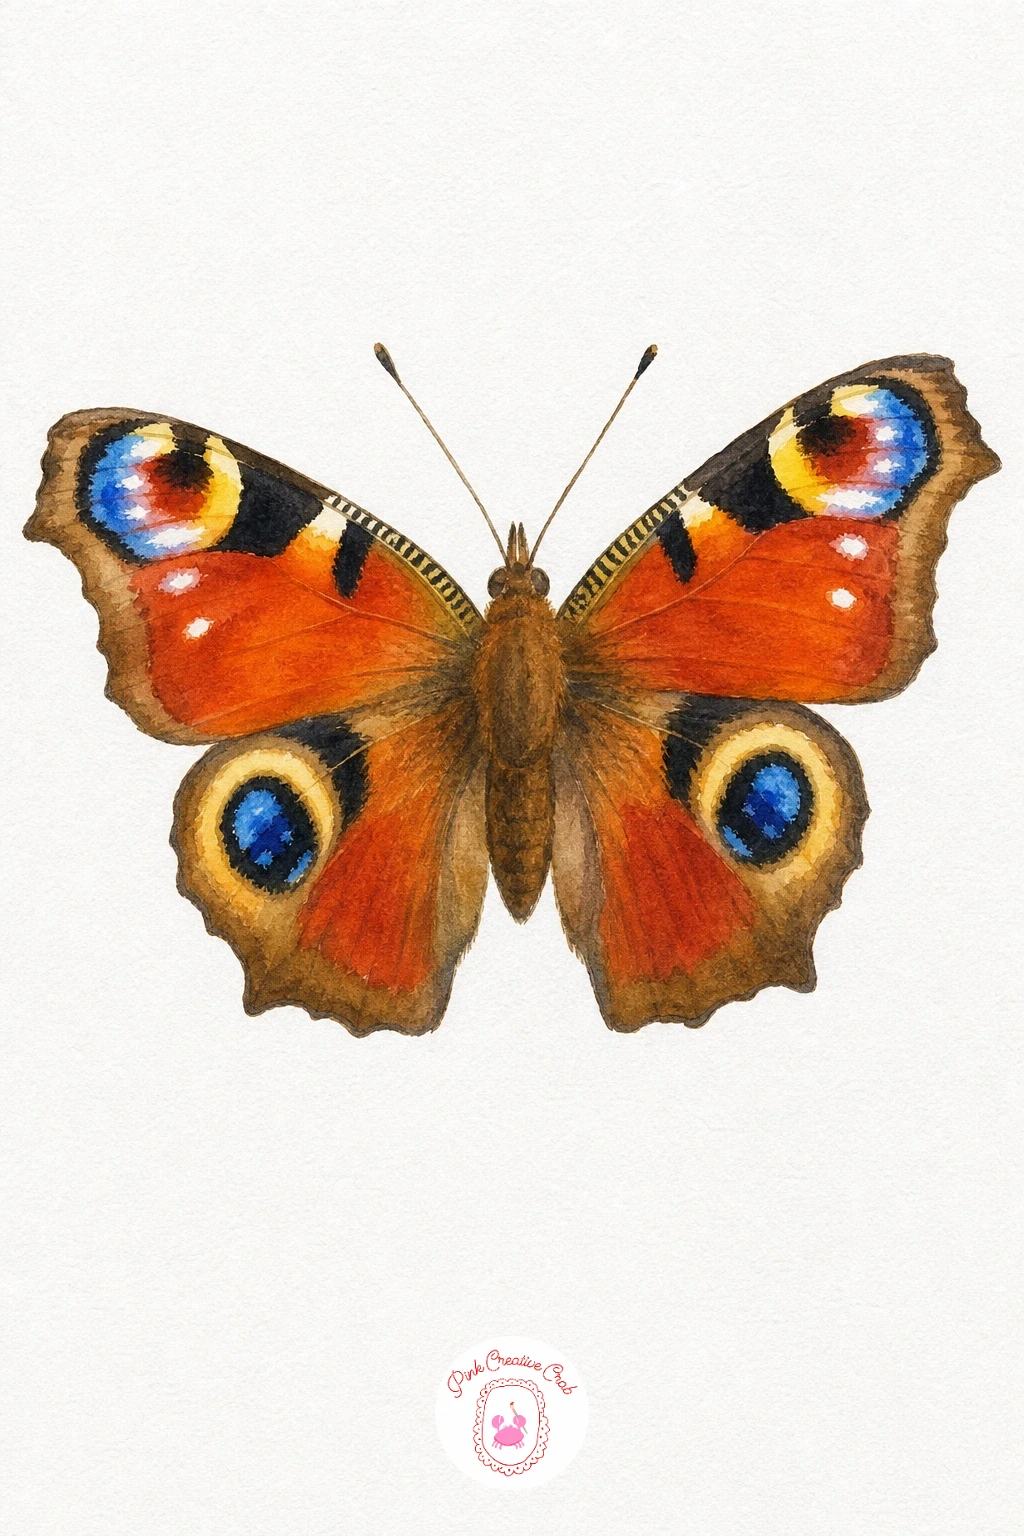
Palette: Burnt Orange,Lemon Yellow,Cerulean Blue,Ivory Black
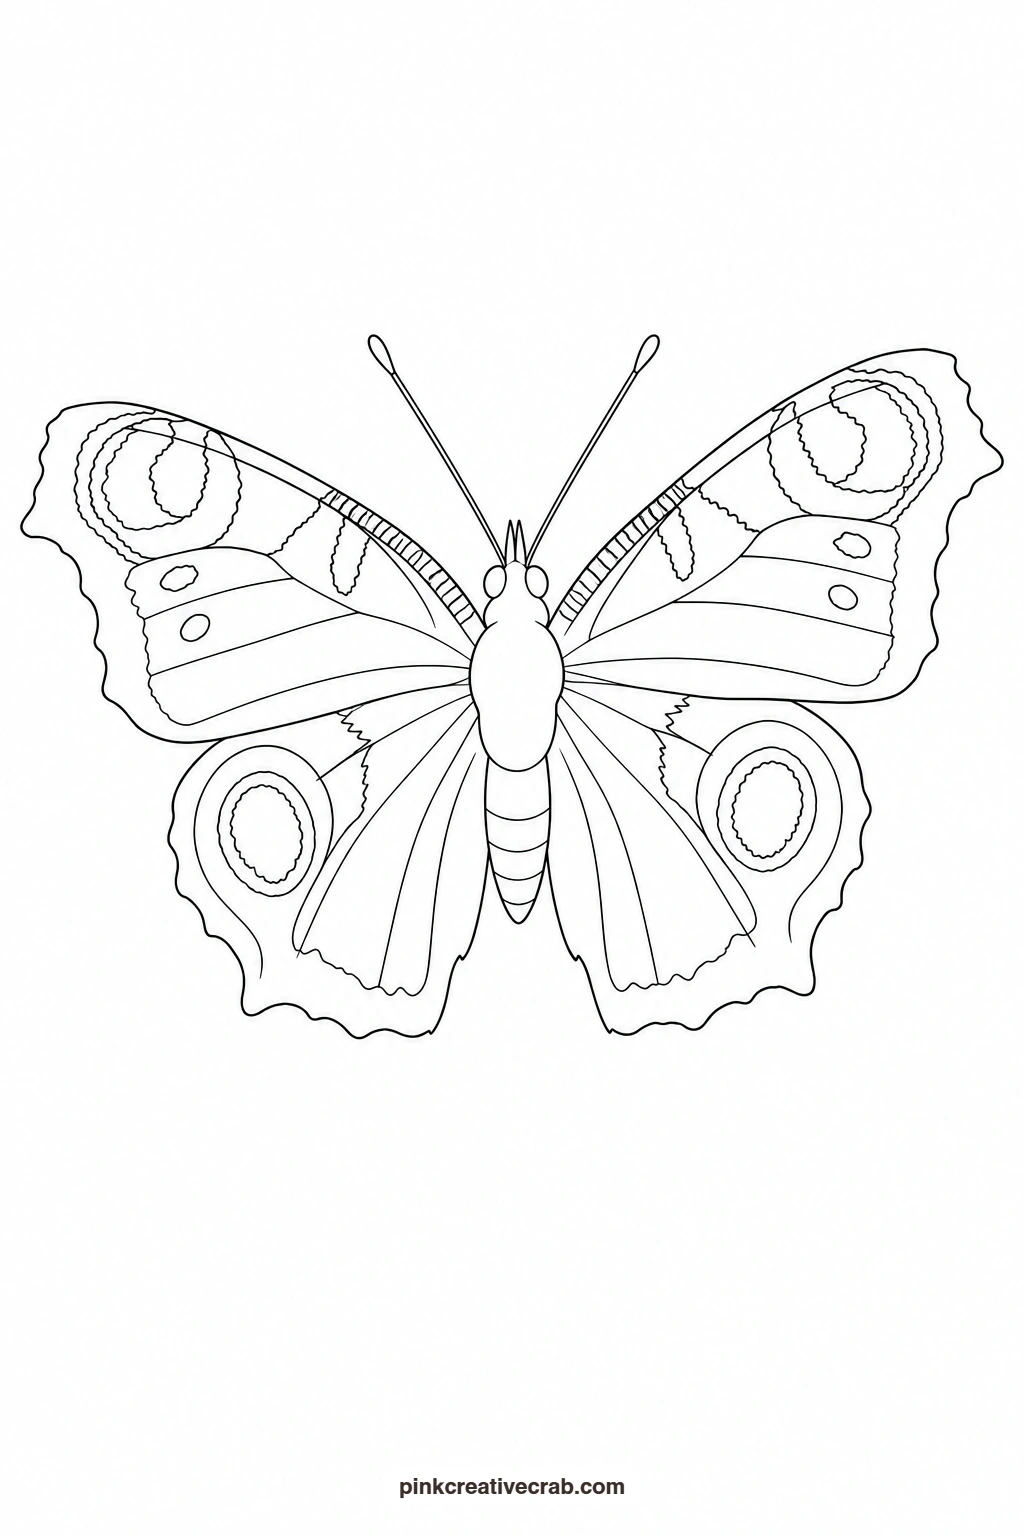
Lemon Yellow Brimstone Butterfly
This is one of the simplest shapes in the set, just two pointed wing shapes closed together side by side. Wash the entire wing area with pale lemon yellow in one even layer, then while still slightly damp add a touch of deeper yellow ochre near the wing base so it is not perfectly flat. Once dry, paint one small warm orange dot on each wing as the only marking. A loose, slightly uneven wash actually suits this butterfly better than a perfectly smooth one, so do not worry about keeping it flawless.
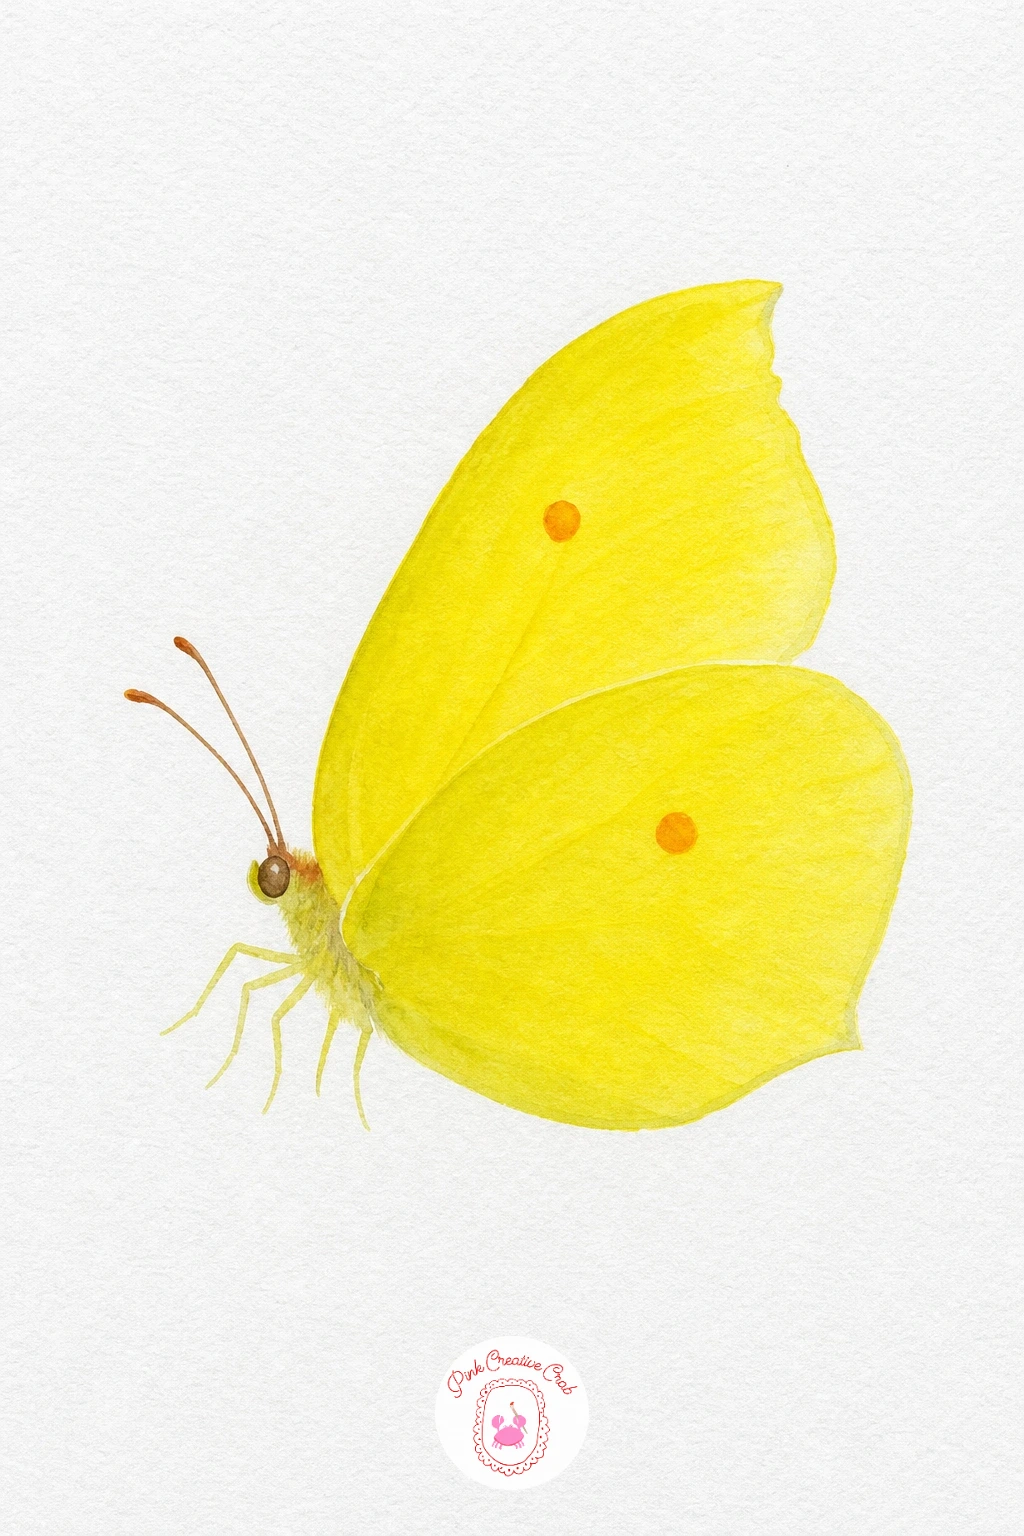
Palette: Lemon Yellow,Yellow Ochre,Cadmium Orange
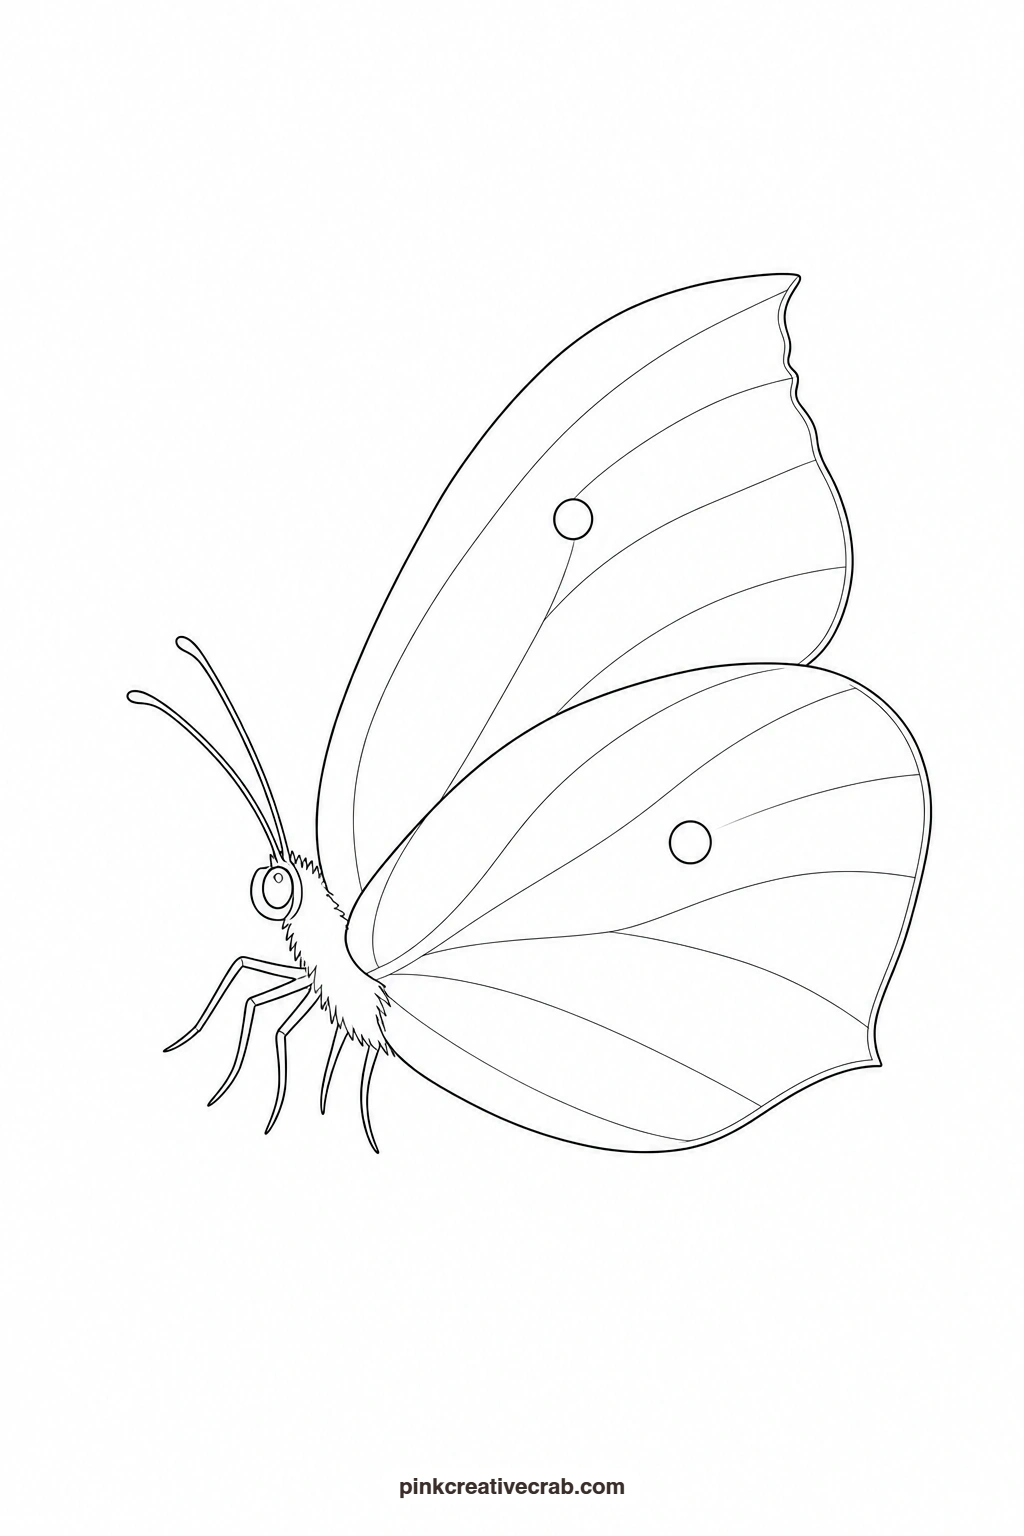
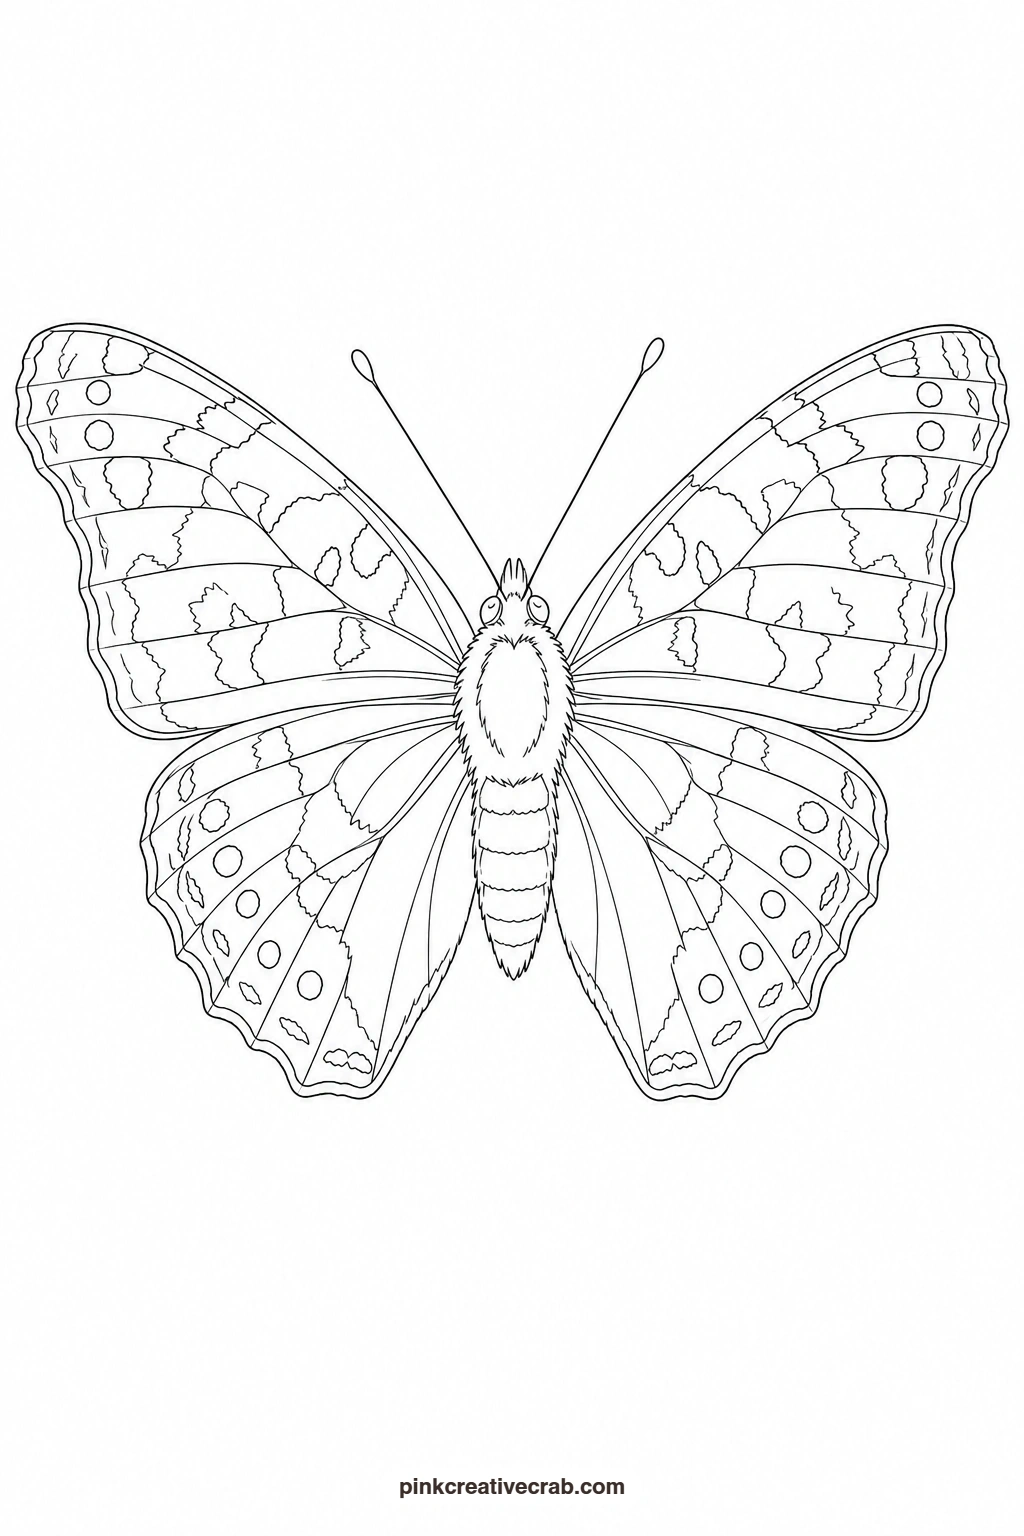
Painted Lady Butterfly
Wash the wings with a warm orange first, then while the paper is still damp drop in patches of soft brown toward the wing edges and let the colours blend softly into each other rather than mixing them on the palette. This wet-in-wet blending is what gives the painted lady its mottled look without any careful outlining. Once everything has dried, add small black marks near the wingtips and a few tiny white dots among them. Keep the brown patches irregular and loose rather than symmetrical, it suits this butterfly’s naturally patchy colouring.
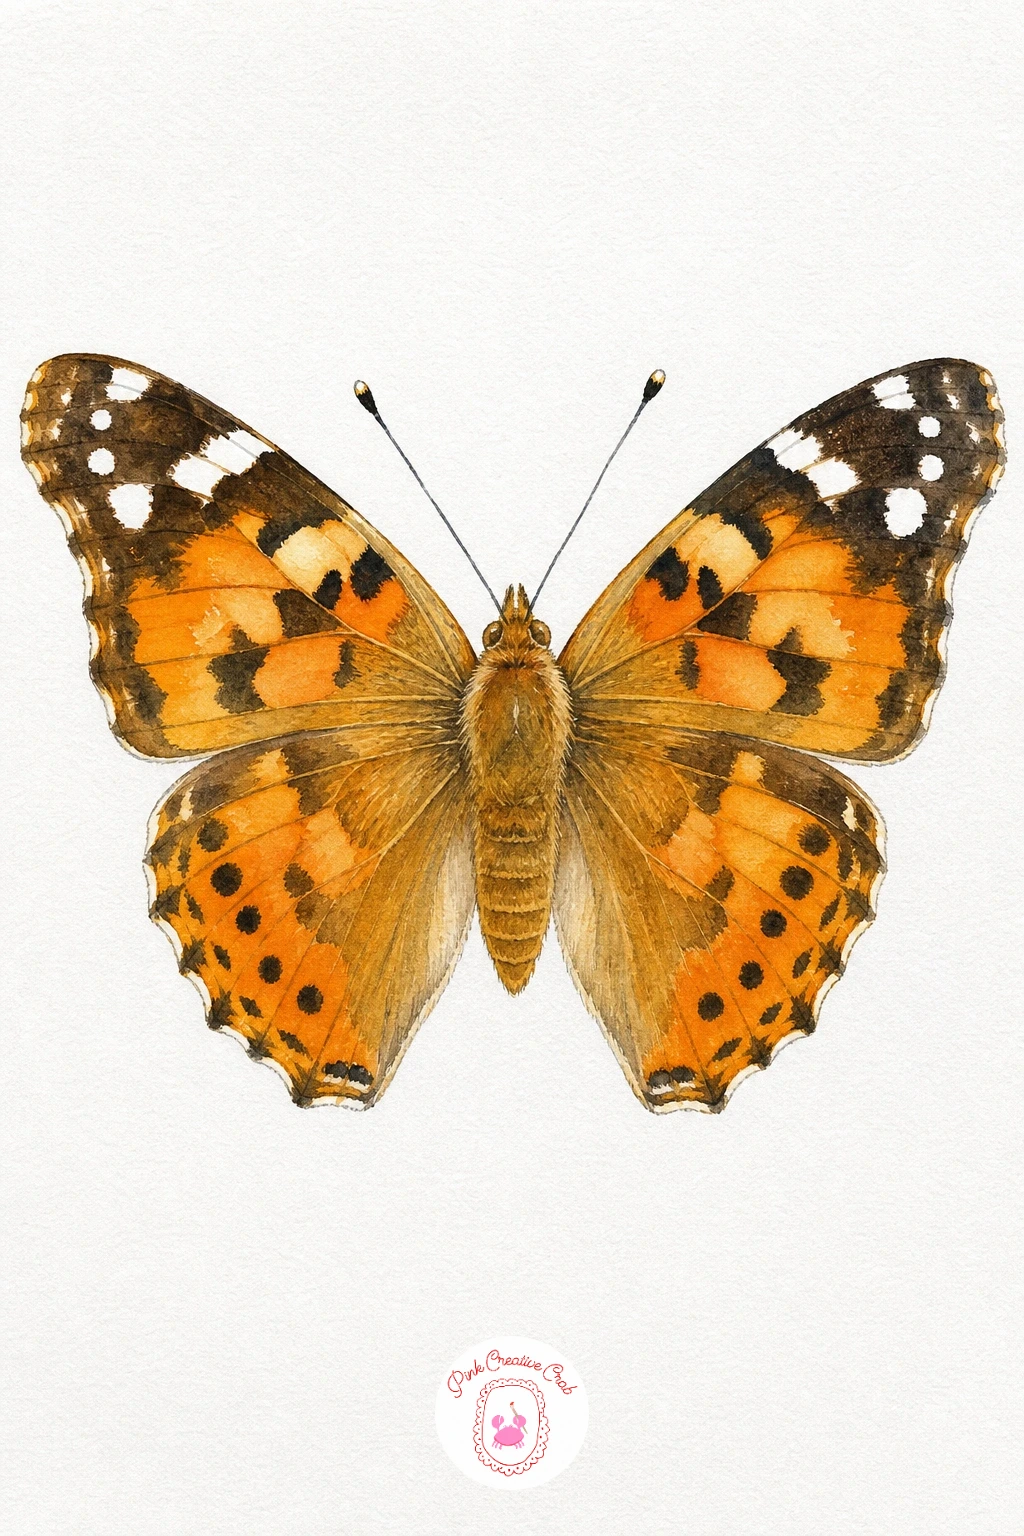
Palette: Cadmium Orange,Burnt Umber,Ivory Black,Titanium White
Butterfly on a Daisy
Paint the daisy first since it sits behind the butterfly in the design, using a thin grey-blue wash for the shadow side of the white petals and a warm yellow dot at the centre. Let it dry fully before starting the butterfly, so the two shapes stay clean and separate. Wash the closed wings in soft orange, then add a few small brown marks along the wing edge once dry. The daisy’s thin petals are the one part worth tracing carefully, since narrow shapes blur easily if you rush the transfer. This pairing works well if you enjoy easy watercolor flowers for beginners alongside your butterflies.
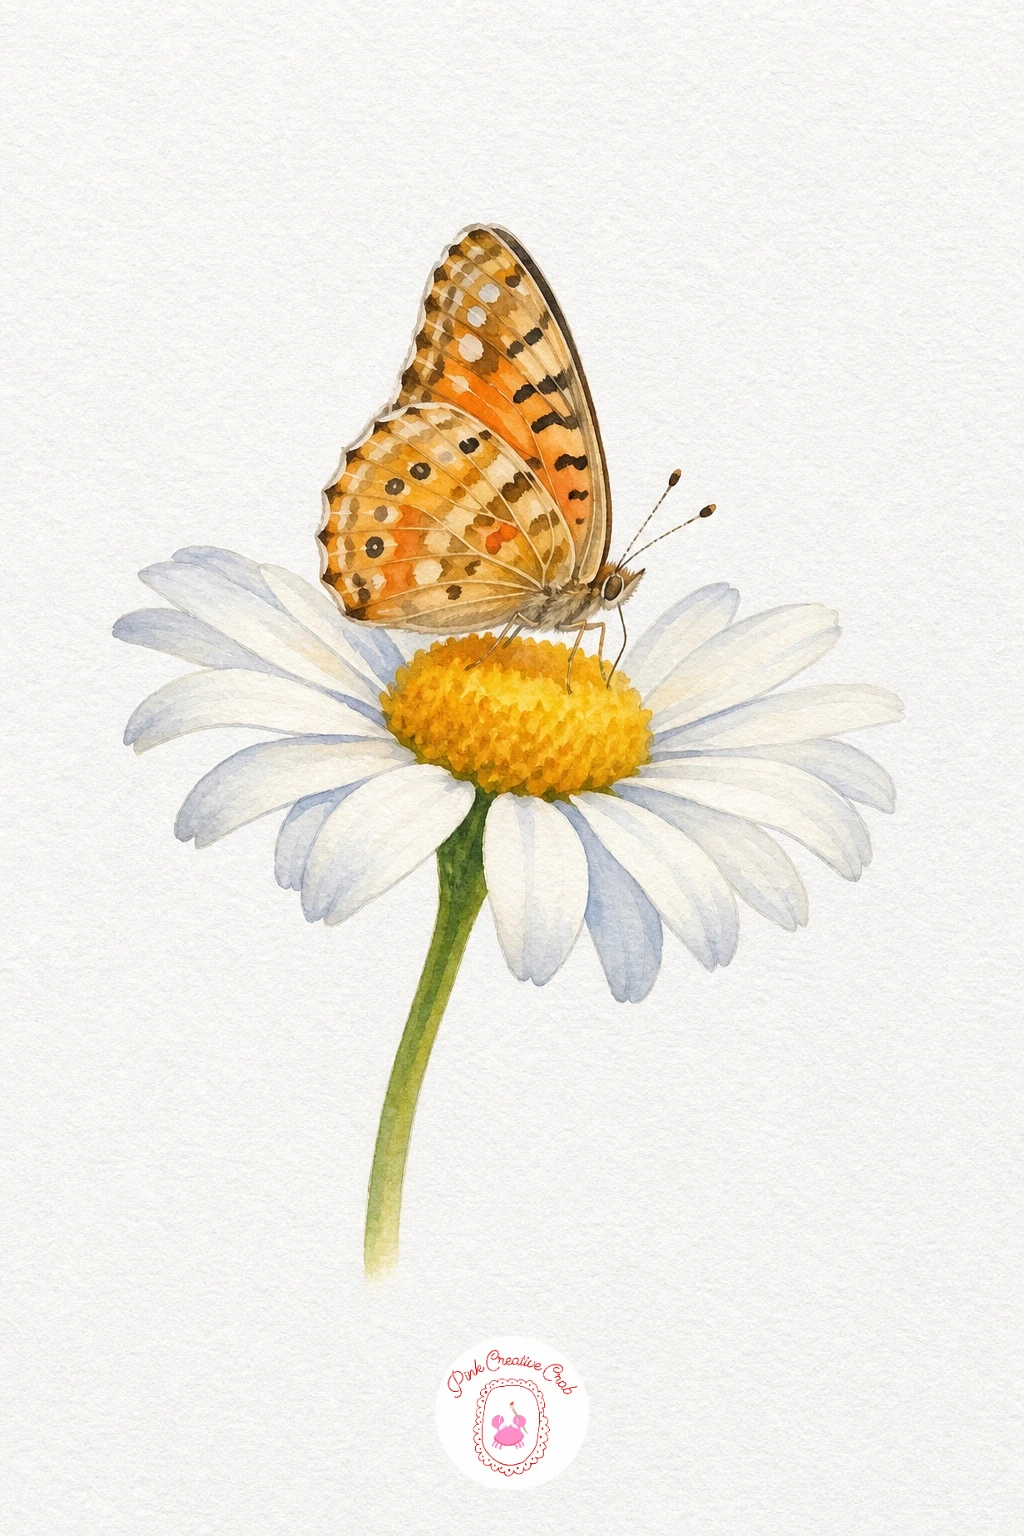
Palette: Cadmium Orange,Burnt Umber,Titanium White,Lemon Yellow
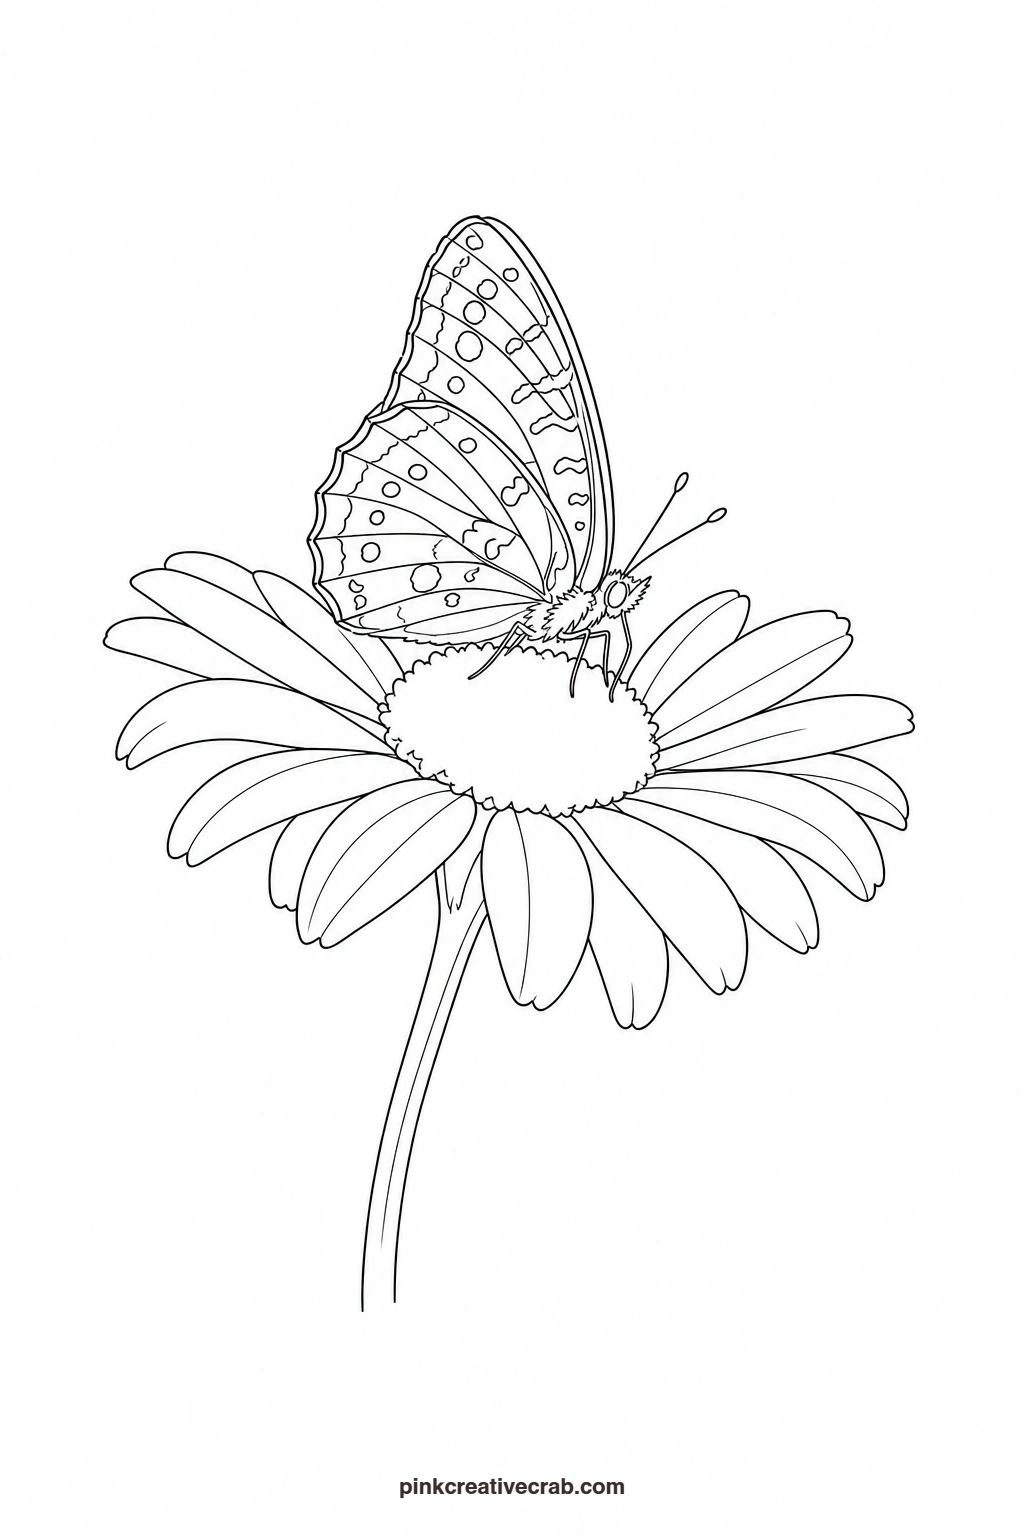
Pink Butterfly With Round Wings
Wash both rounded wings in a soft candy pink, keeping the colour light and even since this design relies on its simple shape rather than heavy contrast. While the wash is still a little damp, deepen the colour slightly near the body with a touch of magenta so the wings do not look flat. Once fully dry, paint a few simple round spots in a deeper pink or soft purple scattered across each wing. This gentle, rounded design is an easy one to hand to a beginner who usually sticks to pencil drawing and wants a first try with paint.
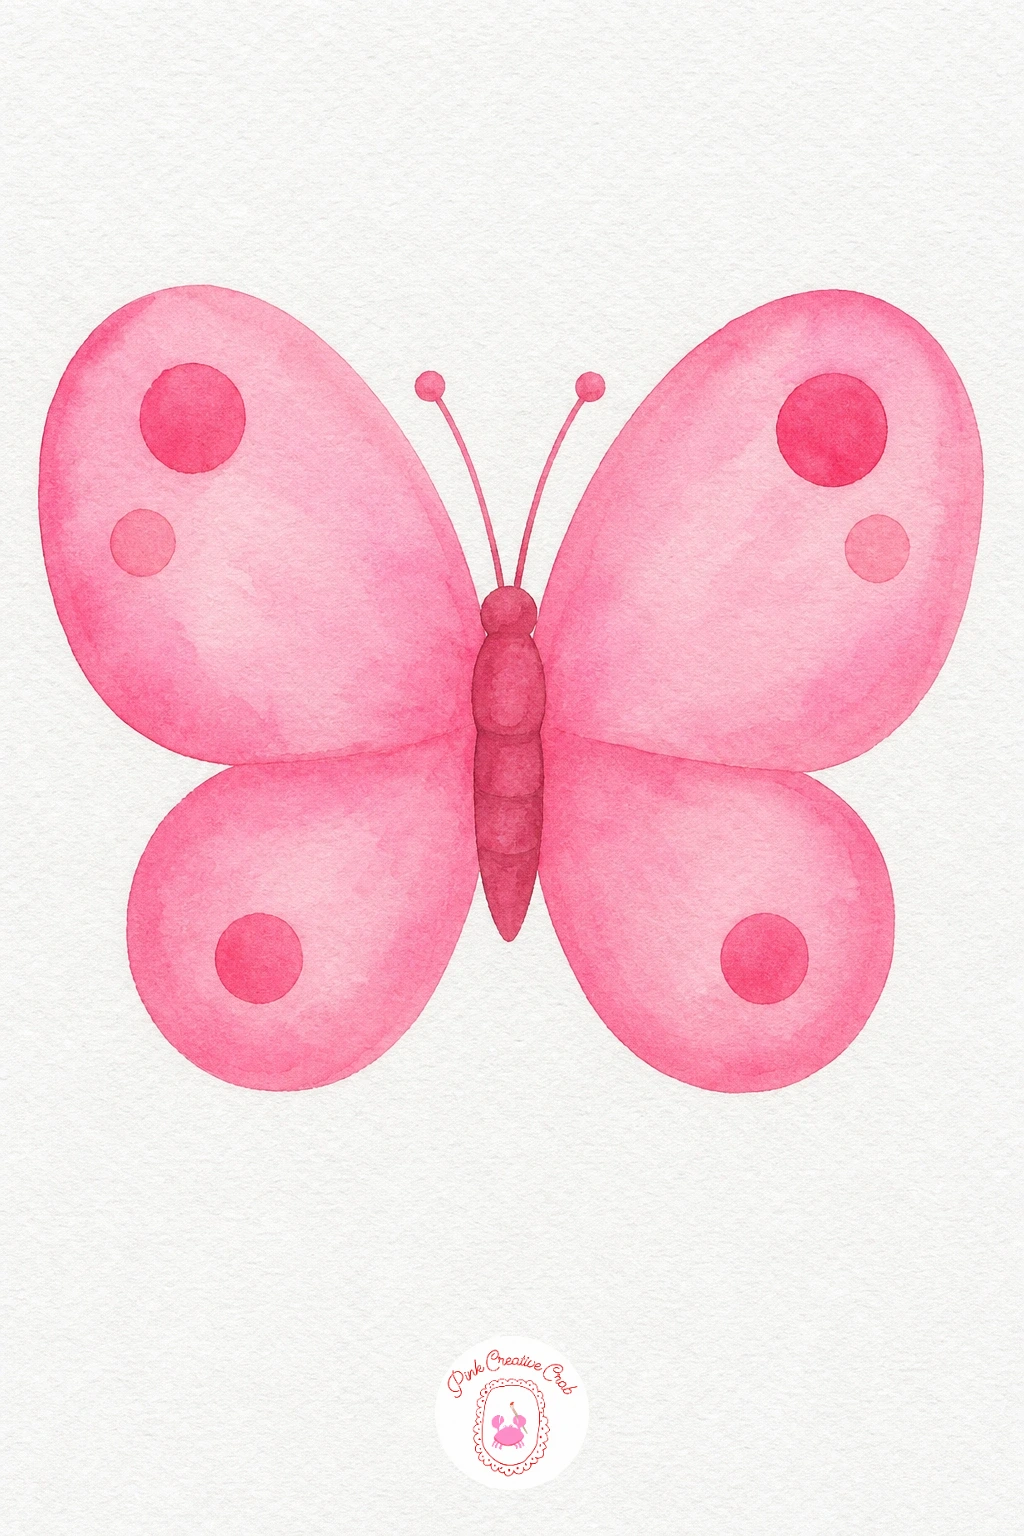
Palette: Quinacridone Pink,Magenta,Soft Violet
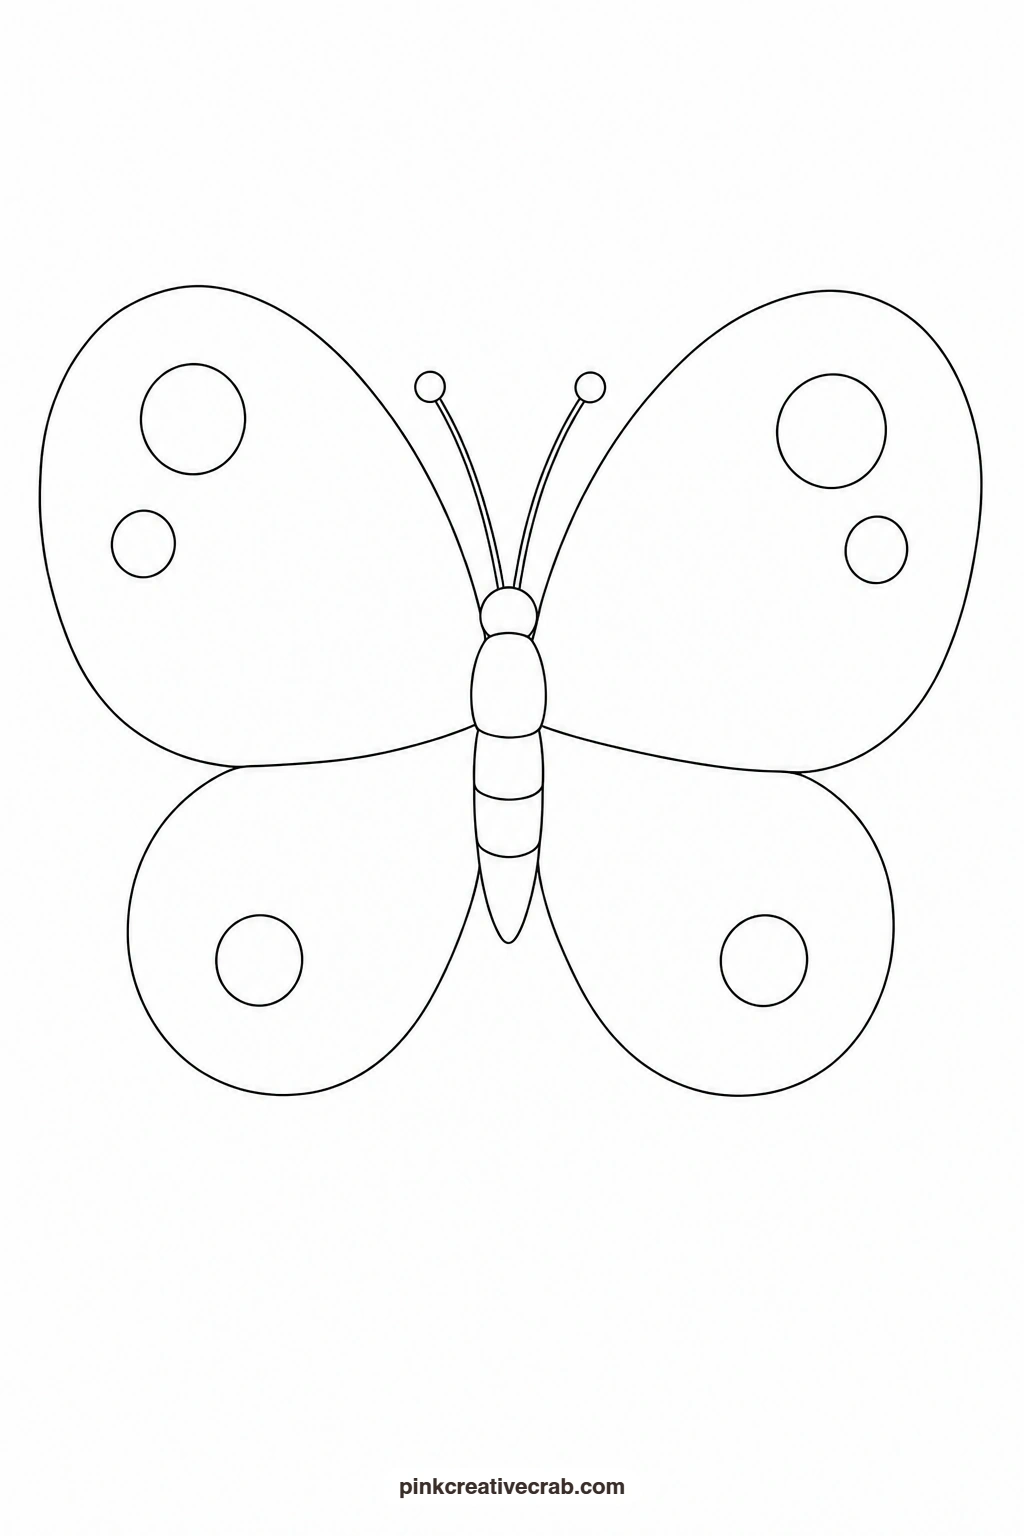
Pale Green Luna Moth
Wash the whole wing shape, including the long tails, in a pale mint green and keep the layer thin and even since luna moths are known for their soft, almost glowing colour. Once dry, paint a small round eye spot on each upper wing using a touch of brown and a dot of black at the centre. The two trailing tails are thin and long, so transfer them slowly and in one smooth line rather than several short strokes, or they can look broken. A light wash of pale yellow along the top edge of the wings adds a gentle glow without any extra blending needed.
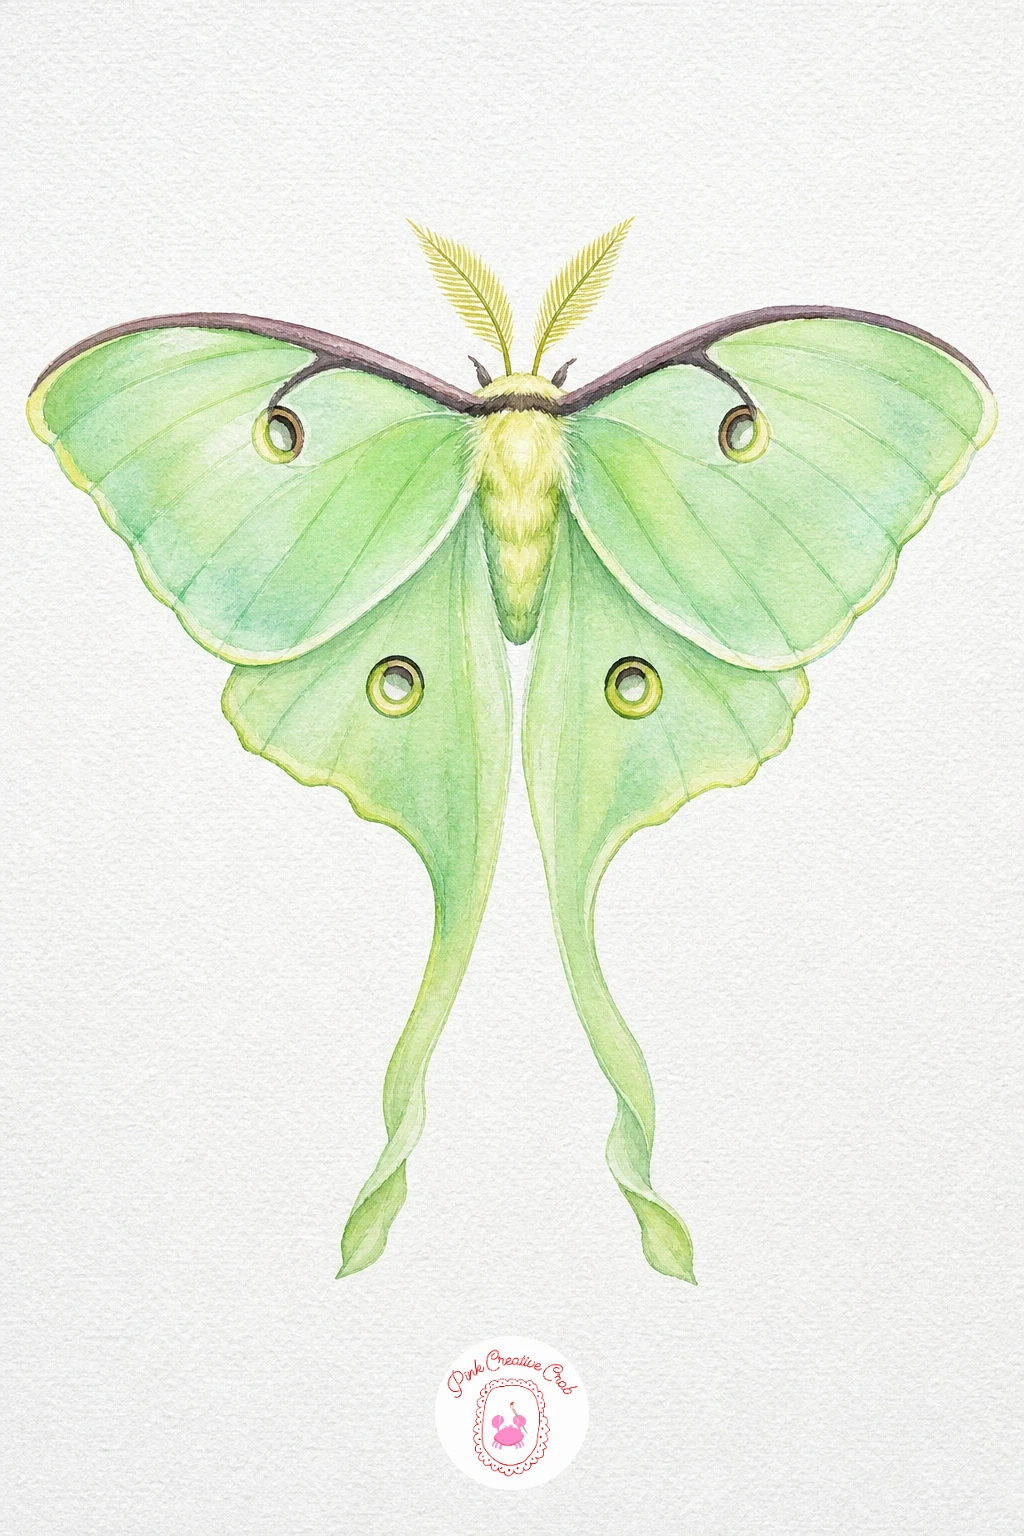
Palette: Mint Green,Pale Yellow,Burnt Umber,Ivory Black
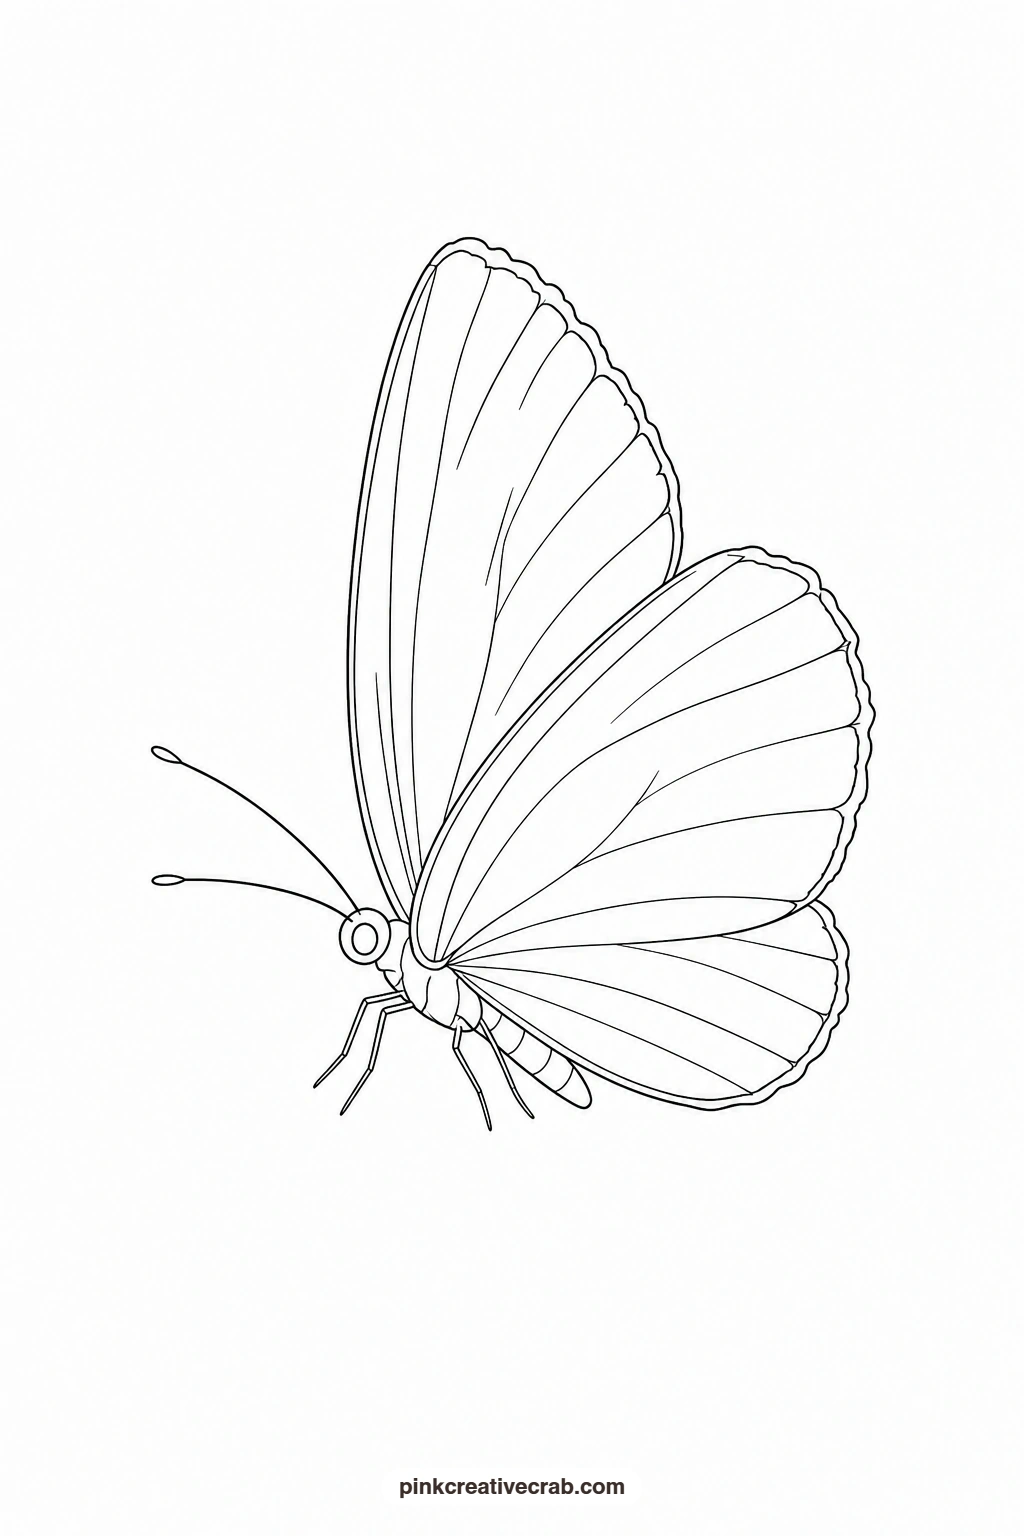
Small Blue Butterfly, Wings Half Open
This is the smallest and simplest shape in the whole set, perfect if you want a quick confidence-building painting. Wash the half open wings in a soft periwinkle blue in one pass, then add a thin border of deeper blue or grey-blue along the outer edge once the first wash has dried. A single pale dot near each wingtip is the only extra marking this one needs. Because the shapes are small and plain, it is a good one to practice keeping your wash smooth and even before moving on to the busier designs in this set, and it pairs nicely with the ideas in this watercolor butterfly designs collection.
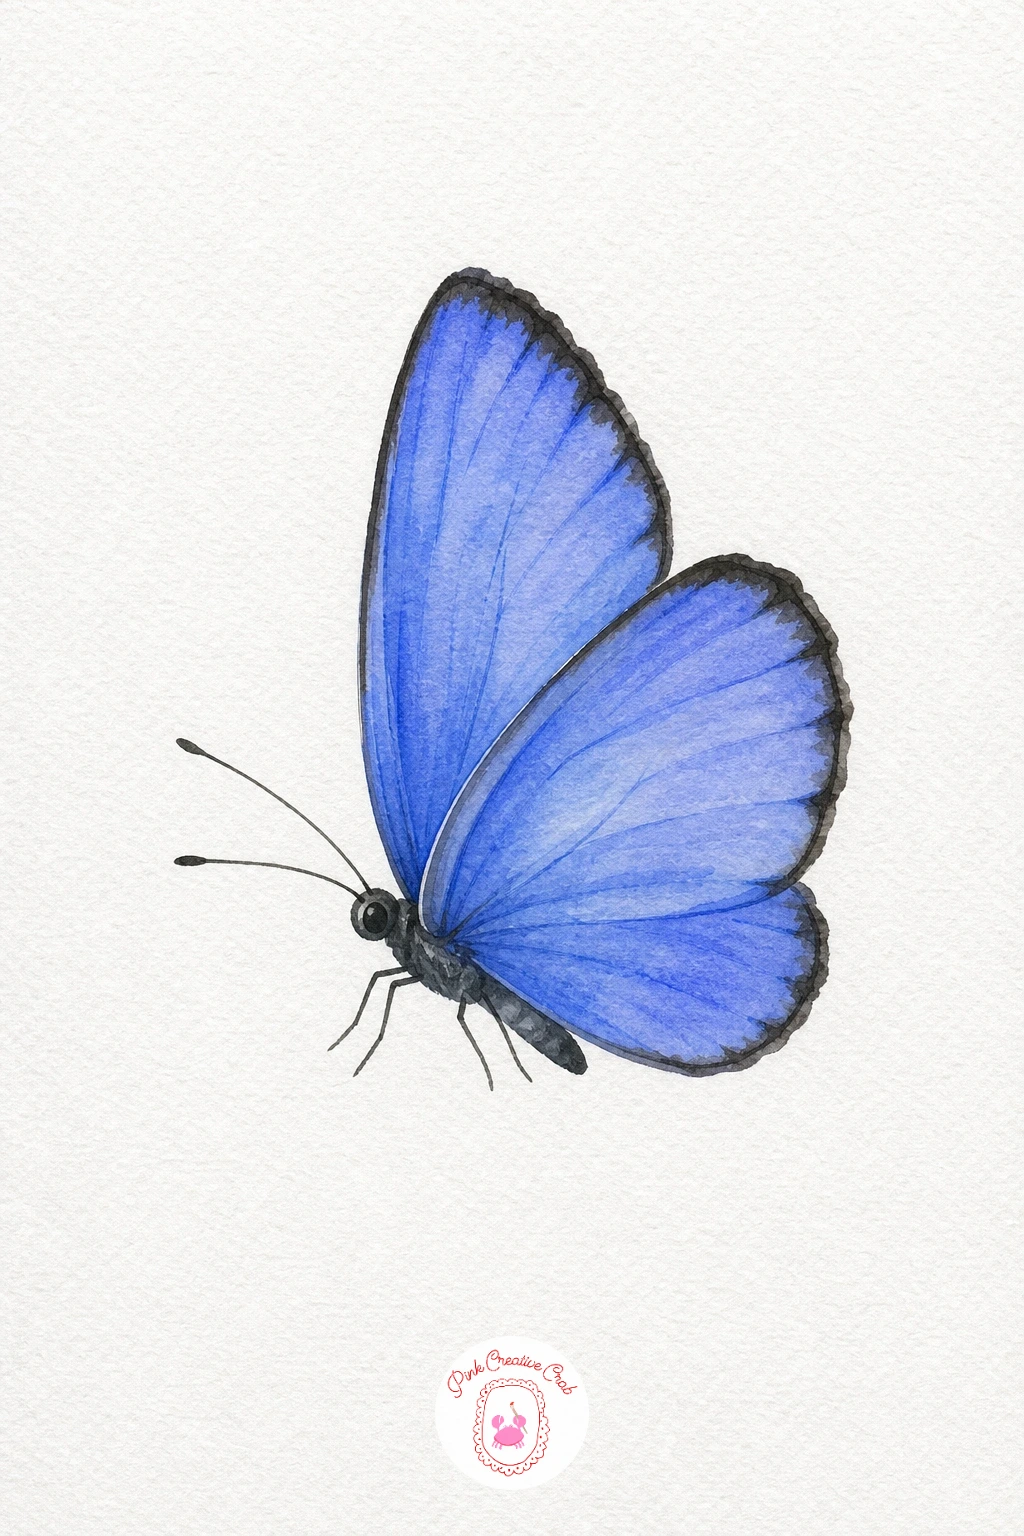
Palette: Periwinkle Blue,Grey Blue,Titanium White
What to Do Next
Pick the butterfly that matches how confident you feel today, print its outline, transfer it to your watercolor paper, and keep the painted example nearby while you work through the washes.
Frequently Asked Questions
What size should I print the butterfly outline?
Print it at the size you want to paint, usually a standard sheet works well for these designs. A full page gives you room to work, while a half page suits a smaller card or journal.
What paper works best for these butterfly templates?
Cold press watercolor paper around 140lb handles washes and blending best without buckling. Smooth paper works too if you plan to use colored pencils or markers instead of paint.
How do I transfer the outline onto my watercolor paper?
Tape the printed outline and your blank paper together against a sunny window or a light pad so you can see the lines through both sheets and trace them. Graphite transfer paper slipped between the two sheets works just as well without needing light.
Can I use colored pencils or markers instead of watercolor?
Yes, every outline traces cleanly for colored pencils or markers since the shapes are simple and closed. Build color in light layers with pencils, or go straight in with markers for flatter, bolder color.
What if I make a mistake tracing the thin lines like antennae or tails?
Trace the thinnest parts, like antennae or the luna moth’s tails, last and slowly in one continuous stroke. A light touch with your pencil means mistakes erase easily before you commit to paint.
Have any thoughts?
Share your reaction or leave a quick response — we’d love to hear what you think!
-
 0
-
0
-
0
-
0
-
0
-
0


