

Table of Contents
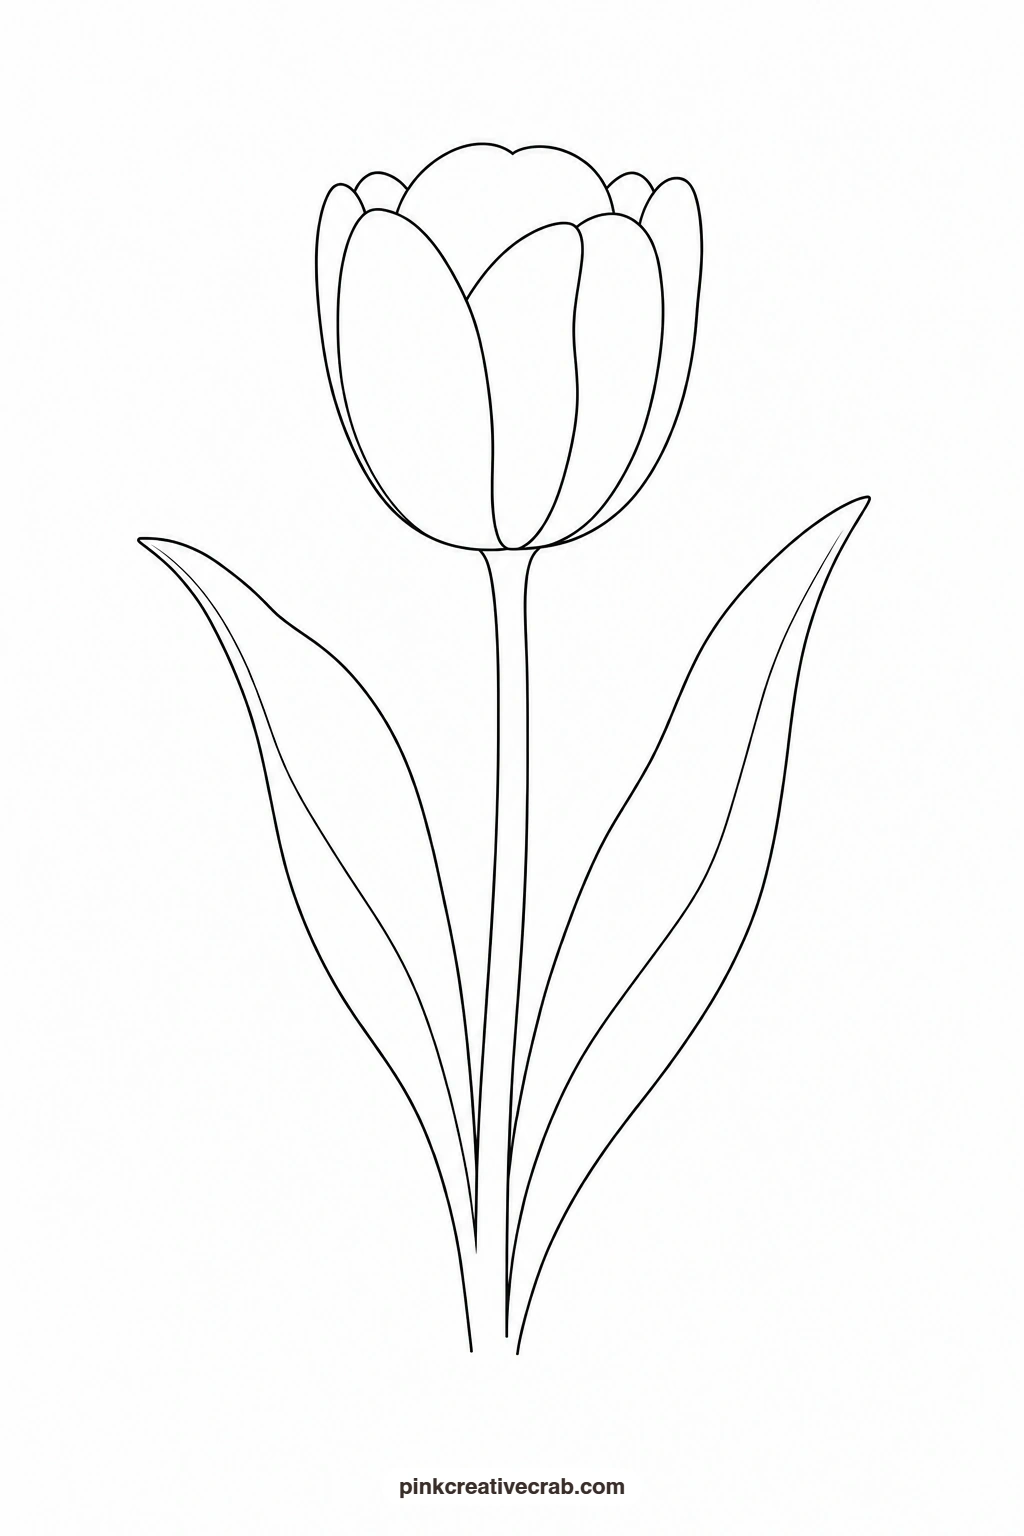
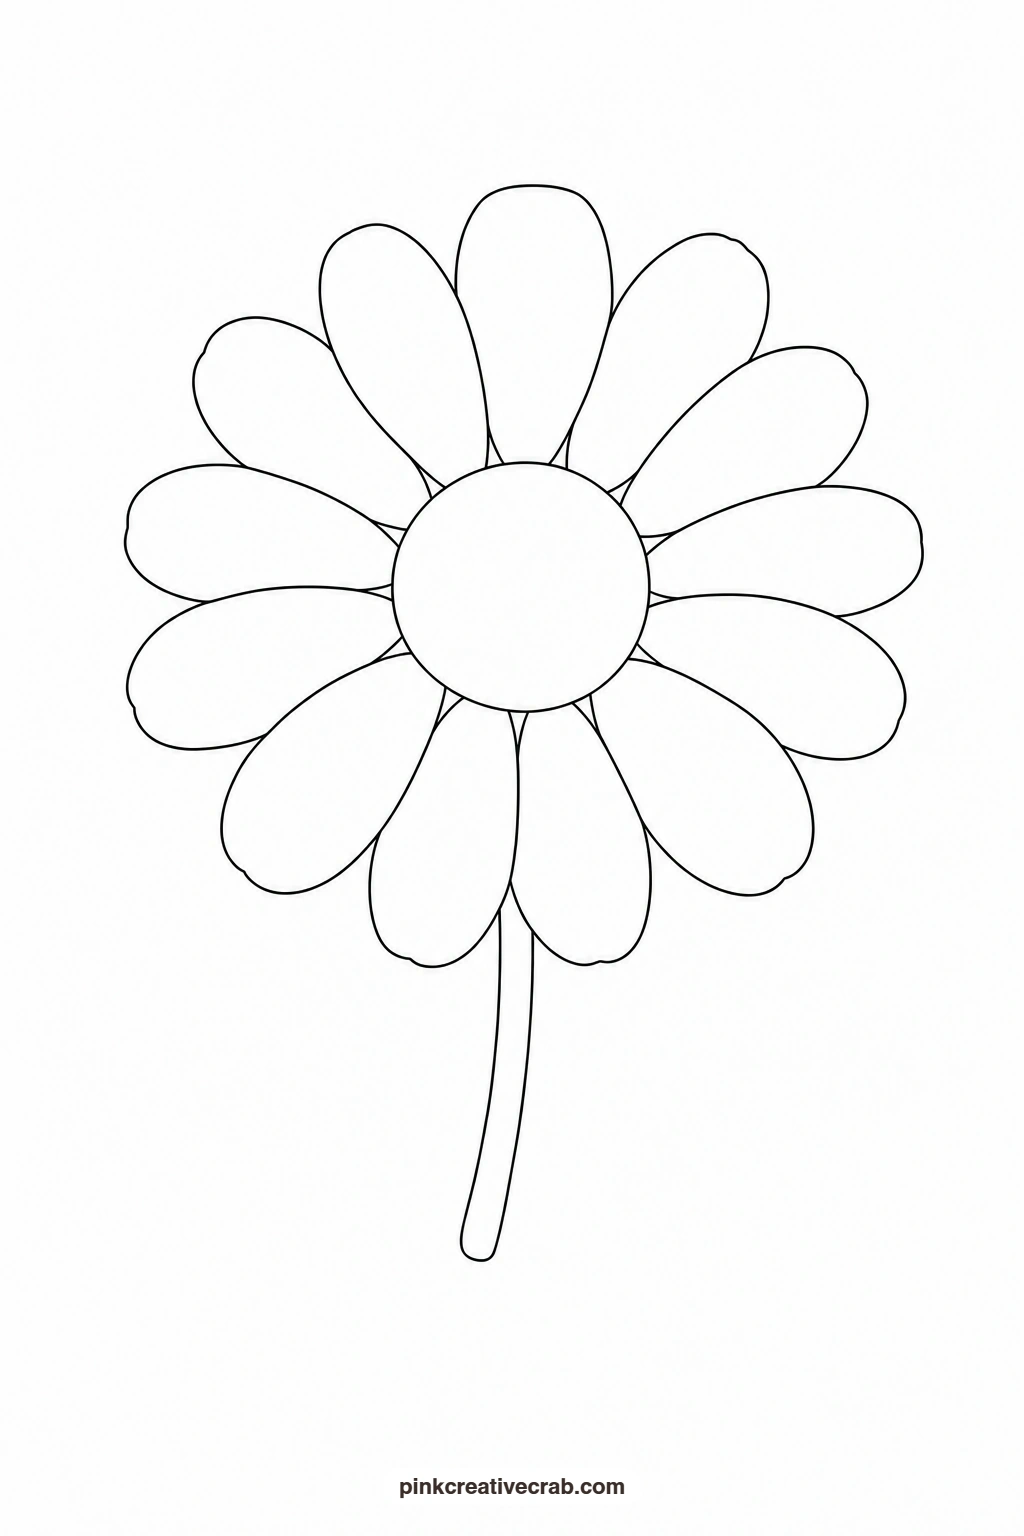
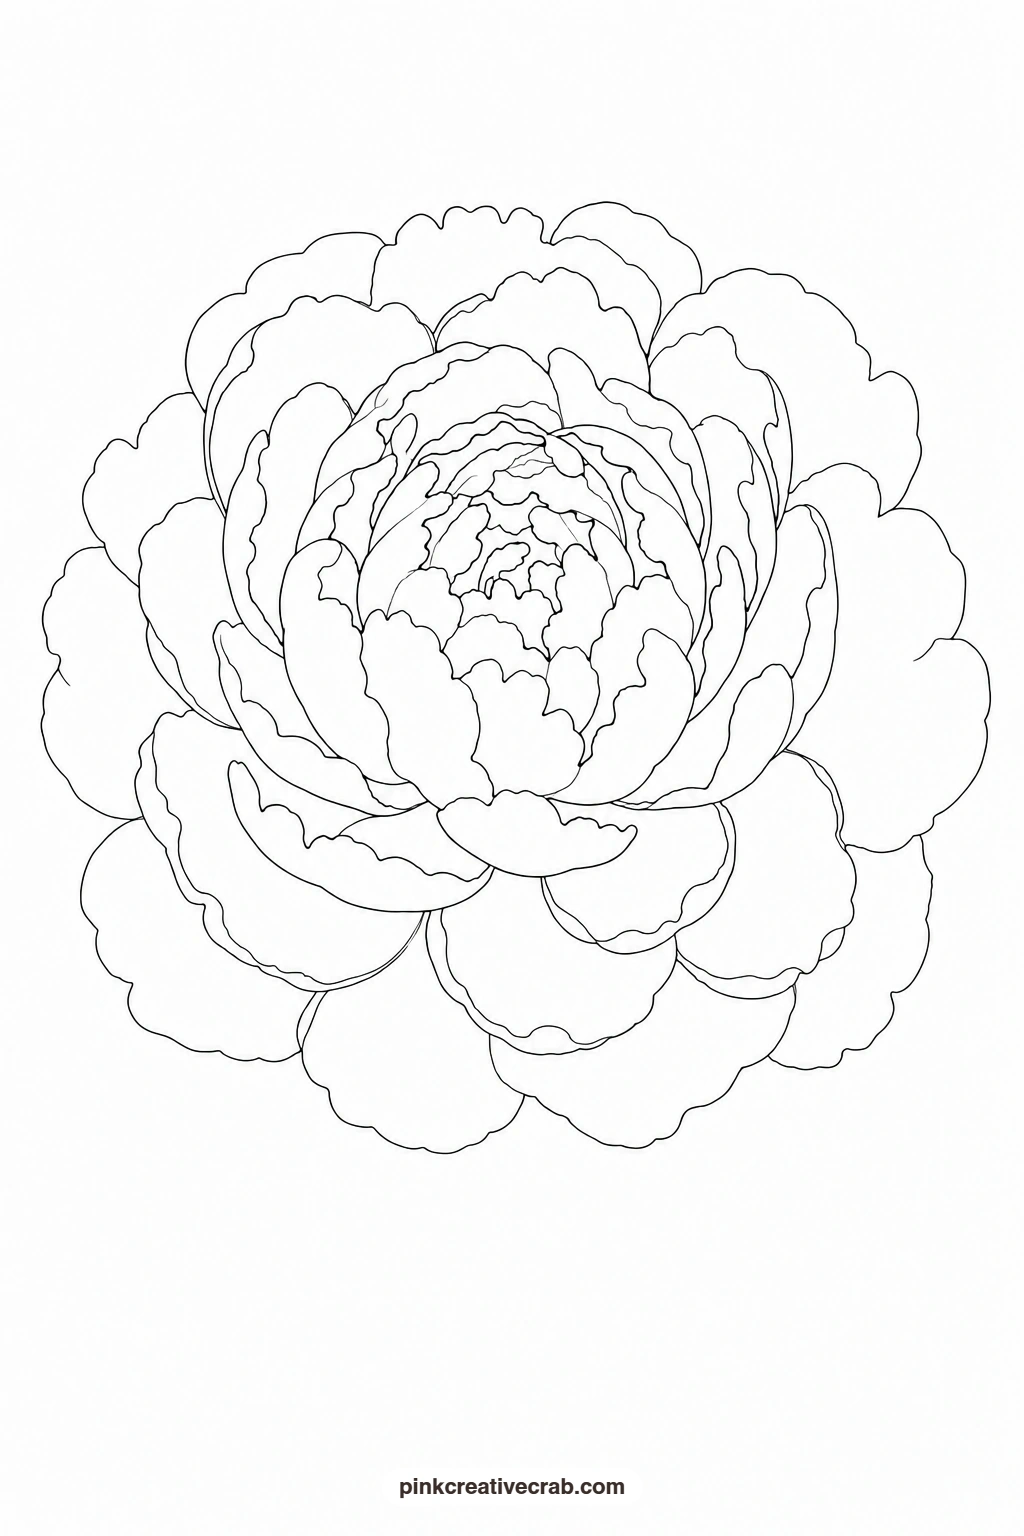
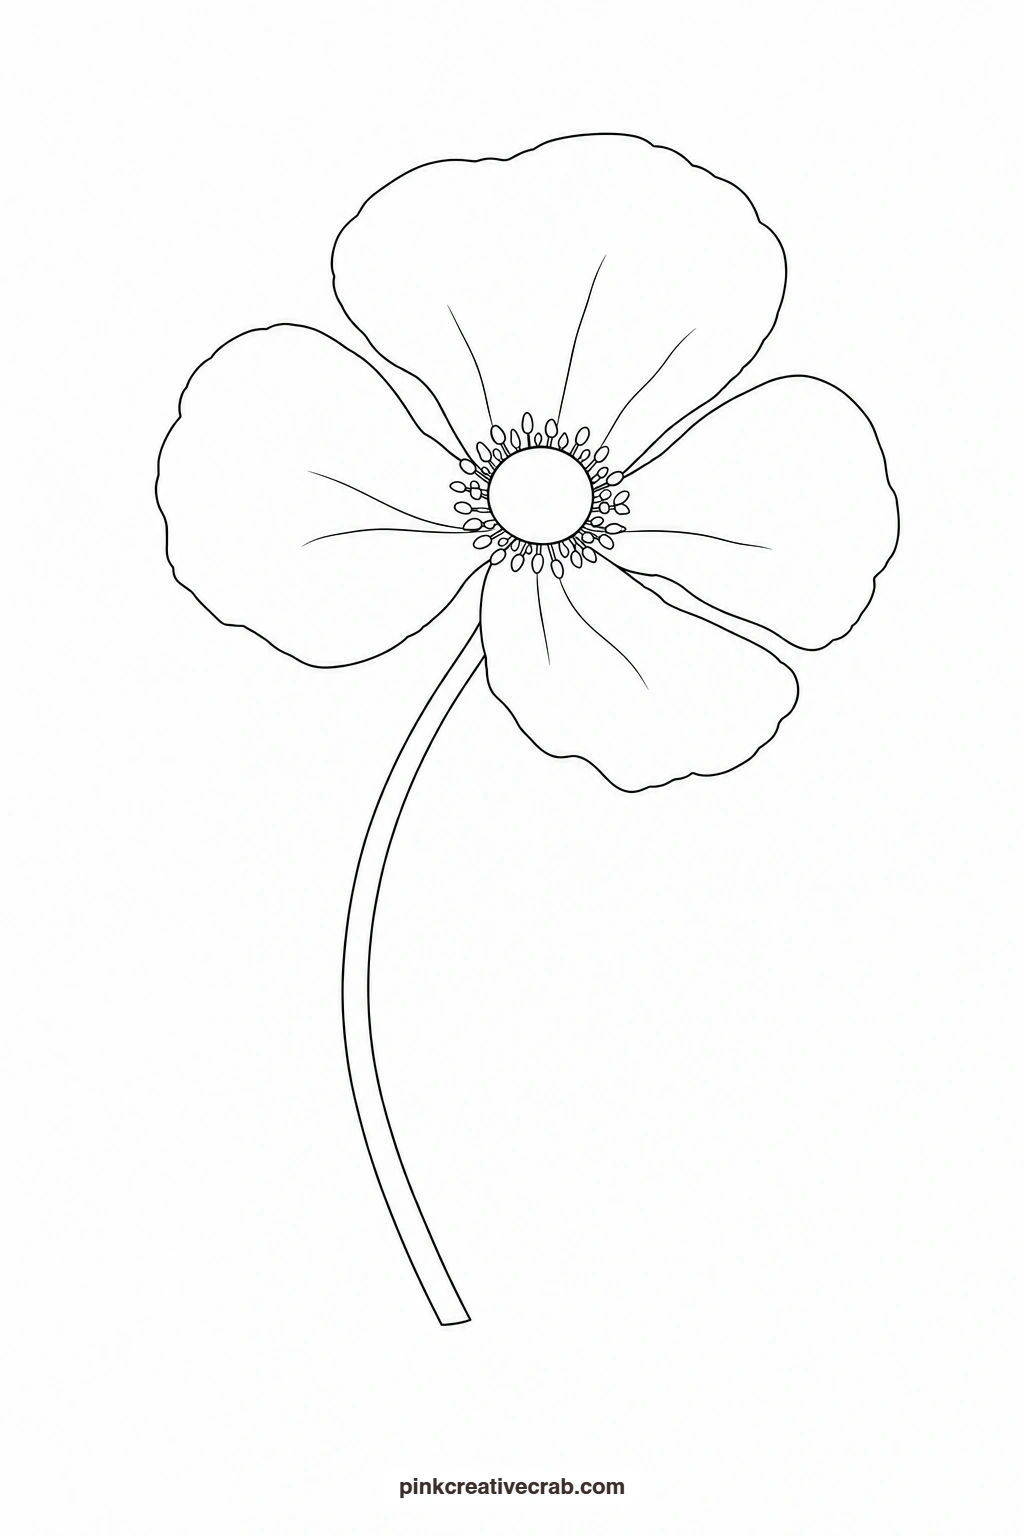
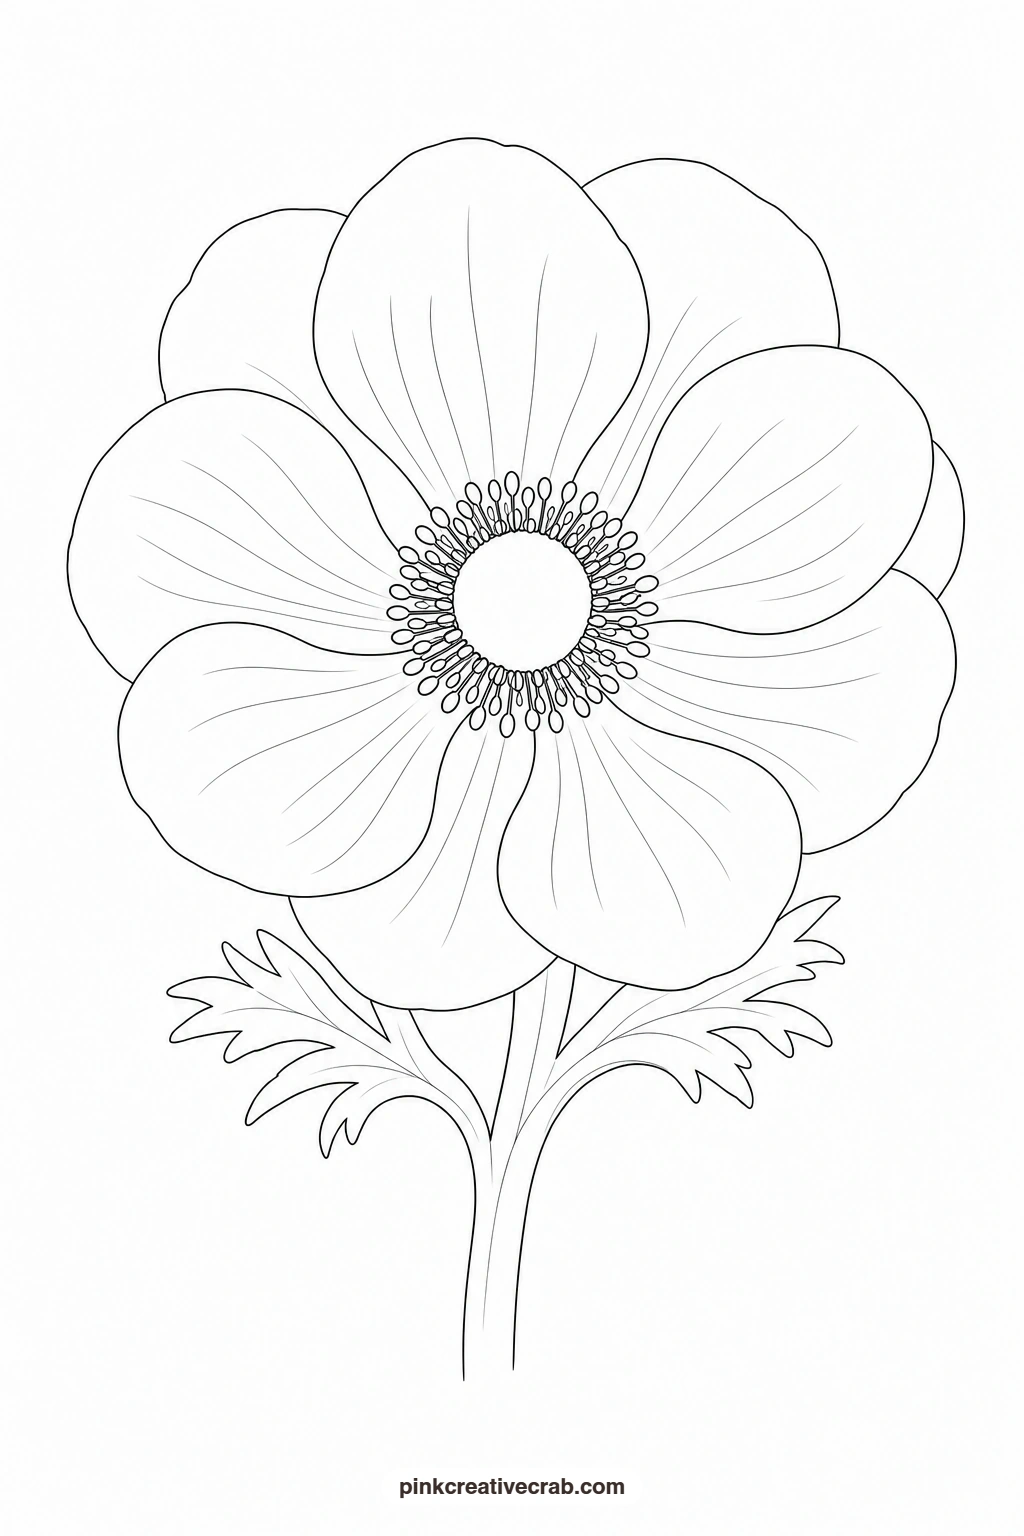
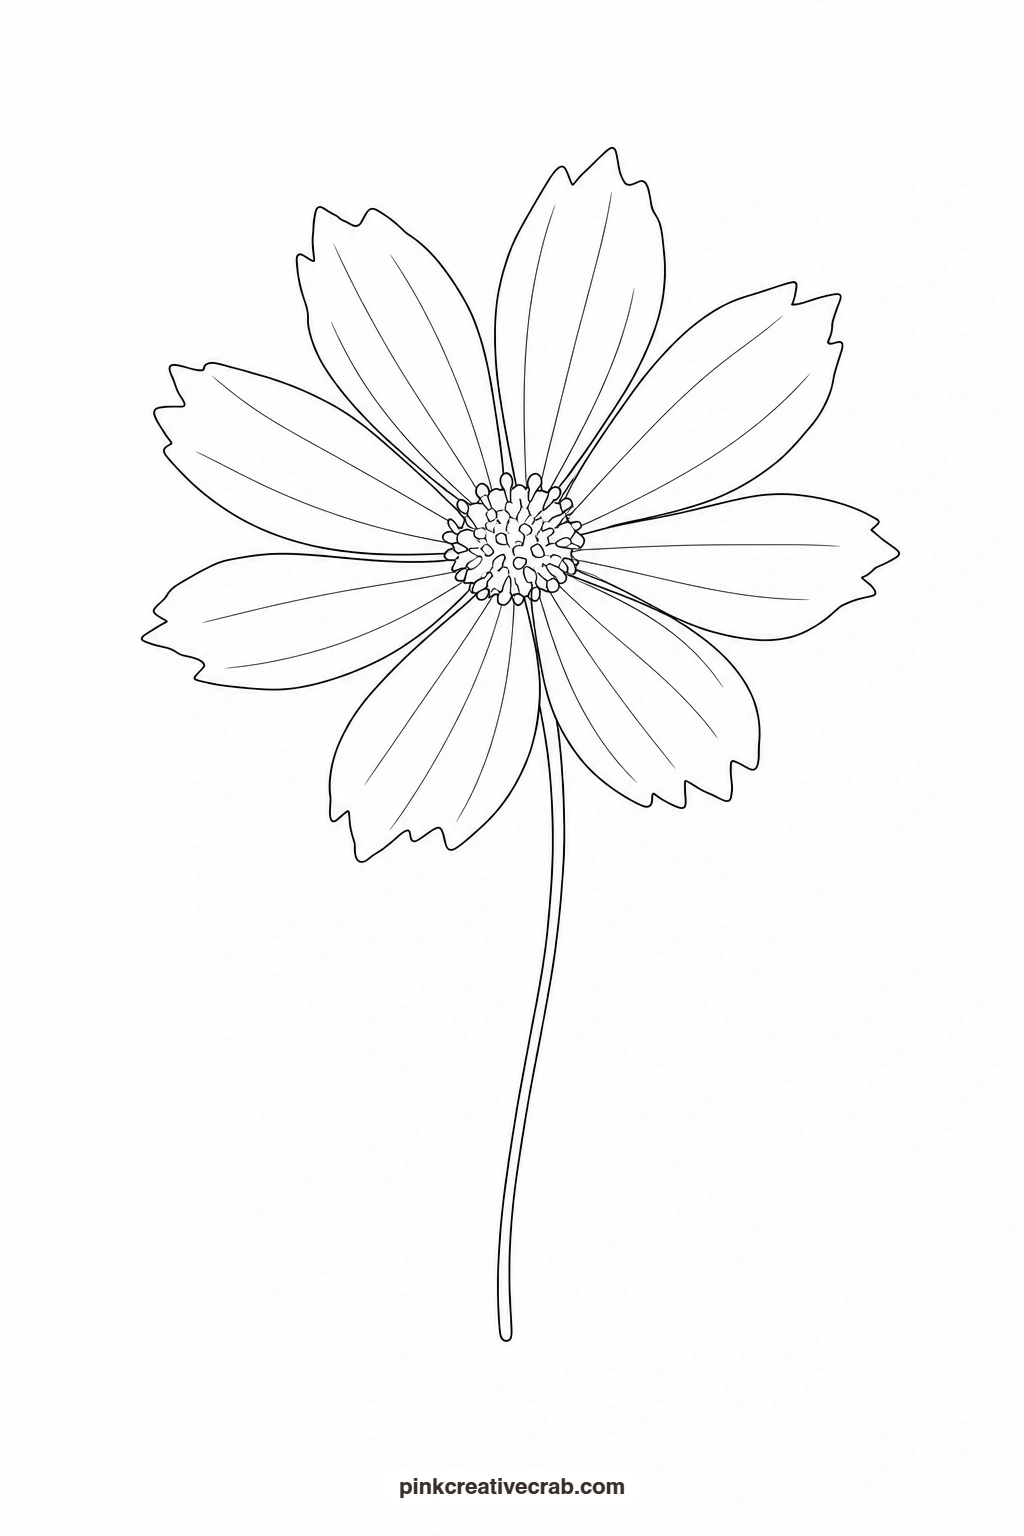
Each flower template here gives you one simple bloom built from a few big closed shapes, so there is nothing fiddly to draw and nothing to guess. Print the outline, hold it against a sunny window or a light pad (or slide graphite transfer paper underneath), trace it onto your watercolor paper, and you are ready to paint with a finished example sitting right beside you.
Every design keeps the lines thin and even with no shading and no color, because the real color comes from your brush. Work through them in any order: the tulip and daisy are the gentlest start, and the hibiscus and peony give you a little more to enjoy once you feel steady with a wash.
Using these images: free for personal projects such as printing, coloring, cards, journals and gifts. Handmade items that include them may be sold up to 30 pieces per design. More than that is commercial use and is not permitted, and neither is selling or sharing the images themselves or passing them off as your own. Please ask before any other use.
Red Tulip With Two Leaves
Wet the tulip cup lightly and drop in Cadmium Red at the top, letting it pool a touch darker where the petals overlap near the base. While that is still damp, touch a little Alizarin Crimson into the lower corners so the color deepens without any hard lines. Once dry, paint the two leaves in one smooth stroke each of Sap Green, darker at the base, and finish with a thin stem connecting bloom to leaves so the whole shape reads as one upright plant.
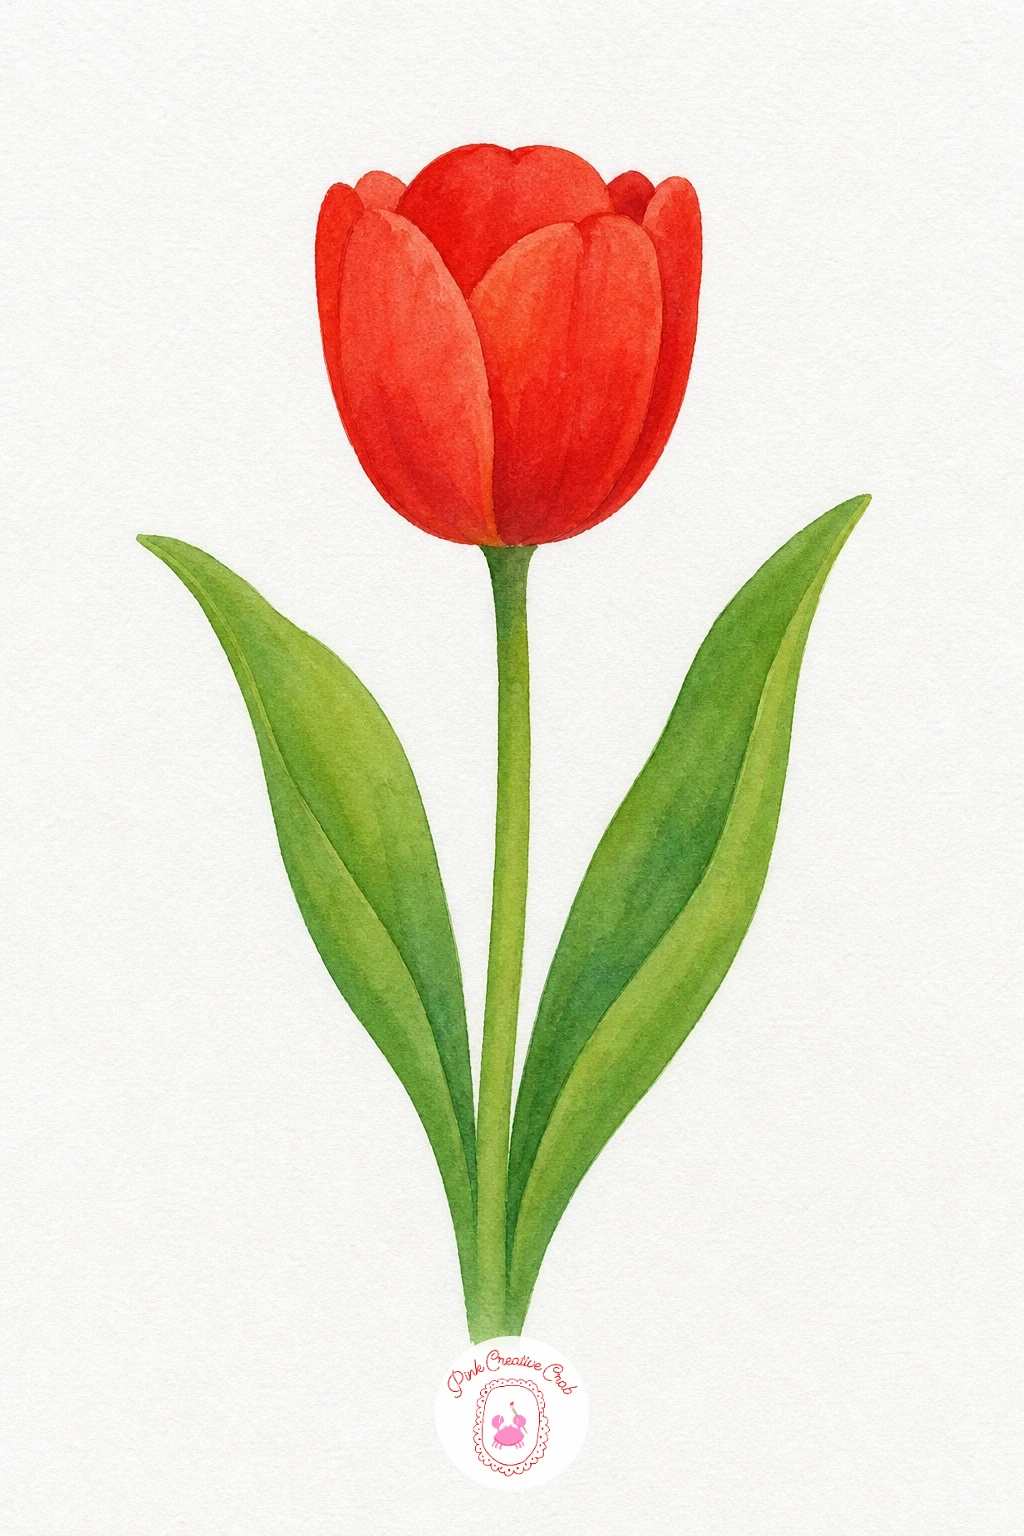
Palette: Cadmium Red,Alizarin Crimson,Sap Green
White Daisy With Yellow Center
Leave the petals untouched white paper and paint only the thinnest grey shadow along one side of each petal with diluted Payne’s Grey so the shape still reads against the page. Fill the round center with Cadmium Yellow, then while it is wet, touch a bit of Burnt Sienna into the middle for depth. Add the short stem in Sap Green last. This is a forgiving flower for a first go, since the white paper is doing most of the work for you.
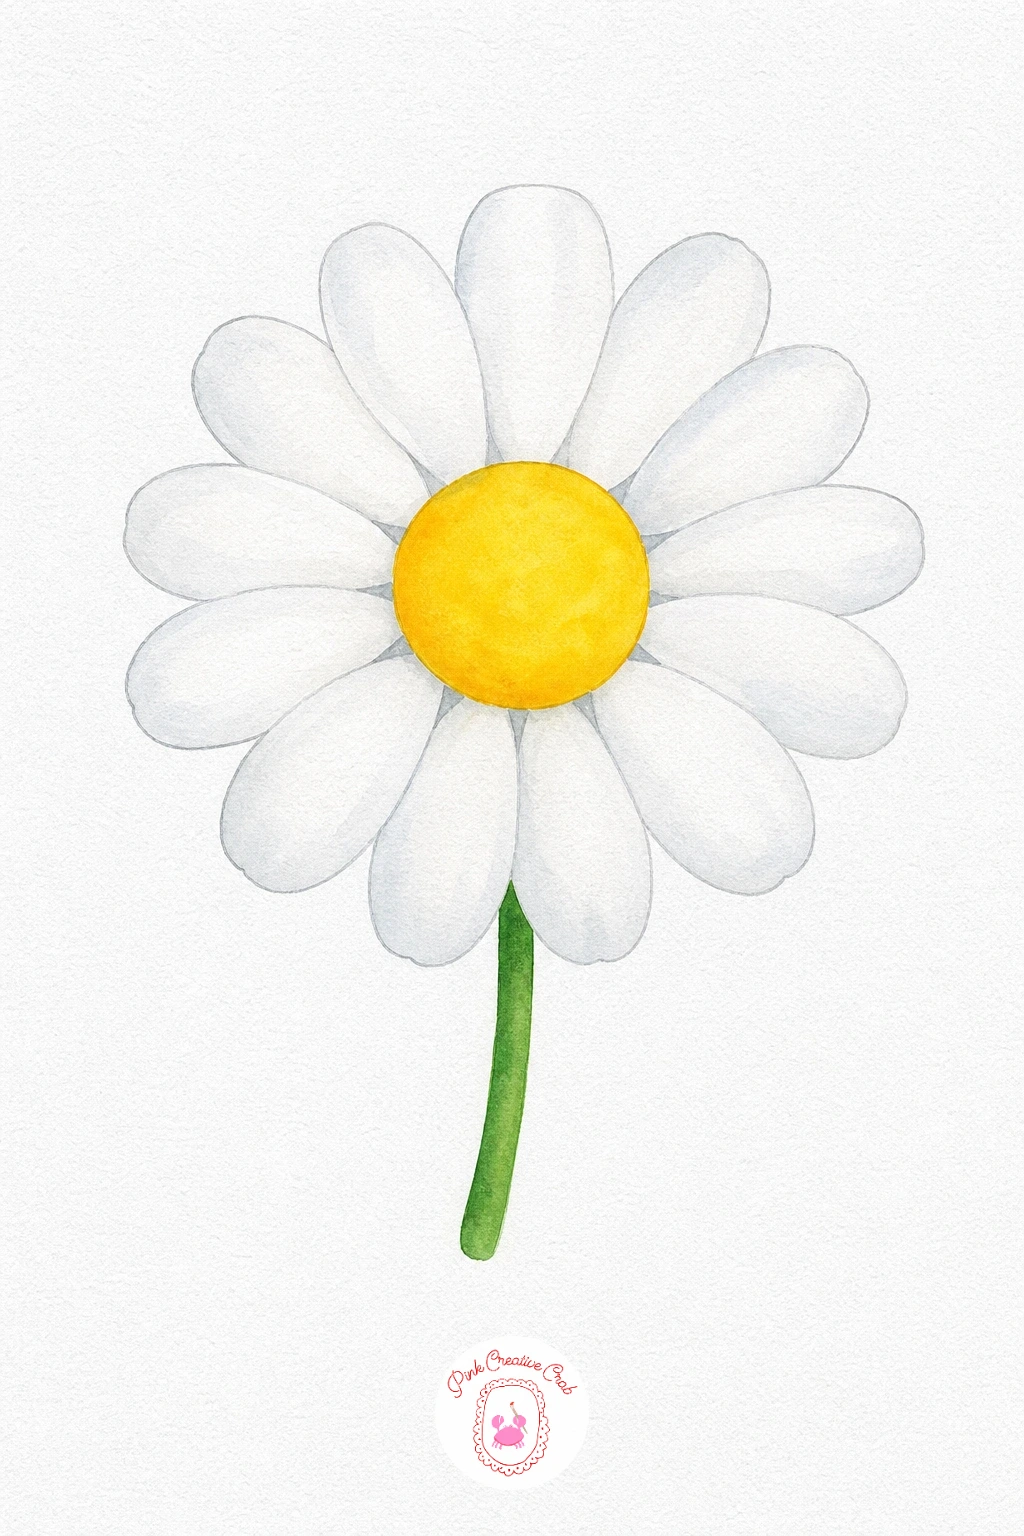
Palette: Cadmium Yellow,Burnt Sienna,Payne’s Grey,Sap Green
If you would rather build confidence on more than one bloom before painting from imagination, the examples in this easy watercolor flower guide use the same forgiving approach.
Pink Peony Bloom
Start at the center of the bloom with Opera Pink and work outward, rinsing your brush slightly between petal layers so the outer petals come out paler and softer. Let colors bleed into one another at the petal edges while the paper is still damp, this blending is what gives a peony its fullness without you drawing every petal line. Once dry, deepen the very center with a small touch of Permanent Rose so the eye has somewhere to land first.
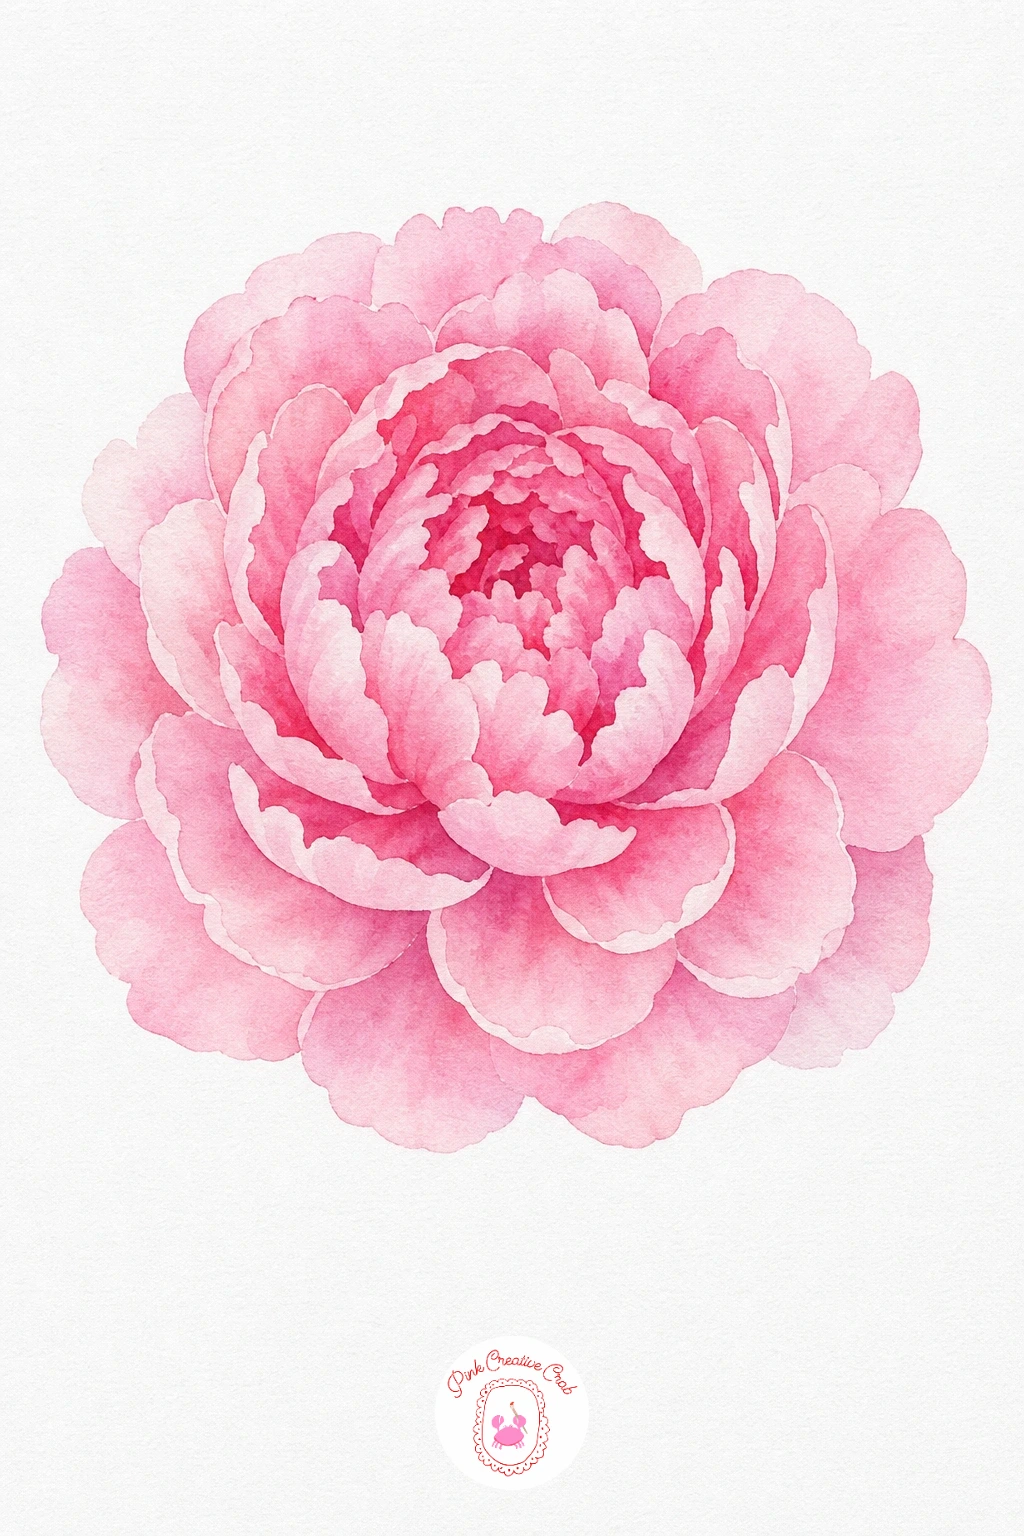
Palette: Opera Pink,Permanent Rose,Titanium White
Orange Poppy With Curved Stem
Paint the four petals in Cadmium Orange with the brush fairly wet, letting each petal pool slightly darker near the center where they meet. Once the orange has dried, paint the dark center in Payne’s Grey mixed with a touch of black, keeping it small and round so it reads as the poppy’s signature feature. The curved stem in one unbroken stroke of Sap Green gives the whole flower its gentle lean and makes it feel alive rather than stiff.
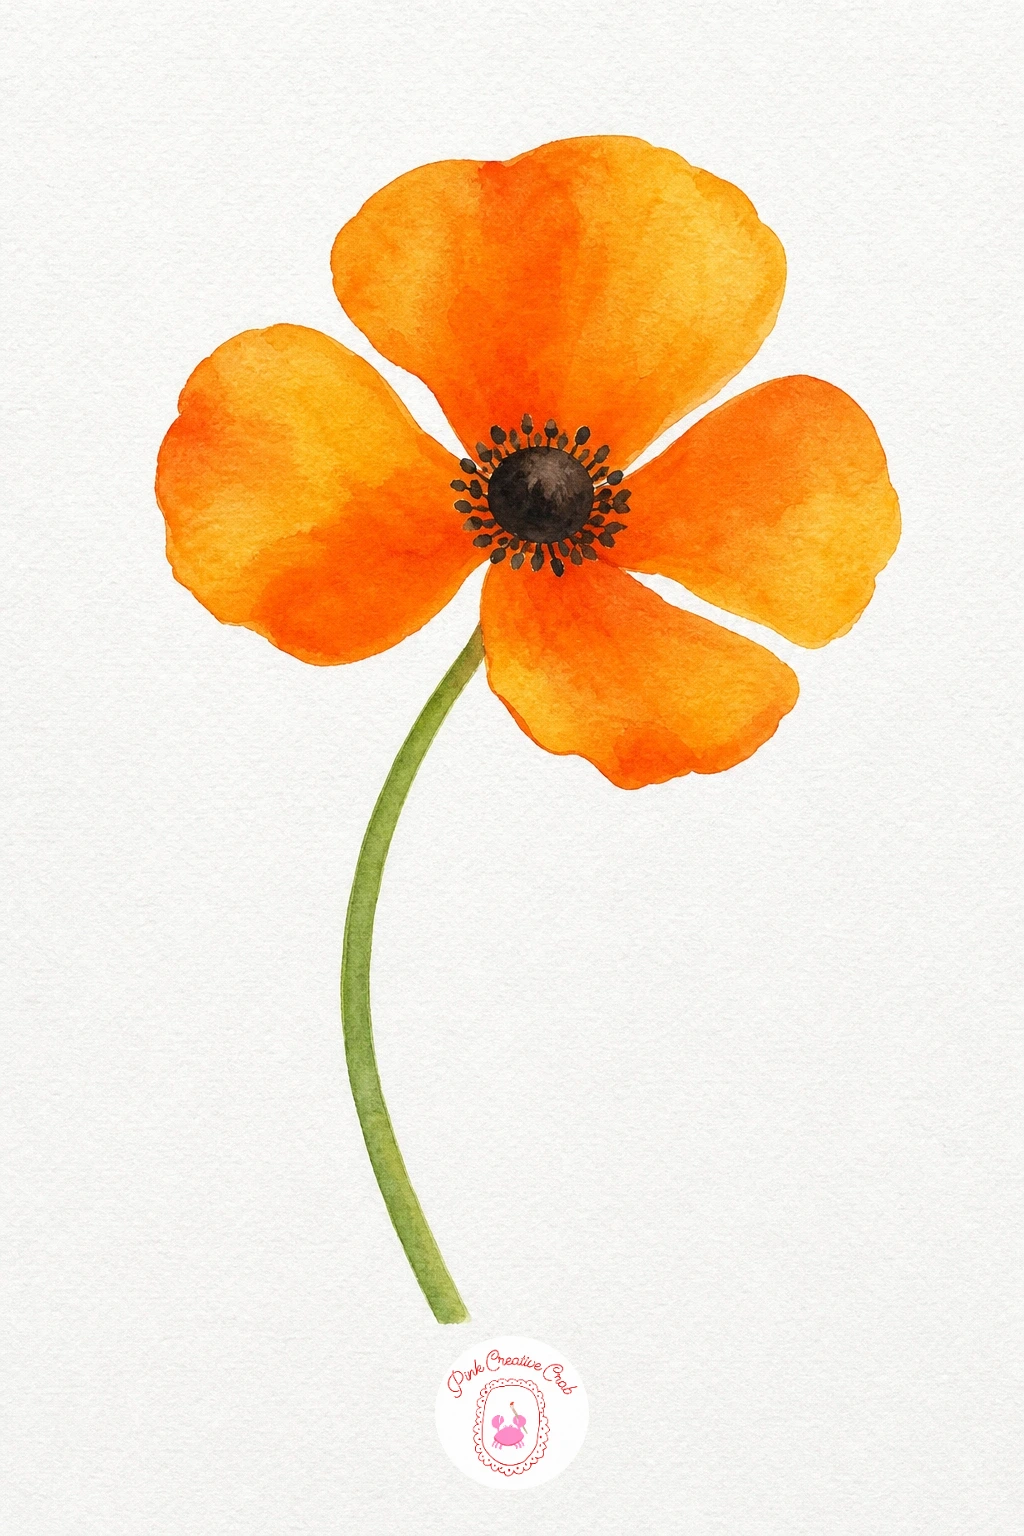
Palette: Cadmium Orange,Payne’s Grey,Sap Green
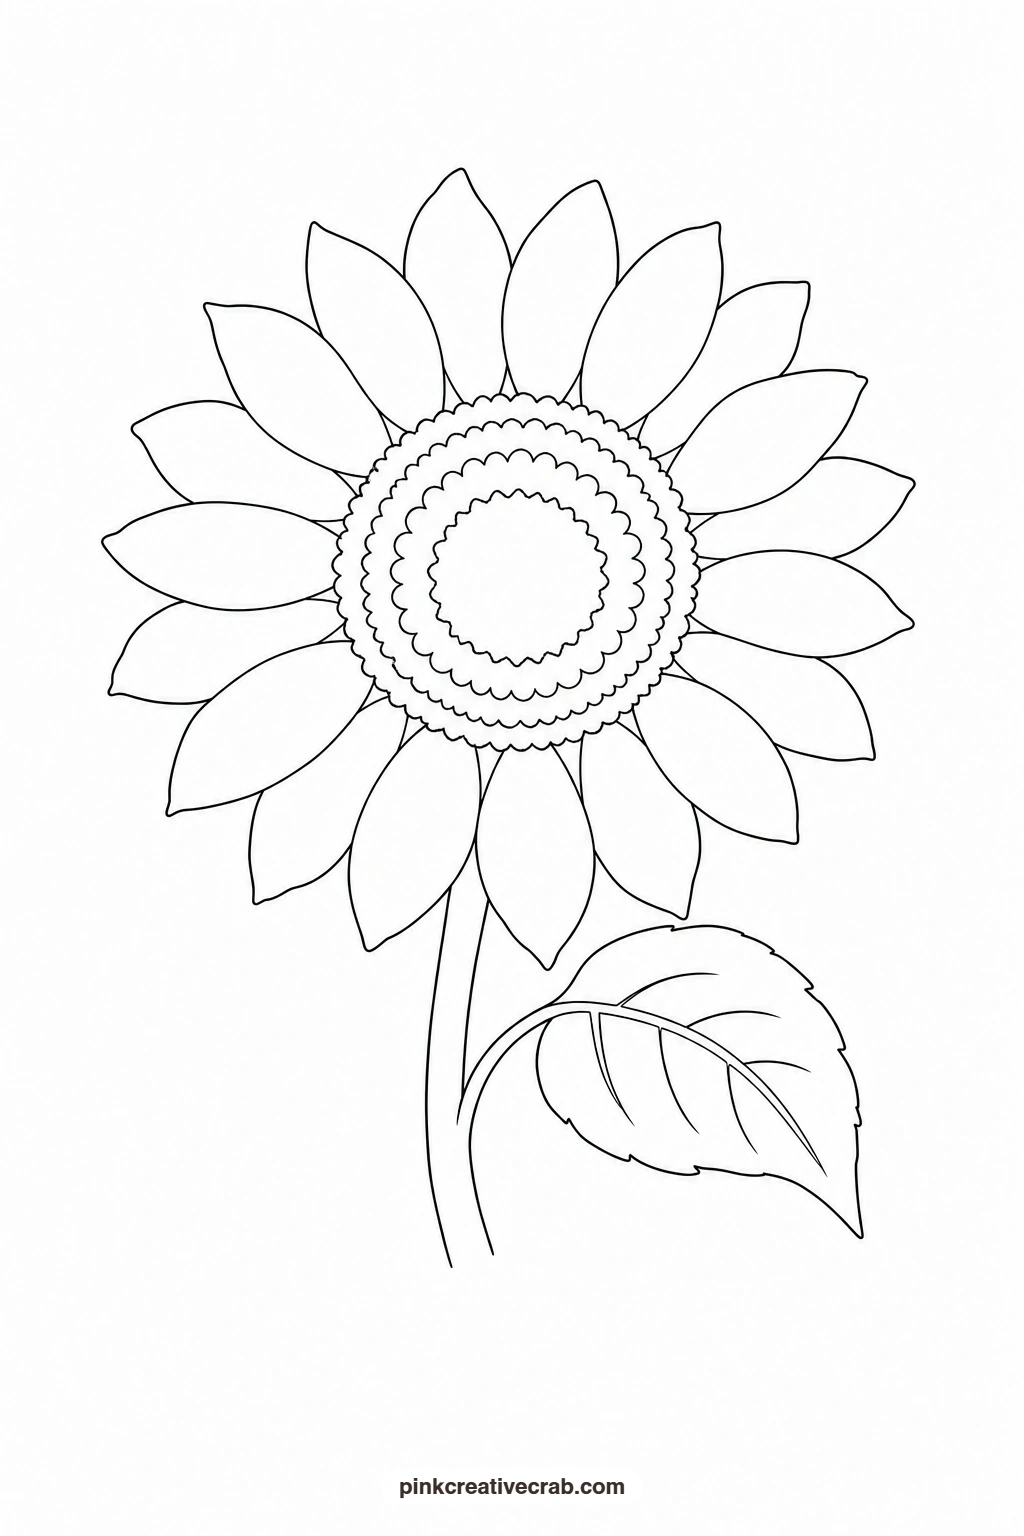
Sunflower Head With One Leaf
Paint the petals in Cadmium Yellow first, adding a thin edge of Burnt Orange at the base of each petal where it meets the center for a sense of warmth. For the center, lay down a flat wash of Burnt Umber, then while damp dab in small flecks of a darker brown with the tip of your brush to suggest the seed pattern without drawing individual seeds. One broad leaf in Sap Green and a short stem complete it.
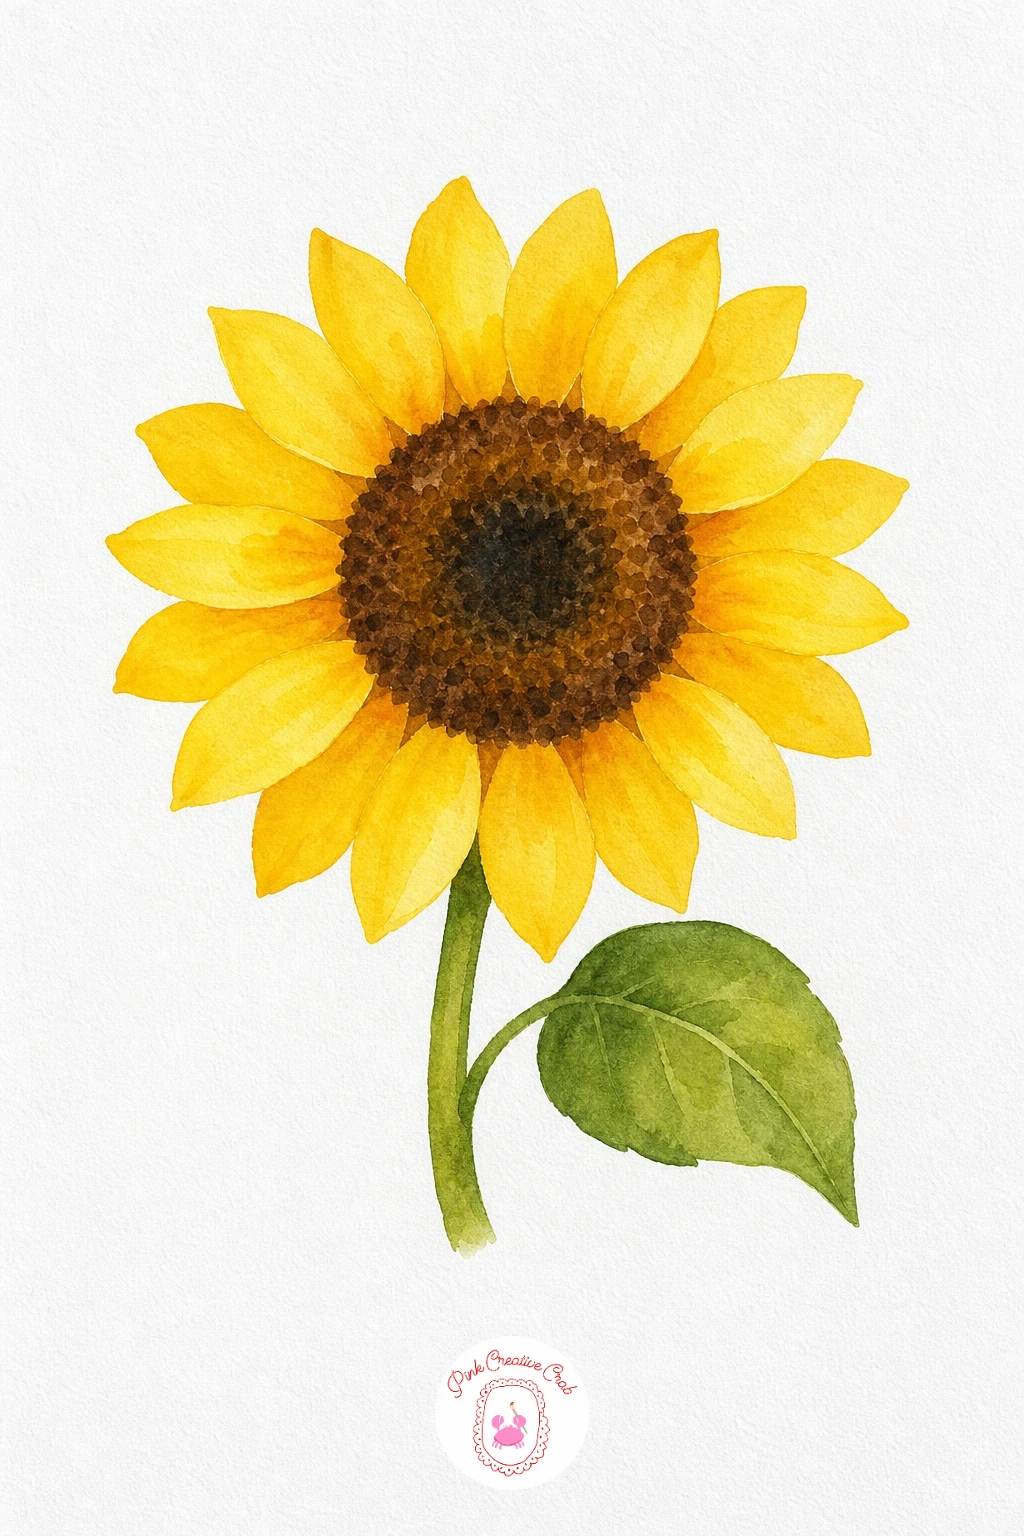
Palette: Cadmium Yellow,Burnt Orange,Burnt Umber,Sap Green
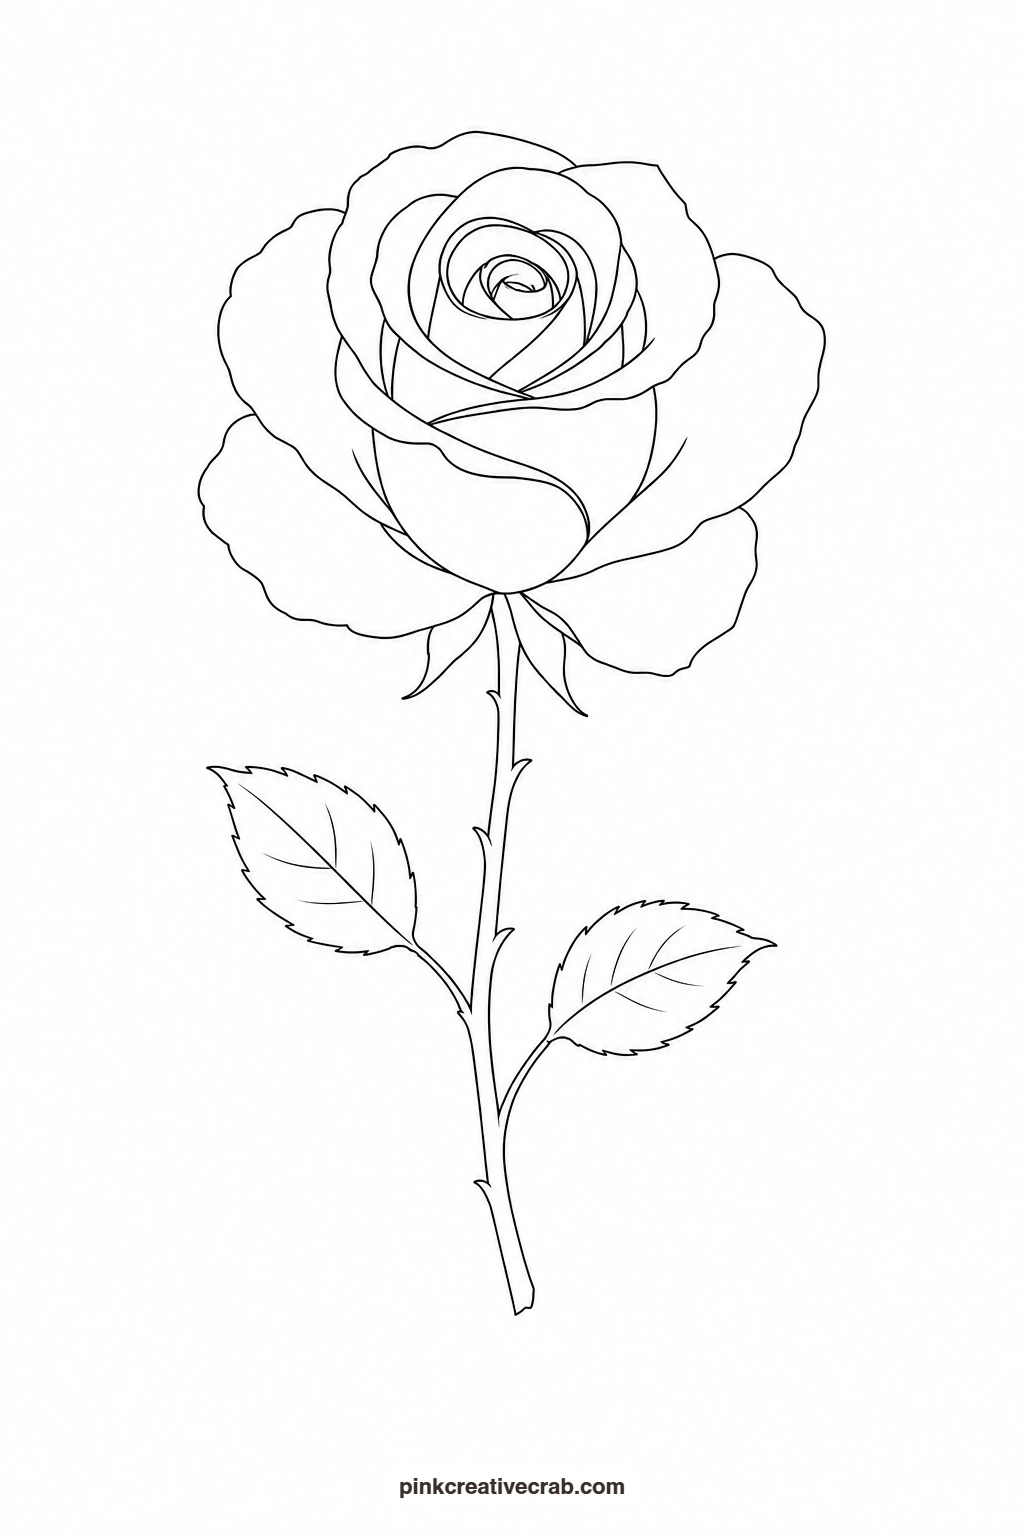
Single Rose on a Stem
Work from the tight center spiral outward with Permanent Rose, keeping the brush drier near the middle for crisper petal edges and wetter toward the outer petals so they soften. Drop a touch of Alizarin Crimson into the shadow side of the bloom while still damp to give it some roundness. The stem and two small leaves in Sap Green should stay simple, thin strokes only, so all the attention stays on the rose itself.
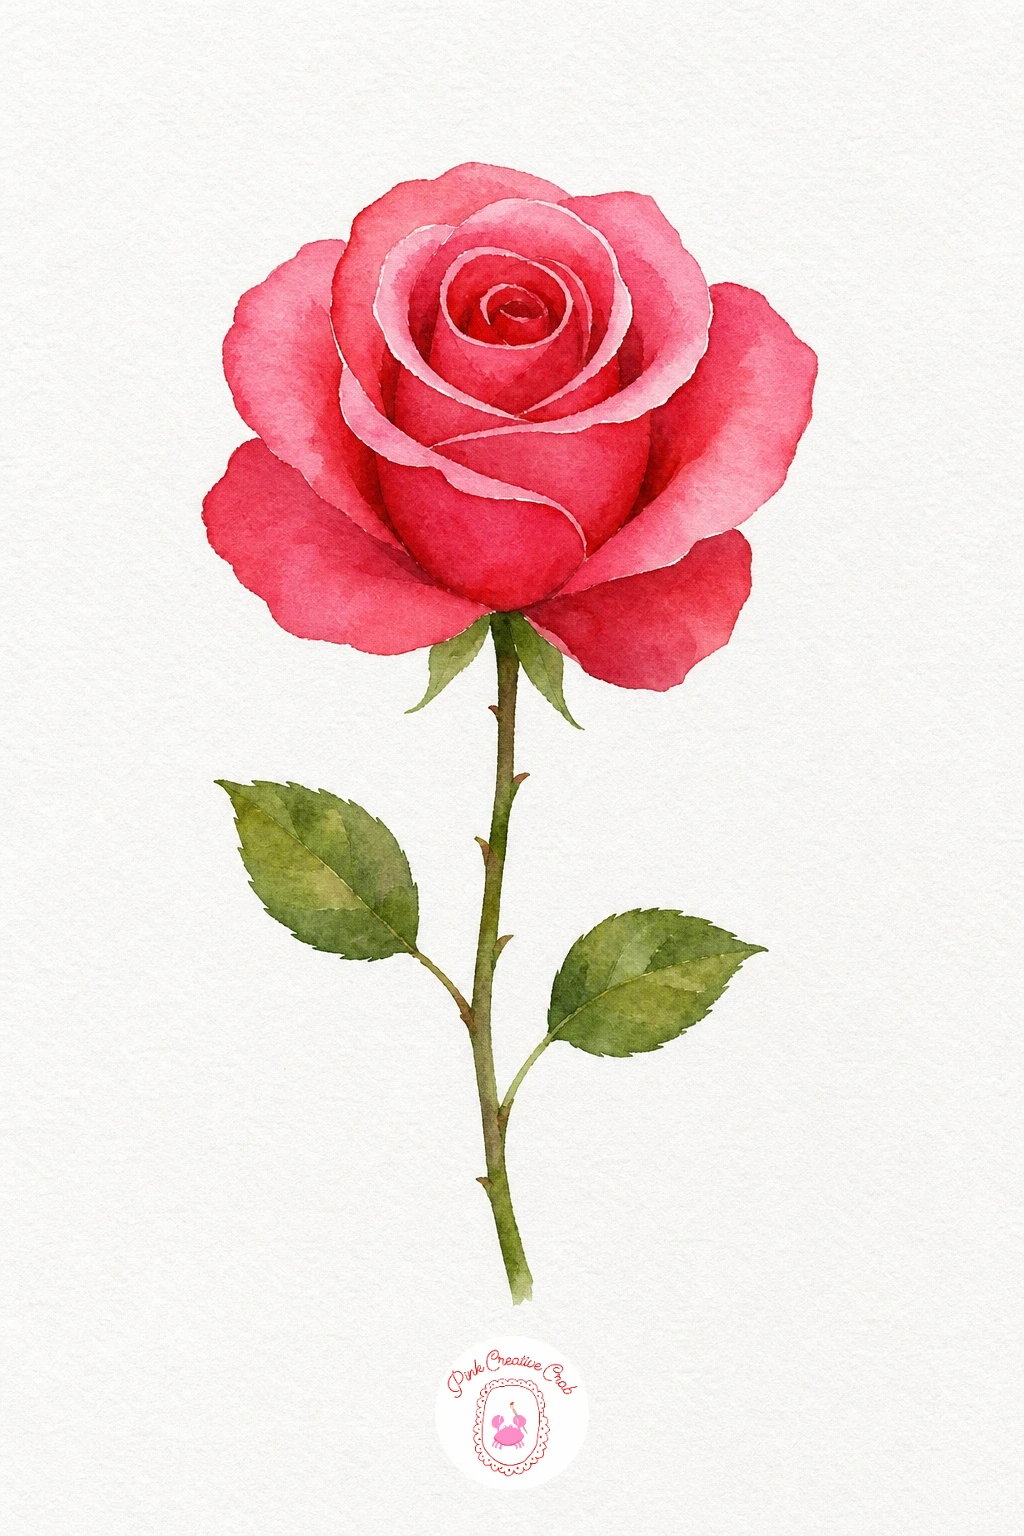
Palette: Permanent Rose,Alizarin Crimson,Sap Green
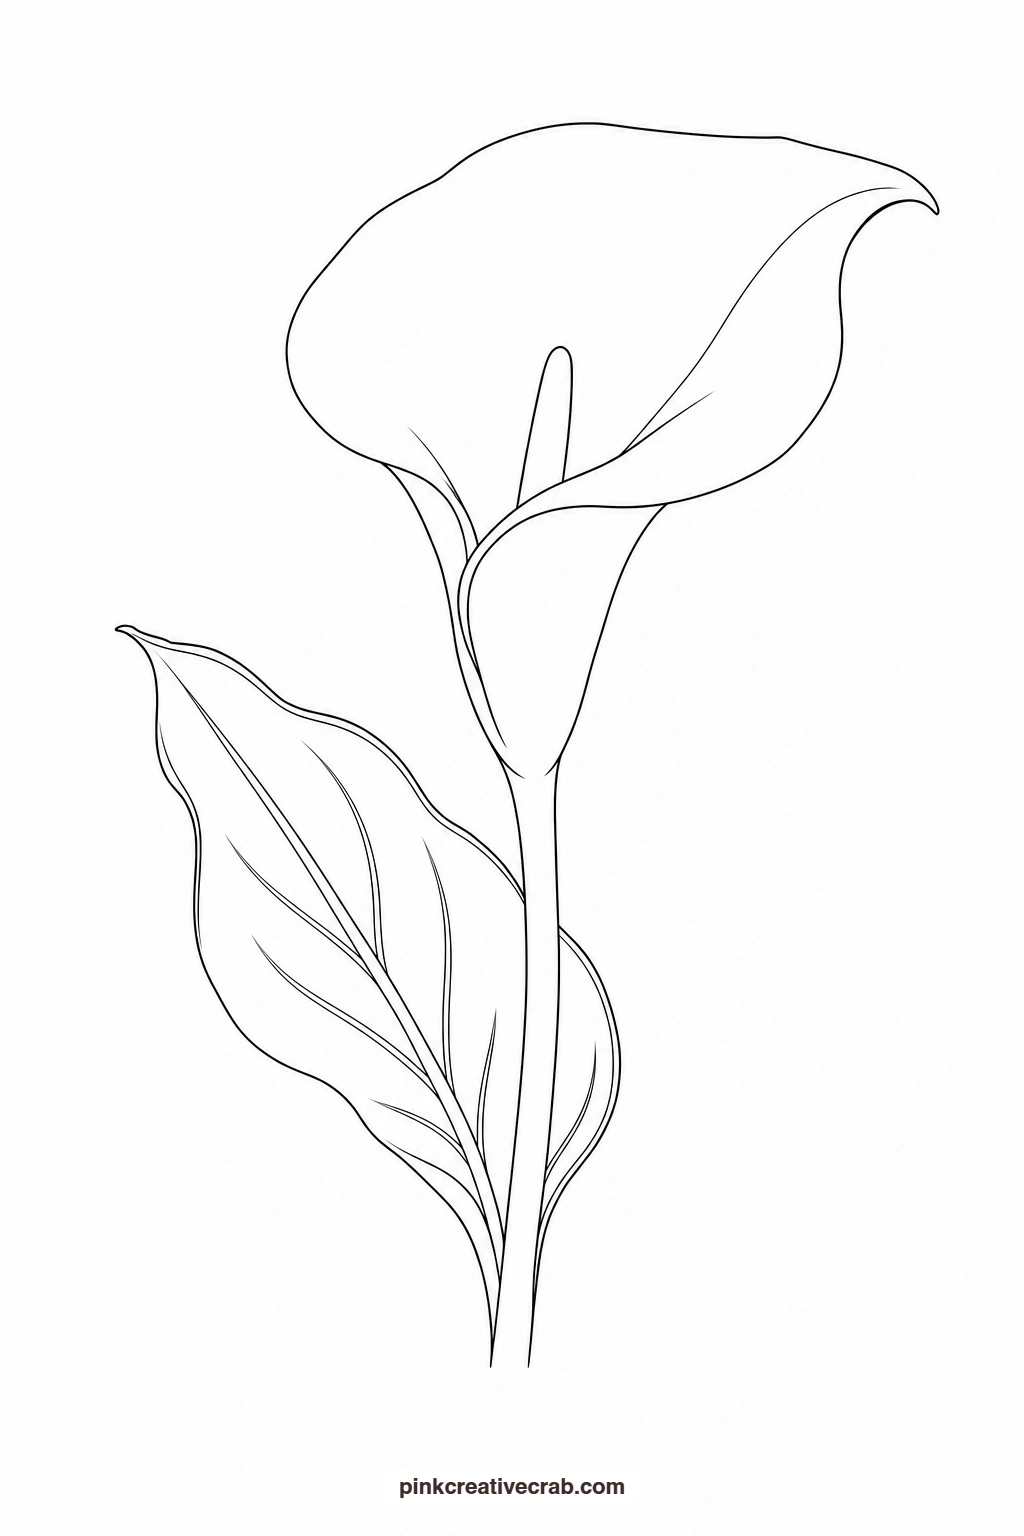
White Calla Lily With One Leaf
Leave most of the trumpet-shaped bloom as bare white paper and paint only a very pale wash of Payne’s Grey along the curled inner edge to suggest its fold. Paint the slender spadix inside in Cadmium Yellow, small and neat since it is the only strong color in the whole piece. The single broad leaf at the base in Sap Green grounds the flower. Transfer this one carefully, since the curve of the bloom is the whole character of the shape.
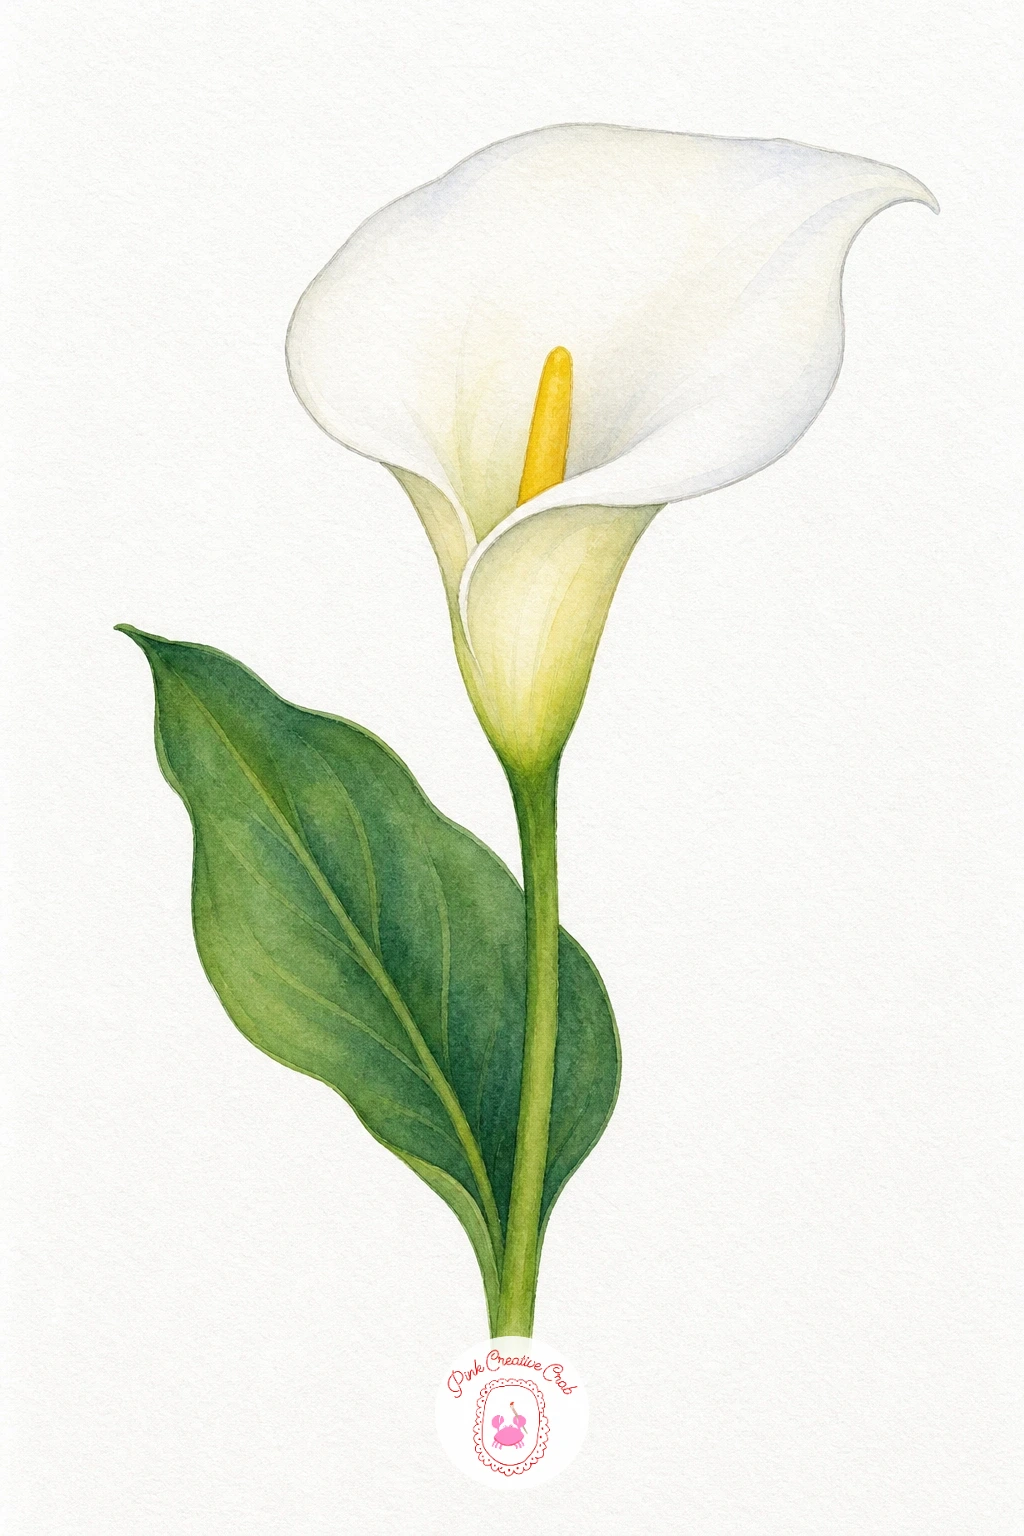
Palette: Payne’s Grey,Cadmium Yellow,Sap Green
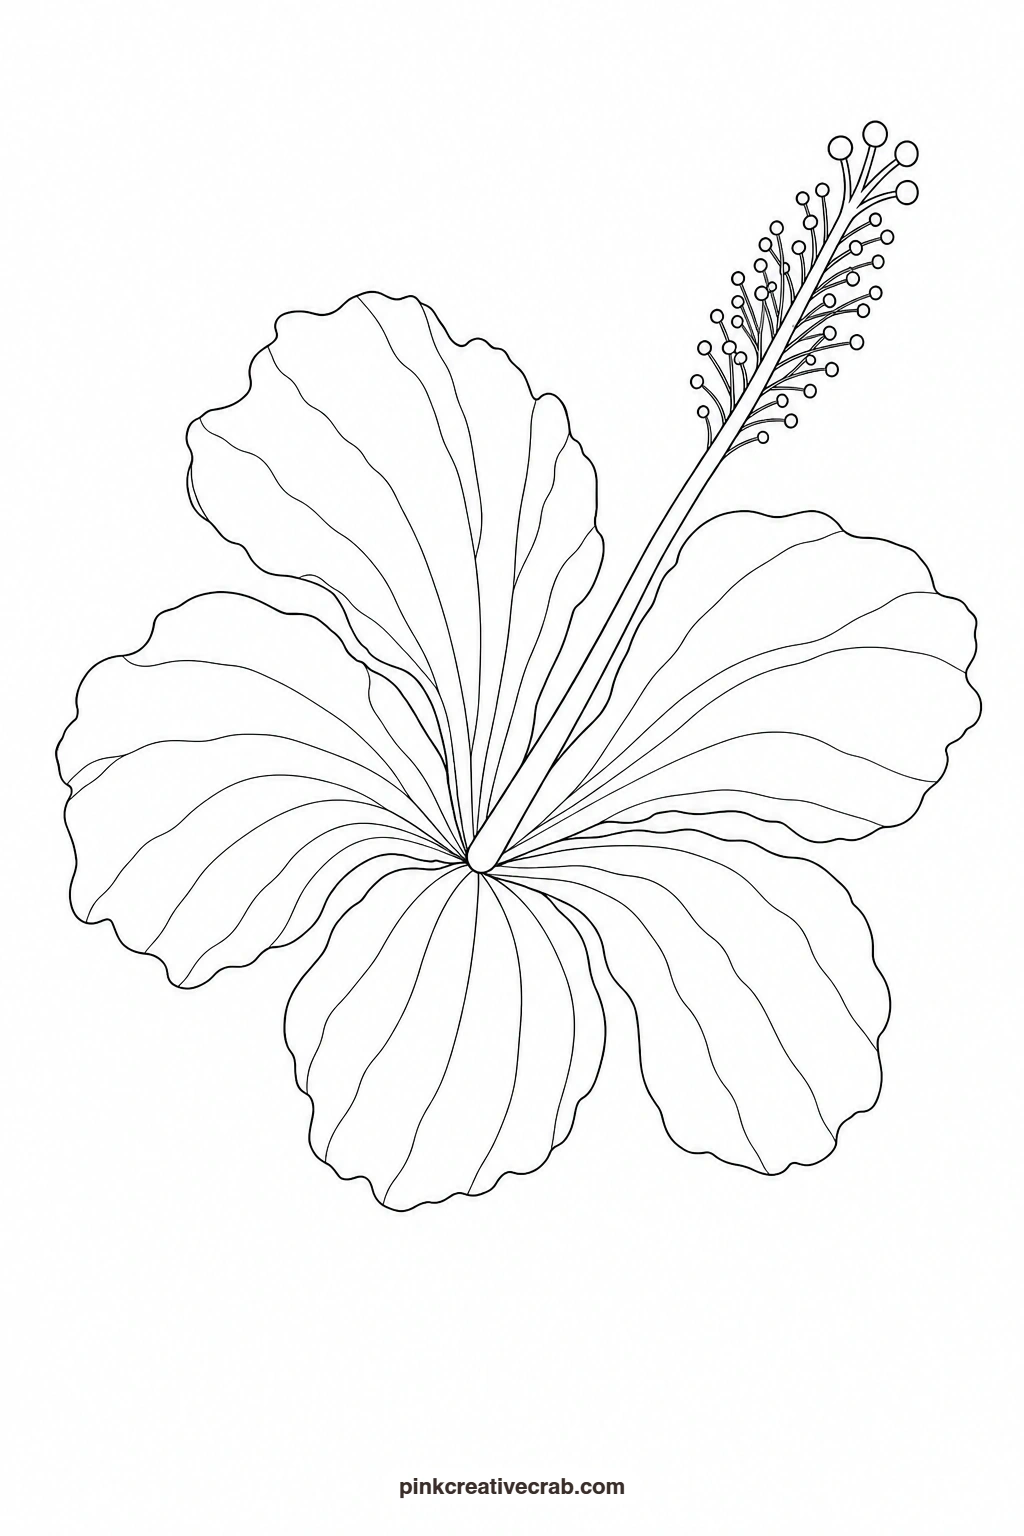
Coral Hibiscus With Long Stamen
Mix a coral wash from Cadmium Orange and a little Opera Pink and lay it flat across all five petals, then while still wet, drop a touch of deeper red into the throat of the flower so color pools naturally toward the center. Let the long stamen dry separately in pale yellow with a tiny dot of orange at its tip. This stamen is the one delicate part of the template, so trace it slowly and keep your brush narrow when you paint it.
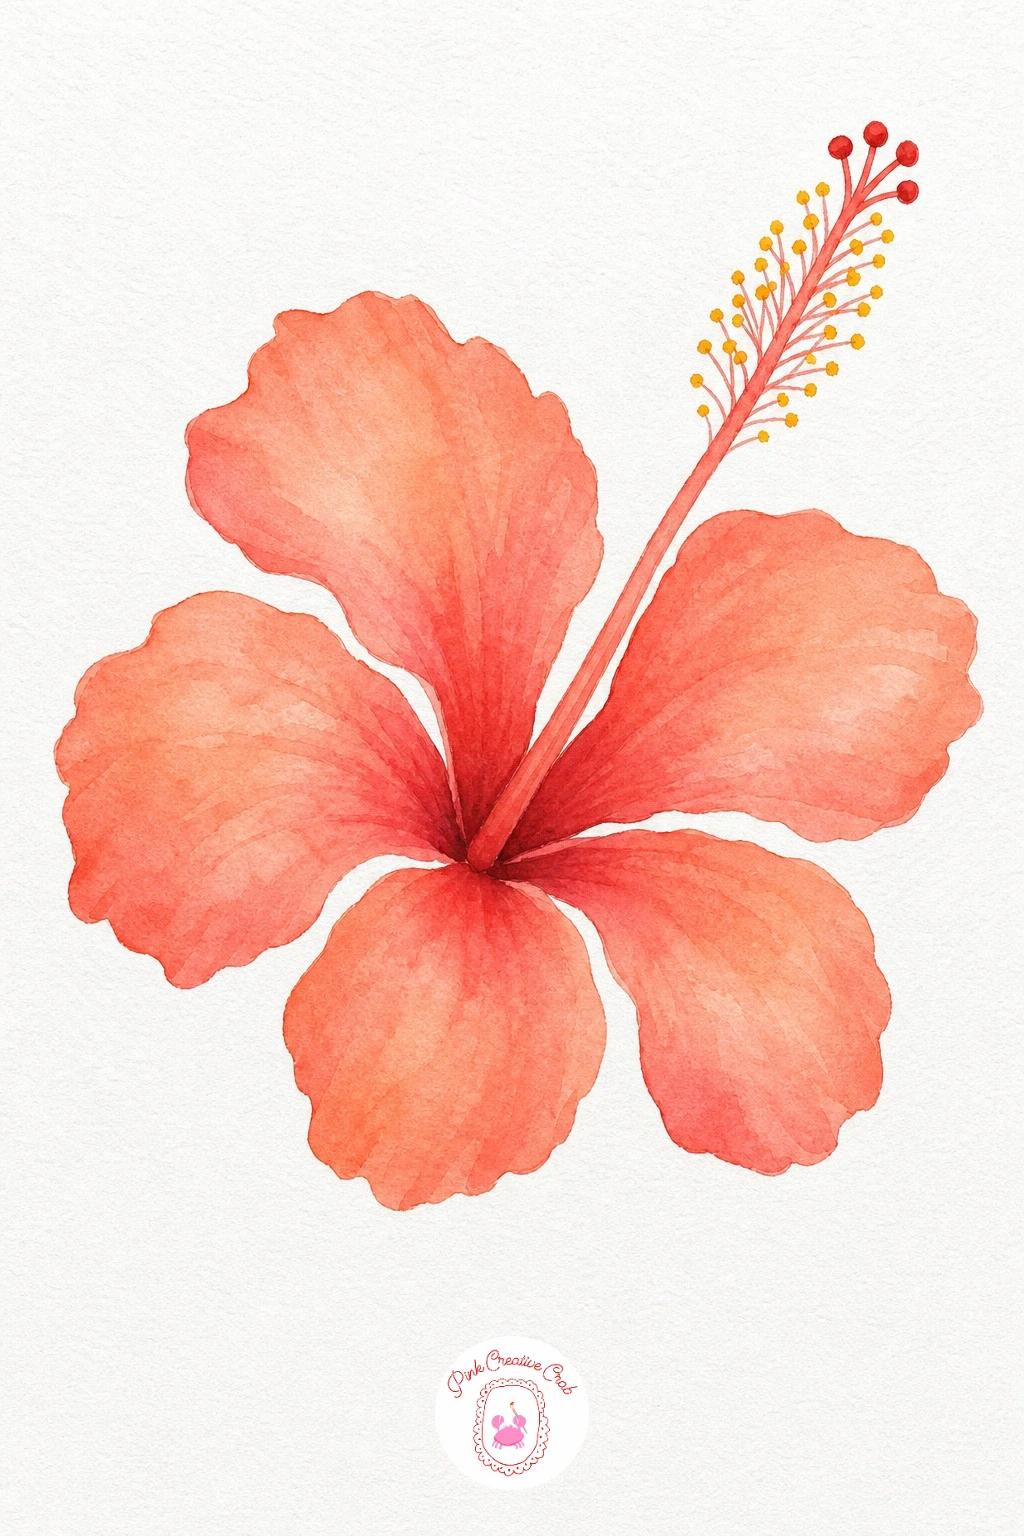
Palette: Cadmium Orange,Opera Pink,Cadmium Yellow
Purple Anemone With Dark Center
Paint the petals in Dioxazine Purple, keeping the wash loose and uneven so some petals come out a shade lighter than others, which is exactly how an anemone looks in real light. Once fully dry, paint the dark center in a near-black mix of Payne’s Grey and Alizarin Crimson, working in tight circular strokes to keep its edge clean. The strong contrast between pale purple and near-black center is the one touch that makes this flower feel finished.
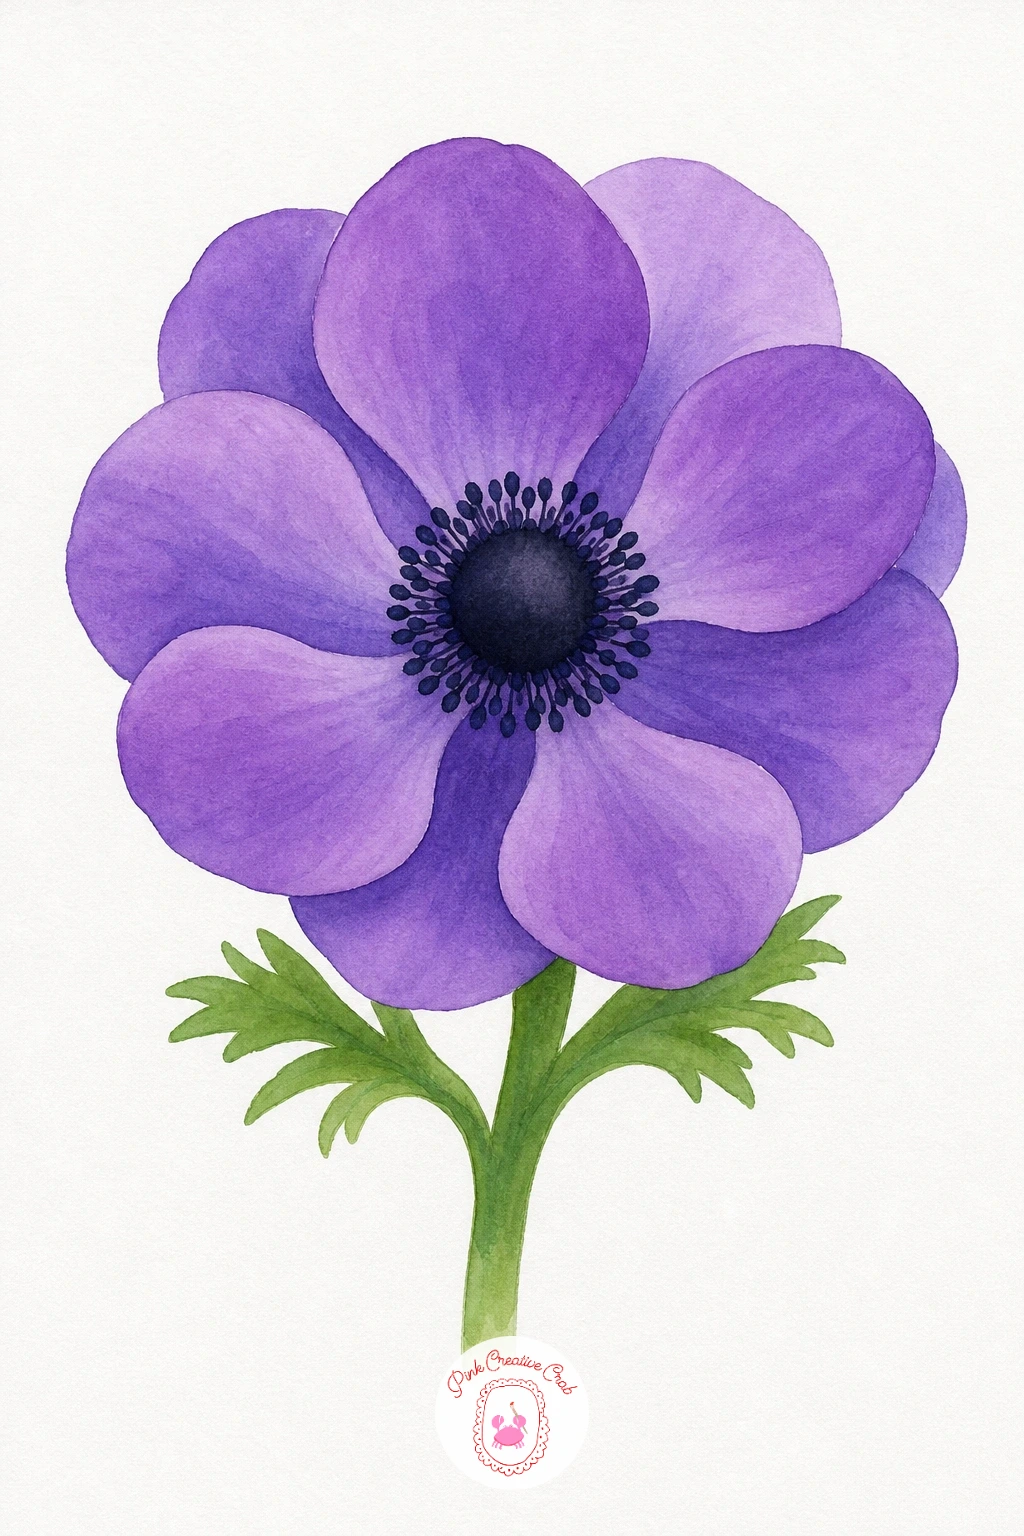
Palette: Dioxazine Purple,Payne’s Grey,Alizarin Crimson
Pink Cosmos on a Thin Stem
Each slender petal gets its own light wash of Opera Pink, pale enough to let a little white paper show through near the petal tips for softness. Paint the small round center in Cadmium Yellow once the petals are dry, and keep it neat and small since cosmos centers are modest compared to a daisy’s. The thin wiry stem in Sap Green should be painted in one quick confident stroke, since a shaky line will fight the delicate feel of the rest of the flower.
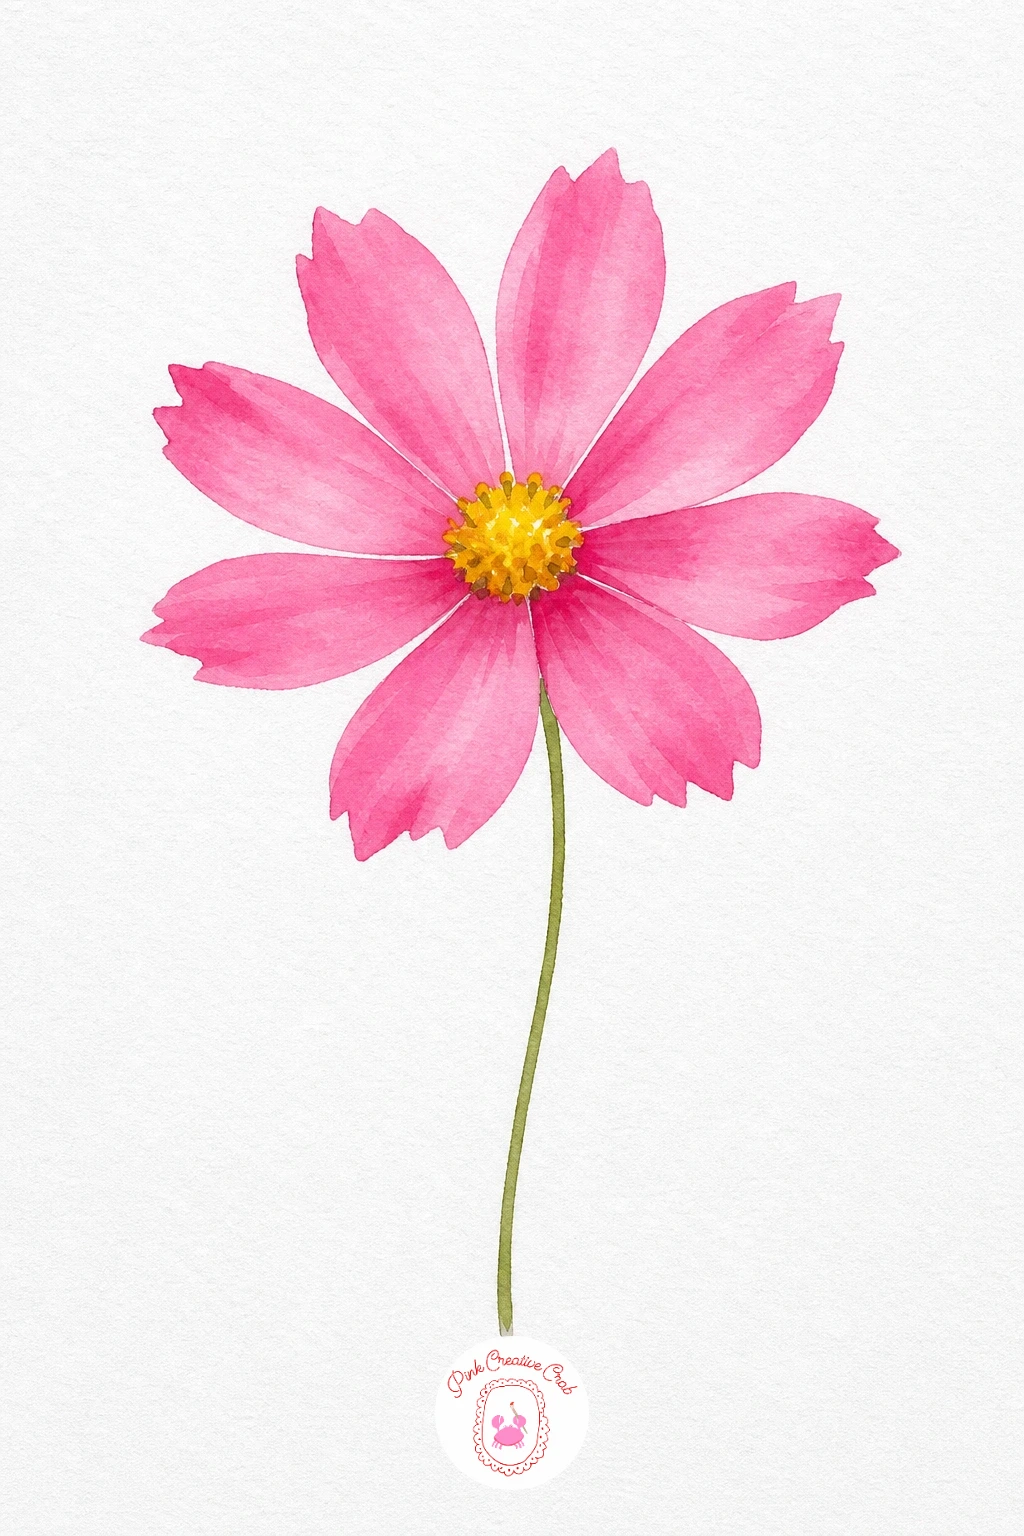
Palette: Opera Pink,Cadmium Yellow,Sap Green
For more thin-stemmed, airy blooms painted in this same relaxed way, this field flower collection is worth a look, and these loose watercolor flowers show how far a confident single brushstroke can go.
What to Do Next
Pick one flower template, print it today, and get it transferred onto your watercolor paper before you decide which to paint, that way the tracing is done and you can go straight to color next time you sit down with your brushes.
Frequently Asked Questions
What size should I print the flower template?
Print it at standard letter or A4 size, which matches a typical watercolor pad page. If your paper is larger, scale the print up slightly so the flower still sits centered with margin around it.
What paper works best for these flower templates?
Use cold press watercolor paper, at least 140lb weight, so it can hold a wet wash without buckling or tearing while you trace and paint over the transferred lines.
How do I transfer the outline onto my watercolor paper?
Tape the printed outline to a sunny window or light pad with your watercolor paper over it and trace the lines in pencil, or slide graphite transfer paper between the two sheets and trace with a pen.
Can I color these flower templates with pencils or markers instead of paint?
Yes, every outline traces cleanly for colored pencils or markers too. Build color in light layers for pencils, and let marker areas dry fully between colors so they do not bleed into each other.
Do I need to copy the colors in the finished example exactly?
No, the palette given is a starting point, not a rule. Swap in your own favorite pinks, oranges or purples once you feel comfortable with how the wash behaves on each shape.
Have any thoughts?
Share your reaction or leave a quick response — we’d love to hear what you think!
-
 0
-
0
-
0
-
0
-
0
-
0


