

Food illustration is the perfect excuse to paint the meals that actually keep you warm all winter, the soups, stews and bubbling pots that smell like someone’s kitchen. Gouache is made for this: it goes down flat and matte, the edges stay crisp, and a bowl of something hot can look just as satisfying on paper as it does on the table.
Below are twenty seven small scenes built around hands, steam and the little rituals of cold weather eating, from a fondue pot shared at a chalet table to a dog waiting patiently for scraps under the table. Work through them in any order, start with whatever you are craving right now, and keep each one small enough to finish in a single sitting.
Using these images: free for personal projects such as printing, coloring, cards, journals and gifts. Handmade items that include them may be sold up to 30 pieces per design. More than that is commercial use and is not permitted, and neither is selling or sharing the images themselves or passing them off as your own. Please ask before any other use.
Minestrone is the friendliest place to start, a big round pot with a wooden spoon resting across the rim. Block in the pot shape first in chocolate brown, leaving the rim lighter where the metal catches light, then paint the soup surface as one flat orange shape dotted with small sage and cream vegetable pieces.
Work from the pot outward: once the main shape is dry, add the handle, the spoon, and a thin curl of steam in pale cream above the rim. If the vegetable dots start looking too busy, simplify to three or four shapes repeated rather than a dozen different ones.
If this is your first time painting steam, keep it to two or three soft curved strokes, loaded lightly with a nearly dry brush so the cream stays thin and wispy against the cream background. No sage green on hand, swap in any muted olive or moss shade from your set.
Finish with one tip: paint the steam last, after everything else is fully dry, so the strokes stay clean instead of dragging wet pigment underneath.
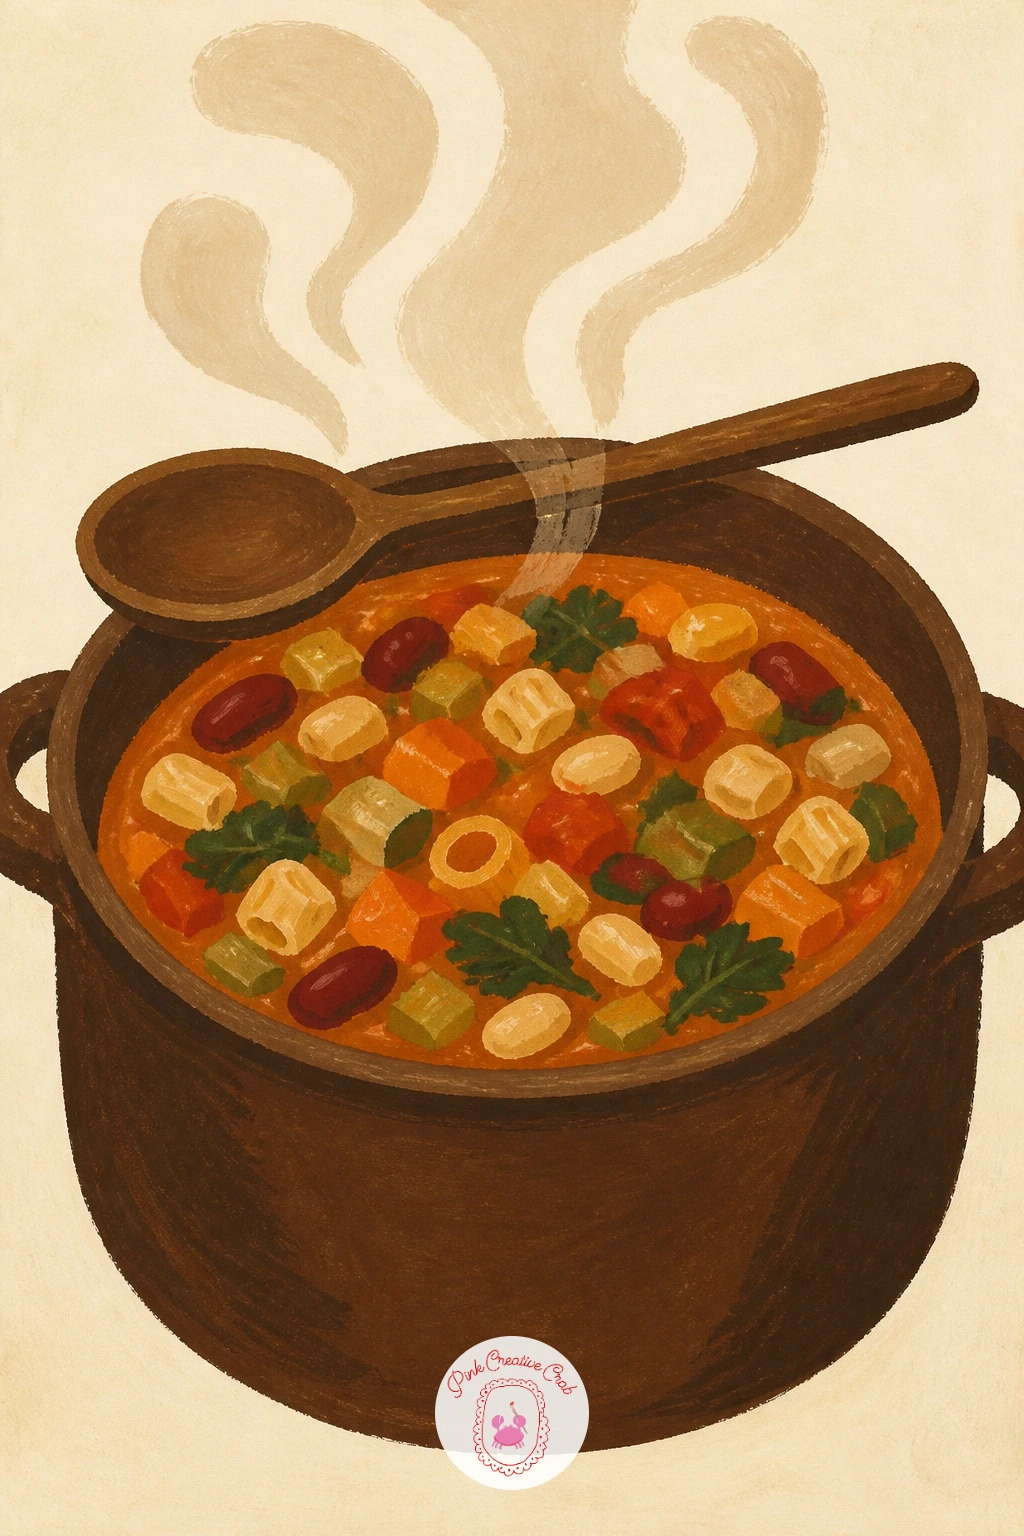
Palette: Chocolate Brown,Soup Orange,Sage Green,Cream
Move from one pot to a shared one: a cheese fondue pot at the center of a small chalet table, with two pairs of hands dipping bread on long forks. Start with the table as a simple cream or cherry red checked shape, then add the black fondue stand and the orange-cream cheese pooling inside the pot.
Paint the hands and forks last in small confident strokes, keeping fingers as simple rounded shapes rather than detailed knuckles. Eye level matters here: sit the pot at the center of the table and let both pairs of hands reach toward it from either side, which reads instantly as a shared meal rather than two separate people.
If hands feel tricky, simplify them to mitten-like shapes holding a fork, it still reads clearly at this scale. For more cheese and fondue scenes to build out a whole series, the cheese drawing ideas collection has plenty of chalet table inspiration.
Today’s tip: paint the melted cheese pour first, while it can still move and pool, before locking in the pot edges on top.
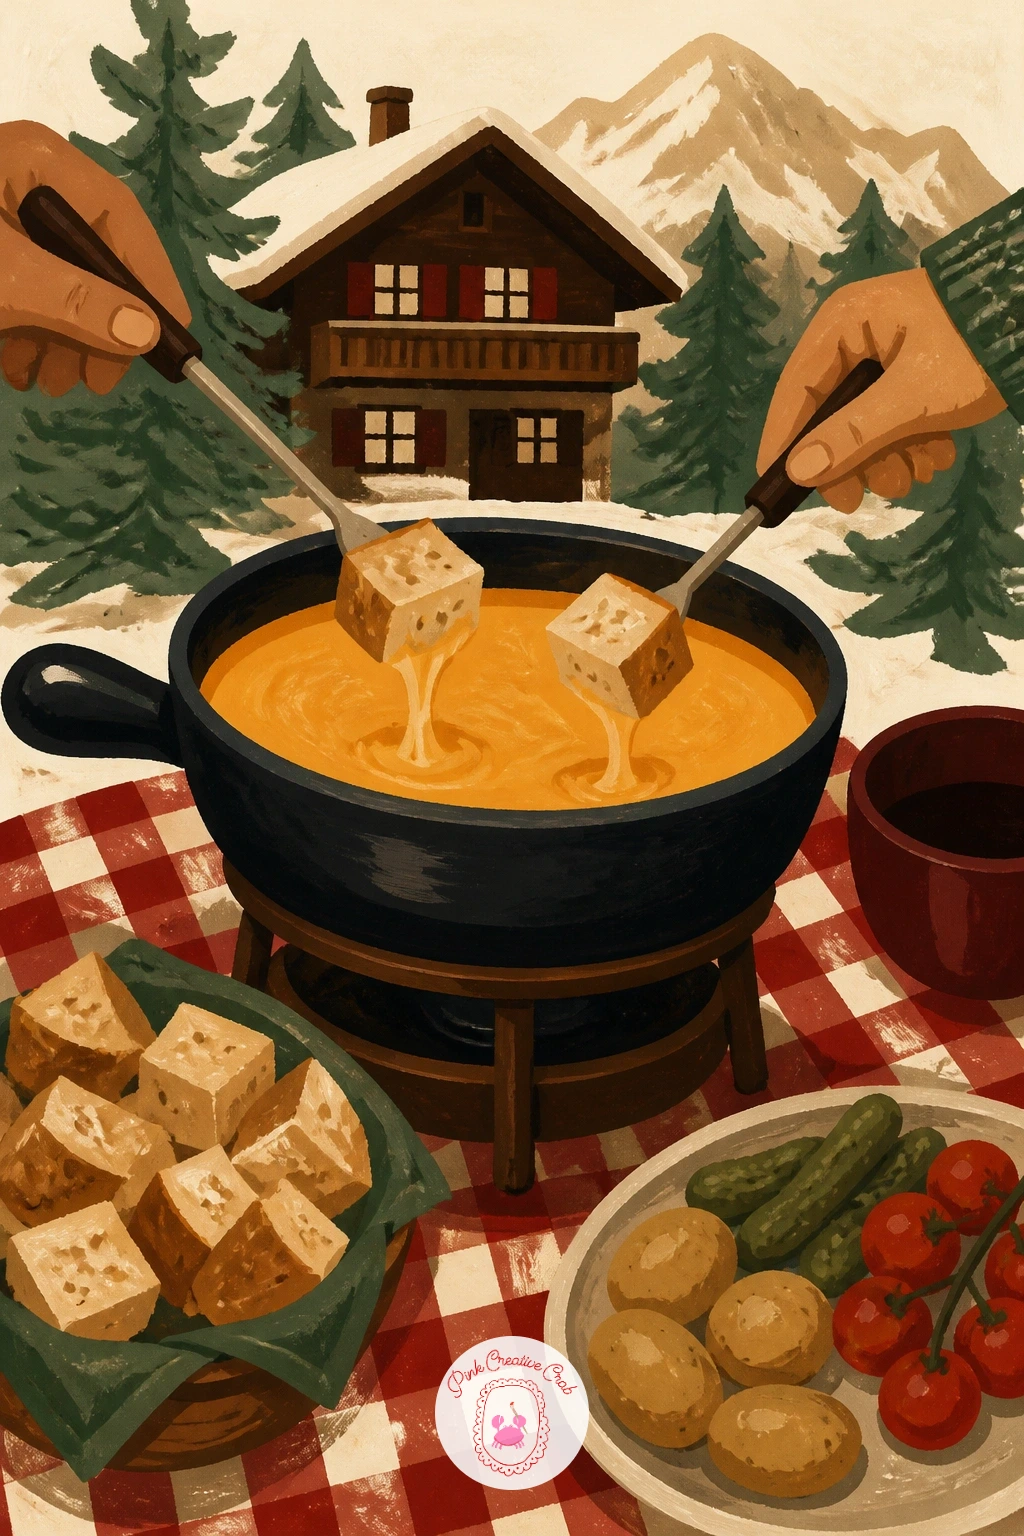
Palette: Chocolate Brown,Cheese Orange,Cherry Red,Cream
Pot pie rewards patience with the crust, so start there. Paint the dish as a round cream shape, then build the golden top in small overlapping triangle and curve strokes of chocolate brown and soup orange, leaving tiny cream gaps between each one so it reads as flaky rather than smooth.
Once the crust is dry, add a vent cut in the center and let a thin plume of steam rise from it in pale cream. The common mistake is overworking the crust until it turns muddy brown all over, so stop as soon as you have enough texture strokes to suggest the whole surface, even if a few gaps of bare cream show through.
No deep pie dish to reference, any round casserole or shallow bowl photo works the same way for shape. Keep the dish itself plain so the crust stays the star of the picture.
One tip to finish: dab the darkest brown only on the raised crust points, where real baked pastry would catch the most color.
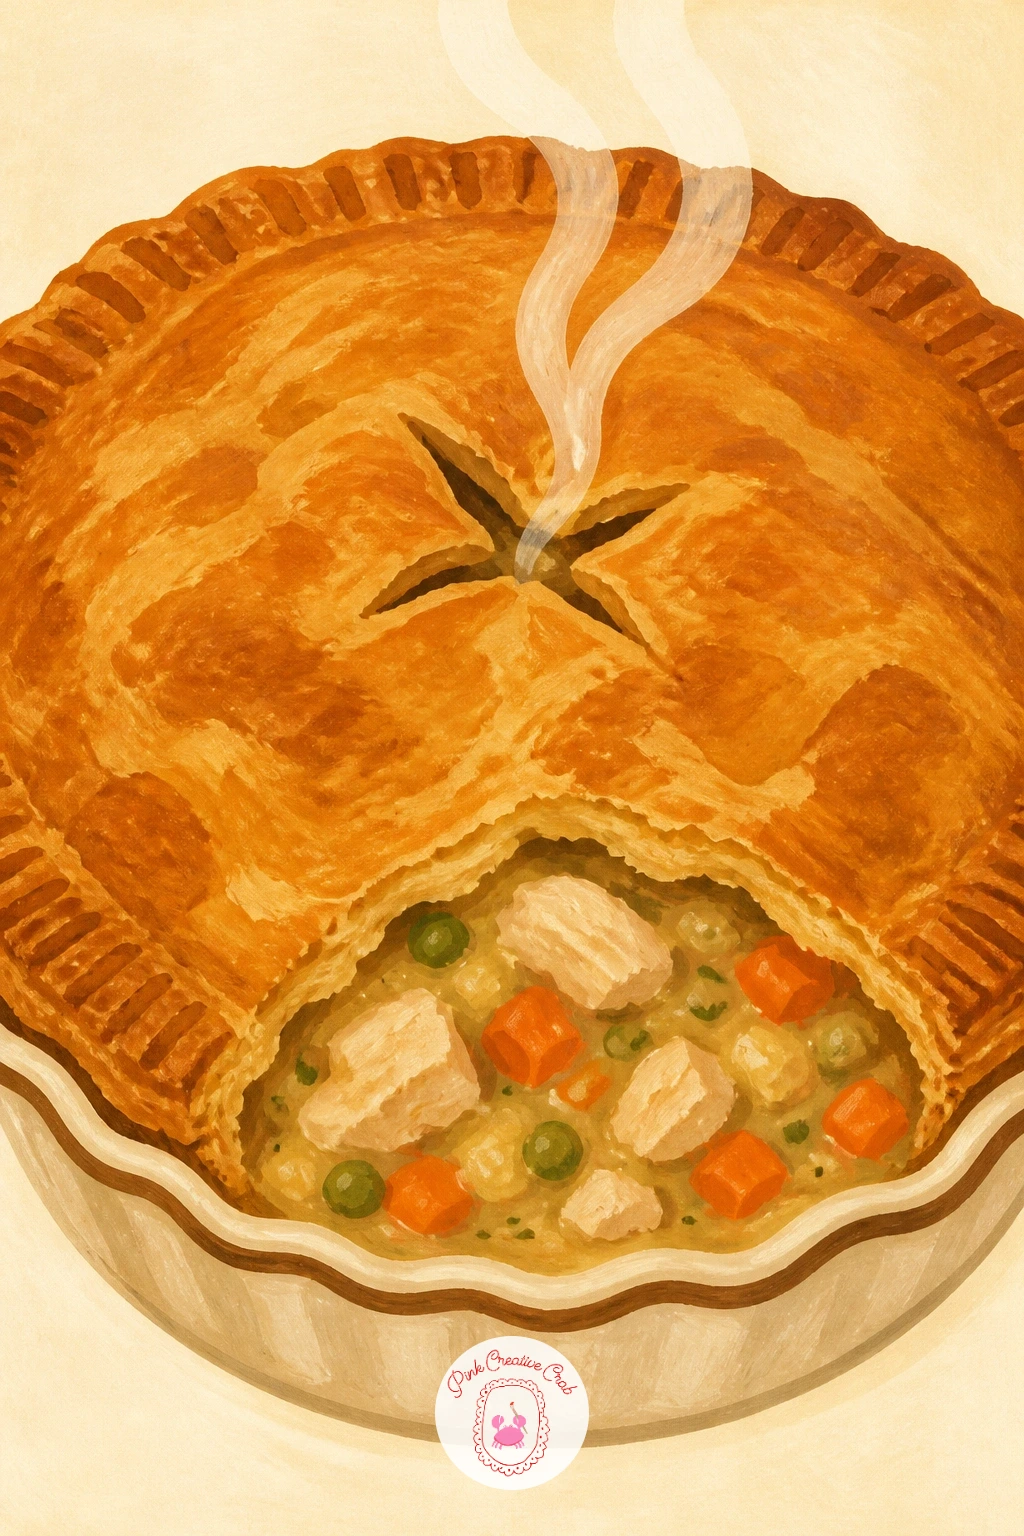
Palette: Chocolate Brown,Soup Orange,Cream,Sage Green
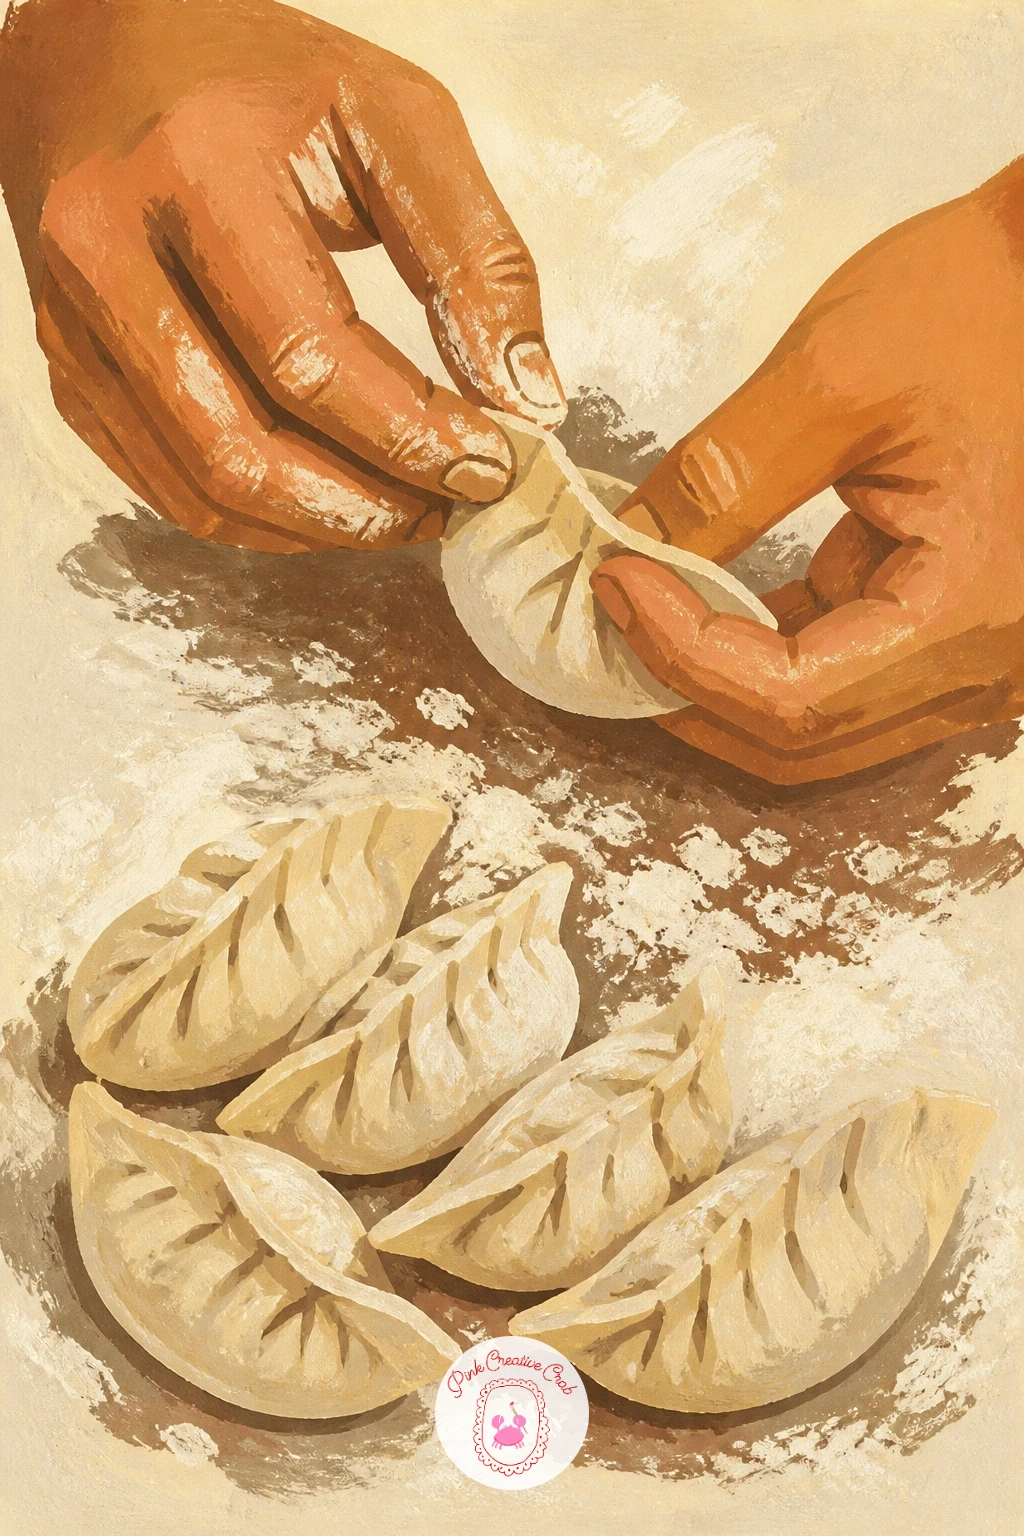
Dumplings bring hands into focus again, this time mid-fold around a scattering of flour on the table. Paint the tabletop first as a flat cream shape dusted with tiny white gouache specks, then add a small pile of folded dumplings and one pair of hands pleating a fresh one.
Build the hands as simple rounded shapes with the fingers merging rather than separated, since too much finger detail at this scale tends to look stiff. The texture trick here is the flour: once the table is dry, flick a loaded brush gently with your thumb to scatter tiny white dots, or press a dry stiff brush lightly for a softer dusting.
If a toothbrush is handy, a light flick of white gouache gives a more convincing scatter than painted dots. Keep the dumpling shapes plump and slightly uneven, since perfectly symmetrical folds look less handmade.
Finish with one tip: paint the flour dust as the very last step, over everything else once fully dry, so it sits on top like a real dusting.
You Will Need
- white gouache for flour flecks
- toothbrush for splatter
Palette: Cream,Chocolate Brown,Soup Orange,White
Ramen is all about layering a few flat shapes in the right order. Start with the bowl as a simple cream or sage curved shape, then fill it with a flat soup orange broth, and lay the noodles on top as loose curved cream strokes that bunch and overlap near the center.
Add the soft egg last, halved to show the soft orange yolk against white, plus a few sage scallion rounds scattered over the top. Sitting the bowl on a counter with a stool or two nearby instantly reads as a noodle bar rather than a home kitchen, so a hint of counter edge in the background does a lot of work.
If the noodles start looking like a tangled mess, pull back to five or six confident curved strokes rather than dozens of thin lines. No ramen bowl to look at directly, any photo of noodle soup online will do for the noodle shapes.
Today’s tip: paint the egg yolk as a small bright soup orange dot while the white is still slightly wet, letting the edge soften just slightly for a glossy look.
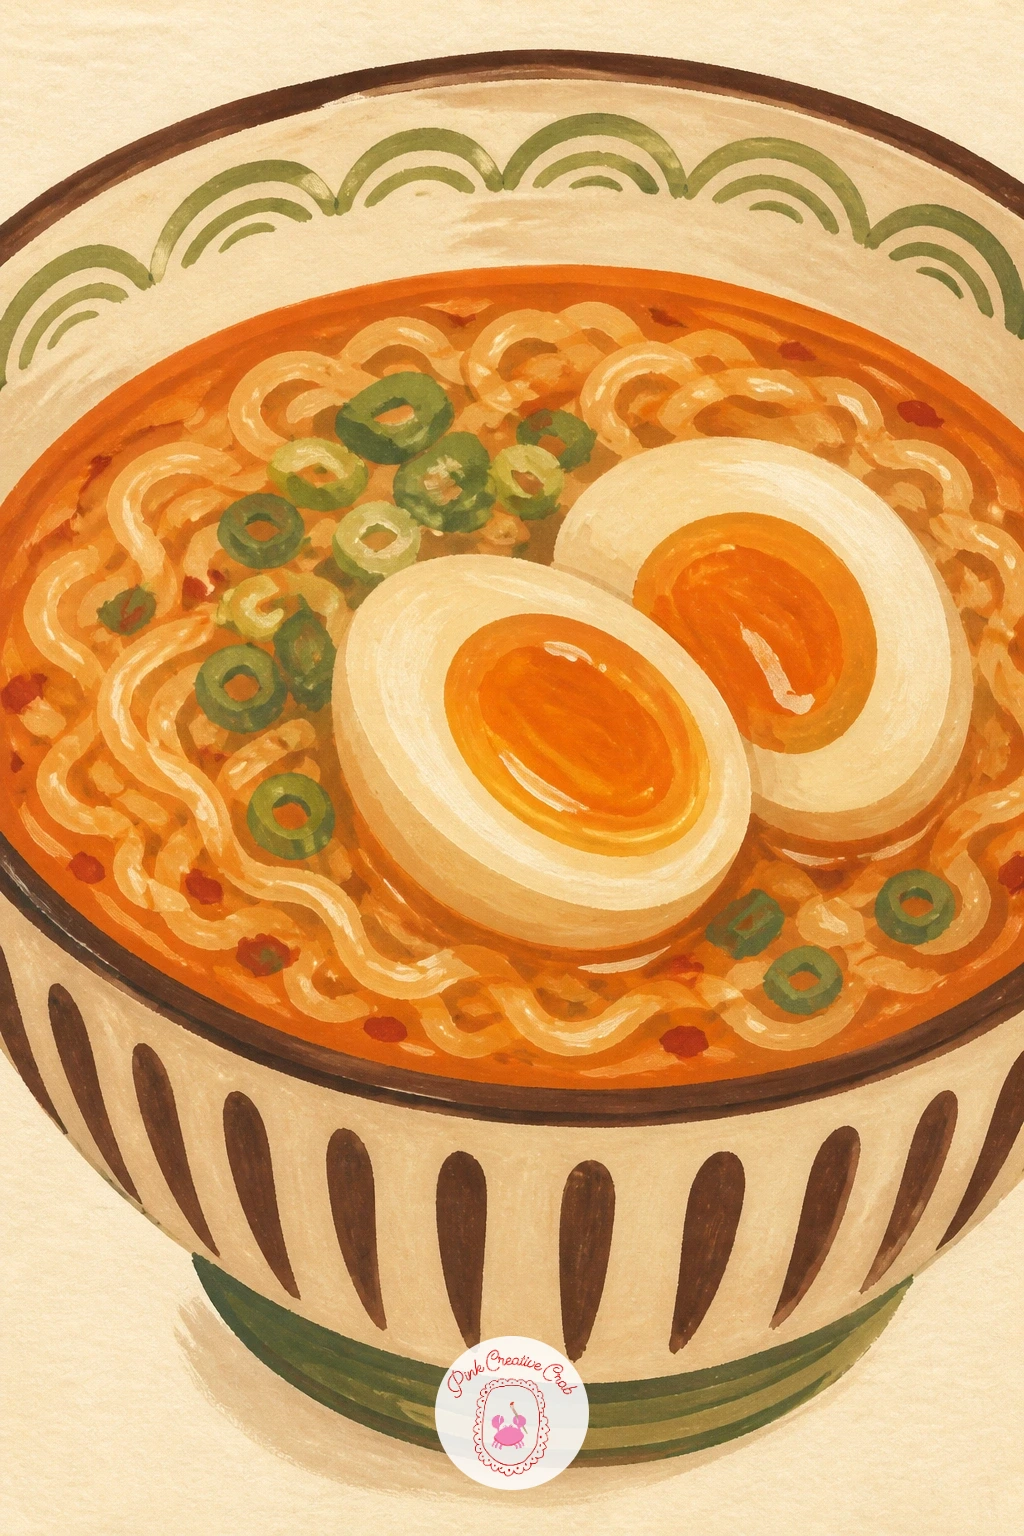
Palette: Soup Orange,Cream,Sage Green,Chocolate Brown
This scene captures the pour itself, stew dropping from a ladle into a deep bowl below. Paint the cast iron pot first as a solid chocolate brown shape with a slightly lighter rim catching light from above, then add the bowl underneath, slightly offset so the ladle can connect the two.
Think about where the light sits before you paint the pour: if the light comes from the upper left, the stream of stew and the steam above the bowl should both lean the same direction, which ties the whole scene together instantly. Paint the falling stew as one continuous soup orange ribbon rather than a row of separate drips.
If pouring liquid feels intimidating, simplify it to a single thick curved stroke rather than trying to show droplets. A dollop of white gouache mixed lightly into the brown gives the stew chunks a sense of carrot and potato without painting each piece separately.
One tip: paint the ladle last, resting it slightly behind the pour so the stream reads as still falling rather than frozen in place.
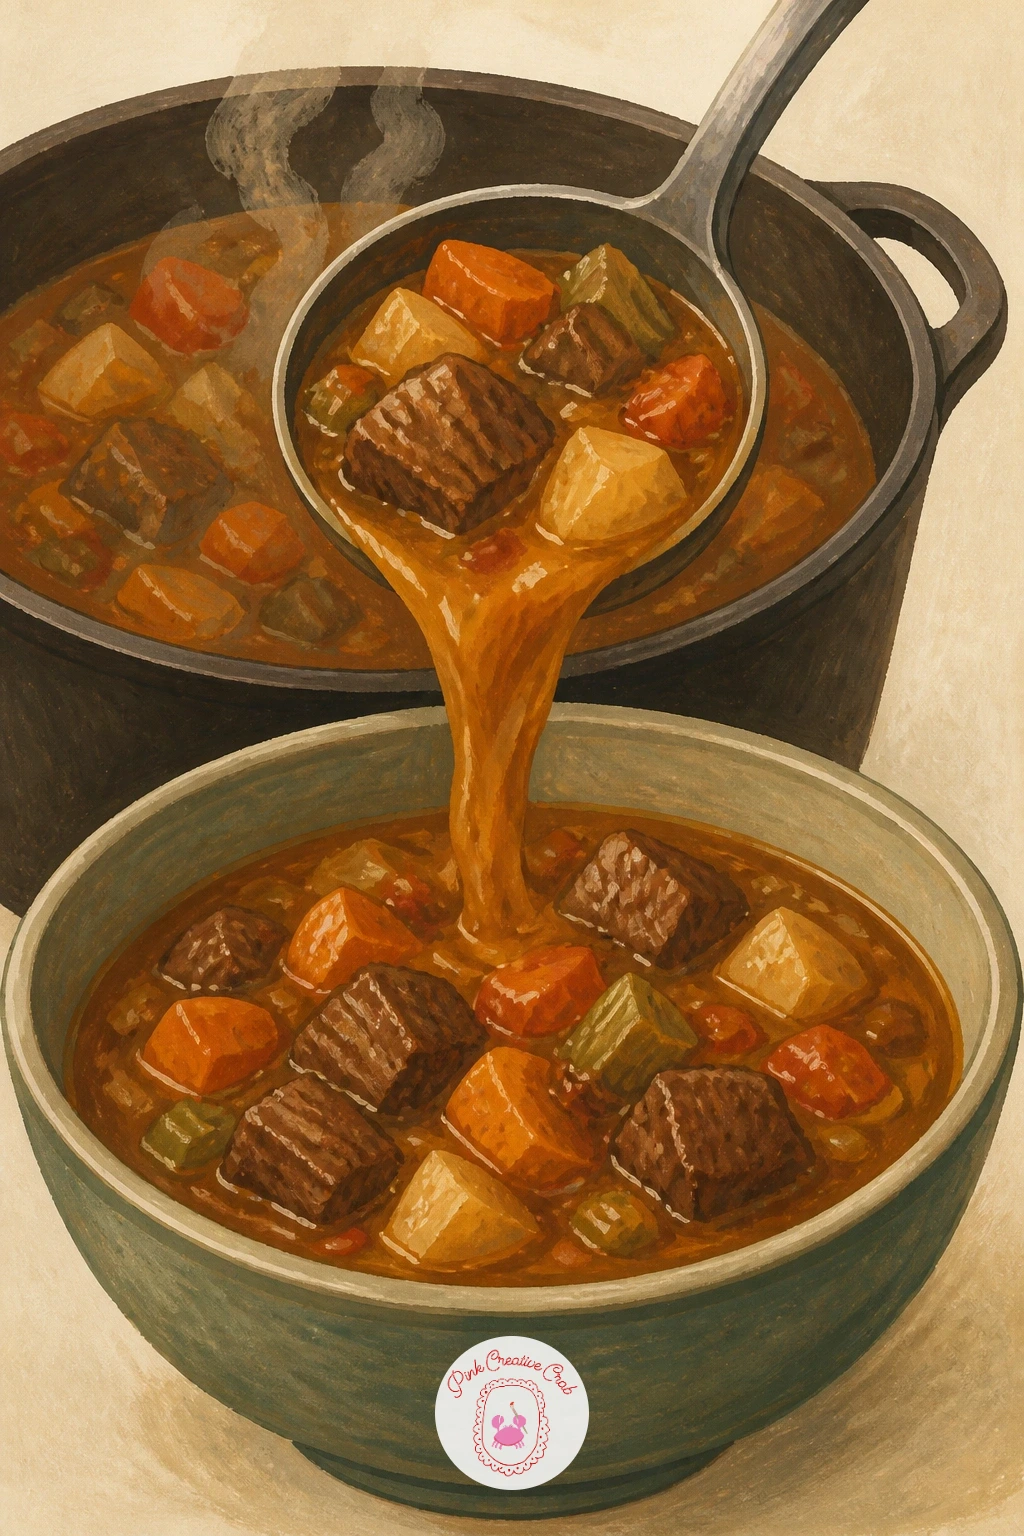
Palette: Chocolate Brown,Soup Orange,Cream,Sage Green
Shepherd’s pie leans on its crispy potato peaks for personality. Paint the dish as a shallow oval in cream, then build the potato topping in short upward strokes of cream and pale brown that end in little pointed peaks, letting a few tips go slightly darker where they would have browned under a grill.
Once the topping is dry, tuck a glimpse of soup orange filling along one edge where a serving spoon has already dug in, which gives the whole dish a sense of being mid-meal rather than untouched. Set the dish on a cherry red and cream checked cloth to ground the scene in a cozy kitchen table.
The common mistake is making every potato peak the same height and angle, so vary them, some tall and sharp, some soft and rounded. If checked cloth patterns feel fiddly, simplify to a handful of simple crossing lines rather than a dense grid.
Finish with one tip: dab the peak tips with the tiniest point of white gouache highlight once everything else is fully dry.
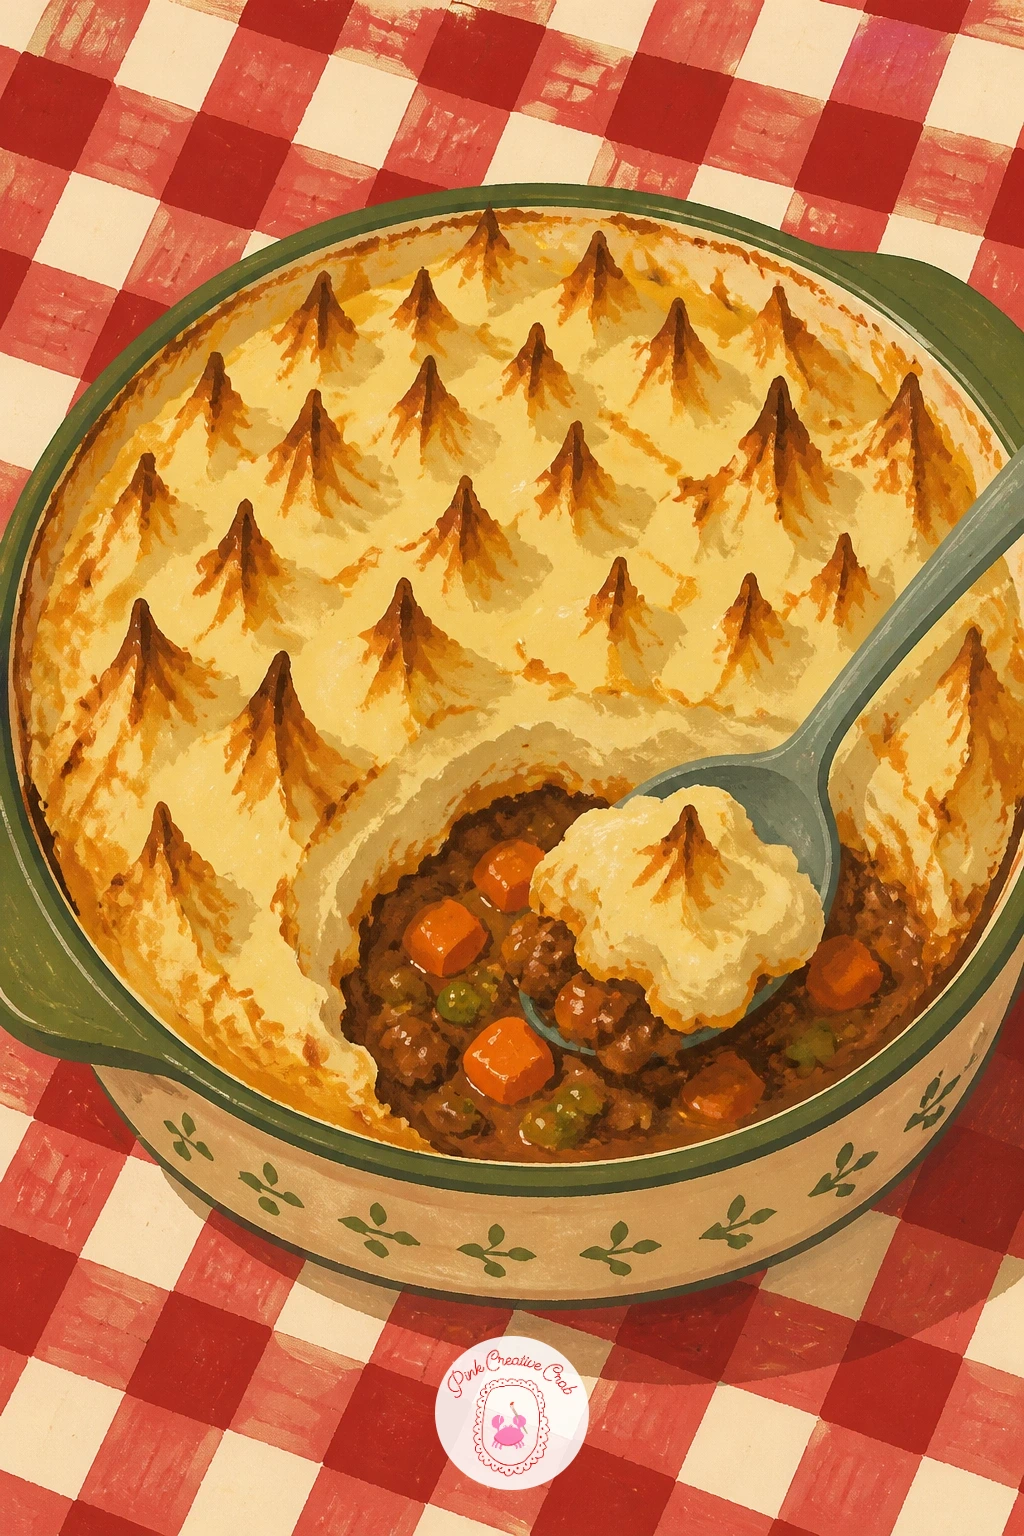
Palette: Cream,Chocolate Brown,Soup Orange,Cherry Red
Raclette gives you a chance to paint cheese actually mid-melt, scraped warm over a small plate of potatoes. Start with the little grill or pan shape in chocolate brown, then paint the cheese as a soft drooping orange-cream shape caught halfway between the grill and the plate below.
The trick for convincing melted cheese is working wet into wet just slightly, letting the edge of the orange cheese blur softly into the cream rather than staying crisp like the rest of the painting, which reads instantly as something soft and hot. Keep the potato rounds underneath simple and flat so they do not compete with the cheese.
No raclette grill to reference directly, any small cast iron pan works for the shape, since the cheese pour is what makes the scene. If the melt looks stiff, add a few thin drips trailing down toward the plate.
One tip for today: paint the steam above the cheese in just one or two short curved strokes, less is more convincing here than a thick cloud.
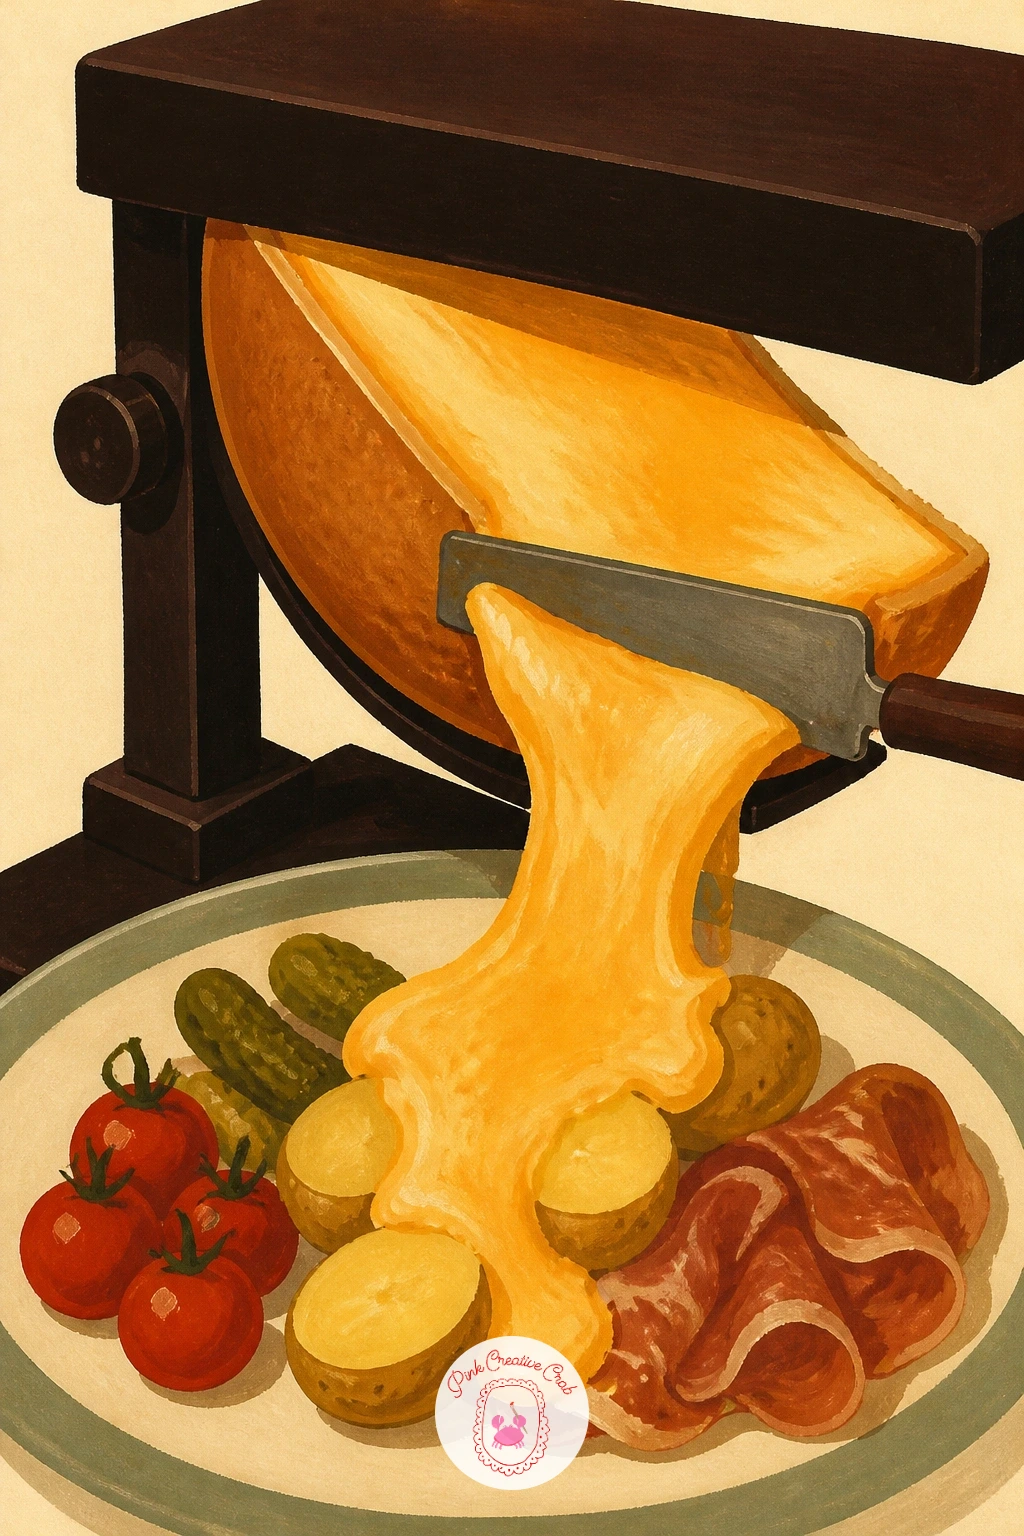
Palette: Chocolate Brown,Cheese Orange,Cream,Sage Green
Try painting the cheese pour at a slight diagonal rather than straight down, it reads more like gravity caught it mid-drip and feels livelier on the page.
Pho moves the focus to one hand adding the final herbs and lime over a bowl of broth. Paint the bowl and broth first in soup orange and cream, with noodles and a few thin beef slices suggested in simple overlapping shapes, then add the hand reaching in from one side holding a sprig of herbs or a lime wedge.
Keep the hand simple and slightly loose, a rounded palm shape with a few short strokes for fingers, since an overly detailed hand pulls attention away from the bowl itself. Herb sprigs work best as small sage green clusters rather than individual leaves, dropped in just above the broth surface.
If the hand feels too hard to place convincingly, crop it so only the fingers and a bit of wrist show entering the frame, which is an easier angle to paint than a full hand. A lime wedge in cherry-tinted cream adds a nice bright accent near the rim.
Today’s tip: paint the hand’s shadow faintly on the broth surface below it, which anchors it as actually reaching into the bowl rather than floating above it.
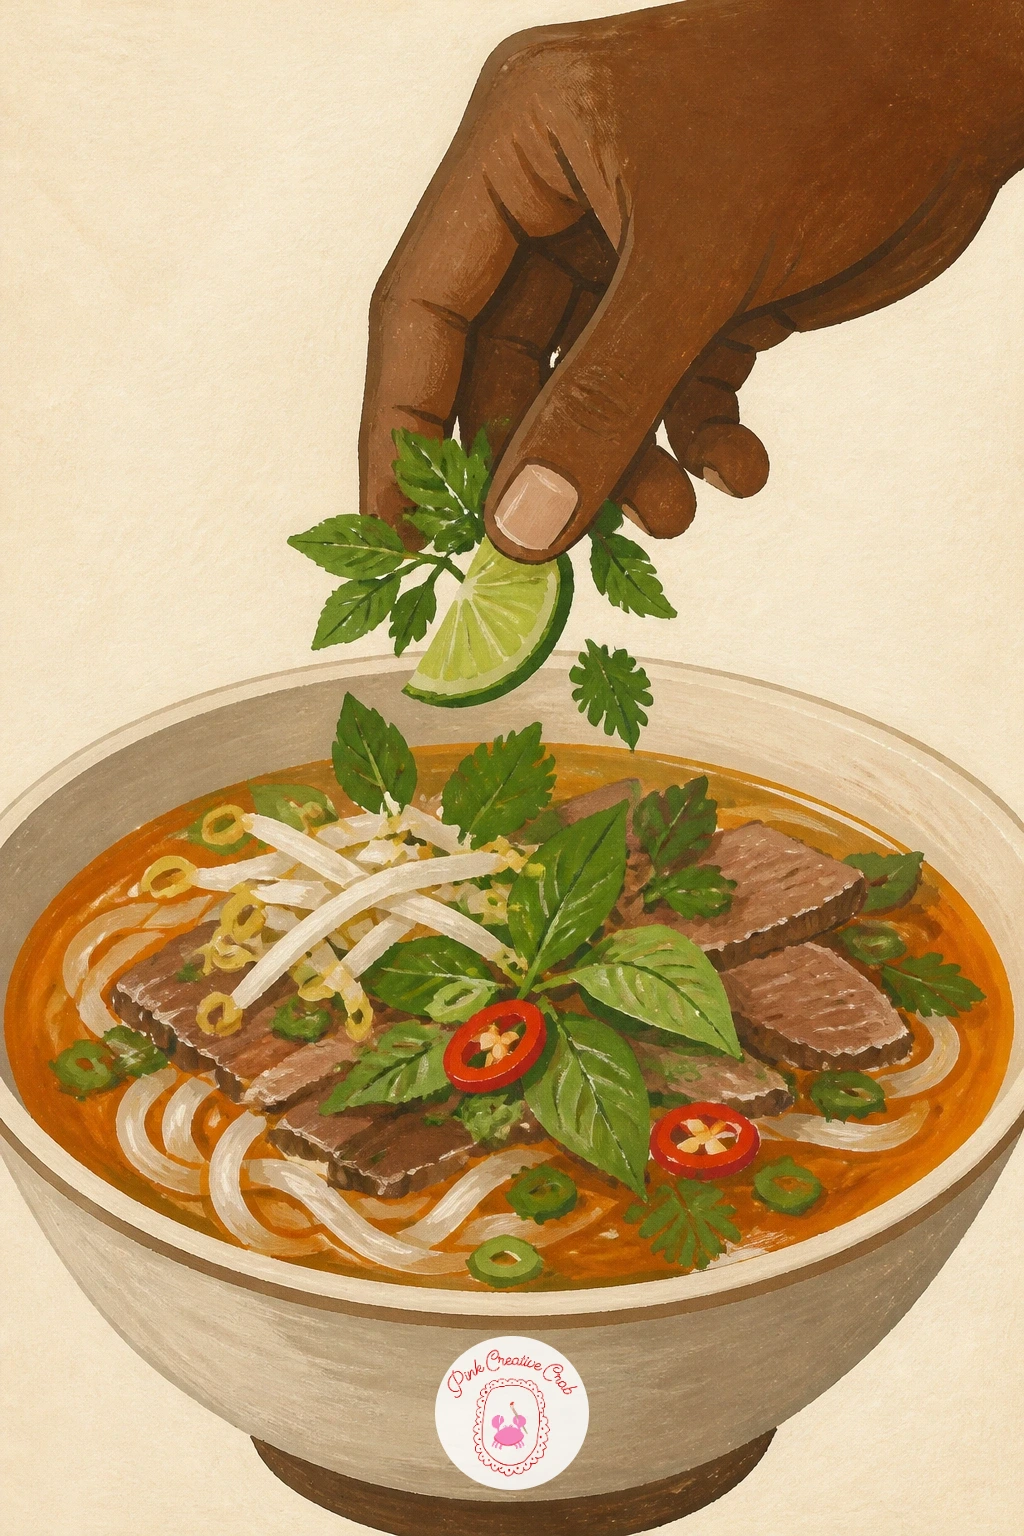
Palette: Soup Orange,Sage Green,Cream,Chocolate Brown
This one is about capturing bubbling just out of the oven. Paint the skillet first as a dark chocolate brown ring, then fill it with a flat orange-cream cheese sauce, dotting the surface with small darker brown patches where the top has browned and a few pale cream bubbles still caught mid-pop.
Build the browned patches in short irregular strokes rather than neat circles, since real broiled cheese browns unevenly. A folded cloth or oven mitt tucked under one side of the skillet is a nice touch that reads instantly as fresh from the oven.
If this is your first time painting a bubbling surface, keep the bubble highlights to a handful of small cream dots rather than covering the whole top, which keeps it readable instead of speckled. No cast iron skillet handy to look at, any round baking dish works for the shape.
One tip: paint the darkest browned bits last, in small dabs, once the base cheese color is completely dry so the edges stay crisp.
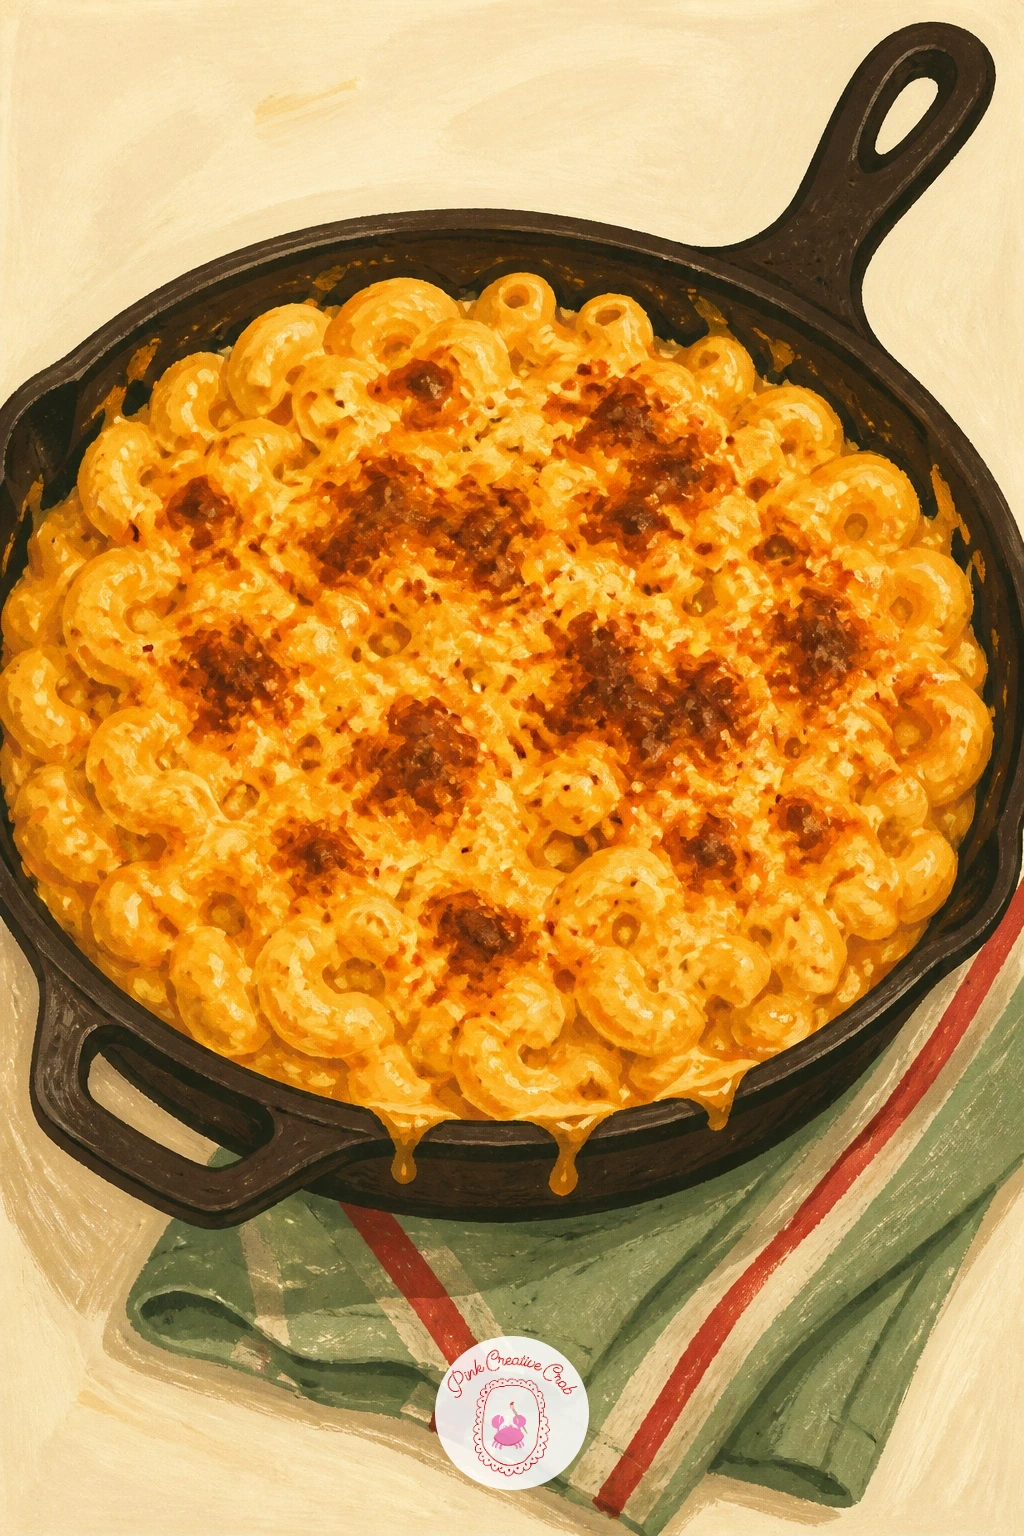
Palette: Cheese Orange,Chocolate Brown,Cream,Sage Green
Chili gives you a chance to paint one big pot surrounded by several tiny supporting ones. Start with the main pot in chocolate brown filled with a flat soup orange and cherry red chili surface, then scatter three or four small bowls around its base, each holding a different topping: cream sour cream, sage scallions, soup orange cheese.
Try one measuring trick before you commit to the layout: hold your brush at arm’s length to compare the width of the main pot against the table space left for the little bowls, so they do not end up crowding each other or floating too far apart. Keep each small bowl simple, just a curved cream shape with one flat color inside.
If the composition feels cluttered once sketched, drop to just two supporting bowls instead of four. A wooden spoon resting in the main pot ties the whole arrangement together visually.
Finish with one tip: paint the main pot’s chili surface with a slightly uneven edge, since a perfectly smooth chili surface looks less convincing than one with a few visible chunks breaking the line.
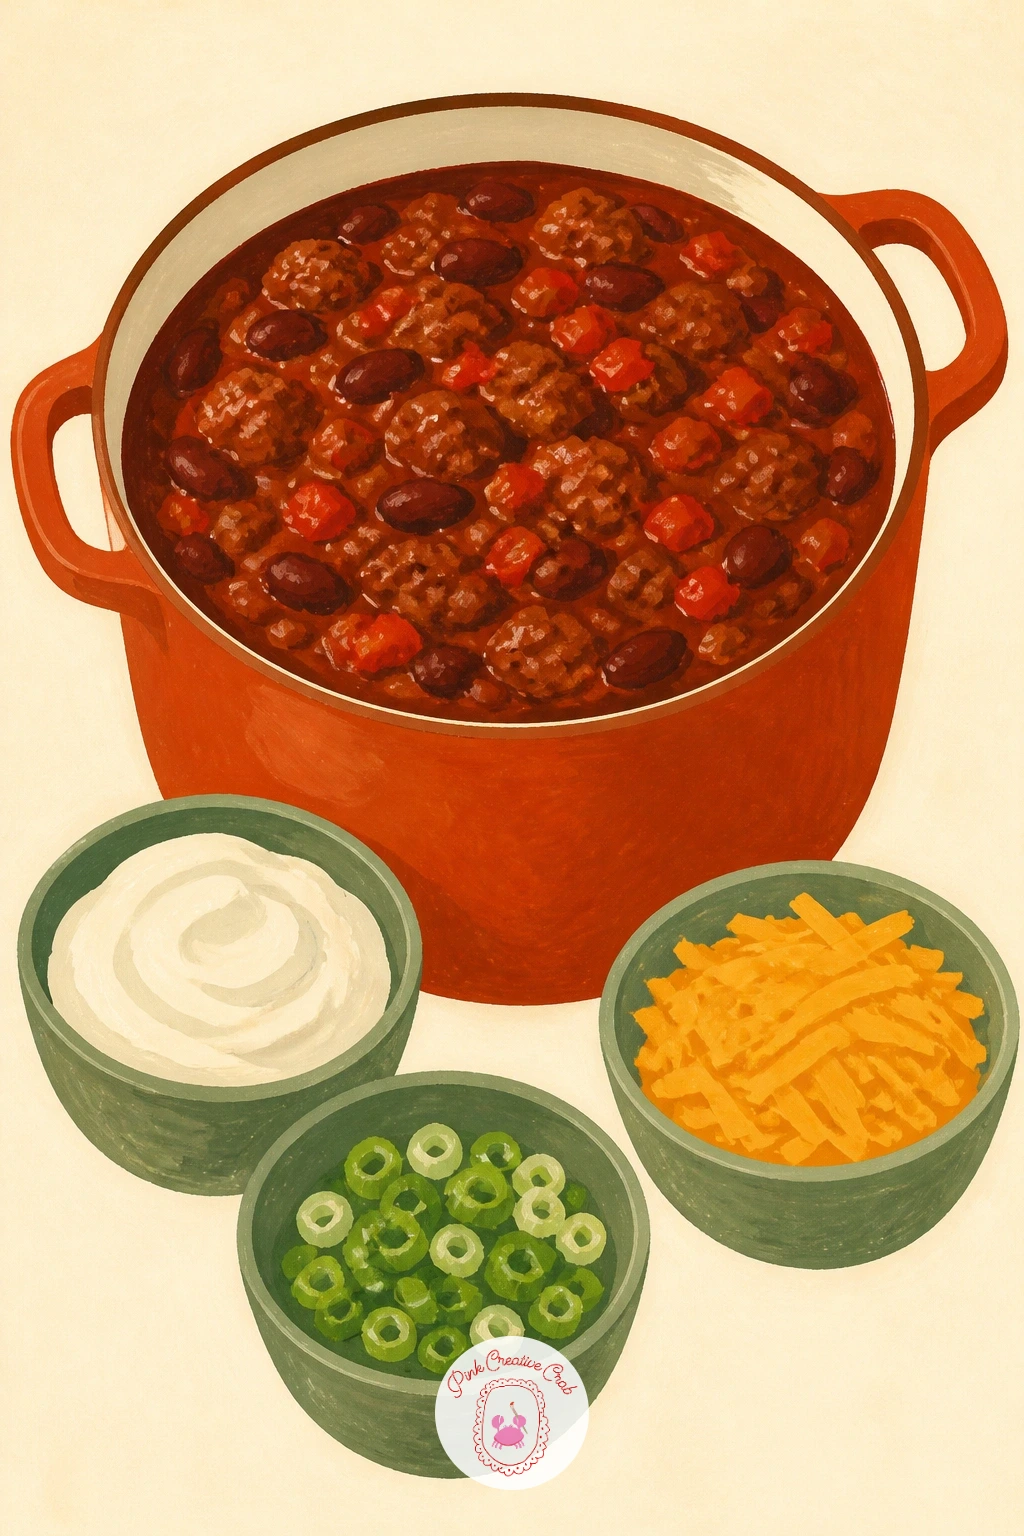
Palette: Chocolate Brown,Cherry Red,Soup Orange,Cream
Hot pot is a whole table scene, so plan the layout before you paint. Place the simmering pot dead center on the table, then arrange three or four simple seated figures around it, each shown mostly from the shoulders up with chopsticks reaching toward the pot.
Keep every figure as a simple rounded shape with minimal facial detail, since a crowd of faces at this scale gets busy fast, a few flat color blocks for hair and clothing read more clearly than individual features. The broth itself can be a flat soup orange or cherry-tinted red, divided down the middle if you want to show the classic two-flavor split pot.
If four figures feels like too much, drop to two and let the rest of the table suggest a fuller gathering with extra empty bowls. A thin rising steam shape above the pot center pulls the whole scene together.
One tip for today: paint the pot and its steam first, then work outward to the figures, so the meal stays the visual anchor of the whole table.
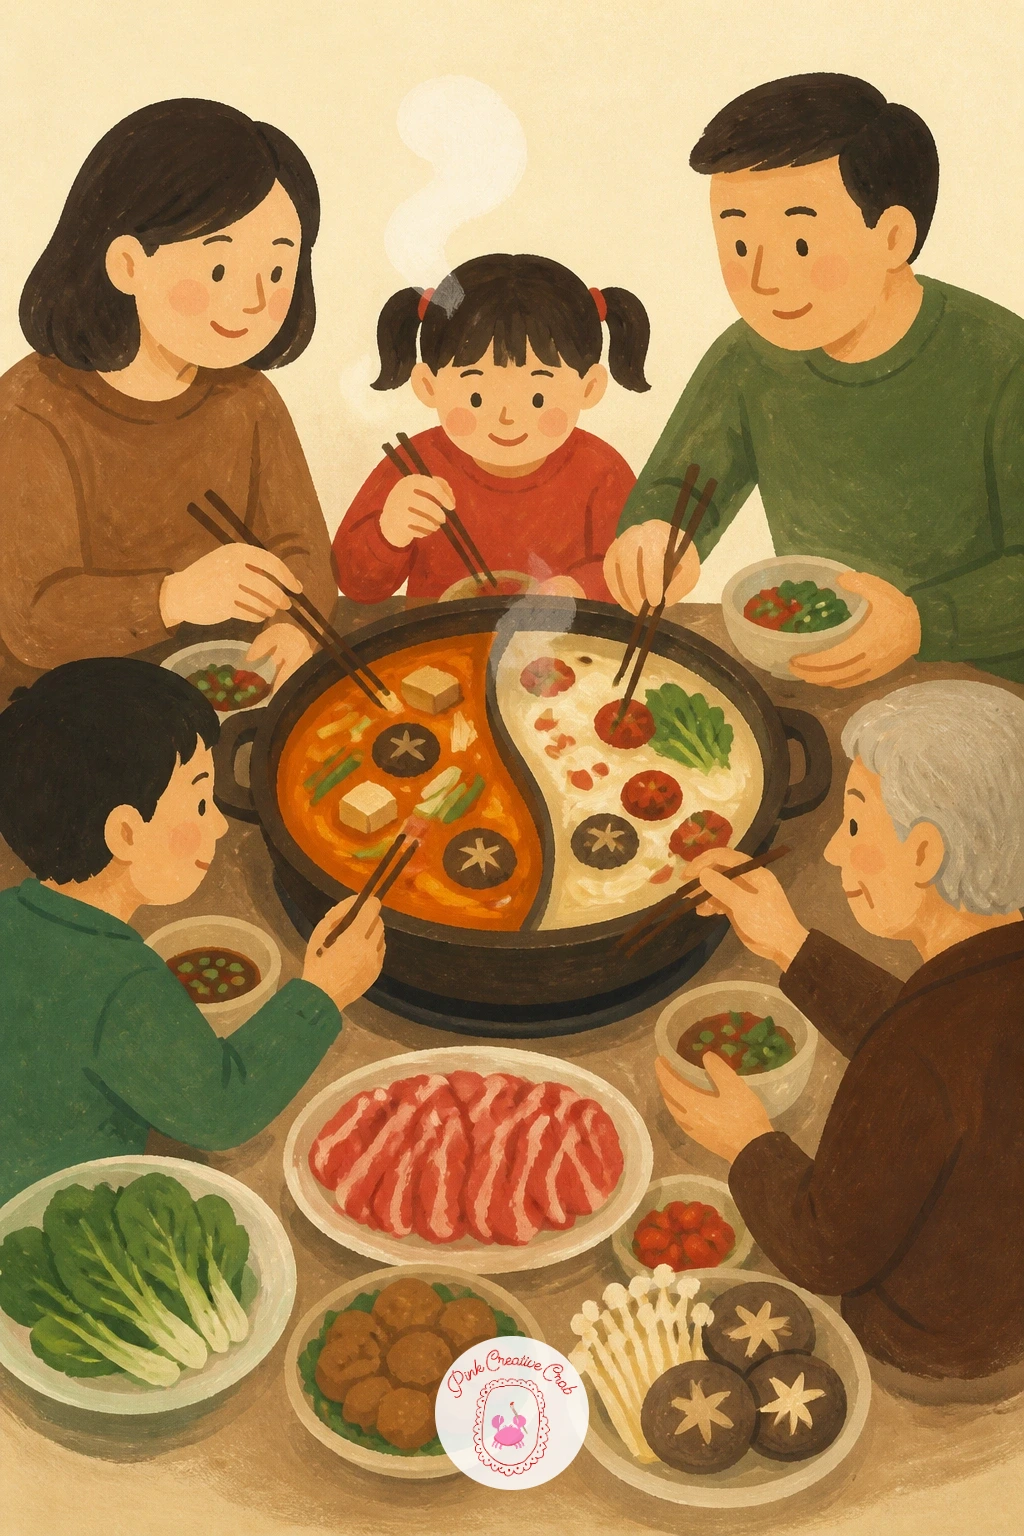
Palette: Soup Orange,Cherry Red,Chocolate Brown,Cream
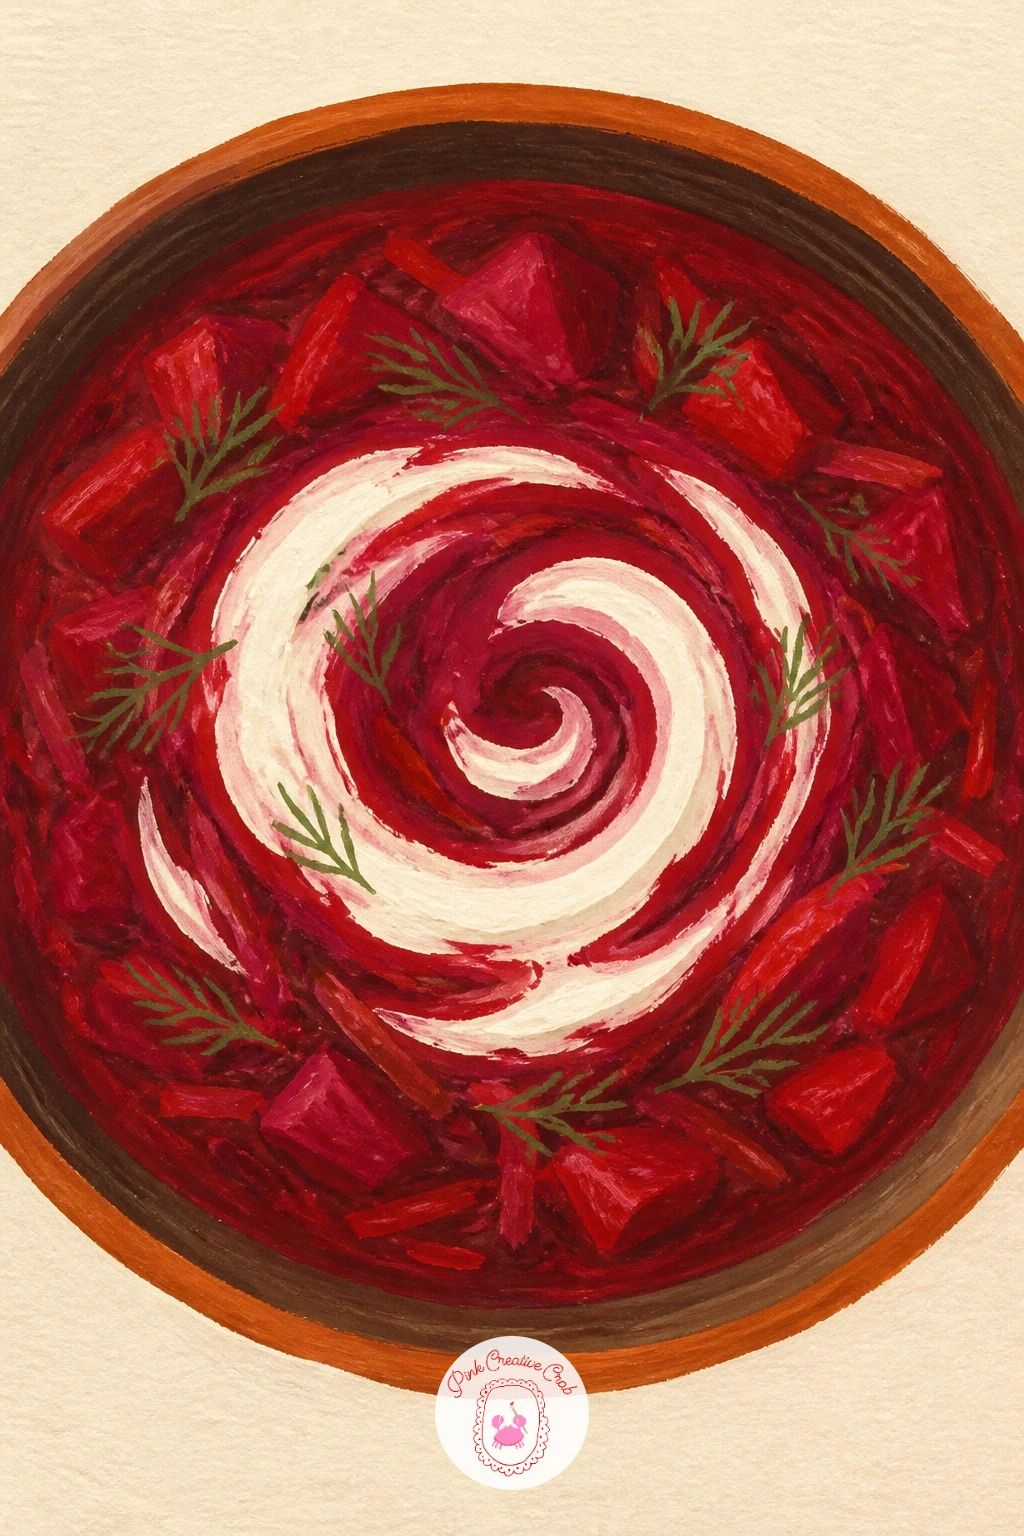
Borscht is a satisfying color study before anything else, a cherry red soup against cream and sage accents. Paint the bowl first, then fill it with a flat cherry red surface, leaving the very top layer slightly lighter to suggest the broth’s surface catching light.
Once the red is dry, add a swirl of cream sour cream on top using one continuous curved stroke rather than several dabs, which reads much more like a real swirl pulled through with a spoon. Finish with a few small sage dill flecks scattered across the cream.
The place this goes wrong is overworking the swirl until it turns muddy pink, so load your brush generously and commit to one confident pass rather than fussing over it. No fresh dill to reference, any small feathery herb photo works for the shape of the flecks.
Today’s tip: pull the swirl stroke from the center outward in a loose spiral, stopping before it reaches the bowl’s edge, so the deep red still frames the whole thing.
Palette: Cherry Red,Cream,Sage Green,Chocolate Brown
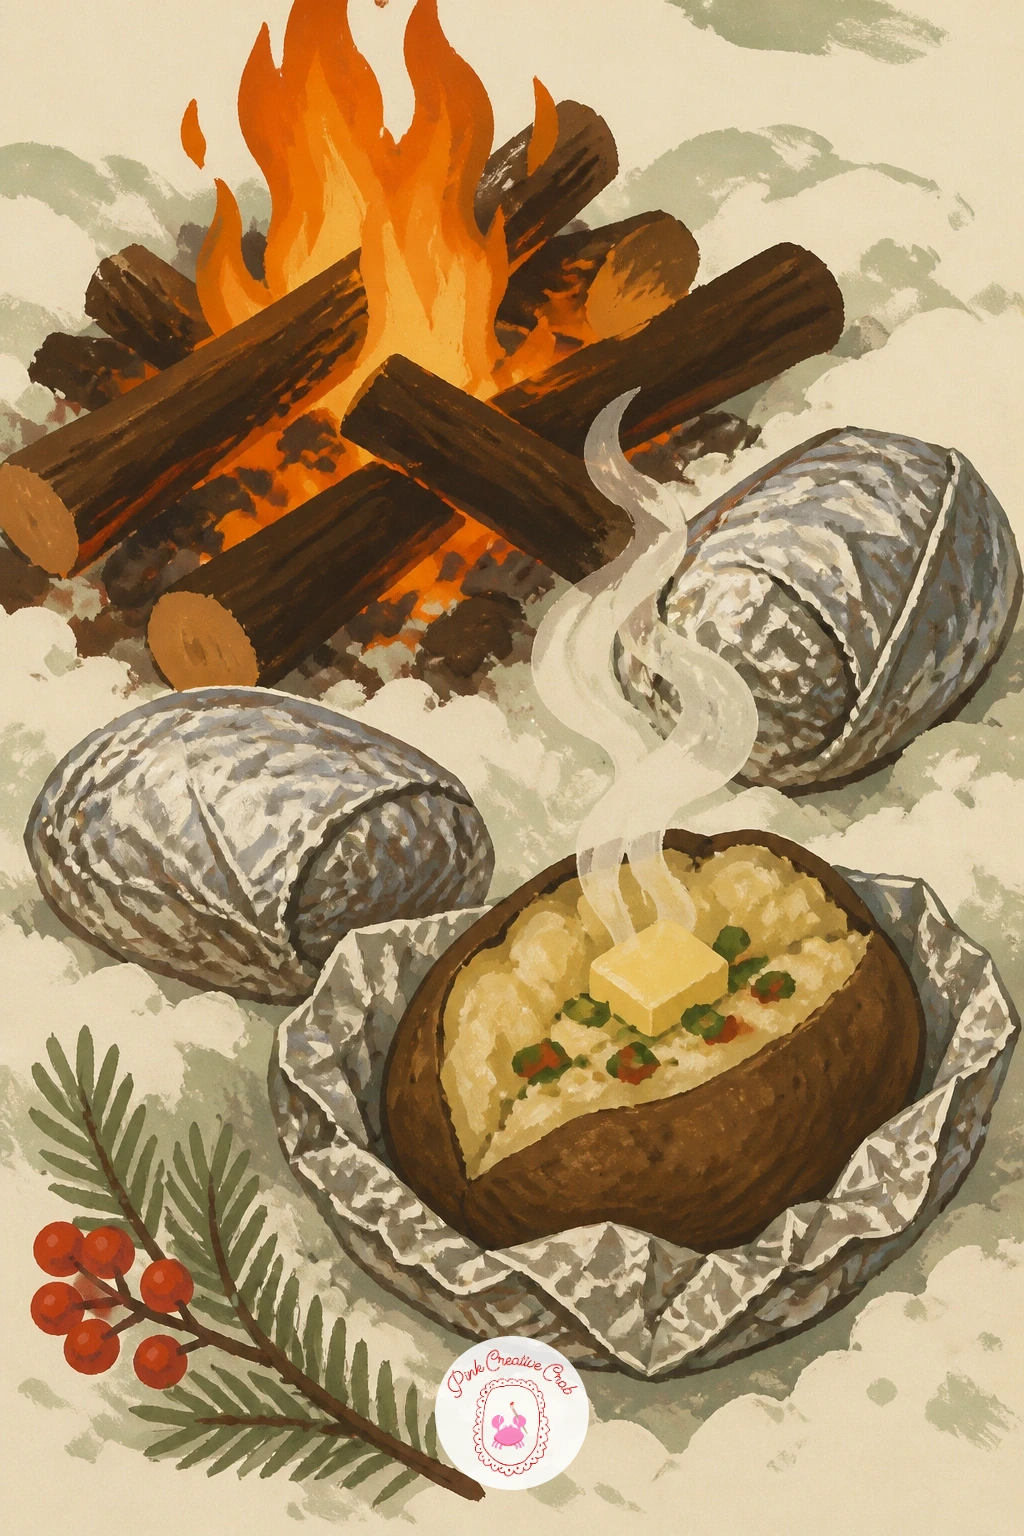
This scene pulls comfort food outdoors, foil-wrapped potatoes pulled fresh from a small campfire in the snow. Paint the fire first as a cluster of chocolate brown logs with soup orange flame shapes licking upward, then add two or three foil packets nearby, shown as simple crinkled cream and sage shapes with one just opened to reveal the steaming potato inside.
Snow around the fire works best as flat cream shapes with just a hint of pale sage-grey shadow where it dips near the logs, since pure white snow against a cream background can look flat without that shadow edge. Keep the flames small and controlled, three or four pointed shapes rather than a wild blaze.
If open flame feels tricky to paint convincingly, simplify to glowing embers and a wisp of smoke instead of full flames, which is easier to control and still reads as a campfire. A dusting of white gouache flicked lightly over the whole scene suggests falling snow.
One tip: paint the steam rising from the opened potato in the same pale cream as the snow, which quietly links the two and keeps the palette calm.
You Will Need
- white gouache for snow flecks
Palette: Chocolate Brown,Soup Orange,Cream,Sage Green
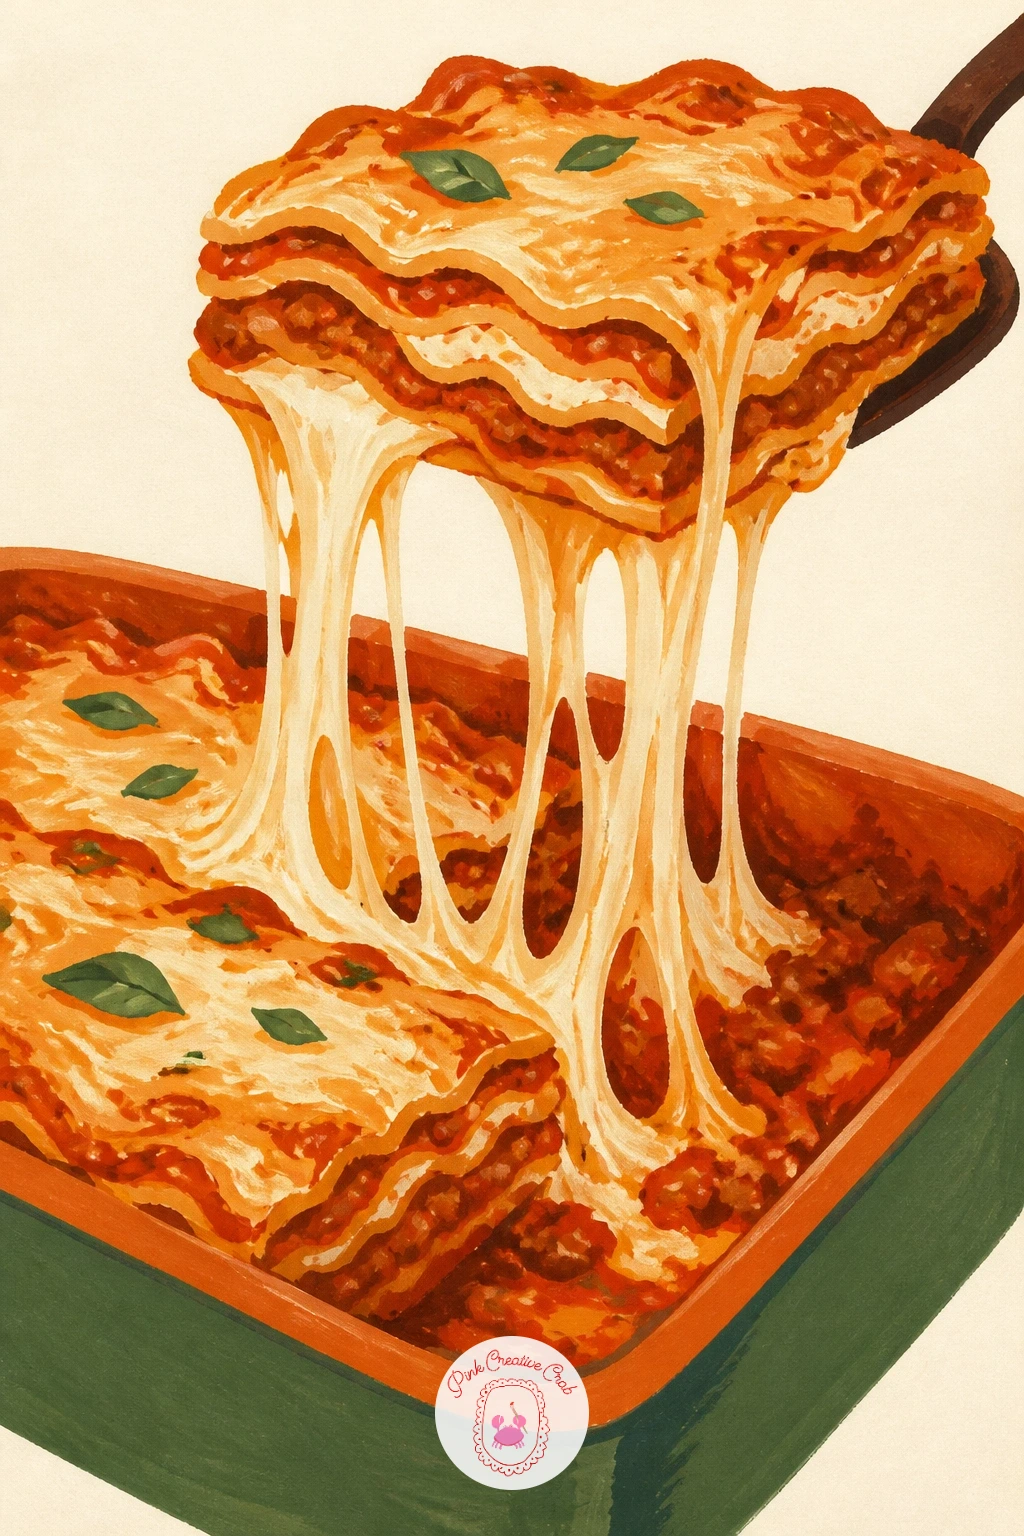
Lasagna is about one dramatic moment, the first slice lifted with a long stretch of melted cheese still connecting it to the pan. Paint the layered side of the lasagna first, showing thin alternating bands of cream pasta, soup orange sauce and sage herb flecks running through it.
Once the layers are dry, lift one corner slice slightly away from the pan and paint a thin continuous cheese-orange stretch connecting the two, using a single steady stroke rather than several short ones so it reads as pulled taffy-like cheese rather than a smear. Keep the stretch thin at the top and slightly wider where it meets the pan.
The common mistake is making the cheese stretch too thick, which reads as spilled sauce instead, so err on the thinner side and trust the line. No lasagna pan to reference, a casserole dish works the same for shape.
Finish with one tip: paint the stretch last of all, over the fully dry layers, so its edges stay crisp and glossy against the matte pasta layers beneath.
Palette: Soup Orange,Cream,Sage Green,Cheese Orange
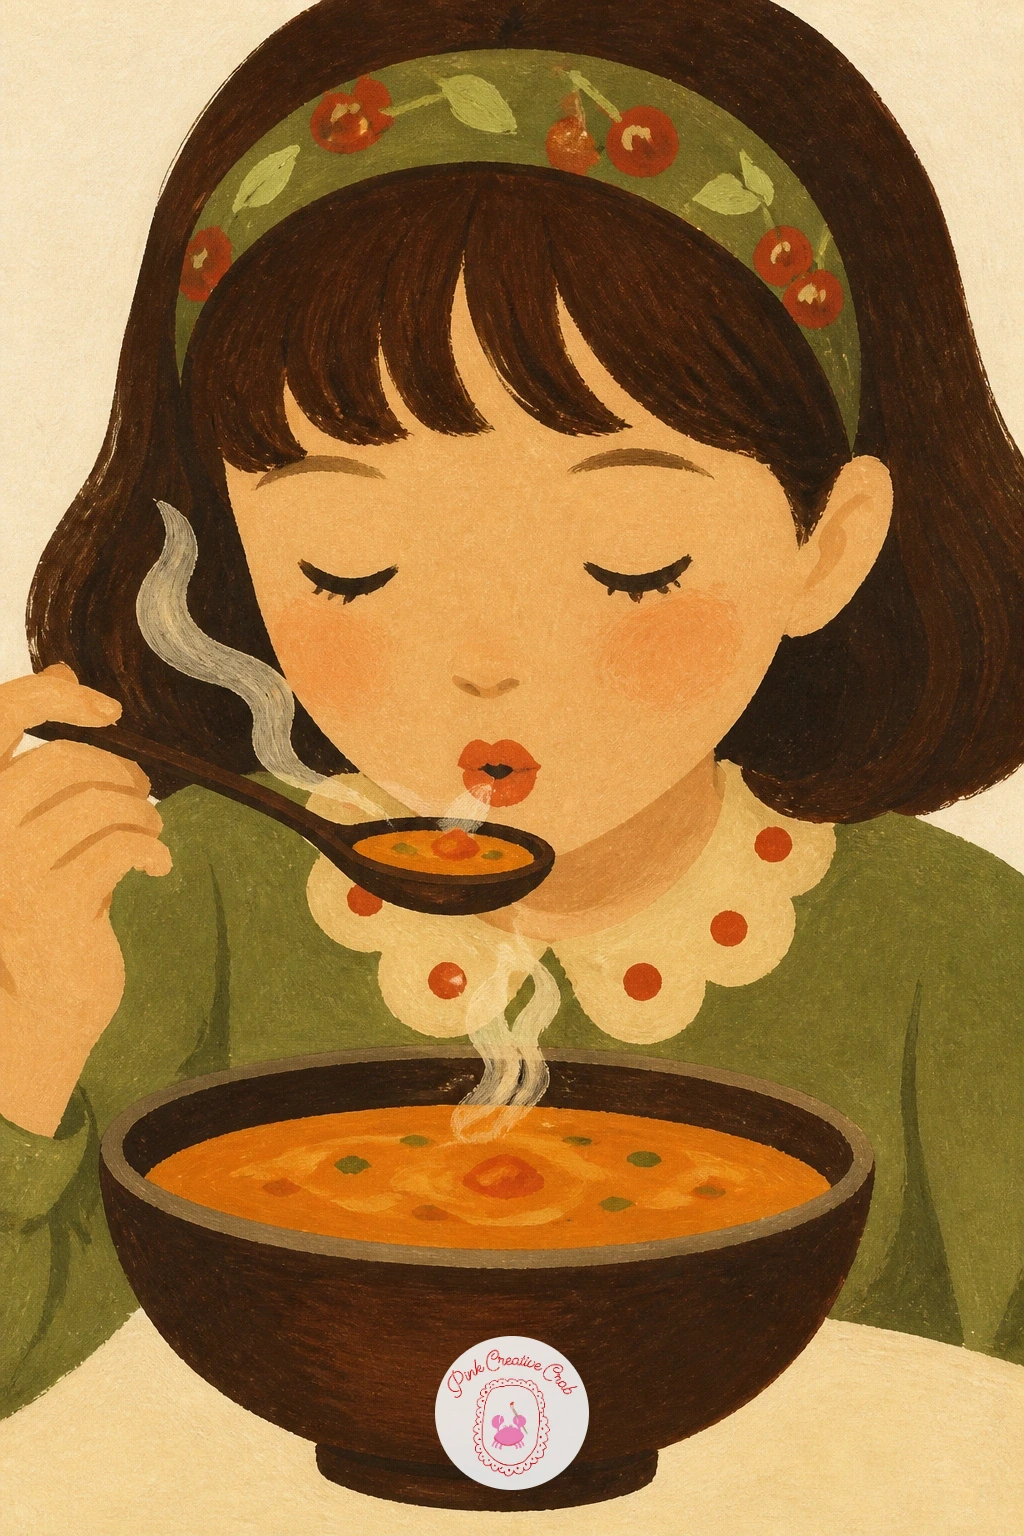
This small portrait moment is about one gesture, lips slightly pursed, spoon raised halfway to the mouth. Start with the bowl and table setting as simple flat shapes, then build the figure’s head and shoulders, keeping the face reduced to a few simple marks rather than detailed features.
A ten minute version stops at the basic pose: bowl, spoon, head tilted down toward it, steam rising from both the bowl and the raised spoon. The forty minute version adds a background detail like a window behind her or a second bowl across the table, plus a soft shadow under her chin where the steam would catch warm light from below.
If faces feel intimidating at this scale, angle the head slightly away from full-on view, a three-quarter turn hides a lot of detail while still reading clearly as a person enjoying a warm meal. Keep her hair as one or two flat color shapes rather than painted strand by strand.
One tip: paint the steam rising from the spoon slightly thinner than the steam from the bowl, which helps the eye read the spoon as closer to her face.
Palette: Cream,Soup Orange,Chocolate Brown,Cherry Red
Pierogi sizzling in a pan is a nice study in overlapping shapes. Paint the pan first as a dark chocolate brown circle, then lay in several golden cream-orange pierogi crescents, letting them overlap slightly rather than sitting in a perfect row, with a scatter of sage-tinted golden onion strands tucked between them.
Build the browned edges of each pierogi in small dabbing strokes along just one side, since real pan-frying browns unevenly and this reads far more convincing than an even golden color all around. A small pat of butter melting at the pan’s edge, painted as one soft cream-yellow shape, finishes the illusion of sizzling.
If the onions start to look like a solid mass, pull a few individual strand shapes out with the tip of your brush once the base layer is dry, which separates them visually. No cast iron pan handy, any skillet photo works fine for shape reference.
Today’s tip: dab a tiny bit of white gouache along the hottest edge of the pan to suggest a sizzle without overdoing it.
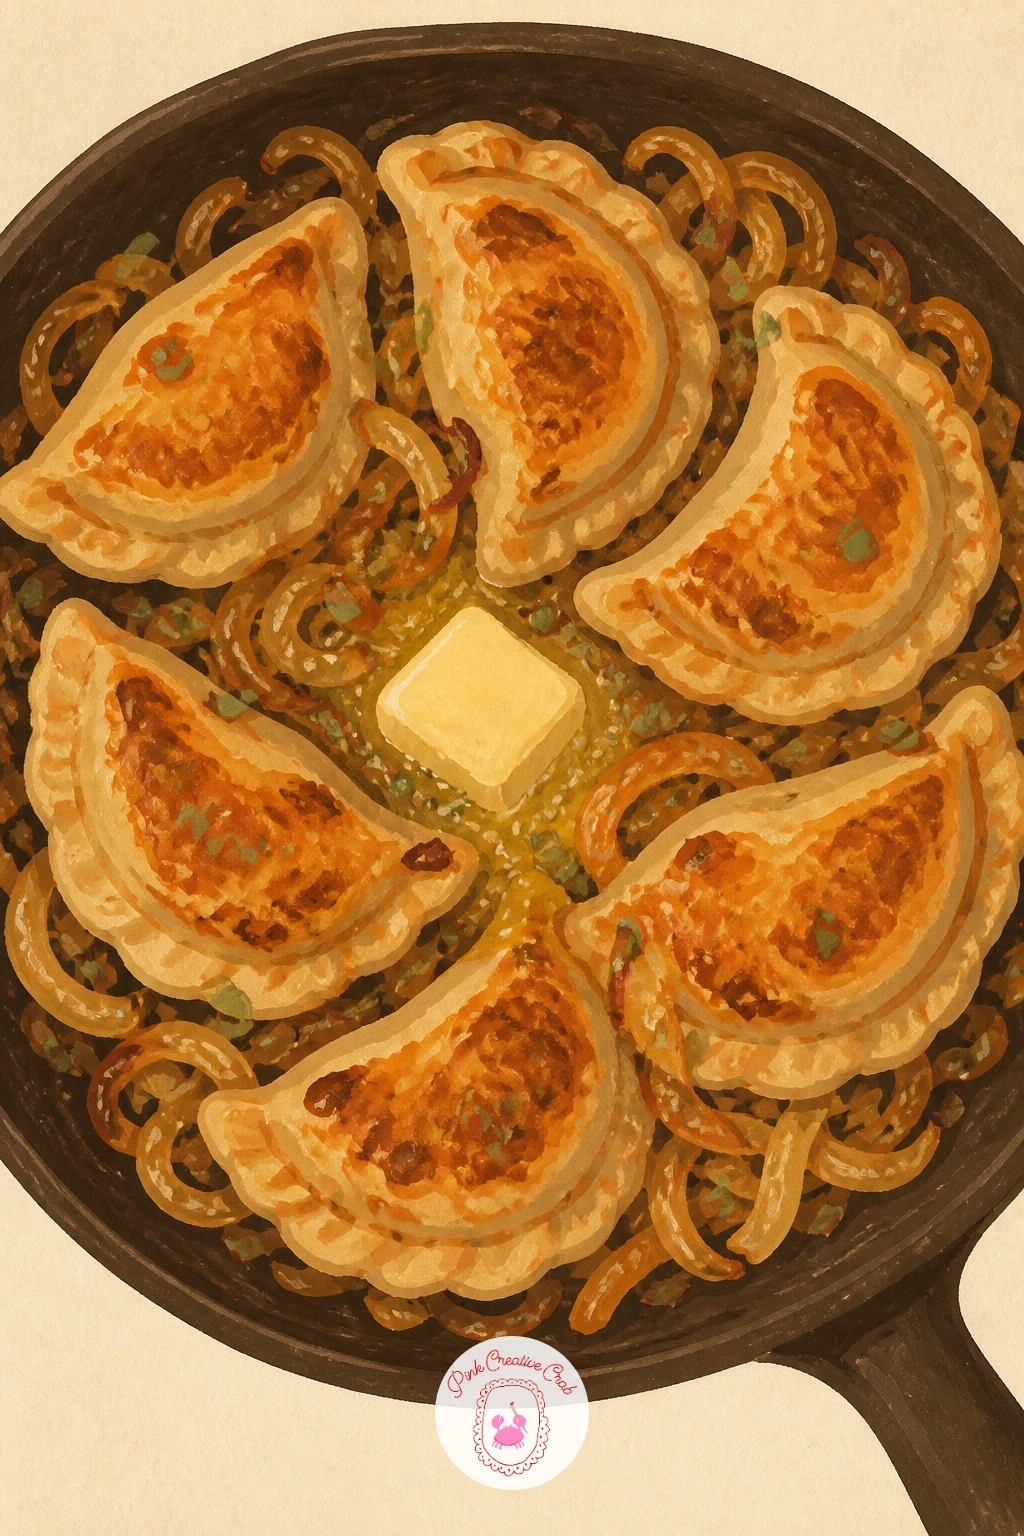
Palette: Chocolate Brown,Cheese Orange,Sage Green,Cream
Risotto rewards a slow, deliberate hand, which makes it a nice one to paint with a loose wooden spoon mid-stir. Paint the pan as a wide shallow chocolate brown shape, then fill it with a creamy soup orange risotto surface, adding a visible swirl pattern with the tip of your brush to suggest the stirring motion still in progress.
Set a glass of wine just beside the pan, painted as a simple cherry red or warm amber shape inside a clear glass outline, which grounds the scene as an evening meal rather than a quick lunch. Keep the wooden spoon resting at an angle, caught mid-stir rather than parked flat.
The spot this goes wrong is an overworked risotto surface that loses its creamy look under too many separate rice-grain marks, so keep most of the surface as one flat color with just a few lighter cream flecks on top. No wine glass to reference, any simple stemware photo will do.
One tip: paint the wine glass last and keep its outline the thinnest line in the whole piece, since a heavy outline there competes with the softer risotto shapes nearby.
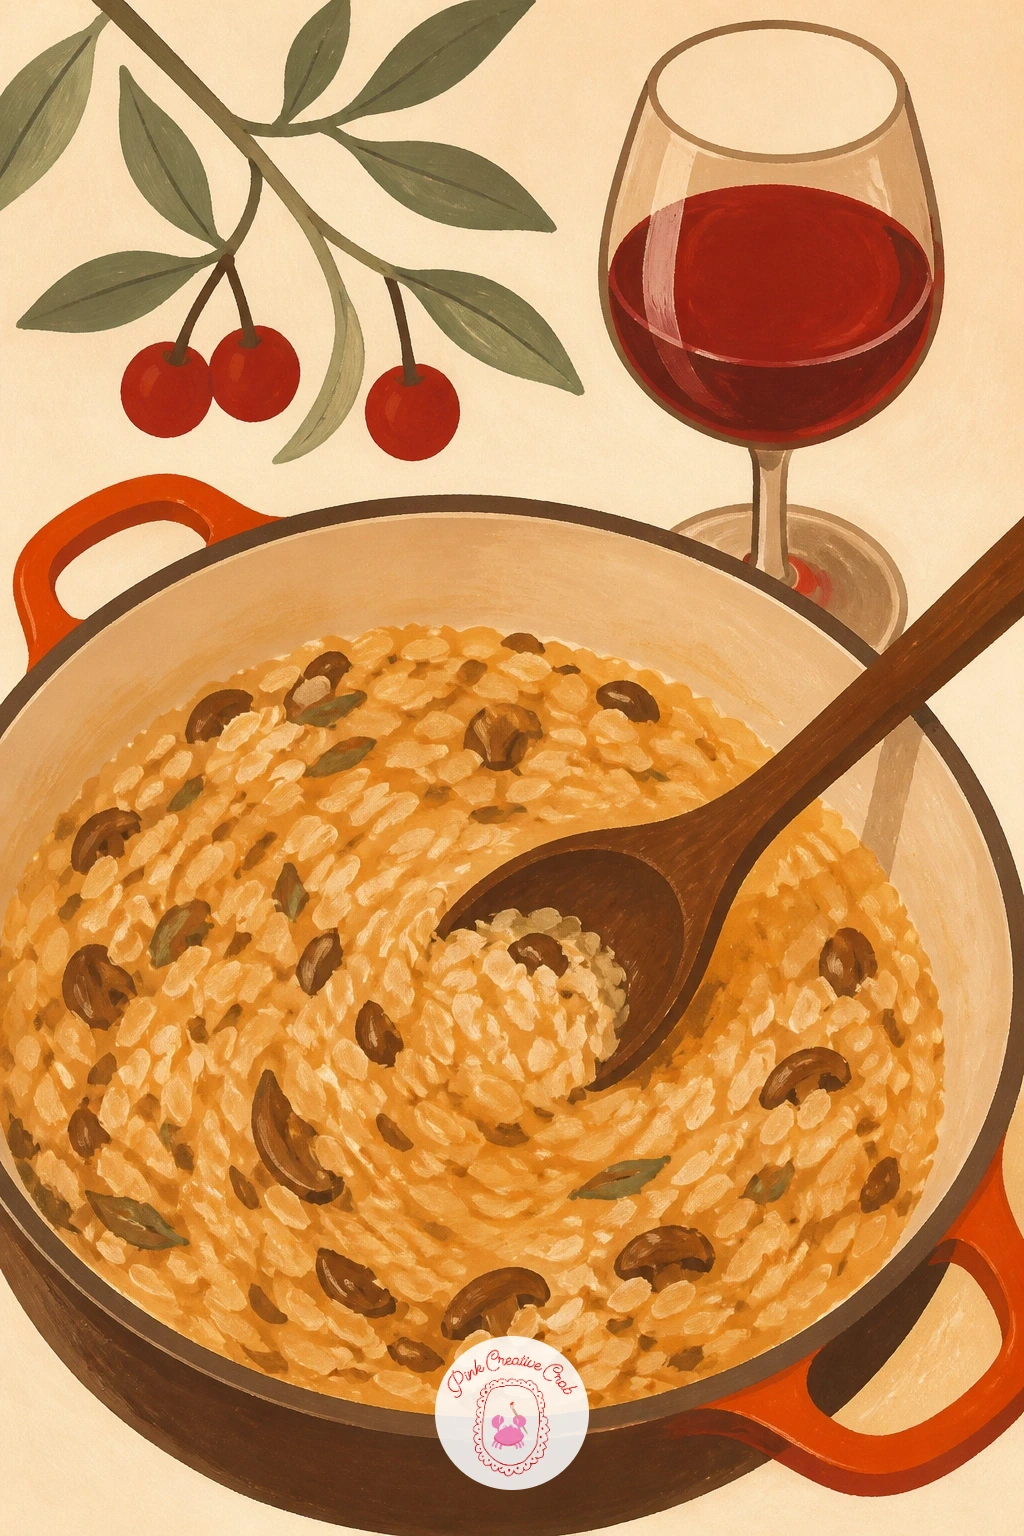
Palette: Soup Orange,Chocolate Brown,Cherry Red,Cream
This quiet little scene is just a thermos, a cup lid and a mountain bench dusted with snow. Paint the bench first as a simple wooden plank shape in chocolate brown, then add the thermos standing upright beside its own cup lid, poured full of soup orange soup with a thin curl of steam rising.
Where the light comes from matters a lot here: if it is a bright winter day, keep the snow shadows cool and slightly sage-grey rather than warm brown, which instantly reads as cold outdoor light rather than an indoor scene. A soft mountain silhouette in pale cream and sage behind the bench adds depth without much extra work.
If backgrounds intimidate you, crop the scene tight to just the bench and thermos, letting the cream page itself stand in for snow and sky. No thermos to look at directly, any travel mug photo online works for the cylindrical shape.
Today’s tip: paint the steam rising from the cup lid slightly denser than from the thermos itself, since the smaller open cup would lose heat fastest in cold air.
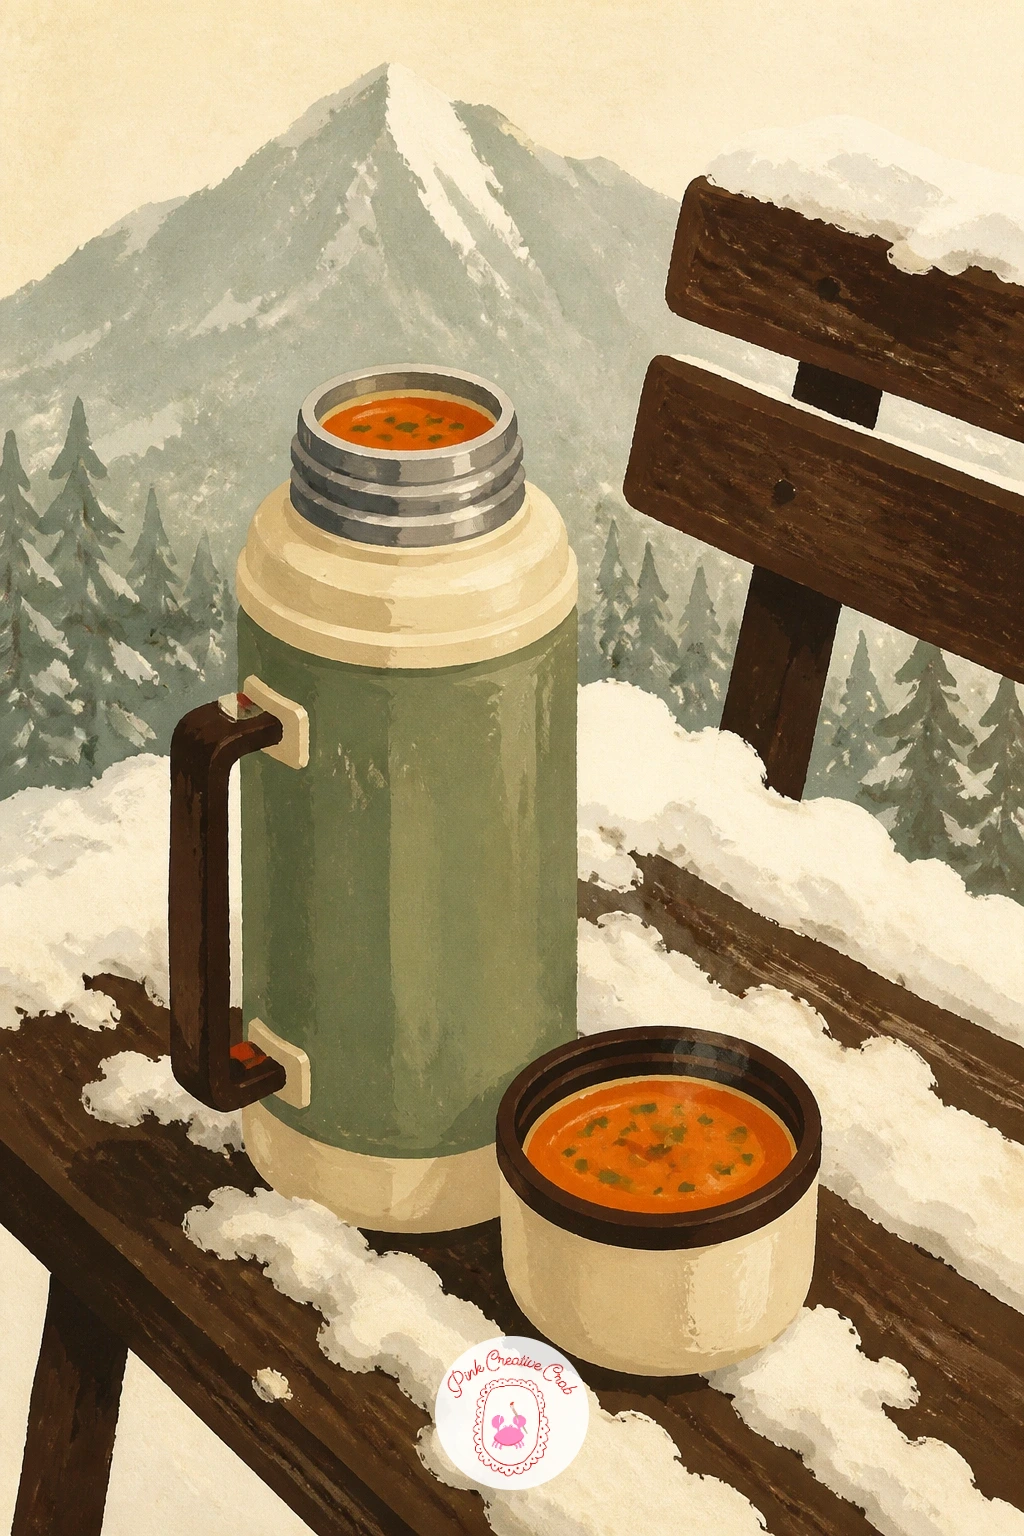
Palette: Chocolate Brown,Soup Orange,Sage Green,Cream
French onion soup is really a study in one golden crouton lid bubbling over the bowl’s edge. Paint the crock first in chocolate brown, then fill it with a deep soup orange broth just visible at the rim, before building the melted cheese lid on top in soft overlapping cream-orange strokes that drip slightly over the side.
Keep the cheese lid’s edges irregular rather than a neat circle, since real broiled cheese spreads and droops unevenly as it melts over the crock’s rim. A few small browned bubble spots dabbed on top in darker brown finish the broiled look convincingly.
If the cheese drips start looking like a solid blob, lift a few thin trailing strokes down the outside of the crock once the base layer is dry, using the tip of your brush for control. No onion soup crock to reference, any small ramekin photo gives the same proportions.
One tip: paint one drip reaching further down the crock than the rest, which breaks the symmetry and makes the whole lid feel like it is still actively melting.
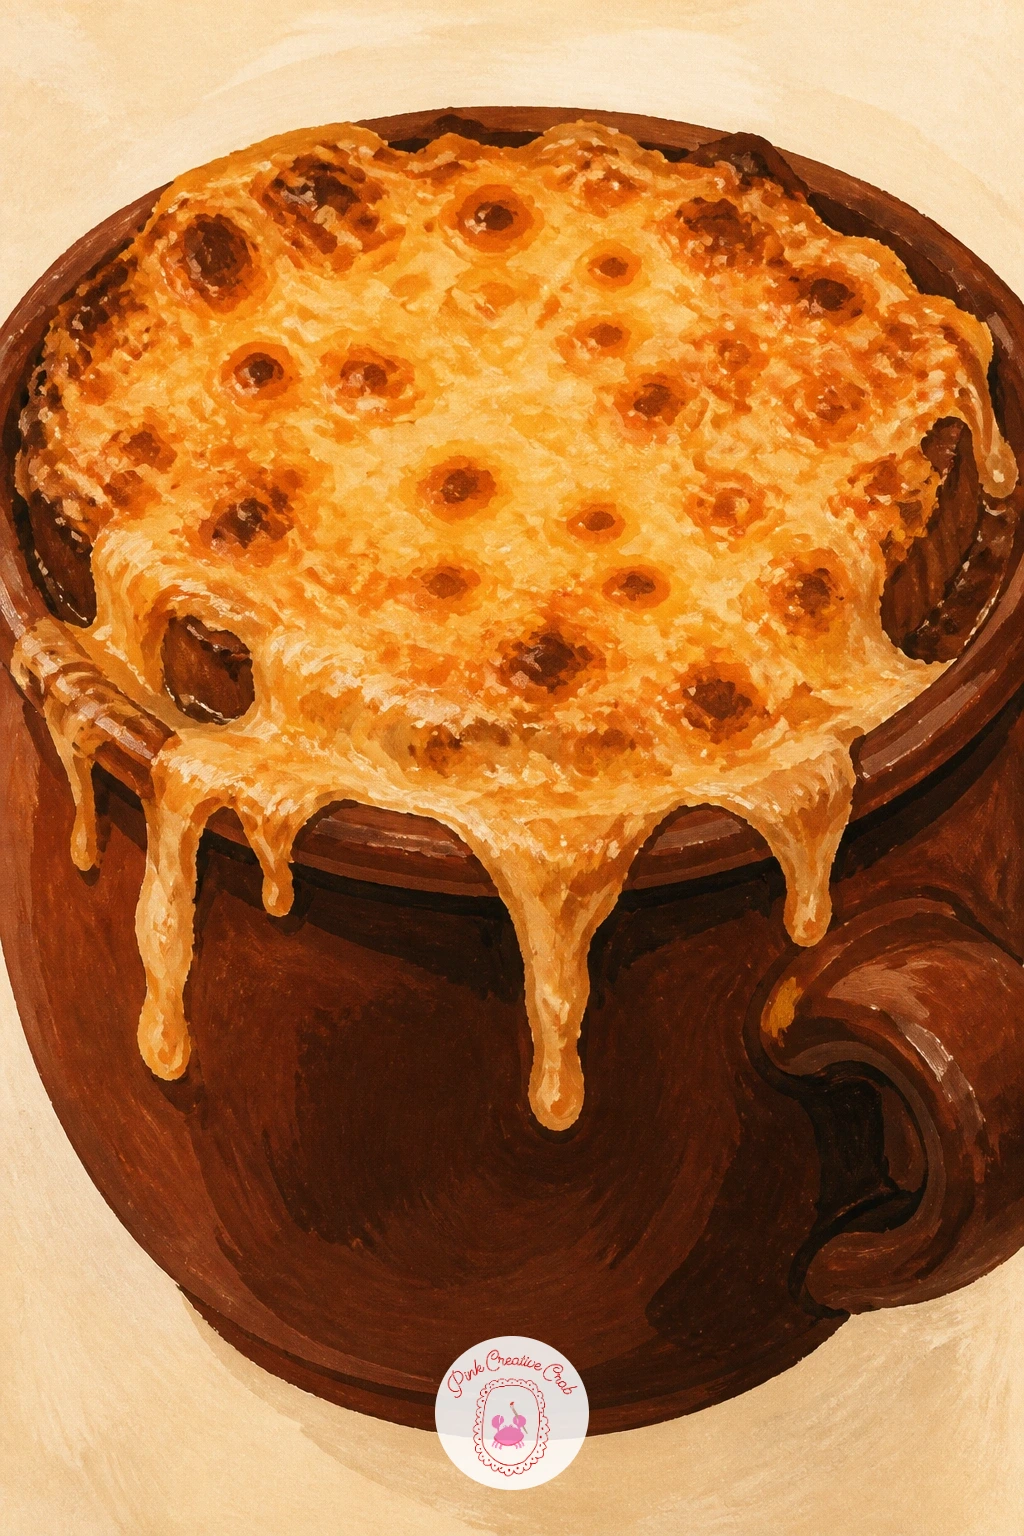
Palette: Chocolate Brown,Soup Orange,Cheese Orange,Cream
This small ramekin scene is a nice quick one for a short sitting. Paint the ramekin first as a simple cream or sage curved dish, then add the baked egg inside with a flat white shape, a soft soup orange yolk, and a few sage spinach leaves tucked around the edge.
A ten minute version stops right there, ramekin, egg, spinach, maybe a sprinkle of cherry-tinted chili flake dots on top. The forty minute version sets the ramekin onto a small breakfast tray with a folded cloth napkin and a cup of coffee beside it, which turns a single dish into a fuller morning scene.
If the egg white looks too stark against the sage spinach, soften its edge slightly while still damp so it blends just a touch into the green rather than staying a hard line all around. No ramekin to look at directly, any small round baking dish photo works for proportions.
Today’s tip: paint the yolk with the tiniest highlight dot of cream left unpainted at its center, which gives it a glossy, just-baked look.
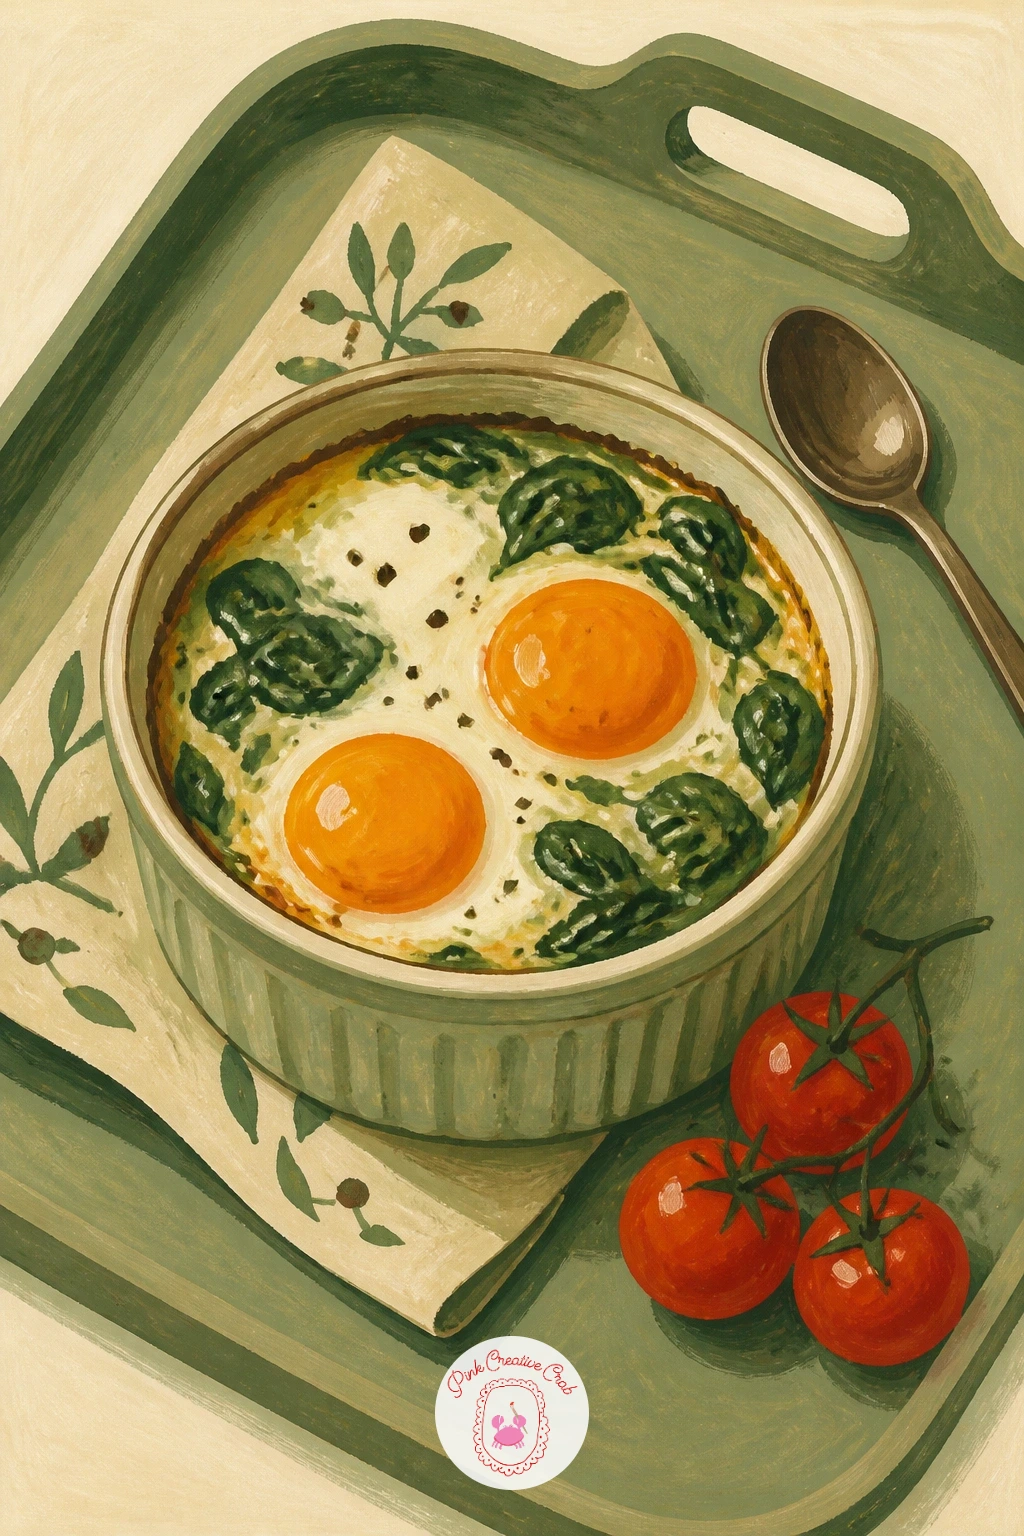
Palette: Sage Green,Soup Orange,Cream,Cherry Red
Mussels give you a chance to practice painting a cluster of similar shapes without making each one identical. Paint the deep bowl first in chocolate brown or cream, then fill it with pooled cream sauce dotted with sage herb flecks, before laying in the mussel shells as dark, slightly glossy almond shapes, some open to show the orange-cream flesh inside.
Vary the angle of each shell as you place them, some lying flat, some propped against their neighbors, which keeps the cluster from reading as a repeated stamp of the same shape. Leave a tiny highlight of unpainted cream or a dot of white gouache on each shell’s curve to suggest the glossy wet shine of a cooked shell.
The place this goes wrong is painting every shell exactly the same dark color, so mix two slightly different shades of near-black brown and alternate between them. No fresh mussels to reference, any photo of cooked shellfish online shows the same shape and sheen.
One tip: group the shells slightly off-center in the bowl rather than scattering them evenly, which feels more like a real serving than a diagram.
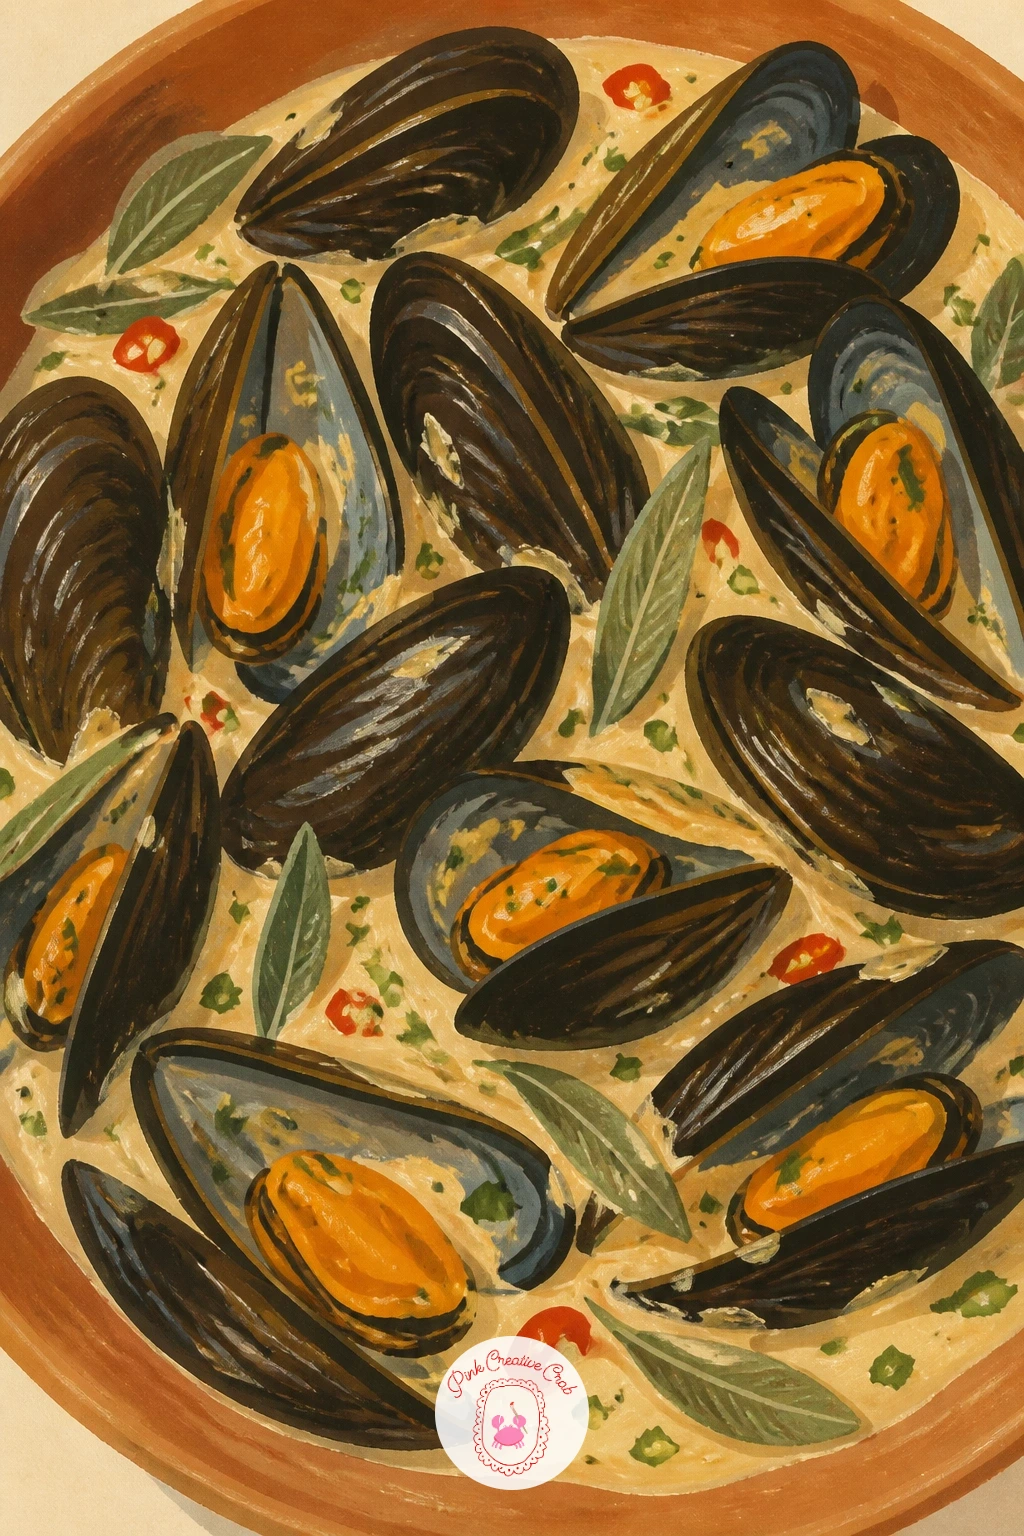
Palette: Chocolate Brown,Cream,Soup Orange,Sage Green
Kimchi stew lets you paint a pot that is actually still cooking, bubbles breaking the surface as you work. Paint the dark stone pot first, slightly rough-edged compared to the smooth metal pots elsewhere in this list, then fill it with a deep cherry red and soup orange broth, leaving small cream circles scattered across the surface for active bubbles.
Build the bubbles last, in two sizes, a few larger ones near the center where the heat is strongest and smaller ones scattered toward the edges, which suggests the pot is still actively at a rolling simmer rather than resting. A few chunks of tofu and vegetable suggested in simple cream and sage shapes break up the red surface nicely.
If the broth color looks flat without the bubbles, that is fine to leave until last, since adding them too early just means repainting the base underneath. No stone pot to reference directly, any dark ceramic bowl photo gives a similar rough, heavy look.
Today’s tip: paint a thin ring of steam rising just above the pot’s rim, using the same pale cream as the bubbles, to tie the whole simmering effect together.
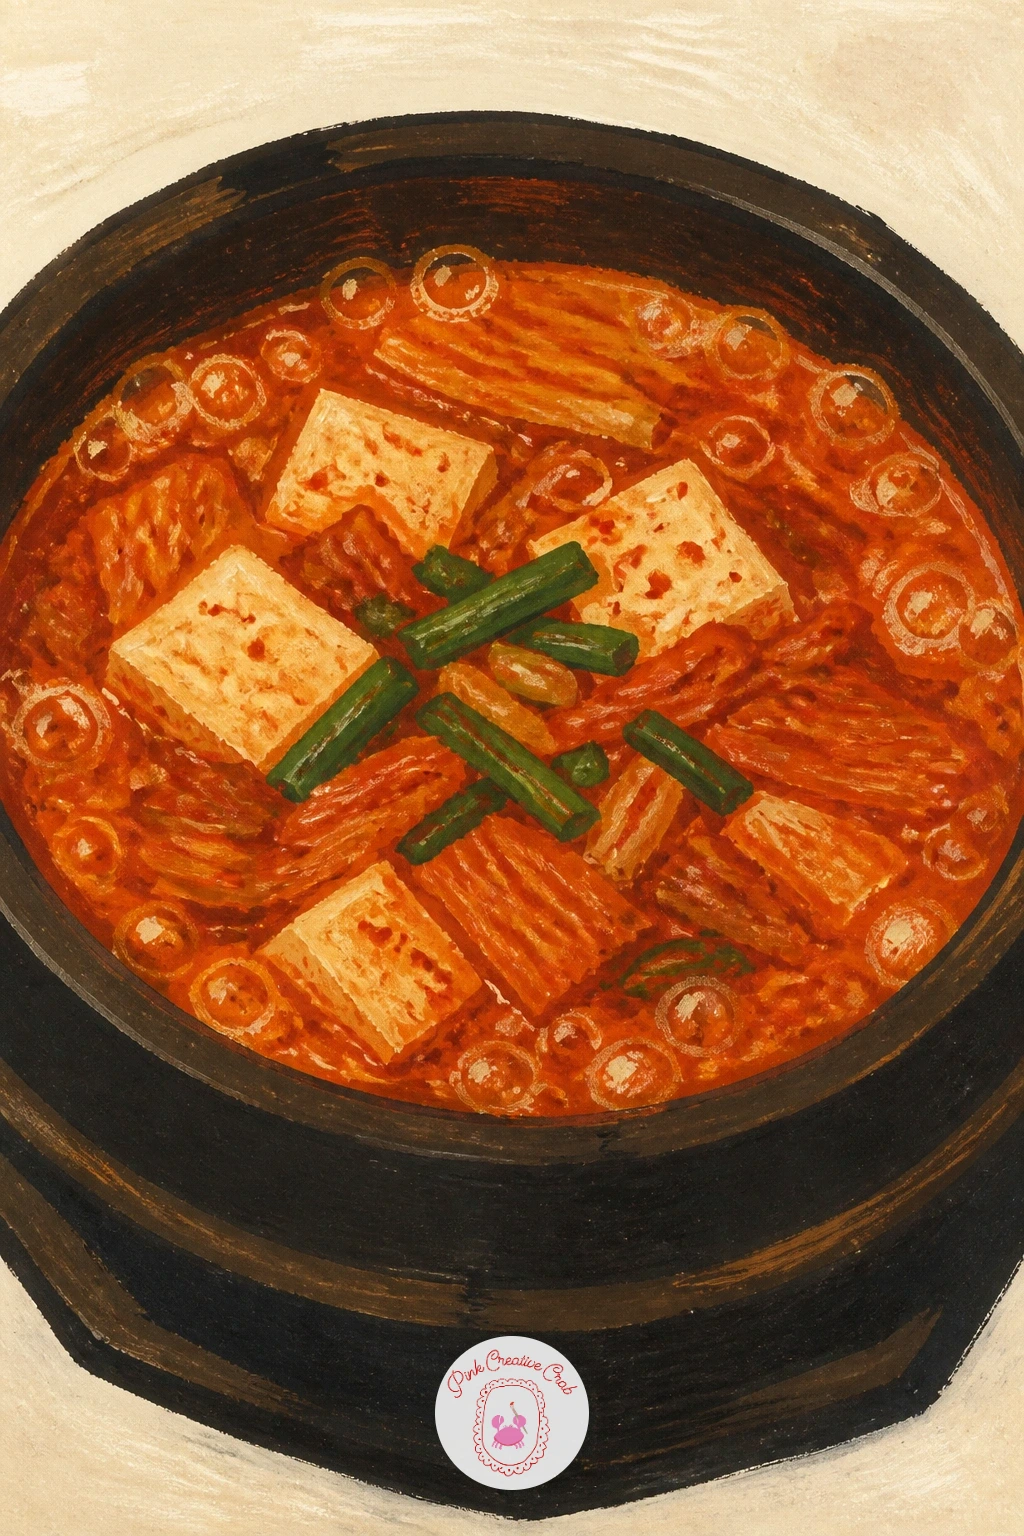
Palette: Cherry Red,Soup Orange,Cream,Sage Green
This is the biggest scene on the list, so plan the table layout loosely in pencil before any paint touches the page. Set the roast itself slightly off-center on a cream serving platter, surrounded by smaller supporting shapes: a gravy boat, a small bowl of vegetables, two place settings suggested with simple plate and napkin shapes.
Compare the roast’s size against the platter before committing to paint, since a roast that fills more than half the platter’s width will dominate the whole table in a way that crowds out everything else. Keep the surrounding dishes smaller and simpler so the eye still lands on the roast first.
If the full table feels like too much for one sitting, crop in tighter to just the roast and one or two closest dishes, letting the rest of the table suggestion happen at the edges of the page rather than fully painted. A small window or simple curtain shape in the background grounds it as a cottage kitchen rather than a restaurant.
One tip: paint the gravy boat’s pour as one small glossy drip caught mid-fall, which adds a nice sense of motion to an otherwise still table scene.
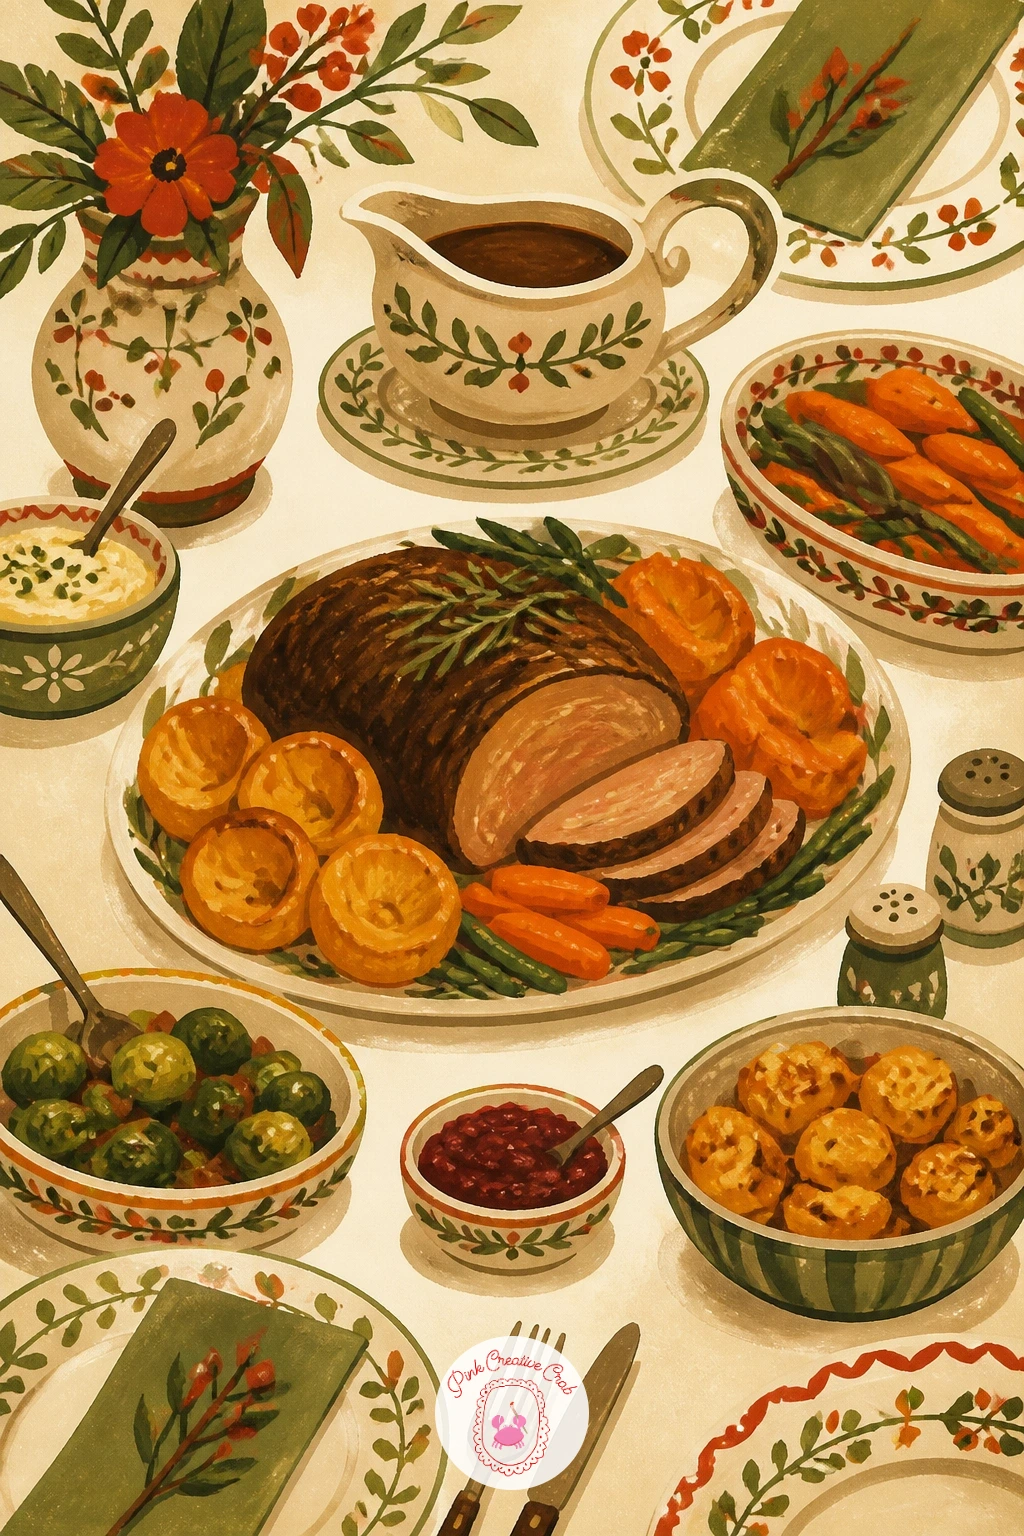
Palette: Chocolate Brown,Soup Orange,Sage Green,Cream
This is a gentle, quick subject to end on a calm note. Paint the bowl first in cream or sage, then fill it with a flat soft cream porridge surface, adding a small pool of soup orange stewed apple chunks to one side and a light dusting of chocolate brown cinnamon across the top.
Once the dry work can vary next time easily: swap the apples for a spoon of cherry red berry compote, or scatter a few sage pistachio pieces instead of cinnamon for a different version of the same bowl. Try the same composition again with a smaller or larger bowl to see how the proportions change the feel of the piece.
If the cinnamon dust looks too heavy, flick it on lightly with a nearly dry brush rather than painting solid dots, which gives a much more convincing light dusting. No stewed apples to reference, any photo of cooked fruit compote shows the same soft, broken-down texture.
Today’s tip: leave one small bare patch of plain cream porridge uncovered by toppings, which gives the eye somewhere restful to land before it moves to the apples.
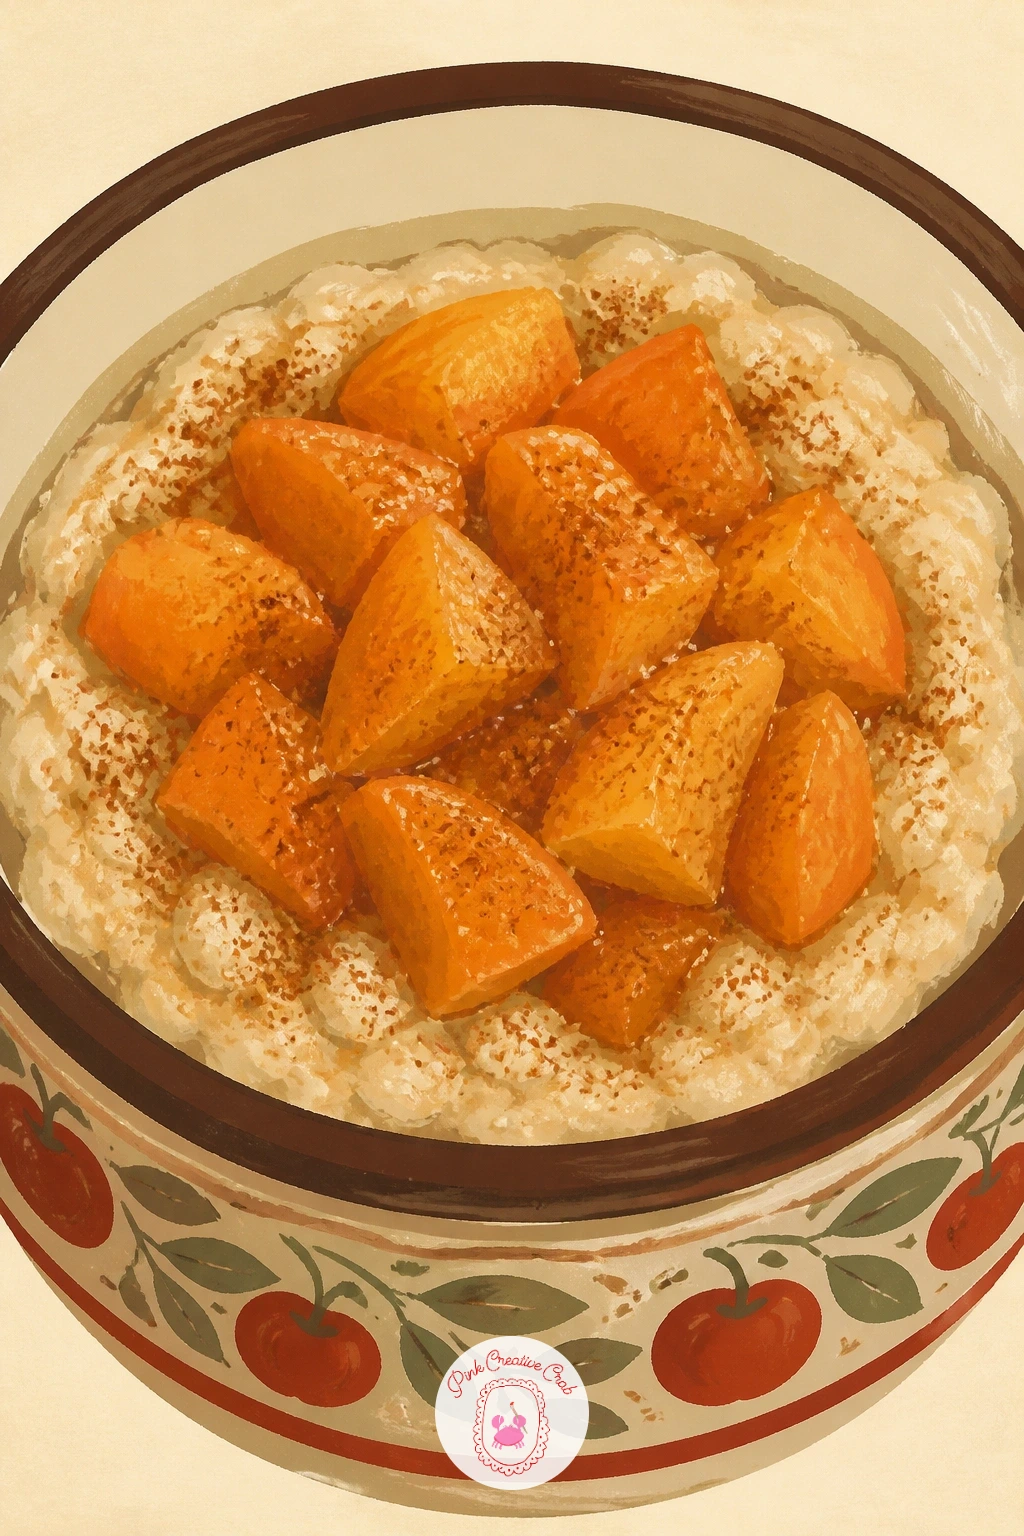
Palette: Cream,Soup Orange,Chocolate Brown,Sage Green
This small moment brings a bit of humor to the table, a dog waiting patiently just below where stew is being served above. Paint the table legs and a sliver of tablecloth first to set the scene, then build the dog as a simple sitting shape in chocolate brown or cream, ears perked, nose pointed upward toward the action happening above.
Keep the dog’s body as a few flat overlapping shapes rather than detailed fur, with just a couple of short strokes suggesting the ears and tail for personality. A single bowl being lowered into frame from above, just the edge of it and a dripping hint of stew, is enough to suggest the whole scene without painting the whole table setting.
If full dog anatomy feels daunting, simplify to a rounded body, triangle ears and a small tail, which reads instantly as an eager dog regardless of breed accuracy. No live dog to reference, any seated dog photo online gives the same basic proportions.
One tip: angle the dog’s head slightly upward and tilt the ears forward, which does more to suggest anticipation than any detailed expression could.
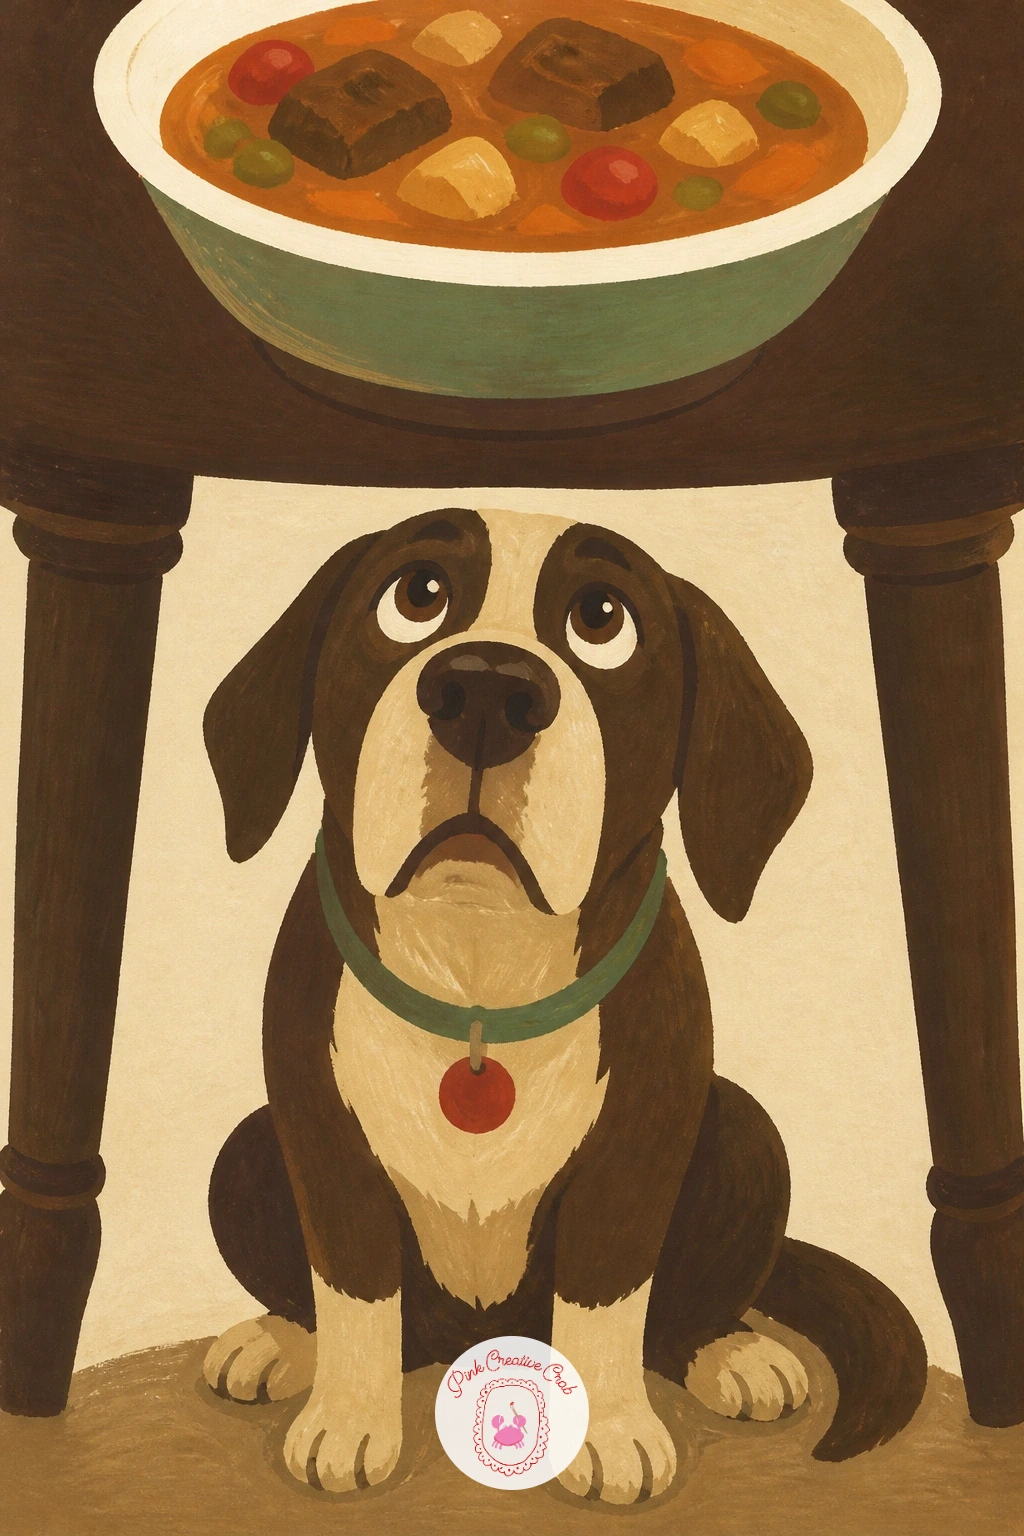
Palette: Chocolate Brown,Cream,Soup Orange,Sage Green
Finish the list with a skillet of gnocchi, a nice study in small repeated shapes browned unevenly in butter. Paint the pan first, then fill it with a scatter of soft cream-orange gnocchi pillows, each slightly irregular in shape rather than perfectly round, with small browned patches dabbed along one side of each piece.
Add a few whole sage leaves tucked between the gnocchi, crisped at the edges where the butter would have fried them, using a slightly darker olive tone than the rest of the sage in your palette to suggest that crisping. A small pool of golden brown butter visible between the pieces ties the whole pan together.
The place this goes wrong is making every gnocchi piece identical in size and browning, so vary both slightly across the pan for a more natural, just-cooked look. No fresh sage leaves to reference, any simple oval leaf shape with a visible center vein stands in fine.
Today’s tip: paint the browned patches on each gnocchi piece facing roughly the same direction, as if they all sat on the same hot spot of the pan, which quietly unifies the whole composition.
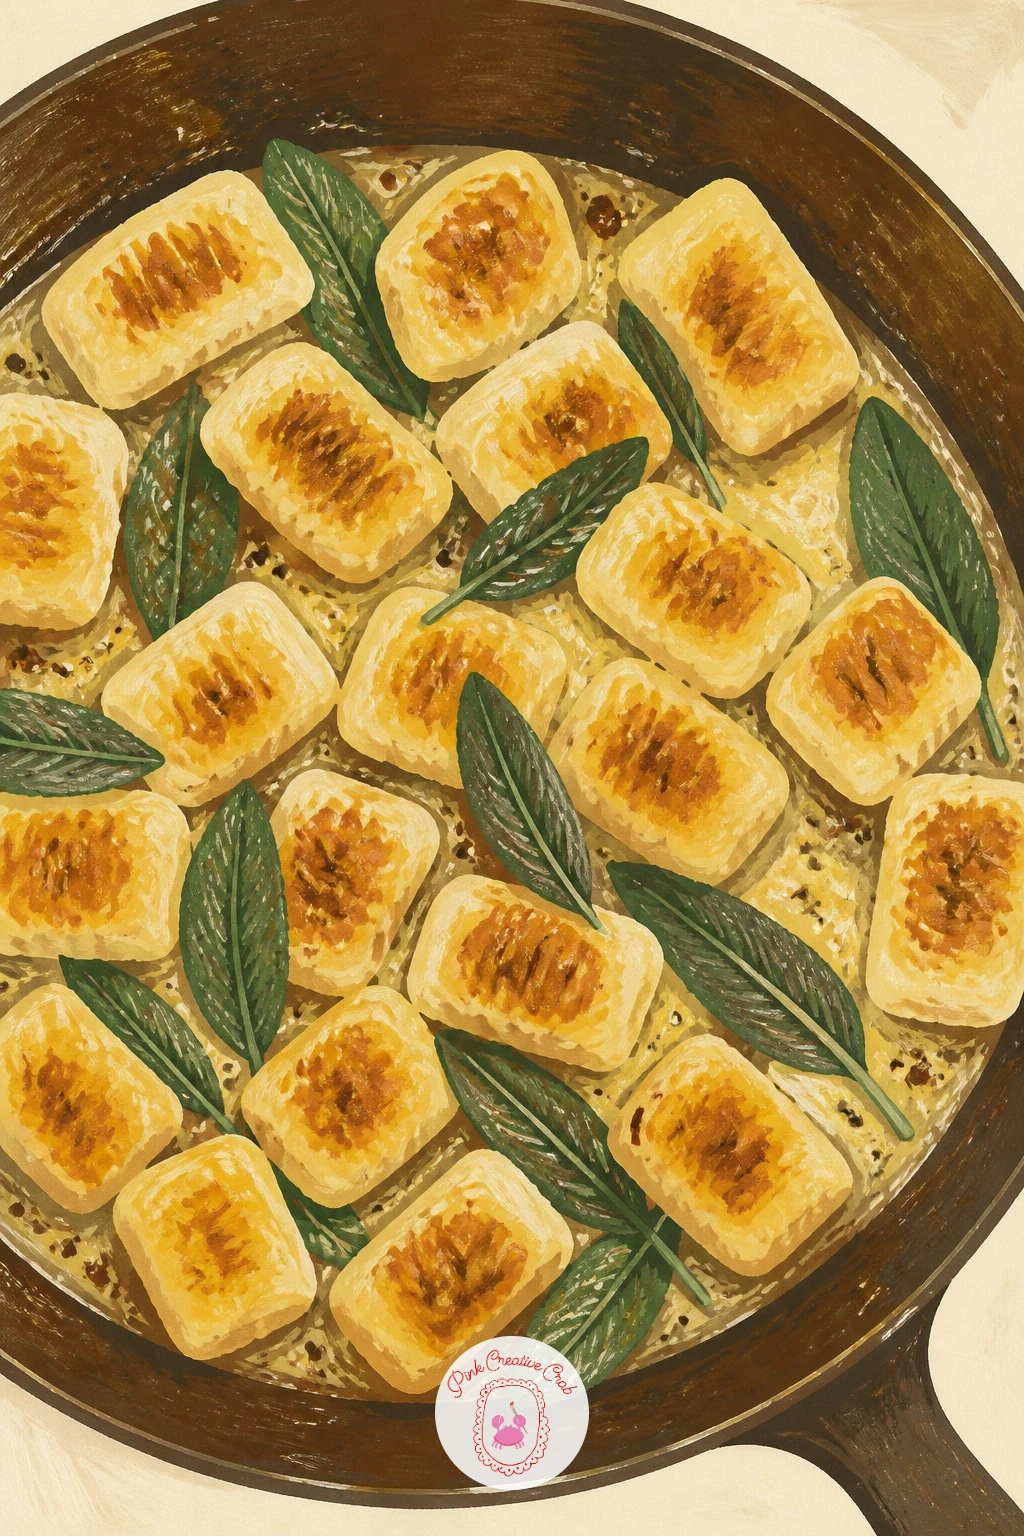
Palette: Cream,Soup Orange,Sage Green,Chocolate Brown
For a cooking-focused companion piece, the cooking drawing ideas collection has more kitchen scenes full of steam and small hand gestures like this one.
What to Do Next
Pick whichever pot or bowl you are craving right now and start there, a simple soup or stew is the easiest way in if this style is new to you. Grab a scrap of hot press paper first to test your palette, then move to a full sheet once the colors feel right.
Frequently Asked Questions
What is the best paper for food illustration in gouache?
Hot press watercolor paper or smooth bristol works best, since gouache needs a smooth surface to sit flat without pilling. Avoid heavily textured cold press paper if you want crisp, graphic edges on bowls and pots.
How do you paint steam convincingly in gouache?
Paint steam last, once everything underneath is fully dry, using two or three soft curved strokes in a nearly dry brush. Overloading the brush or painting steam too early muddies the clean edge that makes it read as rising vapor.
How do you keep gouache looking flat and matte instead of streaky?
Mix enough paint before you start so you never have to stop mid-shape to remix, and load the brush generously for one confident pass. Thin, scrubby strokes with too little paint cause the streaky look most beginners run into.
What colors work well for winter comfort food illustration?
Chocolate brown, soup orange and sage green form a warm, cohesive base, with cherry red and cream as accents. This narrow palette keeps a whole series of food scenes feeling like one consistent set rather than two dozen unrelated pictures.
How do you make hands look natural in a small food scene?
Simplify fingers into a few merged rounded shapes rather than painting each one separately, and crop tight so only the hand and wrist show entering the frame. A three-quarter angle hides awkward proportions better than a straight-on view.
Have any thoughts?
Share your reaction or leave a quick response — we’d love to hear what you think!
-
 0
-
0
-
0
-
0
-
0
-
0


