

Birch tree art gives you a subject that forgives a wobbly hand and still looks finished. The pale trunks do the heavy lifting, so a few confident washes and some fine ink lines against white paper can carry a whole winter scene in one sitting.
Below you will find 27 birch scenes to paint, moving from a single trunk in a field to busier groves with a walker, a deer or a bird tucked into the bark. Pick whichever one matches your mood today and read the notes for the order to work in and the one trick that saves it if it starts to go wrong.
Using these images: free for personal projects such as printing, coloring, cards, journals and gifts. Handmade items that include them may be sold up to 30 pieces per design. More than that is commercial use and is not permitted, and neither is selling or sharing the images themselves or passing them off as your own. Please ask before any other use.
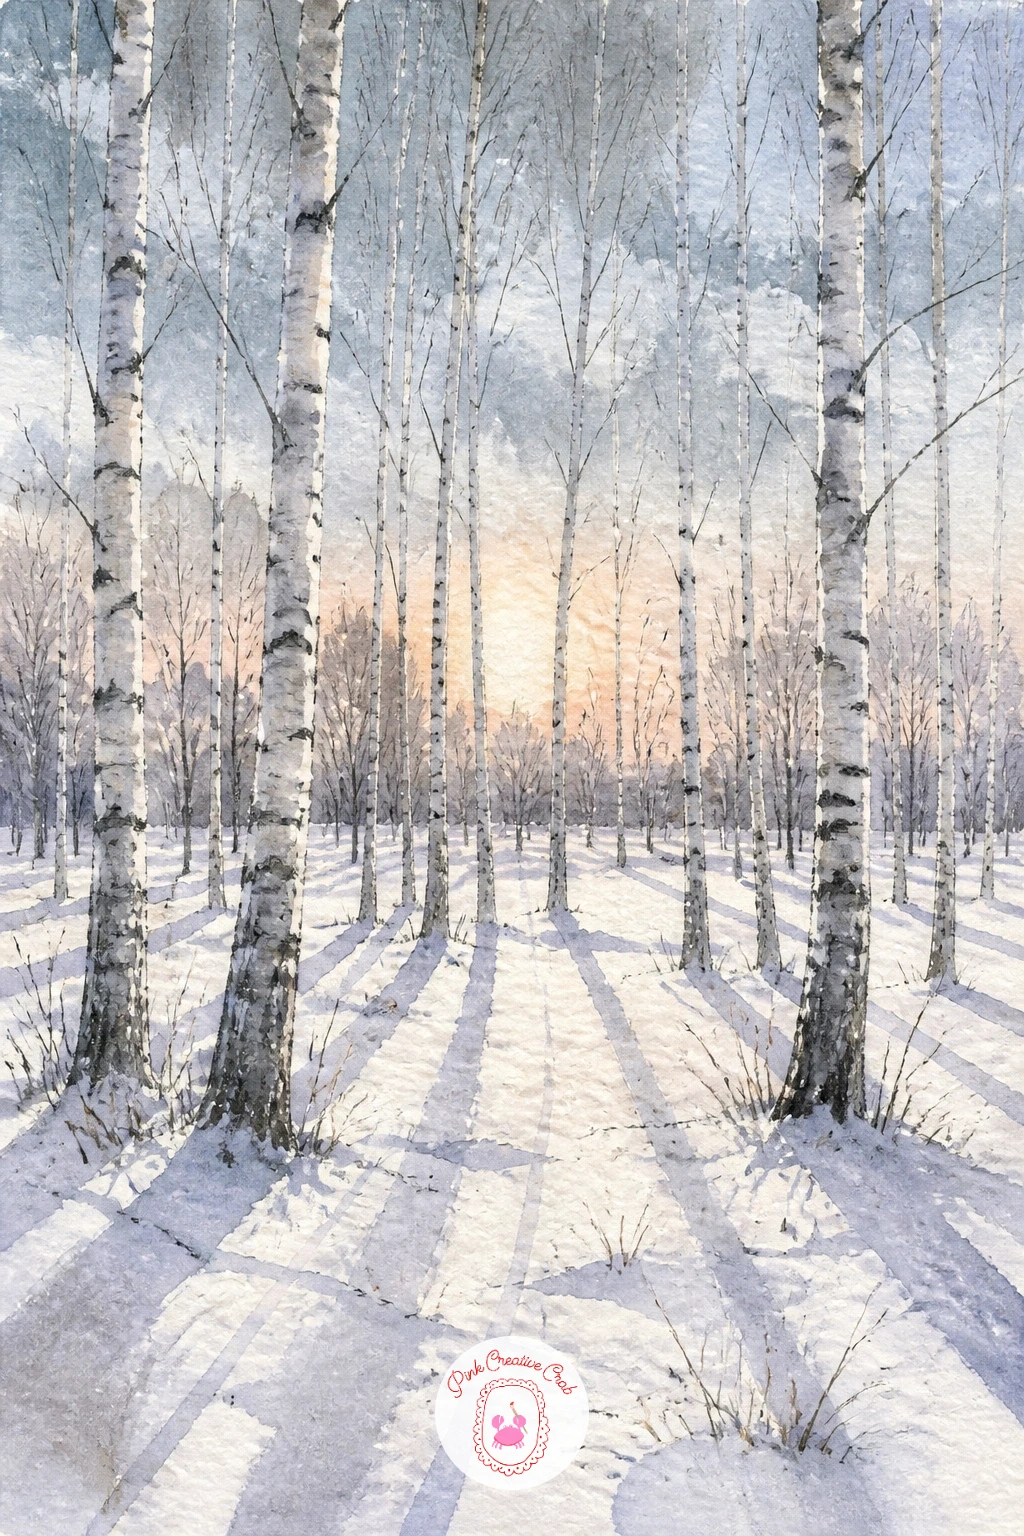
Start a birch grove by laying a pale wash of white paper left bare for the snow and a thin blue grey wash for the sky, letting it dry fully before anything else goes on. Masking fluid flicked across the lower third keeps a few trunks and snow lumps untouched by later washes, which saves time once you peel it off.
Paint the trunks with the side of a small round brush loaded with watered grey, varying the pressure so some lines go thin and some go wide, then drop in soft violet grey shadows stretching long and parallel across the snow. This is where beginners rush: keep the shadow color one consistent violet grey mix rather than switching hues trunk to trunk, so the light reads as coming from one direction.
Once dry, add the dark horizontal marks and knots on the trunks with a fine liner, keeping them short and irregular rather than evenly spaced. If you do not have masking fluid, simply paint around the trunk shapes with a dry brush instead and accept slightly softer edges.
Finish with one tip: keep the shadows slightly warmer violet near the viewer and cooler blue further back, it adds depth without extra detail.
You Will Need
- masking fluid
Palette: Payne’s Grey,Violet Grey,Titanium White,Cerulean Blue
Work this winter sunset wet into wet from the start: wet the whole sky area and drop in peach, soft pink and a touch of pale violet, letting the colors bleed into each other before anything dries. Tilt the paper gently so the colors pool toward the horizon rather than mixing to mud.
Once that sky layer is bone dry, paint the thin birch trunks as simple vertical strokes in grey and a touch of the sunset peach mixed in, so they do not read as flat silhouettes. Think about where the light source sits: keep it low and behind the trees, which means the trunk edges facing you stay dark while any snow on the ground picks up a warm peach glow rather than plain white.
The common mistake is making every trunk the same width and tone. Vary two or three trunks darker and slightly thicker in the foreground so the rest recede into the glow.
If your orange runs out, a warm yellow ochre mixed with a little red works as a peach substitute. Finish with fine ink twigs added last, once the paper is completely dry.
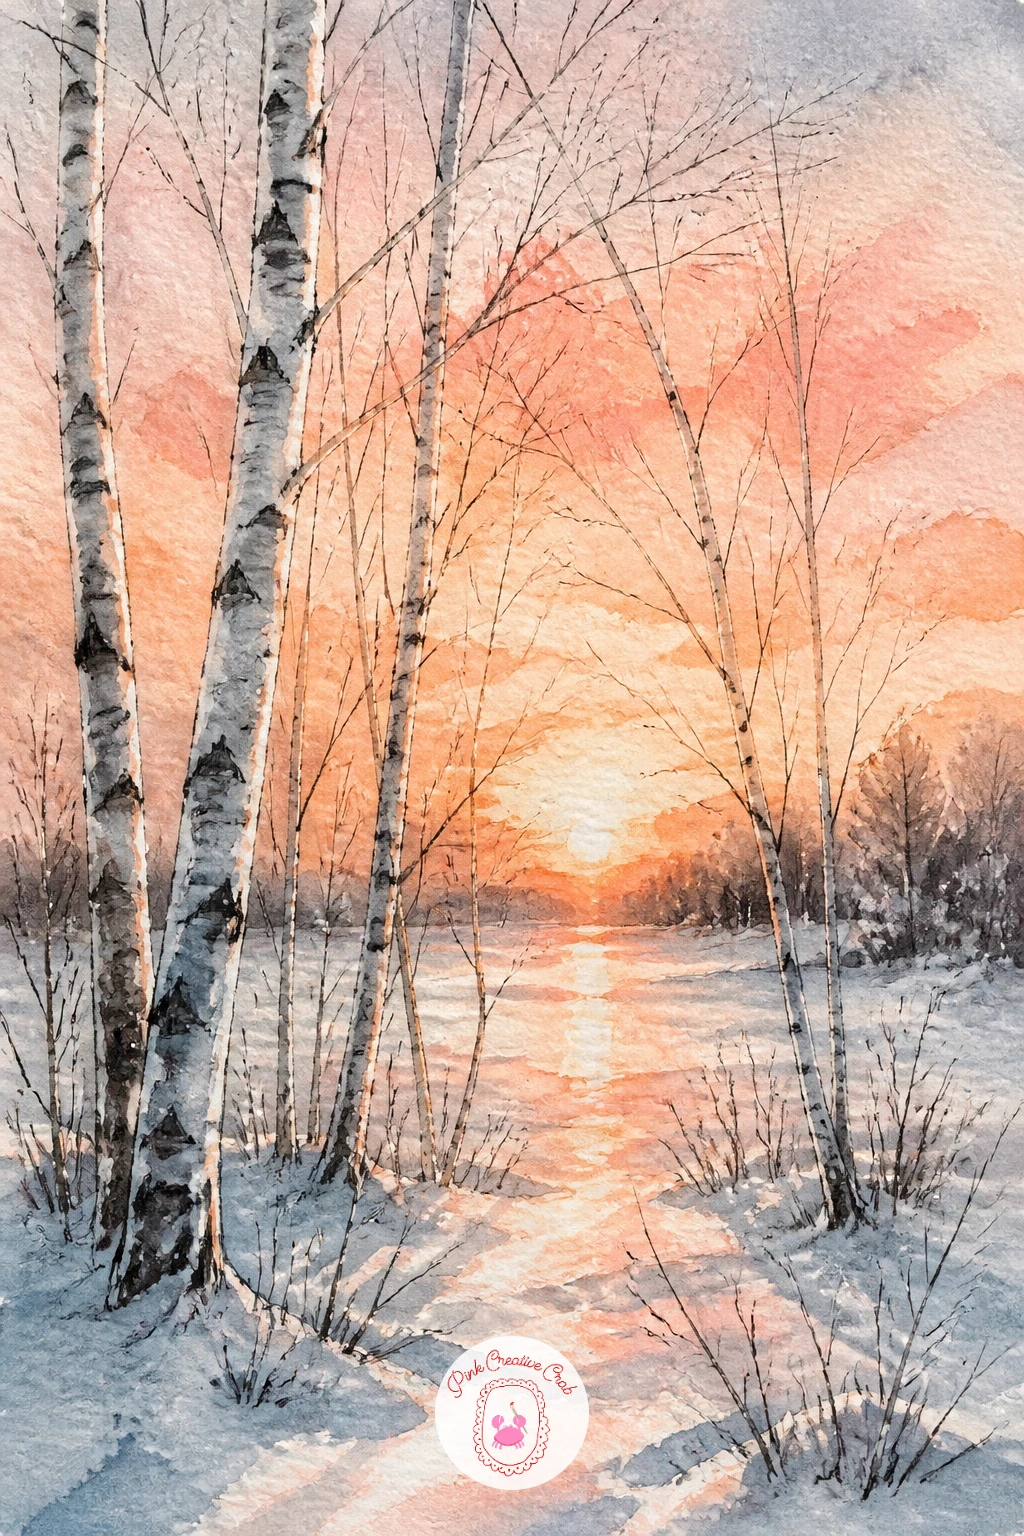
Palette: Peach,Soft Pink,Payne’s Grey,Pale Violet
For more sunset practice beyond birches, see the watercolor sunset ideas with free templates to trace.
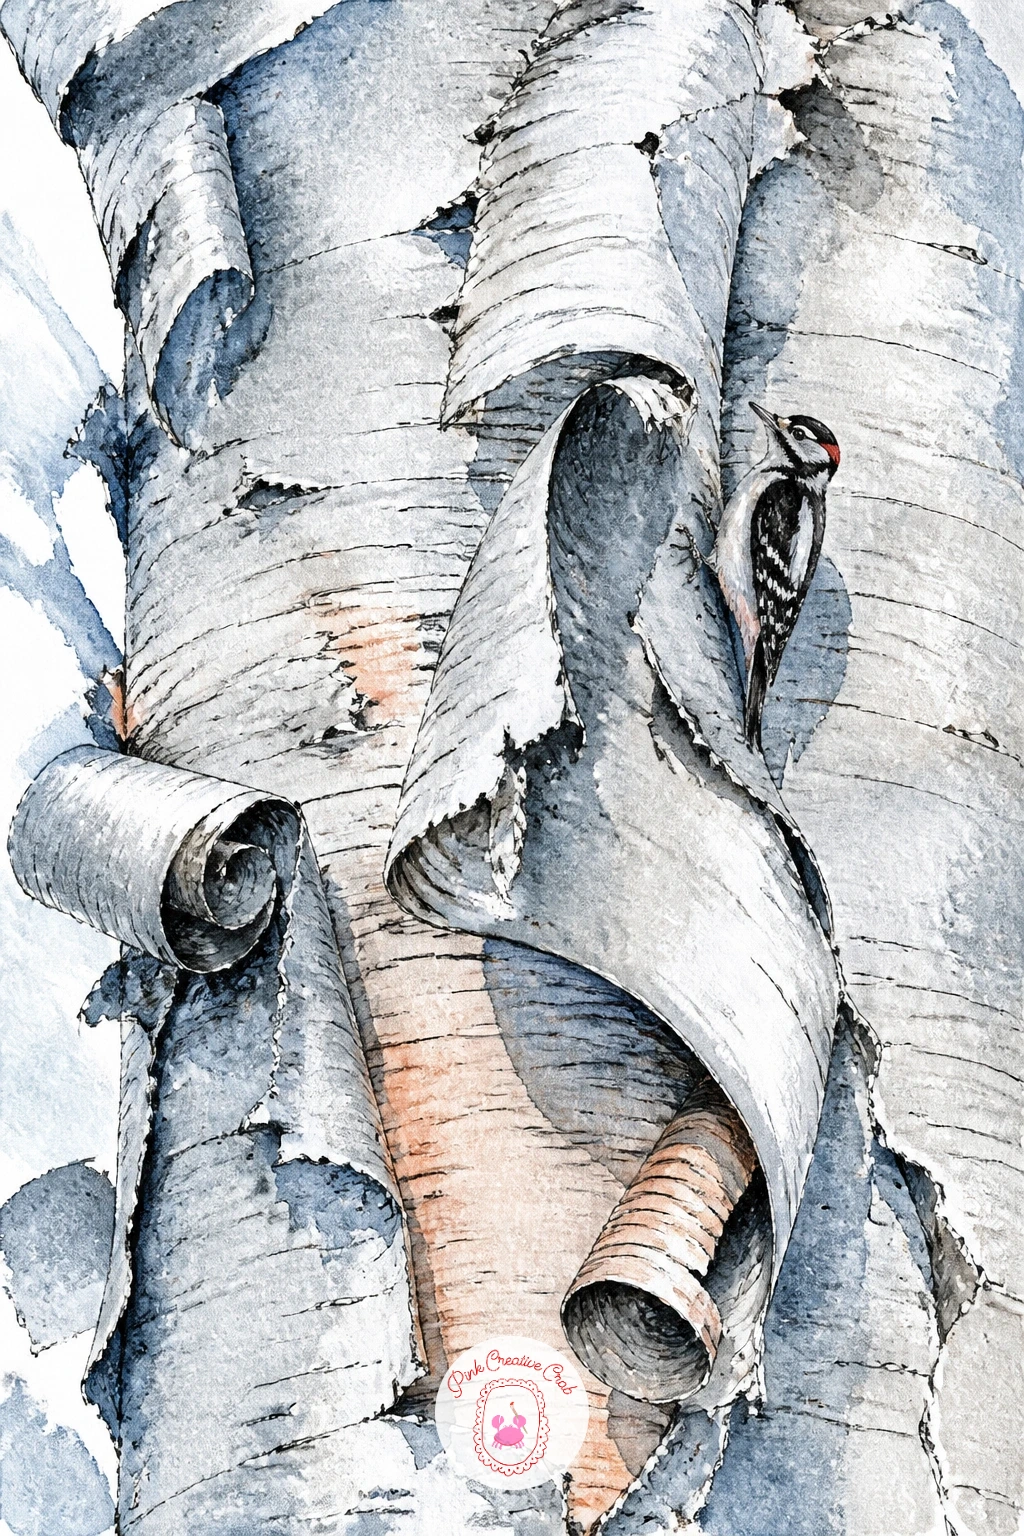
Zoom right into one trunk for this close up, so the peeling silver bark fills the whole page. Lay a pale grey wash first, then while it is still damp, lift color out with a dry tissue or the flat of a dry brush in curling shapes to suggest bark peeling away from the trunk.
This lifting technique is the whole trick here: press, lift, repeat in different spots rather than painting white shapes on top, which looks flat by comparison. Once dry, add darker grey crevices with a small brush and let a few lines run off the edge of the page for a cropped, close up feel.
Paint the tiny woodpecker last in black, white and a touch of red, keeping it small against the bark so the texture stays the star. If lifting feels fiddly, a white gel pen scratched lightly over dry paint gives a similar peeling highlight.
Try this: keep the woodpecker’s pose simple, body first then head turned slightly, so it reads correctly even at a small size.
You Will Need
- white gel pen
Palette: Silver Grey,Payne’s Grey,Ivory Black,Cadmium Red
Set up this one with a simple perspective trick before you paint: draw two faint pencil lines converging toward a point partway up the page, and let the path narrow and the trunks shrink as they follow those lines. That single device makes the path feel like it recedes even with very loose brushwork.
Paint the furthest trunks smaller and paler, closer ones taller and darker, keeping the wash thin enough that white paper still shows through for snow light. Add the path itself as a pale blue grey band, slightly warmer where footprints might catch low sun.
The walker in the red coat goes in last and small, no more than a simple triangle of a coat and a dot of a head, placed on the path rather than beside it. Red against all that grey and white carries the whole painting, so keep it as the only strong color note.
If pencil guidelines feel like cheating, they are not. Erase them lightly once the ink details go in.
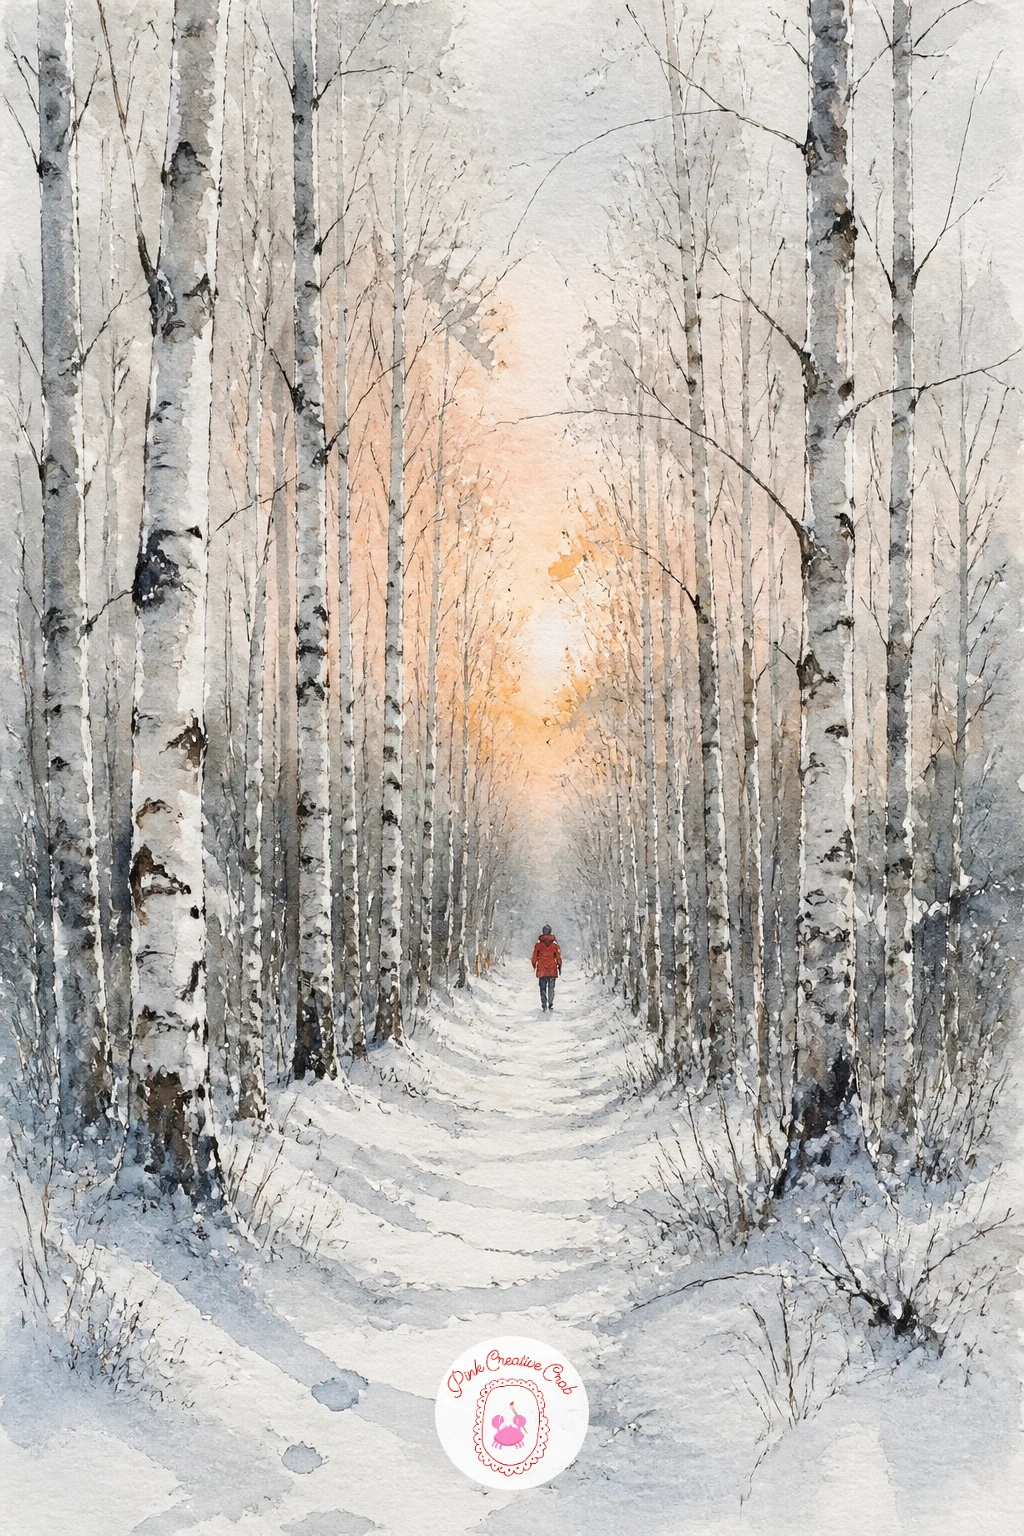
Palette: Payne’s Grey,Cadmium Red,Cerulean Blue,Titanium White
Three leaning trunks give you a natural composition, so sketch them first in pencil, angled slightly toward each other rather than all straight up, before any paint touches the page. Leave the frozen stream as a pale strip of bare paper running beneath them.
Paint the trunks with slightly curved strokes to catch the lean, darker on the underside of each curve to suggest roundness. Drop a thin wash of icy blue grey over the stream once the trunks are dry, leaving a few jagged white shapes untouched for ice catching light.
Where this goes wrong is painting the stream too evenly: break the blue wash with dry brush strokes and a little texture so it reads as ice rather than still water. A dry old brush or even a sponge dabbed lightly works if you do not have a toothbrush for texture.
One more thing worth doing today: tilt all three trunks the same general direction, it reads as wind and ties the group together.
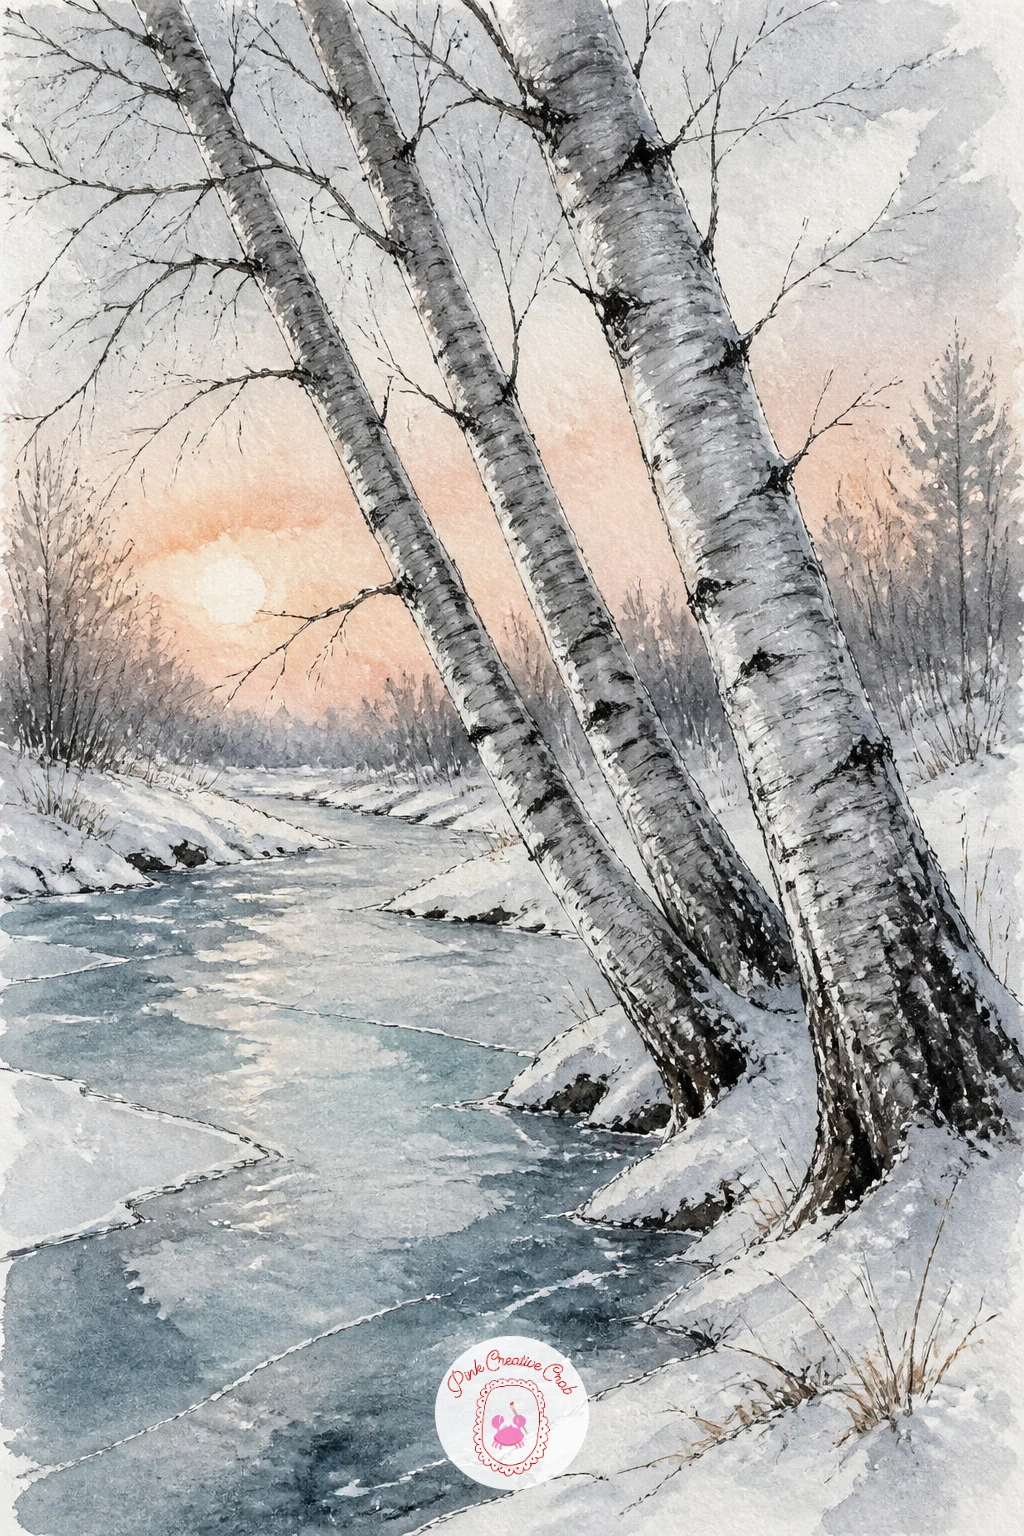
Palette: Payne’s Grey,Icy Blue,Titanium White,Silver Grey
Give yourself one trunk filling most of the page, painted top to bottom in a single loaded stroke of grey so the bark stays loose rather than fussy. Let it dry before adding the small hanging seed feeder, a simple cylinder shape in warm brown with a few dark dots for seed.
This is a ten minute sketch if you stop there: trunk, feeder, done. Give it closer to forty minutes and add snow dusting the top of the feeder, a few scattered seeds on the ground below, and bark texture built up in two or three grey tones rather than one flat wash.
The blue tit perched on the feeder goes in last with a tiny round body, pale yellow belly and a quick dab of blue grey on the head and wings. Keep its feet as two small ink strokes rather than trying to draw real claws, it reads fine from a normal viewing distance.
No feeder on hand to reference: a simple tube shape with a perch stick is enough, nobody will question the exact design.
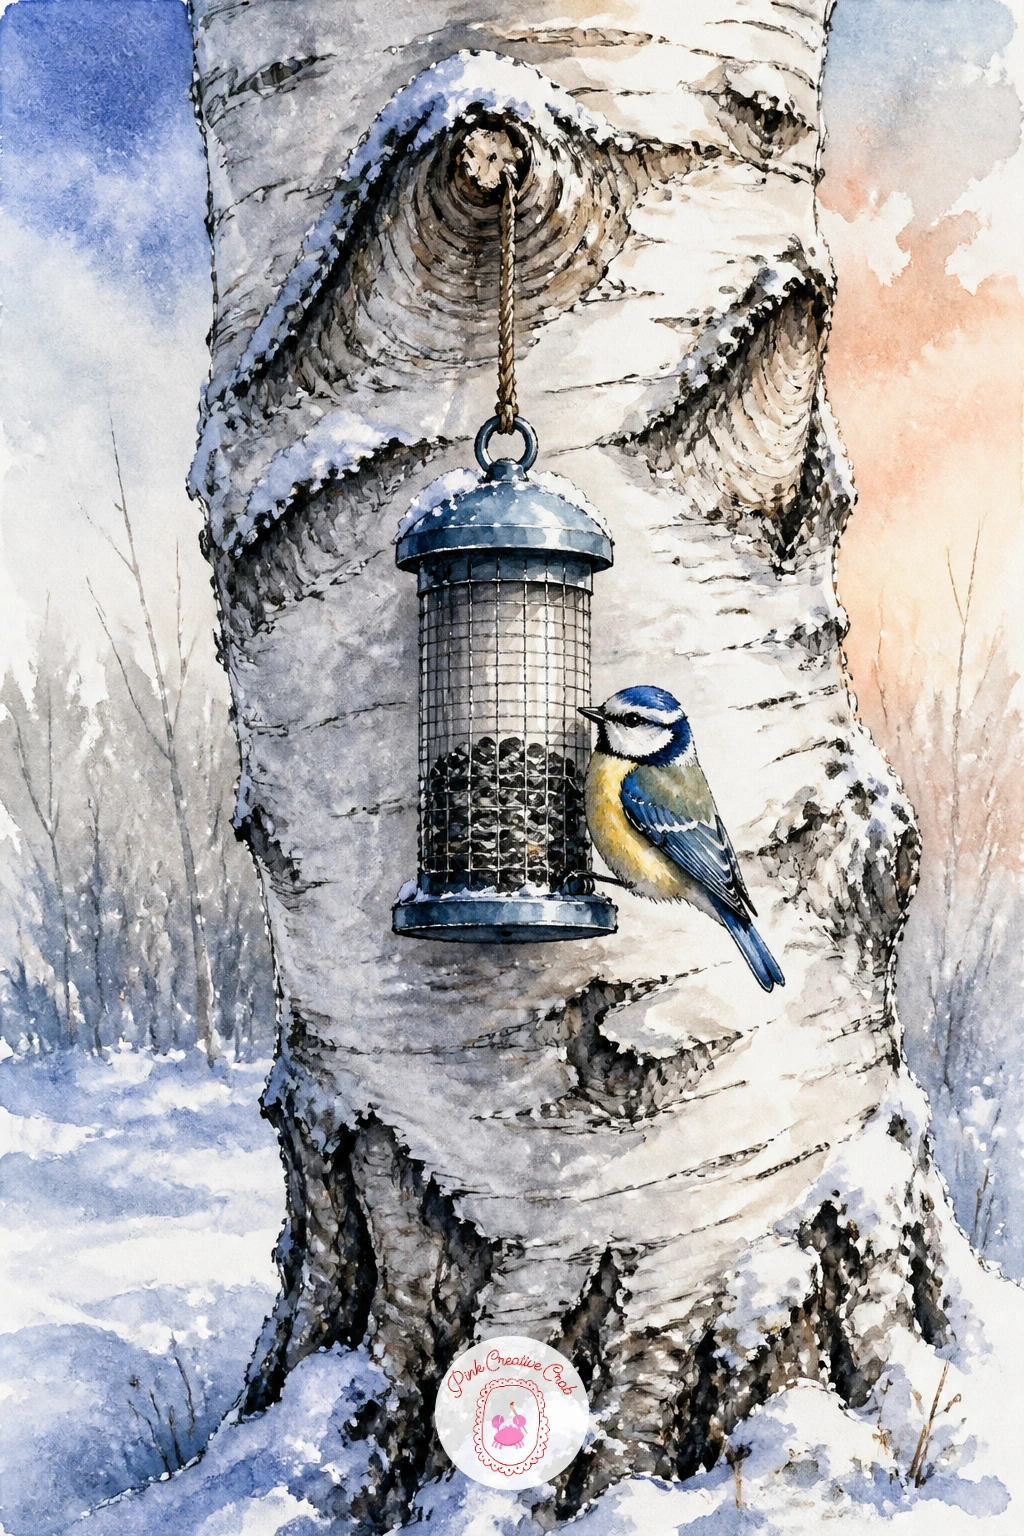
Palette: Payne’s Grey,Burnt Umber,Lemon Yellow,Cerulean Blue
Follow on from a straight stand of trunks with their reflection painted beneath, since water and ice scenes reward working out the light source before you start. Decide where the sky is brightest and keep both the real trunks and their reflections darkest on the side away from that light, which is what makes a reflection convincing rather than just a flipped copy.
Paint the trunks first, let them dry, then paint the reflection slightly softer and more broken, using a slightly wetter brush so the edges blur a touch compared to the crisp trunks above. A few short horizontal strokes across the reflection suggest the thin ice breaking the mirror effect.
Skipping straight to painting the reflection as a perfect mirror is the usual slip. Vary it: shift the reflected trunks very slightly, break a couple of lines, and it reads as ice and water rather than a design trick.
Add fine ink cracks across the ice last, in a scatter rather than a grid, radiating loosely from one or two points.
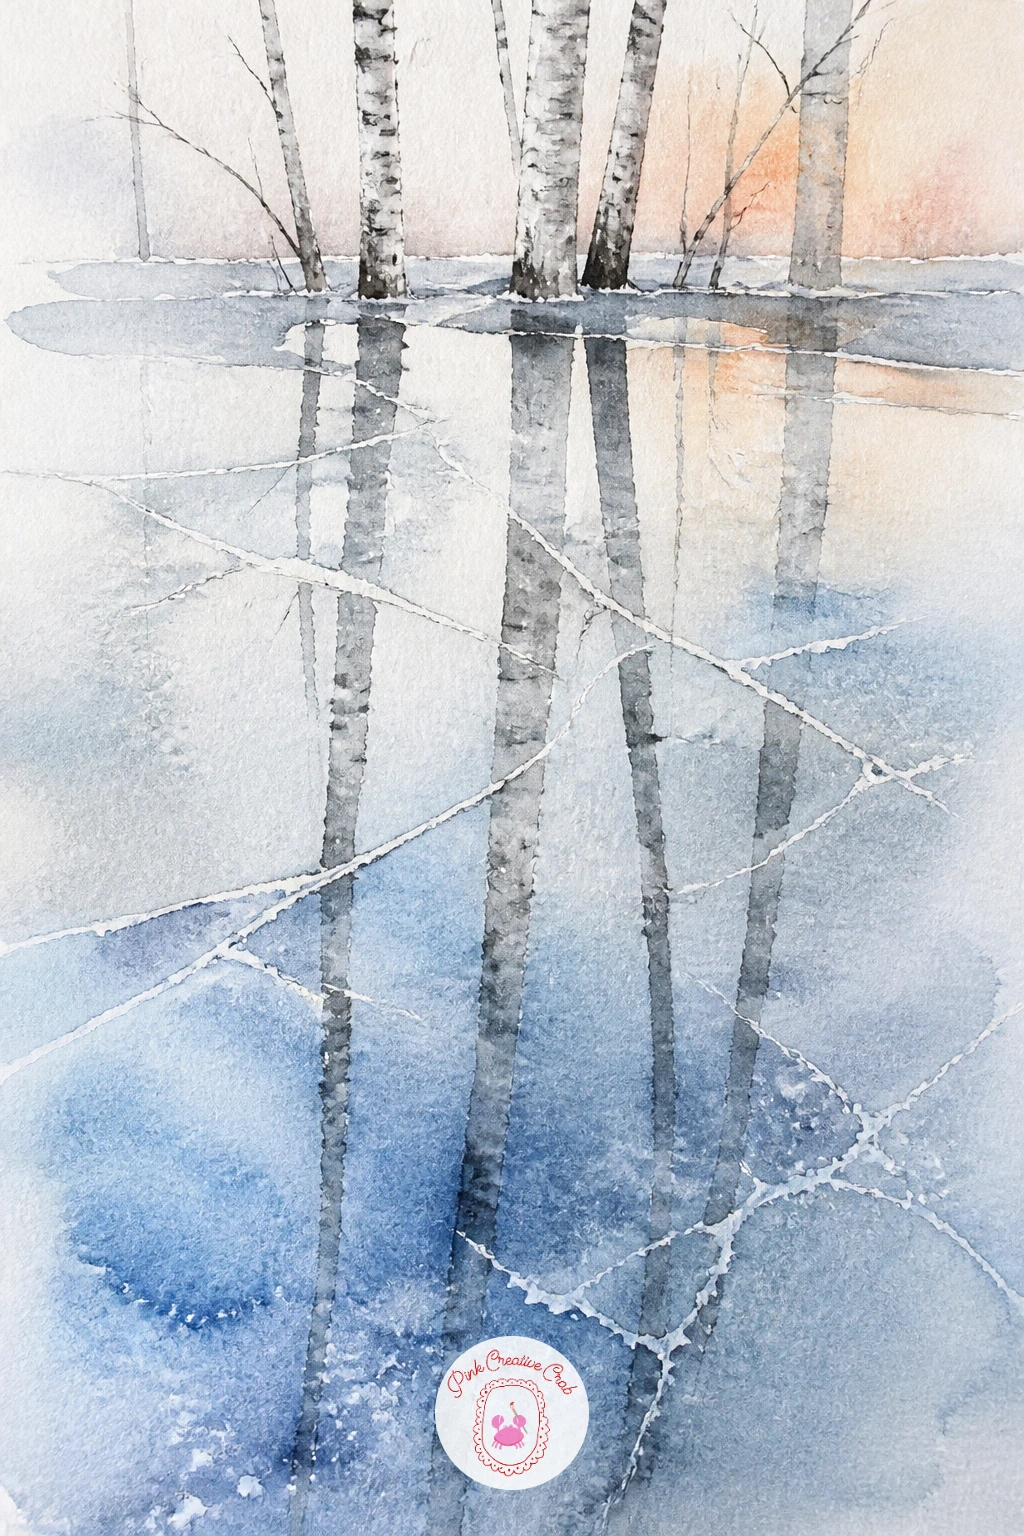
Palette: Payne’s Grey,Icy Blue,Silver Grey,Titanium White
Fog is forgiving, which makes it a good subject once you have a few birches under your belt. Wet the whole page first and drop in pale grey washes that fade toward the top, keeping everything soft and diffused with no hard edges at all in this first layer.
Once dry, paint the nearest two or three trunks with a little more definition and contrast, letting trunks further back stay pale and barely there, almost swallowed by the wash beneath them. That contrast between sharp near trunks and vanishing far ones is what sells the fog.
The moose goes in half hidden among the faded trunks, painted in the same soft grey family so it emerges rather than stands out, just a hint of antler and shoulder visible. Resist outlining it in black, a clean ink edge breaks the fog illusion instantly.
If you want it bolder next time, push the near trunks darker still and let the moose show a touch more color, a warm brown breaking through the grey.
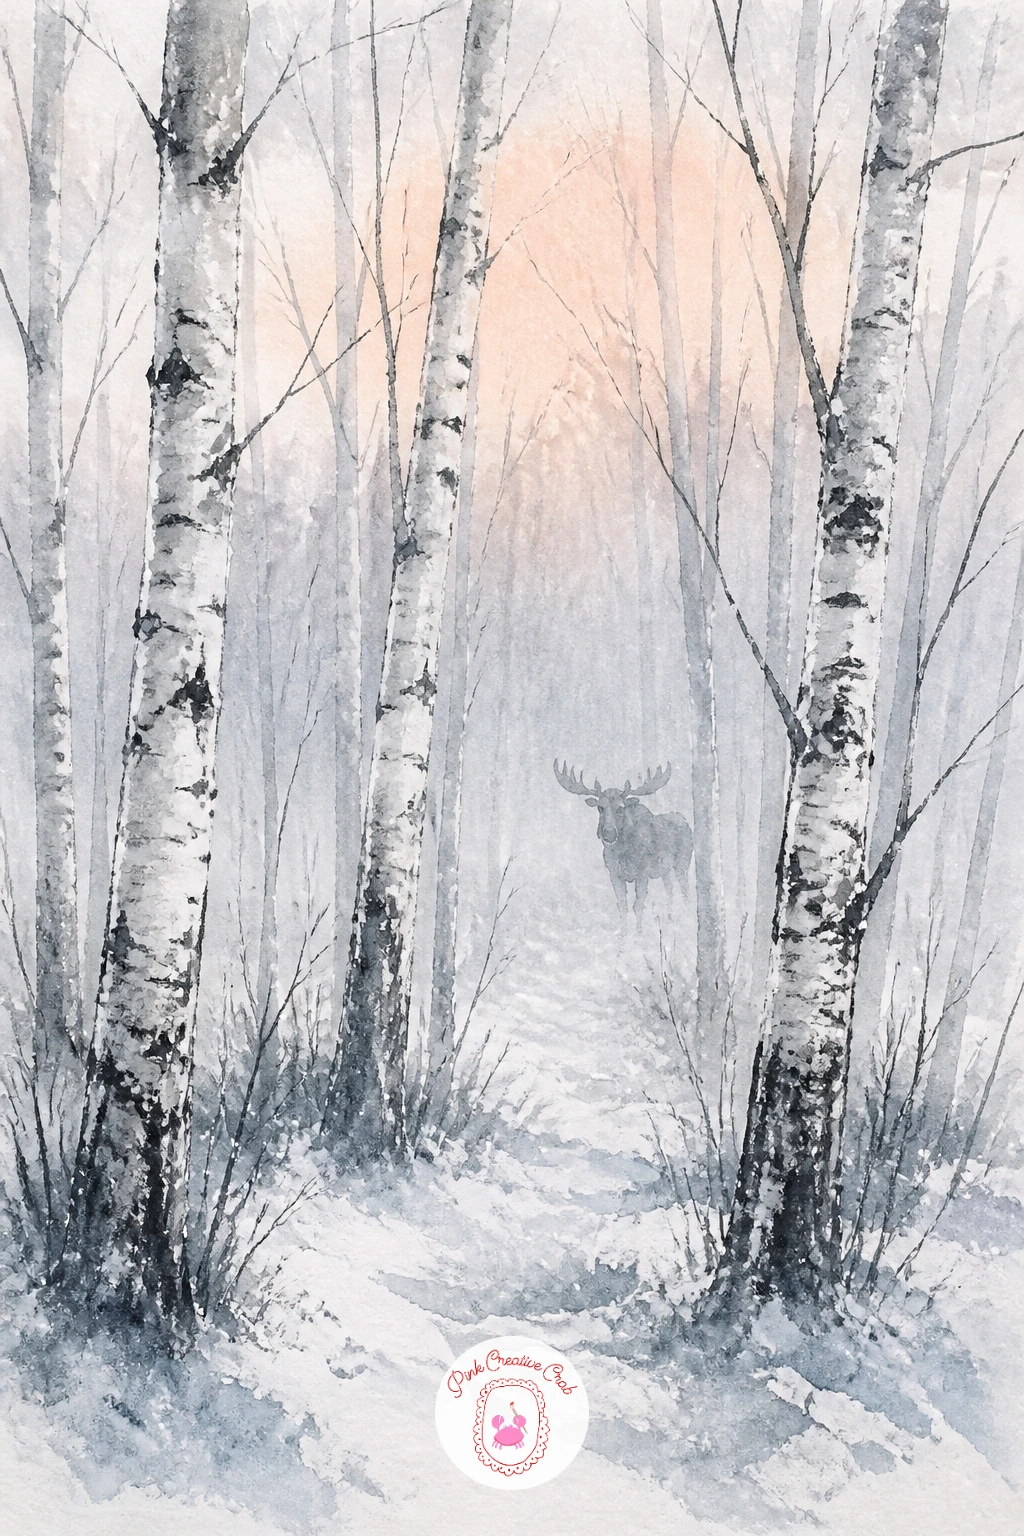
Palette: Payne’s Grey,Silver Grey,Burnt Umber,Titanium White
Center a small red bench beneath a loose cluster of birches for a scene that reads instantly, since the one bold color note does most of the work. Paint the trunks and snowy ground first in your usual grey and white washes, leaving the bench area as bare paper until everything else is dry.
Build the bench out of a few simple rectangles in cadmium red, keeping the perspective basic: front legs slightly larger than back legs is enough to suggest depth without any real technical perspective drawing. Add snow sitting on top of the bench slats as untouched white paper, outlined afterward in a thin grey line.
People often paint the bench too large relative to the trunks. Hold your brush at arm’s length against the reference to check the bench sits no taller than about a third of the nearest trunk’s visible height, it keeps the scale honest.
Finish with a scatter of fine ink marks for falling snow across the whole page, added last so they sit crisp on top of every wash.
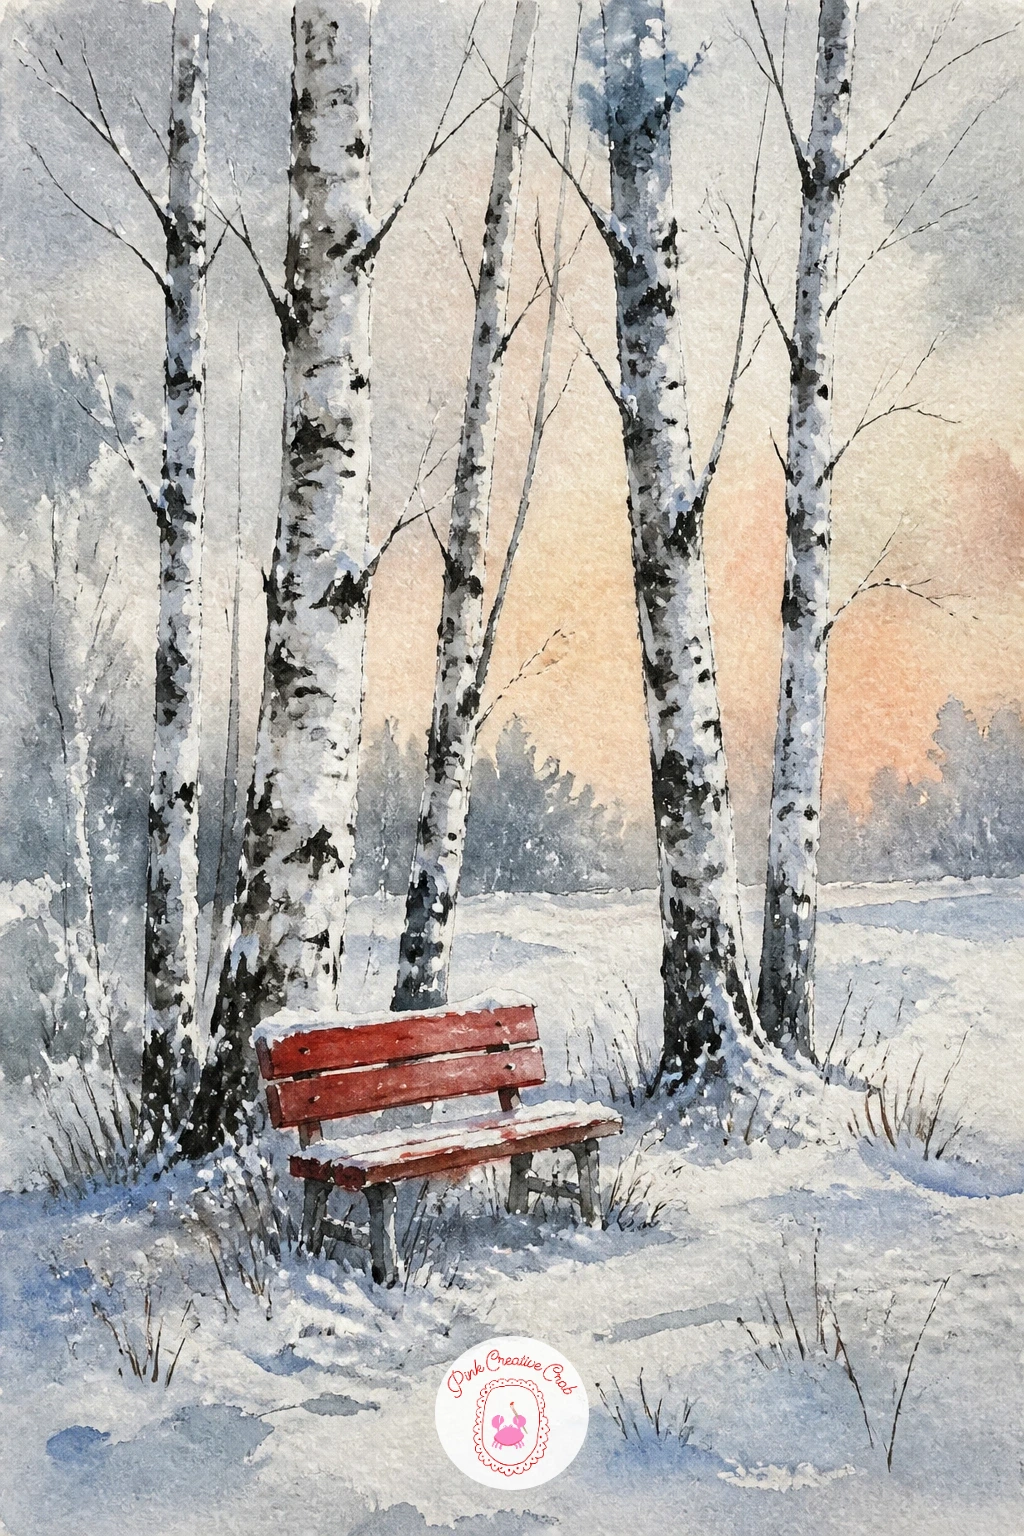
Palette: Cadmium Red,Payne’s Grey,Silver Grey,Titanium White
Strip the scene right back for this one: a single birch trunk standing alone in an otherwise empty white field at dawn. The whole composition rests on where you place that one trunk, so sketch it slightly off center rather than dead middle, giving the painting somewhere for the eye to travel.
Wash a very pale lavender grey across the sky, graduating to almost white near the horizon to suggest early dawn light, and leave the field itself as bare paper with just a hint of pale blue shadow stretching from the trunk’s base. Paint the trunk in two tones of grey, darker on the side away from the dawn light so it reads as lit from one direction.
With so little else on the page, any wobble in the trunk’s outline shows immediately. Keep your brush strokes slow and steady, and if a line goes crooked, let it dry and paint a second thin layer to straighten the silhouette rather than scrubbing at it wet.
Try this quick version in ten minutes flat, it is a good warm up before tackling a busier grove scene.
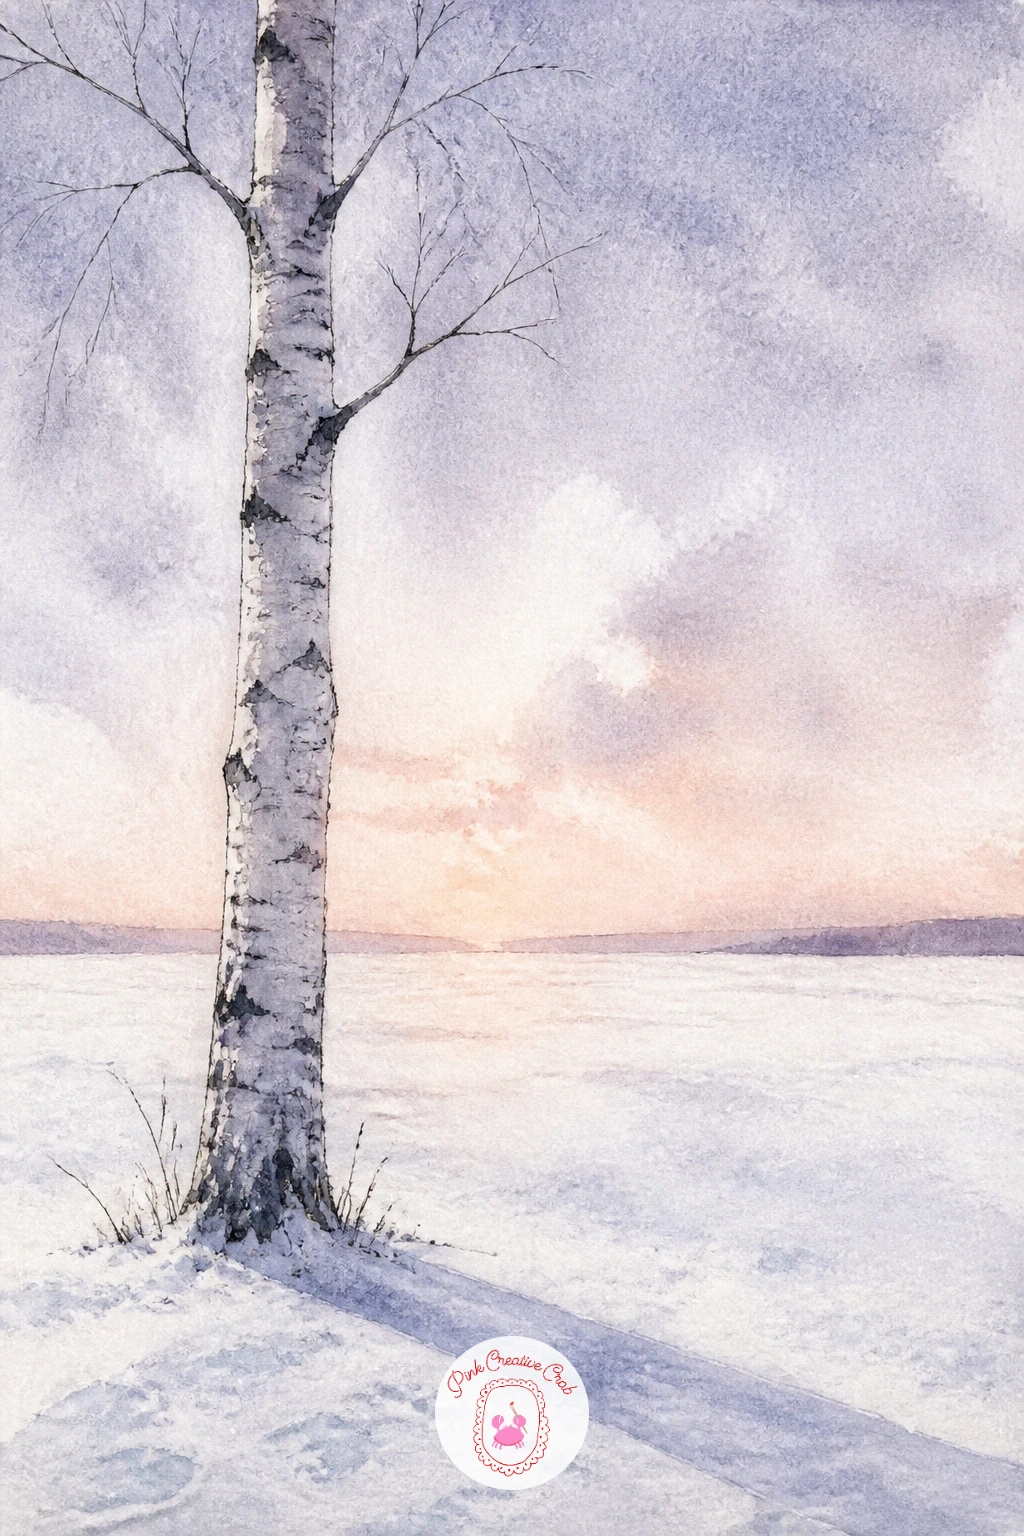
Palette: Pale Lavender,Payne’s Grey,Titanium White,Cerulean Blue
Bring in a small object this time: a wooden sled leaning against a birch trunk after a snow day, which gives the scene a sense of someone having just been there. Paint the trunk first as usual, then sketch the sled’s simple curved runners in pencil before committing to ink, since getting that curve wrong is the easiest way to spoil the whole piece.
Paint the sled in warm burnt umber with the ink lines for the wooden slats added once the wash is dry, keeping the lines slightly uneven rather than ruler straight for a handmade look. Snow sitting on the sled’s seat and runners stays as bare white paper, with just a thin grey line marking where snow meets wood.
The common fix needed here is a sled that looks too flat: add one small cast shadow beneath it falling toward the viewer, which immediately grounds it against the trunk rather than looking stuck on.
No red paint needed this time. A rope detail in a thin ink line trailing from the front gives a nice extra touch if you want it.
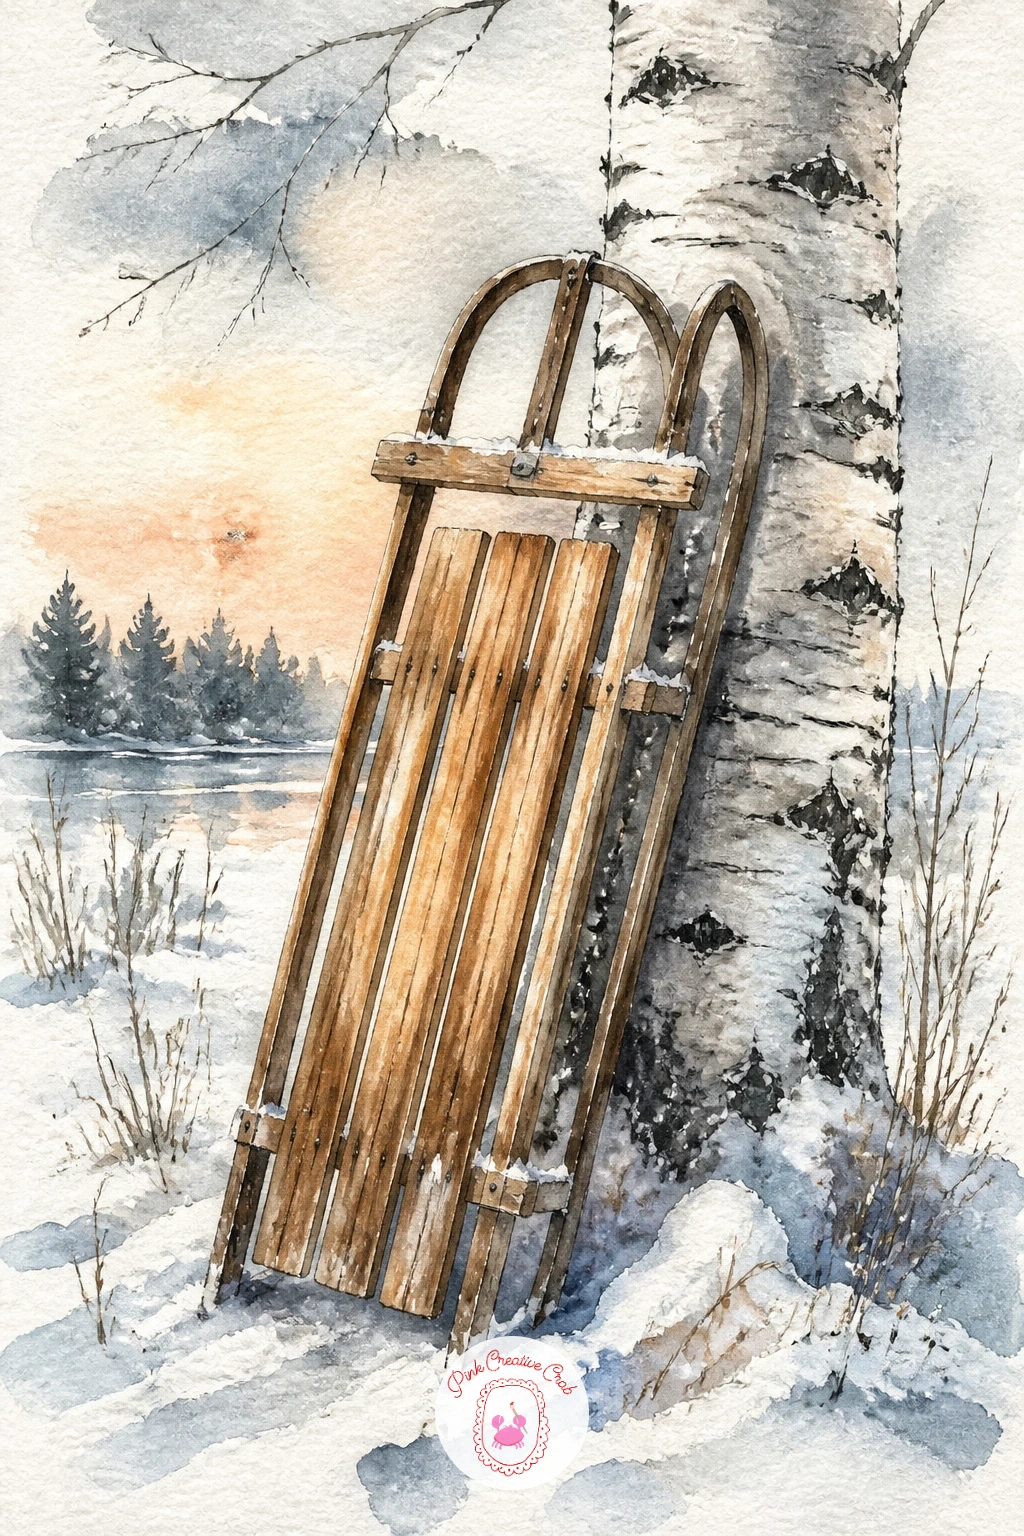
Palette: Burnt Umber,Payne’s Grey,Titanium White,Silver Grey
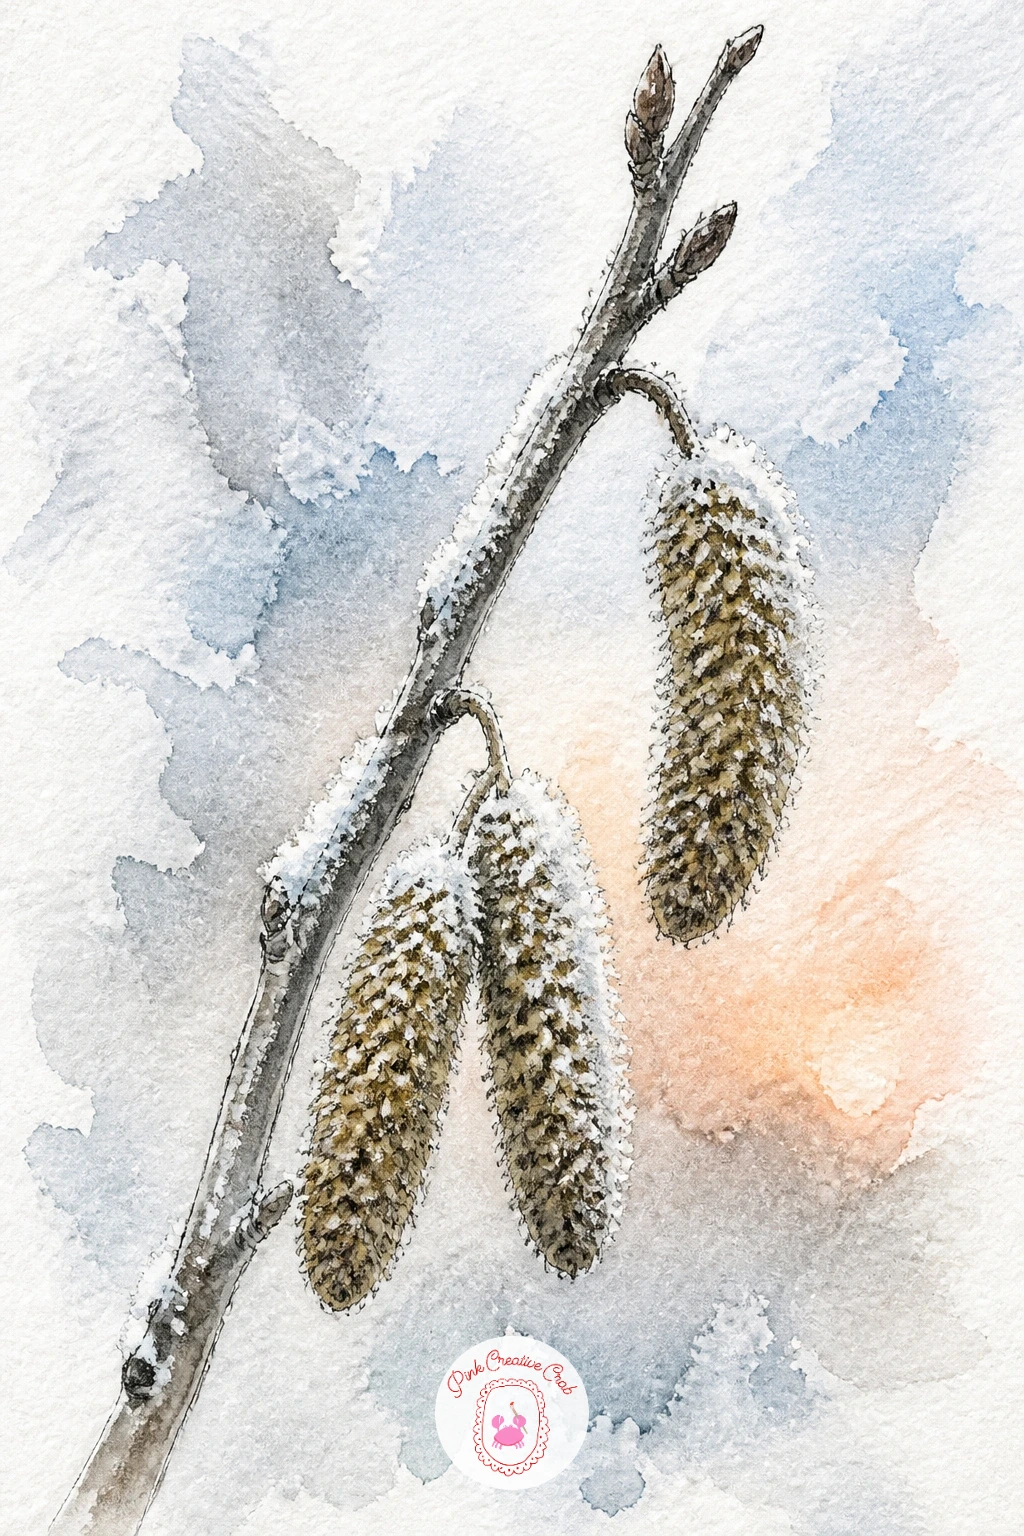
Move in close for this quiet one: a single bare twig holding a few birch catkins dusted with frost. Draw the twig first in a thin confident ink line, letting it branch slightly rather than running perfectly straight, since real twigs rarely do.
Paint the catkins as soft elongated shapes hanging from the twig, a pale olive brown wash kept loose and slightly wet so the edges stay soft rather than hard outlined. This close up texture is really about edges: once that wash is just barely damp, touch a dry brush along one side of each catkin to lift a little color and suggest the frost catching light.
Flick a little white gouache or a scratched white gel pen across the whole twig once everything else is dry, for scattered frost crystals. Too much frost at once buries the catkins, so keep it sparse and uneven rather than an even dusting.
If gouache is not in your kit, a white gel pen does the same job with slightly smaller, finer dots.
You Will Need
- white gel pen
Palette: Olive Brown,Payne’s Grey,Titanium White,Burnt Umber
Give yourself a small architectural anchor this time: a little red cottage glimpsed behind a loose screen of birch trunks. Paint the cottage first and small, simple rectangles for walls and roof, a single warm red wash with a darker roof tone, since it needs to read clearly before the trunks go in front and partly hide it.
Once the cottage is dry, paint the birch trunks across the foreground in your usual grey, letting two or three overlap the cottage edges so it genuinely sits behind the trees rather than beside them. This overlap is what convinces the eye of depth, far more than size or color alone.
Windows glowing warm yellow against the red walls add life without much extra work, just two small squares with a soft wash rather than a hard edged shape. Keep the cottage roofline slightly uneven if you want a cozier, older feel.
If a whole cottage feels like a lot today, simplify it to just a roof peak and one window peeking through the trunks, it still reads.
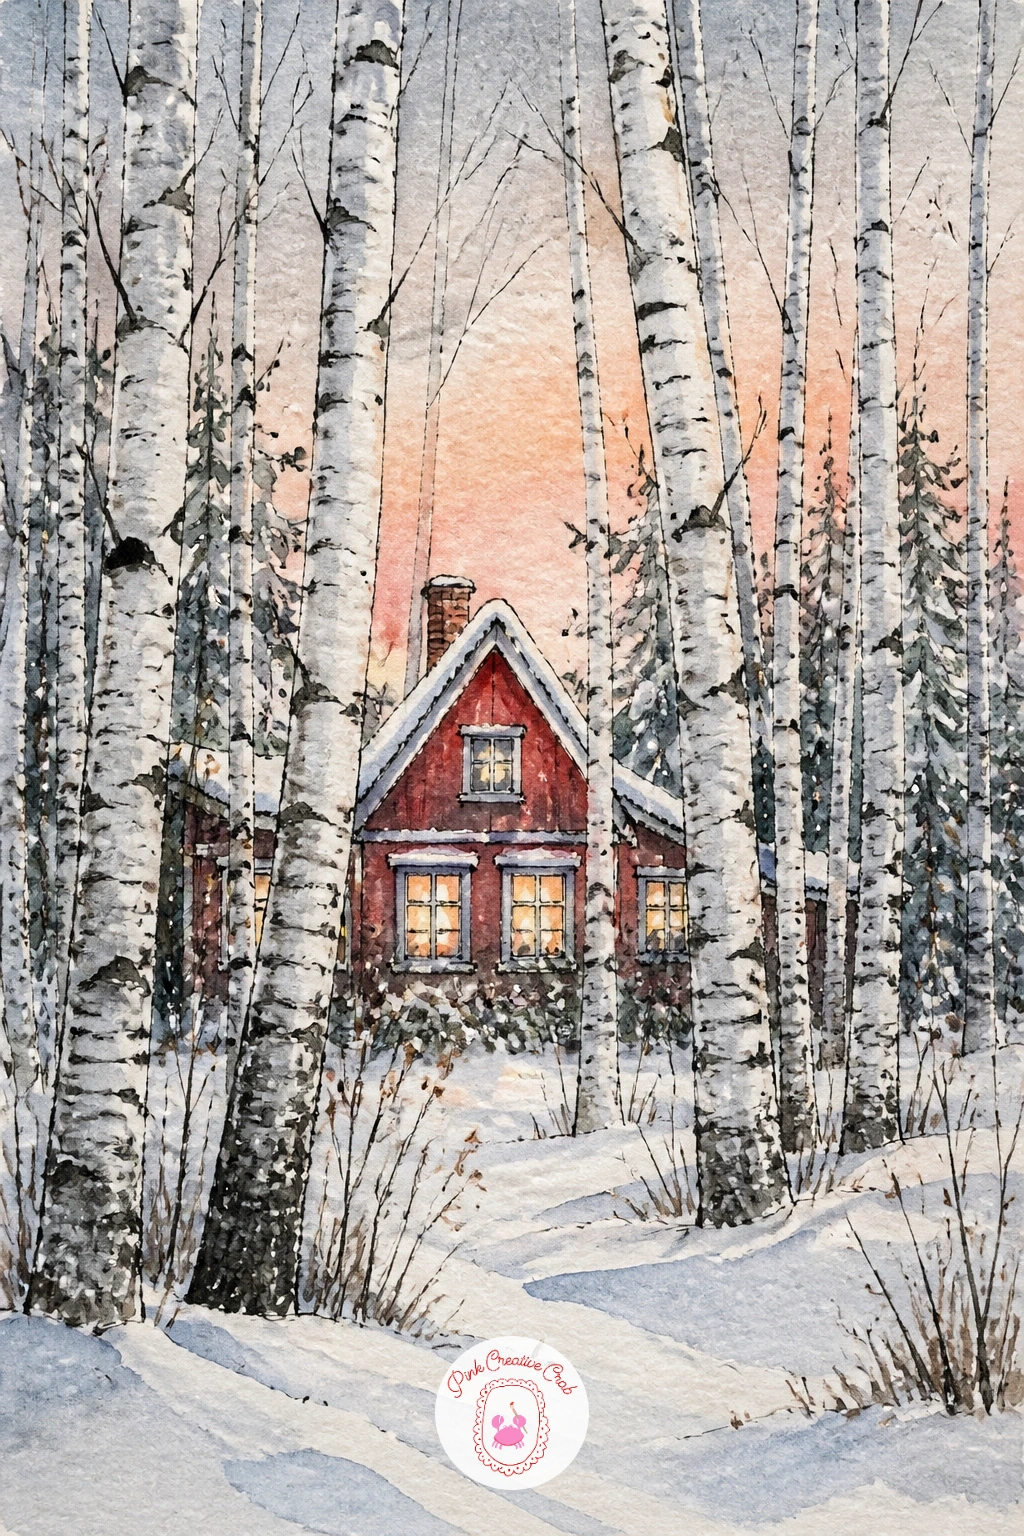
Palette: Cadmium Red,Payne’s Grey,Lemon Yellow,Titanium White
For more cozy winter buildings tucked into snow, the village scene drawing ideas make a good companion project.
Carry on from a straightforward grove by adding one simple detail of life: a cross country ski trail cutting through the snow between the trunks. Paint the grove as usual first, trunks varying in width and spacing so it does not look like a row of fence posts.
The ski trail itself is just two thin parallel lines running from foreground to background, slightly converging as they recede, painted in a cool pale blue grey over the white snow. Keep the two lines a consistent distance apart along their length, since trails that wander wide then narrow read as a mistake rather than a real track.
Add a scatter of small loose flicks either side of the lines in the same blue grey, suggesting the disturbed snow kicked up along the edges of the trail. This small gesture does a lot of storytelling work for very little extra paint.
Next time, try curving the trail instead of running it straight through, it changes the whole mood of the composition with no extra technique needed.
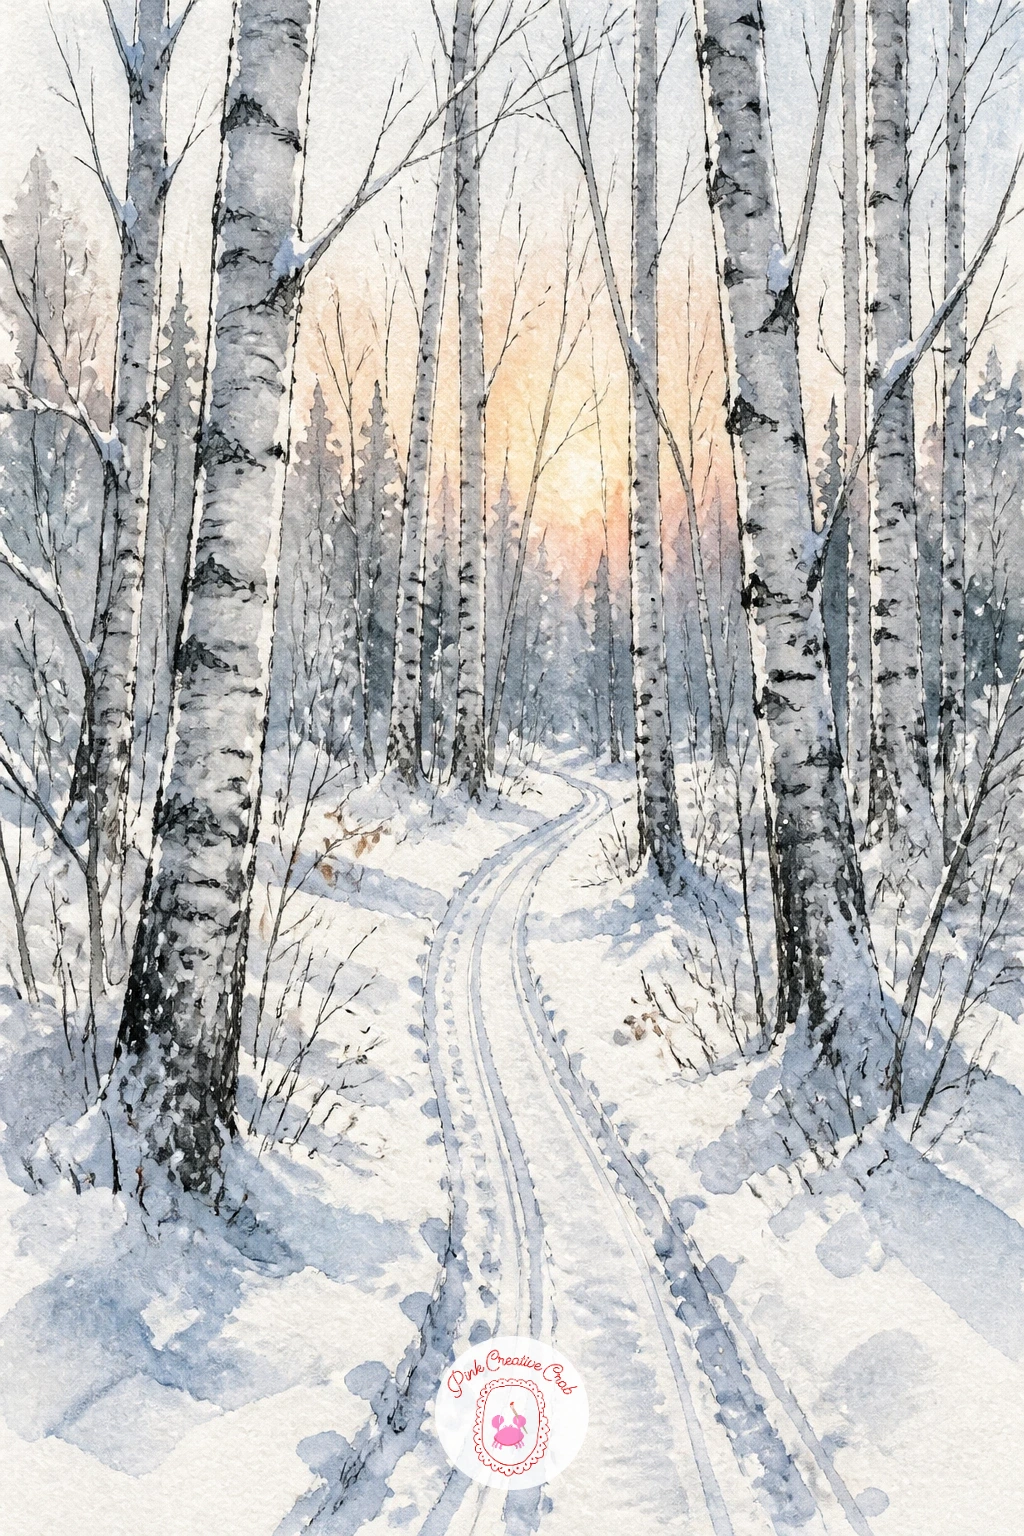
Palette: Payne’s Grey,Icy Blue,Titanium White,Silver Grey
Bring a figure in close for this one: a girl in a cream knit hat with her arms wrapped around a birch trunk. Sketch the trunk first, slightly thicker than usual since a figure needs something substantial to hug, then pencil in her simplified pose before any ink or paint, checking her arm span reaches realistically around the trunk’s width.
Paint her coat in a quiet color so it does not fight the trunk for attention, and leave her cream hat as a very pale warm wash against the paler bark behind it, relying on a thin grey outline to separate the two rather than strong contrast. Her face can stay almost entirely hidden against the trunk, which keeps this easier to pull off than a full portrait.
Figures against trees often end up floating with no weight. Ground her with a small shadow at her boots and let one foot’s toe overlap the trunk’s base slightly.
If faces are not your strength yet, turning her head fully away or into the bark sidesteps the whole problem.
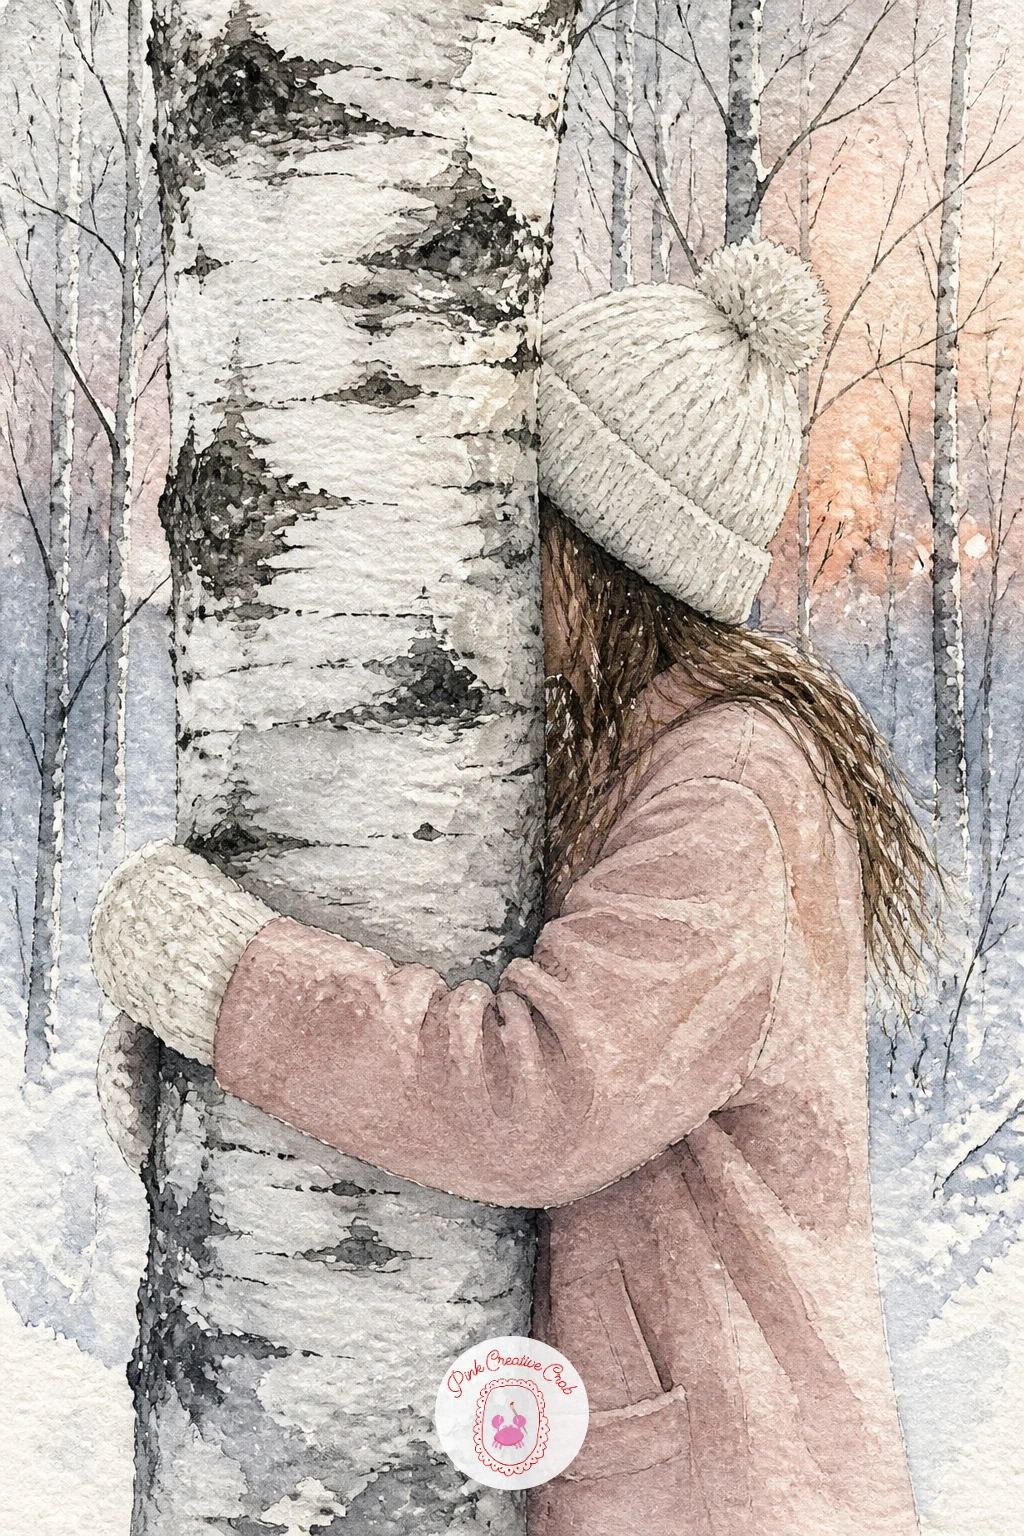
Palette: Cream,Payne’s Grey,Dusty Rose,Silver Grey
Follow the bark detail theme with a nuthatch, the one bird that famously walks head first down a trunk rather than up it, which is worth knowing before you pose it. Paint the trunk section first, keeping the bark marks horizontal and irregular, then leave a clear patch of lighter bark for the bird to sit against.
Sketch the nuthatch’s body as a simple wedge shape pointing downward, head and beak angled down the trunk rather than up or level, since that downward tilt is the single detail that makes it unmistakably a nuthatch rather than any other small bird. Paint the blue grey back and warm buff underside in two quick washes, letting them meet along a soft edge.
Its tail is often drawn too long and swan like. Keep it short and slightly fanned, closer to the trunk than you expect, and the proportions settle into place.
Add the dark eye stripe and thin beak last with a fine liner, a single confident line rather than several short scratchy ones.
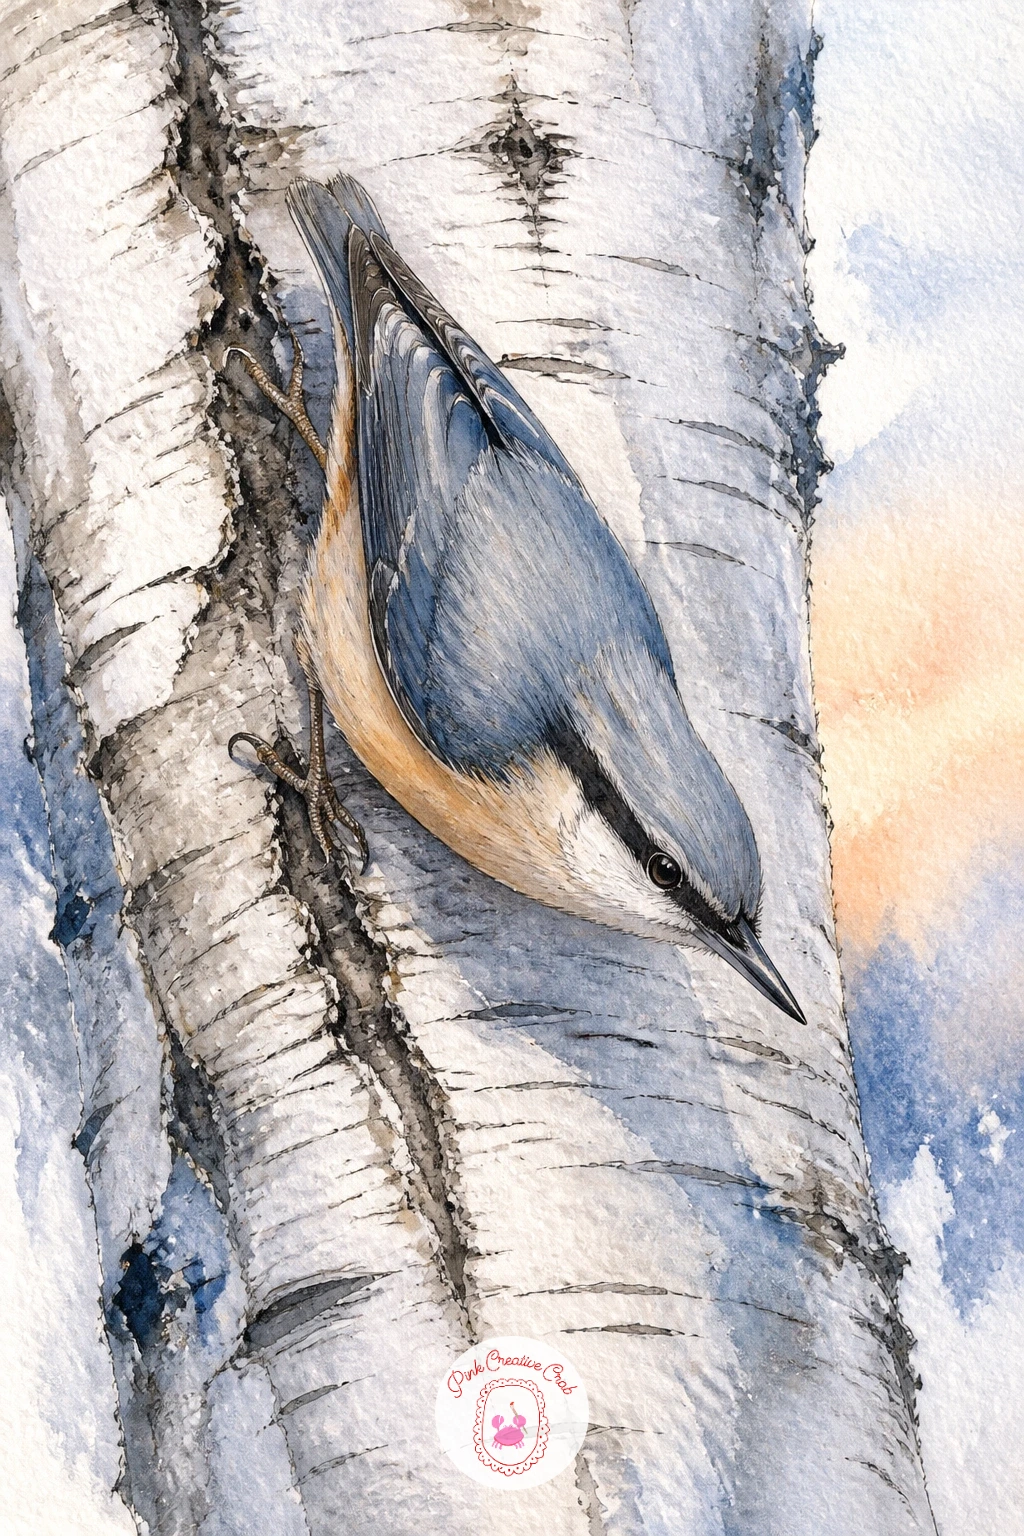
Palette: Payne’s Grey,Buff,Silver Grey,Ivory Black
Give the grey and white palette a break with this one: a stack of birch logs capped with snow beside a small sauna building. Paint the sauna’s wooden walls first in warm brown, simple and boxy, with one small window washed in soft orange to suggest warmth inside against the cold scene.
Build the log stack as a series of overlapping circles and ovals rather than painting each log fully round, since the ends are what read as logs and the rest can stay loosely suggested. Vary the tones across the stack, some logs warmer brown, some cooler grey, so it does not flatten into one solid block of color.
Snow capping the top of the stack stays as bare white paper with a thin grey shadow line beneath each cap, added once the log colors are dry. Painting the snow before the logs underneath it almost always muddies the white, so hold off until last.
Steam rising faintly from a chimney or vent, just a few soft grey curls, finishes the cozy feeling without much extra effort.
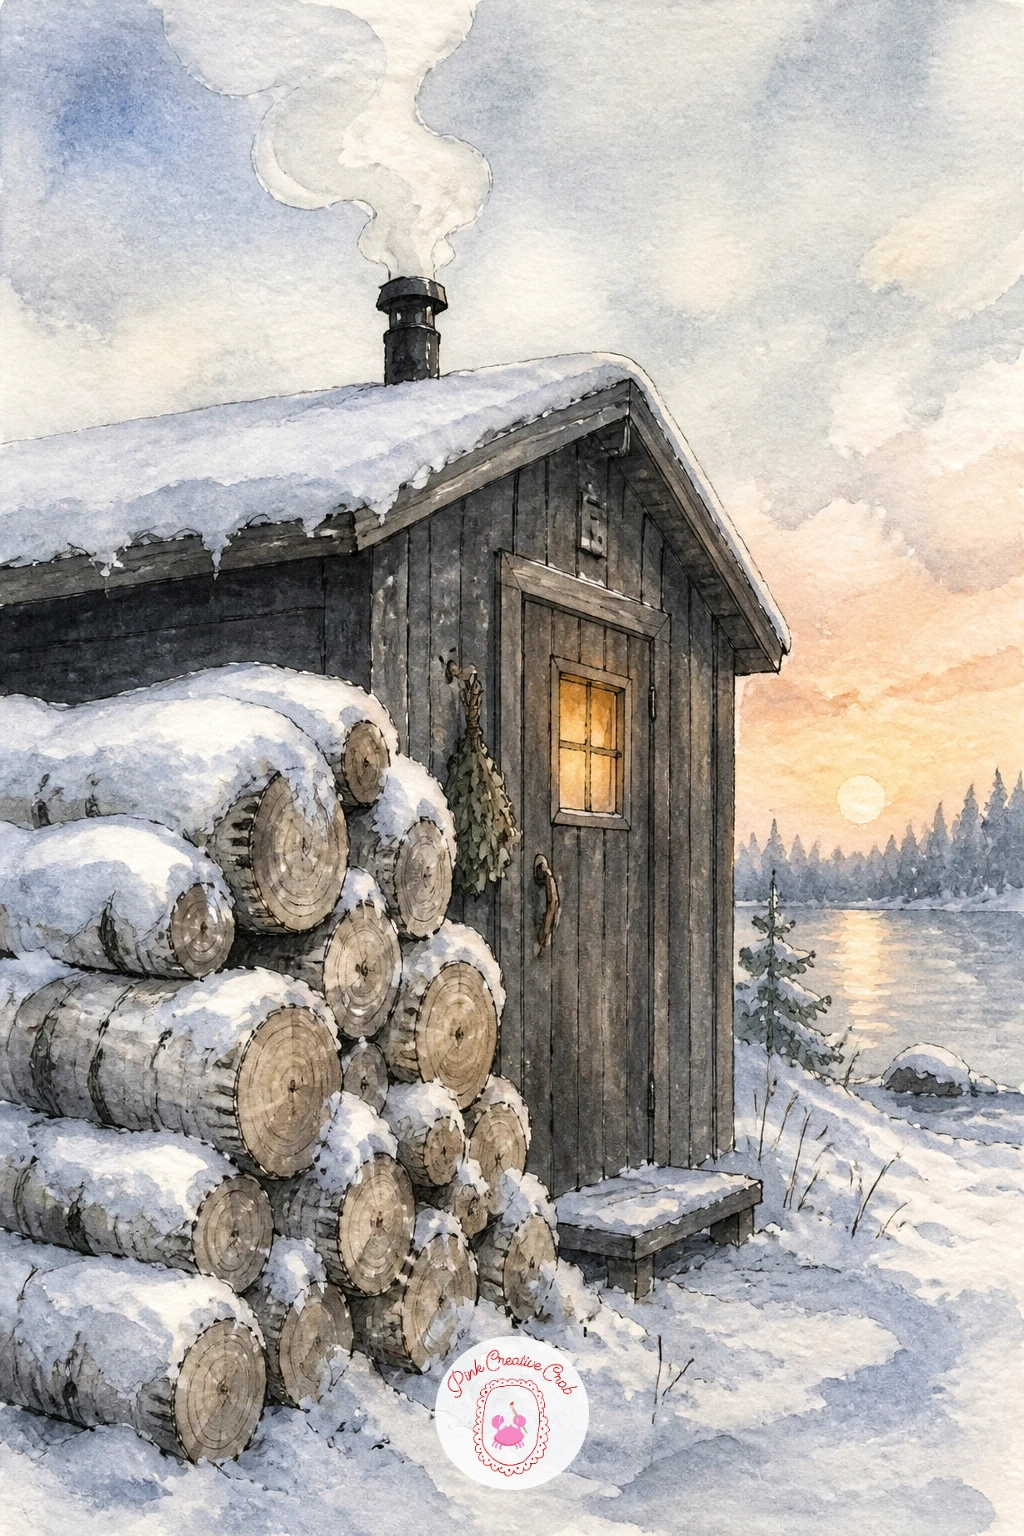
Palette: Burnt Umber,Payne’s Grey,Soft Orange,Titanium White
Open the composition wider for this one: birches lining the edge of a frozen lake, with a small ice fishing hut sitting out on the ice. Think about eye level before you start, keeping the horizon line low on the page so the trunks feel tall and the flat expanse of frozen lake gets plenty of room to breathe.
Paint the trunks along the shoreline first, then wash the frozen lake in a pale icy blue that stays noticeably paler and flatter than the sky, which is what separates ice from water visually. The hut itself is just a simple box shape in a muted color, kept small against that expanse so the scale of the lake reads correctly.
A common slip is making the hut too large, which shrinks the whole lake. Check it against the nearest trunk’s width, the hut should sit no wider than a single trunk at this distance.
One fine ink line for a stovepipe and a tiny figure or two near the hut, if you want them, finishes the story without extra fuss.
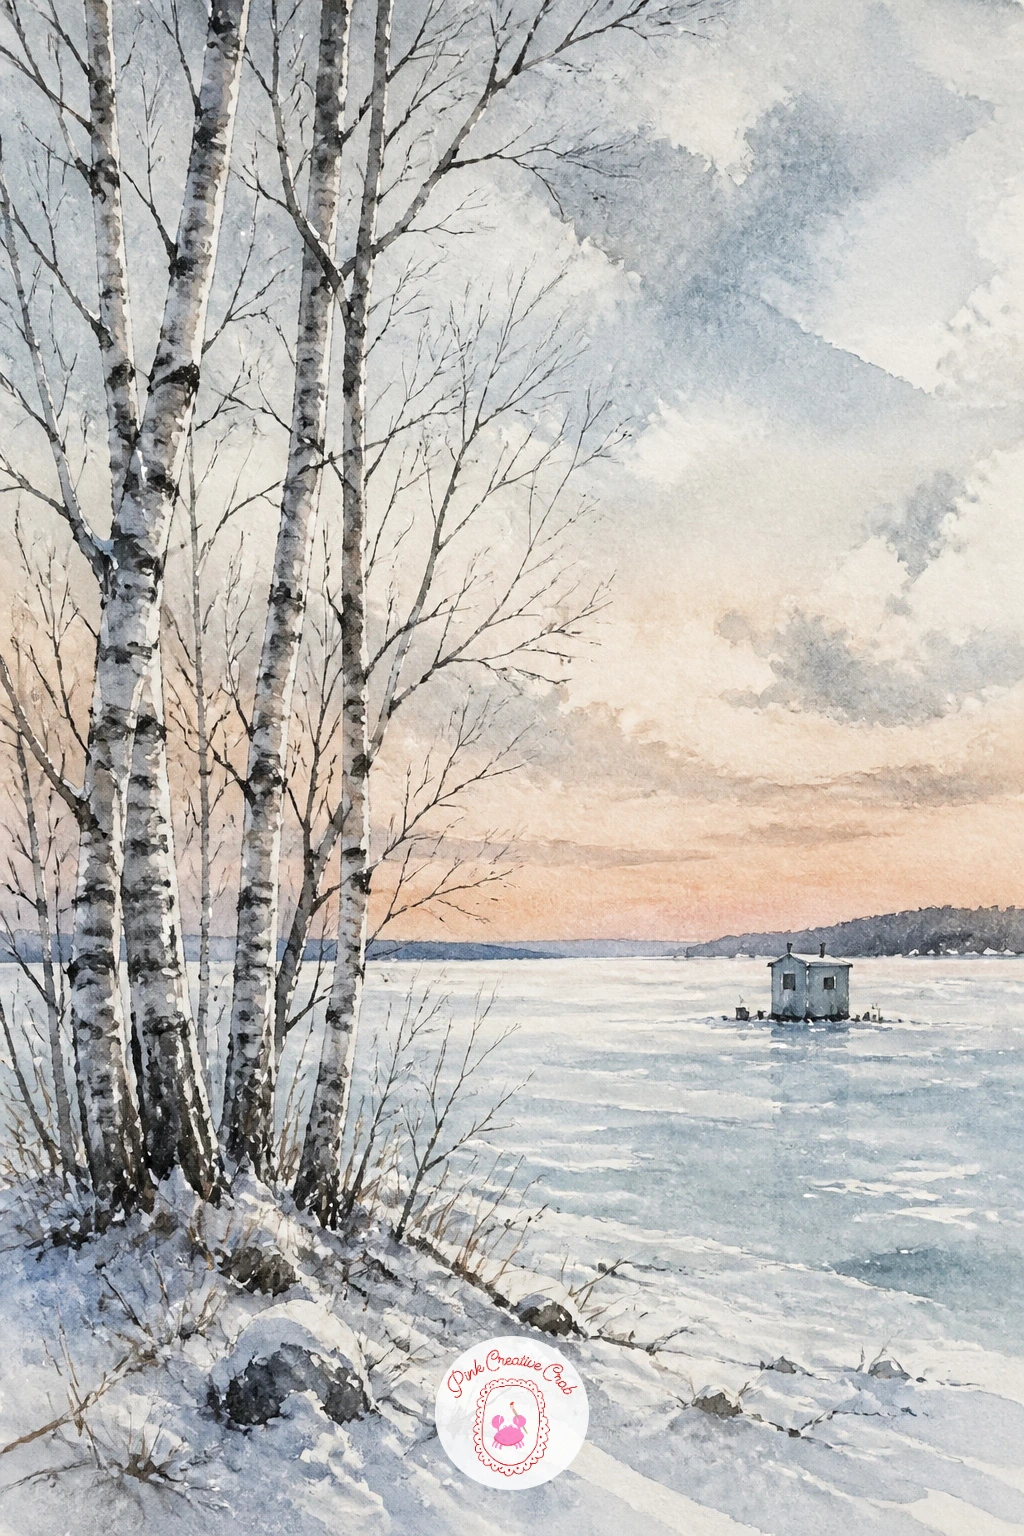
Palette: Payne’s Grey,Icy Blue,Burnt Umber,Titanium White
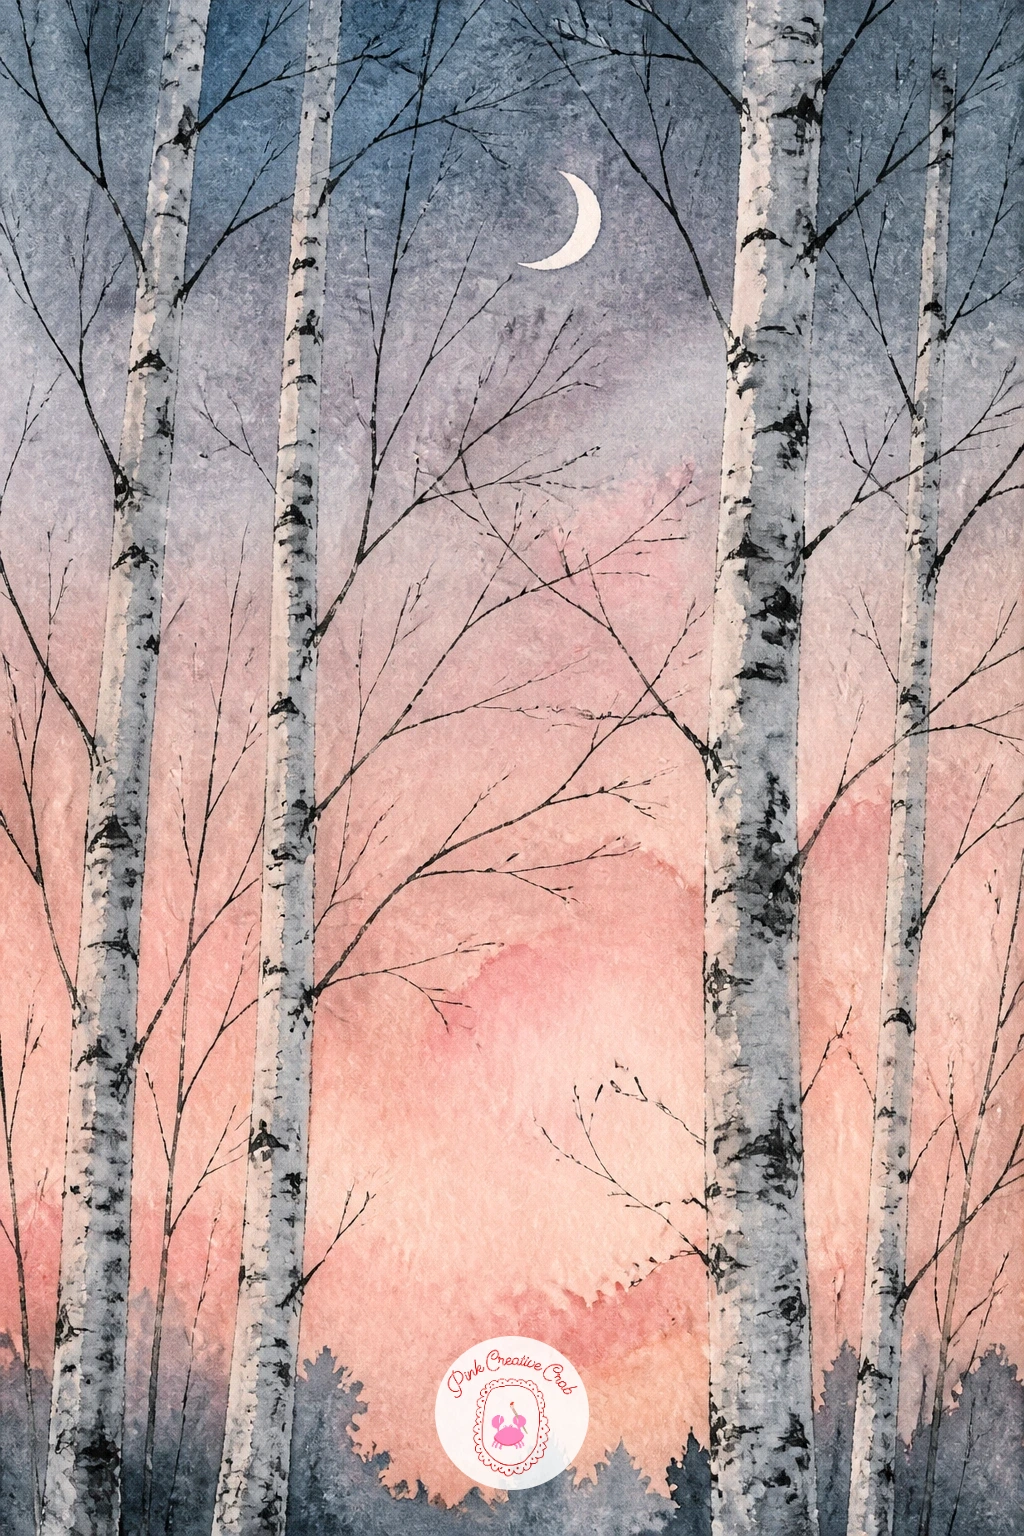
Chase the evening light for this one: birches standing under a soft pink evening sky with a thin crescent moon. Wet the sky first and drop in blush pink fading up into a deeper dusky blue grey near the top of the page, letting the two blend softly wet into wet.
Once that sky is completely dry, mask or simply paint around a small crescent shape, leaving it as bare white paper, since trying to paint a crescent moon on top of a dark wash almost always smudges. A white gel pen works just as well if the timing feels risky.
Paint the trunks as simple dark silhouettes against that glowing sky rather than detailed bark studies, since strong backlighting flattens detail anyway and fighting that only muddies the contrast. Keep every trunk the same deep tone for a true silhouette effect.
Scatter a few fine dots of white gouache for the first stars appearing near the top corners, it is a small touch that finishes the evening mood nicely.
You Will Need
- white gel pen
Palette: Blush Pink,Dusky Blue,Payne’s Grey,Titanium White
Build confidence with the trunks first, loosely spaced to leave room for a deer walking between them through deep snow. Sketch the deer’s body as two overlapping ovals for chest and haunch before any detail, checking that its leg length roughly matches its body height, which is the proportion most beginners get wrong on a first attempt.
Paint the deer in warm greys and browns, keeping its legs slim and slightly darker toward the hooves, with the body resting a shade lighter where winter coat would catch light. Snow built up around its legs, left as bare paper with a thin grey shadow line, suggests the depth of snow it is wading through far more than any detail on the deer itself.
Overworking the deer’s face is the easiest way to lose the loose feel of the whole piece. A few confident marks for the eye, ear and nose read better from a normal distance than careful rendering.
Angle its head slightly down toward the snow for a calmer, more natural pose than a head held straight up.
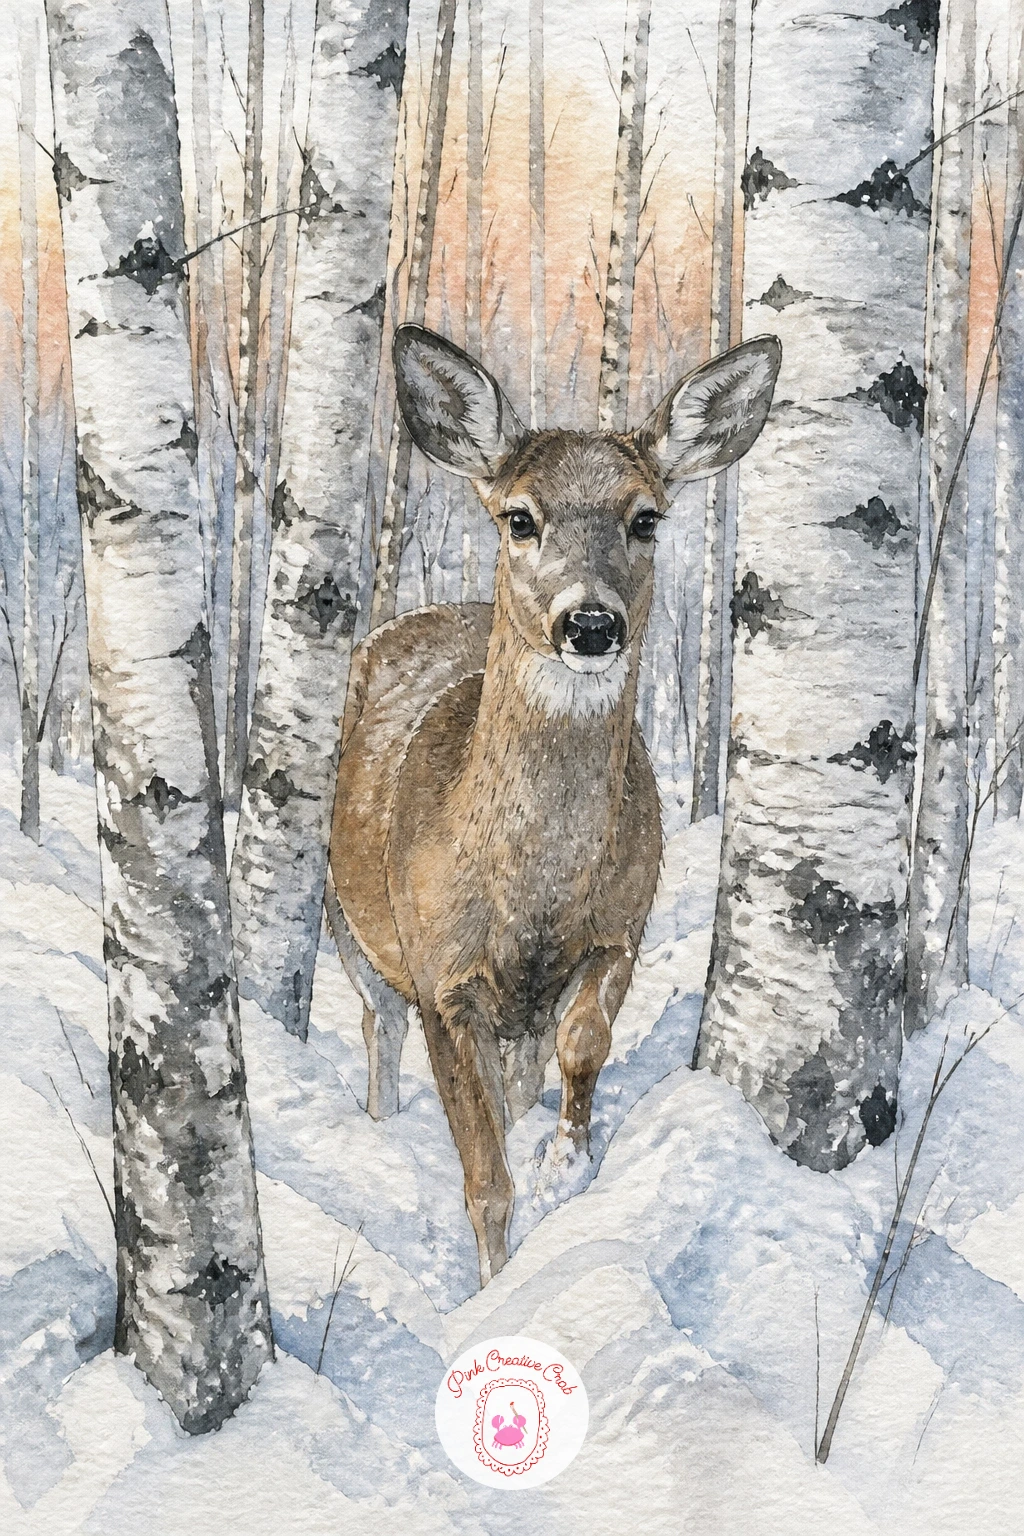
Palette: Burnt Umber,Payne’s Grey,Silver Grey,Titanium White
Return to a pure texture study for this one: a close up of birch bark centered on a dark knot with a few lichen spots nearby. Paint the pale bark wash first across the whole page, then while still slightly damp, drop a strong dark grey brown directly into the center for the knot, letting it bloom softly at the edges rather than staying a hard circle.
Once that is dry, use a kneaded eraser or a dry stiff brush to lift small patches of color around the knot, suggesting the way bark peels and curls near a wound in the wood. This is the texture trick worth practicing, lifting reads far more convincingly than trying to paint every bark line by hand.
Add the lichen as small loose dabs of pale green grey scattered to one side, never evenly spaced, since real lichen clusters rather than scatters uniformly. Too many dabs crowds the composition, so keep it to a handful.
Finish the knot’s darkest shadow with a tiny fleck of near black ink, placed off center within the knot itself for a natural look.
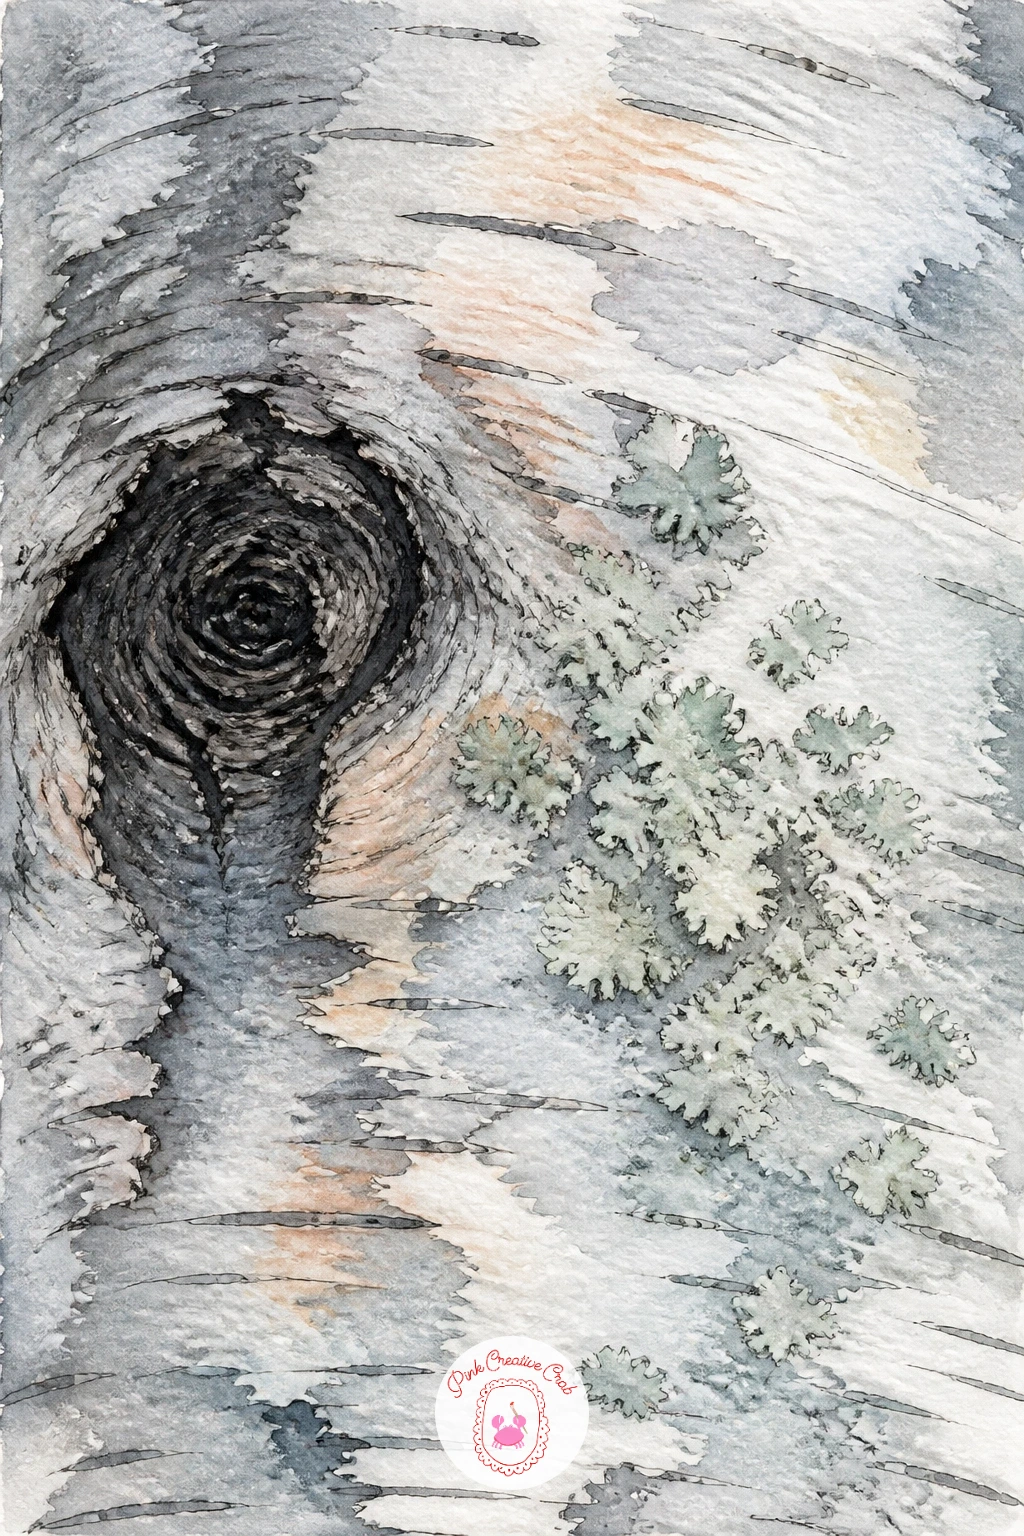
Palette: Silver Grey,Dark Umber,Sage Green,Ivory Black
Let one trunk do something unusual this time: a snow covered birch arching right over a woodland path rather than standing straight. Sketch the curve first in pencil, a long gentle arc rather than a sharp bend, since birches bow under snow weight smoothly rather than kinking.
Paint along that curve with a loaded brush in one or two long strokes if you can manage it, which keeps the arc looking natural rather than built up from short hesitant marks. Snow sitting along the top of the curved trunk stays as bare paper, with the grey bark only showing on the underside where snow cannot cling.
The path running beneath and through the arch benefits from the same converging perspective lines used in earlier path scenes, narrowing toward a point in the distance under the arch. That framing is what makes an arching trunk feel like a doorway into the scene rather than just a bent tree.
If your first curve looks stiff, lightly dampen the paper and nudge the wet paint with a dry brush to loosen the line before it sets.
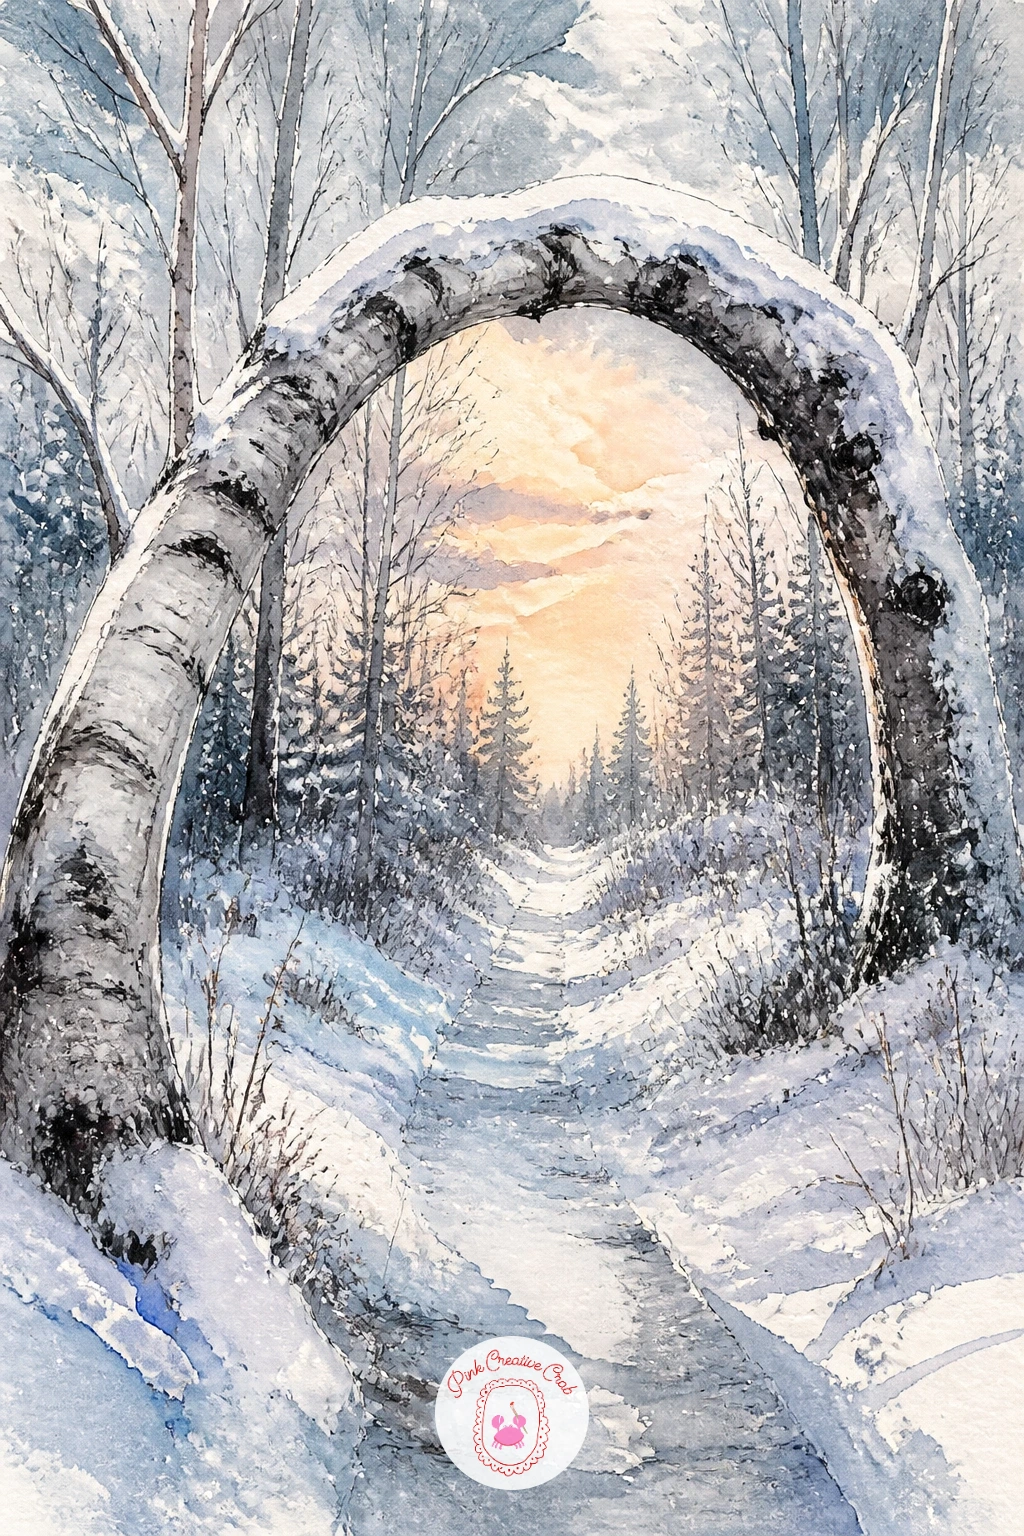
Palette: Payne’s Grey,Titanium White,Icy Blue,Silver Grey
Keep this one graphic and simple: birch silhouettes standing against a clear icy blue morning sky with a few crows scattered overhead. Wash the sky first in one even icy blue, slightly deeper near the top of the page, and let it dry completely before touching the trunks.
Paint every trunk as a flat dark silhouette rather than detailed bark, since strong morning backlight flattens real trees this way too. Vary only the width and spacing of the trunks, not their tone, to keep the silhouette effect reading clearly across the whole group.
Crows go in last as tiny confident ink marks, a few simple V shapes and small solid bodies scattered unevenly across the upper sky, never in a neat row. Clustering two or three together and leaving others solitary reads far more natural than spacing them evenly.
If the icy blue looks flat on its own, try it next time with a thin band of pale yellow near the horizon, suggesting early sun just below the frame.
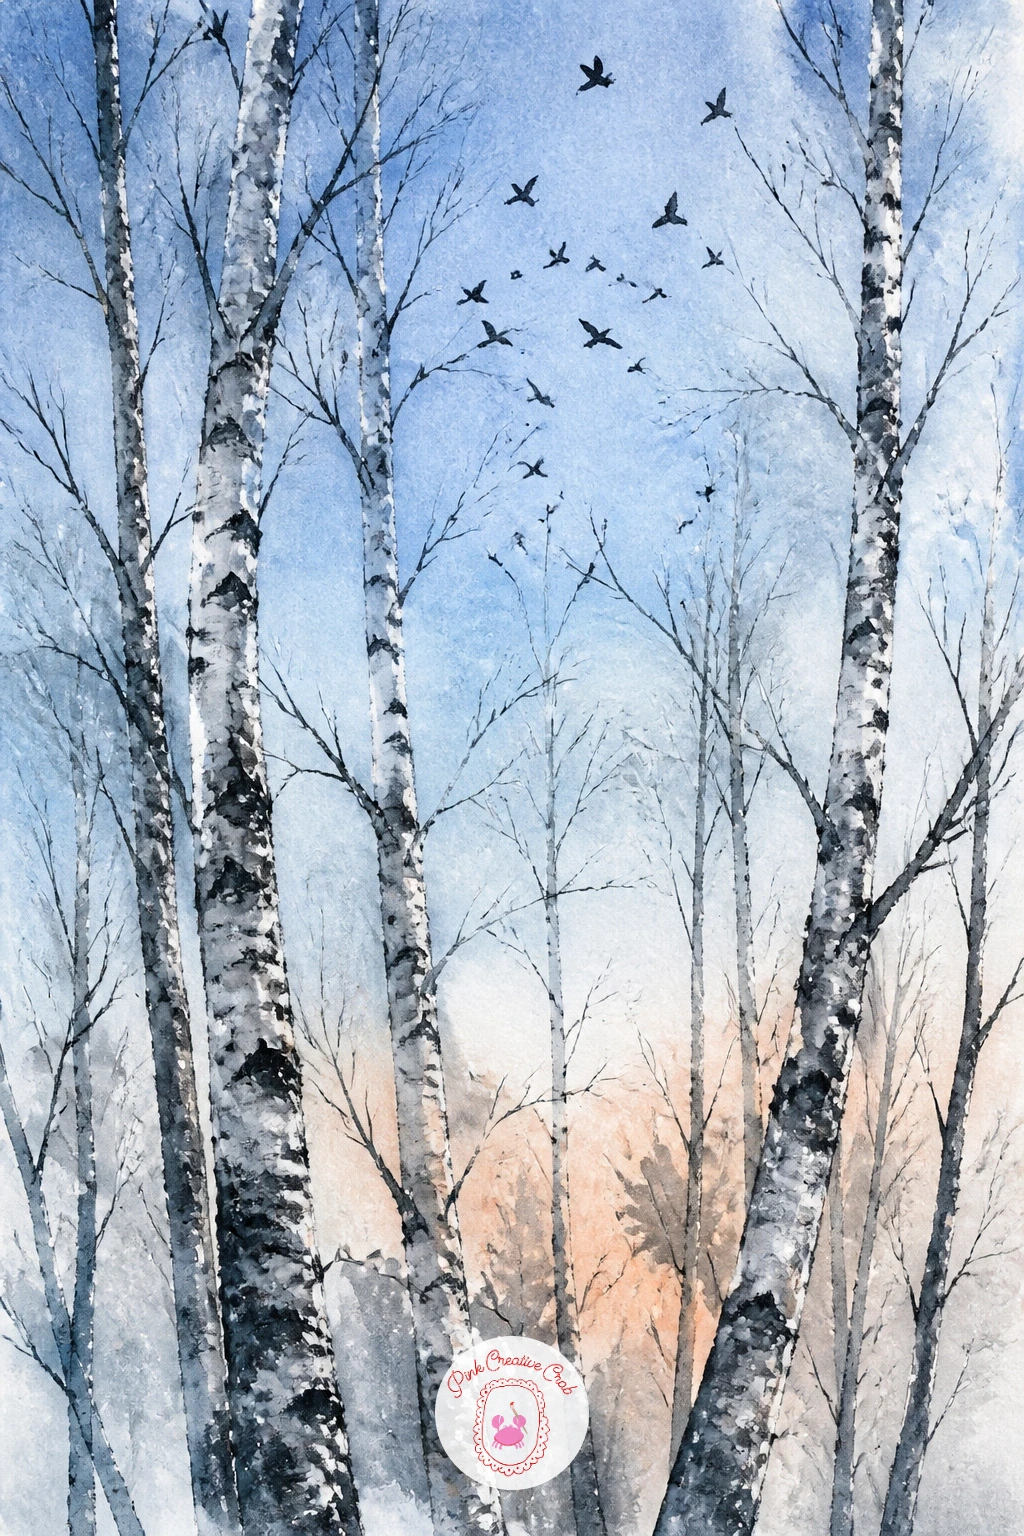
Palette: Icy Blue,Ivory Black,Payne’s Grey,Titanium White
Widen the scene for a birch lined country road with a lone cyclist riding through snow. Set your eye level at the cyclist’s height rather than above or below, which keeps the trunks towering convincingly on either side of the road as they recede toward the horizon.
Paint the road itself first as a pale grey band running straight back into the distance, narrower at the far end, then add the birches in two receding rows, smaller and paler as they go further from the viewer. This receding scale is doing most of the perspective work, so keep it consistent on both sides of the road.
The cyclist goes in small and simple, two wheel ovals, a basic frame and a rider leaning slightly forward, placed roughly a third of the way up the road from the bottom of the page. Placed too close to the viewer, the figure competes with the trunks for attention, so keep it modest in scale.
A faint trail of tire tracks behind the cyclist, two thin wavy ink lines, adds motion with very little extra work.
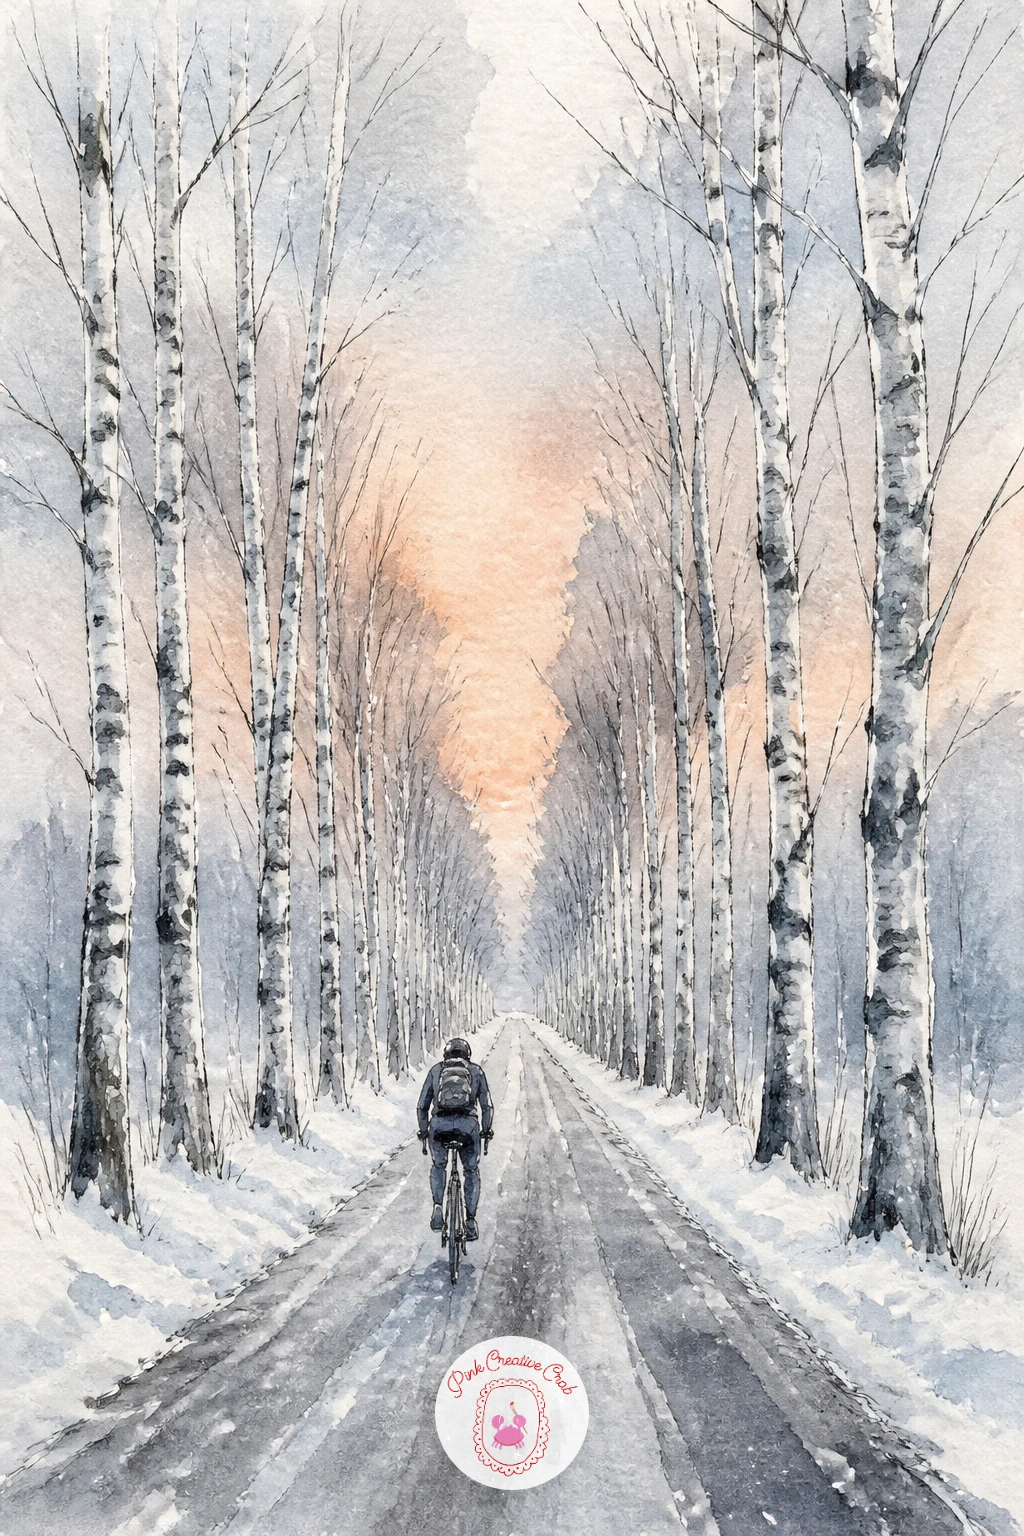
Palette: Payne’s Grey,Silver Grey,Cadmium Red,Titanium White
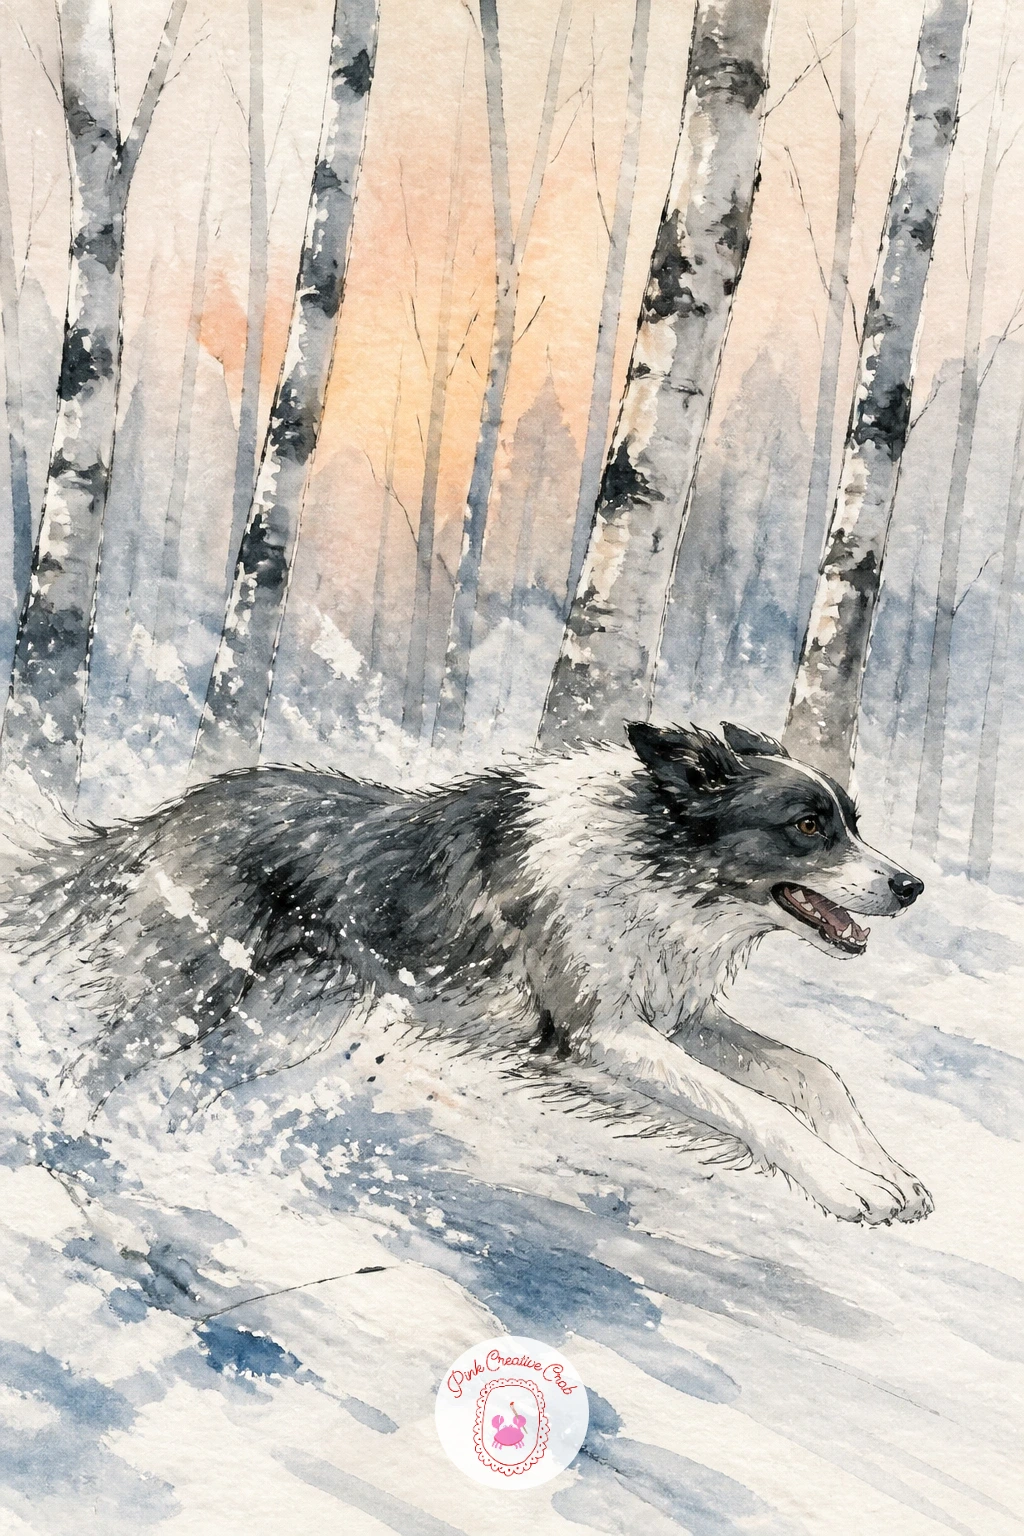
Bring some energy into the grove with a dog running flat out through a snowy birch wood. Sketch its body stretched low and long before anything else, front and back legs extended in opposite directions, which is the pose that reads as full speed rather than a standing dog with legs apart.
Paint the trunks around it first and loosely, since a sense of speed benefits from slightly blurred, quickly painted bark rather than crisp careful lines. Keep the dog’s own outline a touch sharper than the trees by comparison, which pulls it forward in the scene.
Kick up a few loose white flicks of gouache or lifted paint around its paws, suggesting disturbed snow thrown up mid stride. Skipping this detail is the easiest way to end up with a dog that looks like it is floating rather than running.
For a bolder, looser version, try painting the whole dog in two or three big brush strokes rather than building it from smaller shapes, it often captures the motion better than careful rendering.
Palette: Burnt Umber,Payne’s Grey,Titanium White,Silver Grey
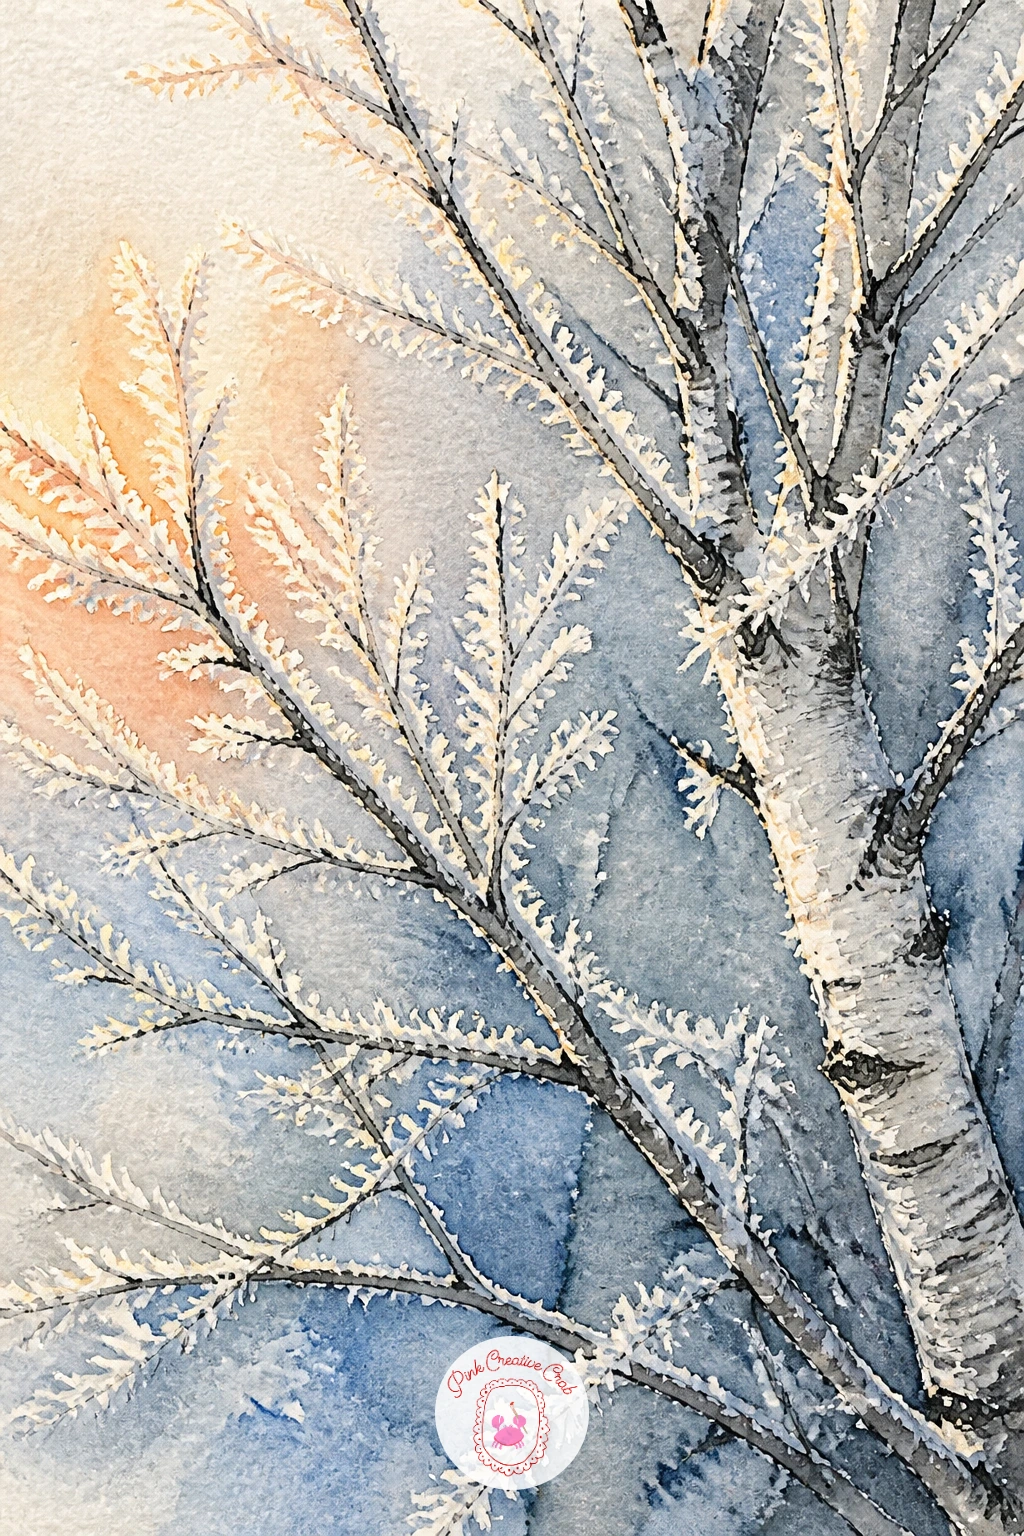
Close in on a cluster of bare birch branches with frost crystals catching low sun. Decide where that low sun sits before painting a single line, off to one side and close to the horizon, since every frost highlight in the piece needs to face that same direction to look convincing.
Paint the branches first as a network of thin confident ink lines over a very pale blue grey background wash, keeping the network open rather than crowded so the frost has room to read clearly against it. Once dry, add tiny dots and short dashes of white gouache or gel pen along the sun facing side of each branch, leaving the shadowed side bare.
Scattering frost evenly around every branch is the giveaway that light direction was not considered. Concentrate the brightest sparkle along one consistent edge and let the rest stay quieter.
A touch of warm peach wash glowing faintly behind the branches on the sun’s side ties this back to the low winter light without needing a full sunset scene.
You Will Need
- white gel pen
Palette: Payne’s Grey,Pale Blue,Peach,Titanium White
For more frosted winter plant studies at a similarly small scale, the winter botanical journal pages are worth a look.
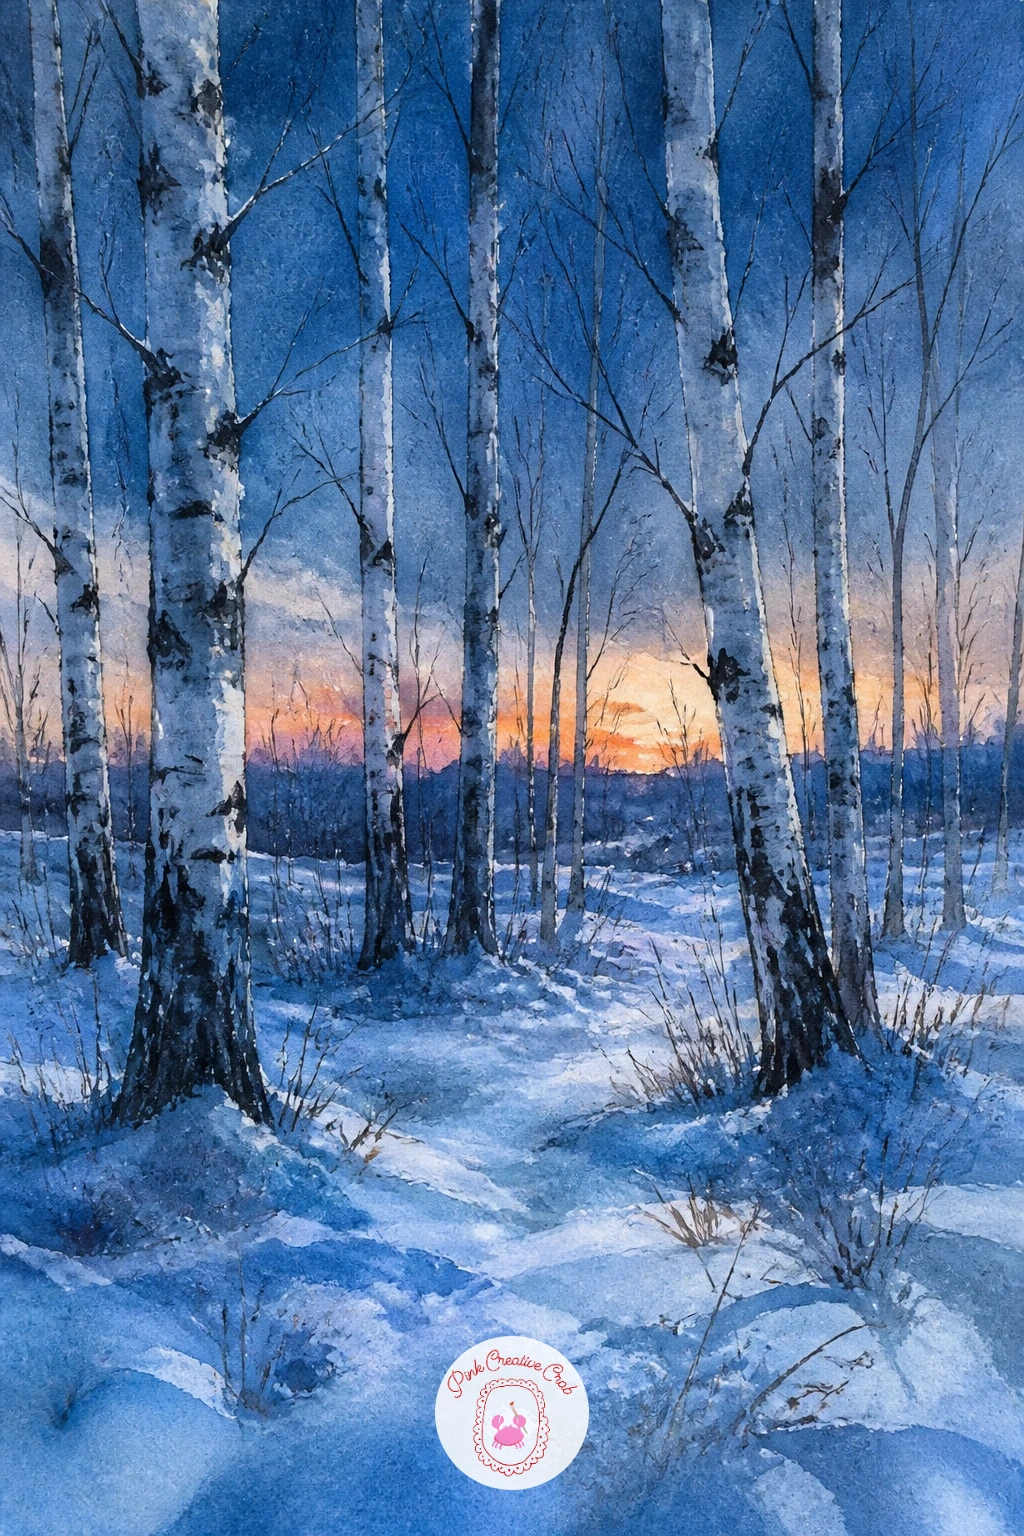
Close the set with the quietest light of the day: a birch grove just after sunset, when the sun itself is gone but the snow still glows blue. Wash the whole page first in a cool deep blue grey, slightly darker at the top, with no white paper left showing yet, which feels backwards compared to earlier daytime scenes but suits this hushed light.
Once dry, lift a little color back out with a damp clean brush along the ground and the upper edges of the snow drifts, pulling the glow back toward pale blue rather than full white. This lifting step is what separates a true blue hour scene from a plain grey painting, since nothing here should read as purely white.
Paint the trunks as the darkest, almost black grey shapes in the whole piece, since by this point in the evening they read closer to silhouette than detailed bark. A last thread of warm peach low along the horizon, barely a sliver, hints that the sun only just left.
Save this one for last in a sitting, it rewards a settled, unhurried hand more than any other scene here.
Palette: Deep Blue Grey,Icy Blue,Payne’s Grey,Peach
What to Do Next
Pick one idea that matches how much time you actually have today, a single trunk at dawn for a quick sitting or a fuller grove scene if you want to settle in, and start with the sky or background wash before any trunk goes down. Keep a spare sheet nearby for a quick value test of your grey mix, it saves most birch paintings before they even begin.
Frequently Asked Questions
What watercolor paper works best for birch tree art?
Cold press paper around 140lb handles the wet washes and lifting these scenes need without buckling. Hot press works for close up bark studies where you want crisper ink lines, but cold press suits most of the grove and landscape pieces better.
How do you paint realistic birch bark in watercolor?
Lay a pale grey wash first, then lift color out while it is still damp using a dry brush, tissue or kneaded eraser in irregular curling shapes. Add the dark horizontal lines and knots with fine ink only once the wash is completely dry.
What colors do you need for a winter birch painting?
A cool palette of Payne’s grey, silver grey, icy blue and titanium white covers most birch winter scenes. Keep one warm accent, peach or soft pink, in reserve for sunset and dawn light rather than using it throughout.
Why do my birch trunks look flat in watercolor?
Flat trunks usually come from one even tone with no variation in pressure or value along the length. Vary the grey from light to dark within a single brush stroke and let a sliver of bare white paper show on the lit edge for roundness.
Can beginners paint birch trees in watercolor?
Birch trees suit beginners well because the pale trunks forgive uneven brushwork and loose edges. Start with a single trunk in a plain snowy field before attempting a full grove with added detail like a bird or a figure.
Have any thoughts?
Share your reaction or leave a quick response — we’d love to hear what you think!
-
 0
-
0
-
0
-
0
-
0
-
0


