

Modern art canvas painting gives you that gallery-wall look without needing a realistic eye or a steady hand for detail. Every idea below works with flat shapes, clean lines and a handful of calm colors, which means one sitting at the easel is genuinely enough to finish a piece worth hanging.
Scroll through for one-line faces, stacked arches, organic blobs and bold geometric fields, all built the same simple way: block in the shapes first, then add the line work last. Pick whichever one matches your wall and your mood today, and keep the rest for next time.
Using these images: free for personal projects such as printing, coloring, cards, journals and gifts. Handmade items that include them may be sold up to 30 pieces per design. More than that is commercial use and is not permitted, and neither is selling or sharing the images themselves or passing them off as your own. Please ask before any other use.
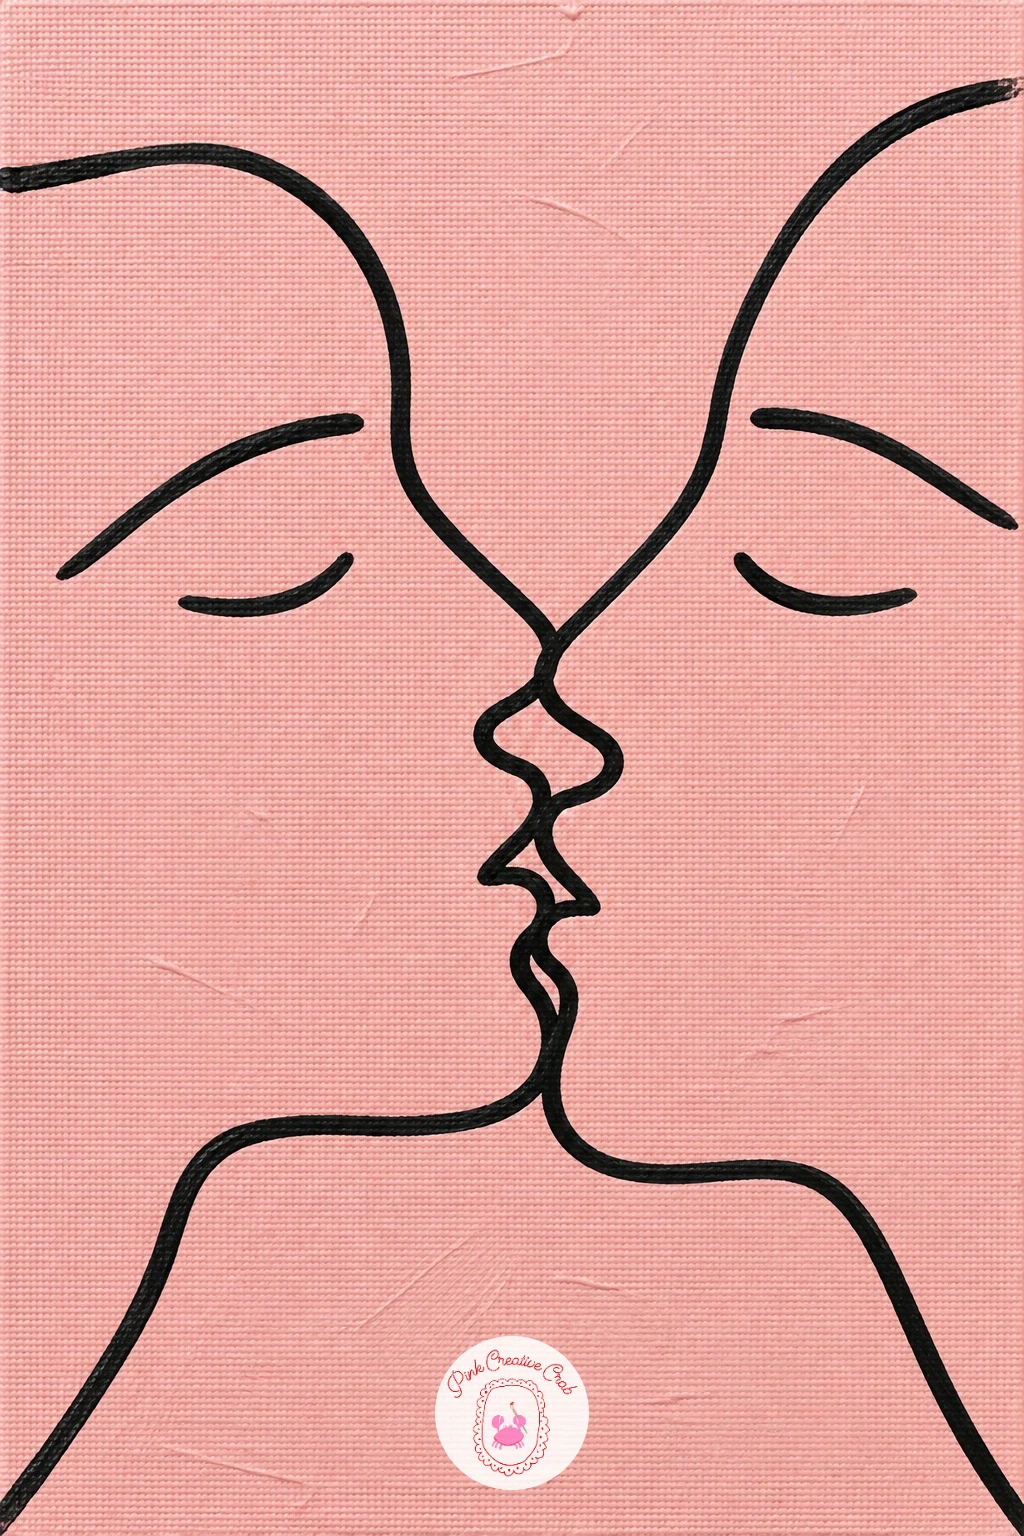
Two faces kissing in one continuous line is the friendliest place to start, because the whole drawing is forgiving once the background goes down first. Paint the canvas blush pink and let it dry fully before you touch a line pen or thin brush to it.
Sketch two simple profile shapes facing each other in pencil first, noses almost touching, lips meeting at the point where they overlap. Go over this in one slow, unbroken line with a fine brush or paint pen, lifting only at the very start and end.
If the line wobbles or doubles up, let it dry and paint a thin strip of the pink background color over the mistake, then redraw just that section. For a swap, use a paint marker instead of a brush if a steady continuous line feels easier that way.
Keep your pencil guide light so it does not show through the final line. That one rule saves more of these than anything else.
You Will Need
- paint pen or fine round brush for the continuous line
Palette: Blush Pink,Soft Black
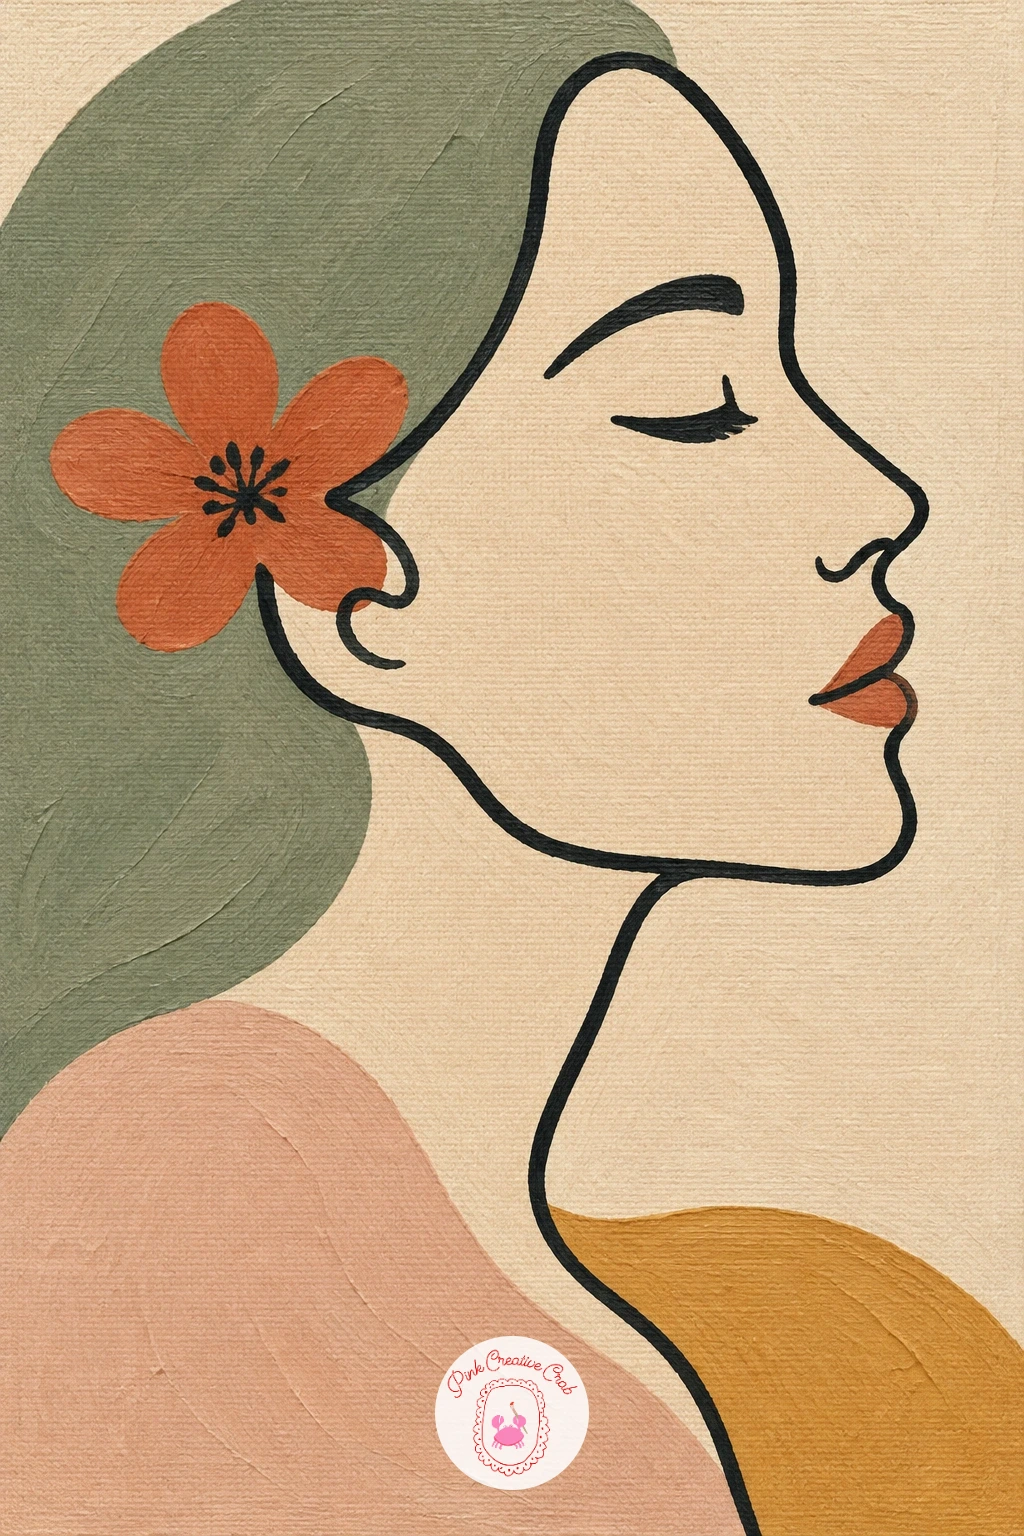
Once a single continuous line feels comfortable, add one small detail to it: a flower tucked behind the ear. Start with a cream or pale sand background, fully dry, then pencil in one flowing profile line for the face, hair and shoulder.
Paint this guide line in black or deep brown with a fine brush, keeping the line unbroken from forehead to chin to shoulder. Add the flower last as two or three overlapping petal shapes in a contrast color, sitting just behind where the ear would be.
Proportion goes wrong most often in the gap between nose and chin, so check that it roughly matches the height of the forehead before you commit to paint. If the line comes out too thick anywhere, a damp cotton swab can thin it while the paint is still workable.
Keep the flower small and simple, three petals is plenty, so it reads as an accent and not a second subject.
Palette: Sand,Terracotta,Deep Brown
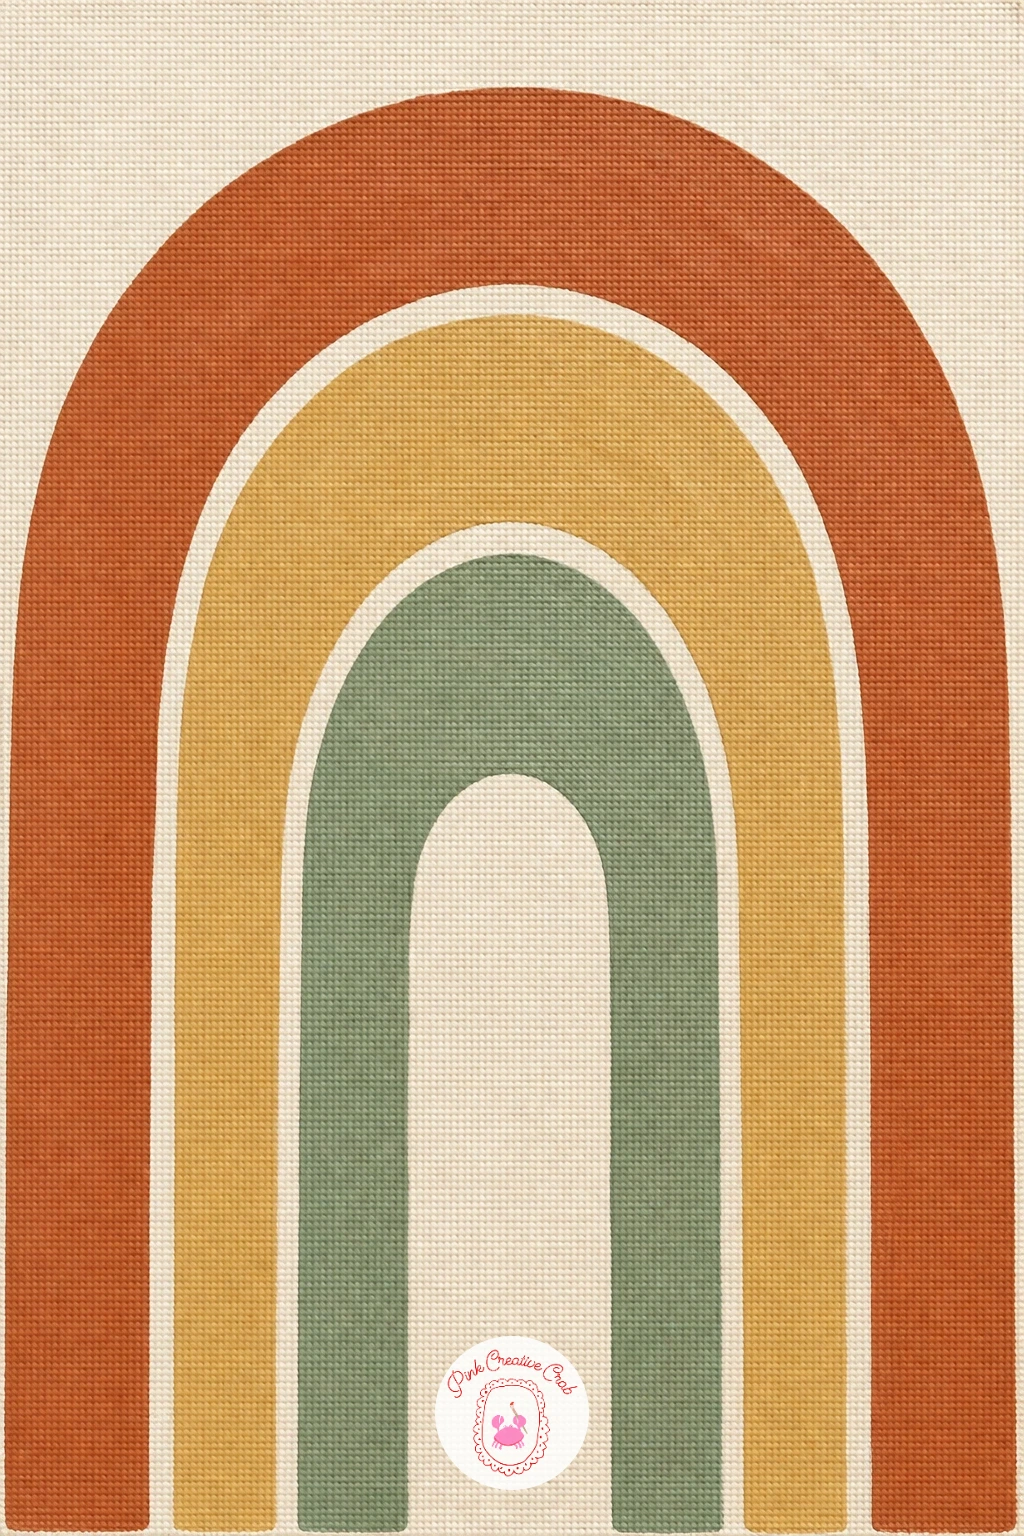
Stacked arches bring in your first real shape-building exercise, and they sit beautifully on a modern wall. Work on a cream background and pencil three arch outlines stacked one inside the next, like a rainbow cut in half, in terracotta, sand and sage.
Paint the largest, outer arch first in terracotta and let it dry, then the sand arch inside it, then the smallest sage arch last, so each layer sits cleanly without smudging into its neighbor. Keep every arch the same width of band so the stack reads as deliberate rather than uneven.
A simple proportion trick keeps this tidy: measure the canvas width, divide by three, and that is roughly how wide each arch band should be, with the gaps between them matching too. If a line goes crooked, a straight edge of cardboard held against the wet paint line will clean it up.
Tape is an easy swap if freehand curves feel risky: curved tape or a plate traced lightly in pencil gives you a clean arch to paint inside.
You Will Need
- ruler or straight edge for even arch bands
Palette: Terracotta,Sand,Sage Green,Cream
If you enjoy this one, the layout technique in these easy acrylic painting ideas for beginners uses the same block-and-layer approach on other simple subjects.
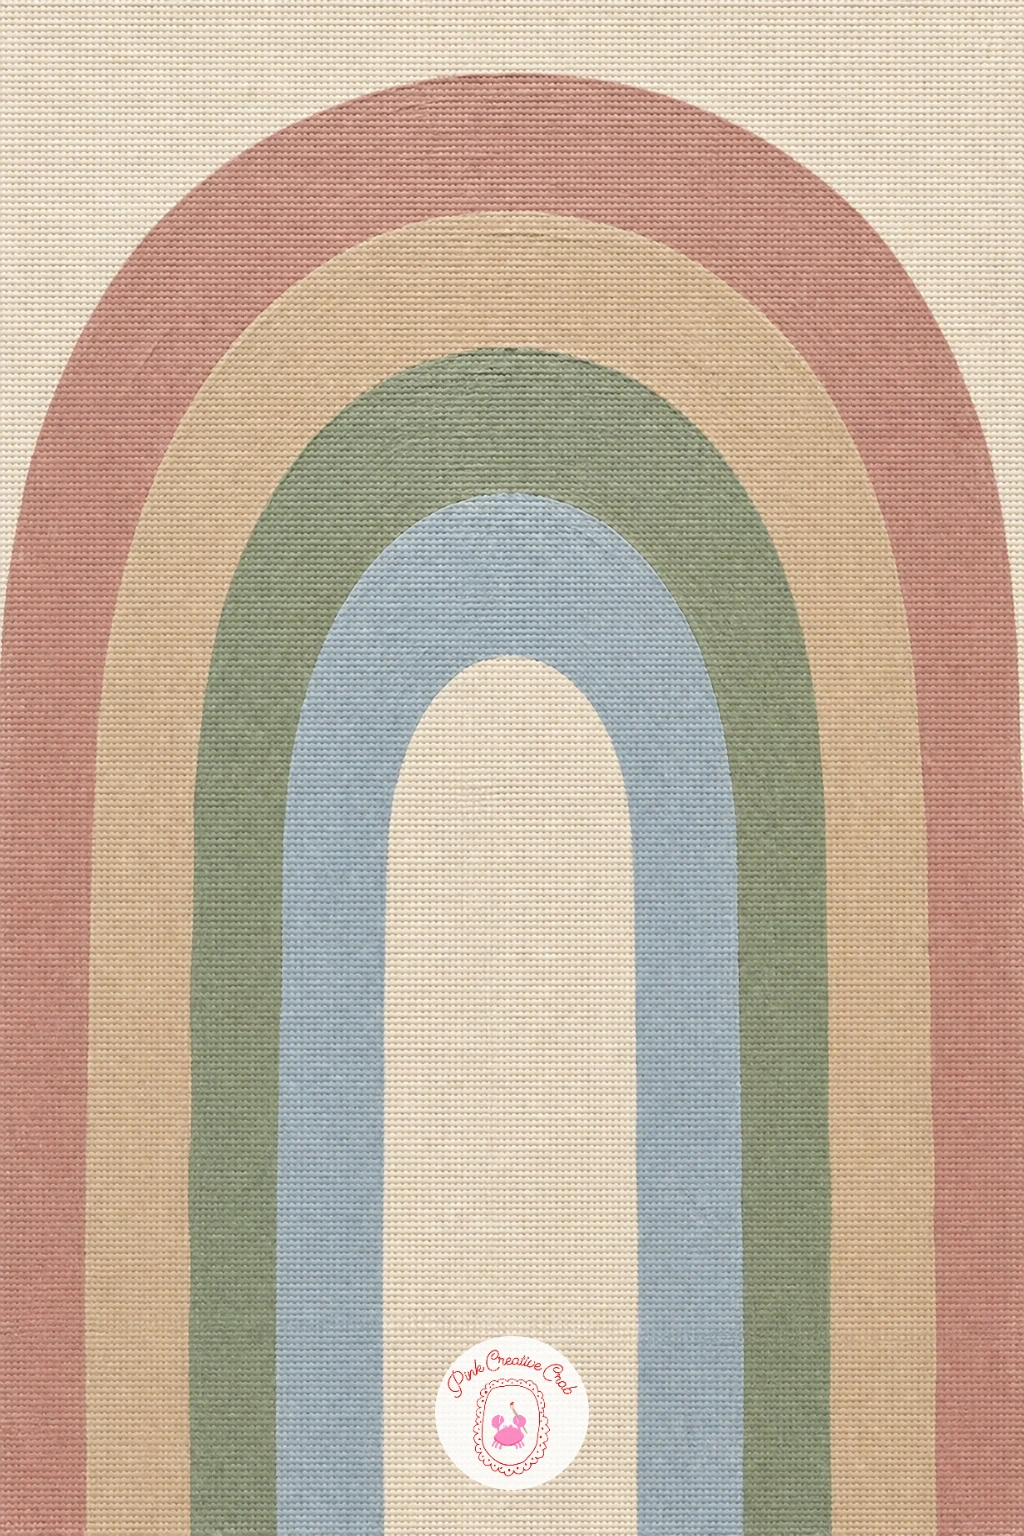
Stretch the arch idea further by painting a full rainbow of five or six muted arches over a cream ground instead of just three. Pencil the arches first, working from the outside in, and keep each band roughly equal in width using the same measuring trick as before.
Paint from the outer arch inward, letting each dry before the next goes on, since muted colors sitting wet next to wet will dull into mud fast. Choose colors that sit close in tone, dusty rose, sand, sage, warm grey and faded blue work well together without any one shouting over the rest.
If the arches start looking too even and flat, vary the paint thickness slightly between bands so some edges stay crisp and others feel a touch softer. A sponge dabbed lightly over one band before it fully dries can add gentle texture if you want to try it next time.
Work top to bottom in one sitting so the drying times line up and nothing smears.
Palette: Dusty Rose,Warm Grey,Sage Green,Faded Blue,Cream
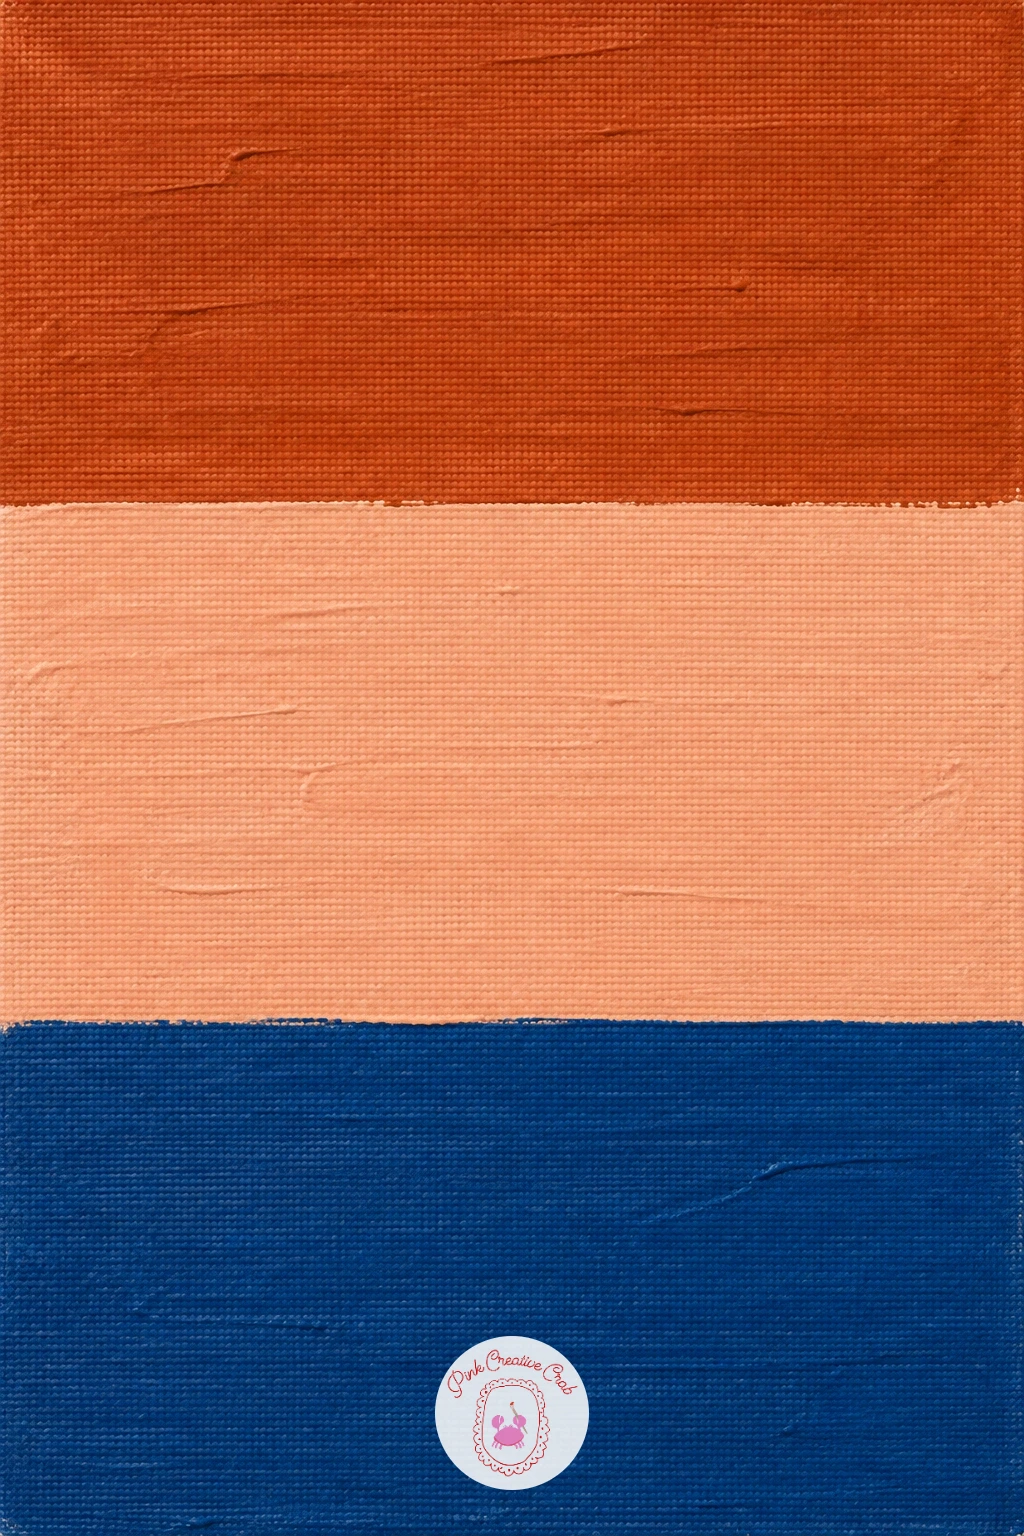
Color fields are the fastest way to fill a canvas with real presence, and this one needs only three bands: rust, peach and deep blue. Tape off three horizontal sections with painter’s tape before you start, pressing the edges down firmly so paint cannot bleed underneath.
Paint rust at the top, peach in the middle and deep blue at the bottom, working each band in smooth horizontal strokes rather than scrubbing back and forth. Peel the tape away while the paint is still slightly tacky, not fully dry, so the edge lifts cleanly instead of flaking.
Eye level matters here even without a landscape in sight: keep the bands roughly equal, or make the bottom one slightly taller, so the canvas feels grounded rather than top-heavy. Swap tape for a steady hand and a flat brush if you prefer a slightly looser, hand-painted edge between bands.
Let each band dry before taping the next line, or colors will smear together at the seam.
You Will Need
- painter’s tape for clean horizontal edges
Palette: Rust,Peach,Deep Blue
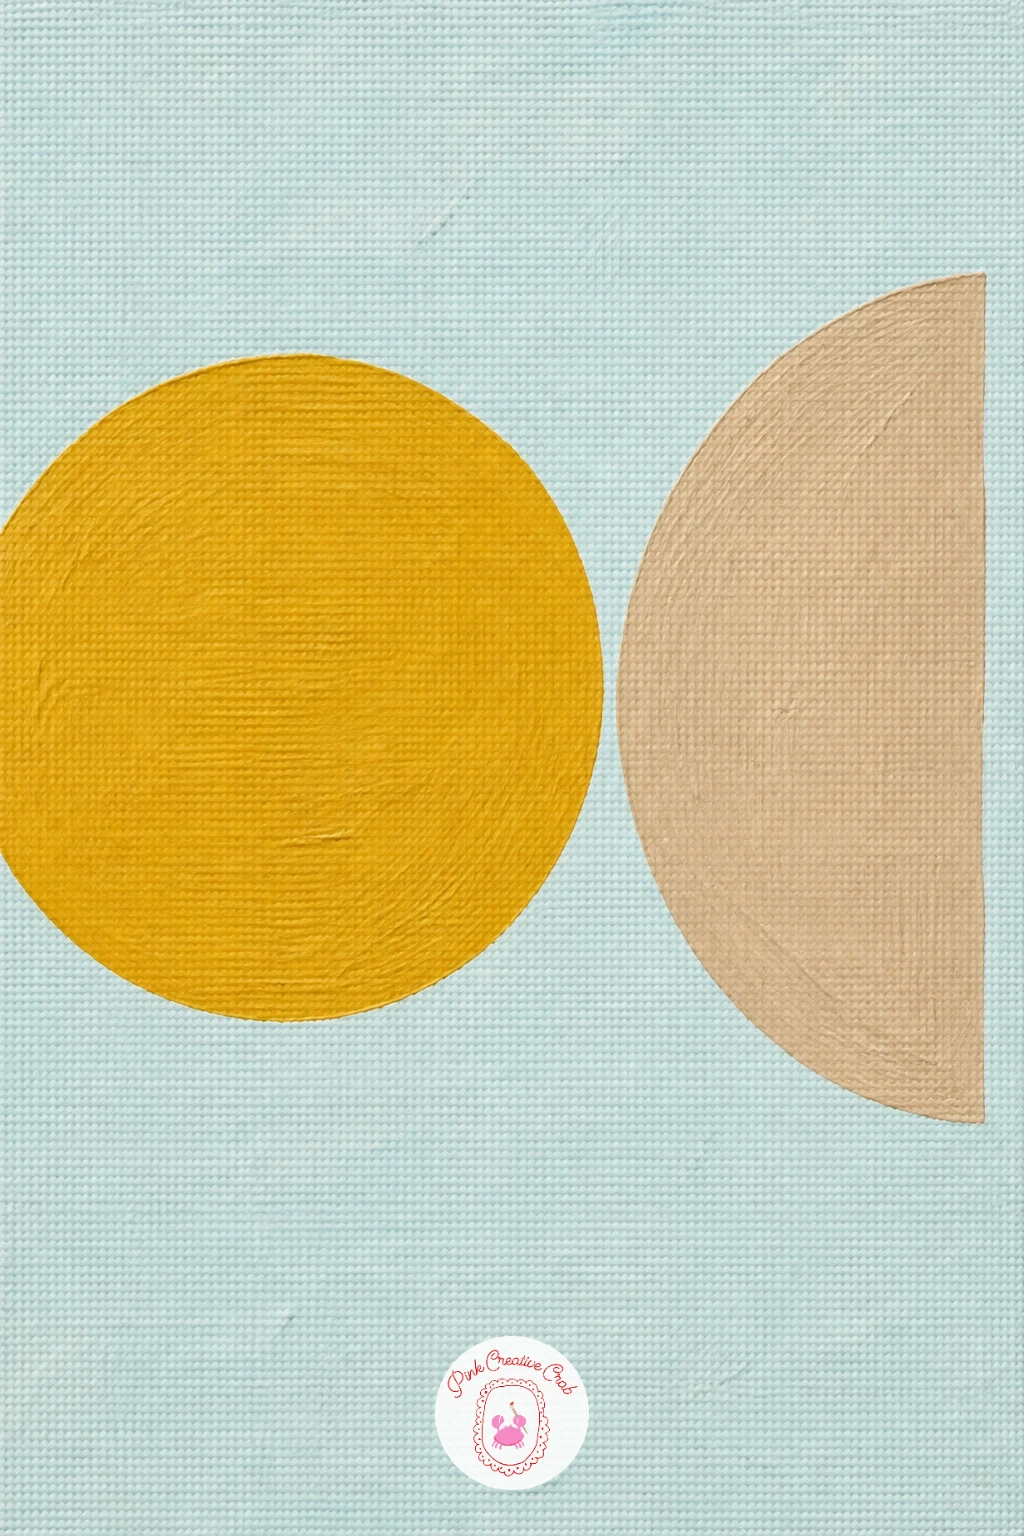
A flat sun and a flat half-moon facing each other turns two simple circles into a composition with a bit of story. Paint a soft gradient or pale pastel background first, then pencil a full circle on one side for the sun and a half circle on the other for the moon.
Fill the sun solid in warm gold or ochre and the moon in a cooler sand or grey, keeping both completely flat with no shading, since the whole appeal here is the clean graphic shape. Light direction still matters in a flat piece like this: keep both shapes the same size so neither one reads as closer or further away.
If the circles come out lopsided, a small plate, lid or cup traced lightly in pencil gives you a perfect edge to paint inside. Add a thin outline in a darker tone around each shape last, once the fill is fully dry, to sharpen the edges.
Leave generous space between the two shapes so they read as facing each other rather than crowding the canvas.
You Will Need
- a plate or lid to trace the circles
Palette: Ochre Gold,Warm Sand,Pale Sky
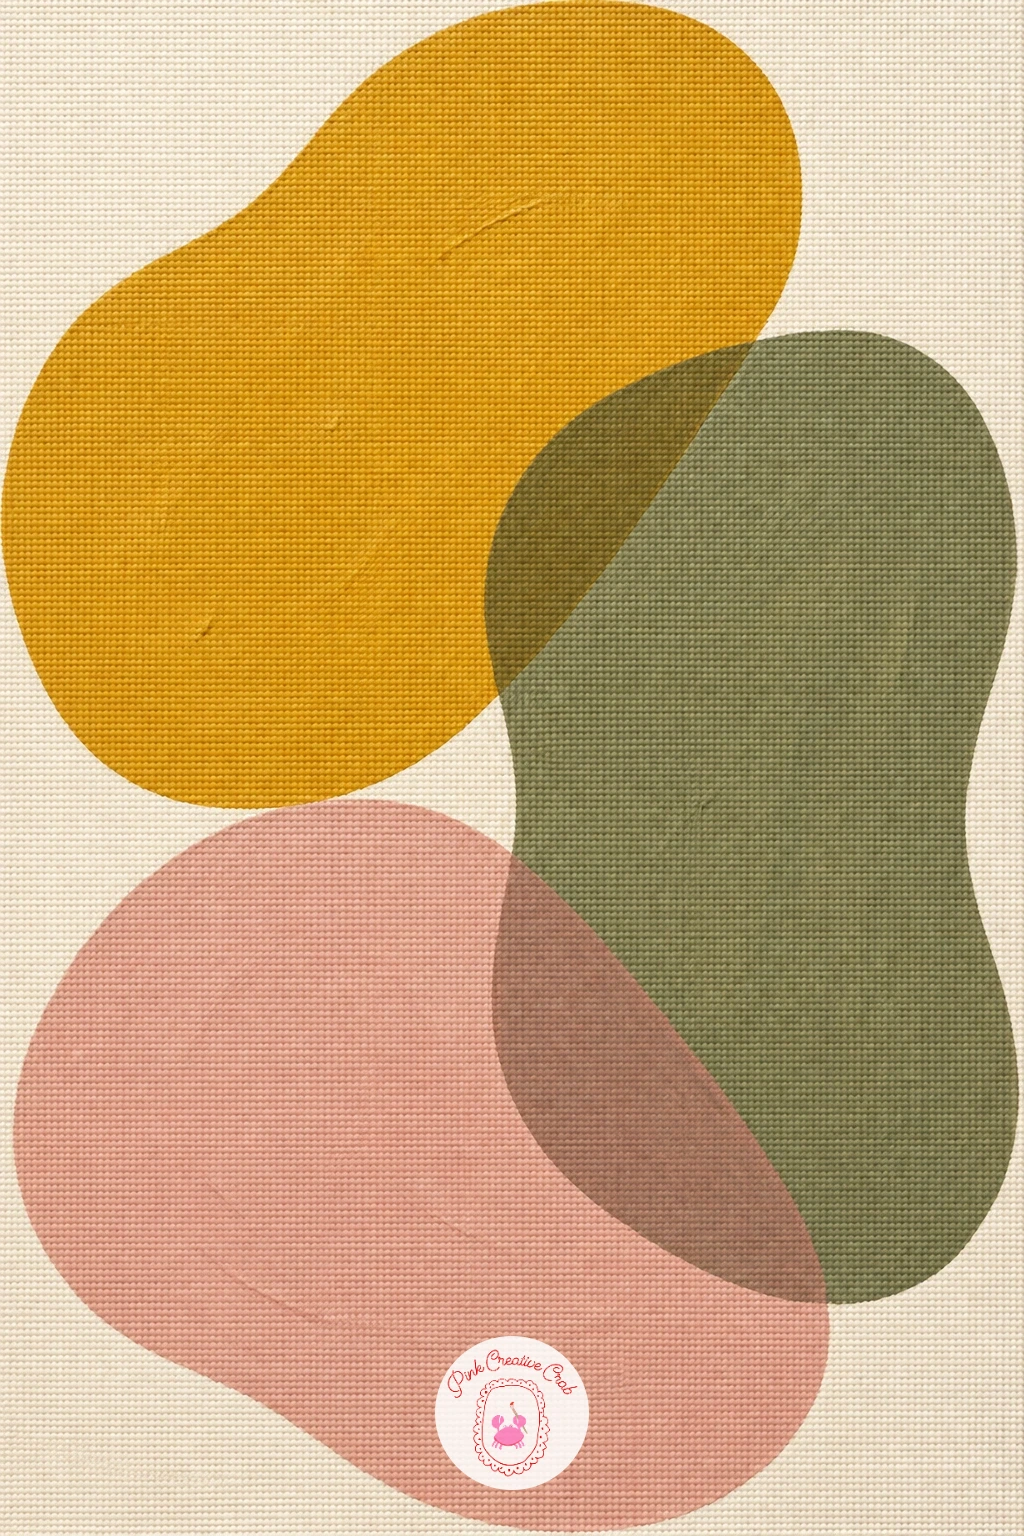
Organic blob shapes are the loosest idea on this list and a nice break from straight lines and arches. Pencil in three or four rounded, irregular shapes across the canvas in mustard, olive and pink, letting them overlap slightly at the edges.
Paint the lightest color first, then the mid tone, then the darkest last, so the overlaps stack cleanly instead of muddying together. Keep every edge soft and slightly uneven, since a blob that looks too round or symmetrical starts to read as a circle instead.
Dry brushing a little texture along one edge of each blob, just a light scuff of a nearly dry brush, keeps the shapes from looking flat and digital. If a shape ends up too big and crowds the canvas, paint the background color back over part of it once dry to trim it down.
Try this again next time with just two colors and bigger, fewer blobs for a bolder, more minimal version.
Palette: Mustard,Olive,Dusty Pink,Cream
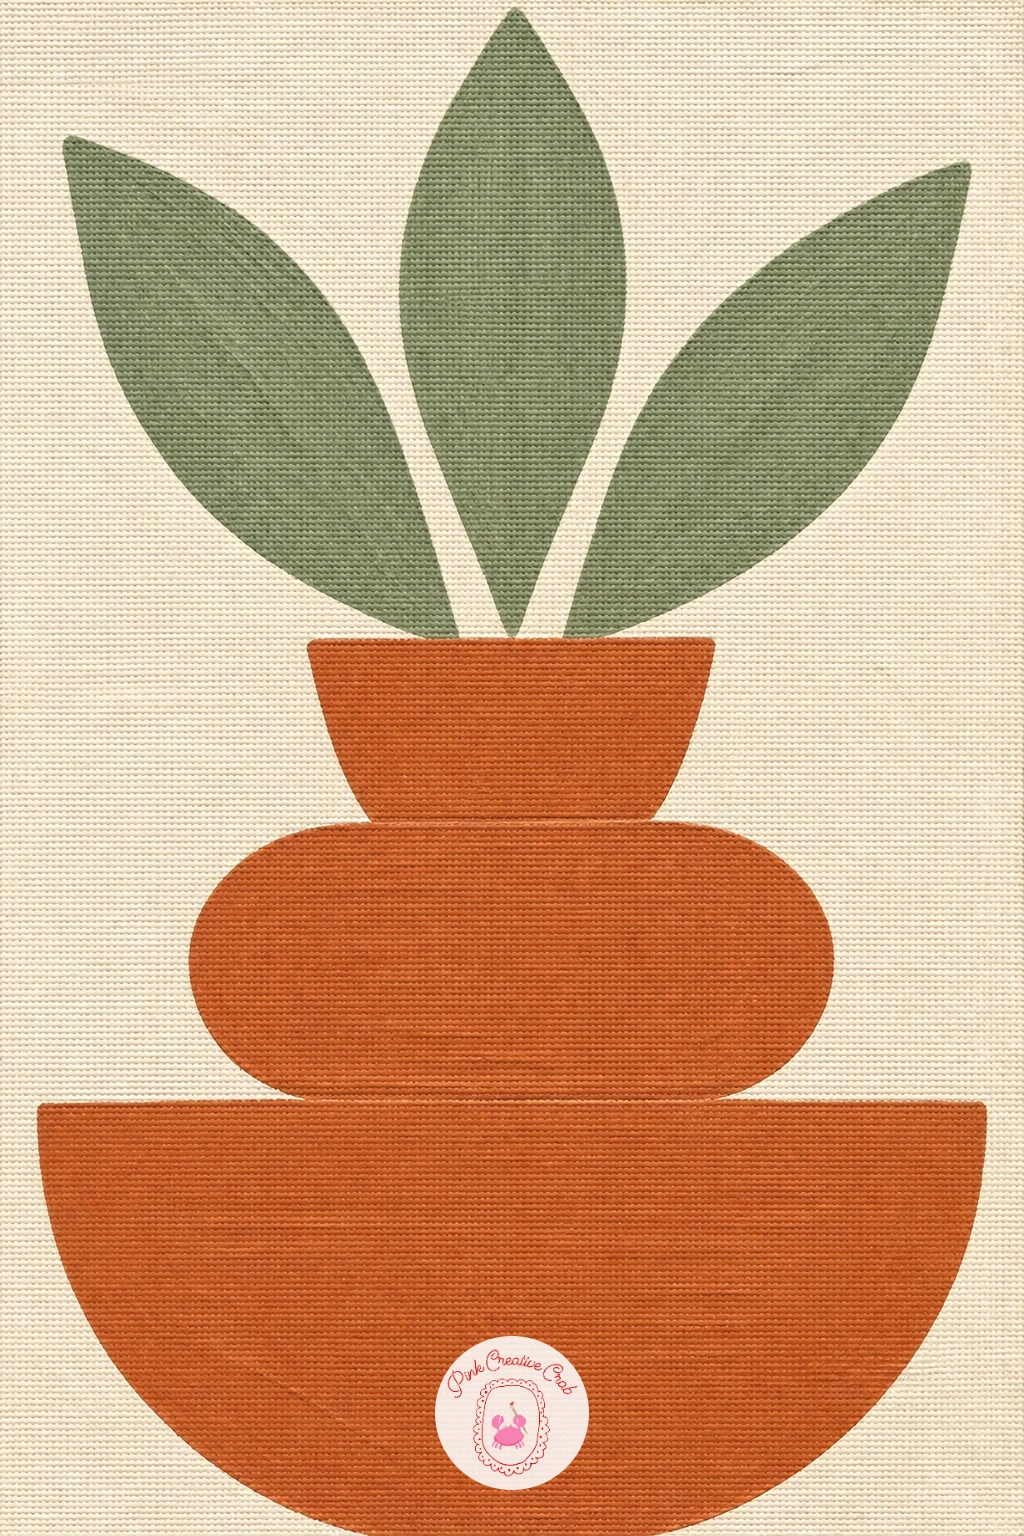
A flat vase built from simple shapes is an easy bridge into still life without needing any real shading. Pencil a vase shape as two or three stacked geometric sections, a rounded base and a narrower neck, then paint each section a different flat color.
Add three simple leaf shapes rising from the top of the vase, painted as flat green ovals with a single pointed tip rather than anything veined or detailed. Work the vase first, let it dry, then paint the leaves on top so their edges stay crisp against the vase color beneath.
A quick ten-minute version uses one flat vase color and three plain leaves; a forty-minute version adds a second accent color inside the vase as a stripe or dot pattern and a thin outline around every shape. If a leaf shape looks stiff, round off the base of it slightly rather than leaving a hard point.
Keep the vase centered and let it take up most of the canvas height for the strongest graphic effect.
Palette: Terracotta,Sage Green,Cream
For more flat botanical shapes to borrow from, the stems and dots style in this botanical sketchbook roundup translates nicely onto canvas.
A reclining figure made entirely of simple curves is less about anatomy and more about balance between a few soft shapes. Pencil one long curved line for the back, a rounded shape for the head and shoulder, and a gently bent line for the legs, all in beige and warm tan tones.
Paint the figure as two or three overlapping flat shapes rather than one solid silhouette, a slightly darker tone for the body and a lighter one for where the light would naturally catch the hip or shoulder. Keep the pose simple, lying on one side with knees gently bent, since a complicated pose is where this idea tends to go wrong.
If the proportions feel off, compare the length of the torso to the legs before painting: the legs are usually a little longer than the torso and head combined. Swap a pencil underdrawing for painter’s tape strips if you want hard, graphic edges instead of soft curved ones.
Work the background in a contrasting warm tone first so the beige figure has something to sit against.
Palette: Warm Tan,Beige,Terracotta
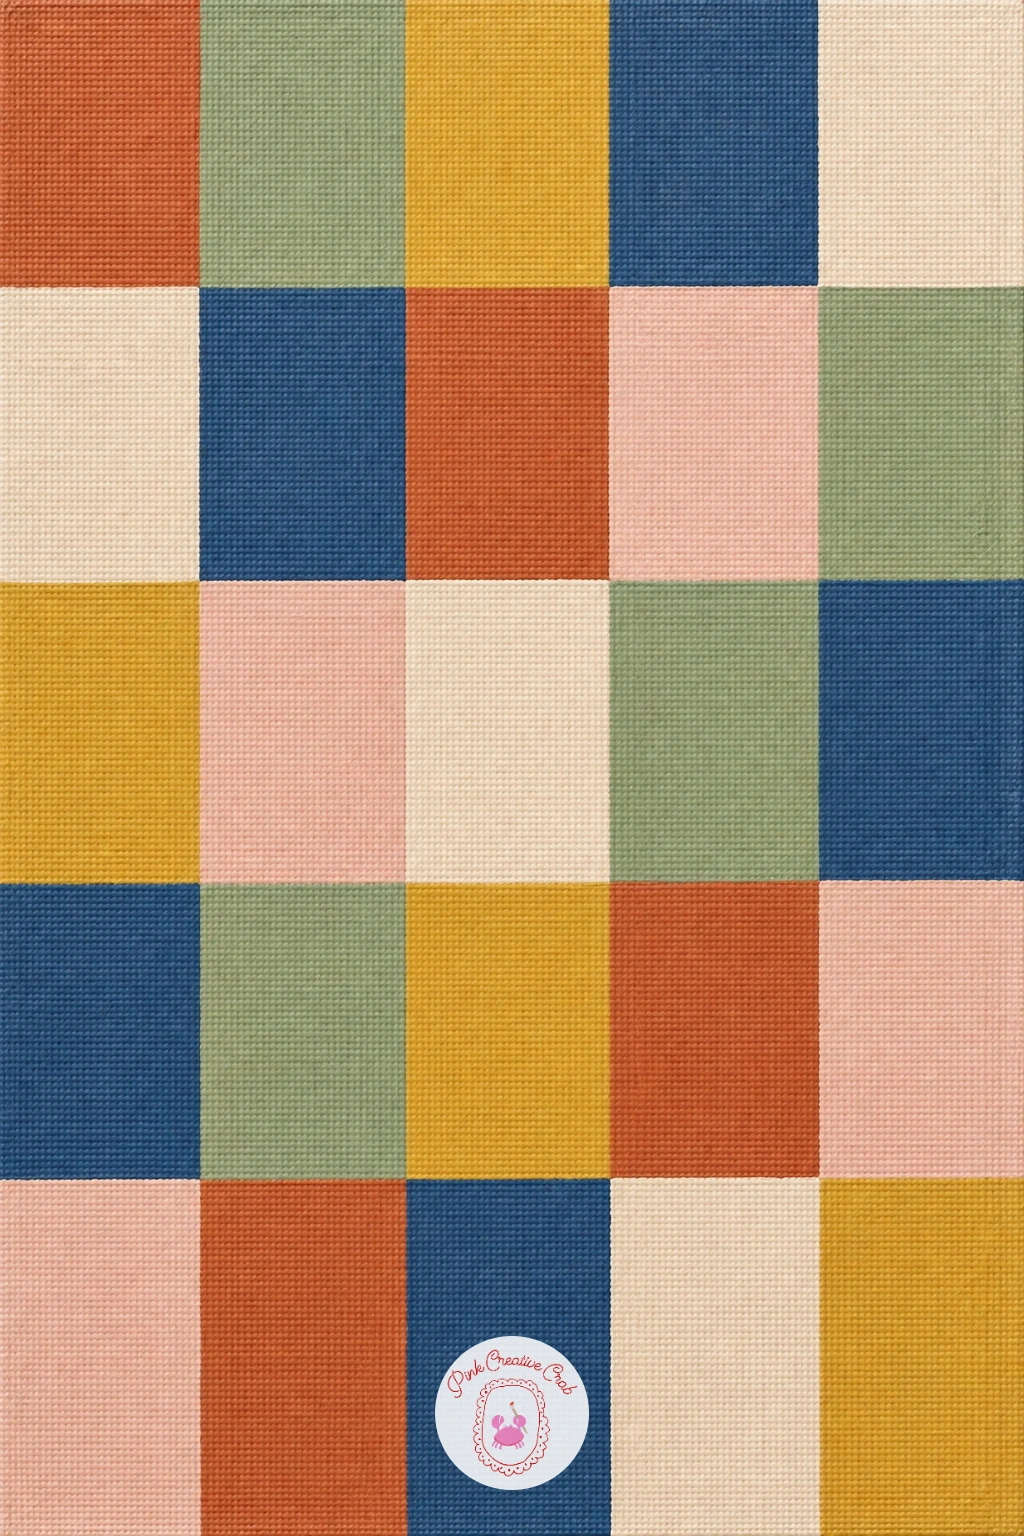
A grid of colored squares borrows the look of a patchwork quilt and is one of the most forgiving layouts here, since every square is painted the same simple way. Pencil a light grid of equal squares across the canvas, four by four or five by five depending on size, then fill each square a different color from your palette.
Work in rows so wet paint never touches a square you just finished next to it, and let each row dry before starting the next if colors are close in tone. Repeat two or three colors across the grid rather than using a different one in every square, which keeps the whole piece feeling planned instead of random.
If a grid line wobbles, a ruler held against wet paint and dragged gently along the pencil line will straighten it. For texture, try varying the brush direction square to square, horizontal strokes in one, vertical in the next, so the flat color still has a little life to it.
Keep your palette to four or five colors total so the grid reads as cohesive rather than busy.
You Will Need
- ruler for straight grid lines
Palette: Terracotta,Sage Green,Mustard,Deep Blue,Cream
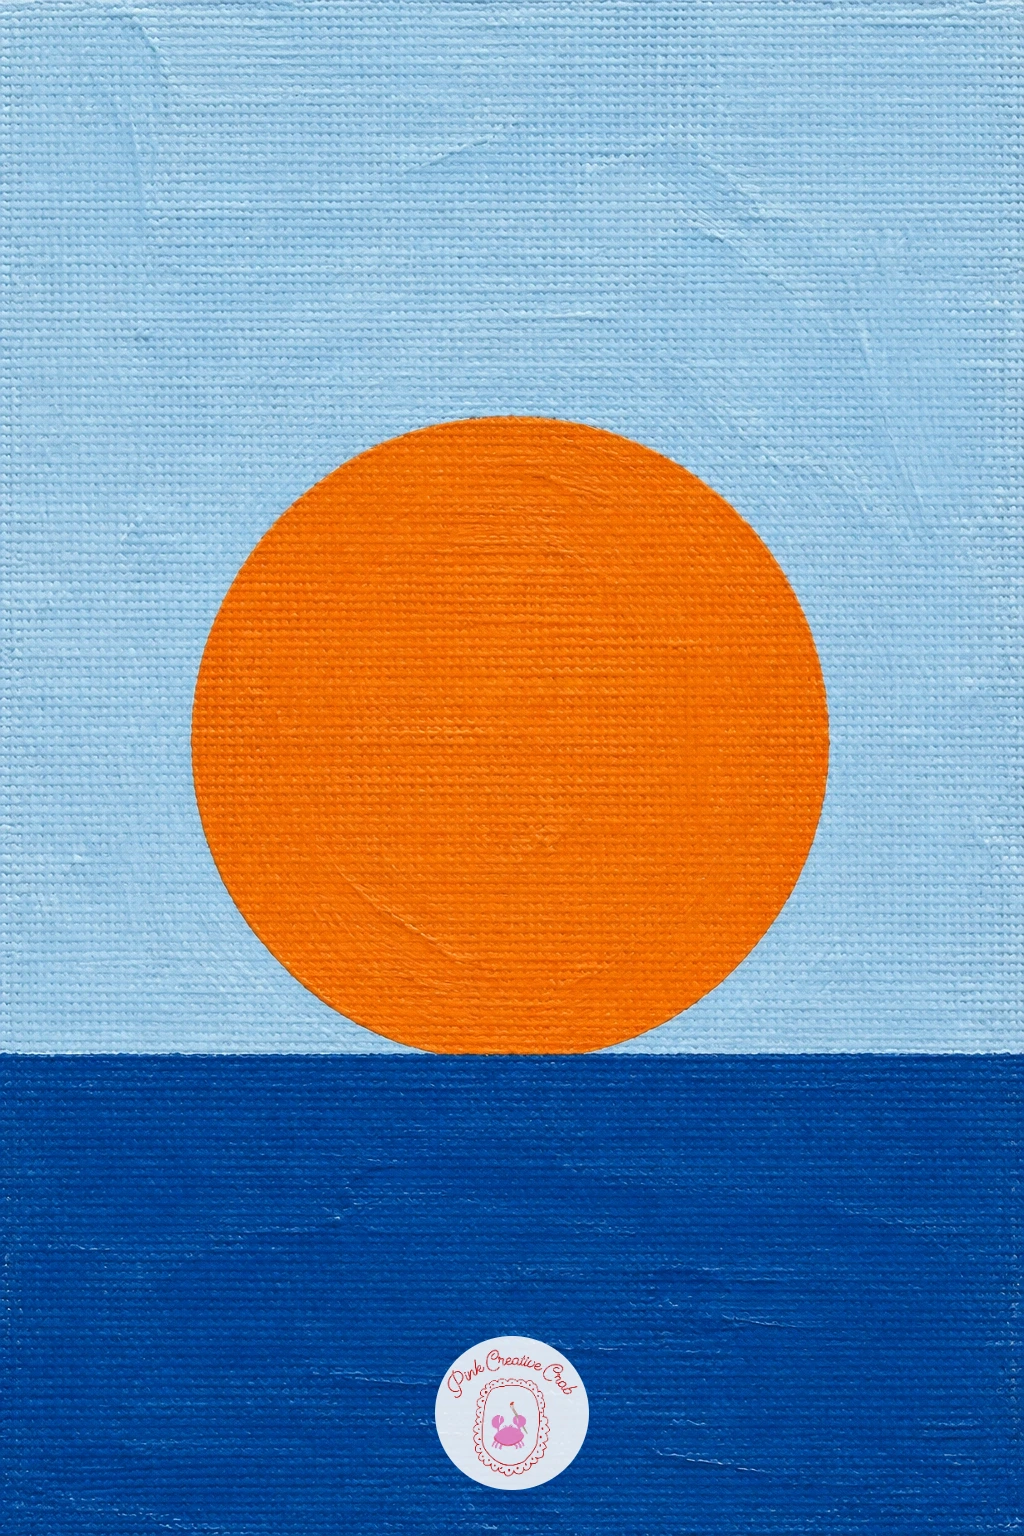
A big orange circle resting on a blue horizon line is one simple composition that reads instantly as a landscape without painting a single tree or hill. Tape off a horizontal line roughly a third of the way up the canvas and paint the sky above it a pale version of blue, the lower third a deeper blue.
Once both are dry, paint one large orange circle sitting exactly on that horizon line, half above it and half below, using a plate or lid to trace a clean edge. The eye level sits right on that horizon, so keep the circle centered or slightly off to one side rather than pushed into a corner, which keeps the whole scene feeling calm.
If the circle edge smudges into the blue below, wait until the horizon paint is fully cured before adding the circle, not just dry to the touch. A quick ten-minute version stops there; a forty-minute version adds two or three thin horizontal lines across the lower blue to suggest water.
Keep the orange flat and solid, with no gradient, to hold the graphic look.
You Will Need
- a plate or lid to trace the circle
Palette: Burnt Orange,Pale Blue,Deep Blue
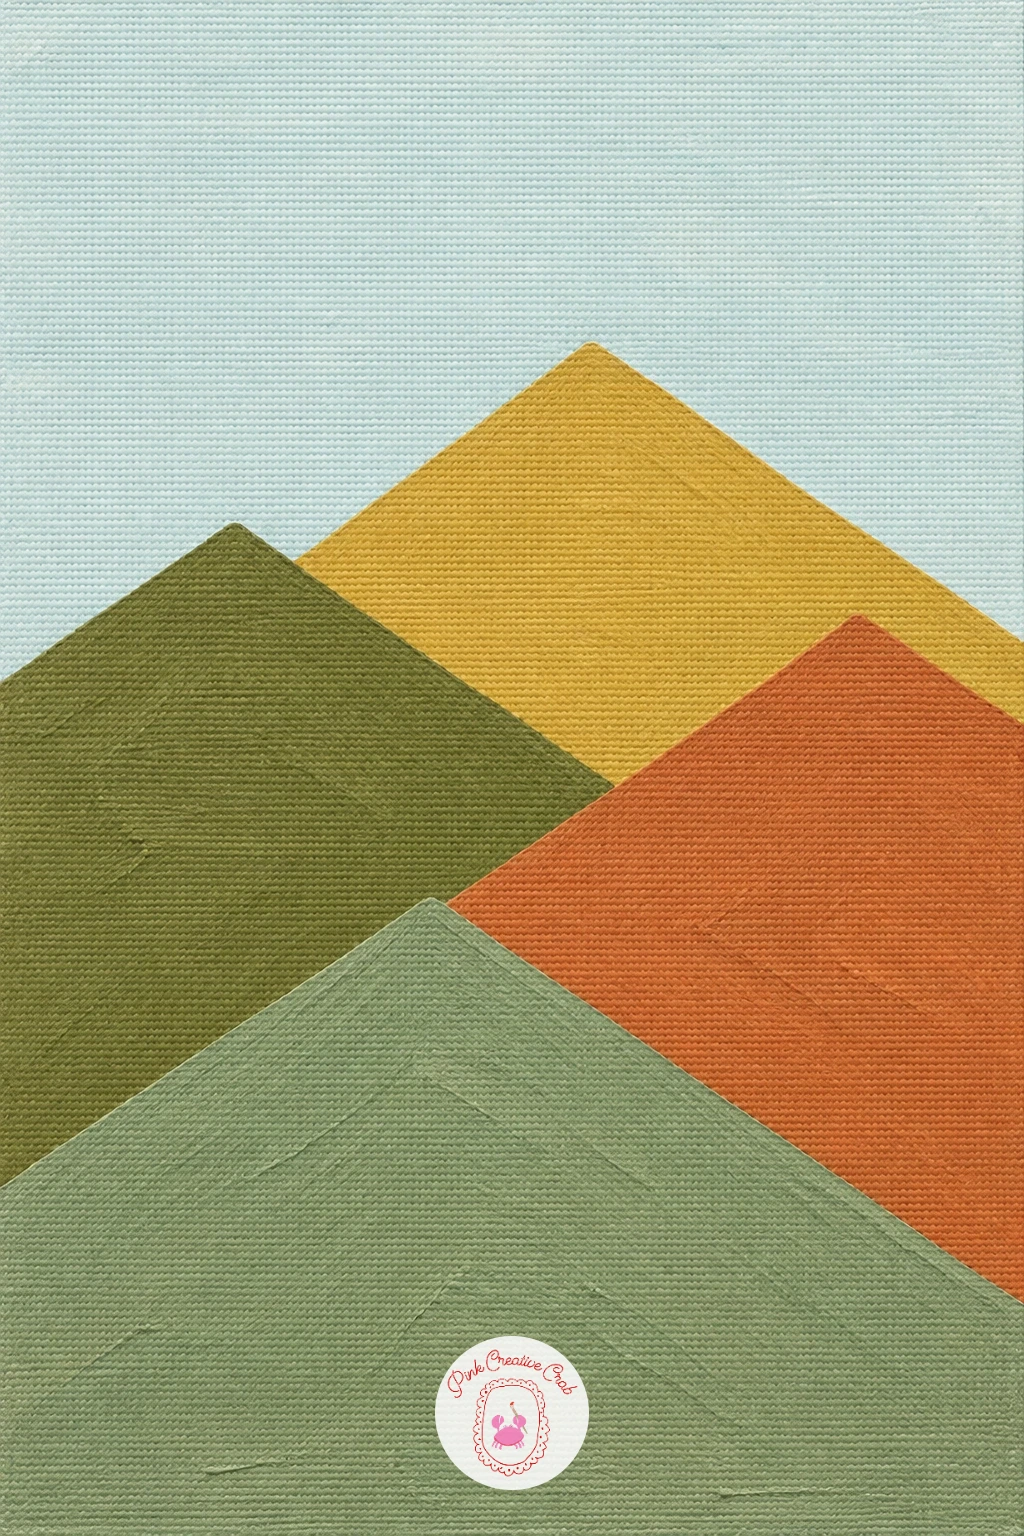
Geometric hills built from overlapping triangles turn a landscape into pure shape-play. Pencil in four or five triangles of varying heights across the lower half of the canvas, overlapping their bottom edges so each one tucks slightly behind the next.
Paint the furthest-back triangle first in your lightest color, then work forward, each new triangle a slightly darker tone, which naturally creates a sense of depth without any real perspective drawing. Keep every triangle flat and solid, no shading inside the shape itself, since the color shift between triangles is what does the work.
If two triangles end up the exact same size, nudge one wider or shorter before painting so the row reads as varied rather than mechanical. Swap a ruler for a steady freehand line if you want slightly imperfect, hand-drawn edges instead of crisp geometric ones.
Finish with a plain pale sky above the hills so the triangles stay the clear focus.
You Will Need
- ruler for straight triangle edges
Palette: Sage Green,Olive,Terracotta,Pale Sky
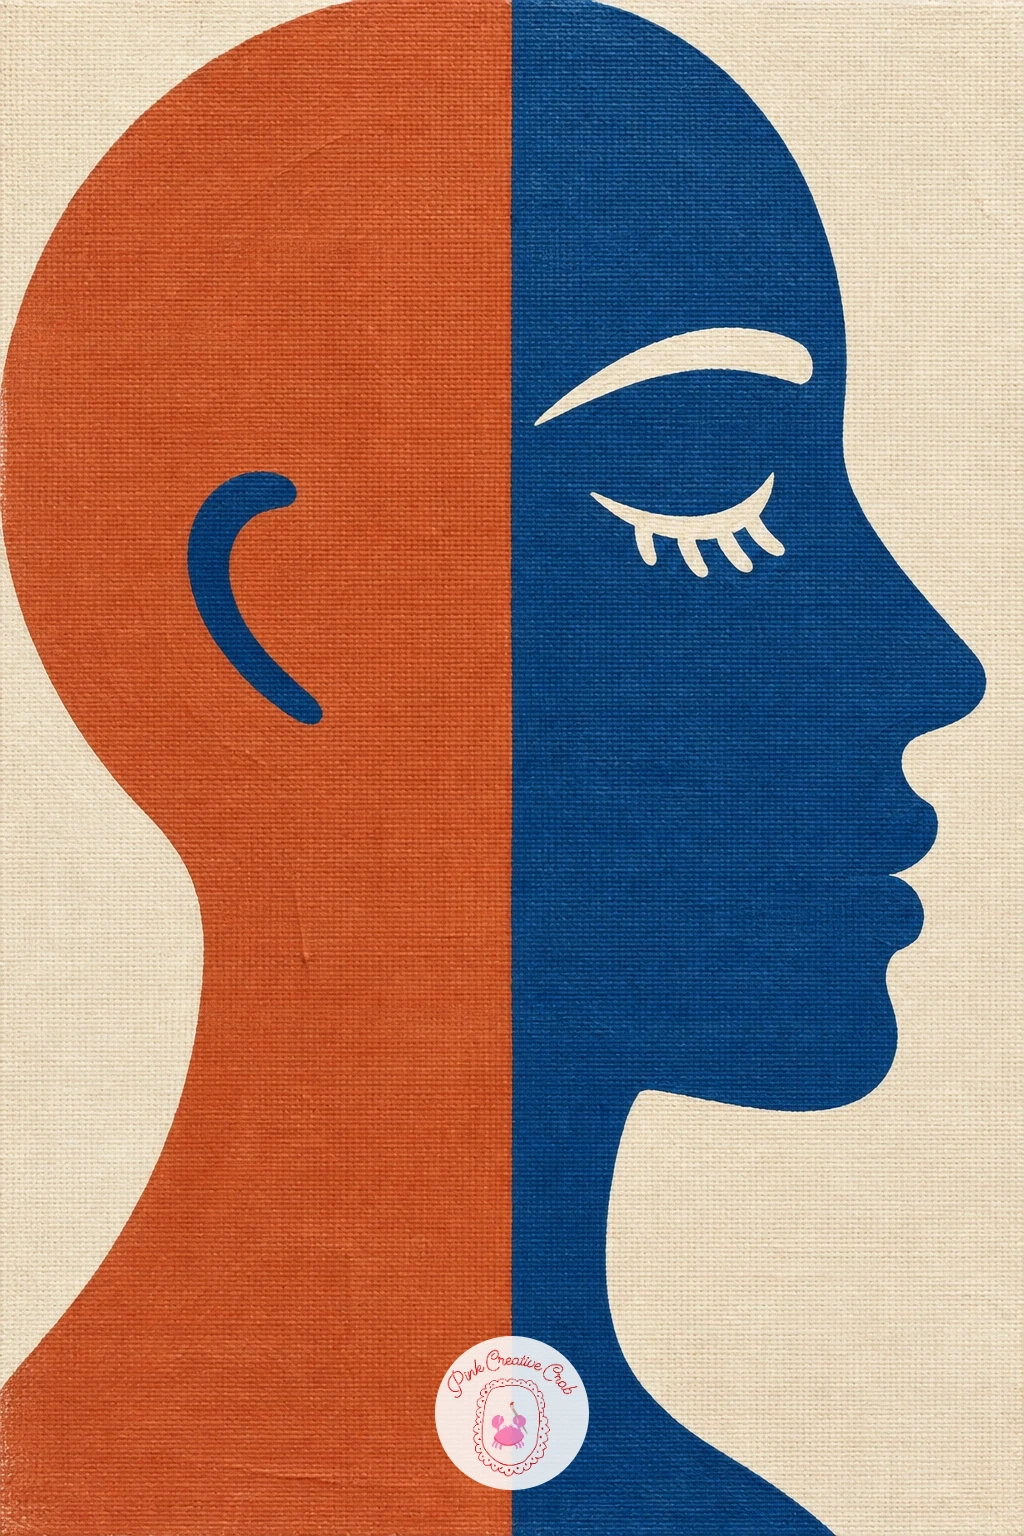
Splitting a profile face into two flat colors is a simple trick that makes a basic portrait feel distinctly modern. Pencil one clean side profile, forehead to chin to neck, then draw a single curved or straight line through it dividing the face into two sections.
Paint one section in a warm tone and the other in a cool contrasting tone, keeping both completely flat with a crisp line between them rather than any blending. Perspective stays simple here since it is a straight side view, so the main thing to watch is keeping the nose and chin proportions even on both halves of the dividing line.
If the dividing line wobbles, paint one color fully first, let it dry, then tape along the pencil line before painting the second color for a perfectly crisp edge. A fine brush can add one small detail last, a closed eye or a simple earring shape, once both colors are dry.
Keep the background a single plain color so the two-tone face stays the clear subject.
You Will Need
- painter’s tape for a crisp dividing line
Palette: Terracotta,Deep Blue,Cream
Wavy stripes in pink and red bring movement to a canvas without any figures or objects at all. Pencil four or five horizontal wavy lines across the canvas, keeping the wave pattern loose and similar from line to line so the stripes feel related rather than random.
Paint alternating stripes pink and red, working from the top down so your hand never rests on wet paint from the row above. A dry brush dragged lightly along one edge of a stripe once it is mostly dry can soften that edge slightly if the stripes feel too rigid next to each other.
If a wave gets too tight and pinched in the middle, widen it gently with another pass of paint rather than trying to fix it with pencil first. Swap a brush for a wide flat sponge if you want looser, less uniform stripe edges.
Keep the waves large and few rather than many and fussy, since big simple curves read as more confident from across a room.
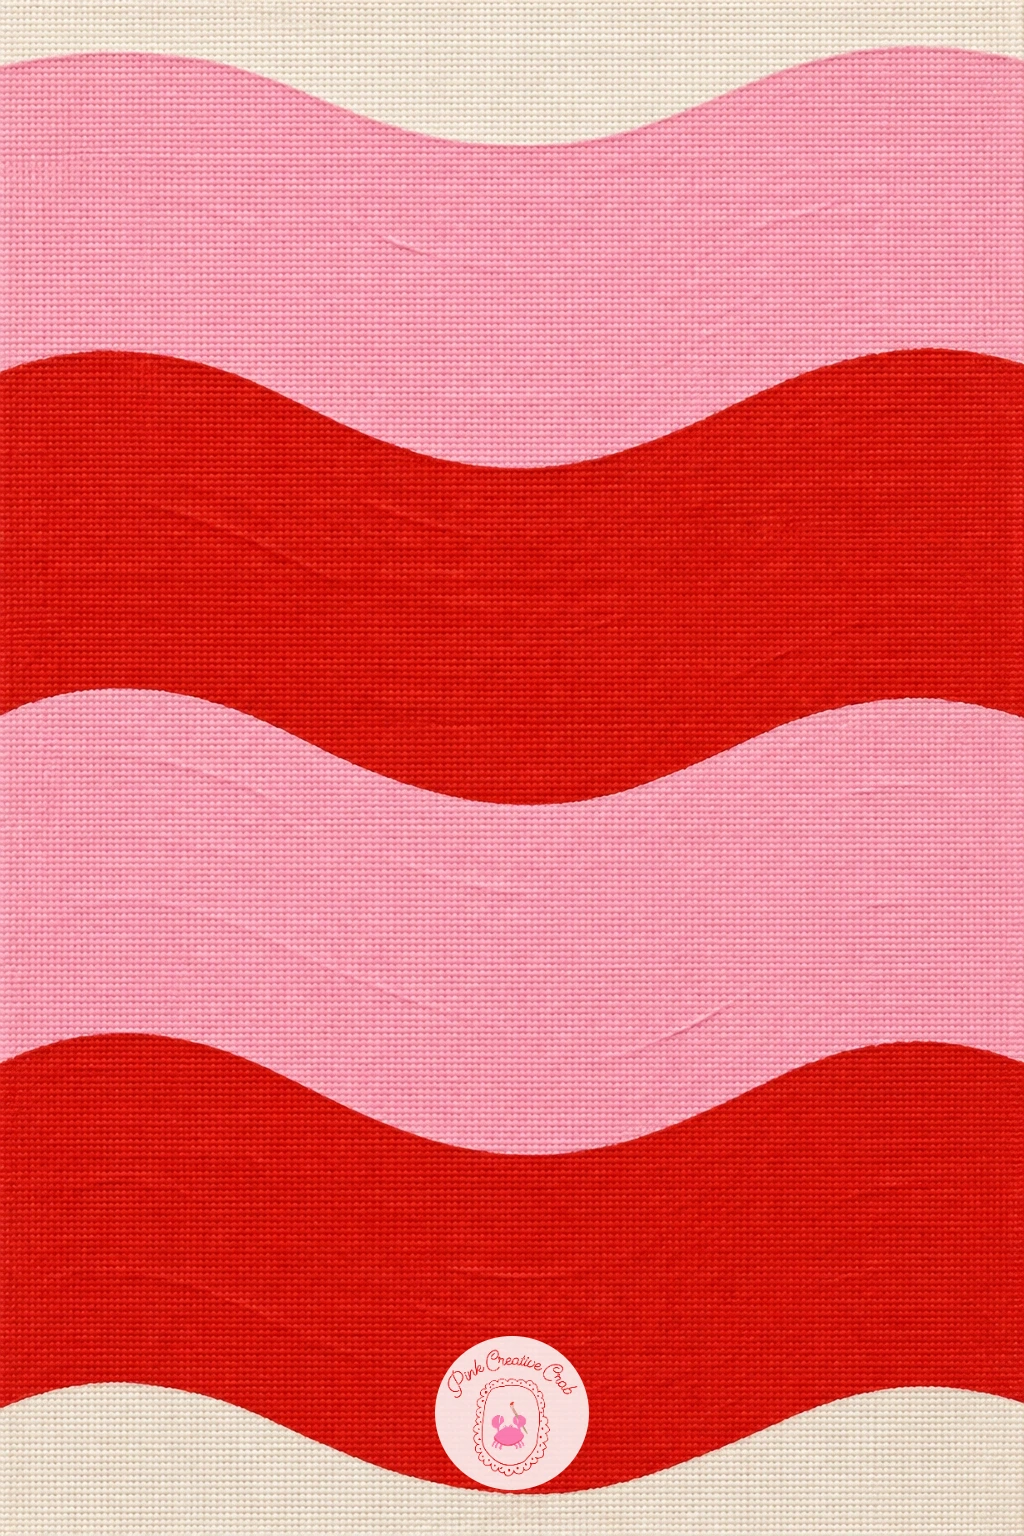
Palette: Blush Pink,Red,Cream
A minimal mountain of three triangles under a round sun strips a landscape down to its simplest shapes. Pencil three triangles side by side, the middle one tallest, overlapping slightly at their bases, then one full circle above and between them for the sun.
Paint the sun first in a warm gold so it can dry while you work on the mountains, then paint each triangle a slightly different earthy tone, darkest at the front. Light direction here is simple to decide: pick one side of each triangle to catch a touch more warmth from the sun, even just a slightly lighter edge, and the whole scene feels more considered.
If the triangles end up too symmetrical, shift the middle peak slightly off center before painting so the composition feels less stiff. A quick version keeps all three triangles one flat color each; a slower version adds a thin contrasting outline around every shape once dry.
Keep the sky plain and pale so the gold sun stands out clearly against it.
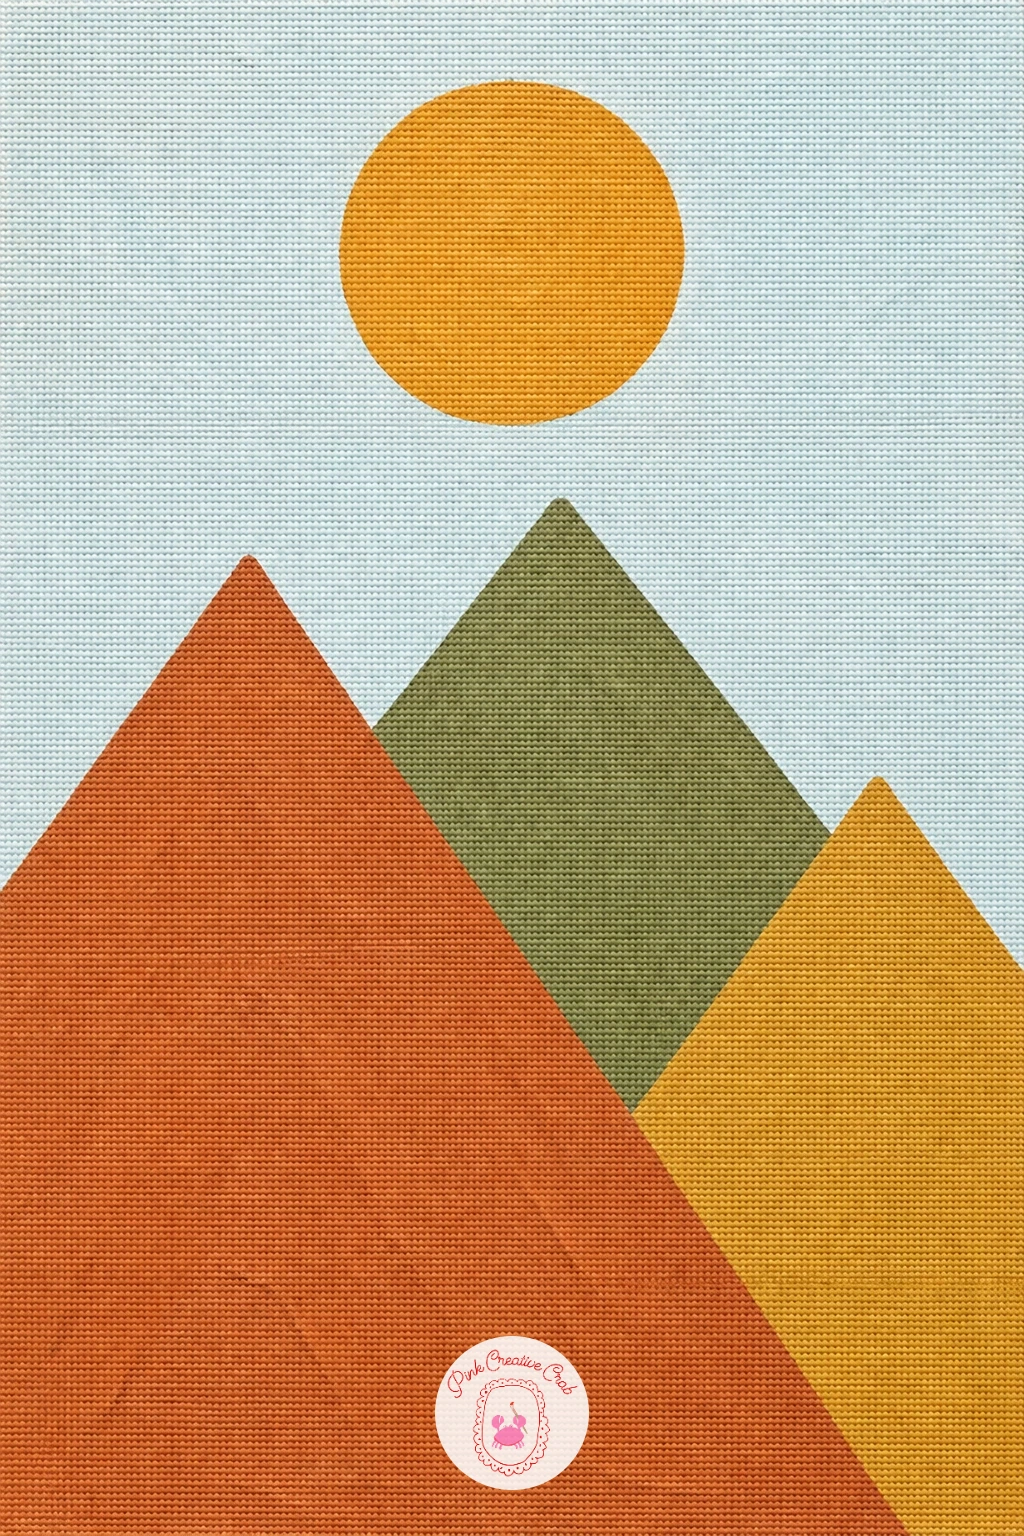
Palette: Ochre Gold,Terracotta,Olive,Pale Sky
A checkerboard with warped wavy squares takes the familiar grid idea further by letting every line curve instead of staying straight. Pencil a loose grid first with gently wavy lines instead of straight ones, keeping the overall rows and columns even even though each line bends.
Paint alternating squares in two contrasting colors, working across each row so you can see the pattern building and catch any missed square before it dries. The trick to keeping this one readable as a checkerboard rather than chaos is consistency: every wavy line should curve in roughly the same rhythm across the canvas.
If the pattern starts looking uneven, step back and look at the whole canvas from a distance rather than correcting square by square up close. Swap paint for oil pastel over a painted grid if you want a slightly rougher, more textured line quality.
Finish with a thin dark outline along each wavy line once both colors are fully dry, to sharpen the whole pattern.
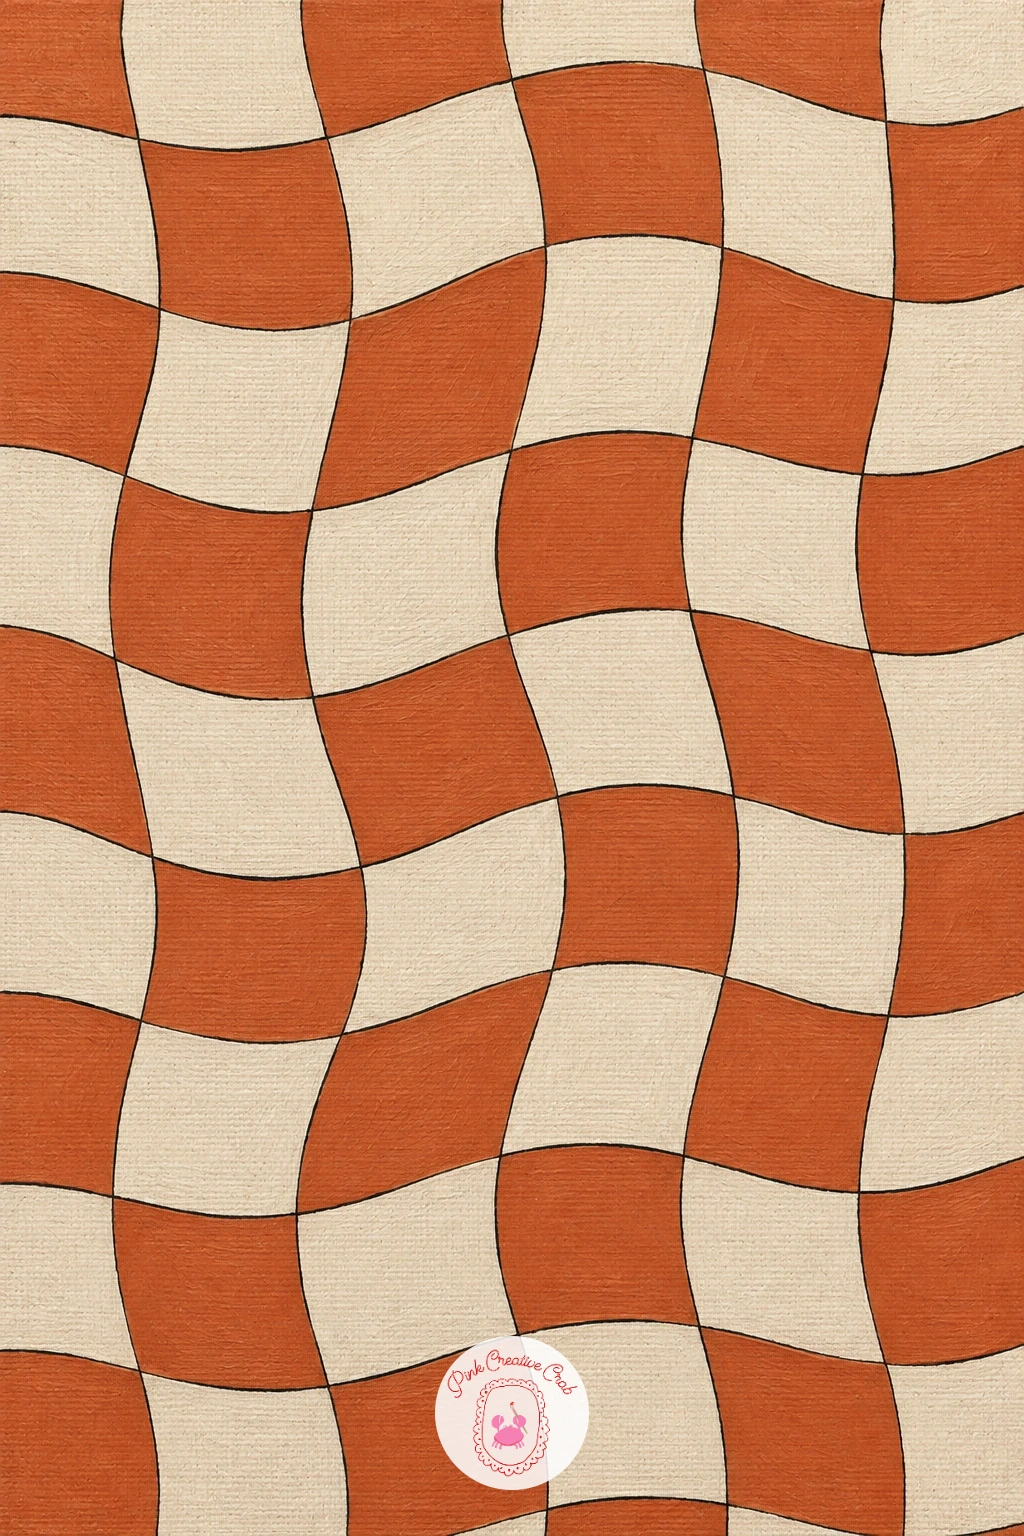
Palette: Terracotta,Cream,Deep Brown
A staircase of colored blocks climbing to the corner turns simple rectangles into a composition with real direction. Pencil four or five rectangular blocks of increasing height, stepping diagonally from one bottom corner toward the opposite top corner.
Paint each block a different color from your palette, working from the smallest block up to the largest so you can judge the spacing as you go rather than committing to all the pencil lines at once. Keep every block the same width so the staircase rhythm stays clean and the eye climbs smoothly from corner to corner.
If the steps start drifting off the diagonal, lay a ruler from corner to corner lightly in pencil first as a guide before placing any blocks. A fine liner or paint pen can add a thin outline around each block once dry, which sharpens the whole staircase effect considerably.
Try this again next time climbing the opposite diagonal for a mirrored companion piece.
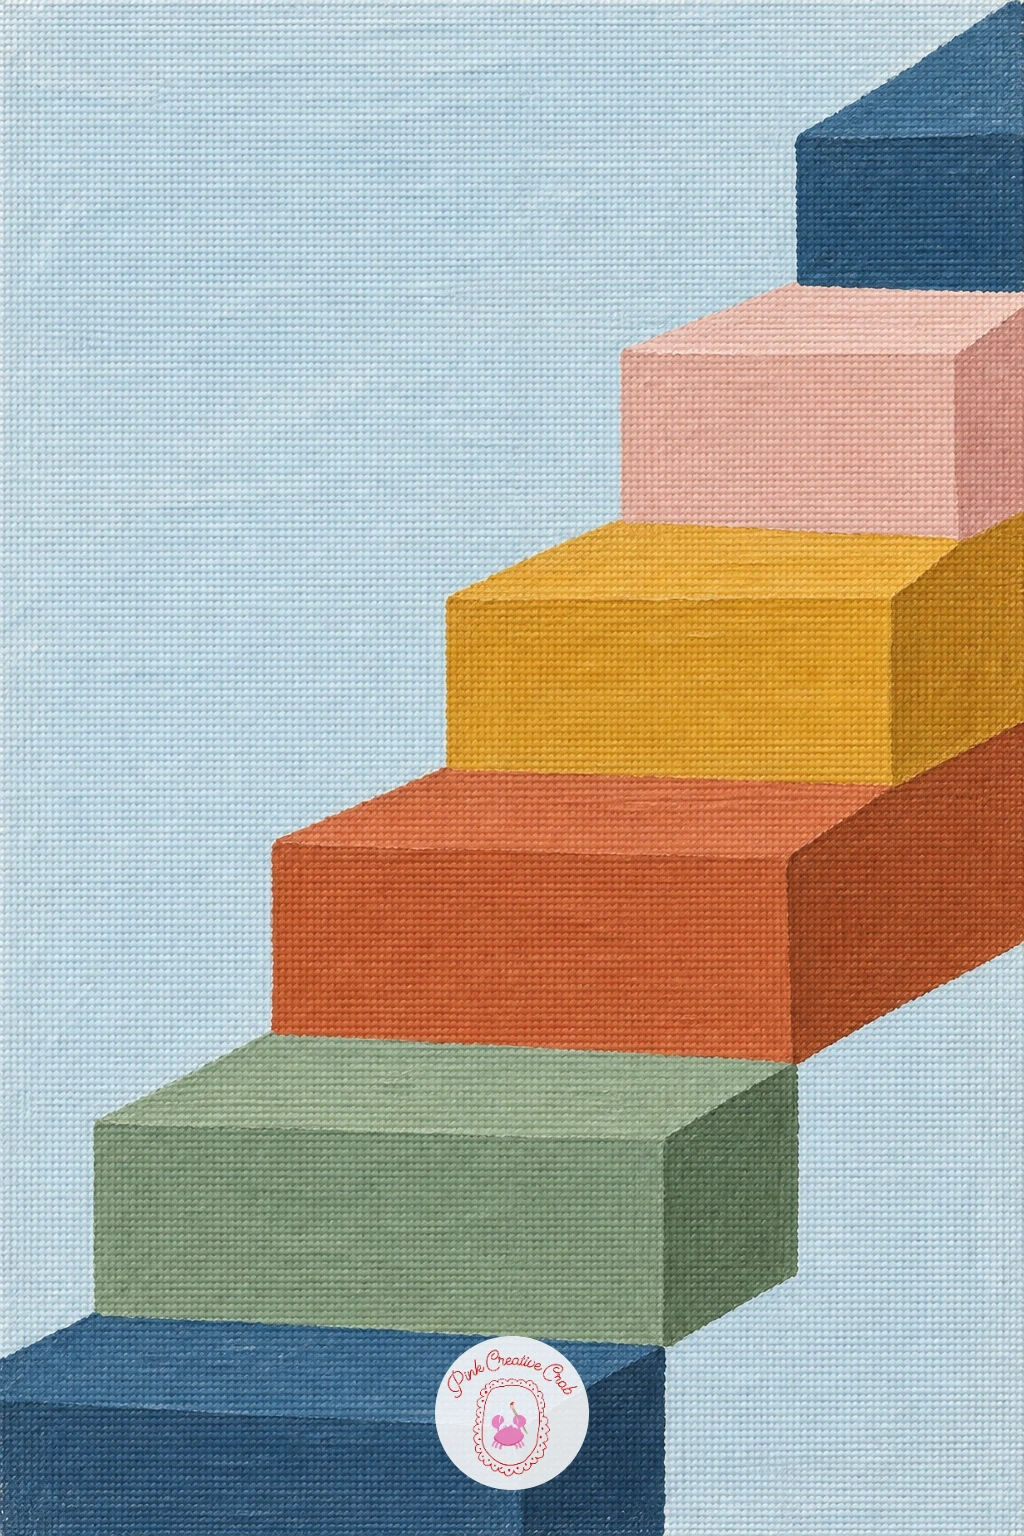
You Will Need
- ruler for the diagonal guideline
Palette: Mustard,Terracotta,Sage Green,Deep Blue
A woman’s body drawn in one continuous line is the figure version of the one-line face, and it rewards a slow, steady hand more than a perfect pencil sketch. Lightly pencil the full standing pose first, head to shoulder to waist to leg, as a guide you can erase later.
Paint over this guide in one unbroken line with a fine brush or paint pen, moving slowly and lifting only at the very start and end of the figure. If the line crosses itself awkwardly at an elbow or hip, that is normal for this style and reads as intentional once the rest of the line is confident.
Compare the head height to the total body height before you paint, roughly one to seven or eight, to catch a figure that has grown too short or too tall. Swap the brush for a paint pen if a steadier, more consistent line width matters more to you than brush texture.
Keep the background one flat calm color so the single line stays the whole focus.
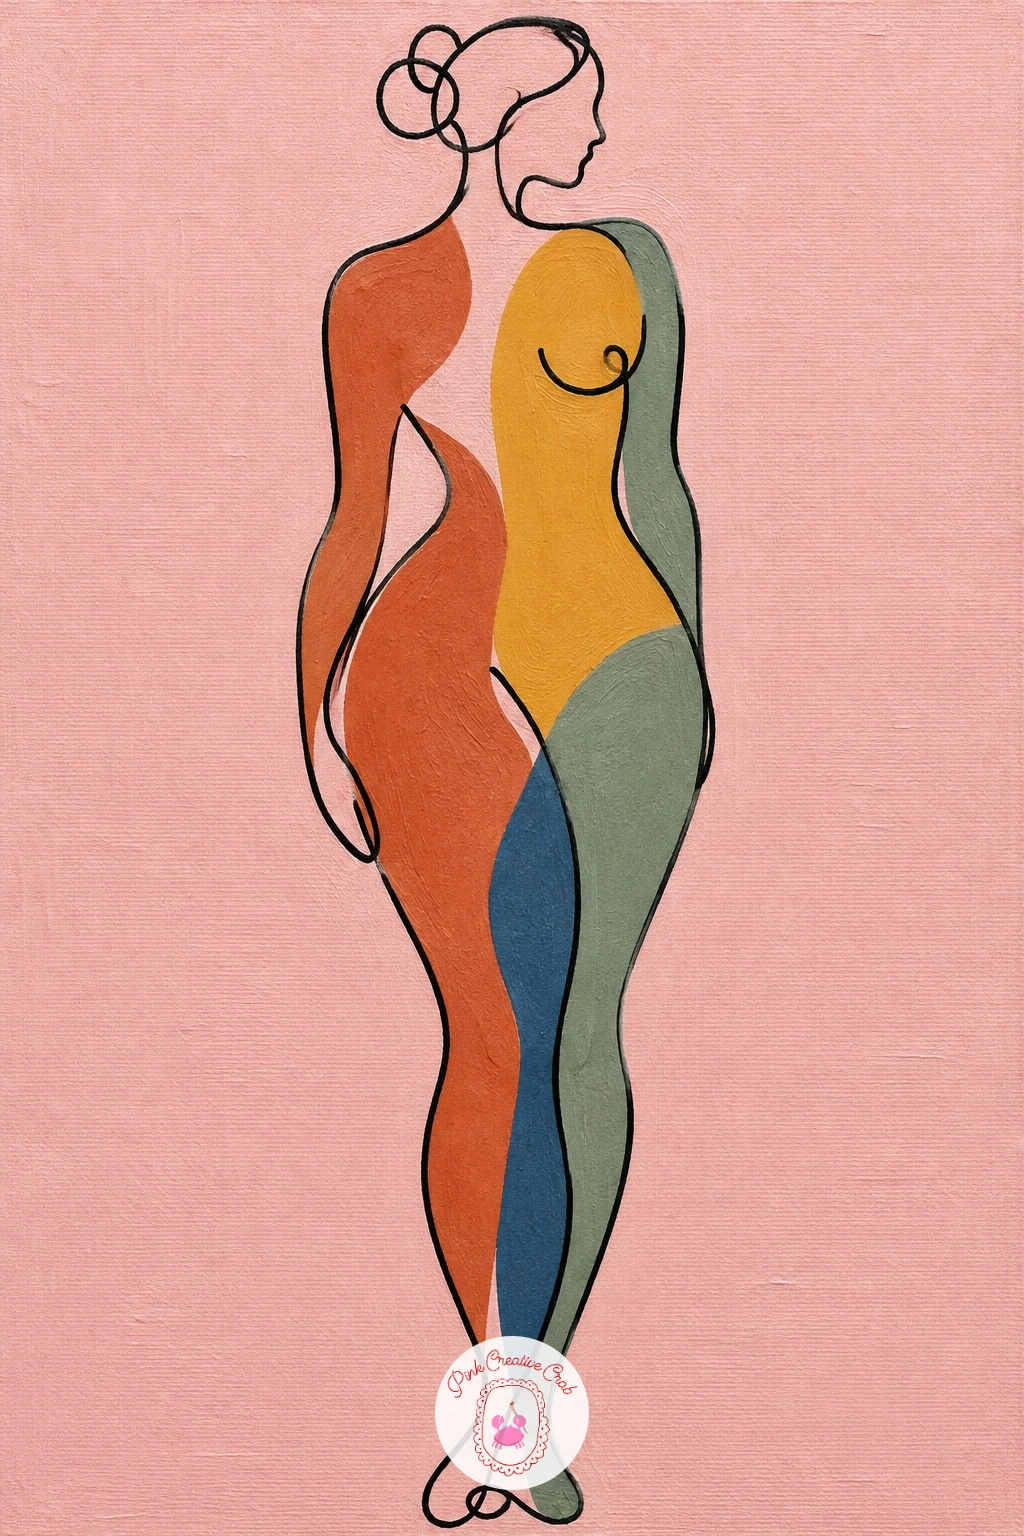
You Will Need
- paint pen or fine round brush for the continuous line
Palette: Soft Black,Blush Pink
Two hands drawn in one line holding a flower is a smaller, gentler cousin of the full figure, and a nice one to try once that feels comfortable. Pencil two simple hand shapes facing each other, fingers loosely curled around a single flower stem between them, then trace it in one continuous line.
Paint the line slowly from one wrist, through the fingers, across to the flower, and out to the second wrist, lifting as little as possible. Hands are famously tricky, so simplify: four fingers can read as three without anyone noticing, and a rounded knuckle shape matters more than individual finger length.
Paint the flower last as two or three simple petal shapes in one contrast color once the line itself is dry. If the line gets tangled where the stem meets the fingers, a thin gap left unpainted there reads cleanly as the hands holding something rather than a mistake.
Keep the flower small so the hands stay the main subject of the piece.
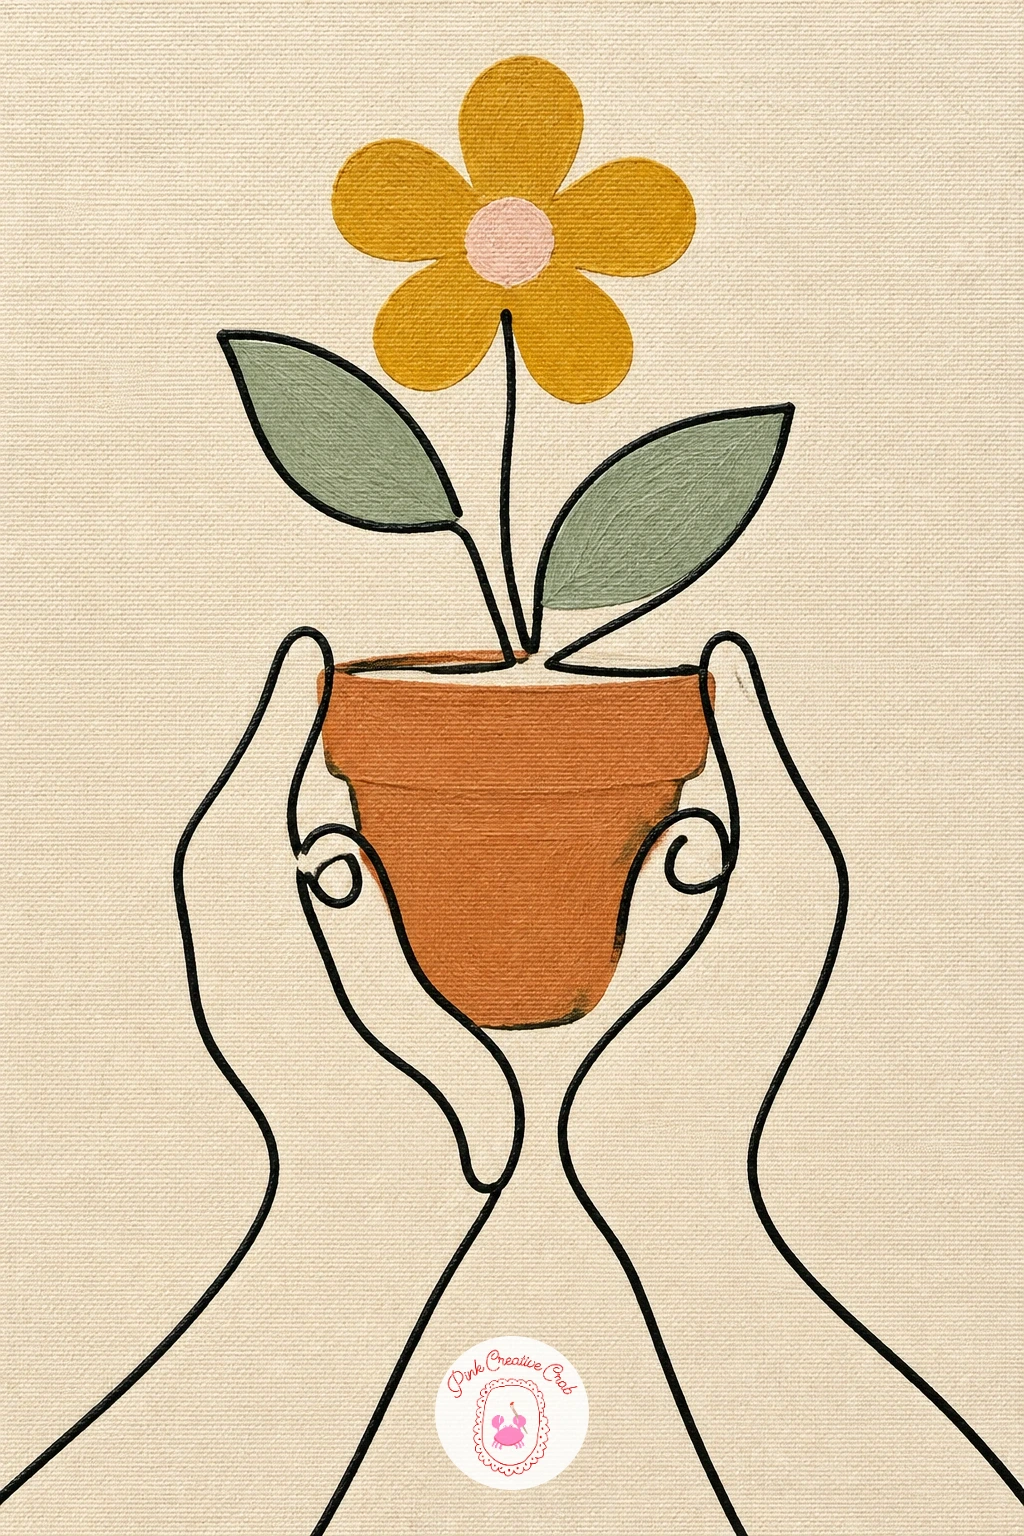
Palette: Soft Black,Terracotta,Cream
A Bauhaus-style composition of circles and half circles is pure shape arrangement, with no face or figure to worry about at all. Pencil three or four full circles and two half circles of different sizes across the canvas, overlapping some of them slightly for interest.
Paint the largest shape first in your boldest color, then work down in size, letting each shape dry before the next overlaps it so edges stay crisp rather than muddy. Balance matters more than accuracy here: step back after placing each shape and check the canvas does not feel heavier on one side.
If a composition feels too scattered, group the shapes a little closer together rather than spreading them evenly across the whole canvas. A fine liner added around one or two shapes once dry, not all of them, gives the eye somewhere to land first.
Keep the palette to three or four colors total so the geometry stays the focus, not the color count.
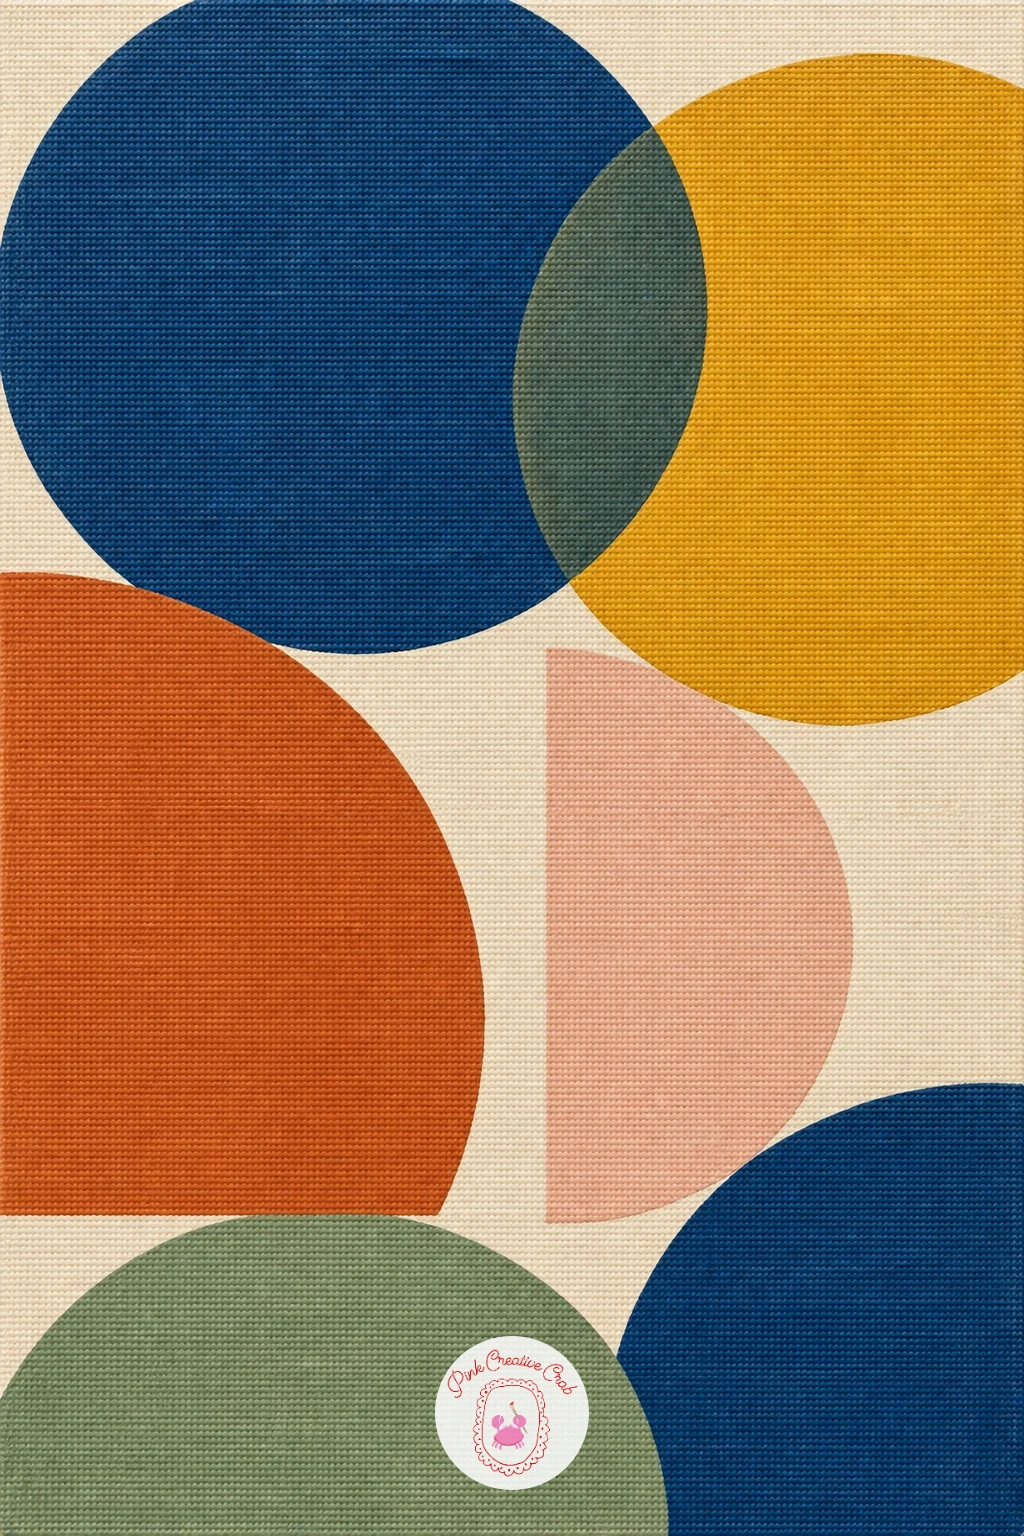
Palette: Deep Blue,Mustard,Terracotta,Cream
A tall vase shape with a rainbow inside it combines the still life vase idea with the arch technique for something a little more playful. Pencil one tall, simple vase outline first, then nest three or four arch bands inside it rather than filling it as one solid color.
Paint the vase outline in one plain color as a border, then fill the nested arches inside, working outer to inner the same way you did with the stacked arch idea earlier in this list. Keep the vase shape itself simple, a rounded base and straight or slightly tapered sides, so the inside pattern has room to read clearly.
If the arches inside crowd the vase outline, leave a thin margin of the vase’s base color between the outermost arch and the vase edge. A quick version uses three arch colors; a slower version adds a thin outline around the whole vase and each arch band once everything is dry.
Place the vase centered with plenty of plain background around it so it reads clearly as an object.
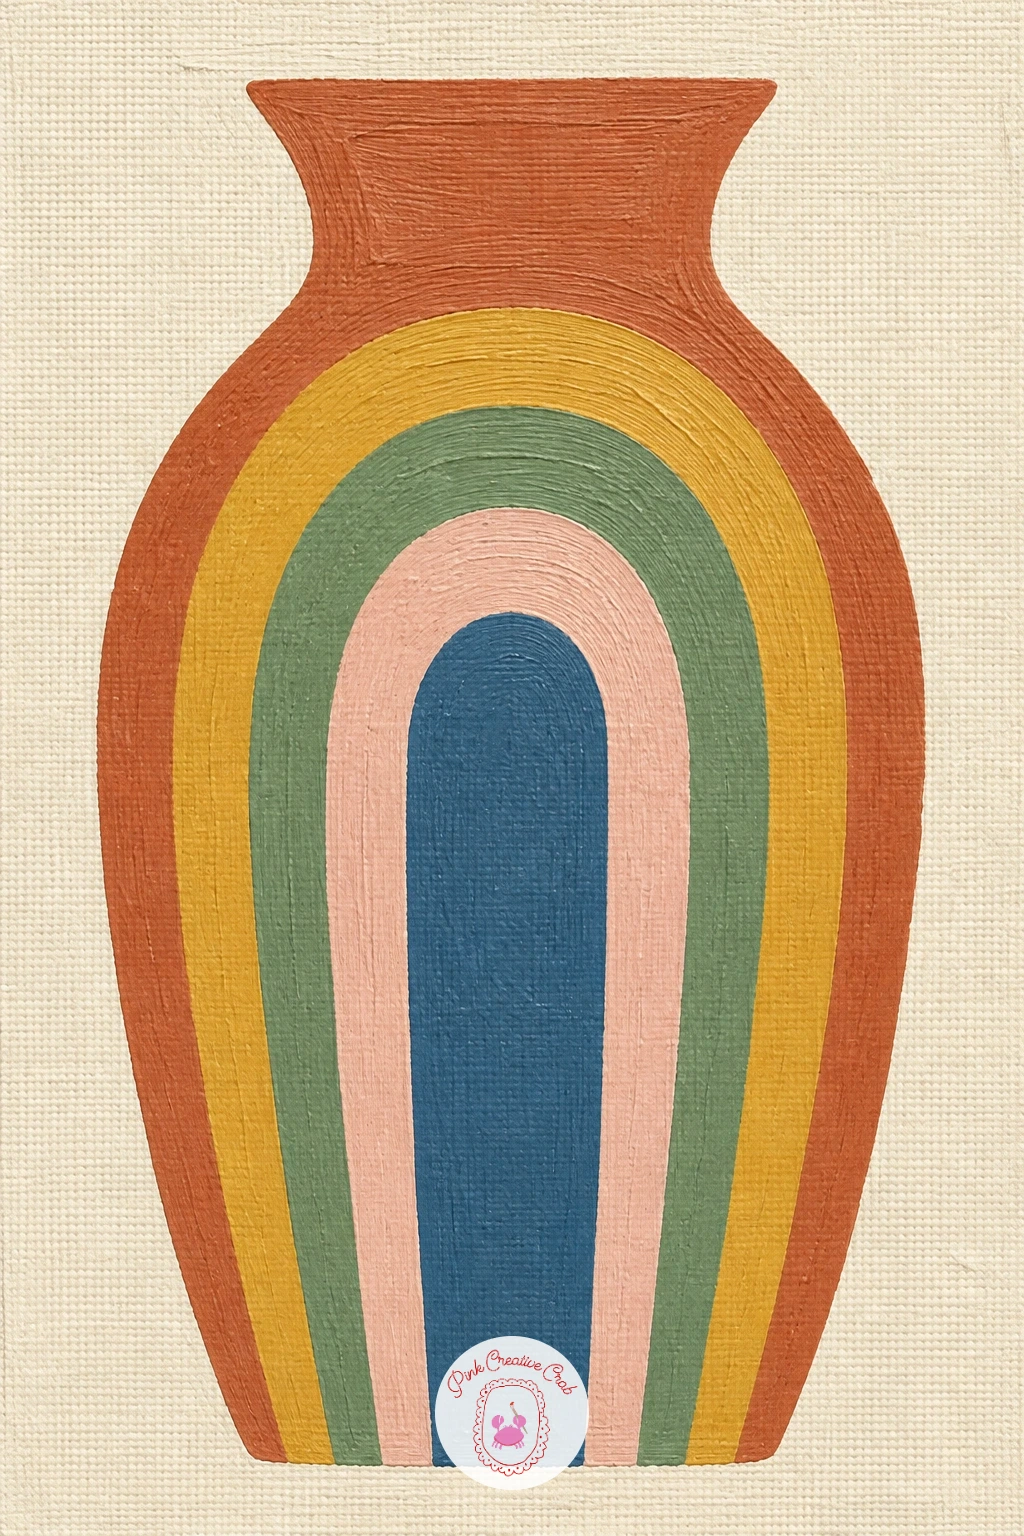
Palette: Terracotta,Mustard,Sage Green,Cream
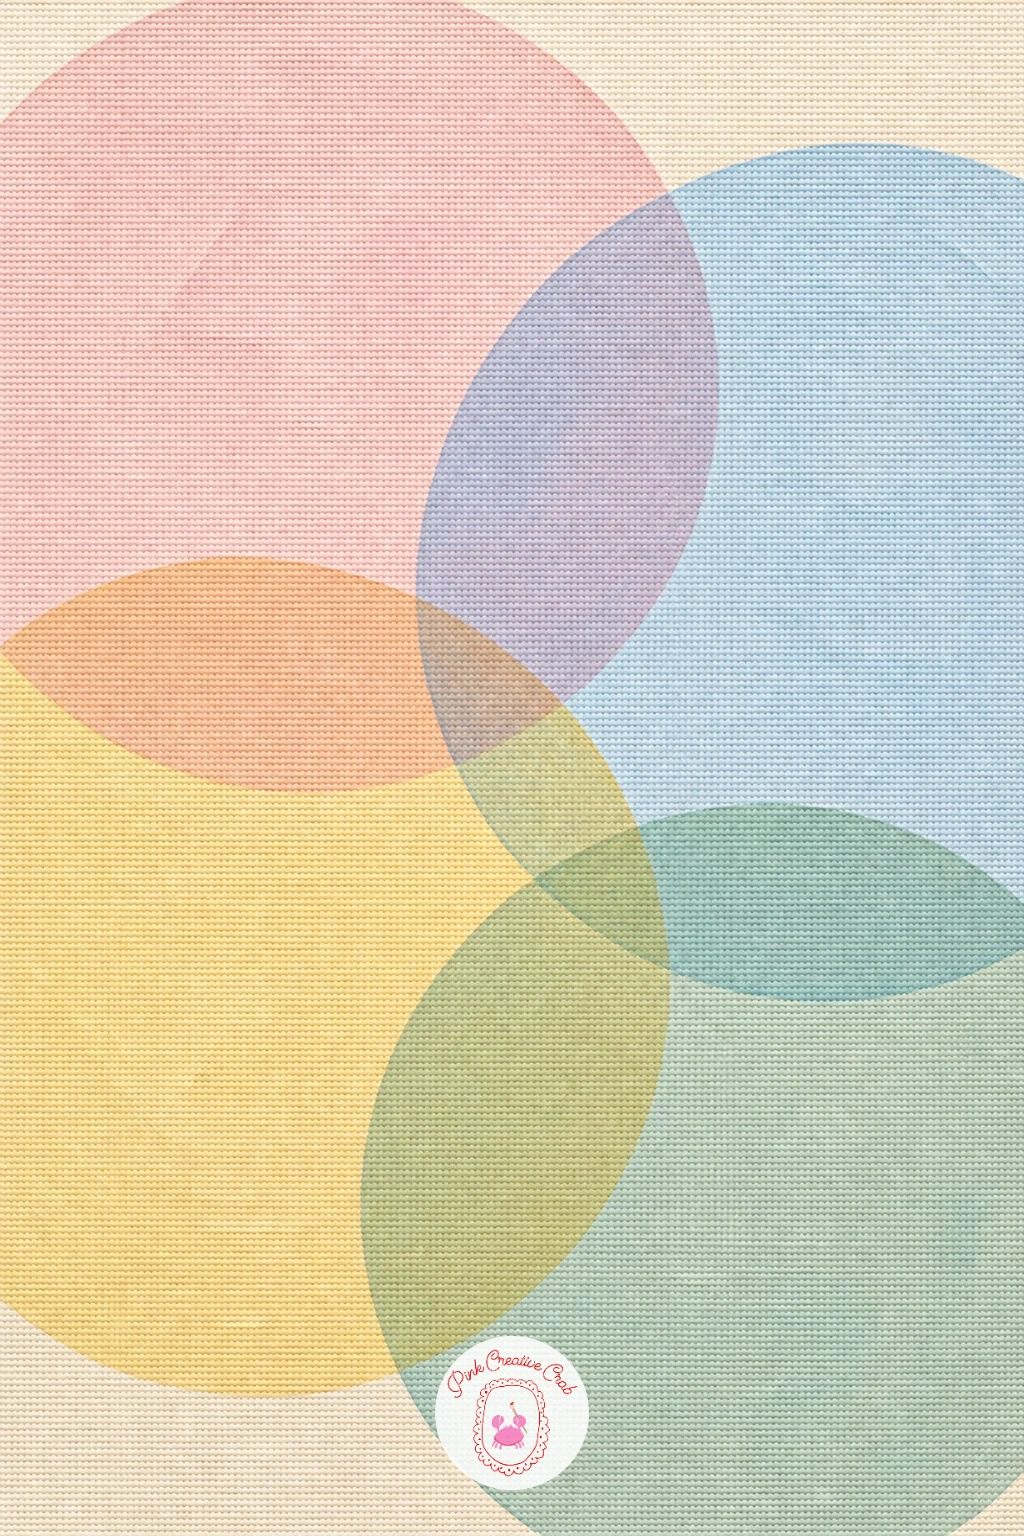
Overlapping see-through circles in pastel colors use transparency to create new colors where shapes cross, which is a nice change of pace from flat opaque blocks. Pencil four or five large overlapping circles across the canvas, then thin your acrylic paint slightly with water or a glazing medium before you start.
Paint each circle in a wash thin enough to let the background and other circles show through where they overlap, working lightest colors first since darker washes painted over light ones stay more predictable than the reverse. Let each circle dry fully before painting the next one over it, or the colors will bleed into mud rather than overlapping cleanly.
If the paint goes on too opaque and blocks the transparency, add a touch more water to your mix rather than trying to thin it on the canvas itself. Swap acrylic for watered-down gouache if your acrylics do not thin well, since some formulas stay chalky no matter how diluted.
Keep the palette to soft pastel tones so the overlaps stay gentle rather than muddy.
You Will Need
- glazing medium or water to thin the paint
Palette: Pale Pink,Pale Blue,Pale Yellow
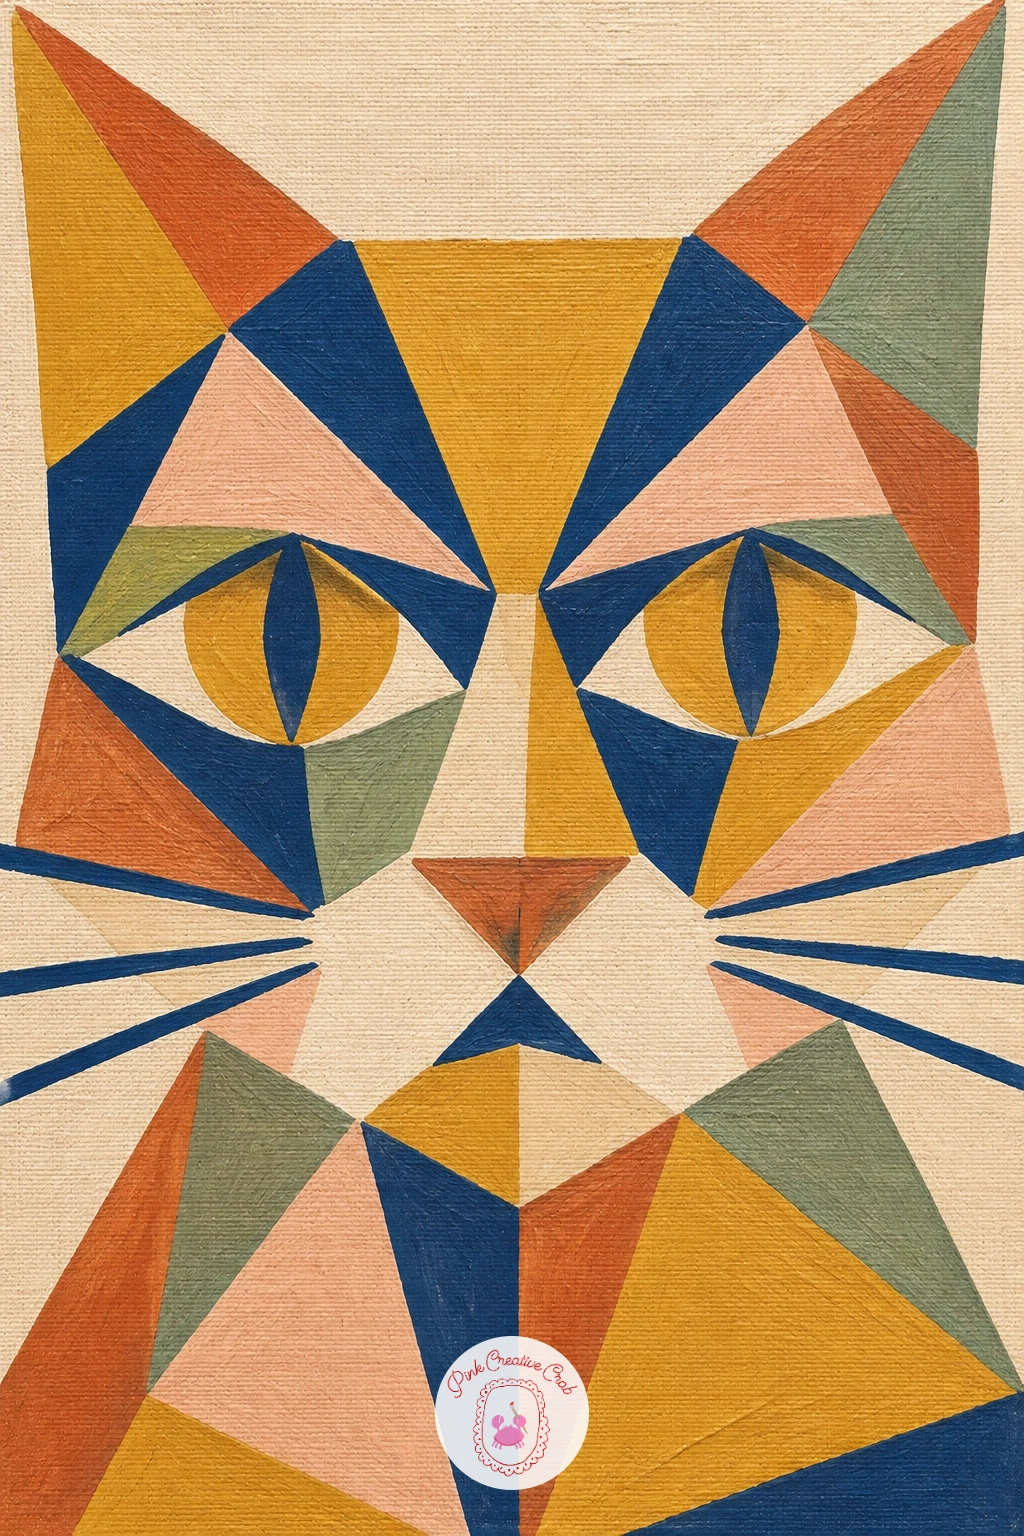
A cubist cat face made of sharp angles takes something familiar and pushes it fully into geometry. Pencil a cat’s face using straight lines and triangular shapes only, pointed ears, angular cheeks, a triangle nose, instead of any of the usual soft rounded cat features.
Paint each angular section a different flat color, keeping every edge crisp and straight rather than letting any curve creep back in, since a stray curve breaks the cubist effect quickly. Work section by section, letting neighboring colors dry before you paint next to them so the sharp edges stay clean.
If the face starts looking more like scattered shapes than a cat, keep the eyes as two simple triangles or diamonds roughly where real cat eyes would sit, which anchors the whole thing as recognizable. A fine liner traced along every edge once the paint is dry sharpens the geometry even further.
Try this again next time with a different animal’s face once the angular approach feels natural.
You Will Need
- ruler for straight angular edges
Palette: Mustard,Deep Blue,Terracotta,Cream
A modern botanical of flat green stems and orange dots strips a plant down to its most graphic parts. Pencil three or four simple curving stems rising from the bottom of the canvas, then mark small circles along each stem where the dots will sit.
Paint the stems first in one flat sage or olive green, keeping each line smooth and even in width from base to tip. Once dry, paint each small circle a solid flat orange, spacing them a little unevenly along the stems so the pattern feels organic rather than mechanically repeated.
If the stems look too stiff, curve each one in a slightly different direction rather than making them all bend the same way. A quick version uses three stems and a handful of dots; a slower version adds one or two simple leaf shapes along the stems for more variety.
Keep the dots a consistent small size so they read as one clear pattern rather than a scatter of random marks.
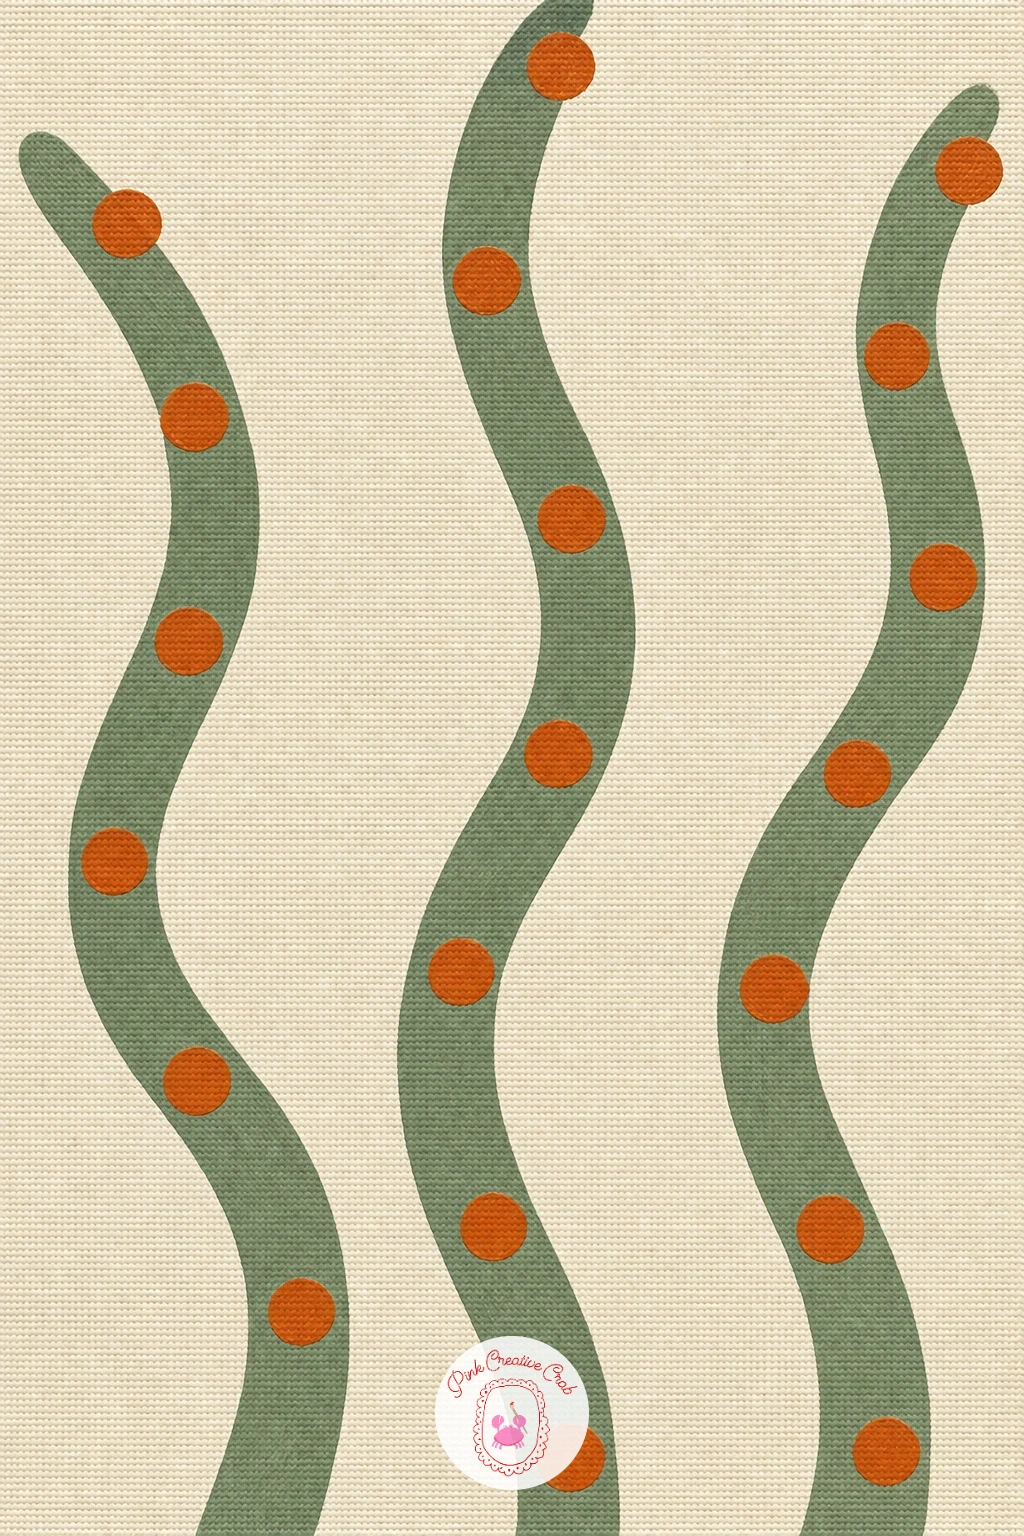
Palette: Sage Green,Burnt Orange,Cream
For more flat, graphic plant shapes to study, the dot and stem patterns in this tulip painting collection are worth a look even in a more realistic style.
An eye inside a sun with flat rays gives you a single bold focal shape that works well as a statement piece. Pencil a large circle in the center of the canvas, then a simple almond-shaped eye inside it, and straight or slightly curved rays radiating outward from the circle’s edge.
Paint the rays first in alternating colors around the circle, working your way fully around before filling the central circle, which keeps the ray tips neat where they meet the circle’s edge. Paint the eye last, keeping the shape simple: an almond outline, a round iris, and one small highlight dot.
If the rays end up uneven in length, pencil a faint guide circle around the whole composition first to mark where every ray tip should reach. A fine liner outlining the eye and the inner circle once everything is dry sharpens the whole piece considerably.
Keep the rays to one or two alternating colors so the eye stays the clear center of attention.
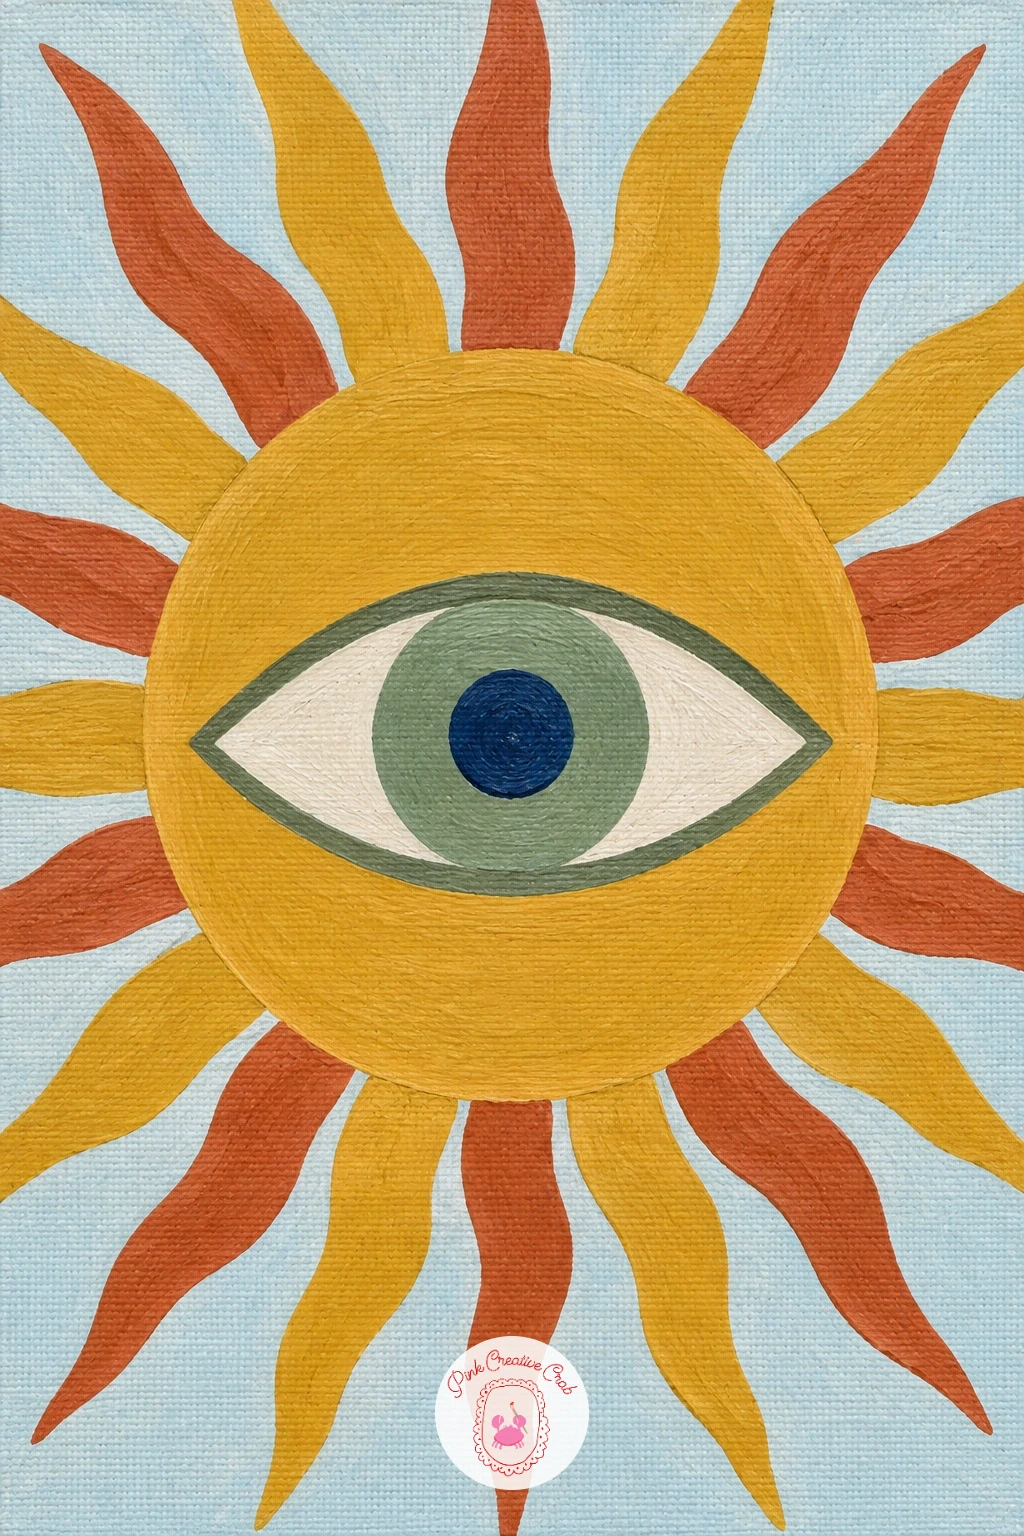
Palette: Ochre Gold,Terracotta,Deep Brown,Cream
A minimal face with closed eyes and rosy cheeks is about as calm as a modern canvas gets, and it is a gentle one to finish if you want something quick today. Pencil a simple rounded face shape, two curved lines for closed eyes, and two soft circles for rosy cheeks.
Paint the face a flat skin tone first, let it dry, then add the closed eyes as two short confident curved lines in a darker tone. Paint the rosy cheeks last as two soft circles in a thinned pink, keeping them slightly translucent so they look like a blush rather than two solid dots.
If the face shape feels blank, add simple short lines for eyebrows just above the closed eyes, nothing more detailed than that. A ten-minute version stops at the eyes and cheeks; a forty-minute version adds simple hair shapes framing the face.
Keep every feature soft and rounded so the whole face reads as peaceful rather than stern.
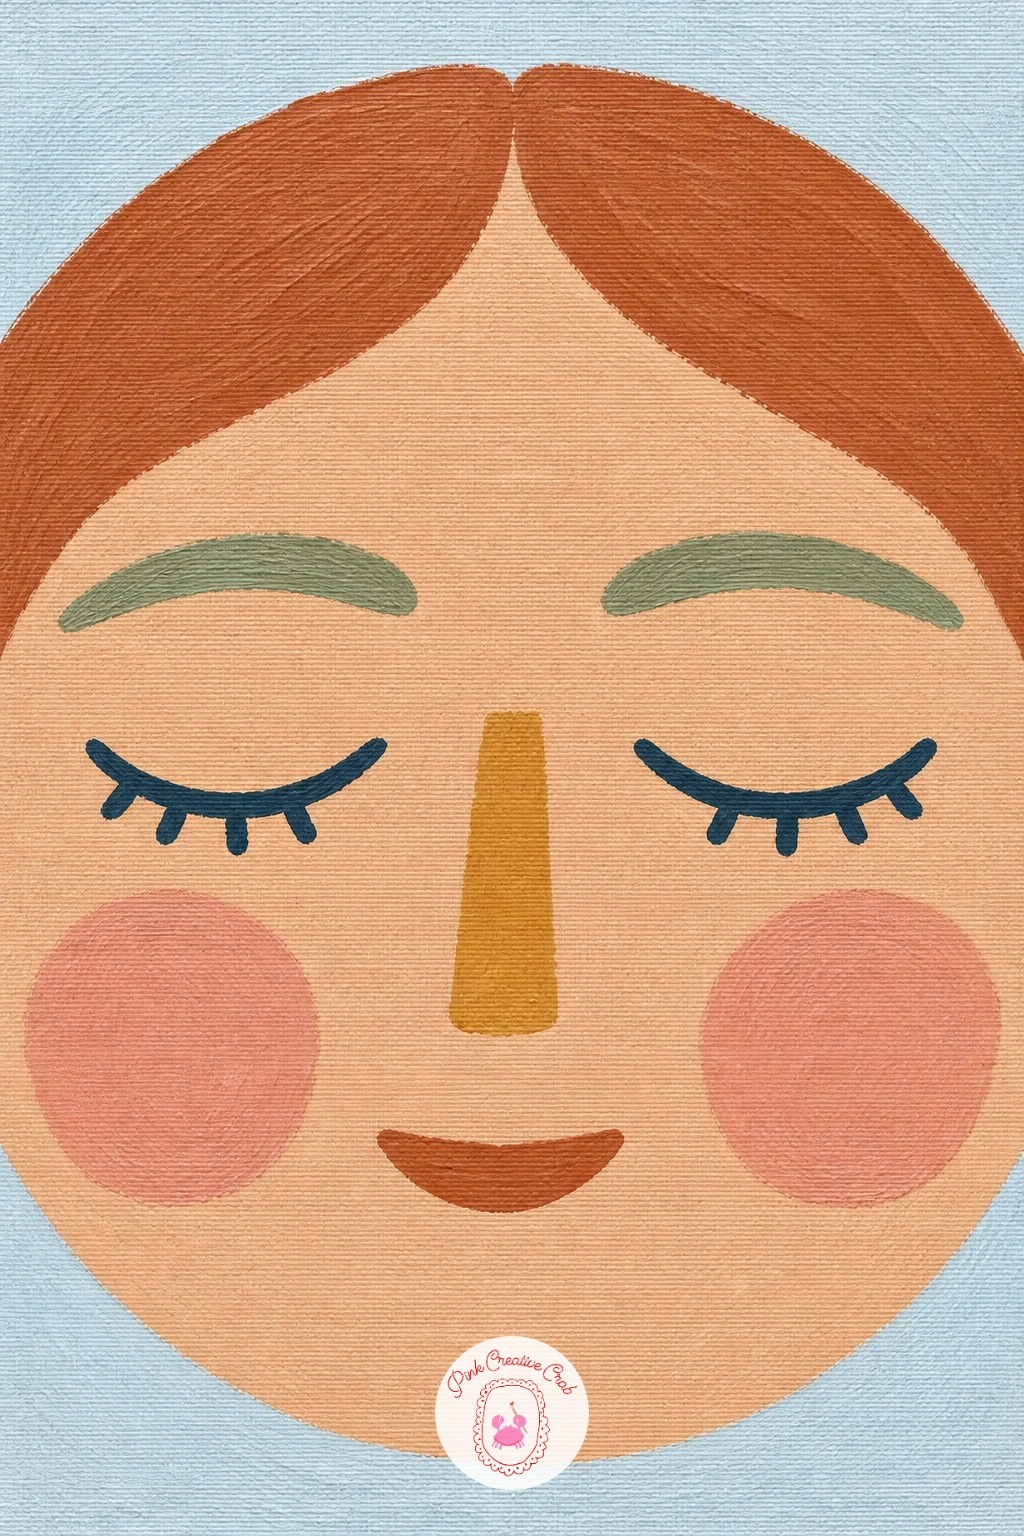
Palette: Warm Skin Tone,Soft Pink,Deep Brown
A color field split diagonally into blue and peach is a striking change from the horizontal bands tried earlier, and the diagonal line is the whole challenge here. Pencil a single straight diagonal line from one corner of the canvas to the opposite corner, then tape along it carefully.
Paint one triangle blue and the other peach, pressing the tape down firmly at the edge before you start so no color bleeds underneath across the diagonal. Peel the tape away while the paint is still slightly tacky rather than fully dry for the cleanest possible edge.
If the diagonal line drifts even slightly, it throws off the whole balance of the piece, so measure from corner to corner with a ruler before taping rather than trusting a freehand pencil line. Swap tape for a steady brush and a confident single stroke if you want a slightly looser hand-painted edge instead.
Keep both colors completely flat and solid so the diagonal split stays the entire focus of the canvas.
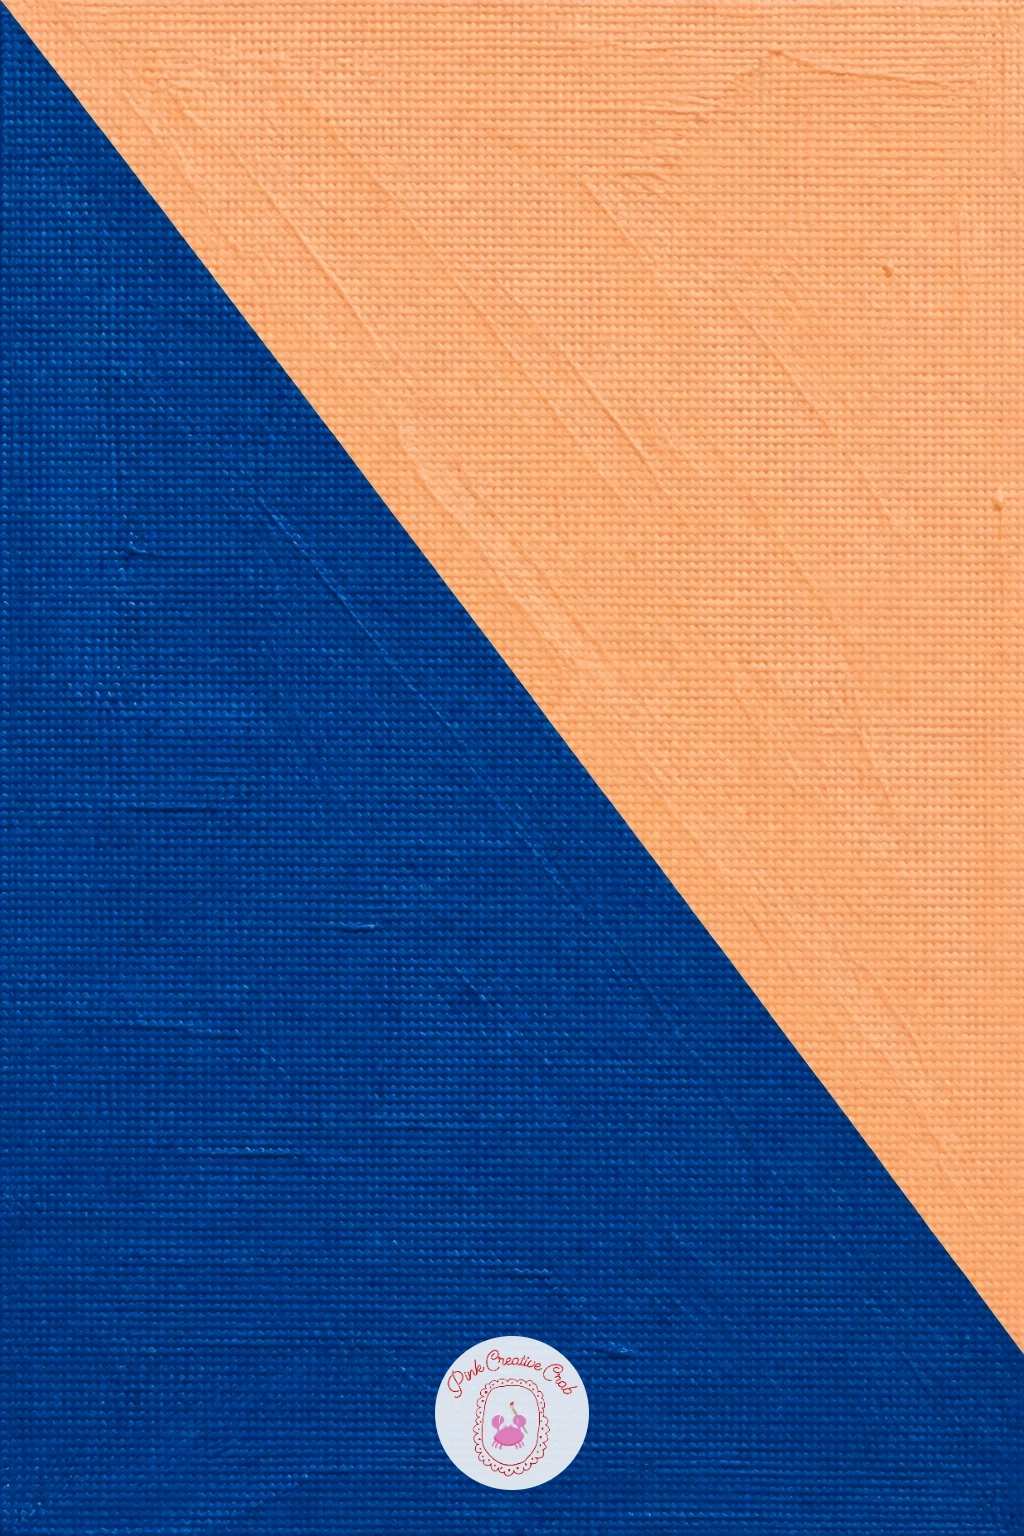
You Will Need
- painter’s tape for the diagonal edge
Palette: Deep Blue,Peach
A stack of balanced organic shapes in earthy colors works like a little sculpture painted flat, each shape resting on the one below it. Pencil four or five rounded, irregular shapes stacked vertically up the canvas, each one slightly smaller or offset from the shape beneath it so the stack feels balanced rather than perfectly centered.
Paint from the bottom shape up, letting each one dry before the next overlaps its edge, in a run of earthy tones: deep brown, rust, olive and sand. Balance is the whole trick here, so before you paint, step back and check the stack does not lean too heavily toward one side of the canvas.
If a shape looks like it is about to topple visually, widen its base slightly or shift the shape above it closer to center. A dry brush dragged lightly along a bottom edge can suggest a little weight and shadow where one shape rests on another.
Keep the background plain so the stacked shapes read clearly as the main subject.
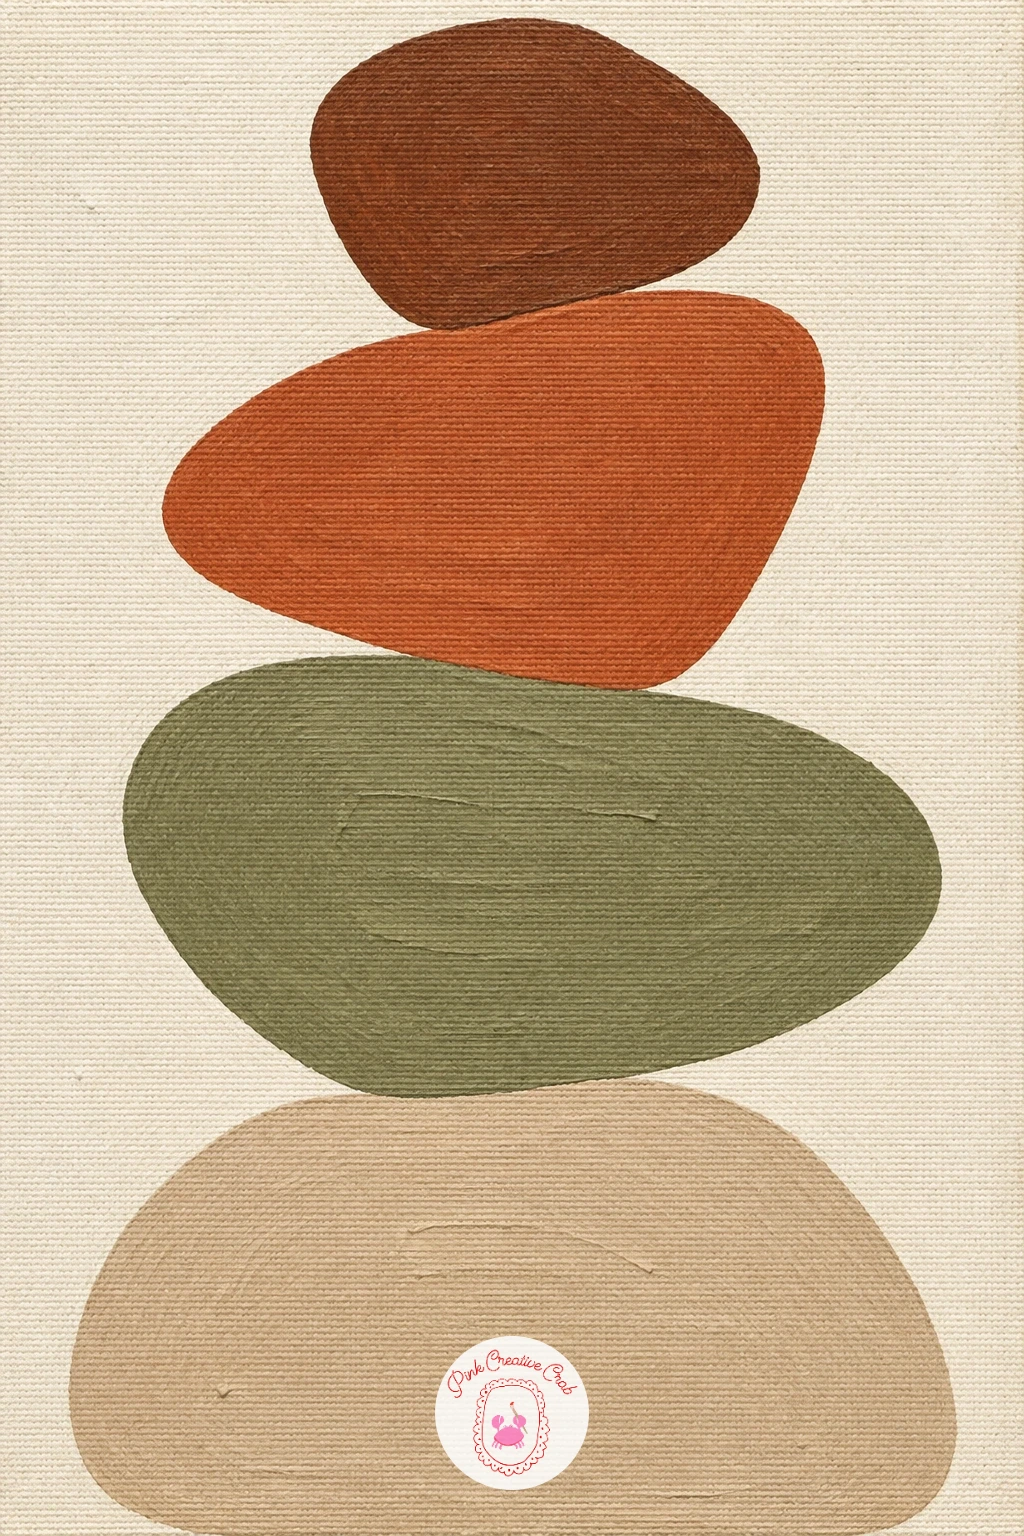
Palette: Deep Brown,Rust,Olive,Sand
An arched window shape opening onto a flat blue sea closes out this list with a composition that feels like a view rather than an object. Pencil one tall arch shape filling most of the canvas, like a doorway or window frame, then pencil a simple horizontal line inside it dividing sky from sea.
Paint the area outside the arch first in a plain wall color, then fill inside the arch: pale sky above the horizon line, deeper flat blue below it, keeping both completely smooth and solid. Perspective stays simple since the horizon line sits at your eye level by default, so keep it roughly in the middle of the arch rather than too high or low.
If the arch curve looks uneven on both sides, fold a piece of paper in half, cut one side of the arch shape, then trace both halves from that single fold for a perfectly symmetrical curve. A quick version leaves the sea completely flat; a slower version adds one or two small triangular sail shapes on the water.
Keep the wall color around the arch simple so the blue view stays the clear destination for the eye.
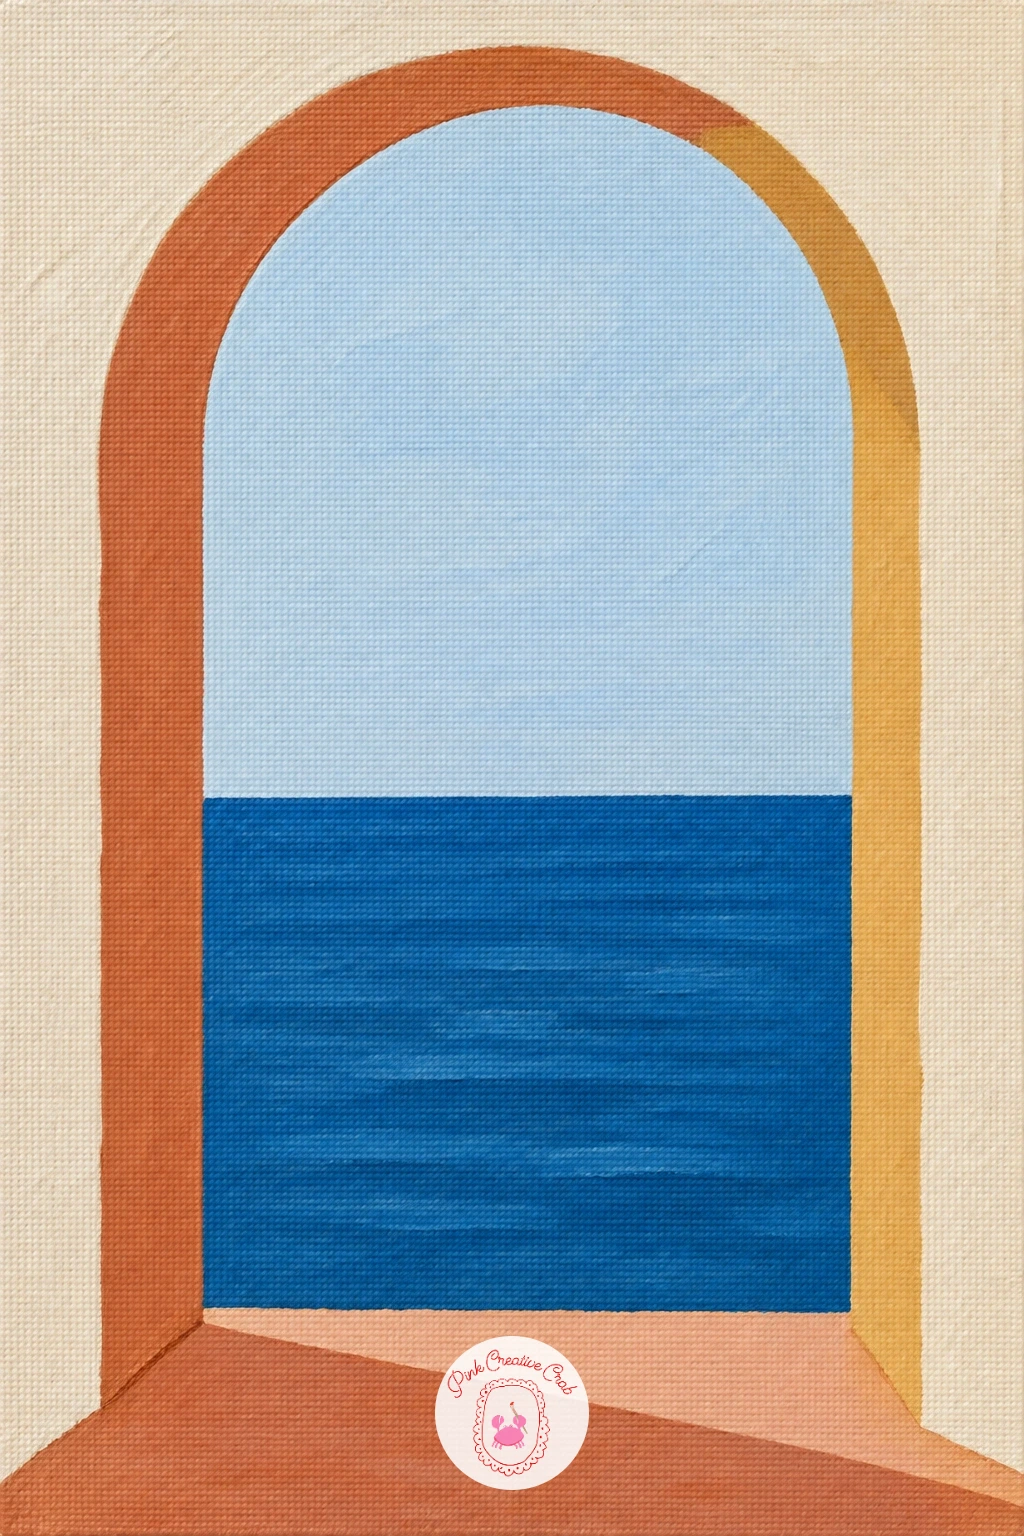
You Will Need
- folded paper template for a symmetrical arch
Palette: Pale Sky Blue,Deep Blue,Warm White
This arch and sea composition pairs nicely with the layered skies in this kitchen watercolor art collection if you want to study more simple horizon layouts.
What to Do Next
Pick one idea that matches the colors already in your room, pencil the main shapes lightly onto a small canvas, and work from the background forward to the last line or dot. Keep your palette to four or five colors and let each section dry before the next touches it, and you will have a finished, hangable piece by the end of today.
Frequently Asked Questions
What size canvas works best for modern art canvas painting ideas like these?
A small canvas, roughly eight by ten inches or similar, works best because these flat shape designs fill the whole surface quickly and finish in one sitting without needing a big area to cover.
Do I need to be good at drawing faces or figures to try these ideas?
No, these pieces use one continuous line or a few flat shapes instead of realistic proportion, so a light pencil guide underneath is enough to get the placement right before you paint.
What paint works best for flat, graphic modern canvas pieces?
Acrylic paint works best because it dries fast between layers and covers in flat, even color, letting you build stacked shapes, arches or color fields in one afternoon without long waiting times.
How do I keep the edges between color blocks clean and sharp?
Let each color dry fully before painting next to it, and use painter’s tape along straight or diagonal lines, peeling it off while the paint is still slightly tacky for the crispest edge.
What if I want a looser, less perfectly geometric look?
Swap the ruler and tape for a steady freehand brush and accept small wobbles in the line, since a slightly uneven arch or wavy stripe still reads as confidently modern rather than sloppy.
Have any thoughts?
Share your reaction or leave a quick response — we’d love to hear what you think!
-
 0
-
0
-
0
-
0
-
0
-
0


