

Canvas painting ideas are easiest to finish when the composition is simple and the color palette is small, which is exactly the point of this list. Every piece here is built from flat, confident shapes rather than fussy detail, so it reads as a finished print the moment the last block of color goes down.
Scroll through and pick whichever one matches the wall you are filling: a soft botanical for the bathroom, a calm landscape for the hallway, a quiet figure or animal portrait for the bedroom. Each idea tells you the order to paint in, where it usually goes wrong, and one tip to carry into the next canvas.
Using these images: free for personal projects such as printing, coloring, cards, journals and gifts. Handmade items that include them may be sold up to 30 pieces per design. More than that is commercial use and is not permitted, and neither is selling or sharing the images themselves or passing them off as your own. Please ask before any other use.
Start the jug first, since everything else sits on top of it. Block in a simple pale blue jug shape with a flat brush, keep the outline soft, and let it dry while you plan where the peony heads will sit above the rim.
Paint the peonies as clusters of soft rounded petal shapes in white mixed with a touch of blush, working from the back blooms forward so the front ones overlap and read closer to you. Add a few sage green leaves and stems last, in loose curved strokes, to anchor the bouquet into the jug.
The mistake here is overworking the petals until they look fussy. Keep each peony to five or six simple petal shapes and stop. If white paint looks too stark against the pale background, warm it slightly with a touch of sand.
Today’s tip: paint the jug a full shade darker than you think, since a pale jug against a pale wall tends to disappear once it dries.
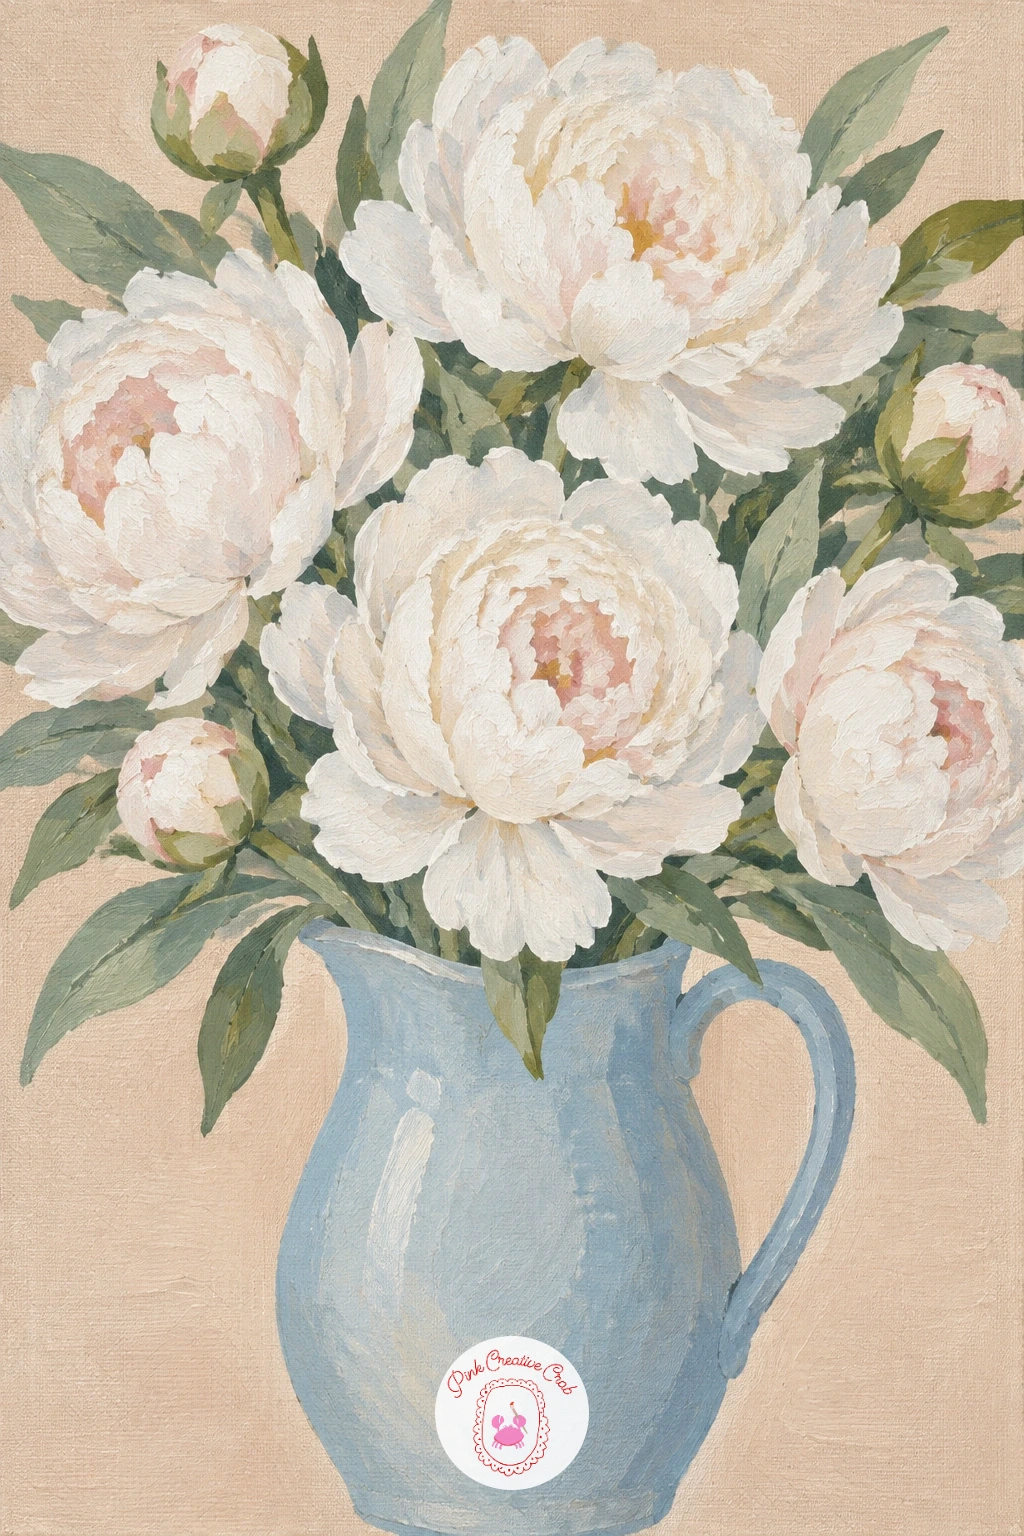
Palette: Titanium White,Dusty Blue,Sage Green,Blush Pink
Build this one in three bands: sky, horizon, and field, before the figure goes anywhere near the canvas. Lay a soft pastel sky across the top third, then a flat sand and olive wheat field across the bottom two thirds, blending only where they meet.
Paint the woman as a simple silhouette in a linen dress, no face detail at all, just the shape of her turned slightly away and walking into the field. Add a few quick vertical strokes around her hem in a darker olive to suggest wheat brushing against the dress.
Proportion is what saves this piece: keep the figure to roughly a third of the canvas height so she reads as walking through the field rather than standing in front of a backdrop. If you want more texture in the wheat, drag a dry brush loaded with sand paint lightly across the lower third once it is dry.
Swap linen white for a soft sage dress if you want the figure to blend more into the field.
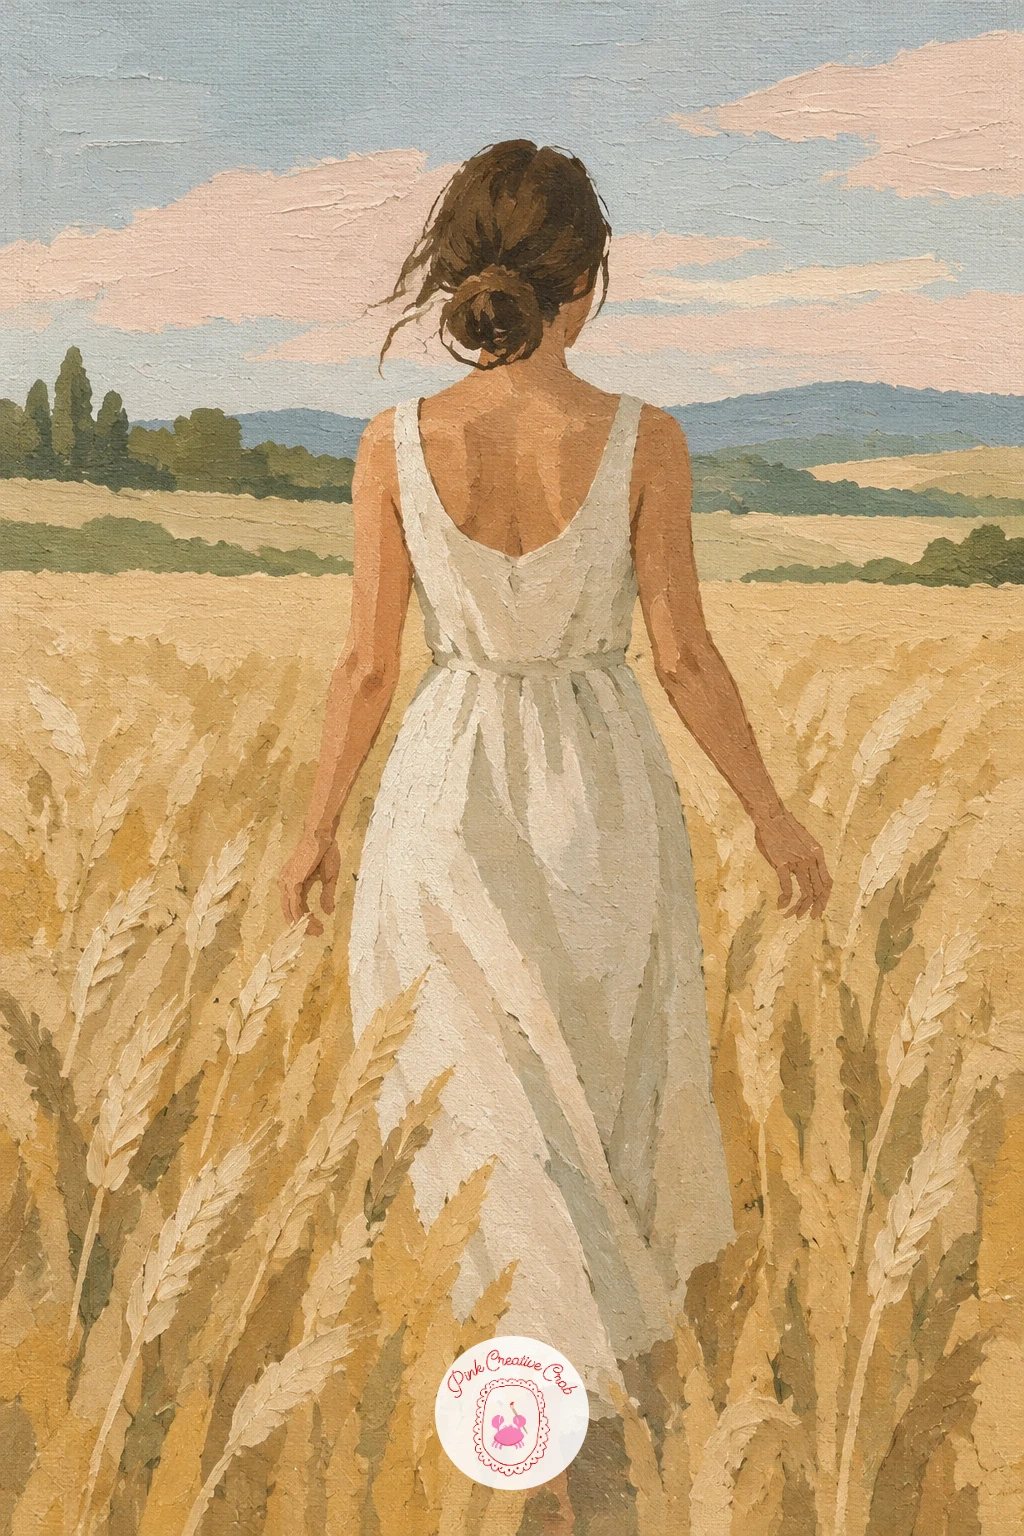
Palette: Pale Sky Blue,Sand,Olive Green,Linen White
Work from the far cove inward. Paint a narrow strip of pale turquoise water and sand-colored cliff at the top of the canvas first, kept soft and simple, then block in the dusty blue sky above it.
Bring the sea grass down the middle of the canvas in loose vertical strokes of sage and olive, narrower at the top near the cove and wider as it reaches the bottom edge, so the path feels like it is coming toward the viewer. Leave a gap of pale sand running through the grass for the path itself.
This is a perspective idea: keep everything near the cove small and pale, and everything near the bottom edge larger and slightly darker, which is what makes the path look like it recedes into the distance. If the grass strokes start looking too neat, vary their height and angle slightly, real grass never grows in rows.
Finish with a few single darker green strokes scattered through the path to keep it from reading as flat sand.
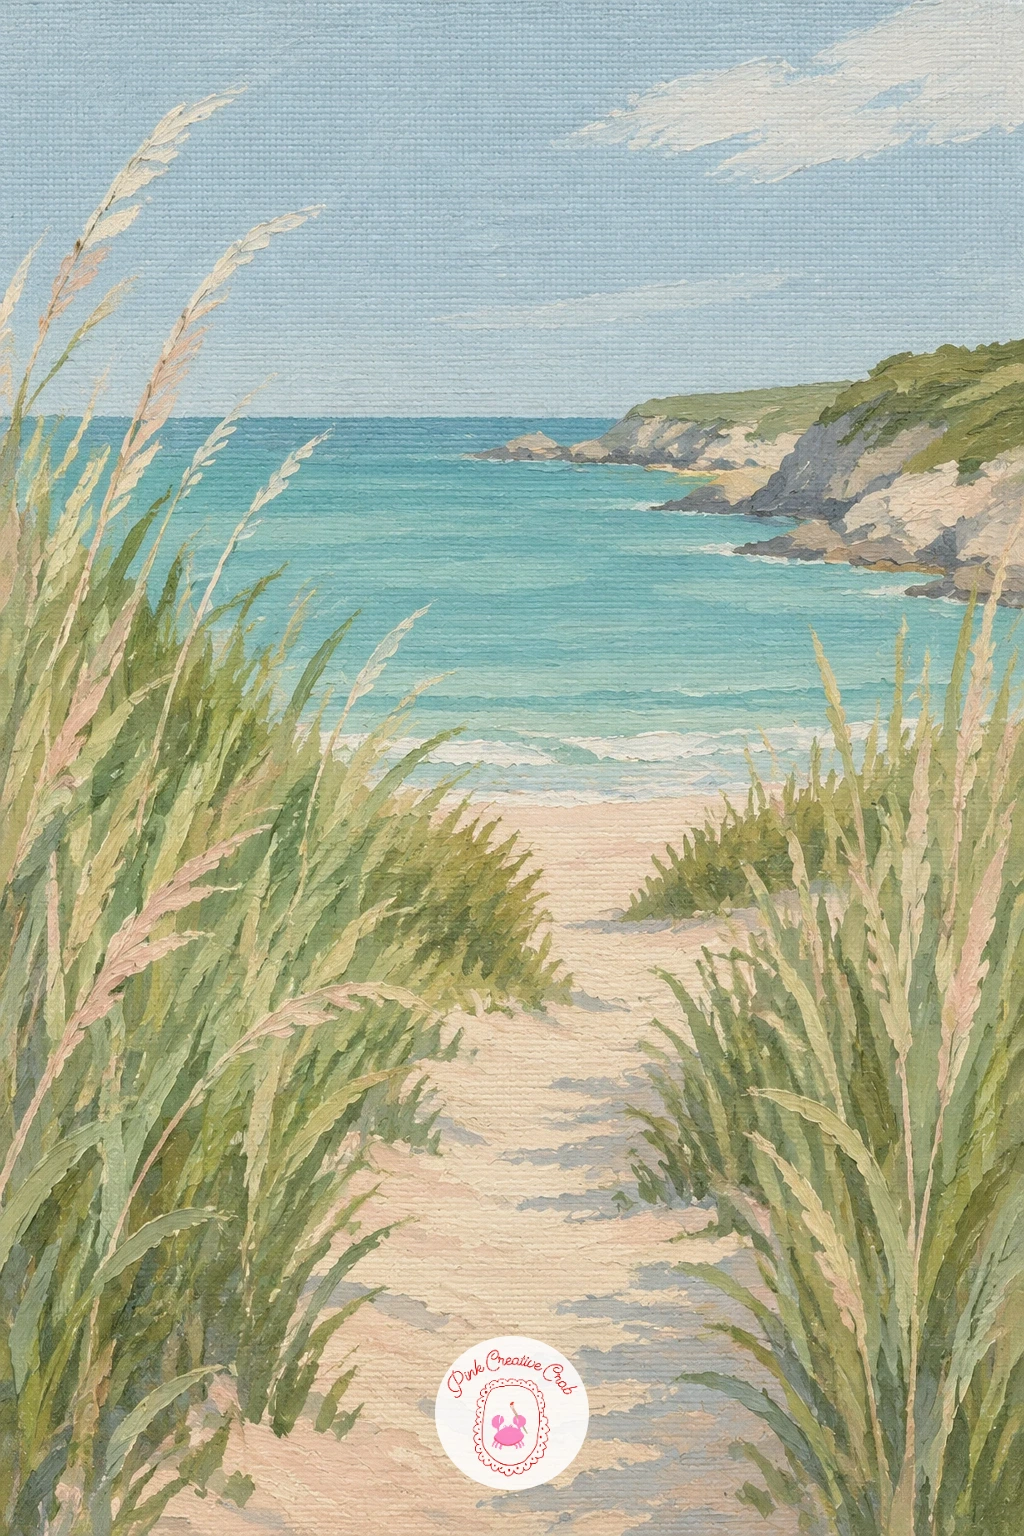
Palette: Dusty Blue,Pale Turquoise,Sage Green,Sand
Keep this one loose and botanical, almost like a single pressed branch. Paint the background first in a flat pale sand or warm white, letting it dry completely before the branch goes on top.
Paint the branch itself as one gently curving line in a thin brush loaded with olive brown, then add the leaves as narrow pointed almond shapes along it, alternating sides. Finish with the olives last, a mix of rounded green and near black shapes dotted along the branch in small clusters.
This is a quick ten minute idea if you keep the leaf count low, maybe a dozen leaves and six or seven olives. Give it forty minutes instead by adding a second, fainter branch behind the main one and a soft cast shadow beneath each olive to lift them off the page.
No olive green on hand works fine here too, mix sage with a touch of black for a close match.
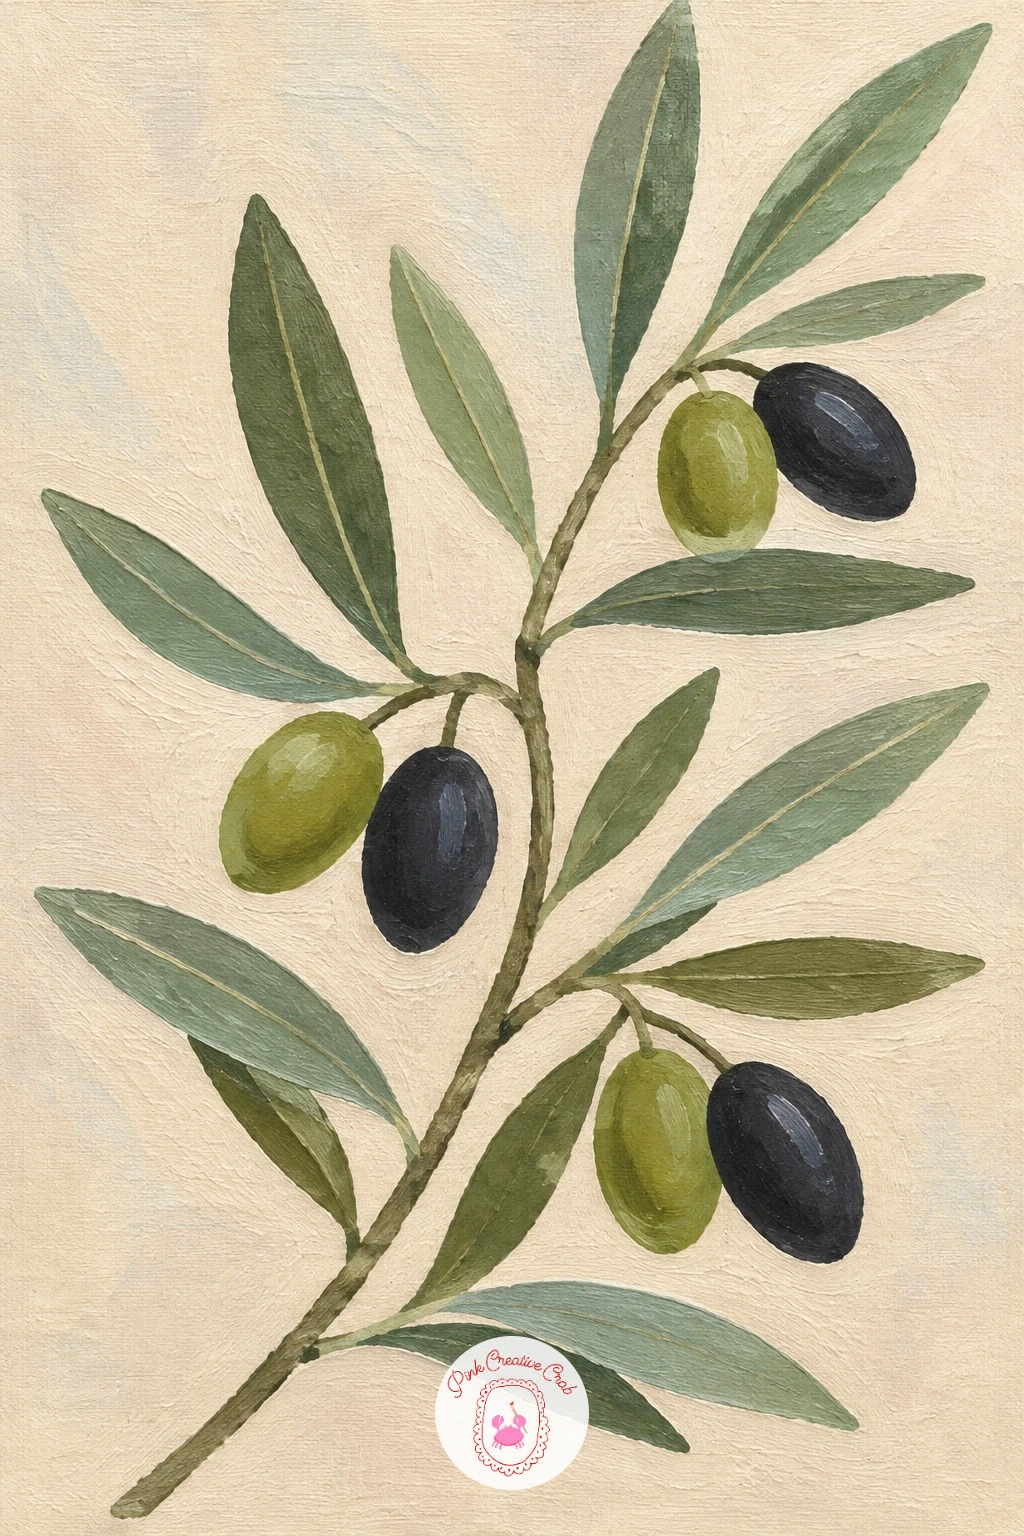
Palette: Olive Green,Payne’s Grey,Sage Green,Sand
Paint the marble shelf first as a flat pale sand or soft grey band across the lower third of the canvas, then add a few thin grey veins with a liner brush once it has dried.
Build the two ginger jars as simple rounded shapes, wider in the body and narrower at the lidded top, painted in white first and left to dry. Come back with a small round brush and dusty blue to add simple pattern marks, loose florals or stripes work fine, kept flat rather than detailed.
The mistake most people make is painting the jars dead center and identical. Stagger them slightly in height and width so one sits a little behind and beside the other, which reads as a real still life rather than a diagram. If pattern work feels fiddly, paint the jars as solid blue with no pattern at all, still reads as elegant.
Add one soft shadow beneath each jar to settle them onto the shelf.
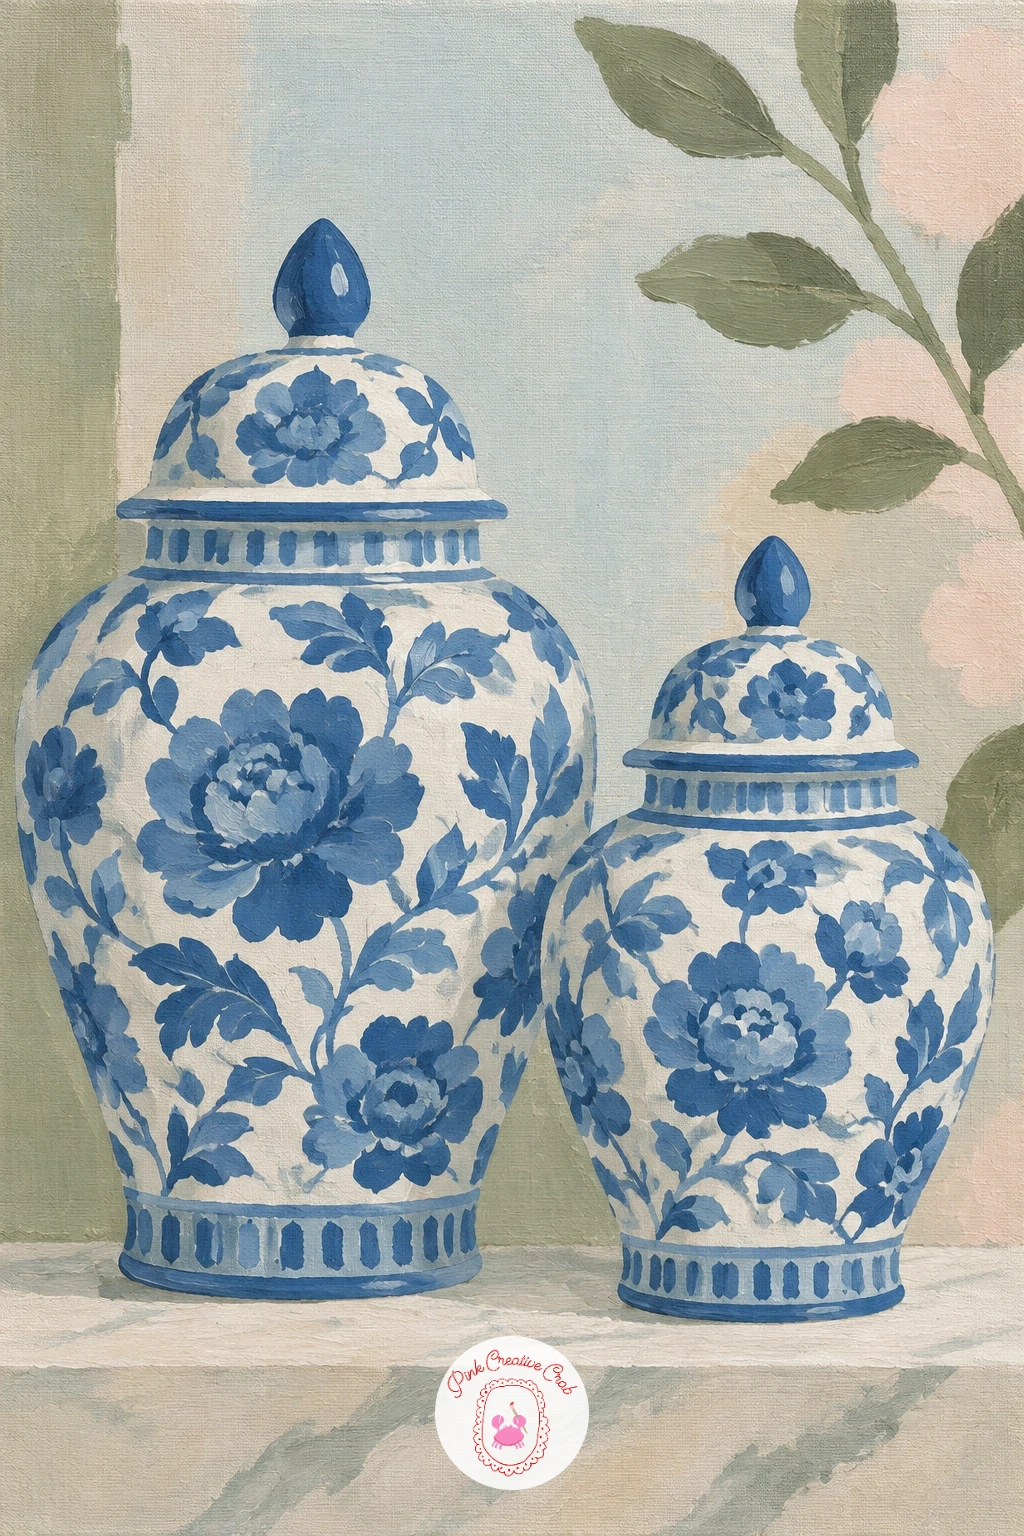
Palette: Dusty Blue,Titanium White,Pale Grey,Sand
Set the eye level low, around a third up the canvas, so the hill rises gently and the cypress trees stand tall against the sky. Block in a soft pastel sky first, then a rolling sand and olive hill shape beneath it.
Paint the road as a pale curving line running from the bottom edge up toward the horizon, narrowing as it goes. Add the cypress trees along one side of the road, each one a simple tall narrow triangle in dark olive, slightly different heights so the row feels natural rather than stamped.
Because the light source sits high and to one side here, keep one long side of each tree a touch darker and let the road catch a warm sand highlight where the light hits it directly. That contrast alone does most of the work in making the scene feel sunlit.
If straight tall triangles feel tricky freehand, lightly pencil a guideline for the road and tree bases before painting over it.
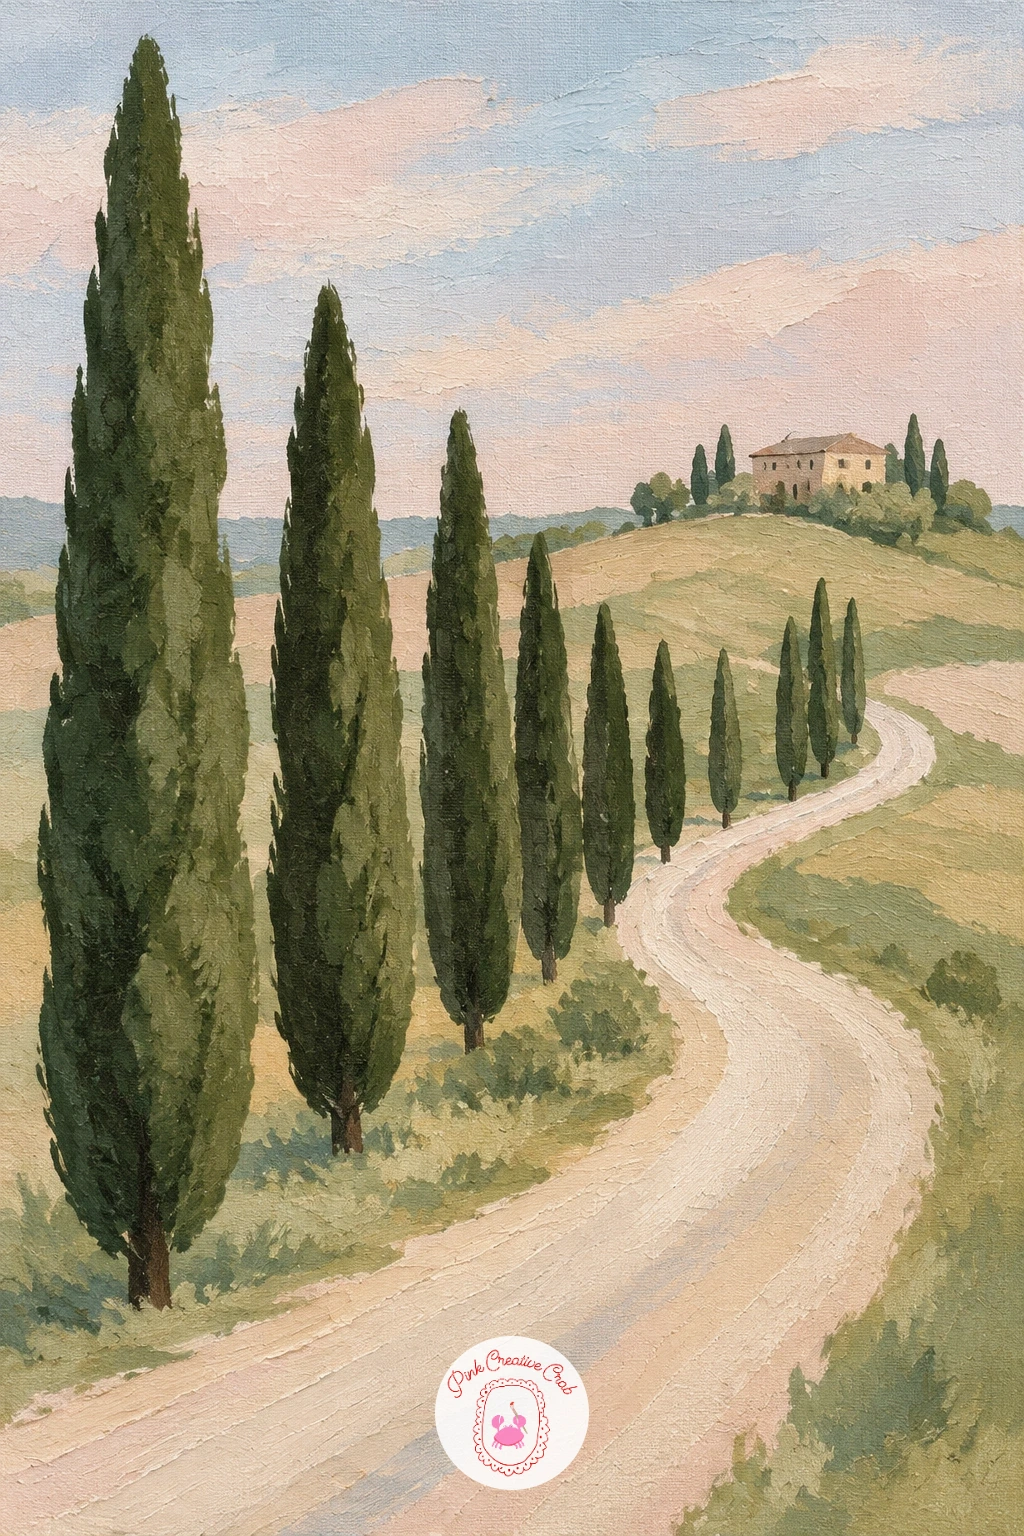
Palette: Olive Green,Sand,Pale Sky Blue,Payne’s Grey
Treat this as a shape study rather than a portrait, there is no face to worry about. Block in the dress first as a simple dark shape covering the lower two thirds of the canvas, low across the back, against a flat pale background.
Paint the skin of the back and shoulders in a soft warm tone next, keeping the shape smooth with no muscle detail, just the gentle curve of the spine and shoulder blades suggested with one or two soft shadow strokes. Add the pearl necklace last as a simple curved line of small white dots resting along the back of the neck.
Light sits behind and slightly above the figure here, so keep the top of the shoulders a touch lighter than the lower back, which gives the skin real form without any detailed shading. If painting skin tone feels daunting, mix it from white, a little sand and a touch of blush rather than reaching for a premixed flesh color.
Finish by softening the edge where the dress meets the skin so it does not look cut out.
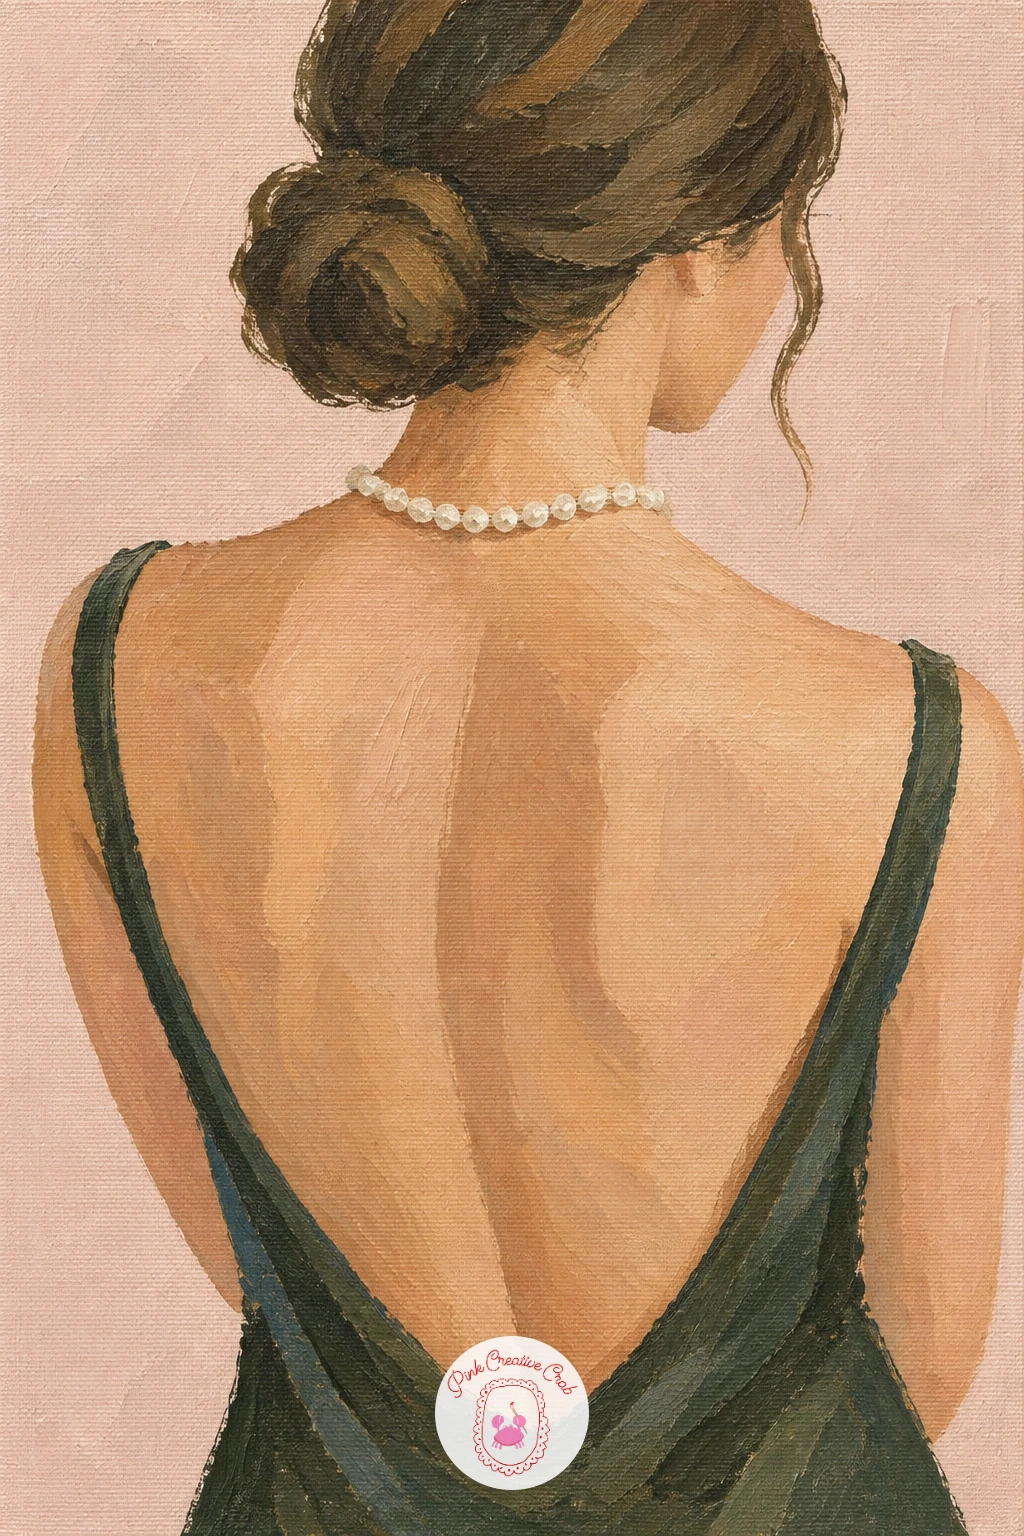
Palette: Blush Pink,Sand,Payne’s Grey,Titanium White
Build the books as three simple rectangles, largest on the bottom, stacked slightly off center from each other so the pile looks settled rather than perfectly squared. Paint each one a different muted tone, sage, sand and dusty blue work well together.
Once dry, add thin darker lines along the page edges of each book to suggest pages without drawing every single one. Paint the candlestick last as a narrow brass colored shape rising beside the stack, with a simple unlit candle on top, kept slim so it does not compete with the books.
The edges of the books are where this one lives or dies, so keep every corner crisp with a small flat brush and painter’s tape if your hand is not steady. No brass paint on hand, mix sand with a touch of olive and white for a close metallic look.
Drop a soft shadow beneath the whole stack to ground it on the shelf or table it is sitting on.
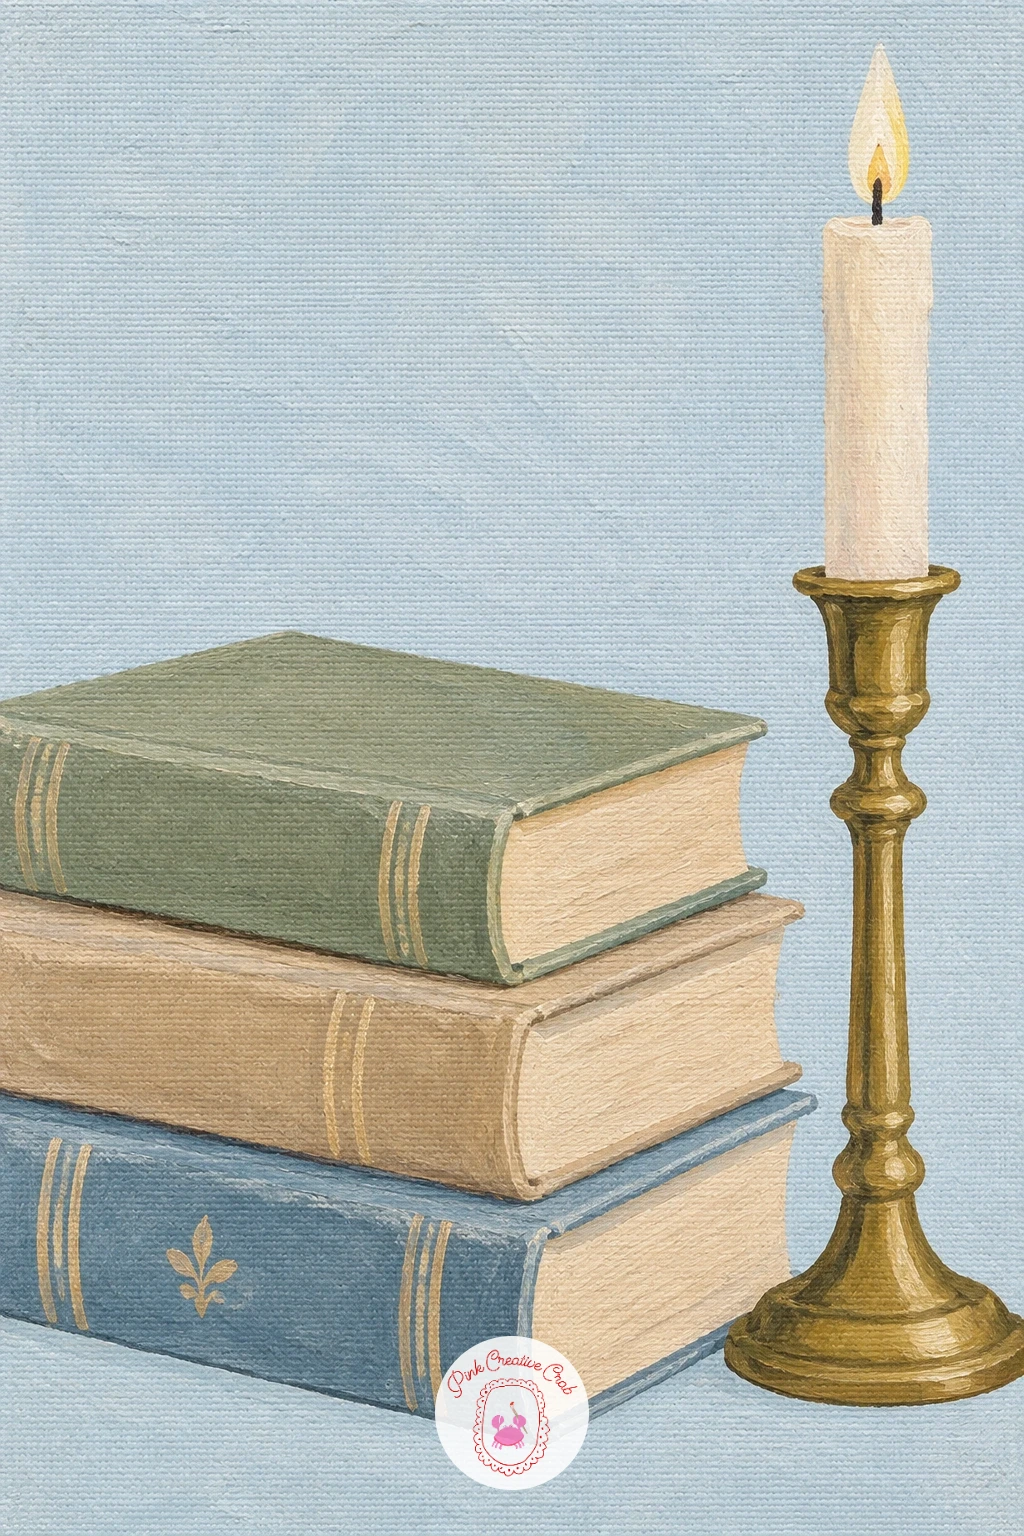
You Will Need
- painter’s tape for clean book edges
Palette: Sage Green,Dusty Blue,Sand,Brass
Paint the wall first as one smooth flat blush pink field covering the entire canvas, and let it dry fully, this one depends on a clean flat ground. Once dry, lightly sketch the shape of a palm frond shadow falling diagonally across it, as if cast by sunlight from just off canvas.
Mix a slightly darker, slightly cooler version of the blush for the shadow itself, and paint the frond shape as a soft silhouette, long pointed leaflets fanning out from a central stem. Keep every edge of the shadow slightly soft rather than sharp, since real shadows never have a hard line.
The light source here sits high and off to one side, so let the shadow fall at a confident diagonal rather than straight down, which is what makes it feel like real sunlight rather than a stencil. If mixing a shadow tone feels tricky, add a tiny amount of Payne’s grey to your base pink until it reads as shade, not a different color.
This is a fast one, good for practicing confident brushwork before a more detailed piece.
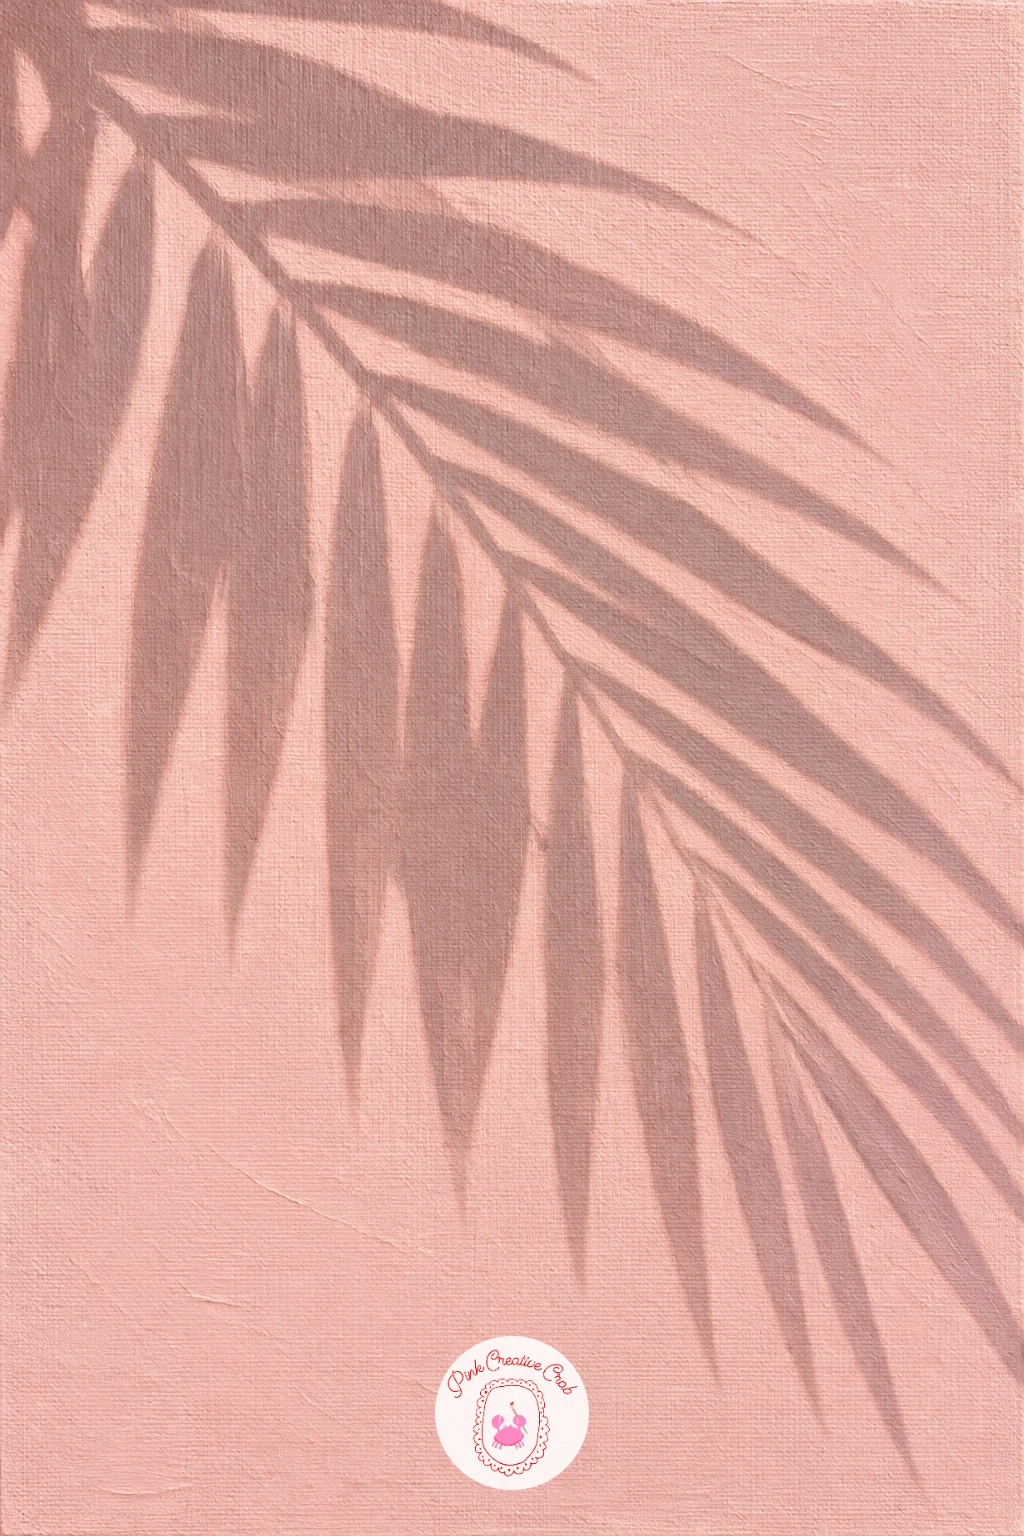
Palette: Blush Pink,Dusty Rose,Payne’s Grey
Try this same shadow trick with a fern or a monstera leaf once the palm version works, the technique stays the same, only the leaf shape changes.
Paint the sage background first, flat and even, and let it dry before the zebra goes anywhere near it. Block in the zebra’s body shape in profile next using a warm white, simple and rounded, with no stripe detail yet.
Once that base layer is dry, paint the black stripes with a small round brush, following the curve of the body, narrower over the legs and face, wider across the body. Keep the stripes slightly irregular in width, since perfectly even stripes read as a pattern rather than an animal.
Measuring trick: sketch the body as one oval for the torso and a smaller one for the head before adding legs, ears or a mane, which keeps the proportions believable even if you never studied horses. If the stripes feel intimidating freehand, pencil a few guide lines lightly first and paint over them.
Add a simple dark eye and a short upright mane last to finish the portrait.
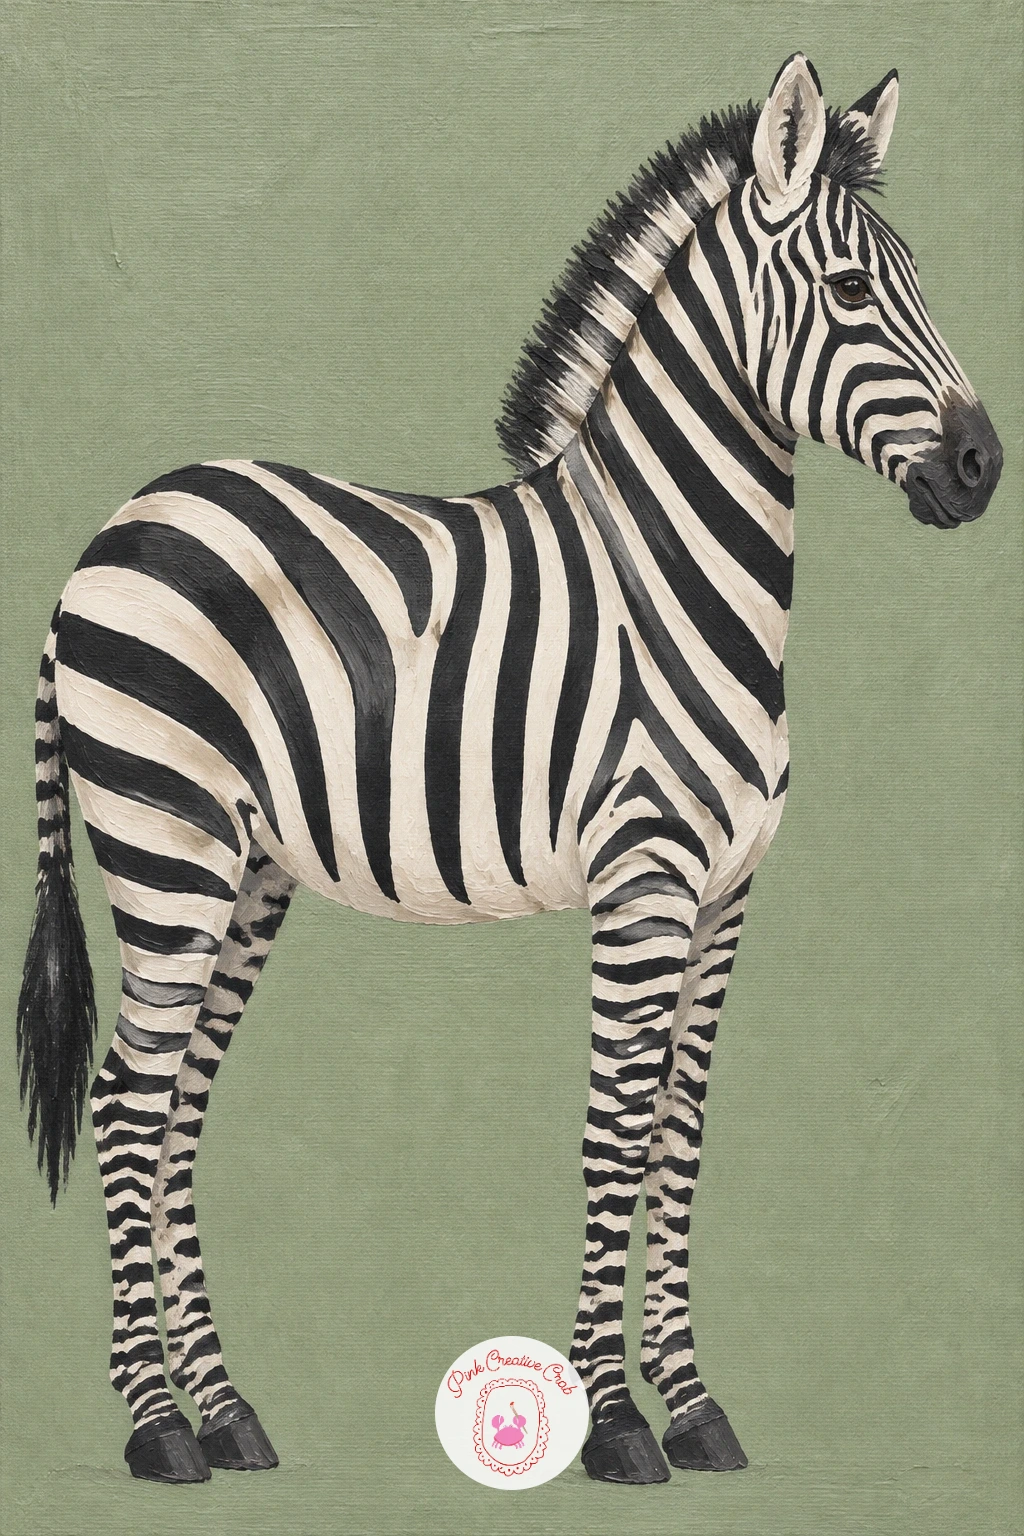
Palette: Sage Green,Titanium White,Payne’s Grey
Build this one like a window into another scene. Paint a flat pale sky background first, then add the wrought iron balcony rail across the lower third as a simple dark silhouette, swirled lines kept loose rather than copied exactly from a photo.
Behind the rail, suggest a soft building facade in sand or dusty blue, with a hint of a shuttered window if you like, kept simple and slightly out of focus compared to the rail in front. Add trailing ivy last, draping down over the rail in loose curved sage strokes with small leaf shapes.
Painting the rail is the detail trap here. Use a thin liner brush loaded with dark paint and work slowly in single confident strokes rather than trying to fix wobbly lines, a little unevenness reads as hand forged iron rather than a mistake. No liner brush on hand, the corner of a flat brush turned on its edge works almost as well.
Keep the ivy to a handful of trails rather than covering the whole rail, it should still read clearly as wrought iron underneath.
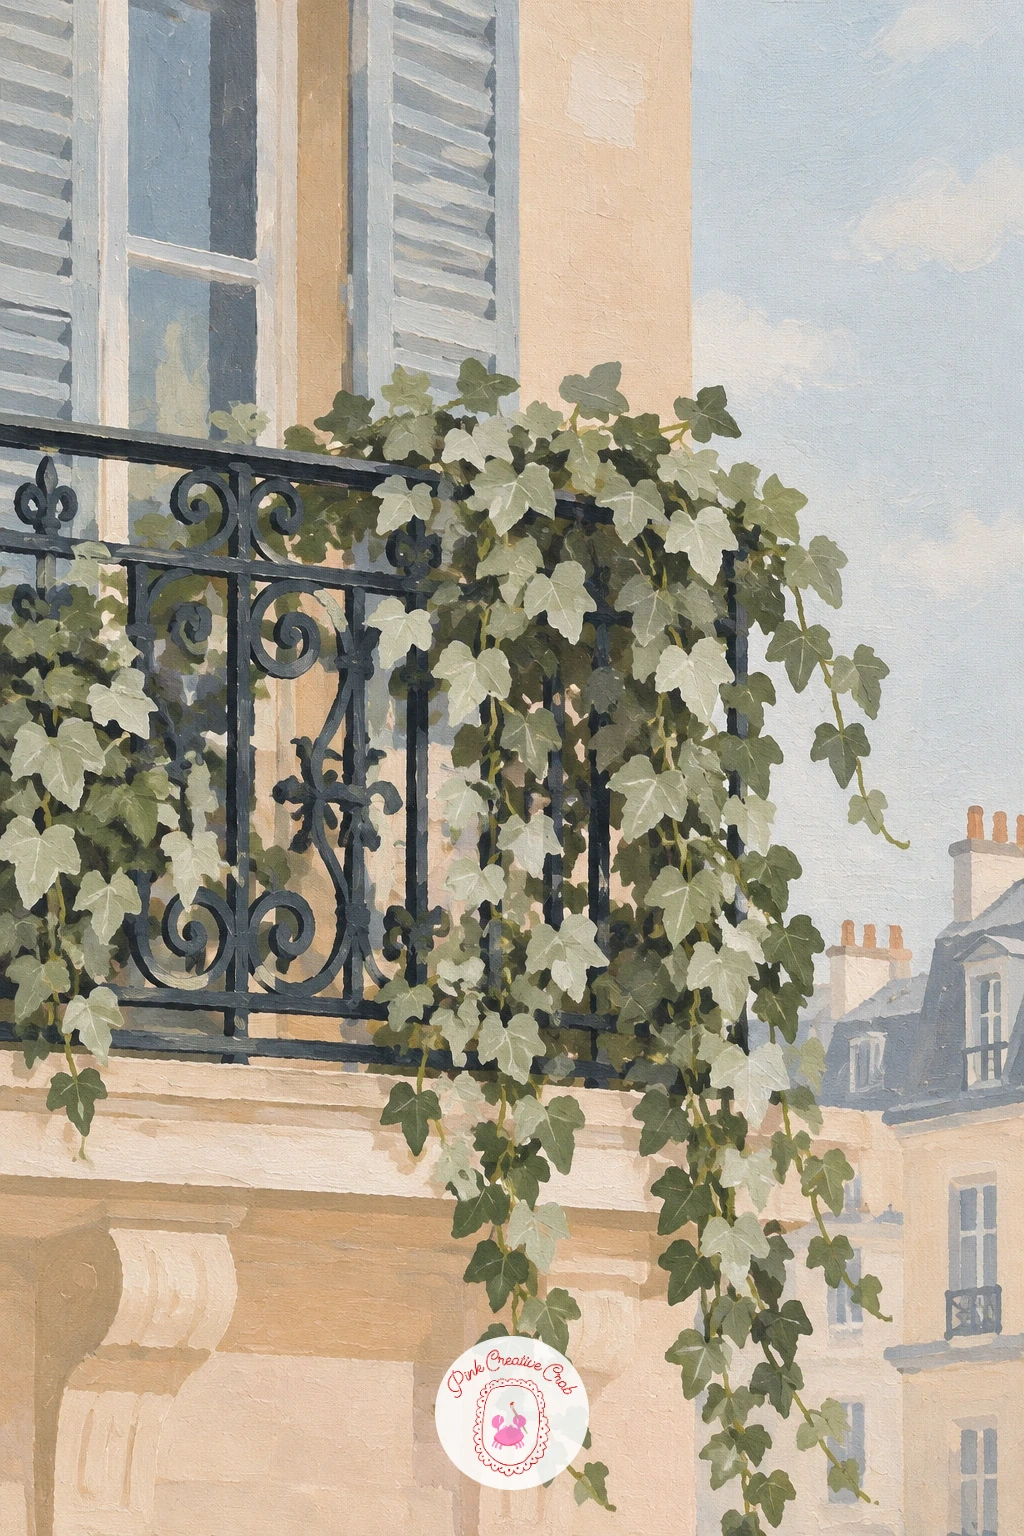
Palette: Payne’s Grey,Sand,Sage Green,Pale Sky Blue
Keep the background first and simple, a smooth flat pale grey across the whole canvas, left to dry fully before anything else goes on. Sketch the branch lightly as one gentle diagonal line across the canvas, with two or three magnolia blooms at different points along it.
Paint the blooms in layered petal shapes, white with a touch of blush at the base of each petal, working the back petals first and the front ones last so they overlap convincingly. Add a few glossy dark green leaves along the branch to anchor the pale flowers against the grey.
This is where you can go quick or slow. Ten minutes gets you three simple open blooms and a bare branch line. Forty minutes lets you add a tight unopened bud, deepen the shadow inside each flower with a touch of grey mixed into the white, and vary the leaf sizes so the branch feels fuller.
If the grey ground feels flat once dry, warm it slightly with a whisper of sand mixed in before it fully sets.
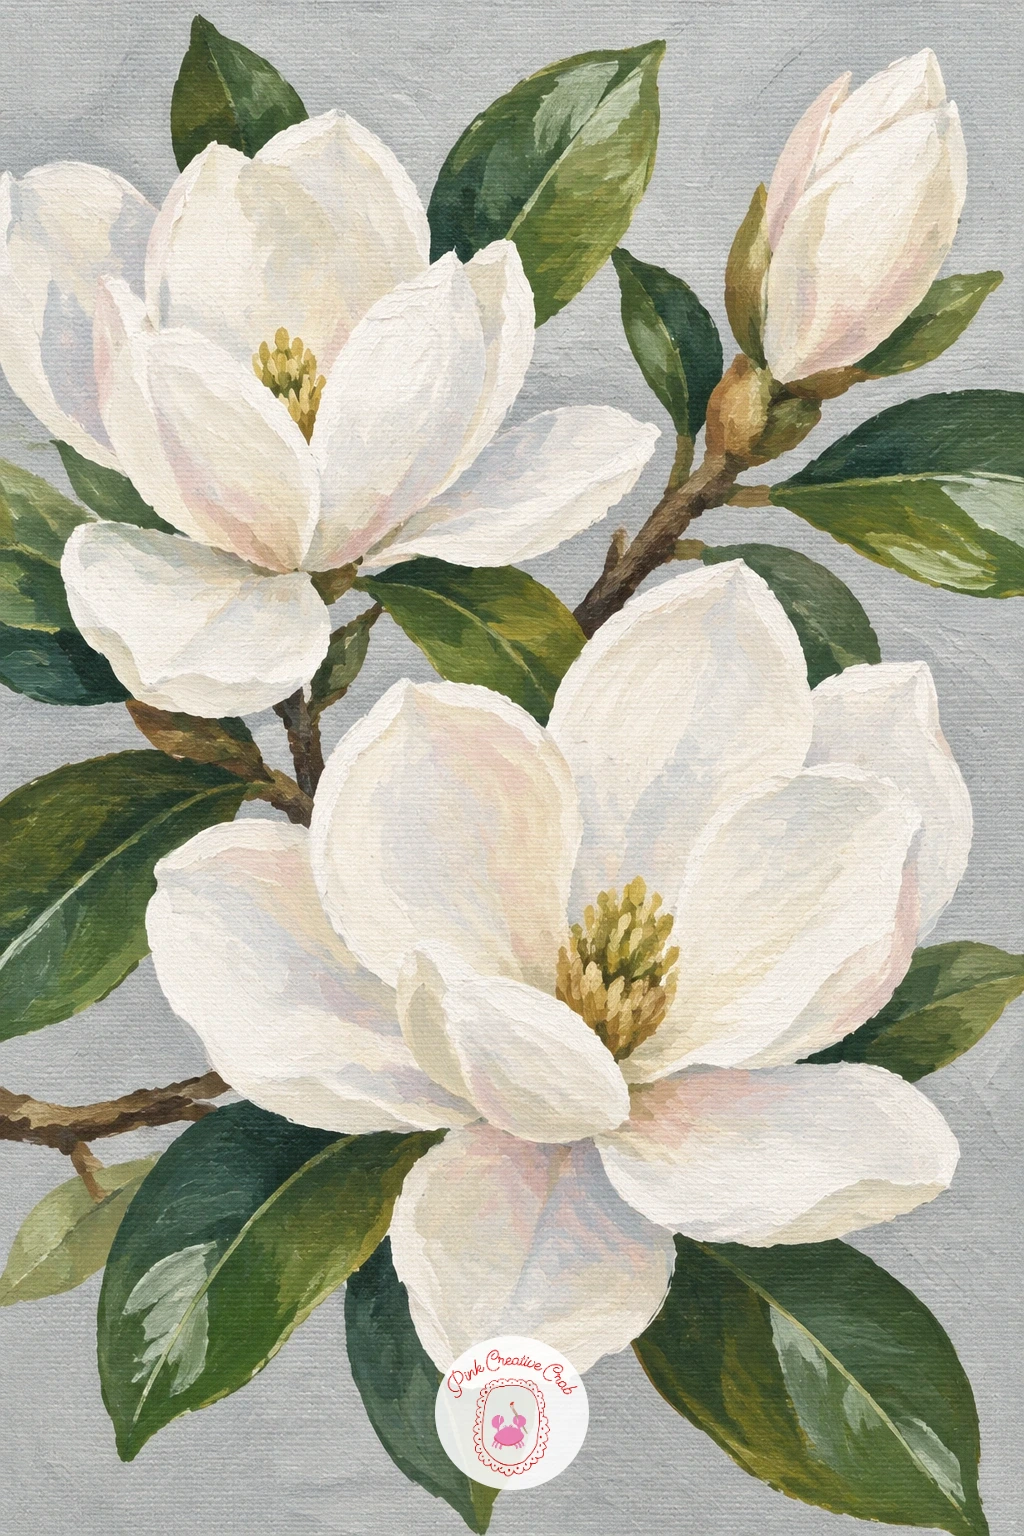
Palette: Titanium White,Blush Pink,Pale Grey,Olive Green
Set the horizon line about two thirds up the canvas and paint the sky and sea as two flat bands of dusty blue, slightly different in tone, before the figure goes in. Block in the woman from behind as a simple silhouette, wide straw hat, loose dress, standing or walking toward the water.
Paint the hat as a simple oval shape with a slightly upturned brim, in sand with a thin darker band where the brim meets the crown. Keep her dress flowing in one or two soft folds rather than many small ones, which keeps the whole figure feeling calm and uncluttered.
Since she faces away from the viewer, all of the interest sits in the silhouette shape rather than any facial feature, so take a little extra time getting the line of her shoulders, hat brim and hem right before adding any color. If freehand silhouettes feel risky, trace a simple reference shape in pencil first.
Finish with a thin pale highlight line along the horizon to separate sea from sky clearly.
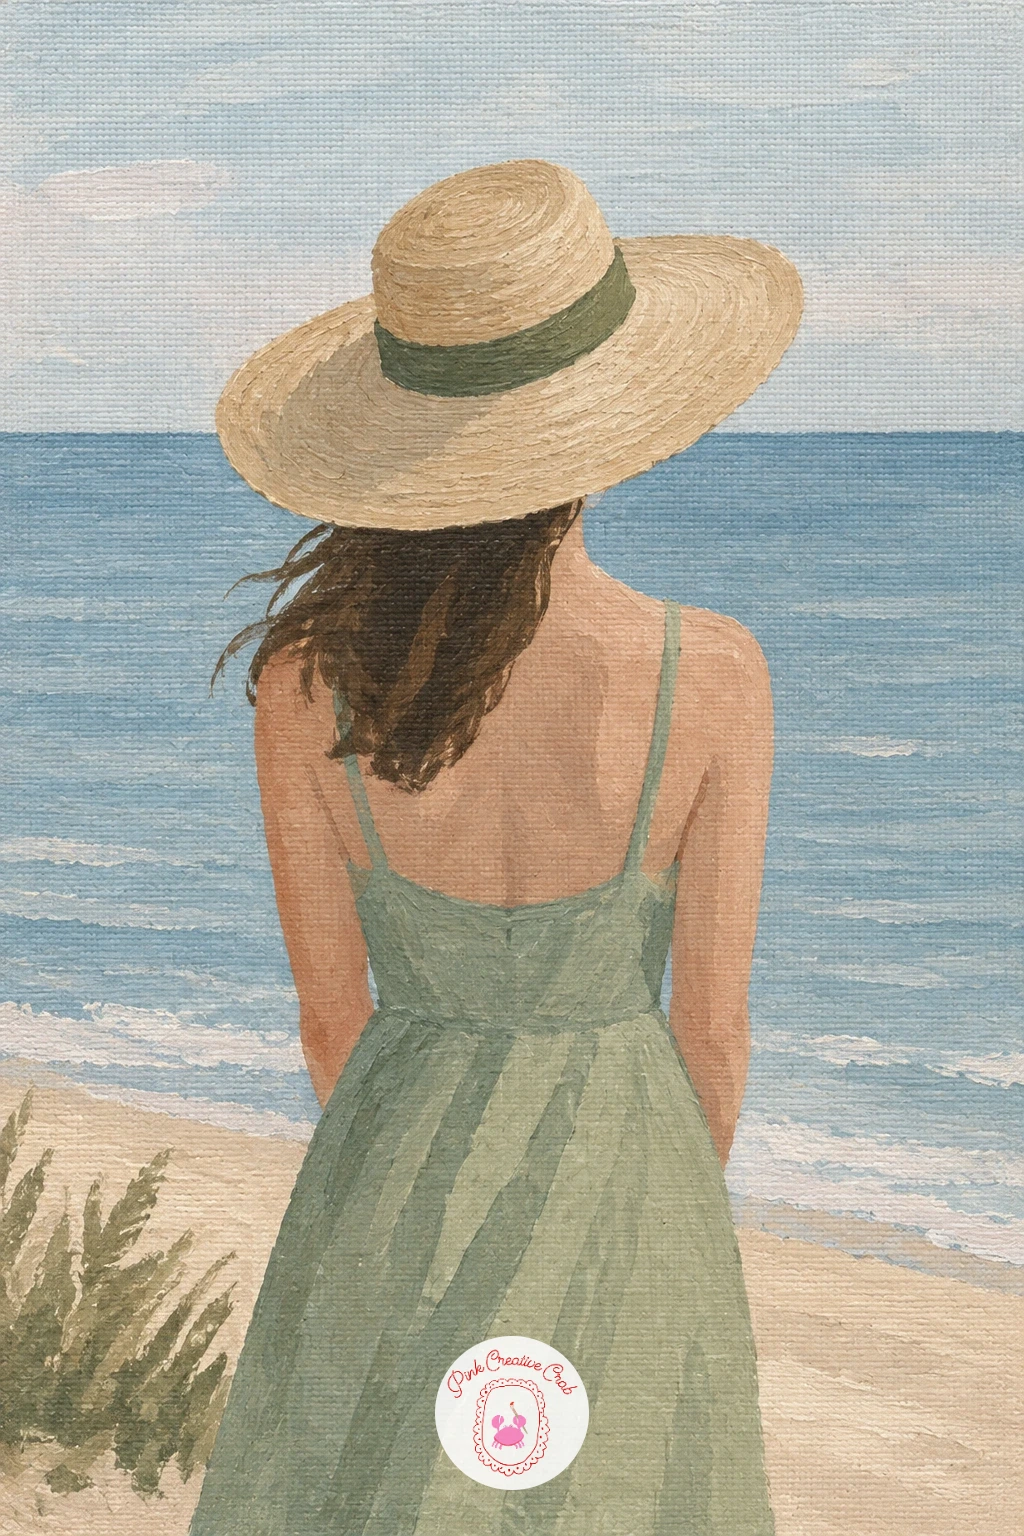
Palette: Dusty Blue,Sand,Titanium White,Pale Sky Blue
Block in the sky first as a soft pastel gradient from pale pink near the horizon up into a warmer blush higher up, blended while still wet for a smooth transition. Paint the pink mountain range beneath it as simple layered triangular shapes, each layer a touch darker than the one behind it.
Add a flat sand desert floor across the bottom third, then paint the single saguaro cactus last as one tall olive green shape with two or three simple arm shapes branching off it, no texture detail needed beyond a few short vertical lines to suggest ribs.
Scale is what sells a desert scene, so keep the saguaro notably taller than it is wide and set it slightly off center rather than dead middle, which gives the whole canvas a calmer, more photographic feel. If pink mountains feel like an odd color choice, trust it, the dusty pink against olive green is exactly what makes this one read as a print rather than a cartoon.
One confident cast shadow beneath the cactus finishes the scene.
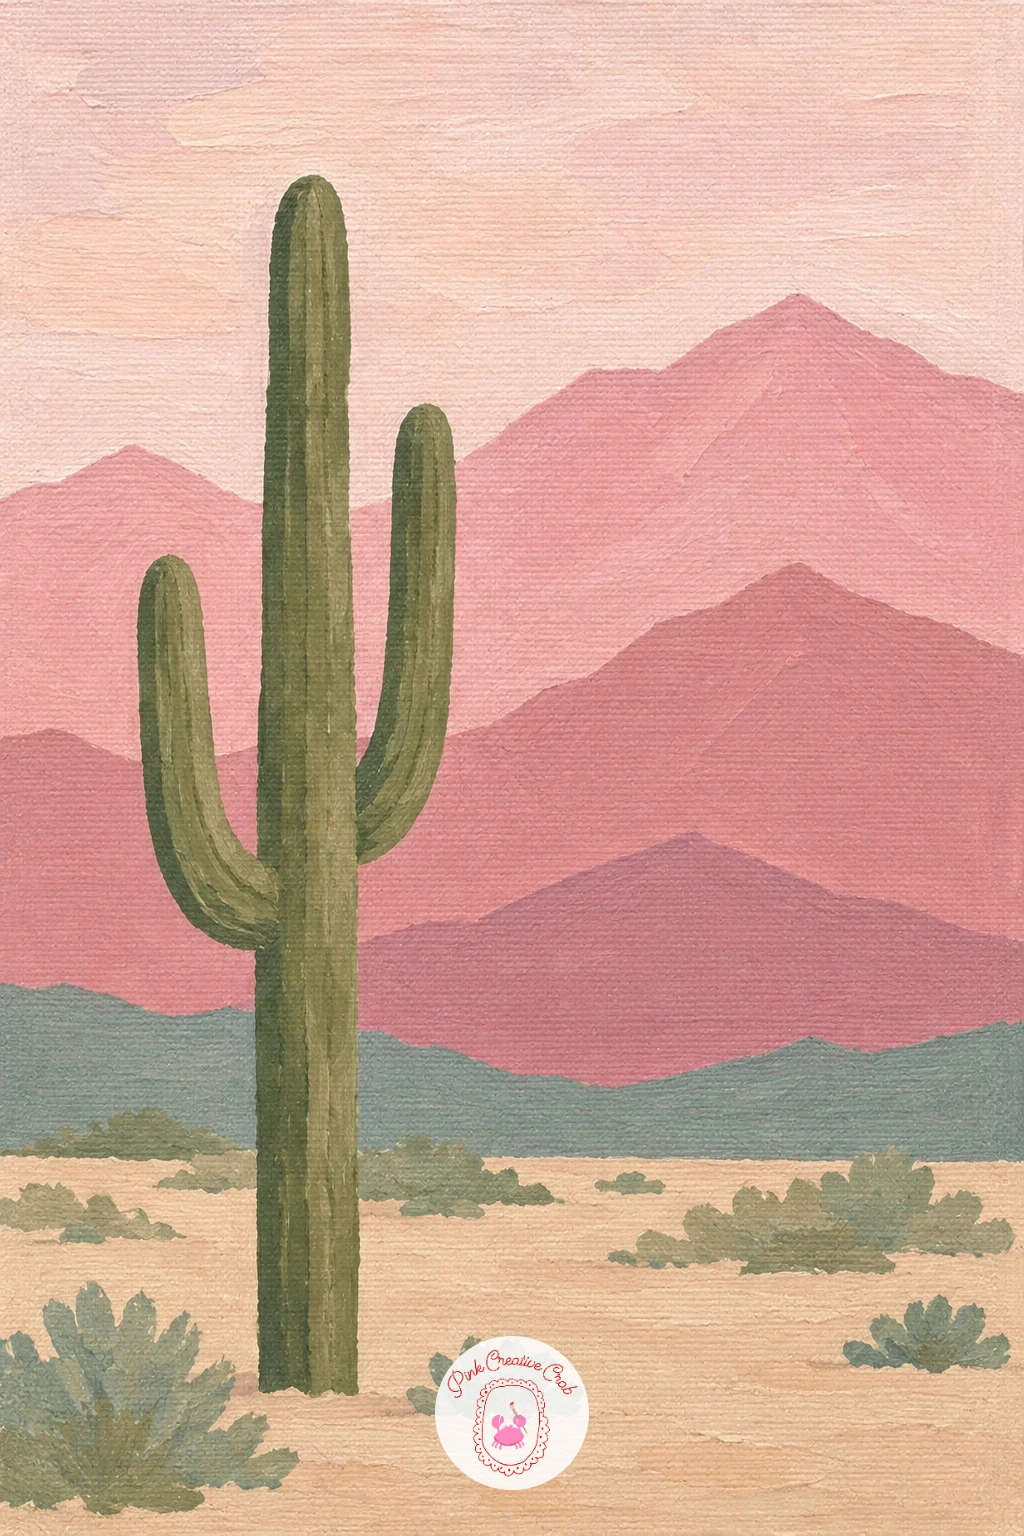
Palette: Blush Pink,Dusty Rose,Olive Green,Sand
Work from the back of the flower head forward, the opposite of how it might feel natural to paint. Lightly sketch one large rounded cluster shape first, then fill it with small individual petal clusters in a mix of dusty blue and soft lilac, varying the ratio across the bloom so one side leans more blue and the other more lilac.
Leave the background a flat pale sand or grey so the cool colors of the hydrangea stand out clearly. Add two or three simple sage leaves at the base of the stem last, kept broad and simple rather than detailed.
This is a texture idea: once the petal clusters are blocked in and dry, dry brush a little white over the raised areas of the bloom to catch the light, which gives real dimension without blending a single edge. A natural kitchen sponge dabbed lightly in paint works as a swap for a dry brush if yours is too soft.
Keep the petal clusters loose and varied in size, a hydrangea head is never made of identical shapes.
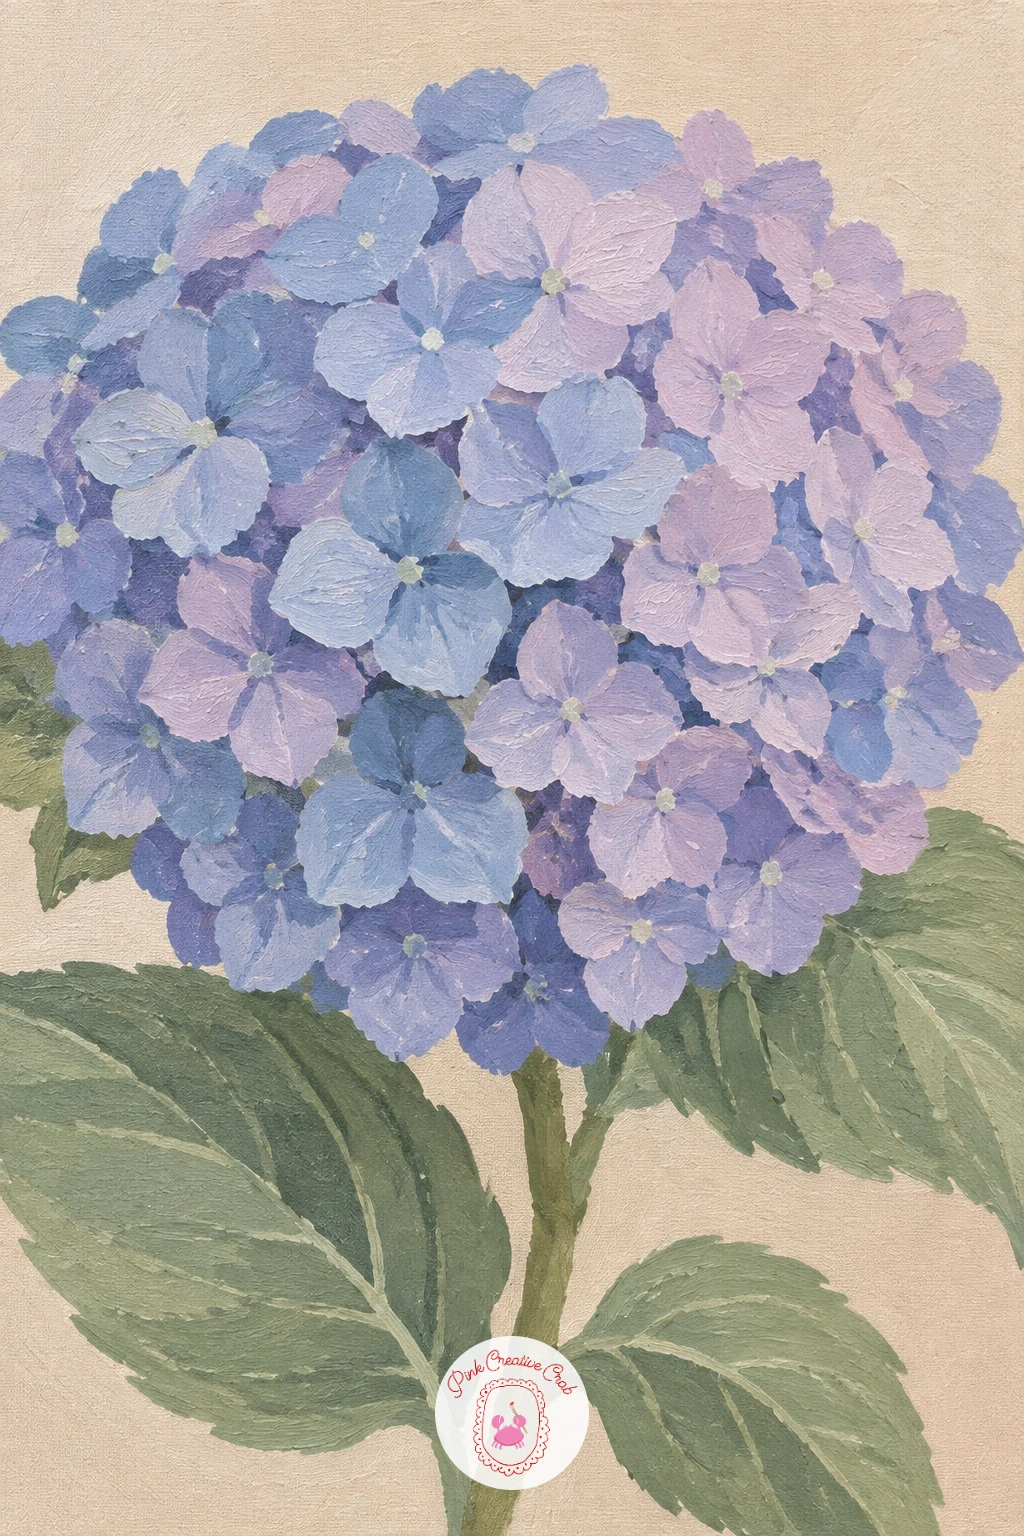
Palette: Dusty Blue,Lilac,Sage Green,Sand
Start with the window and the light it lets in, since that shapes everything else. Paint a soft pastel sky through the open window first, then sheer curtains on either side as loose, slightly transparent white shapes with gentle folds.
Block in the clawfoot tub beneath the window next, a simple curved oval body on short curved feet, in white or very pale sage. Add the inside of the tub as a slightly darker curved line to suggest depth, then a thin dusty blue wall behind it to frame the whole scene.
Light coming through the window should fall across the tub from one side, so keep that side of the tub a touch brighter and let the opposite side sit in a soft shadow, which is what makes the whole room feel sunlit and calm rather than flat. If sheer curtains feel tricky to paint thin enough, use a dry brush with very little paint and drag it lightly over the already dry wall color beneath.
This piece suits a bathroom wall especially well, since the subject matches the room.
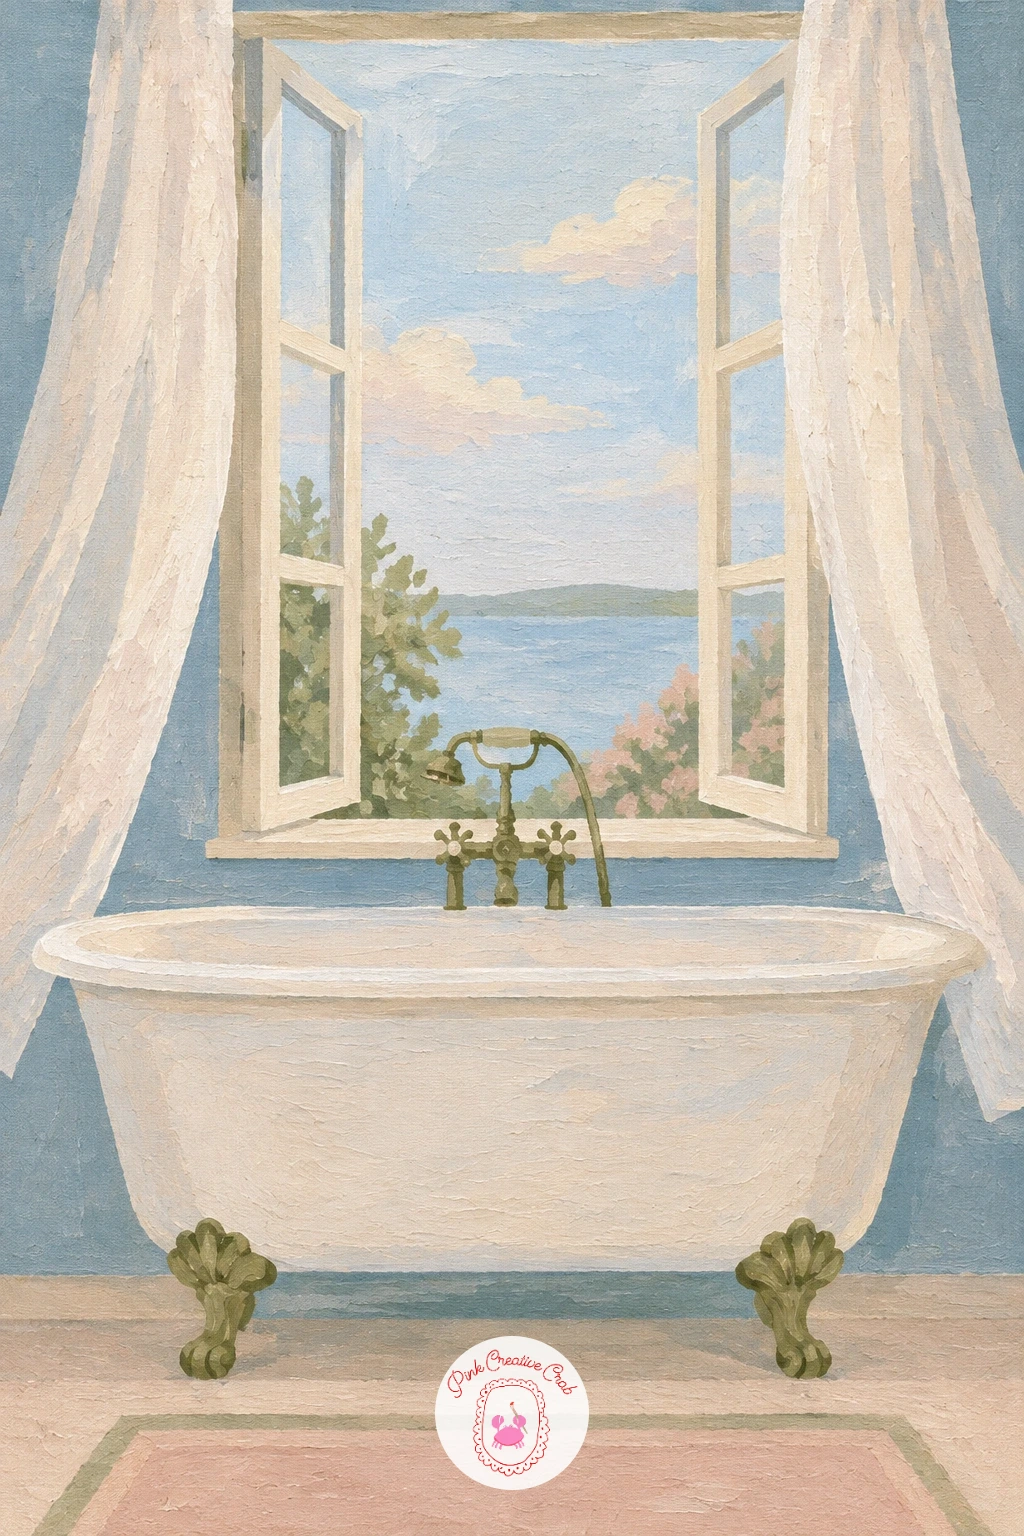
Palette: Titanium White,Dusty Blue,Pale Sky Blue,Sage Green
Set the path first as a pale sand strip running from the bottom edge of the canvas up toward a soft point partway up the canvas, narrowing as it recedes. Paint a flat sage and olive forest floor and canopy around it before any trees go in.
Add the birch trunks next as simple tall narrow white shapes on either side of the path, varying their spacing and thickness so they do not look stamped from a template. Once dry, add a few short dark horizontal marks along each trunk to suggest birch bark, just two or three per tree is enough.
Perspective trick: make the trunks nearest the bottom edge noticeably thicker and taller than the ones further up the path, which does most of the work in making the forest feel deep rather than flat. If birch bark marks start looking too neat, stagger their height and width across different trees.
A faint pale mist glaze over the furthest trees pushes them back even further if you want more depth.
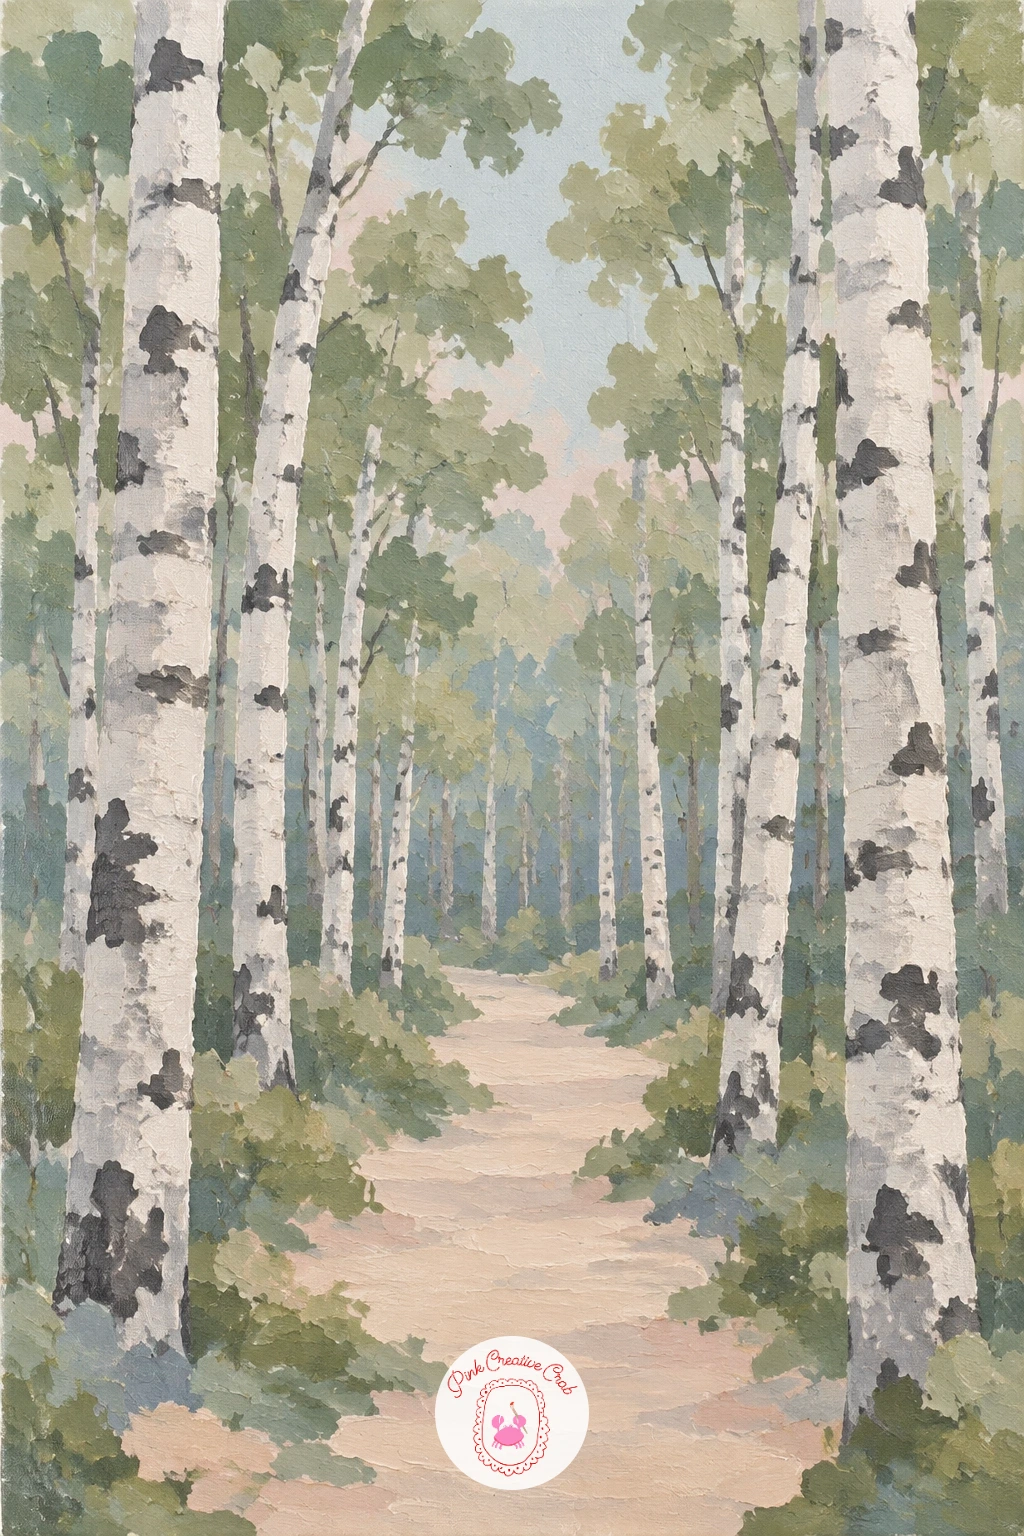
Palette: Titanium White,Sage Green,Olive Green,Sand
Paint the soft blue background first and let it dry, since the warm golden fur needs a cool ground to really stand out. Block in the dog’s head and shoulders as simple rounded shapes, keeping the proportions generous and friendly, ears slightly forward.
Build the fur in layers of sand and a warmer golden tone, working from the darker undercoat shadows first and adding lighter strokes on top for the longer surface fur around the ears and chest. Leave the eyes and nose for last, simple dark rounded shapes with one small white highlight dot in each eye to bring the portrait to life.
If this is your first time painting fur, resist the urge to paint every strand. A few confident directional strokes following the way fur actually grows, down and slightly outward, reads as fur far better than many thin fussy lines ever will.
Soften the edge where the dog meets the blue background slightly so the portrait does not look cut out and pasted on.
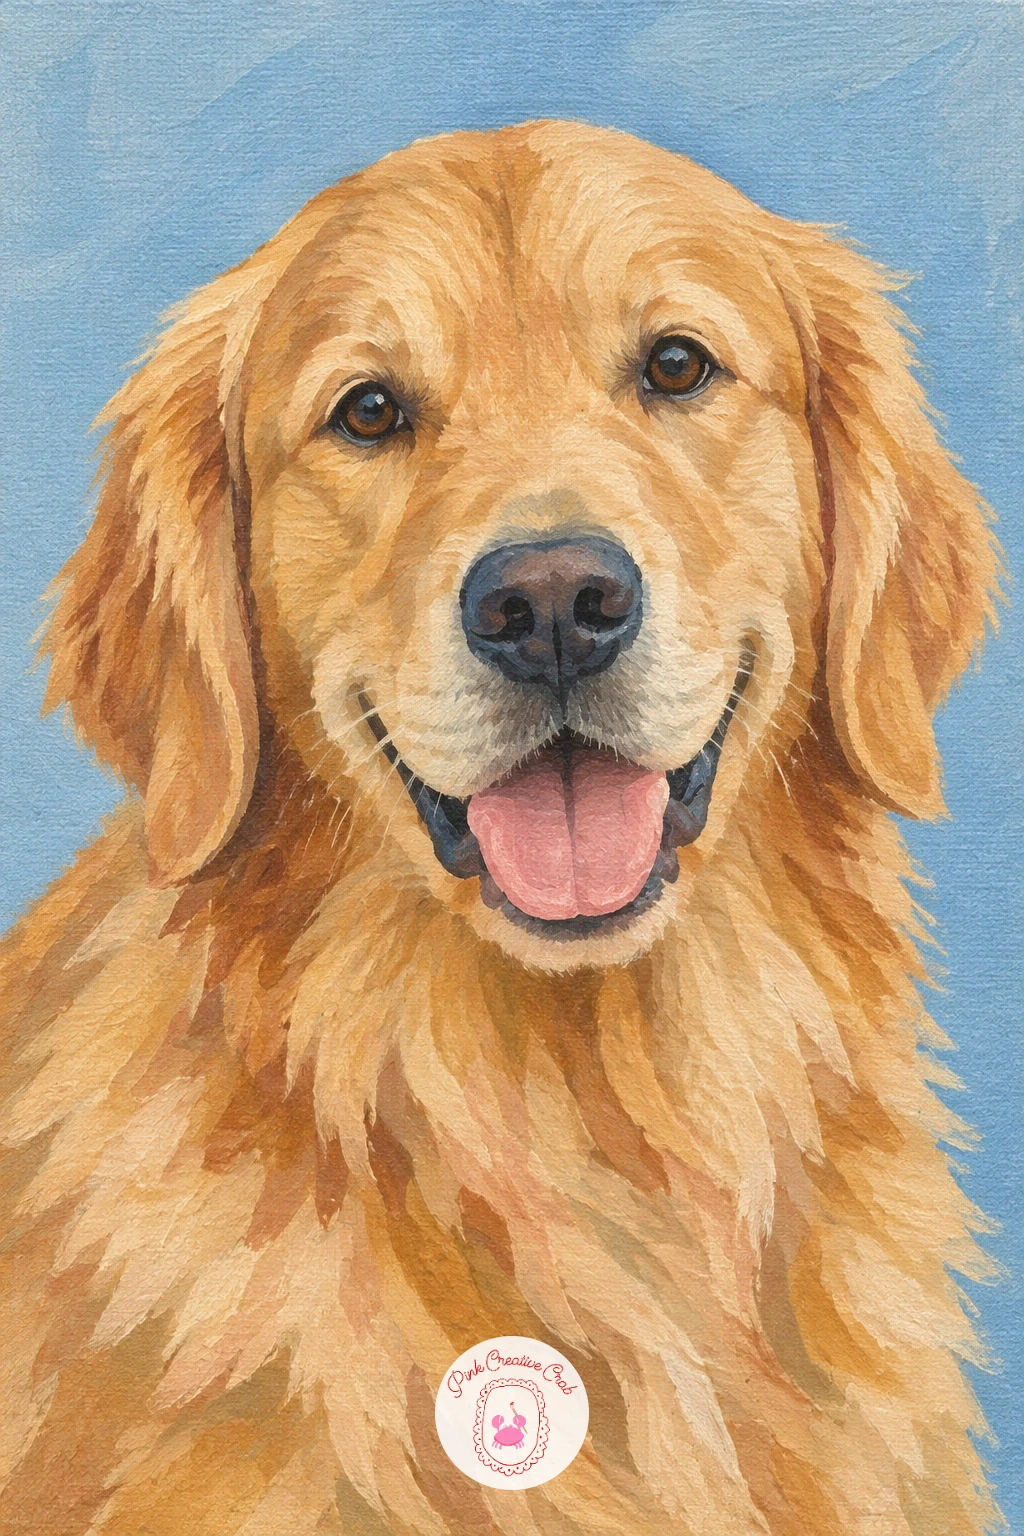
Palette: Dusty Blue,Sand,Golden Ochre,Payne’s Grey
Split the canvas roughly in half, mountains and pines above, calm lake below, and treat the lake as almost a mirror image of what sits above it. Paint the sky and mountain slopes first, soft dusty blue fading into darker pine covered lower slopes in olive and sage.
Bring the lake in next, repeating the same shapes and colors from above but slightly softened and with the edges blurred where wet paint meets wet paint, which is what makes reflections feel believable. Add a thin pale strip right at the waterline to separate the real shore from its reflection.
If you want this done quickly, ten minutes gets you simple flat reflected shapes with a soft blend at the edges. Forty minutes lets you add a few horizontal ripple lines across the lake surface and tiny dark pine silhouettes along the real shoreline for extra depth.
No time to blend wet into wet, drag a slightly dampened flat brush along the reflection afterward to soften hard edges instead.
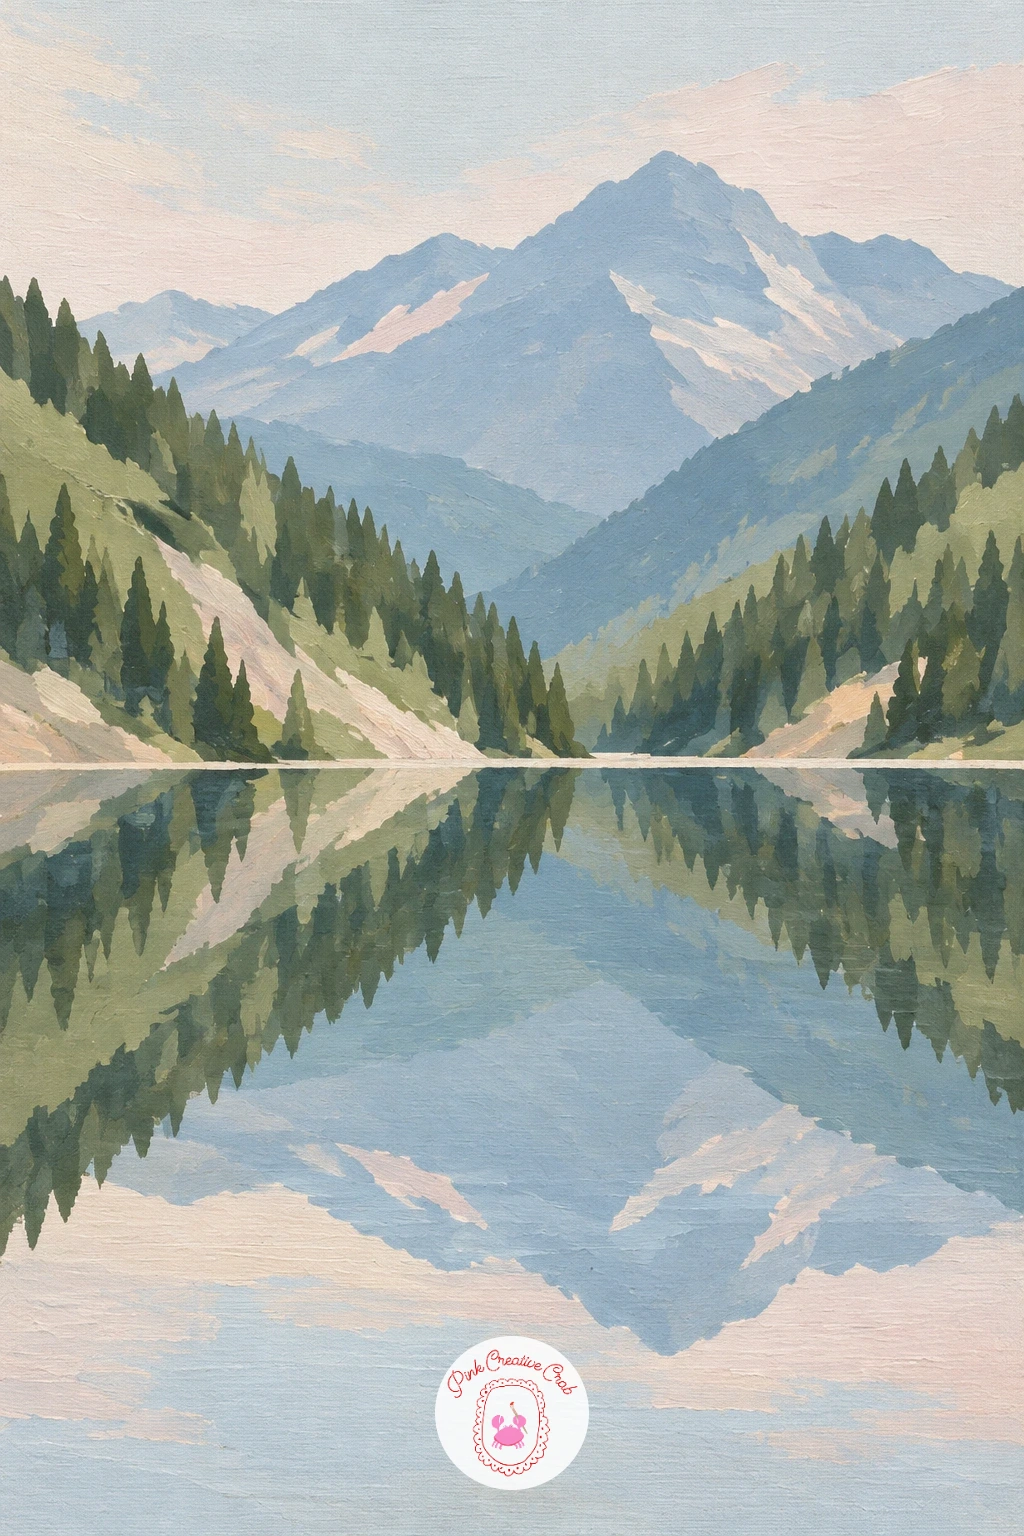
Palette: Dusty Blue,Sage Green,Olive Green,Titanium White
Block in the cow’s head and shoulders first as simple rounded shapes against a flat pale background, keeping the muzzle soft and friendly rather than detailed. Paint the classic black and white patches next in irregular rounded shapes, no two patches the same size or shape, which is what makes it read as a real cow rather than a pattern.
Add simple ears on either side and two gentle dark eyes before moving on to the flower crown. Paint the crown as a simple ring of small rounded blush and white blooms with a few sage leaves sitting across the top of the head between the ears.
Keep the flowers in the crown noticeably simpler than a full floral painting elsewhere in your collection, five or six loose blooms is plenty, since the cow’s face should stay the main subject. If mapping the black patches feels tricky, pencil a rough outline for each patch before committing to paint.
A soft pink flush on the ears and muzzle warms the whole portrait up nicely.
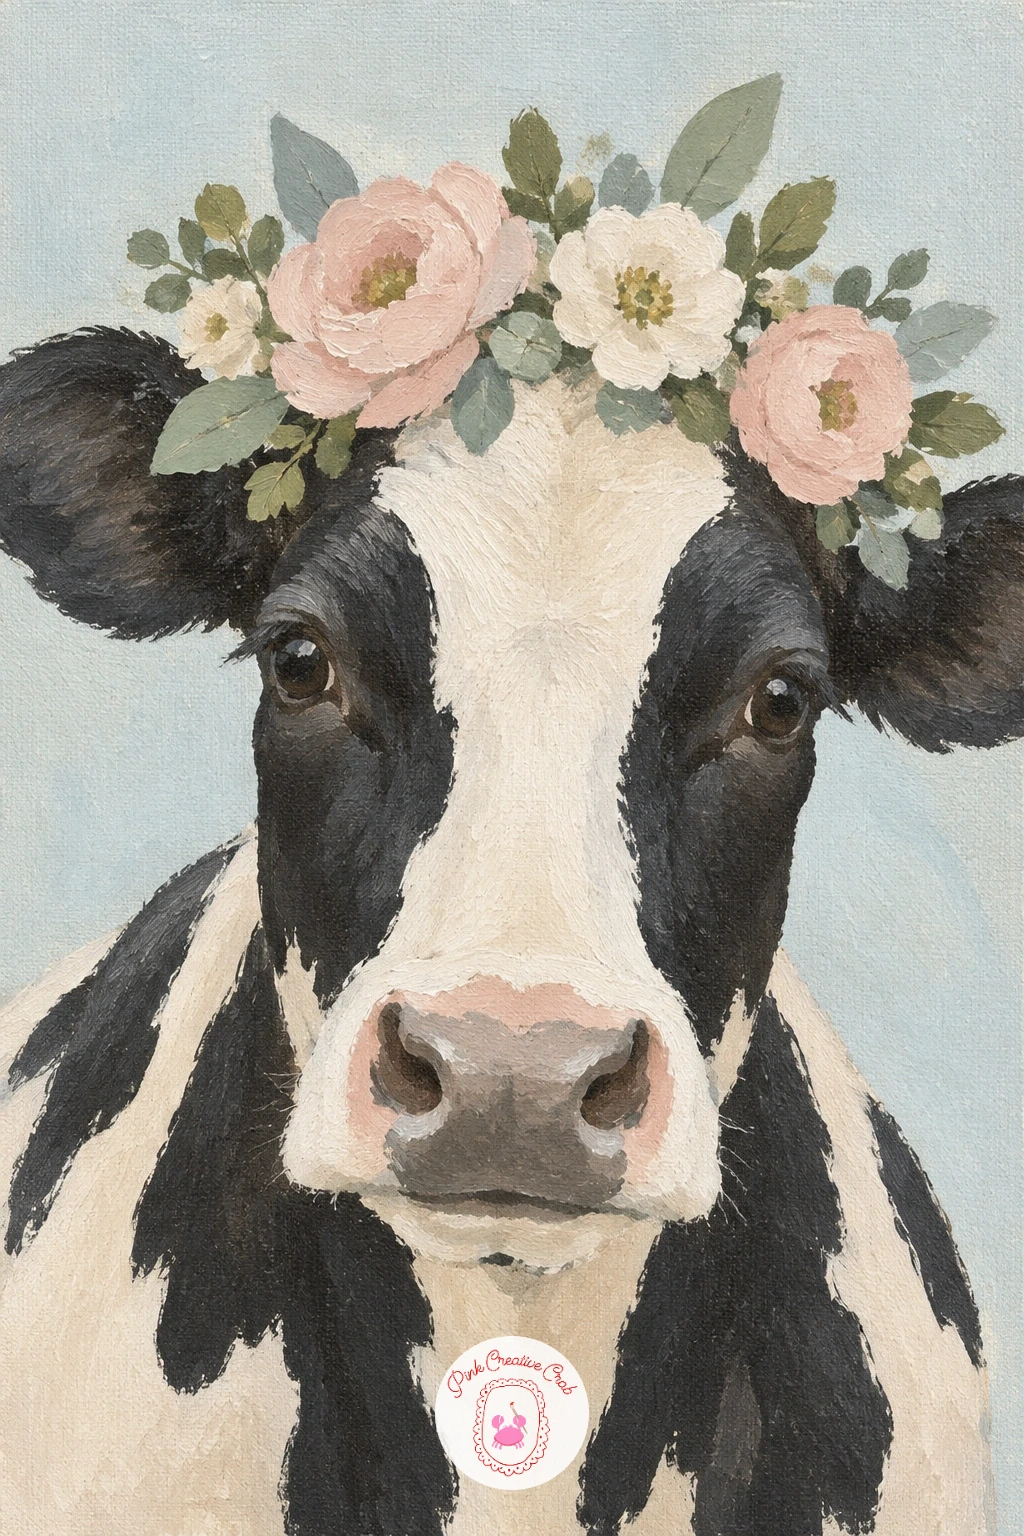
Palette: Payne’s Grey,Titanium White,Blush Pink,Sage Green
Give this one the whole canvas, since the point is scale. Sketch one large leaf shape diagonally across the frame, curving gently, with the central spine running the full length and a few side splits cut into the outer edge the way real banana leaves grow.
Block in the leaf in a deep olive green base coat first, covering the whole shape evenly. Once dry, layer a slightly lighter sage green along one side to suggest where light catches the surface, keeping the two tones in large simple sections rather than many small streaks.
Proportion matters most here: let the leaf run right off two or three edges of the canvas rather than floating in the middle, which is exactly what makes an oversized leaf painting feel bold and intentional rather than small and lost. If the splits along the edge feel intimidating, cut fewer of them, three or four confident notches read just as well as a dozen fussy ones.
Finish with a single thin darker green line down the central spine for structure.
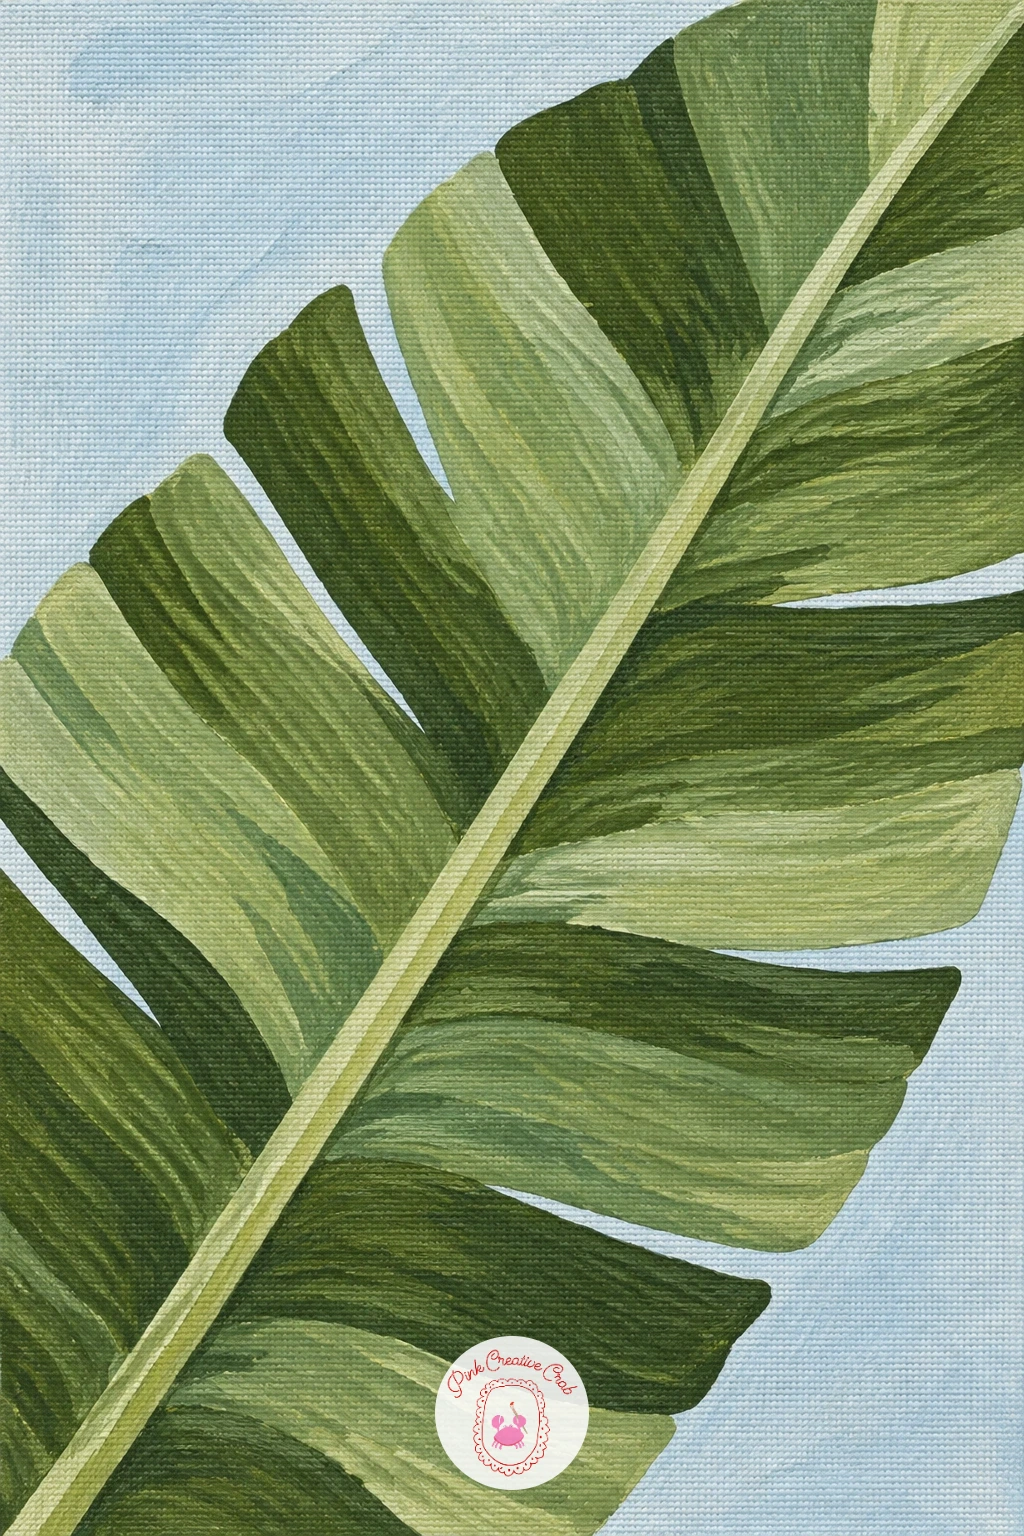
Palette: Olive Green,Sage Green,Deep Green
Paint the wall first, a flat textured looking sand or warm white covering most of the canvas, then lightly sketch the arched doorway shape in the lower two thirds, rounded at the top the way Moroccan doorways typically curve. Block in the door itself in dusty blue, leaving a thin sand border around it to read as the surrounding frame.
Add a simple decorative pattern or paneling on the door with a few straight and curved lines in a slightly darker blue, kept minimal rather than ornate. Finish with one or two potted plants beside the door, simple rounded terracotta pots with a few upright sage leaves or small blooms.
The eye level here sits roughly at the viewer’s own height, straight on to the door, which keeps the arch symmetrical and calm rather than at an angle. If a perfectly even arch feels hard to freehand, trace around a round plate or lid for the curved top before painting over your pencil line.
Keep the wall texture suggestion to a few soft uneven patches of tone rather than any fine detail.
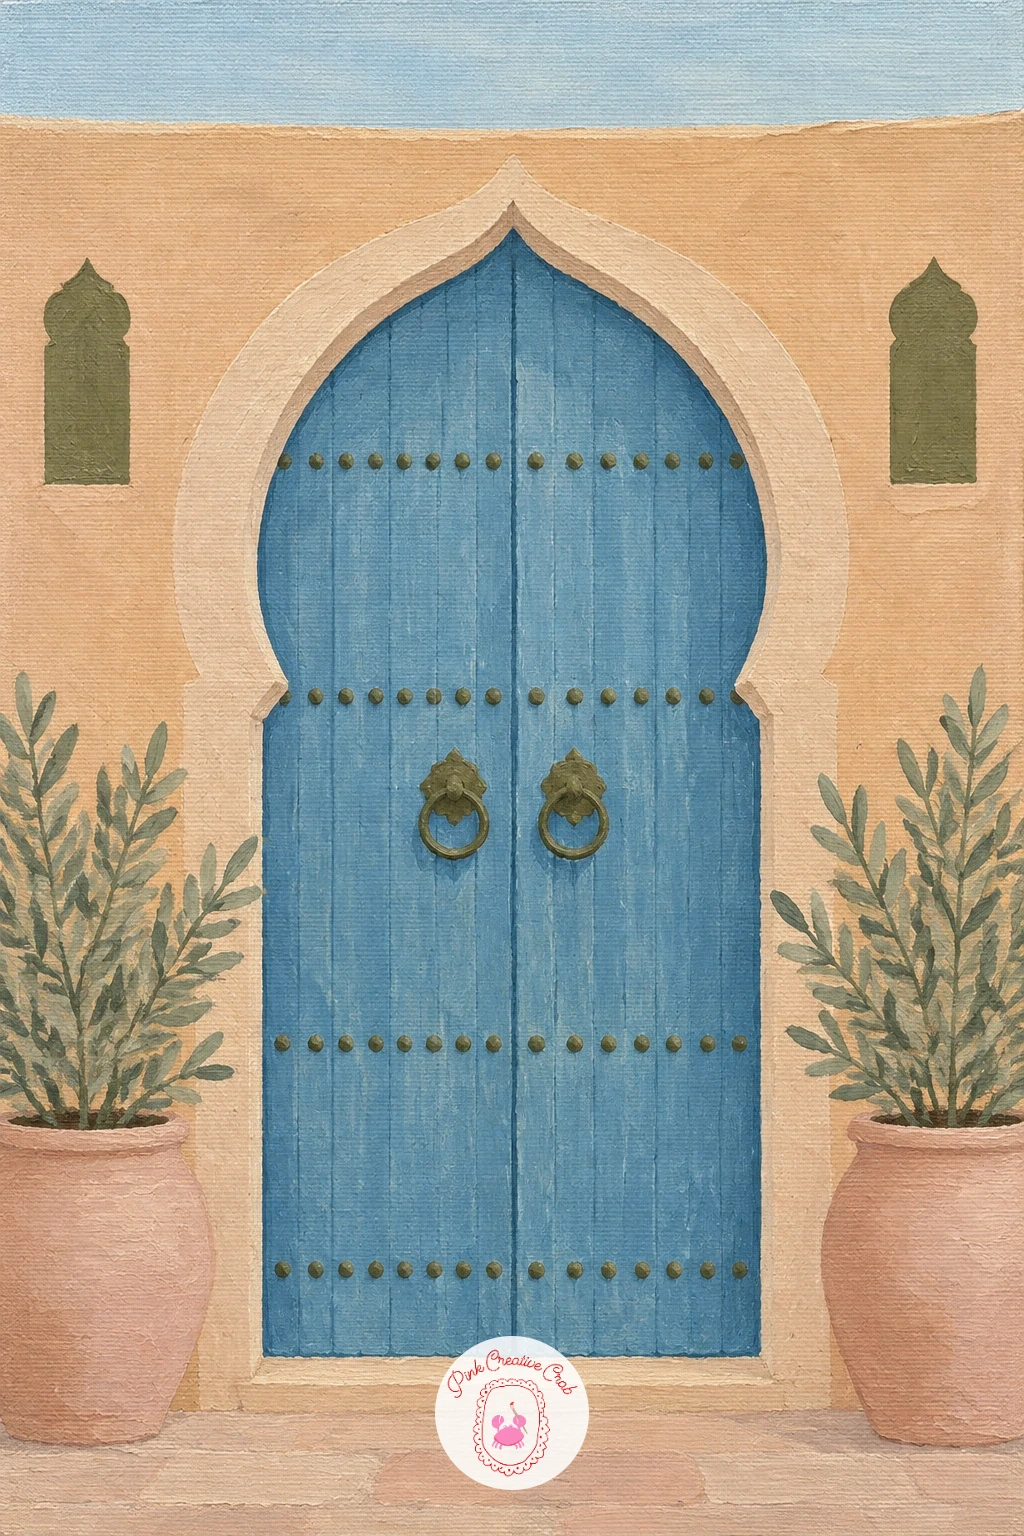
You Will Need
- round plate or lid to trace the arch
Palette: Dusty Blue,Sand,Terracotta,Sage Green
Block in a pair of simple cupped hands first, against a flat pale background, keeping the fingers gently curved rather than stiff or straight. Paint the skin in soft warm tones, with a slightly darker shadow where the fingers overlap and where the hands meet at the wrists.
Once the hands are dry, paint the single white rose resting across the palms, built the same way as any rose: a tight spiral center first, then three or four looser outer petals wrapping around it, all in white softened with a touch of blush at the base. Add one or two sage leaves along the short visible stem.
Hands are often where confidence drops, so simplify rather than detail every knuckle. Four simple finger shapes curved gently around the rose and one visible thumb on each hand is enough to read clearly as holding something delicate.
If rose petals feel fussy, a single half open bud with fewer petals works just as well and finishes faster.
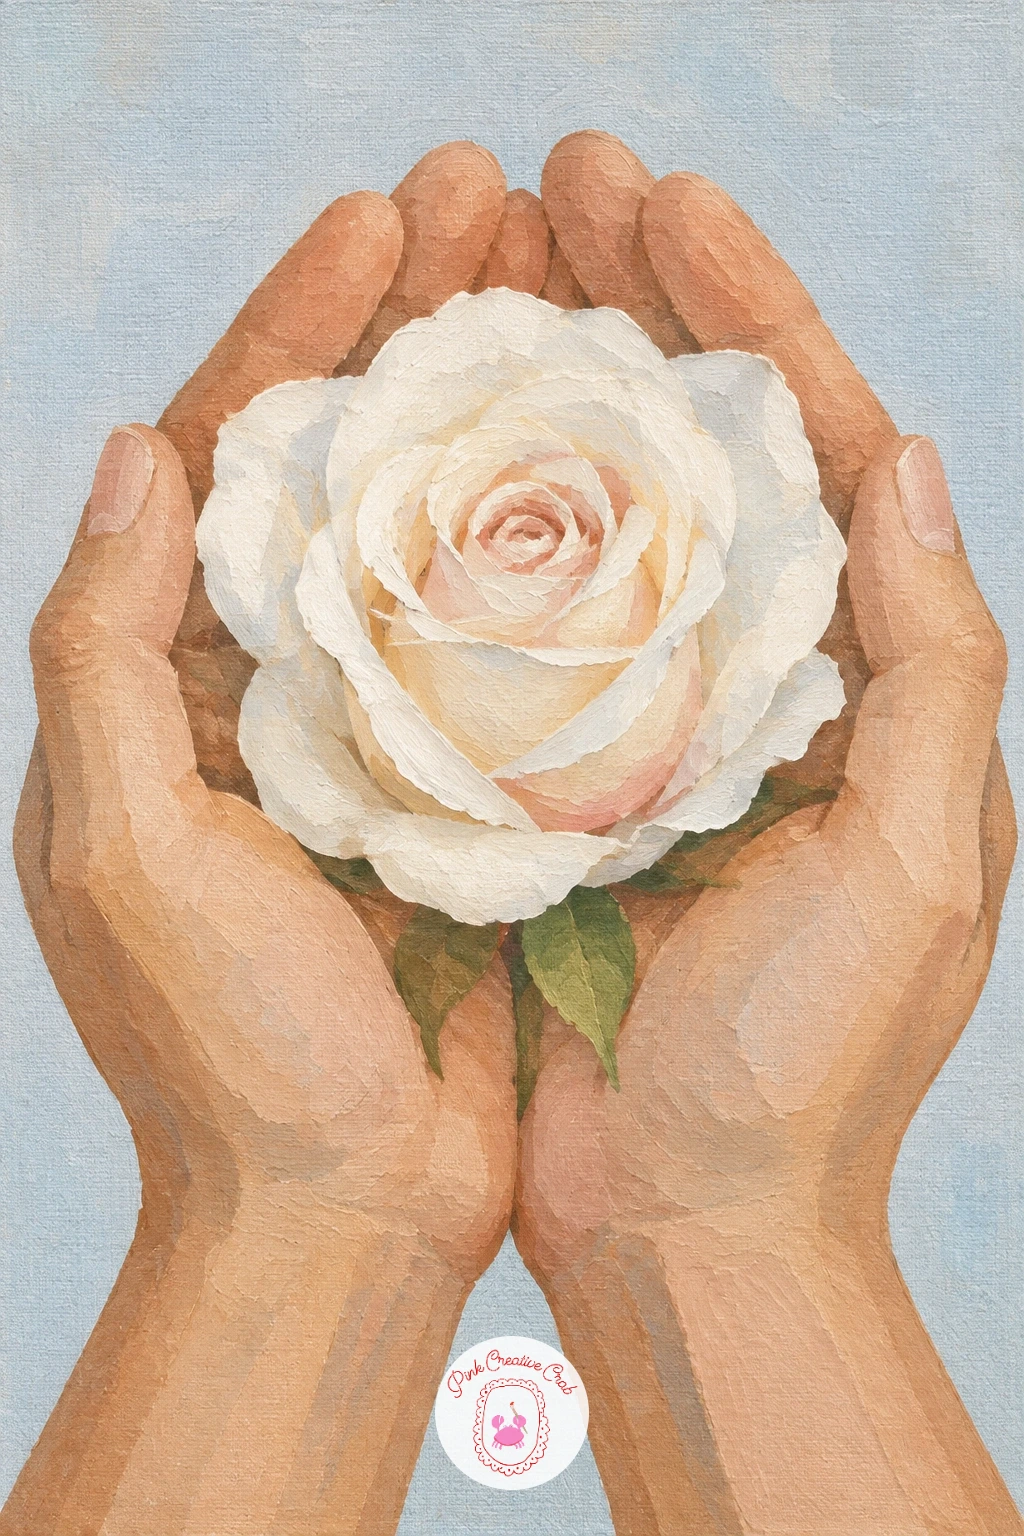
Palette: Blush Pink,Titanium White,Sage Green,Sand
Work this one from an imagined bird’s eye view, looking straight down at the shoreline rather than out across it. Paint the water first in bands of turquoise, lighter near the sand and deeper further out, blended softly where the bands meet.
Add a curved sand strip along one edge of the canvas, then dot small round umbrella shapes across the sand in a mix of sand, dusty blue and blush, each one a simple circle with a short line for its pole. Finish with a scatter of tiny swimmer shapes in the turquoise water, just small ovals with a dot of color for a swimsuit, no limbs needed at this scale.
Because the whole scene is viewed from directly above, there is no horizon line at all, which is what makes it instantly read as aerial rather than a regular beach scene. If placing swimmers and umbrellas feels random, lightly grid the canvas in pencil first and place one shape per section for even spacing.
Vary the umbrella colors across the three or four accent shades so the beach does not look uniform.
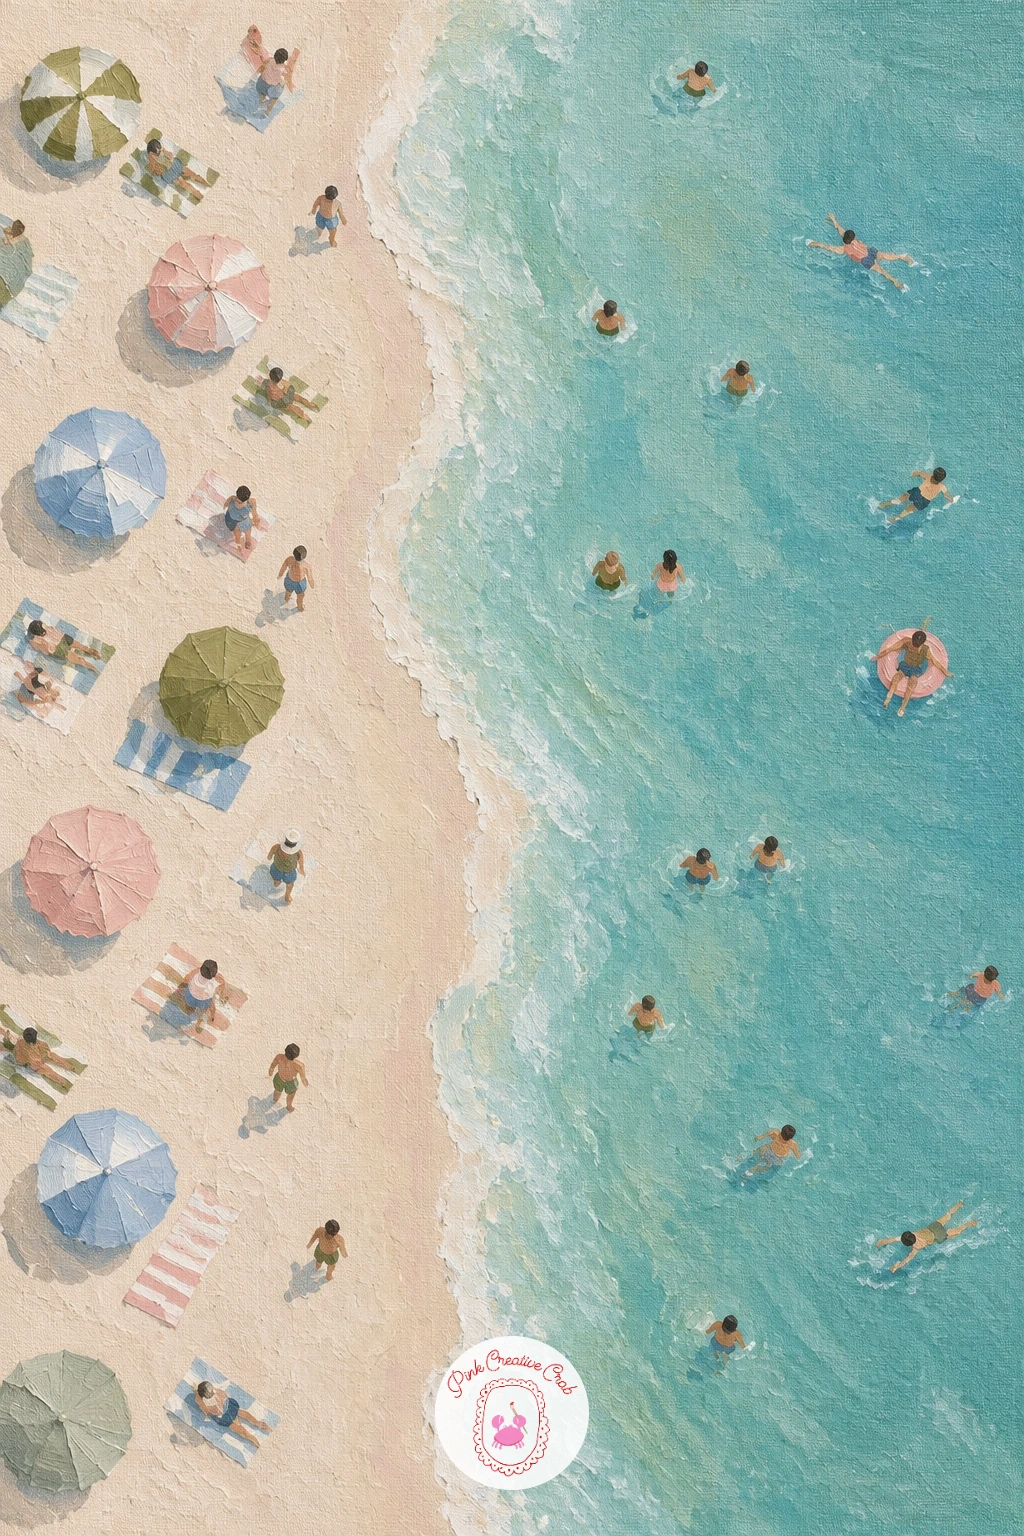
Palette: Turquoise,Sand,Dusty Blue,Blush Pink
Paint this in overlapping horizontal bands, furthest mountains first. Block in a soft dusk sky at the top in blush fading into dusty blue, then add three or four mountain ranges beneath it, each layer a flatter, paler version of dusty blue the further back it sits.
The nearest range at the bottom of the canvas should be the darkest and most detailed, with a simple jagged ridge line, while the furthest range up near the sky stays smooth and almost merges into it. Keep every range a simple silhouette with no texture beyond its outline.
This is a perspective and light idea: because dusk light sits low near the horizon, let a thin warm blush glow sit right along the base of the furthest mountain layer, which is the single detail that makes layered mountains read as dusk rather than daytime haze. If judging how pale each layer should be feels tricky, mix one base blue and simply add more white to it for each layer further back.
Four layers is usually enough, more than that starts to look busy on a small canvas.
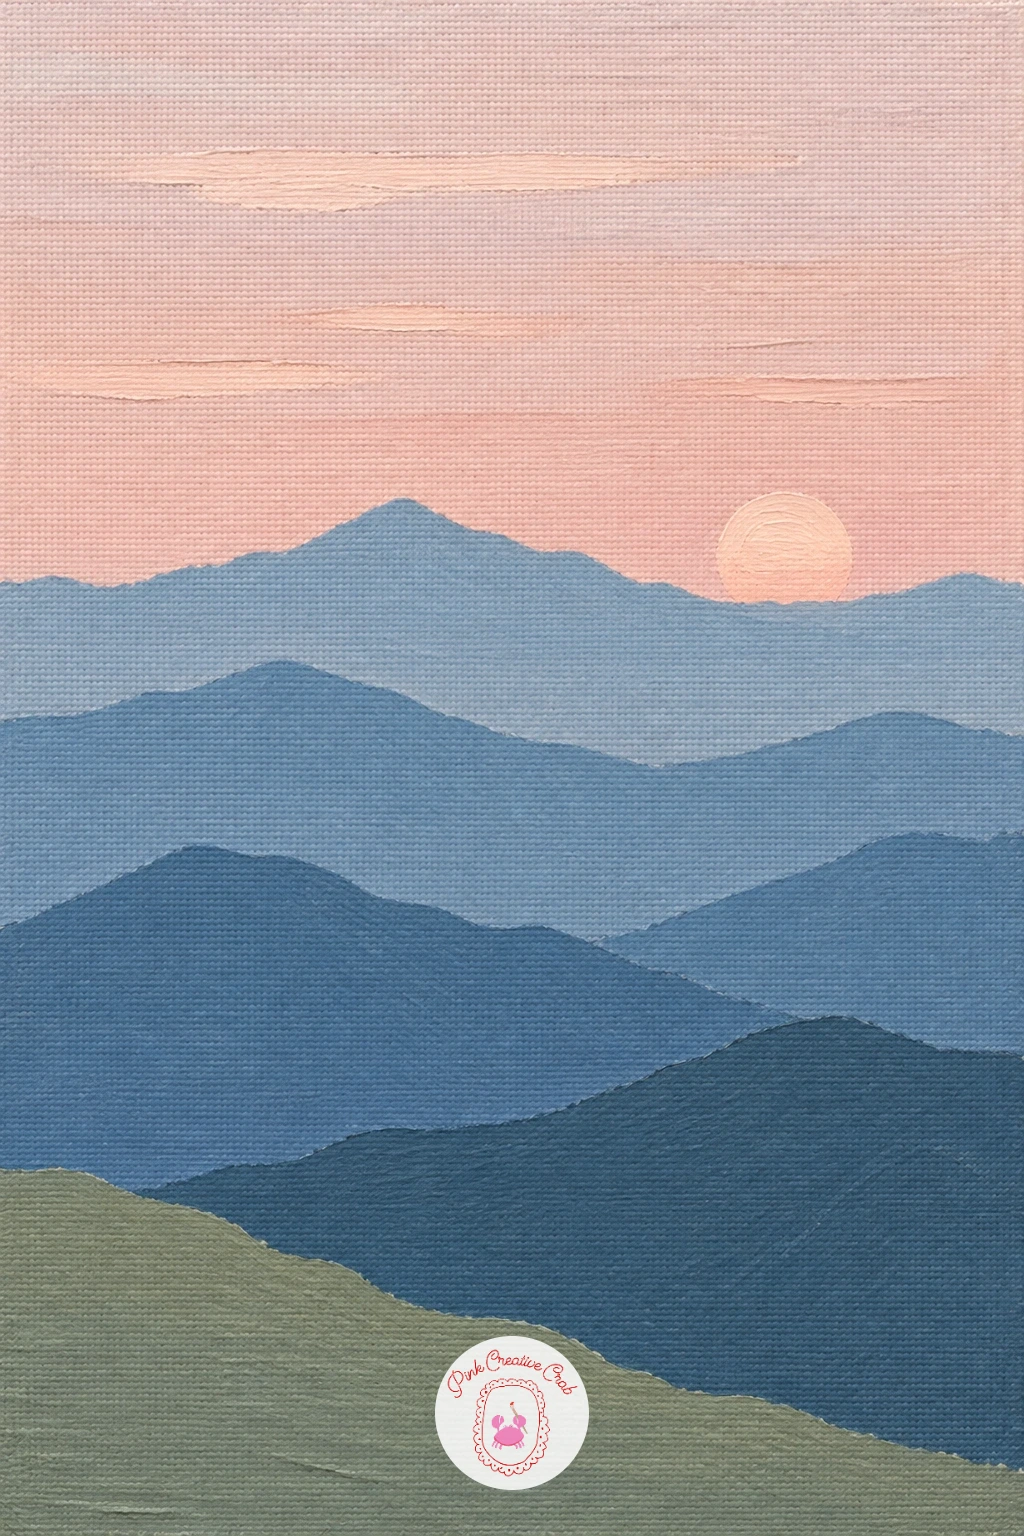
Palette: Dusty Blue,Blush Pink,Pale Blue,Payne’s Grey
Build the wooden floor first as a flat sand band across the bottom of the canvas with a few thin darker lines for floorboards, then paint a soft pale background above it, bathroom bathroom wall or simple pastel space, nothing busy.
Block in the ballerina seated on the floor, bent forward slightly over one leg, as simple rounded shapes, no detailed anatomy needed, just the gesture of her reaching down toward her pointe shoe. Paint the tutu or simple practice dress in a soft blush or sage, kept as one smooth flat shape with minimal folds.
Gesture is what carries this piece, so before adding any color, check the angle of her spine and the tilt of her head lean toward the shoe she is tying, if that line feels off the whole pose will feel stiff no matter how carefully you paint the rest. Pointe shoe ribbons can be suggested with just two or three loose curved lines rather than wrapped detail.
Keep her hair simple, a smooth bun shape is enough, no loose strands needed.
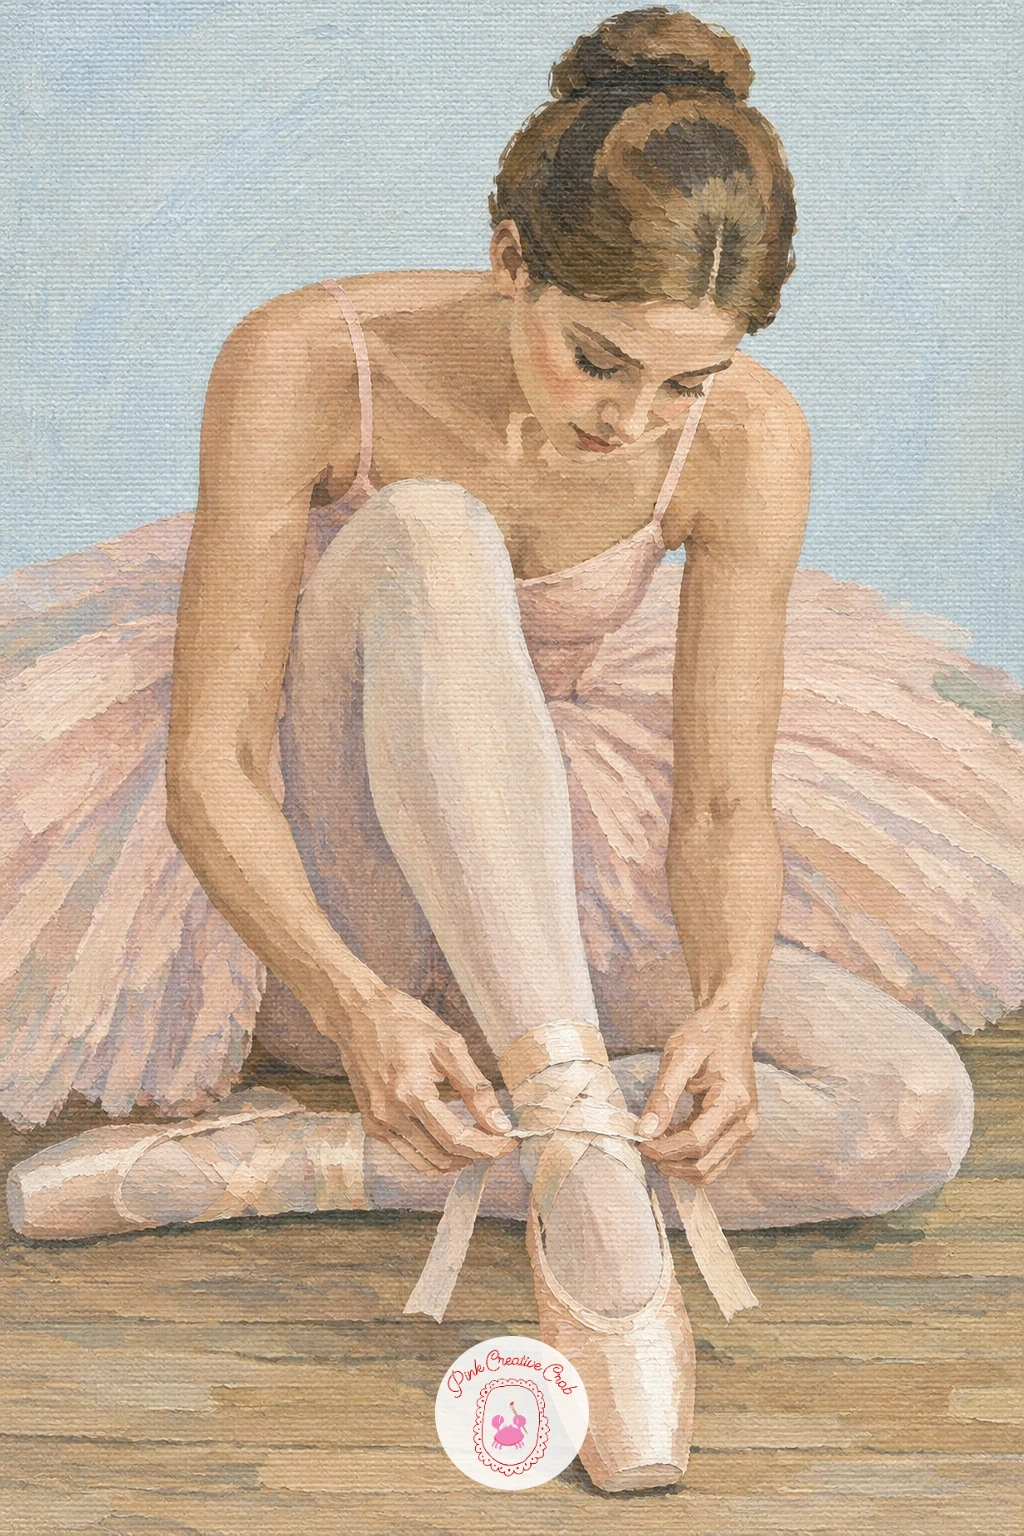
Palette: Sand,Blush Pink,Payne’s Grey,Titanium White
Paint the steps first, running diagonally from one bottom corner up toward the opposite side of the canvas, each step a simple flat white or pale sand rectangle with a thin grey shadow line beneath its edge to give it form.
Add simple whitewashed walls on either side of the steps in the same pale tone, then paint the bougainvillea last, cascading over one wall in loose clusters of small blush and pink petal shapes with a few sage leaves tucked among them. For more on this exact flower, see this bougainvillea painting guide for extra petal cluster tricks.
Keep the eye level low, looking slightly up the steps rather than down on them, which gives the scene the feeling of standing at the bottom of a real island street. If the diagonal steps feel hard to keep even, lightly rule pencil guide lines across the canvas before painting over them.
A warm sand glow along the step edges facing the sun finishes the sunny island feel.
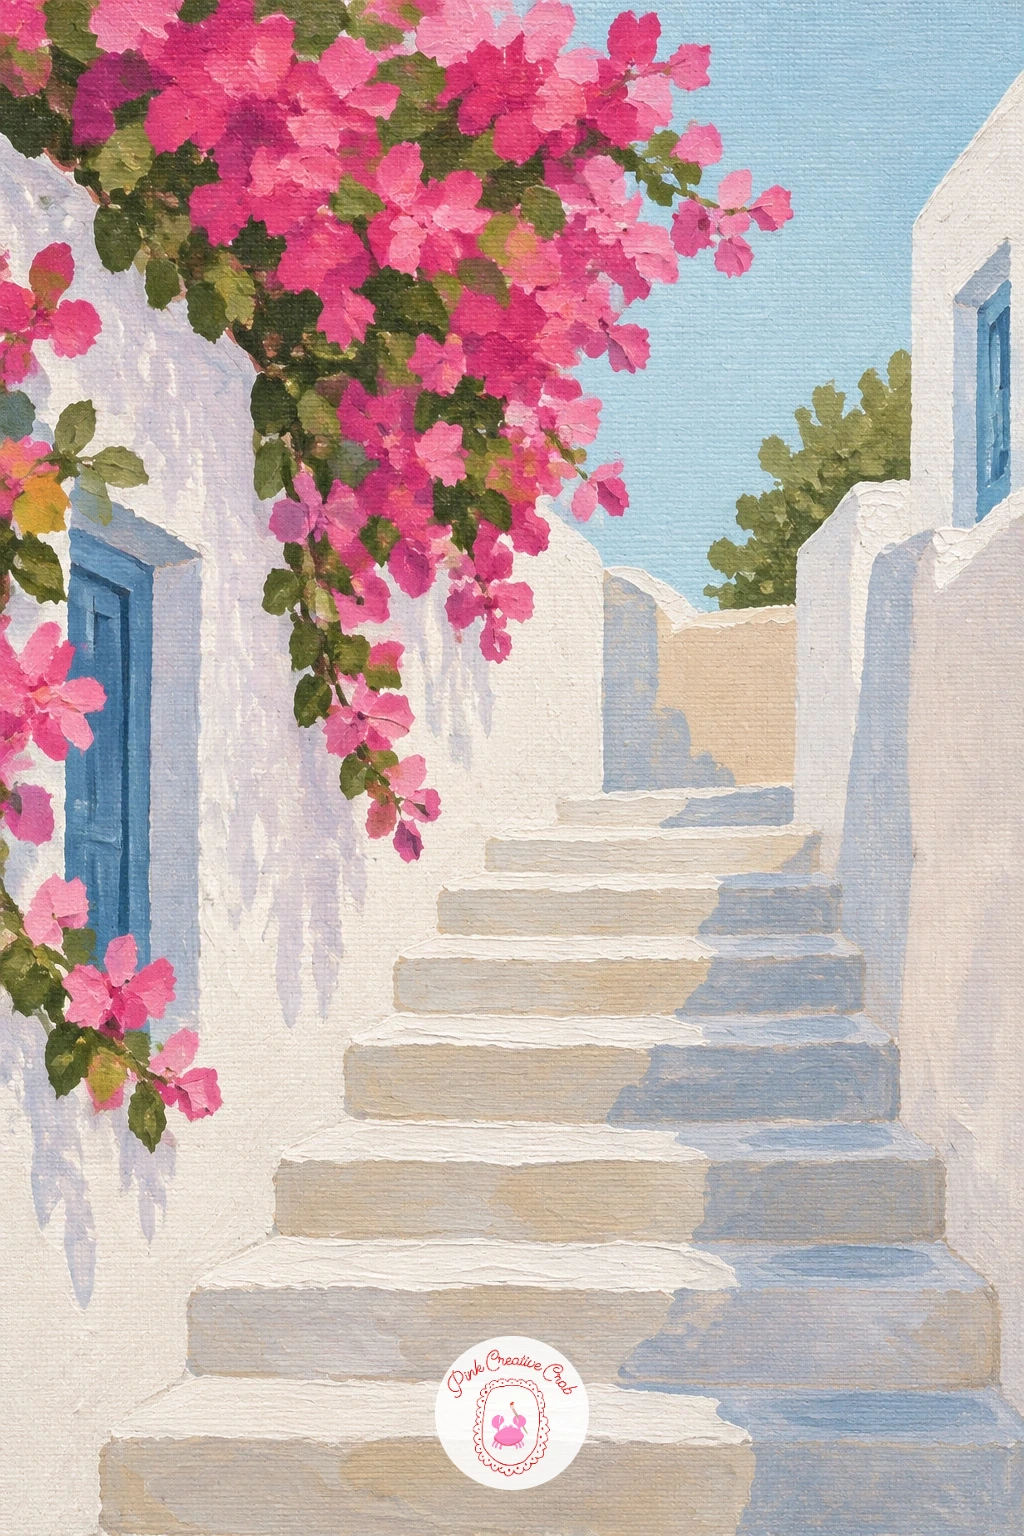
Palette: Titanium White,Blush Pink,Sage Green,Sand
Keep the horizon line low here, around a third up the canvas, so the sky dominates and the elephant feels small against a wide open space. Paint the sky and savanna as two flat bands first, soft pastel above and sand below, before the elephant goes in.
Block the elephant in profile as simple rounded shapes, a large body, a curved trunk reaching slightly down, legs kept thick and simple rather than detailed. Use a grey slightly warmed with sand so the elephant does not look flat against the warm savanna tones.
Scale is the trick that sells this one: keep the elephant small relative to the whole canvas, maybe a fifth of the width, with plenty of empty sky and ground around it, which is exactly what makes the savanna feel vast rather than cramped. A single acacia tree silhouette far in the distance adds scale without any extra detail work.
If grey paint looks too cool against the warm palette, mix in a touch of sand or olive until it matches the rest of the scene.
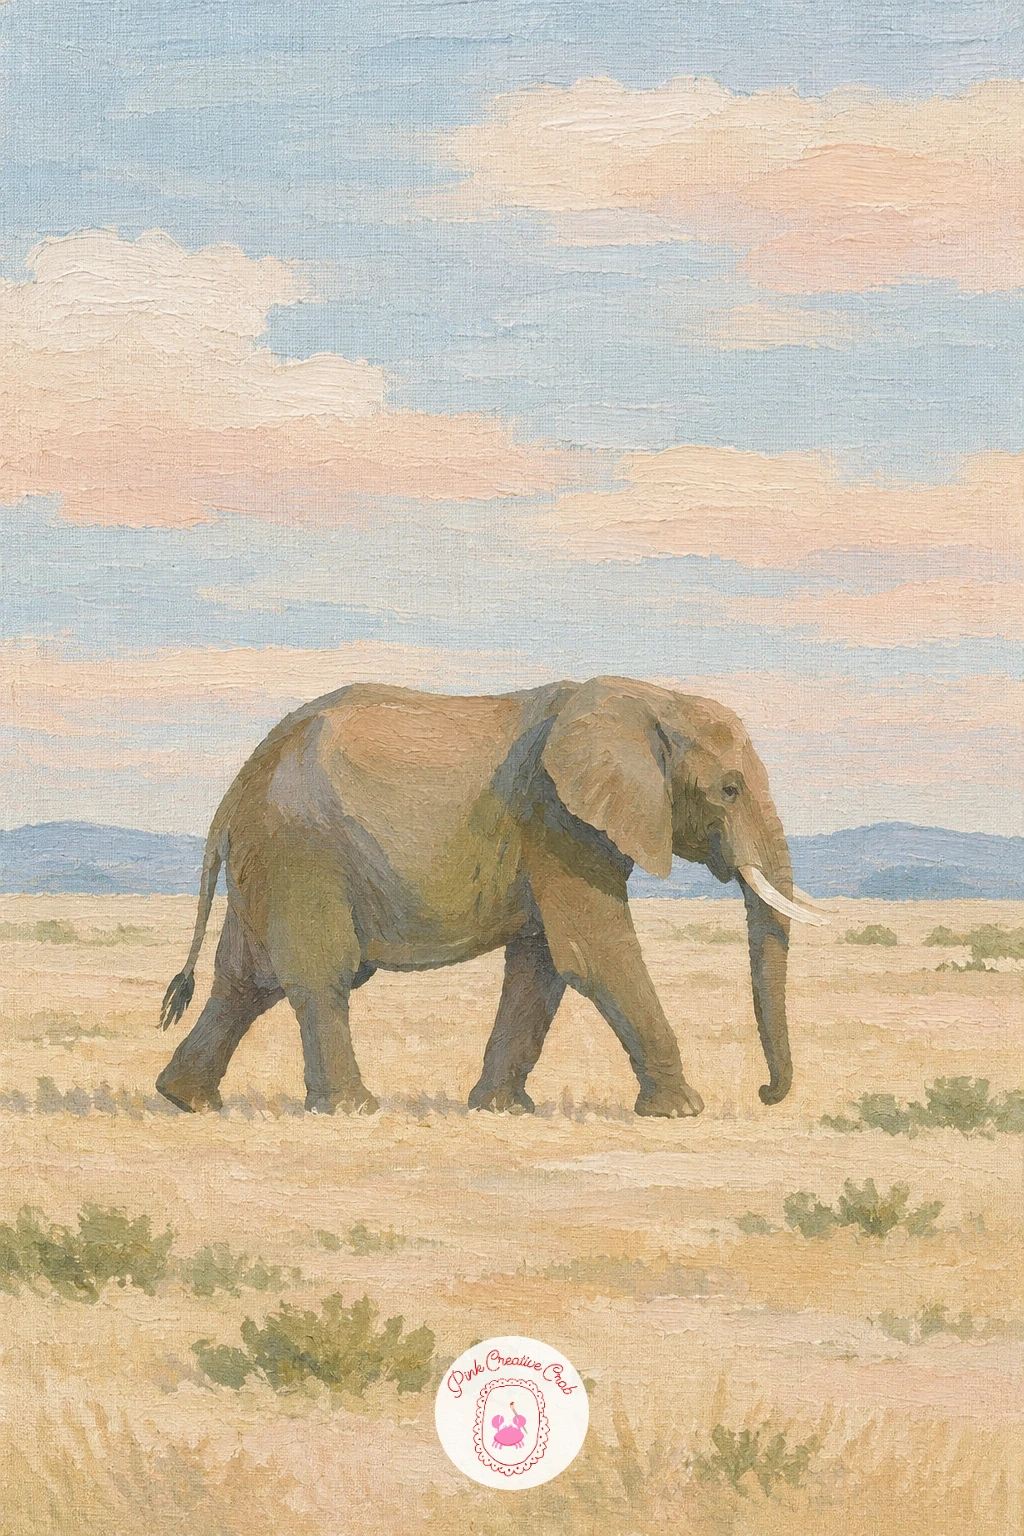
Palette: Pale Grey,Sand,Pale Sky Blue,Olive Green
Paint the linen cloth first as a flat soft sand or white base covering most of the canvas, with a few loose fold lines in a slightly darker tone to suggest draped fabric without overworking it. Let it dry before the shells go on top.
Arrange three or four different seashell shapes across the cloth, a spiral shell, a scallop, a few small rounded ones, each painted in simple flat tones of white, sand and a touch of blush, with just one or two curved lines per shell to suggest their ridges.
Group the shells slightly off center rather than spread evenly, real still life groupings always have one or two shells slightly apart from the main cluster, which keeps the composition feeling natural rather than arranged in a row. If shell ridges feel fiddly to paint, a few confident curved lines following the shell’s shape says more than many thin fussy ones.
A soft shadow beneath each shell settles the whole group onto the cloth convincingly.
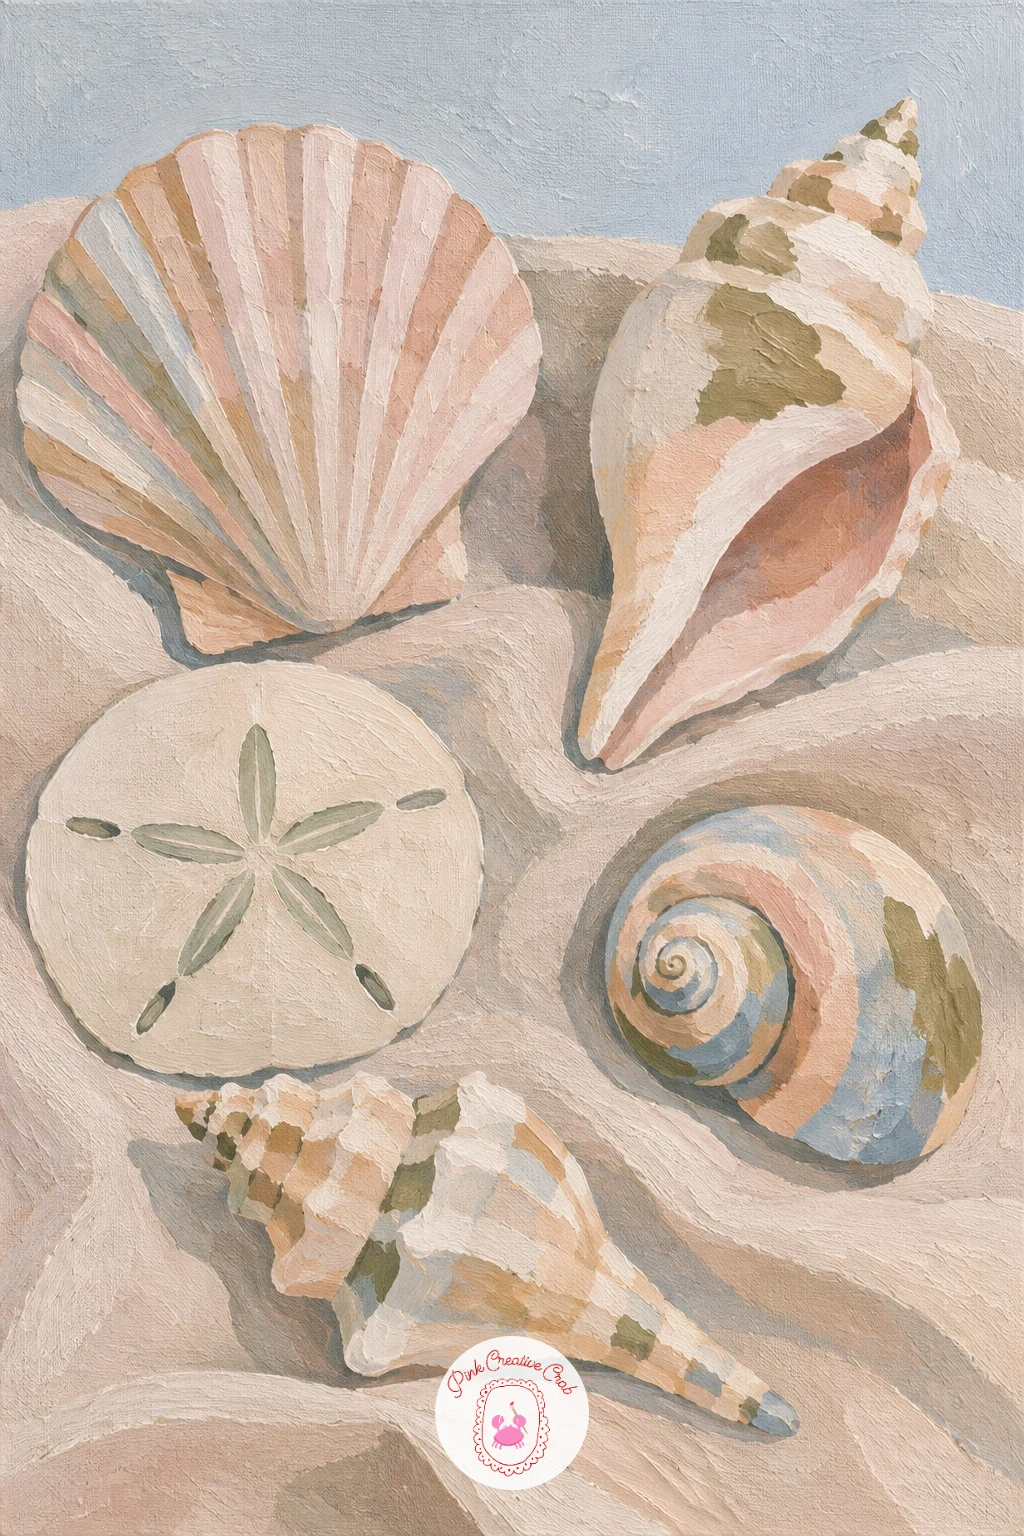
Palette: Sand,Titanium White,Blush Pink,Pale Grey
Paint the teal background first, flat and smooth, since the whole point of this piece is the contrast between that cool ground and the peacock’s warmer accent colors. Block in the peacock’s body and neck as simple curved shapes, keeping the head small and the neck gracefully arched.
Build the spread tail next as a wide fan of simple feather shapes radiating out from behind the body, each feather a long oval tipped with a smaller eye shaped mark in olive and dusty blue. Work from the outer feathers inward so the closer ones overlap convincingly.
If this is your first time painting a fanned tail, start with a light pencil arc to mark where the tips of the feathers should sit before painting a single one, which keeps the whole fan evenly curved rather than lopsided. Dab a small highlight of white into each feather’s eye mark with the tip of a round brush once the base color is dry.
Keep the body colors a little richer than the tail so the head still reads as the focal point.
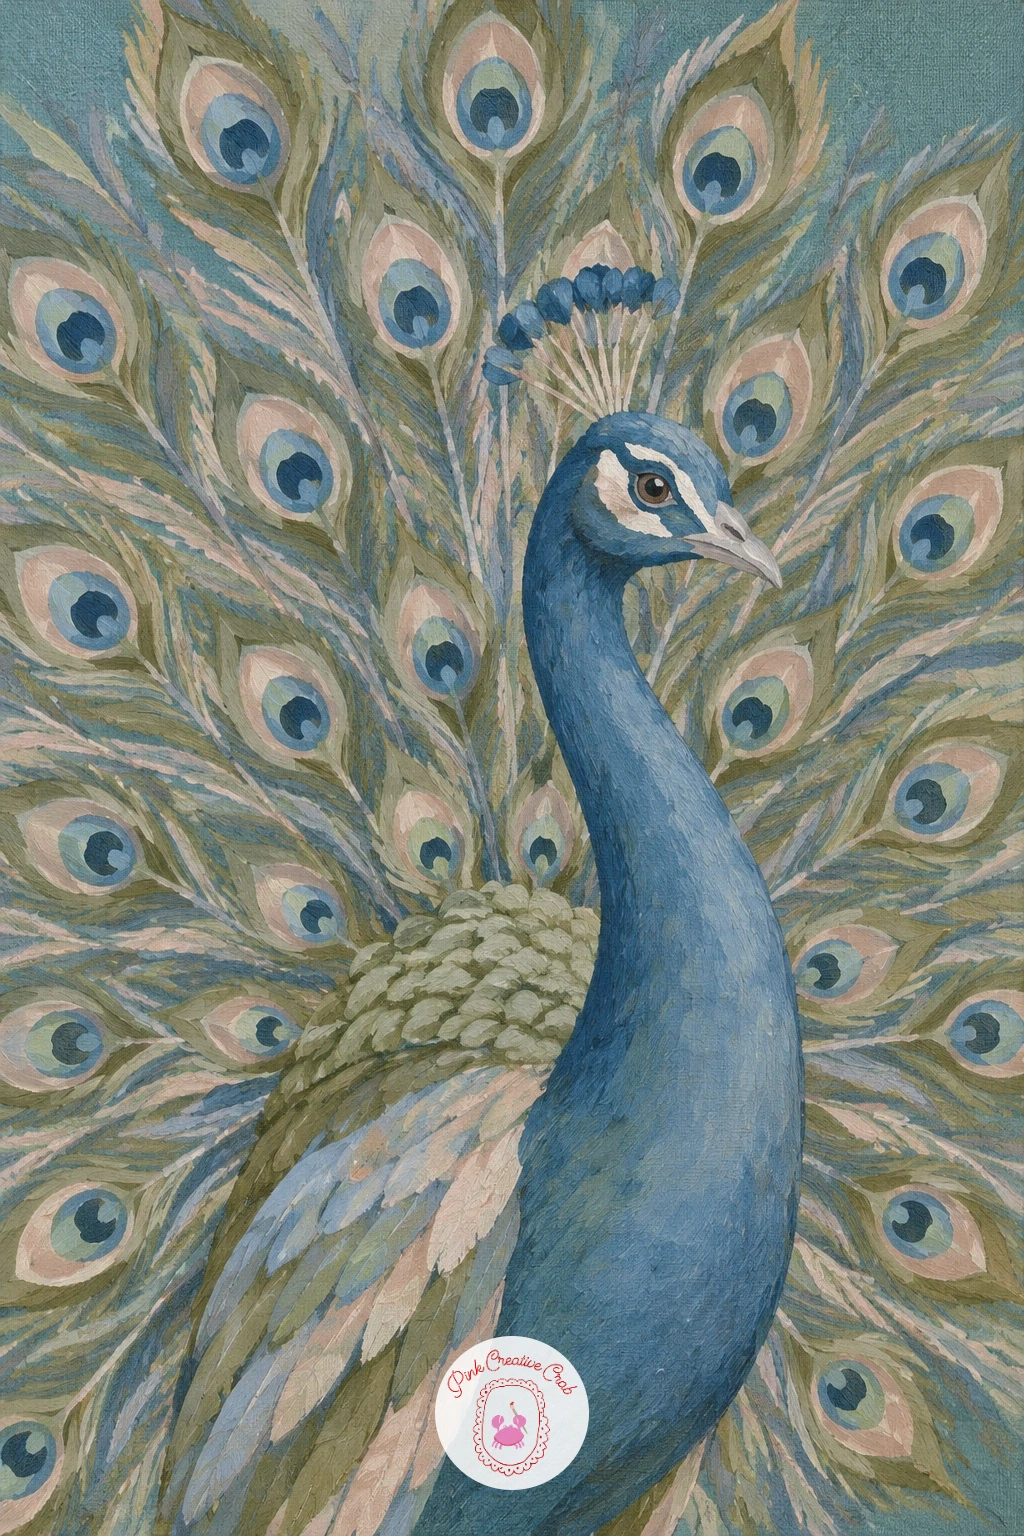
Palette: Teal,Dusty Blue,Olive Green,Titanium White
Paint the view through the window first, a soft pastel sky and a few simple rooftop silhouettes in sand and dusty blue, kept flat and slightly out of focus to sit behind the main subject. Add a simple window frame around the edge of this view if you want the scene framed.
Block in the windowsill as a flat pale ledge across the lower portion of the canvas, then paint the cat sitting on it in profile or three quarter view, simple rounded shapes for the body and tail curled around its feet. Keep the fur in flat color blocks with only one or two tone changes rather than many small strokes.
The light source here comes from outside the window, so let the side of the cat facing the glass sit a shade lighter than the side facing into the room, which is what gives the whole scene a believable sense of looking out at dusk or early evening. If rooftop silhouettes feel hard to invent, keep them to simple rectangles and triangles, real rooftops are mostly just that.
Finish with the cat’s eyes catching a small highlight to bring the quiet scene to life.
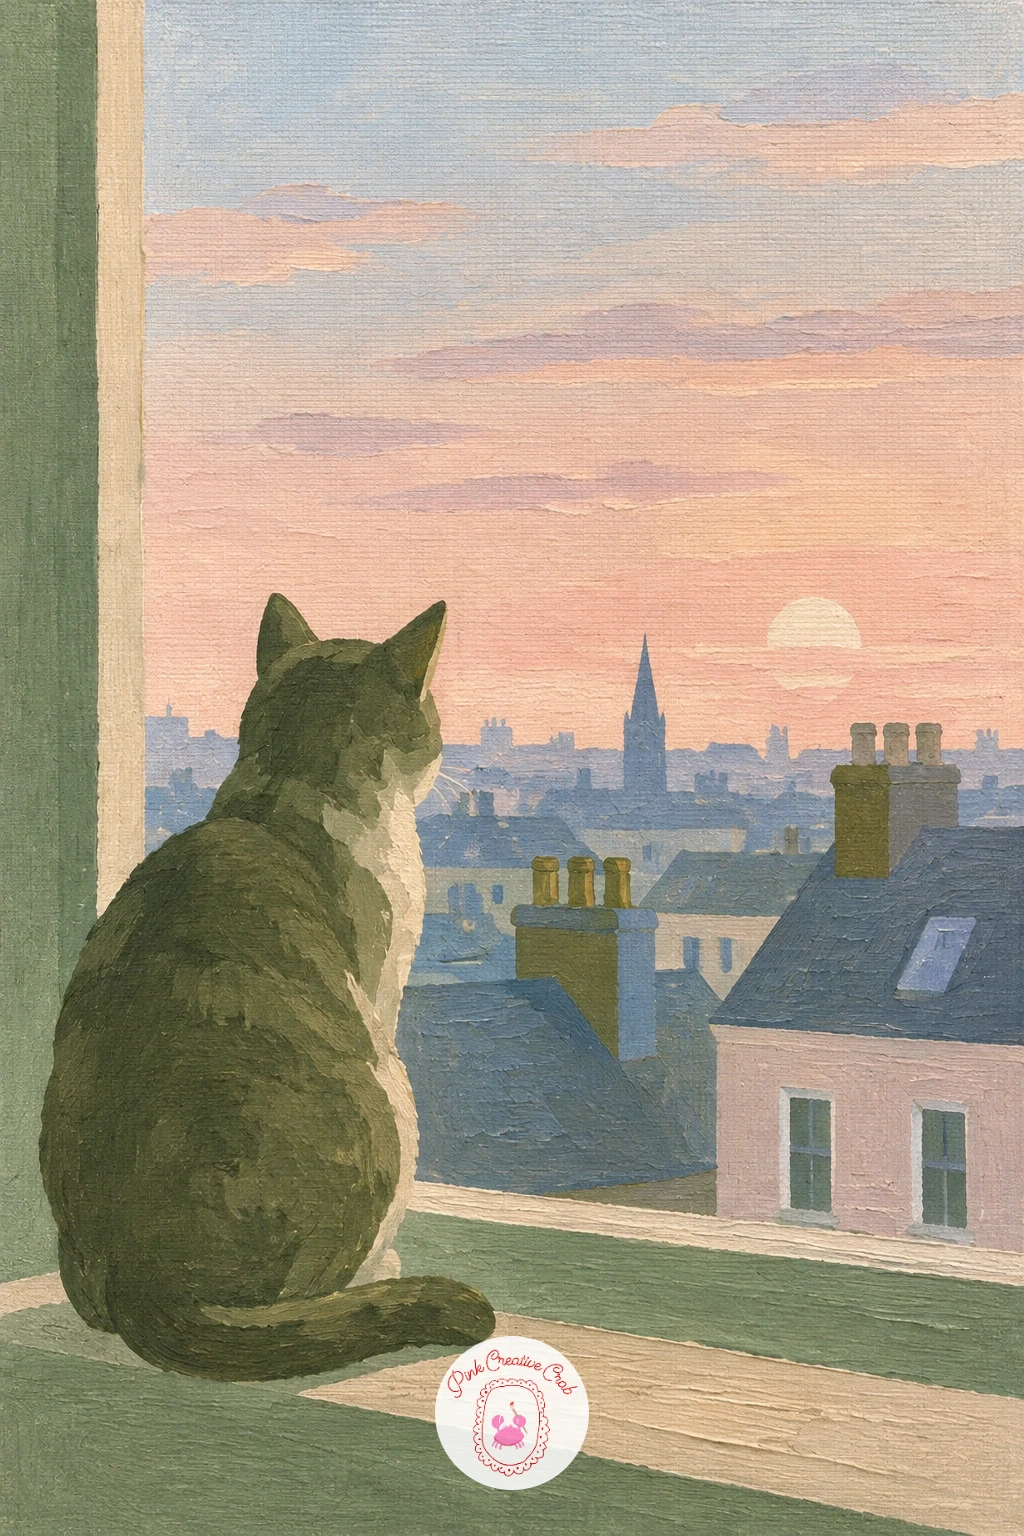
Palette: Sand,Dusty Blue,Payne’s Grey,Pale Sky Blue
Paint the vase first as a simple clear glass shape, suggested with just a thin outline and a soft vertical highlight rather than any heavy detail, sitting on a flat sand colored table. Let the background behind it stay pale and warm, like sunlight falling across a wall.
Add the sweet pea stems rising from the vase in a few loose curved lines, then paint the blooms as small ruffled petal shapes in blush, lilac and white clustered along the top of each stem. Keep the petal shapes loose and slightly irregular, sweet peas are delicate and never perfectly symmetrical.
Glass is often where beginners overthink things, so keep the vase simple: one soft highlight down one side and a slightly darker edge on the other is enough to read as glass, there is no need to paint every reflection. If mixing lilac feels tricky, a touch of blush added to dusty blue gets you there quickly.
A warm sand glow across the table suggests the sunlit setting without adding any extra objects.
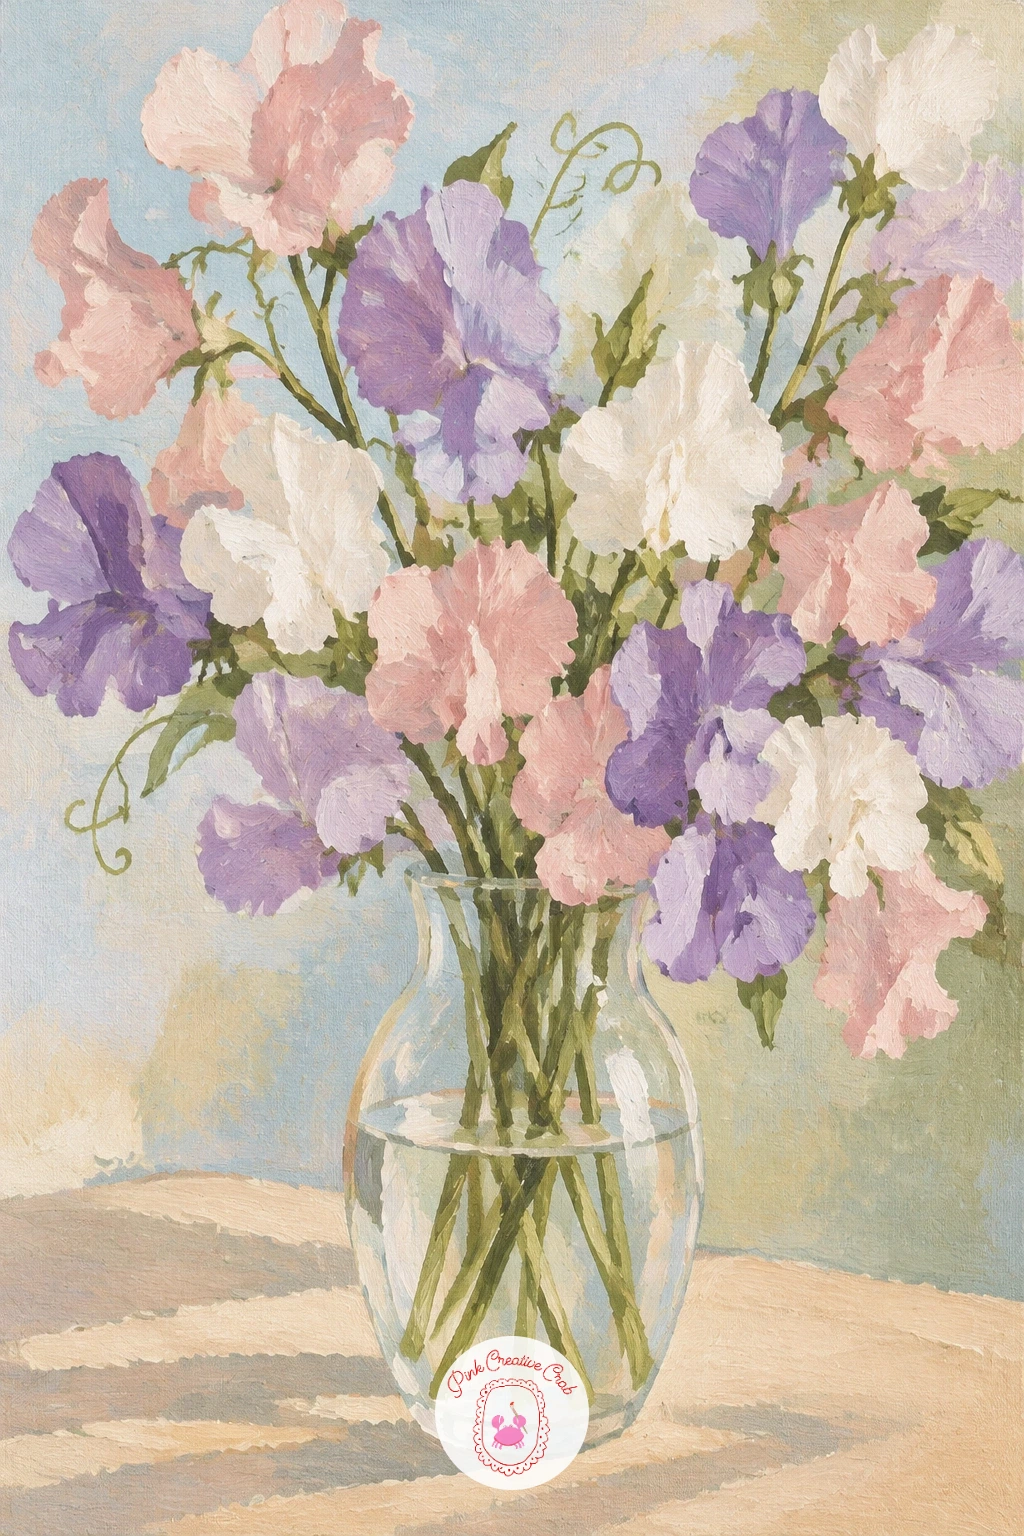
Palette: Titanium White,Blush Pink,Lilac,Sand
Build the room first as a simple flat space, a soft sand or dusty blue wall and a warm wooden floor beneath, with a touch of light coming in from one side to suggest a sunny afternoon. Keep the room almost empty, maybe one simple chair or window shape, so the dancing couple stays the clear focus.
Block the two figures in as simple silhouettes, close together, one hand raised and joined, kept loose and without facial detail, the gesture of their bodies tells the whole story. Suggest casual, comfortable clothing in soft muted tones rather than anything formal, and leave their feet bare and simply shaped against the floor.
Posture does the storytelling here, so before adding color check that the two figures lean gently toward each other rather than standing stiffly apart, that small lean is what reads as warmth and ease rather than a formal dance pose. If two linked figures feel hard to balance, sketch them lightly in pencil first and adjust the spacing before committing to paint.
A warm sand light pooling around their feet finishes the sunny, relaxed feeling of the room.
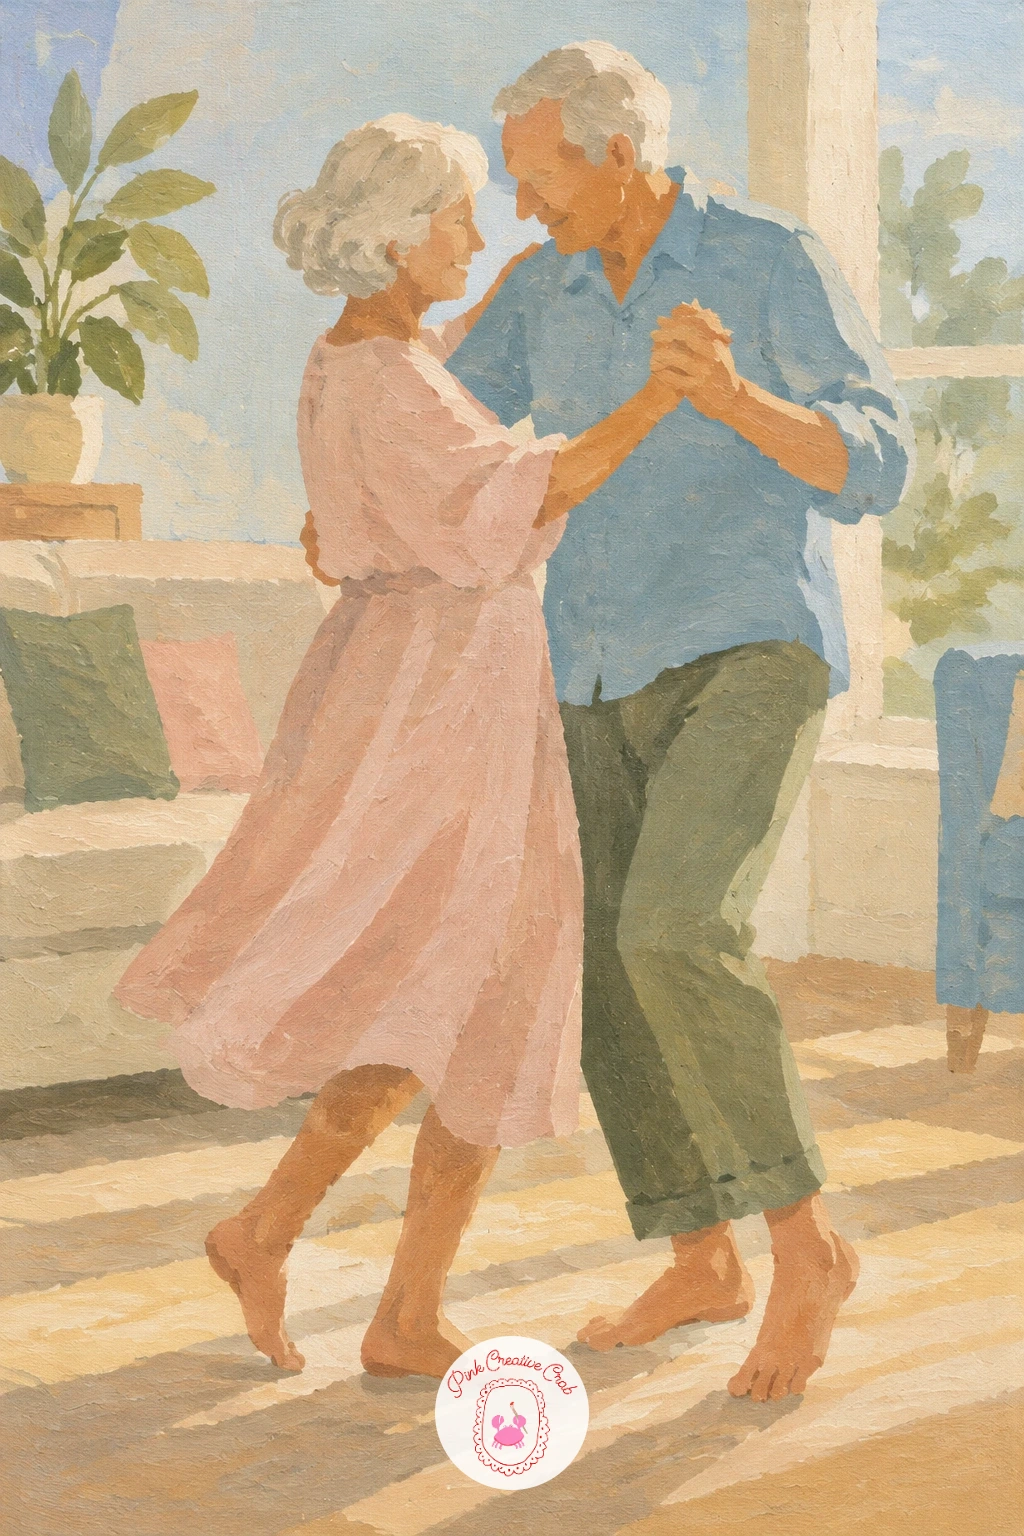
Palette: Sand,Dusty Blue,Payne’s Grey,Sage Green
Paint the sky and water first as two flat bands of pale blue and turquoise, blended softly where they meet at the horizon, before the boat goes in. Keep the water perfectly calm, with maybe one or two thin pale ripple lines rather than any waves.
Block the sailboat in as a few simple white triangle and curved hull shapes, kept small against the wide bay to suggest open, peaceful water around it. Add a single thin mast line and a small colored flag or pennant at the top if you want one point of accent color.
Scale and placement carry this entire piece, so set the boat slightly off center, never dead middle, and keep it noticeably small compared to the whole canvas, which is exactly what makes the bay feel calm and expansive rather than crowded. If the hull shape feels tricky freehand, a shallow curved line drawn in one confident stroke reads better than several short corrected ones.
Reflect the white sail faintly in the water just beneath the boat to settle it onto the surface.
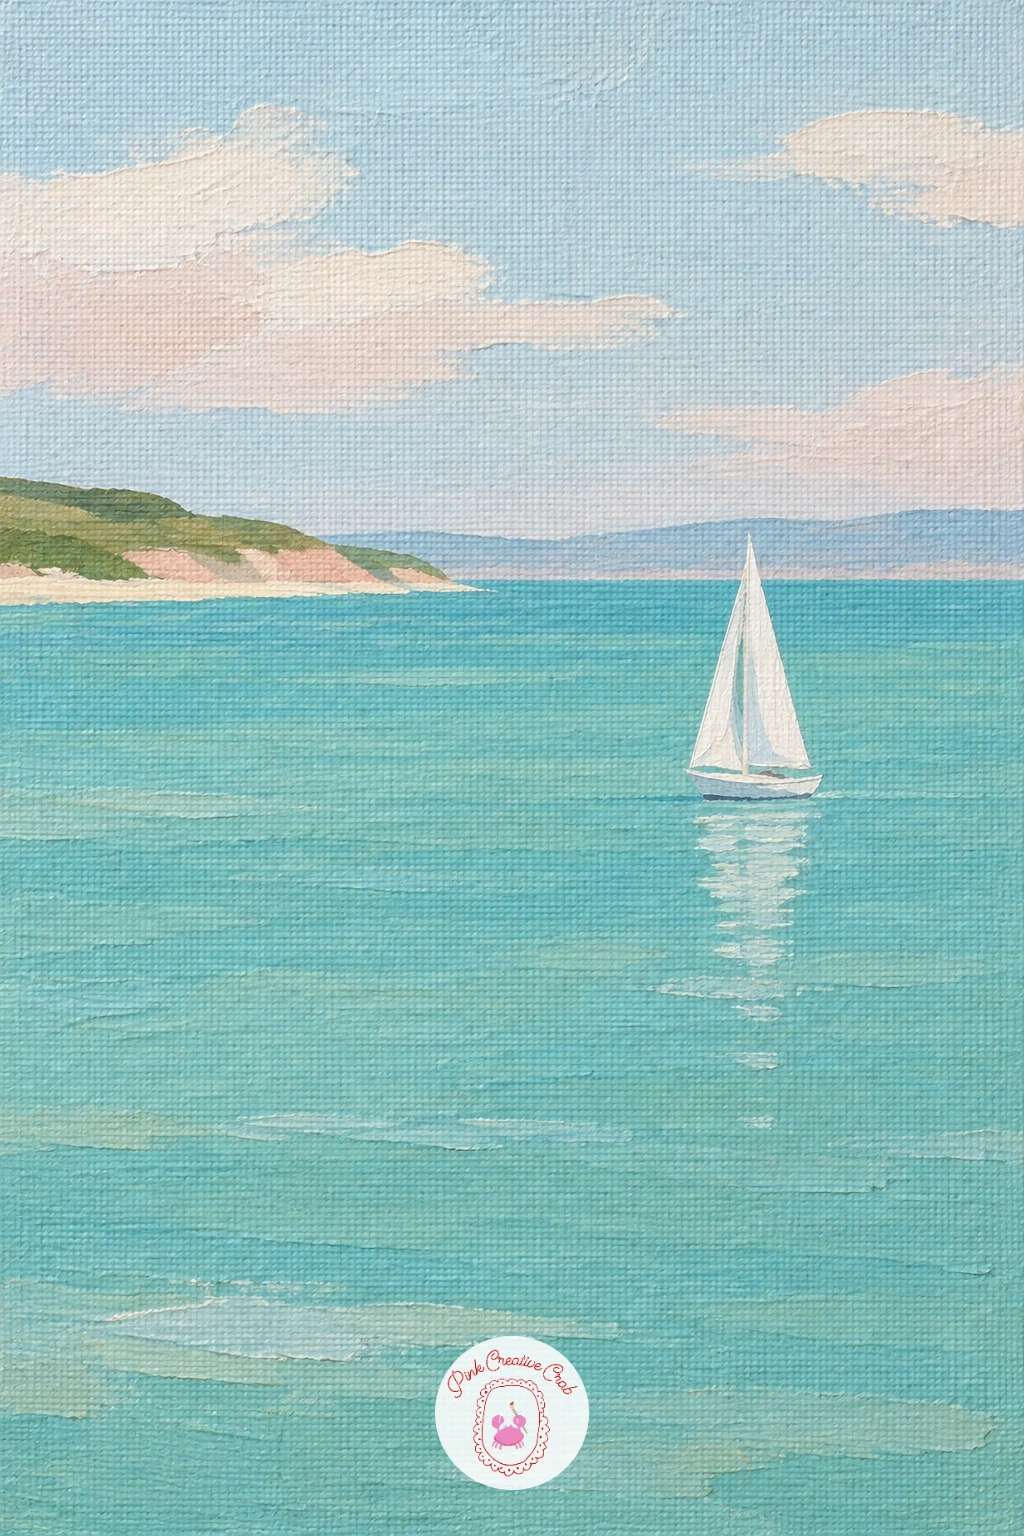
Palette: Pale Sky Blue,Turquoise,Titanium White,Sand
Set the canal running straight down the middle of the canvas, narrowing slightly as it recedes, and paint the water first as a flat dusty blue strip with the buildings’ colors echoed faintly in a soft reflection beneath them. Block in a row of tall narrow gabled houses along each side of the canal in varied heights and soft muted tones, sand, dusty blue and blush side by side.
Add simple pointed or stepped gable rooflines to each house, kept geometric and clean, then paint a small bridge crossing the canal partway up the canvas with one simple bicycle leaning against its rail.
Perspective is everything in a canal scene, so keep the houses at the front of the row taller and more detailed, and the ones further back shorter and softer in tone, which pulls the whole street convincingly into the distance. If a whole row of varied houses feels like a lot, four or five buildings is plenty, more than that starts to crowd a small canvas.
Keep window shapes to simple small rectangles, no need to paint individual panes.
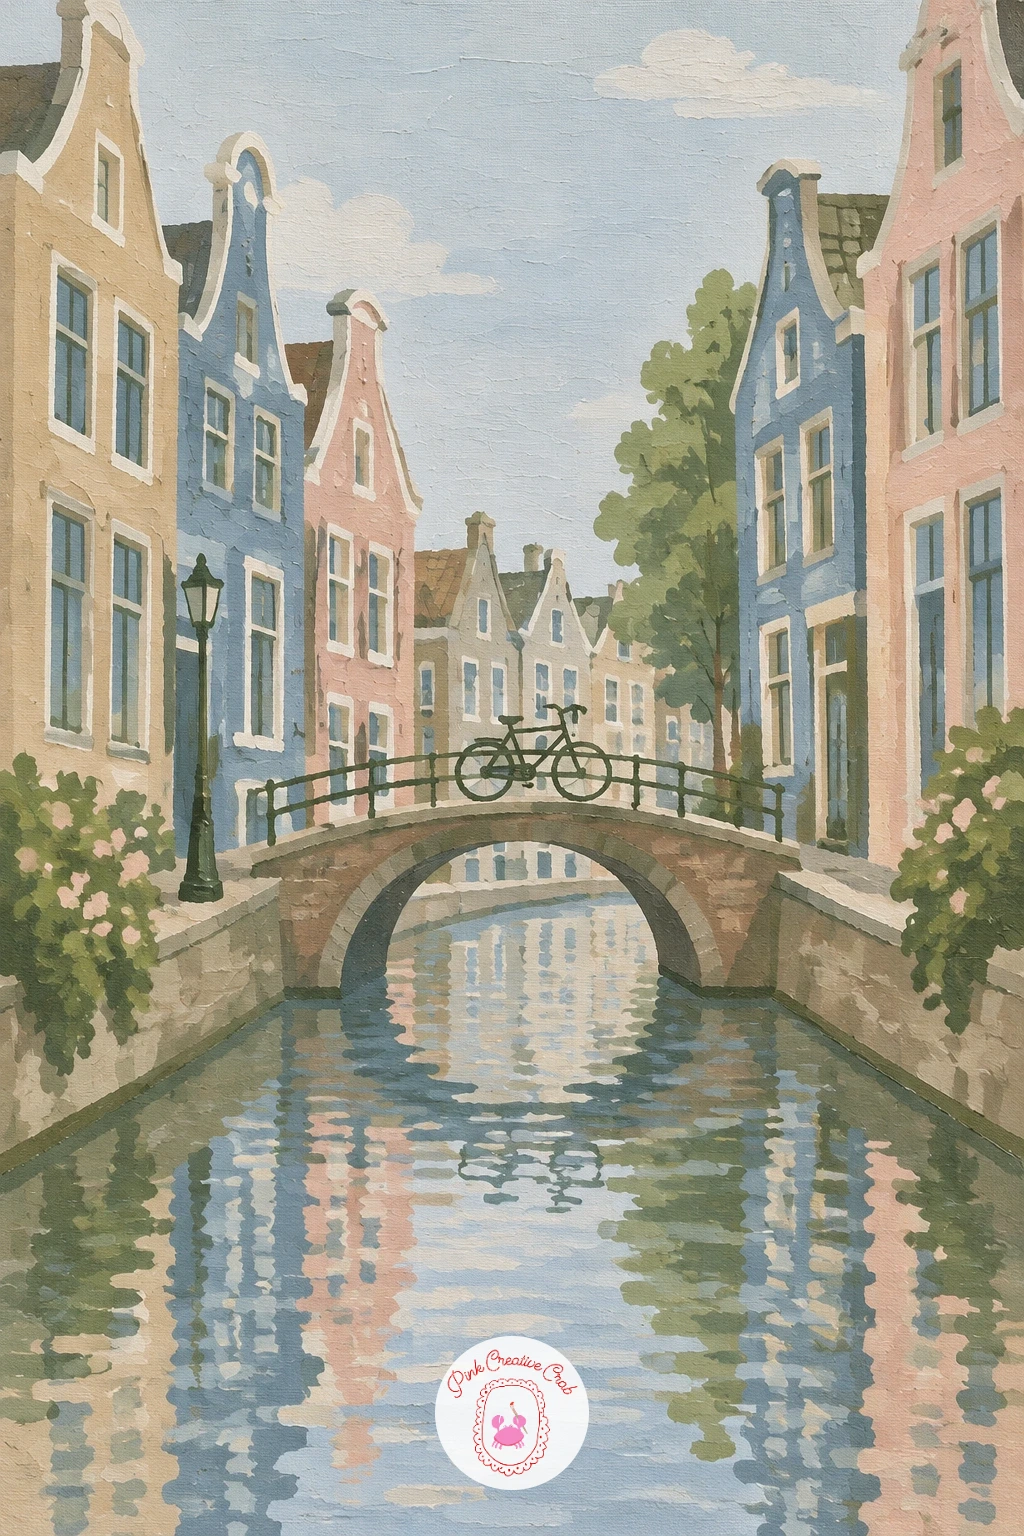
Palette: Dusty Blue,Sand,Blush Pink,Payne’s Grey
Paint the sky first as a flat soft blue background covering the whole canvas, left to dry fully since cosmos flowers rely on a clean cool backdrop to stand out. Build a cluster of three or four stems rising up through the frame in thin confident lines, varying their height so they do not all top out at the same level.
Paint the cosmos blooms next, simple open flat flowers with six or eight narrow petals radiating from a small center, alternating white and blush blooms across the cluster. Add a few delicate feathery sage leaves along the stems last, kept thin and loose rather than heavy.
If this is your first time painting a many petaled flower, mark the center point first and paint each petal as a single confident stroke outward from it, rather than trying to outline the whole flower and fill it in afterward, which almost always looks stiffer. One darker gold dot at the very center of each bloom finishes it convincingly.
Keep the stems thin enough that they almost disappear against the sky, letting the blooms float.
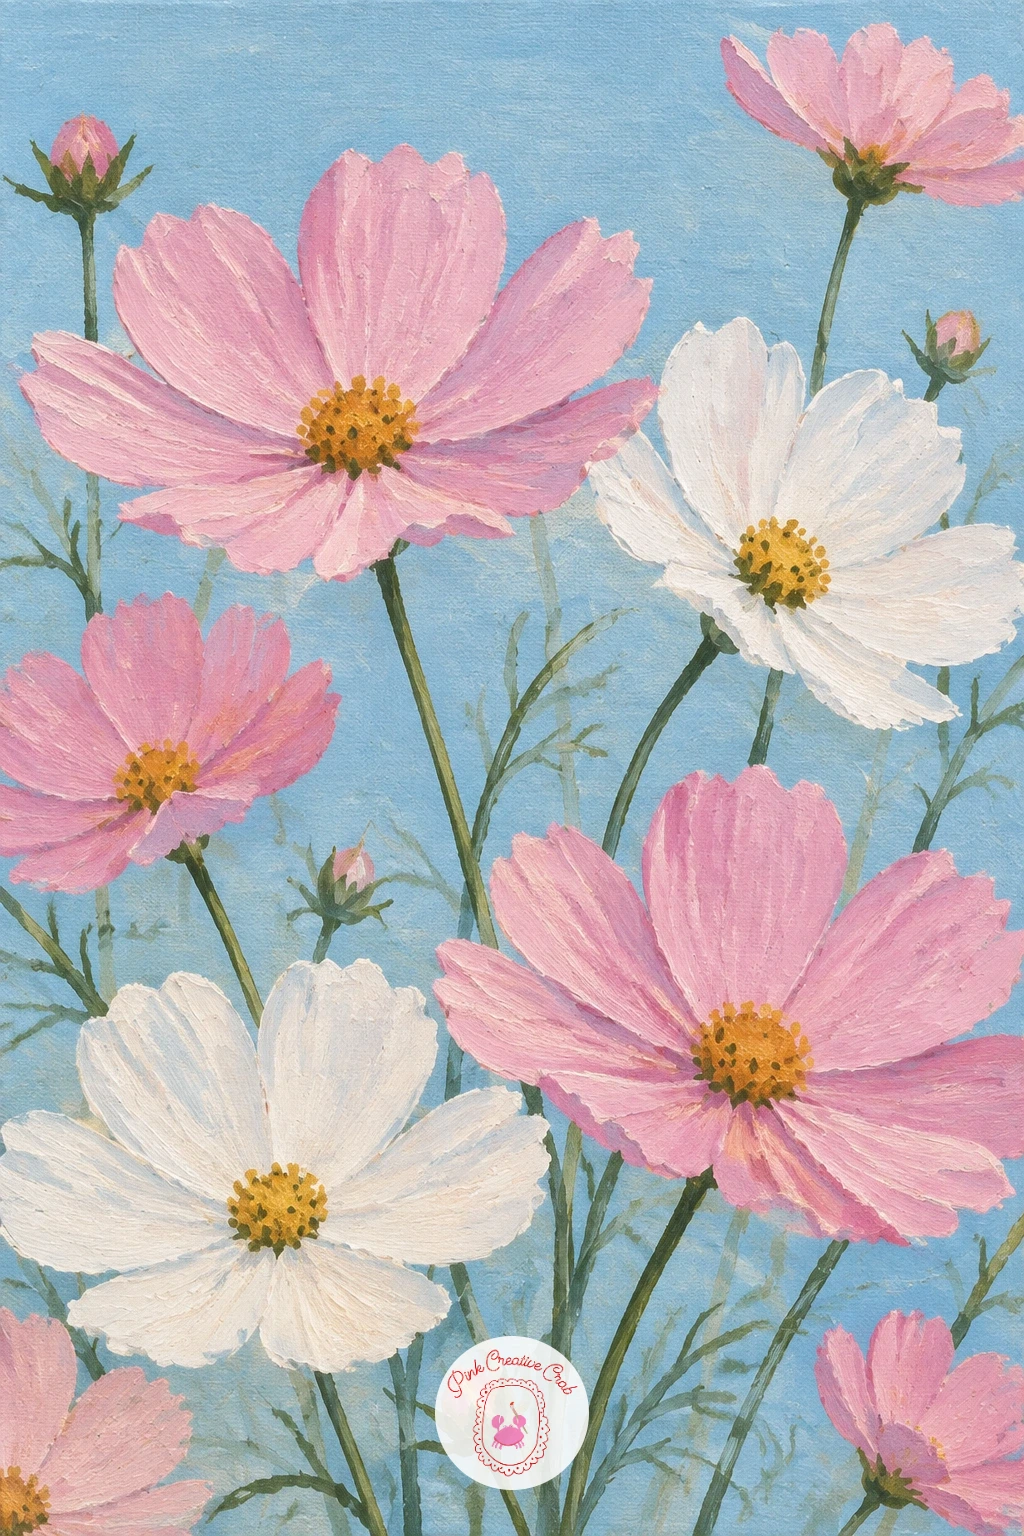
Palette: Pale Sky Blue,Titanium White,Blush Pink,Sage Green
Try the same open petal technique on a daisy or anemone next time, the center and petal method stays identical, only the color changes.
Paint the mustard velvet sofa first as a flat rich gold base covering most of the canvas, with a few soft darker folds suggested in the cushion to give it some depth without overworking the fabric. Let it dry before the dog goes on top.
Block in the Dalmatian curled up asleep, a simple rounded body shape with head tucked down, in white first, left to dry completely. Add the black spots last with a small round brush, irregular in size and scattered unevenly, denser along the back and thinner toward the legs and belly, the way a real Dalmatian’s coat falls.
Spot placement is where this one can go wrong fastest: avoid lining spots up in neat rows, instead cluster a few close together here and leave open white space there, which is what makes the coat read as random and natural rather than printed fabric. No round brush small enough on hand, the tip of a cotton swab dipped in paint works as a quick swap for smaller spots.
Finish with a soft warm shadow where the dog’s body presses into the velvet cushion.
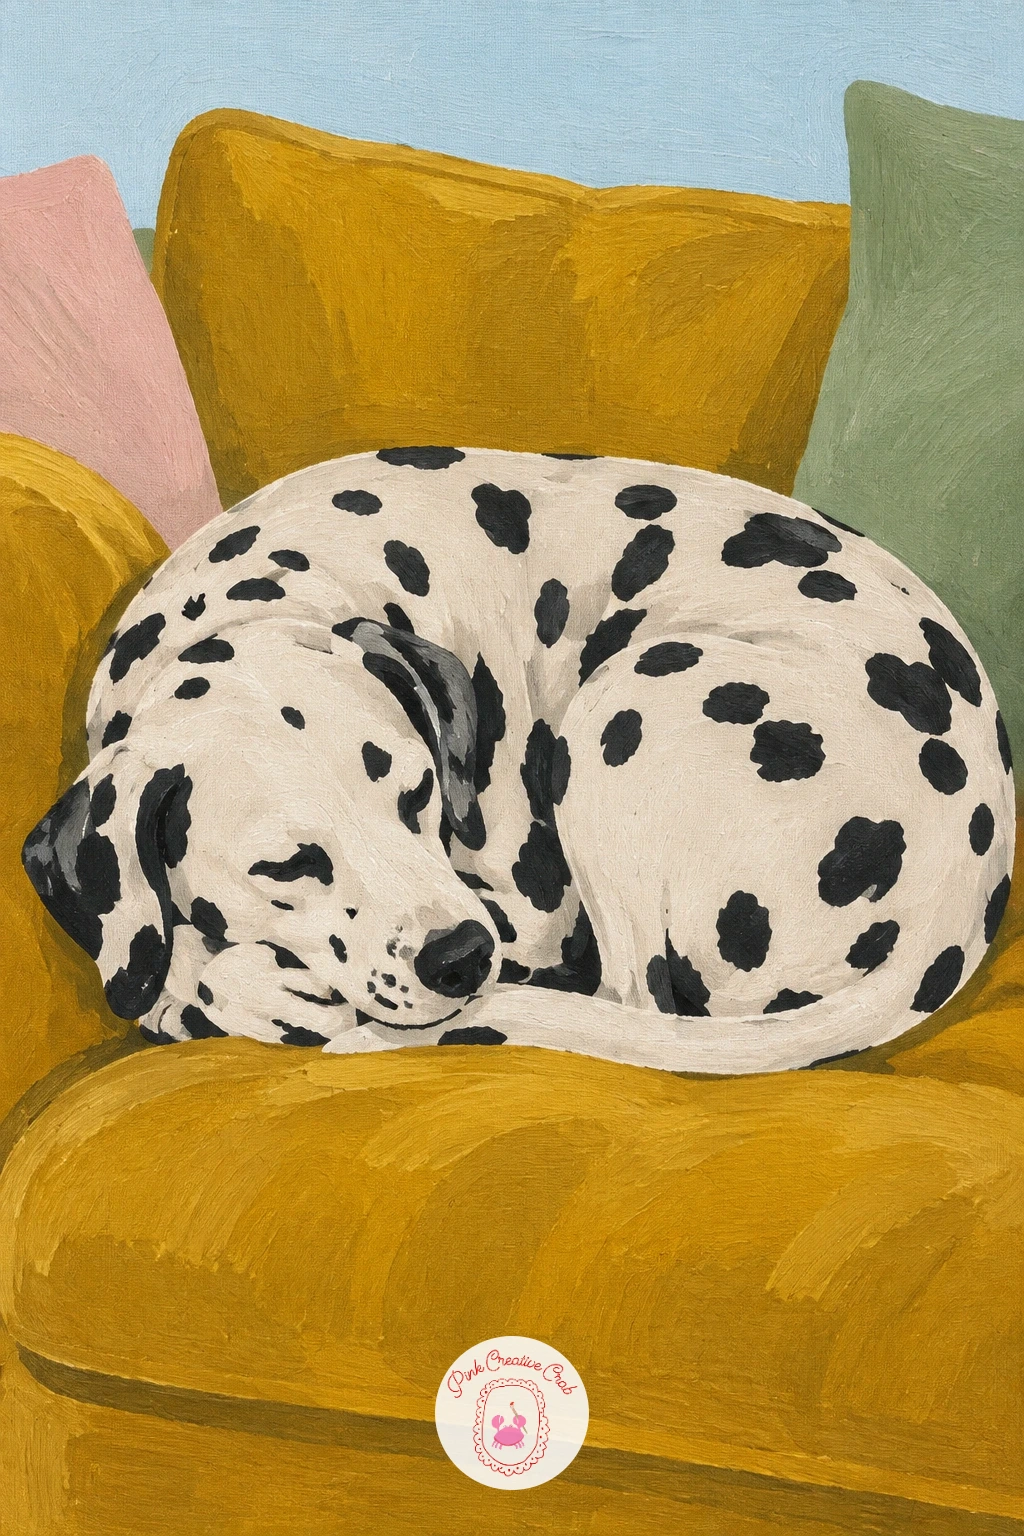
Palette: Golden Ochre,Titanium White,Payne’s Grey,Sand
What to Do Next
Pick whichever canvas matches the wall calling out for something new, tape off your edges if the shape needs it, and work background to foreground the way each idea walks you through. A small canvas and an hour or two is all it takes to get a finished piece worth hanging.
Frequently Asked Questions
What size canvas works best for these canvas painting ideas?
A small or medium canvas, roughly eight by ten to sixteen by twenty inches, suits every idea here. Small canvases finish faster and still look full once the subject fills the frame as described.
Do I need to prime the canvas before starting?
Most pre stretched canvases already come primed and ready to paint. If yours feels rough or absorbent, add one thin coat of gesso and let it dry fully before blocking in any color.
How do I get smooth flat color blocks instead of streaky paint?
Load the brush well and work in one direction without going back over half dried paint, which causes streaking. A flat synthetic brush and slightly thinned acrylic paint glides on more evenly than paint straight from the tube.
What if my proportions look off partway through?
Step back, squint at the canvas from across the room, and compare shapes rather than edges, which reveals proportion problems faster than close up checking. Fix the largest shape first, since small adjustments rarely fix a wrong overall size.
Can these canvas painting ideas really be finished in one sitting?
Yes, each one is built from a handful of simple flat shapes rather than fine detail, so a focused hour or two is usually enough. Simplify further by reducing flower or feather counts if time is tight.
Have any thoughts?
Share your reaction or leave a quick response — we’d love to hear what you think!
-
 0
-
0
-
0
-
0
-
0
-
0


