

Table of Contents
These watercolor trees give you sixteen different subjects, each one built from a few big closed shapes so there is nothing fiddly to draw and nothing to get wrong before you even pick up a brush. Every tree comes as a finished painted example next to a clean black and white outline, from a round oak to a snow-loaded fir.
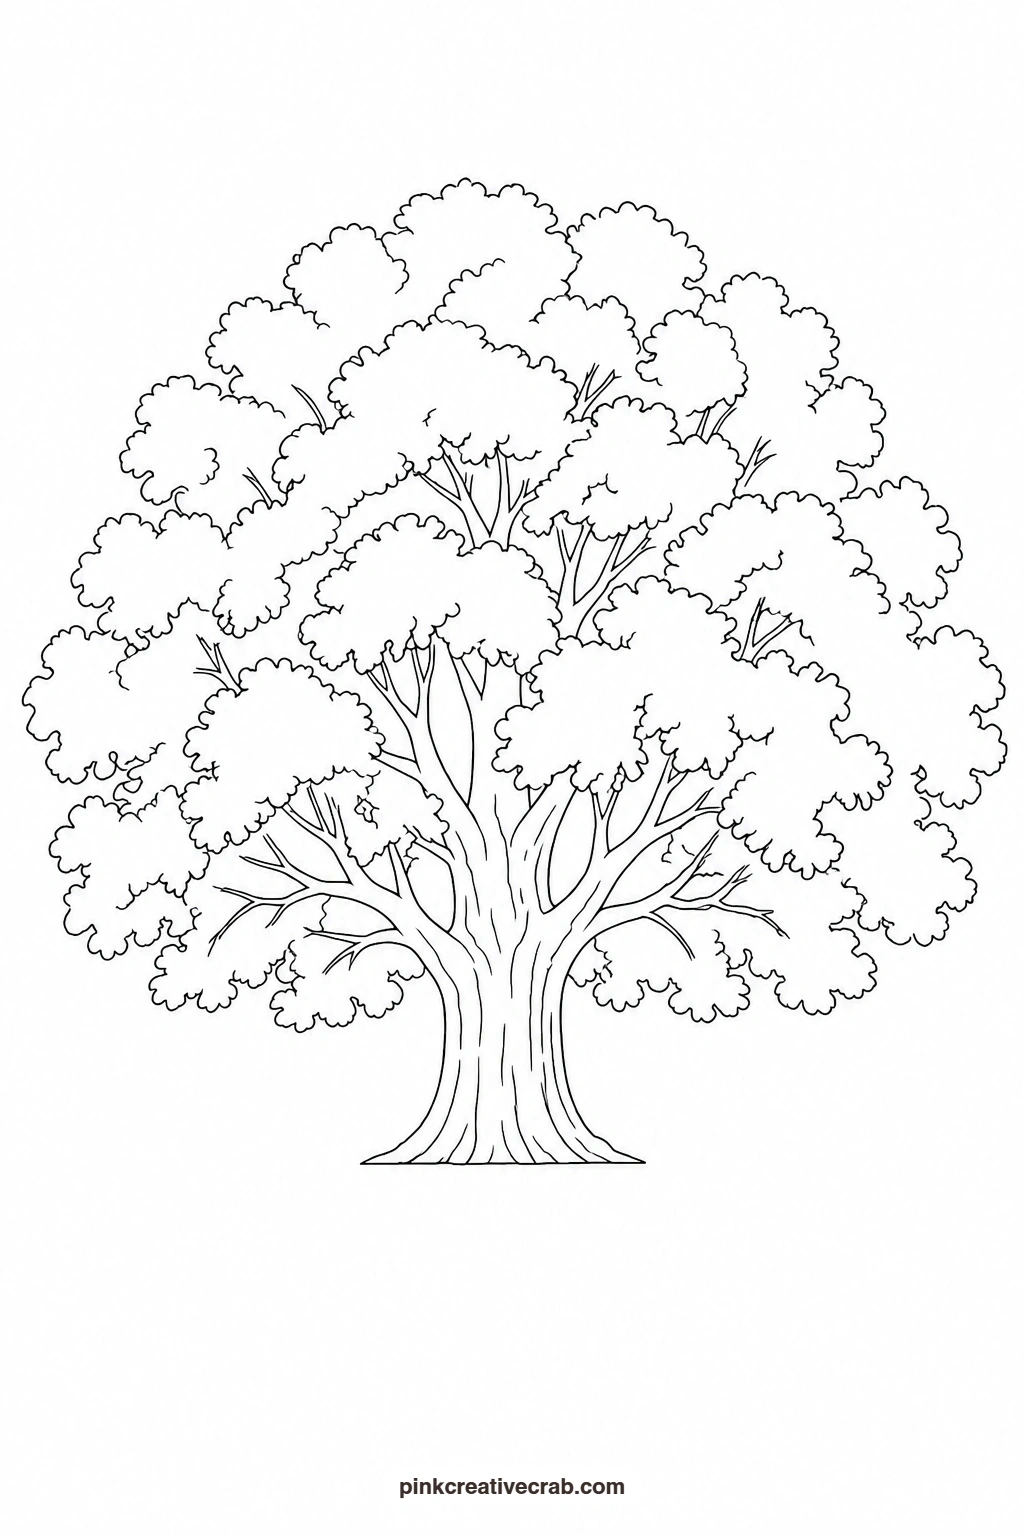
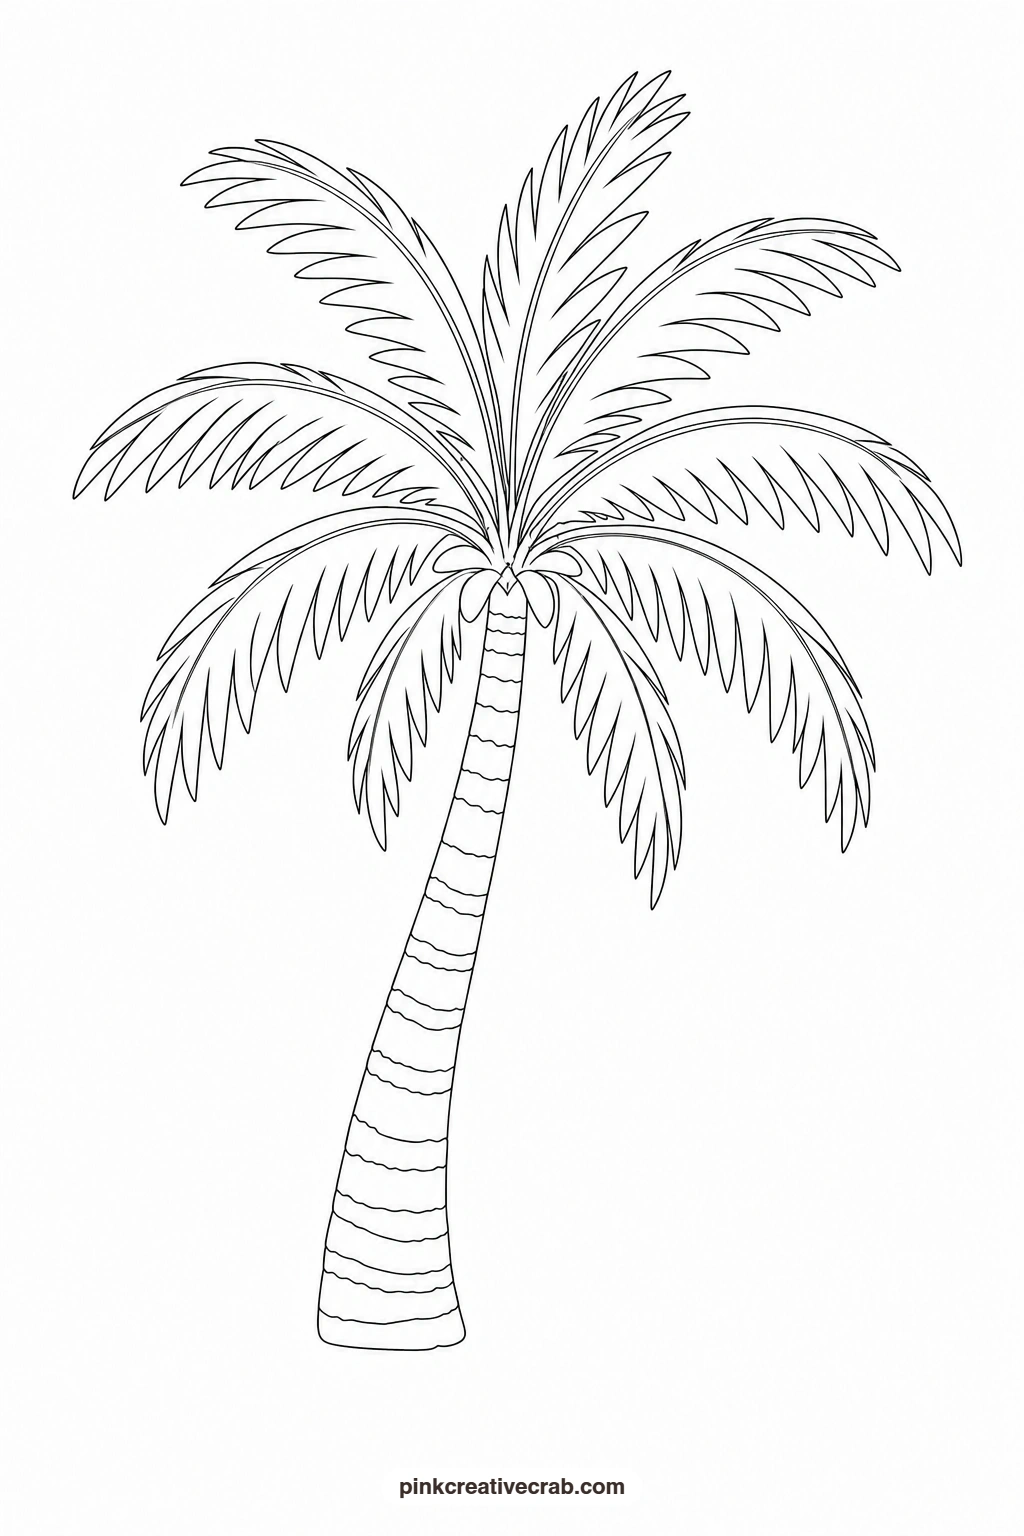
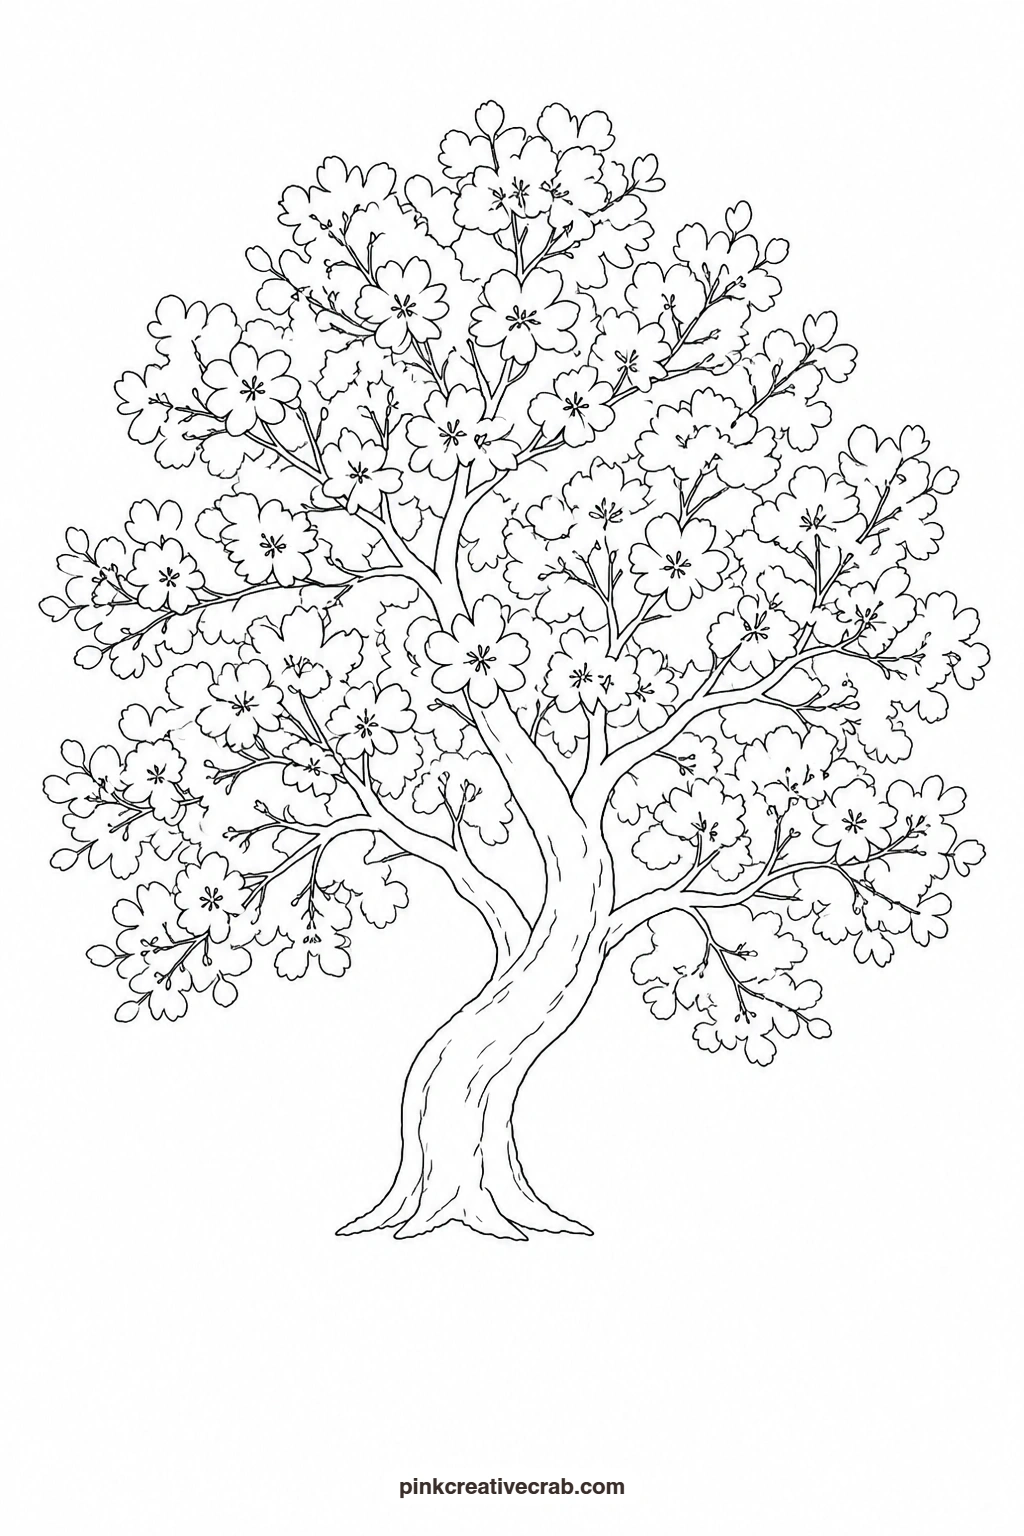
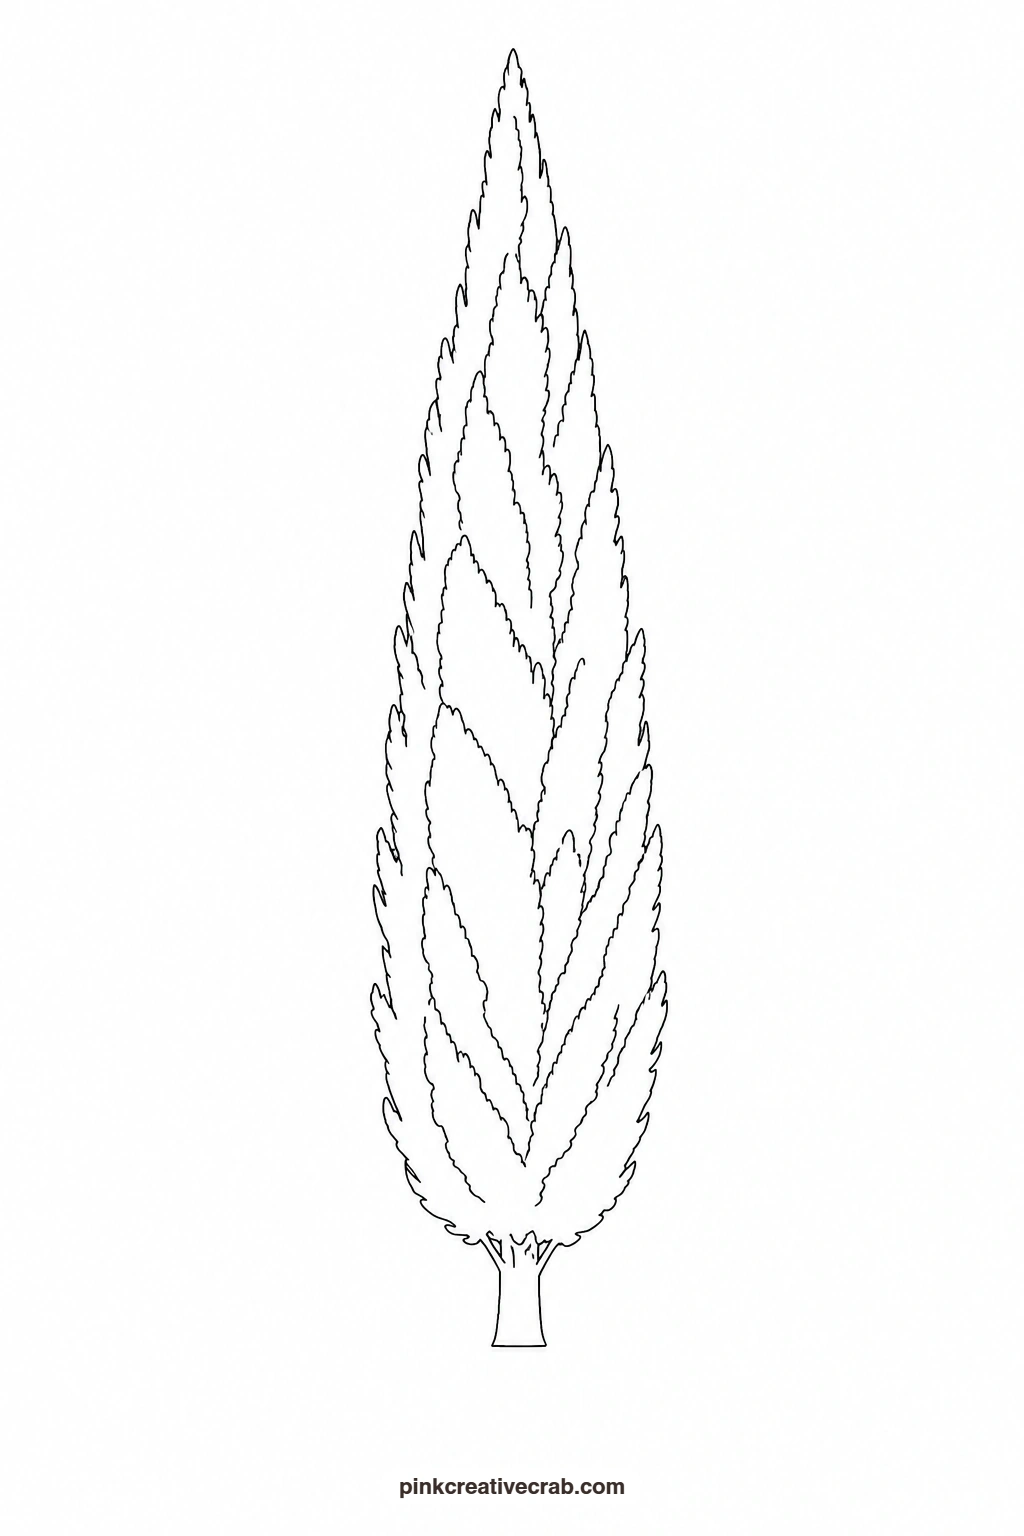
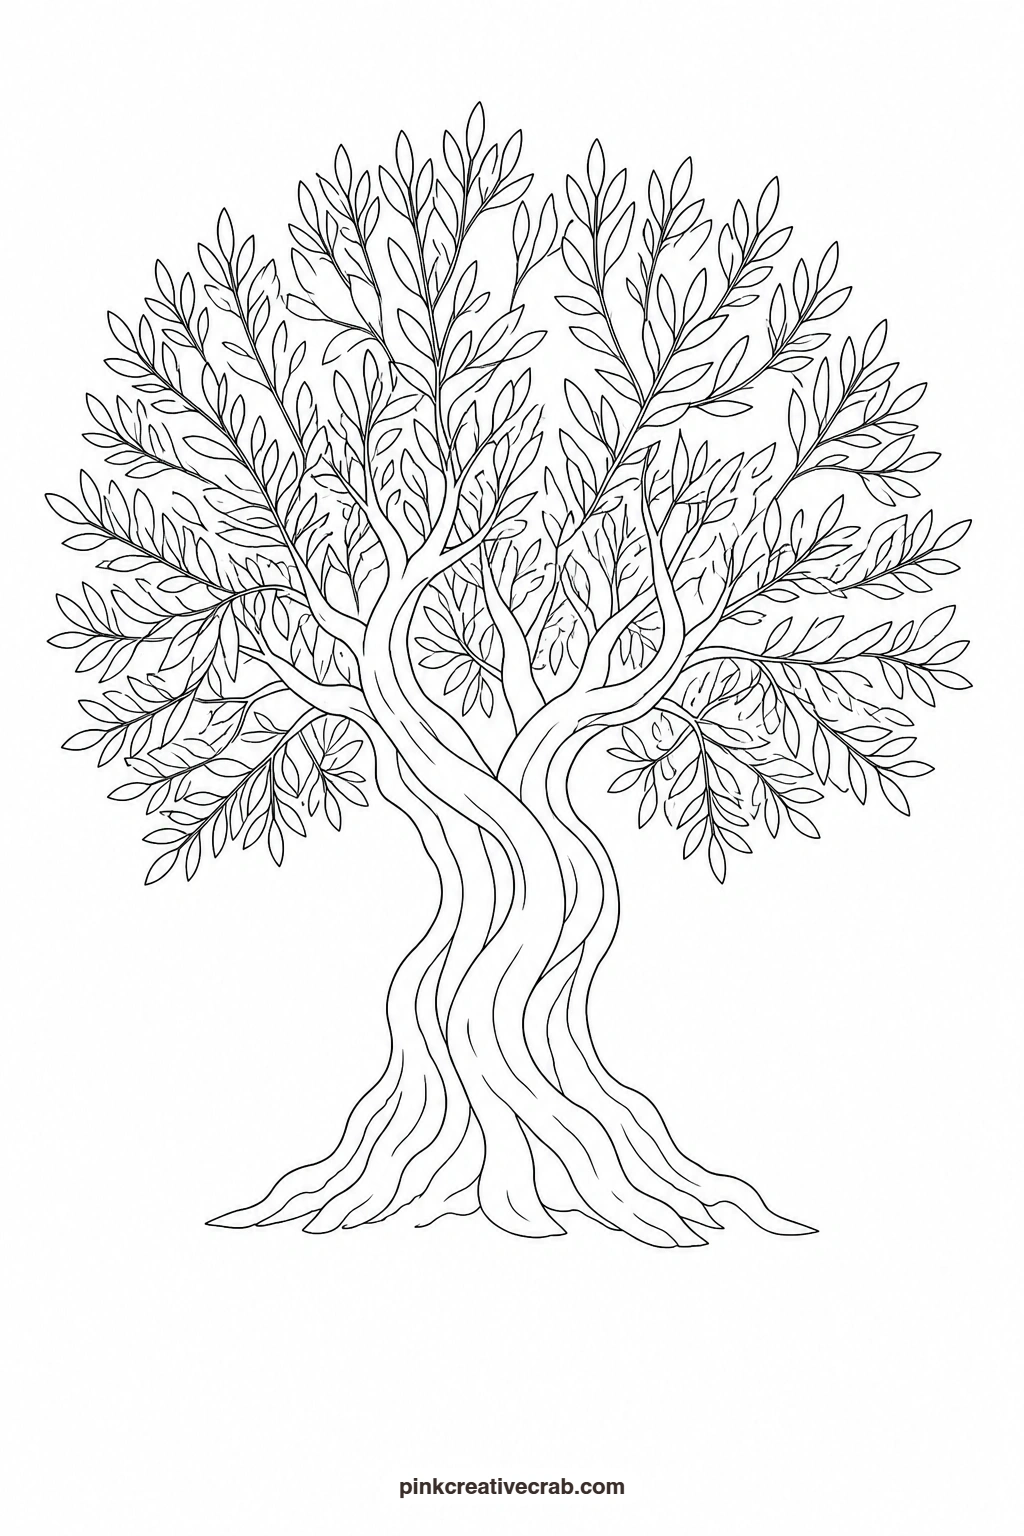
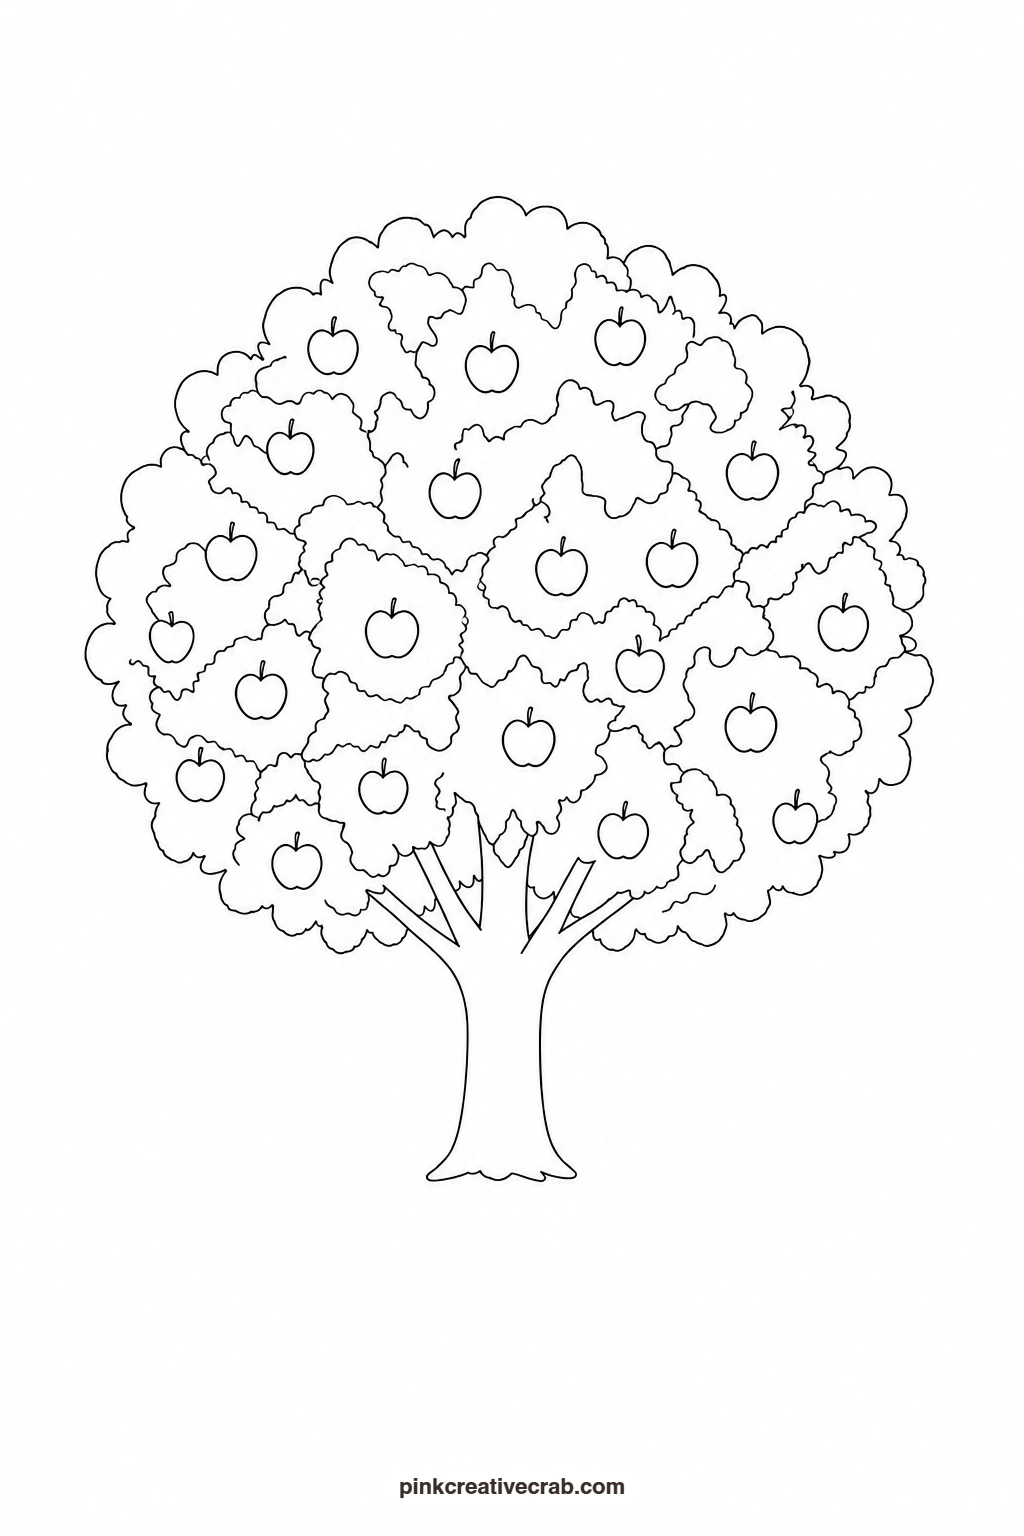
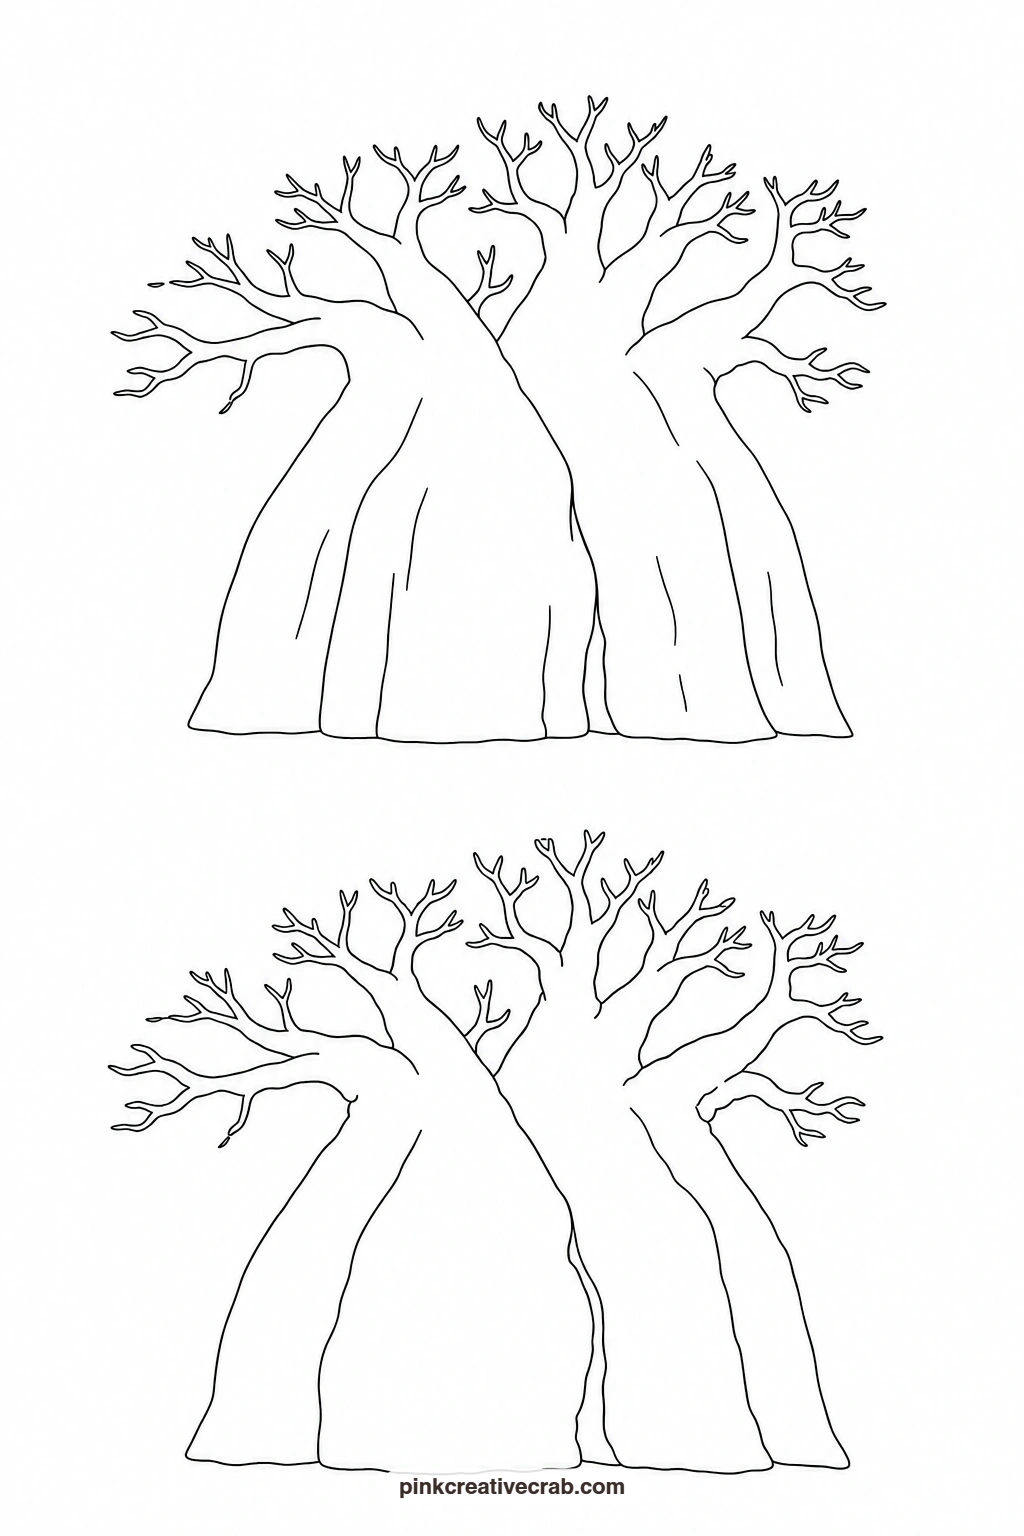
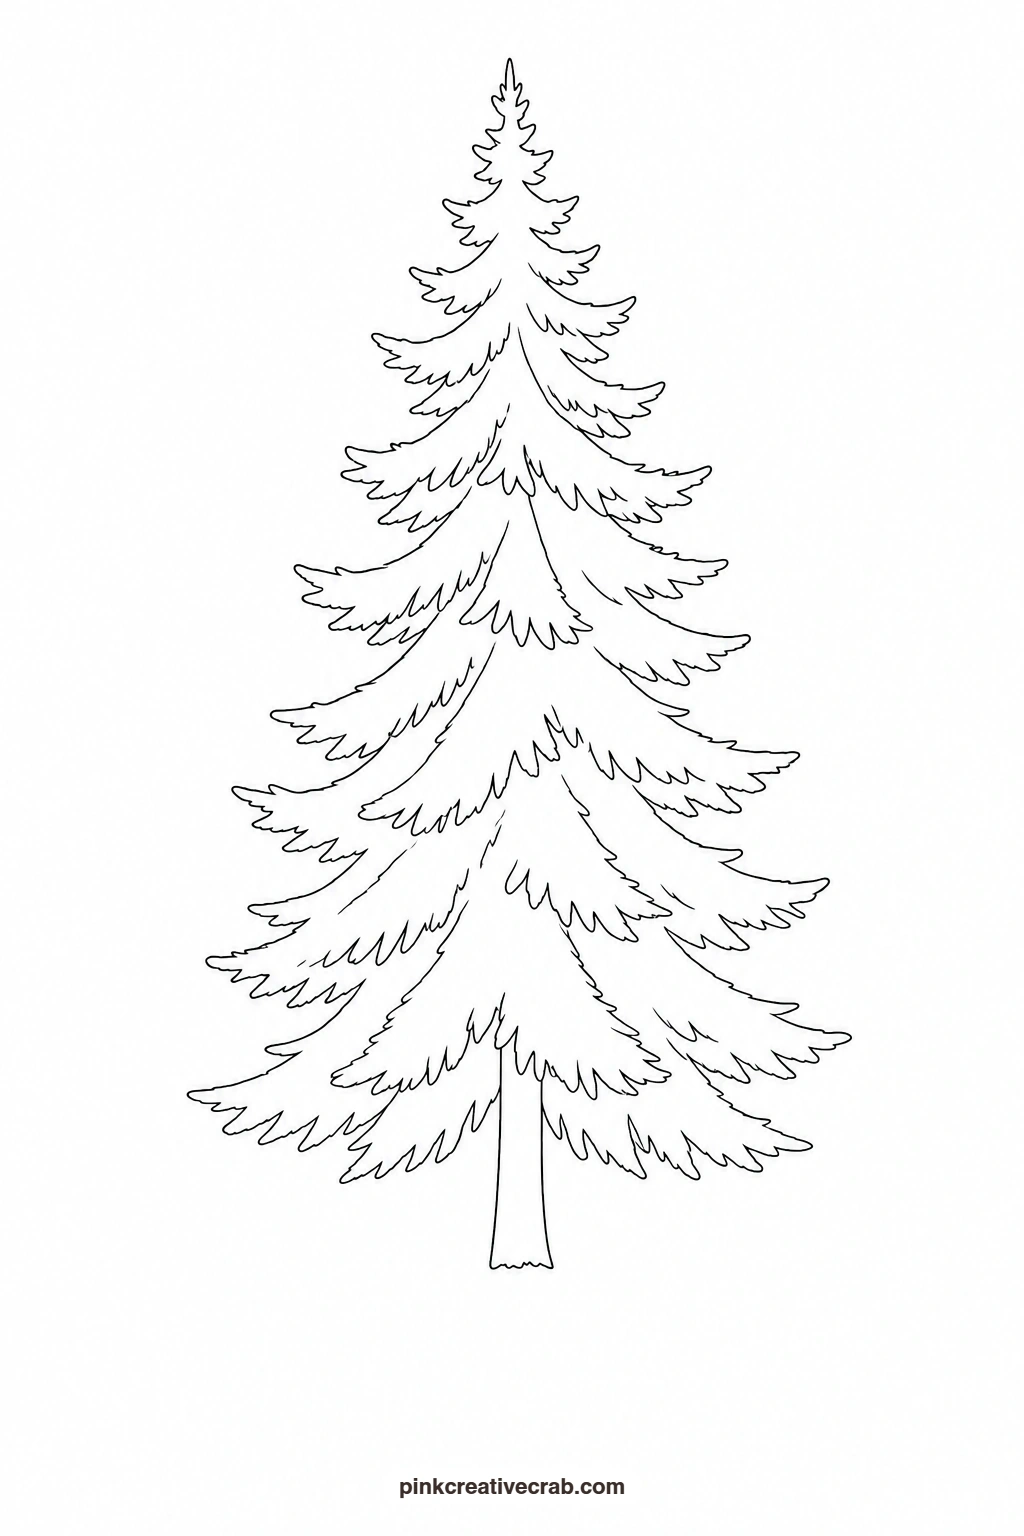
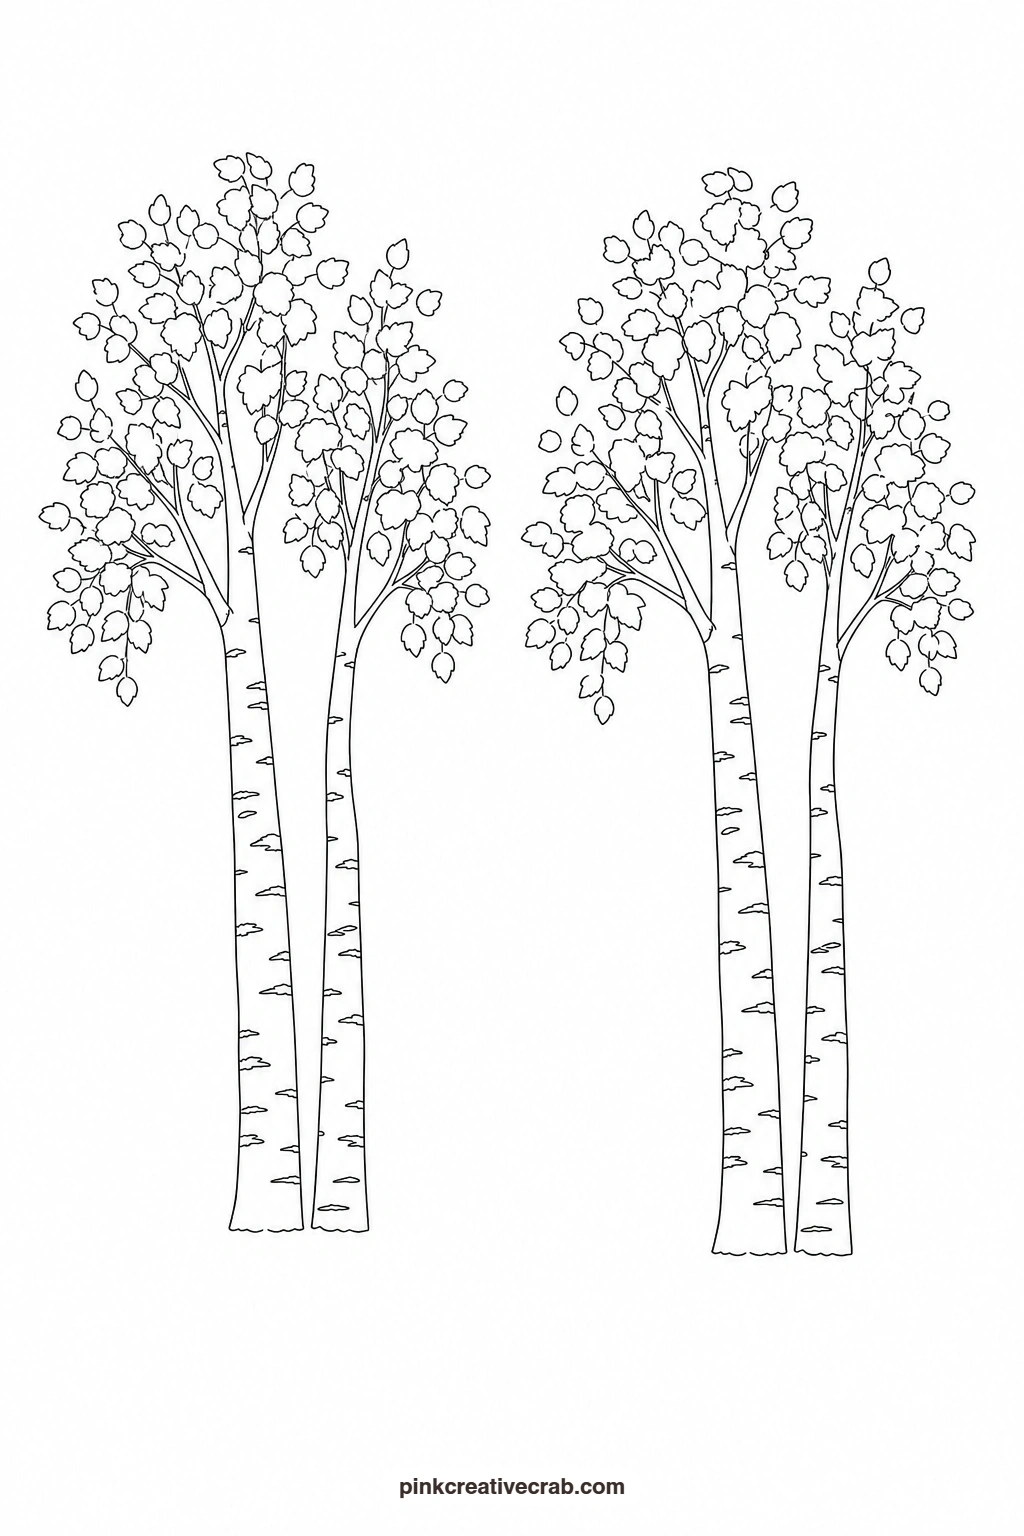
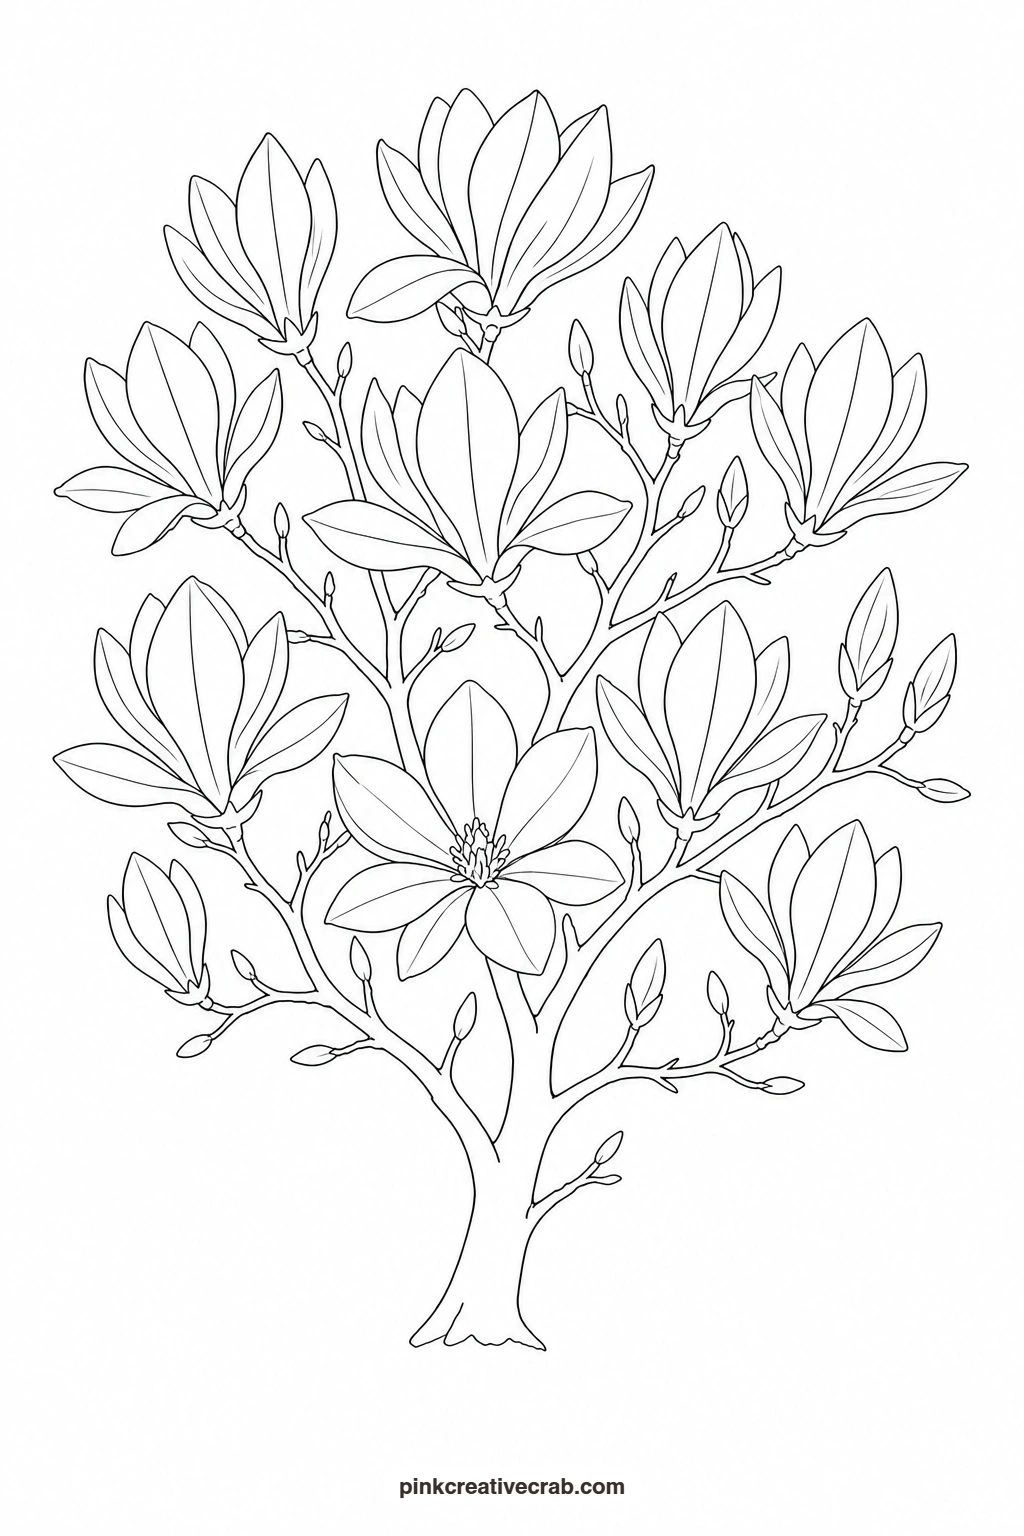
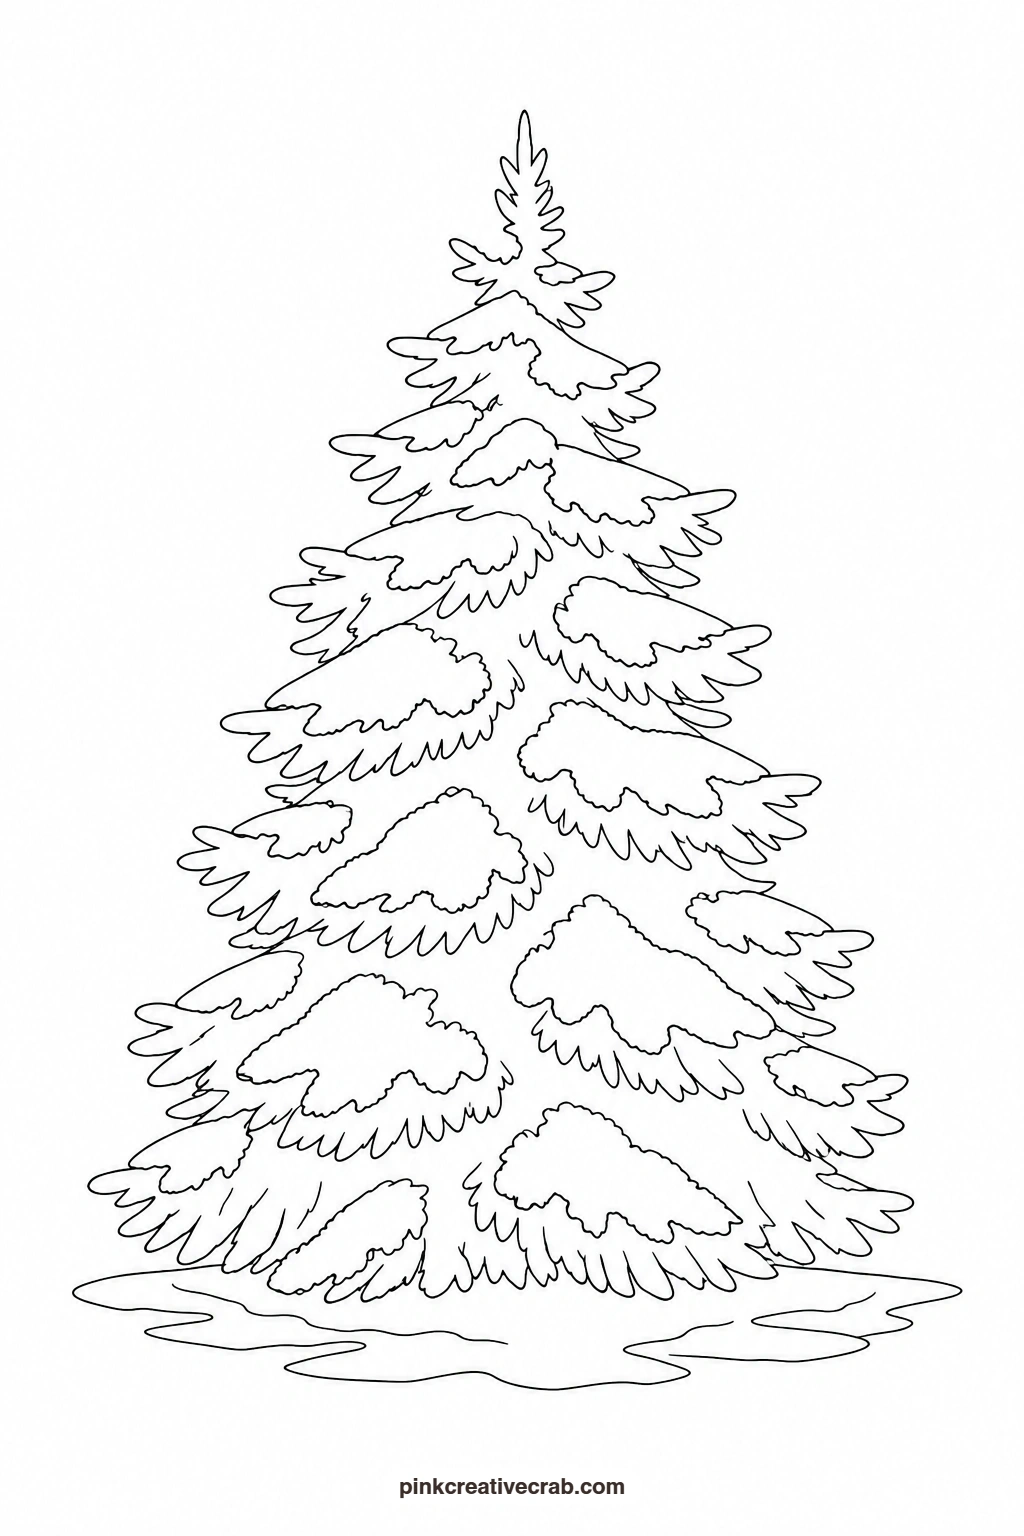
Print the outline at the size you want, then transfer it to your watercolor paper by holding both sheets against a sunny window or a light pad, or by slipping a piece of graphite transfer paper between them and tracing the lines through. Once the shapes are on your paper, keep the painted example beside you and work through it wash by wash.
Using these images: free for personal projects such as printing, coloring, cards, journals and gifts. Handmade items that include them may be sold up to 30 pieces per design. More than that is commercial use and is not permitted, and neither is selling or sharing the images themselves or passing them off as your own. Please ask before any other use.
Round Oak Tree
Wet the whole canopy shape first and drop in sap green, letting it pool a little heavier at the bottom edge so the mass of leaves feels full rather than flat. While still damp, touch in a darker olive or hunter green in a few patches under the overhang to suggest depth without painting individual leaves. Once dry, paint the trunk and branches in a warm brown, leaving a sliver of white paper on one side of the trunk for the light.
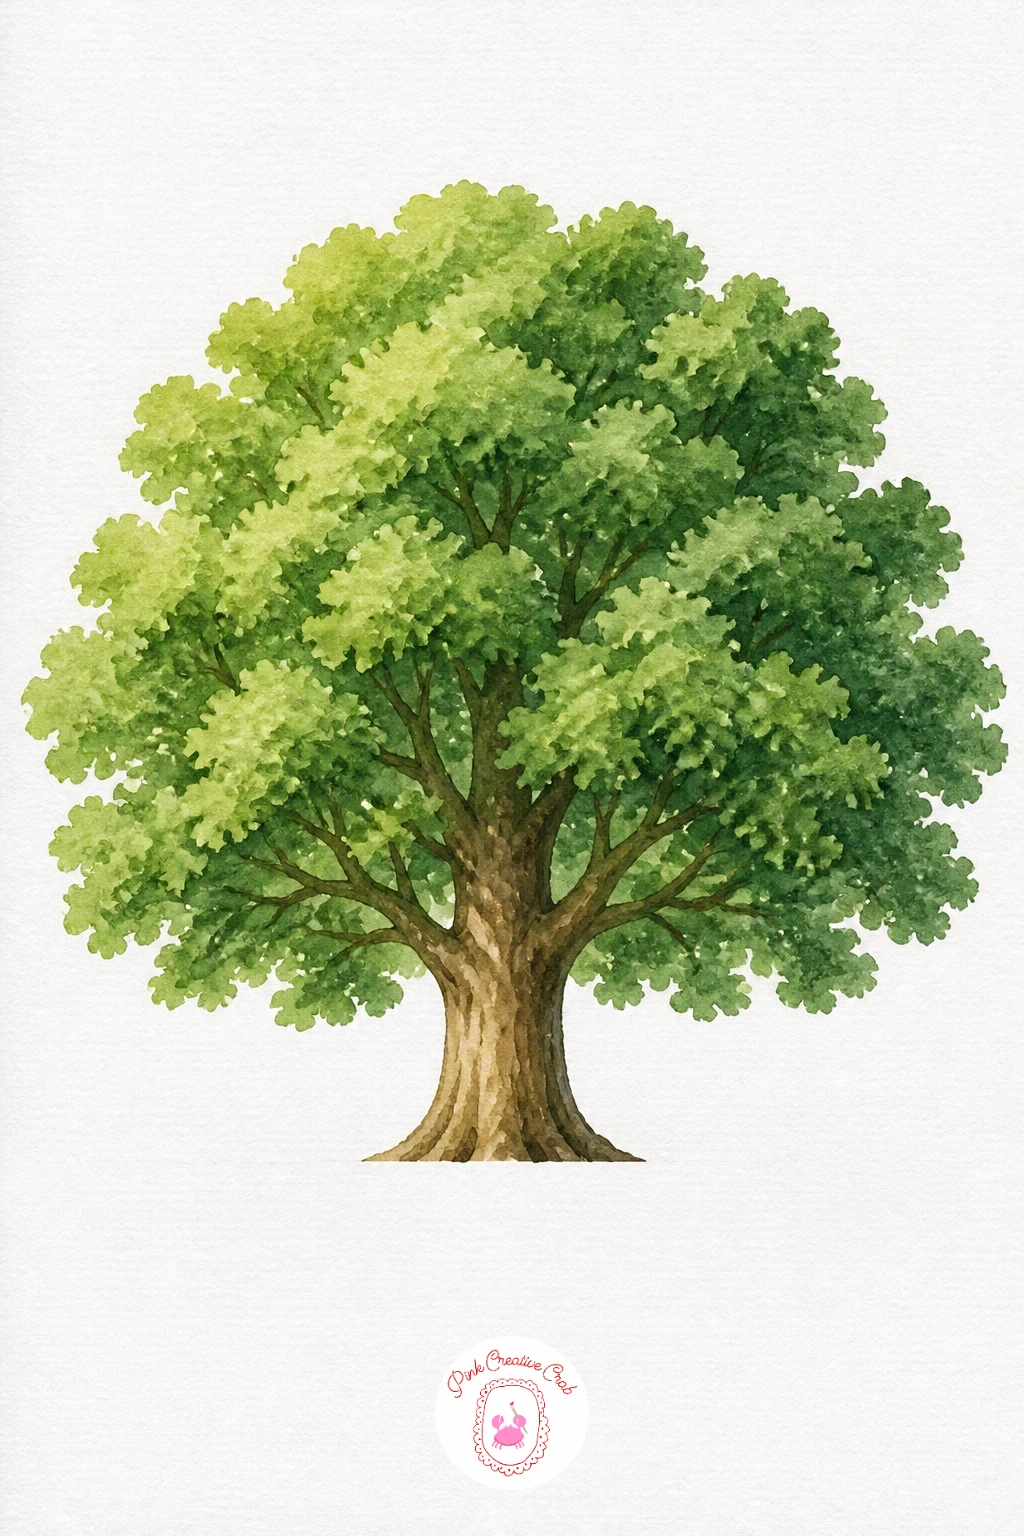
Palette: Sap Green,Hunter Green,Burnt Umber,Yellow Ochre
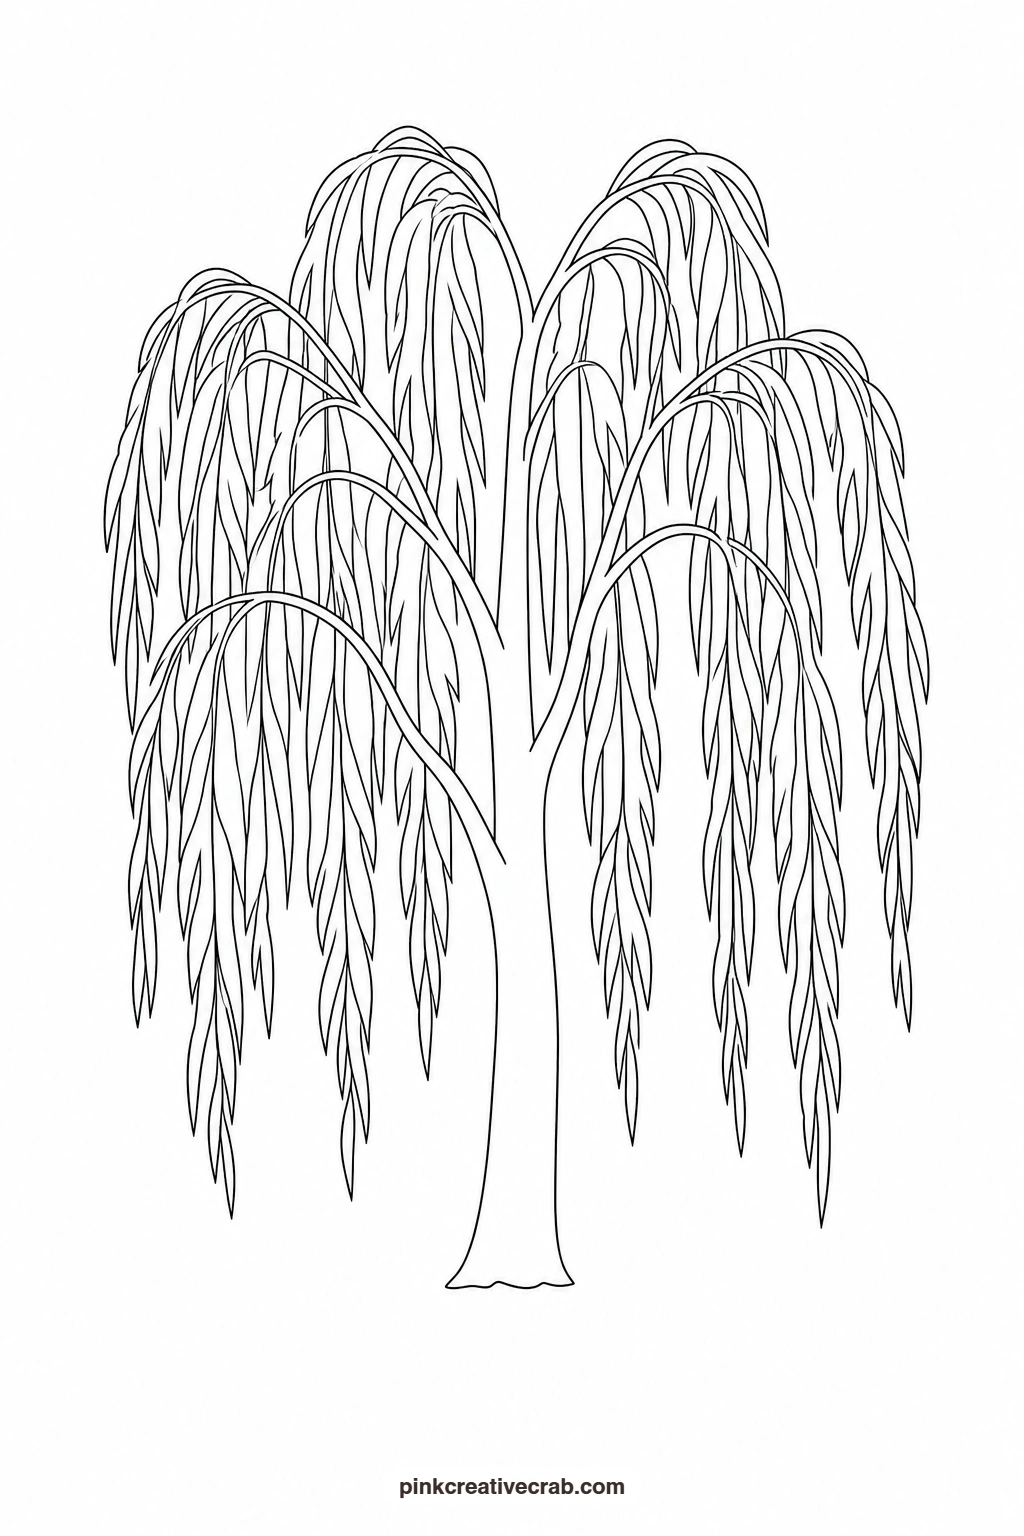
Weeping Willow
Start with the trunk and a few main branches in grey brown, then switch to a pale sage green for the long drooping fronds, pulling the brush downward in one smooth stroke per branch so each line tapers to a point. Keep the green thin and a little grey so the willow reads as soft rather than heavy. Add a second, slightly deeper green pass over just the tips once the first layer dries, to give the drooping ends a touch more weight.
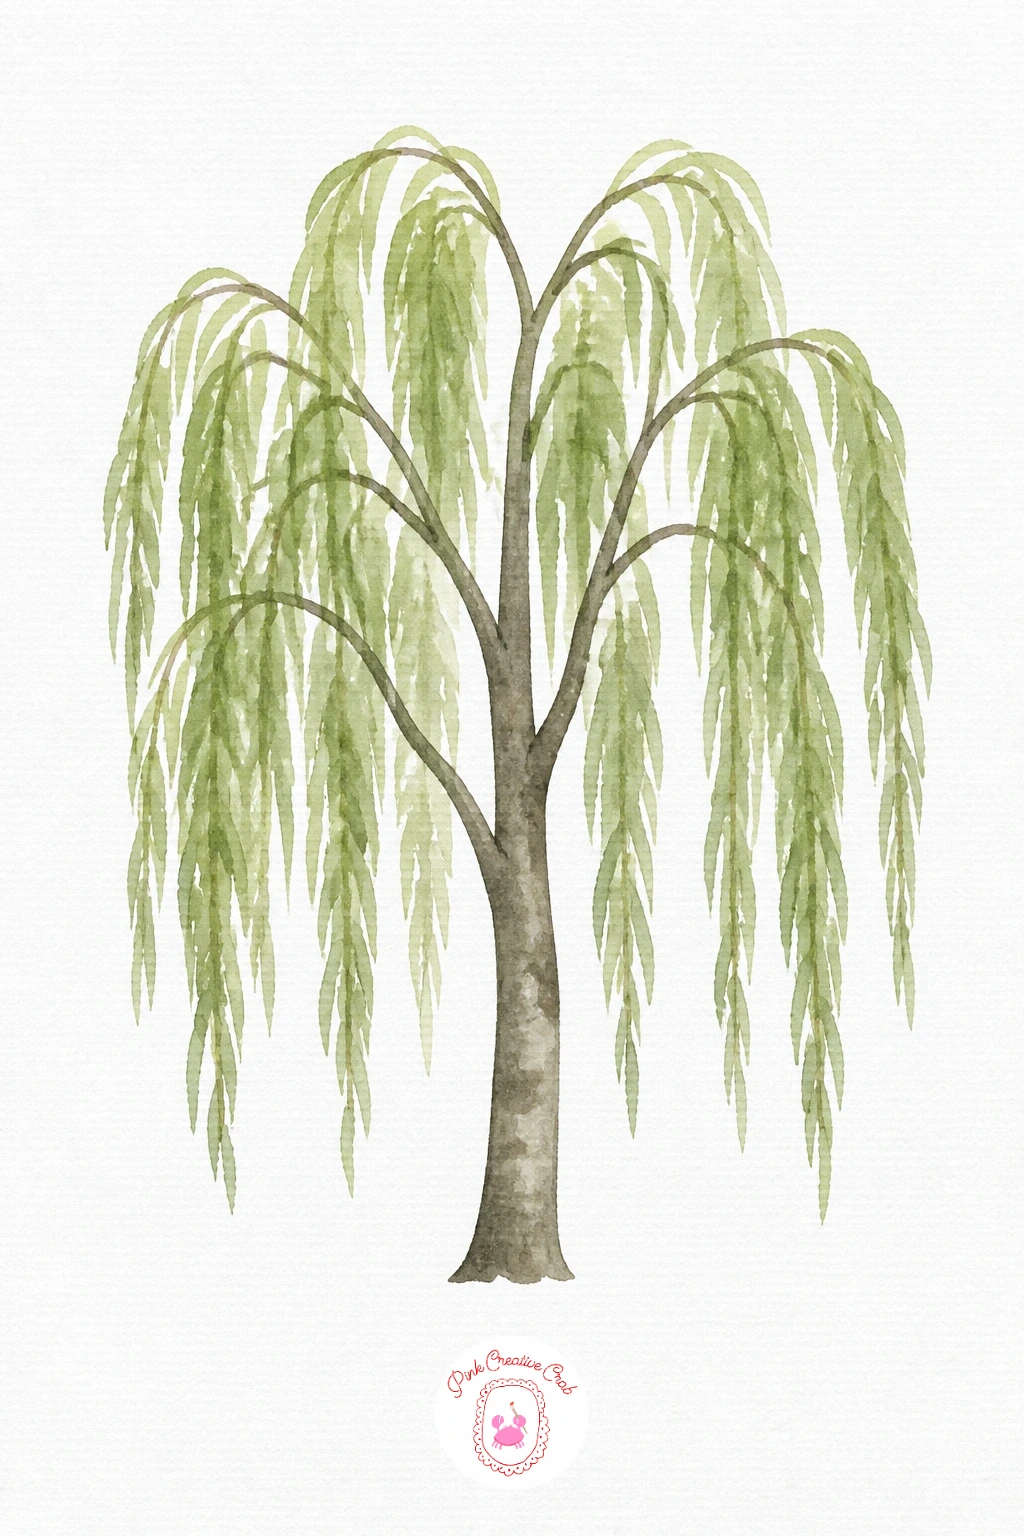
Palette: Sage Green,Payne’s Grey,Burnt Sienna
Load a fine round brush fully before each drooping stroke so it can travel the whole length of a branch without running dry halfway down.
Palm Tree
Paint the trunk first in a warm sandy brown with a slightly darker line down one side for shading, keeping the curve gentle rather than sharp. Mix a bright grass green for the fronds and pull each one out from the top of the trunk in a single confident stroke, letting the strokes overlap loosely where they meet. A thin wash of yellow green along a couple of the fronds, dropped in while the green is still damp, keeps the crown lively.
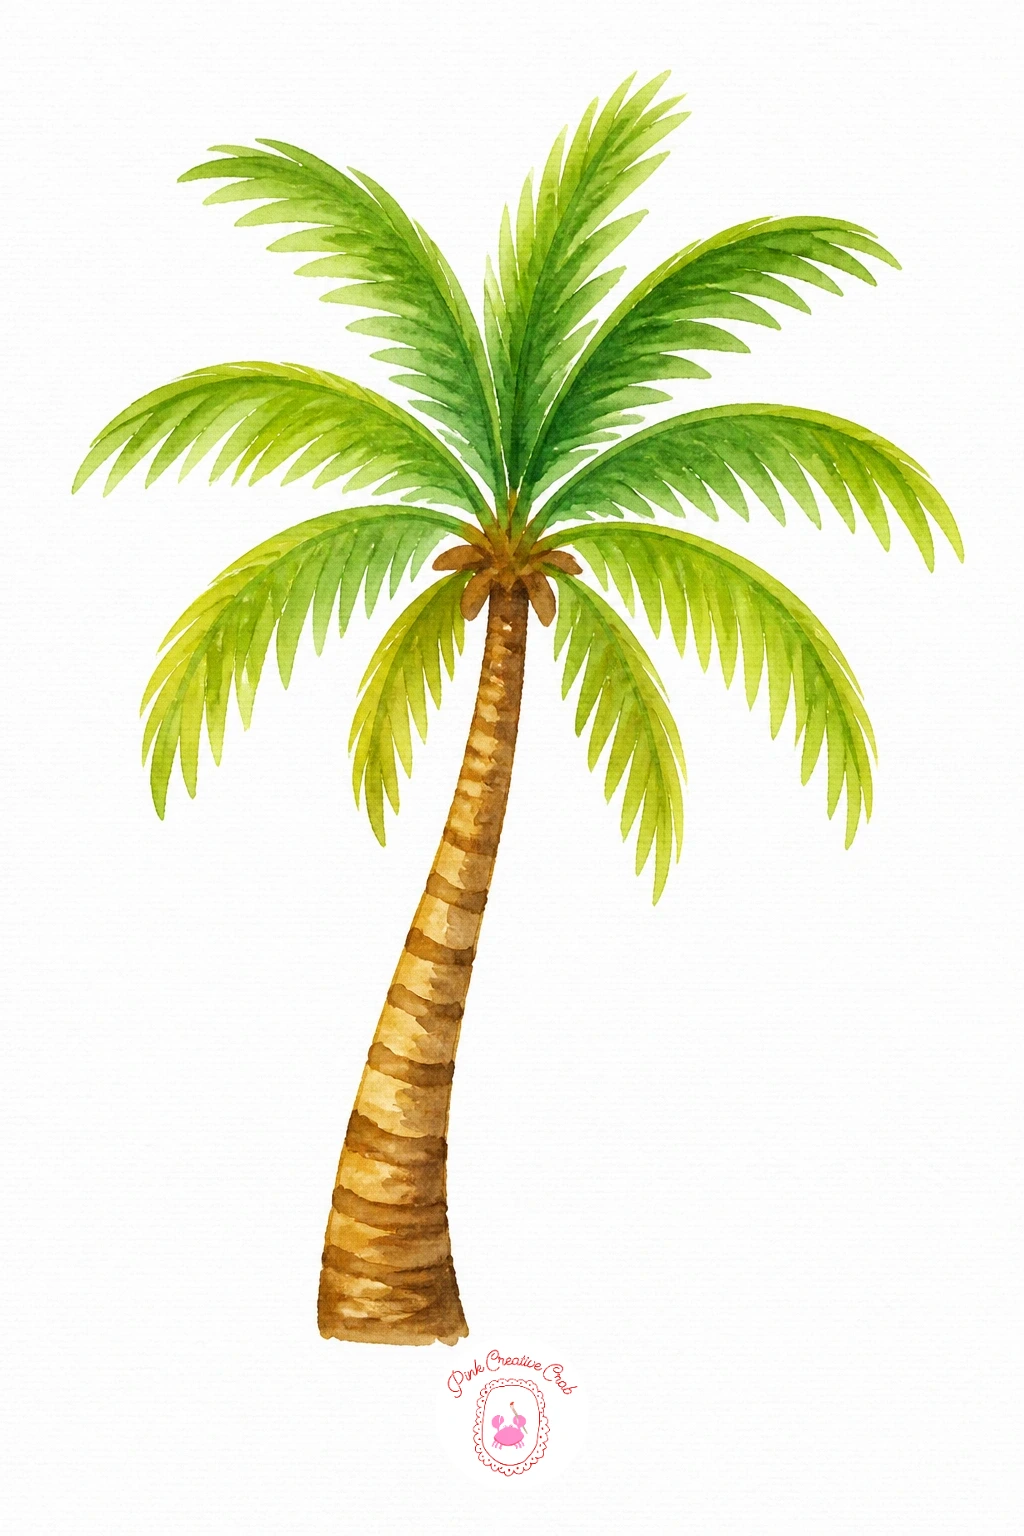
Palette: Raw Sienna,Grass Green,Yellow Green
Cherry Tree in Bloom
Work the blossom canopy in rounded soft clouds rather than a solid shape, wetting each cloud lightly and dropping in pale pink so the edges stay soft and a little uneven. While the pink is still damp, touch a stronger rose into the underside of a few clusters to add gentle depth. Paint the trunk and branches last in grey brown, keeping the lines thin so they read as delicate rather than heavy against all that blossom.
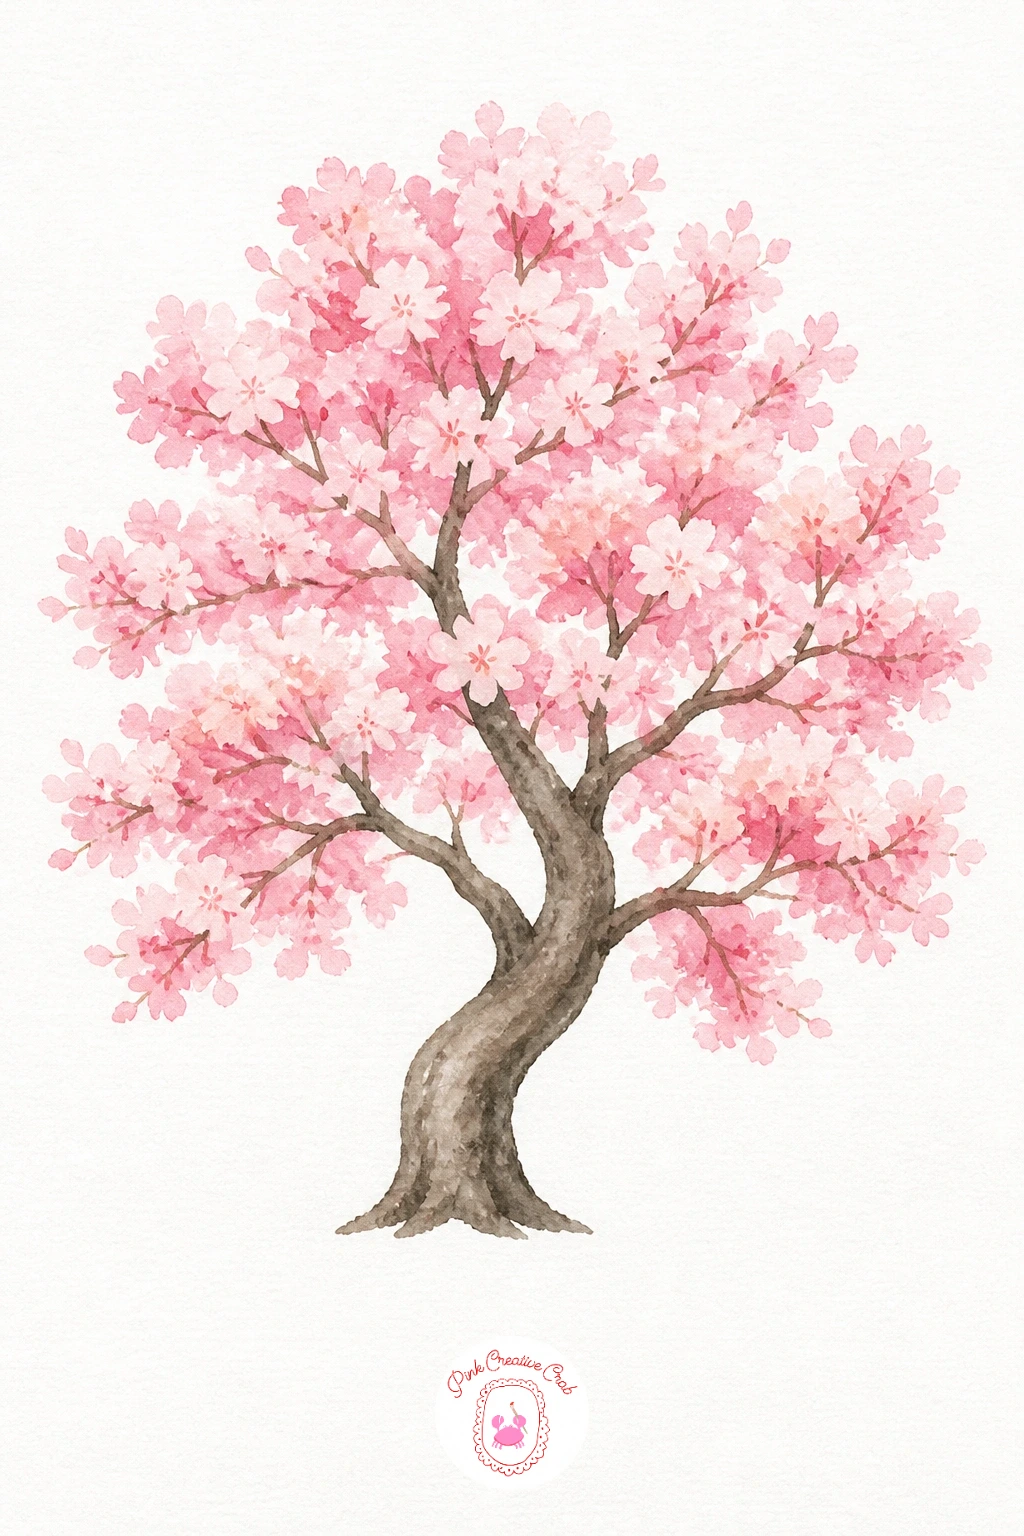
Palette: Pale Pink,Rose Madder,Payne’s Grey
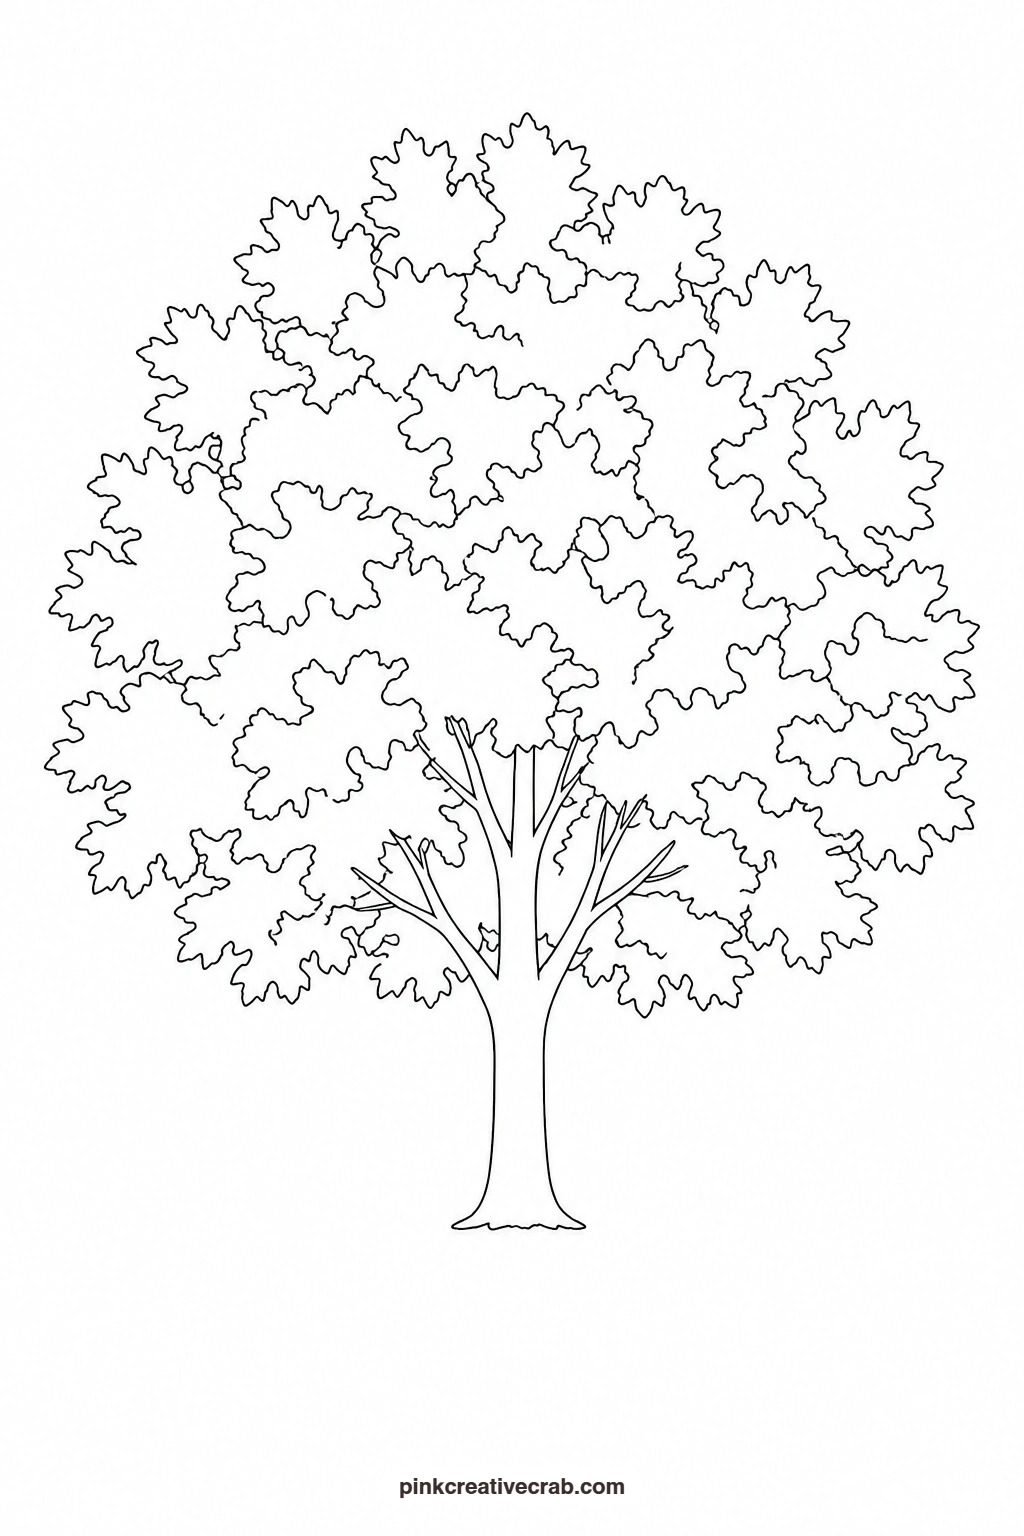
Autumn Maple
Mix three warm washes, orange, red and gold, and drop them into the wet canopy shape one after another so they bleed softly into each other rather than sitting in hard blocks. Let the colours pool more heavily toward the bottom of the canopy where the leaves would hang thickest. Once everything is dry, paint the trunk in a warm brown and add a scatter of a few loose leaf shapes falling near the base for a finished touch, as covered in more depth in 16 trees and how to paint them step by step through every season.
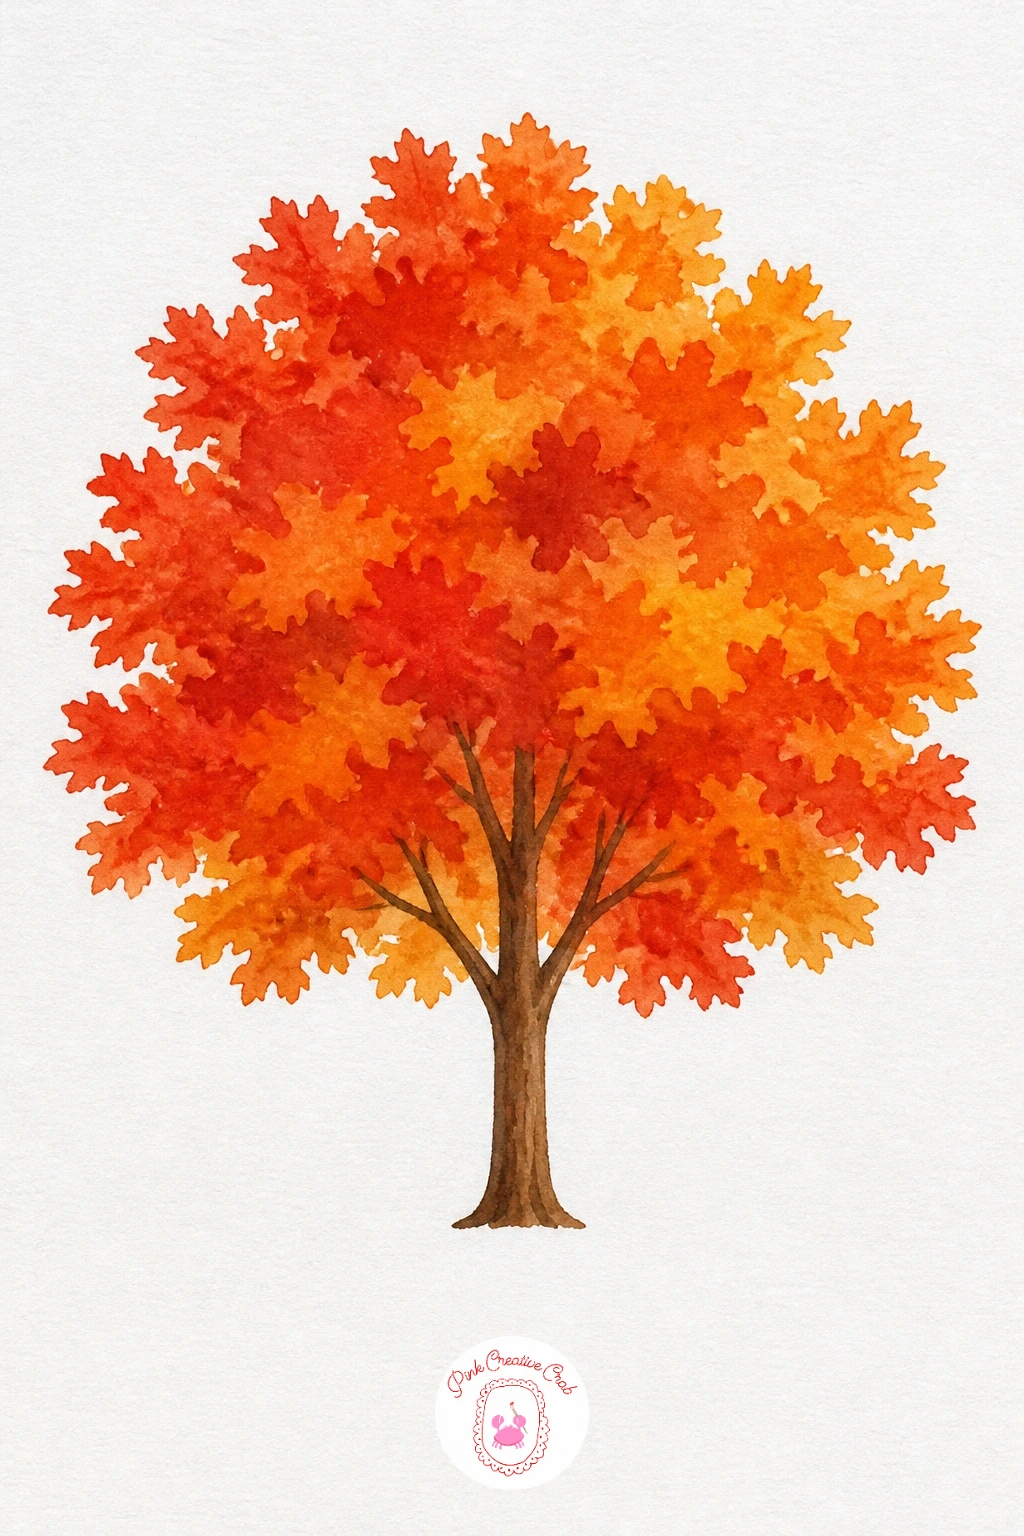
Palette: Cadmium Orange,Alizarin Crimson,Gold Ochre,Burnt Umber
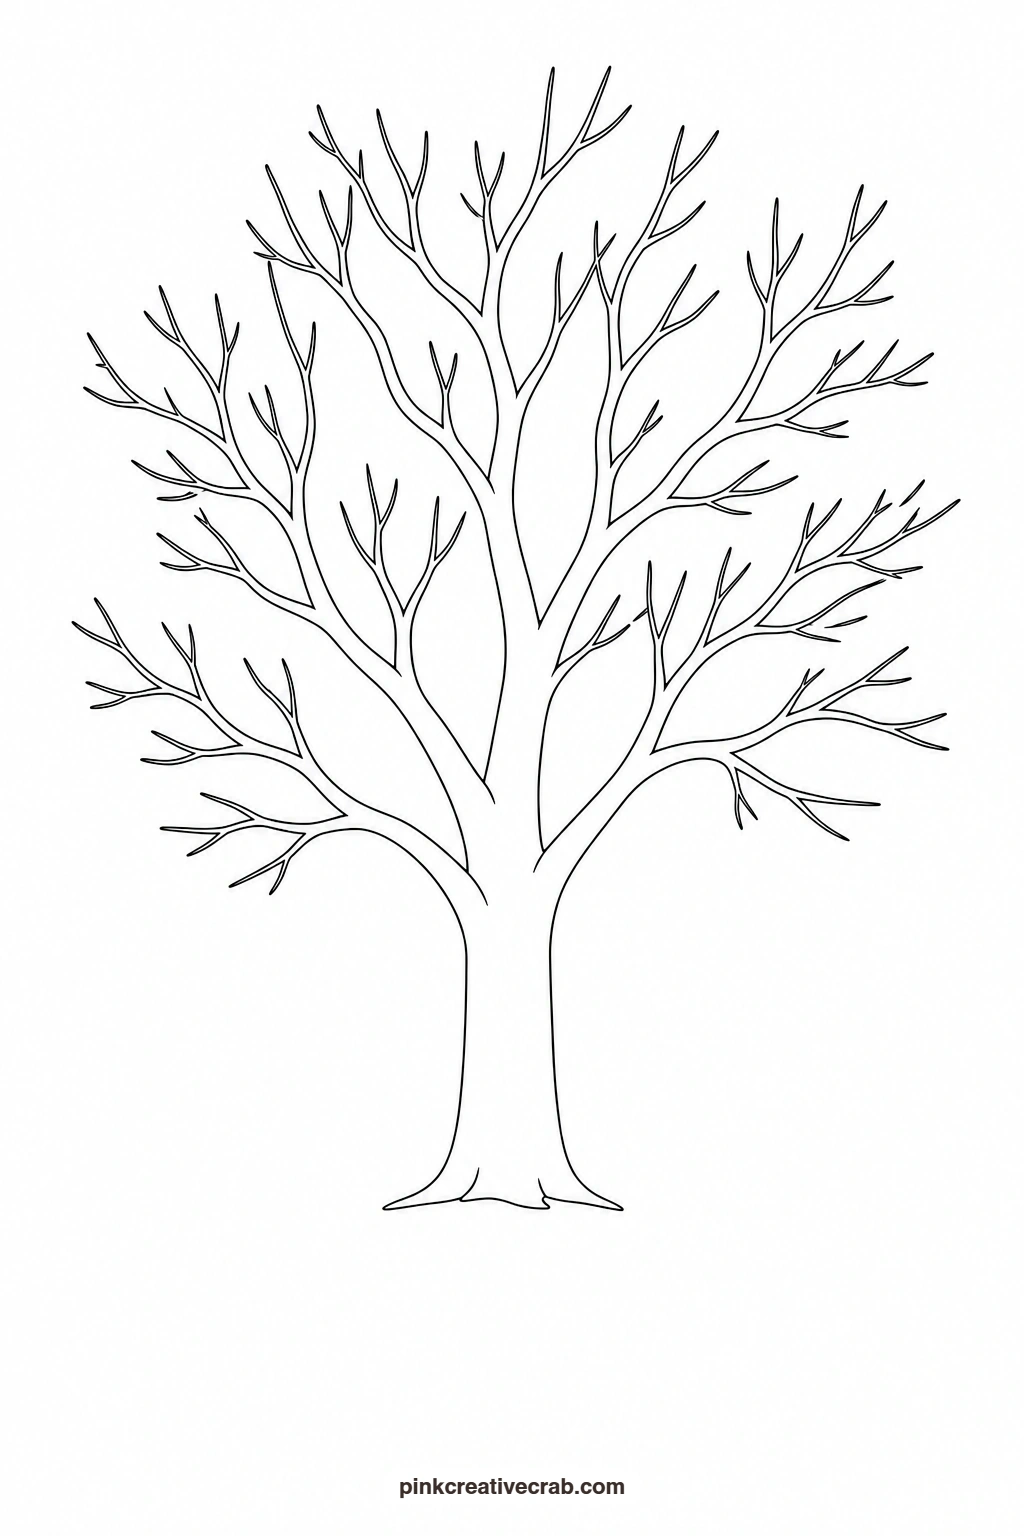
Bare Winter Tree
There is no canopy wash here, so all the character comes from the branches themselves. Start with a slightly thicker grey brown for the trunk and main limbs, then switch to a finer brush for the smaller twigs, letting them taper and split as they move outward. A light grey wash dragged dry-brush style along one side of the trunk adds just enough shadow to lift the tree off the page without any colour at all.
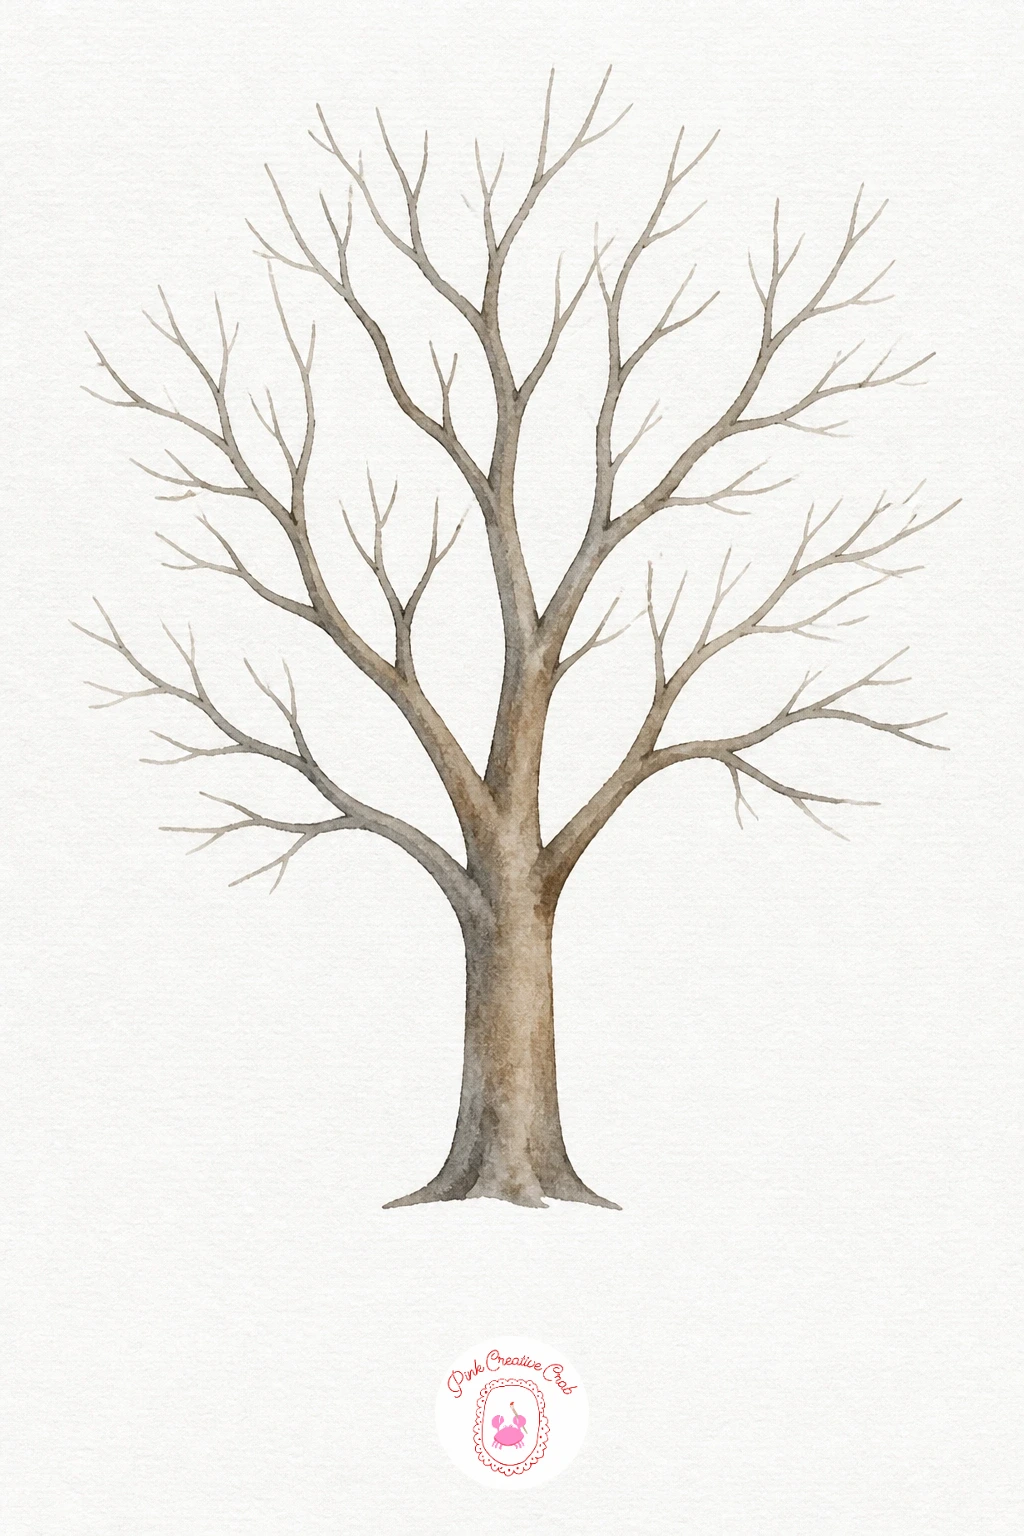
Palette: Payne’s Grey,Burnt Umber,Neutral Tint
Cypress Tree
Paint the tall narrow silhouette in one even wash of deep green first, then while it is still damp, drop a darker green into the left or right side to give the column a sense of roundness. Keep the brush strokes vertical to echo the upward shape rather than dabbing. Leave the trunk as a thin sliver of brown at the very base, just enough to show the tree is rooted.
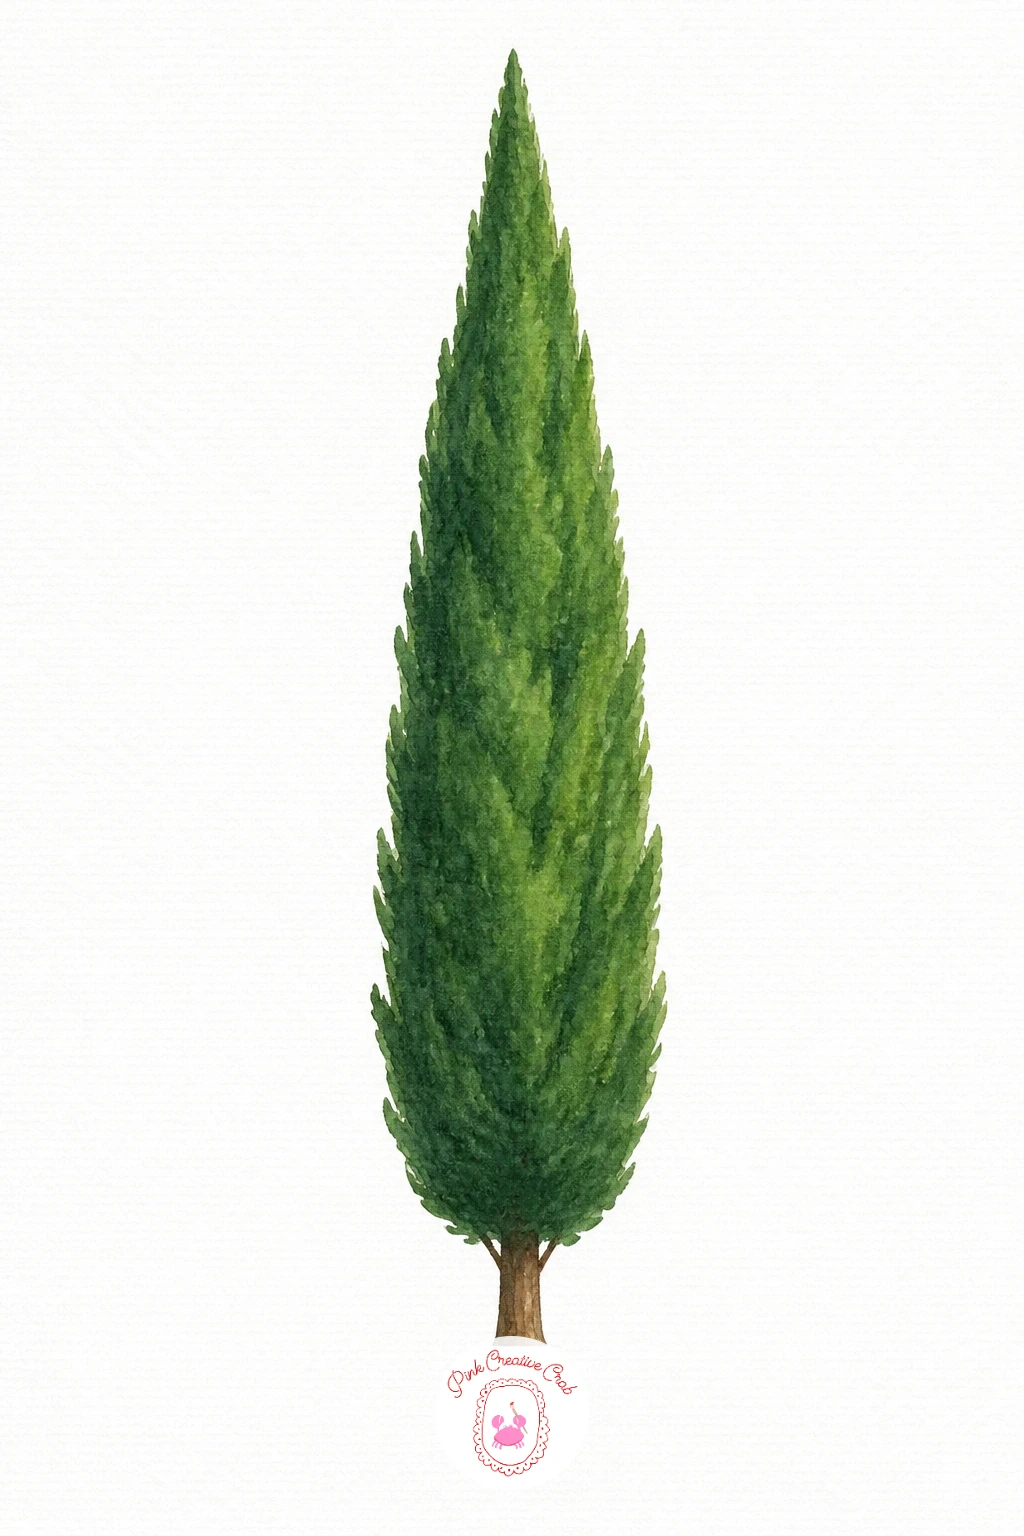
Palette: Hunter Green,Dark Forest Green,Burnt Sienna
Olive Tree
Mix a soft grey green for the canopy, a touch cooler than a usual leaf green, and lay it in as one loose rounded cloud with a few gaps of white paper left showing through for light. Paint the trunk with a slightly wavering line to suggest its twisted, knotted shape, using a deeper brown grey in the hollows. A few small dots of a deeper olive scattered through the canopy once it is dry suggest clusters of fruit without any detailed shapes.
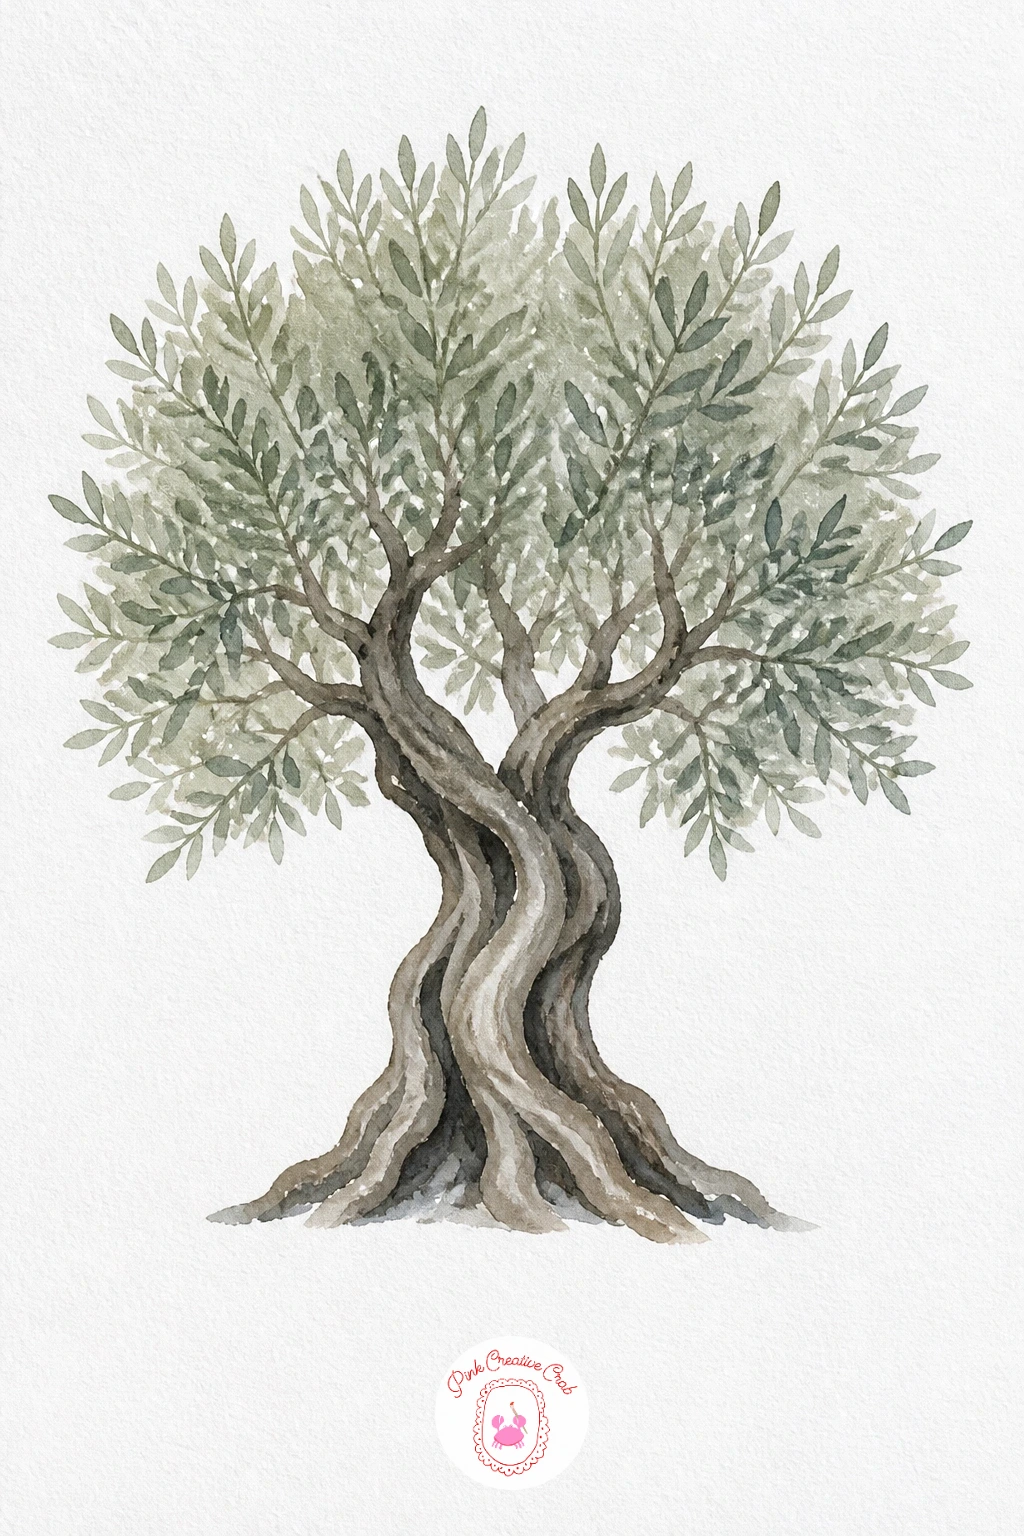
Palette: Sage Green,Olive Green,Grey Brown
Apple Tree With Fruit
Paint the canopy first in a fresh mid green, letting it dry fully before adding anything else so the apples stay crisp rather than bleeding into the leaves. Dot in the apples with a small round brush loaded with bright red, placing them unevenly through the canopy rather than in a neat pattern. A tiny highlight of white paper left untouched on each apple, planned before you paint, makes every piece of fruit look glossy and finished.
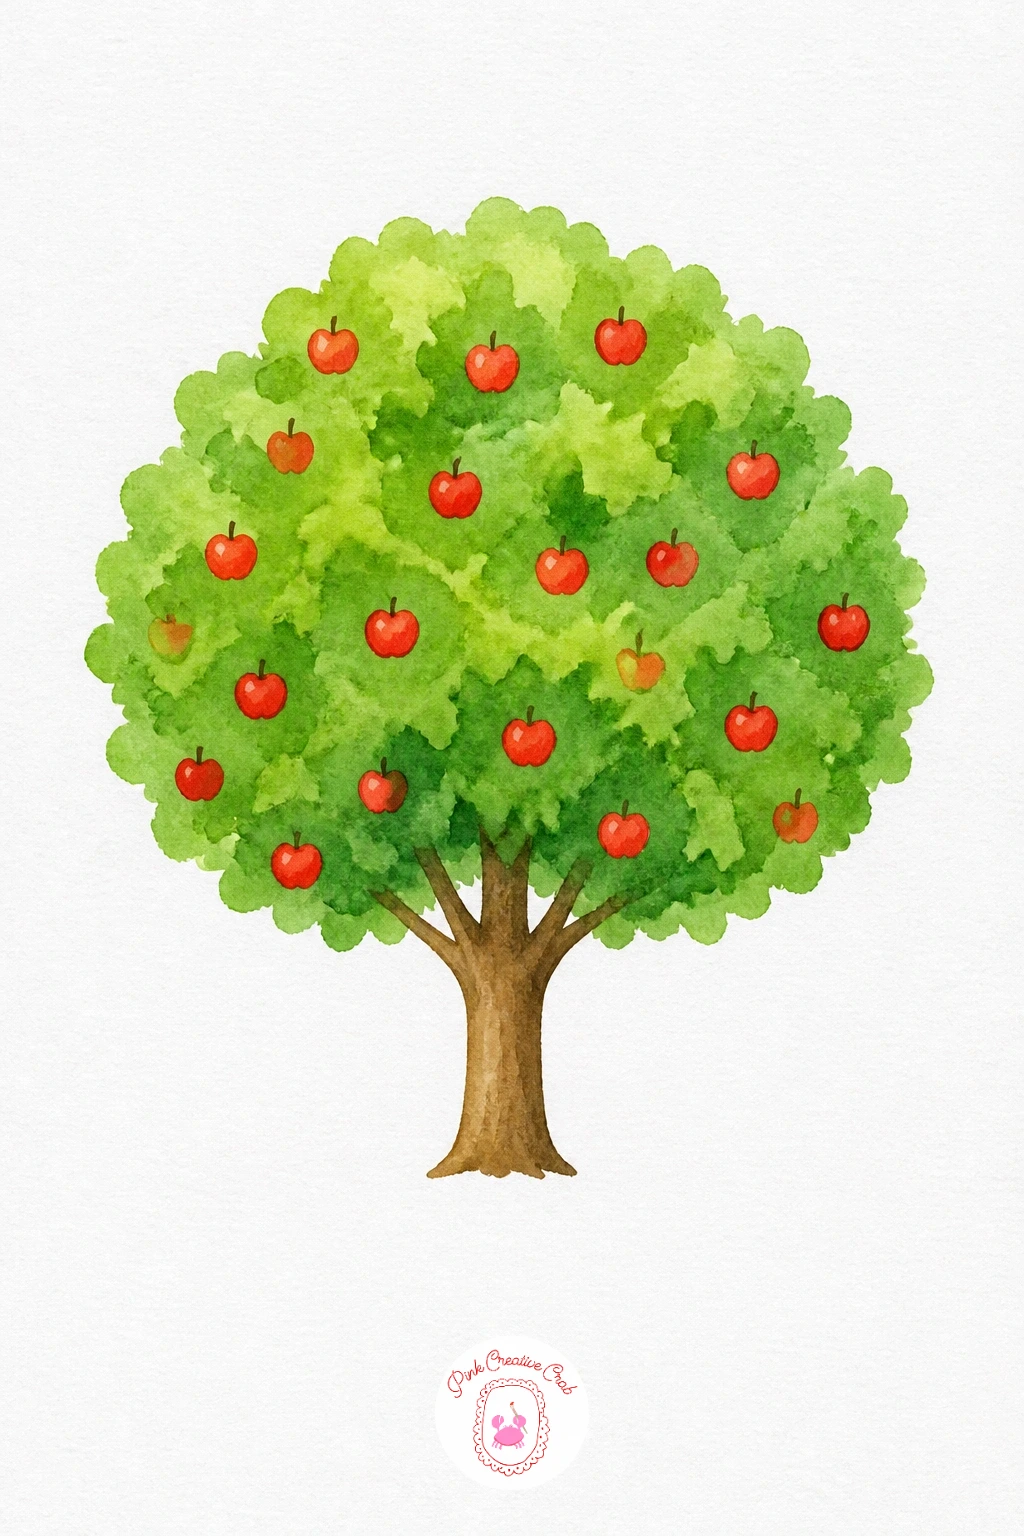
Palette: Sap Green,Cadmium Red,Burnt Umber
Baobab Tree
The trunk is the whole story with this tree, so paint it generously wide and let a graded wash run from a warm tan at the top to a deeper grey brown near the base, keeping the colour change soft rather than banded. The crown of branches at the top stays small and sparse, just a handful of short forked lines, since the baobab’s charm is in that oversized trunk against a tiny crown. No canopy wash is needed, only the bare branch tips.
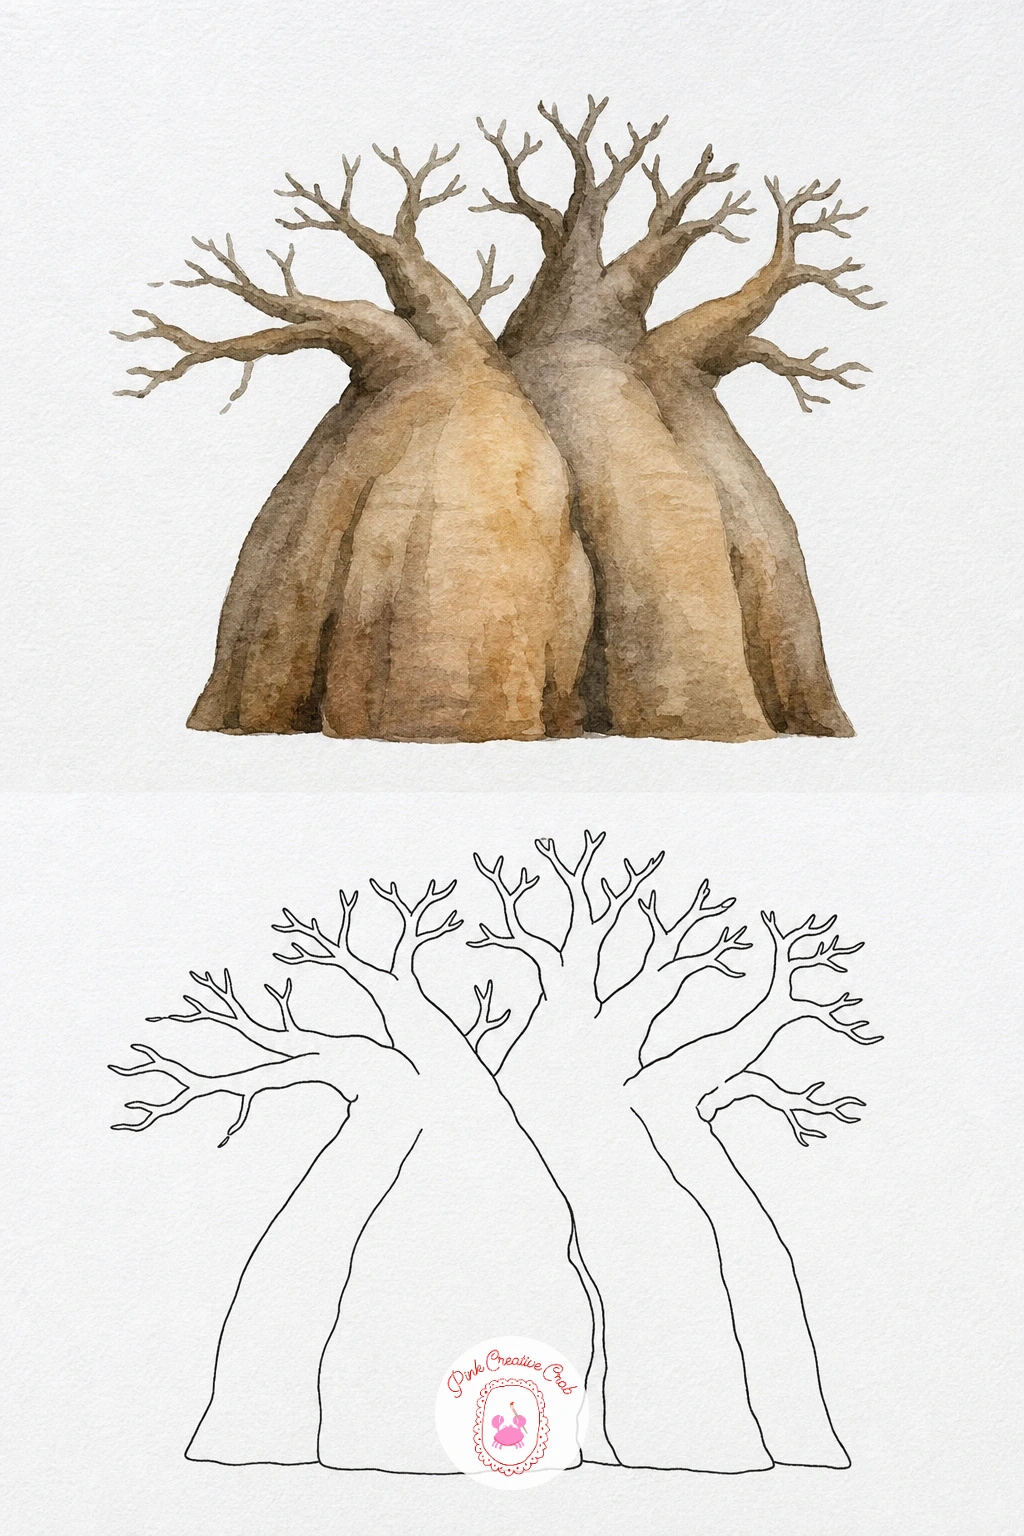
Palette: Raw Umber,Payne’s Grey,Yellow Ochre
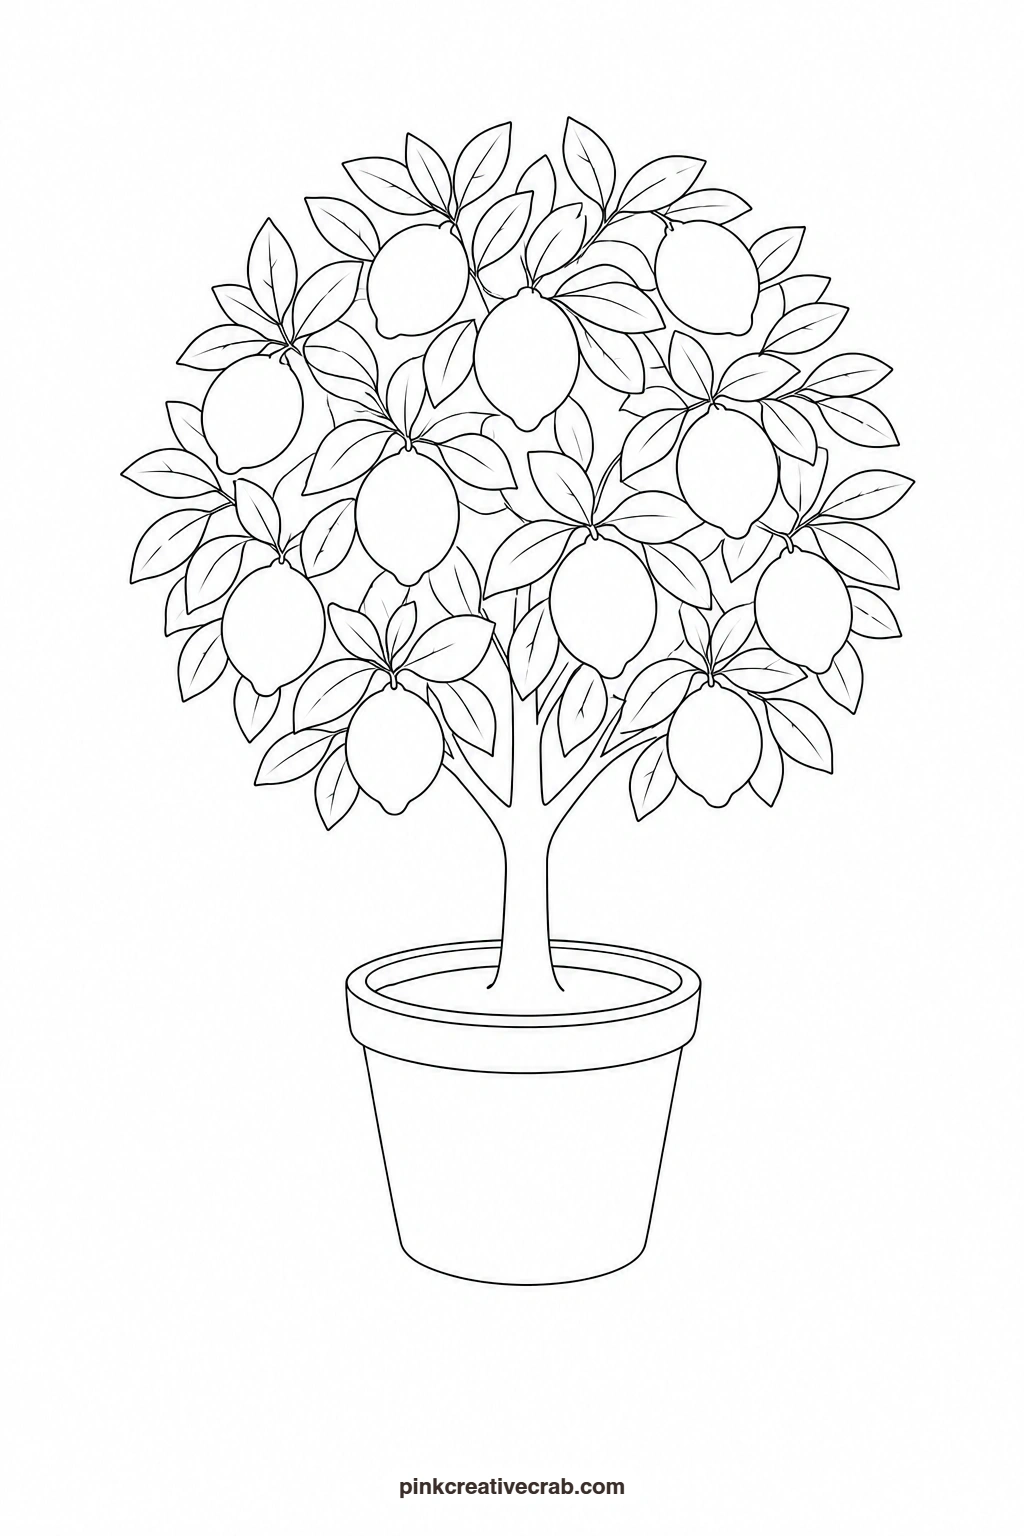
Lemon Tree in a Pot
Paint the pot first in warm terracotta, leaving a thin highlight strip down one side, then let it dry while you work on the canopy in fresh green above it. Drop a few small ovals of bright yellow into the green for the lemons, placing them toward the outer edges where fruit would catch the light. A little shadow wash of pale grey under the pot grounds the whole thing on the page.
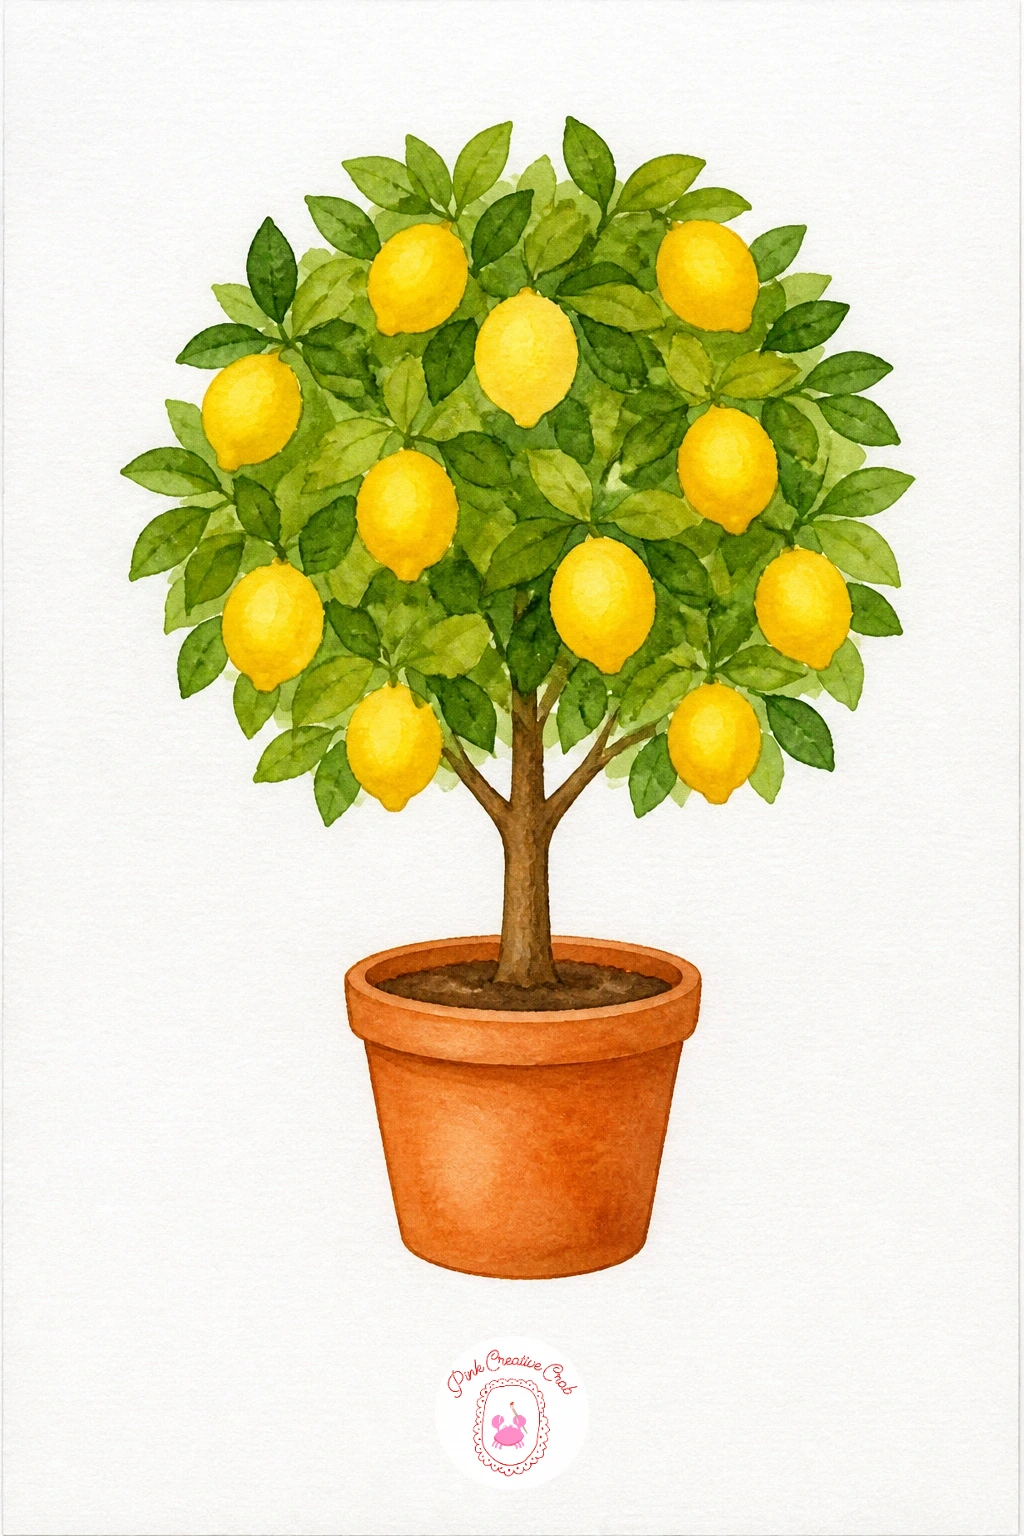
Palette: Terracotta,Leaf Green,Lemon Yellow
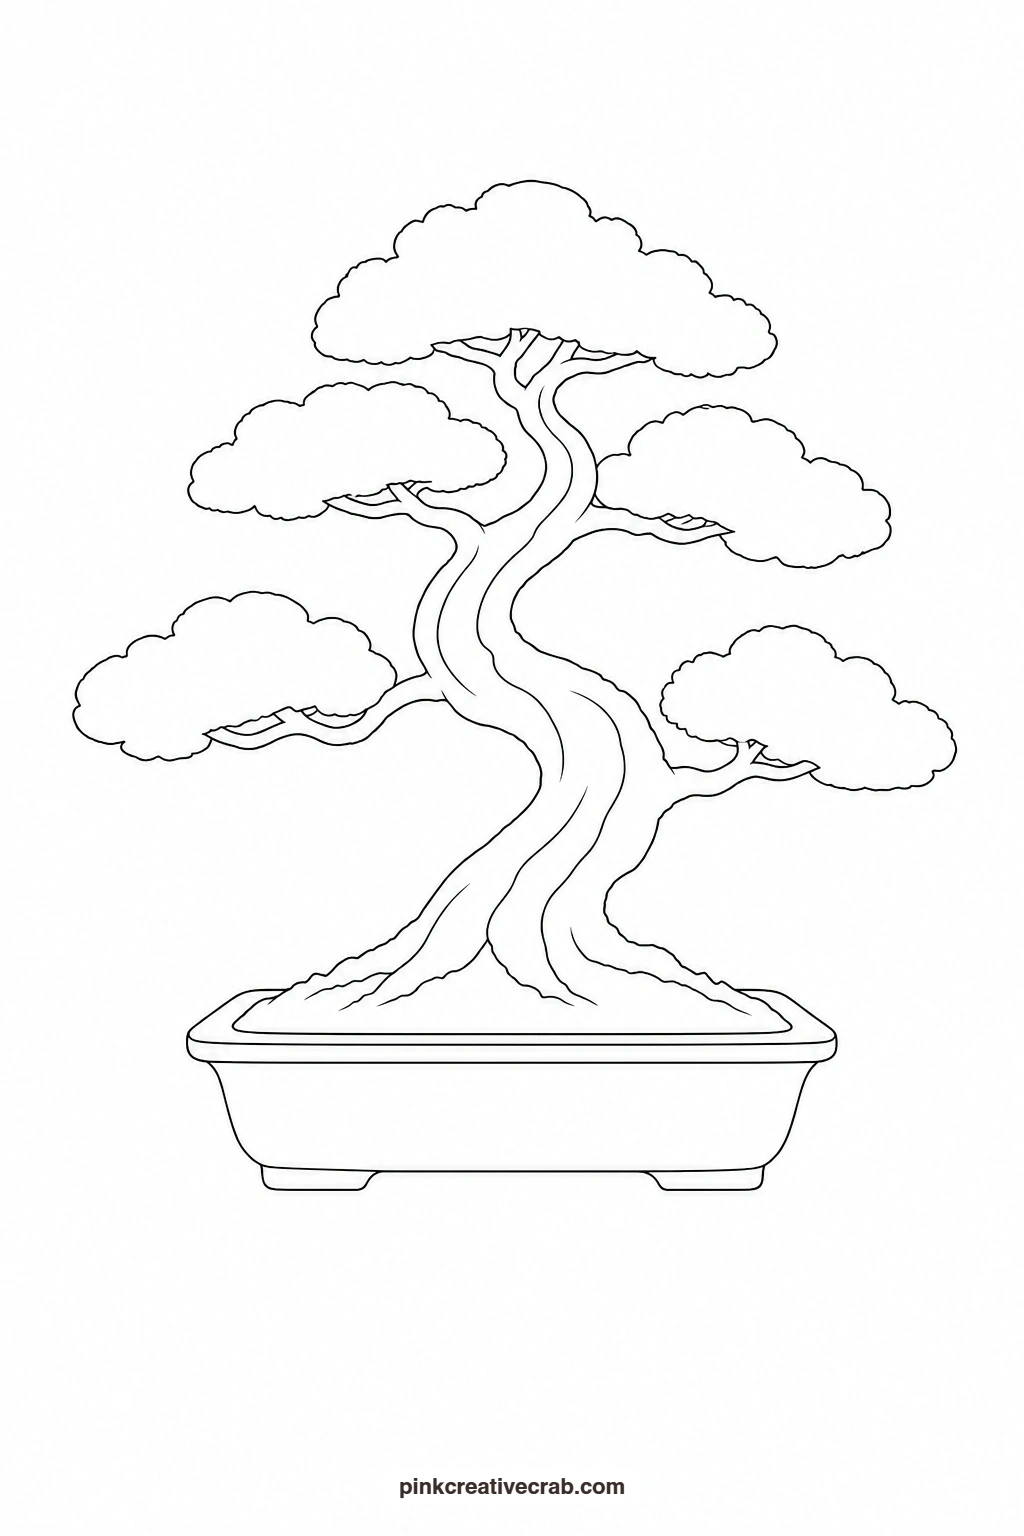
Bonsai Tree
Paint the flat cloud pads of foliage first in a muted sage green, keeping each pad a simple flattened oval rather than a fluffy round shape, since that flatness is what makes a bonsai read correctly. The trunk gets a slow curving line in warm brown, thicker at the base and tapering as it winds up to meet each pad. Finish with the shallow dish in a plain grey or soft blue, kept simple so it does not compete with the tree.
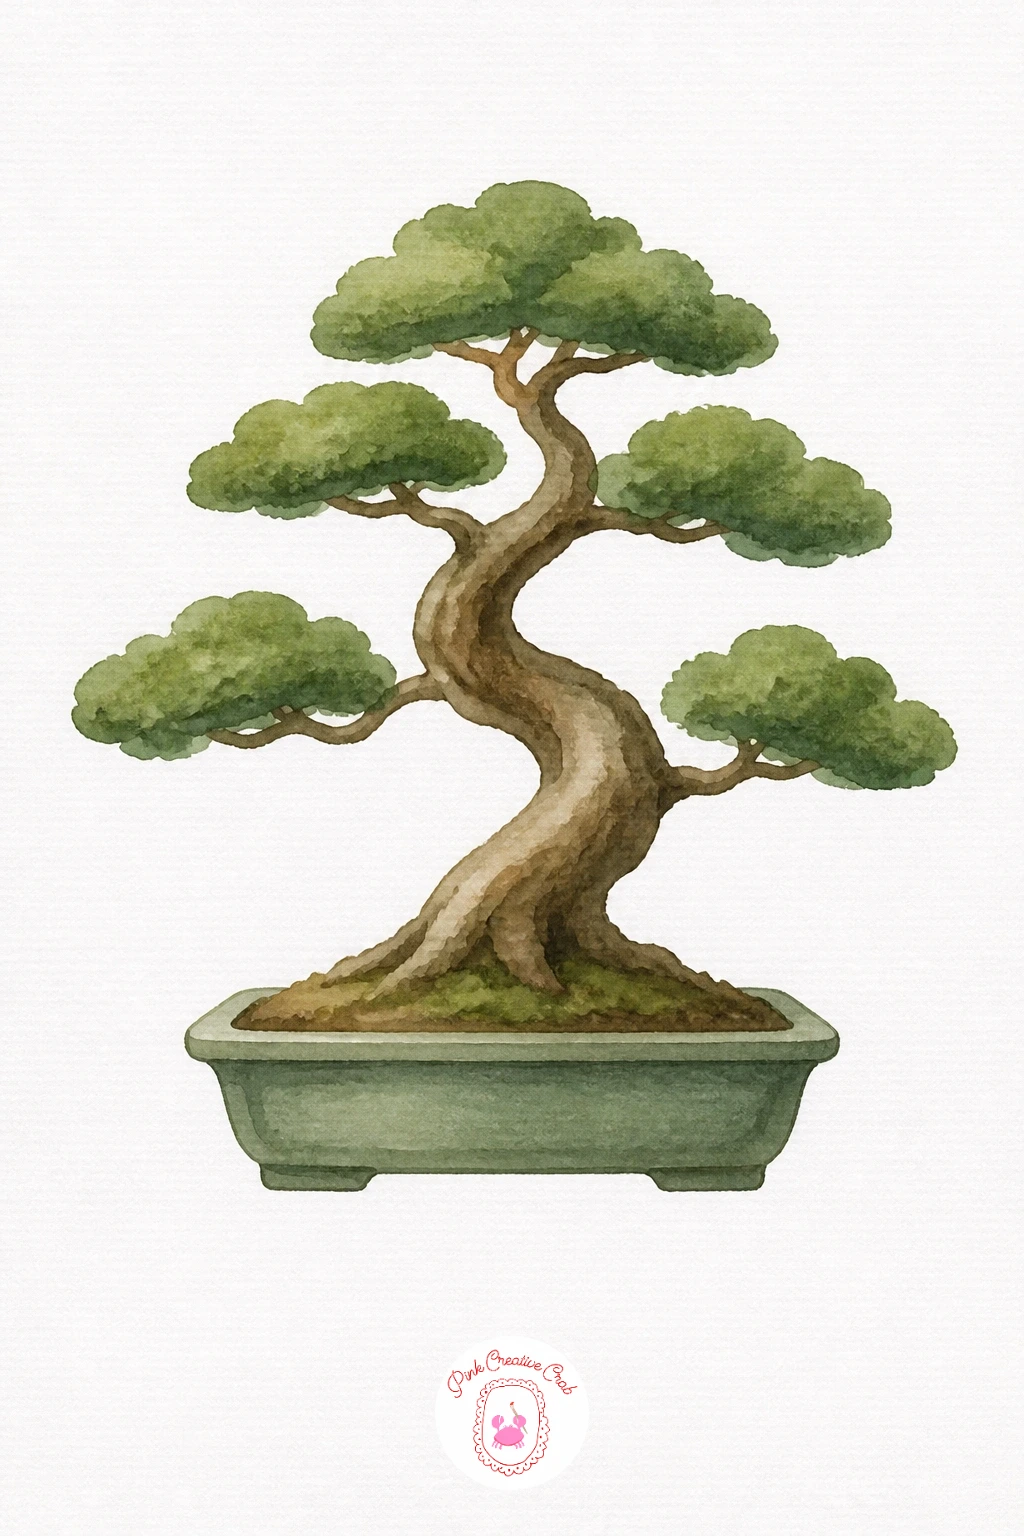
Palette: Sage Green,Burnt Sienna,Slate Grey
Look at a photo of a real bonsai before you start, just to see how flat and horizontal the foliage pads sit compared to a normal tree canopy.
Pine Tree
Build the triangular silhouette from the bottom up, painting each layer of branches as a slightly ragged horizontal band of green rather than a smooth triangle, so the edges feel like real foliage. Use a deeper green near the base and a lighter green toward the top to keep the shape from looking flat. The trunk only needs to show between the lowest branches, a short thin line of brown is enough.
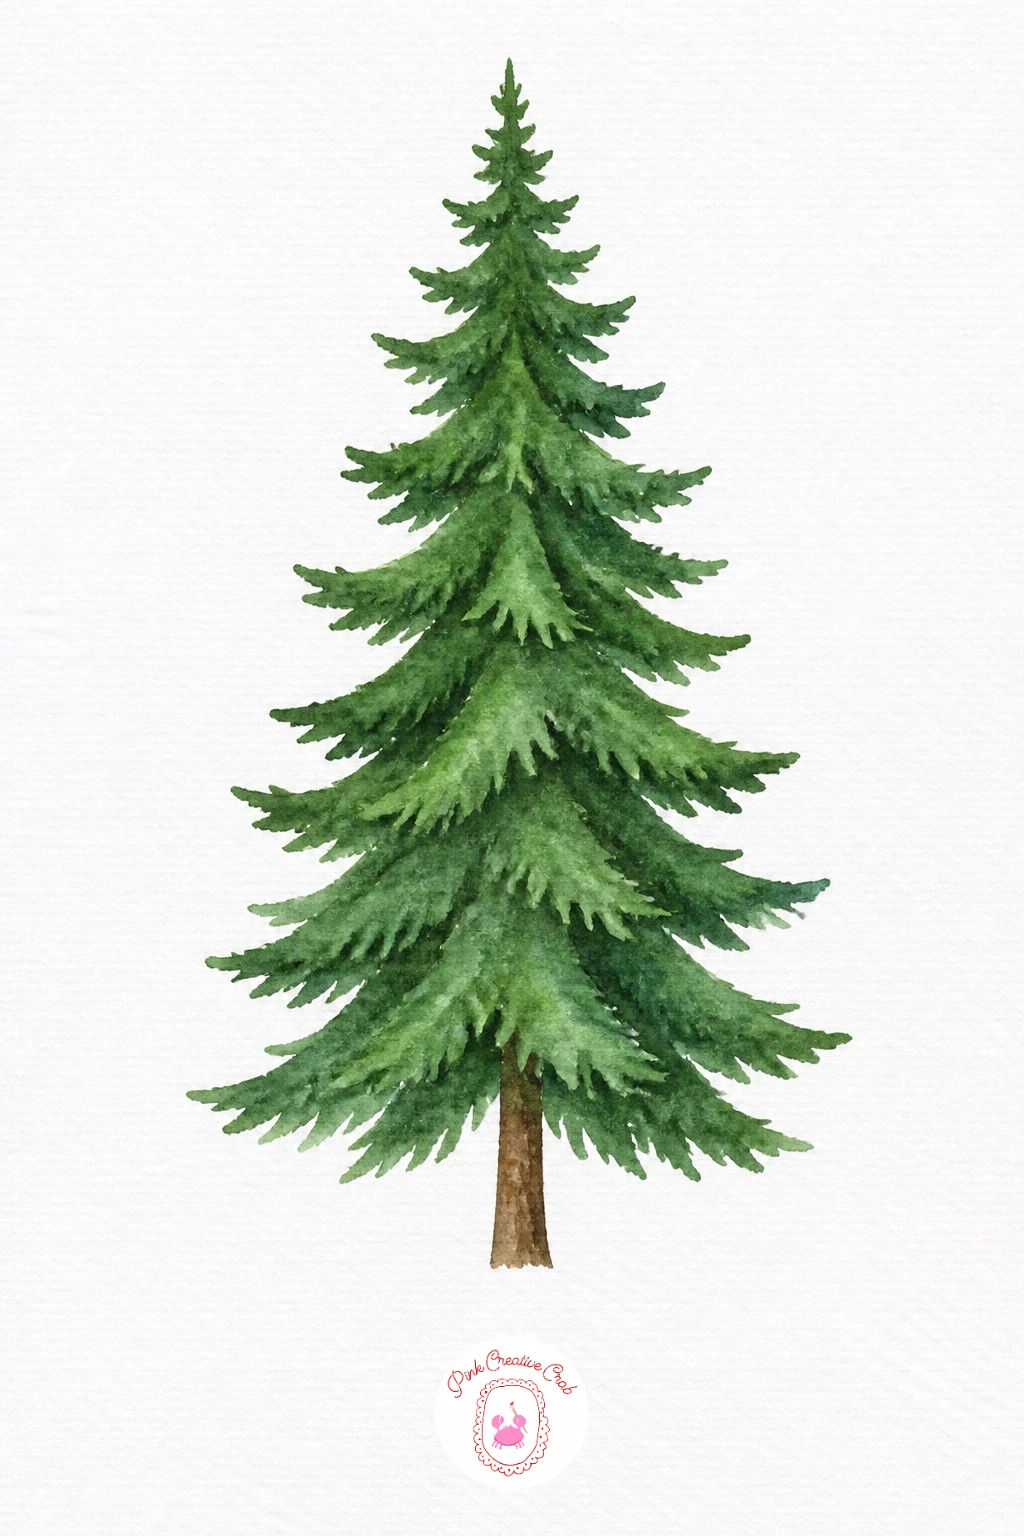
Palette: Dark Forest Green,Pine Green,Burnt Umber
Birch Pair
Leave the trunks almost white, just a very pale grey wash, since the pale bark is the whole point of a birch. Once dry, add the short dark horizontal marks up each trunk with a fine brush, spacing them unevenly rather than in a neat row. The two small canopies on top can share one light green wash, kept loose and a little sparse so the trunks stay the star of the picture.
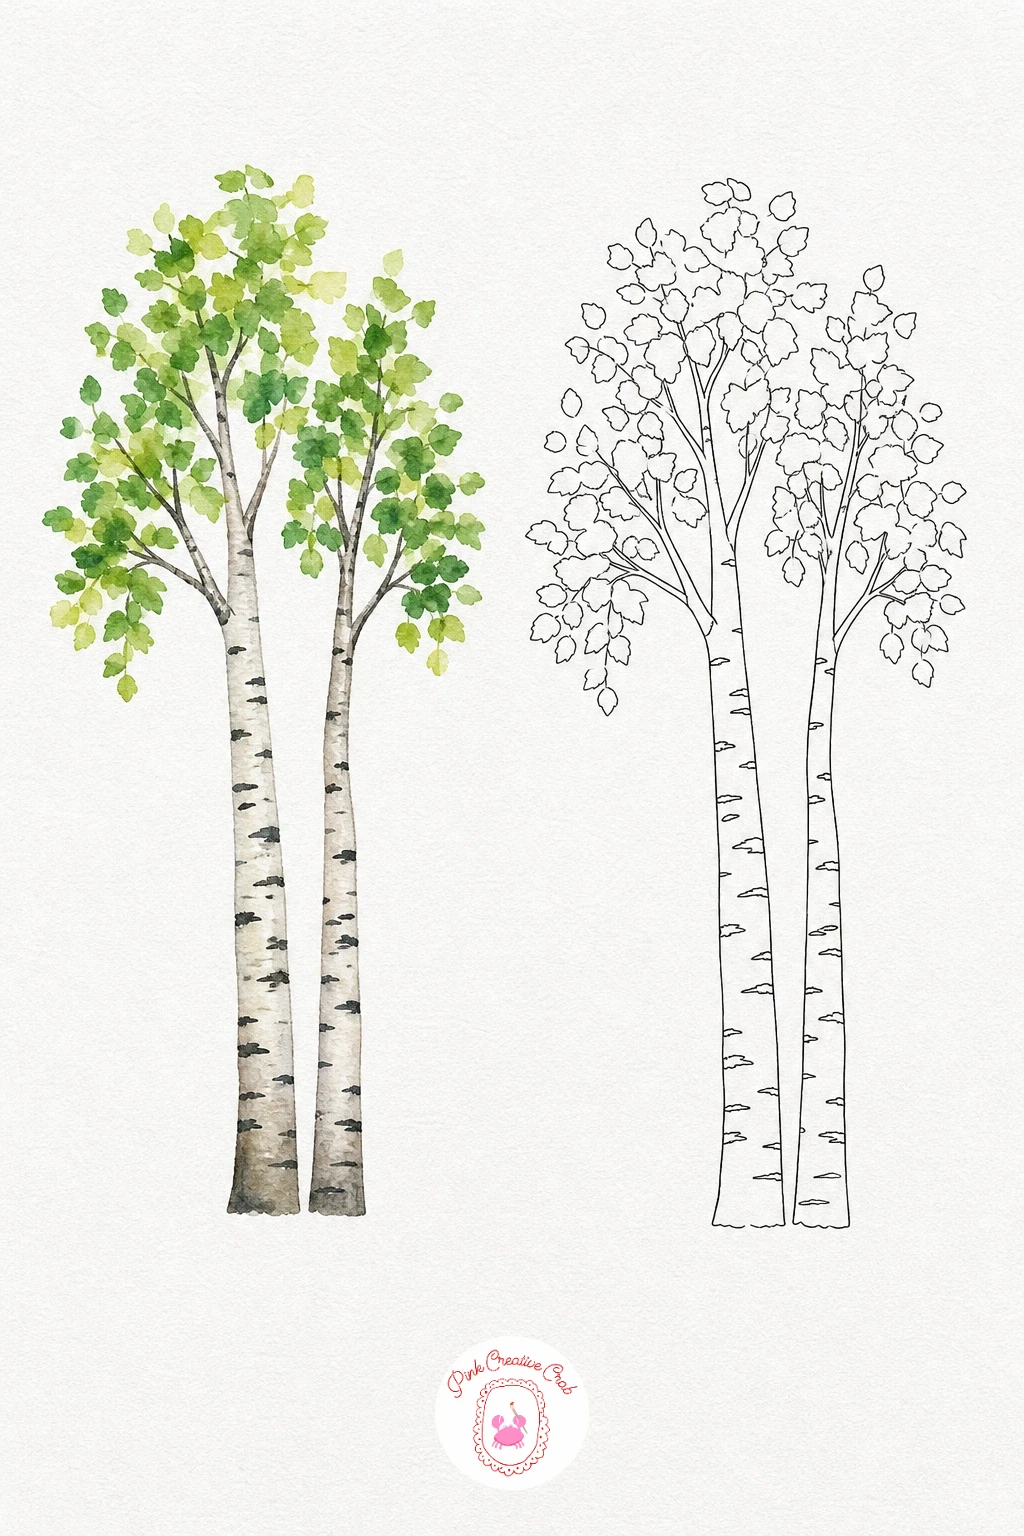
Palette: Pale Grey,Payne’s Grey,Fresh Green
Magnolia Tree in Bloom
Paint the bare branches first in a warm grey brown, keeping them thin and a little angular. For each blossom, wet the petal shape and drop in pale pink at the base fading up to white at the tip, letting the two colours blend softly on the damp paper. A touch of deeper rose at the very center of each flower, added once the petals are nearly dry, gives every bloom a sense of depth, an effect also used across watercolor zentangle trees from cherry blossoms to winter bare branches.
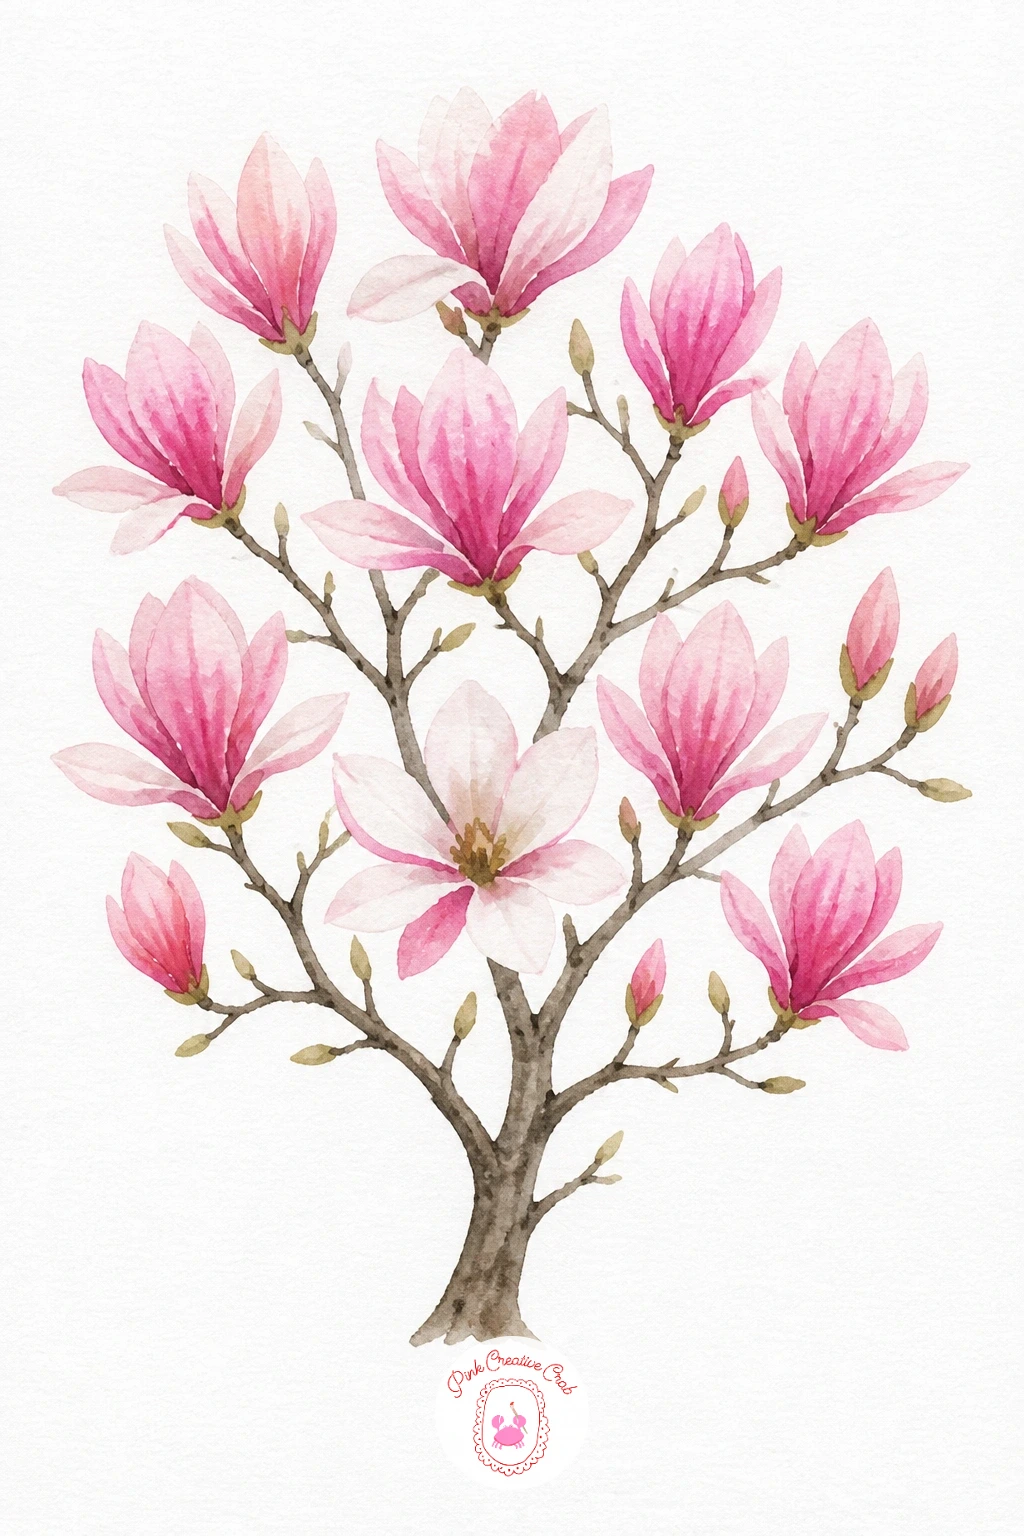
Palette: Pale Pink,Rose Madder,Payne’s Grey
Fir Tree With Snow
Paint the green branch layers first, leaving irregular patches of plain white paper untouched along the top edge of each layer where snow would sit. Once dry, add a very pale blue grey wash just along the lower edge of those white patches to give the snow some shape rather than leaving it flat. A short curved line of the same pale blue under the base of the tree suggests a small drift of snow on the ground, a quieter cousin to the trees in 33 Christmas tree painting ideas from pink tinsel trees to paper honeycomb trees.
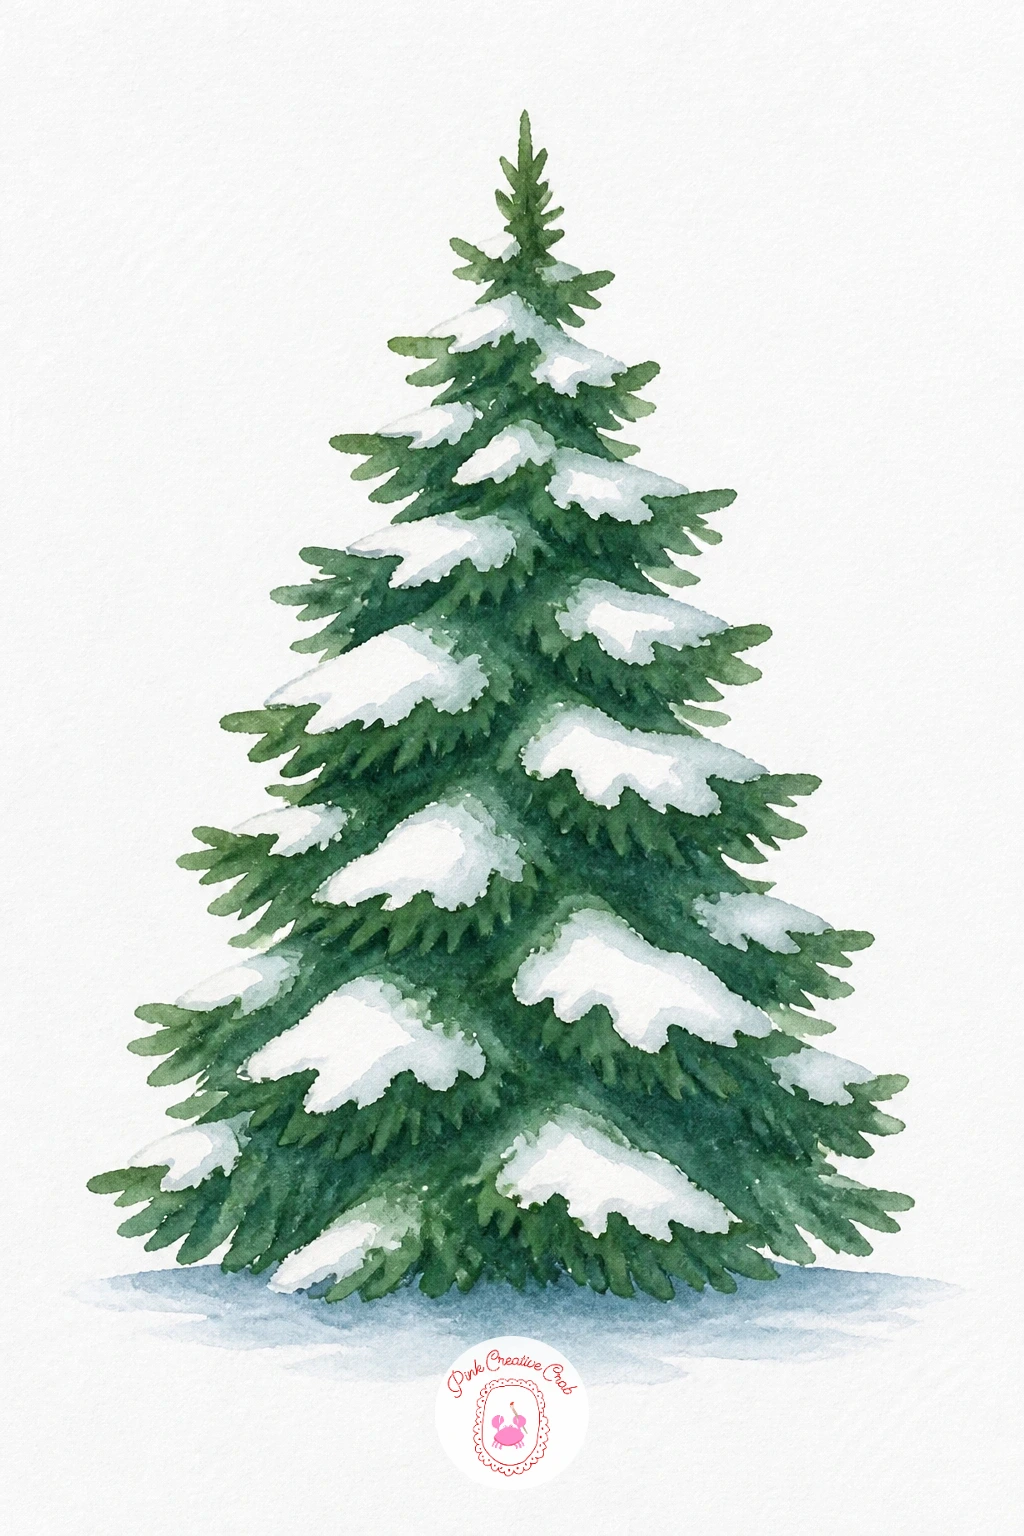
Palette: Dark Forest Green,Pine Green,Pale Blue Grey
Plan the white snow patches before you paint the green, it is much easier to paint around a shape you already decided on than to try to lift paint back off later.
What to Do Next
Pick one tree, print its outline, and transfer it to your paper today: a single round oak or a simple bare winter tree is an easy place to start before you work through the rest of the set.
Frequently Asked Questions
What size should I print these tree outlines at?
Print at standard letter or A4 size for most trees, which fits a typical watercolor block comfortably with margin to spare. Size up on a copier if you want one tree to fill a larger sheet.
What paper works best for painting these trees?
Cold press watercolor paper of at least 140lb weight holds washes well without buckling. Its slight texture also helps soft blends, like the blossom on the cherry or magnolia tree, settle naturally.
How do I transfer the outline without being able to draw?
Tape the printed outline to a sunny window or light pad with your watercolor paper over it, then trace the lines through with a pencil. Graphite transfer paper works the same way without needing light.
Can I use colored pencils or markers instead of watercolor?
Yes, every outline works just as well for colored pencils or markers. Build colour in light layers with pencils for the soft blends, or use markers flat and add a touch of white gel pen for highlights.
What if I only have a few paint colours?
Each tree uses just three to six colours, so a small starter set covers most of them. Mix your own greens and browns from blue, yellow and red if a specific shade is not in your set.
Have any thoughts?
Share your reaction or leave a quick response — we’d love to hear what you think!
-
 0
-
0
-
0
-
0
-
0
-
0


