

Peach drawing earns its own place on a summer sketchbook page, somewhere between fruit bowl still life and roadside orchard scene. The flat matte shapes and crisp edges here read like a kitchen print, so a bowl of fruit or a girl on a ladder both end up looking finished and current rather than fussy.
Below you will find twenty nine peach scenes to work through, from a single sliced fruit on a napkin to a lattice pie fresh from the oven. Pick whichever one matches your mood today, grab your gouache, and work your way down the list whenever you want another quick, satisfying page.
Using these images: free for personal projects such as printing, coloring, cards, journals and gifts. Handmade items that include them may be sold up to 30 pieces per design. More than that is commercial use and is not permitted, and neither is selling or sharing the images themselves or passing them off as your own. Please ask before any other use.
Start the whole list with a bowl of peaches, the simplest way to warm up before anything more complicated. Sketch the bowl as a wide oval with a slightly flattened base, then stack three or four peach circles inside it, overlapping so the group reads as one shape rather than separate dots.
Block in the bowl first with a flat mid tone, let it dry, then paint each peach as one solid warm orange shape before adding a smaller blush of cherry red along one side. Keep the cream background completely empty so the bowl sits forward on the page.
If edges wobble where peaches overlap, paint the back fruit first and let it dry fully before laying the front peach over it, so one crisp edge cuts cleanly across the other. This layering trick saves most bowl compositions.
No gouache on hand yet? Thick acrylic diluted slightly works almost the same way for this flat, matte look. Try comparing the bowl width to one peach’s width before you sketch, so the fruit does not end up too large for the bowl.
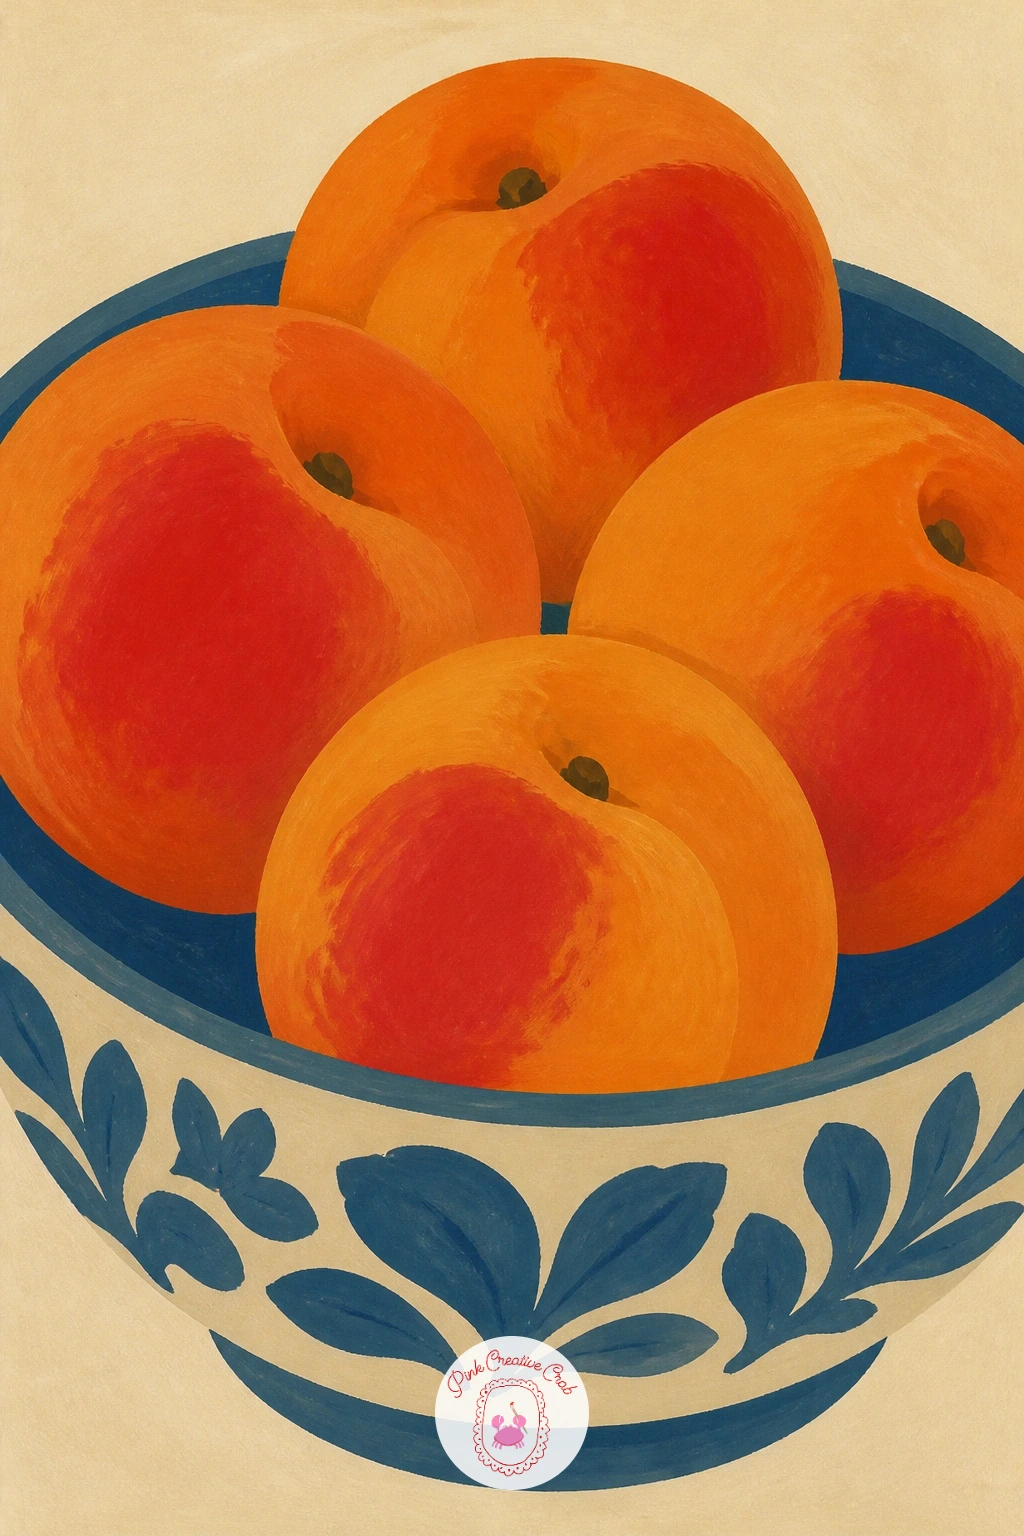
Palette: Cadmium Orange,Cherry Red,Cream White,Sap Green
Move from the whole bowl to a single peach cut in half with the pit sitting in view, a close look at the fruit’s inside. Draw two touching half circles with a gentle wavy line between them for the flesh edge, and place a small brown oval pit resting against one half.
Paint the outer skin in warm orange first, then switch to a paler yellow for the inner flesh, leaving a thin undyed ring between the two colors to suggest the natural gradient. Add the pit last in a deep reddish brown once everything else is dry.
Eye level matters here: looking straight down at the cut faces flattens the pit into a circle, while a slight side angle shows its wrinkled oval shape and lets light catch one edge of the flesh. Either way, keep a single light source so the shadow under the peach falls only on one side.
If you do not want to slice an actual peach for reference, a photo of a halved peach works just as well as a stand in. Try adding one thin darker line radiating from the pit to suggest the fiber pattern, just one line is enough.
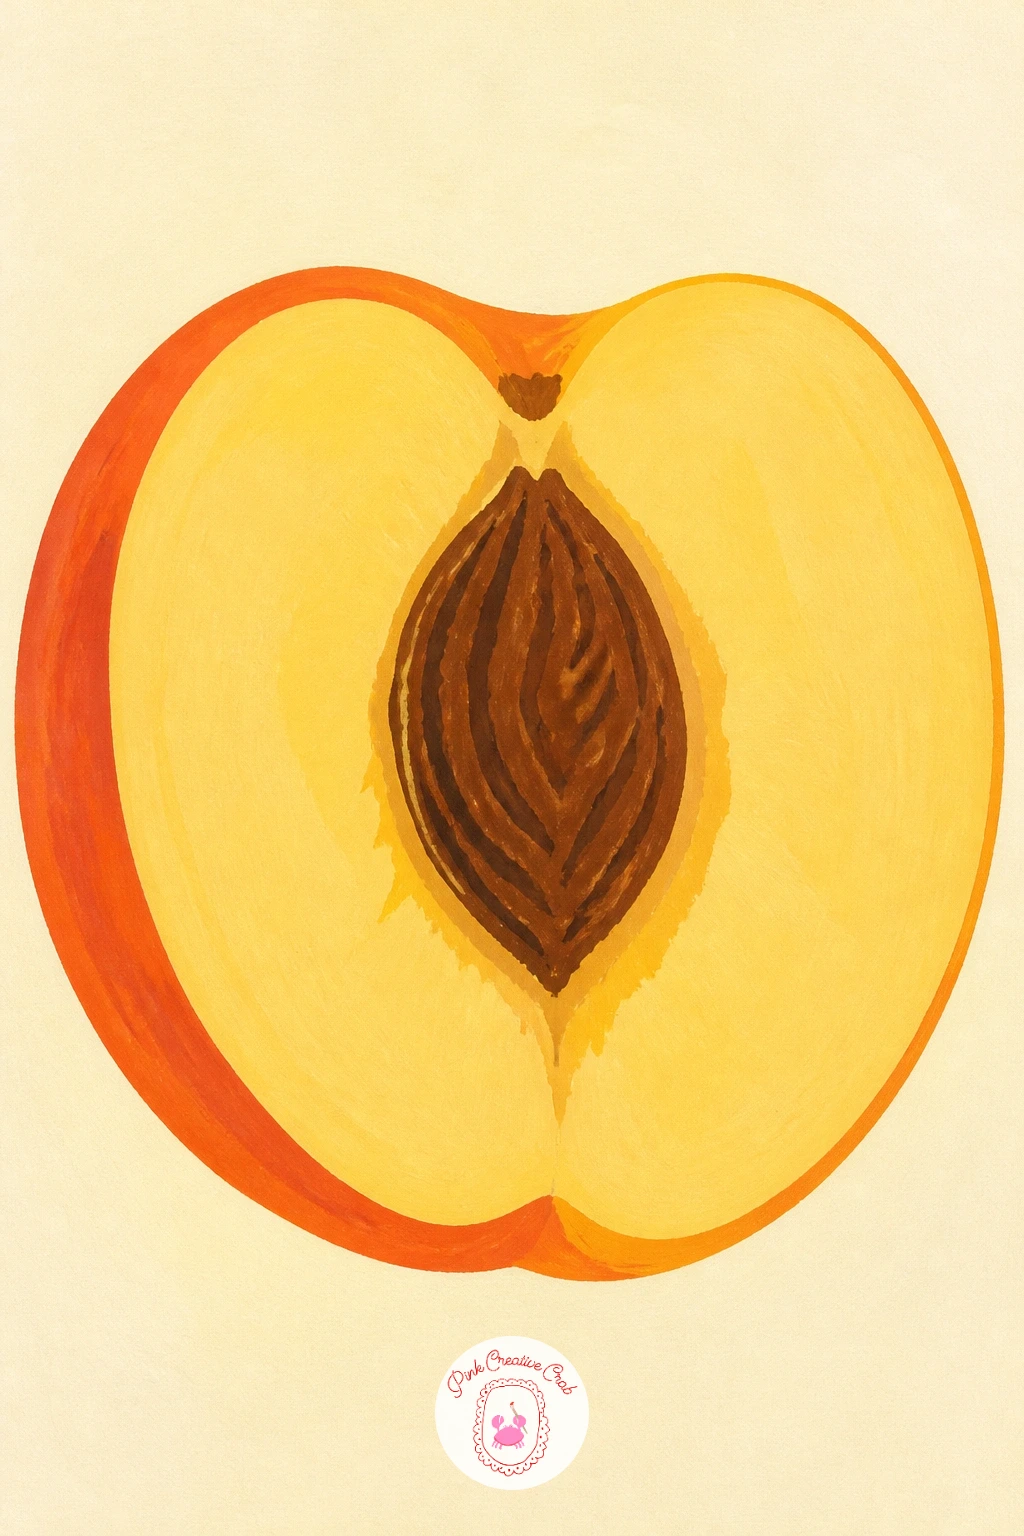
Palette: Cadmium Orange,Butter Yellow,Burnt Sienna,Cream White
Bring in a peach tree branch next, a nice break from round fruit shapes into something more linear. Sketch one diagonal branch across the page first, then hang two or three peaches and a handful of simple leaf shapes from it at different points so the branch does not look evenly spaced.
Paint the branch in a flat brown first since everything else sits on top of it, then block in the peaches in solid orange and the leaves in one confident green shape each, no vein detail needed at this level. Let each shape dry before the next touches it to keep edges crisp.
Compare the width of one peach against the branch it hangs from before you commit to size, peaches drawn too large will make the branch look impossibly thin to hold them. A slightly thicker branch near the peaches reads as more believable.
If leaf green feels flat on its own, mix in a touch of yellow for one or two leaves so they do not all match exactly. Keep the background completely cream so the branch has room to breathe across the page.
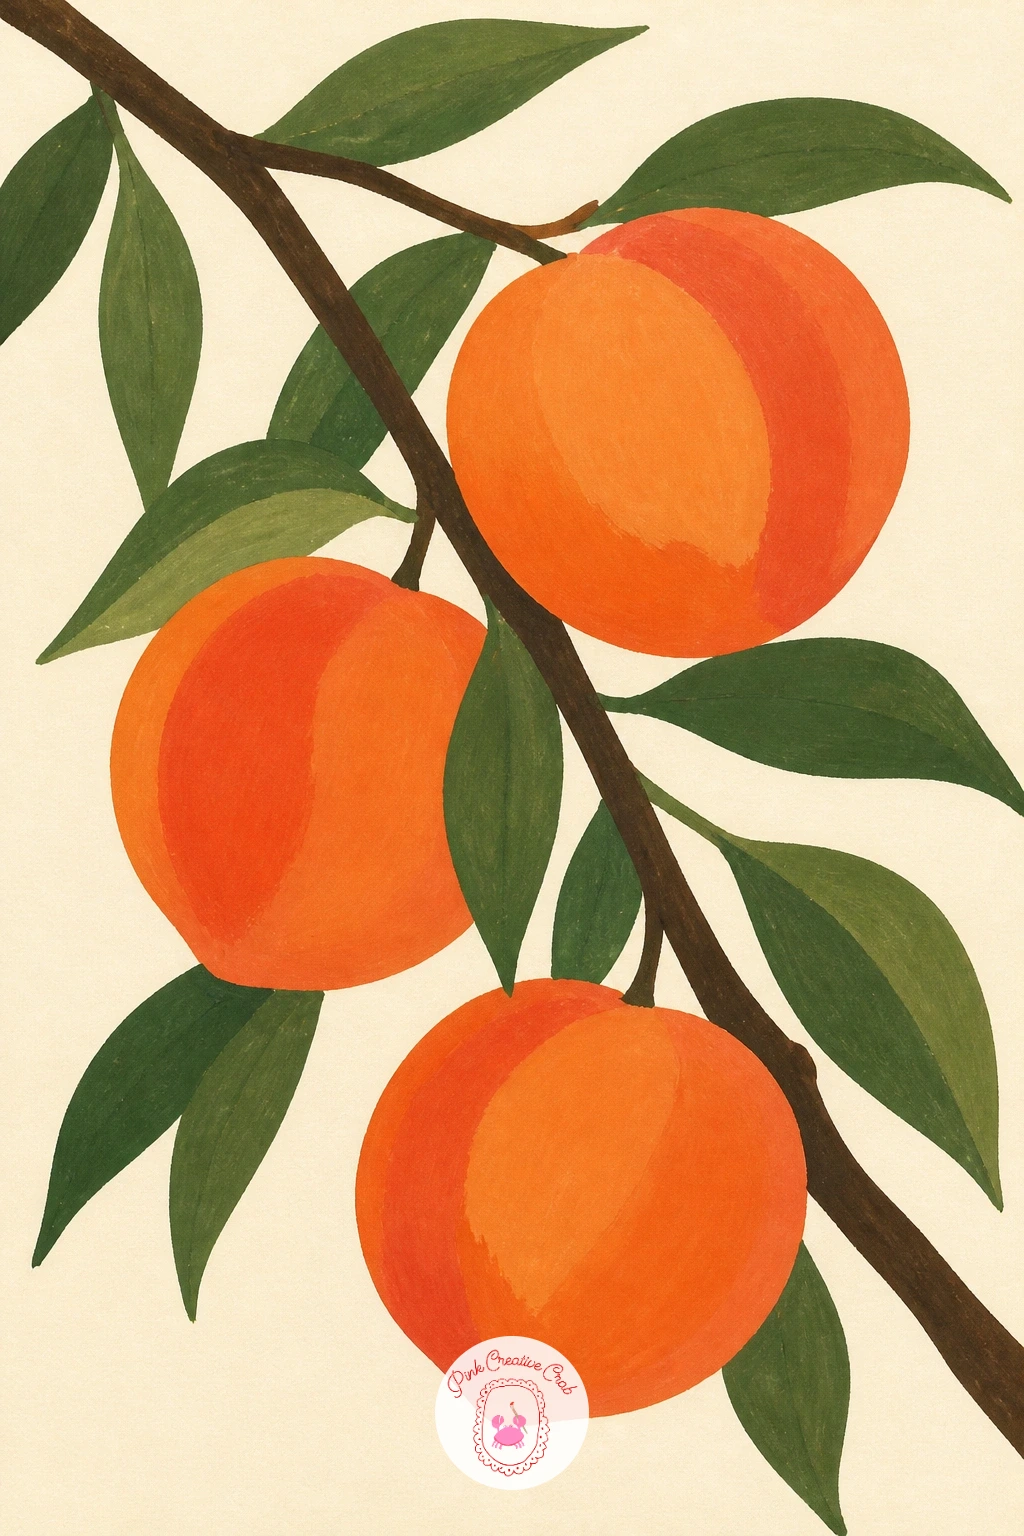
Palette: Sap Green,Burnt Umber,Cadmium Orange,Cream White
Shift from the tree to a crate of peaches at a farm stand, a scene with a bit more structure to plan. Draw the wooden crate as a simple rectangular box shape first, slats suggested with just a few straight lines, then fill the opening with rows of peach circles stacked slightly above the rim.
Work the crate’s wood tone first in one flat warm brown, add the darker gaps between slats once dry, then move on to the peaches, painting the back row slightly smaller to suggest the crate’s depth. Keep every peach the same confident orange with only small red accents varying from one to the next.
The quick ten minute version keeps the crate low and simple with five or six peaches visible. Given forty minutes, add a printed label or stenciled lettering shape on the crate’s side and a couple of loose peaches sitting just outside it on the surface below.
One concrete tip for today: paint the peaches before the crate’s front slats, then bring the front wood lines down over the fruit edges where they would naturally overlap, this single layering order makes the whole crate look like it is actually holding the fruit. For more fruit arranging practice, the fruit basket drawing ideas cover similar composition tricks.
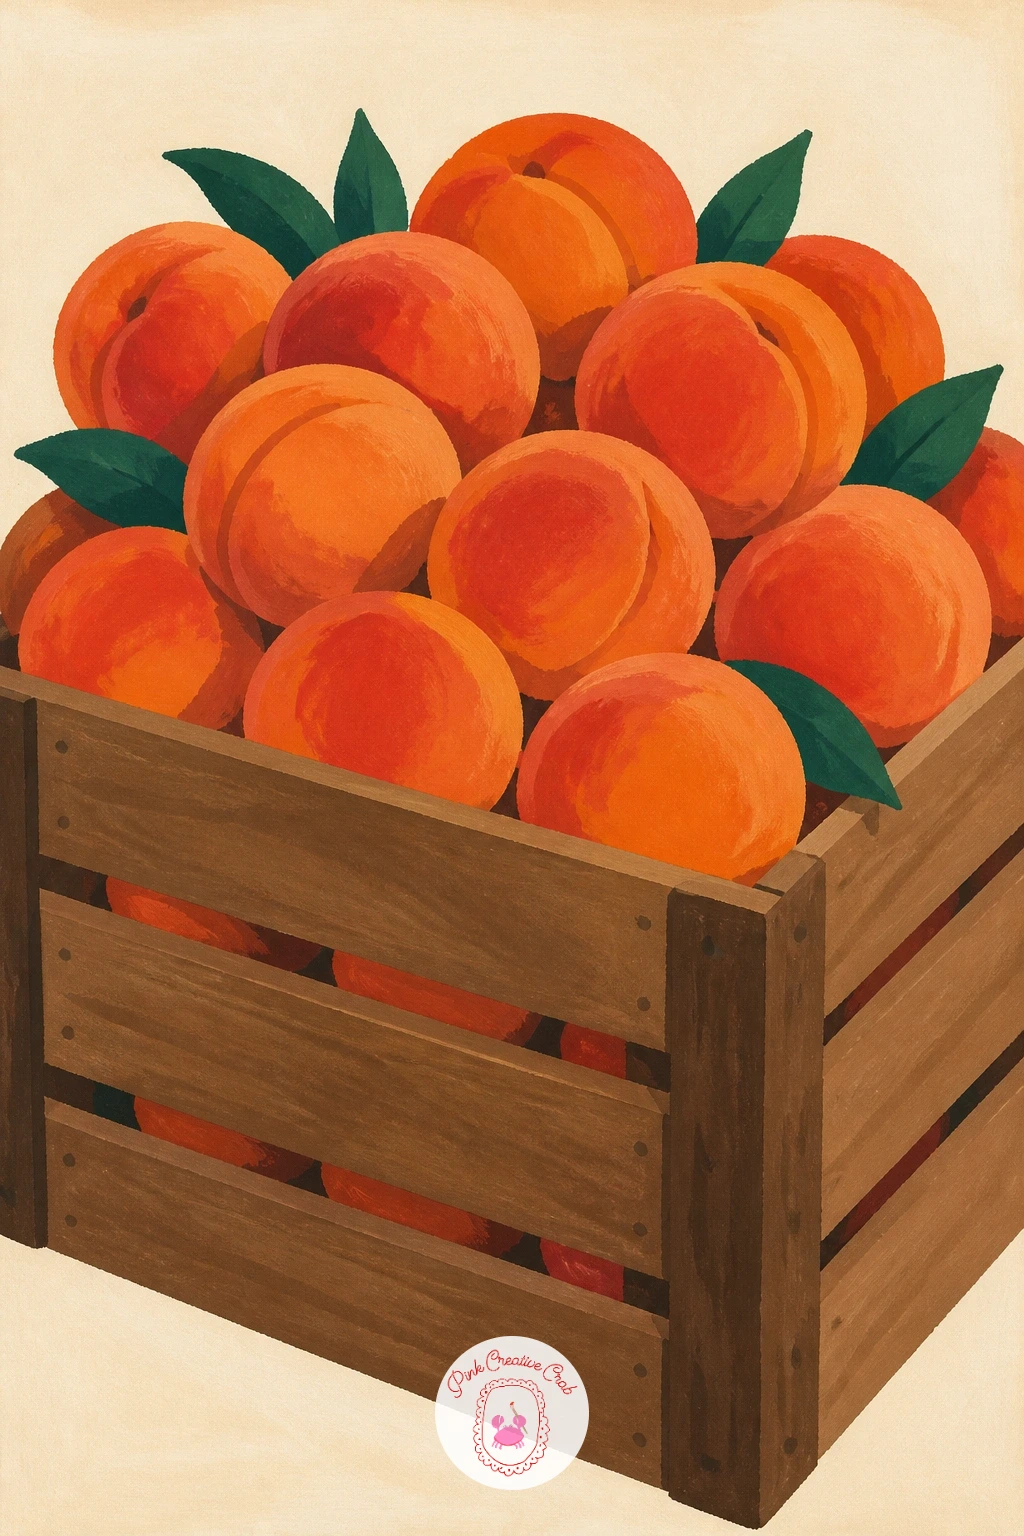
Palette: Burnt Sienna,Cadmium Orange,Cherry Red,Cream White
Warm things up with a peach cobbler, a dish that gives you soft biscuit texture against smooth fruit filling. Sketch a round or oval baking dish first, then fill the top with uneven lumpy shapes for the biscuit topping, leaving small gaps where the golden peach filling peeks through.
Paint the filling first in a deep orange so it sits visible in the gaps, then layer the biscuit topping over it in a flat golden tan, varying the shape sizes so no two lumps match exactly. A light dry brush pass of a slightly darker tan across the tops of the highest lumps suggests the baked crust without any blending.
Dry brushing is the trick that saves this dish from looking flat: load very little paint on a mostly dry brush and skim it lightly across the raised biscuit tops, letting the paper show through in tiny gaps. That broken texture reads instantly as a baked surface.
No proper dry brush technique yet? A slightly stiff old brush with most of the paint wiped onto a paper towel first works the same way. Keep the baking dish itself in one flat color so the texture stays only on the topping.
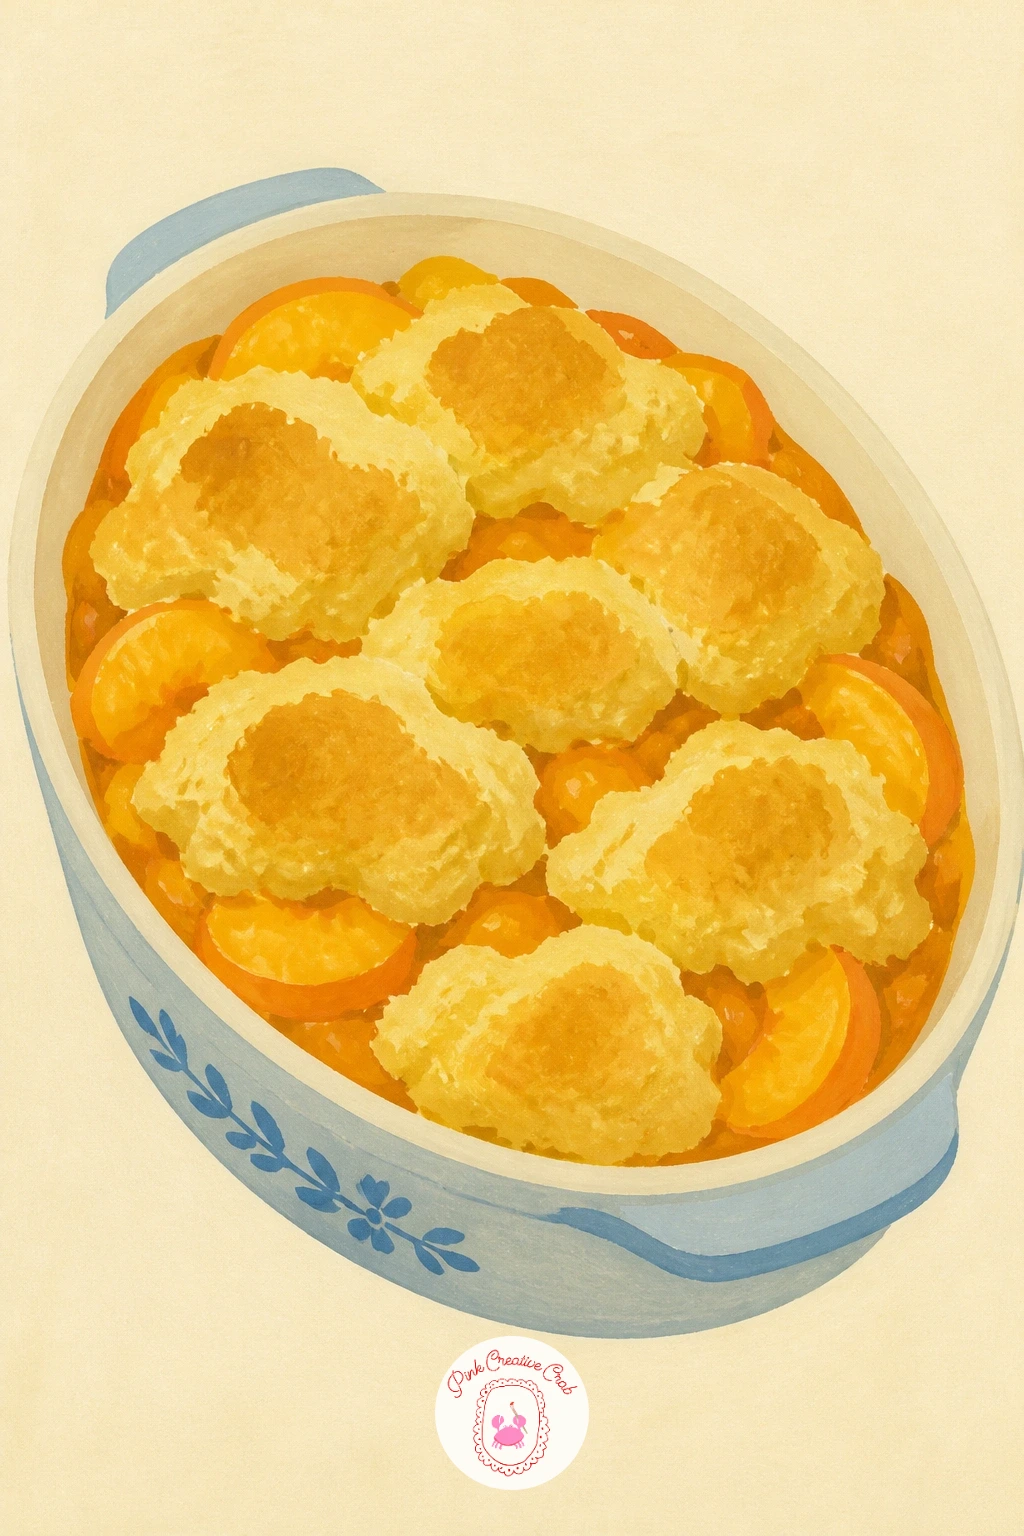
Palette: Golden Tan,Cadmium Orange,Burnt Sienna,Cream White
Slow down with a single peach on a linen napkin, a quiet still life that teaches careful edge work. Draw one peach circle first, slightly flattened at the bottom where it rests, then sketch the napkin underneath as loose folded rectangles radiating out from under the fruit.
Paint the napkin first in a flat off white or pale gray so the peach has something to sit against, then add just two or three fold lines in a slightly darker gray once dry. The peach goes in last, solid orange with a small cherry red blush on the side facing the light.
If the napkin folds start looking busy, remove lines rather than adding more: two confident fold shadows say more than six fussy ones. A kneaded eraser can lift a pencil fold line that feels unnecessary before you paint over it.
Standing in for linen, a plain napkin or folded tea towel on your table works fine as reference. Try keeping the napkin folds pointing away from the peach rather than toward it, which keeps the eye landing on the fruit first.
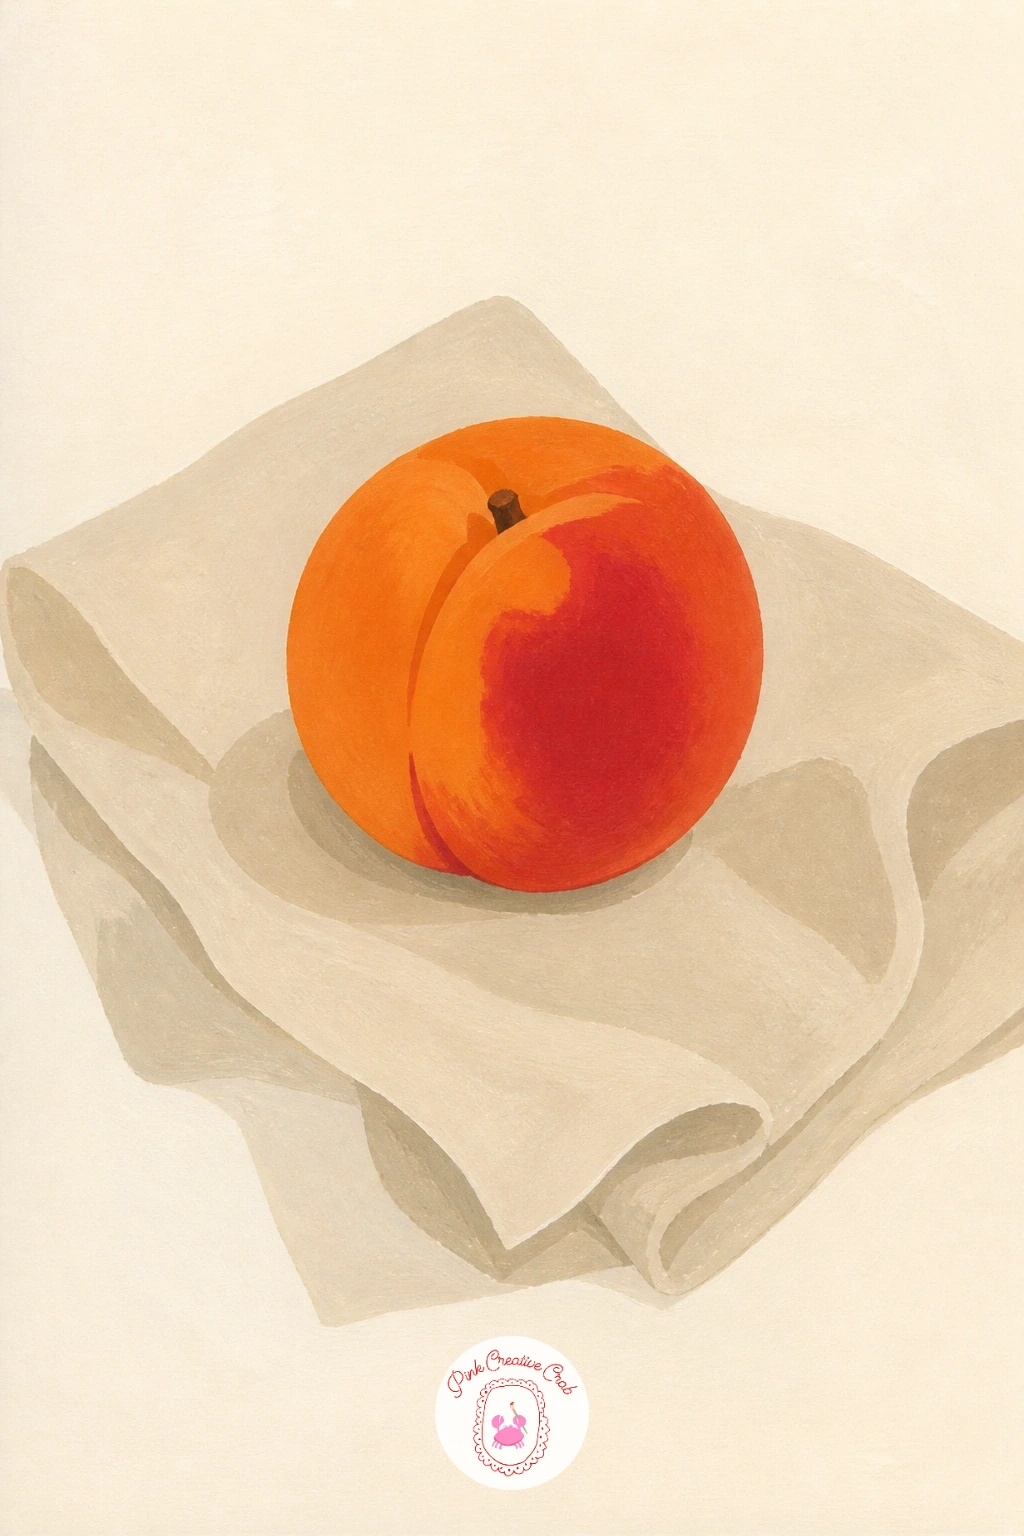
Palette: Cadmium Orange,Cherry Red,Pale Gray,Cream White
Cool off with a glass of peach iced tea, a good subject for practicing simple transparent shapes. Sketch a tall glass outline first, then divide it horizontally for the tea level, with a few peach slices and ice cubes layered inside near the top.
Paint the tea itself first as one flat amber orange shape filling the lower portion of the glass, then add the ice cubes as pale blue white rectangles overlapping the tea’s edge. The peach slices go in last as small half moon shapes in a brighter orange, tucked between the ice.
For the quick version, a plain glass of tea with two ice cubes and no garnish takes ten minutes and still reads clearly. With forty minutes, add condensation dots along the glass, a striped straw, and a thin slice of peach balanced on the rim.
One tip worth using today: leave a few small unpainted cream dots scattered on the glass itself to suggest the condensation, painting around them is far easier than trying to paint white dots over a finished glass.
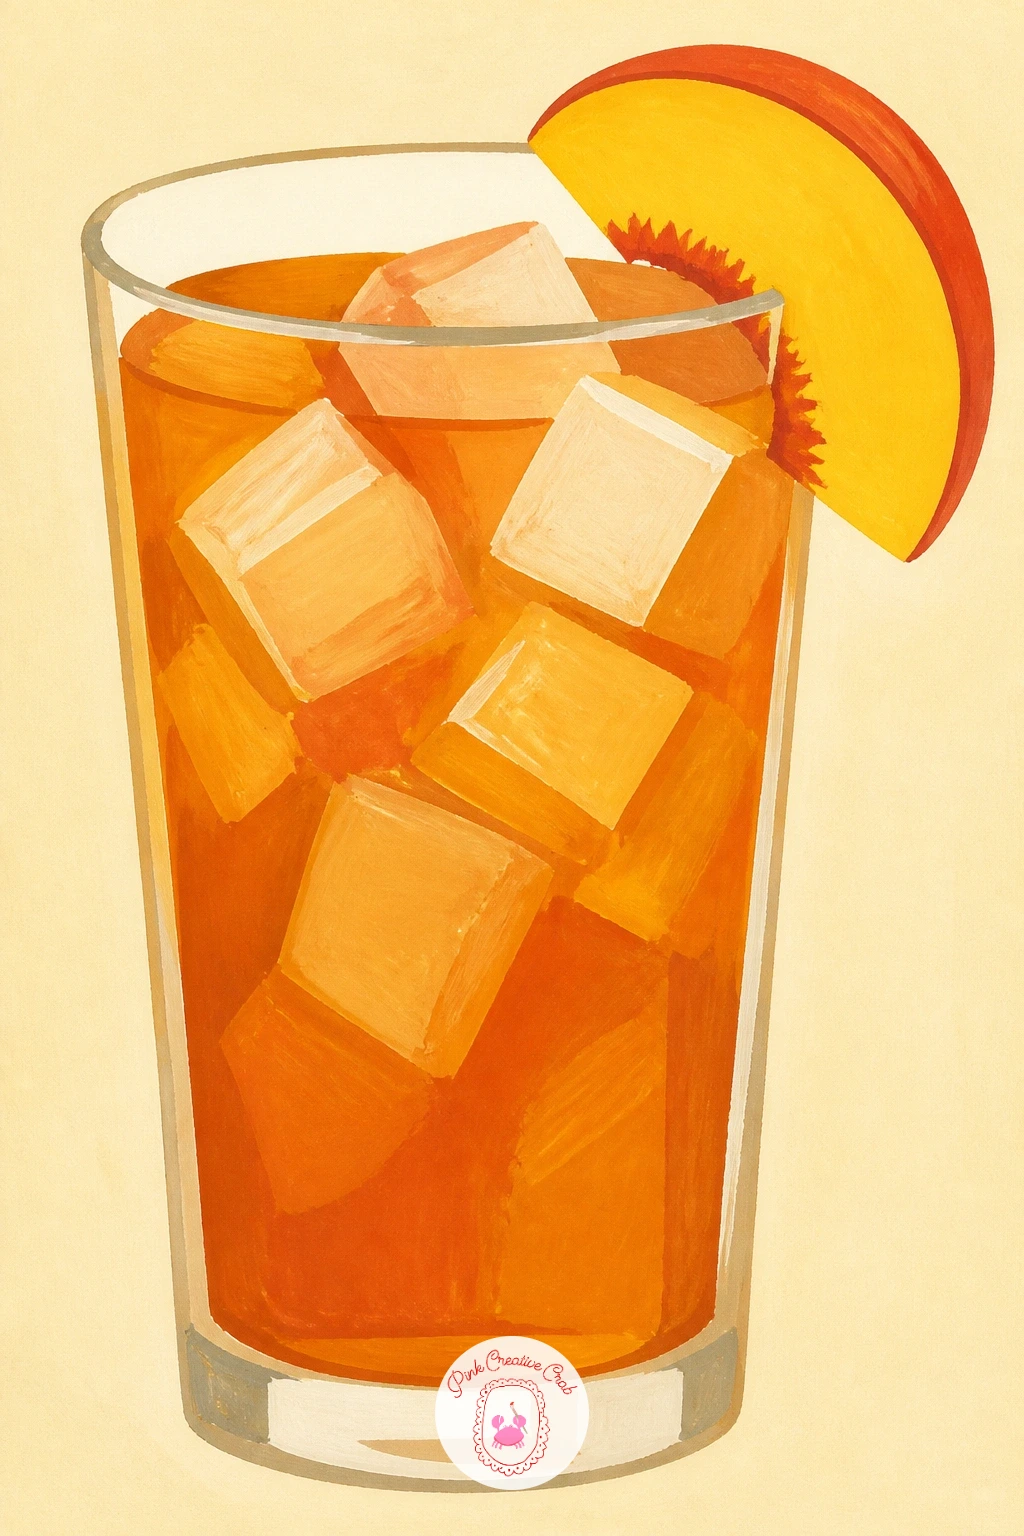
Palette: Amber Orange,Cadmium Orange,Pale Blue,Cream White
Bring a figure into the orchard with a girl picking peaches on a ladder, the first scene on this list with real action in it. Block the ladder in as two long diagonal lines with simple rungs, then sketch a simplified figure standing on one rung, one arm reaching up toward a peach on the tree beside her.
Work the background tree shapes first in flat green, then the ladder in flat brown, and save the figure for last so her silhouette sits cleanly over both. Keep her clothing in one or two flat colors, a straw hat shape and a simple dress or overalls read clearly at this scale without any folds or detail.
Proportion is what makes or breaks this scene: measure her height against the ladder’s total length before sketching, a figure drawn too tall will swallow the ladder and look like she is standing on the ground instead of climbing it. Roughly four to five head heights for the whole figure keeps her believable against the rungs.
If full figures feel difficult, keep her turned mostly away from the viewer, reaching upward, which hides tricky facial proportions entirely. The girl pencil drawing ideas cover more ways to simplify a standing figure like this one.
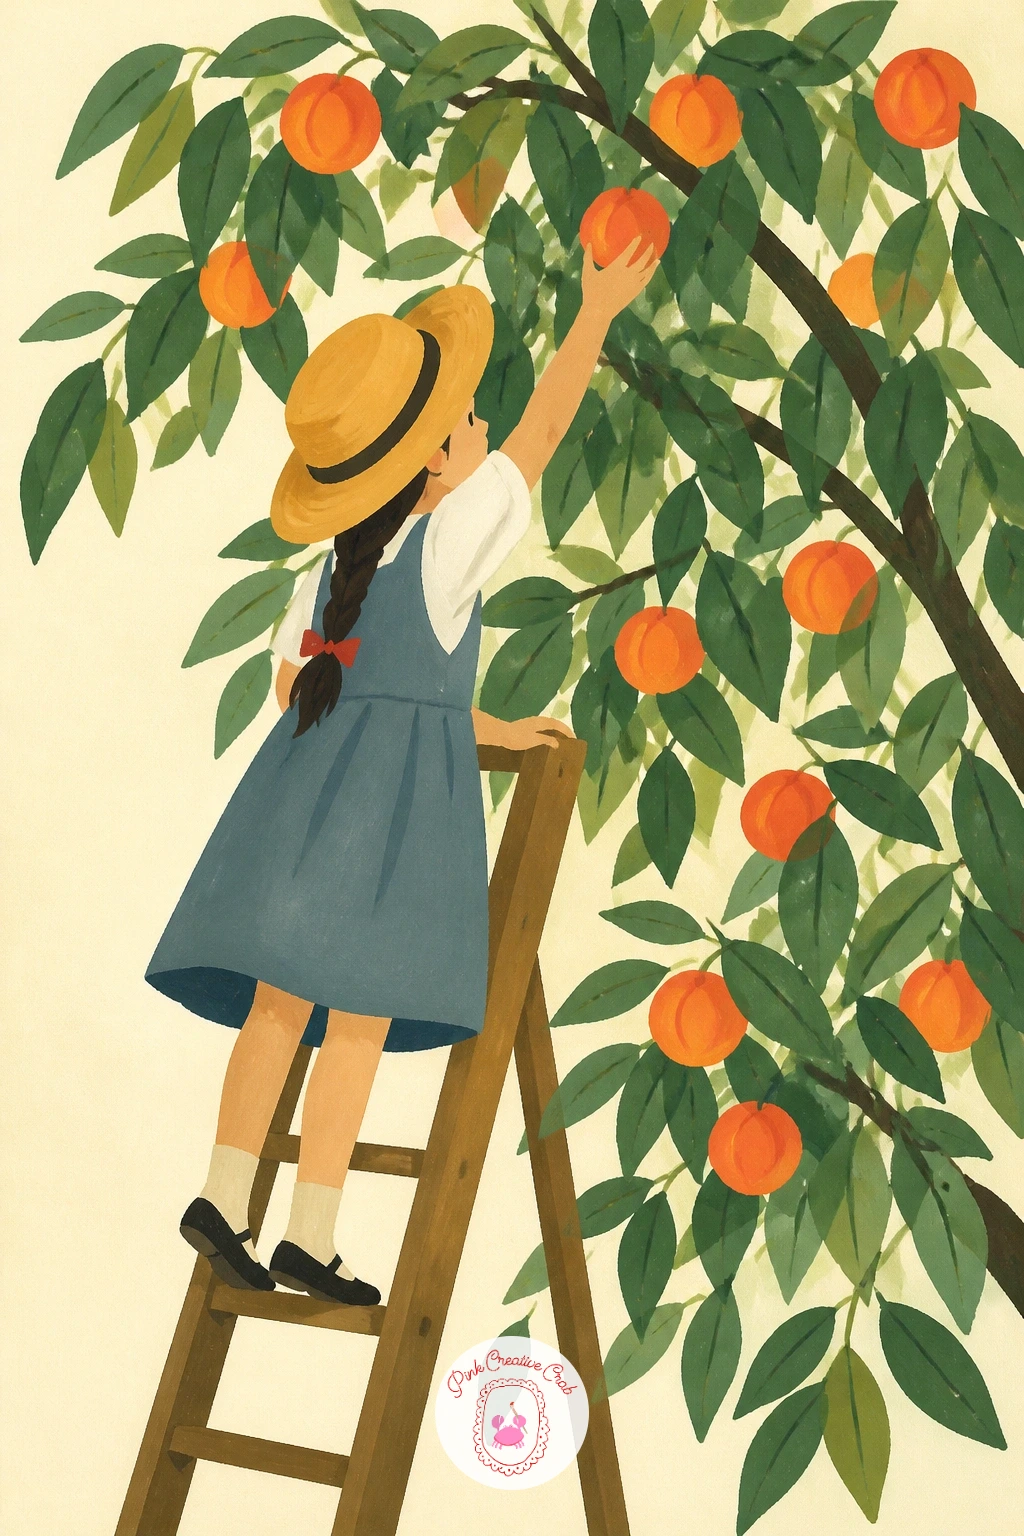
Palette: Sap Green,Burnt Umber,Cadmium Orange,Butter Yellow
Keep the kitchen theme going with a lattice peach pie, which builds nicely on the cobbler’s biscuit texture from earlier. Sketch a round pie dish first, then plan the lattice as a simple grid of straight strips crossing over each other, leaving diamond shaped gaps where the orange filling shows through.
Paint the visible filling in the gaps first in a rich orange, then lay the pastry strips over it in a flat golden tan, alternating which strip sits on top at each crossing so the weave actually reads as woven rather than flat stacked lines. A thin darker tan line along one edge of each strip suggests the baked edge without shading.
Lattice crossings are the one place this subject commonly goes wrong, with strips that all look like they sit on the same layer. Fix it by deciding in your sketch which strips go over and under before you paint a single stroke, then stick to that plan strip by strip.
No pie dish for reference? Any round plate or bowl traced for the outline works just as well. Try crimping the pie’s edge with a simple repeating scallop shape for a nice finishing detail once the lattice is dry.
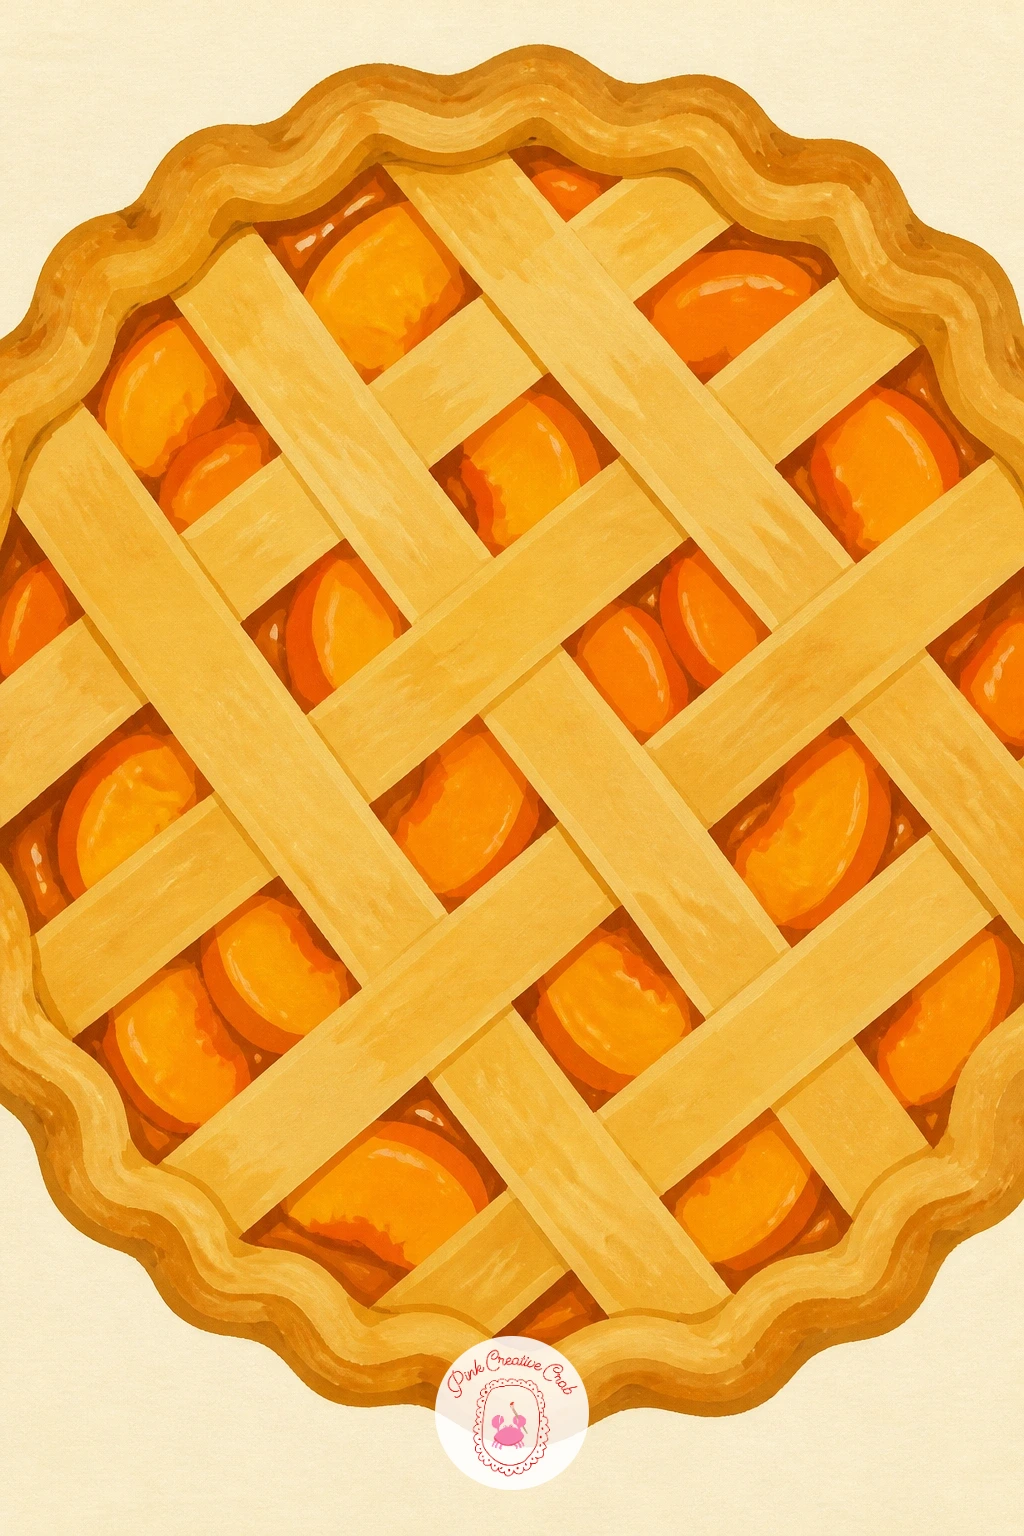
You Will Need
- plate to trace the pie dish circle
Palette: Golden Tan,Cadmium Orange,Burnt Sienna,Cream White
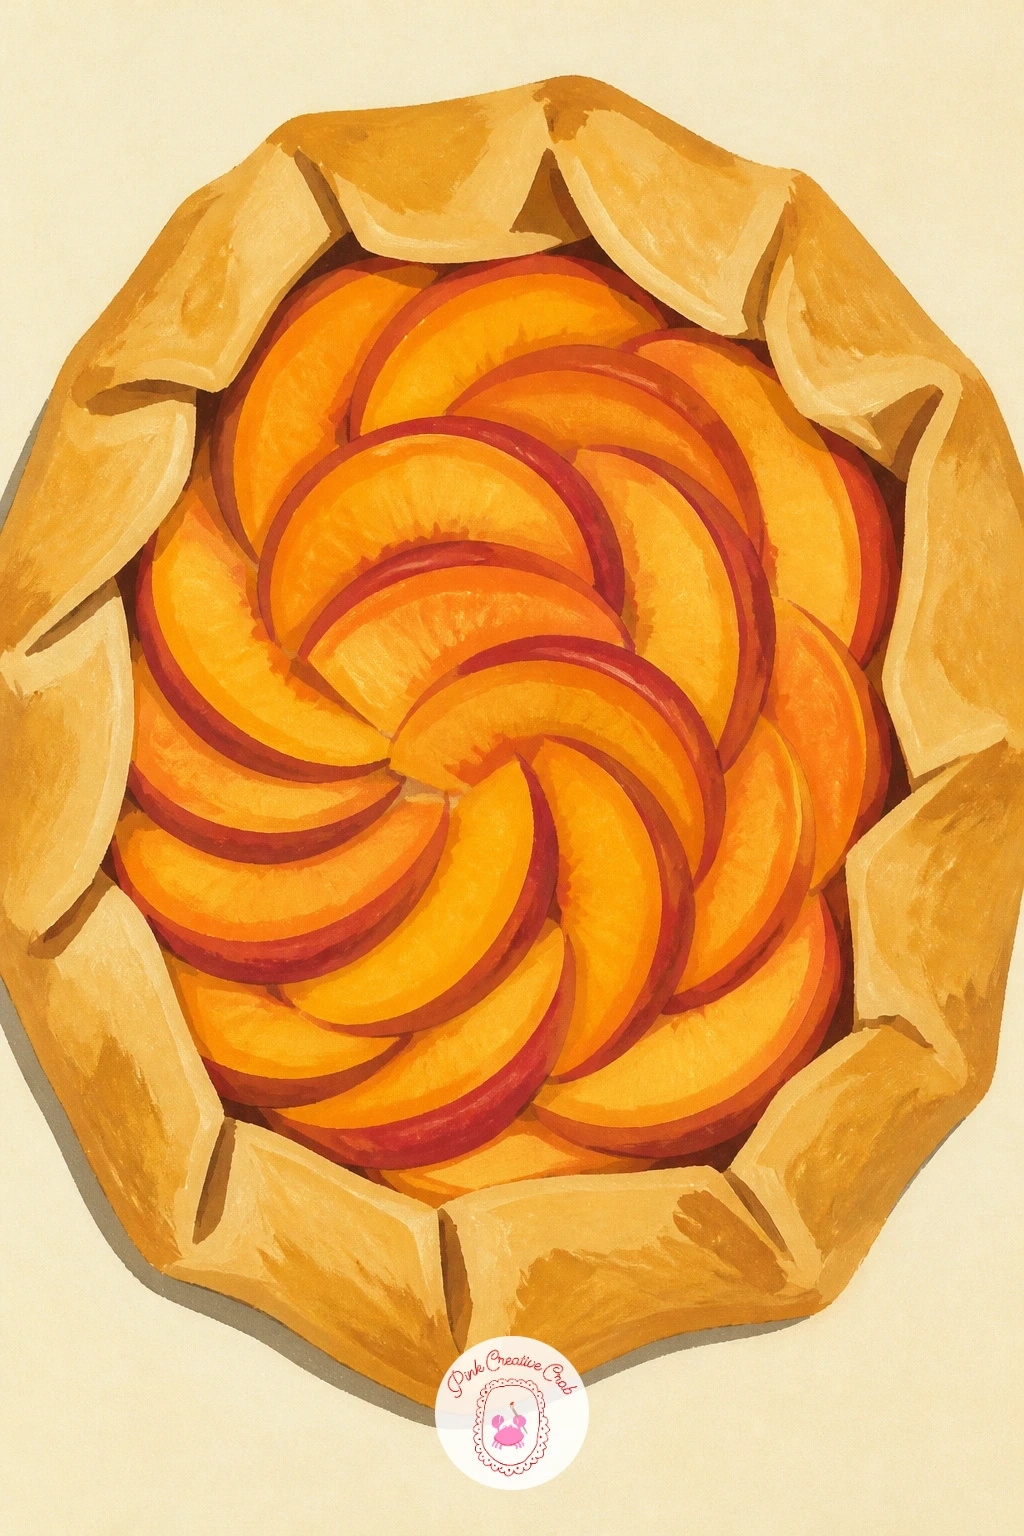
Compare the tidy pie above with a peach galette, its looser free form cousin. Sketch a rough circle of pastry with the edges folded up and over in several uneven pleats around the outside, with sliced peach halves fanned out in the open center.
Paint the exposed peach slices first as overlapping orange half moons arranged in a loose spiral, then paint the folded pastry edge around them in flat golden tan, letting each pleat remain a slightly different size and angle than its neighbor. That irregularity is what makes a galette look handmade rather than stamped from a mold.
If the pleats start looking too uniform, break the pattern by making every third fold noticeably larger or smaller. A dry brush pass of a warm brown along just the outer pastry edge suggests the baked color without needing a full shading layer.
Standing in for fanned peach slices, you can also arrange them in simple overlapping rows instead of a spiral if that feels easier to plan. Keep the whole thing resting on a plain cream background so the rustic edge reads clearly against it.
Palette: Cadmium Orange,Golden Tan,Burnt Sienna,Cream White
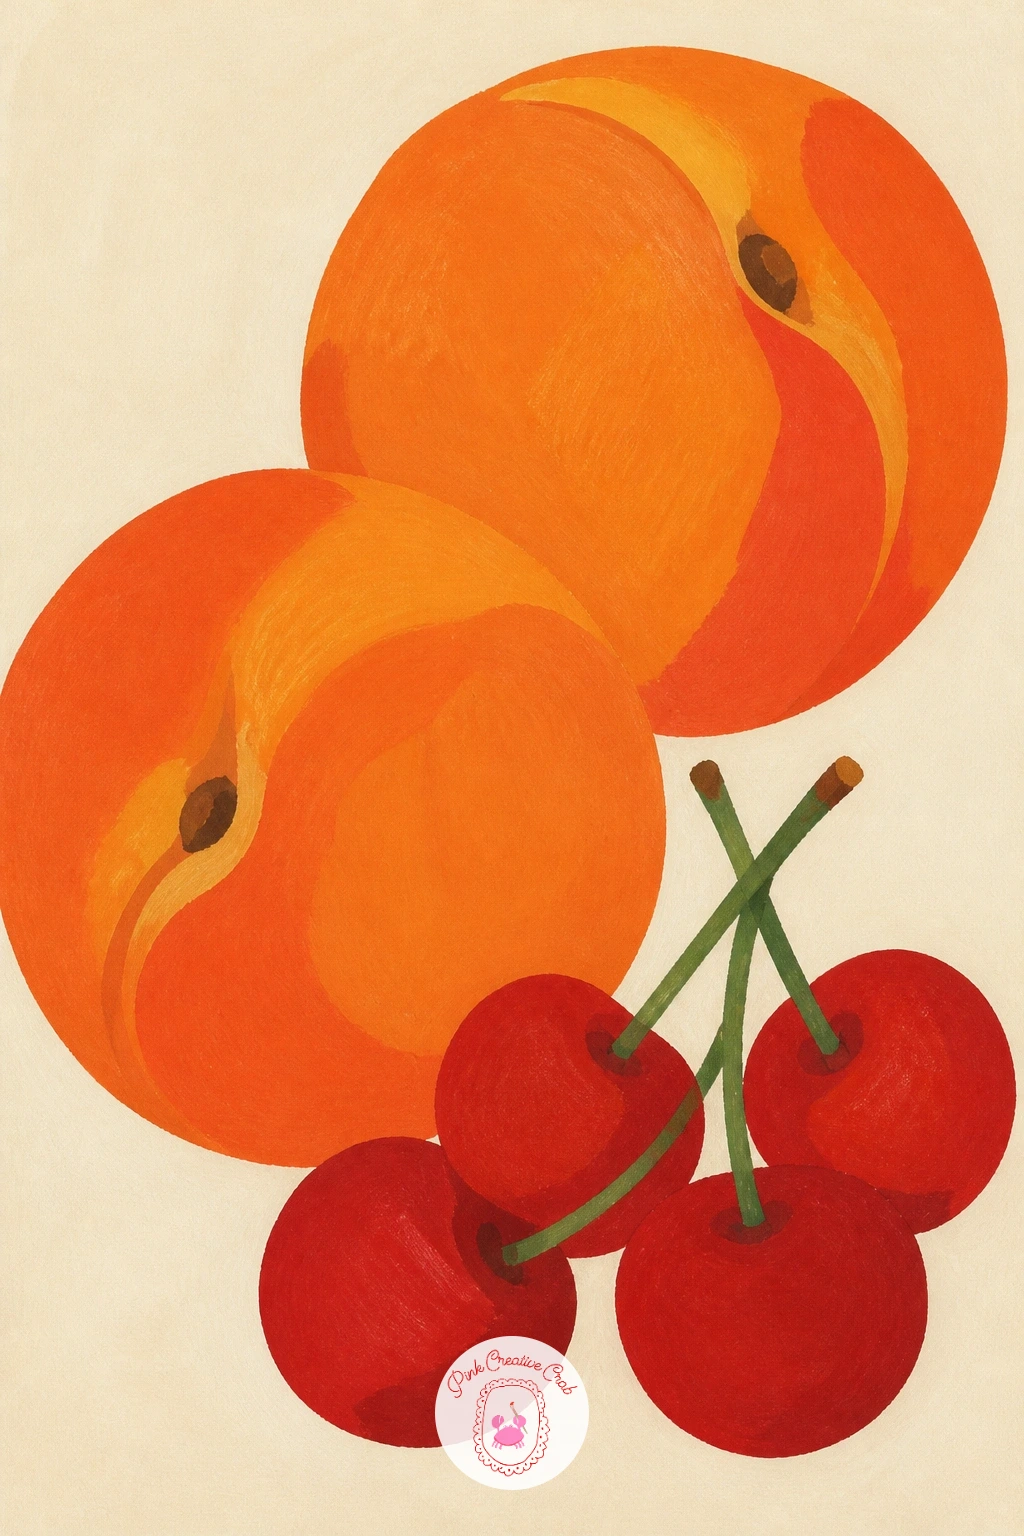
Pair peaches and cherries in a still life next, a good chance to practice two fruits that differ in scale. Arrange two or three peaches as the main shapes, then scatter a small cluster of cherries beside or in front of them, their thin stems crossing in a loose tangle.
Paint the peaches first since they are the largest flat shapes, then add the cherries in solid cherry red, each one noticeably smaller than any single peach. The stems go in last as a few thin curved lines in a dark green, crossing casually rather than lining up neatly.
Scale is the detail that sells this pairing: hold a real cherry next to a peach if you have one, or picture roughly six to eight cherries fitting across one peach’s width, and keep that ratio in your sketch. Cherries drawn too large will read as small peaches instead.
If cherry stems feel fiddly in gouache, switch to a fine brush loaded with very little paint, or finish them with a dark colored pencil line over the dry paint instead. The fruit basket drawing ideas have more tips on balancing different fruit sizes in one composition.
Palette: Cadmium Orange,Cherry Red,Dark Green,Cream White
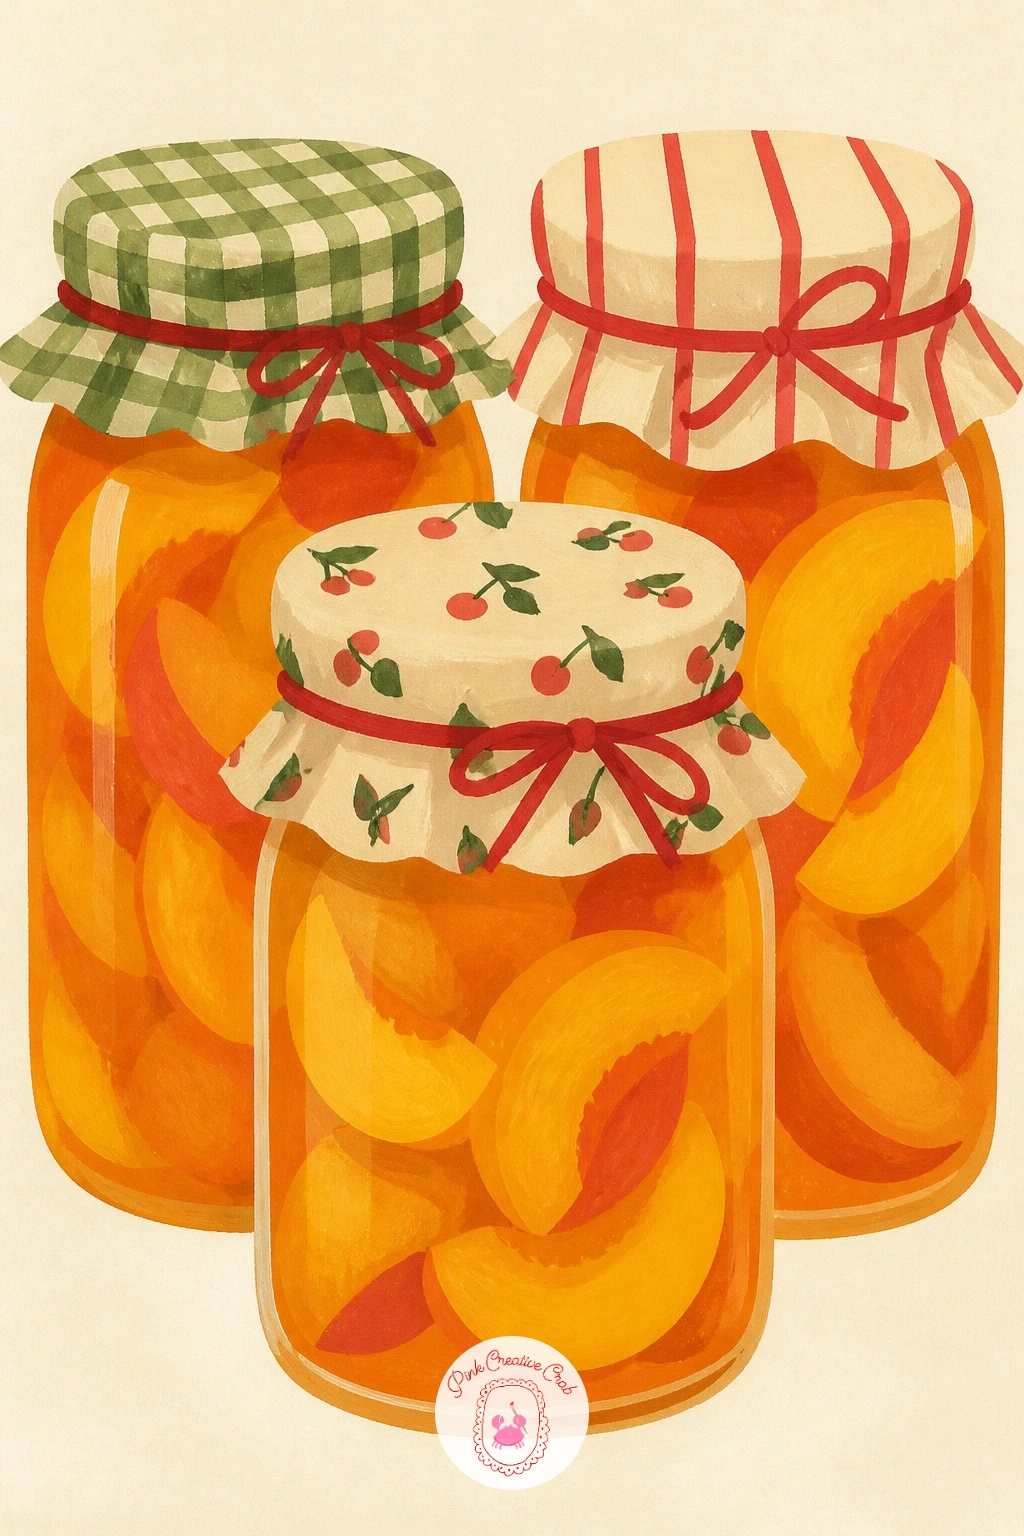
Move into pantry territory with jars of peach preserves, a subject built from simple repeated shapes. Sketch two or three jars of slightly different heights, each a basic cylinder with a rounded shoulder near the top, then add a fabric circle or lid shape on top of each.
Paint the preserve inside each jar first in a deep glowing orange, leaving the jar’s glass outline unpainted so the fruit color shows through clearly. Add the glass itself as a very pale tint around the edges once dry, then finish with the fabric lid covers in a simple pattern or solid color, no two jars matching exactly.
Light sits at the top of this scene in most kitchen shelf setups, so a small unpainted highlight near the top curve of each jar suggests the glass catching light from above. Keep that highlight consistent across all the jars so they read as lit from the same direction.
If plain glass jars feel tricky, simplify by treating the whole jar shape as transparent orange with just a thin pale outline, skipping the separate glass tint layer entirely. A paper towel stuffed under the lid shapes for texture is optional and not required at this level.
Palette: Cadmium Orange,Burnt Sienna,Pale Peach,Cream White
Treat yourself to a peach slice with ice cream, a dessert scene that mixes two very different textures in one small painting. Sketch a wide peach slice fanned open on a plate, then add one or two scoops of ice cream resting beside it, each scoop drawn as a slightly lumpy circle rather than a perfect sphere.
Paint the peach slice first in flat orange with a pale yellow inner edge, then move to the ice cream in a soft cream or pale yellow, keeping the scoop shapes simple and matte with no melting drips unless you want them. A tiny shadow shape under each scoop anchors it to the plate.
For the ten minute version, one peach slice and one scoop is plenty. With more time, add a drizzle line of honey or caramel across both, plus a sprig of mint as two or three simple leaf shapes, which lifts the whole plate from simple to styled.
One tip for today: paint the plate itself last in a flat pale gray or white so it frames the dessert rather than competing with it, and keep the background cream completely clear around the plate’s edge.
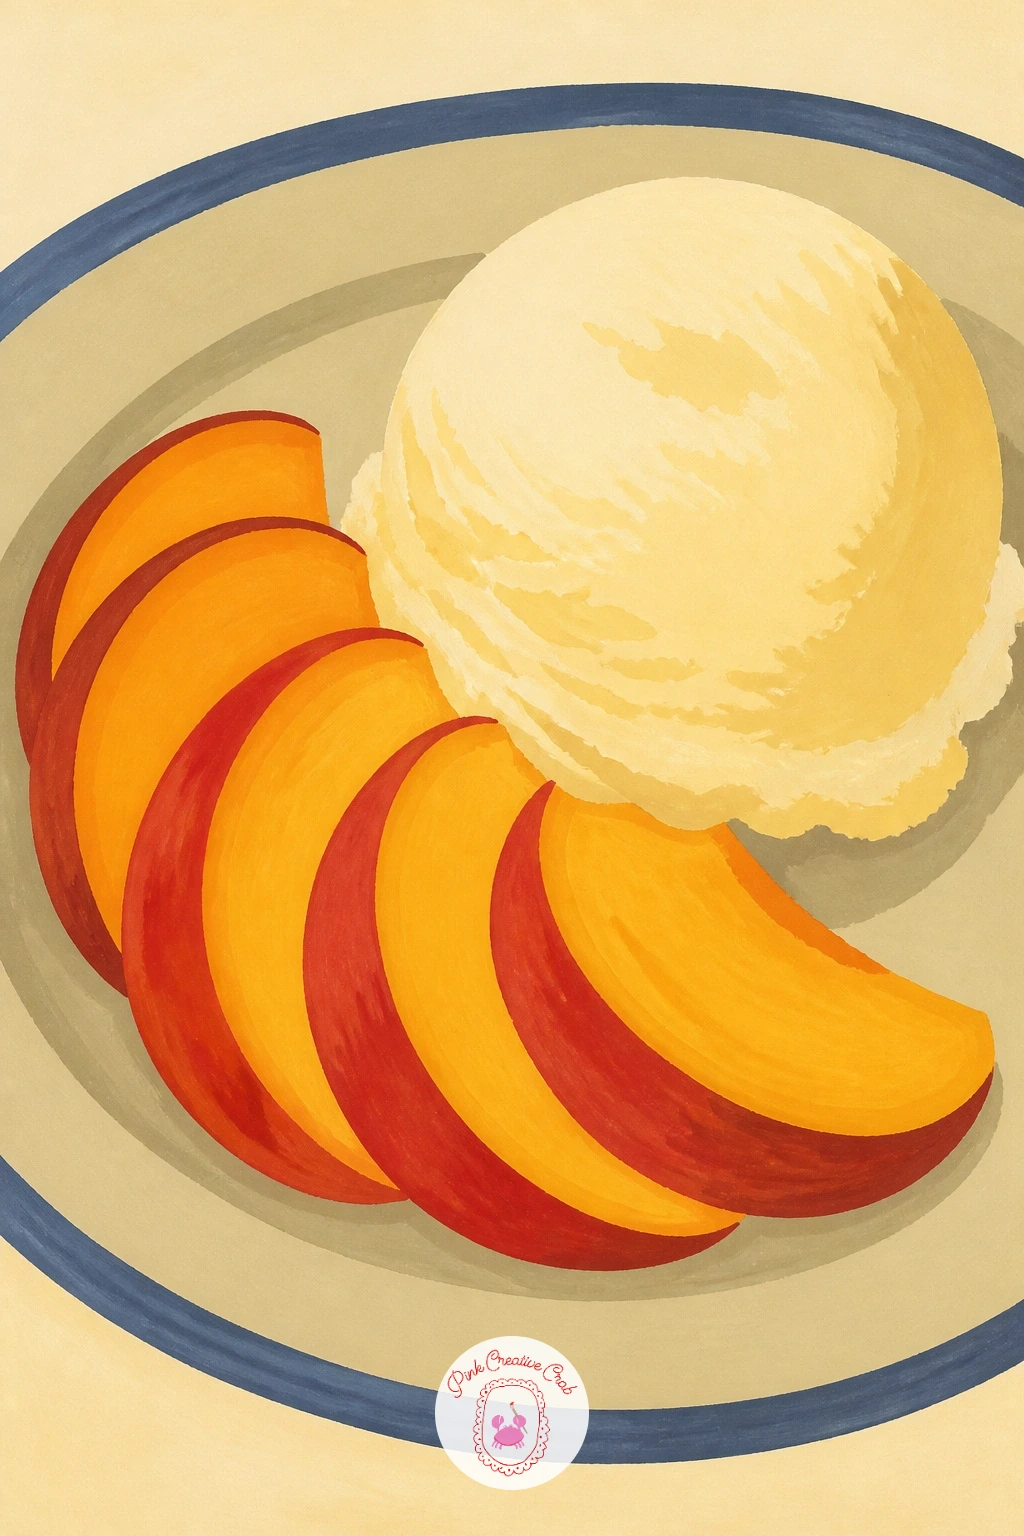
Palette: Cadmium Orange,Butter Yellow,Cream White,Sap Green
Raise a glass with a peach bellini, a simple celebratory scene built from one tall glass shape. Draw a wide shallow coupe or flute glass first, then fill it with a soft peachy pink liquid, leaving a line of small bubble circles rising near the glass’s inner edge.
Paint the liquid first as one flat warm pink orange, let it dry fully, then add the bubbles as tiny unpainted cream dots or very pale circles scattered in a loose rising line rather than evenly spaced. The glass stem and base go in last in a thin pale outline so the drink itself stays the star of the picture.
If the bubbles start looking too mechanical in a straight row, scatter a few off to the side and vary their sizes, three or four large ones and a scatter of tiny ones reads far more natural than a neat column. A fine brush or the tip of a toothpick dipped in paint can place the smallest dots cleanly.
No flute glass handy for reference? Any tall drinking glass photographed at an angle works as a stand in for the shape. Add a thin peach slice balanced on the rim for a nice finishing touch.
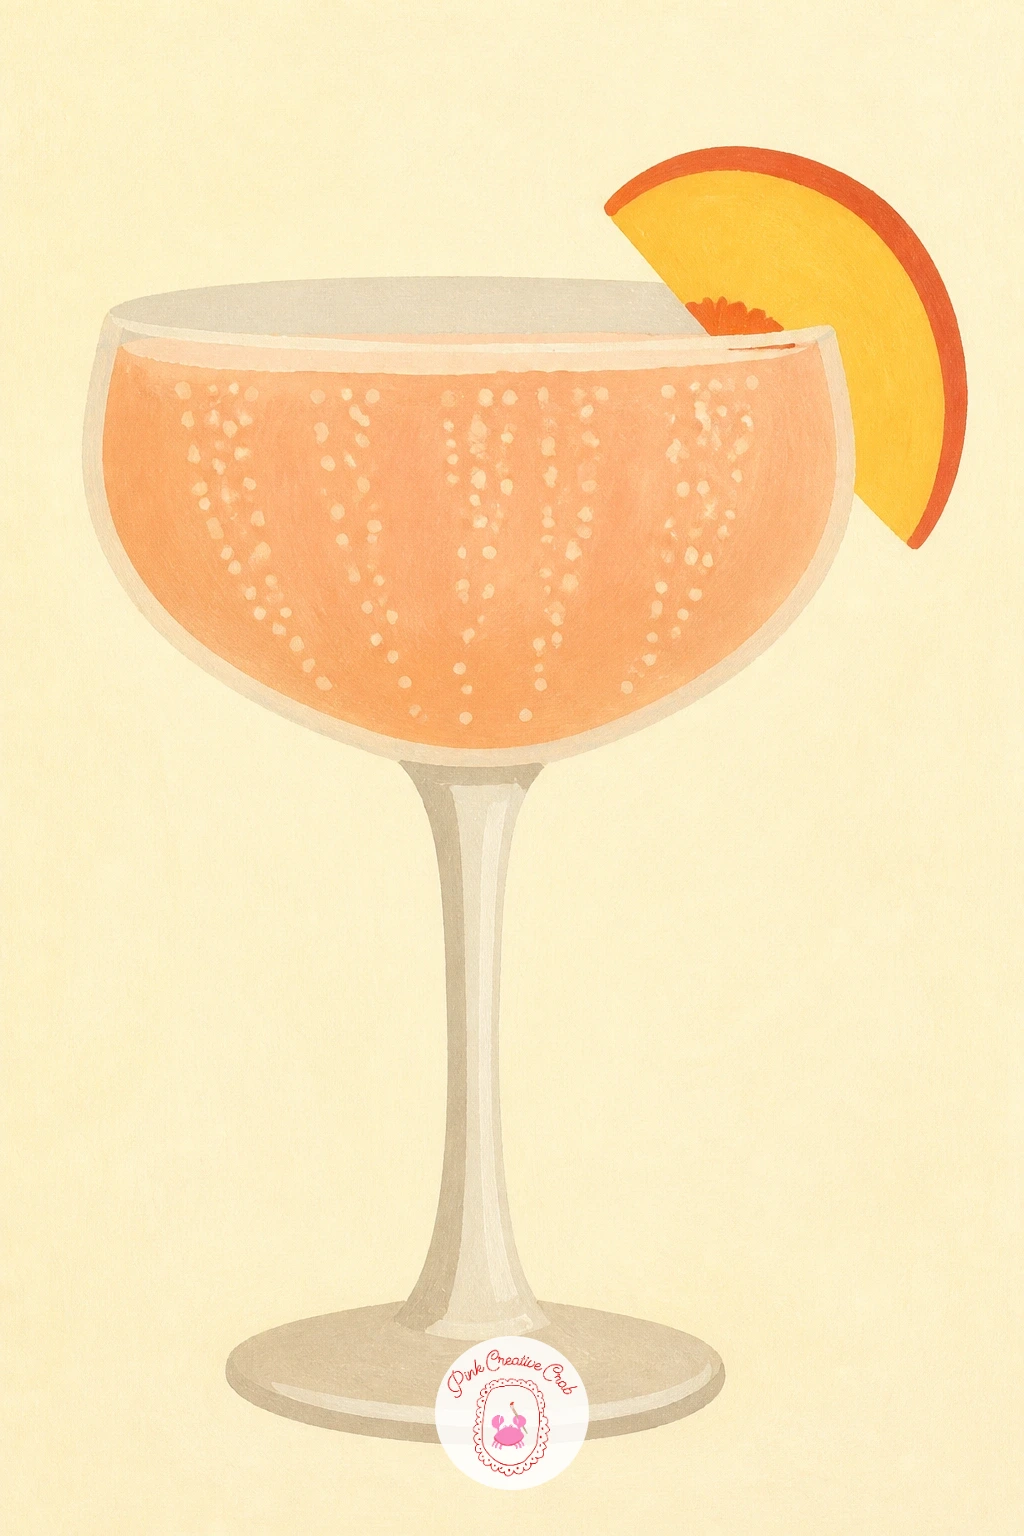
Palette: Pink Orange,Cadmium Orange,Cream White,Pale Gray
Step back for an orchard road lined with peach trees, the first proper landscape on this list. Sketch a road running from the bottom of the page up toward a small horizon point, then line both sides with simplified rounded tree shapes that shrink and move closer together as they near that point.
Paint the sky first in one flat pale color, then the road in a warm tan or gray, before adding the trees row by row starting with the smallest ones near the horizon and working forward. Each closer tree gets painted slightly larger and a touch darker in green than the ones behind it.
Perspective is the whole trick here: keep every tree trunk meeting the road at roughly the same angle, and let the gaps between trees shrink steadily as they recede, rather than guessing at random spacing. That steady shrinking is what convinces the eye the road recedes into distance.
If straight perspective lines feel intimidating, a very light ruled pencil guide from the horizon point out to each tree base keeps everything aligned before you paint over it. The village scene drawing ideas cover more beginner friendly ways to handle a receding road like this one.
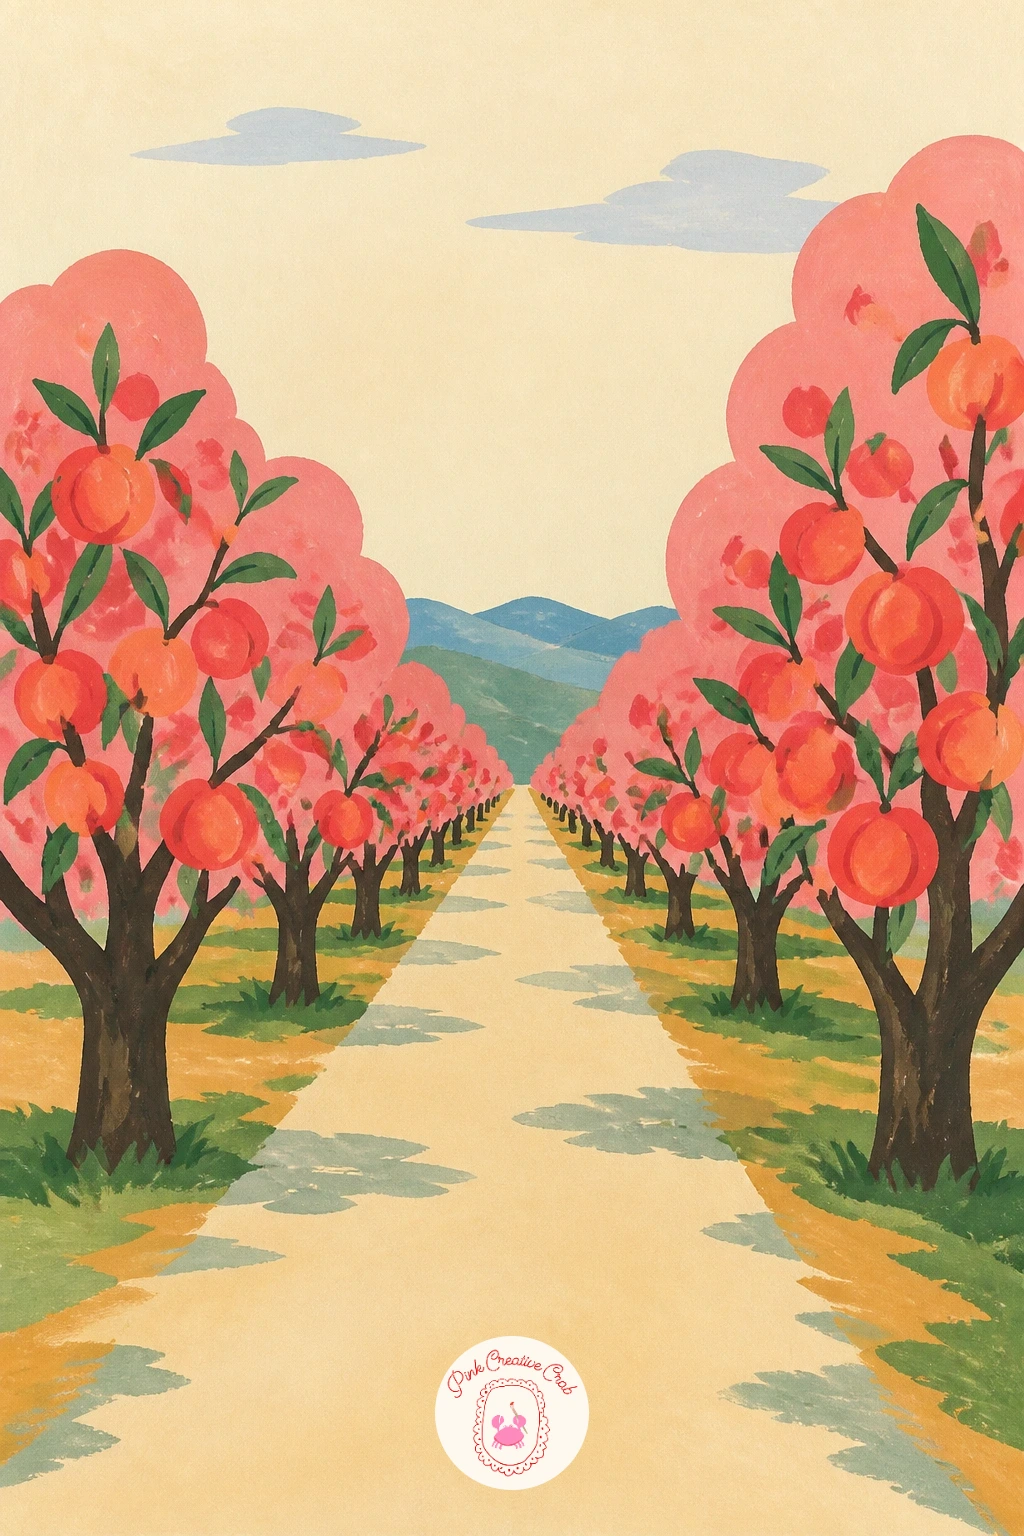
Palette: Sap Green,Pale Sky Blue,Warm Tan,Cream White
Bring the orchard scene back to a smaller still life with peaches in a paper bag, a scene about soft crumpled edges rather than smooth fruit alone. Sketch the bag first as an uneven tube shape with a rolled or folded top edge, then let two or three peaches peek out from the opening.
Paint the bag in a flat warm brown, keeping its outline deliberately uneven with small inward dents rather than a perfectly straight edge. Once dry, add a few darker brown crease lines radiating from the folded top to suggest the paper’s crinkled texture, then paint the visible peaches last in solid orange.
Pressure is the hands-on trick for this one: vary how hard you press when adding the crease lines, a few heavier lines near the fold and lighter ones trailing off down the bag reads far more convincingly crumpled than evenly weighted lines everywhere.
A lunch bag or any plain brown paper bag from the kitchen makes a perfectly good stand in for reference if you do not have a farm stand bag handy. Keep the peaches overlapping the bag’s opening edge slightly so they look tucked inside rather than floating above it.
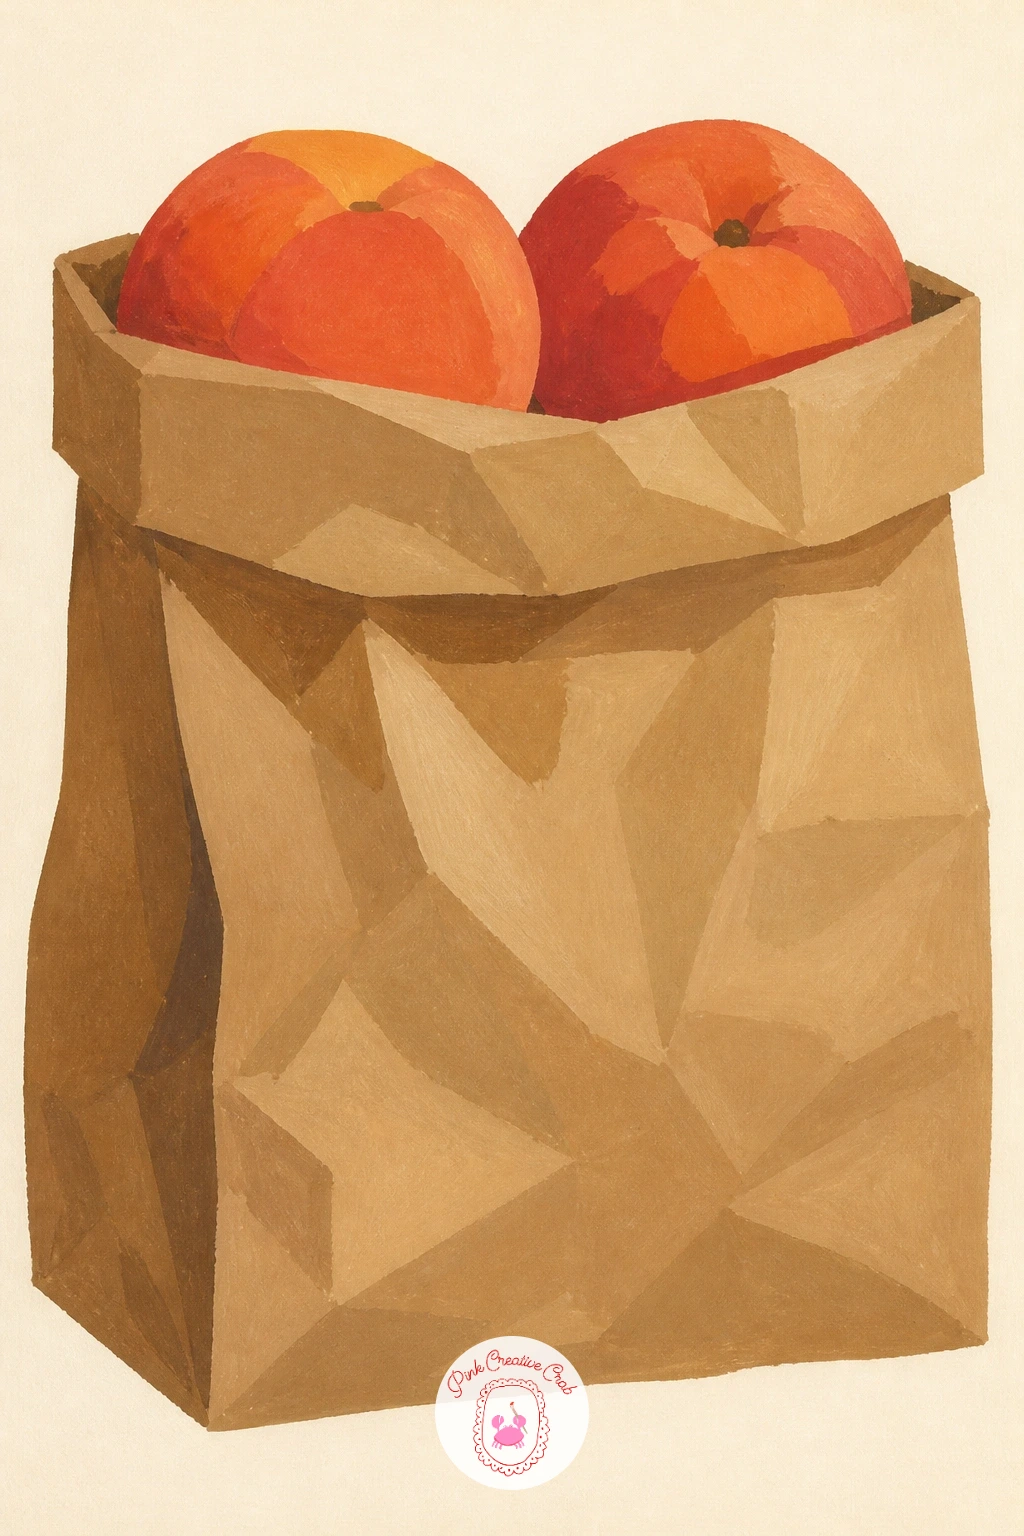
Palette: Burnt Sienna,Warm Brown,Cadmium Orange,Cream White
Keep things fresh with a peach smoothie, a simple glass shape filled with smooth flat color. Draw a tall straight sided glass first, then fill most of it with the smoothie itself, leaving room near the top for a straw and maybe a small dollop of texture.
Paint the smoothie as one flat warm orange pink shape filling the glass, then add a thin pale line near the top where light would catch the surface. The straw goes in last as a simple striped or solid line crossing the glass’s rim at a slight angle, with the glass outline itself kept as a thin pale line throughout.
The ten minute version is just the glass and smoothie with a straw, clean and quick. Given forty minutes, add a few peach slices garnishing the rim, a sprinkle of simple dot texture on top for granola or chia seeds, and a light shadow beneath the glass.
One tip to use today: keep the smoothie’s flat color slightly lighter near the top of the glass and slightly deeper near the bottom, two flat bands rather than a blended gradient, which keeps the whole look matte and graphic rather than photographic.
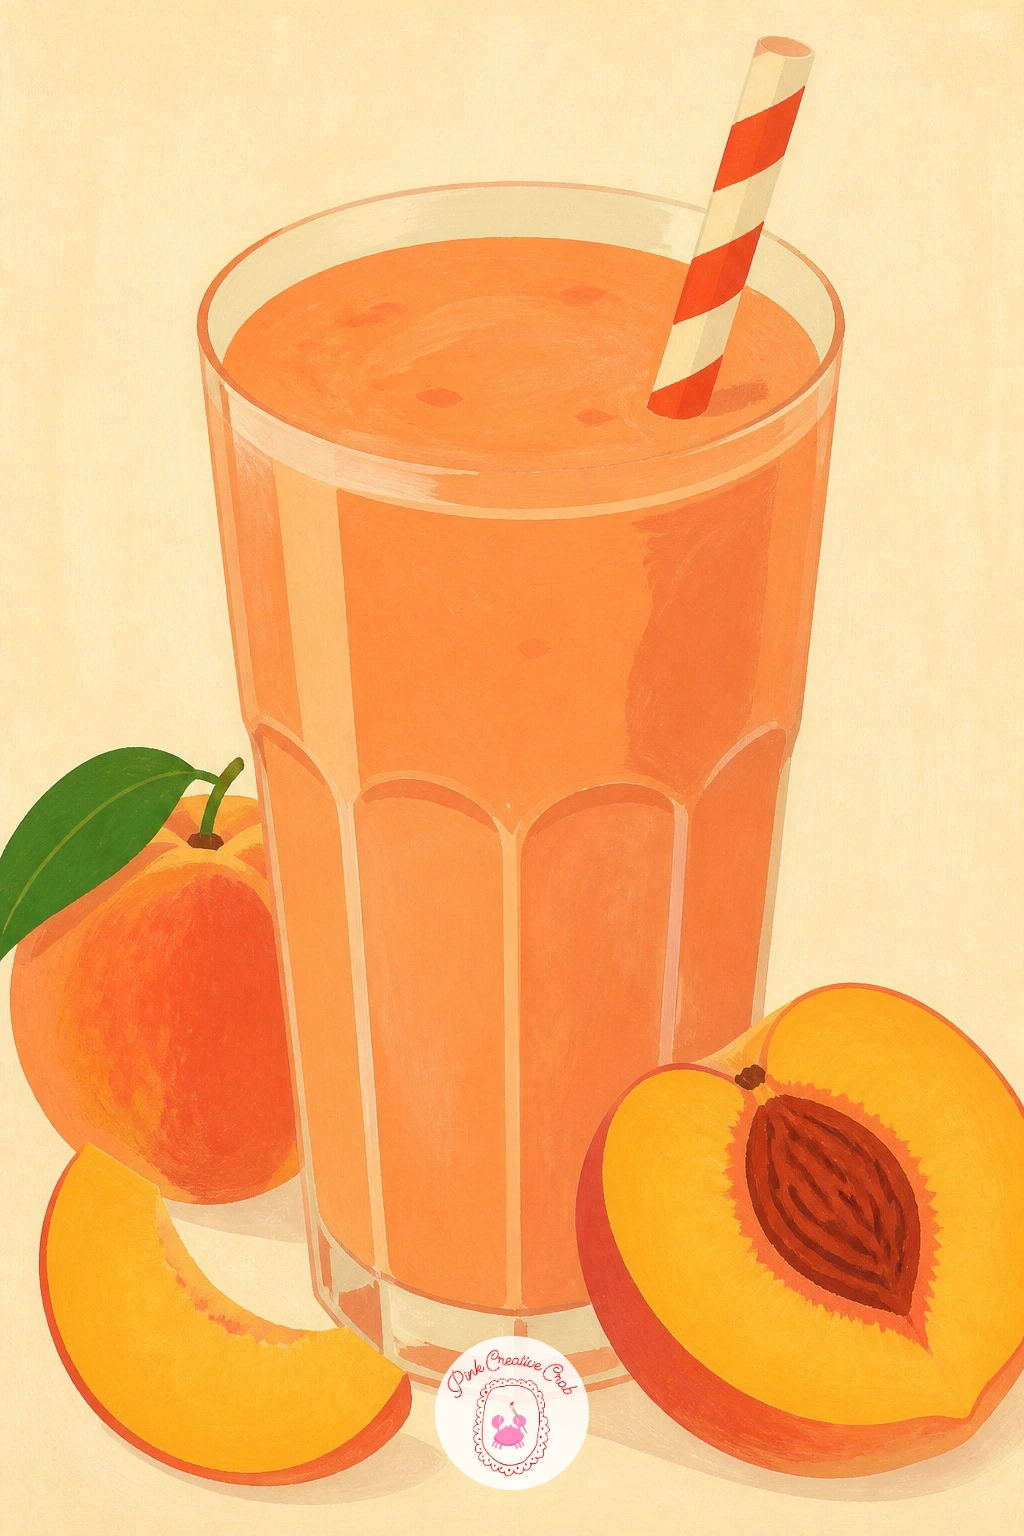
Palette: Pink Orange,Cadmium Orange,Cream White,Butter Yellow
Slow right down with a peach on a windowsill, a quiet scene about light more than action. Sketch a simple window frame with a sill ledge, then place one peach resting on the sill, with maybe a soft hint of curtain or sky visible through the glass behind it.
Paint the background through the window first in a flat pale color, then the sill and frame in a warm wood tone, before adding the peach last in solid orange with its red blush facing whichever side the window light comes from. Keeping that blush consistent with the light direction is what makes the scene feel coherent rather than assembled from separate pieces.
Light sits wherever the window suggests it comes from, usually from outside and slightly above, so let the peach’s shadow fall on the sill on the opposite side from its red blush. A single soft shadow shape, flat and simple, is all this subject needs.
No windowsill in view right now? Any ledge, shelf edge or even a stack of books works as a stand in shape for the peach to rest against. Try leaving the glass pane almost entirely unpainted cream for the simplest, calmest version of this scene.
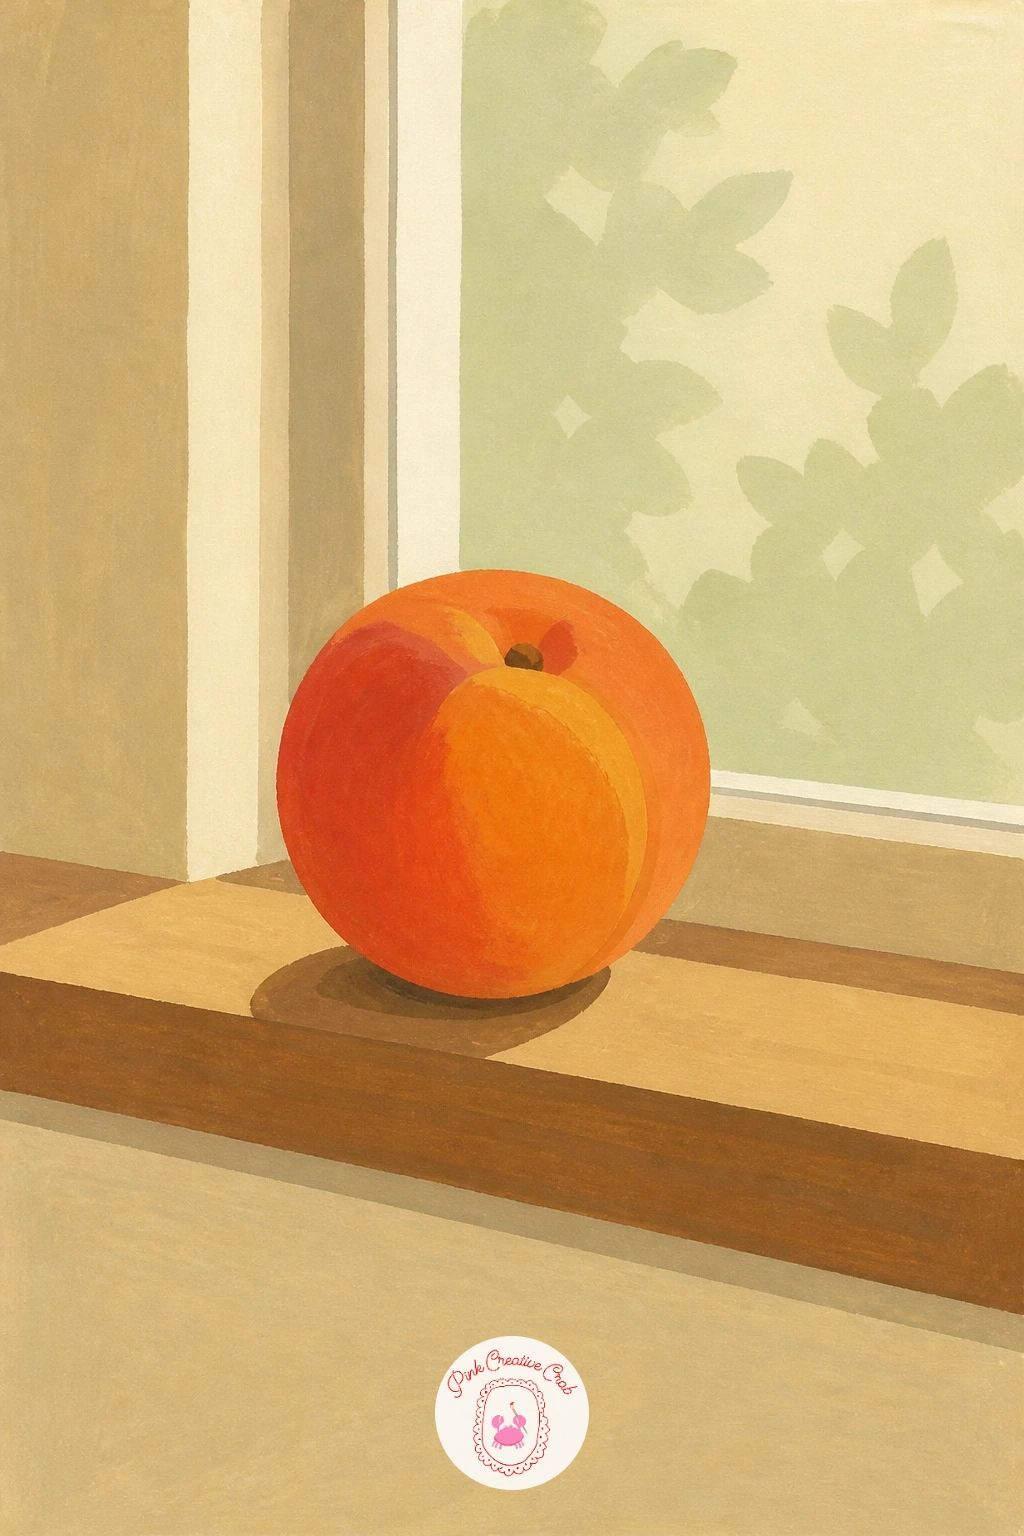
Palette: Cadmium Orange,Cherry Red,Warm Brown,Cream White
Keep breakfast going with a yogurt bowl with peaches, a scene built from one large pale shape topped with smaller colorful ones. Sketch a wide shallow bowl first, then fill most of it with a flat swirl shape for the yogurt, leaving the top third open for toppings.
Paint the yogurt in a flat pale cream or white first, then add peach slices arranged in a loose fan across the top in bright orange, followed by a scatter of small round shapes for granola or seeds in a warm brown. Keep each topping shape simple and separate rather than blending them into the yogurt below.
If the bowl starts feeling crowded, remove a topping rather than adding another, three or four peach slices and a modest granola scatter is plenty at this scale. A drizzle of honey as one thin curved line across the top adds shine without extra clutter.
Plain yogurt or even a white sauce bowl from the kitchen works as a stand in shape for practicing the bowl’s proportions before you commit to paint. Keep the bowl’s rim as a thin pale outline so it reads as ceramic rather than disappearing into the background.
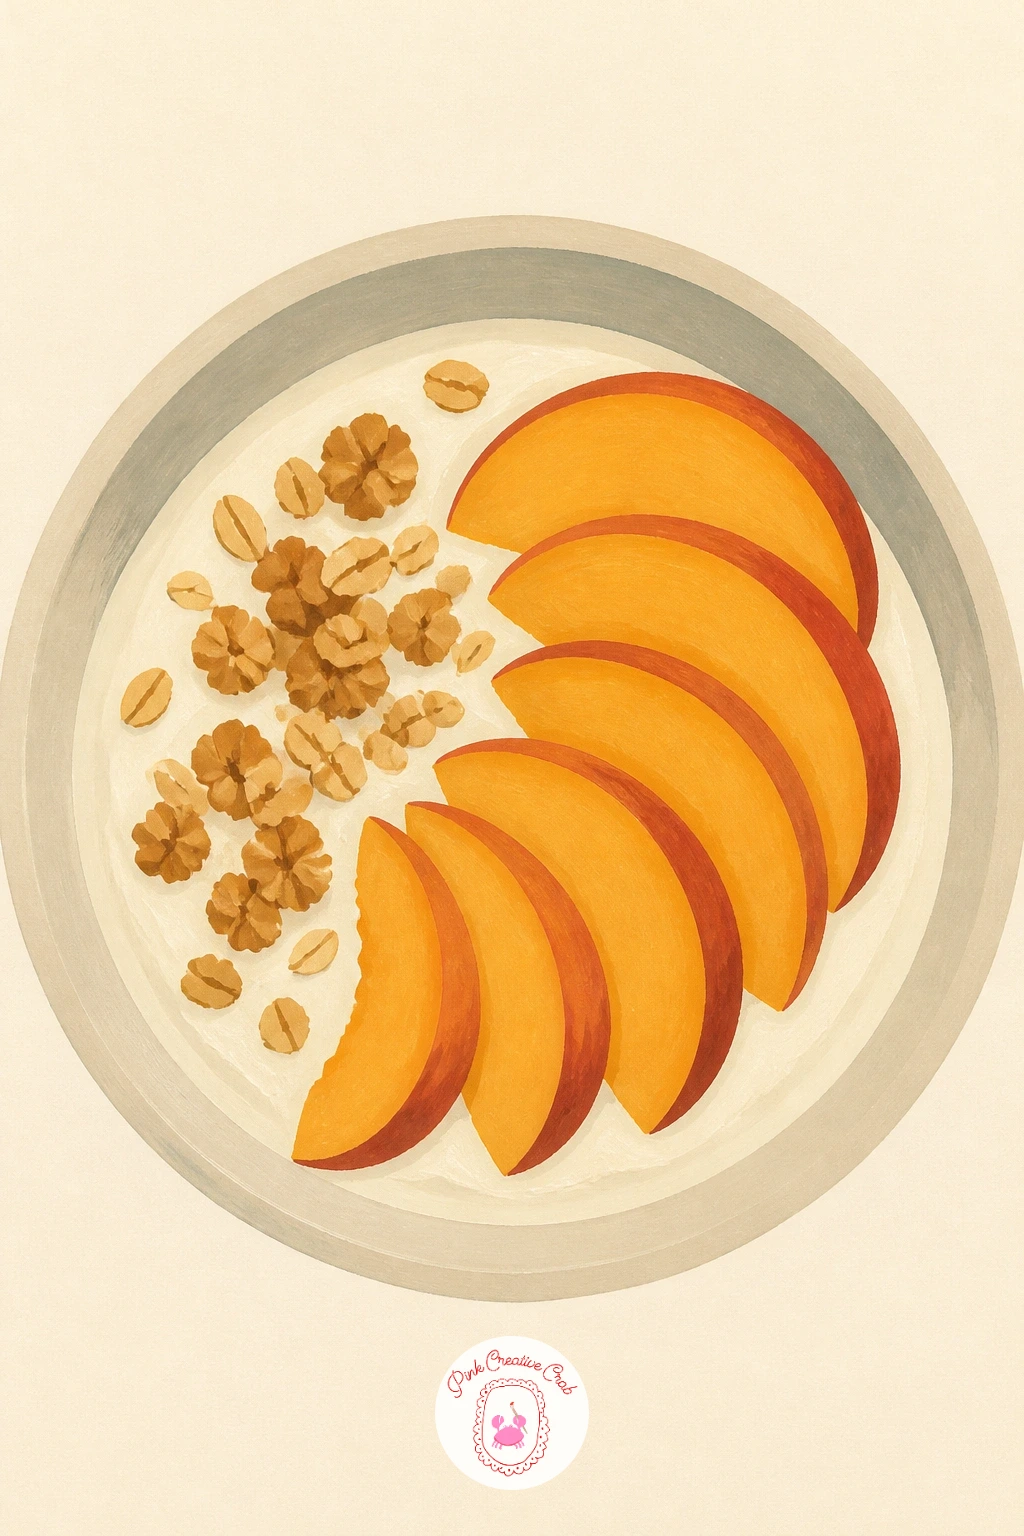
Palette: Cream White,Cadmium Orange,Warm Brown,Butter Yellow
Switch from fruit to flower with a peach blossom branch, a lighter spring feeling scene that pairs nicely beside the earlier fruiting branch. Sketch one curving branch across the page, then add five petaled blossom shapes scattered along it in small clusters rather than one steady row.
Paint the branch first in flat brown, then block in the blossoms in a soft pink, keeping each flower as one simple rounded shape with a tiny darker pink center dot added once dry. A few small green leaf buds here and there break up the pink without competing with it.
Vary this one next time by trying a vertical branch instead of a diagonal, or by thinning the blossom clusters toward one end of the branch so the composition feels more open on that side. Either change keeps the subject feeling fresh across multiple attempts.
One tip for today: paint a few blossoms as nearly open flowers and a few as smaller closed buds, that mix of stages is what separates a believable spring branch from a row of identical pink dots.
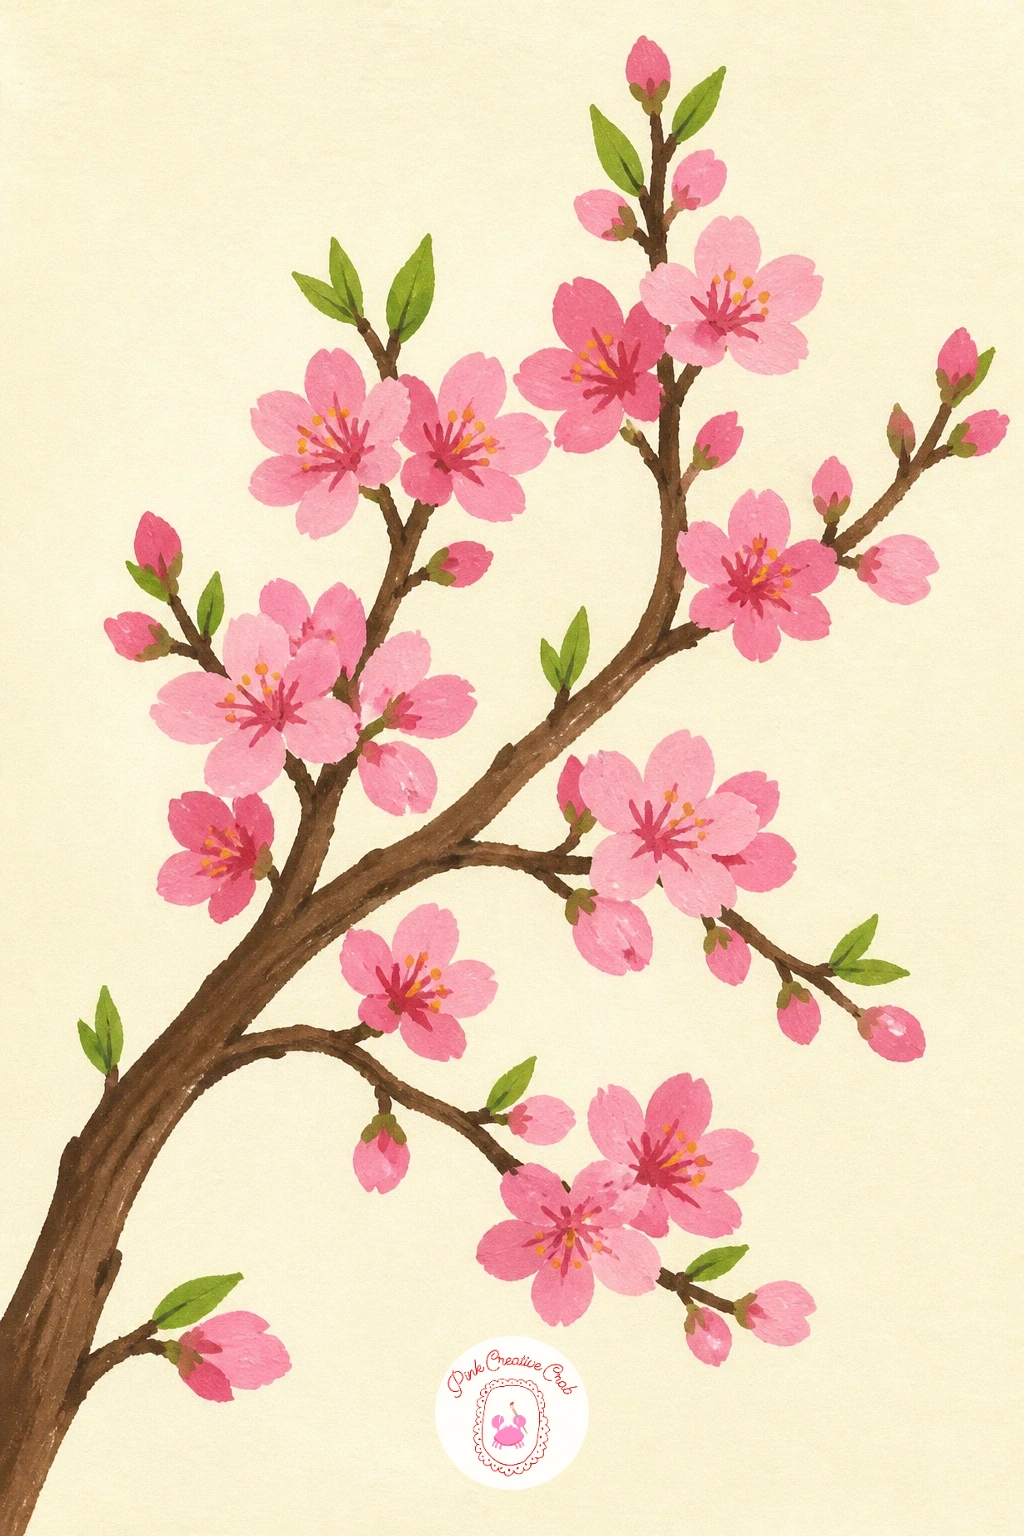
Palette: Soft Pink,Cherry Red,Burnt Umber,Sap Green
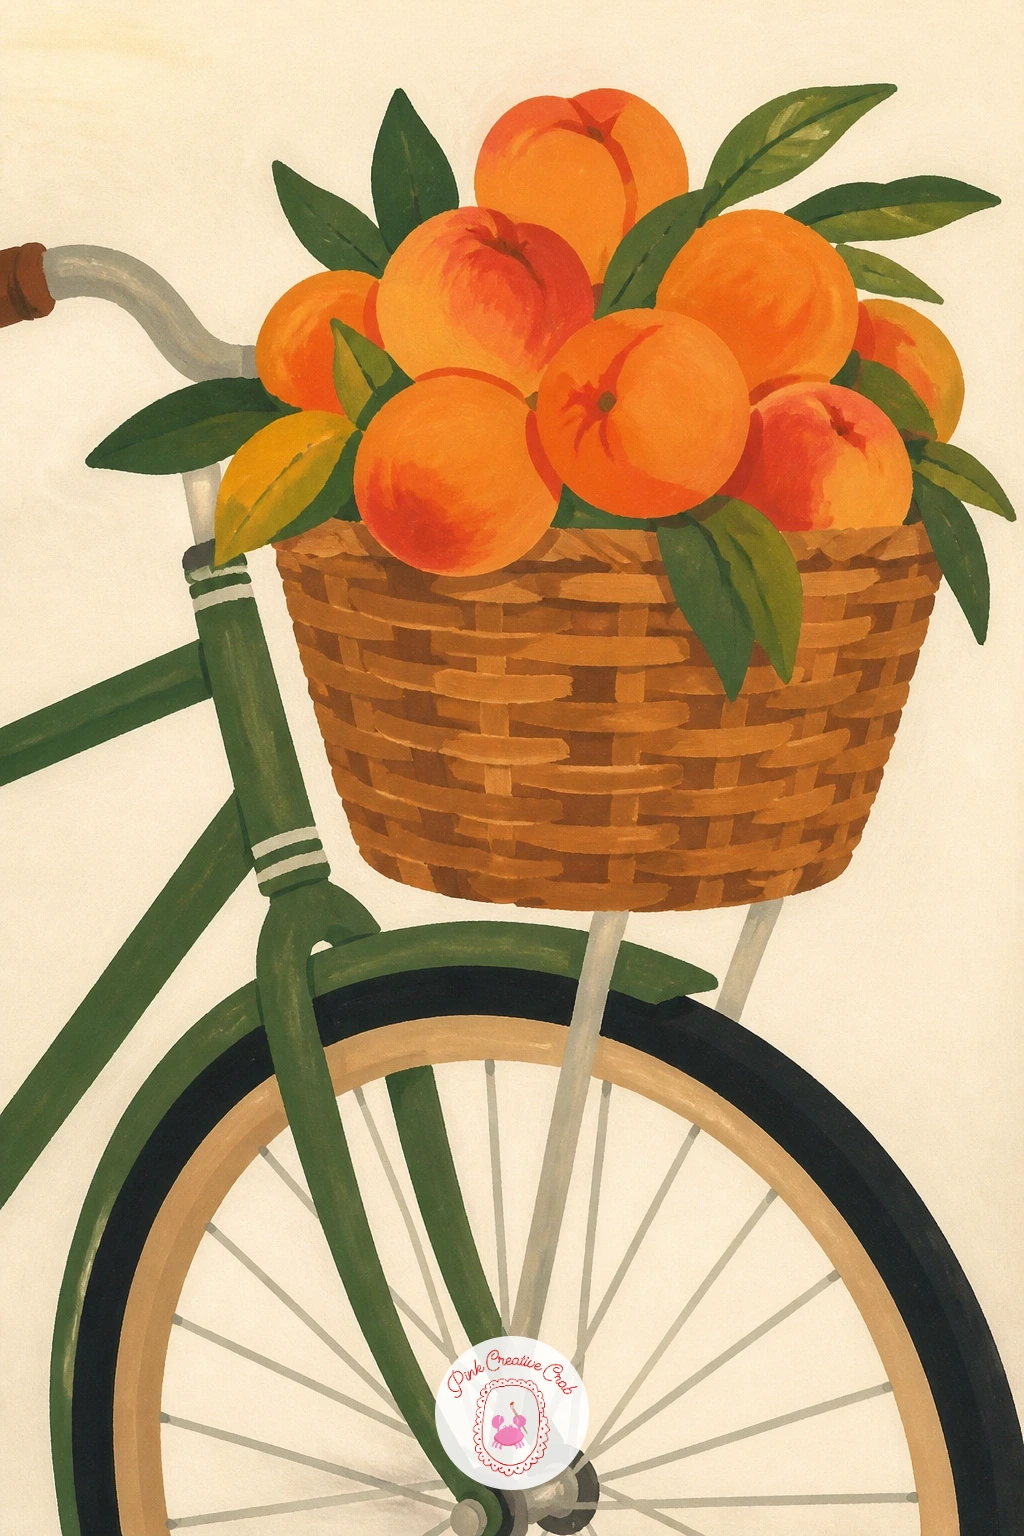
Give the market theme some movement with a basket of peaches on a bike, a scene combining two different object shapes in one frame. Sketch a simplified bicycle first, just the wheels, frame and handlebars kept basic, then add a round woven basket mounted on the front, piled with peaches spilling slightly over its rim.
Paint the bike frame first in a flat solid color, then the basket in a woven tan, before finishing with the peaches piled inside and slightly over the edge in bright orange. Keep the bike itself simple, two circles for wheels and straight lines for the frame are all this subject needs at this level.
Comparing the basket’s width against one wheel’s width before sketching keeps the proportions honest, a basket drawn too large will dwarf the bike entirely. Roughly half a wheel’s diameter for the basket keeps it looking mounted rather than oversized.
If a full bicycle feels like too much structure, crop the composition to show just the front wheel, handlebars and basket, which still tells the whole story with far less to draw. Keep the peaches catching the most color attention since they are the actual subject of the piece.
Palette: Cadmium Orange,Warm Tan,Charcoal Gray,Cream White
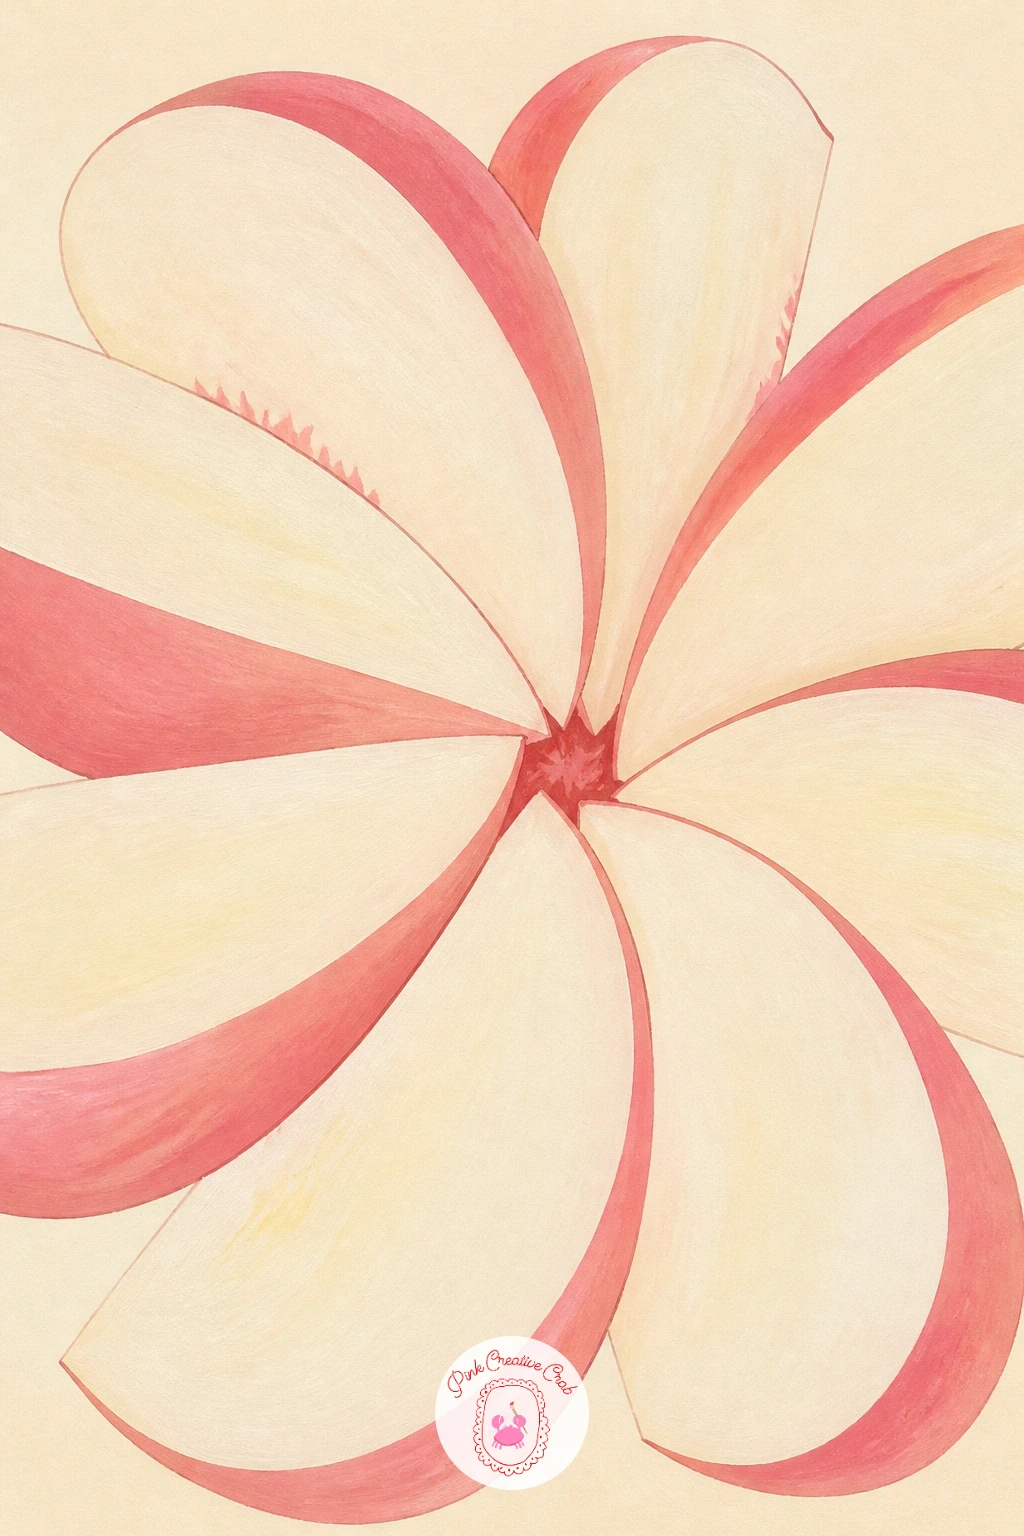
Return to a close still life with a sliced white peach, a nice contrast to the yellow fleshed peach drawn earlier. Sketch one peach sliced into a few wedges, fanned slightly apart on the page, their pale flesh distinct from the pinkish skin still clinging to one edge of each piece.
Paint the flesh first in a very pale cream or soft white, then add the skin along the curved edge of each wedge in a dusty pink rather than the usual bright orange, since white peaches carry a cooler, paler tone throughout. Keep every wedge the same pale value so the “white” reads clearly against any other peach drawn elsewhere on your page.
Edges are what make this subject convincing: use a slightly dry brush to soften just the inner cut edge of each wedge where the flesh meets air, a touch of texture there suggests the moist, grainy surface without any real detail work.
No white peach on hand for reference? A nectarine or even a pale colored apple slice works fine as a stand in shape and color cue. Try fanning the wedges around a single point rather than in a straight row for a livelier composition.
Palette: Pale Cream,Dusty Pink,Soft White,Cream White
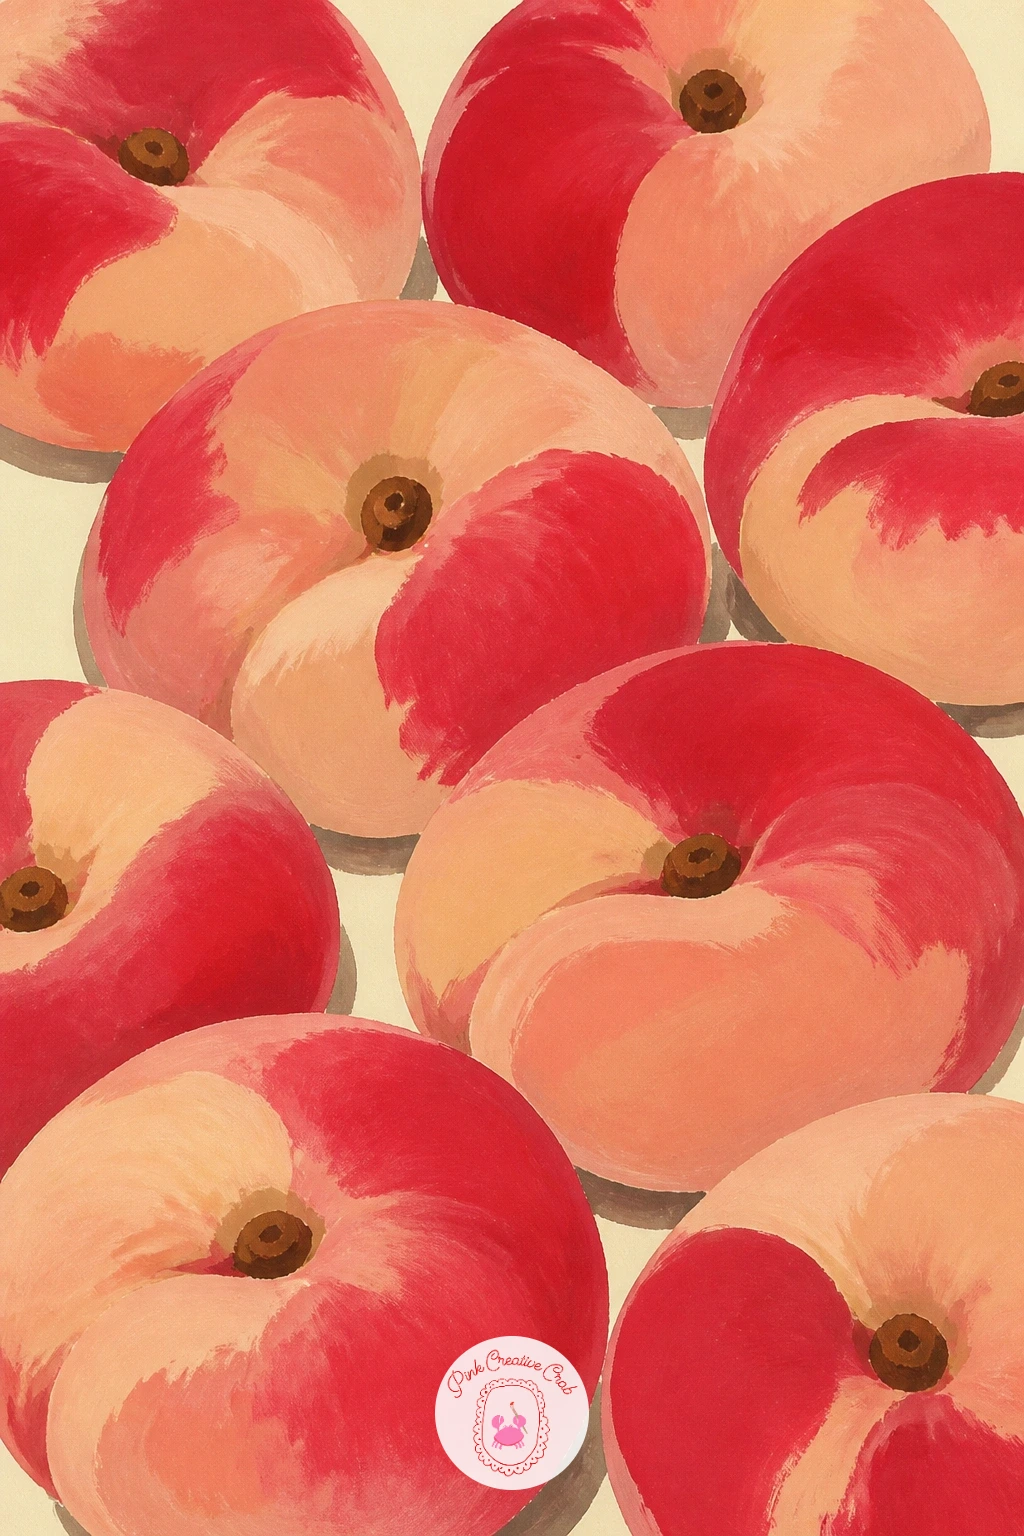
Try something shape wise different with flat donut peaches, whose squashed silhouette makes a fun change from every round peach drawn so far. Sketch a gently flattened circle with a small dimple pressed into the top and bottom center, much wider than it is tall compared to a standard peach.
Paint the body in the same warm orange used for regular peaches, but let the overall shape read noticeably squat and wide so it is clearly a different variety at a glance. Add a soft cherry red blush curving around the widest part of the disc rather than down one side, since the flattened shape changes where light naturally catches it.
Draw two or three donut peaches together rather than just one, since their stacked flattened shapes nest together in an appealing way that a single fruit does not show off as clearly. Let them overlap slightly with the dimples visible on at least one fruit facing the viewer.
If the flattened shape keeps drifting back into a regular round peach out of habit, sketch a square first and round only the corners, which keeps the proportions honestly squashed. Standing in for a real donut peach, any photo reference search works well since the shape is quite distinct.
Palette: Cadmium Orange,Cherry Red,Butter Yellow,Cream White
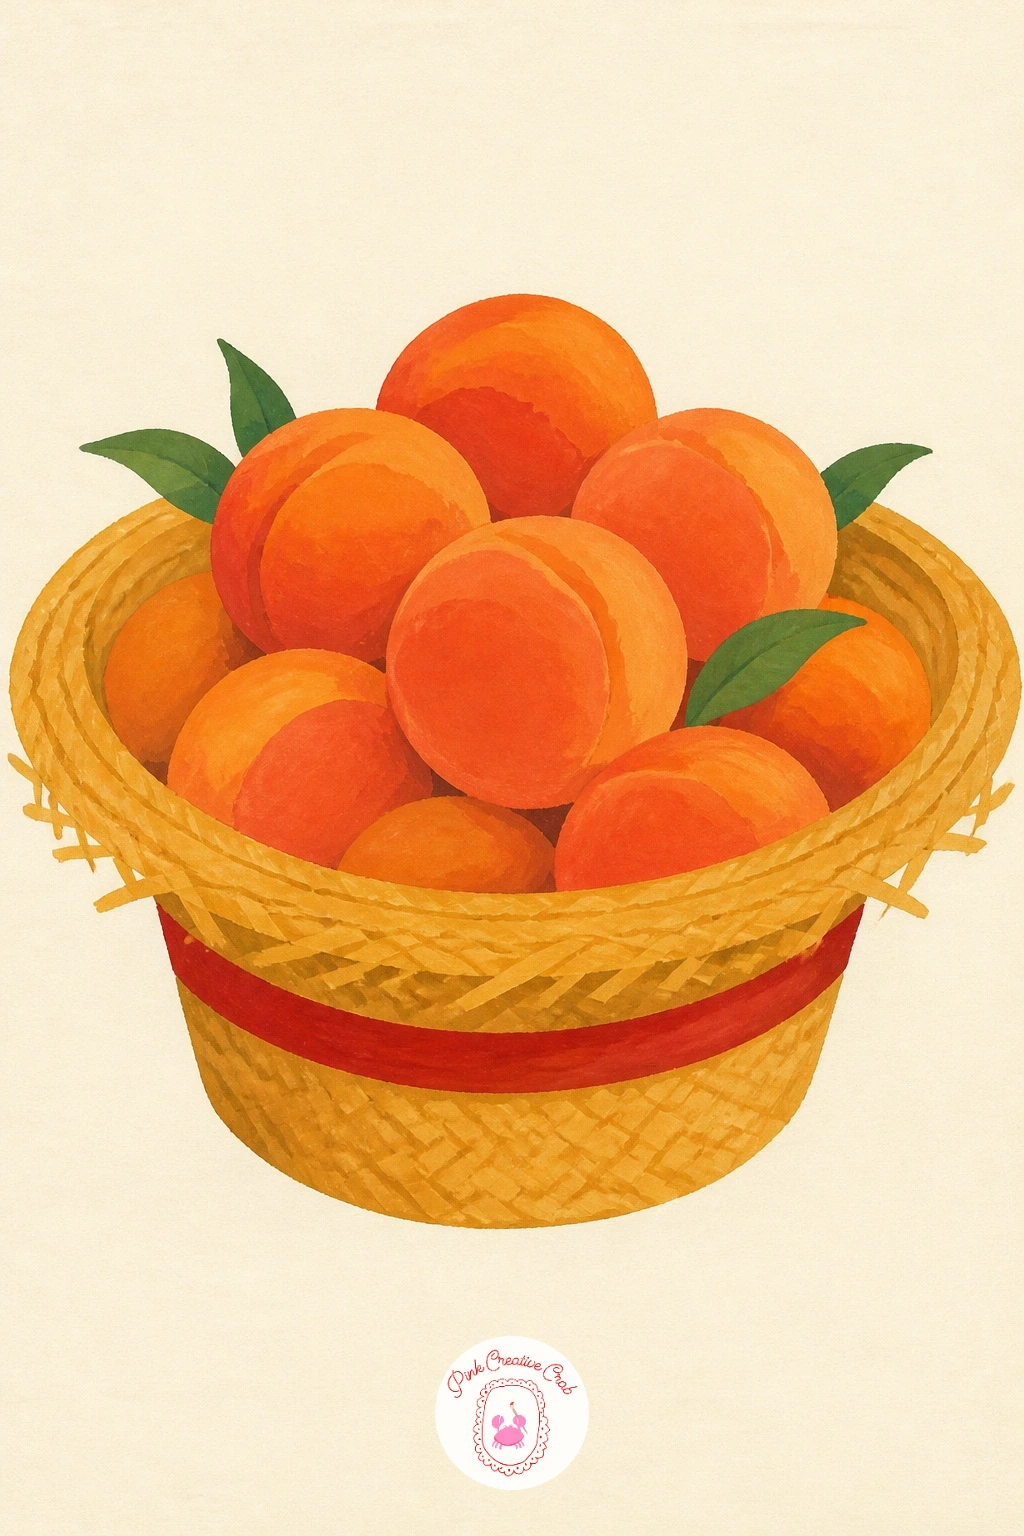
Combine the market and orchard feel with peaches in a straw hat, using the hat itself as an improvised basket. Sketch a wide brimmed straw hat turned upside down, its crown becoming a natural bowl shape, then fill that crown with three or four peaches piled loosely inside.
Paint the hat’s woven texture suggestion first, a flat golden tan base color with a few short curved lines added once dry to hint at the weave without drawing every strand. The peaches go in last, overlapping each other inside the brim in the usual bright orange with small red accents.
The quick ten minute version keeps the hat simple with just two peaches resting in it. With forty minutes, add a thin ribbon band around the hat’s brim and a loose peach or two spilled just outside it on the ground, which extends the composition slightly beyond the hat’s edge.
One tip for today: keep the weave lines on the hat short and curved rather than straight, following the round shape of the brim, since straight lines on a curved surface tend to look flat and pasted on rather than woven.
Palette: Golden Tan,Cadmium Orange,Cherry Red,Cream White
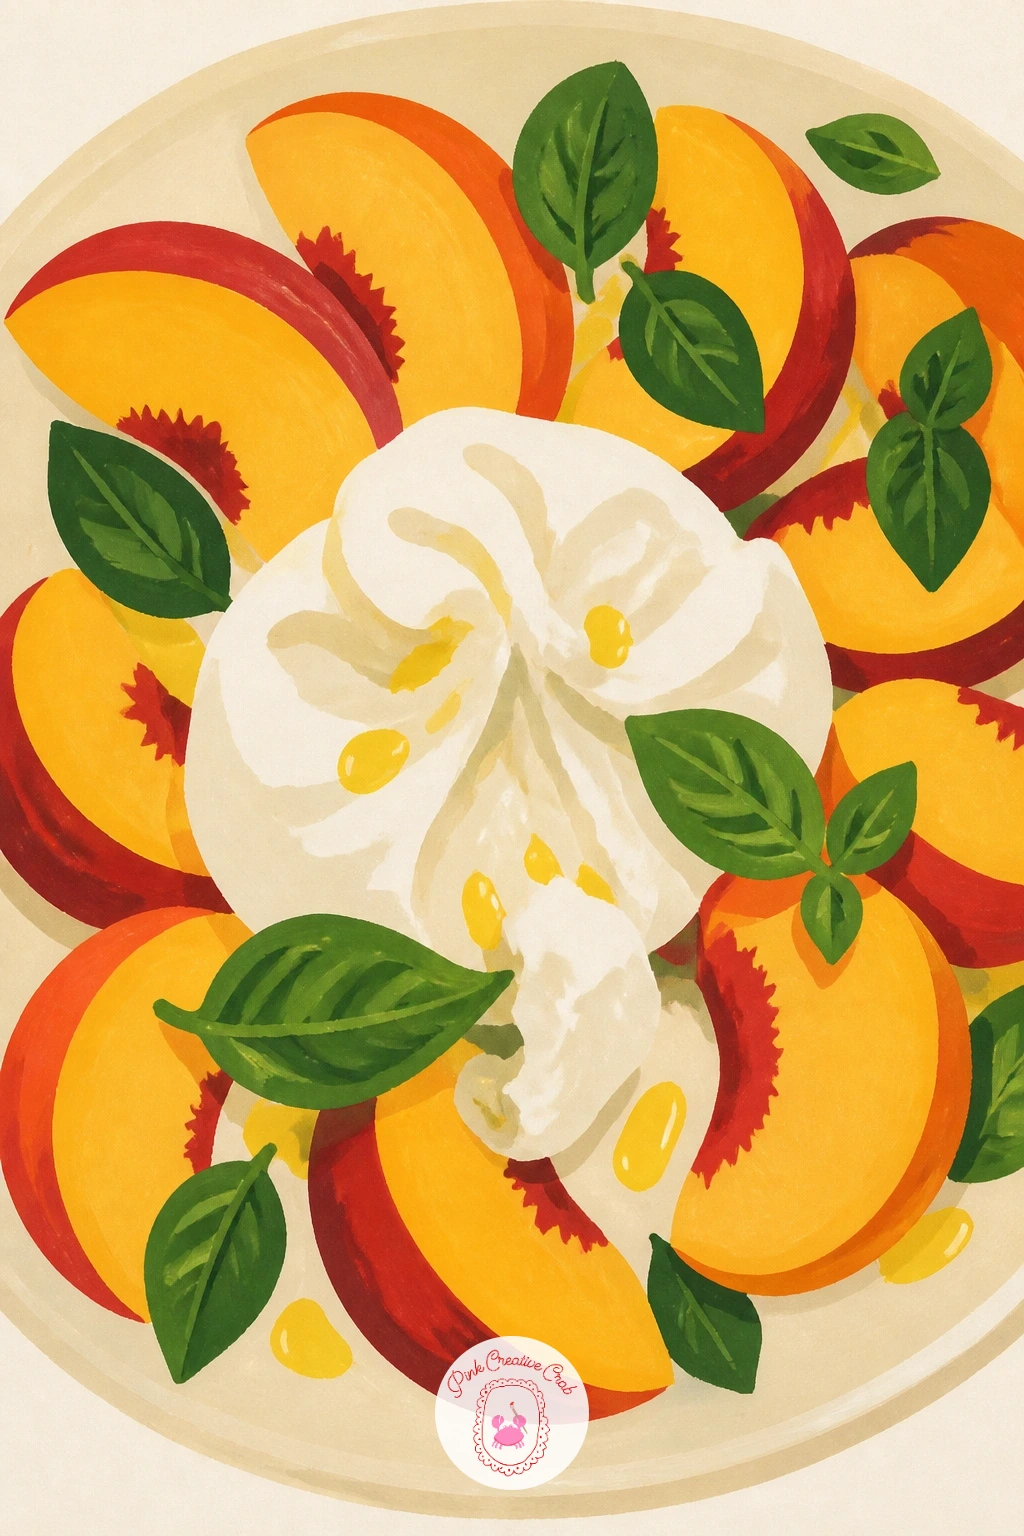
Bring something savory into the mix with a peach and burrata salad, a plate that mixes soft round cheese against sliced fruit and a few leafy accents. Sketch a wide shallow plate first, then arrange two or three peach wedges alongside one or two rounded balls of burrata, with a scatter of small leaf shapes for basil tucked between them.
Paint the peach wedges first in the usual warm orange, then the burrata balls in a soft off white with a slightly torn irregular edge rather than a perfect circle, since burrata famously looks a little rumpled rather than smooth. Finish with the basil leaves in a bright flat green and a few thin dark lines for a balsamic drizzle crossing the plate.
Keep the burrata’s edge deliberately uneven, a lumpy, slightly collapsed outline rather than a tidy sphere, which is the one detail that makes it read as cheese rather than a scoop of ice cream mistakenly placed on a savory plate.
No burrata in the kitchen for reference? A photo search or even picturing a soft mozzarella ball works just as well for the shape. Try keeping the plate’s color pale and plain so the orange and white food shapes carry all the contrast.
Palette: Cadmium Orange,Soft White,Sap Green,Cream White
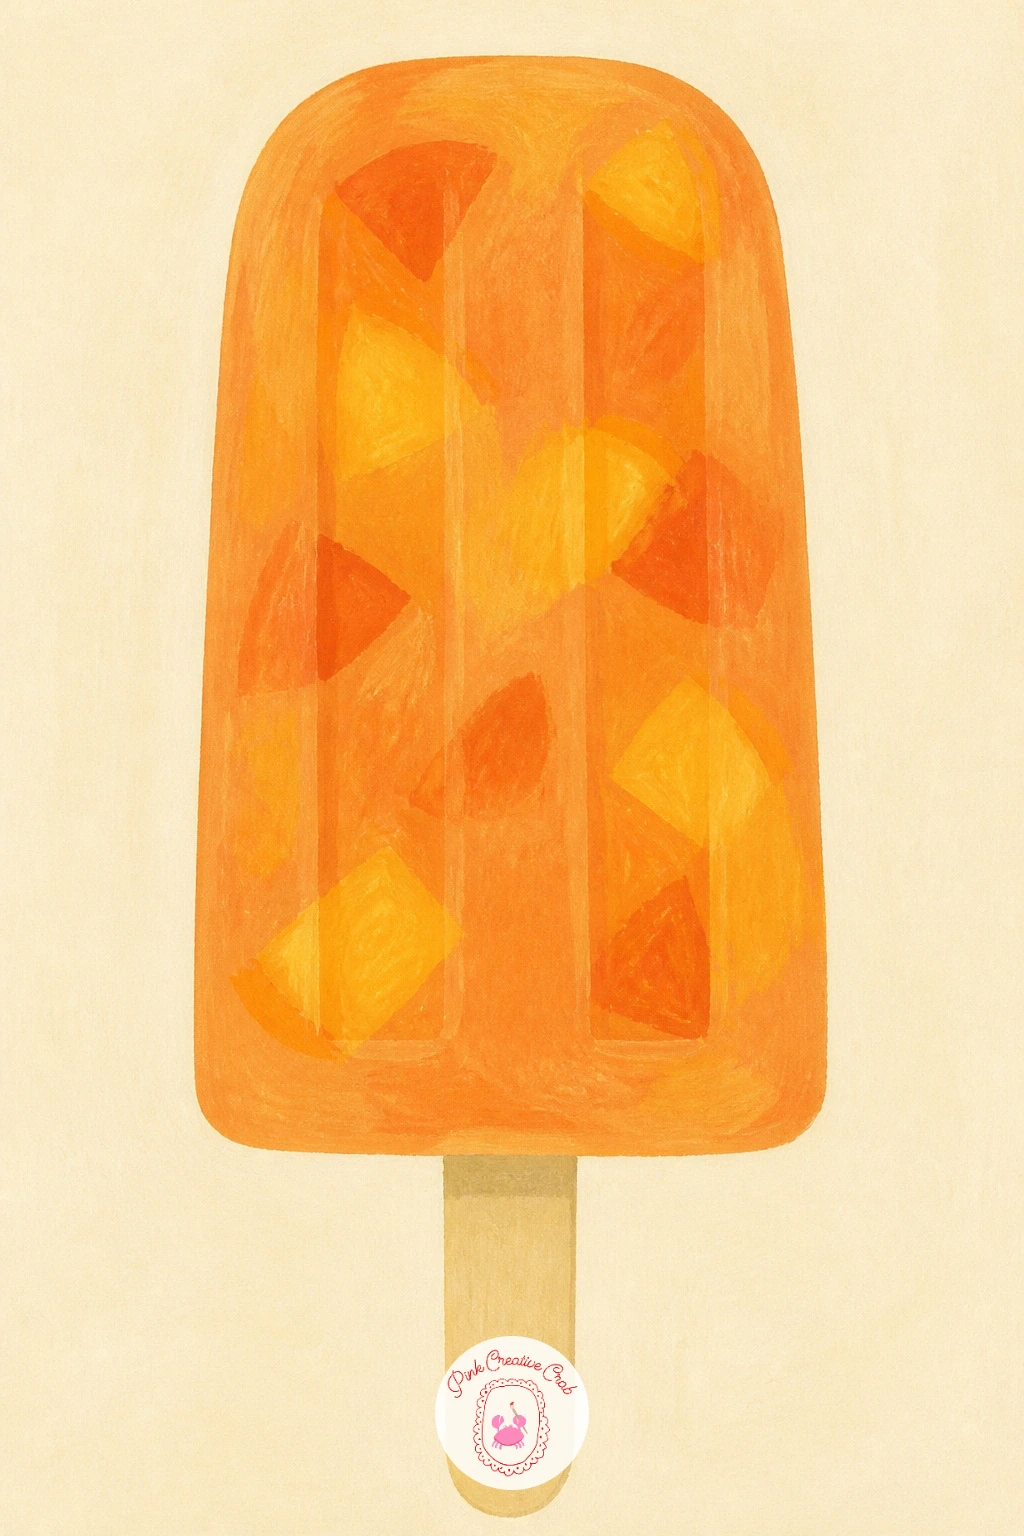
Cool down again with a peach popsicle, a fun graphic shape that leans into the limited palette style this whole list favors. Sketch a simple popsicle silhouette, a rounded top tapering to a flat bottom around a visible wooden stick, with maybe a few small peach chunks visible frozen inside.
Paint the popsicle body first in a flat warm orange, then add a slightly different toned patch or two inside to suggest frozen peach pieces, keeping the shapes simple rather than detailed. The wooden stick goes in last in a pale tan, kept perfectly straight since any wobble there reads immediately as a mistake.
Vary this one next time by trying a two toned popsicle, orange on top and a contrasting yellow on the bottom half, divided by a simple straight or wavy line, which is an easy way to get a second popsicle idea out of the same basic shape.
One tip for today: a few small unpainted cream dots scattered near the top edge suggest ice crystals or condensation, and take seconds to leave once you know where they go before painting that area.
Palette: Cadmium Orange,Butter Yellow,Warm Tan,Cream White
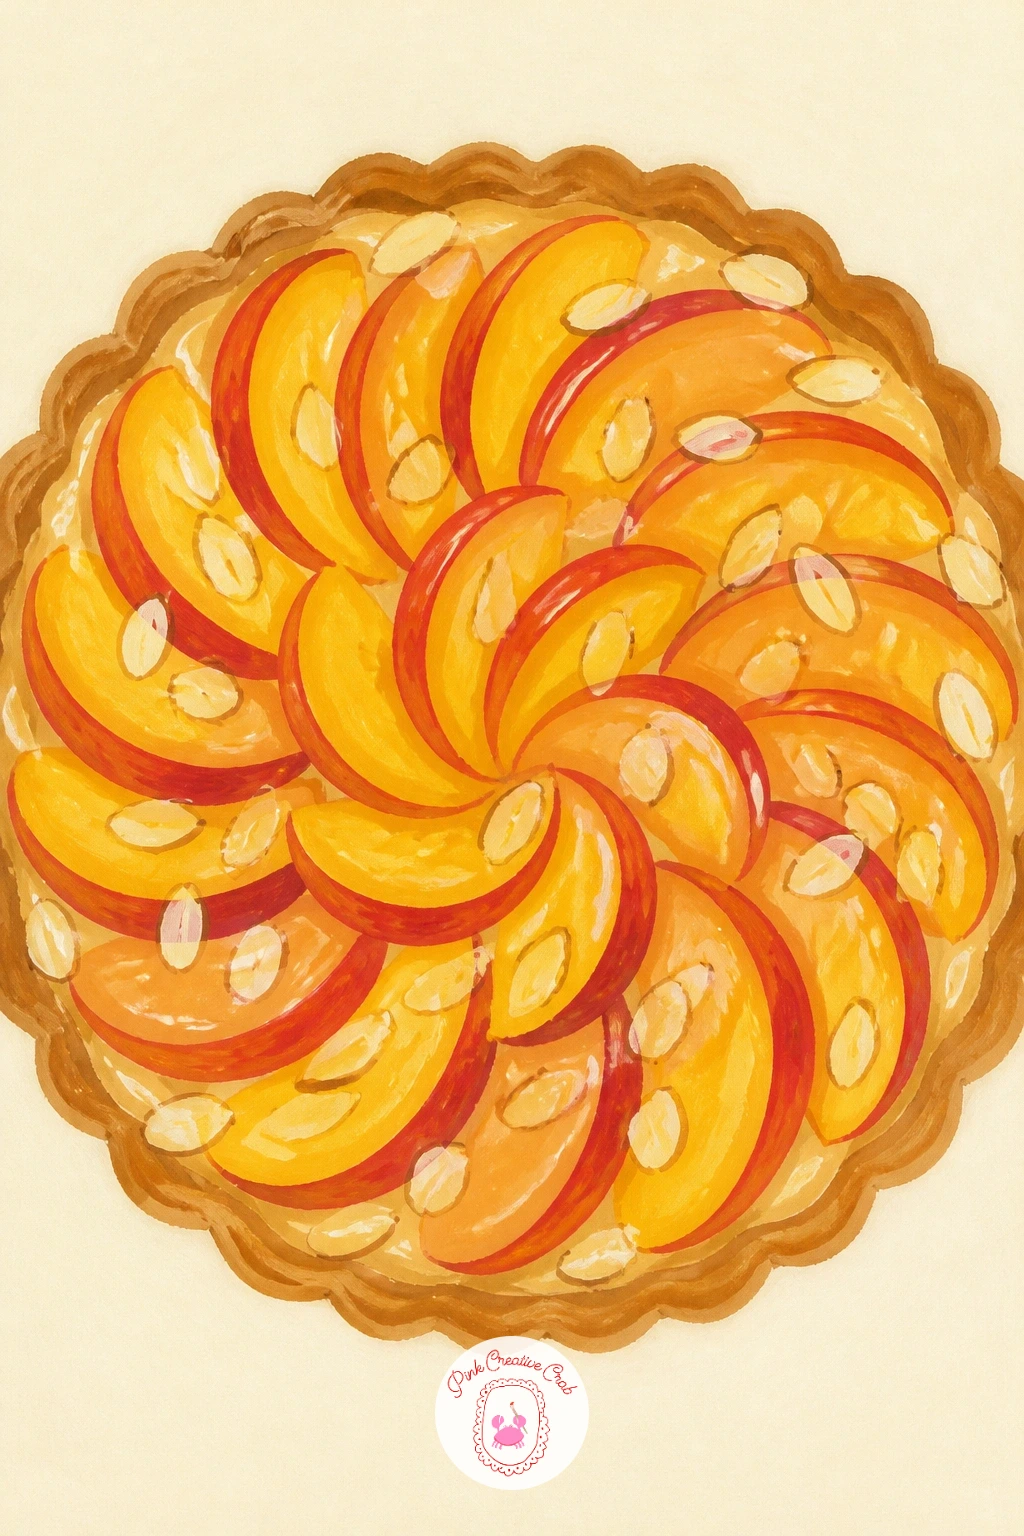
Return to the oven with a peach tart with almonds, a dessert that adds a pattern of sliced almonds across the surface. Sketch a round tart shell first, then arrange overlapping peach slices in a circular pattern across the top, leaving small gaps where sliced almonds and a glaze shine will show.
Paint the tart shell’s edge in a flat golden tan, then the peach slices in the usual warm orange, arranged so each one overlaps its neighbor slightly like fish scales. Once dry, add small pale almond sliver shapes scattered across the top, finishing with a few tiny bright highlight dots to suggest the glossy apricot glaze often brushed over this kind of tart.
Light sits wherever that glaze catches it, usually a few scattered points across the highest parts of each peach slice rather than one single direction, since a shiny glazed surface reflects more broadly than matte skin does. Keep those highlight dots small and few, three or four scattered across the whole tart is enough.
If the circular peach pattern feels hard to plan, lightly sketch a spiral guideline first and place each slice along it before committing to paint. A plain plate traced for the tart shell’s outer circle keeps the shape clean from the start.
You Will Need
- plate to trace the tart outline
Palette: Cadmium Orange,Golden Tan,Pale Cream,Cream White
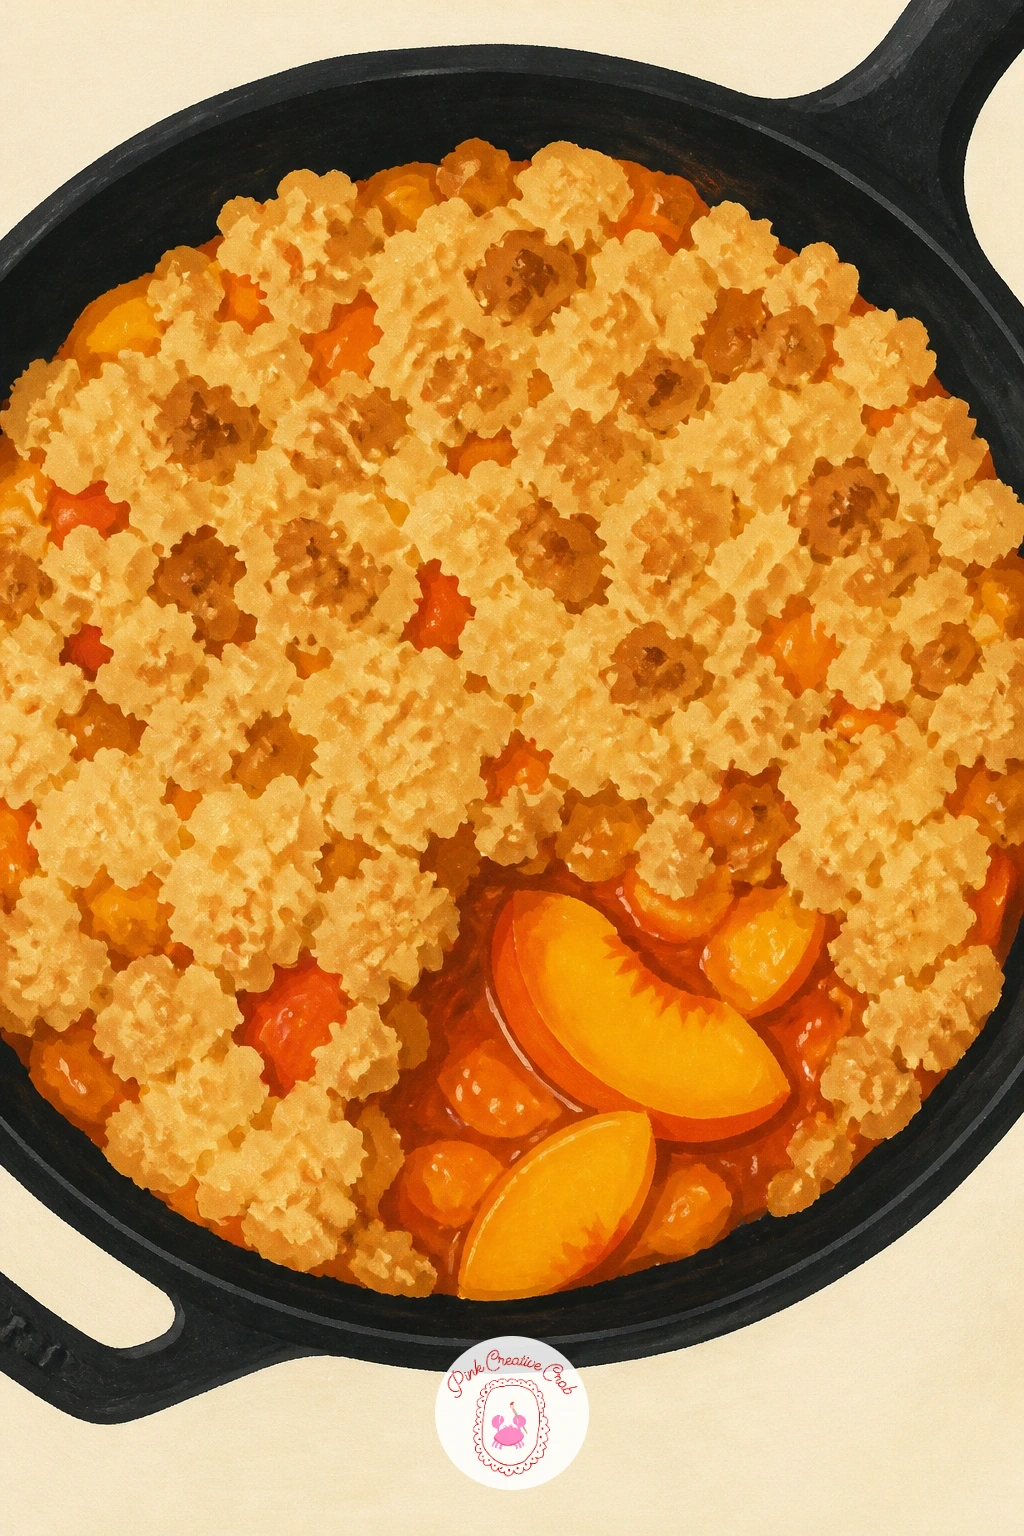
Bring the list back to a comforting bake with a peach crumble in a skillet, swapping the round baking dish seen earlier for a cast iron pan with a visible handle. Sketch the skillet first, a wide shallow circle with one straight handle extending off to the side, then fill the top with a crumbly oat topping over a hint of orange filling peeking through.
Paint the filling first in the gaps, a deep orange, then the crumble topping over it in small irregular clumps of golden tan, the same lumpy, varied approach used for the cobbler earlier in this list but slightly coarser and more textured. The skillet itself goes in last in a flat charcoal gray, with the handle kept simple and straight.
If the cast iron reads too flat and plastic looking, a single curved pale highlight line along the inner rim of the pan suggests the metal’s sheen without any real shading work. Keep that highlight thin and confident rather than a wide gradient.
No cast iron skillet handy for reference? Any round pan with a handle, even a frying pan from the kitchen, gives you the same basic shape to sketch from. The kitchen watercolor art ideas include more cookware shapes worth practicing alongside this one.
Palette: Charcoal Gray,Golden Tan,Cadmium Orange,Cream White
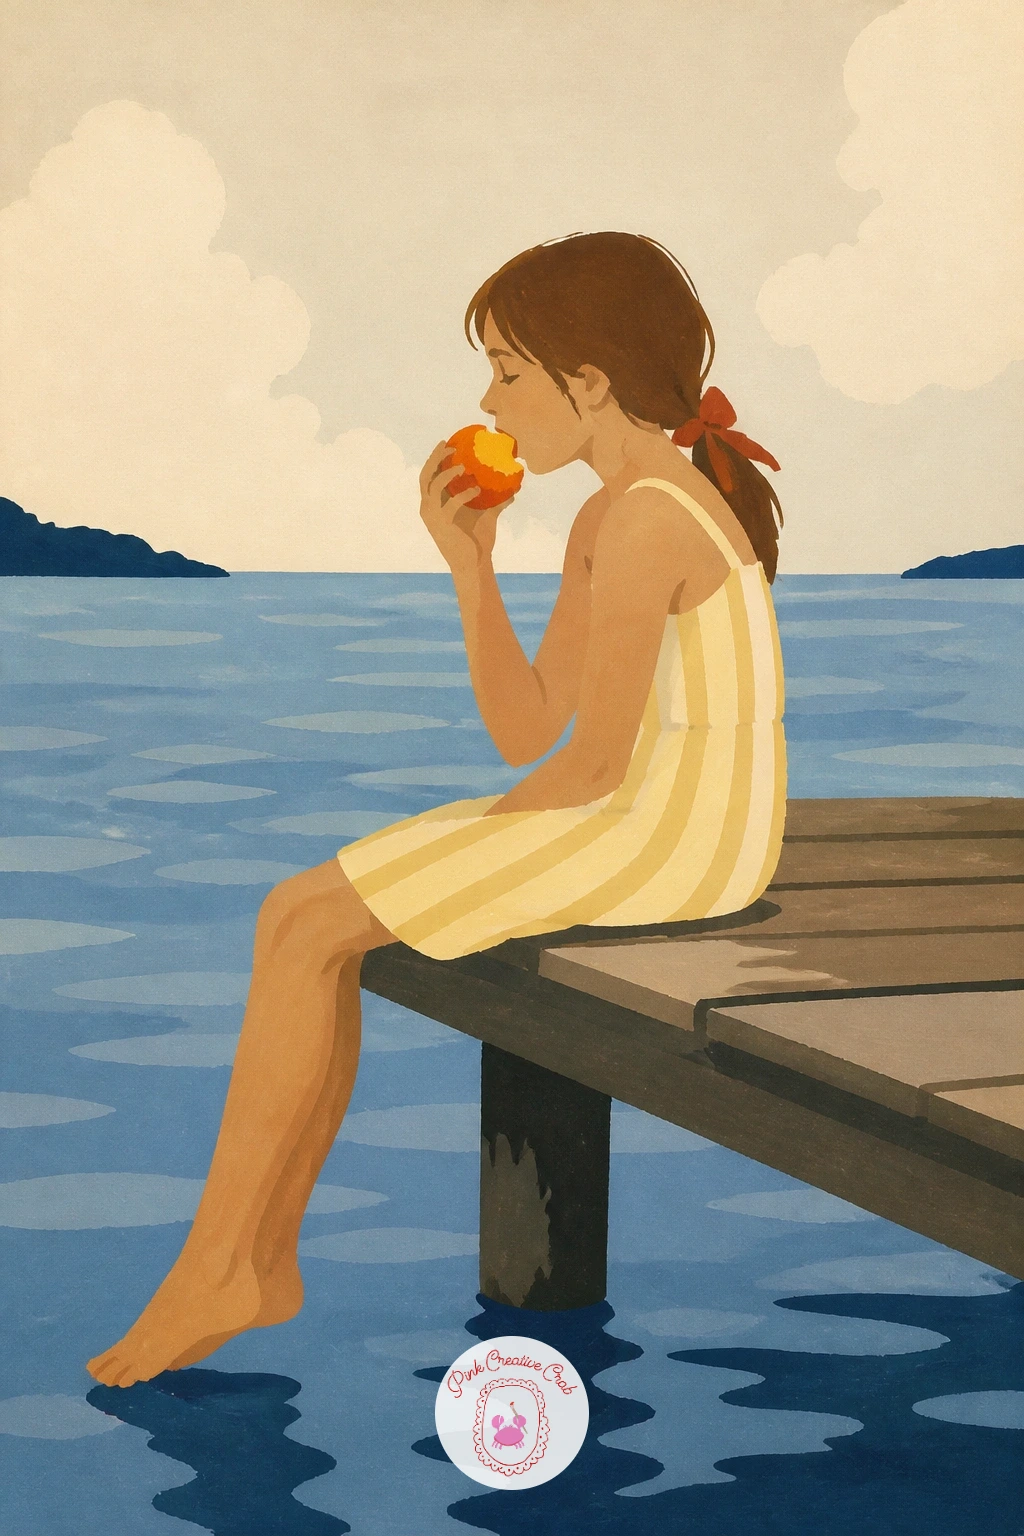
Close the list with a girl eating a peach on a dock, a small summer scene that brings the whole orchard and kitchen journey out to the water’s edge. Sketch a simplified seated figure first, legs dangling over the edge of a wooden dock, one hand raising a peach toward her face, then add a simple stretch of water and sky filling most of the background.
Paint the sky and water first in two flat bands of color, then the dock planks in a warm brown with just a few line divisions between boards, before painting the figure last so she sits clearly over everything behind her. Keep her clothing, hair and the peach itself in flat solid shapes with no folds or fine detail needed.
Comparing her seated height against the dock’s width before sketching keeps the scene believable, a figure too large will overwhelm the dock entirely while one too small will lose the warmth of the moment. Aim for her to take up roughly a third of the dock’s visible length.
If a full seated figure feels ambitious, crop the scene to show just her legs, the dock boards and her hand holding the peach, which still tells the whole story with far less figure work involved. For more ways to simplify a figure in a scene like this, the girl pencil drawing ideas are worth a look.
Palette: Pale Sky Blue,Burnt Umber,Cadmium Orange,Cream White
What to Do Next
Pick whichever peach feels most tempting today, a quick sliced fruit on a napkin or the fuller orchard road if you have more time, and start with a light pencil sketch on smooth paper before the gouache goes down. One finished page is all it takes to want another.
Frequently Asked Questions
What is the best medium for a peach drawing with flat, matte shapes?
Gouache is the best choice because it dries matte and opaque, letting you paint solid flat color with crisp edges. Acrylic diluted slightly thick works as a close substitute if gouache is not on hand.
How do you make a peach look round instead of flat in a drawing?
Add one confident blush of cherry red or deeper orange along the side facing away from the light, kept as a solid shape rather than a blend. That single warm patch against the base color reads as roundness without any shading work.
What colors should you mix for a realistic peach drawing?
Start with a warm cadmium orange as the base, then add a touch of cherry red for the blushed side and a pale butter yellow near any highlight. Keep the mixes separate flat layers rather than blending them on the paper.
How long does one peach drawing take to finish in this style?
A simple subject like a single sliced peach or a jar of preserves takes about ten to twenty minutes once the shapes are planned. Busier scenes with a figure or a full orchard road take closer to thirty or forty minutes.
Do you need to draw from a real peach or can you work from a photo?
A photo works perfectly well for every idea on this list, and many of these scenes, like a girl on a dock or an orchard road, are easier to plan from a reference photo than a live model anyway.
Have any thoughts?
Share your reaction or leave a quick response — we’d love to hear what you think!
-
 0
-
0
-
0
-
0
-
0
-
0


