

Nature doodles are the easiest way to carry a walk in the woods home with you, one small fineliner sketch at a time. No big composition to plan, no background to fill in, just a pine tree, a mushroom cap or a fox trail that fits on a corner of the page and still tells a little story.
Below you will find 32 of them, from a hatted acorn you can draw in minutes to a waterfall scene with a bit more going on. Grab a black fineliner and a moss green and rust orange marker and work through them in any order, starting wherever catches your eye.
Using these images: free for personal projects such as printing, coloring, cards, journals and gifts. Handmade items that include them may be sold up to 30 pieces per design. More than that is commercial use and is not permitted, and neither is selling or sharing the images themselves or passing them off as your own. Please ask before any other use.
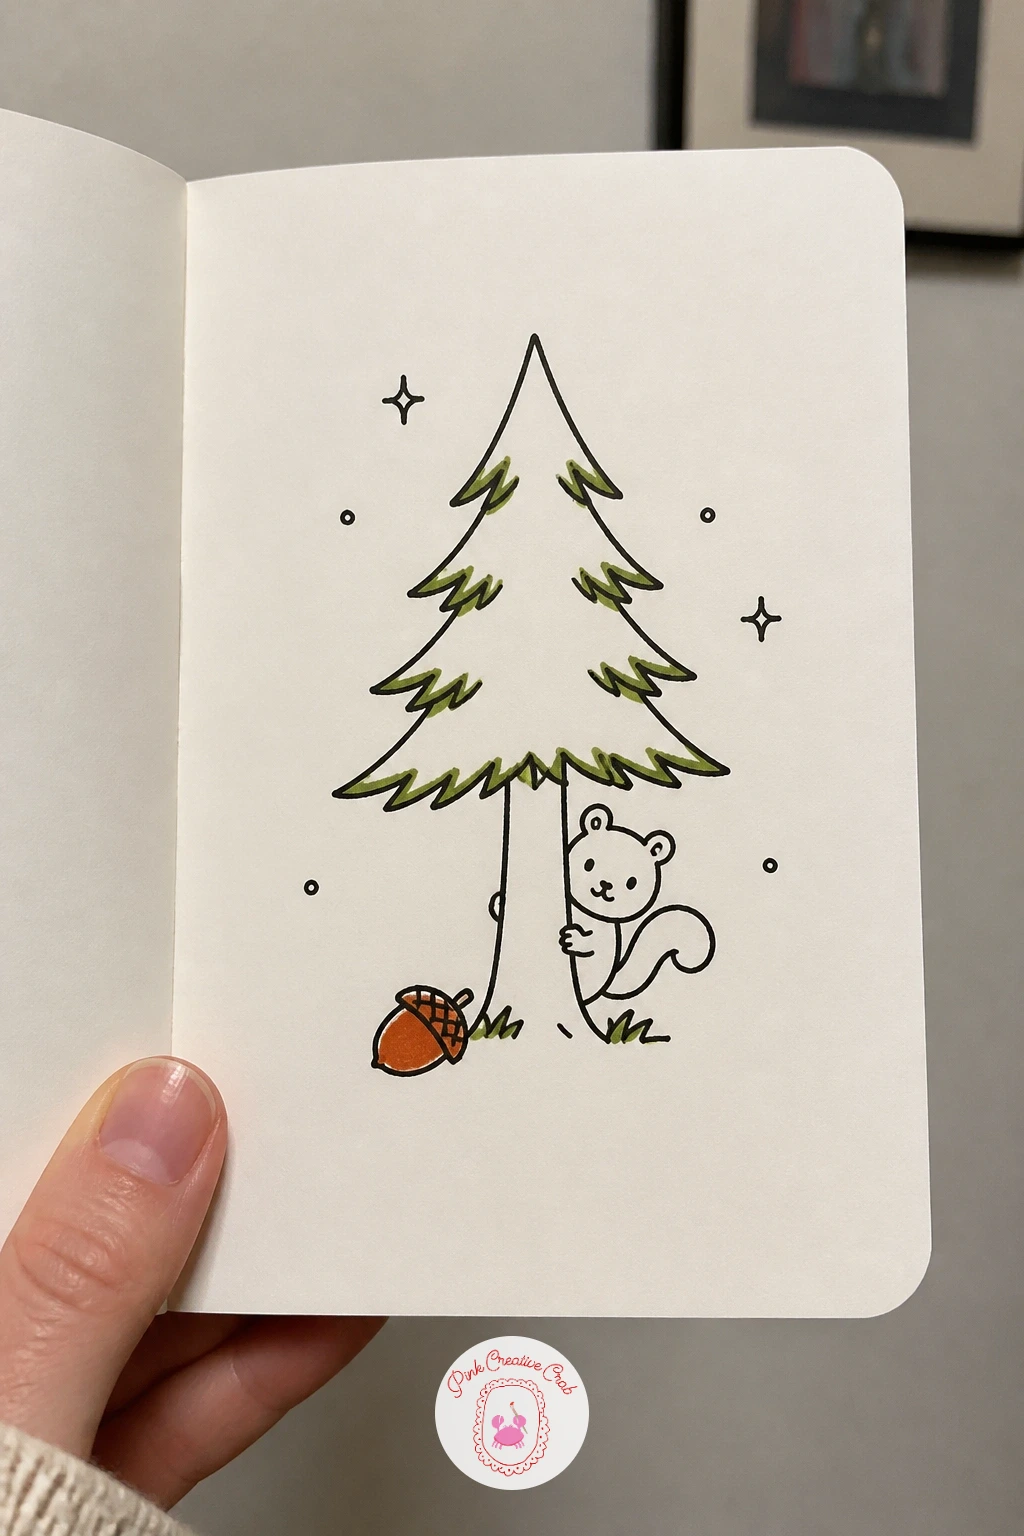
Start simple with a pine tree with a peeking squirrel, a good warm-up for the whole page. Draw the tree first as a tall triangle with a scalloped or zigzag edge rather than a smooth outline, then add a short trunk at the base.
Tuck a small round squirrel head and two paws behind one side of the trunk, as if it just popped out to look at you. Keep the face to two dot eyes and a small nose, nothing more.
If the squirrel ends up looking flat, add one curved line for its cheek and a few short fur strokes along the edge of its head. Color the tree in moss green marker and leave the squirrel’s body as white paper with just fineliner lines, so it stands out against the foliage.
If you do not have green marker on hand, cross-hatch the triangle in fineliner instead for the same shaded effect. Finish today by adding one acorn on the ground near the trunk for scale.
Palette: Moss Green,Rust Orange,Ink Black
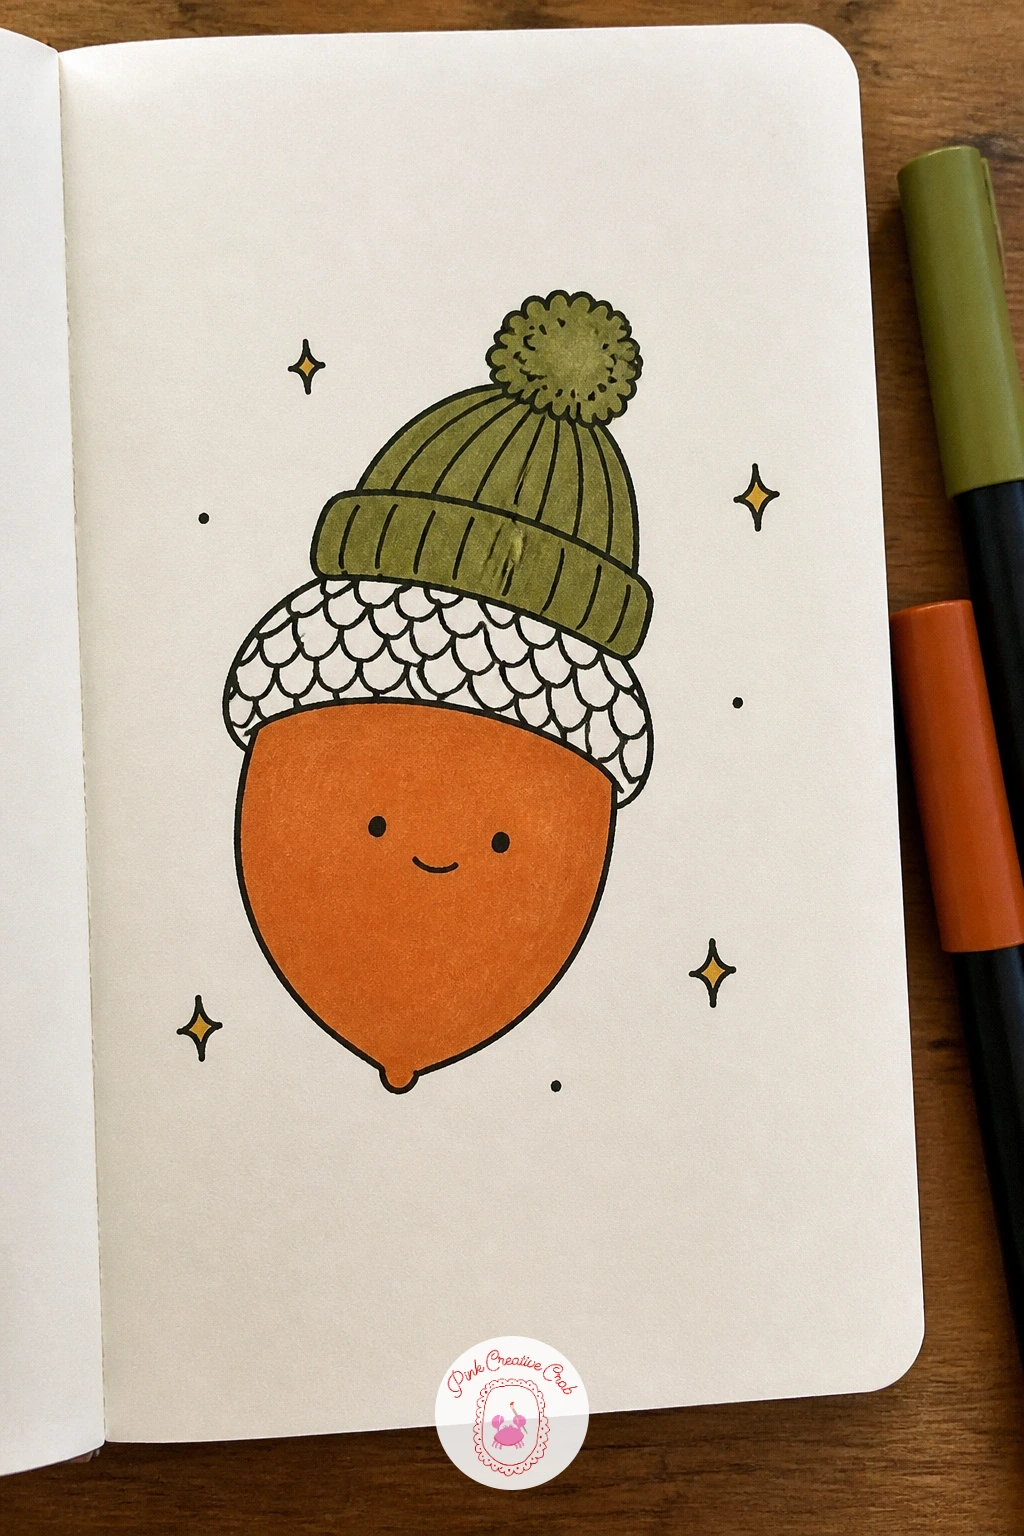
An acorn wearing a hat is the quickest subject on this list and a nice one to repeat down a page margin. Draw an oval body first, then the little hat as a bumpy dome sitting on top like a cap pulled low.
Give the hat a tiny brim line and maybe a small pompom on top if you want it dressed up further. The whole thing is maybe five pen strokes before you add the acorn’s texture.
Where this goes wrong is drawing the body too narrow, so it looks like a lightbulb instead of an acorn: keep the bottom rounded and wide. Add short vertical dashes across the hat for a knitted look, then fill the acorn body with light rust orange marker and leave the hat in moss green.
No markers nearby, just add a few diagonal fineliner lines on each part to tell them apart. A row of three or four of these makes a lovely doodled border for any page.
Palette: Rust Orange,Moss Green,Ink Black
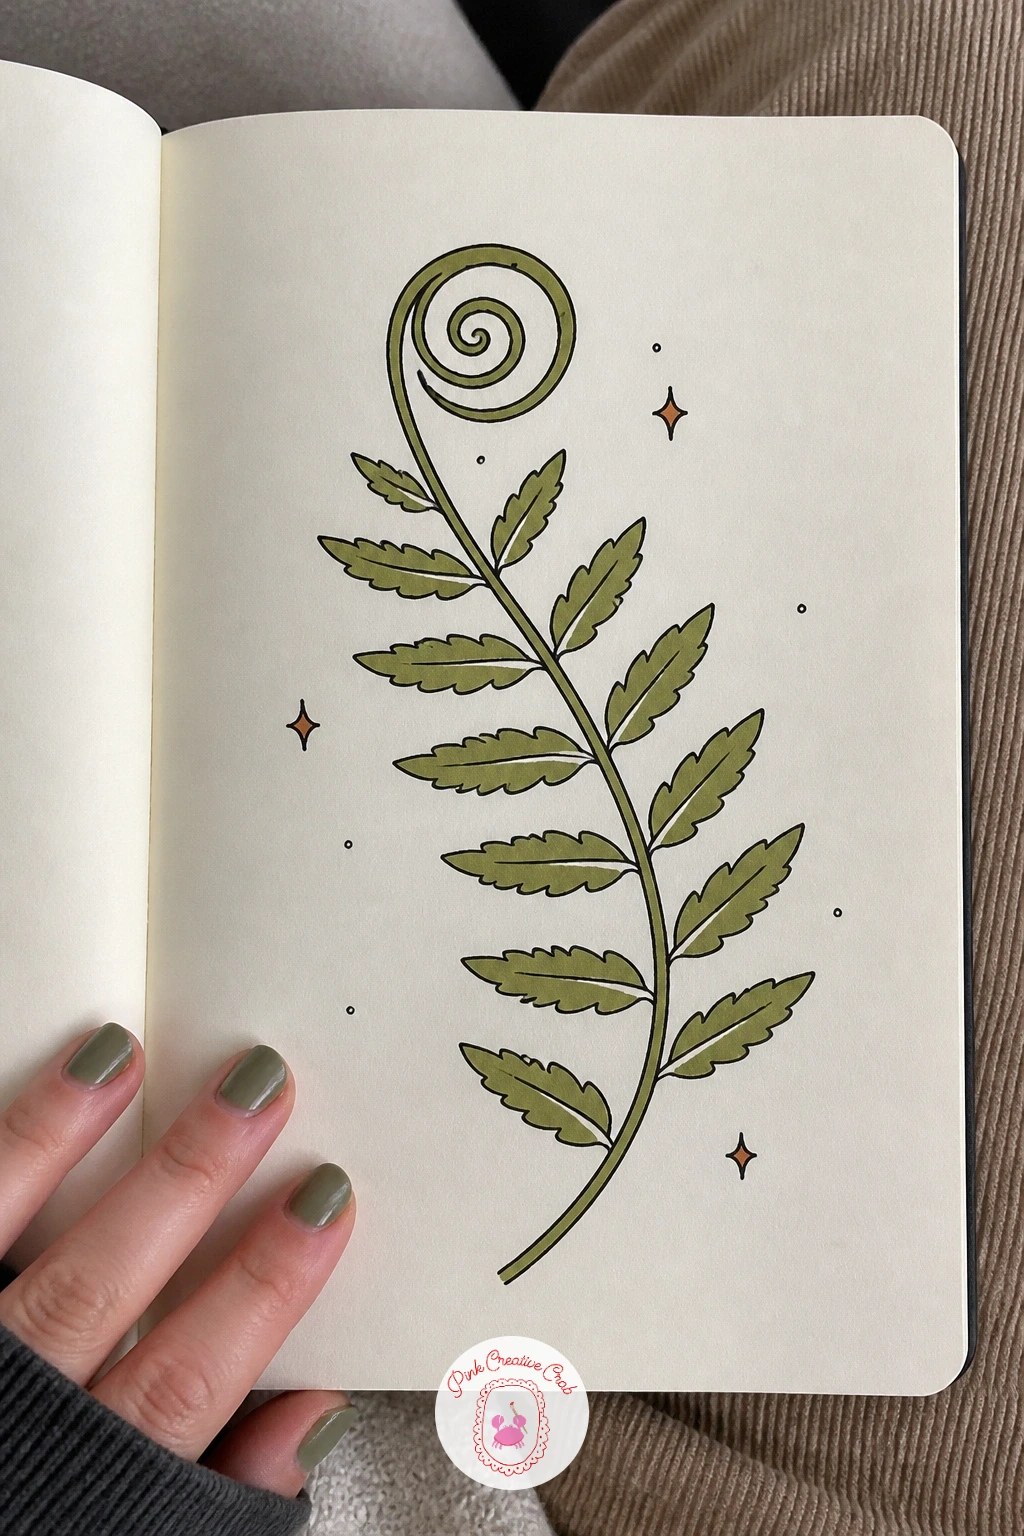
Unfurling, a fern’s new frond curls in on itself like a tiny green spiral, and that spiral is the whole trick to drawing it. Start at the tip with a small coiled line, then work outward along a central stem, adding pairs of small leaflets that get a little bigger as you move down.
Keep the leaflets simple, just a pointed oval shape repeated on each side, no need to vary them much. If the spiral at the top comes out too tight or messy, loosen it with a slightly bigger first loop and let the pen breathe a bit more before you close it.
Color the whole frond in moss green marker, then go back in with fineliner to add a thin darker line down the center stem once the marker is dry. If you are working in pencil first, sketch the spiral lightly before inking so you can adjust its size.
One tip for today: draw two or three ferns at different heights rather than just one, since a cluster reads more naturally than a single stem.
Palette: Moss Green,Ink Black
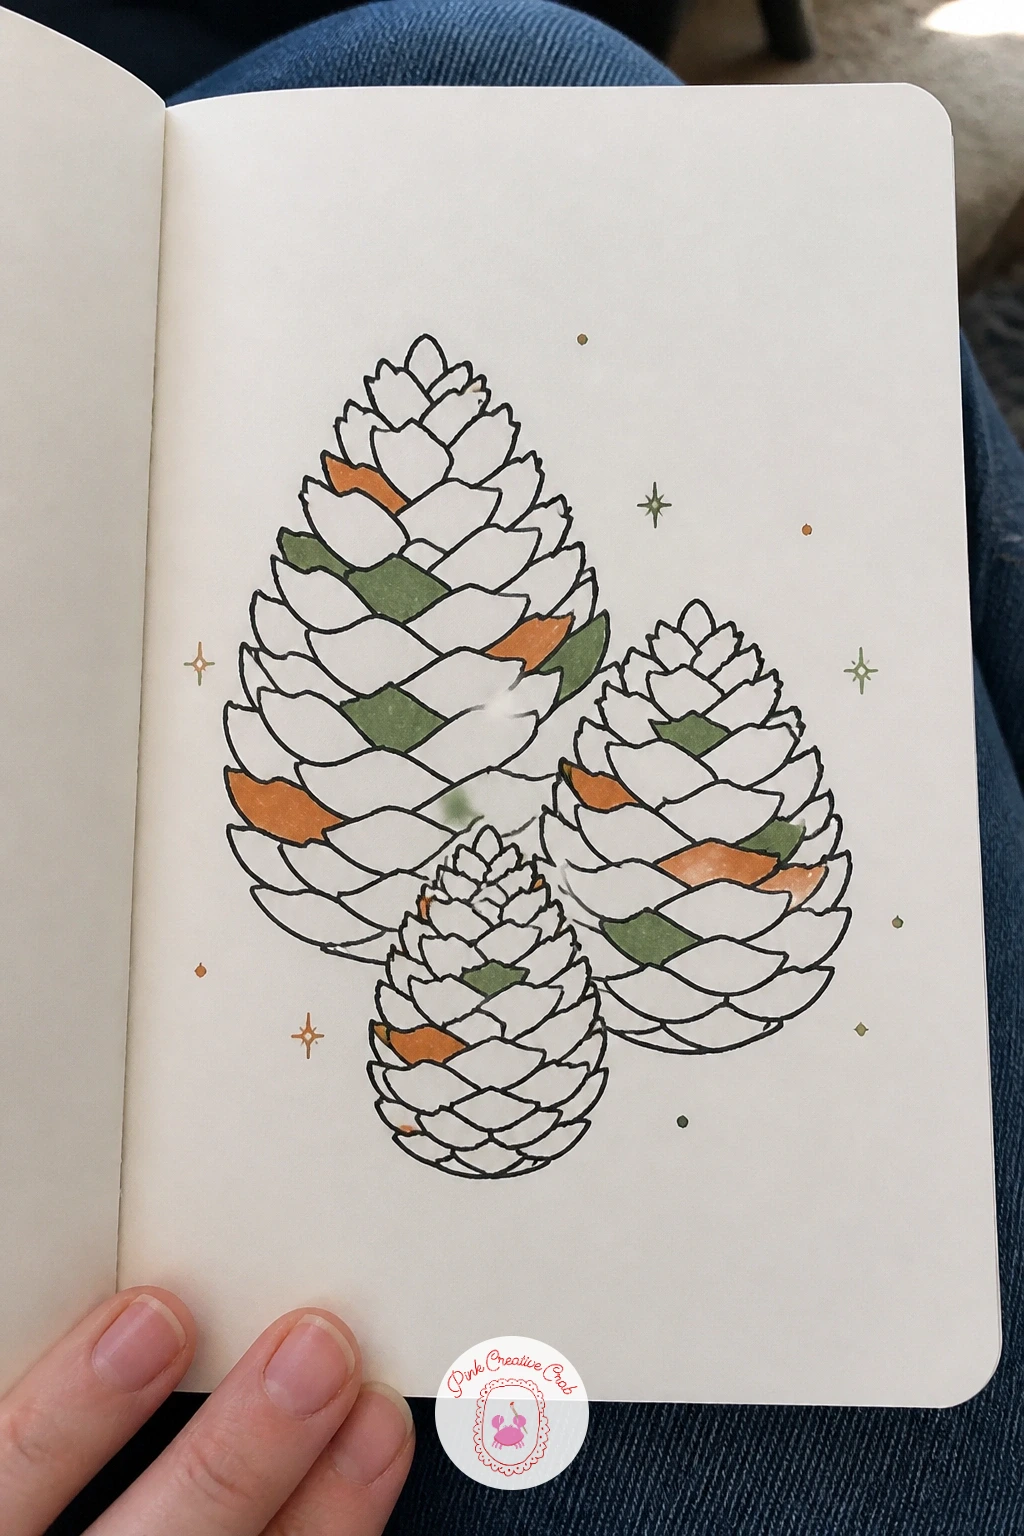
From one spiral shape to a whole cluster, a pinecone family is just three or four cones drawn at different sizes side by side. Draw each one as a teardrop shape, then cover the surface with short overlapping curved lines like scales, working from the base up to the point.
Vary the size of each cone so the group reads as a family rather than three identical copies, and overlap them slightly so the smallest tucks behind the largest. The scale lines are where this can get muddy if you rush, so keep each stroke short and curved rather than long and straight.
Add rust orange marker in patches between the scale lines rather than as a flat fill, which keeps the texture visible underneath. A kneaded eraser is handy here if you sketch the shapes in pencil first and want to lift stray guide lines before inking.
Finish with a short twig and two or three pine needles poking out from behind the group for today’s concrete touch.
Palette: Rust Orange,Moss Green,Ink Black
Settle next into a bird nest on a branch, a cozy little scene built from one simple trick: a loosely scribbled circle of overlapping lines rather than a smooth outline. Draw the branch first as a horizontal curved line, then build the nest as a shallow bowl shape sitting across it.
Fill the bowl with scratchy, crisscrossing fineliner strokes to suggest twigs, keeping the lines going in different directions so it reads as woven rather than solid. Two or three small oval eggs inside, left as plain white with a thin outline, finish the nest itself.
If the nest ends up looking like a solid blob, go back in and erase or ink over a few areas lighter so gaps show between the twigs. Add a couple of green leaves sprouting from the branch in marker for color, and if you want more going on, perch a tiny bird beside the nest.
Today’s tip: draw the nest slightly wider than feels natural, since a narrow one tends to look squashed once the eggs go in.
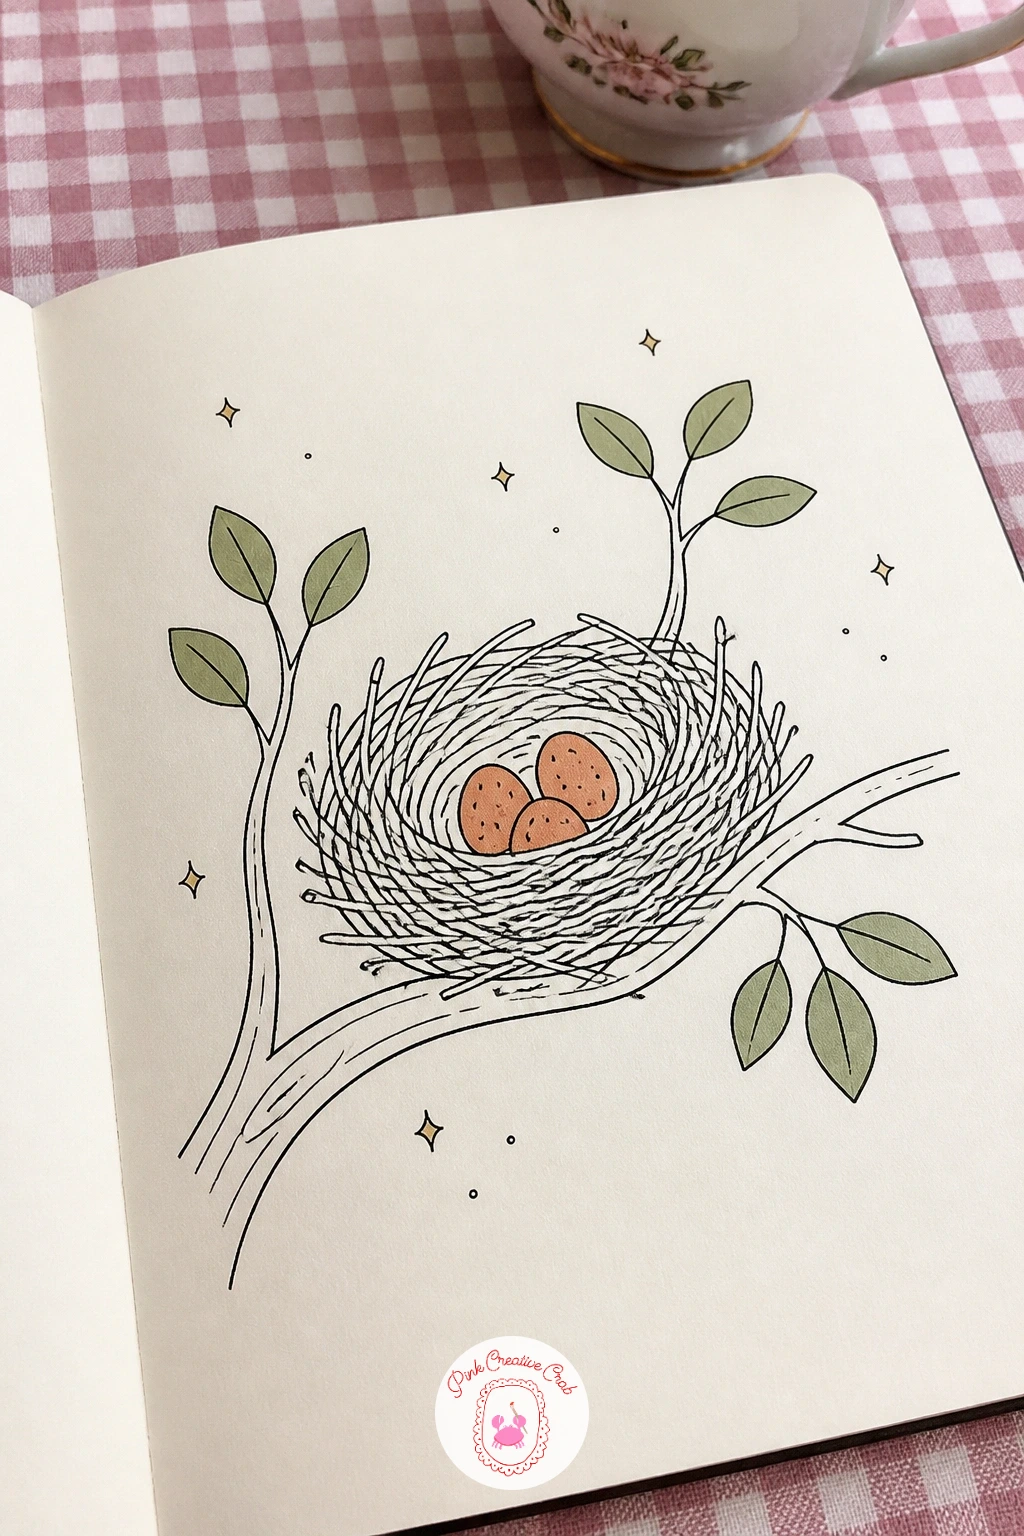
Palette: Moss Green,Rust Orange,Ink Black
A log with mushrooms gives you a nice horizontal shape to practice alongside the rounder subjects you have drawn so far. Draw the log as a long cylinder, two curved lines for the top and bottom edges and two half-ovals at each end to show where it was cut or broken.
Add a few short cracks and knot marks along the bark with quick fineliner strokes, then group three or four small mushrooms along the top and side, each one just a stem line topped with a rounded cap.
Where beginners lose the log’s roundness is skipping that end oval, so always check both ends curve before you add bark texture. Color the mushroom caps in rust orange and let a touch of moss green sit at the base of the log for moss, applied as small dabs rather than a solid patch.
No orange marker handy, fill the caps with a light cross-hatch in fineliner instead for the same warm, textured look.
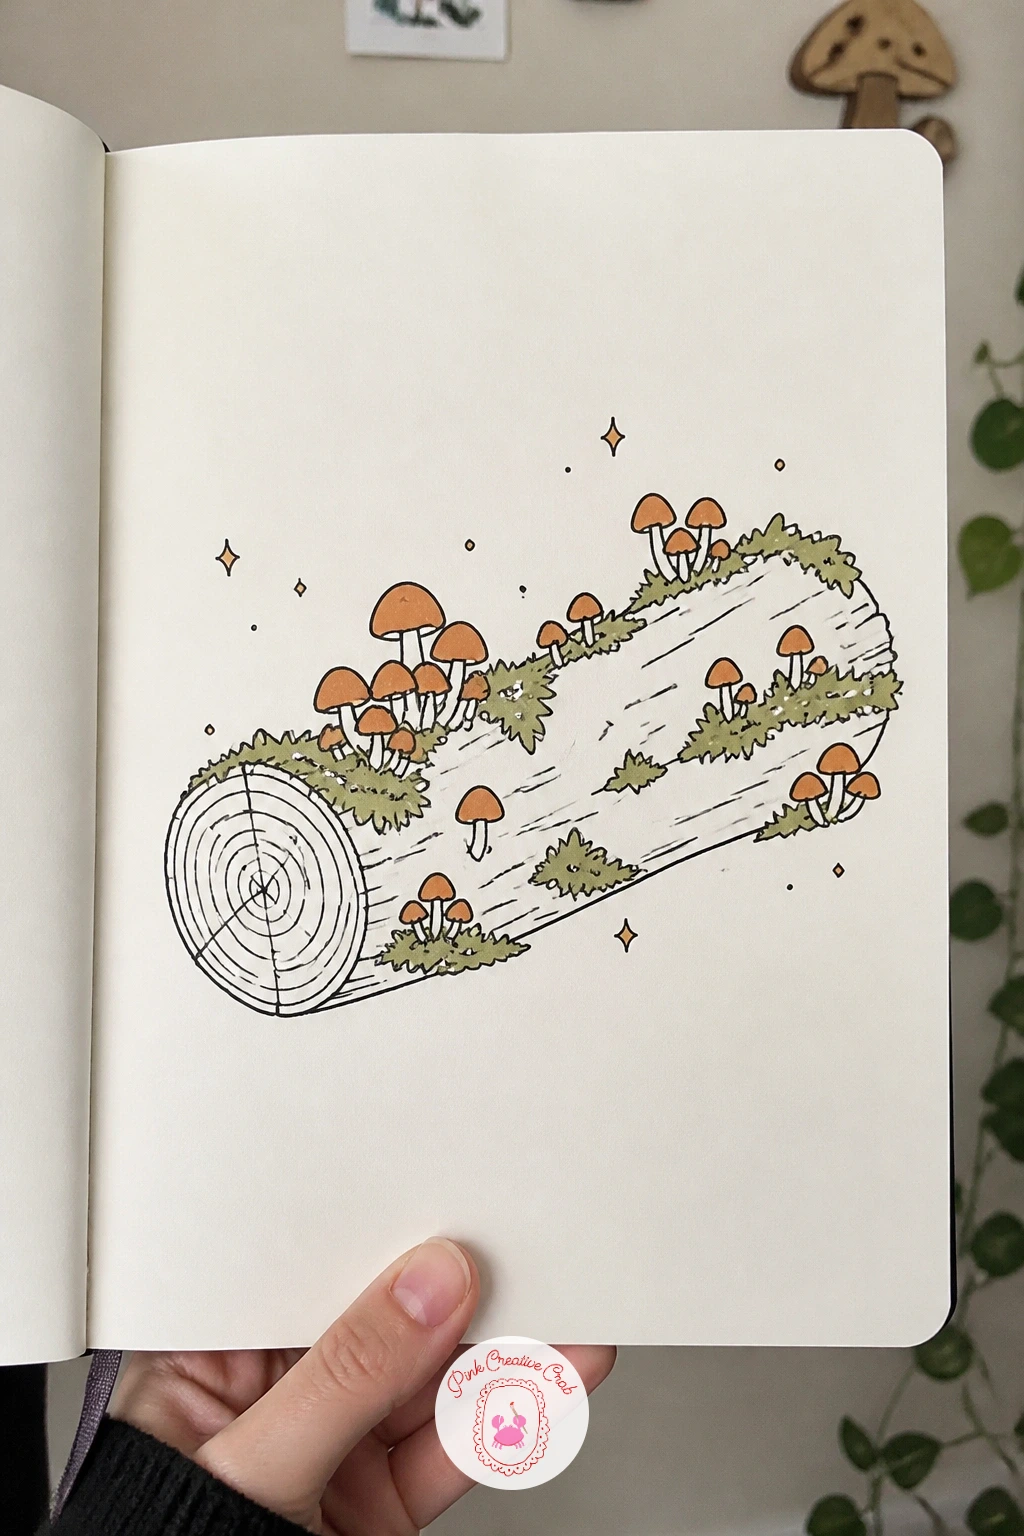
Palette: Rust Orange,Moss Green,Ink Black
Check out the mushroom cluster ideas in this sketchbook doodles roundup if you want more forest-floor subjects to pair with this one.
Here is where a small measuring habit starts to matter: a hedgehog under leaves only reads correctly if the body stays wider than it is tall, more half-circle than full circle. Draw that low dome shape first, then a small pointed snout peeking out from one side with two tiny dot eyes above it.
Cover the back in short spiky fineliner strokes radiating outward from the dome, all pointing away from the snout so the quills seem to lie naturally. Tuck two or three simple leaf shapes over the top edge, as if they drifted down and settled there.
If the spikes come out looking like a solid mass instead of individual quills, leave small white gaps between groups of strokes so light seems to pass between them. Color the leaves in a mix of moss green and rust orange for an autumn feel, keeping the hedgehog’s body plain white with just ink lines.
A quick comparison check: hold the snout against the body width, it should be no more than a third of it, or the face reads too long.
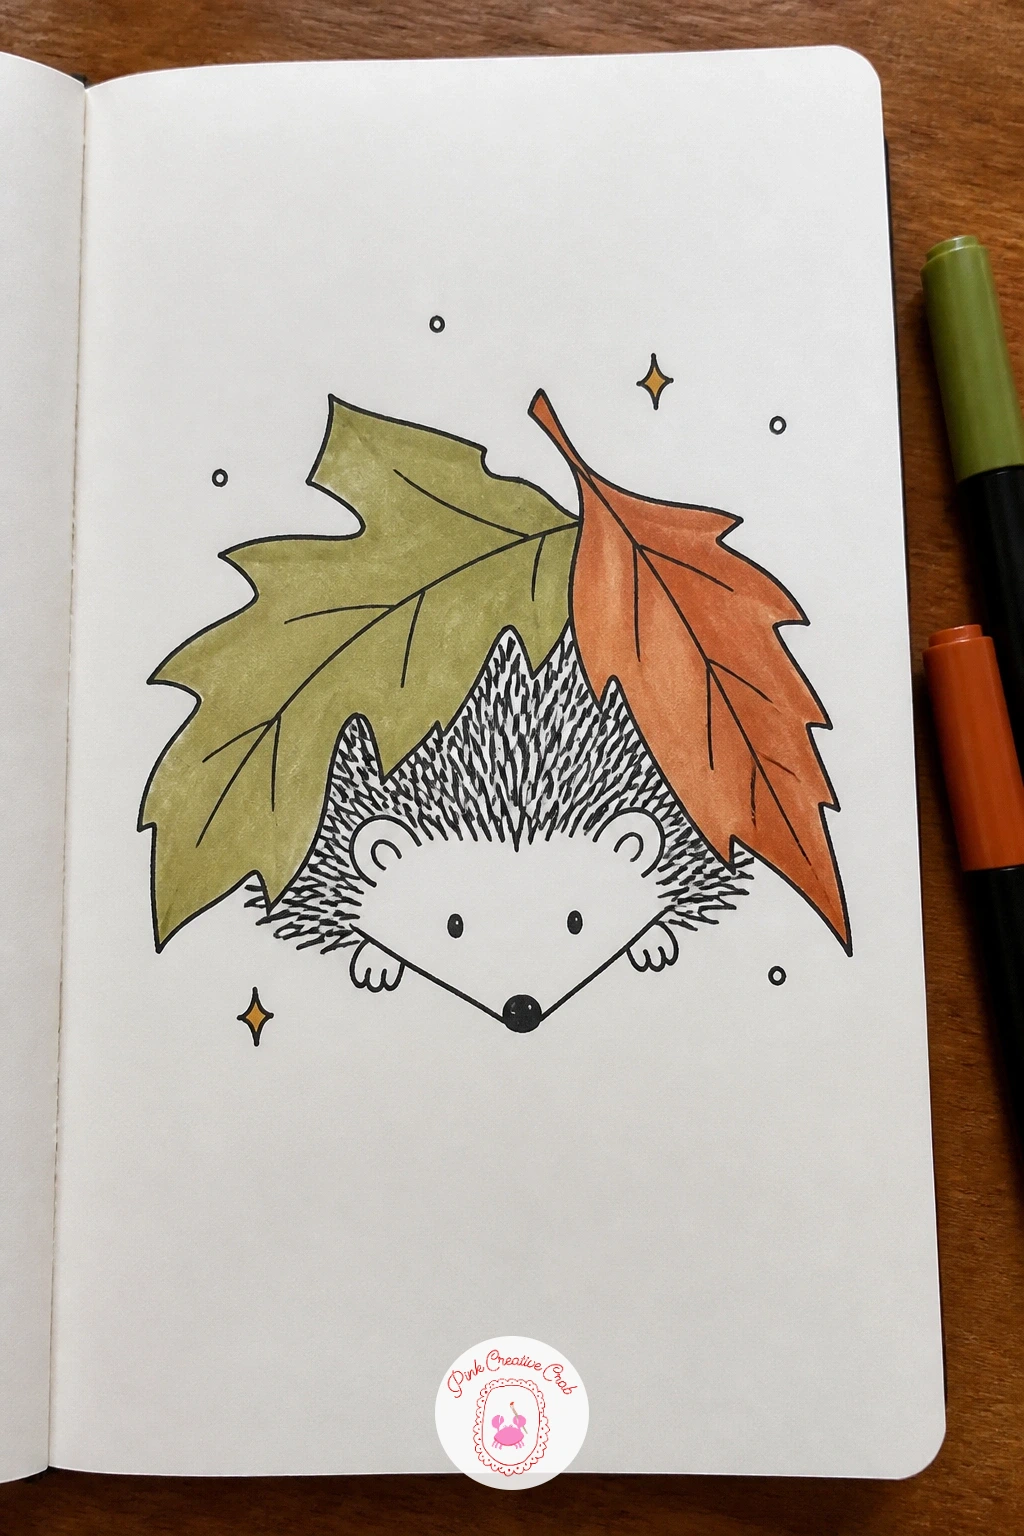
Palette: Moss Green,Rust Orange,Ink Black
Keep things small and calm with a rock with moss and a snail, a lovely quiet subject for a corner of the page. Draw the rock as a lumpy rounded shape, flatter on the bottom, with a few irregular facet lines across its surface so it does not look like a perfect oval.
Add moss along the top and shaded side as small scribbled patches of short curved lines rather than a smooth fill, then draw the snail resting beside or on the rock with a simple spiral shell and a curved body trailing beneath it.
If the rock looks too smooth and balloon-like, add two or three straight crack lines across it to break up the roundness and suggest stone. Color the moss patches in moss green marker, dabbing rather than stroking for texture, and leave the snail shell plain with just a spiral ink line inside it.
Today’s tip: draw the snail’s two small eye stalks curving outward, it instantly makes the whole creature feel alive rather than static.
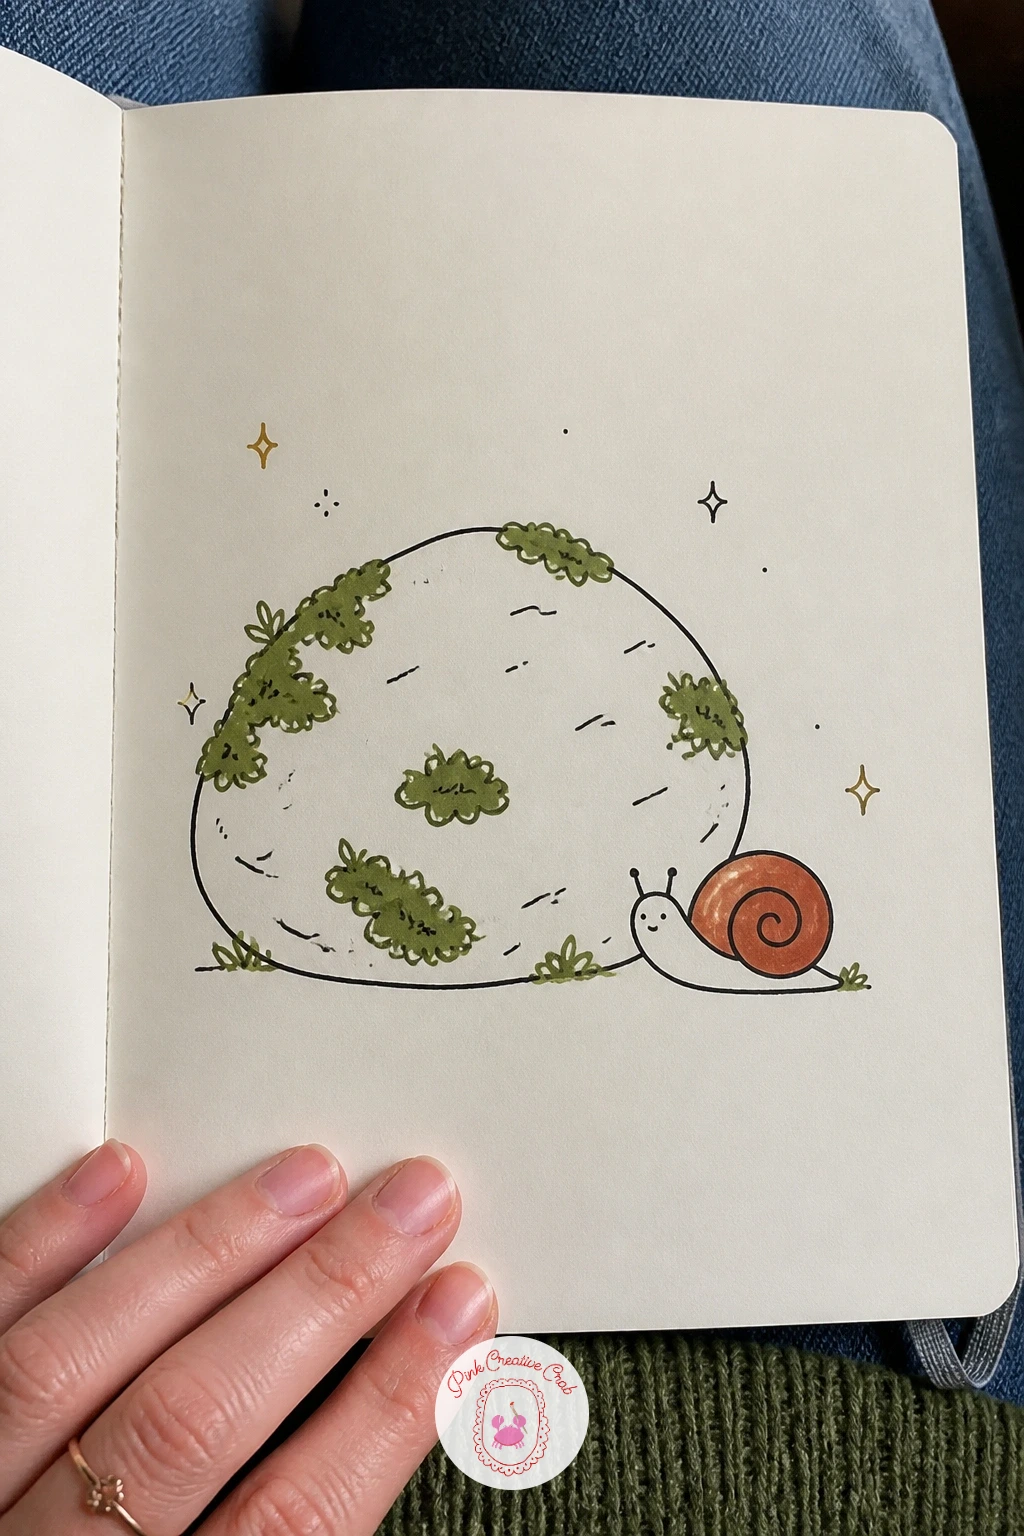
Palette: Moss Green,Ink Black
Here the light source matters more than usual: a dandelion field looks best when every seed head catches light from the same direction, so decide early whether the sun sits upper left or upper right and stick with it. Draw several thin upright stems of varying heights across the page, then top each with a small circle built from short radiating fineliner lines like a tiny firework.
On the side facing your chosen light, leave the radiating lines a touch sparser and shorter so that part looks brighter, and pack them a little denser on the shaded side.
If the seed heads start looking like solid blobs, thin out the lines near the center and let more white paper show through, since a dandelion head is mostly air. Add a few loose dots drifting away from one or two heads as seeds on the breeze, and ground the stems with short grass strokes in moss green.
No marker needed here at all, this one works entirely in black fineliner with maybe a touch of green at the base.
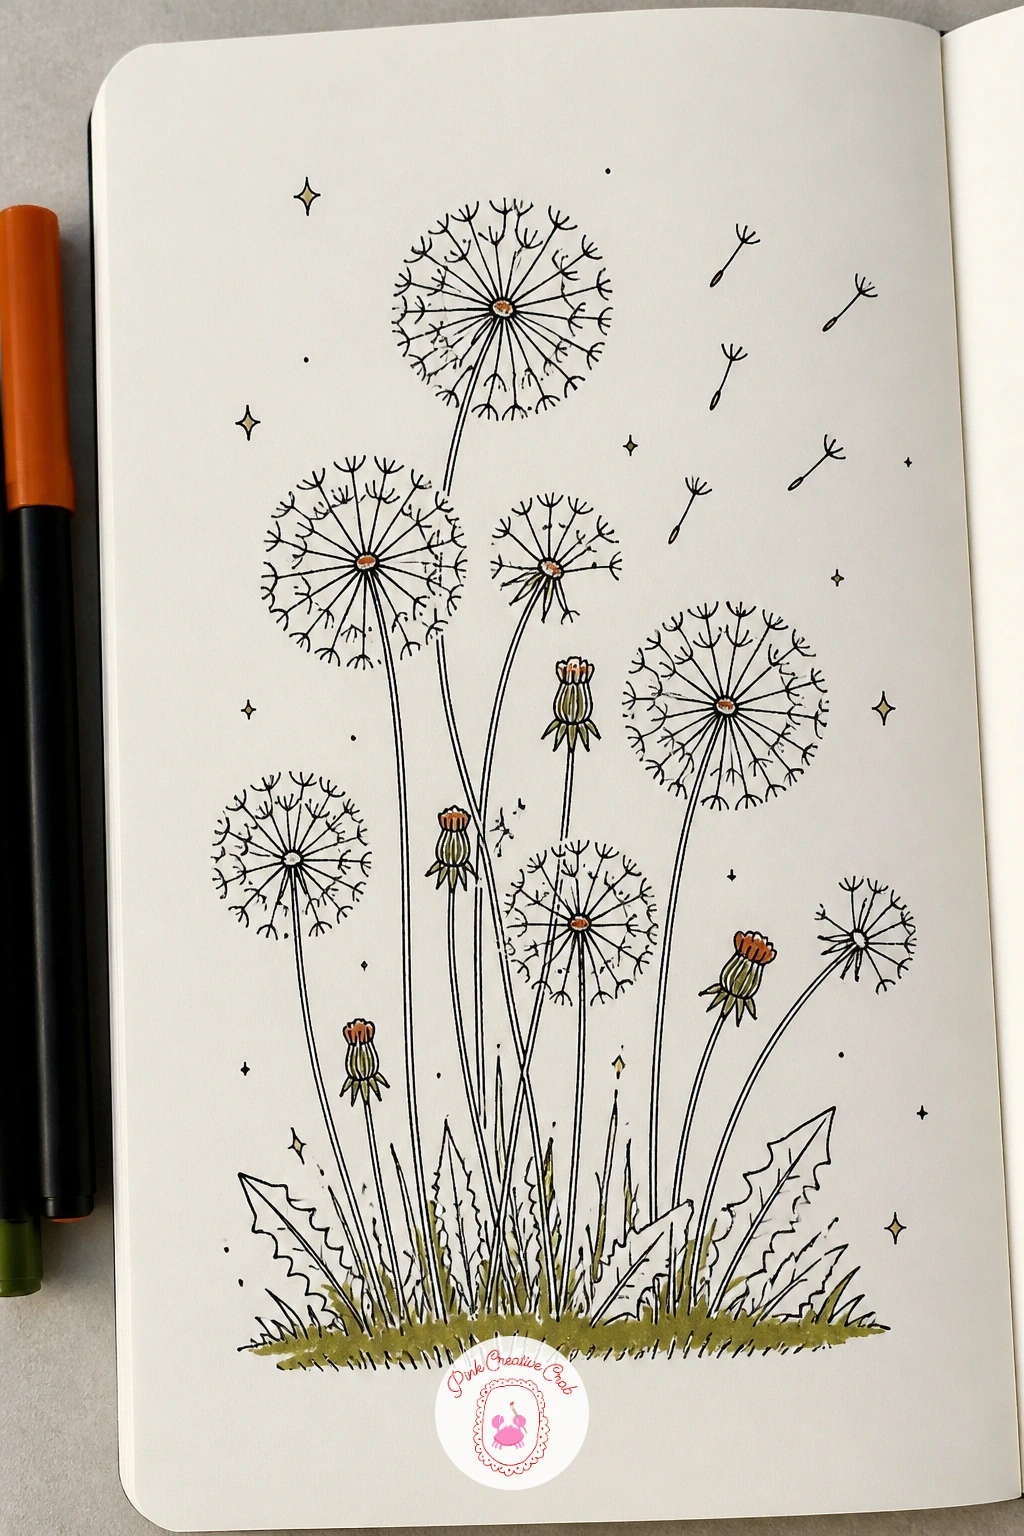
Palette: Moss Green,Ink Black
From dandelions in a breeze to something a bit more deliberate, a berry bush with a bird asks you to think about eye level before you start. Draw the bush low on the page as if you are looking slightly down on it, which means the branches curve more horizontally and the berries cluster along their tops rather than hanging straight down.
Sketch a loose rounded bush shape first, then add thin branch lines poking through it and small round berries clustered at the ends. Perch a simple bird on one branch, body as a plump oval, small triangle beak, and a short tail.
If the berries look scattered randomly rather than growing naturally, group them in clusters of three or four along the same branch rather than spreading single berries everywhere. Color the berries in rust orange marker and the leaves in moss green, letting the bird stay mostly white with ink details.
One tip for today: give the bird a slight head tilt toward the berries, it reads as curiosity instantly.
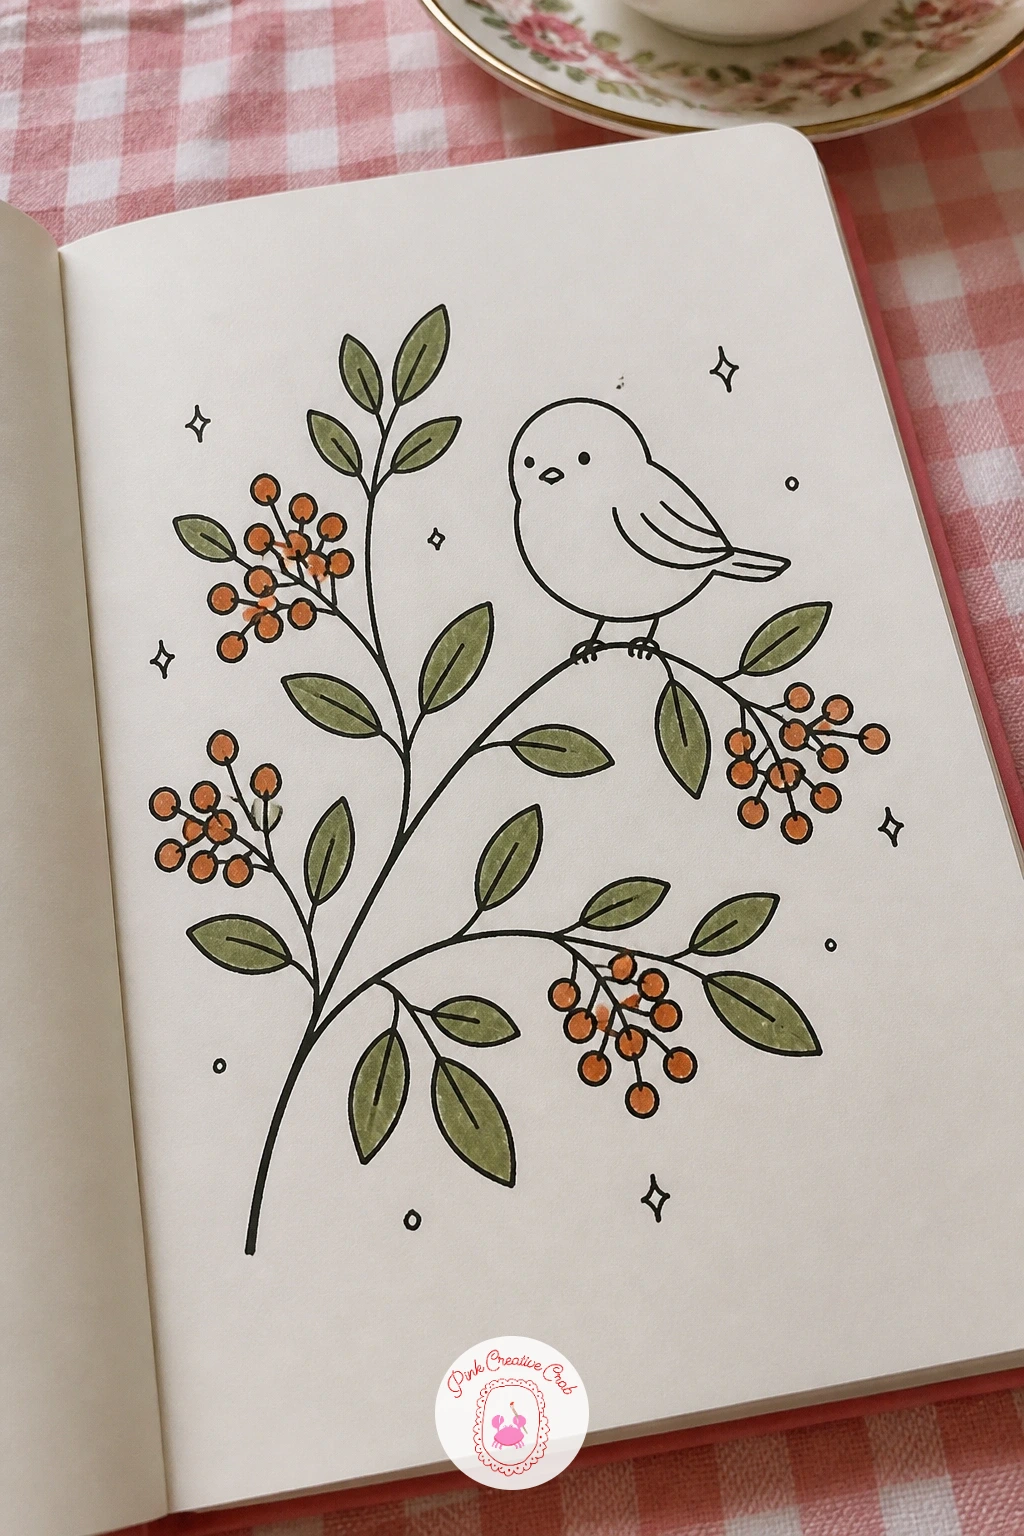
Palette: Rust Orange,Moss Green,Ink Black
Does the owl look awake or sleepy, is the question that shapes this whole drawing. An owl in a tree starts with a rounded body shape wider at the bottom, two large circles for eyes set close together, and a small triangle beak between them; wide open eyes read as alert, half-closed curved lines read as sleepy, so pick one mood and keep both eyes matching.
Build the tree branch underneath first, then draw the owl sitting on top with its feet hidden under a fluffed-out belly of short feather strokes. Add two pointed ear tufts if you want a more eastern screech owl look, or leave the head rounded for a barn owl feel.
If the eyes come out uneven, draw a light guideline circle across the face first to place both centers at the same height before inking. Color the body in soft rust orange patches with moss green leaves scattered around the branch.
Swap markers for colored pencil if that is what you have, since owl feathers take gentle layered pencil shading nicely too.
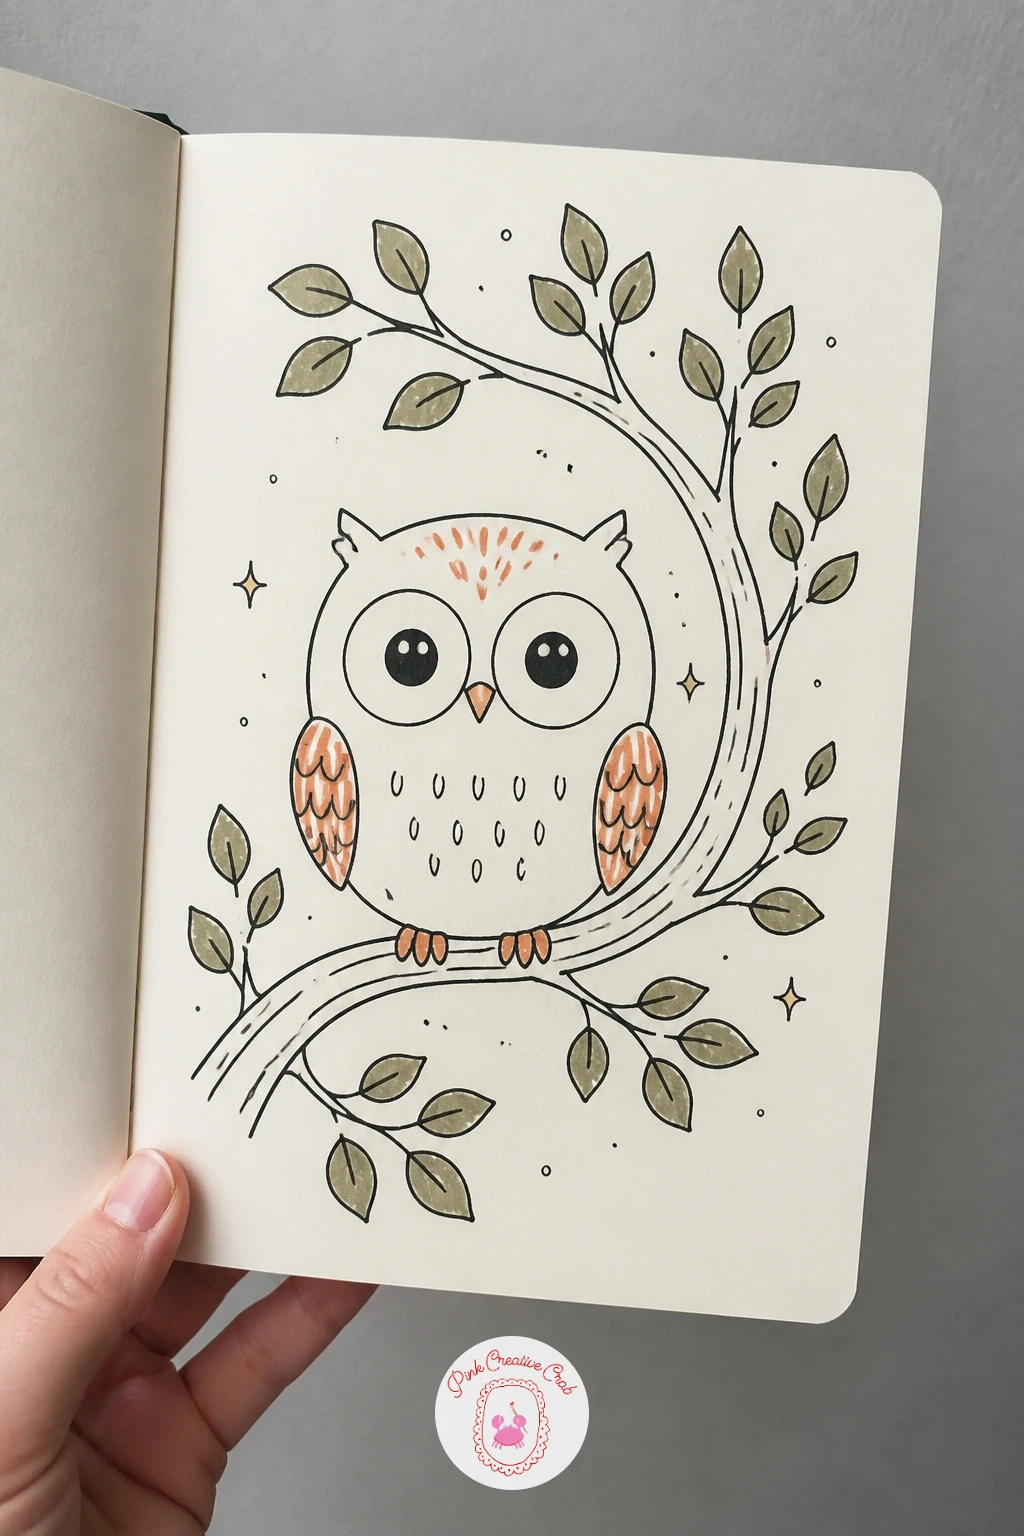
Palette: Rust Orange,Moss Green,Ink Black
Proportion carries this whole drawing: a deer drinking from a stream only looks right if the legs are long enough to make the lowered head reach the water, so sketch a simple stick-figure guide first, body as an oval, four thin legs, before adding any outline. Lower the neck so the head angles down toward a curved stream line at the bottom of the page.
Once the pose feels balanced, ink the body as a smooth oval, add the legs with slightly bent knees, and give the head a simple pointed shape with small ears and two dot eyes. A few ripple lines where the nose meets the water sell the drinking moment.
If the legs come out too short and the deer looks squat, compare the leg length to the body height, legs should be close to the same length as the body is tall. Color the deer’s back lightly in rust orange and leave the belly white, with a thin band of moss green along the stream’s edge for grass.
Keep the water itself as a few simple curved lines rather than full waves.
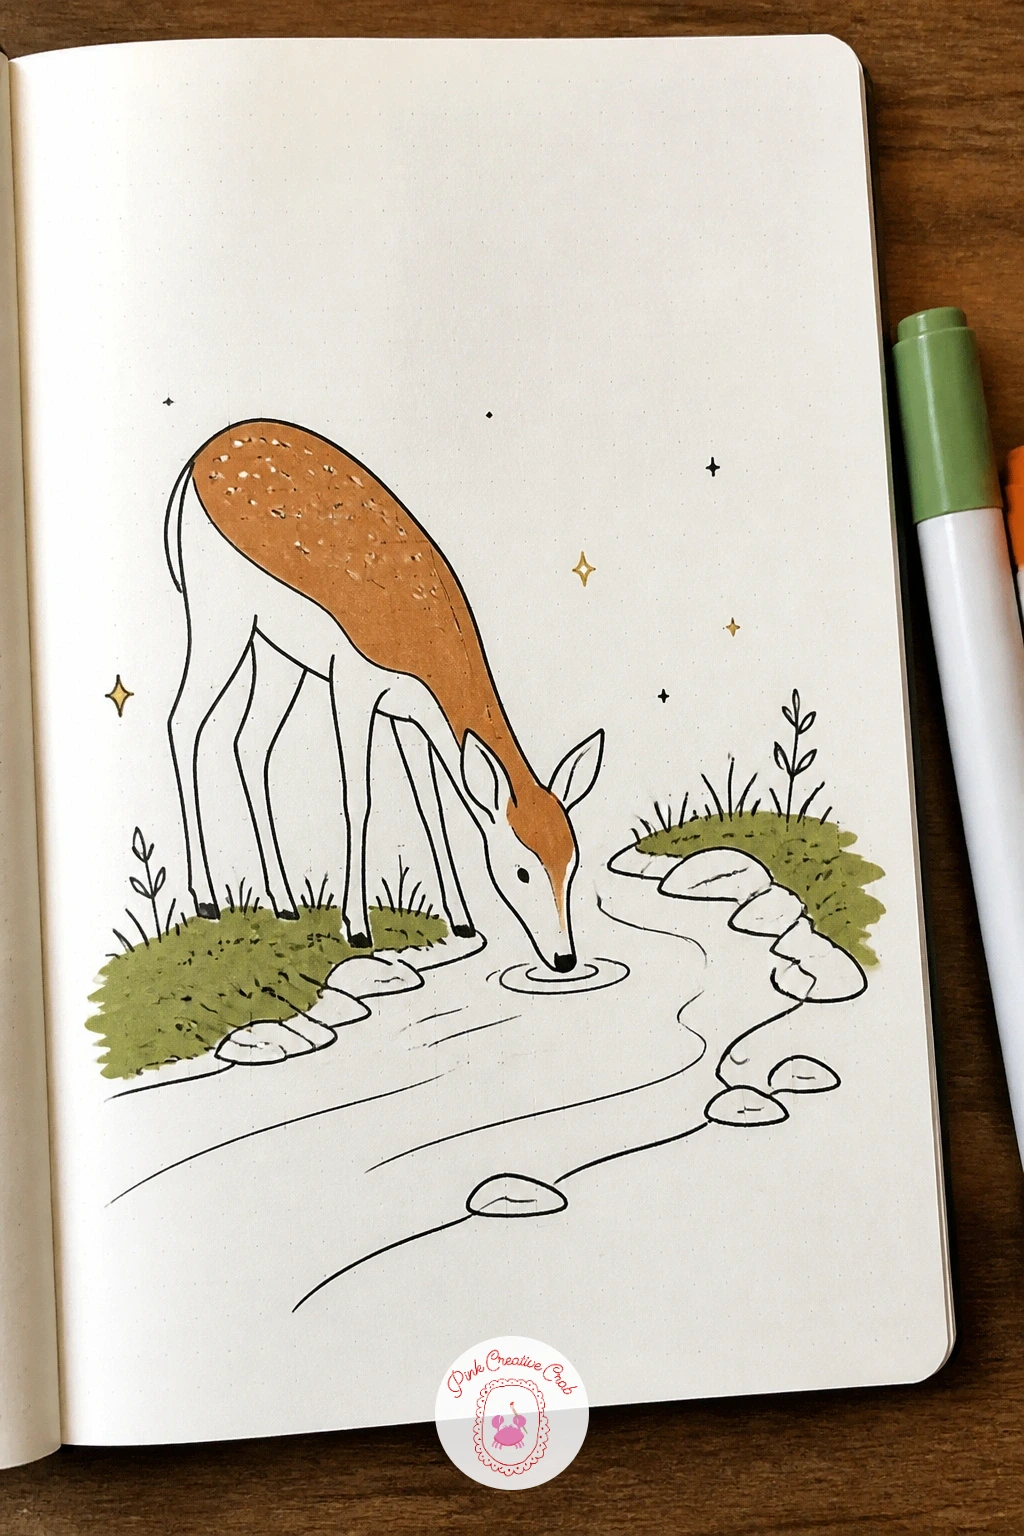
Palette: Rust Orange,Moss Green,Ink Black
Perspective is the whole trick here: a path through tall trees needs the trees on either side to shrink and the path lines to narrow as they move toward a single point near the top of the page. Draw two converging path lines first, then plant tree trunks along both sides, taller and wider near the bottom edge, shorter and thinner as they near the vanishing point.
Keep the tree shapes simple, narrow triangles or tall ovals of foliage on thin trunks, and let a few branch lines cross overhead to frame the path like a tunnel.
If the sense of depth falls flat, double check that no tree in the distance is drawn as large as the ones up front, that mistake kills the illusion fastest. Color the canopy in moss green and leave the path itself as plain white paper, maybe with a few small pebble dots in rust orange scattered along it.
One tip to use today: angle a shaft of light diagonally across the path with a few faint parallel lines, it adds depth without much extra work.
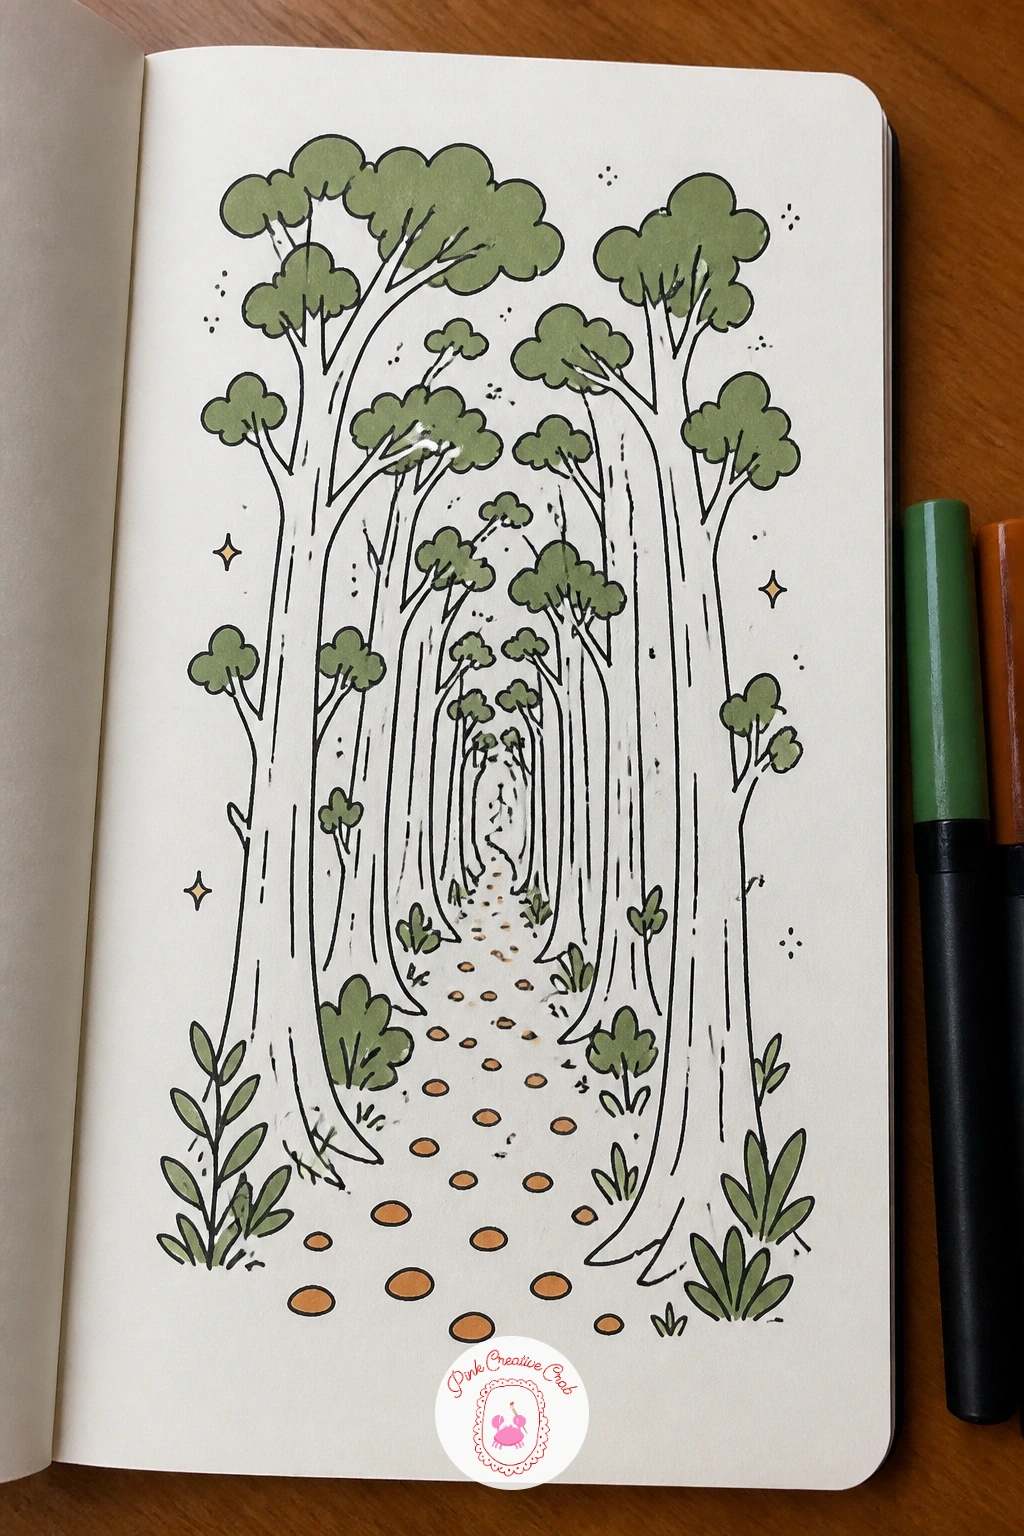
Palette: Moss Green,Rust Orange,Ink Black
Edges do the work in this one: a river with stepping stones needs crisp hard outlines on the stones and looser wavy lines on the water to tell the two textures apart at a glance. Draw a wide curving band for the river first, then place four or five rounded stone shapes crossing it in a staggered line, each slightly different in size.
Add short curved ripple lines around each stone where the water would push against it, keeping them tightly spaced close to the stone and looser further away.
If the water looks static, vary the ripple line lengths rather than making them all identical, which is the detail that gives flowing water its sense of movement. Color the stones in a flat gray or leave them white with just outline and shadow, then add moss green along both riverbanks for grass.
Dry brushing a little marker along the water’s edge, dragging a half-dry tip lightly across the paper, gives a nice broken texture if you want to try it.
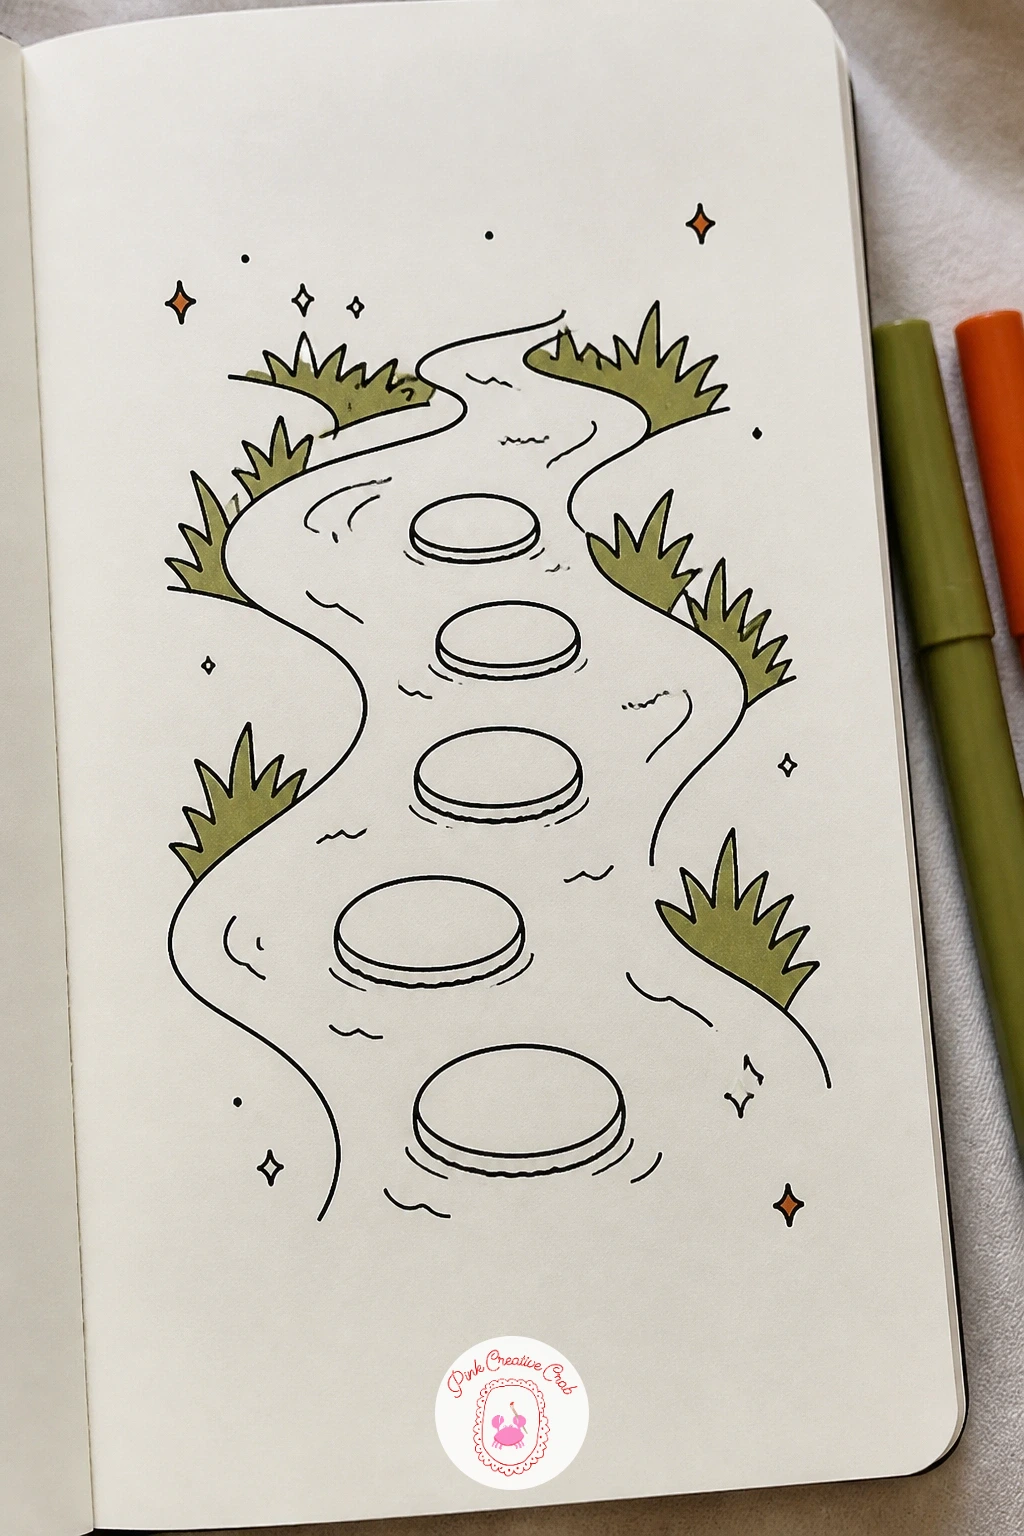
Palette: Moss Green,Ink Black
Ten minutes gets you a simple waterfall into a pool: two long vertical lines for the falling water, a few short horizontal dashes crossing between them to suggest movement, and a wide curved pool shape at the base with a couple of ripple rings. That quick version alone makes a satisfying small doodle.
Spend closer to forty minutes and you can add rock ledges on either side of the fall, each one a lumpy stacked shape with short crack lines, plus a scattering of mist marks, tiny dots and dashes, right where the water hits the pool.
If the falling water looks like a flat ribbon, vary the spacing between your vertical lines so some run closer together and some further apart, mimicking how real water splits around rocks. Color the rocks in a muted gray-brown and add moss green moss patches tucked into the cracks.
Leave the water itself white with just outline, since too much marker there flattens the whole effect.
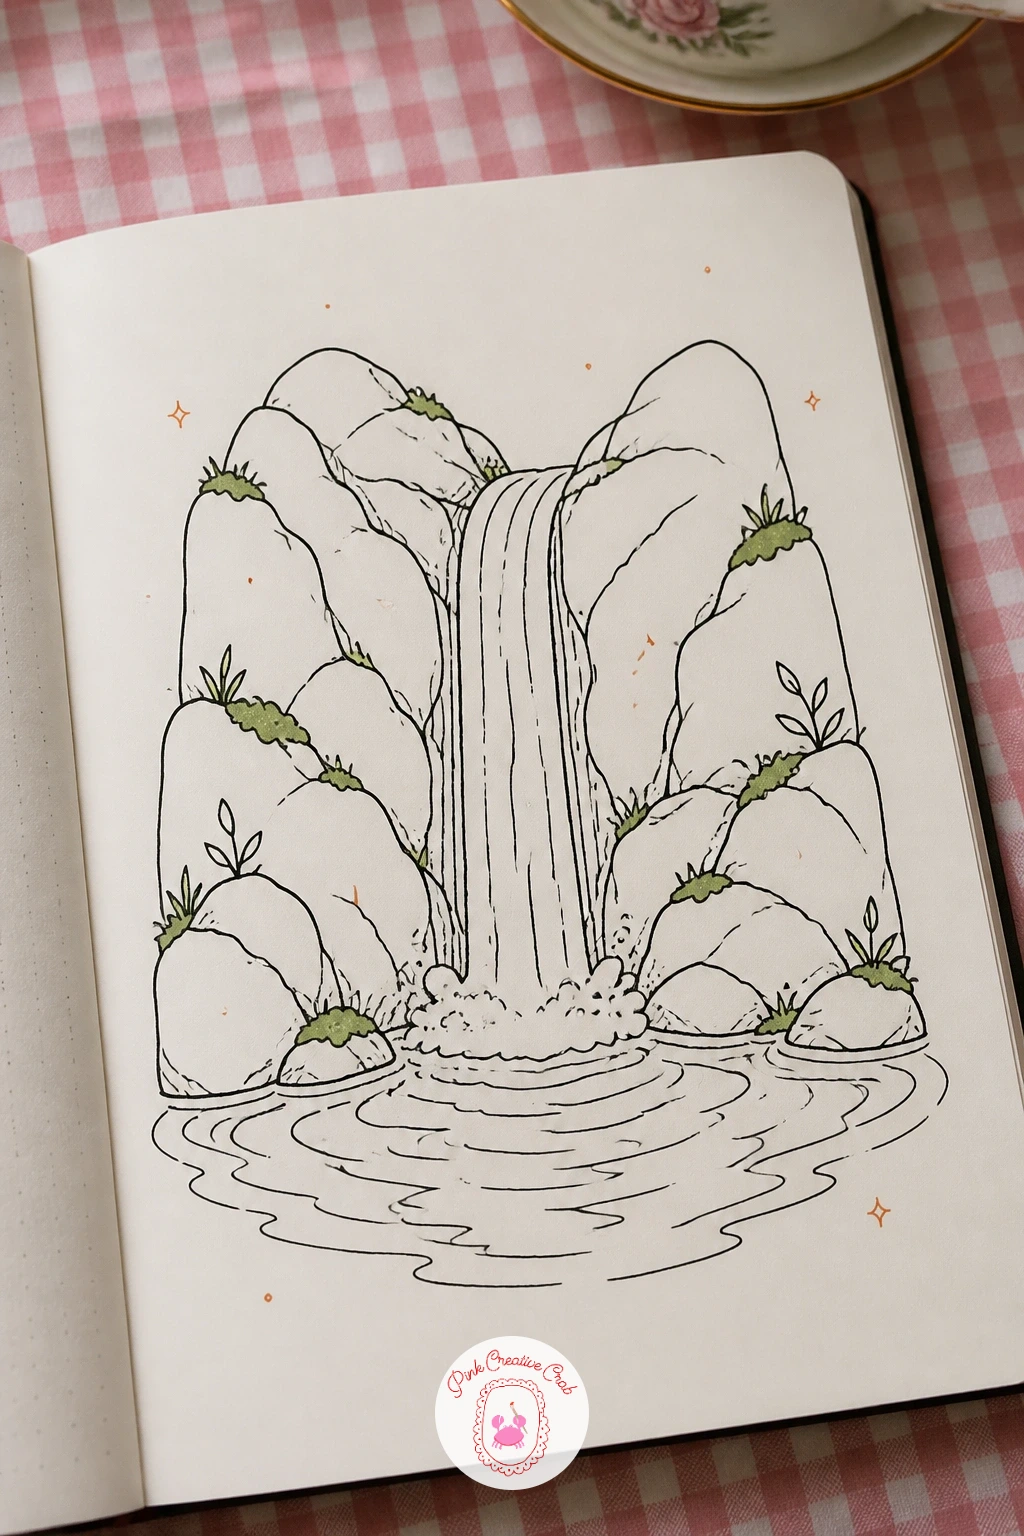
Palette: Moss Green,Rust Orange,Ink Black
Scale comparison keeps this one honest: a mountain with a tent below only reads correctly if the tent stays tiny against the peak, roughly the size of one knuckle compared to a mountain spanning most of the page width. Draw the mountain first as a tall jagged triangle with a few angular facets for rock faces, then add a small triangular tent at the base, barely more than a few lines.
A short flagpole or a wisp of smoke from a tiny campfire beside the tent adds life without much extra drawing.
If the mountain looks too soft and rounded, sharpen the peak and add a couple of hard zigzag lines down one face for a rockier feel. Color the upper slopes lightly in gray or leave them white for snow, then add moss green at the base for tree line and a touch of rust orange glow near the tent for evening light.
One tip for today: keep the tent’s doorway open and dark, just a small black triangle, it instantly reads as a cozy detail.
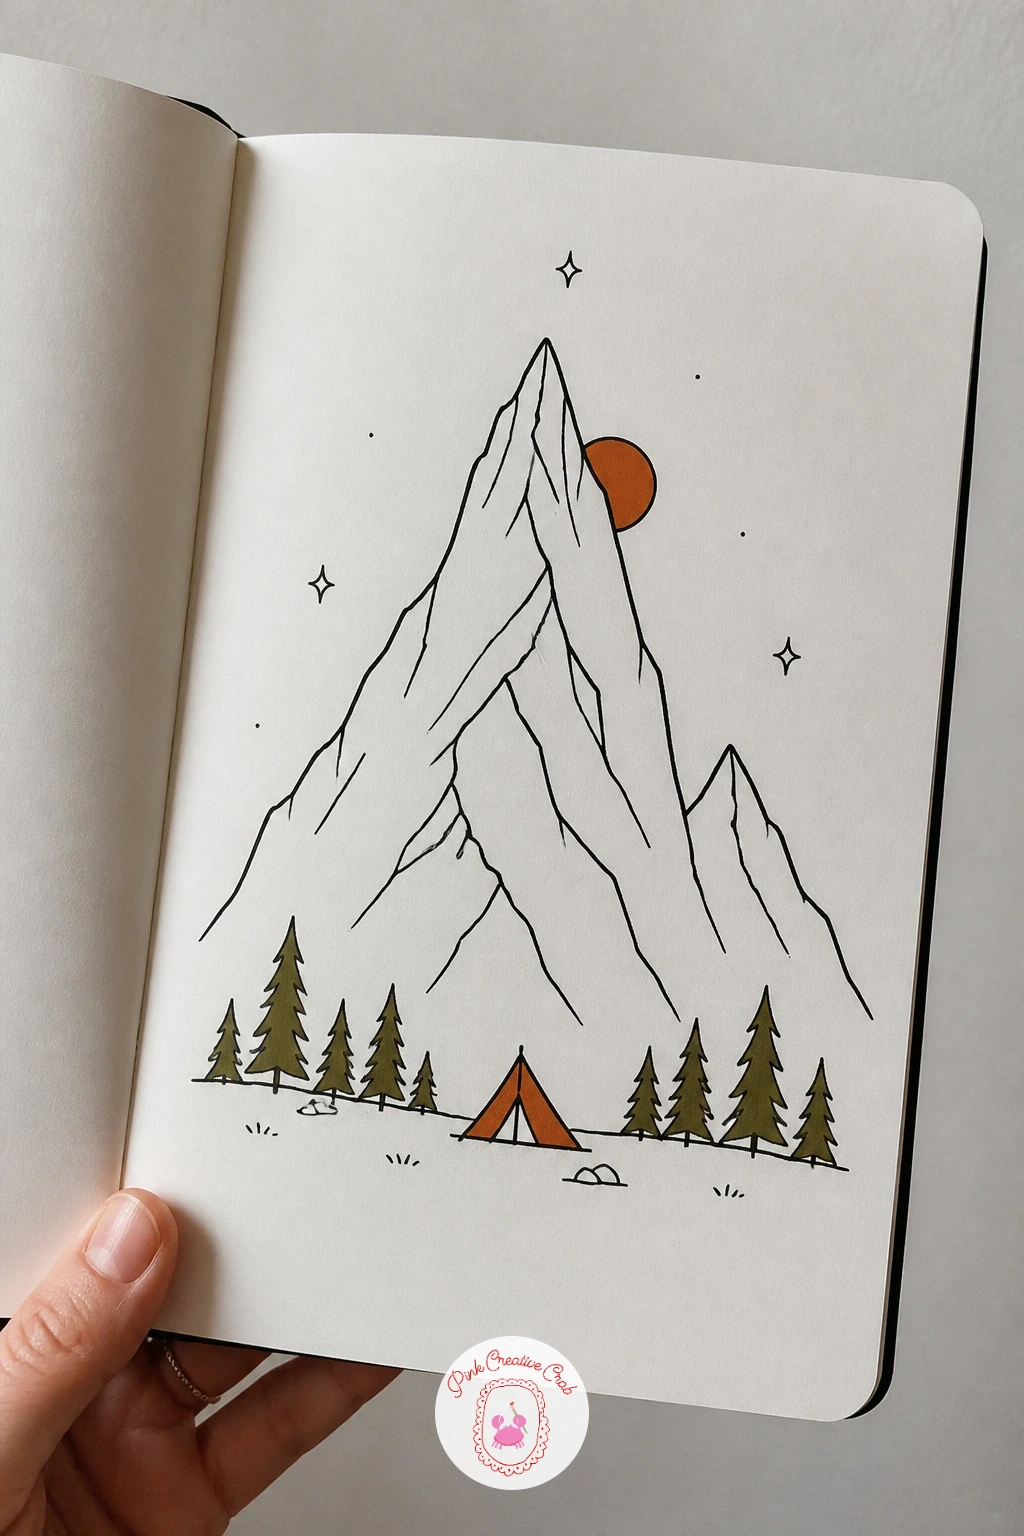
Palette: Moss Green,Rust Orange,Ink Black
Light source decides everything in a sunrise behind hills, since the glow has to sit low and spread outward from a single point near the horizon. Draw two or three overlapping curved hill shapes first, the nearest one largest and darkest, then place a half-circle sun rising right where the furthest hill meets the horizon line.
Radiate a few straight light lines outward from the sun, stopping them short of the edges of the page so the glow feels centered rather than scattered.
If the hills look flat and stacked, darken the nearest one more heavily than the ones behind it, since that contrast alone creates a sense of distance. Color the sky area around the sun in rust orange and let it fade toward plain white paper further up, with moss green added only to the nearest hill’s tree line.
A soft cotton swab dragged through fresh marker ink can lift and blend the orange for a gentler gradient if you want to try it.
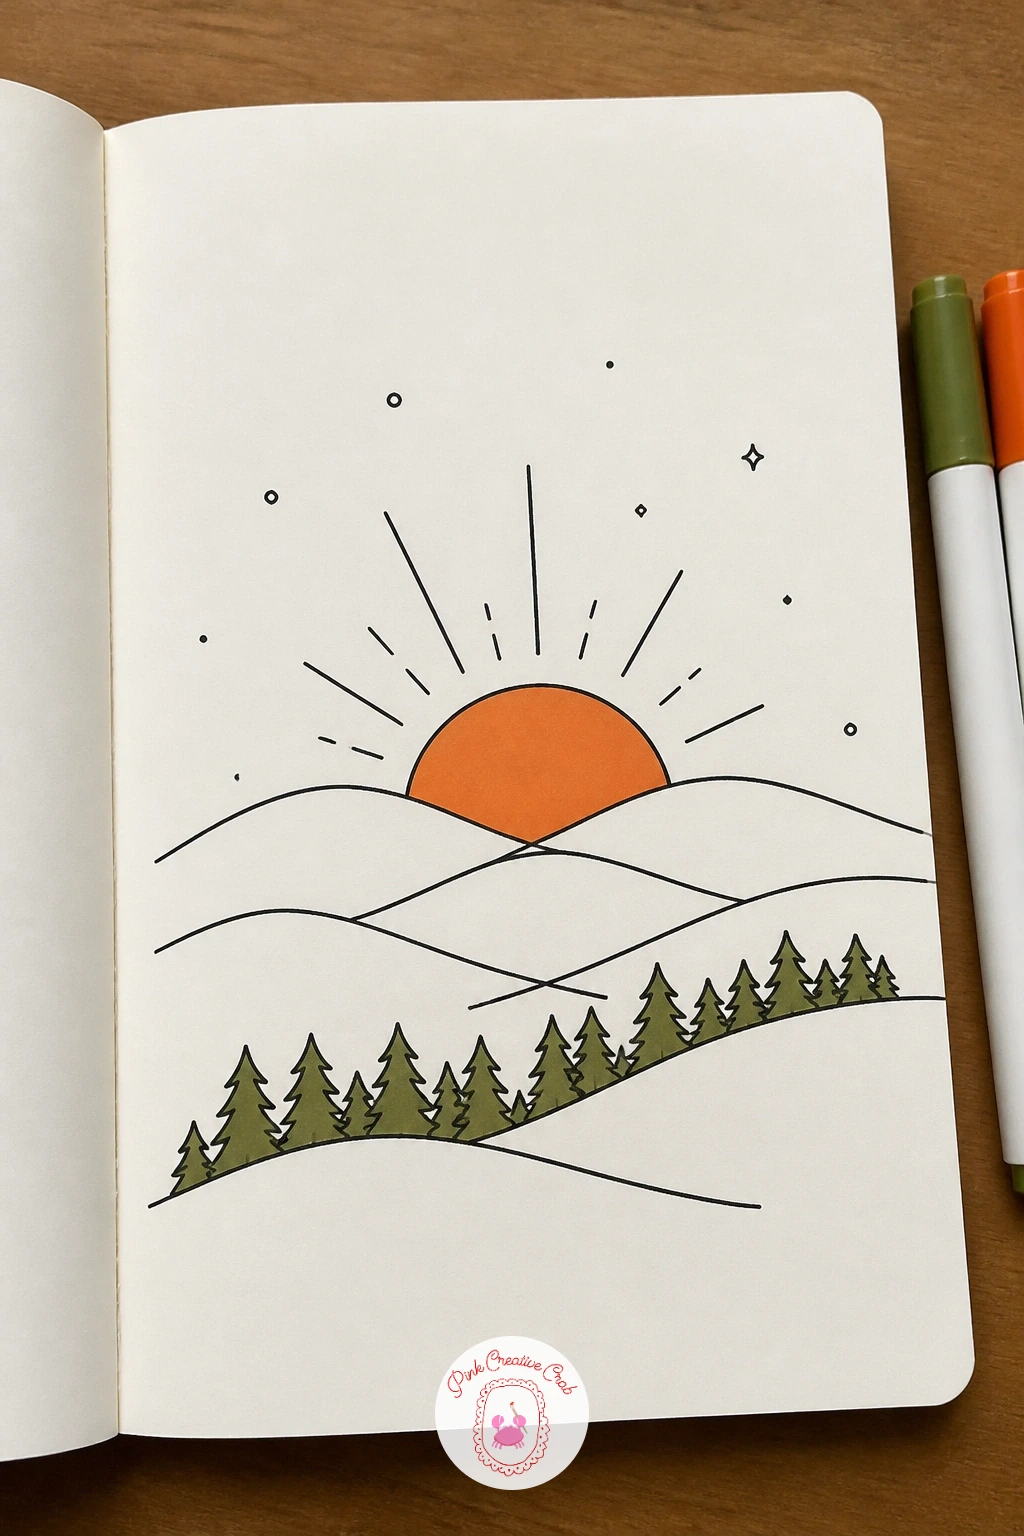
Palette: Rust Orange,Moss Green,Ink Black
Whimsy needs structure, so a hollow tree with a door starts the same way any tree does: a thick trunk with a few root lines flaring out at the base and a rounded canopy of foliage up top. Only once that basic shape sits right do you cut a small arched doorway into the trunk, complete with a tiny round doorknob and a few plank lines across it.
Add a small round window above the door and maybe a curl of smoke from a chimney poking out of the bark for extra charm.
If the door looks pasted on rather than part of the tree, wrap a few bark texture lines around its edges so the opening feels cut into the wood rather than drawn over it. Color the canopy in moss green and let a little rust orange glow come from the window as if a light is on inside.
Try this again later with a spiral staircase visible through a cut-away trunk for a more detailed version.
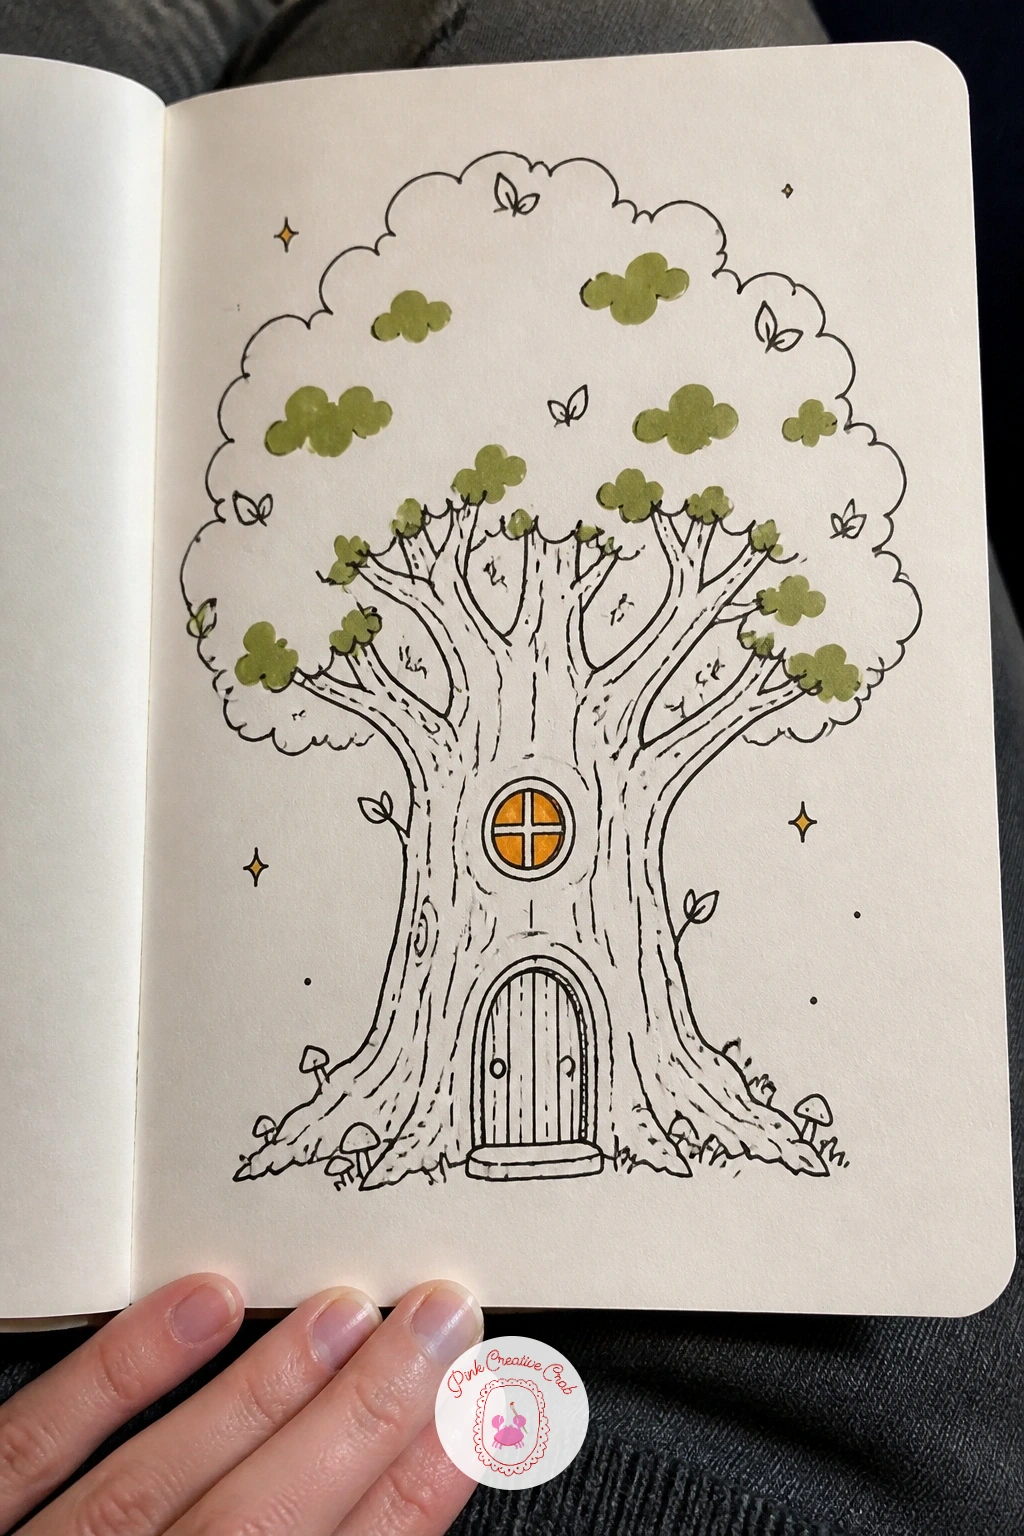
Palette: Moss Green,Rust Orange,Ink Black
Where the water meets the shore is where a lake with a canoe tends to go wrong, so place that line first: a long curved horizon across the lower third of the page, with hills or trees above it and open water below. Draw the canoe as a simple pointed oval sitting on the water’s surface, slightly tilted, with one small paddle crossing over its side.
A few horizontal ripple lines stretching out from the canoe’s hull suggest its reflection and the disturbance it makes moving through the water.
If the canoe looks like it is floating above the lake rather than sitting in it, add a soft mirrored shape directly beneath it, a faint echo of its outline, to anchor it to the surface. Color the far shore in moss green and leave most of the lake as plain white with just a few ink ripples.
Swap the canoe for a simple rowboat shape if a pointed hull feels tricky to draw at first.
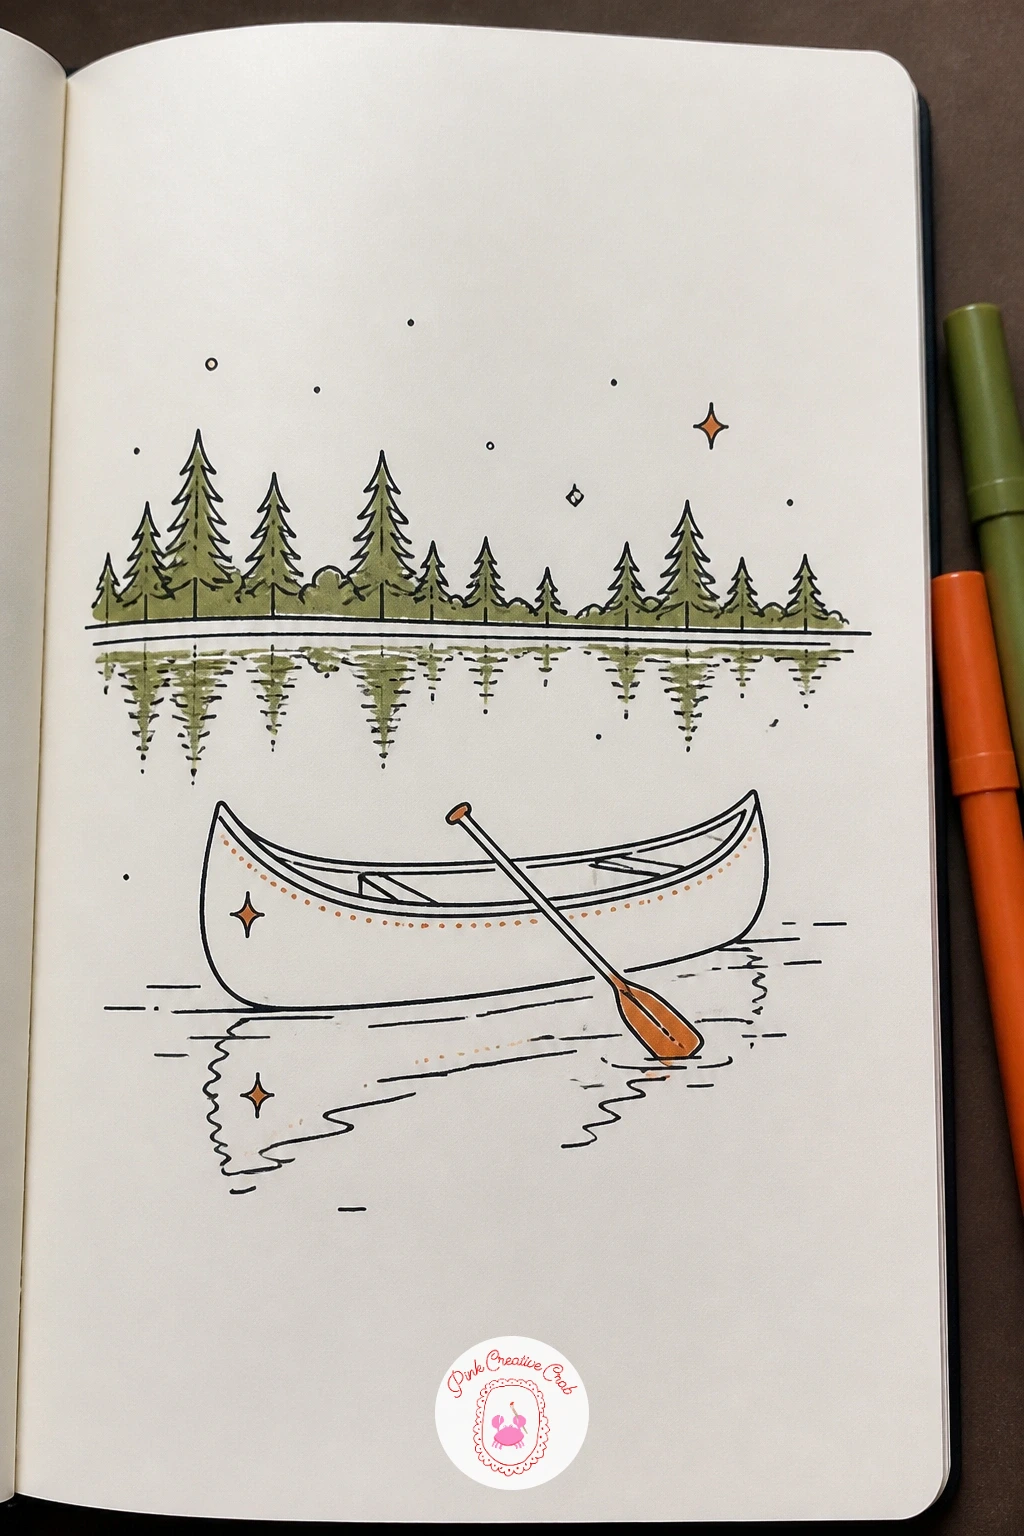
Palette: Moss Green,Ink Black
From water back to land, a tree swing asks for a careful look at how rope hangs under weight: both ropes should curve very slightly inward toward the seat rather than running perfectly straight, since gravity pulls them that way even when nothing sits on the swing. Draw a thick branch across the top of the page first, then two curved rope lines dropping down to a simple wooden plank seat.
A few twists along the rope, small overlapping loops drawn every so often, suggest the texture of woven cord without much extra effort.
If the swing looks stiff and mechanical, loosen the rope curves slightly and let the seat tilt a touch rather than sitting perfectly level. Color the plank seat in rust orange for a worn wood look and add moss green leaves scattered along the branch above.
One tip for today: add one or two fallen leaves drifting near the seat, it suggests a breeze without any extra lines needed elsewhere.
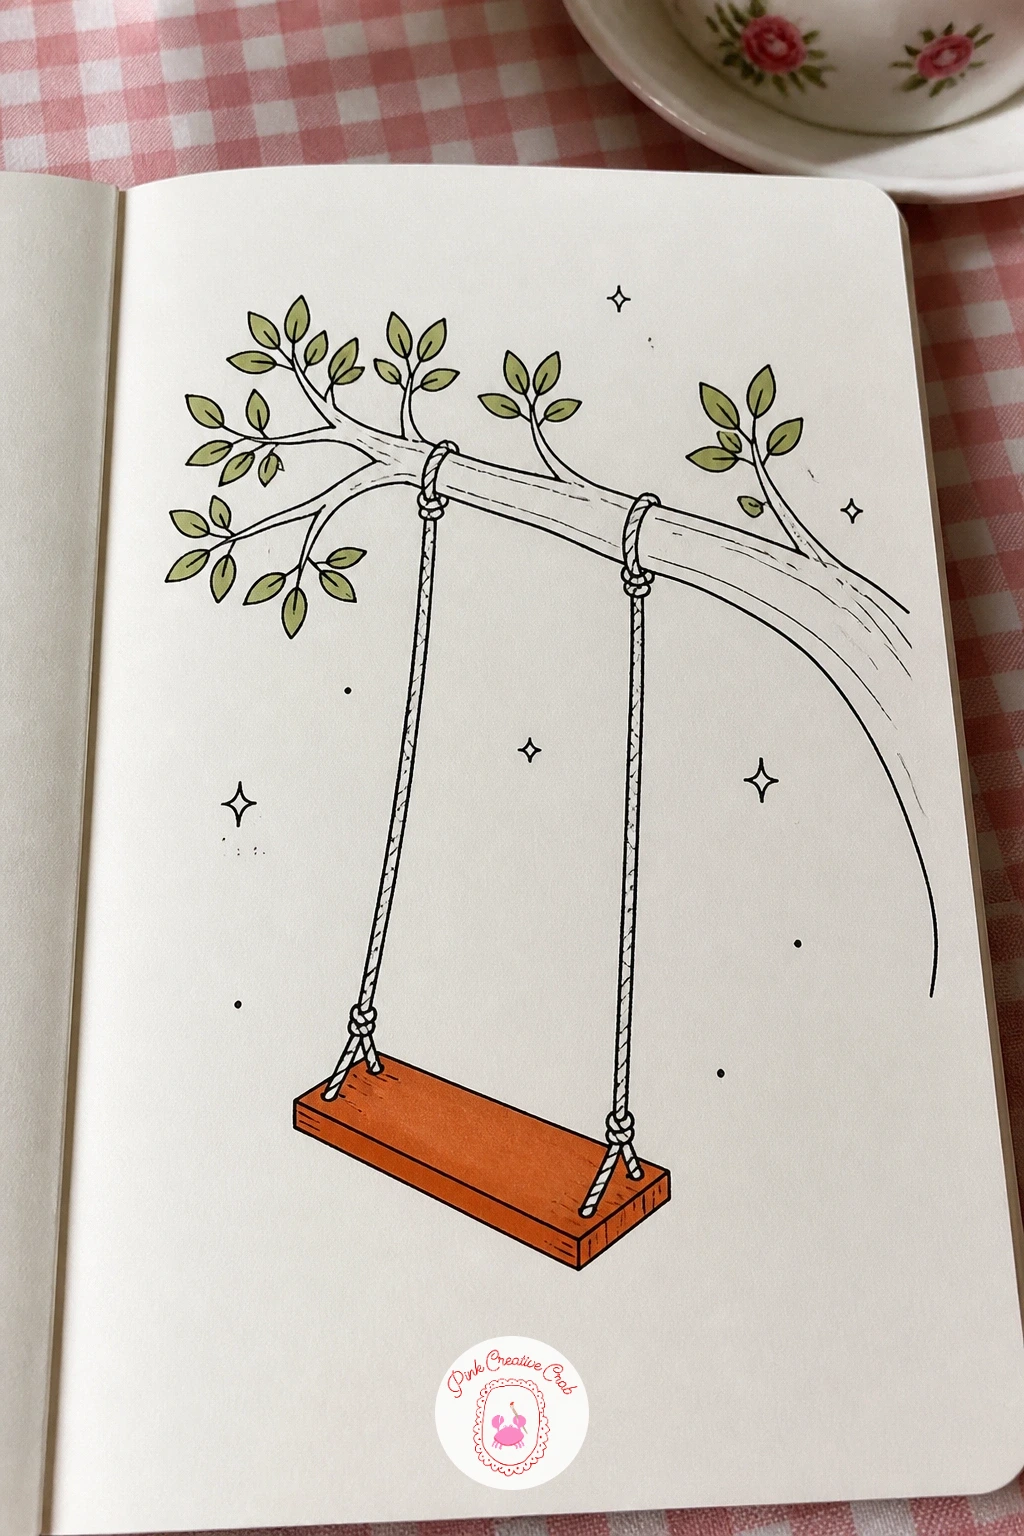
Palette: Rust Orange,Moss Green,Ink Black
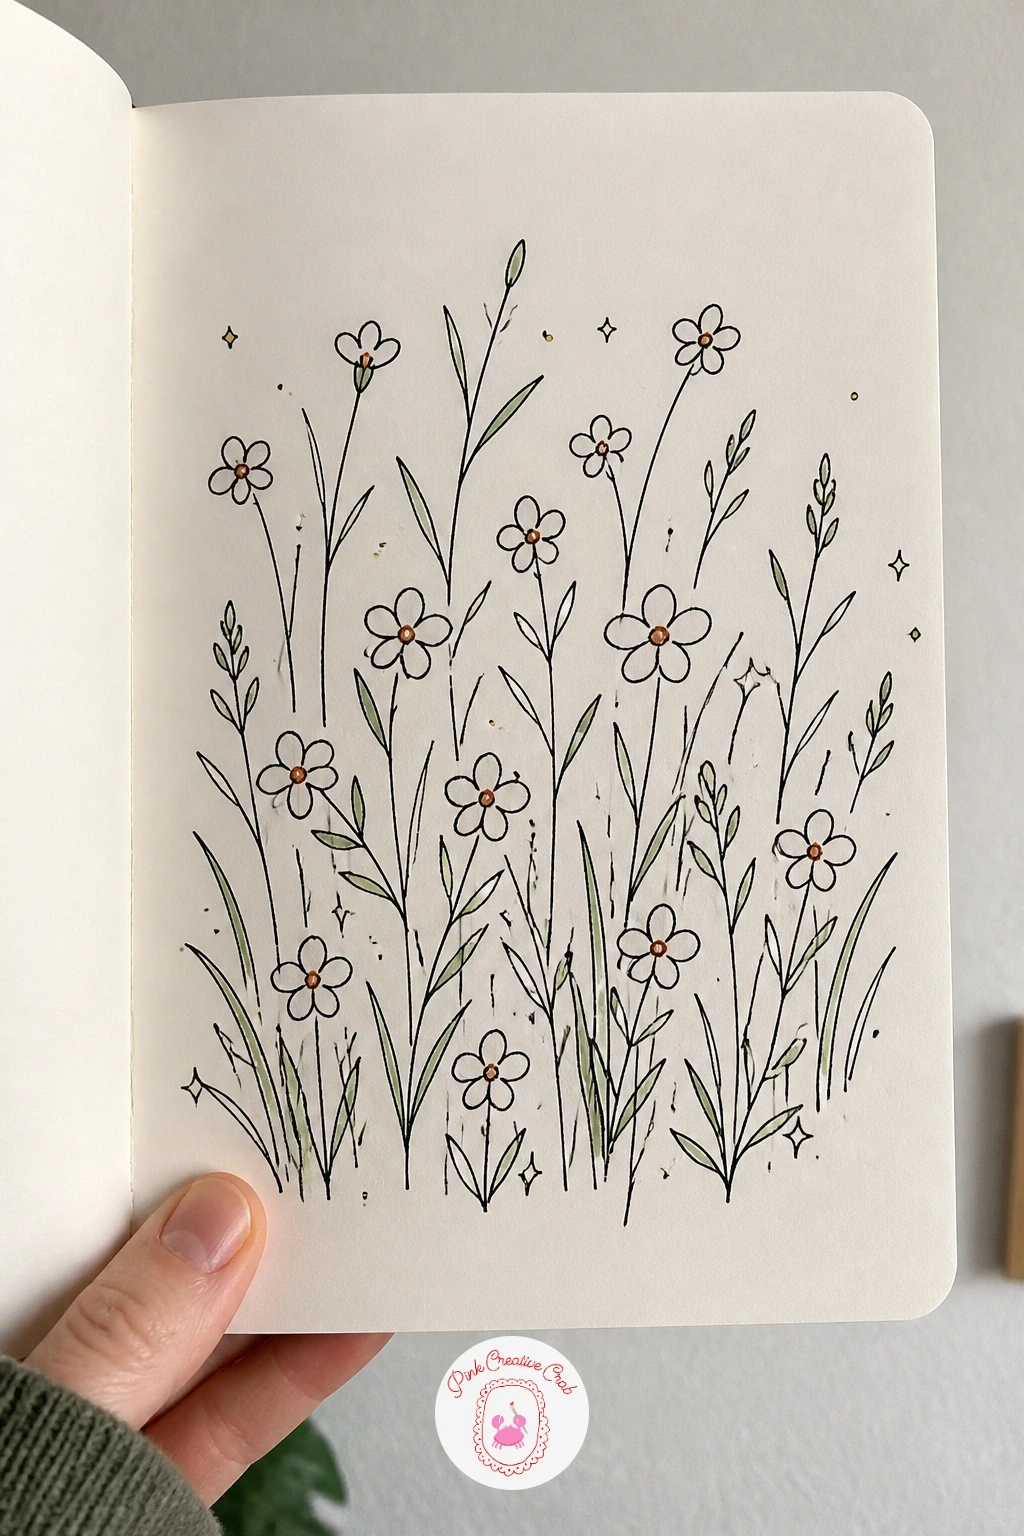
Keep this one loose: a wildflower meadow works best when no two flowers are drawn the same size or exact shape, so scatter a mix of simple five-petal blooms, small round buds, and a few tall grass blades across the lower half of the page before you add any color. Vary the heights so some flowers sit low near the front and a few taller stems rise above the rest.
Group two or three flowers close together in places and leave gaps of open grass elsewhere, since even spacing is what makes a meadow look planted rather than wild.
If the page starts feeling cluttered, stop adding flowers and fill the remaining space with simple grass strokes instead, a meadow needs breathing room as much as blooms. Color a few flower centers in rust orange and let the grass and stems go moss green throughout.
If you enjoy this kind of looser botanical sketching, the florals in this boho junk journal collection use a similar scattered, hand-drawn feel.
Palette: Moss Green,Rust Orange,Ink Black
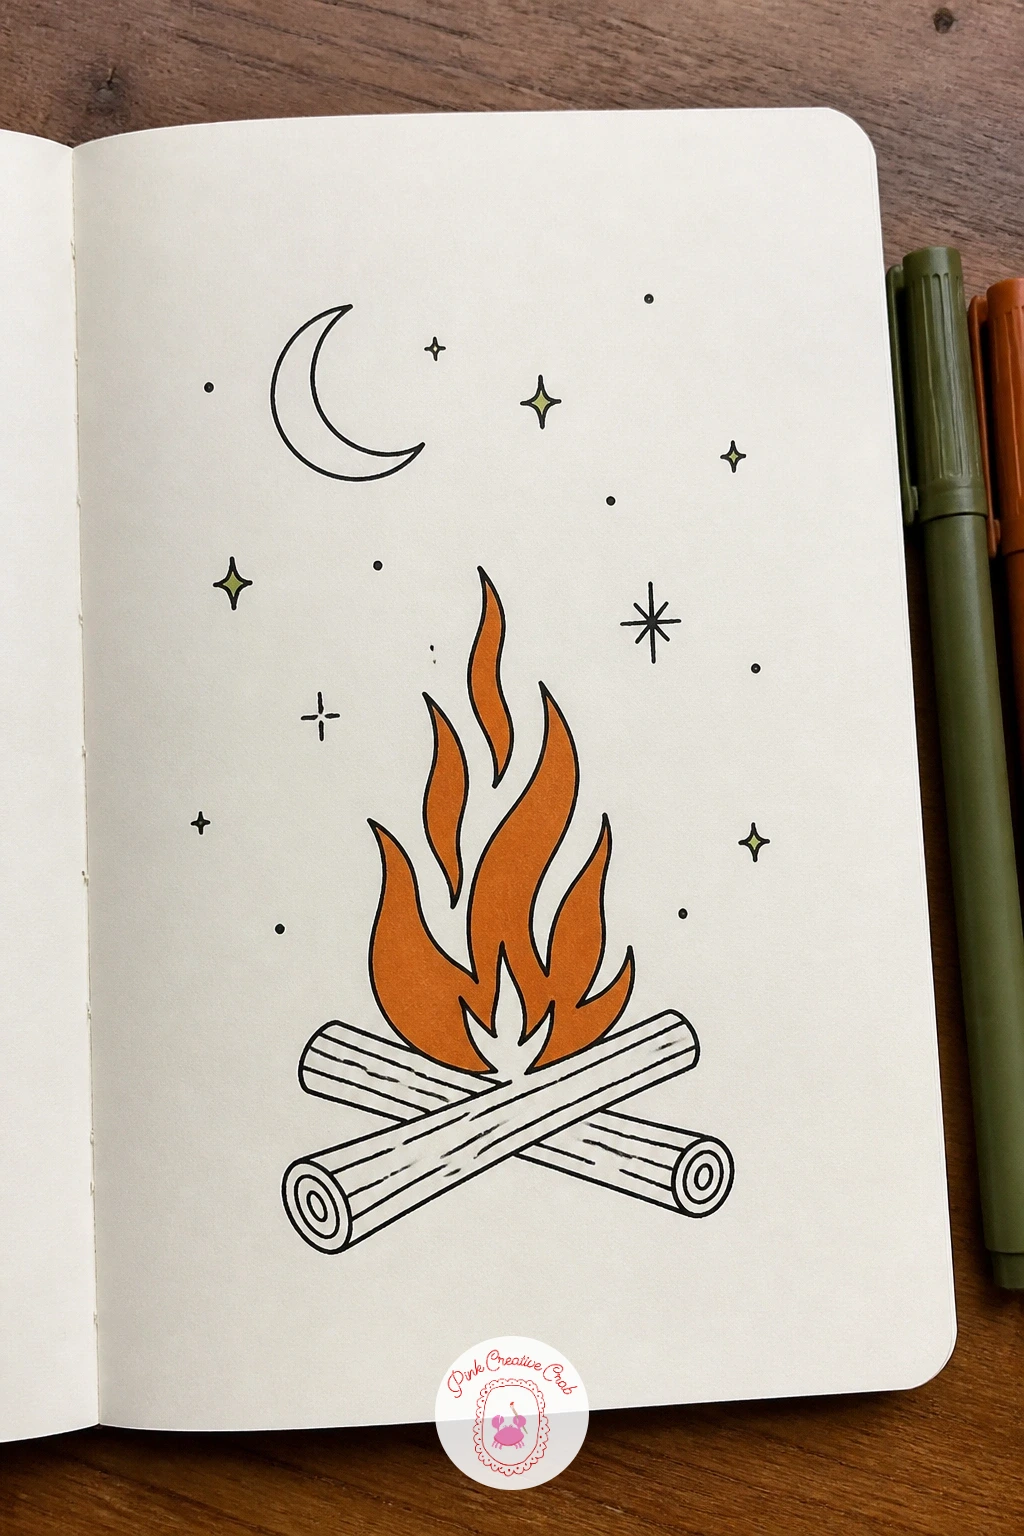
Where does the light land, is the question for a campfire with stars: the flame is the brightest point on the page, so everything around it should get slightly darker the further it sits from that glow. Draw a small stack of crossed logs first, then the flame above them as a few overlapping teardrop shapes, pointed and leaning slightly as if moving in the air.
Scatter small star dots and a crescent moon in the dark sky above, keeping them sparse rather than filling every inch.
If the flame looks stiff, vary the height and tilt of each teardrop shape rather than making them symmetrical, real fire never sits still. Color the flame in rust orange with a lighter untouched center, and let the surrounding ground fade into plain white or light shading rather than full color, since contrast is what sells the glow.
Leave the sky itself unshaded, just dots for stars on white paper reads cleanest at this scale.
Palette: Rust Orange,Ink Black
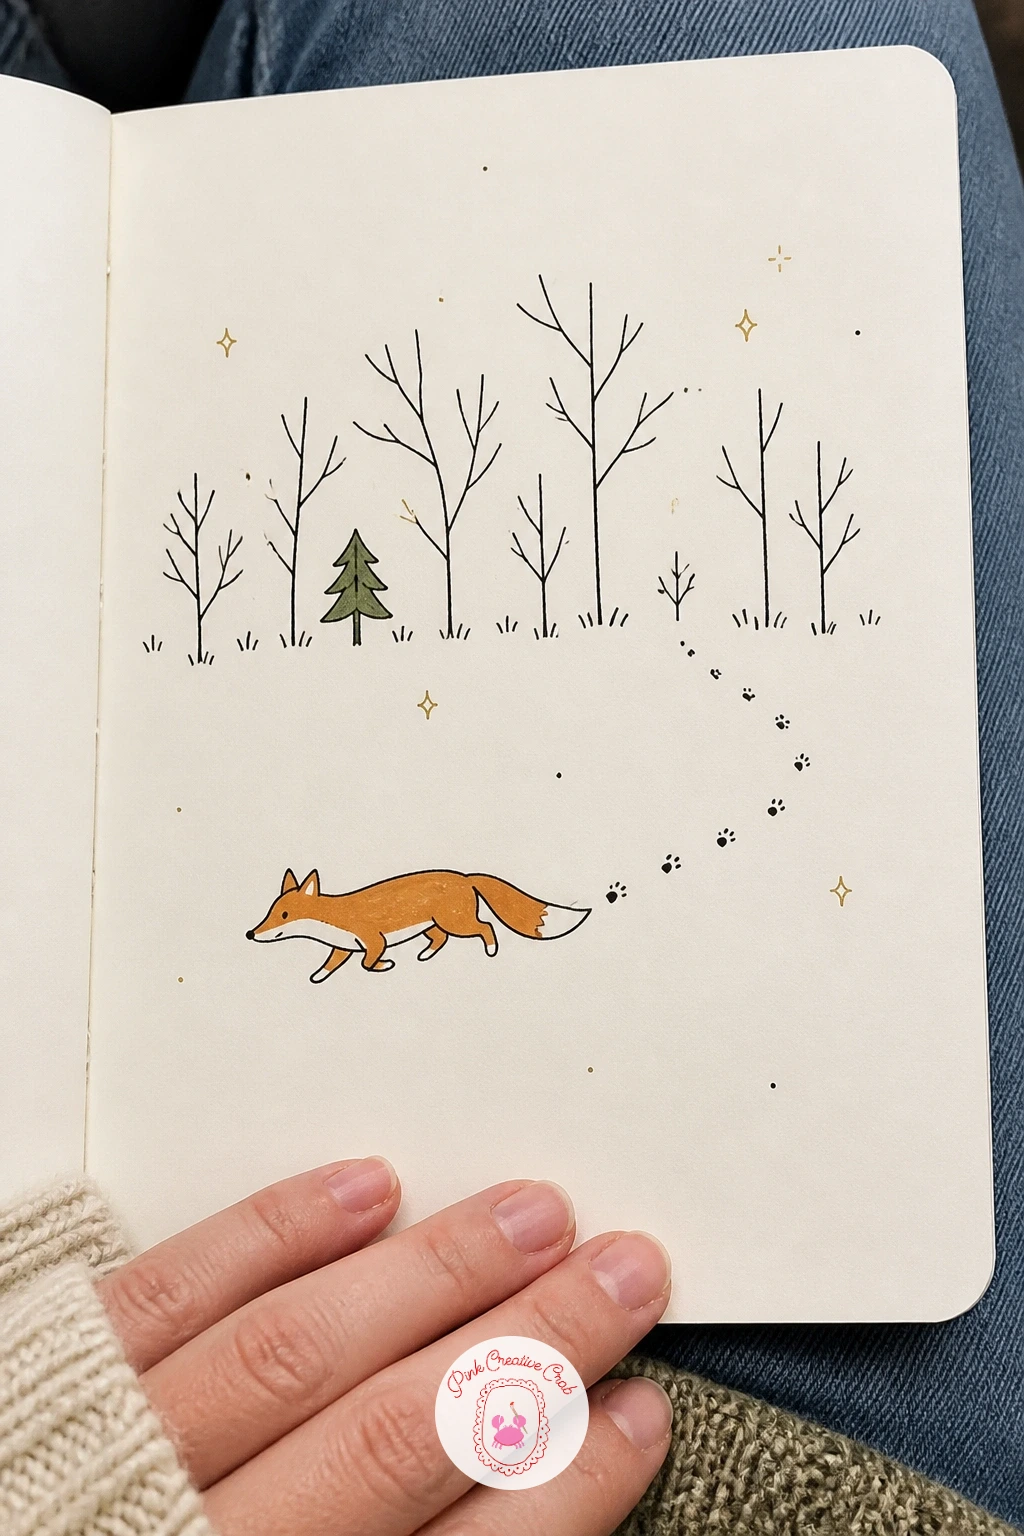
Negative space carries a fox trail in snow more than any single line does, so decide early how much white paper you plan to leave untouched for the snowdrifts. Draw a simple trotting fox shape first, body low and stretched, one front paw raised, a bushy tail trailing behind, then add a line of small paw prints curving away behind it across the page.
Keep the background almost entirely blank, just a few thin bare tree trunks poking up along the top edge to place the scene in a forest.
If the fox looks stiff mid-stride, angle the back legs and tail slightly differently from the front legs, that small mismatch is what reads as movement rather than a standing pose. Color the fox’s back in rust orange, leave the belly and the snow white, and add only a touch of moss green if you want a pine branch somewhere in the scene.
A white gel pen over light gray marker shading can add soft drifted snow texture if you want to push this one further.
You Will Need
- white gel pen
Palette: Rust Orange,Moss Green,Ink Black
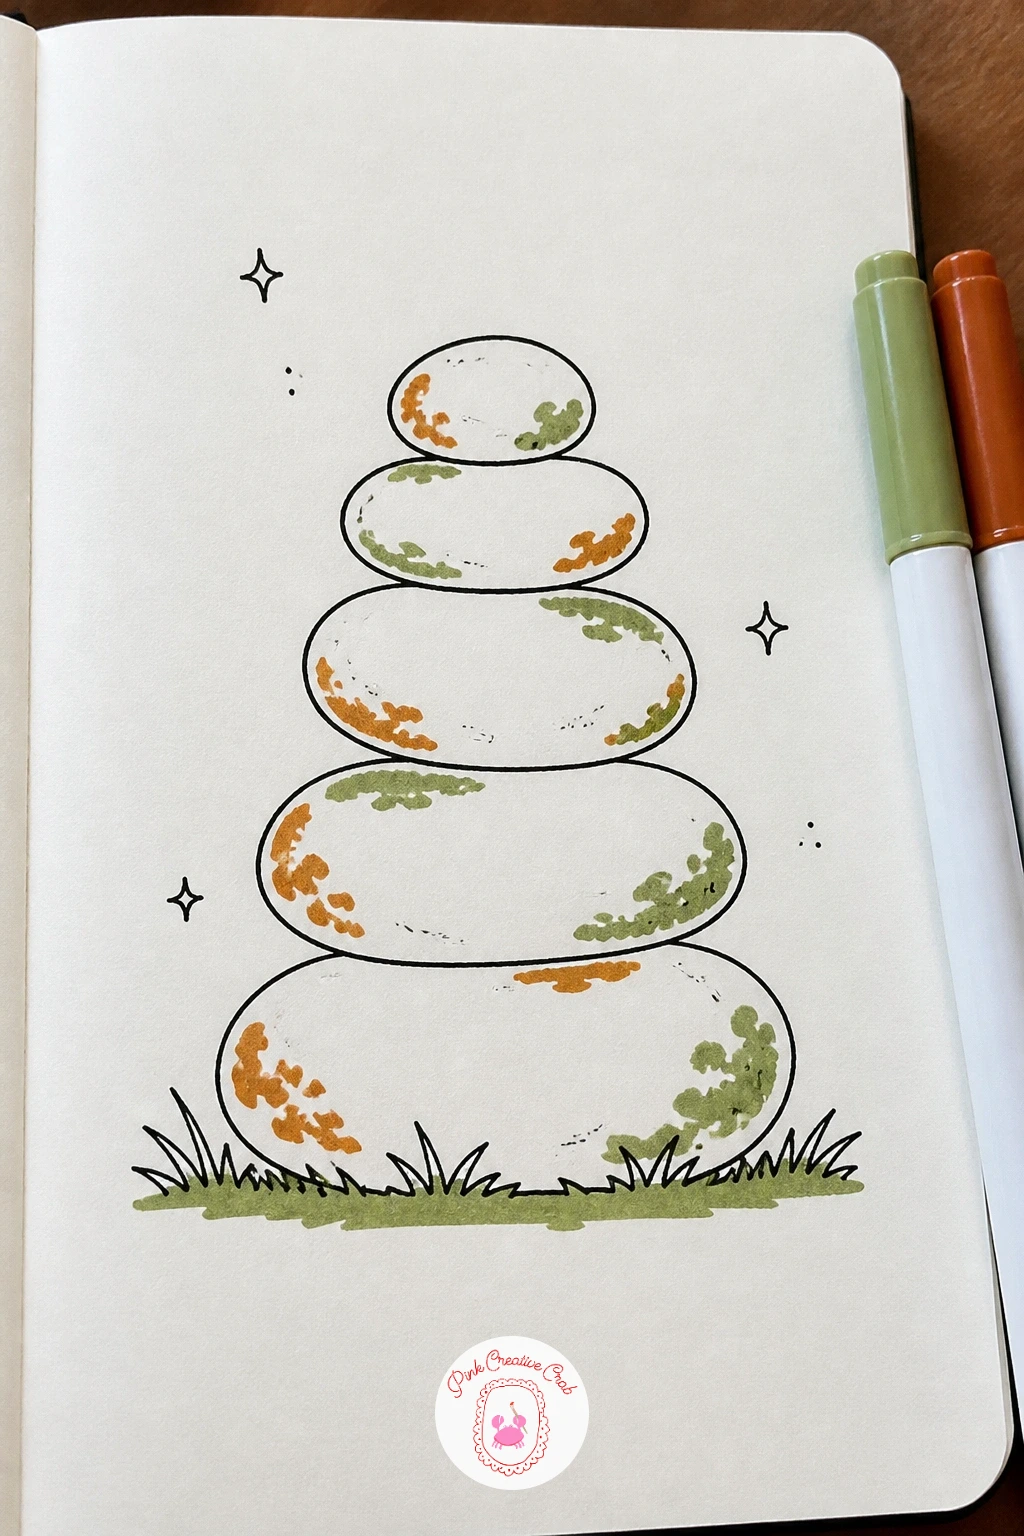
Balance is the whole game with a pebble stack, so look closely at how real stacked stones lean slightly off-center rather than sitting in a perfectly straight column. Draw four or five flattened oval pebbles, largest at the base, each one narrower than the one below, stacking slightly offset left and right as they rise.
A few thin crack or texture lines across each pebble’s surface keep them from looking like plain stacked eggs.
If the stack looks like it is about to topple in a way that reads as a mistake rather than a balance trick, widen the base pebble slightly, a heavier foundation sells stability even when the top ones lean. Color each pebble in a slightly different shade, a dab of moss green on one for lichen and a touch of rust orange on another for mineral staining, leaving most of them plain gray or white.
Set the stack on a short patch of grass in moss green to ground it on the page.
Palette: Moss Green,Rust Orange,Ink Black
Build a rainbow over a forest the same way light actually bends: as a wide, even arc of parallel curved bands rather than a thin single line. Draw the outermost curve first, spanning most of the page width, then add four or five more curves nested just inside it at even spacing, each band a touch narrower than the one before.
Beneath the arc, draw a simple tree line of rounded or triangular canopy shapes along the bottom of the page, keeping them low so the rainbow has plenty of sky to arc through above them.
If the bands come out uneven, lightly pencil the outer curve and an inner curve first as guides, then divide the space between them before inking each band. Color just two or three of the bands, rust orange on the outer edge fading toward untouched white, and moss green across the whole tree line below.
Leave a few clouds as simple white bumps with thin outline only, no shading needed.
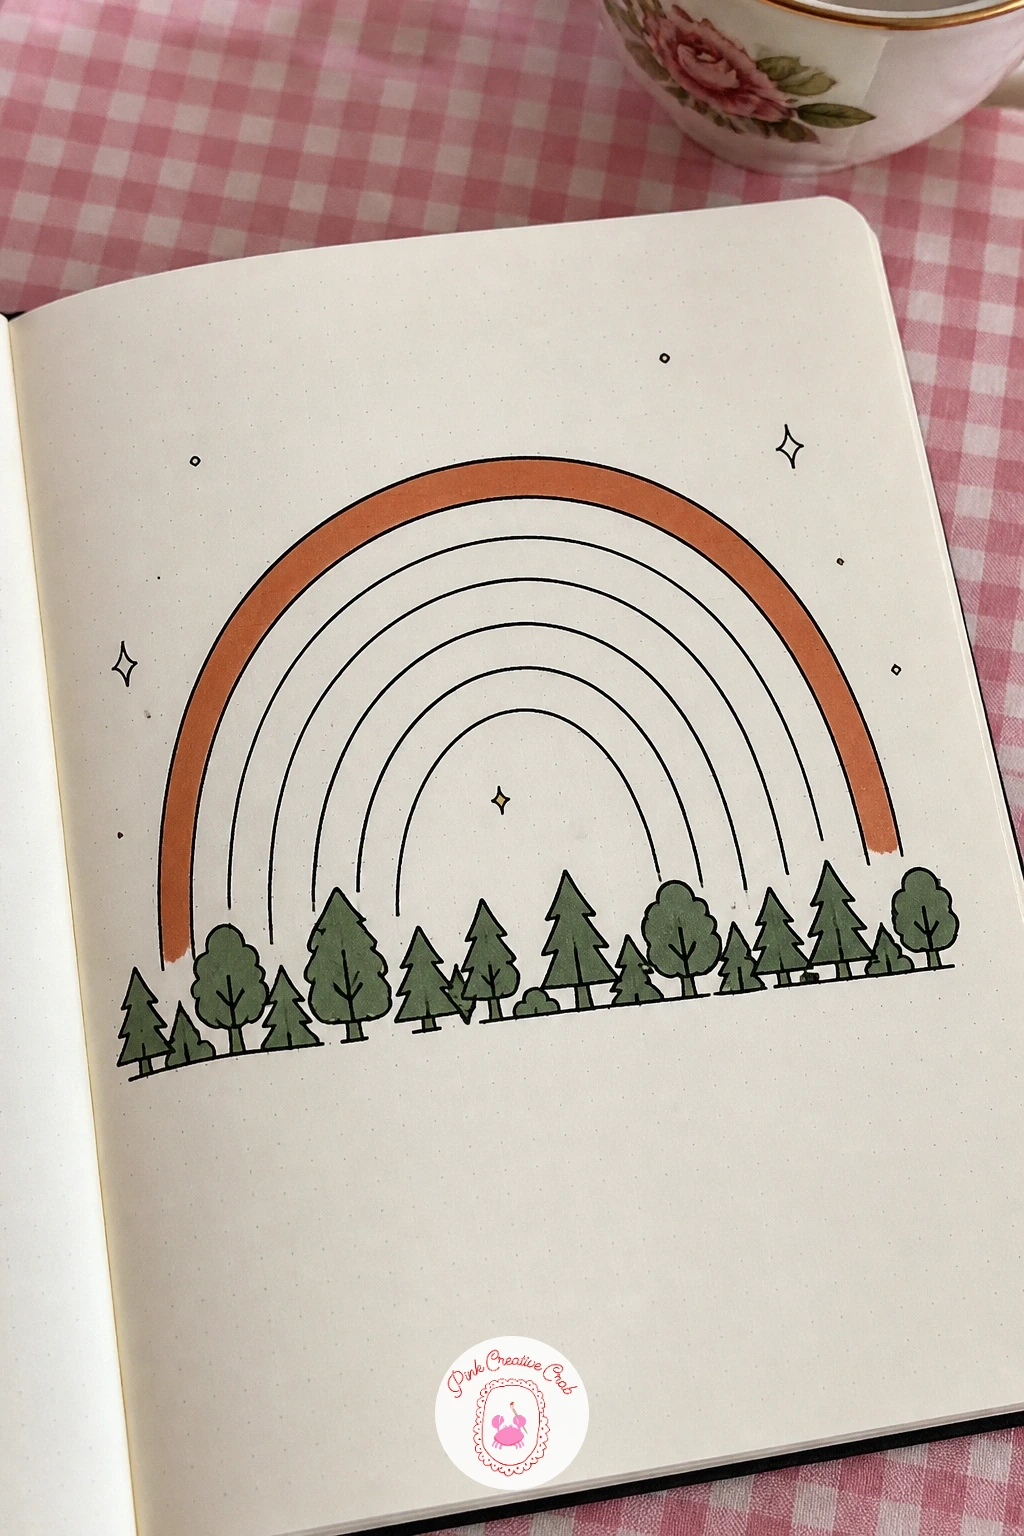
Palette: Rust Orange,Moss Green,Ink Black
Here the eye level sits close and straight on, since a bee hotel on a fence is really just a grid of little tubes viewed head on rather than at an angle. Draw a simple rectangular frame first, mounted on a short fence post, then fill the frame with small bundled circles, rounds of hollow tube ends packed closely together like a honeycomb of openings.
Add one or two small bees hovering nearby, simple oval bodies with thin wing lines and short stripe marks.
If the tube openings look flat and uniform, vary their sizes slightly and leave a few slightly darker than others, real bundled reeds are never perfectly even. Color the wooden frame in rust orange and give the surrounding fence a plain outline with a touch of moss green climbing vine along one side.
Swap the bees for a single ladybug resting on the frame if insects in flight feel tricky to draw convincingly yet.
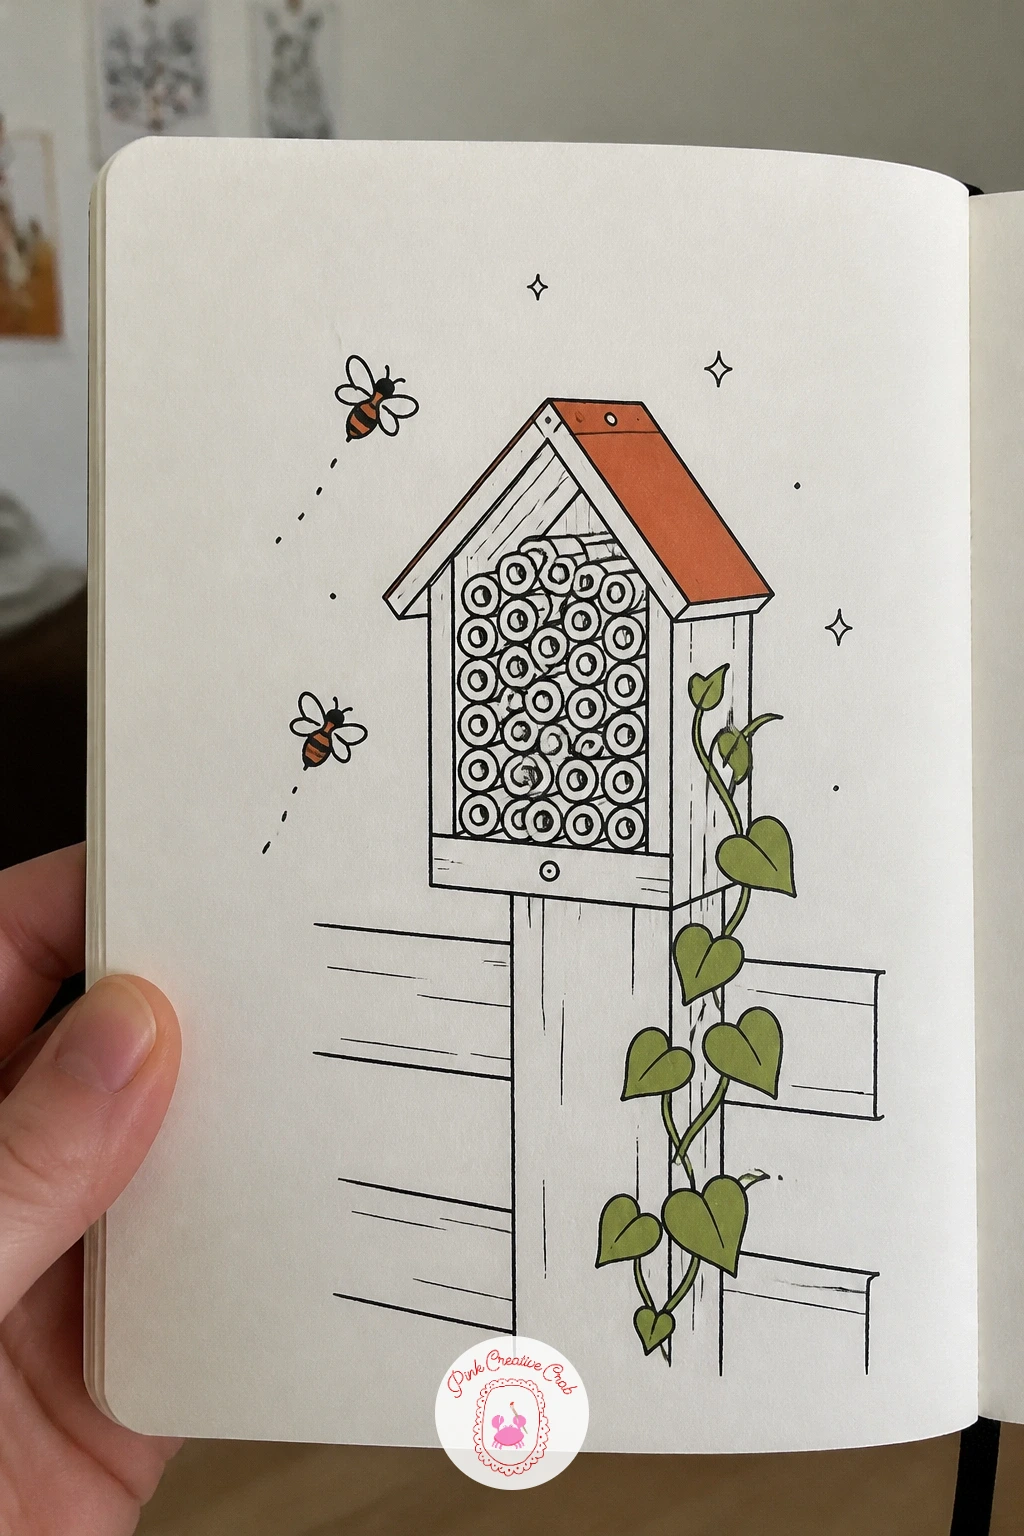
Palette: Rust Orange,Moss Green,Ink Black
Variety keeps an apple tree in fruit from looking like a template, so once the first one works, change the canopy shape next time, rounder, more oval, or lopsided with one side heavier than the other, and the tree reads completely differently. Start with a simple trunk and a cloud-like scalloped canopy outline, then scatter small round apples across the foliage, more toward the outer edges where fruit tends to hang.
Add a few short stem lines and a leaf or two beside each apple so they read as growing rather than floating.
If the apples look stuck on top of the foliage rather than nestled within it, tuck a few canopy outlines over the top edge of some apples so they appear to peek through the leaves. Color the apples in rust orange and the canopy in moss green, leaving the trunk plain with simple bark texture lines.
Drop one or two apples on the ground beneath the tree for a nice finishing touch today.
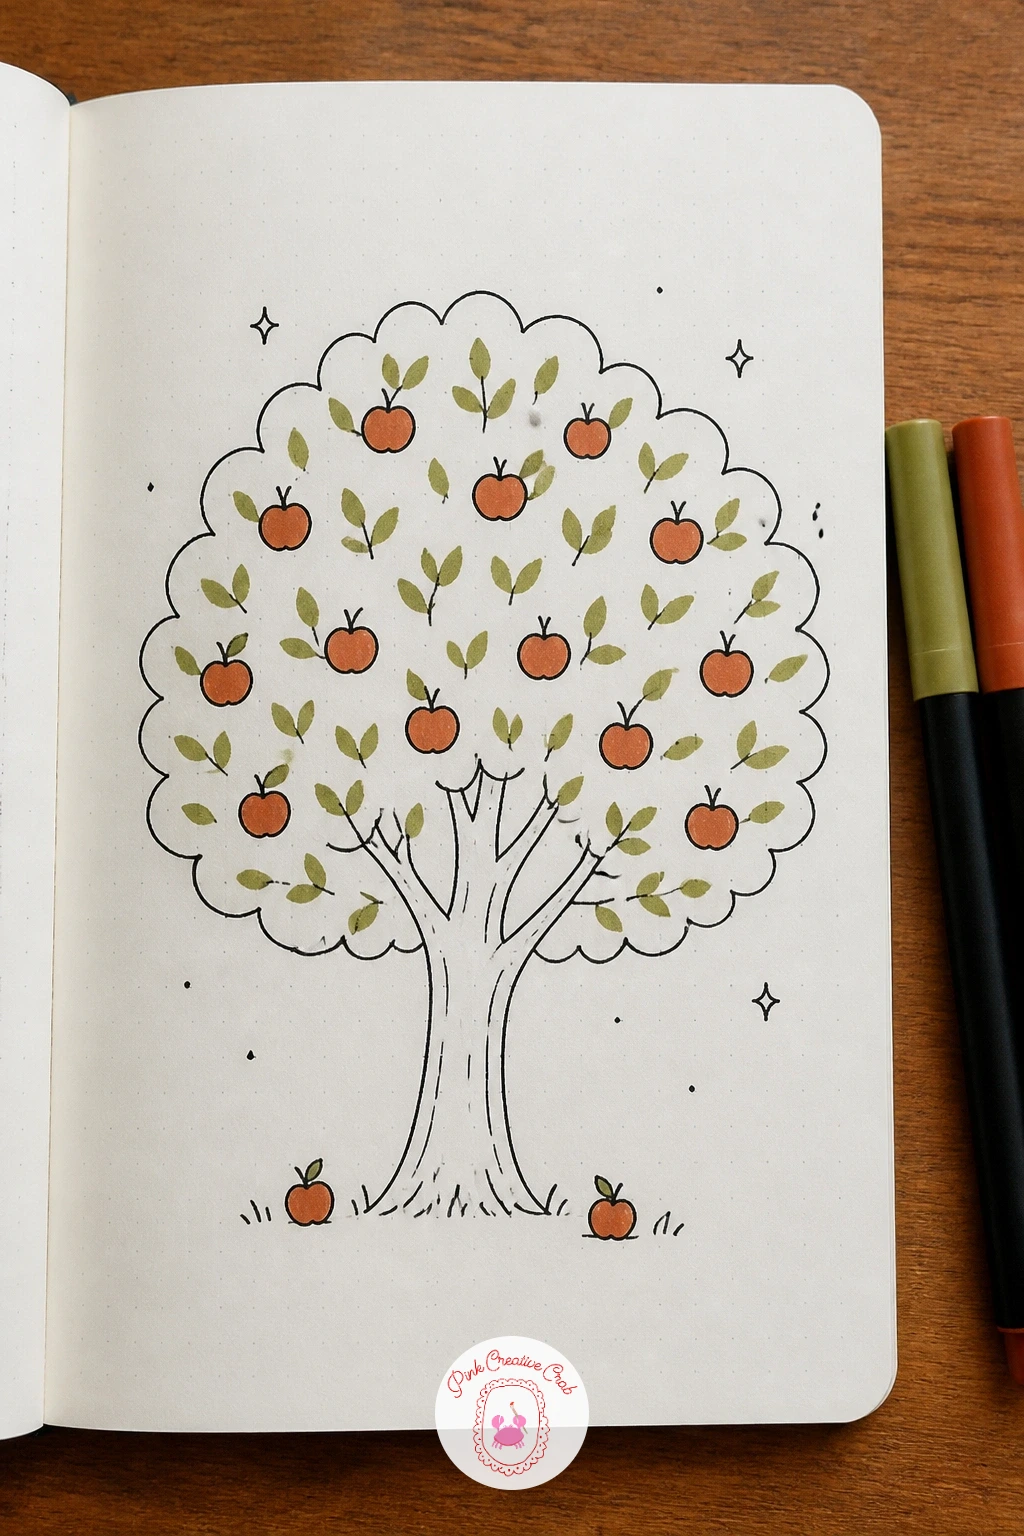
Palette: Rust Orange,Moss Green,Ink Black
Perspective returns here: a stream with a wooden bridge needs the bridge planks to angle slightly toward a vanishing point if you want it to look like it is crossing the water rather than floating flat on the page. Draw the stream as a curving band first, then place the bridge across it at a slight diagonal, with the near railing drawn larger than the far railing to suggest depth.
Add a few vertical plank lines beneath the railings and simple post supports dipping into the water on either bank.
If the bridge looks like it is sitting beside the stream rather than over it, double check the water line passes clearly underneath the bridge deck, with no gap of blank paper breaking the connection. Color the wood in rust orange and the banks in moss green, leaving the water itself mostly white with a few ripple lines near the bridge posts.
Try a low viewpoint next time, drawn from the bank looking up at the bridge, for a more dramatic angle.
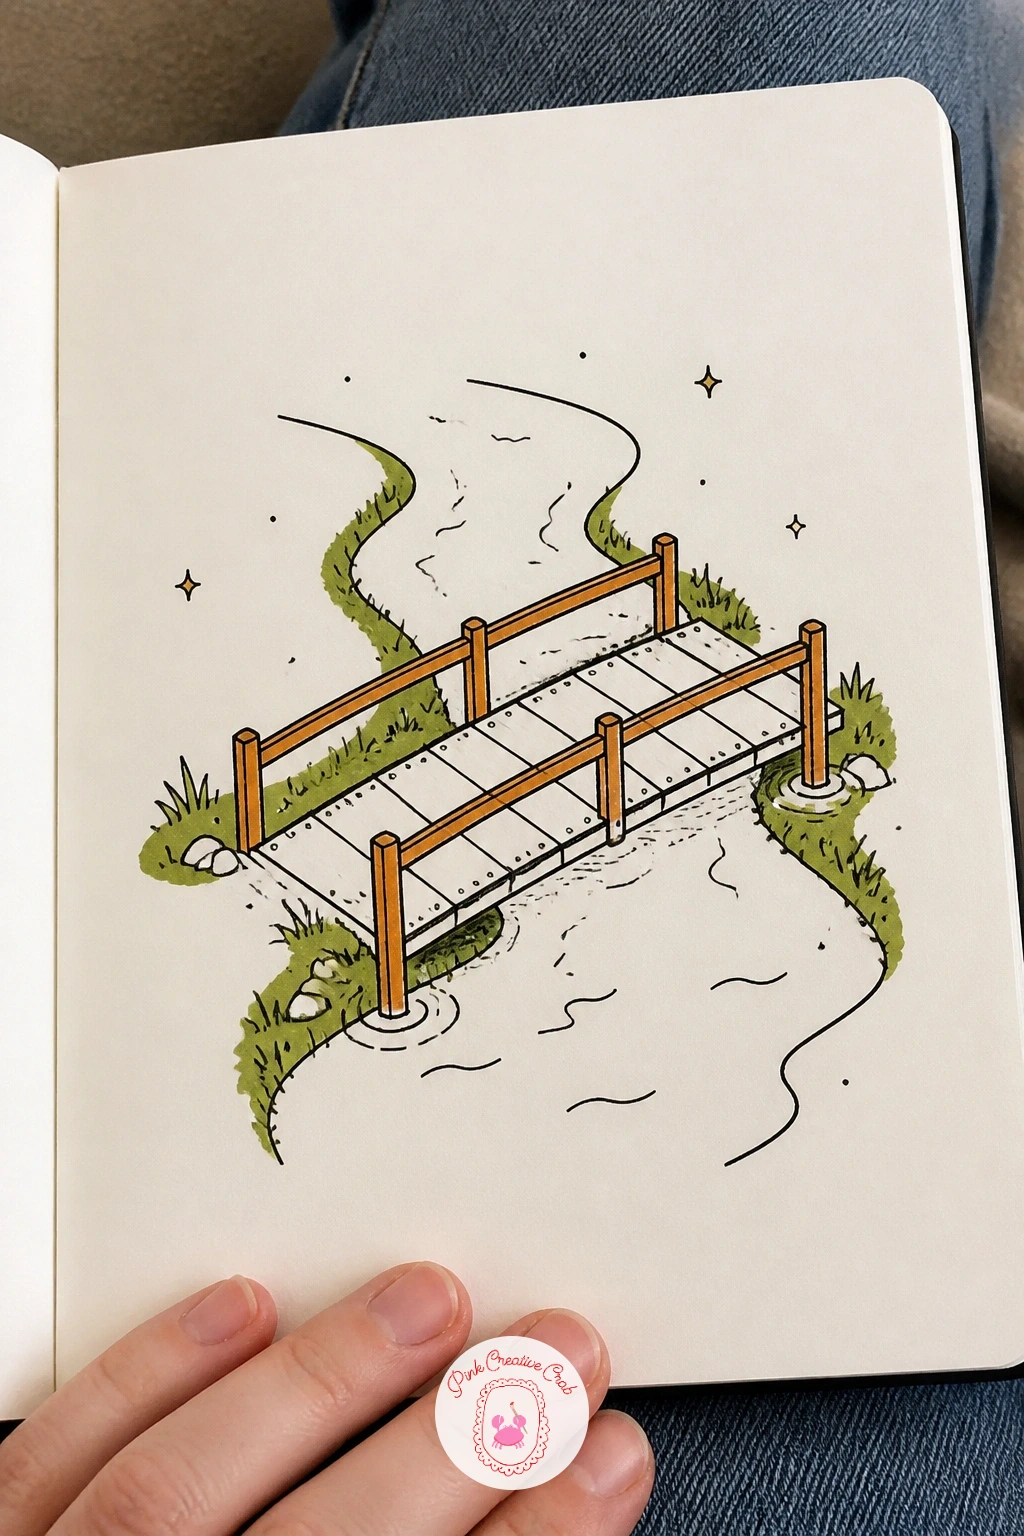
Palette: Rust Orange,Moss Green,Ink Black
Texture is the fun part of a hiking boot with a flower, since the contrast between stiff leather and a soft bloom is what makes the drawing work. Draw the boot’s main shape first, a thick sole, laced upper, and a slightly worn, scuffed outline, then add crosshatched lacing lines up the front.
Once the boot sits solidly, tuck a small wildflower growing up beside it or resting in the laces, soft rounded petals against all those straight lacing lines.
If the leather looks too smooth and clean, add a few scuff marks and short scratch lines along the toe and sole with quick, broken fineliner strokes rather than long clean ones, worn boots never have perfect edges. Color the boot in rust orange-brown and the flower petals in a soft contrasting tone, with a touch of moss green for its stem and leaves.
Dry brushing a nearly-empty marker across the sole adds a convincing scuffed, worn texture if you want to try it.
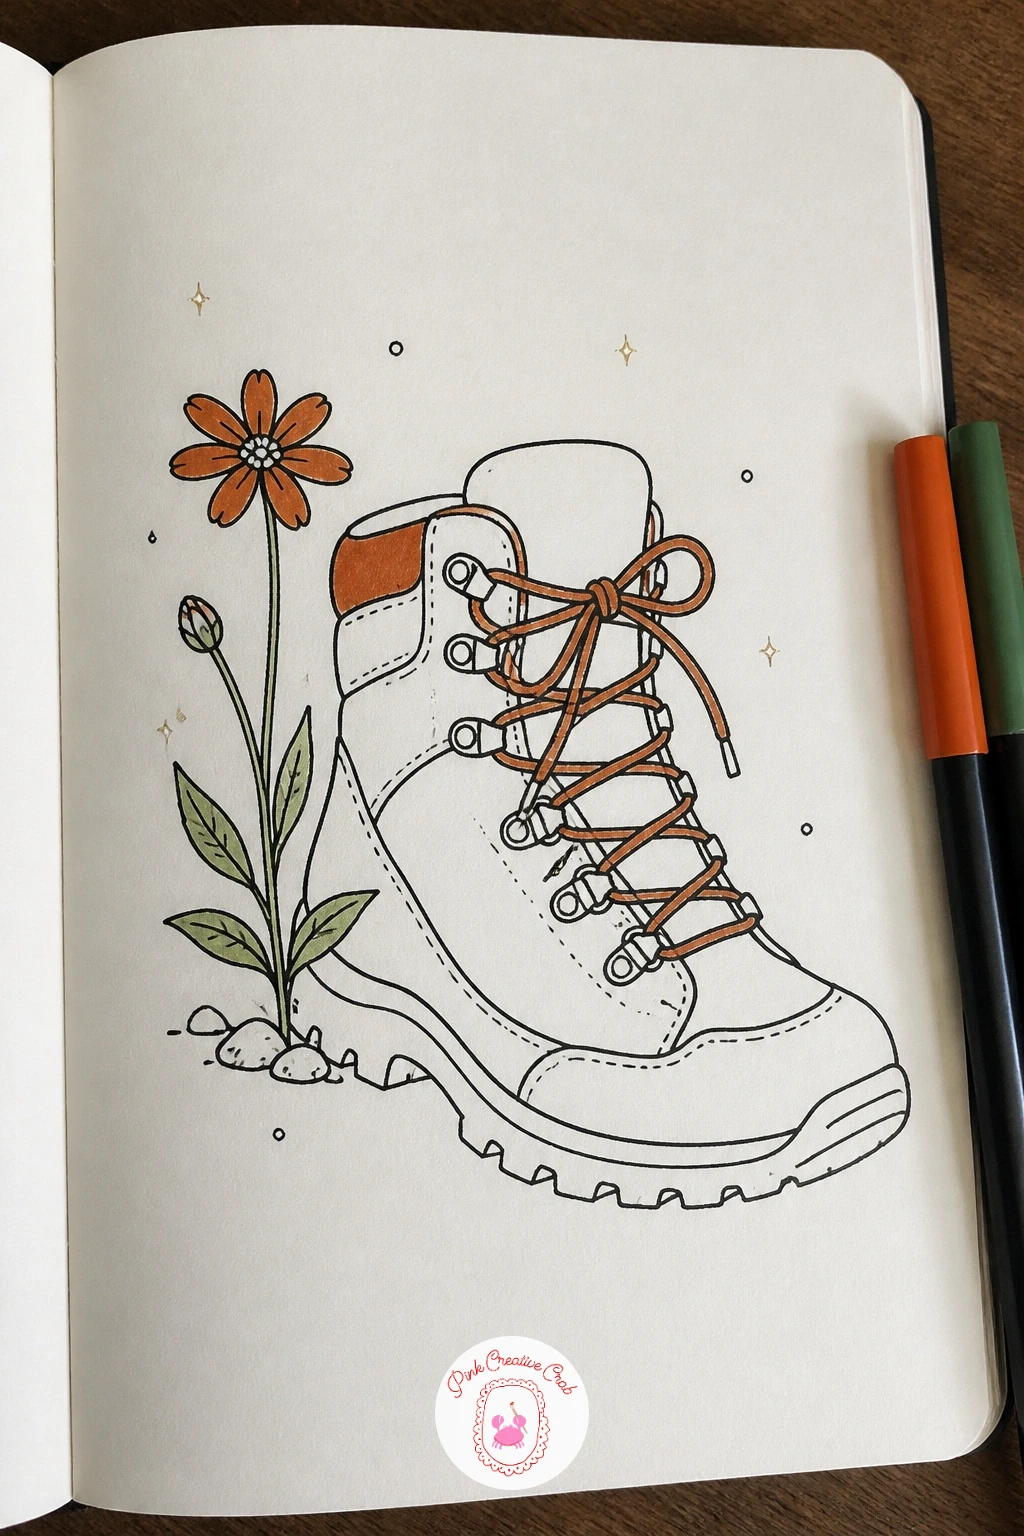
Palette: Rust Orange,Moss Green,Ink Black
Scale makes or breaks a leaf boat on water, so keep the leaf noticeably small against a wide stretch of rippled water around it, a tiny vessel rather than the main shape on the page. Draw a simple curved leaf outline first, veins running down its center, then add a thin twig as a mast if you want it to look rigged like a little sail.
Surround it with several soft curved ripple lines radiating outward, tighter near the leaf’s edges and looser further away.
If the leaf looks like it is sitting on top of the water rather than floating within it, add one or two ripple lines crossing slightly over its lower edge, which ties it visually into the surface. Color the leaf in a warm rust orange for an autumn feel, or moss green for a summer one, and leave the water itself plain white with only ink ripples.
One tip for today: angle the leaf slightly rather than drawing it perfectly level, it reads as drifting rather than stuck.
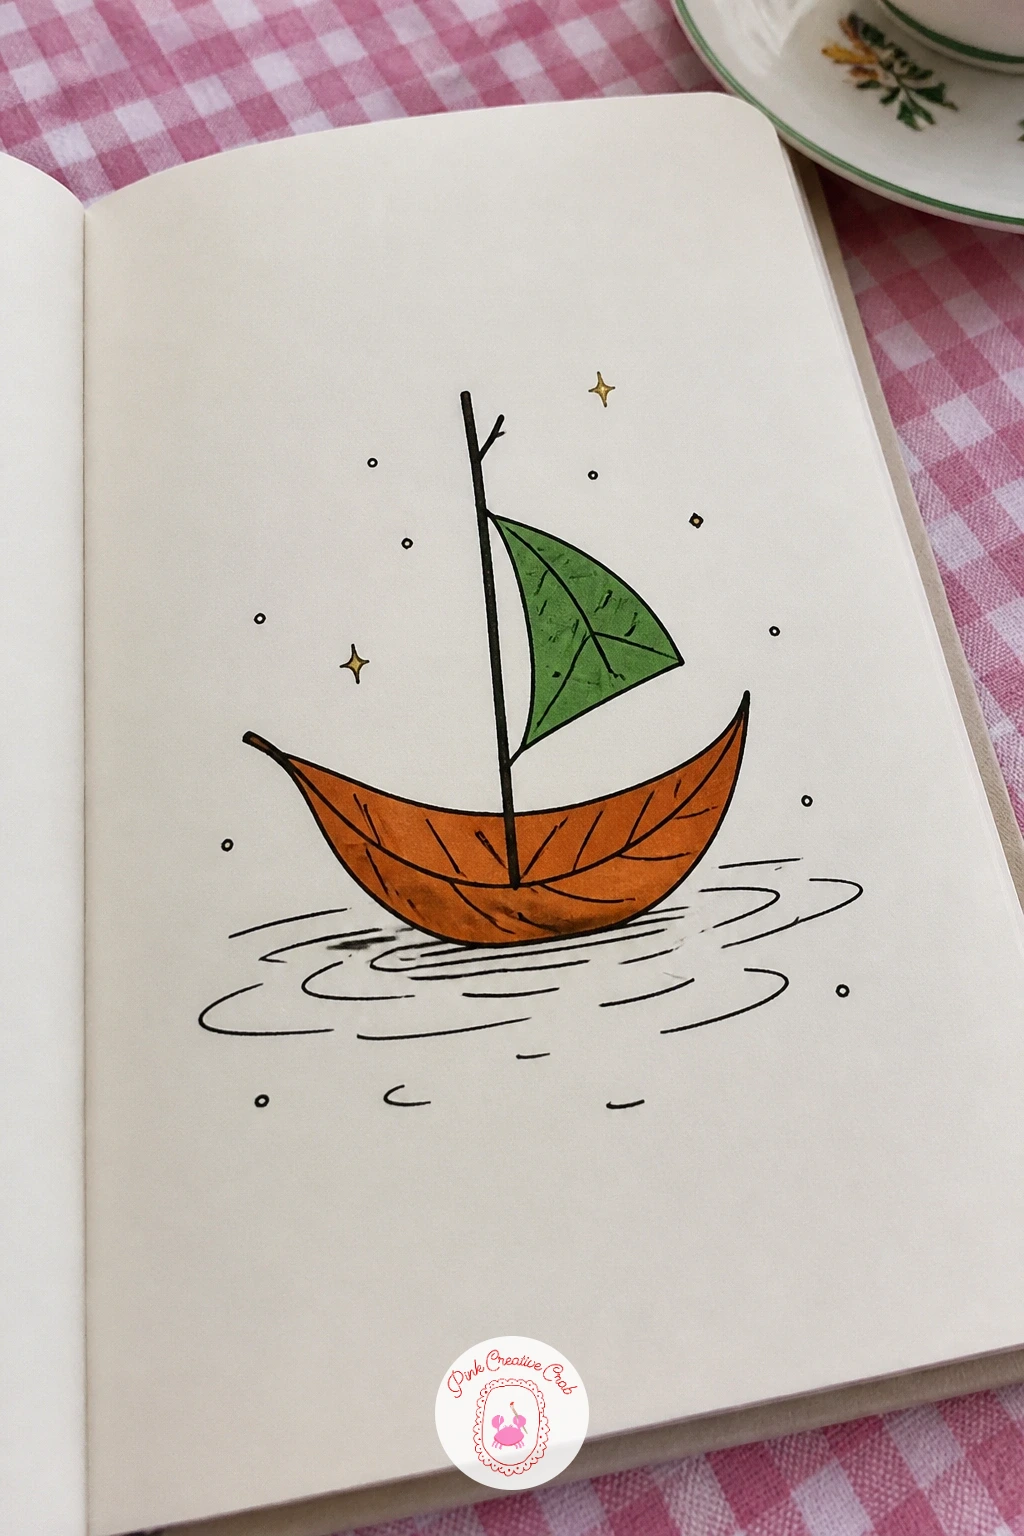
Palette: Rust Orange,Moss Green,Ink Black
Softness is the whole lesson in a cloud over a field, since clouds have no hard edges the way rocks or boots do. Draw the cloud shape as a series of overlapping bumpy curves rather than one smooth outline, keeping the bottom edge flatter than the puffy top.
Beneath it, add a simple rolling field with a low horizon line and a few thin grass strokes or a lone tree for scale.
If the cloud ends up looking like a solid balloon, leave a few small gaps of white paper within the outline rather than filling it completely, clouds always have uneven density across their shape. Color just the underside of the cloud a soft gray and leave the top white, then add moss green across the field below for grass.
If skies are new territory for you, the layered backgrounds in this moon junk journal collection work through a similar soft-edge approach.
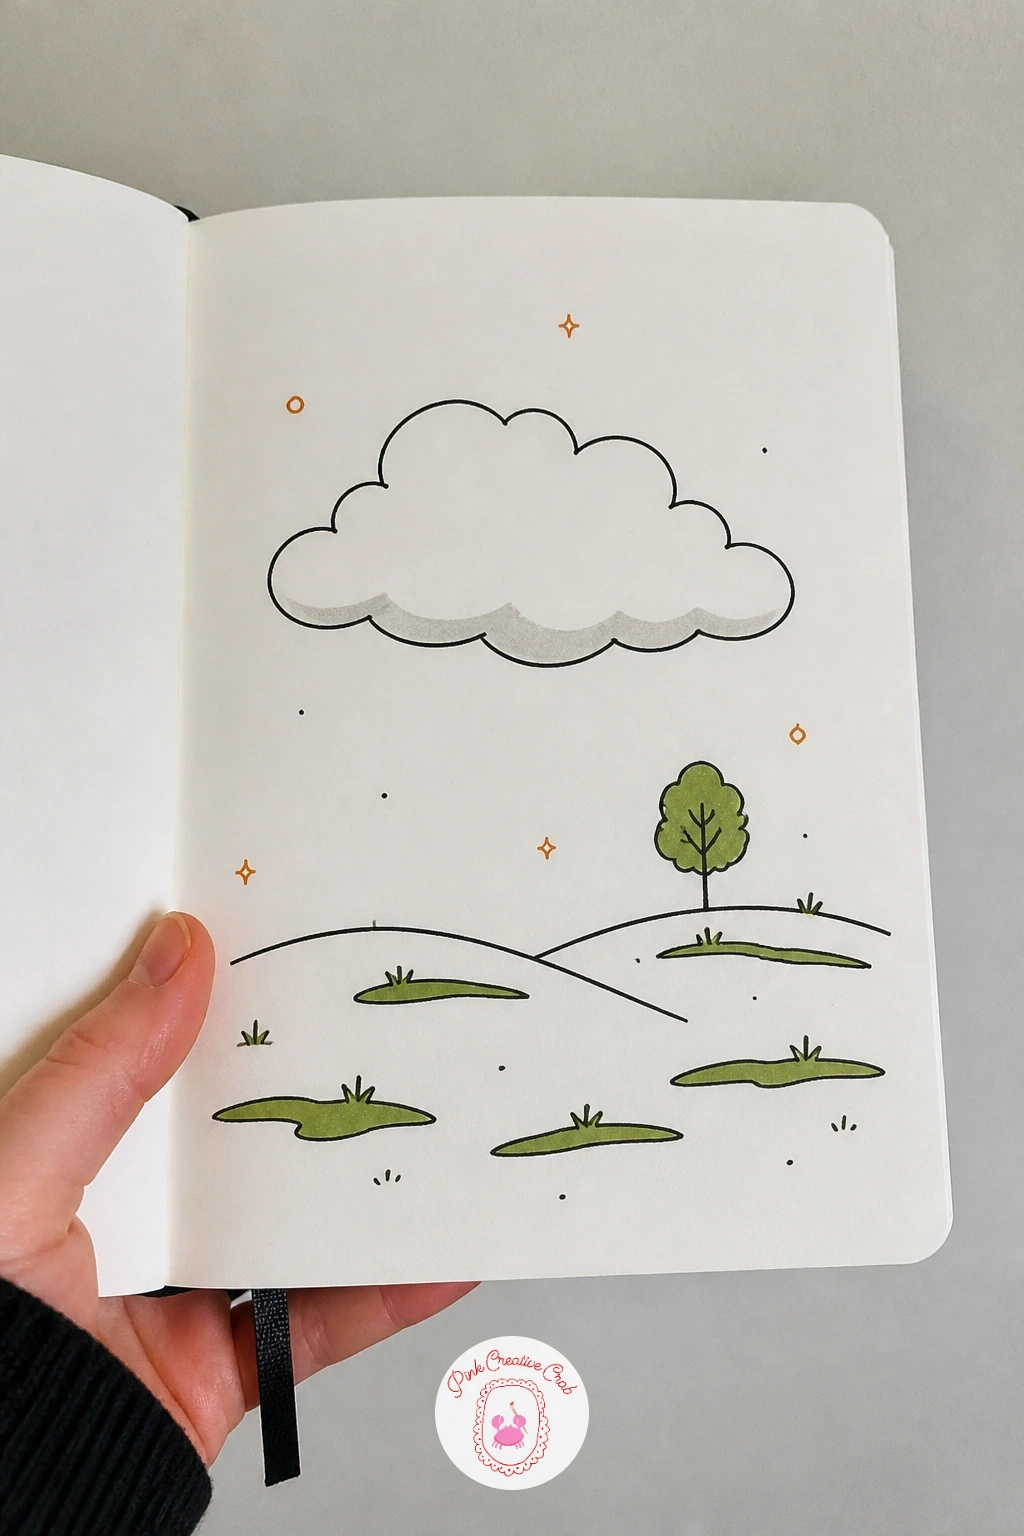
Palette: Moss Green,Ink Black
Close the page with a seed growing into a tree, a nice one to end on since it tells a small story in a single row. Draw three or four stages left to right across the page: a small seed, a tiny sprout with two leaves, a young sapling, and finally a full canopy tree, each stage only slightly bigger than the last.
Keep every stage simple, a dot, a curved stem with leaves, a thin trunk with a small round canopy, then the final tree with the fuller scalloped shape you have used elsewhere in this list.
If the stages feel disconnected, draw a single faint curved ground line running beneath all of them to tie the sequence together as one timeline rather than four separate drawings. Color the earlier stages in lighter moss green and let the final tree carry the fullest color, with a touch of rust orange on a couple of fallen leaves beneath it.
If you enjoyed building scenes like this one, the woodland sketches in this fall doodles list make a nice next notebook page to try.
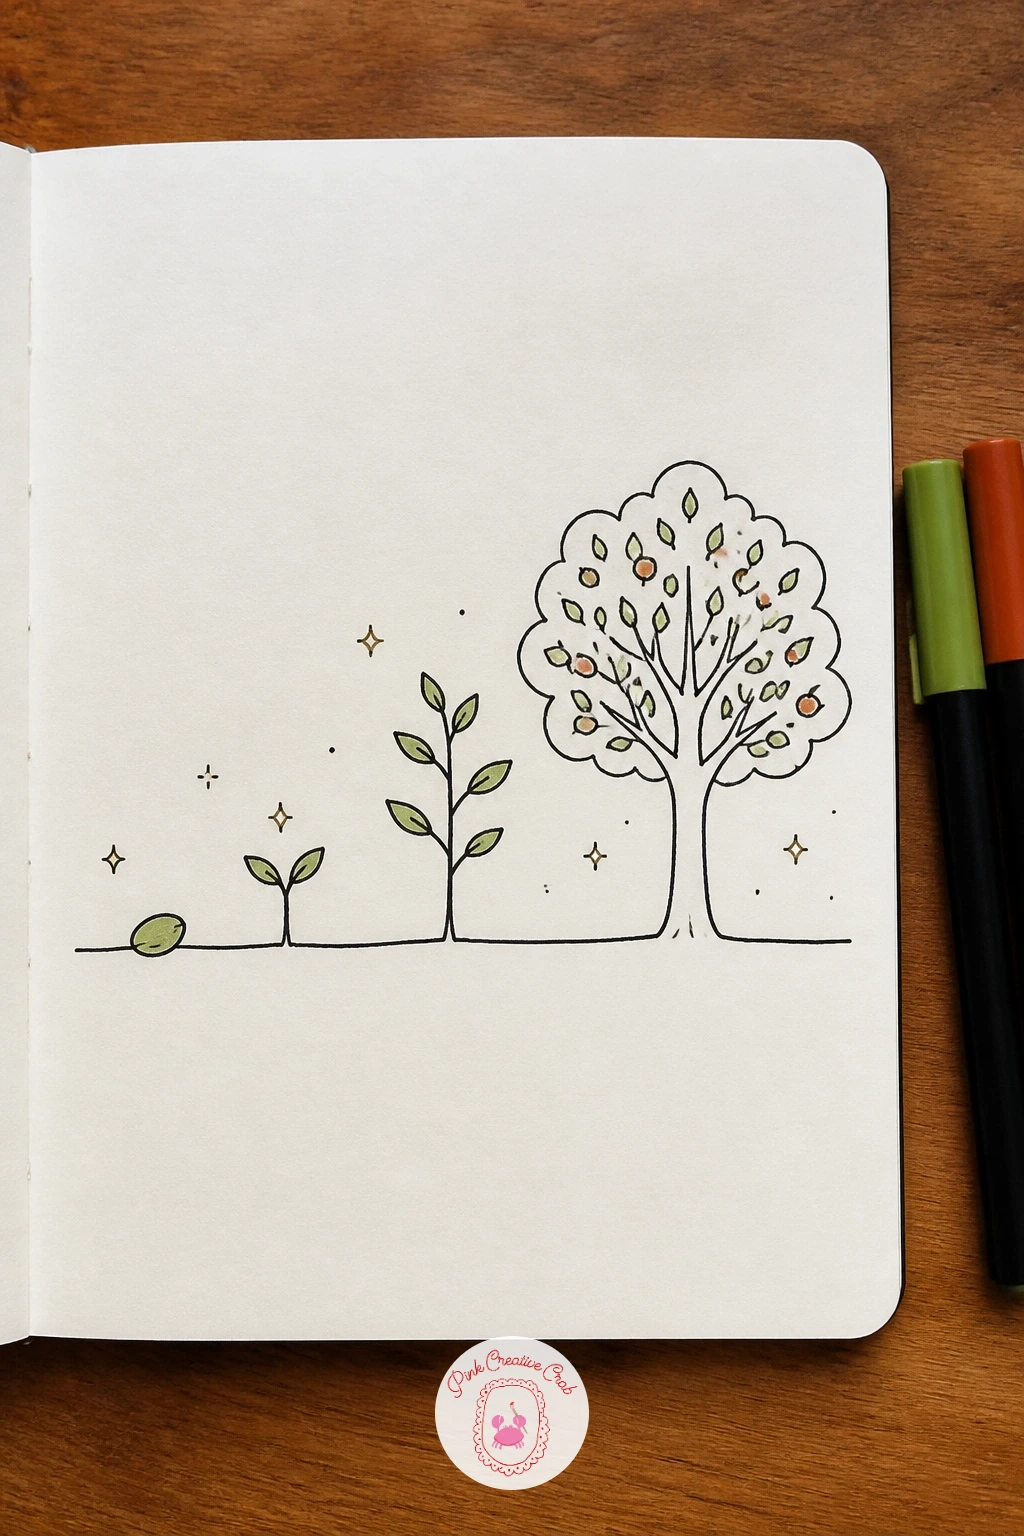
Palette: Moss Green,Rust Orange,Ink Black
What to Do Next
Pick one idea that caught your eye, whether it is a quick hatted acorn or the fuller mountain and tent scene, and start with light pencil guidelines on a dot-grid or plain notebook page before you reach for the fineliner. Keep the marker accents light and let the black ink carry most of the drawing, then move on to the next subject once this one feels finished.
Frequently Asked Questions
What pens work best for nature doodles?
A black fineliner in a fine tip, around 0.3 to 0.5 millimeters, works best for most nature doodles. Add moss green and rust orange alcohol markers afterward for light color accents once the ink has fully dried.
Do I need to draw realistically for nature doodles?
No, nature doodles work with simple shapes rather than realistic detail. Triangles, ovals and curved lines stand in for trees, animals and water, which keeps every subject quick to finish in one sitting.
Should I sketch in pencil before inking nature doodles?
Light pencil guidelines help with trickier subjects like the deer or the bridge, where proportion matters most. Simpler subjects like an acorn or a pinecone can usually go straight to fineliner with confidence.
How do I stop my nature doodles looking stiff?
Vary your line weight and avoid perfectly straight or symmetrical shapes, since real branches, water and fur are never perfectly even. Short broken strokes for texture read more naturally than long clean lines.
What paper is best for fineliner nature doodles?
A smooth dot-grid or plain notebook paper works well, since it stops fineliner ink from feathering or bleeding through. Heavier paper also holds up better once marker accents go on top.
Have any thoughts?
Share your reaction or leave a quick response — we’d love to hear what you think!
-
 0
-
0
-
0
-
0
-
0
-
0


