

Christmas watercolor paintings easy enough to finish before the kettle goes cold are exactly what this list is for. Every idea below is a small, modern little scene built from a handful of shapes, two or three colors and plenty of bare paper left to breathe, so nothing here asks for an entire evening of fussy detail.
Scroll through and pick whatever matches your mood tonight: a mailbox stuffed with cards, a sleepy cat beside a gift box, a candle ringed with a tiny wreath. Each one comes with the order to paint in, the spot where it usually goes wrong, and a tip to save it, so you can go from blank page to a finished little painting in one sitting.
Using these images: free for personal projects such as printing, coloring, cards, journals and gifts. Handmade items that include them may be sold up to 30 pieces per design. More than that is commercial use and is not permitted, and neither is selling or sharing the images themselves or passing them off as your own. Please ask before any other use.
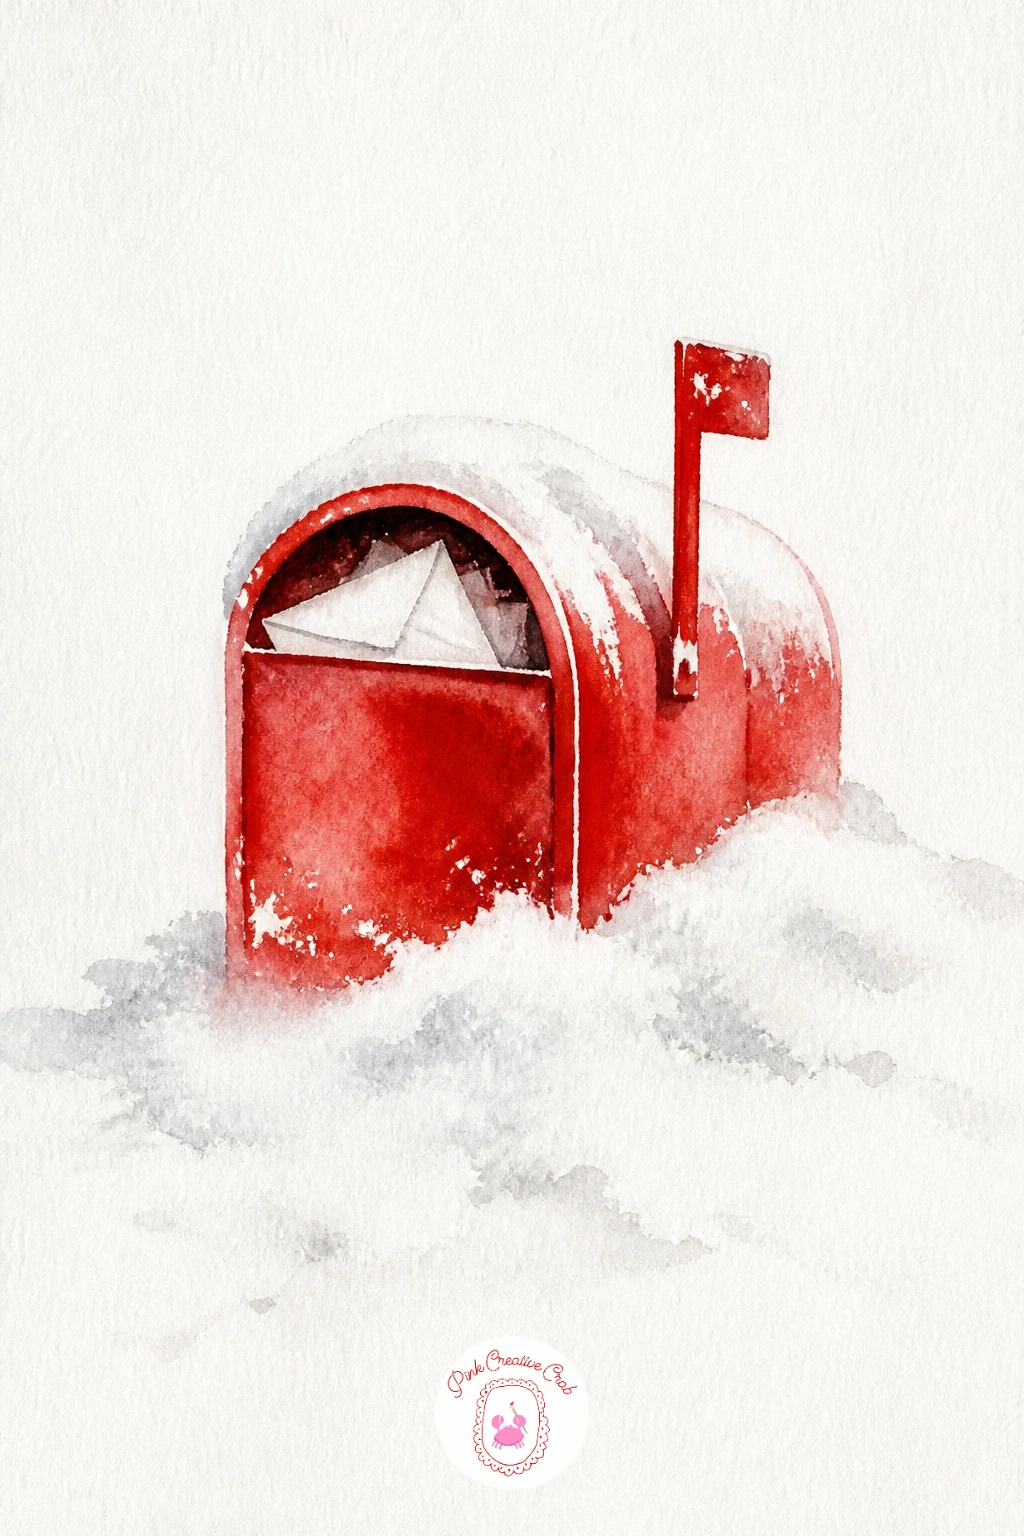
Start with the easiest shape on the whole list: a simple red box on a post, half buried in snow with a few envelope corners poking out the top. Sketch a rectangle with a curved top and a thin post below it, then paint the box in one flat wash of cadmium red, leaving a small white gap where the flag sits.
While the red is still slightly damp, drop in a darker red along the bottom edge so it pools into a soft shadow without any hard line. Once dry, paint tiny triangle and rectangle shapes for envelope edges in white left as paper, outlined with a thin gray line, and dot a little snow mound at the base with a dry brush.
The post is where this usually goes wrong, since a shaky vertical line pulls the whole painting off balance. Steady your hand by resting your wrist on the table and pulling the brush toward you in one slow stroke, or use the edge of a ruler as a guide if you prefer a straighter line.
Today’s tip: paint the mailbox slightly off-center rather than in the middle of the page, so the white snow around it has room to feel generous.
You Will Need
- cold press paper
- round brush size 6
- masking fluid or white gel pen
- ruler
Palette: Cadmium Red,Payne’s Grey,Titanium White
Try flicking a little clean water onto the red wash while it dries to get soft snowflake-shaped blooms across the mailbox for texture.
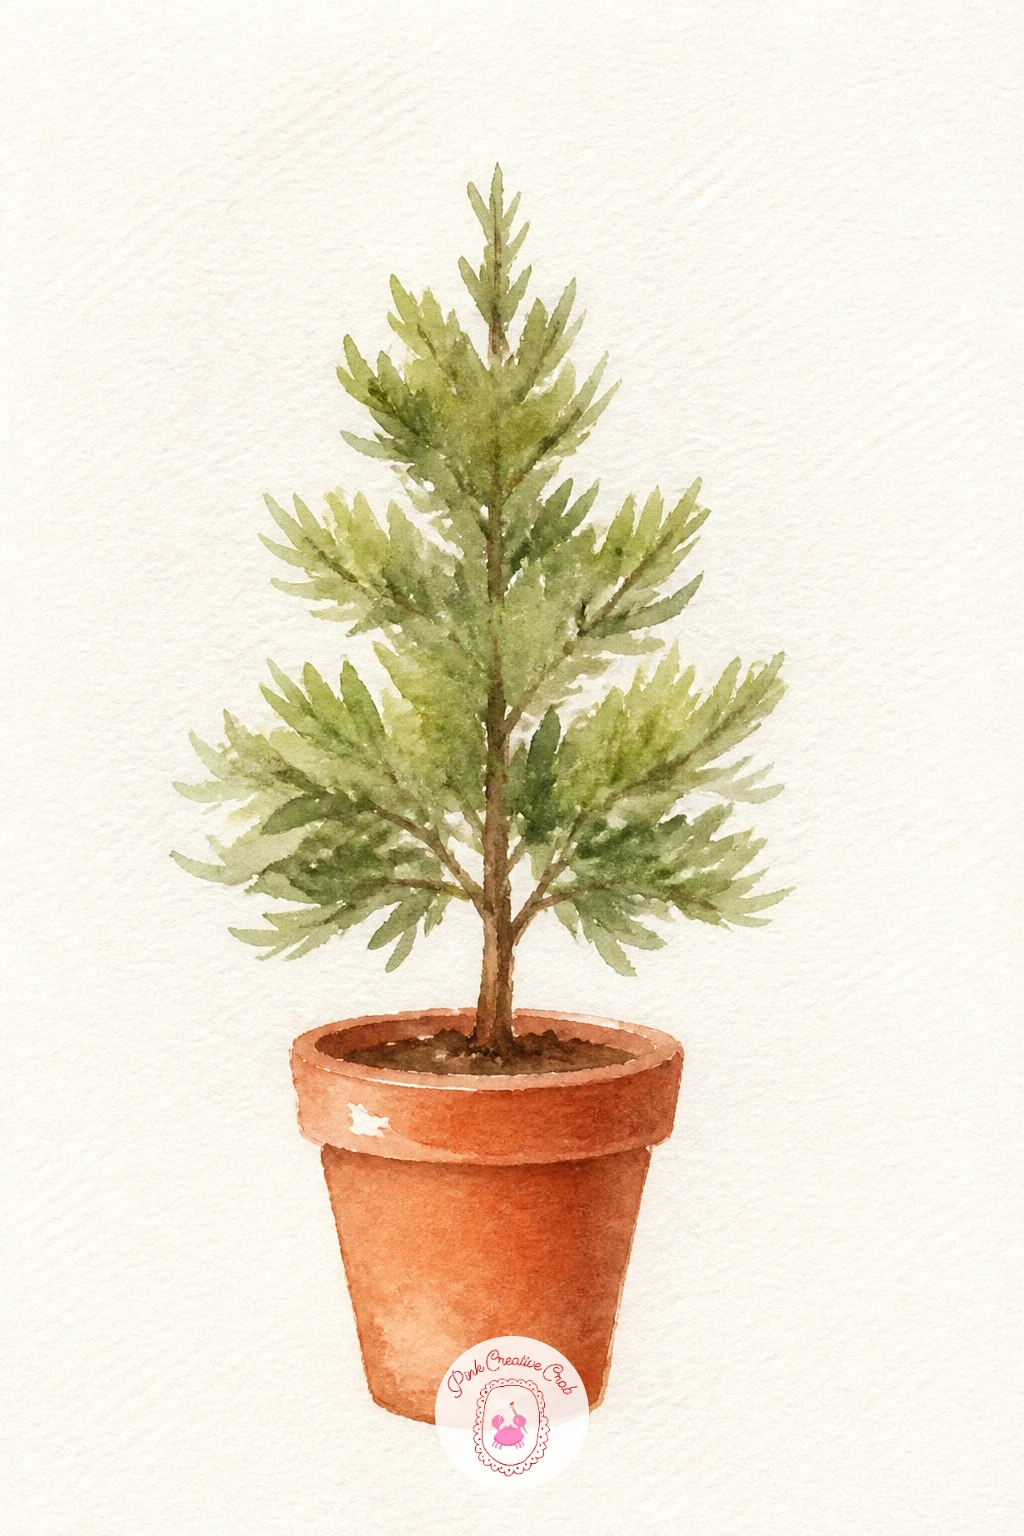
Following on from the mailbox, this one builds confidence with a tree shape that forgives wobbly edges. Paint the terracotta pot first as a simple trapezoid in burnt sienna, then let it dry while you mix a sap green for the tree above it.
Use the tip of a round brush to dab triangular layers of green, working from the base up and leaving gaps of white between each dab rather than one solid blob. A windowsill ledge is just one straight horizontal line beneath the pot, drawn once the green is dry so it stays crisp.
The green often ends up as one flat triangle with no texture, which flattens the whole tree. Save it by mixing a second, darker green and tapping a few shadow dabs into the lower branches while the first wash is still a little damp, so the two greens blend softly at the edges.
If you do not have burnt sienna, mix cadmium red with a touch of green to dull it into a warm terracotta tone instead.
You Will Need
- round brush size 4 or 6
- sap green and burnt sienna paint
- water jar
Palette: Sap Green,Burnt Sienna,Payne’s Grey
Stand the pot on a thin line of shadow in grey rather than black, since a soft grey keeps the whole painting feeling light and modern.
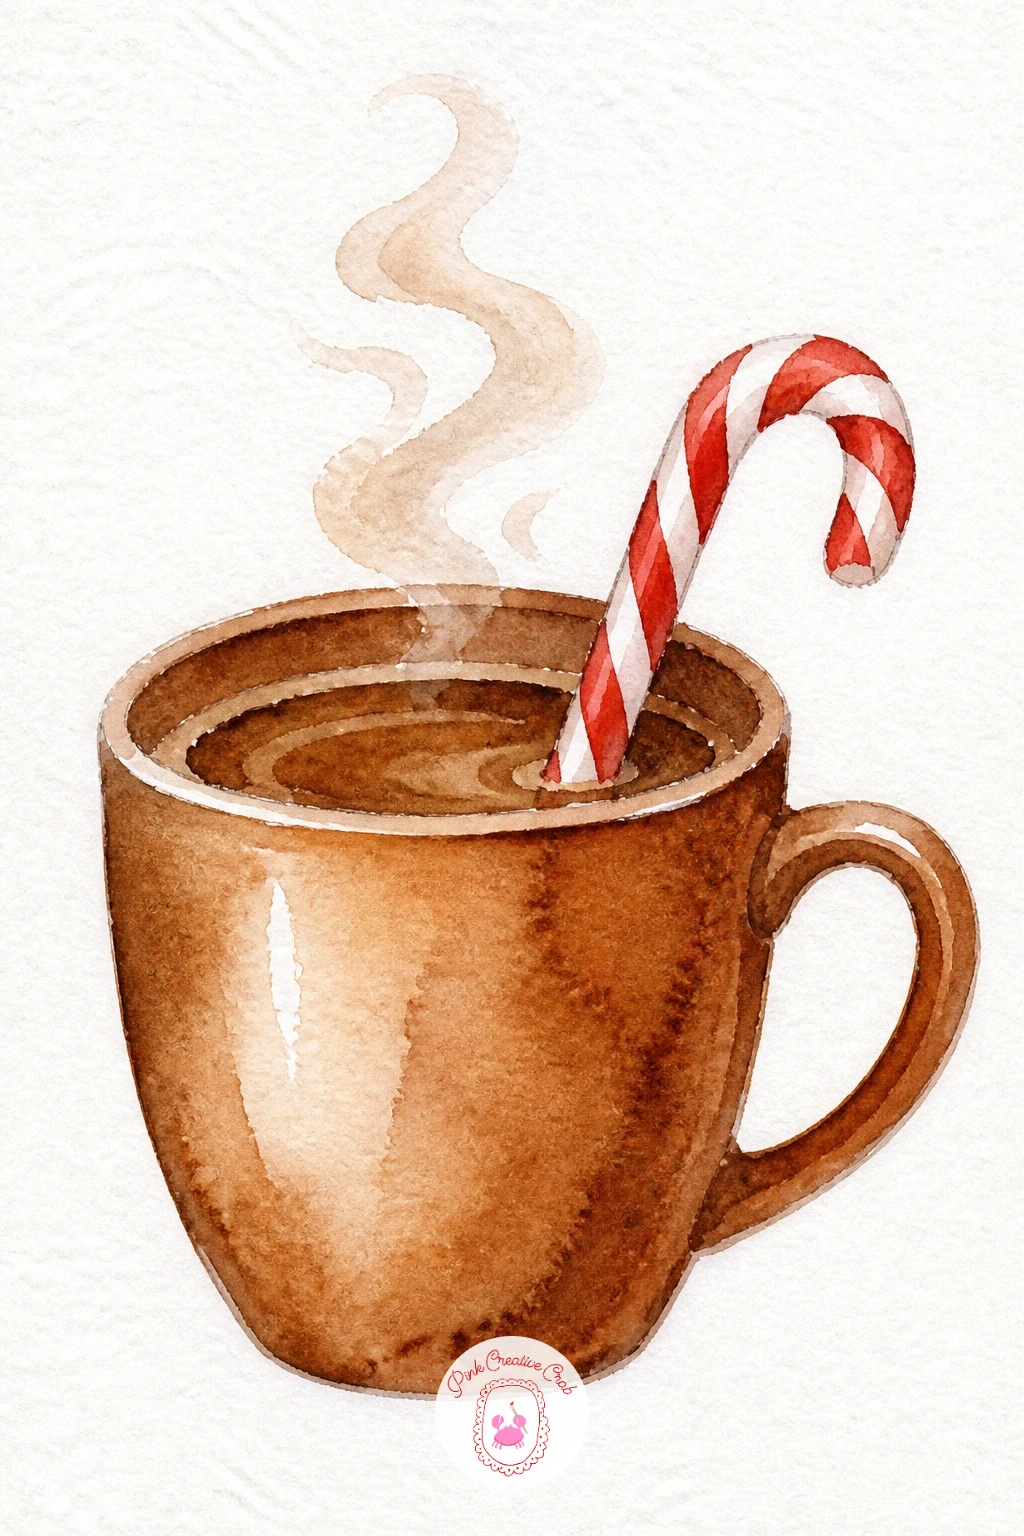
Move from plants to a cozy still life with a simple coffee cup, seen straight on with a candy cane propped inside it. Pencil a basic cup shape, an oval for the rim and a small handle, then paint the body in a warm brown leaving the top rim as white paper.
Once the cup wash is dry, paint the candy cane as a thin white stripe shape with a red spiral wrapped around it, using a fine brush for the stripes so they stay clean rather than smudging into the brown. Steam above the cup is just two or three loose curved lines in pale grey.
Handles are the fiddly part here, since a handle drawn too thick makes the whole cup look clumsy. Keep it as a single thin curved line of paint rather than a filled shape, and if it wobbles, let it dry and paint a second thinner line beside it to tidy the curve.
No red paint on hand works fine too: a warm pink mixed from your red and white gouache gives the candy stripe a softer, modern look instead.
You Will Need
- fine round brush size 2
- brown and red paint
- white gel pen for stripes
Palette: Burnt Umber,Cadmium Red,Payne’s Grey
Add one tiny heart or snowflake in white gel pen on the side of the cup once everything is dry, a small detail that reads as hand lettering without any words.
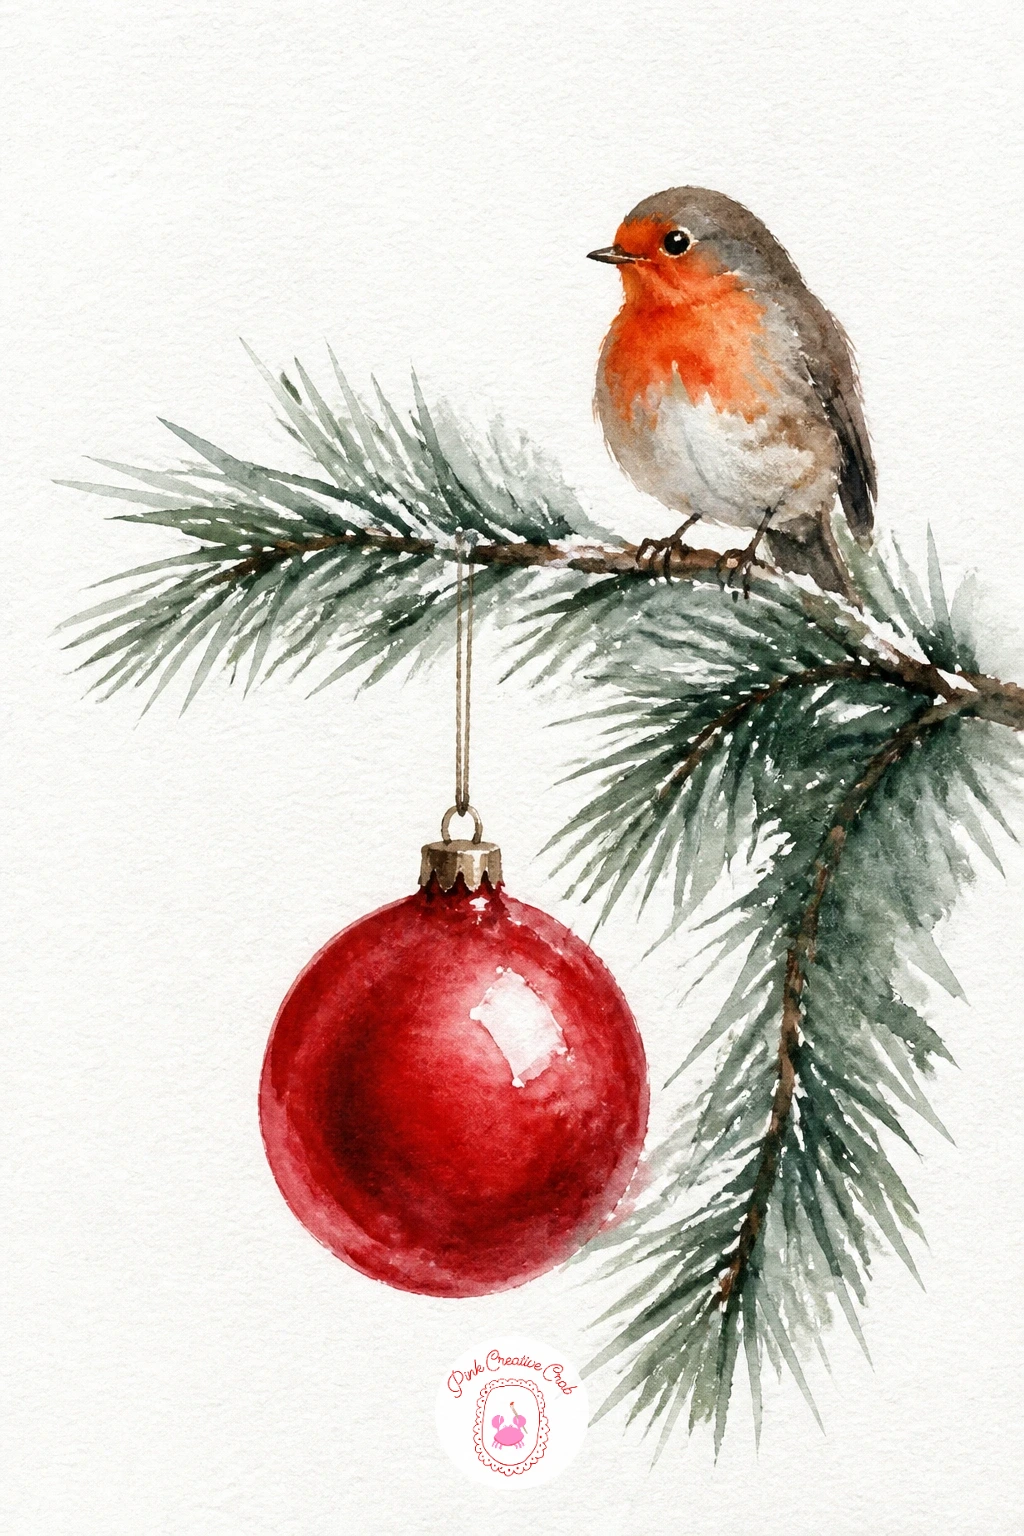
This scene pairs a single ornament with a tiny bird, and the eye level you choose changes the whole mood. Paint the pine branch first as a diagonal line with short angled needle strokes in dark green, placed low across the page so the eye sits above it looking slightly down, which keeps the composition feeling calm rather than cluttered.
Paint the bauble next as a simple circle in red hanging from a thin string below the branch, leaving a small white highlight unpainted near the top left to suggest where the light hits it. Keep that highlight in mind as you paint the robin too, so the light source stays consistent on both.
The robin is just an oval body, a round head and a dab of orange-red for its chest, perched where a branch meets the trunk. If the chest color bleeds into the brown body, rinse your brush and lift the edge gently with a damp, clean brush while it is still wet.
Swap the robin for a simple snowflake shape if birds feel tricky, the scene still tells its story.
You Will Need
- fine round brush
- dark green and burnt sienna paint
- red paint for bauble
- white gel pen
Palette: Hooker’s Green,Cadmium Red,Burnt Sienna
Try this scene again with a gold bauble and a blue jay in place of the robin once you like how the composition works, to see how changing the colors changes the whole feel.
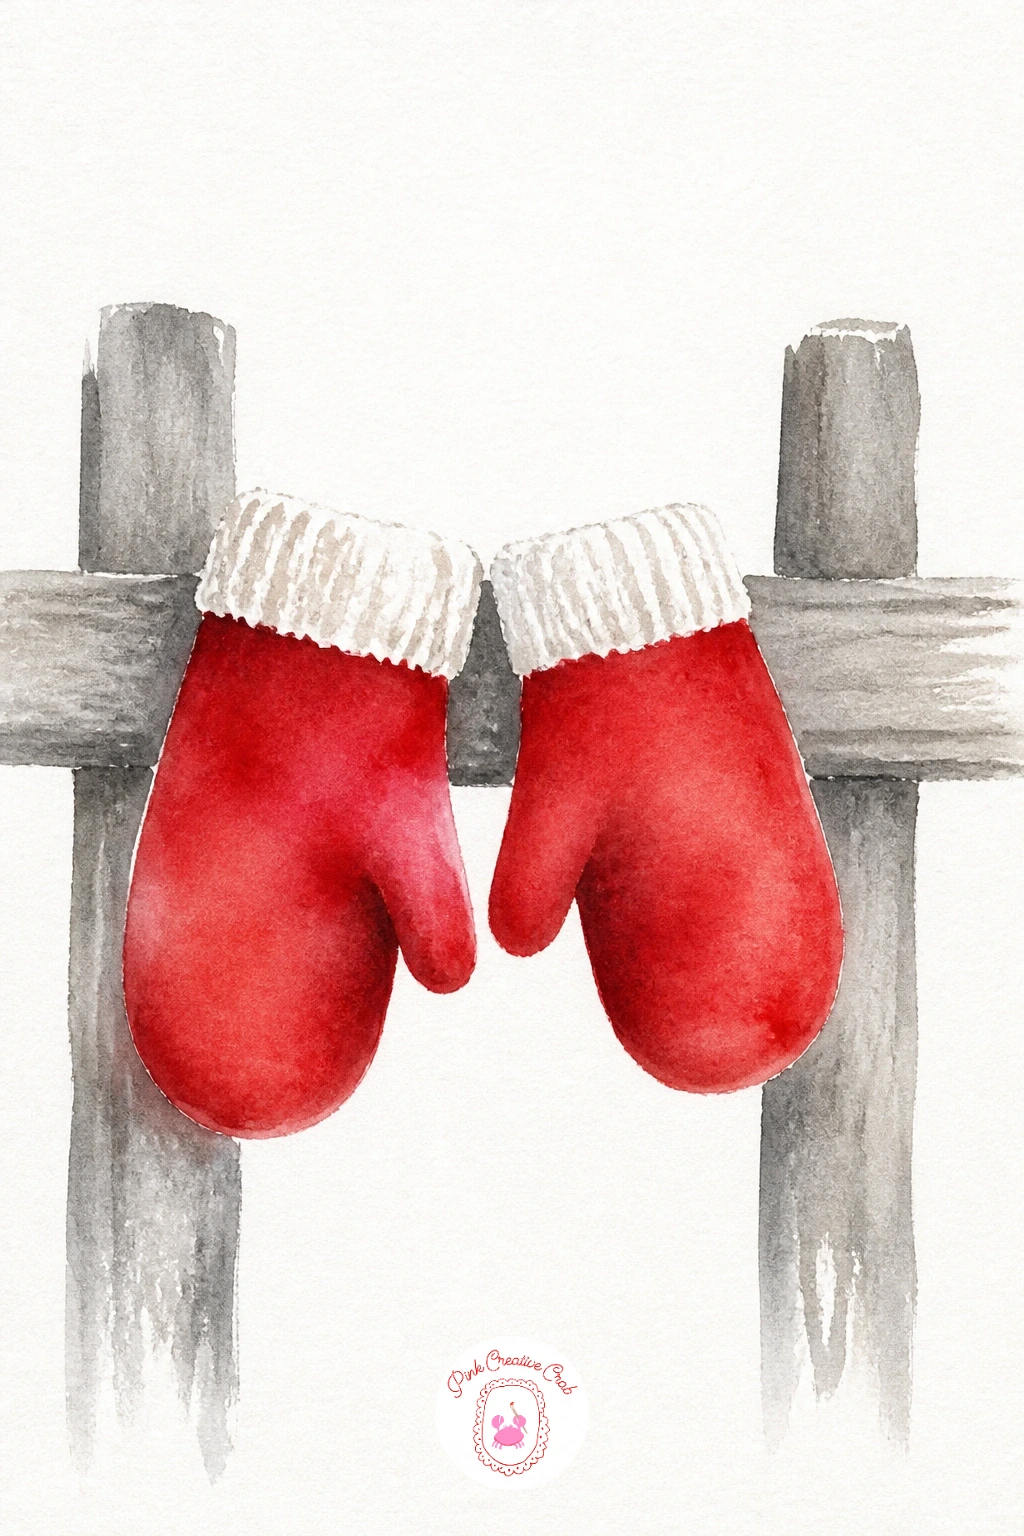
Carrying the cozy feeling forward, this idea is two simple mitten shapes draped over a thin wooden fence line. Sketch two rounded mitten shapes, slightly overlapping, with a small thumb bump on each, then paint them in a flat red wash leaving the cuffs as unpainted white paper for contrast.
Paint the fence as one or two straight horizontal lines in a soft grey-brown, running behind the mittens, and a single vertical post if you want more structure. Let the mittens dry completely before painting the fence lines across them, so the red does not smear into the grey.
Getting both mittens to match in size and angle is the tricky part, so pencil light guide ovals first and compare them side by side before you commit to paint, adjusting one to match the other rather than fixing it after painting. A few white gel pen dots along the cuffs suggest a knitted texture without drawing every stitch.
If red paint feels too bold, a deep forest green mitten against the same white snow reads just as cozy.
You Will Need
- round brush size 6
- red paint
- grey-brown paint for fence
- white gel pen
Palette: Cadmium Red,Payne’s Grey,Titanium White
Overlap the mittens slightly rather than placing them side by side with a gap, it reads as a pair left out together rather than two separate objects.
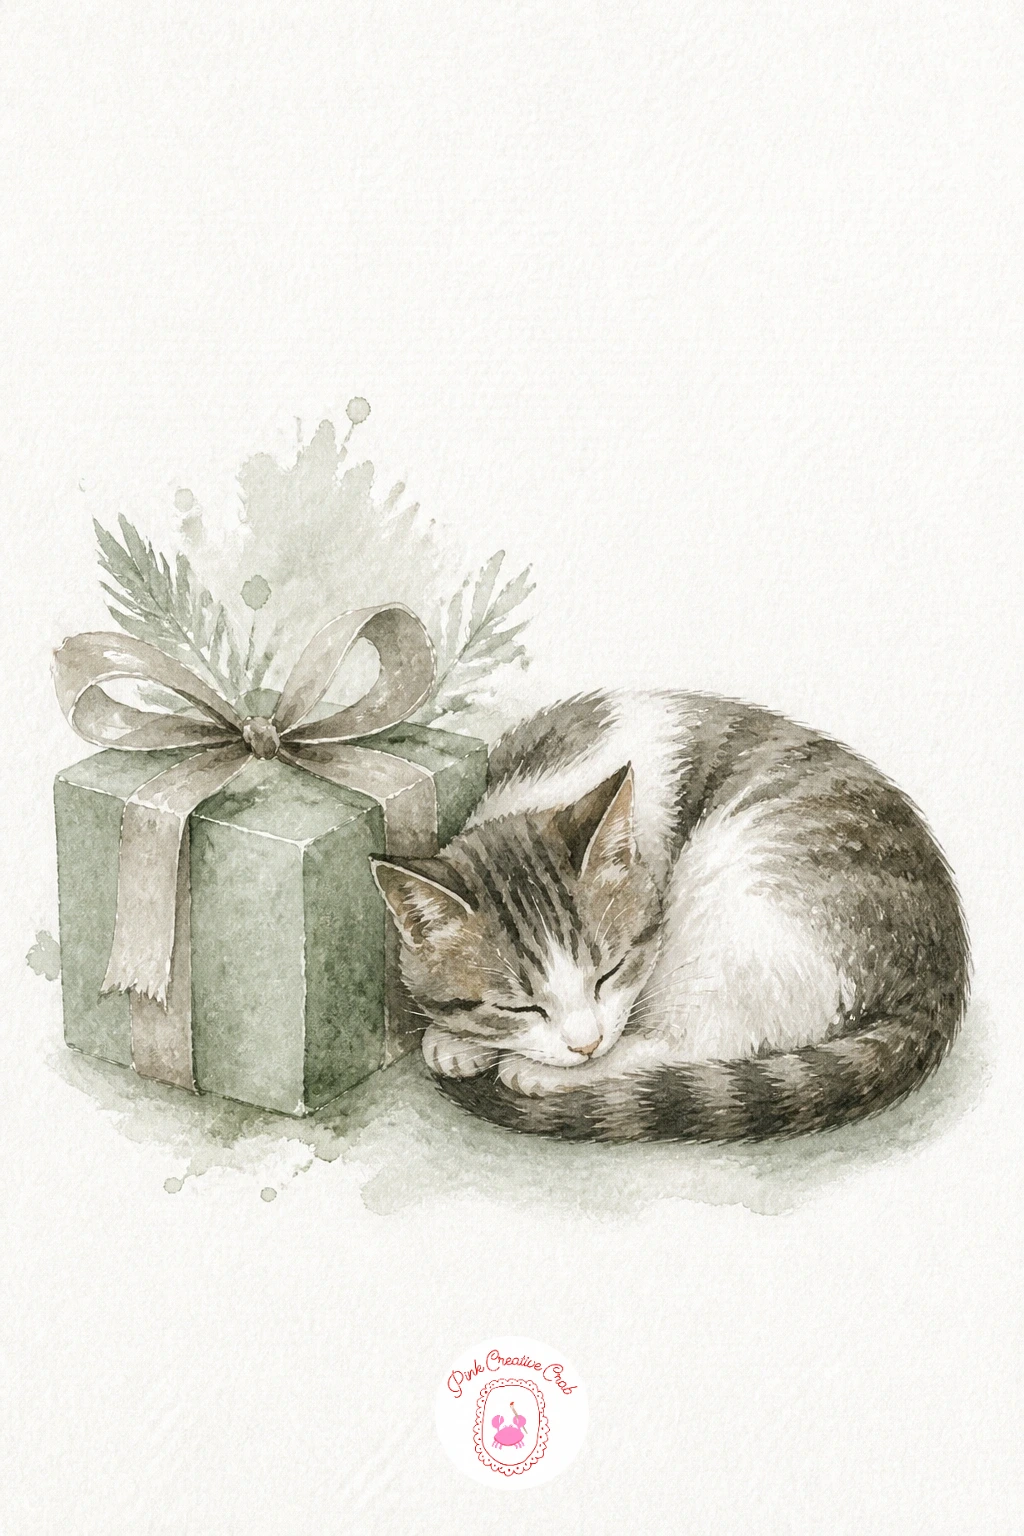
Bring in a little character with this one: a wrapped gift box and a cat curled up asleep beside it. Paint the box first as a simple square in a soft color of your choice, adding a ribbon as two crossed bands left unpainted as white paper, then a small bow on top in the same color as the box.
Once dry, paint the cat as one curved comma shape in warm grey, tucked right against the base of the box, with the tail wrapped around to meet the head. A closed eye is just a single short curved line, and two small triangle ears finish the shape.
The cat often ends up too stiff and oval rather than relaxed, so before you paint, look at how a sleeping cat’s back curves into a loose crescent rather than a circle, and shape your brushstroke to follow that curve in one confident sweep.
Working for the quick ten-minute version, paint box and cat each as one flat wash and stop there. For the forty-minute version, add a second darker grey wash along the cat’s back for soft shading and a thin ribbon shadow falling across the box.
You Will Need
- round brush size 6
- warm grey paint
- soft color for the gift box
- fine brush for whiskers
Palette: Warm Grey,Sage Green,Titanium White
Add three or four fine whisker lines in white gel pen last, kept short and slightly uneven, which makes the cat feel more alive than long straight lines would.
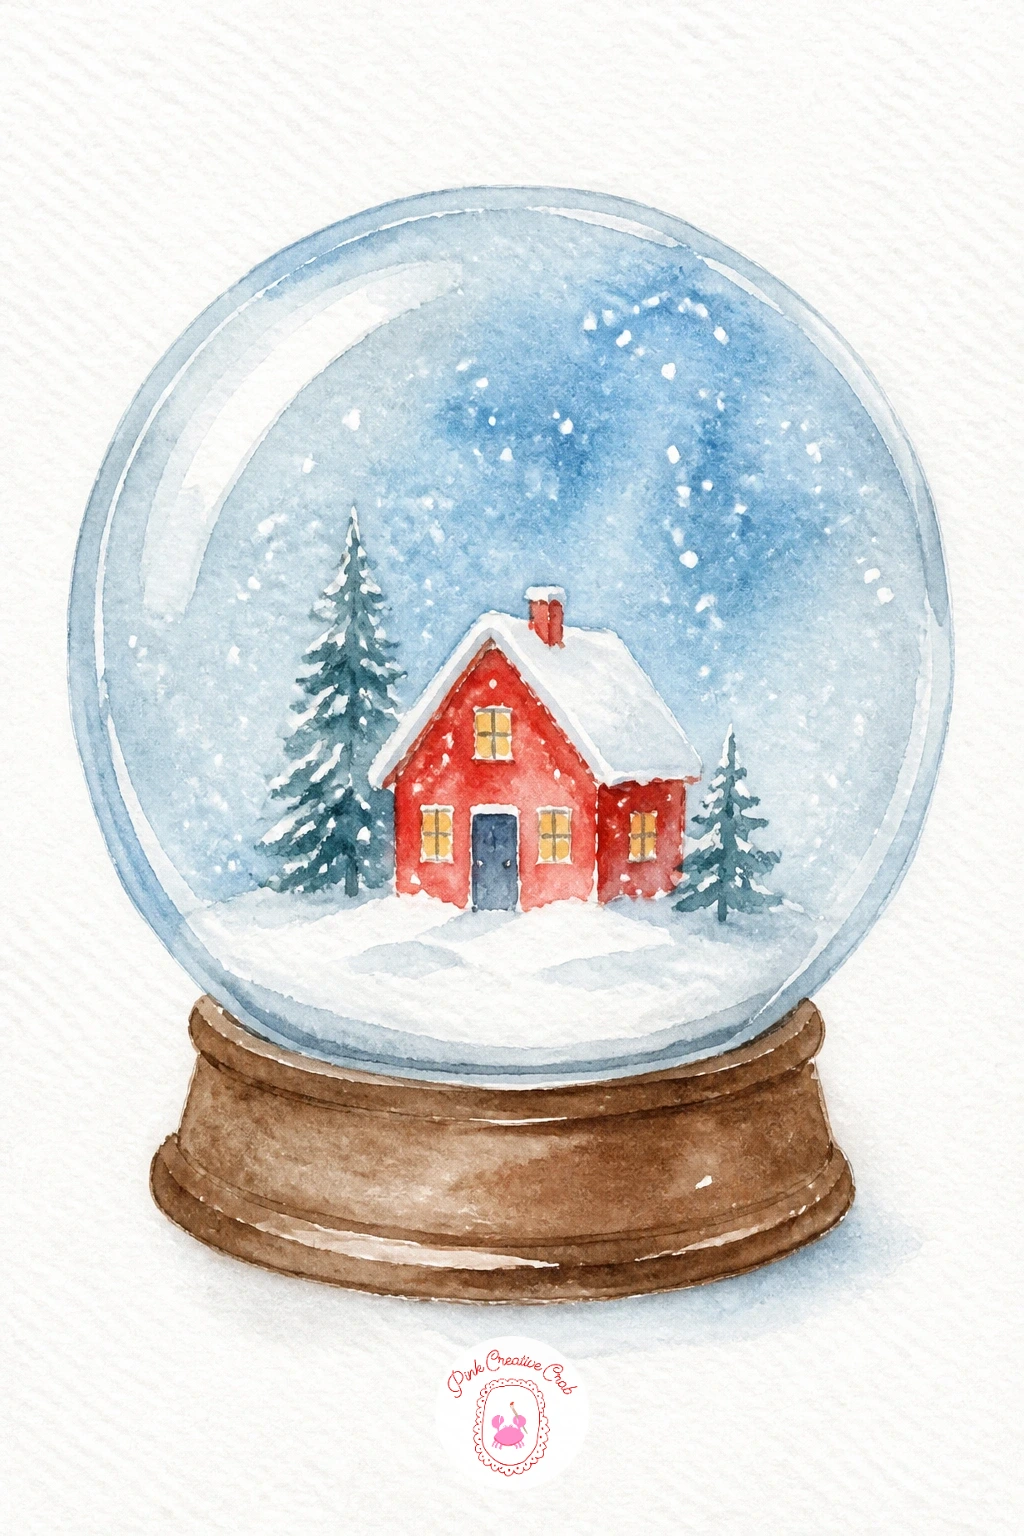
After the cat, try a subject with a clear outline to paint around: a snow globe holding a tiny house inside it. Draw a circle lightly in pencil for the globe and a small rectangle base beneath it, then paint a very pale blue-grey wash inside the circle, leaving the house shape as unpainted white paper so it reads as glowing snow light.
Once that pale wash dries, paint the house itself as a simple square with a triangle roof in soft red, sitting at the bottom of the circle, with a tiny dot of yellow for one window. The base of the globe is a flat band of brown or deep red painted last.
Keeping the circle even is the hard part freehand, so trace around a small jar lid or coin in pencil before you paint, rather than trying to draw it by eye. A few tiny white gel pen dots scattered across the dried blue wash become the falling snow inside the globe.
No lid to trace works too: draw the circle in two light arcs that meet, correcting the join lightly in pencil before committing to paint.
You Will Need
- jar lid or coin to trace
- pale blue-grey paint
- red paint for the house
- white gel pen
Palette: Pale Blue Grey,Cadmium Red,Burnt Sienna
Leave a thin white ring unpainted just inside the circle’s edge before filling it with blue, it reads as glass catching the light and lifts the whole painting.
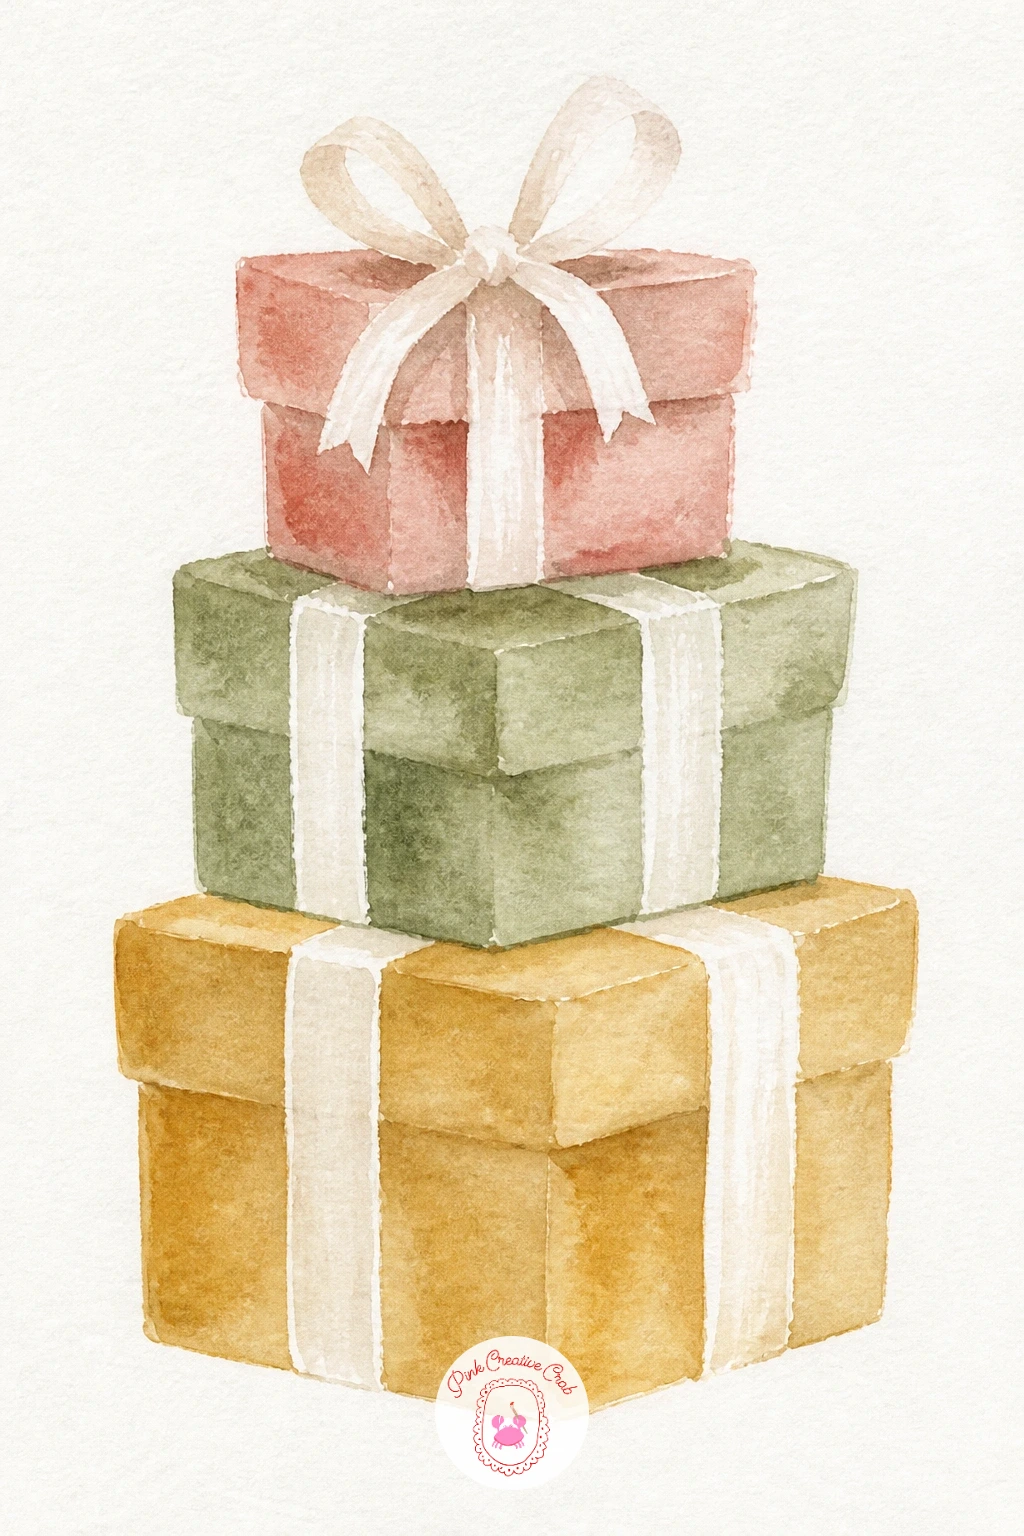
Measuring comes first in this one, since three stacked boxes only look right when their proportions step down cleanly. Pencil the bottom box widest, the middle box a little narrower, and the top box narrower again, each about two-thirds the height of the one below it, using light guide lines to check the widths line up before you pick up paint.
Paint each box in a different flat color, letting each one dry before painting the next so the washes stay crisp and do not bleed together at the shared edges. Ribbons are simple crossed bands left as white paper on each box, with a small bow shape on top of the stack.
Stacking boxes often drifts crooked without you noticing, so hold your painting at arm’s length partway through and check the stack still reads as centered and upright before adding the ribbons. A thin grey shadow line under the base box grounds the whole stack on the page.
Swap one solid color box for a dotted or striped pattern next time, painted with the tip of a brush once the base wash is dry, for a little more variety across the stack.
You Will Need
- round brush size 6
- three different paint colors
- fine brush for ribbon lines
Palette: Dusty Rose,Sage Green,Mustard Yellow
Try all three boxes in different shades of the same color family, like three pinks, for a more modern, coordinated look than three unrelated colors.
Give the page a little personality with a gingerbread man mid-wave. Sketch the classic rounded body shape lightly in pencil, one arm raised and bent at the elbow, then paint the whole shape in one flat wash of warm brown, leaving thin white paper gaps at the wrists and ankles for icing cuffs.
Once dry, add icing details in white gel pen: two dots for buttons, a simple curved smile, and small zigzag lines along the raised arm and legs. A tiny red dot on each cheek, painted wet with a fine brush, adds warmth to the face.
Arms and legs drawn too thin make the figure look brittle, so keep the limbs a little chunky and rounded rather than stick-like when you sketch, which also matches how real gingerbread holds its shape. If the brown wash dries patchy, a second light glaze once it is fully dry evens out the tone.
For a quicker version, skip the icing zigzags and keep just the buttons and smile, which still reads clearly as a gingerbread man in half the time.

You Will Need
- round brush size 6
- warm brown paint
- white gel pen
- fine brush for cheeks
Palette: Burnt Sienna,Titanium White,Cadmium Red
Tilt the head slightly to one side rather than painting it straight up, it instantly makes the wave feel friendlier and less stiff.
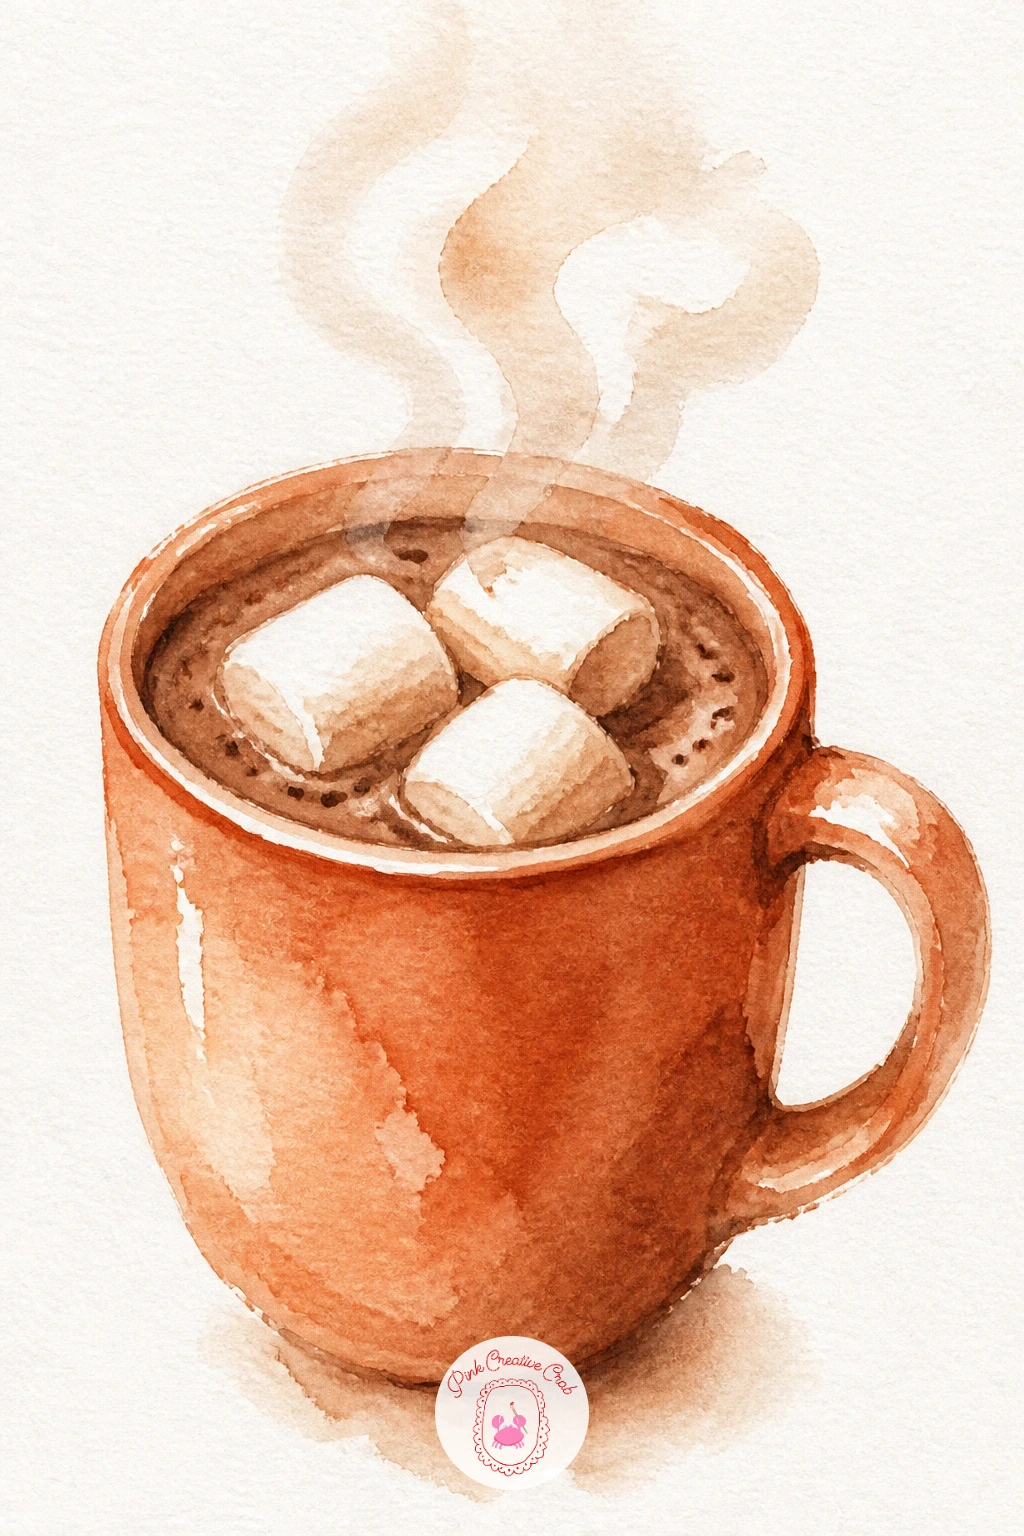
Back to a cozy still life, this time a mug of cocoa topped with marshmallows. Paint the mug as a simple cylinder shape in a solid color, leaving the top rim as a thin white ellipse, then once dry, fill that rim area with a warm brown wash for the cocoa itself.
While the cocoa wash is still damp, dab in two or three small white circles for marshmallows using a bit of white gouache or by lifting paint with a clean damp brush, letting them sit right at the surface line. A thin curved handle on the side finishes the mug shape.
The cocoa often looks flat without the marshmallows reading as sitting on top rather than floating beside it, so overlap them slightly over the rim line of the mug when you paint them, which anchors them in place. A few tiny brown dots on the marshmallows suggest a dusting of cocoa powder.
No white gouache on hand works fine: just leave small circles of white paper unpainted within the brown wash from the start instead.
You Will Need
- round brush size 6
- brown paint for mug and cocoa
- white gouache or clean damp brush
- fine brush for dots
Palette: Burnt Umber,Terracotta,Titanium White
Add a thin wisp of steam in pale grey above the mug with one loose wavy line, it gives the whole painting a warm, just-poured feeling.
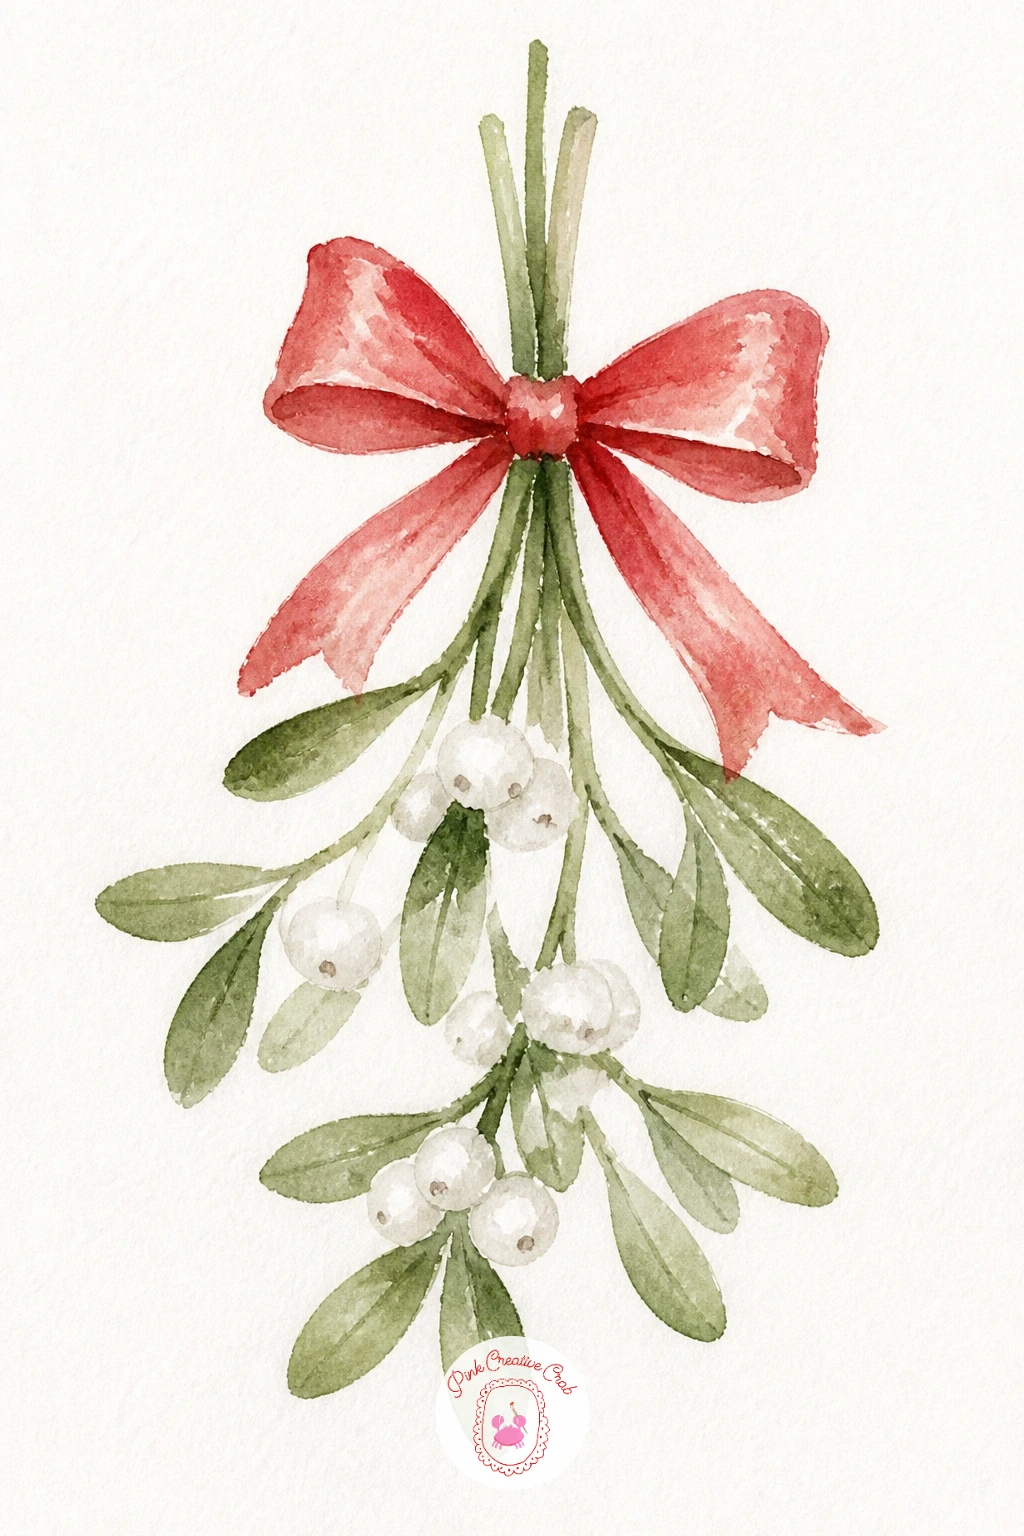
This small botanical sprig makes a good one if you enjoyed painting flowers before, since the leaf shapes work the same way. Paint two or three simple oval leaf pairs in sage green, angled outward from a central stem, then once dry, add small white berry clusters as unpainted circles with a thin grey outline for shadow.
A red ribbon ties around the stem at the top, painted as a simple bow shape with two loose tails trailing down. Keep the ribbon loose and slightly uneven rather than symmetrical, which matches the informal feel of a hung sprig.
Leaves painted too flat and uniform lose the sprig’s natural movement, so vary the angle and size of each leaf pair slightly as you go, and let one or two overlap each other for depth. A little dry-brushing along the leaf edges, dragging a barely damp brush loaded with dark green, adds texture without extra detail work.
If you would rather explore more leaf and petal shapes like this, the ideas in 15 Simple Watercolor Flowers Ideas use the same loose leaf technique.
You Will Need
- round brush size 4
- sage green paint
- red paint for ribbon
- fine brush for berries
Palette: Sage Green,Cadmium Red,Titanium White
Hang the sprig pointing slightly downward rather than straight up, it reads more naturally as something tied and hanging rather than standing.
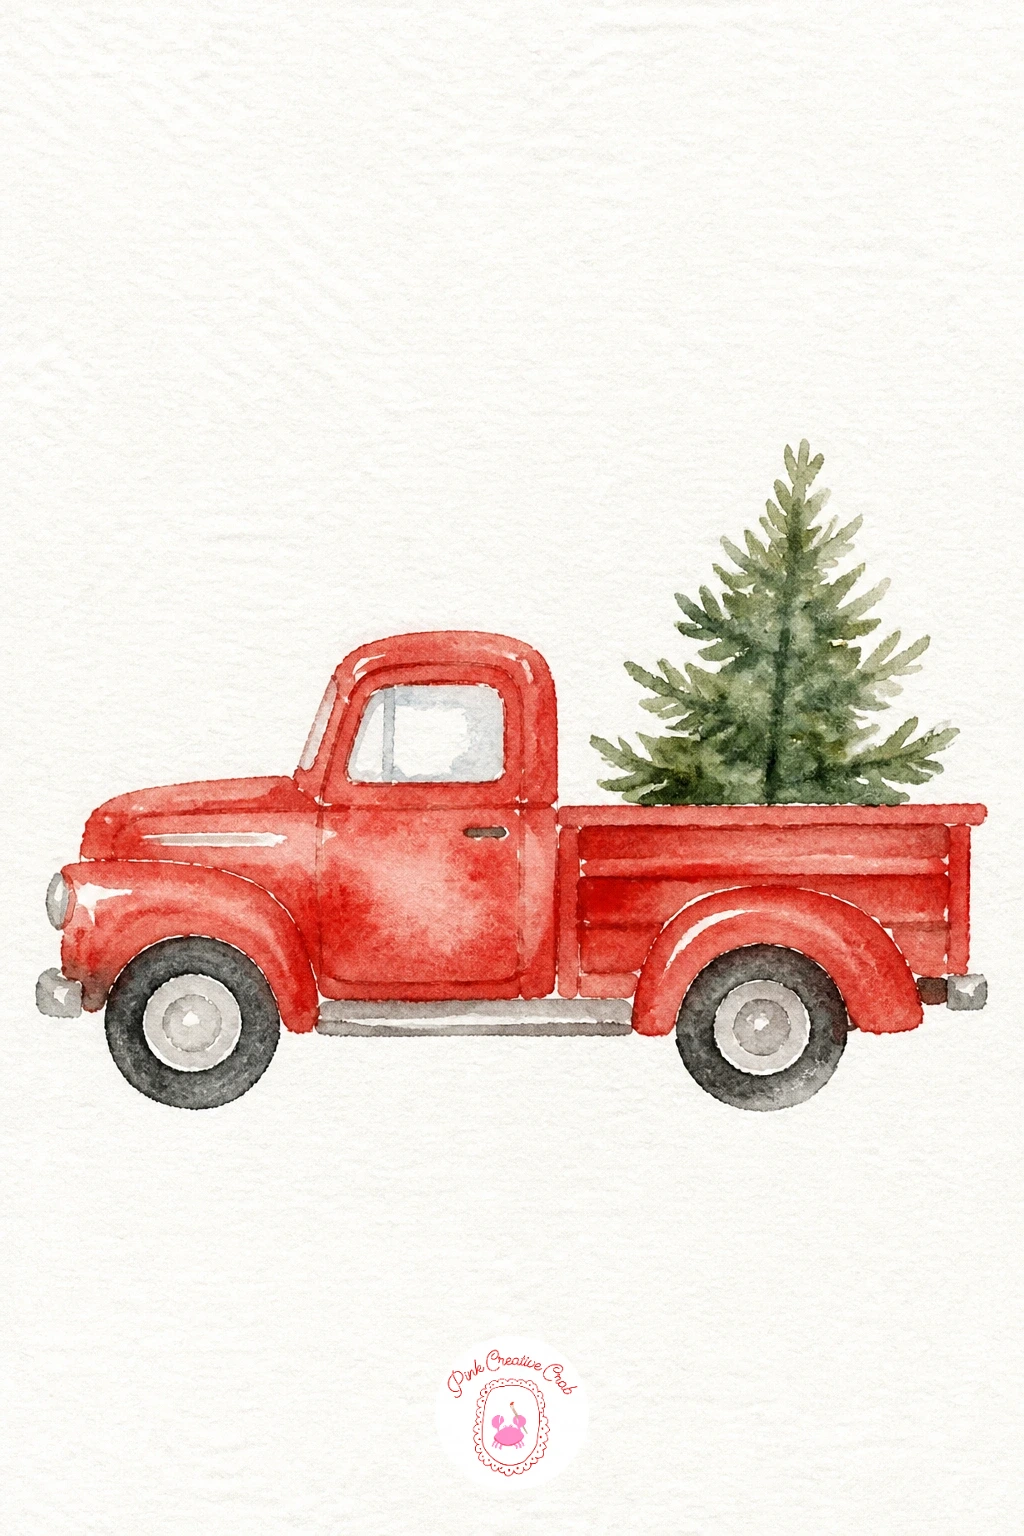
Shift gears into a tiny scene with this old red truck carrying a small tree in its bed. Sketch a simple boxy truck shape, a rectangle cab and a slightly longer rectangle bed, with two small circles for wheels, then paint the whole body in one flat red wash, leaving the windows as unpainted white shapes.
Once the truck dries, paint a small green triangle tree standing in the truck bed, slightly taller than the cab, so it reads as propped in rather than floating above it. Thin grey lines for the wheel wells and a dark line along the truck’s base ground the whole shape on the page.
Wheels that come out as two different sizes are the most common slip here, so trace around a small coin twice for consistency rather than drawing them freehand. If the red wash looks too even and flat, let it dry and glaze a touch of darker red along the lower half of the body for a soft shadow.
Try this same truck again next time loaded with a wreath hanging off the back instead of a tree, for a quick variation on the idea.
You Will Need
- round brush size 6
- red and green paint
- small coin to trace wheels
- fine brush for window lines
Palette: Cadmium Red,Hooker’s Green,Payne’s Grey
Keep the truck boxy and a little squashed rather than realistic proportions, the chunky toy-like shape is what gives it that modern, charming feel.
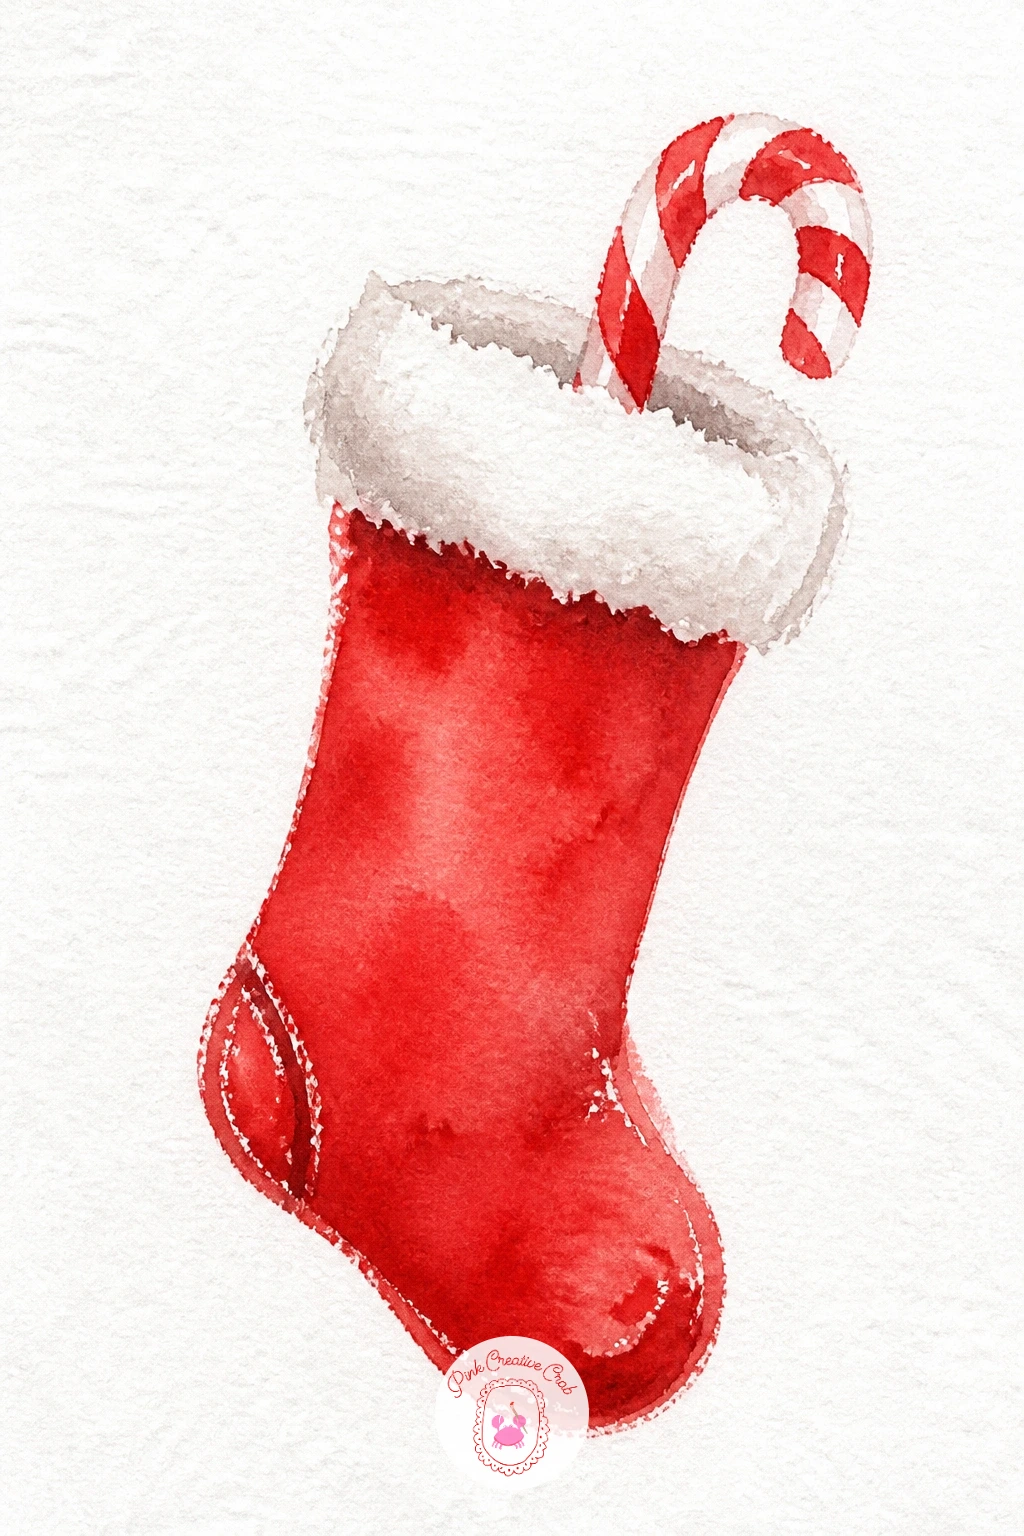
Following the truck, slow back down with a simple hanging stocking shape. Paint the stocking as one curved boot-like form in red, wider at the top and tapering to a rounded toe, leaving the cuff area as unpainted white paper with a thin grey line to suggest a knitted fold.
Once the red dries, paint the top of a candy cane poking out above the cuff, a white curved shape striped with thin red lines using a fine brush. A small loop at the top of the stocking, just a thin curved line, suggests where it hangs.
The curve from the leg to the foot is where stockings often go wrong, turning into a straight sock rather than a stocking, so look at the shape as a tall letter L with softened, rounded corners rather than sharp right angles. A little dry-brush texture along the cuff edge adds a soft, knitted look.
If you want a quicker version, skip the candy cane entirely and paint just the hanging stocking with a single white star on the toe instead.
You Will Need
- round brush size 6
- red paint
- fine brush for stripes
- white gel pen
Palette: Cadmium Red,Titanium White,Payne’s Grey
Angle the stocking slightly as if it is swinging on its hook rather than hanging perfectly straight, it adds a small sense of movement to a still subject.
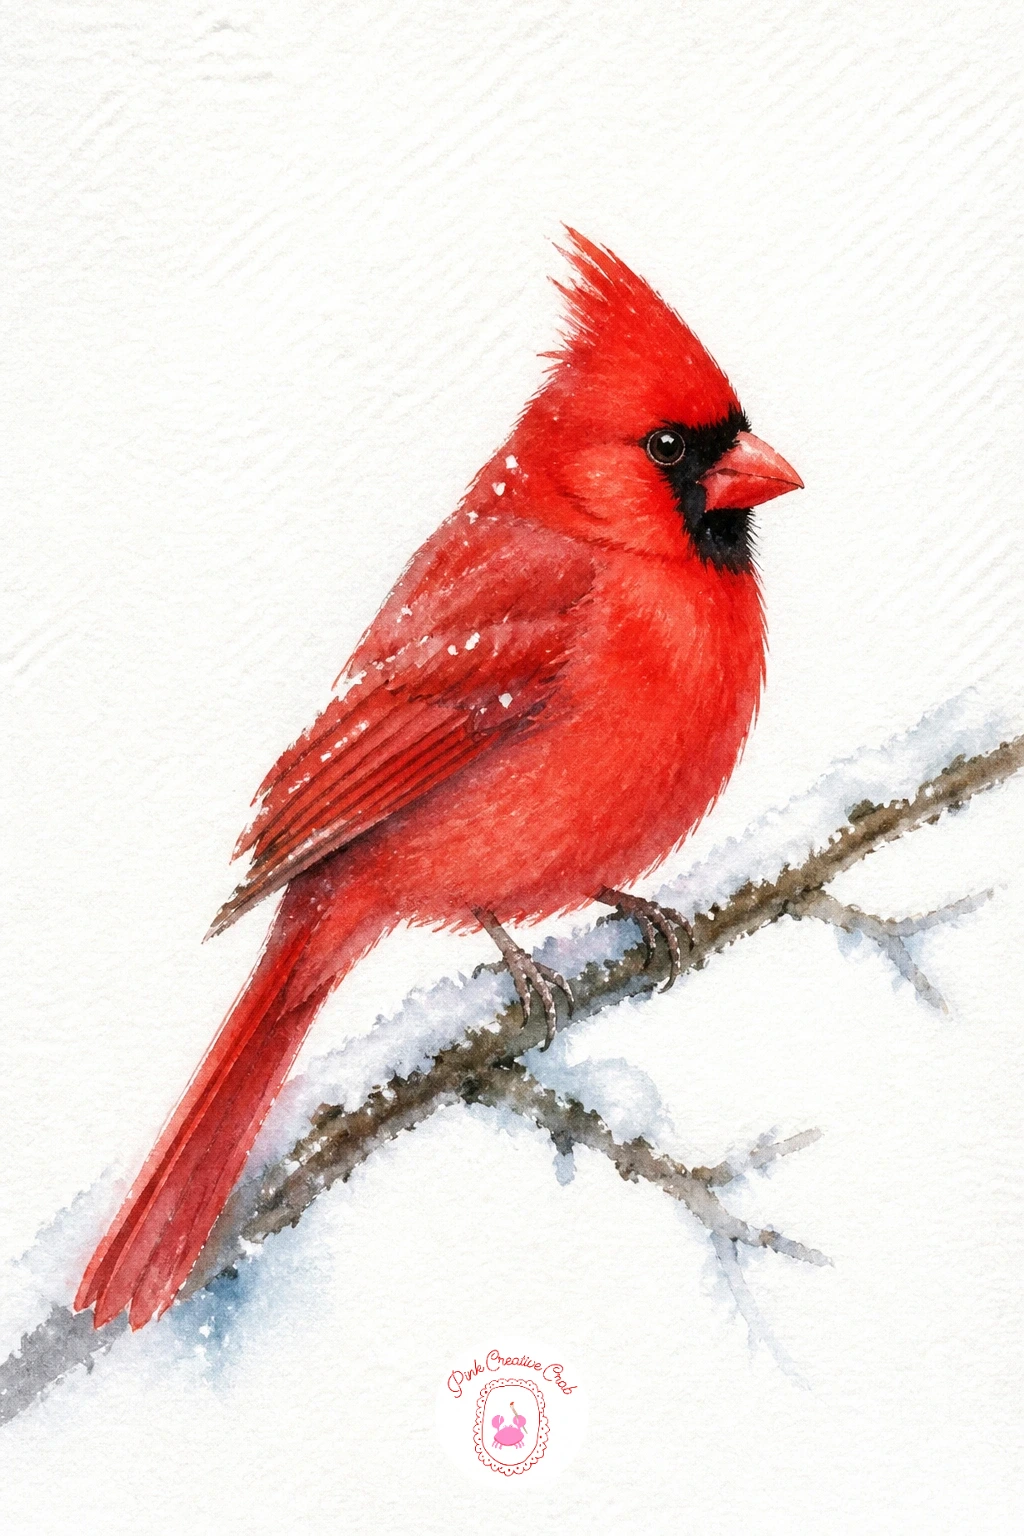
This bird painting works well with the light coming from one clear direction, so decide before you start whether the sun sits to the left or right of the page. Paint a thin diagonal branch first in grey-brown, then load your brush with cadmium red for the cardinal’s body, keeping the side facing your light source paler and the opposite side a touch darker.
Shape the bird as one rounded body with a small pointed crest on top and a short triangle beak, painted in a single confident stroke rather than built up slowly. Once dry, add a black mask around the eye and a thin black line for the beak, then a dab of white gouache for snow sitting along the top of the branch.
Cardinals often end up looking too round and blob-like without the crest and tail reading clearly, so keep those two pointed shapes crisp against the soft rounded body for contrast. A single eye, just a tiny dark dot, is enough and keeps the face simple.
Working quickly, a ten-minute version stops at the red body and branch. The forty-minute version adds the snow dabs and a soft grey shadow beneath the branch.
You Will Need
- round brush size 6
- cadmium red paint
- grey-brown paint for branch
- fine brush for beak and eye
Palette: Cadmium Red,Payne’s Grey,Titanium White
Look at reference photos of cardinals in profile rather than facing forward, the side view makes the crest and beak much easier to paint convincingly.
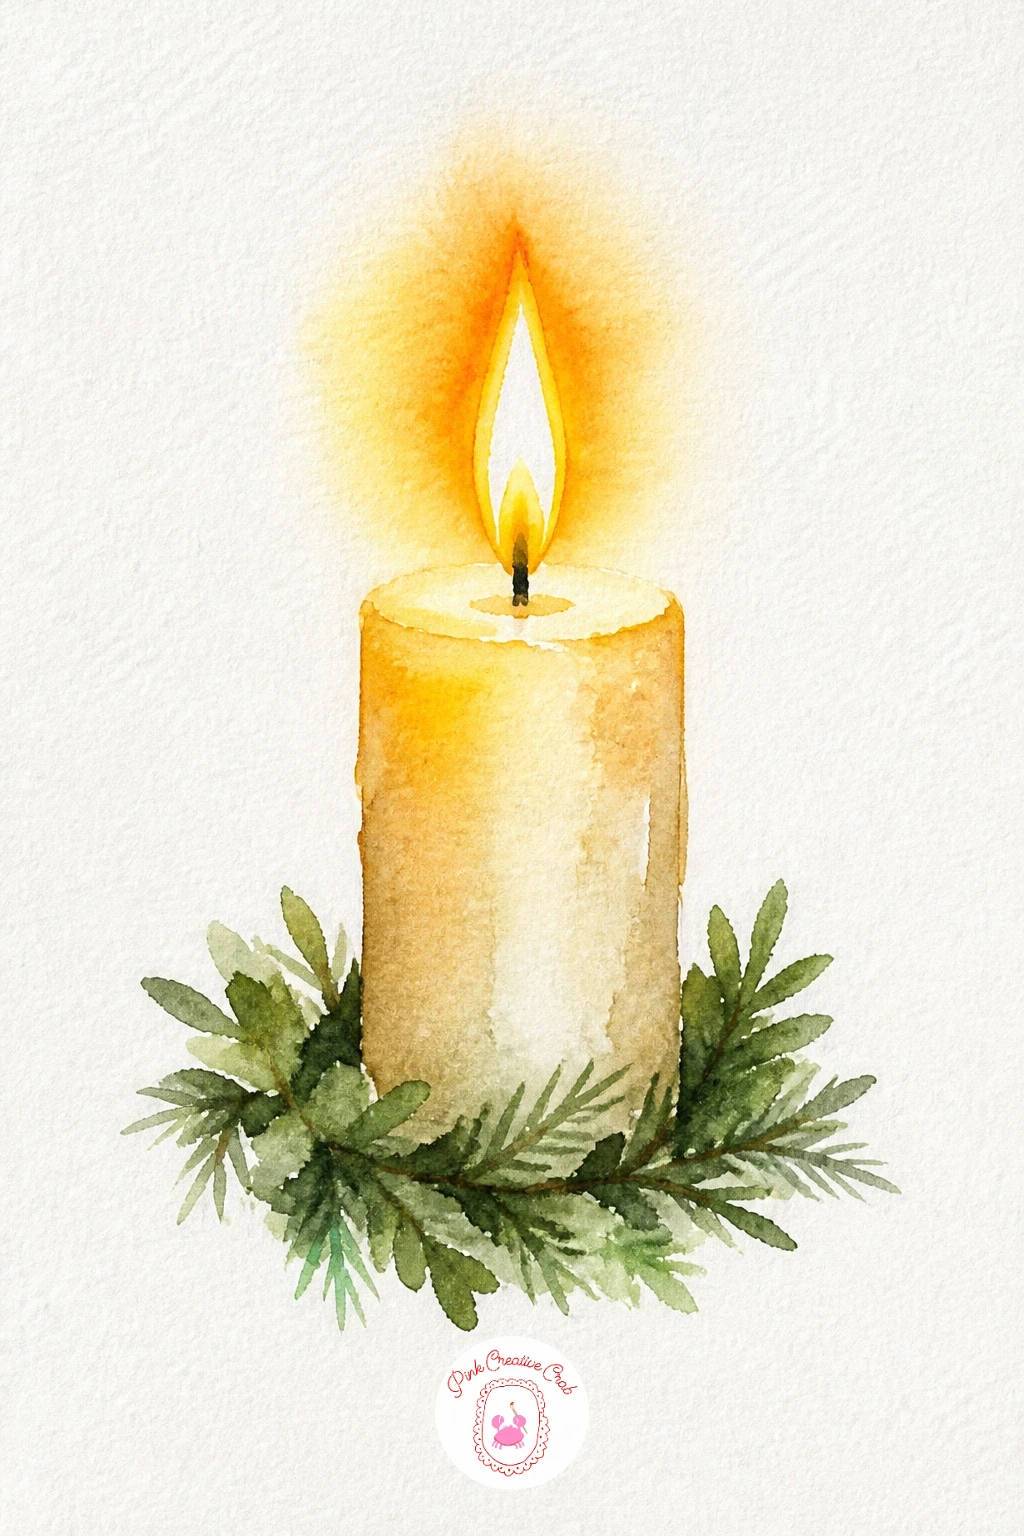
Coming off the cardinal’s single light source, this candle lets you practice glow directly. Paint a simple cylinder shape for the candle body in a soft cream or white left as paper, then add a small flame shape in yellow and orange at the top, blending wet into wet so the colors merge softly without hard edges.
Once the flame dries, paint a thin ring of small green dabs around the base of the candle for the wreath, leaving the candle itself untouched where the ring wraps around it. A few tiny red dots between the green dabs stand in for berries.
The flame is the trickiest part, since too much orange makes it look like a blob rather than a flame, so paint the yellow center first, then touch a small amount of orange only at the very base of the flame while it is still damp, letting the colors blend upward naturally.
No orange paint available: mix a touch of red into yellow instead, it gives the same warm glow at the base of the flame.
You Will Need
- round brush size 6
- yellow and orange paint
- green paint for wreath
- fine brush for berries
Palette: Cadmium Yellow,Orange,Hooker’s Green
Add a soft yellow glow around the flame by wetting the paper slightly before touching in a pale yellow wash, letting it bloom outward on its own.
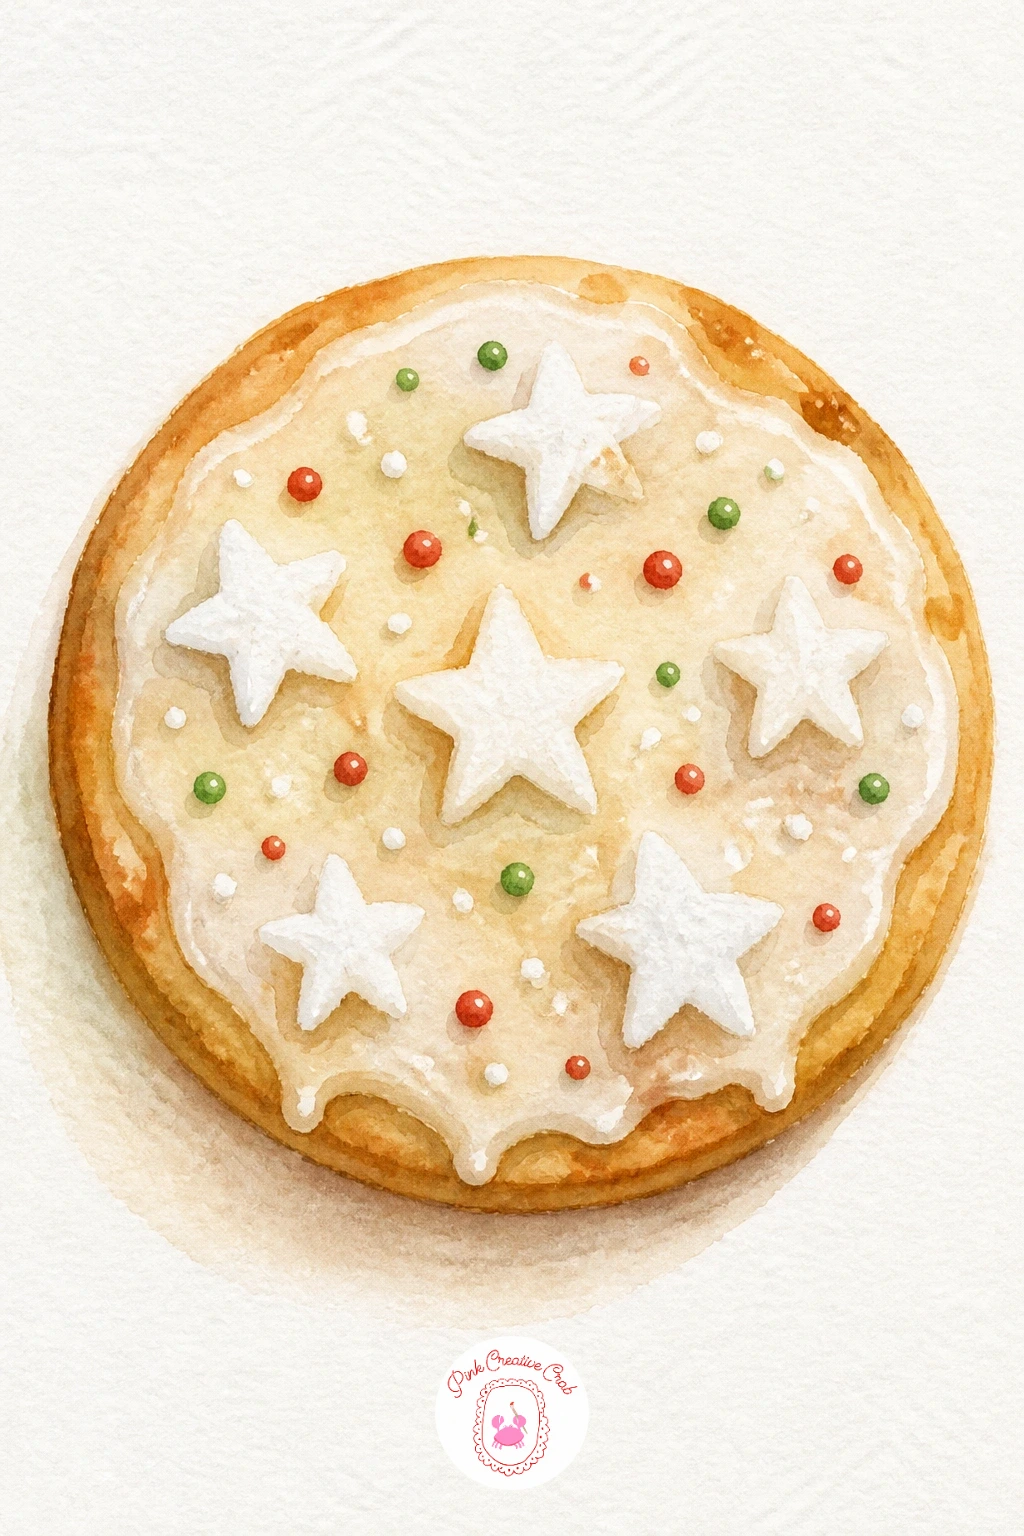
Keep the warm kitchen mood going with a simple round cookie topped with icing stars. Paint a circle in warm tan for the cookie base, leaving the edge slightly uneven and imperfect rather than a perfect circle, which actually reads more like a handmade cookie.
Once dry, paint two or three small star shapes directly onto the cookie in white gouache or leave them as unpainted paper if you planned the spacing before your first wash. A scatter of tiny colored dots around the stars stands in for sprinkles, dabbed on with the tip of a fine brush.
Cookies often look flat without a little shadow beneath them, so once everything else is dry, paint a soft curved grey shadow along the lower edge to lift the cookie off the page. A light second glaze of tan over just the outer rim adds a touch of toasted color too.
Try a scalloped or tree-shaped cookie outline next time instead of a plain circle, using the same icing and sprinkle method on top.
You Will Need
- round brush size 6
- tan paint
- white gouache
- fine brush for sprinkles
Palette: Tan,Titanium White,Cadmium Red
Mix your sprinkle dots in two or three different colors rather than just red, a small scatter of color makes the cookie feel festive without any extra shapes.
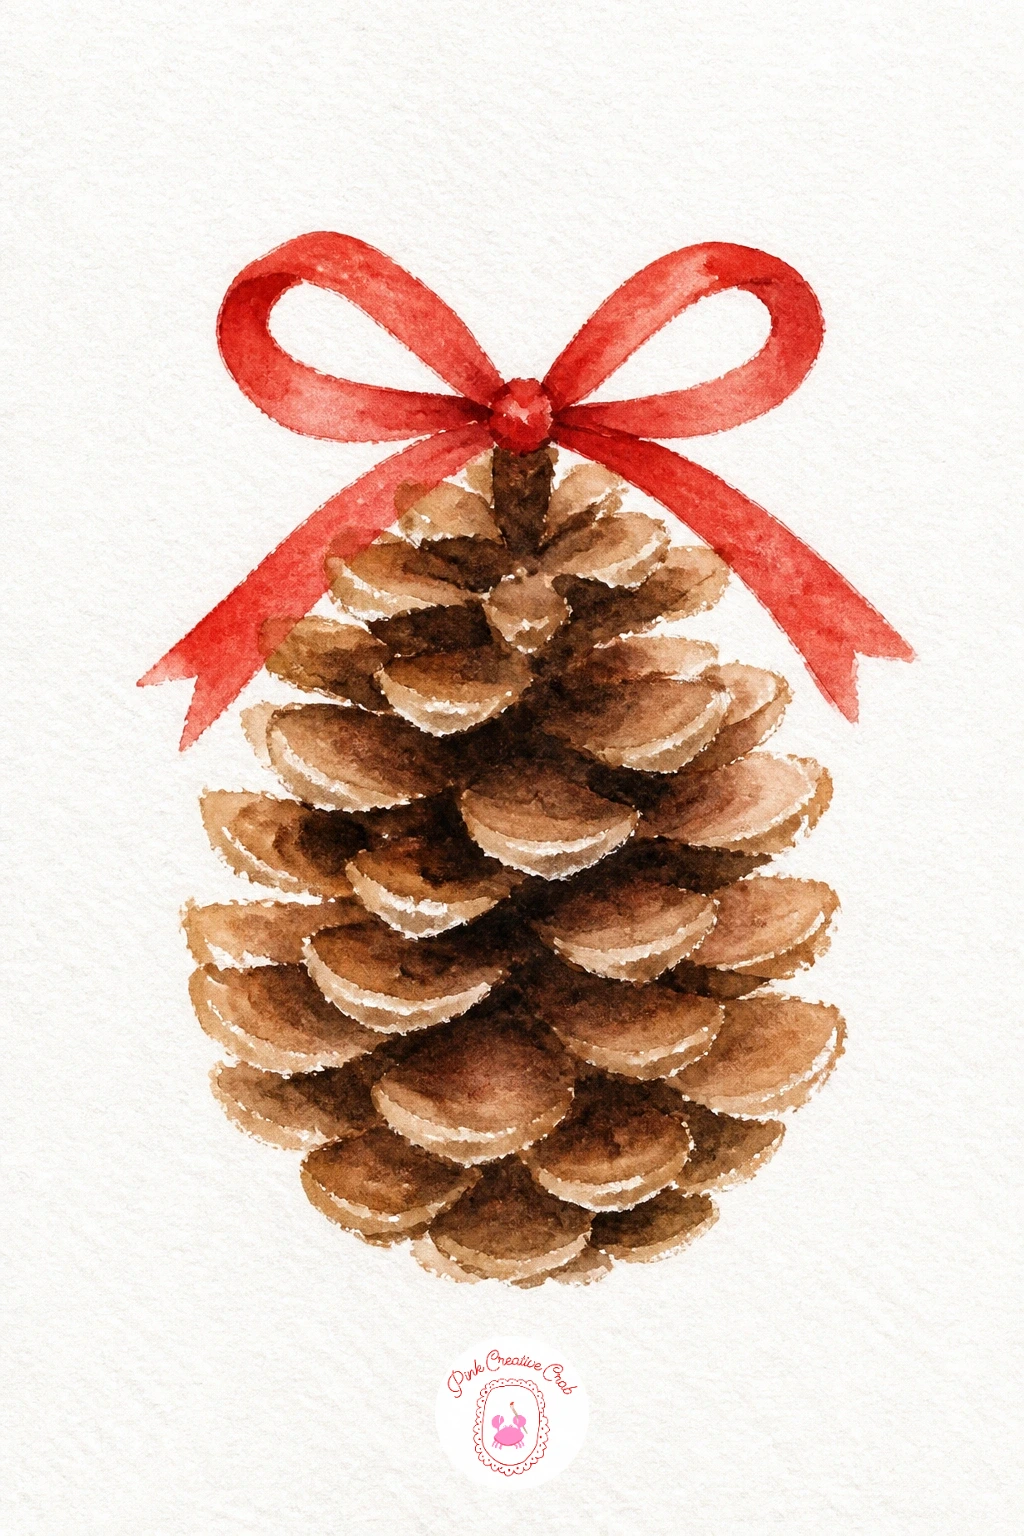
Building on the cookie’s uneven edges, a pine cone is another shape that looks better loose than perfect. Paint an oval base in warm brown, then while still slightly damp, drag short diagonal strokes outward from the center in a darker brown to suggest the overlapping scales, working from the top down.
Once dry, tie a small red ribbon bow around the top of the cone, painted as two simple triangle loops with short tails hanging down one side. A few dry-brush strokes in a dark burnt umber along the edges sharpen the texture without adding more detail work.
Pine cones often end up looking like a plain oval blob if the scale strokes are too even, so vary the length and angle of each stroke as you drag them outward, letting some overlap more than others. If your brush keeps making the same uniform mark, switch to an old, slightly frayed brush for rougher, more varied texture.
No red ribbon paint handy: a simple twine-colored bow in tan works just as well and feels a little more rustic.
You Will Need
- round brush size 6
- two shades of brown paint
- older frayed brush for texture
- red paint for bow
Palette: Burnt Sienna,Burnt Umber,Cadmium Red
Paint the pine cone sitting on a thin branch or twig rather than floating alone, it gives the small object a sense of place with almost no extra work.
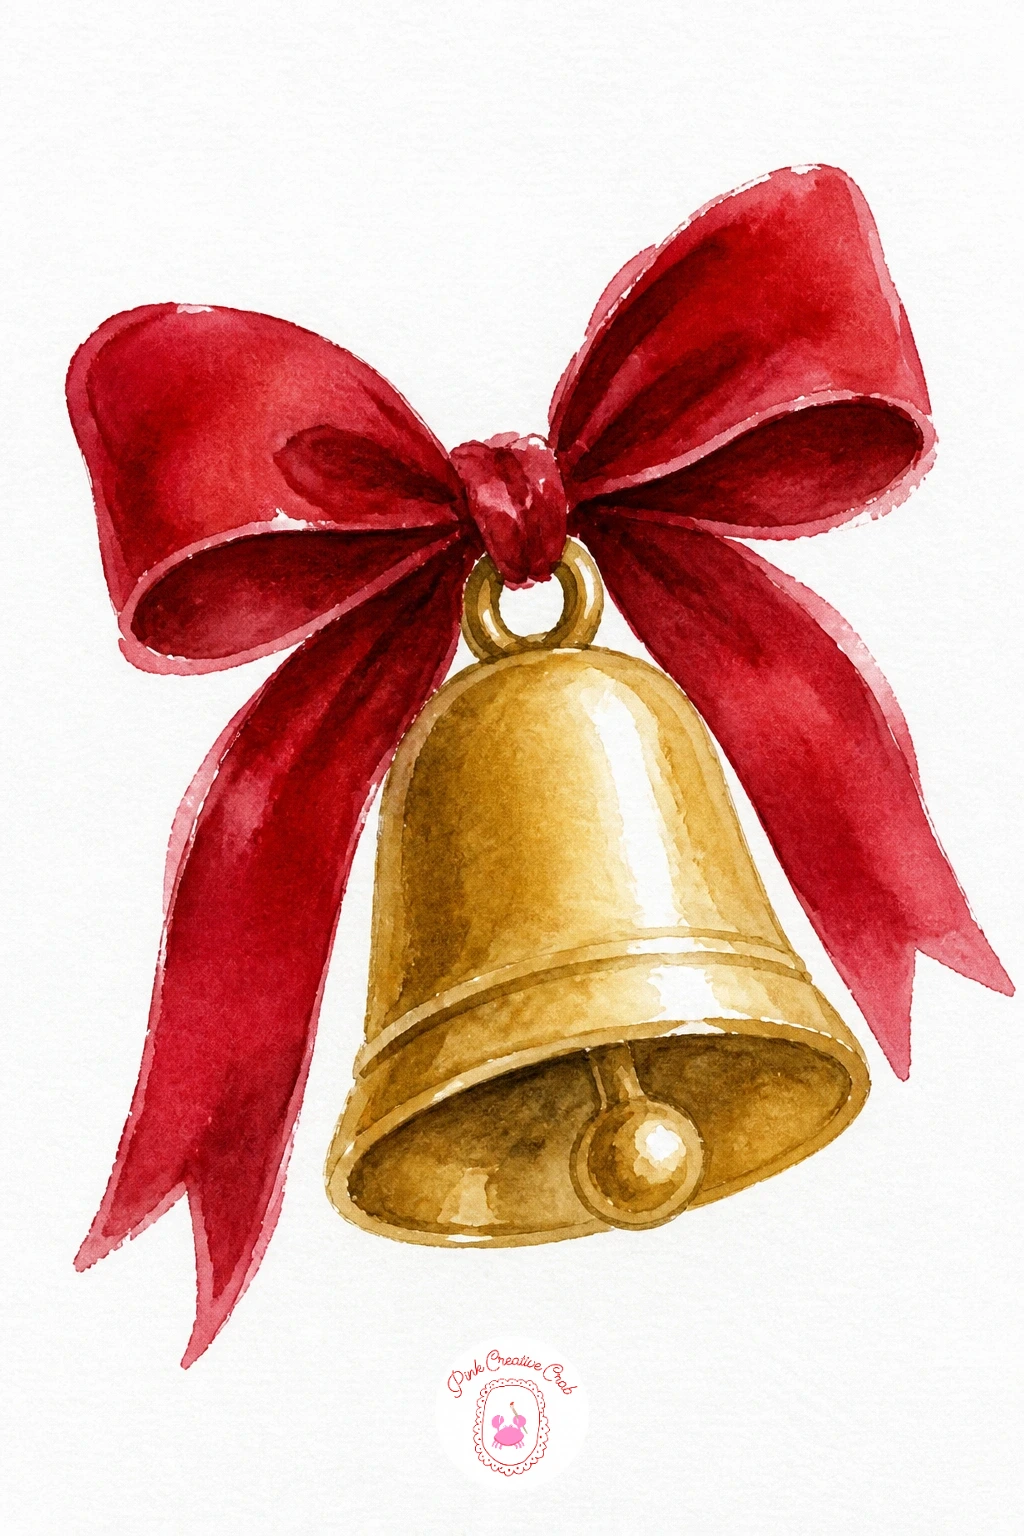
Give yourself a little challenge with this rounded bell shape and its soft ribbon. Sketch a simple bell silhouette, wide at the bottom and narrowing to a small loop at top, then paint it in a warm gold, keeping one side paler to show where the light catches the curve of the metal.
Once dry, add a small dark line down the shadowed side and a tiny clapper shape hanging just inside the open bottom edge. A deep red ribbon ties through the loop at top, painted as a simple bow with two tails, using a slightly thicker, more saturated wash than the bell to suggest velvet.
Metal objects like this often look dull without a highlight, so once the gold wash is dry, dab a small strip of white gouache or leave a thin streak of unpainted paper down the lit side to suggest shine. That one small highlight does most of the work of making it read as metal rather than flat gold paper.
If gold paint is not in your set, mix yellow ochre with a touch of brown for a close, warm substitute.
You Will Need
- round brush size 6
- yellow ochre or gold paint
- red paint for ribbon
- white gouache for highlight
Palette: Yellow Ochre,Cadmium Red,Burnt Umber
Keep the ribbon’s red a shade darker and richer than the bell’s gold, the contrast in saturation is what makes the velvet feel heavier than the metal.
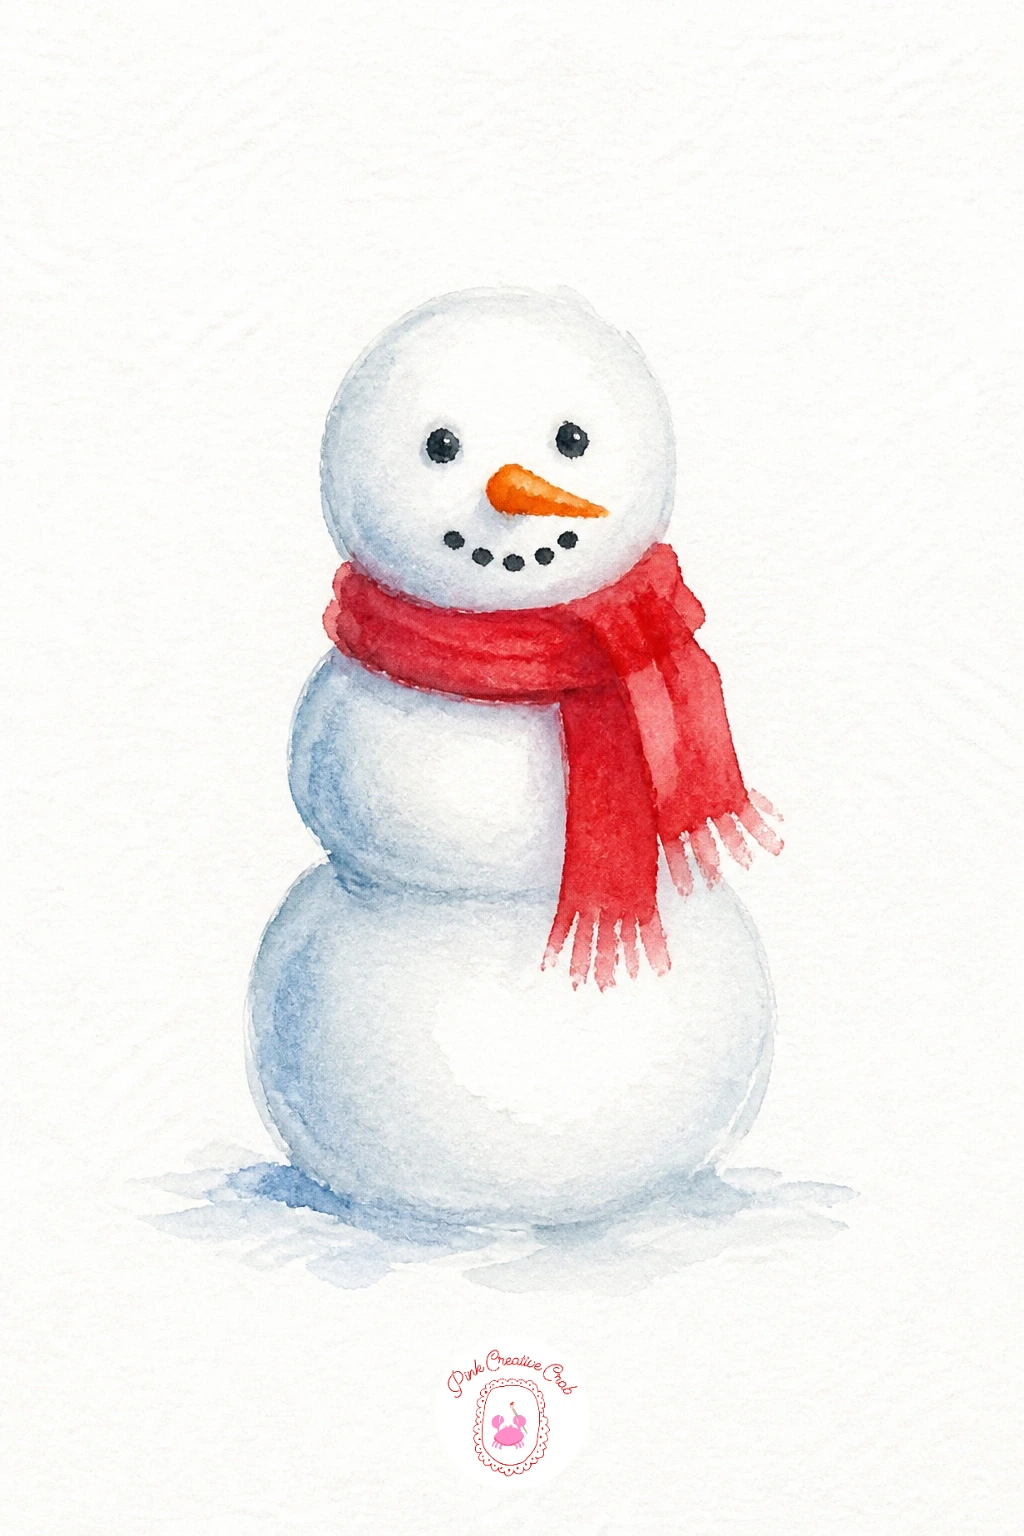
Comparing proportions matters most here, since a snowman reads correctly only when its shapes shrink in the right order. Paint three circles in white gouache or leave them as unpainted paper, stacking them so the bottom circle is clearly the largest, the middle noticeably smaller, and the head the smallest of all, checking each one against the last before you paint the outline.
Once the circle shapes are set with a thin grey outline, add a small orange triangle nose, two dot eyes, and a row of three dots down the front for buttons. A red scarf wraps around the neck area as a simple curved band with one tail hanging down to the side.
Snowmen often end up looking like three same-sized balls stacked in a row, which flattens the charm of the shape, so exaggerate the size difference a little more than feels natural while sketching, since paint tends to even differences out. A thin grey shadow beneath the base circle keeps him grounded in the snow.
Today’s tip: tilt the head circle slightly rather than centering it perfectly, it gives the snowman a more playful, caught-mid-moment feel.
You Will Need
- round brush size 6
- grey paint for outline
- red paint for scarf
- orange paint for nose
Palette: Titanium White,Payne’s Grey,Cadmium Red
Add a few loose dots of pale blue shadow along one side of each snowball shape, it is a quick way to suggest roundness without any real shading work.
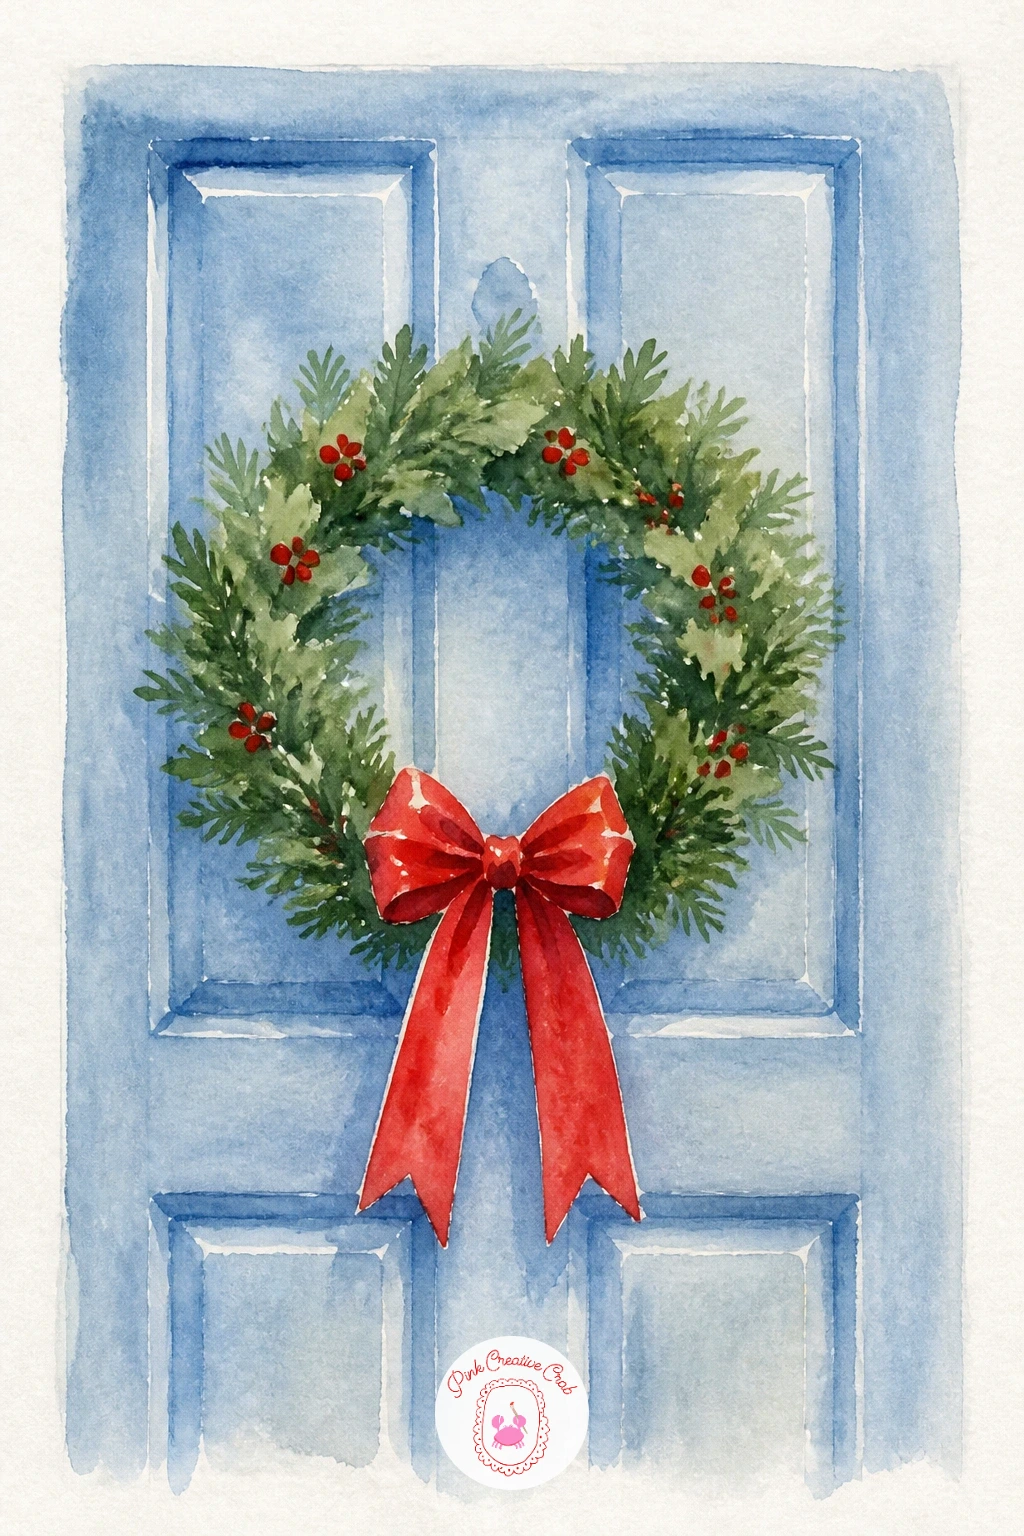
After a string of small objects, this one gives you a bit of background to work with. Paint a simple rectangle door first in a soft blue, using a flat wash and letting the brush strokes run top to bottom in one direction for an even, clean panel of color.
Once the door is fully dry, paint a wreath as a ring of small green dabs in the upper half of the door, working around in a circle rather than trying to draw a perfect outline first. A red ribbon bow sits at the bottom of the ring, with a thin loop of ribbon trailing up and over the top of the wreath to a small hook shape.
The wreath often turns into an uneven oval blob if you rush the dabbing, so turn your paper as you work rather than twisting your wrist, keeping each dab angled consistently outward from the center. If blue paint runs through the green dabs and muddies them, wait until the door is completely dry before starting the wreath, not just dry to the touch.
No blue paint for the door: a soft sage green door with the same wreath works just as well and feels equally modern.
You Will Need
- round brush size 8 for the door
- blue paint
- green paint for wreath
- red paint for bow
Palette: Dusty Blue,Hooker’s Green,Cadmium Red
Leave a thin white gap of unpainted paper around the door’s edge rather than painting corner to corner, it keeps the whole scene feeling light rather than boxed in.
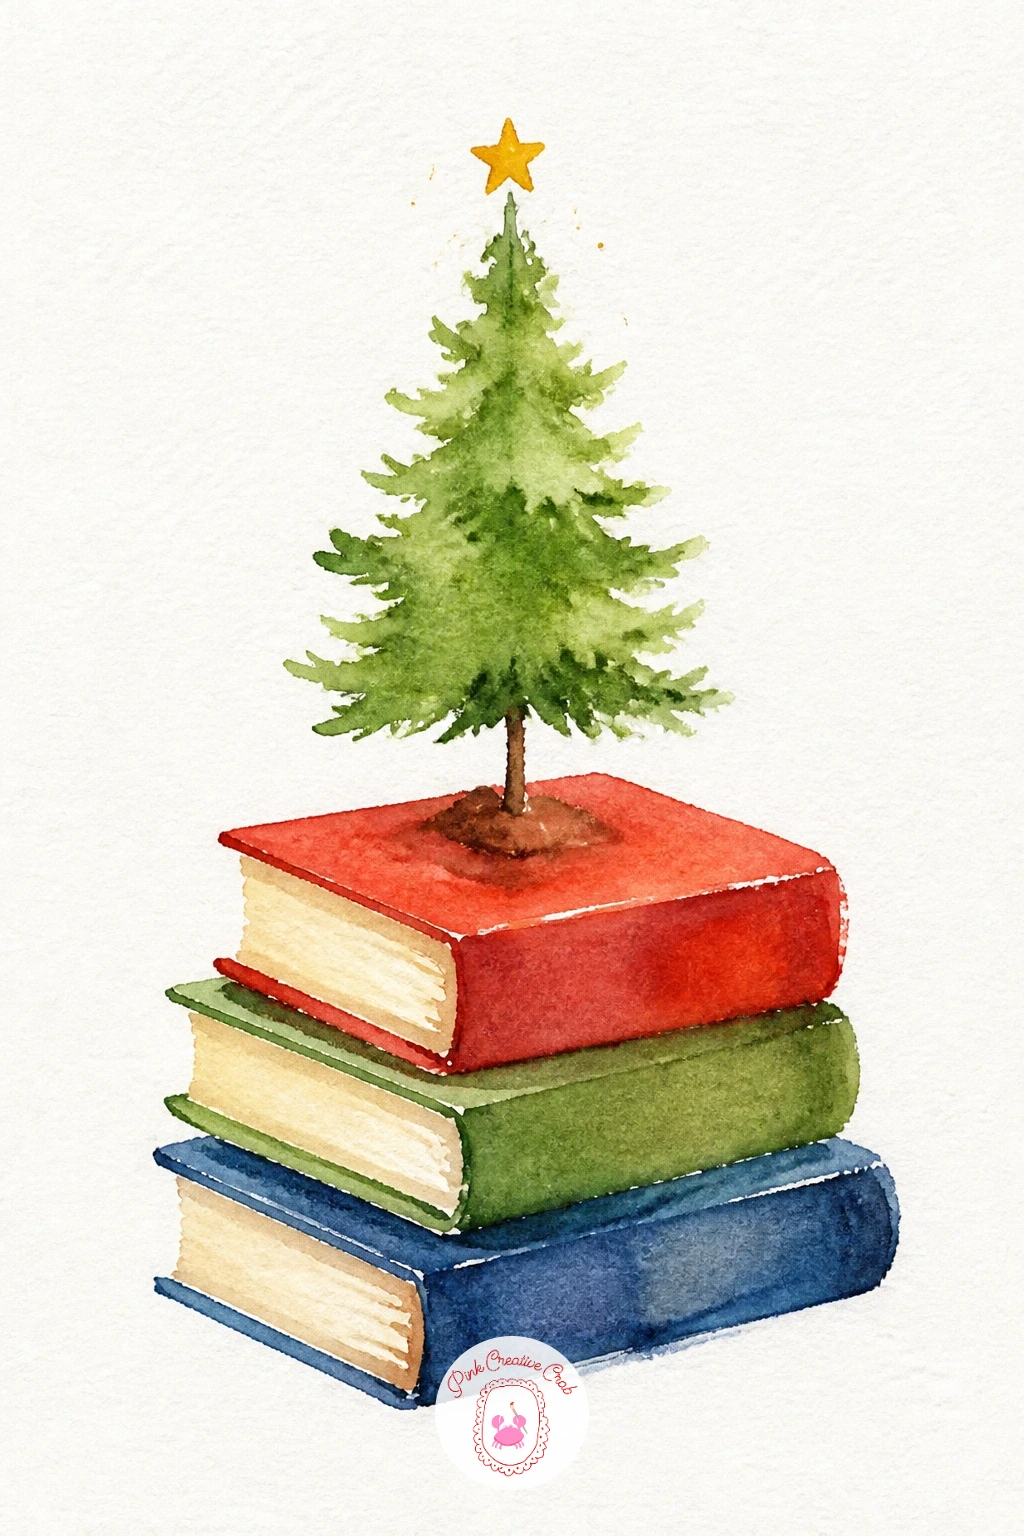
This quiet little vignette pairs nicely with any reading corner. Paint two or three stacked books first as simple rectangles in different colors, each one slightly offset from the one below so the stack feels a little relaxed rather than perfectly squared off, letting each layer dry before painting the next.
Once the books are dry, paint a small tree standing on top using the same layered triangle technique from the terracotta pot tree earlier in this list, just scaled down smaller to suit the books beneath it. A tiny star or dot at the very top finishes the tree.
Books painted with perfectly straight edges can look stiff and digital rather than hand-painted, so let your brush strokes wobble slightly along the spine edges on purpose. A little variation there matches the loose, modern feel of the whole painting.
If you enjoy pairing small objects with plants like this, the layered scenes in 36 Christmas Watercolor Ideas for Slow December Evenings explore more cozy still life combinations.
You Will Need
- round brush size 6
- three book colors
- sap green for tree
- fine brush for star
Palette: Dusty Rose,Mustard Yellow,Sap Green
Pick book colors that echo the tree’s green rather than clashing with it, a muted palette across the whole scene feels more intentional and modern.
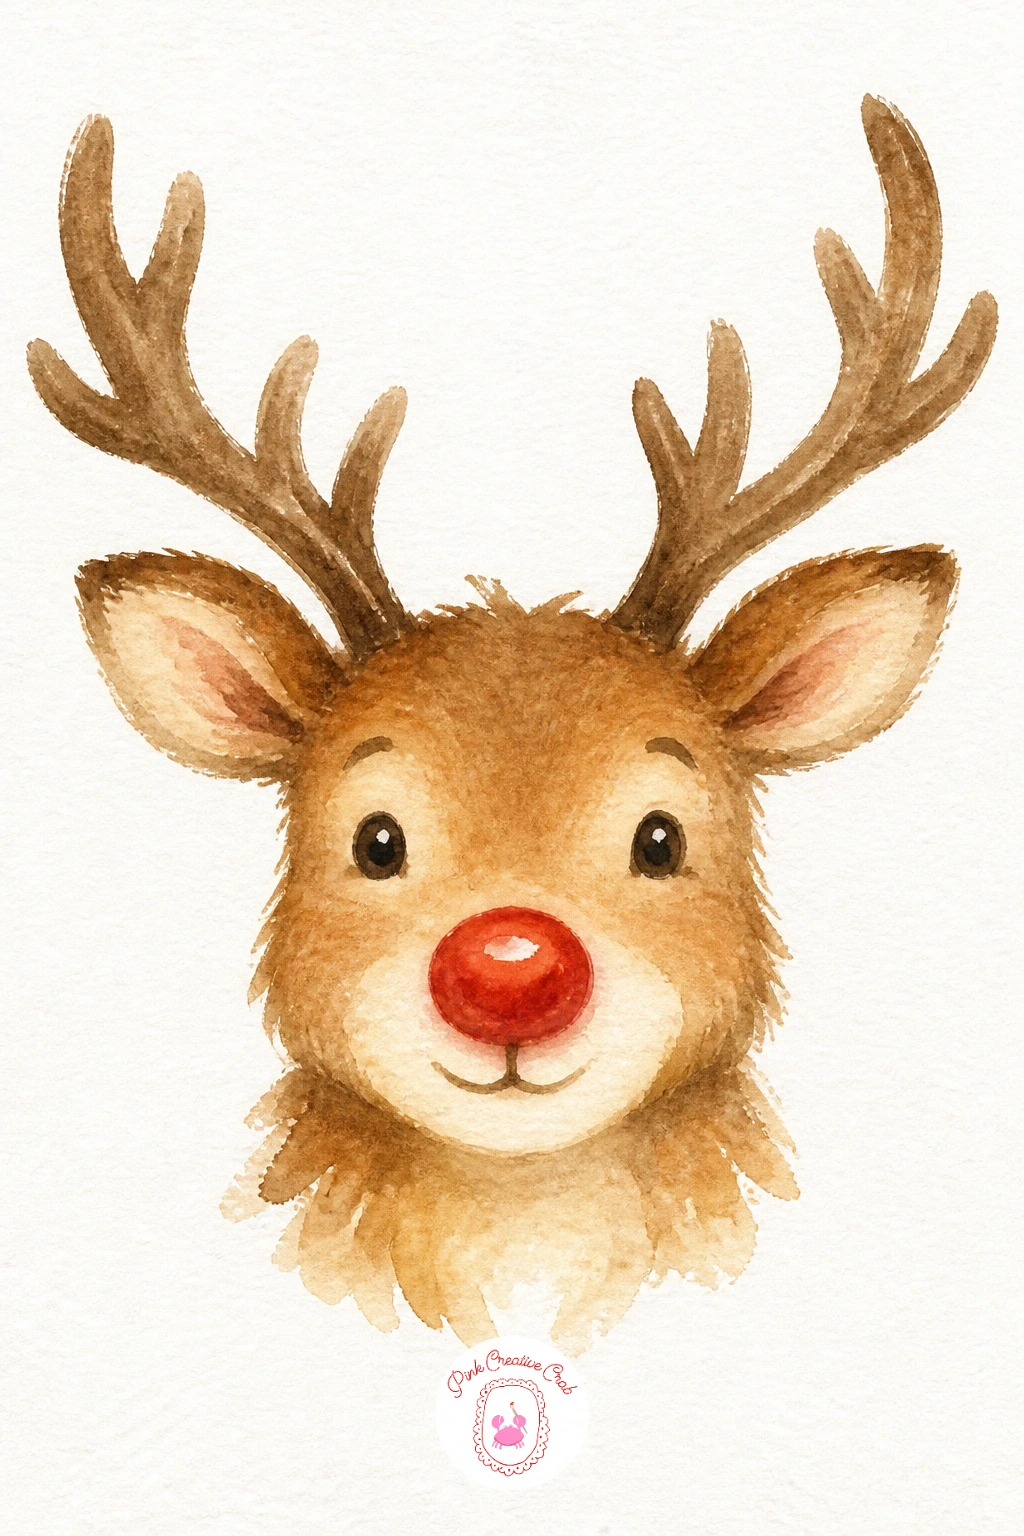
This friendly face works well as a quick, bold subject. Paint a simple rounded head shape in warm brown, then while still damp, add two antler shapes branching up from the top in a slightly darker brown so the edges blend softly into the head where they meet.
Once the head dries, paint two oval eyes in black and a round red nose at the center of the face, keeping the nose a touch larger and rounder than feels realistic, since that exaggeration is what makes it read as a friendly reindeer rather than a real deer. Small triangle ears on either side finish the shape.
Antlers painted too thin and spindly can disappear against the page, so keep the branches a bit thicker near the head and taper them only toward the tips. A light dry-brush texture along the antlers using a nearly dry brush adds a bit of bark-like roughness.
For a ten-minute version, keep it to the head, antlers and nose. The forty-minute version adds a small string of tiny lights looped between the antler tips.
You Will Need
- round brush size 6
- brown paint two shades
- red paint for nose
- fine brush for eyes
Palette: Burnt Sienna,Burnt Umber,Cadmium Red
Keep the red nose as the very last thing you paint, a tiny pop of bright color at the end instantly pulls the whole face together.
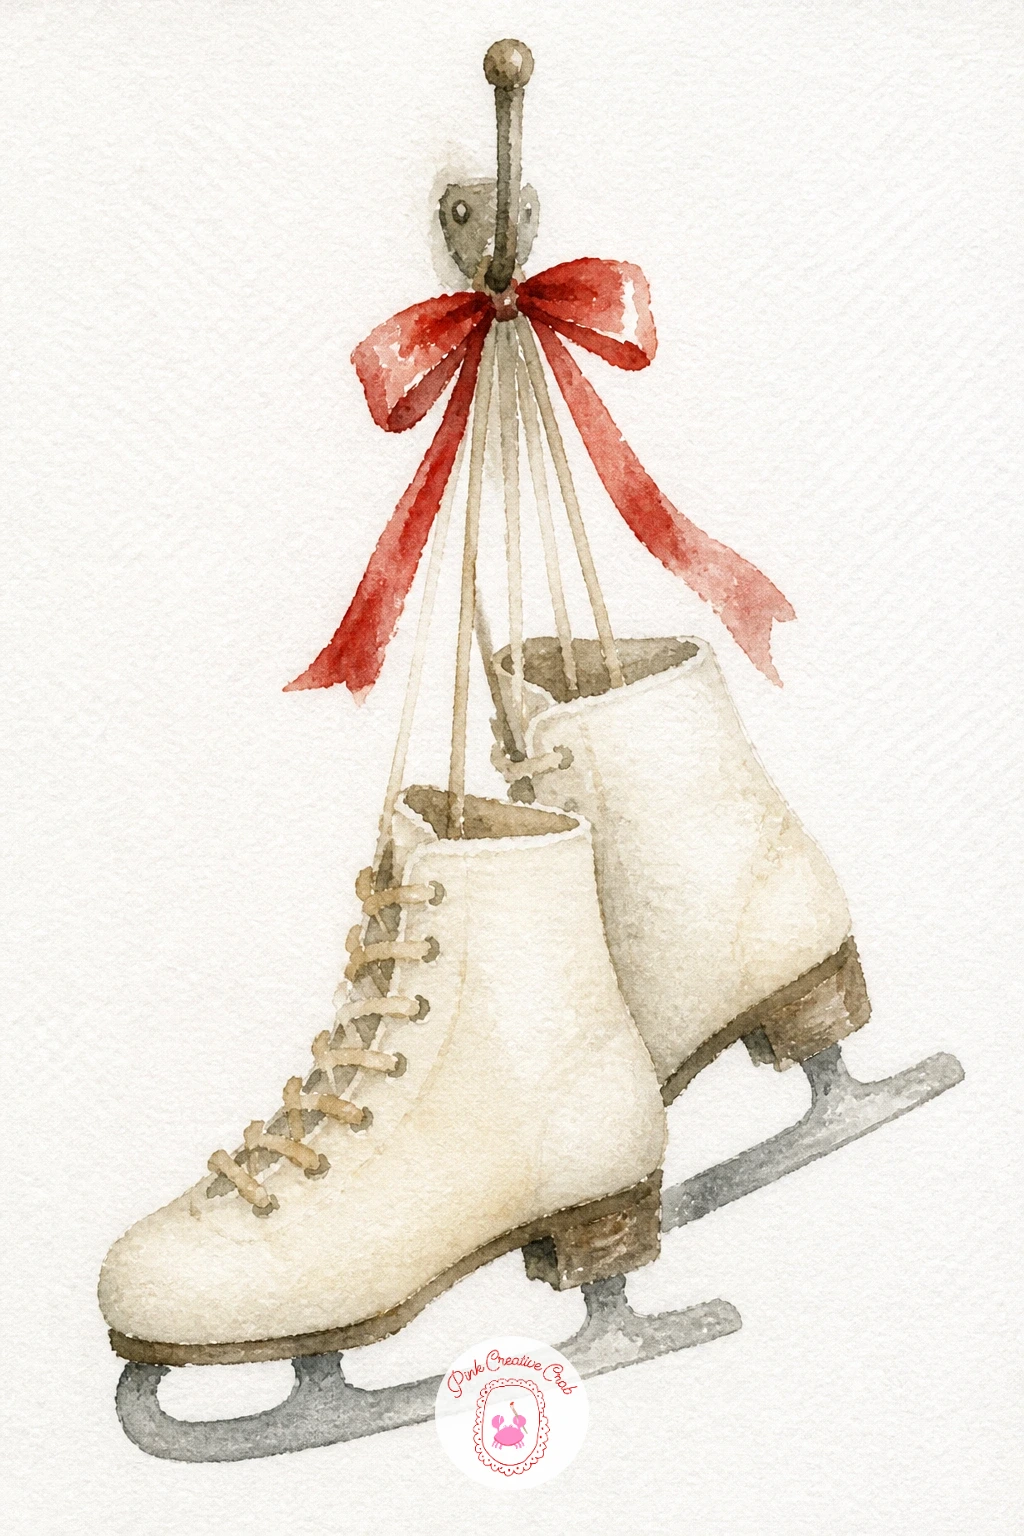
This one plays with a few overlapping curved shapes. Paint the skate boots first as two simple curved shapes in a soft brown or cream, angled so they hang slightly apart from each other rather than perfectly symmetrical, with the toes pointing down and the top cuffs wider.
Once dry, paint the blades beneath each boot as thin curved silver-grey lines, and add laces as a few short crossing strokes up the front of each boot in a fine brush. A single loop of red ribbon ties the two laces together over a small hook at the very top.
Matching the angle of both boots is the part that usually slips, so pencil both lightly first and hold the page at arm’s length to compare the tilt of each one before you commit to paint. If the blades come out too thick and clunky, thin your paint with more water and redraw them in one single confident stroke rather than going back over the line.
Hang them from a simple wall peg instead of a hook if you would rather skip drawing the hook shape altogether.
You Will Need
- round brush size 4
- brown or cream paint
- grey paint for blades
- red paint for ribbon
Palette: Cream,Payne’s Grey,Cadmium Red
Let one skate hang a little lower than the other rather than lining them up evenly, it adds a natural, just-hung feeling to the pair.
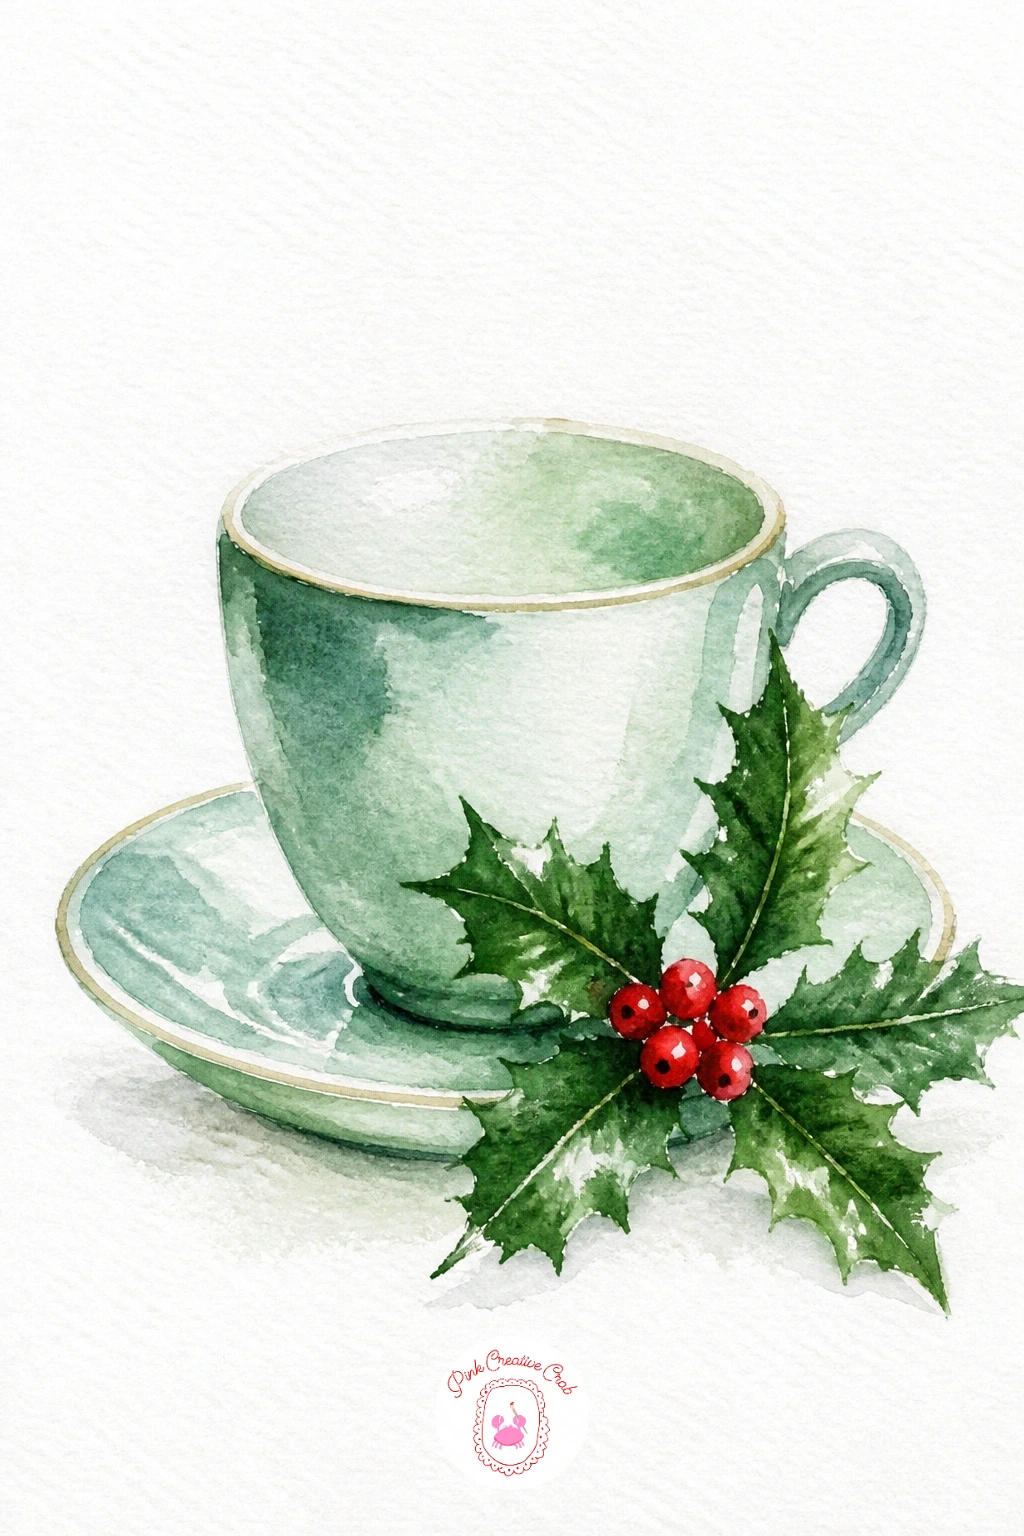
Returning to a cozy tabletop subject, this teacup pairs well with the mistletoe sprig earlier in the list if you want to practice the same leaf shapes again. Paint the teacup first as a simple rounded shape with a thin saucer beneath it, using a flat wash in a soft color and leaving the rim as unpainted white paper.
Once dry, paint a small sprig of holly resting against the side of the cup, using the same pointed oval leaf shapes in deep green with a few small red berries clustered at the base. A thin curved handle on the cup, painted last, keeps the proportions from feeling top-heavy.
Holly leaves drawn too rounded lose their spiky character, so give each leaf a few small pointed notches along the edge rather than a smooth oval outline. A little lifting with a damp brush along one edge of the cup suggests a soft highlight from the light.
If you enjoyed this leaf and berry combination, more quick botanical pairings sit in 24 Cute Watercolor Christmas Card Ideas Perfect For Beginners.
You Will Need
- round brush size 6
- soft color for teacup
- deep green and red for holly
- fine brush for notches
Palette: Dusty Rose,Hooker’s Green,Cadmium Red
Rest the holly sprig against the cup rather than tucked inside it, the small overlap of leaf over porcelain reads as a deliberate little still life.
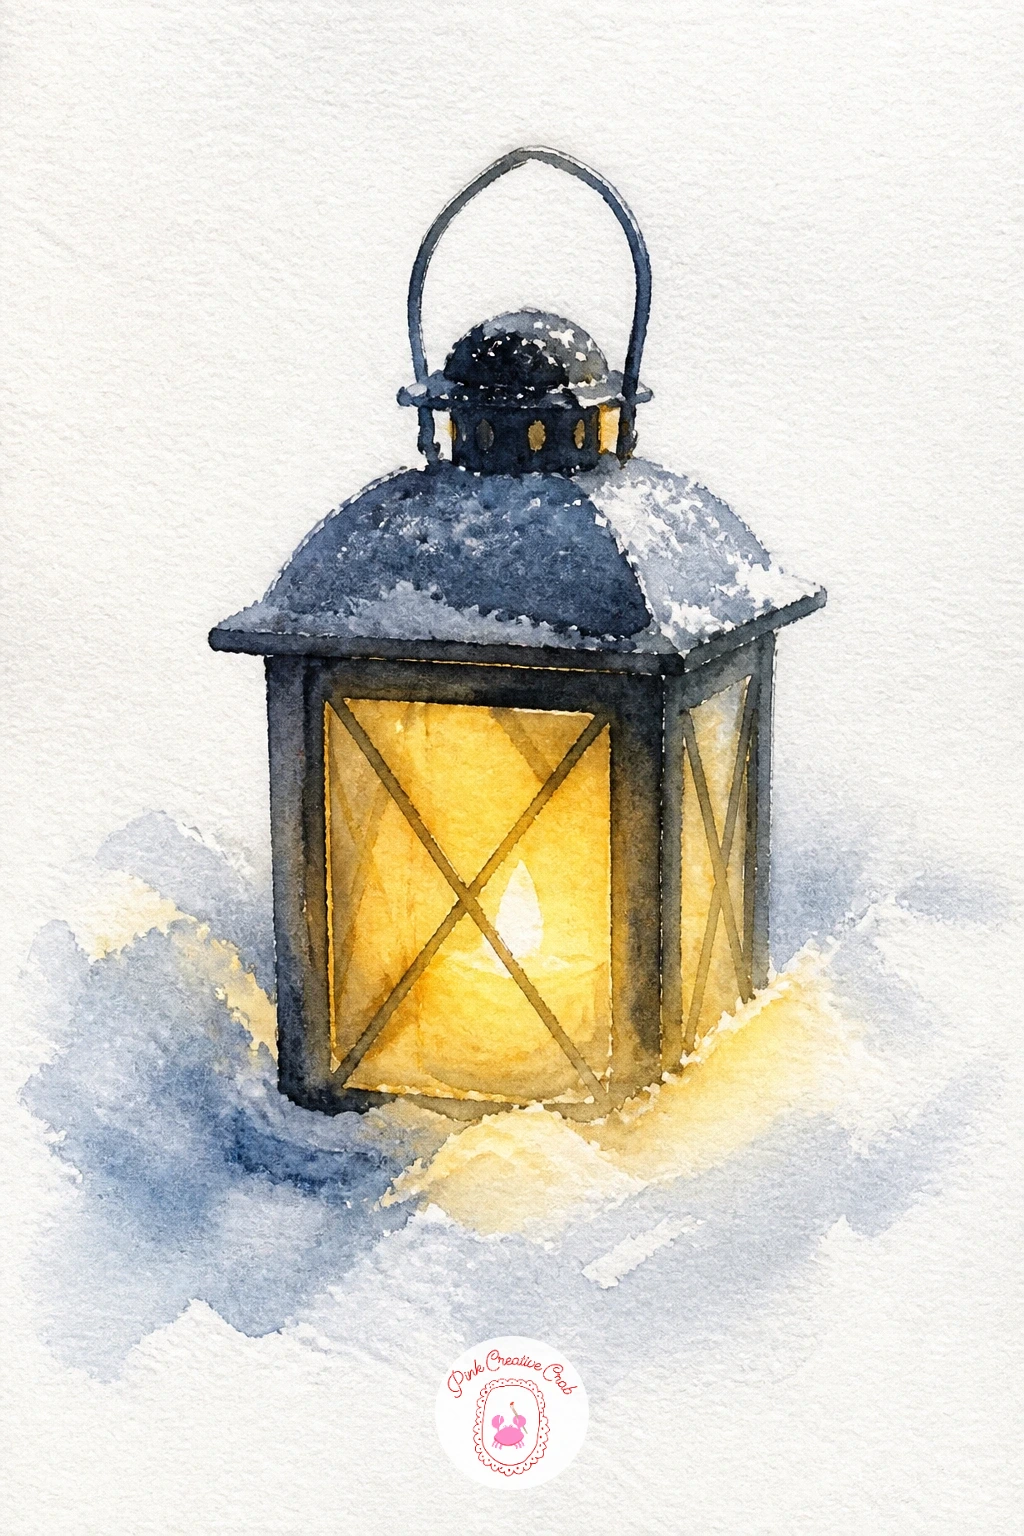
Light placement does the heavy lifting in this scene. Paint a simple square or rounded lantern frame in dark grey or black, leaving the glass panel inside it as unpainted white paper, then once dry, flood that panel with a warm yellow-orange wash that glows against the dark frame around it.
While the glow wash is still damp, let a touch of it bleed softly past the frame’s edges, suggesting light spilling outward into the snowy air rather than staying perfectly contained. A simple curved handle on top and a few loose dabs of white gouache scattered around the base suggest snow catching the glow.
Lanterns can look flat if the frame and the glow have no contrast, so keep the frame noticeably darker than you think it needs to be, since that contrast is what makes the warm light read as a true glow. A soft grey shadow pooling beneath the lantern on the snow finishes the effect.
Try this scene again later in a cooler blue twilight instead of plain white snow, which makes the warm glow feel even stronger by contrast.
You Will Need
- round brush size 6
- dark grey or black paint
- yellow-orange paint for glow
- white gouache for snow
Palette: Payne’s Grey,Cadmium Yellow,Orange
Paint the lantern slightly lower on the page than feels natural, with more white space above it, so the glow has room to feel like it is lighting up the whole scene.
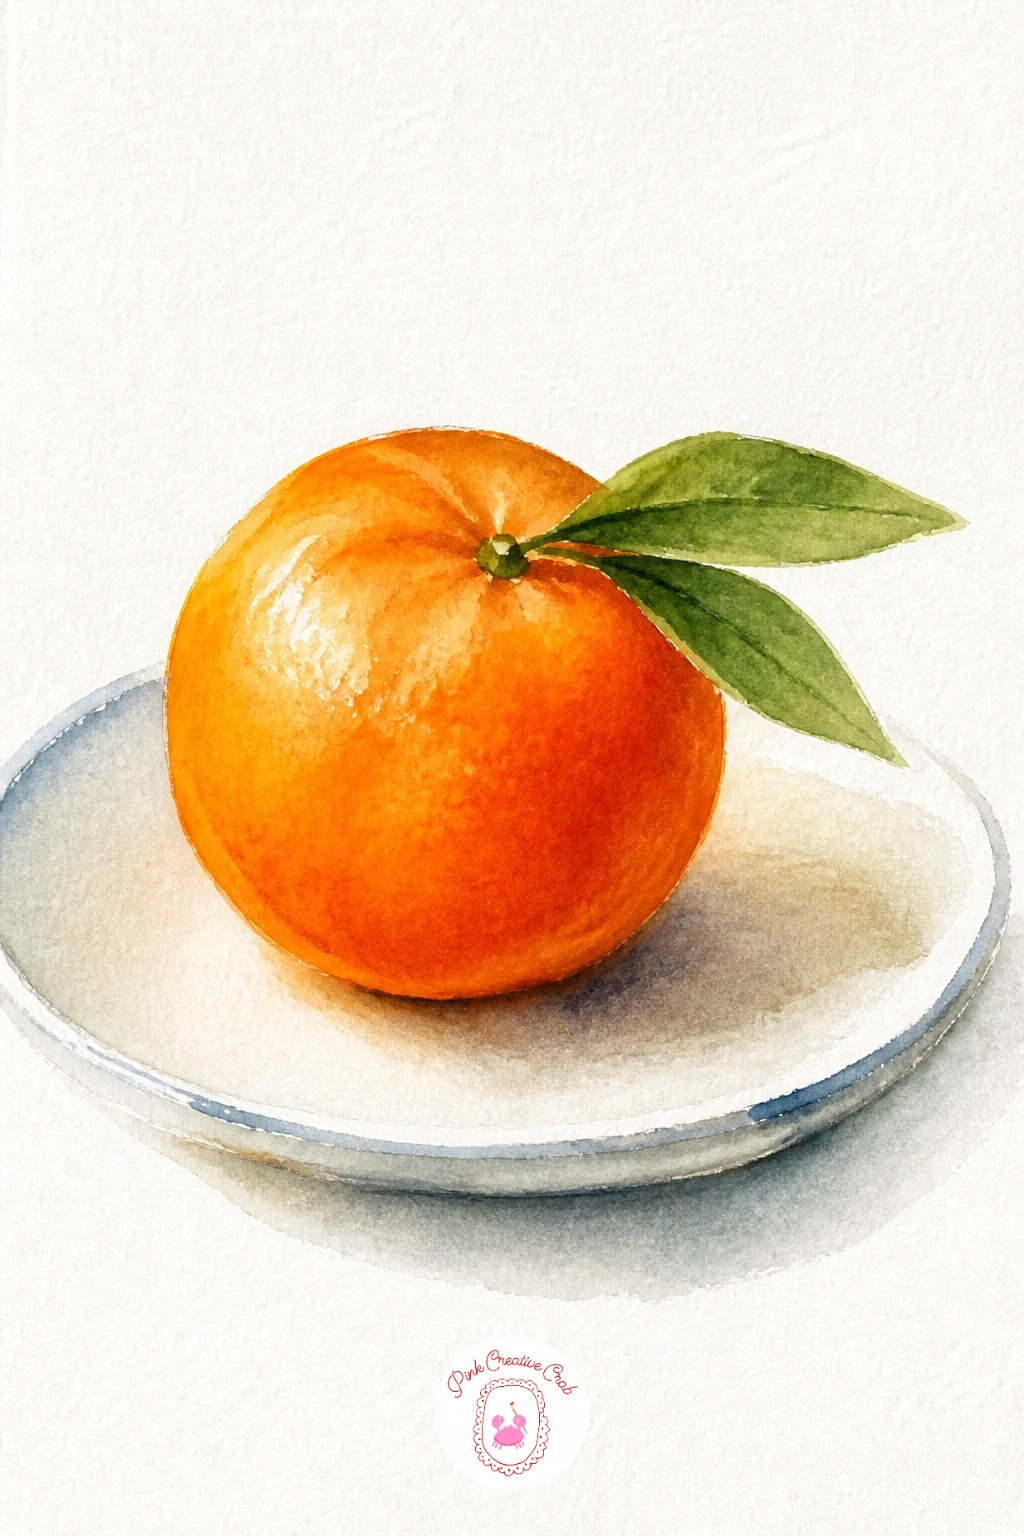
This bright little fruit painting is a quick, cheerful one to end a session on. Paint a simple circle in orange for the clementine, leaving a small highlight of unpainted white paper near the top, then while still damp, drop in a touch of darker orange along the lower edge so it rounds off softly into shadow.
Once dry, paint two small pointed leaves and a short stem at the top of the fruit in a fresh green, angled slightly apart from each other. A simple curved line beneath the clementine suggests the edge of a plate, left mostly as white paper.
The fruit can look flat without that shadow, so do not skip dropping in the darker orange while the first wash is still wet, since adding it after it dries creates a hard ring instead of a soft gradient. A few tiny white dots flicked onto the surface with a nearly dry brush suggest the dimpled peel texture.
If you would like to paint more fruit this way, the techniques carry over directly into 15 Easy Watercolor Fruit Paintings for Your Kitchen.
You Will Need
- round brush size 6
- orange paint two shades
- green paint for leaves
- fine brush for texture
Palette: Cadmium Orange,Hooker’s Green,Titanium White
Leave the highlight on the clementine slightly off-center rather than dead in the middle, it makes the round fruit feel more three-dimensional at a glance.
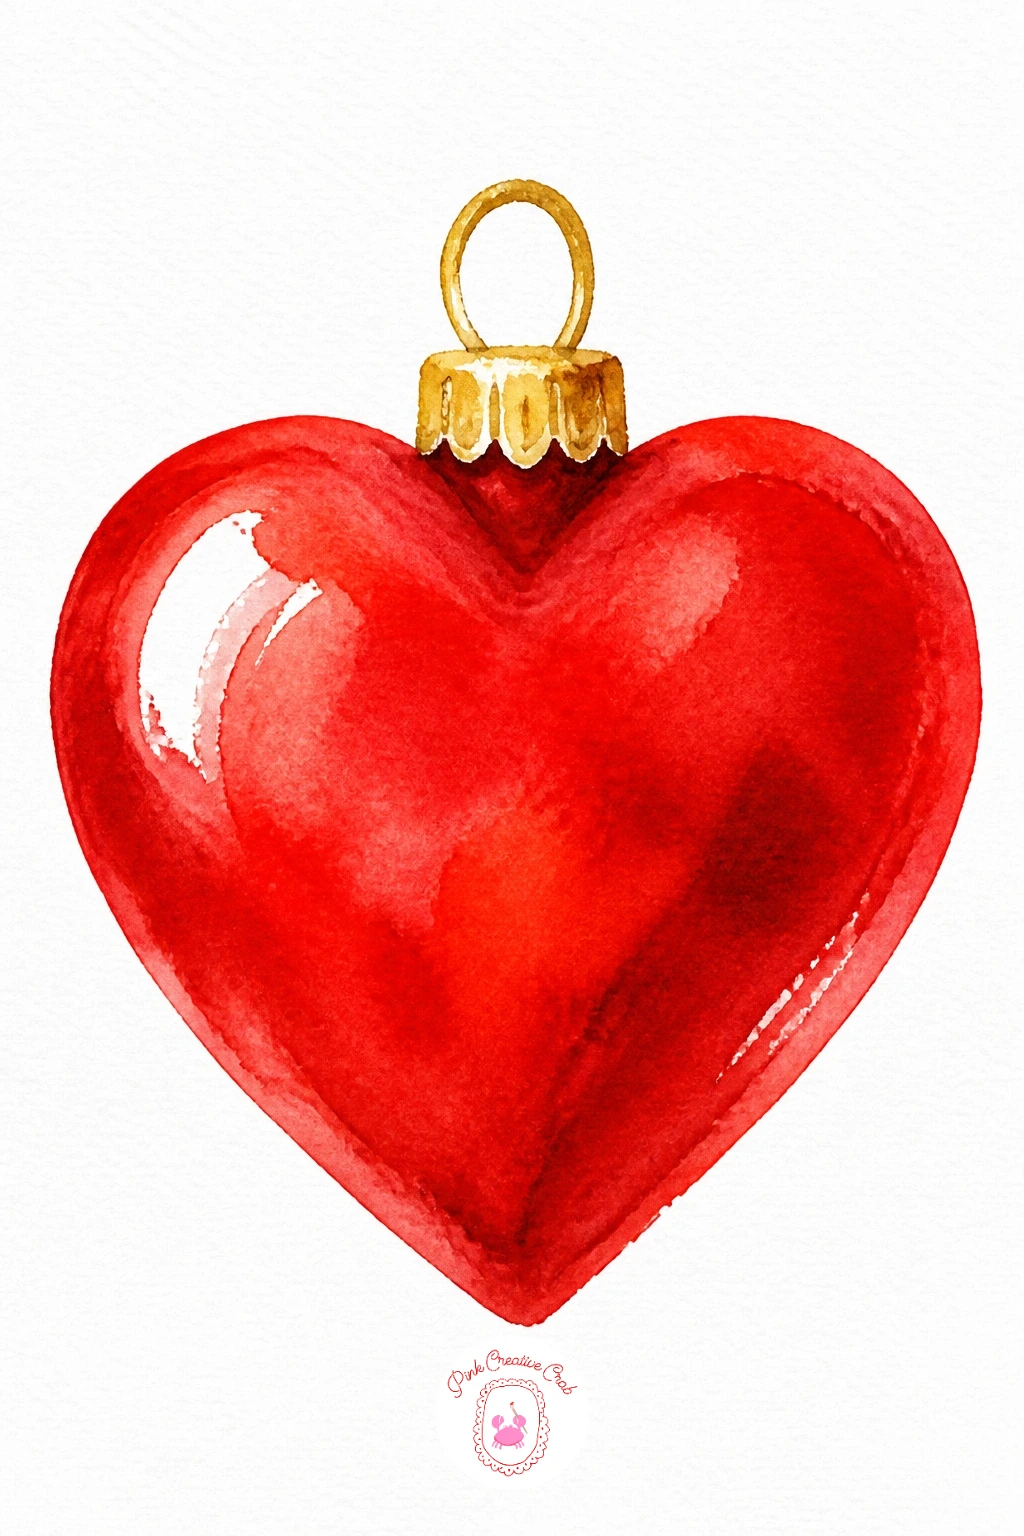
A heart shape is deceptively simple, so take a moment to get the proportions right before painting. Lightly pencil two equal round lobes at the top meeting at a point at the bottom, checking that both sides mirror each other evenly, since a lopsided heart is the most common slip with this shape.
Paint the heart in one flat wash of deep red, leaving a thin curved highlight of white paper near the top left to suggest a glossy ornament surface rather than a flat paper heart. Once dry, add a thin gold loop and hook shape at the top where it would hang from a branch.
A single thin white gel pen line swept diagonally across the heart after everything dries adds a quick shine that sells the glass ornament look in seconds. If the red wash dries too flat and even, a light second glaze over just the lower half deepens the shadow side nicely.
Try this same heart in a soft blush pink with a silver loop next time, for a quieter, more pastel version of the same ornament.
You Will Need
- pencil for light guide lines
- round brush size 6
- deep red paint
- gold or yellow ochre paint
Palette: Deep Red,Yellow Ochre,Titanium White
Hold the painting upside down partway through sketching the heart, it makes it much easier to spot if one lobe is bigger than the other.
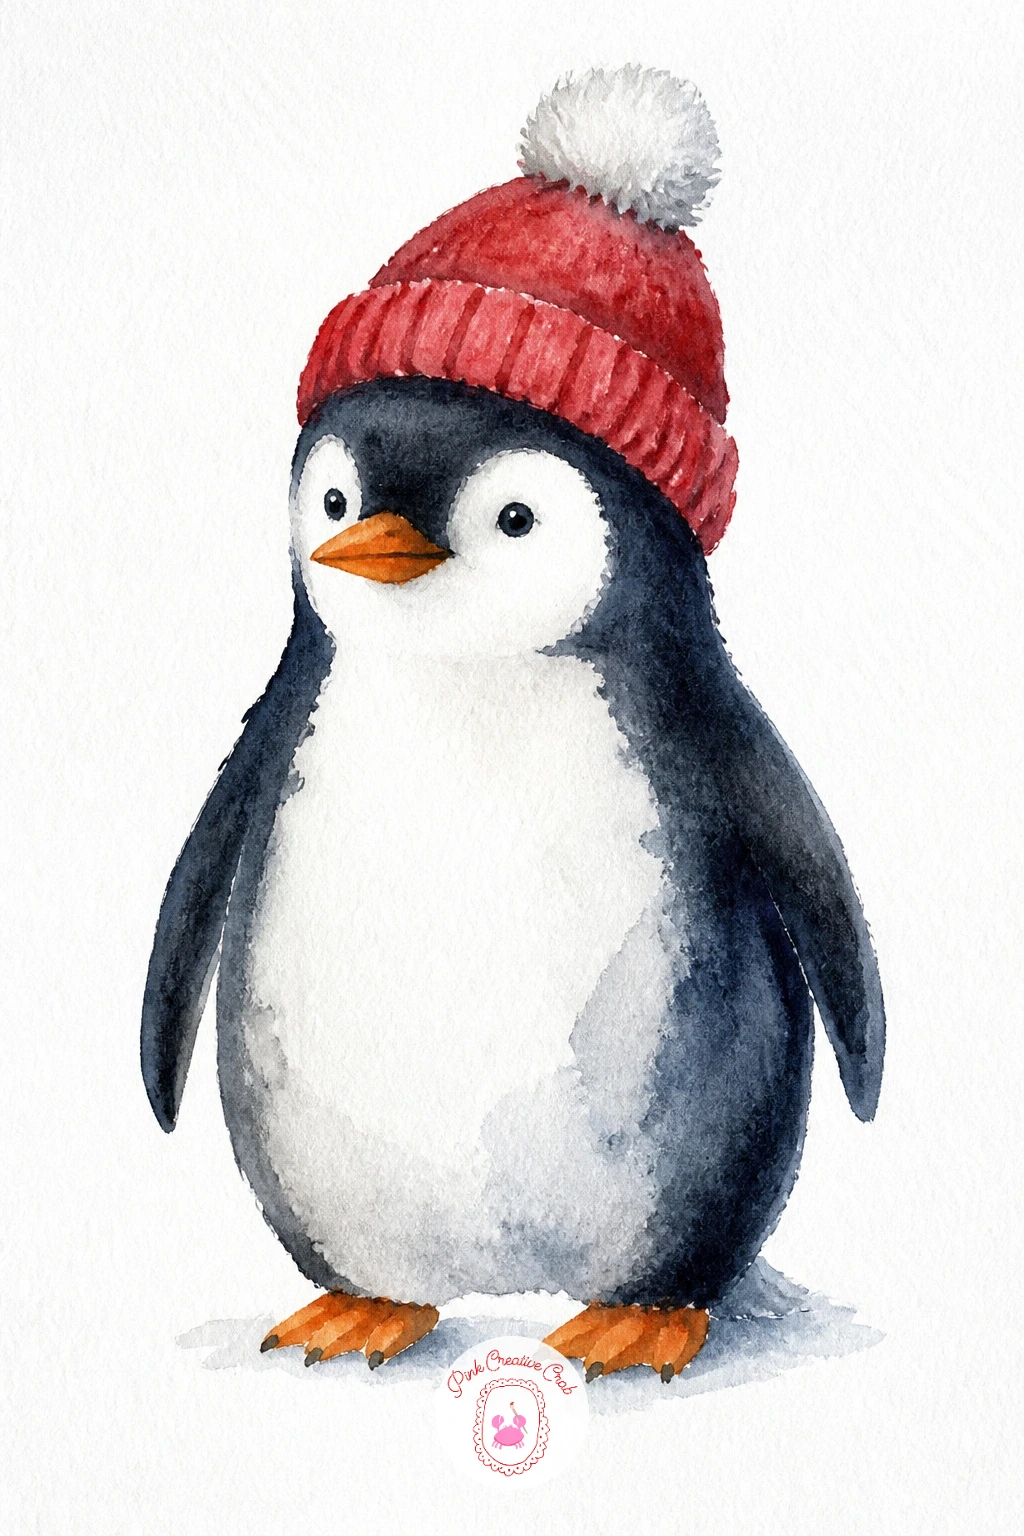
This character brings a bit of fun to close out the animal subjects on this list. Paint the penguin’s body as one rounded black or dark grey shape, oval and a little top-heavy, then while it is still slightly damp, leave an unpainted white belly shape down the front by working the dark wash around it rather than painting over it and lifting later.
Once dry, add a small orange triangle beak and two tiny orange feet peeking out from the base. A simple knitted hat sits on top of the head, painted as a rounded triangle shape in red with a small white pom-pom dabbed at the tip.
The belly patch often ends up uneven or forgotten entirely mid-wash, so pencil its outline lightly before you start painting the dark body, giving yourself a clear boundary to paint around. If your dark grey turns too blue or too brown, mix a touch of both burnt umber and blue to balance it into a true charcoal.
Add tiny white gel pen dots falling around the penguin for snow if you want a bit more atmosphere for the same amount of effort.
You Will Need
- round brush size 6
- dark grey or black paint
- orange paint for beak and feet
- red paint for hat
Palette: Charcoal Grey,Cadmium Orange,Cadmium Red
Tilt the penguin’s body slightly rather than painting it perfectly upright, a small lean gives it a waddling, lively feel even standing still.
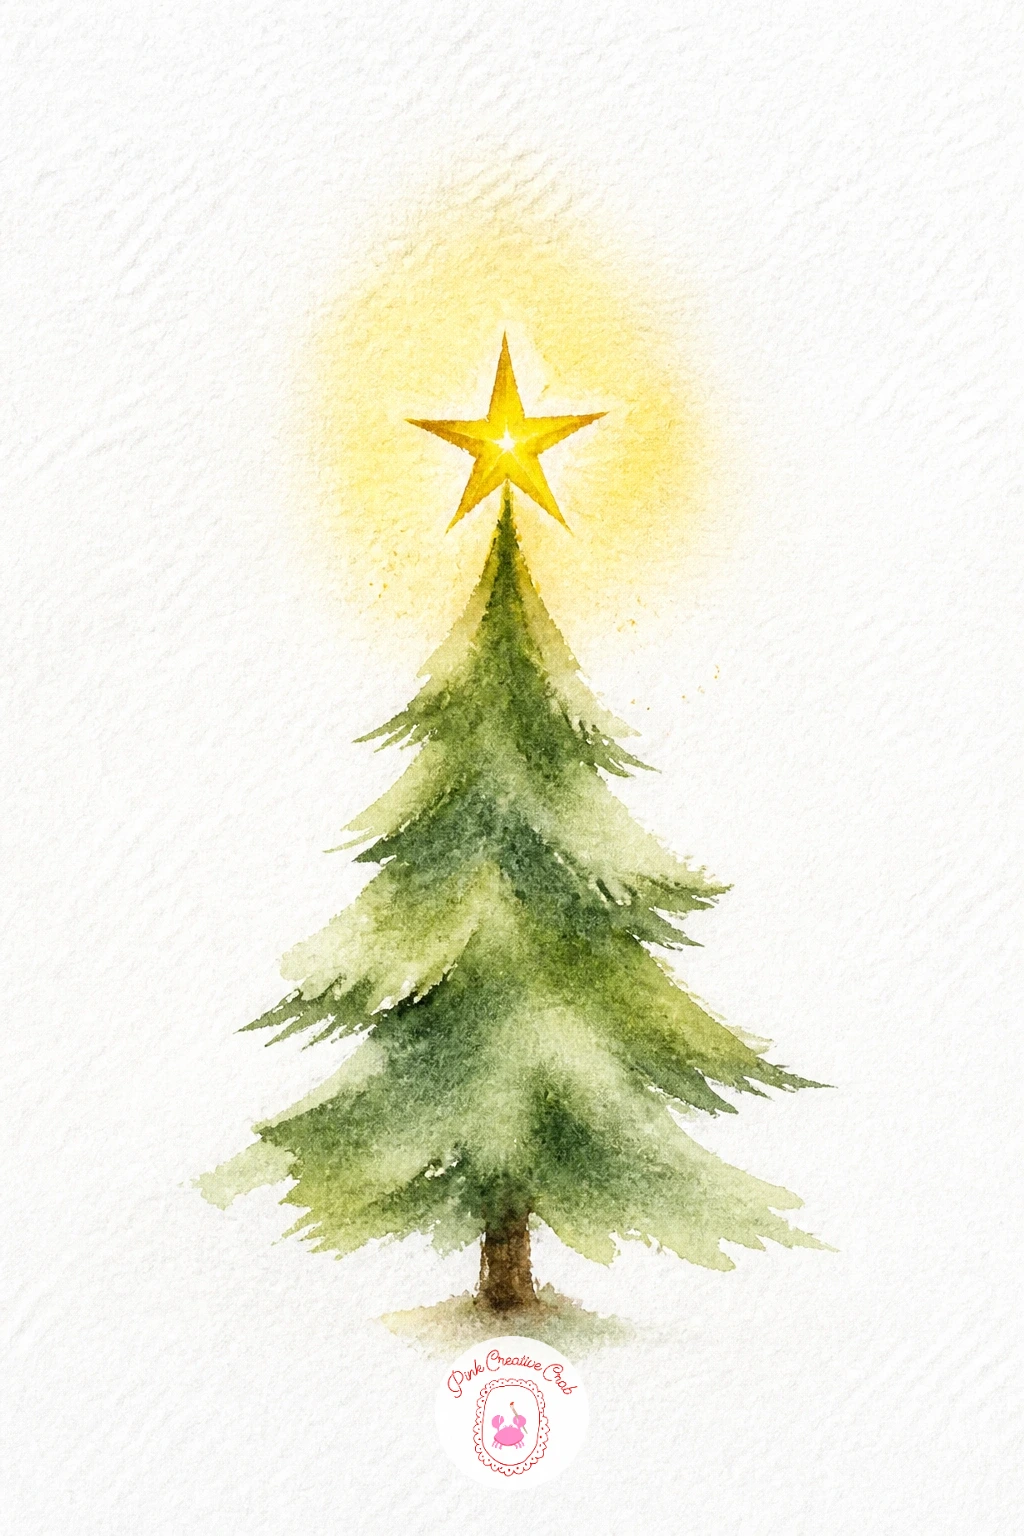
Close out the list with this small finishing scene, a simple star perched atop a little tree. Paint the tree using the same layered triangle dabbing technique from earlier trees on this list, keeping it short and a little squat so there is plenty of room above it on the page for the star.
Once the tree dries, paint a simple five-point star in gold or pale yellow right at the very tip, keeping the points a little uneven and hand-drawn rather than perfectly geometric, which suits the loose, modern feel of the whole set. A soft wash of pale yellow glow around the star, applied to damp paper, suggests it catching the light.
Stars often end up lopsided when every point is drawn freehand at a different angle, so lightly sketch two overlapping triangles in pencil first as a guide, then paint over that structure rather than guessing each point individually. A tiny dab of white gouache at the center adds one last sparkle.
Pair this with the windowsill tree from earlier in the list if you would like to compare how two different tree sizes read on the same page.
You Will Need
- round brush size 6
- sap green paint
- gold or pale yellow paint
- white gouache for sparkle
Palette: Sap Green,Pale Gold,Titanium White
Let the yellow glow around the star bleed a little into the very top of the tree while both are still damp, tying the two shapes together softly.
What to Do Next
Pick one idea that matches your mood tonight, set out your paper, brush and just two or three colors, and give yourself one evening to finish it start to end. Once you see how quickly these simple shapes come together, the rest of the list makes an easy habit for the whole season.
Frequently Asked Questions
What paper works best for easy Christmas watercolor paintings?
Cold press watercolor paper around 140lb handles these small washes well without buckling. Avoid thin sketchbook paper, since it warps quickly once you add a second wash on top of a damp first layer.
How many colors do I really need for this style?
Two or three colors per painting is enough, plus white paper left unpainted for highlights. A small set with a warm red, a green and a brown or grey covers almost every idea on this list.
How do I keep these paintings looking loose and modern instead of tight?
Work quickly with a well-loaded brush and resist outlining every shape in pencil first. Let edges stay a little soft and leave more white paper around the subject than feels natural at first.
My washes keep drying blotchy, what am I doing wrong?
Blotchy washes usually mean too little water or paint loaded onto the brush before you start. Mix a bigger puddle of color than you think you need and keep the brush moving across the shape without stopping.
Can I paint these without buying a big watercolor set?
Yes, a basic set of eight to twelve colors covers every idea here, since most paintings only use two or three mixed from it. A white gel pen and one good round brush do most of the detail work.
Have any thoughts?
Share your reaction or leave a quick response — we’d love to hear what you think!
-
 0
-
0
-
0
-
0
-
0
-
0


