

Easy gouache painting is exactly the kind of project that fits into a short afternoon: a few flat shapes, three or four colours, and a subject simple enough to finish before the paint dries on your palette. Gouache covers so cleanly that even a first attempt can look crisp and finished, which is why it suits anyone who wants a small, satisfying result without a big time commitment.
Below you will find thirty one little subjects, from a lemon branch with glossy leaves to a scooter parked by a pastel wall, arranged from the simplest to the slightly more involved. Pick whichever one makes you want to open your paints right now.
Using these images: free for personal projects such as printing, coloring, cards, journals and gifts. Handmade items that include them may be sold up to 30 pieces per design. More than that is commercial use and is not permitted, and neither is selling or sharing the images themselves or passing them off as your own. Please ask before any other use.
Start the whole list with a lemon branch, since it teaches the flat shape and clean edge habit you will reuse in almost every painting here. Sketch a thin curved line for the branch, then three ovals hanging off it at different heights, loosely, in pencil.
Paint the lemons first in a lemon yellow, leaving the pencil line visible as your edge guide, then let that dry completely before you add the leaves in a mint green on top. The place this goes wrong is painting leaves over wet lemon paint so the colours bleed together; wait until the lemon shapes are bone dry, then paint the leaves with a pointed brush for crisp tips.
Add a thin brown or olive line for the branch itself last, on top of both dried shapes. If you do not have a fine liner brush, use the tip of a round brush loaded with very little water for that same thin, controlled line.
Keep the background bare cream paper: the contrast is what makes the lemons glow.
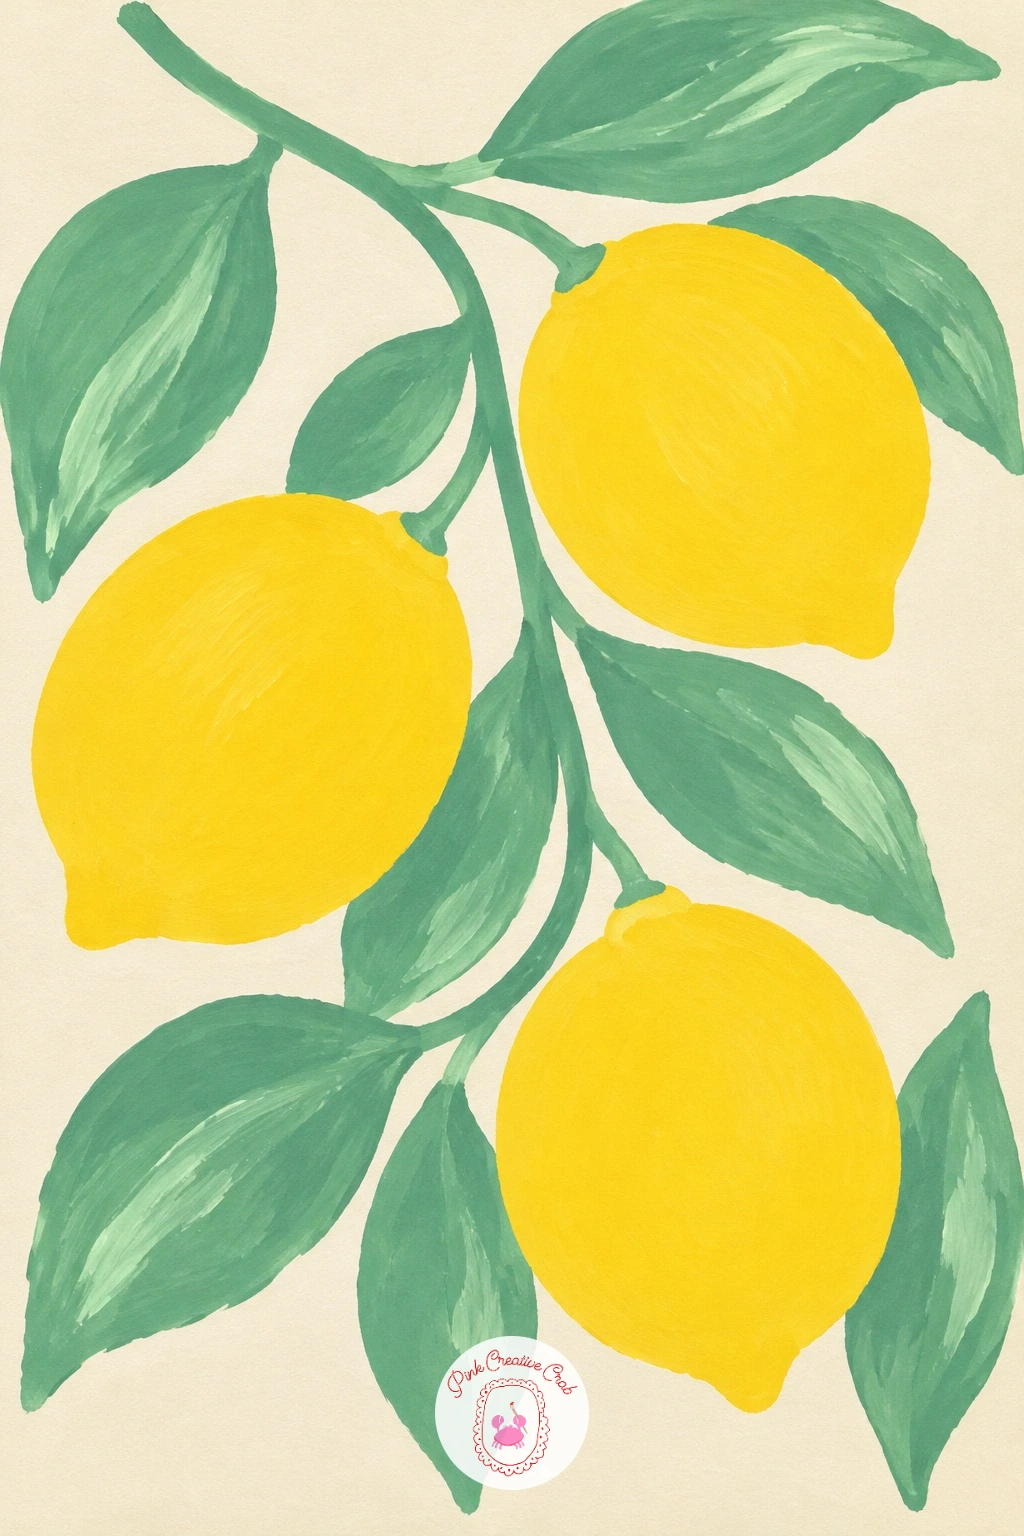
Palette: Lemon Yellow,Mint Green,Raw Umber,Soft Cream
Move from branches to water with a small sailboat, a good second painting because it is just triangles and a rectangle sitting on a flat band of blue. Pencil in a simple hull shape, a mast line, and two triangle sails, then a straight horizon line about a third of the way up the page.
Paint the sky first in a pale version of your blue, then the sea in a slightly deeper navy below the horizon, letting both dry before touching the boat. One measuring trick keeps this looking right: the boat should sit on the horizon line, never above or below it, so check that placement in pencil before any paint goes down.
Paint the hull in coral pink, the sails in white or cream left as bare paper, and the round sun in lemon yellow sitting just above the horizon. If your gouache runs thin and streaky on the flat sea, add a touch more paint and less water next time, since flat shapes need thicker coverage than washes.
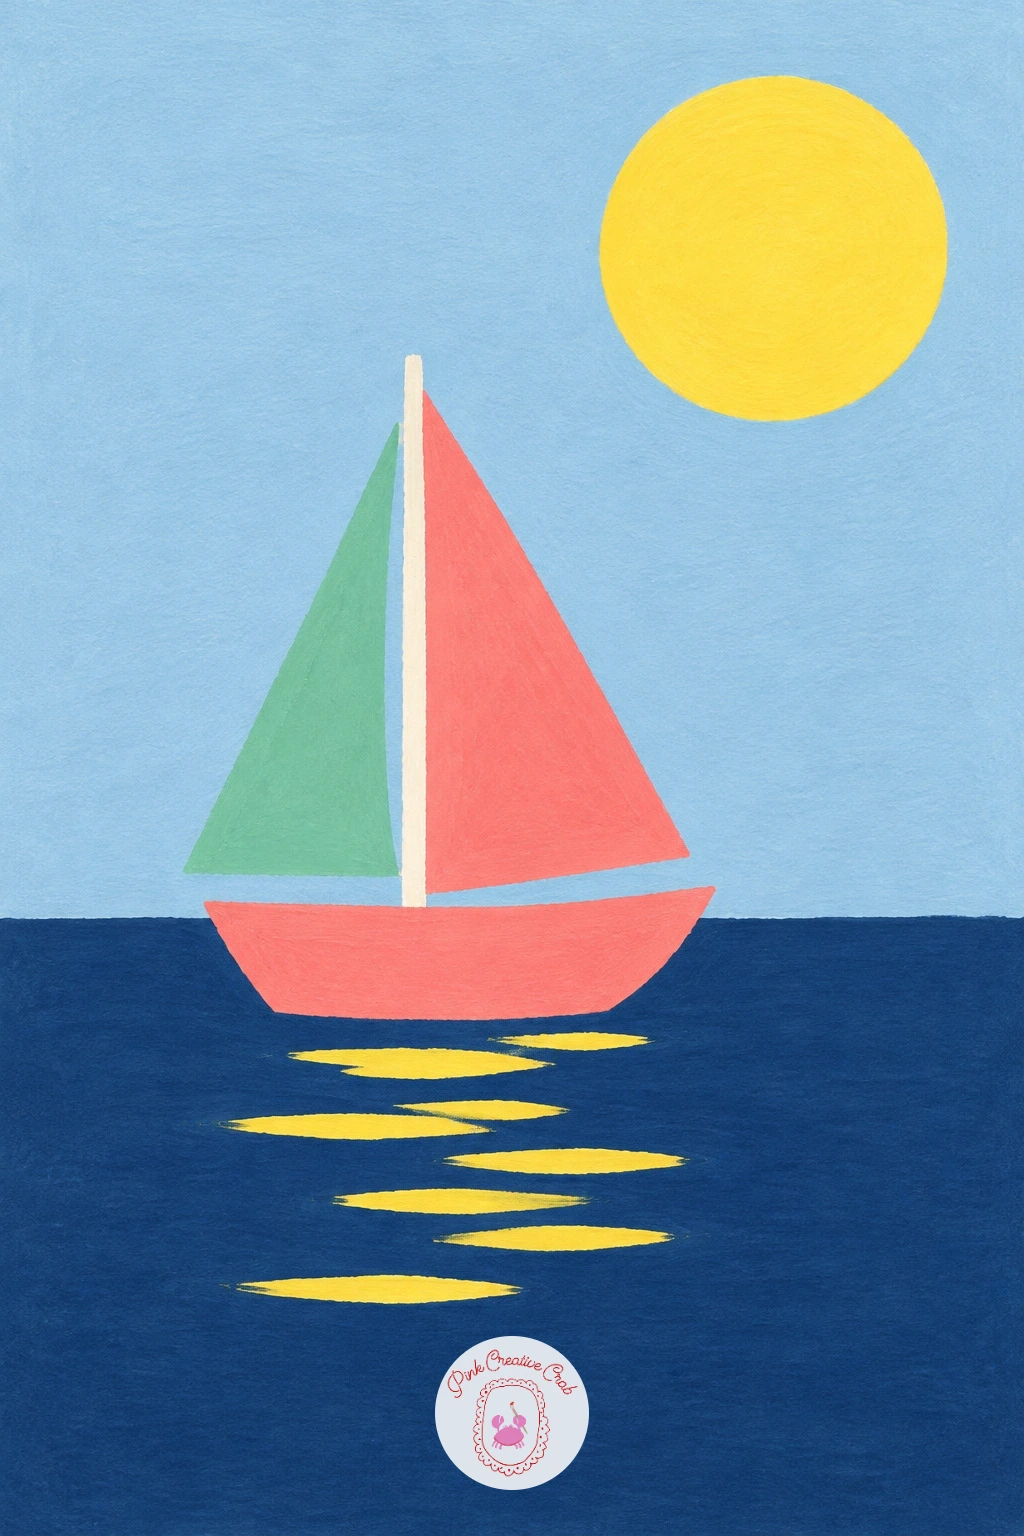
Palette: Navy,Pale Sky Blue,Coral Pink,Lemon Yellow
After painting water, try something upright: a single tulip in a plain glass jar, which is really just one curved stem and one rounded petal shape. Pencil a simple jar outline first, a cylinder with slightly flared sides, then a stem rising from inside it and a tulip head on top.
Here is where eye level matters: keep the jar drawn straight on, not from above or below, so the opening reads as a flat oval rather than a wide ellipse, which keeps the whole thing simple for a first attempt. Paint the tulip head in coral pink first, then the stem and one or two leaves in mint green, and let those dry before the jar.
For the jar, paint it in a very pale grey or leave it mostly as bare cream paper with just a thin navy outline and a curved highlight left unpainted down one side to suggest glass. If a full grey jar feels heavy, this faint outline version is the easier swap and still reads clearly as glass.
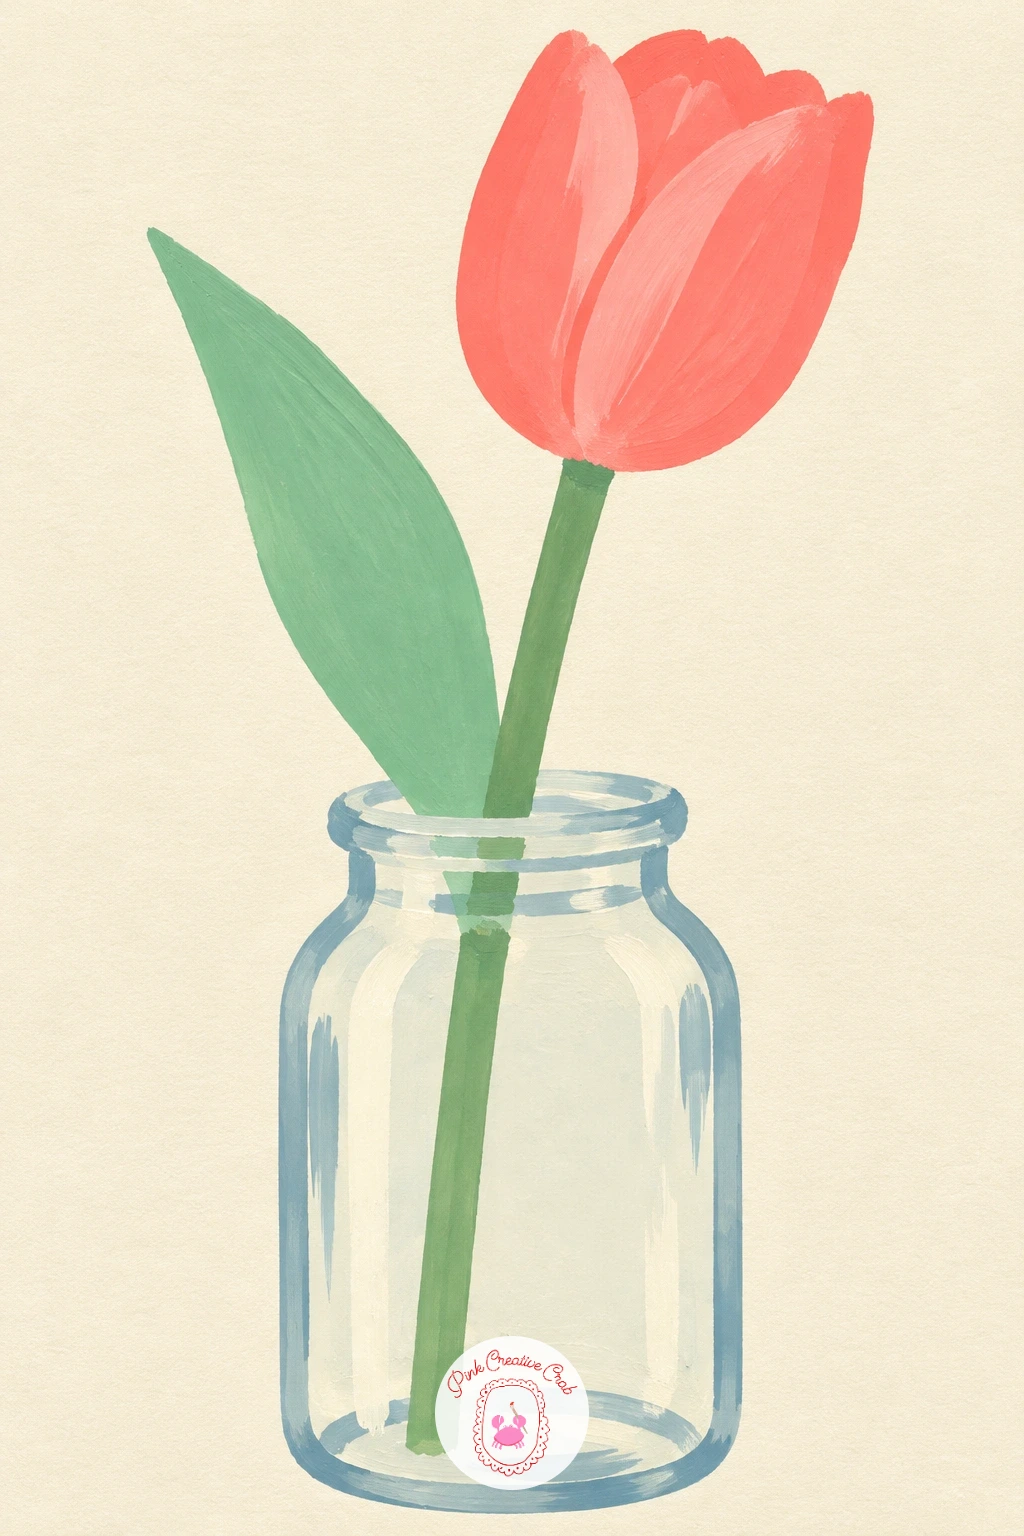
Palette: Coral Pink,Mint Green,Pale Grey,Navy
From a tulip’s soft curves, switch to something more graphic: a round cactus in a terracotta pot, built from one circle and one trapezoid. Draw the pot as a simple trapezoid, wider at the top than the bottom, and the cactus as a near perfect circle sitting just above the rim.
Paint the pot first in a warm terracotta orange, then once dry, paint the cactus in mint green, leaving a few short curved pencil lines showing its ribs. For texture on the cactus body, try a dry brush technique once the green is dry: load a brush with very little paint and drag it lightly over the surface to leave soft, broken marks instead of one flat block of colour.
Finish with a scatter of small white or cream dots painted on with the tip of a round brush for the spines, spaced unevenly so they look natural rather than mechanical. If dots feel fiddly, a few short straight dashes work just as well and go even faster.
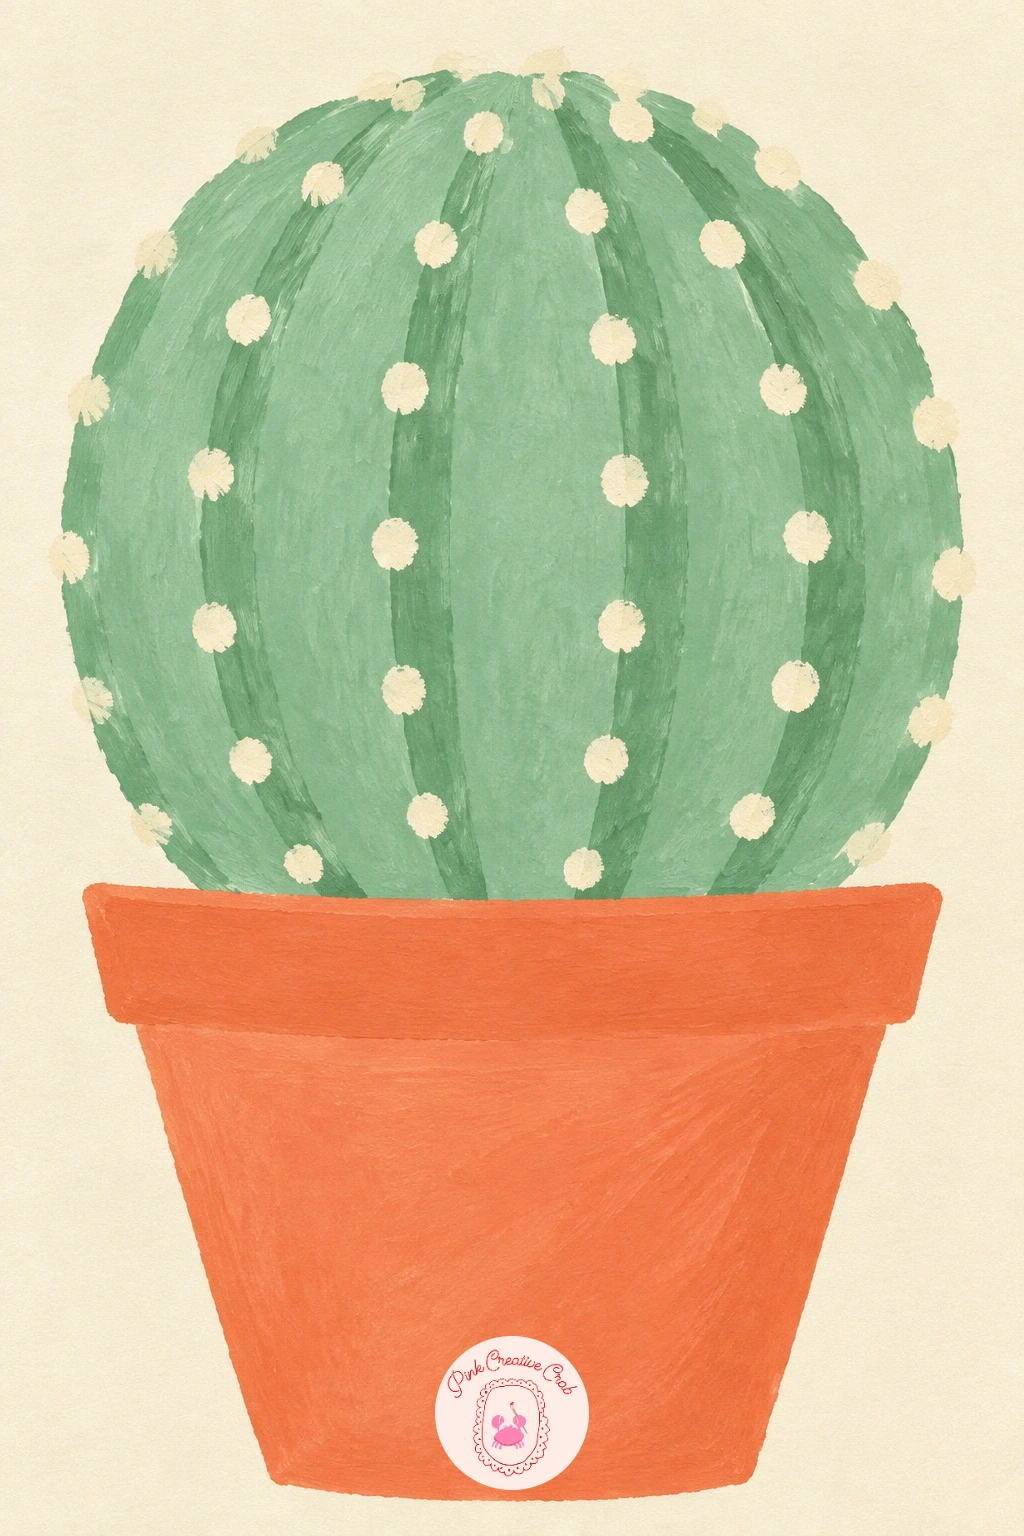
Palette: Terracotta,Mint Green,Soft Cream,Navy
Give yourself a break from pots and jars with a striped kite flying against open sky, a subject that is really just a diamond shape and a wavy tail. Pencil a diamond, then a long curved tail line trailing from its bottom point with three or four small triangle bows along it.
Paint the whole sky first in a flat pale blue, right to the edges of the page, and let it dry completely before the kite goes on top. Painting light to dark matters here: the sky sets the mood, so if you paint the kite before the sky you risk smudging its crisp edges while you fill in around it.
Once dry, paint the kite diamond in alternating stripes of coral pink and lemon yellow, keeping the stripes straight with a steady hand or a ruled pencil guide underneath. Add the tail and bows last in navy, since thin dark lines read best painted over fully dry colour rather than squeezed between wet shapes.
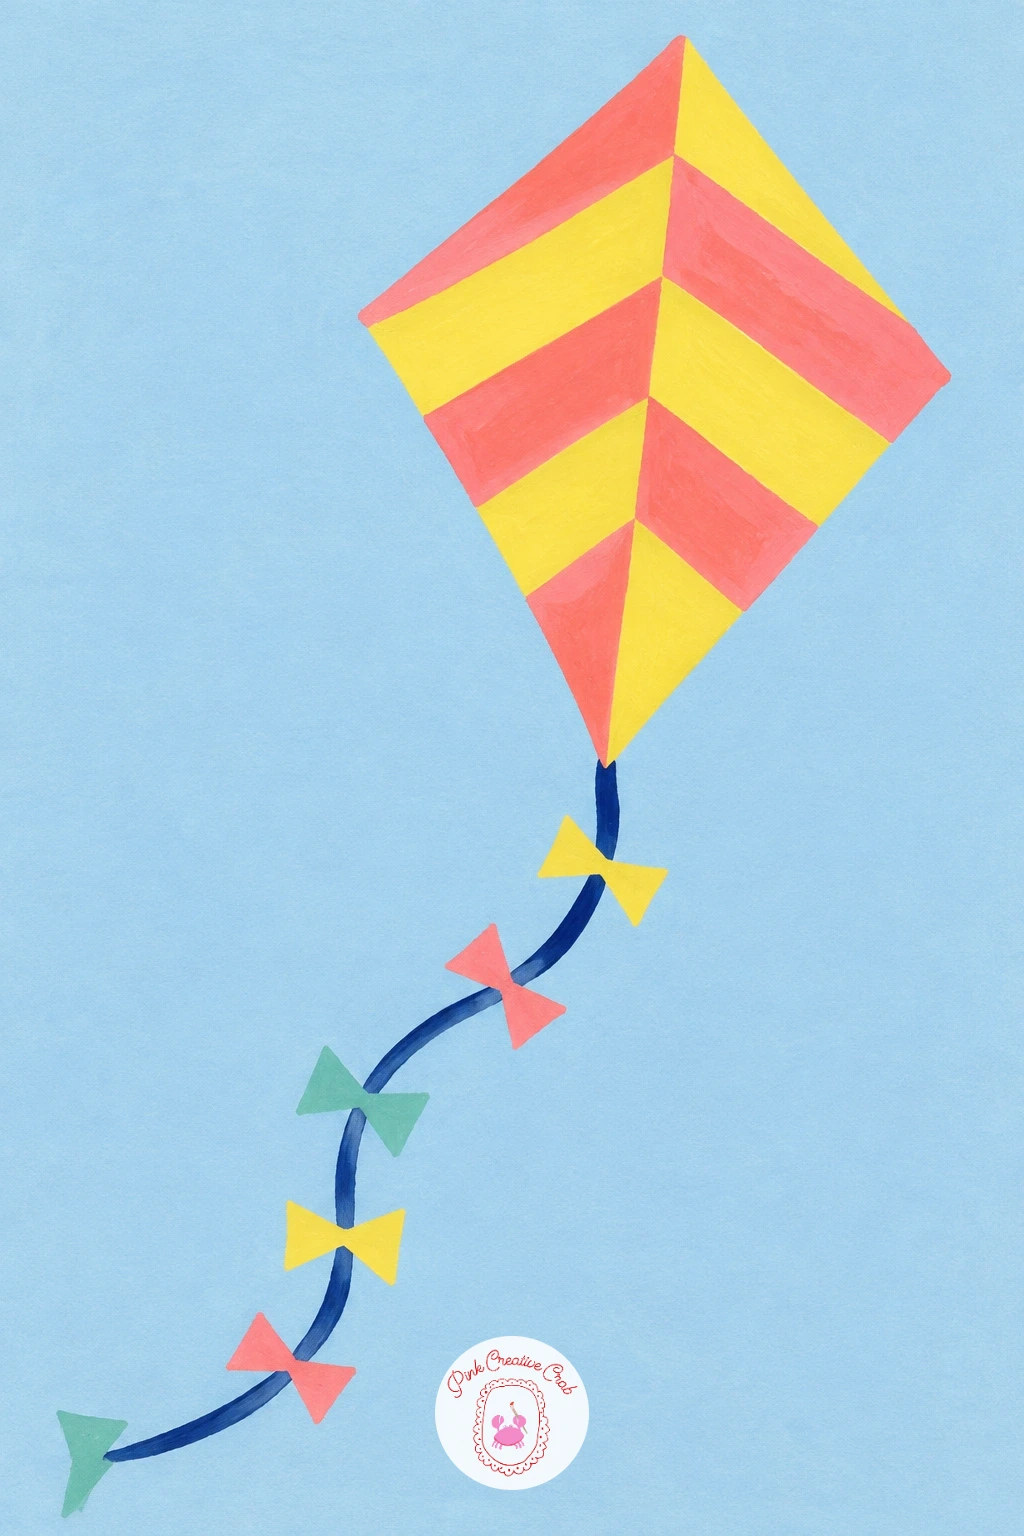
Palette: Pale Sky Blue,Coral Pink,Lemon Yellow,Navy
Keep the sky theme going with a simple rainbow arching over two fluffy clouds, a painting built entirely from curved bands and soft rounded bumps. Pencil a large arc first, like half a circle, then two smaller cloud shapes sitting at either end of it, made from three or four overlapping rounded bumps each.
Paint the rainbow bands one at a time from the inside out, starting with lemon yellow, then coral pink, then mint green, leaving a thin sliver of bare cream paper between each band so the colours stay separate and crisp. Let each band dry for a minute before starting the next one, since gouache bands that touch while wet will bleed into each other and lose their clean lines.
Paint the two clouds last in white or very pale cream with a faint grey shadow along their lower edge to lift them off the page. If your gouache white looks chalky over cream paper, leave the clouds as bare paper instead and just paint the shadow underneath.
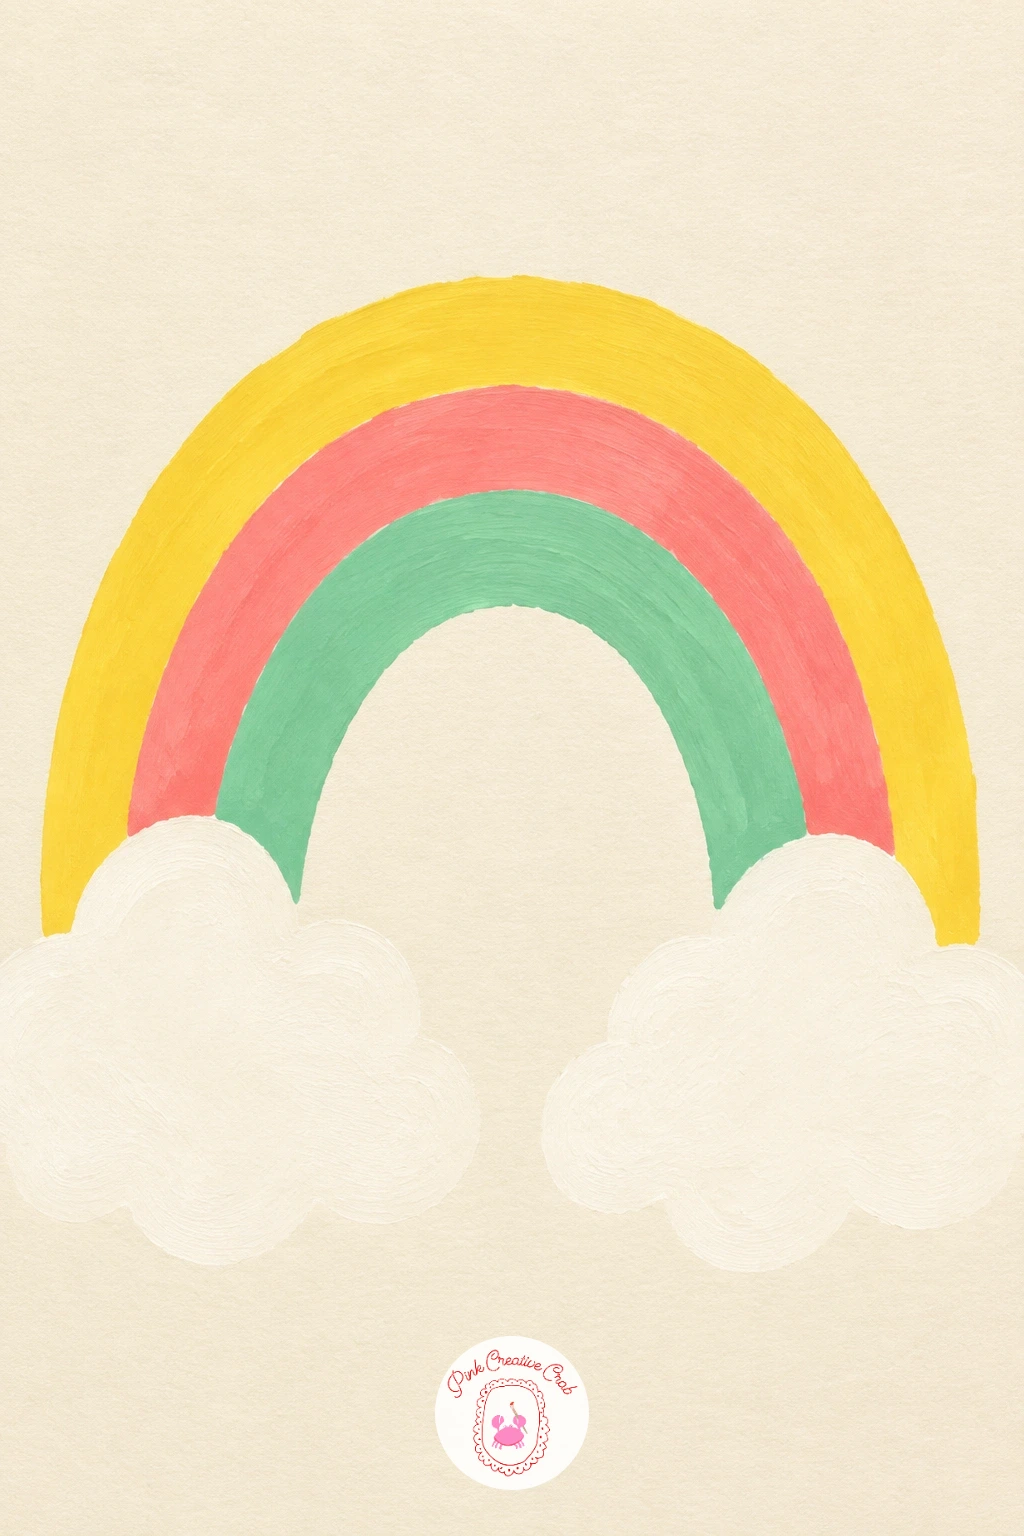
Palette: Lemon Yellow,Coral Pink,Mint Green,Pale Grey
Bring the eye back down to a tabletop subject with a goldfish in a round glass bowl, which is just one large circle holding one simple fish shape. Pencil the bowl as a circle, then a smaller oval fish body inside it with a triangular tail and two small fin shapes.
Paint the water first in a pale mint or soft blue, filling most of the bowl but leaving a thin curved strip of bare cream paper near the top edge to suggest the water line and the glass catching light. Once that is dry, paint the fish in coral pink, keeping its shape simple, a smooth oval body and a fanned tail with two or three brush strokes rather than many small ones.
Outline the bowl itself last in a thin navy line, including a small curved highlight left unpainted on one side to read as glass. If your fish shape comes out lopsided, fix it by painting a slightly larger tail fin, which hides an uneven body better than trying to repaint the whole outline.
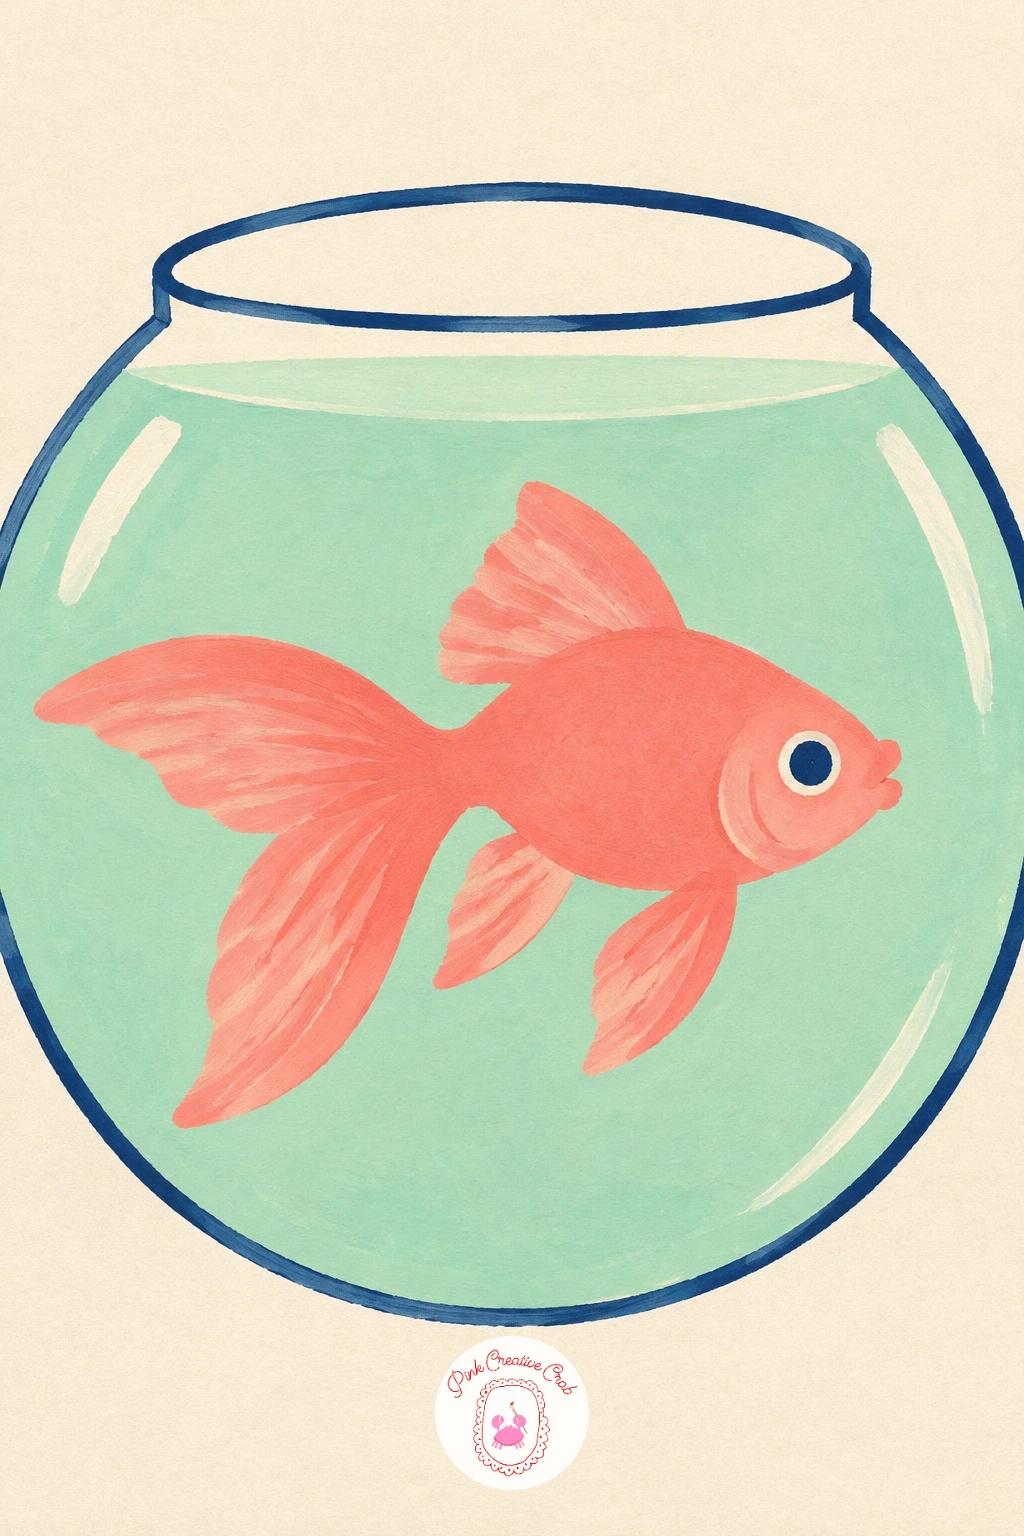
Palette: Pale Mint,Coral Pink,Navy,Soft Cream
After a bowl full of water, try a dry subject with plenty of personality: a single palm leaf on a pastel background. Pencil one long curved central stem, then a row of long pointed leaflets fanning out from it on both sides, slightly uneven in length so it feels natural rather than symmetrical.
Paint the background first in a flat coral pink or pale mint, covering the whole page edge to edge, and let it dry fully since the leaf goes directly on top. The quick ten minute version paints every leaflet the same solid mint green; the forty minute version varies the green slightly from leaflet to leaflet, mixing in a touch more yellow or navy here and there so the fan has gentle depth.
Paint the central stem last in a darker green or navy, thin and slightly tapered toward the tip. If your leaflets come out too thick to look elegant, thin them down by scraping a dry brush along one edge of each shape once the paint is still slightly damp.
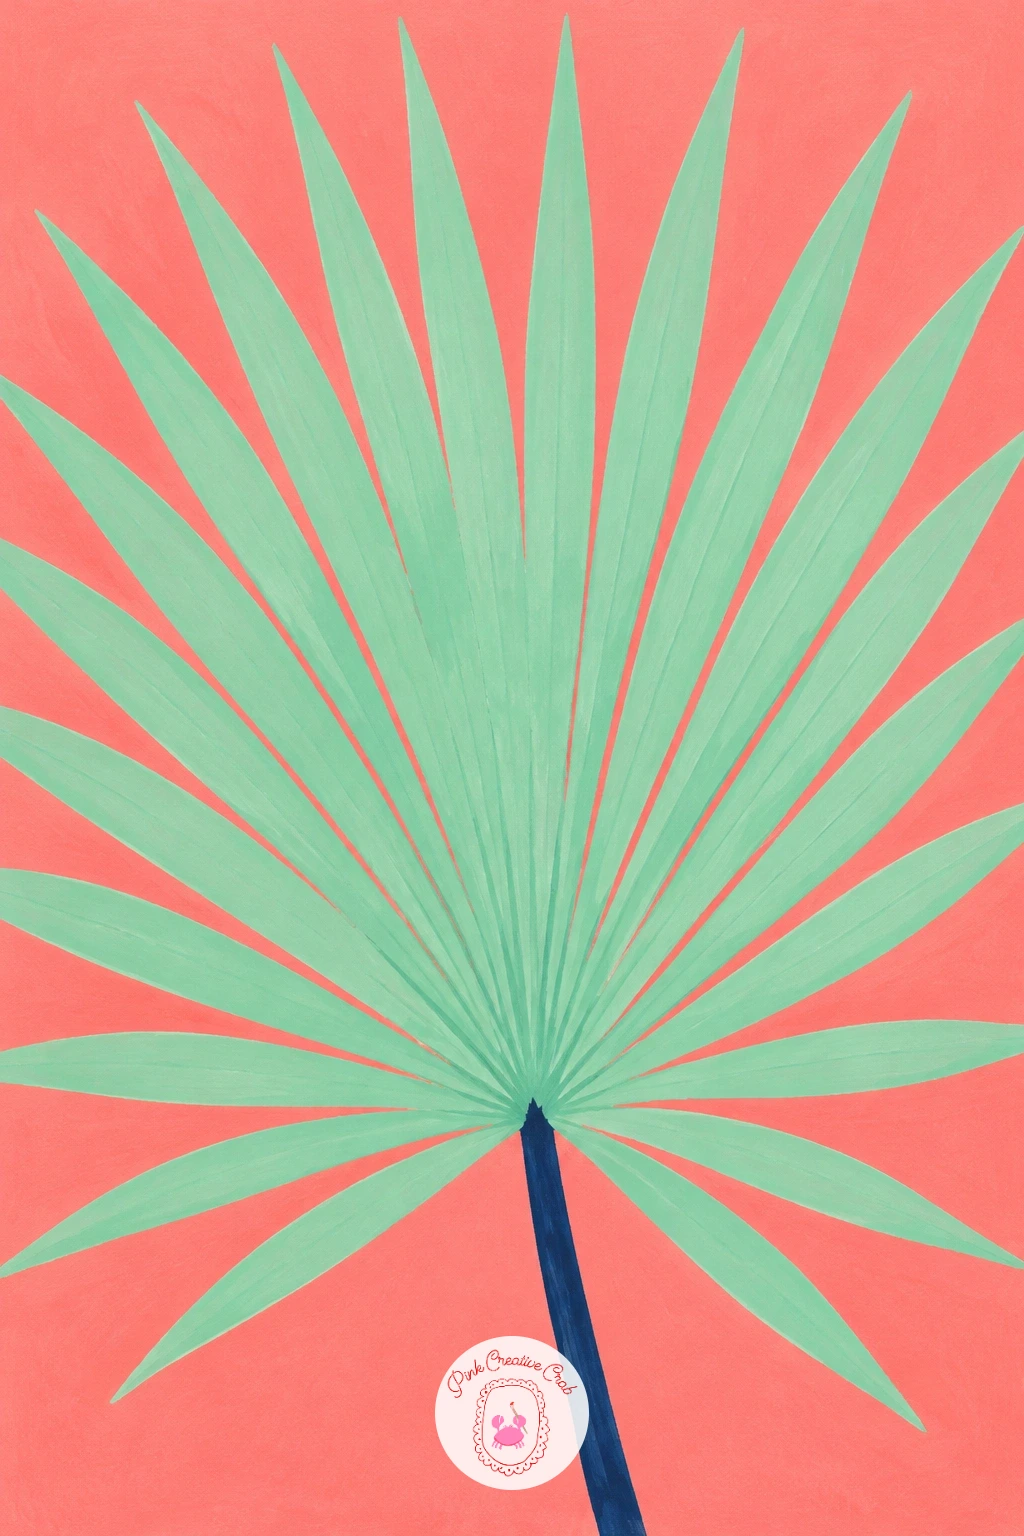
Palette: Mint Green,Coral Pink,Navy,Soft Cream
Try this leaf again later in navy on a lemon yellow background for a bolder, more graphic version once the basic shape feels comfortable.
Move indoors with a stack of colorful books, one with its top cover lying open, a subject made entirely of rectangles stacked in a loose tower. Pencil three or four flattened rectangles of slightly different widths, stacked slightly off centre from each other, then an open book on top drawn as a shallow V shape.
Paint each book a different flat colour from your palette, coral pink, mint green, lemon yellow and navy, working from the bottom rectangle up so you are never resting your hand on wet paint. Keep every spine edge straight by painting right up to your pencil line with a smaller brush for the edges and a bigger one for filling the middle.
Paint the open book on top last in soft cream with a single thin navy line down its centre fold. If your rectangles come out slightly wobbly, a thin navy outline painted around each one afterward sharpens every edge and hides small mistakes.
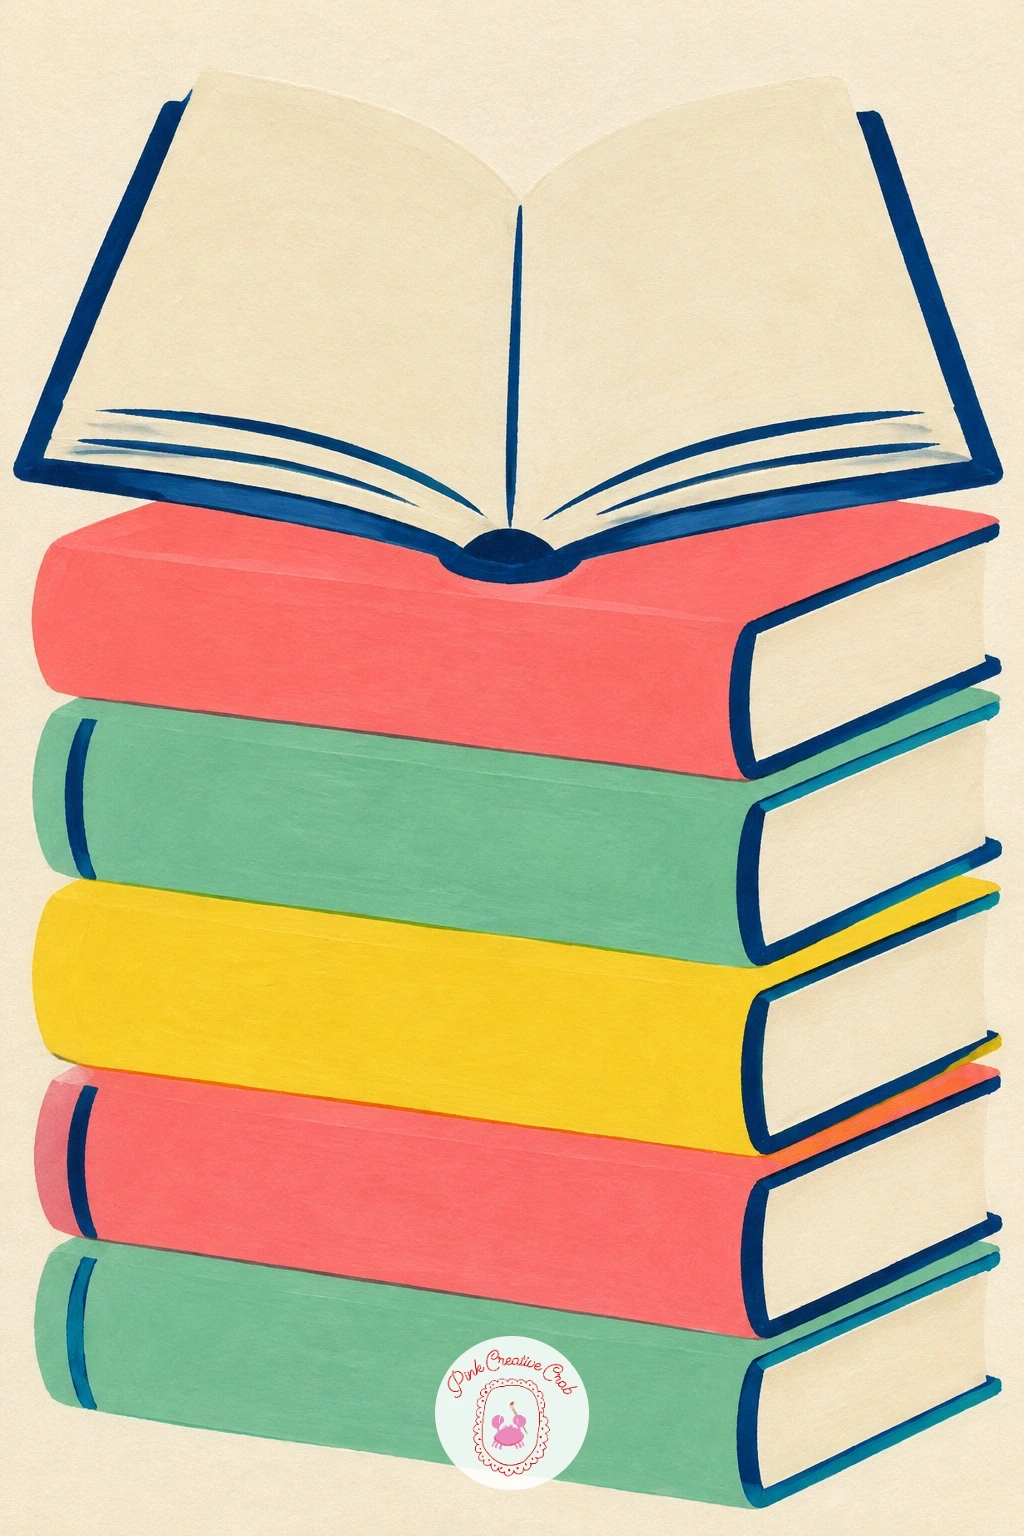
Palette: Coral Pink,Mint Green,Lemon Yellow,Navy
After a stack of books, settle into something quieter: a crescent moon and three stars sitting inside a navy circle. Pencil a large circle first, filling most of the page, then a crescent moon shape near its centre and three small star points scattered around it.
Paint the whole circle in flat navy first, right to its pencil edge, and let it dry completely, since the moon and stars go on top as lighter shapes. Where the eye source sits barely matters here since there is no real light direction, which is exactly why this subject is so forgiving for a first night sky painting.
Paint the crescent moon and all three stars in lemon yellow once the navy is bone dry, keeping their edges crisp with a small pointed brush. If your circle edge comes out uneven, paint a thin cream ring around the outside once the navy dries, which turns a wobbly edge into a deliberate border.
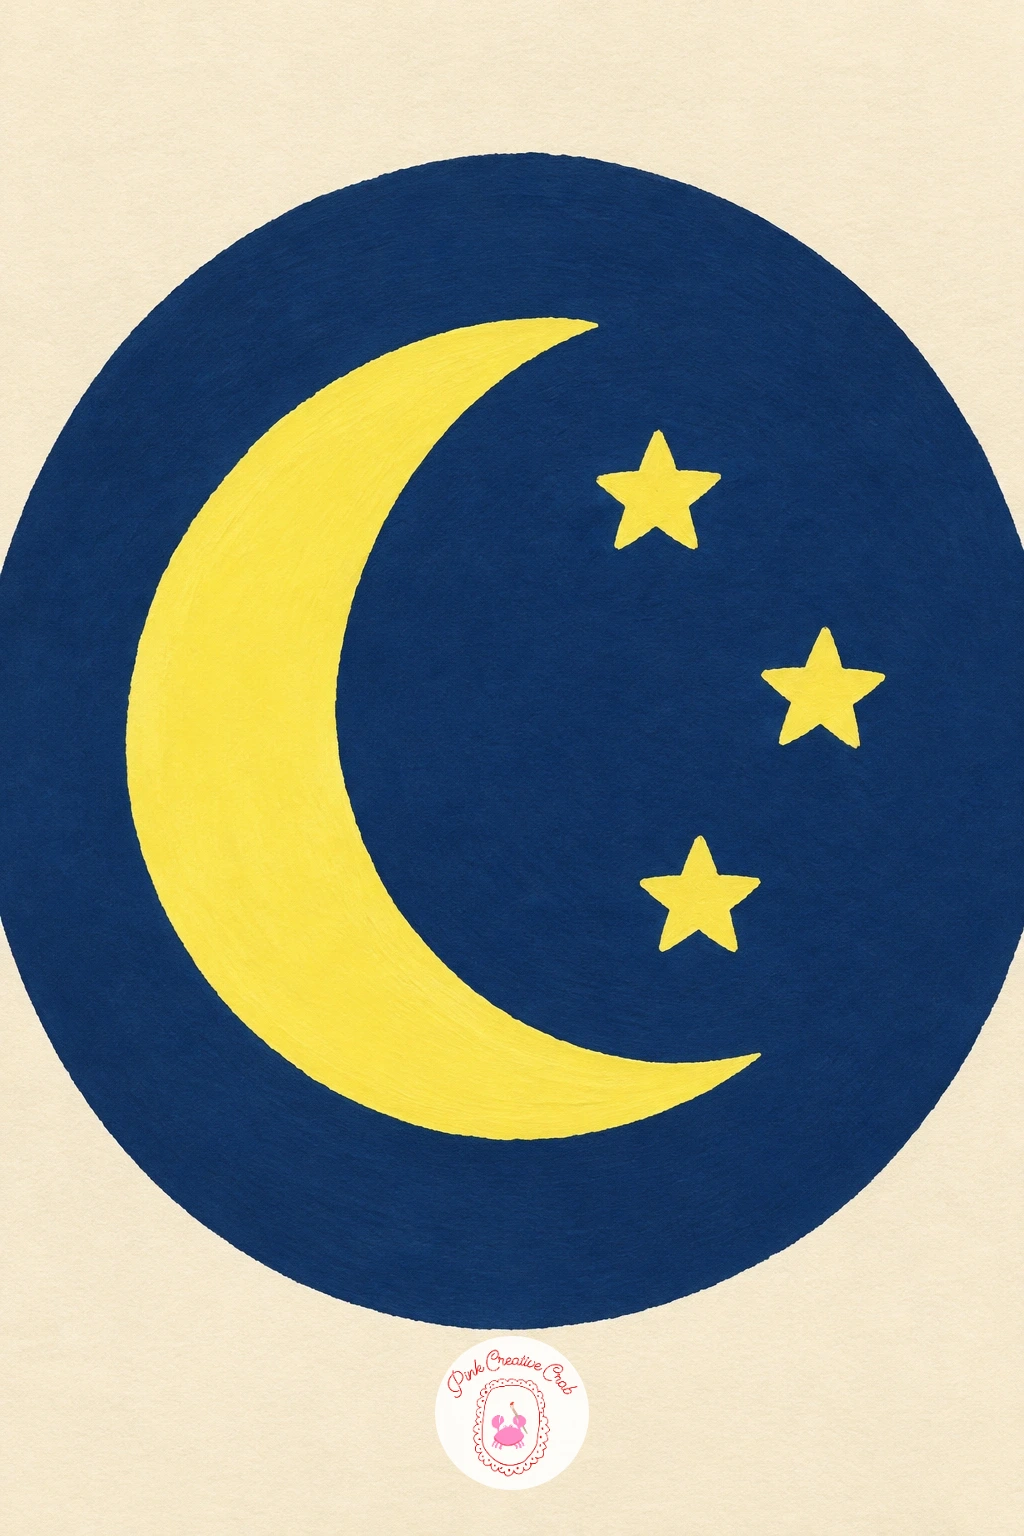
Palette: Navy,Lemon Yellow,Soft Cream
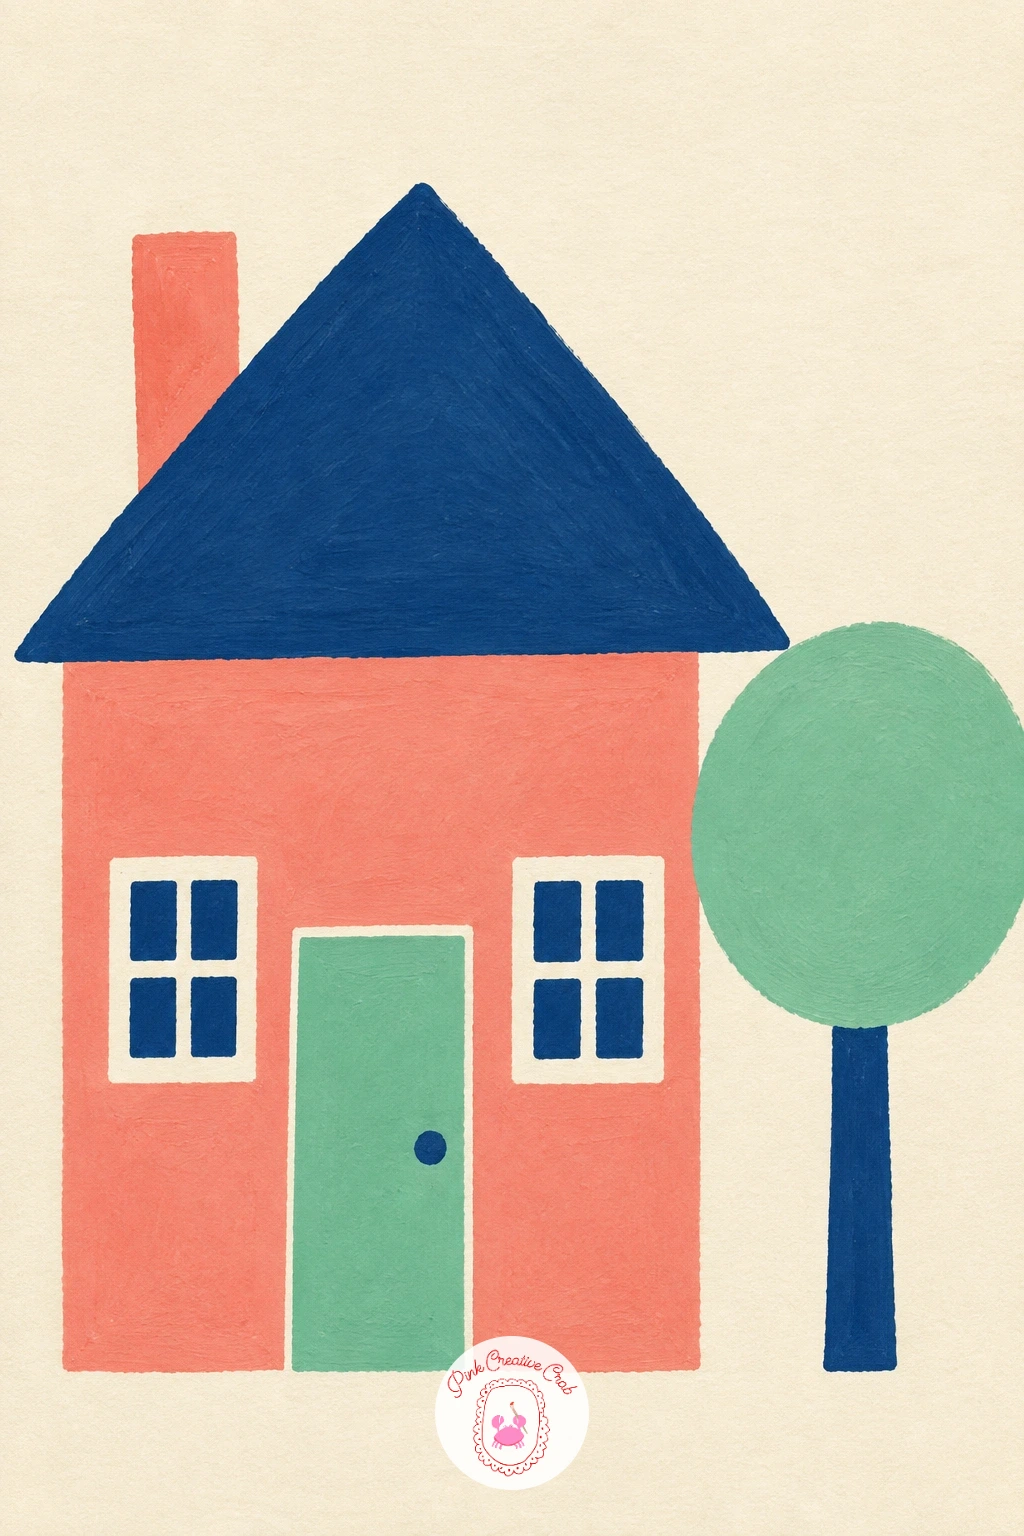
Bring in a small landscape with a little red house with a green door and one round tree beside it, built from a square, a triangle roof and a circle. Pencil a square for the house body, a triangle on top for the roof, a small rectangle door, and a circle to one side for the tree canopy with a thin trunk below it.
Paint the house body in coral pink or soft red first, then once dry, paint the roof in navy and the door in mint green, keeping each shape a flat block of colour with no shading. Checking proportion helps most here: the door should be roughly a third of the house’s height, so measure that against your pencil square before you paint, or the house ends up looking squashed.
Paint the round tree last in mint green with a thin brown trunk, placed so it sits beside the house rather than overlapping it. If straight roof edges are tricky freehand, lay a strip of masking tape along the roofline as a painting guide and peel it off once the paint is dry.
You Will Need
- masking tape (optional, for a straight roofline)
Palette: Coral Pink,Navy,Mint Green,Raw Umber
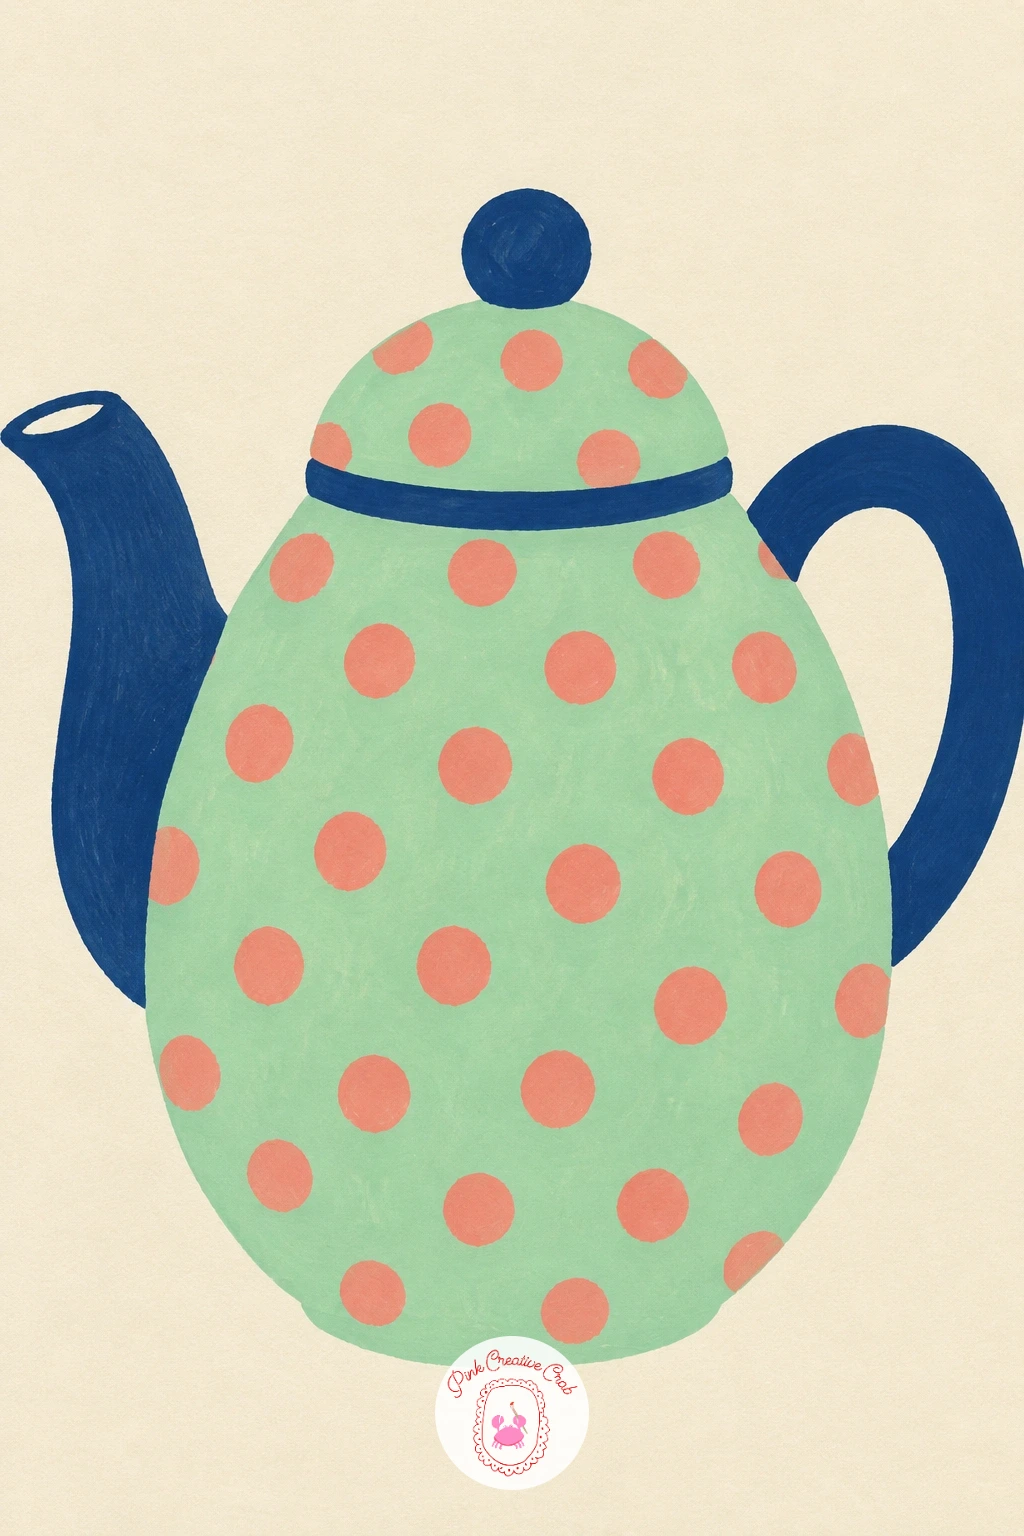
From a little house, move to a cosy tabletop subject: a teapot with a polka dot pattern, which is one rounded body, a curved spout, and a simple handle. Pencil a rounded, slightly squashed oval for the body, a small triangular spout on one side, a loop handle on the other, and a small lid circle on top.
Paint the whole teapot body in a flat mint green first and let it dry fully, since the polka dots go on afterward as a separate layer. For crisp dots, dip the end of a thin brush handle or a cotton swab straight into coral pink paint and press it onto the dry surface, lifting straight up, which gives rounder dots than trying to paint small circles freehand.
Paint the lid, spout tip and handle in navy once the dots are dry, to frame the shape and tie it together. If your dots come out uneven in size, keep them that way deliberately, since a slightly imperfect polka dot pattern reads as hand painted rather than messy.
You Will Need
- cotton swab or brush handle, for clean dots
Palette: Mint Green,Coral Pink,Navy,Soft Cream
Give your hand a rest from pattern work with a scallop seashell on a plain background, a subject made from one fanned shape and a few straight ridge lines. Pencil a rounded fan shape, flat along the top and curved at the bottom, then six or seven straight lines radiating out from the top centre to the curved edge.
Paint the whole shell in a flat coral pink first, covering the full fan shape, and let it dry before adding any detail on top. Lifting is the trick worth learning here: once the pink is dry, dampen a clean brush with plain water and gently lift a thin line of colour along each pencil ridge to reveal the paler paper beneath, which reads as soft grooves rather than harsh painted lines.
If lifting paint feels too fiddly for a first attempt, simply paint the ridge lines in a slightly paler pink on top instead once the base coat is dry, which gives nearly the same effect with less risk.
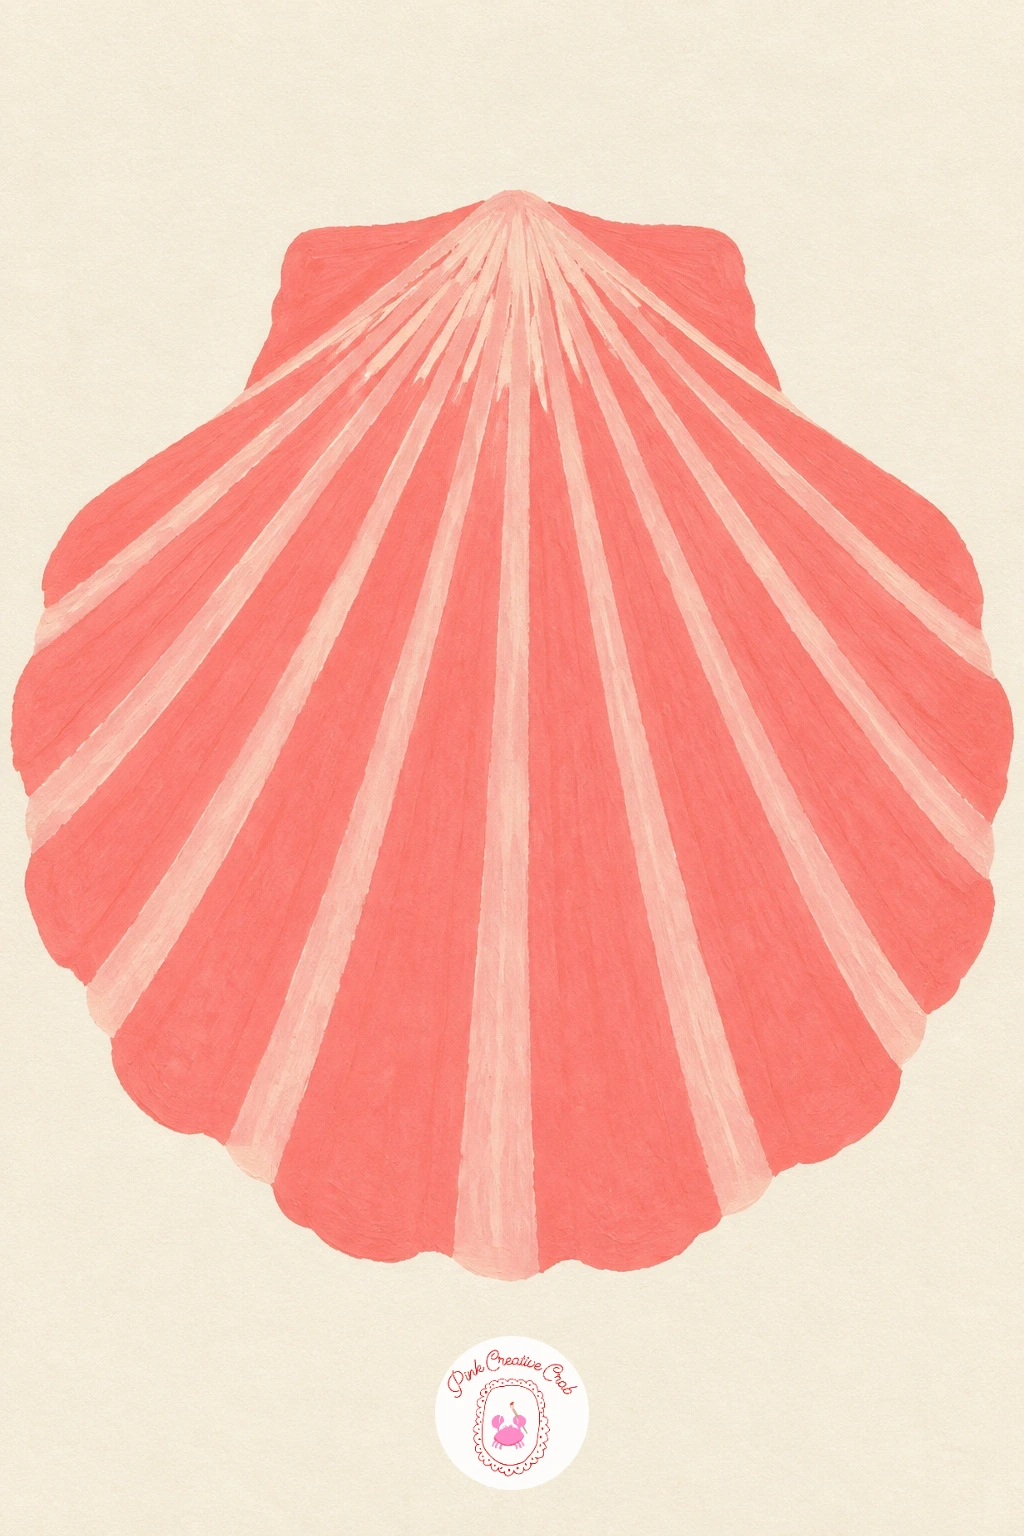
Palette: Coral Pink,Soft Cream,Pale Grey
Keep the small object theme going with a mushroom with a red cap and white spots, a classic fairy tale shape built from a simple dome and a short stem. Pencil a rounded dome cap, flattened slightly at the bottom, then a short thick stem below it, slightly narrower at the top than the base.
Paint the cap first in a flat red or deep coral, then once fully dry, paint the stem in soft cream or very pale grey. For the white spots, rather than trying to paint small circles of white gouache over the red, leave small rounded gaps of bare cream paper unpainted when you first paint the cap, planning their placement loosely in pencil beforehand.
Paint a thin navy line where the cap meets the stem to define the edge clearly. If you forget to leave gaps for the spots and paint the cap solid, a thin coat of white gouache painted on afterward still works once the red is completely dry.
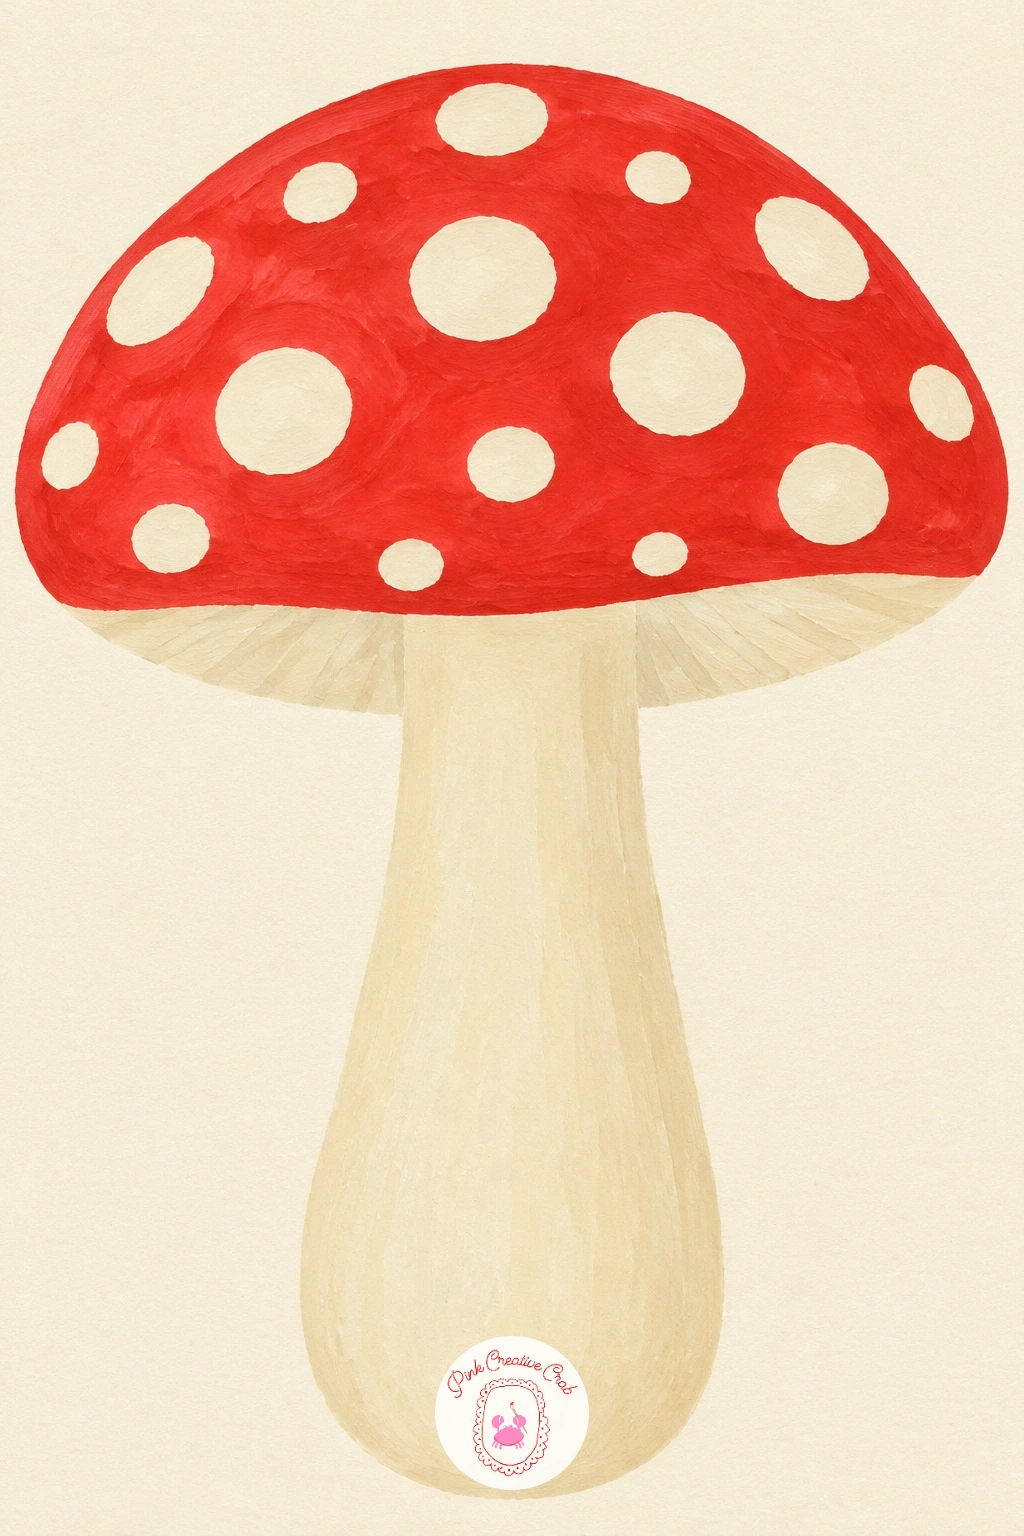
Palette: Red,Soft Cream,Navy
Return to the coast with a sun setting into flat stripes of sea, a subject built entirely from horizontal bands and one circle. Pencil a straight horizontal line across the upper third of the page for the horizon, then a circle for the sun sitting right on that line, half above and half below it.
Paint the sky above the horizon first in lemon yellow near the sun fading into coral pink further up, blending the two gently while both are still wet. Once the sky is dry, paint the sea below the horizon in three or four flat horizontal stripes of navy, mint green and pale blue, each one a slightly different width so the stripes feel relaxed rather than ruled.
Paint the sun itself last in a solid lemon yellow circle, slightly overlapping the top stripe of sea so it looks like it is sinking into it. If blending the sky colours feels tricky, paint them as two flat bands instead with a soft edge between, which still reads clearly as a sunset.
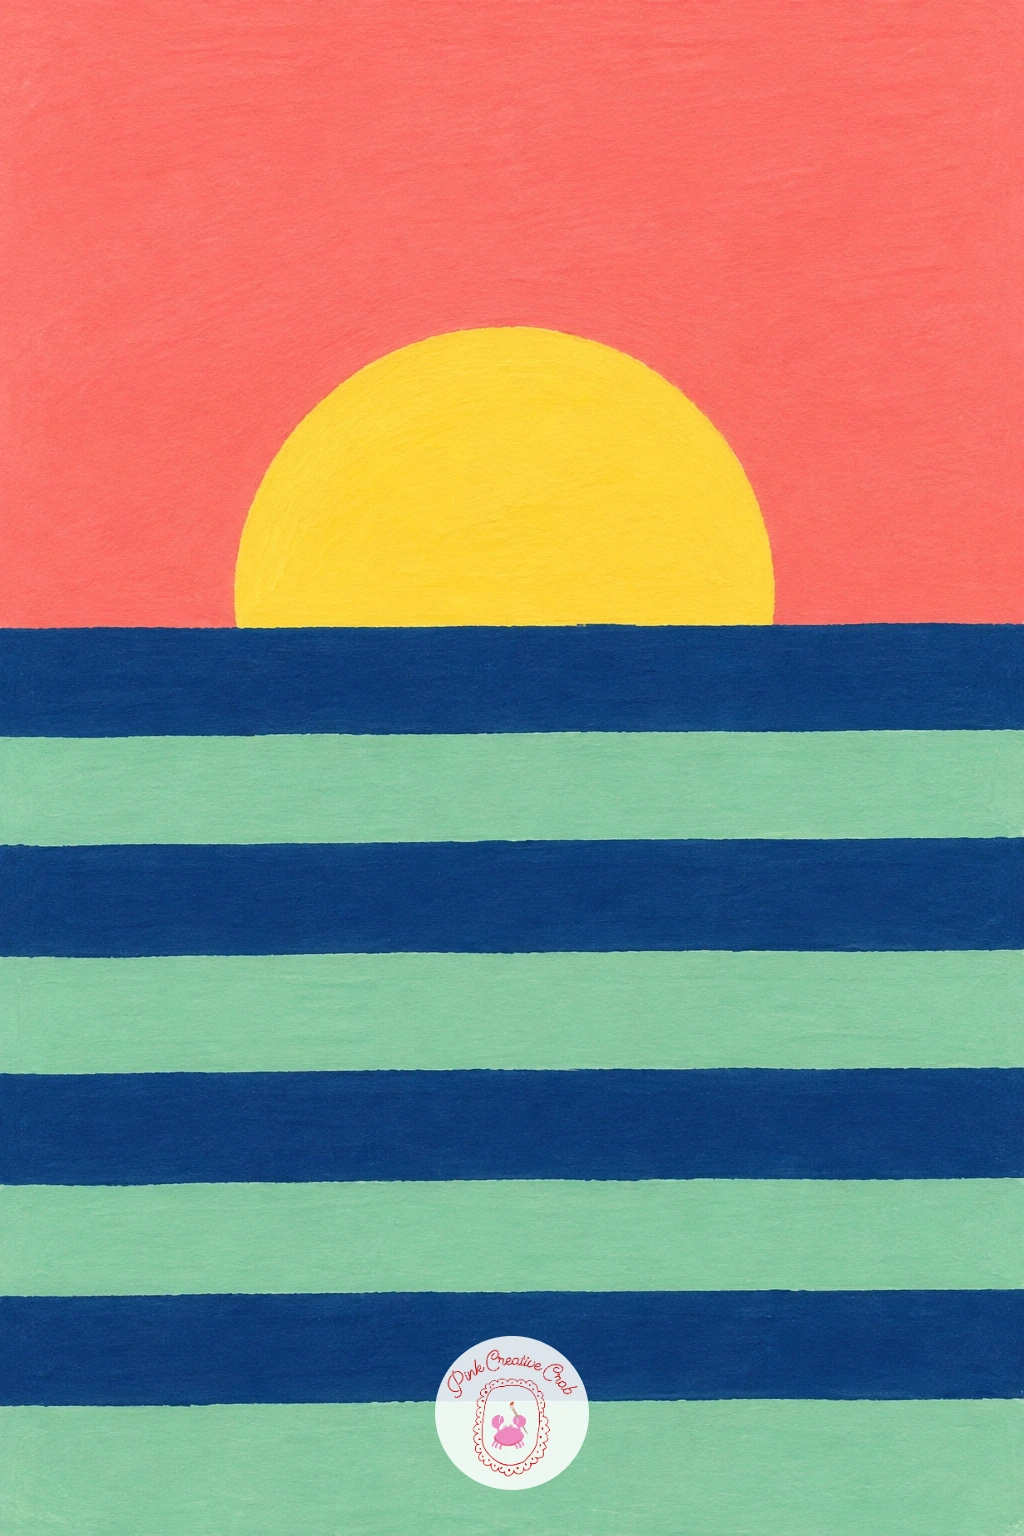
Palette: Lemon Yellow,Coral Pink,Navy,Mint Green
From a flat horizon, add some motion with a whale tail rising above a single wave, which is just one curved triangle shape and one simple swooping line. Pencil a tail fluke as two curved points meeting at a narrow base, angled slightly, then one wave shape curling below it.
Paint the tail first in a flat navy, keeping the two fluke points crisp and slightly pointed rather than rounded, since that sharpness is what makes it read instantly as a whale. Once dry, paint the wave in mint green with a lighter cream line of foam along its curling crest, left as a thin strip of bare paper or a pale wash.
One hands on trick lifts this painting: while the wave’s mint green is still slightly damp, dab a dry brush along the crest to soften the edge into a foam texture rather than a hard line. If your tail shape comes out too symmetrical and stiff, angle one fluke point higher than the other, which instantly makes it feel more alive.
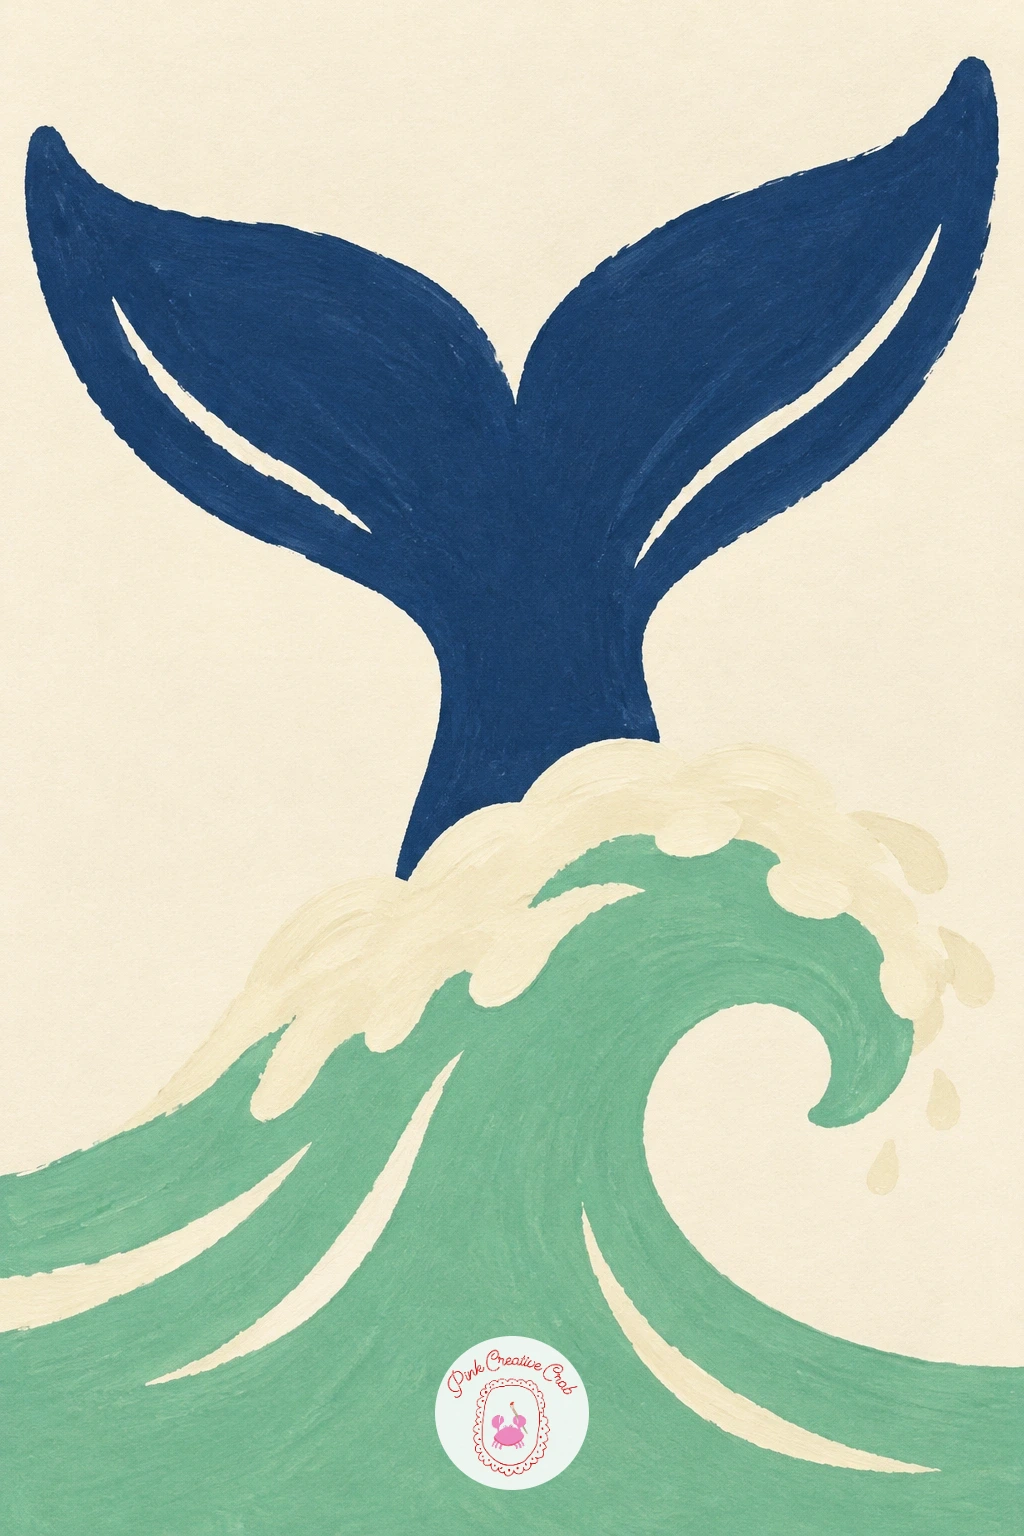
Palette: Navy,Mint Green,Soft Cream
Settle back indoors with a vase of daisies on a little table, a slightly busier subject that still stays simple with round petals and a flat tabletop. Pencil a short cylindrical vase, then three or four daisy heads above it on thin stems, each daisy made from a small circle centre surrounded by six or seven oval petals.
Paint the tabletop first as a flat horizontal band across the lower part of the page in a pale mint or cream, then the vase on top of it in navy once that is dry. Paint all the daisy petals in soft cream or white, working from the centre outward with short confident strokes for each petal rather than careful outlines, which keeps them looking light and informal.
Finish with a lemon yellow dot for each flower centre and thin mint green stems connecting them to the vase. If painting several daisies feels repetitive, reduce the bouquet to two flowers instead, which still fills the page nicely at this size.
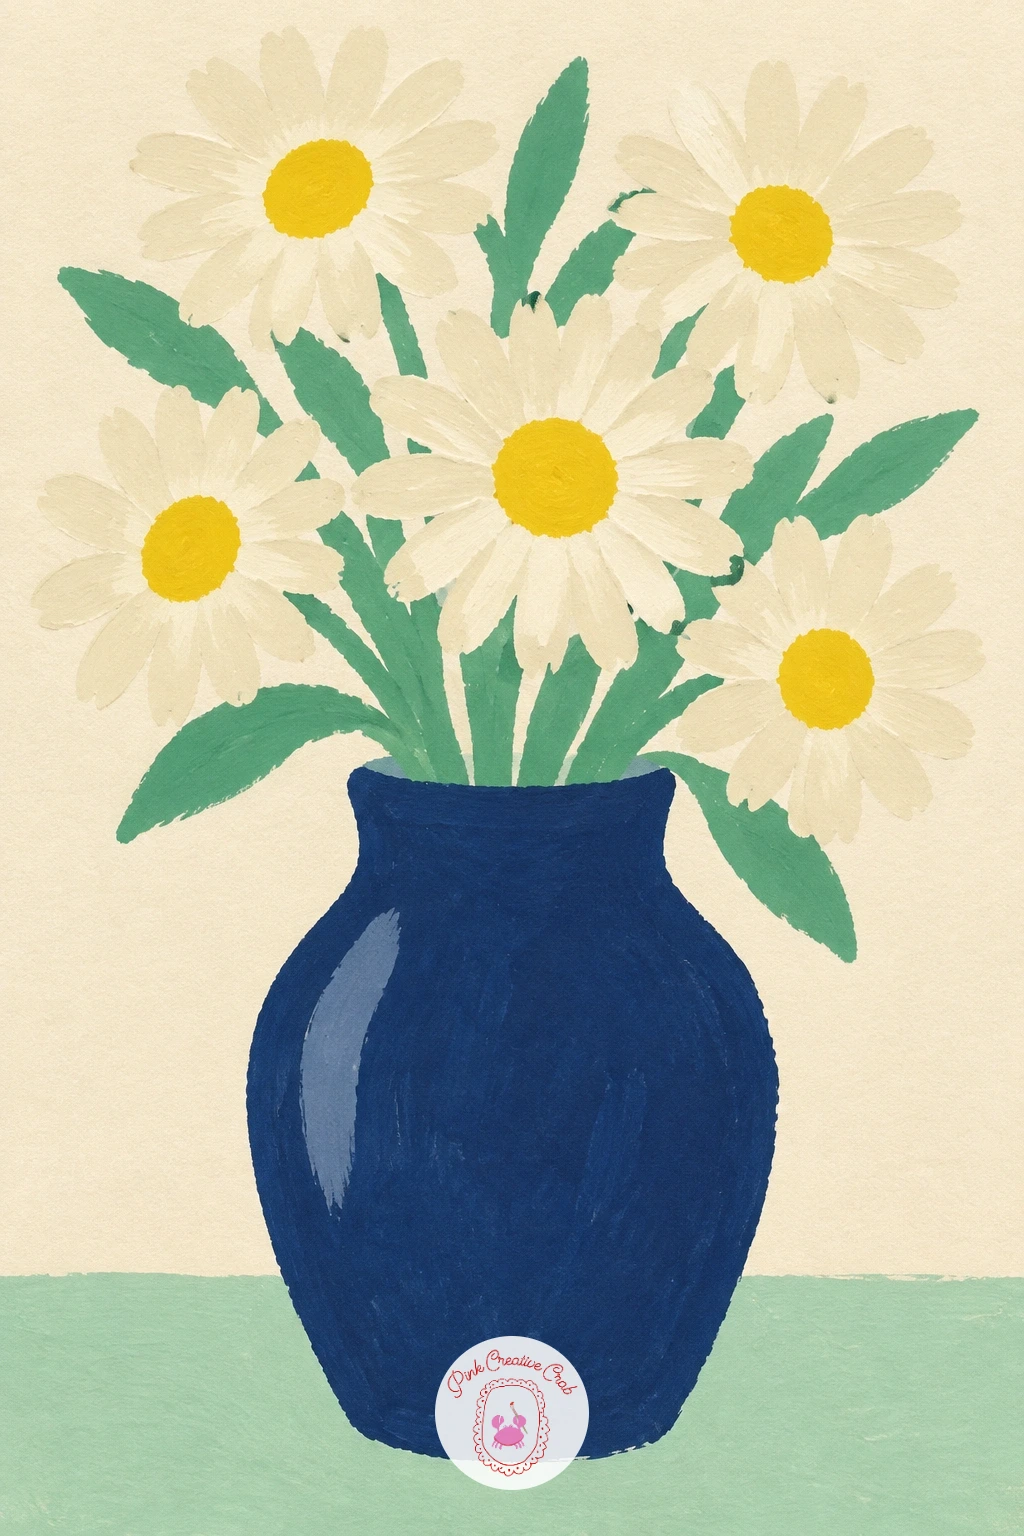
Palette: Soft Cream,Lemon Yellow,Mint Green,Navy
If you enjoy painting flowers in a vase, you will find plenty more bouquet layouts in these gouache flower painting ideas for beginners.
Take a breather from busy bouquets with a pine tree silhouette against a pink sky, a subject reduced to one triangular tree shape and a flat colour backdrop. Pencil a tall narrow triangle with slightly jagged, uneven edges rather than one straight line on each side, to suggest branches without drawing each one.
Paint the sky first in a flat coral pink, covering the whole page right to the edges, and let it dry fully before the tree goes on. Paint the pine tree itself in solid navy as one flat silhouette shape, with no inner detail at all, which is exactly what makes this painting finish so quickly.
Add a short straight trunk in the same navy at the base of the triangle. If a single tree feels too sparse for your taste, paint two more at different heights beside it in the same flat navy, which still reads as one calm, uncluttered scene.
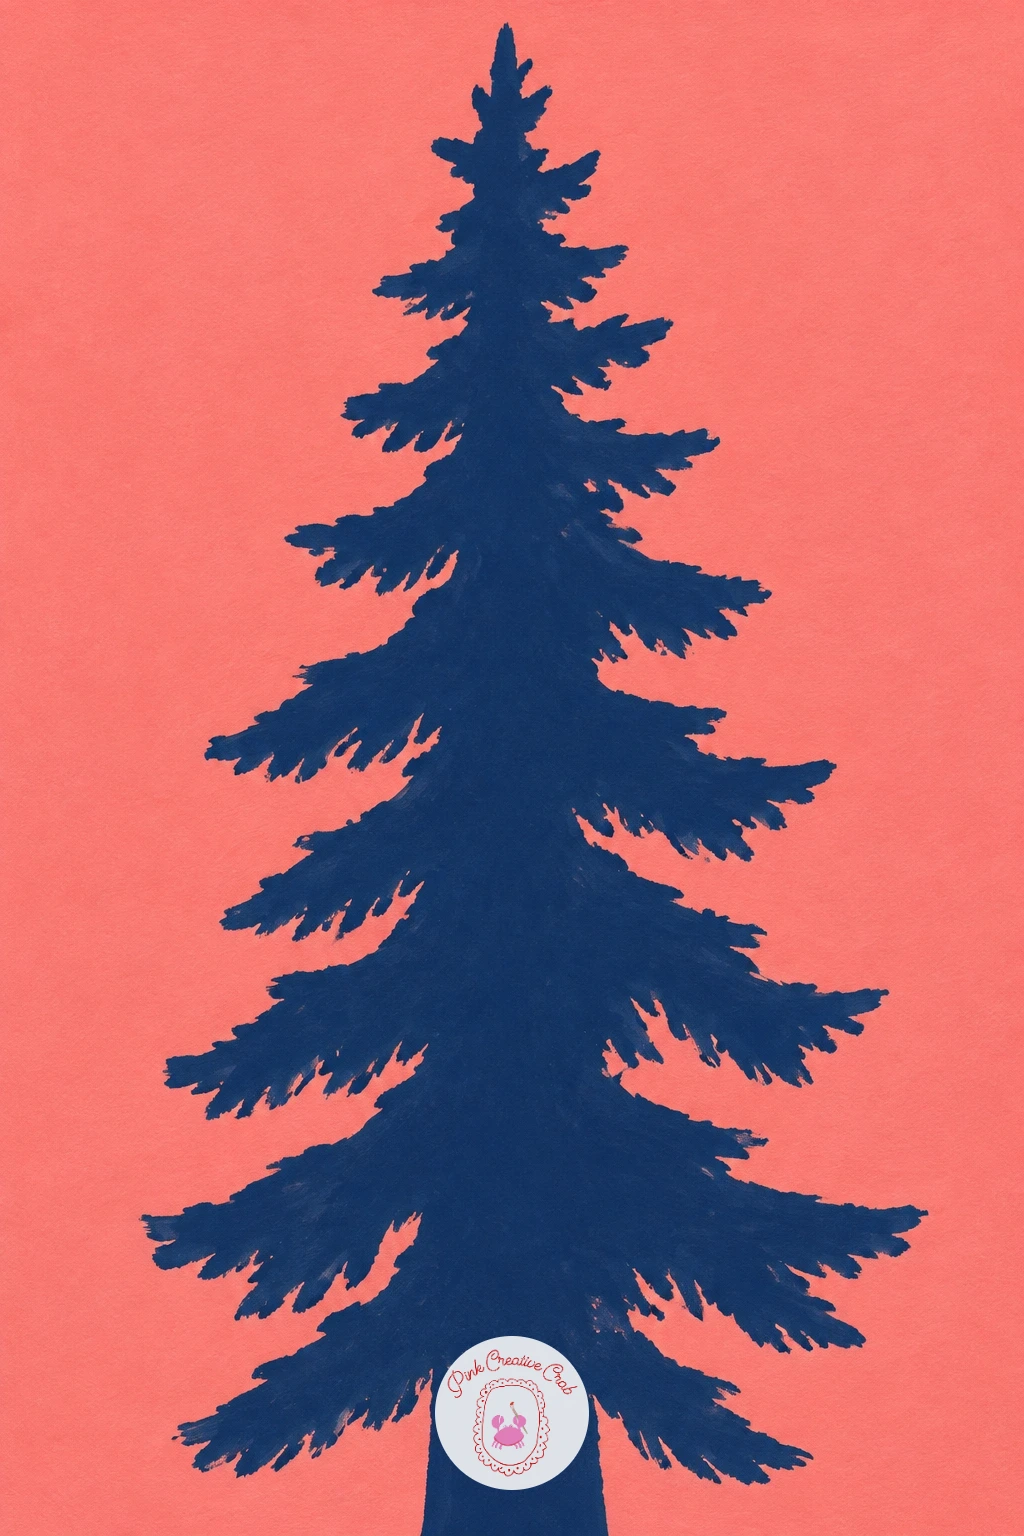
Palette: Coral Pink,Navy
Bring in some warmth with an orange cat curled into a circle asleep, which is really one rounded body shape with a tail wrapped neatly around it. Pencil a soft, slightly flattened circle for the curled body, then a curved tail line tucking around the front, and two small triangle ears peeking from the top.
Paint the whole body in a flat warm orange first, keeping the outline soft and rounded rather than sharp anywhere, since a sleeping cat should look relaxed, not angular. Once dry, paint a few thin, slightly darker orange stripes across the back and tail with a small brush, spaced unevenly as real tabby stripes are.
Paint two small closed eye lines and a tiny pink nose last with a very fine brush tip. If stripes feel like too much detail for a first try, leave the cat as one solid orange shape with just the ears, tail curve and closed eyes, which still reads clearly and calmly as sleeping.
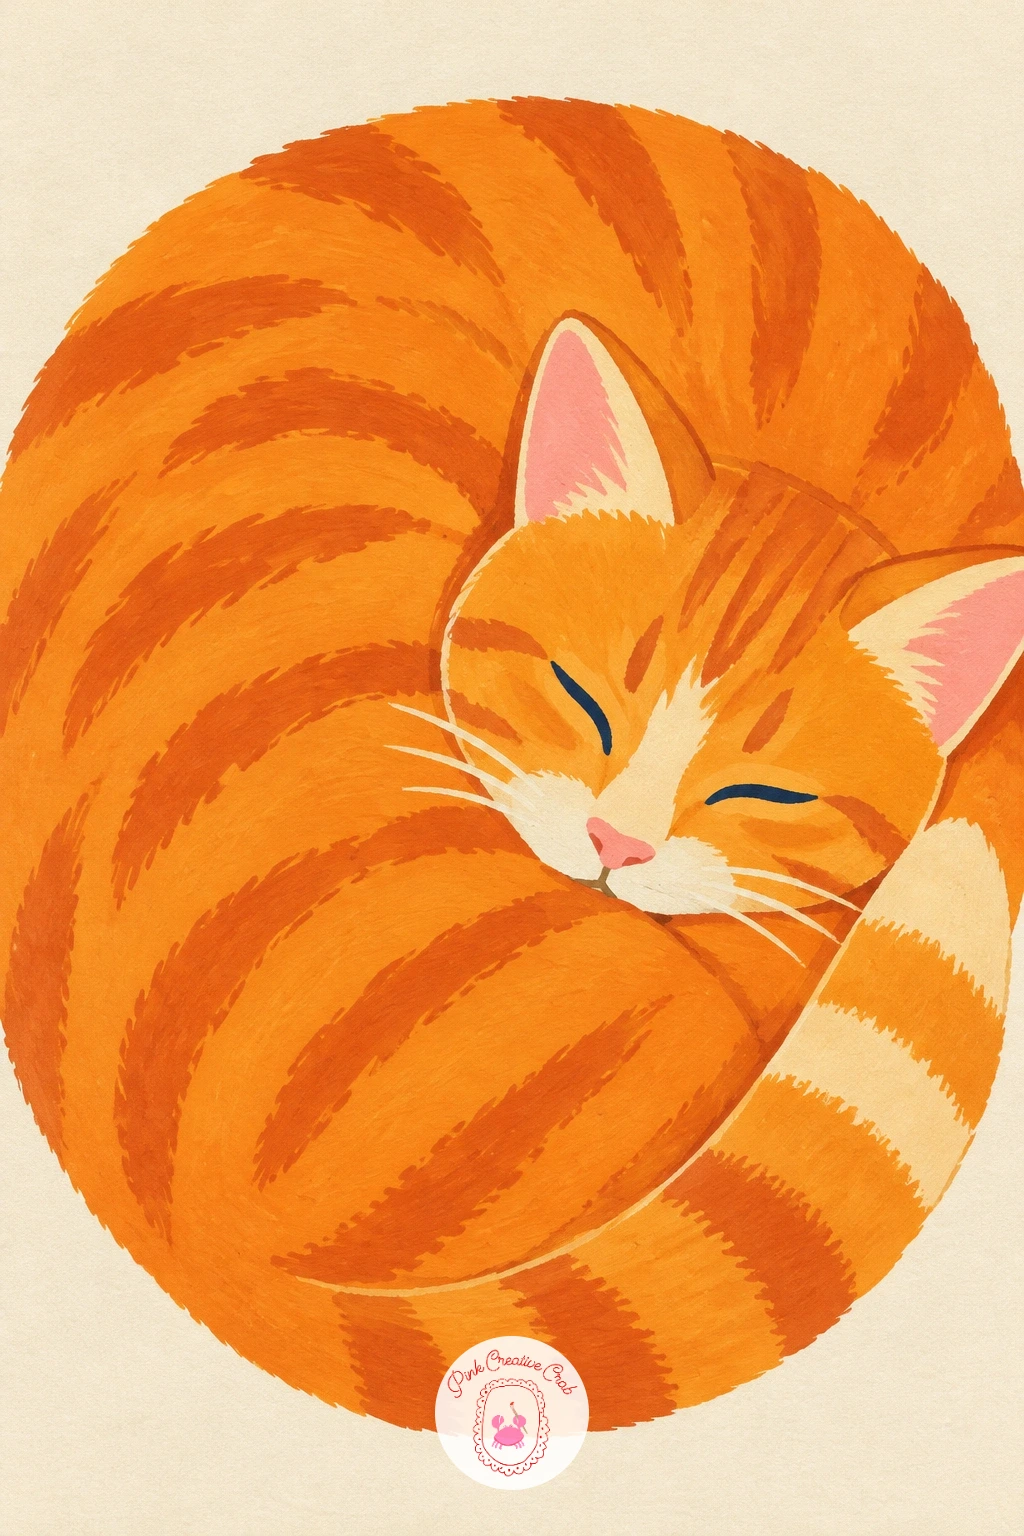
Palette: Orange,Raw Umber,Coral Pink,Soft Cream
After a curled up cat, try another coiled shape: a snail with a swirled pink shell, which trains you in painting a simple spiral. Pencil a rounded oval for the shell, then a loose spiral line inside it starting from the centre and winding outward two or three turns, plus a simple curved body and two thin antennae below.
Paint the shell’s background shape first in a flat coral pink, then once dry, paint the spiral line on top in a slightly deeper pink or navy, following your pencil guide with a small steady brush. Keep the spiral loose rather than perfectly mathematical, since a slightly uneven coil still reads clearly as a shell and looks more charming for it.
Paint the body in mint green last, a simple curved sausage shape with two thin lines rising for the antennae, each tipped with a tiny dot. If the spiral line wobbles more than you like, thicken it slightly with a second pass once dry, which smooths out small mistakes rather than highlighting them.
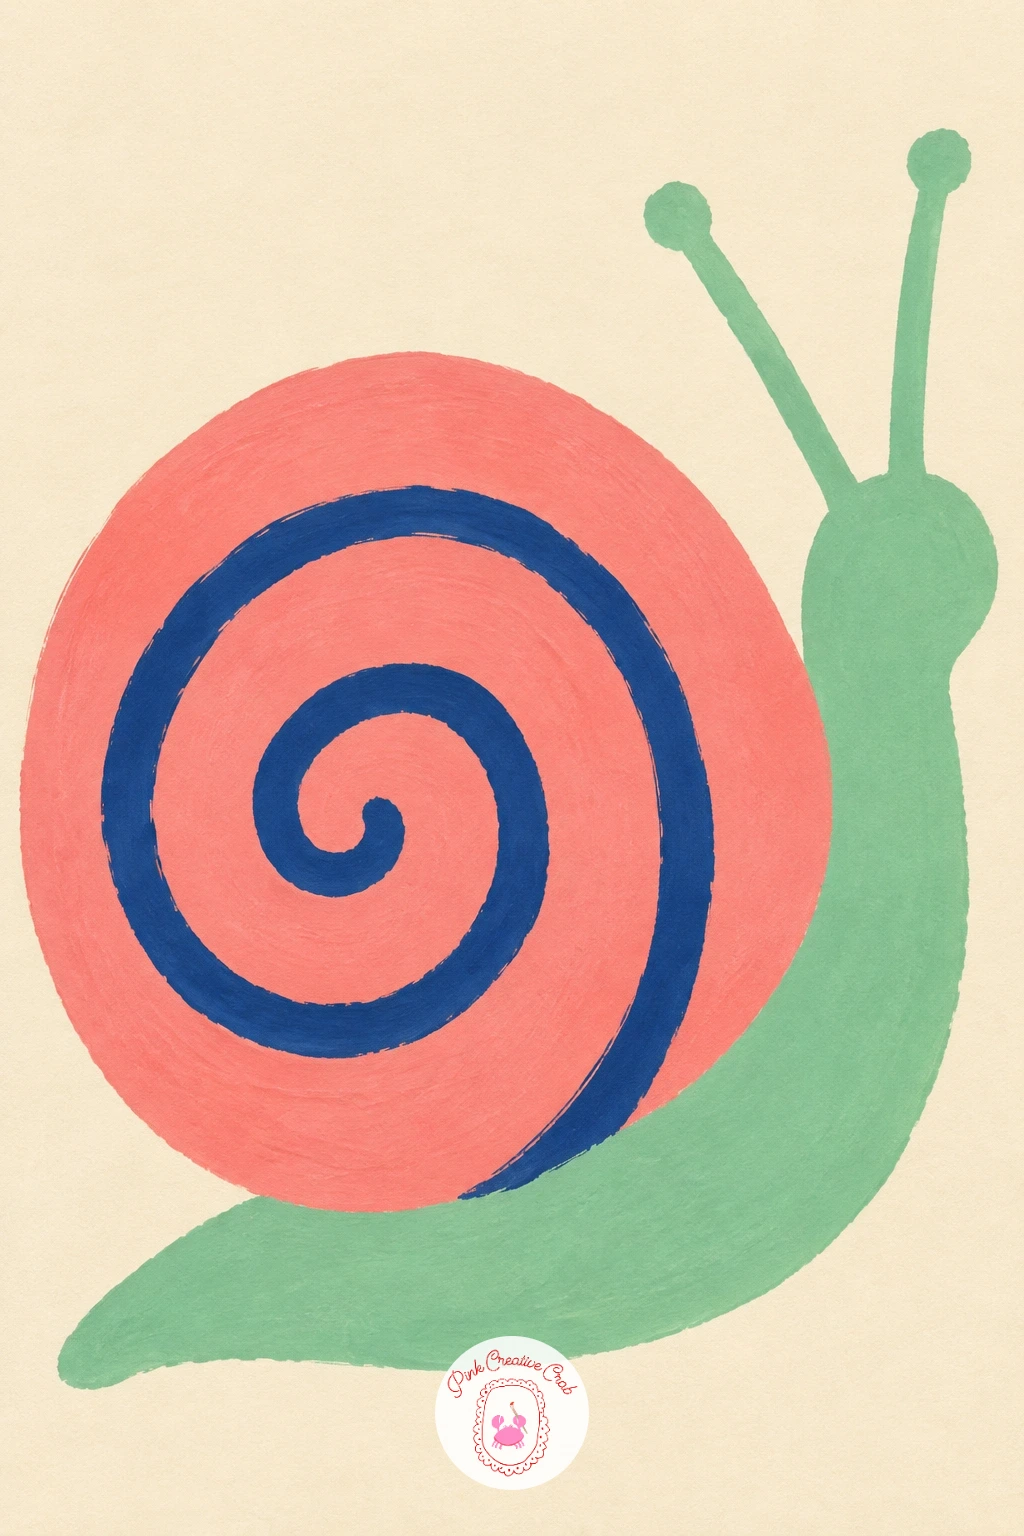
Palette: Coral Pink,Navy,Mint Green,Soft Cream
For more slow, charming snail compositions once this one feels easy, browse these snail painting ideas for further variations.
Give the page some buzz with a fuzzy bumblebee with round wings, a subject made from one oval body, a few stripes, and two simple wing shapes. Pencil a rounded oval body, slightly tapered at one end, then two overlapping round wing shapes behind it and two thin antennae at the front.
Paint the body first in lemon yellow, then once dry, paint two or three navy stripes across its middle, keeping the gaps between stripes as bare yellow rather than white, which keeps the bee looking warm rather than cold. Where the light sits does matter a little here: imagine it coming from above, and leave the top edge of each stripe slightly lighter by painting it a touch thinner, which gives a soft sense of roundness without any real shading.
Paint the wings last in a very pale, almost transparent mint green or cream, thinned with extra water so they look delicate and slightly see-through against the background. If your wings come out too opaque, that thinned, watery gouache is the swap worth remembering for any wing or glass subject on this list.
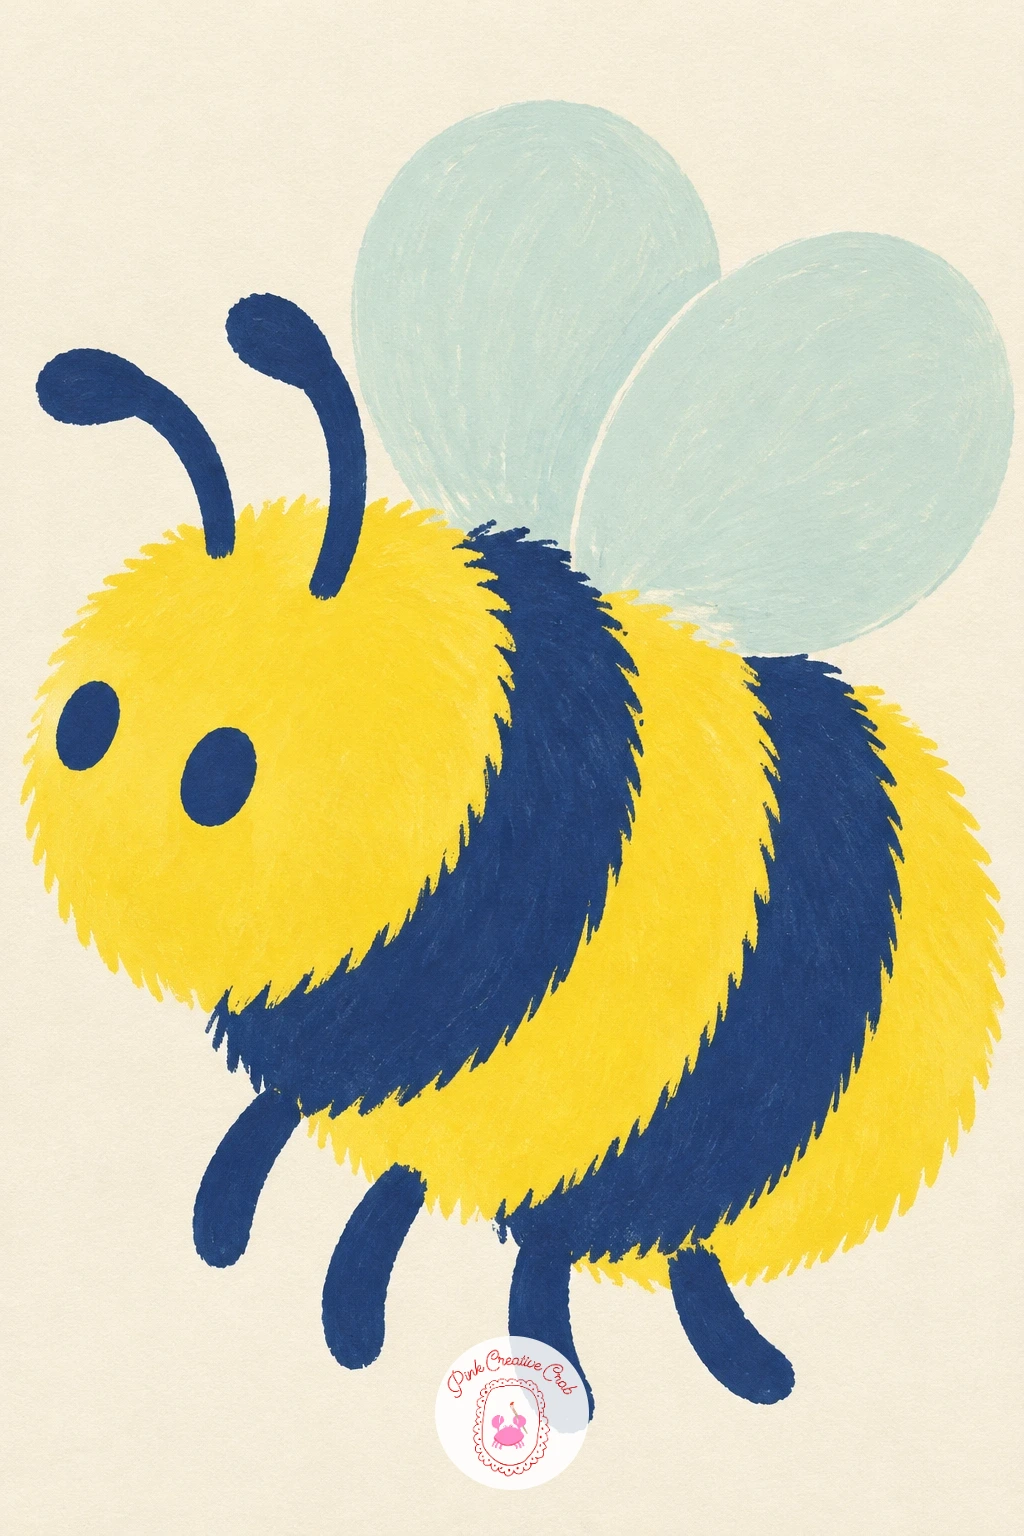
Palette: Lemon Yellow,Navy,Mint Green,Soft Cream
Move to something cosy and quick: a cup of coffee with a heart in the foam, built from one simple cup shape and a round top of foam. Pencil a slightly tapered cup shape with a loop handle on one side, then an oval of foam sitting on top of the coffee inside the rim.
Paint the cup itself first in a flat mint green or coral pink, then once dry, paint the coffee as a dark brown oval just below the rim, leaving a thin ring of cup colour showing at the very top edge. Paint the foam on top of the coffee in soft cream, keeping it slightly smaller than the coffee oval so a rim of brown still shows around its edge.
Paint one small heart shape in the same dark brown right in the centre of the cream foam, using two small curved strokes meeting at a point. If a neat heart feels fiddly at this size, a simple swirl or a single curved line reads just as sweetly as latte art.
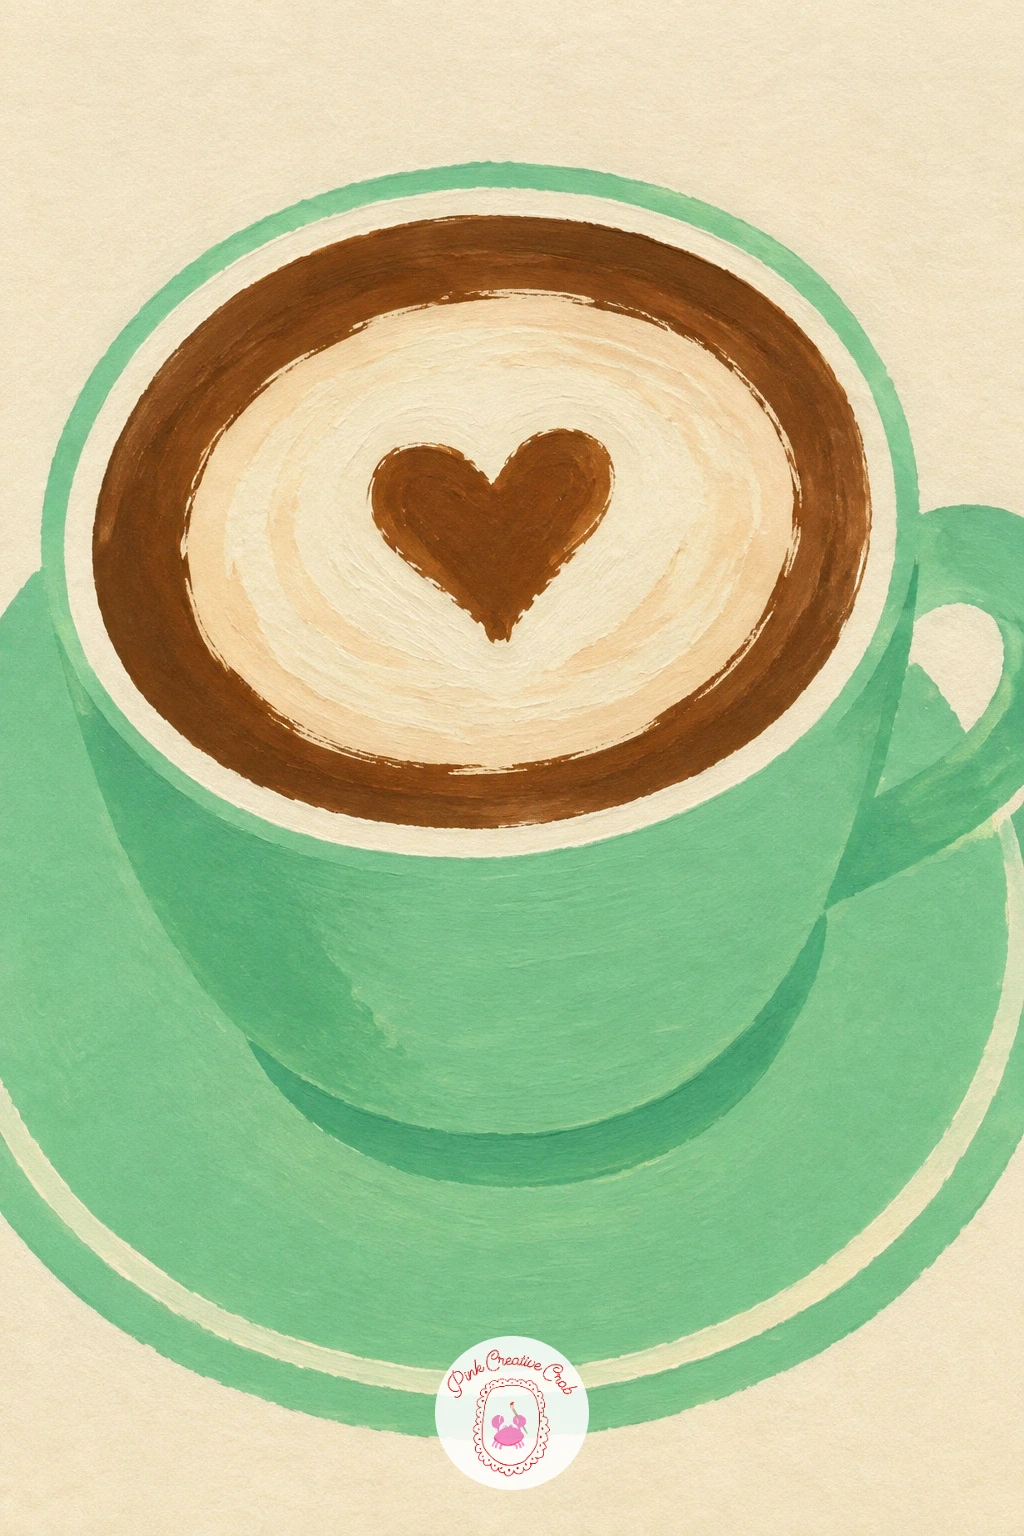
Palette: Mint Green,Raw Umber,Soft Cream,Coral Pink
Keep the mood playful with a paper boat floating on a puddle, a subject built from a few folded triangle shapes and one flat round puddle. Pencil a simple folded paper boat silhouette, a triangular sail shape rising from a small hull, then a wide, slightly irregular oval beneath it for the puddle.
Paint the puddle first in a flat pale blue or mint, keeping its oval edge slightly wobbly since puddles are never perfectly round, and let it dry completely before the boat goes on top. Paint the boat itself in soft cream or white with thin navy fold lines added once dry, to suggest the creased paper without any real shading.
Add a few small navy ripple lines radiating gently from the hull out across the puddle, curved rather than straight, to suggest the water moving slightly around it. If the ripples come out looking too busy, two or three simple curved lines are enough; a puddle with empty, flat colour around them still looks calm and finished.
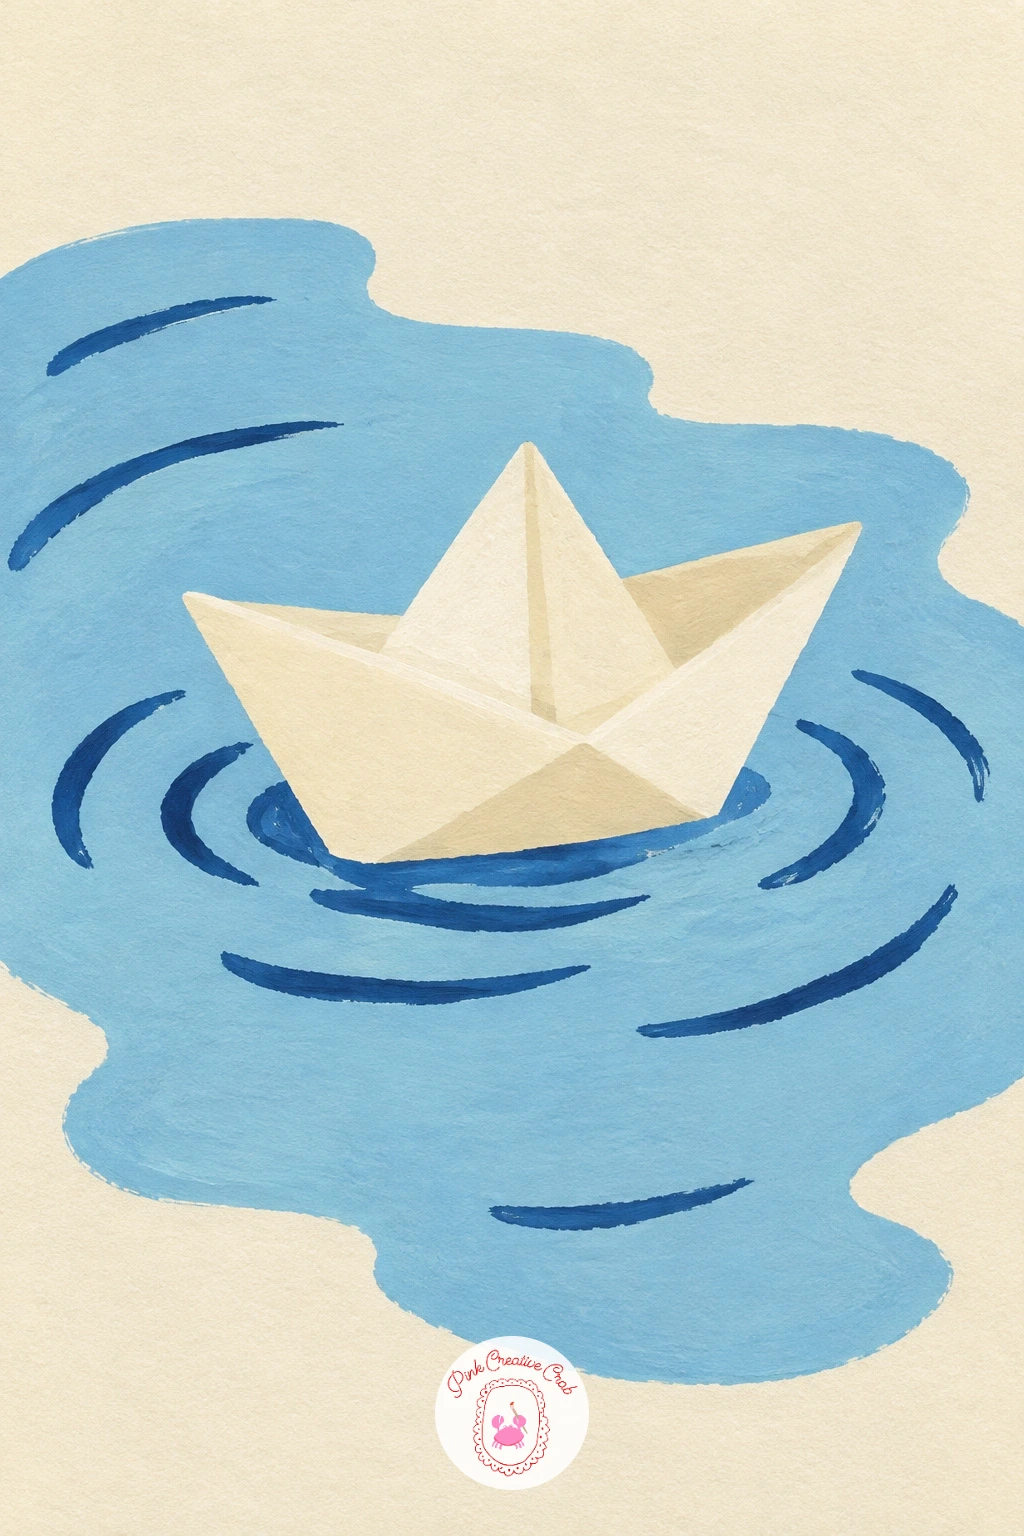
Palette: Pale Sky Blue,Soft Cream,Navy
Try a small two part scene next: a single cloud raining onto a small plant pot, a sweet pairing of one soft rounded shape above and one angular shape below. Pencil a cloud made from three or four overlapping rounded bumps near the top of the page, then a small terracotta pot with one or two leaves below it, directly beneath the cloud.
Paint the cloud first in soft cream or very pale grey, then once dry, paint a handful of thin navy raindrop lines falling from its base down toward the pot, slightly angled rather than perfectly vertical. Checking the proportion between the two shapes matters here: keep the cloud roughly the same width as the pot below it, so the rain lines have a clear, believable path to travel.
Paint the pot in terracotta with one or two mint green leaves rising from it last. If the rain lines look too stiff and ruler straight, vary their length and angle slightly from line to line, which makes the whole shower feel more natural.
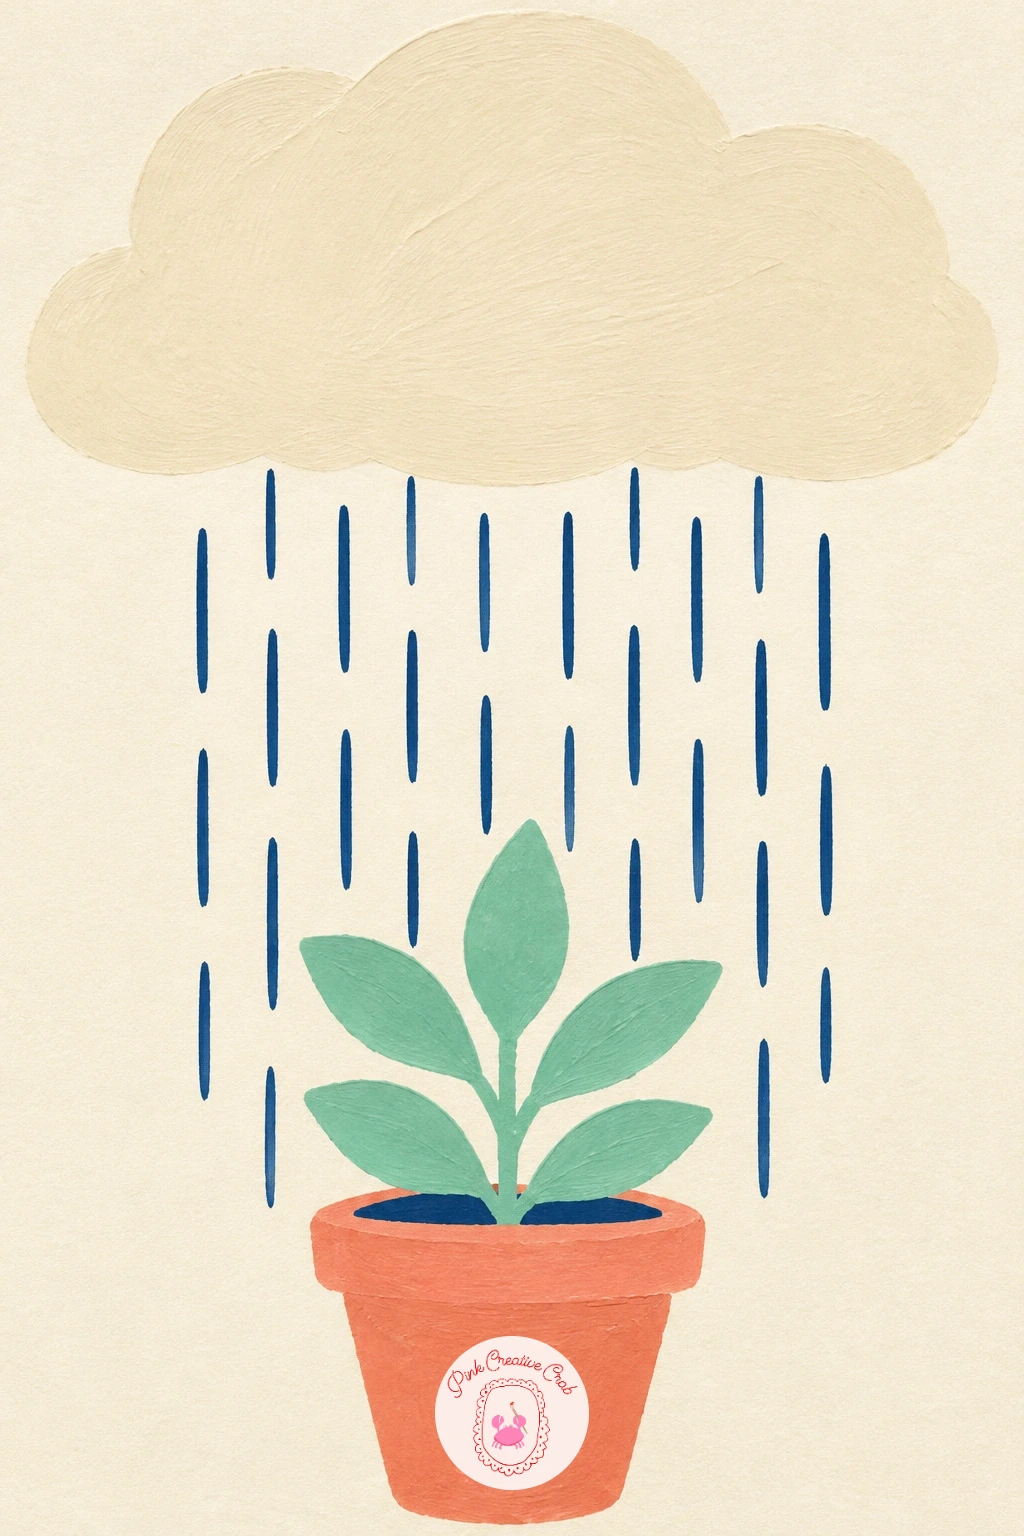
Palette: Soft Cream,Navy,Terracotta,Mint Green
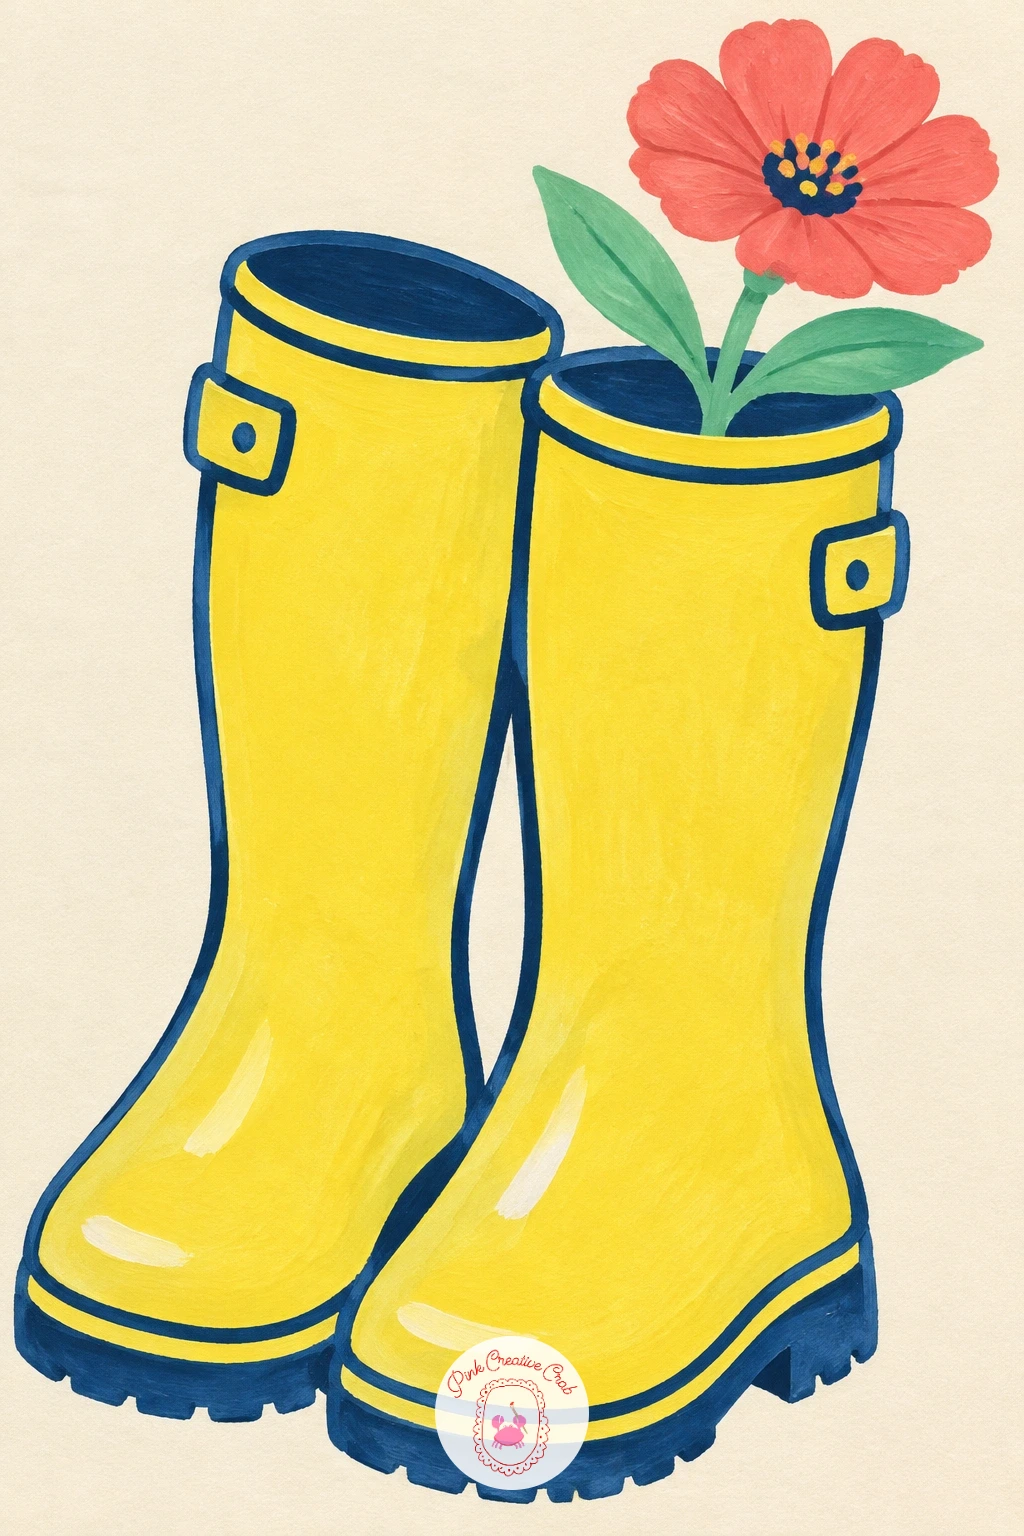
Stay cosy with a pair of yellow rain boots with a flower tucked in one, a subject made from two simple rounded boot shapes side by side. Pencil two boot outlines leaning slightly toward each other, each with a rounded toe and a straight cuff at the top, then one small flower shape poking out from the opening of one boot.
Paint both boots first in a flat lemon yellow, working one at a time so you are not resting your hand on wet paint from the other. Once dry, paint a thin navy line around each sole and cuff to define the edges crisply, plus a small navy strap detail near the top of each boot if you like.
Paint the small flower in coral pink with a mint green stem and leaf last, angled as if it is leaning out of the boot opening. If painting two identical boots feels repetitive, give the second boot a slightly different lean or angle, which makes the pair feel more like a real scene than a diagram.
Palette: Lemon Yellow,Navy,Coral Pink,Mint Green
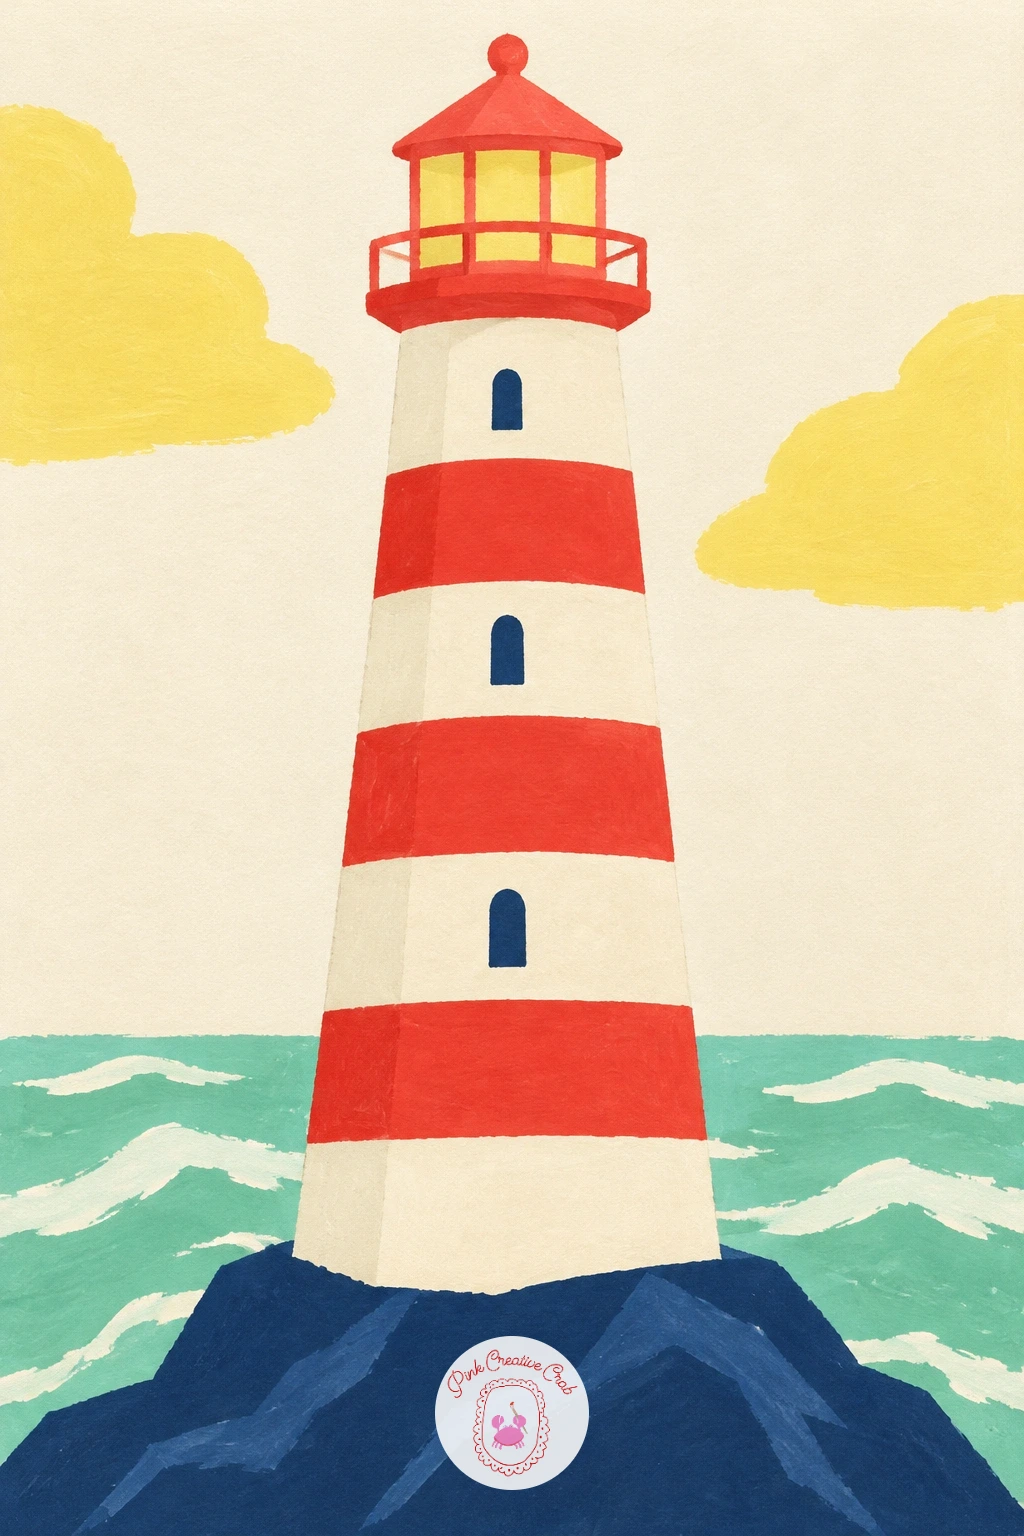
Head back to the coast with a lighthouse with red and white stripes on a rock, a taller subject built from one narrow cylinder and a small rock base. Pencil a tall, slightly tapered tower shape, a small lantern room on top with a pointed roof, and an uneven rock shape beneath it.
Paint the base coat of the tower first in soft cream or white, then once completely dry, paint three or four horizontal red stripes across it, keeping the gaps between them as the cream base colour rather than painting white on top. Checking proportion keeps this one from going wrong: the lantern room and roof together should be no taller than about a quarter of the whole tower, or the lighthouse starts to look top heavy.
Paint the rock base in navy or a deep grey, and the lantern room’s roof in a flat red to match the stripes. If keeping the stripes perfectly horizontal is tricky freehand, pencil in straight guide lines first with a ruler, then paint right up to them.
You Will Need
- ruler, for straight stripe guides
Palette: Soft Cream,Red,Navy,Pale Grey
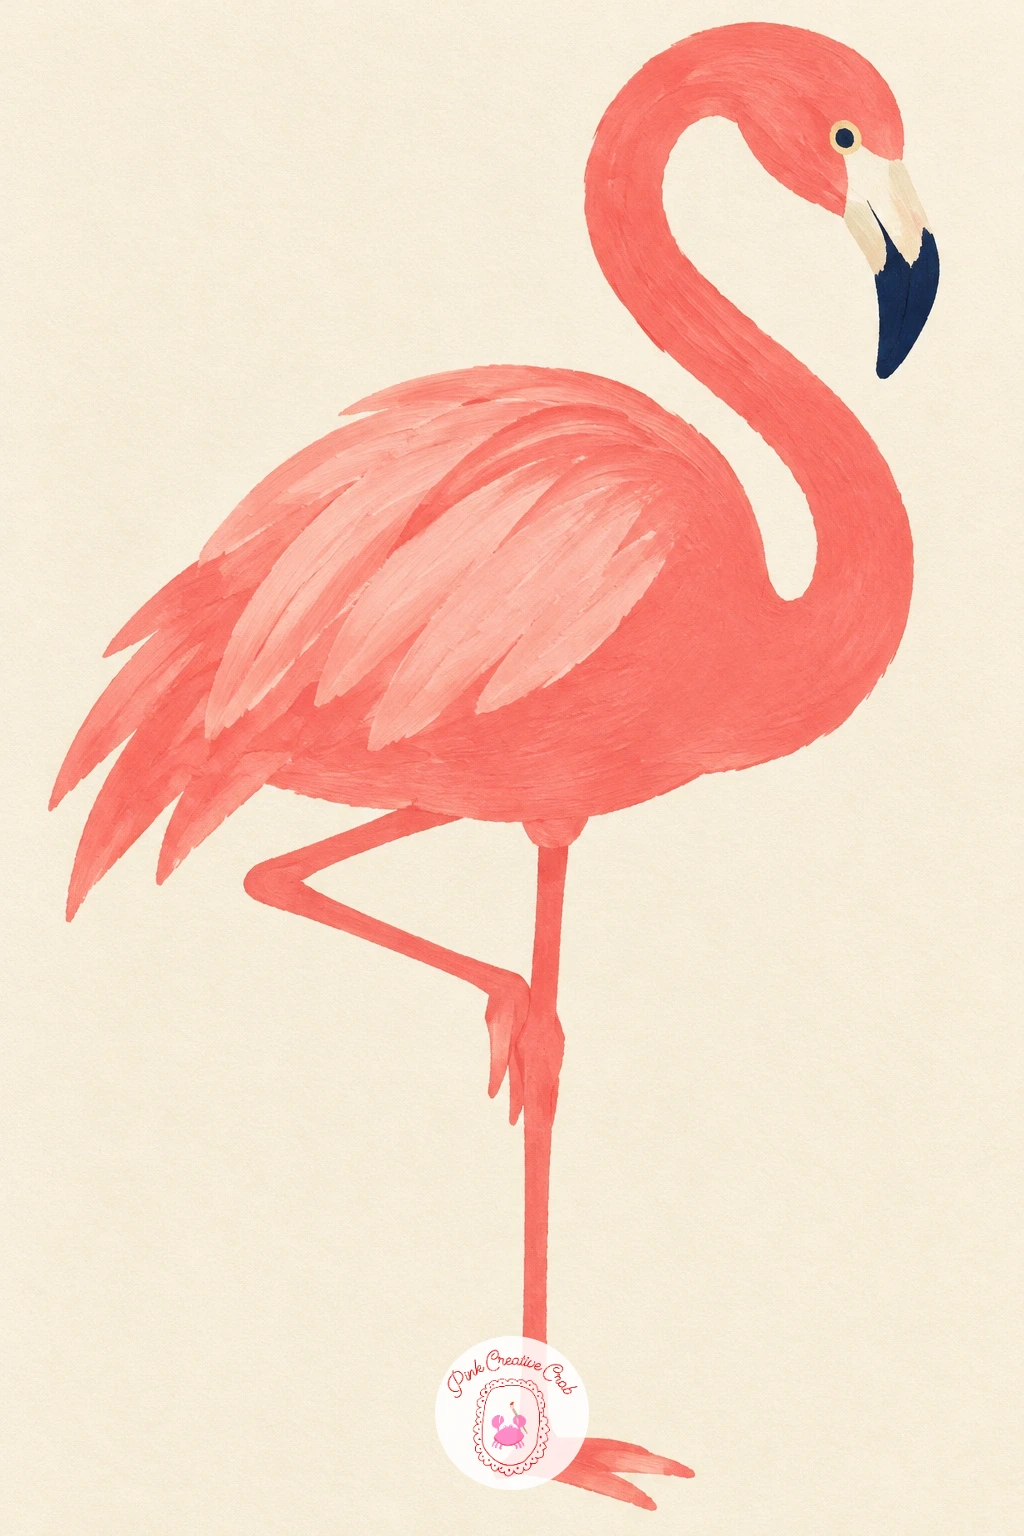
Add some personality with a pink flamingo standing on one leg, a subject that looks tricky but is really just one curved neck line and a simple balanced pose. Pencil a rounded oval body, a long S curved neck rising from it, a small head with a downward curved beak, and one thin straight leg with a bent knee, the other leg tucked up and barely visible against the body.
Paint the whole body, neck and head first in a flat coral pink, keeping the S curve of the neck smooth and confident rather than built from several short hesitant strokes. One balance trick keeps the pose convincing: make sure the single supporting leg lines up directly under the middle of the body, not off to one side, or the flamingo will look like it is about to tip over.
Paint the leg and beak tip in a thin dark grey or navy once the pink is dry, and a small black dot for the eye. If the S curve of the neck comes out too stiff on your first pass, loosen your wrist and repaint it in one single unbroken stroke rather than trying to correct it in sections.
Palette: Coral Pink,Pale Grey,Navy
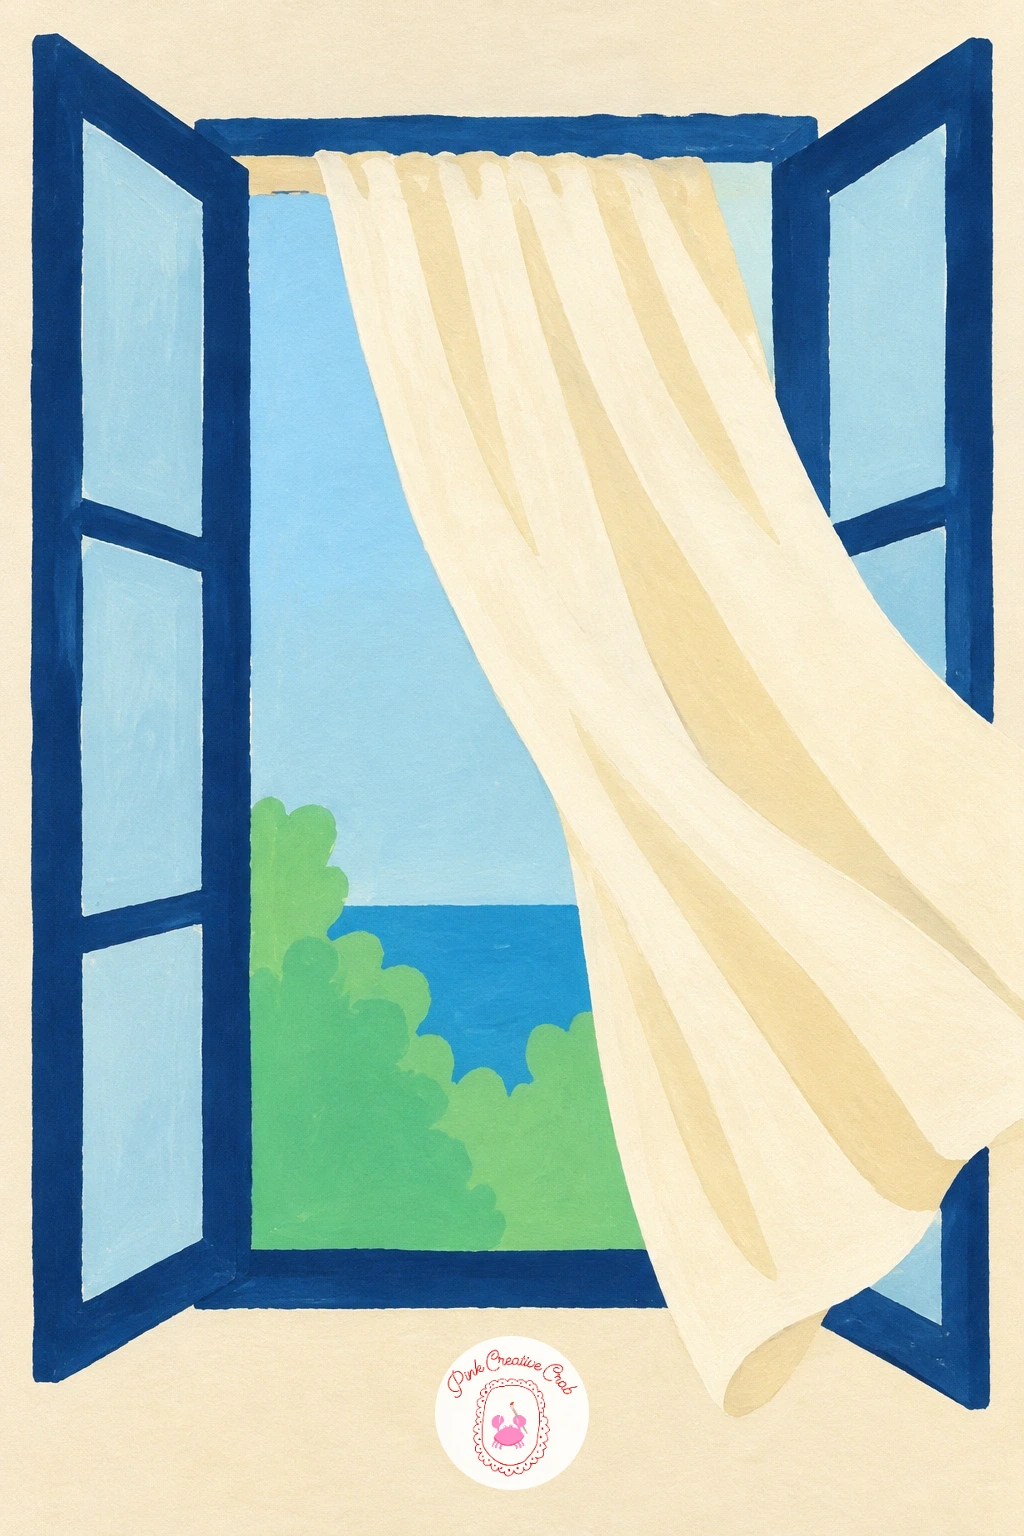
Try an architectural subject next with an open window with a curtain blowing out, built from one square frame and one soft billowing curtain shape. Pencil a simple square or rectangular window frame with two panes divided by a thin cross line, then a curtain shape flowing out from one side in a soft curve rather than a straight hanging line.
Paint the wall around the window first in a flat pastel colour, then once dry, paint the window frame in navy and leave the panes as pale sky blue to suggest glass and the world outside. Paint the curtain last in soft cream or coral pink, letting its bottom edge ripple gently rather than hang in a straight line, which is what makes it look caught by a breeze rather than simply draped.
If a fully rippled curtain feels hard to shape convincingly, a simpler curved triangle blowing sideways still reads clearly as fabric in the wind and finishes just as fast.
Palette: Pale Sky Blue,Navy,Soft Cream,Coral Pink
Settle back into something quiet with potted lavender on a windowsill, a subject made from a few thin upright stems and one simple pot. Pencil a small rounded or trapezoid pot, then five or six thin straight stems rising from it at slightly different heights and angles, each topped with a narrow oval cluster shape.
Paint the pot first in terracotta or navy, then once dry, paint the stems in thin mint green lines using the tip of a small brush, keeping a light, steady hand so they stay thin and even. Paint the lavender clusters on top in a soft purple or deep coral pink, a small loose oval of colour at the top of each stem rather than individual tiny flowers, which keeps the whole thing simple enough to finish quickly.
If you do not have a true purple in your gouache set, mix navy with a touch of coral pink for a close, soft lavender shade instead. Keep a thin windowsill ledge line in navy beneath the pot to ground the whole scene.
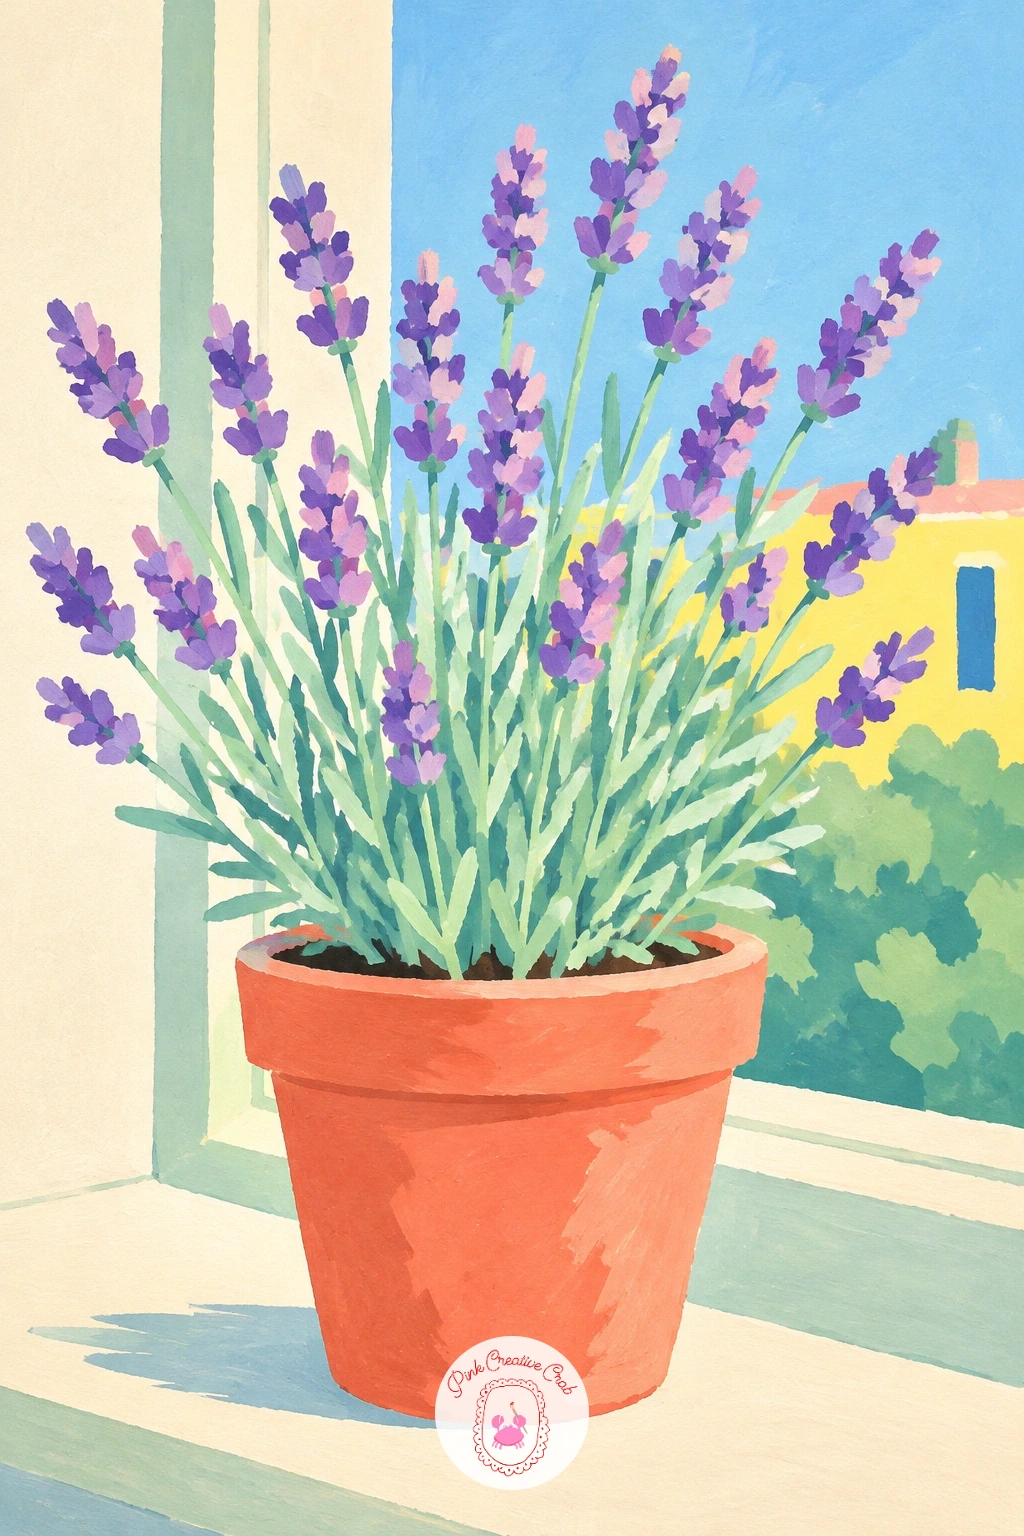
Palette: Terracotta,Mint Green,Coral Pink,Navy
Bring in some everyday charm with a red scooter parked by a pastel wall, a subject built from two circles for wheels and a simple curved body frame. Pencil two matching circles for the wheels along the bottom of the page, then a curved frame connecting them with a seat, handlebars, and a front panel rising between the wheels.
Paint the wall behind it first in a flat pastel colour, covering the whole background and letting it dry completely before the scooter goes on top. Paint the scooter body in a flat red, working the handlebars and seat as simple geometric shapes rather than trying to add mechanical detail, and keep both wheels the same size so the scooter sits level.
Paint the wheels last in navy with a small cream circle at the centre of each for the hubs. If red feels too bold for your palette today, the same shape works just as well in mint green or navy, so swap the body colour to whichever one you reach for first.
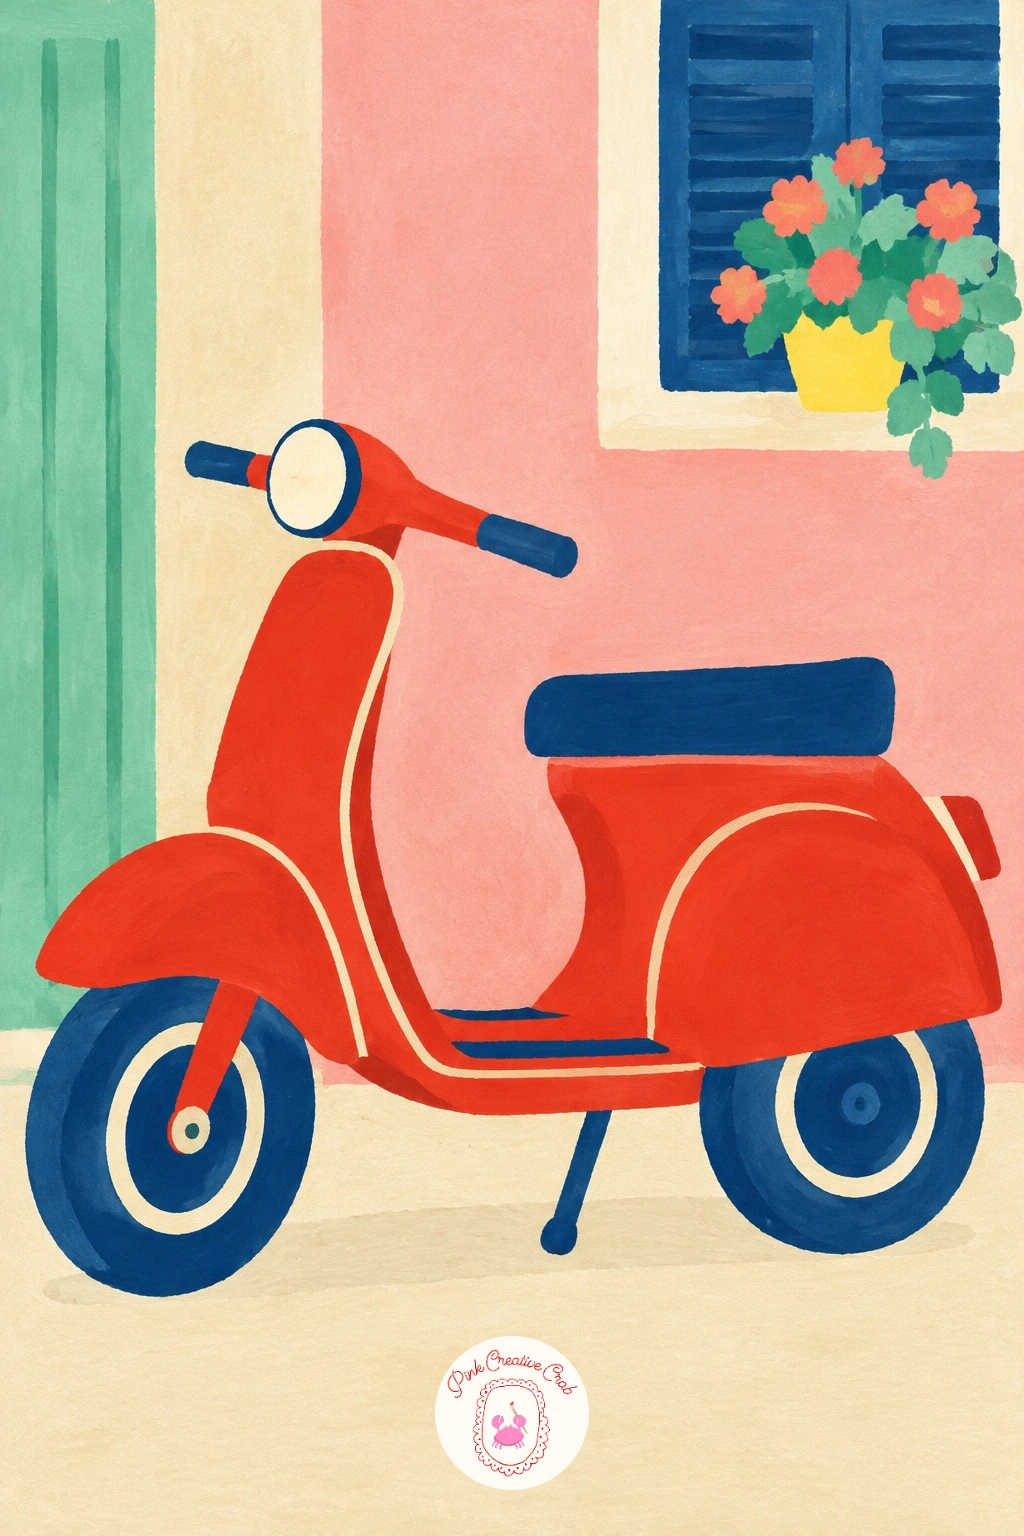
Palette: Red,Navy,Soft Cream,Coral Pink
Close the list with a round tree full of red apples, a satisfying subject that pulls together everything you have practiced: a flat background, a bold round shape, and a scatter of small dots. Pencil a large, slightly bumpy circle for the canopy, a short straight trunk below it, and a scatter of small evenly spaced dots across the canopy for apples.
Paint the canopy first in a flat mint or deep green, covering the whole circle solidly and letting it dry completely before any apples go on top. Paint each apple as a small round dot in a bold red, using the same brush handle dot technique from the polka dot teapot earlier in this list, spacing them unevenly across the canopy so they feel scattered rather than gridded.
Paint the trunk last in a flat brown, short and simple, with no branches showing through the canopy. If you want to vary this tree another time, try it with lemon yellow fruit instead of red for a sunnier, more autumnal version, or shrink the canopy and add a second small tree beside it for a little orchard scene.
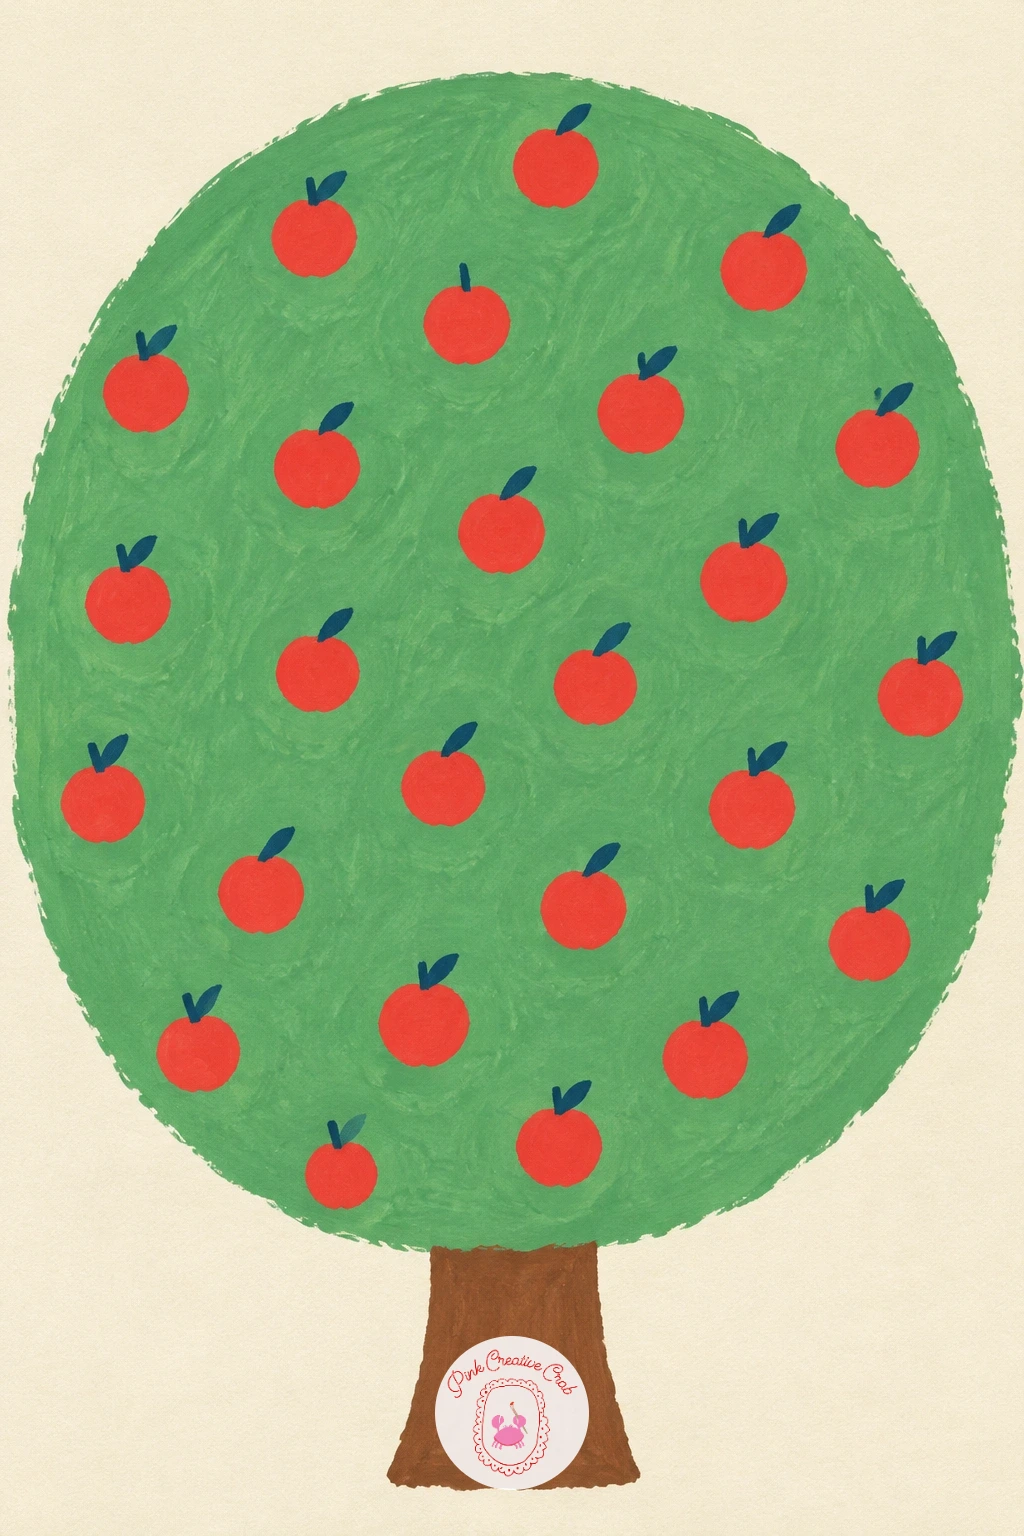
Palette: Green,Red,Raw Umber,Soft Cream
If citrus fruit suits your mood better than apples, this same round tree shape works beautifully with the ideas in these orange painting ideas.
What to Do Next
Pick one idea that matches a colour you already have mixed and ready, grab a small sheet of watercolor paper, and paint it start to finish in one sitting. Once a simple shape or two feels comfortable, come back and work through a few more from the list in an afternoon.
Frequently Asked Questions
What paper is best for easy gouache painting?
A smooth, heavyish watercolor paper works best for easy gouache painting, since it holds flat colour without buckling. Cold press paper around 140 pound weight gives enough texture to grip the paint while still letting edges stay crisp.
How do you keep gouache edges crisp instead of fuzzy?
Let each shape dry completely before painting the one next to it, since wet edges bleed together and lose their crispness. Use a smaller brush for outlines and a bigger one for filling, and avoid overloading the brush with water.
Can you paint over gouache mistakes once they dry?
Yes, gouache reactivates slightly with water but dries opaque again, so a dry mistake can usually be painted over cleanly once it sets. Thicker paint with less water covers better than a thin, watery mix.
How many colours do you really need to start with gouache?
Four colours plus white are enough for most easy gouache paintings: a warm yellow, a pink or red, a cool green, and a navy or dark blue. Mixing these covers nearly every subject on a beginner list like this one.
Why does gouache look chalky or streaky when it dries?
Chalky, streaky gouache usually means the paint was mixed too thin with water for the flat coverage this style needs. Use less water and more paint, and apply one confident, even layer rather than scrubbing back and forth.
Have any thoughts?
Share your reaction or leave a quick response — we’d love to hear what you think!
-
 0
-
0
-
0
-
0
-
0
-
0


