

Easy painting ideas on canvas work best when you stop trying to make them look real and let them look flat and happy instead. Every idea below is built from a few simple shapes, so the brush never has to blend or fuss, and the canvas still looks finished and cute by the time you put it down.
Pick whichever one makes you smile first. You will find a tulip, a round sun, a sleepy cat, a little rocket and two dozen more, each one small enough to go from blank canvas to finished piece in a single evening.
Using these images: free for personal projects such as printing, coloring, cards, journals and gifts. Handmade items that include them may be sold up to 30 pieces per design. More than that is commercial use and is not permitted, and neither is selling or sharing the images themselves or passing them off as your own. Please ask before any other use.
Start the whole project with a pink tulip on pale blue, since it only needs two shapes and one color each. Mix sky blue with a touch of white and cover the whole canvas first, letting that dry while you rinse your brush.
Paint the flower head as one rounded shape in candy pink, like a closed fist with a soft point on top, then add a single green stem and two leaf shapes curving away from it. Keep every edge clean by loading the brush well and pulling in one steady stroke rather than scrubbing back and forth.
If the petal shape comes out lopsided, fix it while the paint is still wet by tidying the outline with background blue on a small brush, which is easier than trying to repaint the whole flower. Swap the pink for coral or lilac if that suits your palette better.
Tip for today: paint the background first and let it dry fully, so your tulip edges stay crisp instead of bleeding into wet blue.
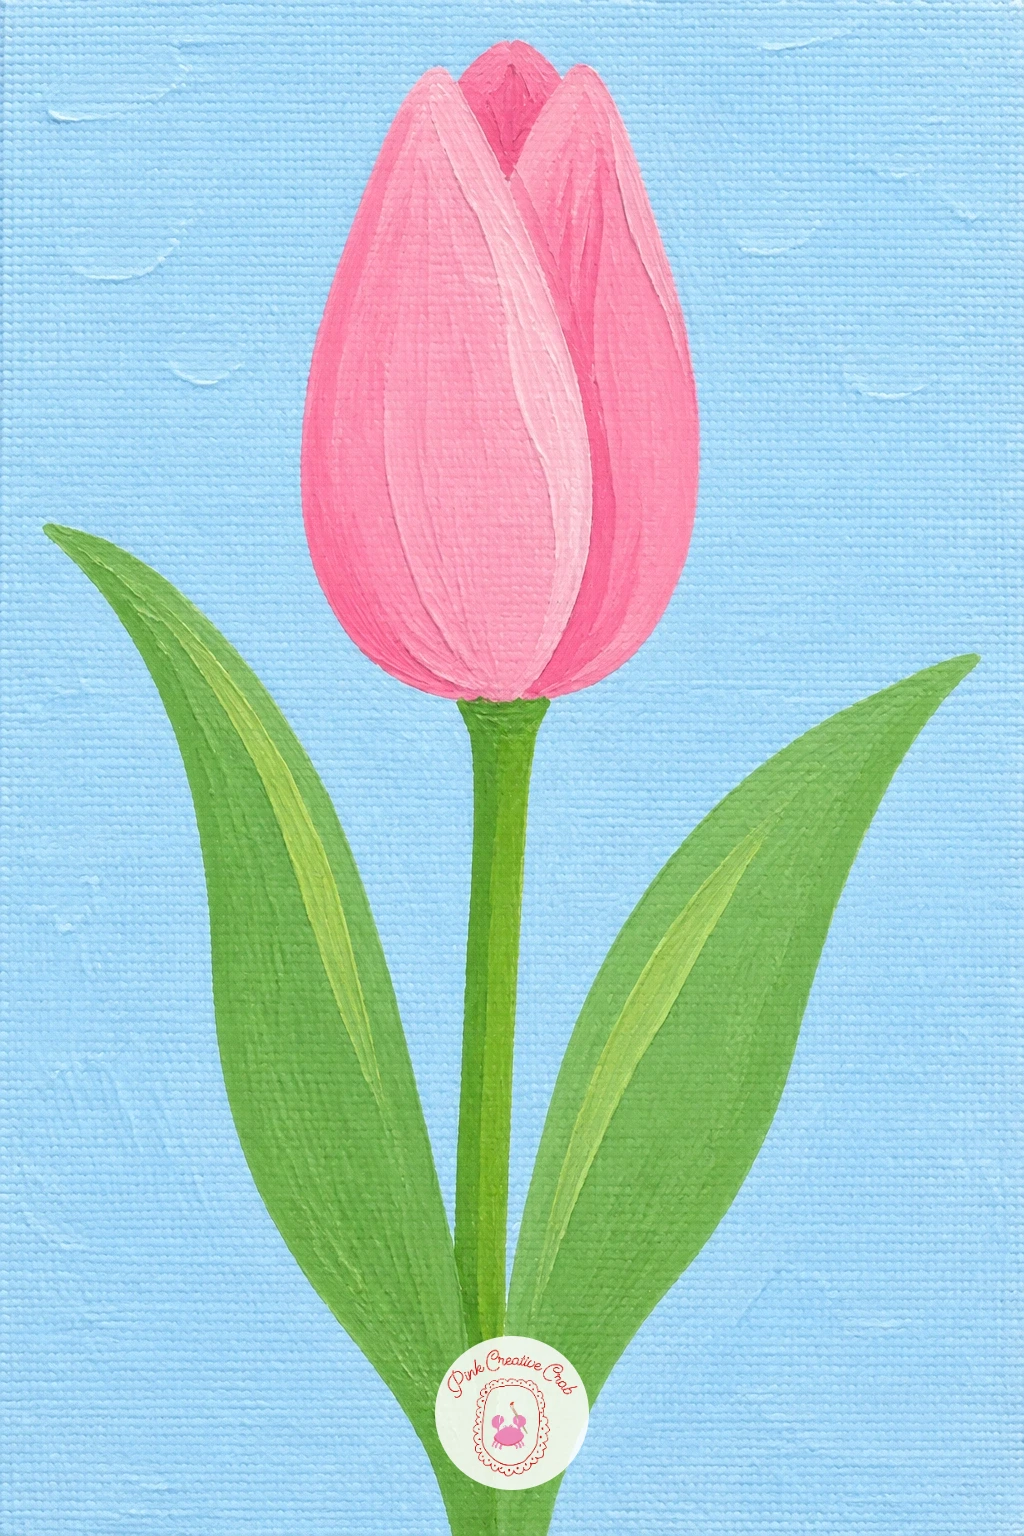
Palette: Sky Blue,Candy Pink,Grass Green,Titanium White
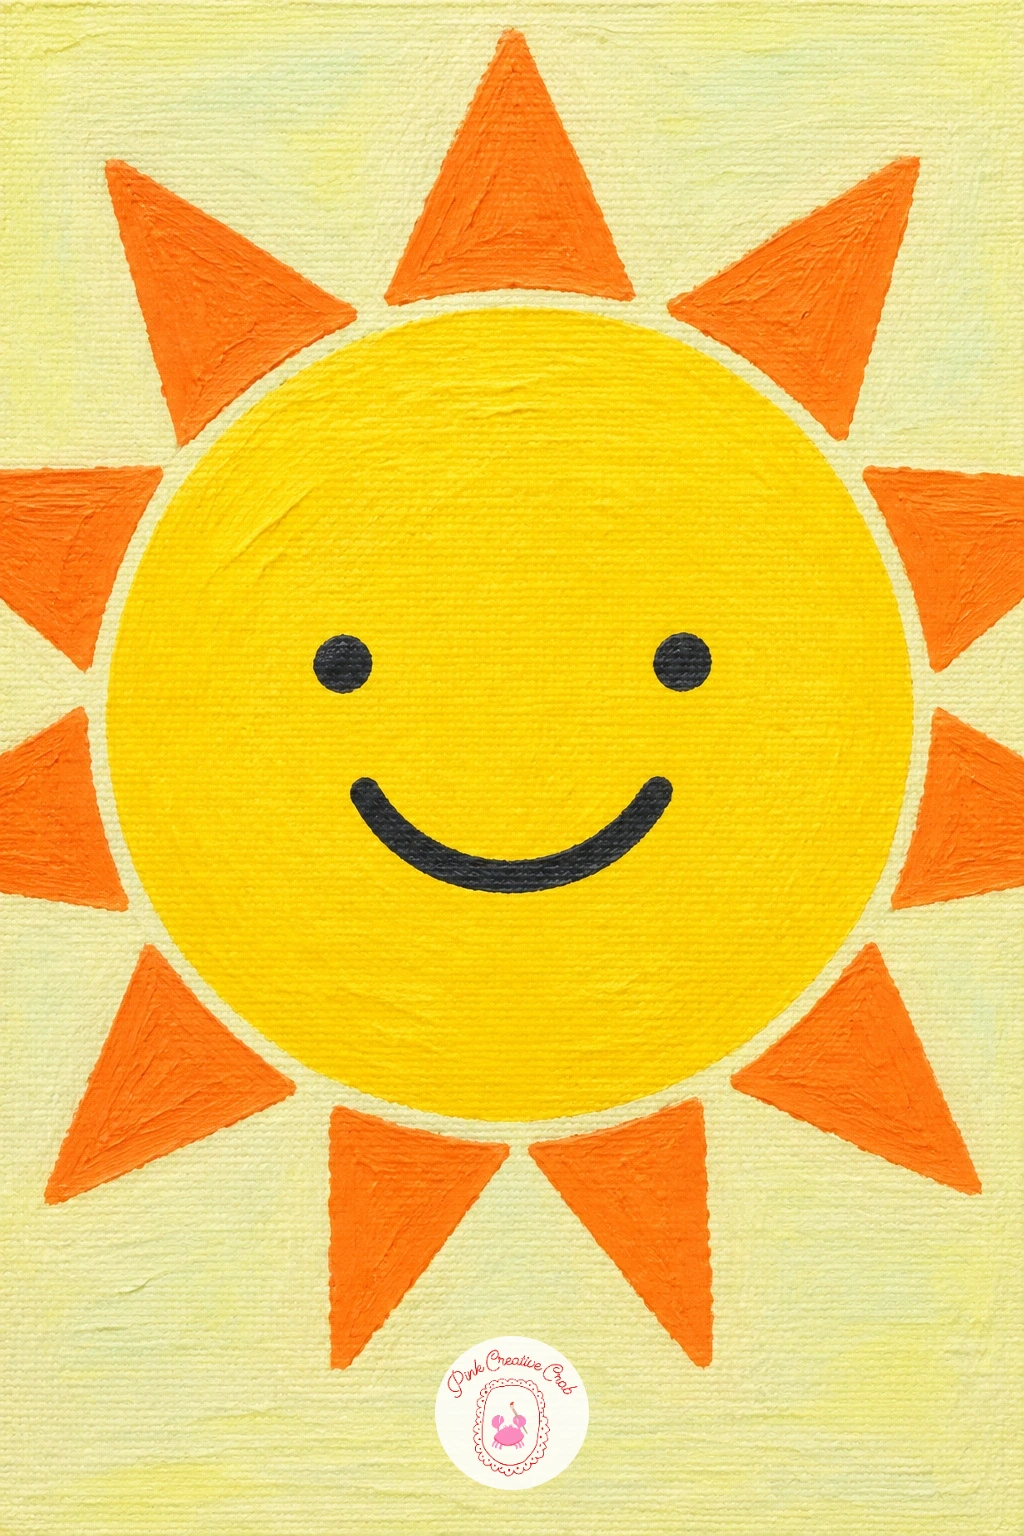
Follow the tulip with something rounder and sillier: a smiling sun with flat orange rays. Paint the background first in a pale yellow wash so the whole canvas glows a little, then let it dry before the sun goes on top.
Use a plate or a jar lid to trace a perfect circle in the middle, fill it with sunny yellow, then paint short triangle rays all the way around in flat orange, keeping them even in size so the sun reads as round rather than spiky. Add the face last with a small round brush: two dot eyes and one curved smile line.
If the rays end up uneven, straighten them by adding or trimming triangle shapes once the yellow circle is dry, since fixing one ray at a time is much easier than redoing the whole sun. No orange on hand, red mixed into yellow gives the same warm ray color.
Measuring trick for today: trace the circle before you paint anything else, so the rays all start from the exact same edge.
You Will Need
- plate or jar lid to trace a circle
Palette: Sunny Yellow,Flat Orange,Titanium White,Black
Move from sky to sea with a single paper boat sitting on calm blue water. Paint the whole canvas in a soft sky blue first, then once that is dry, paint a flat band of slightly darker blue across the lower third to read as water, with one wavy edge where it meets the sky.
The boat itself is just two triangles: a wider flat triangle for the hull sitting right on the waterline, and a taller narrow triangle standing up for the sail, both painted in crisp white with a thin outline in pale grey once dry. Keep the water perfectly flat, no waves or ripples, so the boat stays the star of the picture.
If the hull triangle looks too pointed or the boat seems to float above the water, nudge the bottom point down until it touches the horizon line. Swap white for cream if your canvas already has a warm background.
Eye level tip for today: paint the water band low on the canvas, since a low horizon makes the little boat feel like it is sailing toward you.
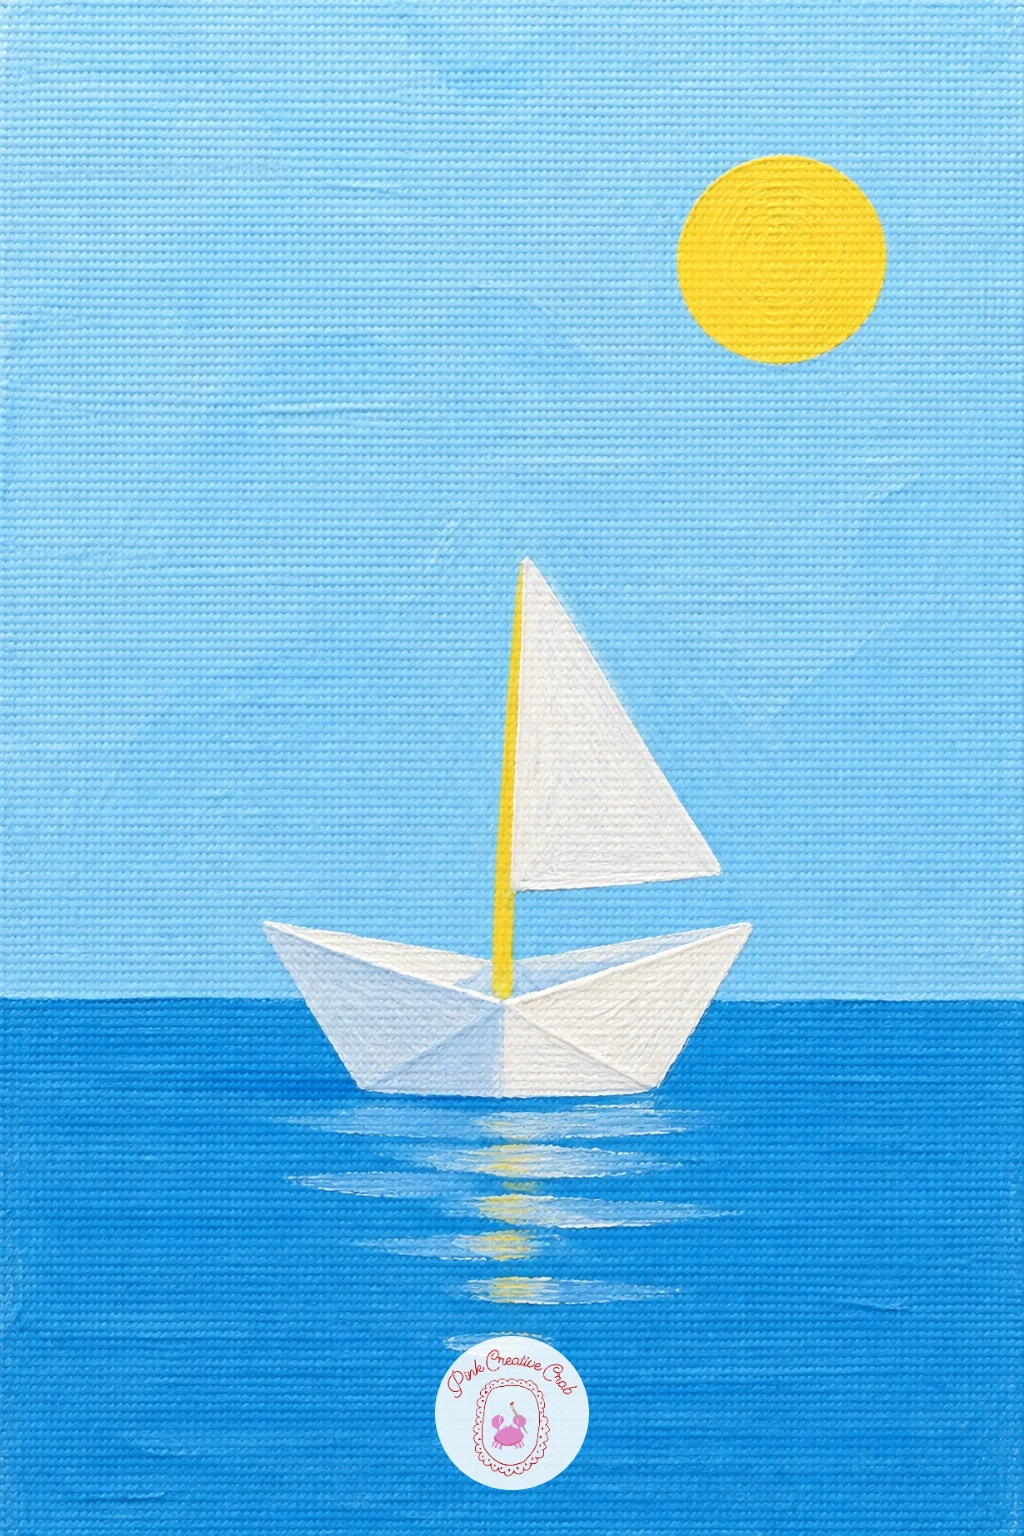
Palette: Sky Blue,Deeper Blue,Titanium White,Pale Grey
Bring the palette down to earth with a potted cactus, which is really just a terracotta trapezoid topped by a few rounded green shapes. Paint the pot first as a simple trapezoid, wider at the top than the bottom, in warm terracotta, then add a thin cream rim along the top edge once dry.
Build the cactus body from two or three overlapping oval shapes in grass green standing up from the pot, then tuck one or two small pink dot flowers along the top edges to finish it. Keep every oval flat and solid, no shading, so the cactus reads as friendly rather than prickly.
If the ovals look too stiff side by side, overlap them slightly so one sits a little in front of another, which instantly makes the cactus feel like a cluster instead of a row. Any warm clay color works if terracotta is not in your set, even a muted orange-brown.
Texture tip for today: once the green is dry, dab tiny white dots along the cactus edges with the tip of a round brush for a quick hint of prickles without drawing real spines.
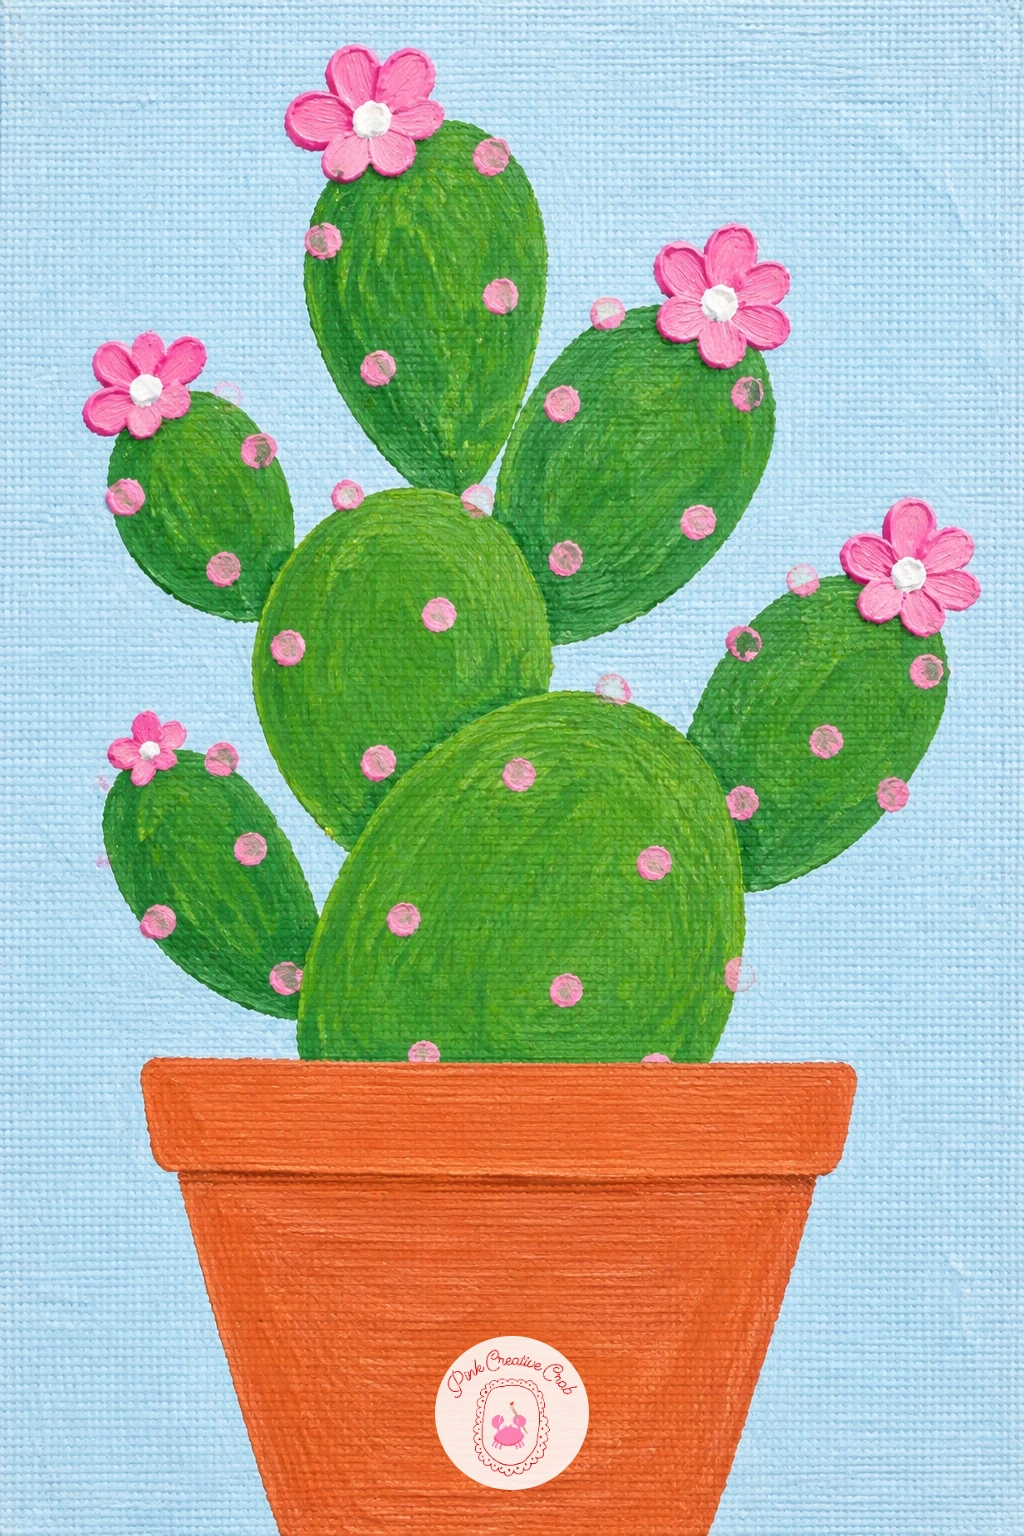
Palette: Terracotta,Grass Green,Candy Pink,Cream
Keep the cactus pot’s warm tones going with a cheerful red and white mushroom sitting on a little green hill. Paint the hill first as one soft curved mound across the bottom of the canvas in grass green, letting it dry before the mushroom goes on top.
Build the mushroom from a rounded dome in red for the cap and a short rectangle in white for the stem, then once the red is fully dry, add a handful of white dot spots across the cap with a small round brush. Keep the dome smooth and rounded rather than lumpy, since one clean curve reads much better than several wobbly ones.
If the dots smear into the wet red, that is the one place this goes wrong, so always wait until the cap is bone dry before adding spots. No red in your set, a deep coral gives the same storybook feel.
Quick version for today: a flat dome cap, a stubby stem and three dots is a finished mushroom in ten minutes; the forty-minute version adds a thin dark outline around the whole shape and a few blades of grass at its base.
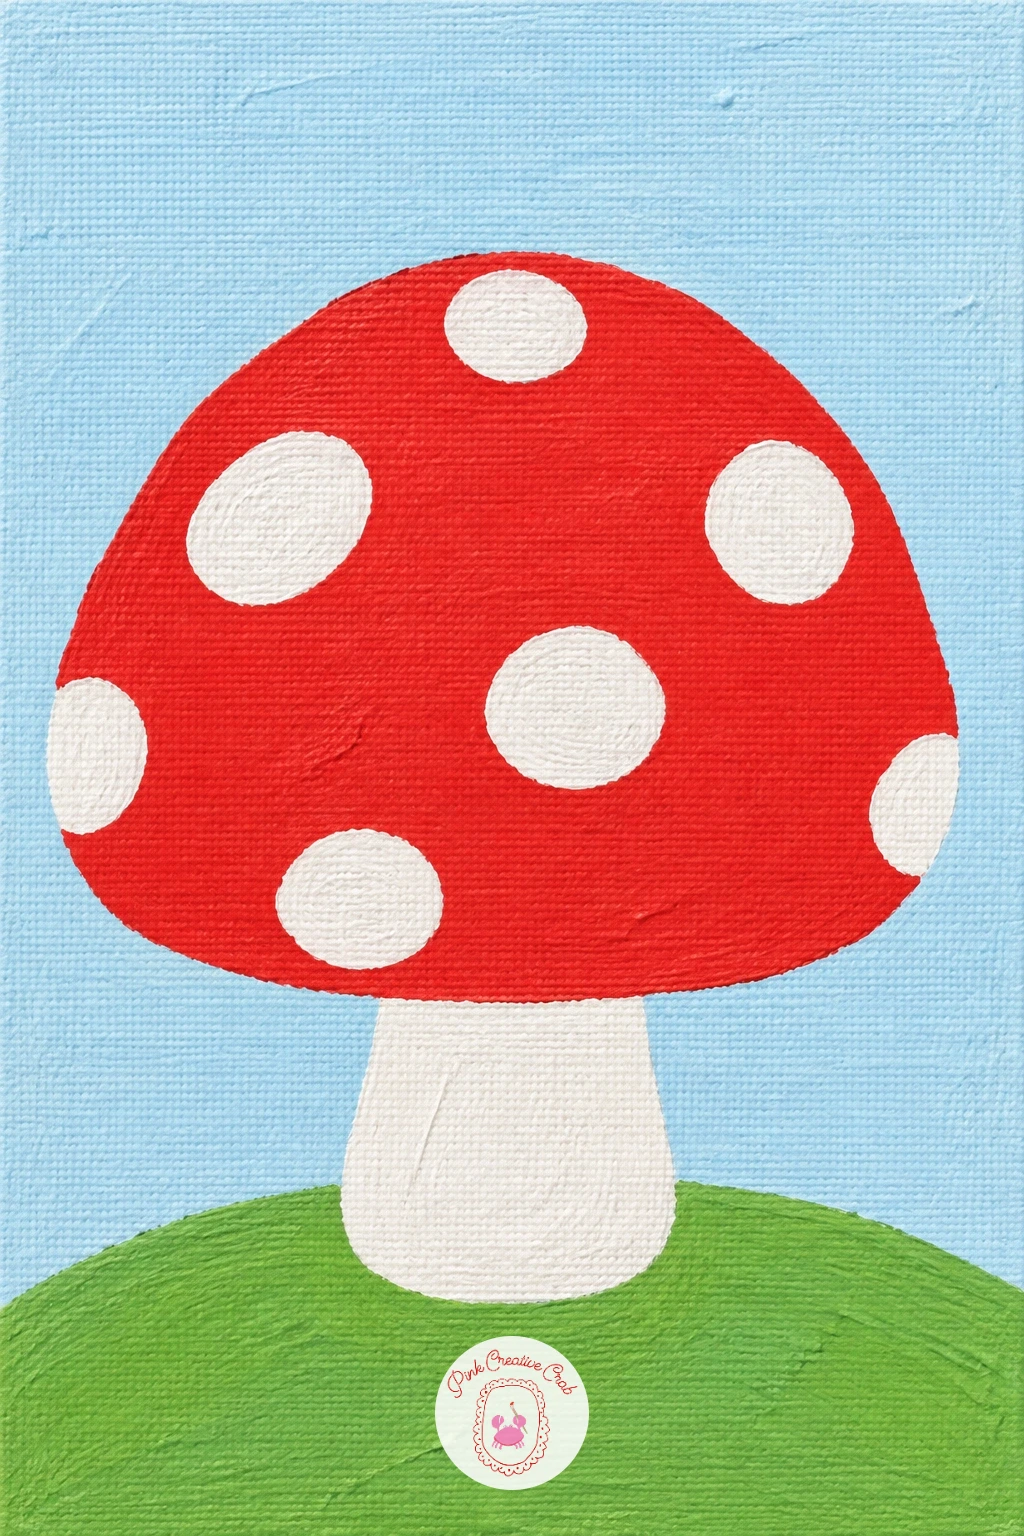
Palette: Poppy Red,Titanium White,Grass Green,Soft Cream
Mushrooms on land lead naturally to a whale tail breaking the surface of flat blue water. Paint the water first as a solid block of blue covering the whole canvas, leaving the top edge straight or very gently curved, and let it dry completely.
Paint the tail as one large curved triangle shape rising from the bottom edge, with a soft notch cut into the top to separate the two flukes, all in a deep grey-blue that sits a shade darker than the water. Add a few short white curved lines around the base of the tail to suggest splashing water without painting actual waves.
If the tail shape looks stiff or symmetrical, curve one fluke slightly higher than the other, since a little asymmetry makes it feel alive rather than like a cut-out. Navy works just as well as grey-blue if that is what is already on your palette.
Light source tip for today: keep one edge of the tail a touch lighter, as if the sun sits off to that side, which gives the flat shape a little lift without any real shading.
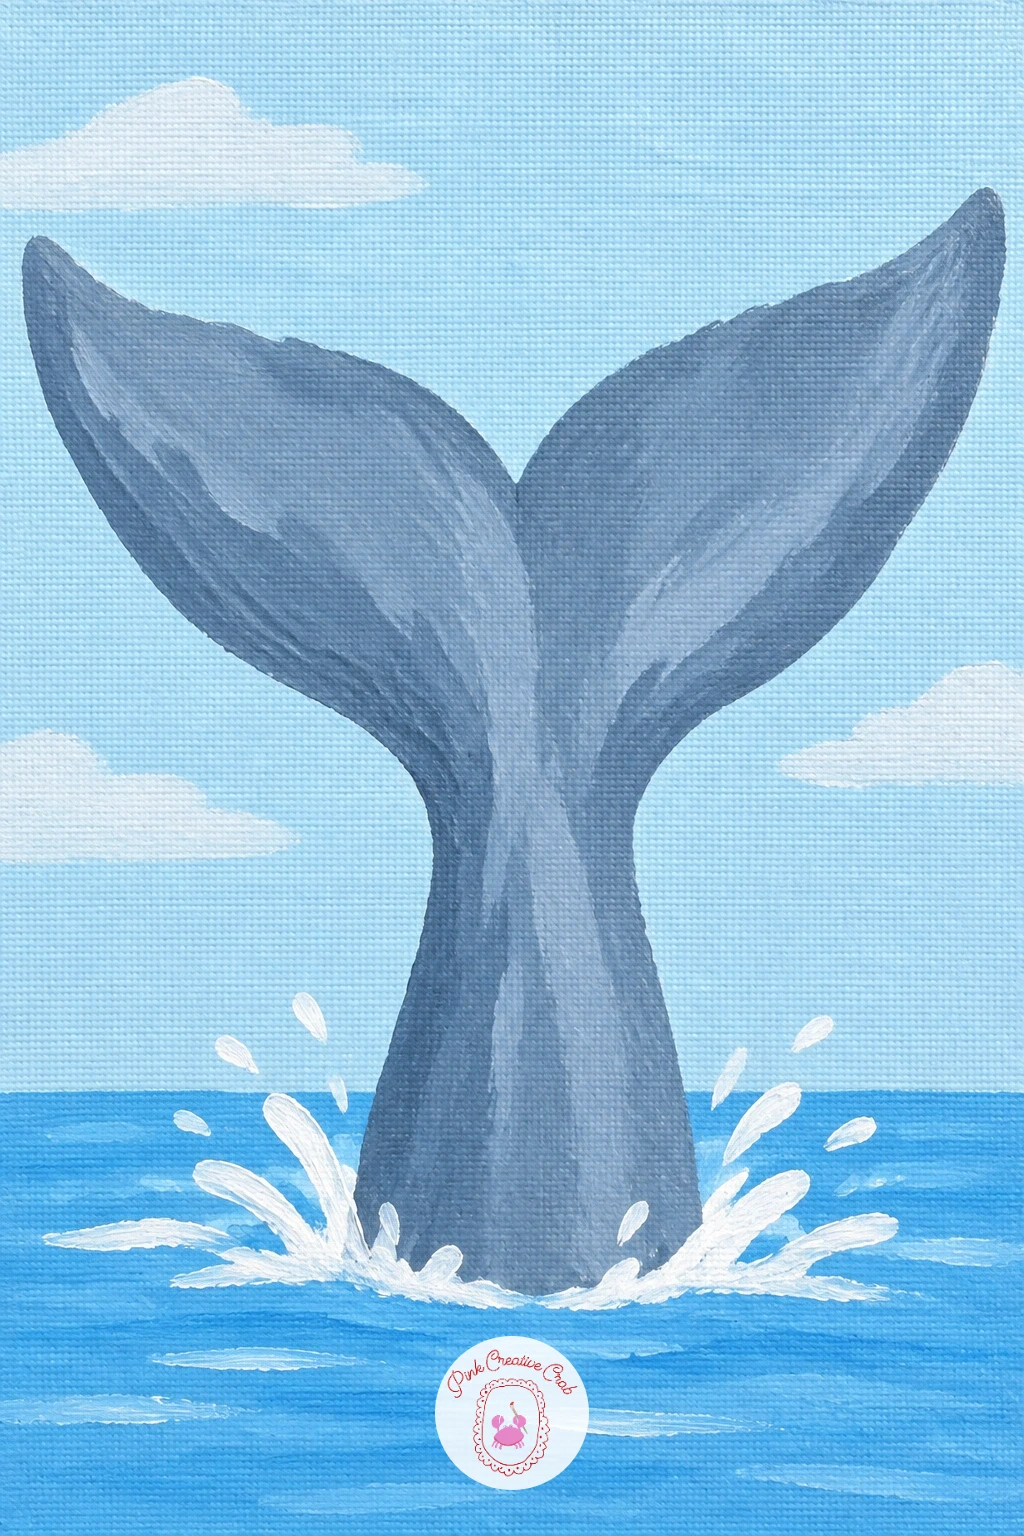
Palette: Deep Blue,Grey Blue,Titanium White,Sky Blue
After the open water, settle onto land with a simple house and its round green tree. Paint the sky as a pale wash across the top half of the canvas and a strip of grass green across the bottom, then let both dry before the house goes on.
Build the house from one square body in soft white and one triangle roof in red sitting directly on top, then add a small square window and a thin rectangle door once dry. Finish with the tree beside it: a brown rectangle trunk topped by one large green circle, kept slightly shorter than the roofline so the house still leads the eye.
If the roof triangle overhangs the walls unevenly, trim the wider side back with background sky color until both edges line up. A grey roof works just as sweetly as red if you want a quieter palette.
Proportion tip for today: make the tree’s green circle roughly the same width as the house itself, which keeps the whole scene feeling balanced rather than lopsided.
For more small scenes built the same way, the mini canvas painting ideas collection has plenty of tiny landscapes at this same friendly level.
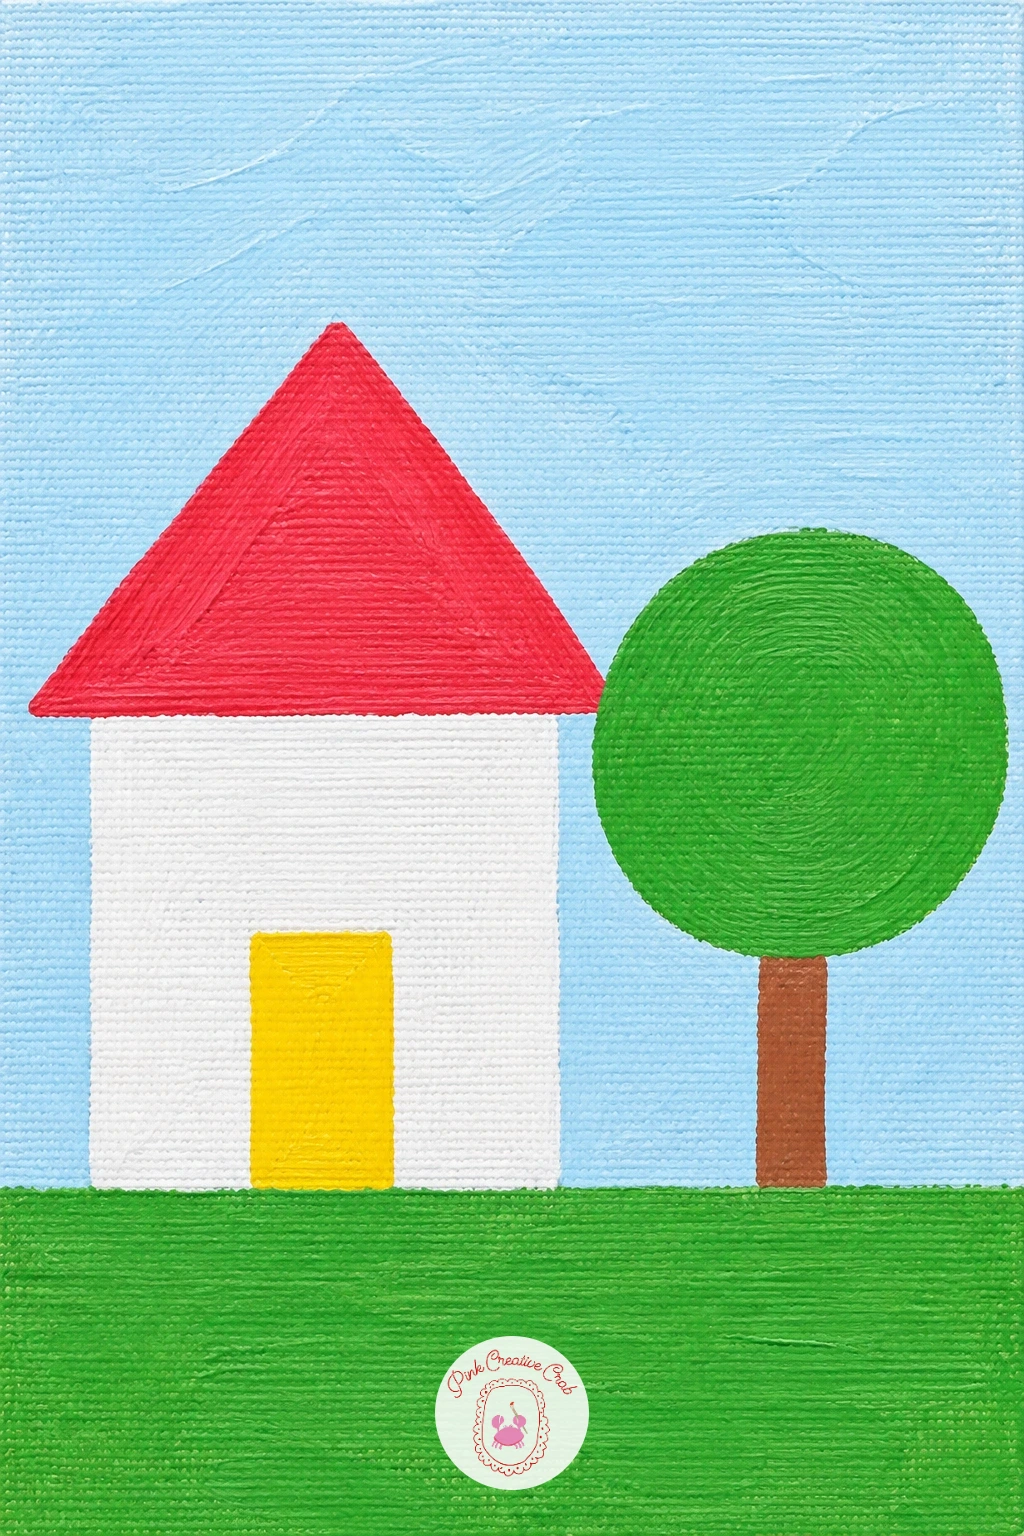
Palette: Soft White,Poppy Red,Grass Green,Warm Brown
Turn the house’s daytime sky into night with a crescent moon and three stars on navy blue. Cover the whole canvas in navy first, working the brush in smooth even strokes so no streaks of canvas show through, then let it dry fully.
Paint the moon as one curved crescent shape in soft yellow, like a backwards letter C with rounded tips, then add three simple four-point stars scattered around it in white or pale yellow. Keep every star the same basic shape just in different sizes, since matching shapes read as a set rather than a scatter of random marks.
If the crescent looks too thin or lopsided, thicken the fat end first and taper it down toward the points last, which is easier to control than trying to get both tips even from the start. Deep purple makes a lovely swap for navy if you want a dreamier night sky.
Placement tip for today: group the three stars in a loose triangle around the moon rather than lining them up, so the eye moves around the whole canvas instead of along one row.
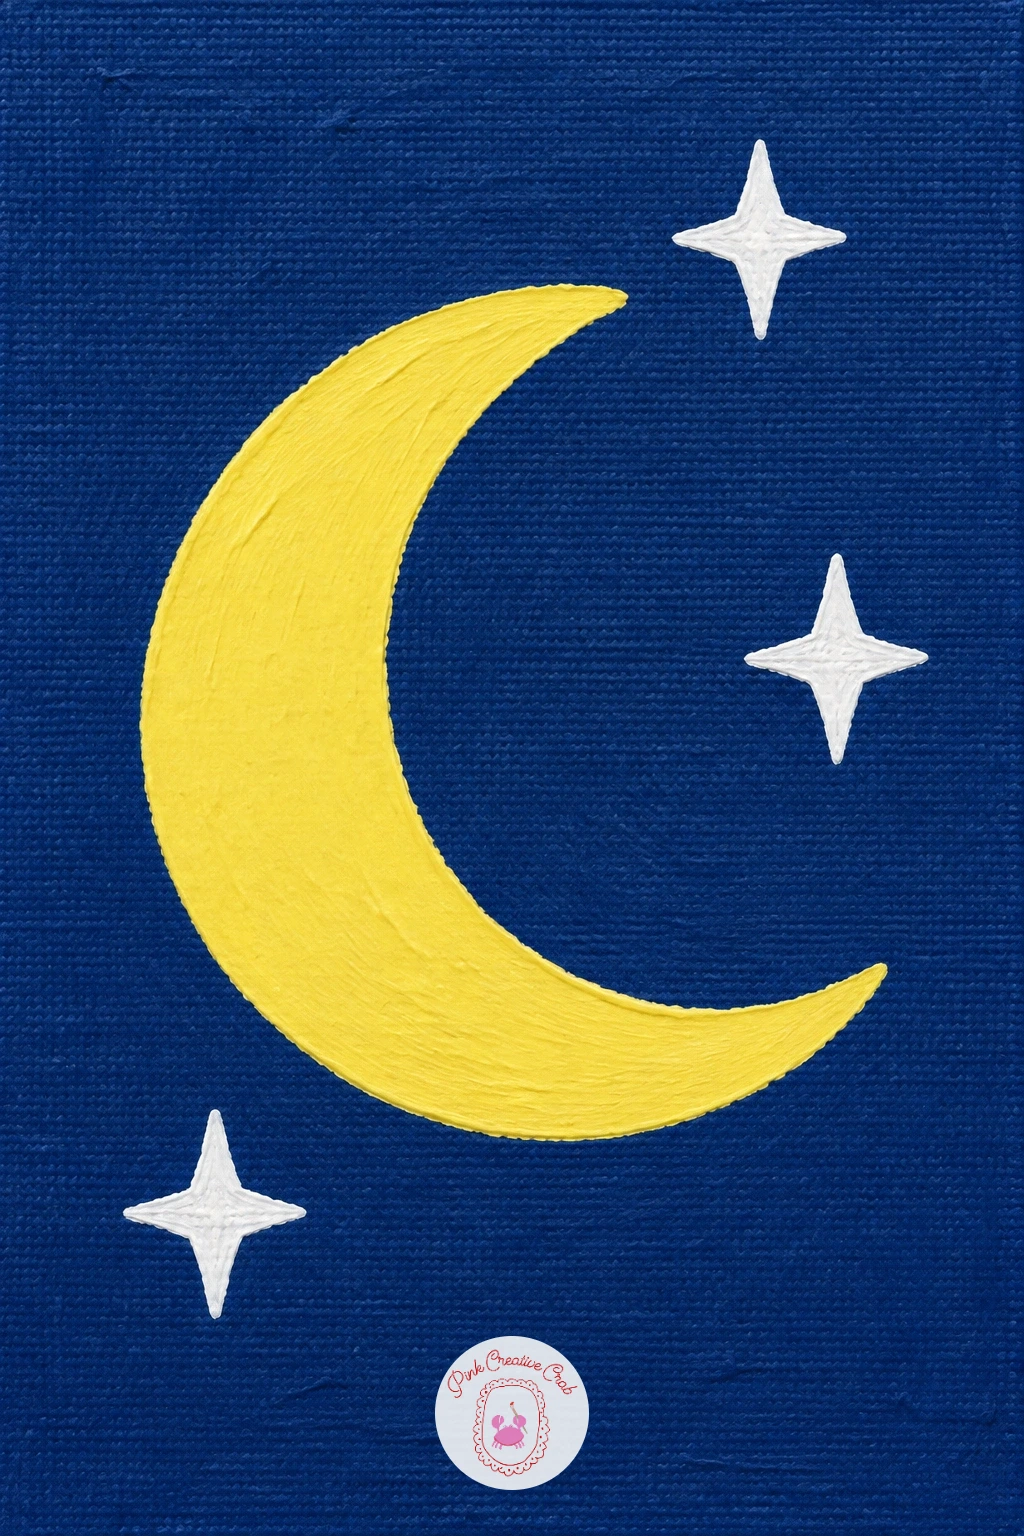
Palette: Navy Blue,Soft Yellow,Titanium White,Pale Yellow
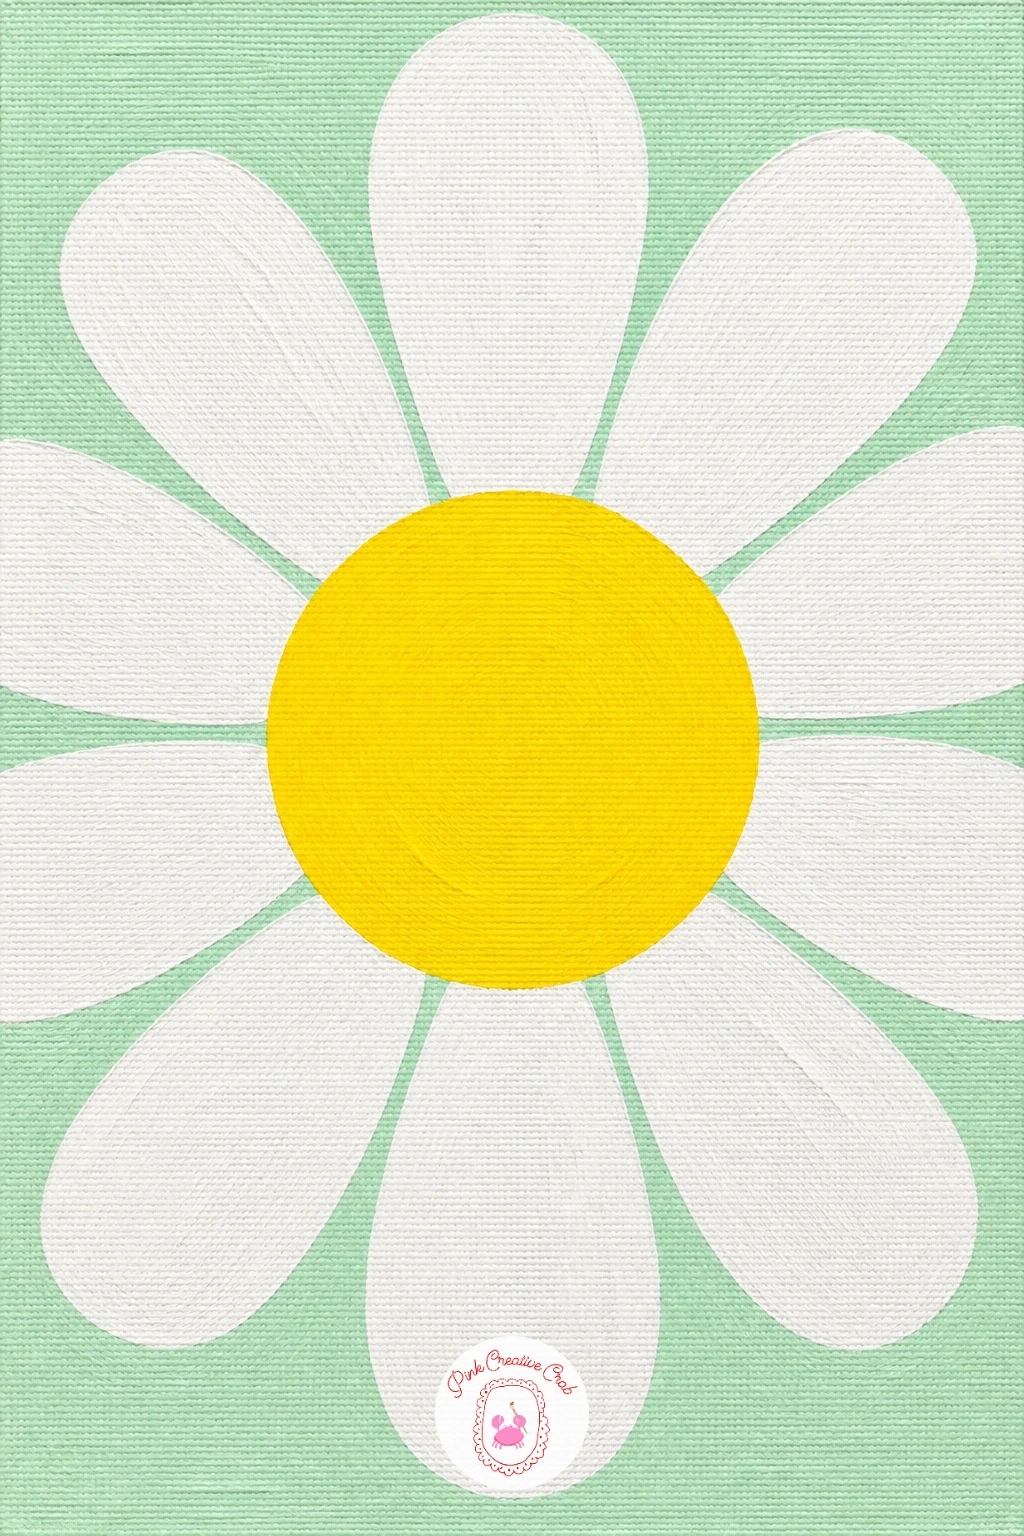
Bring the brightness back down to earth with one big daisy filling the whole canvas. Paint a pale background wash first in soft blue or mint, then once dry, start the flower from the middle out with a solid yellow circle for the center.
Paint the petals as simple rounded white ovals arranged all the way around the center like the numbers on a clock, keeping each petal roughly the same length and width so the flower reads as even. Leave a sliver of background color between petals rather than letting them touch, which keeps every shape clean and separate.
If the petals bunch up or overlap awkwardly, paint the center circle first and mark light pencil lines radiating out from it before you paint, which gives each petal its own lane to sit in. Cream petals look just as lovely as pure white against a pastel background.
Comparing trick for today: count out eight to ten petal positions around the circle before you pick up paint, so the daisy stays even without any measuring tools.
You Will Need
- pencil for light placement marks
Palette: Soft Mint,Sunny Yellow,Titanium White,Cream
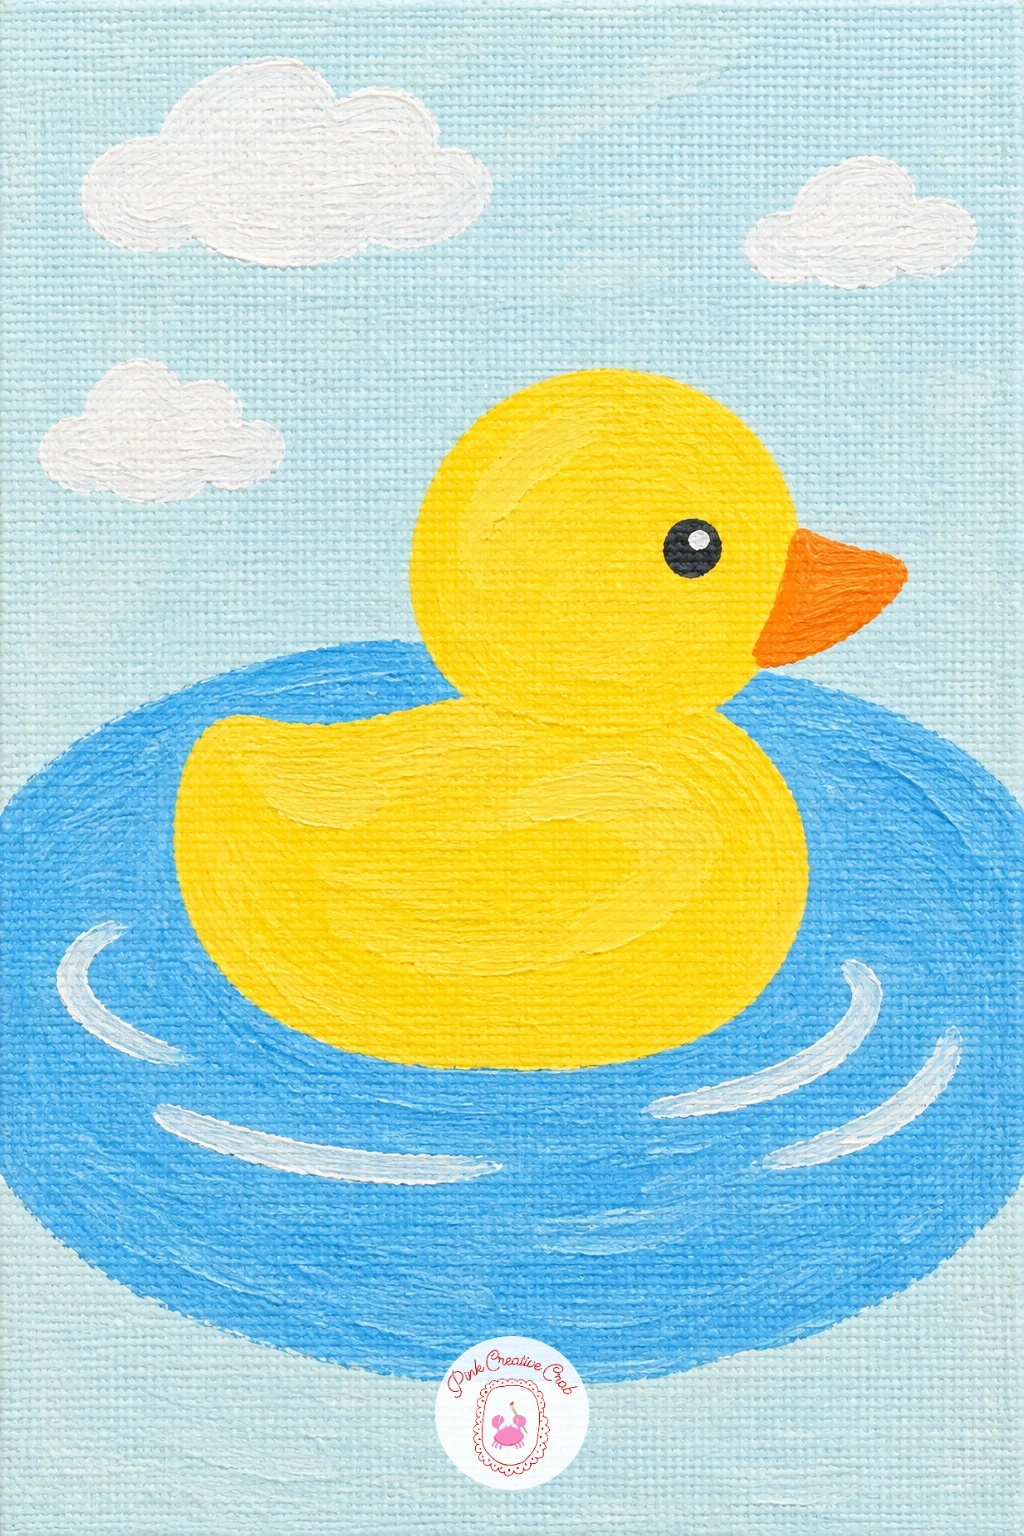
Keep the round shapes going with a little yellow duck floating on a round pond. Paint the pond first as a large soft circle of blue sitting in the middle of a pale background, letting the edge stay a bit uneven like real water rather than a perfect ring.
Build the duck from two ovals, a bigger one for the body and a smaller one for the head overlapping it, both in sunny yellow, then add a small orange triangle beak and a tiny dot eye once dry. Keep the duck sitting low in the pond circle, with just the top curve of the body showing above the waterline.
If the head oval looks too big or too small next to the body, paint the body first and let it guide the head’s size, roughly half as wide. No orange for the beak, a warm coral dot works just as well.
Quick version for today: two ovals, a beak and an eye is a finished duck in well under ten minutes; the longer version adds a few small white ripple lines curving out from the duck’s sides.
Palette: Sunny Yellow,Sky Blue,Flat Orange,Black
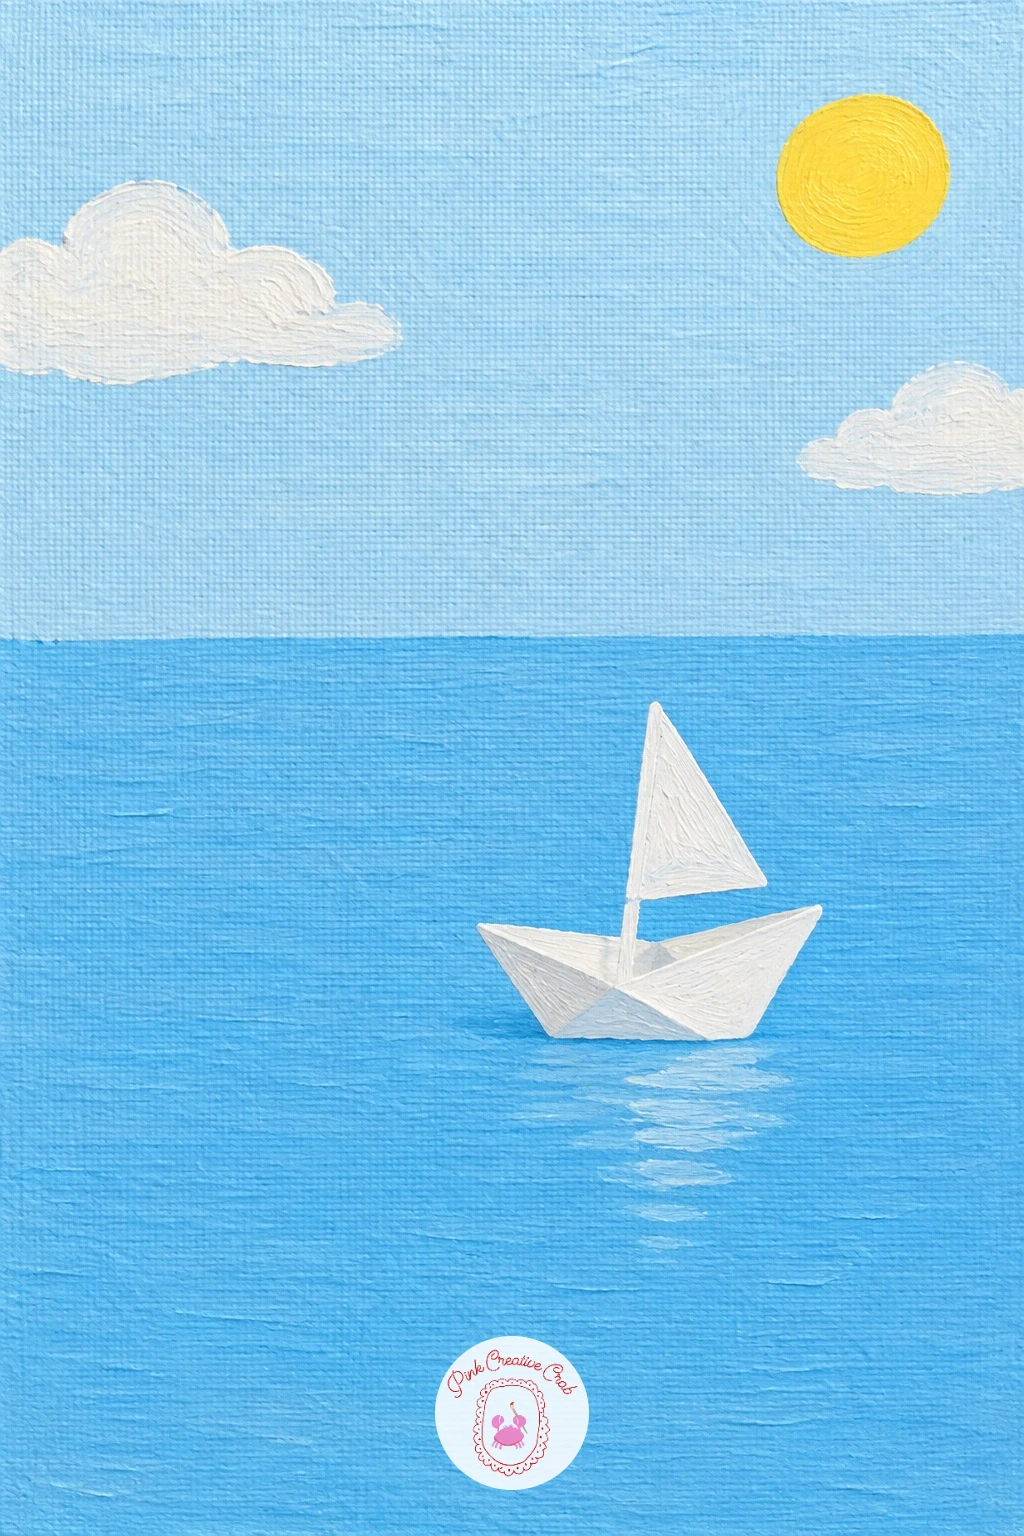
Revisit the paper boat idea with a flatter, quieter version where the water has no waterline band at all. Paint the entire canvas in one smooth flat blue from edge to edge, letting it stand in for both sky and sea at once, then let it dry fully before anything else goes on.
Paint the boat as the same two simple triangles as before, a wide flat hull and a tall narrow sail, but this time place it slightly off center so there is more open blue around it than crowding it. Keep both triangles crisp and the blue around them completely untouched, so the stillness of the water becomes part of the picture.
If the single flat blue looks too plain once the boat is in, add one or two short white horizontal lines far from the boat to suggest a hint of ripple without breaking the calm. A pale teal works just as well as blue for a cooler mood.
Framing tip for today: push the boat off center rather than dead middle, since the extra empty space around it is what makes this version feel calm instead of cramped.
Palette: Flat Blue,Titanium White,Pale Teal,Soft Grey
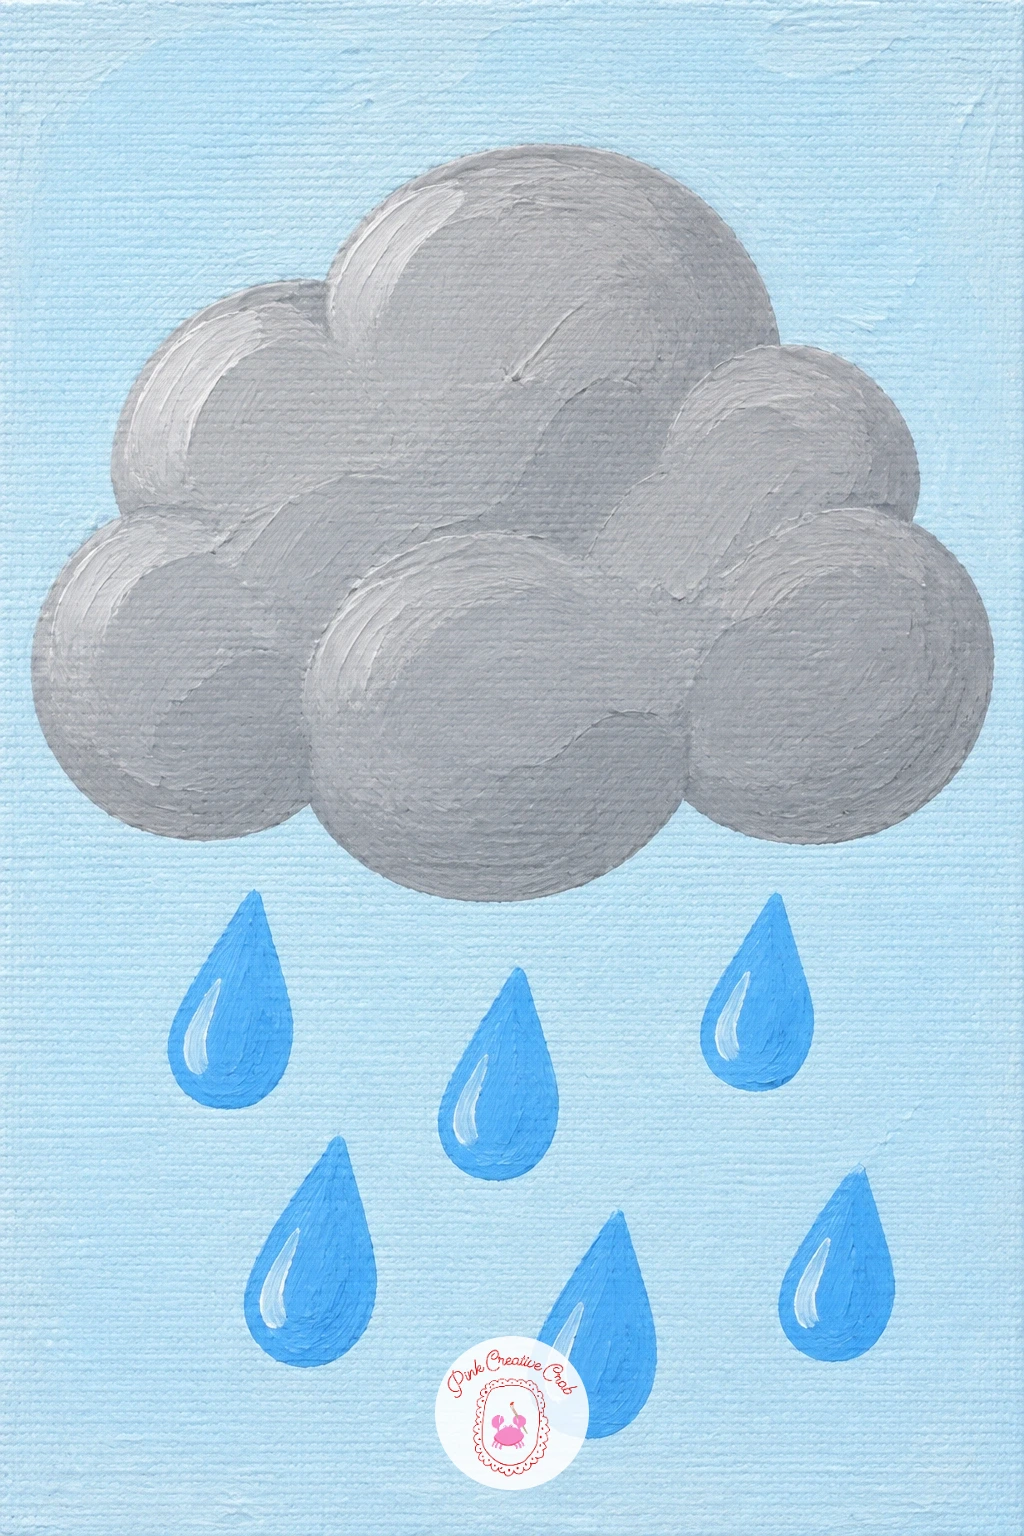
Change the mood with a grey rain cloud dropping a few blue raindrops onto a pale ground. Paint the background first in a soft neutral wash, then once dry, build the cloud from three or four overlapping rounded blobs in soft grey, bunched together like a row of pillows.
Once the cloud is dry, add a handful of simple teardrop raindrops in blue falling beneath it, each one just a rounded top tapering to a point, spaced unevenly so they feel like they are actually falling rather than lined up. Keep the cloud shape soft and puffy rather than sharp edged, since rounded blobs read as friendlier than hard lines.
If the cloud blobs merge into one shapeless mass, paint each blob slightly overlapping the last rather than touching edge to edge, which keeps the bumps readable. Charcoal grey makes a moodier cloud if soft grey feels too pale.
Perspective tip for today: keep the cloud near the top of the canvas and let the raindrops get a touch smaller as they fall, which gives a small sense of distance without any real shading.
Palette: Soft Grey,Sky Blue,Pale Background,Charcoal Grey
Let the rain clear into a rainbow arching over two round green hills. Paint the hills first as two overlapping curved mounds across the bottom of the canvas in grass green, one slightly taller than the other, and let them dry.
Paint the rainbow as four or five simple curved bands stacked above the hills, working from the outside in so each new color sits neatly inside the last: red, orange, yellow, green and a soft blue work well together. Keep the bands even in thickness and leave the sky color showing through faintly between the very top band and the edge of the canvas.
If the bands wobble or pinch at the ends, paint each one as a single confident curved stroke with a flat brush rather than trying to outline and fill it, since one smooth motion keeps the curve clean. Three colors instead of five still reads perfectly well as a rainbow if your palette is limited.
Varying it next time: swap the two green hills for a single hill plus a cluster of round flowers, or stretch the rainbow lower so it touches both hilltops like a bridge.
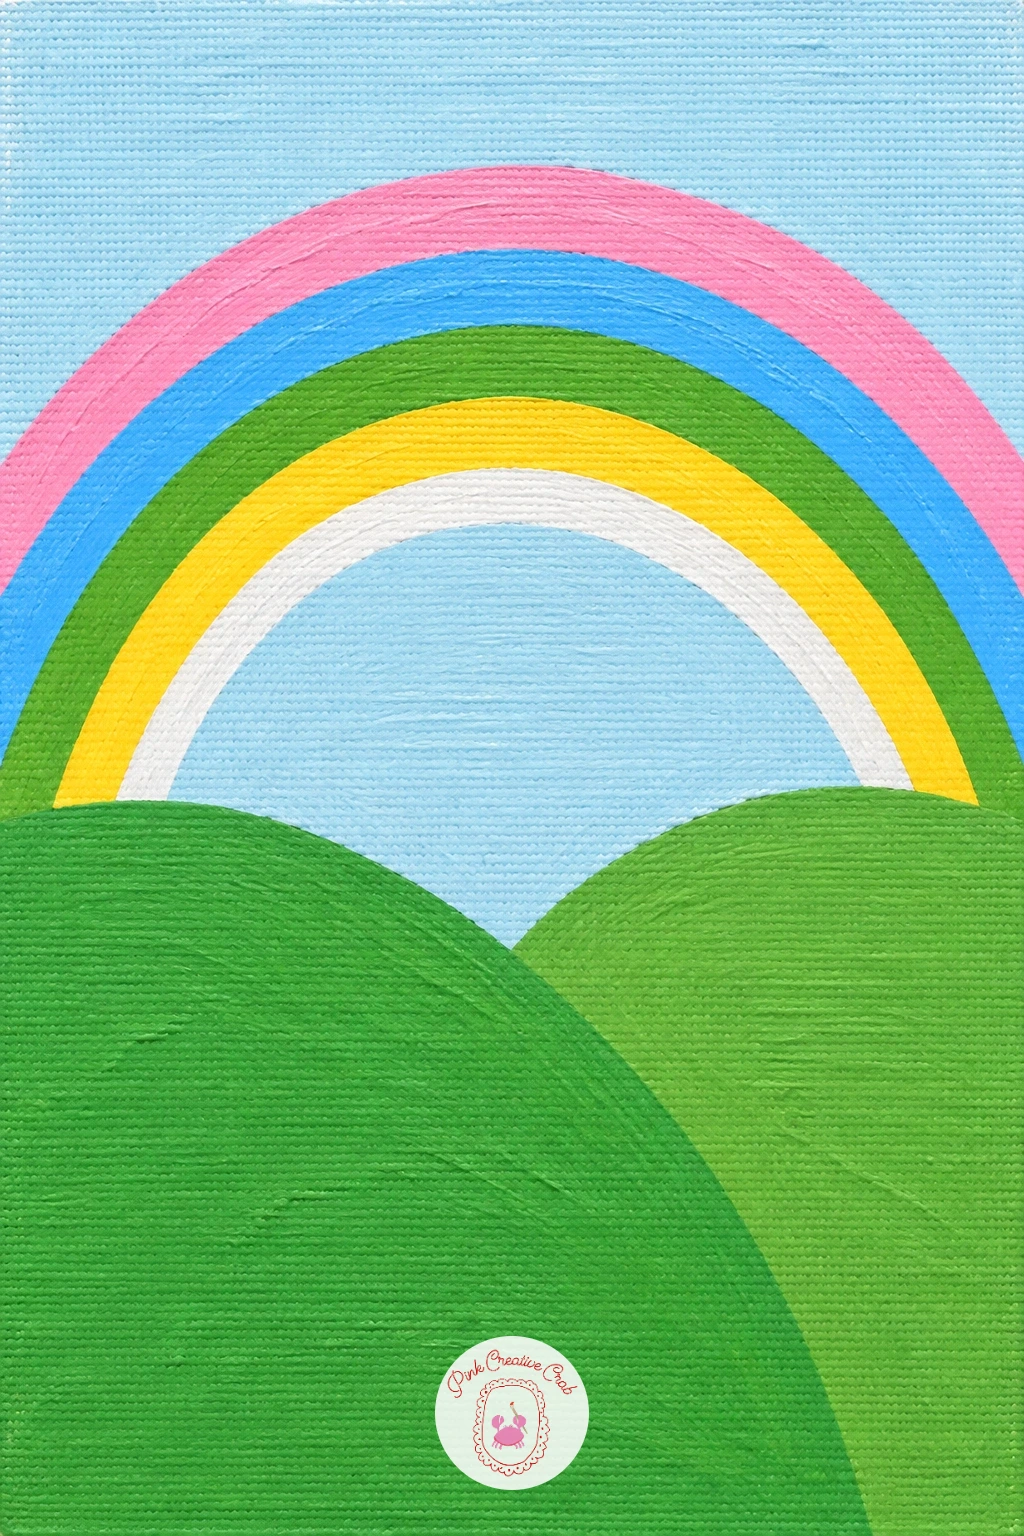
Palette: Grass Green,Poppy Red,Sunny Yellow,Sky Blue
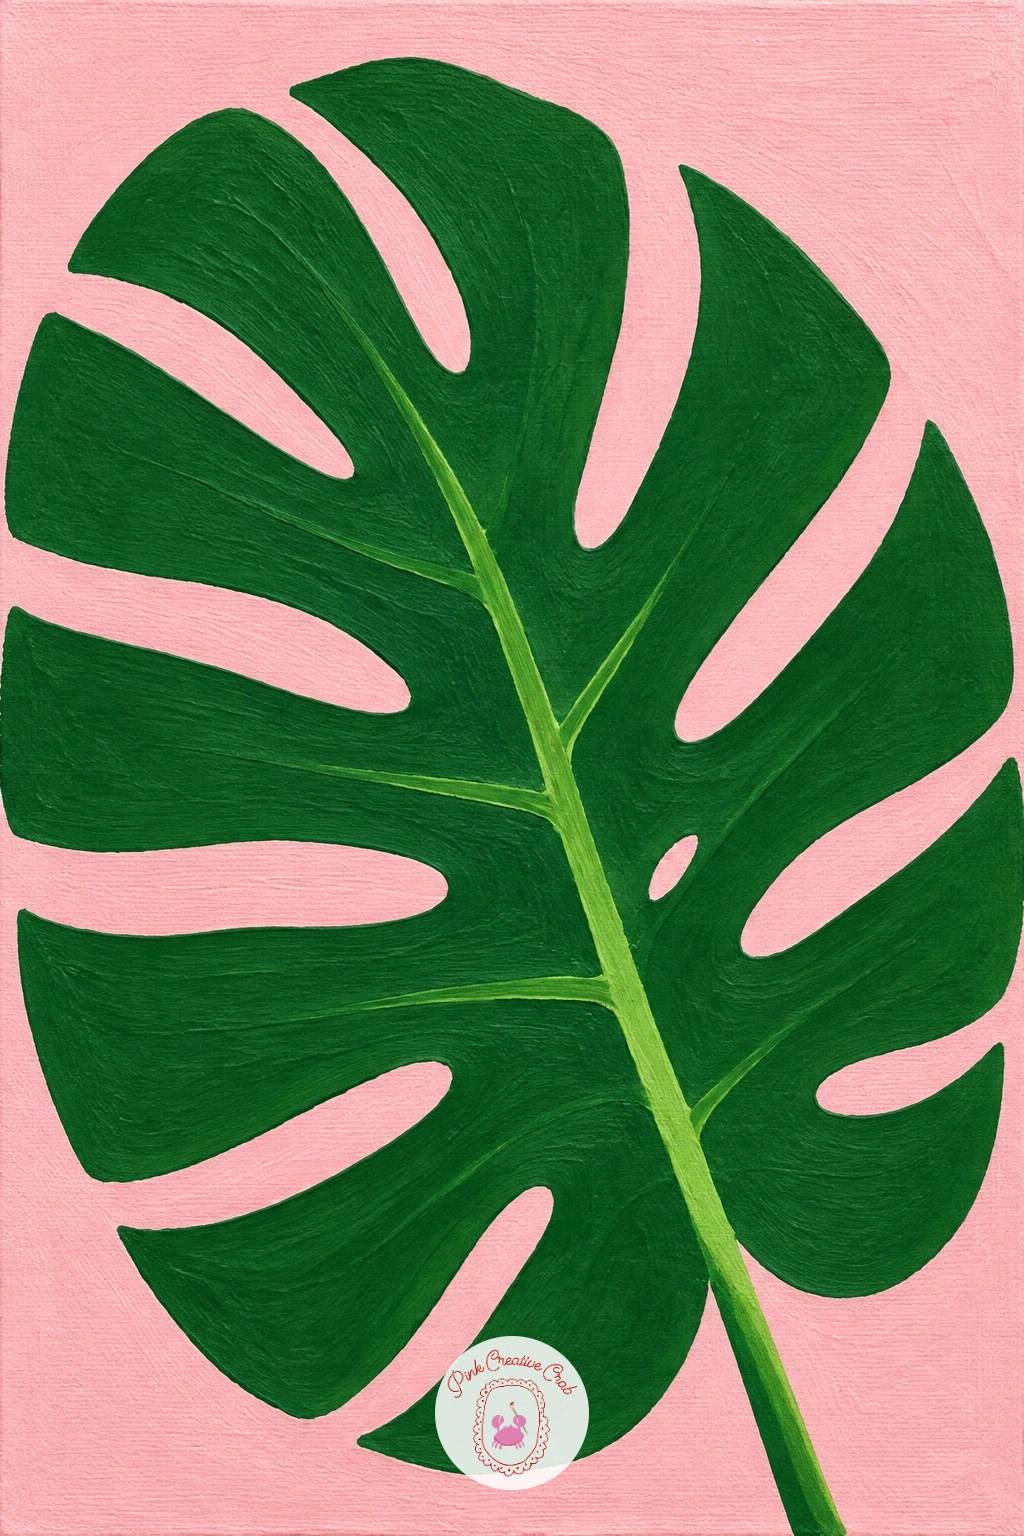
Shift from scenery to one bold leaf with a monstera on a blush pink background. Paint the whole canvas in a soft blush pink wash first, since the leaf will sit as one strong shape against it and needs a fully dry, even base to look crisp.
Draw the leaf’s outline lightly in pencil first: a wide rounded shape leaning slightly to one side with a few deep notches cut into the edges, the way a real monstera leaf splits. Fill the whole shape in deep green, then once dry, add a single lighter green line down the center for the main vein.
If the notches look too fussy or uneven, keep them big and few, three or four deep cuts rather than many small ones, since fewer bold notches suit this flat style far better. Swap blush pink for a warm cream if pink feels too sweet for the room it is going in.
Edge trick for today: cut the notches out with a small brush dipped in the background pink after the green leaf is dry, painting into the leaf shape rather than trying to leave gaps while filling it in.
The texture painting on canvas ideas are worth a look if this leaf makes you want to try raised or textured leaf shapes next.
You Will Need
- pencil for the leaf outline
Palette: Blush Pink,Deep Green,Light Green,Titanium White
Follow the leaf with something warmer: a round black cat sitting neatly with its tail curled around its feet. Paint the background first in a pale flat color, then build the cat from one large rounded triangle shape for the body and head combined, wide at the bottom and narrowing toward two small triangle ears on top.
Keep the whole cat as one solid black shape with no separate head and body lines, since silhouettes work best as a single flat block. Once dry, add the curled tail as one thin curved white or grey line sweeping around the base, and finish with two small white dot eyes and a hint of pink in the ears.
If the silhouette looks stiff or too much like a triangle, round off the bottom corners and the top of the head slightly, since soft curves make it read as a cat rather than a geometric shape. Warm charcoal is a gentle swap for pure black if you want less contrast.
Proportion tip for today: make the ears about one fifth the height of the whole body shape, which is roughly where a real cat’s ears sit and keeps the silhouette looking right.
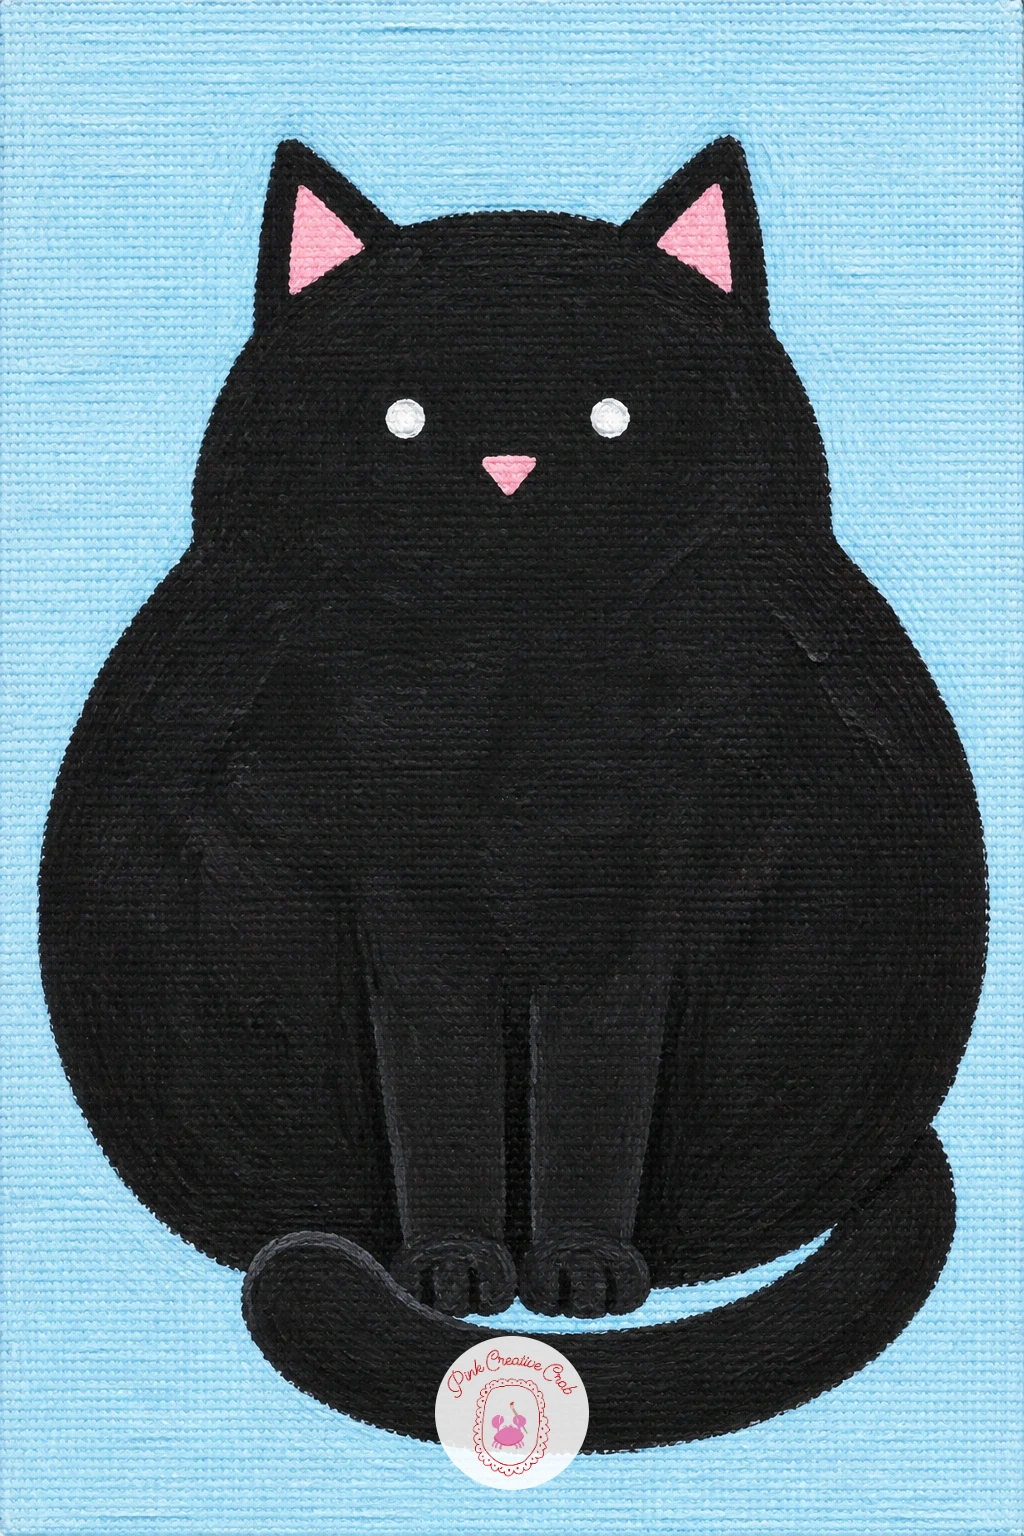
Palette: Black,Titanium White,Candy Pink,Pale Background
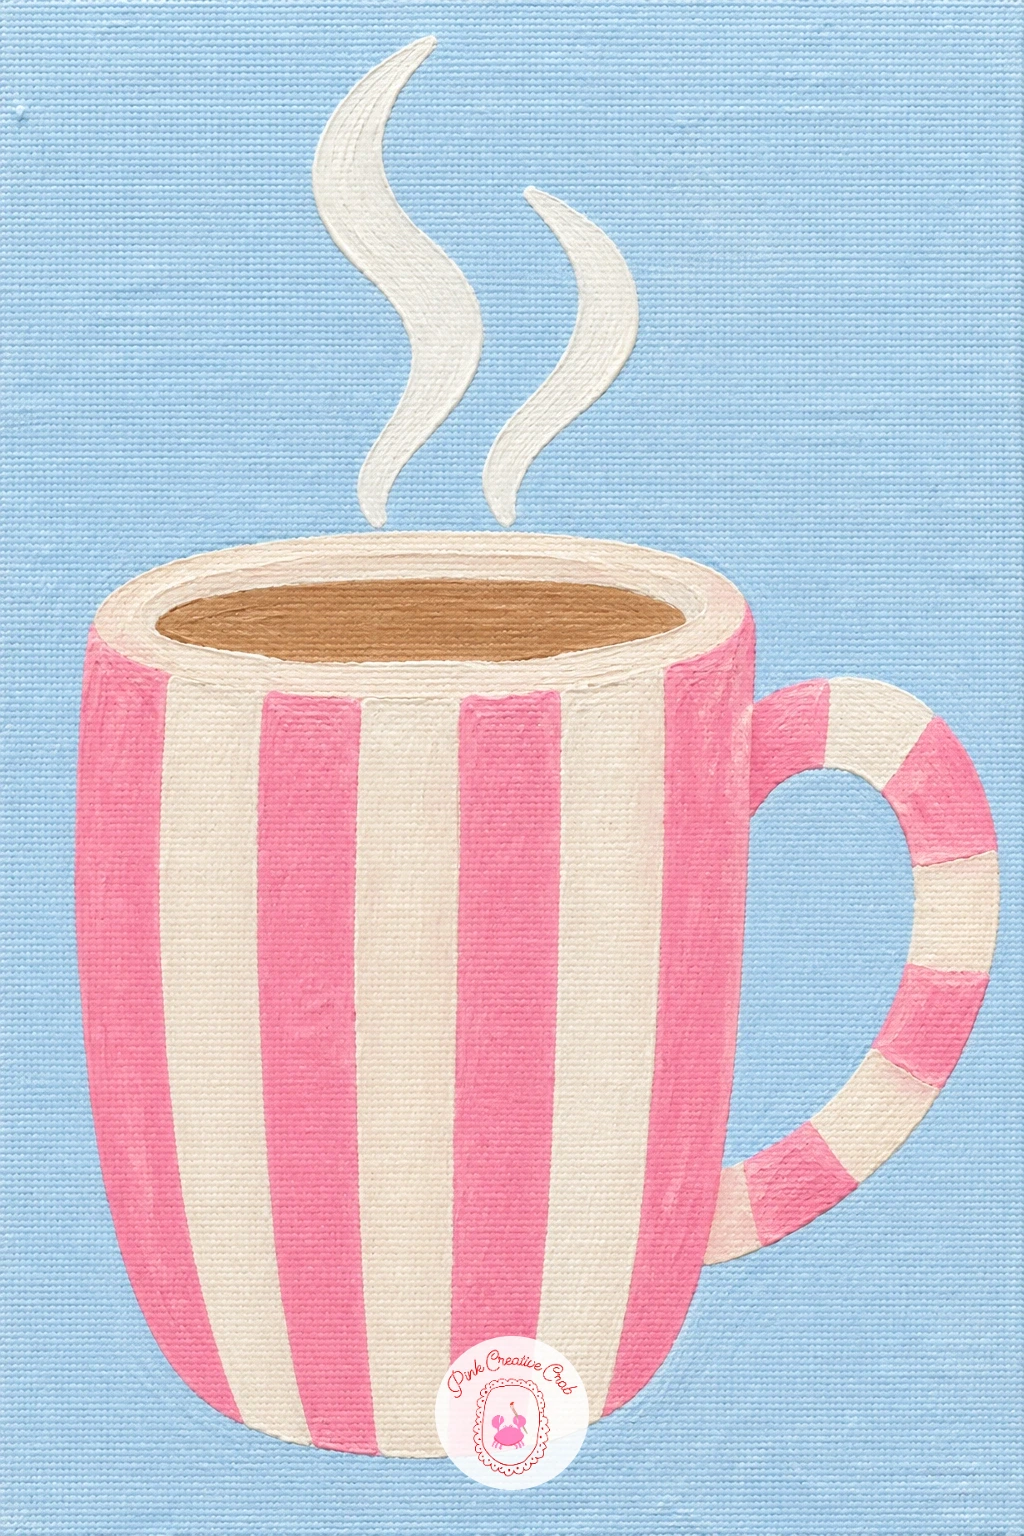
Bring the cozy feeling indoors with a striped mug and a few curls of steam rising from it. Paint the background in a soft flat color first, then build the mug from one simple rounded rectangle body with a small curved handle on one side, keeping the whole shape upright and centered.
Once the base color is dry, paint two or three horizontal stripes across the mug in a contrasting color, spacing them evenly so they wrap the shape like a ribbon. Finish with two or three thin curling lines of white or pale grey rising above the rim for steam, each one a loose S-curve rather than a straight line.
If the stripes come out wavy, use a strip of tape or a ruler edge to guide the brush along each one, peeling it off before the paint fully dries. Any two contrasting colors work for the stripes, so match whatever palette the rest of your canvas set is using.
Quick version for today: a plain mug with two stripes and one steam curl takes well under ten minutes; the longer version adds a thin dark outline around the whole mug and a small heart or dot pattern between the stripes.
You Will Need
- tape or ruler for straight stripes
Palette: Candy Pink,Titanium White,Warm Cream,Soft Grey
Slow the pace right down with a snail carrying its spiral shell across one big leaf. Paint the leaf first as a wide rounded oval filling most of the lower canvas in grass green, with one soft point at the tip, and let it dry before the snail goes on.
Build the snail’s body as one low curved shape in soft cream sitting along the leaf, then paint the shell as a solid circle just behind its head, adding a spiral inside it with one continuous curling line once the base circle is dry. Finish with two thin curved antennae reaching up from the head.
If the spiral line inside the shell gets tangled or breaks apart, start from the center dot and let the brush travel outward in one slow unbroken curl rather than drawing it in pieces. A warm tan shell works just as nicely as cream if you want more contrast against the leaf.
Hands-on trick for today: load the brush generously before starting the spiral so you never have to stop and reload halfway through the curl, keeping the line smooth from center to edge.
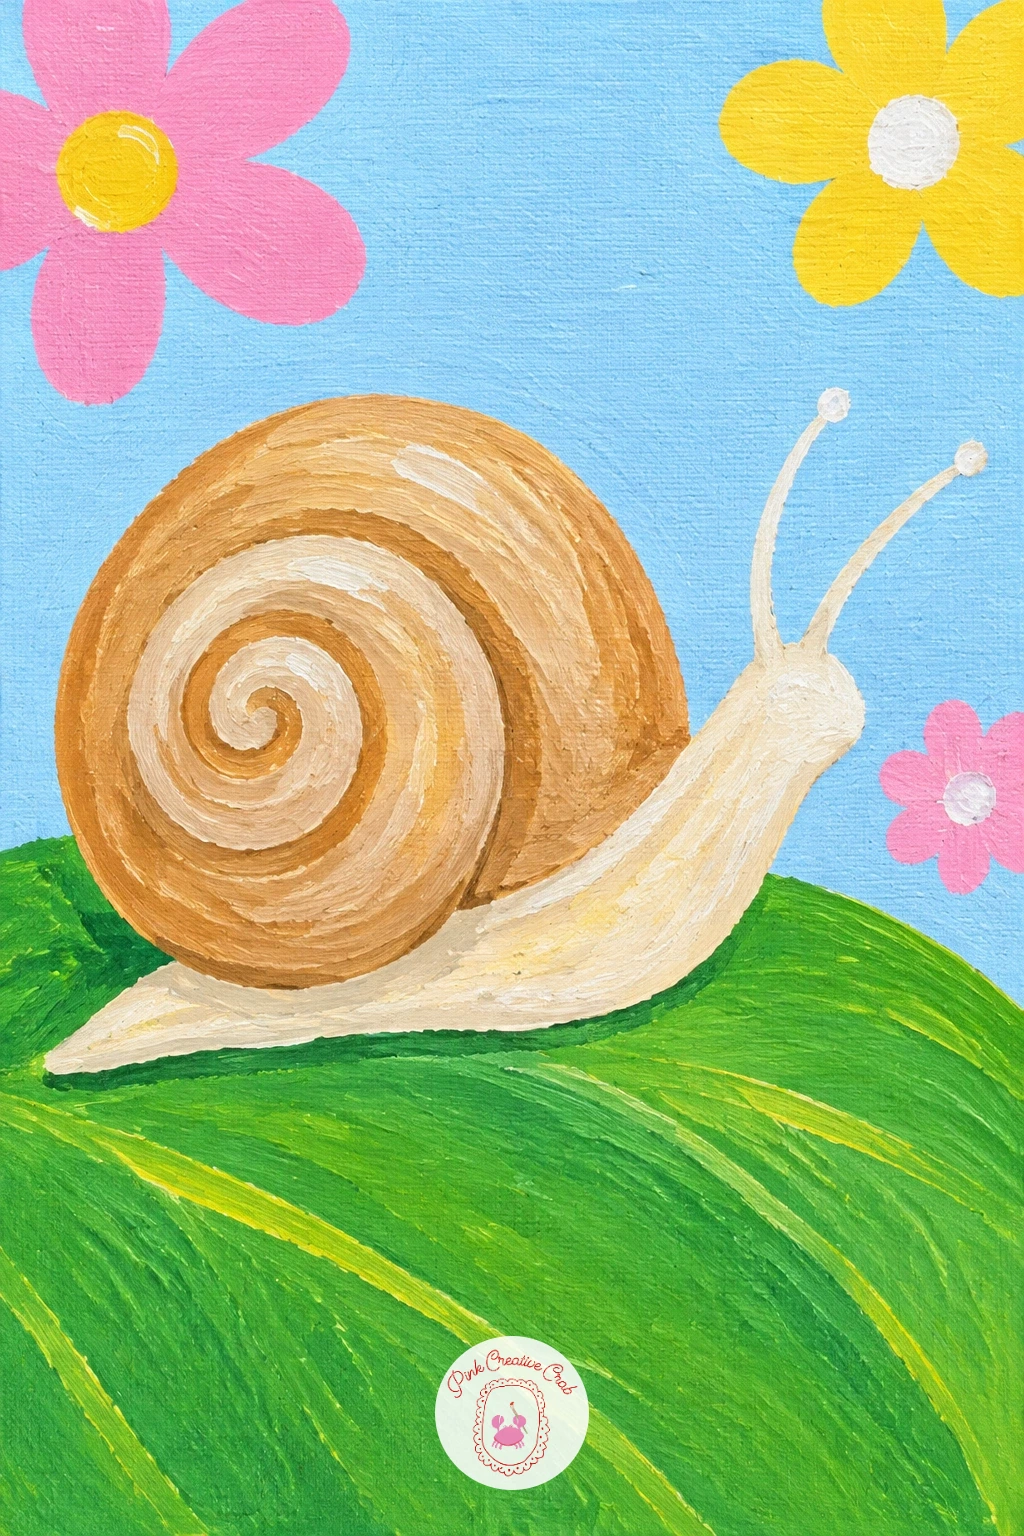
Palette: Grass Green,Soft Cream,Warm Tan,Black
Keep the garden mood going with a big ladybug settled on a leaf twice its size. Paint the leaf first as one broad rounded shape across the canvas in grass green, then once dry, build the ladybug from a single large half-dome shape in red sitting on top of it.
Paint a thin black line straight down the center of the dome to split it into two wing halves, then add a solid black half-circle head at the front and a handful of black dots scattered across both wings, keeping them roughly even in number on each side. Finish with two short thin antennae curving up from the head.
If the dots end up crowding to one side, paint one on each wing first as anchor points, then fill in around them so the pattern stays balanced without counting carefully. Deep orange makes a cheerful swap for red if that suits your palette better.
Light source tip for today: leave a small sliver of the red dome unpainted, closest to white, near the top to suggest a shine, which lifts the flat dome without any real blending.
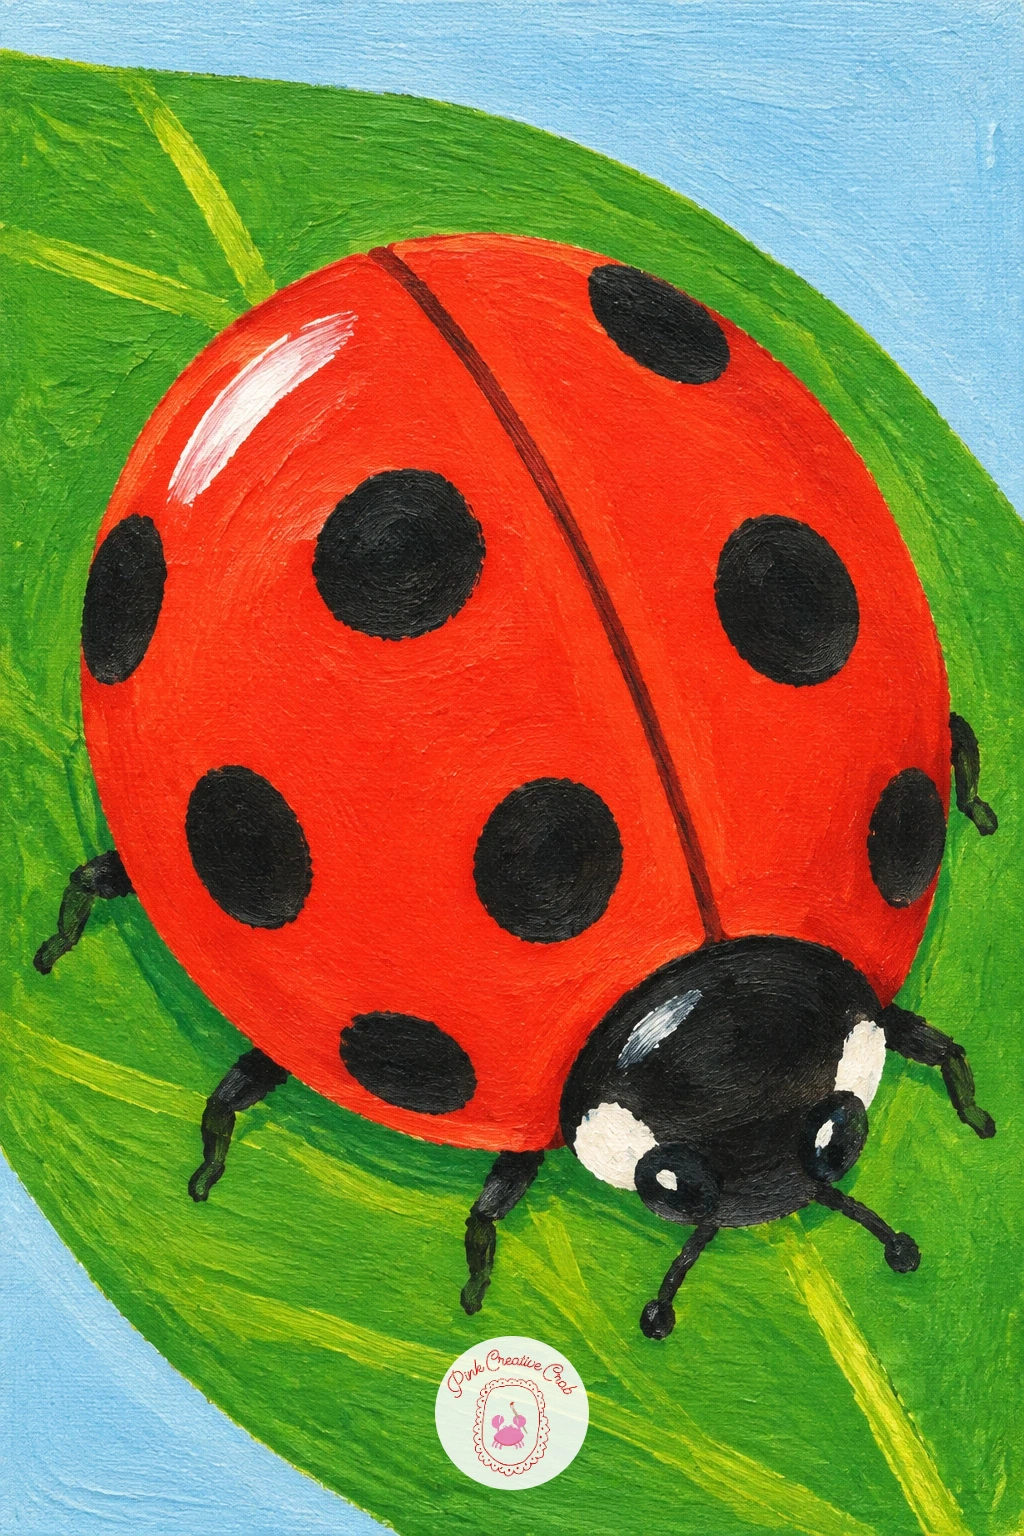
Palette: Poppy Red,Black,Grass Green,Titanium White
Leave the garden behind and send a little rocket flying past a single yellow star. Paint the background first in navy or deep blue, covering the whole canvas evenly, then let it dry completely before the rocket goes on.
Build the rocket from a tall narrow oval body in white with a pointed red triangle nose cone on top and two small triangle fins at the base, then add one round window as a simple circle near the middle. Finish with the star off to one side, a simple four or five point shape in sunny yellow, sitting clear of the rocket so neither shape crowds the other.
If the rocket looks like it is standing still, tilt the whole shape slightly off vertical and add two or three short curved lines trailing from its base, which reads instantly as motion without any extra effort. Silver or pale grey works just as well as white for the body if you want a cooler look.
Hands-on trick for today: paint the flame trail last with a dry brush dragged lightly downward from the base, which gives it a soft broken edge rather than a hard painted line.
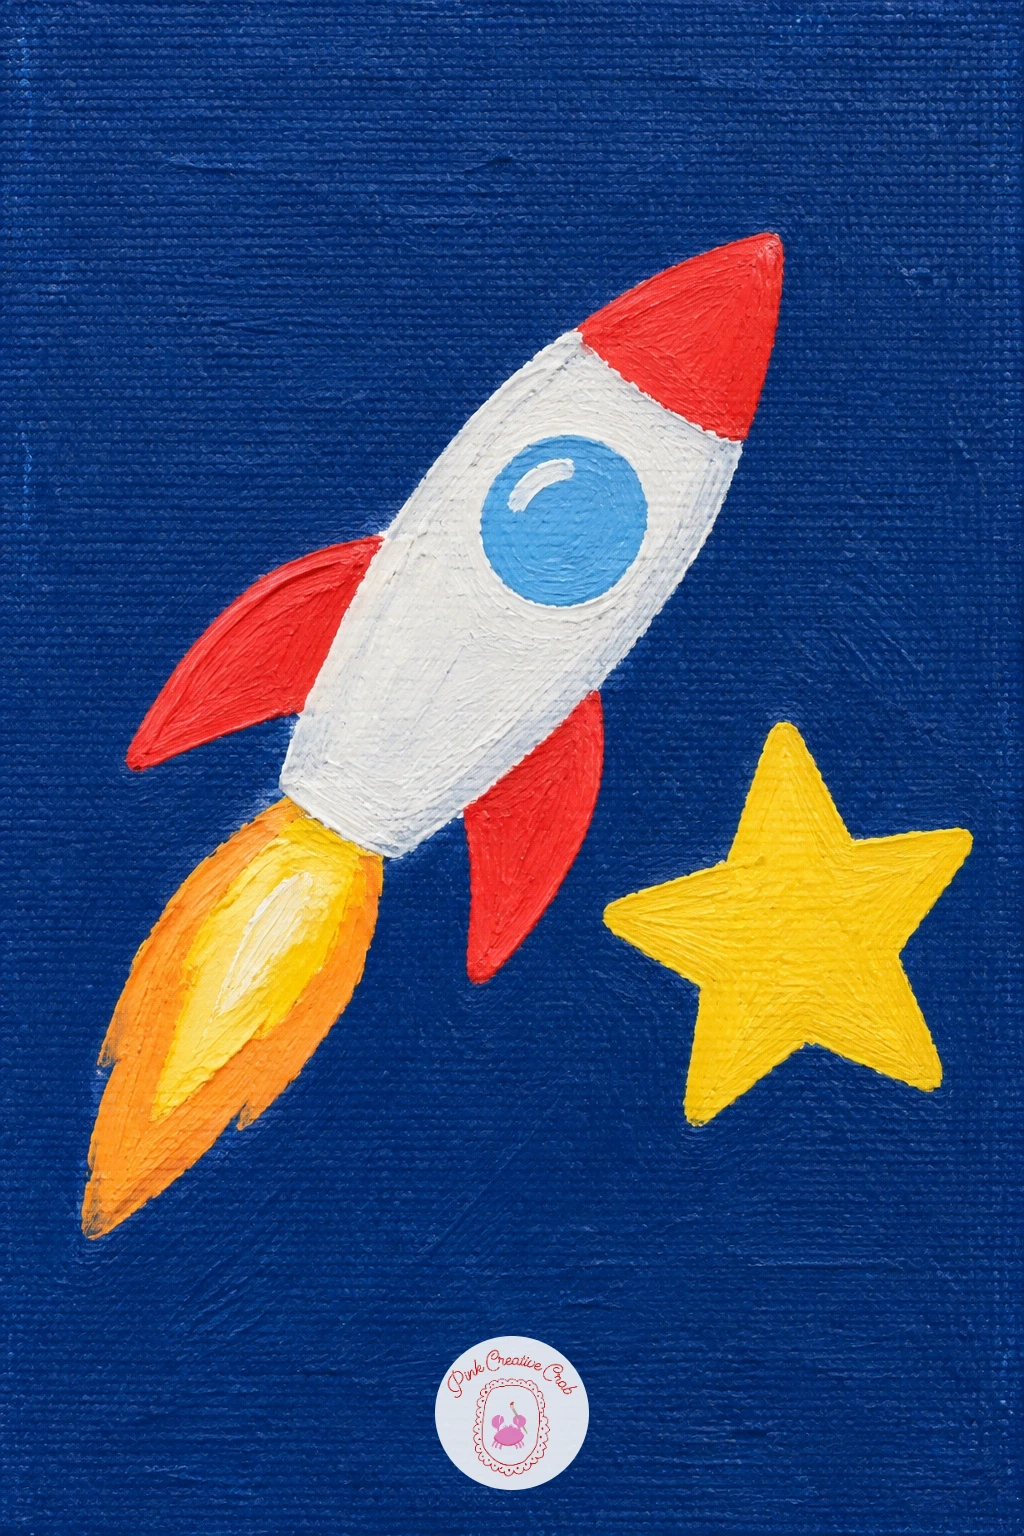
Palette: Navy Blue,Titanium White,Poppy Red,Sunny Yellow
Bring the energy back down to earth with a round bee, striped body and all, hovering mid canvas. Paint a pale background first, then build the bee’s body as one plump oval in sunny yellow, keeping it fat and rounded rather than long and thin.
Once dry, paint three or four black stripes across the body, curving them slightly to follow the oval’s roundness rather than painting them flat straight lines. Add two small oval wings in pale grey or the lightest tint of blue on your palette, overlapping the top of the body so they look like they are catching the light, then finish with a small black head and two thin curved antennae.
If the stripes look flat and lifeless, bow them gently in the middle so they hug the curve of the body, which is the one small detail that makes a striped oval read as a bee rather than a striped egg. Soft grey wings keep the look light if you skip blue tinting altogether.
Varying it next time: paint the bee resting on a flower center instead of floating free, or add a second smaller bee trailing behind it for a little pair.
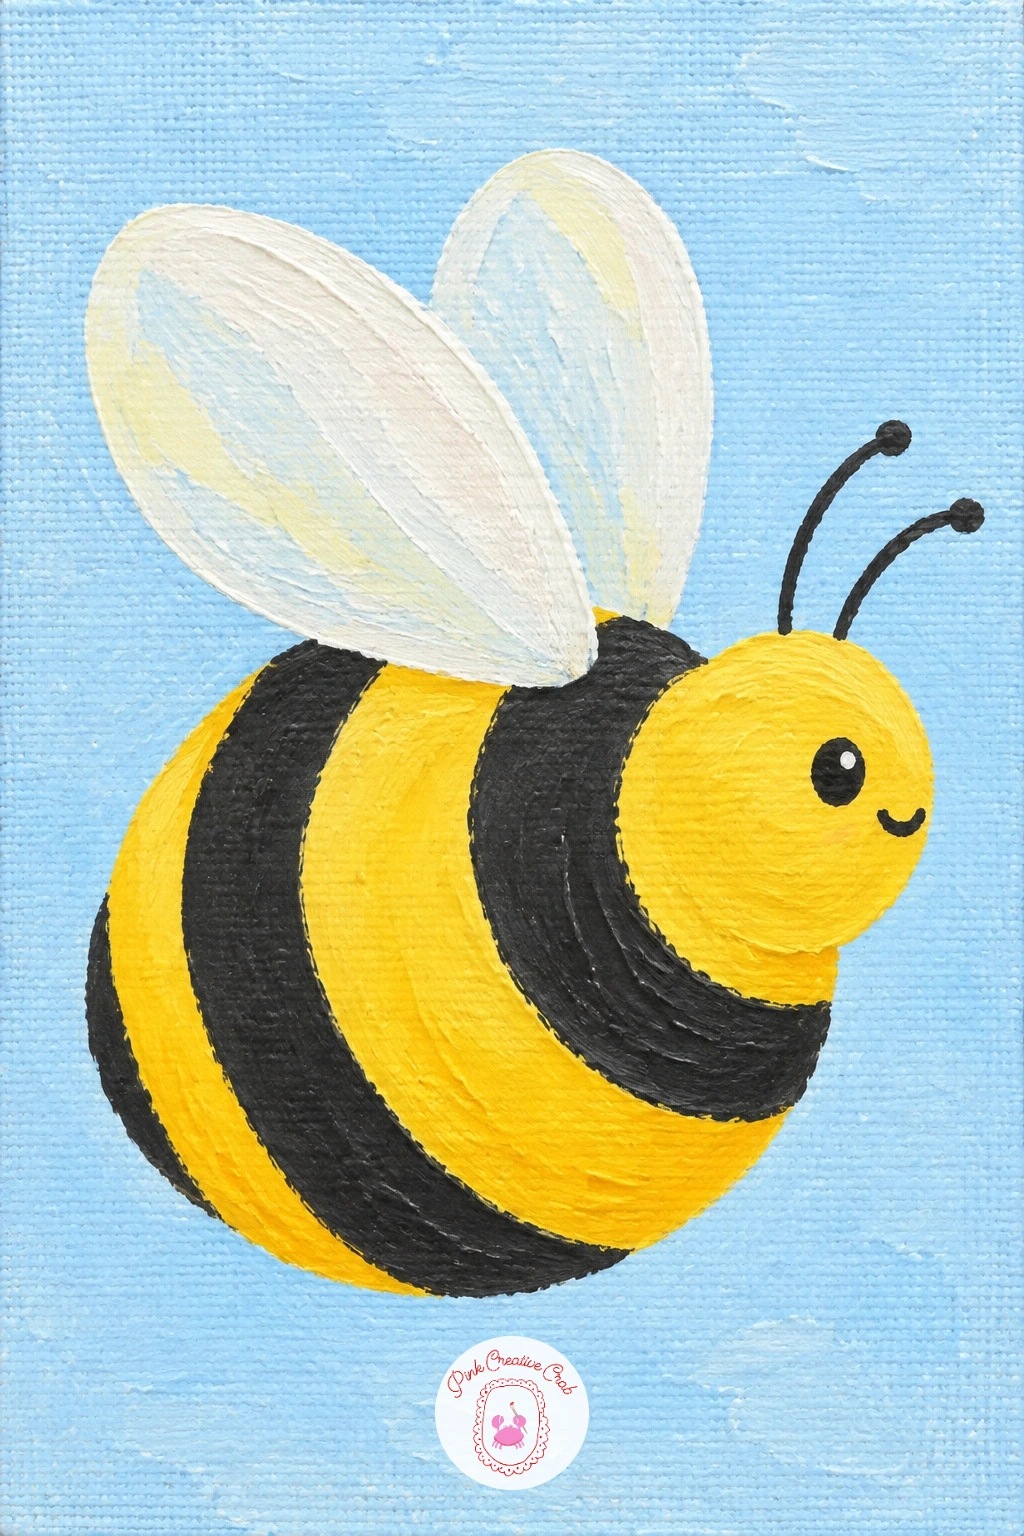
Palette: Sunny Yellow,Black,Pale Grey,Soft Blue Tint
Shrink an entire tropical scene onto a tiny island with one leaning palm tree. Paint the water first as a flat blue wash across most of the canvas, then add one small rounded sand shape rising from it in warm tan, just big enough to hold the tree.
Paint the trunk as a thin curved line leaning to one side, thicker at the base and tapering as it rises, then top it with four or five long curved leaf shapes fanning out in grass green, each one a simple pointed oval. Keep the island itself small, since the whole charm of this idea is one tree looking slightly too big for its spot of sand.
If the leaves look stiff or symmetrical, let two of them droop lower than the others, which instantly adds a breezy feel without any extra brushwork. Swap tan sand for pale white-gold if you want a brighter beach.
Perspective tip for today: curve the trunk away from the direction the leaves fan, like the tree is leaning with the wind, which does more for the mood than any other single change here.
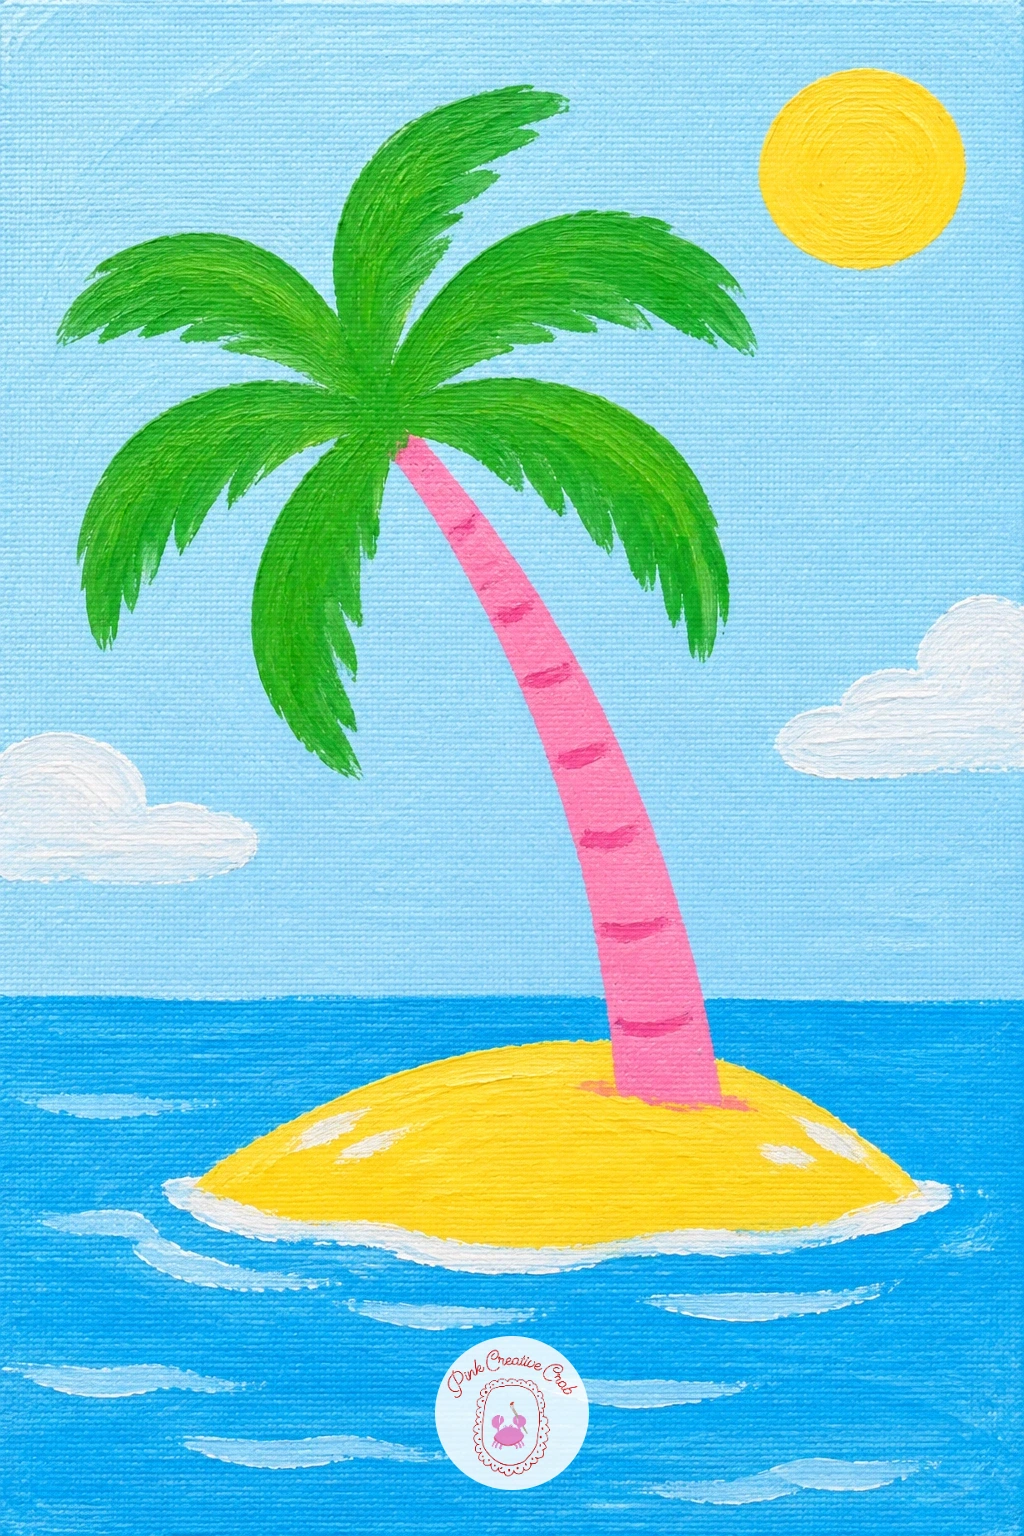
Palette: Flat Blue,Warm Tan,Grass Green,Soft Brown
Return to still water with a green frog sitting squarely on a round lily pad. Paint the pond background first as a flat blue wash, then add the lily pad as one large flattened circle in deep green with a simple wedge notch cut out of one edge.
Build the frog as two stacked rounded shapes, a wider oval for the body and a smaller rounded shape for the head, both in a lighter green than the pad so the two don’t blend together visually. Add two round bump eyes on top of the head and a simple curved smile line, then finish with two small folded leg shapes tucked at the sides.
If the frog seems to sink into the lily pad because the greens are too close in tone, shift one of them warmer or cooler so there is clear contrast between pad and frog. A muted olive pad works nicely if bright green feels too much against the blue water.
Quick version for today: body, head, two eyes and a smile is a finished frog in well under ten minutes; the longer version adds a thin dark outline and a few small ripple lines around the pad’s edge.
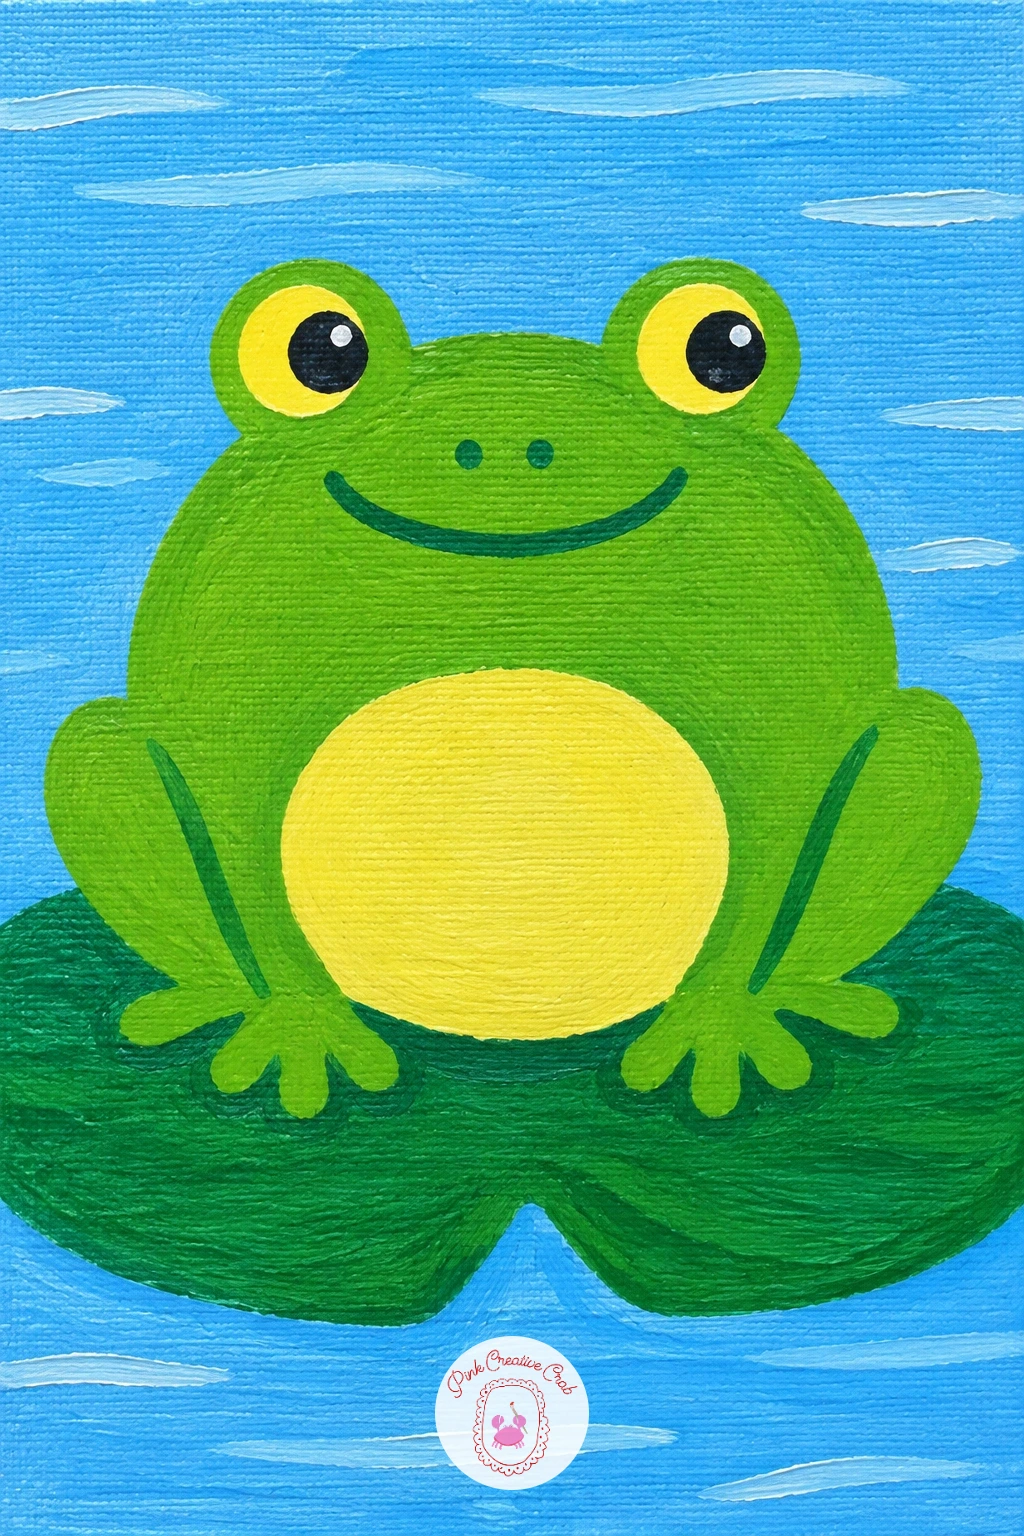
Palette: Flat Blue,Deep Green,Light Green,Titanium White
Slow right down with three smooth pebbles stacked on a stretch of sand. Paint the sand first as a flat warm tan band across the bottom third of the canvas and a pale sky or water color above it, letting both dry fully.
Paint the pebbles as three simple rounded shapes stacked in a loose column, the widest at the bottom and the smallest on top, each one a slightly different muted color so they read as separate stones rather than one lumpy tower. Keep every pebble’s outline smooth and oval, with no sharp corners anywhere.
If the stack looks like it is about to topple, center each pebble’s middle roughly above the middle of the one beneath it, since that visual balance matters more than making the stack perfectly straight. Grey, soft blue and pale pink make a pretty trio if you want to lean into the candy palette.
Comparing trick for today: hold your brush up against the canvas to check the middle pebble is noticeably smaller than the bottom one before you paint the top one, so the stack tapers convincingly.
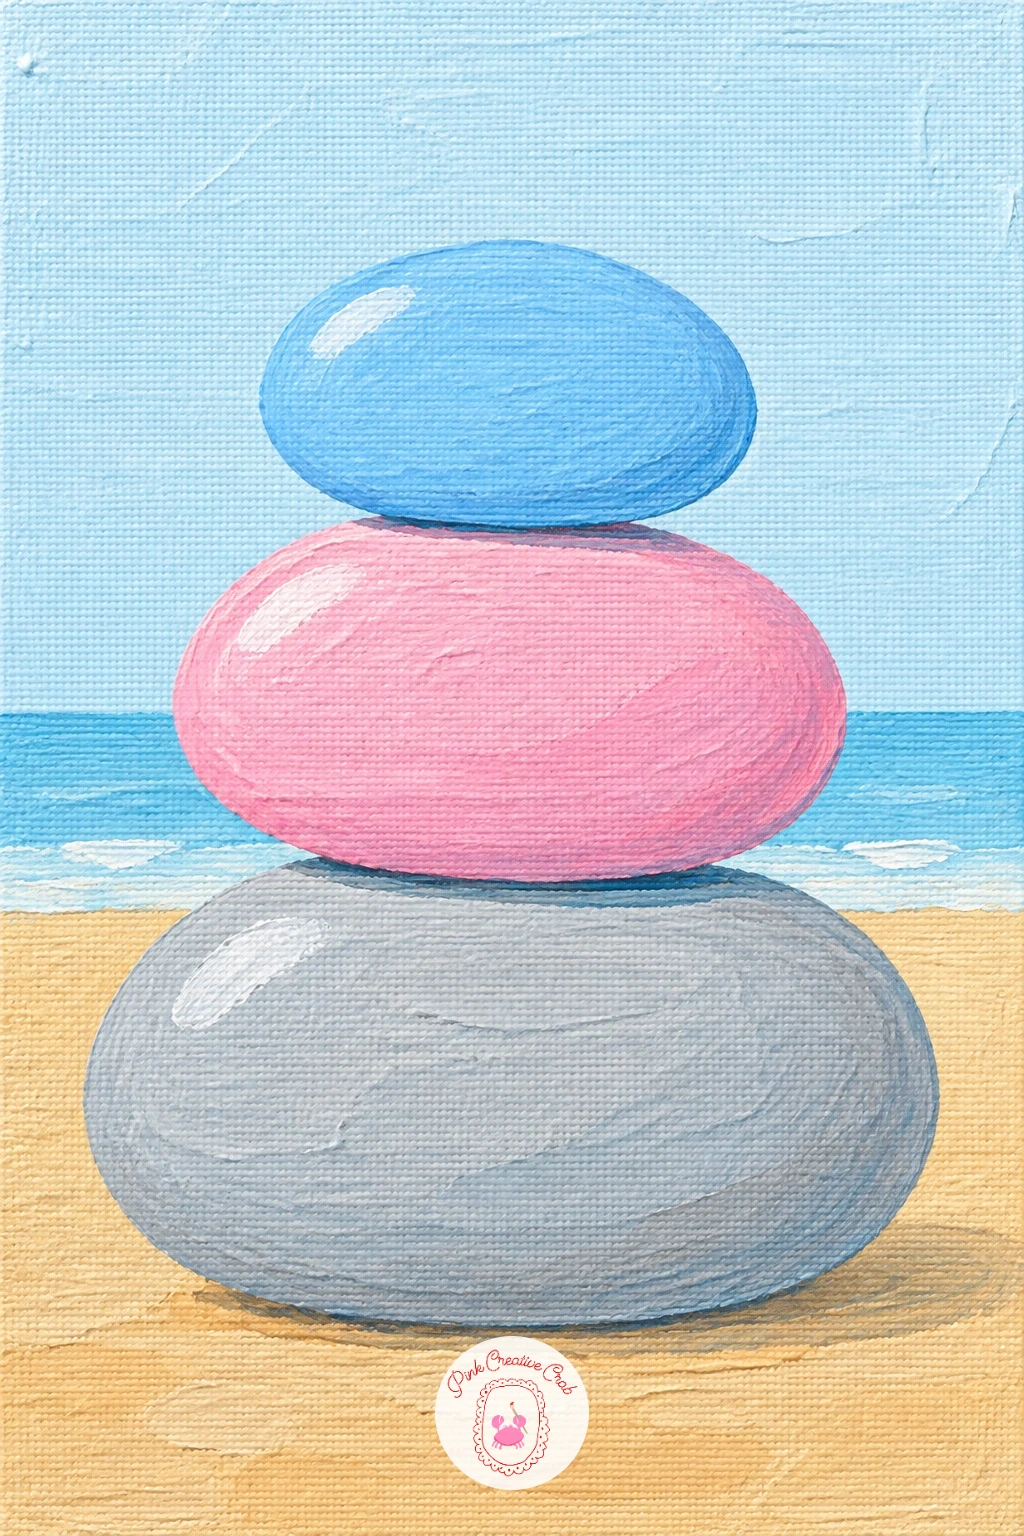
Palette: Warm Tan,Soft Grey,Candy Pink,Pale Blue
Bring back a single flower, this time a red poppy with its dark center. Paint a soft pale background first, then build the poppy from four or five loosely rounded petal shapes in bright red arranged in a shallow cup, slightly overlapping where they meet.
Once the red is dry, paint one solid black circle in the very middle for the center, then ring it with a few short black dashes radiating outward just a little, which reads as poppy stamens without fussy detail. Keep the petals a little loose and uneven in shape, since real poppy petals never look perfectly matched.
If the petals start looking like a neat pentagon, overlap two of them more heavily than the rest and let one edge dip lower than its neighbors, which breaks the symmetry in exactly the way poppies do naturally. Deep coral is a lovely swap for red if you want something a touch softer.
Hands-on trick for today: dab a little extra red toward the base of each petal while it is still wet so it pools slightly darker there, giving a hint of depth with no actual blending brush strokes.
If you enjoy this kind of bold flat flower, the acrylic painting flowers for beginners list has more simple blooms worth trying next.
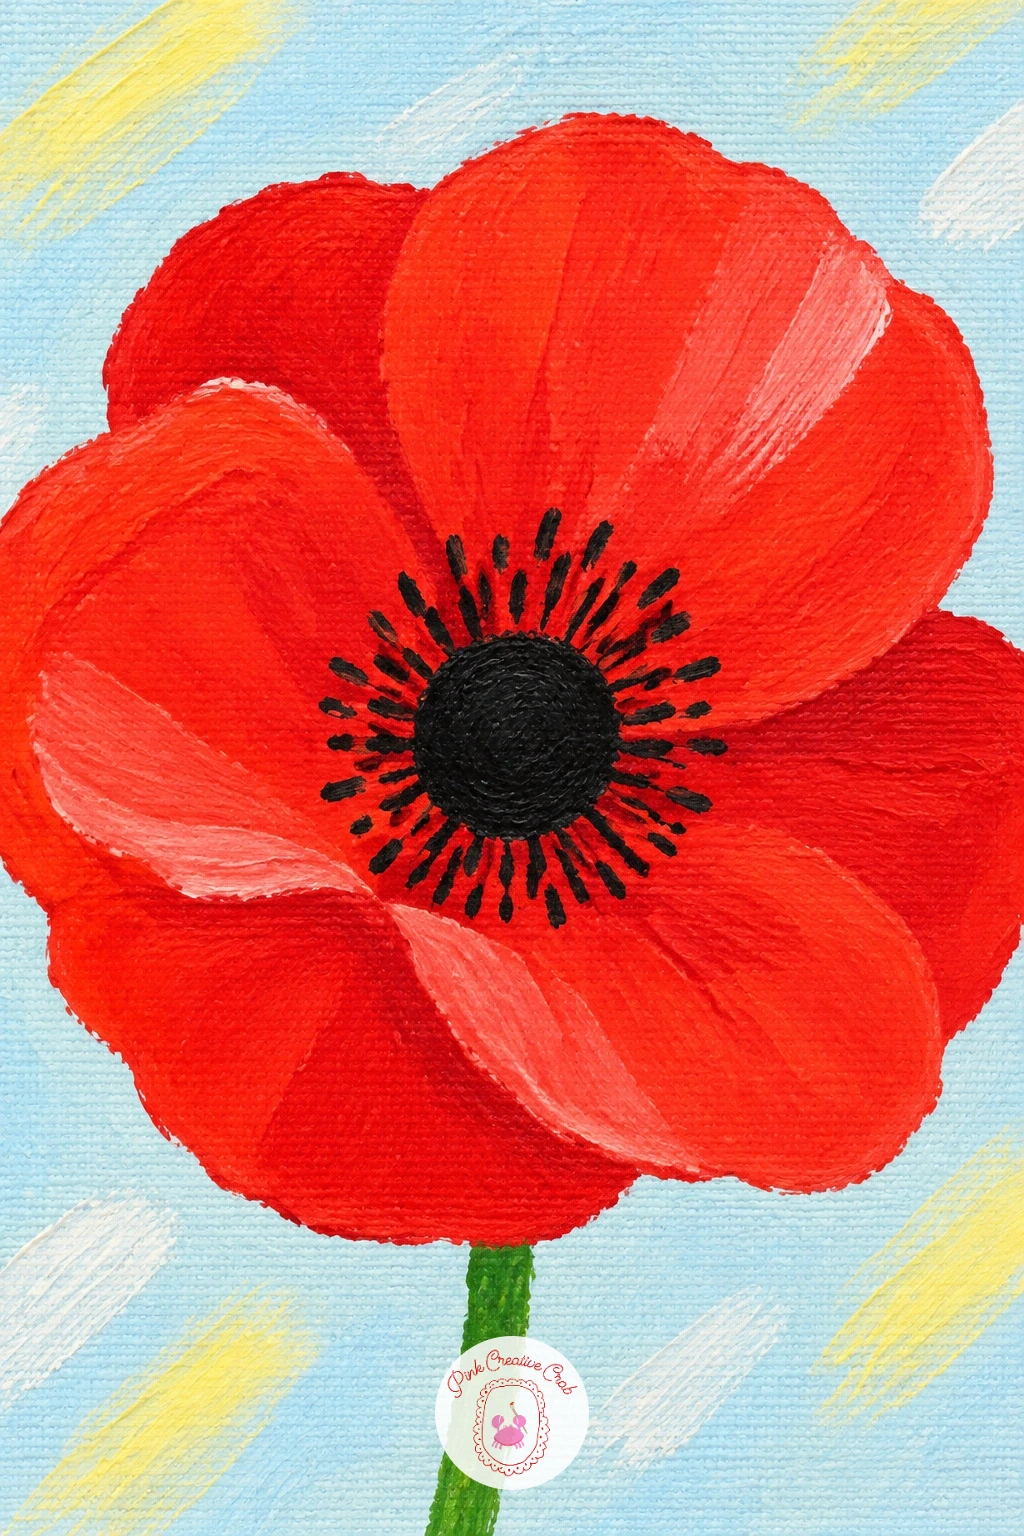
Palette: Poppy Red,Black,Pale Background,Deep Coral
Carry the cozy kitchen mood further with a polka dot teapot sitting against mint. Paint the whole background in flat mint green first, then build the teapot from one rounded body shape, a curved spout on one side, a small loop handle on the other and a little knob on the lid.
Once the white or cream teapot base is dry, scatter a handful of small dot polka dots across the body in a contrasting color, spacing them loosely rather than in a tight grid so it feels playful instead of mechanical. Keep the spout and handle curves smooth, since any wobble there reads immediately against the teapot’s rounded body.
If the dots bunch awkwardly on one side, step back and look at the whole shape before adding the last few, filling any obvious gaps last rather than painting dots in a fixed pattern from the start. Pale yellow or candy pink dots both sit beautifully on mint.
Quick version for today: a plain teapot shape with five or six dots is finished in well under ten minutes; the longer version adds a thin curl of steam from the spout and a small shadow beneath the base.
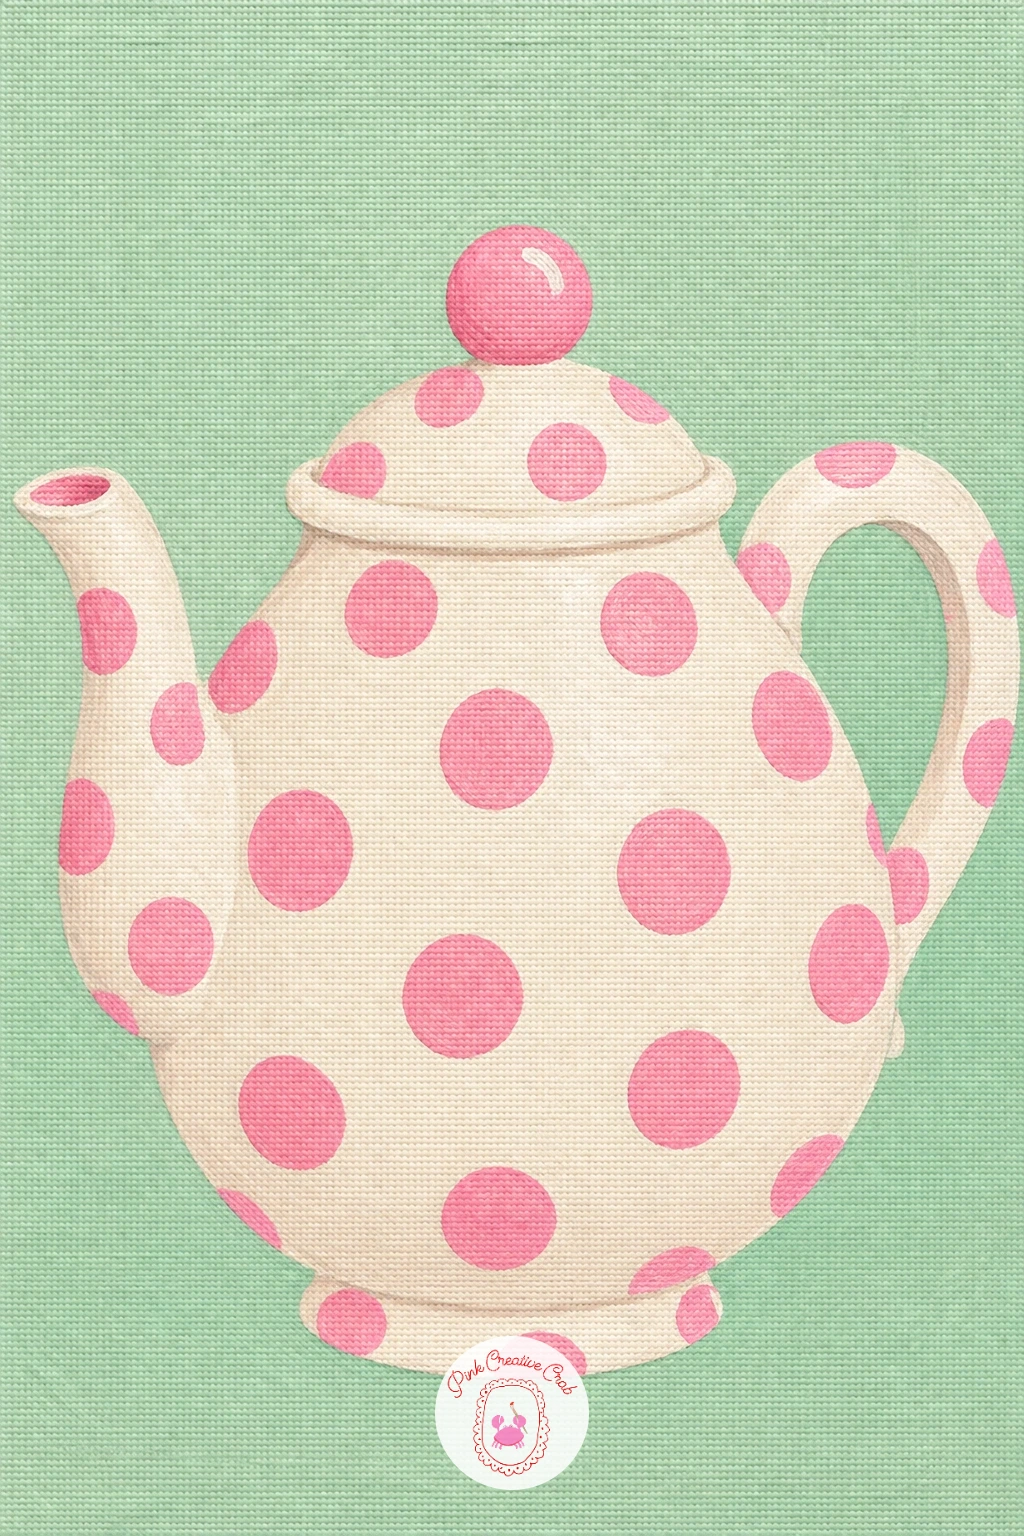
Palette: Soft Mint,Cream,Candy Pink,Sunny Yellow
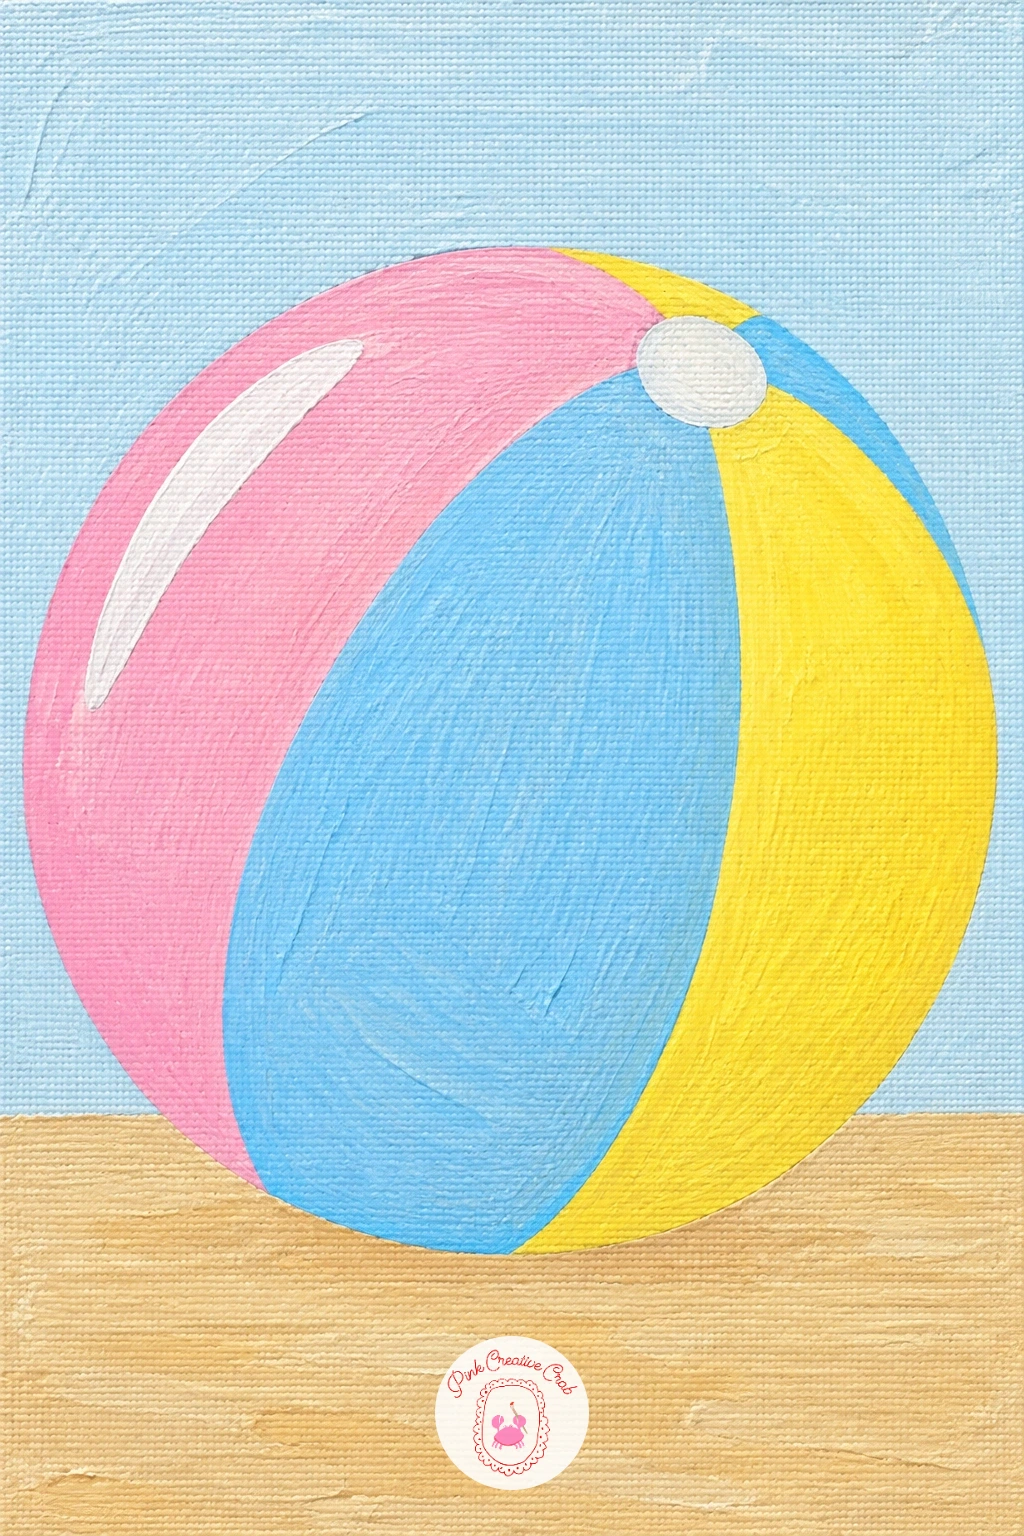
Keep the dots and stripes going with a pastel striped beach ball resting on the sand. Paint a warm tan sand strip across the bottom of the canvas and a pale sky above it first, then once both are dry, trace a circle in the middle using a plate or lid for the ball itself.
Divide the circle into five or six wedge-shaped panels radiating from the center, like slices of an orange, and fill them with alternating pastel colors, leaving one panel white as a highlight band. Keep every dividing line reaching exactly to the center point, since that is what makes the wedges look convincing rather than random stripes.
If the wedges end up uneven widths, lightly pencil the dividing lines in first before any paint goes down, working from the center outward like spokes on a wheel. Beach balls look just as good with four panels as six if six feels fiddly.
Proportion tip for today: mark the center point of your traced circle first with a tiny dot, then every dividing line should start exactly there, which is the one trick that keeps the whole ball looking round and even.
You Will Need
- plate or jar lid to trace a circle
- pencil for wedge guide lines
Palette: Candy Pink,Sky Blue,Sunny Yellow,Titanium White
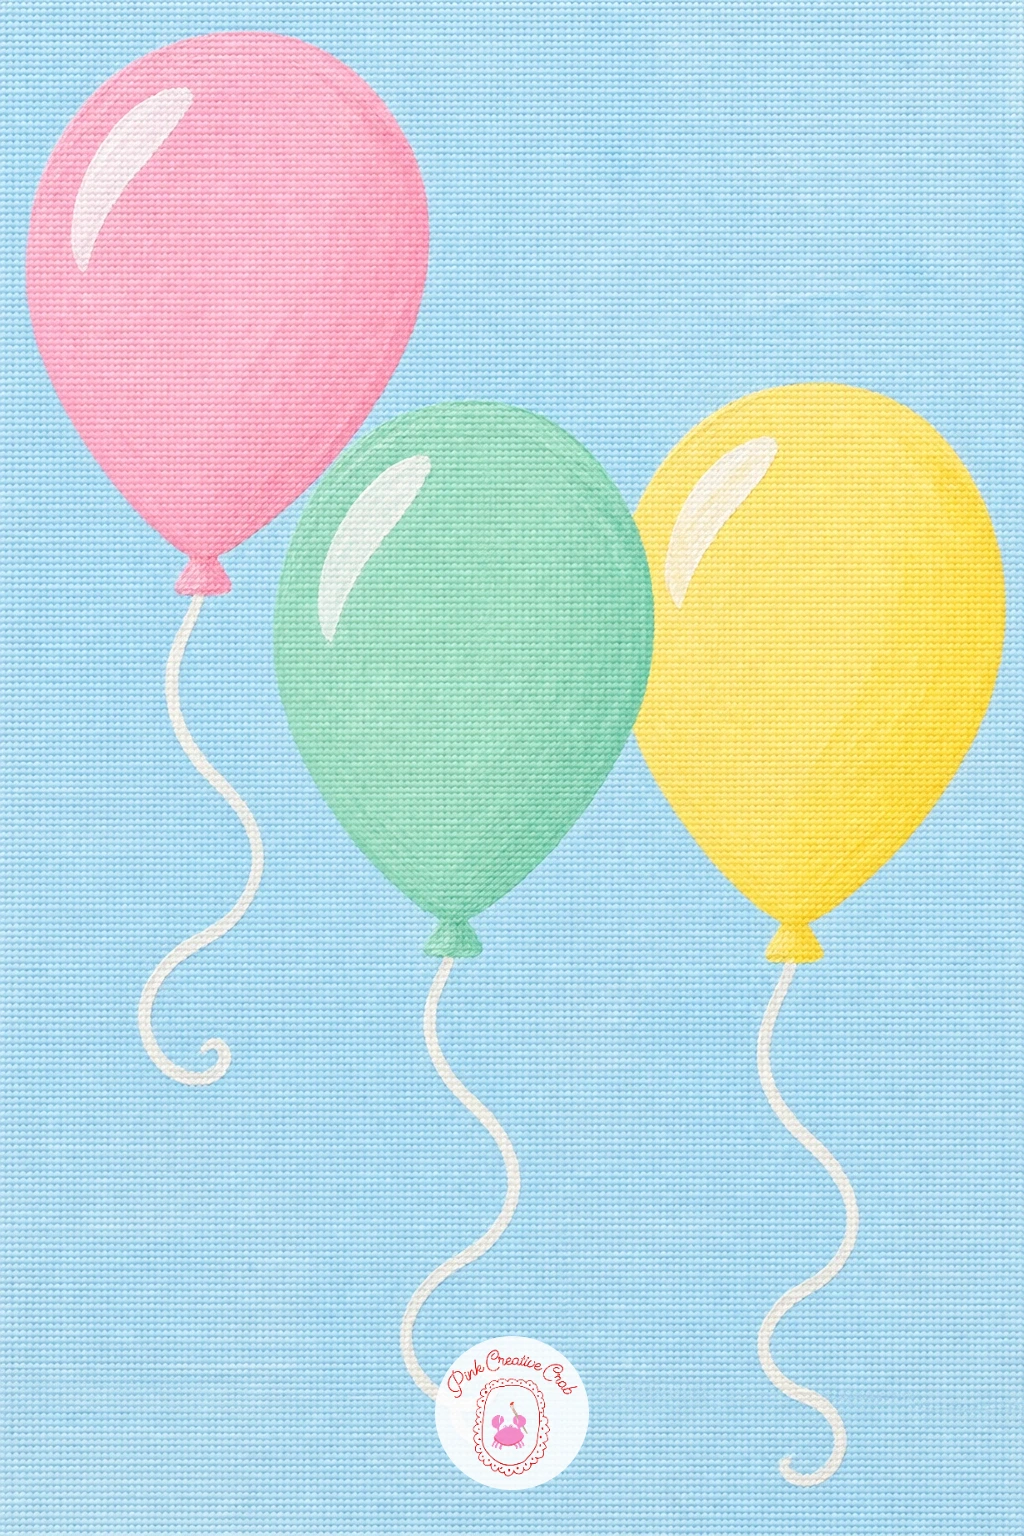
Lighten the mood further with three pastel balloons drifting on curly strings. Paint a pale flat background first, then build each balloon as a simple rounded teardrop shape, wider at the top and tapering gently toward a small knot at the bottom, in three different soft pastel colors.
Stagger the balloons at slightly different heights so they don’t line up in a neat row, then once dry, add one thin curling string trailing down from each knot, letting the curls differ a little so they feel loose rather than drawn with a ruler. Keep every balloon shape smooth with no flat sides, since a true curve is what sells the floating feel.
If the strings come out stiff or too straight, loosen your wrist and let the brush wobble slightly on purpose rather than trying to control it tightly, since a slightly wandering line reads as curly string far better than a precise one. Pink, mint and pale yellow make a sweet trio together.
Varying it next time: tie all three strings together at a single point lower on the canvas, or add a fourth smaller balloon tucked behind the others for more depth.
Palette: Candy Pink,Soft Mint,Pale Yellow,Soft Grey
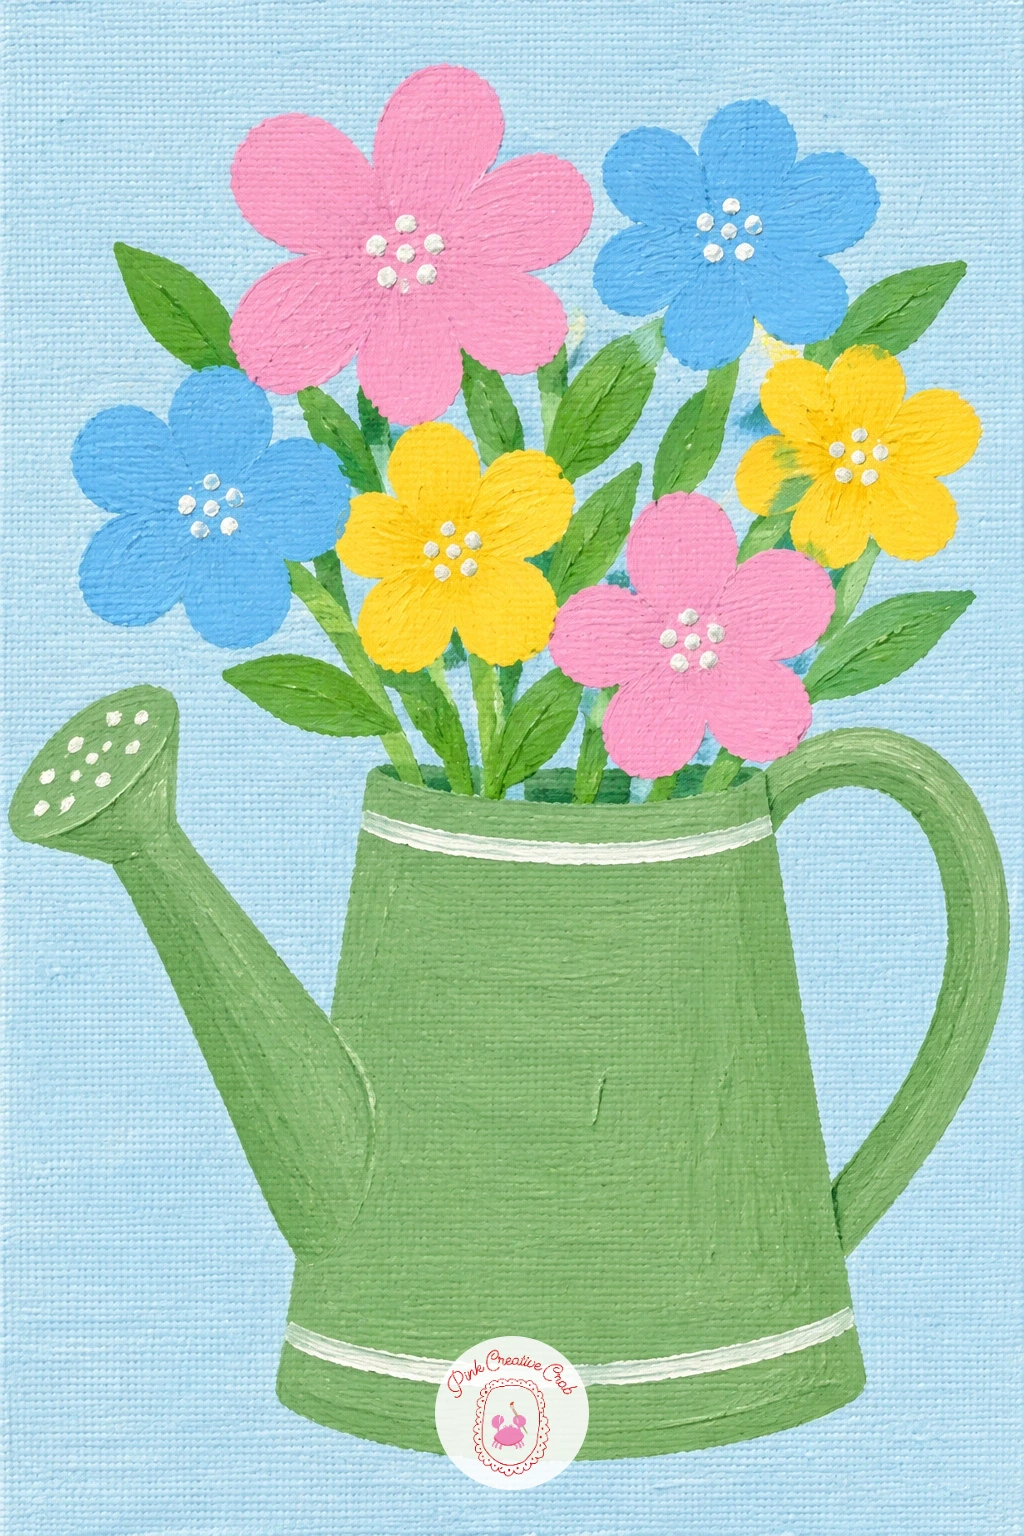
Close the whole set out with a watering can standing beside a few small flowers. Paint a soft pale background first, then build the can from one rounded body shape, a curved spout angling out to one side and a small loop handle arching over the top, all in a solid flat color like sage green or soft blue.
Once dry, add three or four simple flowers beside the can at the base, each one just a cluster of small rounded petal shapes around a dot center on a thin stem, keeping them shorter than the can itself so it still reads as the main subject. Vary the flower colors a little so the group doesn’t feel too matched to the can.
If the spout looks like it is floating away from the body, paint the can’s main shape first and only add the spout once that outline is fixed in your mind, attaching it directly to the body rather than leaving a gap. Dusty pink is a lovely swap for sage green if you want the can itself to be the brightest shape.
This is a nice one to finish the whole canvas set with, and if the flat-shape approach has you hooked, the full canvas painting ideas collection has many more pieces at every level to try next.
Palette: Sage Green,Candy Pink,Sunny Yellow,Grass Green
What to Do Next
Pick one idea that made you smile on the first read through, since that is always the one worth starting with tonight. Set up a small canvas, your basic paint colors and a glass of water for rinsing, paint the background first, let it dry, then build the subject shape by shape until it is done.
Frequently Asked Questions
What paint works best for easy painting ideas on canvas like these?
Acrylic paint works best, since it dries fast and covers in flat, solid blocks with no blending needed. A basic set of six to eight colors is enough to mix everything in this list.
Do I need to sketch the shapes before painting them?
A light pencil outline helps for trickier shapes like leaves, wedge panels or stacked pebbles, but most round and triangle shapes can go straight onto the canvas with paint. Sketch first if you feel unsure.
How do I keep the edges of each shape crisp and flat?
Let each layer dry fully before painting the next shape beside or on top of it. Painting into wet paint is the main reason edges blur, so patience between layers matters more than brush skill.
What size canvas suits these flat shape designs best?
A small canvas between six and ten inches works well, since the shapes in this style are bold and few, so they fill a smaller surface easily. Larger canvases just mean more background to cover.
Can I finish one of these paintings in a single evening?
Yes, every idea here uses a handful of flat shapes with no shading, so a background, a main subject and a few small details fit comfortably into one evening session.
Have any thoughts?
Share your reaction or leave a quick response — we’d love to hear what you think!
-
 0
-
0
-
0
-
0
-
0
-
0


