

Colored pencil doodles are the fastest way to fill a page with something cheerful without dragging out paints or worrying about a finished composition. Each one here is a single small subject on plain paper, drawn with rounded, friendly shapes and colored in with visible pencil strokes, so there is no pressure to get anything perfectly smooth.
Below you will find 27 of them, from a smiling teacup to a duckling splashing in a puddle, ordered so the simplest shapes come first. Pick whichever one makes you smile right now, grab a handful of pencils, and you will have something finished before your tea goes cold.
Using these images: free for personal projects such as printing, coloring, cards, journals and gifts. Handmade items that include them may be sold up to 30 pieces per design. More than that is commercial use and is not permitted, and neither is selling or sharing the images themselves or passing them off as your own. Please ask before any other use.
Start the whole list with a smiling teacup, since its shape is just two curves and a handle. Sketch a wide oval for the cup body, a thin oval for the saucer underneath, and a small loop on the side for the handle, all in light pencil first so you can fix the proportions before you commit to ink or color.
Add a simple smiling face low on the cup front, then draw two wavy lines rising from the rim that curl together into a small heart shape at the top. Color the cup in bubblegum pink or sky blue with light, even strokes going the same direction, leaving a streak of white paper near the rim for shine.
The most common slip is making the saucer too narrow, which tips the whole drawing off balance, so check that it extends a little past the cup on both sides before you color it in. If you only own a handful of pencils, lilac works just as well as pink for the cup.
Finish with a thin outline in a slightly darker shade of the same color rather than black, which keeps the whole doodle looking soft and cohesive.
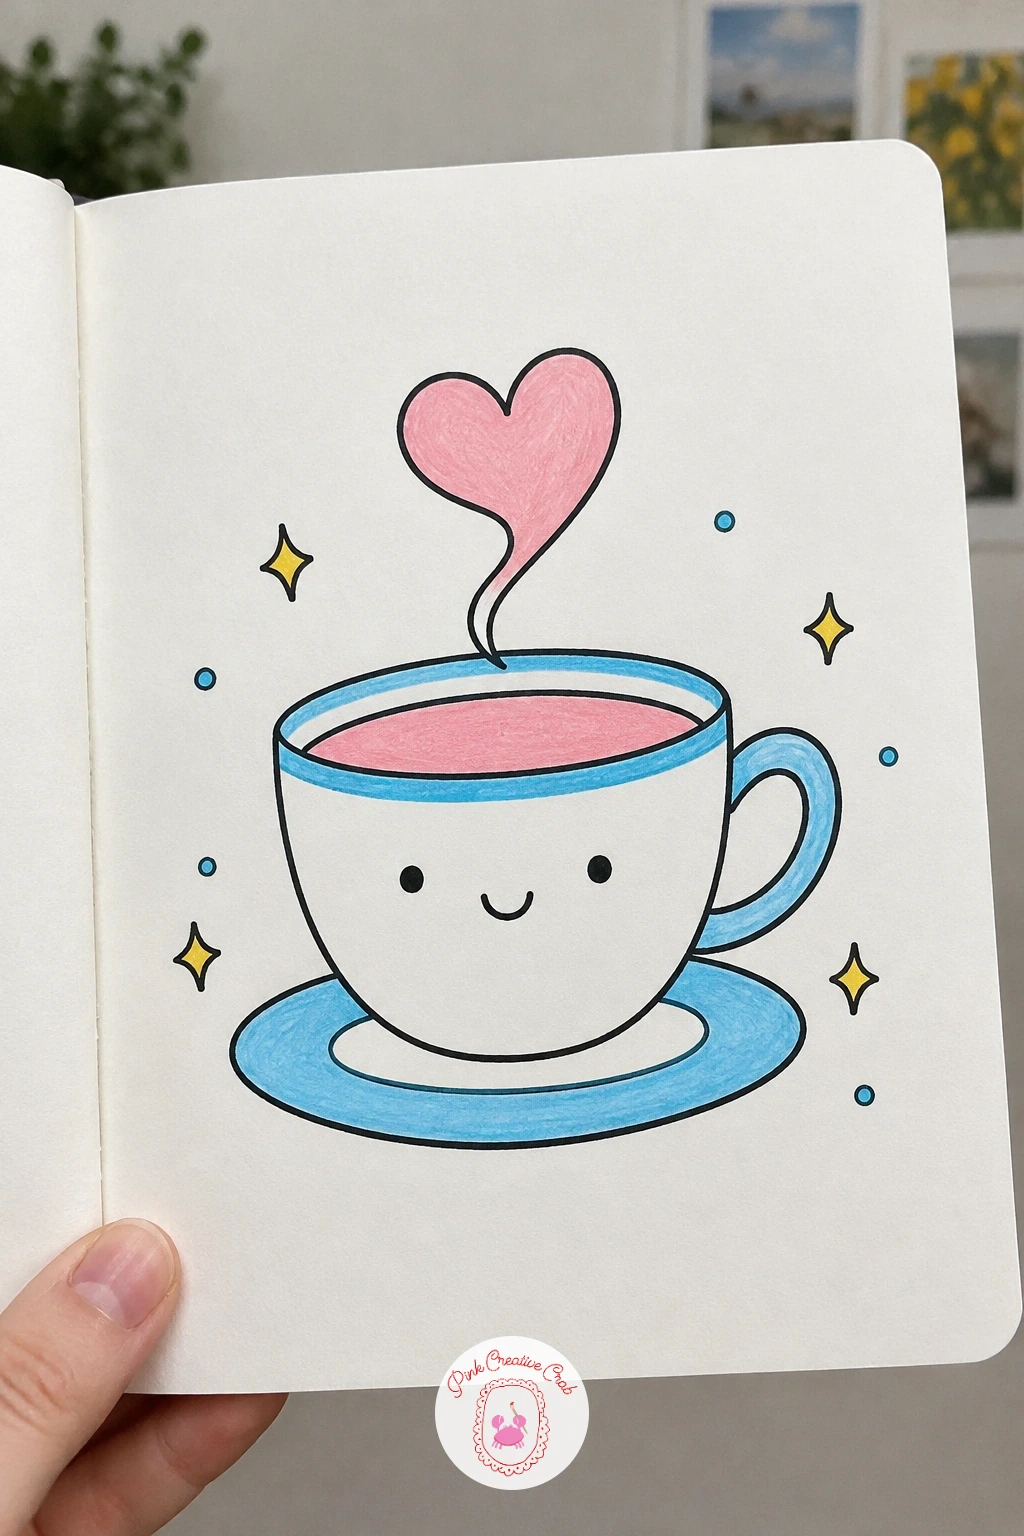
Palette: Bubblegum Pink,Sky Blue,Lilac
Move from the teacup to something soft and round: a sleepy cat curled into a tight ball. Draw one large circle for the body first, then tuck a smaller circle for the head into its curve so the two overlap like a comma shape, which reads instantly as a sleeping cat.
Add two small triangle ears on the head, a closed curved line for sleepy eyes, and one thin tail that wraps around the outside of the body circle to close the shape. This is a good moment to compare sizes before you color: the head circle should sit at about a third the size of the body circle, which keeps the cat looking round rather than lumpy.
Color the body in warm tones like a soft orange or a gentle gray, using short hatching strokes that follow the curve of the fur rather than straight lines across it. Leave the belly area a shade lighter than the back to suggest the curl of the body.
If the shape looks flat, add a few longer pencil strokes along the spine and tail in a darker tone of the same color, which gives it gentle dimension without any blending tools. For more sleepy feline faces in this style, the cute cat doodles for beginners are worth a look.
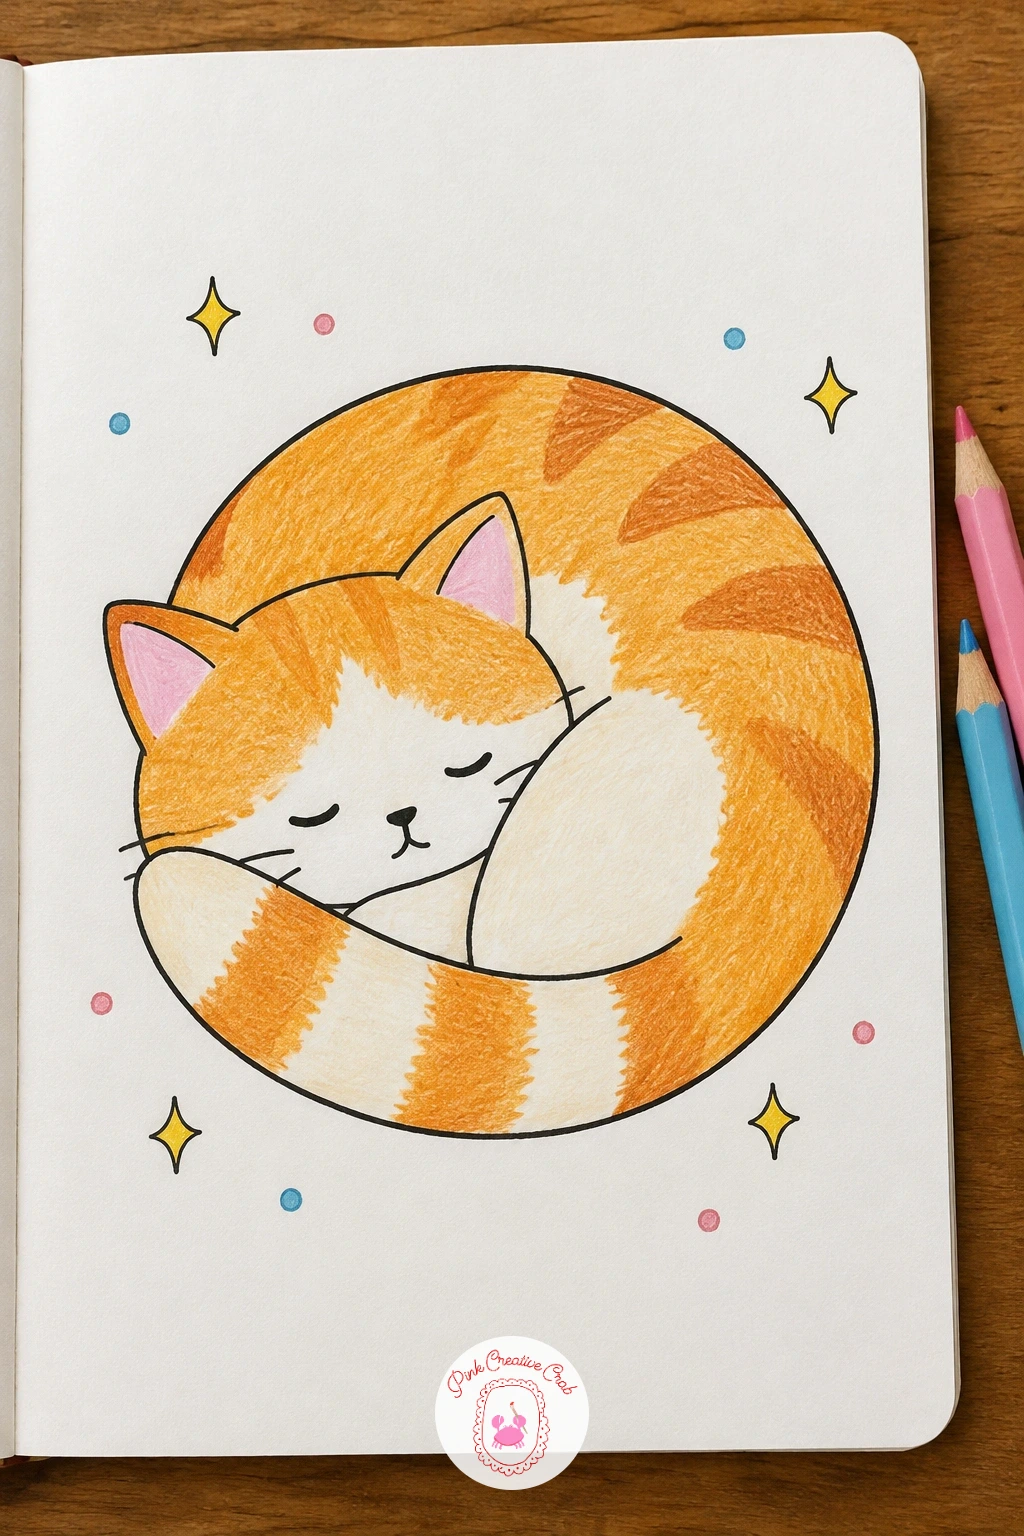
Palette: Light Orange,Burnt Sienna,Cream
After a curled cat, a snail is a natural next step since it is built from the same round shell idea. Draw one spiral shell shape first, starting from the center and winding outward in one continuous curve, then attach a long low body beneath it that tapers to a point at the tail.
Give the snail two thin stalks for eyes with small round tips, and a gentle smile beneath them. Before coloring, check that the shell sits above the midpoint of the body rather than too far forward, which keeps the whole creature balanced on the page.
Color the body in a soft mint or sage green with light strokes, then divide the shell into bands and alternate two colors, such as lemon yellow and lilac, stripe by stripe around the spiral. Working stripe by stripe rather than shading the whole shell at once keeps the lines crisp.
If straight stripes feel fiddly at this size, swap them for small dots along each band instead, which looks just as cheerful and forgives a shaky hand.
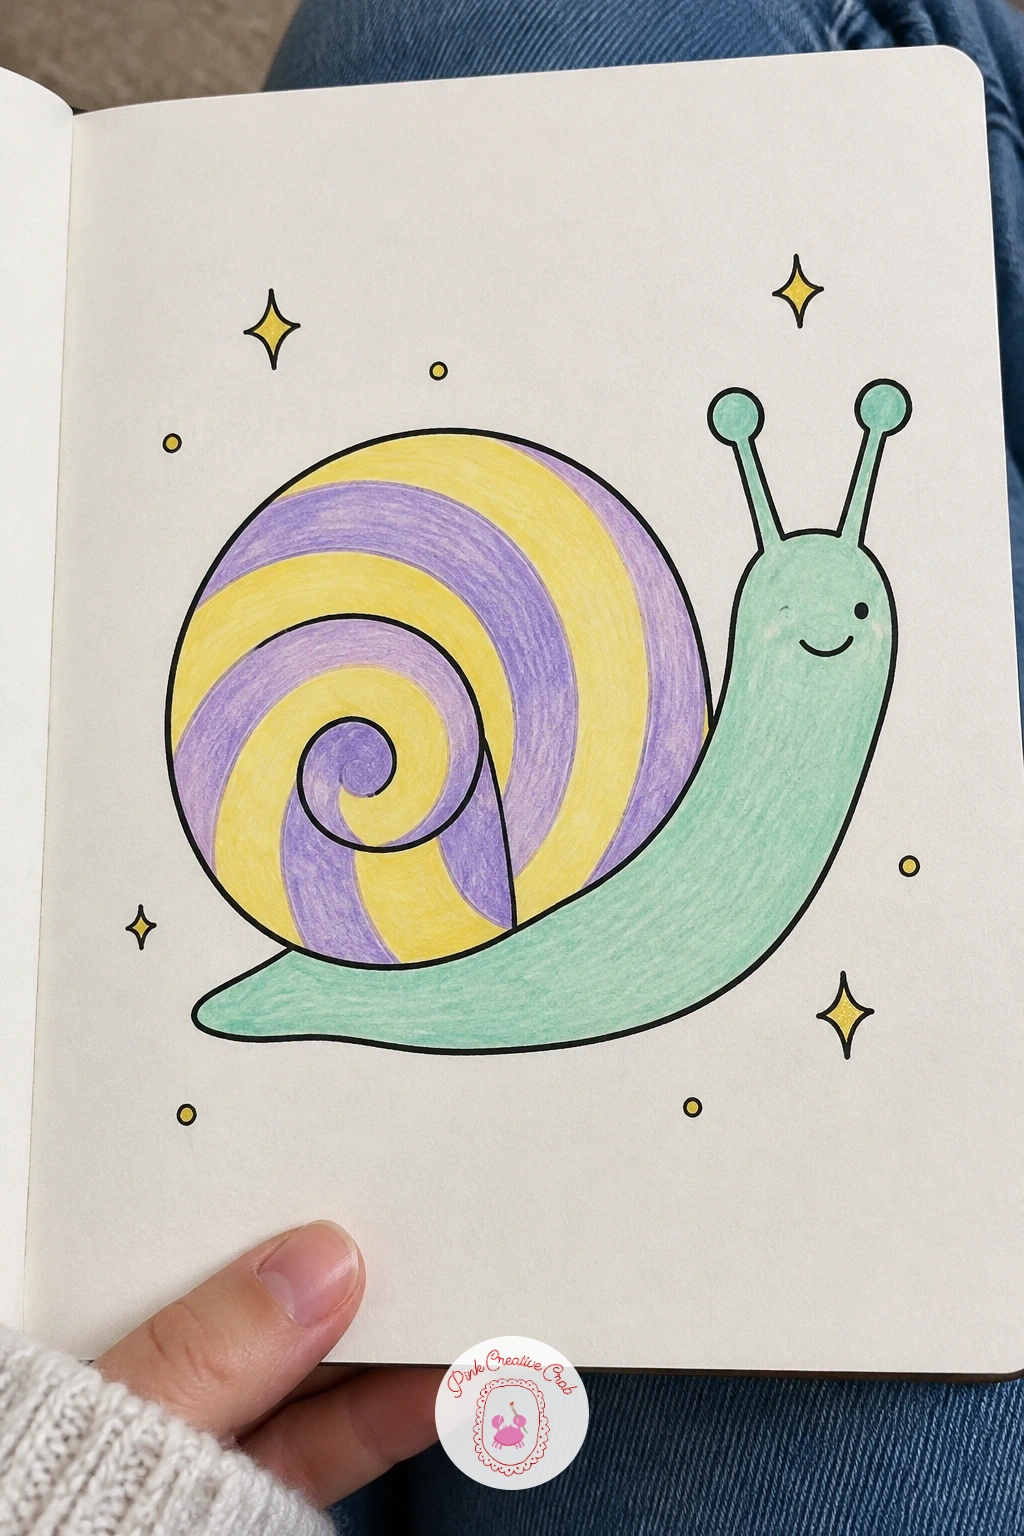
Palette: Mint Green,Lemon Yellow,Lilac
Keep the garden mood going with a little sprout popping out of its pot. Draw a simple trapezoid for the pot, narrower at the bottom than the top, then add one thin curved stem rising from the soil line with two small rounded leaves branching off near the top.
Work from the pot upward: finish the container first, add a straight soil line across the rim, then build the stem and leaves last so you can adjust their height to look proportional to the pot beneath them. A sprout that is too tall compared to its pot is the most common issue here, so keep the whole plant roughly the same height as the pot is wide.
Color the pot in terracotta or a soft pink with a thin stripe near the rim for detail, and color the leaves in two slightly different greens so they do not blend into one flat shape. Light hatching strokes along each leaf give it a bit of texture without extra tools.
Draw this one in ten minutes as a single sprout, or spend longer adding two or three smaller sprouts around it at different heights for a fuller little garden scene.
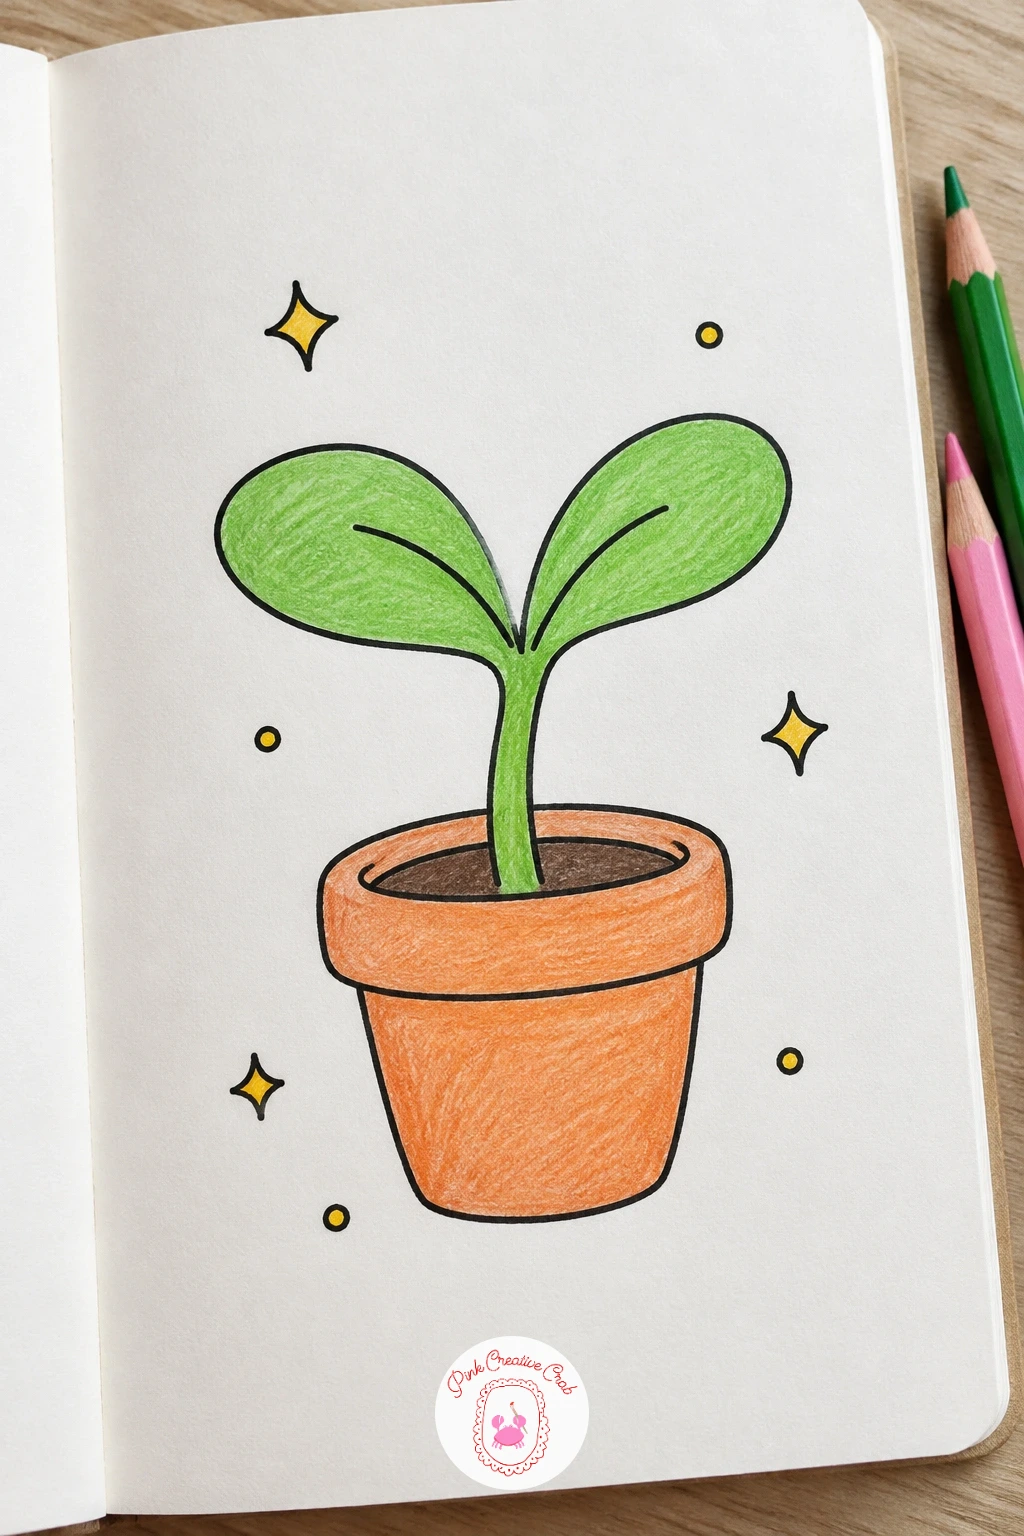
Palette: Terracotta,Sap Green,Light Green
Give the sky its first character with a cloud that has rosy cheeks. Draw the cloud as a row of three or four overlapping bumps along the top and a flatter curve along the bottom, which gives it that classic puffy outline without needing to sketch every bump separately.
Add a simple closed-eye smiling face in the lower third of the cloud, then two small pink circles for cheeks just below the eyes. Keeping the face low on the shape, rather than centered, makes the cloud read as soft and puffy above it.
Color the whole cloud in a very light gray or leave most of it white, using sky blue only along the bottom edge in short strokes to suggest shadow. Add the cheeks last in bubblegum pink with a light circular scribble, blending the edges softly with your finger or a blending stump if you have one.
If your paper already feels busy, skip the gray shading entirely and let the cloud stay pure white with just an outline, which looks just as charming at this size.
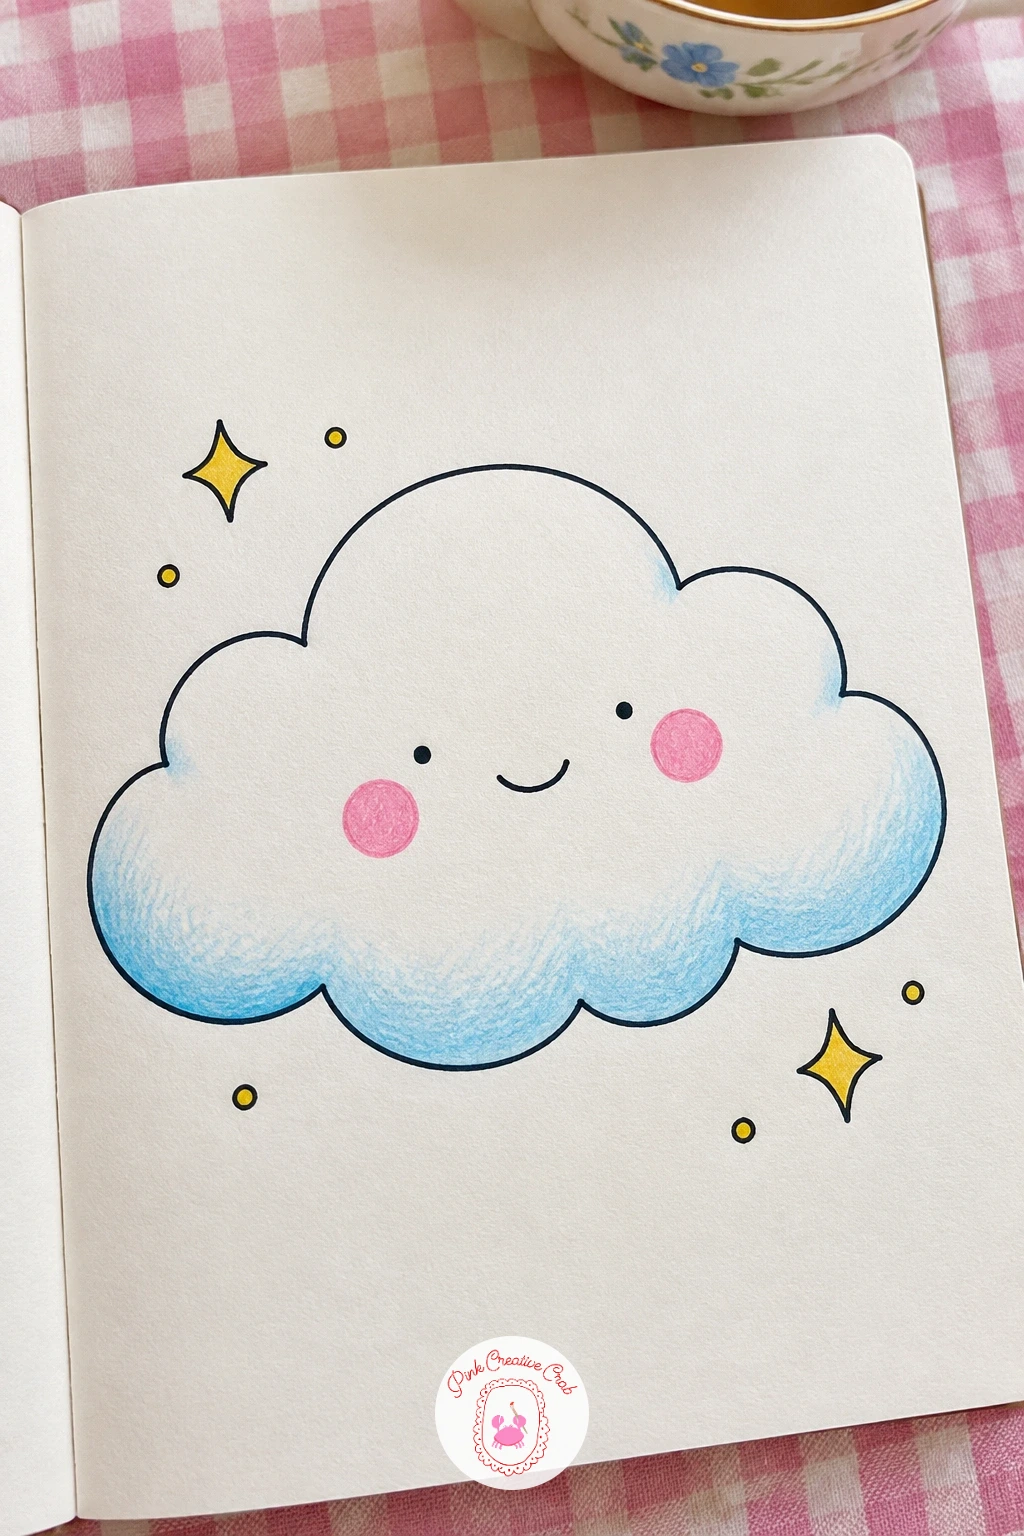
Palette: Light Gray,Sky Blue,Bubblegum Pink
Since the cloud is already a familiar shape now, build on it with a full rainbow arching over two of them. Draw the rainbow first as a set of nested curved bands, starting with the outer arc and working inward so each stripe stays an even width rather than narrowing toward the center.
Place one puffy cloud at each end of the arch, tucking the rainbow slightly behind them so it looks like it is emerging from the clouds rather than floating above them. This overlap is the detail that makes the whole doodle feel like one scene instead of two separate shapes stuck together.
Color the bands in order, pink, lemon yellow, mint, and sky blue, using light even strokes and leaving a thin sliver of white paper between each band so the colors stay distinct rather than muddying together. The clouds can stay mostly white with just a touch of gray shading underneath.
If four colors feels like plenty, three bands work just as well, since the point here is cheerful simplicity rather than a full spectrum.
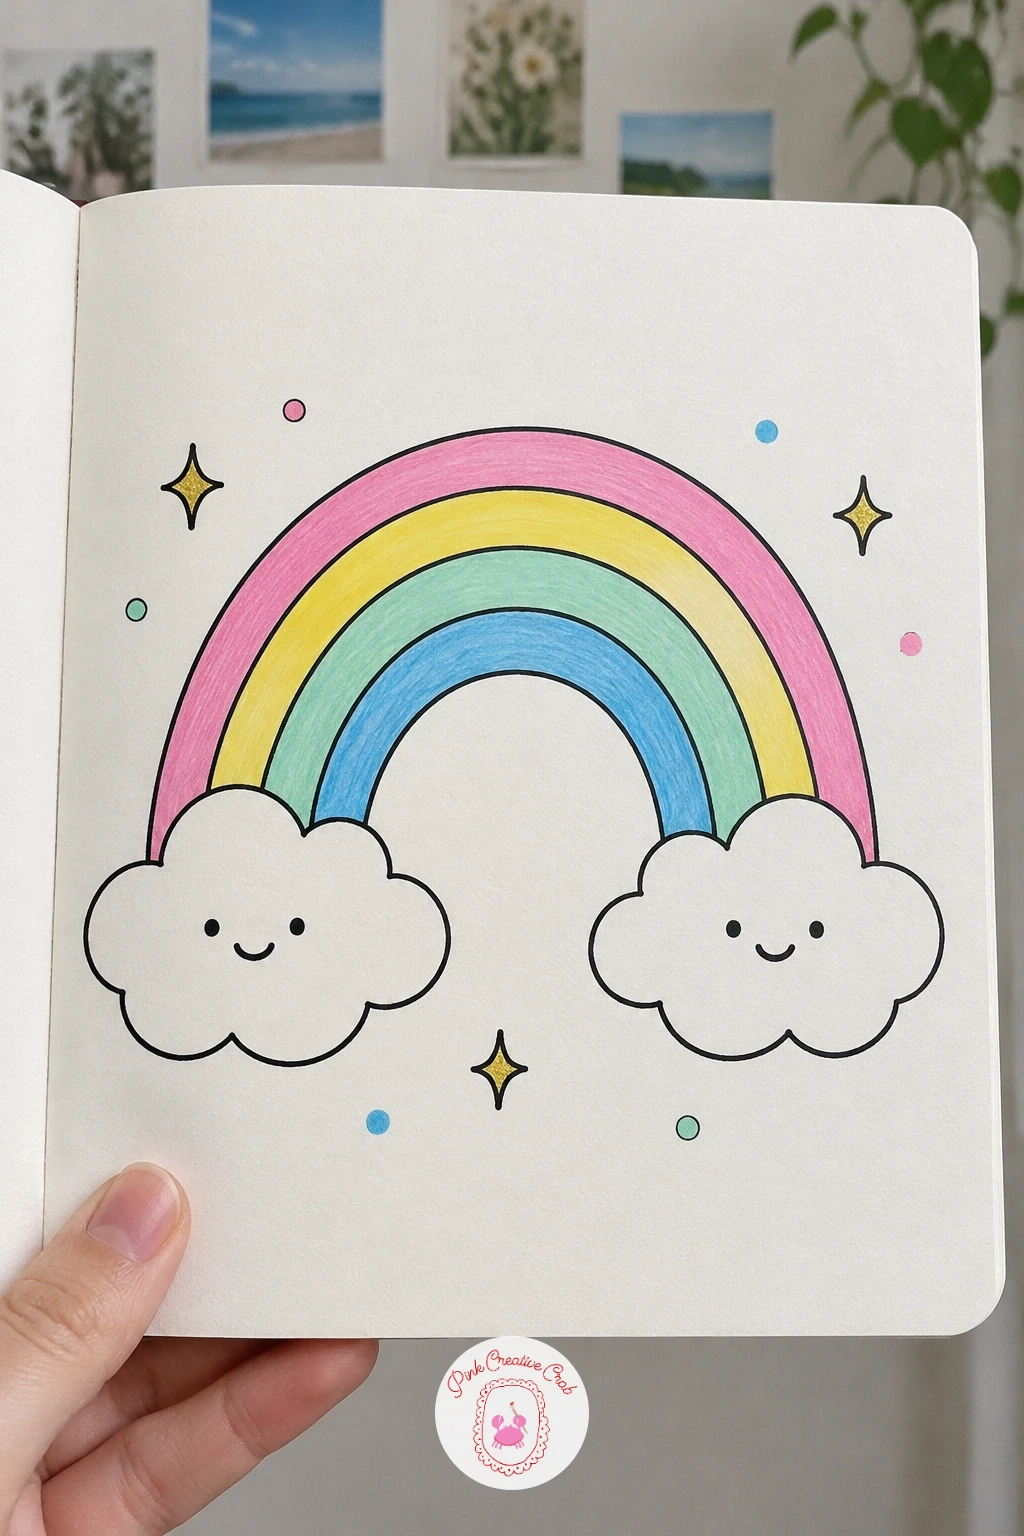
Palette: Bubblegum Pink,Lemon Yellow,Mint Green,Sky Blue
Bring the page back down to earth with a tiny cactus sitting in a striped pot. Draw the pot first as a simple trapezoid, then build the cactus above it from two or three overlapping rounded lobes rather than one stiff cylinder, which gives it that friendly, squat look.
Where this idea tends to go wrong is in spacing the little bumps along the cactus edges too evenly, which starts to look mechanical, so vary their size slightly as you go. Keep the main shape of the cactus taller than it is wide so it still reads clearly as a cactus rather than a blob.
Color the cactus in two greens, a lighter mint for the front-facing lobes and a deeper sap green for the shaded sides, with short strokes running vertically to suggest its ribbed texture. Stripe the pot in alternating bands of lemon yellow and sky blue, painted after the cactus so you can see exactly how tall the pot needs to be.
A few small dots scribbled along the cactus ridges in white gel pen finish it off as little spines without needing to draw each one individually.
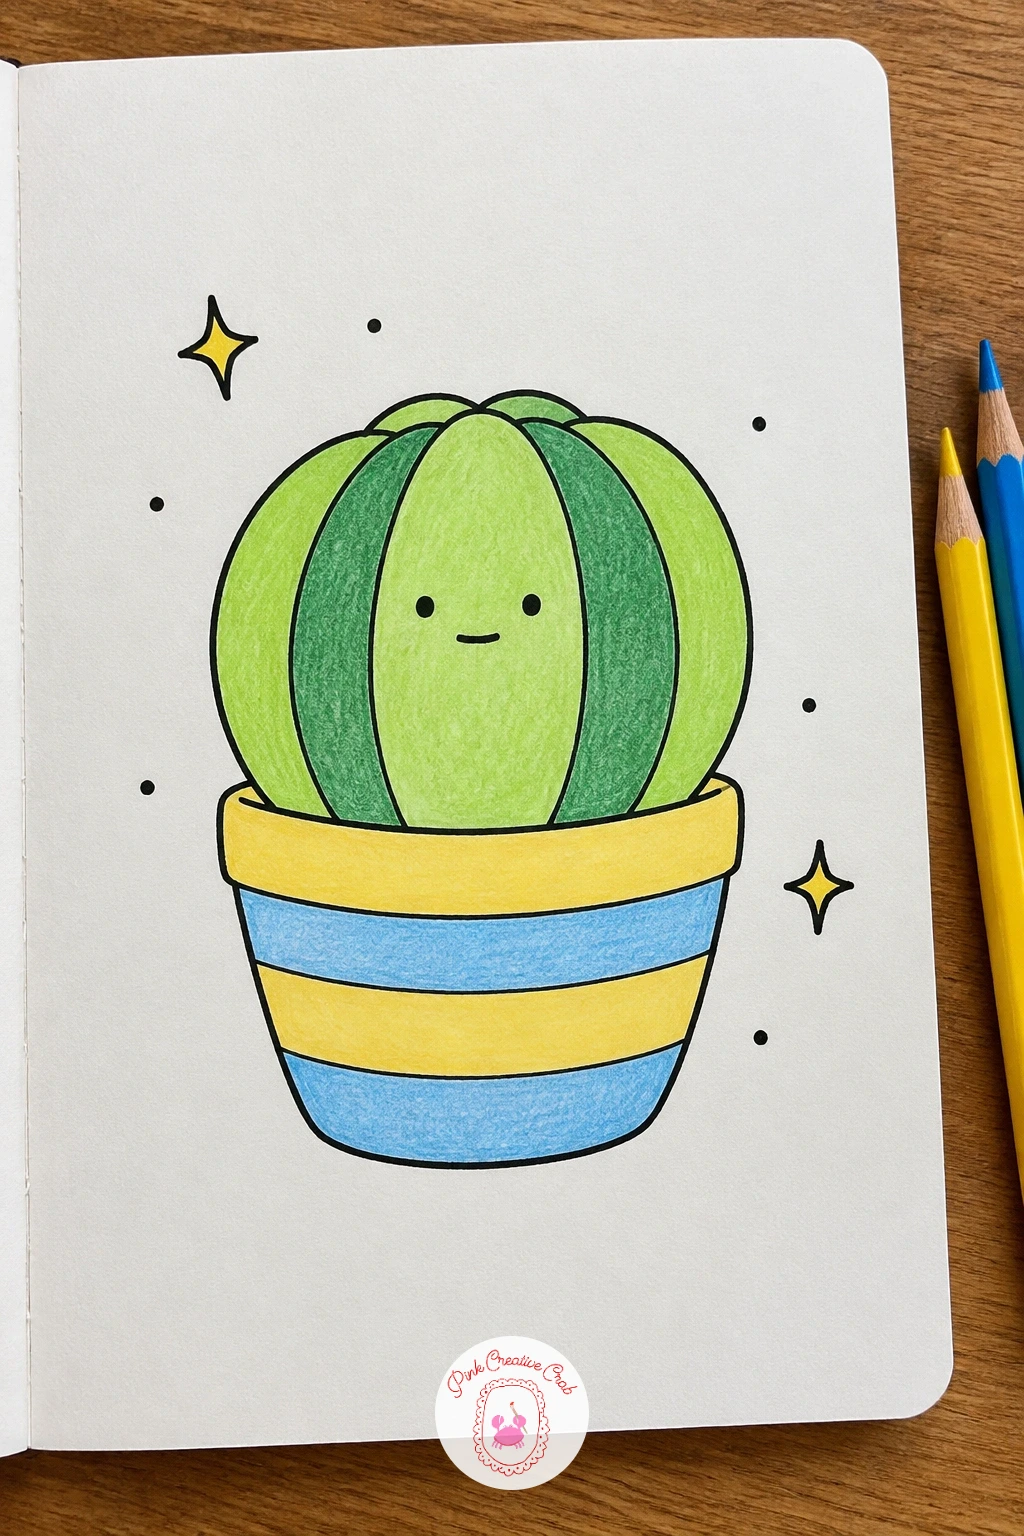
You Will Need
- white gel pen for spine dots
Palette: Mint Green,Sap Green,Lemon Yellow,Sky Blue
Give the cactus a companion that takes the idea a step further: a little cactus wearing a flower crown. Build the body the same way as before with two or three rounded lobes, but this time leave a clear flat curve along the top where the crown will sit.
Draw the flower crown as four or five small five-petal flowers in a gentle arc across the top of the cactus, with a short connecting line between them so they read as one band rather than scattered shapes. Drawing the crown before coloring anything lets you adjust its width to fit the cactus top comfortably.
Color the cactus body in sap green with light vertical hatching, then give each little flower a different soft color, alternating pink, lilac, and yellow so the crown feels varied rather than repetitive. A tiny dot of a contrasting color at the center of each flower finishes them quickly.
Next time you draw this one, try swapping the flower crown for a single bow or a tiny hat instead, using the same cactus body as your base shape.
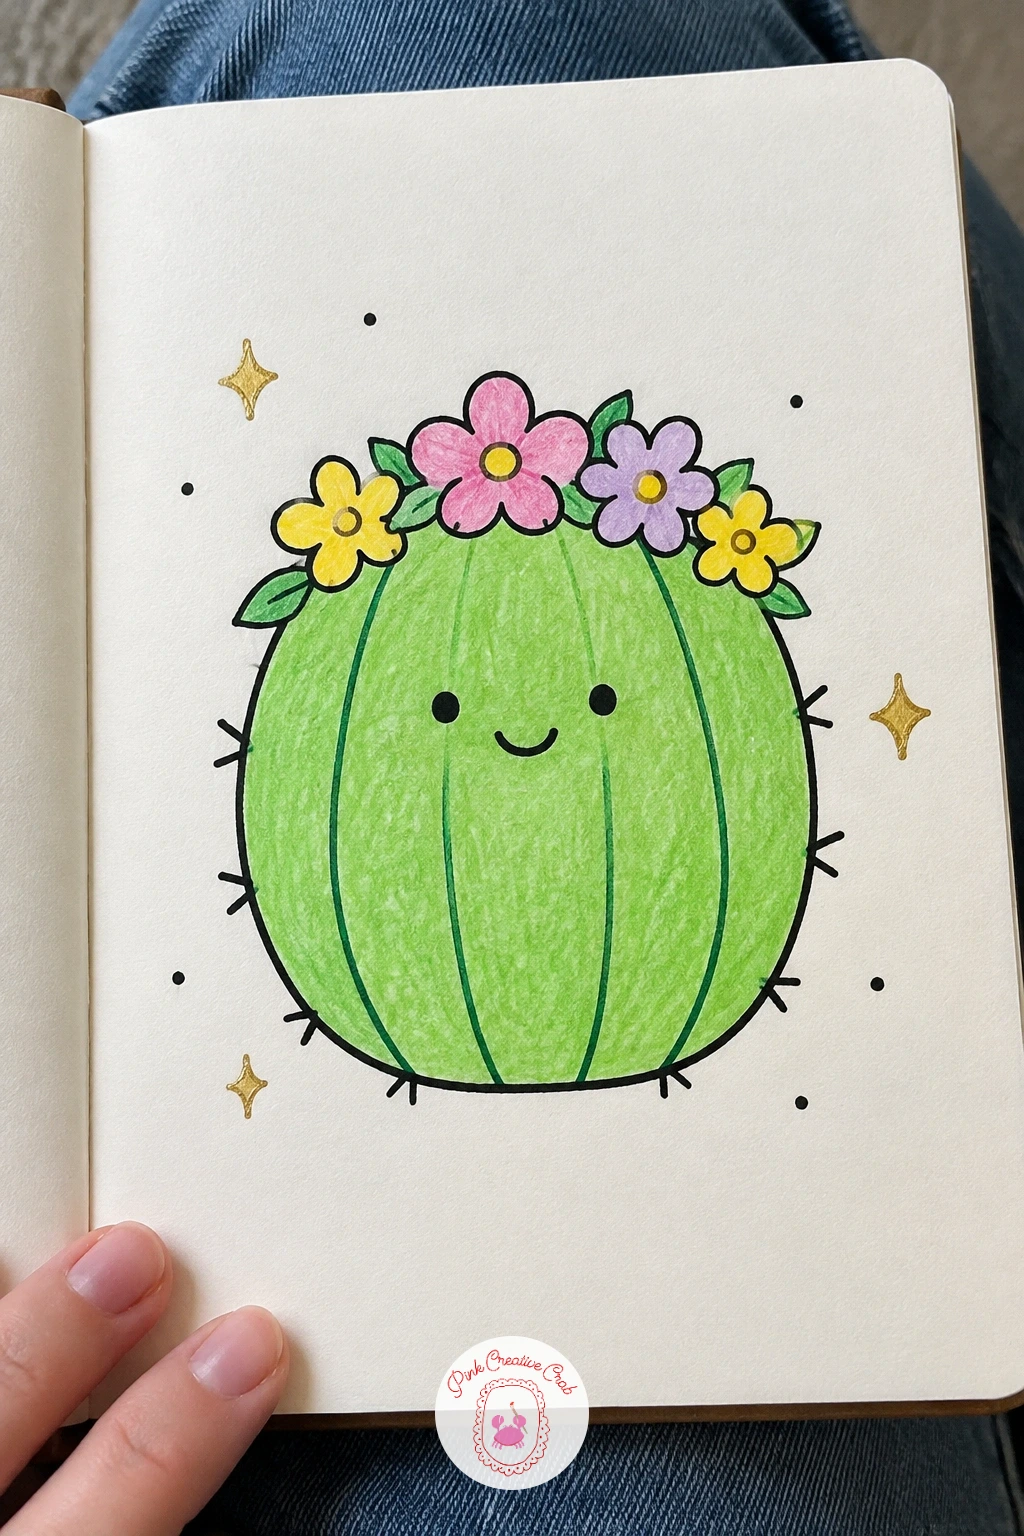
Palette: Sap Green,Bubblegum Pink,Lilac,Lemon Yellow
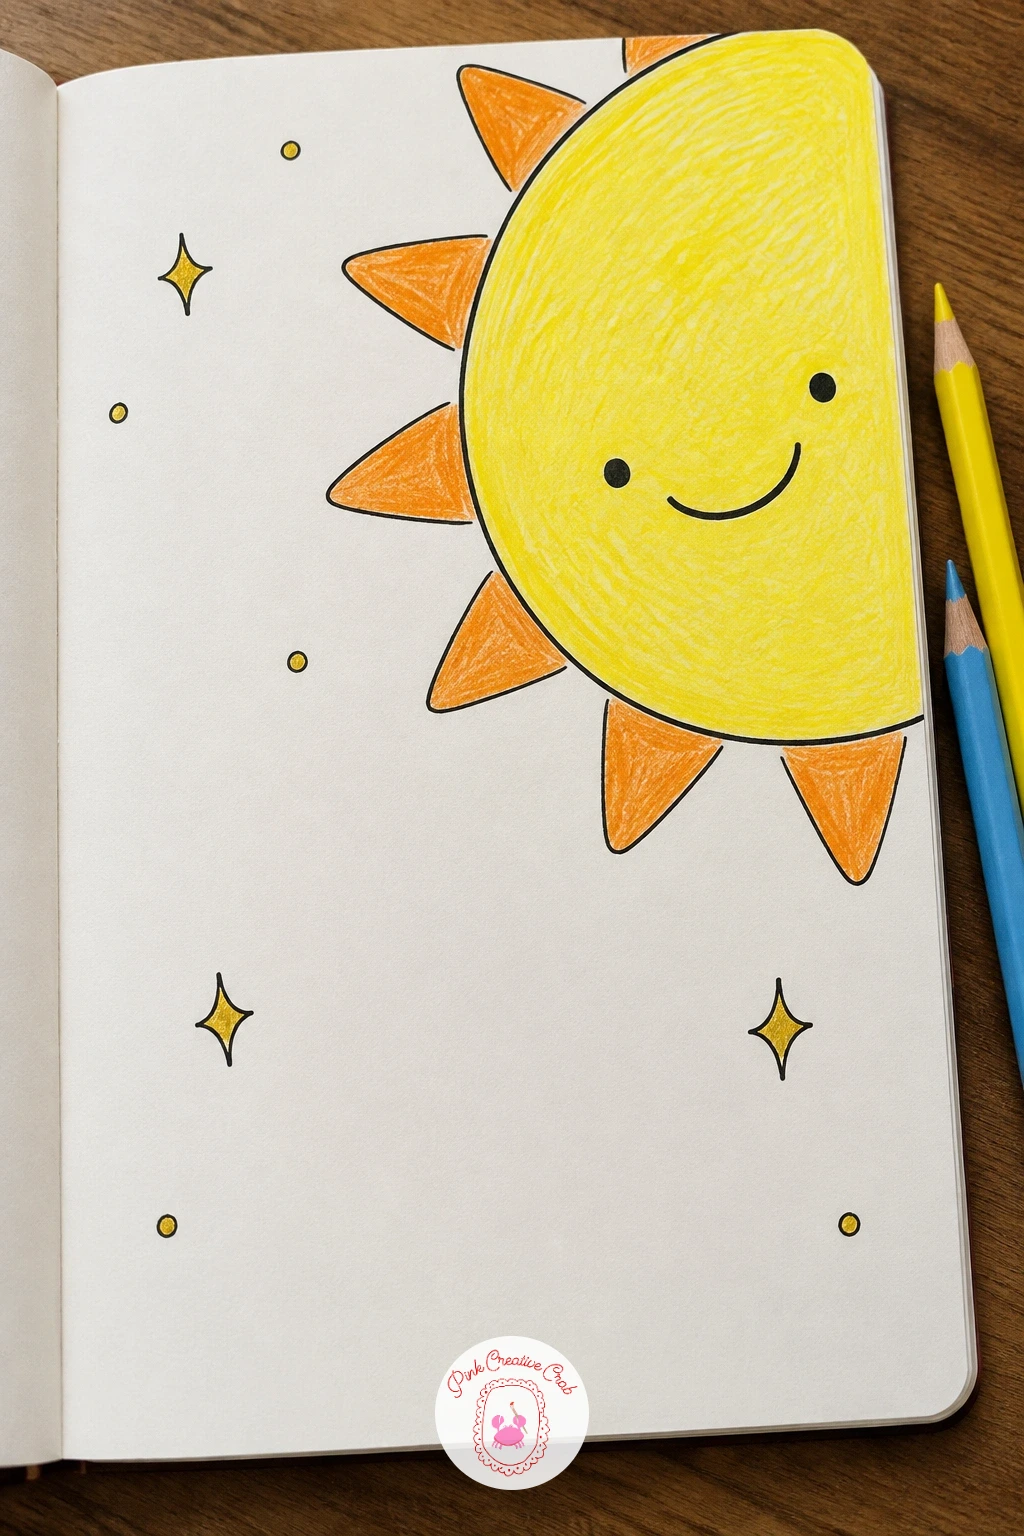
Turn back up to the sky for a smiling sun peeking out from one corner of the page rather than sitting dead center. Draw just a quarter or a third of the sun’s circle, letting the rest run off the edge of the paper, with a handful of short triangular rays fanning out from the visible arc.
Think about where the light falls before you add the face: since only part of the sun shows, keep the smiling face angled toward the open space on the page so it still looks like it is greeting the whole drawing rather than hiding. Place the eyes and smile closer to the visible edge rather than near the corner.
Color the main body in lemon yellow with short strokes radiating outward, then tip each ray in a warm orange so the color gets slightly deeper toward the points. Leave the face area a touch lighter than the rest so the expression stands out clearly.
If drawing rays at even angles feels tricky, keep them to just five or six and vary their length rather than their spacing, which still reads as a cheerful burst of sunshine.
Palette: Lemon Yellow,Warm Orange,White
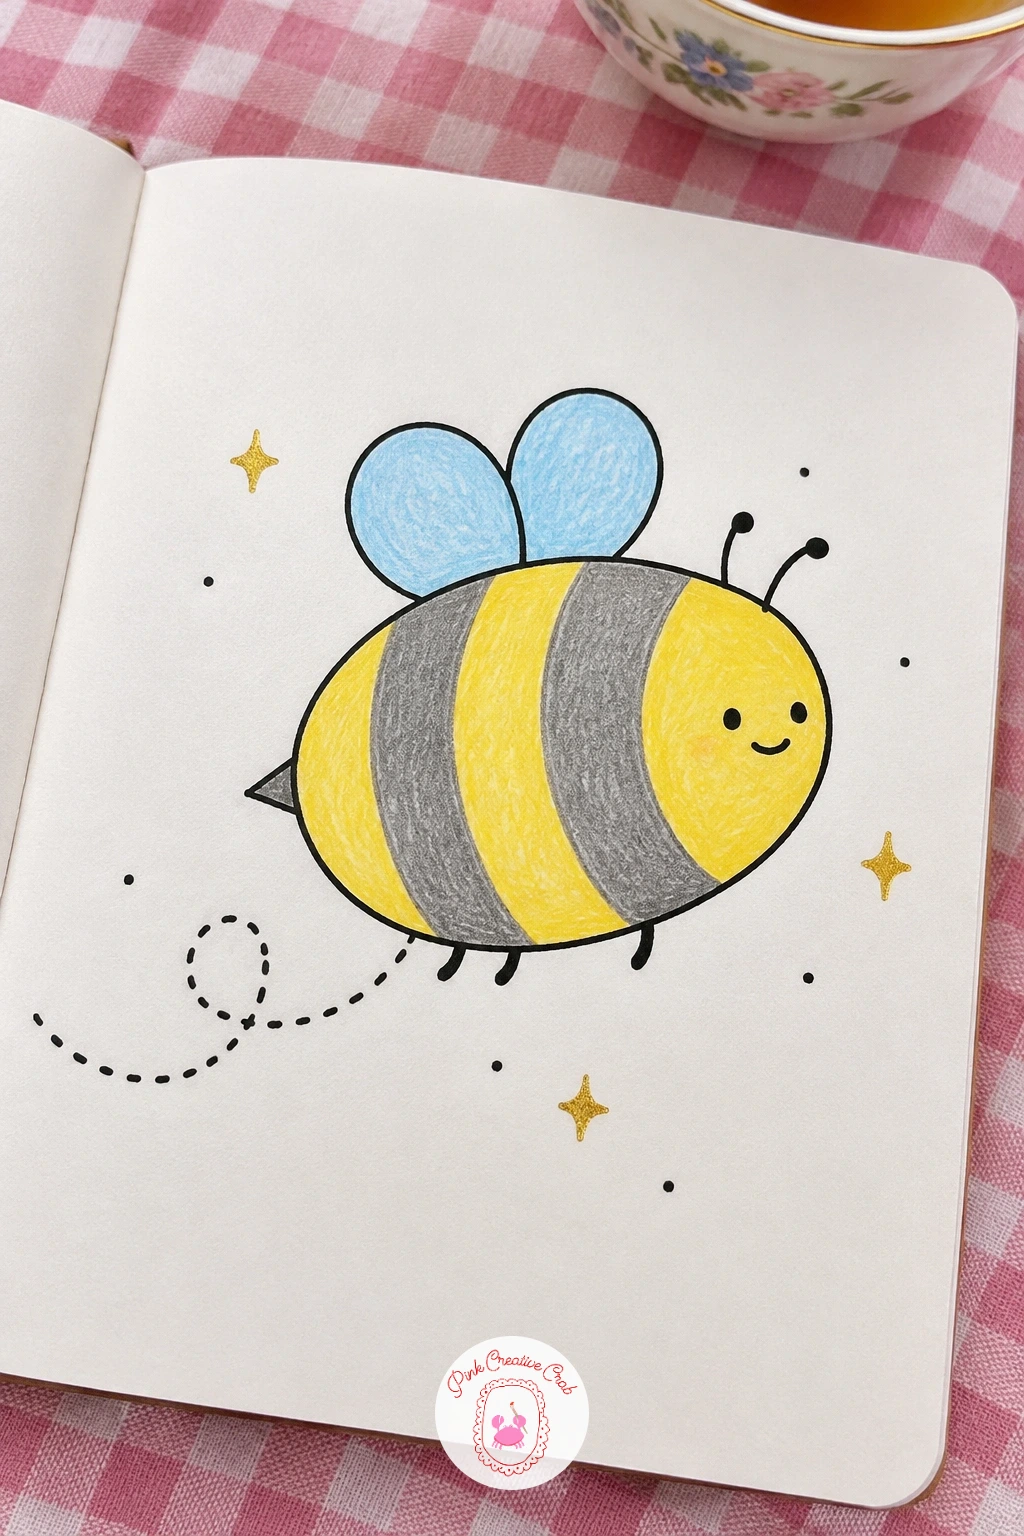
Bring in the first small creature of the list: a bumblebee with tiny round wings. Draw the body as one fat oval first, then add a smaller rounded head overlapping its front edge, which keeps the proportions friendly rather than long and insect-like.
Place the two wings as simple teardrop shapes attached high on the back, angled slightly outward like they are mid-flutter, and keep them smaller than you might expect, since oversized wings tip the whole bee off balance visually. A dotted flight trail trailing behind the bee helps suggest movement without any extra drawing on the bee itself.
Color the body in alternating bands of lemon yellow and a soft charcoal gray instead of pure black, which keeps the palette gentle, and leave the wings mostly white with just a thin outline and a touch of pale blue shading. Short hatching strokes across each yellow band give the fuzzy bee texture.
If you want to swap gray for something warmer, a soft brown works just as well for the stripes and keeps the whole doodle feeling cozy rather than sharp.
Palette: Lemon Yellow,Charcoal Gray,Pale Blue
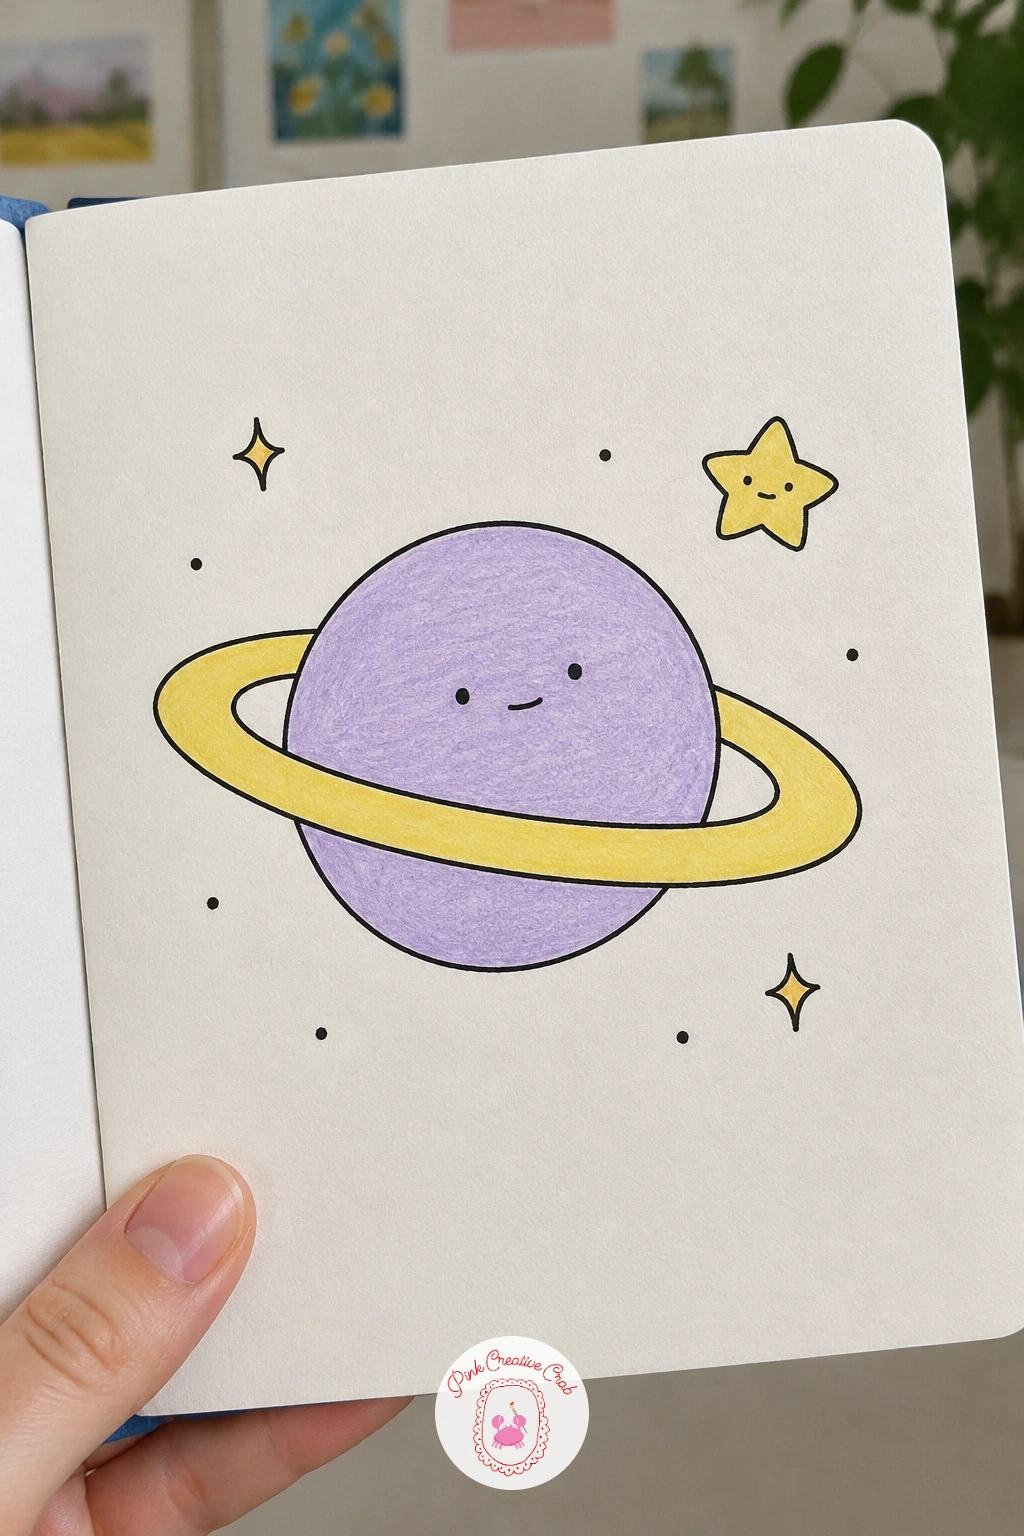
Lift the scene off the ground entirely with a small planet wearing a ring, keeping just one star nearby so the page stays uncluttered. Draw the planet as a single clean circle, then wrap the ring around it as a flattened oval that passes behind the top of the planet and in front of the bottom, which gives it real depth with only two lines.
This is the detail that trips people up most: if the ring passes in front on both sides, the planet looks flat instead of round, so check that overlap carefully before coloring. Add one simple four-point star off to the side, kept noticeably smaller than the planet so it reads as distant.
Color the planet in lilac or sky blue with a few short curved strokes to suggest its curve, and color the ring in a warm contrasting tone like lemon yellow so it stands out clearly against the body. The single star can stay white with just an outline, or get a light yellow fill.
For more sky and space subjects built the same simple way, the celestial doodles of moons, stars and sleepy planets are a natural next stop.
Palette: Lilac,Lemon Yellow,Sky Blue
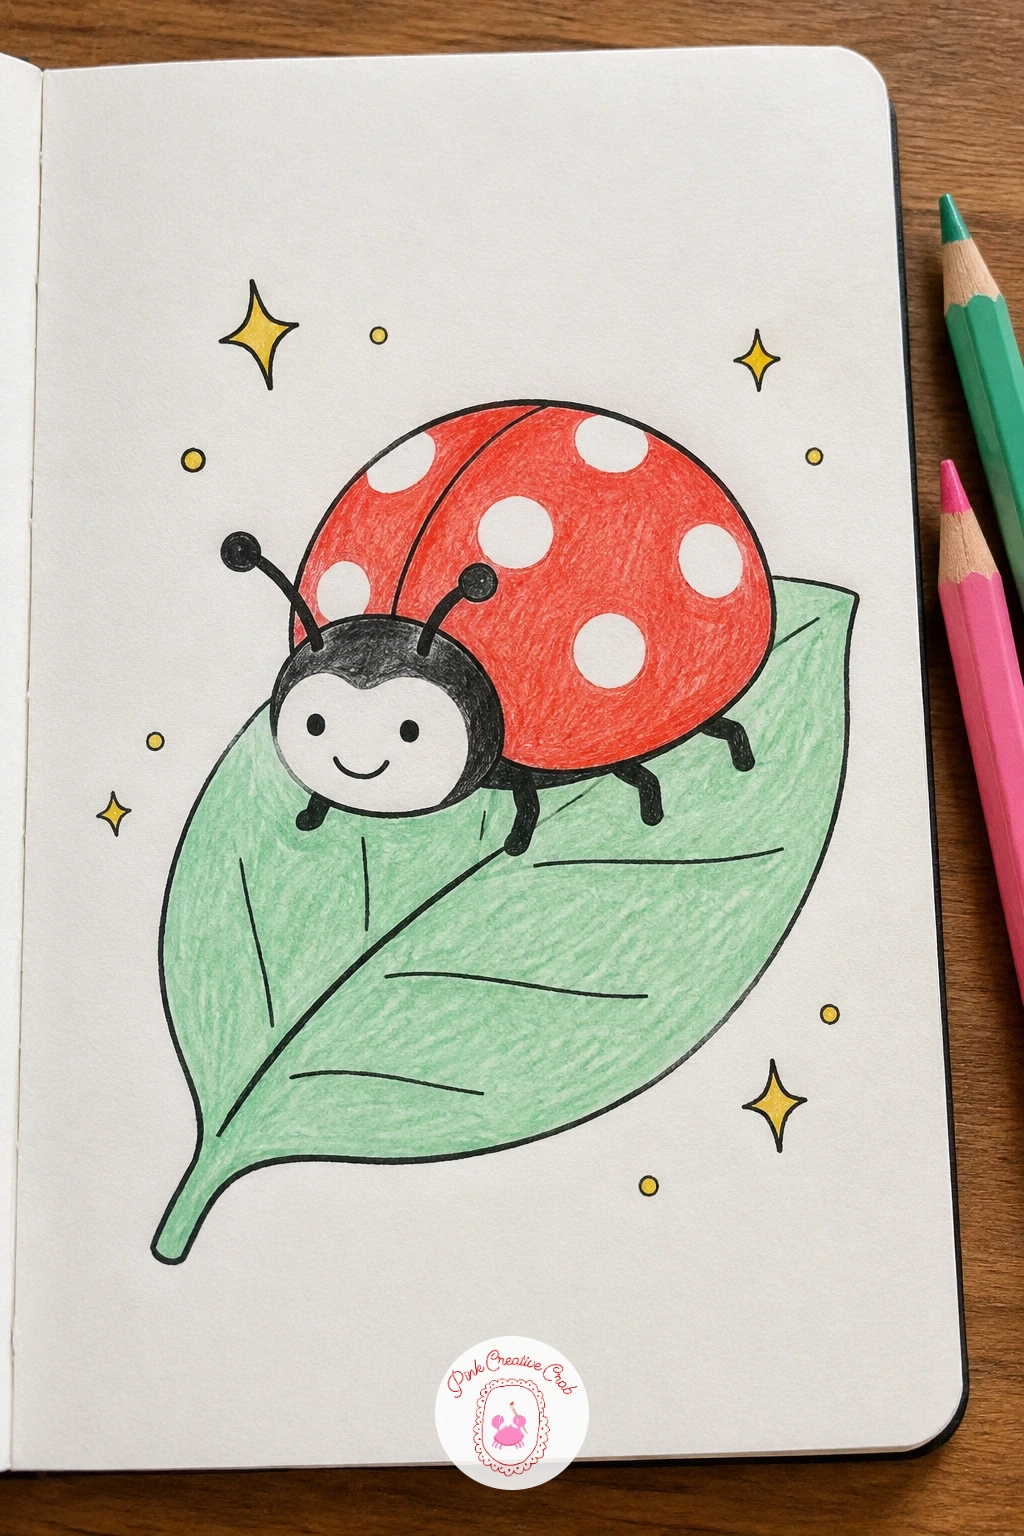
Settle back onto the ground with a smiling ladybug resting on a single leaf. Draw the leaf first as one large rounded shape with a center vein line, then add the ladybug’s body as a half circle sitting on top of it, with a smaller circle for the head tucked at the front edge.
Draw a single line down the center of the ladybug’s back to split it into two wing halves before adding spots, which keeps the spots placed evenly on each side rather than scattered randomly. Keep the spots simple circles, four or five total, rather than crowding in more than the small body can hold.
Color the leaf in a fresh mint or sap green with light strokes following its shape, and color the ladybug in a warm red or coral with the spots left as bare white circles outlined in black or dark brown. A simple smiling face on the head finishes the character.
If red feels too bold for the rest of your page, a soft coral or even a warm pink ladybug fits the cheerful palette just as well.
Palette: Mint Green,Coral Red,White
Switch from living things to a small flying object: a paper airplane with a dotted trail behind it. Fold the shape on paper the way you would fold a real one in your head first, then draw it as a simple triangle body with one angled wing fold line down the center and two small triangular wings pointing back.
Angle the whole airplane diagonally across the page rather than straight across, since a tilted flight path reads far more dynamic than a flat horizontal one. Add a dotted trail curving gently behind it, made of small dashes that get slightly shorter and more spaced out the further they sit from the plane.
Color the airplane in sky blue or a soft white with just a lilac outline, keeping the color flat and light since real paper would not have heavy shading. The dotted trail can stay in a single soft gray or a pale version of the plane’s color.
This one is quick enough for a ten minute sketch, or you can add a second, smaller plane trailing behind the first for a sense of a little paper airplane race.
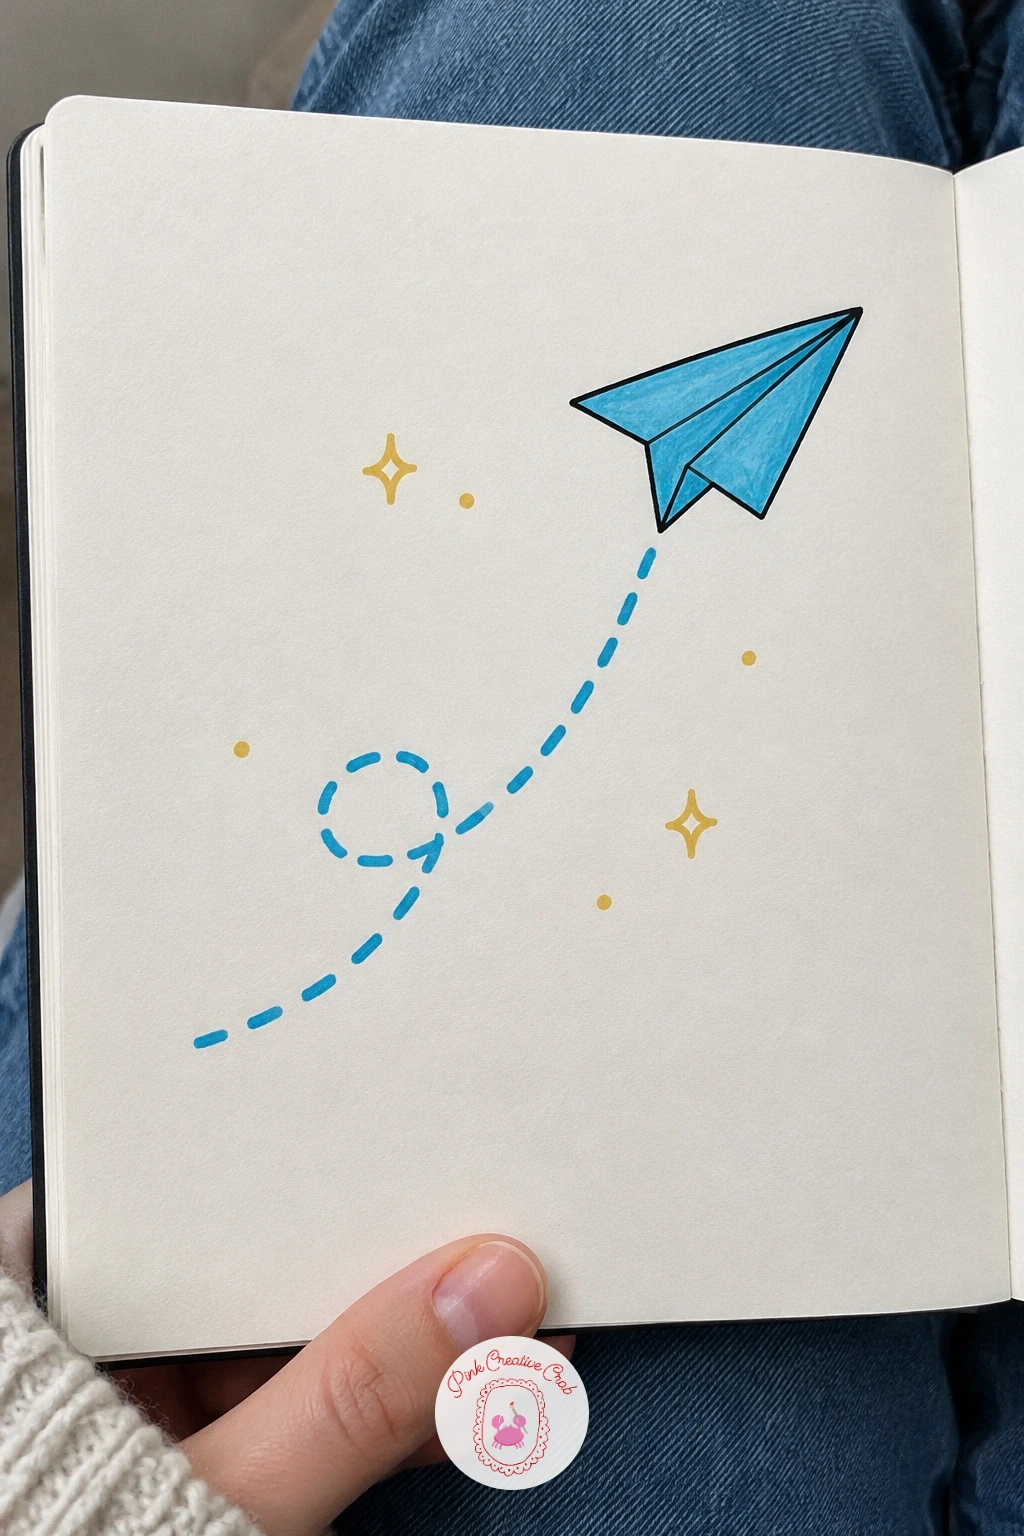
Palette: Sky Blue,Lilac,Light Gray
Land on water next with a round little frog sitting comfortably on a lily pad. Draw the lily pad first as a wide flattened circle with one notch cut into its edge, then build the frog’s body as a plump oval sitting just above it, with two bulging circles for eyes perched on top of the head.
Keep the frog’s legs tucked and simple, just two small rounded bumps peeking out from under the body on either side, rather than drawn out fully extended, which keeps the whole pose relaxed and compact. The eyes should sit close together near the top of the head rather than spread wide, which gives the frog its cheerful, alert look.
Color the frog in a fresh mint or sap green with the belly left a lighter cream shade, and color the lily pad in a slightly deeper green so the two shapes stay distinct from each other. A few short curved lines on the lily pad suggest its ribbed texture without extra detail.
If green feels like too much repetition on the page, try a soft teal for the frog instead, which still reads clearly as a frog while adding some variety.
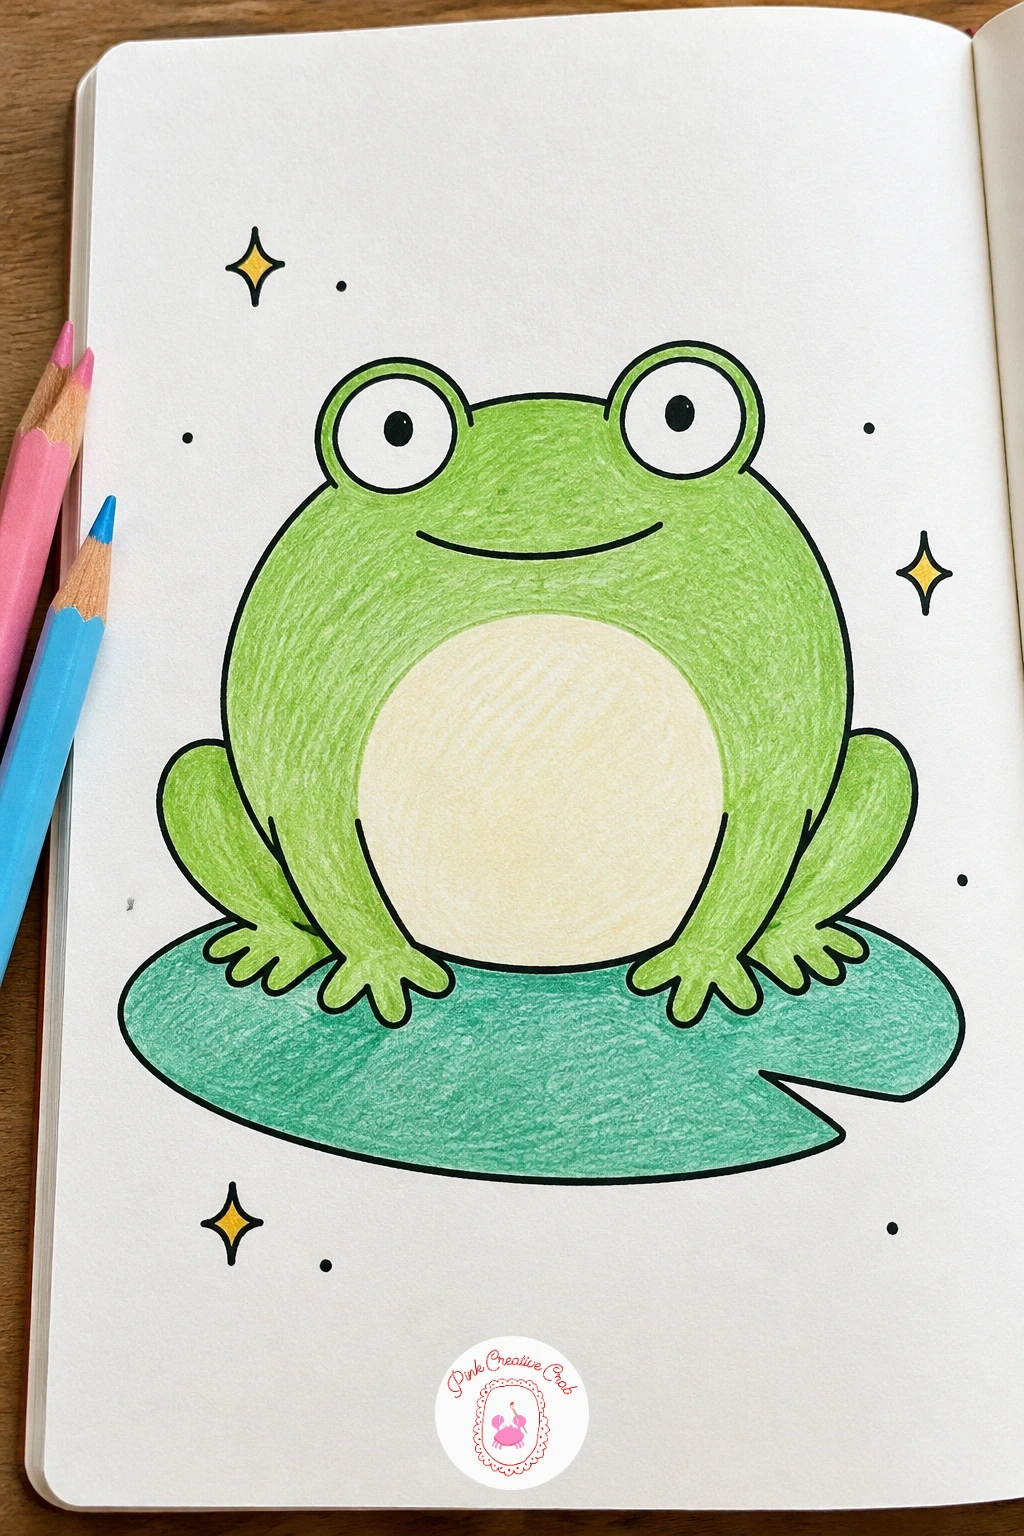
Palette: Mint Green,Sap Green,Cream
Rise back into the sky with a striped hot air balloon drifting along on its own. Draw the balloon envelope first as a tall rounded shape, wider at the top and tapering slightly toward the bottom, then add a small basket hanging beneath it connected by four thin lines.
Divide the balloon into vertical stripes before you color anything, spacing them evenly from the center outward so they curve naturally with the rounded shape rather than running straight. Keep the basket noticeably smaller than the balloon above it, since an oversized basket makes the whole shape look bottom heavy.
Color the stripes by alternating two or three colors such as bubblegum pink, mint, and lemon yellow, working one stripe at a time with strokes that follow the curve of the balloon. Color the basket in a simple tan or light brown with a basket-weave hatching pattern.
Picking three colors here instead of two is an easy way to make this balloon feel more festive the next time you draw it, simply by rotating which colors land next to each other.
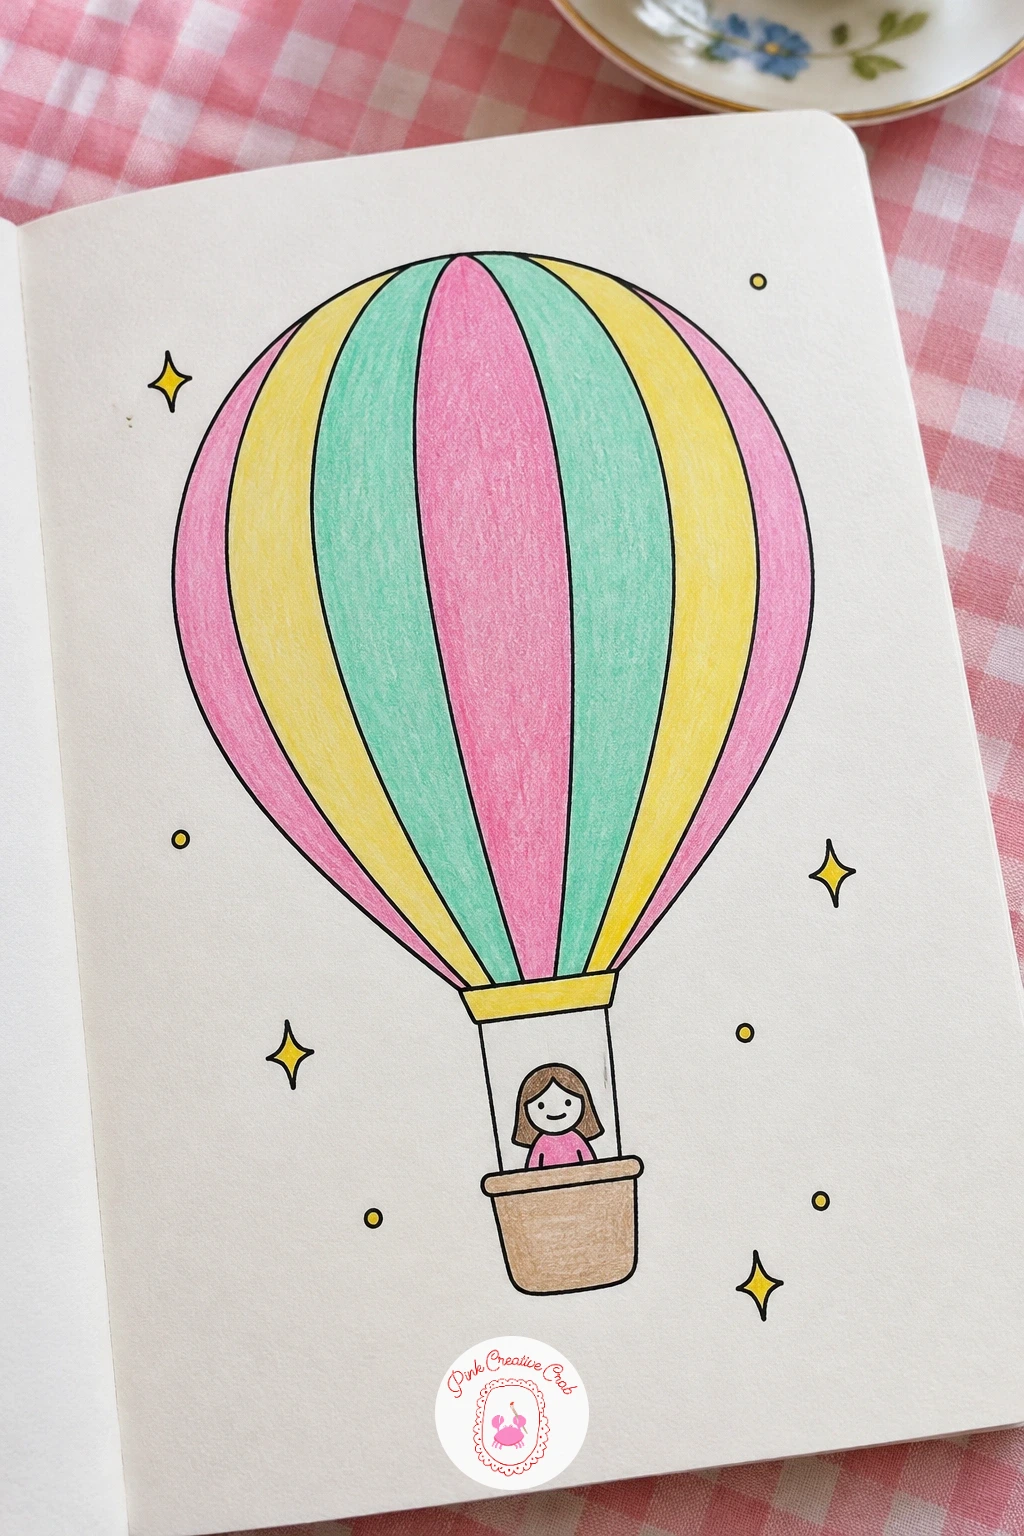
Palette: Bubblegum Pink,Mint Green,Lemon Yellow,Tan
Head under the surface for a little whale spouting water from its back. Draw the body as one long rounded curve, thicker at the head and tapering to a flat tail fin, then add a small curved spout shape rising from the top of the head made of two or three short upward strokes.
Keep the whale’s eye small and set low on the head, close to where the mouth curves up into a smile, which gives it a gentle, friendly expression rather than a blank one. The tail fin should split into two soft points rather than one sharp triangle, which keeps the whole creature looking rounded and cheerful.
Color the body in sky blue with a lighter cream or white belly running along the underside, using long strokes that follow the curve of the body from nose to tail. The spout of water can stay nearly white with just a hint of pale blue along its edges.
A short row of small wavy lines beneath the whale finishes the scene as gentle water without needing to draw a full ocean.
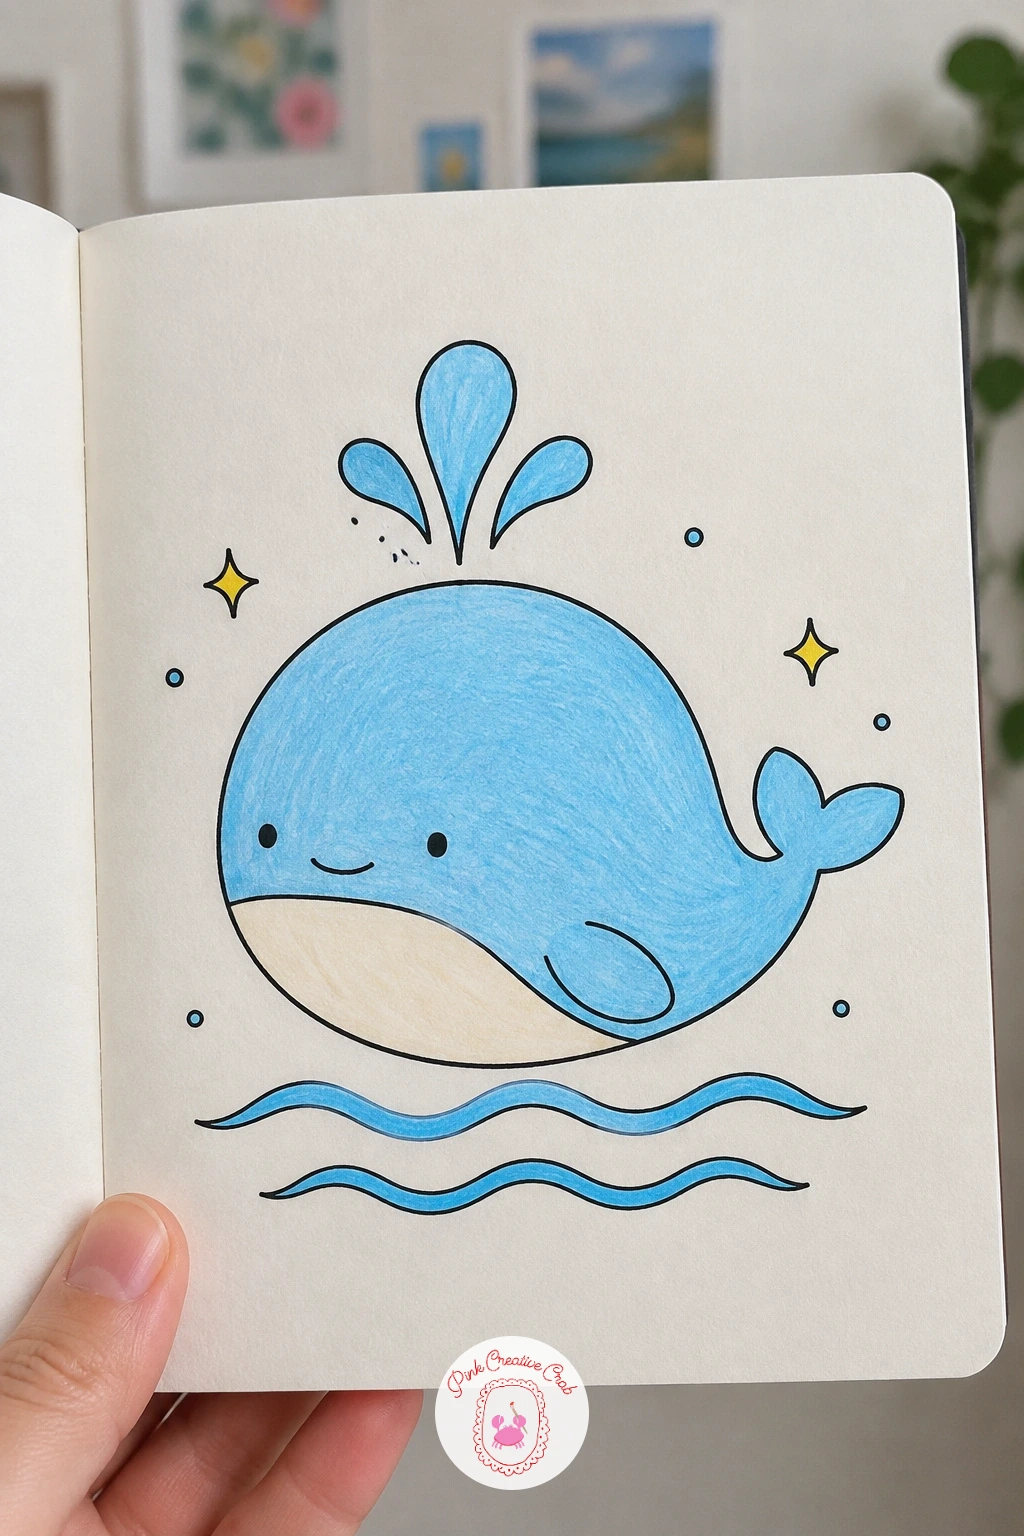
Palette: Sky Blue,Cream,Pale Blue
Build a tiny home next in the shape of a mushroom house with a round door. Draw the dome cap first as a wide half circle, then add the thick stem beneath it as a rounded rectangle, narrower than the cap so the shape still reads clearly as a mushroom rather than a plain cottage.
Cut a round door into the lower half of the stem and add one small round window above it, placing both slightly off-center rather than dead middle, which gives the house a bit of personality. Draw the cap’s spotted pattern before coloring, spacing four or five simple circles across its surface so they land evenly once color goes on.
Color the cap in a warm red or coral with the spots left white, and color the stem in a soft cream with light vertical hatching to suggest its texture. The door and window can take a small accent color like sage green or brown.
If a spotted cap feels fiddly at this size, a solid colored cap with no spots at all still reads perfectly well as a mushroom house.
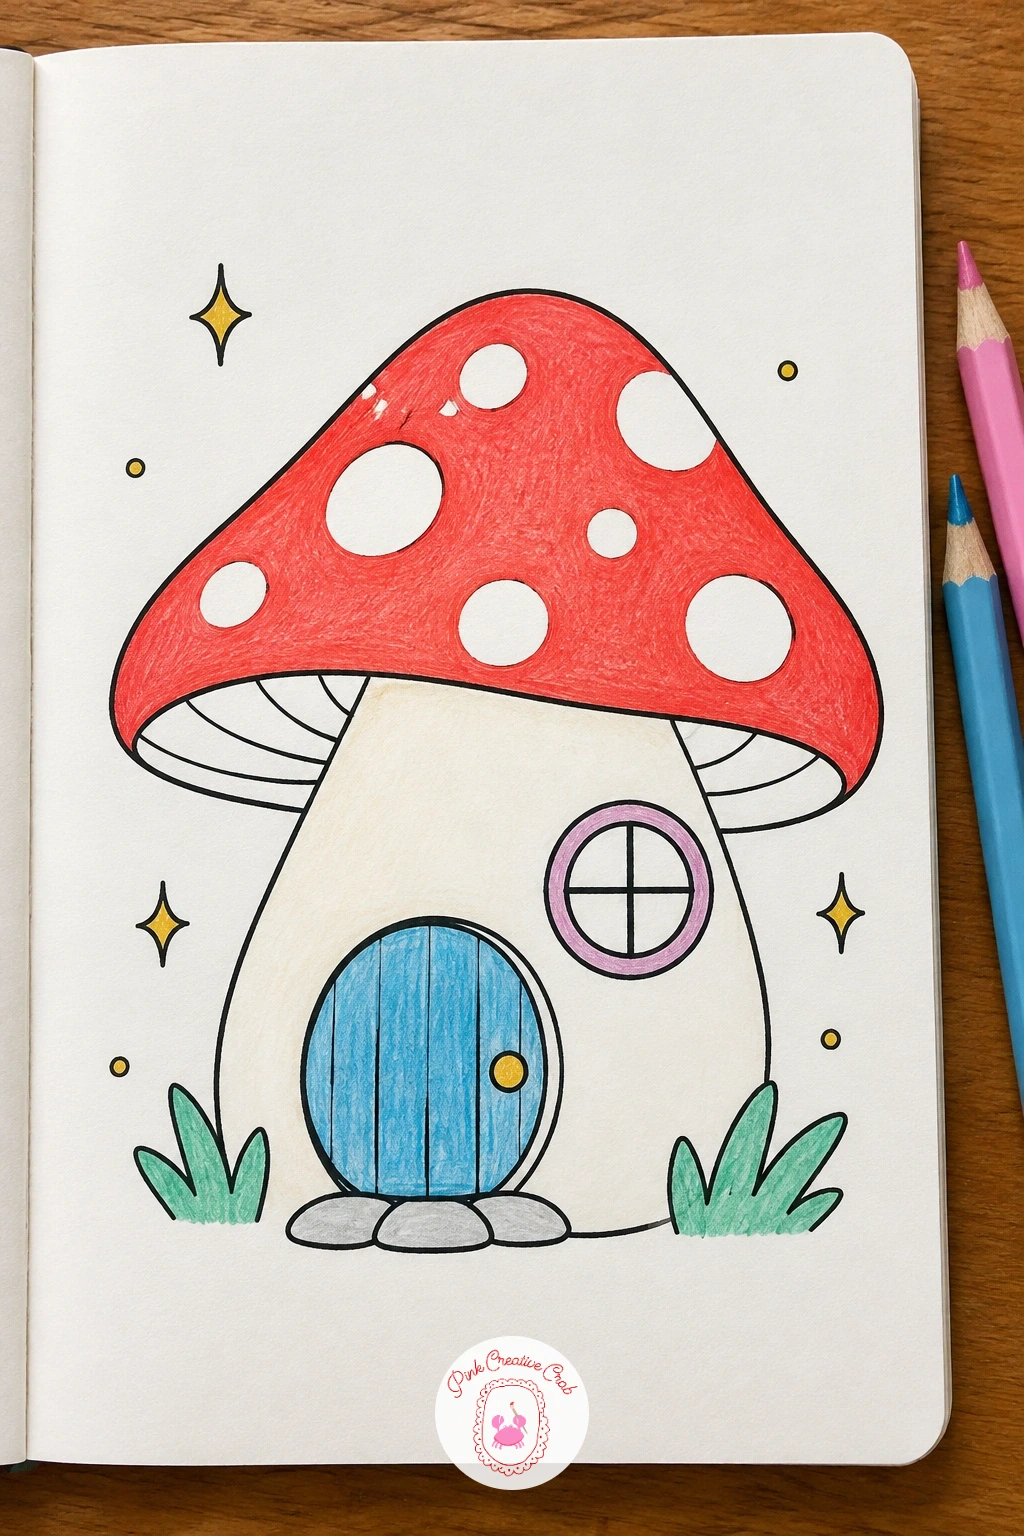
Palette: Coral Red,Cream,Sage Green
Readers who enjoy tiny buildings like this one might like the cottages and dream homes in the house doodles for more small structures to draw.
Slide into nighttime subjects with a sleepy crescent moon tucked into a soft nightcap. Draw the moon as a simple crescent curve first, thick in the middle and tapering to two points, then add a small rounded nightcap over the top point with a tiny pom pom at its tip.
Place a closed sleepy eye and a soft smile along the thick part of the crescent, keeping the features small and set toward the inner curve so the moon still reads clearly even at a glance. Think about the light source here: since the moon glows on its own, keep any shading soft and reserved for the very edge of the crescent rather than a strong cast shadow.
Color the moon in a pale lemon yellow or soft lilac with light even strokes, and color the nightcap in a cozy contrasting shade like mint or sky blue. A few small star shapes scattered loosely around the moon finish the night scene without crowding it.
If you want a deeper sleepy mood, add a thin pale blue halo of color just around the moon’s outer edge to suggest a gentle glow.
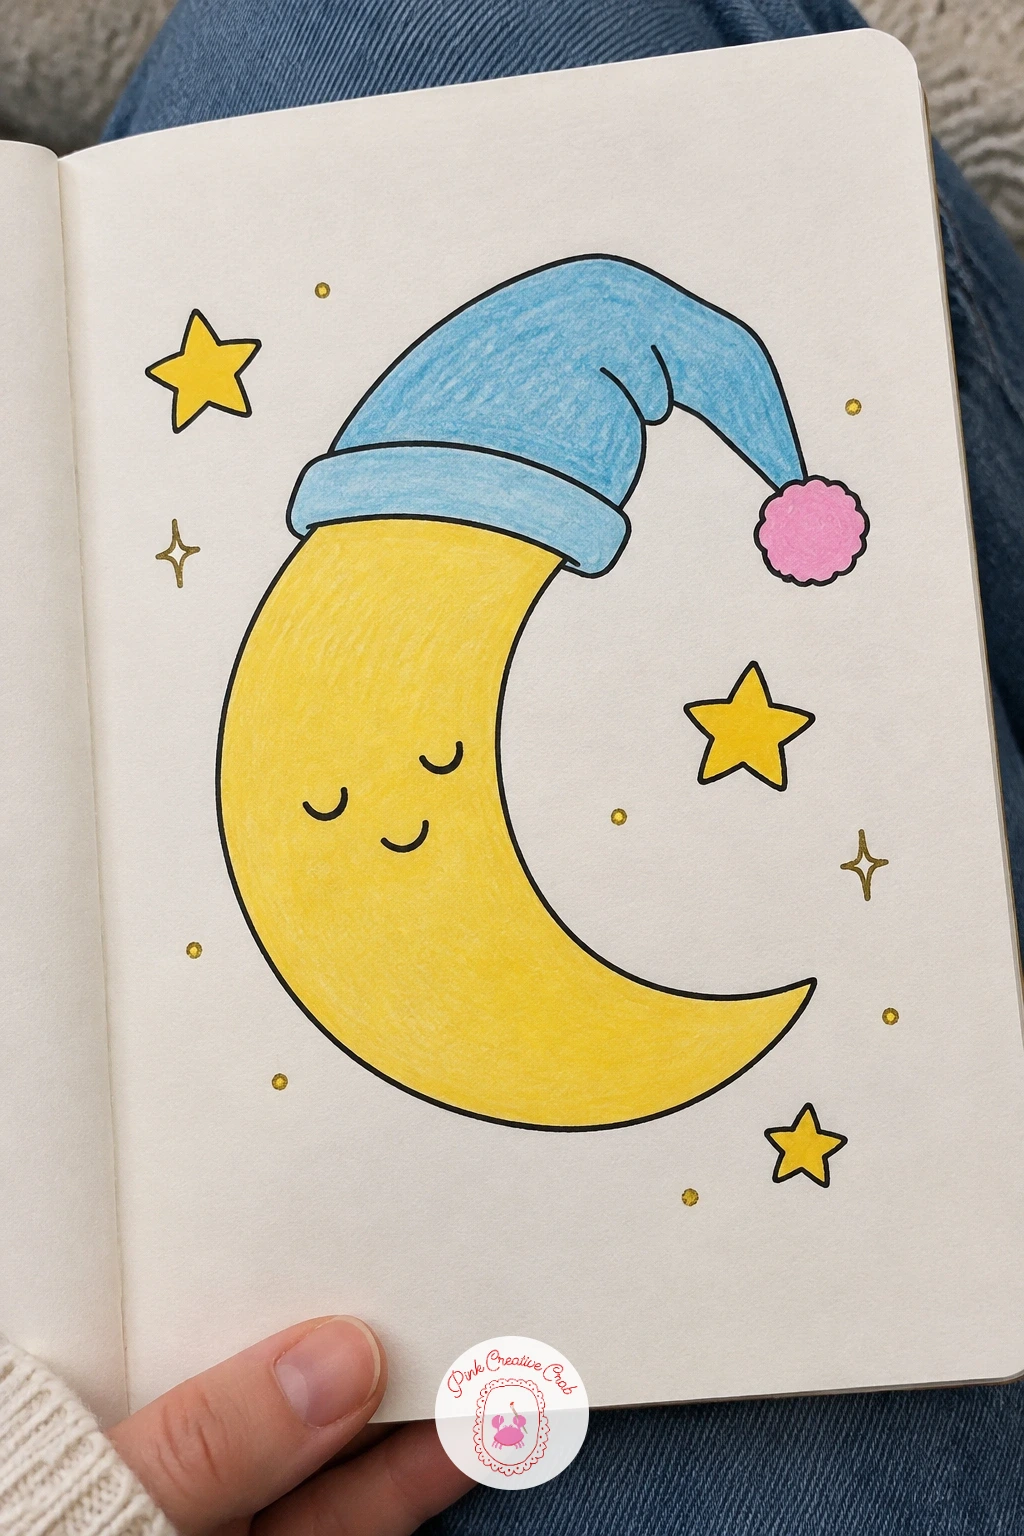
Palette: Lemon Yellow,Mint Green,Lilac
Keep the water theme going with a small sailboat riding one gentle wave. Draw the hull first as a shallow curved crescent shape, then add a single triangular sail rising from a thin mast planted near the center of the hull, angled slightly to one side as if catching a breeze.
Draw just one wave beneath the boat rather than a full ocean, shaped as a soft curving line that lifts higher on one side where the hull sits, which gives the impression of the boat tilting gently with the water. Keep the sail’s triangle slightly curved rather than perfectly straight along its back edge, which suggests wind filling it.
Color the hull in a warm tan or soft brown and the sail in a crisp white or pale sky blue, using long strokes along the sail that follow its curve from mast to edge. The wave beneath can stay sky blue with a touch of deeper blue along its crest.
If a plain white sail feels too bare, add one thin horizontal stripe across it in a contrasting color for a bit more character.
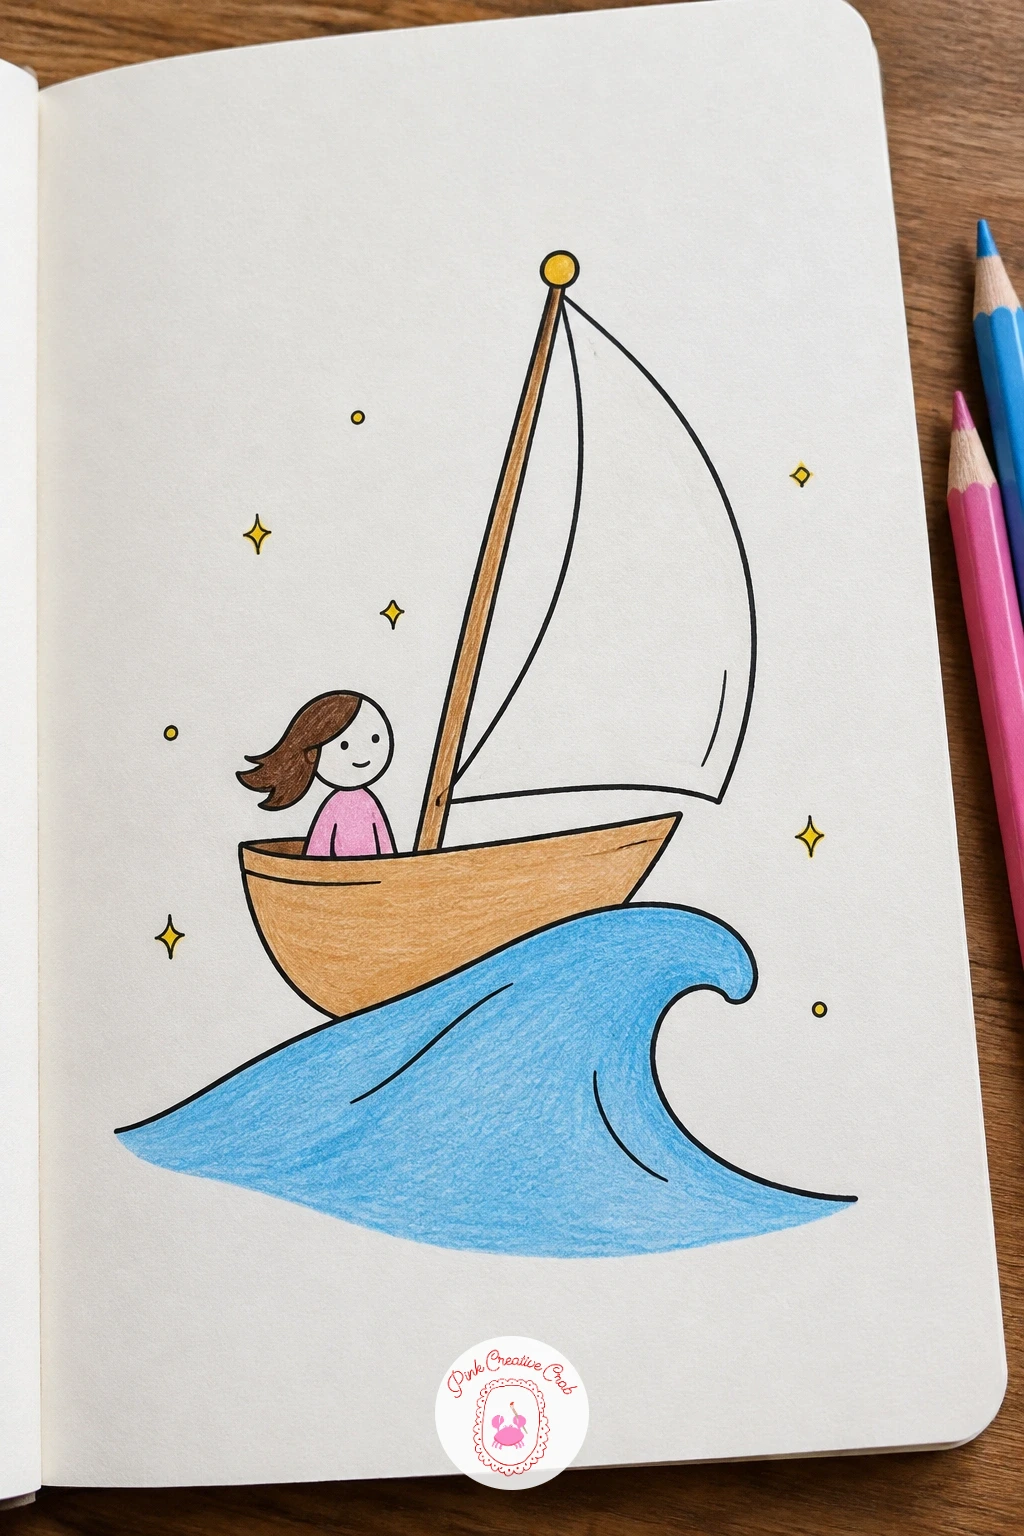
Palette: Tan,Sky Blue,White
Return to something quieter with a single tulip standing in a tiny vase. Draw the vase first as a simple narrow cylinder or a small rounded bottle shape, then add one thin stem rising from its mouth topped with the tulip’s characteristic rounded, closed petal shape.
Measure before you commit to color: the flower head should sit roughly the same height as the vase itself, which keeps the whole drawing feeling balanced rather than top heavy or stem heavy. Add one or two simple leaf shapes along the lower stem, angled slightly outward from the vase.
Color the tulip in bubblegum pink or coral with a deeper line down the center of each petal to separate them, and color the stem and leaves in a fresh green with light strokes following their length. Keep the vase itself simple, either clear with just an outline or filled in a soft neutral tone.
For more flower and vase ideas in a similarly simple, cheerful style, the valentines day drawing ideas include several quick flower sketches worth trying next.
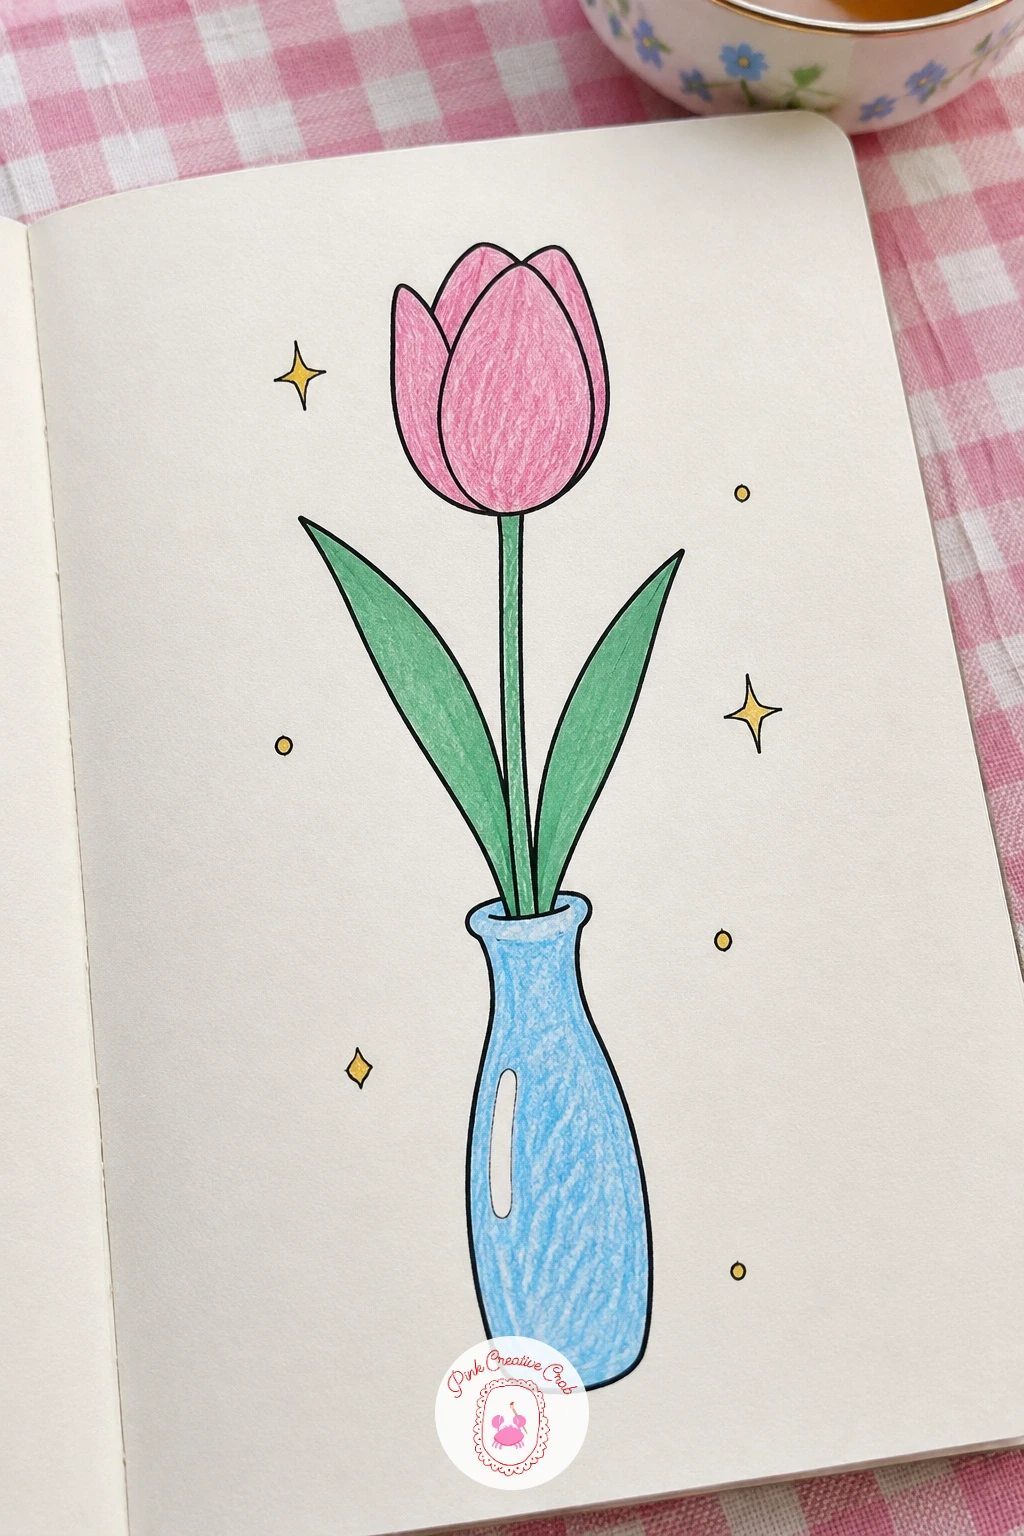
Palette: Bubblegum Pink,Sap Green,Light Gray
Bring in a second small animal with a puppy sitting proudly while holding a ball in its mouth. Draw the head as one rounded shape first, then add two floppy ear shapes hanging down on either side before placing a small round ball shape right at the mouth, overlapping the lower jaw slightly so it looks held rather than floating beside the face.
Keep the eyes large and set a little low on the face, which is what reads as a young, friendly puppy rather than an adult dog. The body beneath the head can stay simple, just a rounded oval with two small front paws peeking out at the base.
Color the puppy in a warm golden tan or soft gray with short hatching strokes to suggest fur texture, especially around the ears where the strokes can follow the direction they hang. Color the ball in a bright contrasting color like sky blue or lemon yellow so it stands out clearly against the fur.
If the ears look stiff, soften their outline with a few short curved strokes along the edge rather than one hard line, which makes them feel floppier.
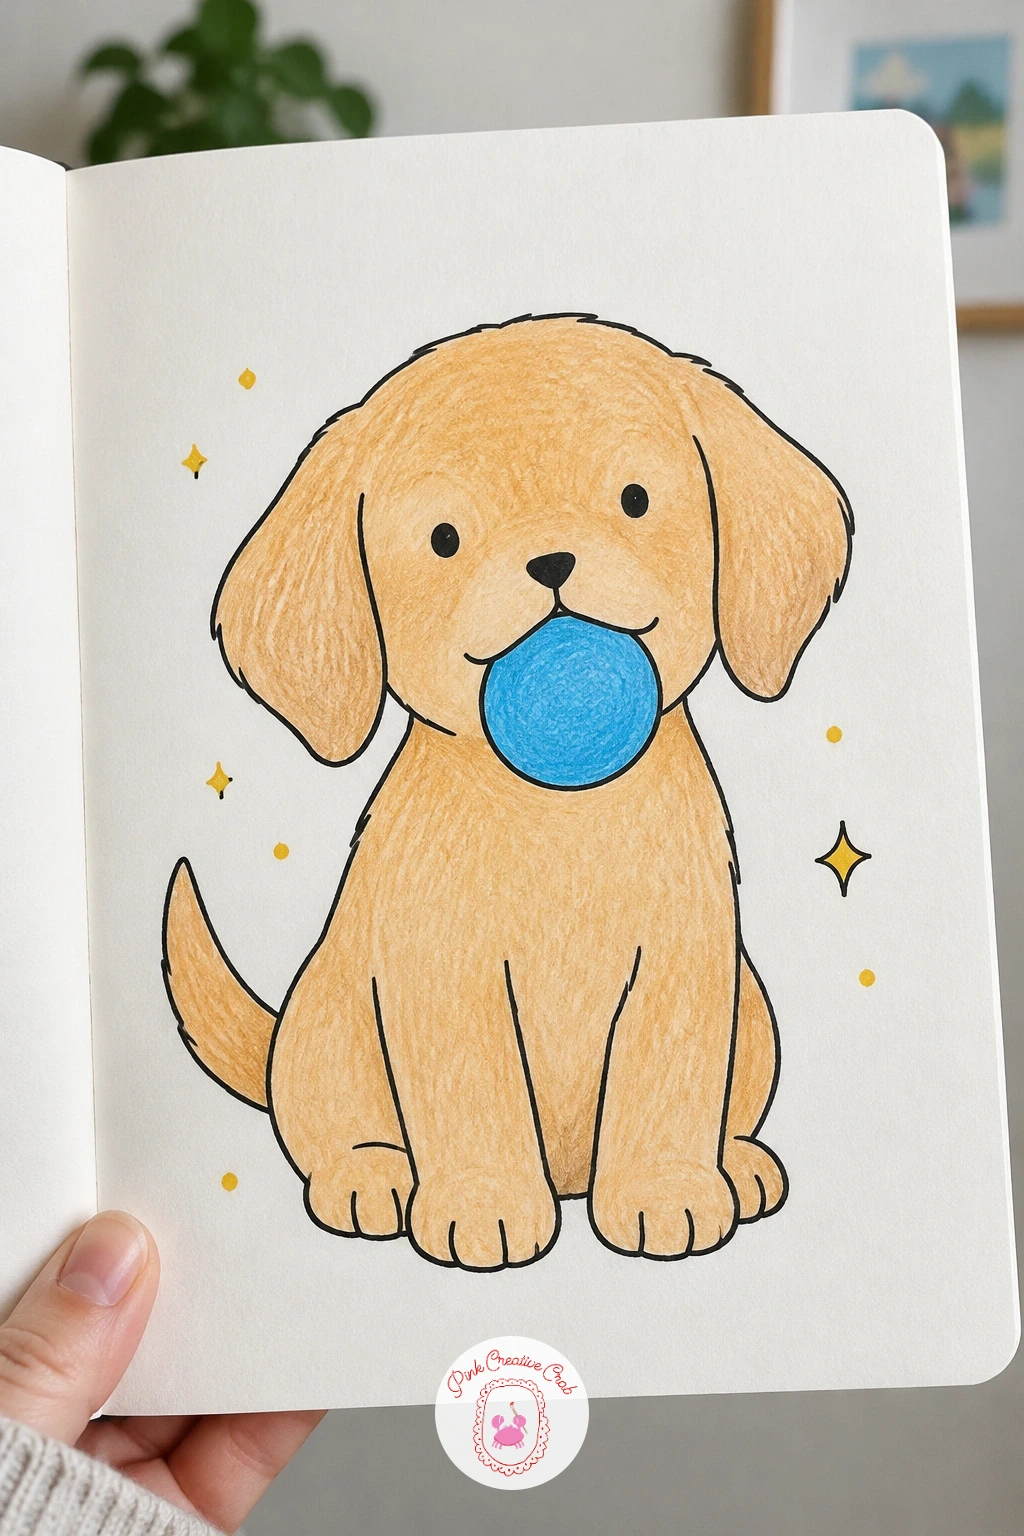
Palette: Golden Tan,Sky Blue,Cream
Move back up into a tree for a small bird singing on a branch. Draw the branch first as one simple diagonal line with a short side twig, then build the bird’s body as a plump oval perched on top of it, with the head overlapping the front of the body and a small pointed beak tipped slightly open.
Draw a few short curved lines rising from the open beak to suggest a little song, which is the detail that turns a plain perched bird into one that is clearly singing. Keep the tail feathers simple, just two or three short pointed shapes angled back from the body rather than a full fan.
Color the body in a cheerful color like sky blue or coral with the belly left a lighter cream, and use short choppy strokes across the chest to suggest feather texture rather than one smooth fill. Color the branch in a simple brown with a few short marks for bark texture.
A quick ten minute version can skip the song lines entirely for a simple perched bird, while the fuller version adds a second small bird further along the branch for company.
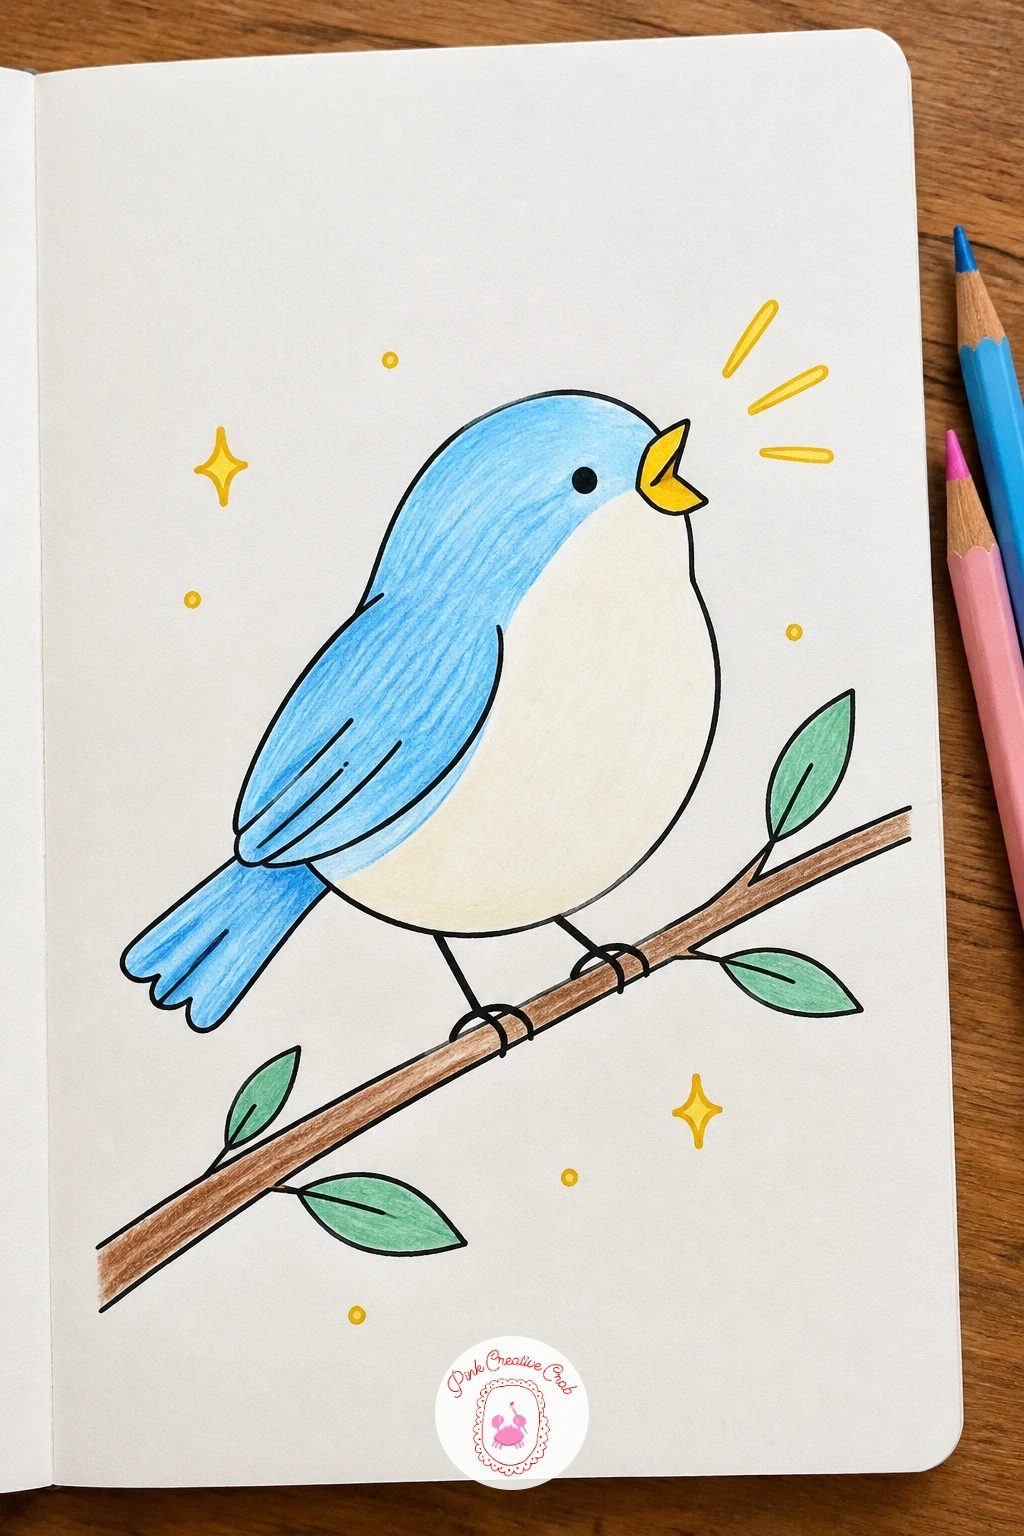
Palette: Sky Blue,Coral Red,Cream
Launch into space with a small rocket ship trailing a flame tail behind it. Draw the body as one tall rounded cylinder with a pointed nose cone on top, then add two small triangular fins near the base and a round window placed near the upper third of the body.
Angle the whole rocket diagonally across the page the same way the paper airplane sat earlier, since a tilted rocket reads far more like it is actually moving than one drawn perfectly upright. Draw the flame at the base as two or three overlapping teardrop shapes trailing away from the fins, getting narrower toward the end.
Color the body in sky blue or white with a red nose cone and fins for contrast, and color the flame in warm layered tones, starting with lemon yellow at the base of the flame and shading into orange and coral toward the tip. The window can stay a simple pale blue circle with a thin outline.
If layering three flame colors feels like a lot, two tones, yellow fading into orange, still reads clearly as fire trailing behind the rocket.
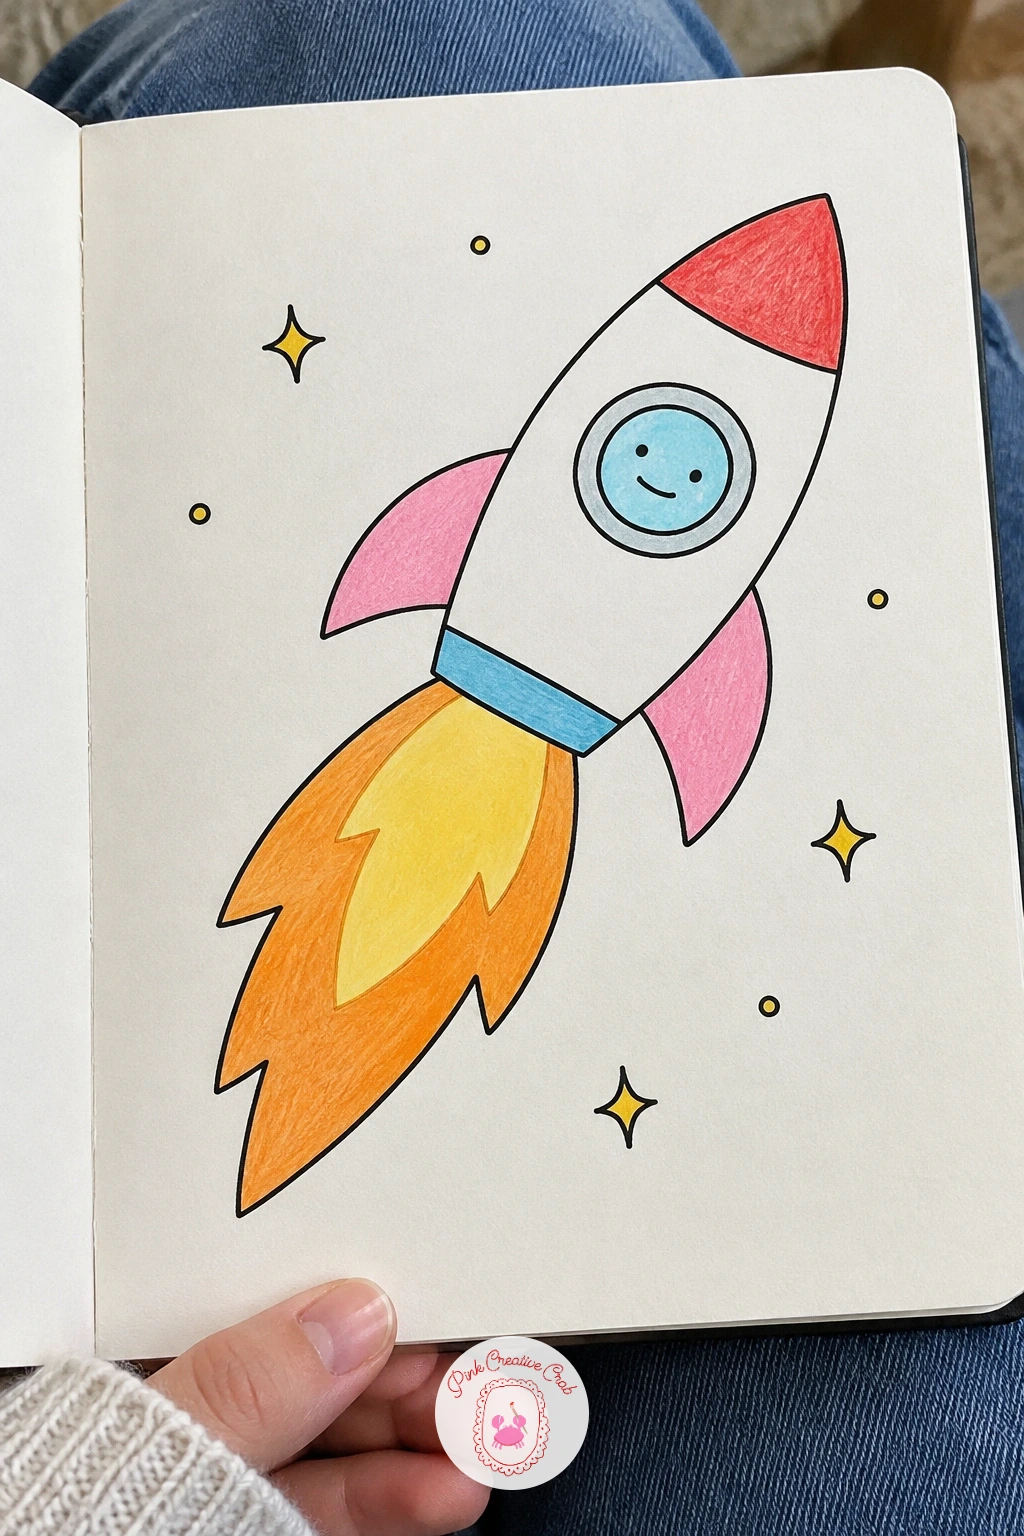
Palette: Sky Blue,Coral Red,Lemon Yellow,Warm Orange
Bring the garden tools in with a small watering can sprinkling just a few drops from its spout. Draw the can’s body first as a rounded rectangle, then add the spout as a thin curved tube angling out from the upper side and a simple arched handle rising from the top.
Keep the spout’s angle gentle rather than steep, which makes the can look like it is tipped just slightly rather than about to pour everything out at once. Add only three or four small teardrop shaped drops falling from the spout tip, spaced a little apart rather than in one heavy cluster, which keeps the scene light and simple.
Color the can in a soft pastel like mint or sky blue with a thin darker outline along the rim and spout for definition, and leave the drops themselves mostly white with just a thin pale blue outline so they catch the eye as water rather than blending into the can’s color.
If you want a quick ten minute version, draw the can alone with no drops at all, which still works as a simple, calm little doodle on its own.
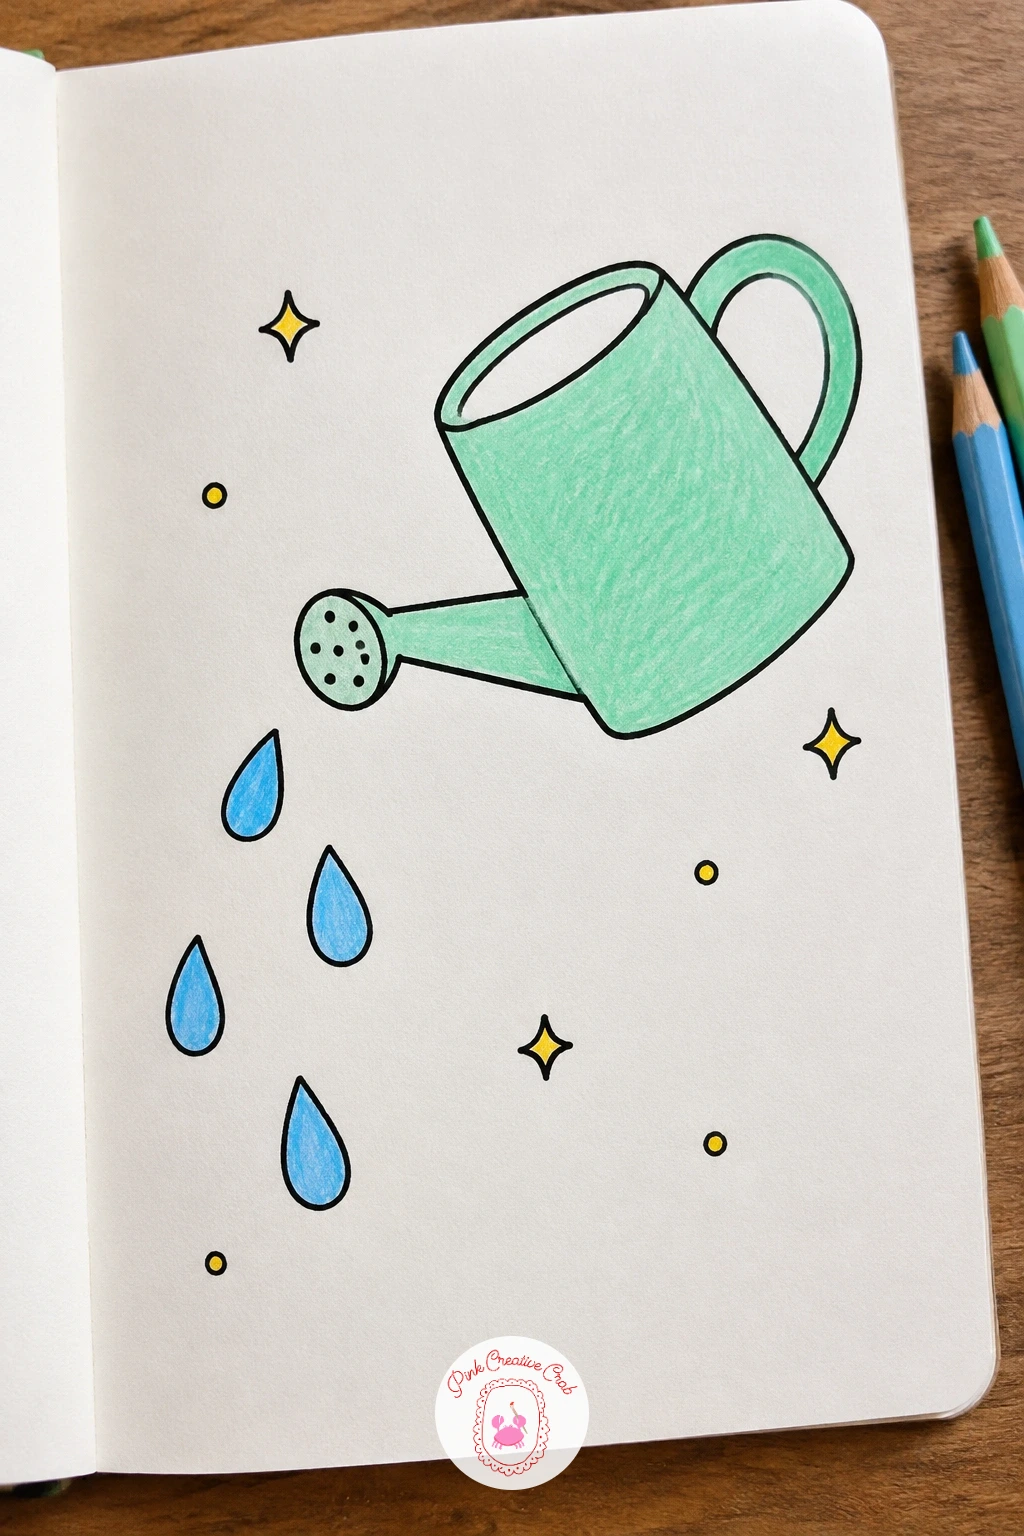
Palette: Mint Green,Sky Blue,White
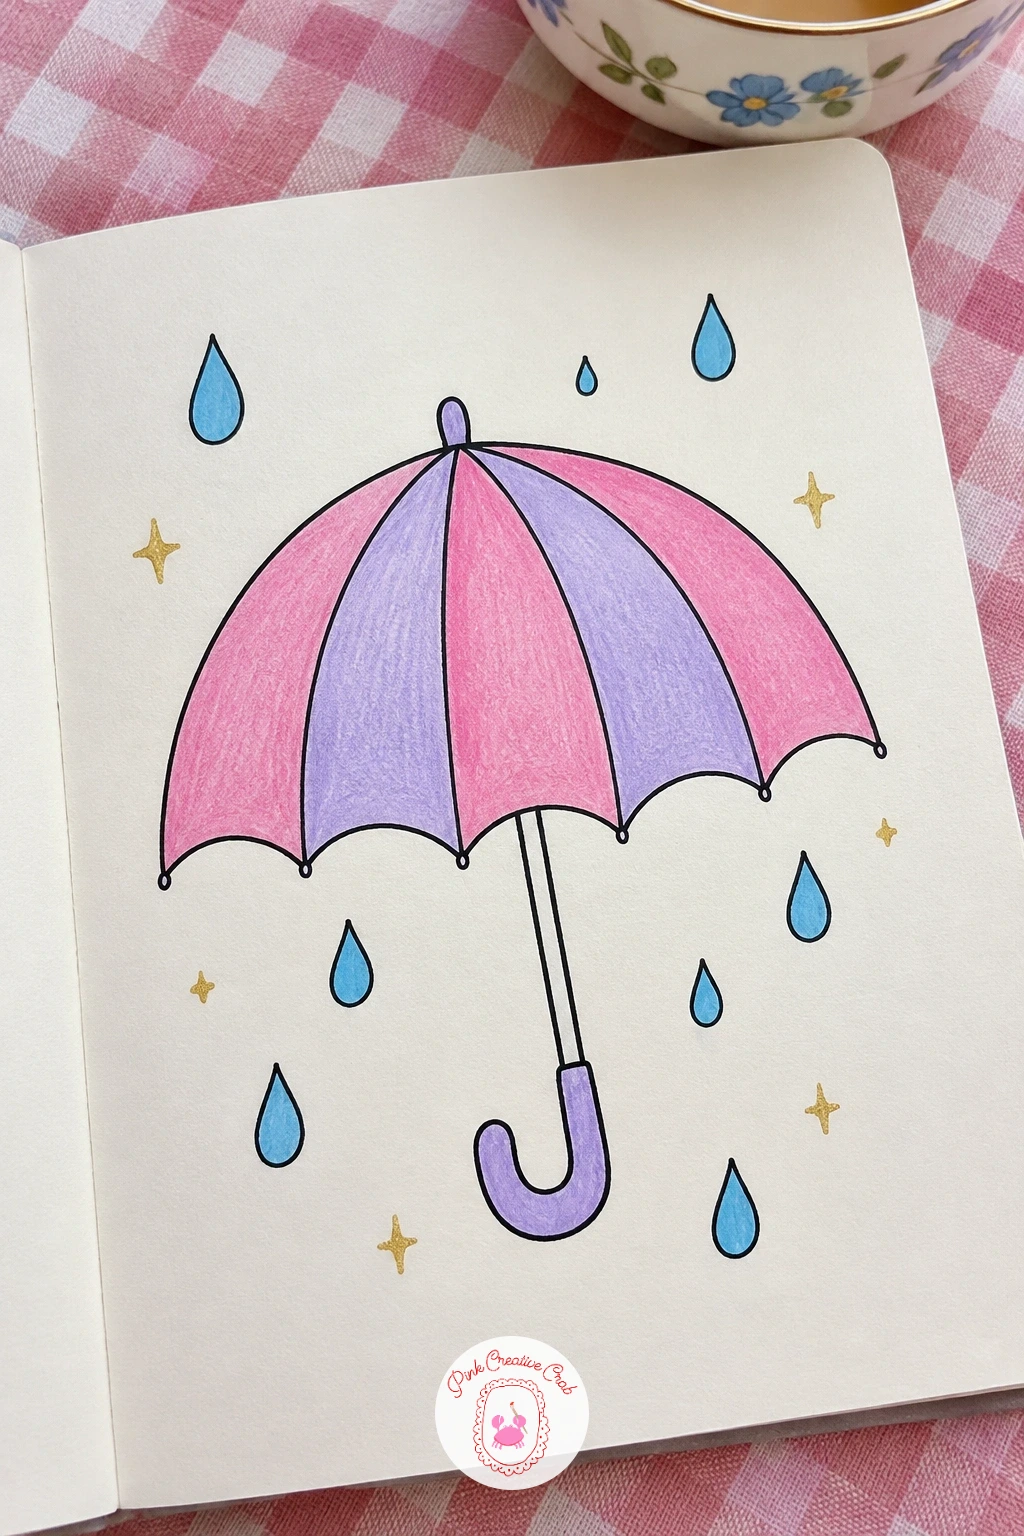
Stay with falling water for an open umbrella surrounded by a handful of gentle raindrops. Draw the umbrella canopy first as a wide dome made of several scalloped sections, then add a thin curved handle hanging straight down from the center point beneath it.
Divide the canopy into even sections before coloring, since this is the step most likely to go lopsided if you try to add color first and fix the shape after. Keep the handle’s curve simple, just one smooth hook at the bottom rather than an ornate design.
Color the canopy by alternating two soft colors section by section, such as bubblegum pink and lilac, which makes the scalloped shape read clearly even without any lines between the colors. Scatter a handful of small teardrop raindrops around the umbrella, keeping them few and spaced apart rather than filling the whole background.
For more rainy day subjects that pair naturally with this one, the rainy day painting ideas cover puddle jumping and cafe scenes in a similarly cozy mood.
Palette: Bubblegum Pink,Lilac,Pale Blue
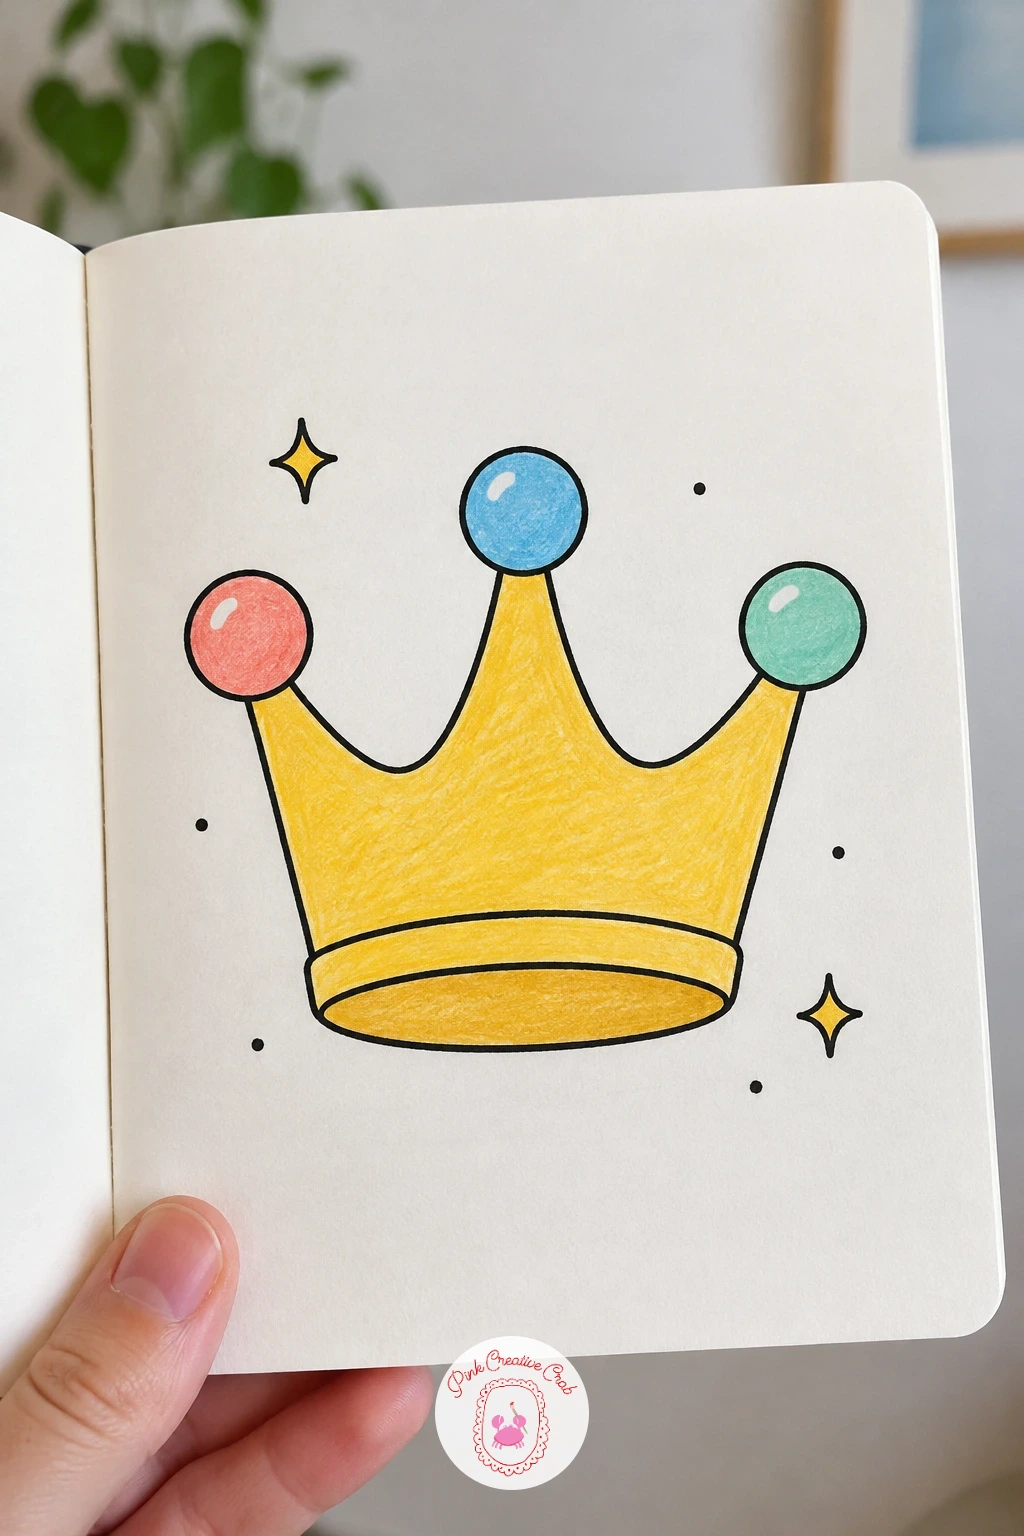
Add a touch of royalty with a small crown holding exactly three jewels. Draw the crown’s base as a simple band shape first, then build three rounded points rising from the top edge, keeping the center point slightly taller than the two beside it so the shape reads clearly as a crown rather than a zigzag.
Place one jewel at the tip of each point, drawing them as simple rounded diamond shapes rather than anything with many facets, which keeps them easy to color cleanly at this small size. Checking that the three points sit evenly spaced along the band before adding jewels saves you from an uneven crown later.
Color the band in lemon yellow with short even strokes, and give each jewel a different color, such as coral, sky blue, and mint, so they stand out individually against the gold band. A short line of tiny dots along the base of the band suggests a simple trim without extra drawing.
If gold feels tricky to shade convincingly, a flat lemon yellow with no shading at all still reads perfectly well as a crown in this cheerful, simple style.
Palette: Lemon Yellow,Coral Red,Sky Blue,Mint Green
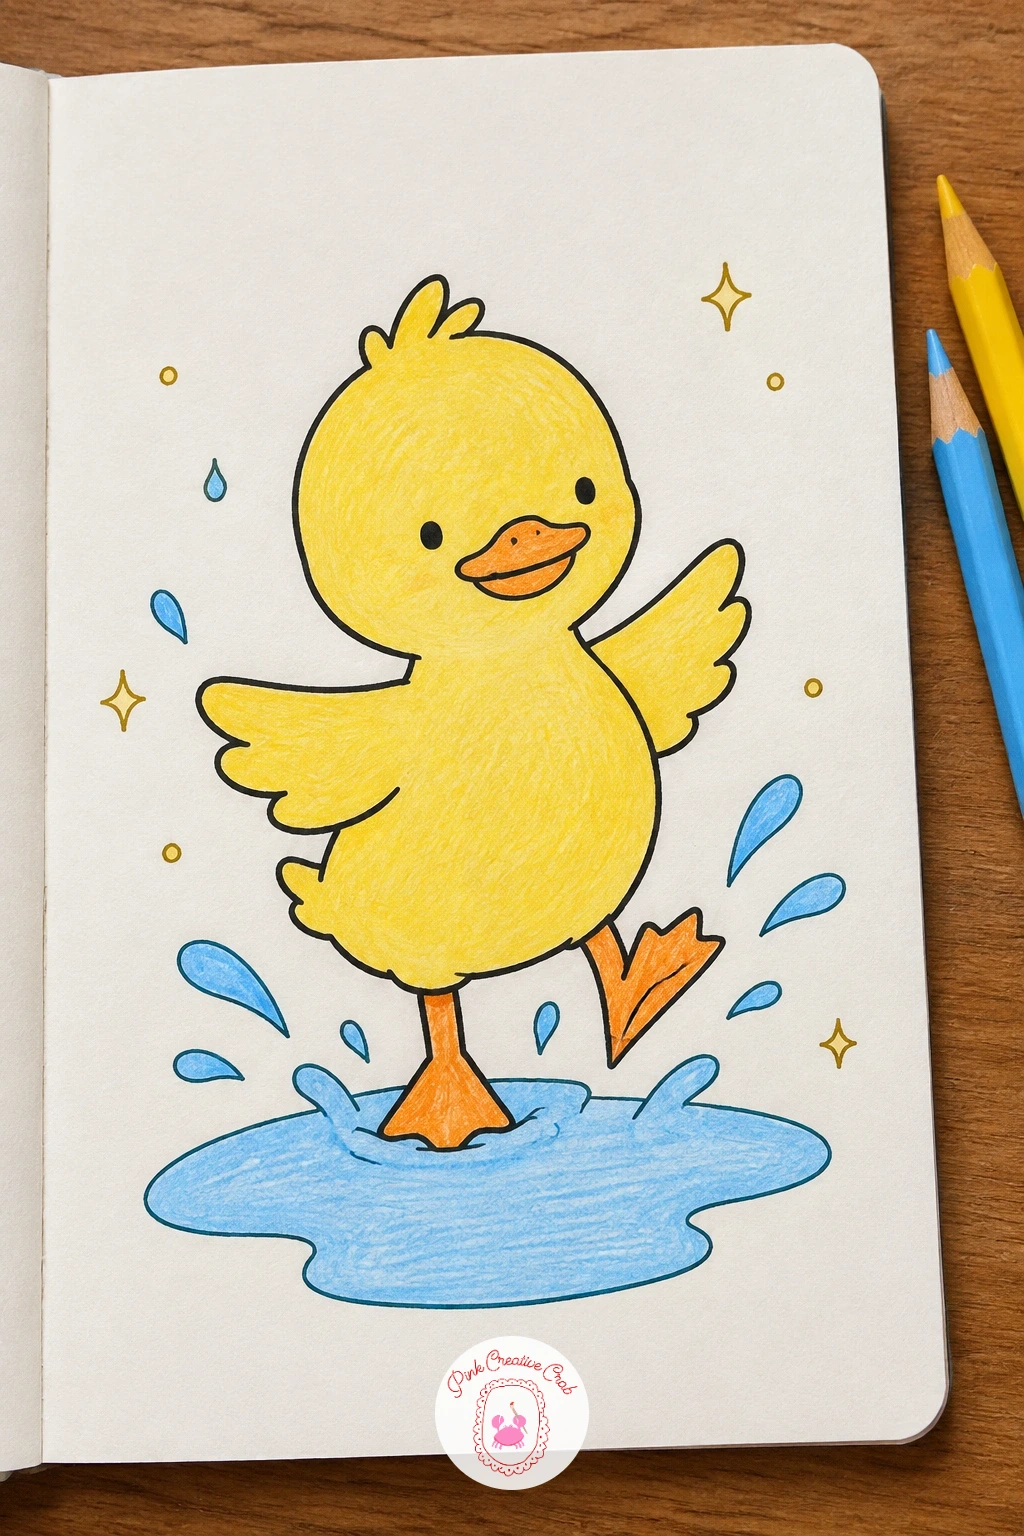
Close the whole set with a cheerful little duckling splashing in a puddle. Draw the puddle first as a flattened oval on the page, then build the duckling’s body as one plump oval standing just at its edge, with a smaller round head overlapping the front and a small flat beak poking out to the side.
Draw two or three small splash lines and droplets rising from where the duckling’s feet meet the puddle, which is the detail that turns a plain standing duck into one clearly mid-splash. Keep the feet themselves simple, just two small webbed shapes barely visible beneath the body.
Color the duckling in soft lemon yellow with short strokes following the curve of the body, and leave the beak and feet in a warm orange for contrast. Color the puddle in a very light sky blue, letting plenty of white paper show through so it still feels light rather than like a solid pool.
If you want to vary this one later, swap the single duckling for two side by side, splashing toward each other across the same small puddle.
Palette: Lemon Yellow,Warm Orange,Sky Blue
What to Do Next
Pick whichever doodle caught your eye first, since starting with something you actually want to draw always makes the pencil move faster. Grab a sheet of bright white paper, sketch the main shape lightly before any color goes down, and let the rest of this list wait for another cup of tea.
Frequently Asked Questions
What colored pencils work best for colored pencil doodles like these?
Any standard wax based colored pencil set works well. Look for pencils that lay down soft, visible strokes rather than harder pencils meant for fine detail, since the charm here comes from light hatching rather than smooth blending.
Do I need to blend colored pencil doodles smooth?
No, these doodles look best with visible pencil strokes left showing rather than blended flat. Light hatching in one consistent direction per shape keeps the cheerful, handmade look that makes small doodles like this fun to collect.
How do I keep the shapes looking round and simple?
Sketch the main outline lightly in pencil first before adding any color, and compare the size of each part against the whole shape as you go. Rounded, slightly uneven curves read as friendlier than perfectly symmetrical ones.
What paper should I use for colored pencil doodles?
Plain bright white paper with a bit of tooth works best, such as sketchbook or drawing paper rather than thin printer paper. The tooth helps the pencil grip and lets color sit in visible, textured strokes.
How long does each doodle take to finish?
Most of these take between ten and thirty minutes depending on how much shading and detail you add. Simpler subjects like the cloud or teacup finish fastest, while ones with stripes or patterns take a little longer to color evenly.
Have any thoughts?
Share your reaction or leave a quick response — we’d love to hear what you think!
-
 0
-
0
-
0
-
0
-
0
-
0


