

These new year drawing ideas are built for one glamorous sitting: a deep navy page, a handful of alcohol markers, and a scene that already looks like a party before you add a single sparkle. Every page below borrows from a modern midcentury party, think bold confetti shapes, confident gold linework, and a white gel pen doing the heavy lifting on fireworks and fizz.
Scroll through and pick whatever matches your mood tonight: a champagne tower if you want drama, a sleepy cat in a party hat if you want something sweet and quick. Each one is sized to finish in a single sitting, so pour something sparkly and get your pens lined up.
Using these images: free for personal projects such as printing, coloring, cards, journals and gifts. Handmade items that include them may be sold up to 30 pieces per design. More than that is commercial use and is not permitted, and neither is selling or sharing the images themselves or passing them off as your own. Please ask before any other use.
Before You Start
- Lay down the darkest background color first and let it dry fully before any gold or white marks go on top, or you will drag navy into your highlights.
- Test every gold, silver and blush marker on a scrap of the same dark paper before touching the real page, since metallics behave differently on black than on white.
- Sketch the scene lightly in white charcoal pencil or a pale chalk pencil first, so you can erase mistakes before committing with permanent marker.
- Save the white gel pen for last: sparkles, highlights on glass and fizz bubbles read best over fully dry marker ink, not wet or half dry.
- Keep shapes bold and a little flat rather than fussy and shaded, that confident midcentury look depends on clean edges more than blending.
- Work bigger areas first (dresses, balloons, cake) and add fine detail (sequins, confetti, sparks) only once the main shapes are settled, so the page stays balanced.
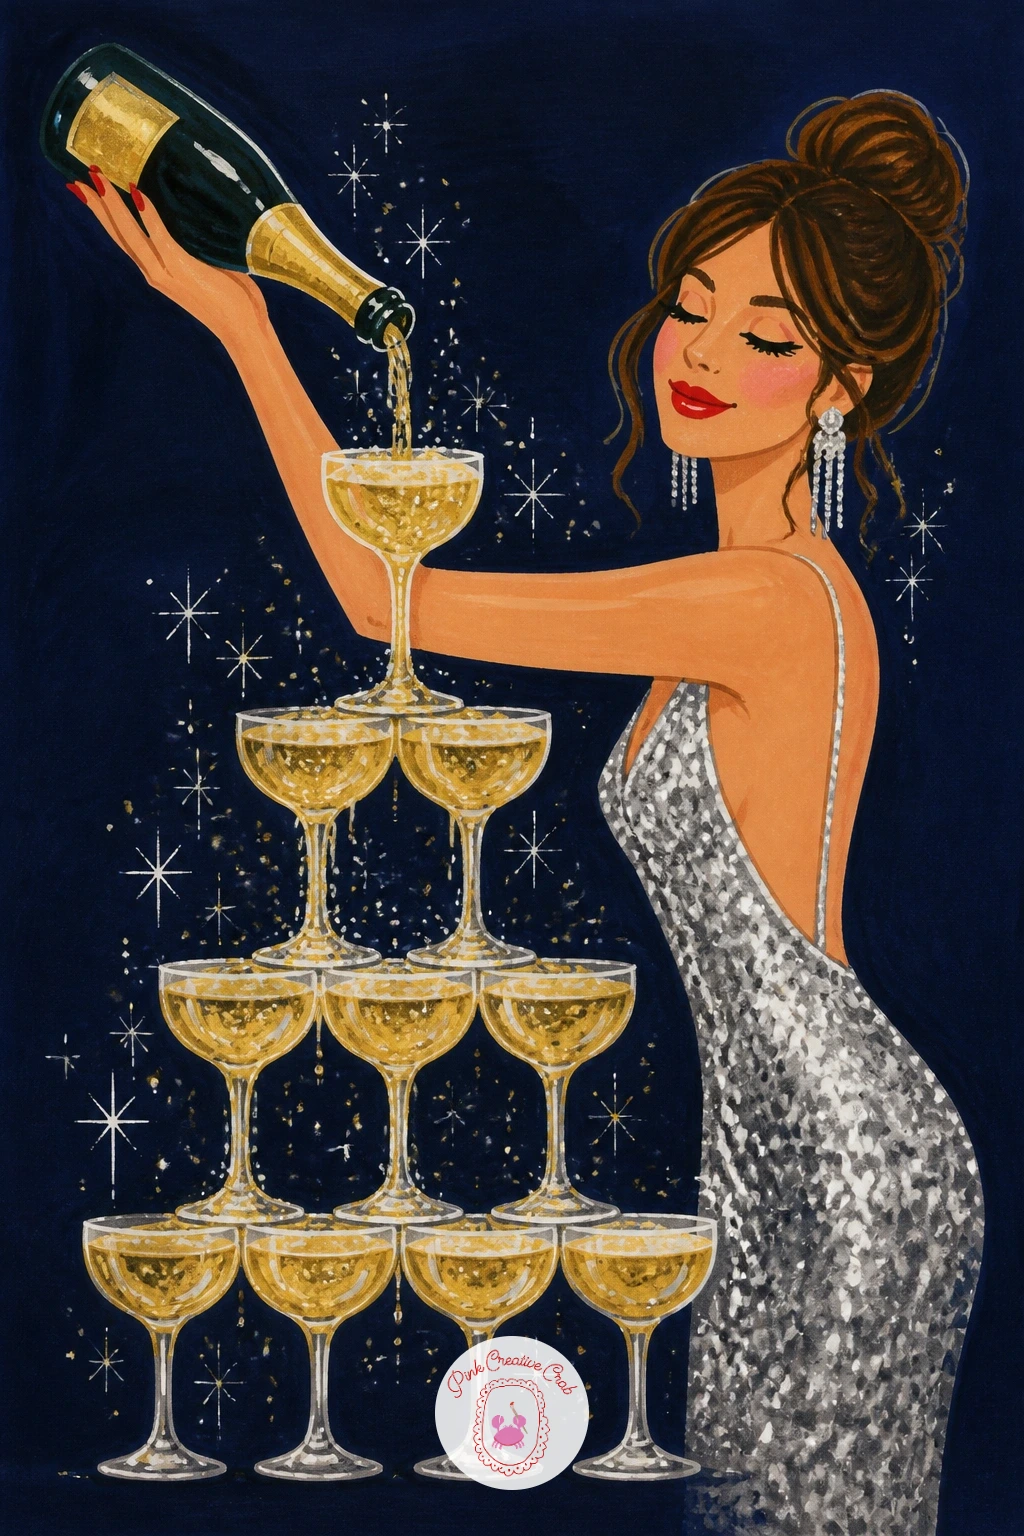
Start the champagne tower by stacking circles, not glasses: five wide ovals on the bottom row, narrowing to one at the top, each slightly overlapping the one below. Draw the stack first in pale chalk pencil so the rows stay level, then ink the glass outlines in silver marker and let gold marker pool at the base of each coupe for the champagne itself.
Add the girl pouring from the top in a few bold strokes: a silver sequin dress is just a triangle skirt covered in tiny dashes, no need to draw each sequin perfectly even.
This goes wrong when the tower looks lopsided, so measure the width of the bottom row against the height of the whole stack before you ink anything, keeping the tower roughly as tall as it is wide.
Finish with white gel pen fizz rising from every glass and a few sparkle dots in the air above her hand.
You Will Need
- dark cardstock
- silver and gold alcohol marker
- white gel pen
- pale chalk pencil
Palette: Metallic Gold,Silver Grey,Cherry Red,Soft Blush
Try angling the tower slightly off center rather than dead straight on, it reads as more dynamic and gives the pouring girl somewhere natural to stand.
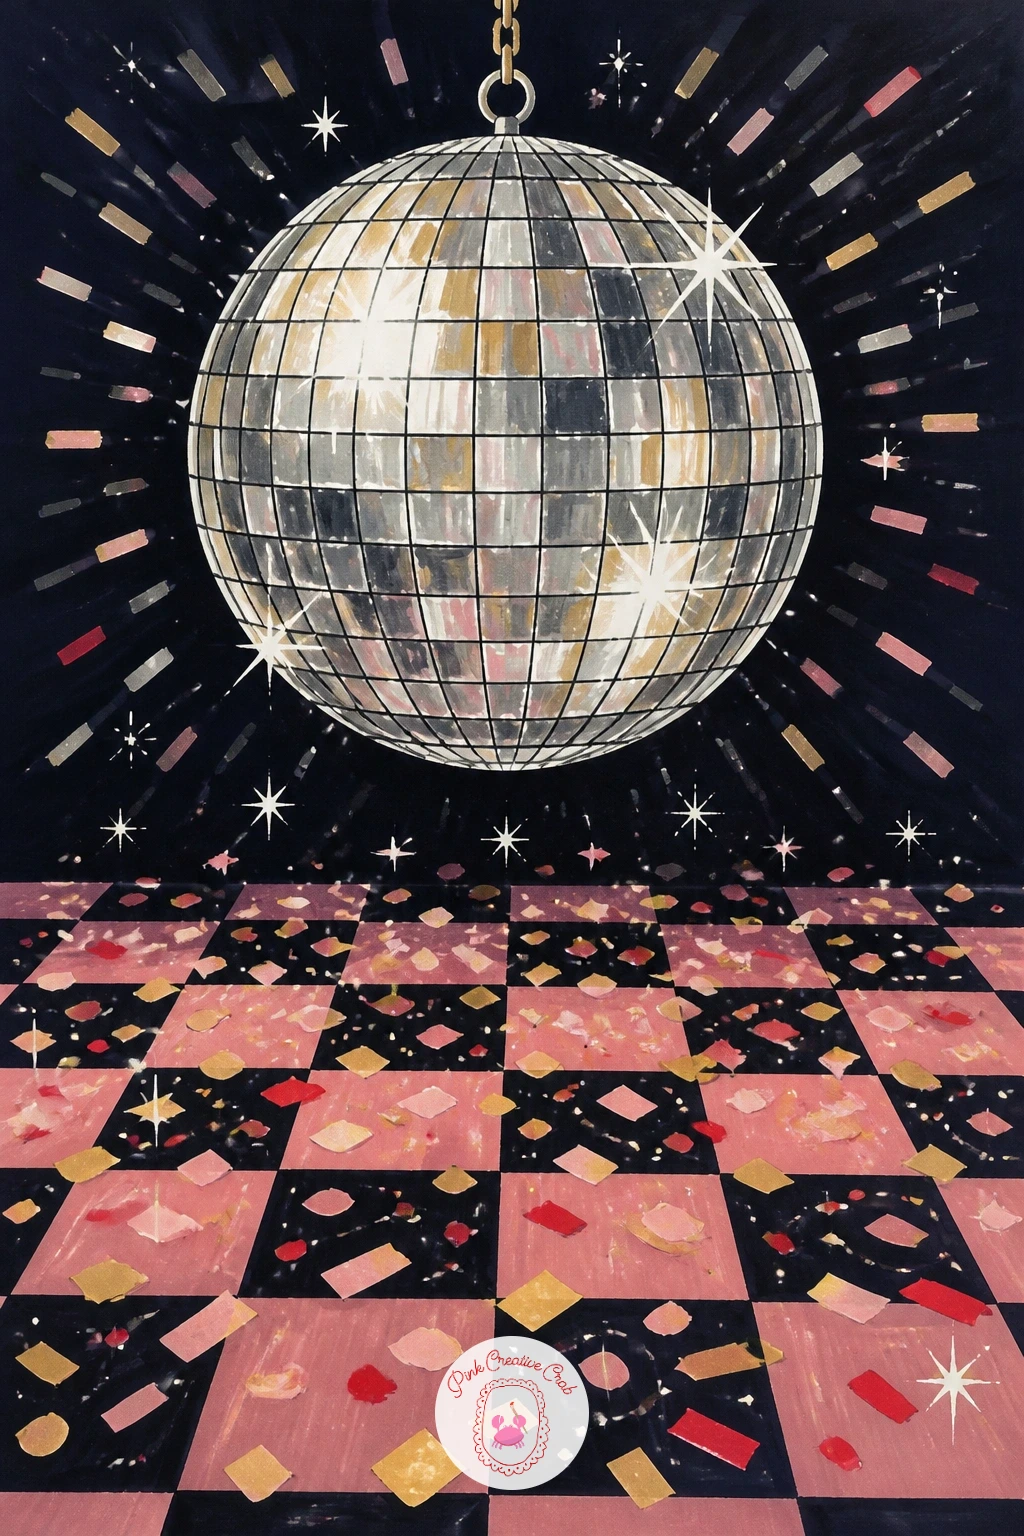
Following the champagne tower, the disco ball keeps the same party energy but shifts the whole page to pattern. Draw a large circle first in silver marker, then divide it into a loose grid of small diamonds and squares, leaving thin navy background lines between them so each facet reads separately.
Hang it from a short gold cord at the top of the page, then build the dance floor below out of bold checkered or diamond shapes in gold and blush.
The mistake here is making every facet the same tone, flat and lifeless, so vary your pressure: press harder for silver highlights on facets catching light, lighter for the ones in shadow.
Scatter confetti shapes (little squares, circles, triangles) across the floor and let a few drift up past the ball, finished with white gel pen dots for extra shine on the brightest facets.
You Will Need
- dark cardstock
- silver alcohol marker
- gold and blush marker
- white gel pen
Palette: Silver Grey,Metallic Gold,Soft Blush,Deep Navy
Draw the grid lines on the disco ball freehand rather than with a ruler, a slightly imperfect grid actually looks more like a real mirrored ball than a stiff, ruled one.
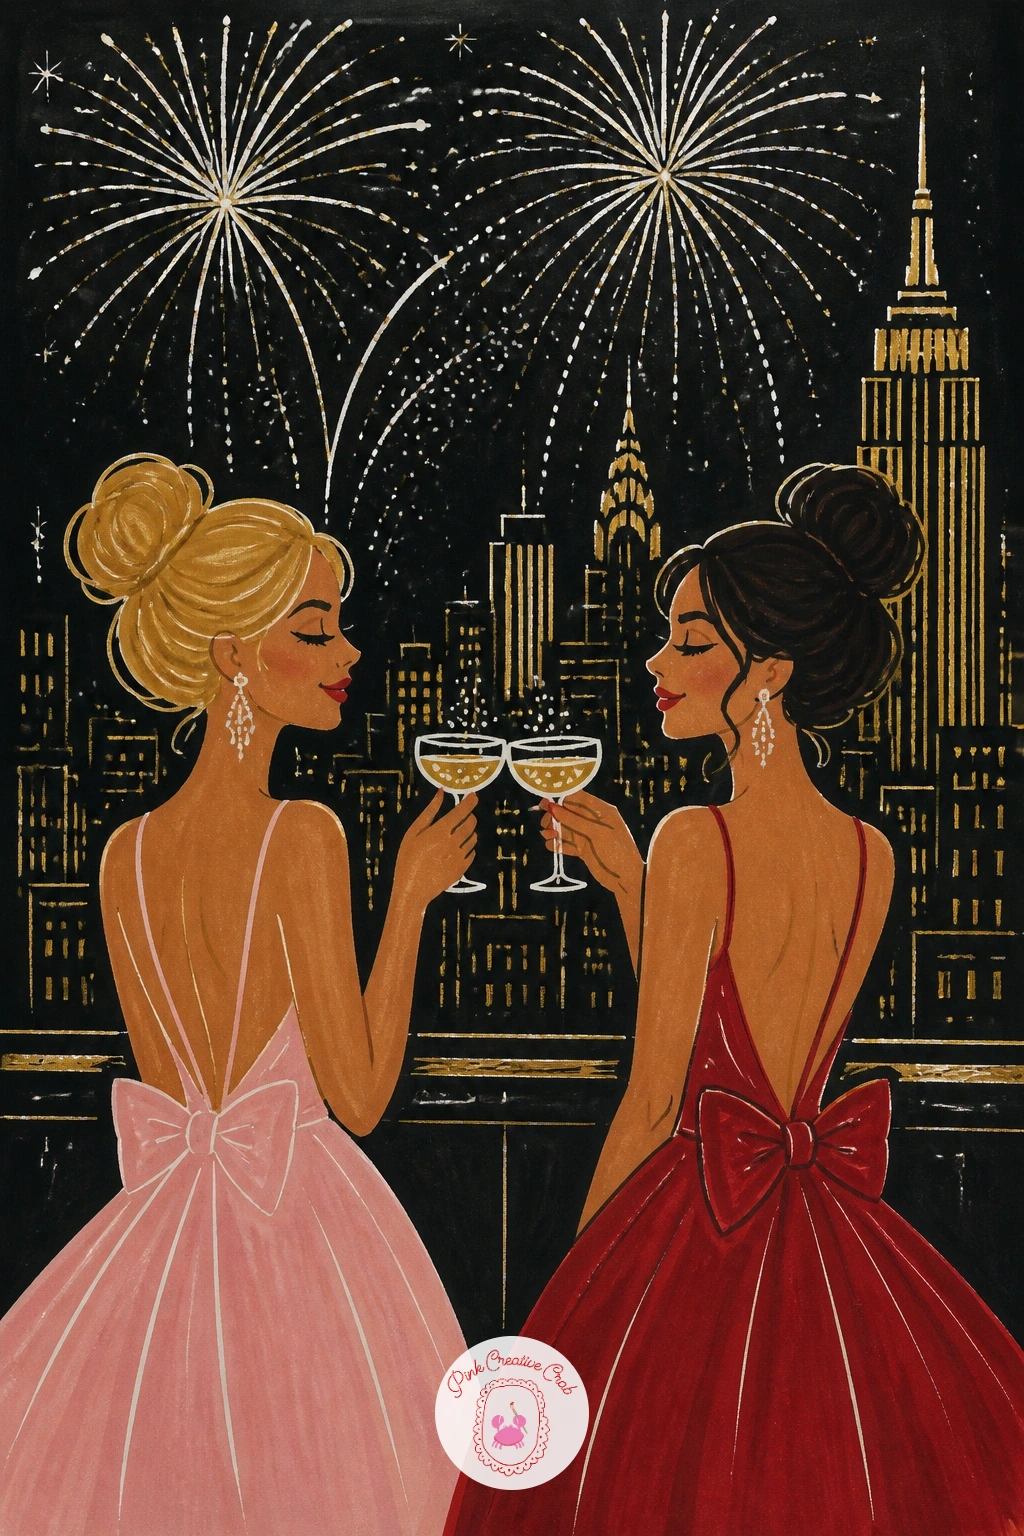
Where the disco ball lives indoors, this scene moves the party onto a rooftop, so start by blocking in a simple skyline silhouette along the bottom third of the page in flat gold or silver shapes, nothing detailed, just rectangles of varying heights.
Draw your two friends above the skyline in simple standing poses, coupe glasses raised and touching at the center of the page, keep their dresses as bold flat shapes in blush and cherry red.
Fireworks are where this usually falls apart if you draw full round bursts everywhere, so instead let two or three bursts explode off the top edge of the page, trailing thin white gel pen lines downward rather than symmetrical starbursts.
Finish by adding a warm glow around each firework burst in a lighter gold marker before the white gel pen lines, which keeps the sky from feeling too busy.
You Will Need
- dark cardstock
- gold and silver marker
- blush and cherry red marker
- white gel pen
Palette: Metallic Gold,Cherry Red,Soft Blush,Silver Grey
Overlap the two glasses right at the point where they clink, a small gold line connecting them, it anchors the whole composition and reads instantly as a toast.
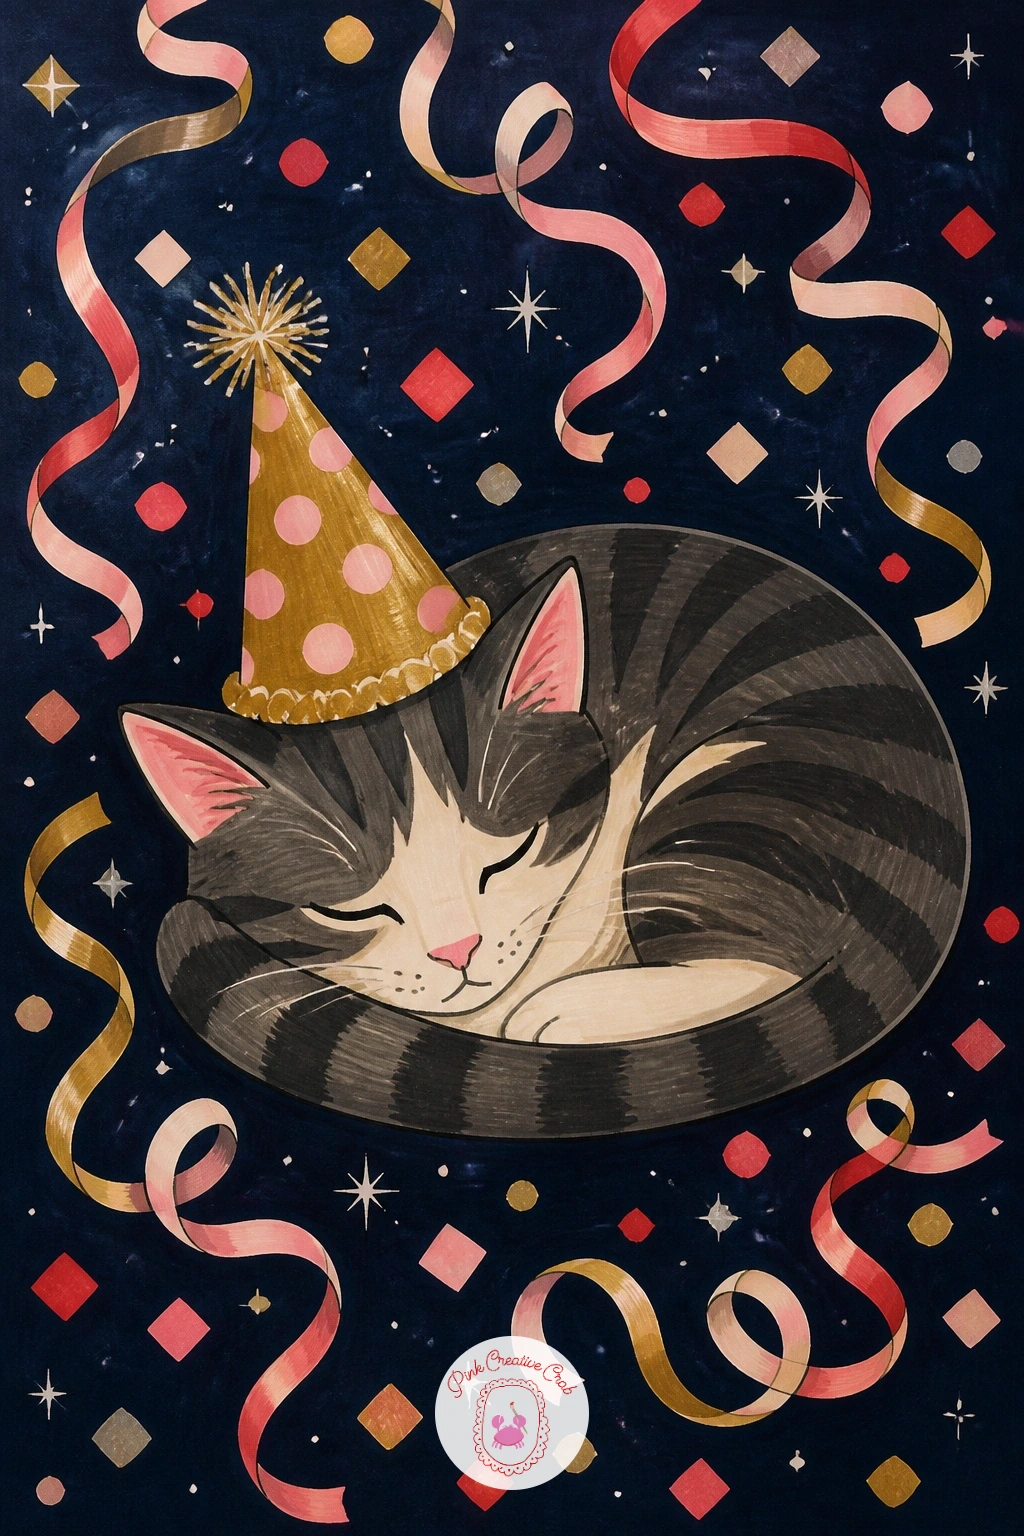
After all that movement, give the page a quiet beat with a cat curled asleep in a cone party hat, streamers draped loosely around it. Block the cat’s body as one soft oval shape first, tail curled in, then add the pointed party hat sitting slightly crooked on its head.
Keep the cat’s face simple, closed eyes as two short curved lines, no need for detailed fur, just a few flick marks along the back and tail in a darker gold or cherry tone to suggest shading.
This idea goes wrong when the hat looks stiff and separate from the cat, so draw the hat’s elastic strap dipping slightly under the chin, which settles it onto the head naturally.
Scatter a few ribbon curls of streamer in gold and blush around the cat’s paws, finished with a scattering of white gel pen confetti dots nearby.
You Will Need
- dark cardstock
- gold and cherry red marker
- blush marker
- white gel pen
Palette: Metallic Gold,Cherry Red,Soft Blush,Warm Cream
Look at a photo of a cat curled in the classic loaf or comma shape for reference, getting that curl right is what sells the sleepy mood more than any detail in the face.
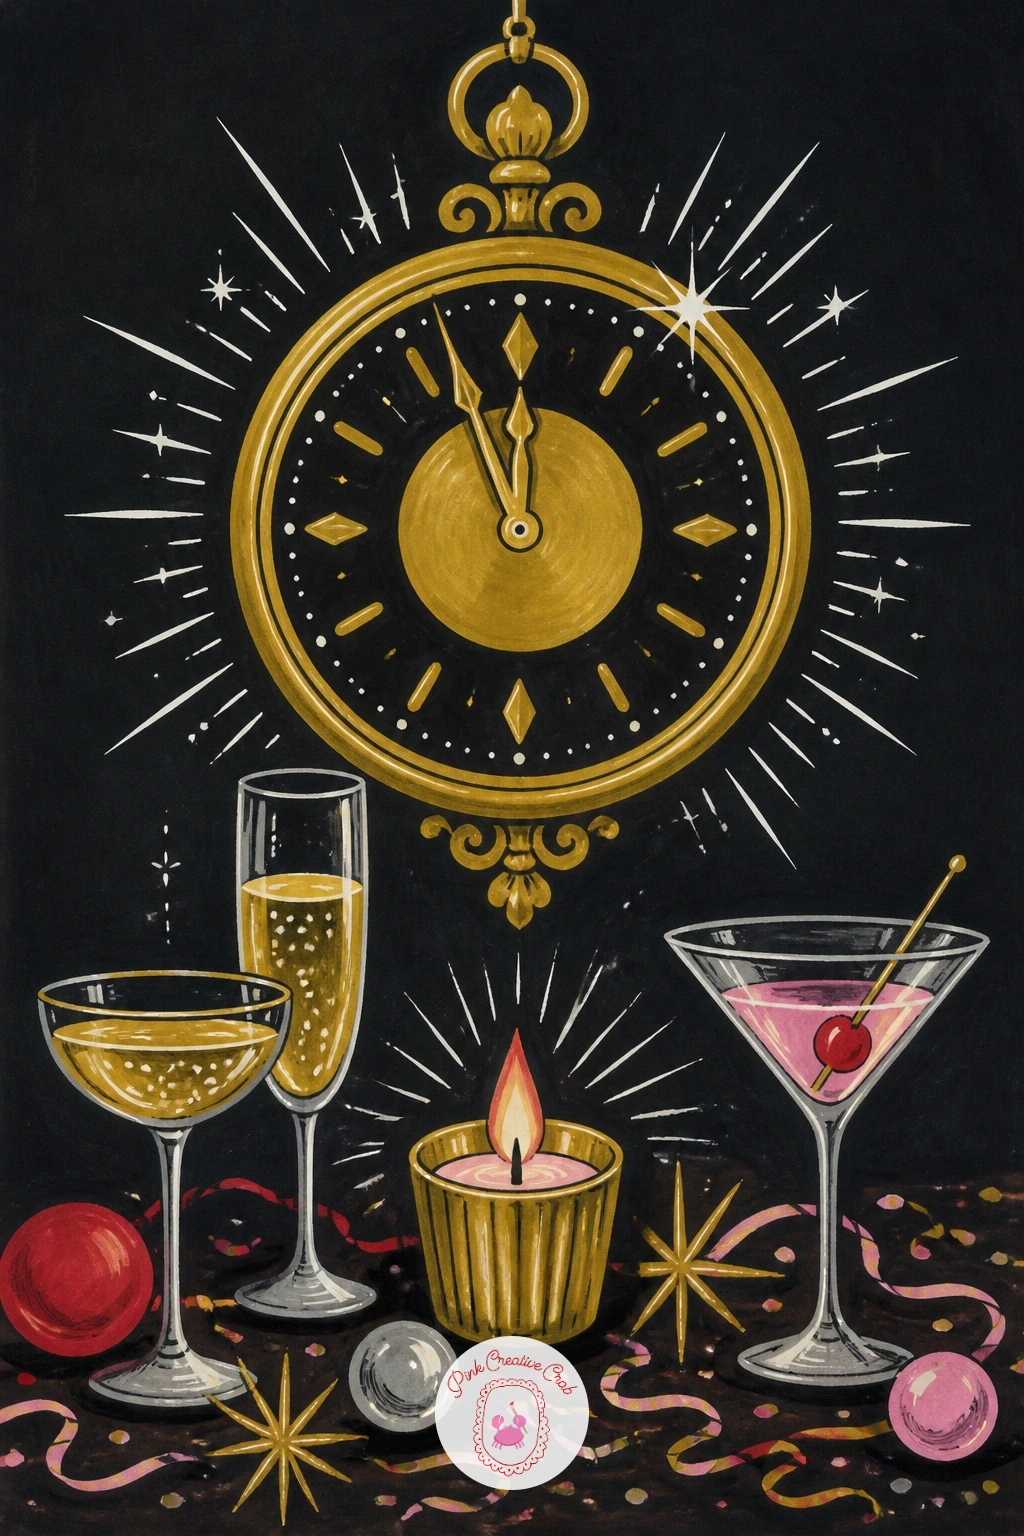
Shift the mood again with a vintage clock face hung above a party table, hands pointed just before midnight. Draw the clock as a simple round face in gold marker, roman numerals or plain dots around the rim, kept bold rather than tiny and fiddly.
Position the hour and minute hands both nearly straight up, with just a sliver of gap between them, that small gap is what tells the whole midnight story.
Where this goes wrong is the clock looking flat and paper thin, so add a thin silver rim shadow along one edge of the clock face and a short cord or ribbon hanging it from above.
Below the clock, sketch a party table edge with a glass or two and a candle, then finish with white gel pen sparkle rays radiating gently from the clock face itself.
You Will Need
- dark cardstock
- gold and silver marker
- white gel pen
- pale chalk pencil
Palette: Metallic Gold,Silver Grey,Cherry Red,Deep Navy
Try the quick ten minute version with just the clock face floating alone, then in a longer sitting add the full table beneath it with glasses, candles and a trailing ribbon.
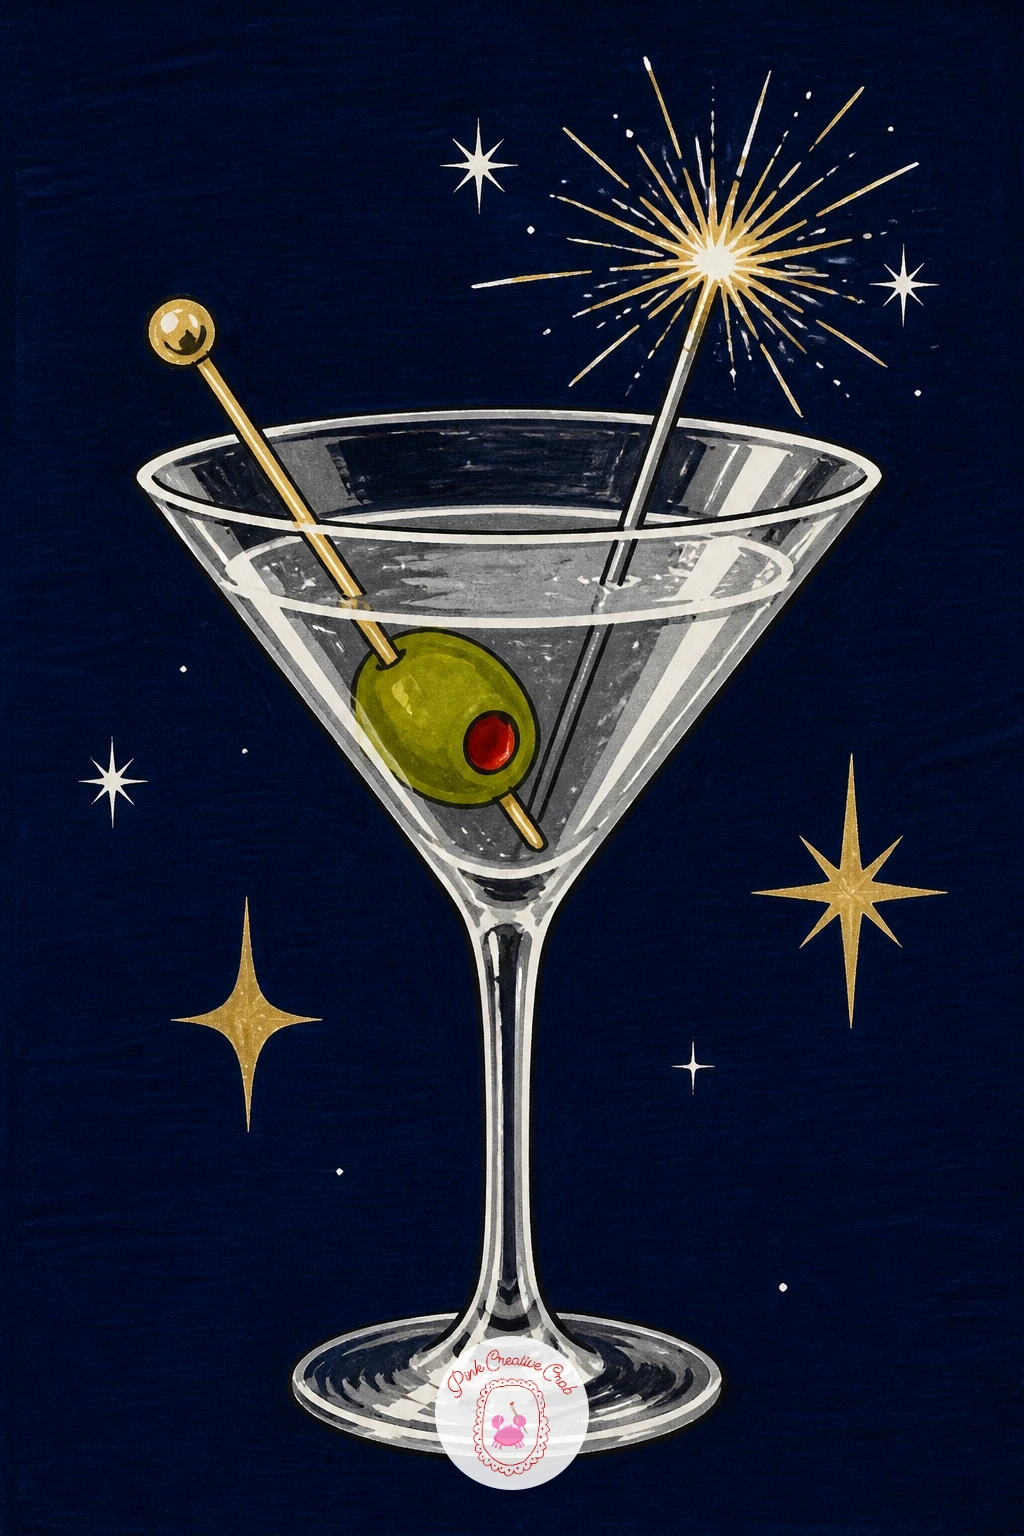
Pick up the pace again with a single martini glass, a fast, satisfying subject after the clock. Draw the glass as a wide triangle sitting on a thin stem and round base, the classic shape that reads instantly even at a small size.
Fill the triangle with silver or pale gold marker for the drink, leaving a thin unmarked line along one edge for shine, then drop in a green olive on a toothpick angled across the rim.
The common mistake is making the stem too thick, which kills the elegant look, so keep it as one single confident line rather than two parallel ones.
Push a tiny sparkler into the glass at an angle and finish with white gel pen dots flaring off its tip, a fun stand in if you do not want to draw fireworks again on this page.
You Will Need
- dark cardstock
- silver and gold marker
- green marker for olive
- white gel pen
Palette: Silver Grey,Metallic Gold,Olive Green,Soft Blush
Leave a clean white gel pen streak down one side of the glass before adding any sparkle dots, that single highlight line is what makes glass look like glass.
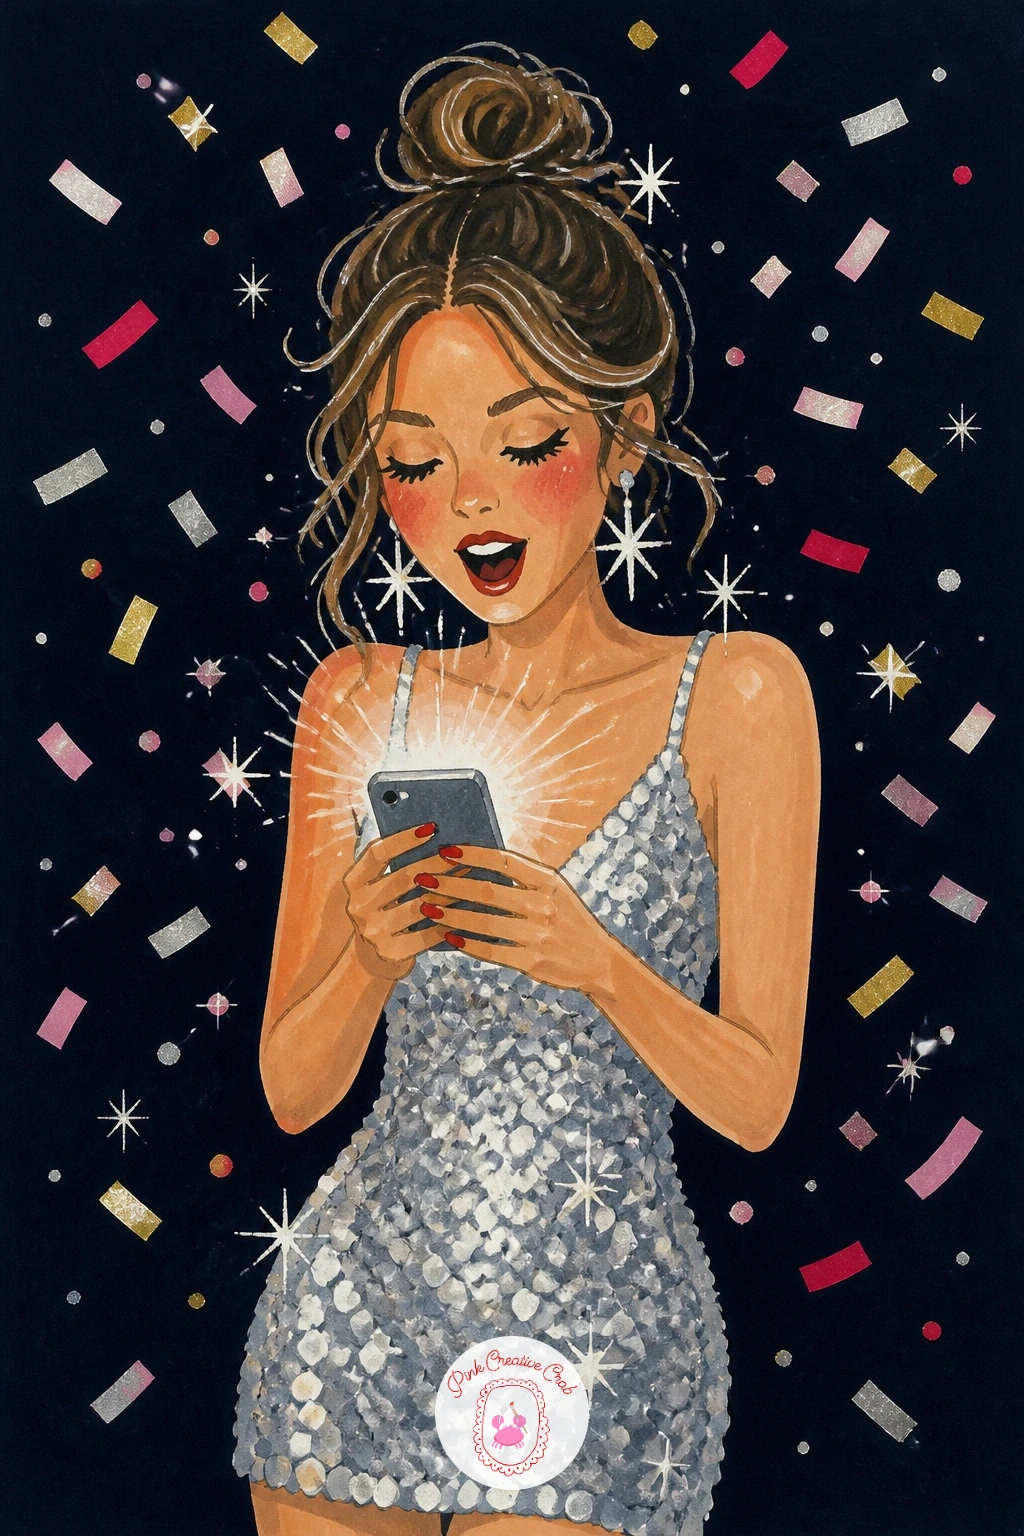
Carry the glamour forward with a girl in a silver dress, phone in hand, mid countdown. Block her figure first as a simple standing shape, one arm bent holding the phone near her face, weight shifted onto one hip for a more natural pose.
Keep the silver dress as one flat bold shape with a few fold lines rather than many small ones, and give her hair a simple swept silhouette in a dark tone so her face stands out against it.
This pose goes wrong when the arm holding the phone looks stiff, so bend the elbow at a clear angle and let the hand overlap the face slightly rather than floating beside it.
Finish with a small glowing phone screen in white gel pen and a scatter of confetti shapes falling past her shoulders.
You Will Need
- dark cardstock
- silver marker
- dark marker for hair
- white gel pen
Palette: Silver Grey,Deep Navy,Soft Blush,Metallic Gold
Compare the length of her forearm to her upper arm before inking, they are roughly equal, and getting that ratio right keeps the bent elbow looking believable.
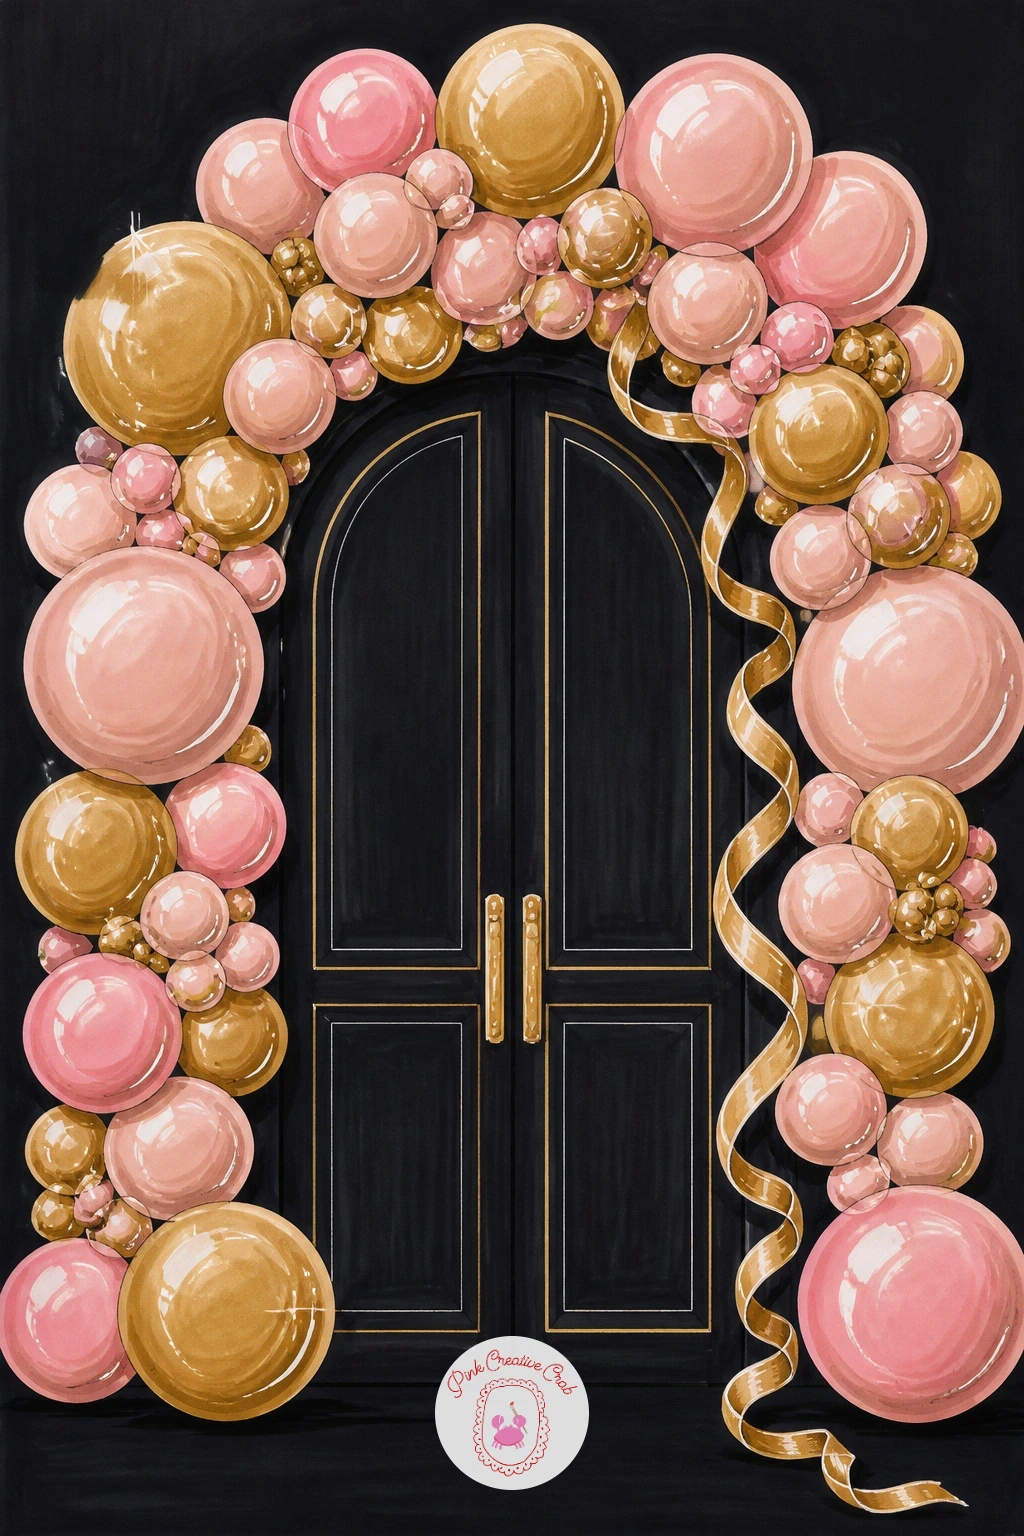
Give the page a break from figures with a balloon arch framing a doorway. Draw the arch shape first as a simple curve in pale chalk pencil, then fill it with overlapping circles in alternating gold and blush, varying the sizes so it does not look too uniform.
Leave the doorway itself mostly open and dark, maybe with a glimpse of party lights beyond, so the arch reads as the clear subject.
The mistake here is making every balloon circle identical, which flattens the whole arch, so vary diameters noticeably and let a few balloons overlap the doorway edge rather than sitting in a perfect row.
Finish with a thin gold ribbon trailing from the base of the arch and a few white gel pen highlight crescents on the shiniest balloons.
You Will Need
- dark cardstock
- gold and blush marker
- pale chalk pencil
- white gel pen
Palette: Metallic Gold,Soft Blush,Deep Navy,Cherry Red
Try swapping blush for cherry red on every third balloon if you want a bolder, more graphic arch, it reads well even from across a room.
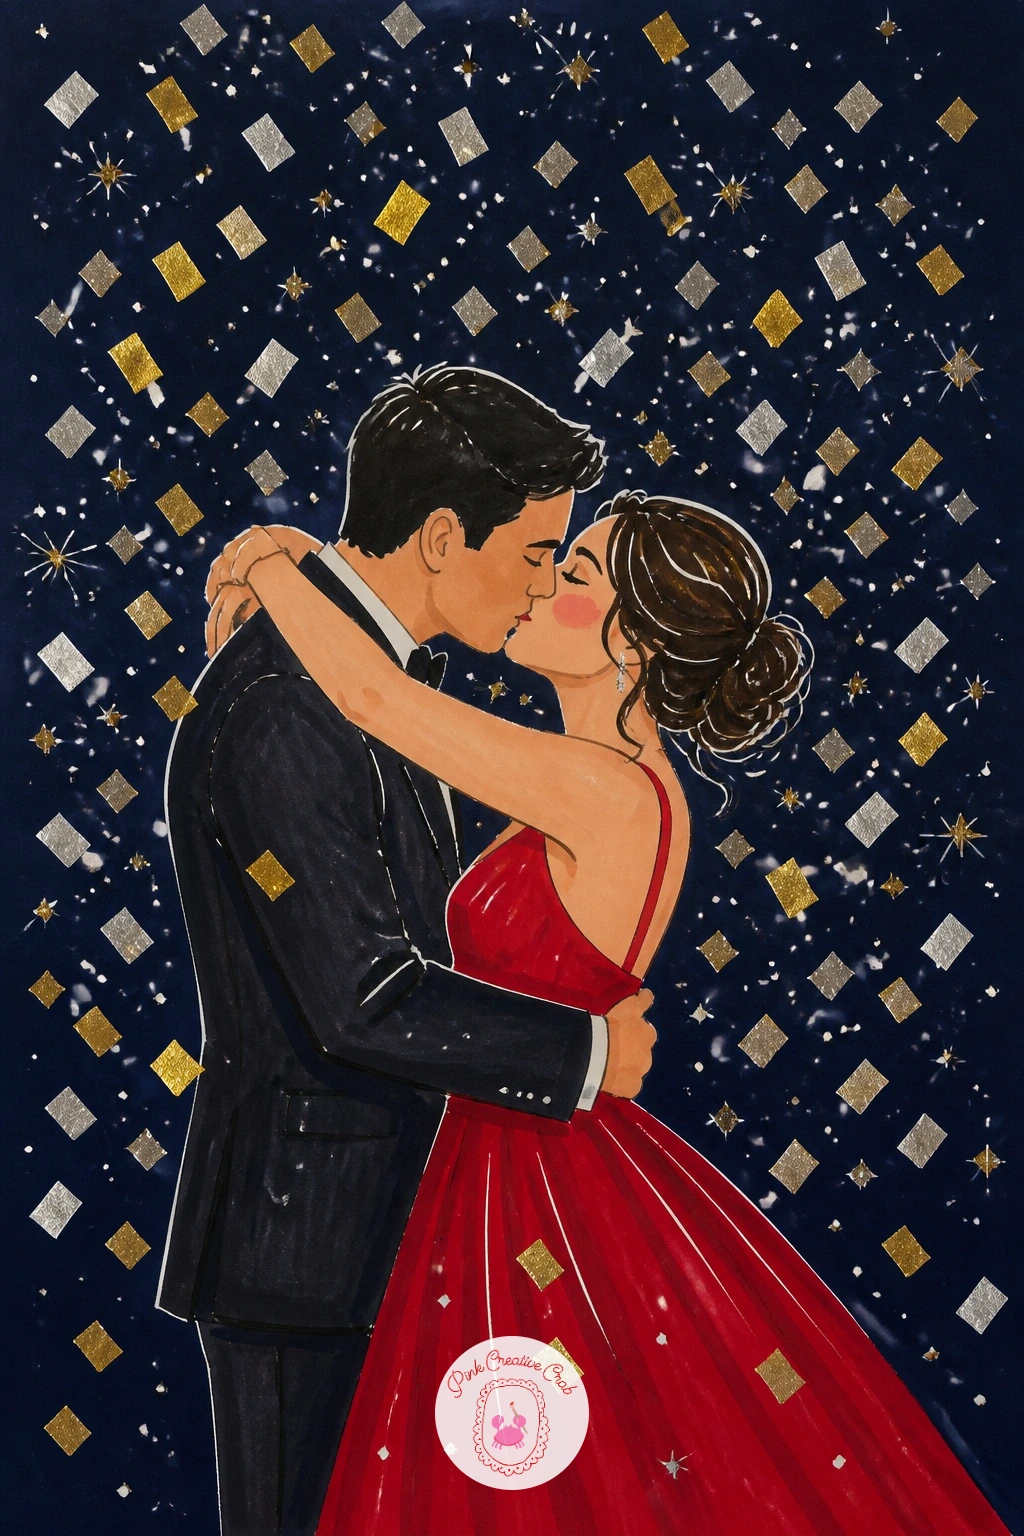
Move from the arch straight into the doorway scene itself: a couple kissing as confetti falls around them. Draw both figures as simple overlapping silhouettes first, heads tilted toward each other, keeping the embrace close and the shapes simple rather than detailed.
Block in her dress as one bold cherry red or blush shape and his suit as a dark flat silhouette, so the contrast does the work instead of fine detail.
Where this goes wrong is the heads ending up too far apart or at an awkward angle, so sketch a single tilted oval first for where both faces nearly meet before separating them into two heads.
Finish with falling confetti shapes in gold and silver scattered generously around them, heavier near the top of the page, and a few white gel pen sparkle dots catching the confetti mid fall.
You Will Need
- dark cardstock
- cherry red and dark marker
- gold and silver marker
- white gel pen
Palette: Cherry Red,Deep Navy,Metallic Gold,Silver Grey
Keep faces turned mostly away from the viewer or simplified, a couple kissing reads better as warm silhouettes than as two detailed faces fighting for attention.
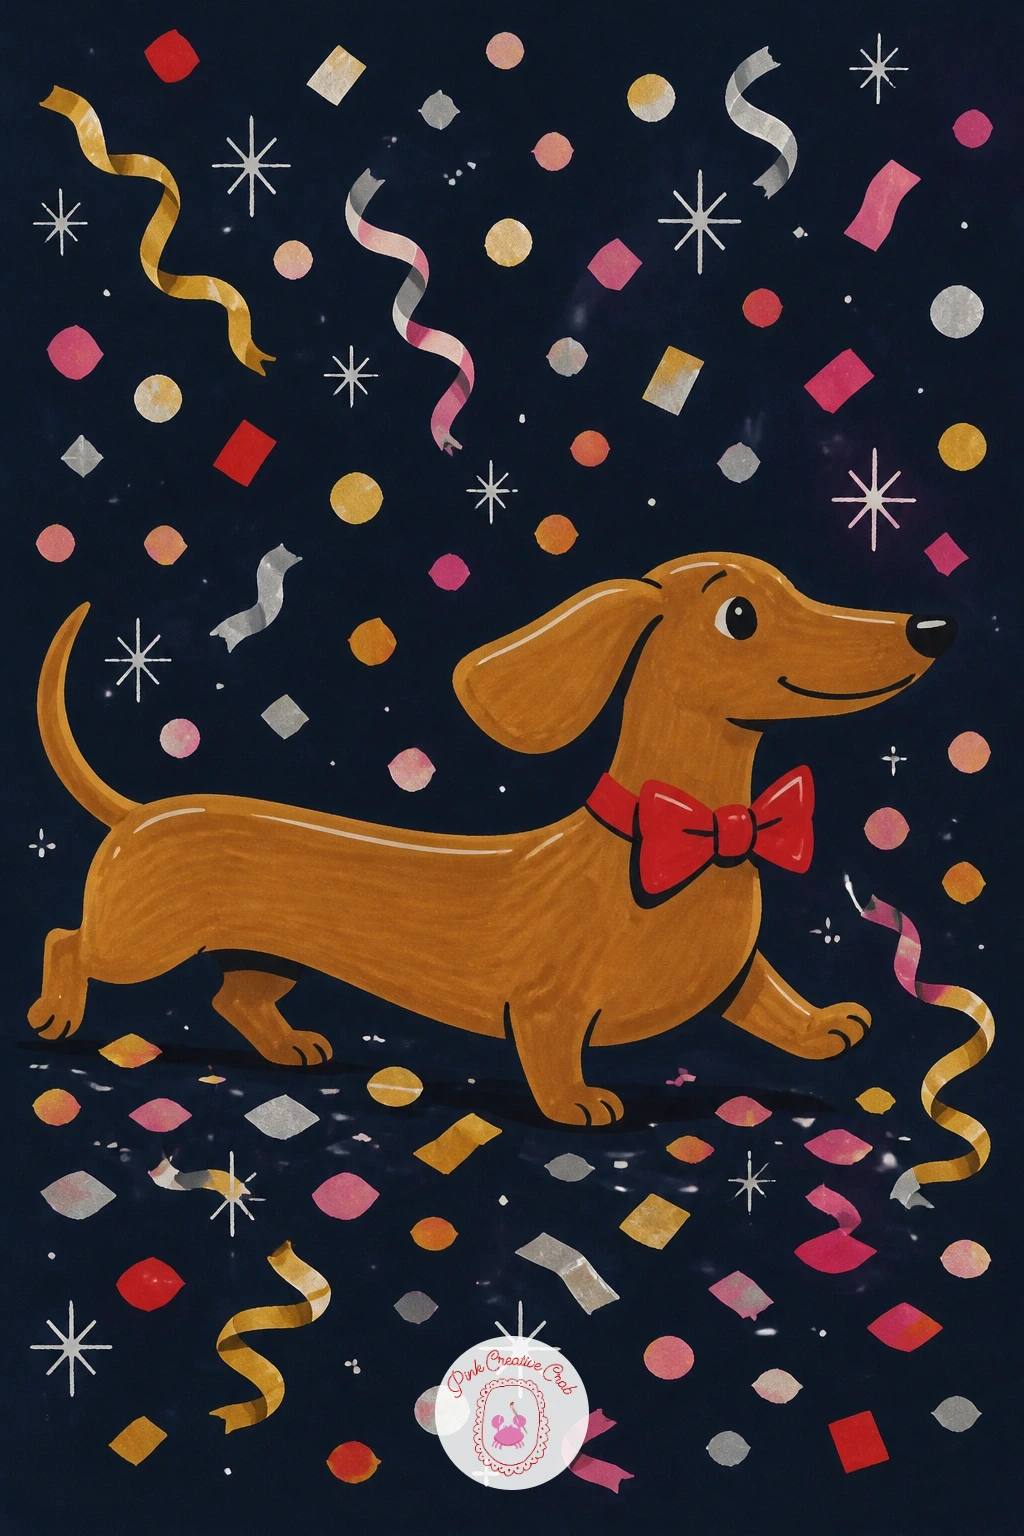
Lighten the mood with a long little dachshund wearing a bow tie at the party. Draw the body first as one long sausage shape, short legs as simple rounded rectangles underneath, and a small pointed head at one end.
Add the bow tie right at the neck in cherry red or gold, kept as one simple bow shape rather than fussy folds, and give the dog one tiny raised paw as if trotting through the party.
The proportion that trips people up here is the leg length against the body, so measure the body length against roughly six times the leg height, dachshunds read correctly only when the legs stay quite short and stubby.
Finish with a few confetti pieces scattered near its paws and a soft gold glow marker line along its back to suggest party lighting.
You Will Need
- dark cardstock
- brown or tan marker
- cherry red or gold marker
- white gel pen
Palette: Warm Tan,Cherry Red,Metallic Gold,Deep Navy
Reference an actual dachshund photo for the leg to body ratio, it looks exaggerated until you check it, then it suddenly reads as exactly right.
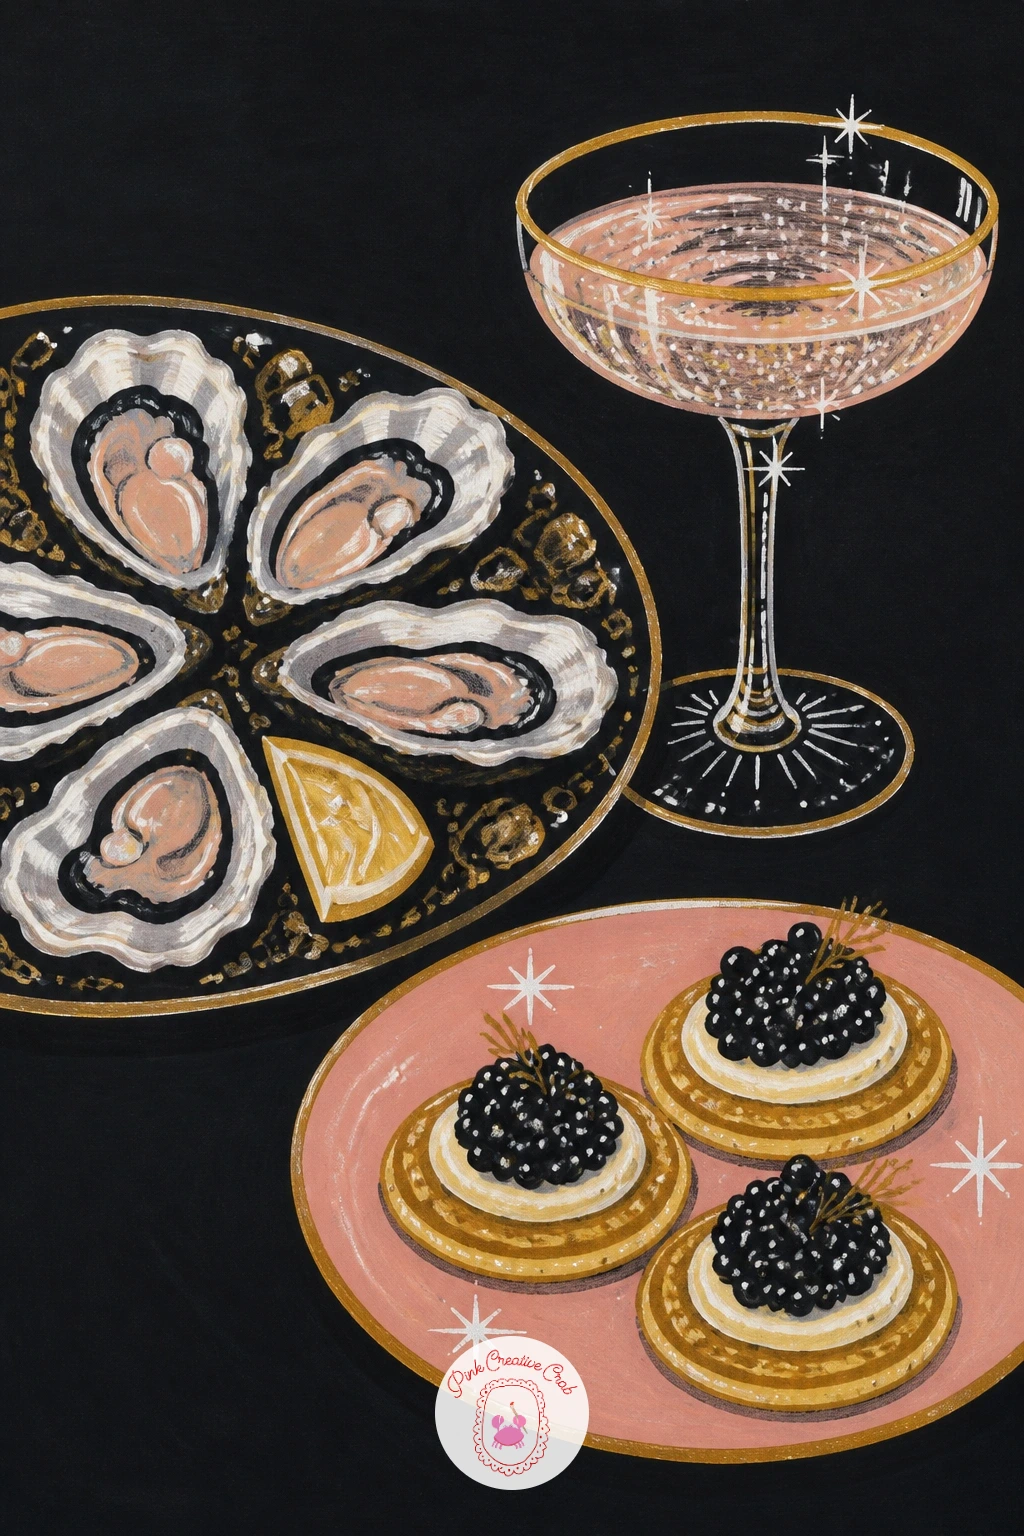
Swing back to glamour with a spread of oysters, caviar blini and a champagne glass, a still life that reads instantly as celebration food. Draw the oyster shells first as simple fan shaped ovals with ridged edges, two or three clustered together on a plate shape.
Add small round blini beside them, each with a tiny dark dome of caviar on top rendered in a few dots rather than painstaking detail, then a single champagne coupe standing just behind the plate.
This spread goes wrong when everything sits flat on one baseline, so overlap the plate, blini and glass slightly and let one oyster shell hang off the edge of the plate for a looser, more natural arrangement.
Finish with a gold rim line around the plate and a few white gel pen fizz dots rising from the champagne.
You Will Need
- dark cardstock
- gold and grey marker
- dark marker for caviar
- white gel pen
Palette: Silver Grey,Metallic Gold,Deep Navy,Soft Blush
For more cocktail glass shapes to pair with a spread like this, a dedicated cocktail glass drawing guide works through several classic silhouettes step by step.
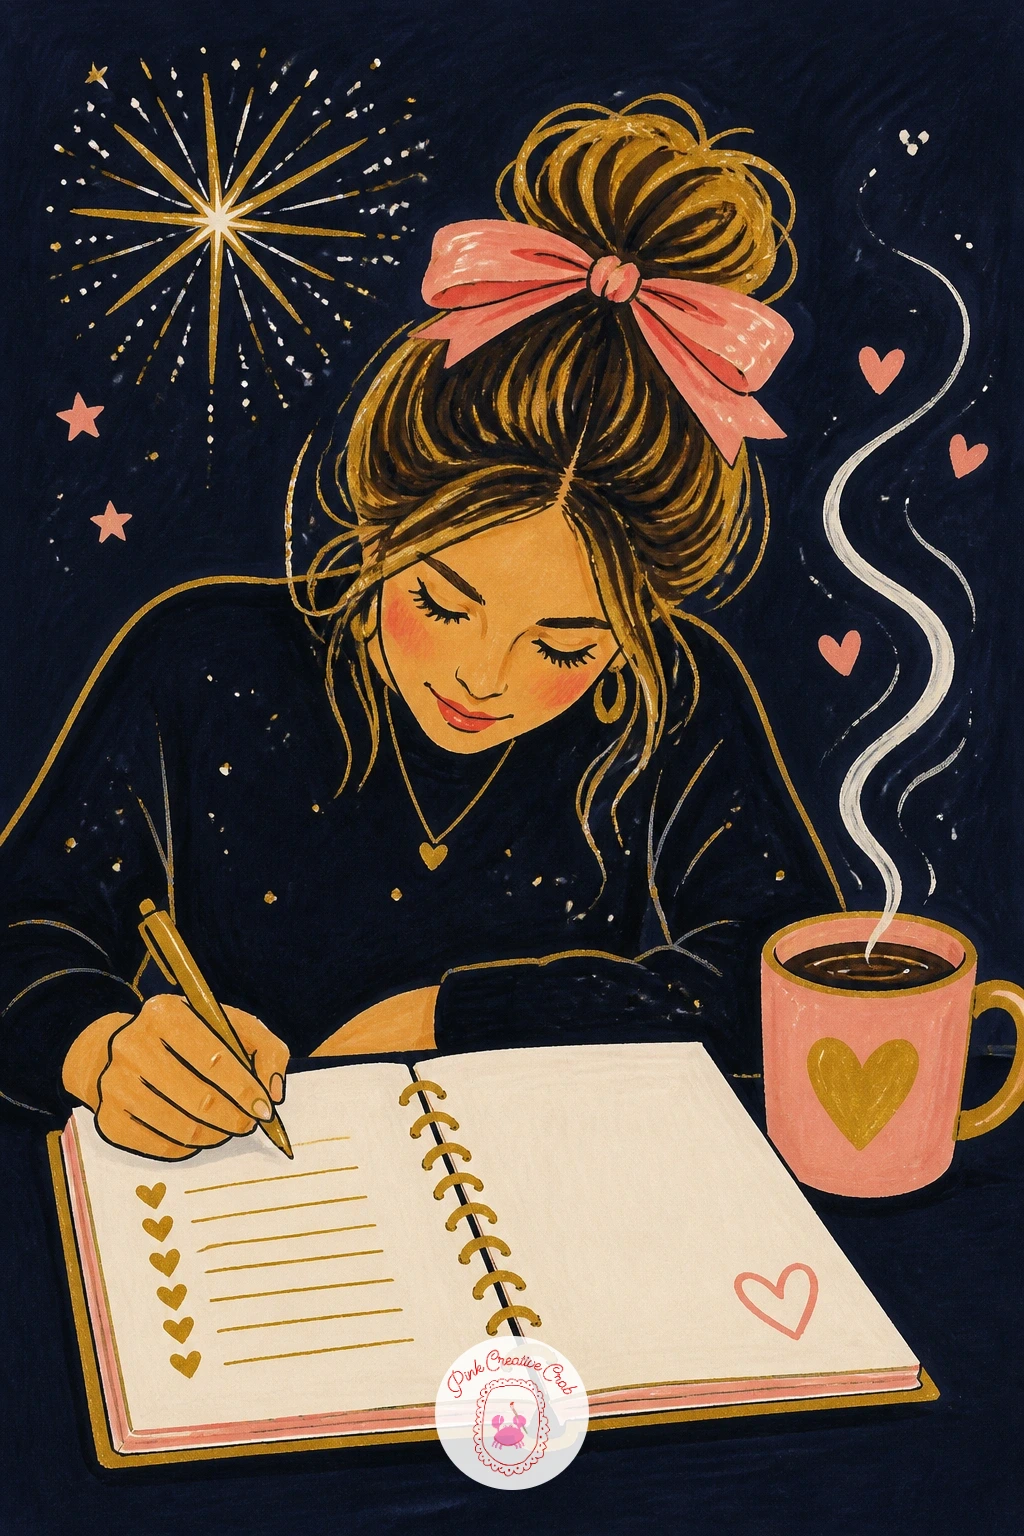
Shift the whole mood into morning with a girl writing goals in a planner on the first of January, coffee cup beside her. Draw her at a slight angle, head bent over an open notebook, pen in hand, hair pulled into a simple loose shape rather than detailed strands.
Keep the planner itself as two simple rectangles for open pages, a few faint lines suggesting handwriting rather than actual legible words, and a steaming coffee mug drawn beside her elbow.
The tricky part is the bent neck and shoulders looking stiff, so angle her head clearly down and to one side, and round her shoulders slightly forward rather than keeping her posture straight.
Finish with a soft gold morning light wash along one side of her face and a thin curl of white gel pen steam rising from the mug.
You Will Need
- dark cardstock
- skin tone marker
- gold marker
- white gel pen
Palette: Metallic Gold,Soft Blush,Warm Cream,Deep Navy
If figures feel daunting, practice the bent over posture a few times first, a girl pencil drawing session on plain paper is a fast way to loosen up before committing to the party page.
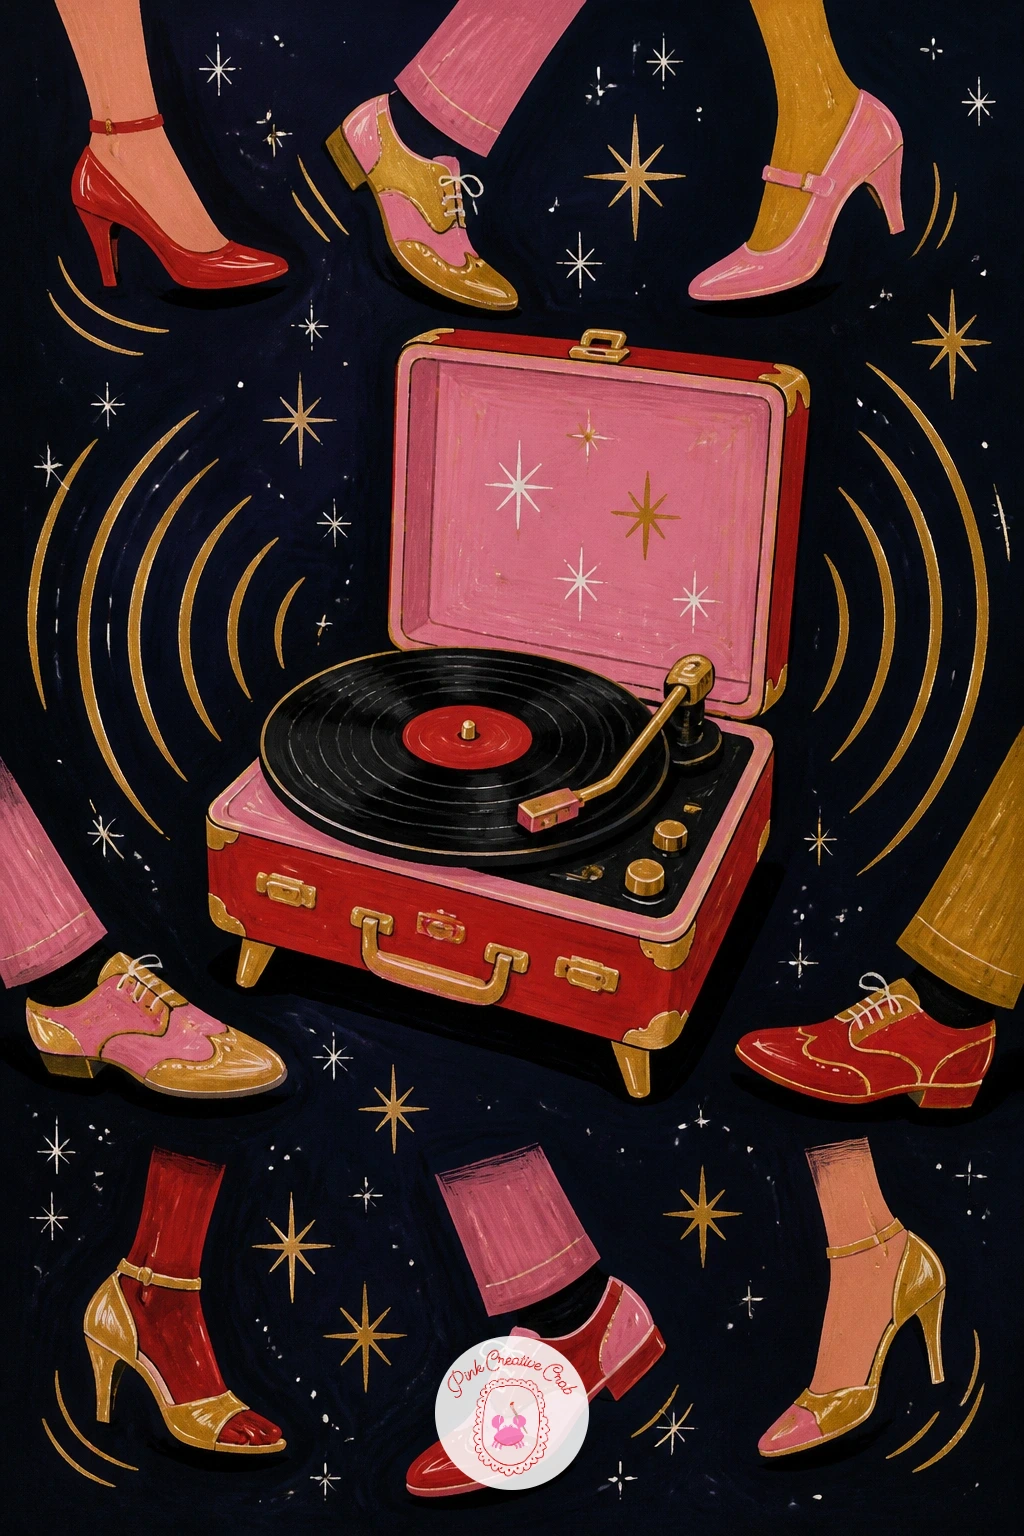
Bring the energy back up with a record player spinning on a side table, a ring of dancing feet around it suggesting a crowd just out of frame. Draw the player itself as a simple rectangular base with a round record on top, tonearm angled across it in one confident line.
Around the base, add a handful of shoe shapes at different angles, pointed heels, a loafer, a strappy sandal, each just a simple silhouette rather than a full figure, implying a packed dance floor without drawing every person.
This idea goes wrong when the feet look too evenly spaced, so cluster some pairs close together and leave gaps elsewhere, which reads as real movement rather than a tidy row.
Finish with a few gold sound wave lines radiating from the record and white gel pen sparkle flecks scattered near the shoes.
You Will Need
- dark cardstock
- gold and silver marker
- dark marker for shoes
- white gel pen
Palette: Metallic Gold,Silver Grey,Cherry Red,Deep Navy
Try angling the tonearm resting mid record rather than at the start, it reads as a party already in full motion, which suits this busy composition better.
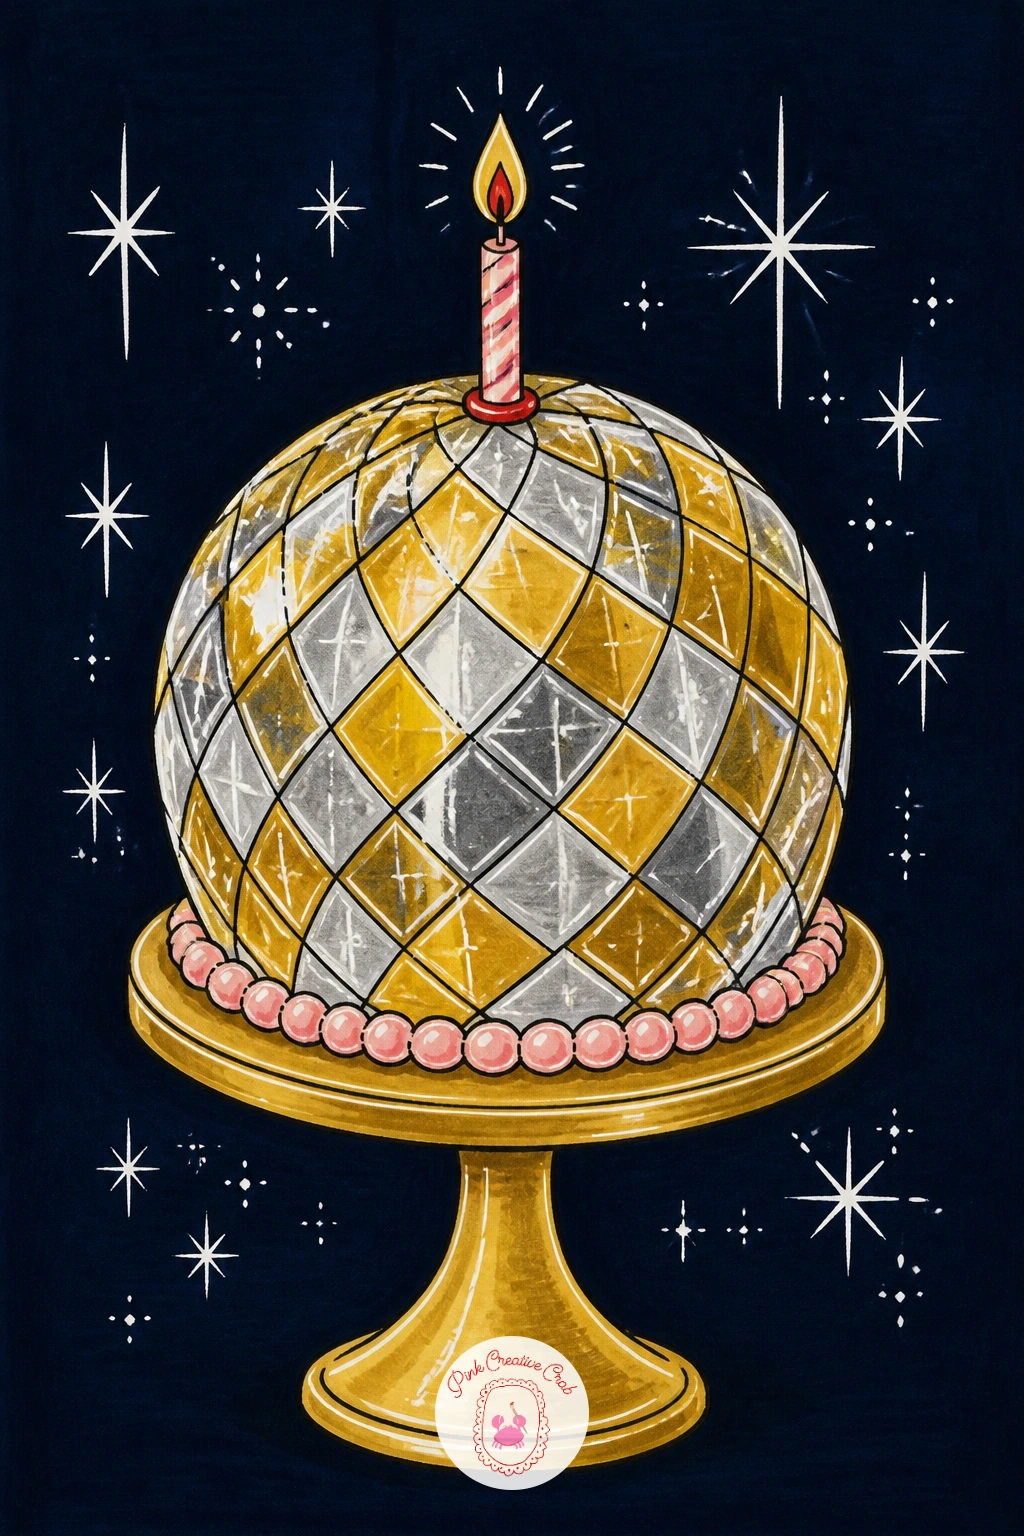
Keep the disco theme going but shrink it down to dessert size with a cake shaped like a disco ball sitting on a stand. Draw the stand first as a simple pedestal shape, then the cake itself as a sphere sitting on top, divided into the same small diamond facets used for the hanging disco ball earlier.
Alternate silver and gold marker across the facets rather than one flat tone, which is what sells the shiny, mirrored look even at cake size.
Where this goes wrong is the sphere looking flat and circular instead of round, so leave one side slightly darker in tone and keep a bright unmarked highlight patch near the top, exactly like shading any round object.
Finish with a single lit candle on top and a few white gel pen sparkle dots catching the brightest facets.
You Will Need
- dark cardstock
- silver and gold marker
- dark marker for shading
- white gel pen
Palette: Silver Grey,Metallic Gold,Cherry Red,Deep Navy
Keep the candle flame small and simple, a tiny gold teardrop shape is plenty, the facets are the real subject of this page and should hold most of the attention.
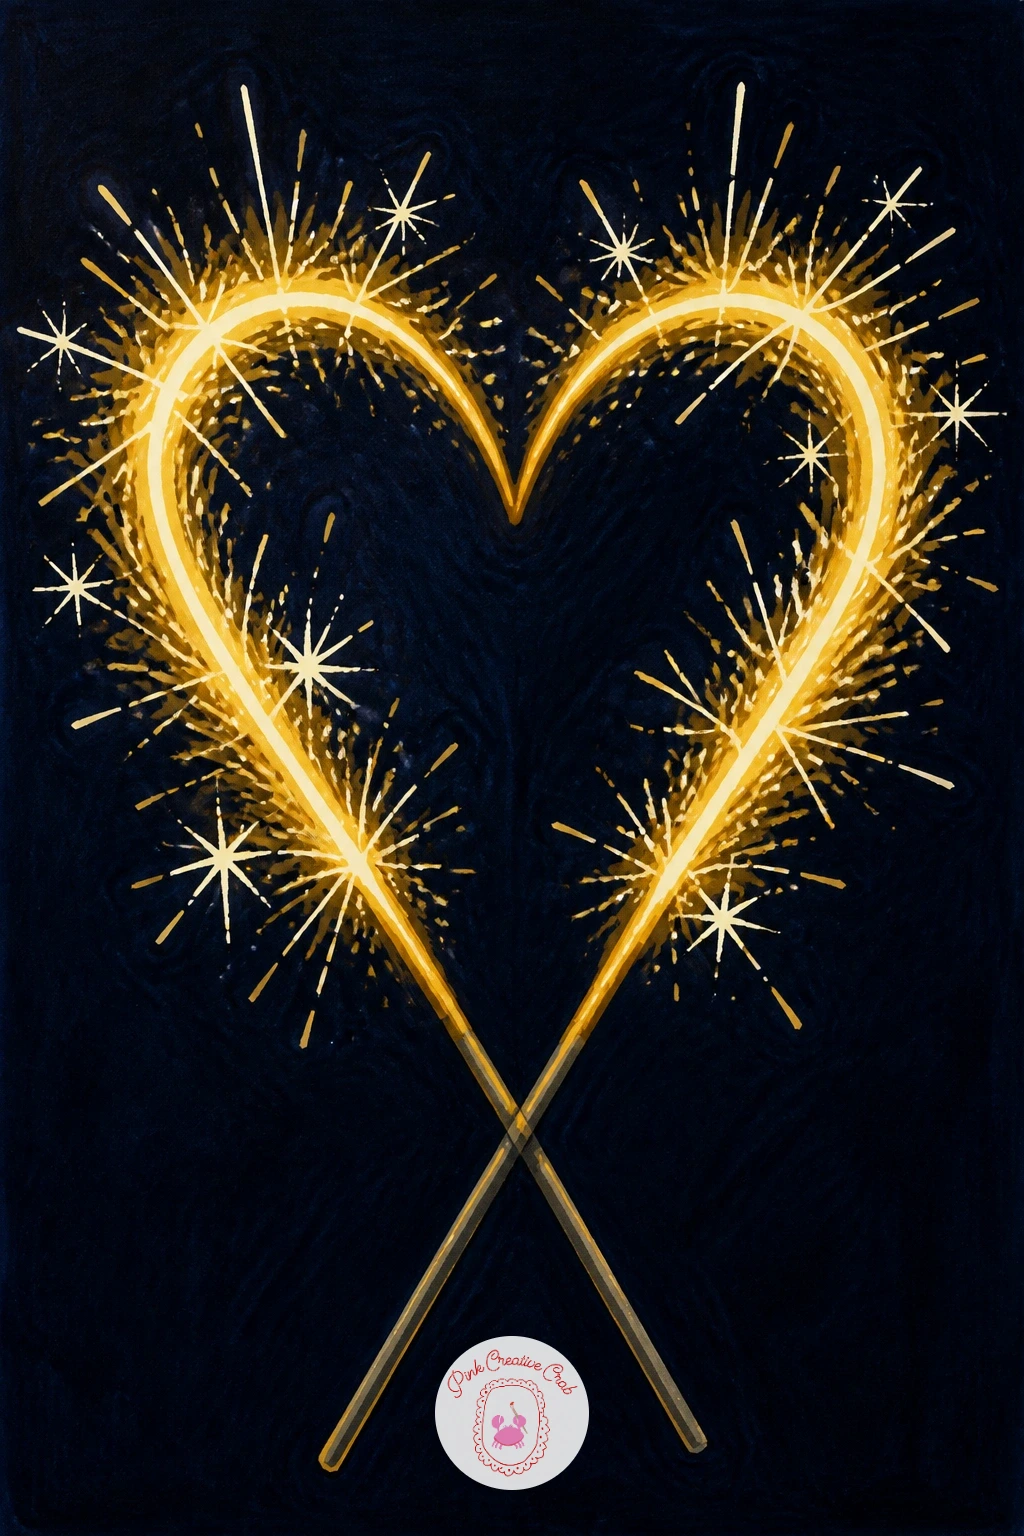
Take the pace down to something quick and atmospheric: sparkler sticks arranged to spell out a glowing heart shape in the dark. Start by sketching a simple heart outline in pale chalk pencil, then place the sparkler sticks themselves as thin straight lines fanning along that curve, each held by an unseen hand just off the edge of the page.
Draw the spark trails in white gel pen radiating off the tip of each stick, short confident flicks rather than long careful lines, which is what makes sparks look like they are actually moving.
The common mistake is making the sparks too uniform, so vary their length and angle noticeably, and leave a few trailing off into darkness beyond the heart shape itself.
Finish with a faint warm gold glow marker haze behind the whole heart to suggest light spilling into the dark background.
You Will Need
- dark cardstock
- gold marker
- white gel pen
- pale chalk pencil
Palette: Metallic Gold,Deep Navy,Cherry Red,Warm Cream
This one is a genuine ten minute page if you keep it to just the heart and sparks, the longer version adds a pair of hands holding the sticks at the base for more story.
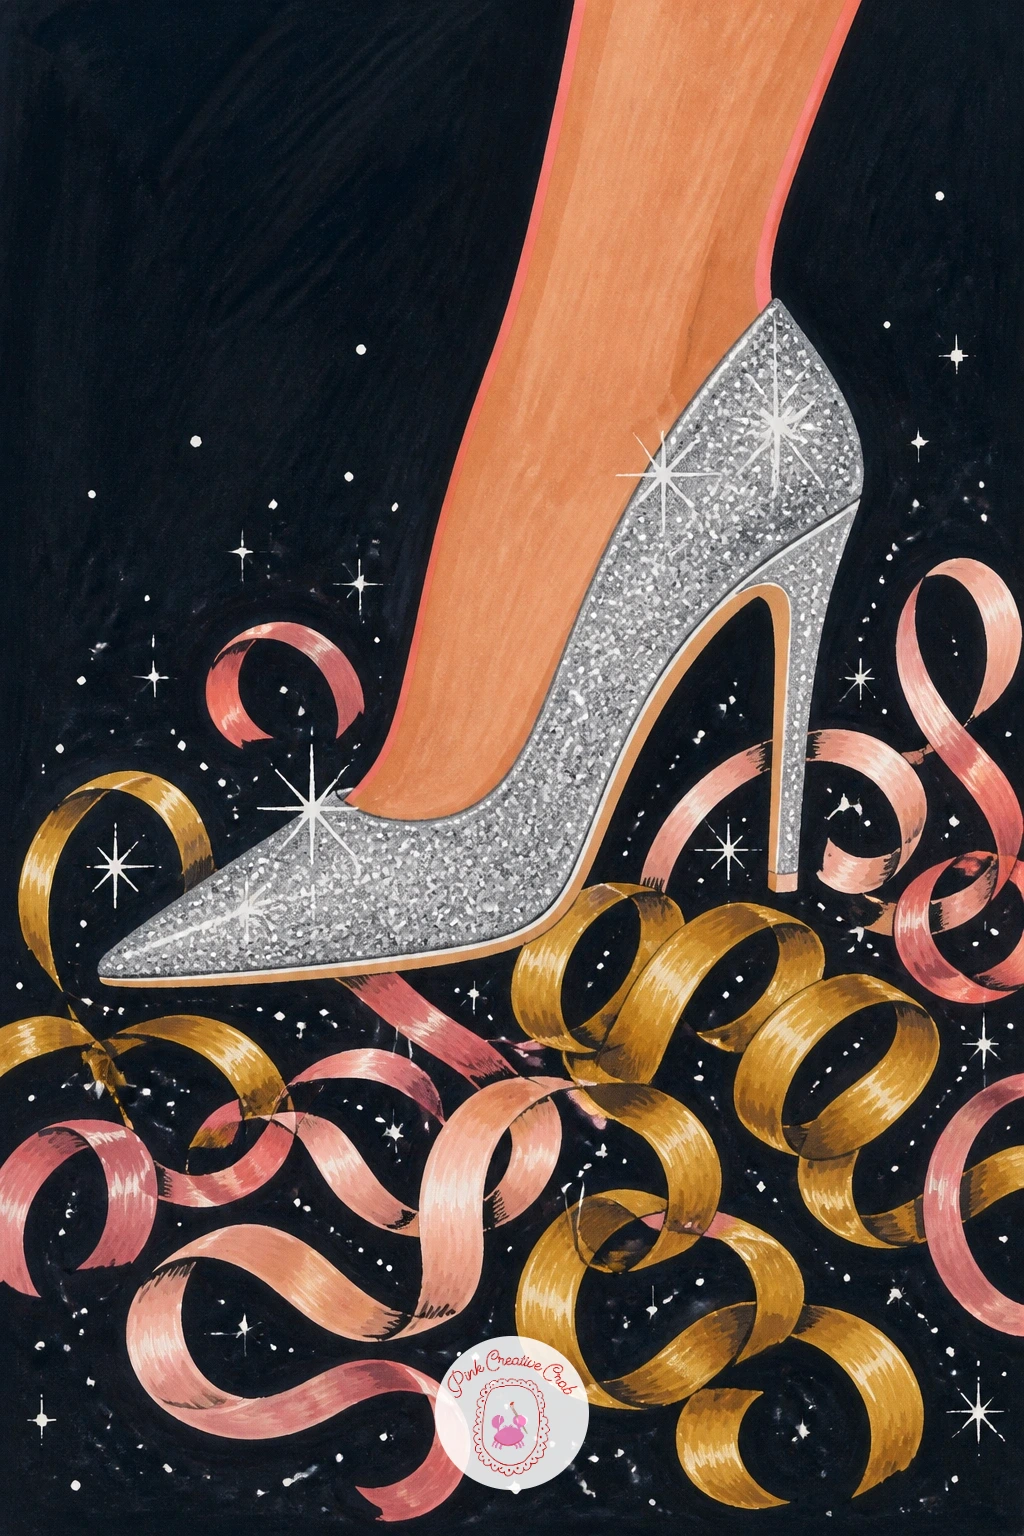
Zoom into a single glittery high heel stepping over a scatter of streamers, a close, confident subject after the wide sparkler scene. Draw the heel shape first in one smooth continuous line, pointed toe, arched sole, thin stiletto heel, before adding any surface detail.
Fill the shoe with silver or gold marker, then stipple a scatter of tiny white gel pen dots across its surface once dry to suggest glitter catching light.
This subject goes wrong when the heel looks too thick or wobbly, so compare its height to the length of the shoe sole before inking, a stiletto heel is usually close to that same length, thin and perfectly straight.
Finish with a few curled streamer shapes draped loosely beneath the shoe in gold and blush.
You Will Need
- dark cardstock
- silver or gold marker
- blush marker
- white gel pen
Palette: Silver Grey,Metallic Gold,Soft Blush,Deep Navy
Try the shoe from a side profile rather than a three quarter angle for your first attempt, the proportions are far easier to judge and still look plenty glamorous.
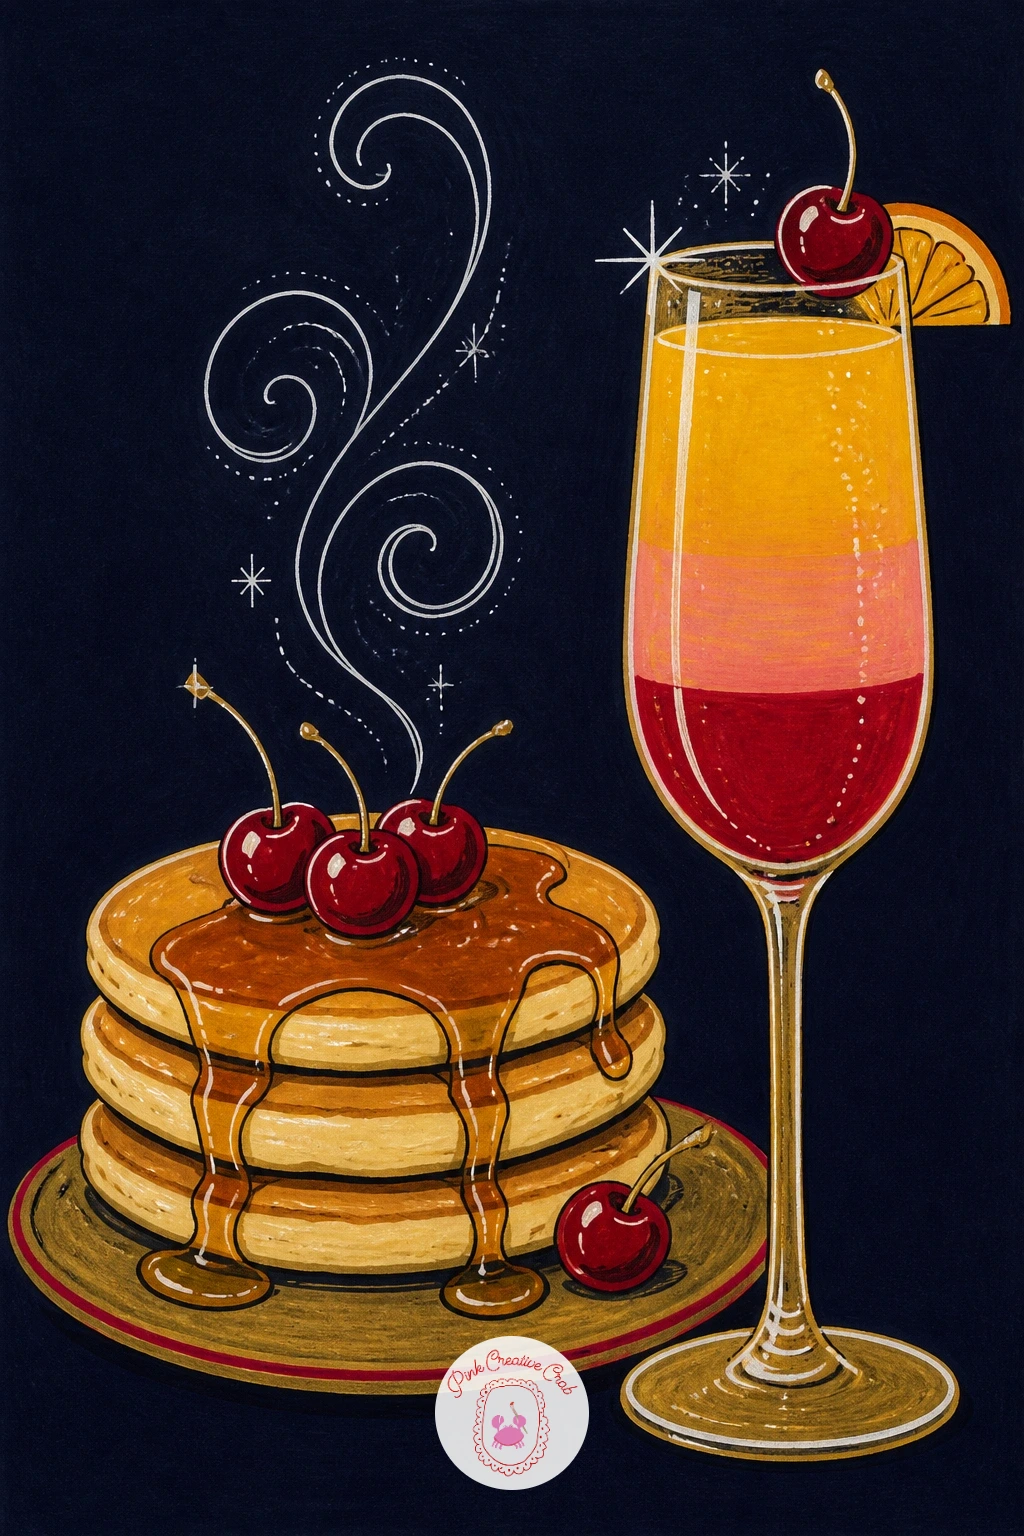
Warm the page up with a cozy New Year’s morning brunch, a short stack of pancakes beside a glass of mimosa. Draw the pancake stack first as three or four stacked ovals, slightly uneven edges to look soft rather than perfectly round, with a pat of butter melting on top drawn as one small square with rounded corners.
Add the mimosa glass beside it as a simple tall flute shape, orange marker for the drink layered under a lighter gold for the champagne on top, with a thin line separating the two tones.
Where this scene can go flat is the syrup, so let a gold or cherry marker drip unevenly down the sides of the pancake stack rather than pooling neatly underneath, which reads as far more appetizing.
Finish with a white gel pen steam curl rising from a coffee cup placed just behind the stack.
You Will Need
- dark cardstock
- gold and orange marker
- cherry red marker
- white gel pen
Palette: Metallic Gold,Cherry Red,Warm Cream,Soft Blush
Add a few uneven dots of gold marker around the base of the pancake stack to suggest crumbs, a small detail that makes the whole plate look just eaten into.
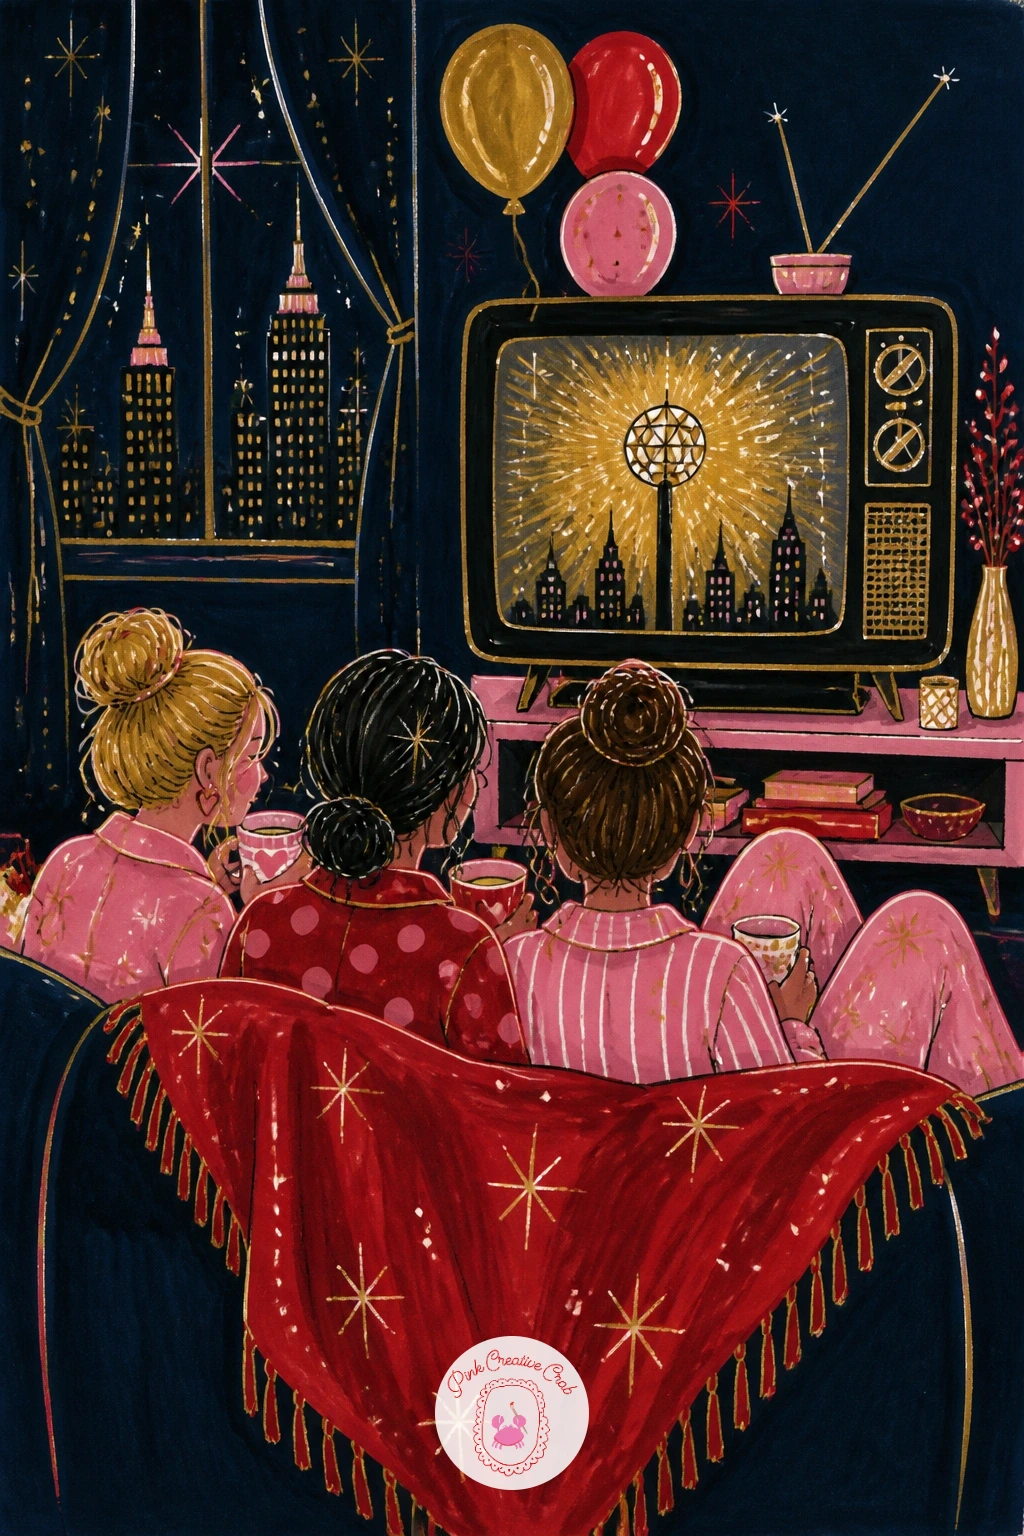
Keep the cozy mood going with friends curled up in pajamas watching the ball drop on television. Block in a simple sofa shape first, then two or three seated figures leaning toward each other, pajama patterns kept as simple dots or stripes rather than detailed prints.
Draw the television as a plain rounded rectangle glowing softly, with a tiny version of a dropping ball and crowd suggested inside it using just a few confident marks, no need to render a detailed broadcast.
This scene goes wrong when the figures look too stiff on the sofa, so let shoulders slump and knees tuck up, pajama clad poses should feel loose and relaxed rather than formally seated.
Finish with a blanket draped across laps in cherry red or blush and a soft gold television glow washing over the nearest face.
You Will Need
- dark cardstock
- cherry red and blush marker
- grey marker for pajamas
- white gel pen
Palette: Cherry Red,Soft Blush,Silver Grey,Metallic Gold
Try this one as a loose group of three friends for the fuller forty minute version, or simplify to just two for a faster page without losing the cozy feeling.
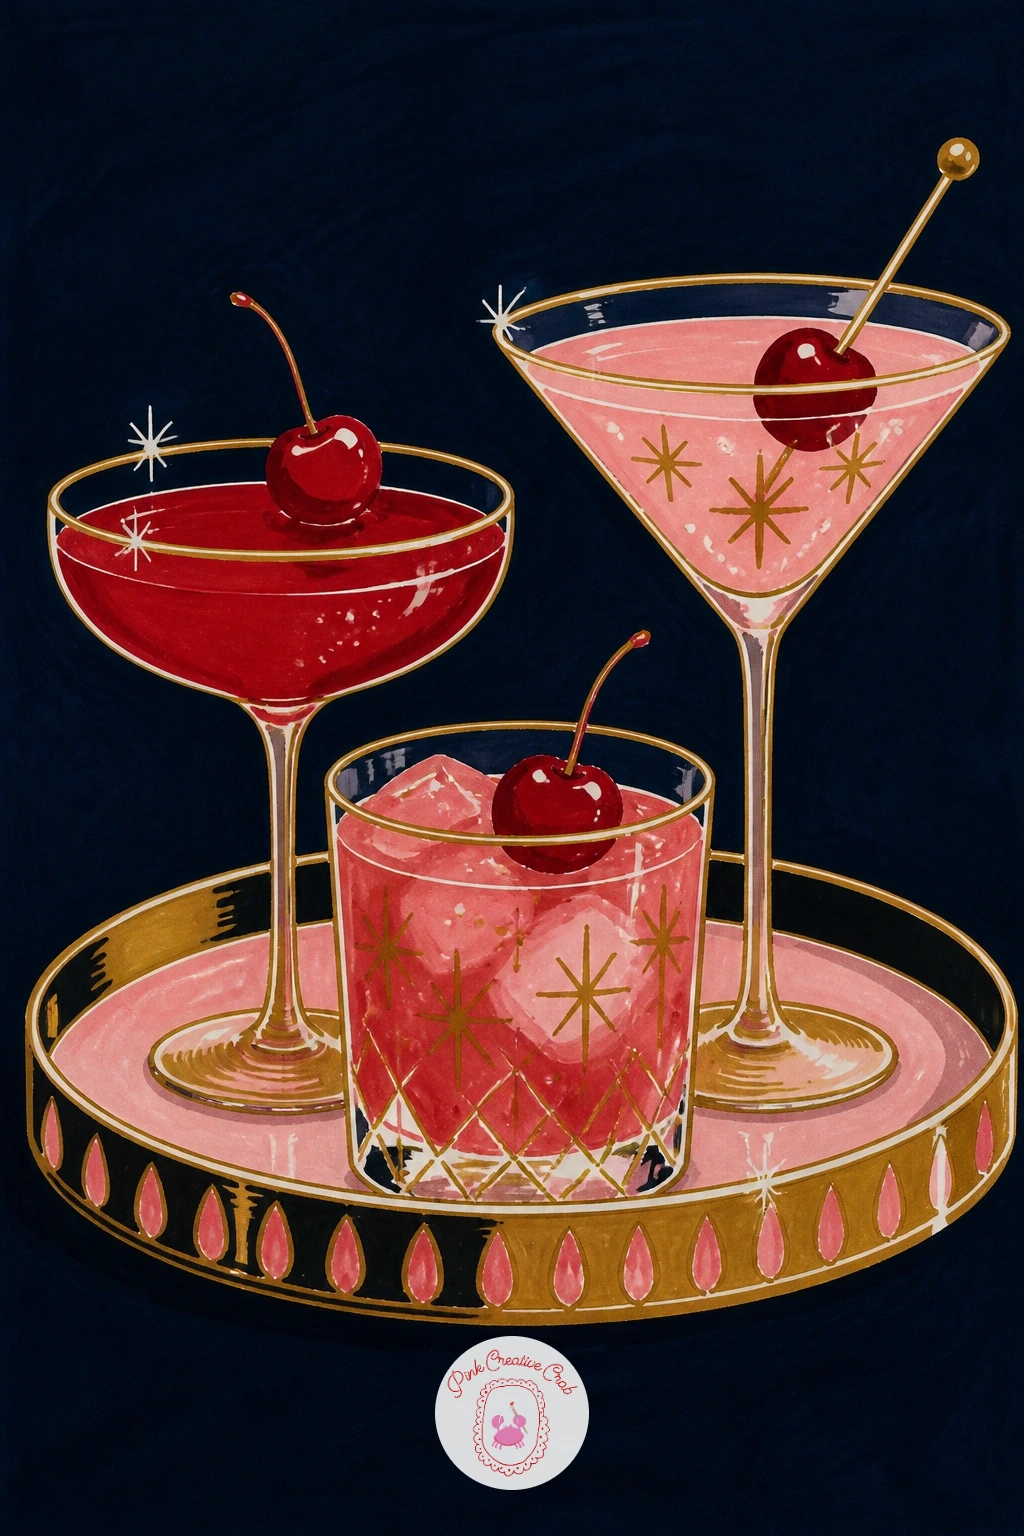
Move from cozy back to festive with a tray of colorful cocktails, each topped with a cherry. Draw three or four glasses of varied shapes, a coupe, a rocks glass, a flute, lined up loosely on a simple round tray rather than in a perfectly straight row.
Fill each glass with a different tone, cherry red, blush pink, gold, so the tray reads as a real variety rather than three identical drinks, then top each one with a small round cherry on a short stem.
The mistake to watch for is making every glass the same height, so vary them clearly and let one tilt slightly against another for a more casual, just set down look.
Finish with a white gel pen rim highlight on each glass and a scatter of confetti dots across the tray itself.
You Will Need
- dark cardstock
- cherry red, blush and gold marker
- dark marker for cherries
- white gel pen
Palette: Cherry Red,Soft Blush,Metallic Gold,Silver Grey
For more glass shapes to mix onto a tray like this, the full cocktail glass drawing lessons cover coupes, flutes and rocks glasses individually.
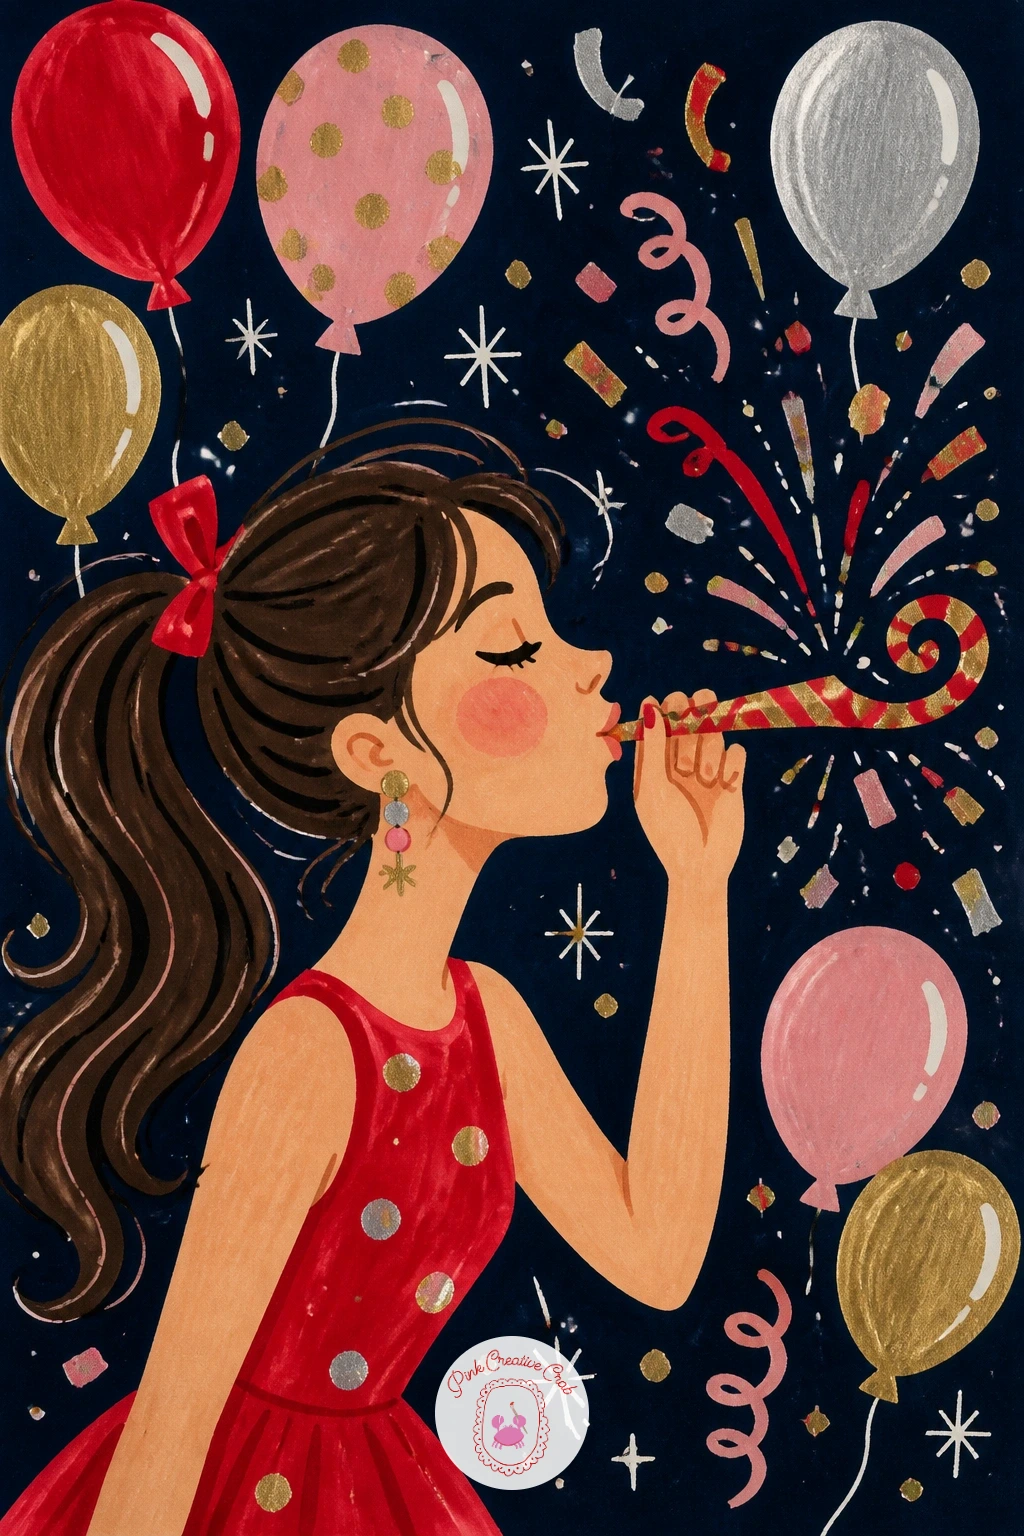
Bring a burst of fun energy back with a girl blowing a party horn, balloons crowding around her. Draw her face first at a slight angle, cheeks puffed and lips pursed around the horn’s mouthpiece, which is the single most important detail for selling the action.
Add the horn itself curling outward from her mouth in cherry red and gold stripes, the coiled paper tip unrolling mid blow, then surround her with a cluster of balloons in varied sizes.
This pose goes wrong when the puffed cheeks look like a regular smiling face, so round the cheek shape out noticeably beyond her jawline and narrow the eyes slightly, both read instantly as mid blow rather than resting.
Finish with a scatter of white gel pen confetti dots bursting from the horn’s tip.
You Will Need
- dark cardstock
- skin tone marker
- cherry red and gold marker
- white gel pen
Palette: Cherry Red,Metallic Gold,Soft Blush,Deep Navy
Practice the puffed cheek expression a few times on scrap paper first, that small exaggeration is what carries the whole action of this page.
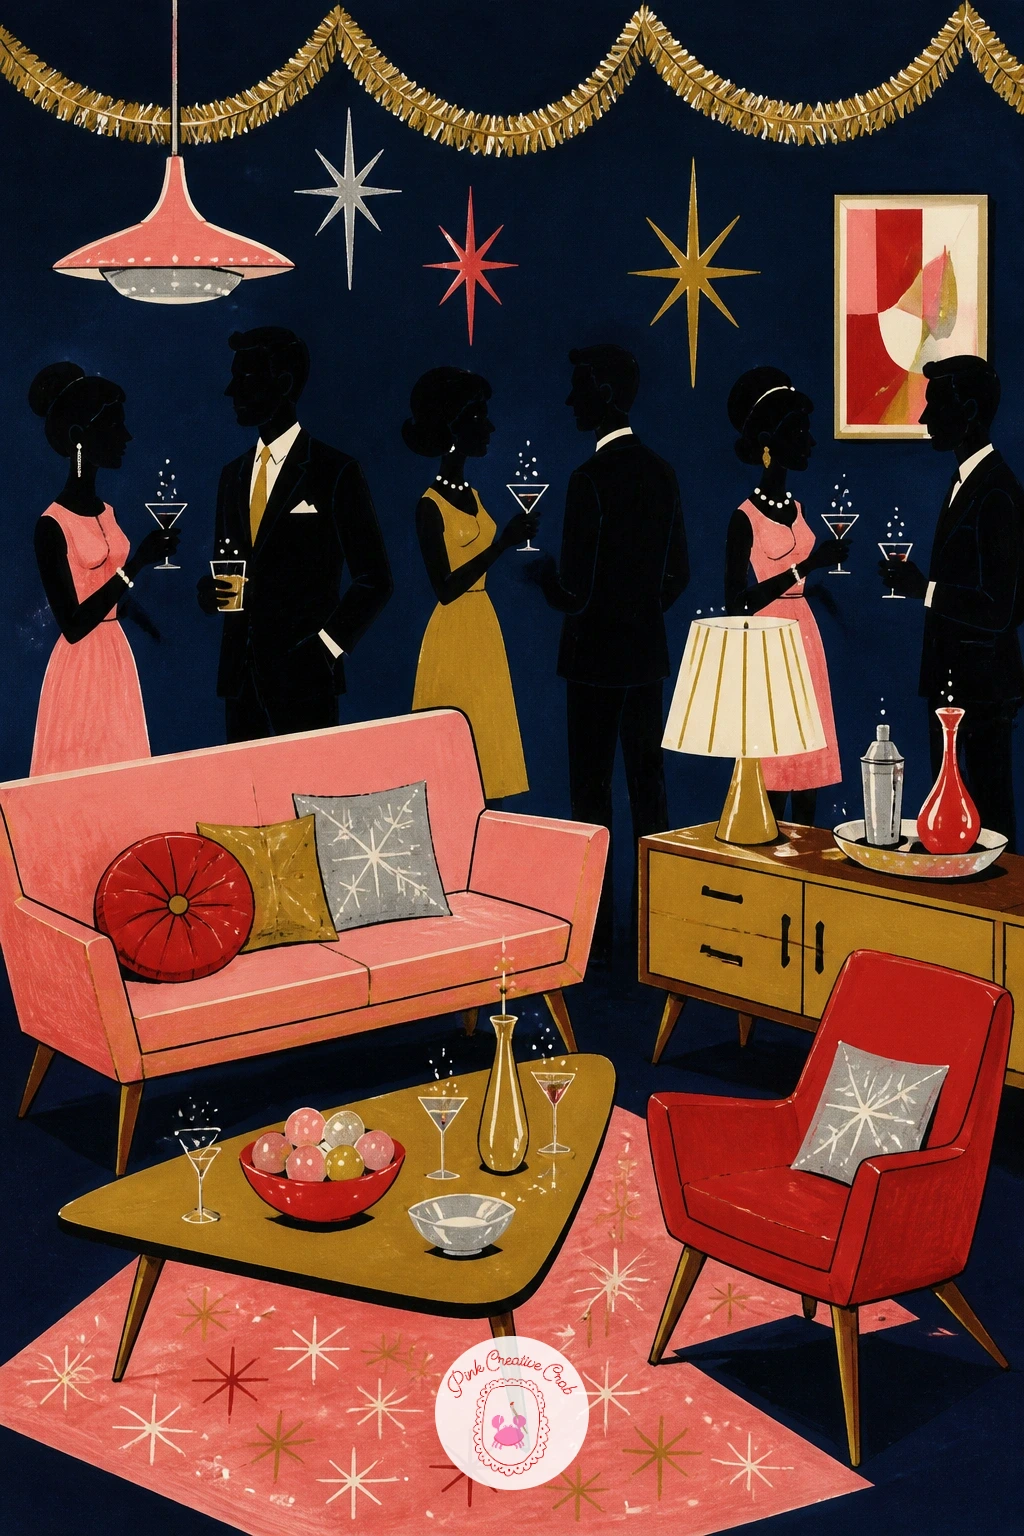
Pull back to a wider view with a full midcentury living room mid party, tinsel garland draped along the walls. Block in simple furniture shapes first, a low sofa, an angular side table, a floor lamp, all drawn with the clean geometric lines typical of midcentury style rather than soft curves.
Drape a tinsel garland in a loose scallop shape across the back wall, rendered as a wavy gold line with small fringe marks rather than individually drawn strands, and scatter a few small party guest silhouettes among the furniture.
This room scene goes wrong when every piece of furniture sits flat against the back wall in a row, so overlap a chair in front of the sofa and angle the side table slightly, creating actual depth in the room.
Finish with warm gold lamp light washing across one corner and a scatter of white gel pen sparkle near the garland.
You Will Need
- dark cardstock
- gold and grey marker
- dark marker for furniture outlines
- white gel pen
Palette: Metallic Gold,Silver Grey,Soft Blush,Deep Navy
Look at a few real midcentury furniture photos for the angular leg shapes and low profiles, that silhouette alone sets the whole style of the room.
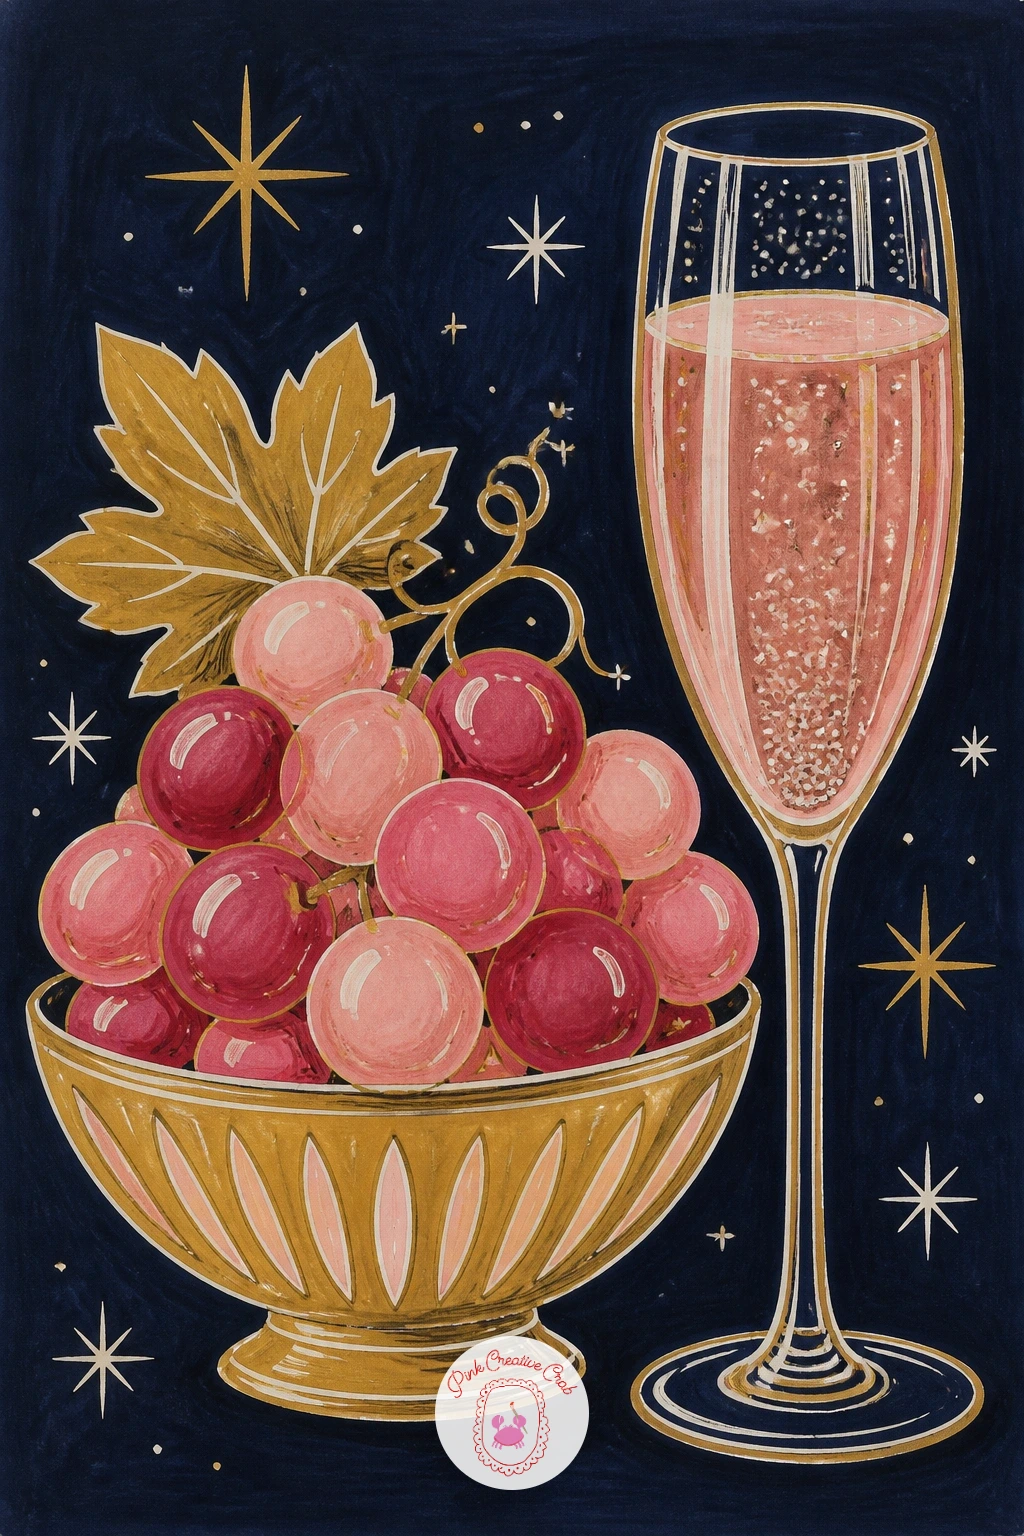
Zoom back into something small and quick after the busy room scene: a bowl of twelve grapes beside a glass of cava for the midnight tradition. Draw the bowl as a simple curved shape first, then fill it with small overlapping circles for the grapes, clustered rather than lined up individually.
Add a tall cava glass beside the bowl, its bubbles rendered as a scatter of tiny white gel pen dots rising through pale gold liquid.
Where this still life goes a little flat is the grapes all reading as the same flat circle, so vary a few in size and let two or three overlap the rim of the bowl, spilling slightly over the edge.
Finish with a soft blush or cherry wash along one side of the grape cluster to suggest their natural color variation.
You Will Need
- dark cardstock
- cherry red or blush marker
- gold marker
- white gel pen
Palette: Cherry Red,Soft Blush,Metallic Gold,Deep Navy
This is a genuinely fast ten minute page, the forty minute version adds a tablecloth pattern or a clock in the background nodding to the midnight tradition.
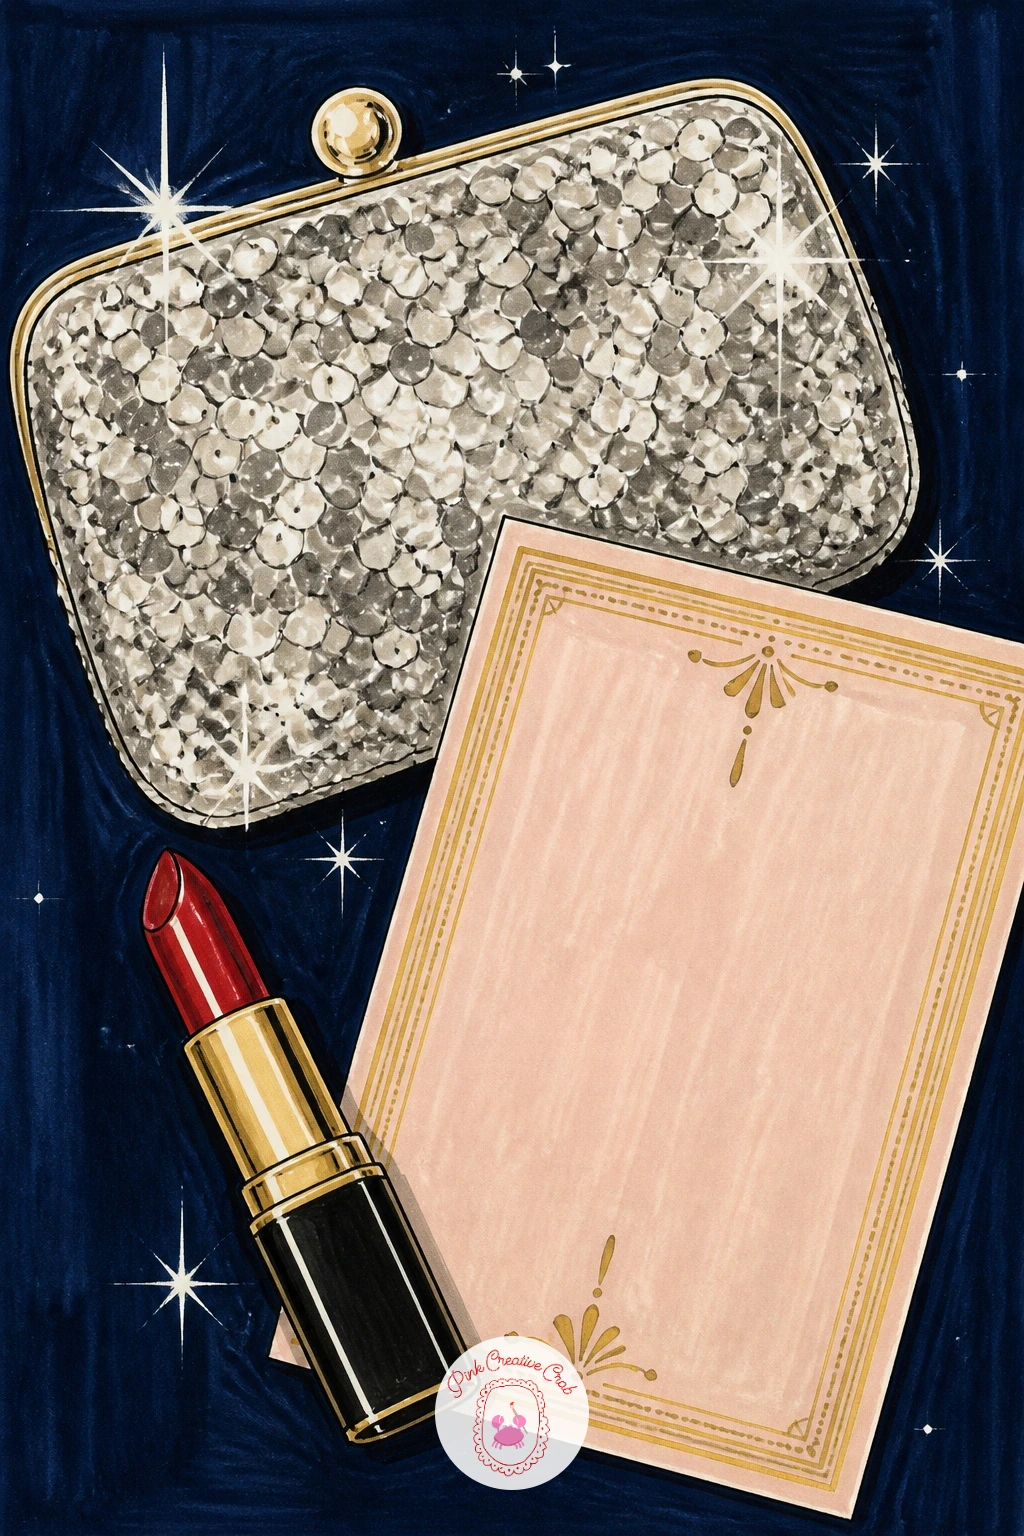
Slow down with a small flat lay style still life: a sequined clutch, an open lipstick and a party invitation card. Draw the clutch first as a simple rectangular shape with a thin gold clasp, then stipple a pattern of tiny dashes across its surface in silver to suggest sequins without rendering each one.
Add the lipstick beside it, cap off and bullet exposed in cherry red, and the invitation card tilted slightly beneath both, a few lines suggesting elegant script rather than legible text.
This flat lay goes wrong when all three objects sit in a neat row, so overlap the invitation slightly under the clutch and angle the lipstick diagonally across both, a far more natural arrangement.
Finish with a thin gold foil style border along the invitation’s edge and a few white gel pen sparkle dots over the clutch.
You Will Need
- dark cardstock
- silver and gold marker
- cherry red marker
- white gel pen
Palette: Silver Grey,Cherry Red,Metallic Gold,Soft Blush
Keep the invitation’s lettering as loose squiggles rather than real words, it reads as elegant script from a glance without demanding careful hand lettering.
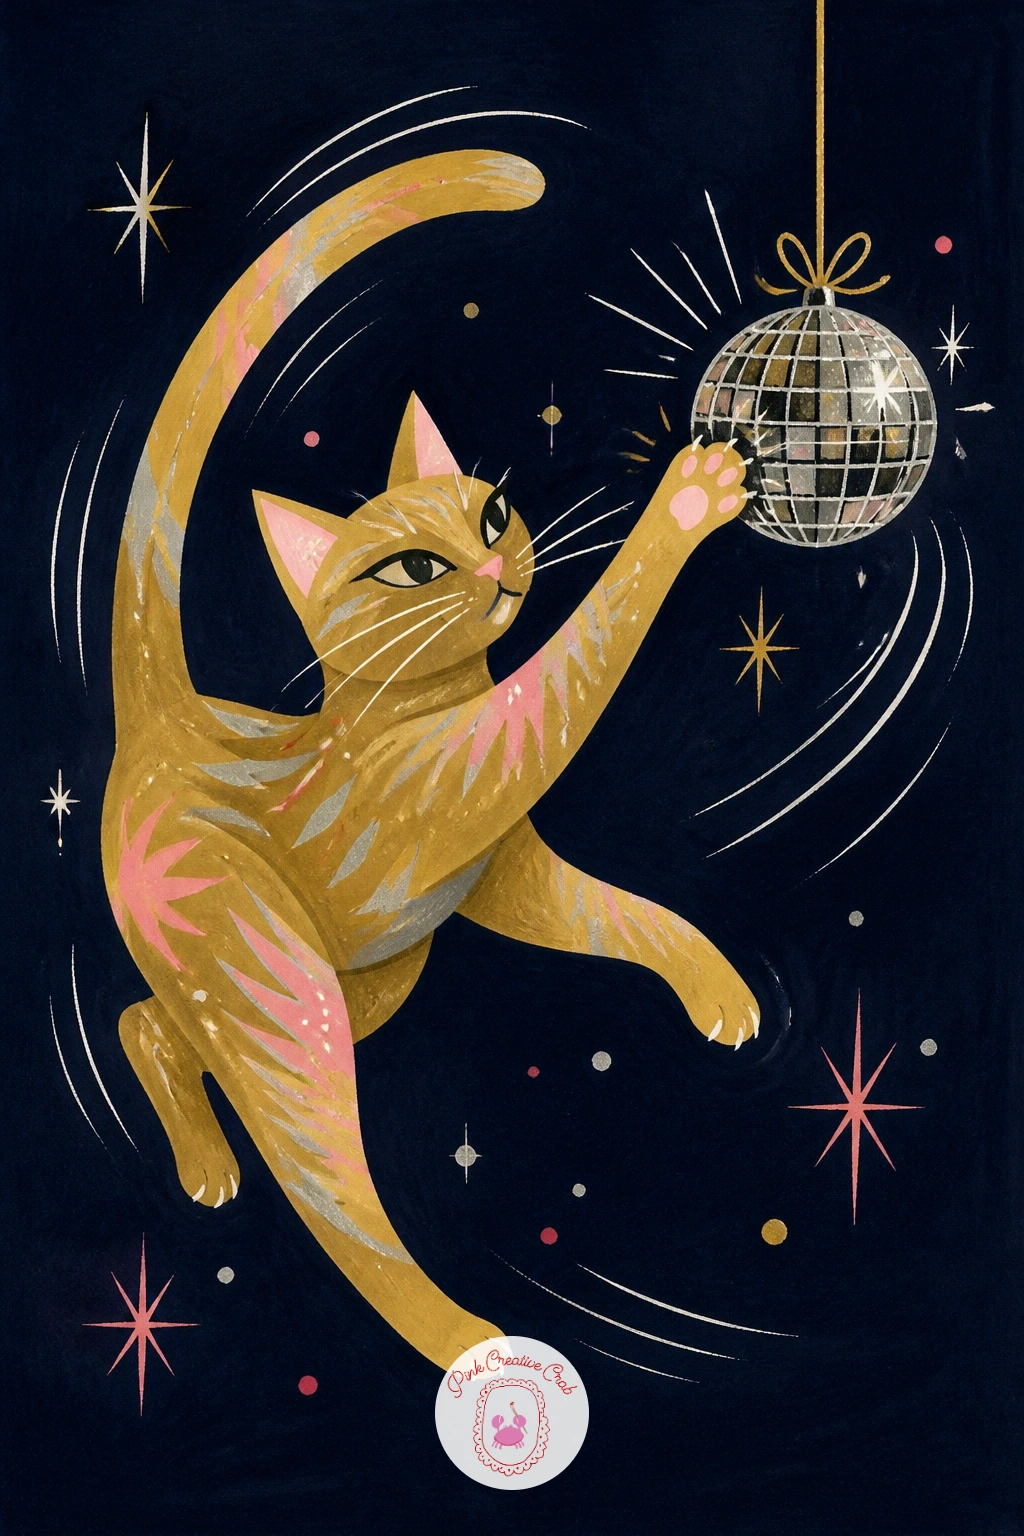
Bring the cat back for a playful moment, batting at a small hanging disco ball ornament. Draw the cat mid motion this time, one paw raised and reaching, body leaning slightly, a clear change from the earlier sleeping pose.
Hang the little disco ball ornament from a thin gold cord just above the raised paw, its facets rendered the same way as the larger disco ball but much smaller and simpler, just a scatter of silver diamond shapes.
The mistake here is a static looking cat, so curve the spine noticeably and lift the back leg slightly off the ground, both suggest a pounce in progress rather than a stiff standing pose.
Finish with a few white gel pen motion lines trailing behind the raised paw and sparkle dots scattered off the ornament.
You Will Need
- dark cardstock
- gold and silver marker
- dark marker for cat body
- white gel pen
Palette: Silver Grey,Metallic Gold,Warm Cream,Deep Navy
If you enjoy drawing cats in motion like this, a wider set of cat pencil drawing poses is a good place to practice more playful positions.
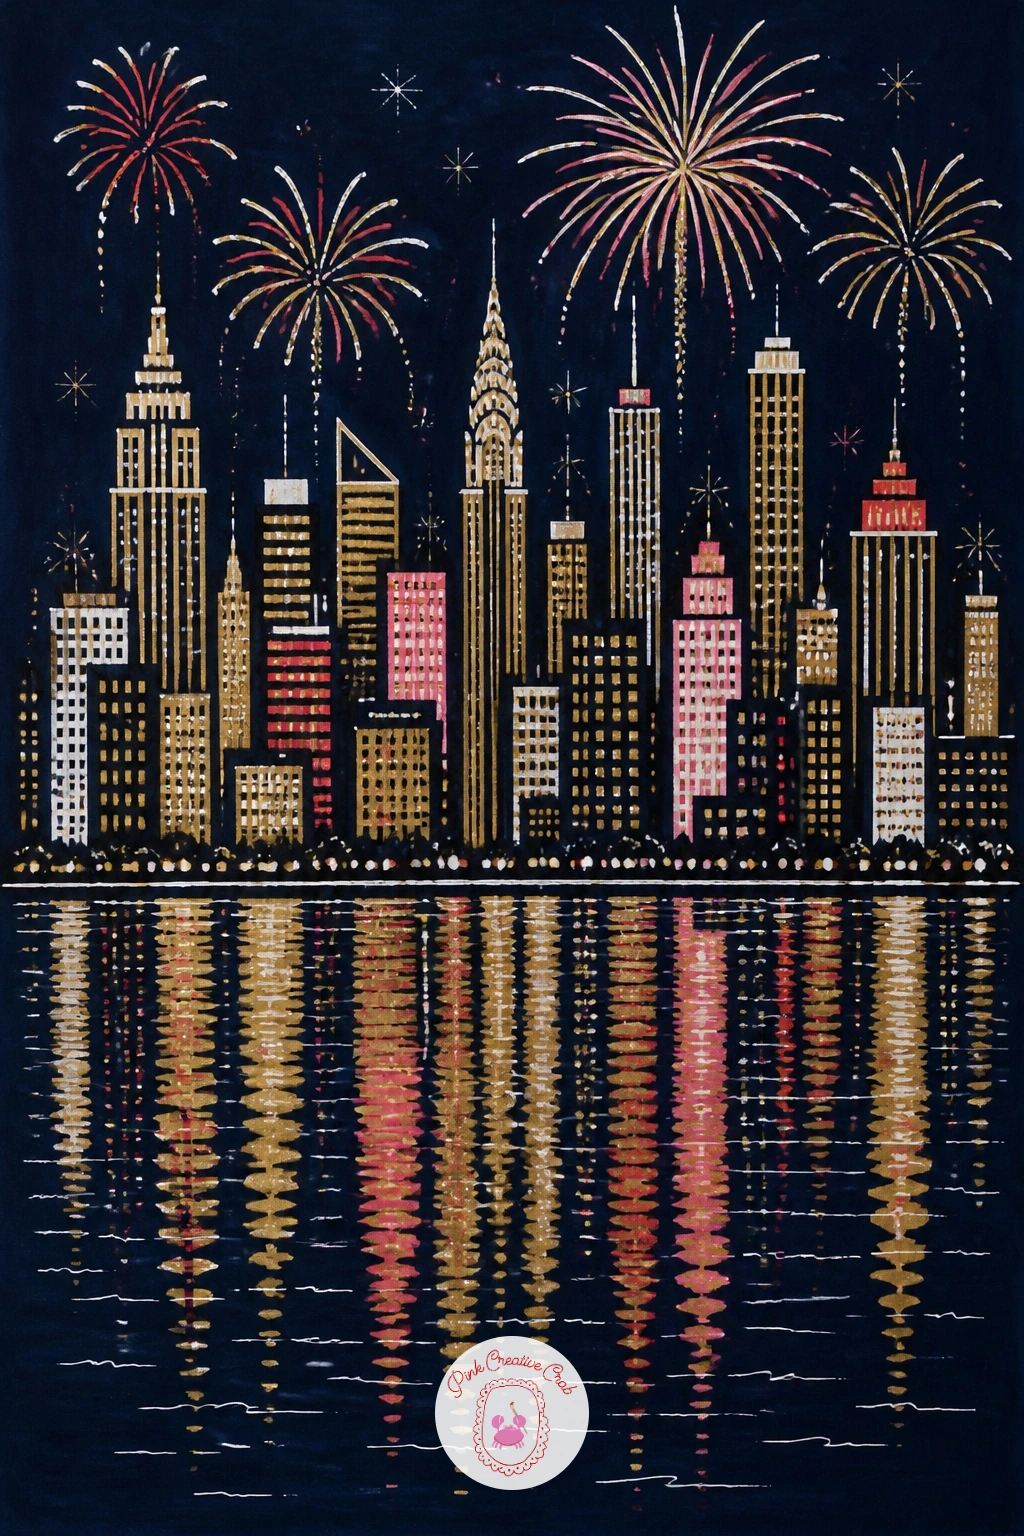
Widen the view again with a city skyline lit up for New Year, its lights reflected in a river below. Block in the skyline first as a row of simple rectangular buildings varying in height, windows suggested with small dashes of gold rather than individually drawn squares.
Draw fireworks bursting above the skyline in two or three spots, then mirror the whole skyline and fireworks loosely below a horizontal line to suggest the river’s reflection, slightly wavier and less defined than the original.
This reflection goes wrong when it looks identical to the skyline above, so smudge or soften the lower version with looser, more broken lines, reflections are never as crisp as the real thing.
Finish with white gel pen ripple lines across the river’s surface and a few scattered window lights in warm gold throughout both skylines.
You Will Need
- dark cardstock
- gold and silver marker
- dark marker for buildings
- white gel pen
Palette: Metallic Gold,Silver Grey,Deep Navy,Cherry Red
Keep the reflected skyline about two thirds the height of the real one and let the colors bleed slightly softer, both small choices make the river read correctly.
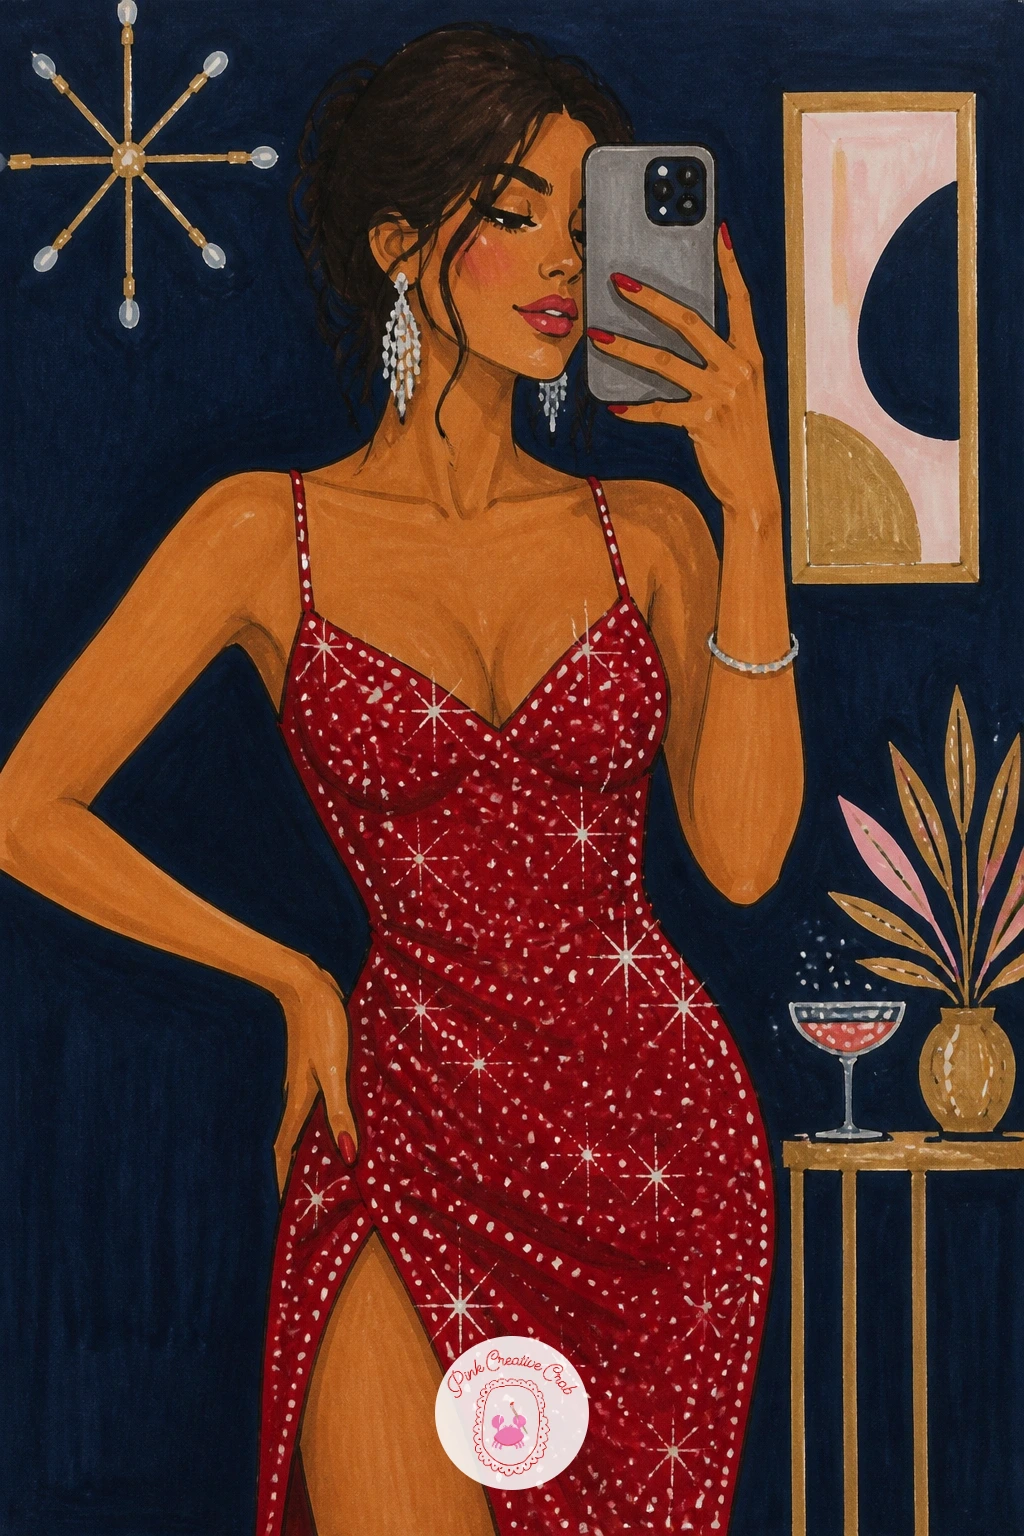
Return to a single figure with a woman taking a mirror selfie in a sparkly dress, phone held up at an angle. Draw the mirror frame first as a simple oval or rectangle, then the figure standing inside it in three quarter view, one arm raised holding the phone toward her reflected face.
Render the sparkly dress with a dense scatter of white gel pen dots over a base of cherry red or gold marker, applied once the marker underneath is fully dry so the dots sit crisp on top.
Where this pose goes wrong is the raised arm looking disconnected from the shoulder, so keep the elbow bent at a clear angle and let the upper arm stay close against the torso rather than floating away from the body.
Finish with a soft frame edge in silver or gold around the mirror itself and a small glowing phone screen reflected faintly.
You Will Need
- dark cardstock
- cherry red or gold marker
- silver marker for frame
- white gel pen
Palette: Cherry Red,Metallic Gold,Silver Grey,Deep Navy
If posing a figure at this angle feels tricky, warming up with simpler girl pencil drawing poses first makes the raised arm and tilt far easier to commit to in marker.
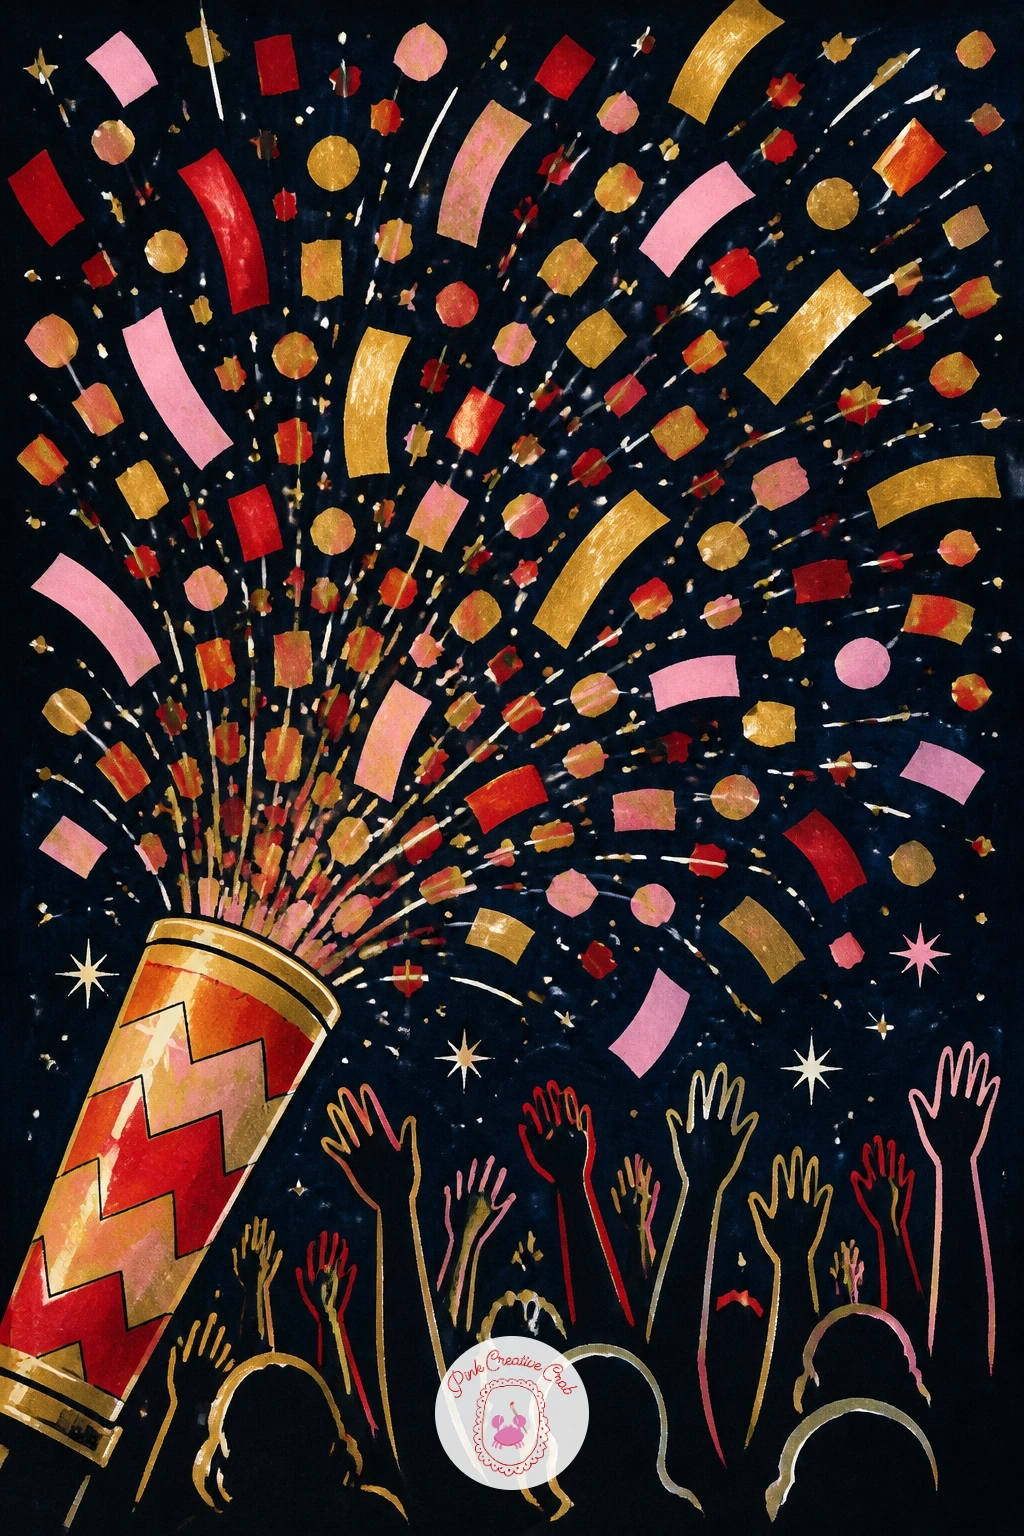
Build the energy up again with a confetti cannon exploding over a loosely suggested crowd. Draw the cannon itself as a simple cylinder shape, angled upward, with a small burst cloud right at its opening rendered in a few bold overlapping shapes rather than fine detail.
From that burst cloud, scatter confetti pieces widely across the upper half of the page, varying the shapes, squares, circles, thin strips, and varying the colors between gold, cherry red and blush.
This explosion goes wrong when the confetti all drifts in one uniform direction, so vary the angles of each piece noticeably, some falling straight, some tumbling sideways, for a far more convincing burst.
Finish with a loose row of raised arm silhouettes along the bottom edge suggesting a crowd, and white gel pen sparkle trailing through the thickest part of the confetti.
You Will Need
- dark cardstock
- gold, cherry red and blush marker
- dark marker for crowd silhouettes
- white gel pen
Palette: Metallic Gold,Cherry Red,Soft Blush,Deep Navy
Try the quick version with just the cannon and burst for ten minutes, then add the full crowd silhouette row only if you want the busier forty minute composition.
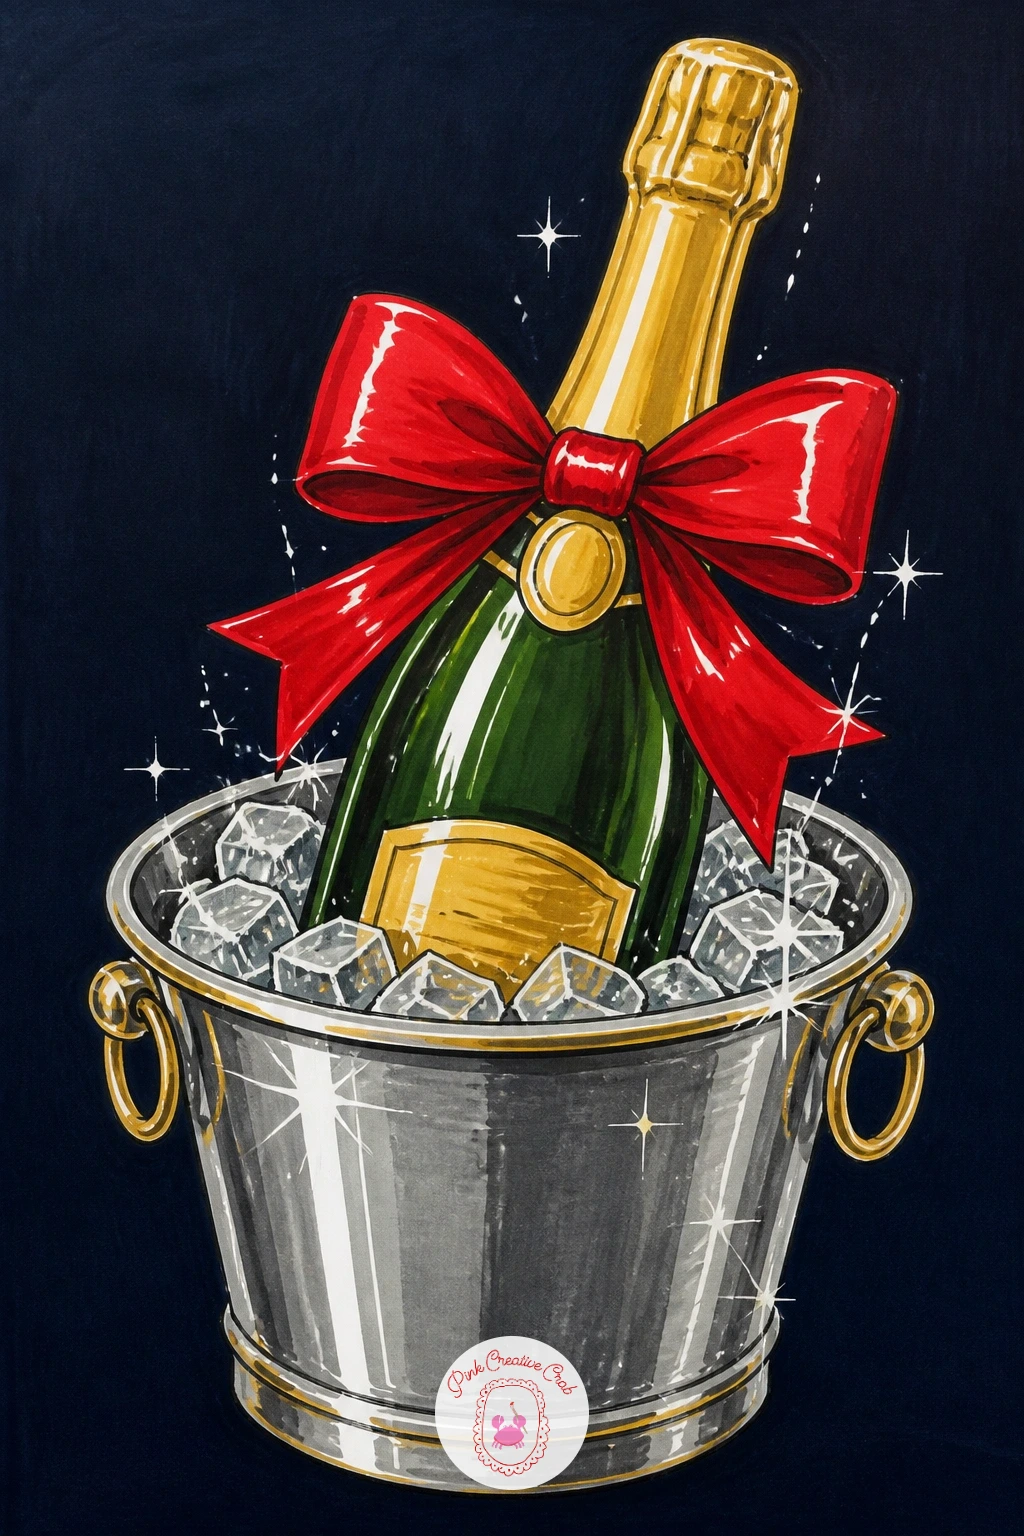
Settle back into a calmer still life with a champagne bottle resting in an ice bucket, a bow tied around its neck. Draw the bucket first as a simple rounded cylinder, then the bottle standing inside it, taller than the bucket’s rim, its label rendered as a small gold rectangle rather than detailed text.
Fill the bucket itself with a scatter of simple ice shapes around the bottle’s base, irregular polygons rather than perfect cubes, which reads far more convincingly as ice.
The mistake to avoid is a stiff straight bottle neck, so angle it very slightly rather than dead vertical, and let the ribbon bow droop naturally rather than sitting in a perfectly symmetrical knot.
Finish with white gel pen highlight streaks along the bottle’s glass and a few condensation dots near the bucket’s rim.
You Will Need
- dark cardstock
- gold and grey marker
- cherry red or blush marker for ribbon
- white gel pen
Palette: Metallic Gold,Silver Grey,Cherry Red,Deep Navy
Leave the ice shapes mostly unmarked white gel pen outlines over navy rather than filling them solid, that contrast is what makes them read as cold and glassy.
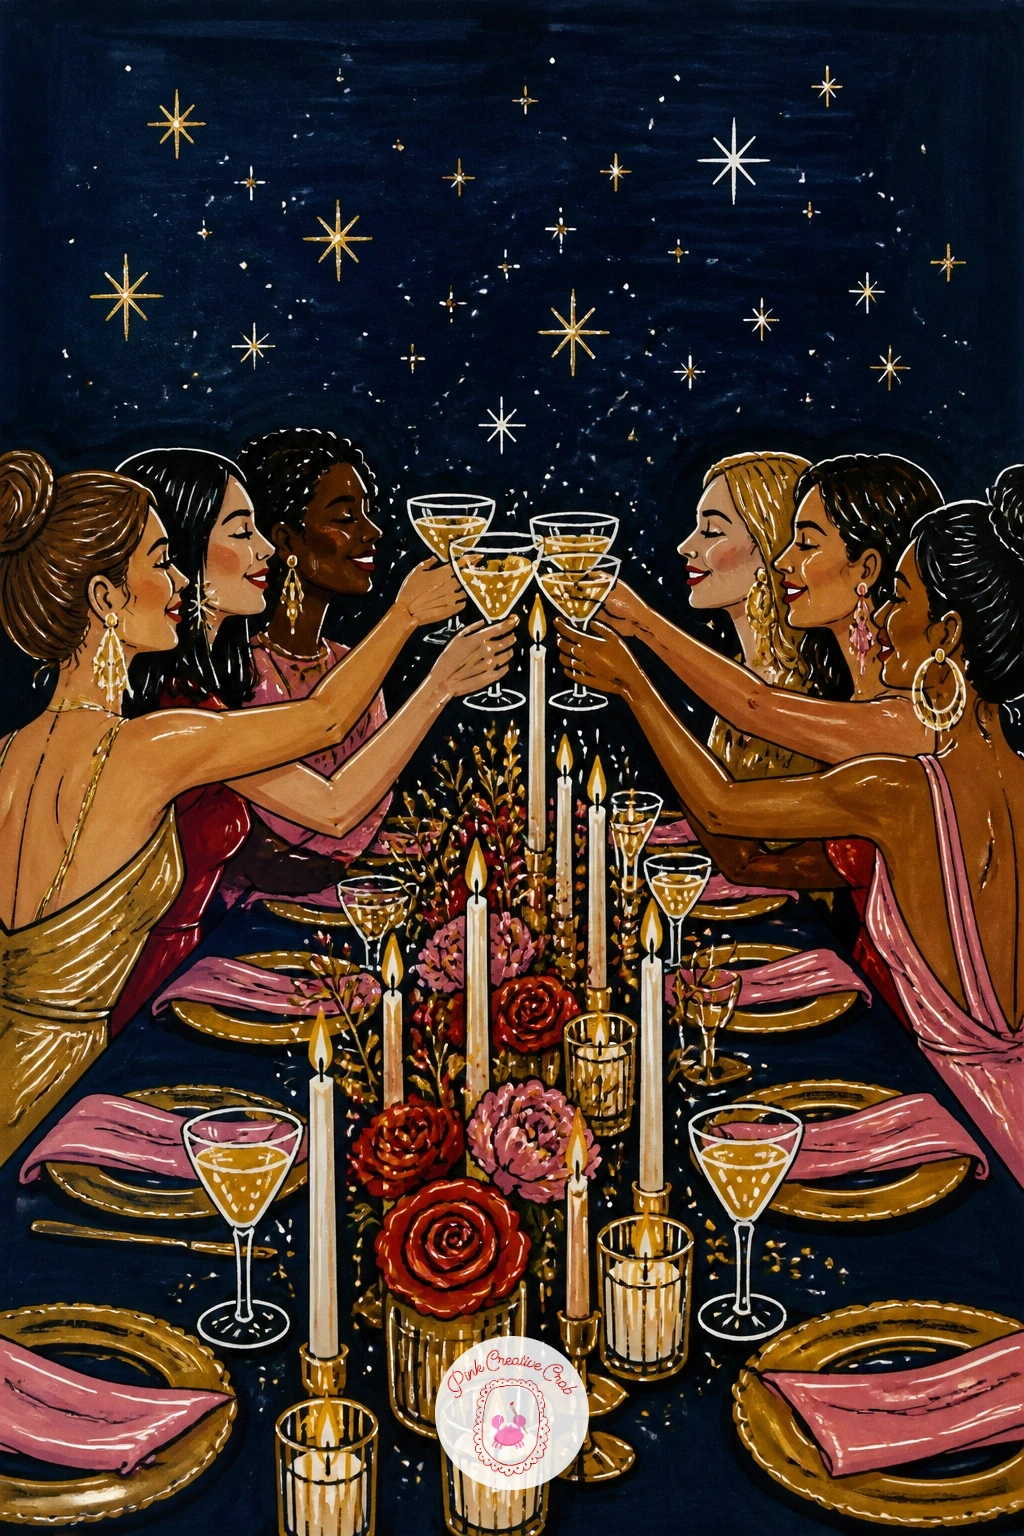
Widen out once more for a group toast around a long candlelit table. Draw the table first as a simple horizontal shape stretching across the page, then place a row of simple seated figures along it, each rendered as a basic torso and head shape rather than full detailed bodies.
Raise every glass at roughly the same height across the row, a small consistent gesture that reads instantly as a group toast even with minimal figure detail.
This scene goes wrong when the table feels empty and cold, so fill the space between figures with a run of tall candles, a few plates and a scattered garland down the center.
Finish with warm gold candlelight washed across the nearest faces and white gel pen sparkle along the raised glasses.
You Will Need
- dark cardstock
- gold and cherry red marker
- dark marker for figures
- white gel pen
Palette: Metallic Gold,Cherry Red,Soft Blush,Deep Navy
Keep the row of figures slightly uneven in height and spacing rather than perfectly matched, real friends gathered at a table never line up with ruler precision.
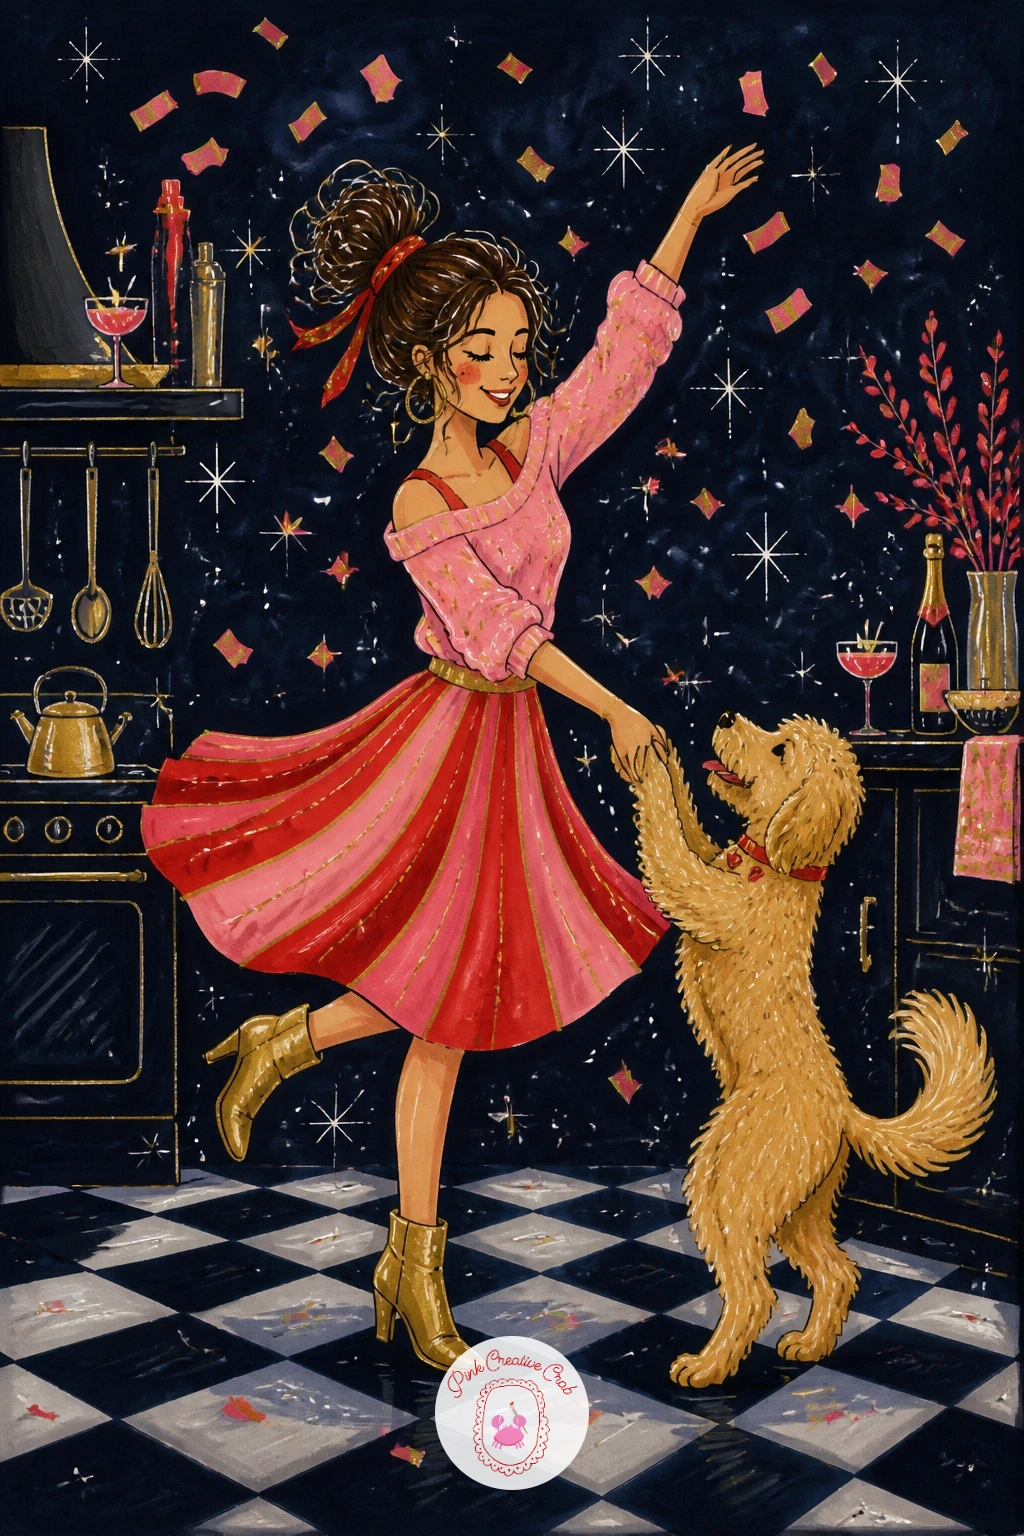
Bring the dachshund back for a sweeter beat: a girl dancing with her dog in the kitchen right at midnight. Draw her first mid spin, one foot lifted, arms held slightly out for balance, pajama hem swinging with the motion.
Place the dog just below her, front paws lifted as if dancing alongside her, ears flopped mid motion, kept as a simple joyful shape rather than a detailed portrait.
Where this pose goes wrong is a stiff spin with both feet planted, so lift one foot clearly off the ground and tilt her whole torso slightly to one side, both sell the motion of a spin far better than a straight standing pose.
Finish with a simple kitchen counter silhouette in the background and a scatter of white gel pen confetti caught mid air around them both.
You Will Need
- dark cardstock
- blush or cherry red marker
- tan marker for dog
- white gel pen
Palette: Soft Blush,Cherry Red,Warm Tan,Deep Navy
For more playful dog poses to borrow motion ideas from, a set of dog pencil drawing ideas works through jumping and spinning positions in detail.
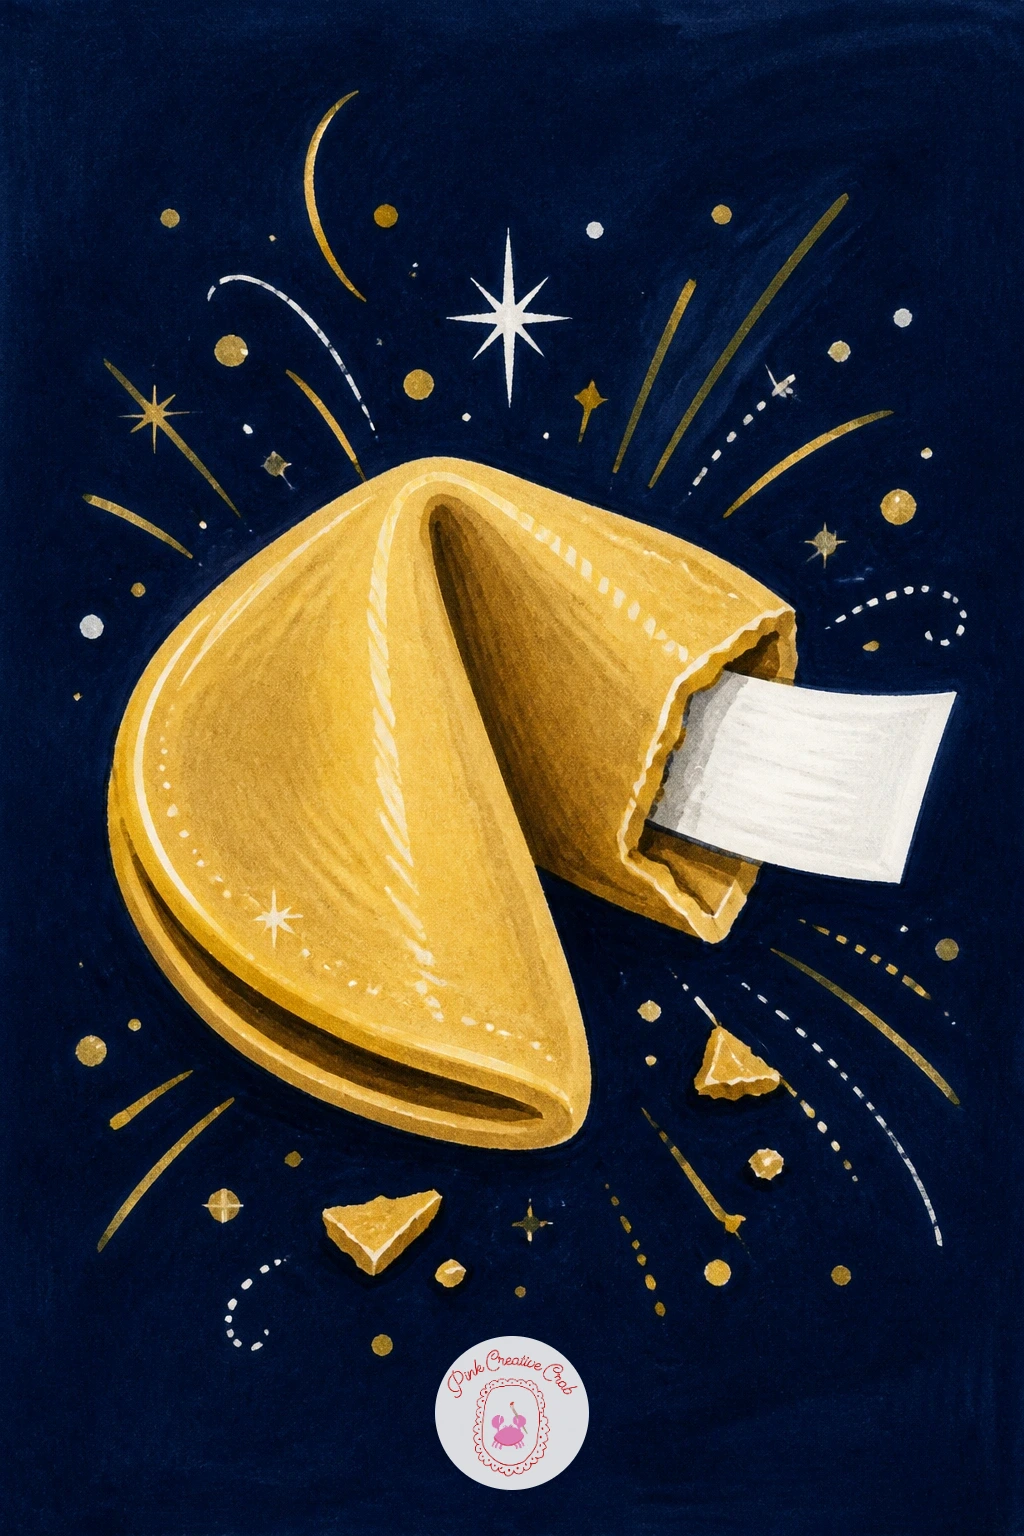
Slow right down with a single fortune cookie, cracked open to reveal a tiny New Year wish inside. Draw the cookie shape first as two curved folds meeting at a point, the classic crescent silhouette, kept simple and smooth rather than textured.
Let a small paper strip peek out from the crack in the cookie, a few loose squiggles suggesting text rather than readable words, since legible lettering is not needed here.
This small subject goes wrong when the cookie’s crescent fold looks flat, so shade one side slightly darker in gold or tan and leave a bright unmarked highlight along the curved top edge.
Finish with a scatter of white gel pen sparkle dots around the cookie as if it just arrived at the end of a celebratory meal.
You Will Need
- dark cardstock
- gold or tan marker
- white gel pen
- fine black or dark marker
Palette: Warm Tan,Metallic Gold,Soft Blush,Deep Navy
This is a genuine ten minute page on its own, the longer version adds a small plate or chopsticks beside it for a fuller little still life.
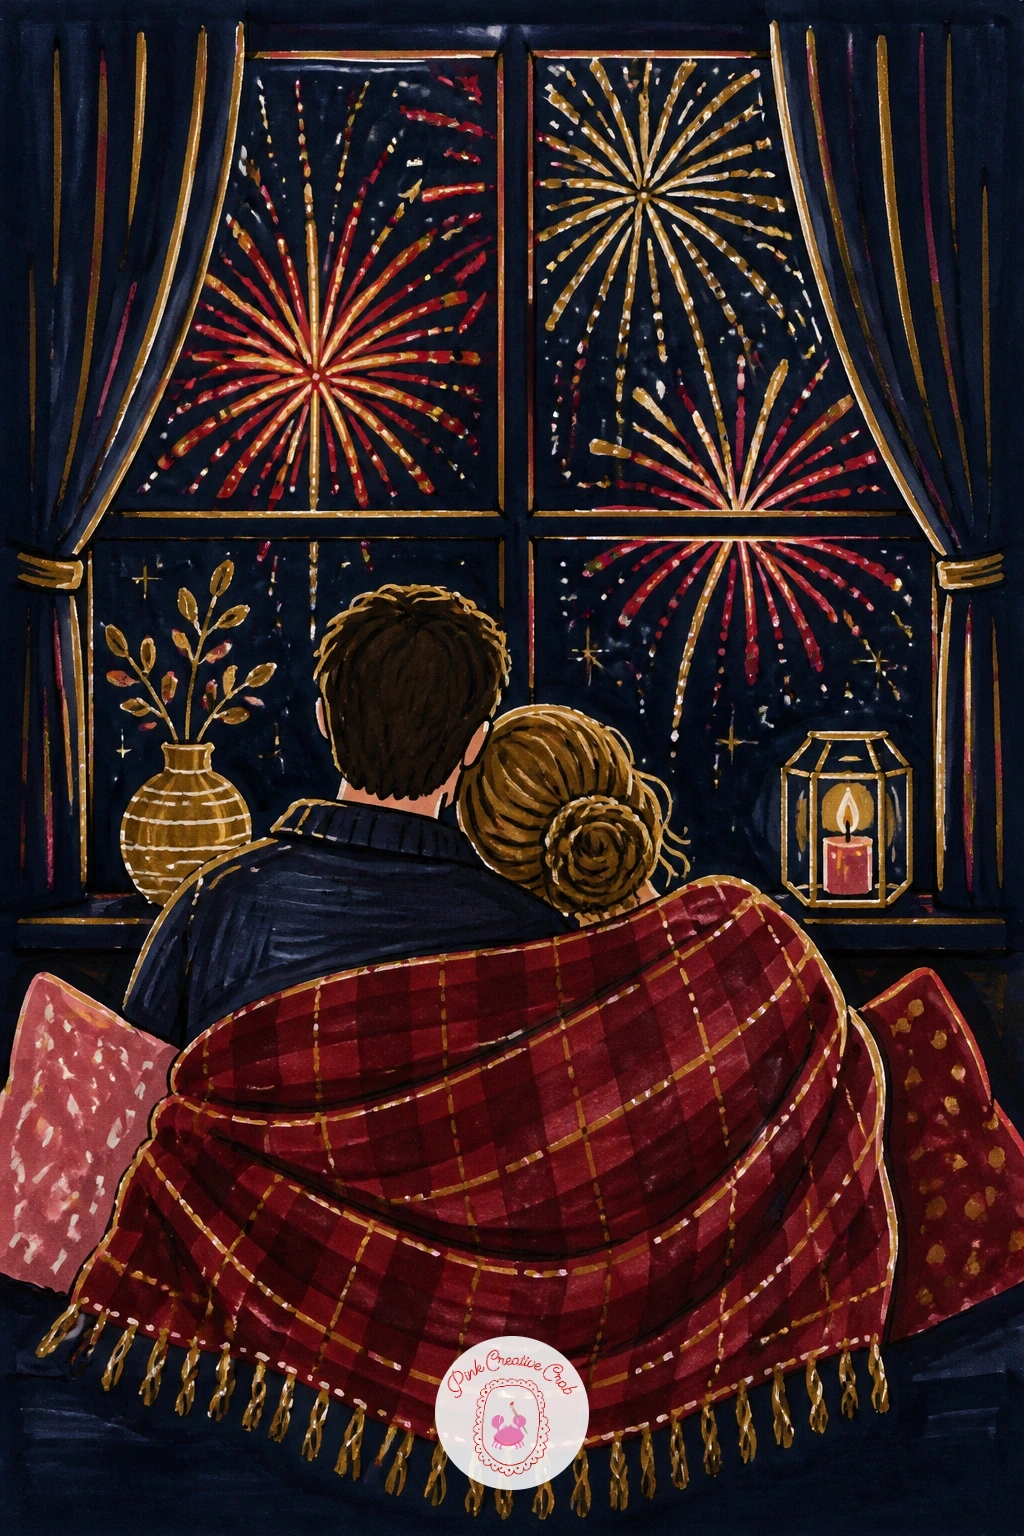
Close out the cozy side of the list with a couple watching fireworks from a window, wrapped in a blanket together. Draw the window frame first as a simple rectangle divided into panes, then the two figures seated close together just inside it, shoulders touching, blanket draped over both laps.
Outside the window, keep the fireworks simple, two or three bursts in gold and cherry red rendered with the same loose trailing lines used earlier in the list rather than tight symmetrical shapes.
This scene goes wrong when the couple looks too far from the glass, so push them right up against the window frame, their silhouettes slightly overlapping its edges, which reads as genuinely cozy and close.
Finish with warm gold interior light washing over their shoulders and white gel pen reflections caught faintly in the window glass.
You Will Need
- dark cardstock
- gold and cherry red marker
- grey marker for blanket
- white gel pen
Palette: Metallic Gold,Cherry Red,Soft Blush,Deep Navy
For more quiet two person compositions like this one, a set of couple sketchbook ideas explores other close, cozy poses worth borrowing from.
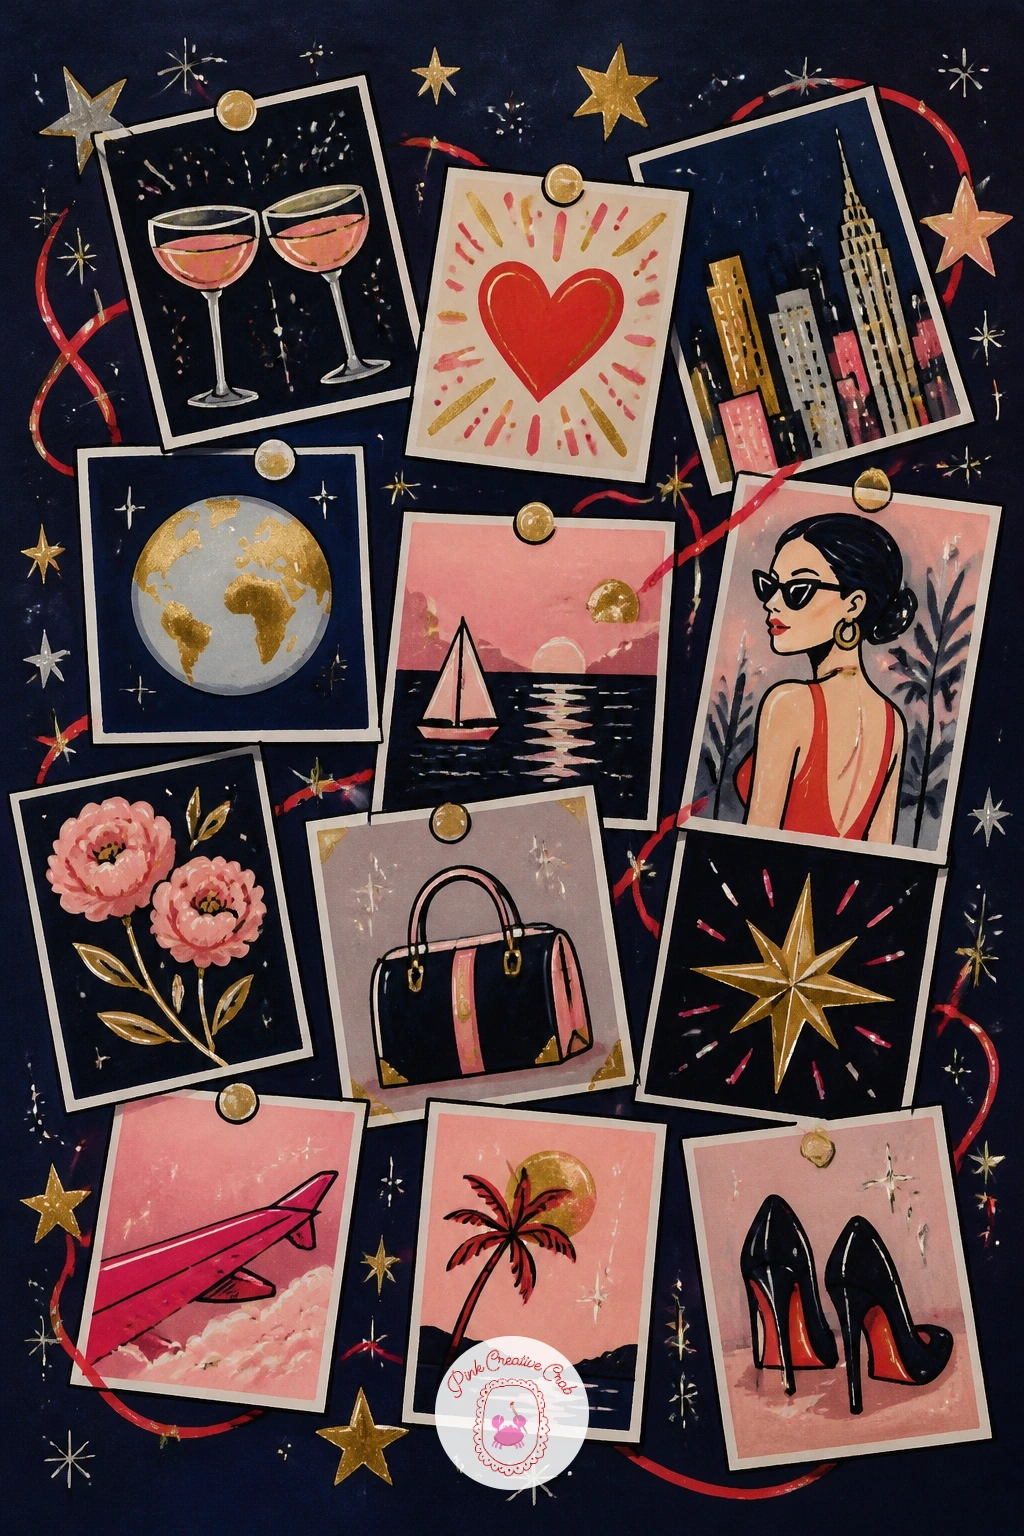
End the list on a reflective note with a vision board, photos and little paper pieces pinned across a wall. Draw the board itself as a simple rectangle or cork texture suggestion, then fill it with a loose grid of small rectangle and polygon shapes standing in for photos and clippings, each just a flat block of color rather than detailed images.
Vary the shapes and angles of each piece noticeably, some tilted, some overlapping, which reads as a real collaged board rather than a stiff grid.
Where this page goes wrong is every piece sitting perfectly straight, so rotate a handful of the rectangles a few degrees off true and let two or three overlap at a corner.
Finish with a few gold star or sparkle shapes scattered between the photo blocks and a thin string or ribbon connecting two or three pieces loosely.
You Will Need
- dark cardstock
- gold and blush marker
- varied marker colors for photo blocks
- white gel pen
Palette: Metallic Gold,Soft Blush,Cherry Red,Silver Grey
If this page sparks ideas for an actual fresh start ritual, a set of new year junk journal pages pairs well as a companion project for January.
What to Do Next
Pick whichever idea matches the mood you want to end the year on, pour something sparkly, and keep the white gel pen for last. Start with dark cardstock cut to a size you can finish in one sitting, and let the page be a little imperfect: that confident, slightly loose line is exactly the look this style is going for.
Frequently Asked Questions
What paper works best for these new year drawing ideas in alcohol marker?
Dark navy or black cardstock built for marker work holds up best, since thin paper buckles and lets ink bleed through. Look for a pad labeled marker friendly or mixed media, heavier stock keeps edges crisp and colors from feathering.
Do I need real metallic markers or can I fake gold and silver?
Real metallic alcohol markers give the cleanest shine, but a gold or silver gel pen layered over a plain yellow or grey marker base works as a budget swap. Test the combination on scrap paper first since coverage varies between brands.
How do I keep the white gel pen from skipping on dark paper?
Shake the pen well and scribble on scrap paper until the ink flows evenly before touching the real page. Pressing a little harder and working in short confident strokes also stops the ink from skipping across the darker surface.
What is the fastest idea on this list for a first try?
The martini glass with the olive and tiny sparkler is the quickest complete scene here, built from only a few bold shapes. It teaches the whole process, sketch, marker fill, white gel pen highlight, in well under half an hour.
Can these ideas work in colored pencil instead of marker?
Yes, colored pencil on dark paper gives a softer, more blended look instead of the bold flat midcentury style described here. Build color in light layers and save a white or silver pencil for the sparkle details normally handled by the gel pen.
Have any thoughts?
Share your reaction or leave a quick response — we’d love to hear what you think!
-
 0
-
0
-
0
-
0
-
0
-
0


