

An interior design sketchbook is my favorite kind of sketchbook to fill, because every page is a little room you get to invent and then step inside. You are not drawing a chair or a lamp on its own, you are drawing a whole moment: someone curled up with tea, a dog waiting by the oven, a cat watching rain through a sunroom window. That story is what makes a room sketch worth finishing.
Below you will find 36 rooms to draw, ordered so you can warm up on a simple nook and work your way to busier spaces with more furniture and light. Grab your fineliner and markers, pick whichever one makes you want to start right now, and give yourself one sitting to finish it.
Using these images: free for personal projects such as printing, coloring, cards, journals and gifts. Handmade items that include them may be sold up to 30 pieces per design. More than that is commercial use and is not permitted, and neither is selling or sharing the images themselves or passing them off as your own. Please ask before any other use.
Start your interior design sketchbook with the easiest room in the book: a single window seat tucked into a corner. Draw the window frame first, since it anchors the whole page, then add the seat cushion and a low bookshelf beside it. Last comes the girl herself, curled up asleep under a quilt with one bare foot peeking out.
Keep the walls plain and let the window light do the work. One warm yellow marker wash across the cushion and quilt is enough color for a beginner room like this. Today’s tip: draw the window before anything else touches the page, so every other line in the room sits correctly around it.
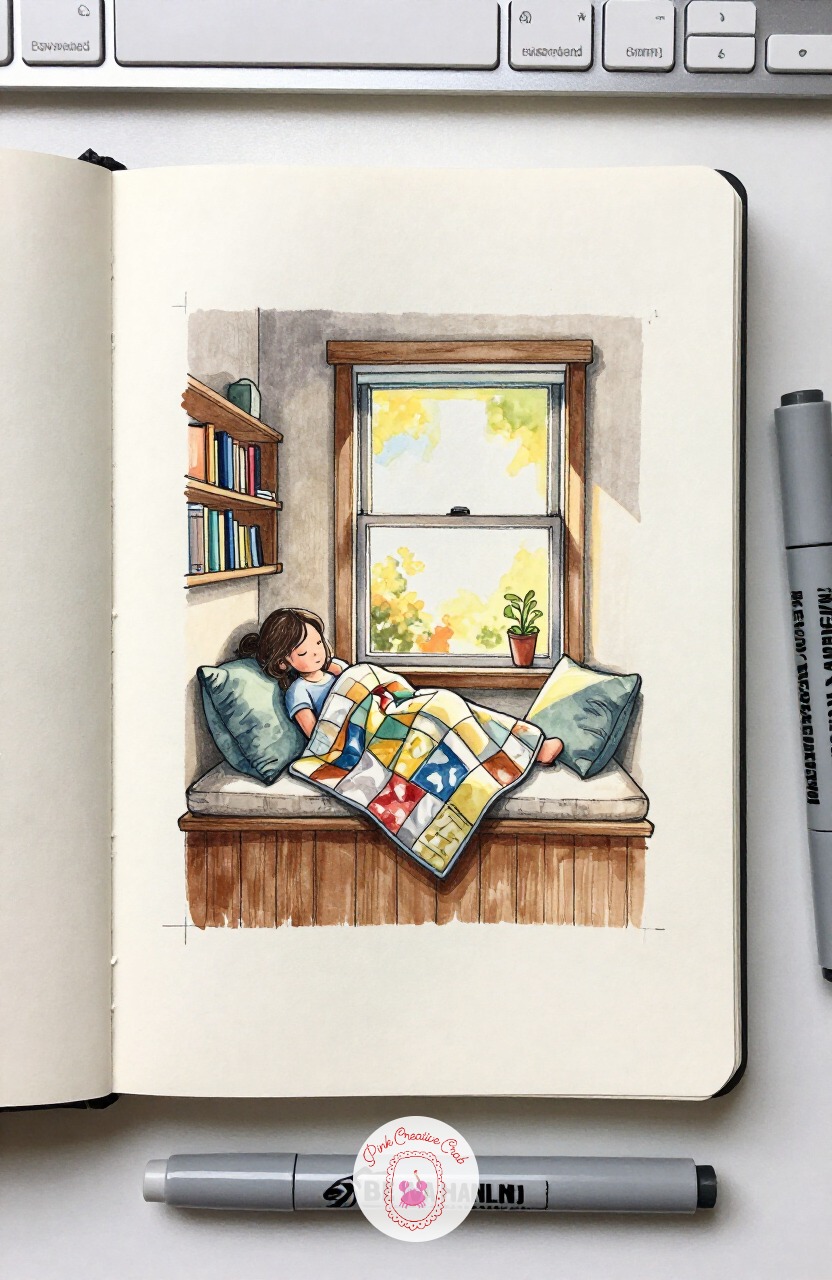
Move from the quiet nook into a busier farmhouse kitchen, still simple enough for one sitting. Pencil in the three biggest shapes first: the stove, the counter run and the table, before anything smaller joins them. Second come the mid-size things, a hanging pot rack and a window over the sink. Last are the small props and the dog sitting patiently by the oven door.
Leave the dog’s fur as your final touch so its warm brown tone pops against the cooler cabinet color. A dangling herb bunch or a steaming kettle adds story without extra drawing time. Today’s tip: block in big, medium, then small, and the whole kitchen stays in proportion.
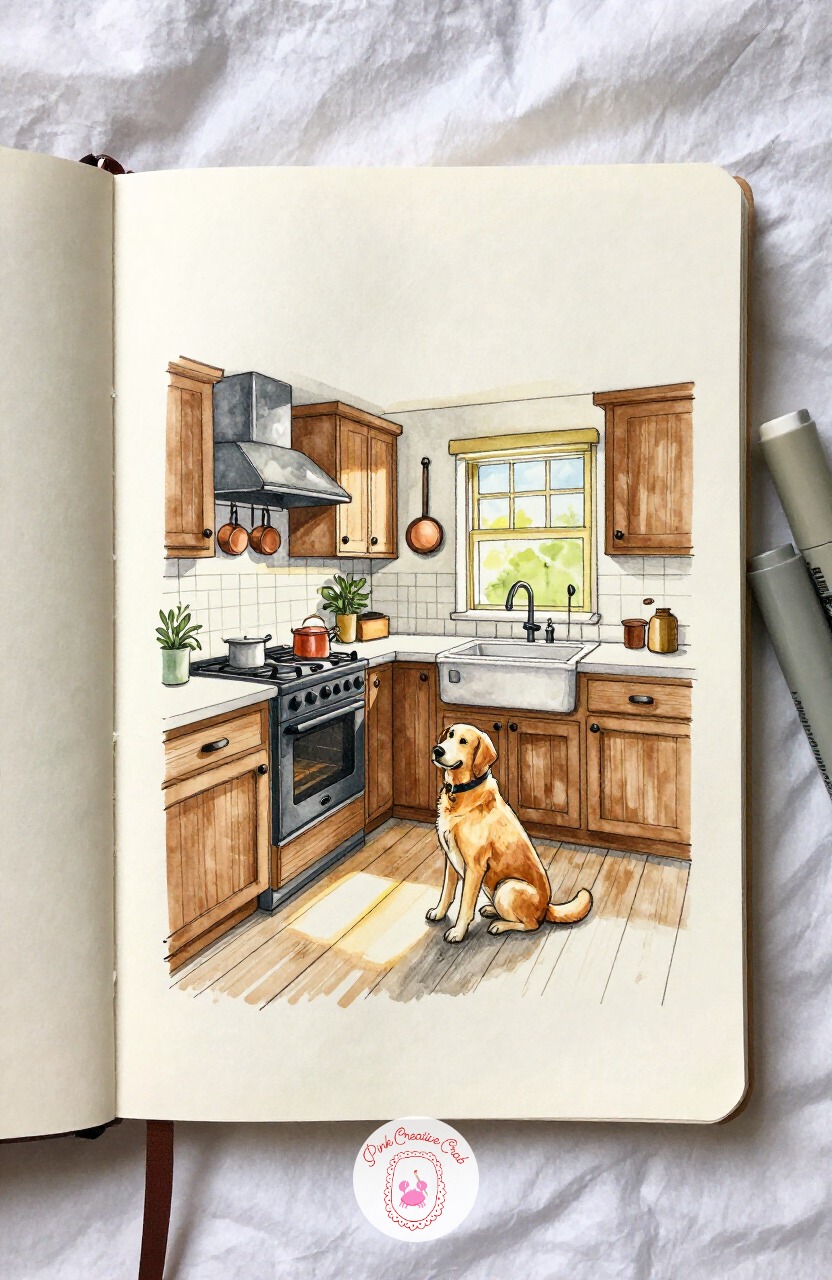
Let the kitchen lead you upstairs to an attic studio, where the sloped ceiling makes perspective matter more. Find the roofline first: draw the skylight as your single light source, then angle the two ceiling slopes falling away from it so the room feels tucked under the roof. Everything else, easels and paint jars, follows those slanted lines.
Scatter a few jars of color along the windowsill and let one shaft of light cross the floor. The slanted ceiling is what sells this as an attic, so get that angle down before adding furniture. Today’s tip: draw the skylight and both roof slopes before anything else enters the room.
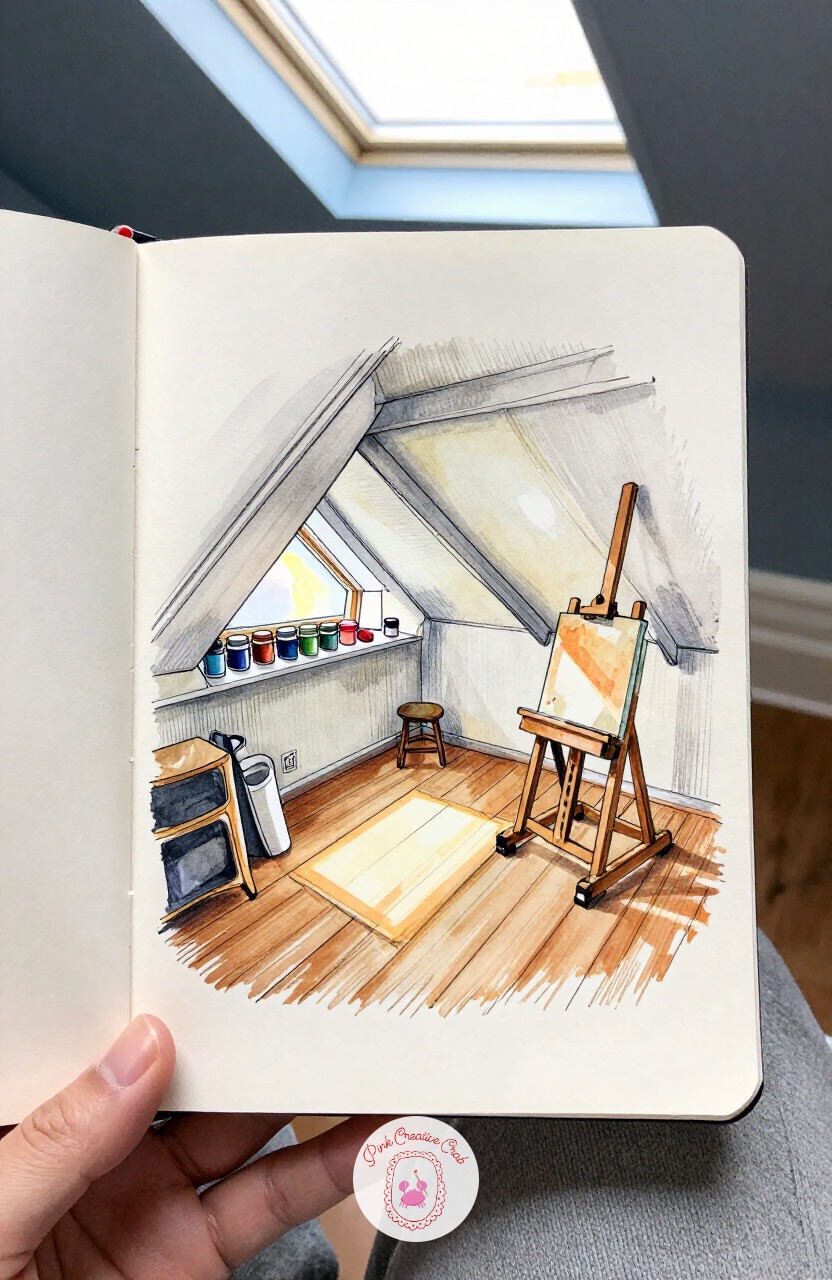
From sloped ceilings move to a glass-walled sunroom, where the proportion trick is all about the plants. Measure the room against the cat sitting on the windowsill: most leafy plants should stand about two or three cat-heights tall, so nothing towers unrealistically or shrinks to nothing. Keep that scale in mind as you fill the room with pots.
Vary the greens, deep for the big fern, pale for a trailing pothos, so the jungle reads as different plants rather than one green blob. The cat stays small and still, a calm anchor in a busy room. Today’s tip: size every plant against the cat first, then draw.
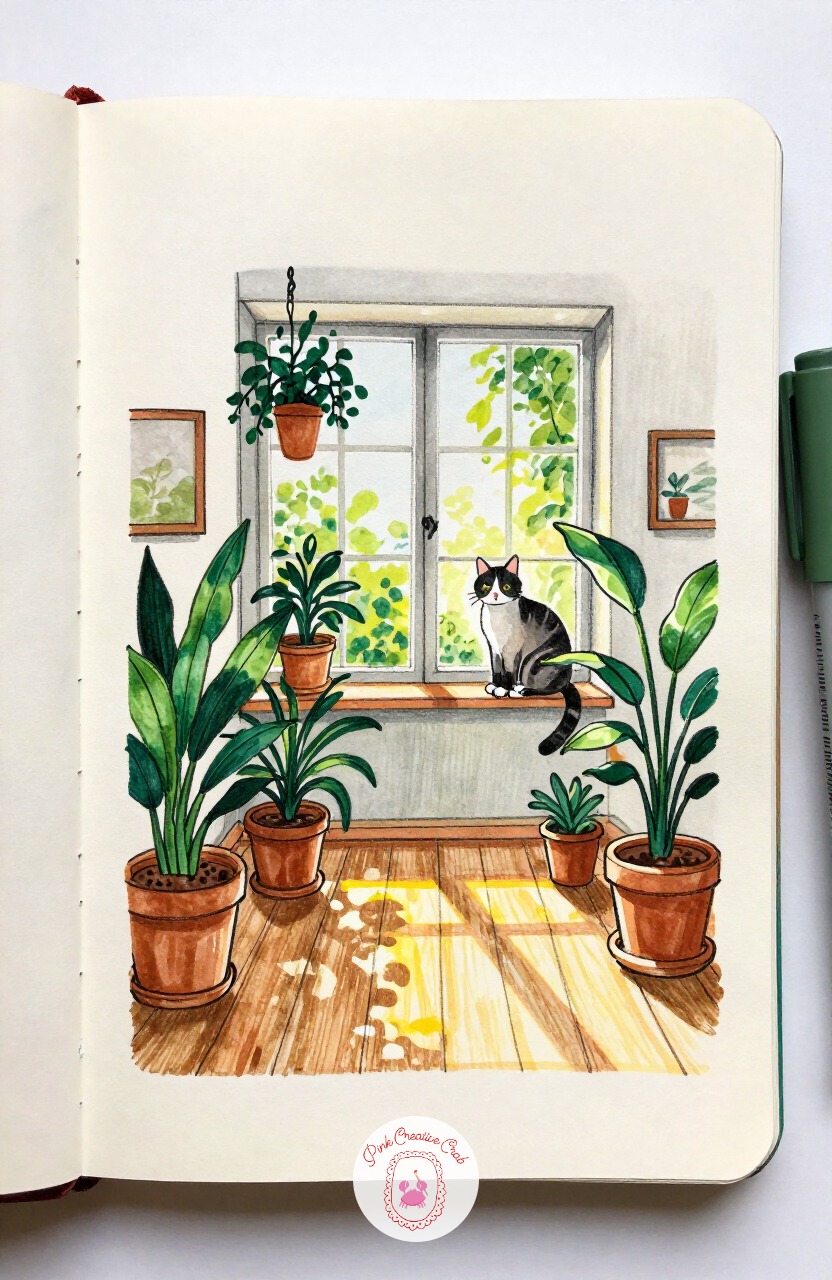
Carry the plant-filled light of the sunroom into a dimmer, cozier library corner, where a single lamp replaces the window as the light source. Put that lamp against the darkest wall so its glow becomes the brightest spot on the page, then let shadows fall away from it across the floor and bookshelves. That one decision shapes every shadow in the room.
An older man dozes in a wingback chair, book fallen open on his lap, rain streaking the small window behind him. Today’s tip: decide where your lamp sits before you shade anything, since every shadow in the room should point away from it.
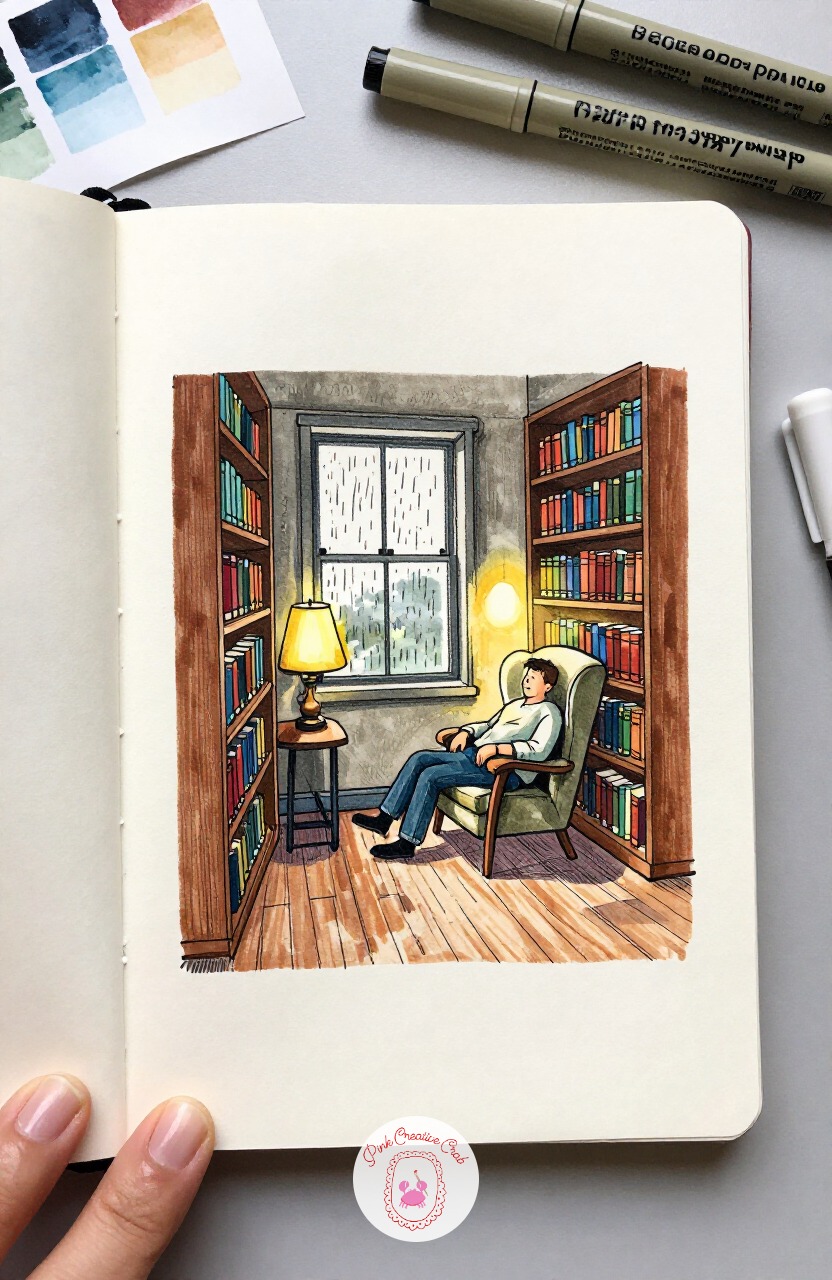
Keep the warm lamp glow going but move from books to clay in a small potter’s workshop. The usual mistake here is drawing the pottery wheel flat, like a circle lying on the floor, when it should look like an ellipse tilted toward the viewer. Fix it halfway through by checking that ellipse against the stool beside it; if the wheel still looks like a flat disc, widen the curve.
A woman in a clay-smudged apron shapes a pot at the wheel, shelves of finished bowls behind her. Today’s tip: always draw round tabletops and wheels as ellipses, never as true circles.
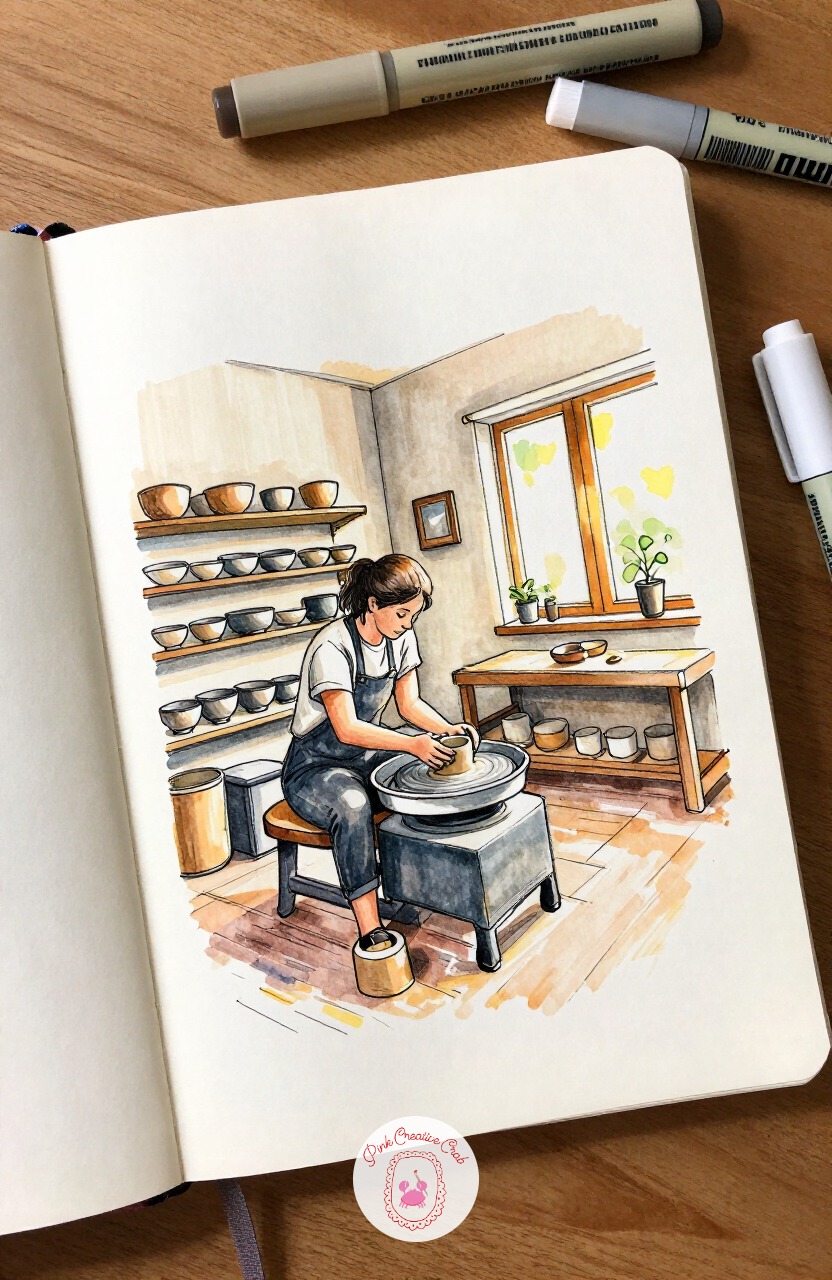
Slow down from the workshop and try the quick ten-minute version of a room: a living room blanket fort built from couch cushions and a draped sheet. Ten minutes gets you the basic triangle of the fort, two kids peeking out, and the couch it leans against. That alone makes a finished little scene.
Give it forty minutes instead and add the extra layer that makes it sing: string lights tucked along the fort’s ridge, scattered picture books, a lamp glowing just outside the sheet. Today’s tip: block in the fort shape and the kids first, then decide how much extra time you have for the rest.
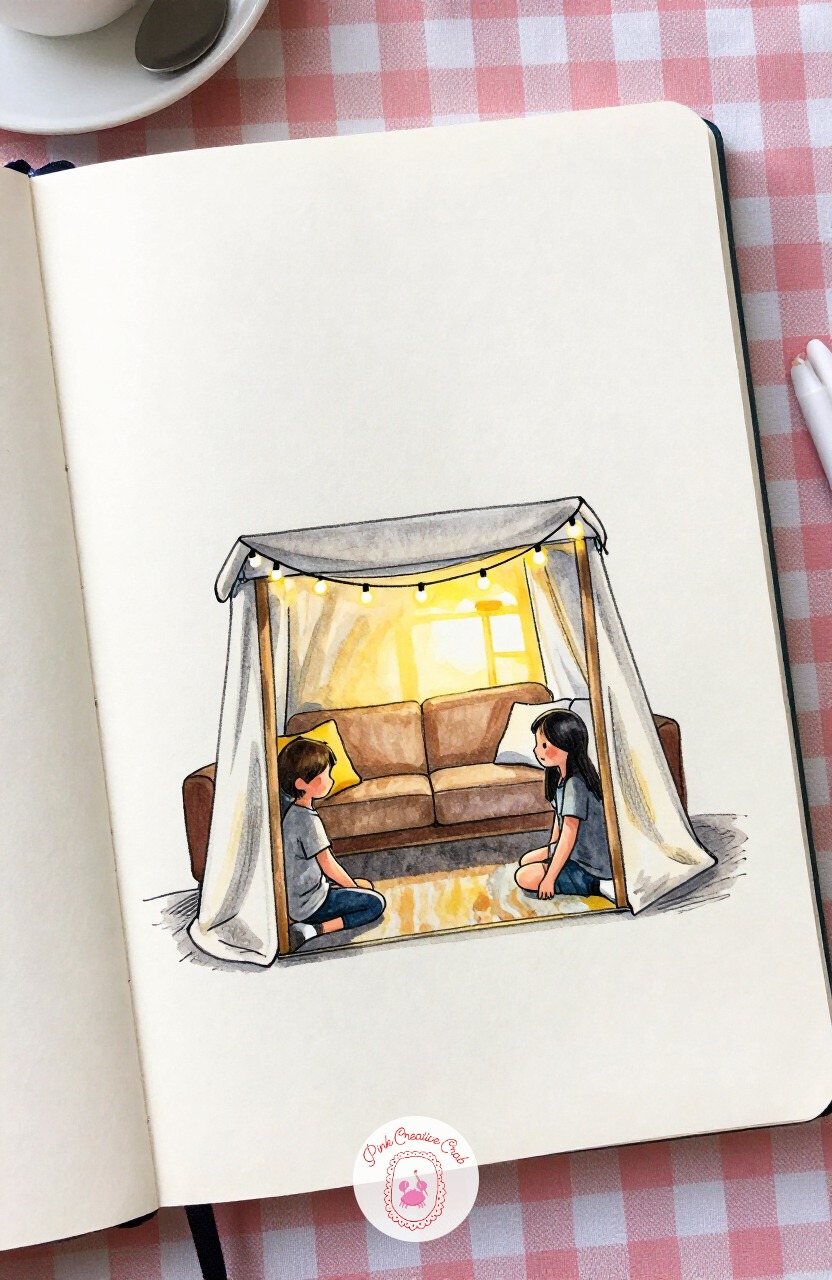
Give the blanket fort’s cheerful clutter a grown-up cousin: a garden shed turned painting studio, stacked with canvases leaning against every wall. Grab a fine-nib pen for this one rather than a thick marker liner, since the stacked canvas edges and wood grain need thin, controlled lines to stay readable in a small space.
A woman stands at an easel near the one small window, brush raised, surrounded by half-finished paintings. Keep the canvases as simple rectangles with just a hint of color peeking from each. Today’s tip: switch to your thinnest fineliner whenever a room gets this much detail packed into it.
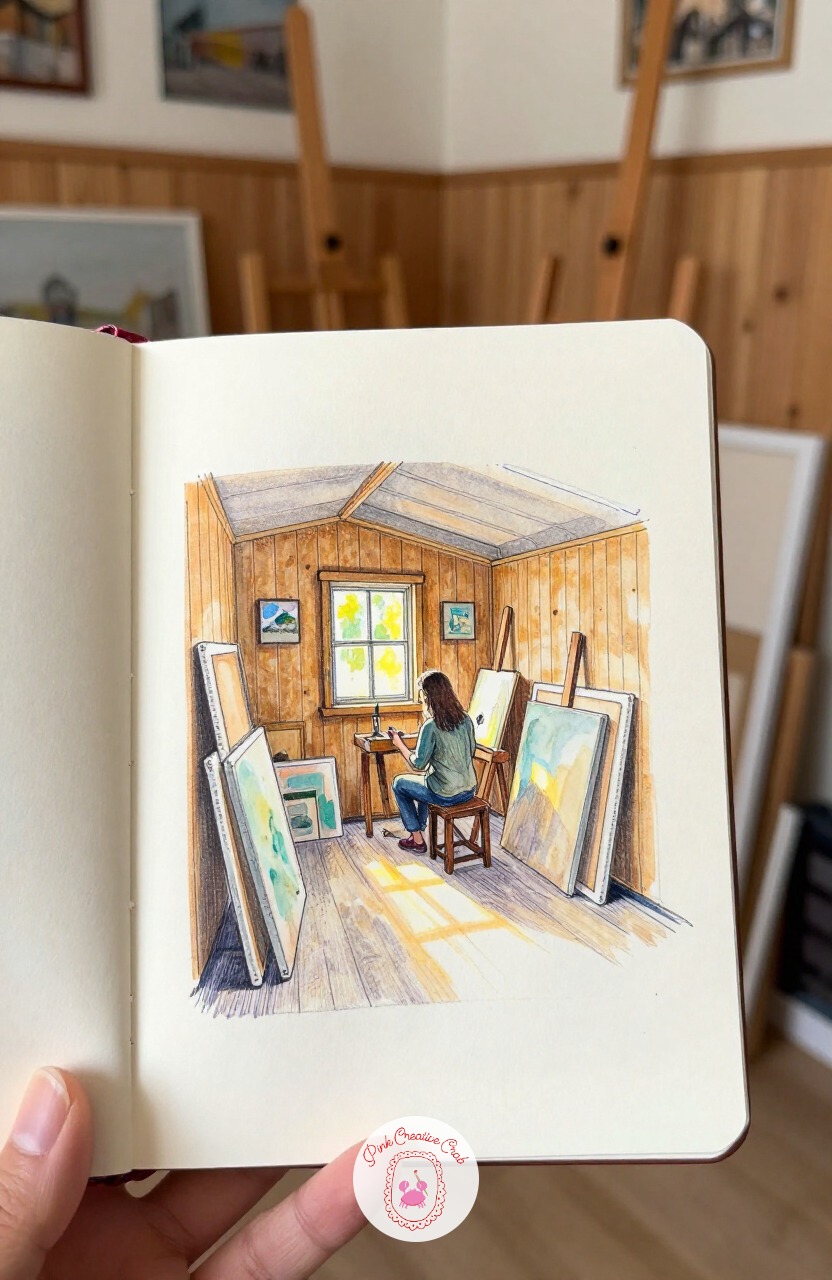
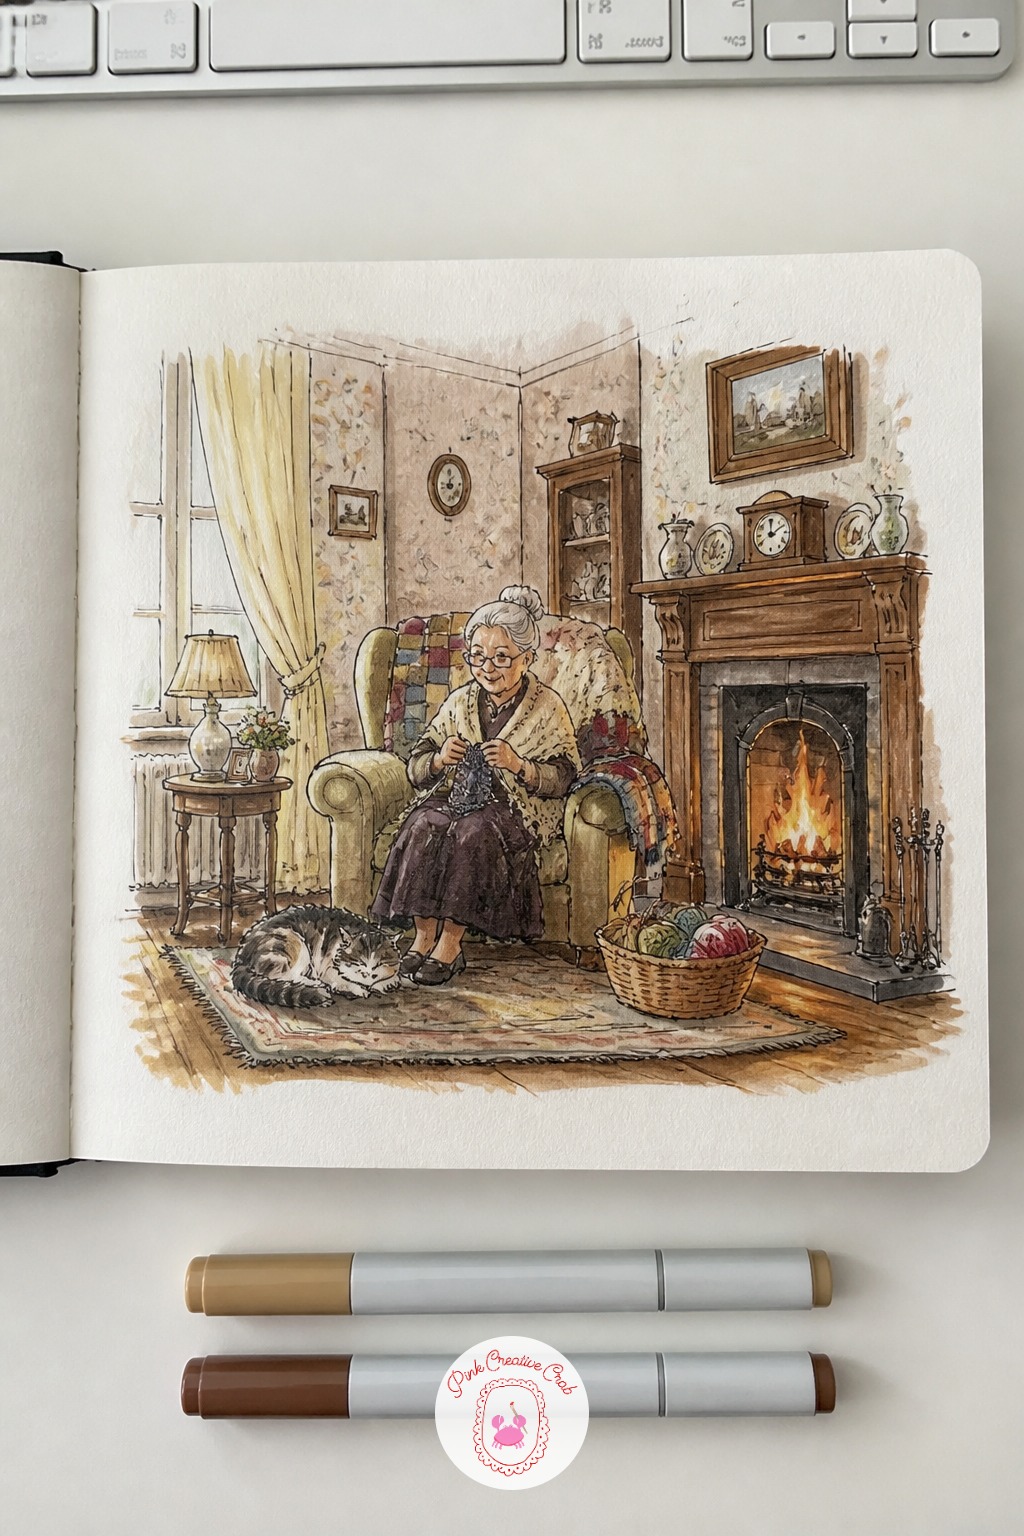
Trade the shed’s clutter for a quieter, more formal room: a parlor where an older woman knits by the fire. Measure her seated height against the fireplace mantel beside her, roughly chair-seat to shoulder reaching halfway up the mantel’s height, so she sits convincingly in the room rather than looming over the furniture.
A ball of yarn and a sleeping cat complete the scene at her feet. Keep the wallpaper simple, a soft repeating pattern rather than anything fussy, so it does not compete with her. Today’s tip: always check a seated figure’s height against the nearest furniture before committing to ink.
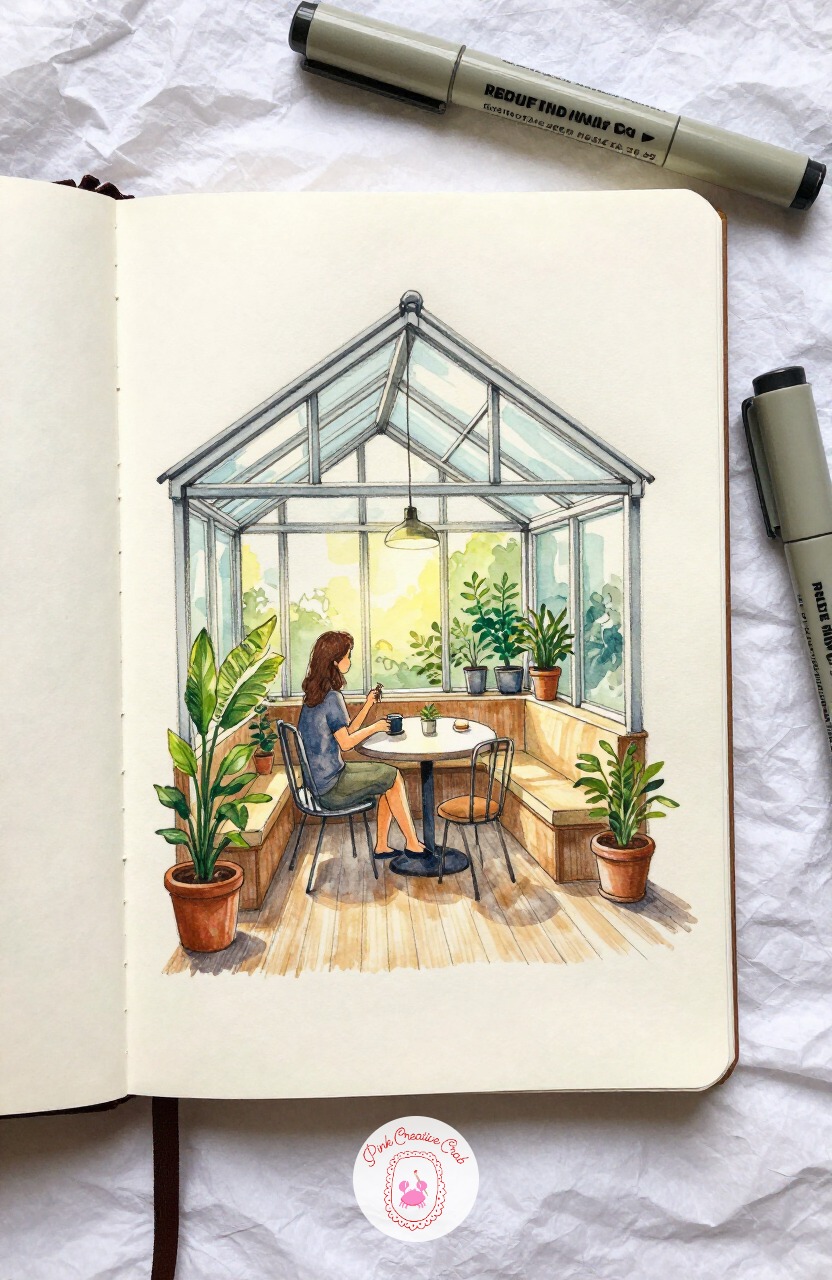
Climb up from the parlor to a glass rooftop greenhouse set up for breakfast among the plants. Eye level sits low here, almost at tabletop height, which means the glass roof panels above tilt sharply inward and the plant pots along the floor appear larger than anything near the ceiling. That single choice makes the room feel tall and airy.
A woman sits at a small table with coffee, morning light pouring through every glass panel onto the leaves around her. Today’s tip: pick your eye level before drawing the glass roof, since it decides how steep those ceiling lines lean.
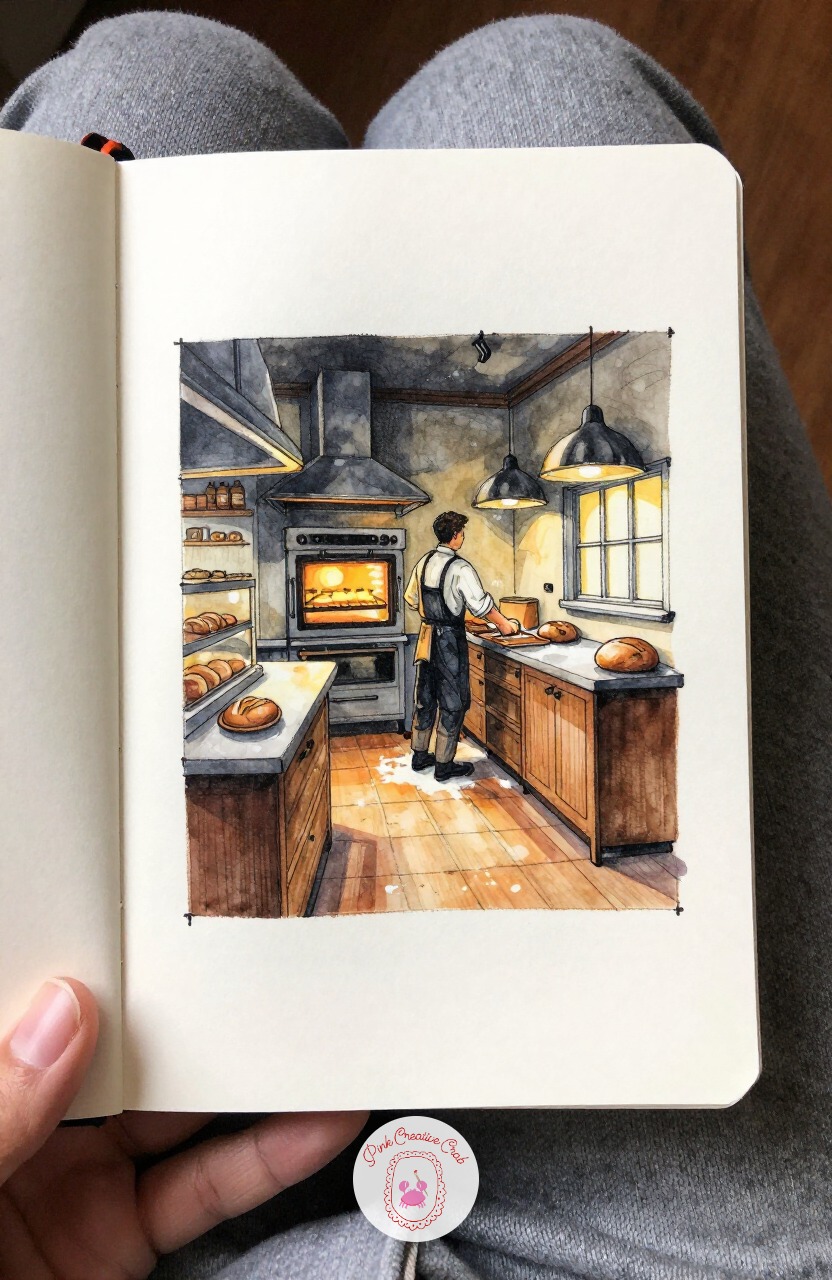
Swap the greenhouse’s daylight for a night scene lit only by an oven’s glow: a baker’s kitchen at midnight. The usual mistake with a dark room is making every shadow the same flat grey, which flattens the whole page. Fix it halfway through by layering two shades, a cooler grey-blue for the far corners and a warmer brown-grey near the oven light.
A baker in an apron pulls a tray of bread from the oven, flour dusting the counter. Today’s tip: always mix a warm and a cool dark rather than relying on one grey for every shadow.
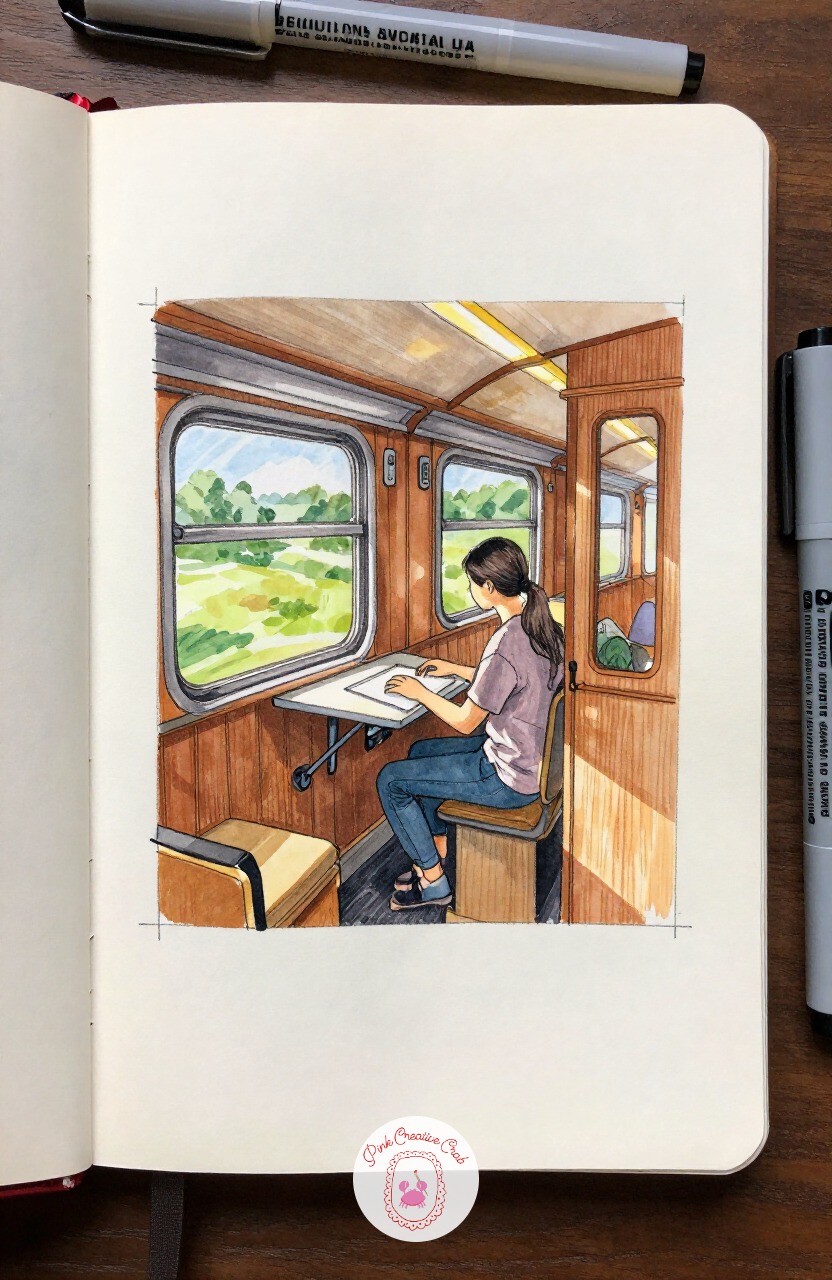
From the baker’s tight kitchen, shrink the room even further into a converted train-car writer’s cabin, narrow and lined with windows down one whole side. Those repeating windows are your proportion trick: space them evenly, each one roughly the same width as the gap between them, and the car’s length reads correctly no matter how you crop it.
A writer sits at a fold-down desk, typewriter and teacup close at hand, countryside blurring past outside. Today’s tip: rule a few light guide marks for even window spacing before inking the final lines.
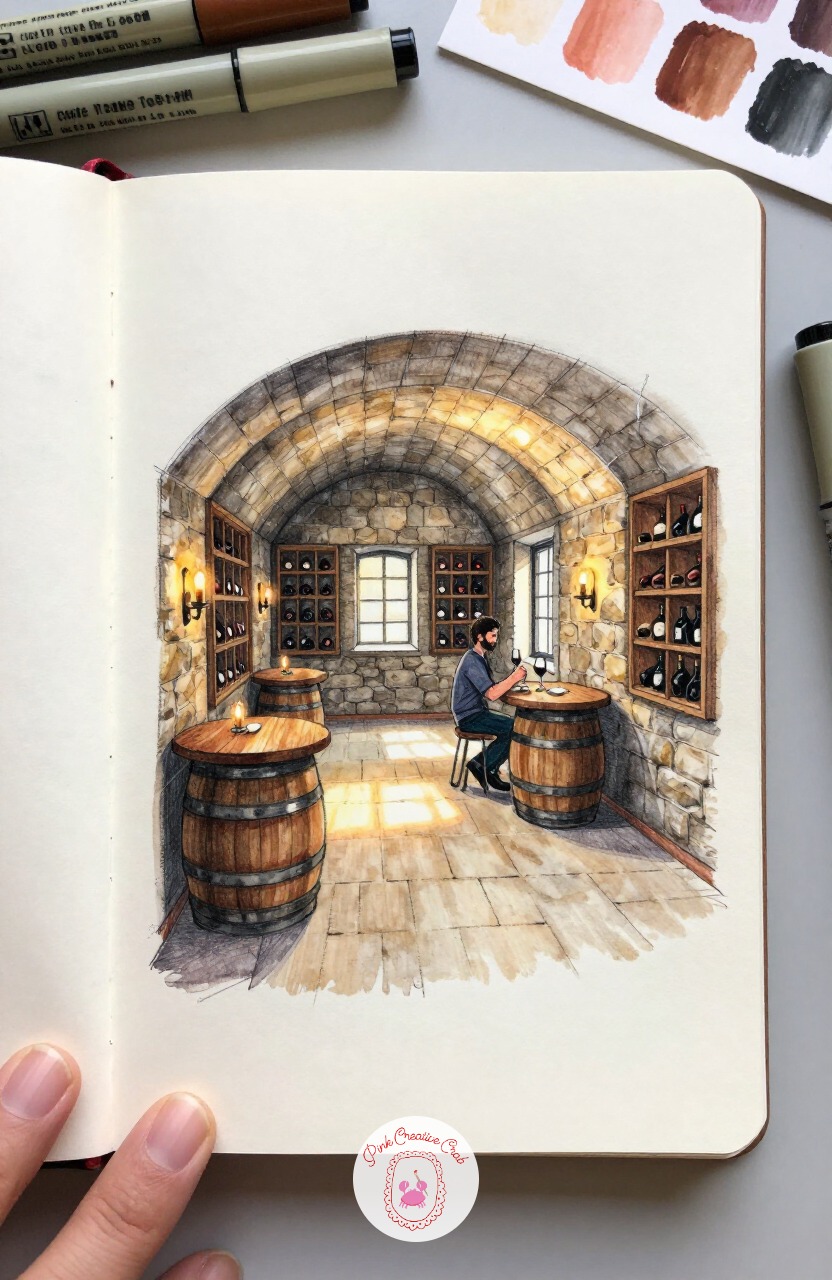
Head underground next, into a stone cellar room stacked with wine racks. Try the quick version first: ten minutes gets you the arched stone ceiling, the racks, and a man tasting from a glass at a barrel table. That is already a complete little scene worth keeping.
Given forty minutes, add the extras that deepen it: candle flicker catching the bottle labels, a dog curled near the barrel, dust motes drifting through one shaft of light from the stairwell. Today’s tip: nail the stone arch shape first, since it sets the whole cellar’s mood.
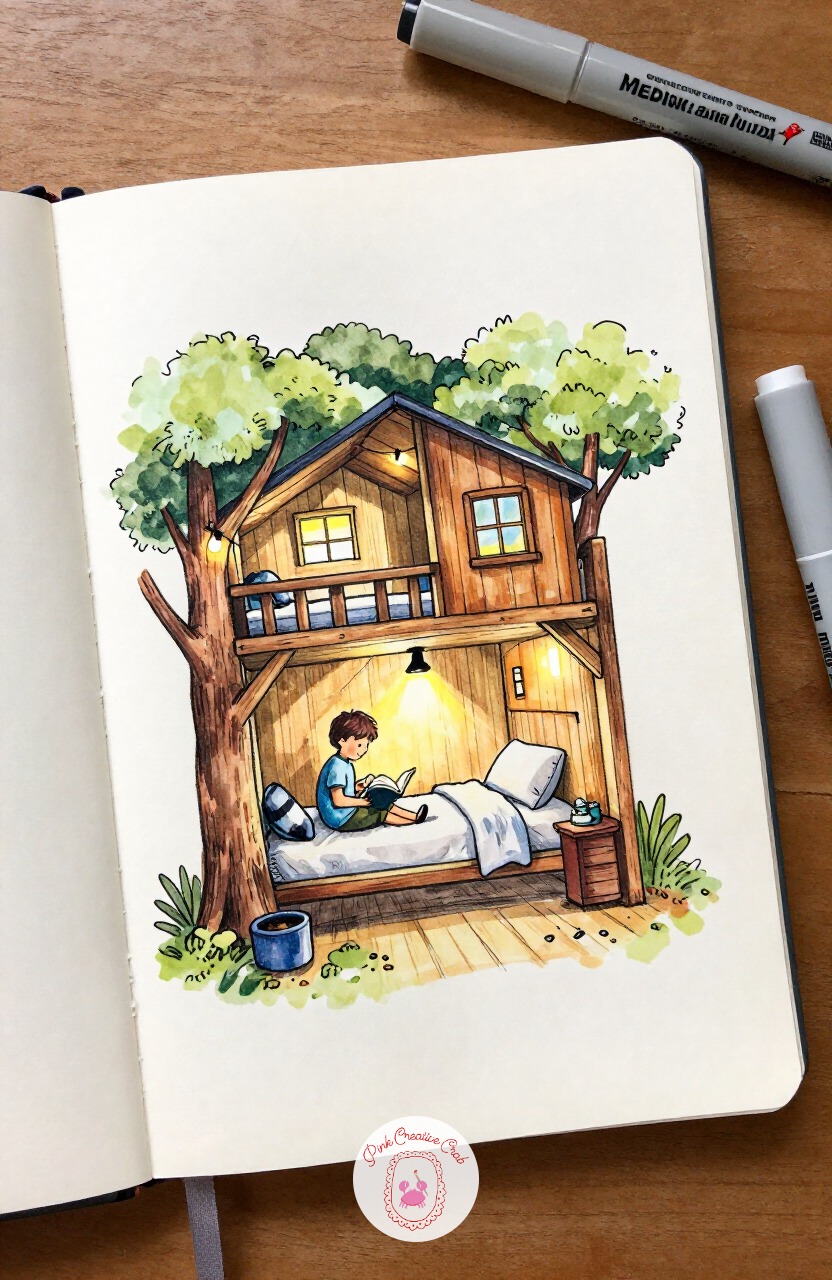
Climb back up into daylight for a treehouse bedroom built into real branches poking through the walls. The mistake most people make with tree branches indoors is drawing them too straight and tidy, which looks pasted on rather than grown through. Fix it halfway through by adding two or three small kinks and knots along each branch before it ever meets a wall.
A child reads by flashlight under a leafy canopy, string lights looped along the branches overhead. Today’s tip: rough in branch kinks before you ink, never draw a branch as one smooth clean line.
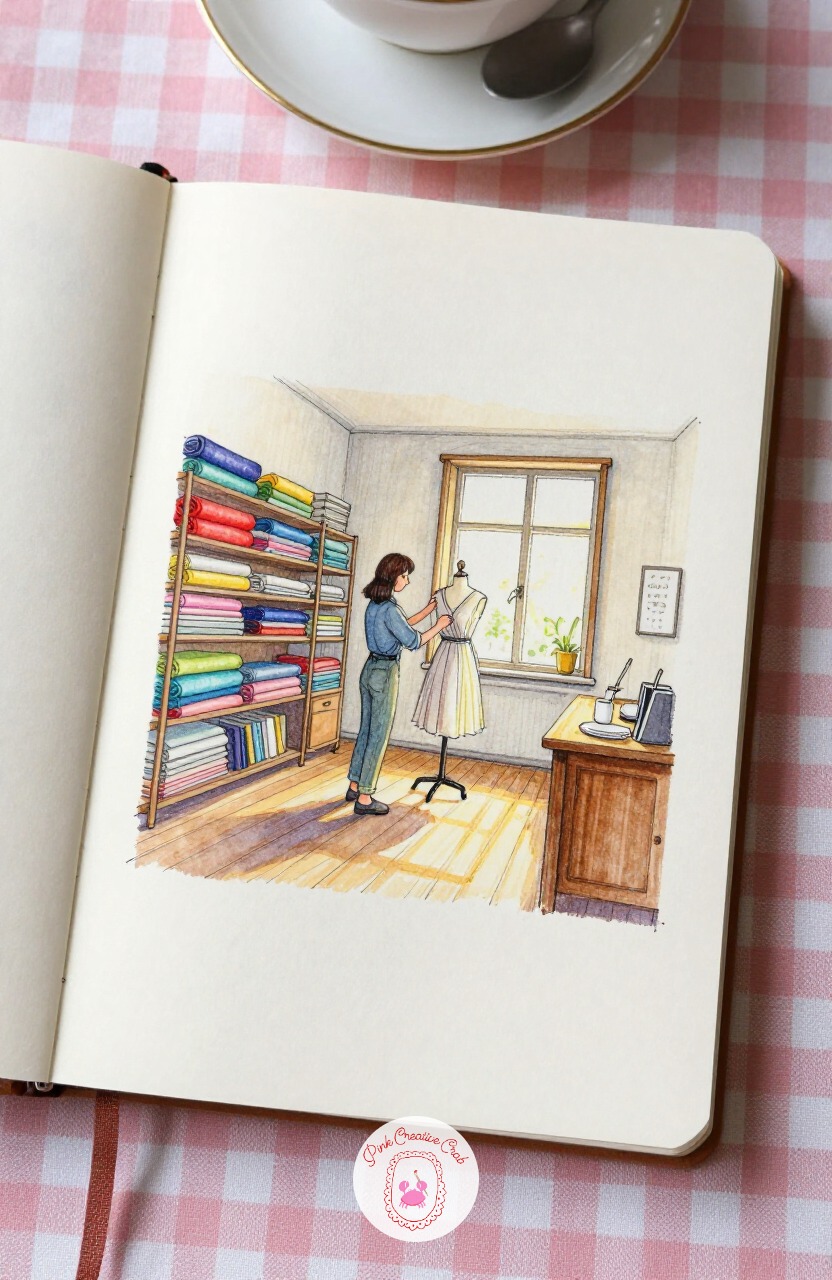
Trade leaves and branches for bolts of fabric in a seamstress’s studio, color stacked floor to ceiling. Reach for your thickest marker nib here rather than the fine one, since broad flat strokes read better than tiny lines when you are suggesting dozens of folded fabric bolts without drawing each one in detail.
A woman pins a dress on a mannequin near the window, measuring tape draped round her neck, bolts of color stacked behind her. Today’s tip: block in fabric colors with your broadest marker first, then let the fineliner edges come back in only where needed.
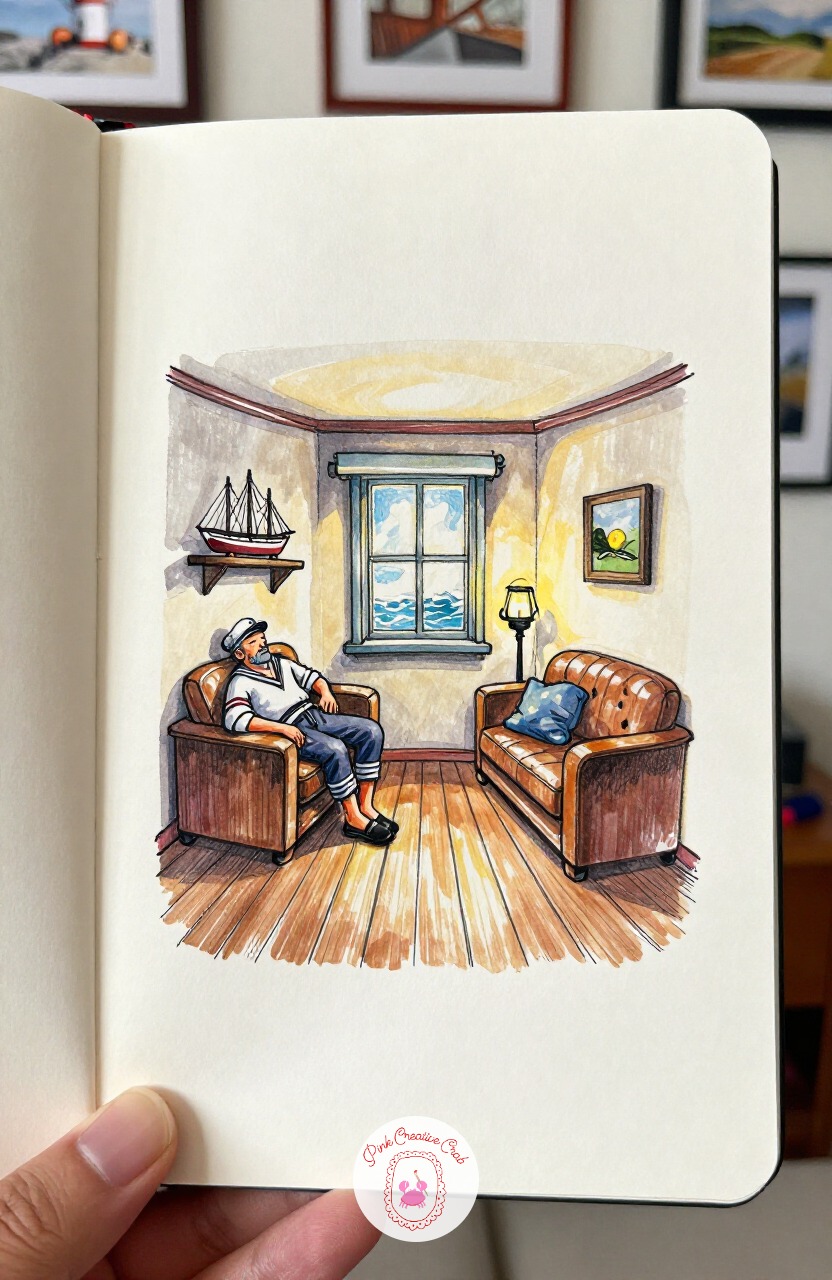
Carry that bold color confidence into a trickier shape: a lighthouse keeper’s round living room, curved walls and all. Curved walls change the usual rules of perspective, since furniture along the wall should angle slightly to follow the curve rather than sitting flat the way it would in a square room.
An old sailor naps in a chair by a small round window, a model ship on the shelf above him, waves visible far below. Today’s tip: angle any furniture pushed against a curved wall to match that curve, not a straight one.
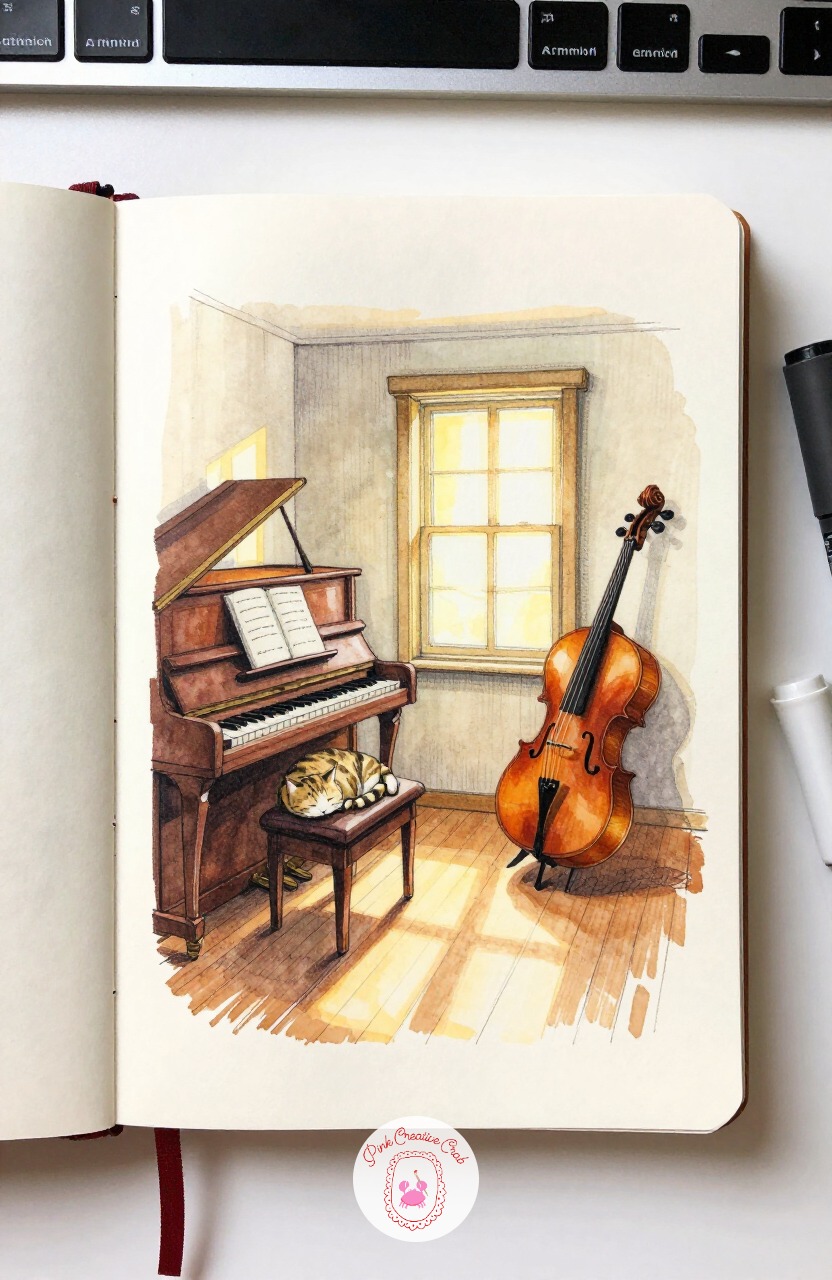
Settle into something quieter after the lighthouse curve: a music room with a piano, a cello in its stand, and a cat asleep on the piano bench. Start with the piano’s big rectangular body first, then its legs, then the smaller cello shape beside it, saving the sheet music and cat for last since they are the easiest marks to adjust at the end.
Let the afternoon window light fall across the piano’s lid in one soft gold stripe. Today’s tip: draw your biggest furniture shape completely before any smaller object joins the page, so the room stays in scale.
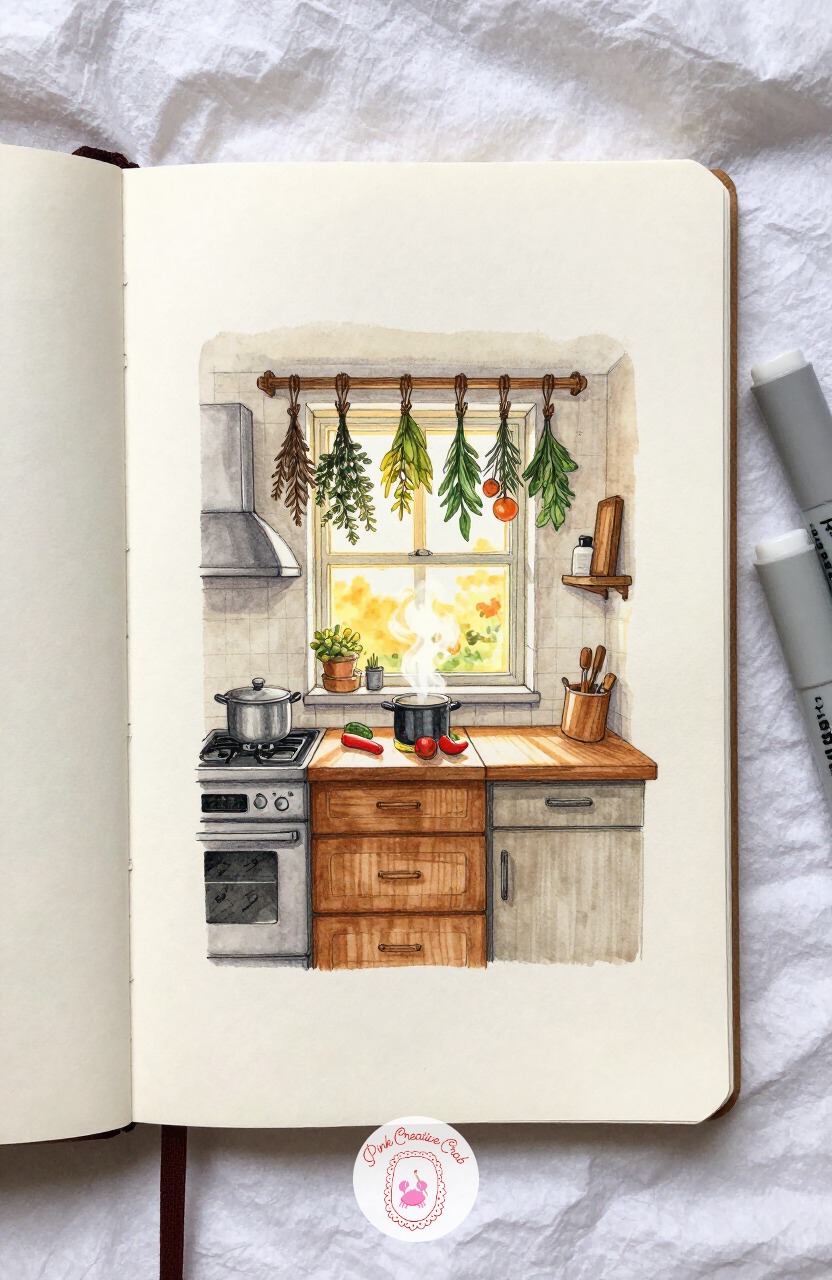
Return to the kitchen theme with a different mood: a narrow galley kitchen where a chef chops vegetables beneath a window lined with hanging herbs. This time the proportion check is about the herb bunches themselves, each one should hang roughly the same length as the chef’s forearm, so the window does not end up cluttered with oddly oversized bundles.
Steam rises from a pot on the stove behind her, and the herbs cast thin dangling shadows across the counter. Today’s tip: measure each hanging herb bunch against an arm’s length before drawing the next one.
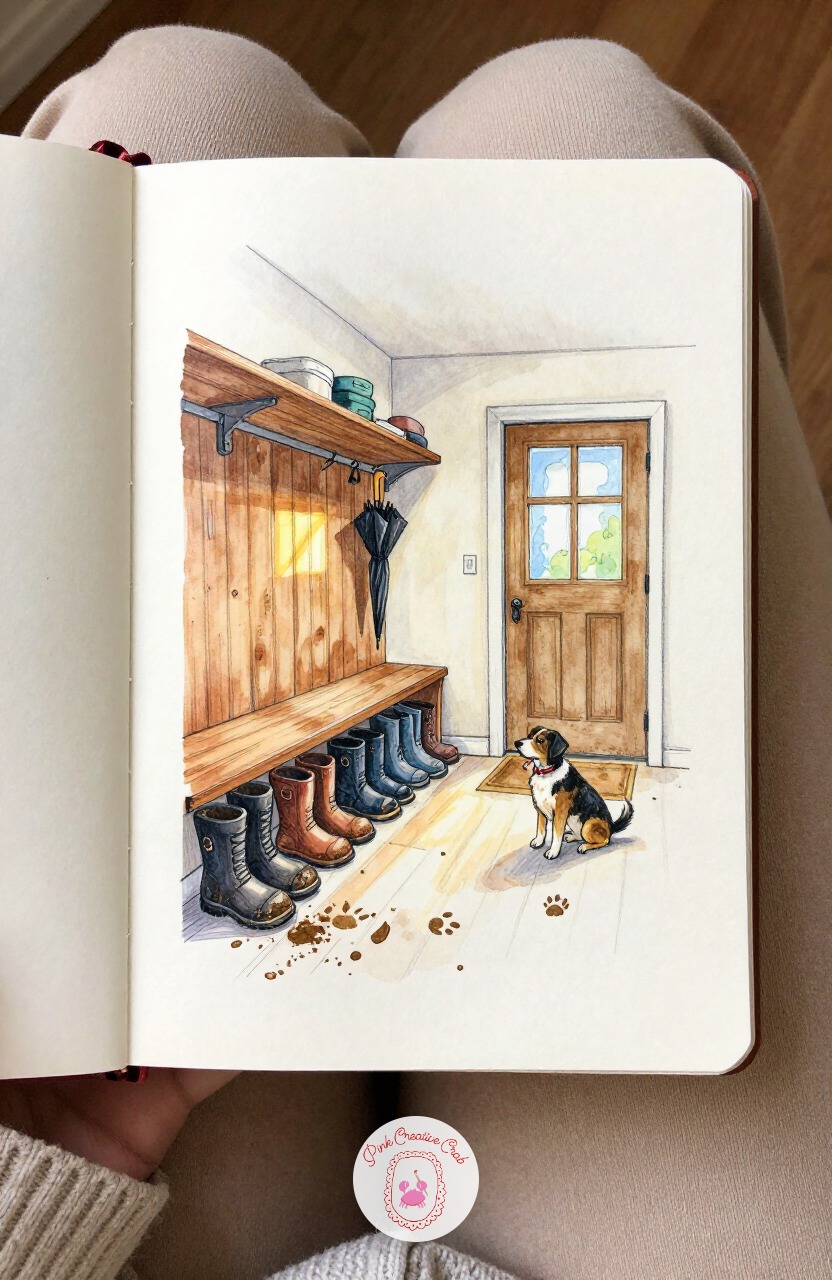
Step from the kitchen’s warmth into the practical chill of a mudroom, boots lined up and a dog waiting by the door. Keep this one loose and quick: ten minutes is enough for the bench, the row of boots, and the dog’s hopeful posture, which is really all this small room needs to feel alive.
Spend a longer sitting adding the extras, a dripping umbrella, muddy paw prints trailing across the floor, a coat rack heavy with jackets. Today’s tip: let a small plain room like this stay simple rather than overfilling it with props.
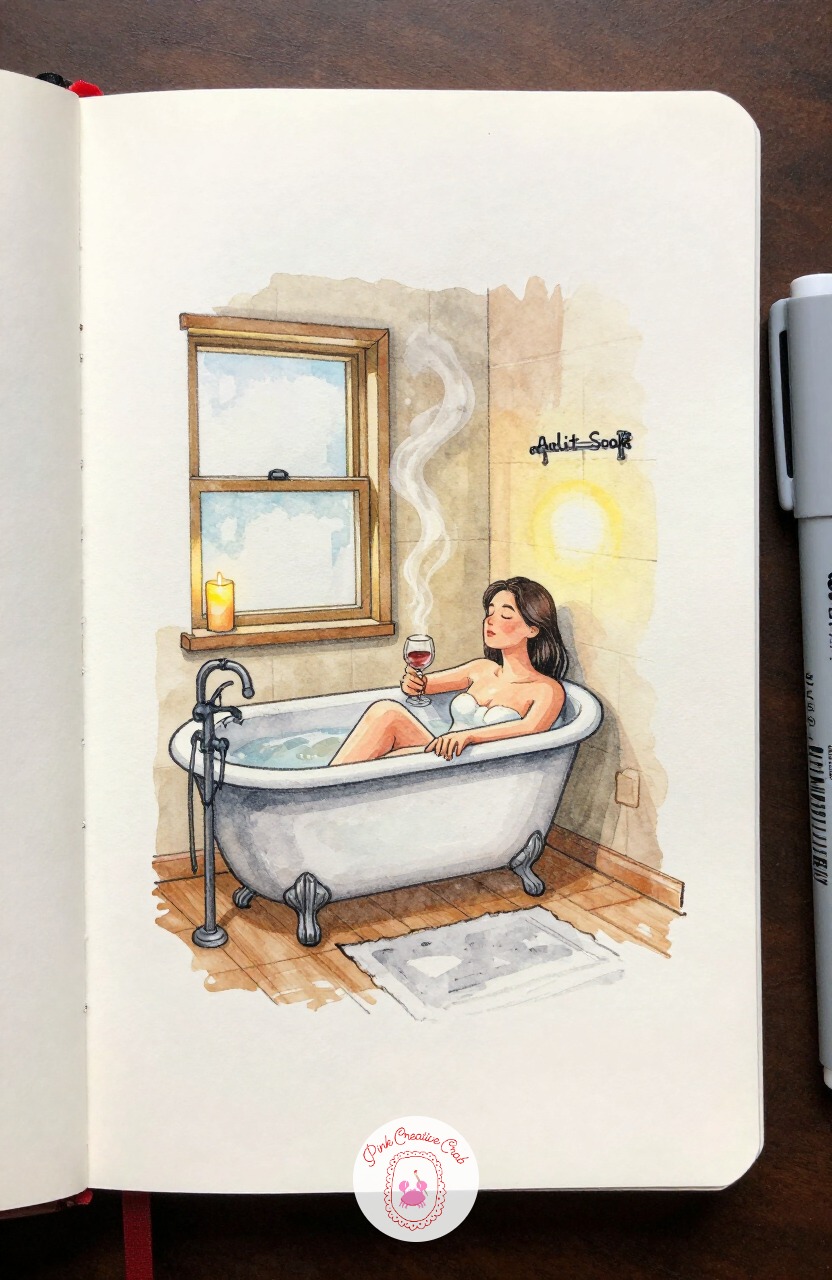
Move from the practical mudroom into a softer, steamier room: a clawfoot tub bathroom lit entirely by candles. With the light source this low and this warm, every shadow in the room should fall upward rather than down, since the candles sit near the floor around the tub rather than overhead.
A woman soaks with her eyes closed, a glass of wine balanced on the tub’s edge, steam curling toward a small frosted window. Today’s tip: whenever your light source sits low, flip your usual shadow direction and let it climb the walls instead of pooling on the floor.
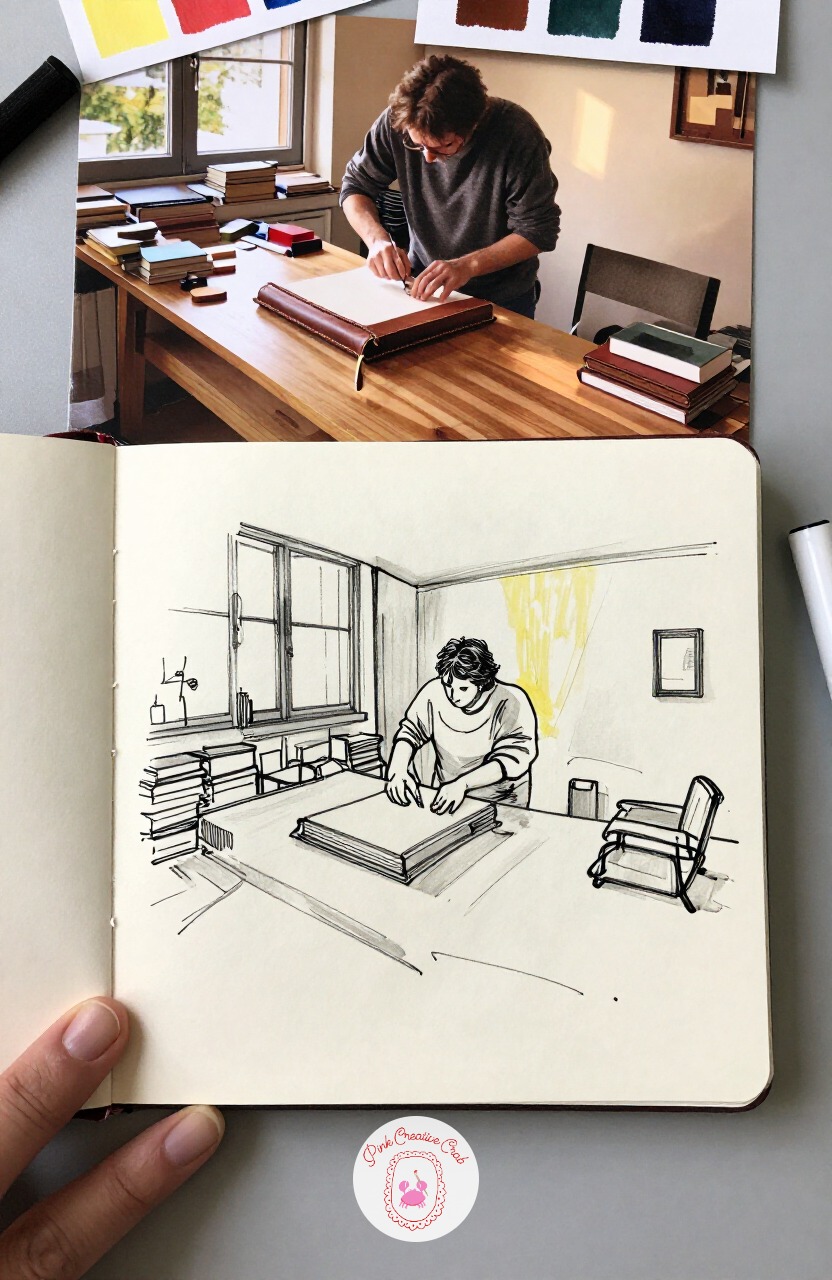
Carry that same candle-warm feeling into a bookbinder’s workshop, where a craftsman stitches a leather spine at a long wooden table. The usual mistake with workshop tables is making them too shallow, which leaves no room for the clutter of tools. Fix it halfway through by extending the tabletop a few inches further back than feels natural, giving the thread spools and awls somewhere to sit.
Finished books lean in stacks along the far wall, their spines catching the window light. Today’s tip: always draw a workbench deeper than you think it needs to be before adding tools on top.
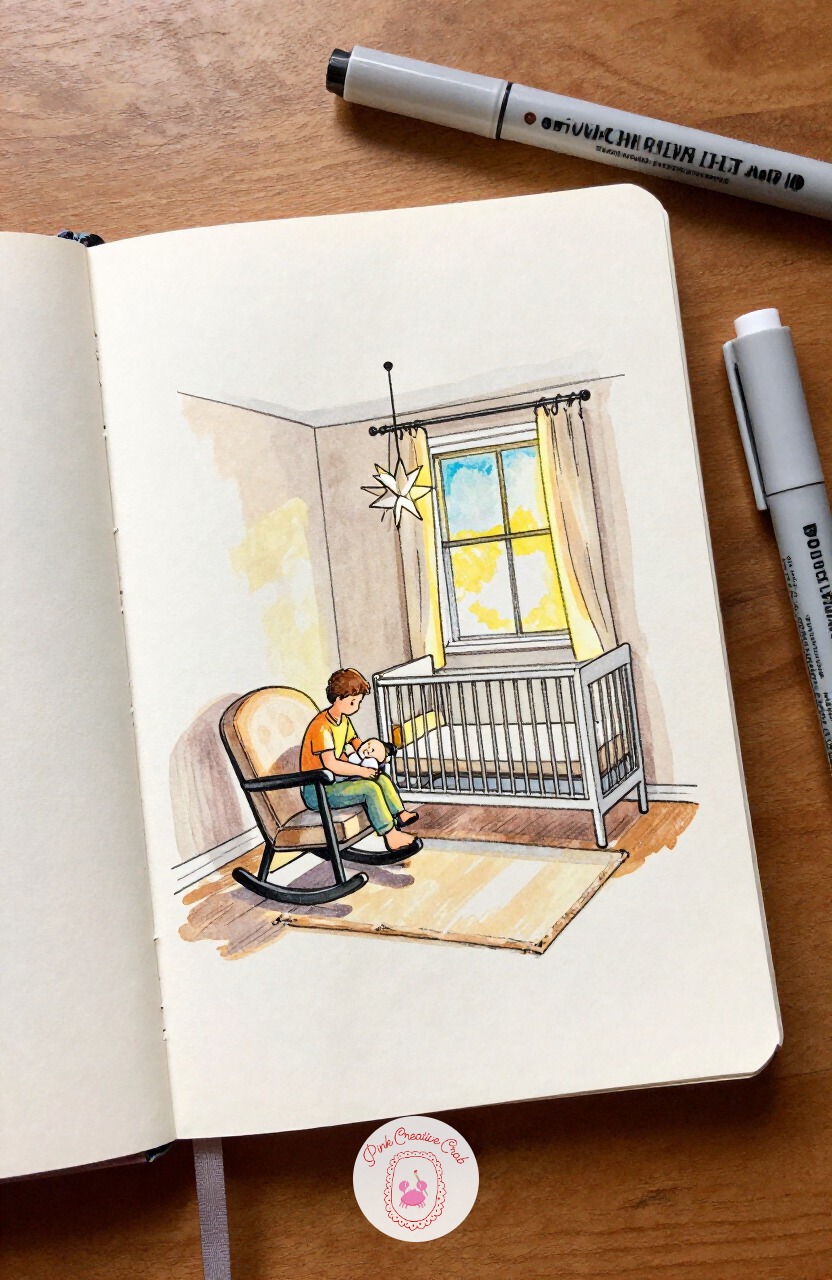
Soften the pace again with a nursery scene: a parent rocking a baby near a window at dusk. Measure the rocking chair against the parent seated in it, roughly chair-back reaching to shoulder height, so the chair neither swallows the figure nor looks too small to hold them comfortably.
A mobile of paper stars turns slowly above the crib in the corner, catching the day’s last warm light. Today’s tip: check your chair’s height against the seated figure before moving on to the rest of the room.
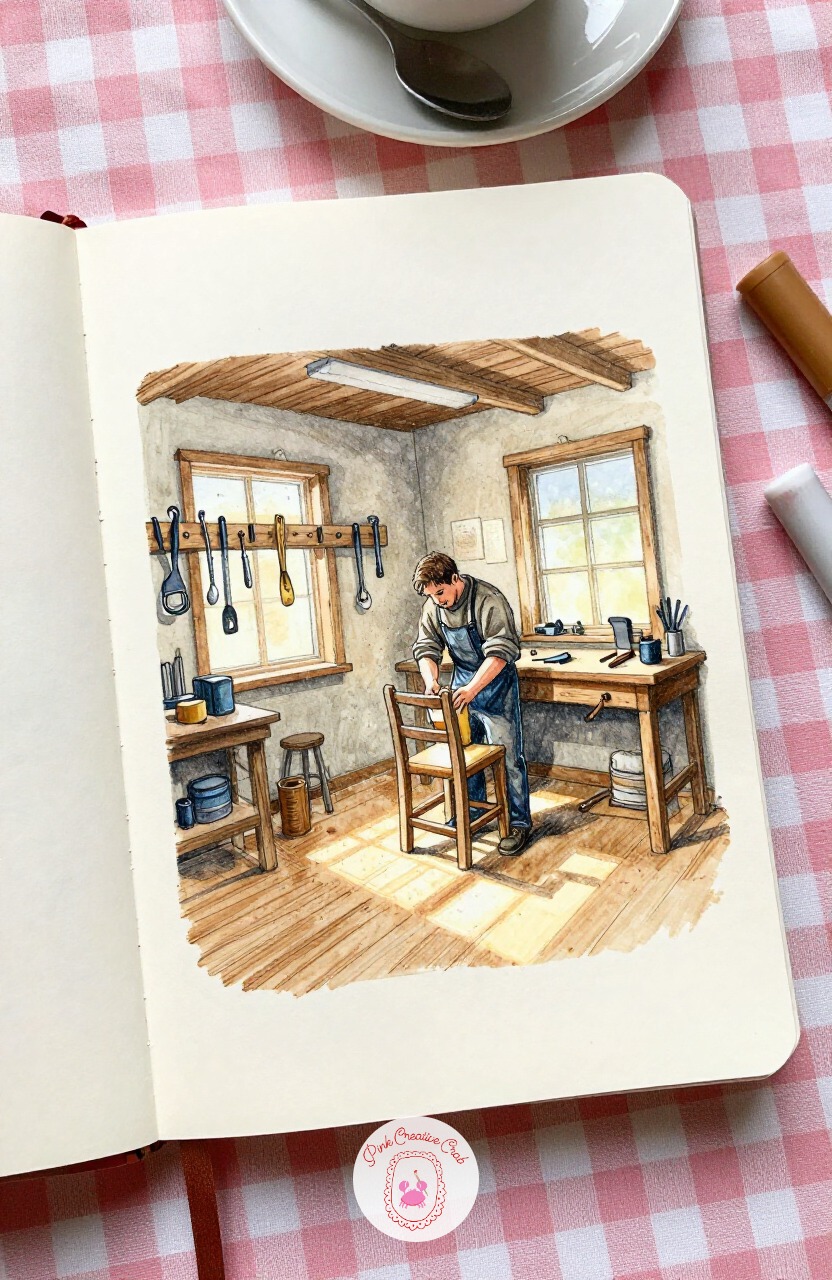
From the nursery’s hush, head out to a working carpenter’s shop, sawdust drifting in a shaft of afternoon light. The eye level here sits lower than usual, almost at workbench height, which makes the hanging tools on the back wall loom larger and the sawdust pile in the foreground spread wider than you would first expect.
A carpenter sands a chair leg at the bench, wood shavings curling at his feet. Today’s tip: drop your eye level for workshop scenes like this, since it exaggerates scale in a way that makes the room feel busier and more alive.
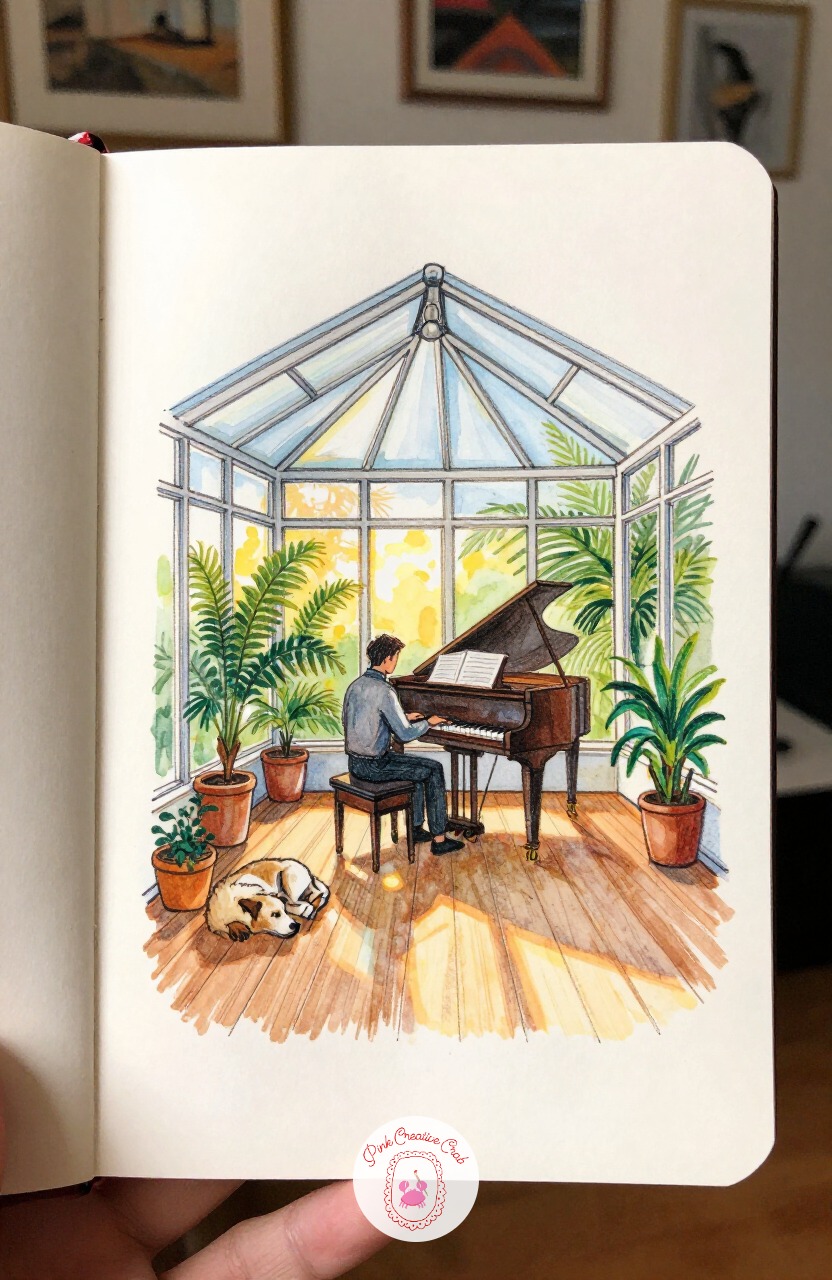
Take the music room idea further into a grand glass conservatory, where a pianist plays for an audience of potted ferns and one dozing dog. Reach for your broadest marker again for the glass panes overhead, since laying down one even wash of pale blue-grey reads better than fussing over dozens of individual pane outlines.
Sheet music sits open on the stand, late afternoon sun warming the keys. Today’s tip: wash in large glass or sky areas with your broadest marker before you add any fine linework on top.
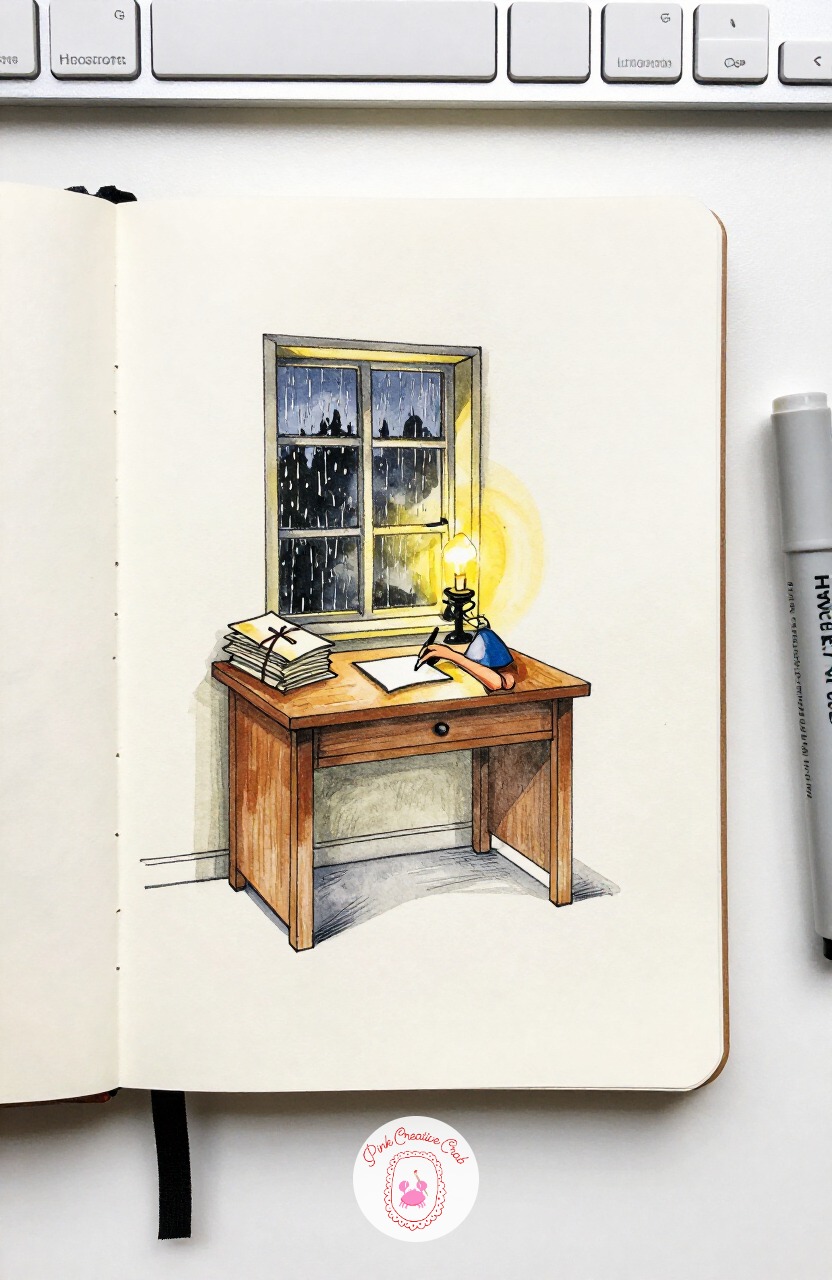
Narrow the conservatory’s grandeur back down to one small desk by a window, where someone writes a letter by candlelight. Ten minutes gets you the desk, the window, and the figure bent over the page, a complete and satisfying little scene on its own.
Give it forty minutes and add the extras that deepen the mood: a half-finished cup of tea going cold, a stack of old letters tied with string, rain just visible on the glass. Today’s tip: decide your time budget before you start, and let that decide how many props make it onto the page.
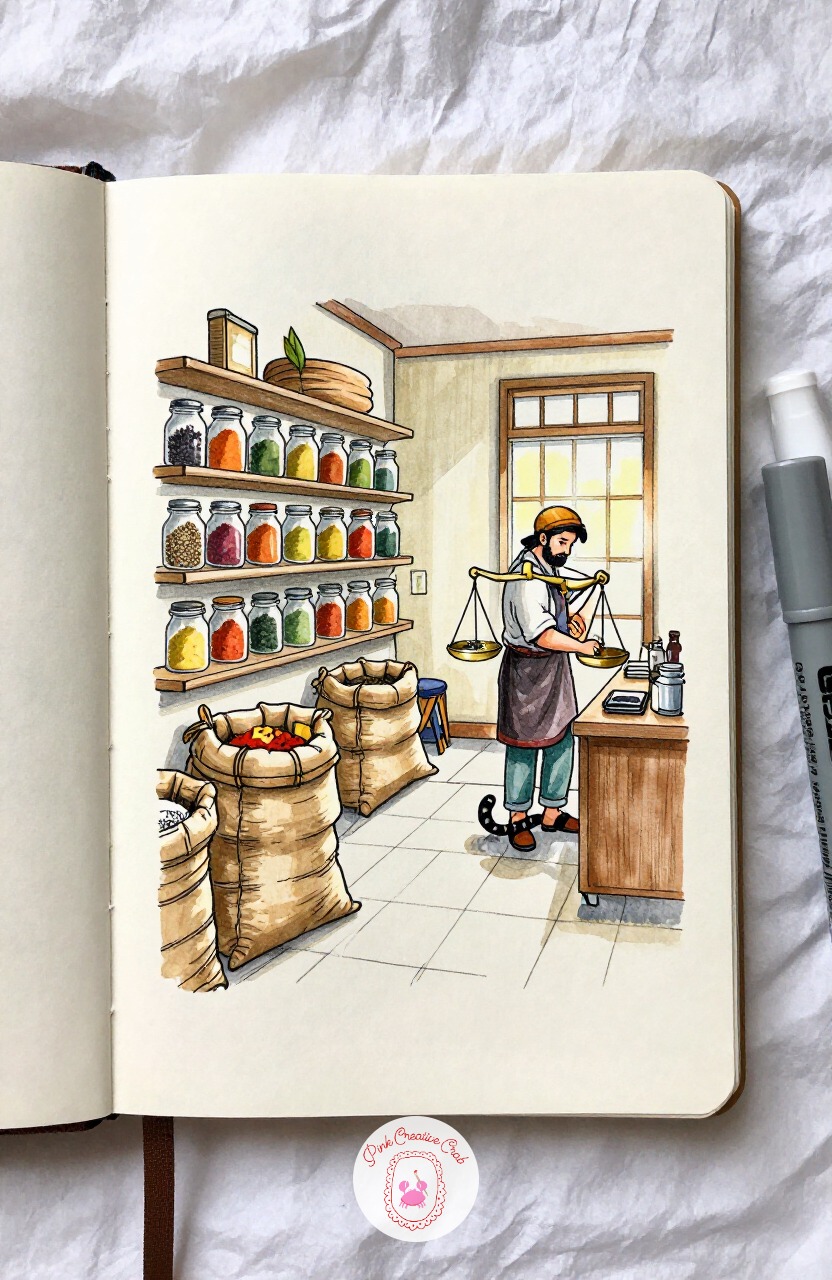
Leave the quiet desk behind for a room full of color and texture: a spice merchant’s back room, sacks and jars of every warm hue stacked along the shelves. This is a great one to revisit later with a variation, try it next as a flower shop instead, same shelving and same light, completely different colors and props filling the room.
A merchant weighs spices on a small brass scale while a cat winds around her ankles. Today’s tip: once this room works, keep the same layout and swap only the props and colors for an easy second version.
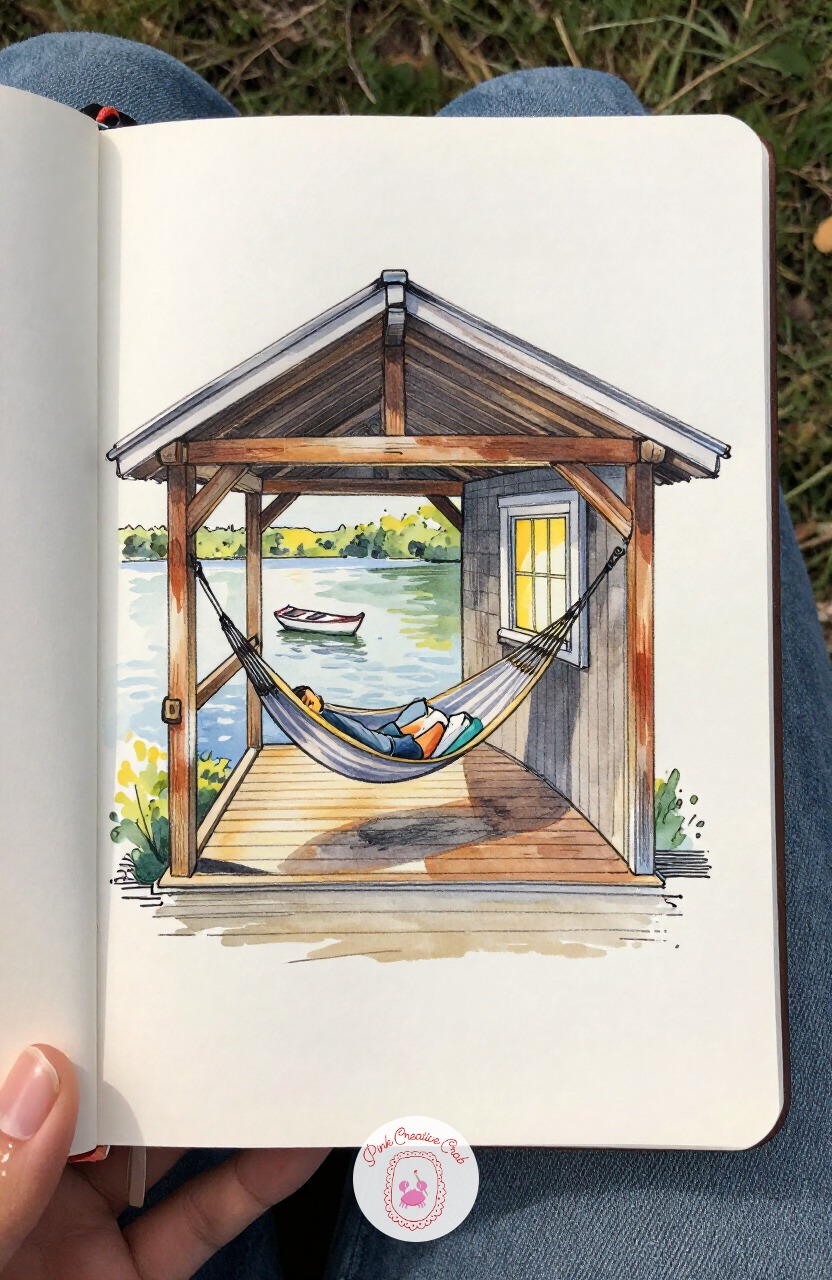
Trade solid walls for open water in a lakeside boathouse, half indoors and half out, with a hammock strung between two posts. Measure the hammock’s sag against the posts holding it, the lowest point of the curve should drop to roughly a third of the post’s height, so it reads as fabric with real weight rather than a stiff flat line.
A reader dozes in the hammock, book fallen open, a small rowboat bobbing just visible through the open side. Today’s tip: always let a hammock or hanging fabric sag with a real curve rather than drawing it straight.
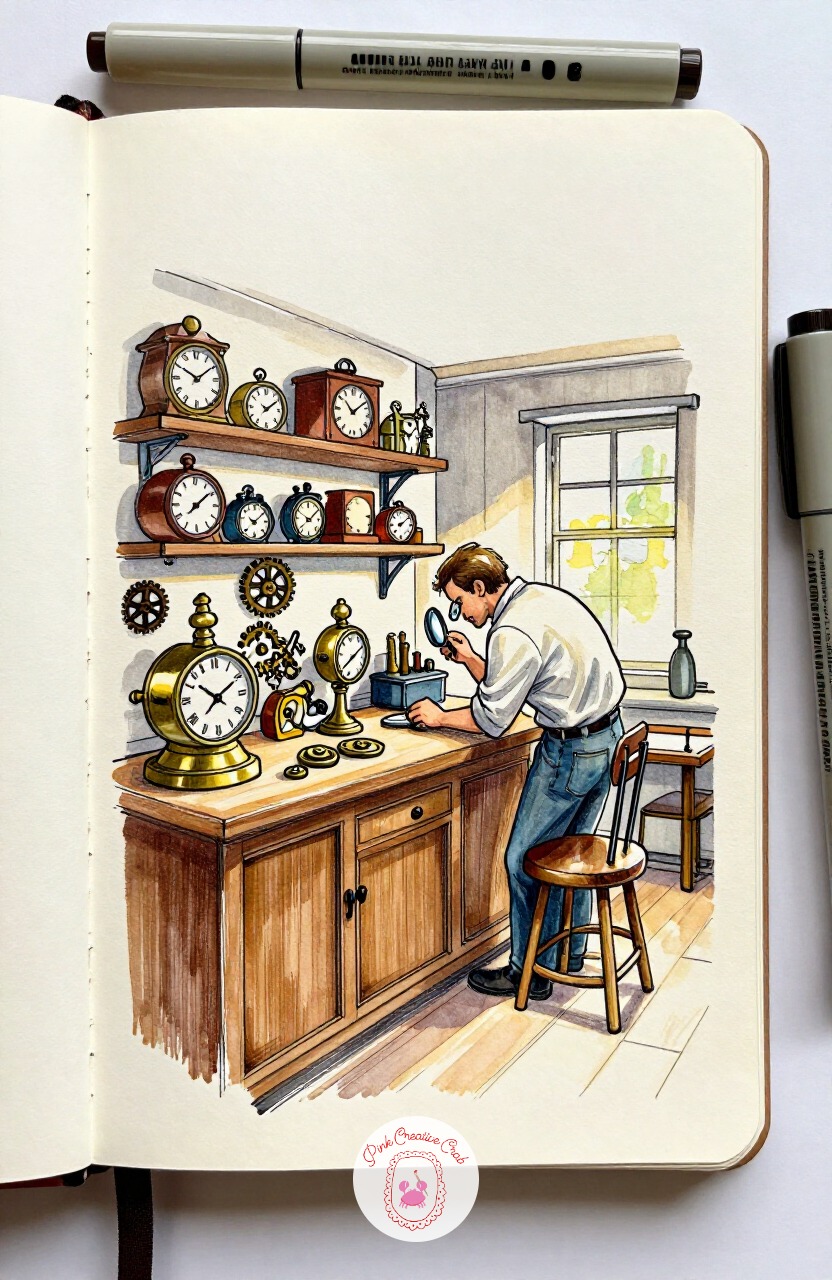
Zoom in tighter for a watchmaker’s shop, every shelf crammed with clocks and gears. The usual mistake in a room this busy is letting every object compete equally for attention, which turns the page into visual noise. Fix it halfway through by picking one clock as your hero, inking it darkest and most detailed while softening the rest into looser outlines.
The watchmaker bends over a loupe at the counter, surrounded by ticking clocks of every shape. Today’s tip: always choose one object to ink darkest and most detailed in a crowded room, and let everything else stay lighter.
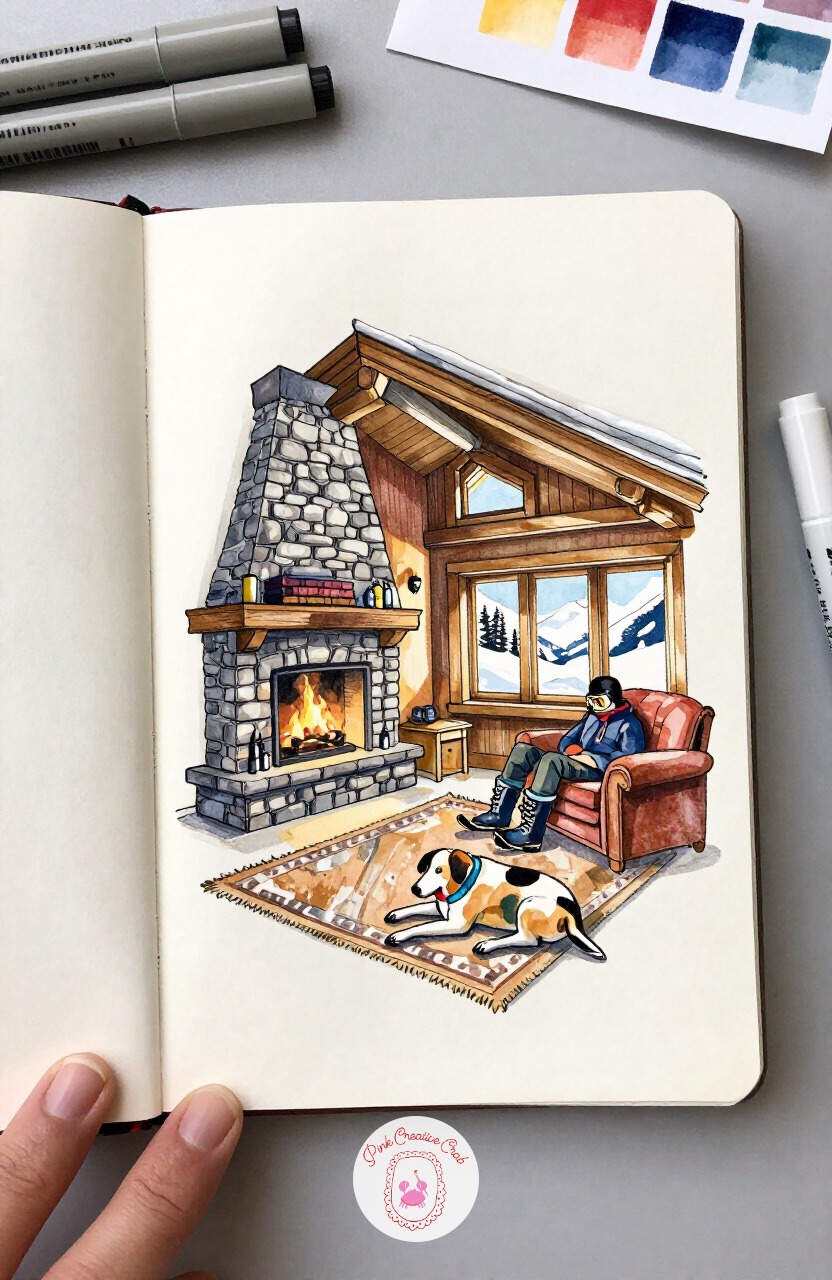
Warm back up with a ski chalet living room, snow visible through the window and a fire blazing in a stone hearth. Light this scene from two directions at once, the cool blue spill of snow-light through the window and the warm orange glow of the fire, and let them meet in the middle of the room where the two tones blend into a soft neutral.
A skier relaxes by the fire, boots drying nearby, a dog stretched out on the rug. Today’s tip: when a room has two light sources, let them visibly meet and blend rather than keeping them in separate halves of the page.
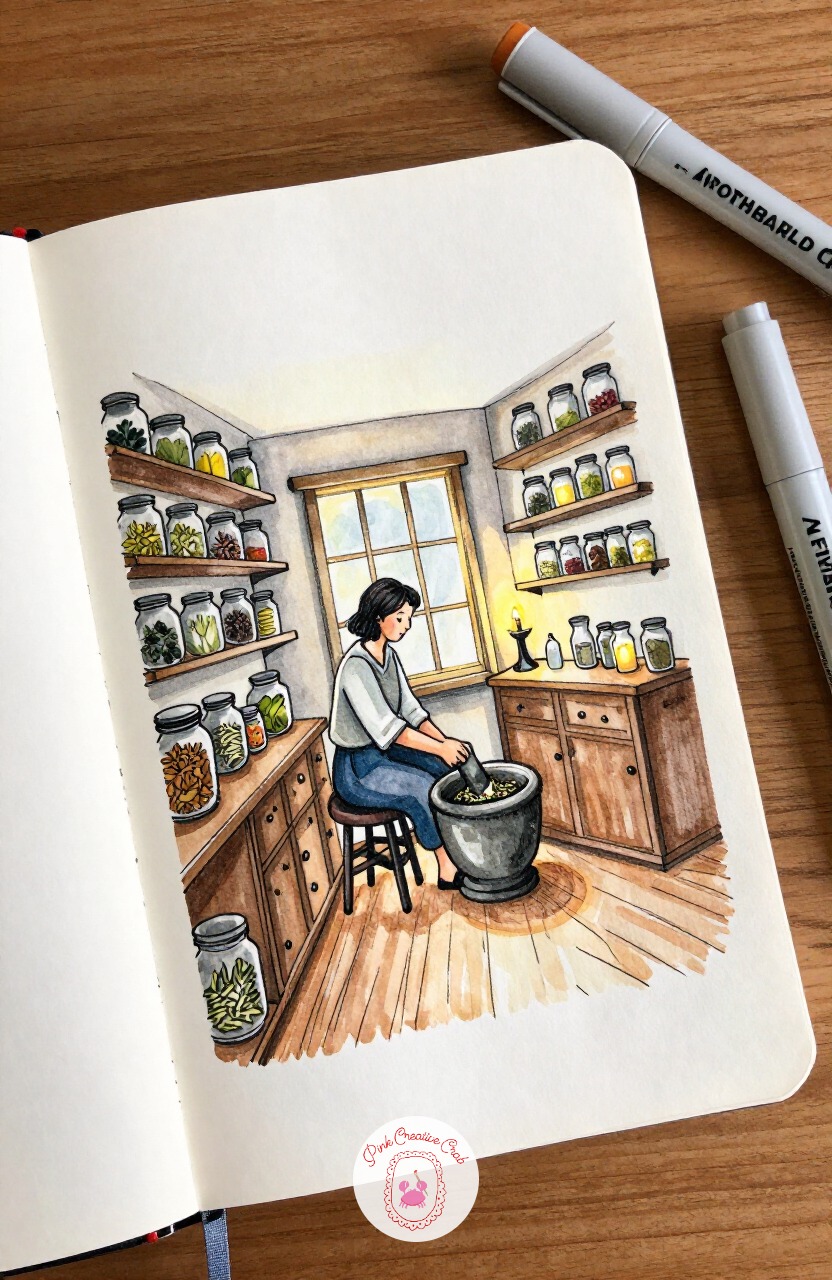
Keep the warm firelight glow but move it into an apothecary’s mixing room, jars of dried herbs and tinctures lining every wall. Switch your pen weight here: use a slightly thicker liner for the jar outlines so they read as solid glass, then drop back to your thinnest line for the handwritten labels on each one.
The apothecary grinds herbs with a mortar and pestle, candlelight catching the glass jars behind her. Today’s tip: vary your pen thickness deliberately between big solid shapes and tiny lettering details in the same room.
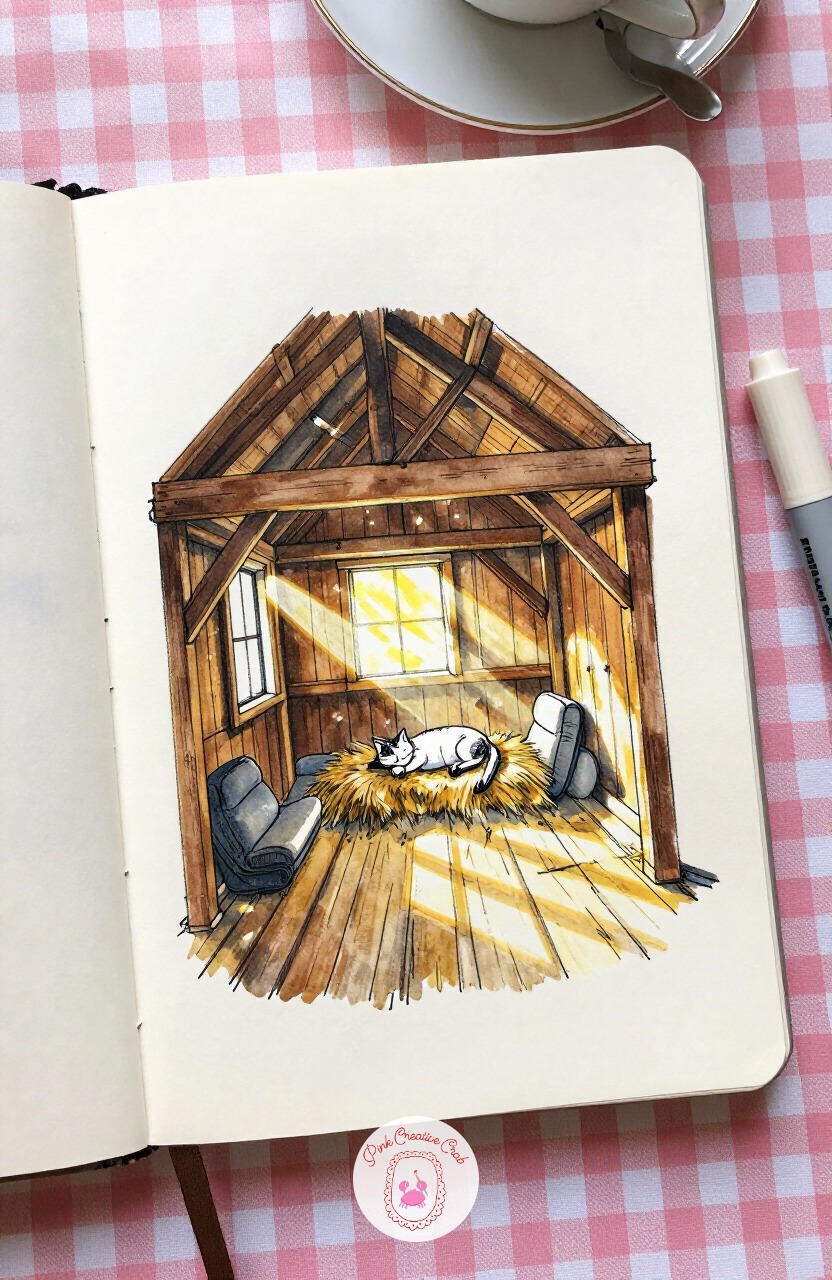
Climb up into a rustic barn hayloft next, sunlight slanting through gaps in the wood slats above. Those slats are your proportion trick: space the gaps evenly across the roofline, and let the light beams falling through them line up exactly with each gap, so the whole room feels logically lit rather than randomly dotted with sunbeams.
A farm cat naps in a nest of hay, dust motes drifting through each slanted beam of light. Today’s tip: always line up your light beams with the actual gaps they are falling through, never scatter them at random.
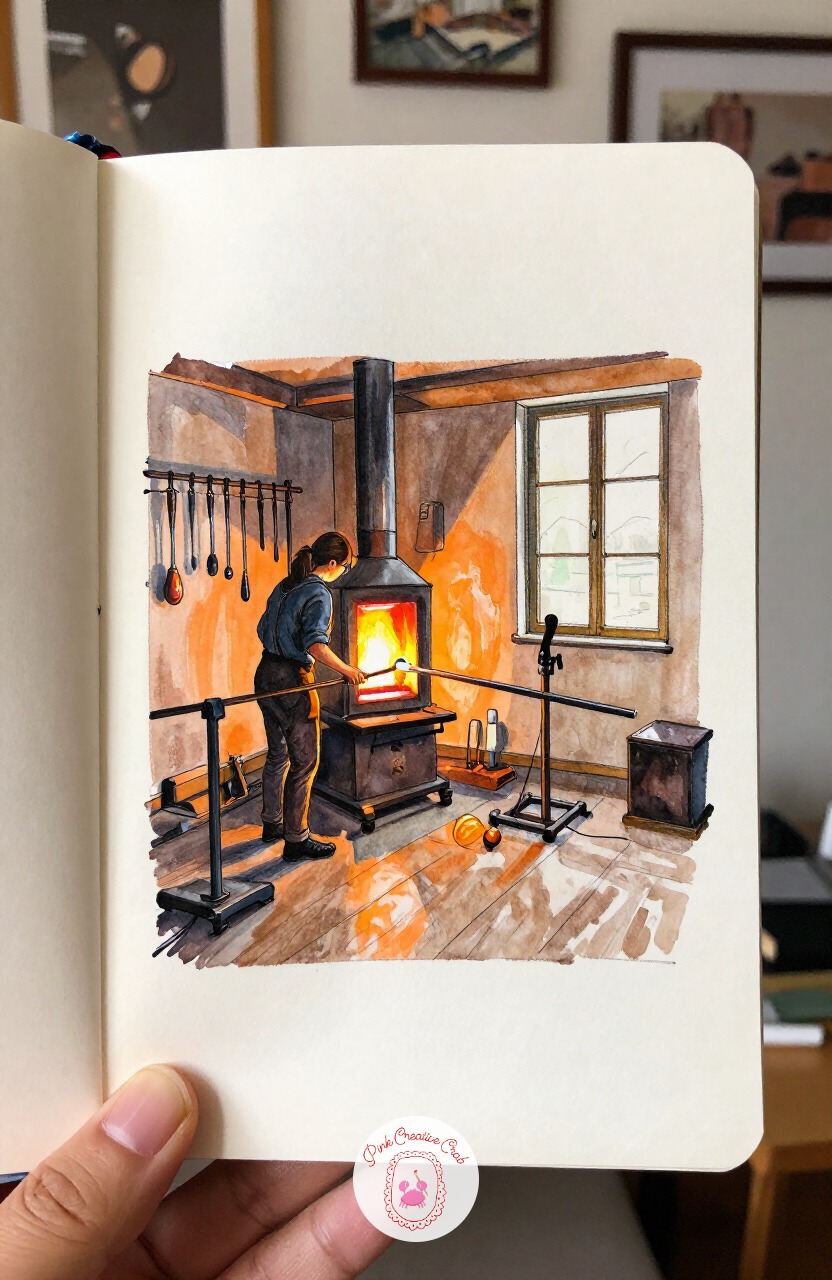
Turn up the heat again with a glassblower’s furnace room, orange light pouring from the open kiln. The mistake most beginners make with fire and furnace glow is making it too small and contained, when the light from an open furnace should actually spill several feet across the floor and up the nearest wall.
The glassblower shapes molten glass on a long rod, sweat and concentration on her face, tools hanging within easy reach. Today’s tip: let furnace or fire light spill much further across the room than first feels right, since it is almost always too timid otherwise.
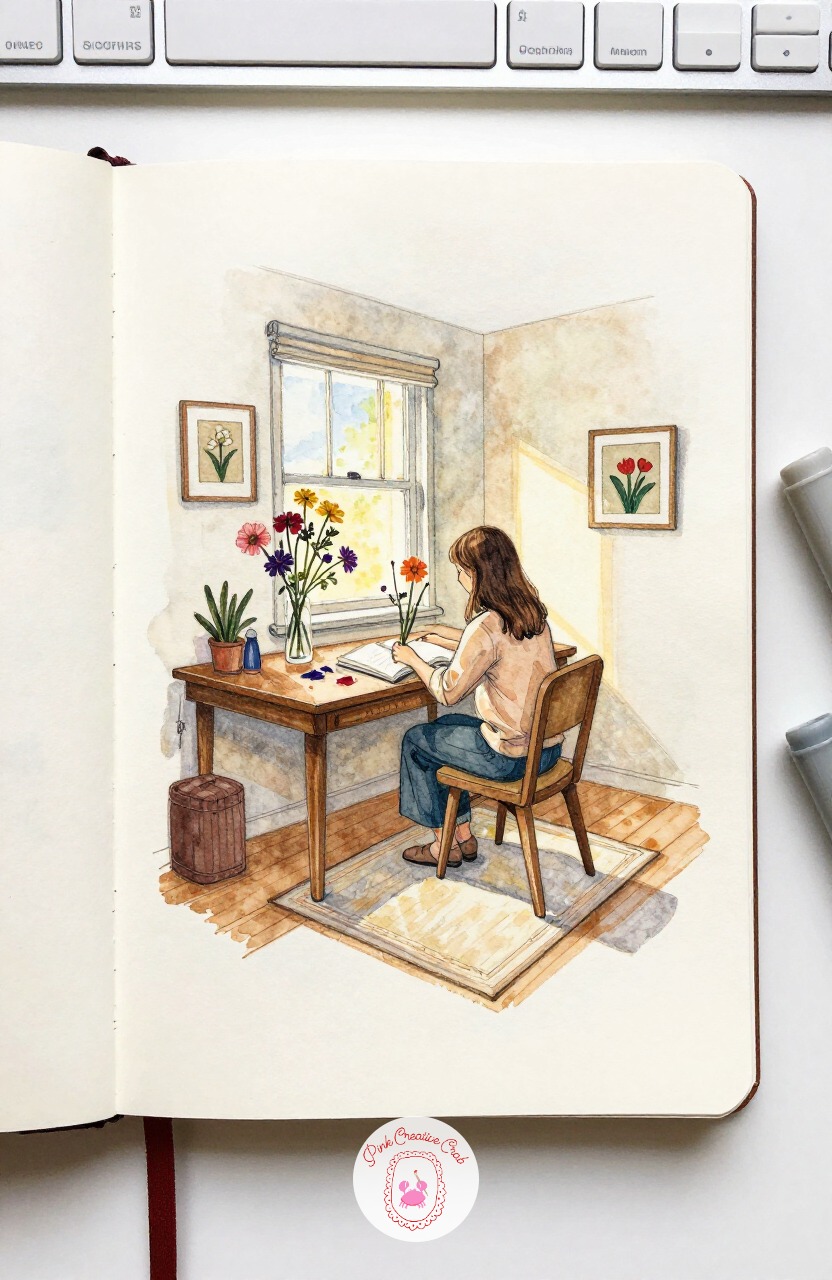
Settle back into something quieter after all that heat: a small study room where someone presses flowers between heavy books at a desk by the window. Start with the desk and window first, then the stacked books, then the loose flowers scattered across the desktop last, since their delicate shapes are easiest to adjust right at the end.
A woman carefully arranges a pressed violet onto a page, afternoon light warming the wood desk. If flowers and botanicals are becoming a favorite subject, the flower sketchbook ideas page has plenty more to explore. Today’s tip: save your most delicate objects for the very last marks on the page.
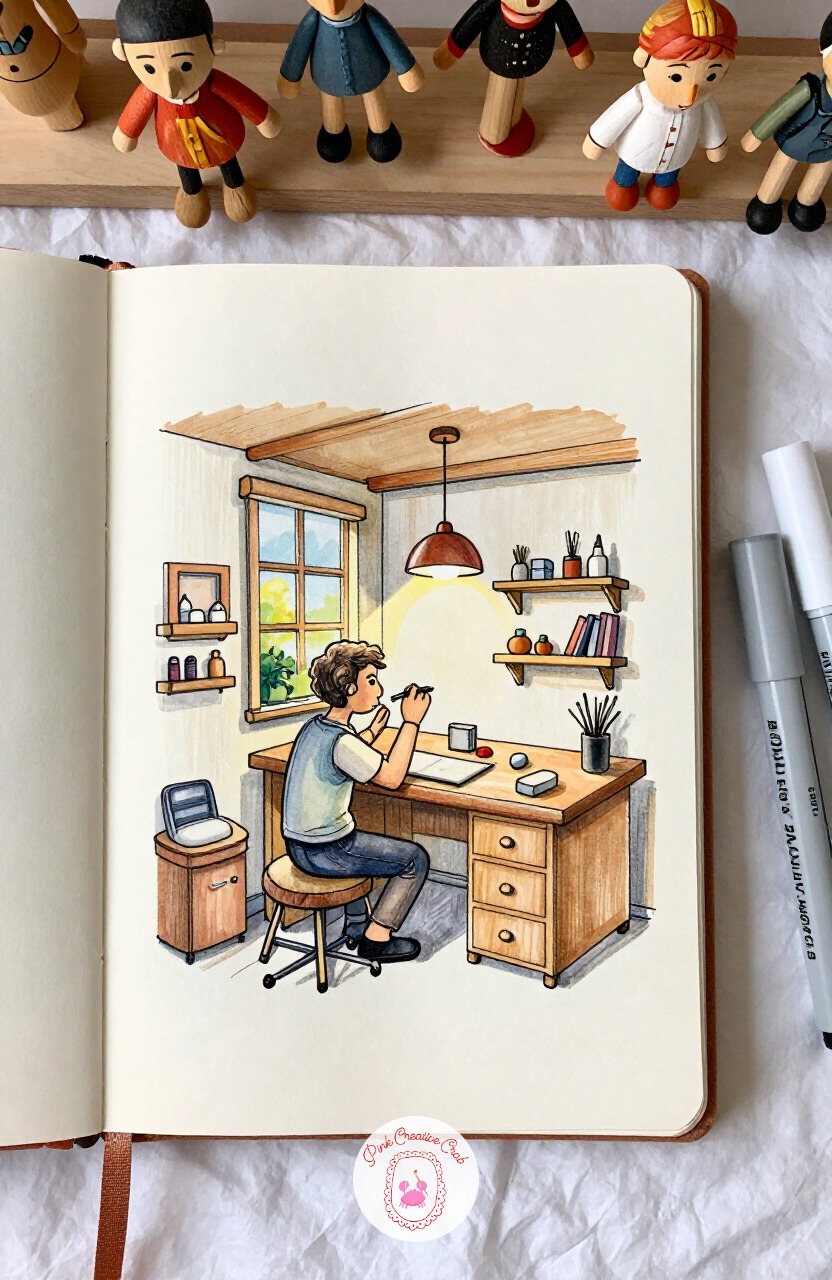
Fill a shop with handmade puppets next, strings and painted faces crowding every shelf. Eye level sits a little high in this one, looking down slightly into the room, which makes the puppets hanging from the ceiling appear to dangle toward the viewer rather than floating flat against the back wall.
The puppet maker paints a tiny wooden face at her bench, finished puppets swinging gently above her. If you enjoy drawing little characters like this, the cute sketchbook ideas page is full of similar small scenes. Today’s tip: raise your eye level slightly whenever you want hanging objects to feel like they reach toward the viewer.
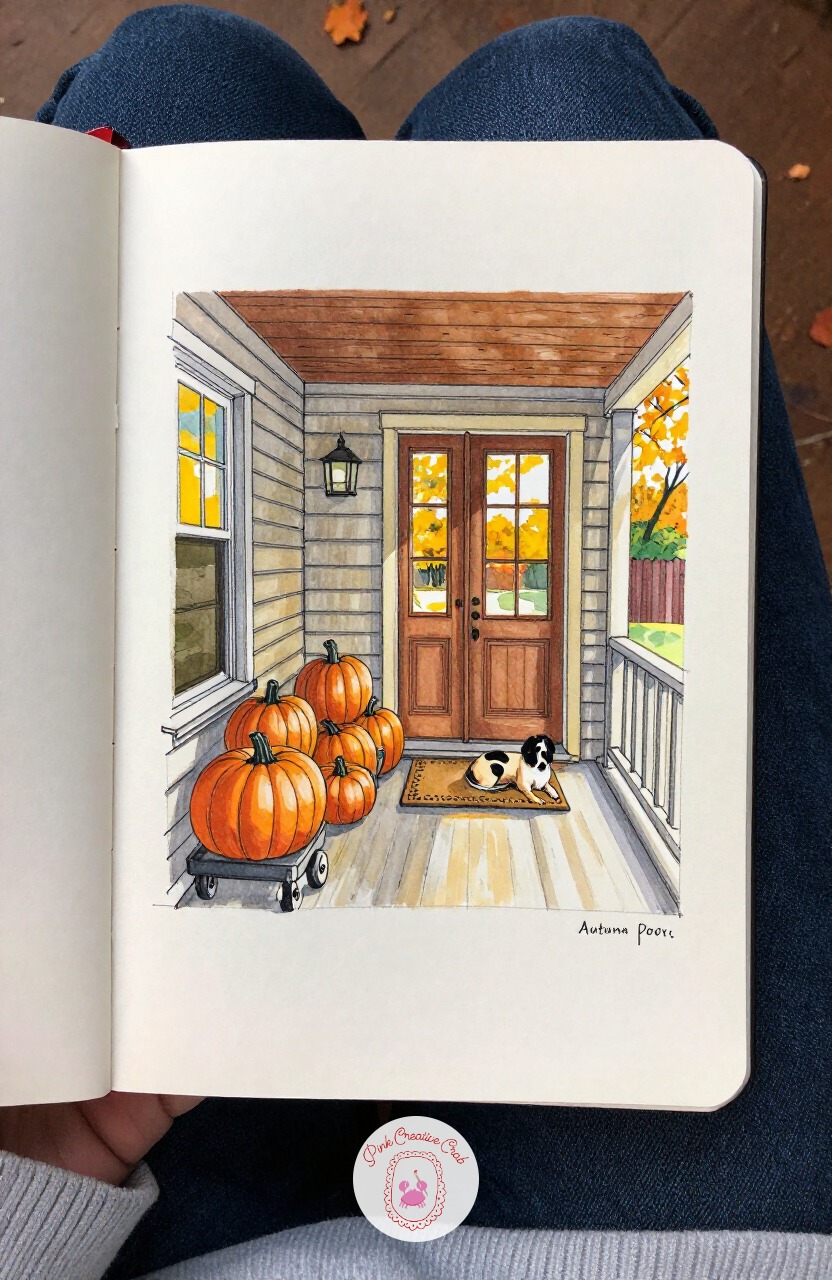
Step just outside the main house for a change of scene: a covered porch in autumn, pumpkins stacked by the door and a dog curled on the mat. Keep this one to the quick ten-minute version, the porch beams, the pumpkin stack, and the dog, since a porch scene works best loose and breezy rather than overworked.
If autumn light and harvest scenes appeal to you, the autumn sketchbook ideas page has a whole collection in that mood. Today’s tip: resist the urge to fill every inch of a porch scene, since empty space reads as fresh air.
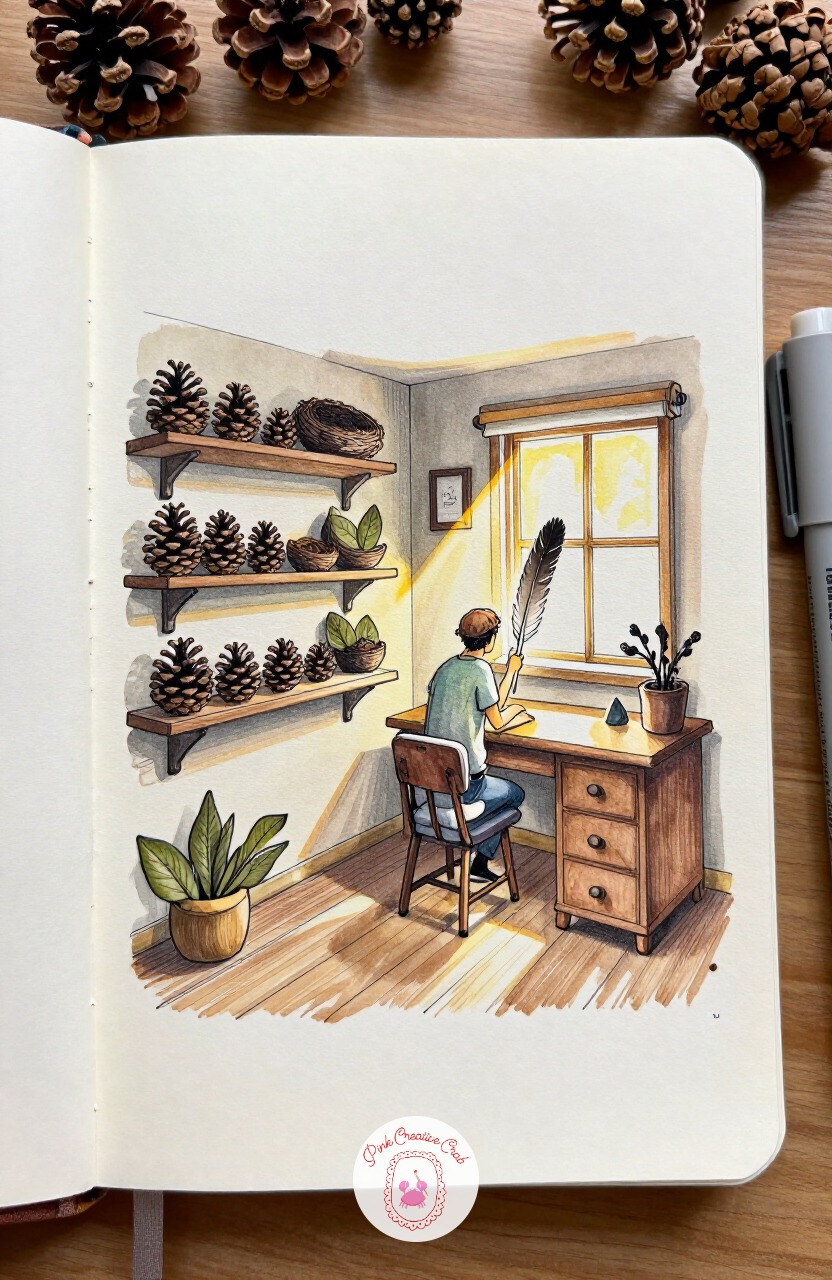
Build on that outdoor mood indoors with a naturalist’s study, shelves lined with pinecones, bird nests and pressed leaves rather than anything formal. Measure the tallest shelf against the seated naturalist at the desk below it, roughly double the figure’s seated height, so the room feels appropriately book-and-collection heavy without the shelves looming unrealistically.
The naturalist sketches a feather under lamplight, a curious owl figurine watching from the shelf. Today’s tip: always measure tall shelving against a seated figure before committing to the final height.
What to Do Next
Pick whichever room is pulling at you most, maybe the sleepy reading nook if this is your first interior sketch, or the attic studio if you are ready for an angled ceiling. Grab a mixed media or marker pad, rule a light horizon line, and give yourself one sitting to see it through.
Frequently Asked Questions
Do I need real interior design knowledge to draw rooms like this?
No. These sketches lean on storytelling and simple one-point perspective, not architectural accuracy. If the window, the biggest furniture piece and the character all sit in believable proportion to each other, the room reads as convincing even without technical training.
What paper works best for alcohol markers in a sketchbook?
Look for a marker-friendly or mixed media paper with some weight to it, since alcohol markers bleed through thin sketchbook pages fast. A dedicated marker pad or a smooth bristol-style page keeps colors crisp and stops bleed-through ruining the next page.
How do I stop my rooms from looking flat or empty?
Give every room one clear light source and let shadows fall consistently away from it, that single choice does most of the work. Then add just two or three personal touches, like a mug, a dropped book or a sleeping pet, rather than filling every inch with furniture.
Should I draw the character or the room first?
Start with the room’s big shapes, the walls, window and main furniture piece, then add the character last. Characters are easier to resize or shift slightly once the space around them already feels settled and in proportion.
How long should one interior design sketchbook page actually take?
Most of these rooms are built for a single sitting, somewhere between ten and forty minutes depending on how much detail you add. Start with the quick version, the main shapes and the character, then keep adding small story details for as long as you have time.
Have any thoughts?
Share your reaction or leave a quick response — we’d love to hear what you think!
-
 0
-
0
-
0
-
0
-
0
-
0


