

Circus watercolor is the whole FunHaus look in one brush: candy stripes, gold trim and a little bit of sawdust glamour on paper. Every scene here leans into that vintage-modern circus print, red and cream and teal with warm gold accents, so the page feels like a whole afternoon at the big top rather than one tired clown.
Below you will find 27 separate scenes, from a striped tent you can finish in minutes to a full circus parade for a quieter evening. Work through them in any order, keep your stripes a little wobbly on purpose, and let the gold pen do the showing off.
Using these images: free for personal projects such as printing, coloring, cards, journals and gifts. Handmade items that include them may be sold up to 30 pieces per design. More than that is commercial use and is not permitted, and neither is selling or sharing the images themselves or passing them off as your own. Please ask before any other use.
Start the whole set with the subject that says circus louder than any other: a red and white striped big top tent against a plain sky. Sketch the tent shape lightly in pencil first, a simple triangle with a scalloped bottom edge and one or two flags on top, then work your stripes from the center peak down to the base so they fan out naturally rather than running parallel.
Paint the cream stripes first as dry paper (just leave them white or add a wash of warm cream), then drop in the red stripes wet-on-dry so the edges stay crisp. The usual mistake is making every stripe the same width, which flattens the tent; vary them slightly and curve a few toward the bottom seam.
If you do not have a proper round brush, a flat brush turned on its edge will lay a clean stripe just as well. Finish with a gold pennant flag at the very top and a thin gold line along the tent’s base for that FunHaus trim.
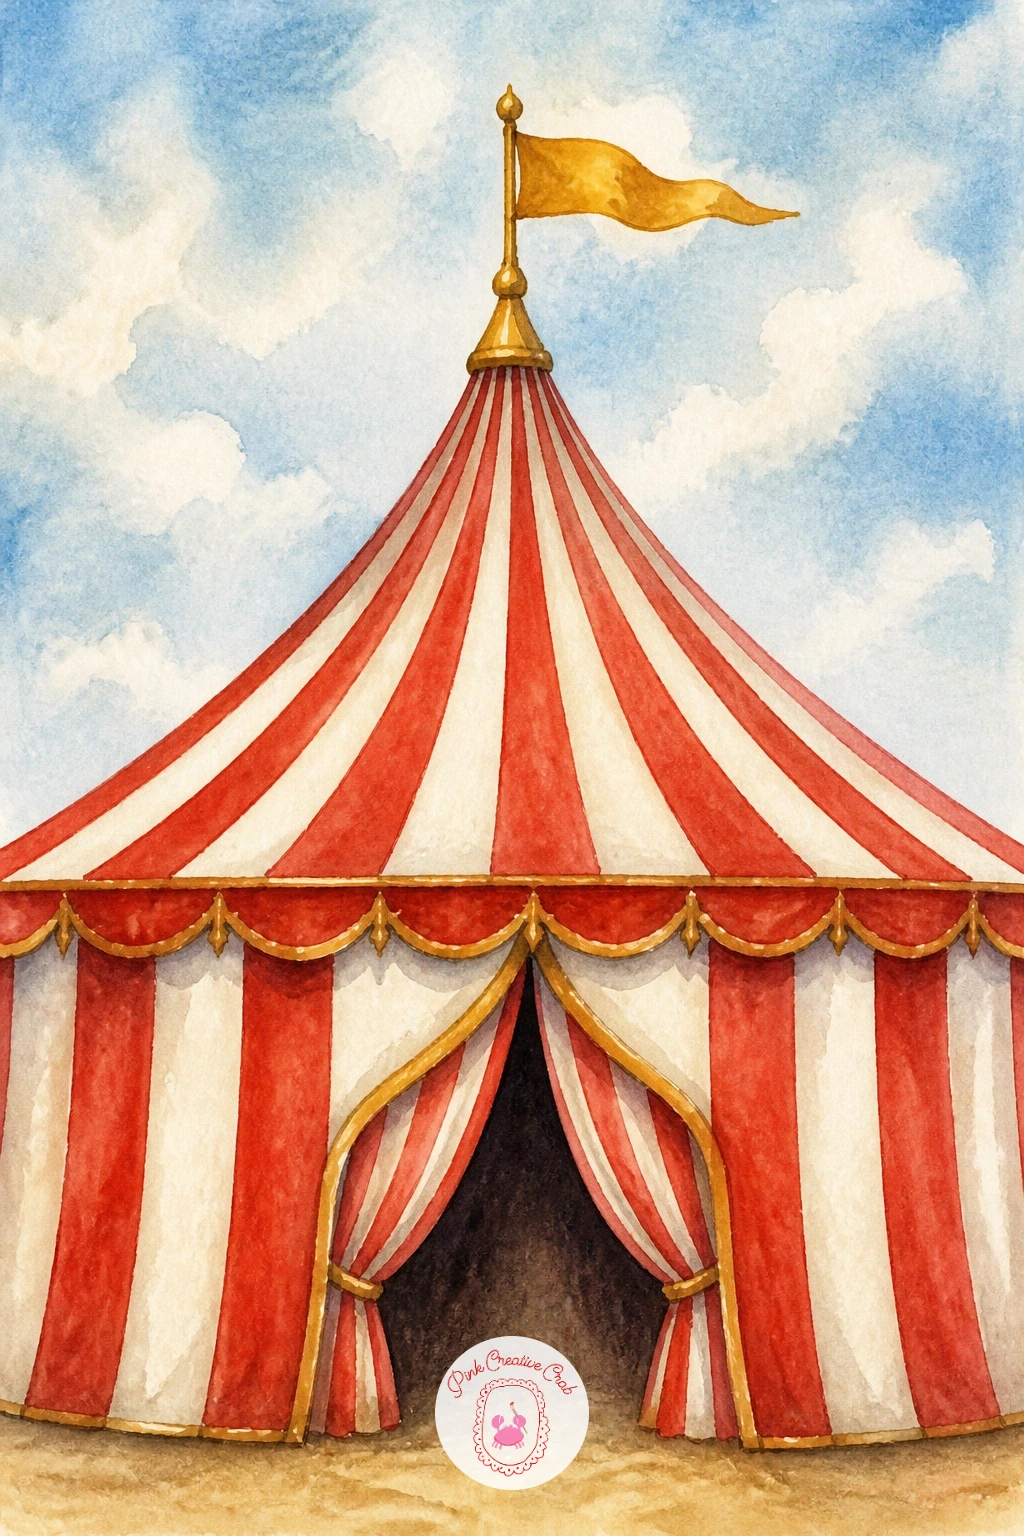
Palette: Cadmium Red Hue,Naples Yellow,Payne’s Grey,Gold
Once the tent is dry, give it a performer: an acrobat balanced on a tightrope, arms out wide, one striped parasol held for balance. Pencil in the pose first as a stick figure to get the balance right, then check that her two feet sit on exactly one line, since a tightrope walker who looks like she is falling usually just has her feet in two different places on the rope.
Paint her costume in one bold color block (a teal leotard works beautifully against the red tent stripes) and keep the rope itself a single confident pencil-thin line in gray, never painted.
Let the costume dry before adding a thin gold trim at the neckline and cuffs with a fine brush or gold pen. If your watercolor bleeds where the costume meets her skin, blot gently with a tissue rather than scrubbing, which lifts color unevenly.
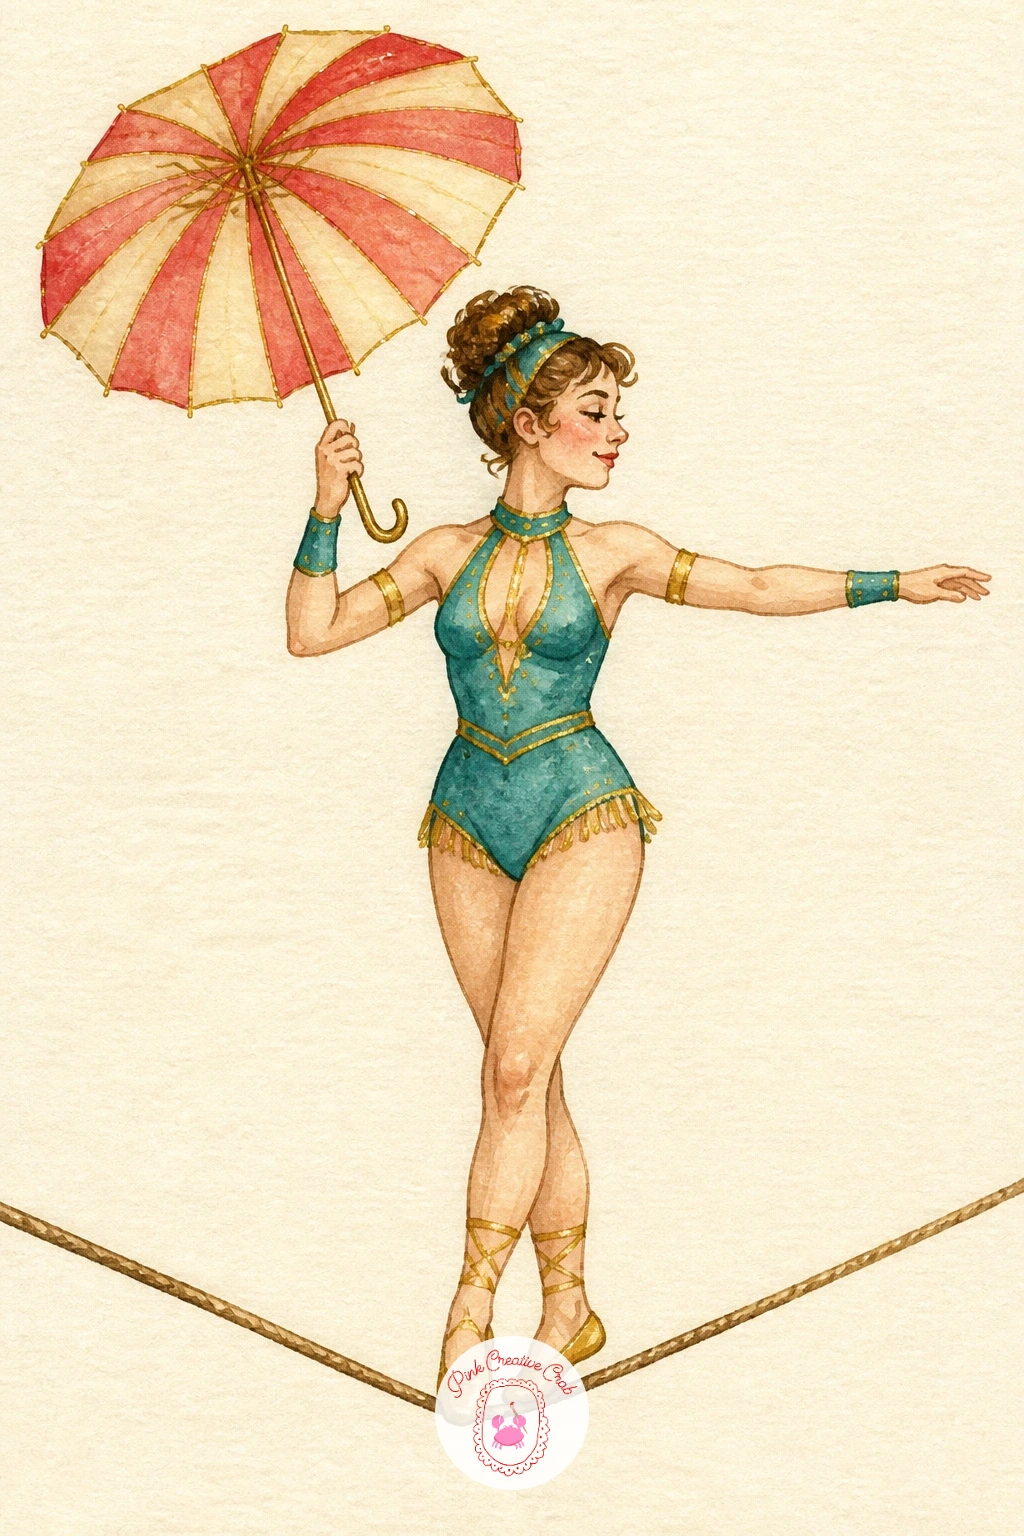
Palette: Teal Green,Cadmium Red Hue,Raw Sienna,Payne’s Grey
Carry the fairground mood forward with a carousel horse mid-gallop, mane flying and ribbons streaming from its bridle. Block in the horse’s body shape first in a pale wash, cream or soft pink, and let that dry completely before you add any detail, since a carousel horse’s charm comes from the painted saddle and jewels sitting crisp on top of a clean base coat.
Add the saddle, bridle and a scatter of small gold dots for jewels once the base is dry, then let a loaded brush of teal or red bleed gently into the mane so it feels windblown rather than stiff.
Finish with two or three ribbon streamers in red and teal, painted as simple curved ribbons trailing from the bridle. If you want a quicker version, skip the jewels and just add the gold trim line along the saddle edge.
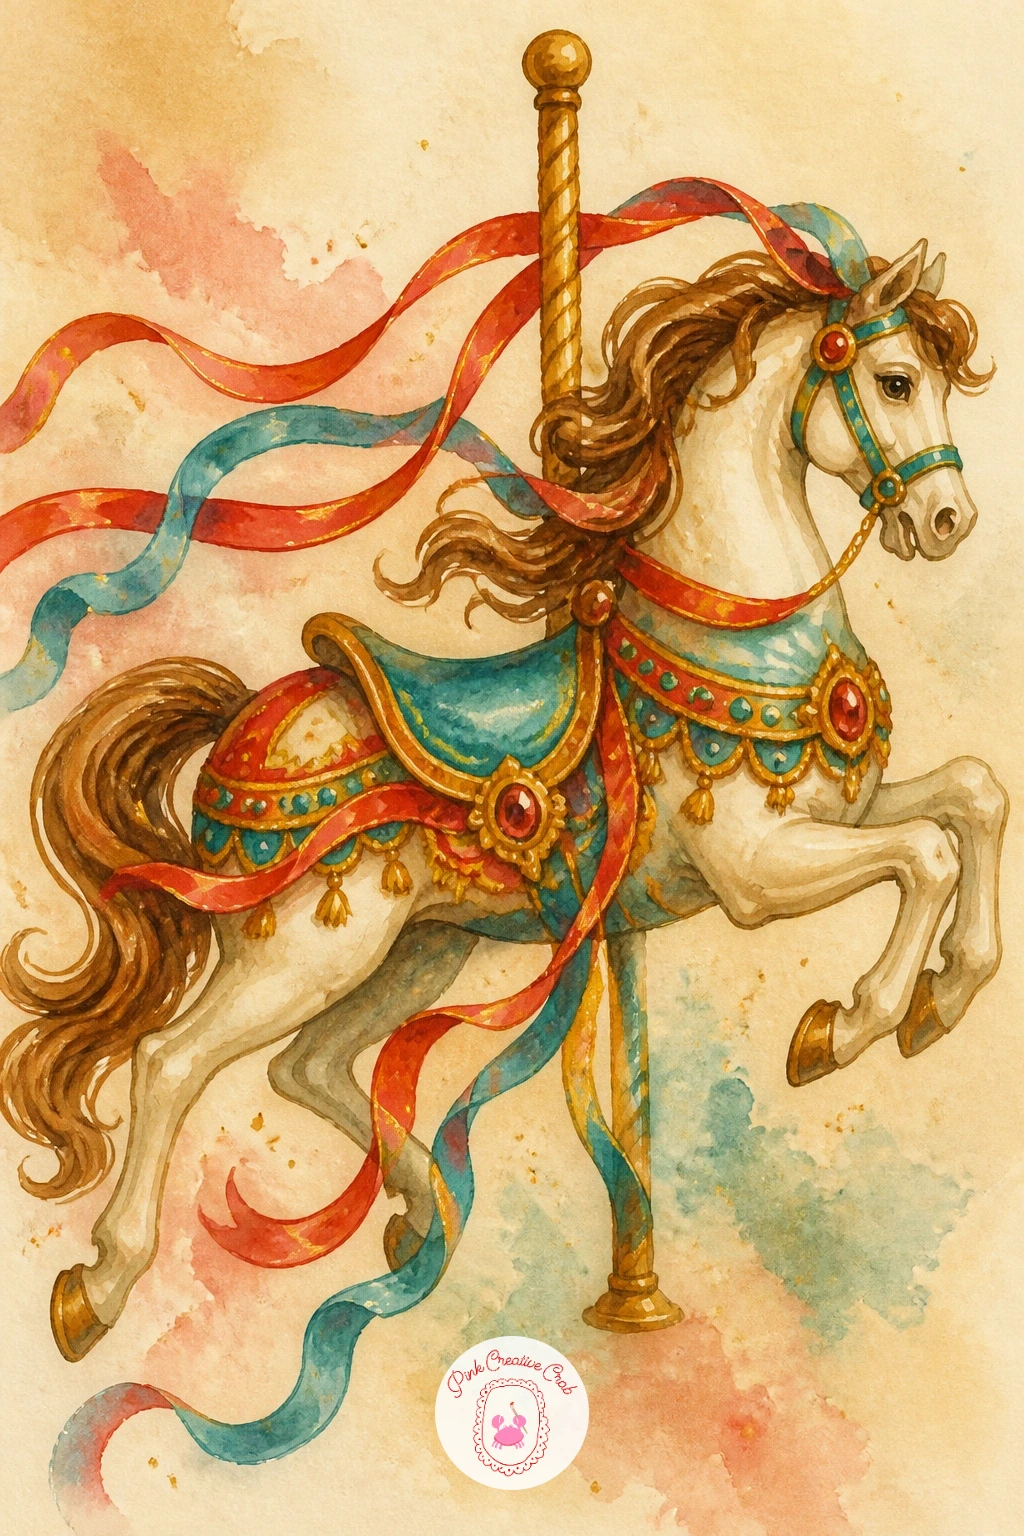
Palette: Shell Pink,Teal Green,Cadmium Red Hue,Gold
Look at real carousel photos for saddle shapes before you paint; the curve of the saddle skirt is what makes the horse read as a carousel horse rather than a real one.
Bring in the master of ceremonies next: a ringmaster in a red tailcoat and tall black top hat, one arm raised as if announcing the next act. Sketch the hat and coat as simple geometric shapes first, a tall cylinder and a fitted triangle coat, since a ringmaster’s silhouette does most of the storytelling before you add any face.
Paint the coat in red first, let it dry, then add the black hat and boots as flat washes so the shapes stay clean and poster-like rather than muddy.
Keep his face simple, just a mustache and a confident smile, since too much detail here pulls focus from the costume. Finish with a gold watch chain across the waistcoat and a thin gold band on the hat, the kind of small flourish that makes the whole figure feel like a vintage print.
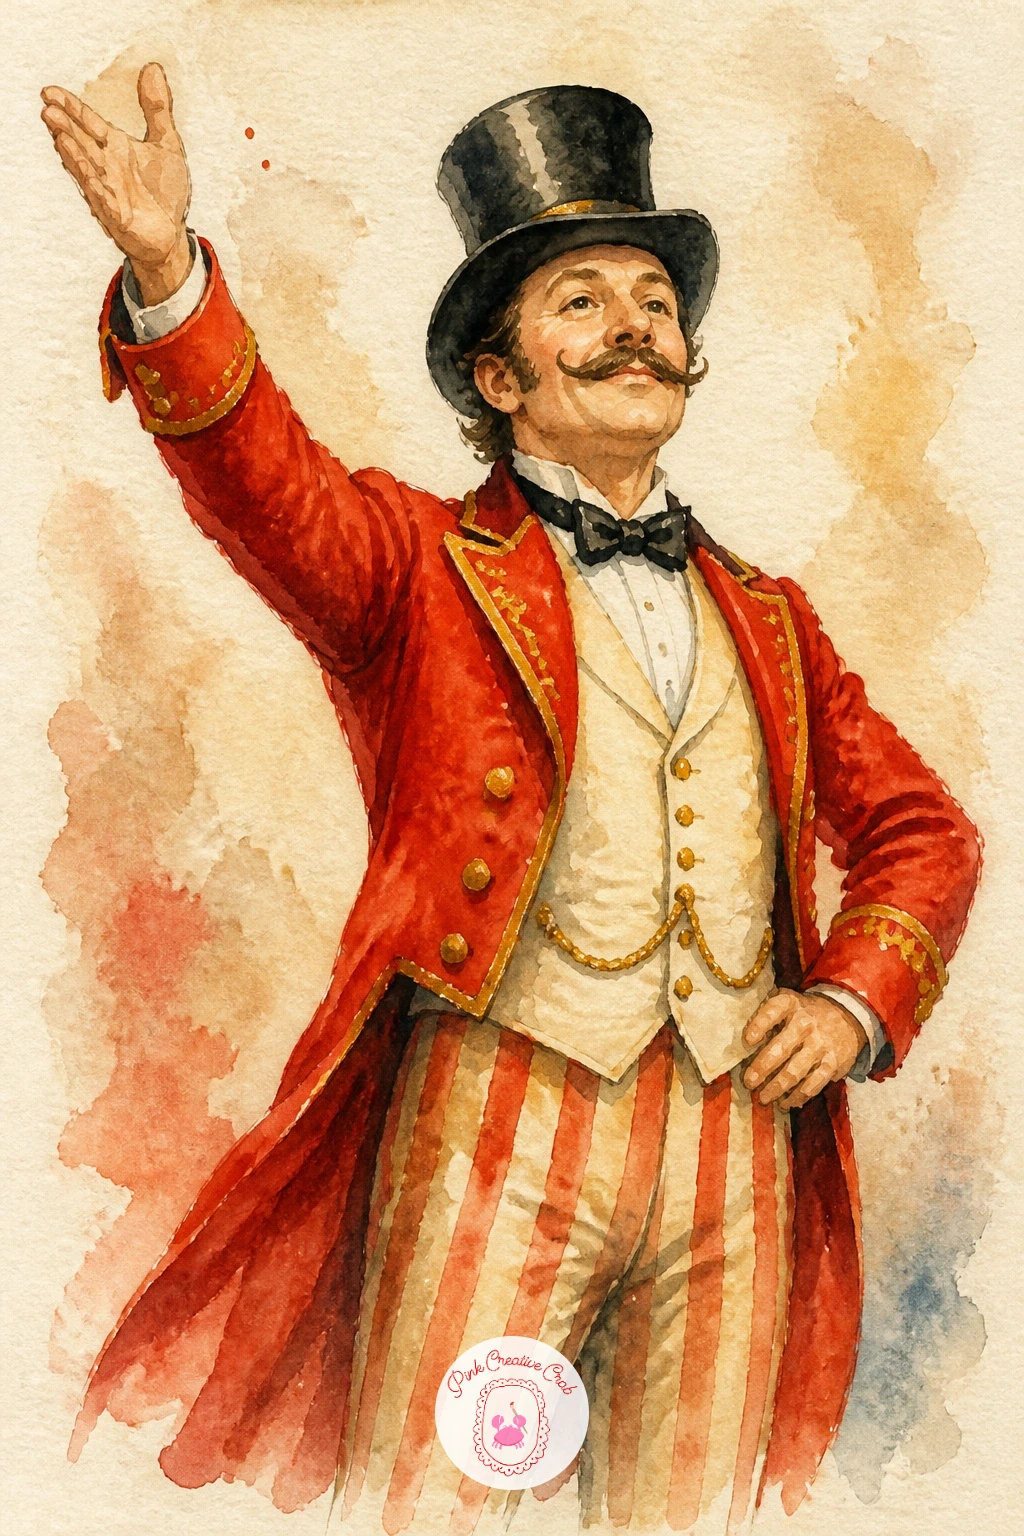
Palette: Cadmium Red Hue,Ivory Black,Naples Yellow,Gold
Lighten the mood with a trained poodle balanced on a striped circus ball, one paw raised as if mid-trick. Paint the ball first as a simple sphere in alternating red and cream stripes that curve around its roundness rather than running straight, which is what sells the three-dimensional shape.
Once the ball is dry, add the poodle on top in soft gray or cream, using a dry brush dragged lightly over the paper for the fluffy texture on its legs and tail pompoms, keeping the body itself smooth and flat by comparison.
If your fluffy texture comes out too heavy, a kneaded eraser can lift a little watercolor pigment back off once it is fully dry, softening the effect. Add a small gold circus collar and a single red bow for the final touch.
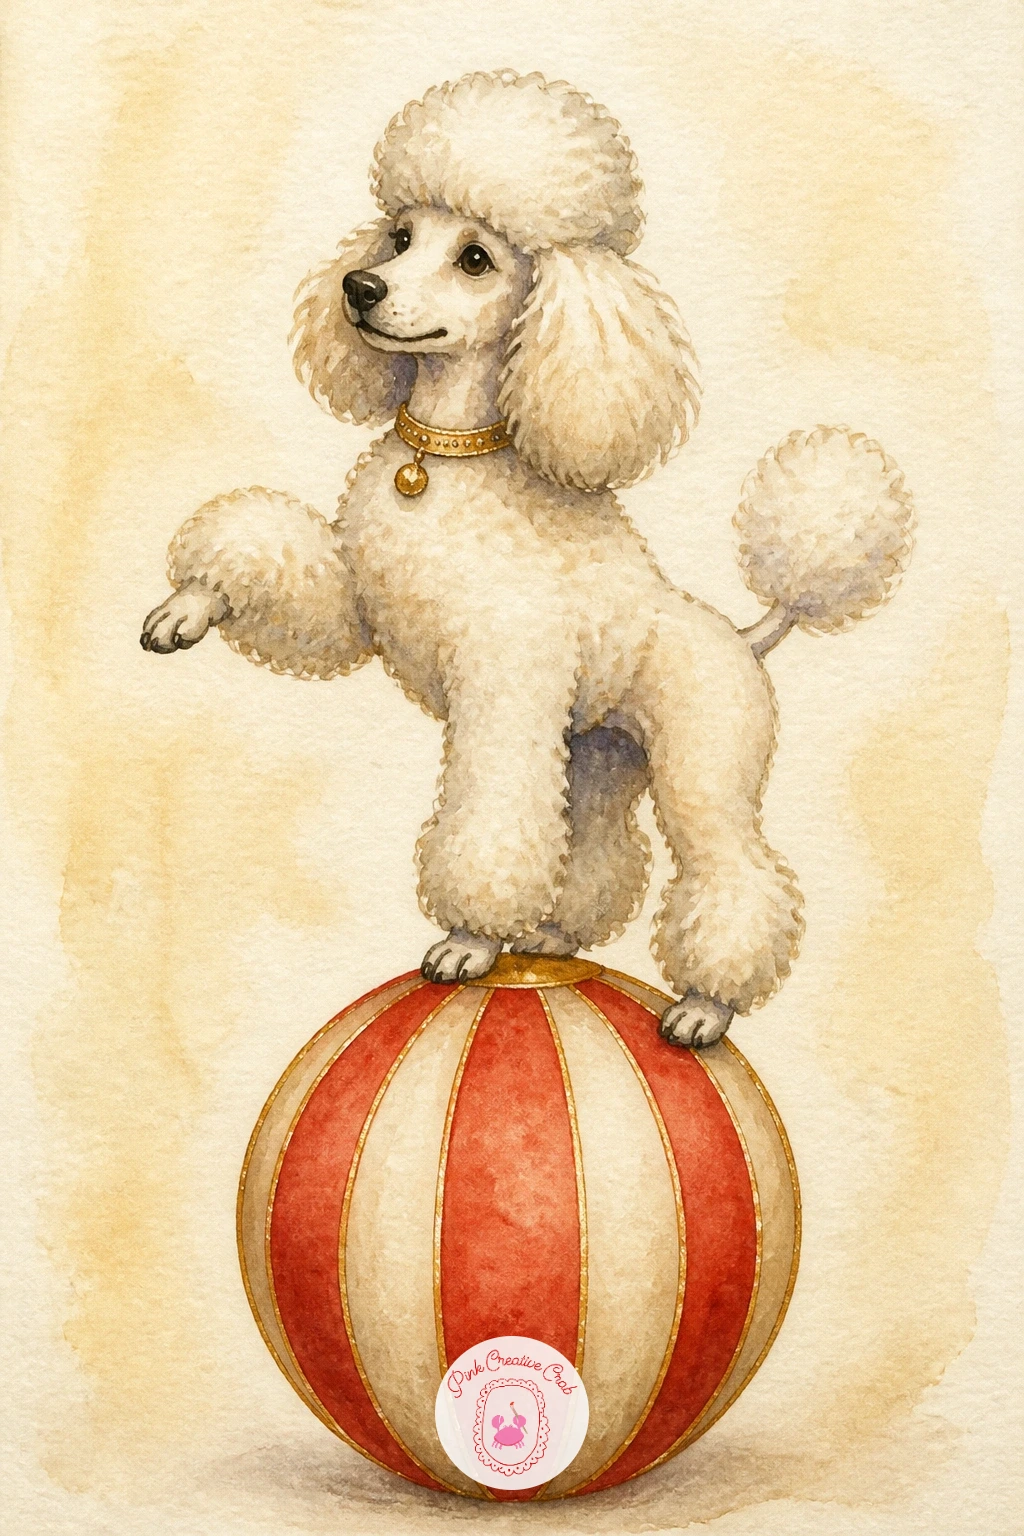
Palette: Payne’s Grey,Naples Yellow,Cadmium Red Hue,Gold
Send the energy upward with a trapeze artist caught mid-swing, body stretched in a long diagonal line from the bar. Light the whole scene from one side, a single warm spotlight glow behind her, so one edge of her costume catches gold highlight while the other side stays in soft shadow; that single light choice is what makes a trapeze figure feel like she is really swinging through air rather than floating flat.
Paint the spotlight glow first as a soft yellow wash behind her, then add her figure and the trapeze bar once that background is dry so the edges stay clean against the glow.
Keep the ropes as two thin pencil lines rather than painted strokes, which keeps them crisp. A quick swap: if you do not have masking fluid for the spotlight’s hard edge, just paint around a torn paper stencil instead.
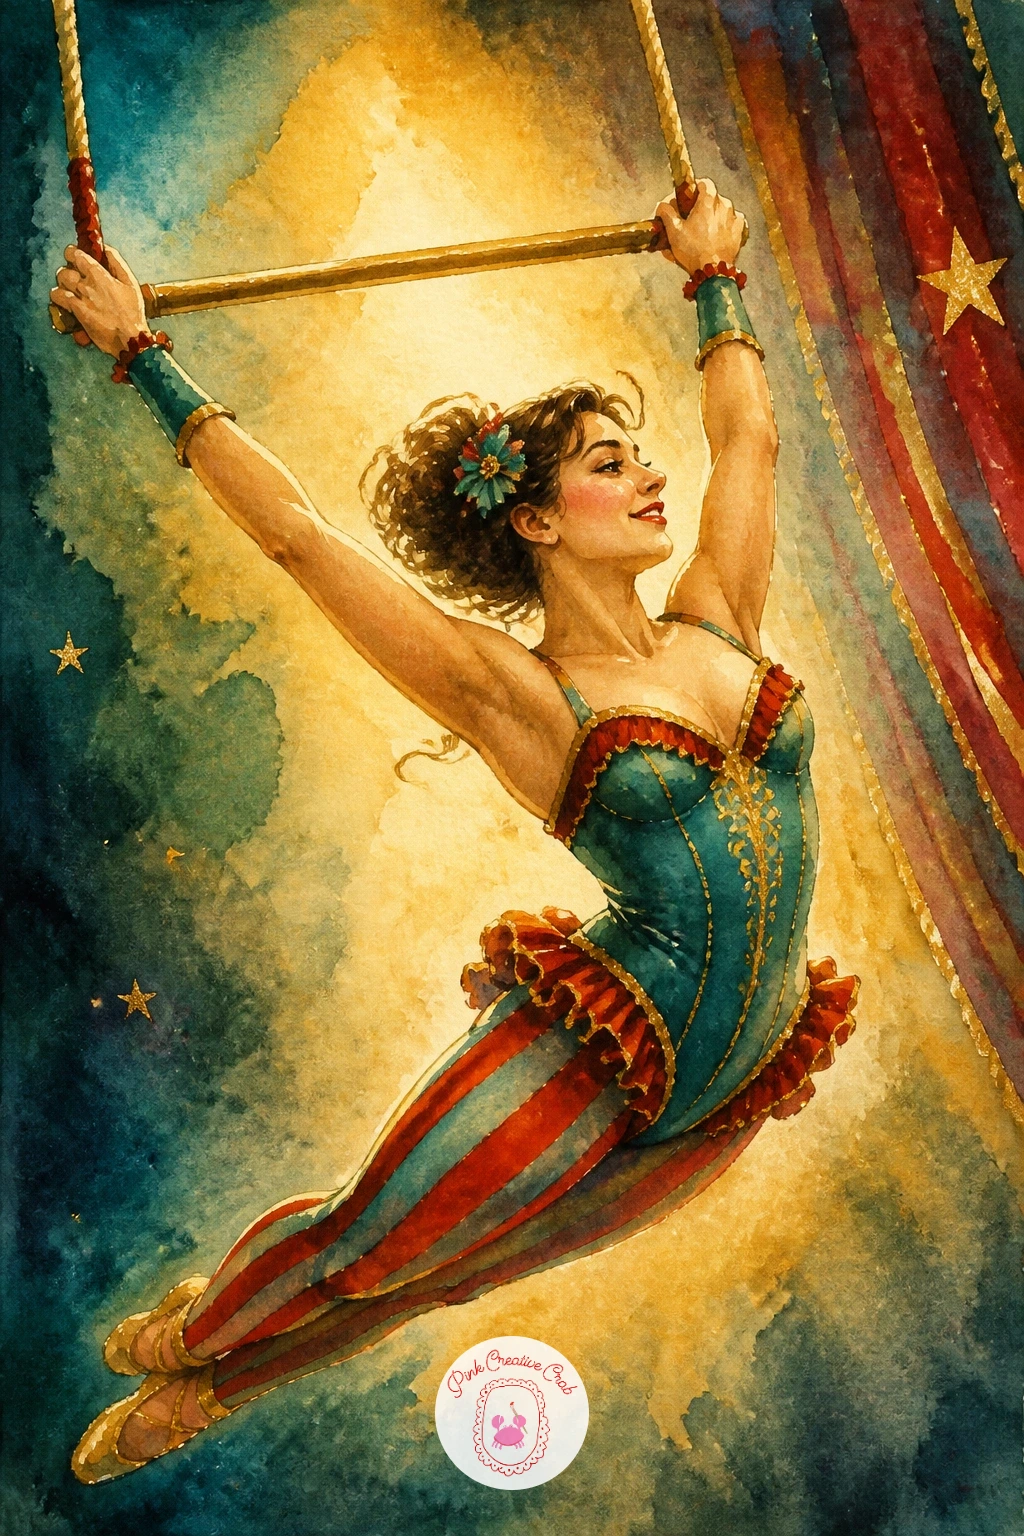
You Will Need
- masking fluid or a torn paper stencil
Palette: Naples Yellow,Teal Green,Cadmium Red Hue,Gold
Bring the scene back down to ground level with a popcorn stand, its striped awning echoing the big top above. Block in the awning stripes first using the same wobbly-on-purpose method as the tent, curving each stripe slightly along the awning’s scalloped edge rather than painting them perfectly straight.
Paint the stand itself as a simple cream box shape, then add the popcorn box sitting on top in red and white stripes with a scatter of small cream dots for the popcorn itself, a quick dab of a dry brush works better here than trying to paint individual kernels.
If the ten-minute version is all you have time for, stop once the awning and stand are dry. For the fuller forty-minute version, add a small painted sign and a string of gold circus lights along the awning’s edge.
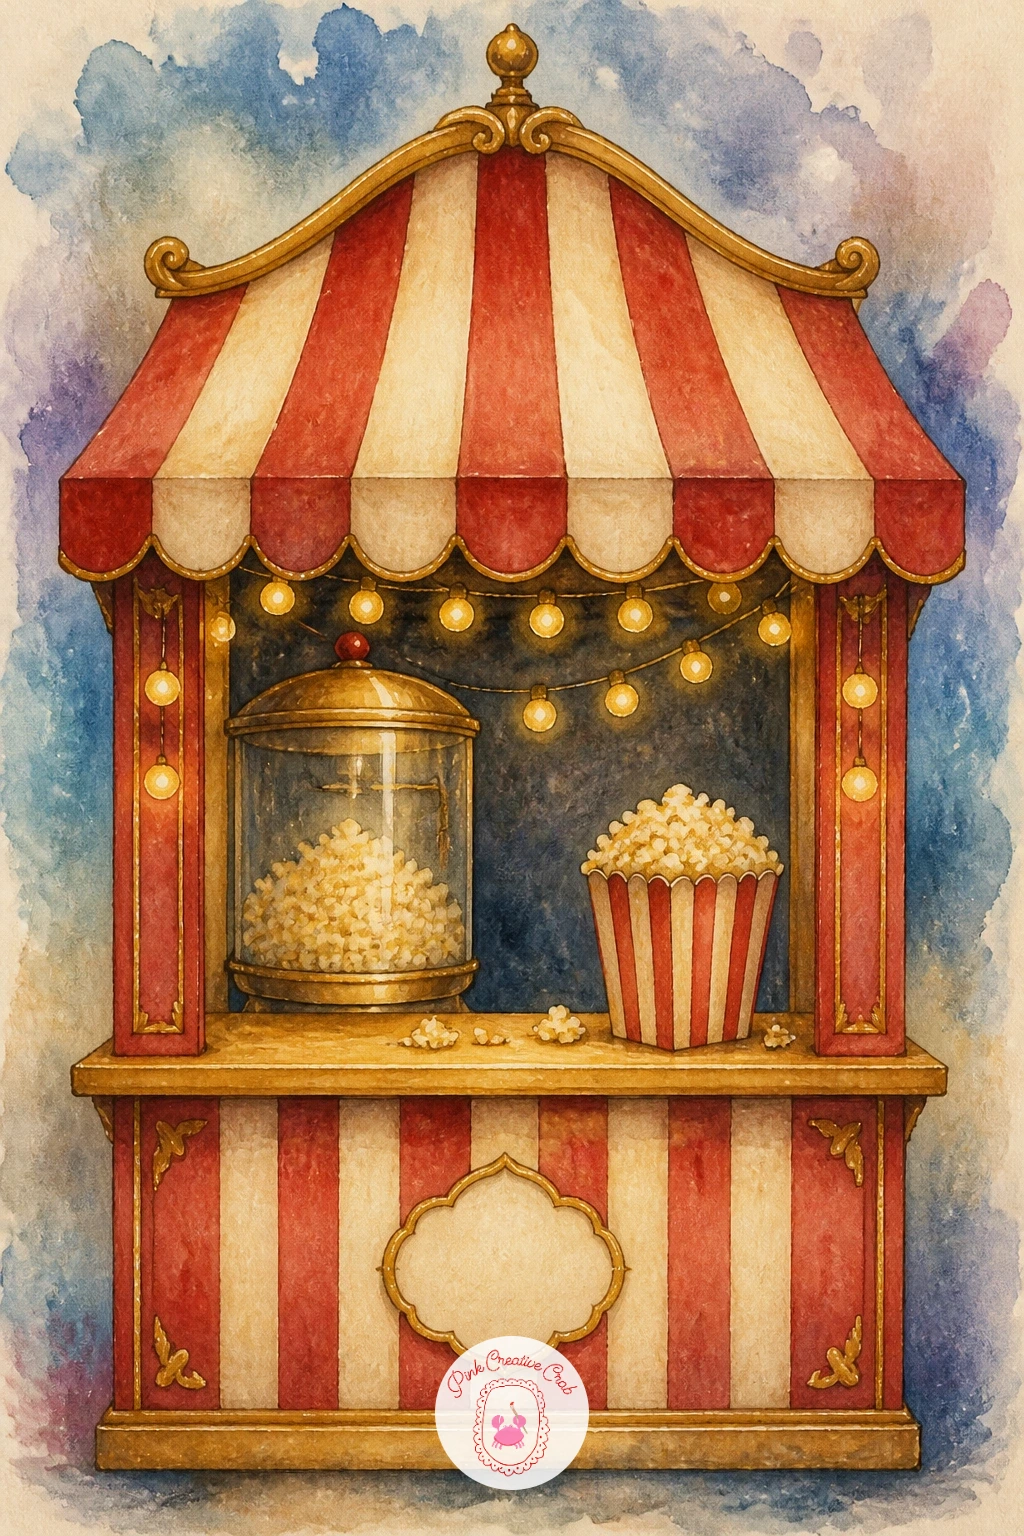
Palette: Cadmium Red Hue,Naples Yellow,Raw Sienna,Gold
Add warmth to the page with a small scene: a clown in a polka dot costume handing a single red balloon to a child. Sketch both figures as simple rounded shapes first and compare their heights directly on the page, the child’s head should sit roughly at the clown’s elbow, since getting that size relationship right is what makes the moment read as tender rather than odd.
Paint the clown’s costume in one base color, let it dry, then add polka dots with the end of a brush handle dipped in paint for perfectly round dots without fuss.
Keep the child’s outfit simple and pale so the clown’s costume stays the star of the scene. Finish with the one red balloon on a thin string, the single brightest shape on the page.
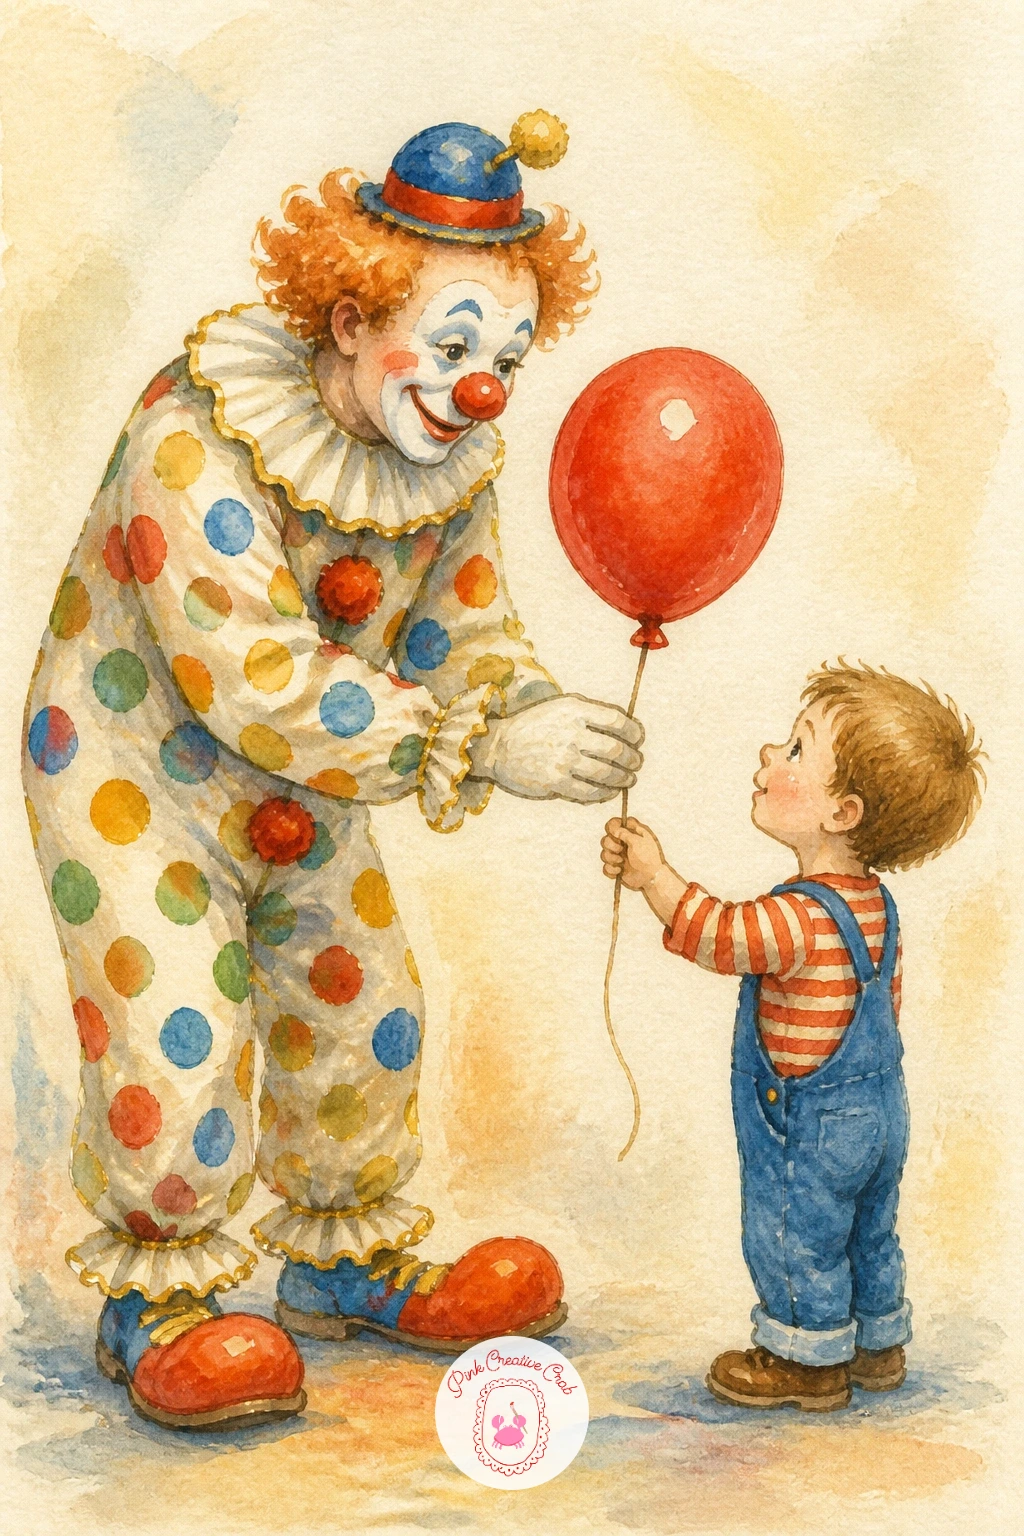
Palette: Teal Green,Naples Yellow,Cadmium Red Hue,Payne’s Grey
Give the performers somewhere to live with a circus caravan, its wheels painted in bright circus colors and its door left slightly open. Draw the caravan’s boxy silhouette first, a simple wagon shape with an arched roof, then measure the wheels against the body: they should sit lower than half the caravan’s height or the whole wagon starts to look toy-like rather than lived-in.
Paint the main body in cream or soft teal, let it dry, then add the painted wheel spokes in red and gold once that base coat is set so the colors stay separate and bright rather than bleeding together.
A small string of bunting along the roofline adds instant charm and takes under a minute with a fine brush. If you want the richer version, add a curl of smoke from a tiny chimney pipe.
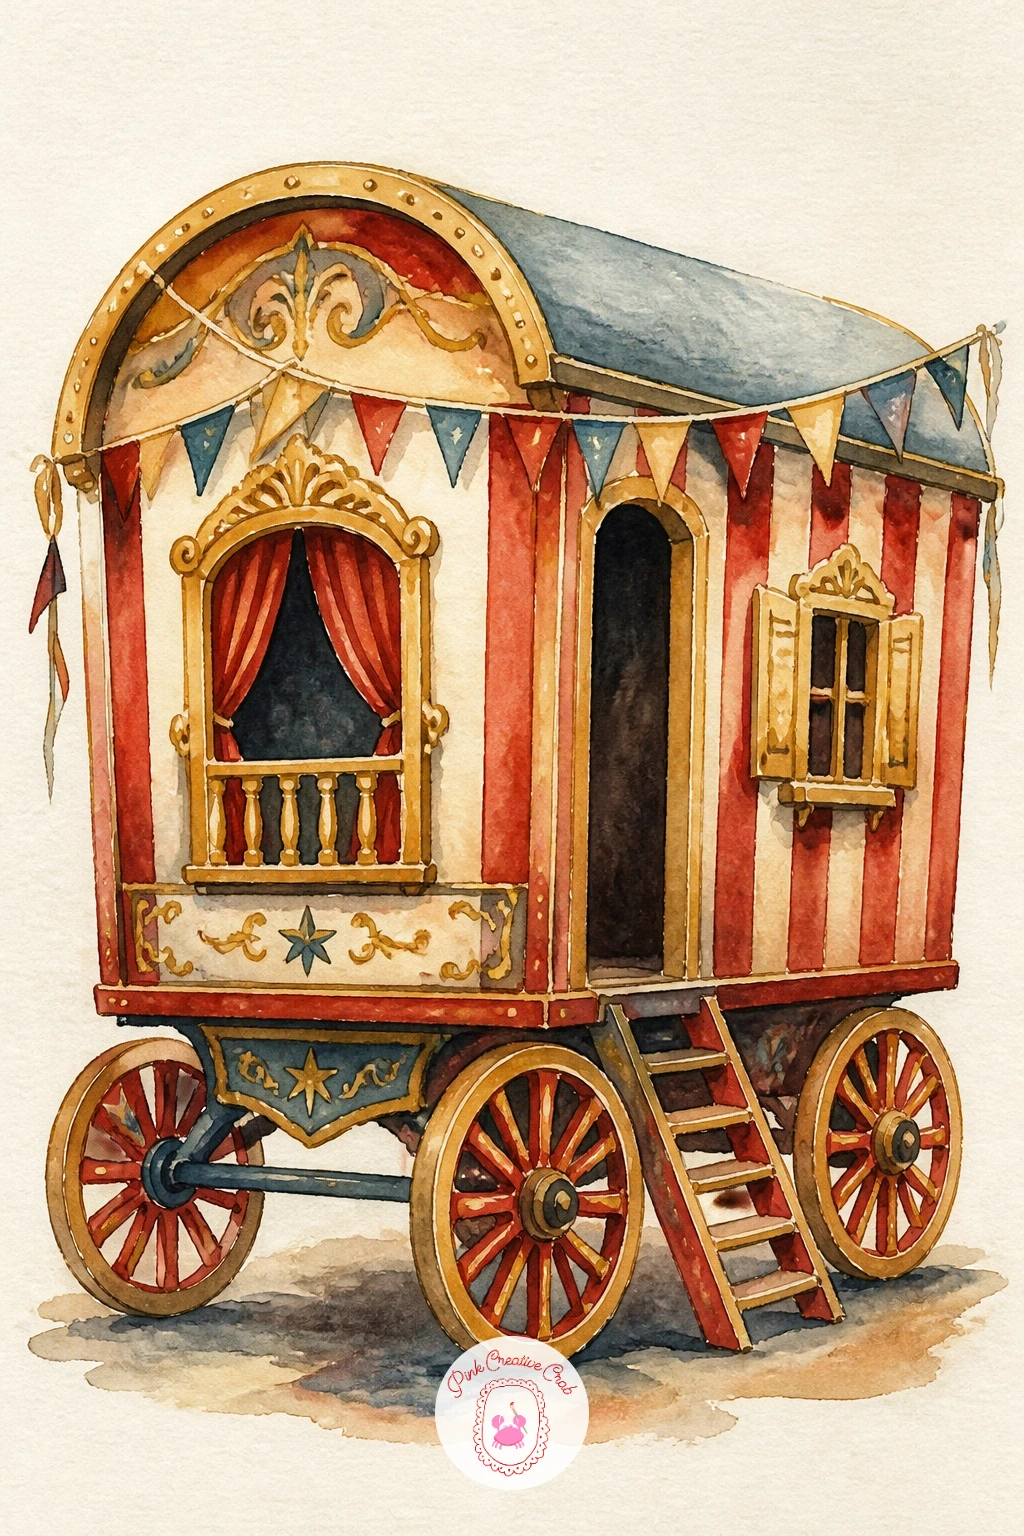
Palette: Teal Green,Cadmium Red Hue,Gold,Naples Yellow
Move into the main ring with a girl in a sequined costume riding a white horse at a gallop, one arm raised to the crowd. Keep the horse’s body as clean white paper with only a thin gray wash for shadow along its belly and legs, since a circus horse works best when it reads as bright white against the ring’s red curtain or striped backdrop.
Paint the ring floor as a soft red and cream striped circle beneath the horse’s hooves, then add the rider’s costume last in teal and gold so her small bright figure sits clearly against both the white horse and the striped floor.
The usual trouble spot is the horse’s legs going stiff; loosen your wrist and paint the running legs in one quick stroke rather than several careful ones. A dry brush flicked along the mane finishes the sense of movement.
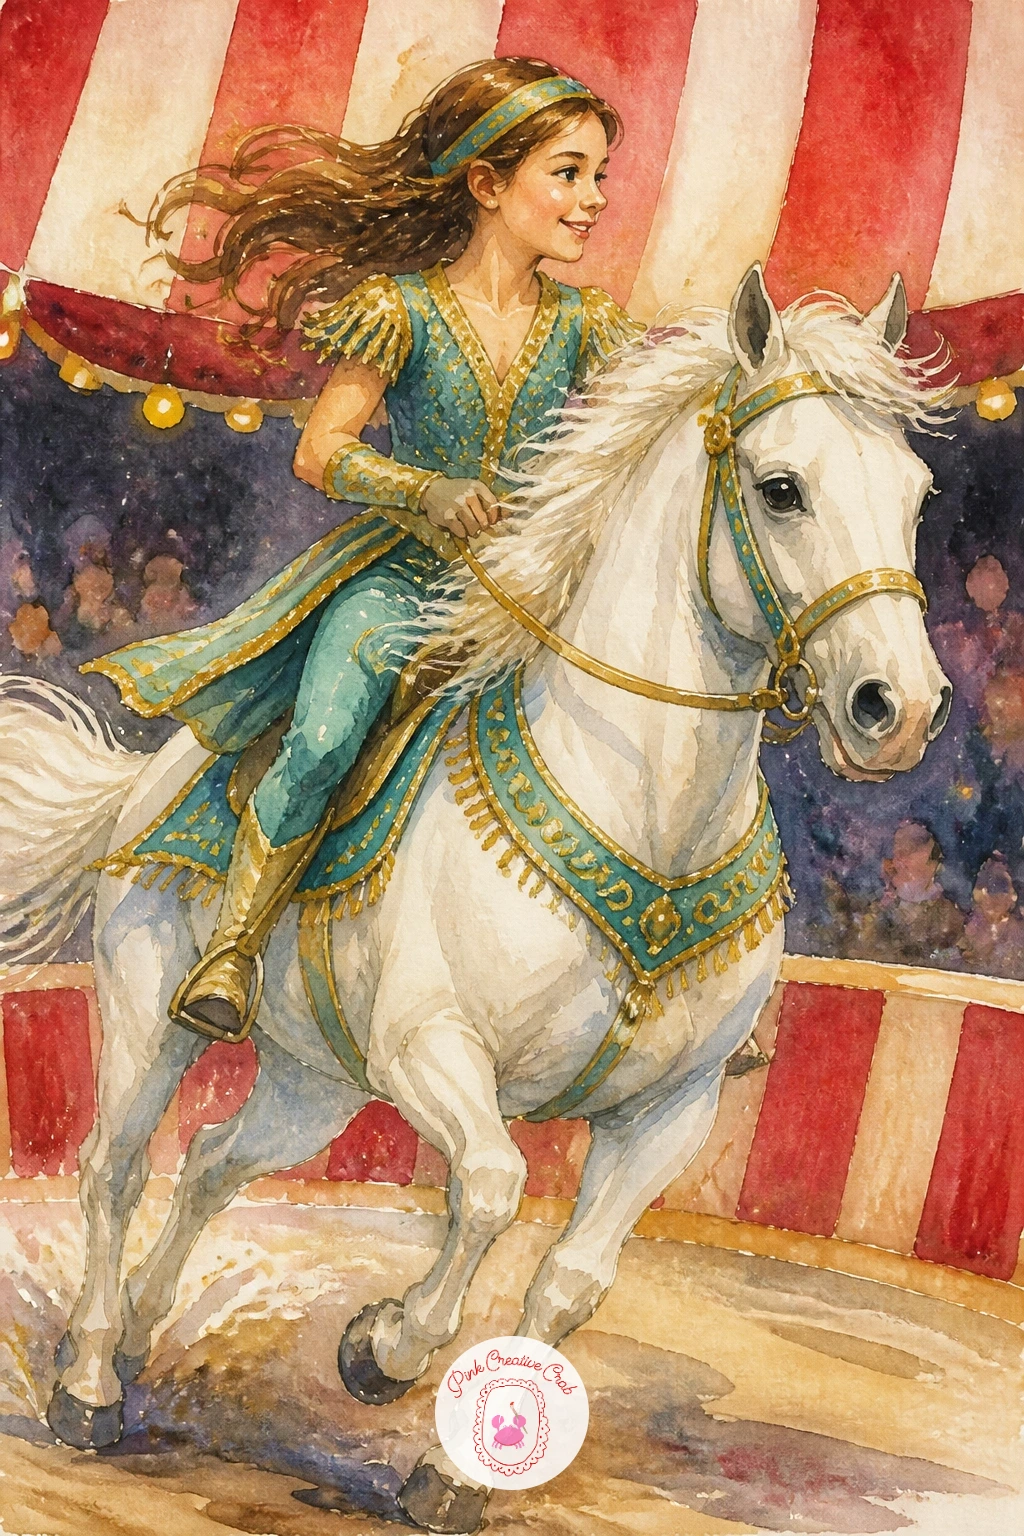
Palette: Payne’s Grey,Cadmium Red Hue,Teal Green,Gold
Keep the ring lively with a juggler mid-throw, three colorful pins arcing above his hands. Plan the arc before you paint anything: sketch a light pencil curve across the top of the page and place the three pins evenly along it, since juggling pins scattered at random angles read as messy rather than mid-air.
Paint the juggler’s costume first as a solid color block, then paint each pin in its own bright stripe color (red, teal, gold) once the costume layer is dry so the colors stay crisp and separate against each other.
If your pins look flat, a thin line of shadow along one edge of each pin gives them roundness fast. For a simpler beginner version, use just two pins instead of three and widen the gap between them.
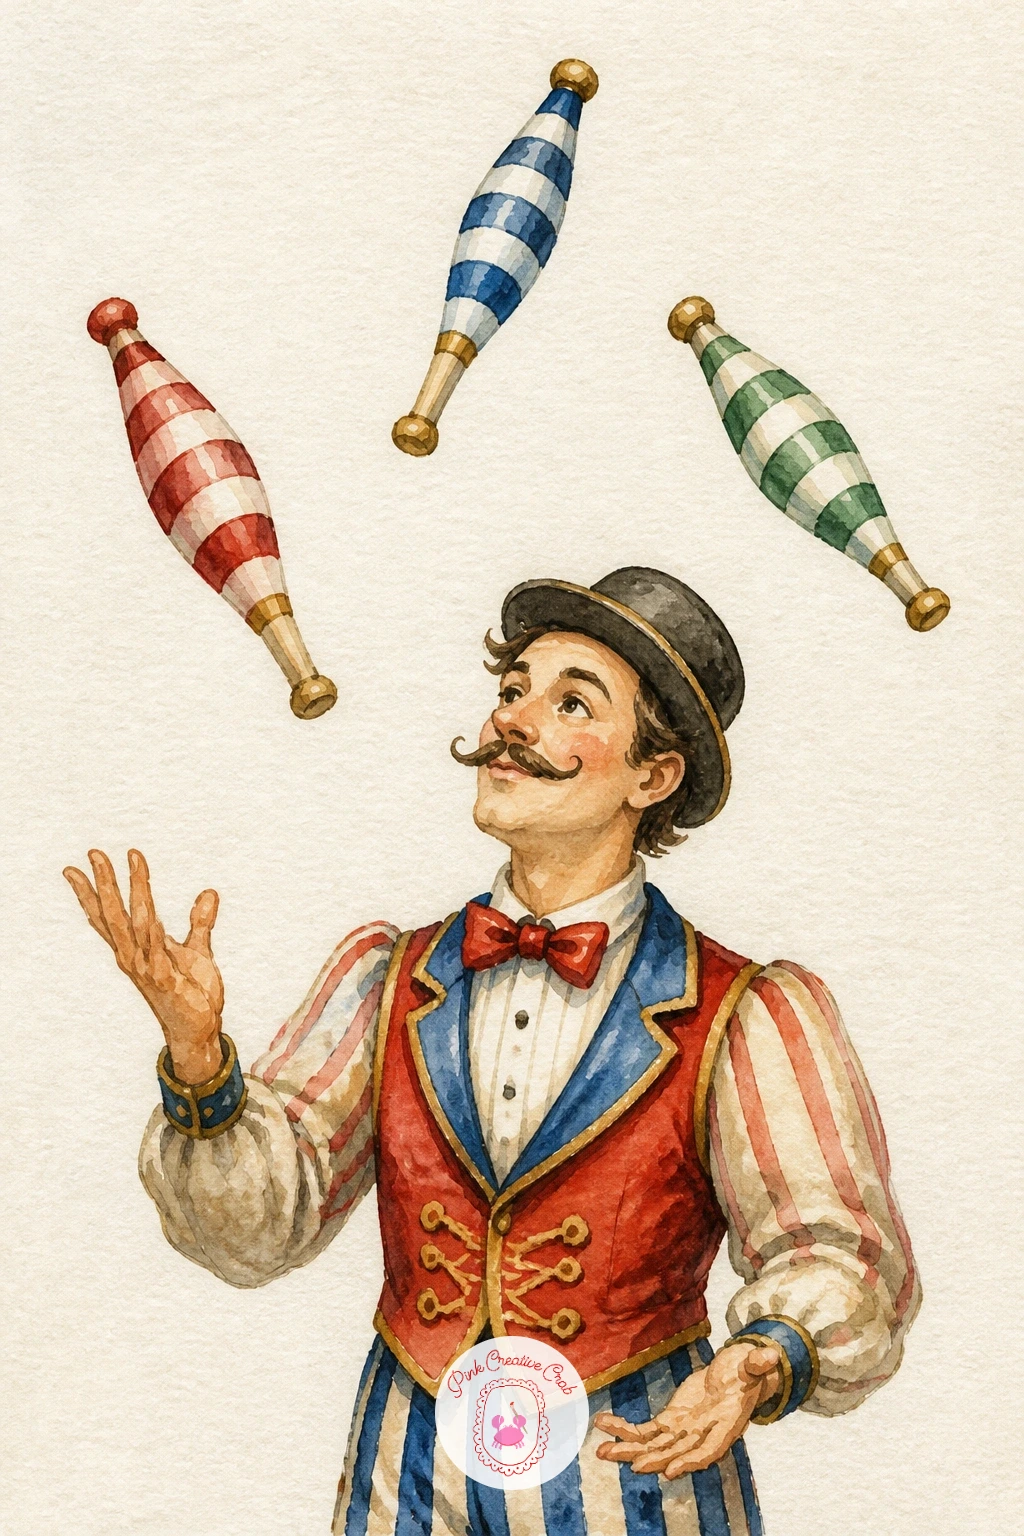
Palette: Cadmium Red Hue,Teal Green,Gold,Payne’s Grey
Welcome the crowd with a small ticket booth, its window edged in a string of gold circus lights. Build the booth as a simple cream box with a peaked striped roof, painting the roof stripes in the same freehand style as the tent so the whole scene feels like one family of patterns rather than separate set pieces.
Once the booth is dry, paint the ticket window as a small dark rectangle, then dot a row of gold lights along the roofline using the tip of a fine brush or, more simply, a gold gel pen once the paint is fully dry.
If you have more time, add a hand-lettered “tickets” sign and a curl of bunting beside the window. The quick version stops at the booth, roof and light string, which is plenty for a finished page.
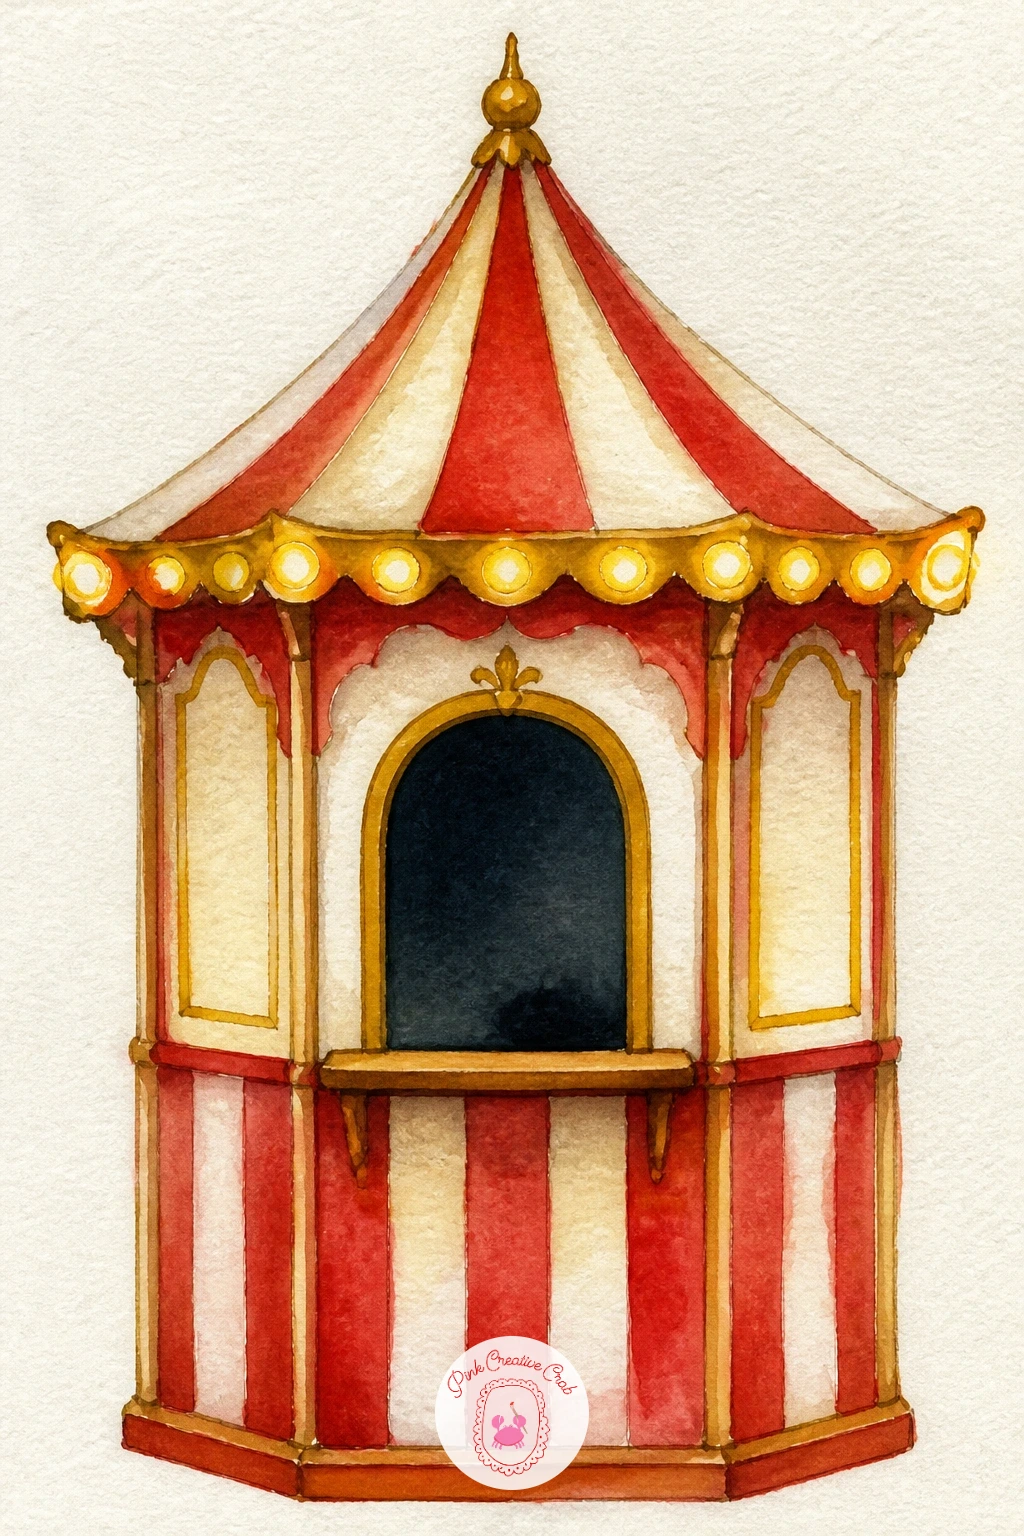
You Will Need
- gold gel pen
Palette: Naples Yellow,Cadmium Red Hue,Payne’s Grey,Gold
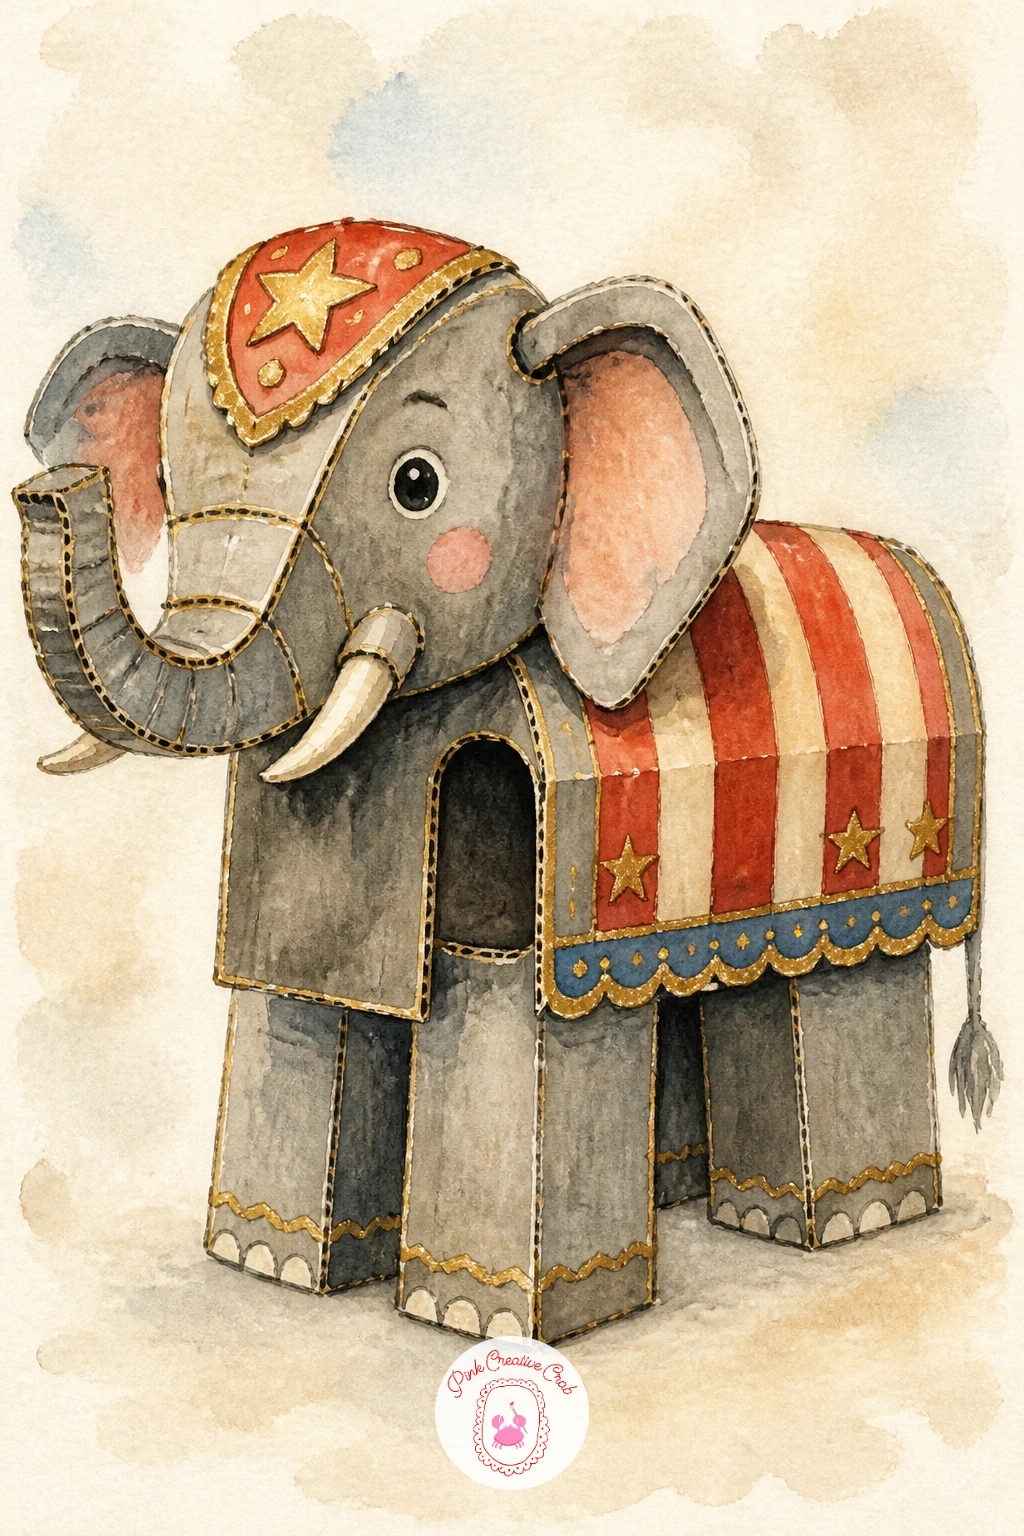
Have some fun with a playful twist: a circus elephant that is clearly a child’s cardboard costume, complete with visible seams and a hand-painted trunk. Sketch the elephant shape first as a simple rounded body, then add straight pencil lines across the surface to suggest cardboard panel seams, a small detail that instantly tells the joke.
Paint the cardboard in warm tan or cream, leaving the seam lines as thin unpainted paper, then add the red and teal painted decoration a child might have added themselves: dots, stars, a striped blanket draped over the back.
Keep the legs simple and a little clumsy looking, since that awkwardness is exactly what sells the costume idea. A small pair of child’s sneakers peeking out from underneath is an optional, charming extra.
Palette: Raw Sienna,Cadmium Red Hue,Teal Green,Naples Yellow
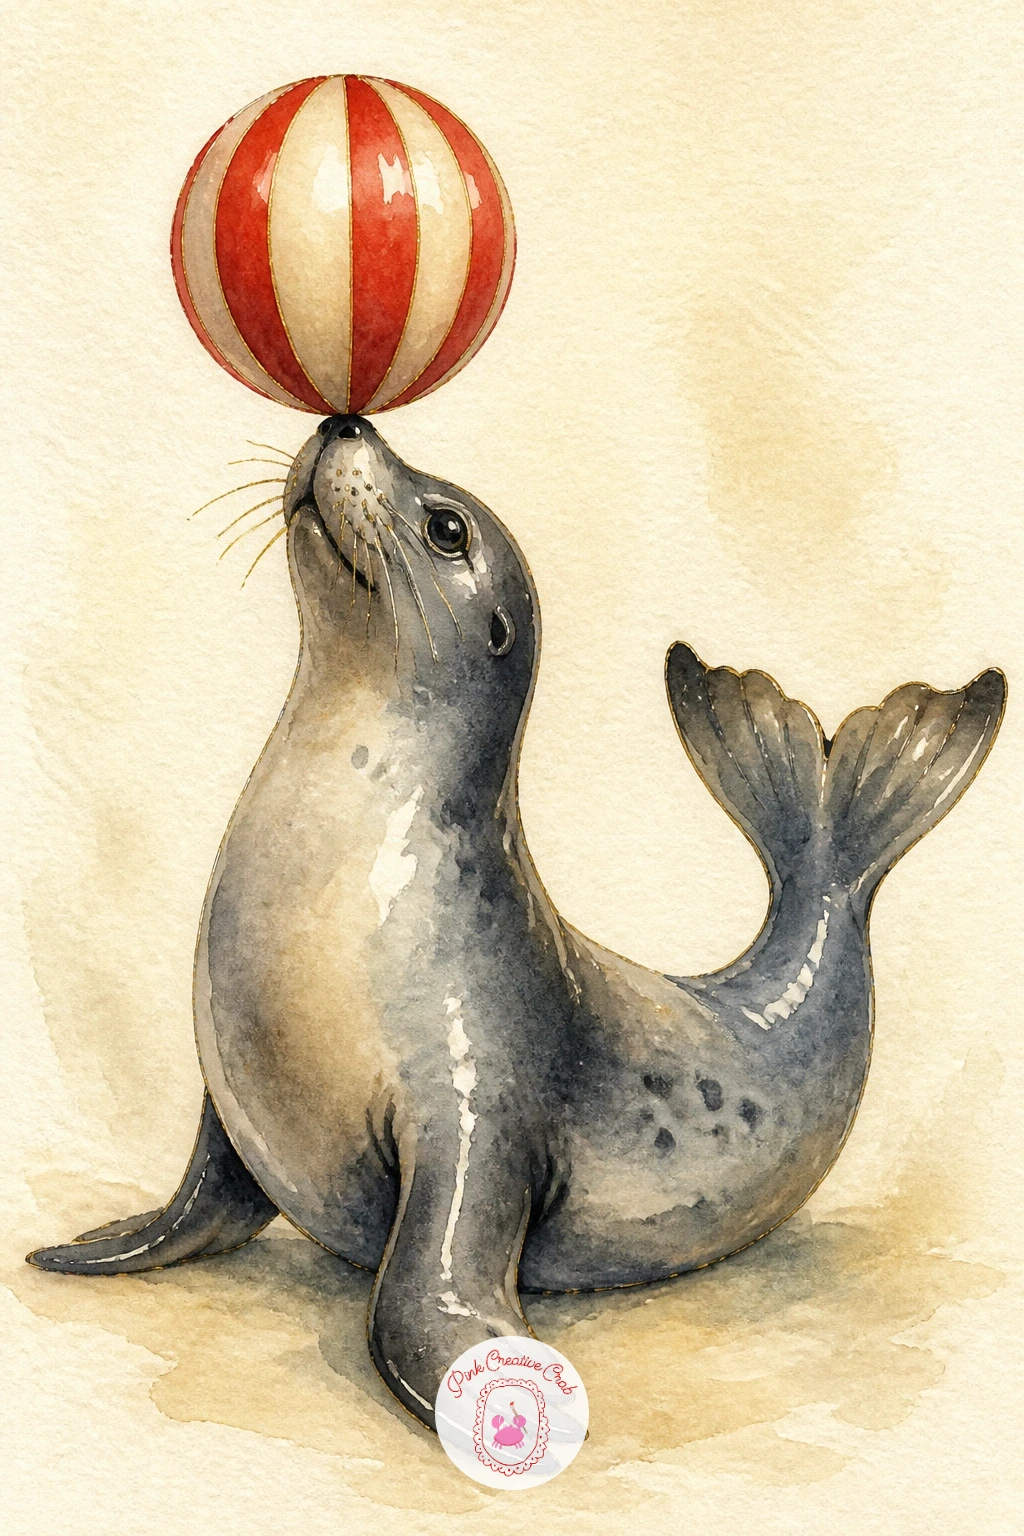
Return to the animal acts with a glossy seal balancing a striped ball on its nose. Paint the seal’s body in one smooth wet-into-wet wash of gray and blue so the color blends softly along its back, giving that wet, glossy look real seals have, then let it dry completely before adding any sharp details.
Once dry, add the ball balanced on the nose in red and cream stripes, and a thin white highlight line down the seal’s back using the tip of a damp brush to lift a little pigment back off, suggesting the sheen of wet skin.
The common mistake is overworking the body with too many dark lines; a seal reads best as mostly smooth shape with just two or three confident dark accents for the flippers and eye.
Palette: Payne’s Grey,Teal Green,Cadmium Red Hue,Naples Yellow
Browse a watercolor fish tutorial for more wet-into-wet blending tricks that suit the seal’s glossy skin.
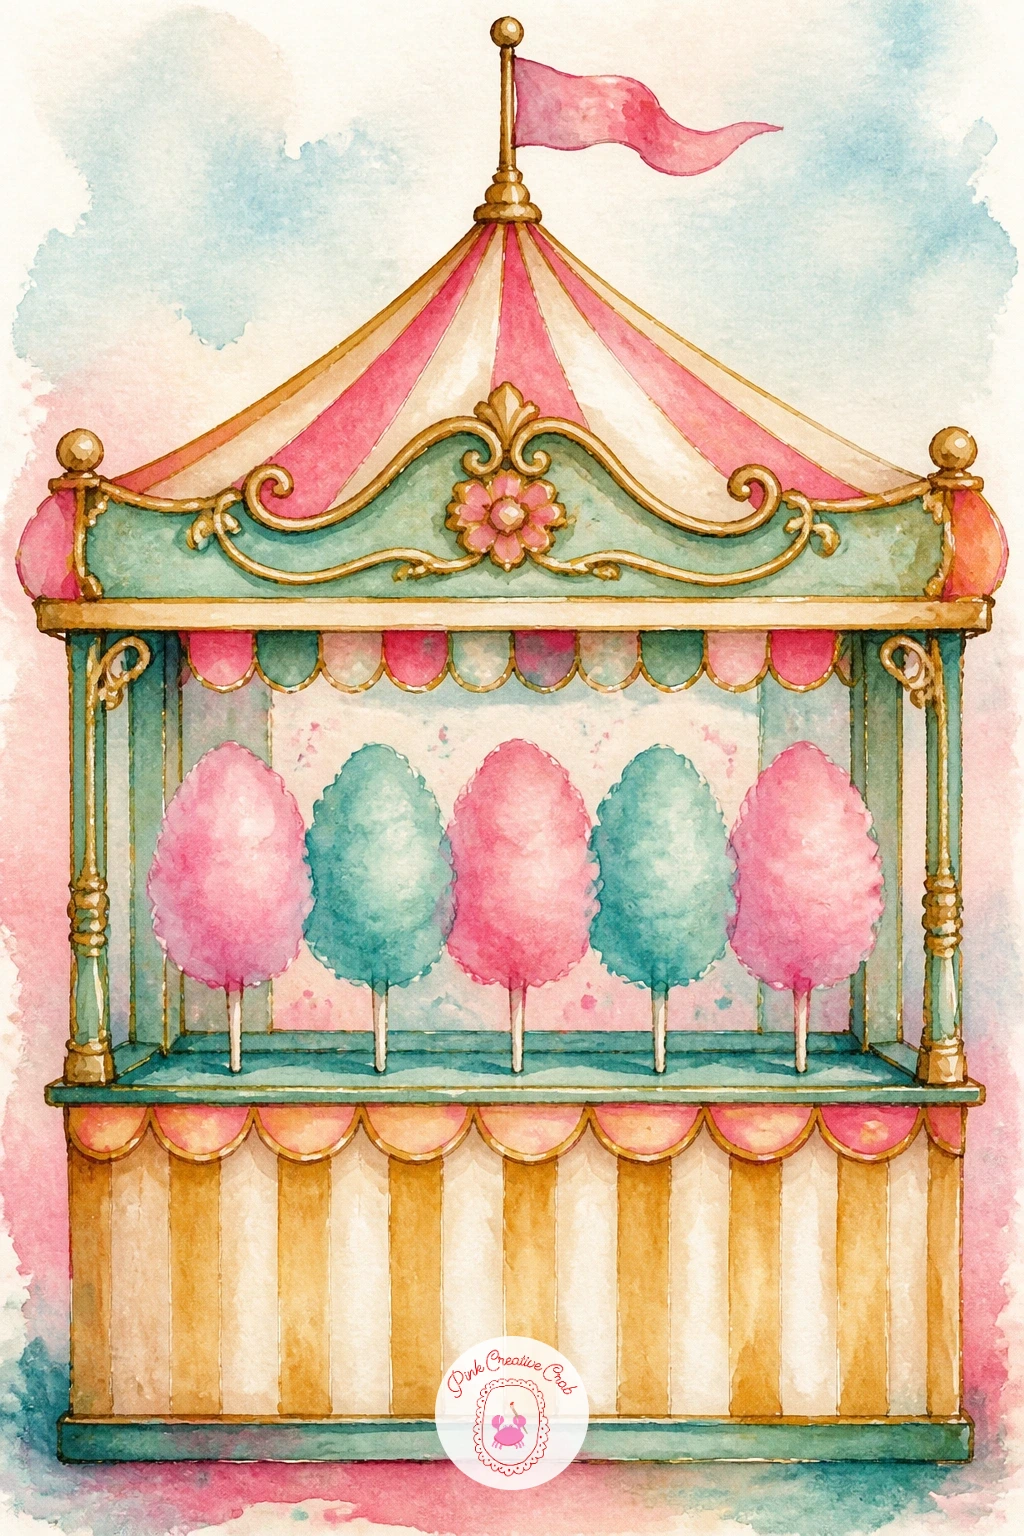
Sweeten the page with a cotton candy stand, its spun sugar clouds in soft pink and pale teal. Paint the cotton candy itself first using a very wet, loose wash technique, letting pink and teal bleed into each other at the edges so the shape stays cloud-soft rather than hard-edged.
Once that cloud shape is dry, add the stand underneath in simple cream and gold stripes, keeping the lines here much crisper than the cotton candy above so the contrast between soft and sharp does the visual work.
If the cotton candy bleeds further than you want, blot gently with a tissue while still wet to control it, rather than waiting and trying to fix it dry. A thin paper cone shape at the base finishes the stand in seconds.
Palette: Shell Pink,Teal Green,Naples Yellow,Gold
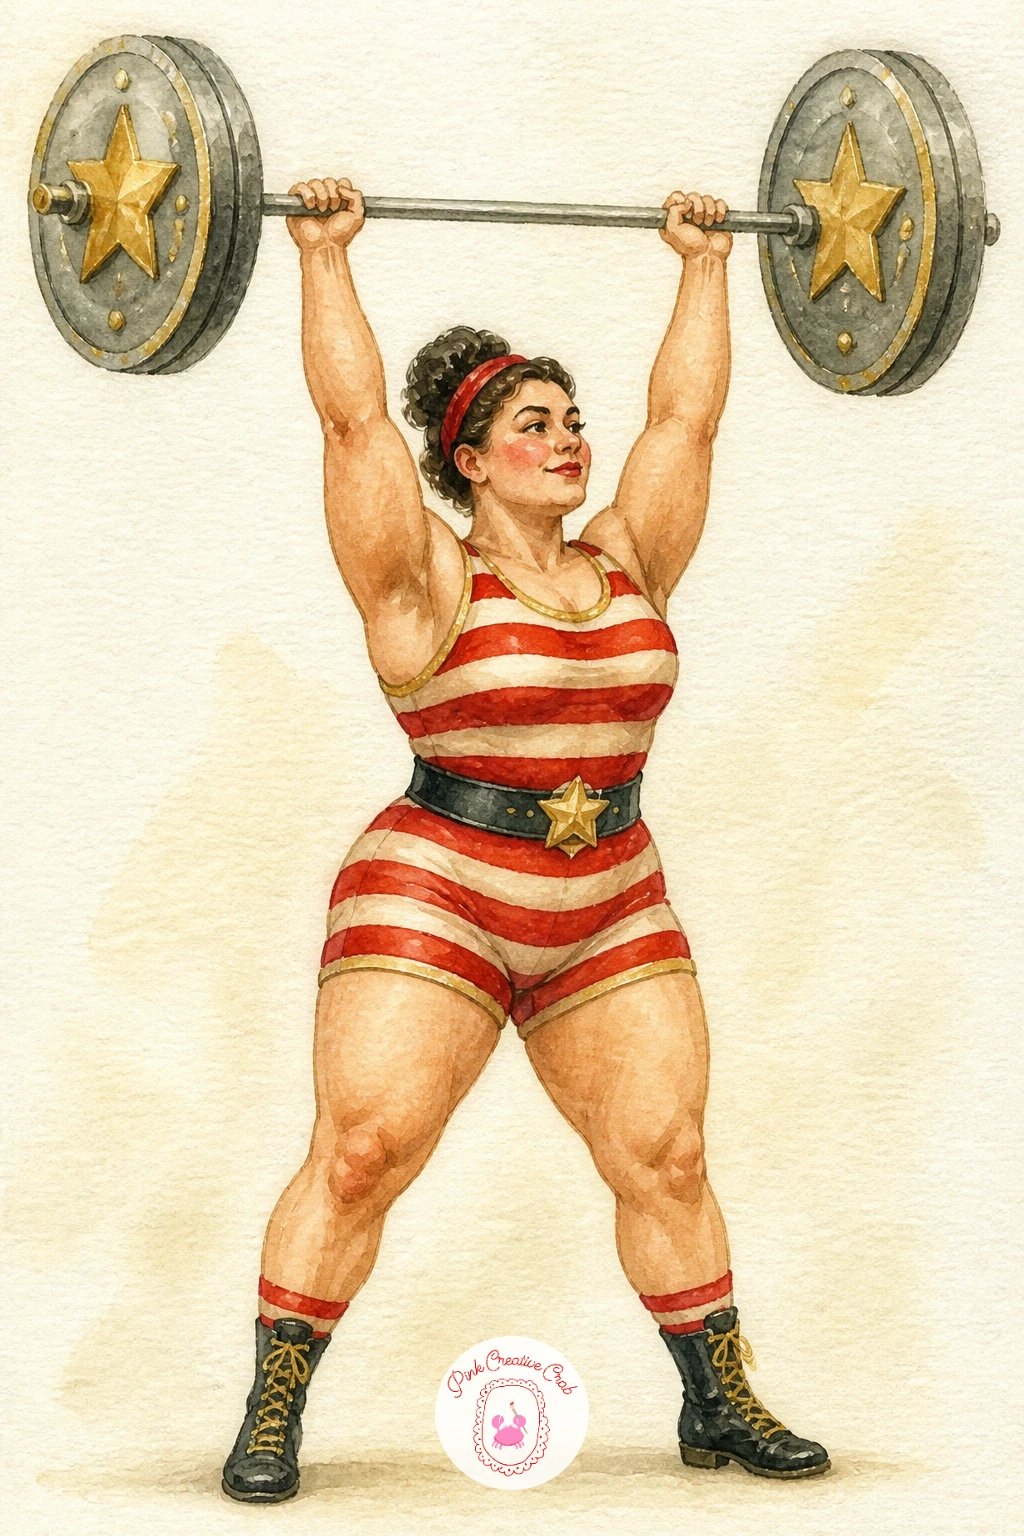
Bring in a little muscle with a strongwoman in a striped leotard lifting a barbell overhead. Compare her arm length to her torso before you paint: the arms holding the barbell should look roughly equal in length to her torso height, since shortening them is the easiest way to accidentally make a strongwoman look off balance rather than powerful.
Paint her leotard in bold red and cream stripes, let it dry, then add the barbell in flat gray with two small gold stars at the ends of the weights for a vintage circus flourish.
Keep her pose solid and grounded, feet planted wide, which reads instantly as strength even before you add any muscle shading. A simple dry brush shadow beneath her feet anchors the whole figure to the ground.
Palette: Cadmium Red Hue,Naples Yellow,Payne’s Grey,Gold
Give the scene its soundtrack with a small circus band, three musicians in striped uniforms with a tuba, a drum and a trumpet. Space the three figures carefully before painting anything: leave a gap roughly one figure-width between each musician so the group reads as a band rather than a crowded huddle.
Paint each uniform in the same red and cream stripe pattern so the group feels unified, then add the brass instruments in warm gold, which doubles nicely as the gold accent color for the whole piece.
Keep facial features minimal, a few dots and lines are enough, since the real character here comes from the instruments and uniforms. If three figures feels like too much for one sitting, start with just the drummer and add the others on a return visit.
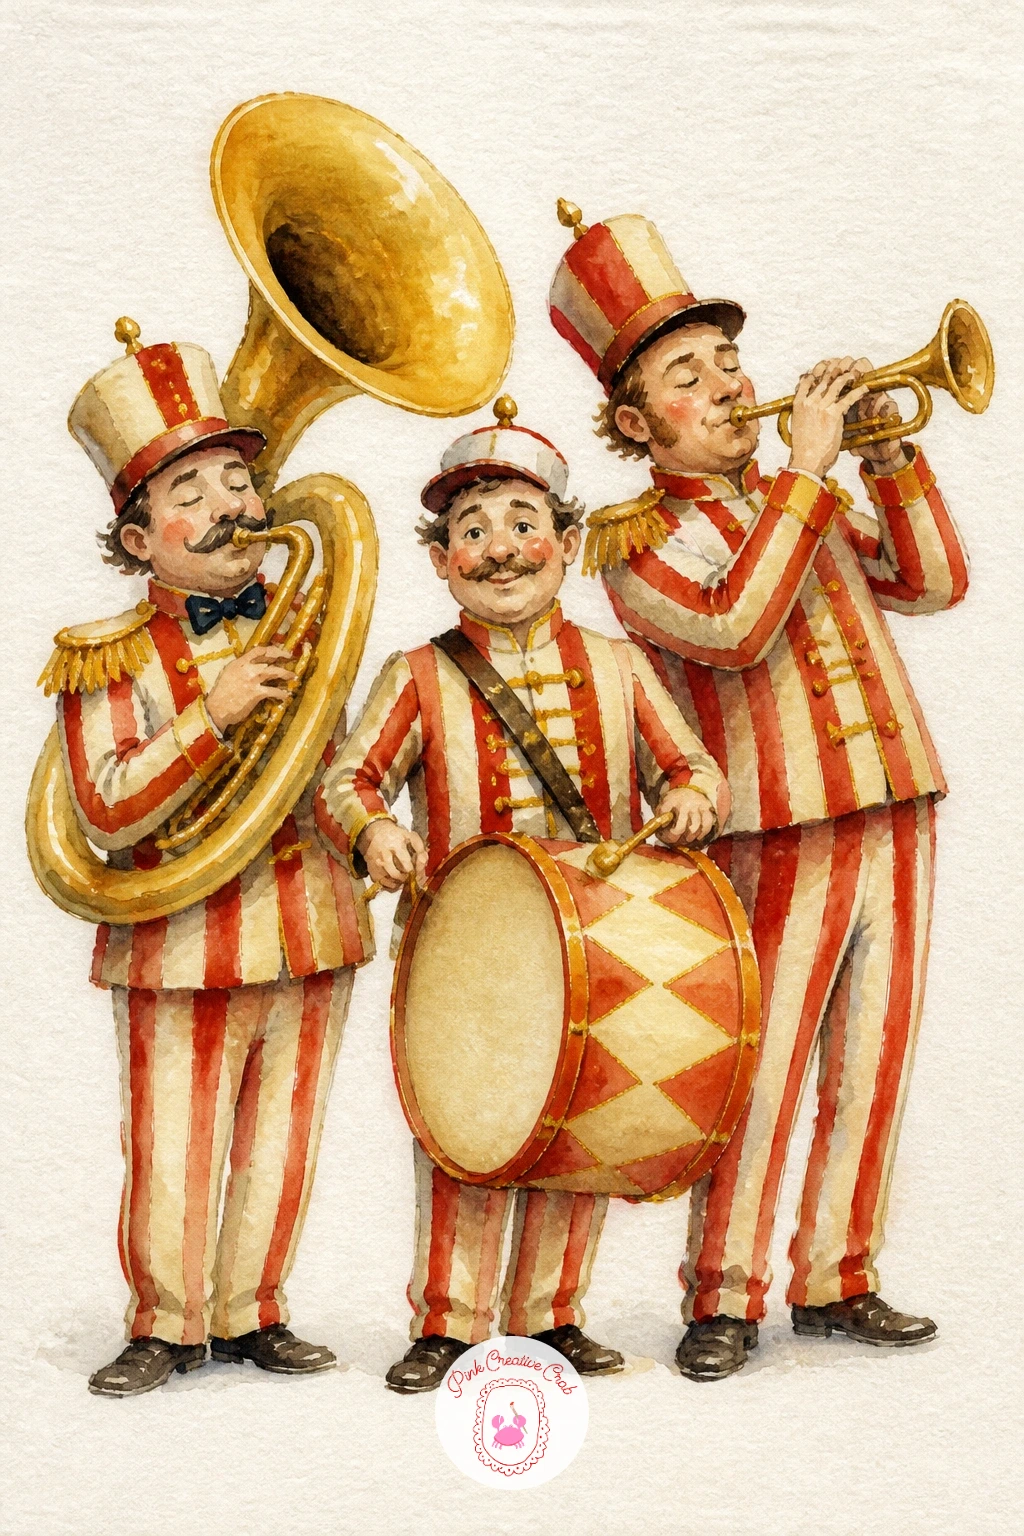
Palette: Cadmium Red Hue,Naples Yellow,Gold,Payne’s Grey
Soften the classic act with a playful version: a lion tamer holding a hoop out to a clearly toy, plush-looking lion rather than a fierce one. Sketch the lion first with round, soft edges throughout, since the whole charm of this scene depends on the lion reading as a stuffed toy rather than a real animal.
Paint the lion’s mane with a dry brush technique, dragging a nearly dry brush loaded with gold and raw sienna outward from the face in short strokes to suggest soft plush fur rather than a solid painted shape.
Add the tamer in a red coat with a gold-trimmed hoop held out between them. If the mane texture comes out too sparse, go back over it once dry with a second light layer of dry brush strokes.
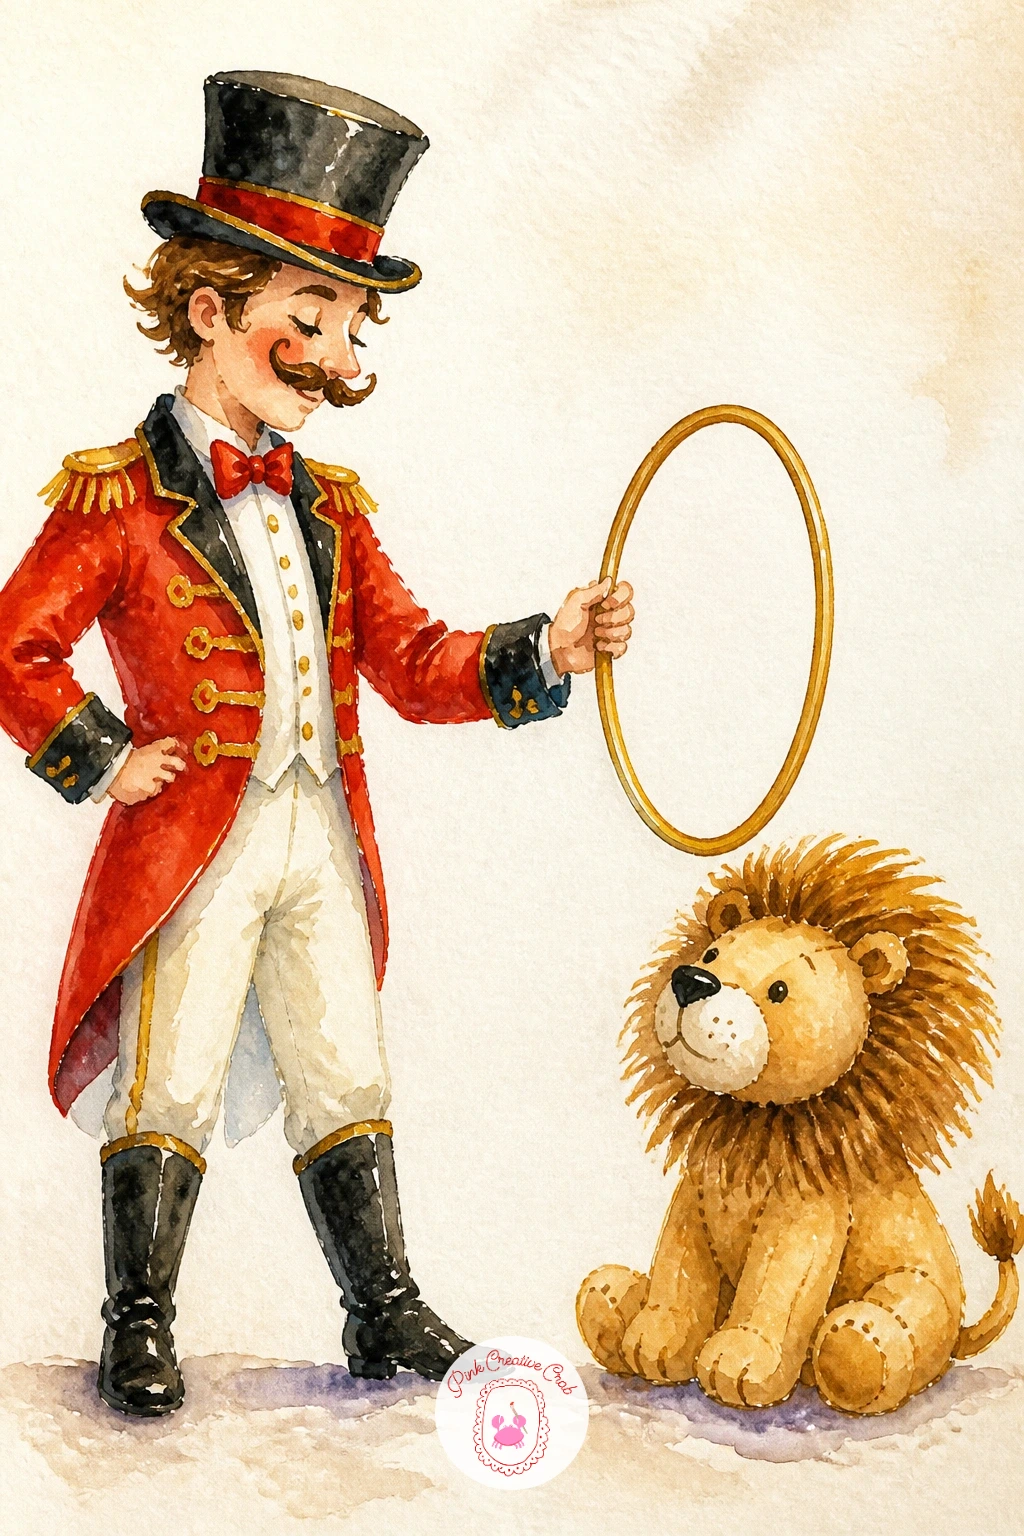
Palette: Raw Sienna,Gold,Cadmium Red Hue,Naples Yellow
Stretch the composition tall with a stilt walker in a long striped costume towering over the ring below. Sketch the figure first using a vertical guideline down the center of the page; a stilt walker’s whole visual joke is extreme height, so exaggerate the leg length well beyond what looks natural before you start painting color.
Paint the striped costume running the full length of the stilts in one continuous pattern, red and cream again, so the stripes visually pull the eye upward and emphasize the height.
Keep the small crowd or tent below much smaller in scale than the figure to really sell the height difference. A few small painted balloons released upward near the stilt walker’s hands add a nice finishing touch of movement.
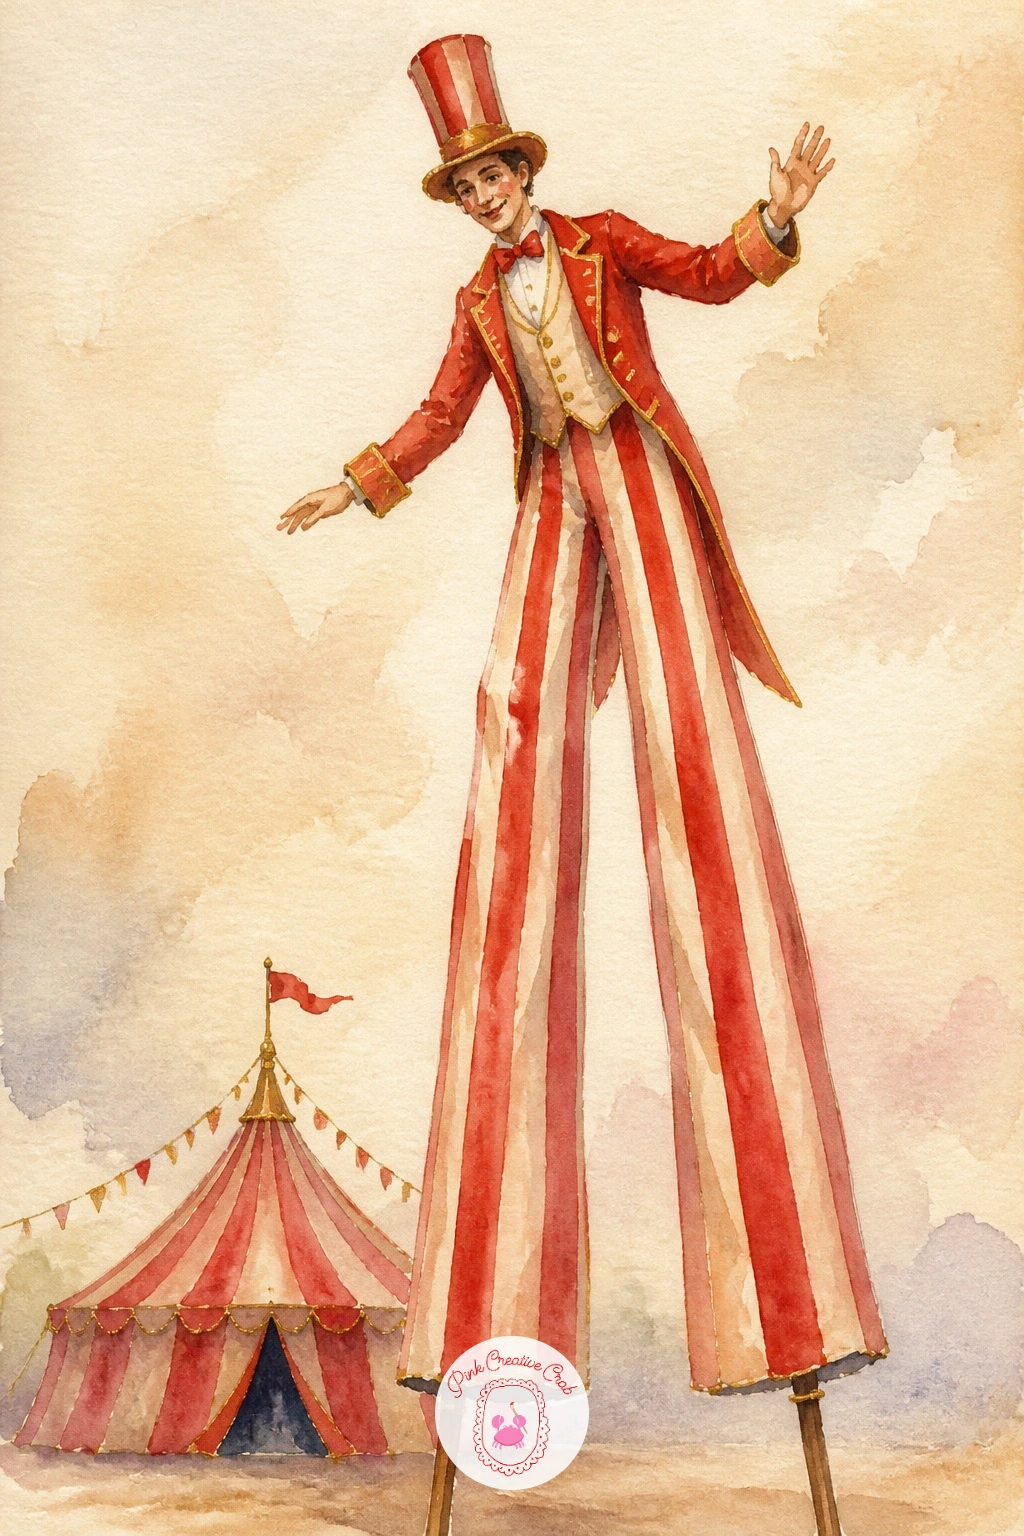
Palette: Cadmium Red Hue,Naples Yellow,Teal Green,Gold
Widen the whole scene into a circus parade moving down a street, banners and a small marching group leading the way. Lay out the composition first with a simple horizon line roughly a third of the way up the page, then place figures along a gentle diagonal path rather than a straight row, which keeps the parade feeling like it is moving toward the viewer.
Paint the background buildings or street first in soft, pale washes so they recede, then add the parade figures and banners in your boldest colors on top once that background is dry, keeping the brightest reds and golds closest to the front of the parade.
This is a busier scene, so if you are short on time, reduce the parade to three or four figures rather than a full crowd. A string of small triangle flags overhead ties the whole street together.
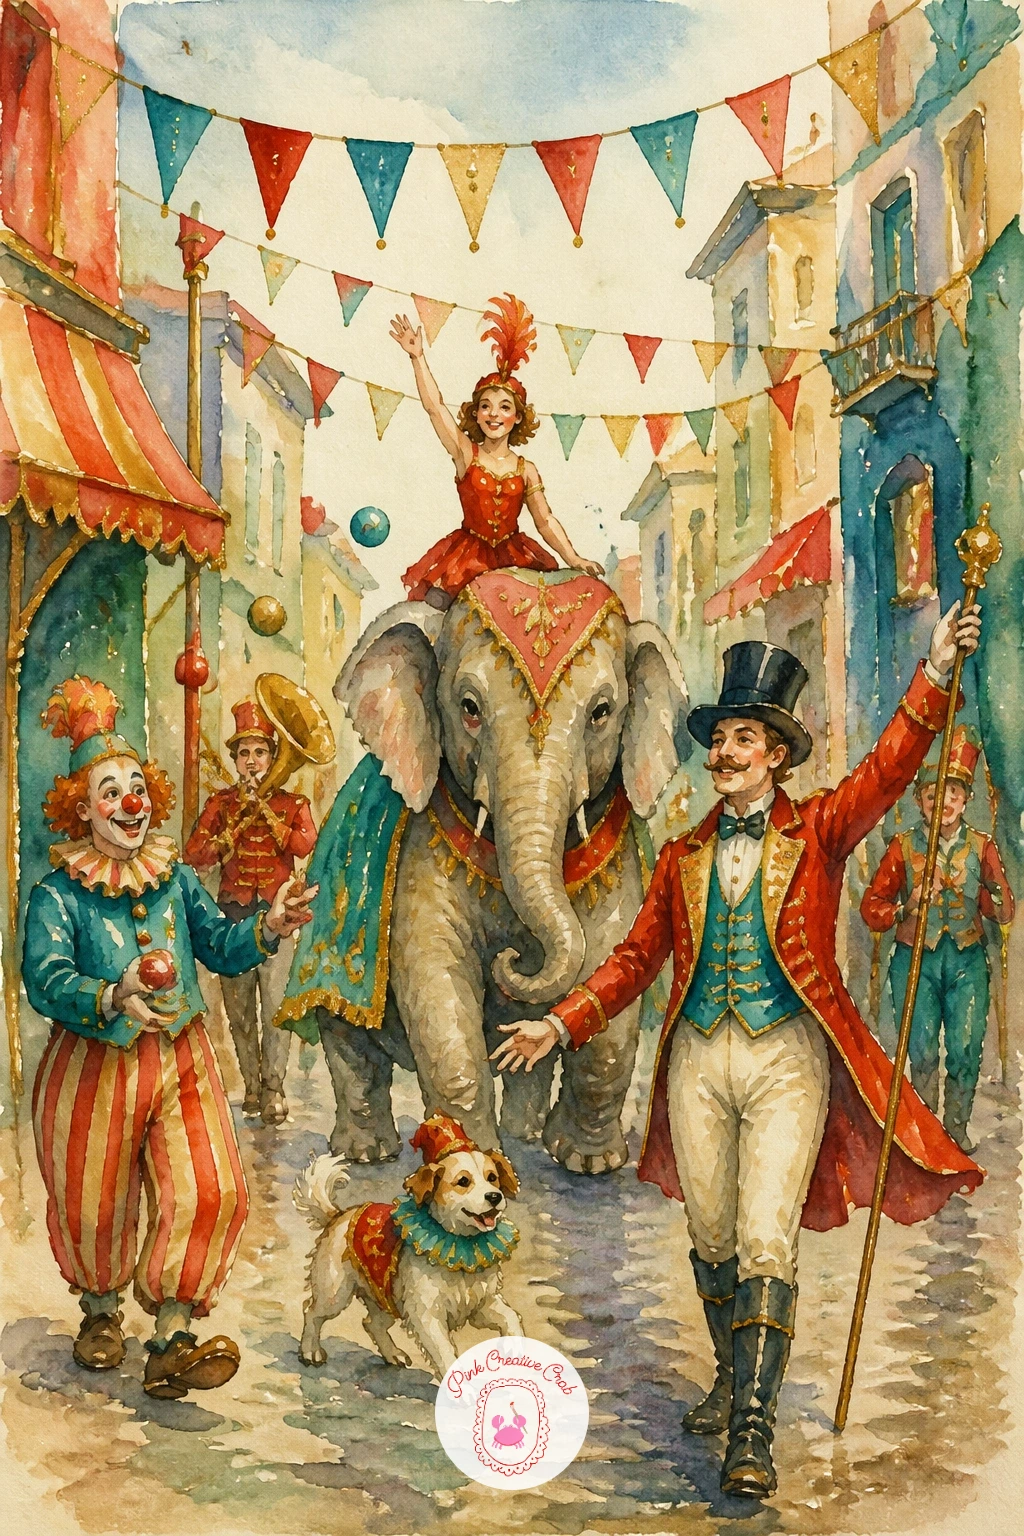
Palette: Cadmium Red Hue,Teal Green,Gold,Payne’s Grey
Add depth to the fairground with a ferris wheel rising behind the big top, its colored cars catching the evening light. Place the wheel’s eye level carefully: set the horizon line low on the page so the wheel towers above the tent in front of it, which pushes the tent into the foreground and the wheel into the distance at a glance.
Paint the tent first in the foreground with full color and detail, then paint the ferris wheel behind it in softer, slightly diluted colors, a trick that pushes distant objects back visually without any complicated perspective drawing.
Add small colored dots for the ferris wheel’s cars once the wheel structure is dry, alternating red, teal and gold around the circle. A soft warm wash behind the whole wheel suggests evening light settling over the fairground.
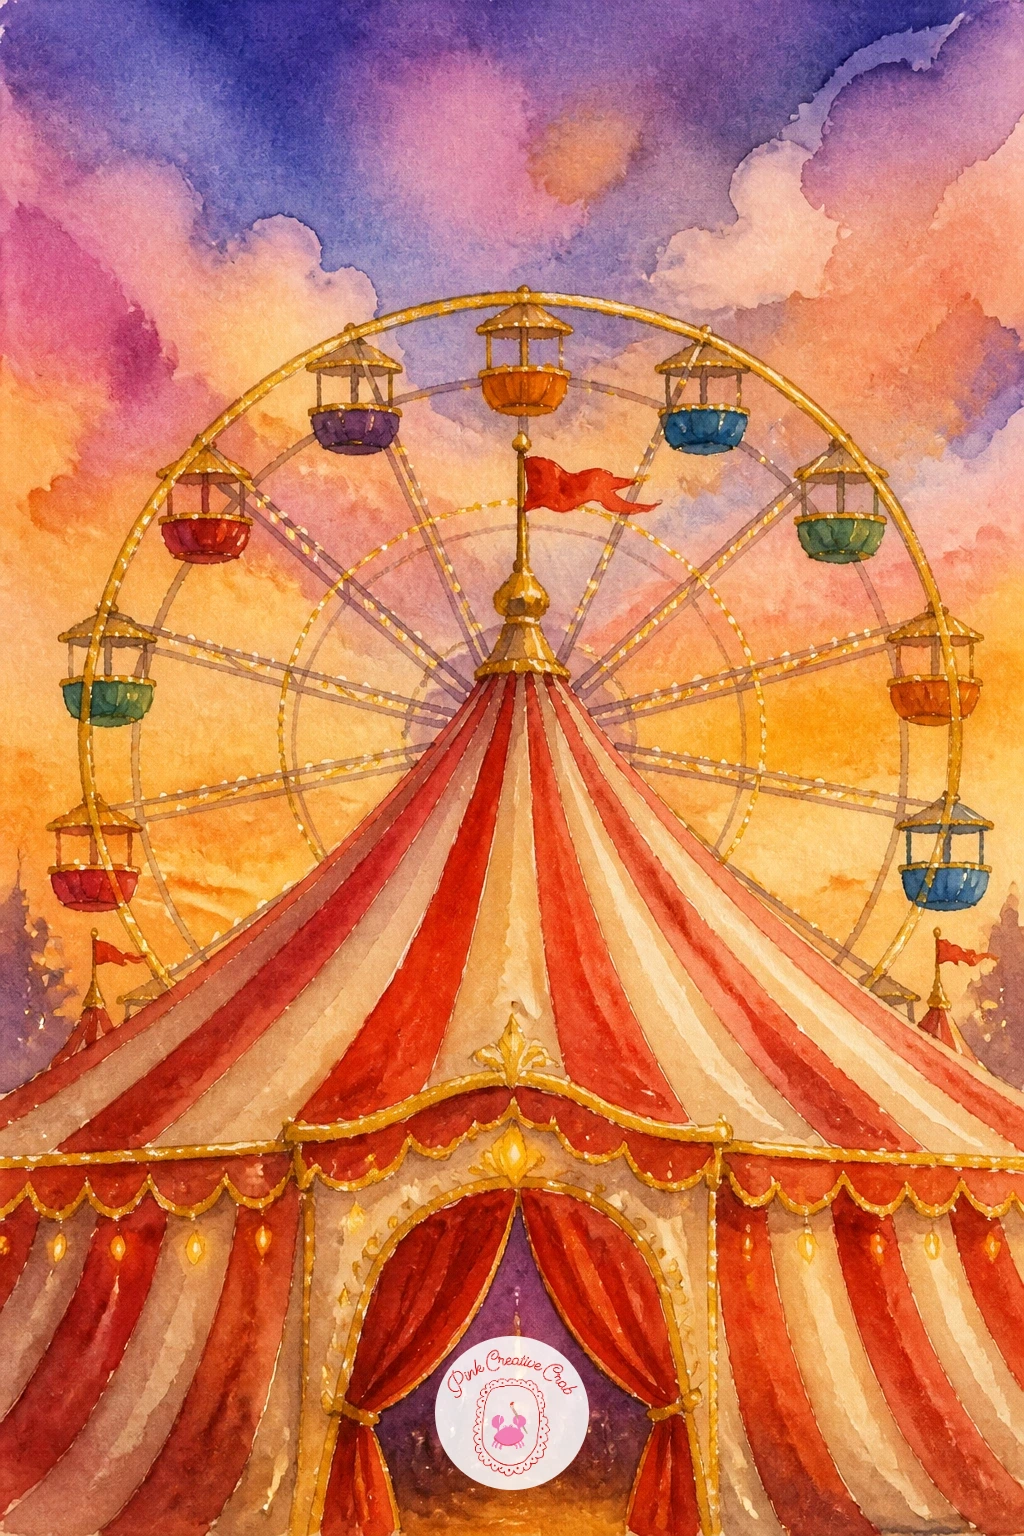
Palette: Cadmium Red Hue,Teal Green,Gold,Naples Yellow
For more on painting distant shapes softly behind a sharper foreground, the tricks in easy watercolor skies and sunset ideas apply just as well to a fairground backdrop.
Bring the circus home with a cat dressed in a tiny striped circus costume, complete with a little ruff collar. Paint the cat’s body first in its natural coloring, soft gray or warm tabby tones, keeping the costume to just a small ruffled collar and a striped band around the middle so the cat still reads clearly as a cat rather than disappearing under fabric.
Once the body is dry, add the costume pieces in red and cream stripes, and finish the ruff collar with small quick dry brush strokes to suggest its frilly texture without painting every individual ruffle.
Keep the cat’s expression a little unimpressed, which is most of the joke in this one. For a quick swap, a plain colored collar and a single gold bell work just as well if stripes feel fiddly at a small scale.
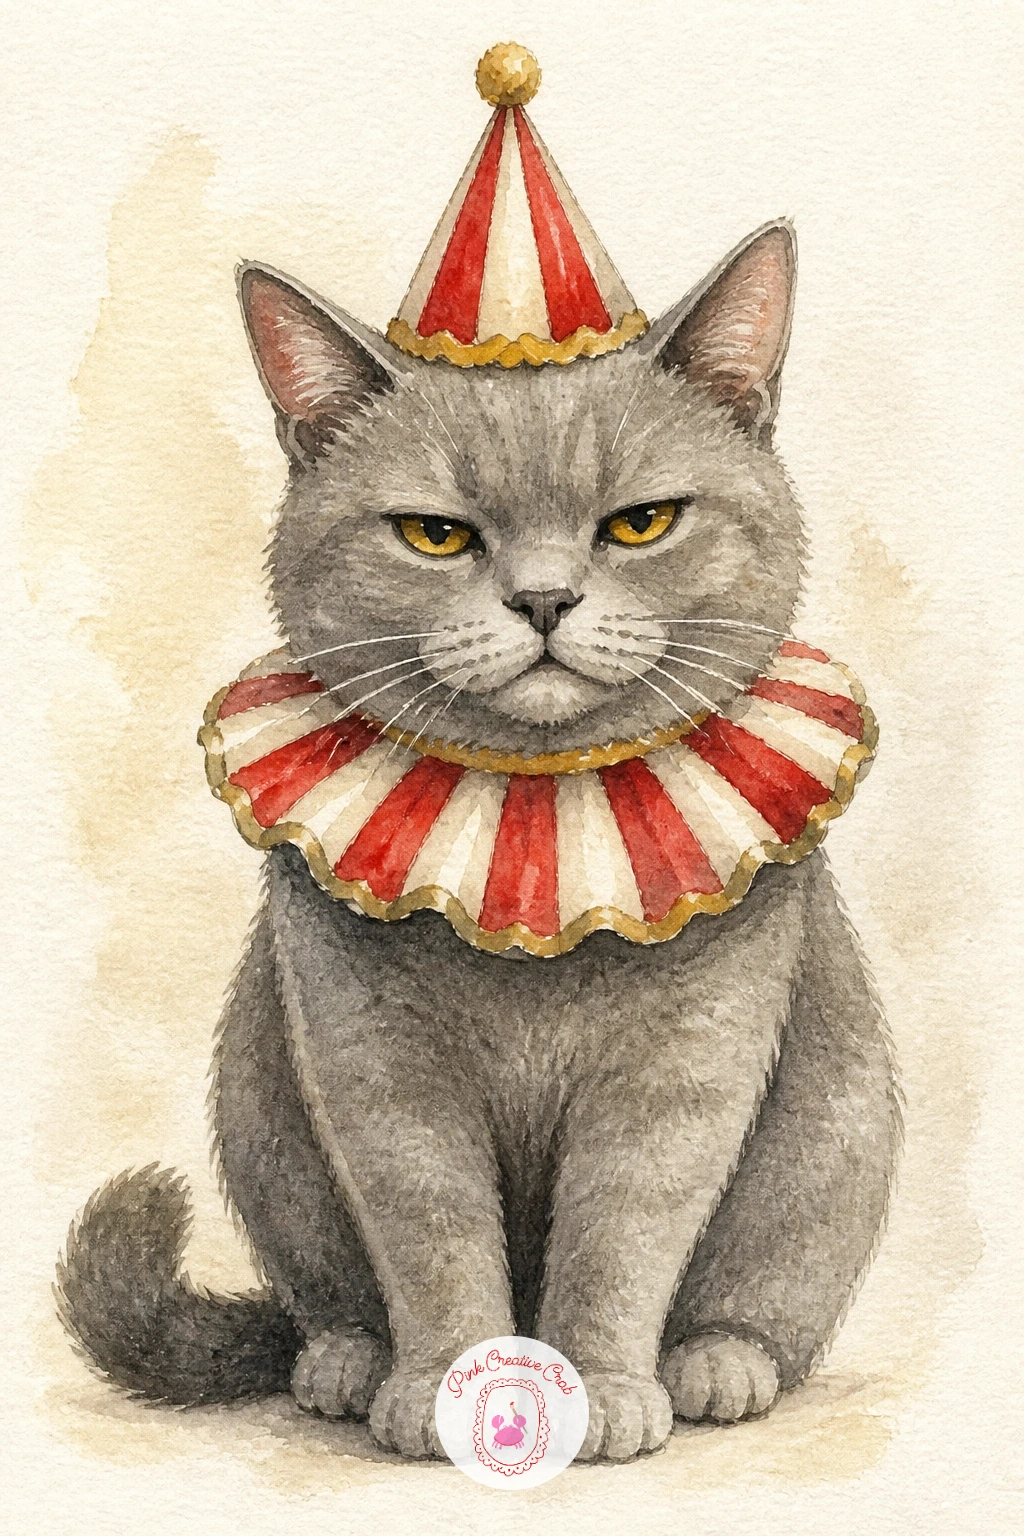
Palette: Payne’s Grey,Cadmium Red Hue,Naples Yellow,Gold
For more small, characterful cat poses at this scale, see the ideas in cat watercolor ideas.
Return to the fairground structures with a helter skelter slide, its candy stripes spiraling down from a tall peak. Draw the spiral path first as a single light pencil line winding around a tall cone shape, then paint the stripes following that spiral line rather than painting straight bands, which is what makes the slide feel like it twists in three dimensions.
Work from the top of the cone downward, alternating red and cream along the spiral, and let each stripe dry before the next touches it so the colors stay clean rather than merging into pink.
A thin gold line along the very top edge and a small flag at the peak finish the structure nicely. If the spiral stripes feel tricky at first try, a simpler straight-striped version of the same cone shape still reads perfectly well as a fairground slide.
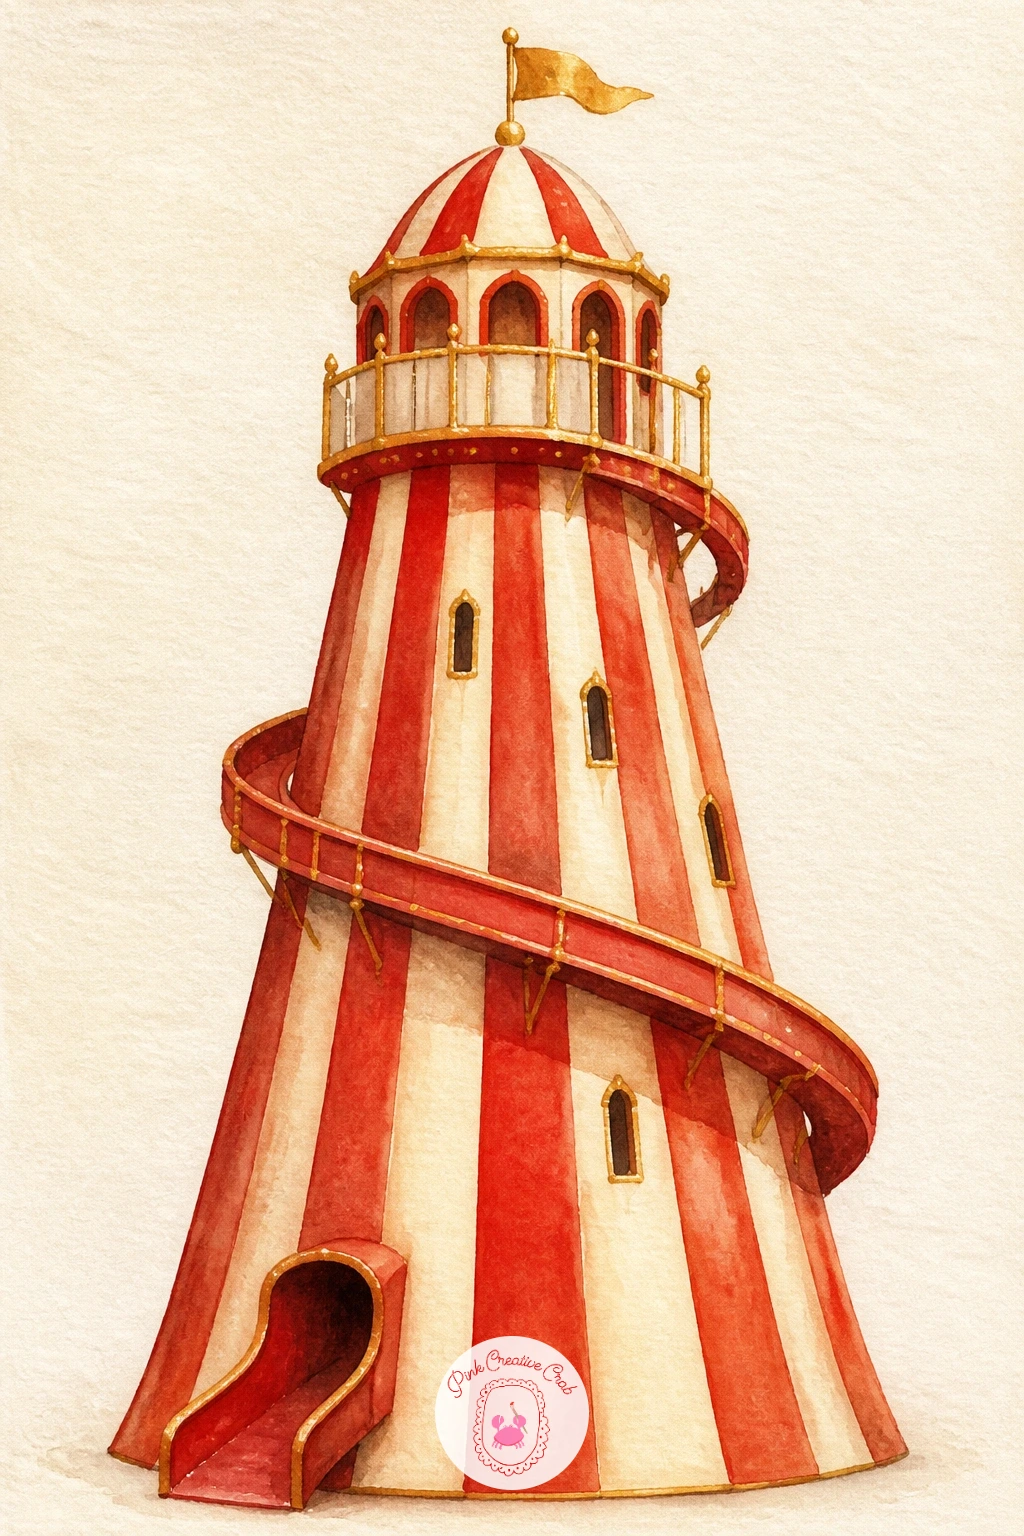
Palette: Cadmium Red Hue,Naples Yellow,Gold,Teal Green
Slow the pace with a small fortune teller tent, its entrance draped in rich fabric and a single glowing lamp inside. Light this scene from a single warm source inside the tent, letting that glow spill out through the gap in the curtain, which is what gives the whole tent its mysterious, inviting feel rather than a flat striped box.
Paint the outer tent fabric in deep teal with gold stars scattered across it, using the tip of a brush handle for quick round dots, then let that dry fully before painting the warm lamp glow at the entrance in soft yellow and orange.
Keep the entrance gap narrow and dark at the edges so the lamp glow reads as genuinely bright by contrast. A small crescent moon sign above the entrance is an easy extra flourish with a gold pen.
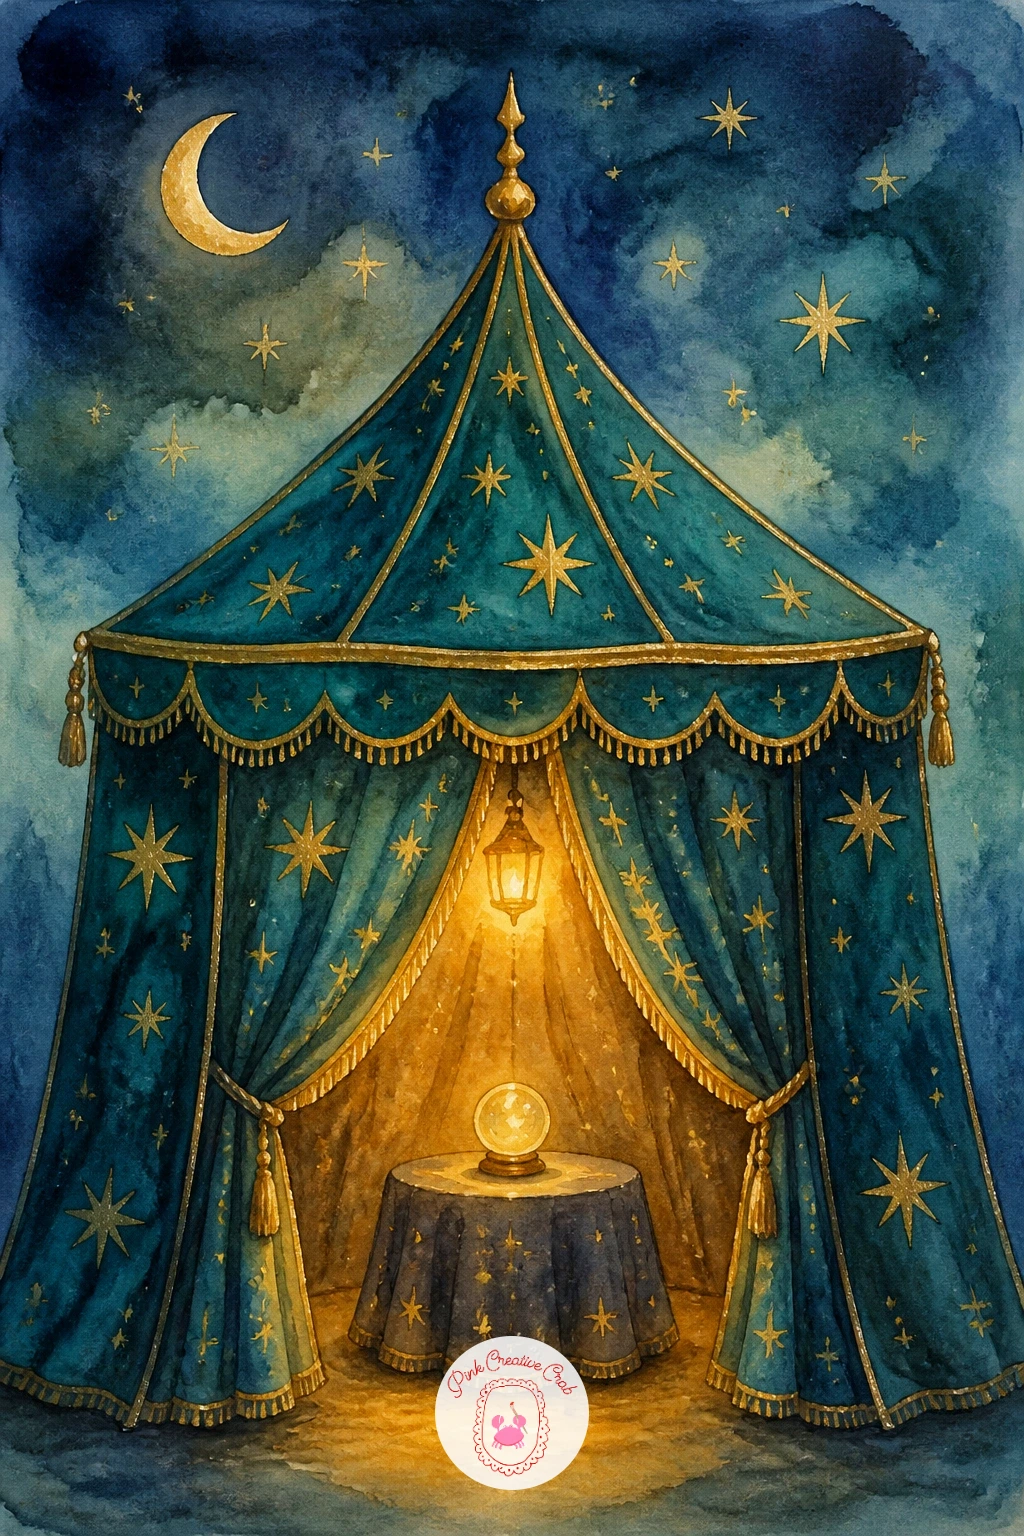
You Will Need
- gold gel pen
Palette: Teal Green,Gold,Naples Yellow,Payne’s Grey
Step back from the ring itself with a circus poster pasted on a weathered wall, torn edges and all. Plan the poster’s layout first like a tiny composition within the composition: a bold headline shape at the top, a single striking image in the middle (a lion or a tent silhouette works well), and a worn, slightly peeling edge along one corner.
Paint the wall behind the poster first in a muted gray or warm tan wash, then add the poster itself in your boldest reds, golds and teals so it pops clearly against that quieter background.
Torn edges are easiest to paint by leaving small ragged white gaps of unpainted paper rather than trying to draw a torn line, which usually looks too neat. A faint second poster peeking out from underneath adds instant age and history.
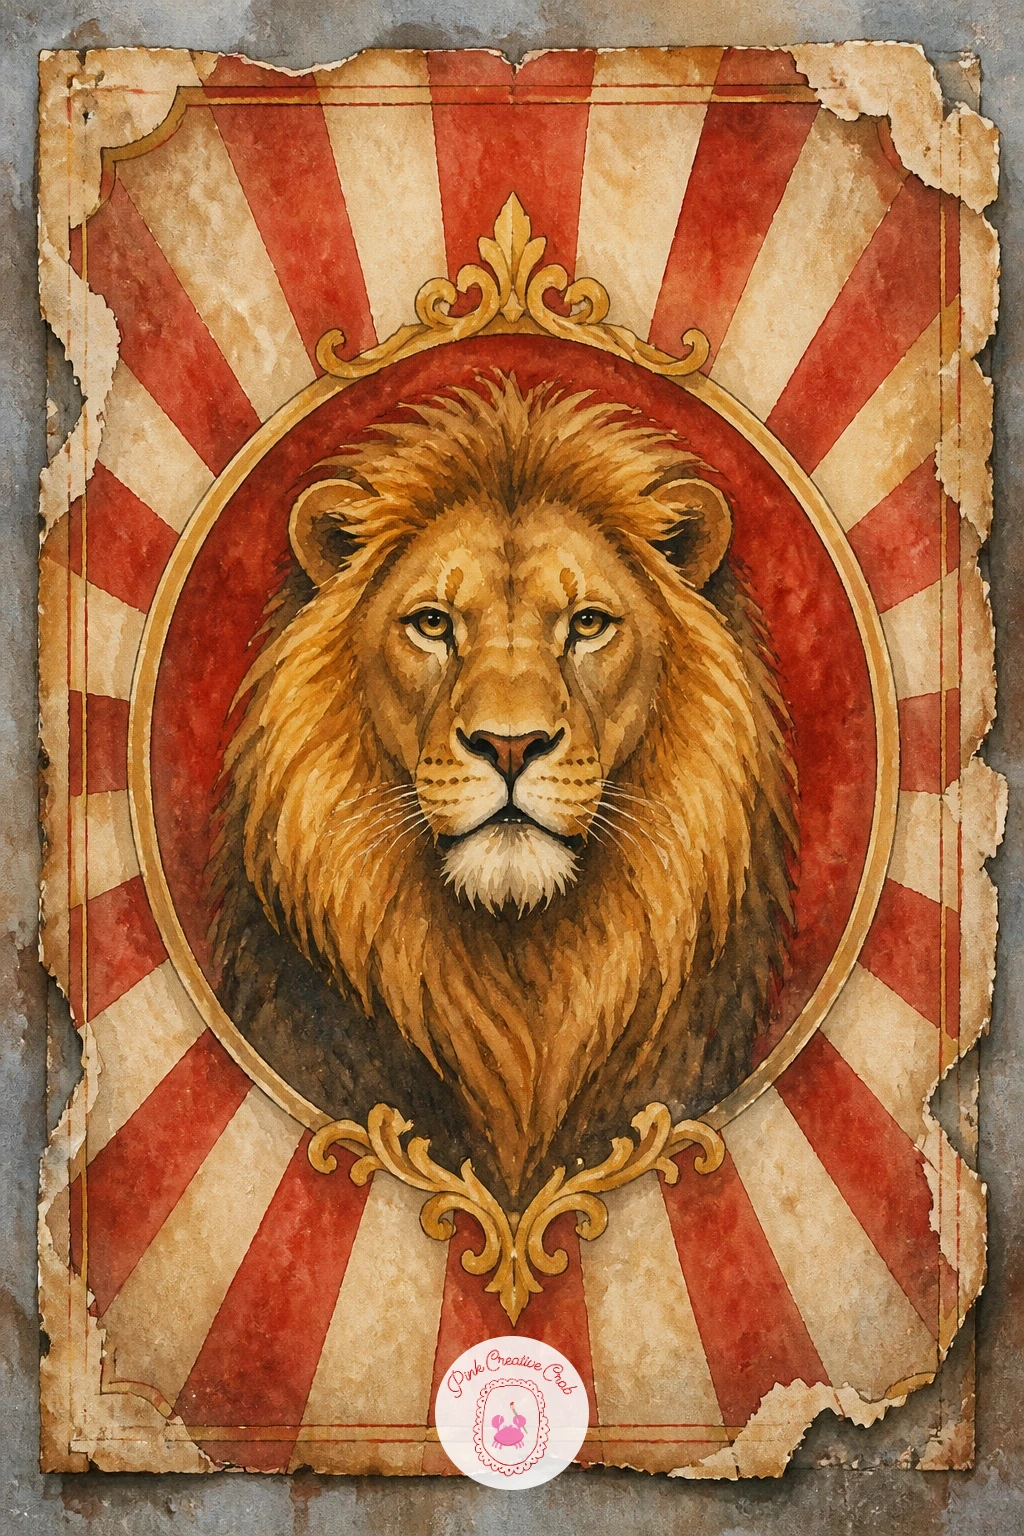
Palette: Raw Sienna,Cadmium Red Hue,Gold,Payne’s Grey
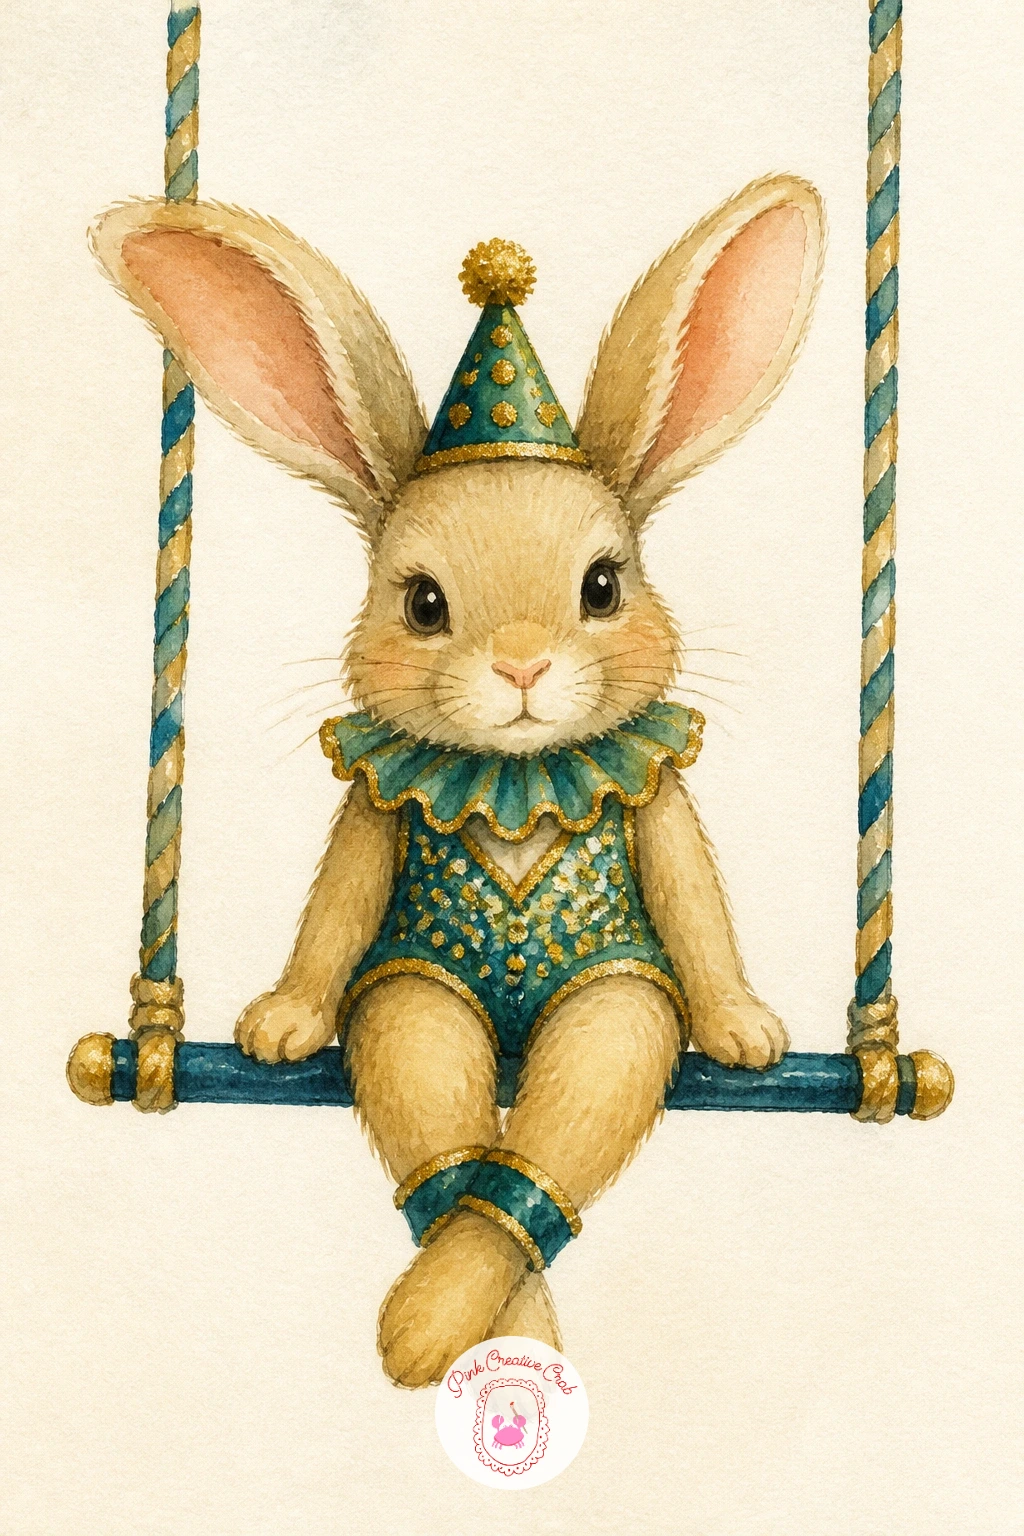
Return to the playful animal side with a trapeze bunny, a small rabbit in a sequined costume swinging on a trapeze bar. Keep the bunny’s body simple and round, oversized ears being the one feature allowed to stand out, since too much detail elsewhere competes with those ears for attention.
Paint the bunny’s fur in soft cream or gray first, let it dry, then add the small sequined costume in teal and gold, using tiny dots of gold gel pen once the paint is dry for the sequin sparkle.
Keep the trapeze bar and ropes as clean pencil or thin ink lines rather than painted shapes, which keeps the bunny as the clear focus. If a full swinging pose feels tricky, a simpler version with the bunny simply sitting on the bar still reads just as sweetly.
You Will Need
- gold gel pen
Palette: Naples Yellow,Teal Green,Gold,Payne’s Grey
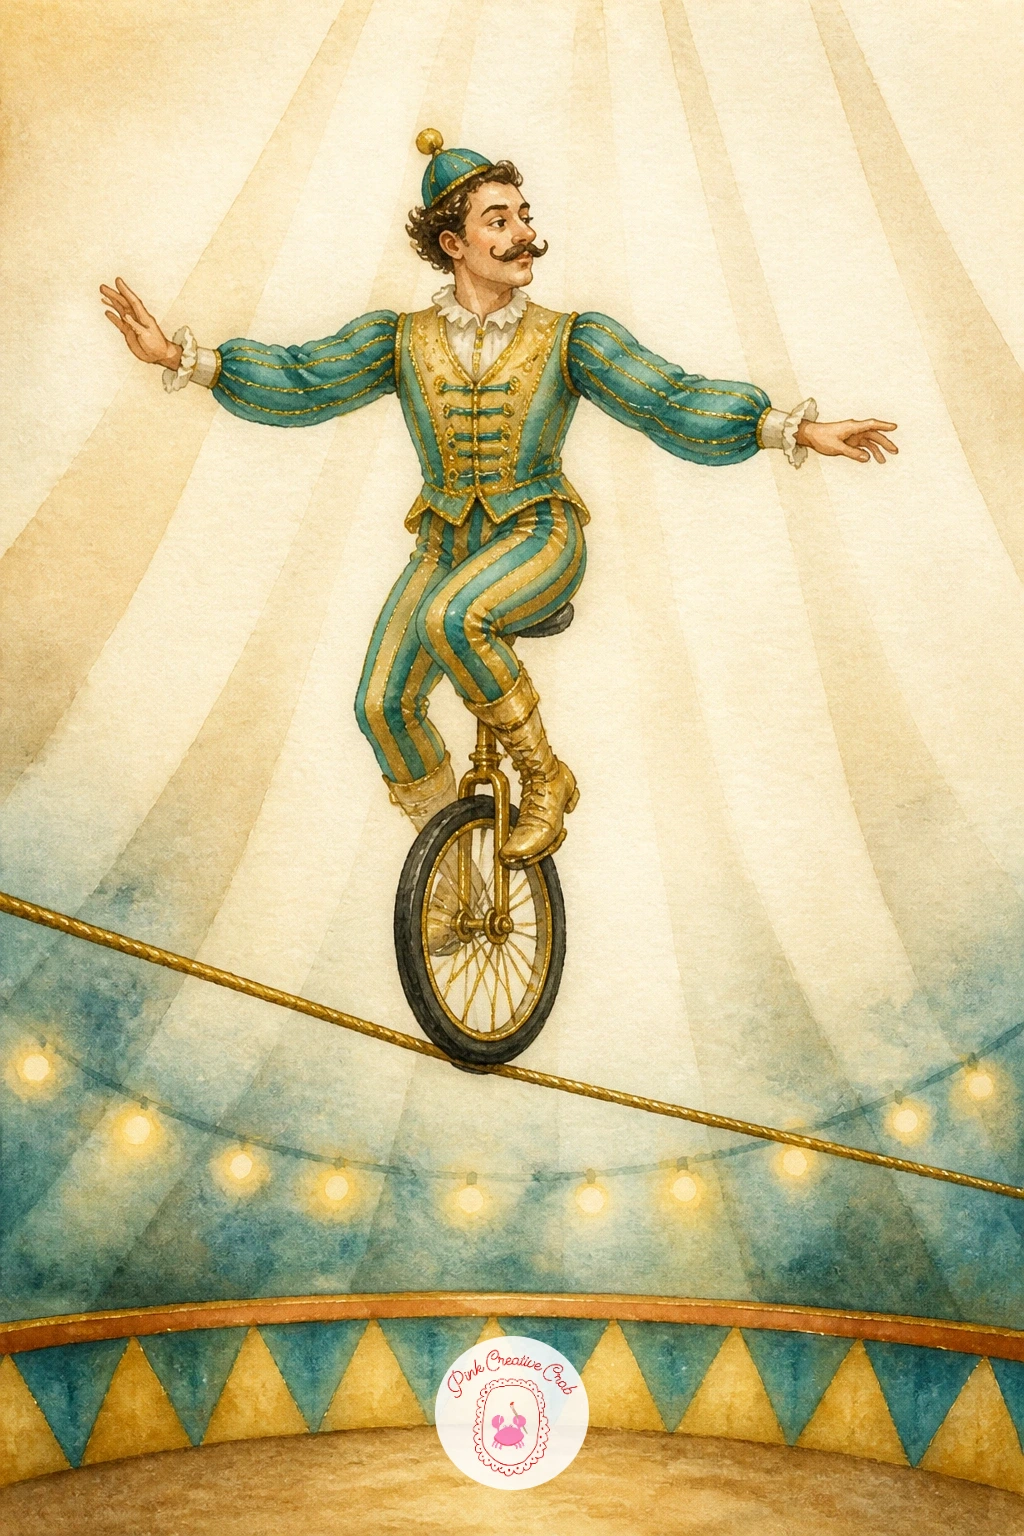
Close the whole set with its most advanced balancing act: a performer riding a unicycle along a tightrope high above the ring. Build the composition around one diagonal line, the rope, running corner to corner across the page, and place the unicycle’s single wheel exactly on that line so the whole figure reads as genuinely balanced rather than hovering nearby.
Paint the performer’s costume in your boldest remaining color combination (try gold with teal trim to close the palette out strongly), working the body and unicycle wheel before adding the rope itself as a final thin line on top.
Since this is the most demanding pose in the set, keep every other element around it quiet: a plain cream background with maybe one soft spotlight glow is enough. Finish by stepping back from the whole set of pages and noticing which stripe combinations you reached for most, a good hint for where to take the palette next time.
Palette: Gold,Teal Green,Cadmium Red Hue,Naples Yellow
What to Do Next
Pick whichever subject is already making you smile, the striped tent or the poodle on its ball are both friendly places to start, and work on one sheet of cold press paper at a time. Let each layer dry before the next, keep your gold pen for last, and the whole set will build into a matching little circus of its own.
Frequently Asked Questions
What watercolor paper works best for a circus watercolor scene with lots of stripes?
Cold press paper around 140 pounds works best, since its slight texture helps stripes dry with soft, believable edges rather than looking taped off. Smooth hot press paper makes stripes look too graphic and stiff.
How do you paint even stripes without using tape?
Paint freehand with a round or flat brush, letting each stripe vary slightly in width and curve with the shape underneath. Slight unevenness reads as hand painted and vintage rather than sloppy; taped stripes often look too flat for this style.
What colors give that vintage circus watercolor look?
A palette of cadmium red, cream or naples yellow, a muted teal, and gold accents recreates the look most reliably. Keep the reds slightly warm and the teal slightly muted rather than bright turquoise, which keeps the whole set feeling vintage rather than modern-bright.
Can beginners paint circus scenes with lots of figures, like the parade or the band?
Yes, as long as the figure count stays small to start, three or four figures rather than a full crowd. Simplify faces to a few dots and lines and let costume color and pattern carry most of the character.
How do you add the gold detailing seen in circus watercolor prints?
Add gold last, once every other layer is completely dry, using a fine brush with gold paint or a gold gel pen for crisp lines. Keep gold to trim, buttons, stars and small flourishes rather than large filled areas, which keeps it feeling like an accent.
Have any thoughts?
Share your reaction or leave a quick response — we’d love to hear what you think!
-
 0
-
0
-
0
-
0
-
0
-
0


