

Table of Contents
Easy watercolor paintings for beginners work best when the shapes are big, closed and simple to trace, which is exactly what this set of 16 subjects gives you. Each one is a single object or a tiny scene built from a few friendly shapes, no fiddly overlaps and nothing that needs drawing skill to start.
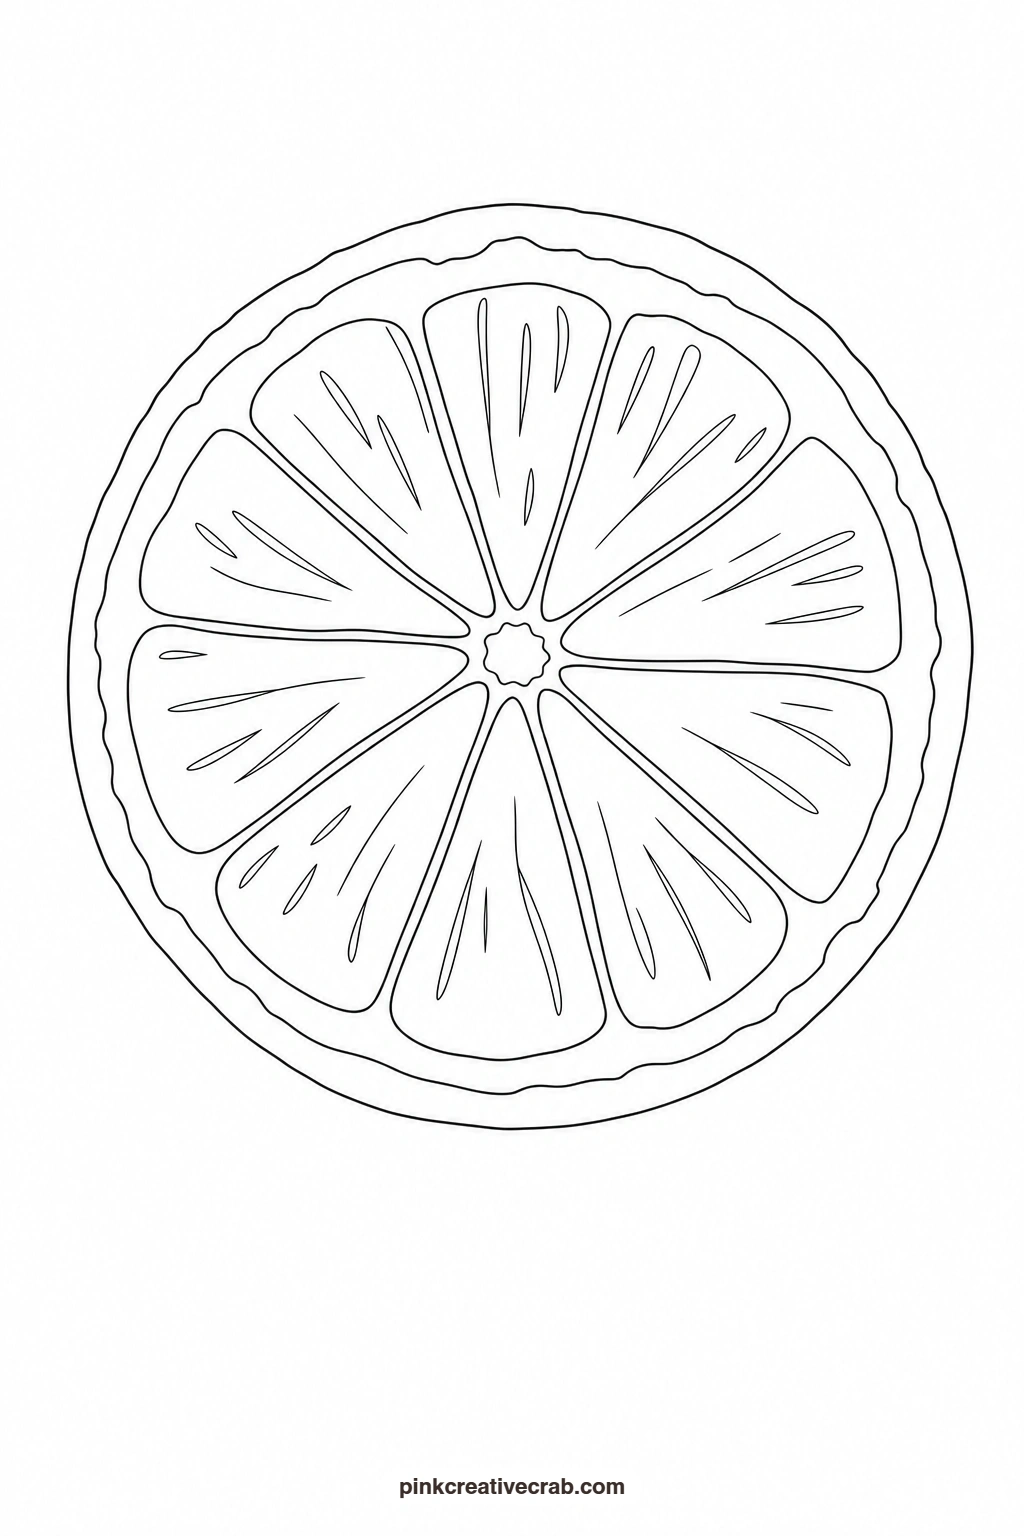
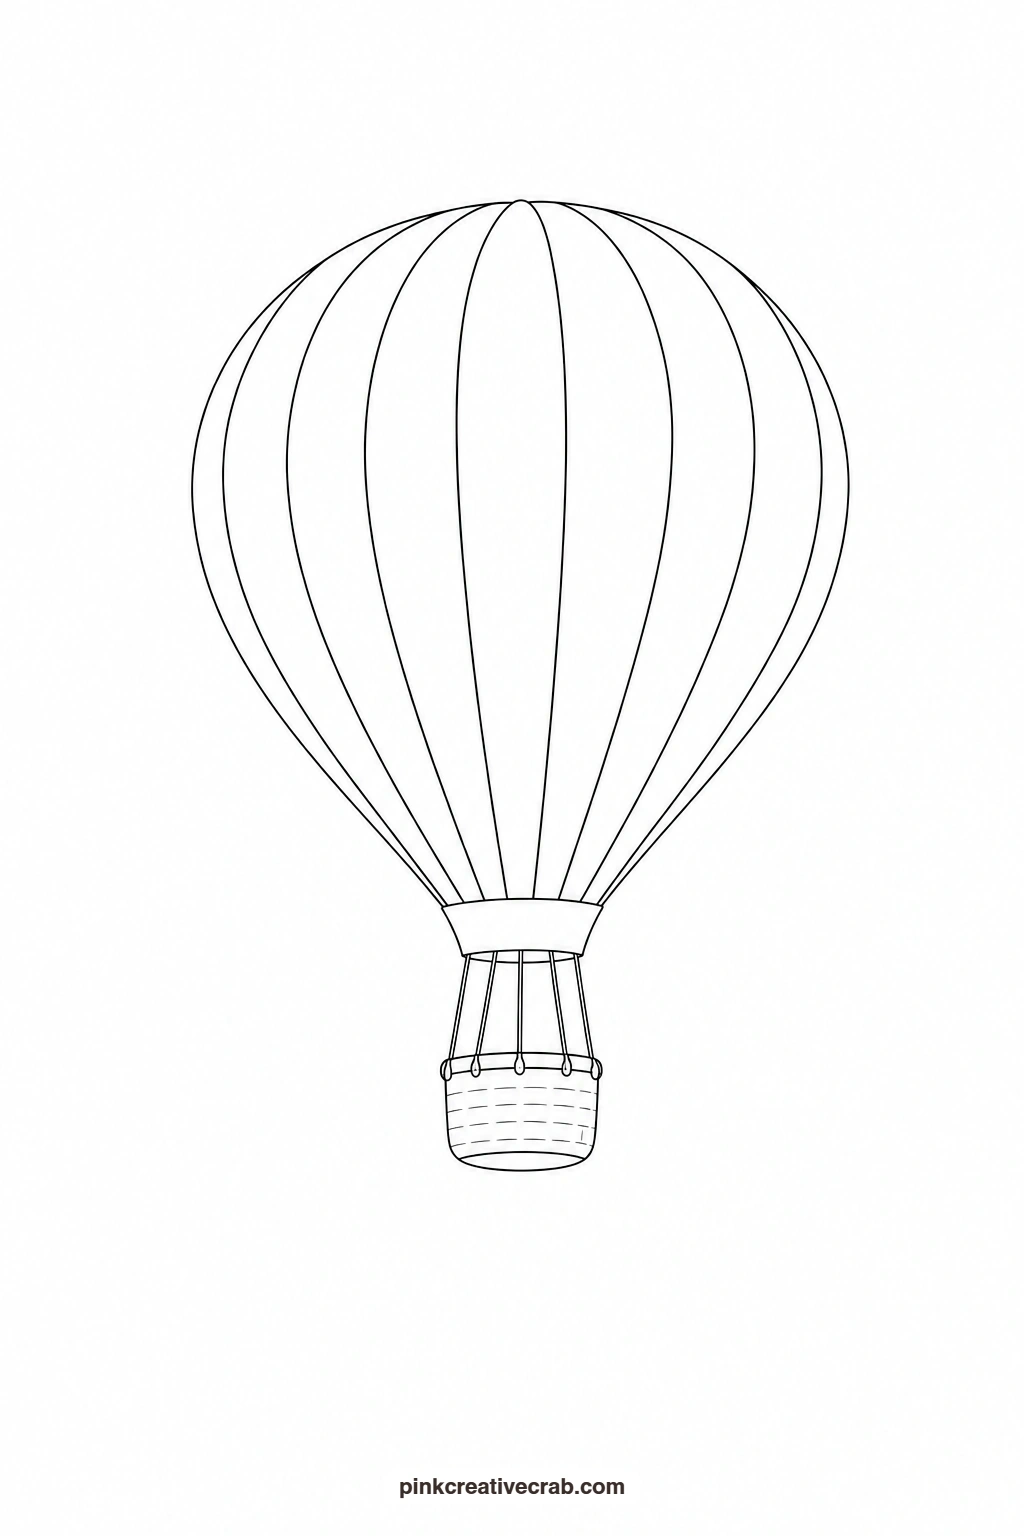
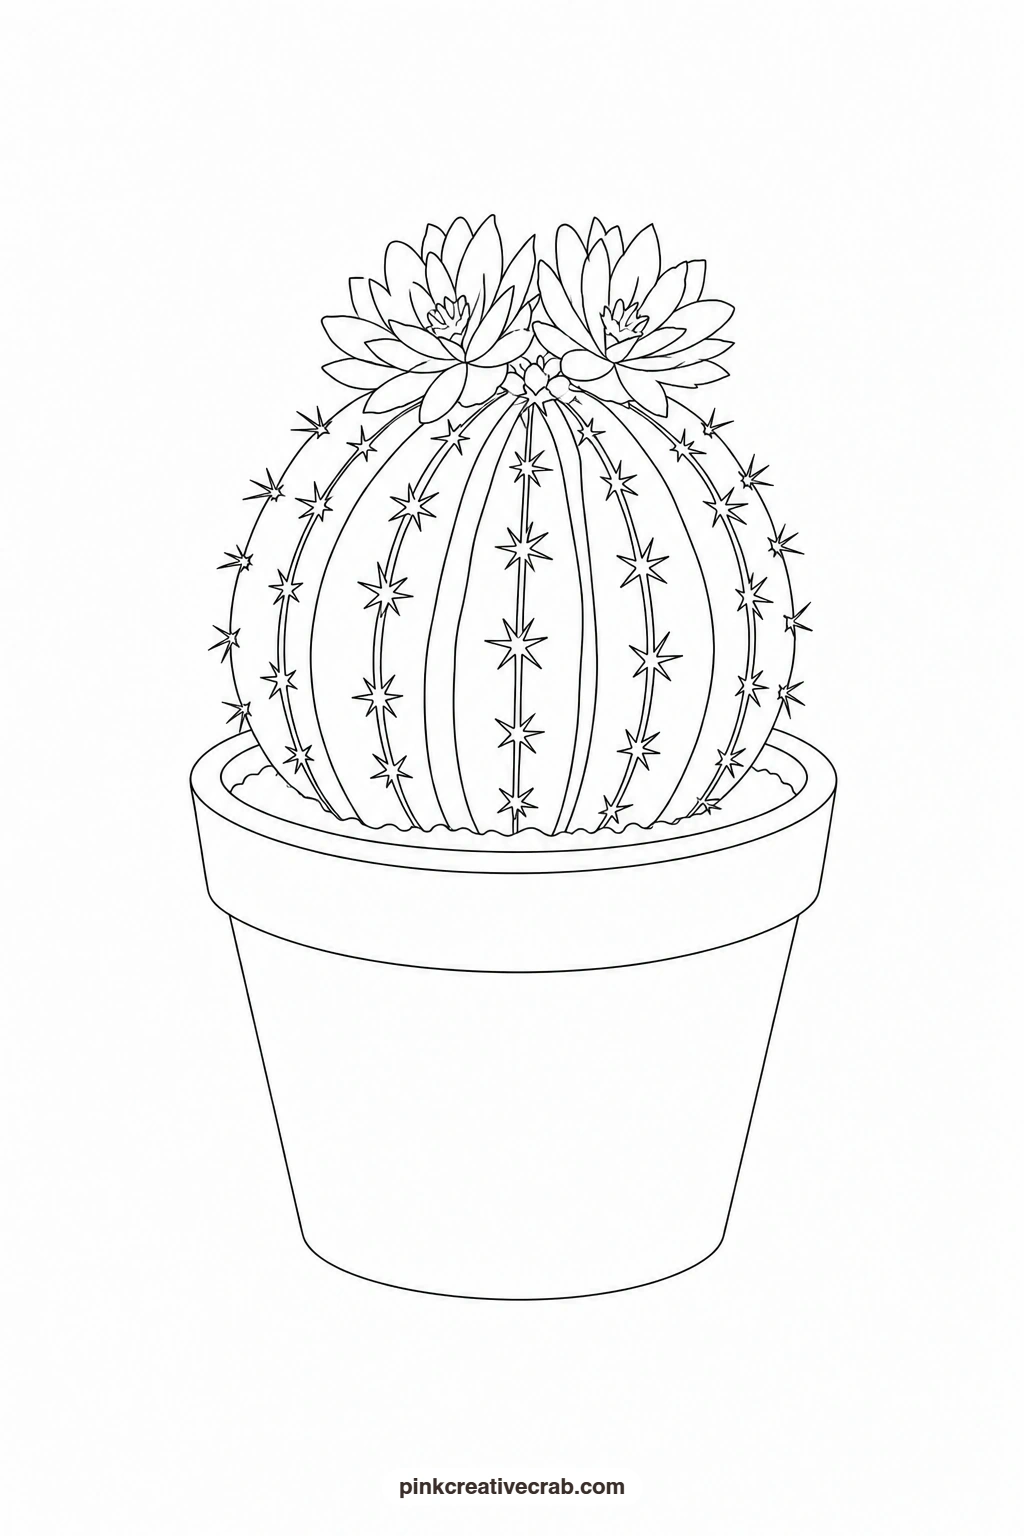
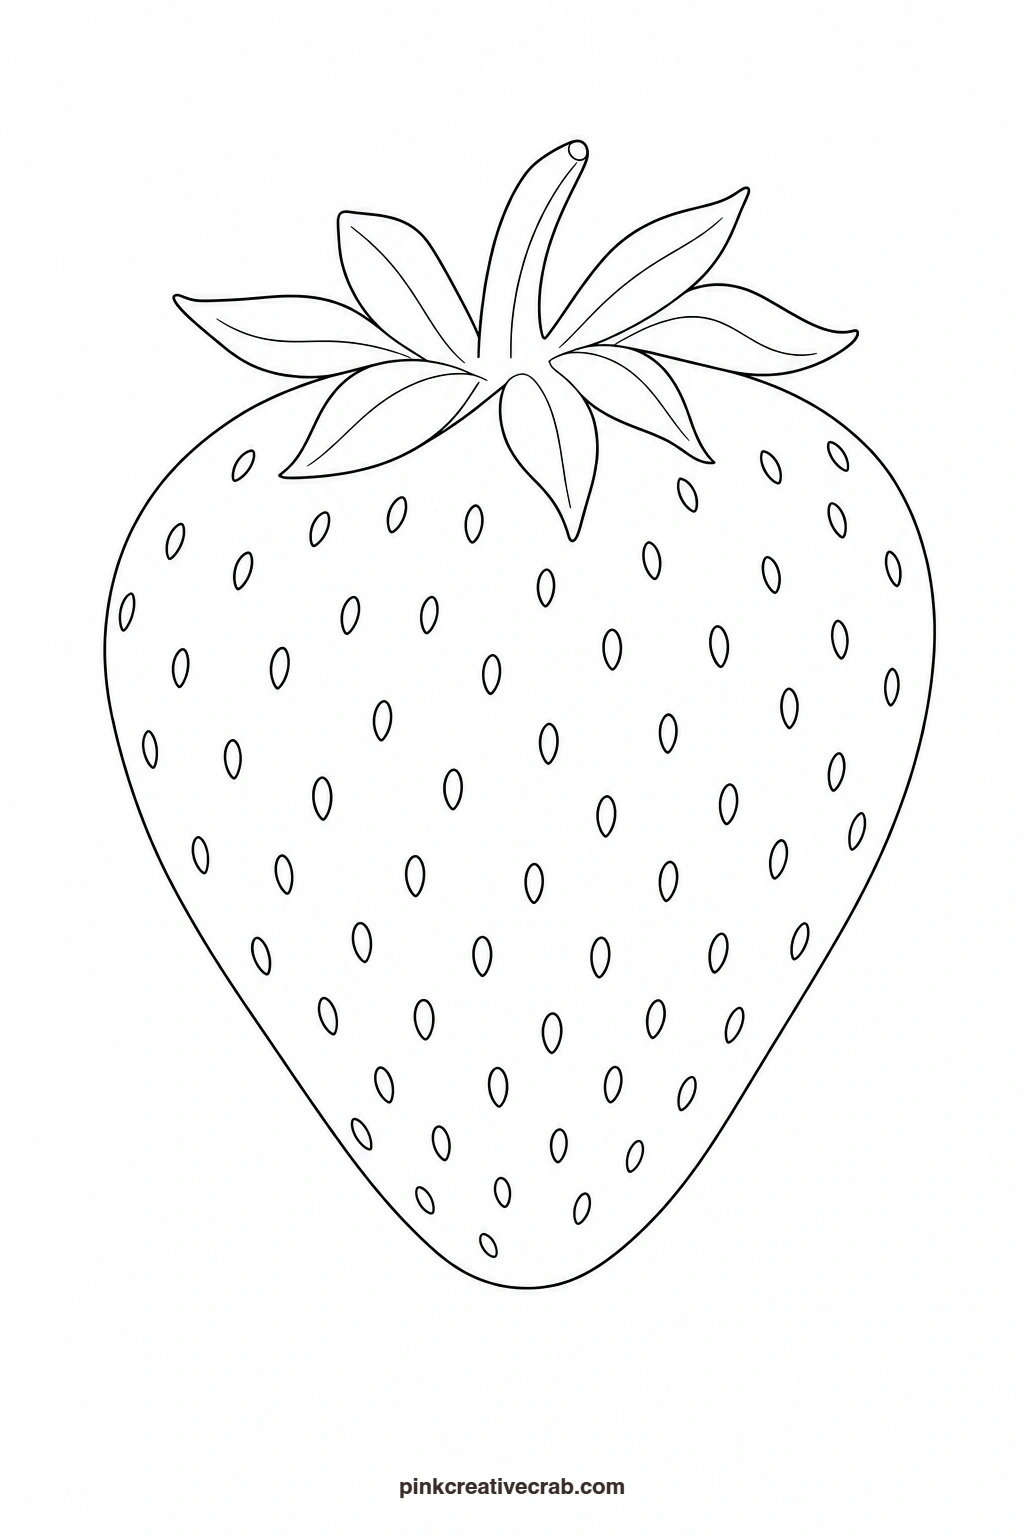
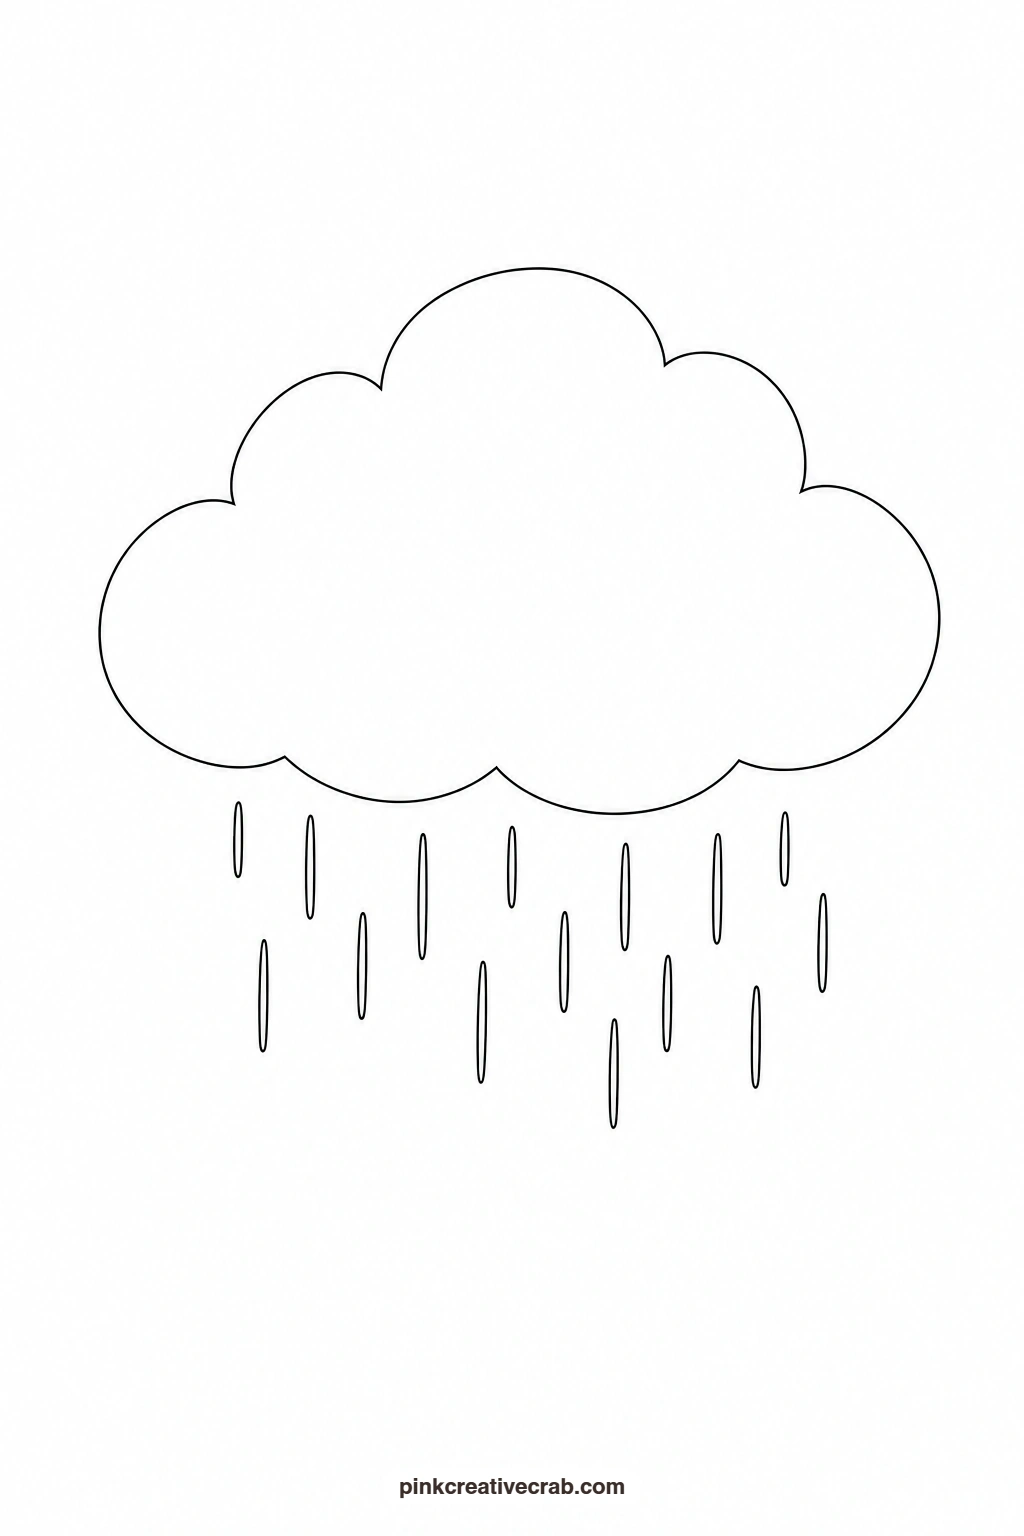
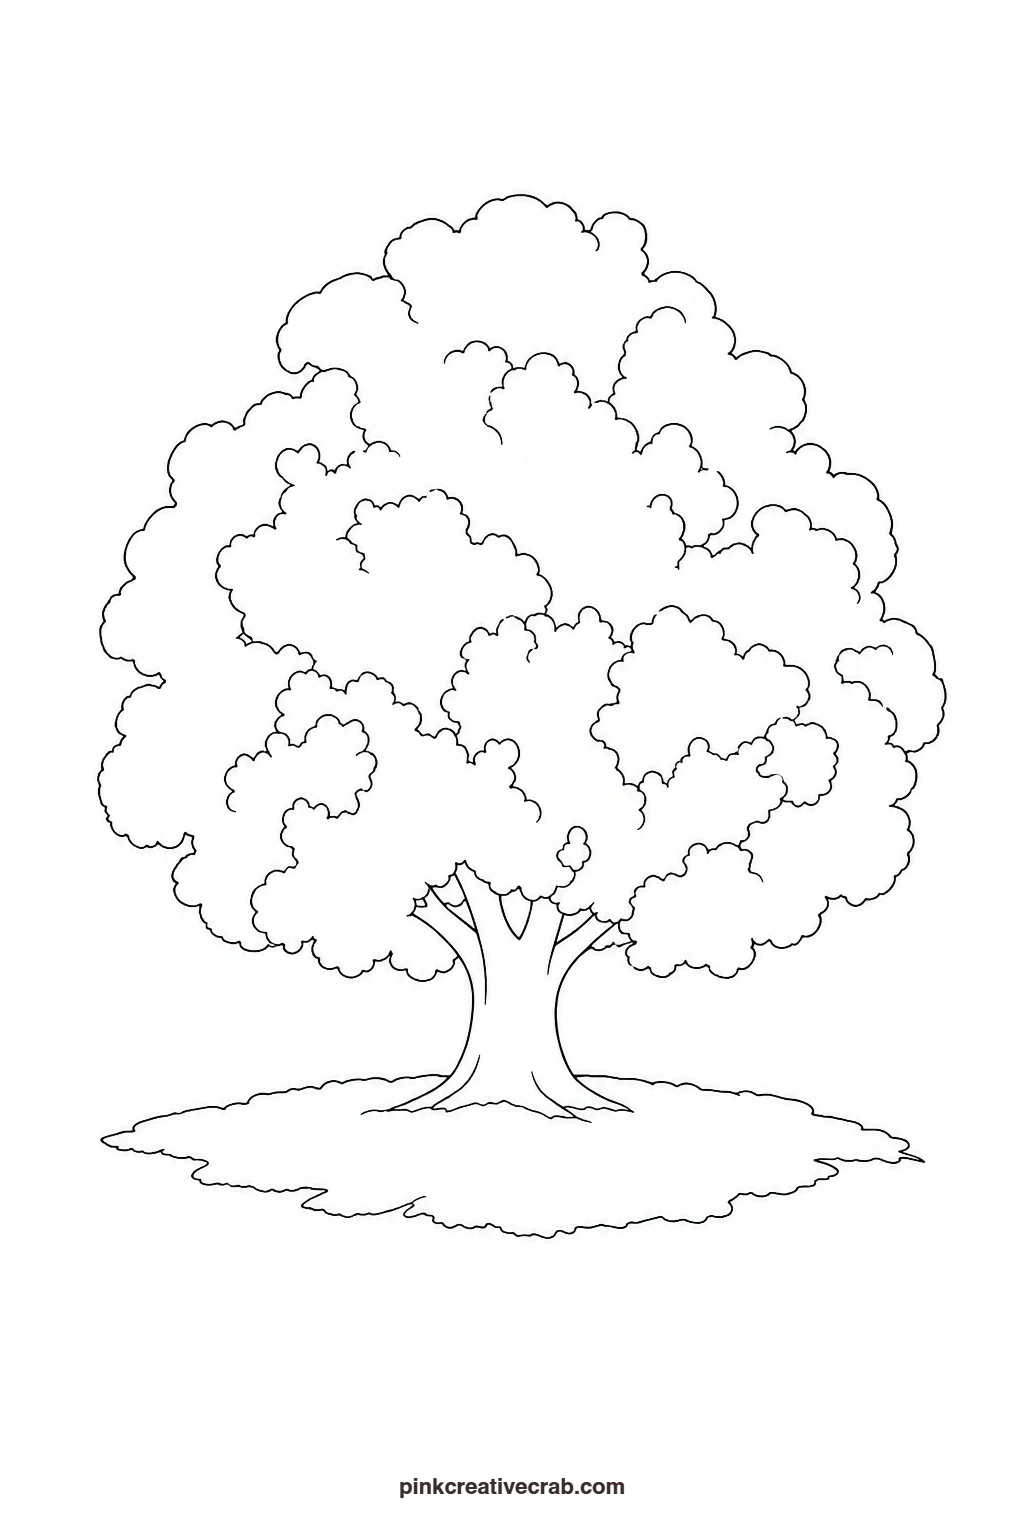
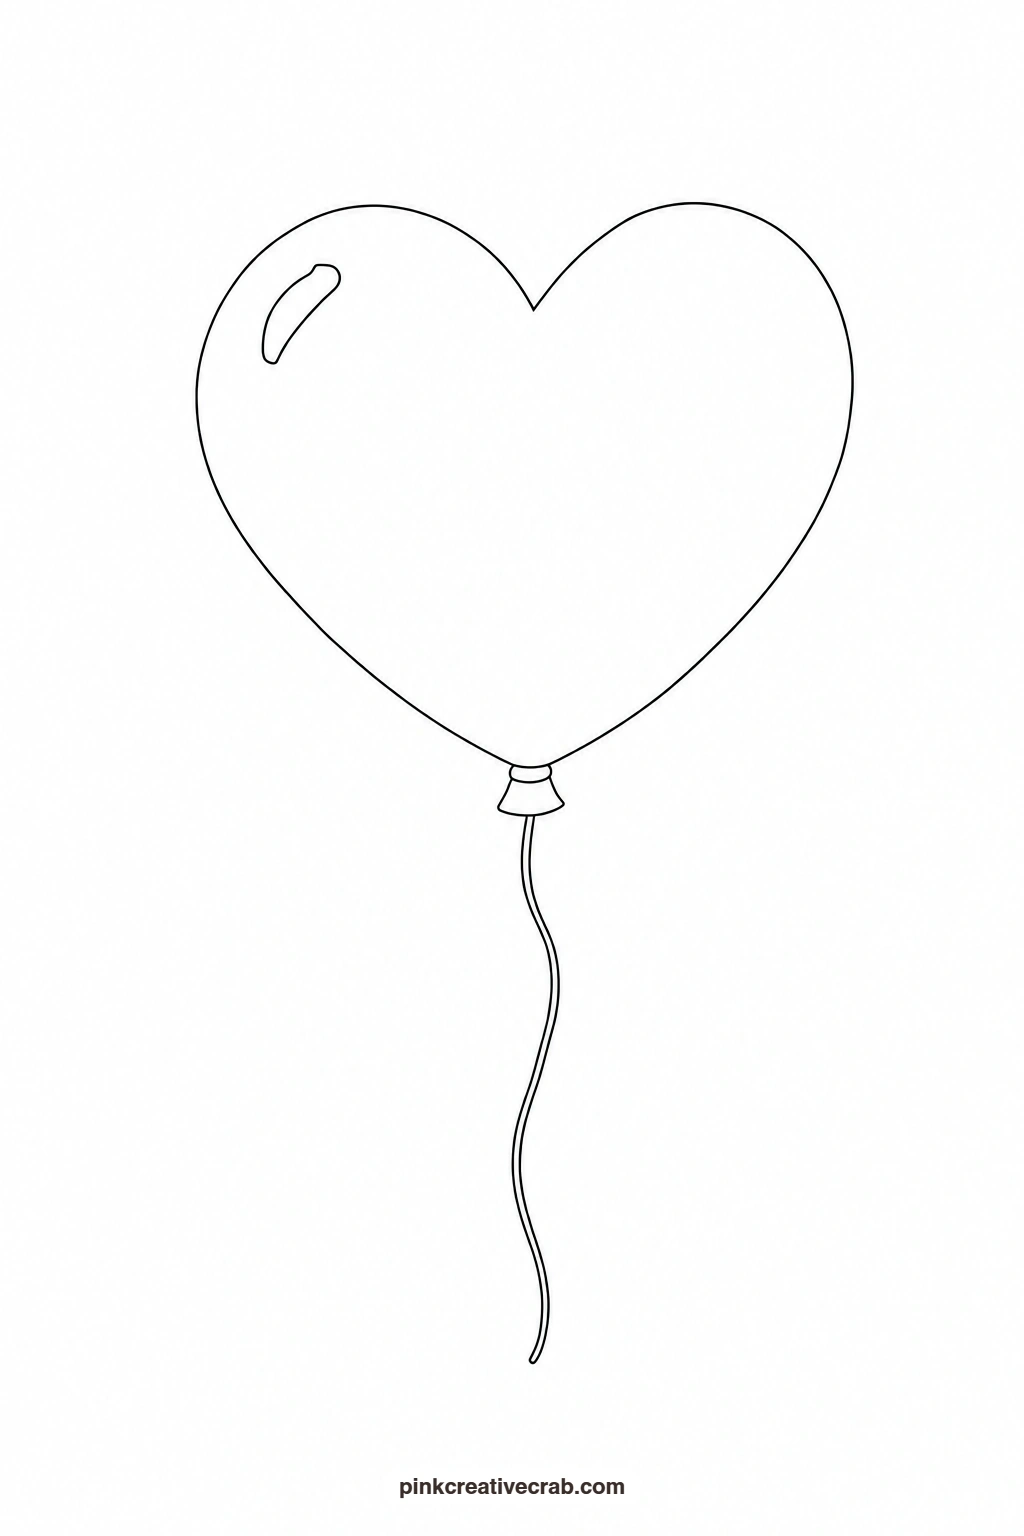
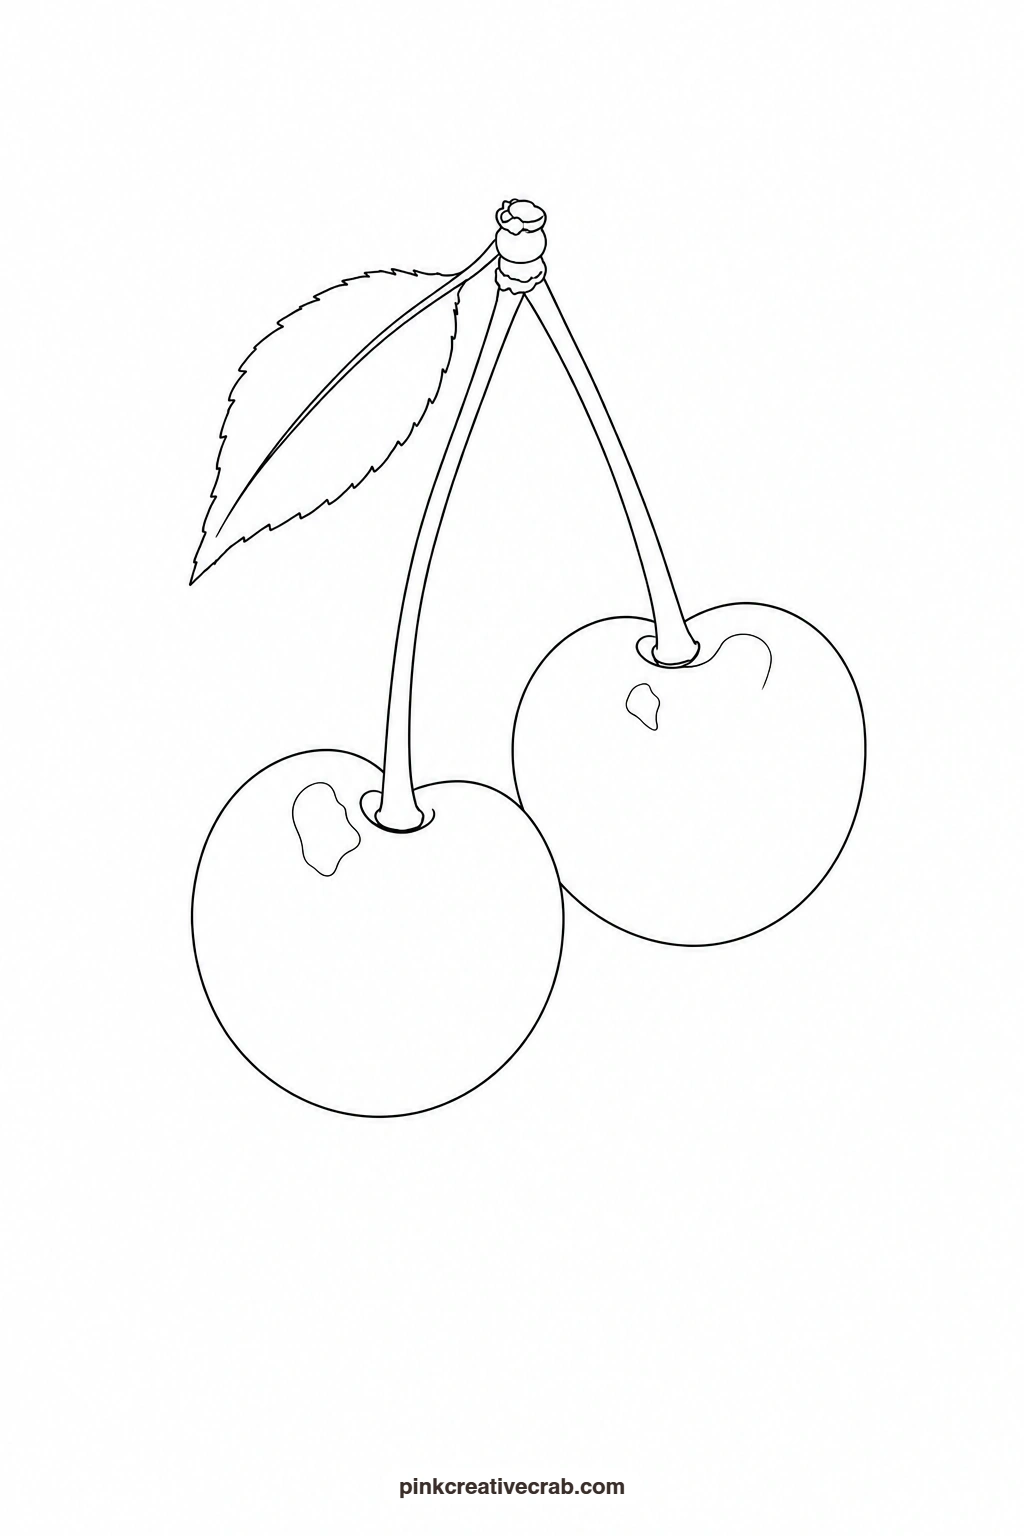
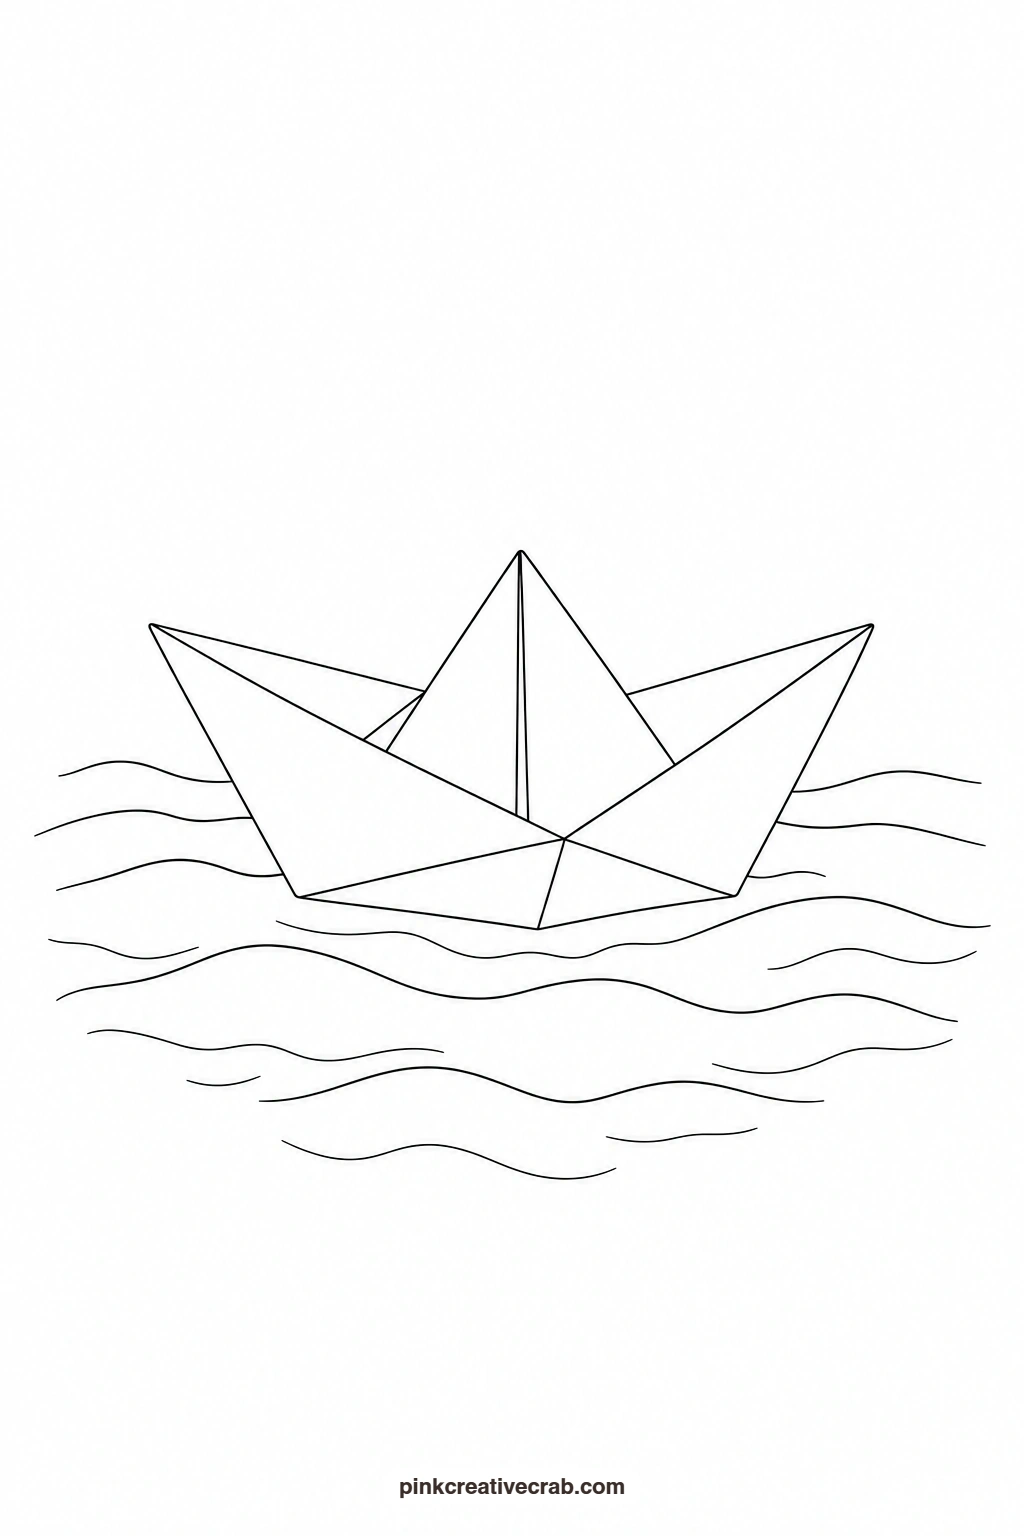
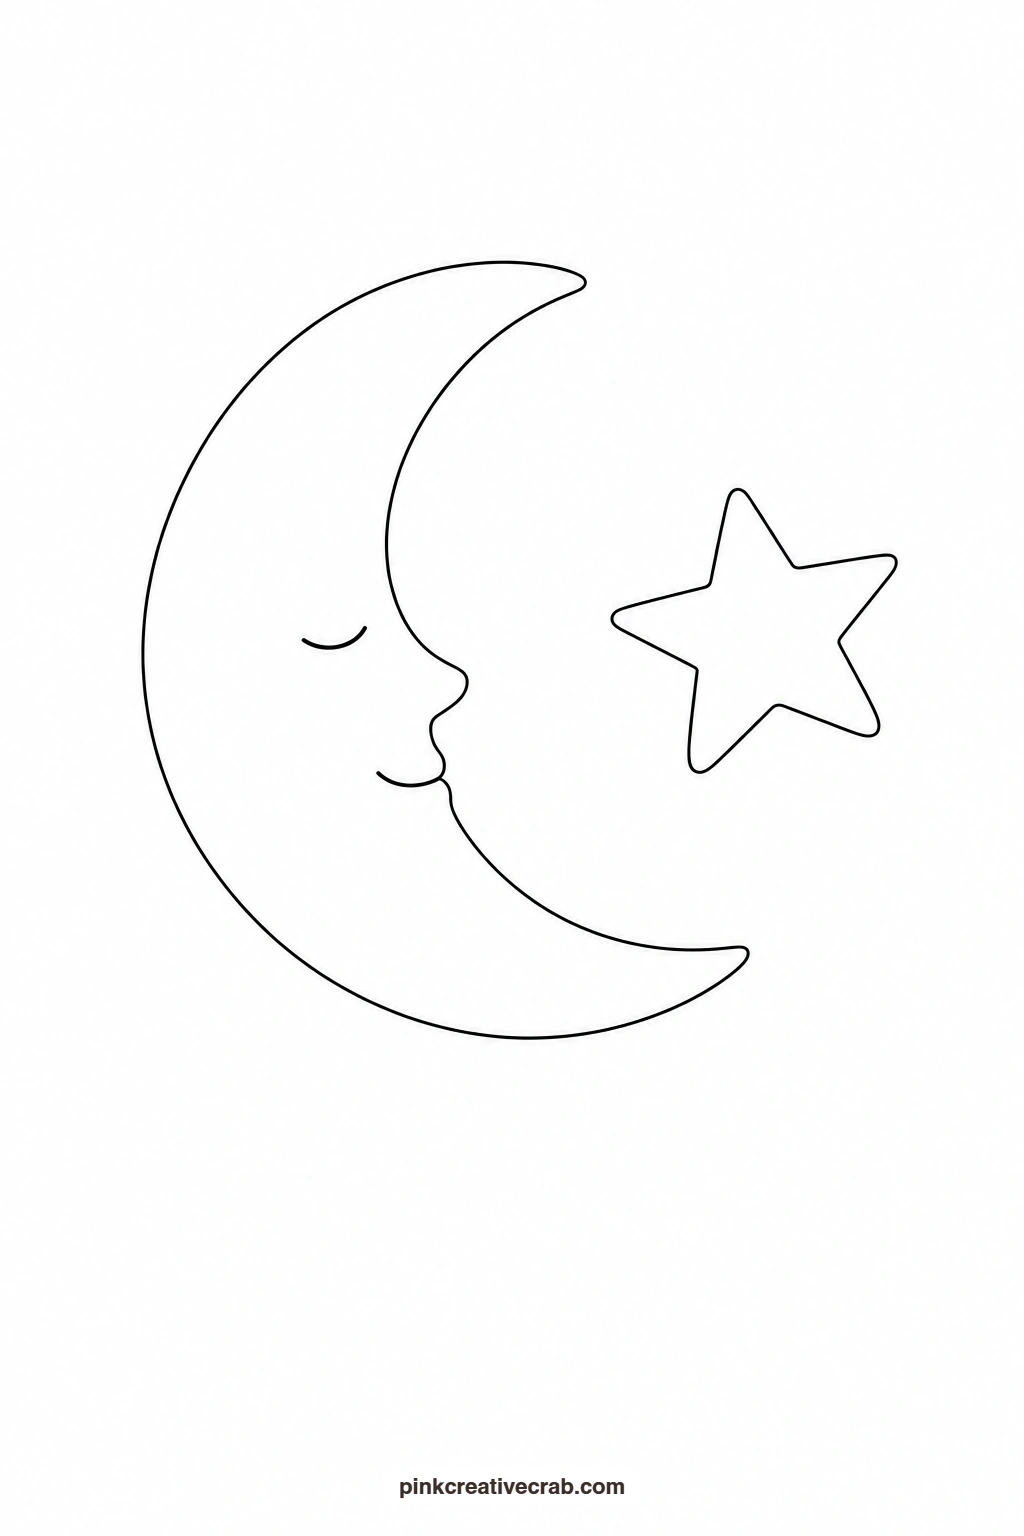
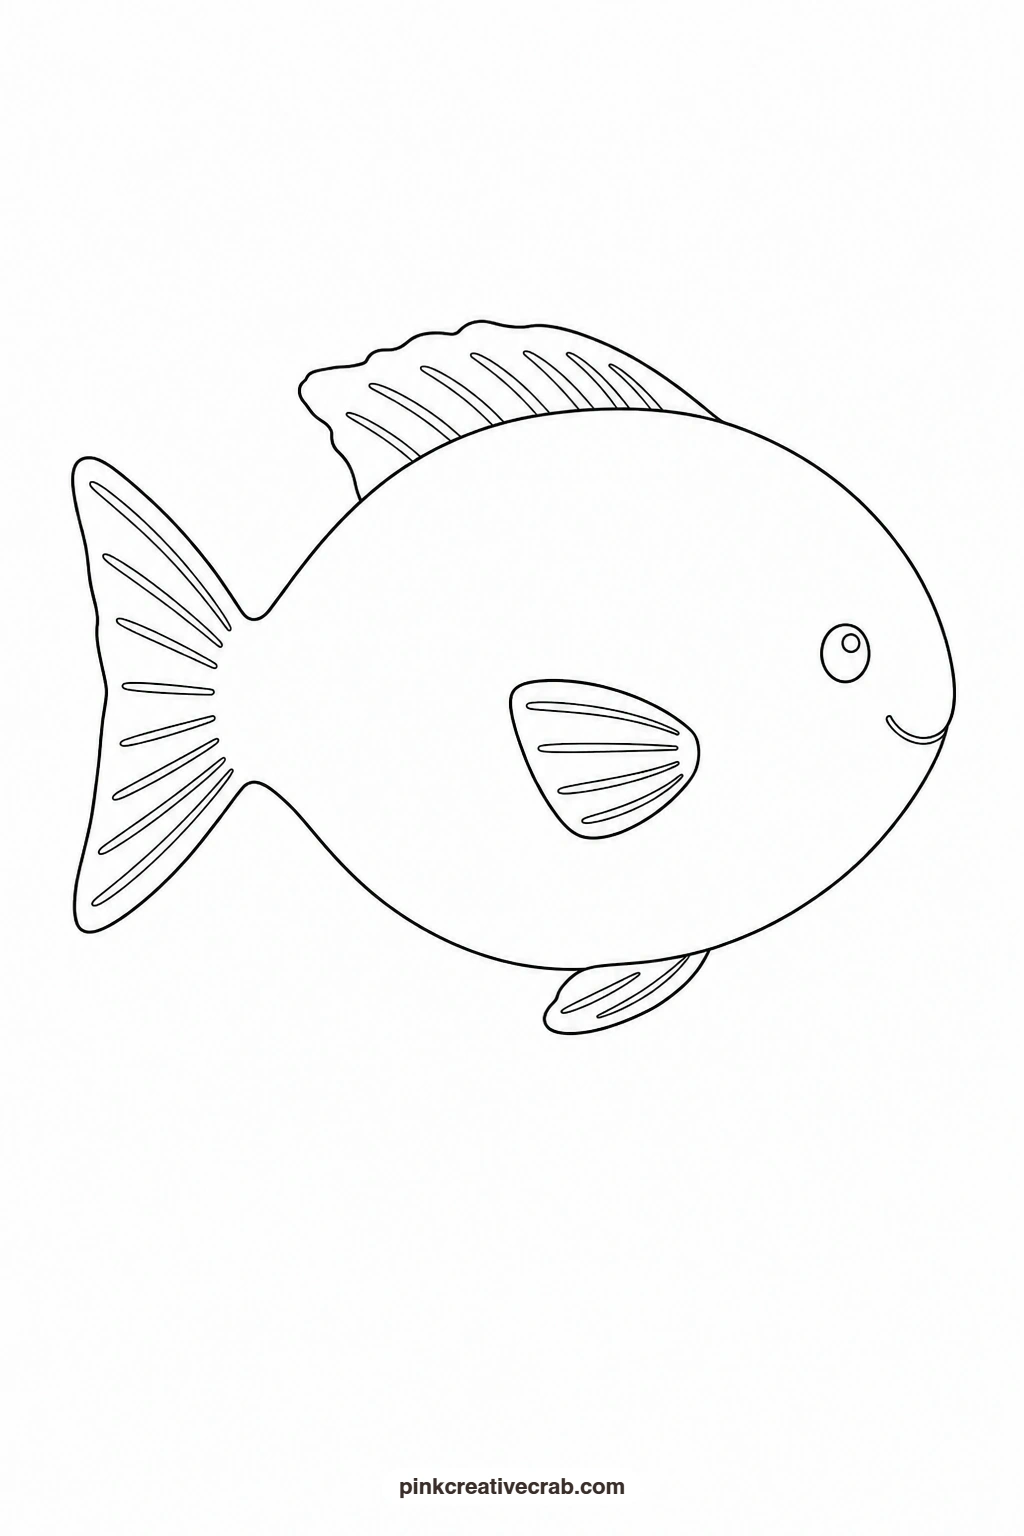
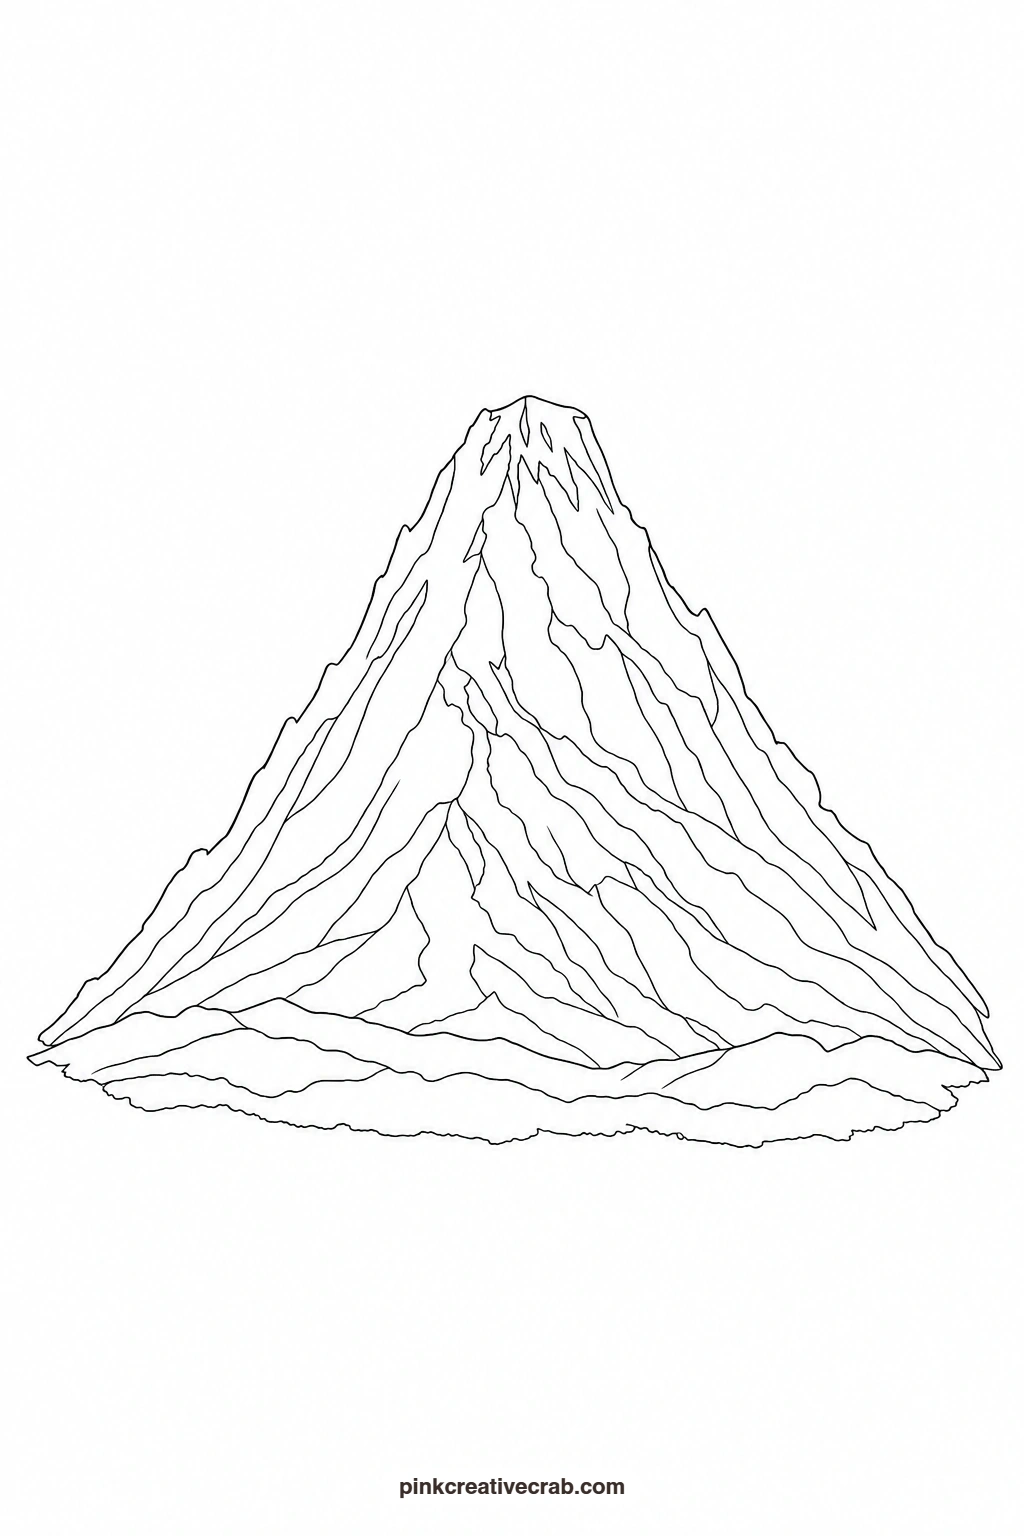
Print the clean outline, hold it against a sunny window or a light pad (or use graphite transfer paper) to get it onto your watercolor paper, then paint it with the finished example propped up beside you as your color guide. No sketching required, just washes and a little patience.
Using these images: free for personal projects such as printing, coloring, cards, journals and gifts. Handmade items that include them may be sold up to 30 pieces per design. More than that is commercial use and is not permitted, and neither is selling or sharing the images themselves or passing them off as your own. Please ask before any other use.
Lemon Slice
Wash the rind ring first in a light Cadmium Yellow, then while it is still damp drop a slightly deeper yellow into the inner flesh so the two blend softly at the seam. Paint each wedge segment separately leaving thin white lines of paper between them for the membrane, and press a touch of white gouache or leave tiny dots unpainted for the seeds. The fresh finishing touch is a thin curved line of pale grey-yellow along one edge of the rind to suggest the pith.
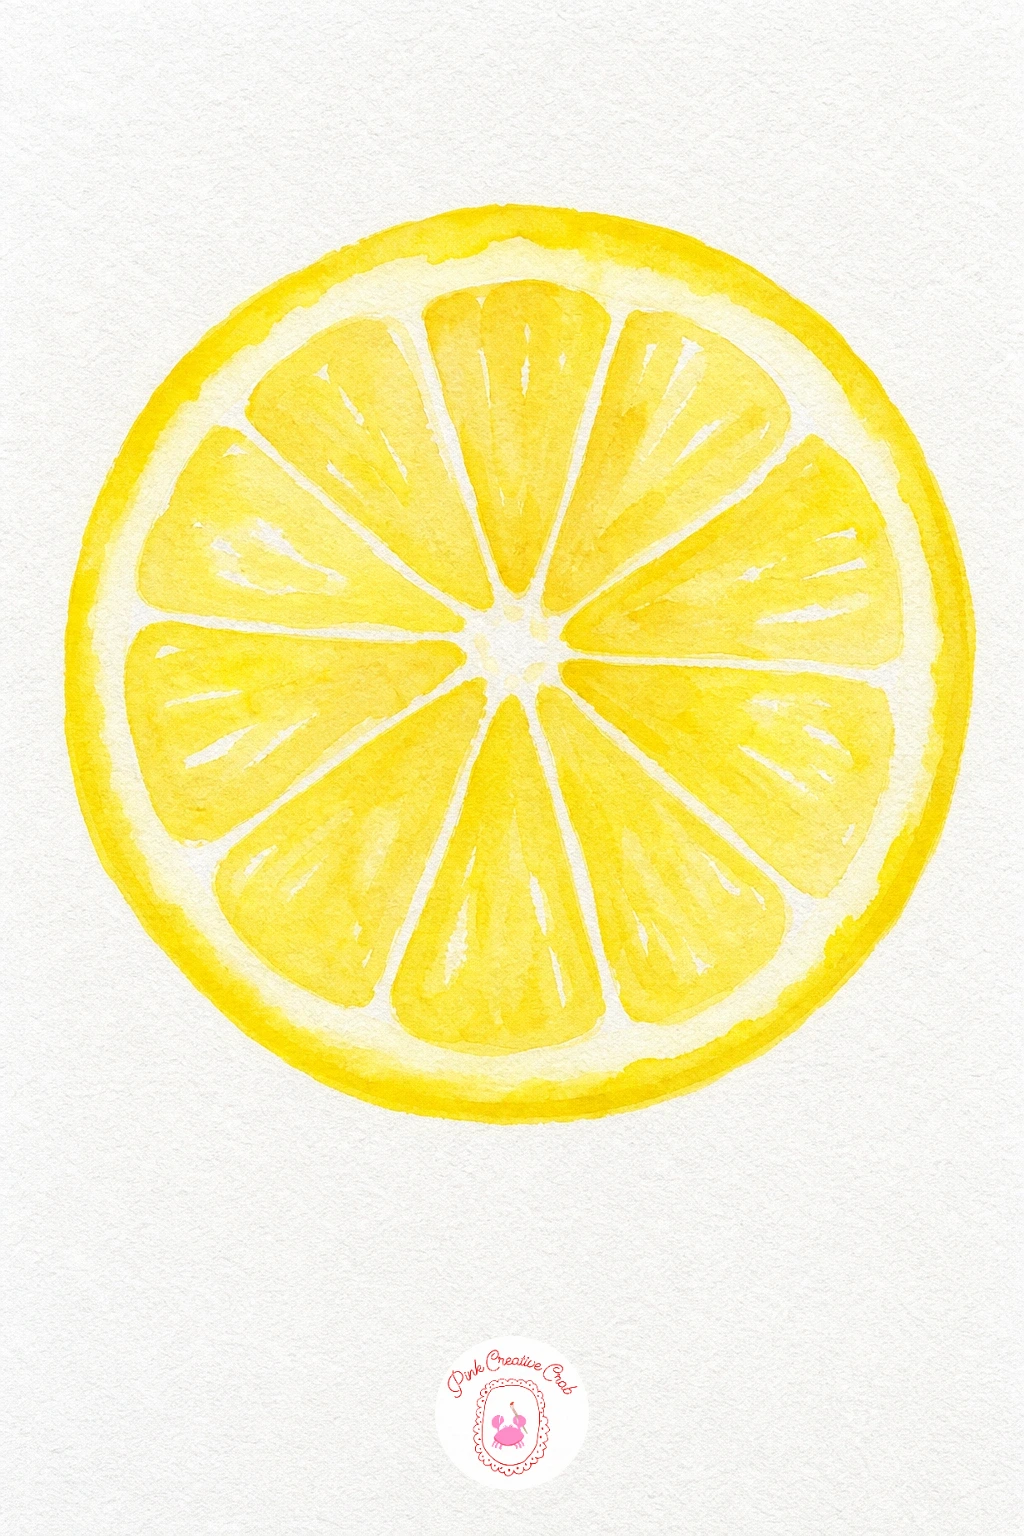
Palette: Cadmium Yellow,Lemon Yellow,Pale Grey
Hot Air Balloon
Paint the balloon envelope in alternating vertical stripes, letting each color dry a little before adding its neighbor so the stripes stay crisp rather than bleeding together. Keep the basket small and flat in a warm brown, added last so it reads as solid against the lighter sky. The nice finishing touch is a faint blue-grey wash behind the balloon for sky, kept loose so the balloon stays the star.
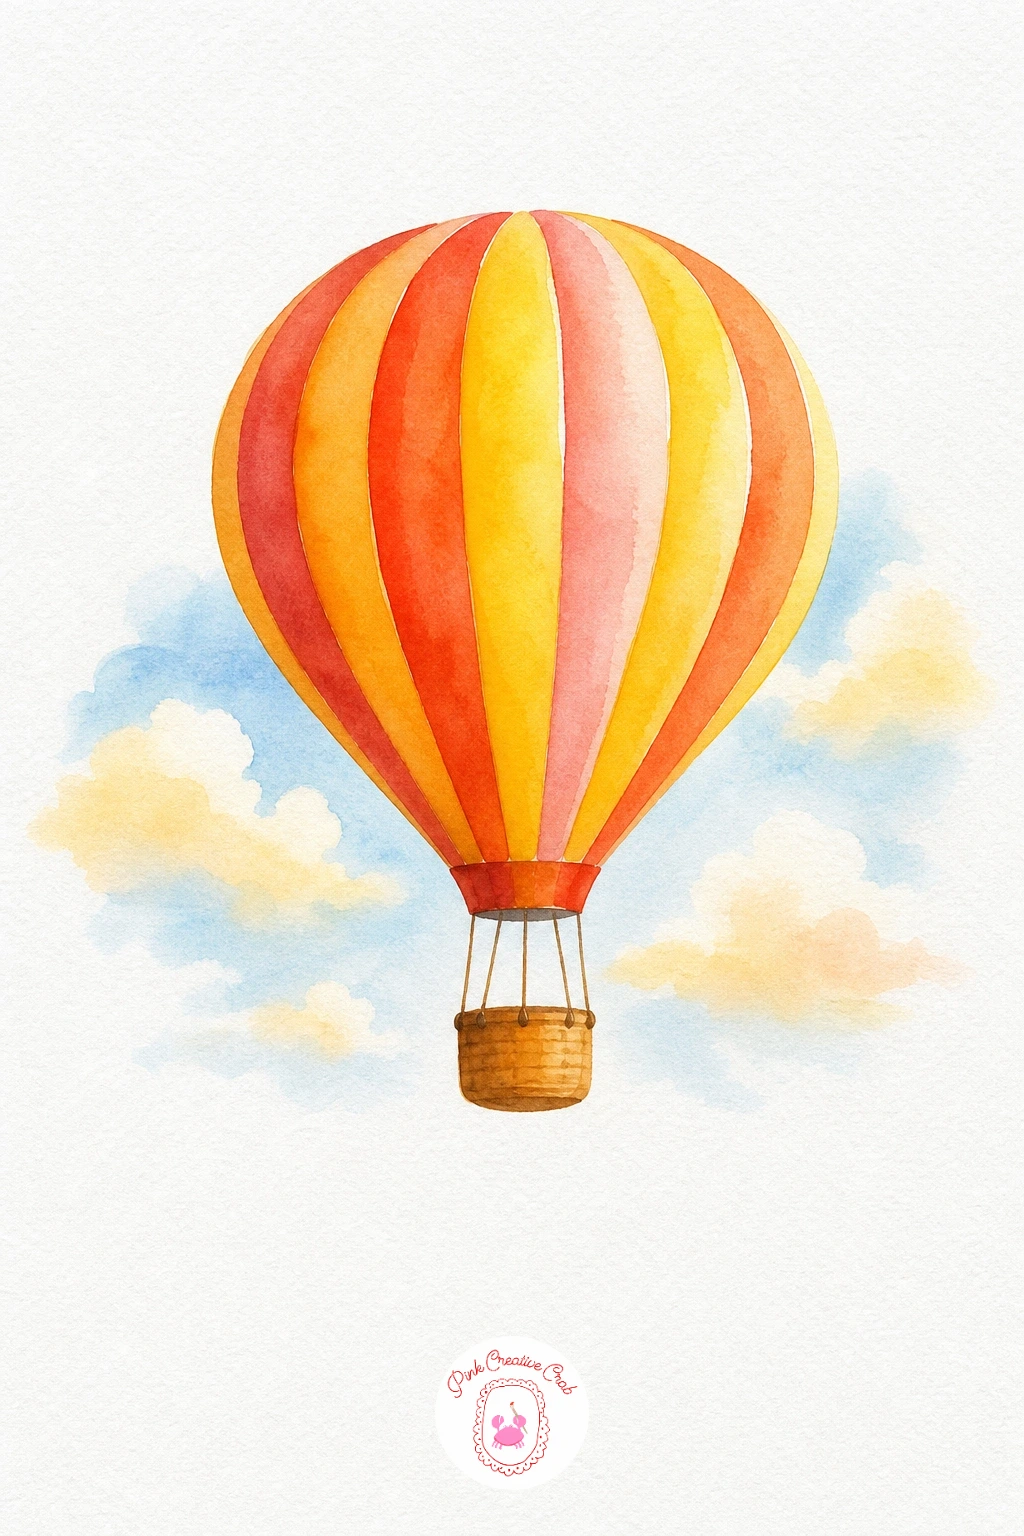
Palette: Alizarin Crimson,Cerulean Blue,Raw Sienna,Sky Blue
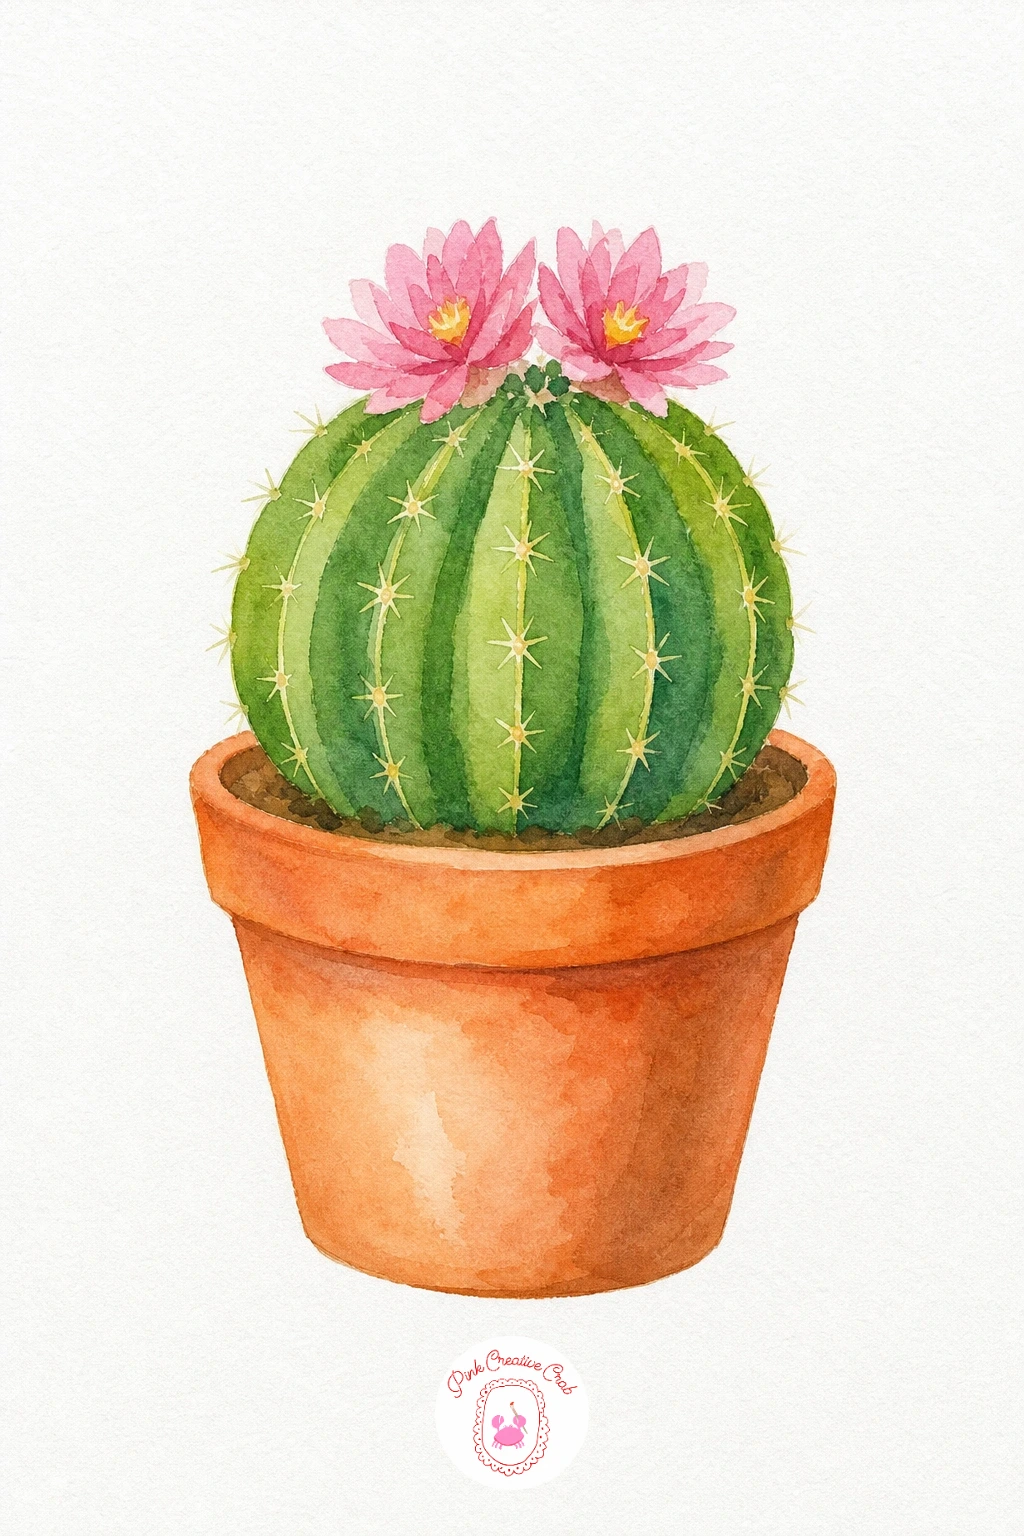
Cactus in a Pot
Wash the whole cactus body in Sap Green first, then once dry add a slightly darker green along the rib lines with the tip of the brush so the ribs sit forward without any shading. Paint the pot in Burnt Sienna in one flat coat, letting the rim dry a shade lighter by wiping the brush before the top stroke. Finish with two or three small pink dots for flowers and tiny white gel pen flecks for spines.
You Will Need
- white gel pen for spine flecks
Palette: Sap Green,Burnt Sienna,Pink
Strawberry With Leaf
Lay a wet wash of Cadmium Red over the whole berry, then drop a touch of Alizarin Crimson near the pointed tip while the paper is still damp so the color pools darker there naturally. Let it dry fully before dotting the seeds in pale yellow with a fine brush, spacing them loosely rather than in neat rows. The leafy cap goes on last in Sap Green with a few short separate strokes for each little leaf point.
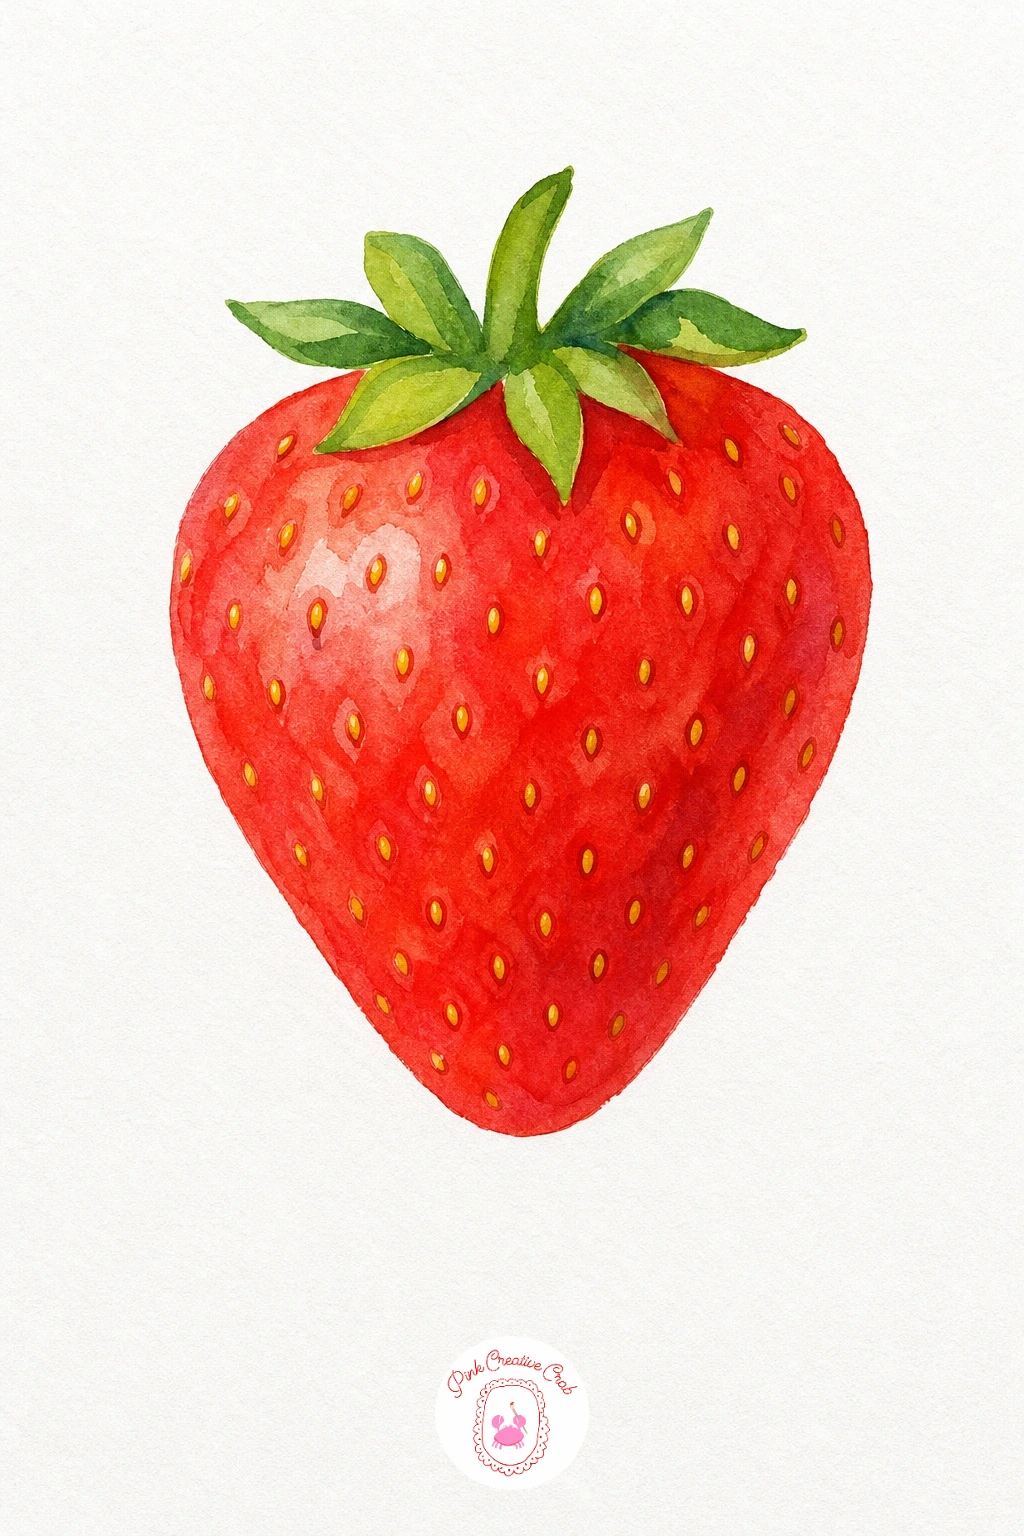
Palette: Cadmium Red,Alizarin Crimson,Sap Green,Pale Yellow
Cloud With Rain
Wet the whole cloud shape first and drop in light Payne’s Grey only along the lower curve, letting it bloom upward into the dry white paper above for a soft puffy edge. Keep the top of the cloud pure white paper so it feels lit from above. Once the cloud is dry, pull short straight rain lines downward in a pale blue with a fine brush, spacing them evenly rather than scattering them.
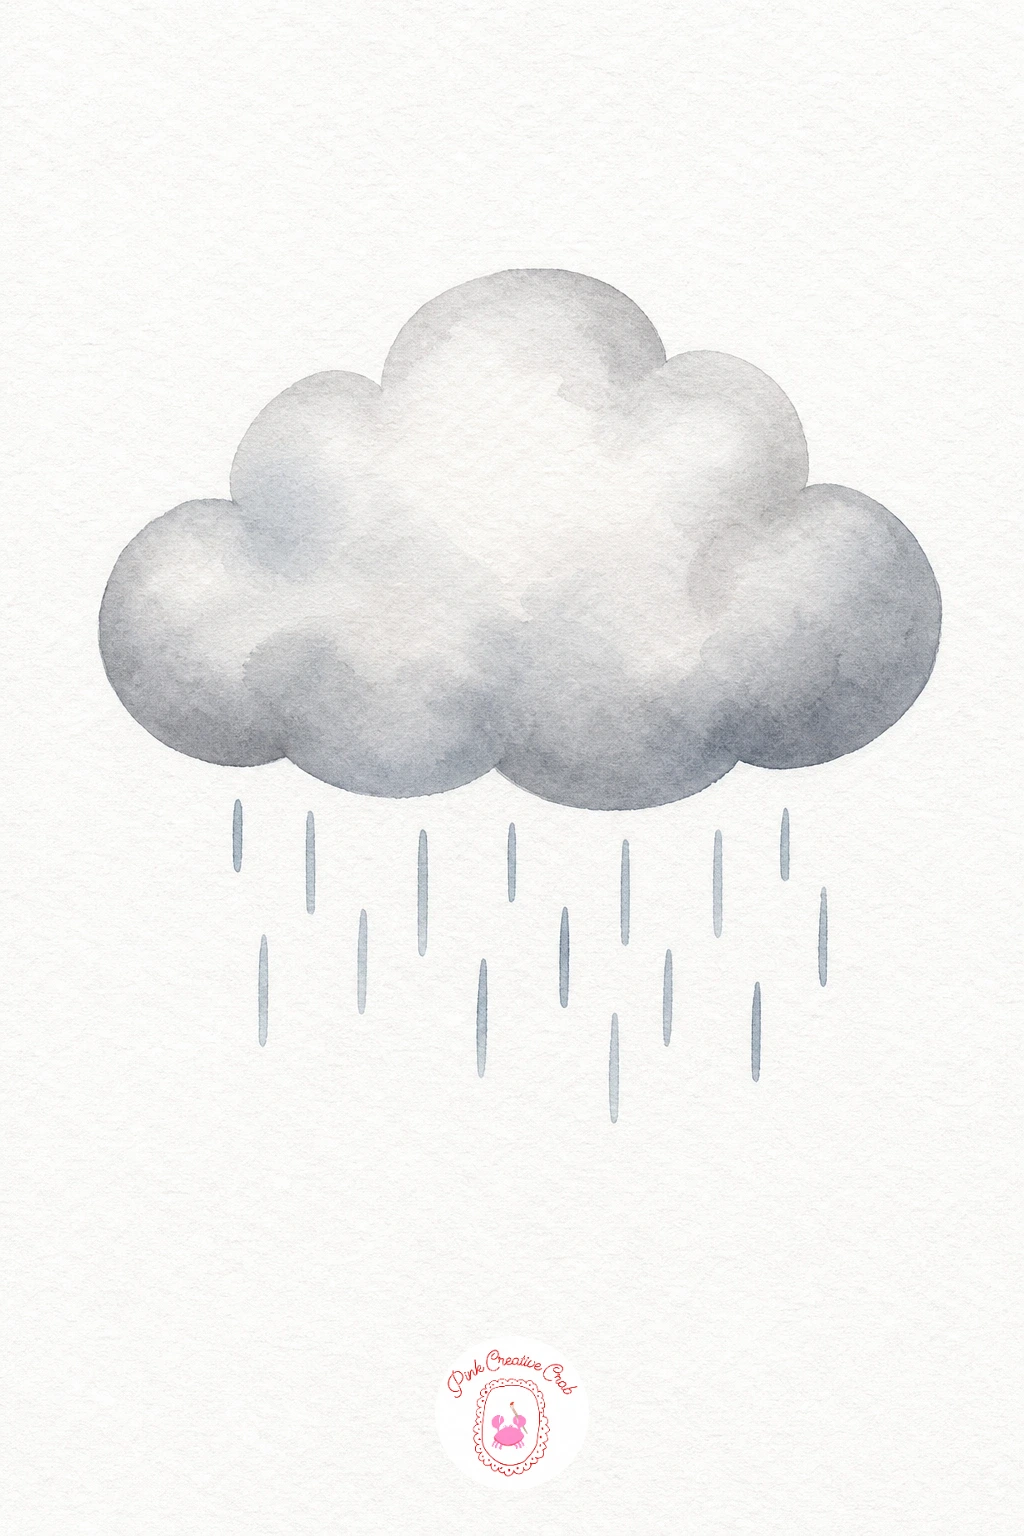
Palette: Payne’s Grey,Pale Blue
Simple Tree
Paint the canopy as one wet-in-wash shape, starting with Sap Green and dropping a little Olive Green into the shadowed underside while it is still wet so the two colors blend on their own. Let that dry completely before the trunk, which goes on in one confident stroke of Burnt Umber narrowing toward the top. A thin strip of green along the base ground ties the tree to the page and finishes the scene.
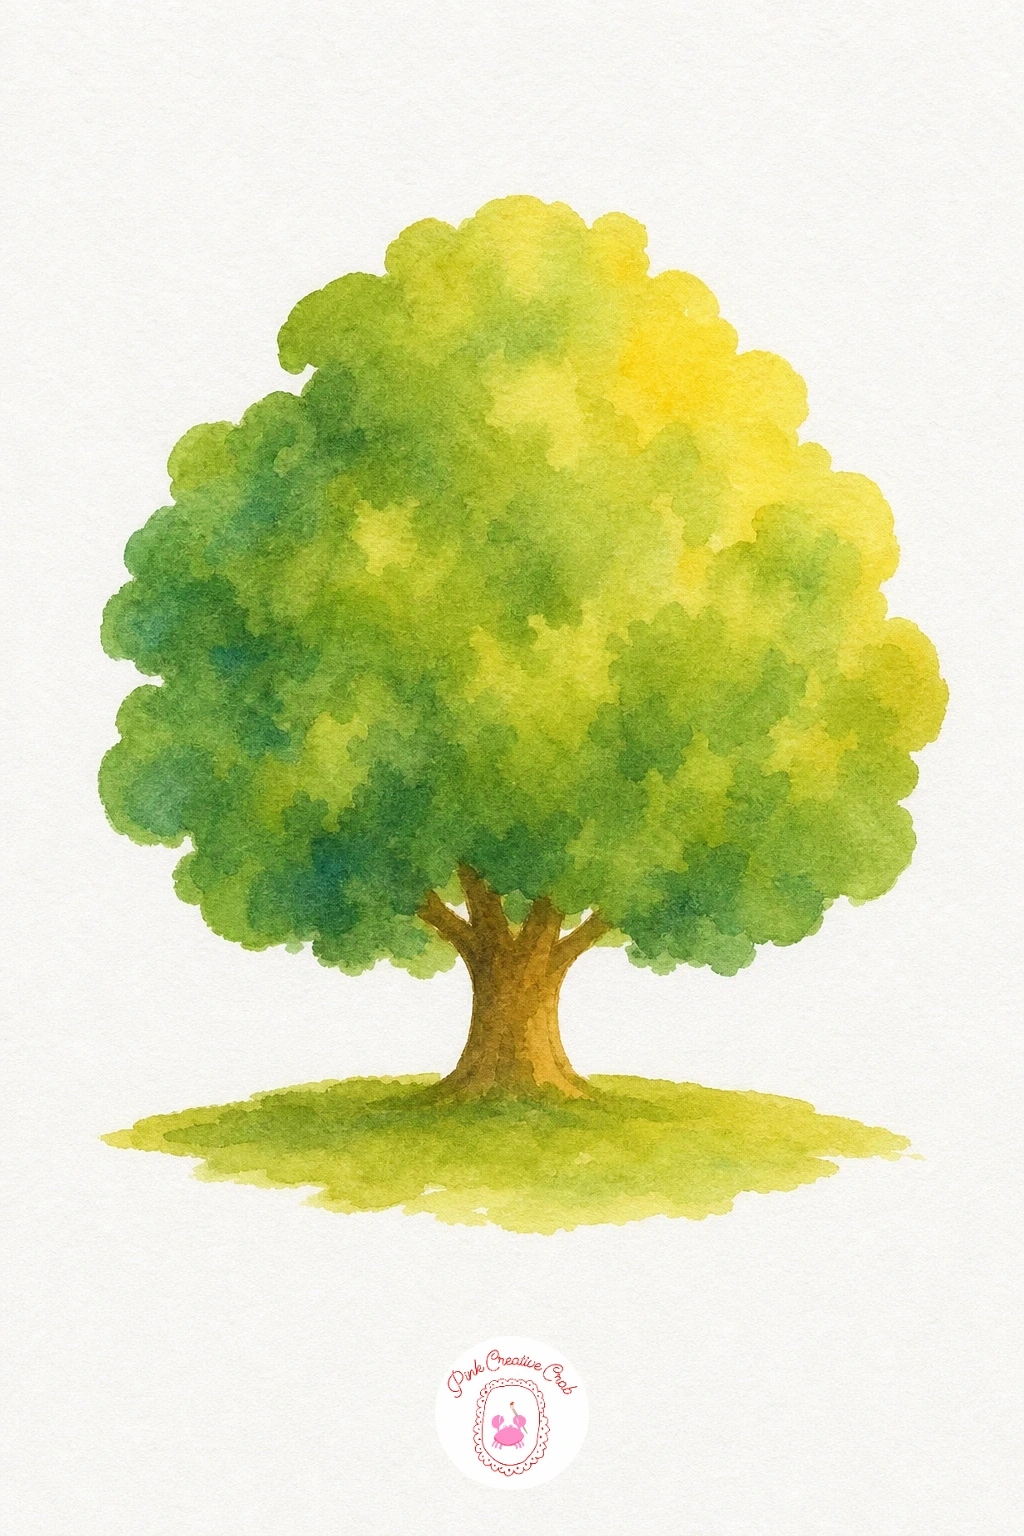
Palette: Sap Green,Olive Green,Burnt Umber
If you enjoy painting trees and simple scenery, the loose washes in these cottagecore cottage paintings use the same soft technique.
Heart Balloon
Wet the whole heart shape and drop Opera Pink in from the top, letting it settle lighter toward the lower point so the balloon looks rounded without any hard shading lines. Leave a small teardrop of white paper untouched near the upper left for the shine, the one touch that makes a balloon look glossy rather than flat. The string goes on last in a single steady curved pencil-thin line of grey.
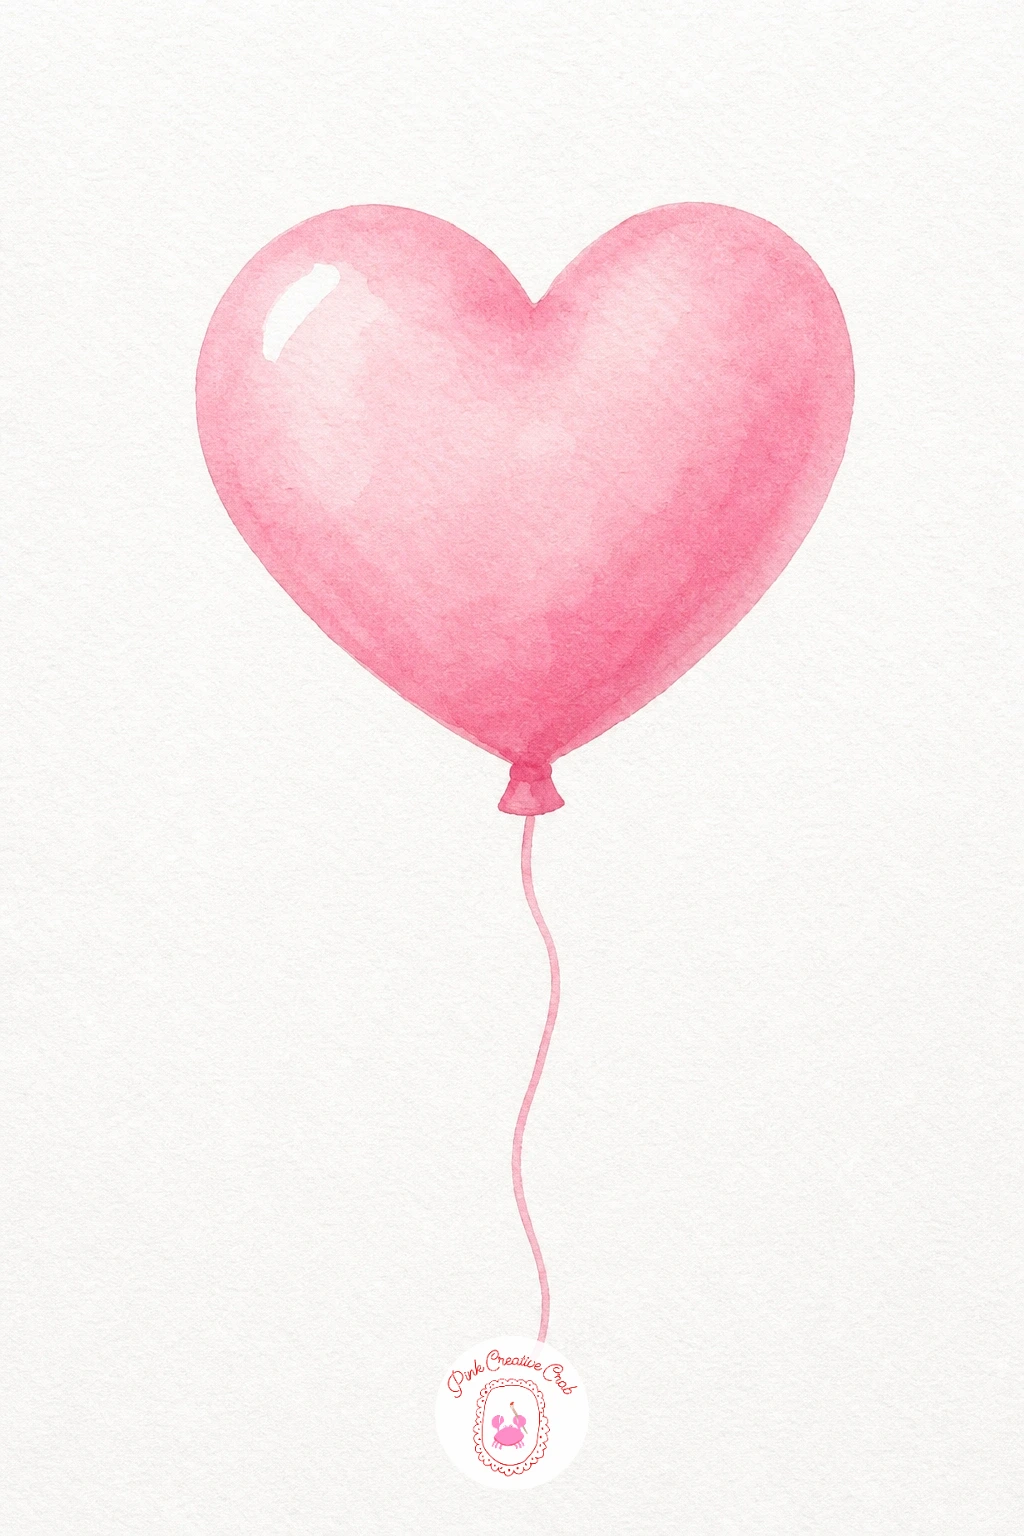
Palette: Opera Pink,Pale Grey
Two Cherries on One Stem
Paint both cherries in the same wet wash of Cadmium Red, adding a touch of Alizarin Crimson at the point where each cherry meets its stem so the color darkens naturally there. Leave a tiny white dot of unpainted paper on each cherry for shine, placed on the same side on both so the light feels consistent. The stem is one curved green line connecting the two, with the small leaf added once everything else is dry.
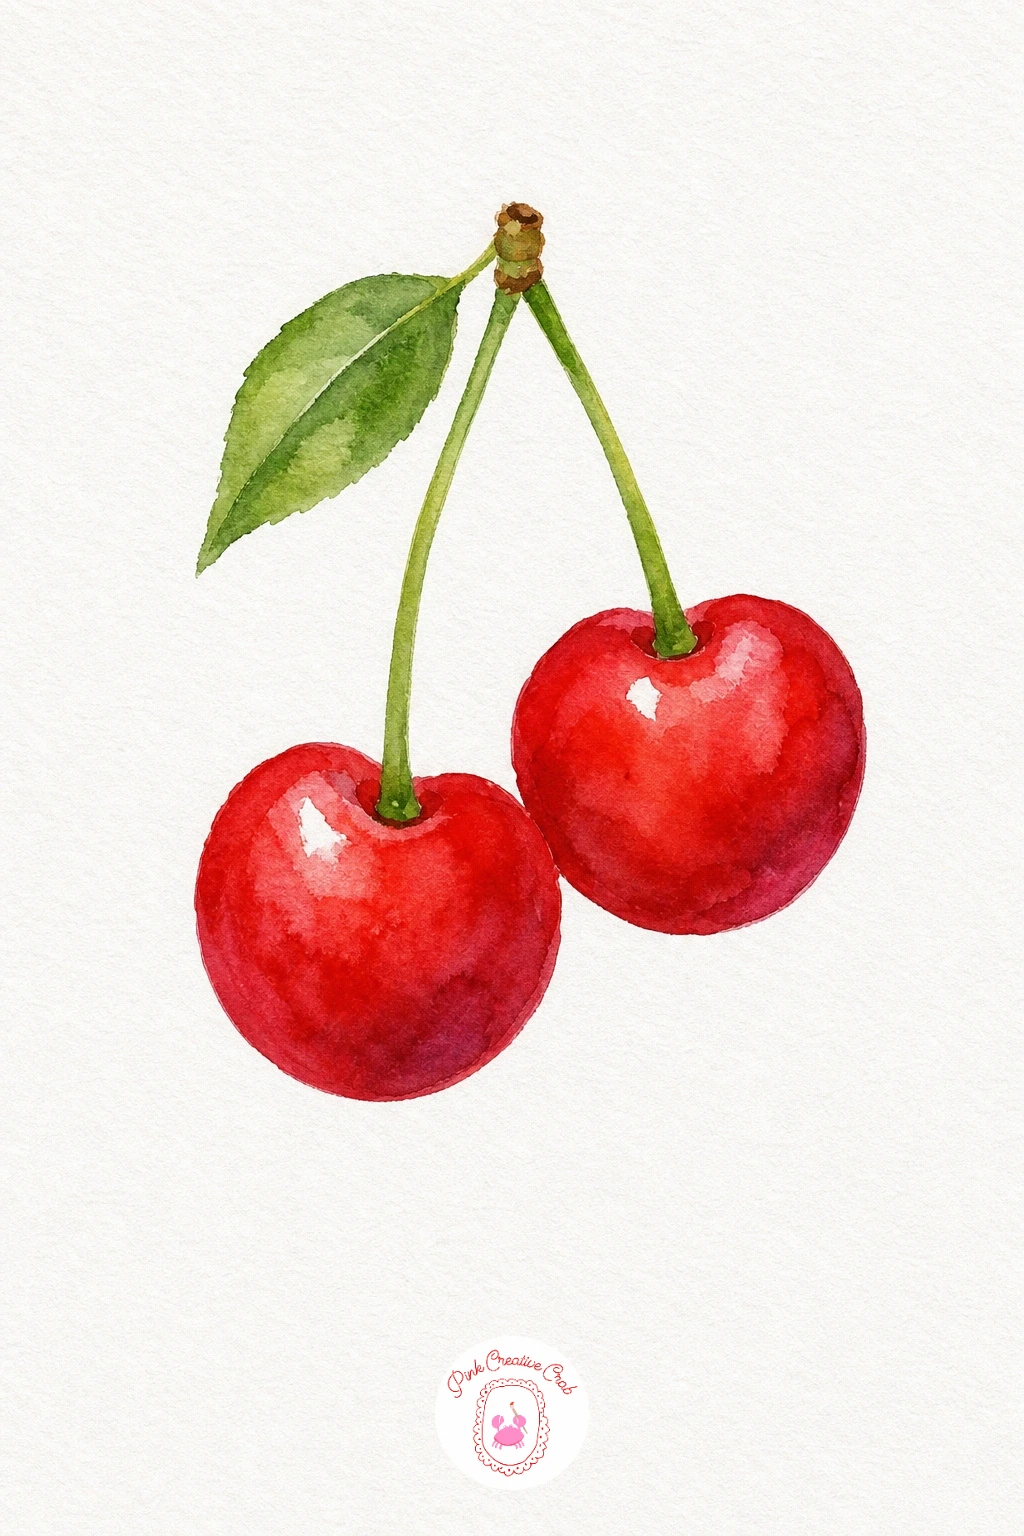
Palette: Cadmium Red,Alizarin Crimson,Sap Green
Paper Boat
Keep the boat itself pure white paper, painting only a thin grey line along the folded edges to show its shape, which makes the folds read clearly without any shading. Paint the water in a few loose curved bands of blue below the boat, varying the pressure so some bands sit darker than others. Leave a ring of white paper around the hull where it meets the water so the boat looks like it is actually floating.
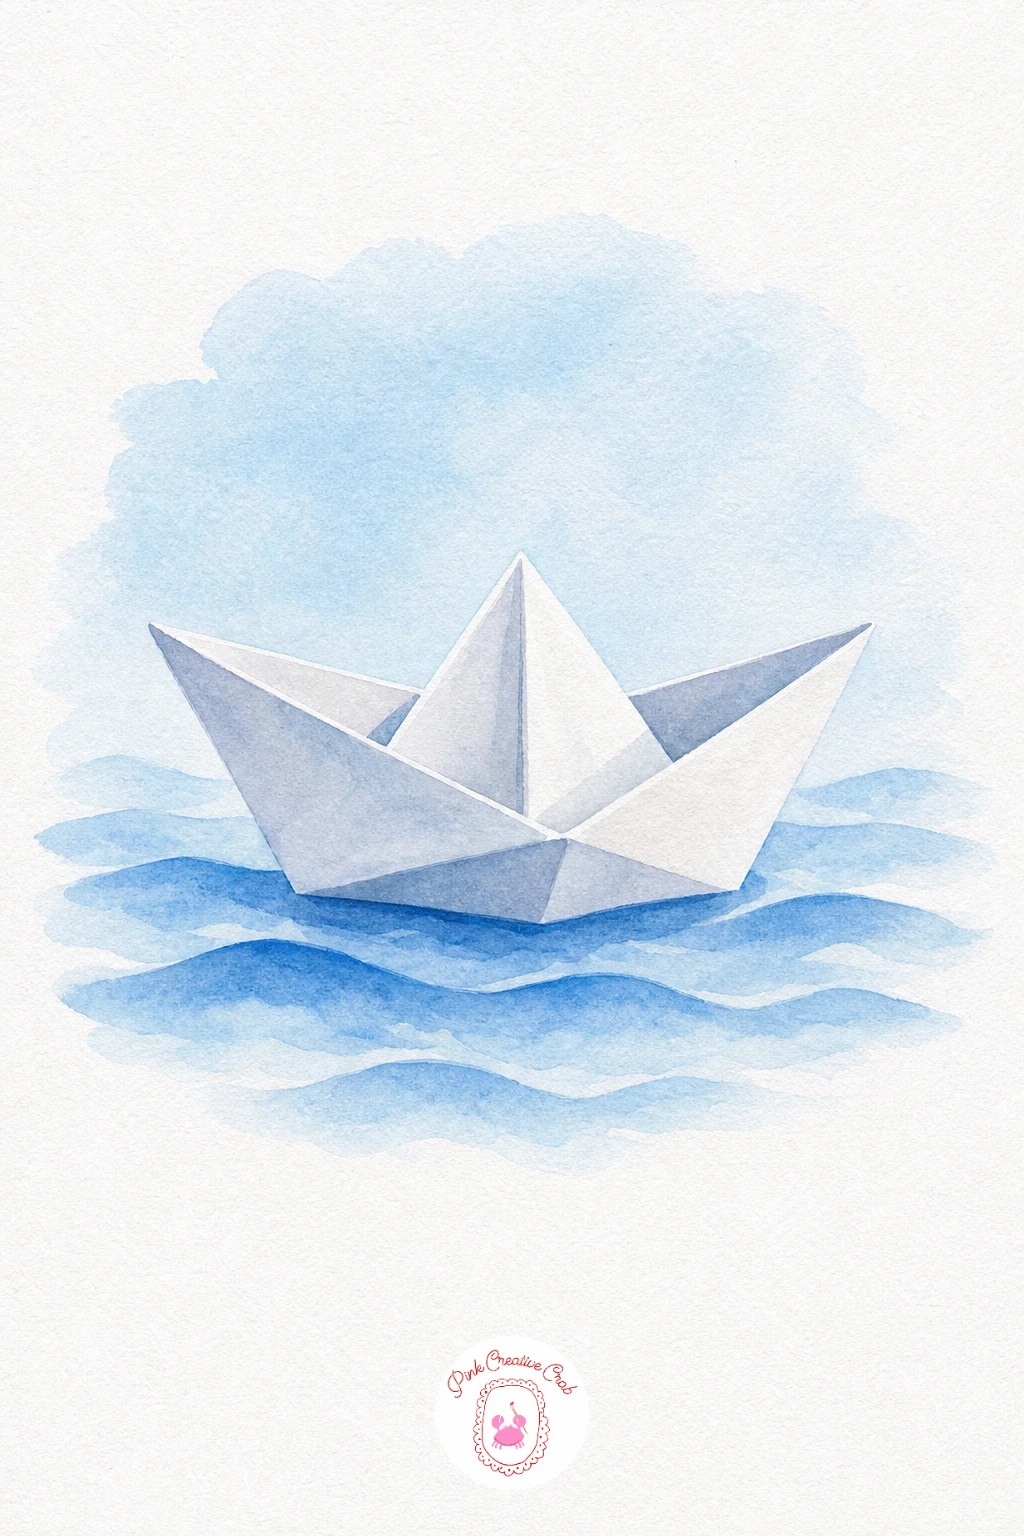
Palette: Cerulean Blue,Pale Blue,Pale Grey
Moon and Star
Wash the sky first in deep Payne’s Grey mixed with a touch of Indigo, leaving the crescent and star shapes untouched as white paper reserves. Once the sky is dry, fill the moon and star with a warm Naples Yellow in one flat coat each. The glow that finishes the piece is a very pale yellow wash dabbed softly around both shapes while the sky paint is still slightly damp, so it feathers outward on its own.
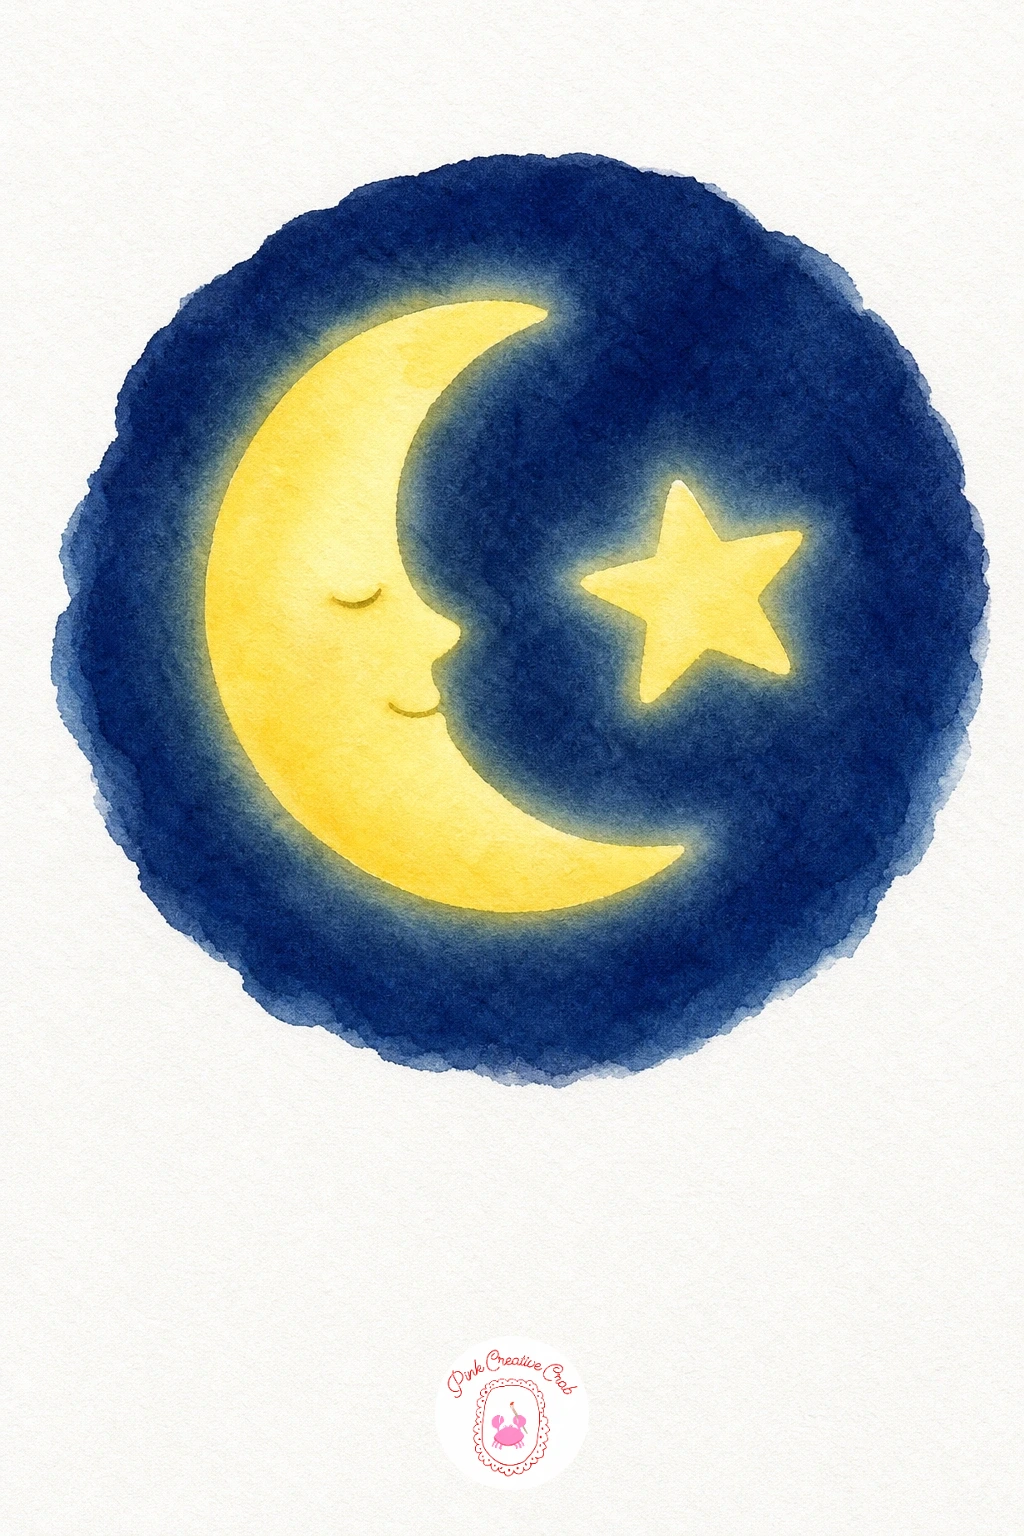
Palette: Indigo,Payne’s Grey,Naples Yellow
Red Toadstool
Paint the cap in Cadmium Red first, working wet so the color pools slightly darker at the top of the dome and lighter toward the edge. While that dries, lay the stem in a flat cream wash, keeping the line where cap meets stem crisp and unblended. The finishing dots of white gouache or a white gel pen scattered over the dry cap are what make this toadstool instantly recognizable, so save them for last.
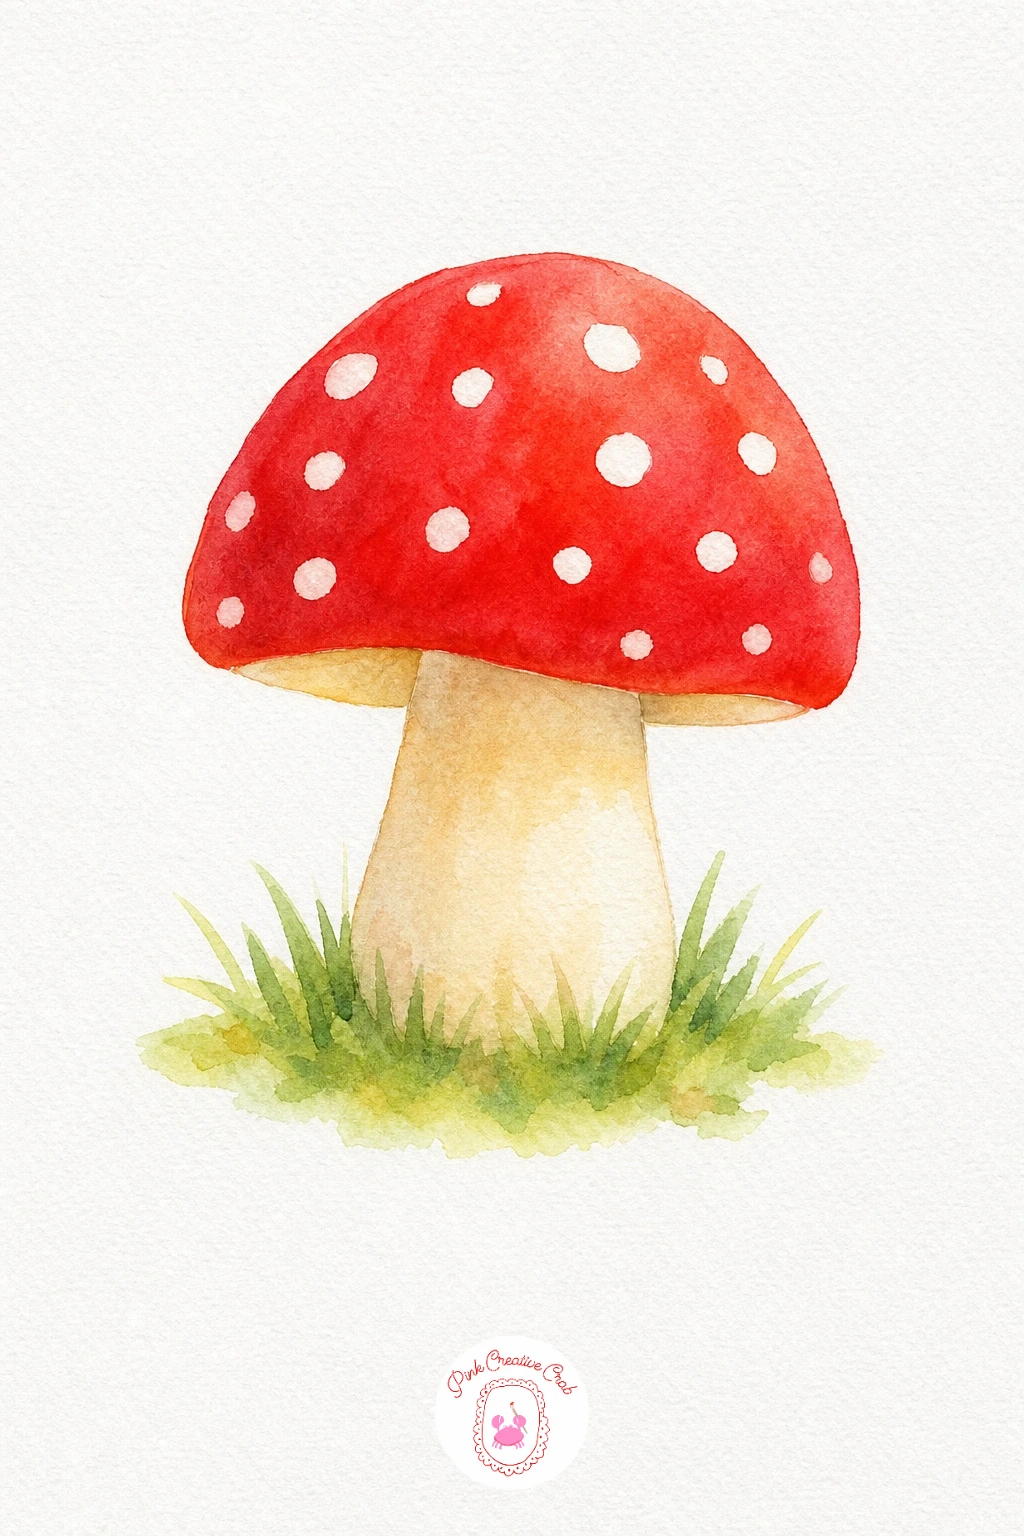
You Will Need
- white gel pen or white gouache for the dots
Palette: Cadmium Red,Cream,Sap Green
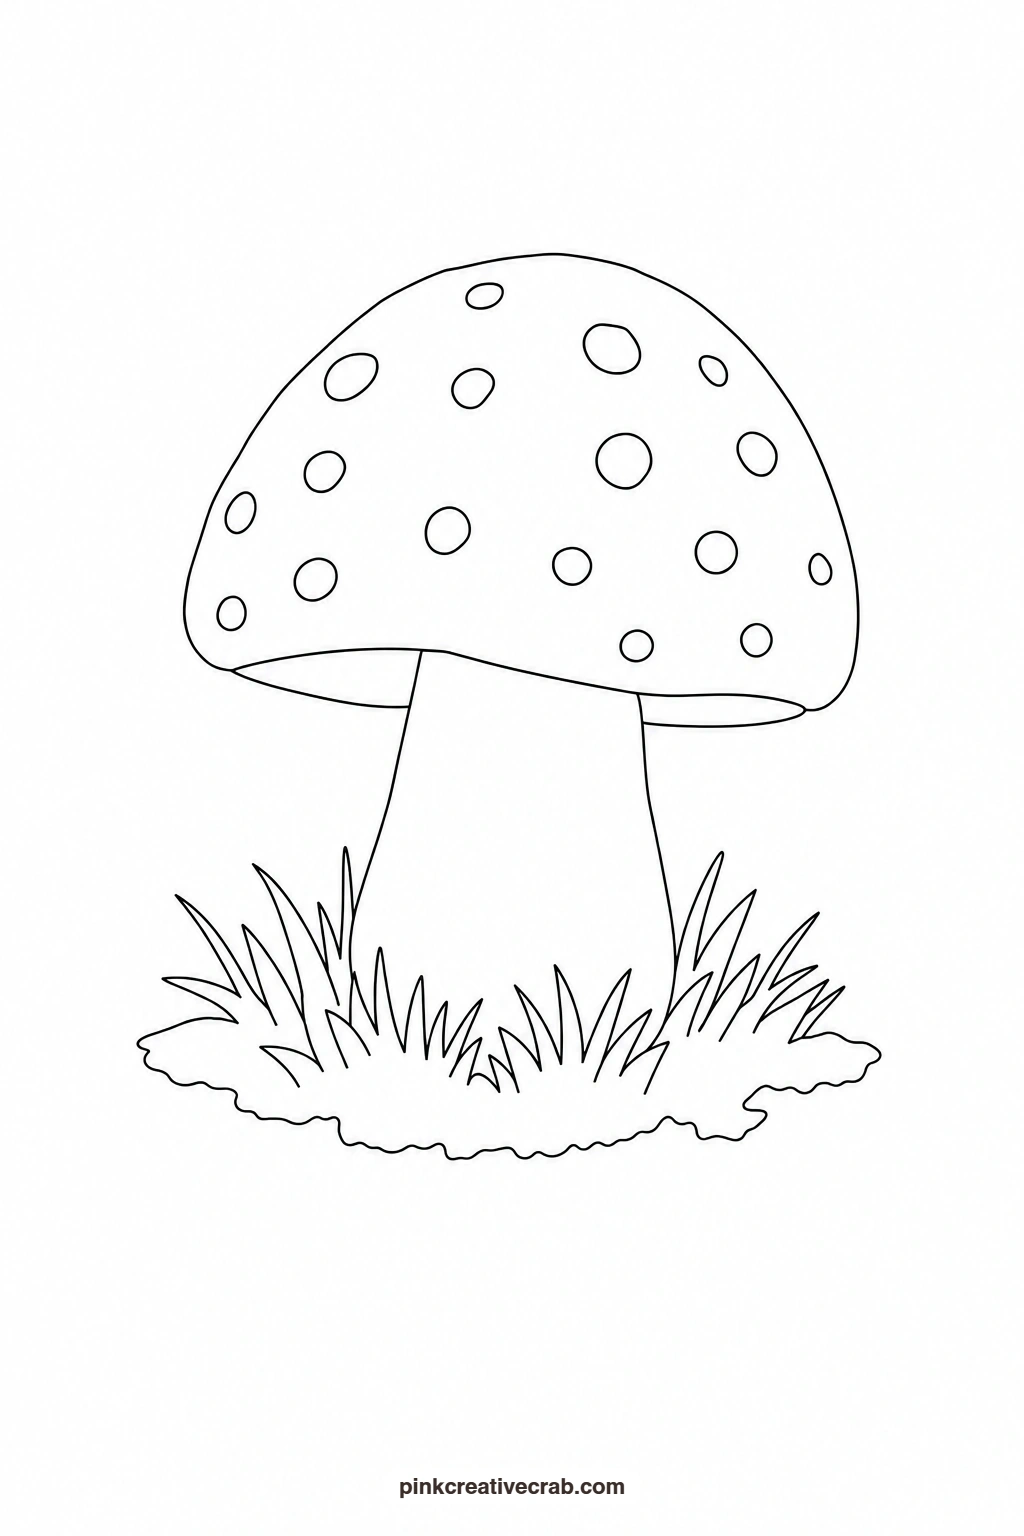
Tulip
Wet the whole petal cup and drop warm pink in at the base, pulling a touch of orange up toward the rounded top edge so the two colors blend into each other without any hard line. Let the petal dry fully before adding the stem in one clean green stroke straight down the page. The single curved leaf goes on last, painted with one confident sweep of the brush so its edge stays smooth rather than jagged.
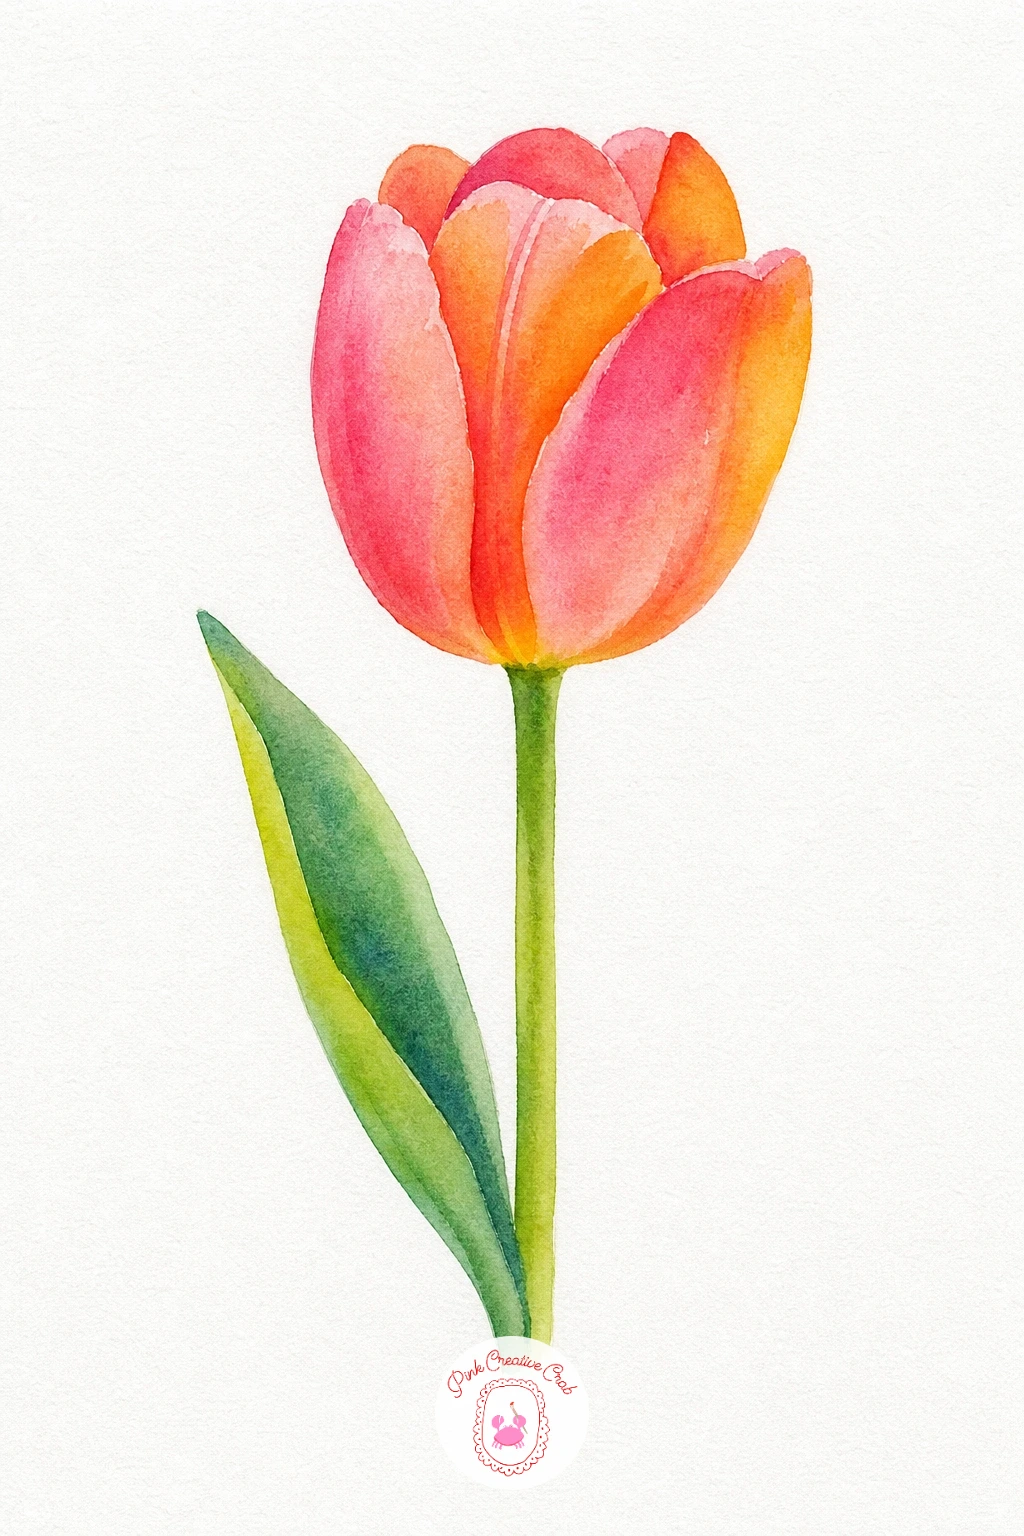
Palette: Opera Pink,Cadmium Orange,Sap Green
For more flower shapes this simple to trace and paint, browse these simple watercolor flowers ideas.
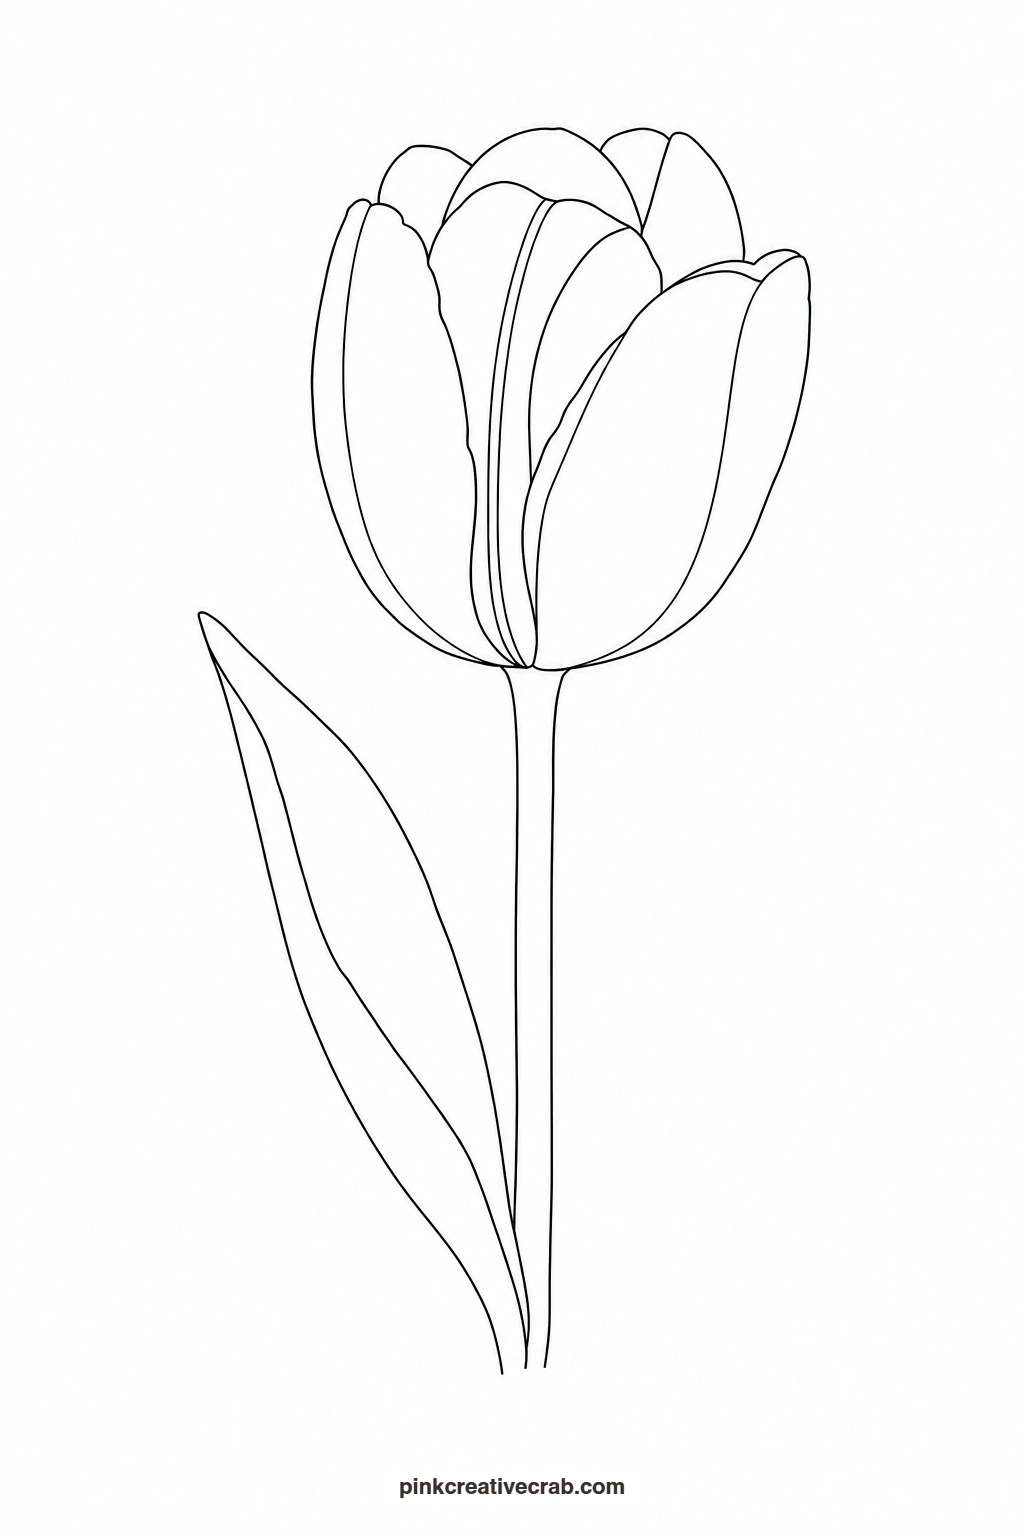
Fish
Wash the whole body in Cadmium Orange, then while still damp drop a little Lemon Yellow along the belly so the color lightens naturally underneath. Keep the tail fin a shade darker by adding a touch more orange once the body wash has started to dry, so the two areas stay distinct but soft edged. Paint the eye last as one small dark dot, leaving a tiny ring of white paper around it for the highlight.
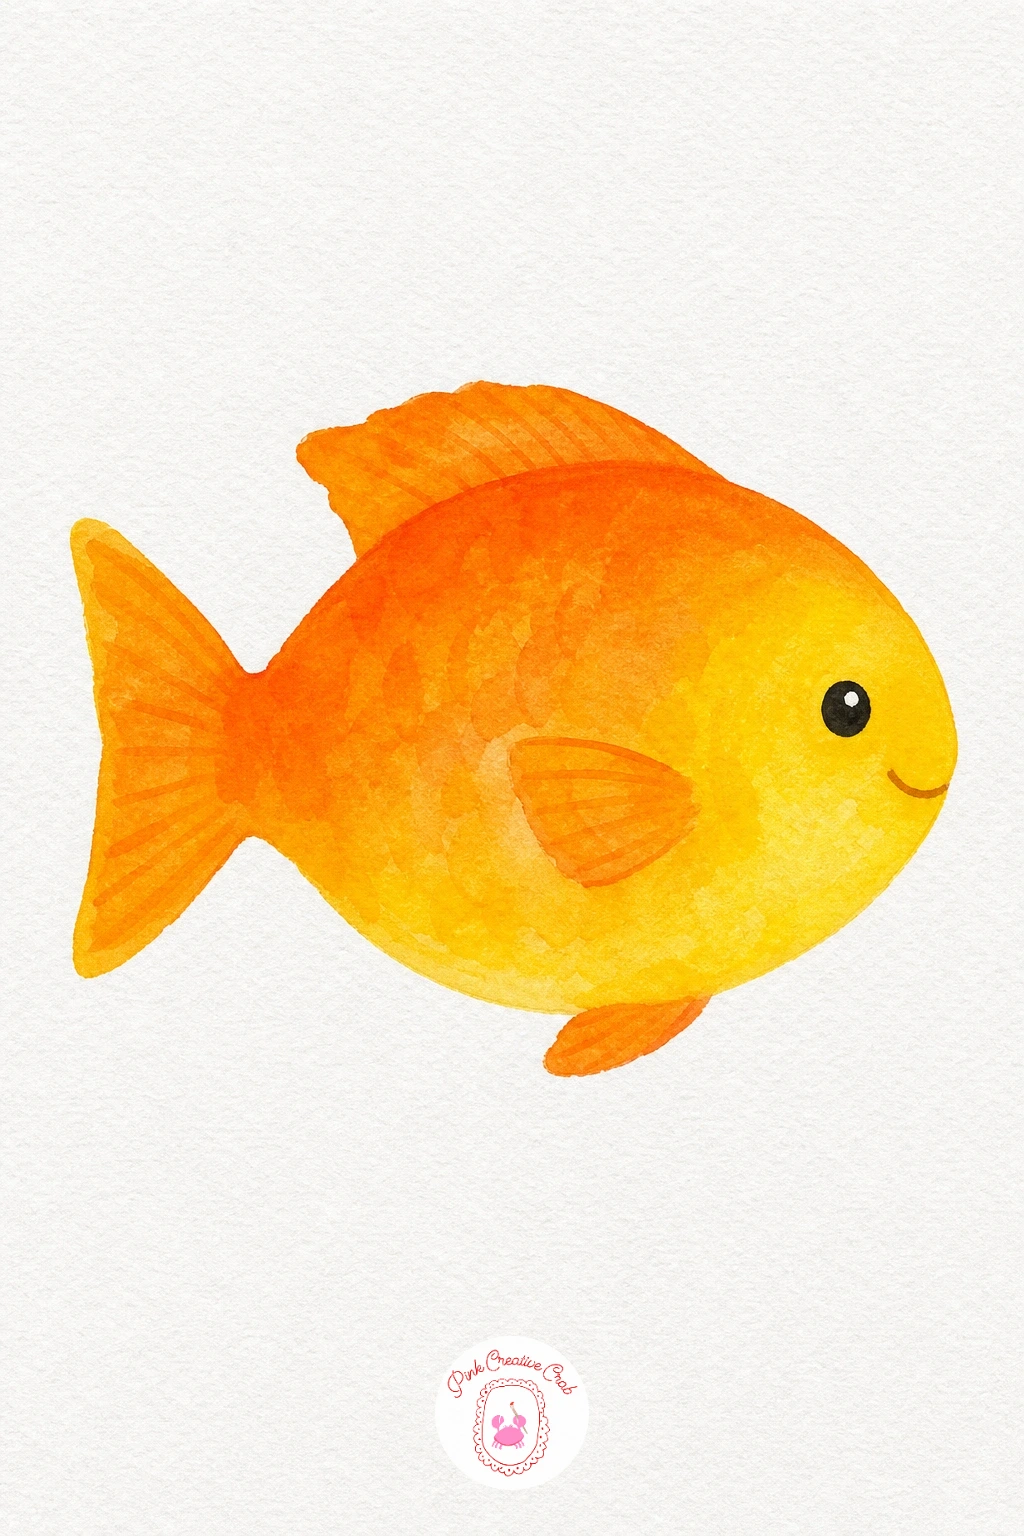
Palette: Cadmium Orange,Lemon Yellow,Payne’s Grey
Mountain
Paint the sky first in a thin pale wash so it dries quickly, then once dry fill the mountain shape in cool Payne’s Grey mixed with a hint of blue, leaving the small triangular patch at the peak unpainted for snow. A thin strip of green along the base finishes the ground. For a bit more depth, drop a slightly darker grey along one side of the peak while the mountain wash is still damp so it shades itself.
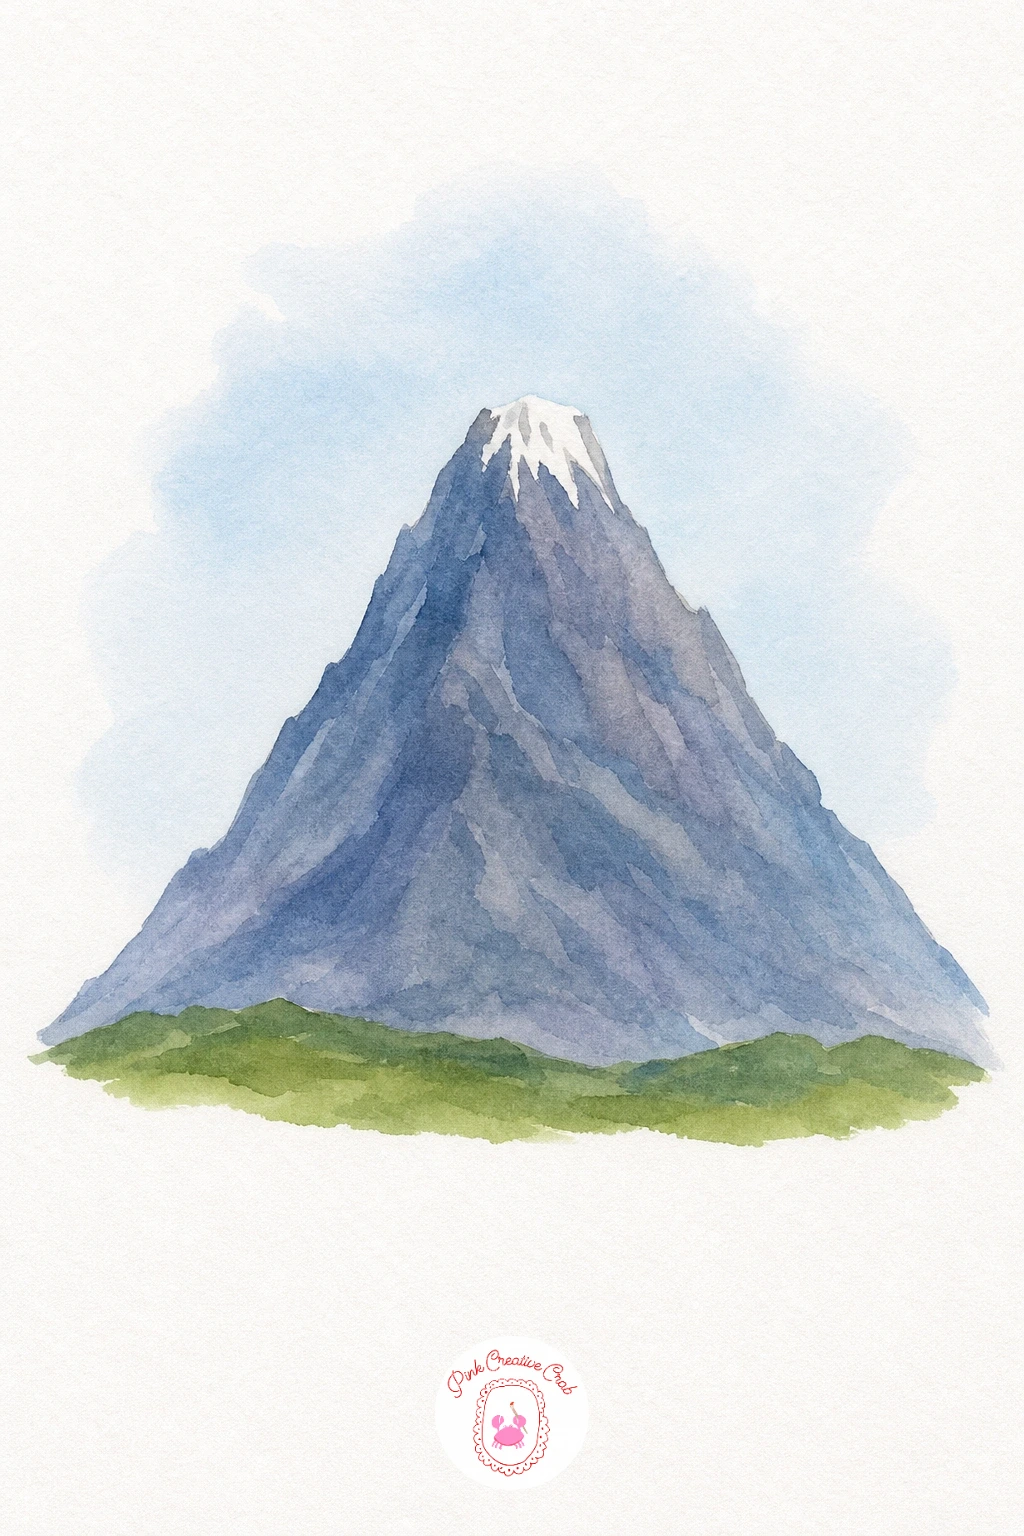
Palette: Payne’s Grey,Cerulean Blue,Sap Green
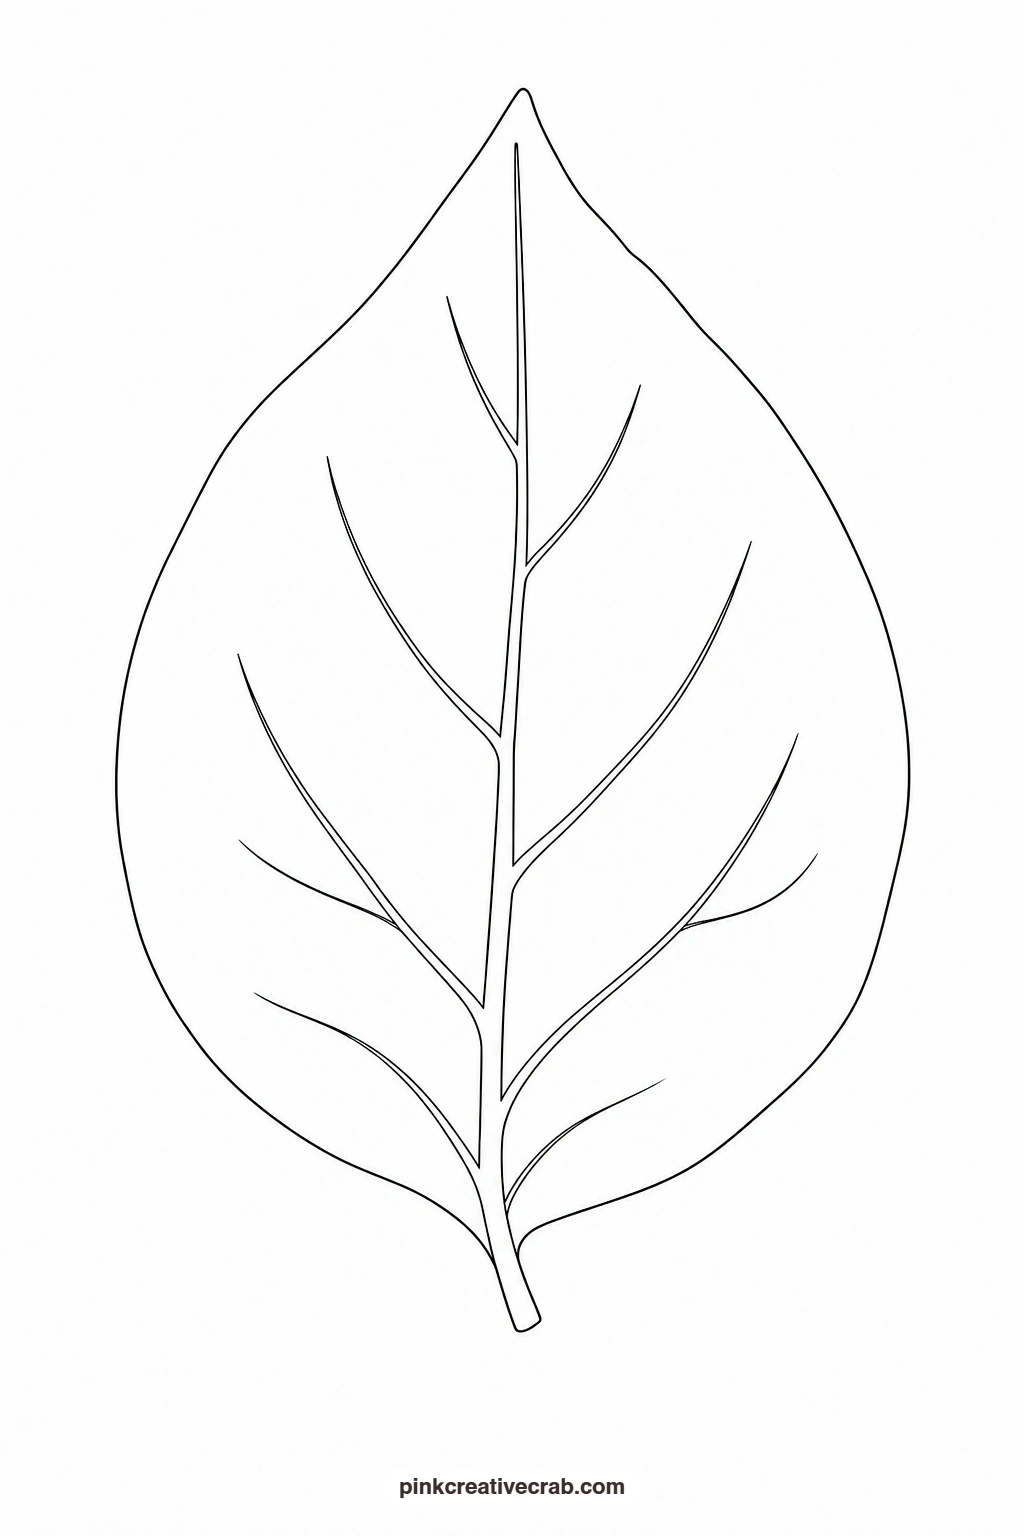
Leaf
Wet the whole leaf shape and drop warm Cadmium Orange in from the base, pulling a touch of Alizarin Crimson toward the pointed tip so the two colors blend into a soft gradient across the leaf. Let it dry fully before painting the central vein in a thin pale line, done by gently lifting color with a damp clean brush rather than adding paint. A few short side veins branching off the center finish the leaf and give it its one clear detail.
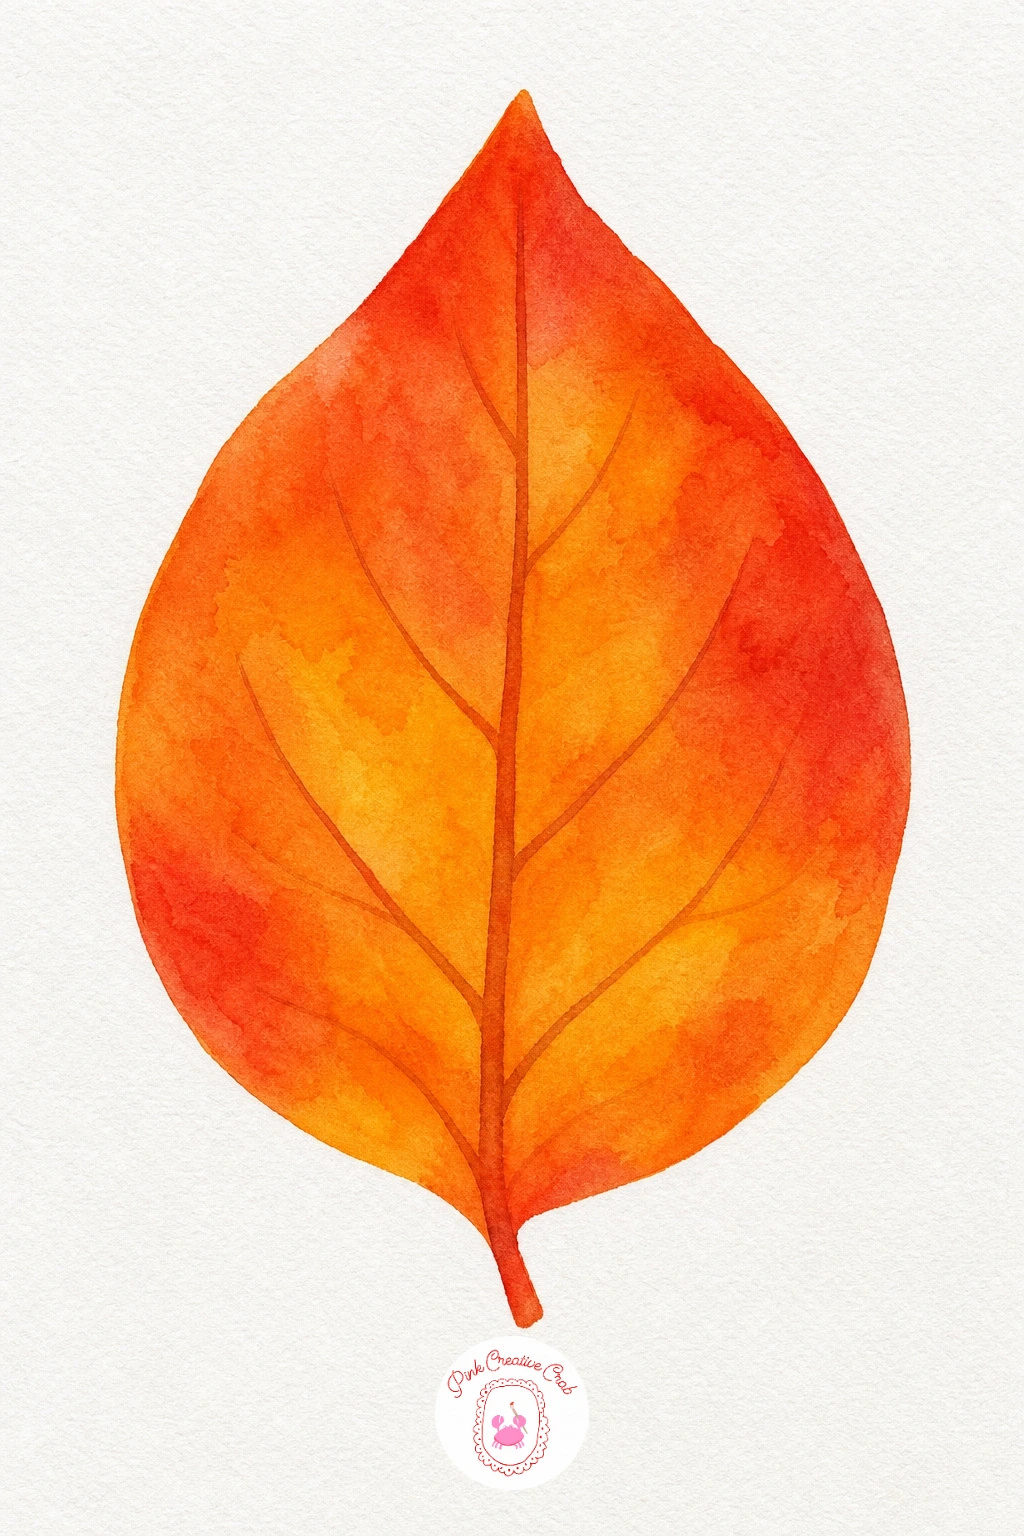
Palette: Cadmium Orange,Alizarin Crimson,Raw Sienna
If autumn subjects like this one appeal to you, there is a full set of ideas in these autumn sketching ideas for beginners.
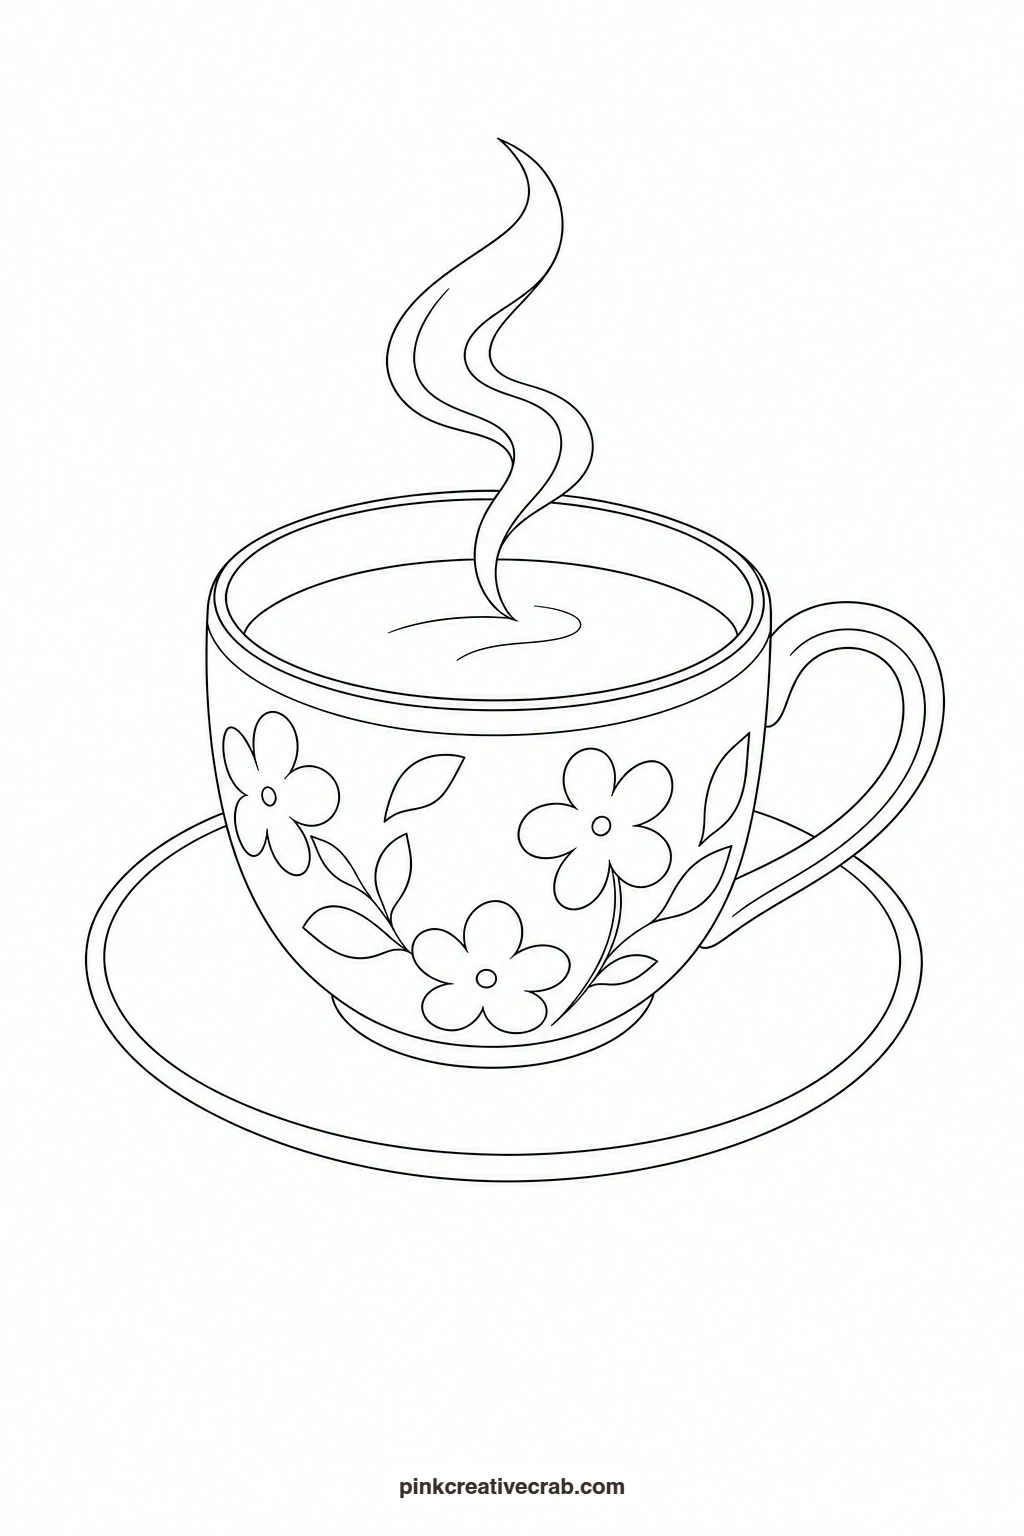
Cup of Tea
Paint the cup and saucer in one flat pastel wash, keeping the handle as a thin unbroken loop so it reads clearly against the white background. Once dry, add a thin band of a second color around the rim for a simple pattern, the kind of detail that makes a plain cup look finished. The steam curl above the cup is painted last in a very pale grey, using a dry brush dragged lightly so the line stays soft and broken rather than solid.
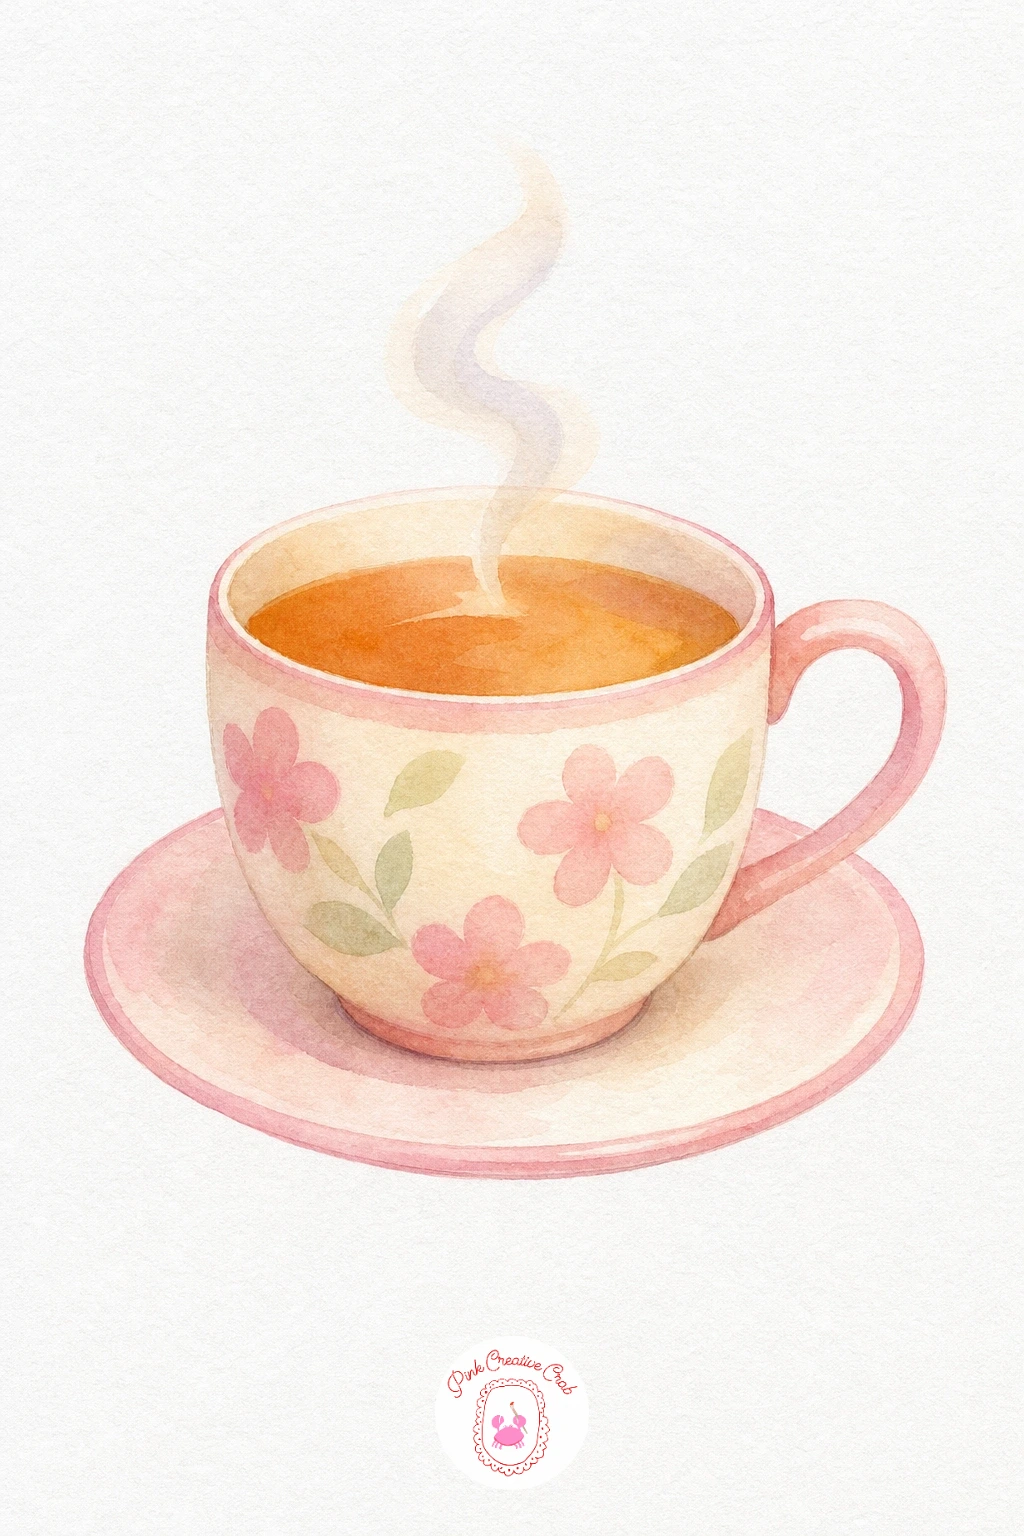
Palette: Dusty Pink,Pale Grey,Sap Green
What to Do Next
Pick whichever subject suits your mood today, print its outline, trace it onto your watercolor paper and paint it with the finished example right beside you for color reference.
Frequently Asked Questions
What size should I print these outlines?
Print at standard letter or A4 size unless you want a smaller painting, since every shape in this set scales down well. A larger print just gives you more room for loose brushwork.
What paper works best for these paintings?
Use a cold press watercolor paper of at least 140lb weight, since lighter paper buckles and pools unevenly. The texture also helps soft washes settle nicely without running too far.
How do I transfer the outline onto watercolor paper?
Tape the printed outline and your watercolor paper together over a sunny window or light pad and trace the lines through with a pencil. Graphite transfer paper works just as well if you prefer working flat on a table.
Can I use colored pencils or markers instead of watercolor?
Yes, every outline works just as well for colored pencils or markers, just build color in light layers for pencils or let marker ink dry between overlapping areas to avoid muddy patches.
Do I need to be good at drawing to use these templates?
No, that is exactly the point of tracing the outline rather than drawing it freehand. You only need to follow the already-drawn shapes with a pencil, then focus your energy on mixing and placing color.
Have any thoughts?
Share your reaction or leave a quick response — we’d love to hear what you think!
-
 0
-
0
-
0
-
0
-
0
-
0


